Patcon
Supporting Member
-
Joined
-
Last visited
Everything posted by Patcon
-
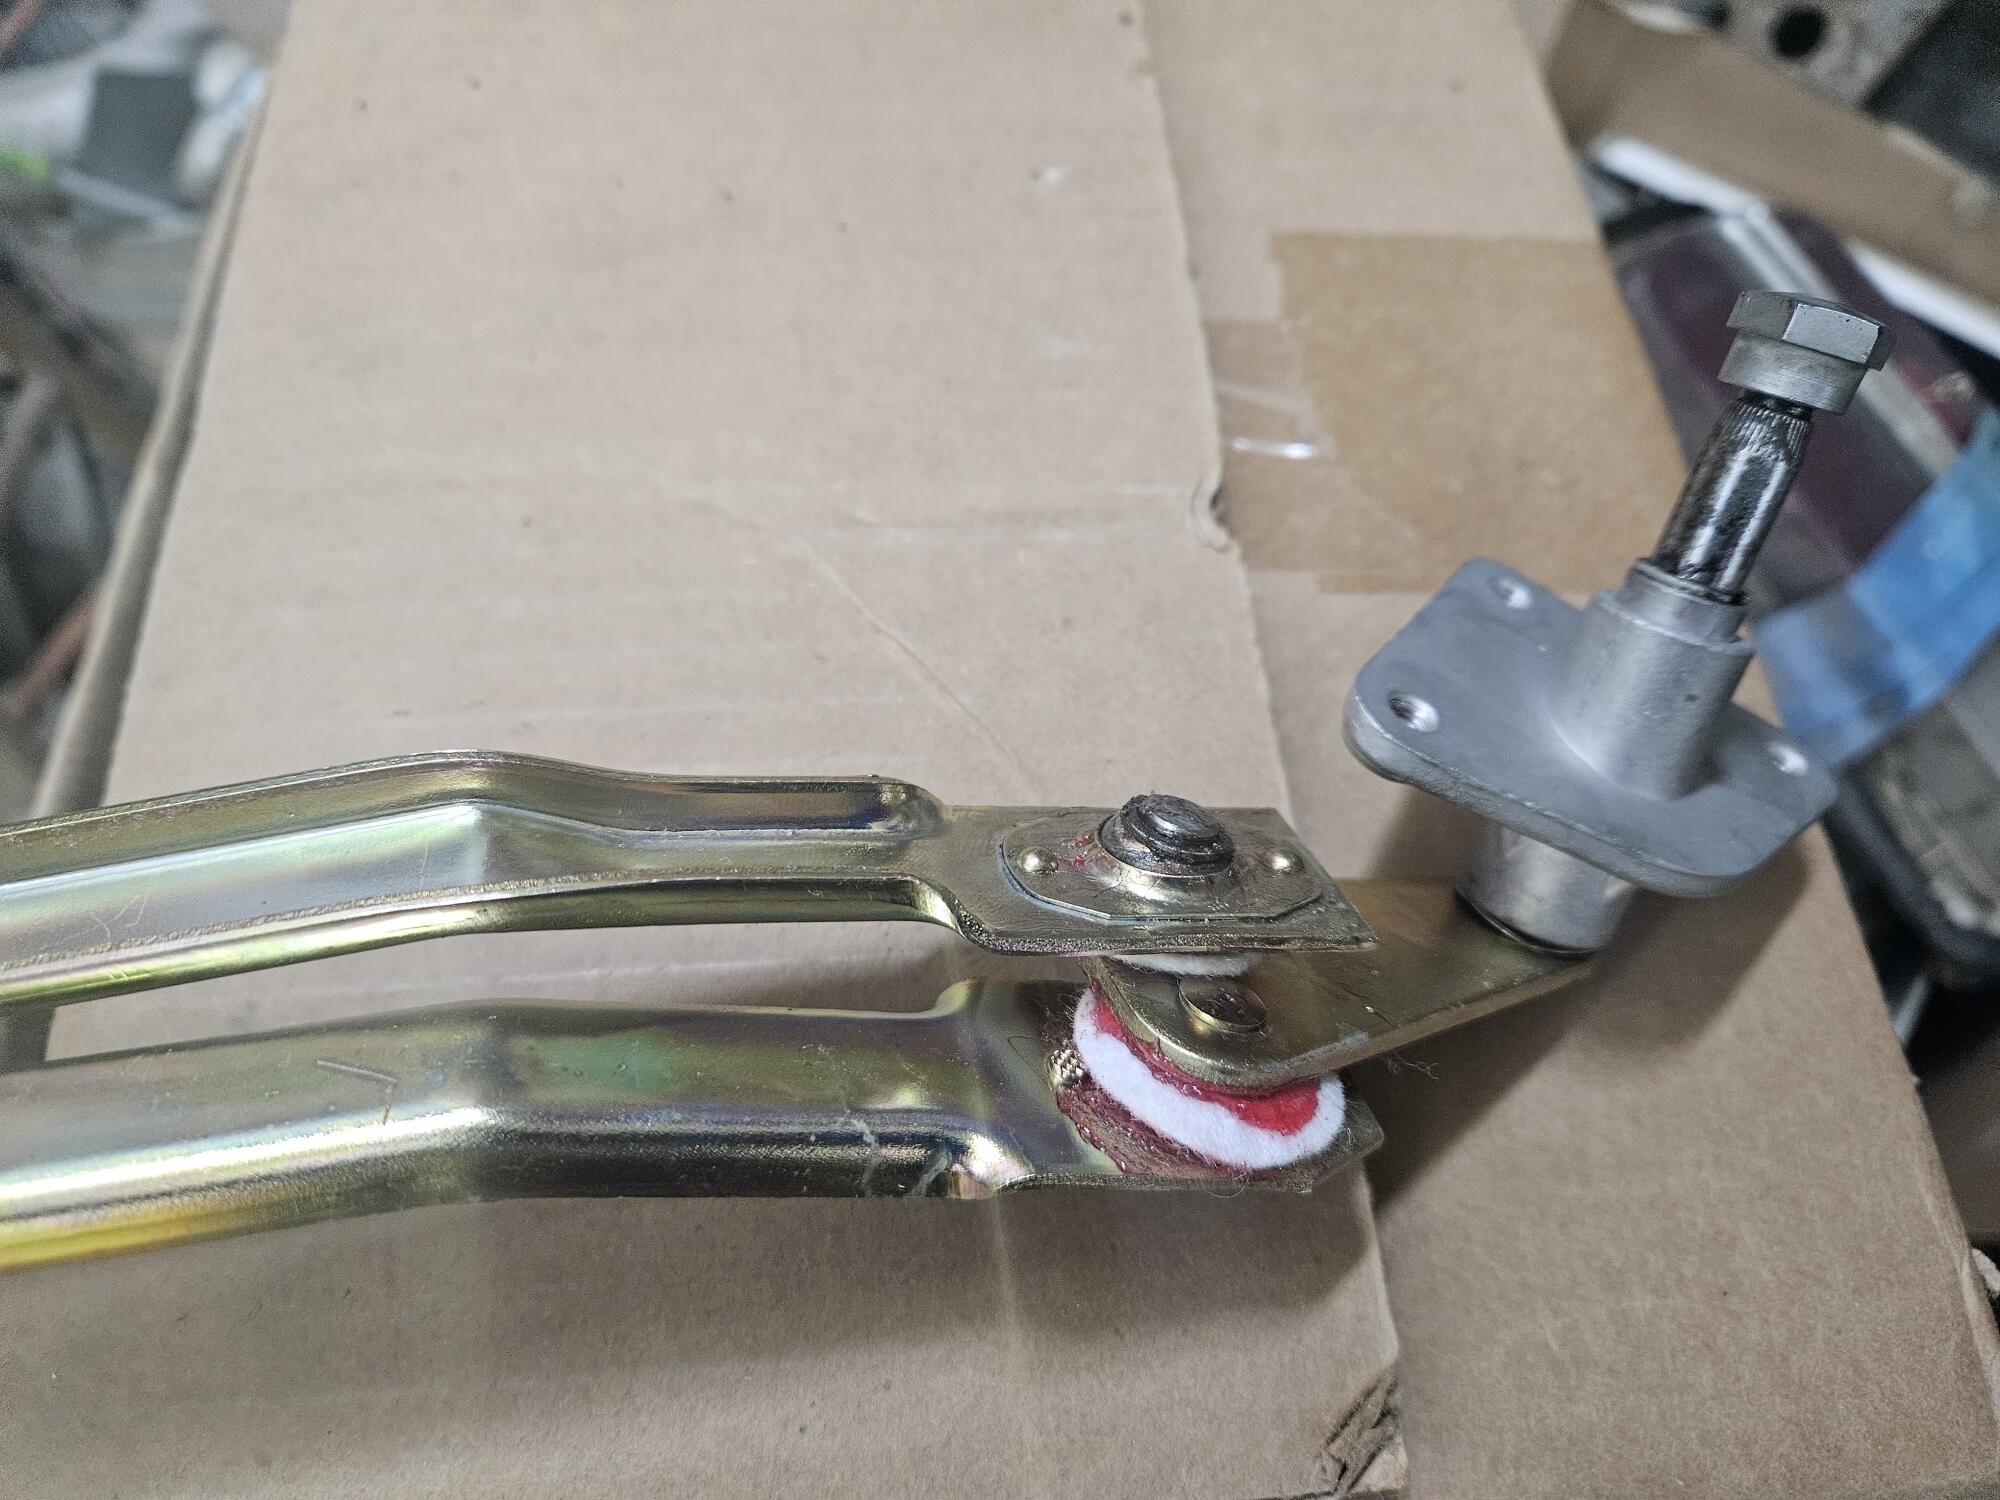
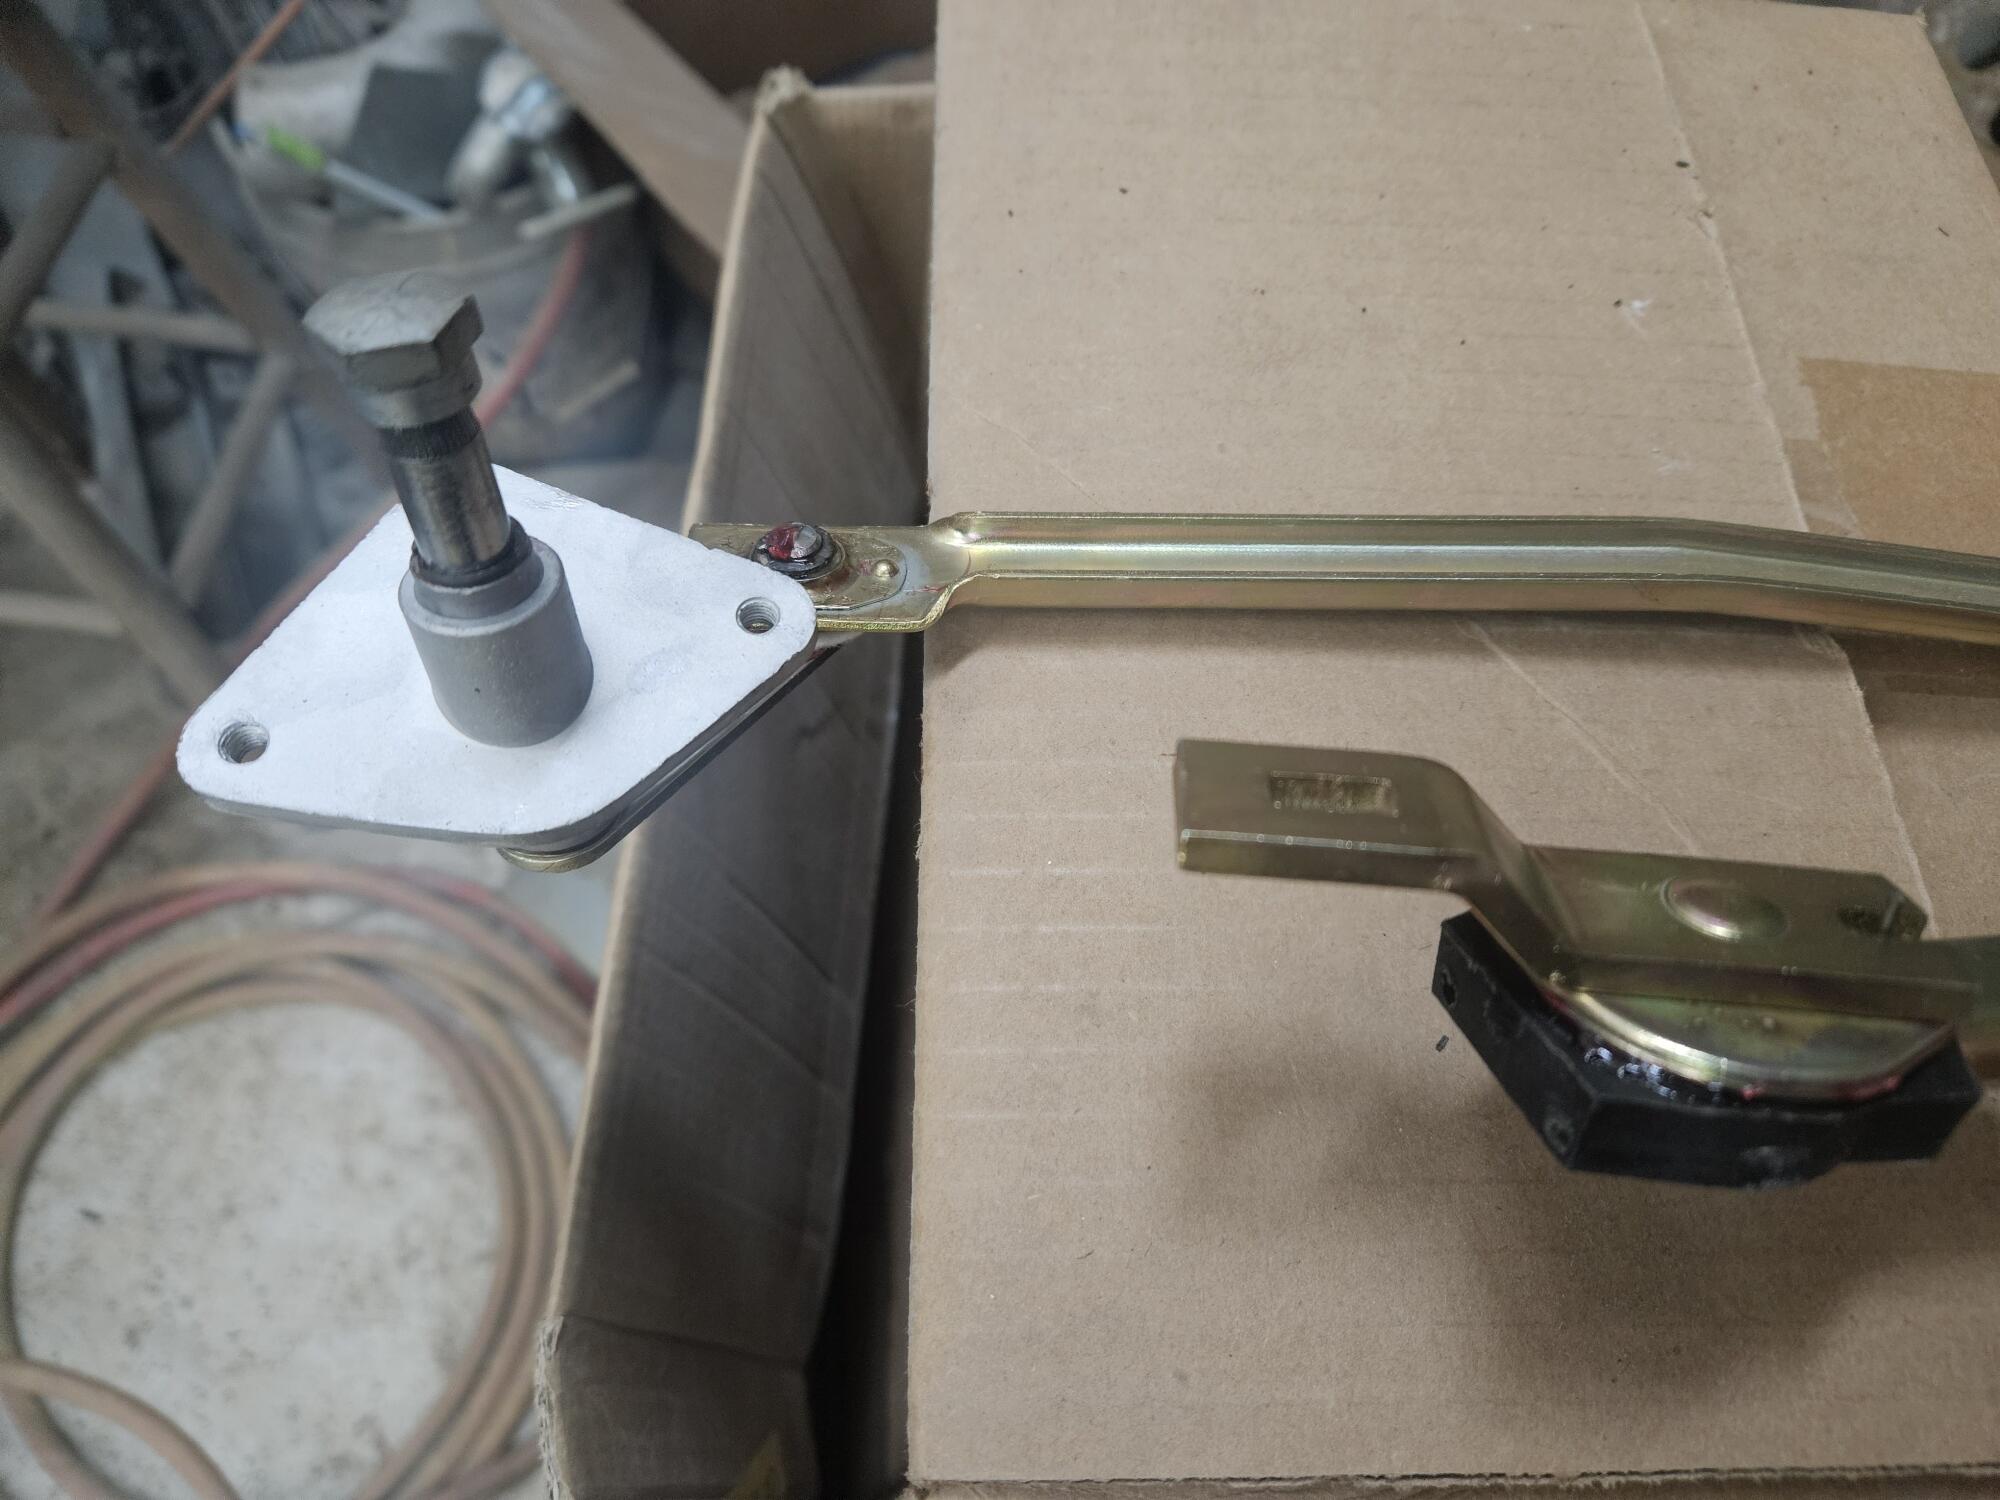
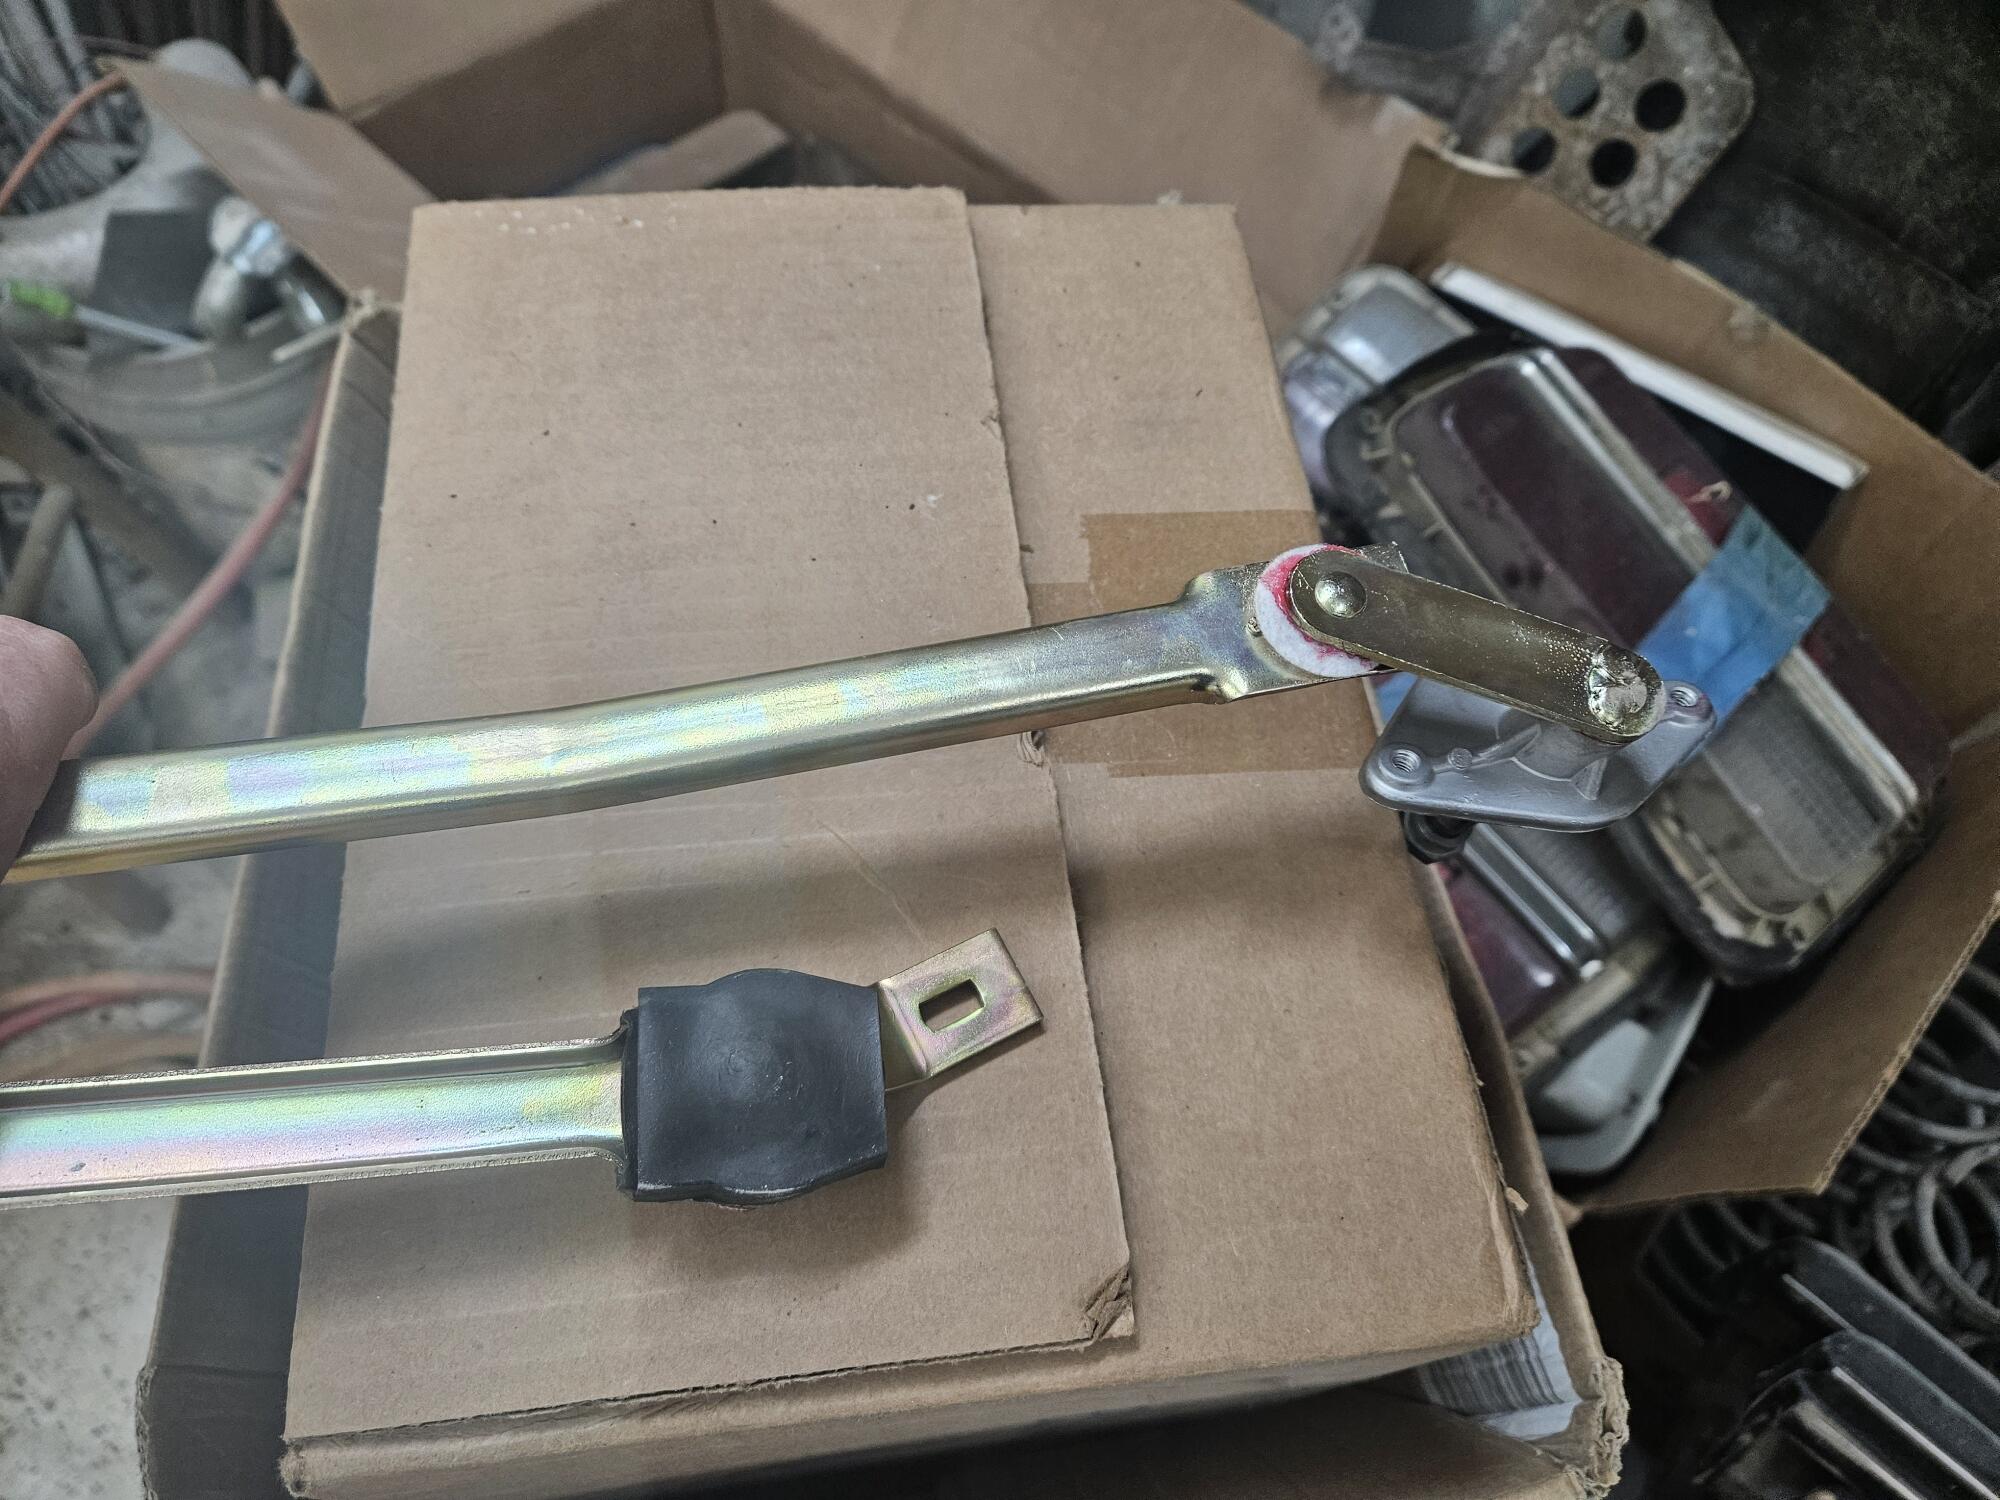
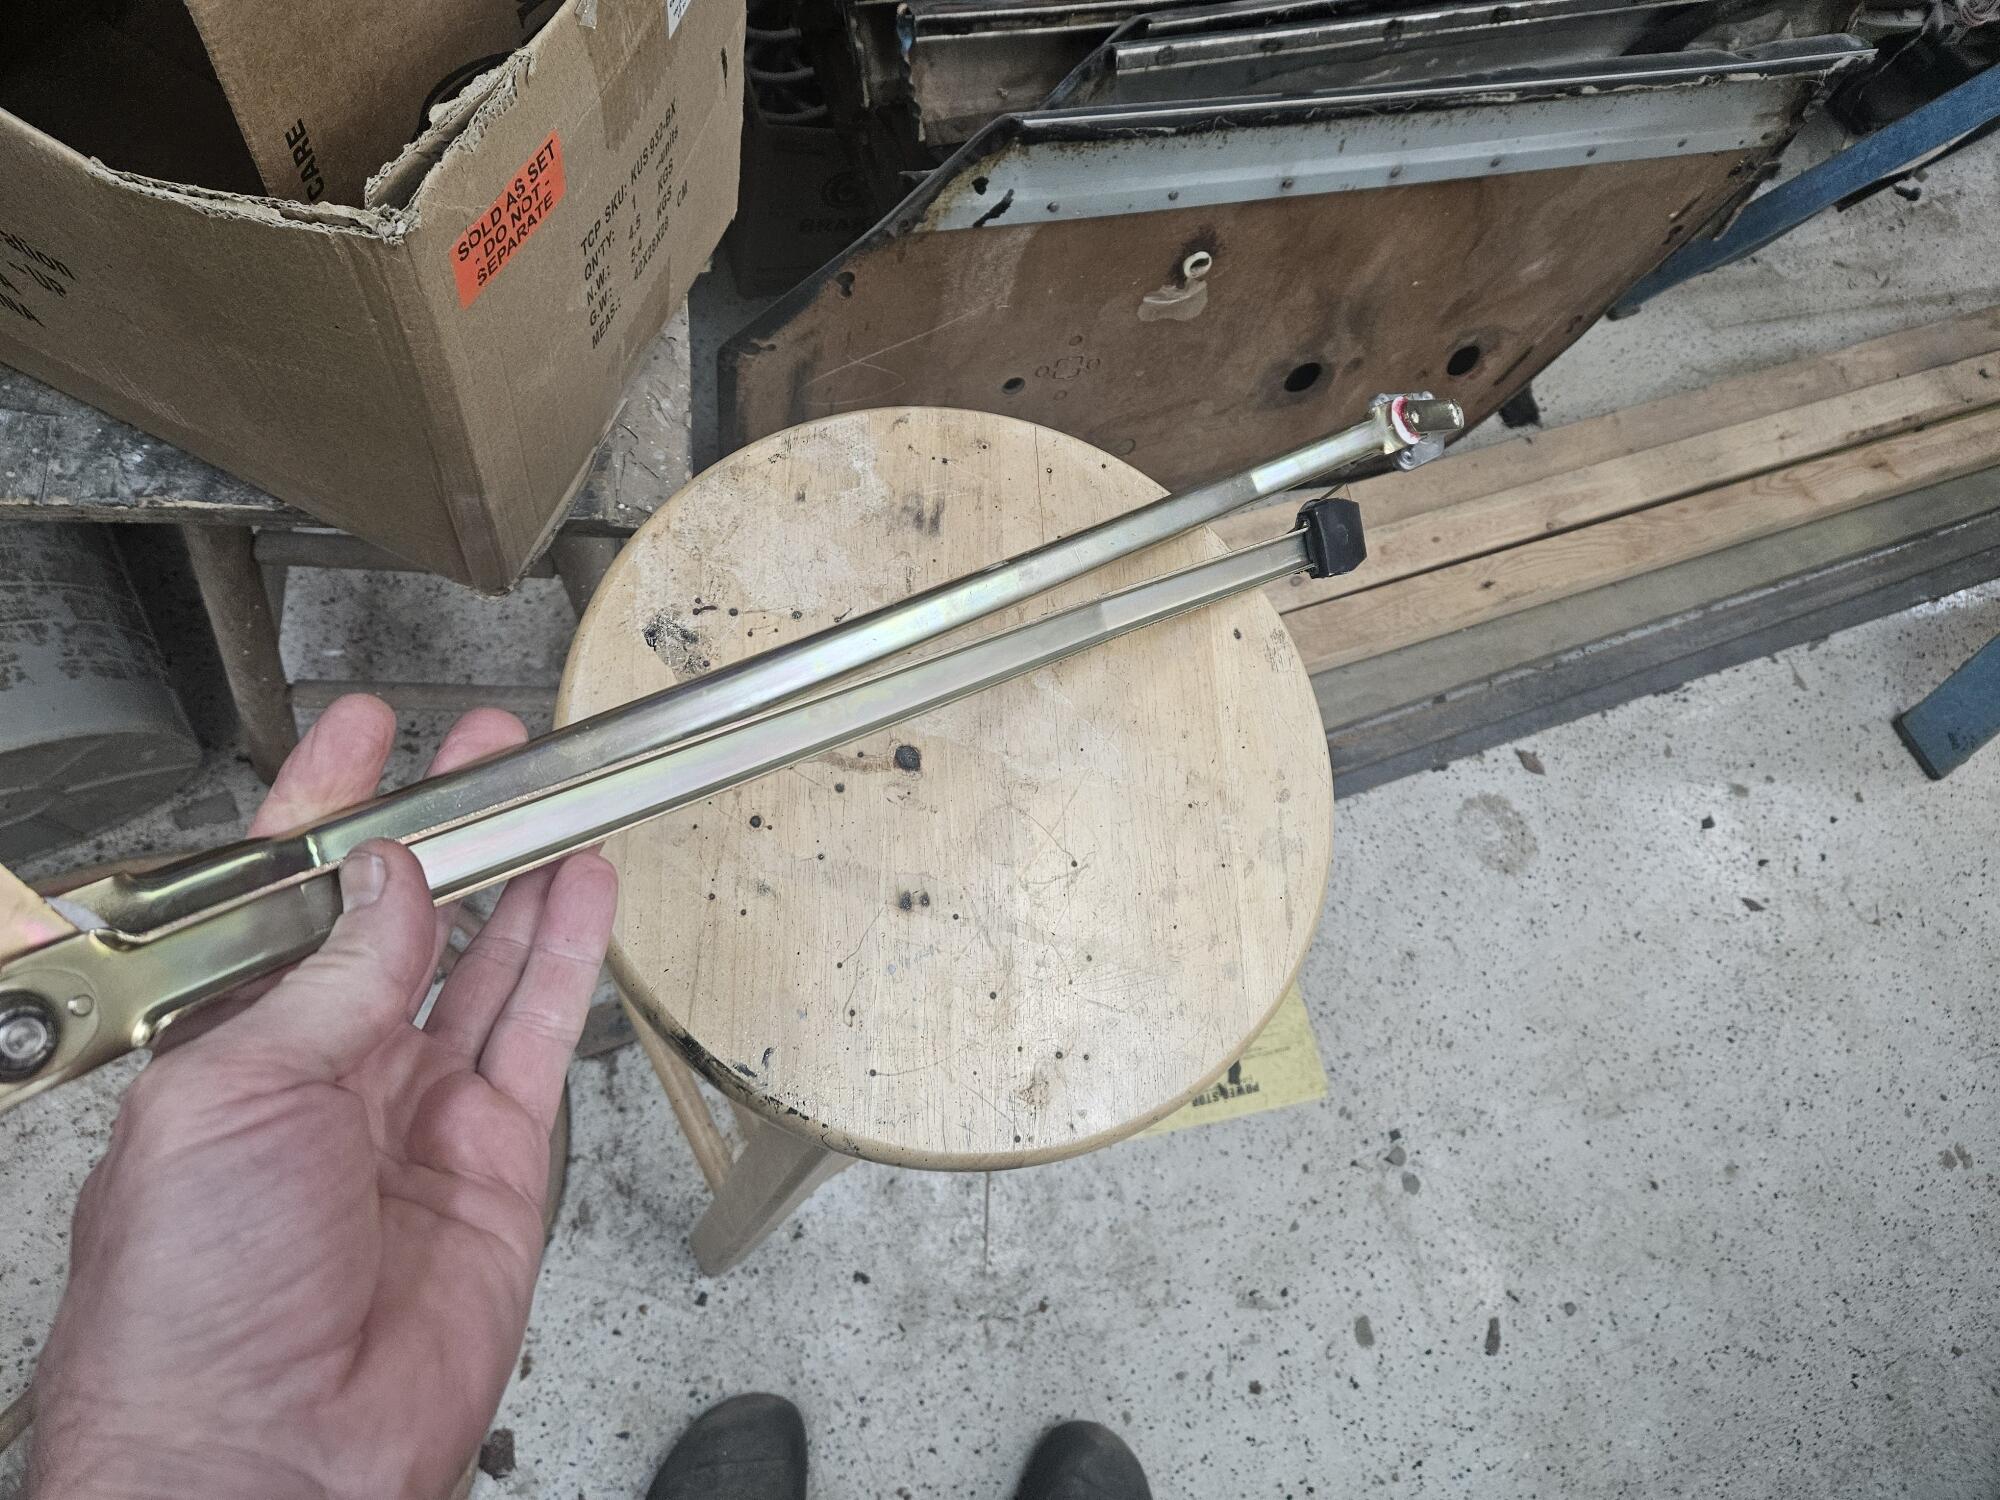
I got back the plating a few months ago and assembled 3 separate wiper transmission today. One is really good, one is ok and one is serviceable but not great. I bought a box of little felts from Amazon that somebody had linked too. I didn't enlarge the ID like what came off. I figured that would happen on it's own if needed. I also bought an assortment of: Metric 15-Sizes Round Wire C-Clips External Retaining Rings Assortment Kit;Round Wire Snap Rings for Shaft(Black 5mm-28mm) I used the 10mm ones on the worst transmission but the factory rings are almost 1mm wire and the replacements are much thinner. I someone needs to source some, I would look for 10mm Dia with a 1mm wire size. Assembly was the reverse of disassembly so I didn't document that. I did grease up the ends pretty well and used new rubber from 240zrubberparts.com


-
I was suggesting that both methods, features and VIN, might both be effective as a way to recognize the early cars from the later cars. Provided the features changed at #21,001...
-
I'm not sure they're mutually exclusive unless someone has a car after #21,001 with early car parts or a car before #21,001 without them...
-
I thought I would add here, for it to be all in one place. https://www.allmagautoparts.com/products/mini-cooper-led-door-courtesy-light-63319313574-f54-f55-f56-f57-f60 I have no idea what vehicle this one is https://www.google.com/imgres?imgurl=https%3A%2F%2Fpreviews.123rf.com%2Fimages%2Fwestsib%2Fwestsib1801%2Fwestsib180100544%2F93535296-car-led-side-door-courtesy-lights.jpg&tbnid=msUtRCjSGweFVM&vet=10CGQQMyiUAWoXChMIgIiW-NOphAMVAAAAAB0AAAAAEAM..i&imgrefurl=https%3A%2F%2Fwww.123rf.com%2Fphoto_93535296_car-led-side-door-courtesy-lights-.html&docid=eaV3t_OAB0773M&w=1300&h=863&q=led door courtesy light&client=firefox-b-1-d&ved=0CGQQMyiUAWoXChMIgIiW-NOphAMVAAAAAB0AAAAAEAM https://www.amazon.com/Bestview-Courtesy-Compatible-Forester-2010-2022/dp/B0BLWCS4NS https://www.google.com/imgres?imgurl=https%3A%2F%2Fstore.ijdmtoy.com%2Fcdn%2Fshop%2Fproducts%2Faudi-vw-led-door-lights-05_1000x667.jpg%3Fv%3D1695865358&tbnid=hX3c-Ulneh5r_M&vet=10CIIBEDMoiQJqFwoTCICIlvjTqYQDFQAAAAAdAAAAABAE..i&imgrefurl=https%3A%2F%2Fstore.ijdmtoy.com%2Fproducts%2Fwhite-error-free-led-door-courtesy-lights-lamps-for-audi-a3-a4-a5-a6-a7-q5-q7-tt&docid=Ge48kISHWBH46M&w=1000&h=667&q=led door courtesy light&client=firefox-b-1-d&ved=0CIIBEDMoiQJqFwoTCICIlvjTqYQDFQAAAAAdAAAAABAE Maybe do like @Zup suggested earlier and use the 280zx one but get a clear lens for them. Possibly from the other 280zx interior panels
-
Well you did better than me! I looked for NOS lights on Yahoo Japan. I looked for images on Google. I think the ones on etrailer are on the big size. Close to 4"s. The rim is also too wide and I want the lens to be translucent. I looked at Datsun dome lights to see if I could find something. Some of those were closer. The ones for the BRZ look curved which I think would be an issue.
-
If I were in the market, that is what I'd want to buy.
-
I'm game. I did some looking today but didn't come up with anything.
-
I would love to have a pair or figure out a kit that matched reasonably well
-
Id say that's really good money!
-
I would check with Rockauto or KYB first!
-
I lied. I made a separate thread...
-
That is what I did. There are pictures in my build thread. I did take Grannyknot's advise and didn't pull it too tight. He said the windshield gasket will tighten it some more. So I pulled it until it looked nice, smooth and even. If you pull it too tight you will crush the foam and potentially show the seams and flaws of the underlying metal.
-
Link to the vinyl source?
-
https://www.hagerty.com/media/maintenance-and-tech/fixing-vintage-air-conditioner/
-
https://www.hagerty.com/media/maintenance-and-tech/how-ac-works-in-your-vintage-car/
-
Thanks, I do have one of those
-
I have two ½ impacts, one battery and one corded, even they need the occasional rest when running Lok's. We usually start them with a hammer. Some jobs we'll run 100-200 in the drop sills. Earmuffs are nice...
-
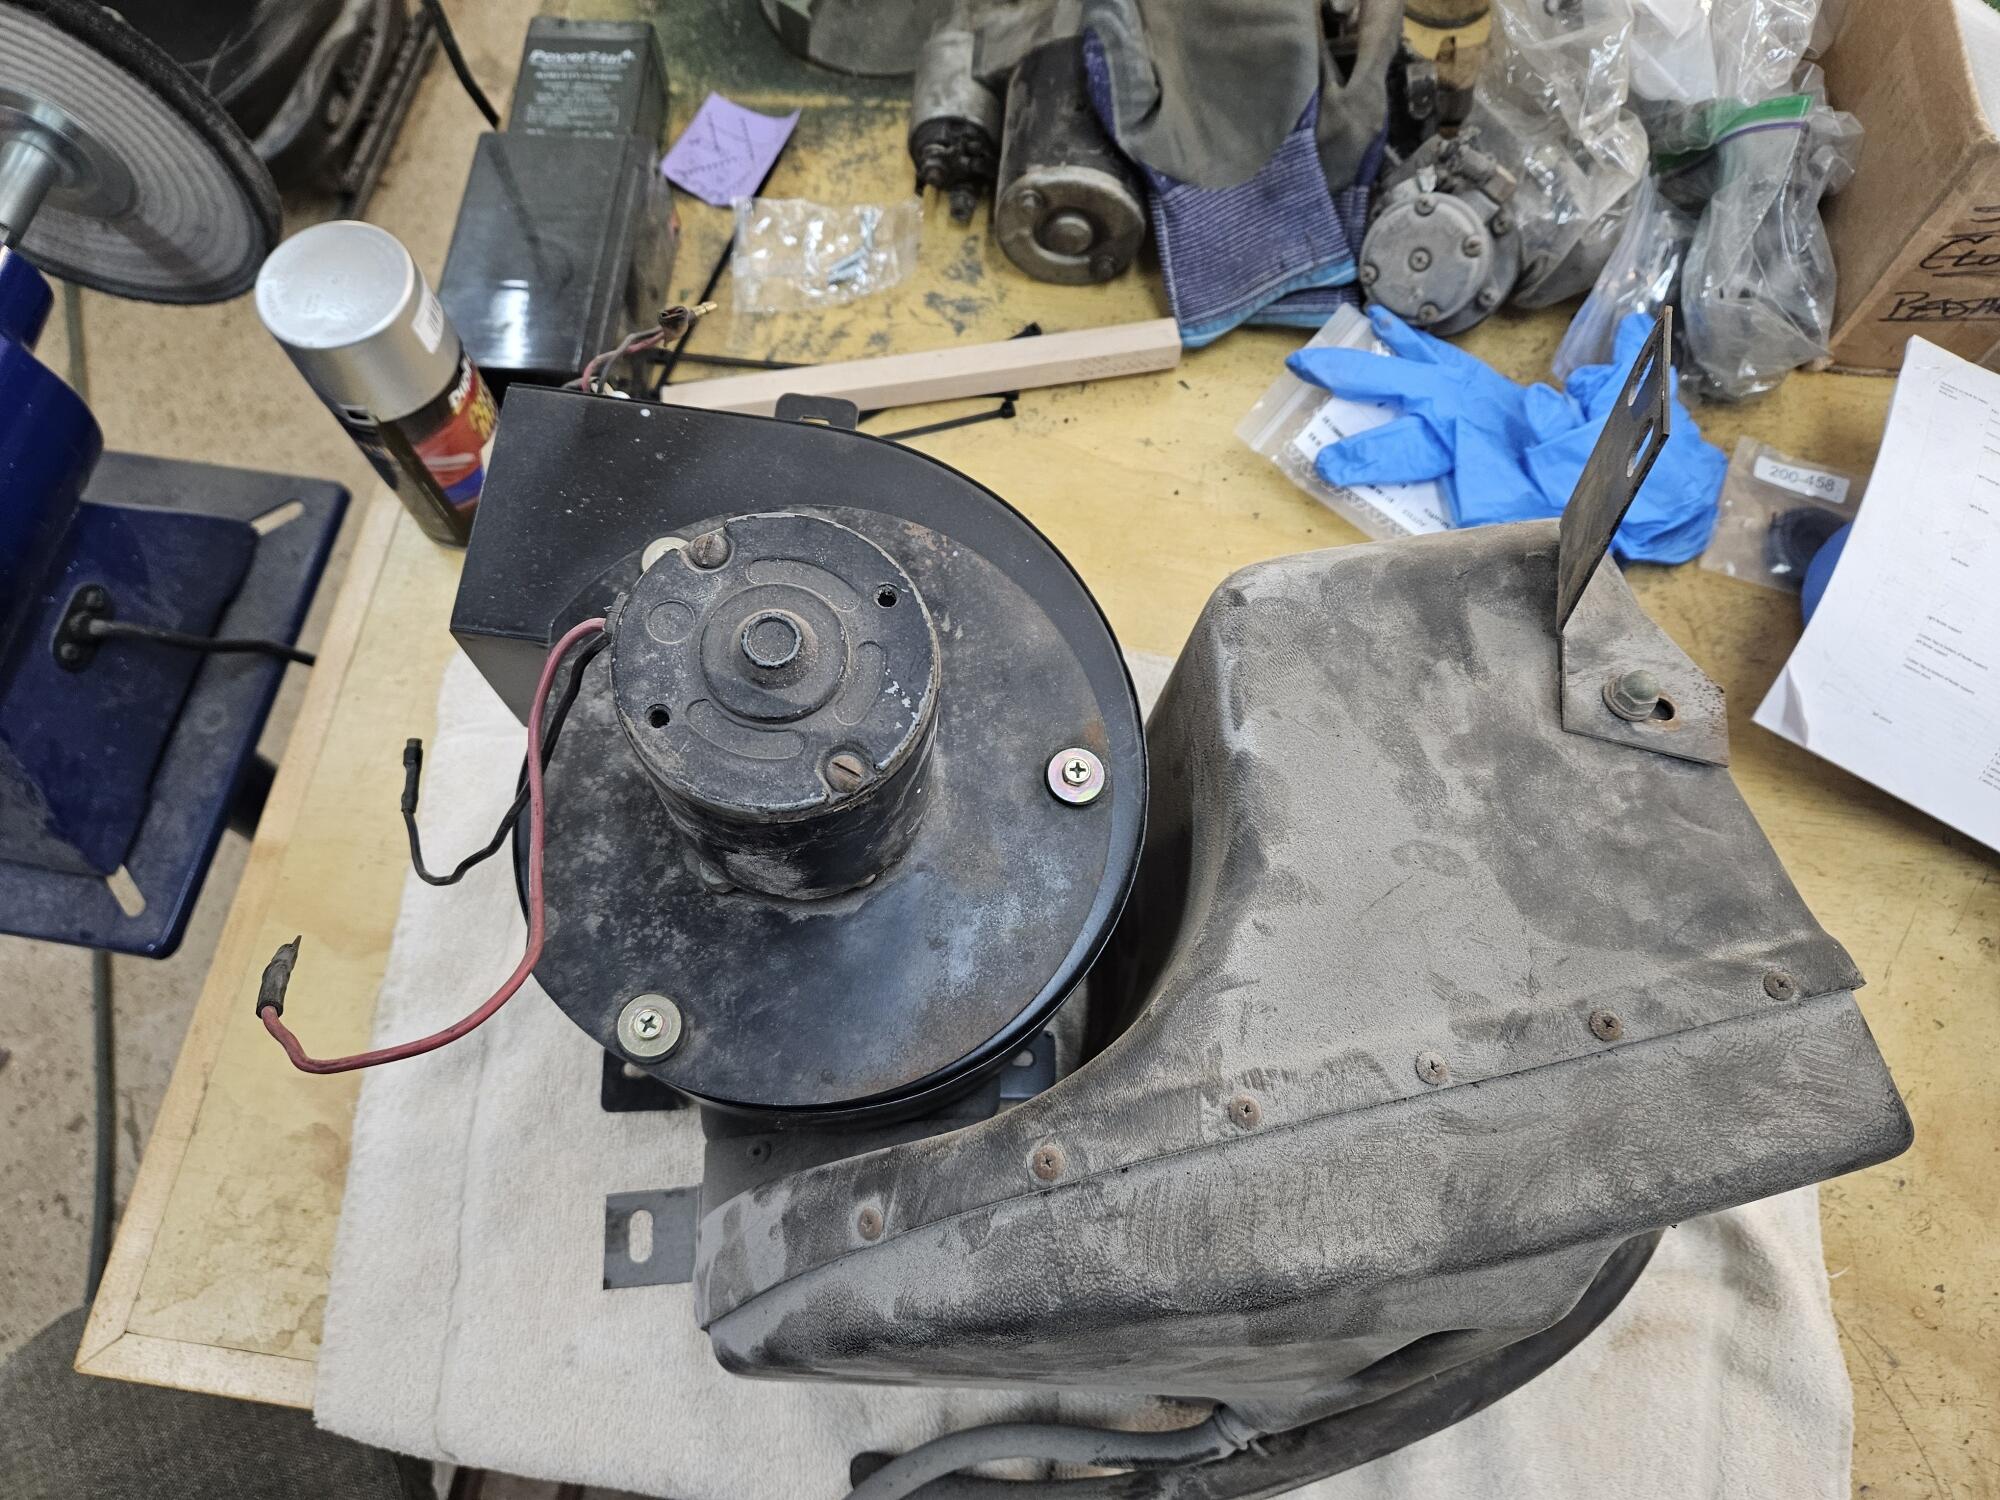
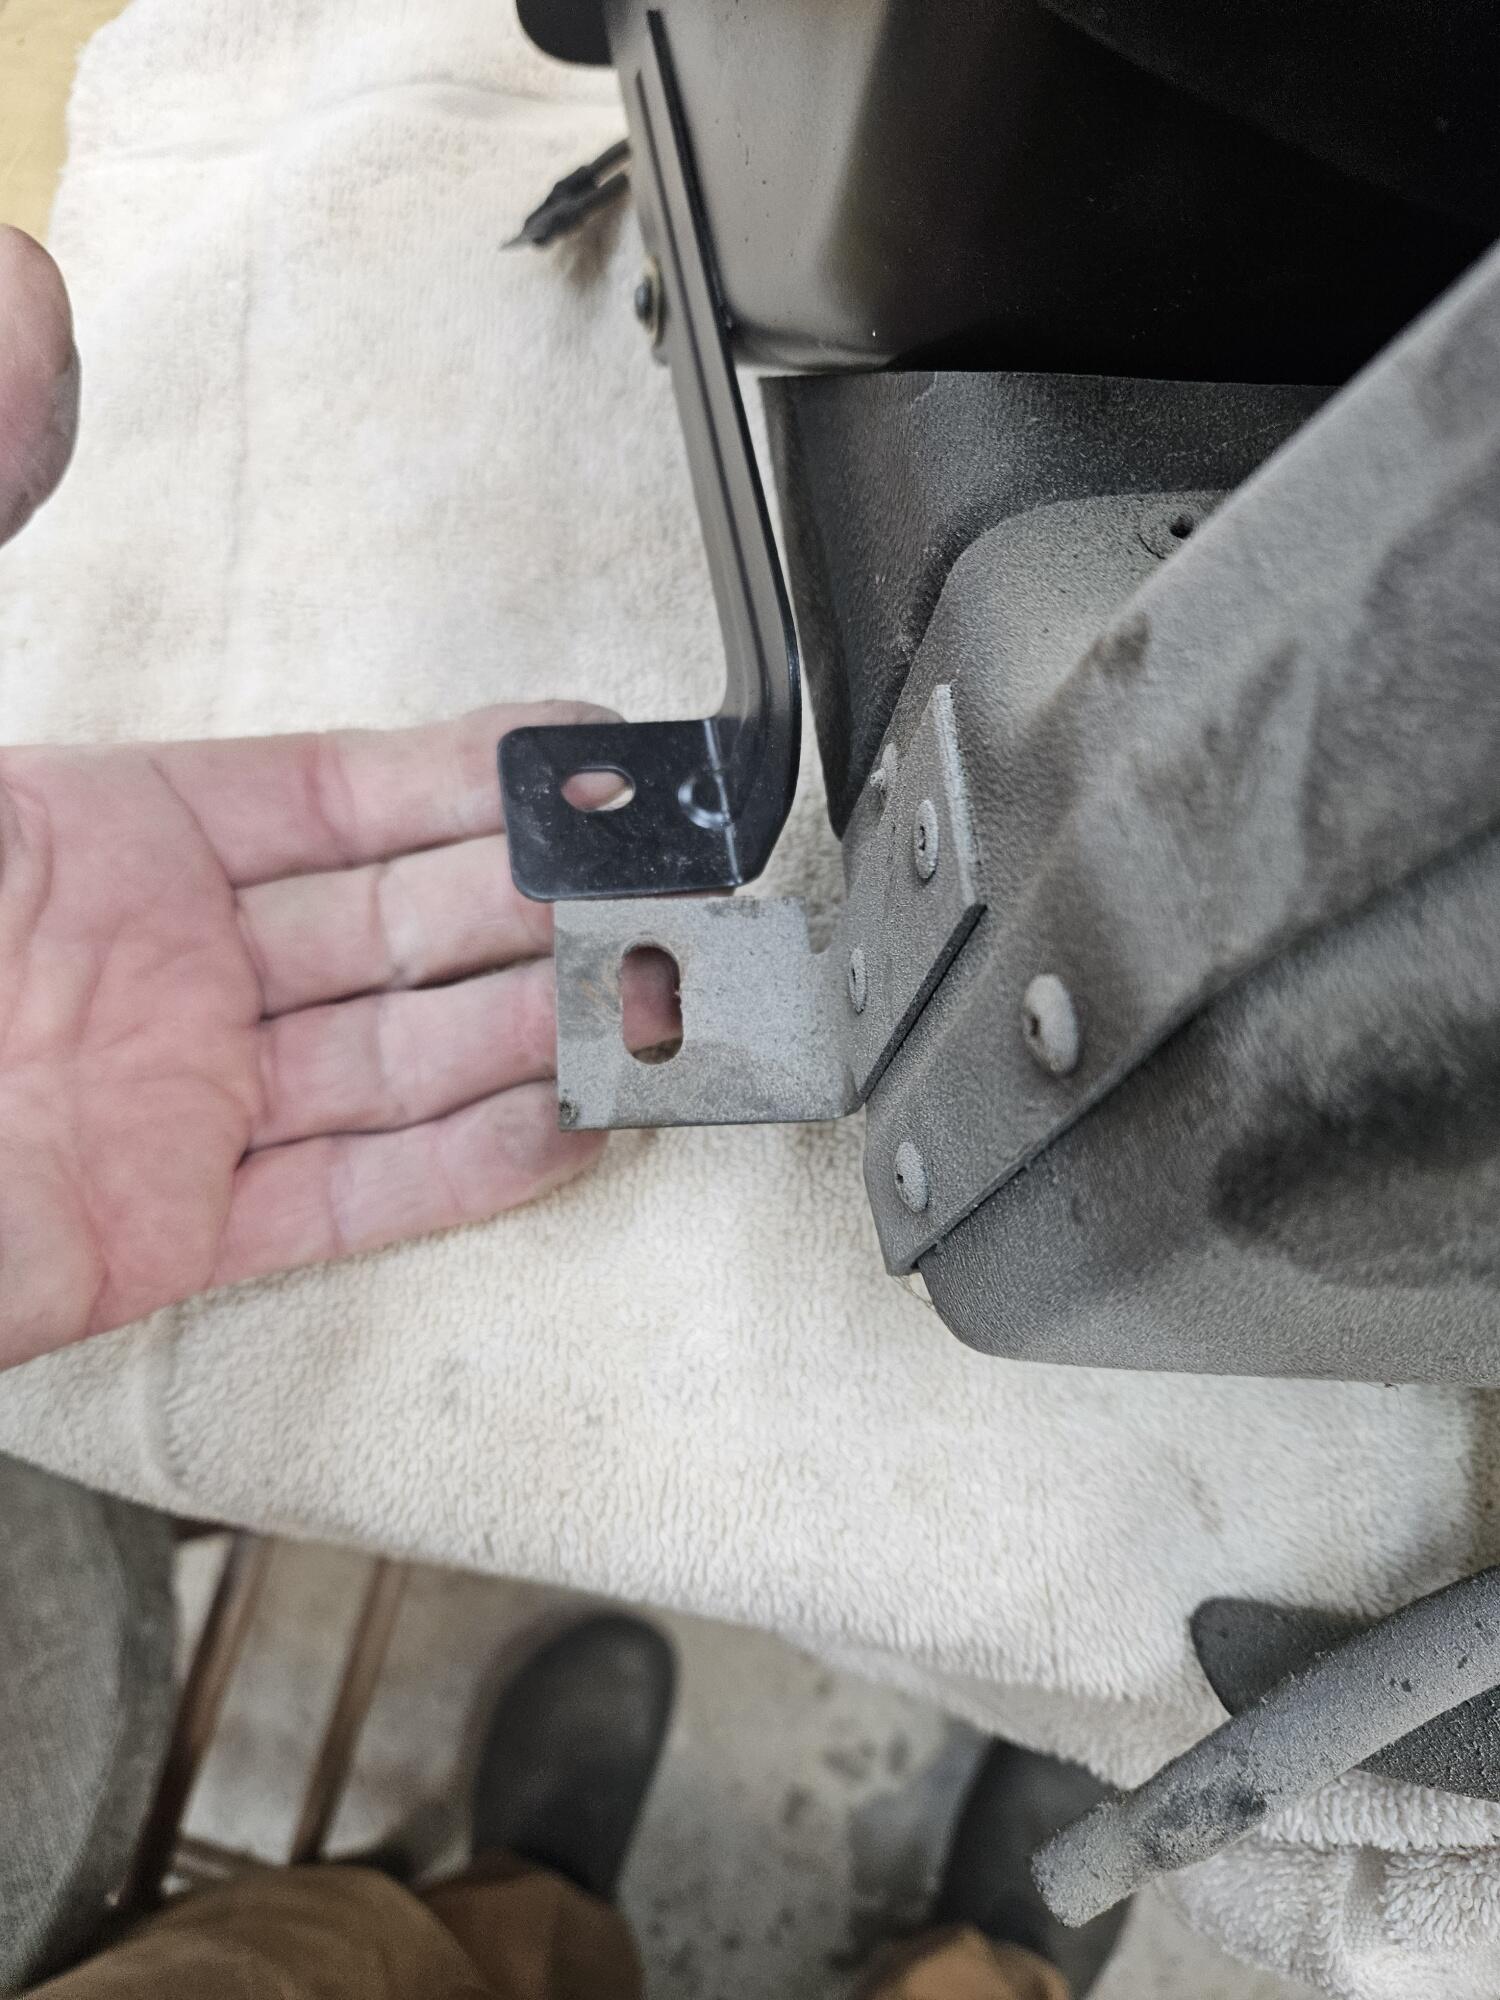
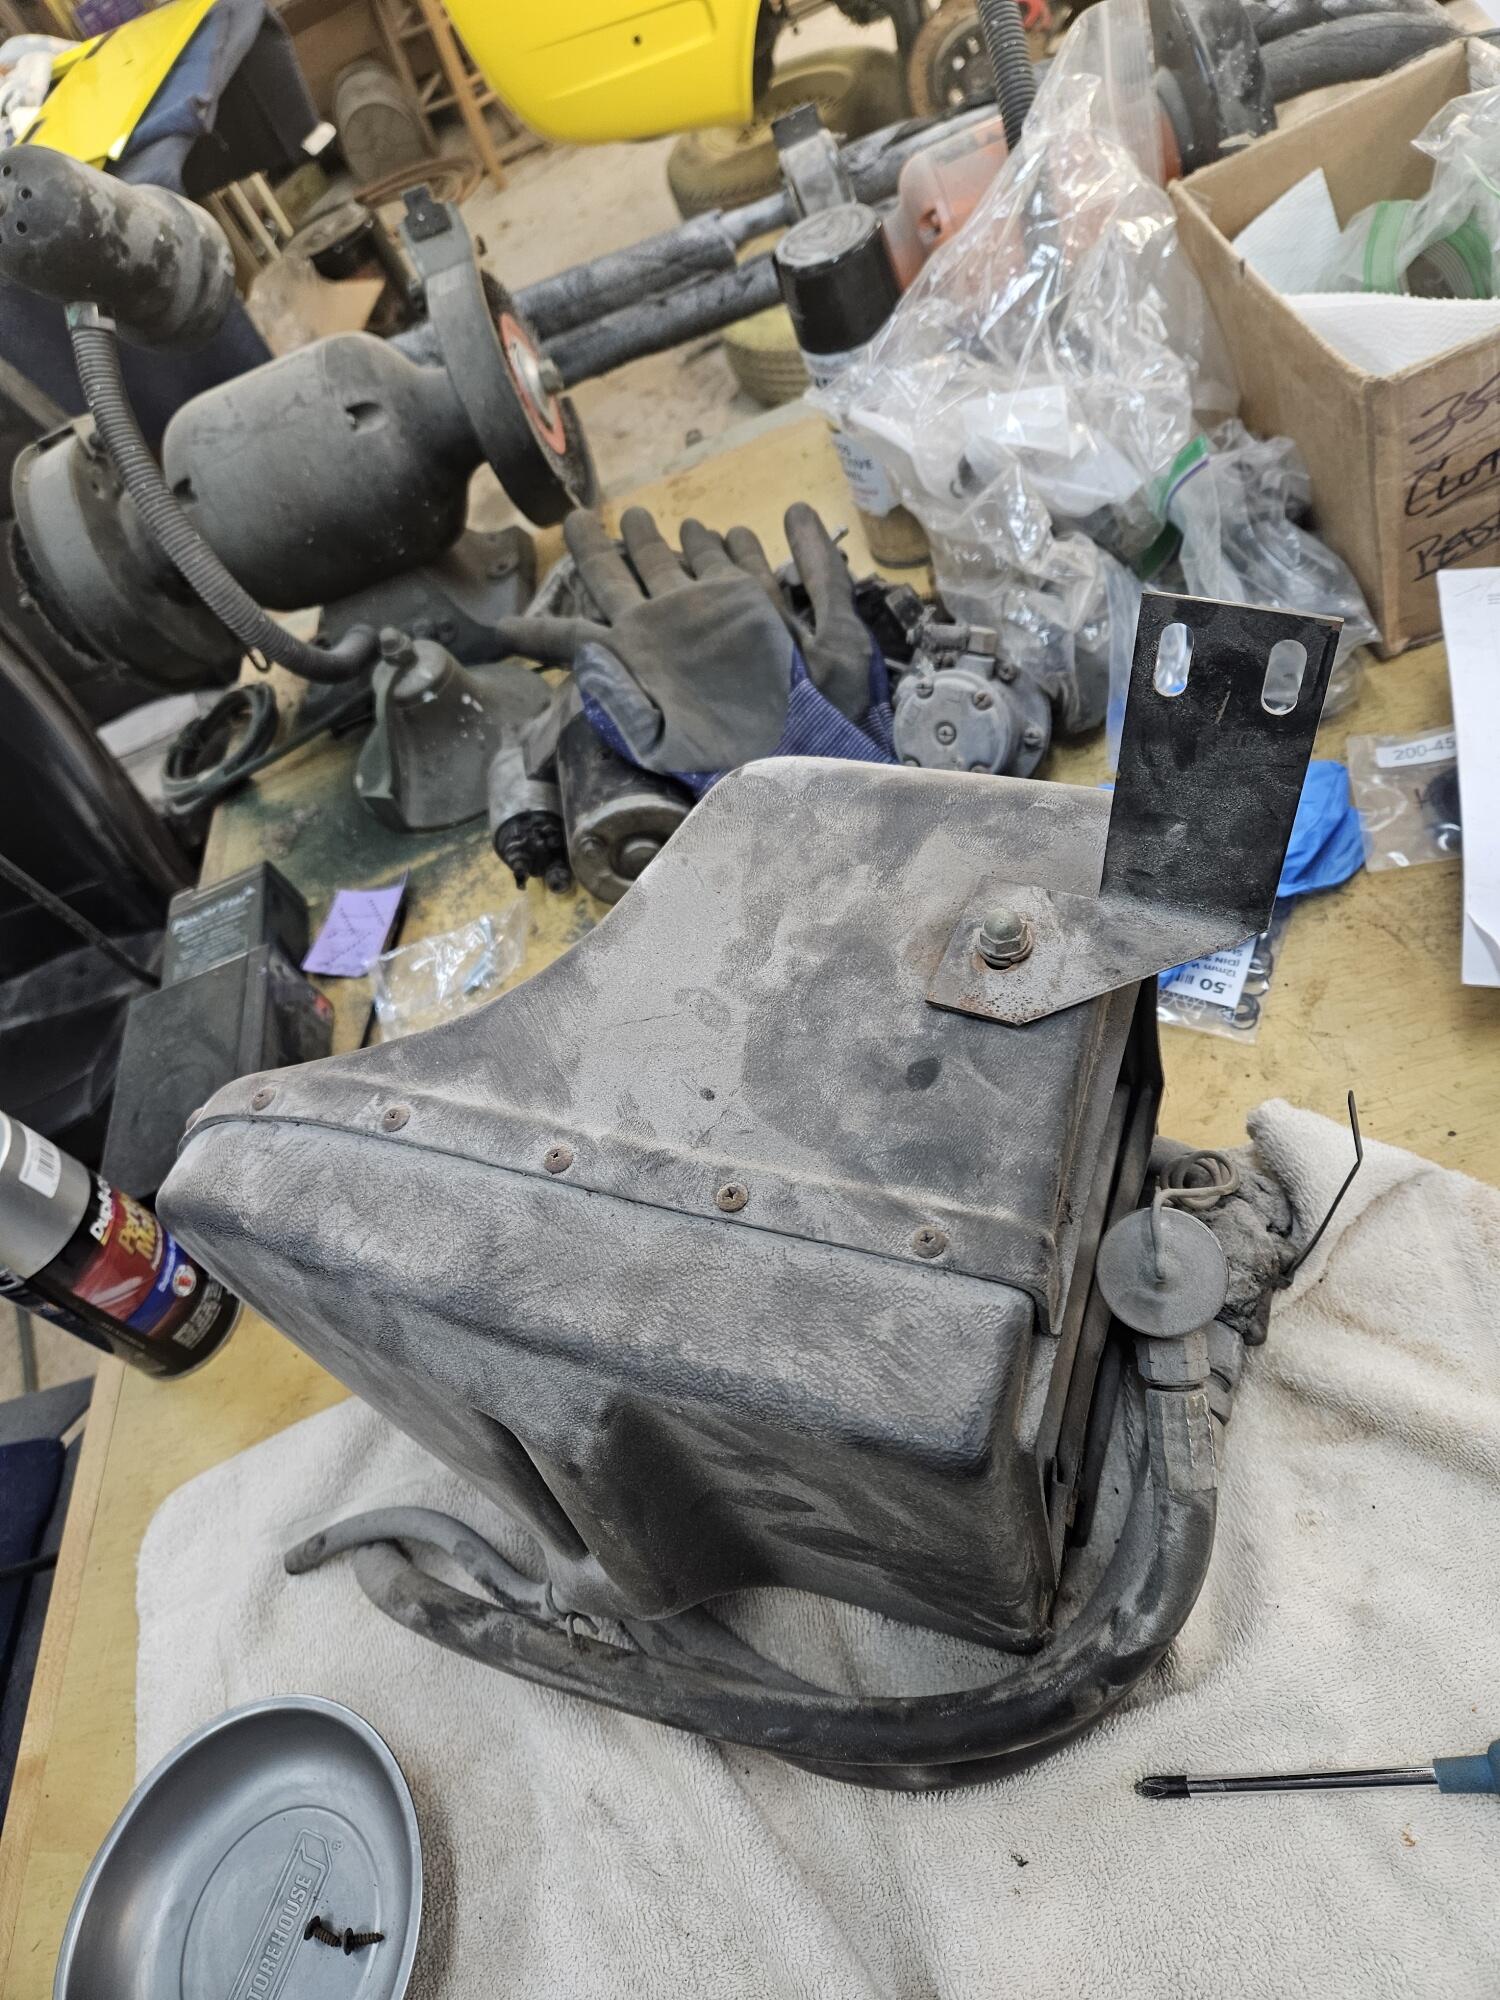
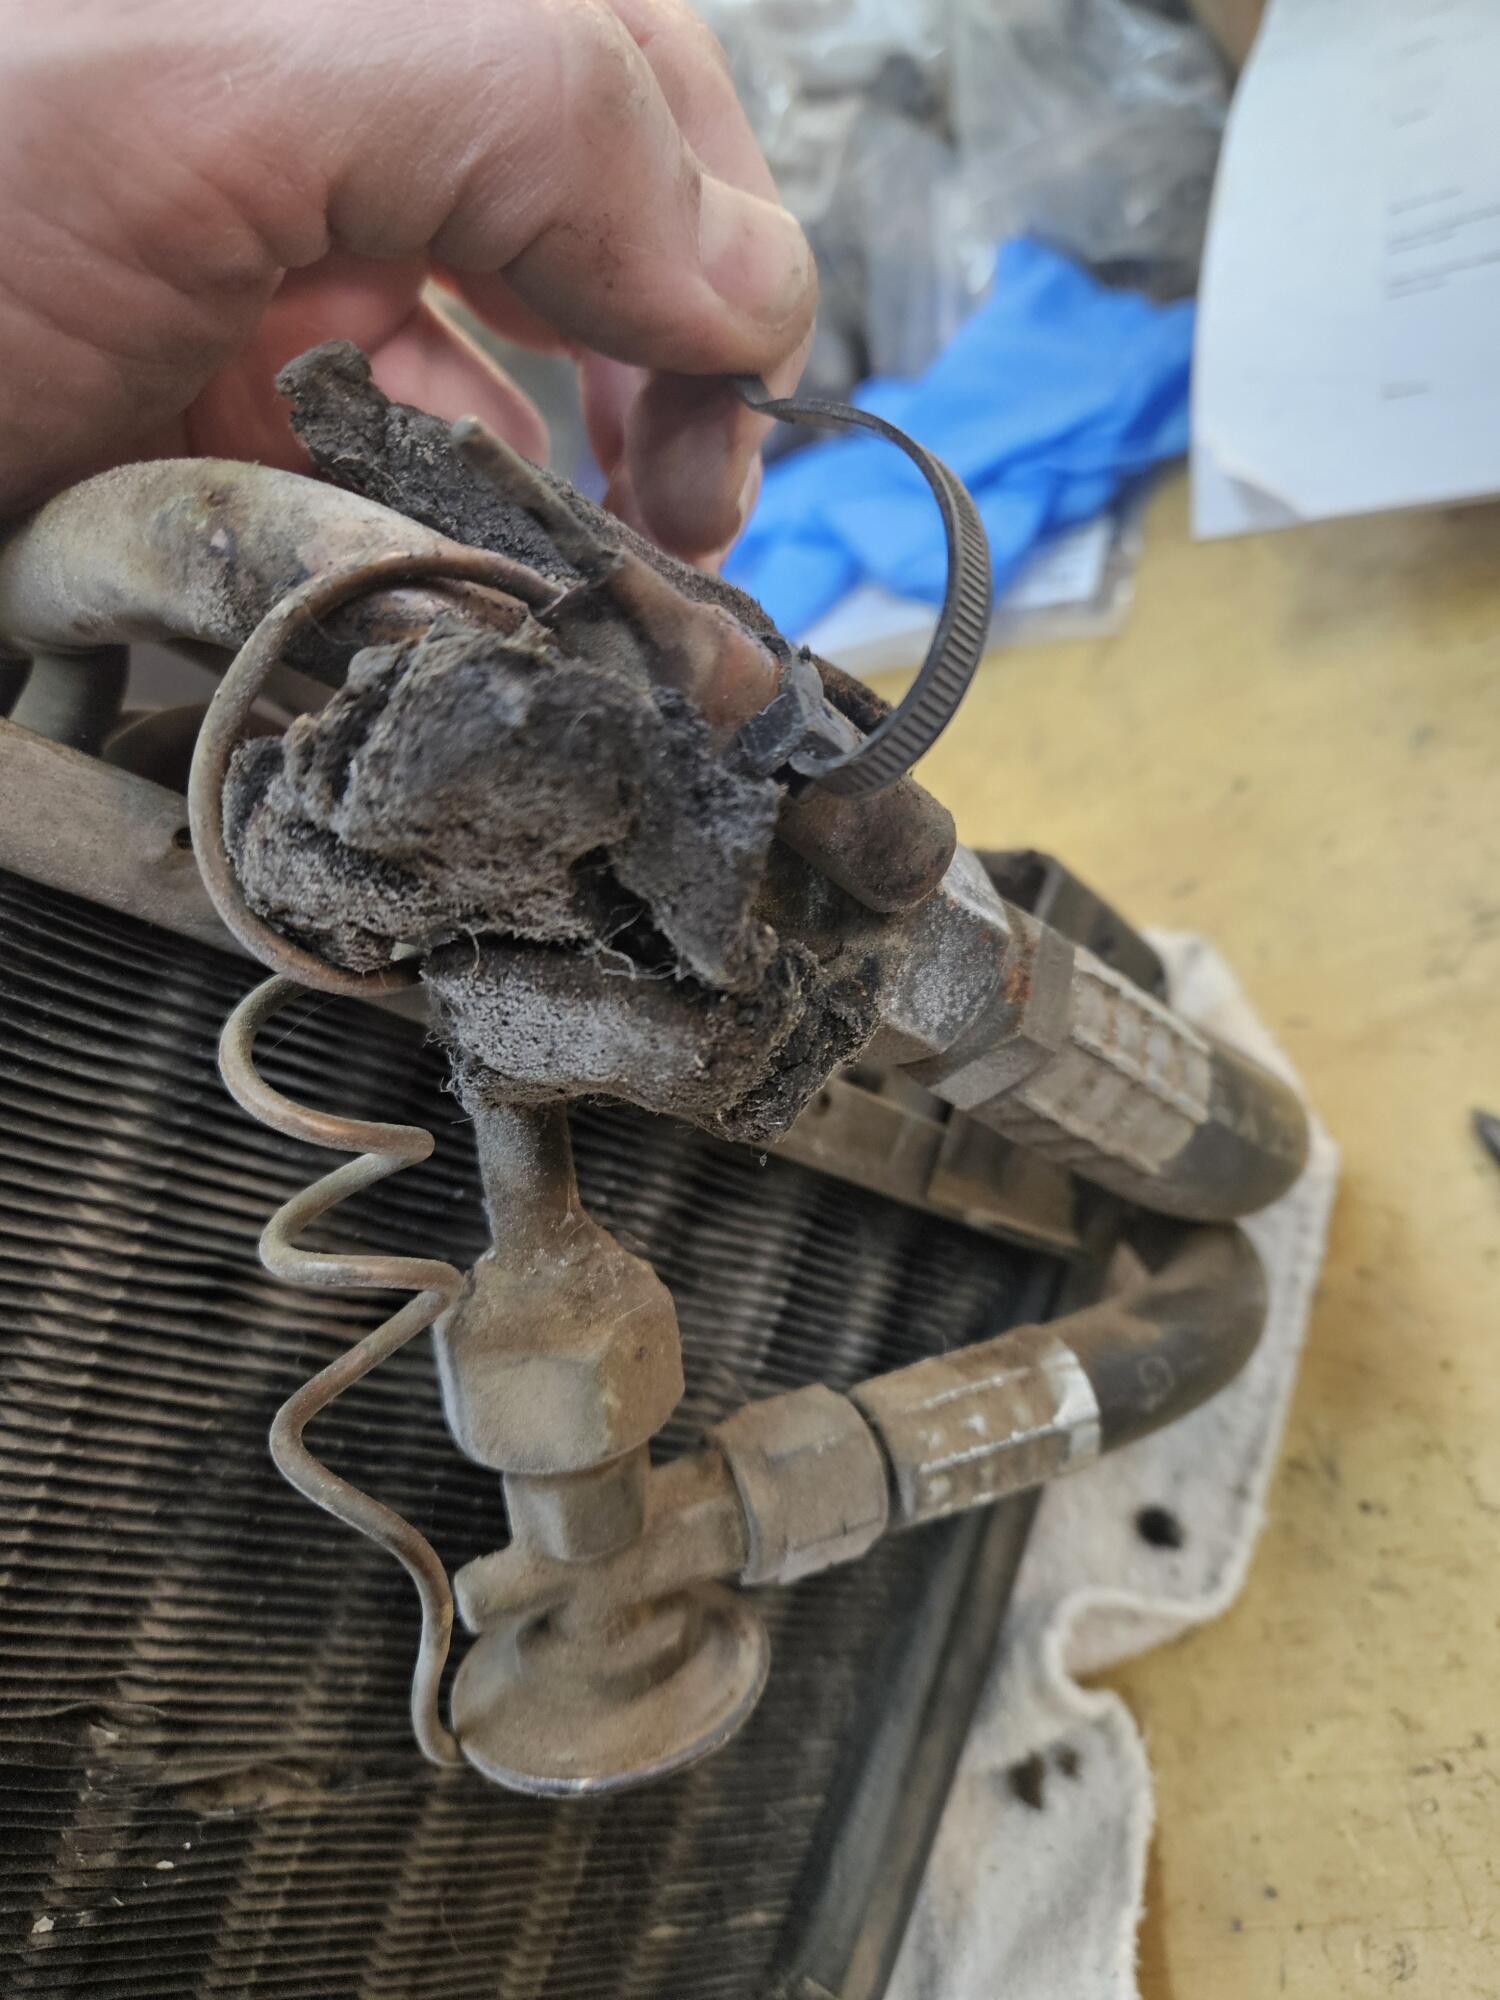
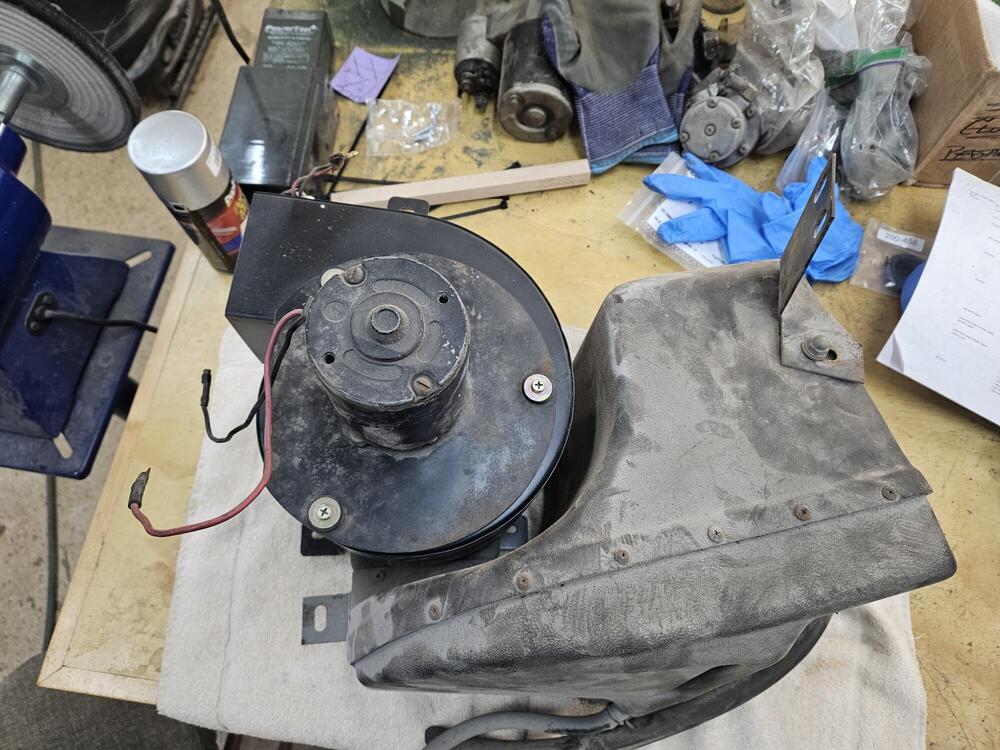
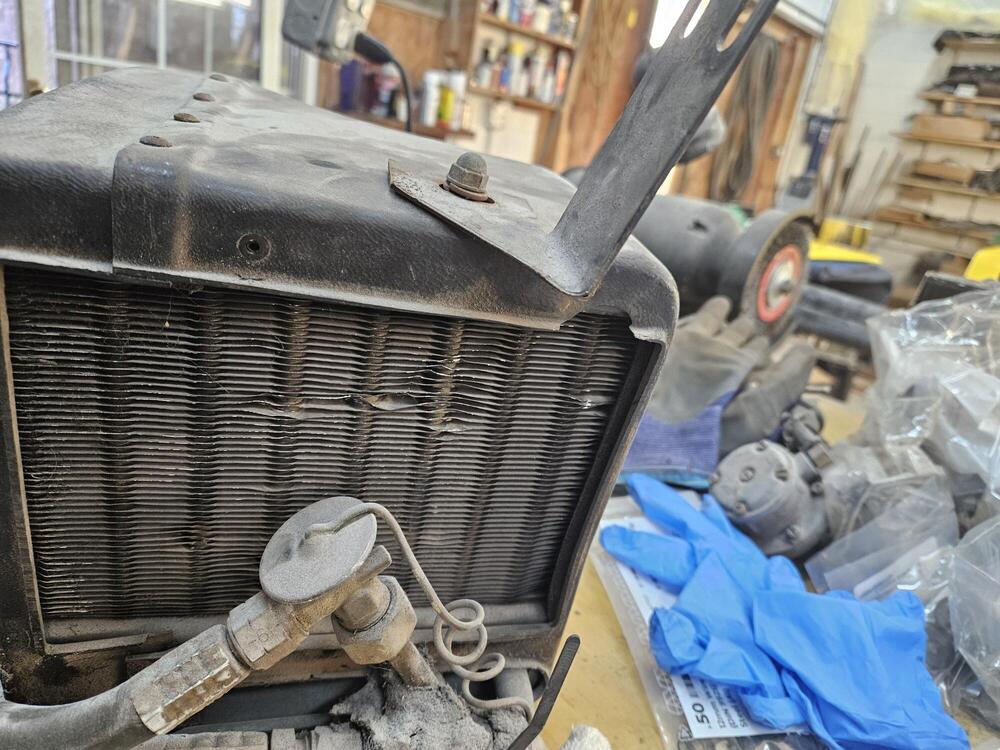
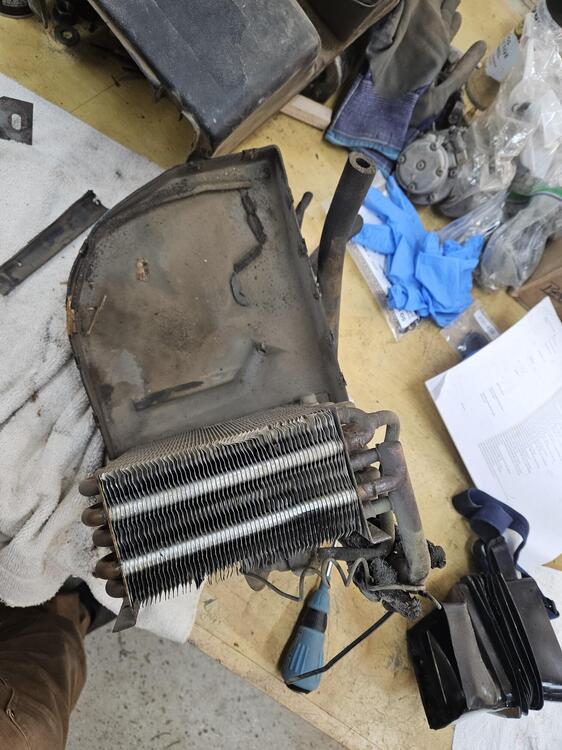
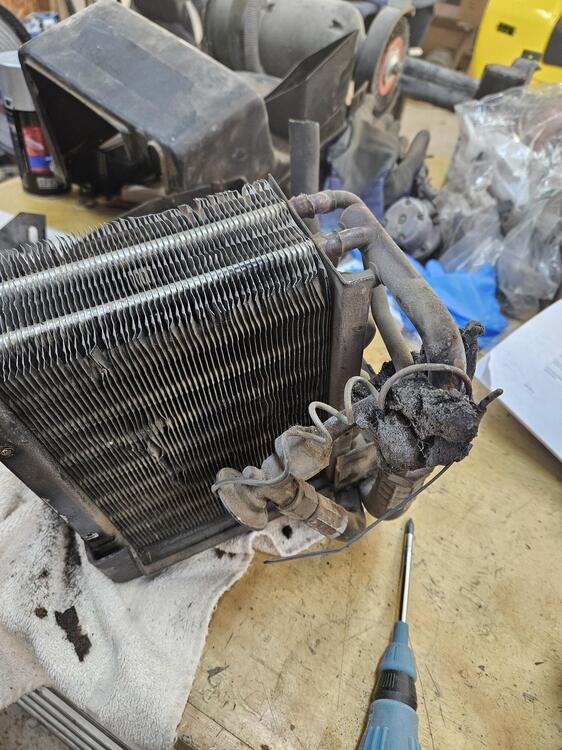
So best I can tell. The AC evaporator connects like this. There must be a piece of metal here that helps connect these two to the factory mounting point Here are some pics of the stock evaporator BTW this thing is fragile as egg shells! How exactly does this little valve work and will it work with 134a? I was thinking I would run a rotary pump under the hood and use the "stock" AC evaporator. I'm not interested in going vintage air at this point


-
No reason to do 3 rows. You could probably do 2 rows at 16" O.C. and be fine Here it is; 24" O.C. https://www.diyhomecenter.com/media/pdf/fastenmaster-flatlok.pdf
-
At one point my jobber told me to start at 1500 grit. I was starting at 1000 or 1200 and couldn't get all the scratches out. That was also when he told me to cut and buff within 3 days of clear
-
The flatloks will pull it up. Just make sure you have it straight before you gang it up. It won't want to change shape after that
-
Got it. And your always thinking about cutting through while trying to get rid of them! 😵💫
-
What do you mean by spider webs? Light scratching, sanding marks?
-
No idea, but the flywheel looks much better!
-
Yes, we don't put jack in until after. Typically we'd get a ply to the top and use big cabinet clamps to hold it. Maybe run a couple of GRKs down from the top. Then add the second ply. Jacks get added later and cut a hair long so they have to be driven end for a nice snug fit. Too snug and you will split them drving them in Another way to do this is add two blocks one on each end on the kings about waste high or a little higher. Set both plies there and gang them up. Then lift one end and add a block. Then the other. Seesaw it up near the top then use cabinet clamps or ratchet straps to top it out. Then add the jacks.