Patcon
 Subscriber
-
Joined
-
Last visited
Everything posted by Patcon
-
 I would go original or California style. Wouldn't want to try to design a new system
 -
Or buy one from a forum member
-
If it were me, I am a builder, I would run a sub fascia across the end of all the rafters. A 2x6 at a minimum or maybe a 2x8. I would add rafters at the window and door with out the braces. Fastened well on the building side and the sub fascia. I would then strap the top with 1x4's a 16"OC or maybe even 12"OC. Then I would run the panel on top of the 1x4s with flutes aligned with the slope. The sub fascia should help span the gap that's not braced and the 1x4's will also help. Rain is not the issue, snow load might be... I would use screws like GRK's for assembly versus nails to try to lock it all together
-
I don't believe that is a 280z radio. I believe its for a 240z. Btw if it works, its quite valuable! It even has value if it doesn't work. Look on Ebay to see what I mean
-
He evidently used a paintless dent repair guy to pull the dents out. A good idea but would be fairly expensive where I live.
-
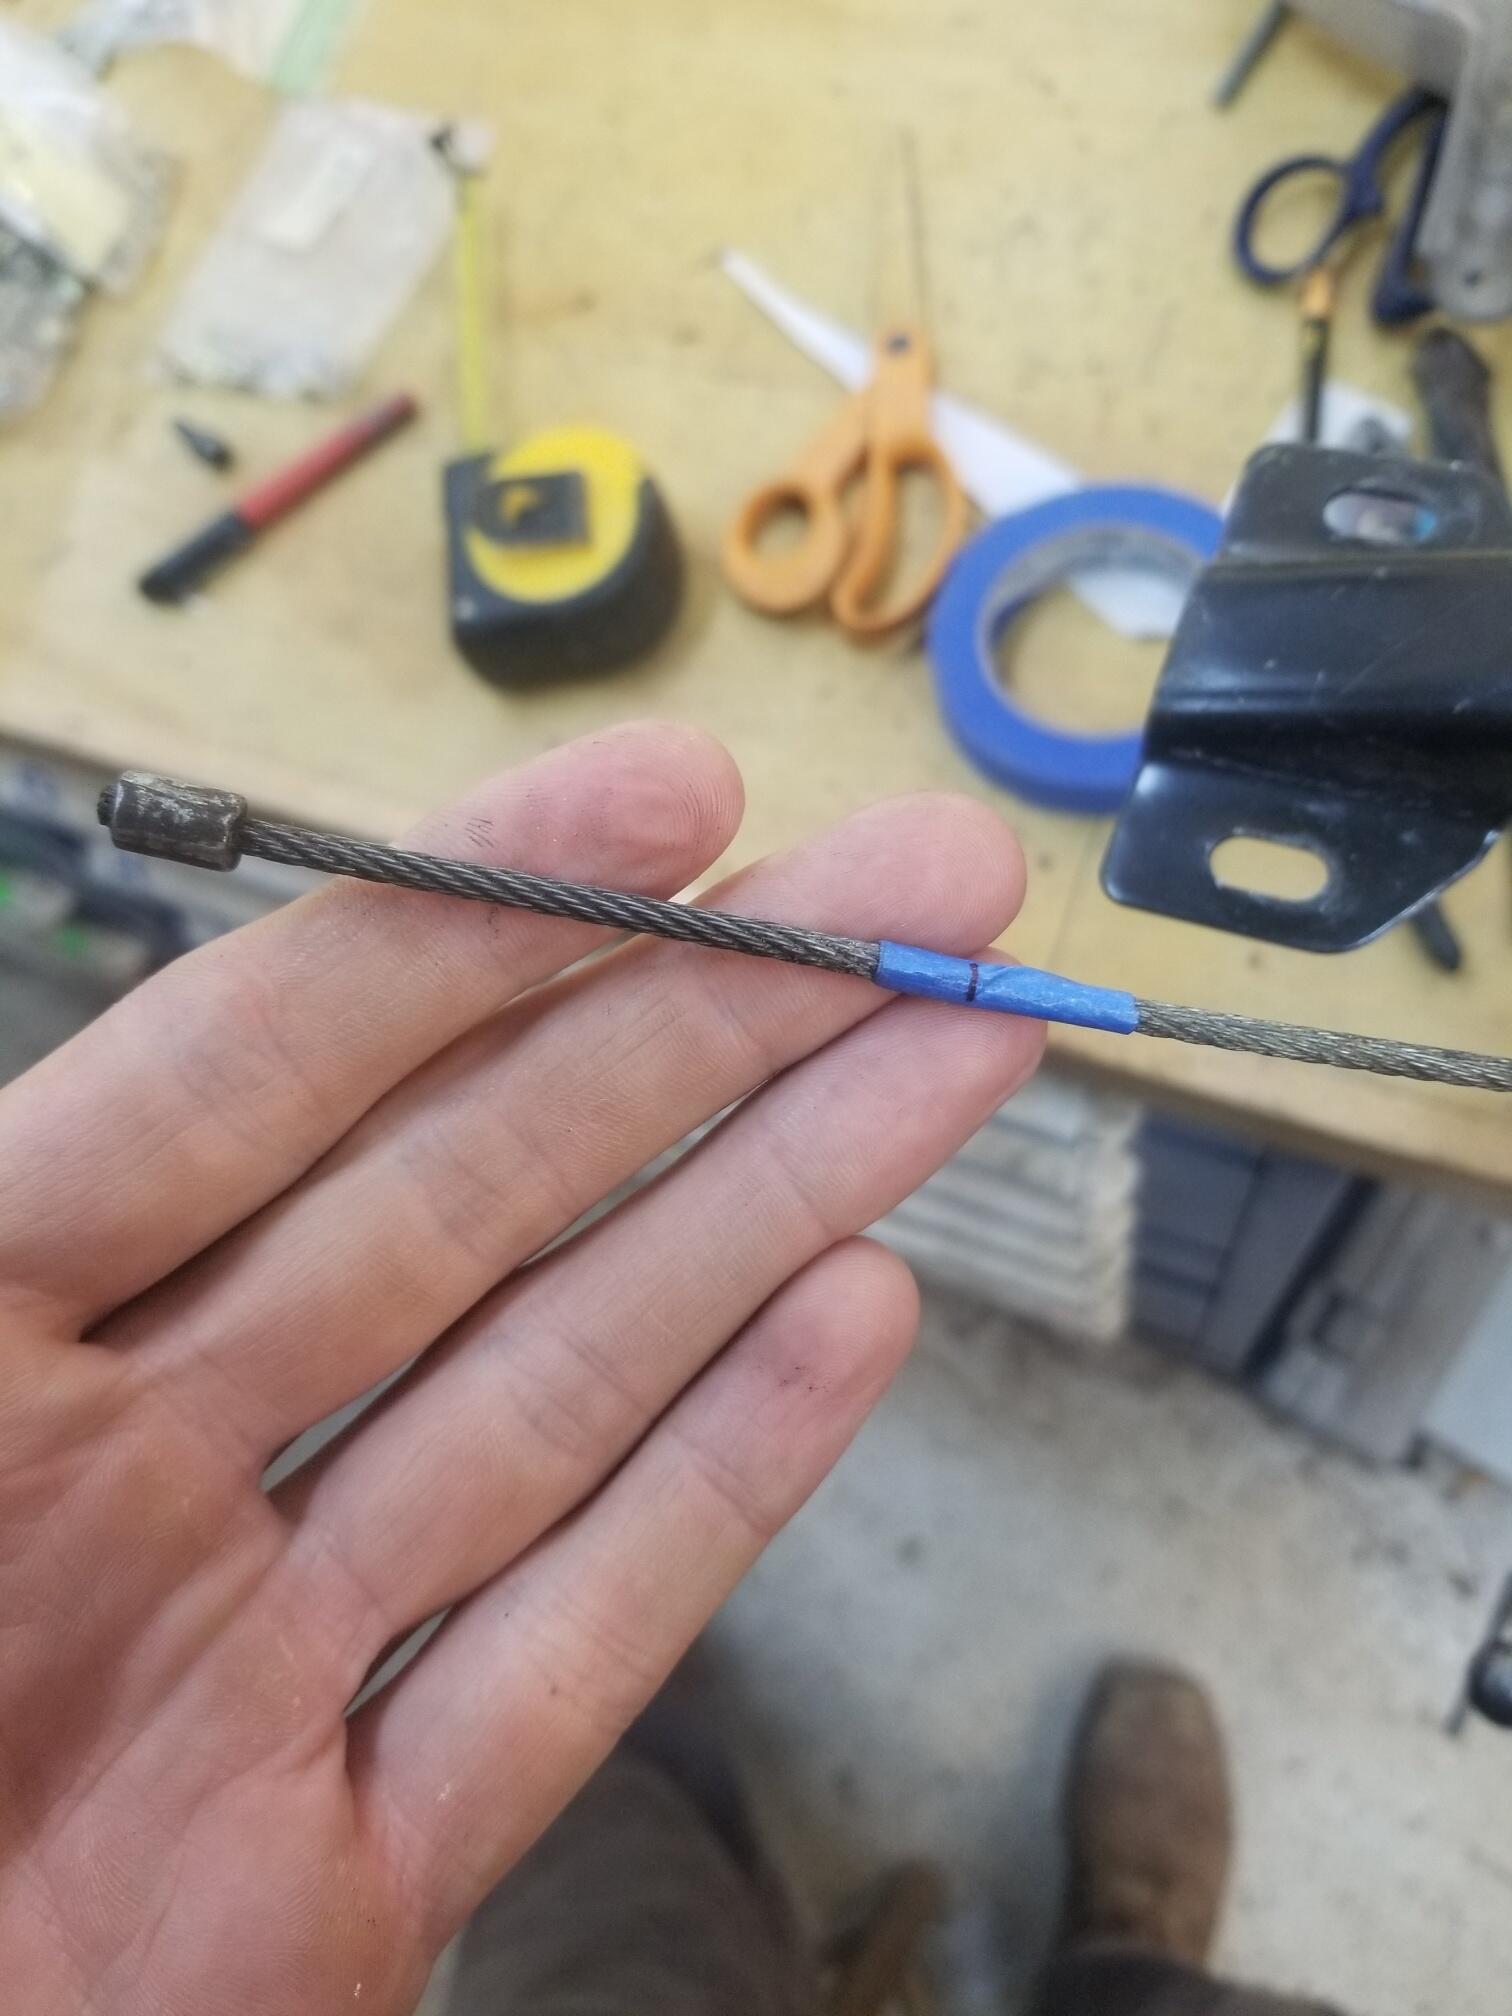
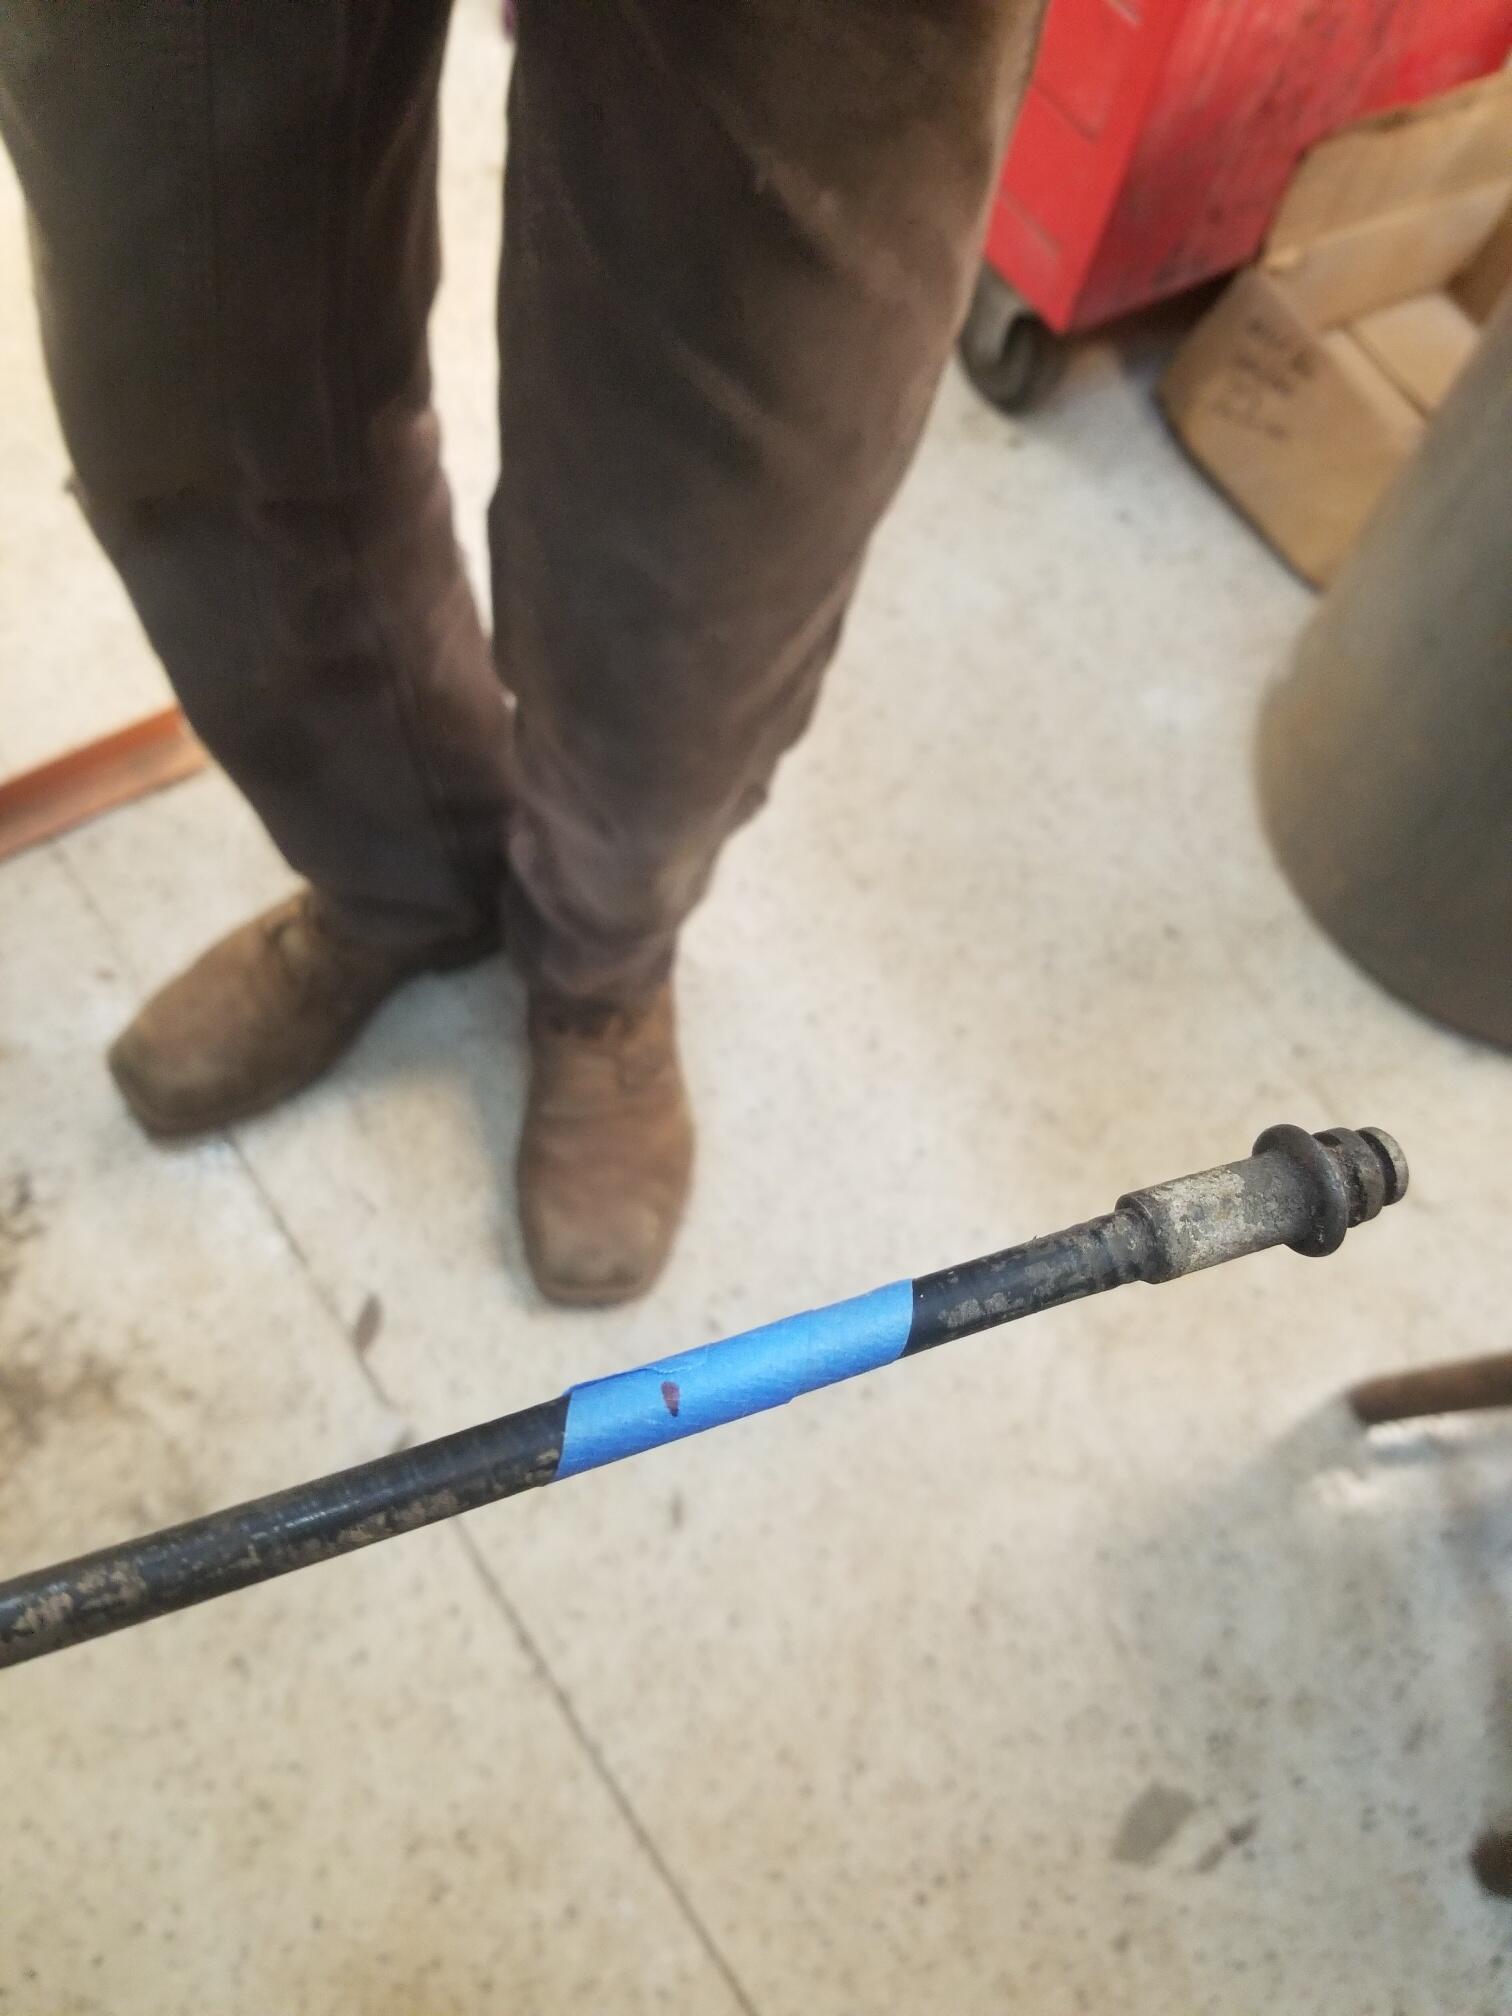
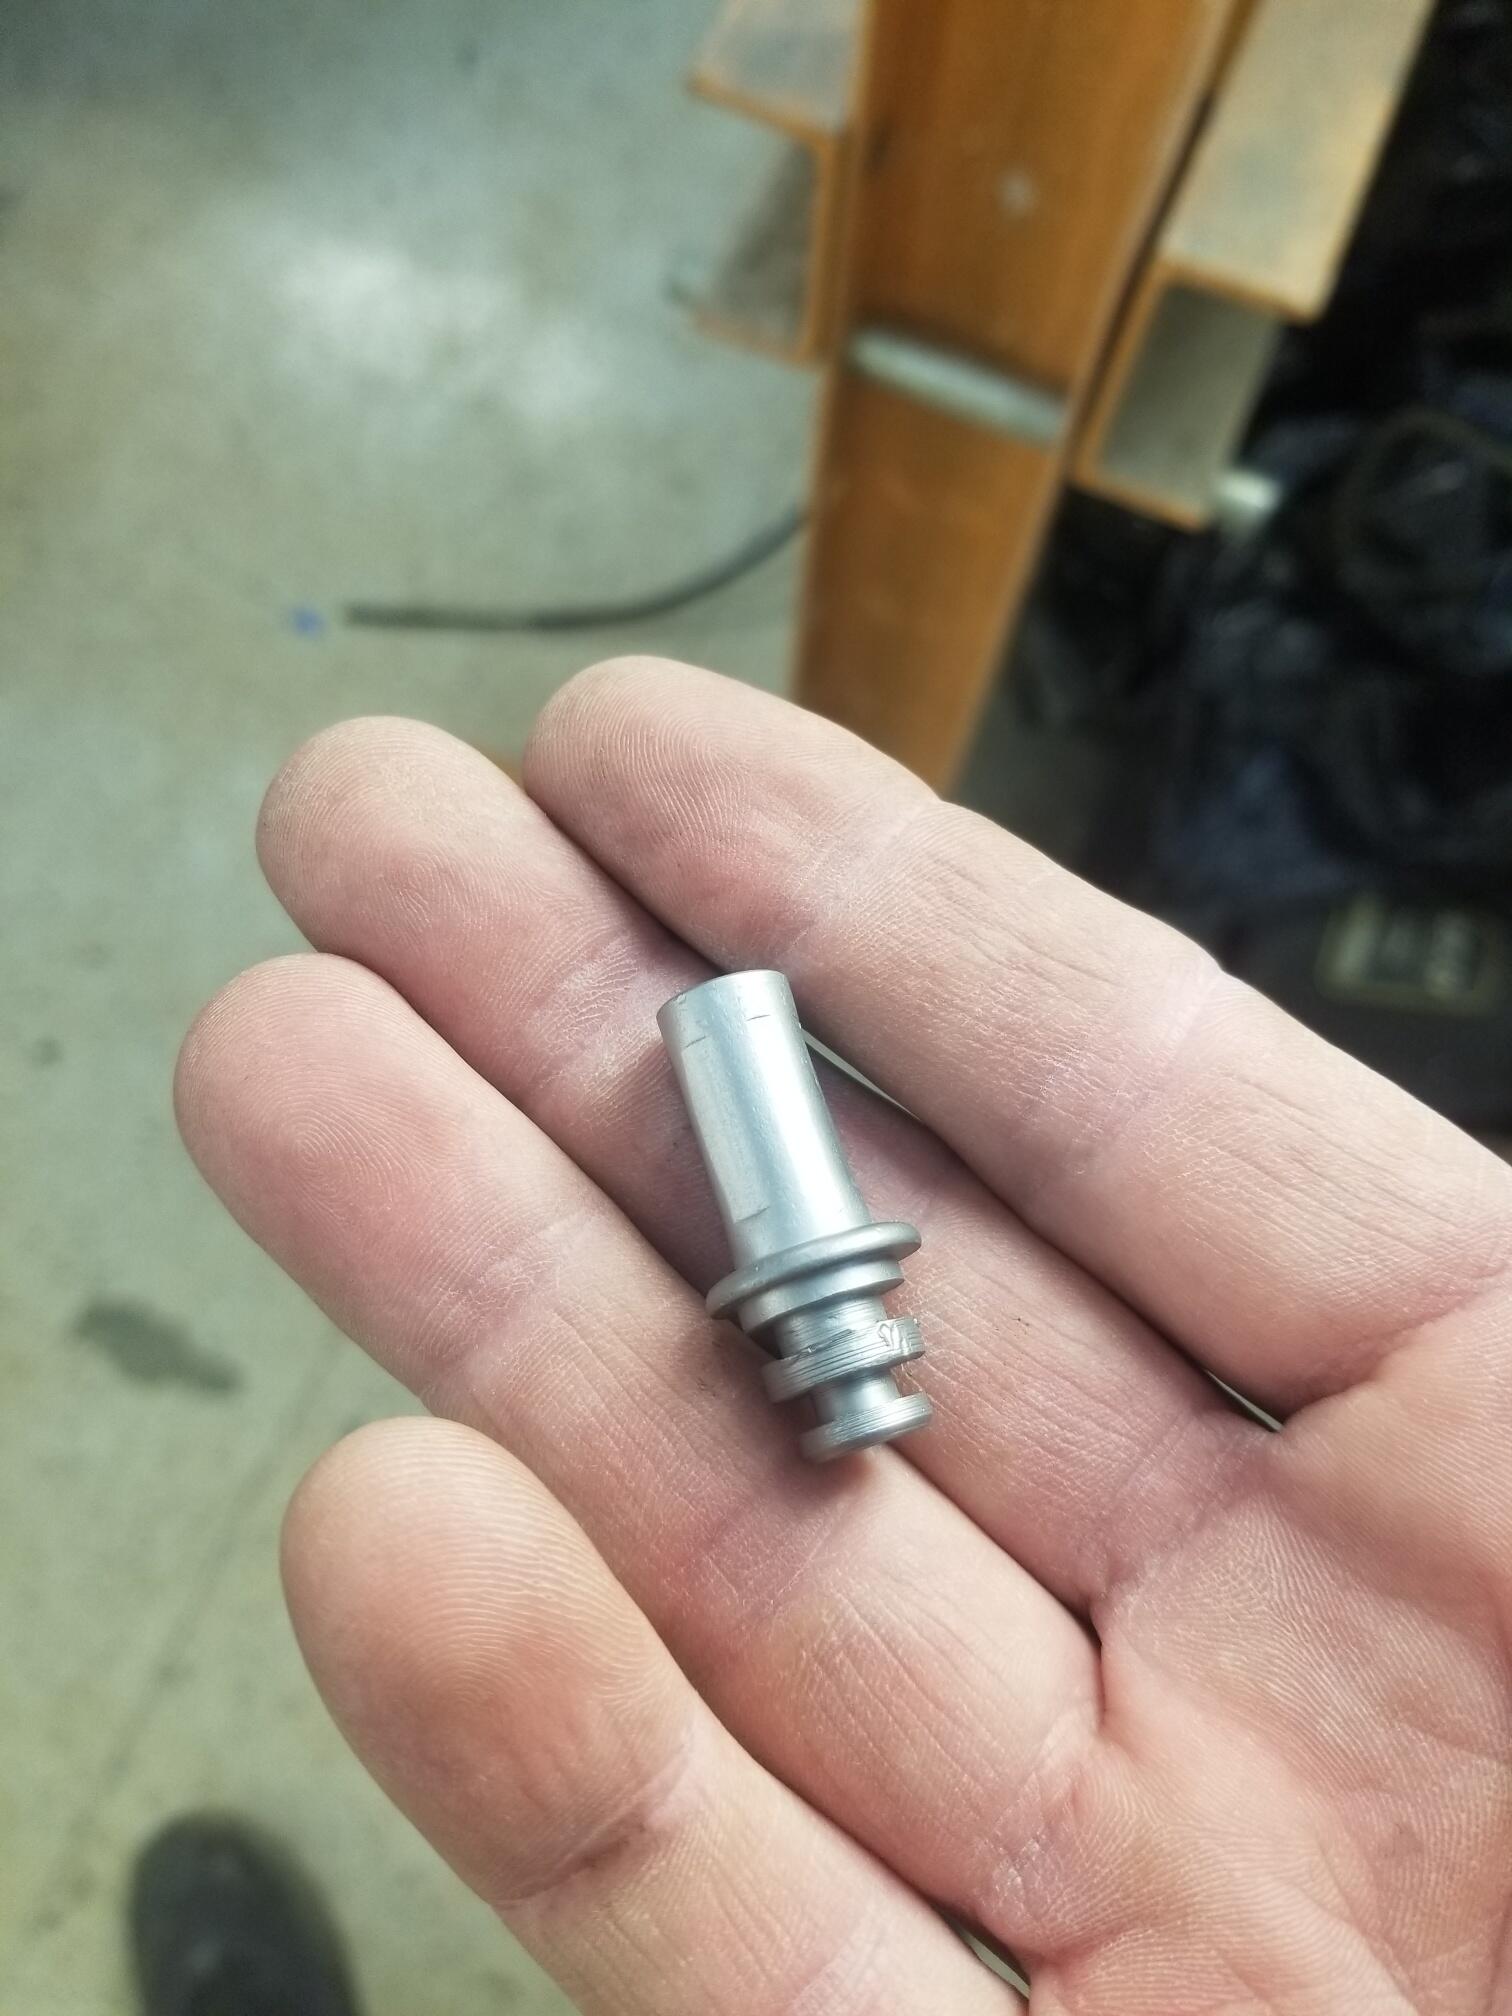
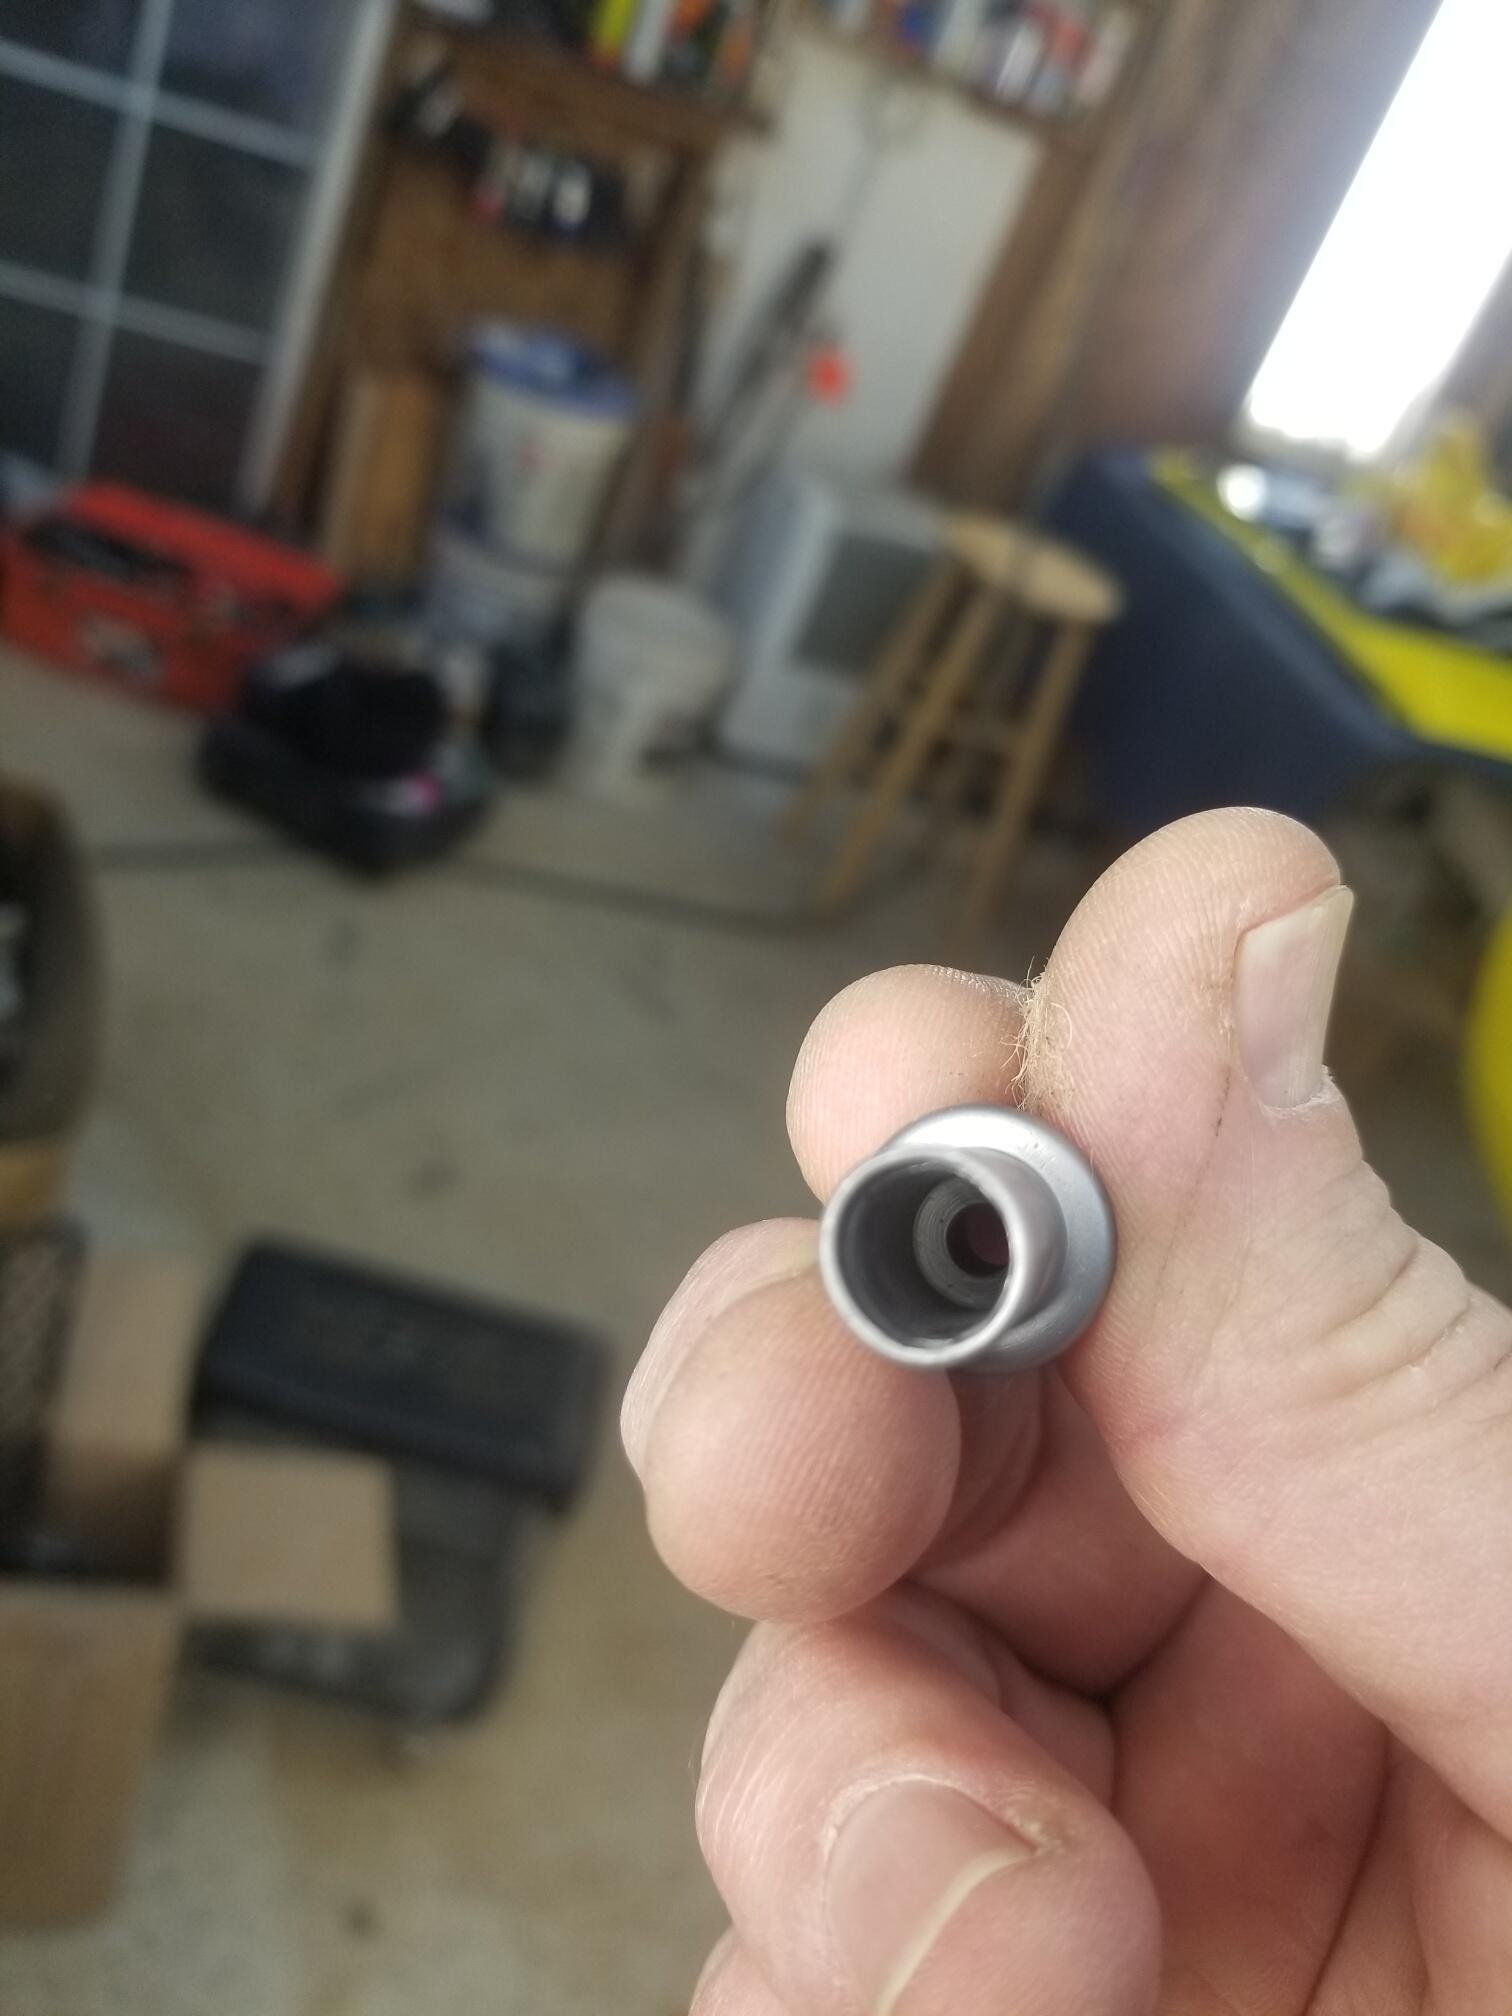
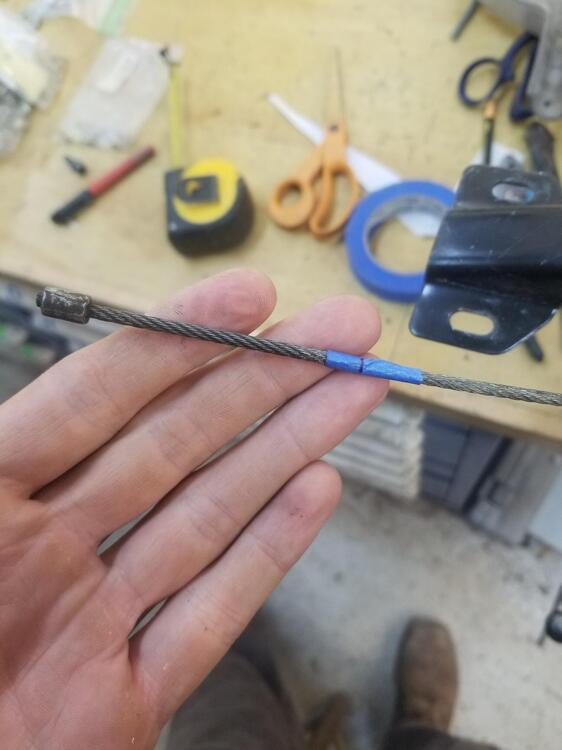
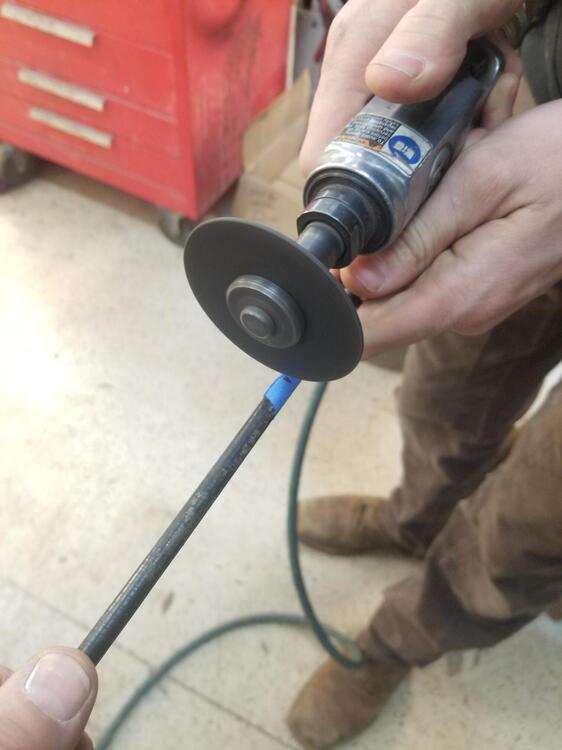
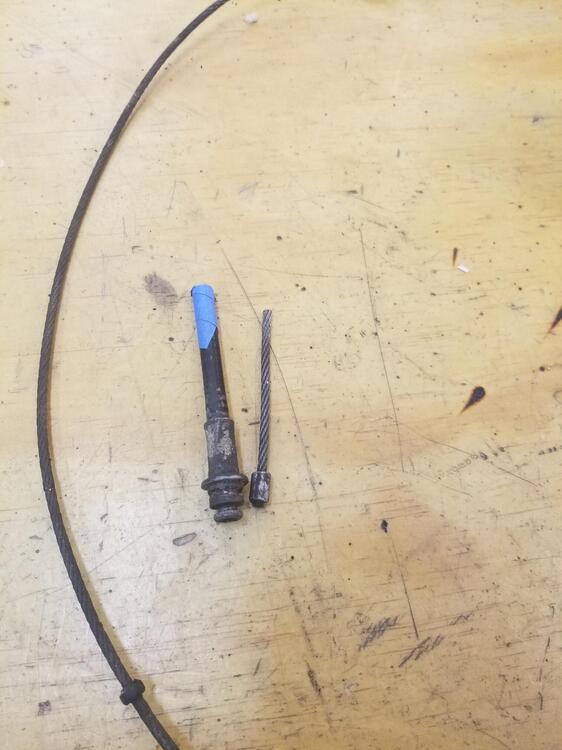
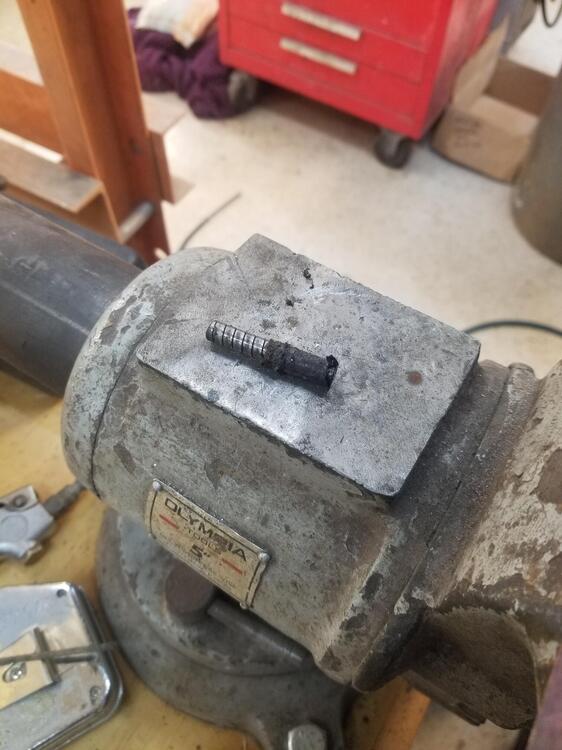
So we marked the swaged end of the parking brake cable @ 3"s Cut it off. Then we marked this end of the parking brake cable 3"s from the mounting flange Cut it off To get the end clean Cody heated it up some and pulled out the remnant Then we bead blasted the end I will try to plate it this weekend


-
That's a nice sized compressor! BTW I am so glad you're here posting. Otherwise I would run out of stuff to read and that would be bad!
-
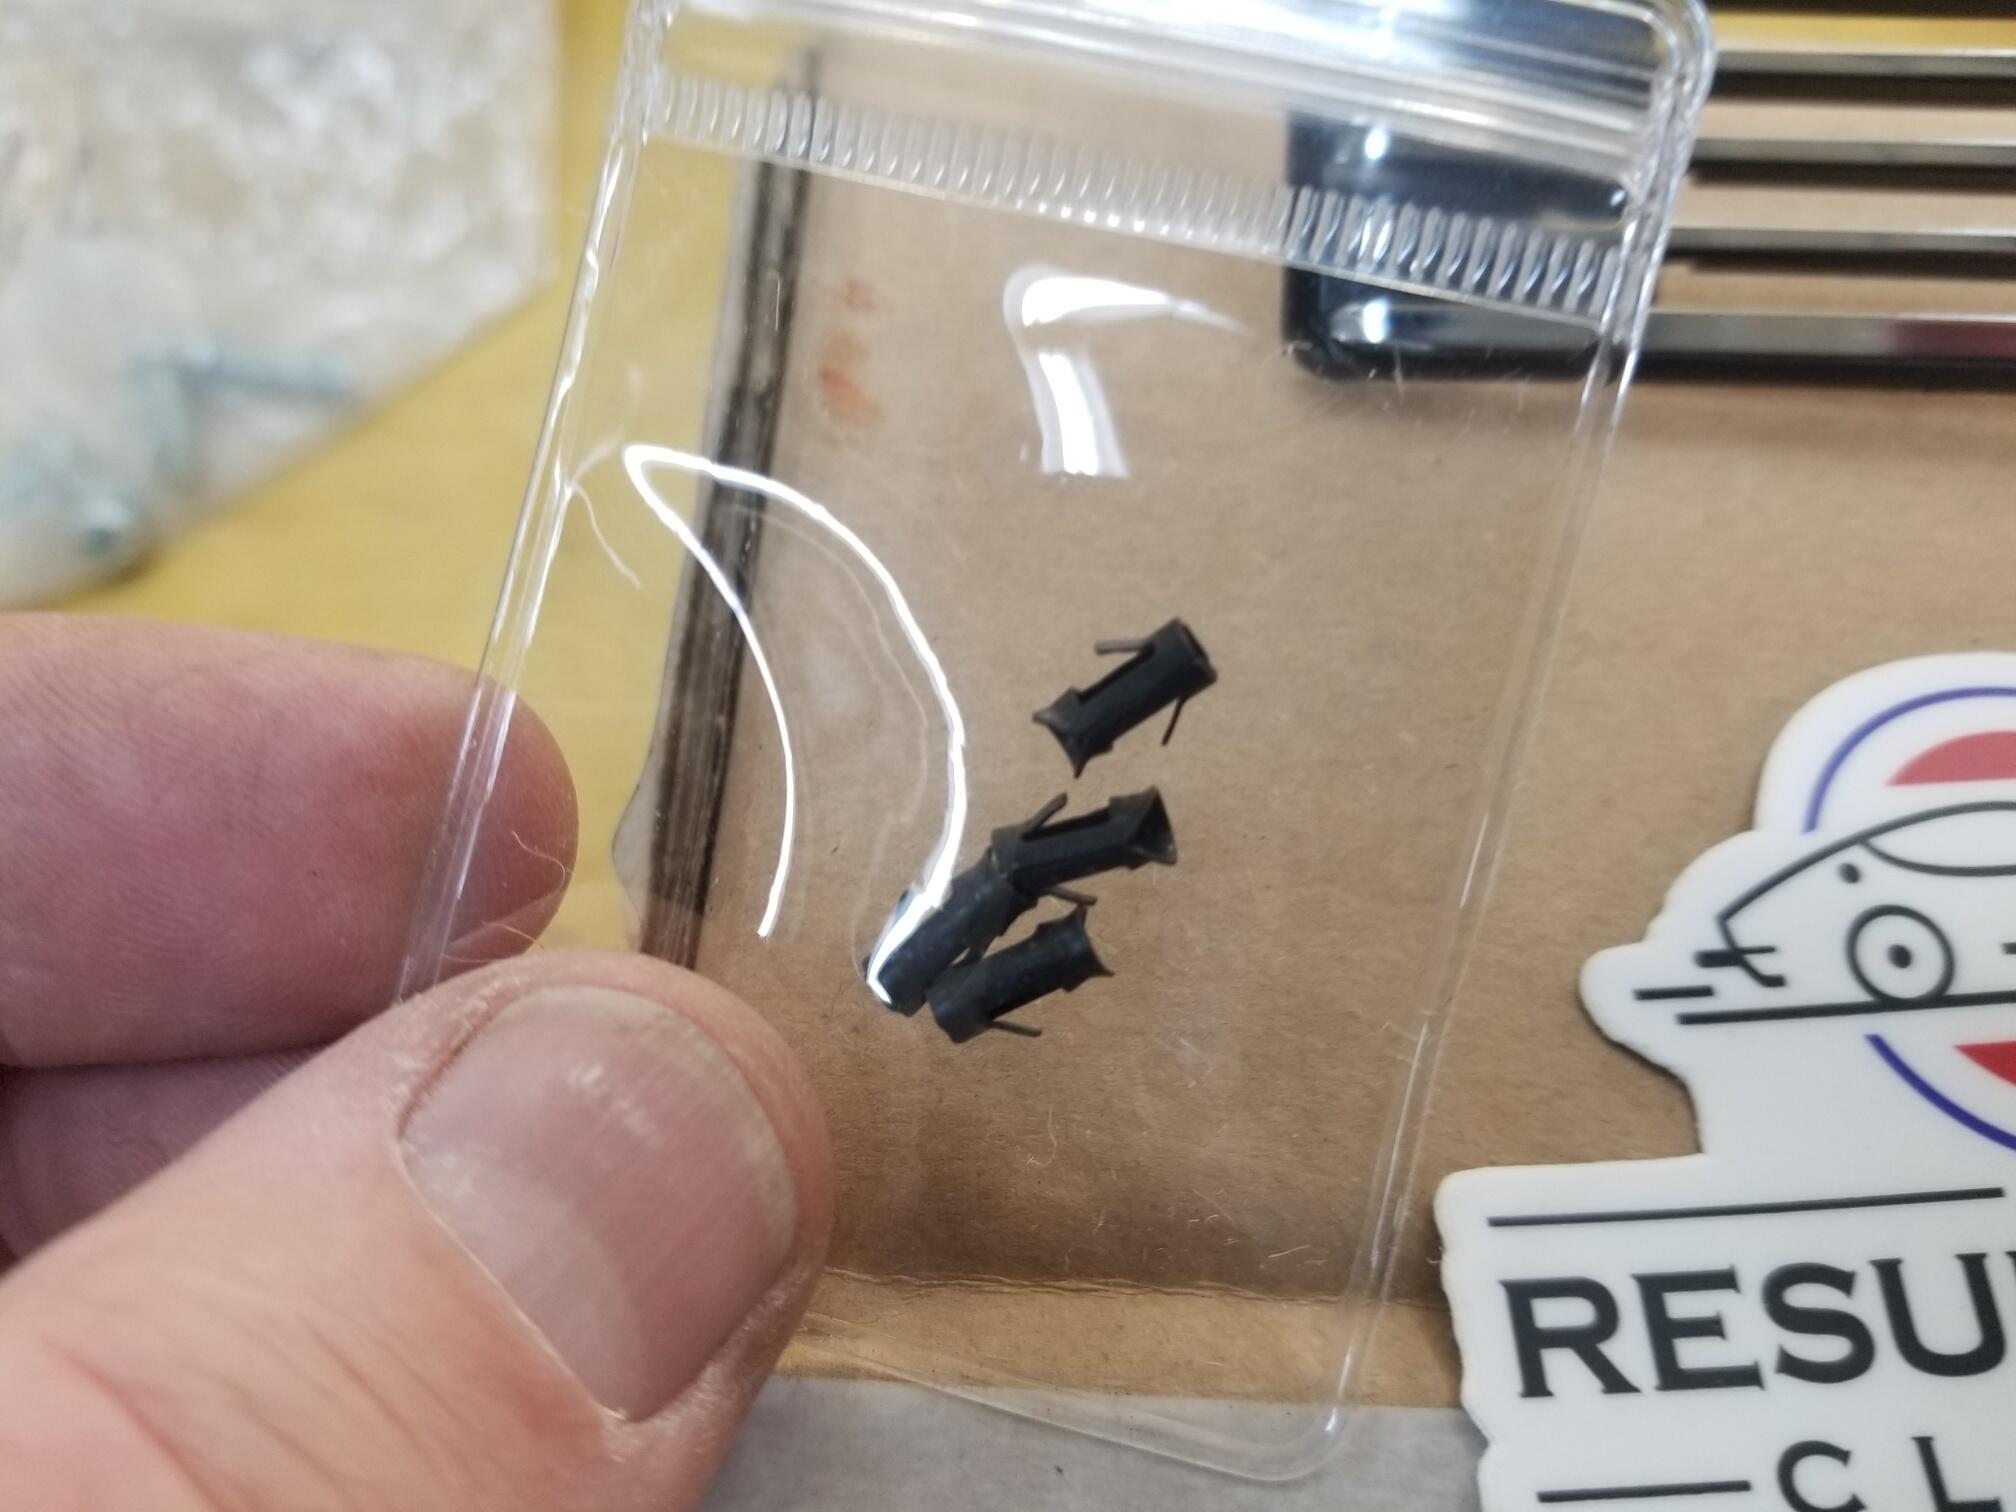
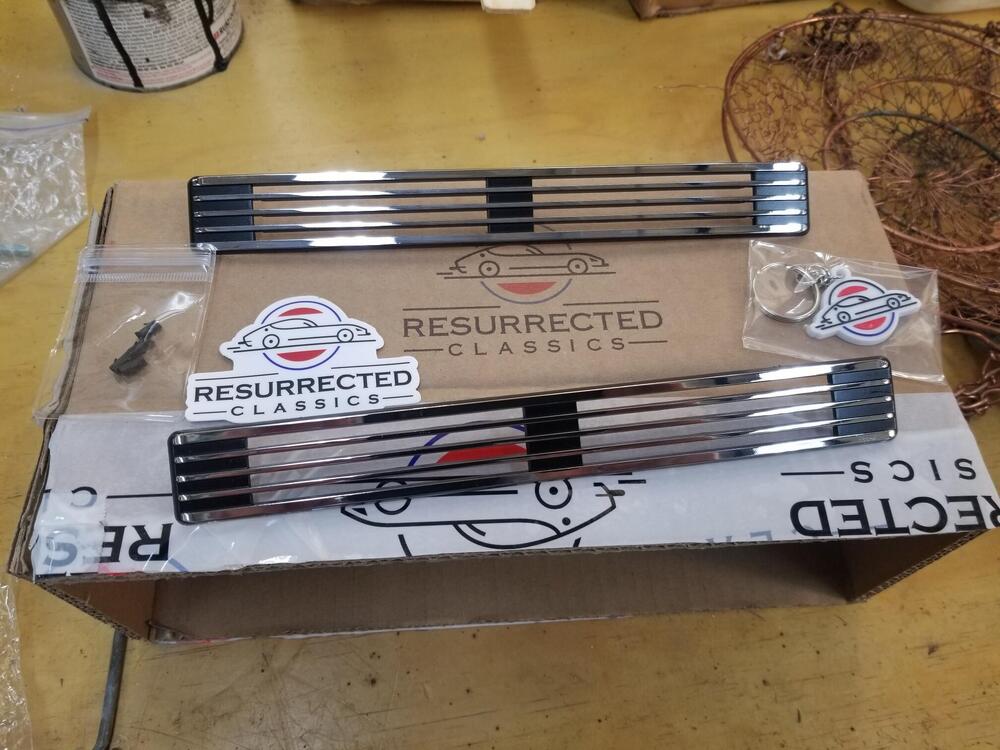
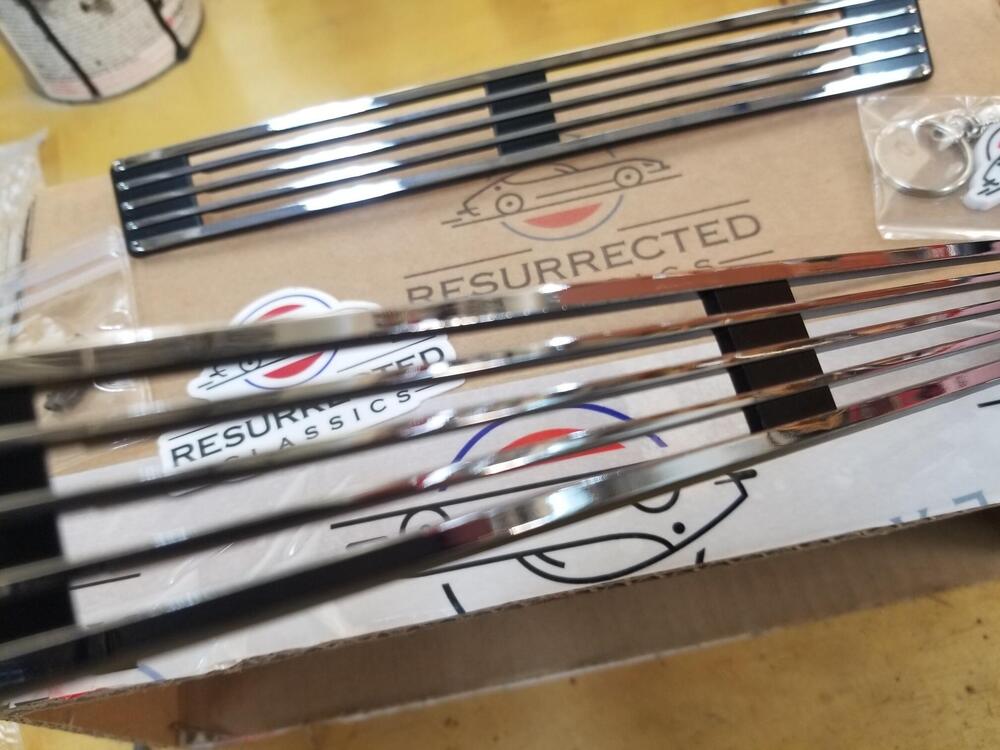
Here are the new grills They included barrel clips This would match what I found on disassembly. I believe this was the original method for mounting the vents. I think it was revised later to use a spring nut in the vent to hold the emblem stud I blacked out some areas. I didn't try to be neat and I blacked more than the factory did. The hatch vents definitely have some warpage. I gently heated them tonight and propped them up with paper. Haven't made any pictures yet What do you think this slot is for? Also do you just glue the interior trim to this vertical panel? Do you use jute here?


-
Thanks, yes, very helpful!
-
Will be interesting to see what you receive
-
That's a rowdy sounding Tiger!!
-
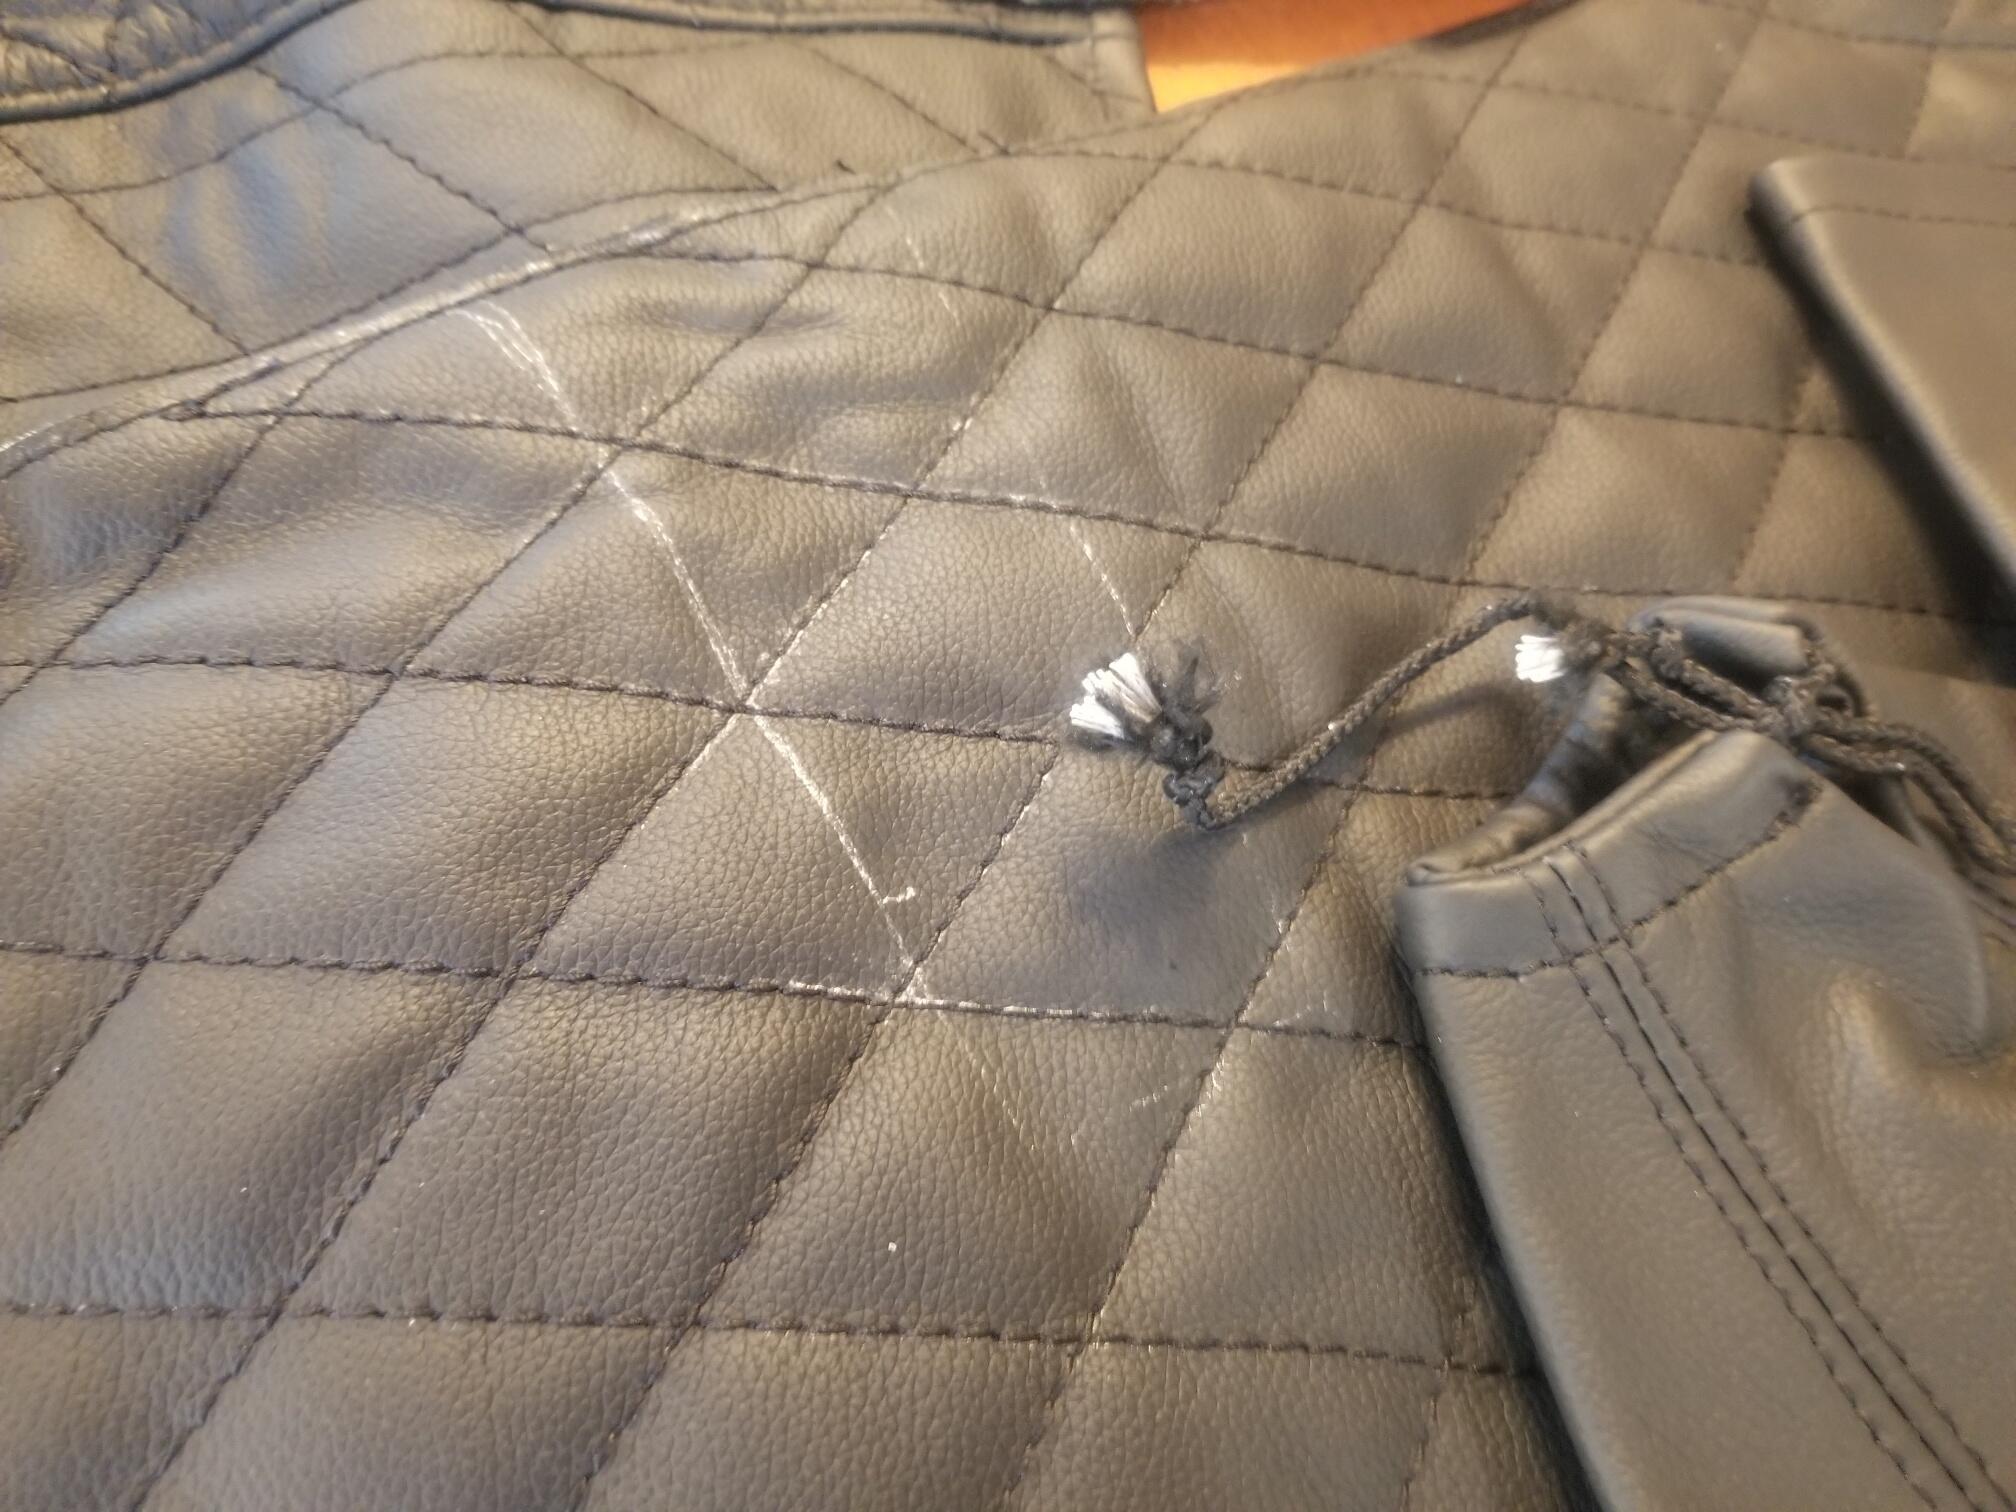
Any pointers for the leather interior? I am about to start this same work
-
Actually I dont believe the factory panels were perfect off the line. With 50+ years of wear we have no idea if the panels still have the factory shape. I reshaped my doors. It's buried somewhere in my build thread. If the front edge lines up with the fender properly and one of the rear corners of the door sits proud. It's the only way to make it line up. It's really not hard to do
-
The doors can be warped by hand if necessary
-
All of the suspension bushings need to tightened after the suspension has settled. Otherwise they will add lift.
-
I may go that way in the future, once I get some other projects out of the way
-
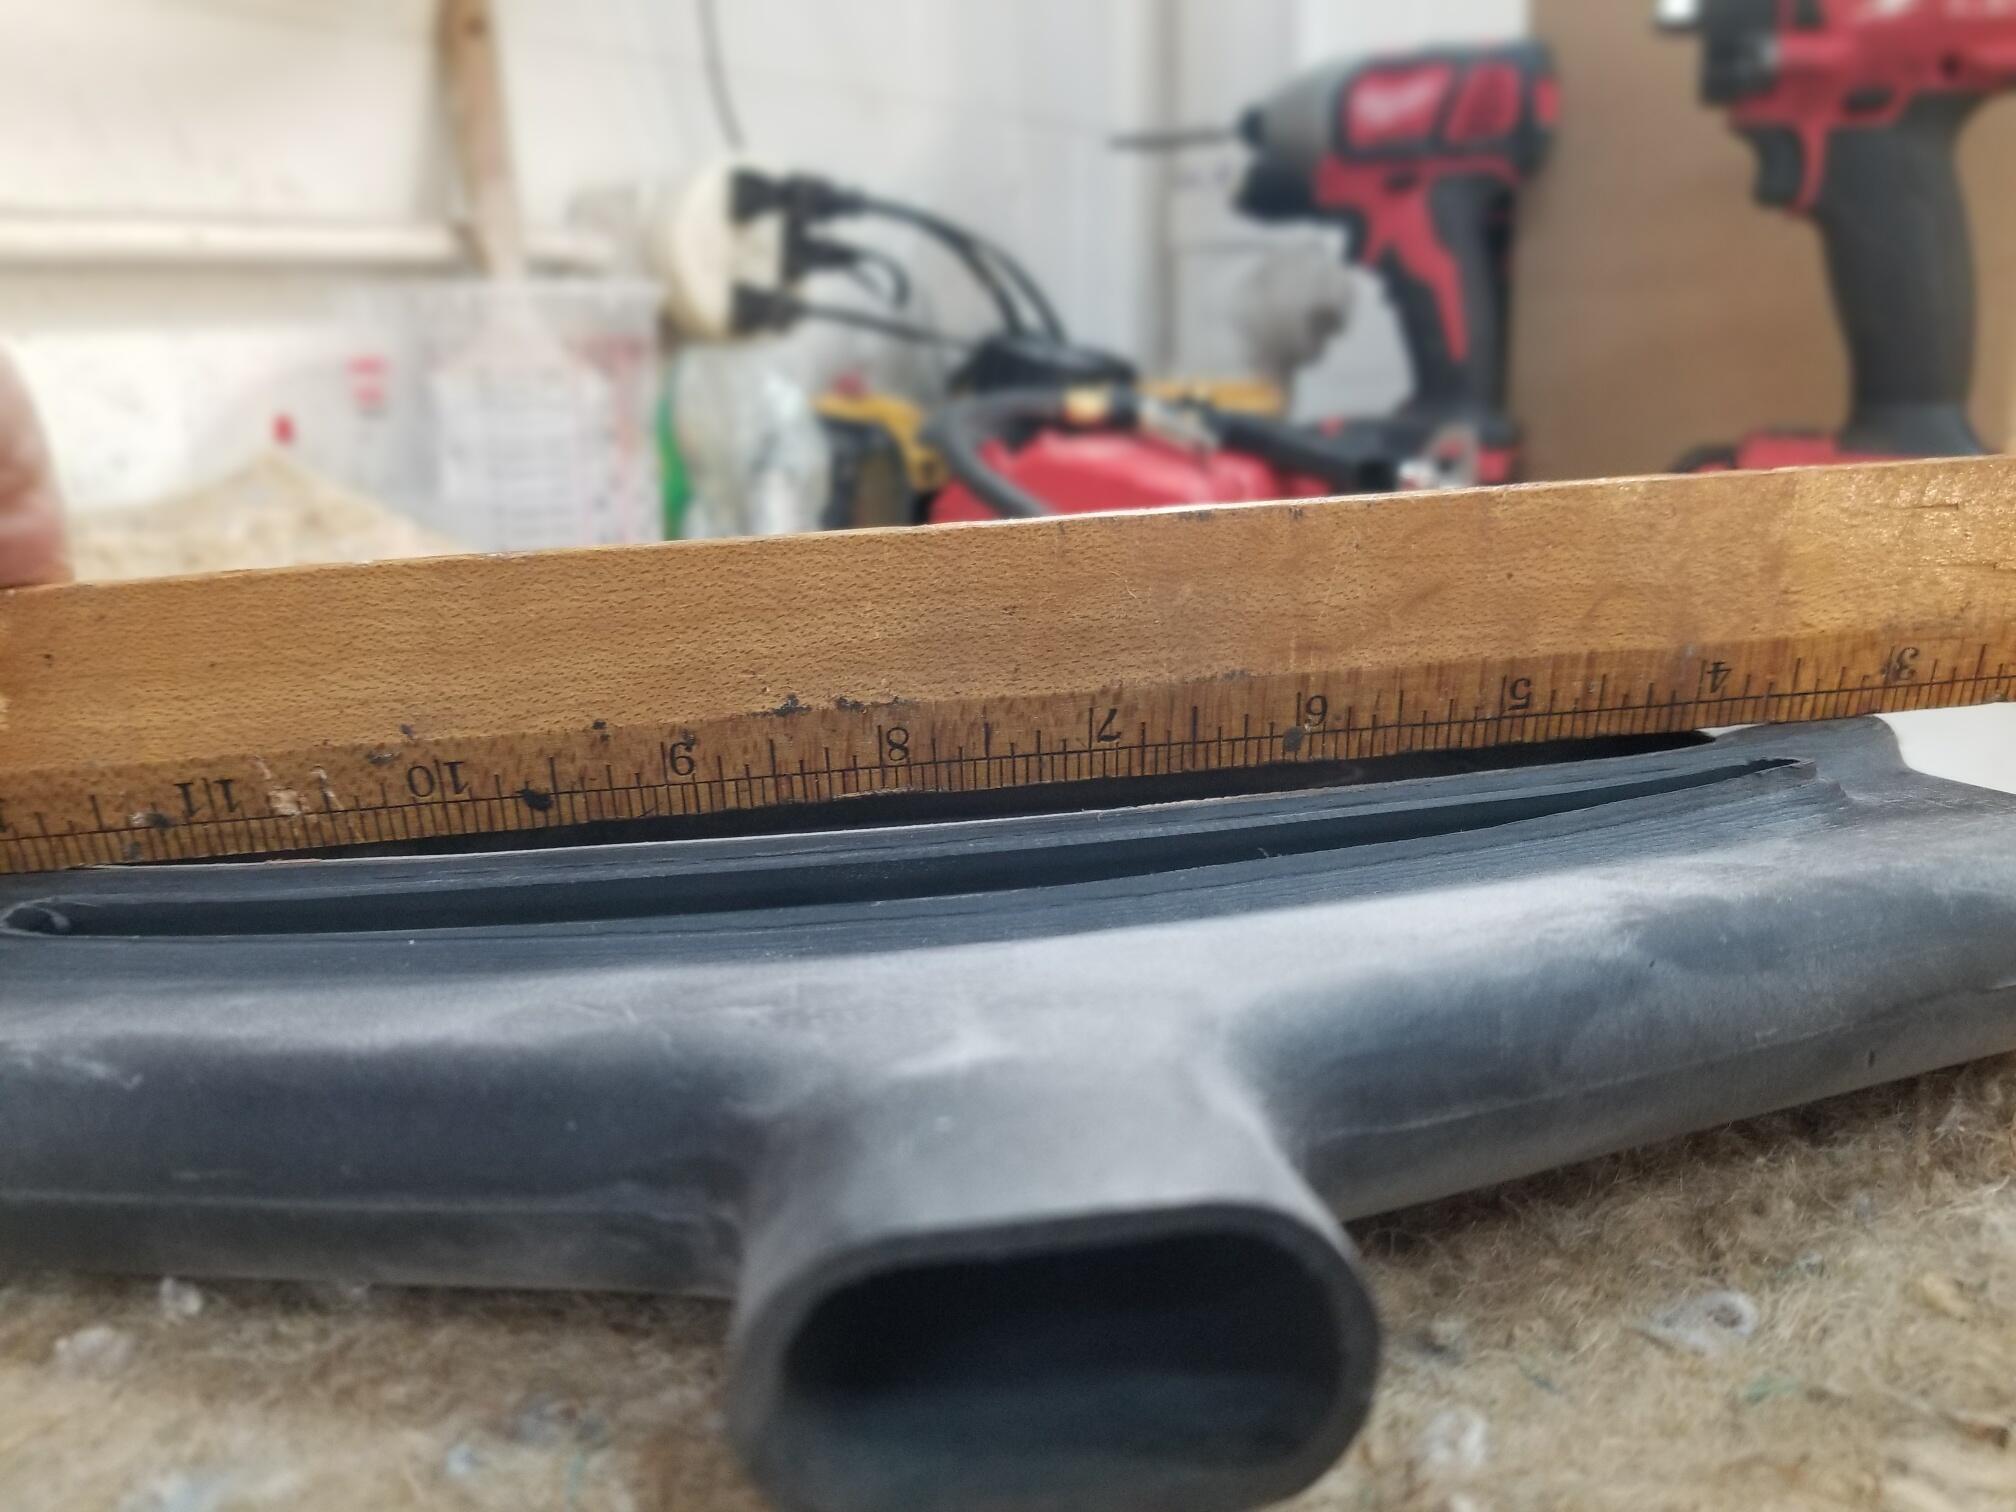
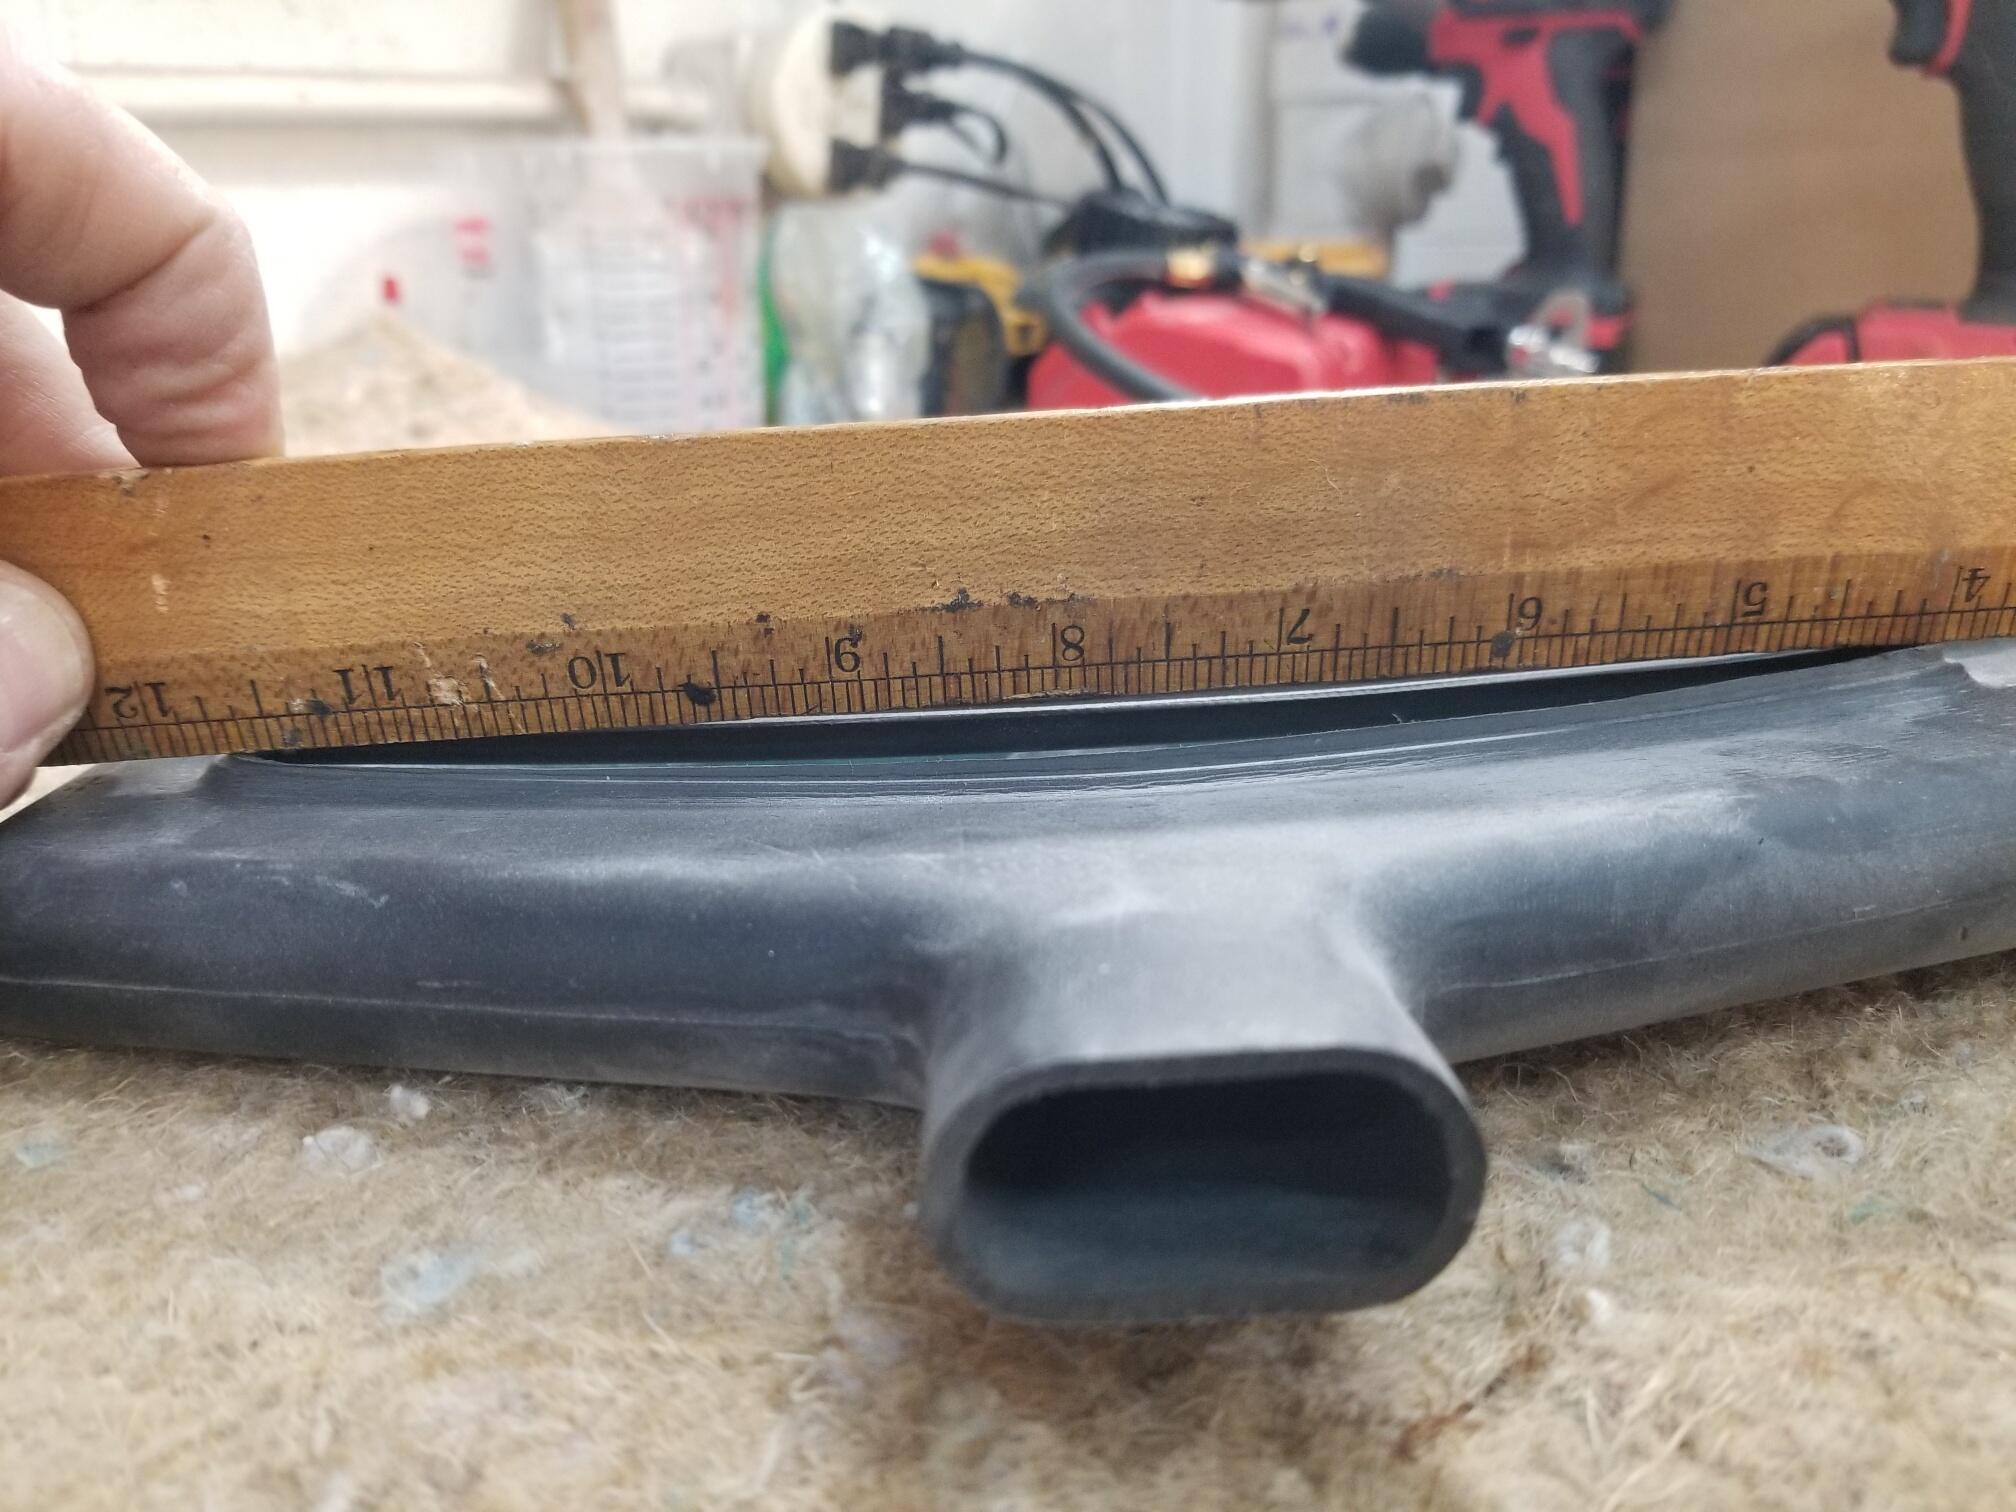
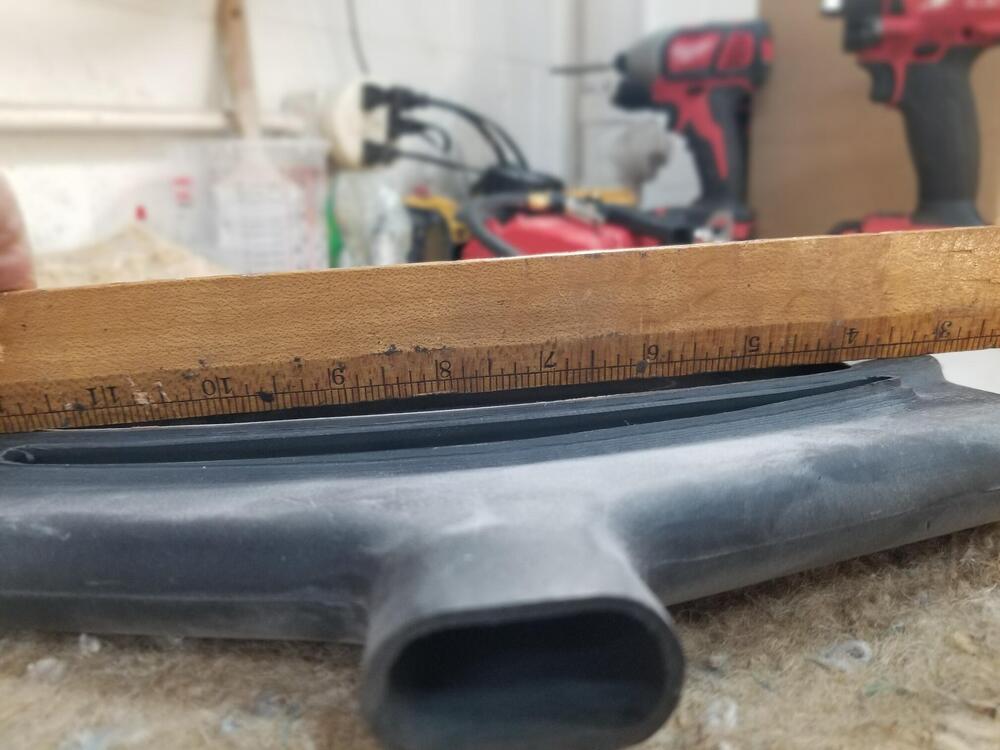
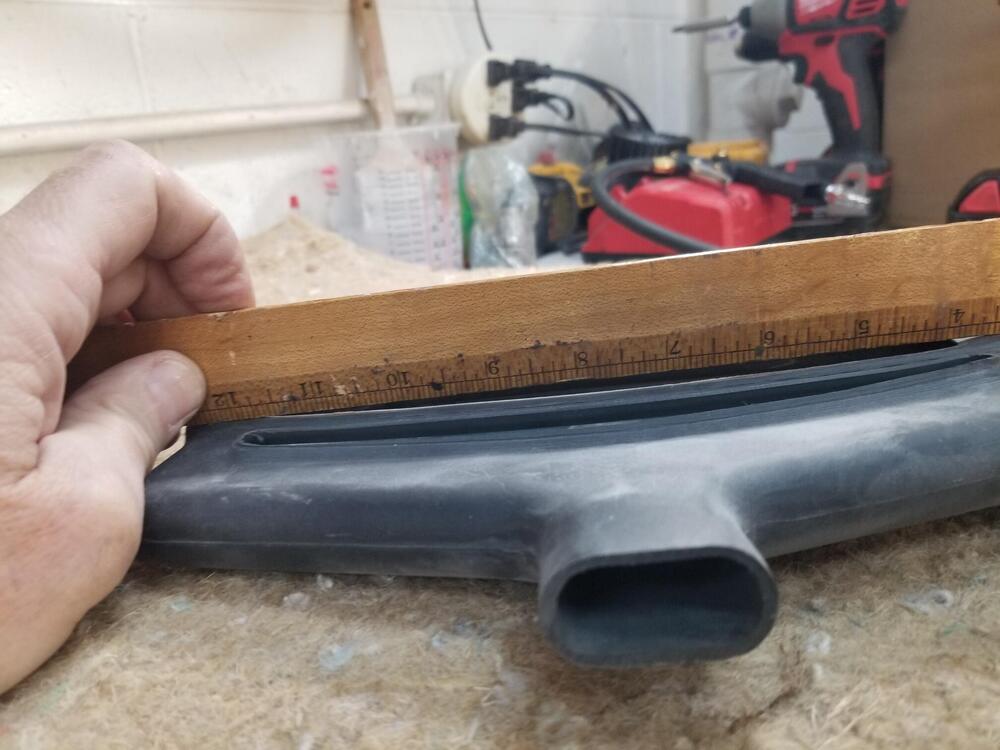
Well I would guess that if the painted part of the door aligns well then you could loosen the stainless frame and tip it in to preload it, so that it crushes the seal more. Or as a final step you could bend the frame in some more but you'd have to be careful doing that
-
Yes, I have seen these but was always unsure which locations actually needed them
-
-
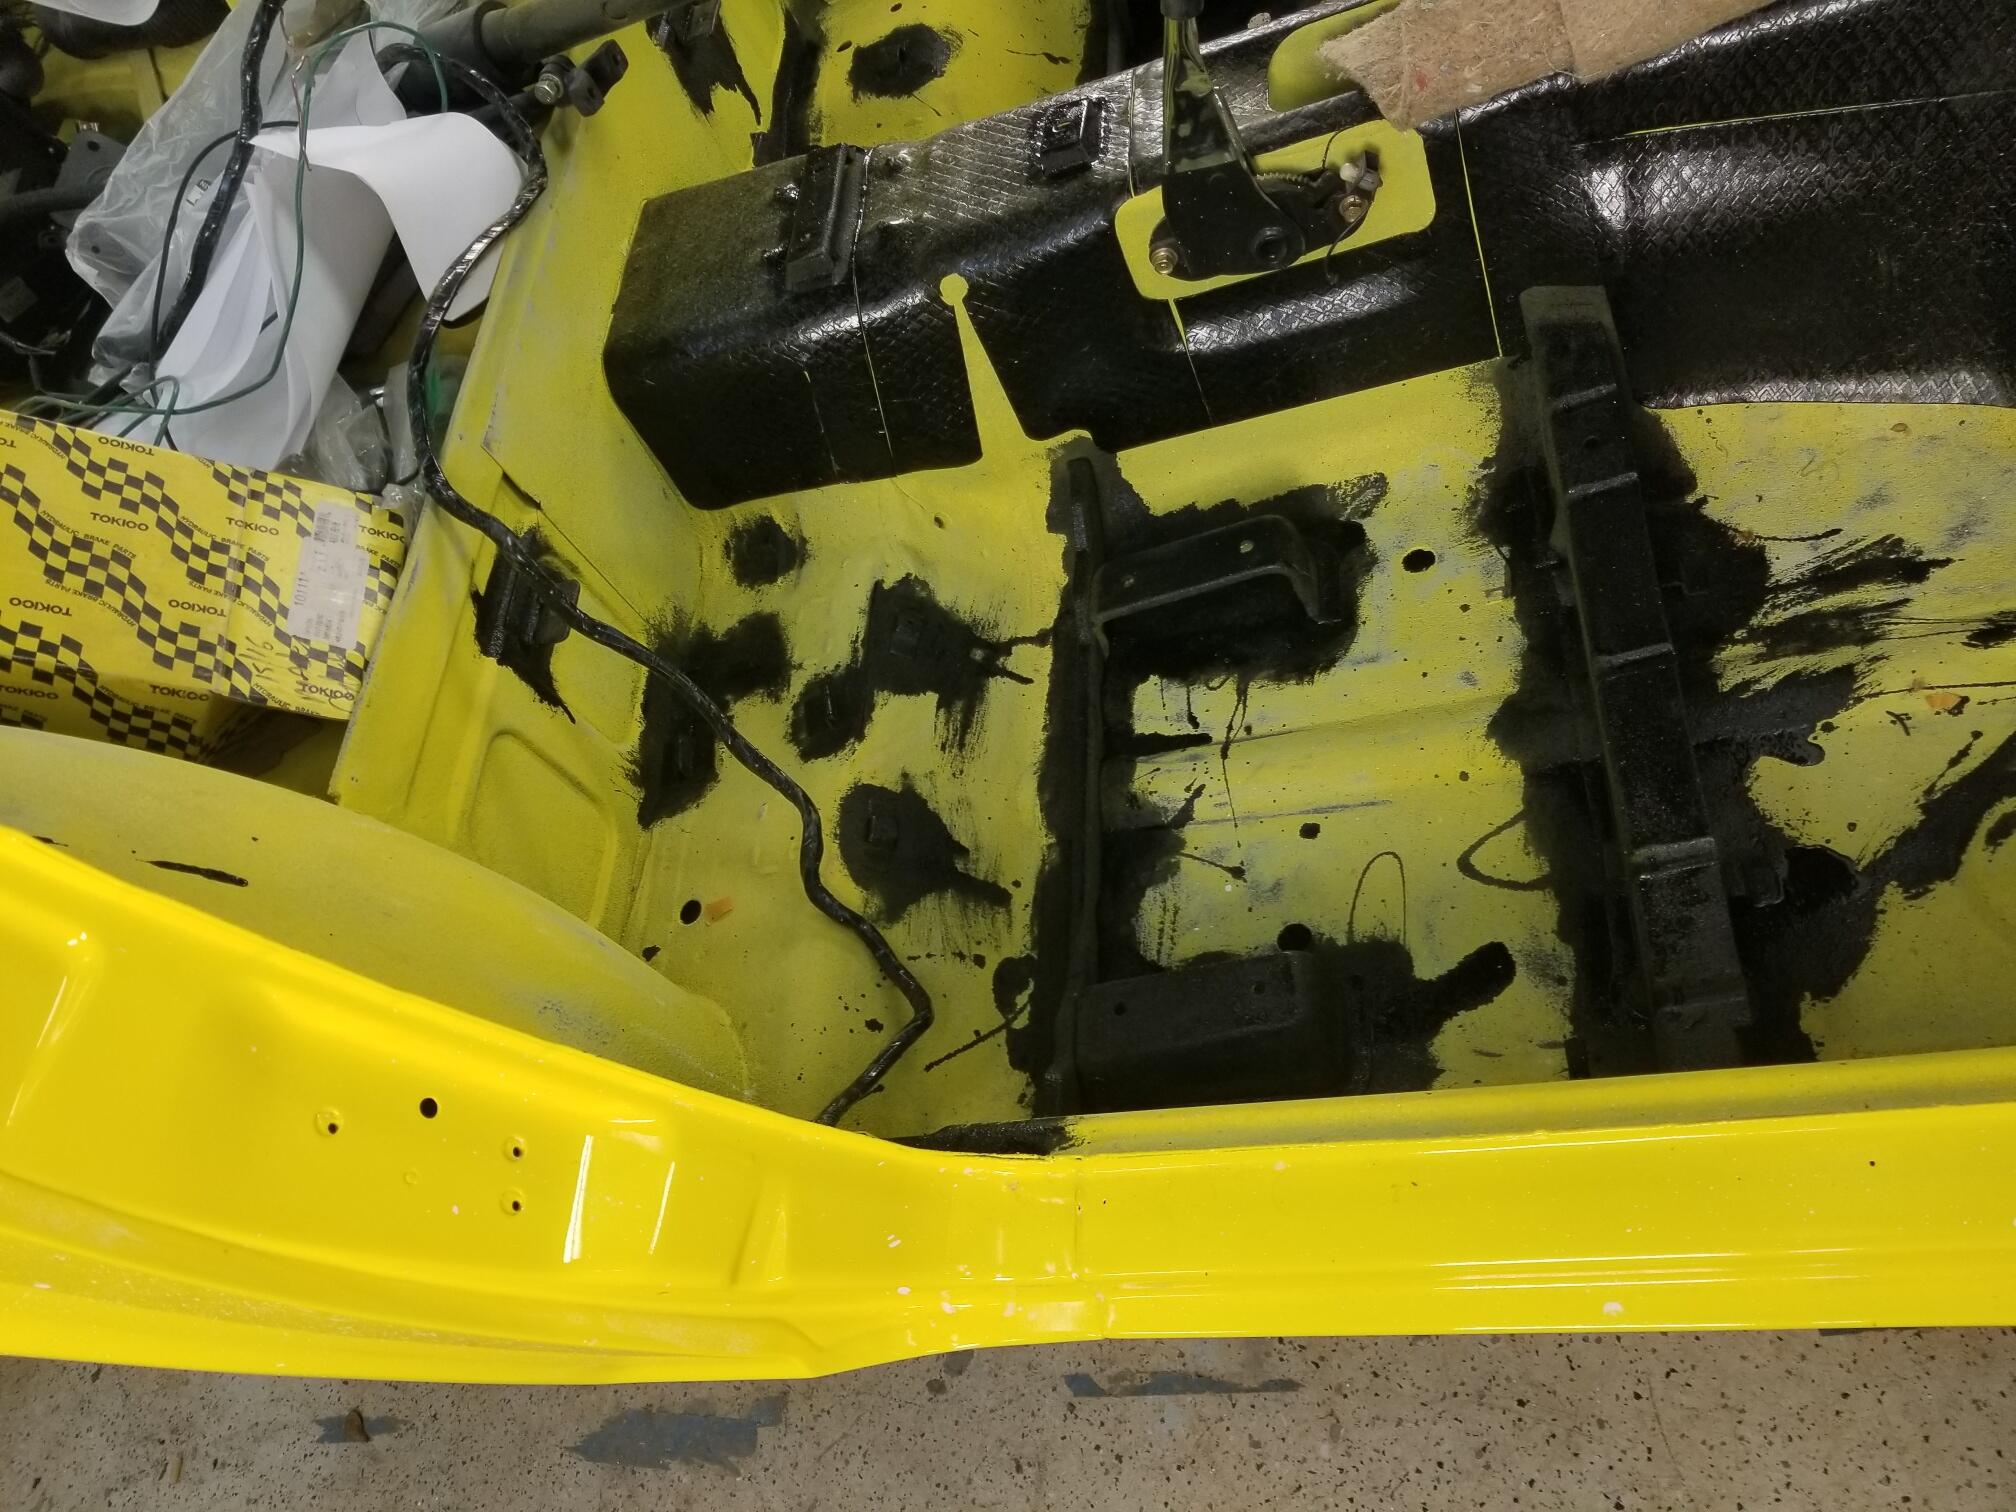
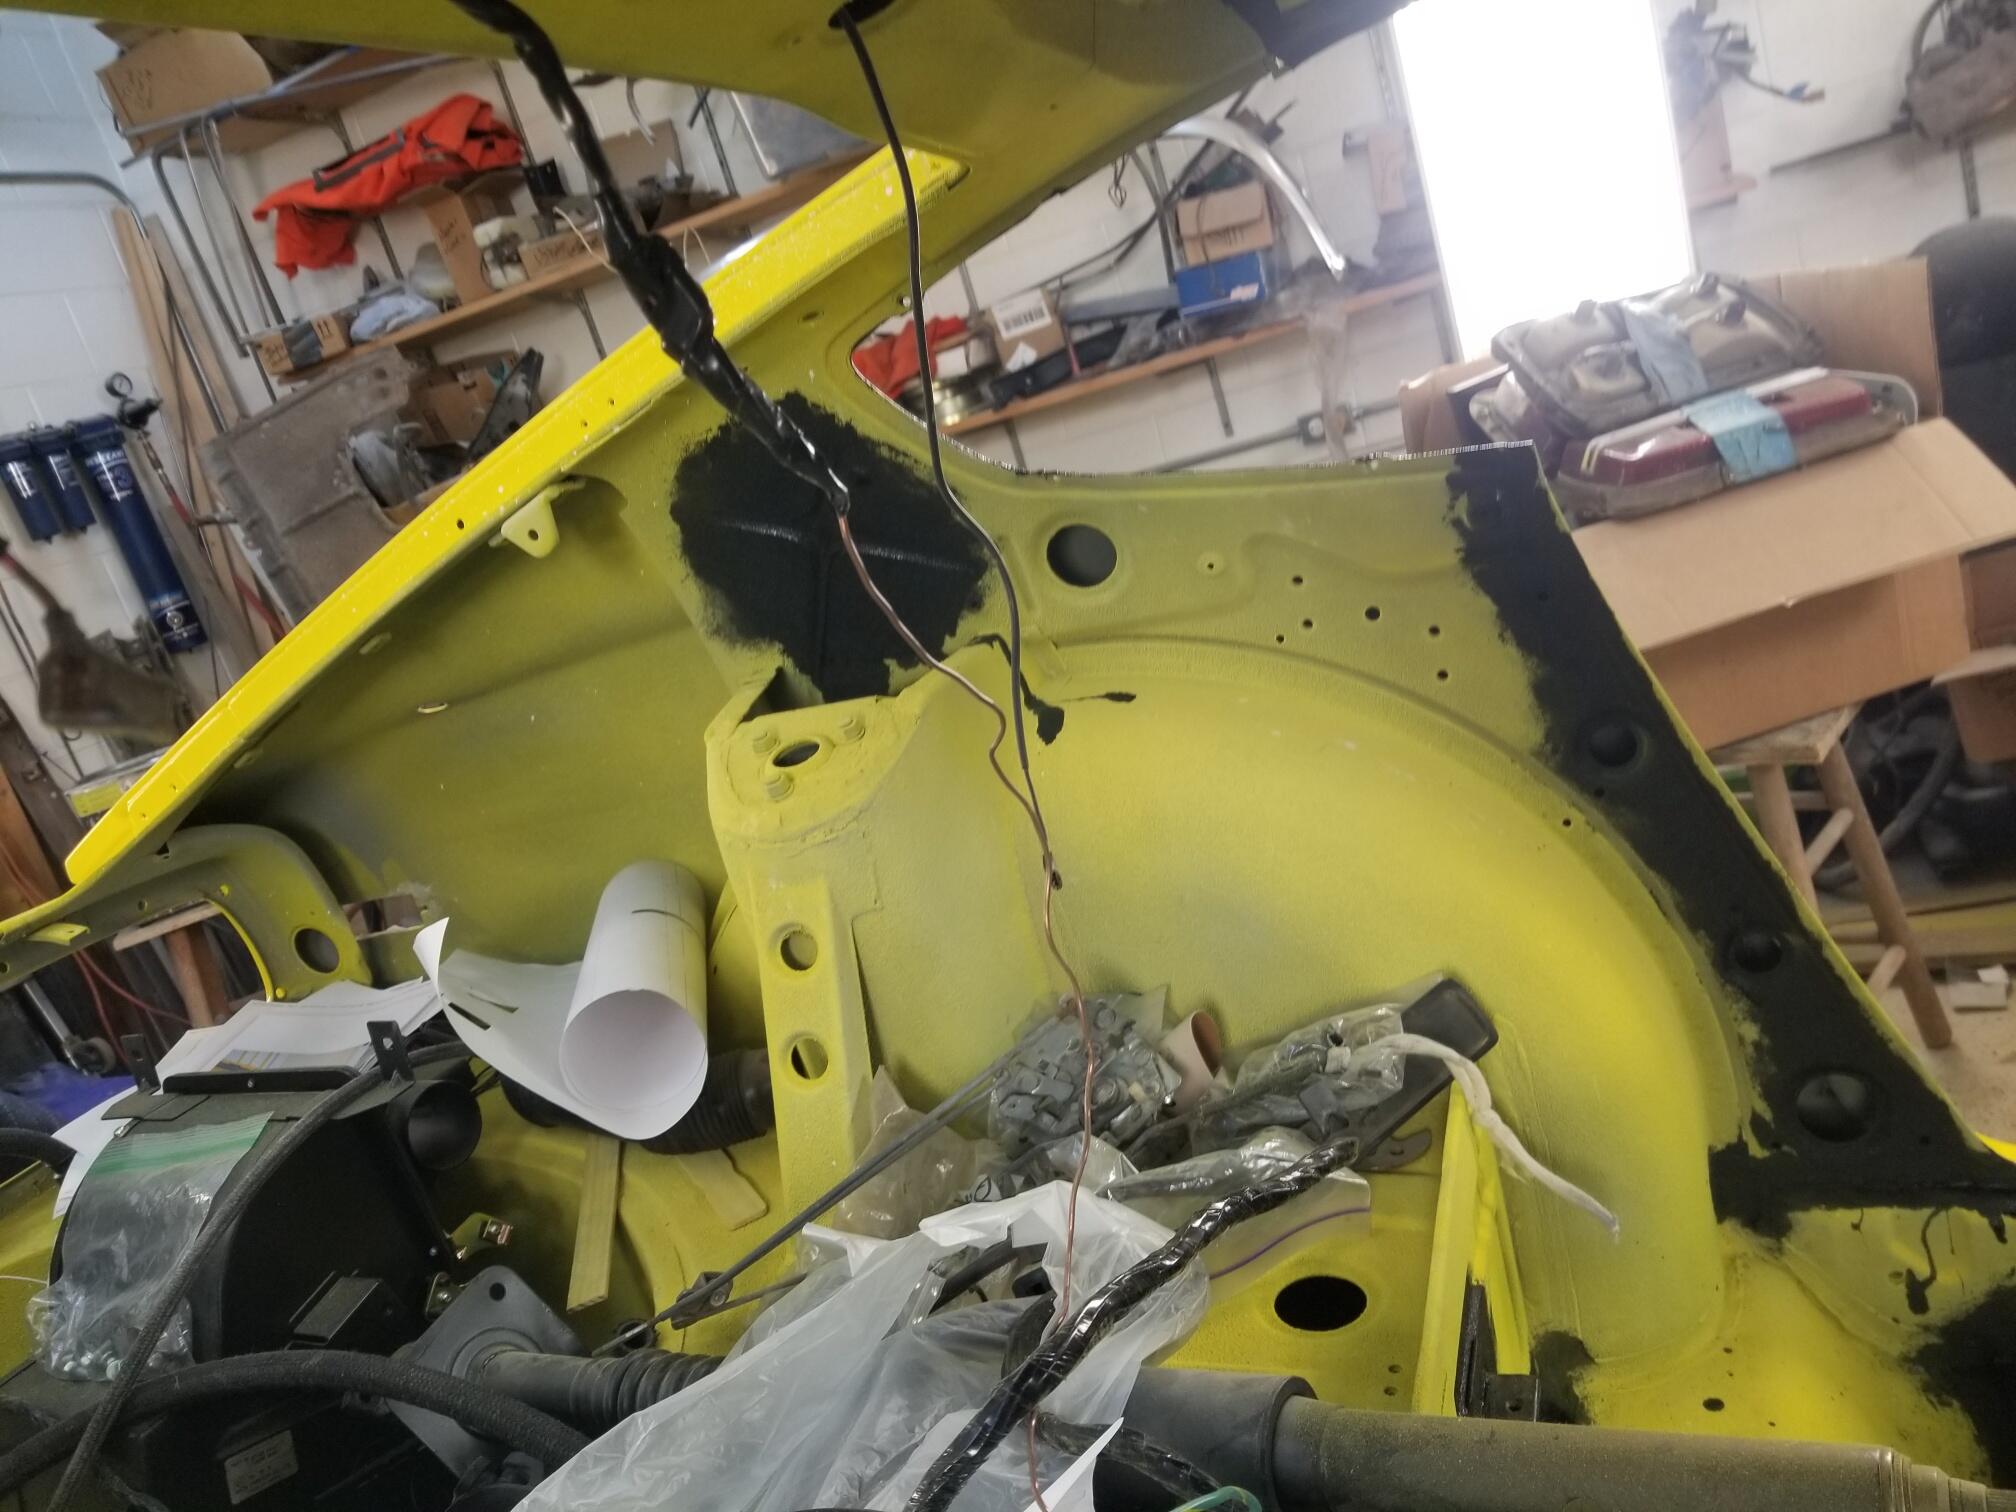
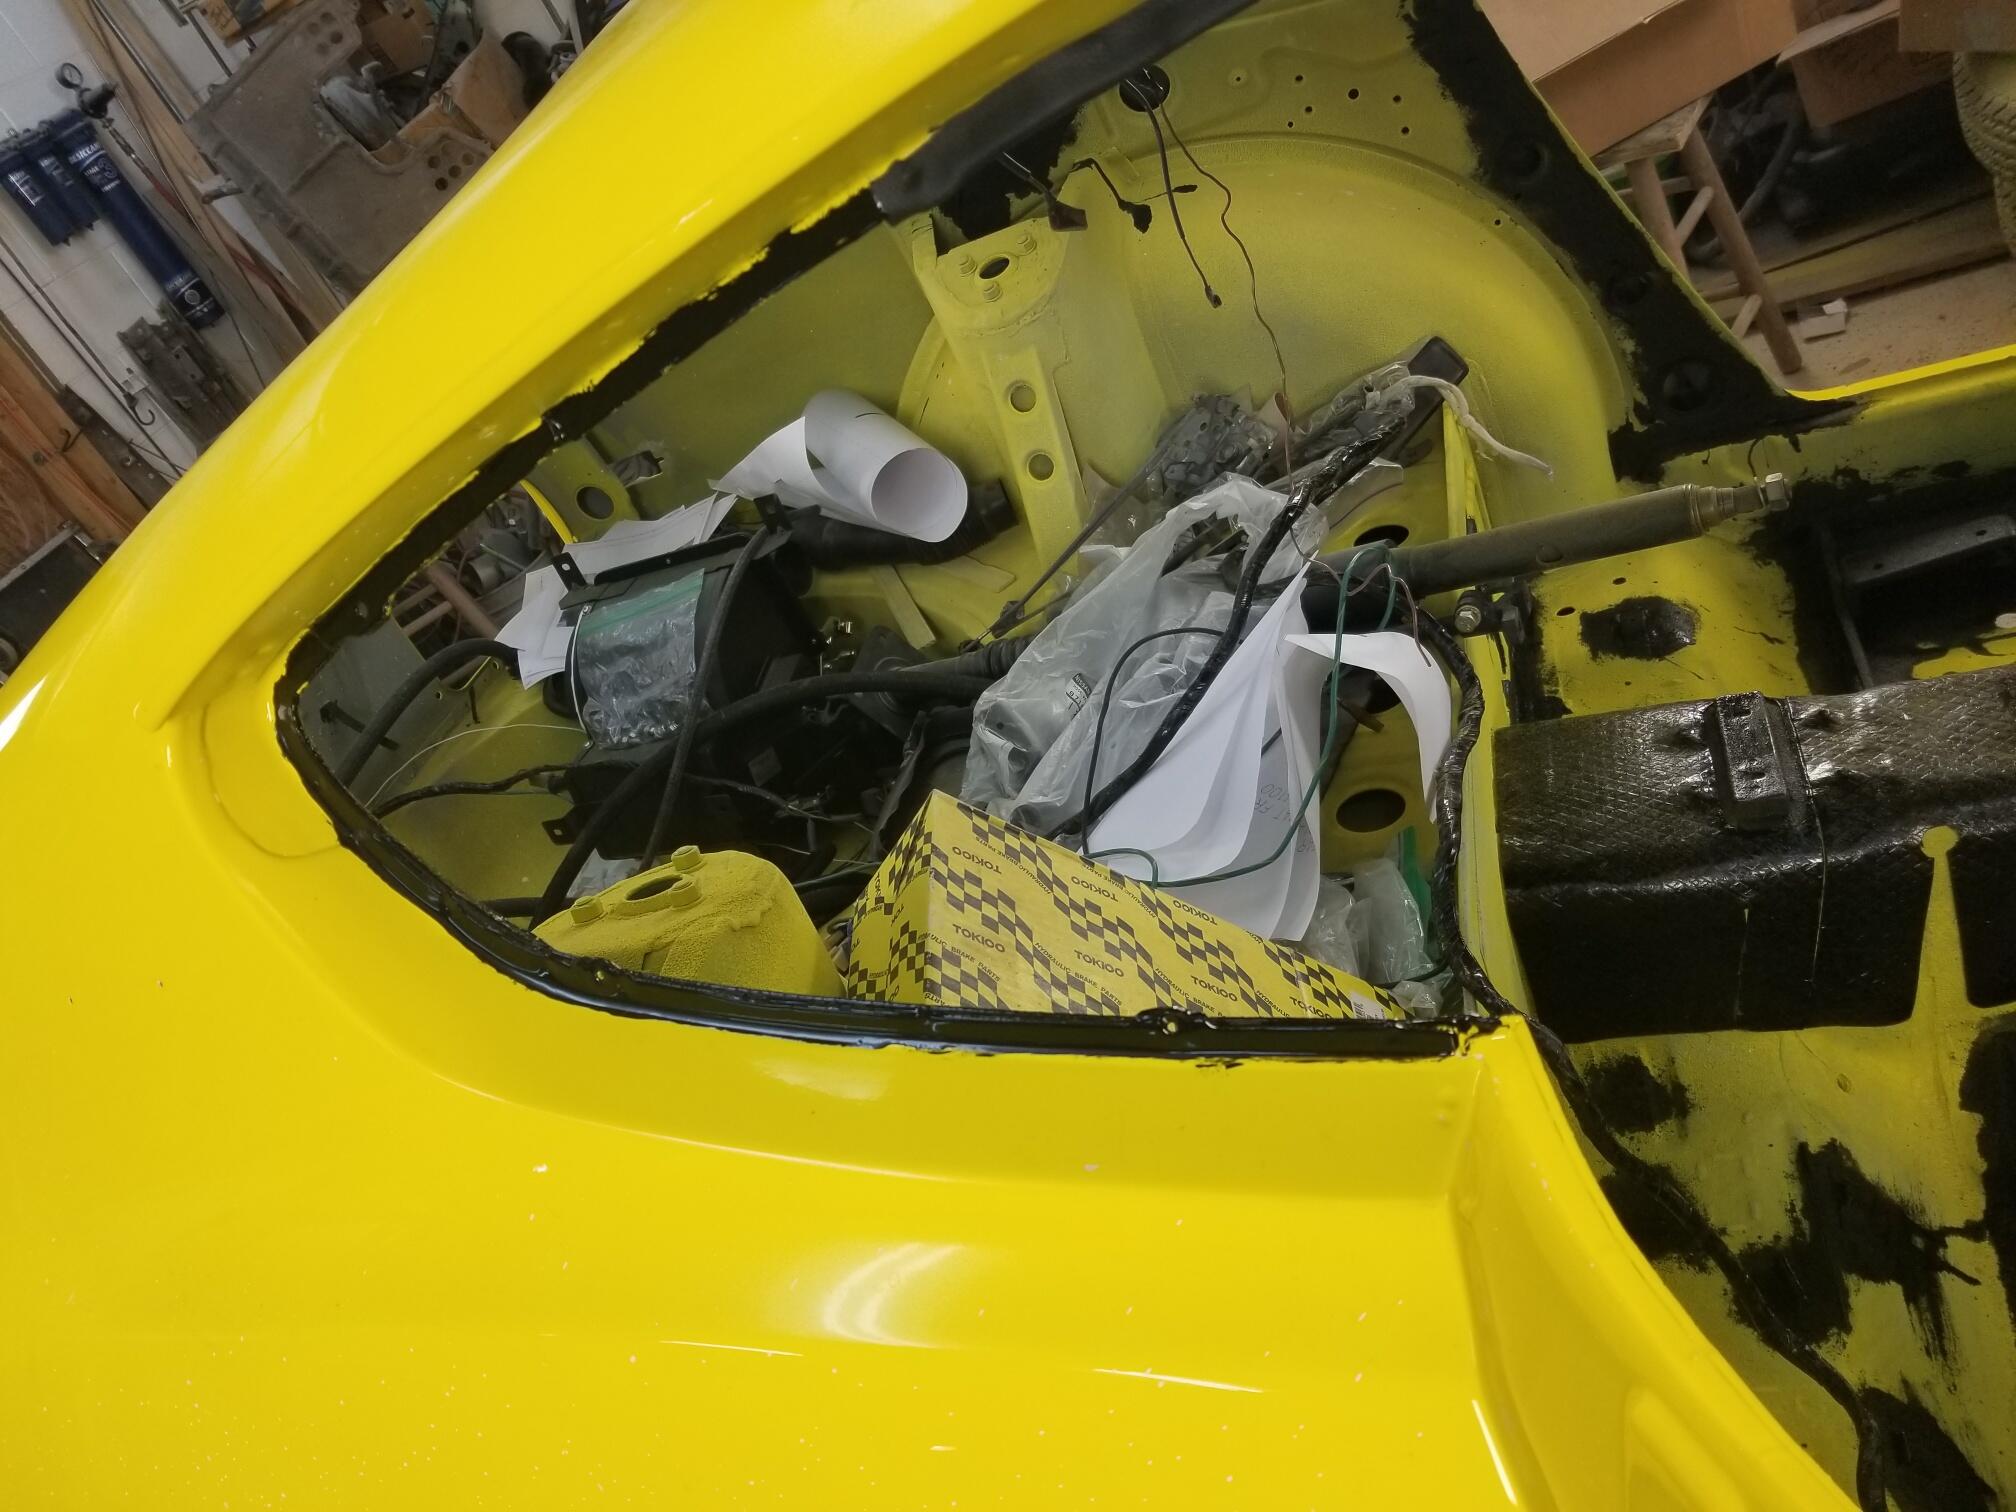
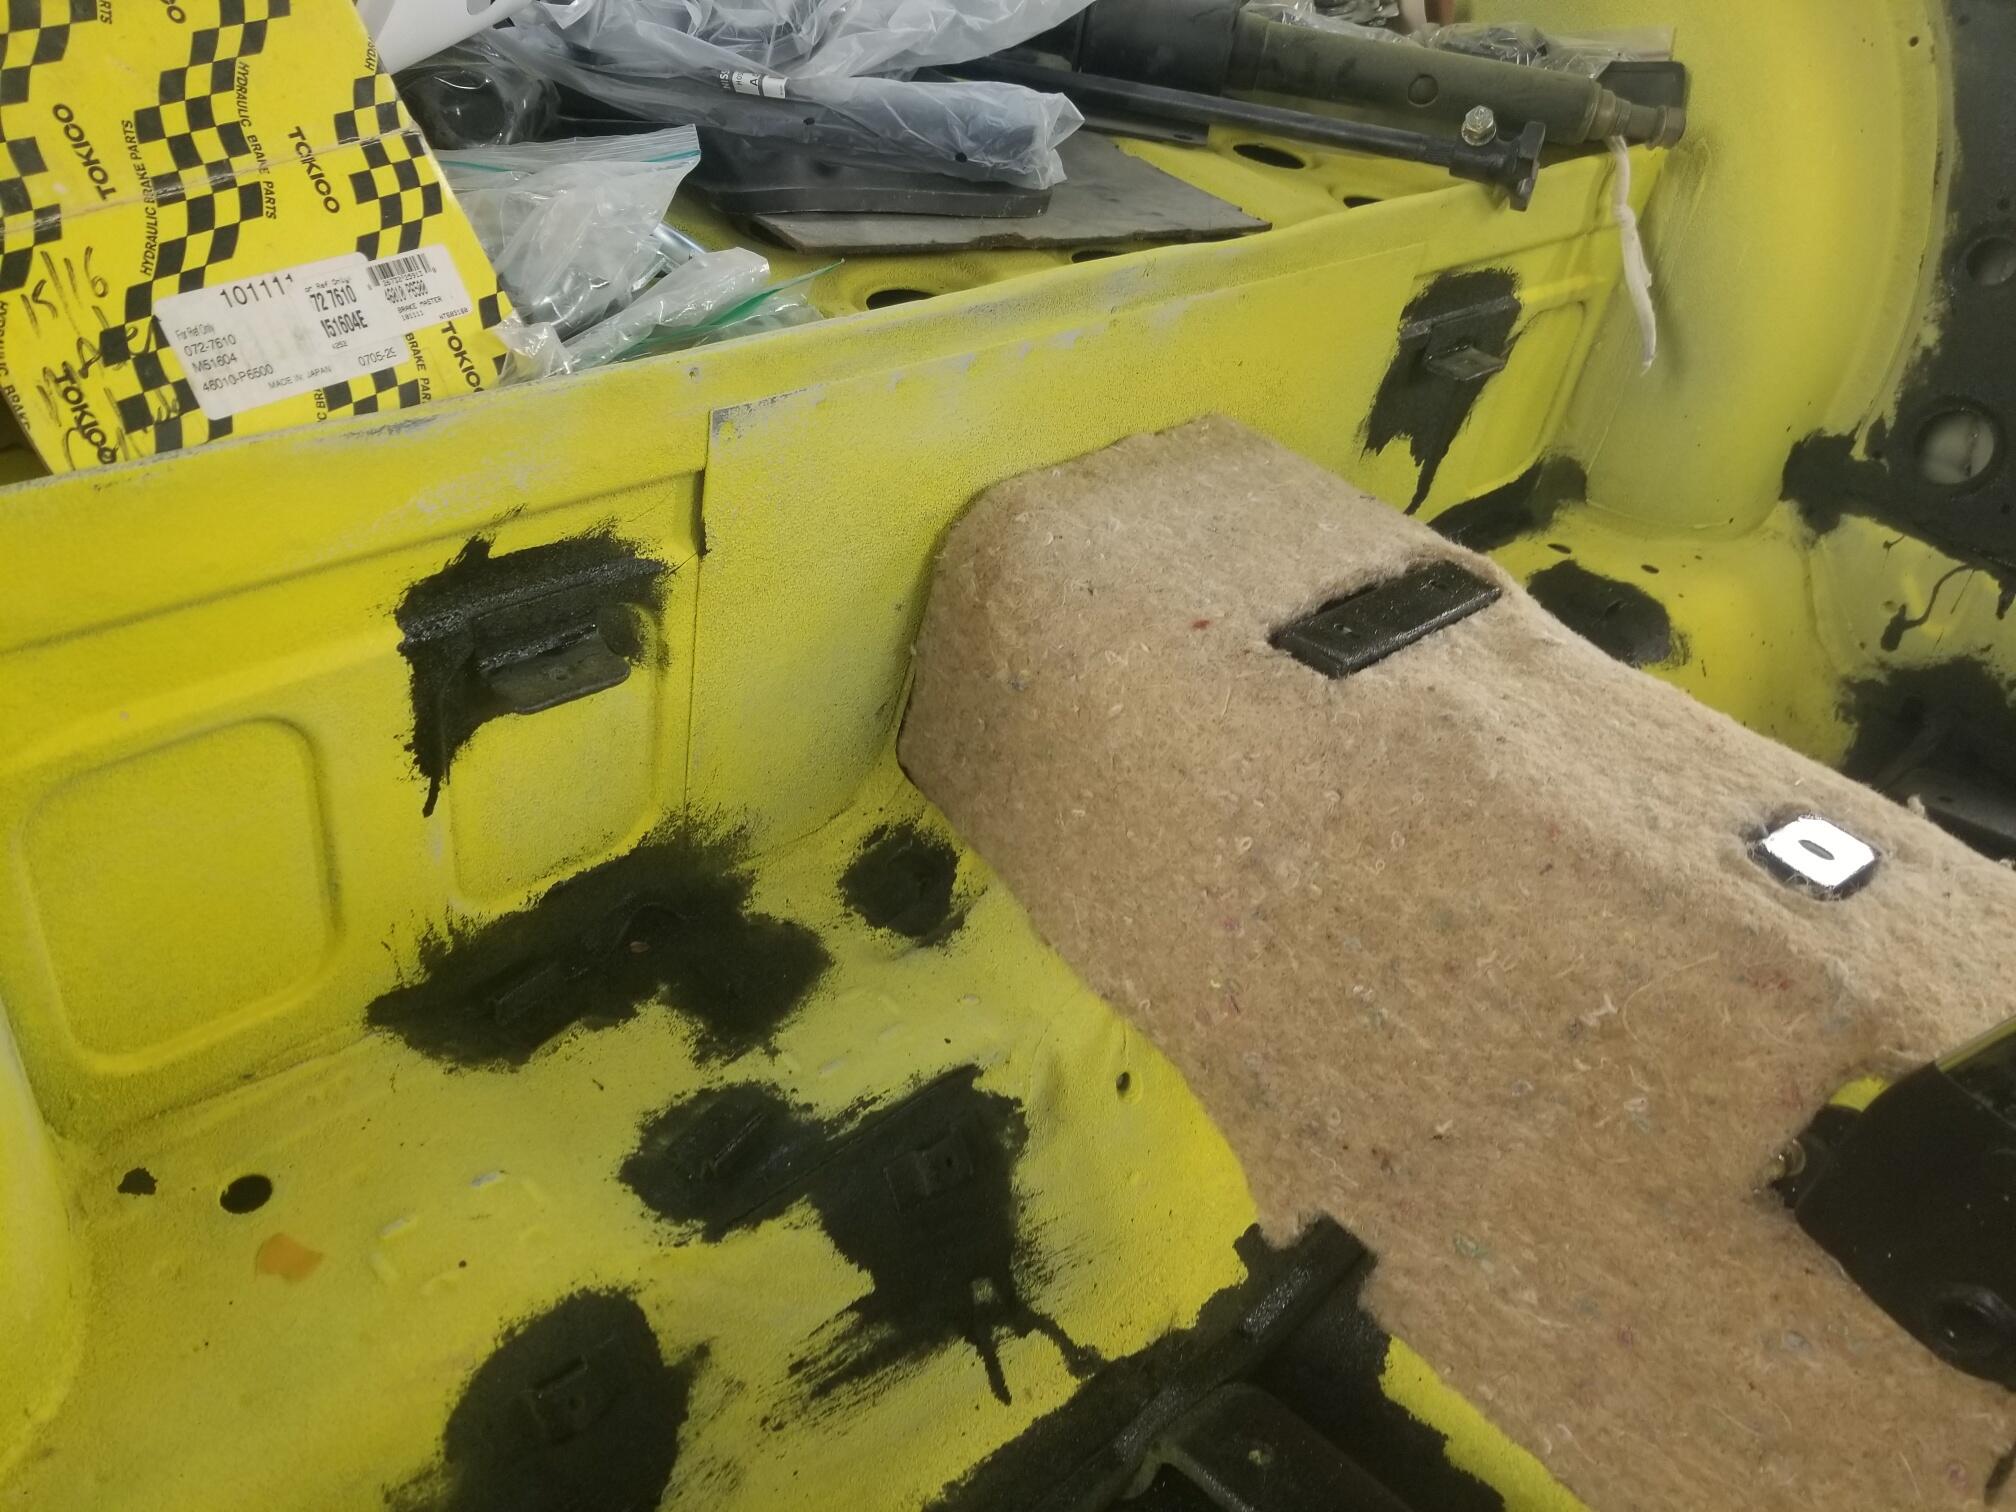
Great pictures! Those help a lot. I am probably going to buy all new interior pieces from Resurrected classics so they all match. That will include a new hatch panel with flaps. I had also figured I would need to seal all that up really well
-
That's good. They won't hold up well raw like that. Oiled might help but I hate to oil things I want to plate later. Knowing you will avoid rain will also help
-
How did you treat the washer arms in the transmission after blasting them?
-
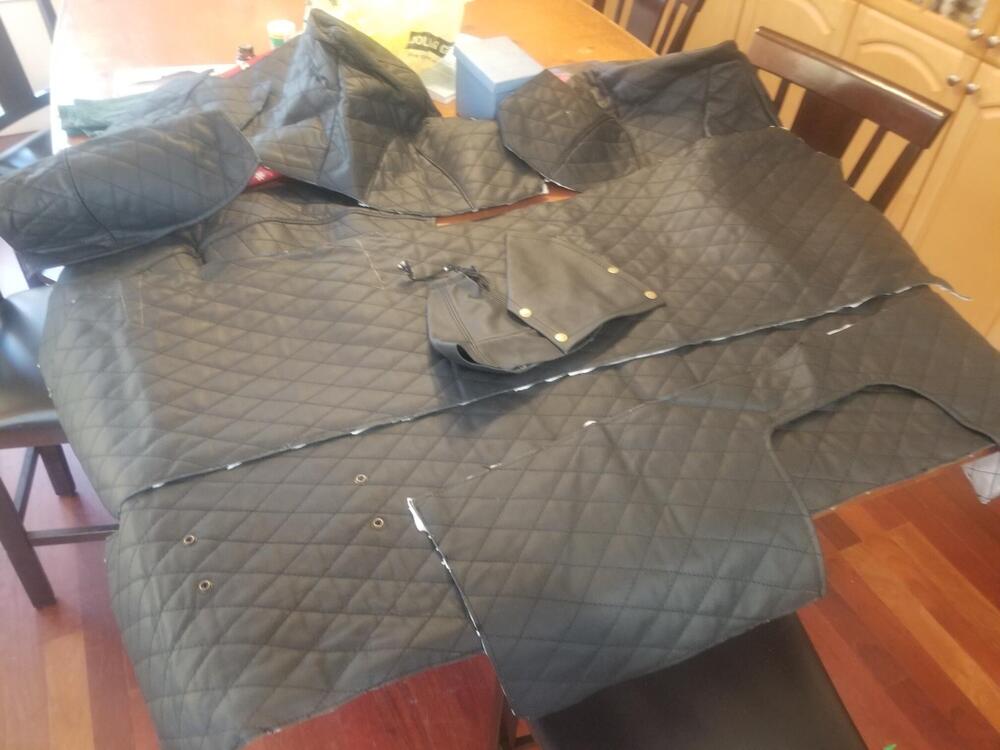
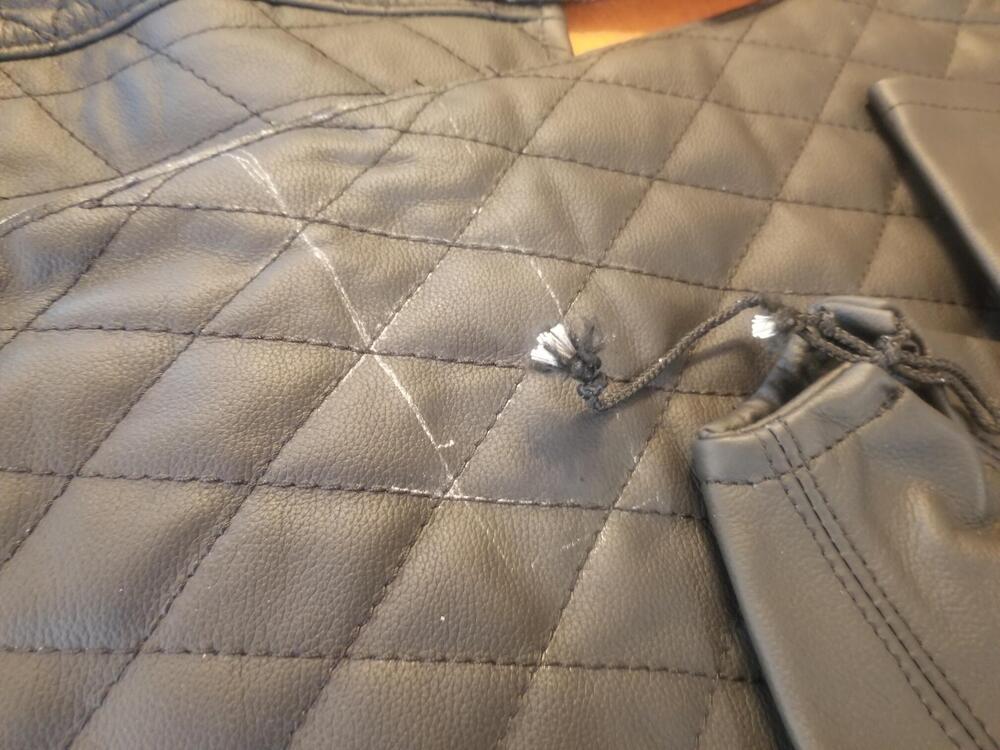
Yarb, here it is 😉 Package wasn't very big but it seems to all be there. I haven't looked to see if the patterns all run the same way the factory pieces do. Won't have time to check it this weekend. There are some white marks on the tunnel trim pieces. Some kind of pencil or grease marker. I will update once I get those off
-
I just read all eight pages of this thread. I had forgotten about... Lots of good info! It looks like Steve at 240zrubberparts might make those pieces although they don't show on his website. I will see what I receive from the ebay listing and then go from there I received new hatch vent finish grills from Resurrected Classics. They look very good and were reasonably priced. They also included barrel clips for locking them into the spring slips
-
Thanks @Namerow @CanTechZ Part #12 90827-e4100 doesn't even come up at Courtesy as a good part number. I can't find that part on carpartsmanual to see if the number is different. It's an interesting dilemma I am pretty confident I don't have any pieces like that unless they're still stuck inside the hatch...