Patcon
Supporting Member
-
Joined
-
Last visited
Everything posted by Patcon
-
Im going with D A A or B A A
-
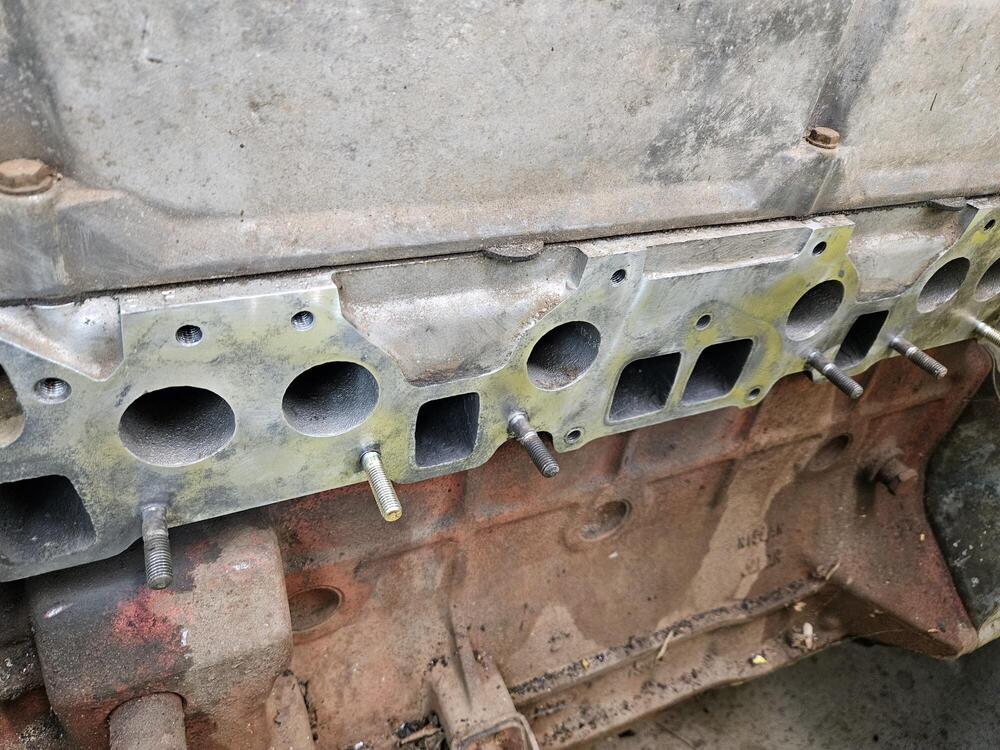
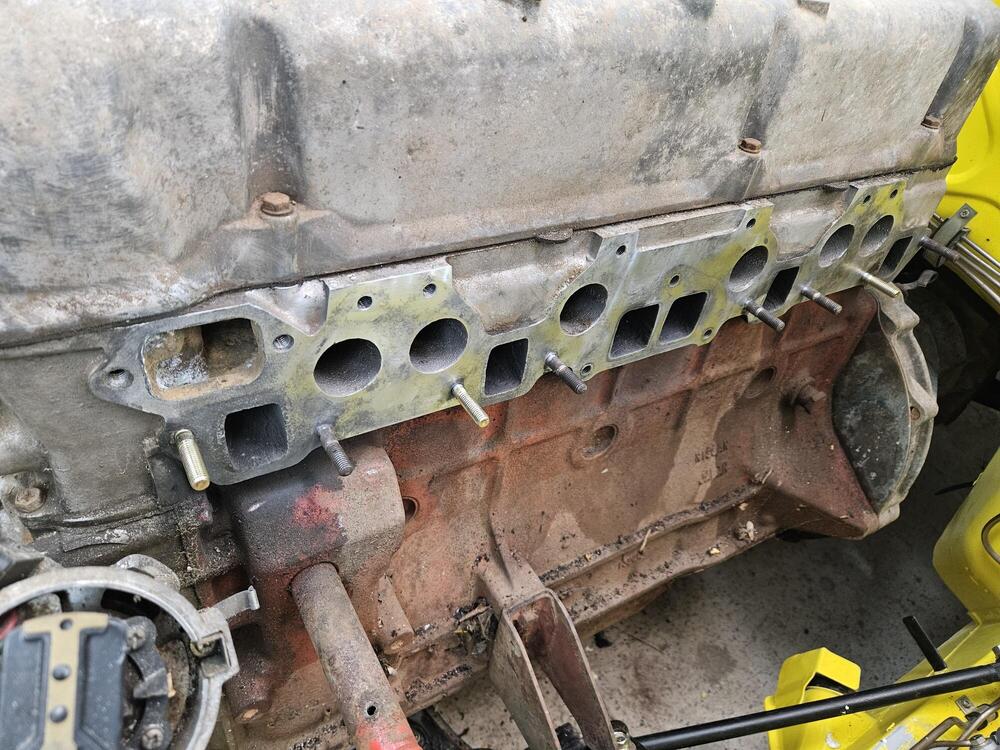
Got the manifold gasket surface cleaned up I don't know what gasket this is Sean sent but I like the way it looks! Nice and thick

-
It looks like 1988 only?
-
Yes What year were those for?
-
I believe it should shift rearward. I think it should be in the track at the rear of the glass by the time it's that far up. The rear felt dragging on it will make it not tilt forward so much.
-
@SteveJ

-
The reverse bleeding is interesting
-
I had read your posts and figured that's what I'd have to do. Thanks for the reminder
-
That'll be a valuable car when it's done, even in this soft market!
-
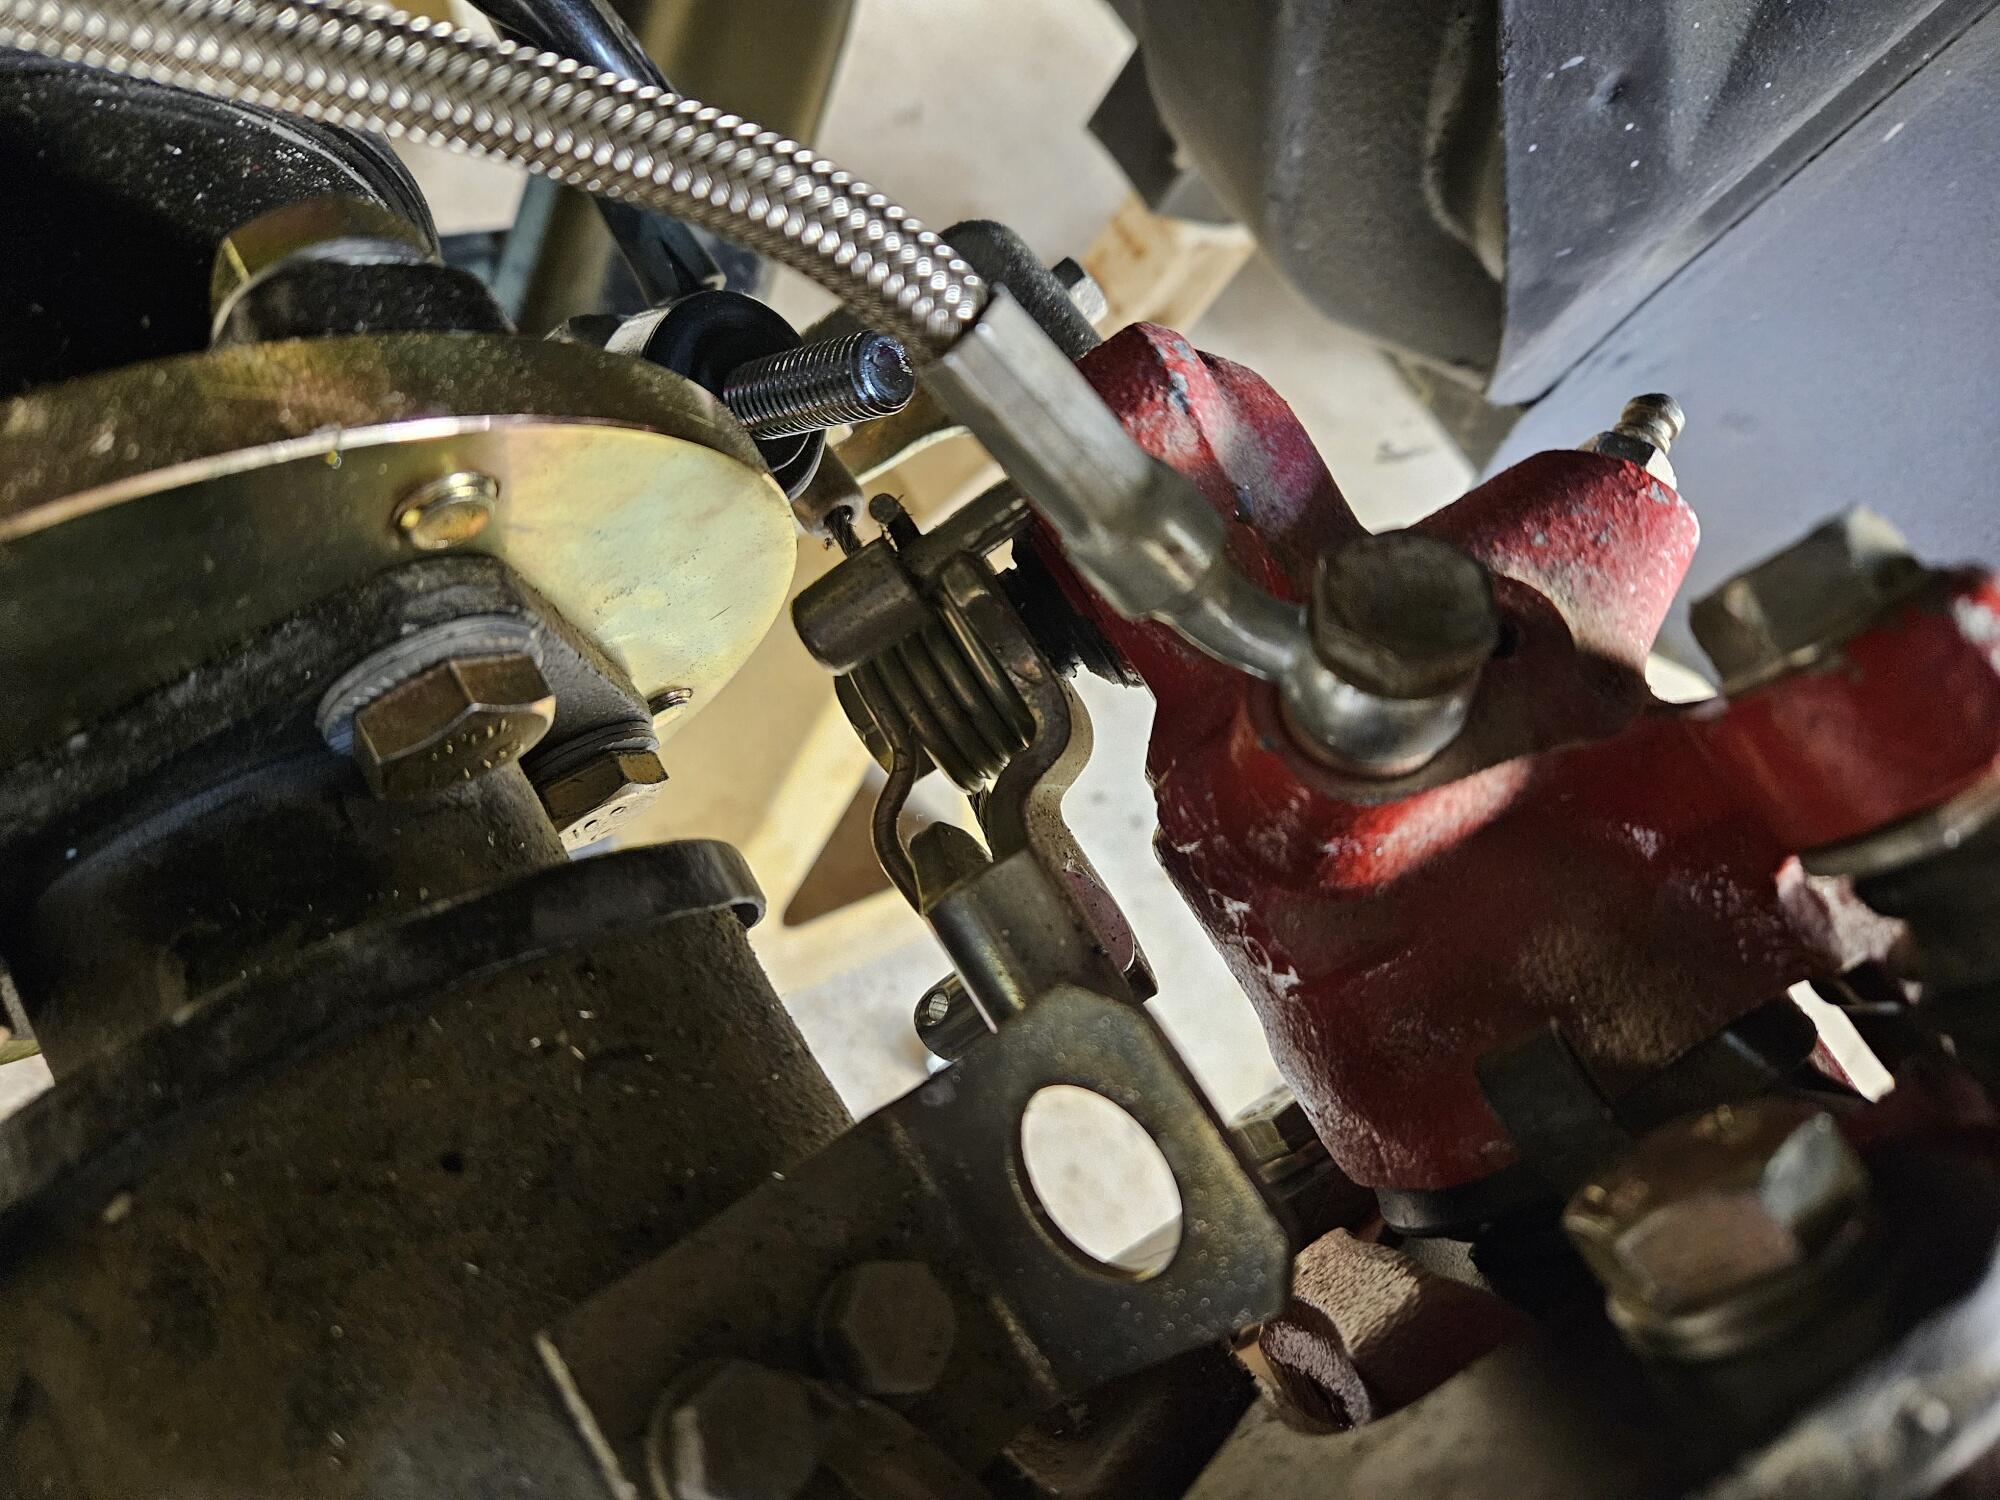
Any ideas on how to check for trapped pressure in the braking system? Clutch master...
-
There are like five different throw out bearing collars with different stack heights. Lots of variables. Best practice is to dry stack the pressure plate, bearing and collar on the bench and measure the new parts for stack height.
-
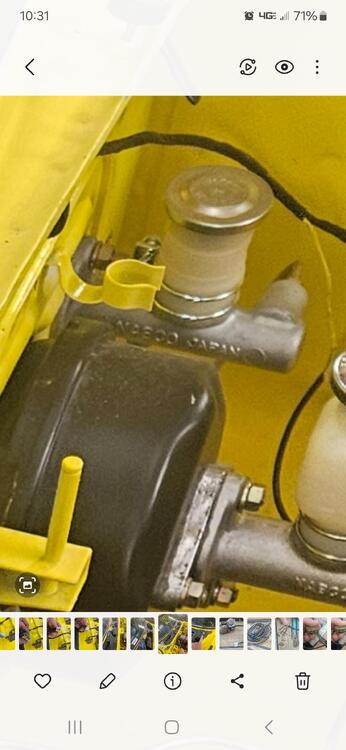
I am using a later master cylinder that I believe is a 280zx unit. So I shouldn't have the check valves then... Still can't get the clutch to bleed. Not manually, not by leaving it open and not with the vacuum bleeder. I guess I will have to pull it out and diagnose it.
-
Not totally sure. I've had them for a decade at least. Is there a way to tell from the parts? When I searched, I searched based off of the previous swap recommendations for Maxima year
-
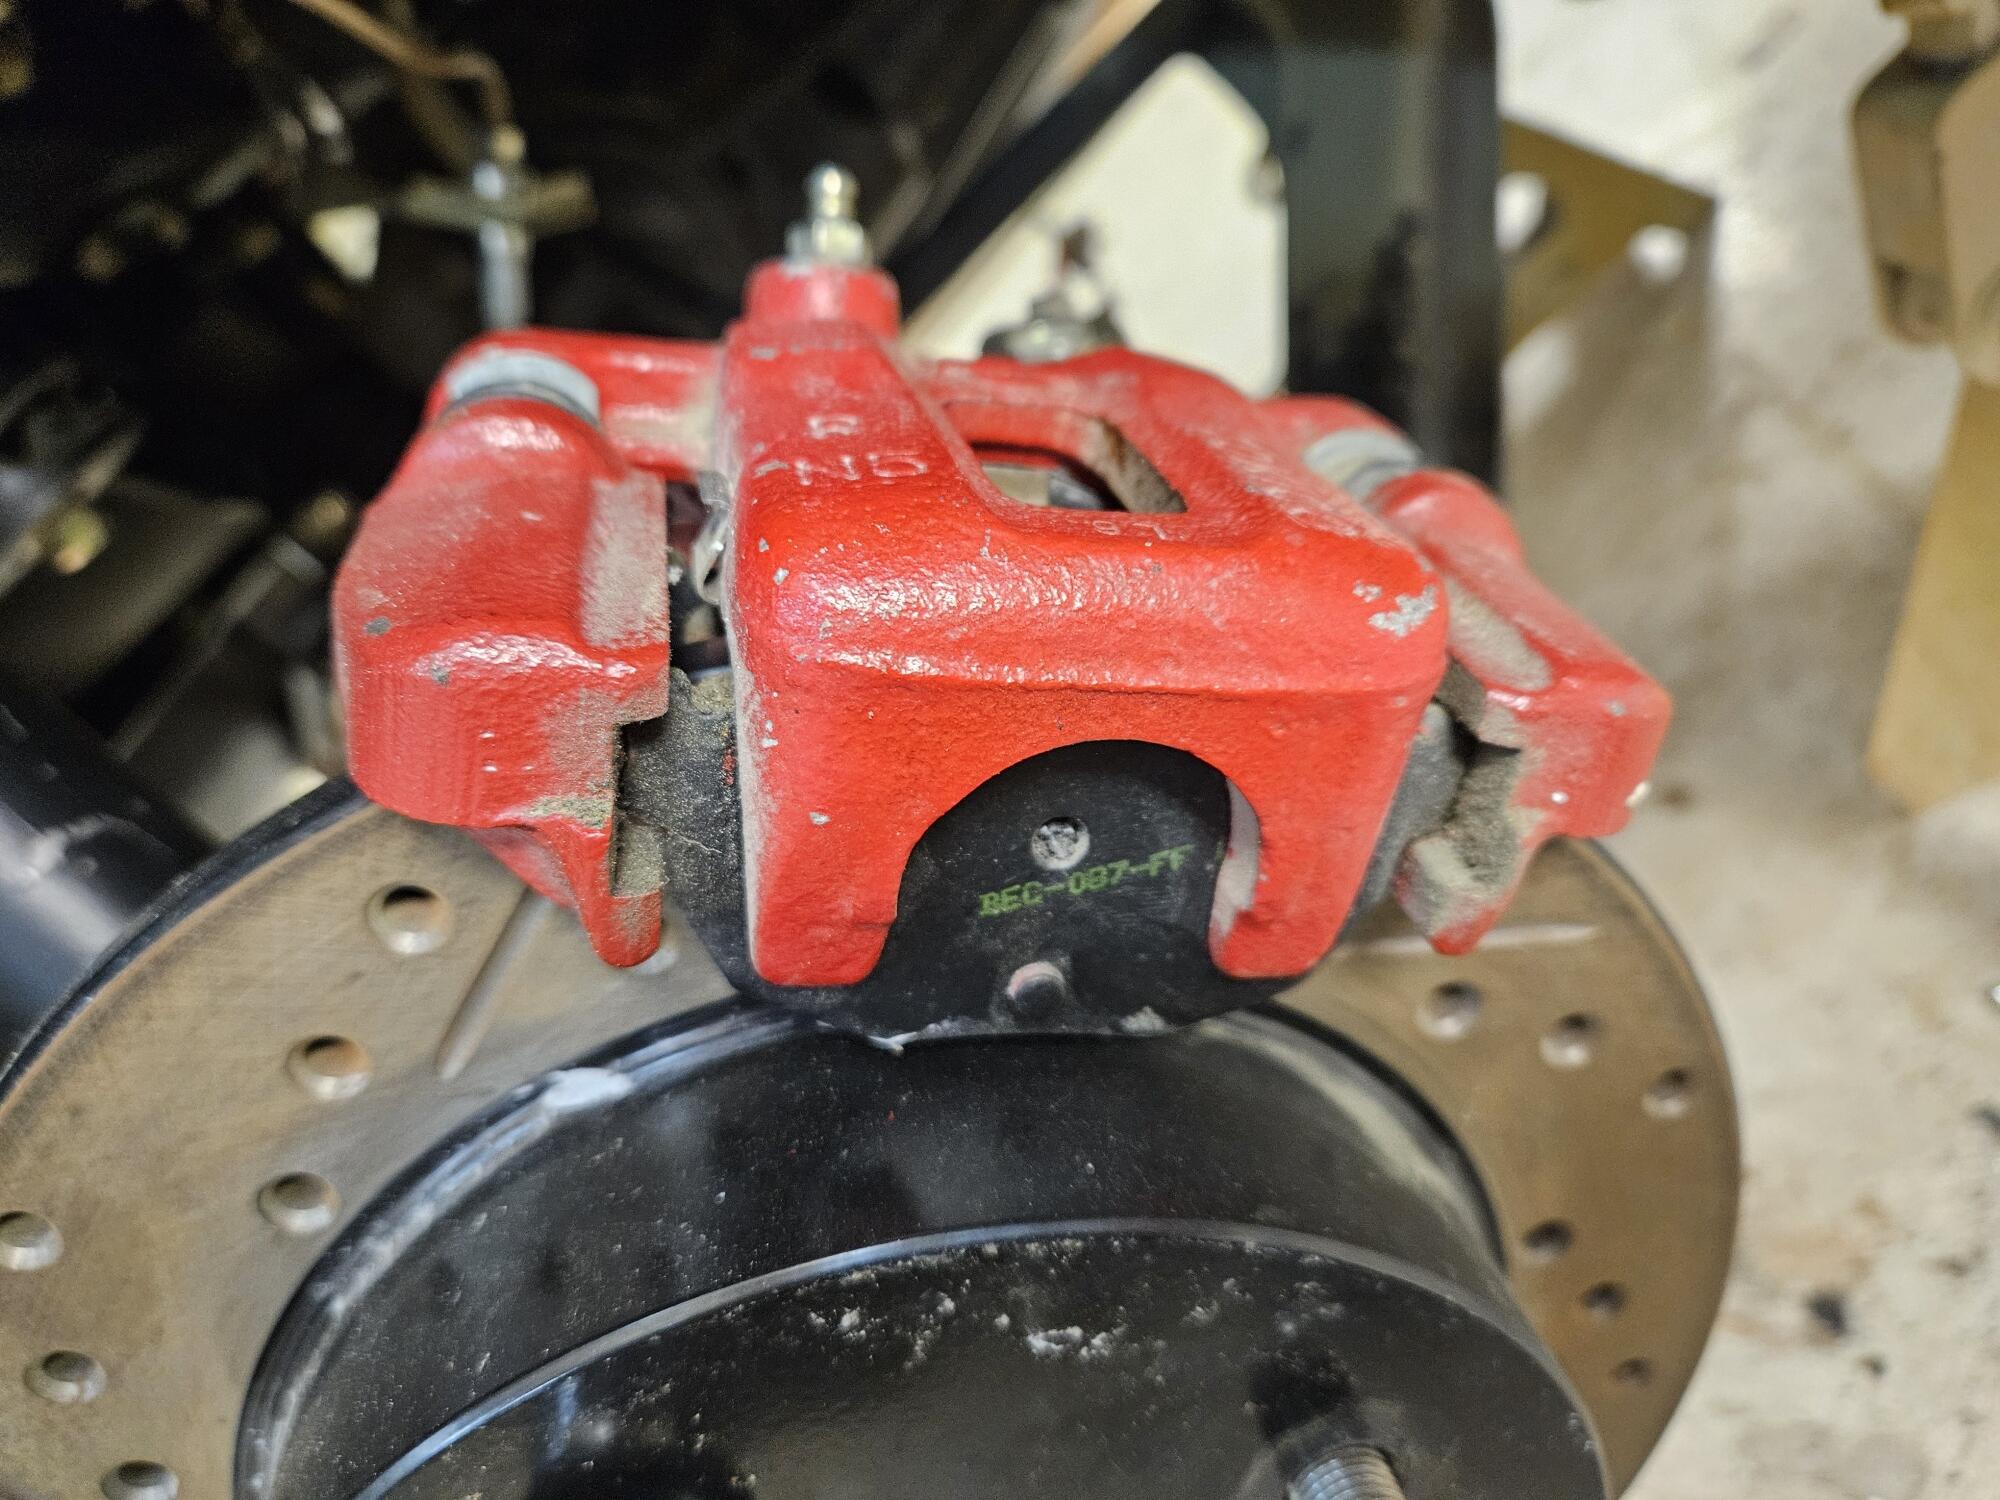
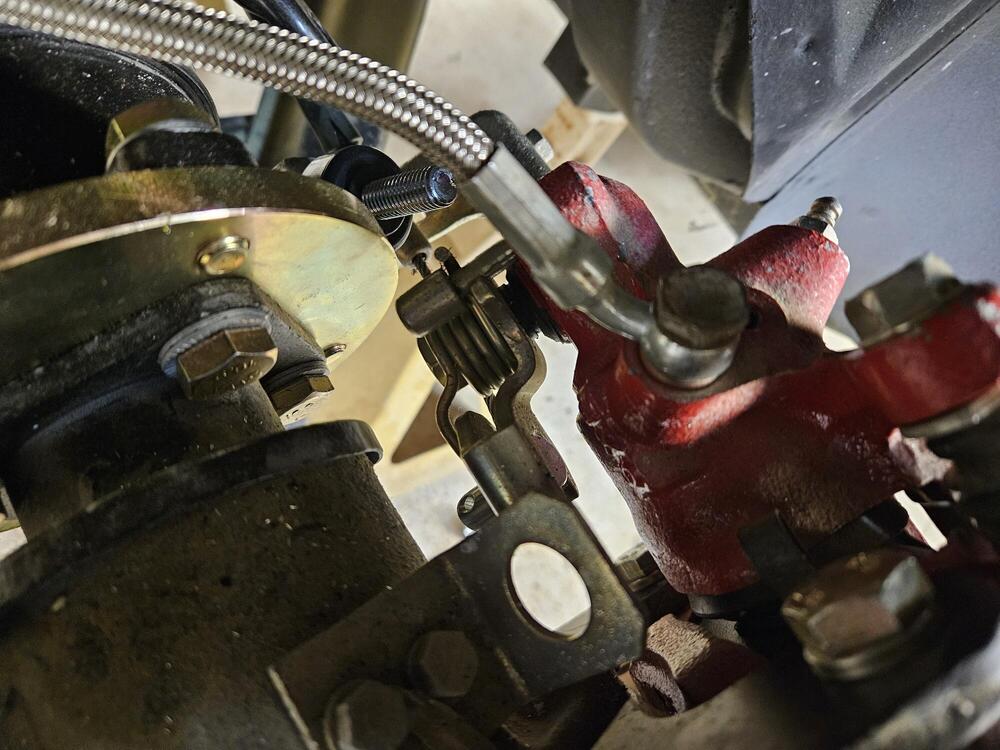
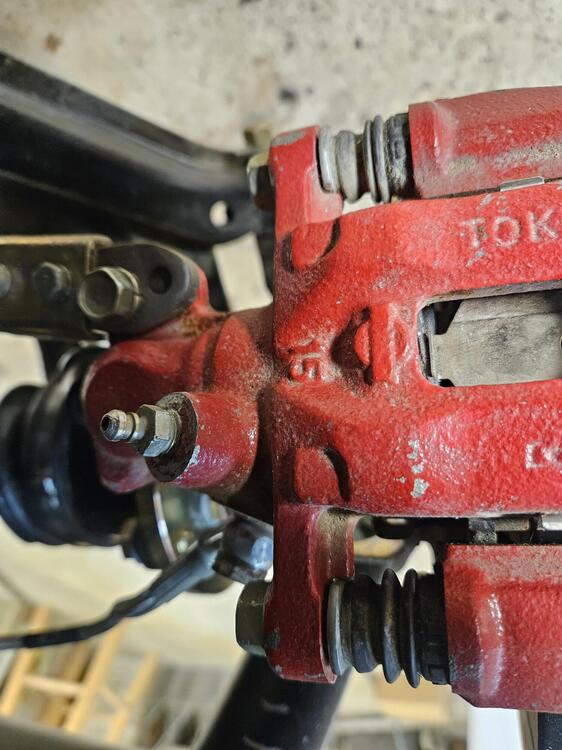
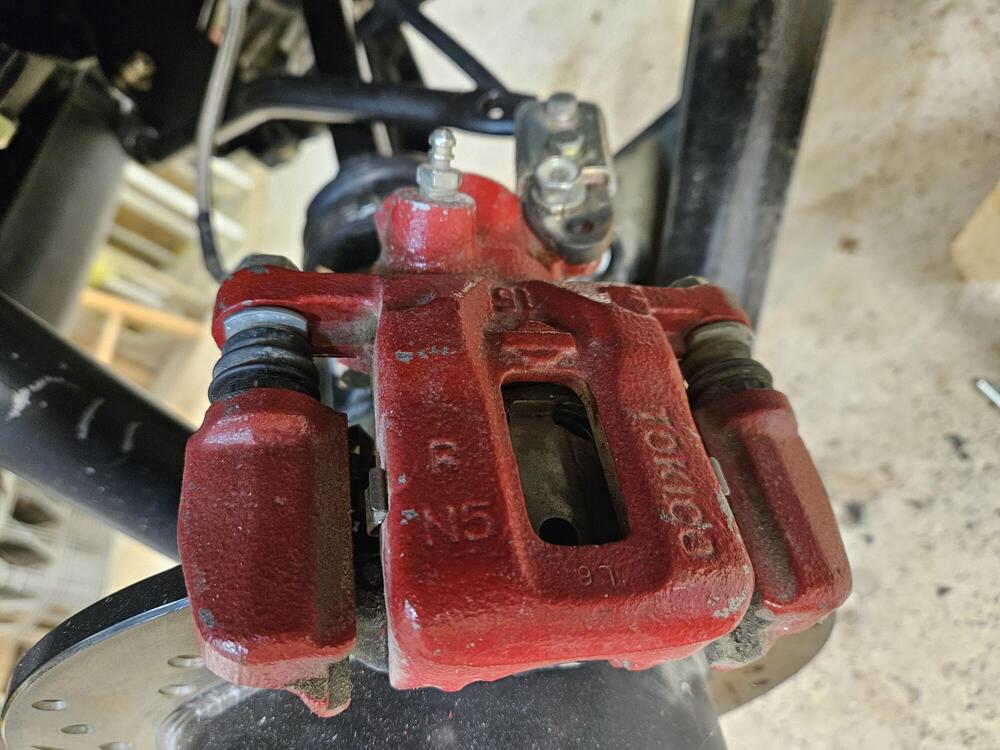
So I looked at the Maxima caliper I torn down a month or so ago. It apparently flash rusted in my shop when my dehumidifier quit at some point. I doubt it is salvageable... So I am looking at options for how I'm going to deal with brakes. But I have a question. I was having trouble with the rear calipers not letting go all the way after being applied. I remember something about a check valve in the rear brake circuit to keep the shoes close to the drums. Is that correct? Where is it located? Is it the brass junction under the left rear of the car where the brake lines tee off? Is that why ZCardepot offers this? https://zcardepot.com/collections/brakes/products/copy-of-metric-inverted-flare-t-fitting-m10-brake-line-connector#
-
Does anyone know if the 240SX and Maxima rear brake caliper used for rear disc conversion have the same bolt patterns and offsets? I had one of my Maxima rear calipers torn down in the shop. My dehumidifier went out during that time and it's got a good bit of rust in the bore. The Maxima calipers are not available anywhere. So was wondering if the 240SX caliper was a direct replacement?
-
I think I found SS screws for the body to lens
-
There is a shop in spartanburg that moght do it. Kimbrells paint and auto. They do mostly American iron but I have seen some European stuff there on occasion. You could also reach out to Diseazed and see if he has someone in Virginia that could help
-
Where in the carolinas are you? I'm in Spartanburg
-
-
Absolutely, if you have a wideband use it!
-
My 2 cents (45 cents) If I owned a 280z, when I started having problems with the factory EFI system, I would ditch it and go to a more modern more easily tuned system
-
How did you make them? 3d print?
-
I have rebuilt a booster. It takes some special tools which I had to build. I still haven't tried it to see if it works properly. If I were doing it again, I would have Harmon do it for just a few dollars more... https://harmonclassicbrakes.com/
-
Thoughts on what it will bring?
-
Maybe you ended up with one half of each unit?