Patcon
 Subscriber
-
Joined
-
Last visited
Everything posted by Patcon
-

-
Looks like $27 from ZCDepot. I didn't find them at Rockauto...
-
I drew these in autocad. I printed them to pdf but they aren't to scale. They really need to be plotted to pdf to scale but I either can't or don't know how to do that. One DWG has a grid that makes it easier to adjust the pattern if necessary. One is without the grid for making pdfs 1971 240z jute patterns wo grid.dwg 1971 240z jute patterns.dwg 1971 jute floor mat.pdf 1971 jute tunnel pt1.pdf 1971 jute tunnel pt2.pdf
-
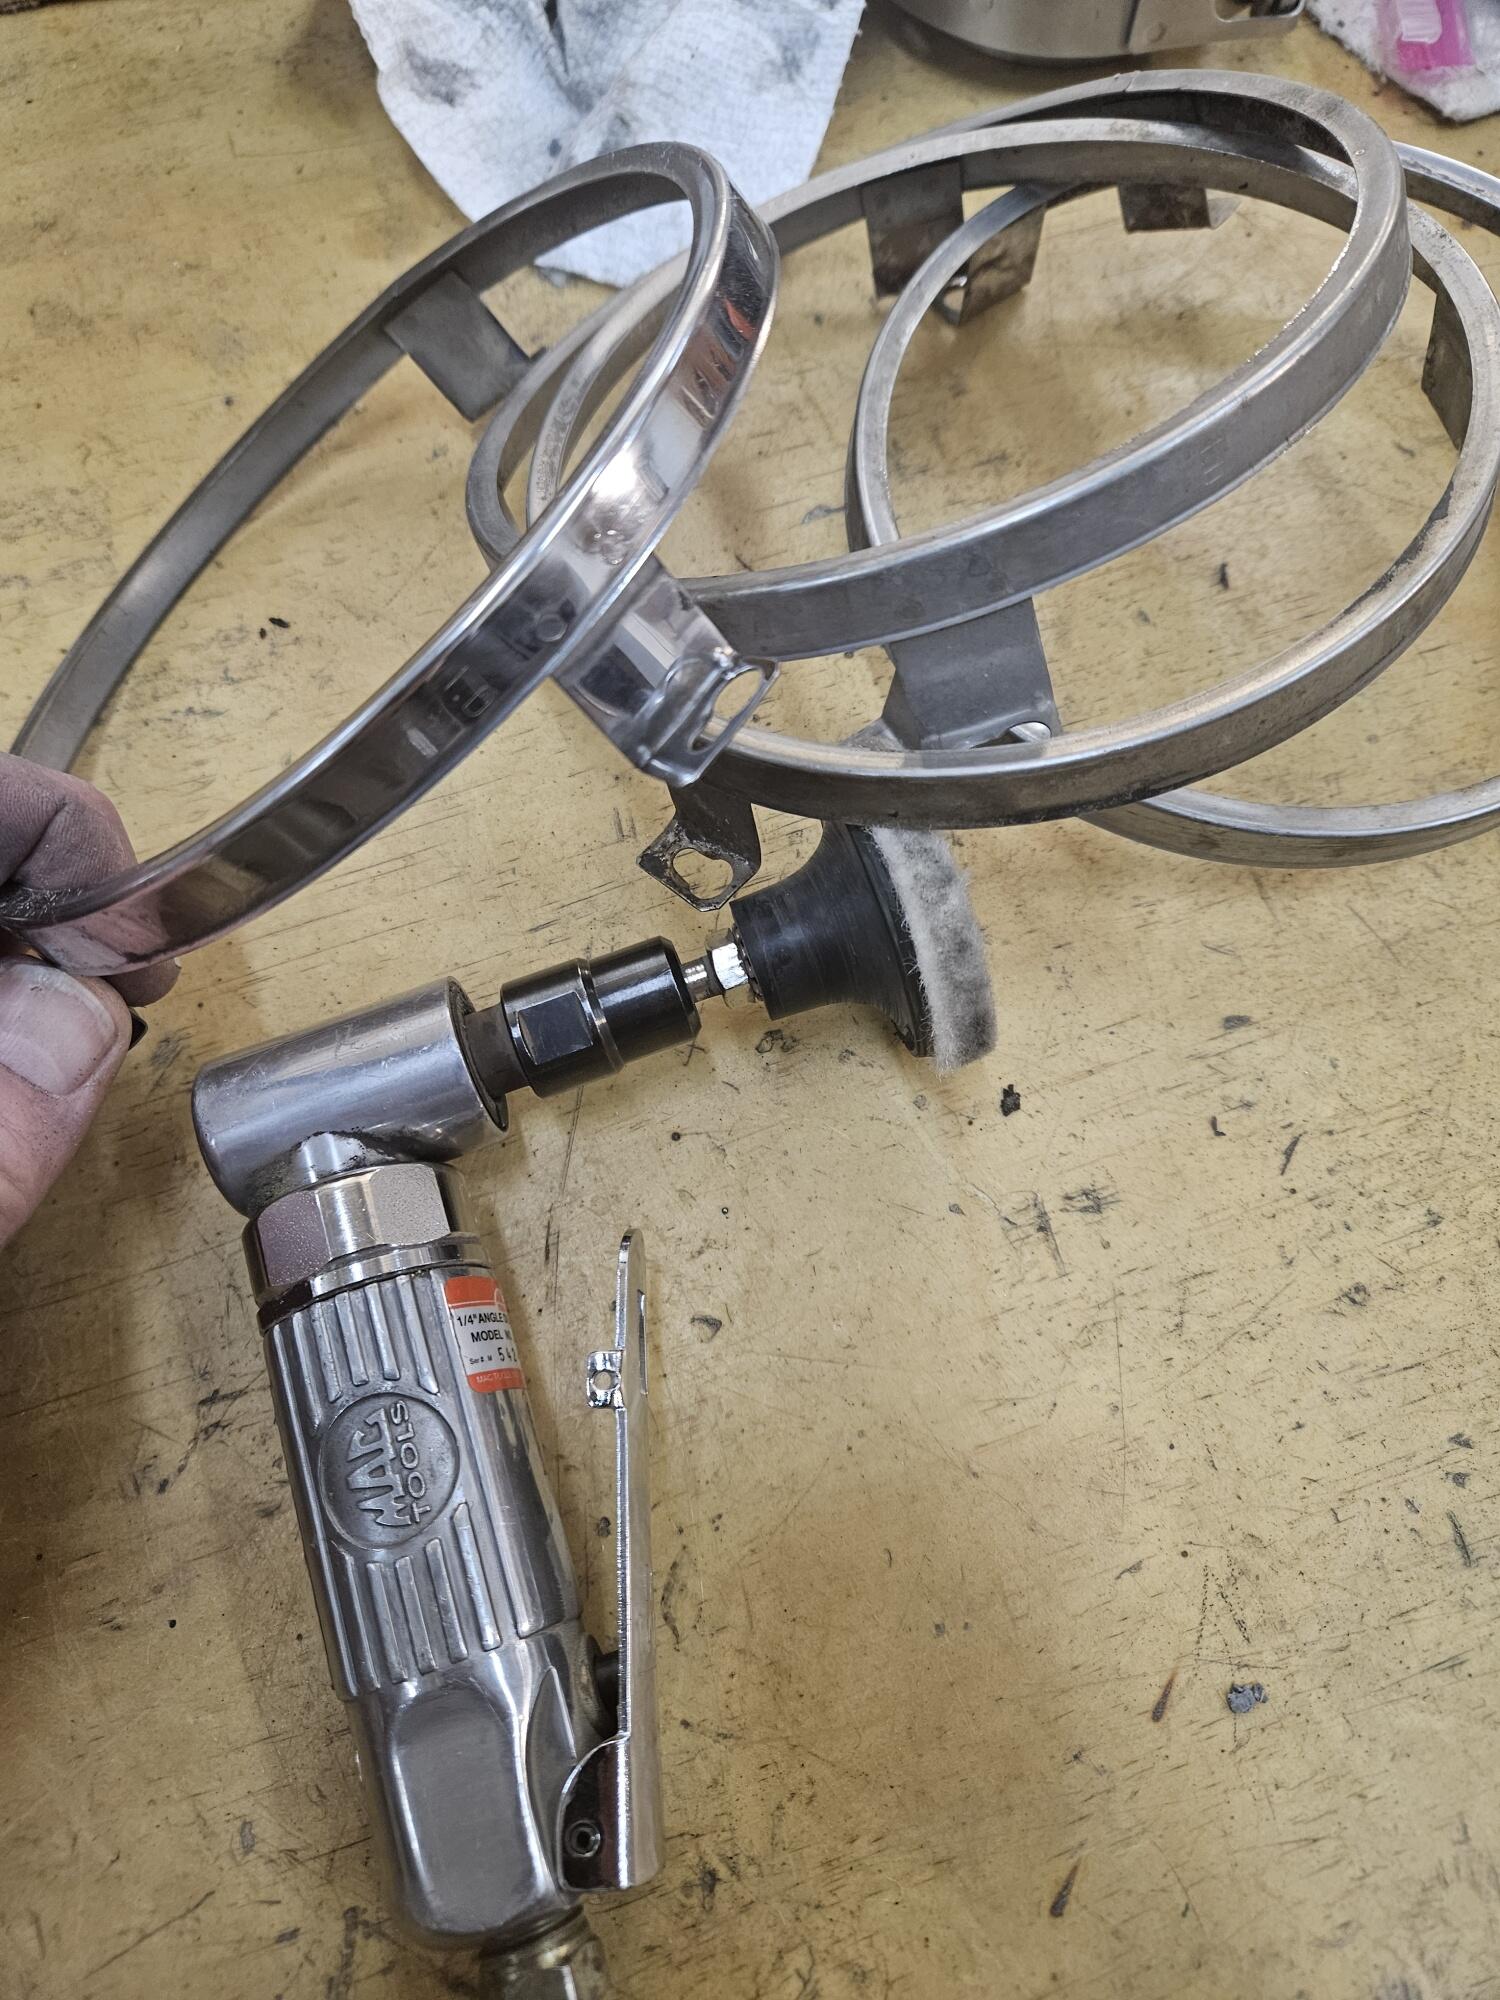
That's a lot of grinding! I'm sure that took a while!
-
Im resisting! I dont need another project 😁
-
That's not a bad price...
-
The painter who painted Cody's goon would use a straight razor blade. Put a small piece of tape on each end wrapped over the blade. That spaces the blade up the thickness of the tape. He would then scrape runs with the razor blade standing straight up off the paint. You could then scrape them down a little, but not all the way. Let them harden up some before coming back to them.
-
I was planning on using their whole set...
-
I would go with an MSA style box if sound matters to you at all. The factory location is pretty poor.
-
Those are great pics Jim!! My concerns on Courtesy is a "There's just no money in it..." type business decision. They have been very supported of the classic cars for a long time...
-
@inline6 I had thought about taking your spreasdsheet and adding thumbnail pictures of each fastener in my "spare time". Also in other news the Courtesy Nissan parts store is evidently now closed... Not closed, moved to a different website...
-
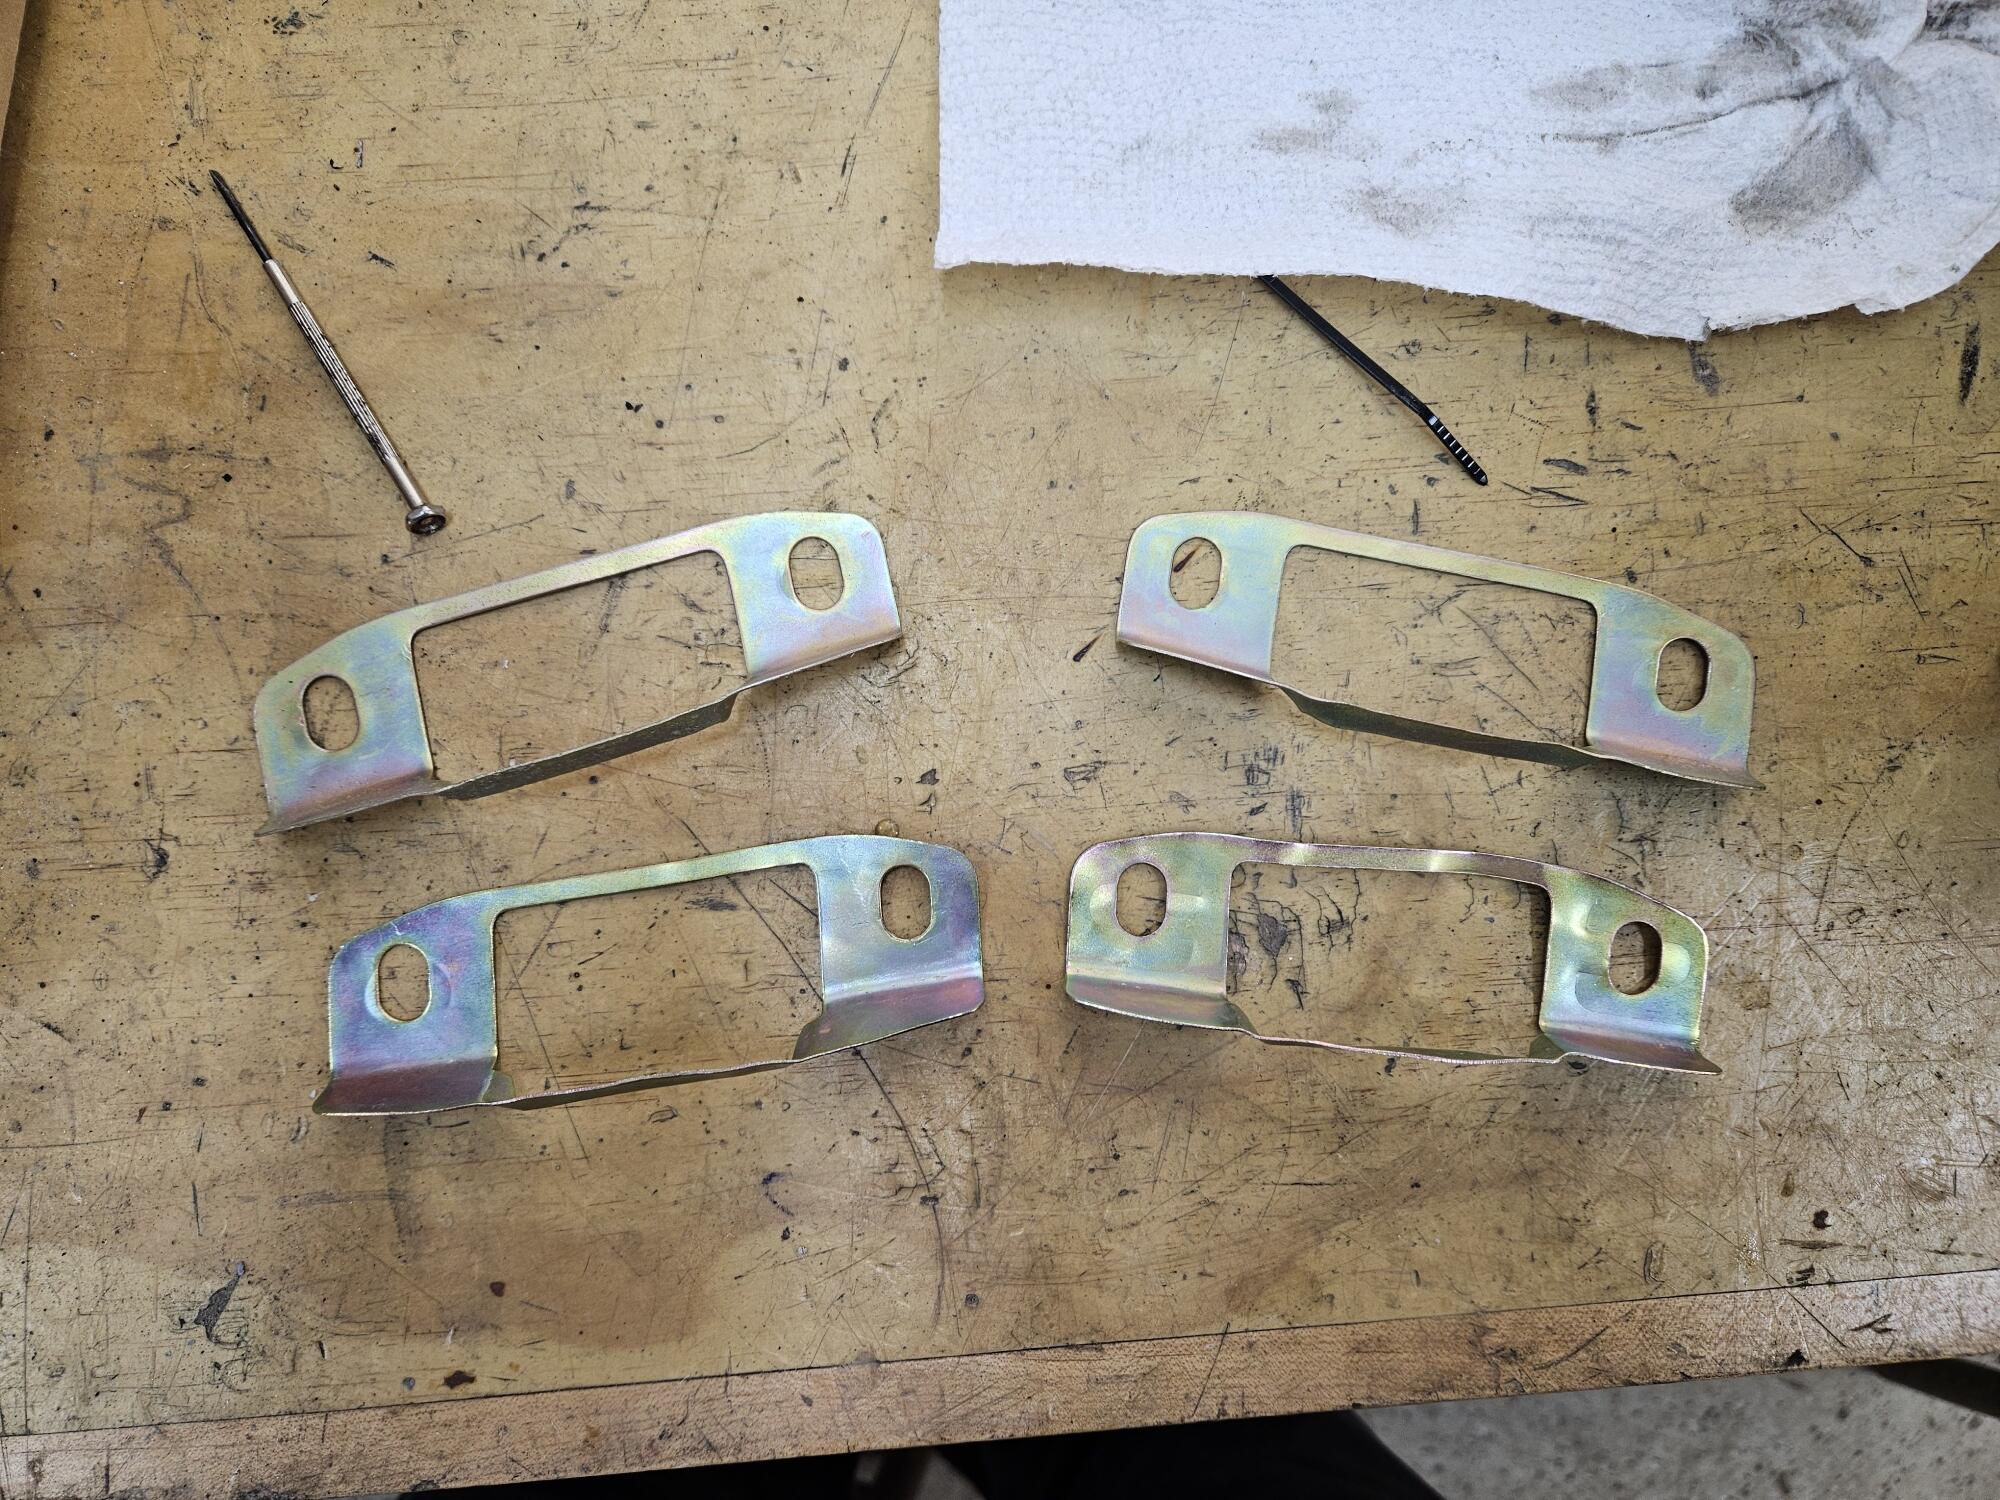
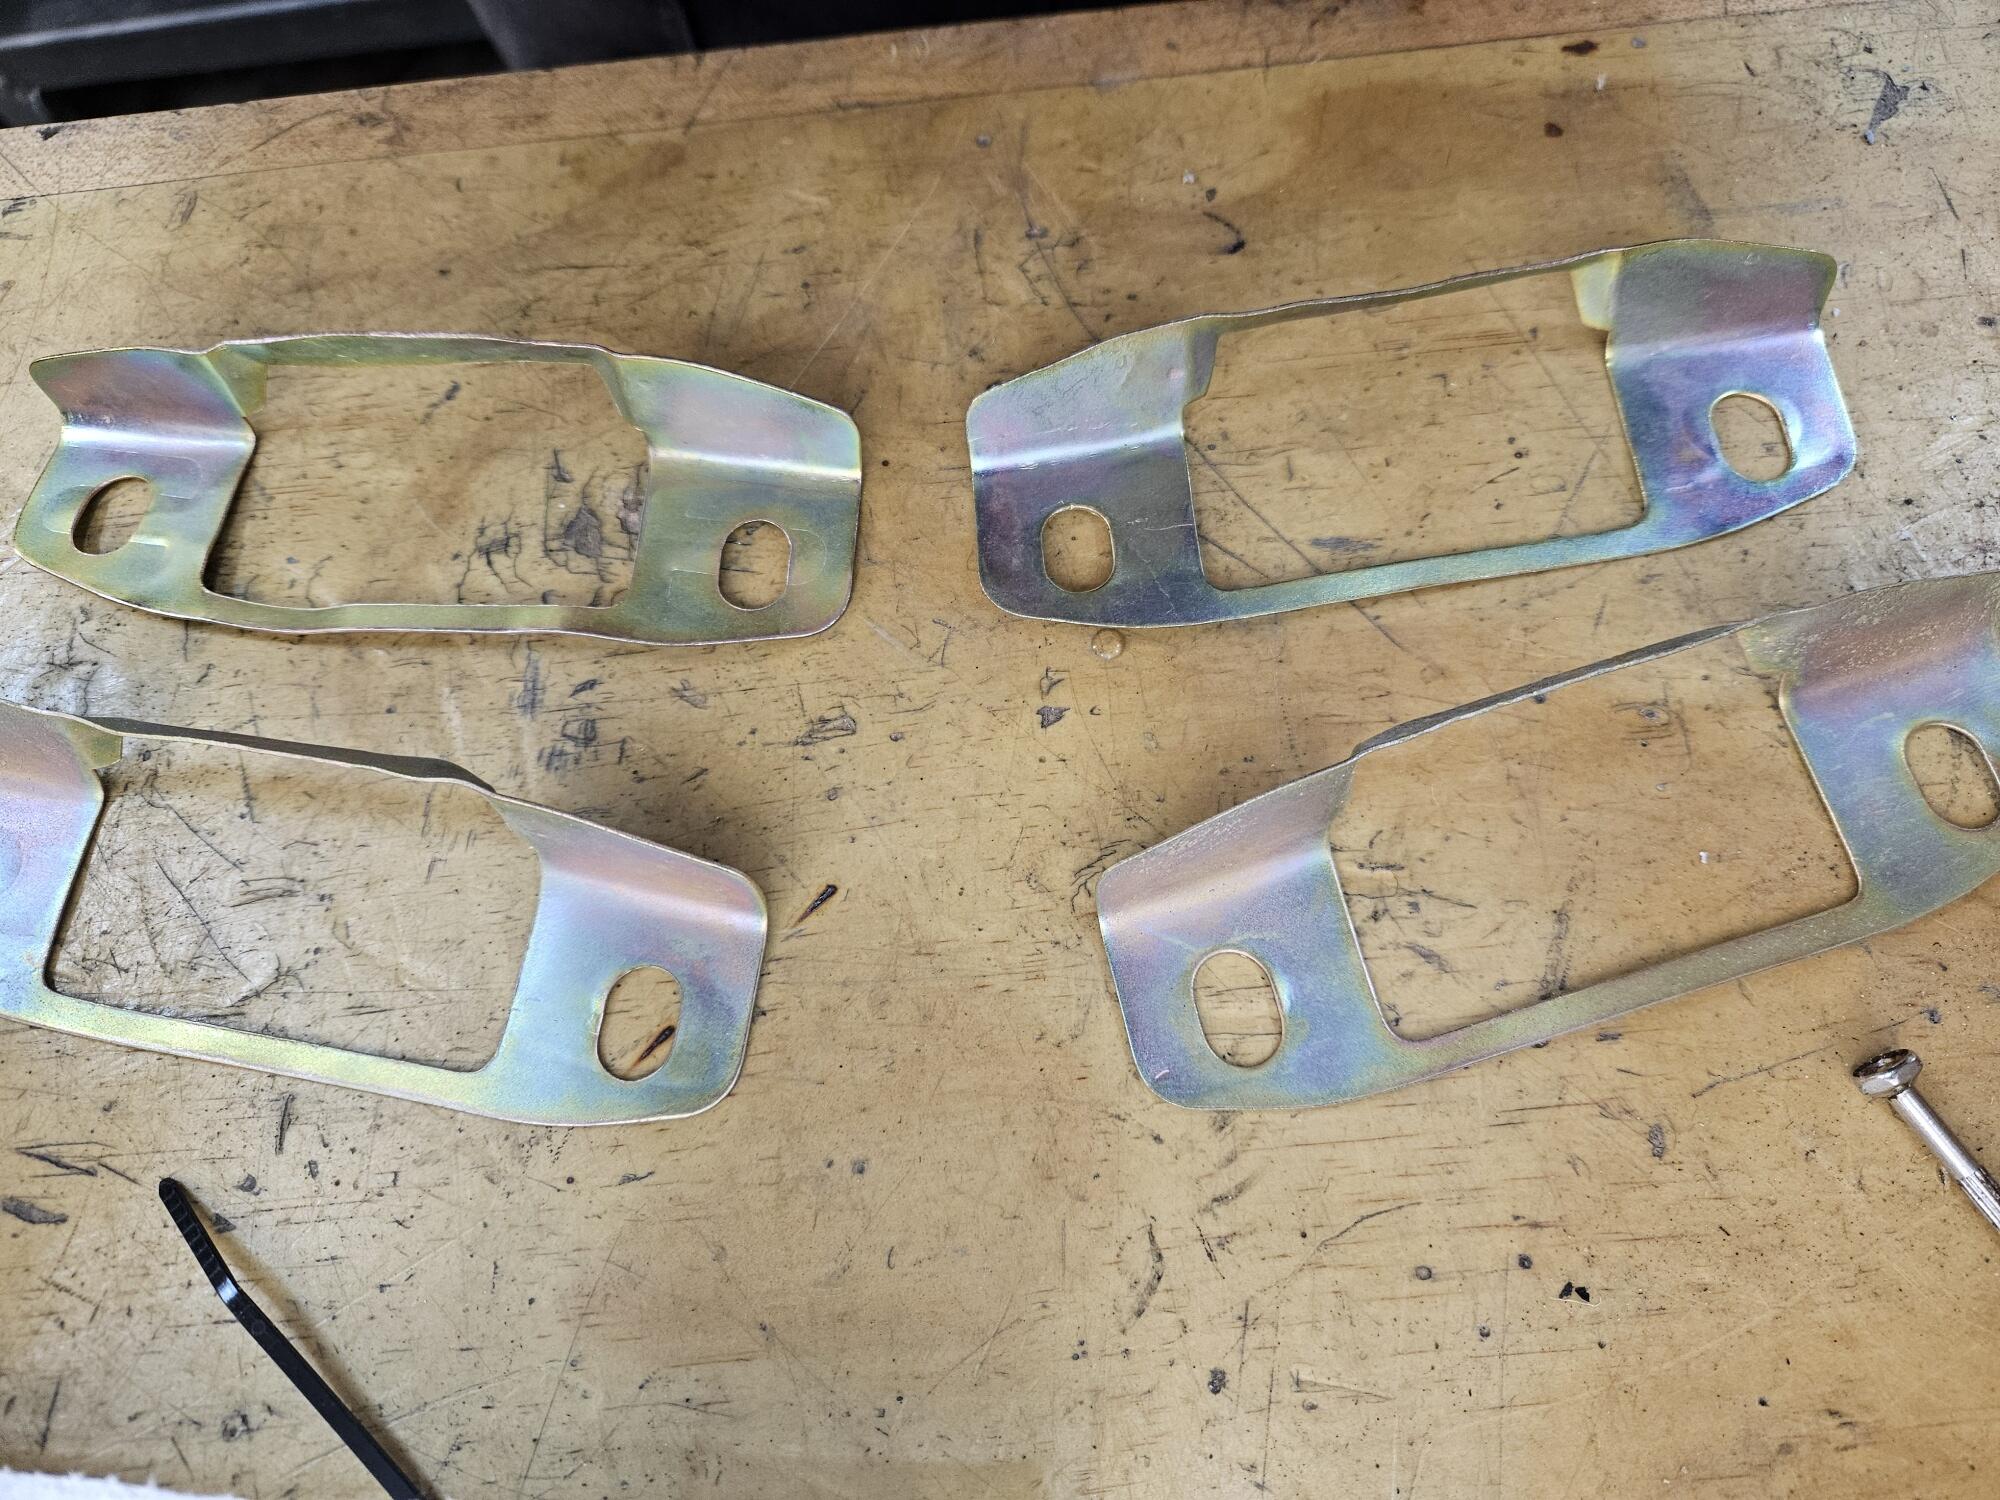
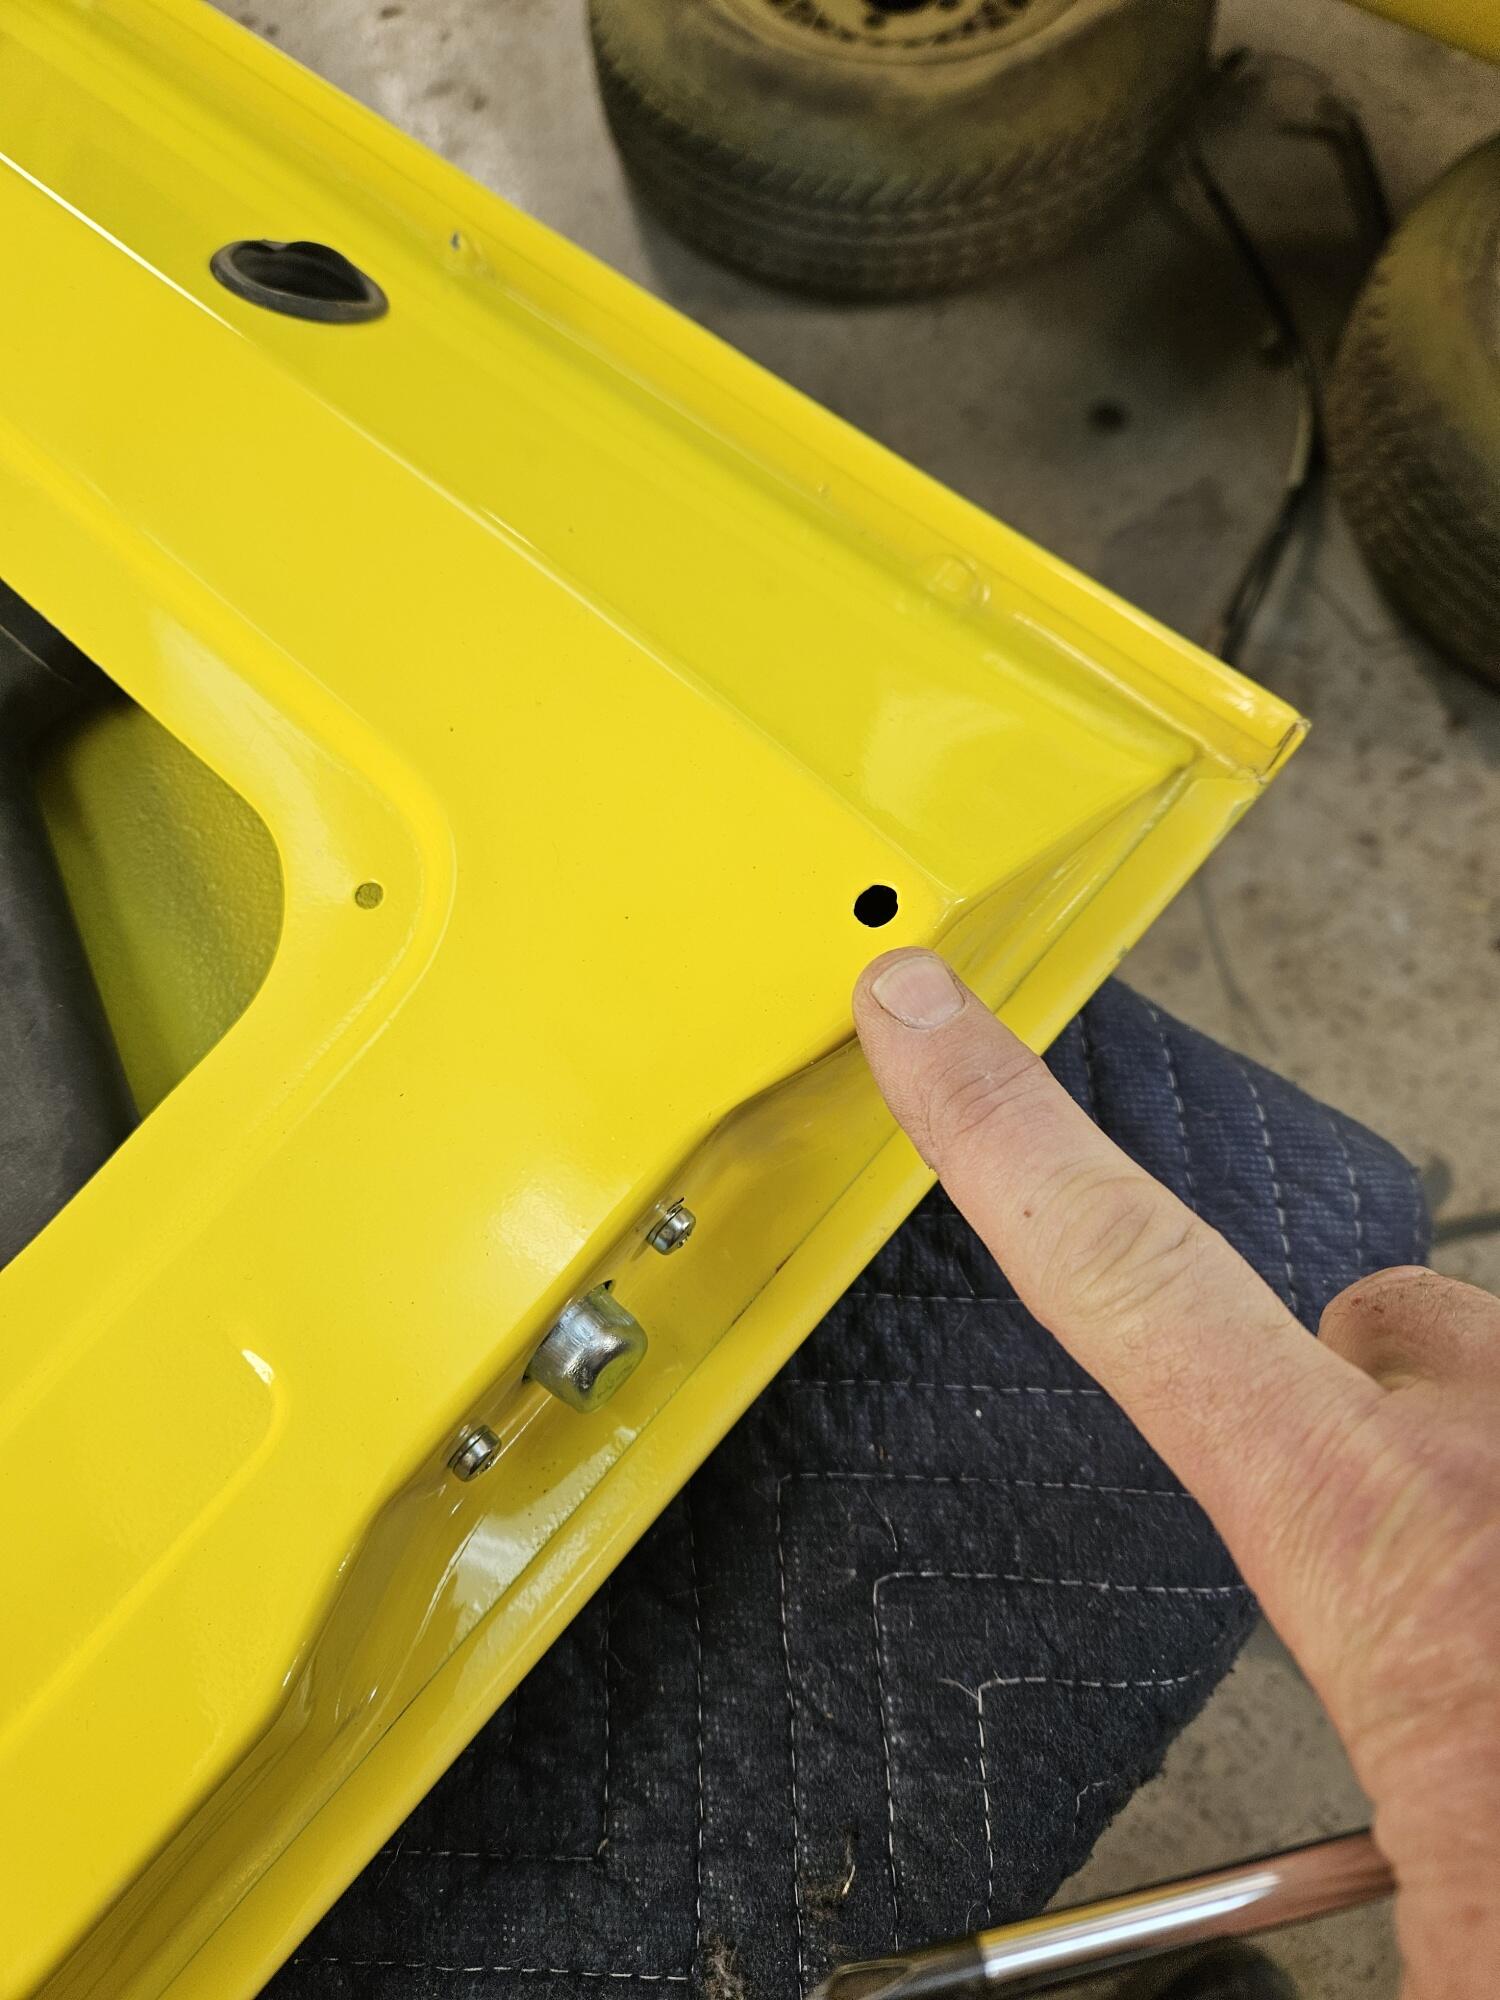
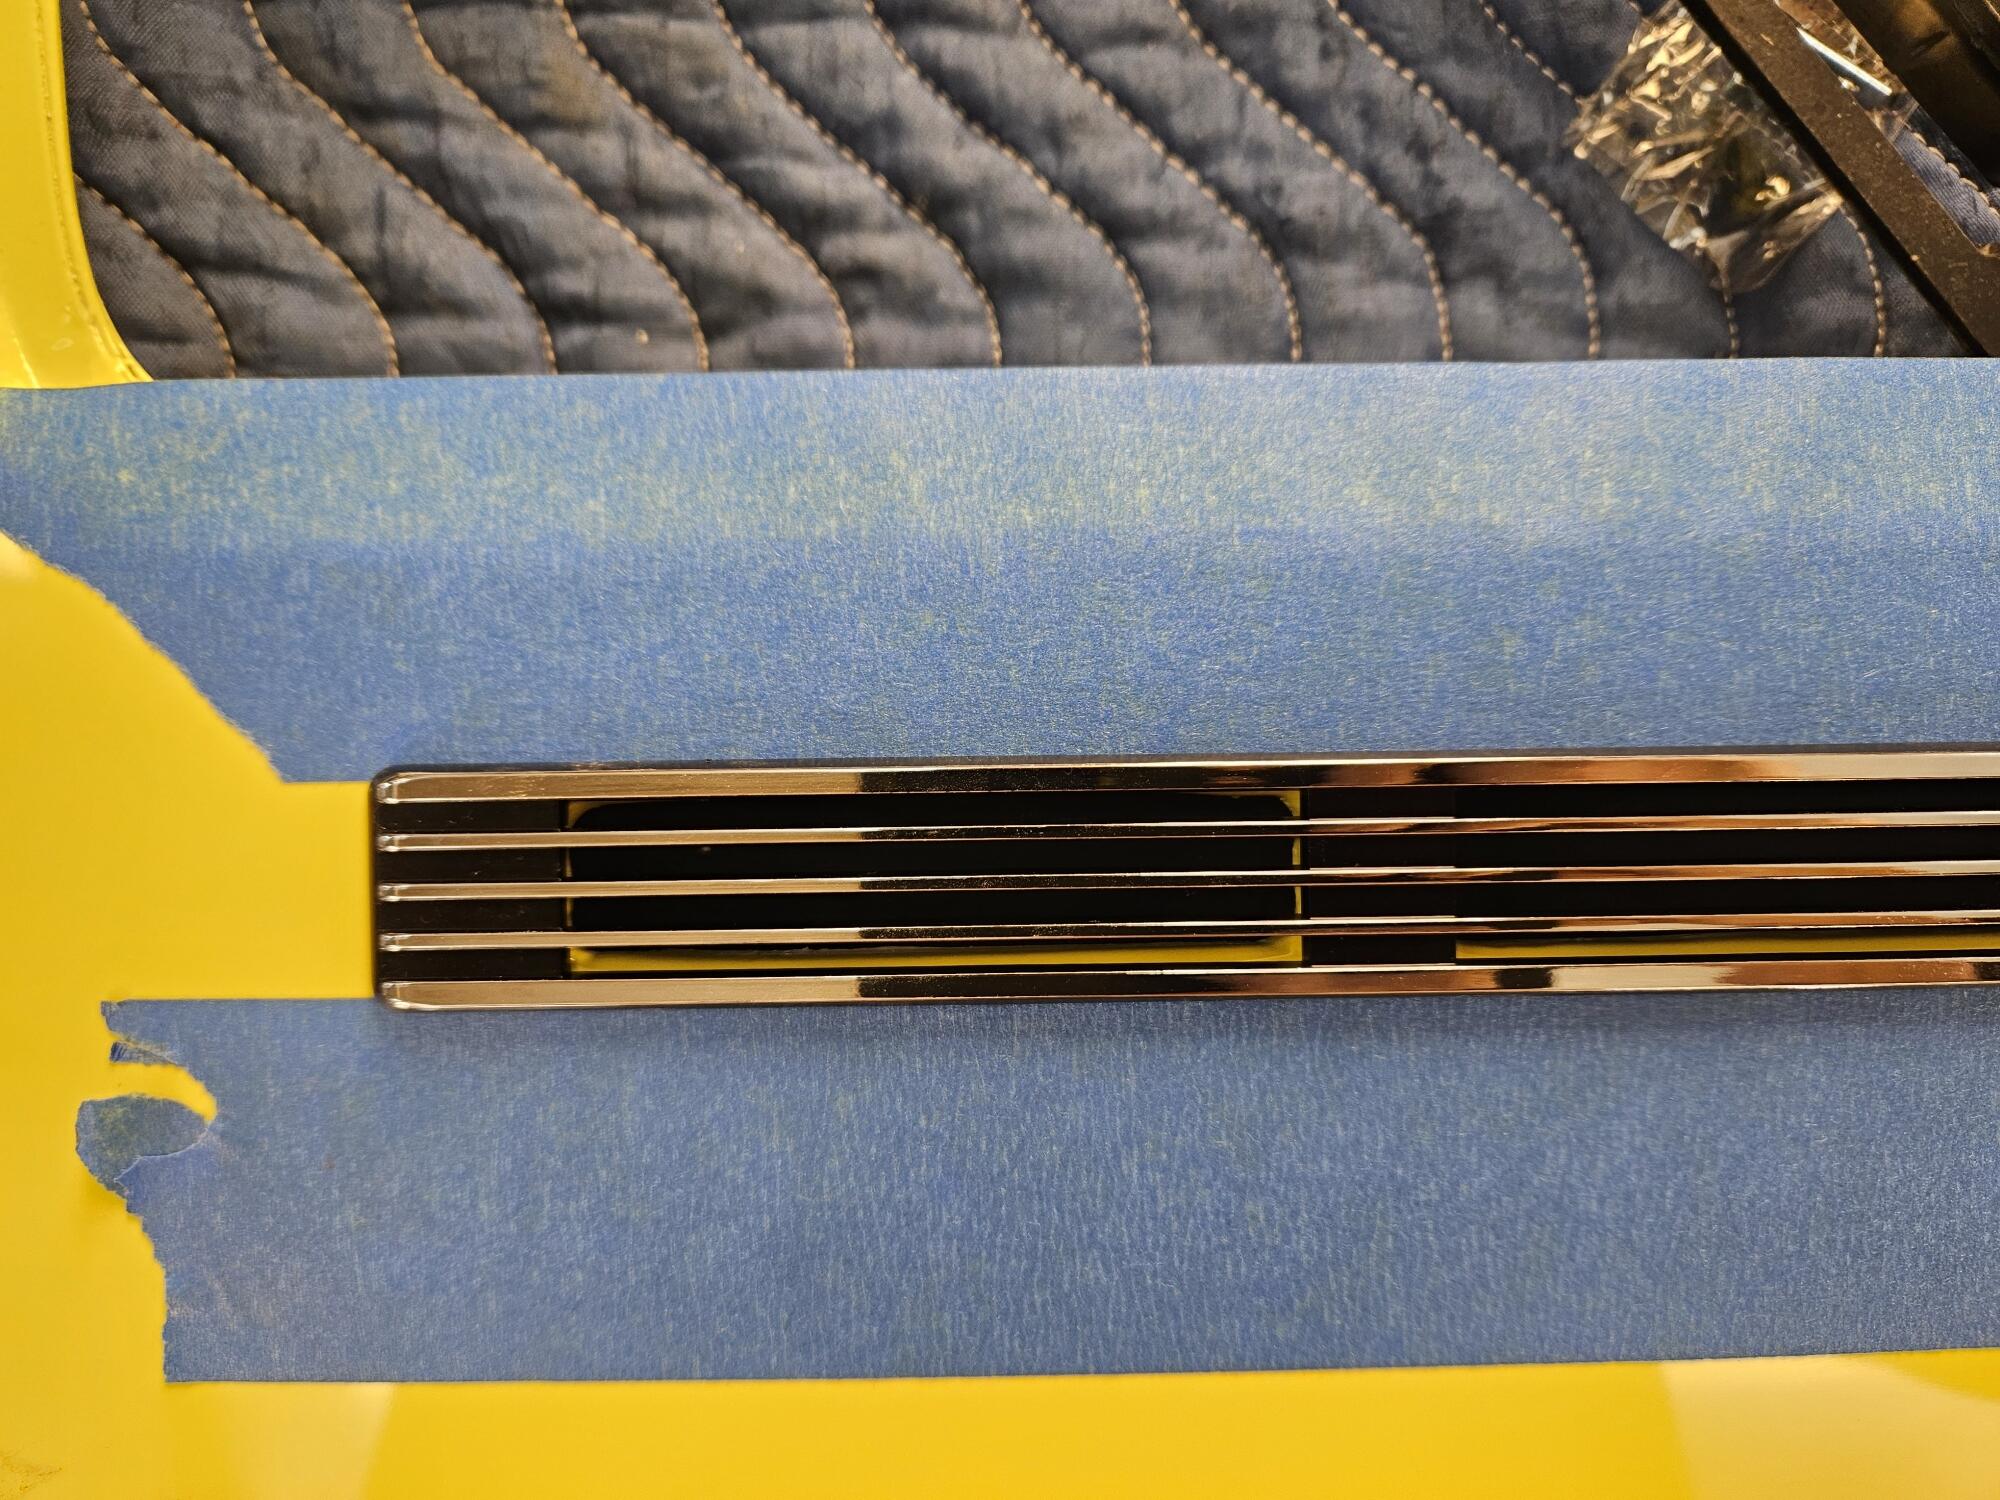
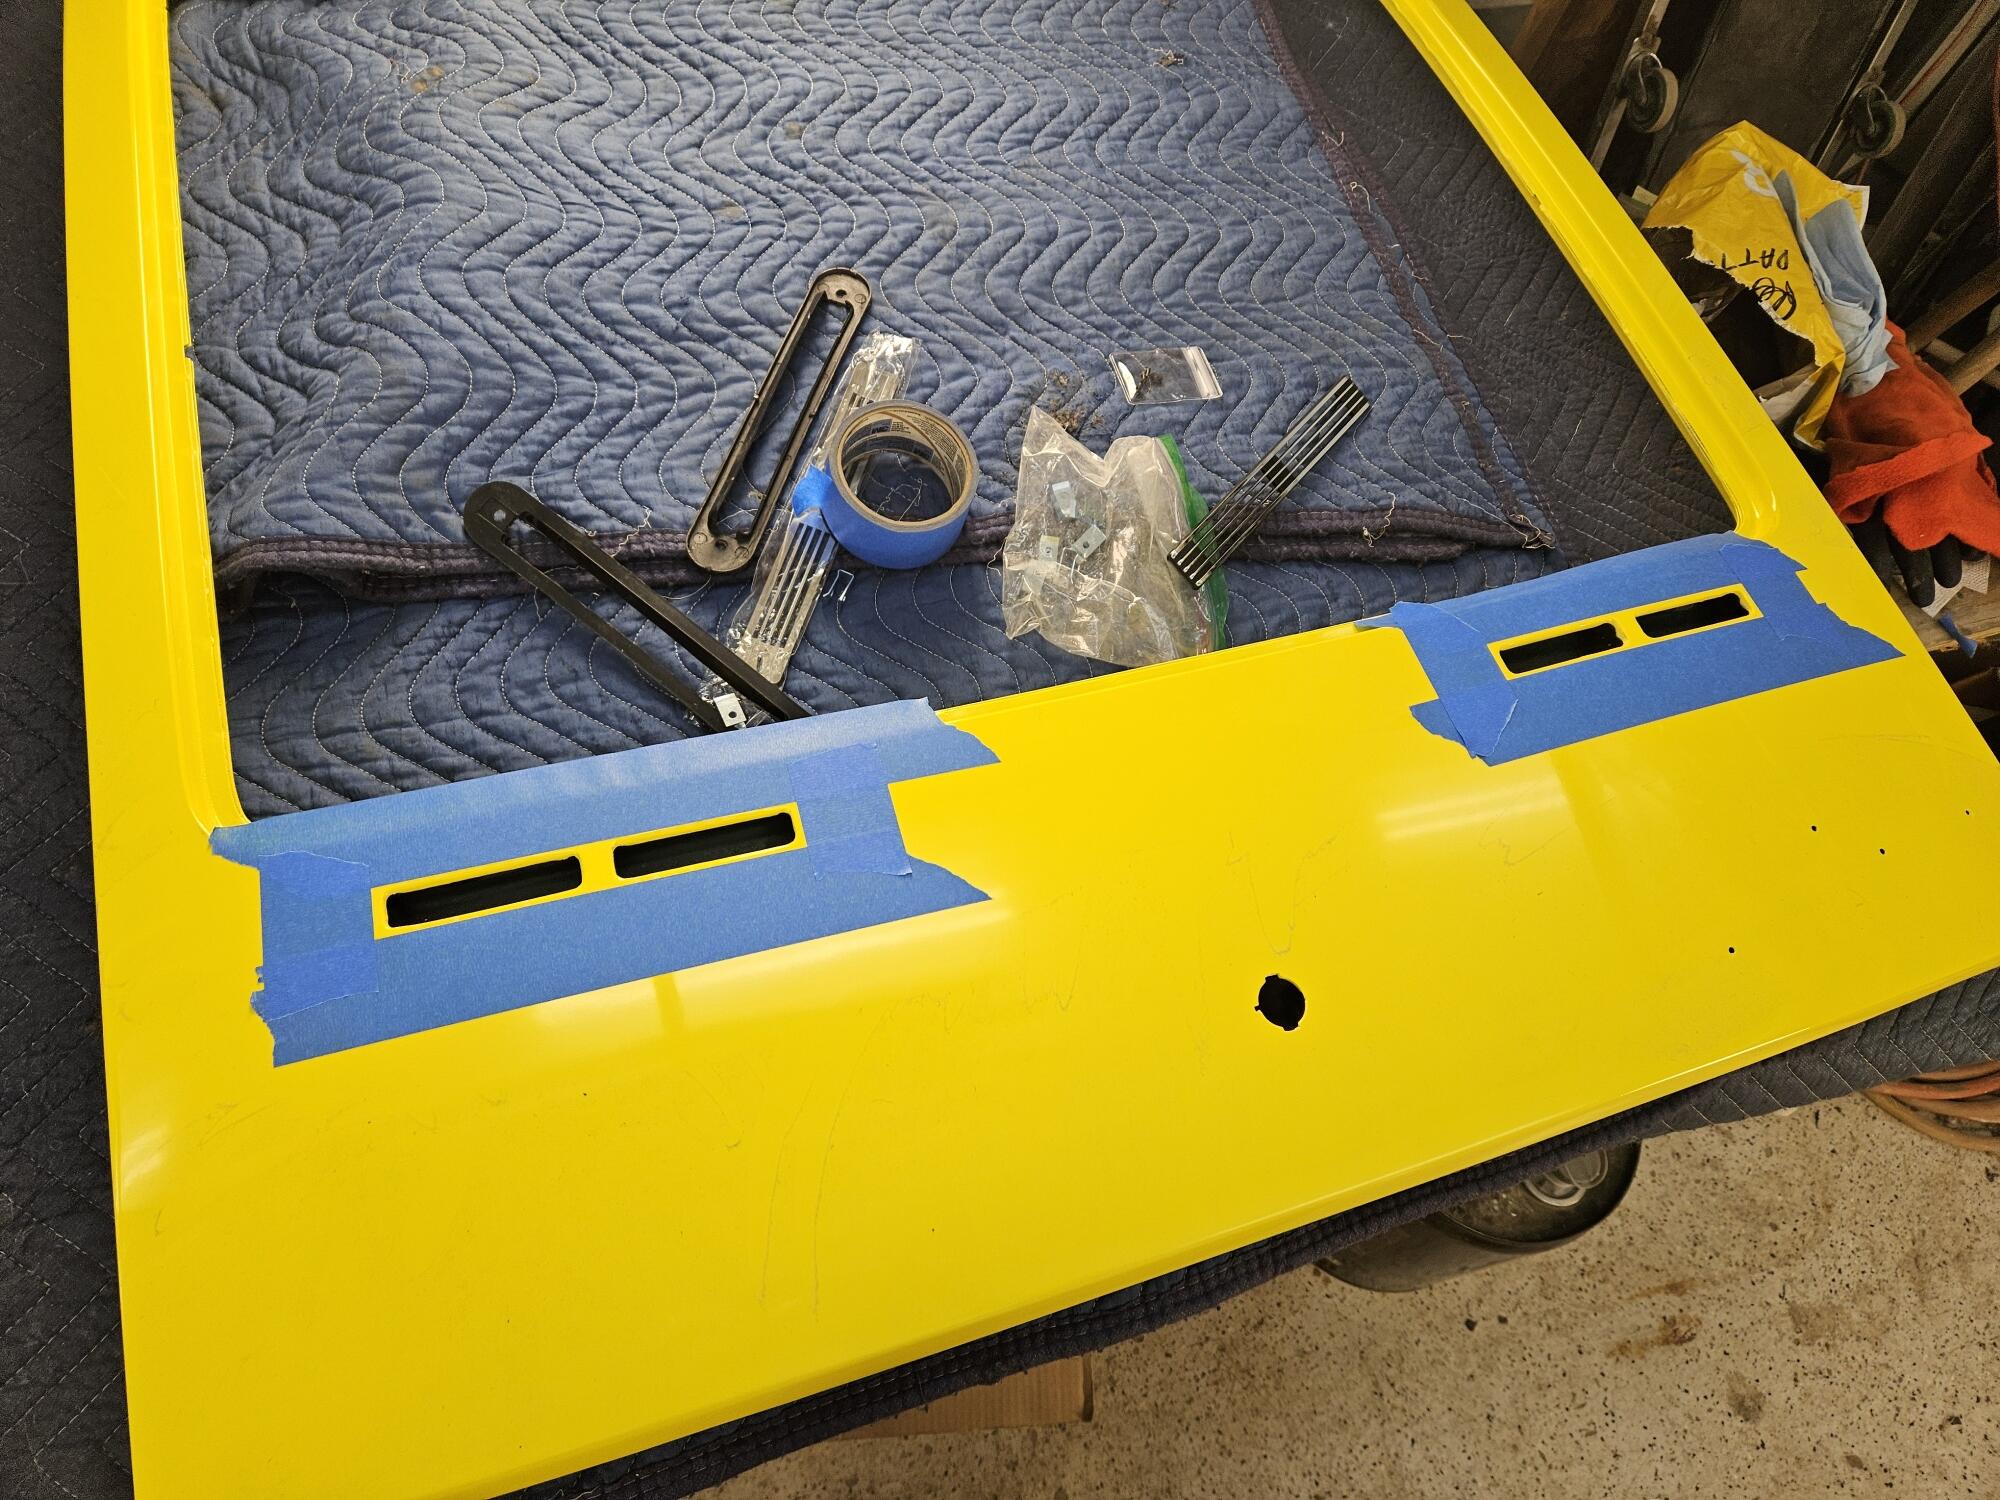
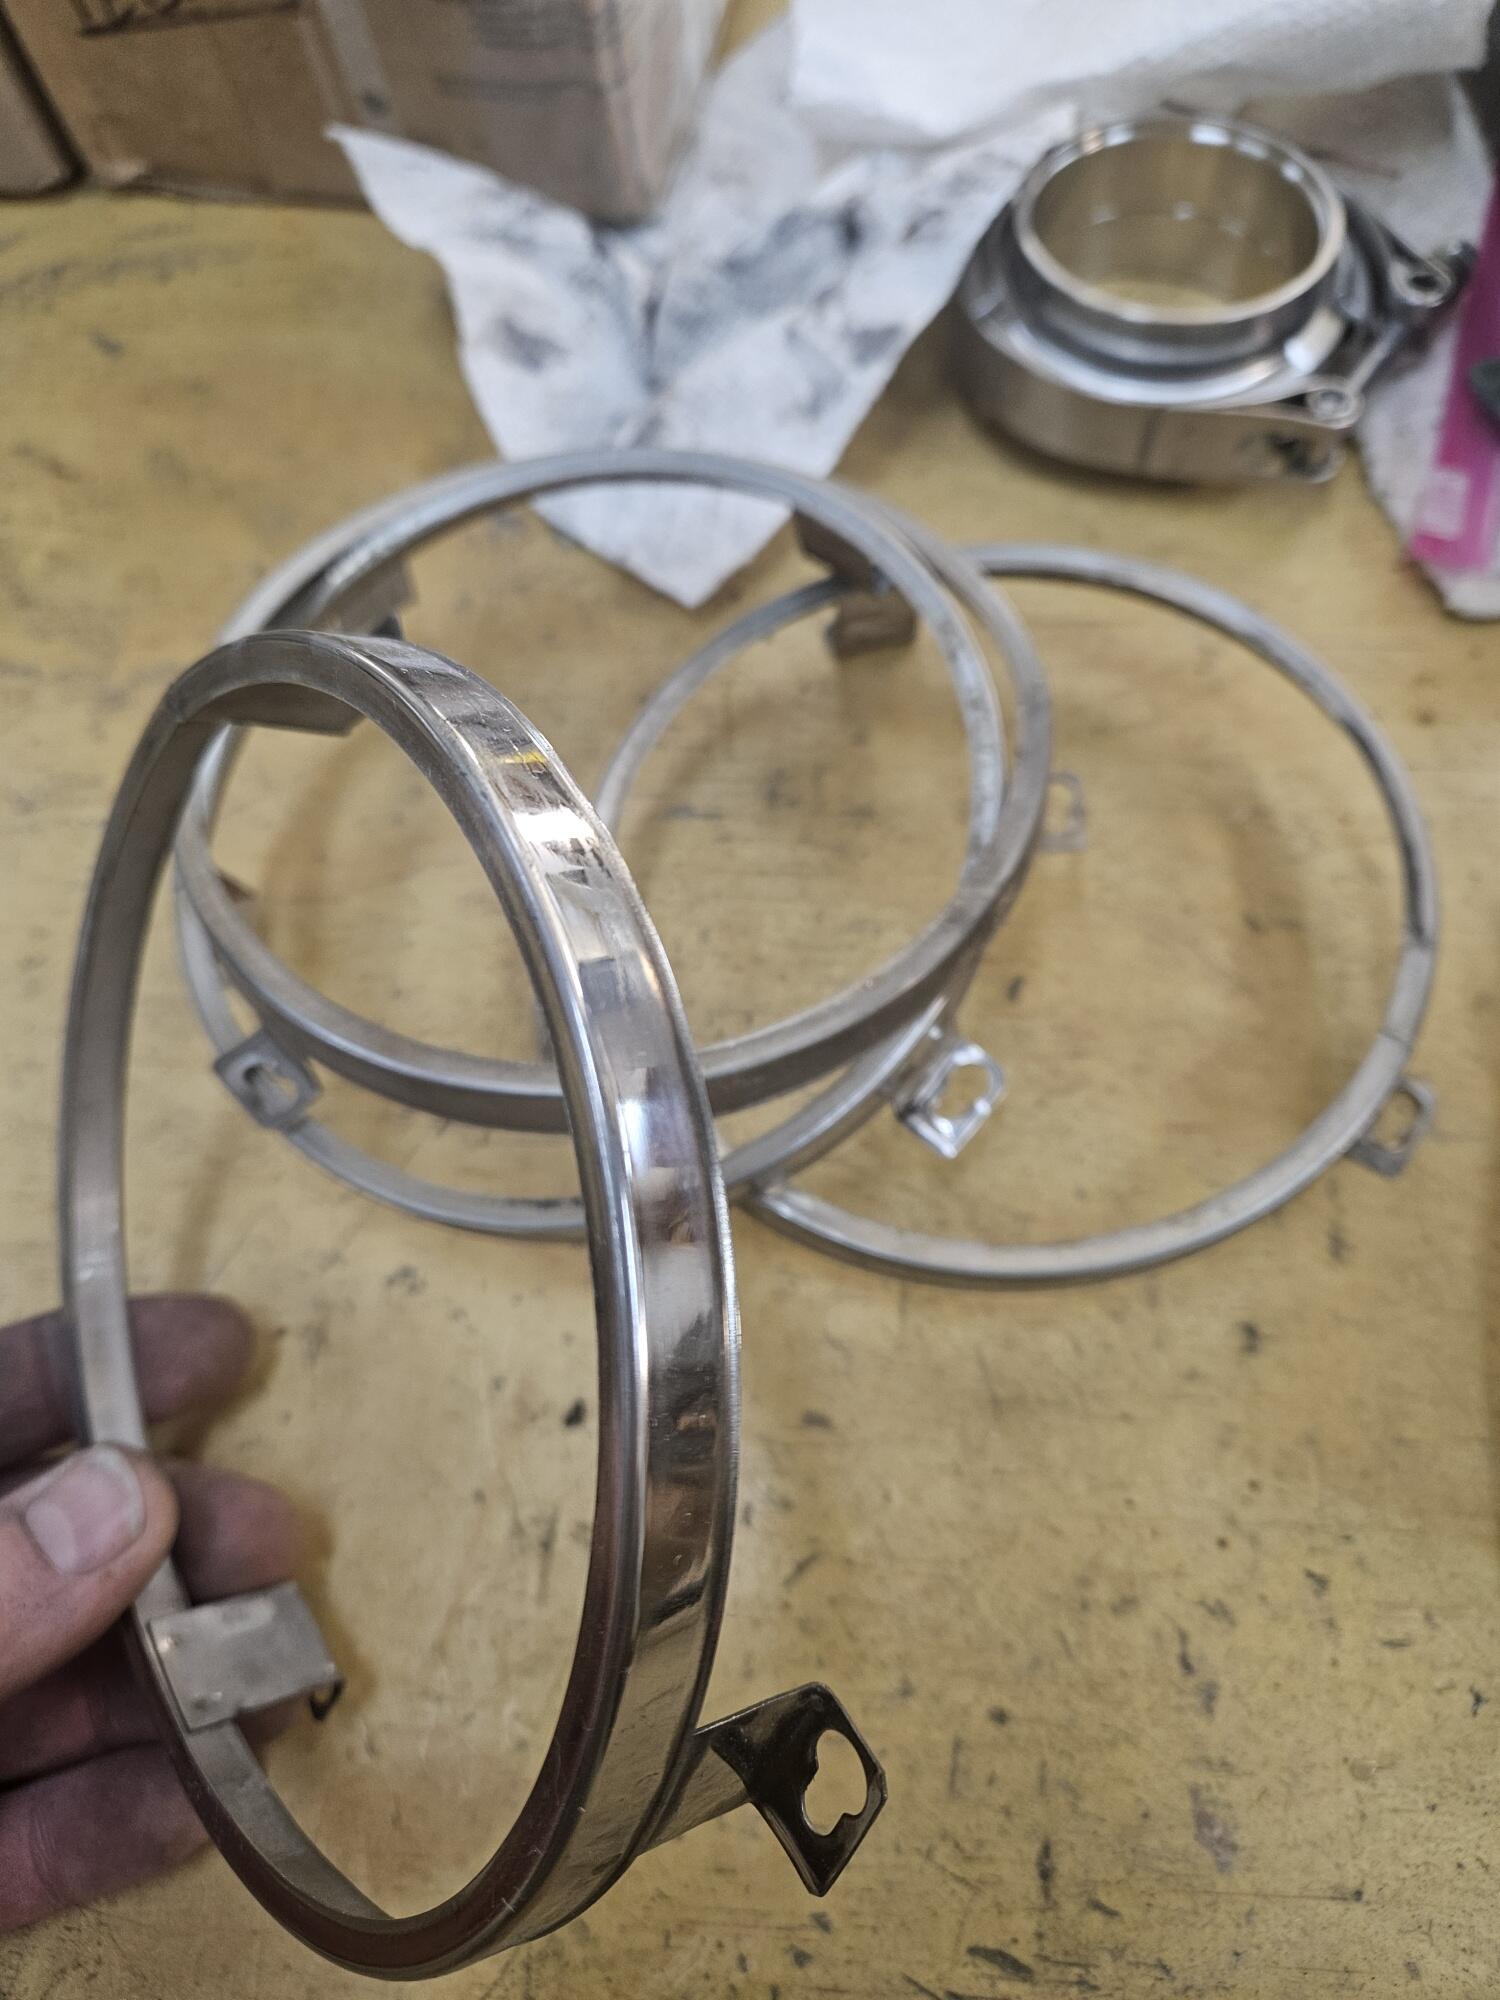
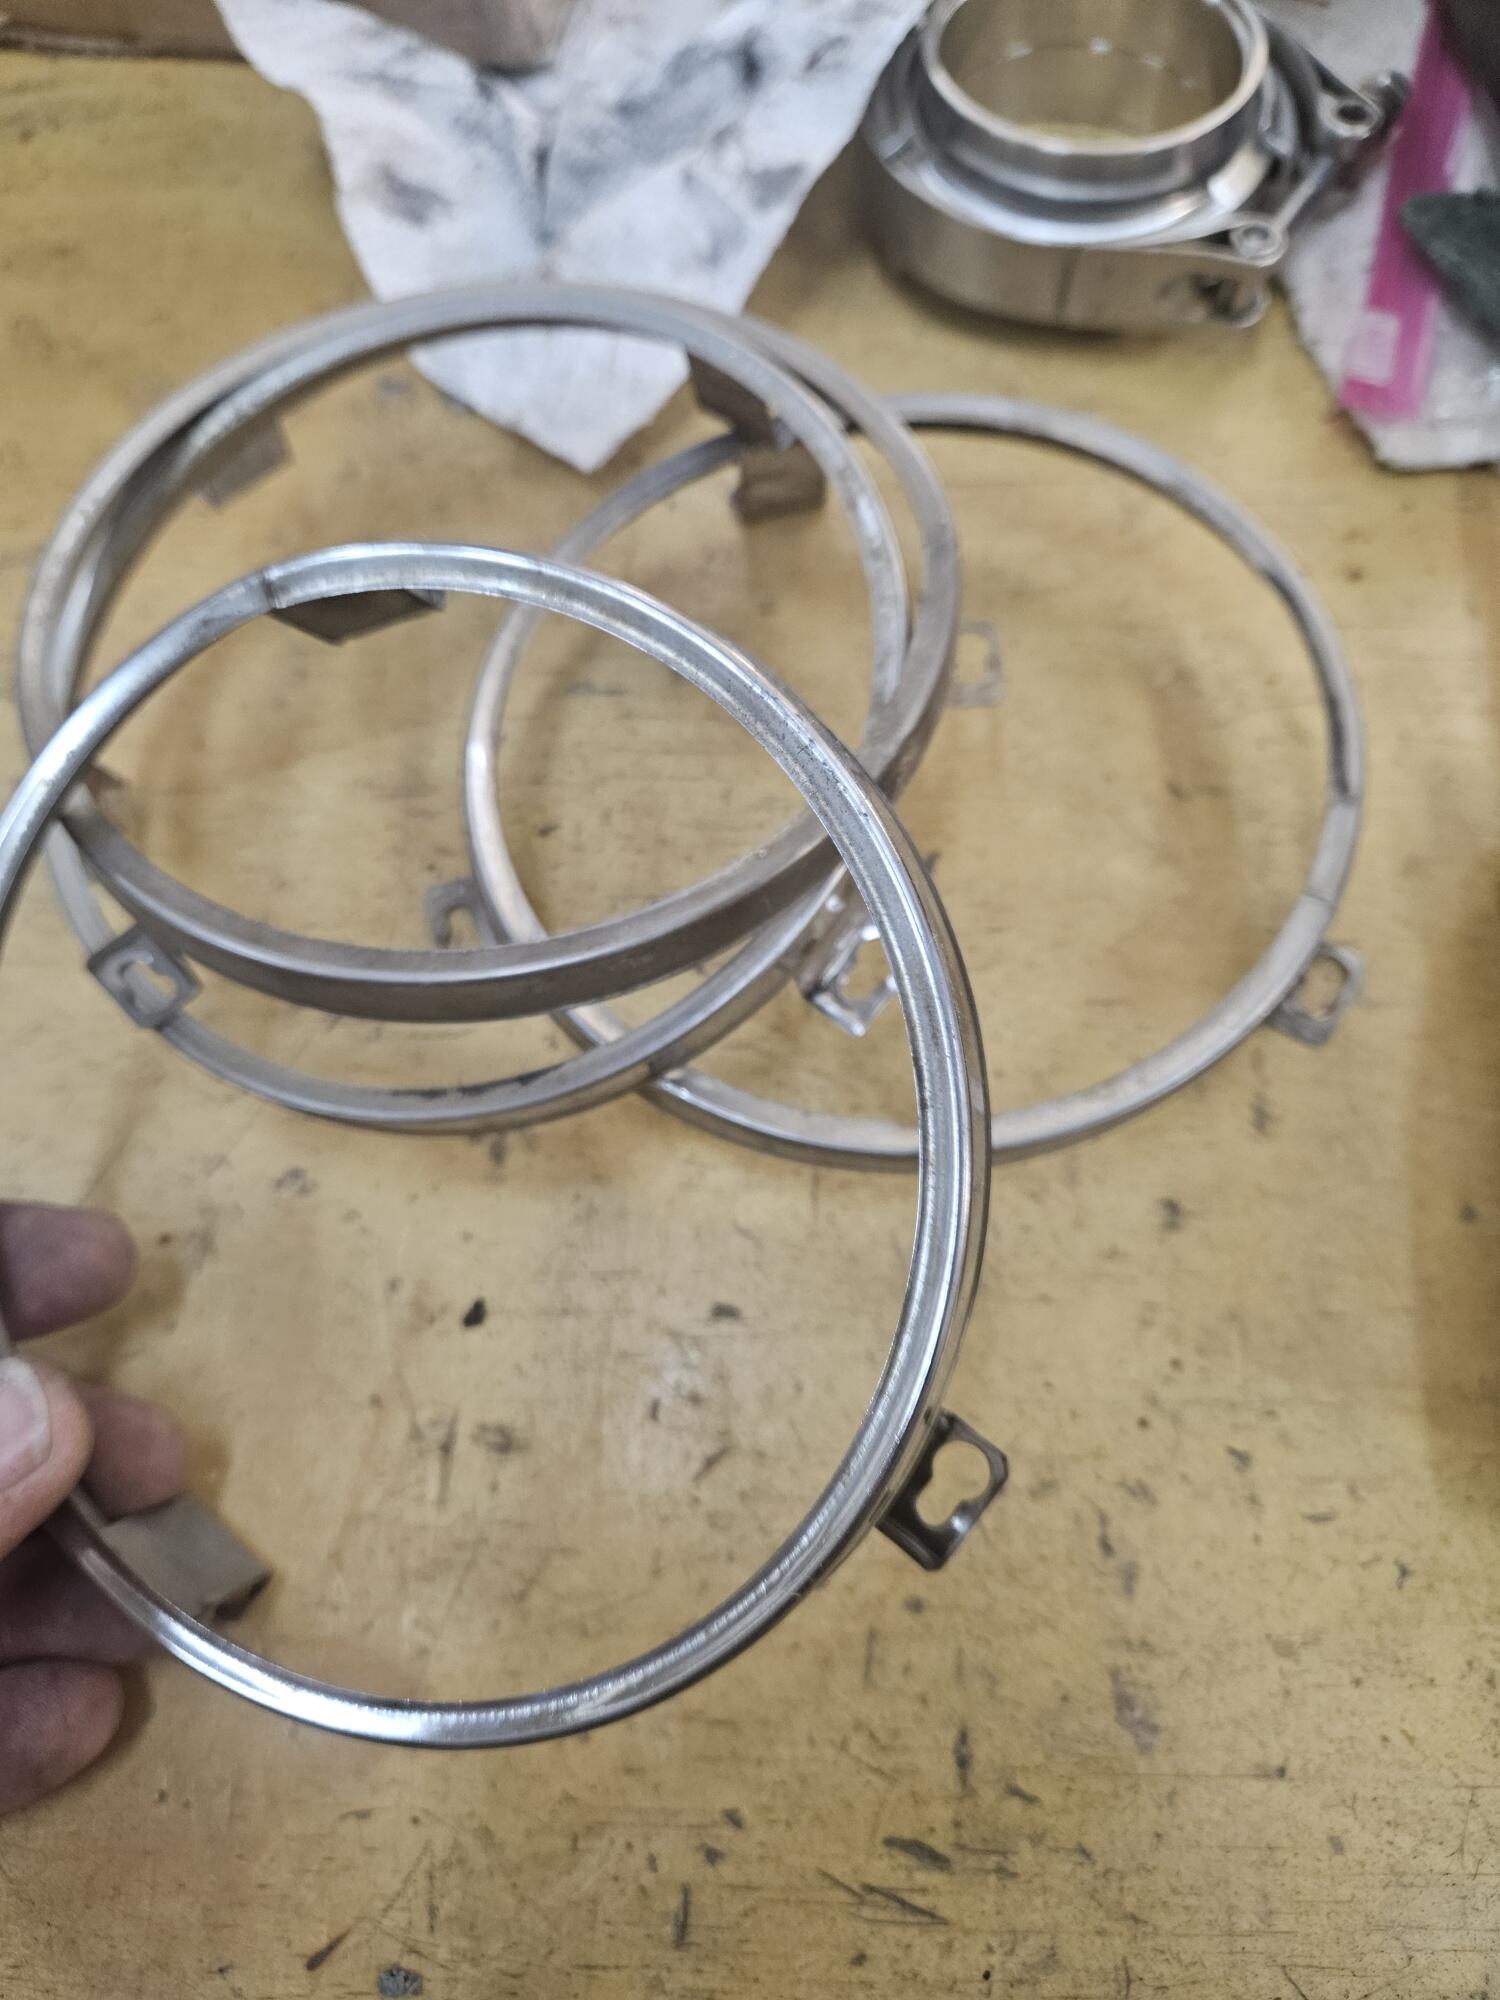
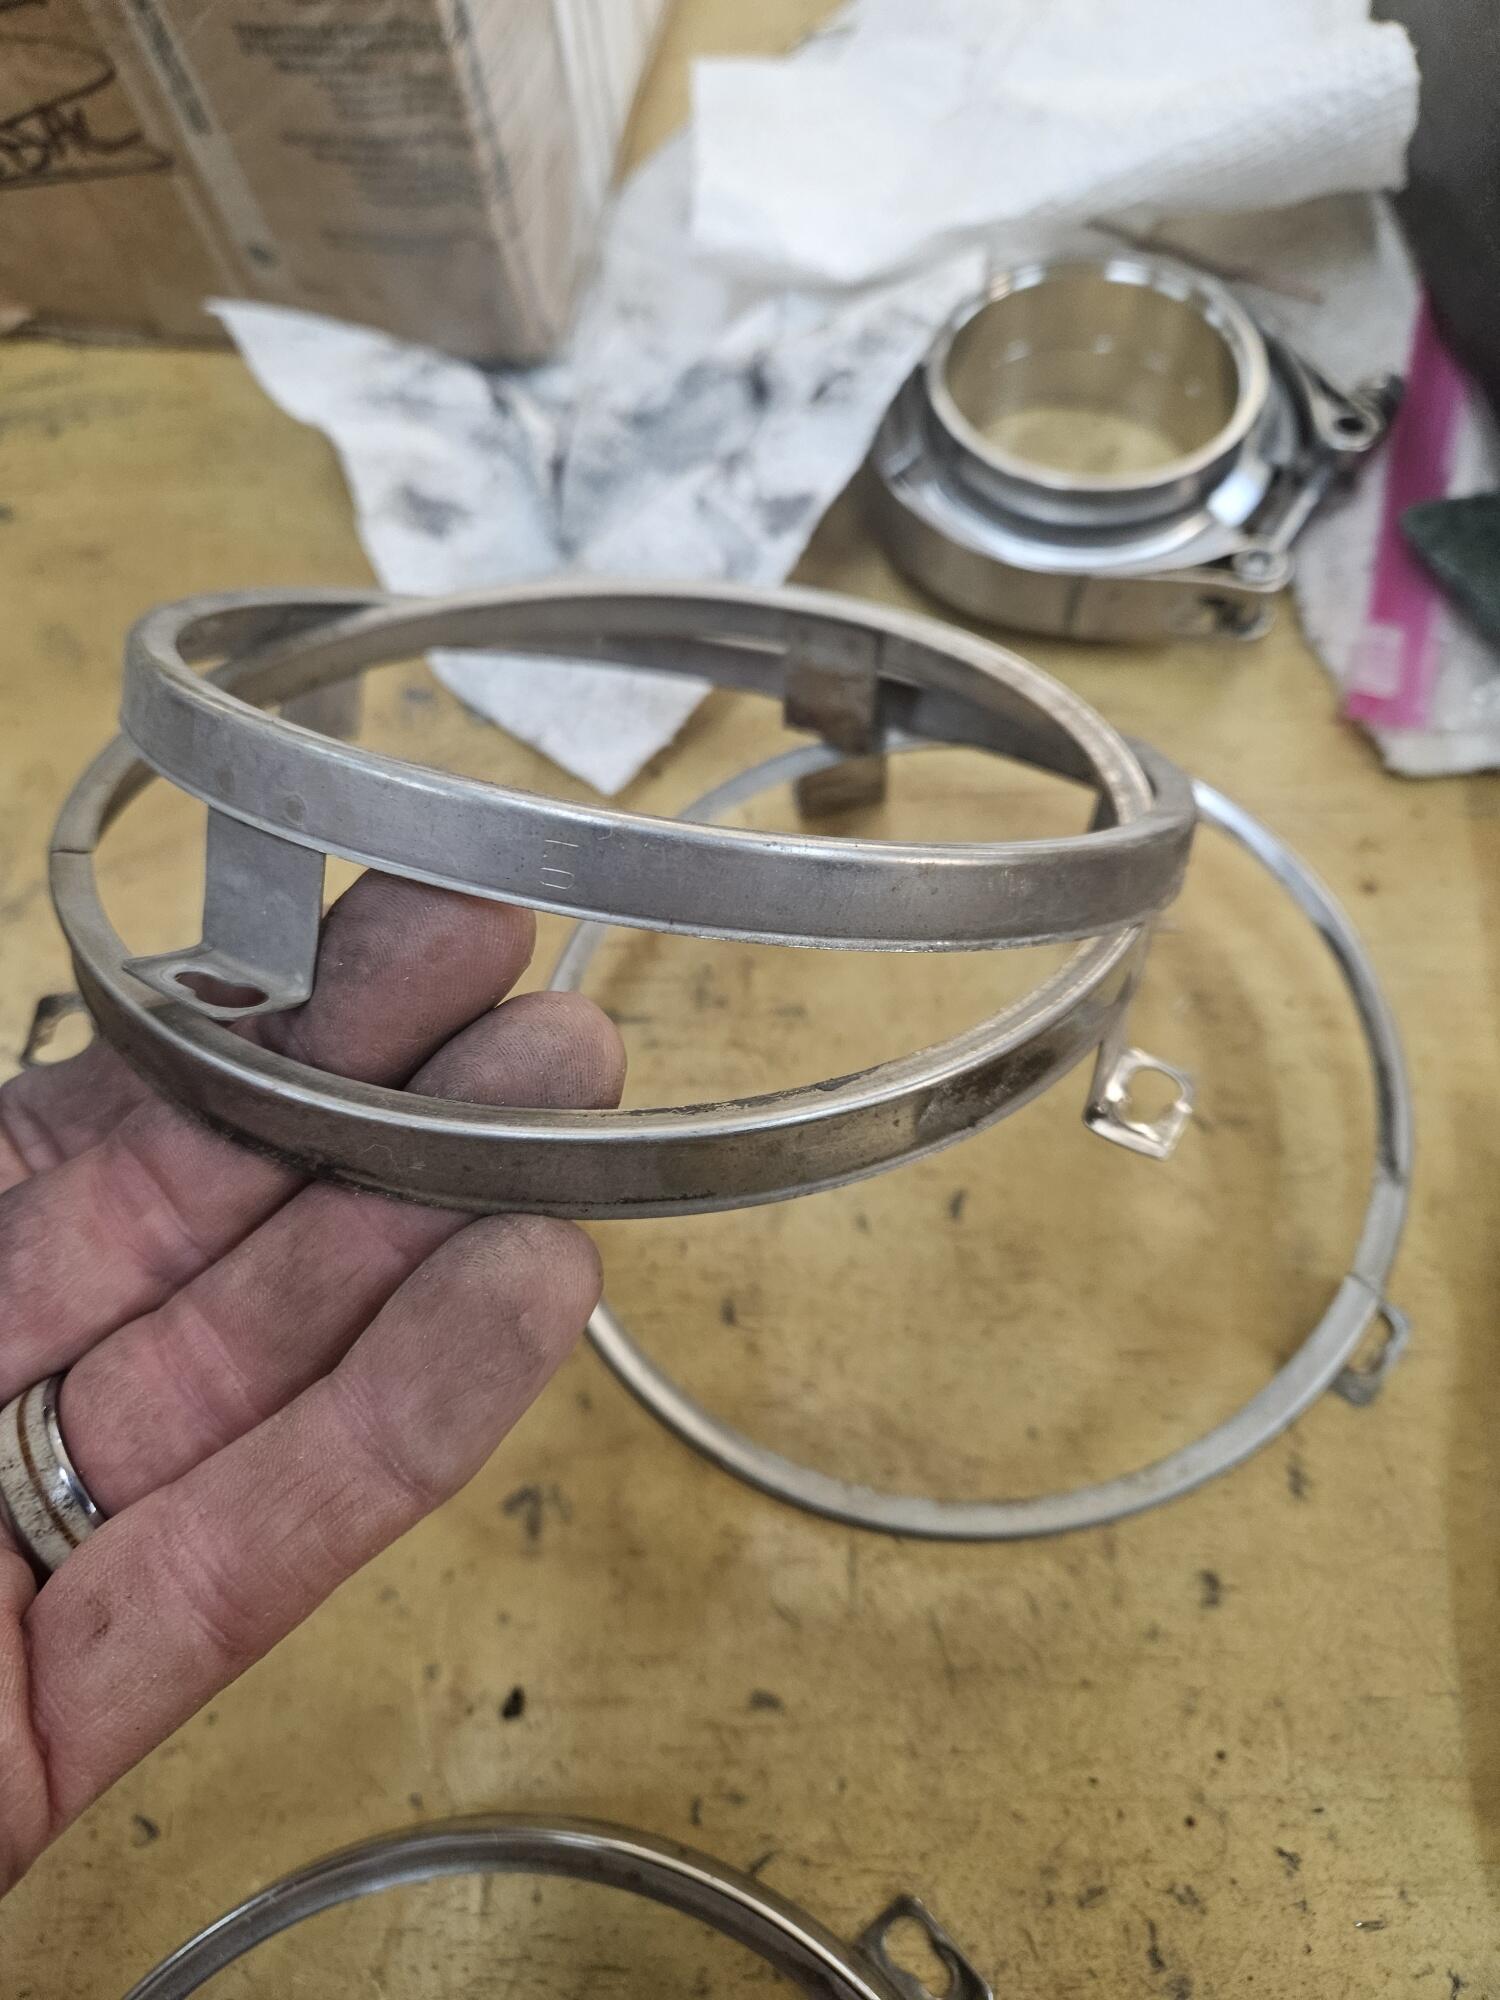
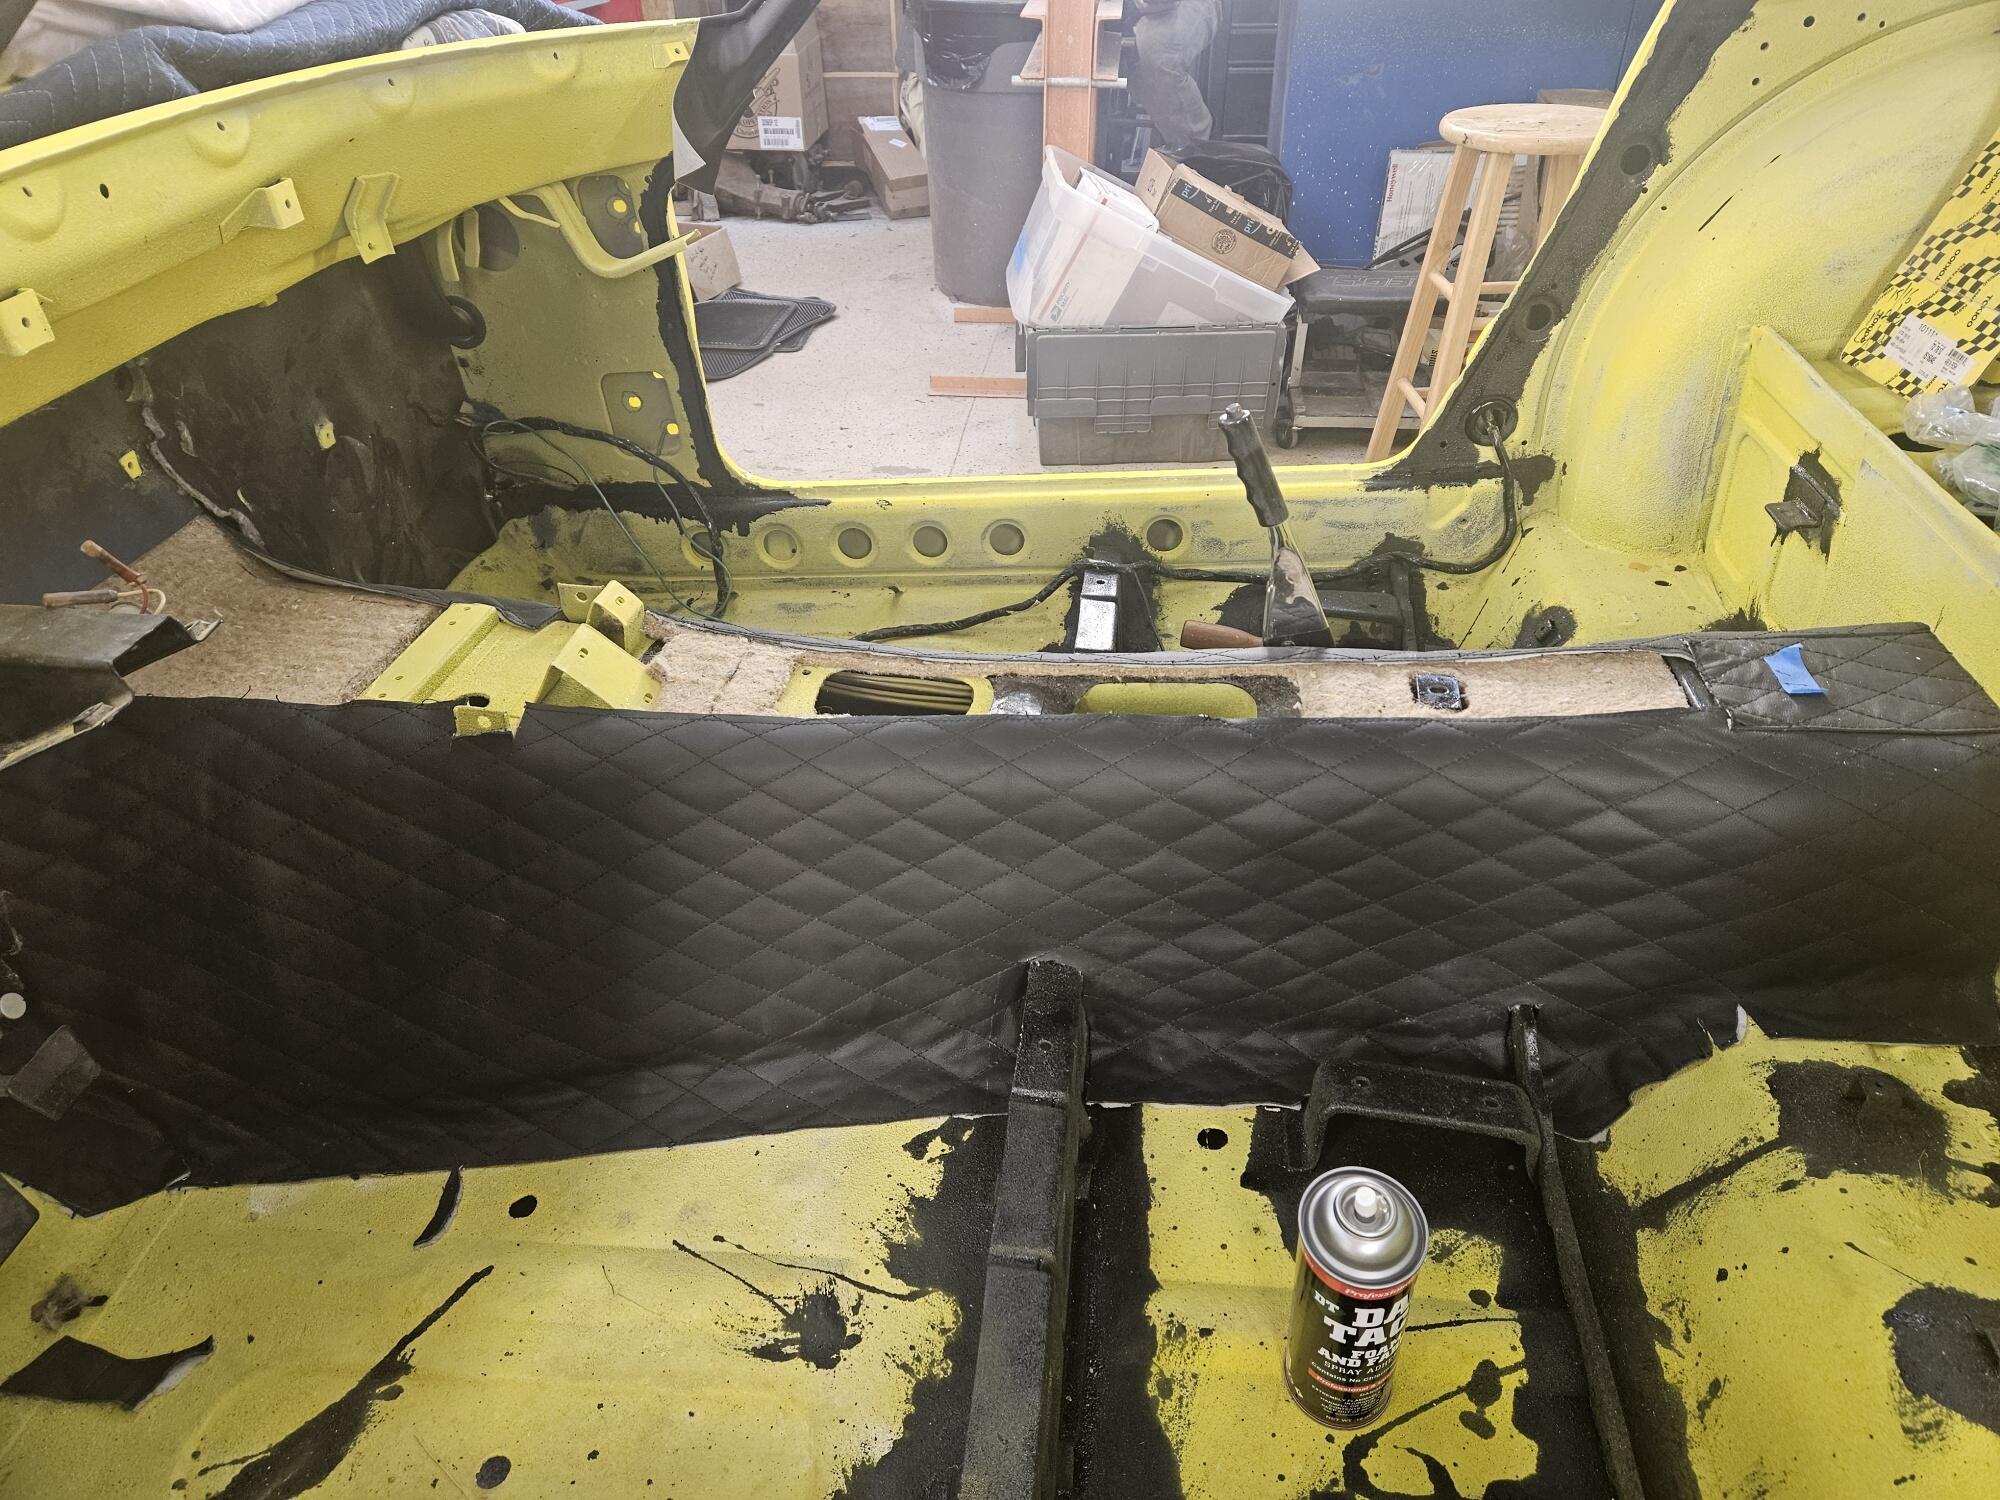
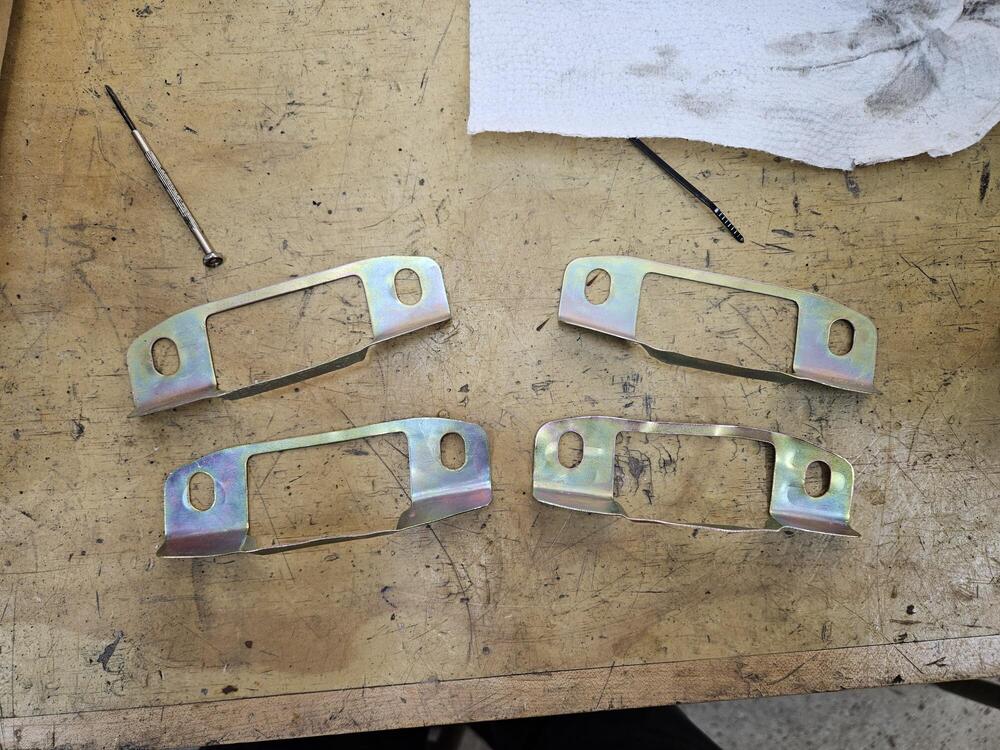
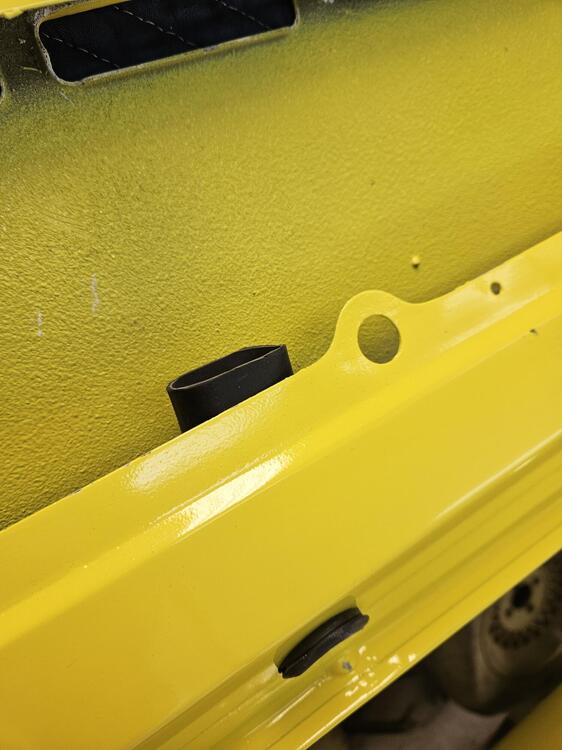
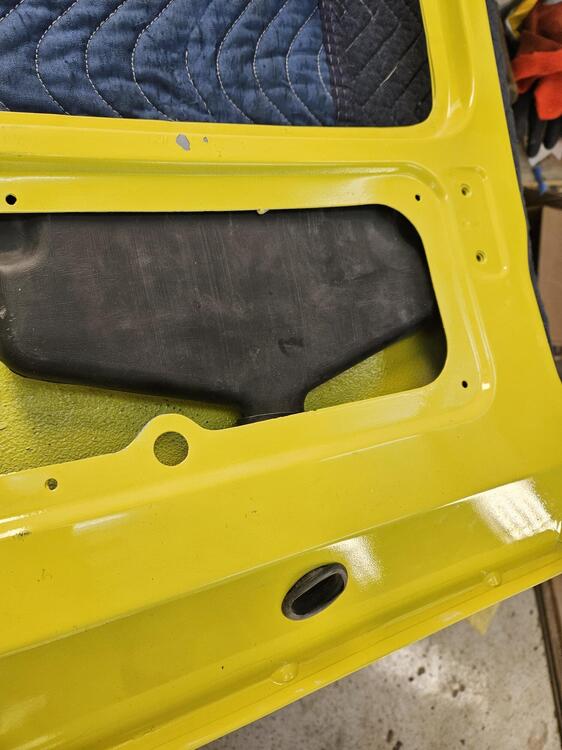
So I worked on a few things today. I polished the headlight rings but can't find the screws for the headlight rings... 😞 Did some tinkering on the hatch. Put the rubber bumpers and the plugs in the hatch jambs. Then I started working on the hatch vents. Put the accordion boots into the hatch. Then test fit the scuppers and the gaskets. Is there something that goes in this hole in the corner So with the grills on you can see some yellow inside. So I will black this area out So I have these screws in a bag that say hatch hardware. Any ideas where they go? Here are the plates for under the hinge hatches. Any tips on the install for the hinge boots, plates and hinges?? I also don't know what the hatch hinge bolts to body look like... Also, do the hatch stoppers at the bottom use screws or bolts? Anyone have a picture?


-
I went through the shelves that had all my parts for the car plus lots of extras mixed in. I was trying to sort through some stuff so it would be easier to find things when I got ready. I looked at the headliner and decided I wouldn't use that on a car. I would just buy a new one. So out the door it went. It was on the brittle side but had been rolled up for a decade. But being on the bottom of the pile cracked it in a few places... I did find a number of things I had forgotten about!
-
I wish I had known sooner. 😞 I was cleaning out the shap last week and threw it out. It got damaged in the pile of stuff. So, I don't have one...
-
What is the wipe pattern like?
-
I have the original one I took out of the car. I can look at it to see what kind of shape it's in, if your interested
-
Thanks Jim! that's a good start
-
Also I could use some pictures. I need some shots of the dash area, preferably without the dash to see how all the heater system mounts up. Factory AC would be a bonus. I don't have any of my original disassembly pictures... Thanks, C
-
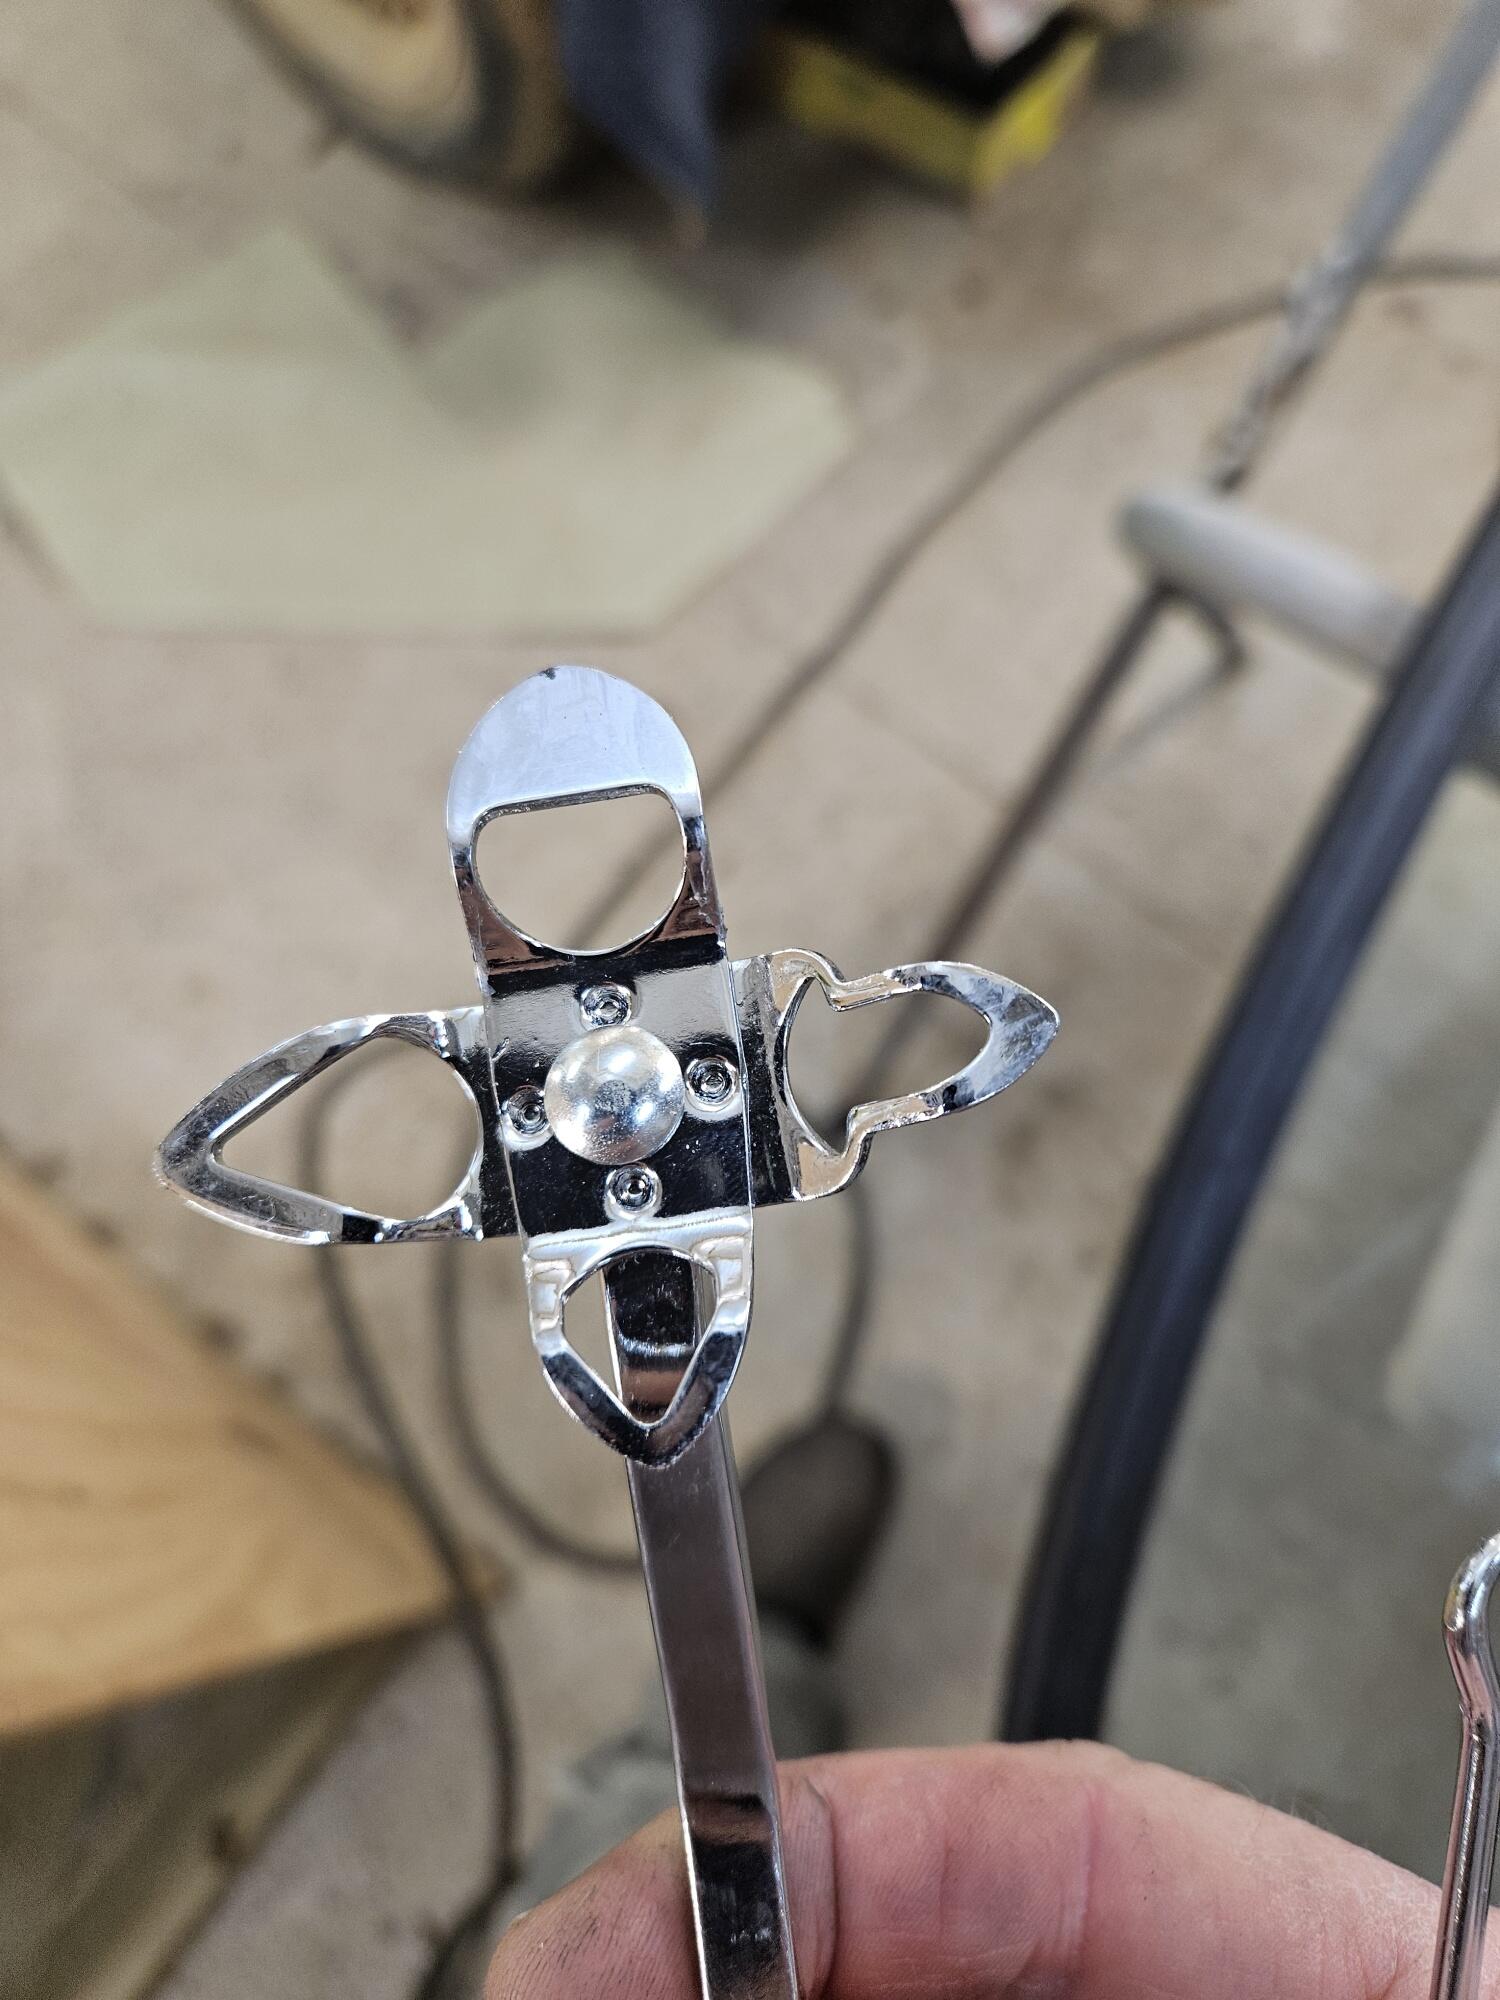
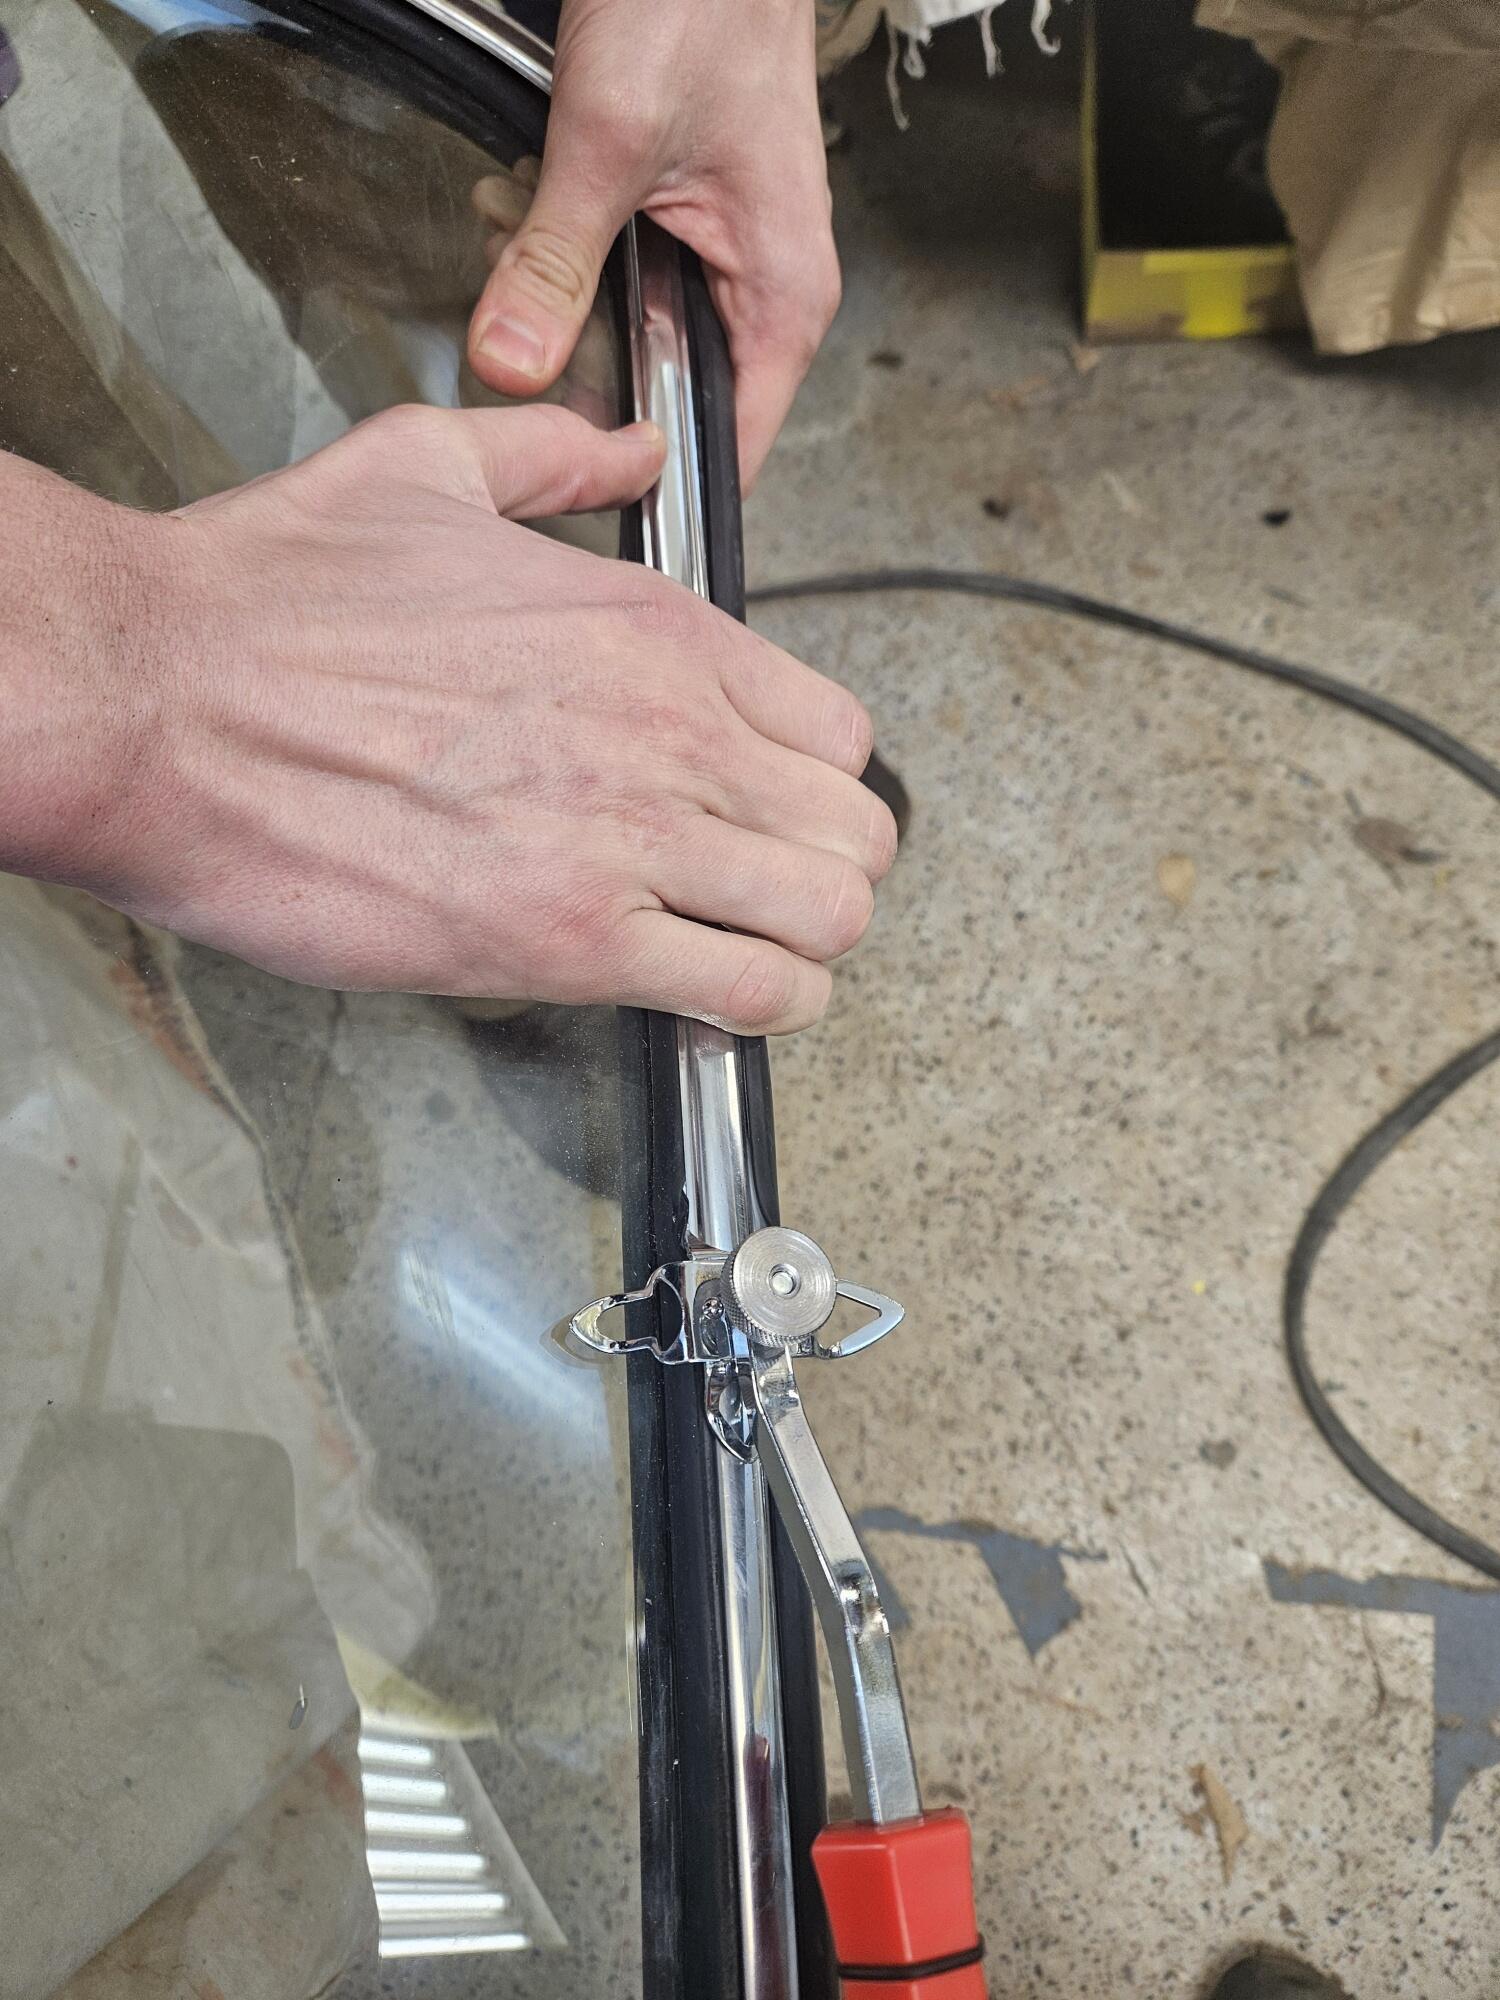
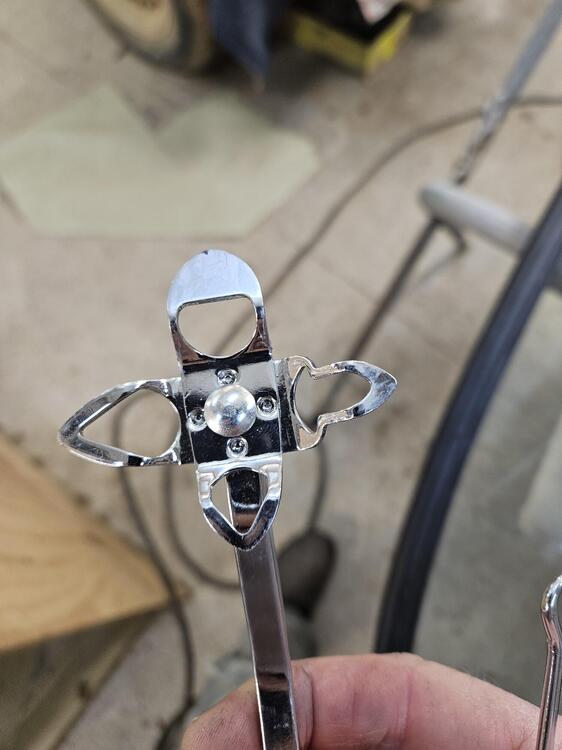
Yeah, I liked the tool. You have to be careful not to force it or pinch the rubber. If the rubber edges don't want to flow around you can just stay still and swing the handle left and right to get the rubber lips to pop out. I'm sure there are some more tricks to it. It might be the trim needs to be lifted a little to reduce pinching. It took Cody and I about 10-15 minutes to get the two lower pieces of trim in. I did the top by myself in about 5 minutes
-
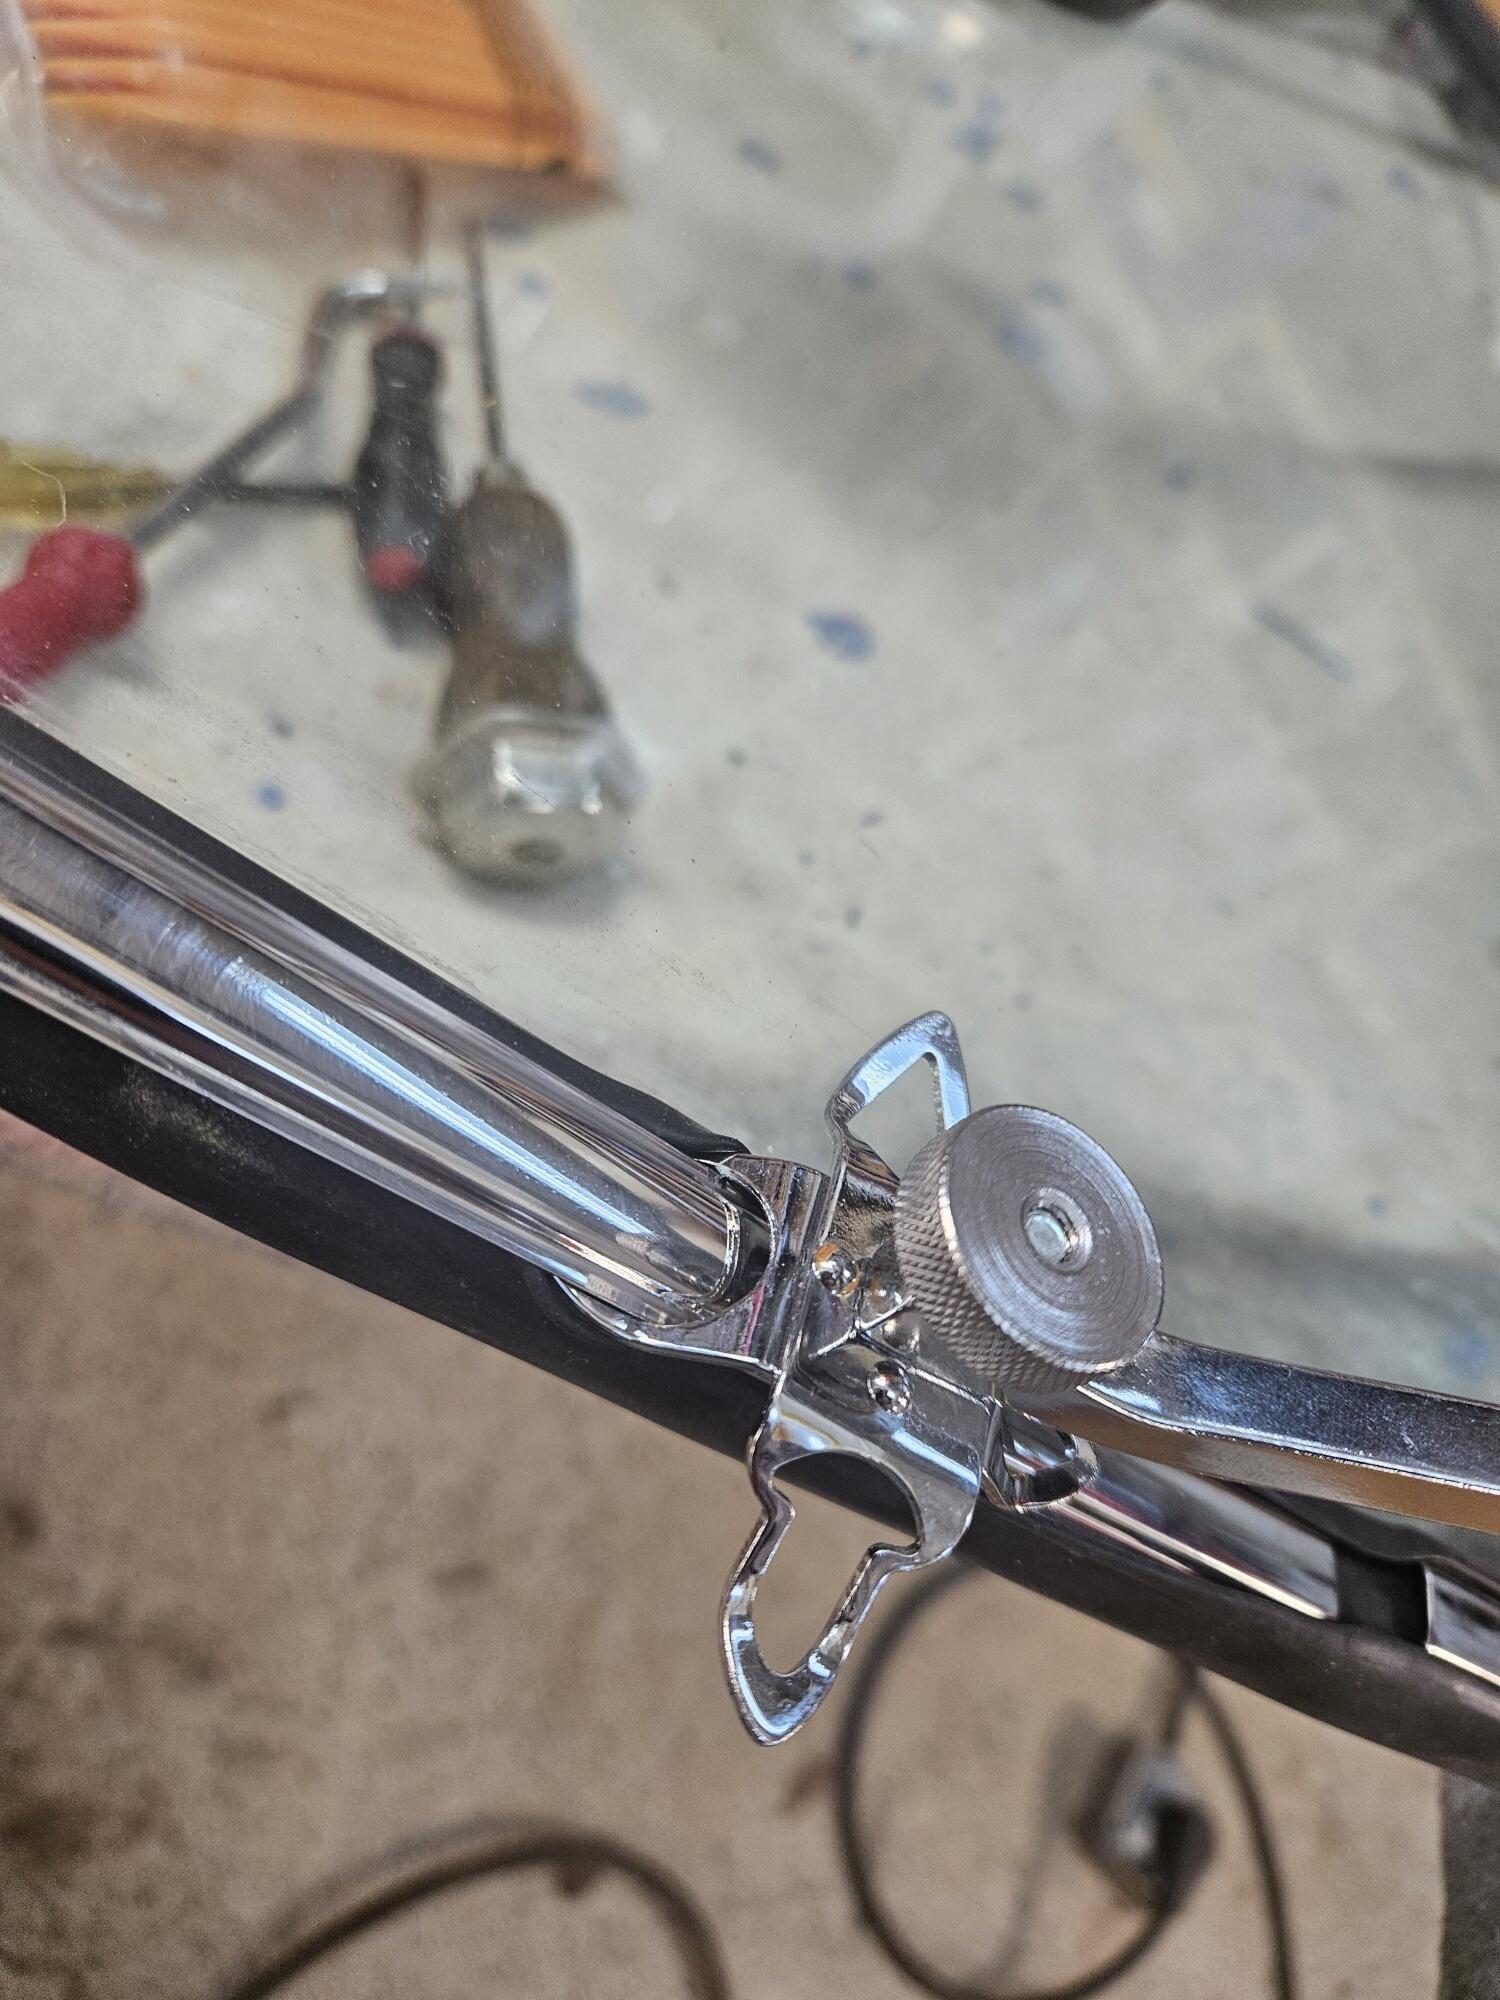
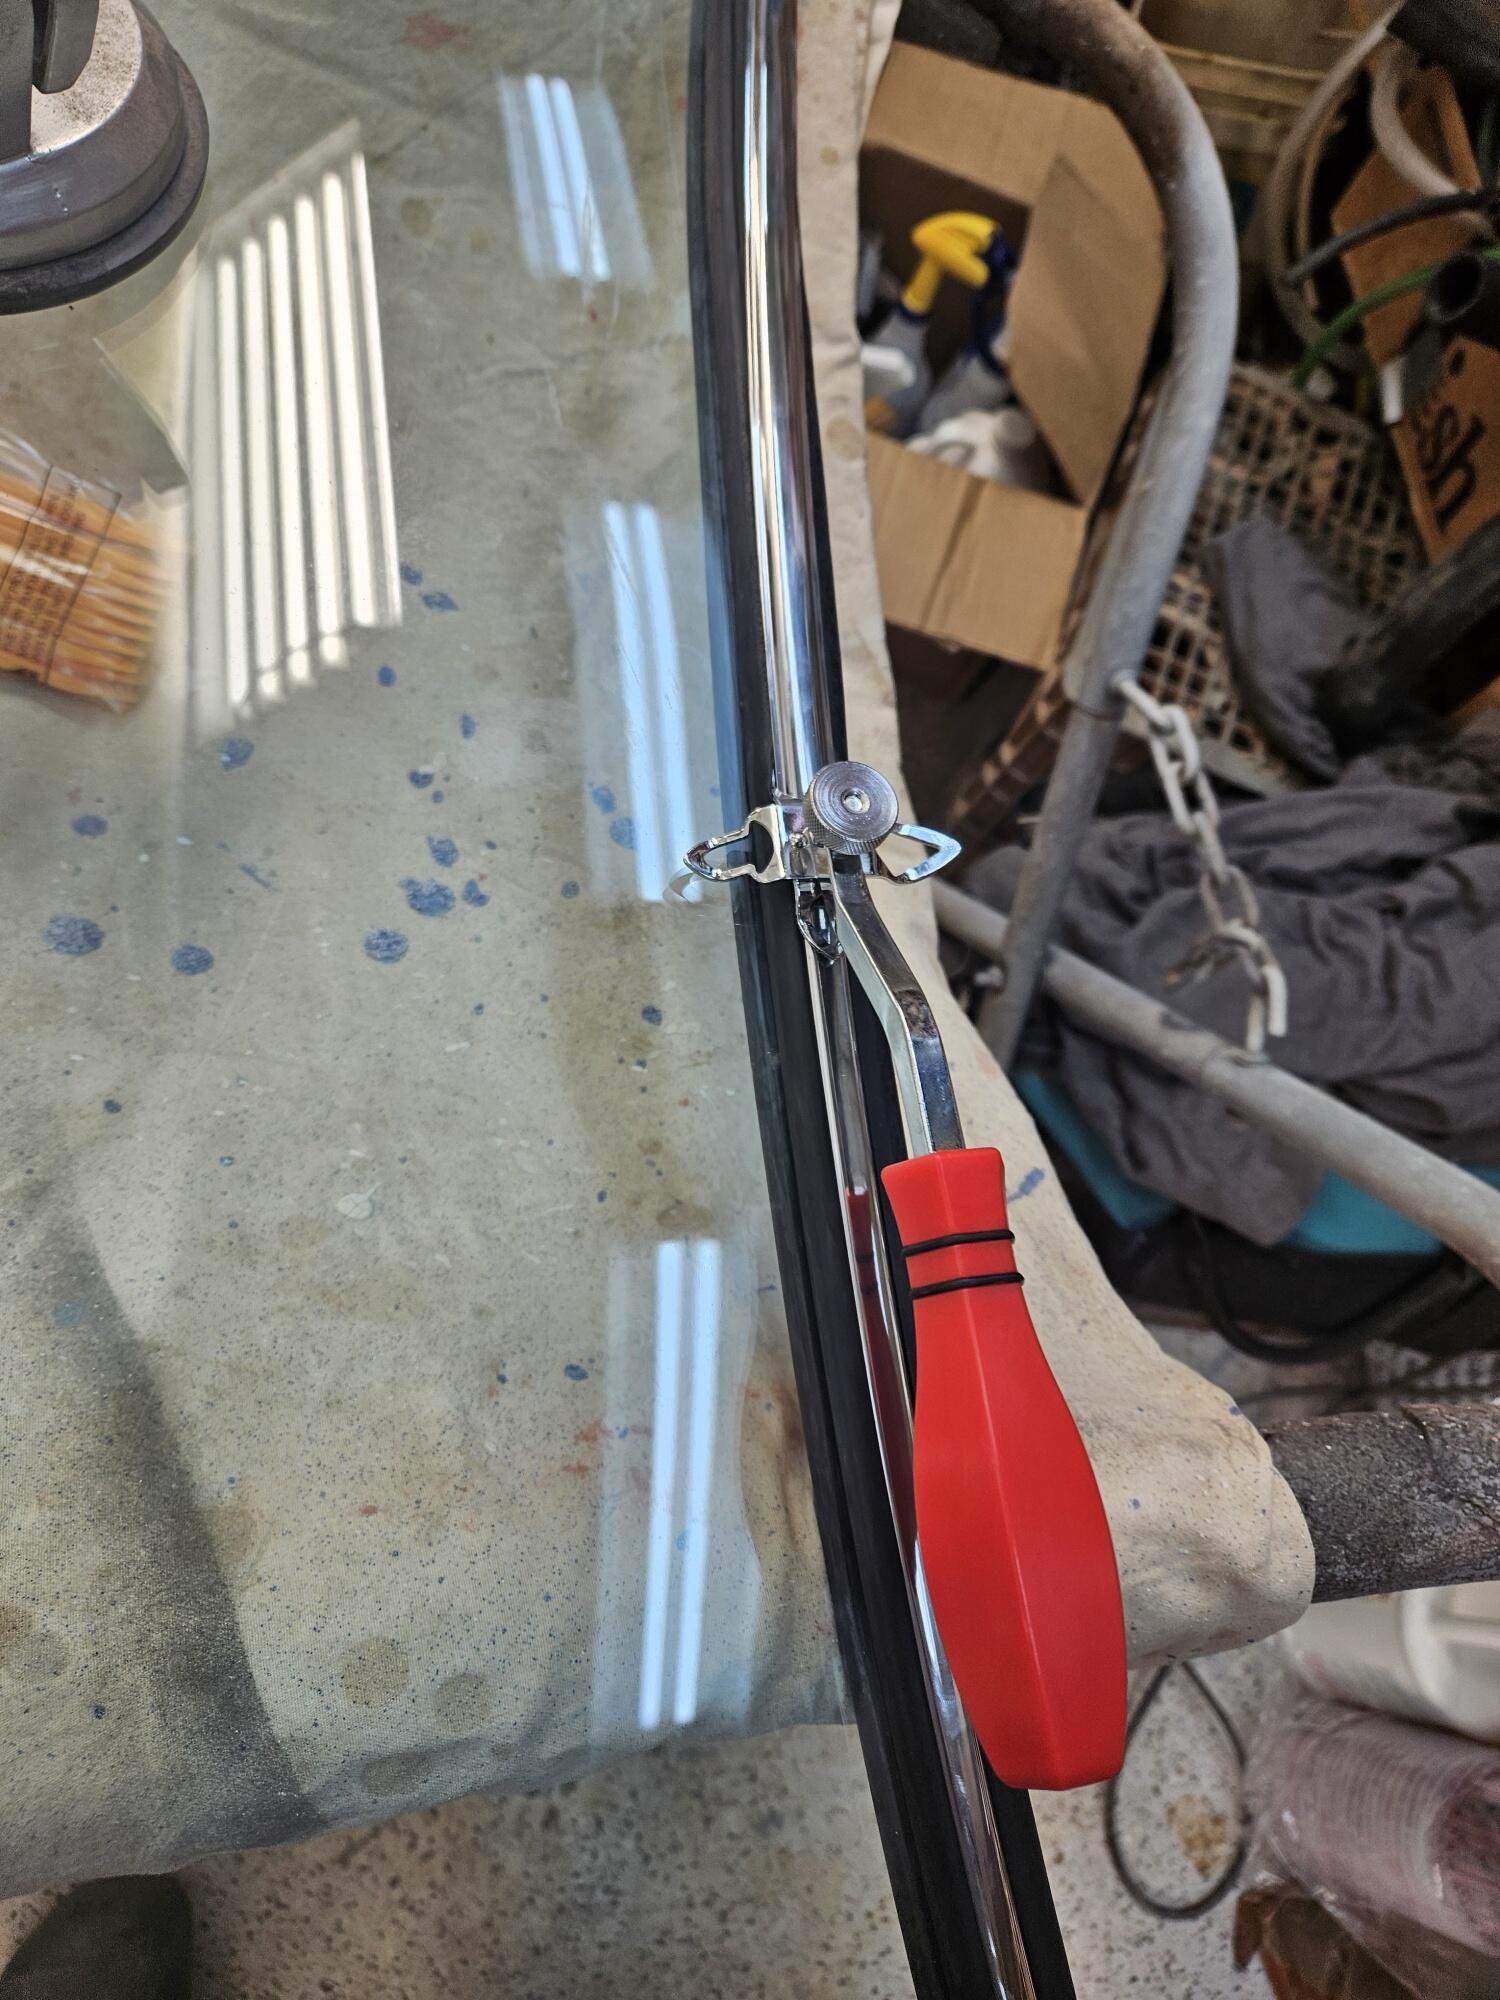
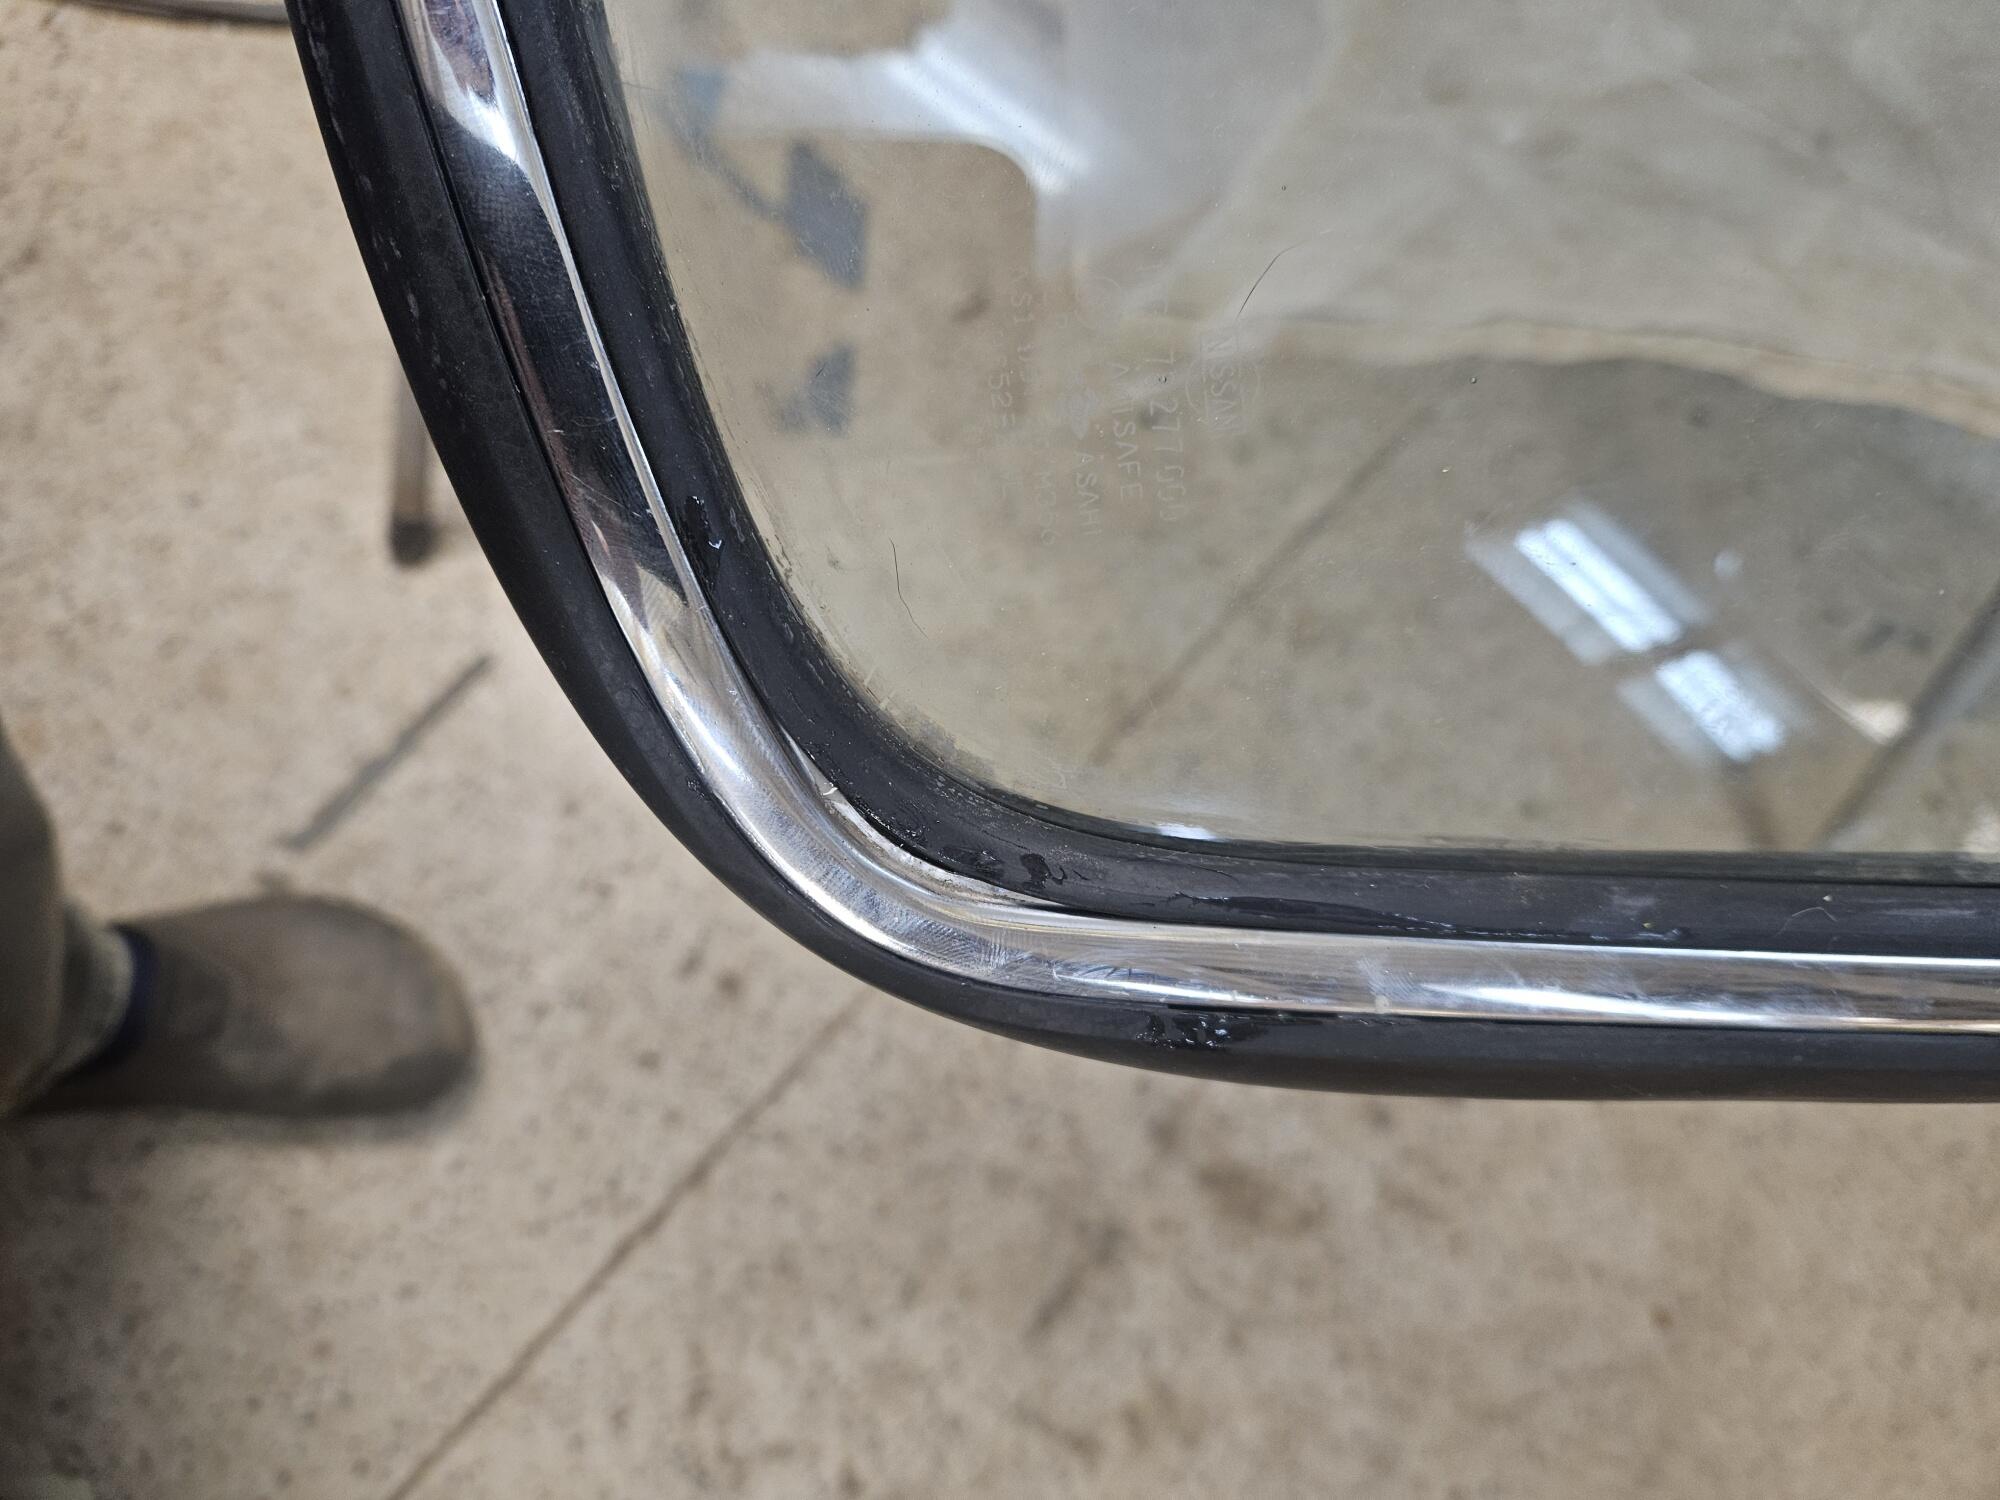
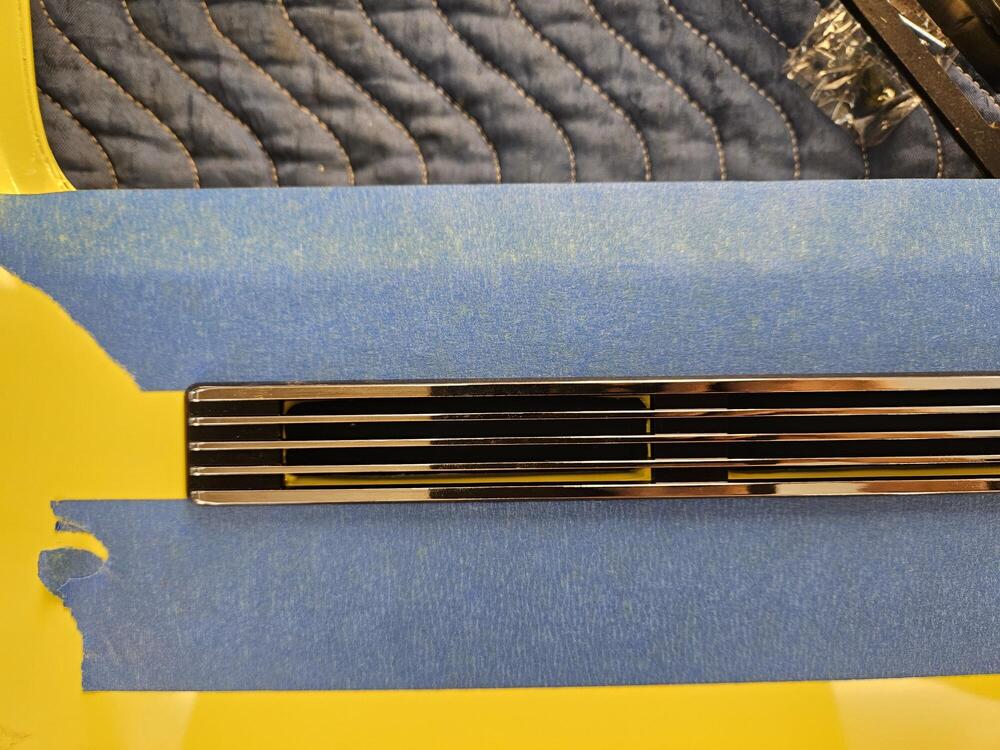
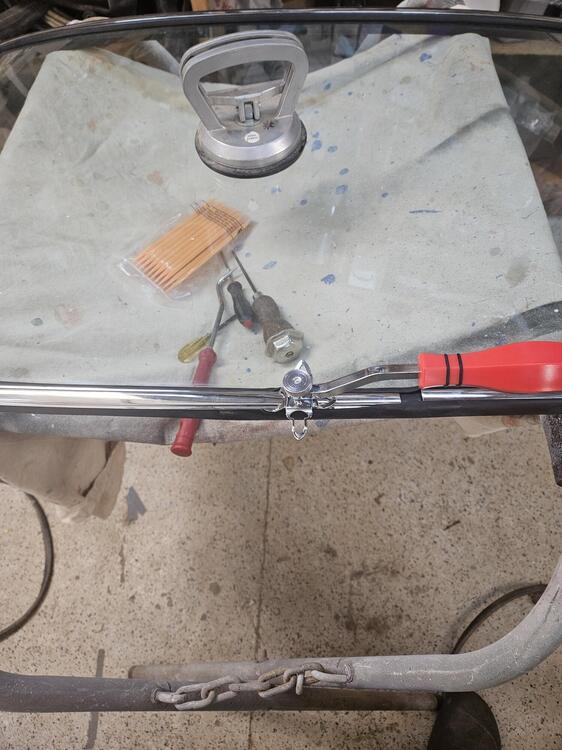
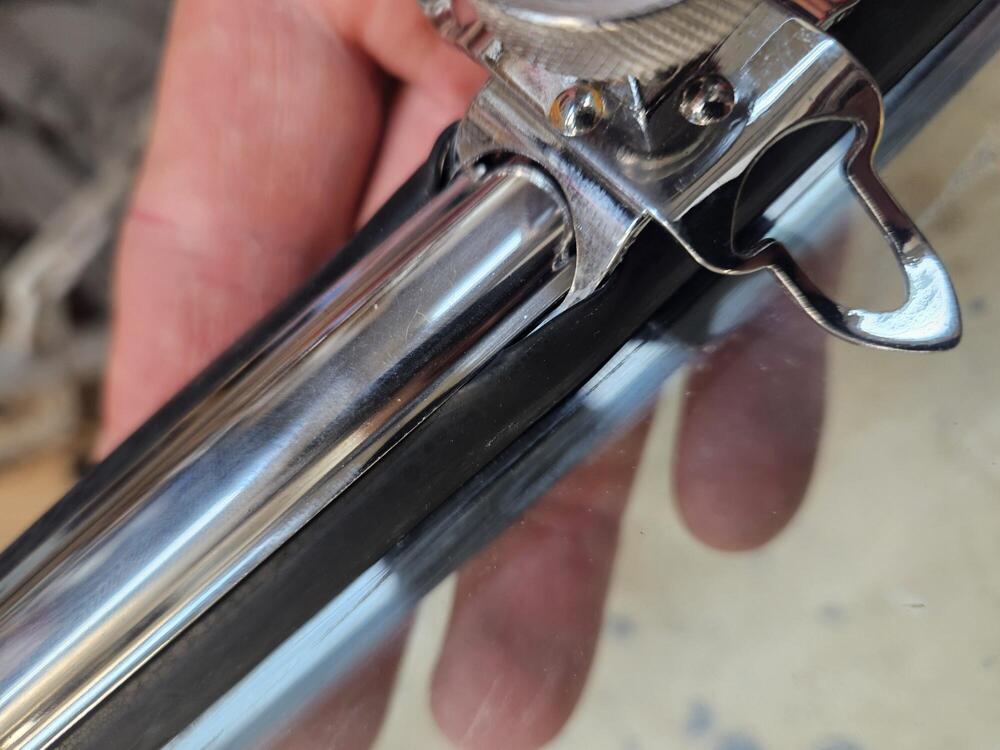
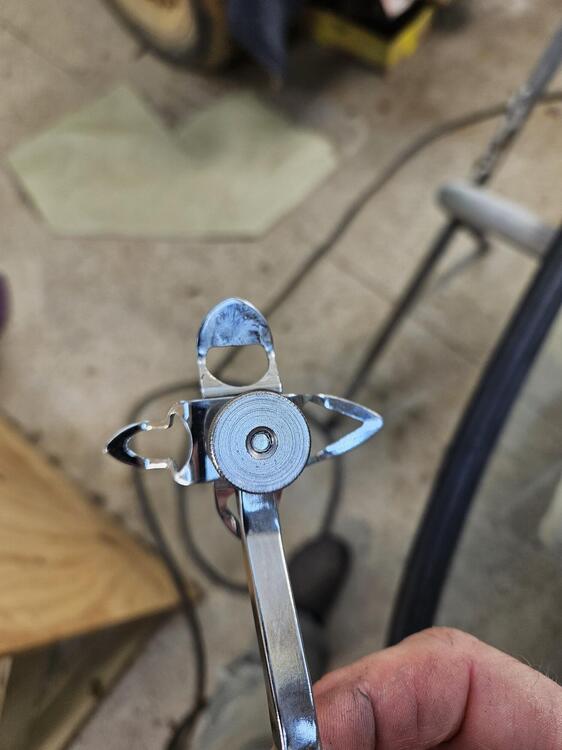
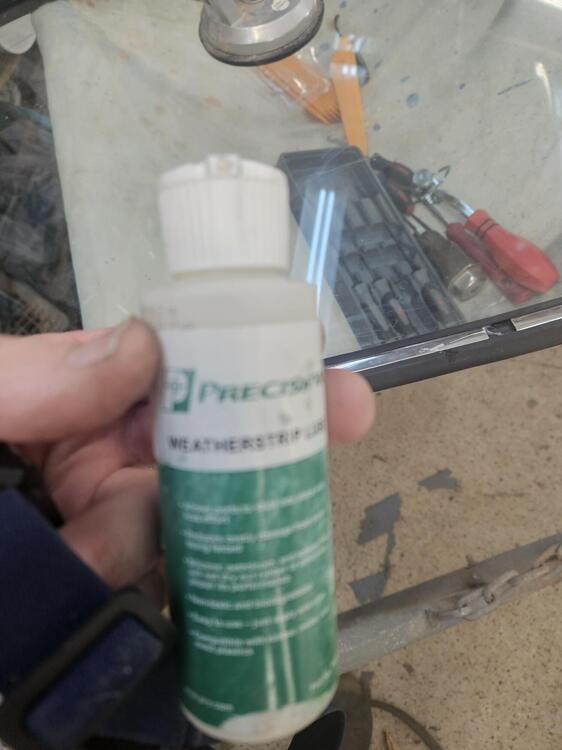
So I lied, I ordered a new windshield gasket from Zcardepot. It wasn't a lot of money and I could afford the little bit of lost time. The second one I got was not a "Precision" gasket. I actually like it better. It seems softer and possibly a little larger and the welded corners look really good. So I had a go at the stainless trim again. I bought some tools on Amazon, because who doesn't like new tools! 😉 So this is a windshield trim tool. There are some vintage windshield styles that use a rubber insert to log the glass in. I wasn't sure this tool would have a tip that was large enough for the stainless trim. Cody was helping me here hold the gasket to the glass and keep it in line with the trim I used the Precision gasket lube to make it easier for the edges of the rubber to move around the trim. The gasket isn't quite right in the lower corners yet, but I was thinking the car would force this corner into shape? We got the trim in with one really small nick. It's almost unnoticeable. So hopefully next weekend we will install the glass


-
-
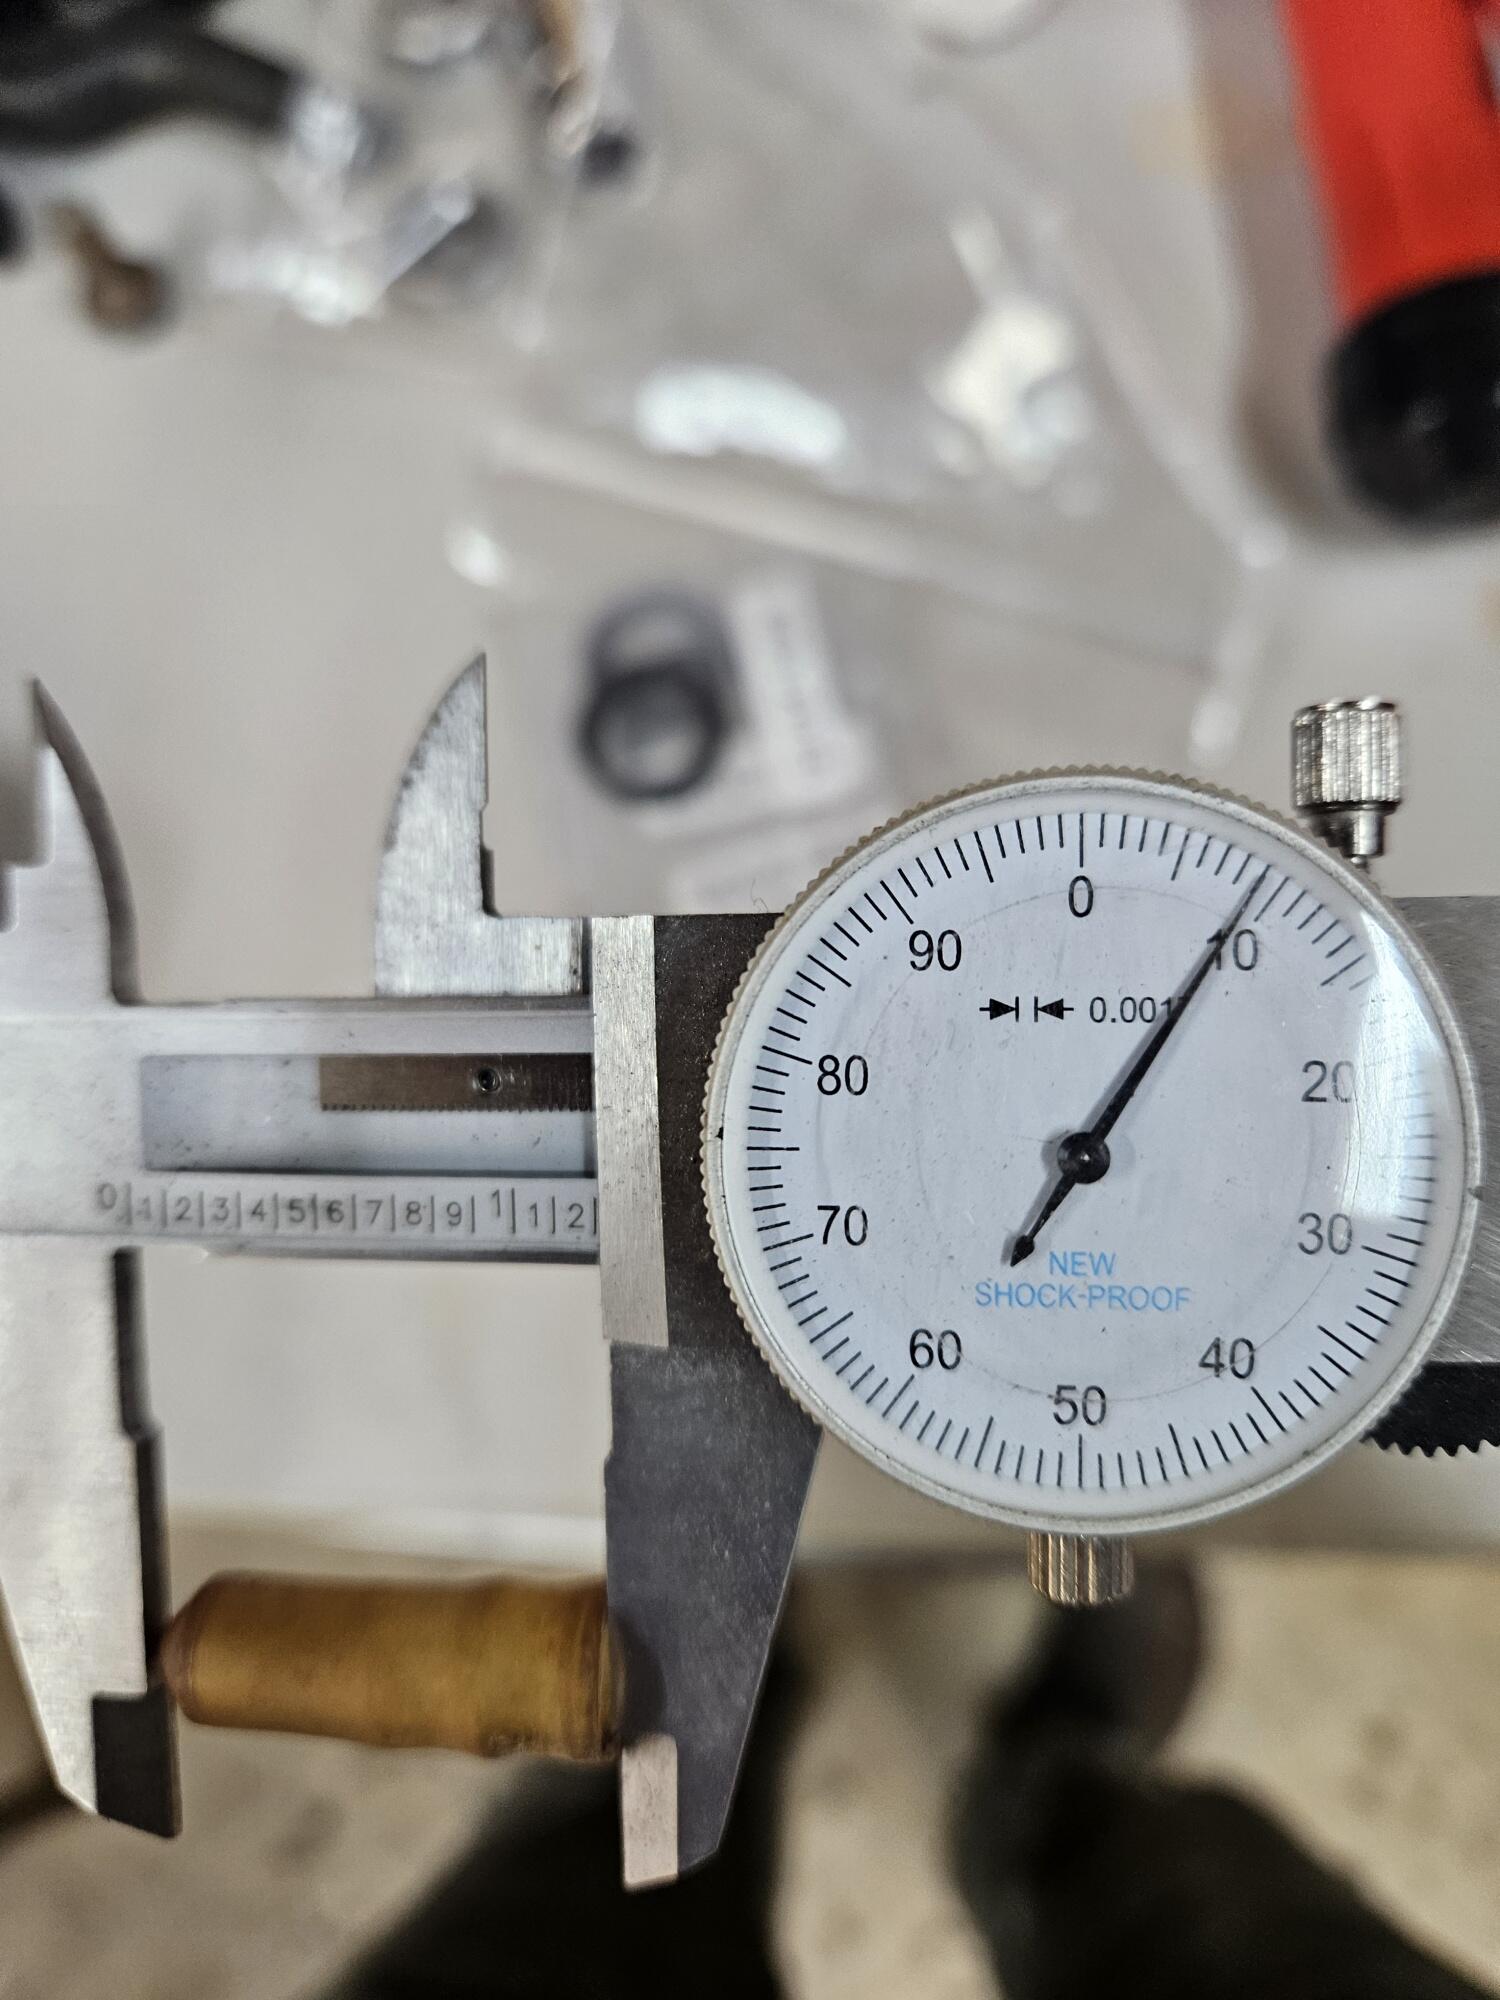
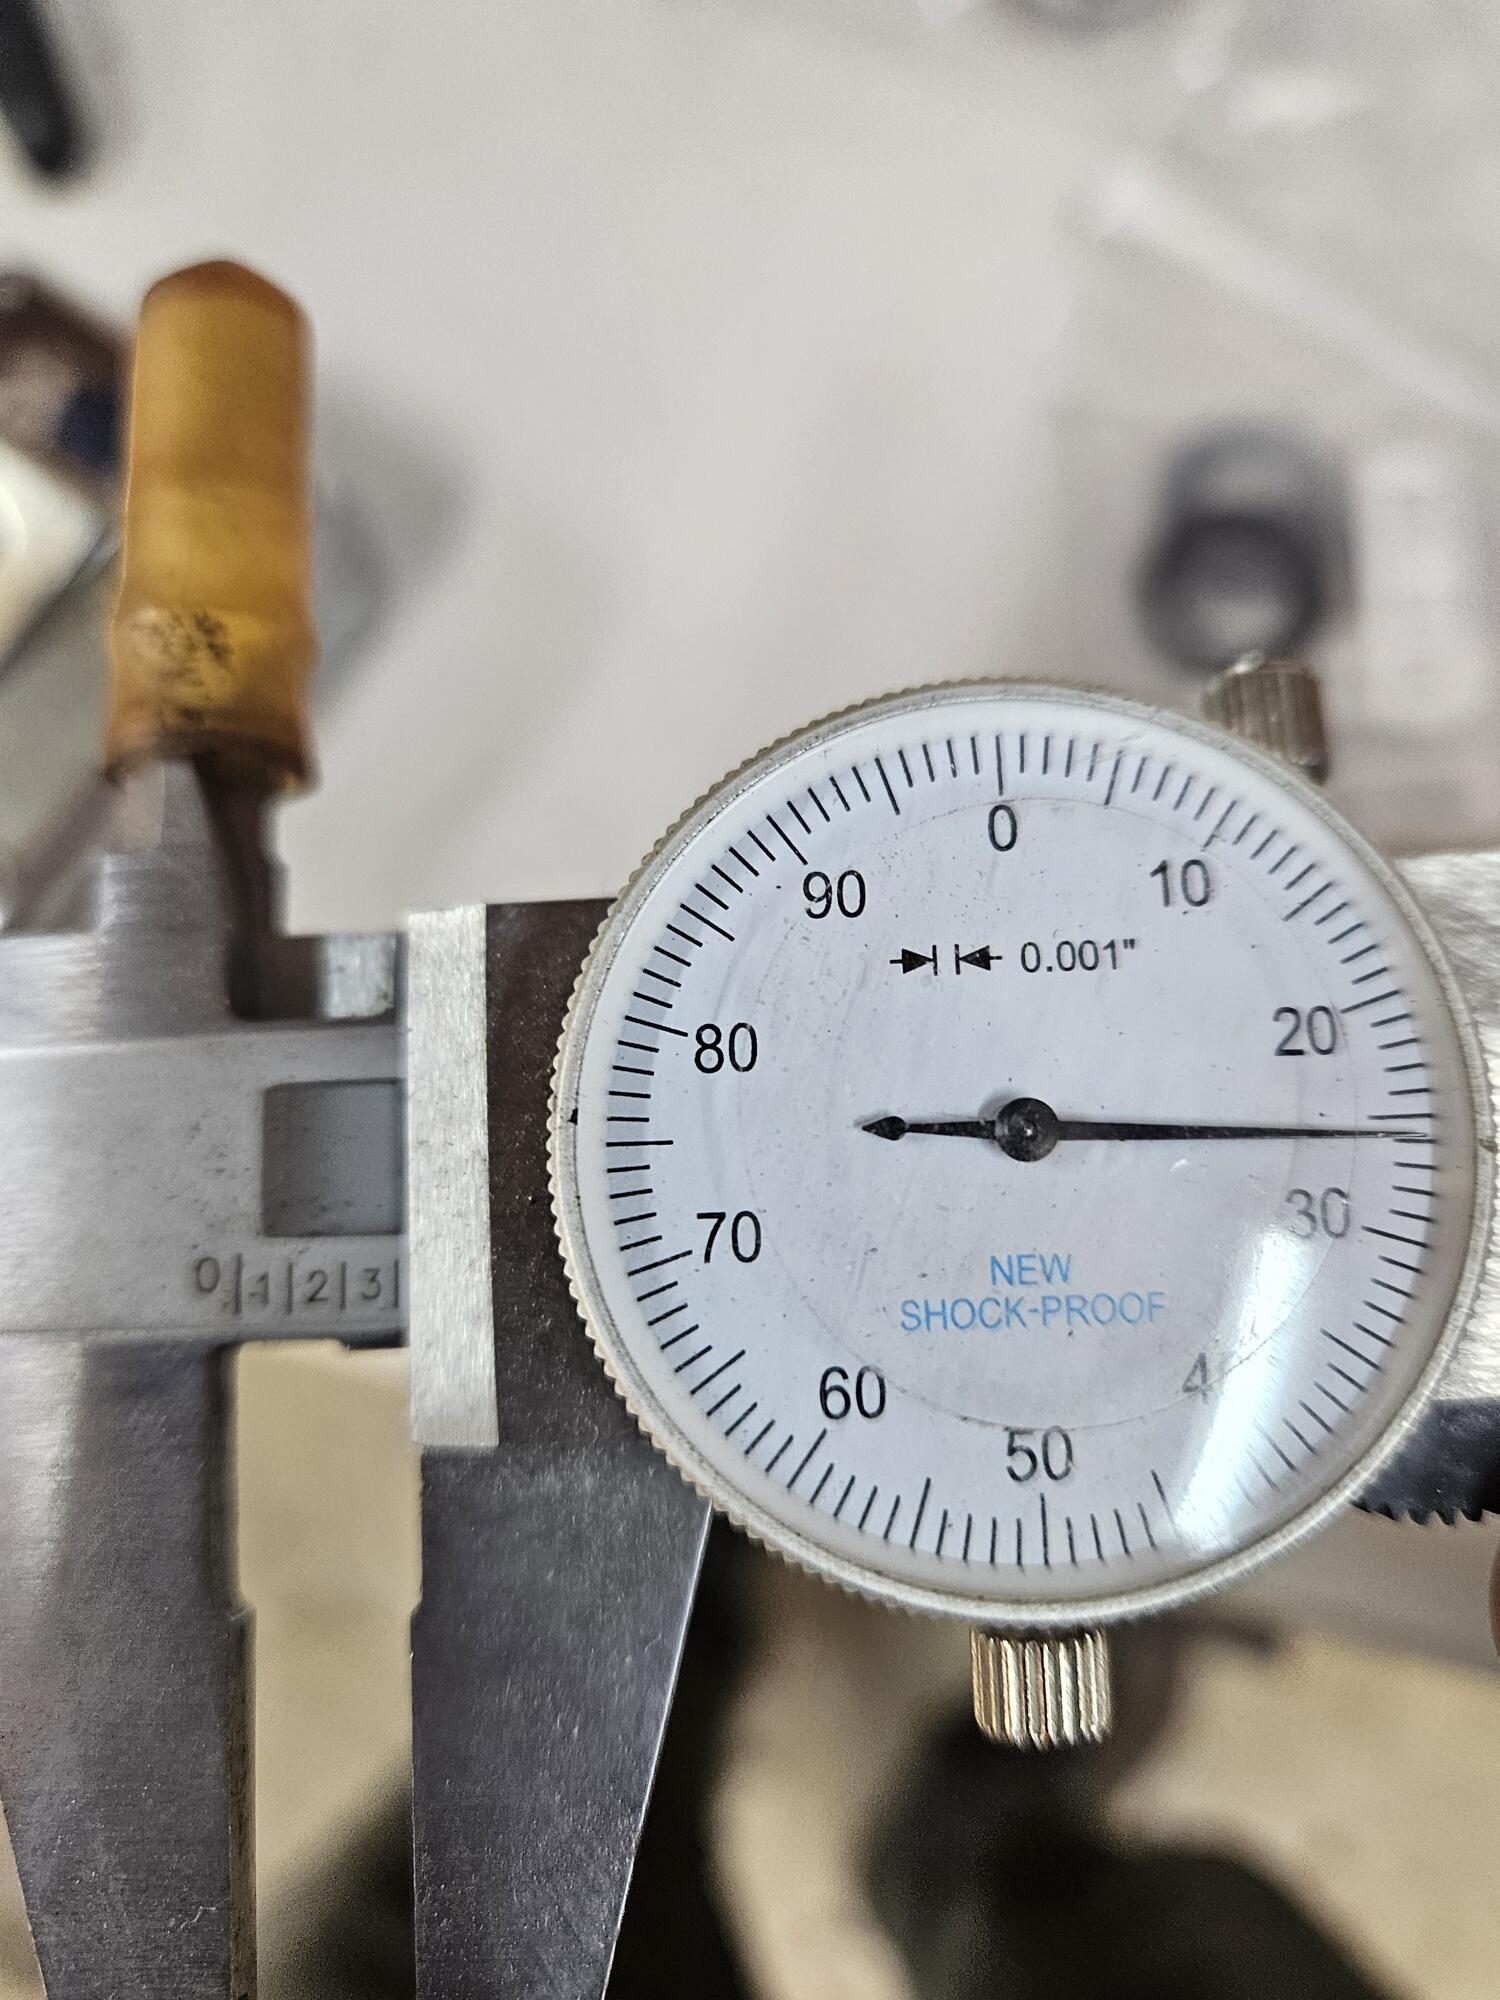
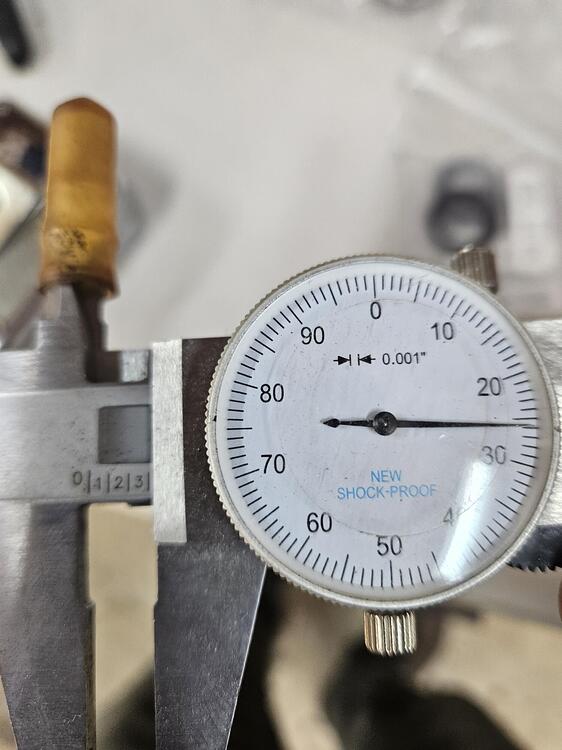
The dimensions of the caps for the headlight screws. I have found some 8mm caps but they're not long


-
-
-
He's in California, probably going to have to get it all back right to pass SMOG