Patcon
Supporting Member
-
Joined
-
Last visited
Everything posted by Patcon
-
The toughest part of doing the water pump is getting the old bolts out without breaking them. Some of them are long and skinny. A little corrosion makes them difficult to get out.
-
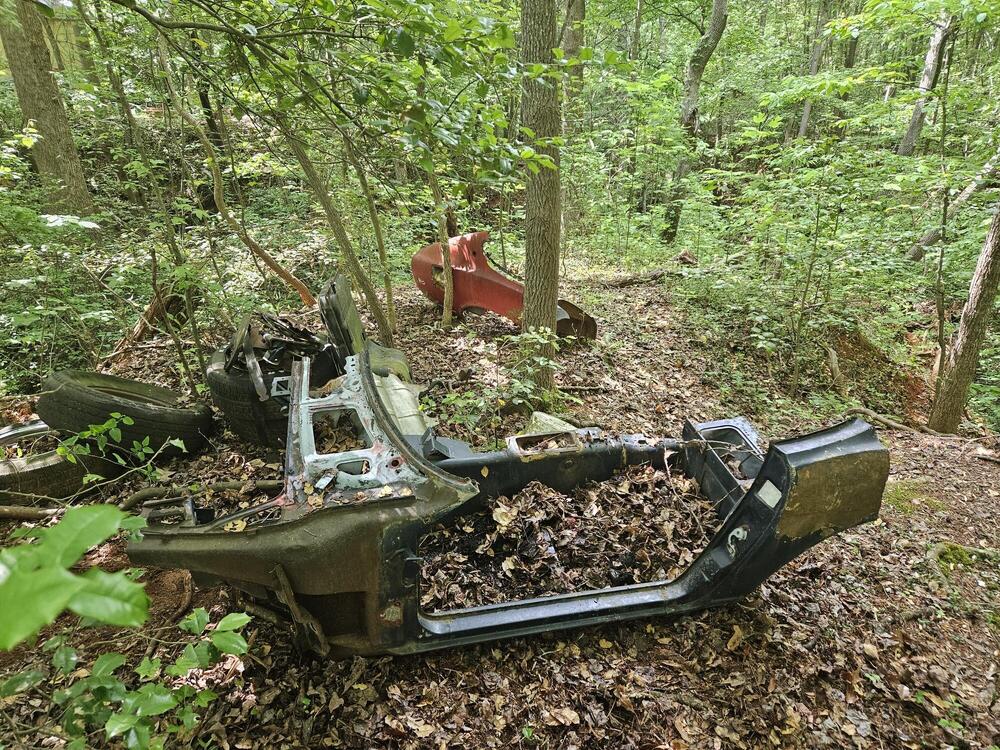
You're last post sort of hits on this. Many of the things you read about this cars condition are probably not recent. There are many cars I see now that I would try to restore that I would have never considered before. The combination of available reproduction panels and the increased interest and value in these cars makes the old "basket case" a viable project.
-
Let's get it to spark, then worry about plug order. Incorrect order won't damage anything.
-
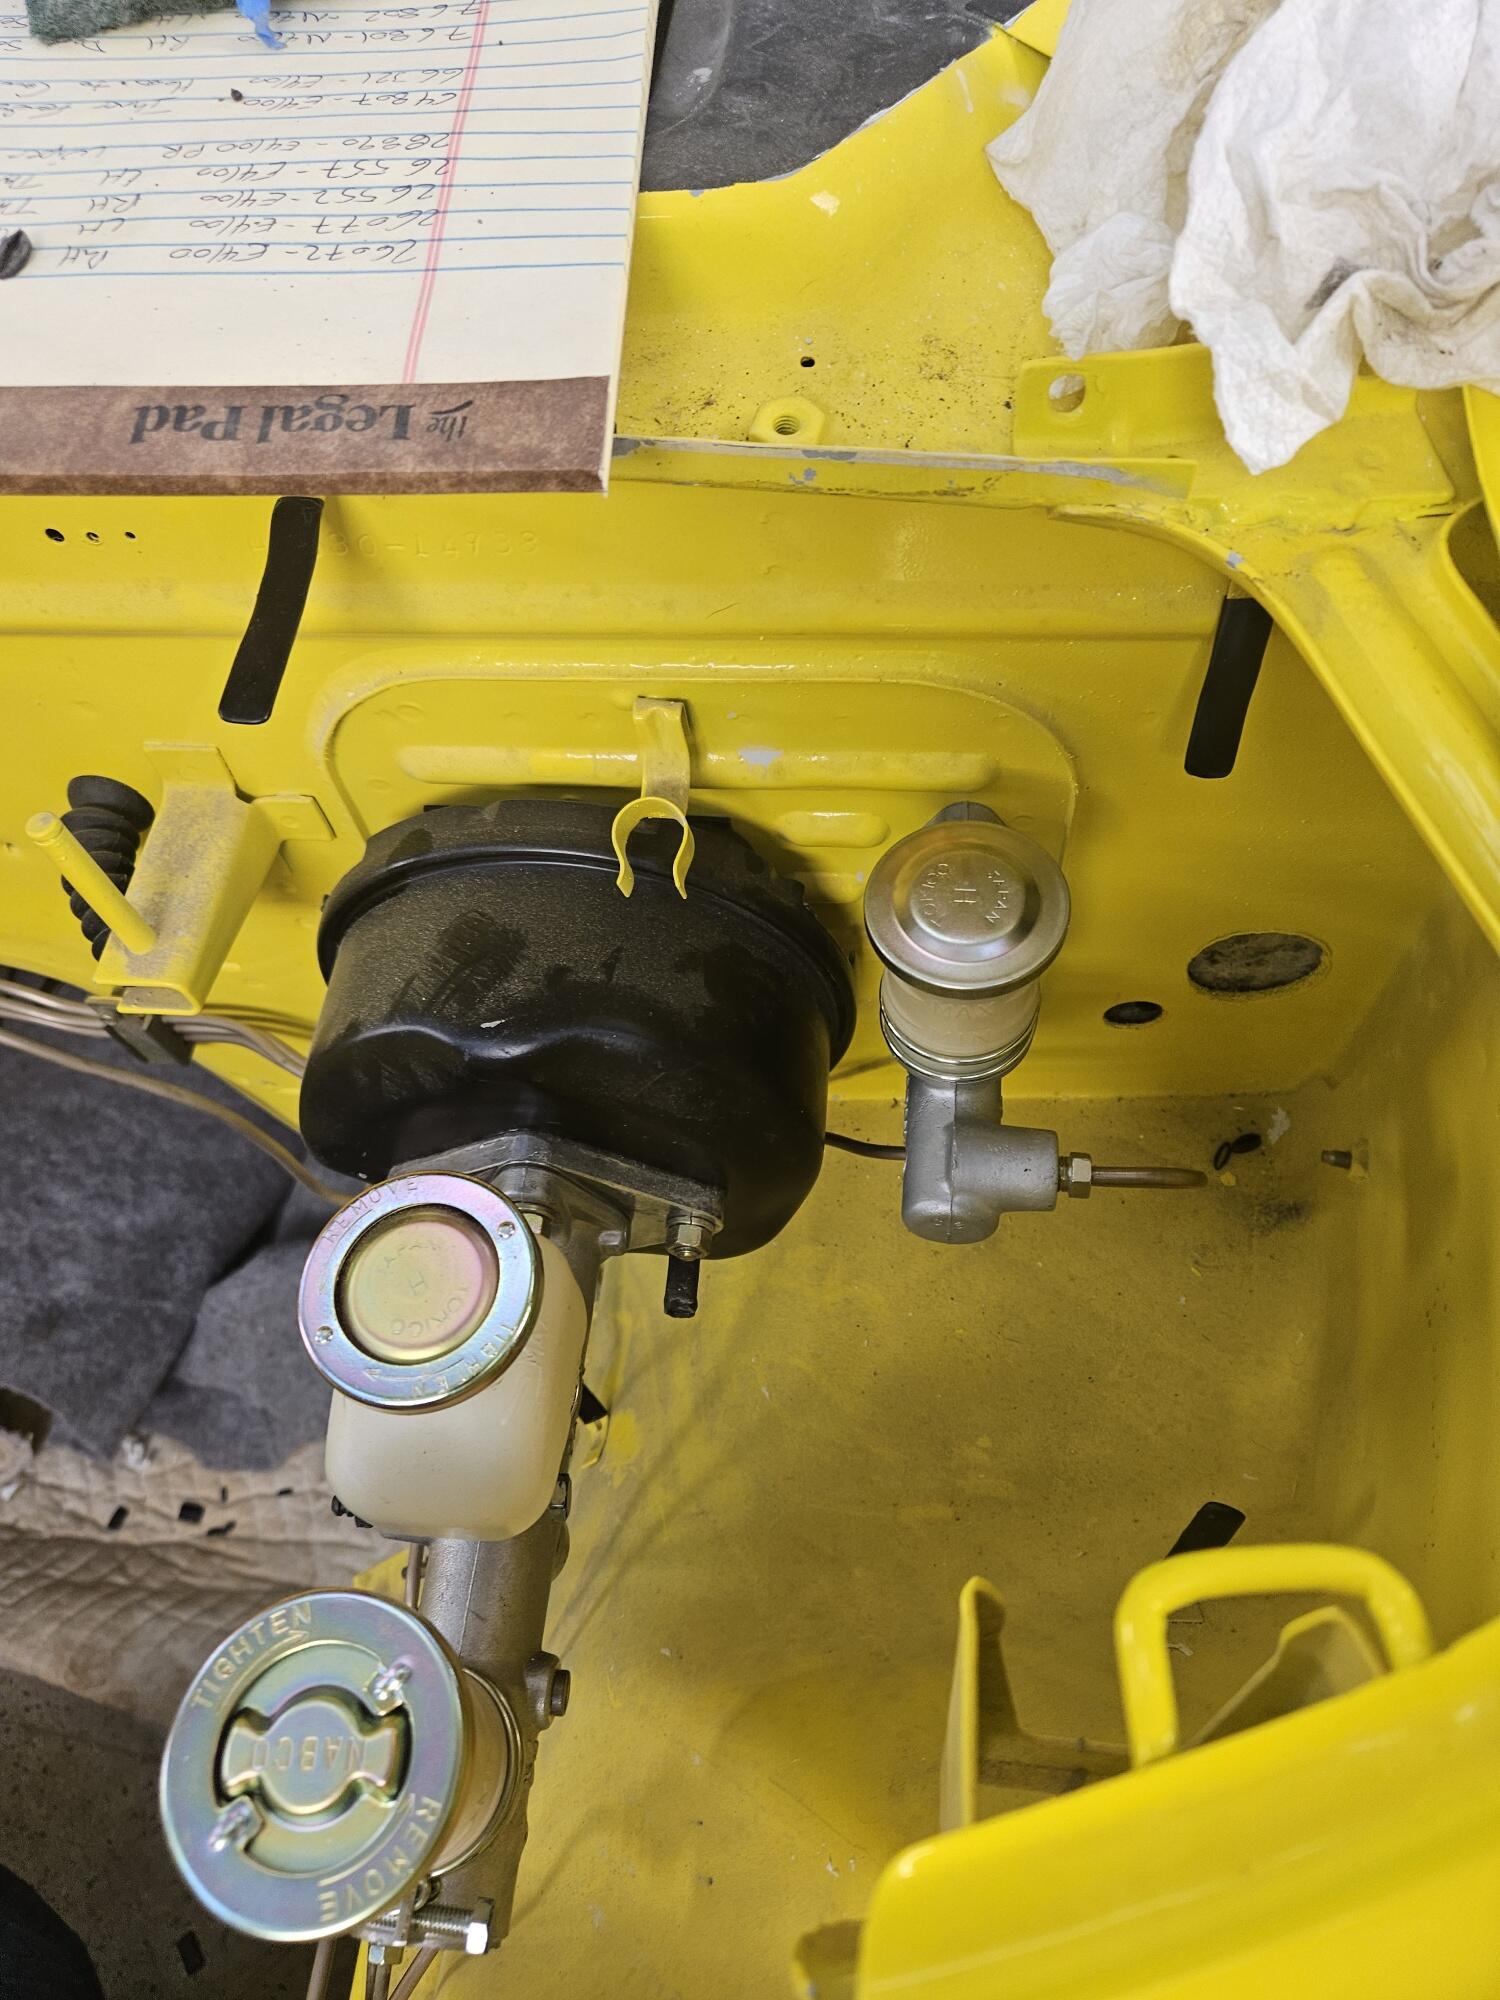
I believe my pedal box is from a manual. I rebuilt the booster but don't remember if there is adjustment somewhere else.
-
This belongs in your other thread. It's best not to start a new thread for the same problem
-
The brake light switch is there but I'm not touching it
-
I was measuring the pedal height tonight. The clutch is right at 8"s but the brake is like 6 1/2". How is the brake pedal height established? I don't appear to have any threads left on the booster pushrod to the clevis.
-
Lot's of turns there!! It can make you carsick. 😞 It's not real far from me.
-
What about an orifice restriction like the factory used. You would need a visible fuel pressure gauge to verify and fine tune in real word conditions
-
-
The car was originally automatic. So it wasn't there. I thought I would use panel bond too or maybe epoxy. It's never going to really get pulled on, so it aught to be fine. For the clutch pedal stop? No I just bead blasted it all and let it ride. It has a fresh coat of satin black on it now.
-
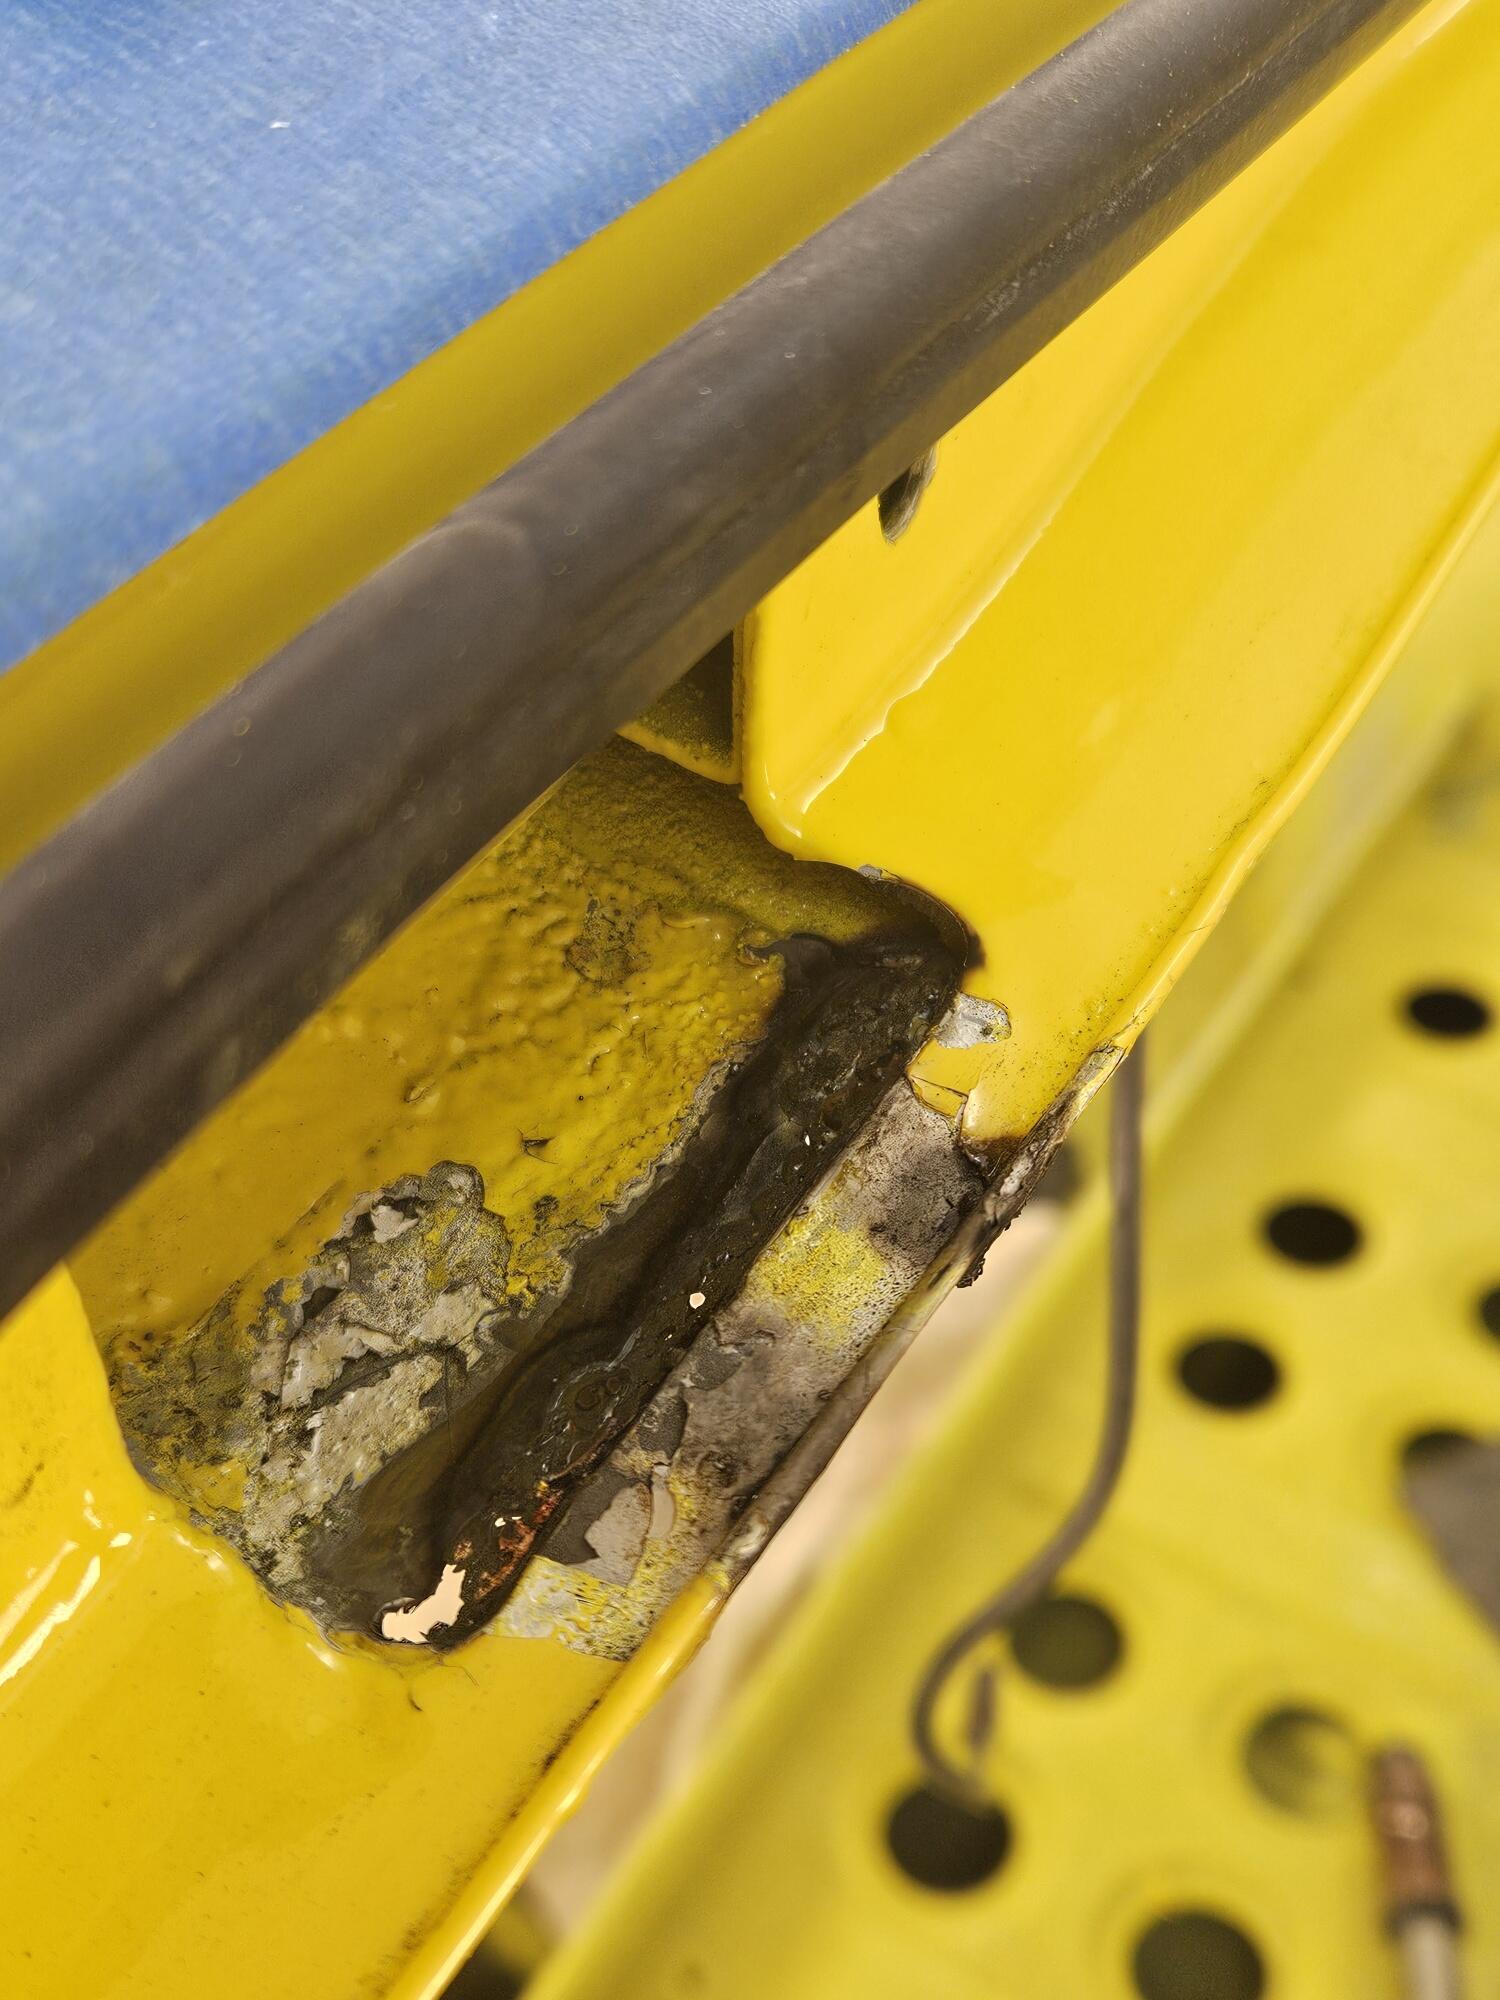
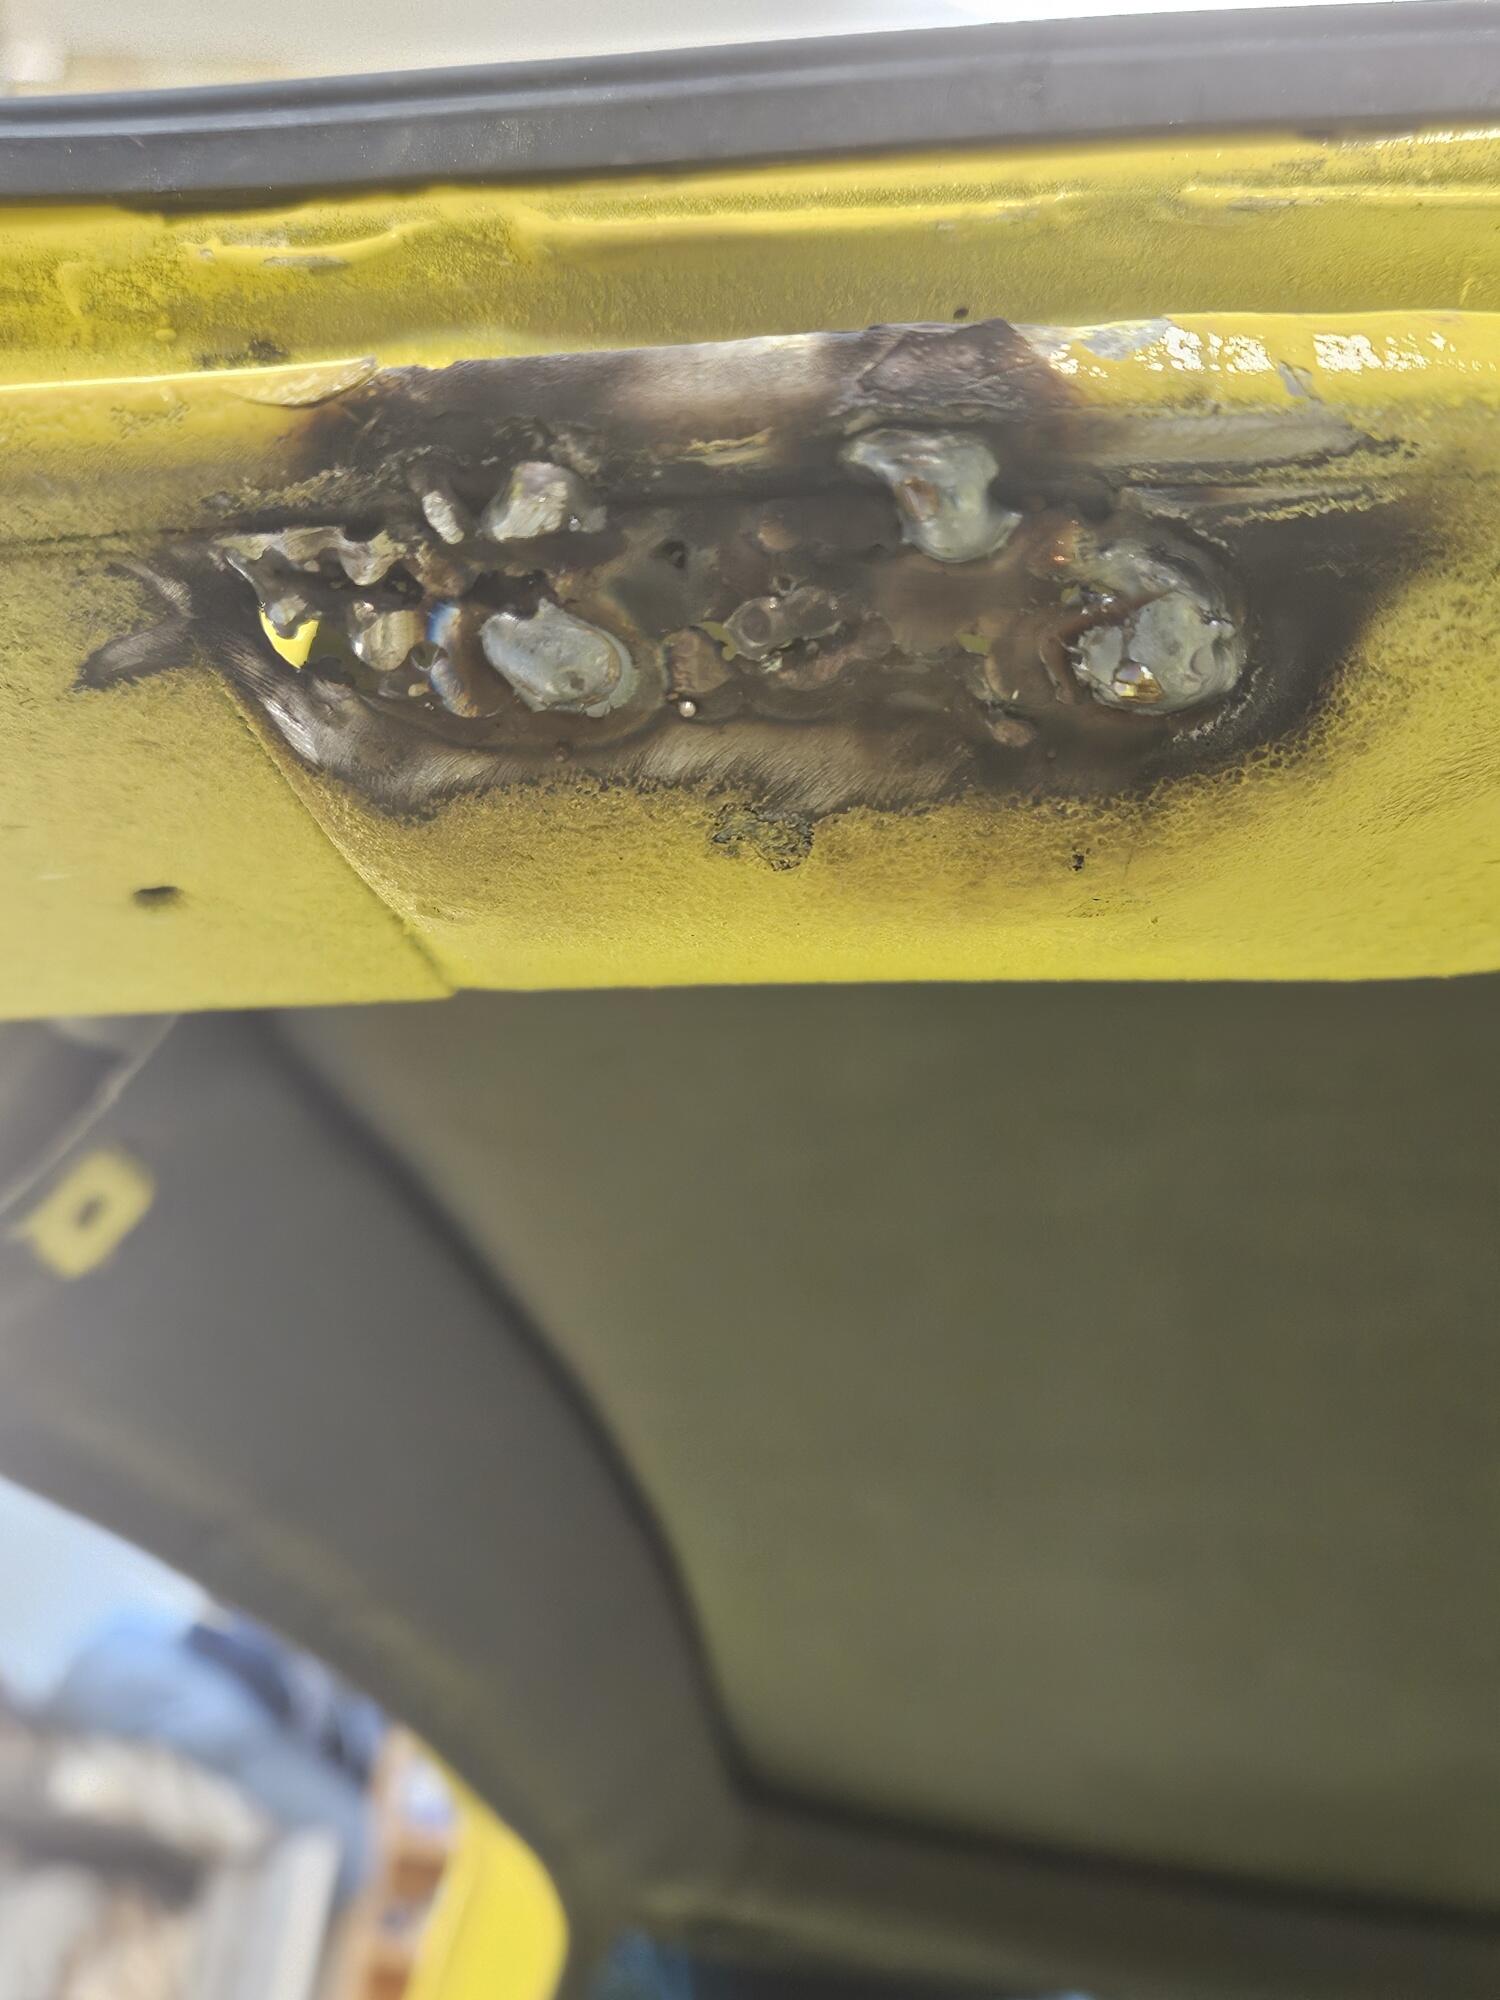
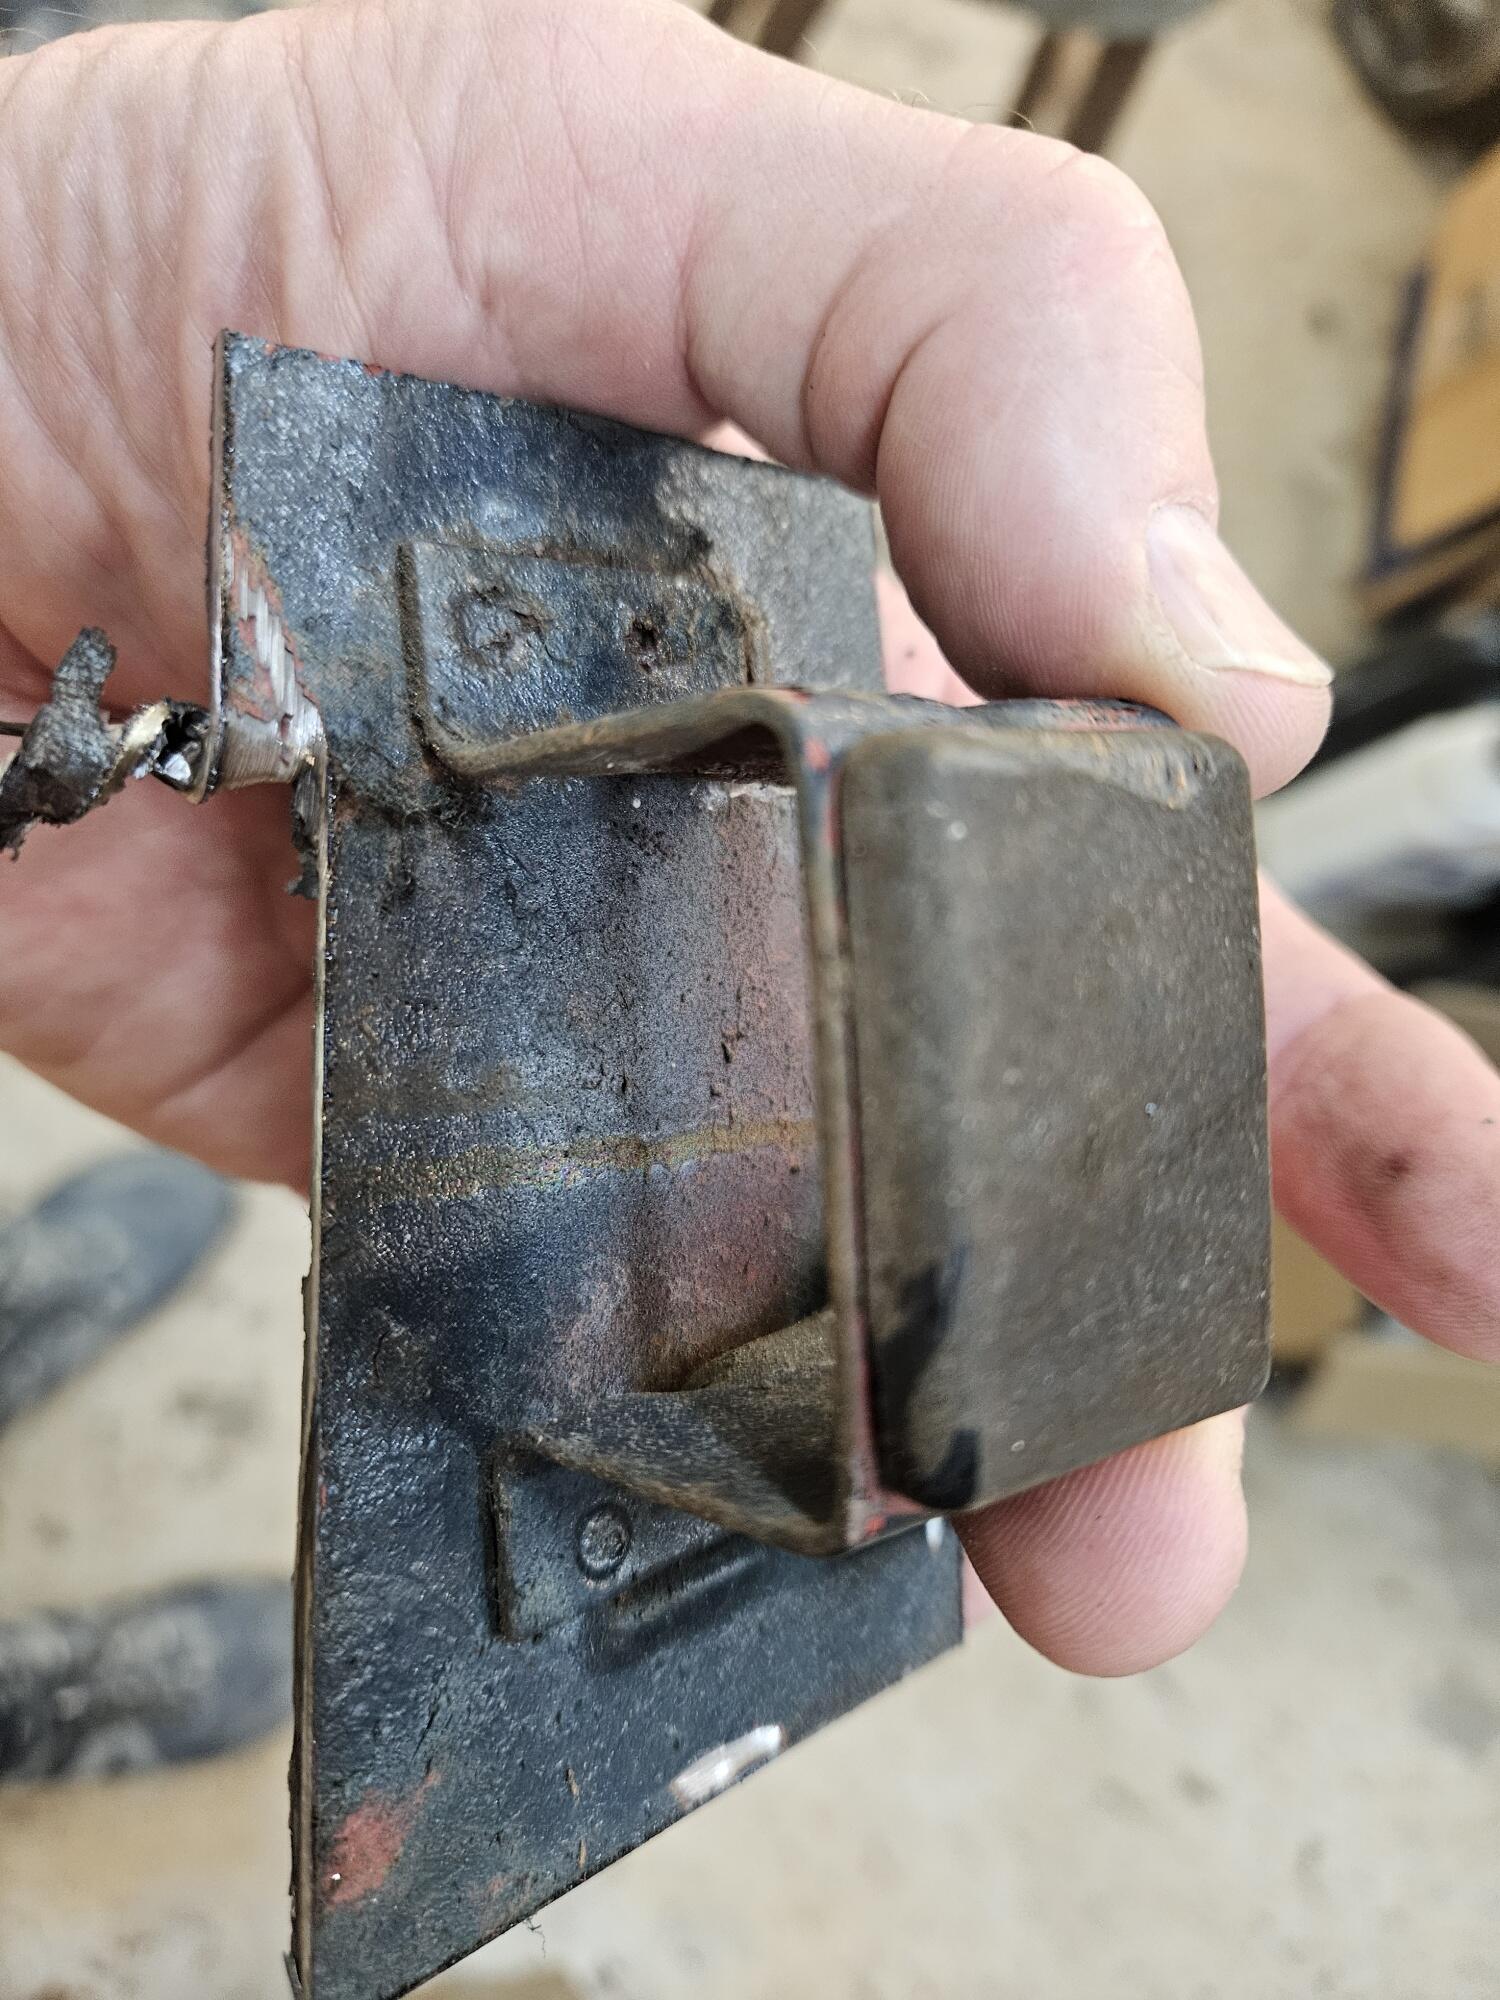
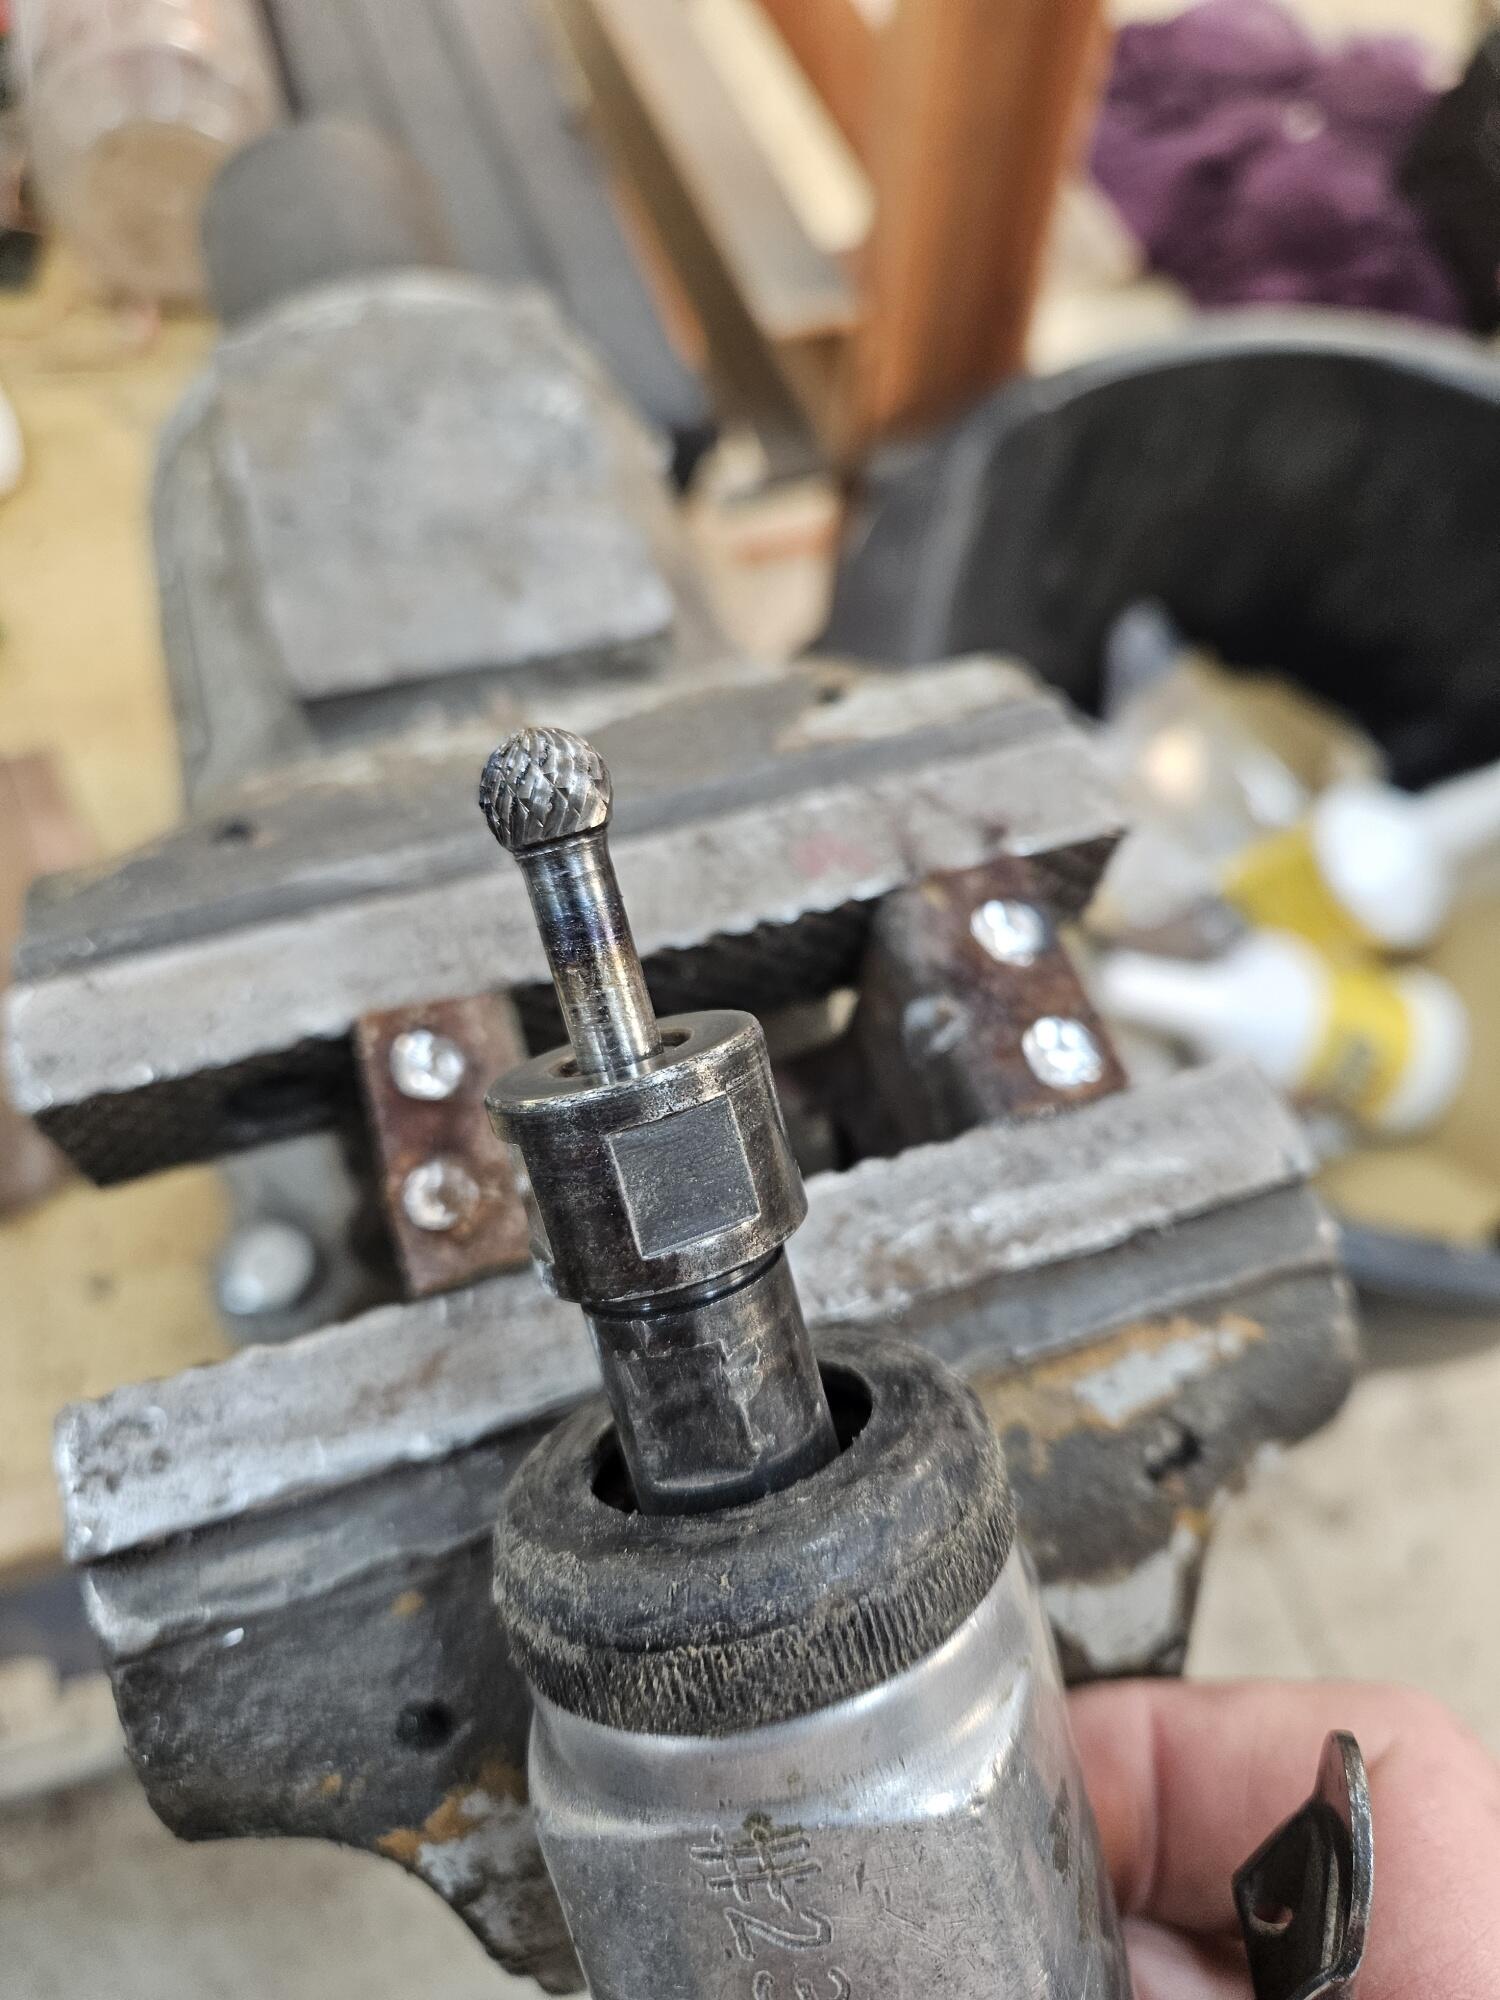
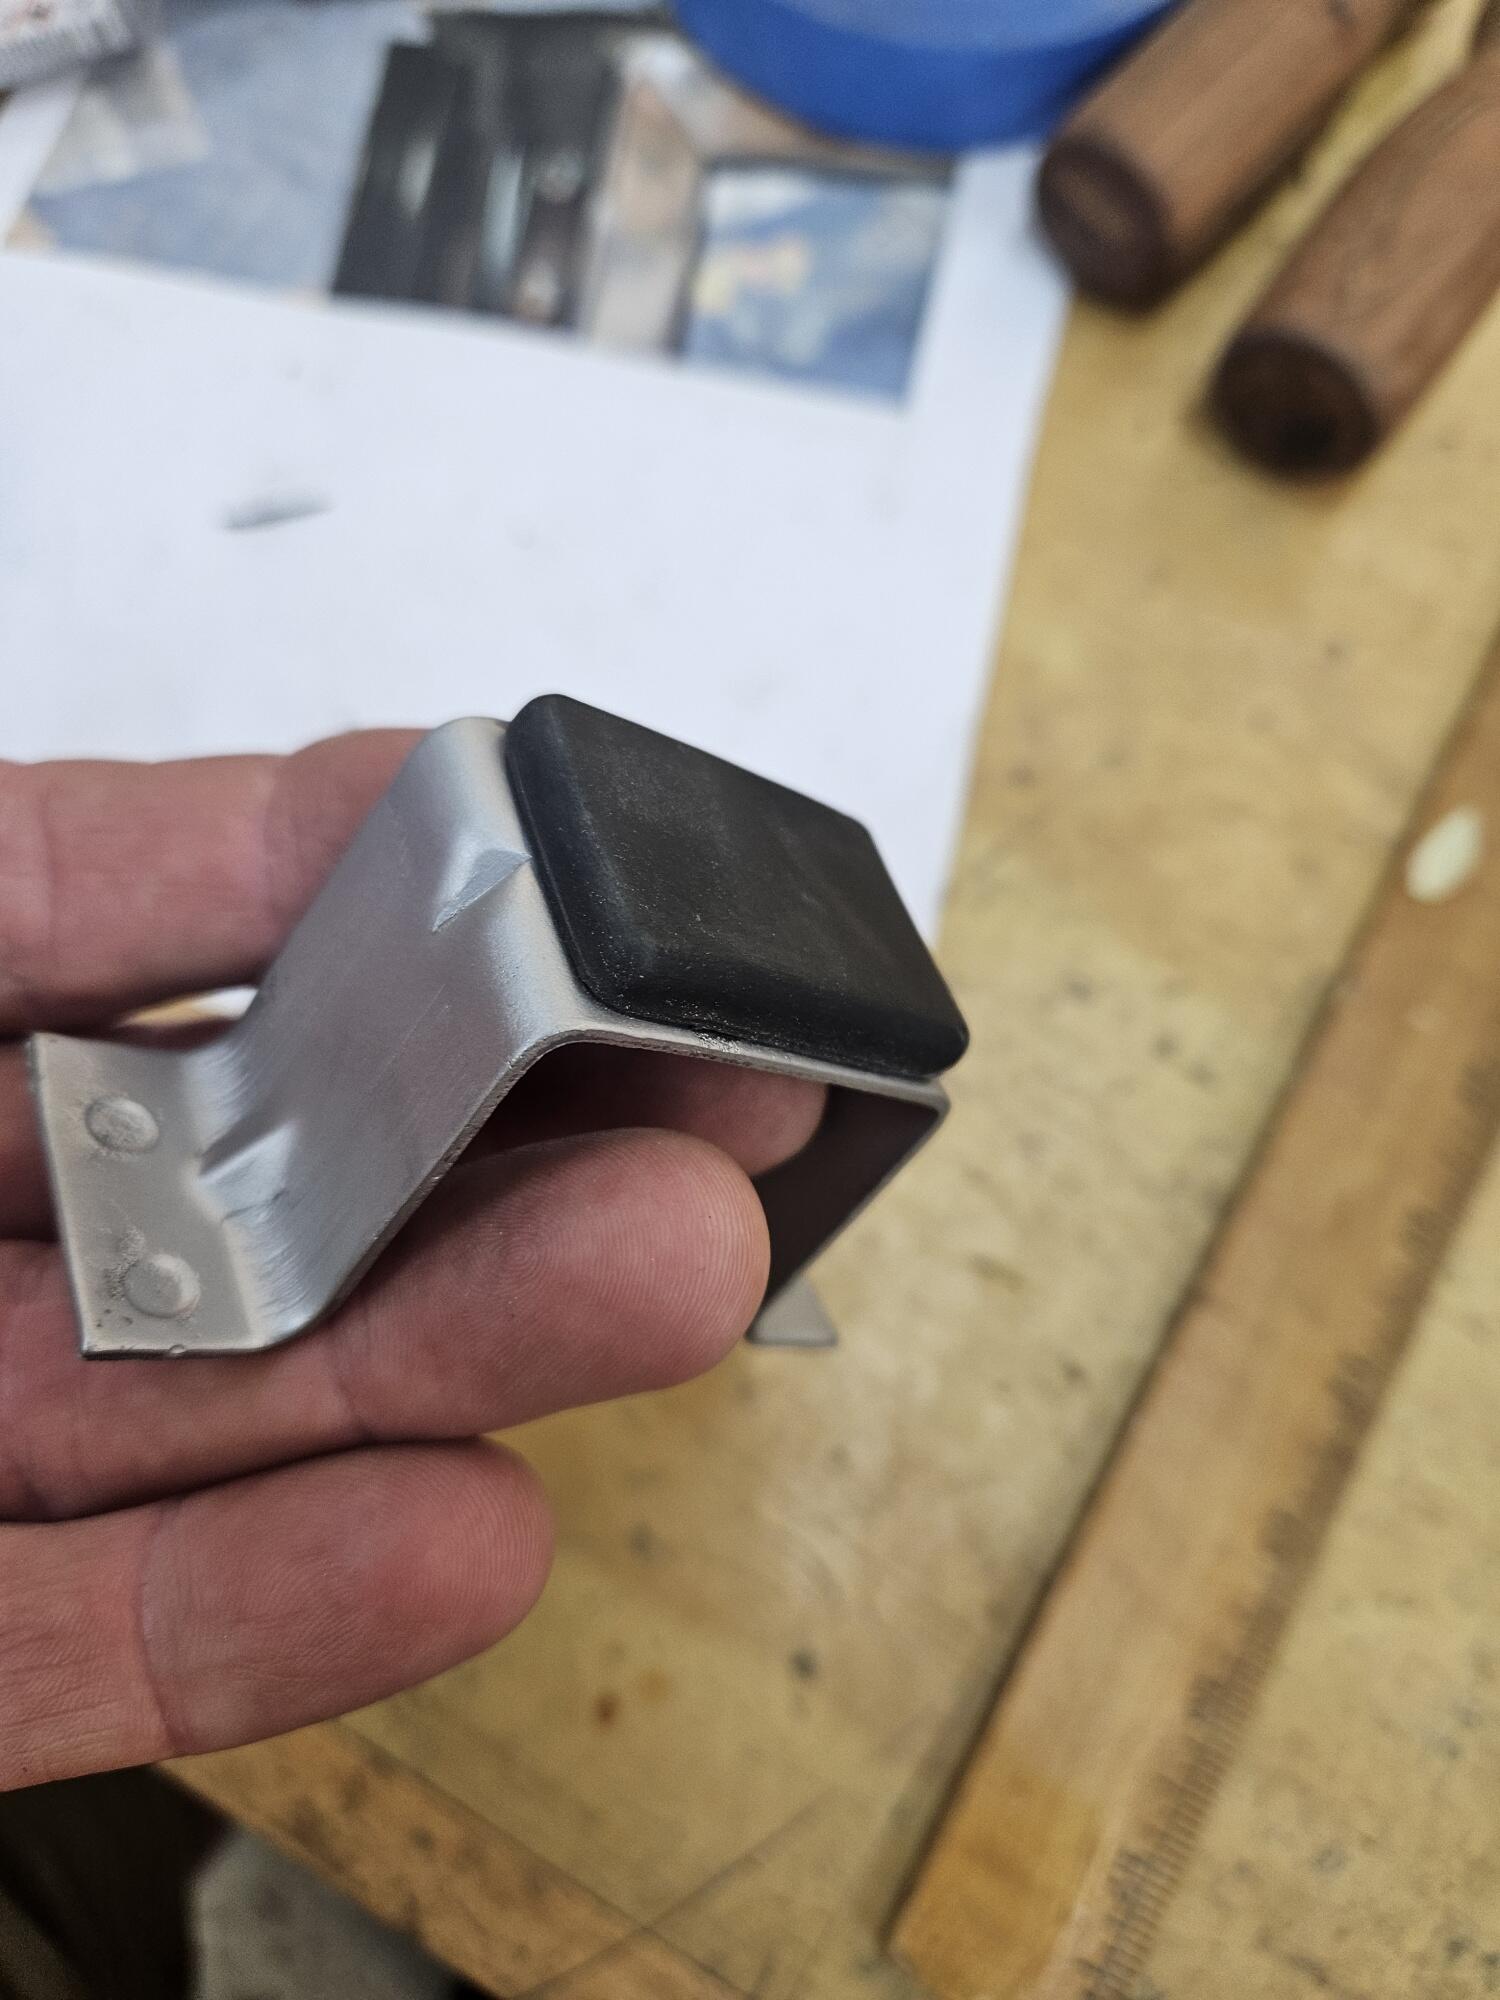
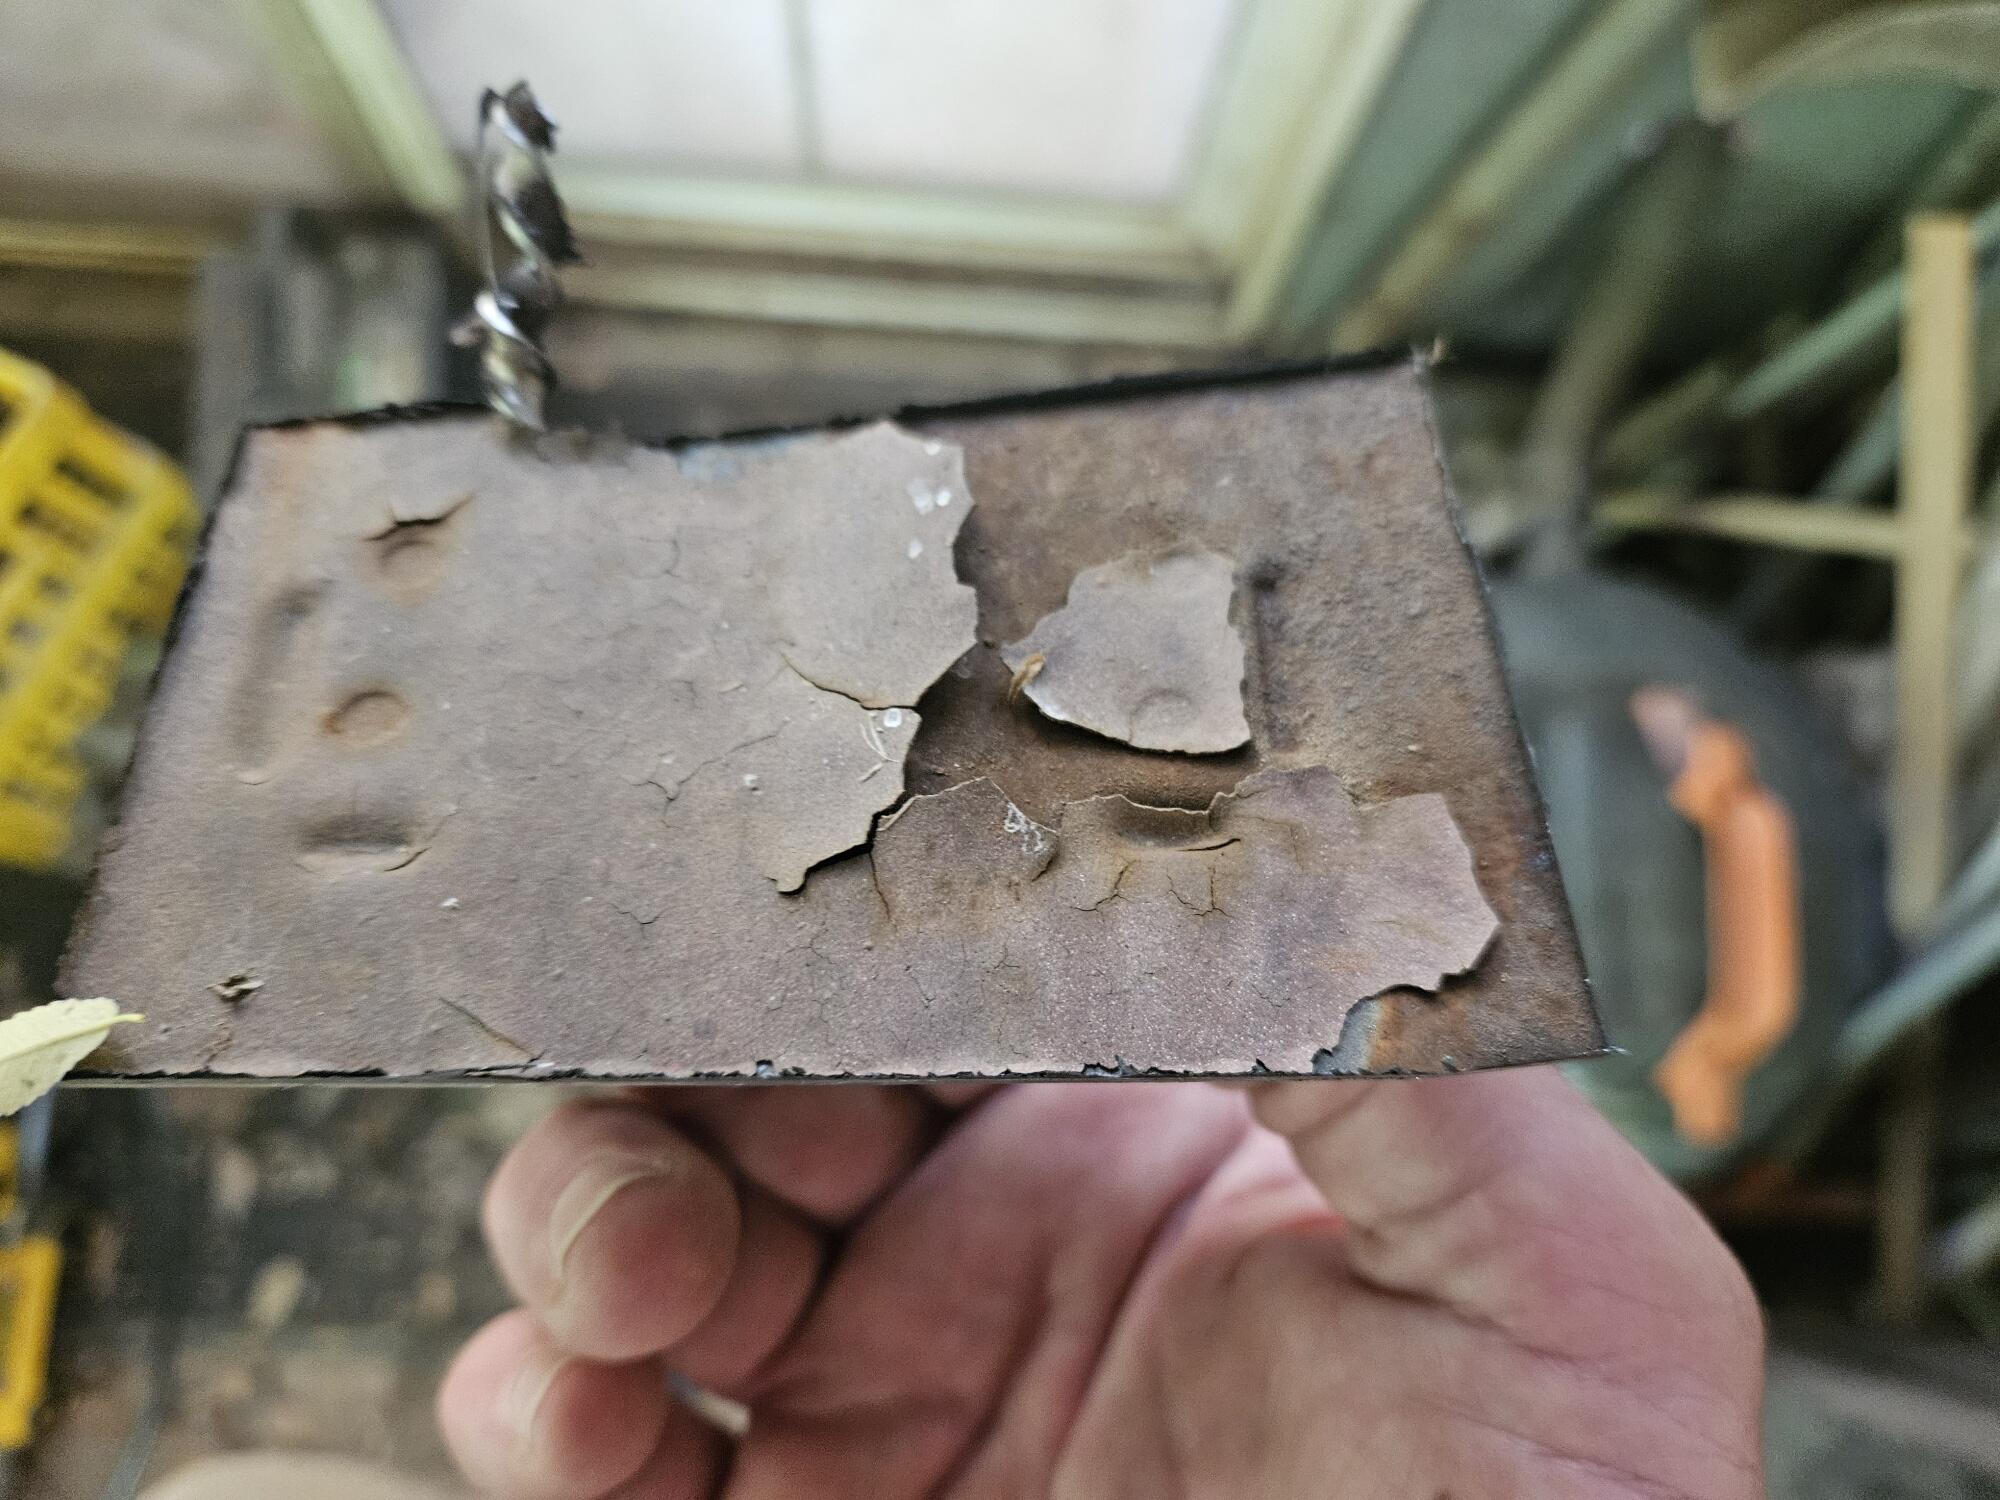
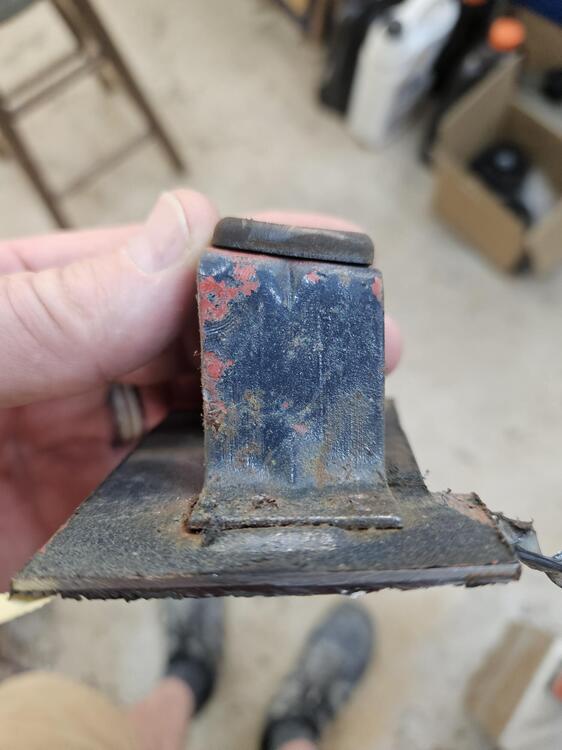
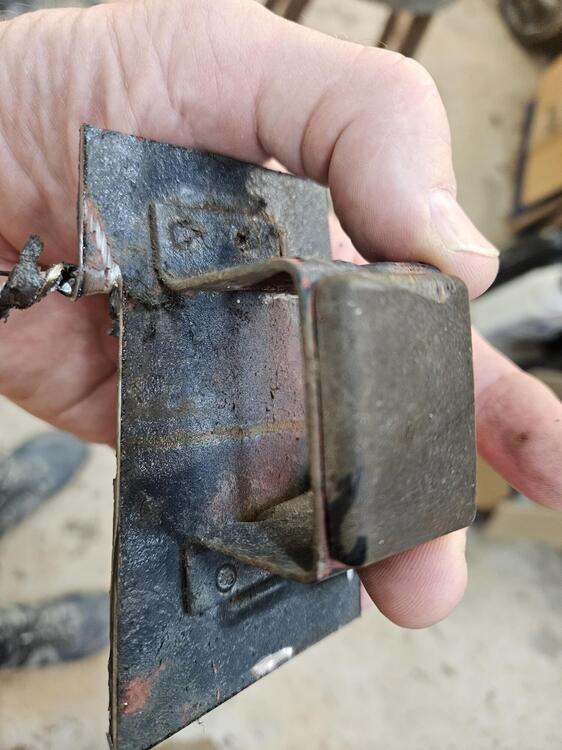
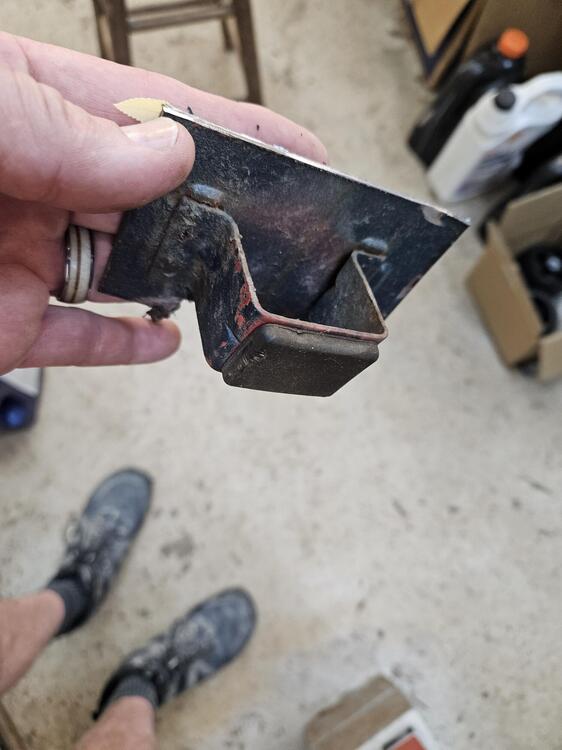
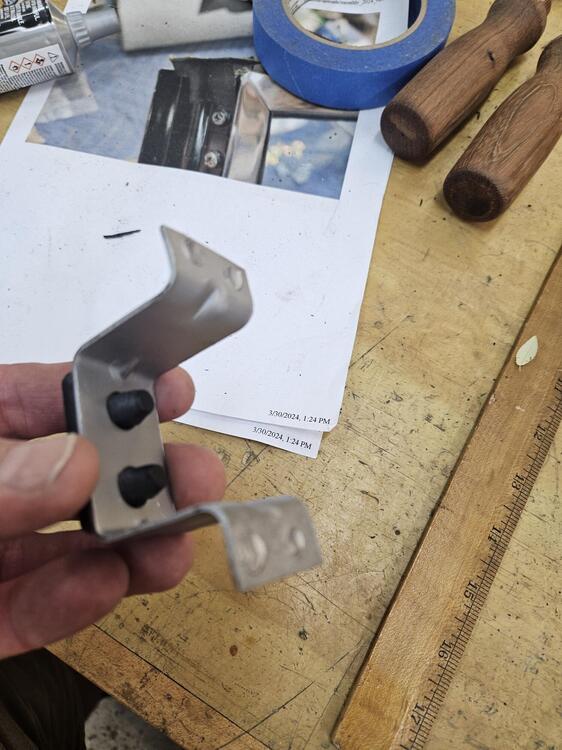
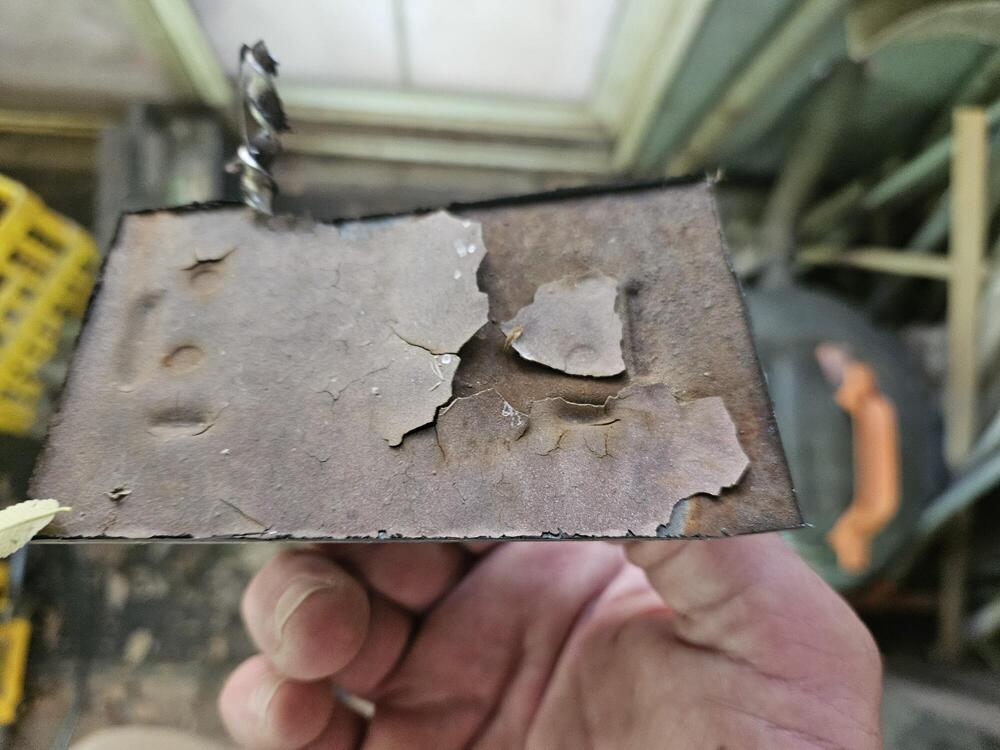
I got the clutch master in today. I need to check pedal height... I went down to the parts yard and took a clutch pedal stopper off of "Rust in Pieces" \ There are locating dimples in the floor board to locate this part. You can see them from wheel well side. Short edge is the top My favorite tool for spots welds Bead blast Started welding up the hinge pocket


-
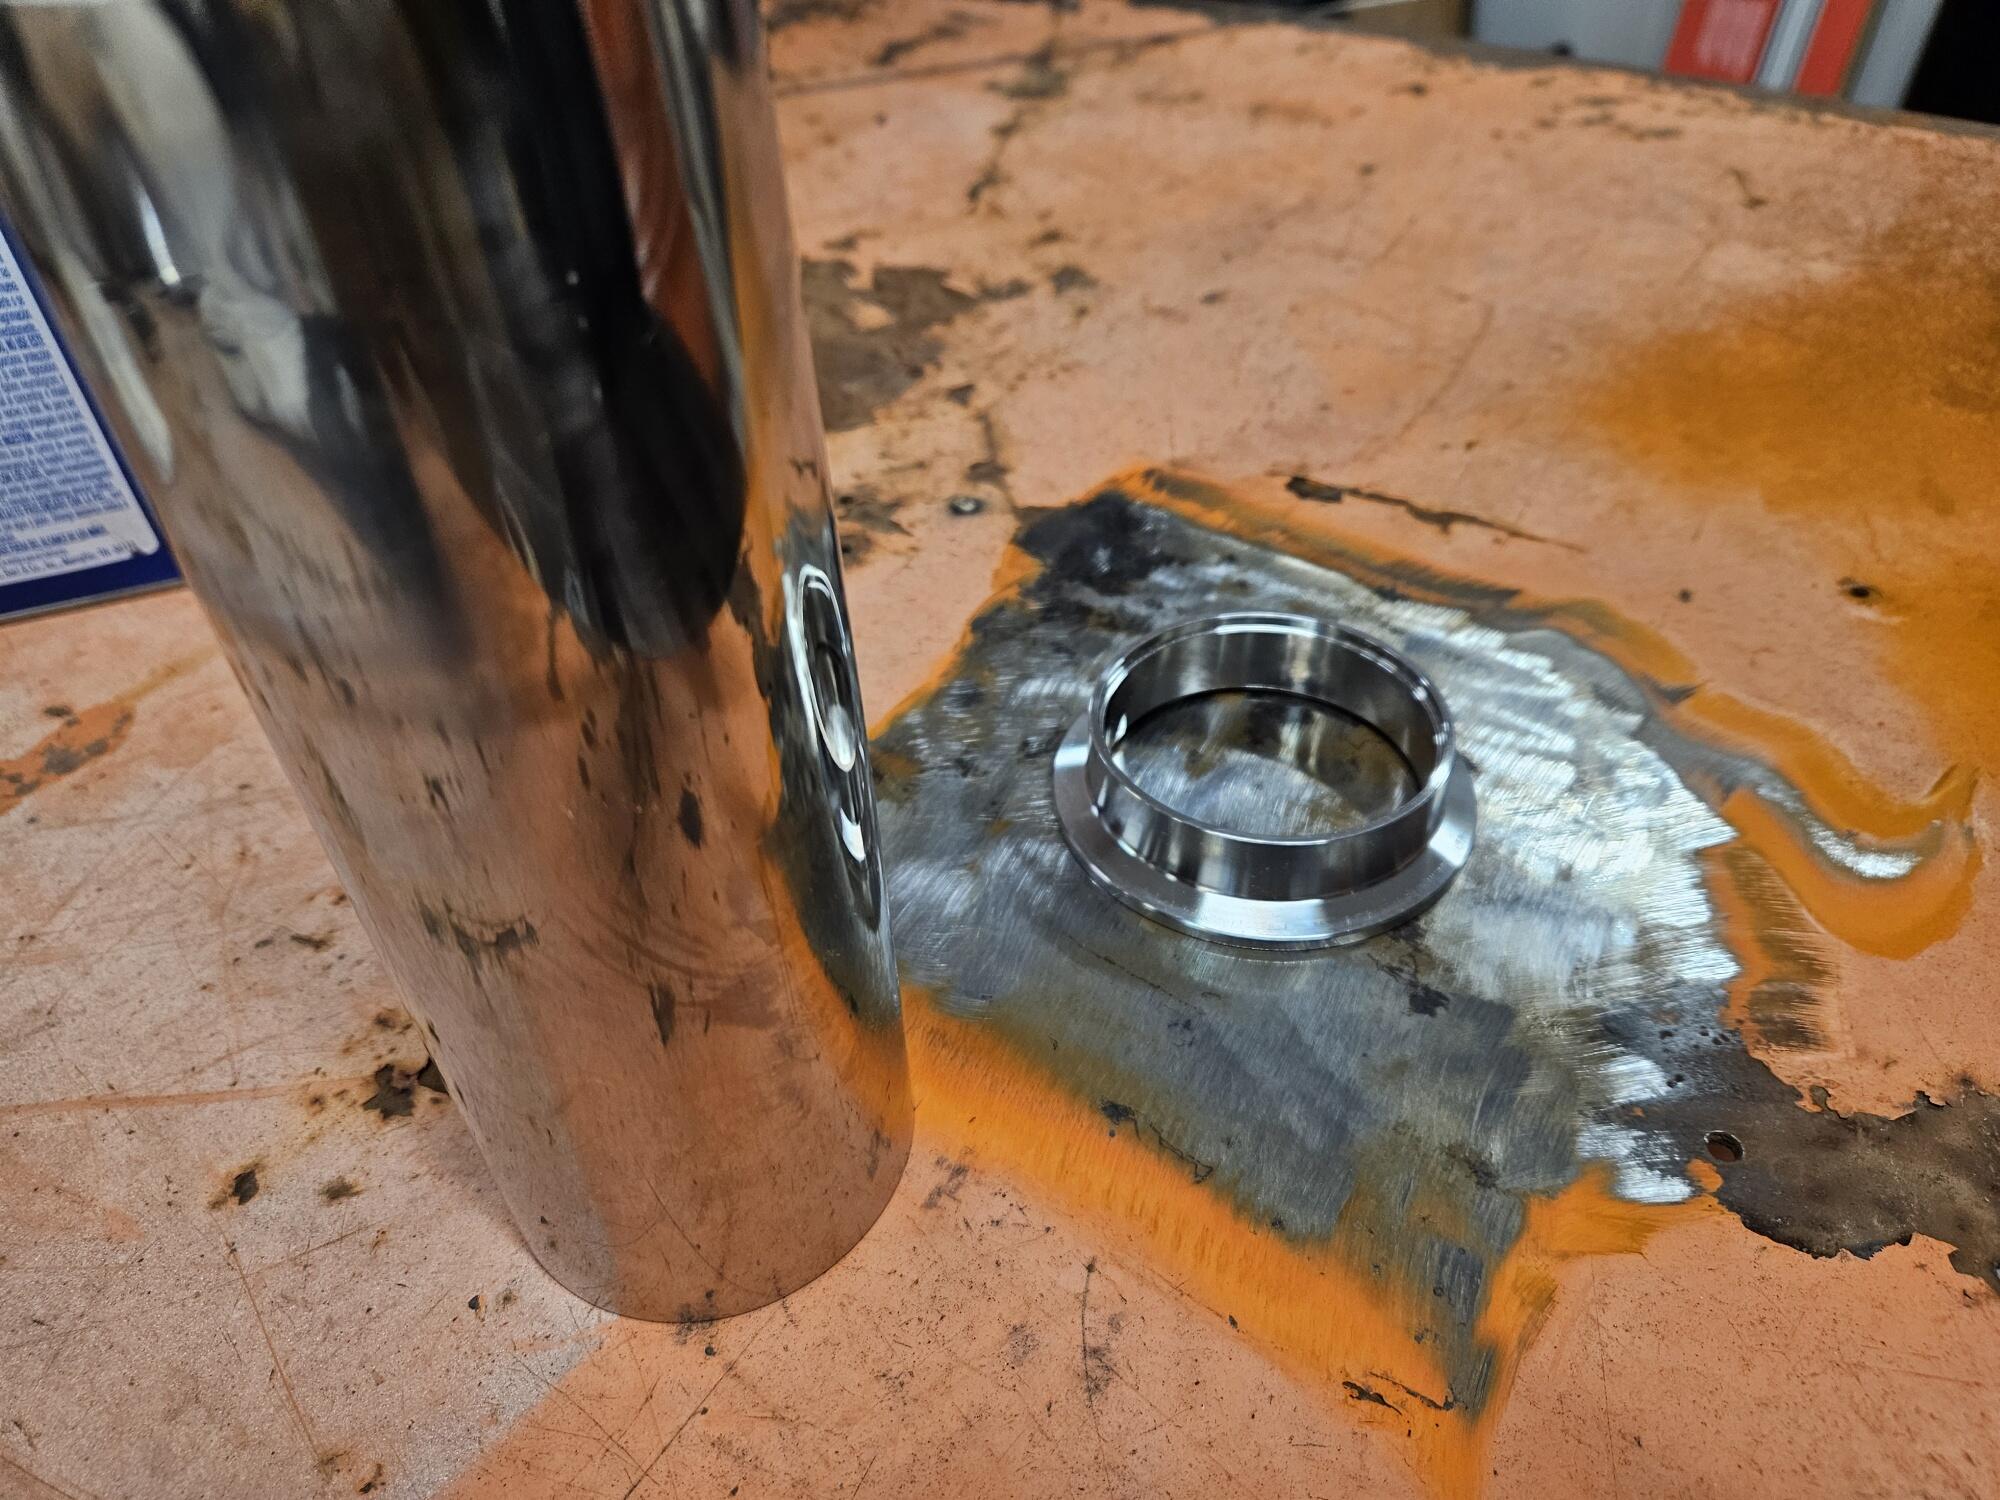
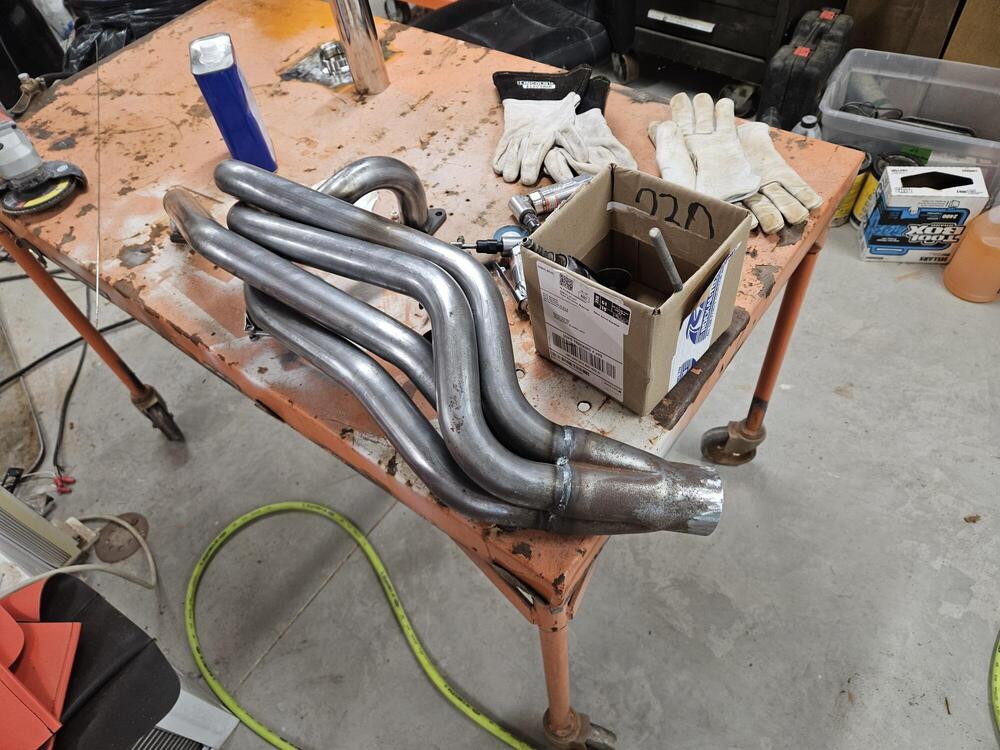
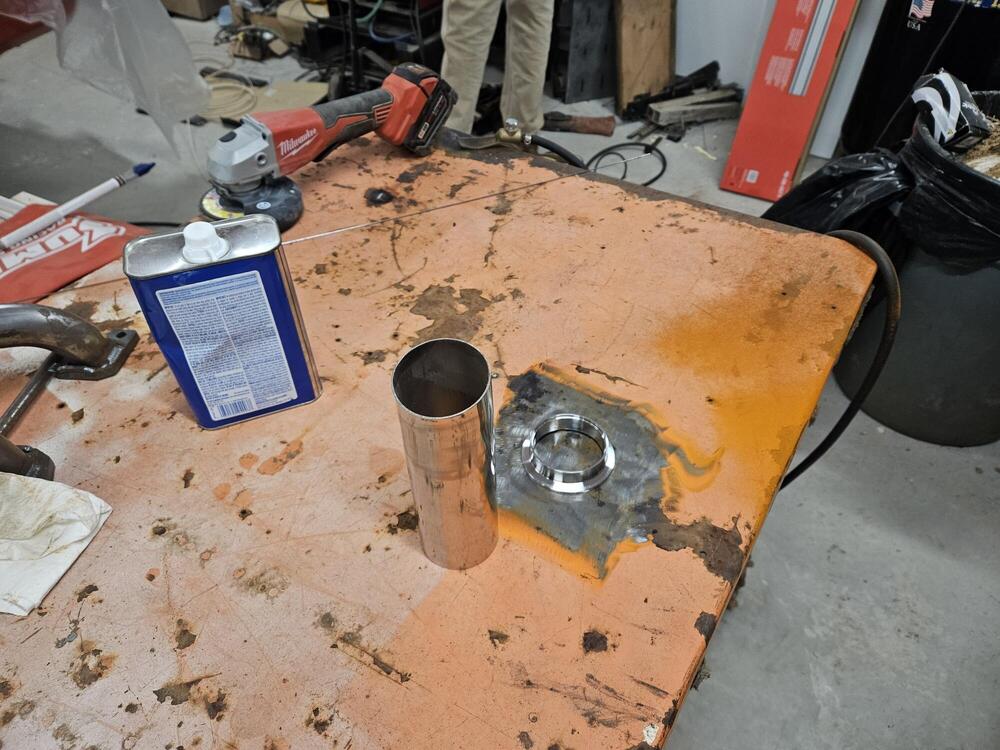
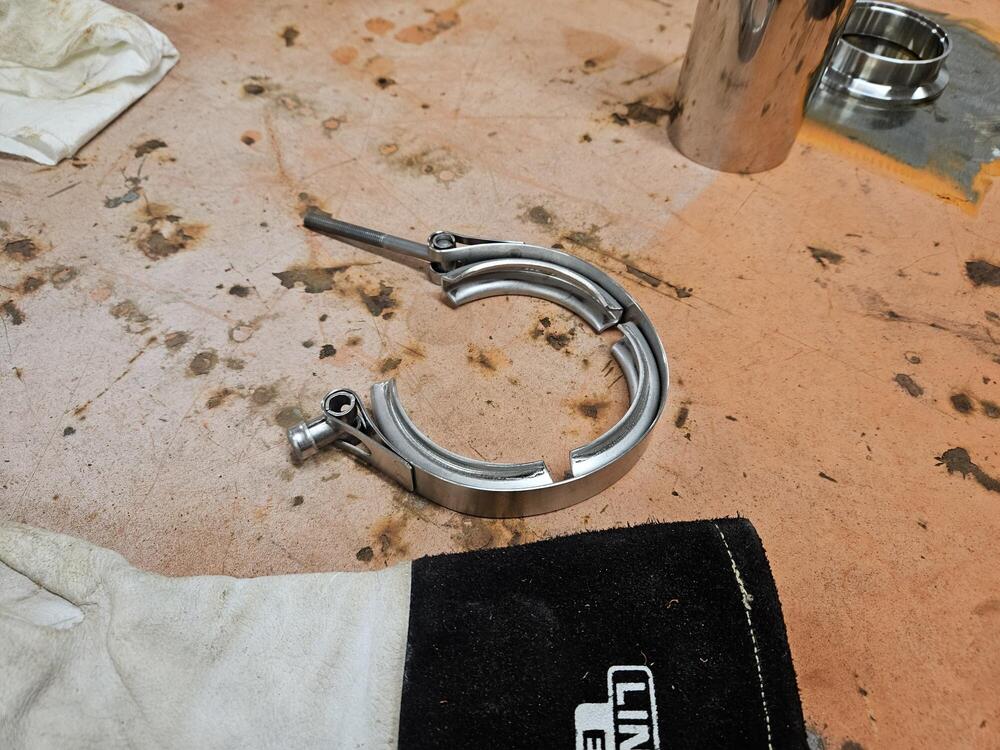
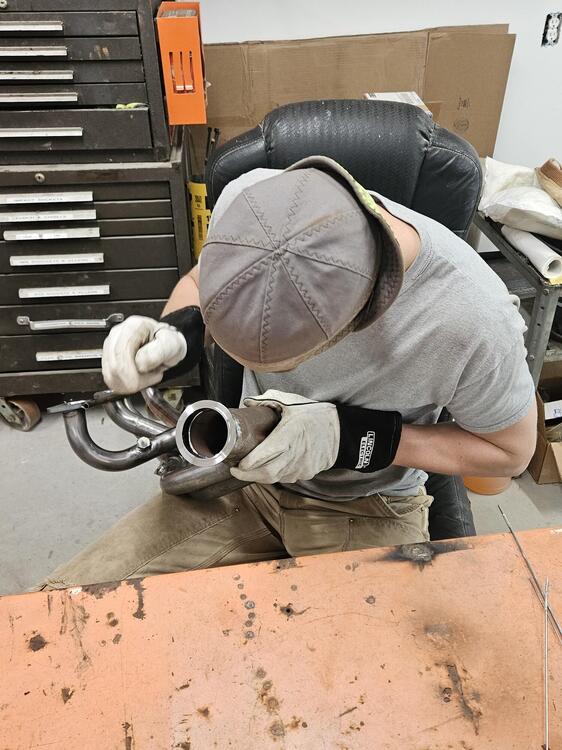
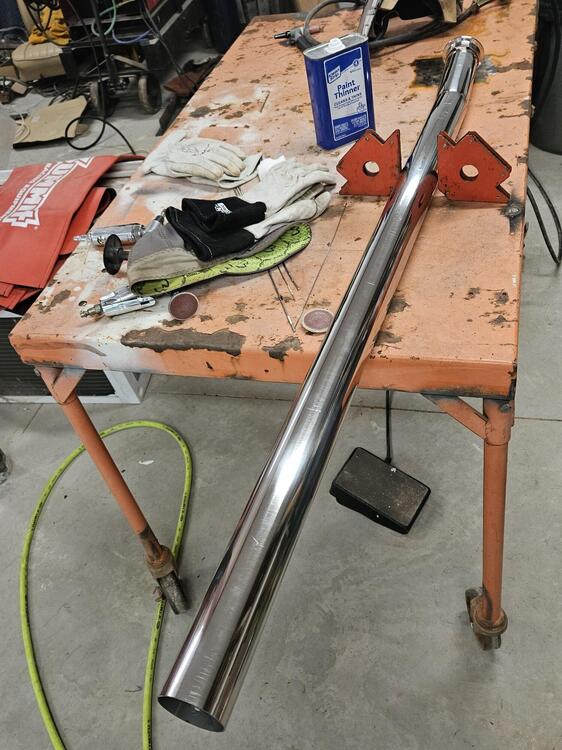
So yesterday Cody and I started building an exhaust for his car. We're running 2 1/2" stainless. No one really offers an exhaust for a 510 wagon Running V Bands at the end of the header. We got this much of the pipe built. I need to order a muffler now. The muffler is actually up under the back seat. It's not at the back of the car. The plan is to tack up the exhaust and then take it to someone else to TIG it all up

-
2 minutes!! That's not very long!
-
If I had a set of early door lights, I guarantee they would be on my car!! 🙂
-
A picture might help
-
@SteveJ Care to comment on your production? 😉
-
The door lights were available new but the few I have seen show up in recent years have been quite expensive. I believe they were more likely to show up in the Japanese domestic market
-
I was more concerned about the fill levels in all the branch circuits. One piece of 12/2 "fills" a ½" conduit I believe. The NEC isn't my forte'
-
I am wondering if the distributor is grounding
-
The way you've got them stacked, it shouldn't matter. Post a picture of the starter connections and where they go. Also the ground at the firewall near the battery
-
Your 6/3 should be fine. I would run it all the way to the panel. I don't know if that's totally proper but the extra joint just gives a place for higher resistance, corrosion or problems I would run 2 gnd rods. They sell a clamp that attached the ground wire to the rods It's a shame you are so far ahead of me. I really think your going to be overfilled on that conduit size... Will it matter? Probably not. Would it pass? I doubt it
-
It is not strictly legal to run NM cable in conduit and it doesn't become legal if you strip the jacket. MC cable is a good option if you're gonna run conduit. For your feed. It really needs to be 6/3 plus a ground. I would pull it as THHN in a 2 or 2½ conduit continuous. Because the garage is a subpanel, I'm assuming, it needs a separate neutral and ground. I believe the ground can be derated to something smaller. Needs disconnects on both ends. You could alternatively go with aluminum direct burial cable but you will have to upsize to go to AL. I'm not sure I covered everything. 30A is 10ga 20A is 12ga 15A is 14ga
-
A wibeband o² sensor might help determine whether it's fuel related
-
I did a quick check on the quarter glass. They seem like they'll be pretty tight. I'm sure soapy water will help but I'm a good 1/4" or more from lining up