Patcon
 Subscriber
-
Joined
-
Last visited
Everything posted by Patcon
-
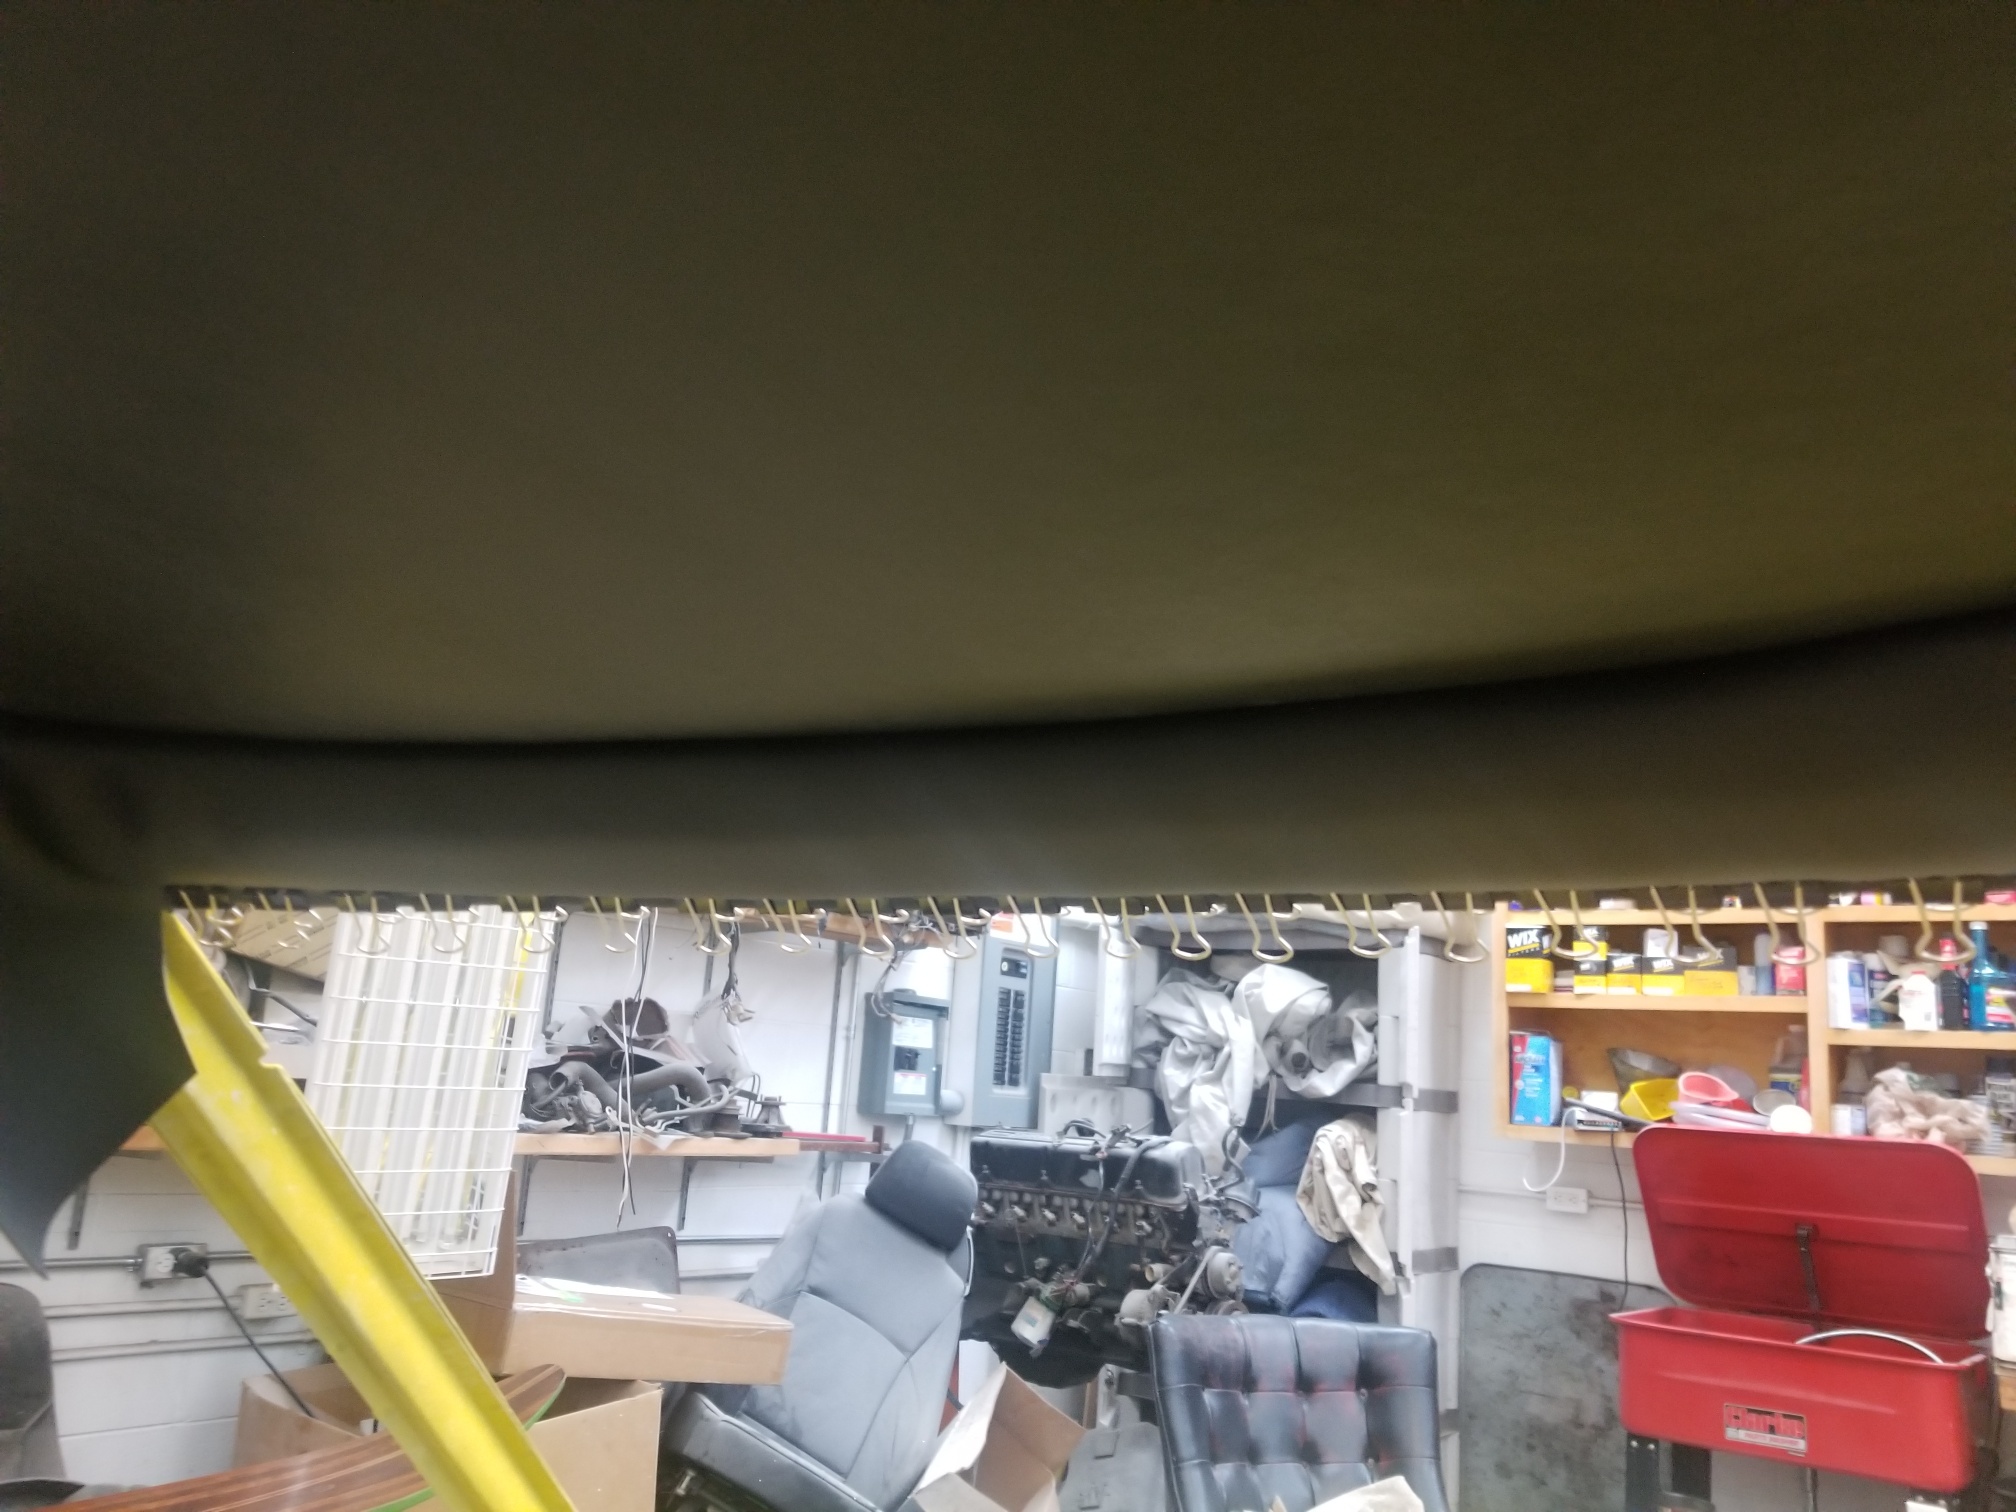
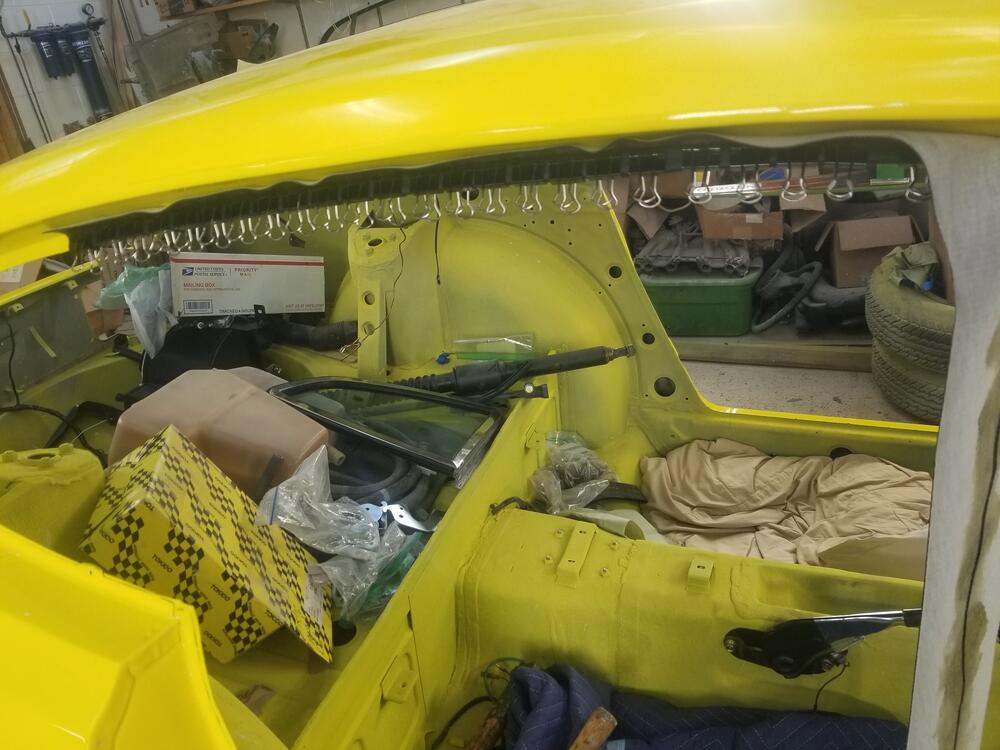
 So I got the headliner trim in Gonna have to pick up the pace to be ready for Zcon 2024 Momma is starting to crack the whip
 -
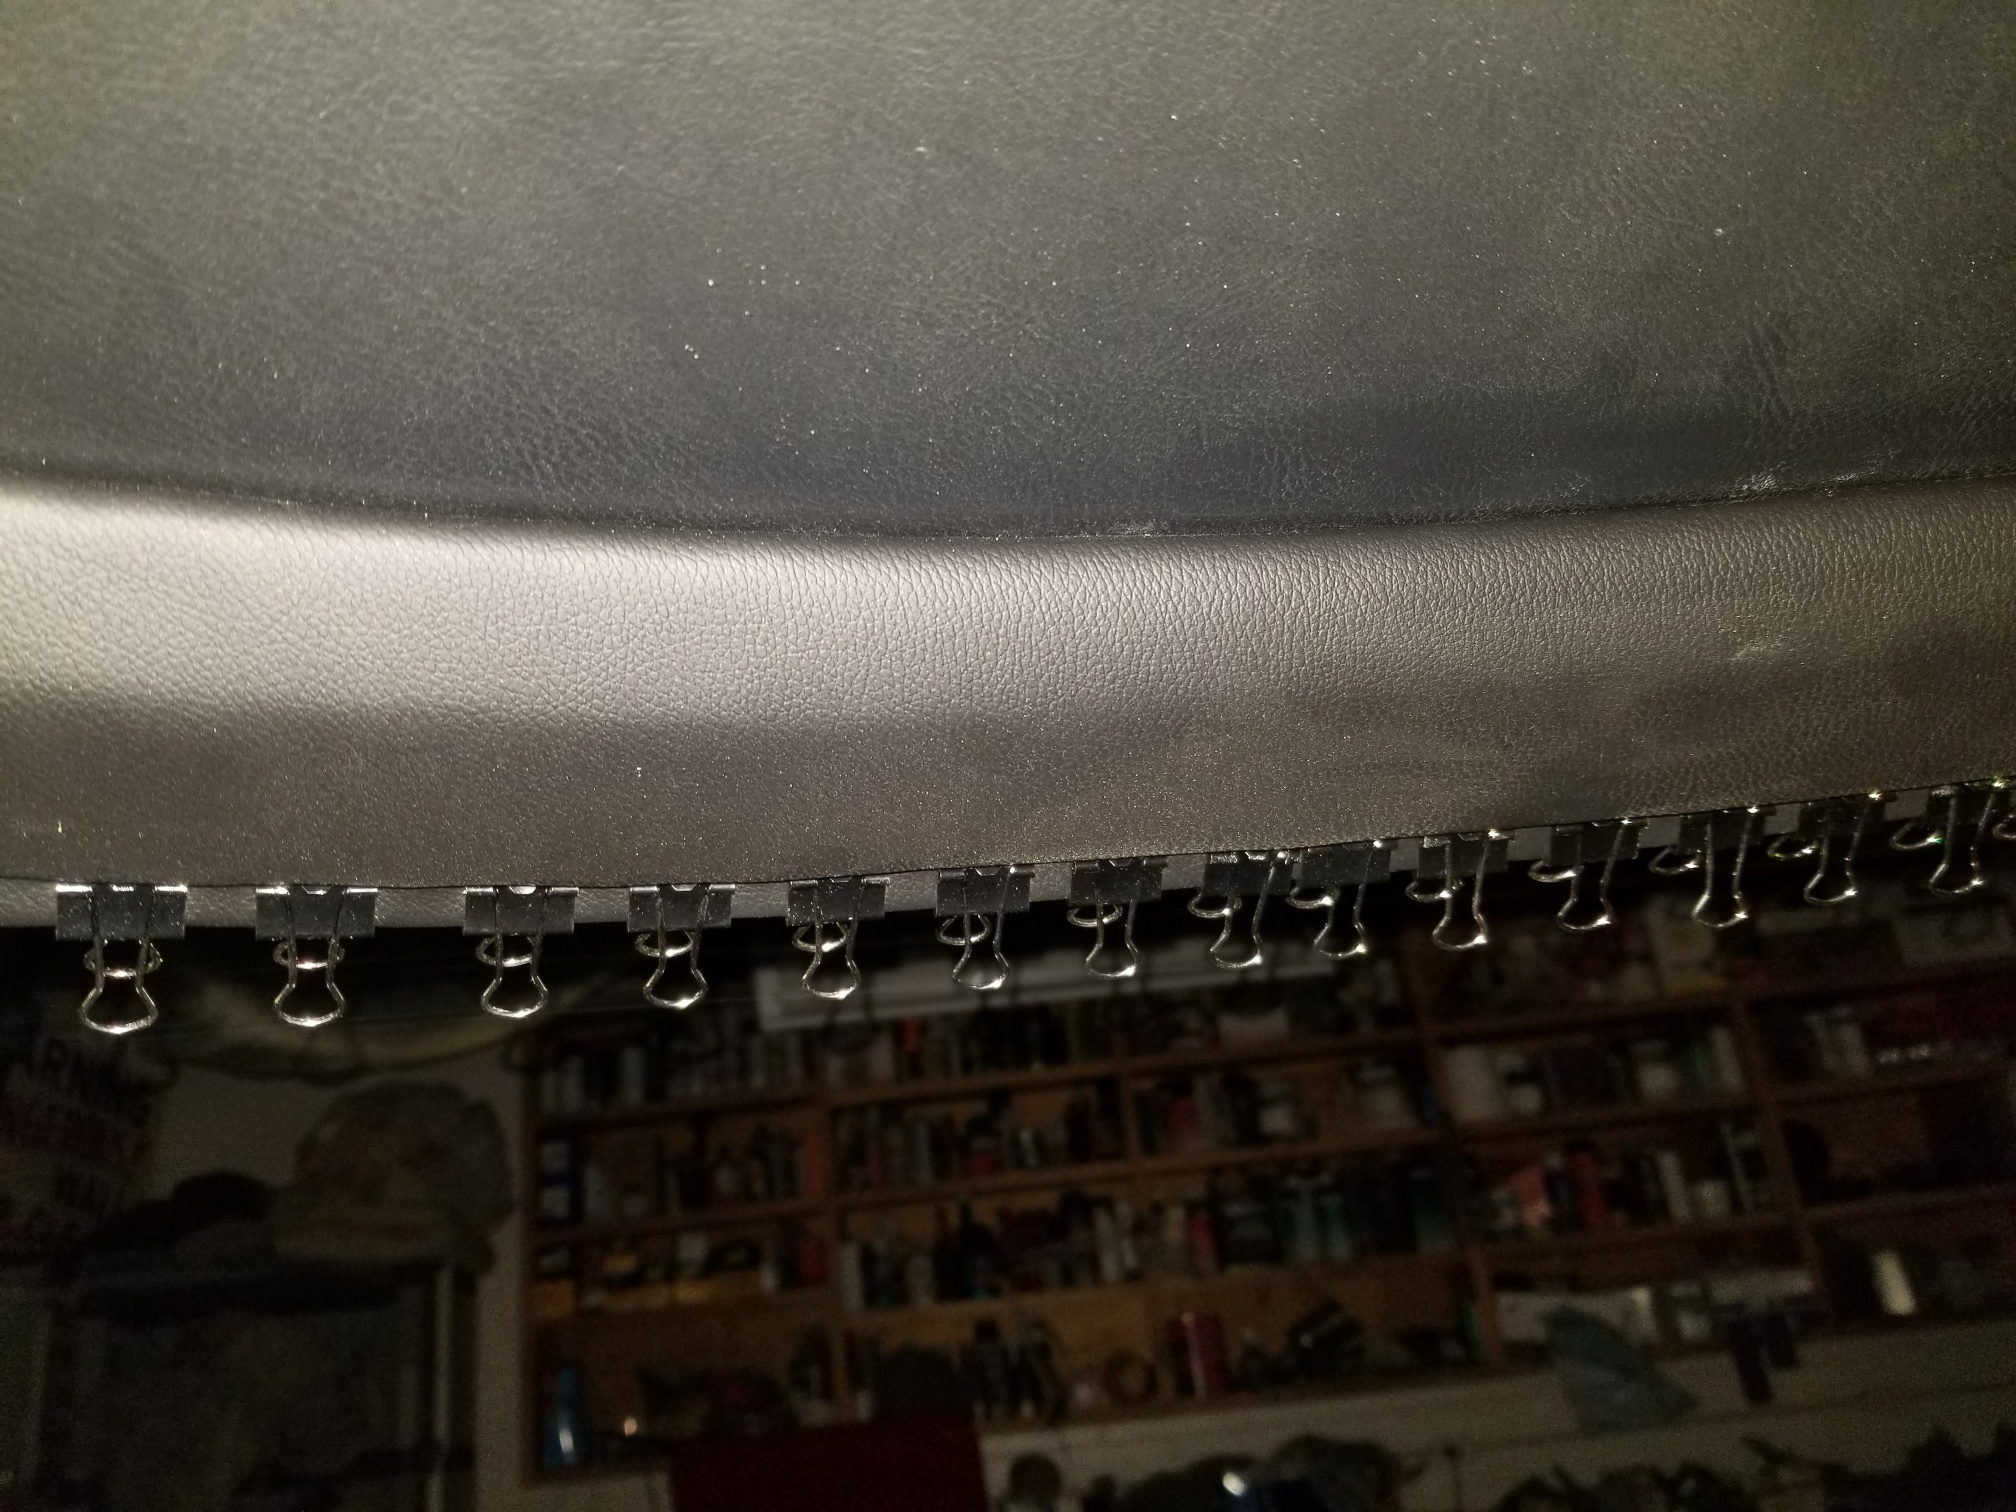
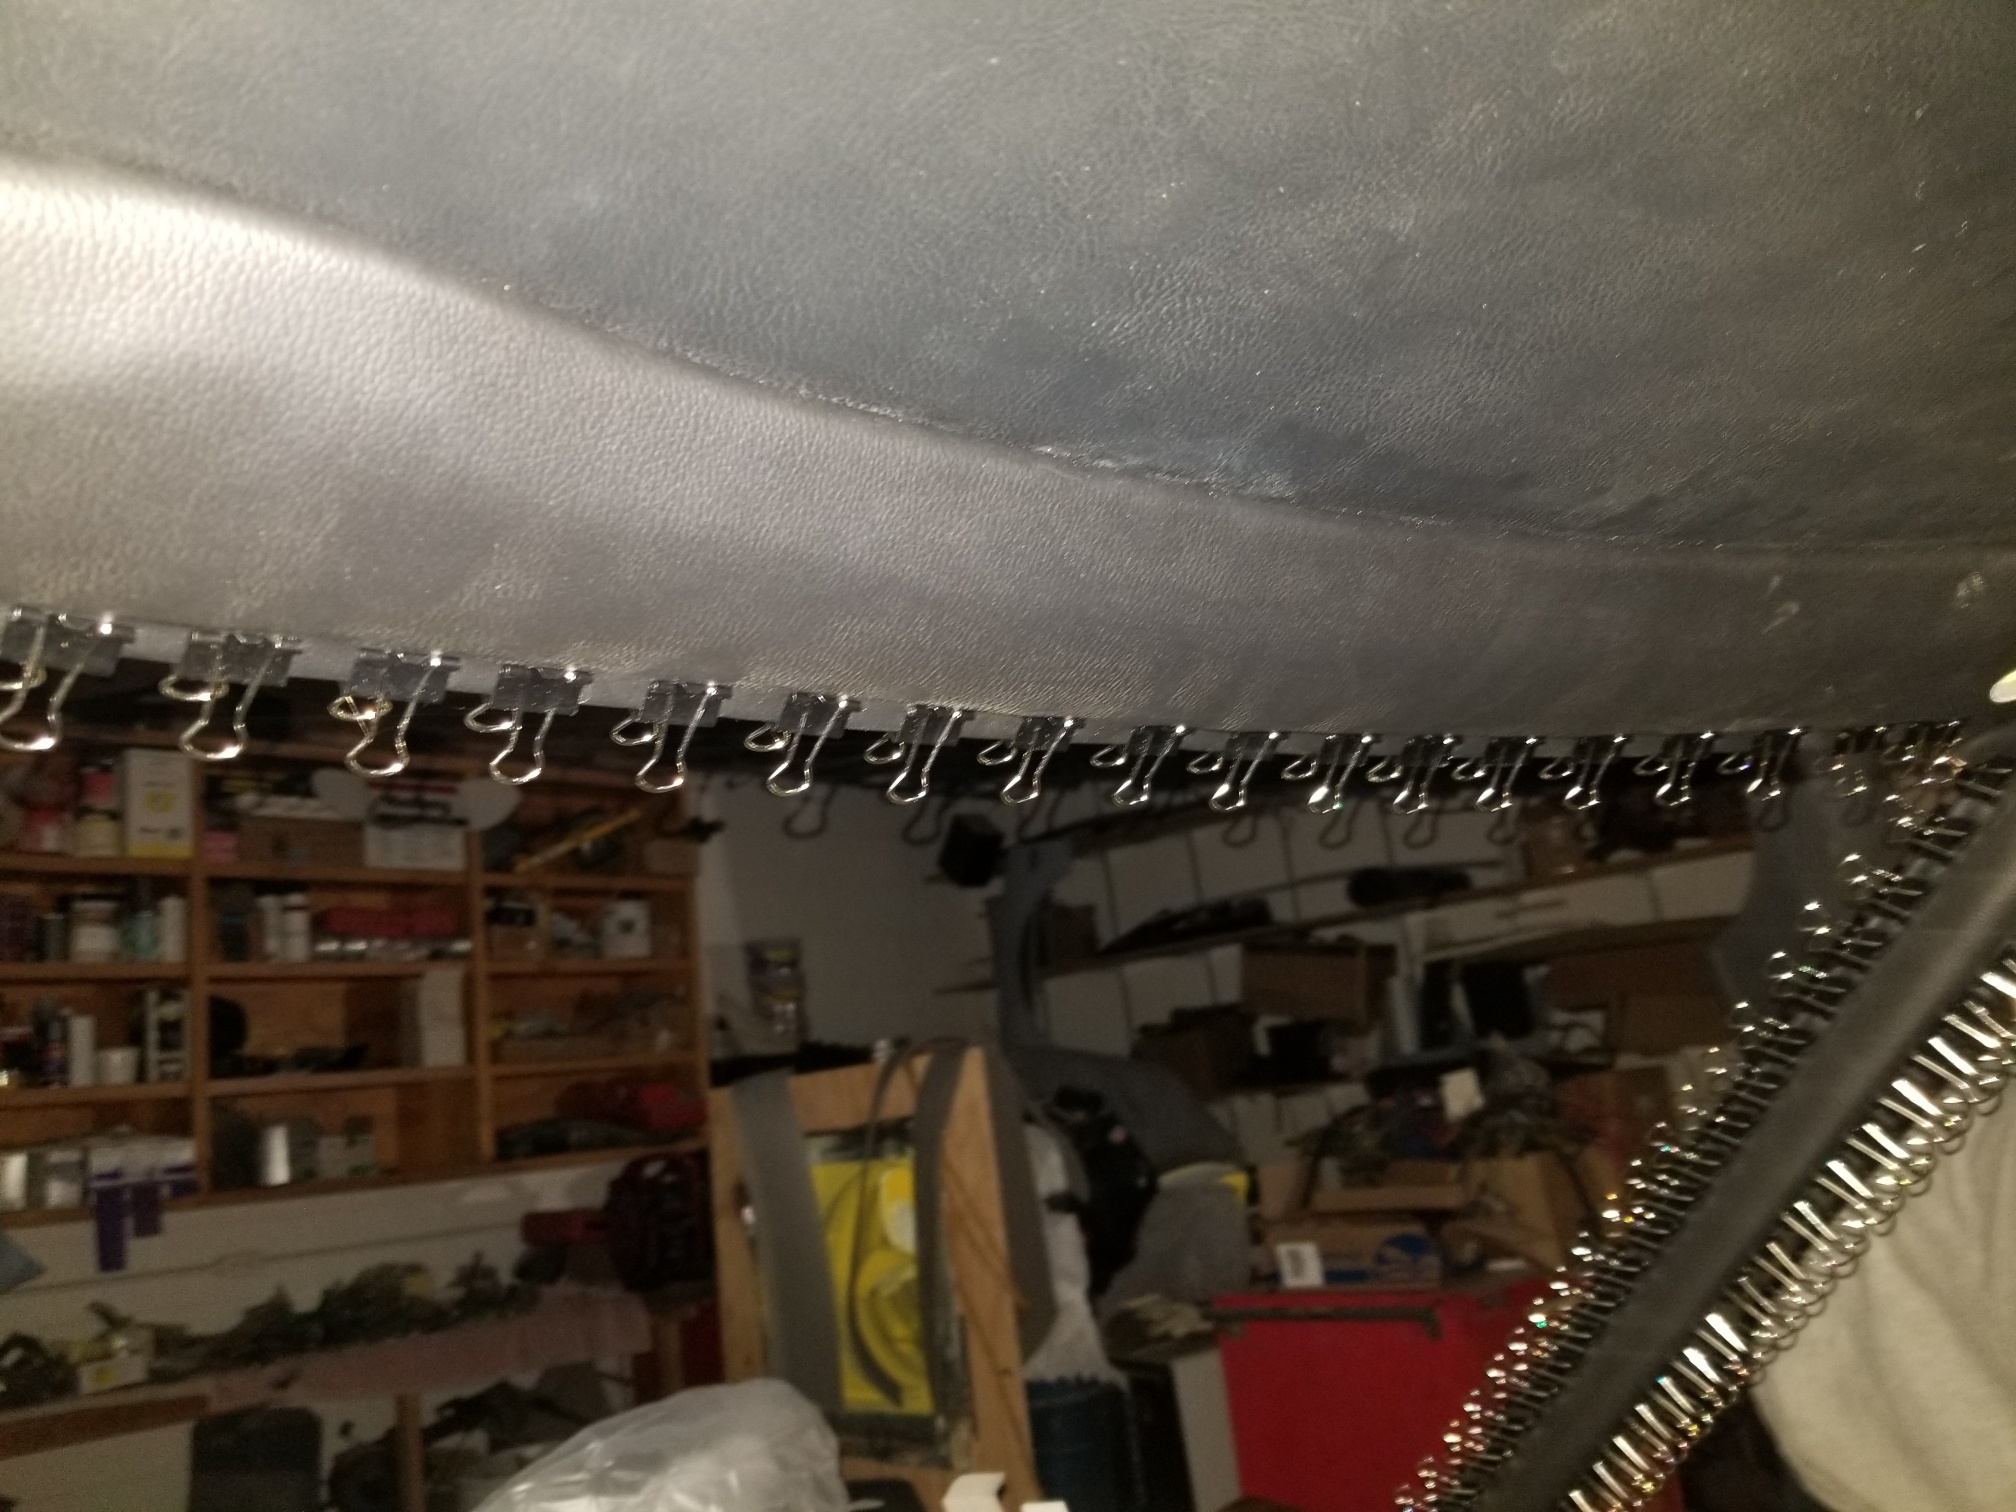
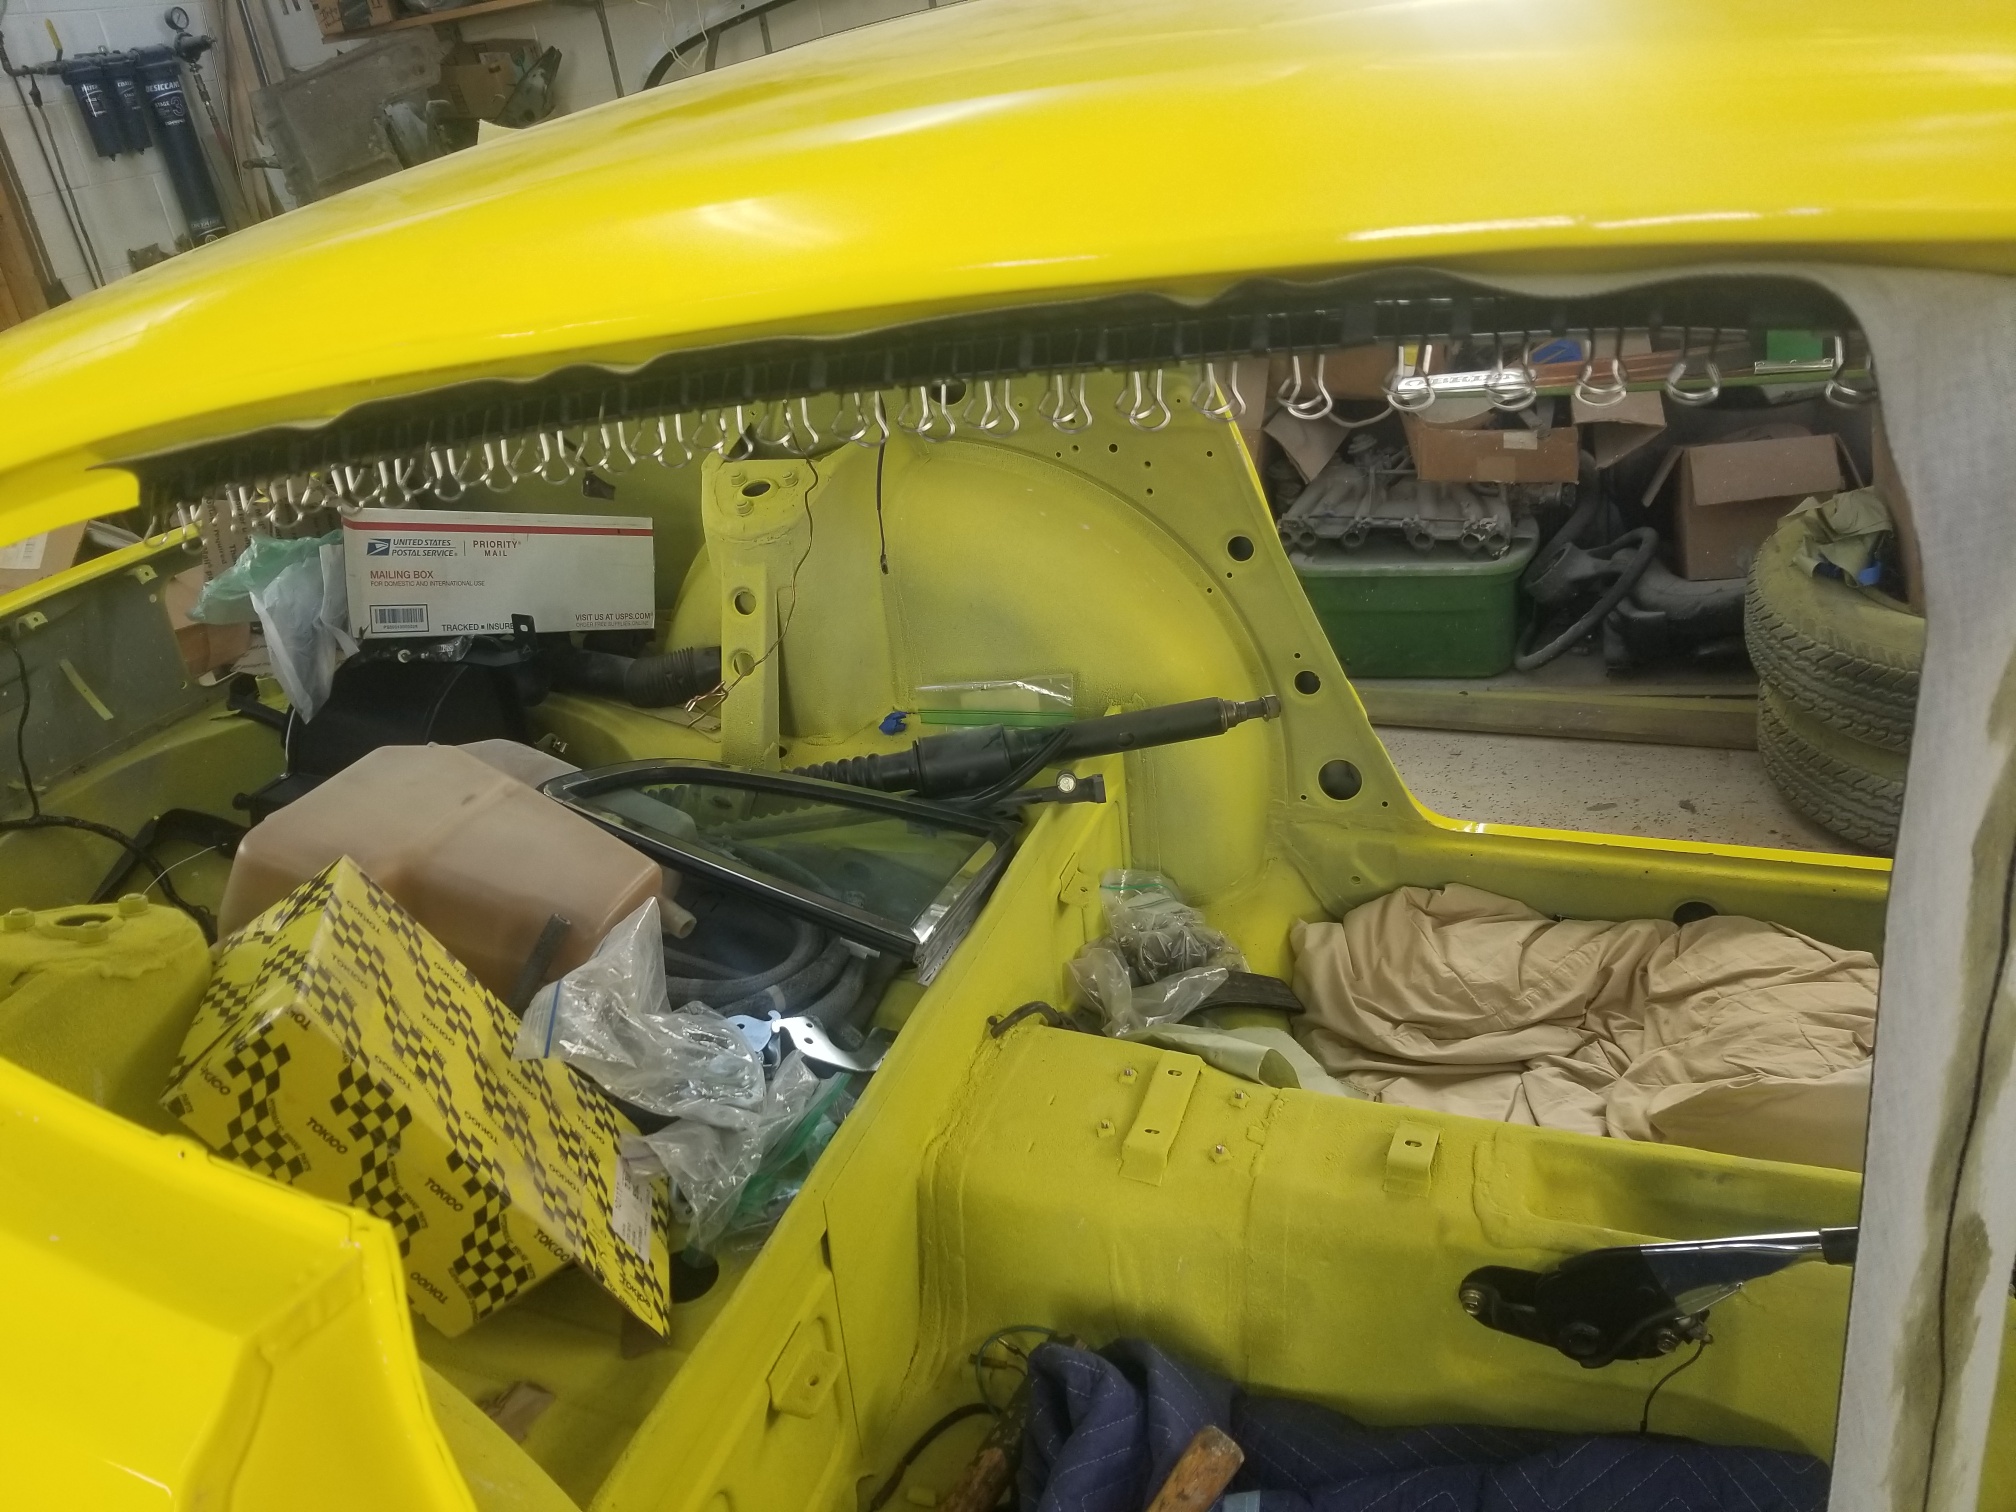
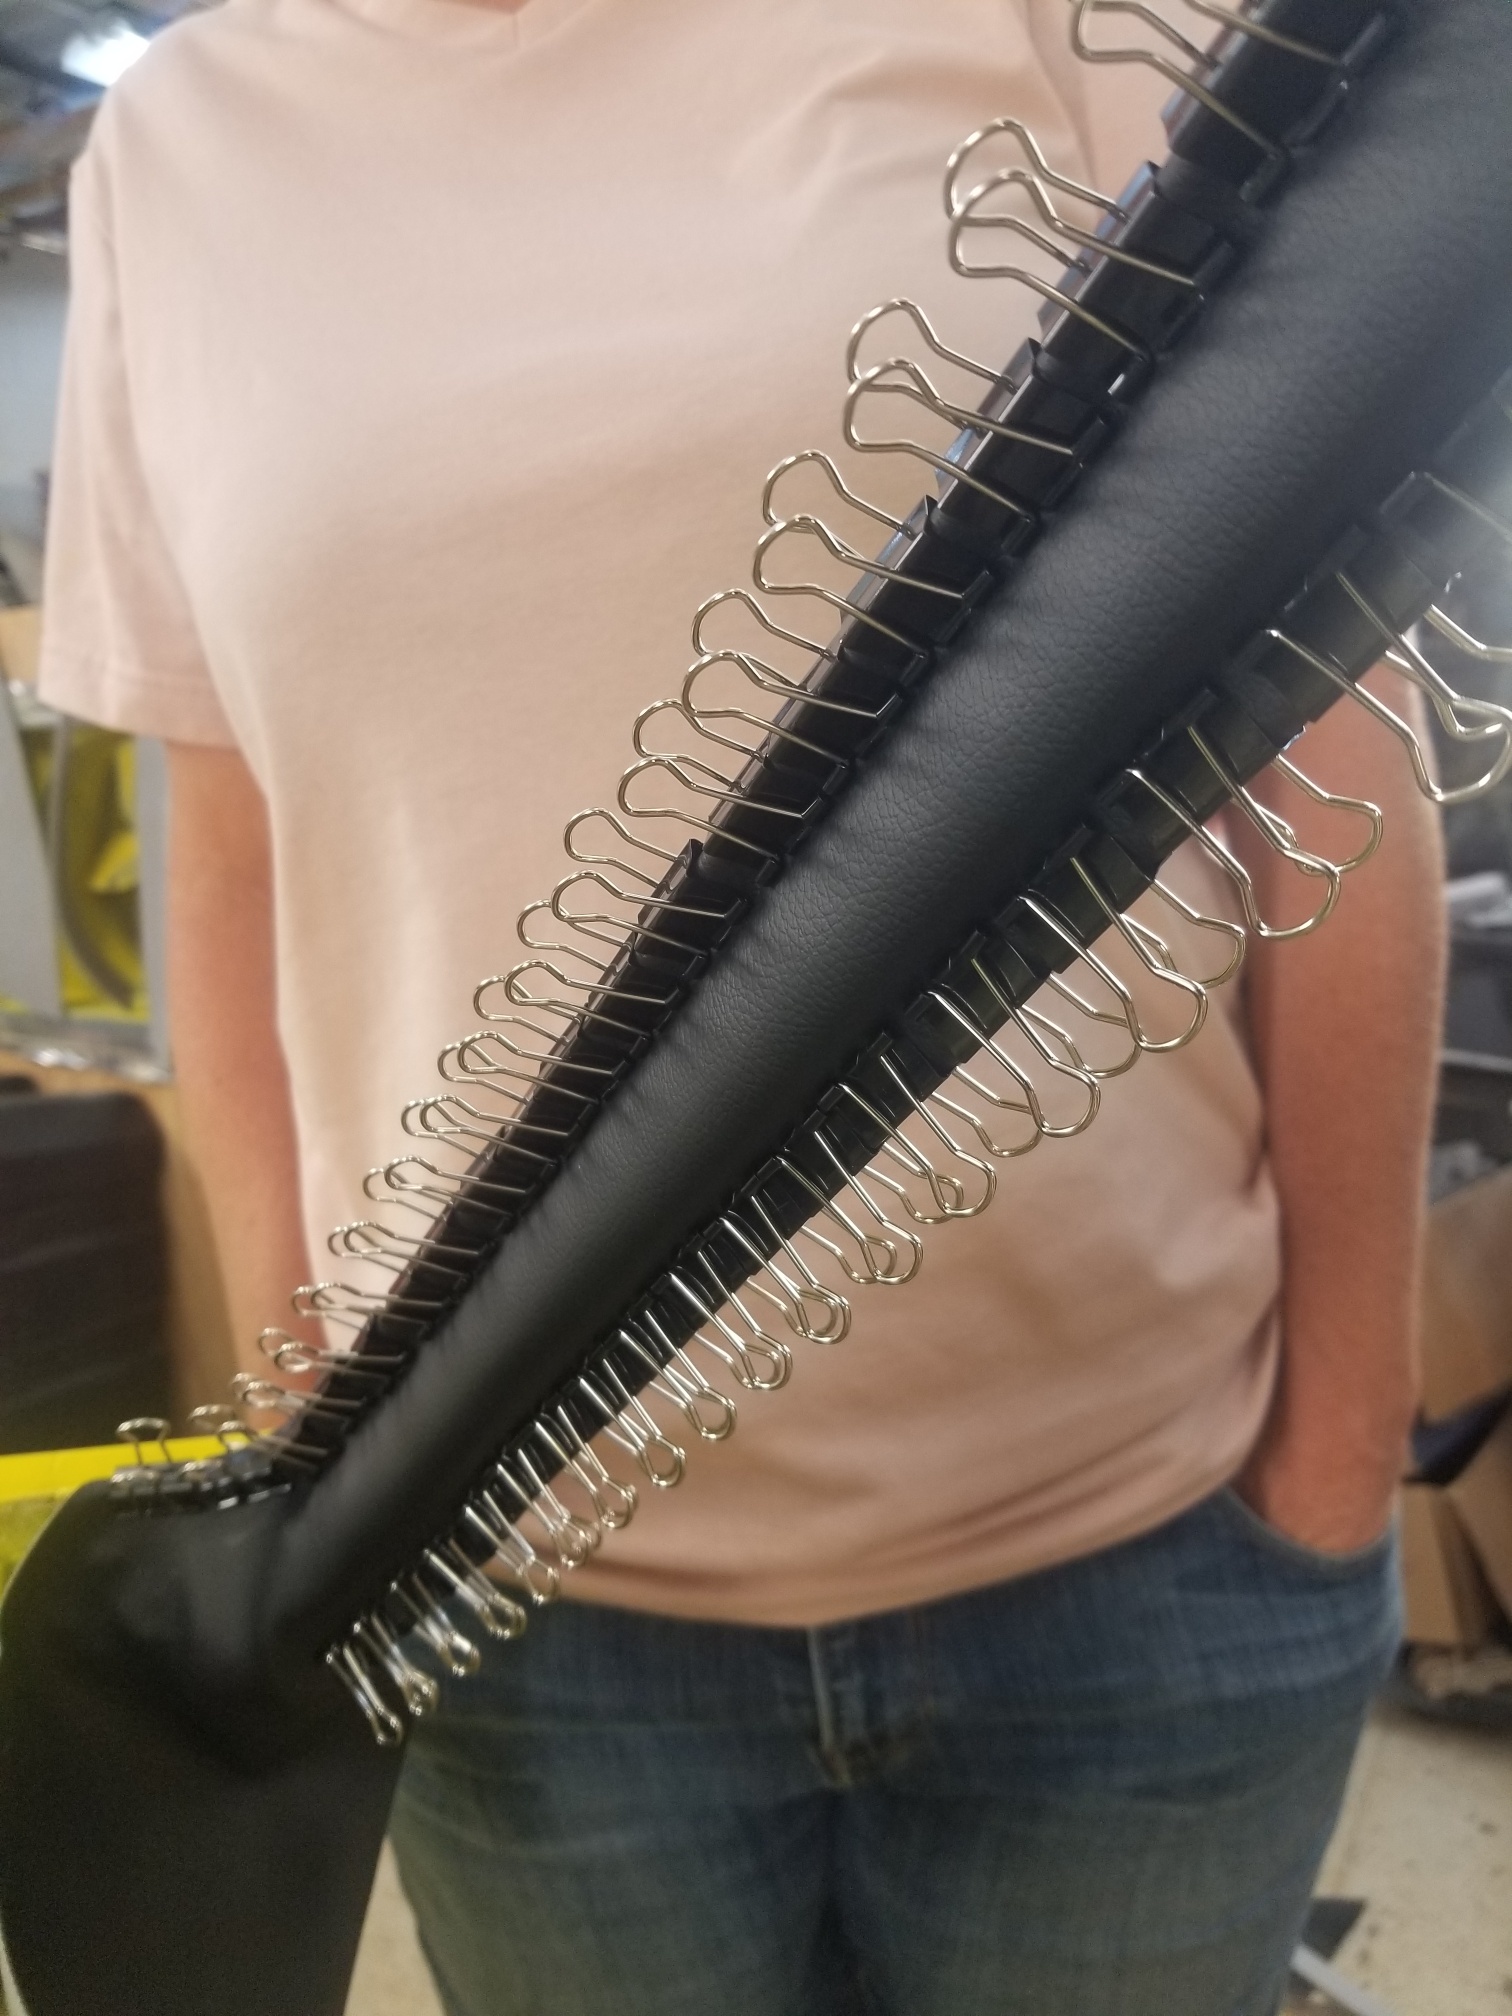
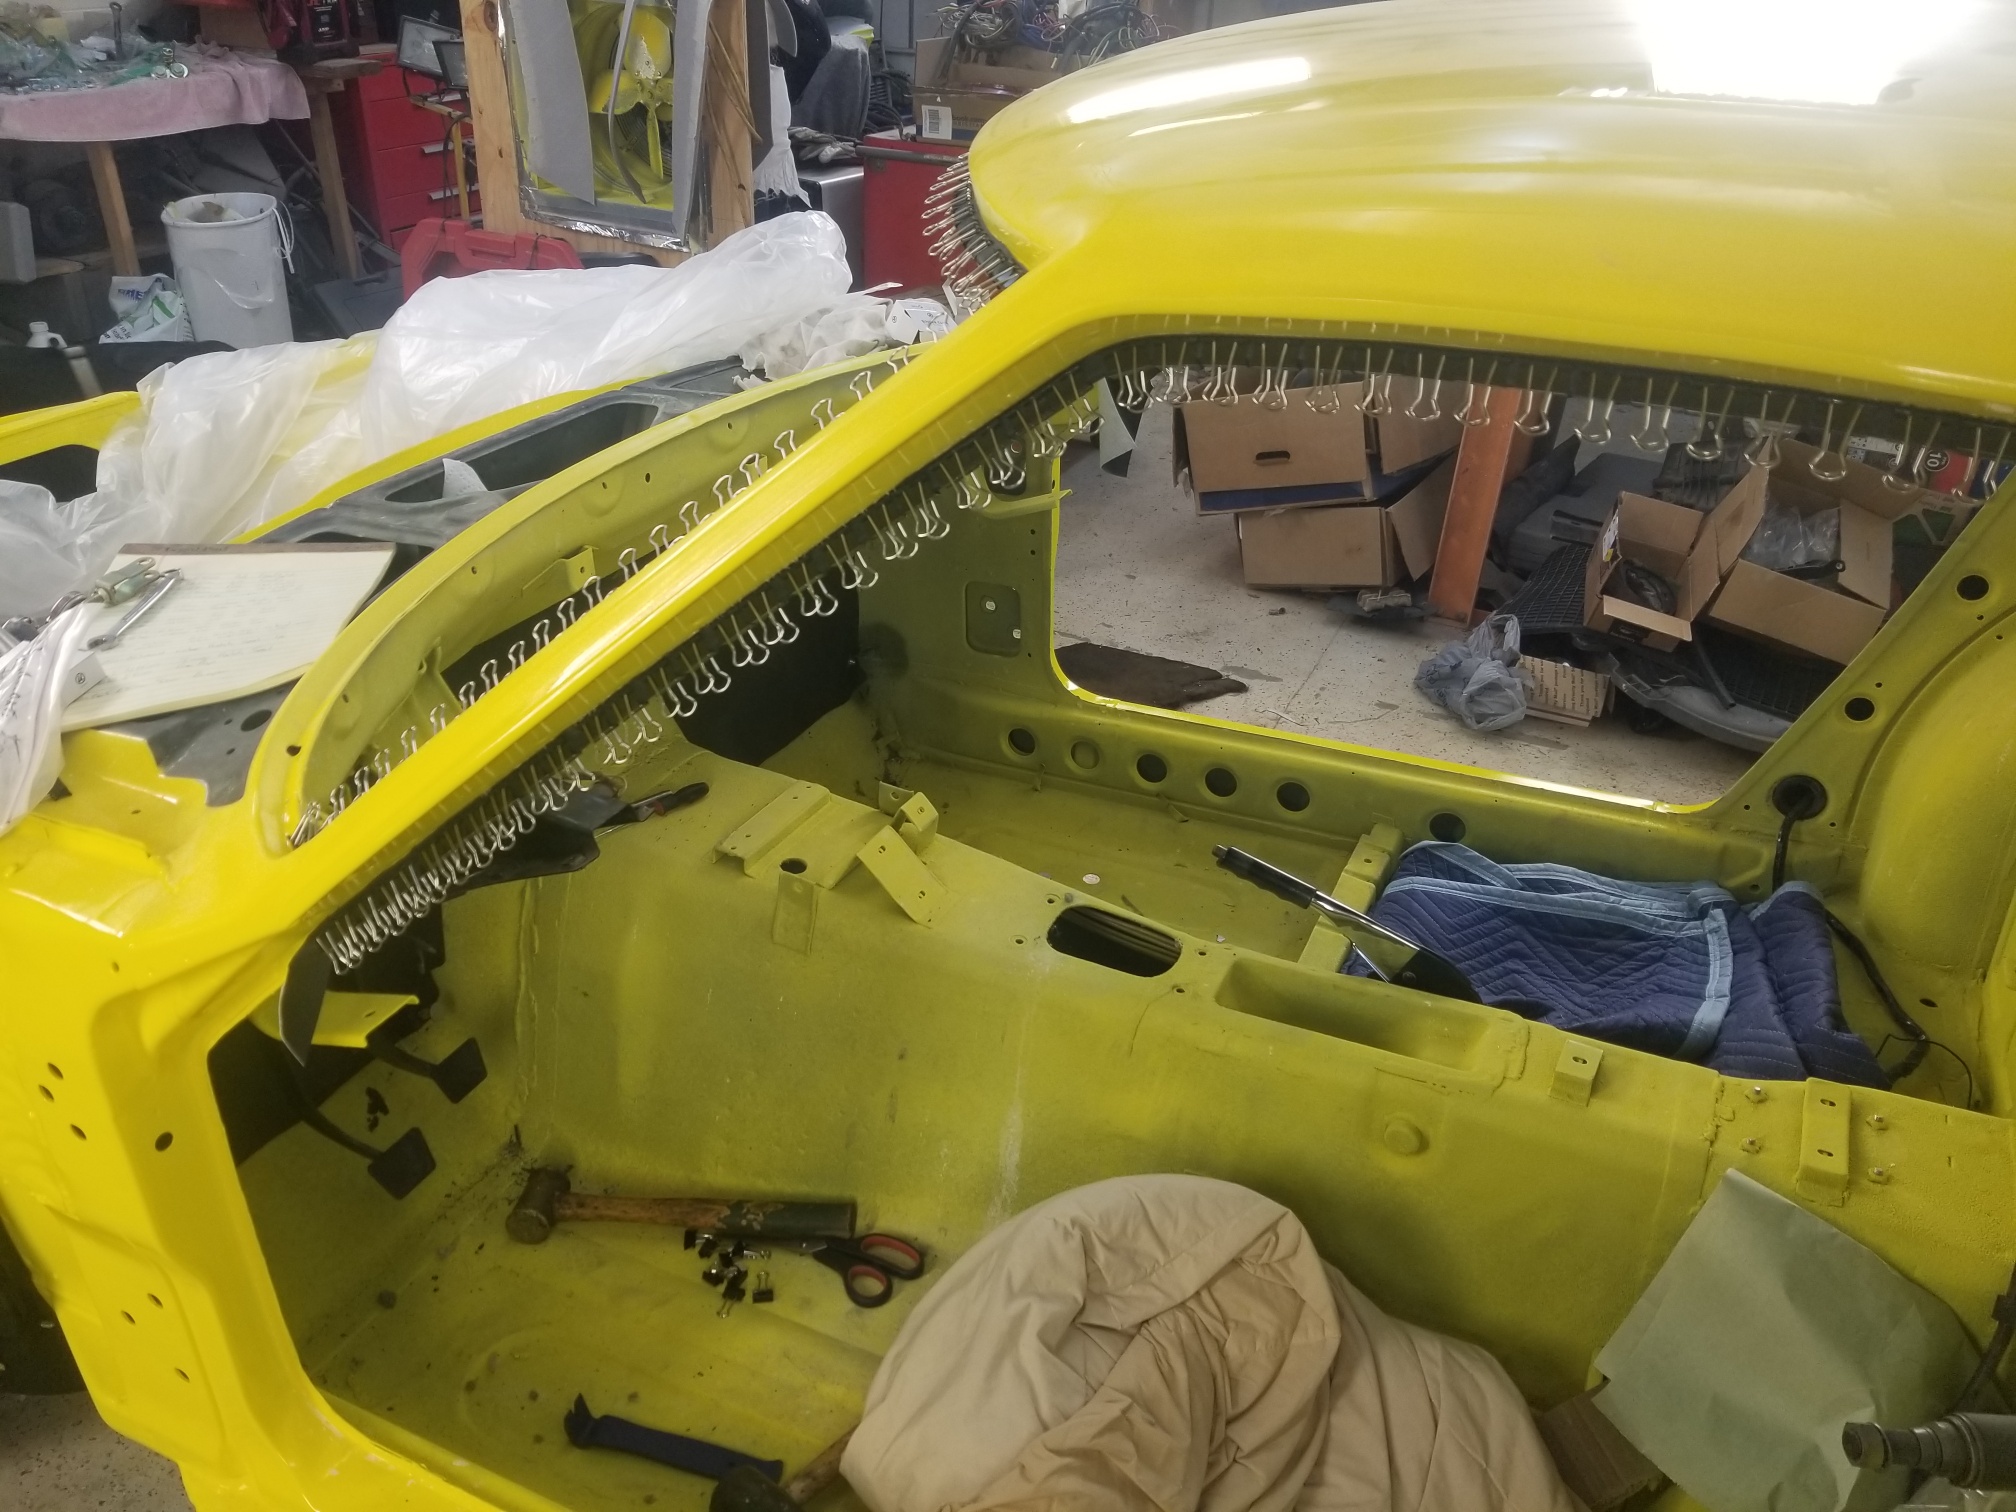
I tried to get some better pictures of the interior roof trim I will work on this fold a little more. I glued the passenger side and it looks a little better. I'm sure I can make this detail right with a little more fiddling


-
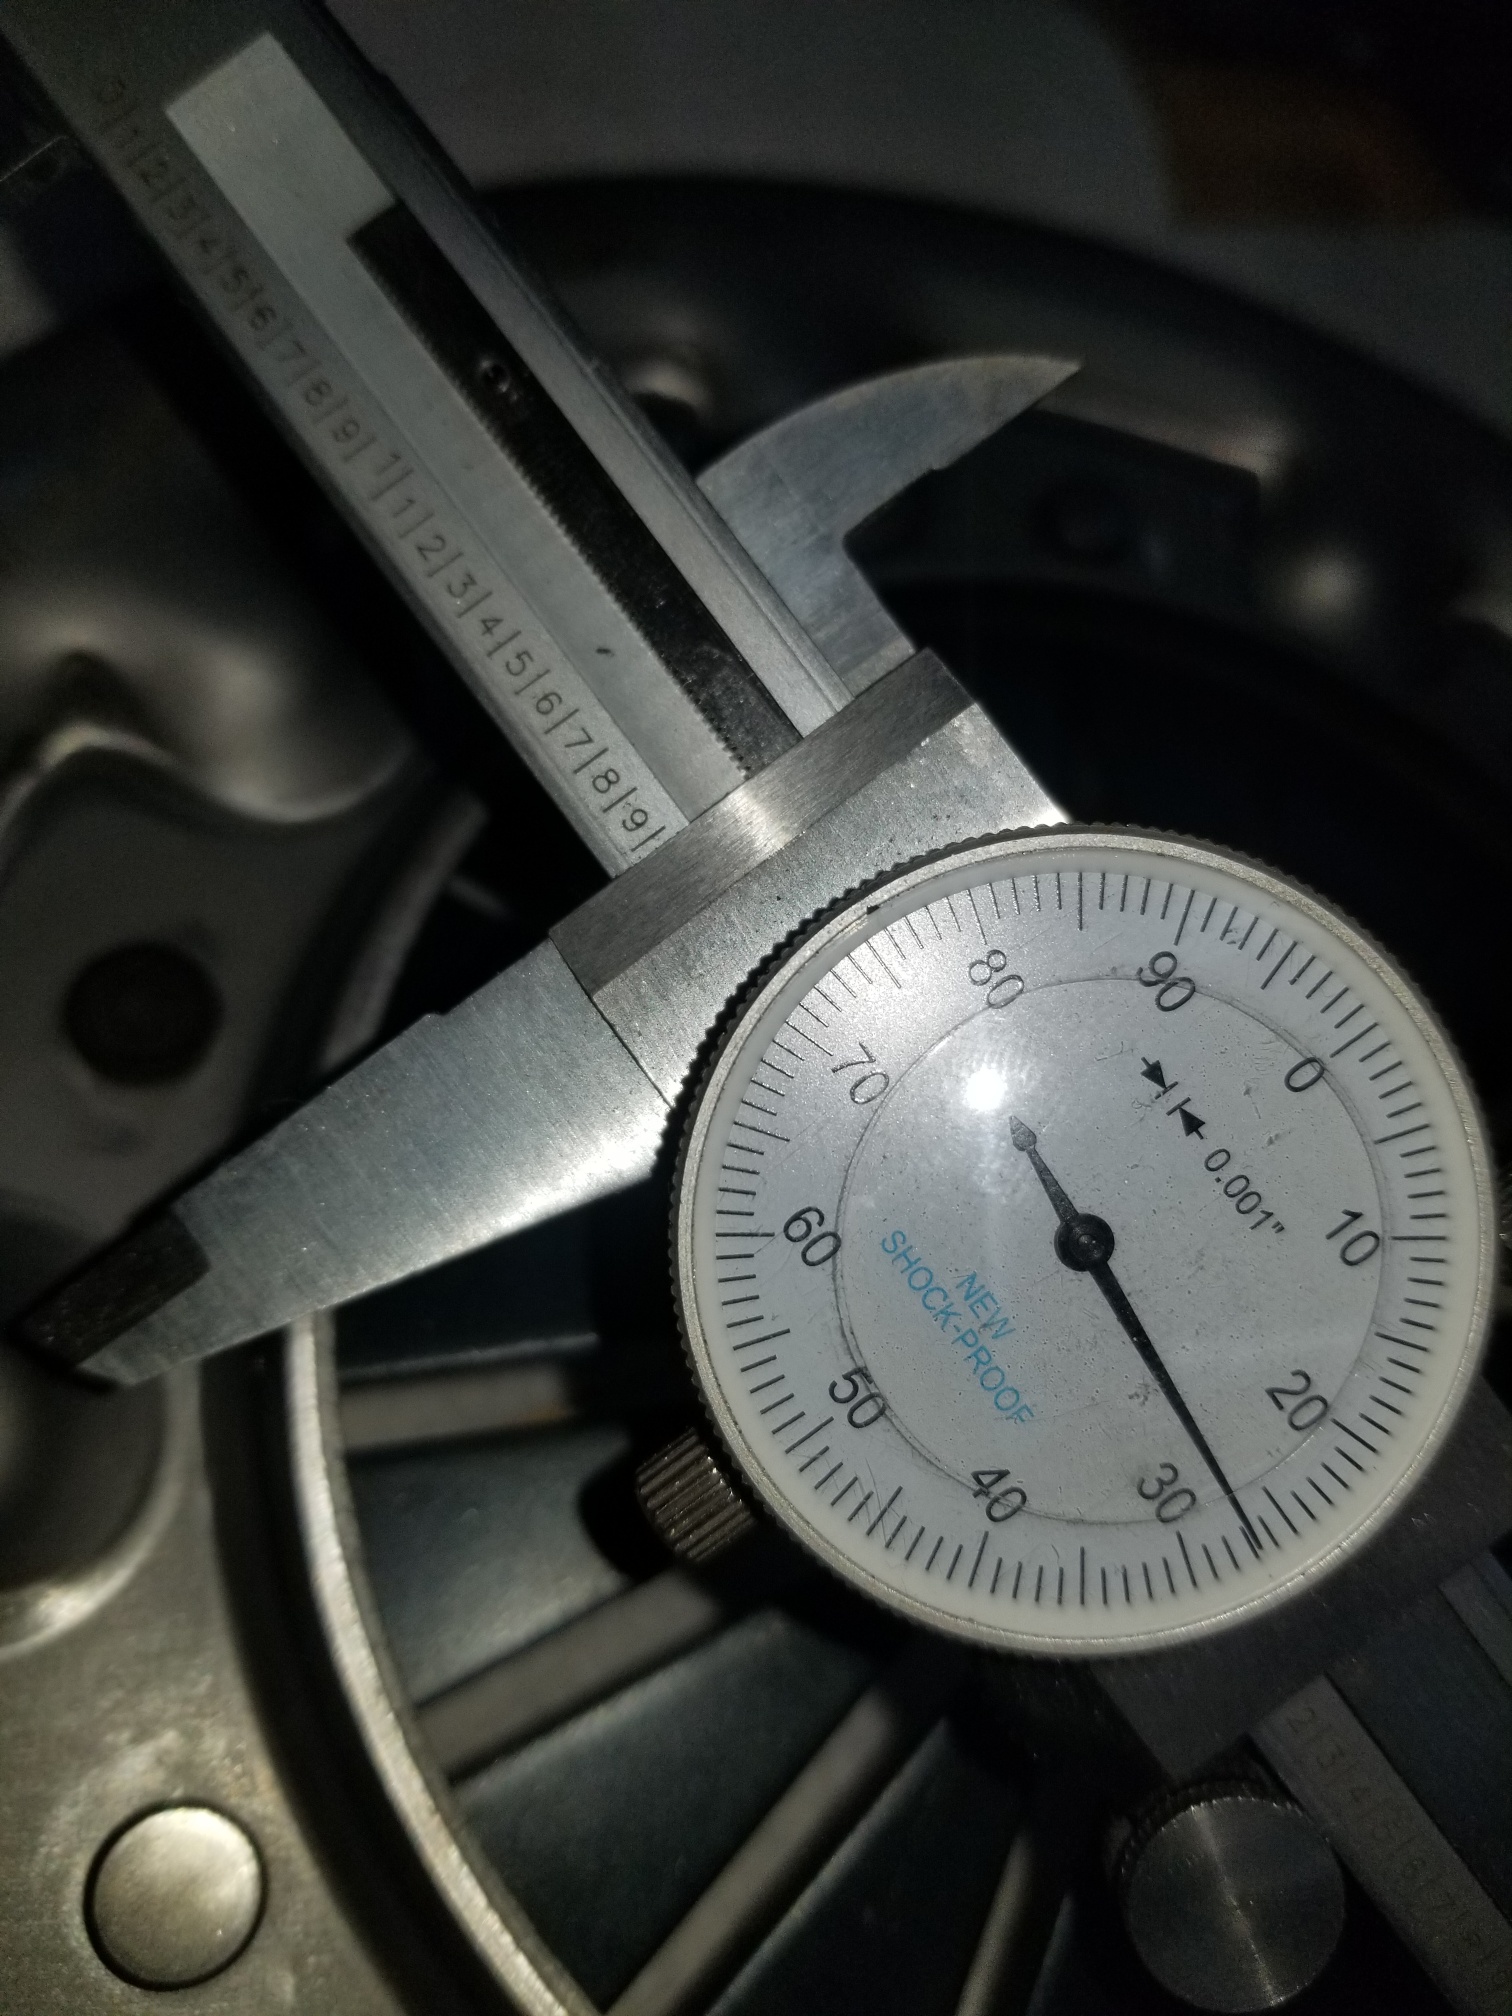
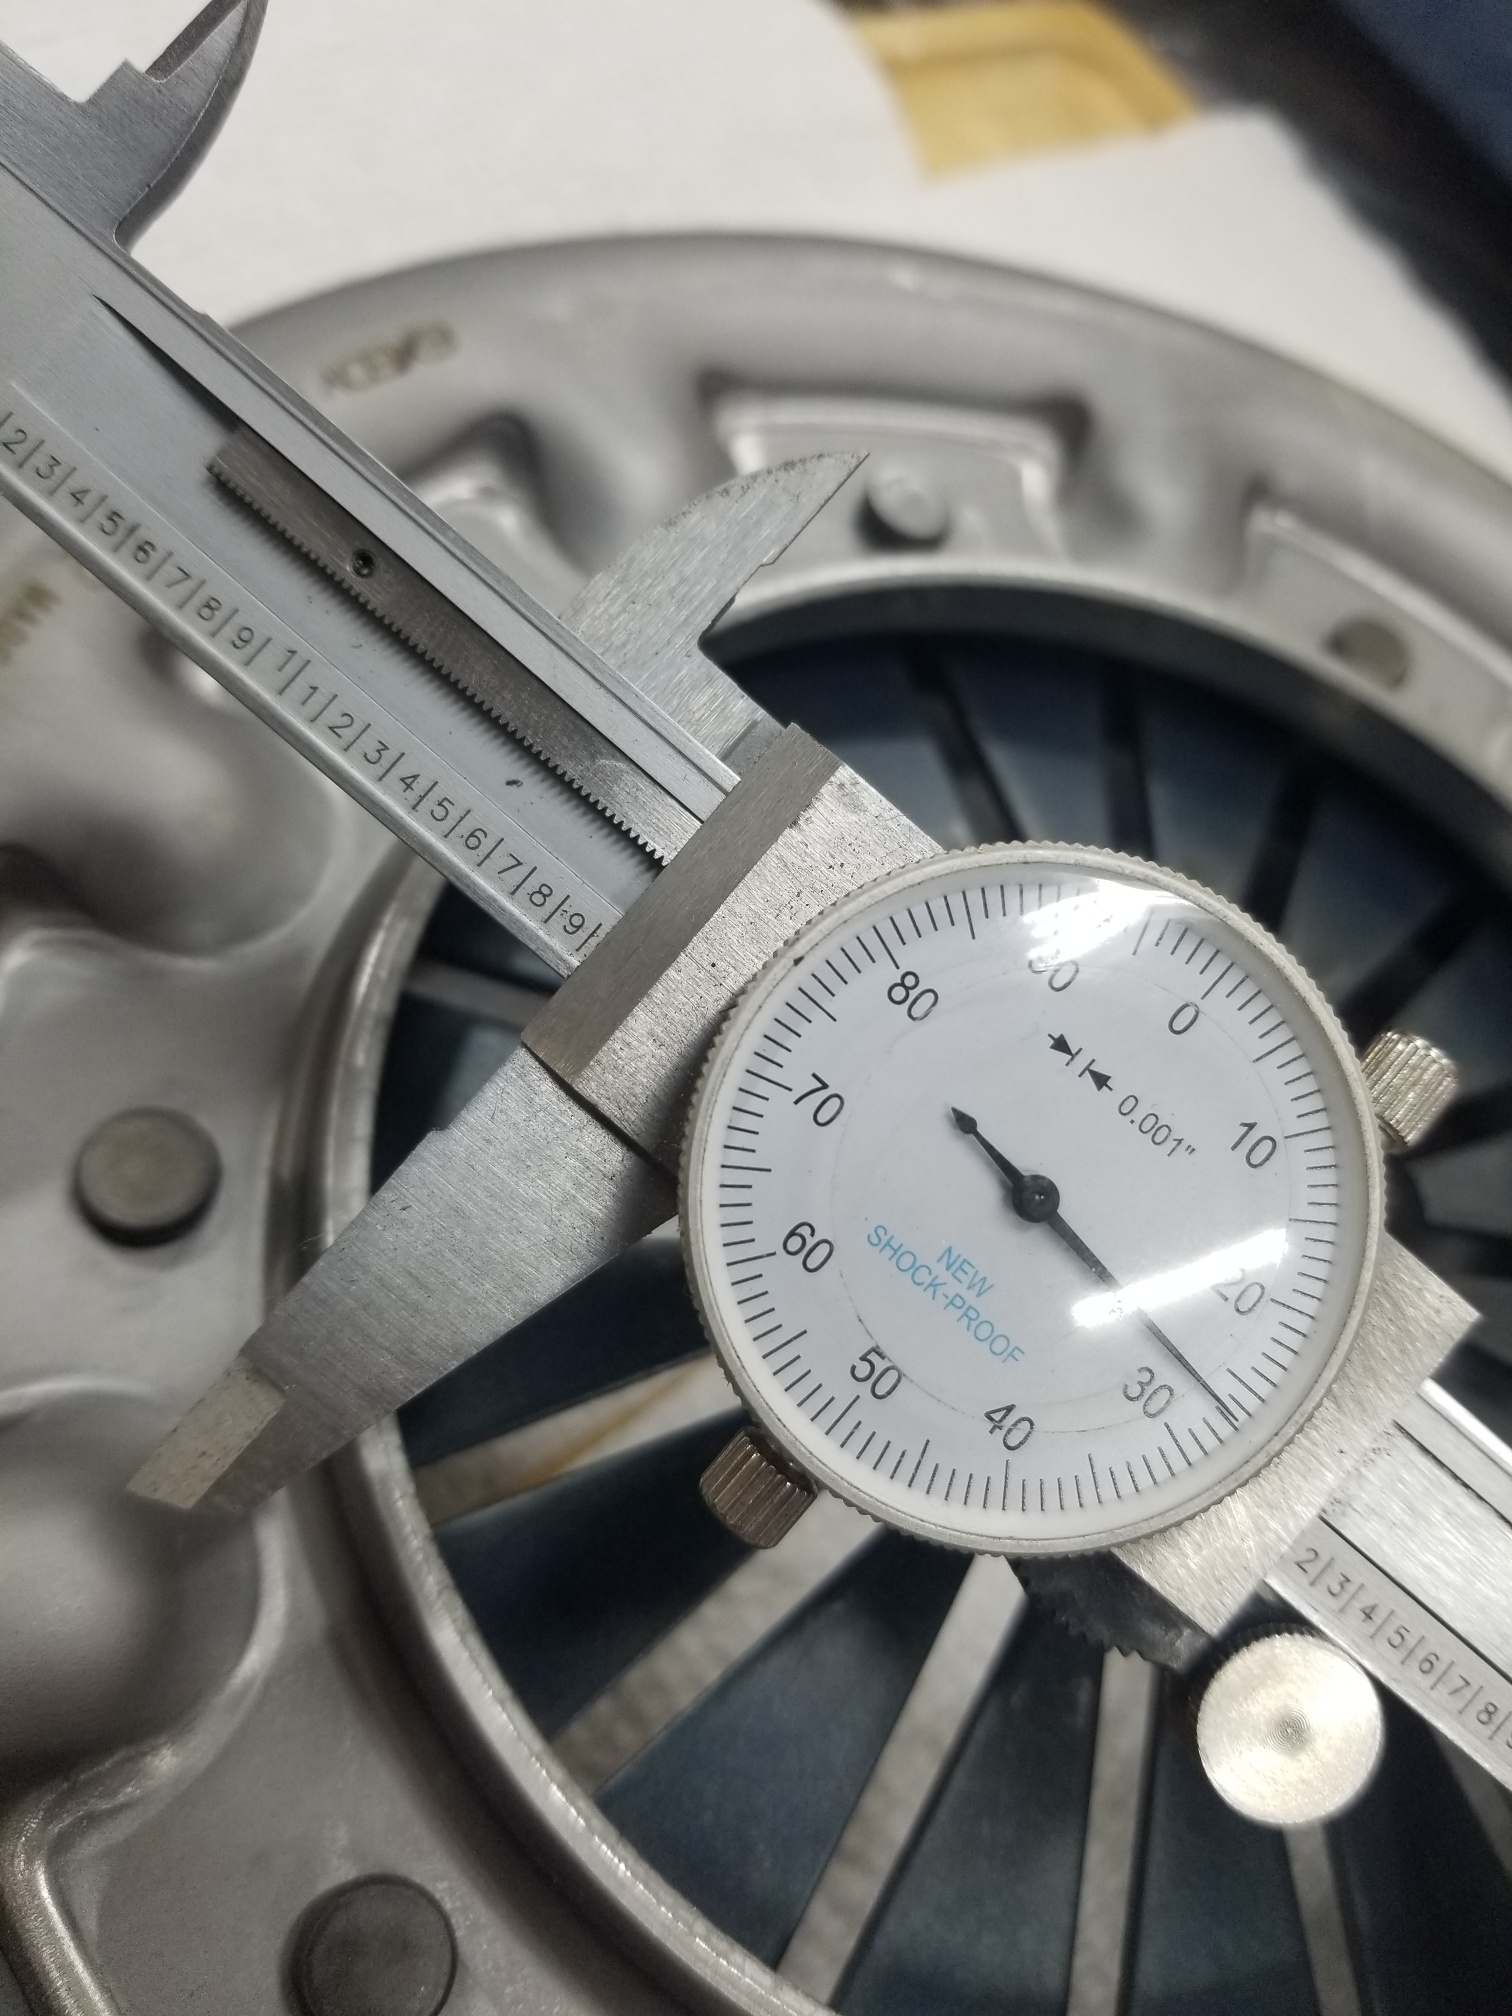
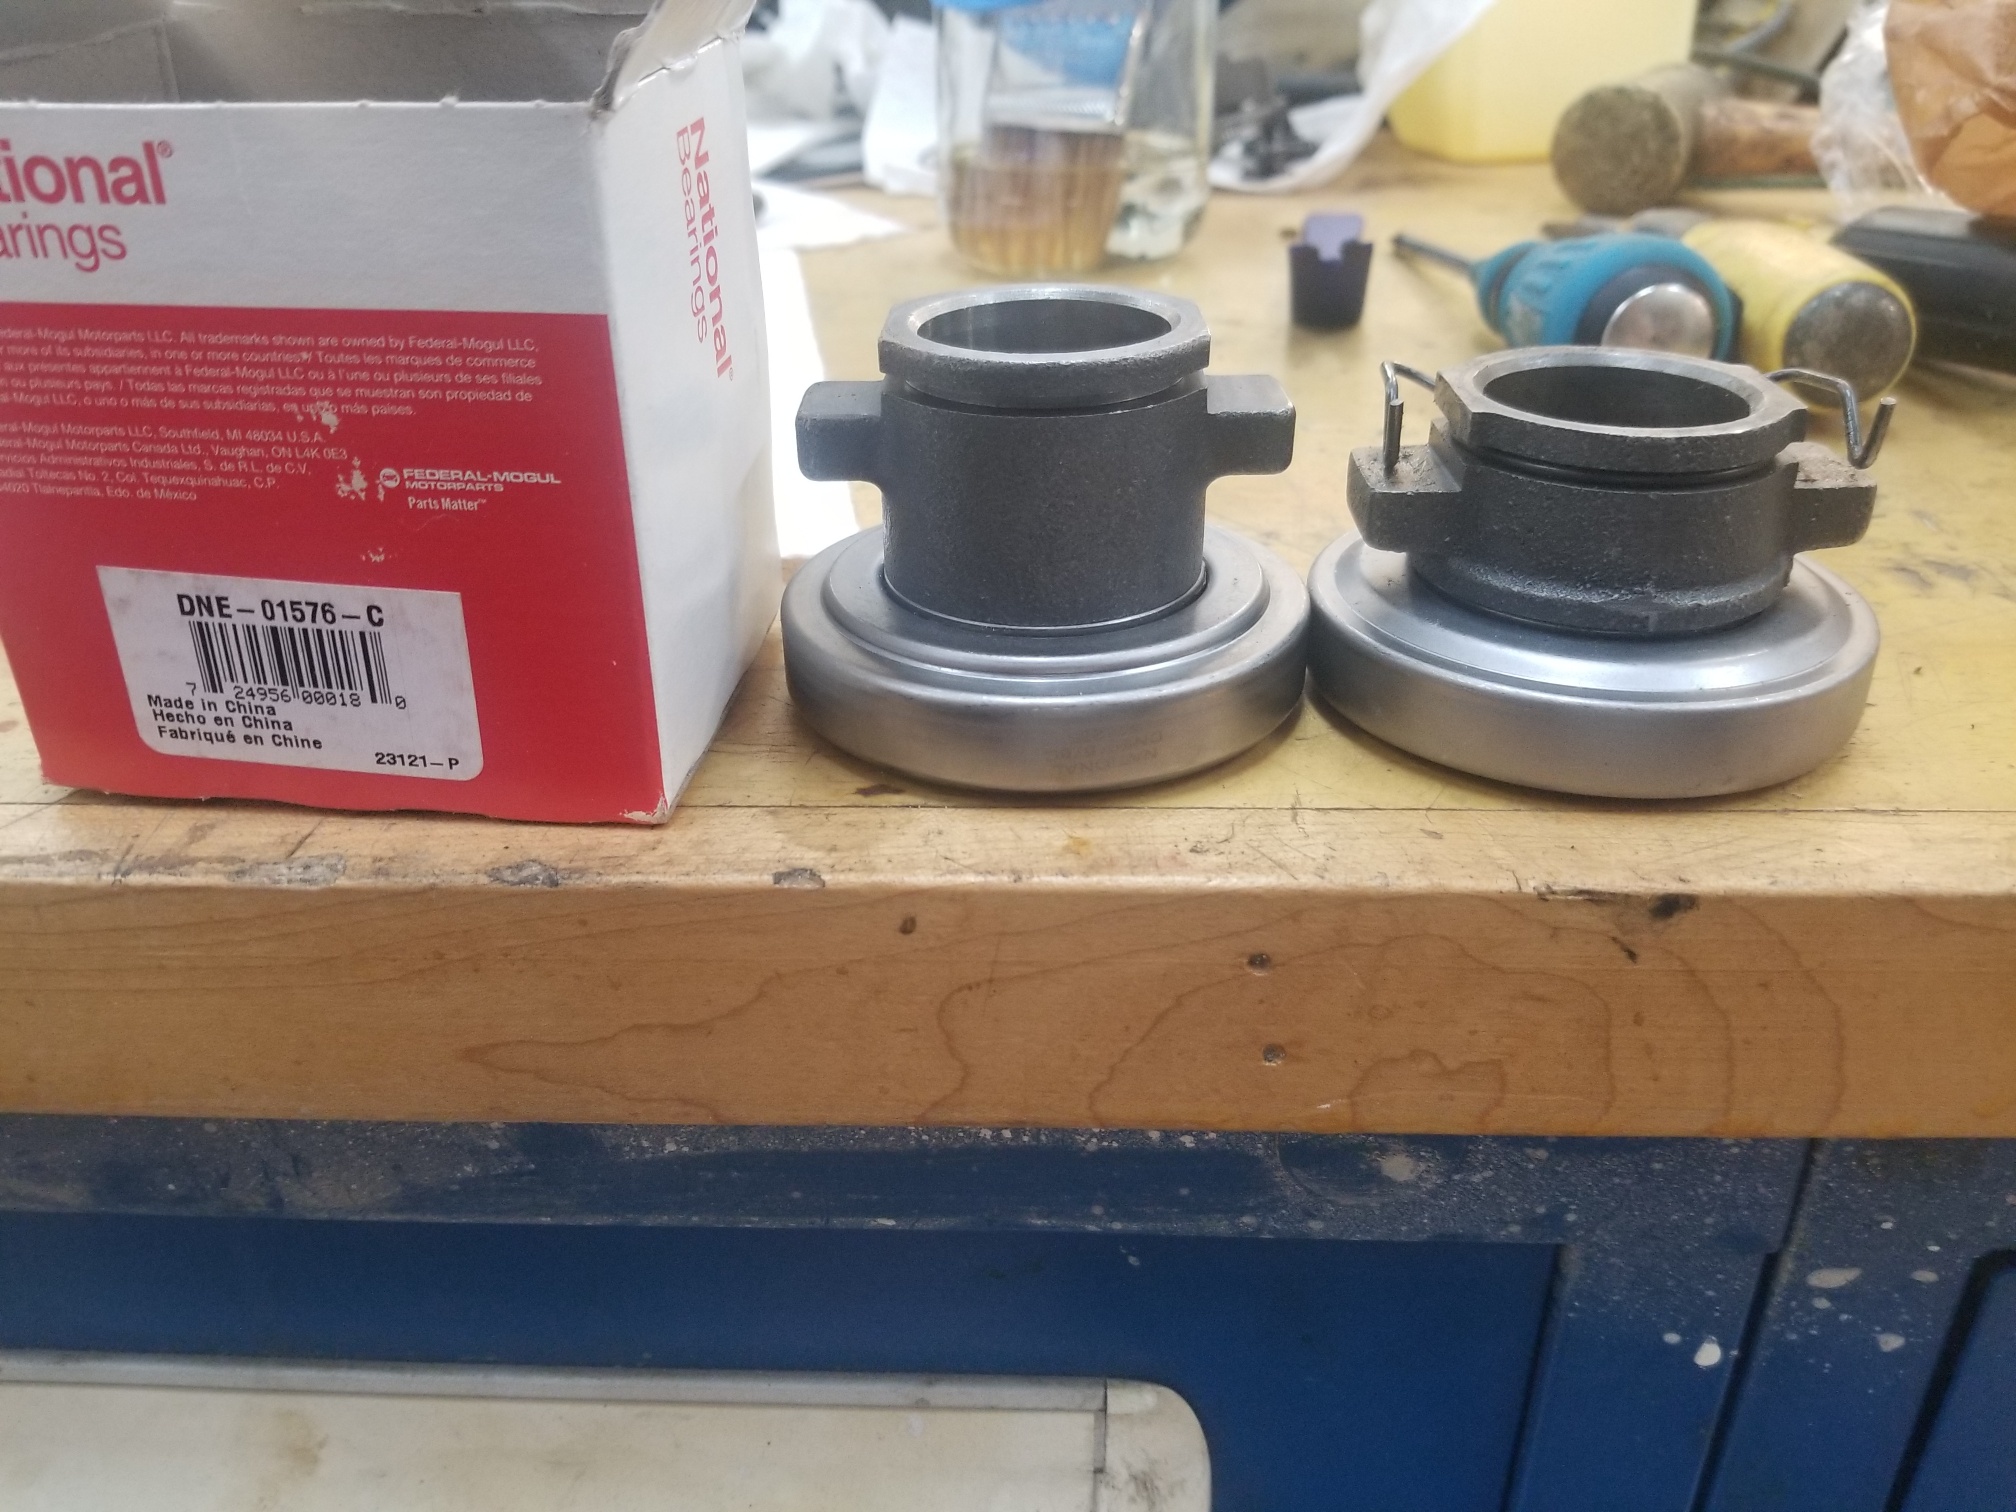
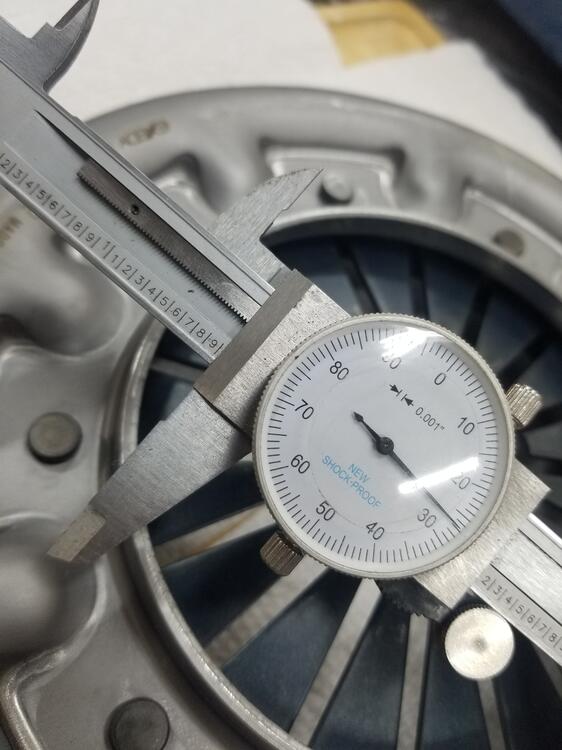
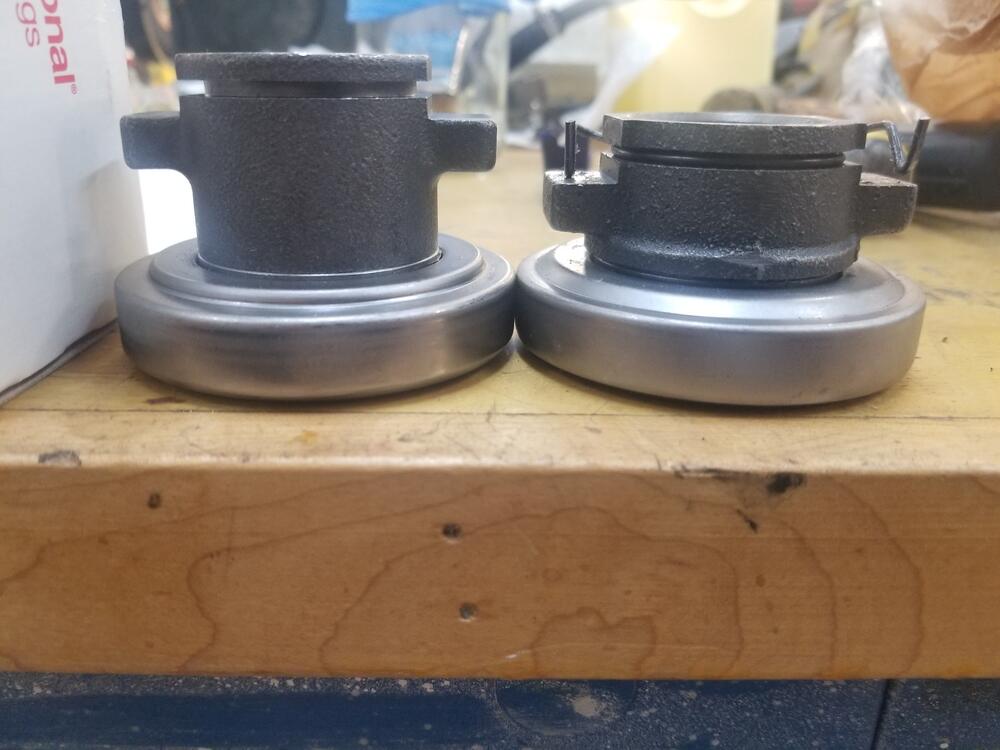
So measured the Exedy pressure plate The Luk pressure plate was 44.3 mm The Exedy 06030 is 1.927" or 48.95 mm With the new collar and bearing it's 92.4 mm to the ears

-
I agree, it should be a set and forget item but it is nice to have for roadside diagnosis or just making sure the pump and FPR are good
-
Bear in mind R-12 has gotten very expensive lately and might change your monetary calculations. Check cost and availability before choosing a direction
-
That would be great!! C
-
I think the $66k is with the buyer's premium included
-
 I love that you posted both pdf and dwg. I have autocad and the dwg is so much easier to manipulate for printing Charles
- 9 comments
- 1 review
-
-

- 1
-
-
Looks like $66k
-
Steve, I saw that page but it didn't show bid numbers
-
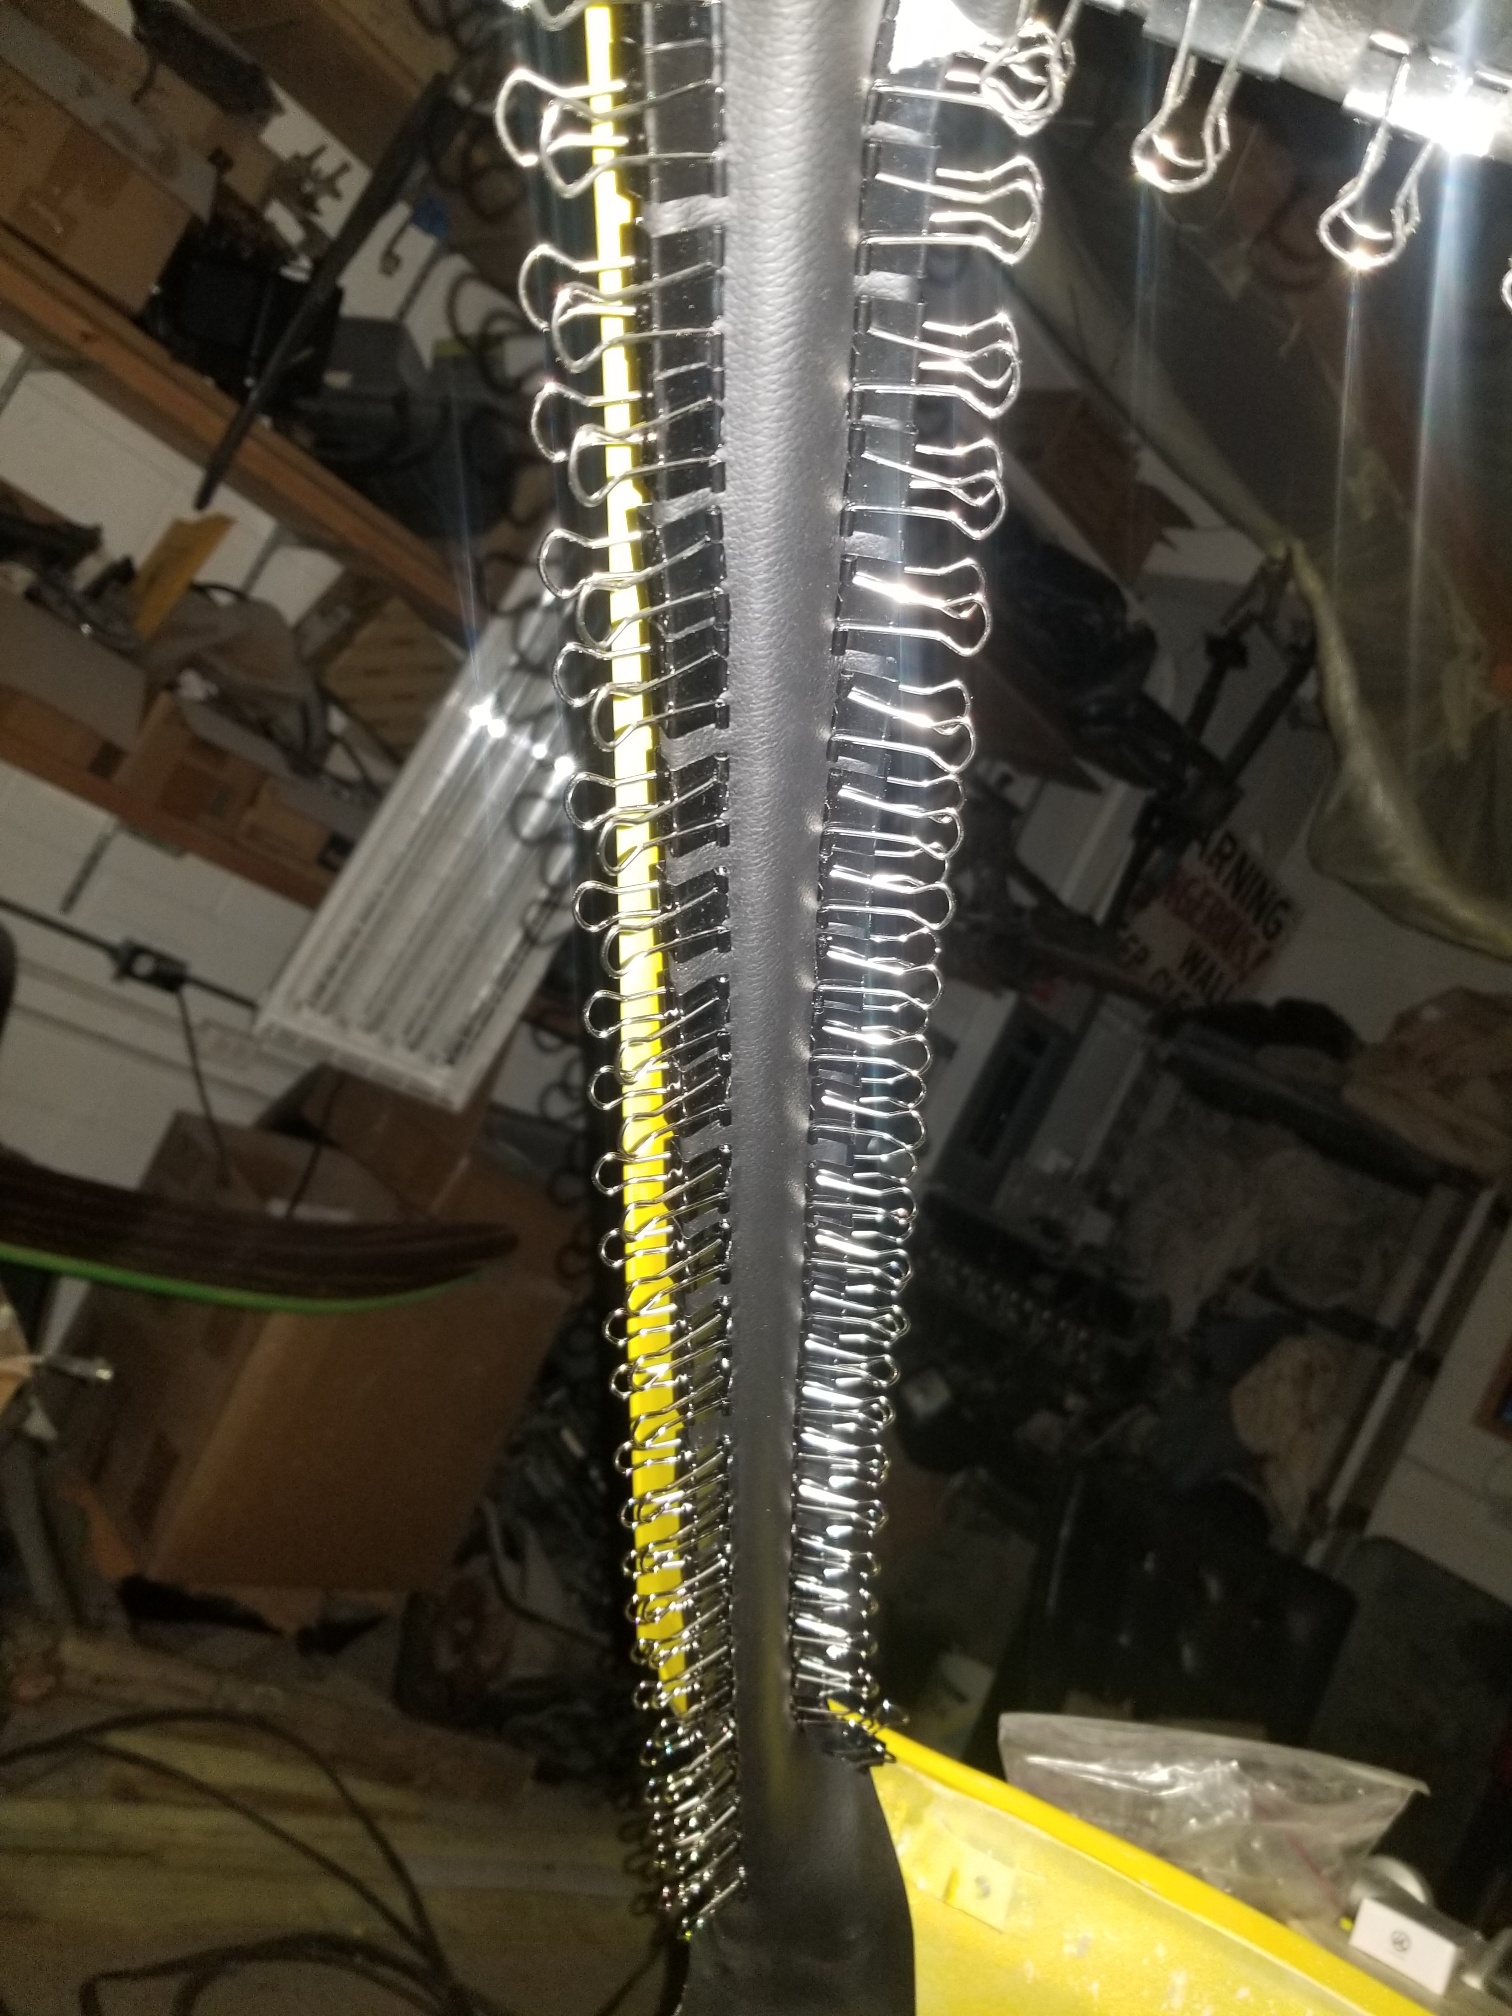
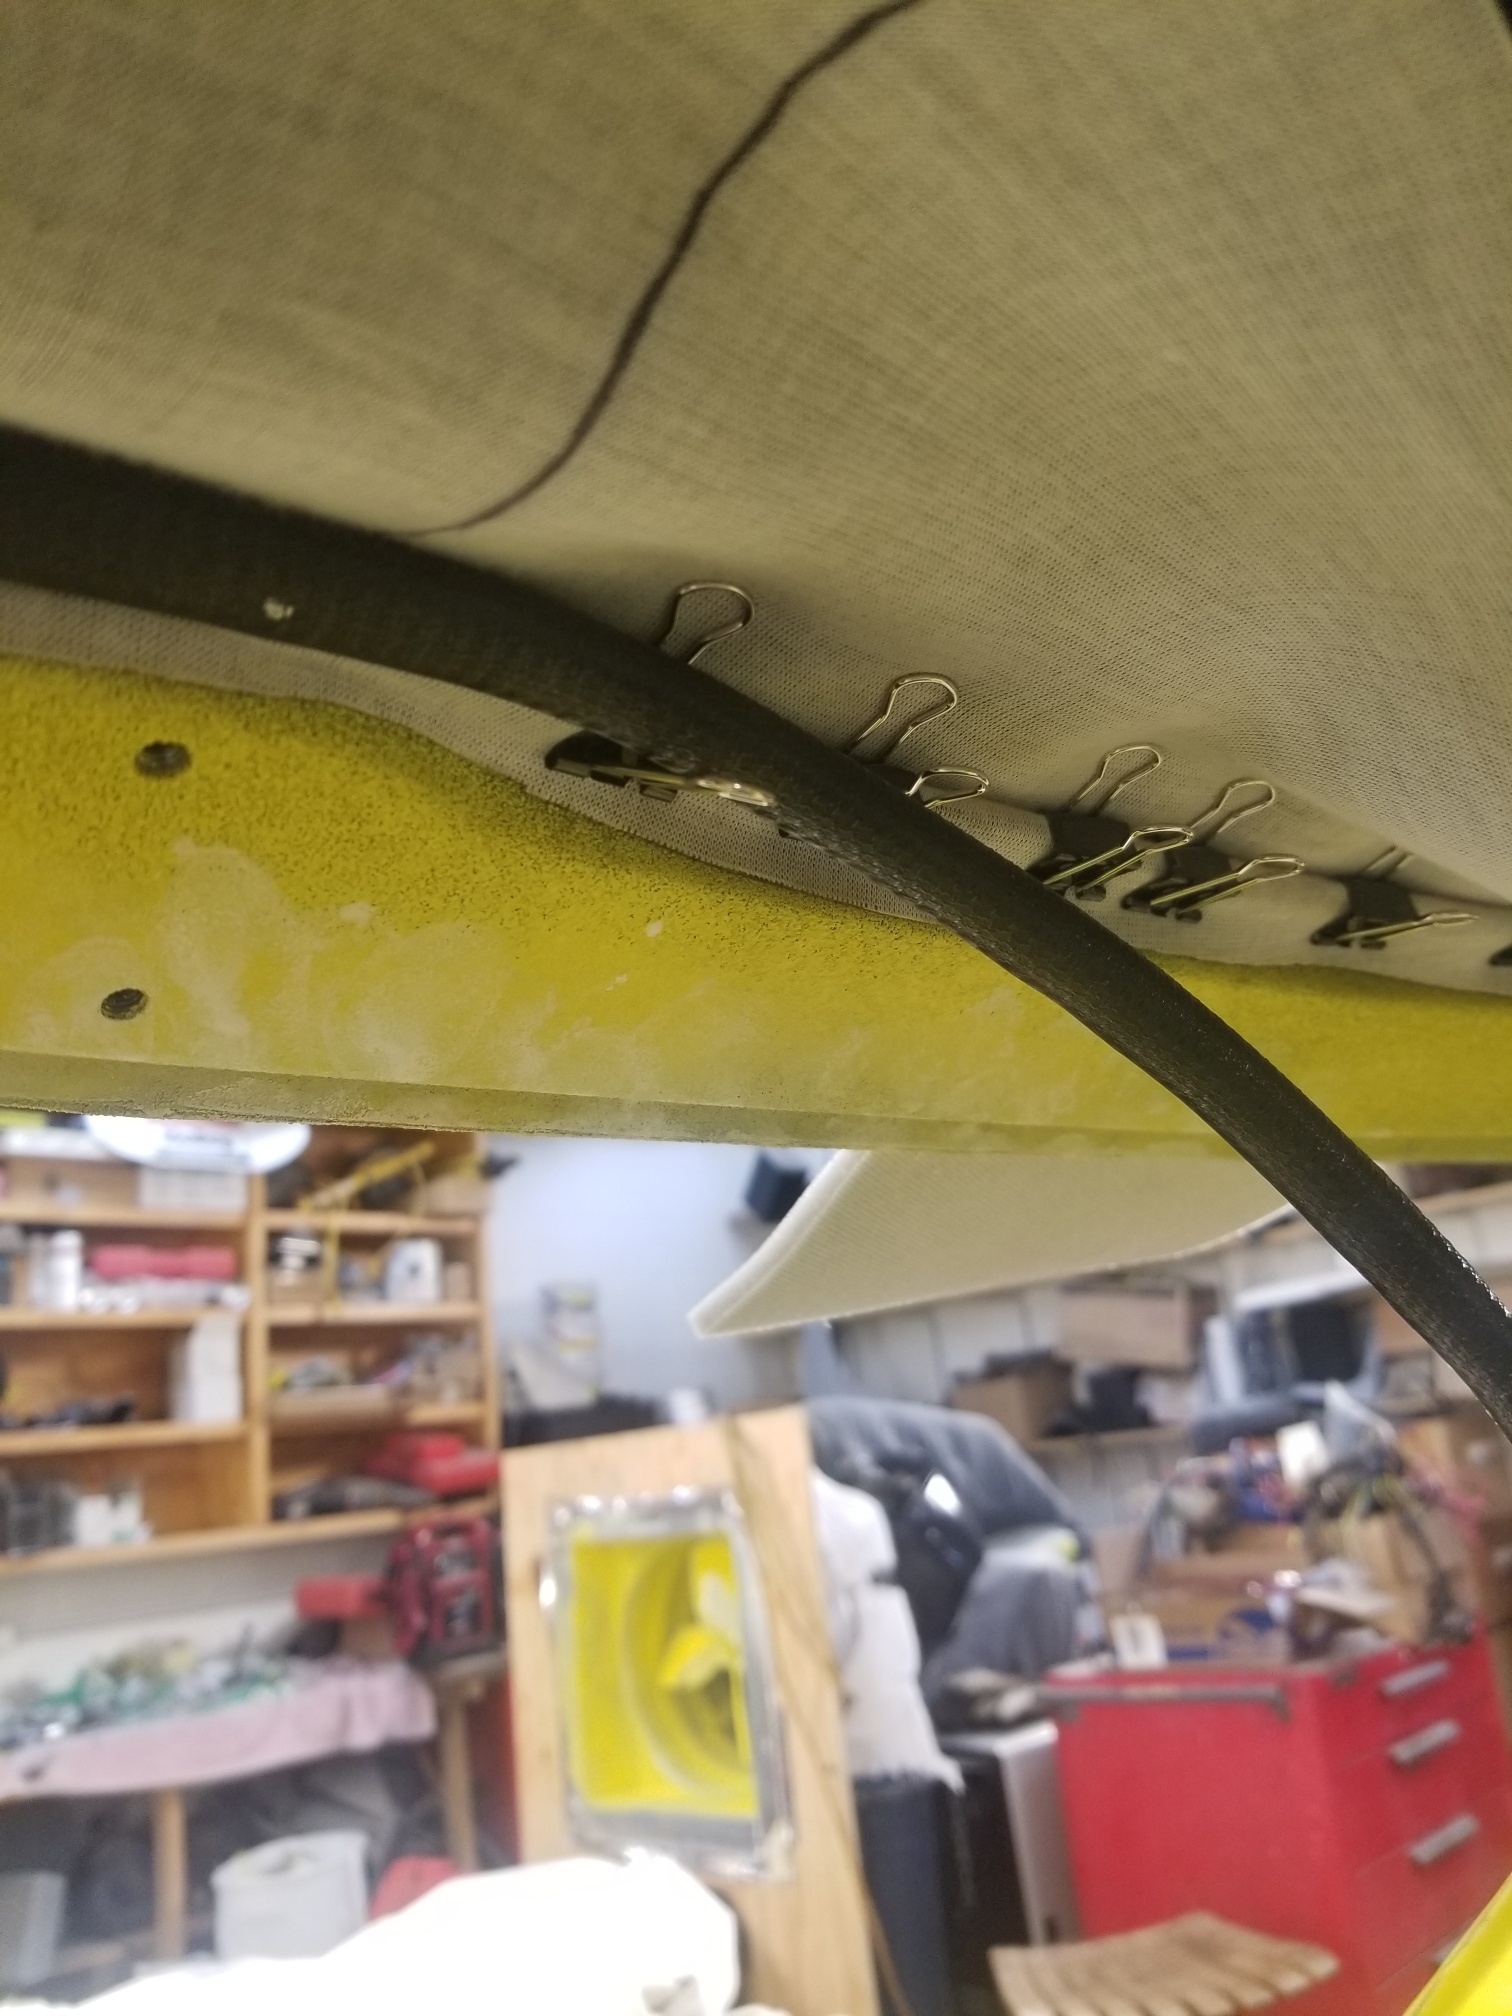
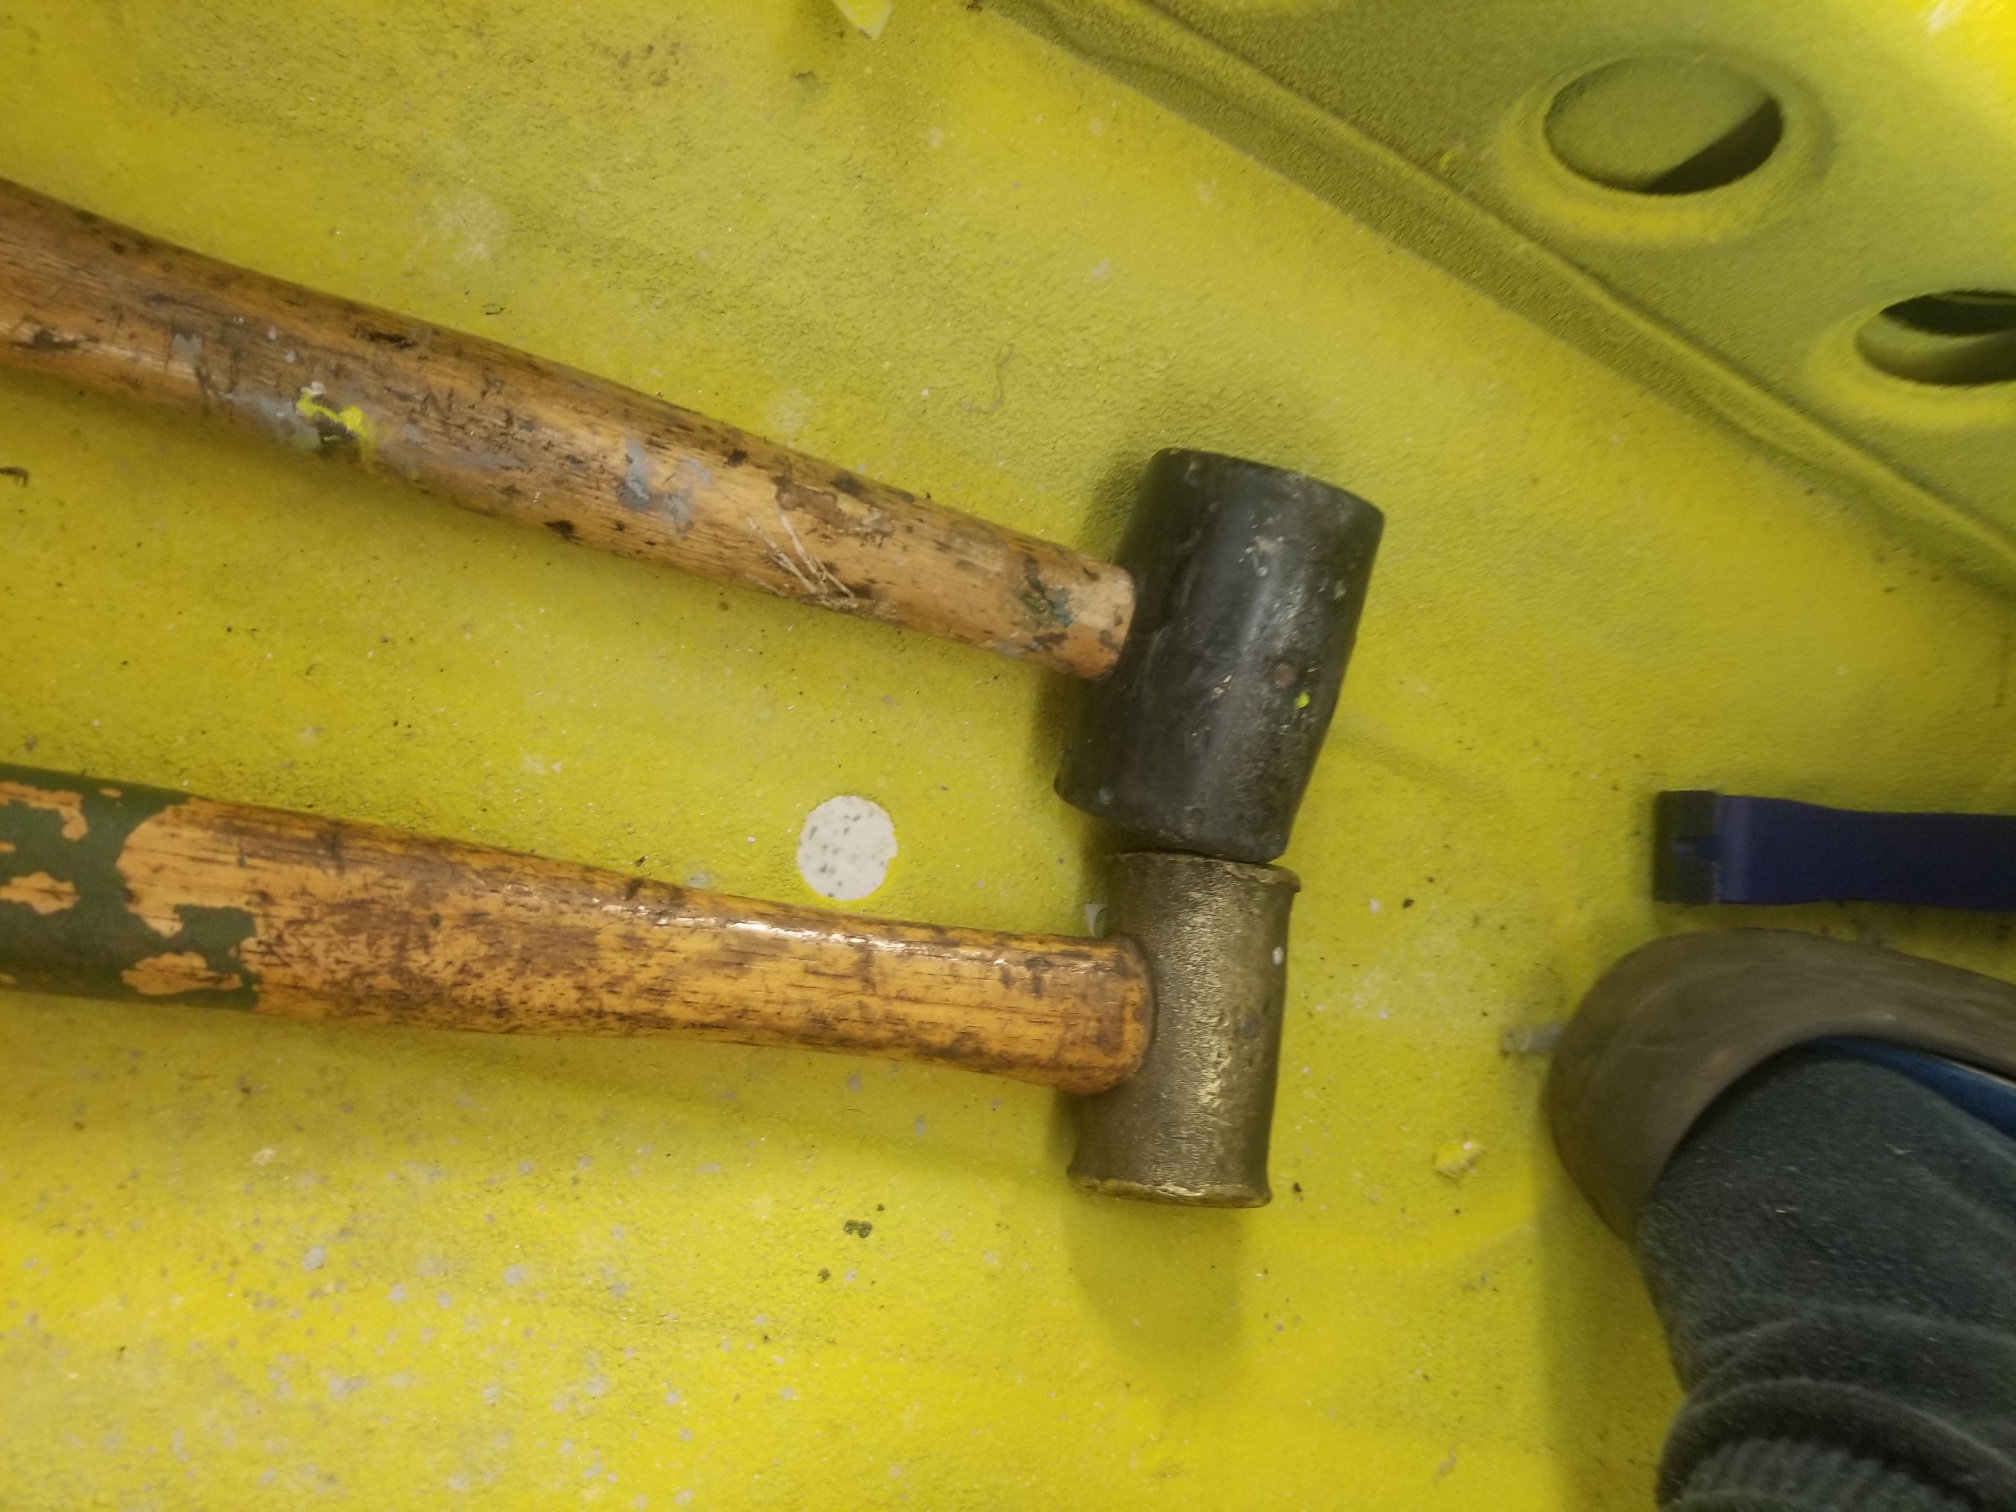
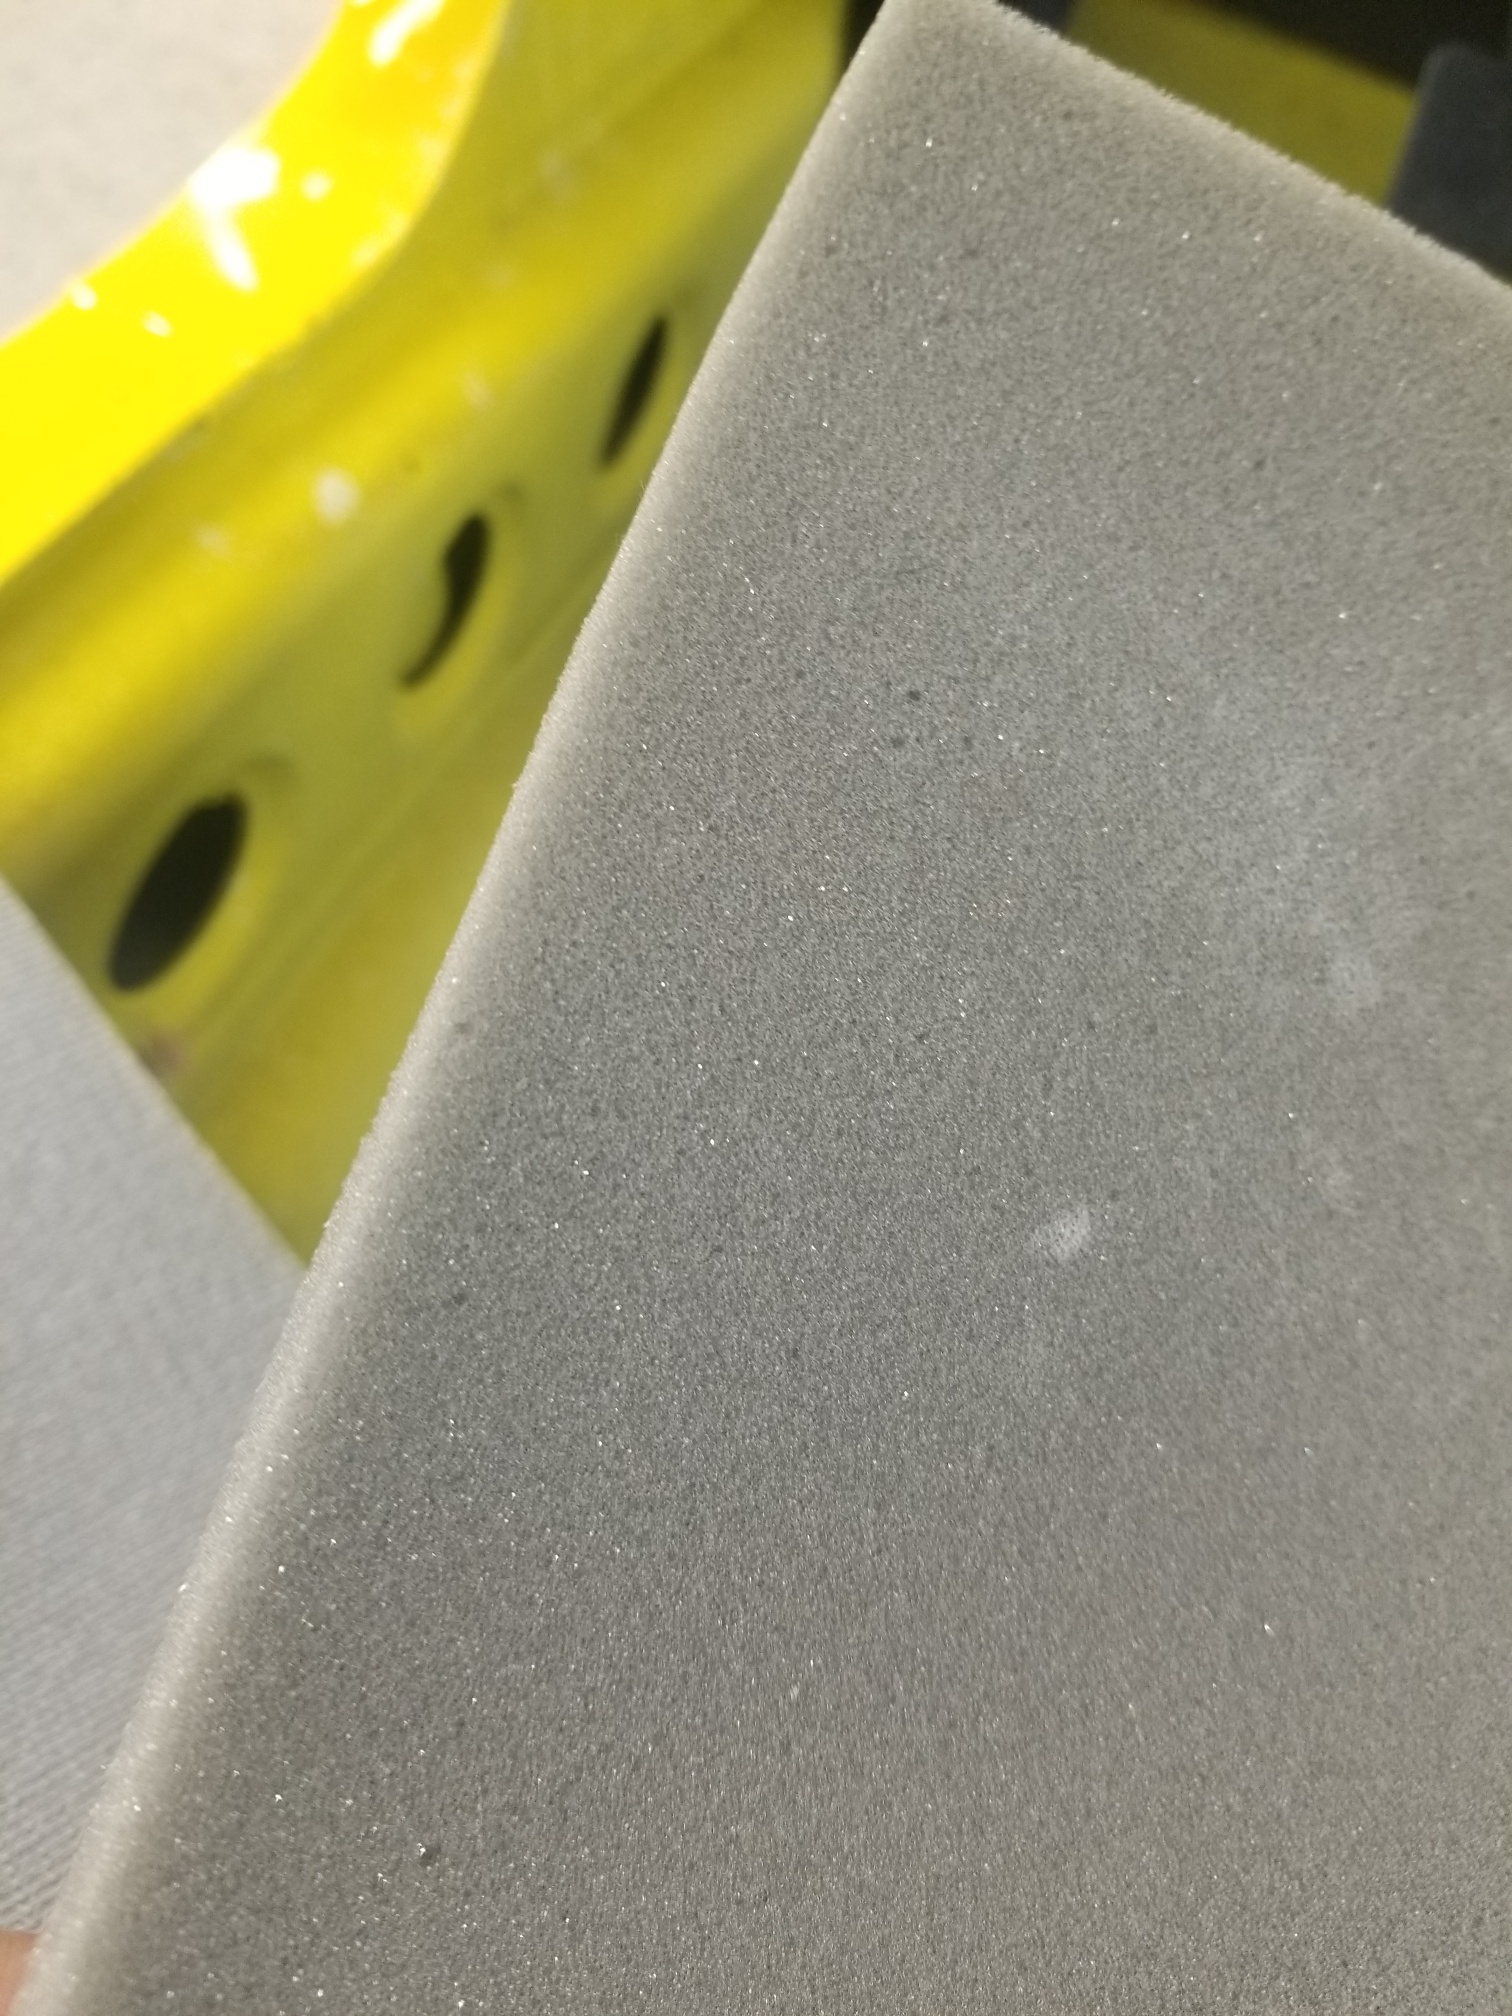
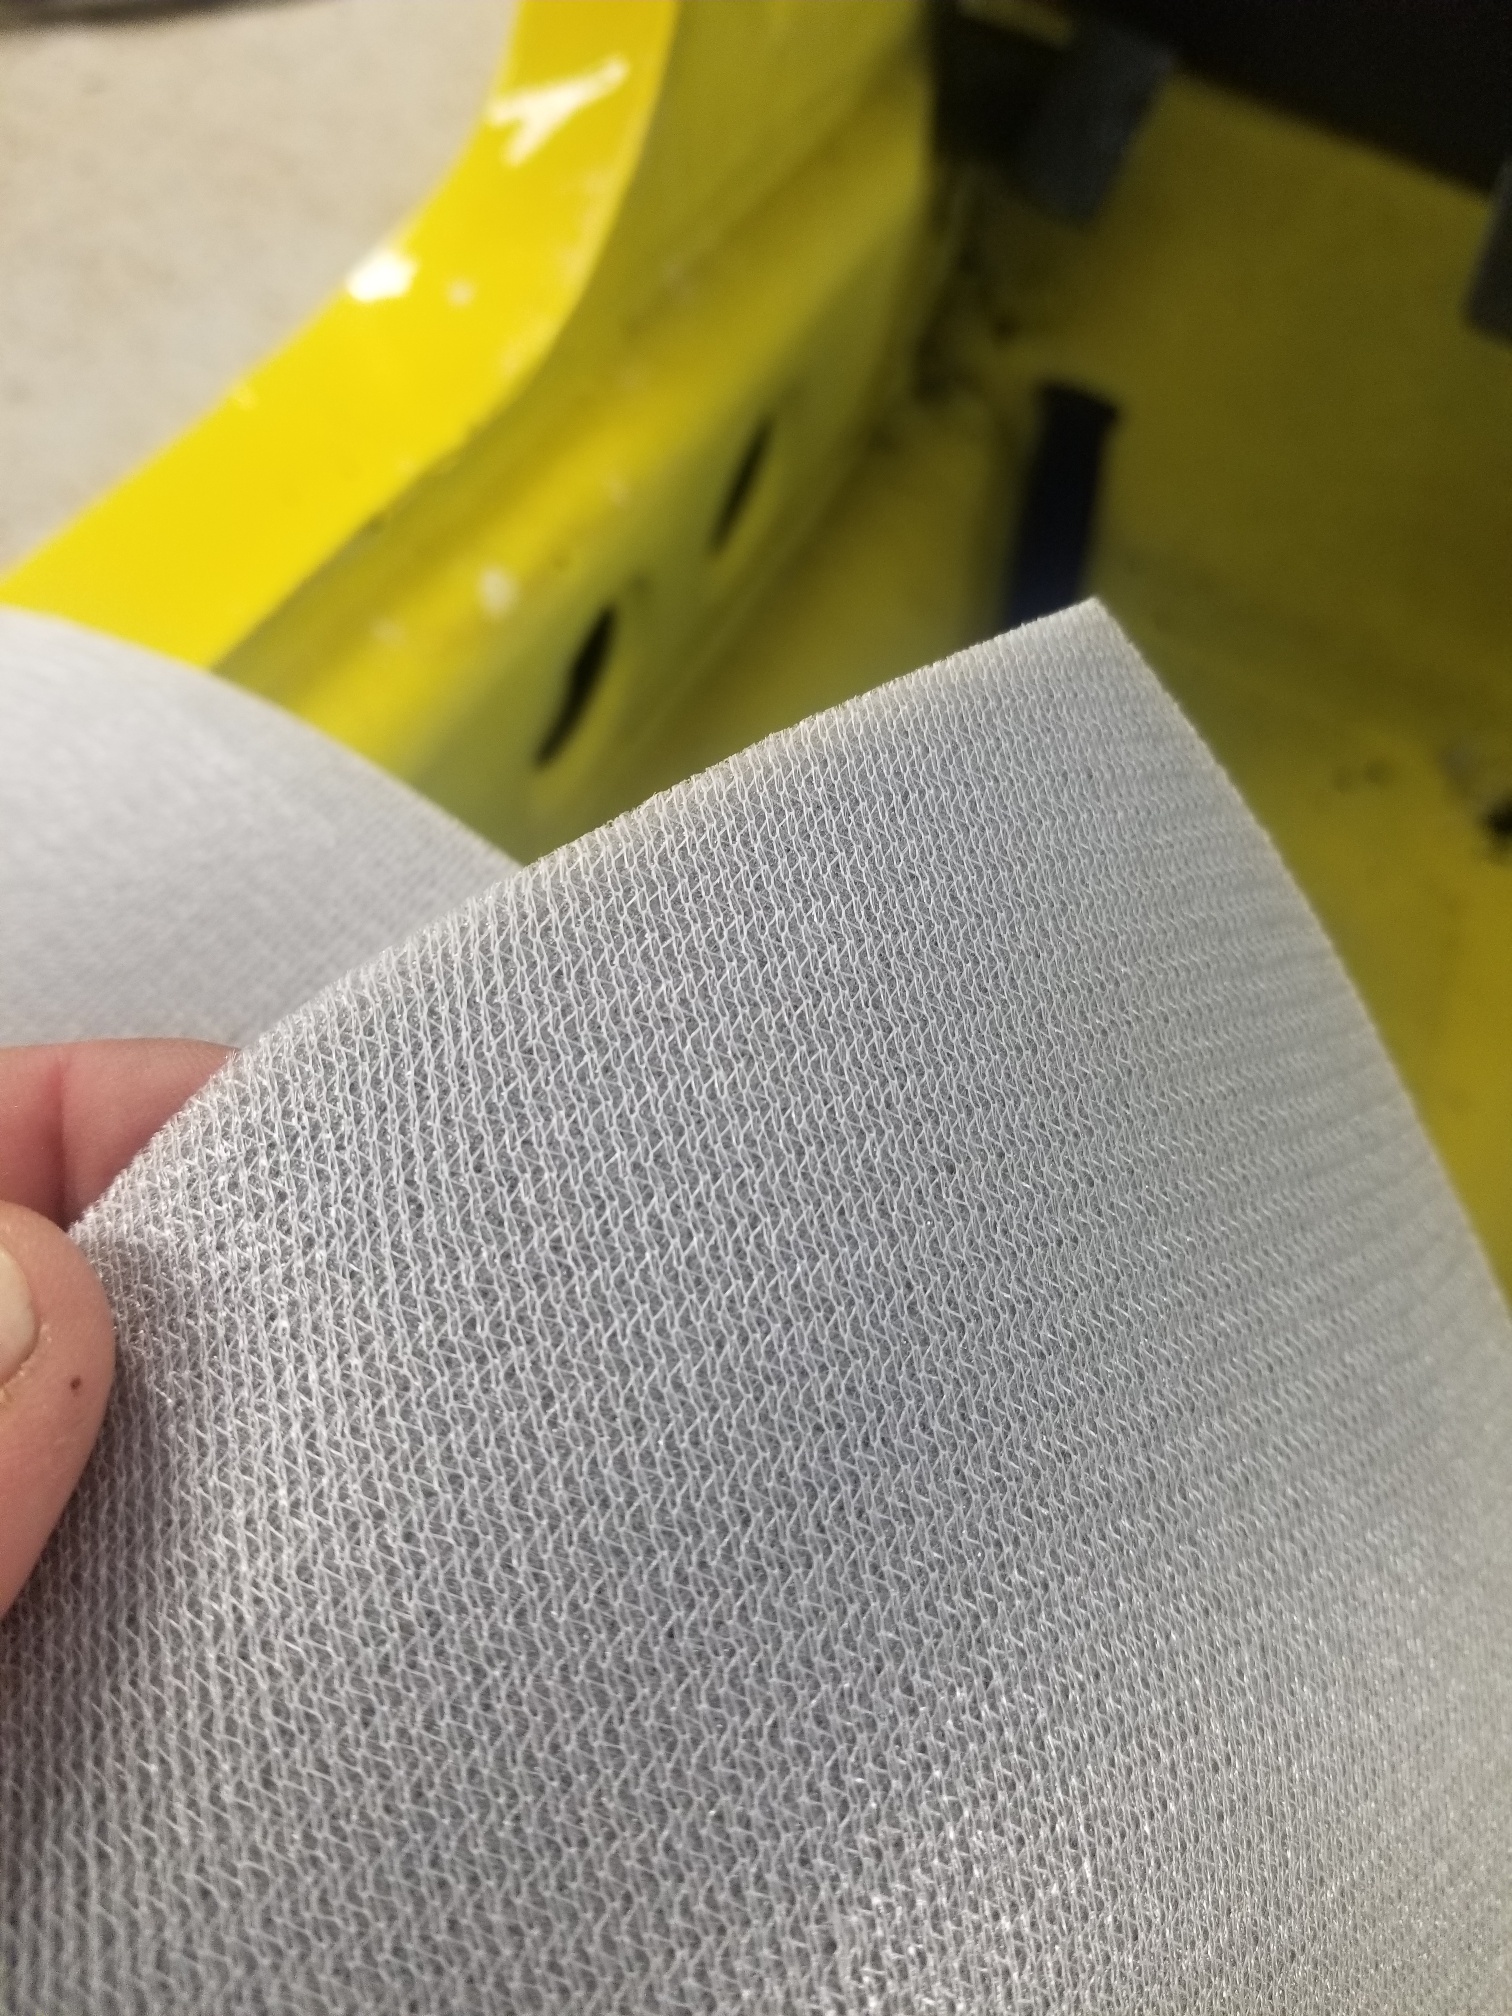
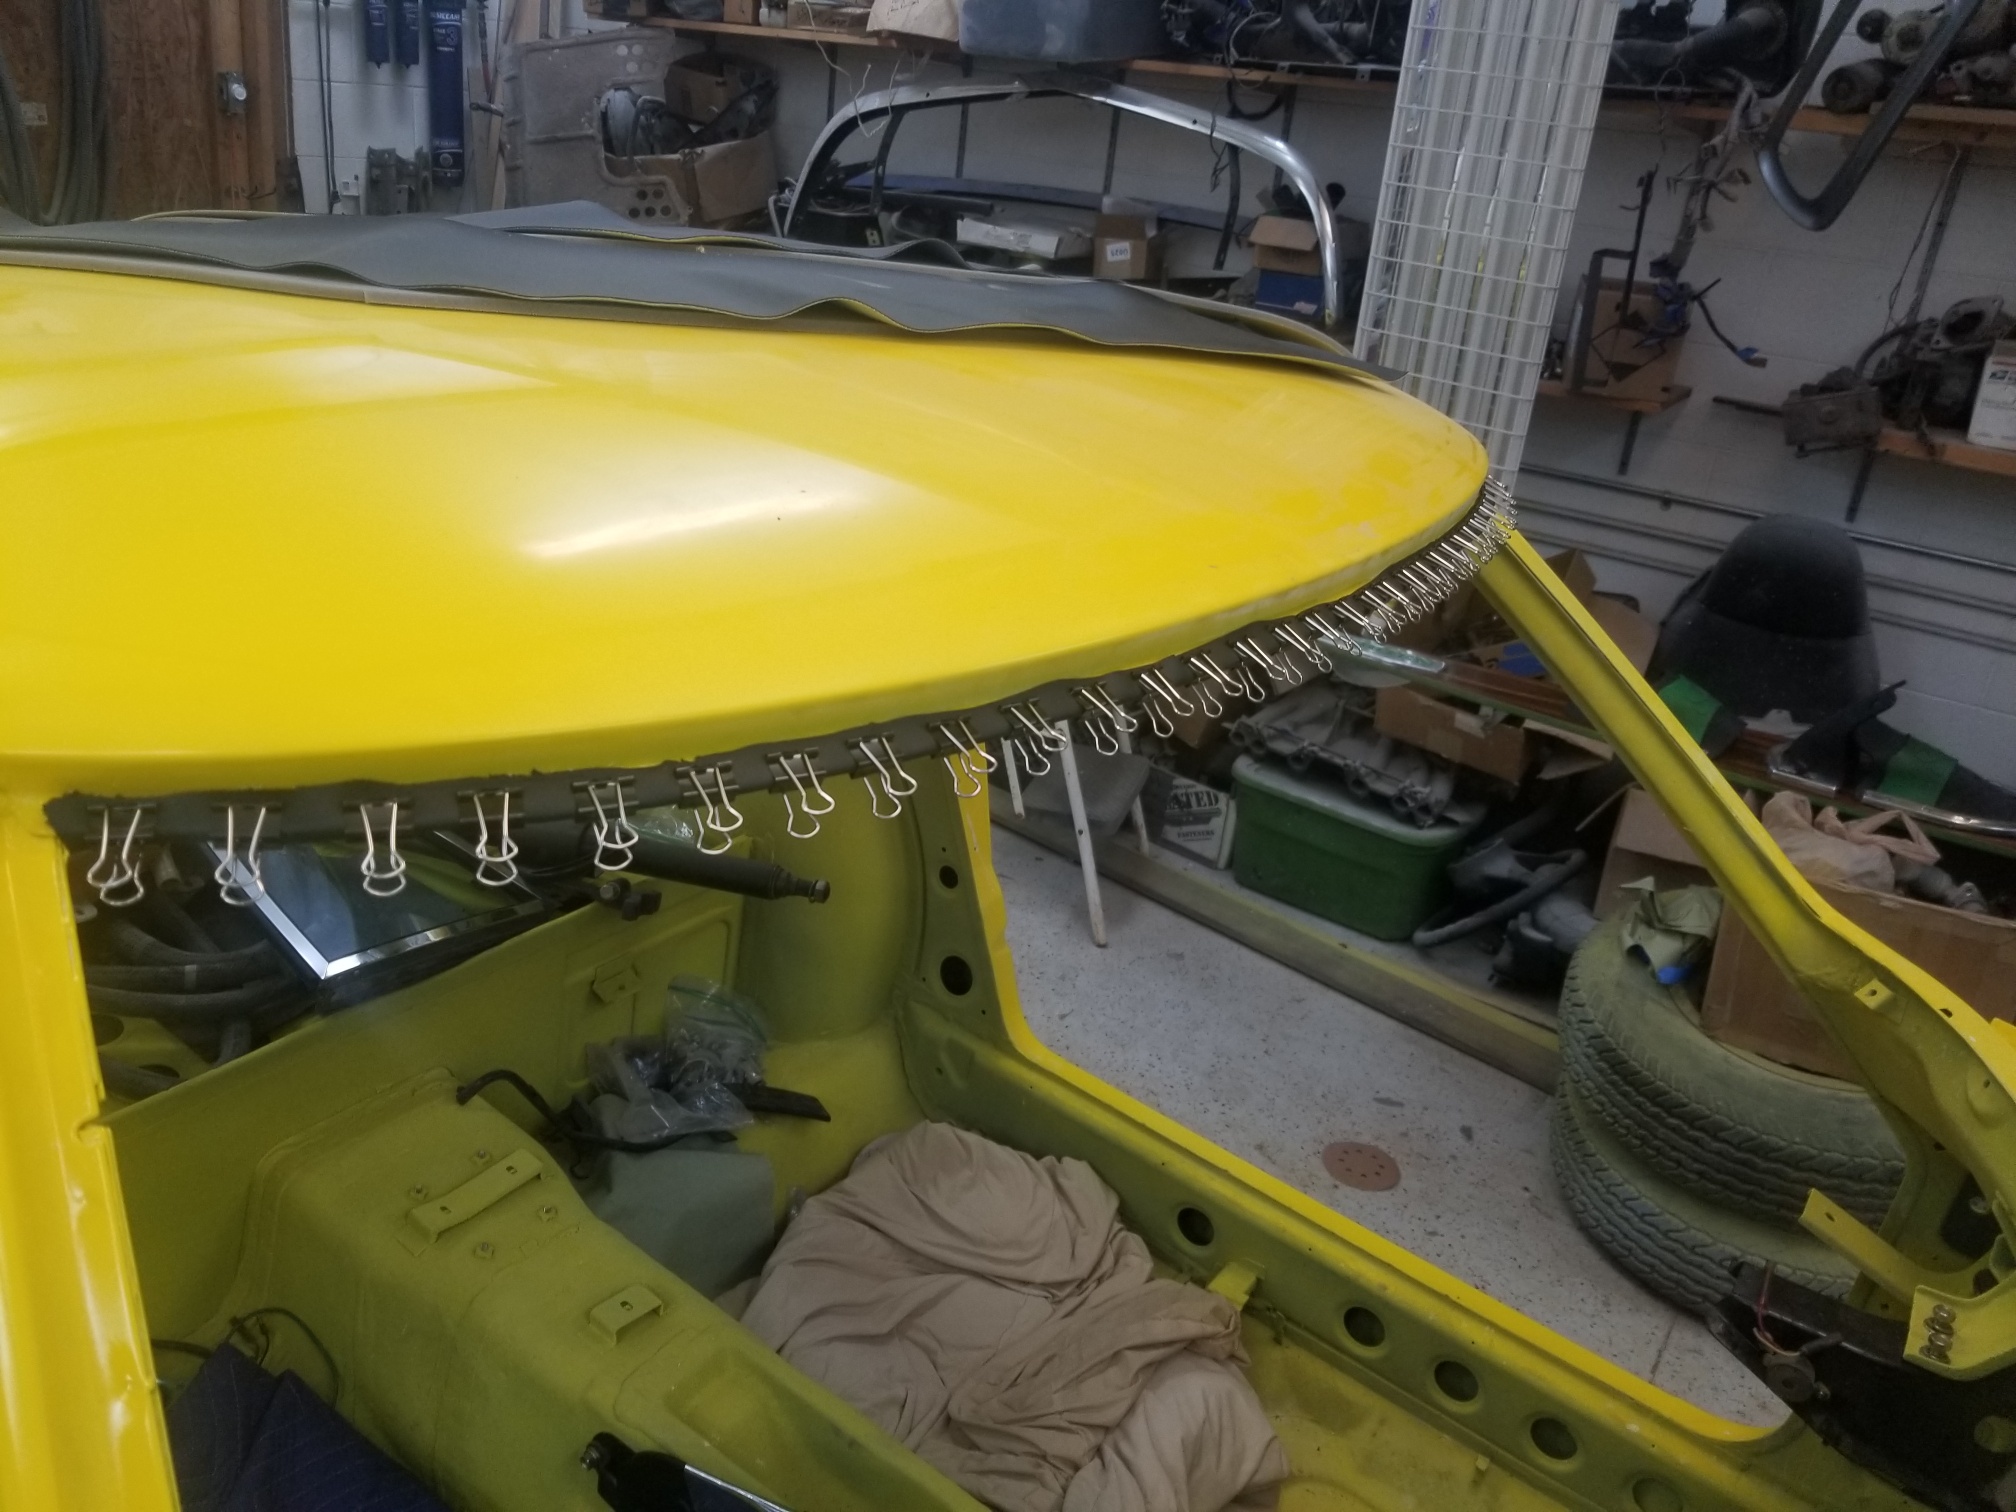
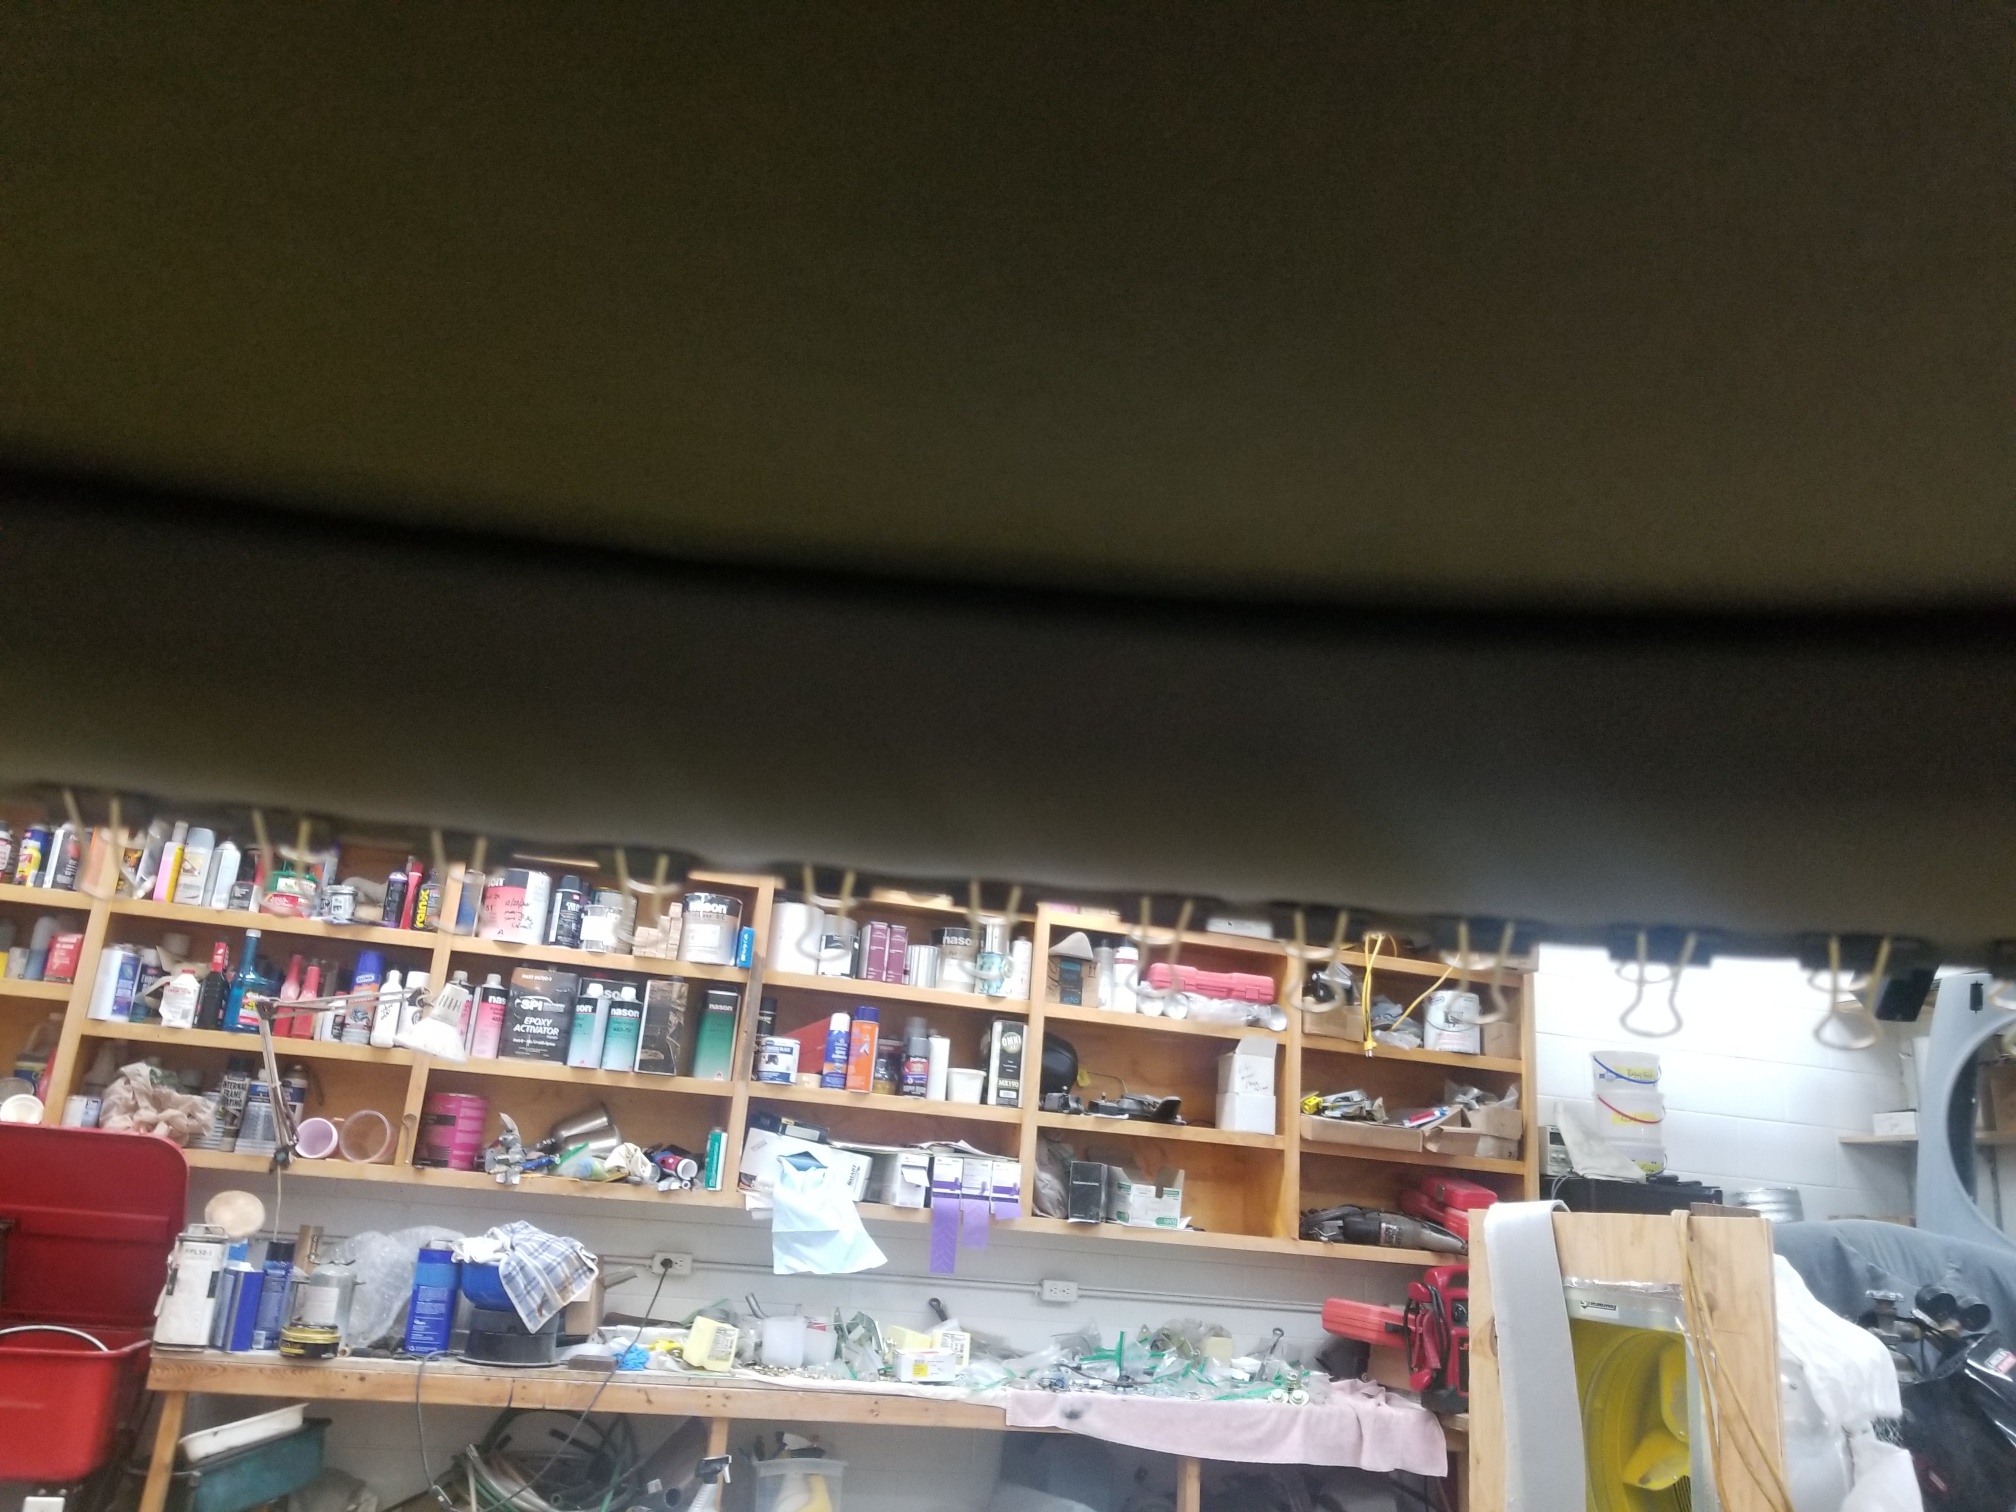
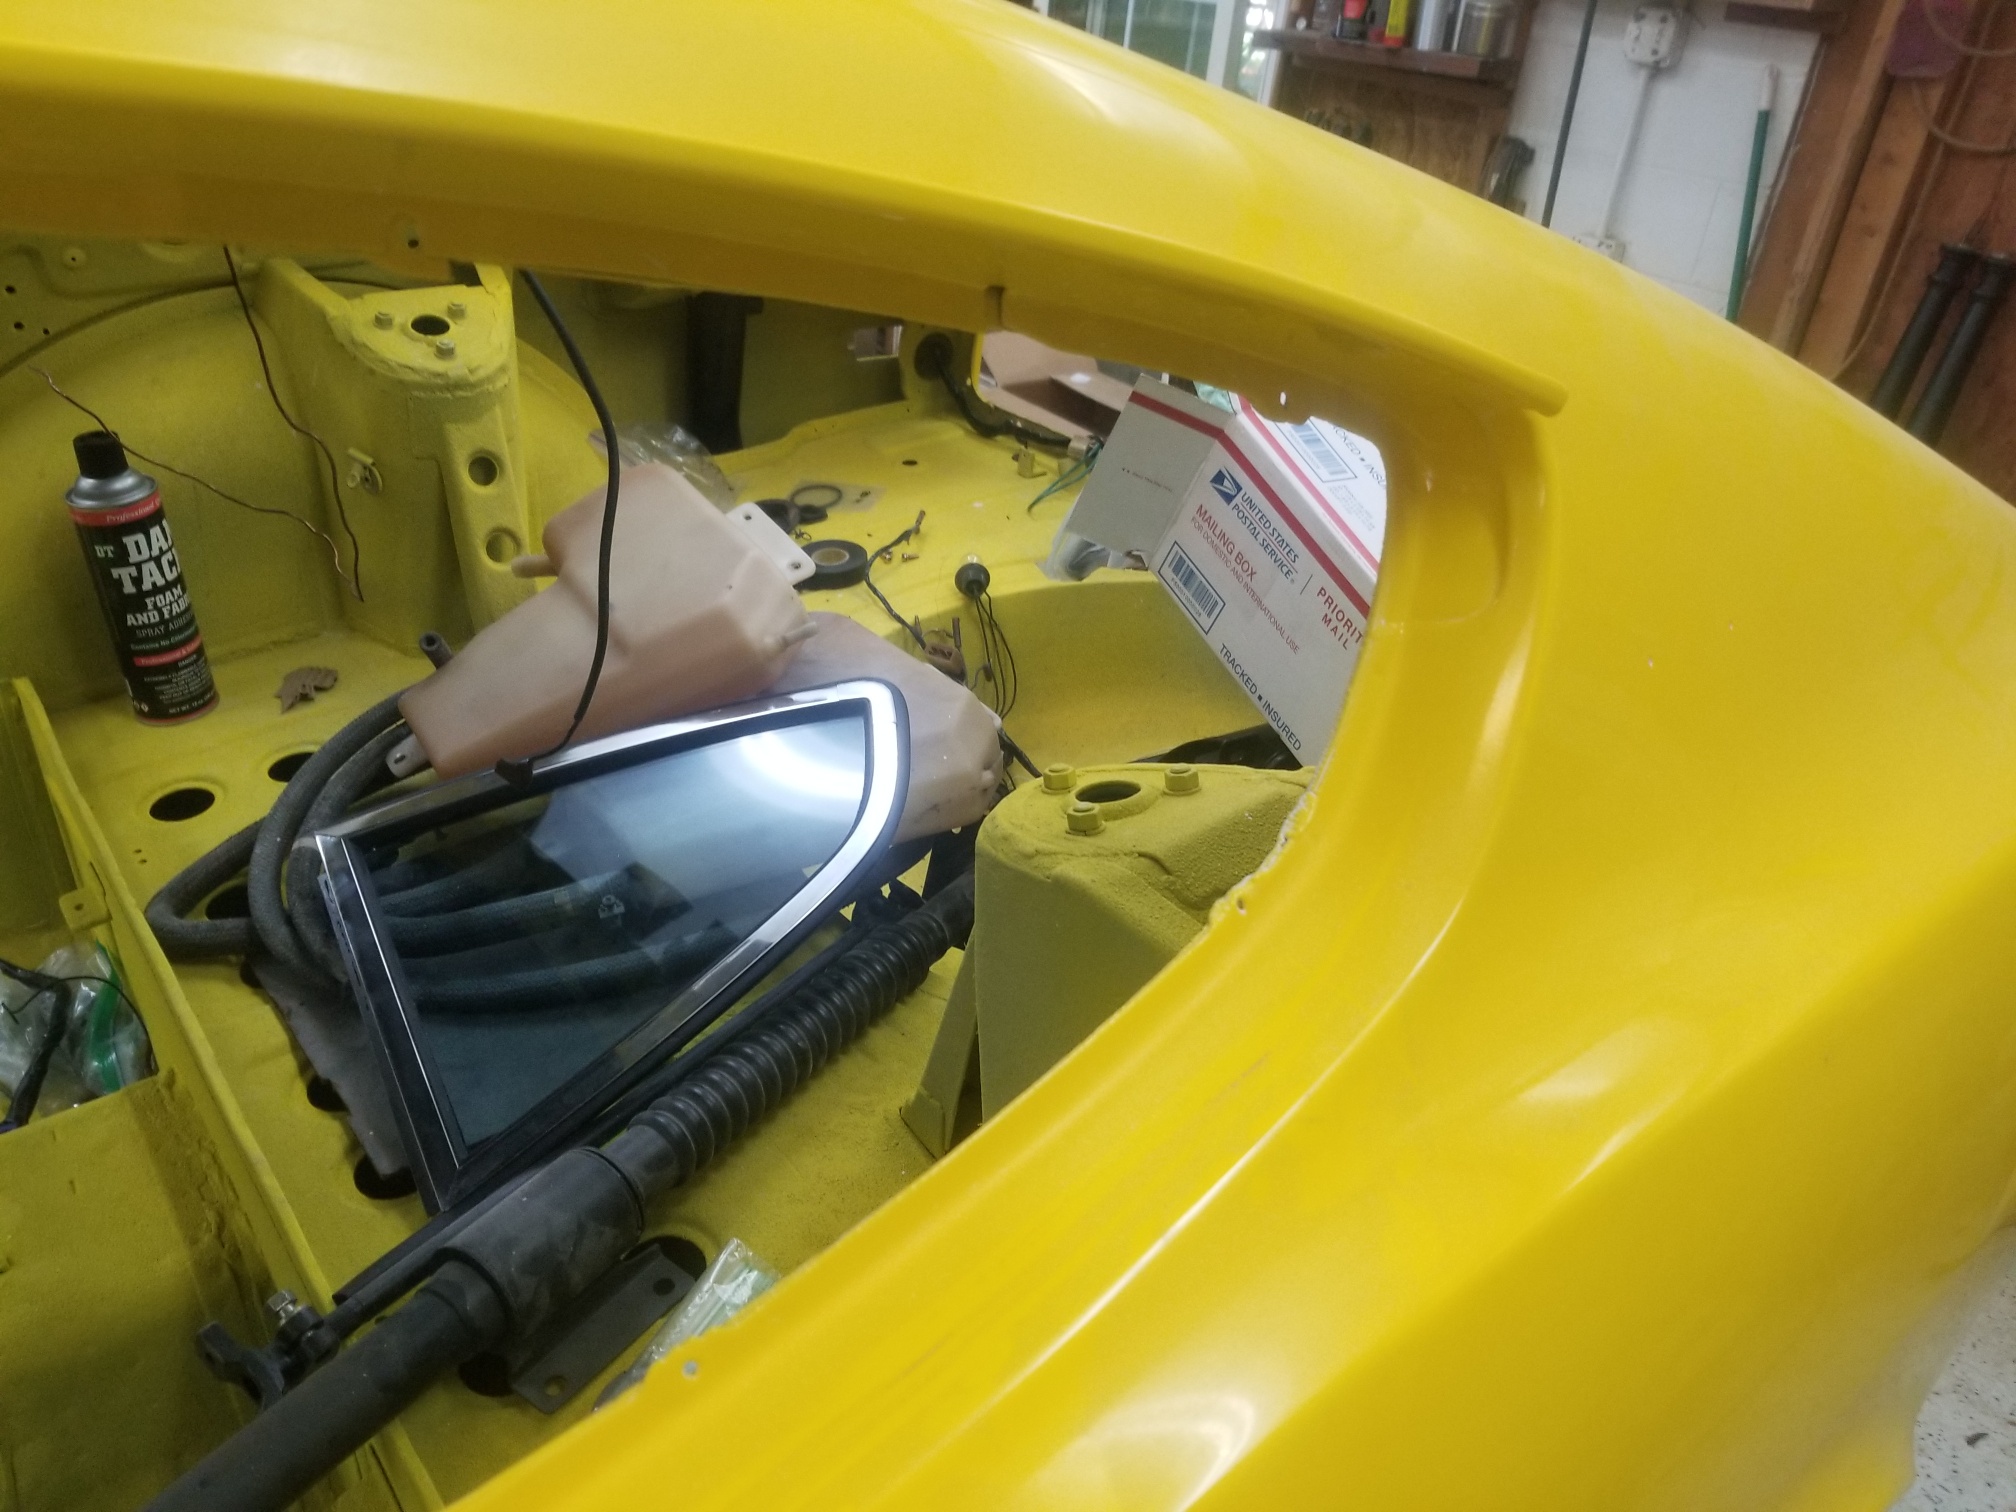
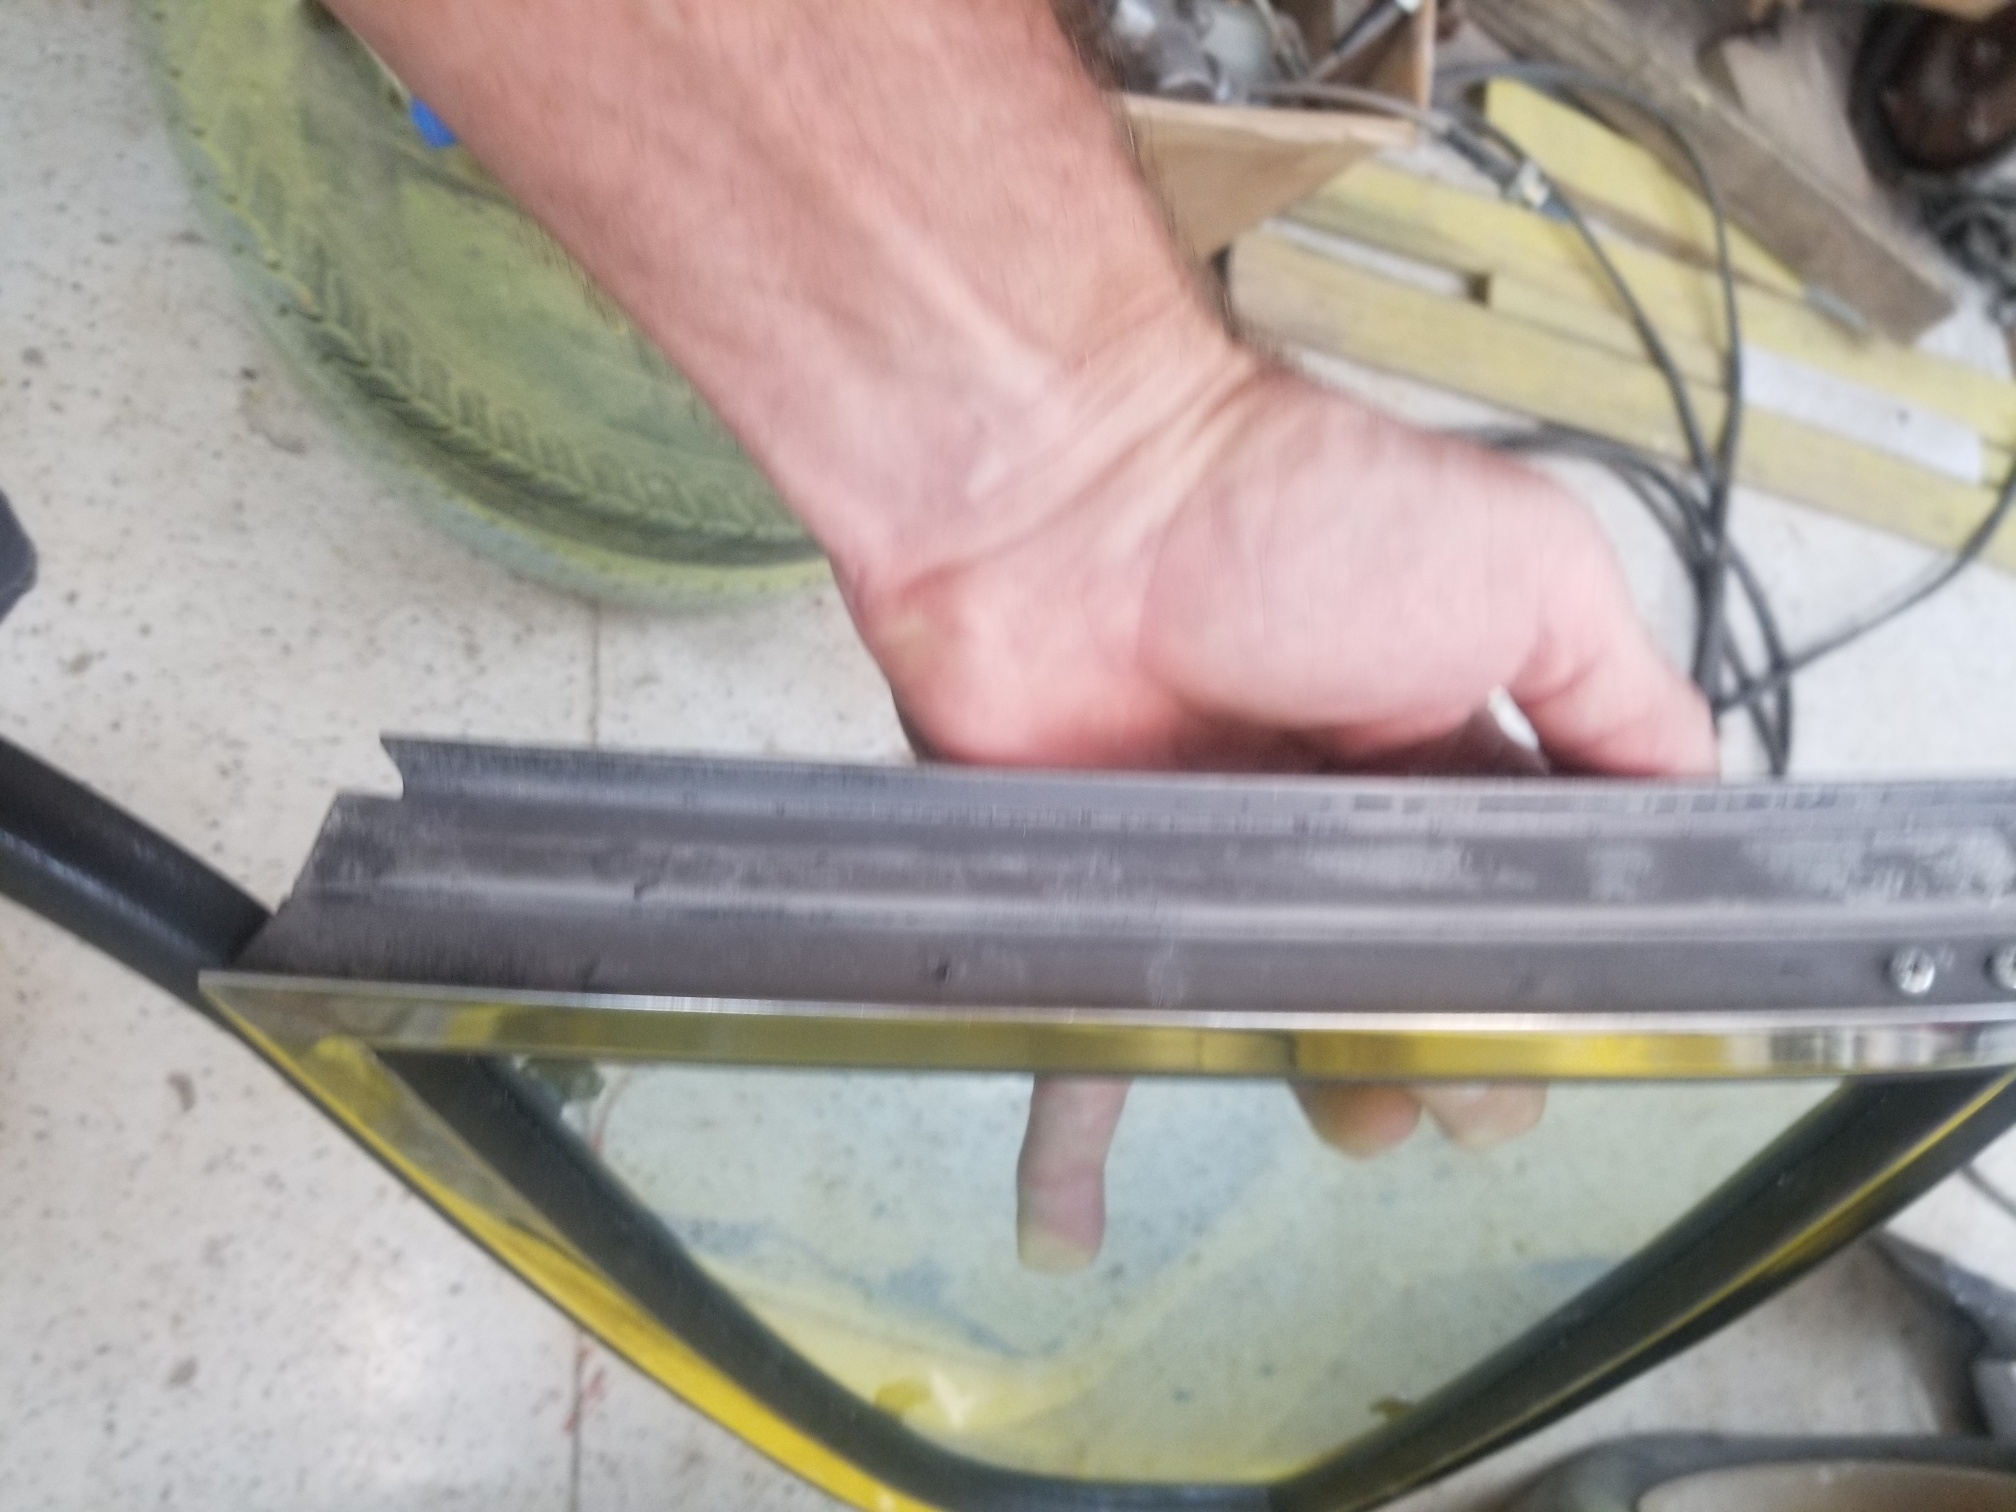
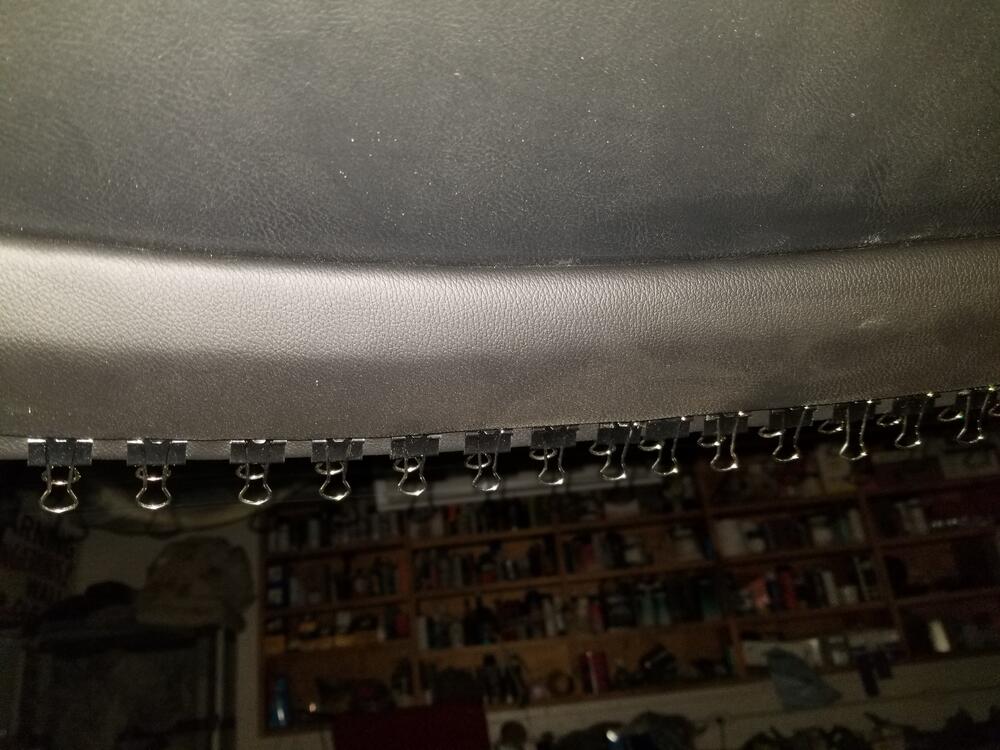
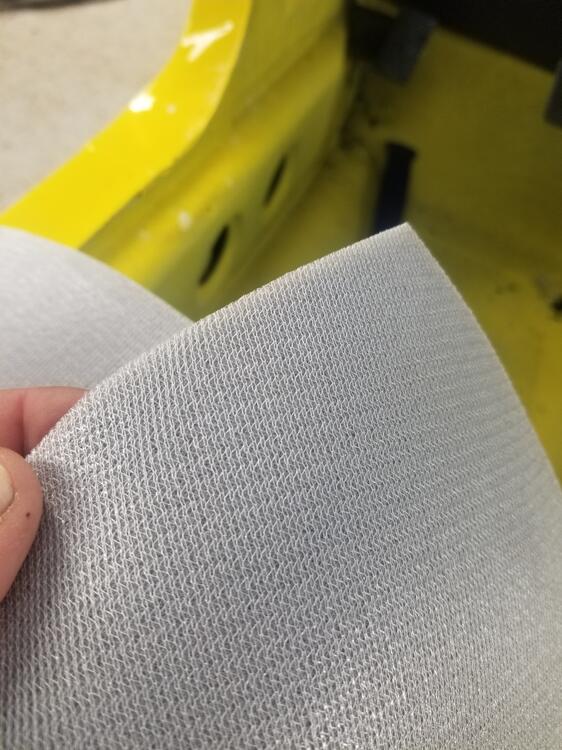
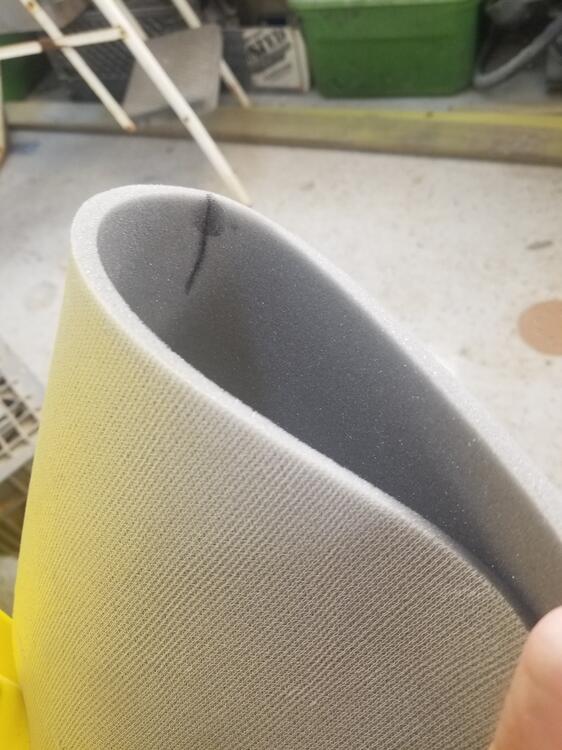
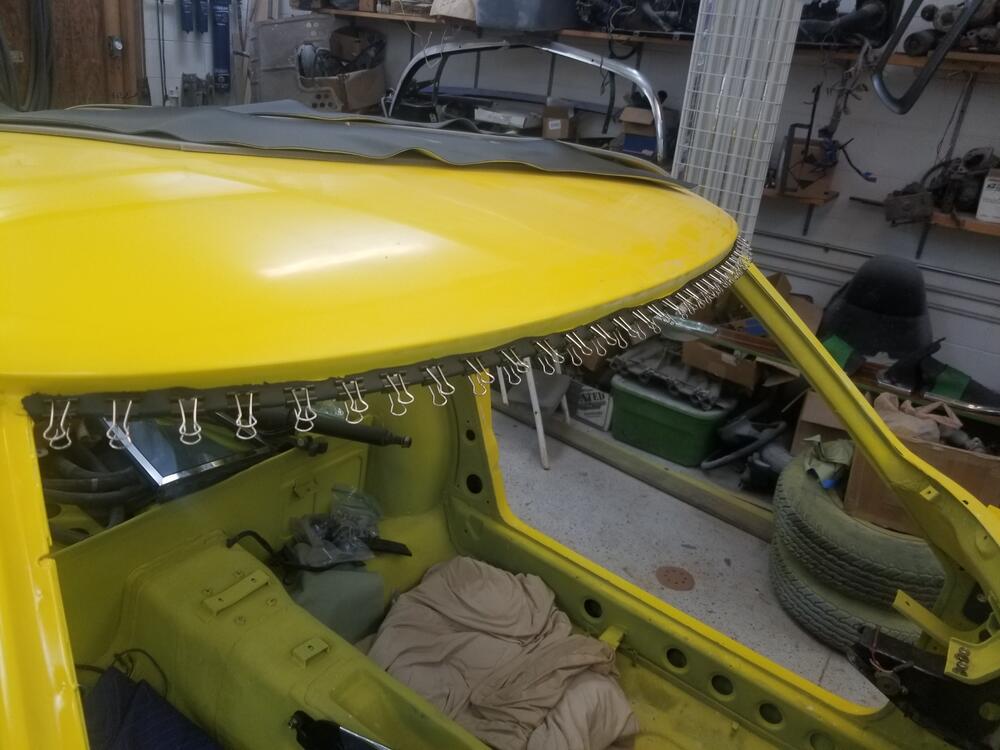
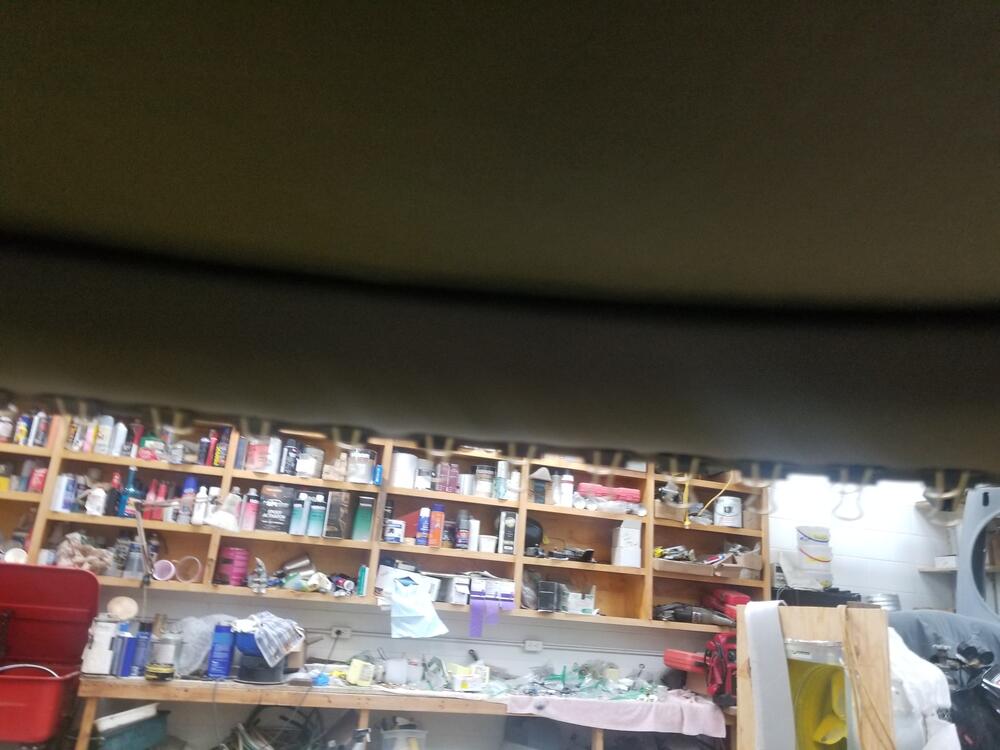
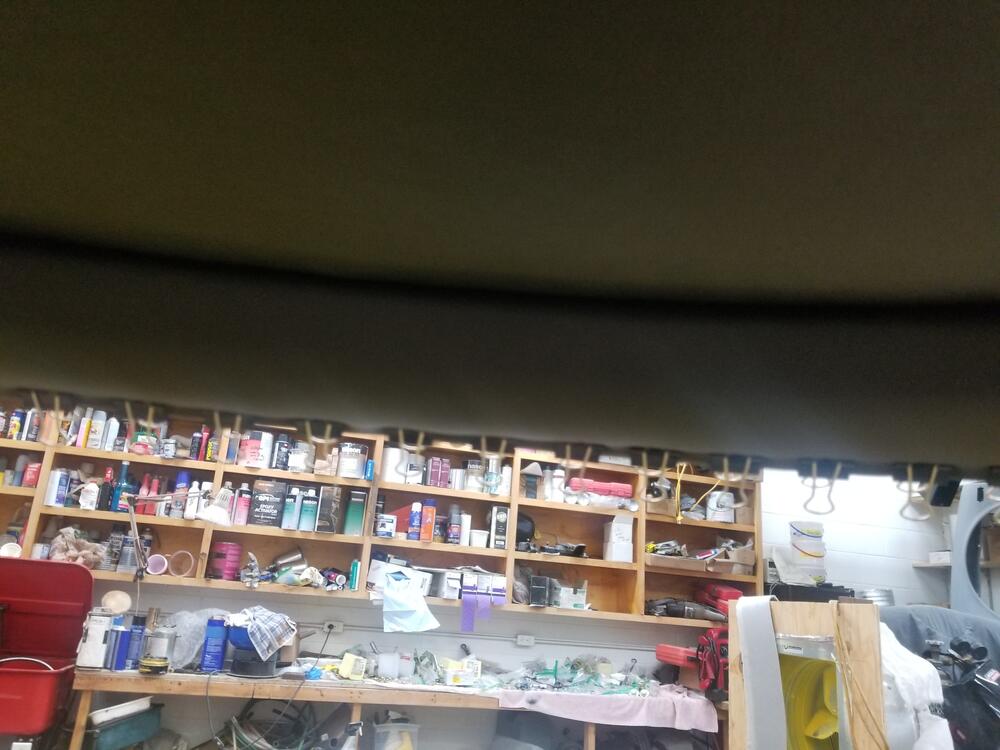
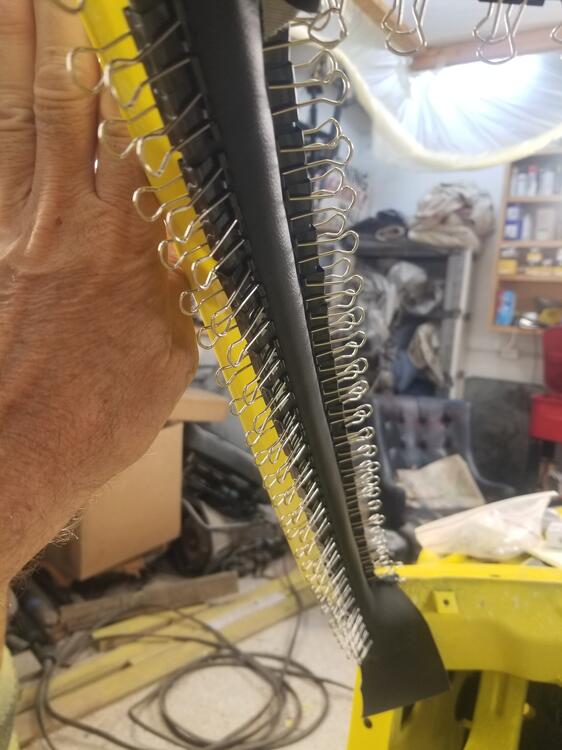
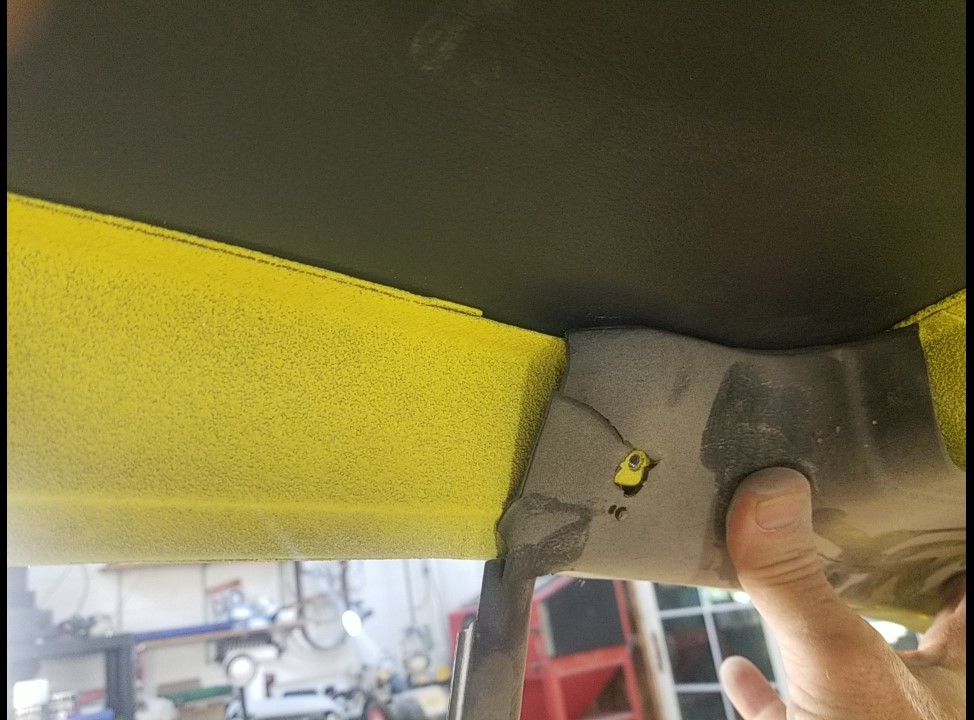
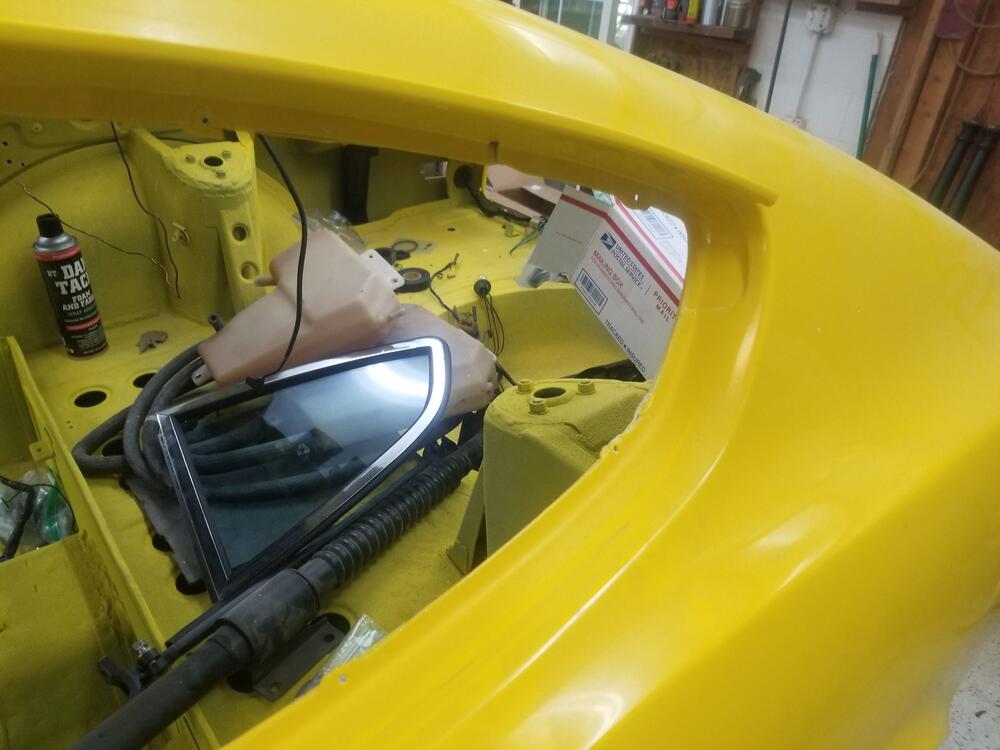
So I started off the day tapping the holes for the visors, mirror and coat hook. They are all 5m x 0.8 I pulled the front windlace off and redid it a little bit. I tried to get it tucked to where the edge was pretty even across based on the RV mirror bump out. Then I clipped it off. Then I pulled off a few clips and ran the windlace from the middle out. My windlace had a small white dot on it near the middle. I don't know if that was a factory thing or not. I used a rubber mallet against the windlace and hit it with the brass hammer to seat it. Then I trimmed it back The kit I have is from MSA and the foam is grey open cell with some kind of backing on it I found the middle of the header piece and marked it. Then I used the spray adhesive from the kit. It works pretty good. I glued it up into place and then trimmed it and cut all the visor and mirror holes. Then I used weld wood contact cement and glued the header piece in. I didn't pull it very tight and after the clips are on it looks good. The sides are actually the harder portion. I had to slide the pieces from the kit backward and forward on the ceiling to find the right place where the A pillar material would hit right. Then I installed the windlace. Then I glued the upper edge of the roof trim above the door. I drew a line where it meets the seam so I knew where to run cement. Pull it a little and clip it off Then I figured out the fold technique and locations. Y'alls pictures were really helpful with this Then I glued the inside edge of the A pillar and clipped it. Then I did the outside edge I'm not really sure where to stop the bottom of the A pillar? This took about 225 19mm clips... This where the window trim fits. So the roof trim gets covered from here back That is good to have that about behind me. There is a little detail work I need to do at the folded seams to try to fasten them down and make them look good. I might use a little super glue for that. Would have been much easier on the rotisserie!! "Tuition"...


-
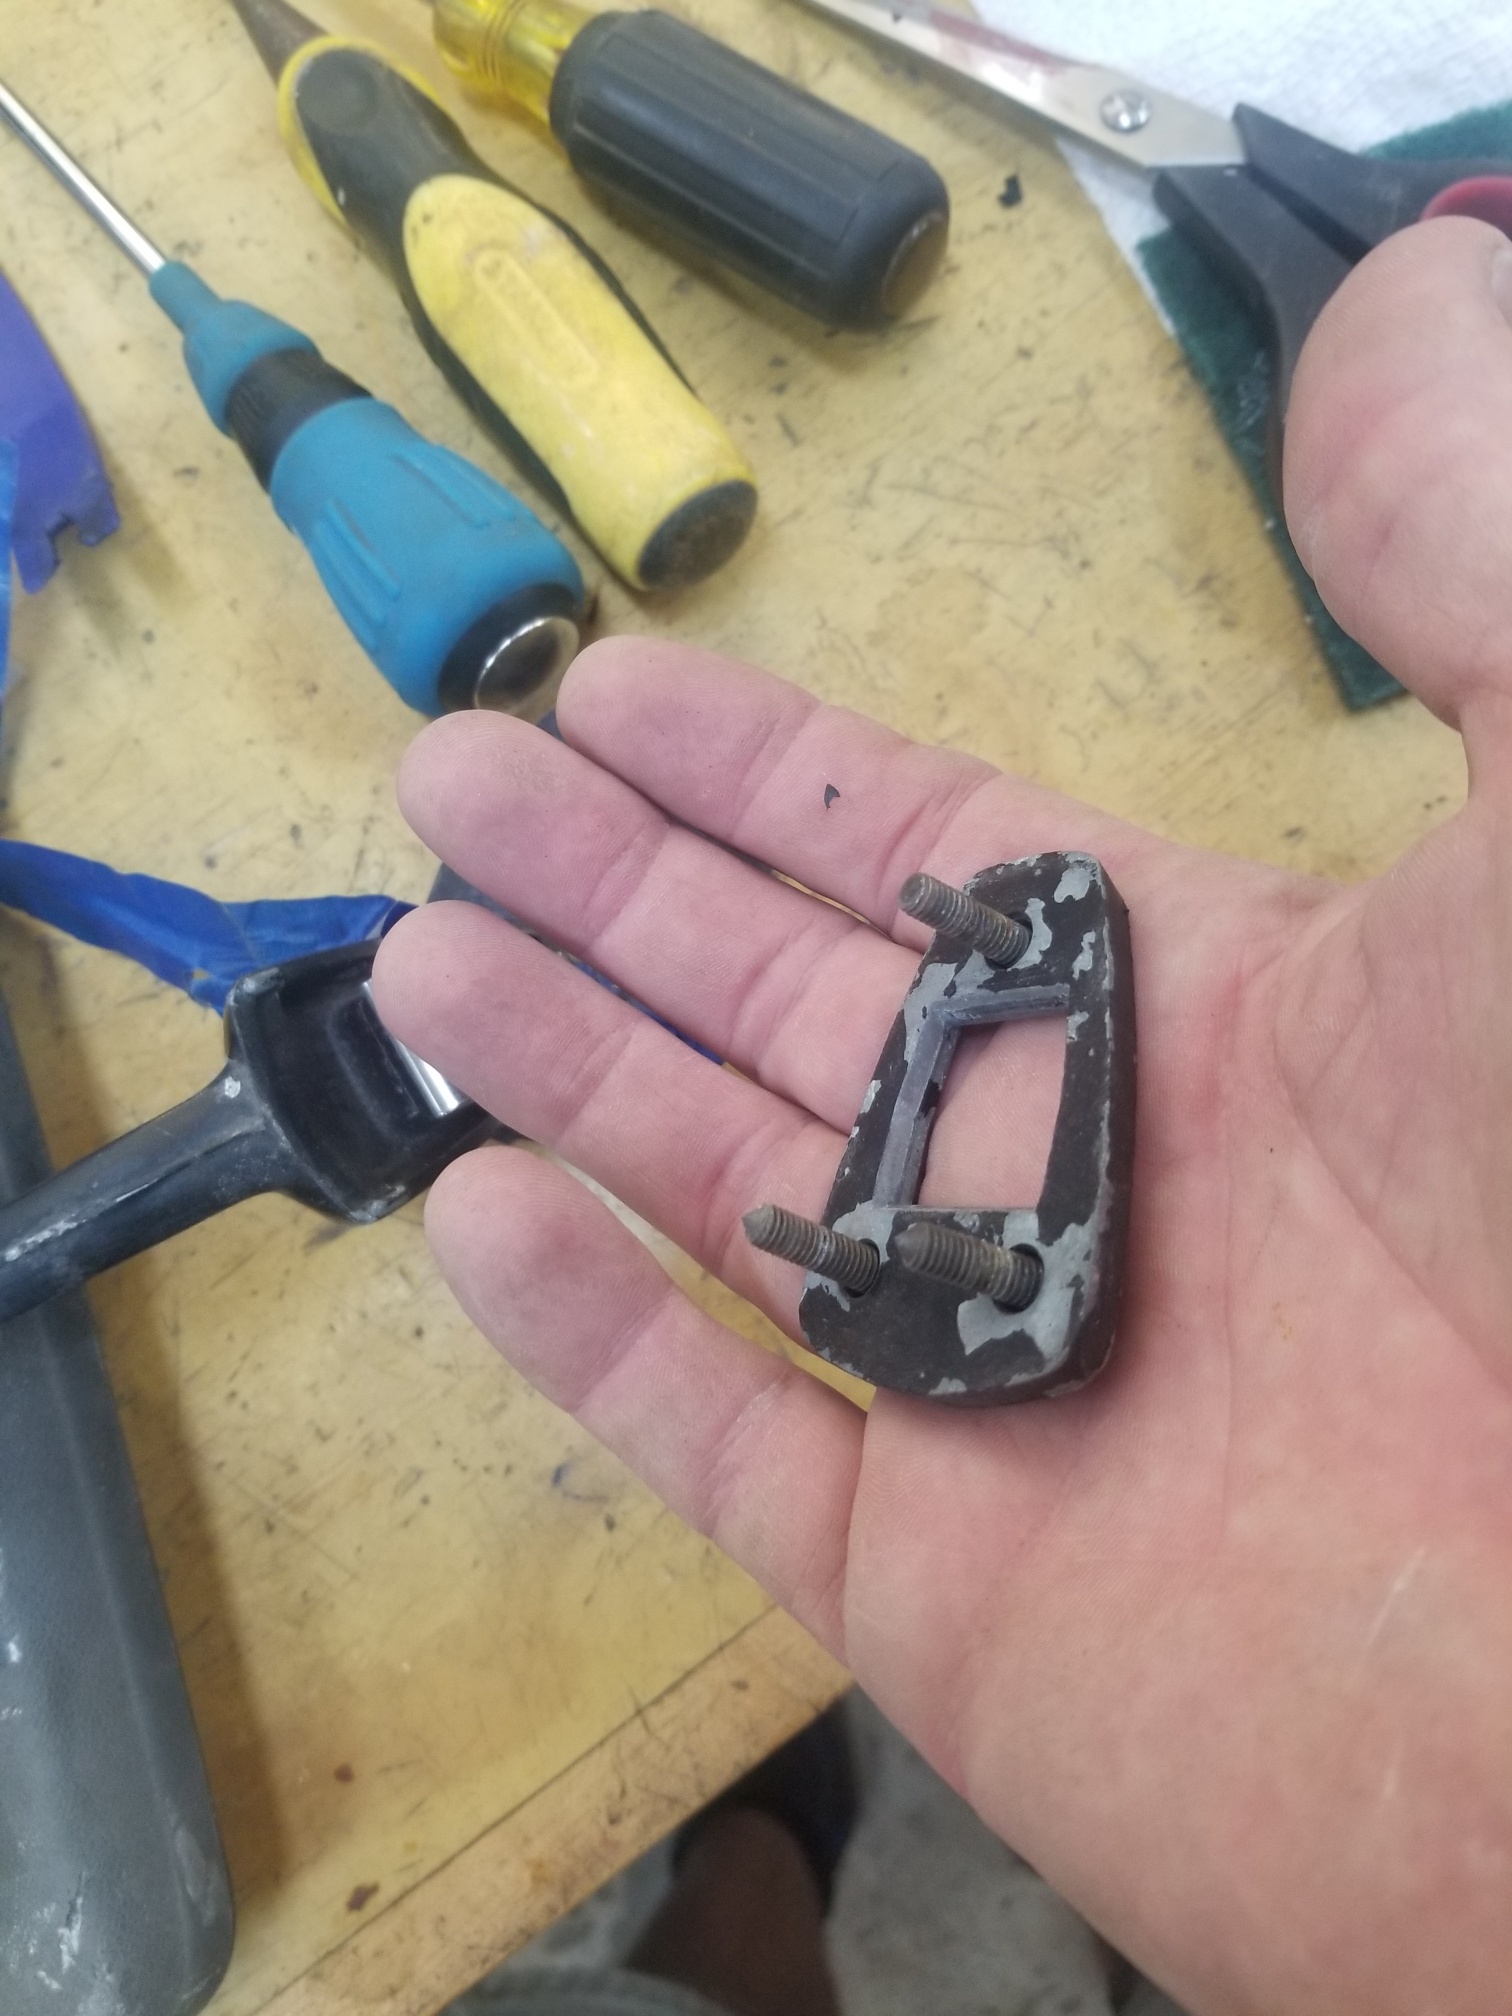
So I received the new collar yesterday I ordered a different one but it was out of stock. I selected another product and Rockauto shipped it for the same price as the cheaper one. Which I thought was cool! It looks to be about 10mm taller. I might go over to Cody's tomorrow and check out the total stack height

-
Is there a way to view the auction sold prices on Mecum?
-
Pictures don't appear to be public...
-
My plan is to make some templates for the jute. I am looking to do this for an 11/70 car. If anyone can provide any dimensions they would be most welcomed C
-
That would be really neat if you could come up with a kit that piggy backs onto the car the way the original factory system would have
-
-
I am unsure , but I think the Vintage air is thought to flow more air and be more efficient I don't know enough about new refrigerants in old coils to advise on that though
-
-
Profiles seem to working from my laptop fine
-
-
That's super Jim! Thanks
-
https://rasmus.com/auctions/u3el4Sdjohg5v95IdzLV/a/1971-Datsun-240Z-Rare-Auction--Washington-DC-Area
-
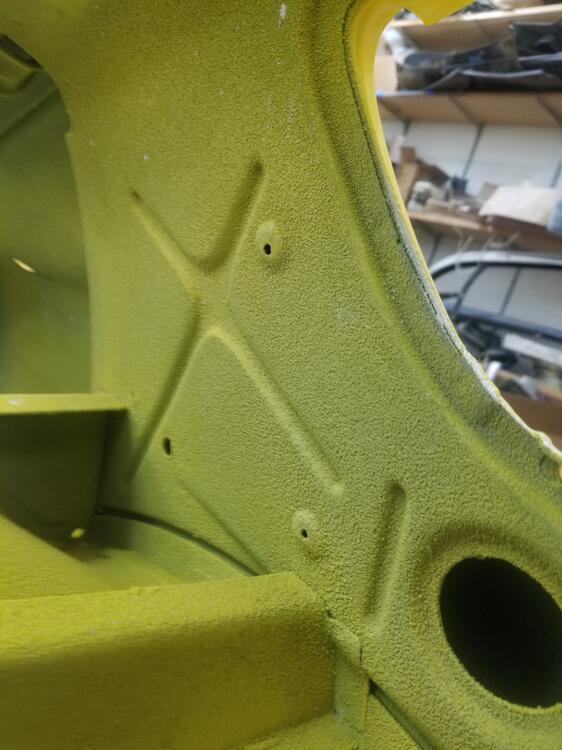
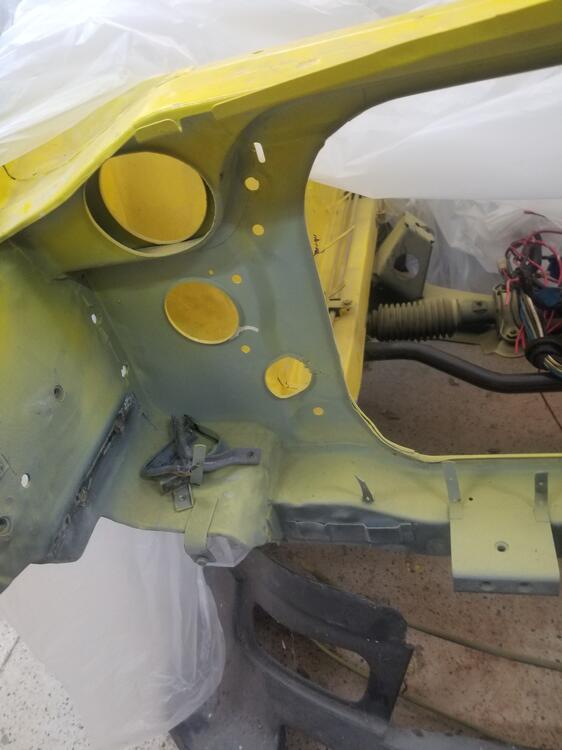
So I know there were a number of areas that the factory applied black paint to improve the look or finish. Where are all of these areas? What is the extent of the application? What finish was the paint? Flat, semi or gloss? These are some of the areas that I can remember Some of this area behind the qtr glass Some portion of this edge on the window Behind the speaker holes Some portion of the front radiator support I also believe there was some down near the foot well or the kick panel??

-
Glad you're ok... It is a busy time of year