ksechler
Free Member
-
Joined
-
Last visited
Everything posted by ksechler
-
 Nice work. Looks almost new.
 -
Never mind! I found it. Funny it was in a box I have looked in twice. Third time was the charm.
-
Here's the link but I was really hoping someone could just tell me the size. http://forums.hybridz.org/topic/111395-280-fuel-tank-drain-plug/
-
Can anyone tell me what the size is for the drain plug on a '76 280z? The service manual doesn't give it. I found this size at hybridz (M16.4 - 1.33) but I'm not sure I trust it.
-
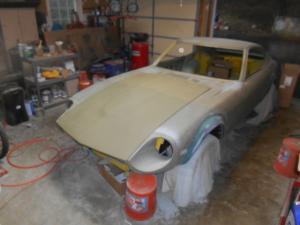
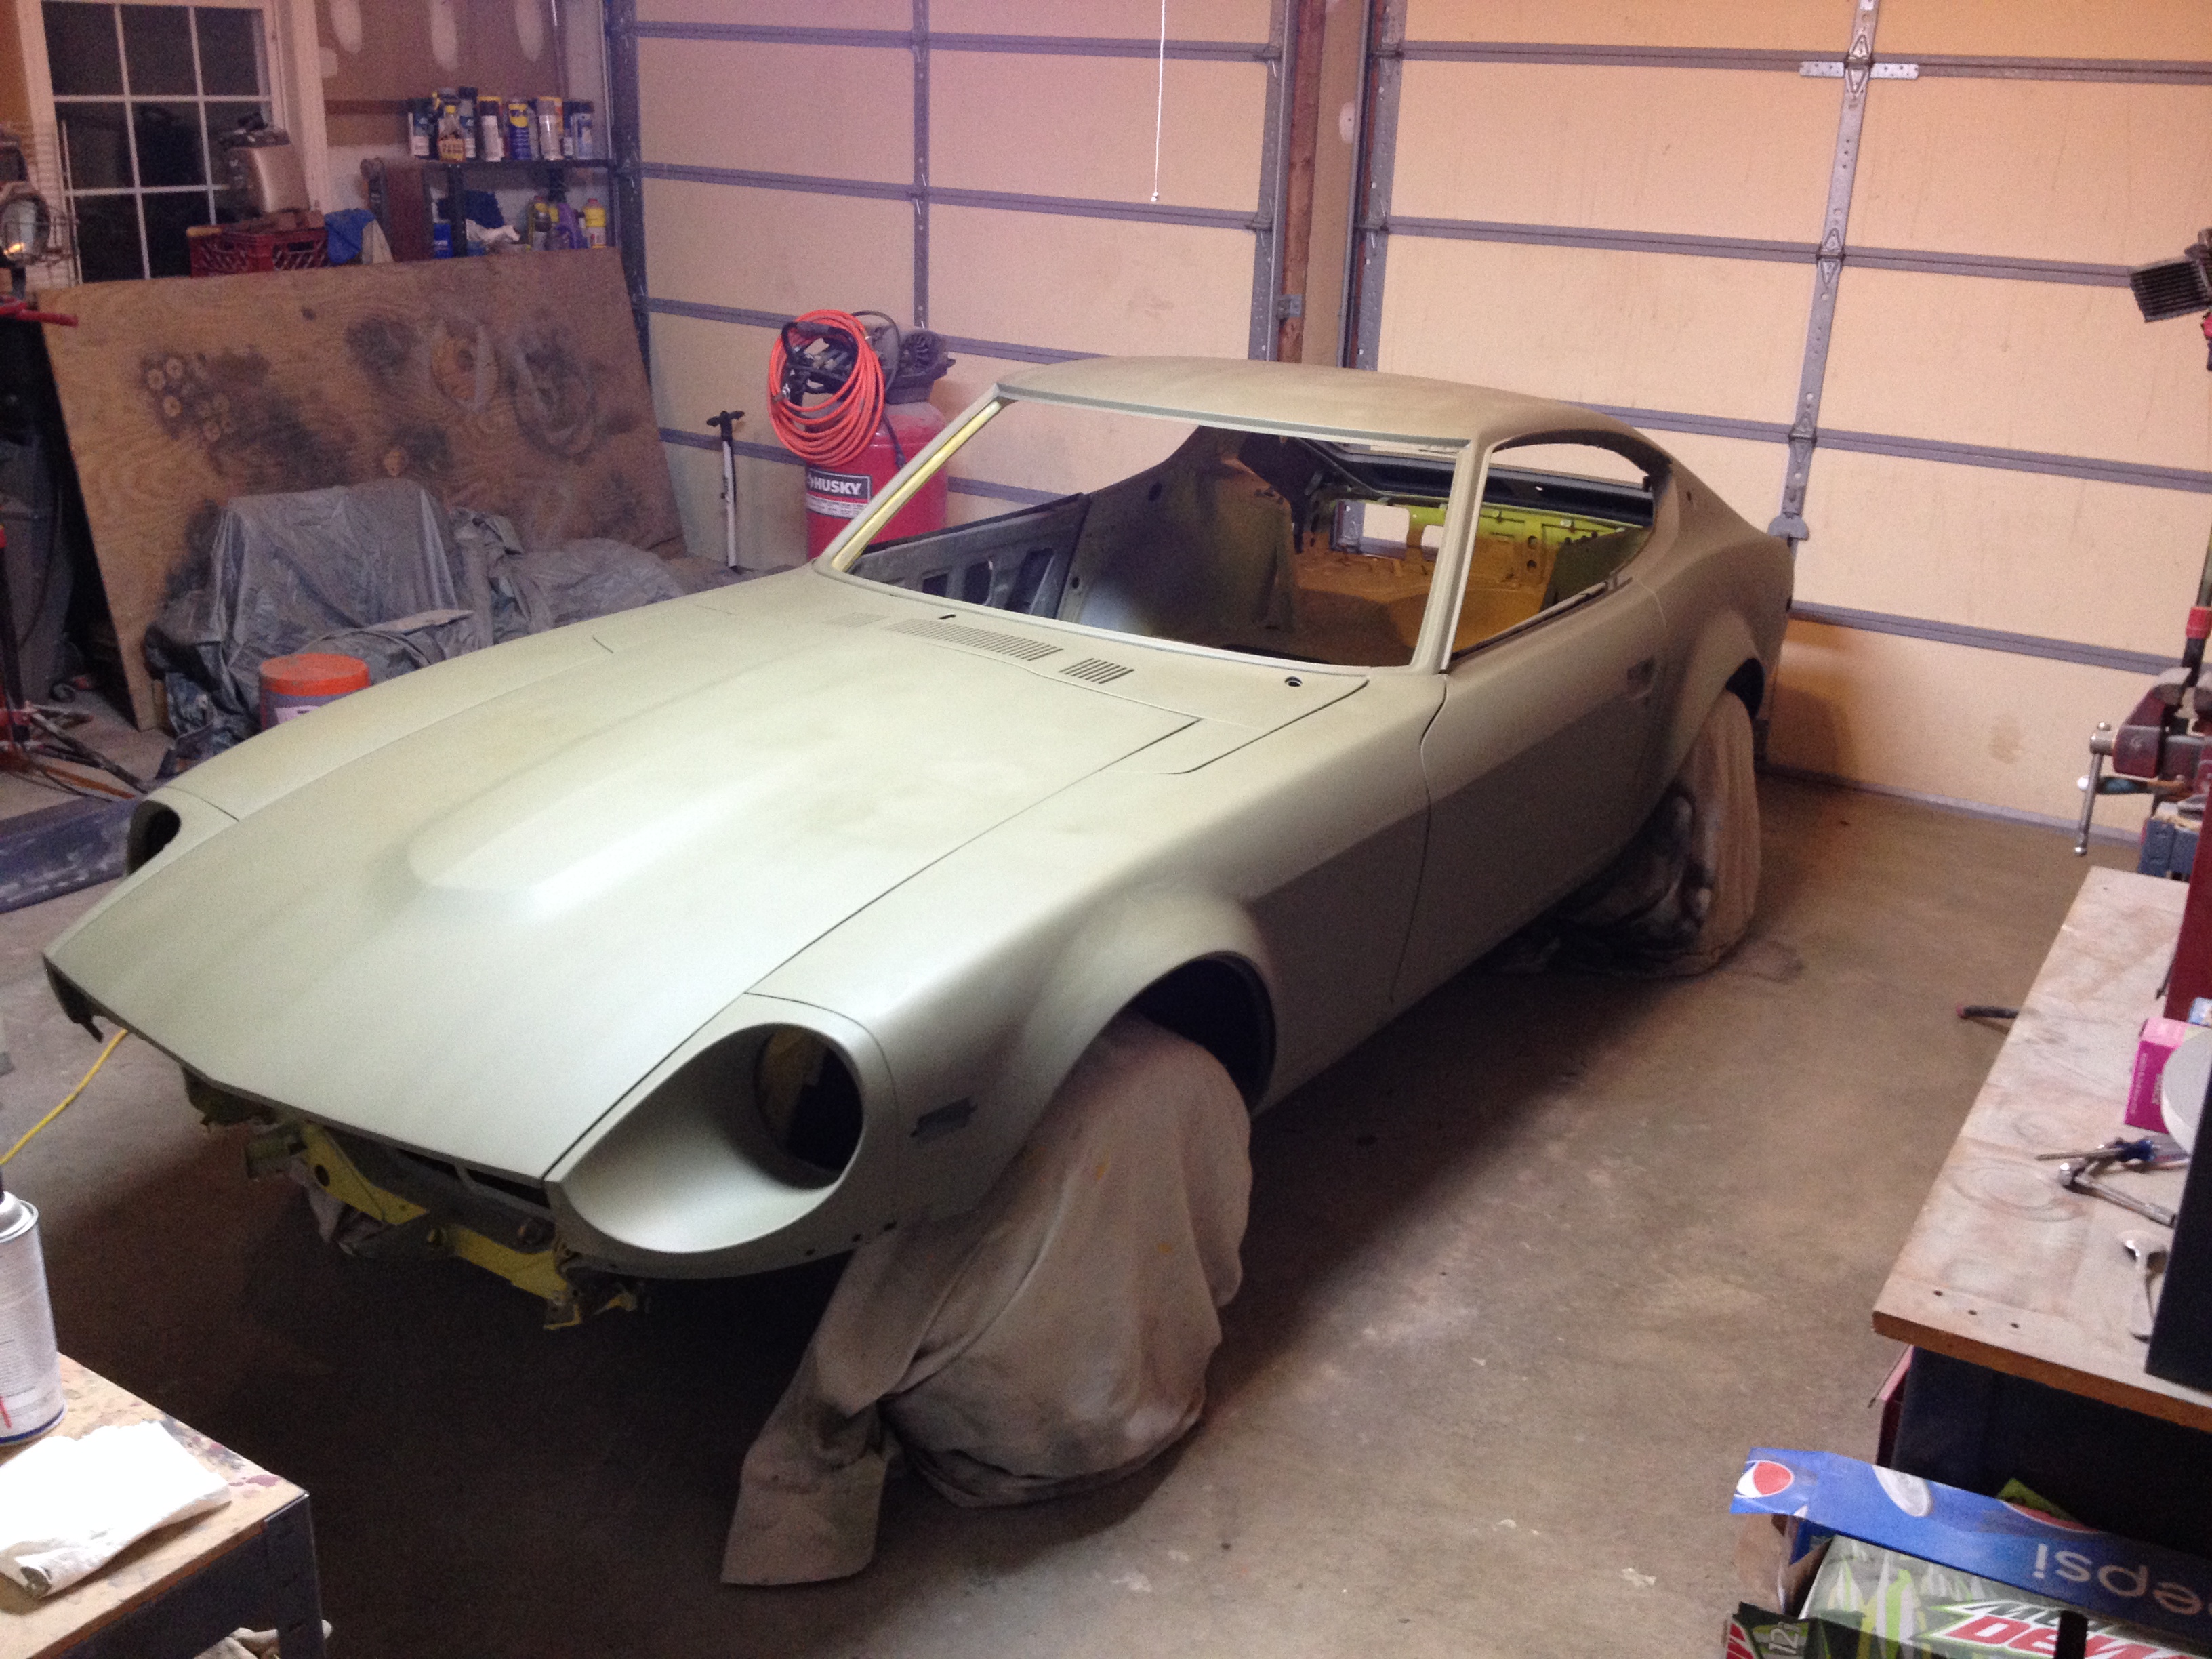
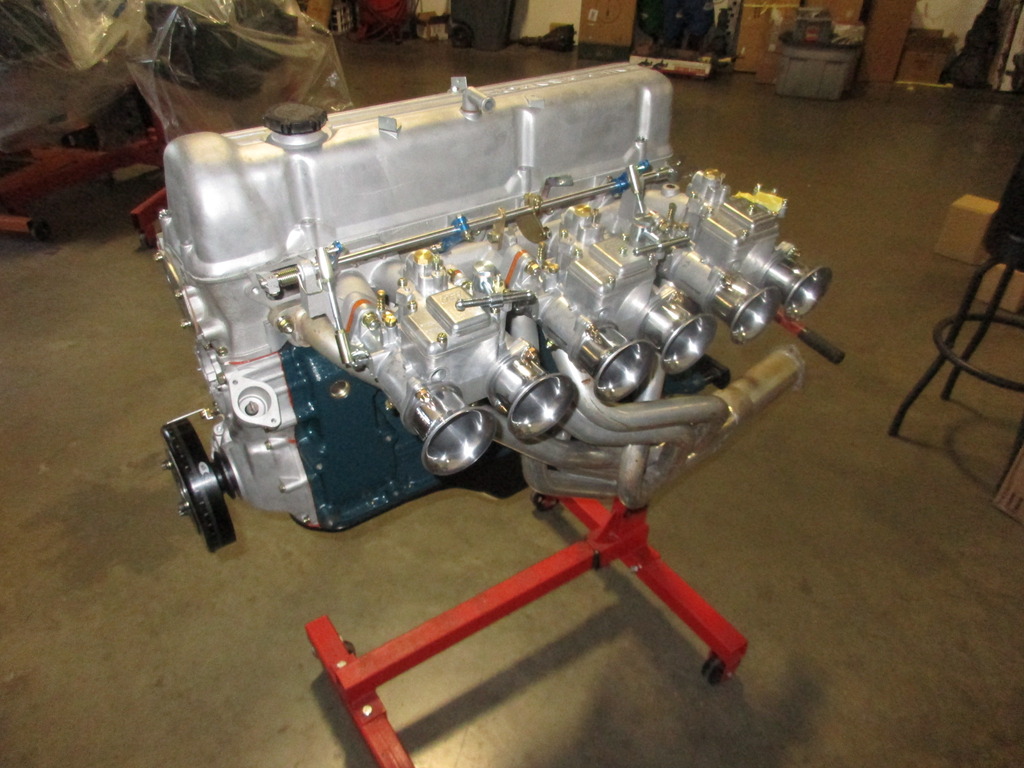
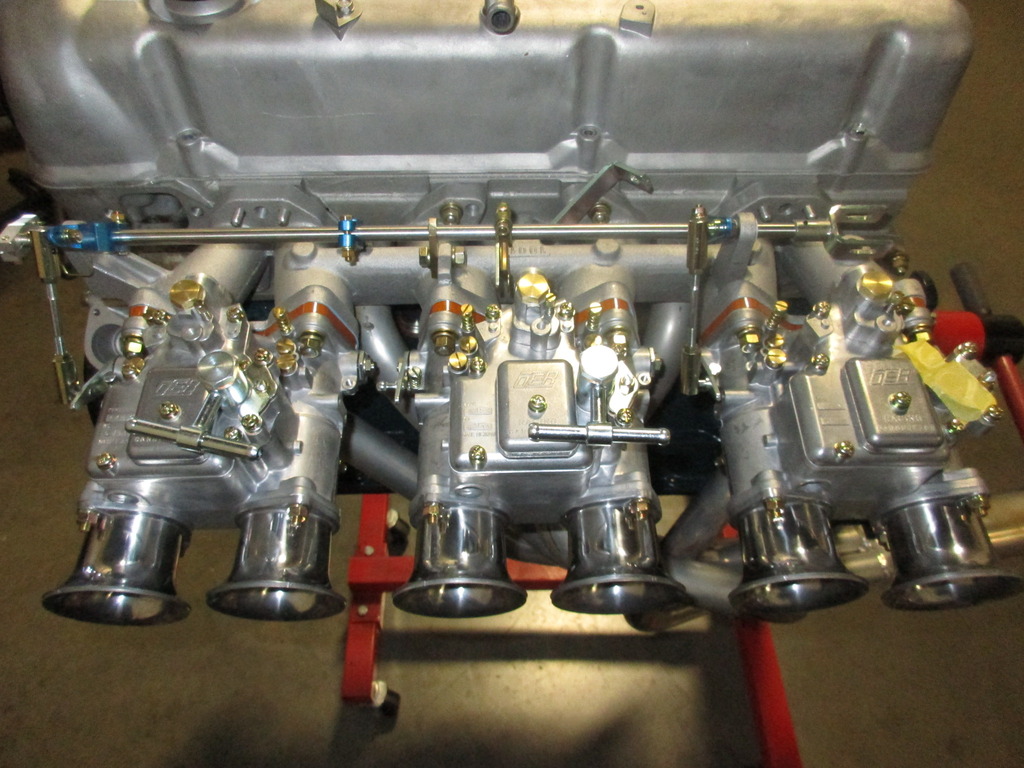
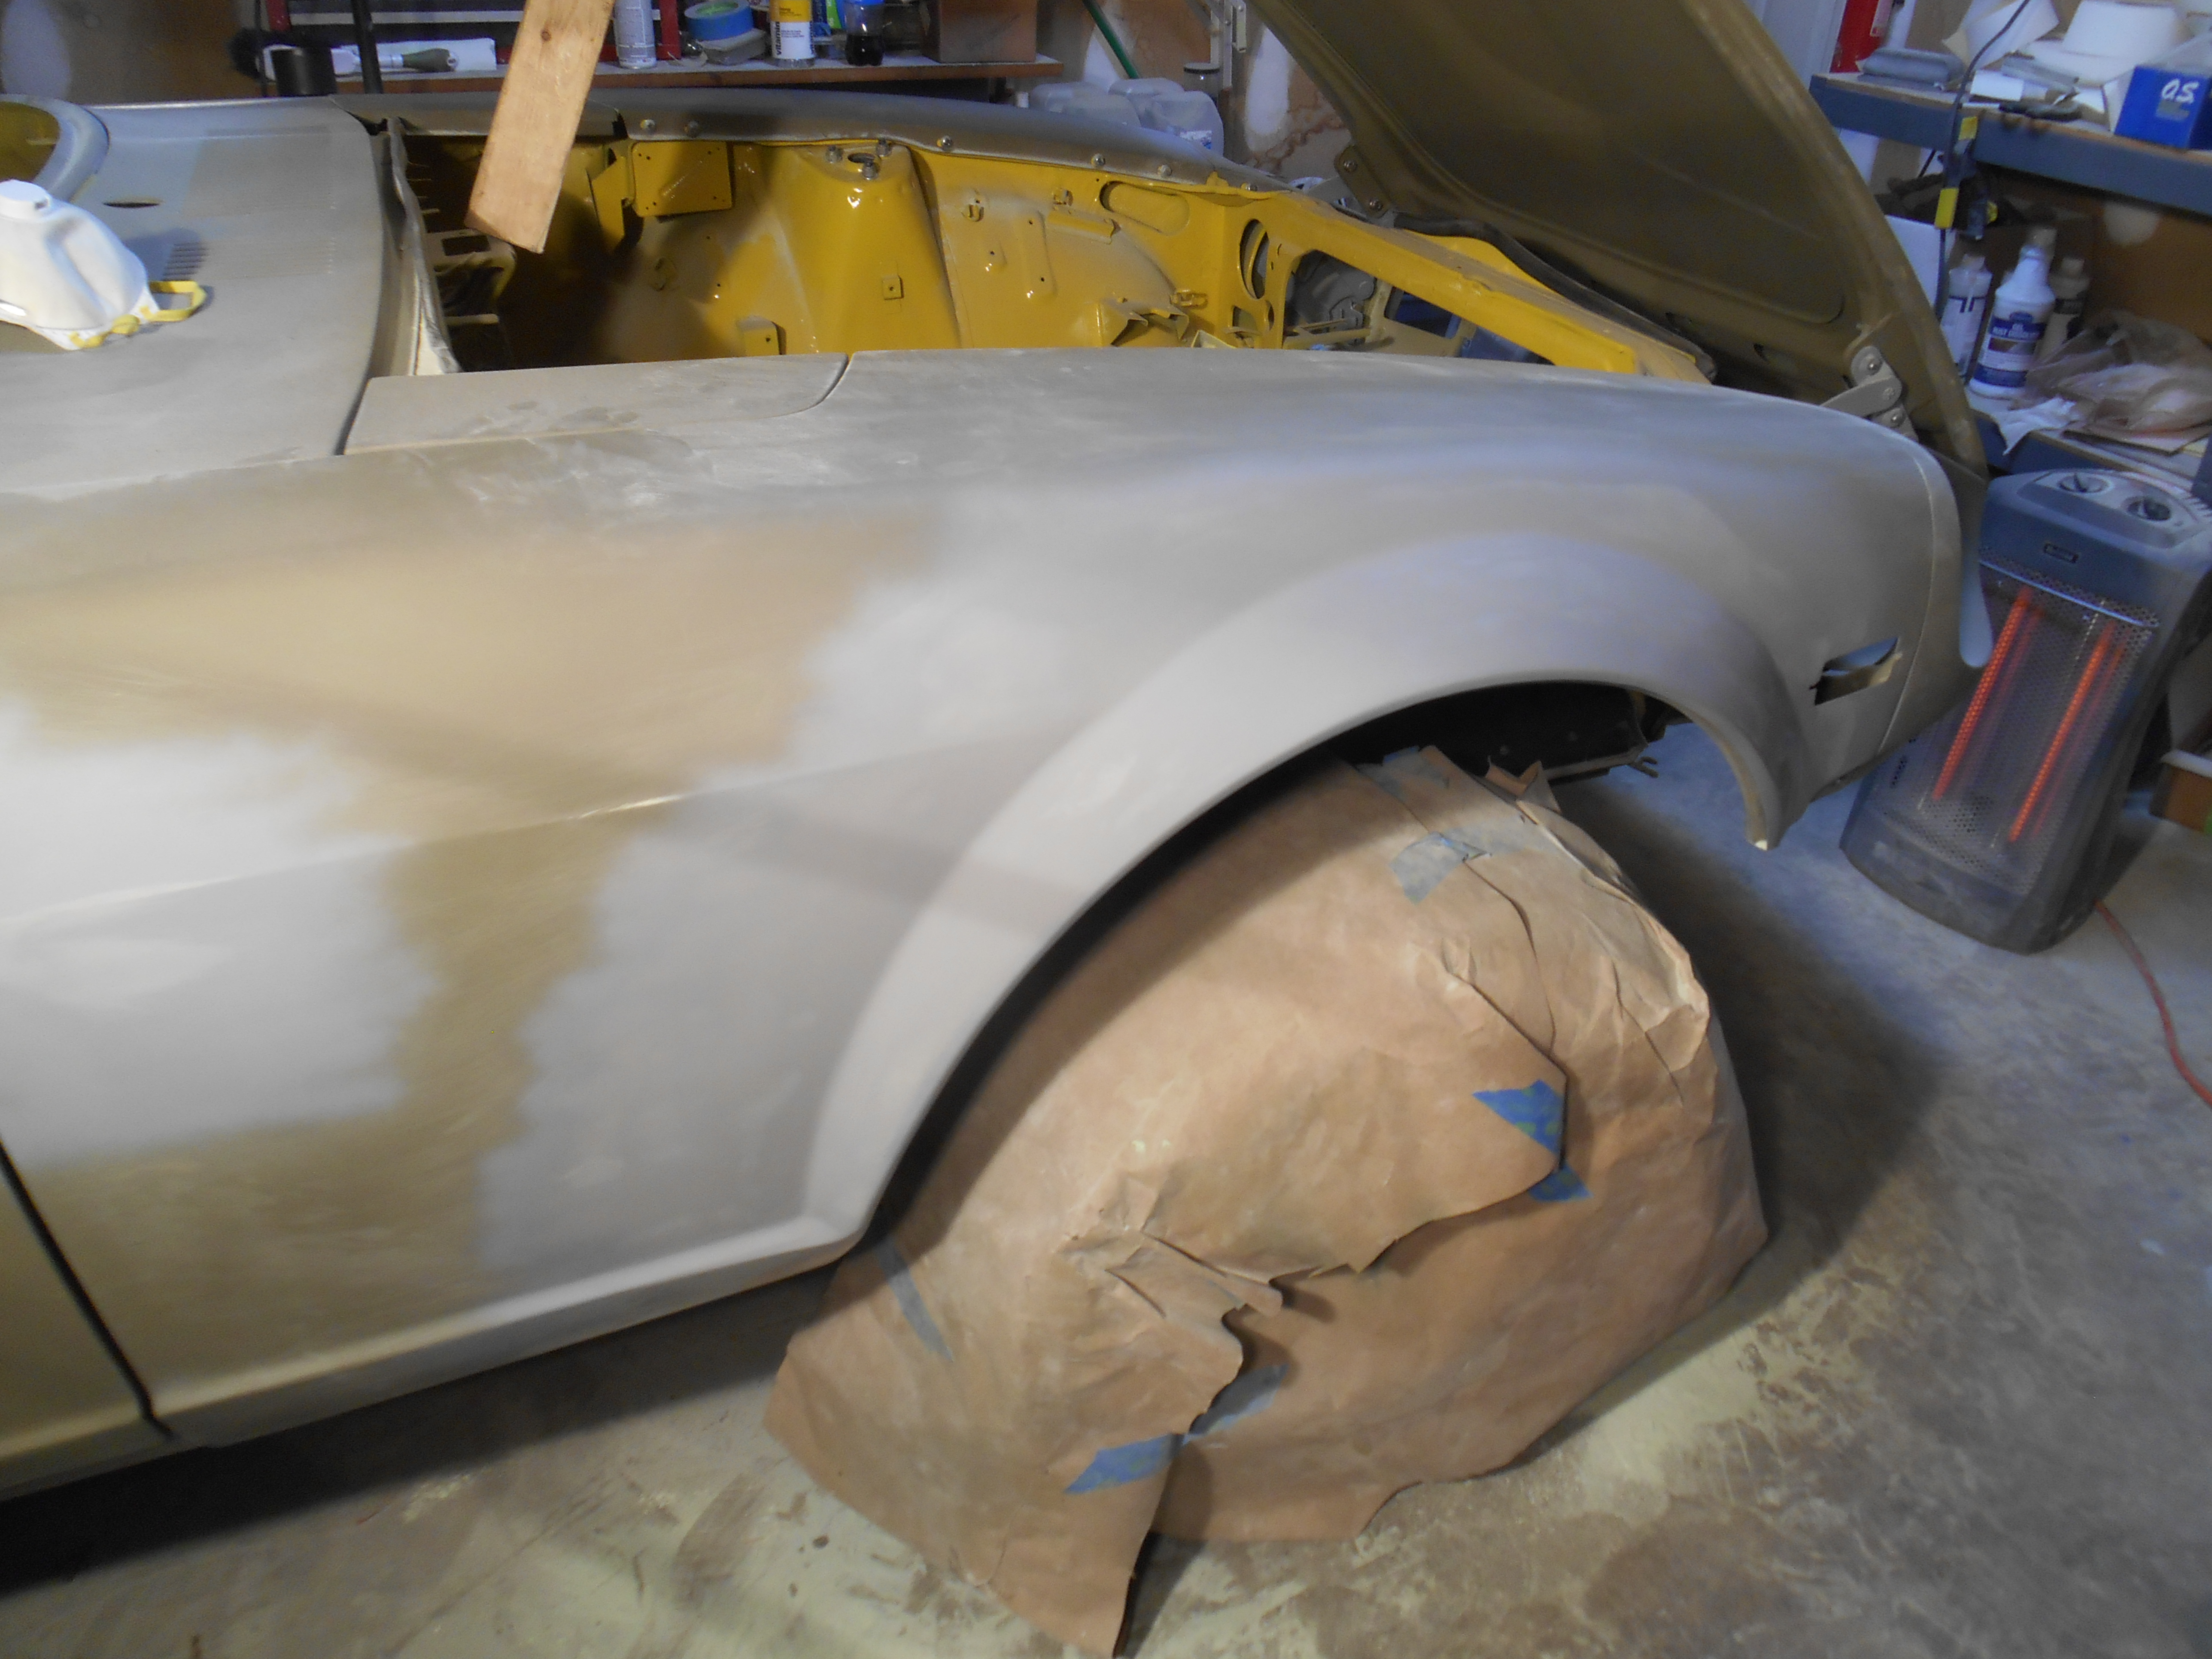
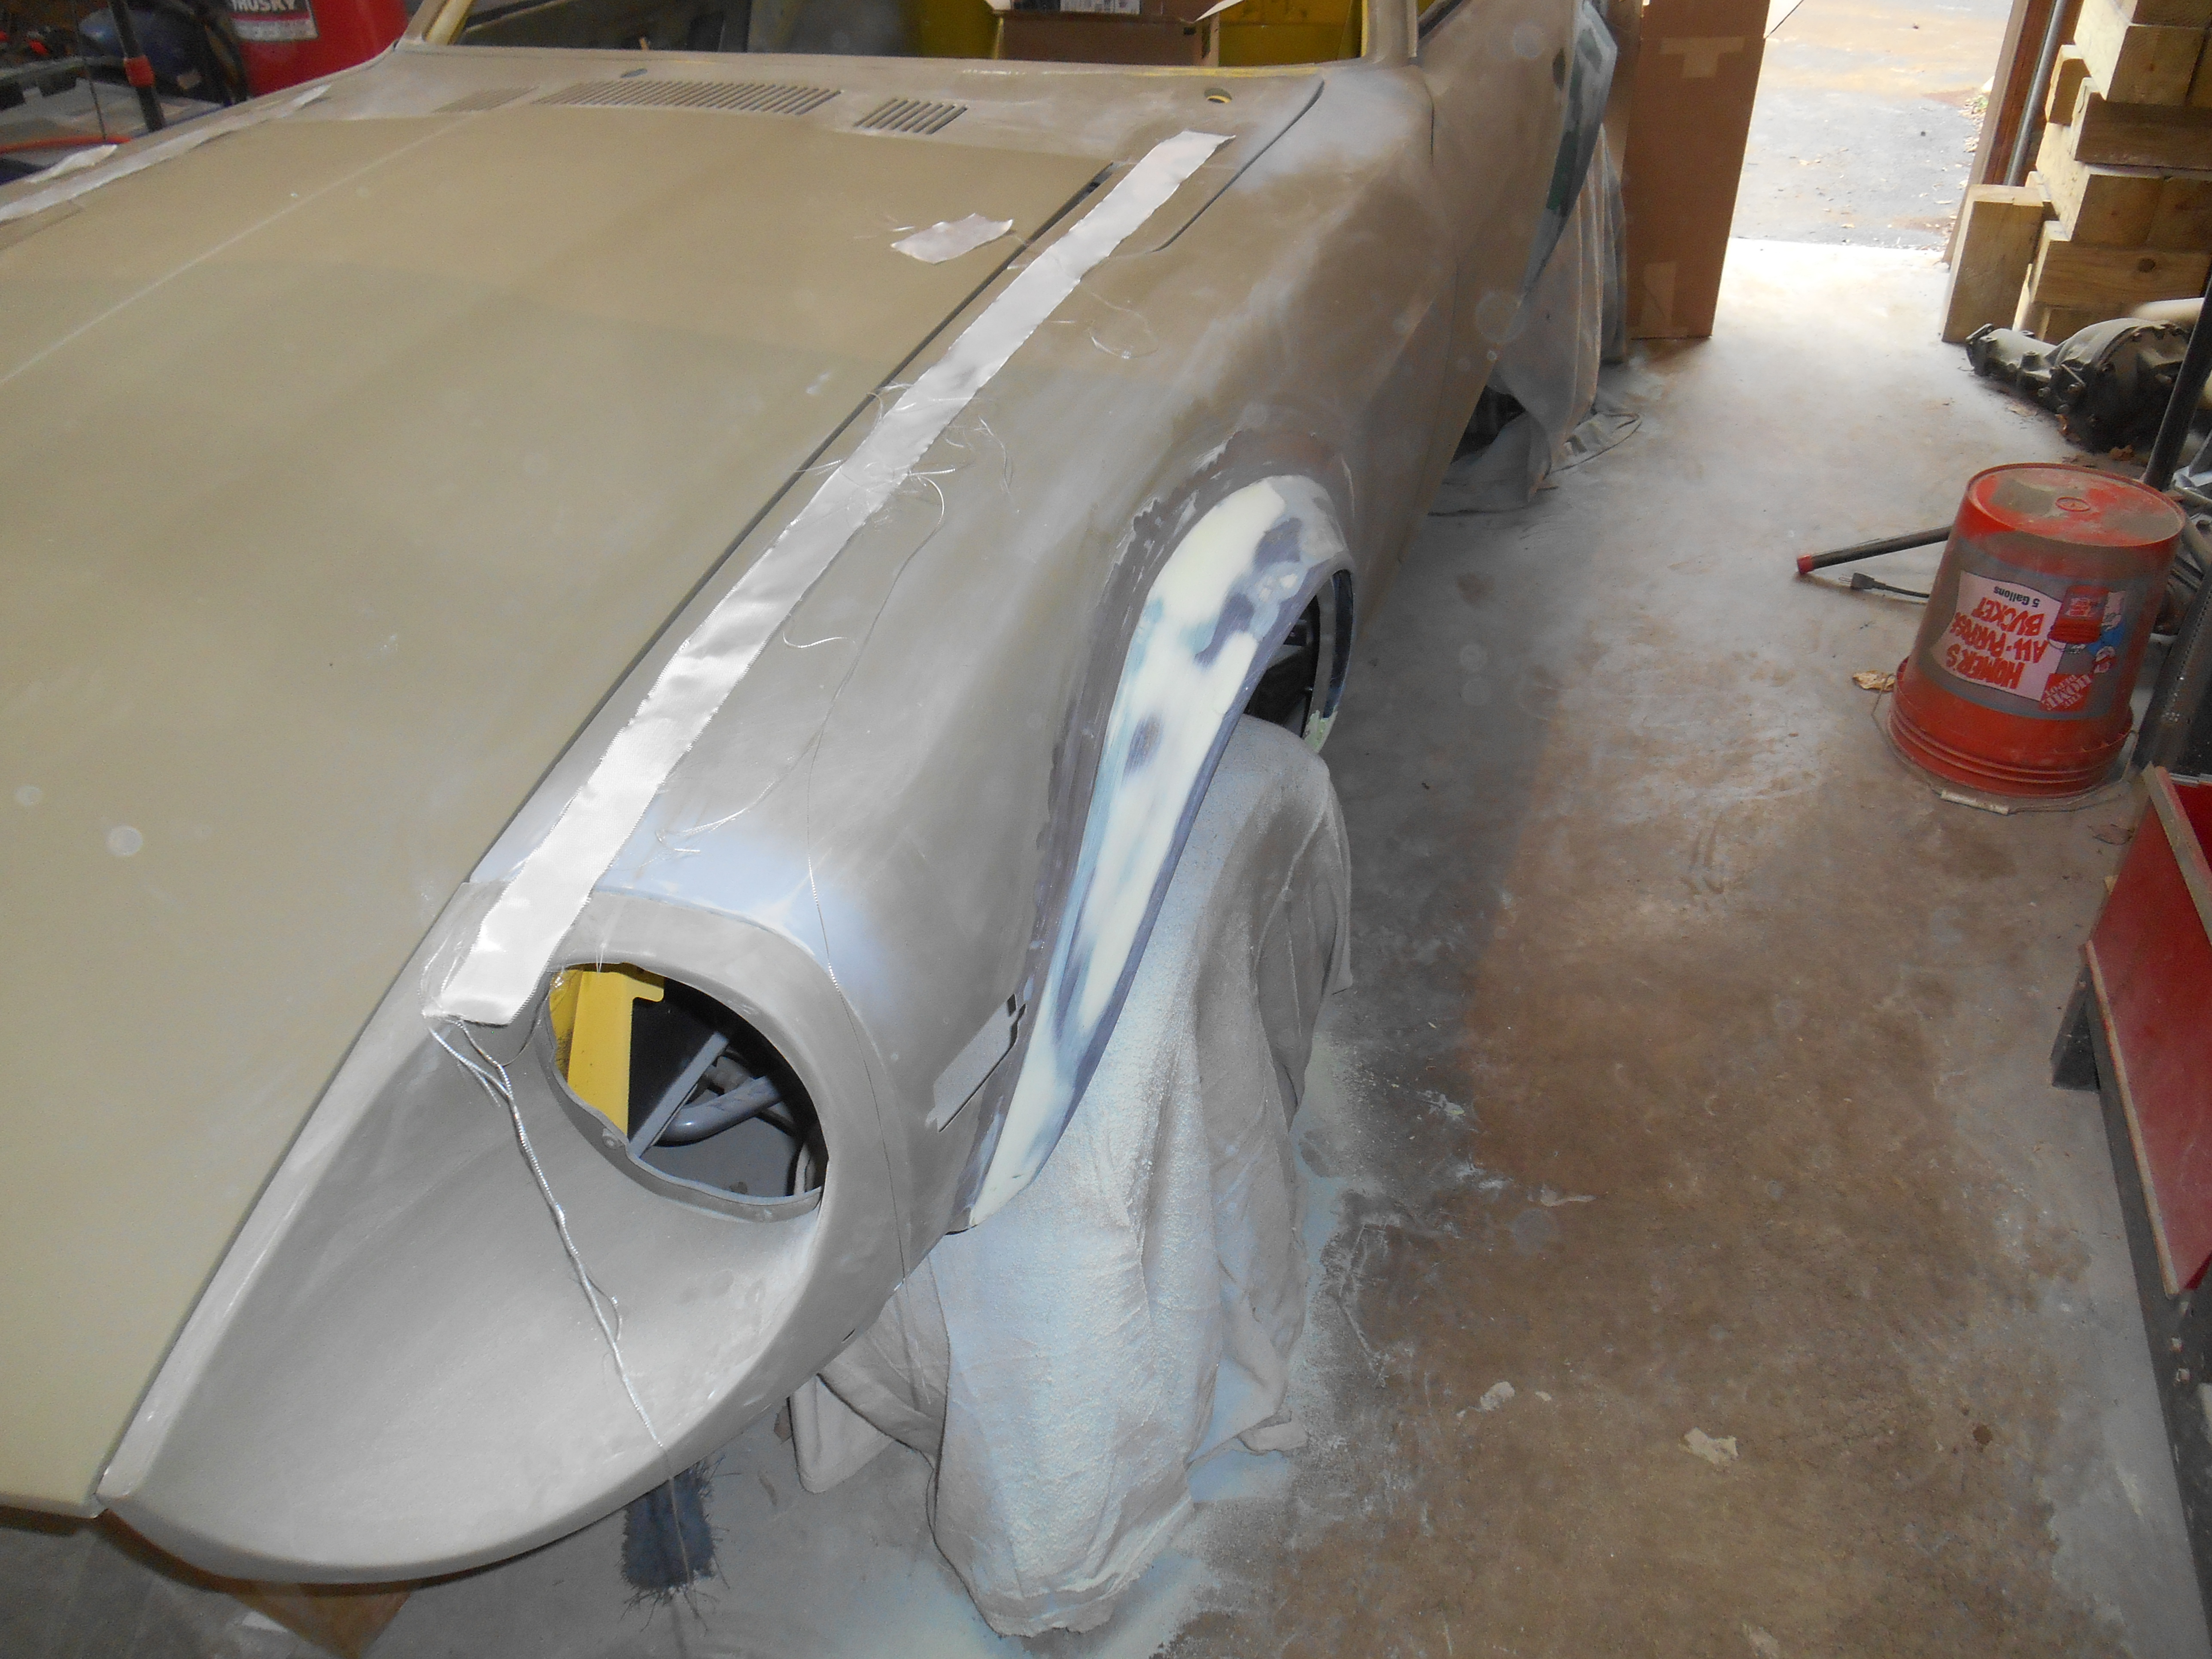
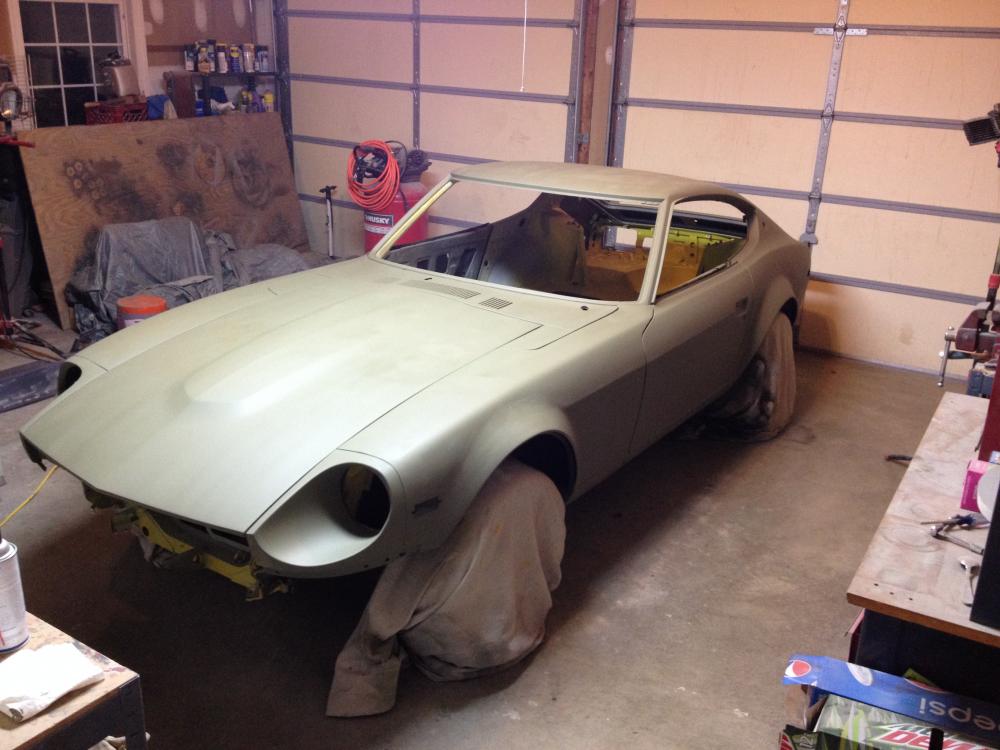
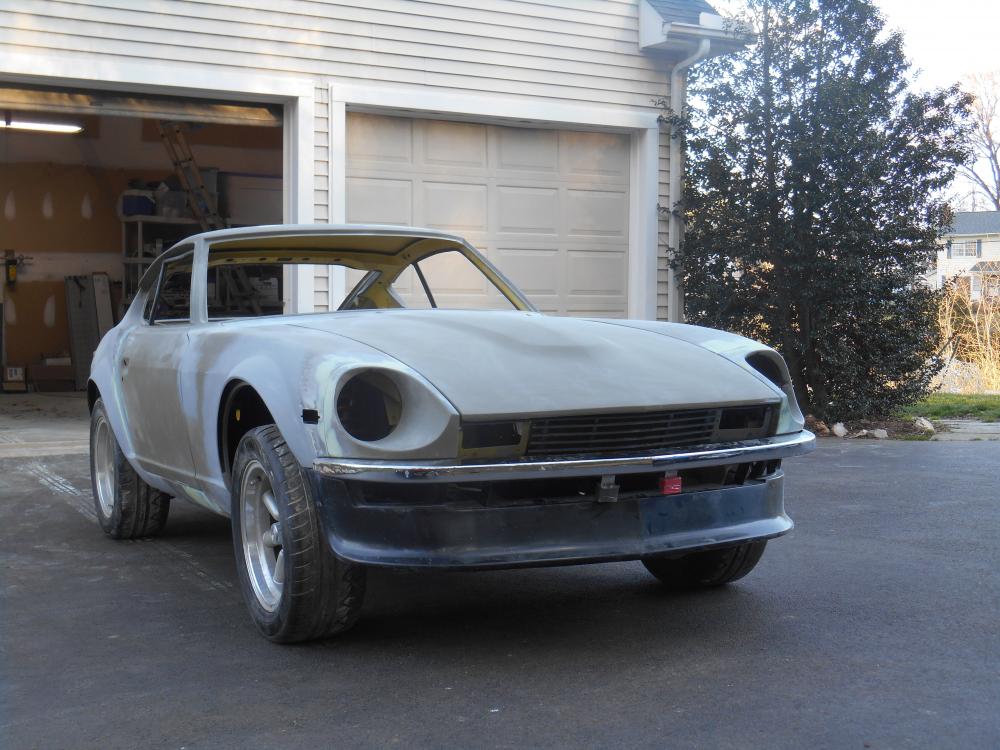
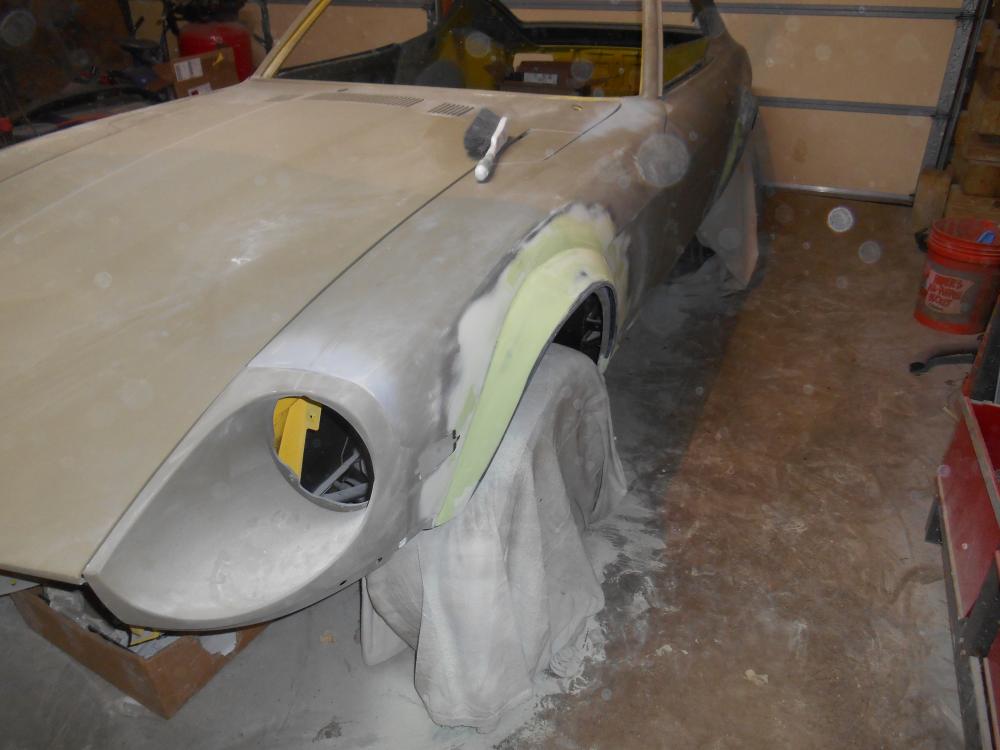
All: Thanks for the comments. I managed to shoot two coats of etching primer last night after work. This will help with flaw detection before switching to a high build primer. I also picked my engine up from Eiji last Saturday. Freaking awesome!
-
Here are a couple of pictures of my motor. It is a Datsun Spirit STR stage III. I can't wait to get this project done.


-
I haven't posted in a while. I'm still plugging away. I have been working on the final assembly, and leveling the panels. I want to make sure everything is good before I paint this thing. My motor is almost done. Eiji (of Datsun Spirit) will be bench running it next weekend. I need to make sure I have a home for it.

-
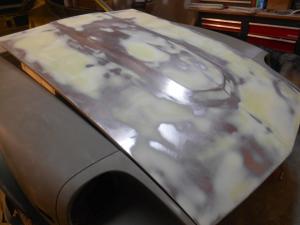
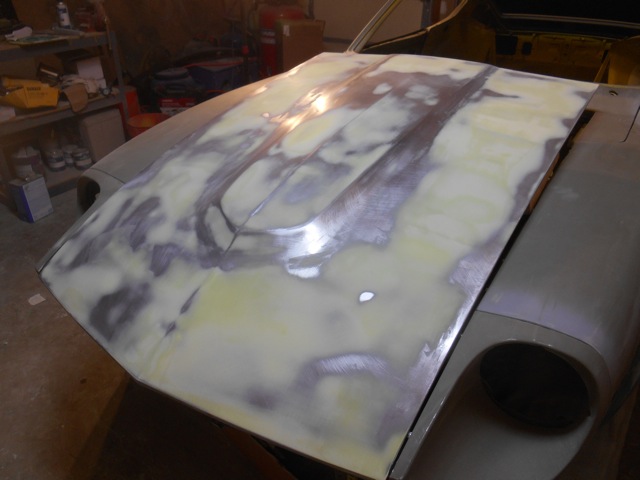
Yep, it makes noise too. I sat down to take a break and have a beer one evening after putting it on the hood. I could hear the paint popping as it bubbled up. It will also rust the metal if you leave it on. You need to score the paint, apply the stripper, drink a beer, remove the paint and stripper and then wipe with paint thinner. It's a same day treatment...
-
"...there aren't any women in it." Why bother?
-
33 inches. I spent 3 1/2 hours clearing snow and I'm not even half way dug out.
-
Right now there's a Kubota tractor in my garage next to my 280z. I'm in MD with 2-3 feet of snow predicted. I think I'll need the front end loader to clear the snow tomorrow.
-
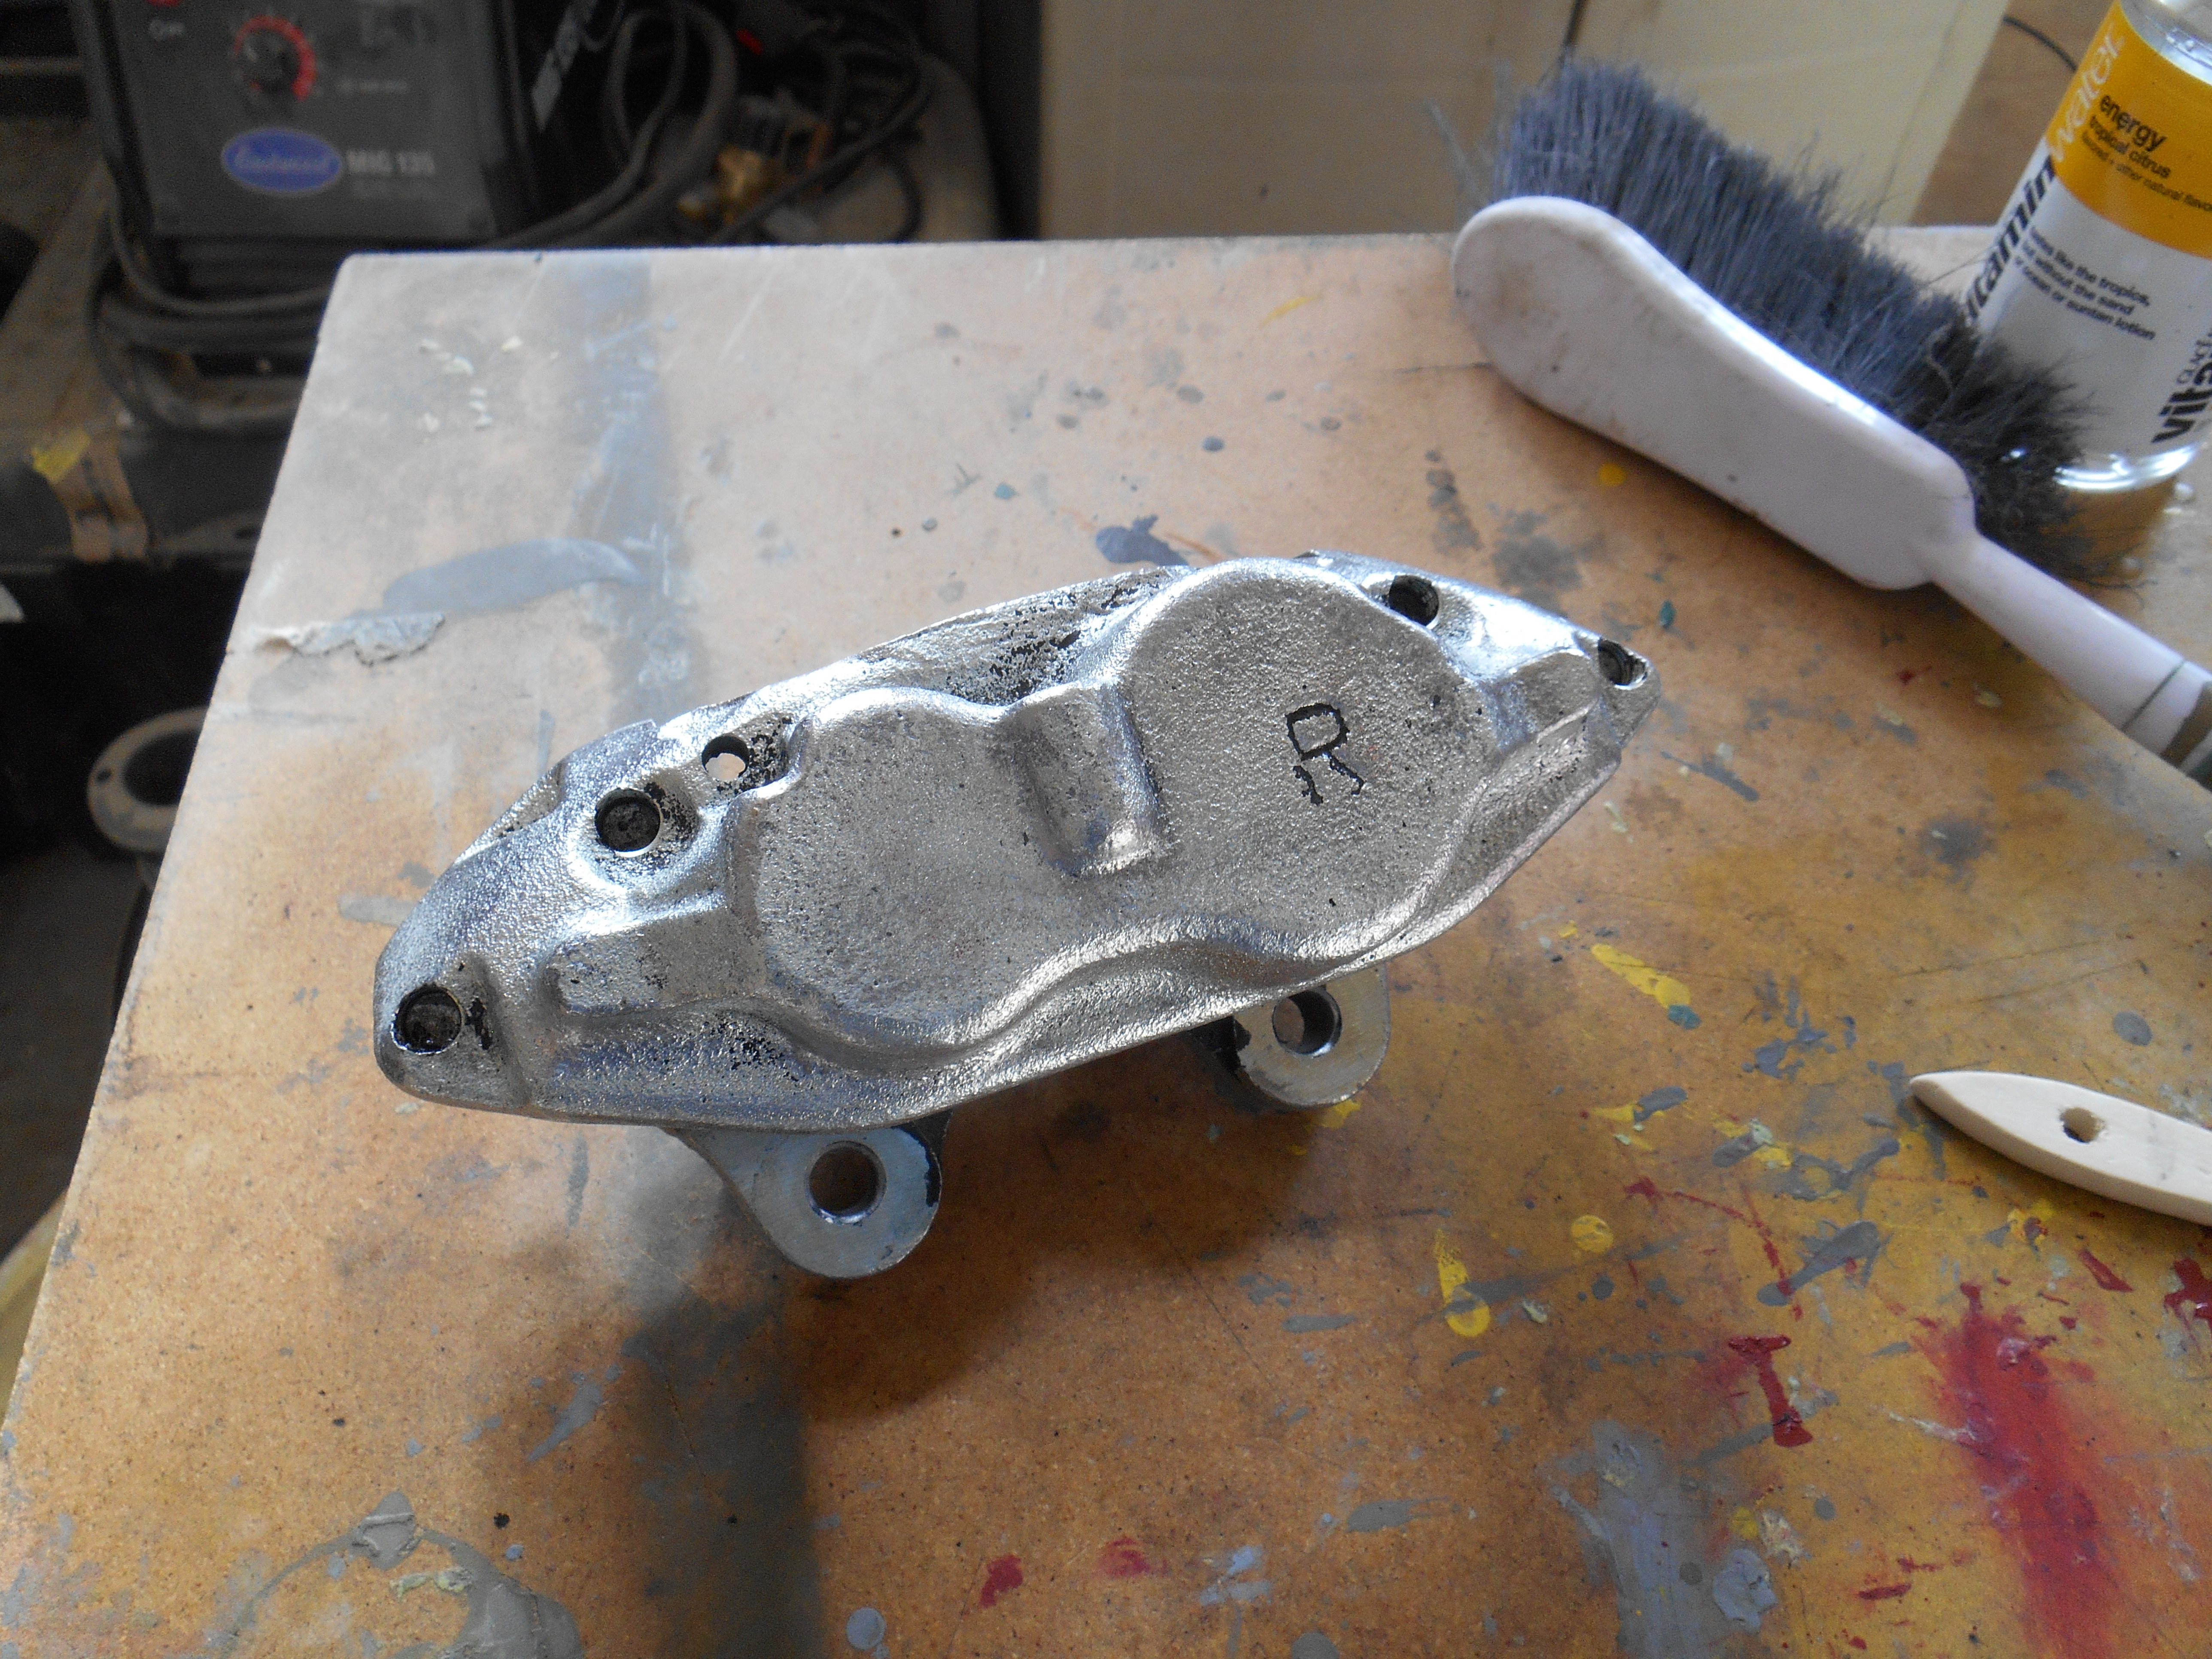
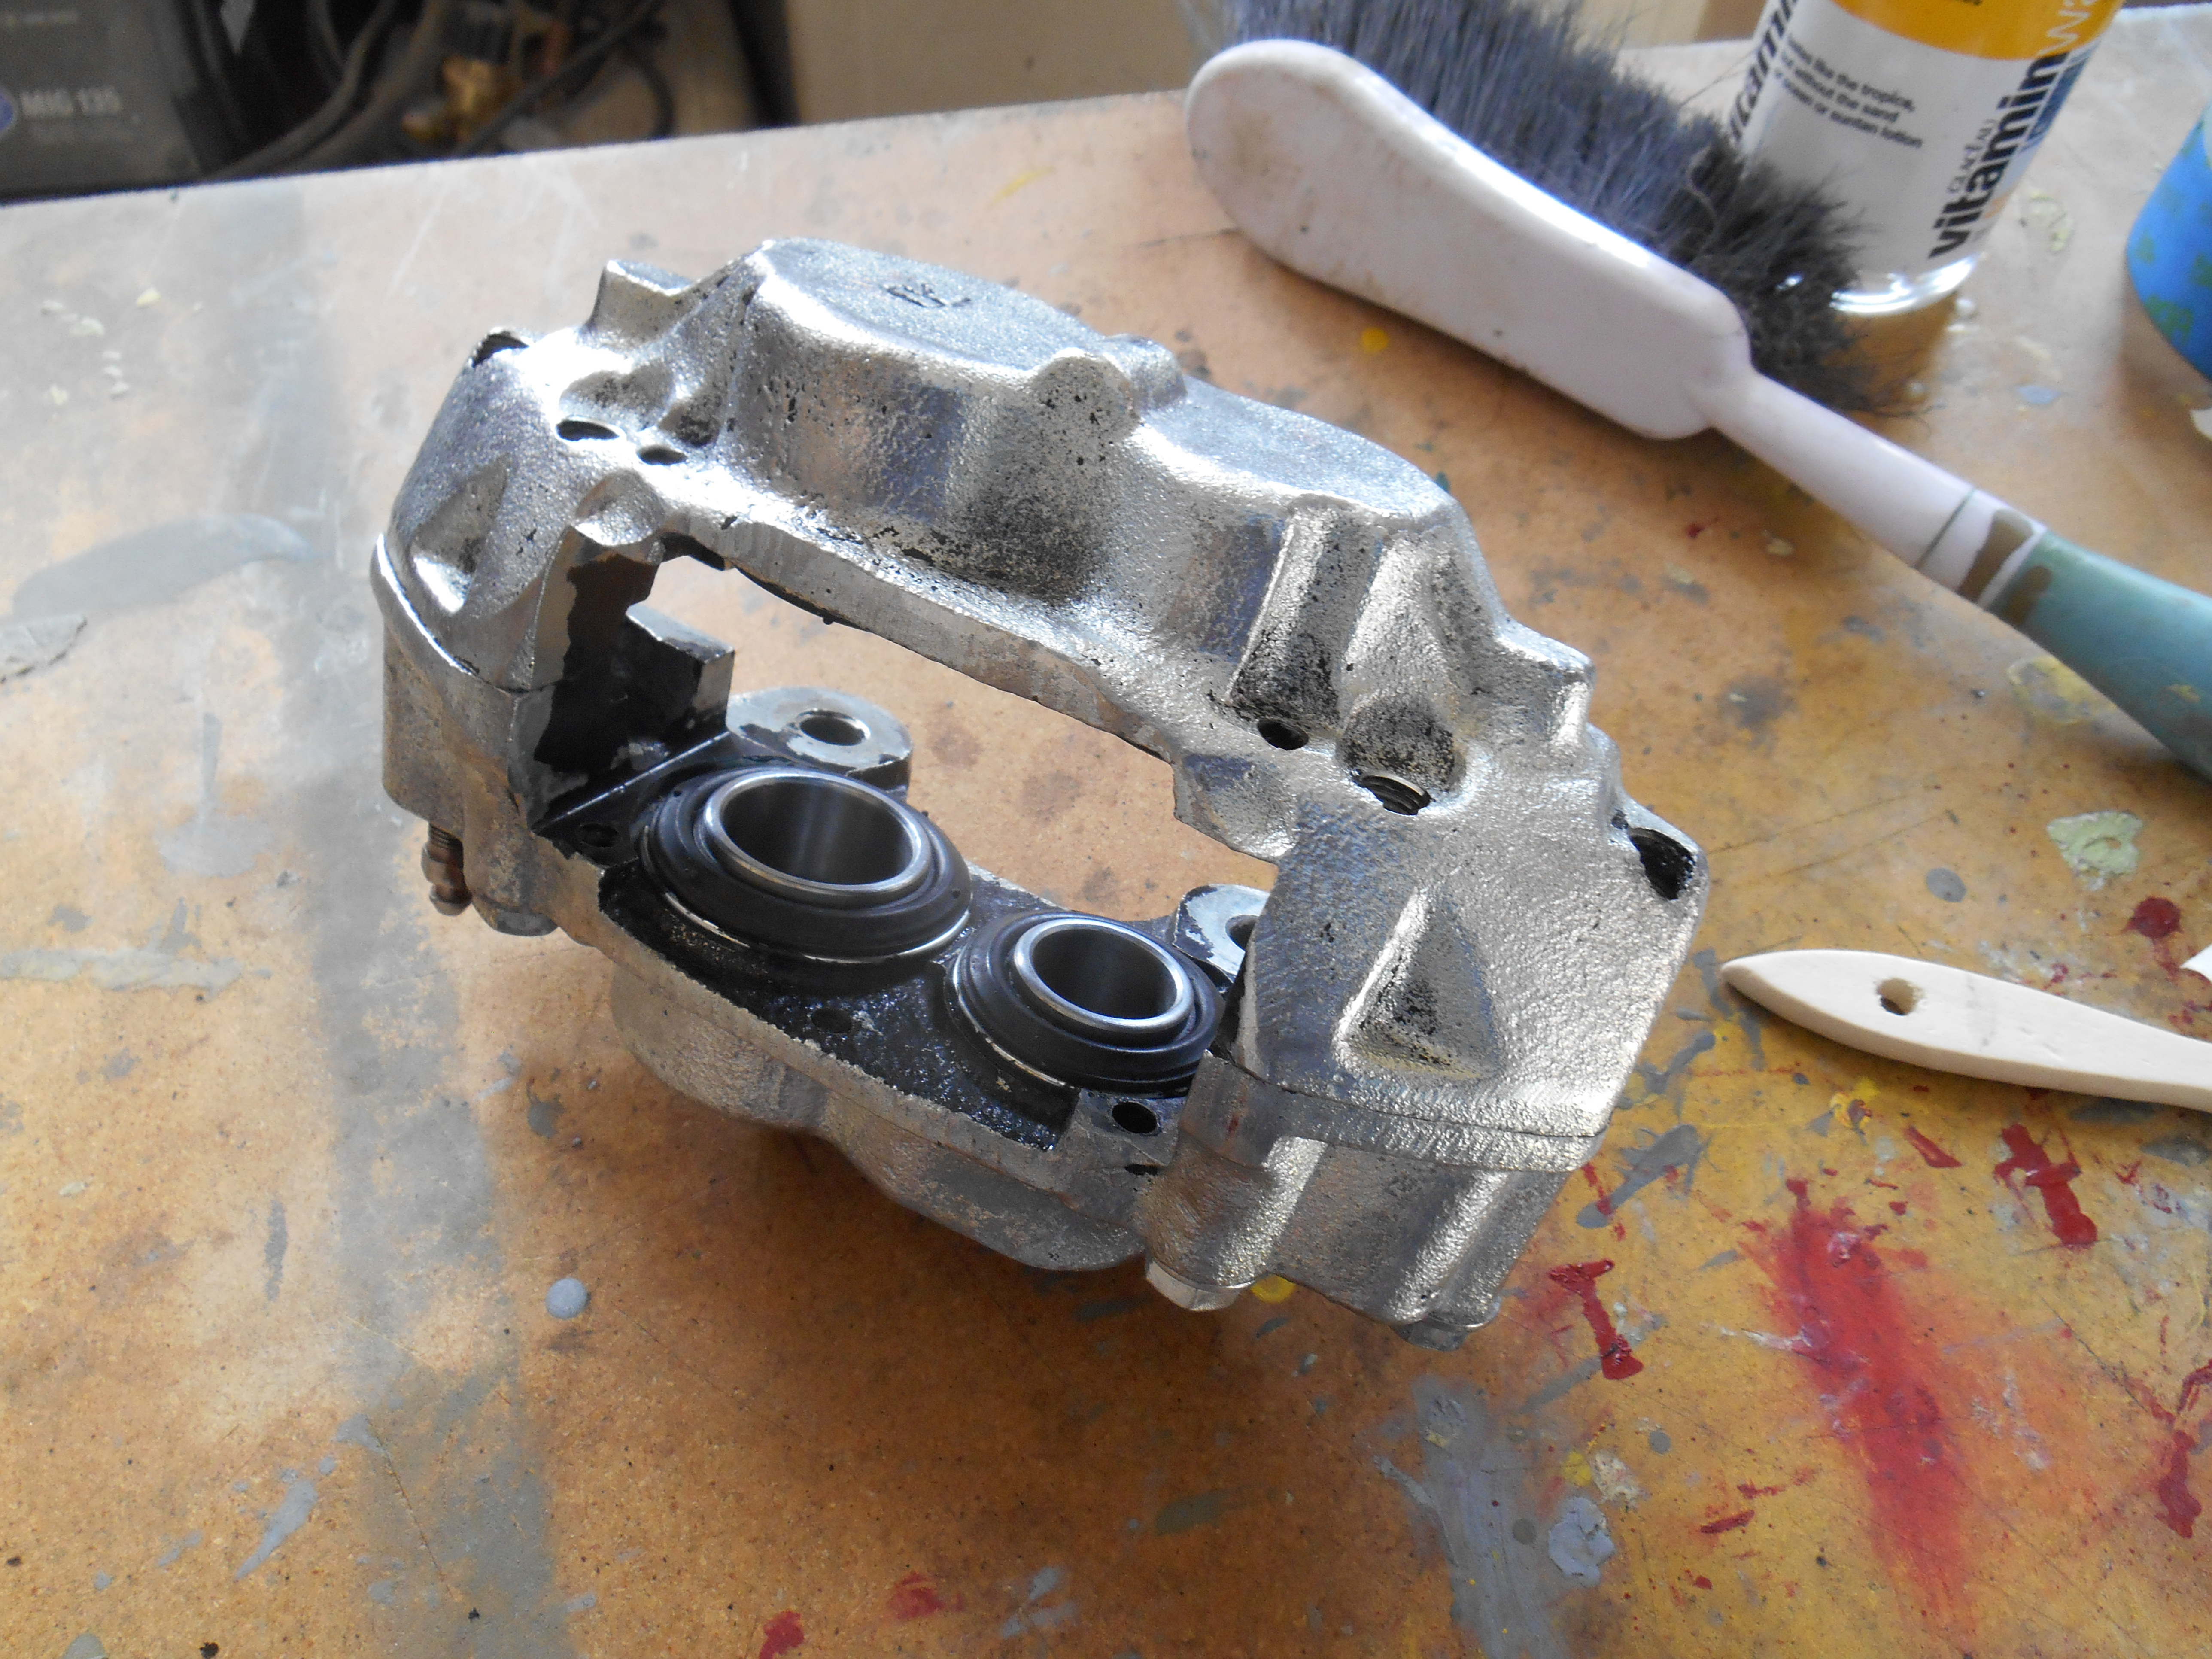
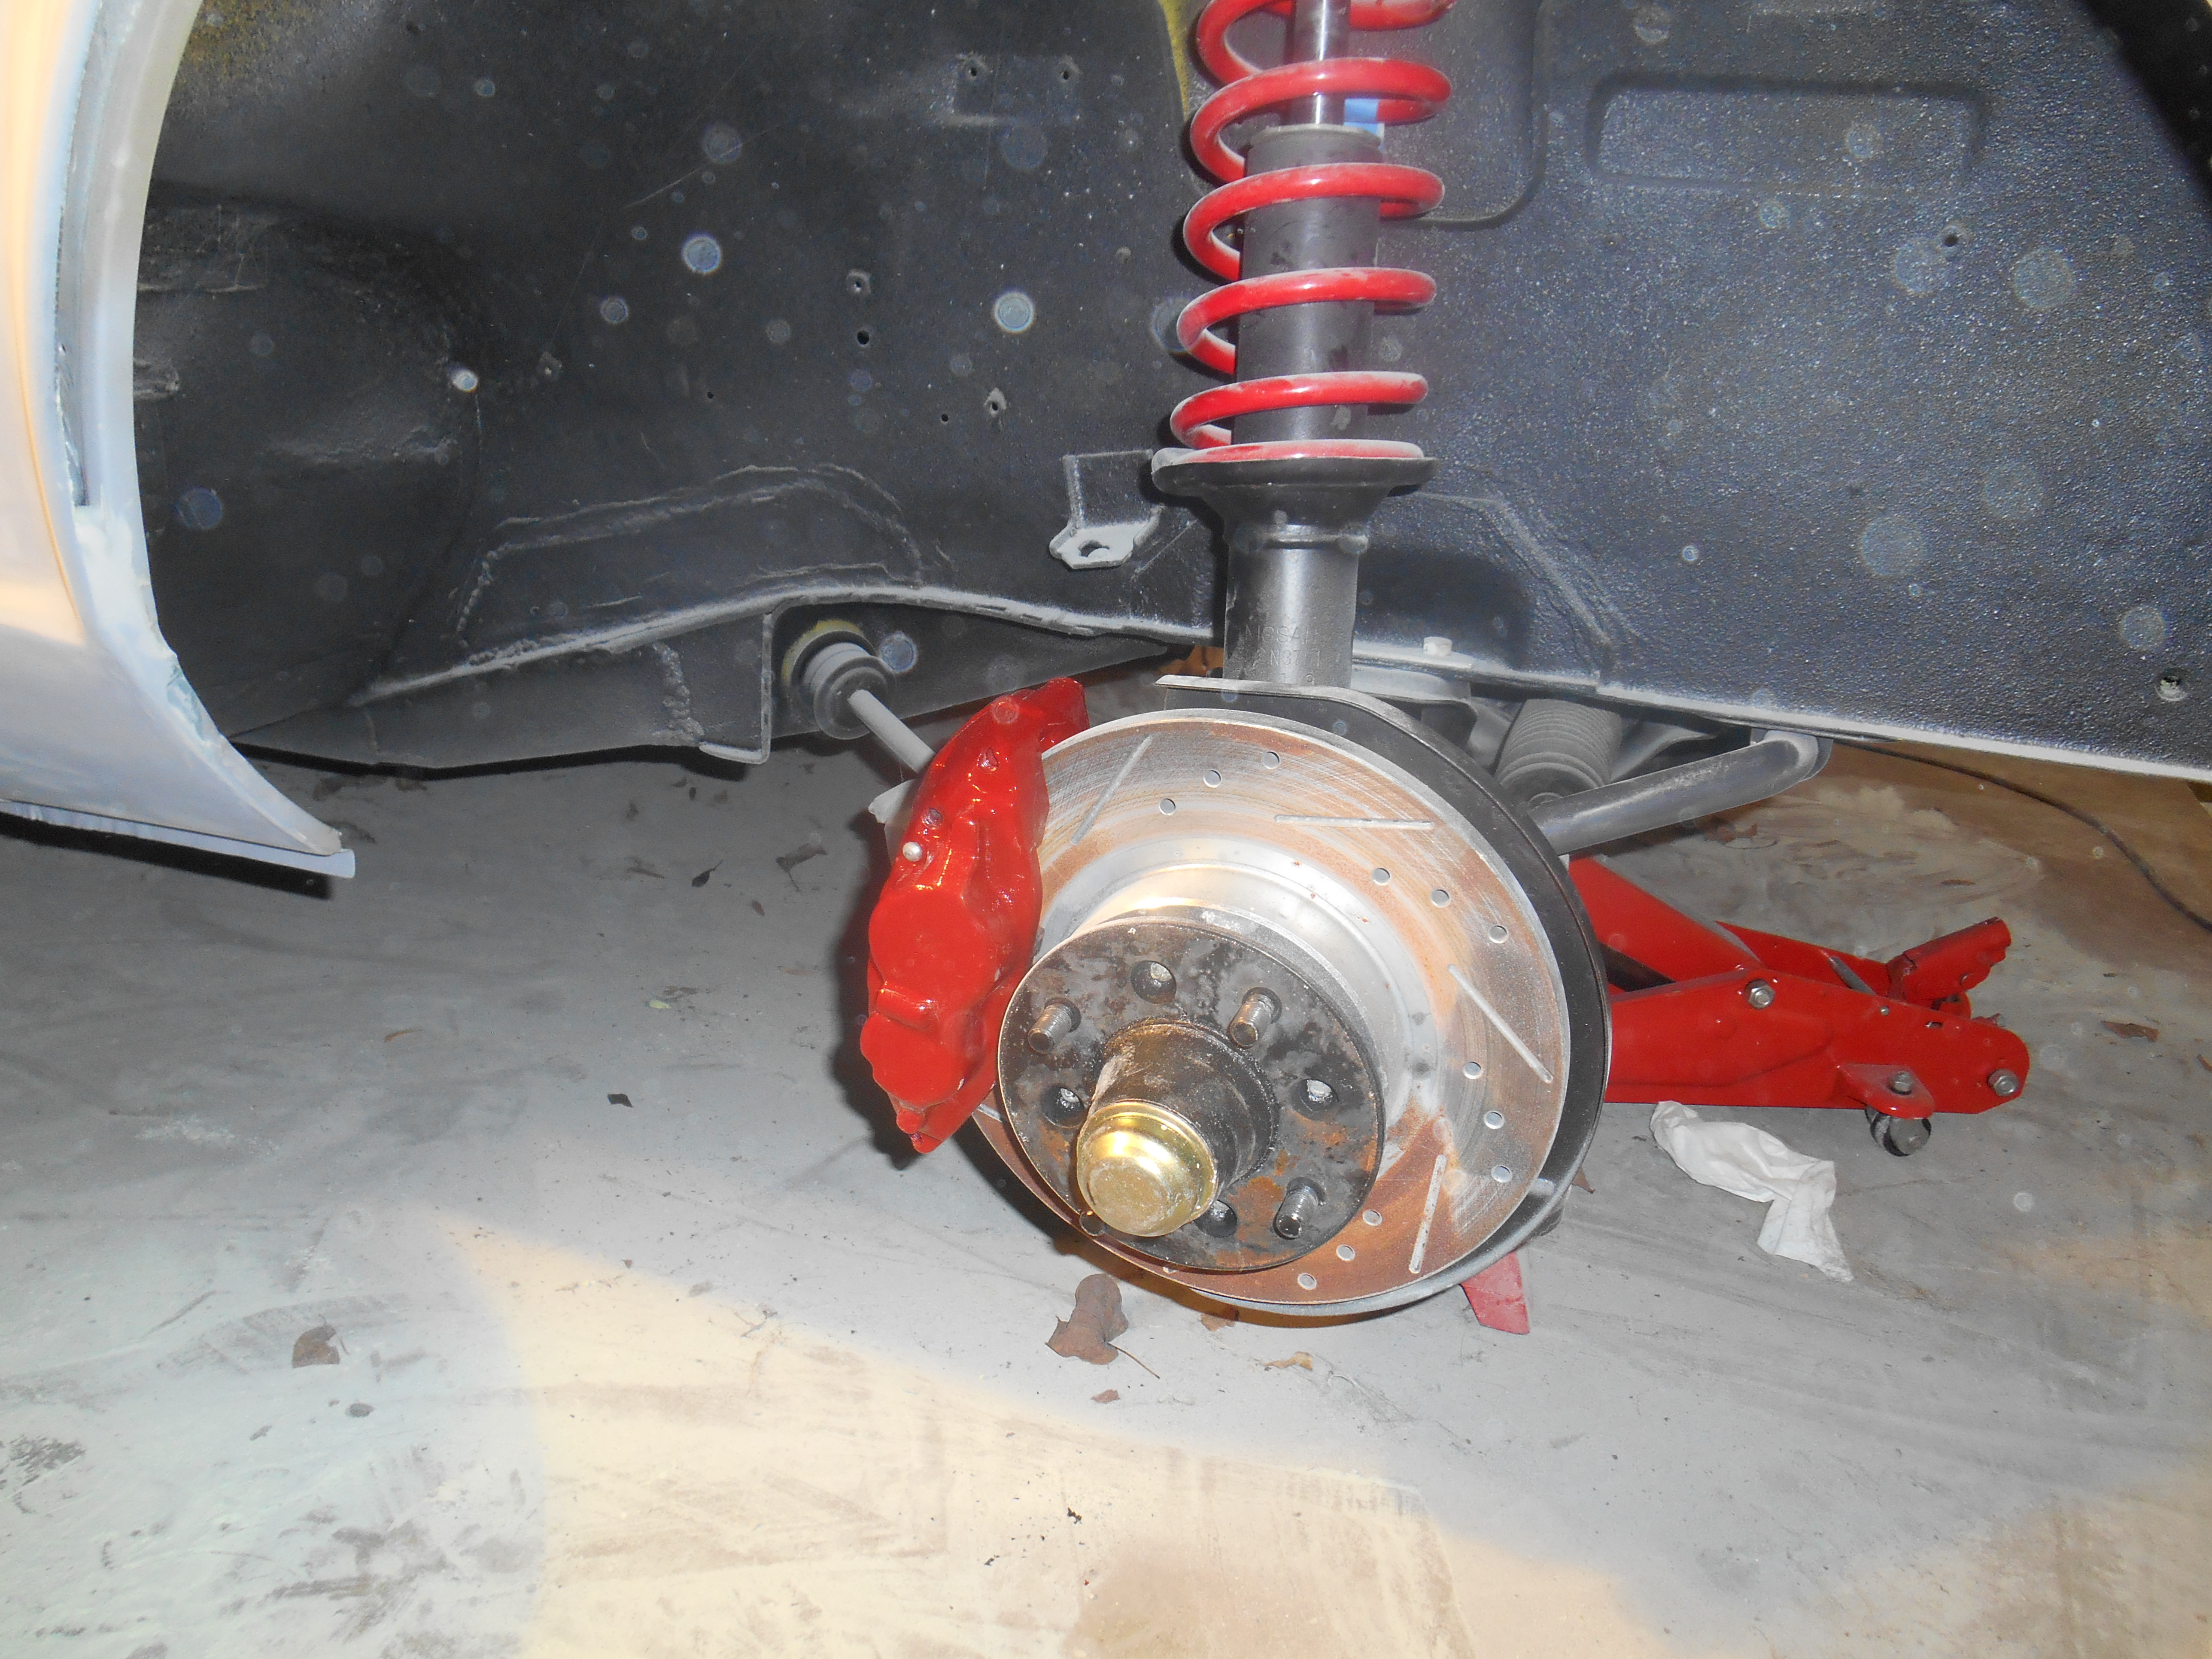
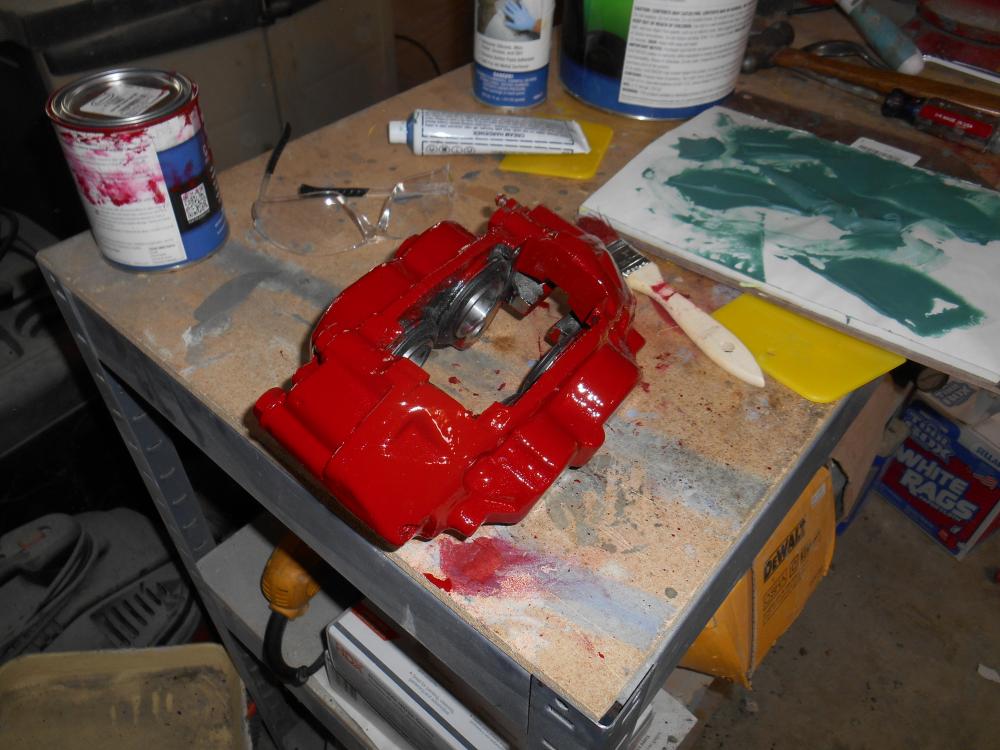
I did not bead blast. I used a wire brush and chemically cleaned it.
-
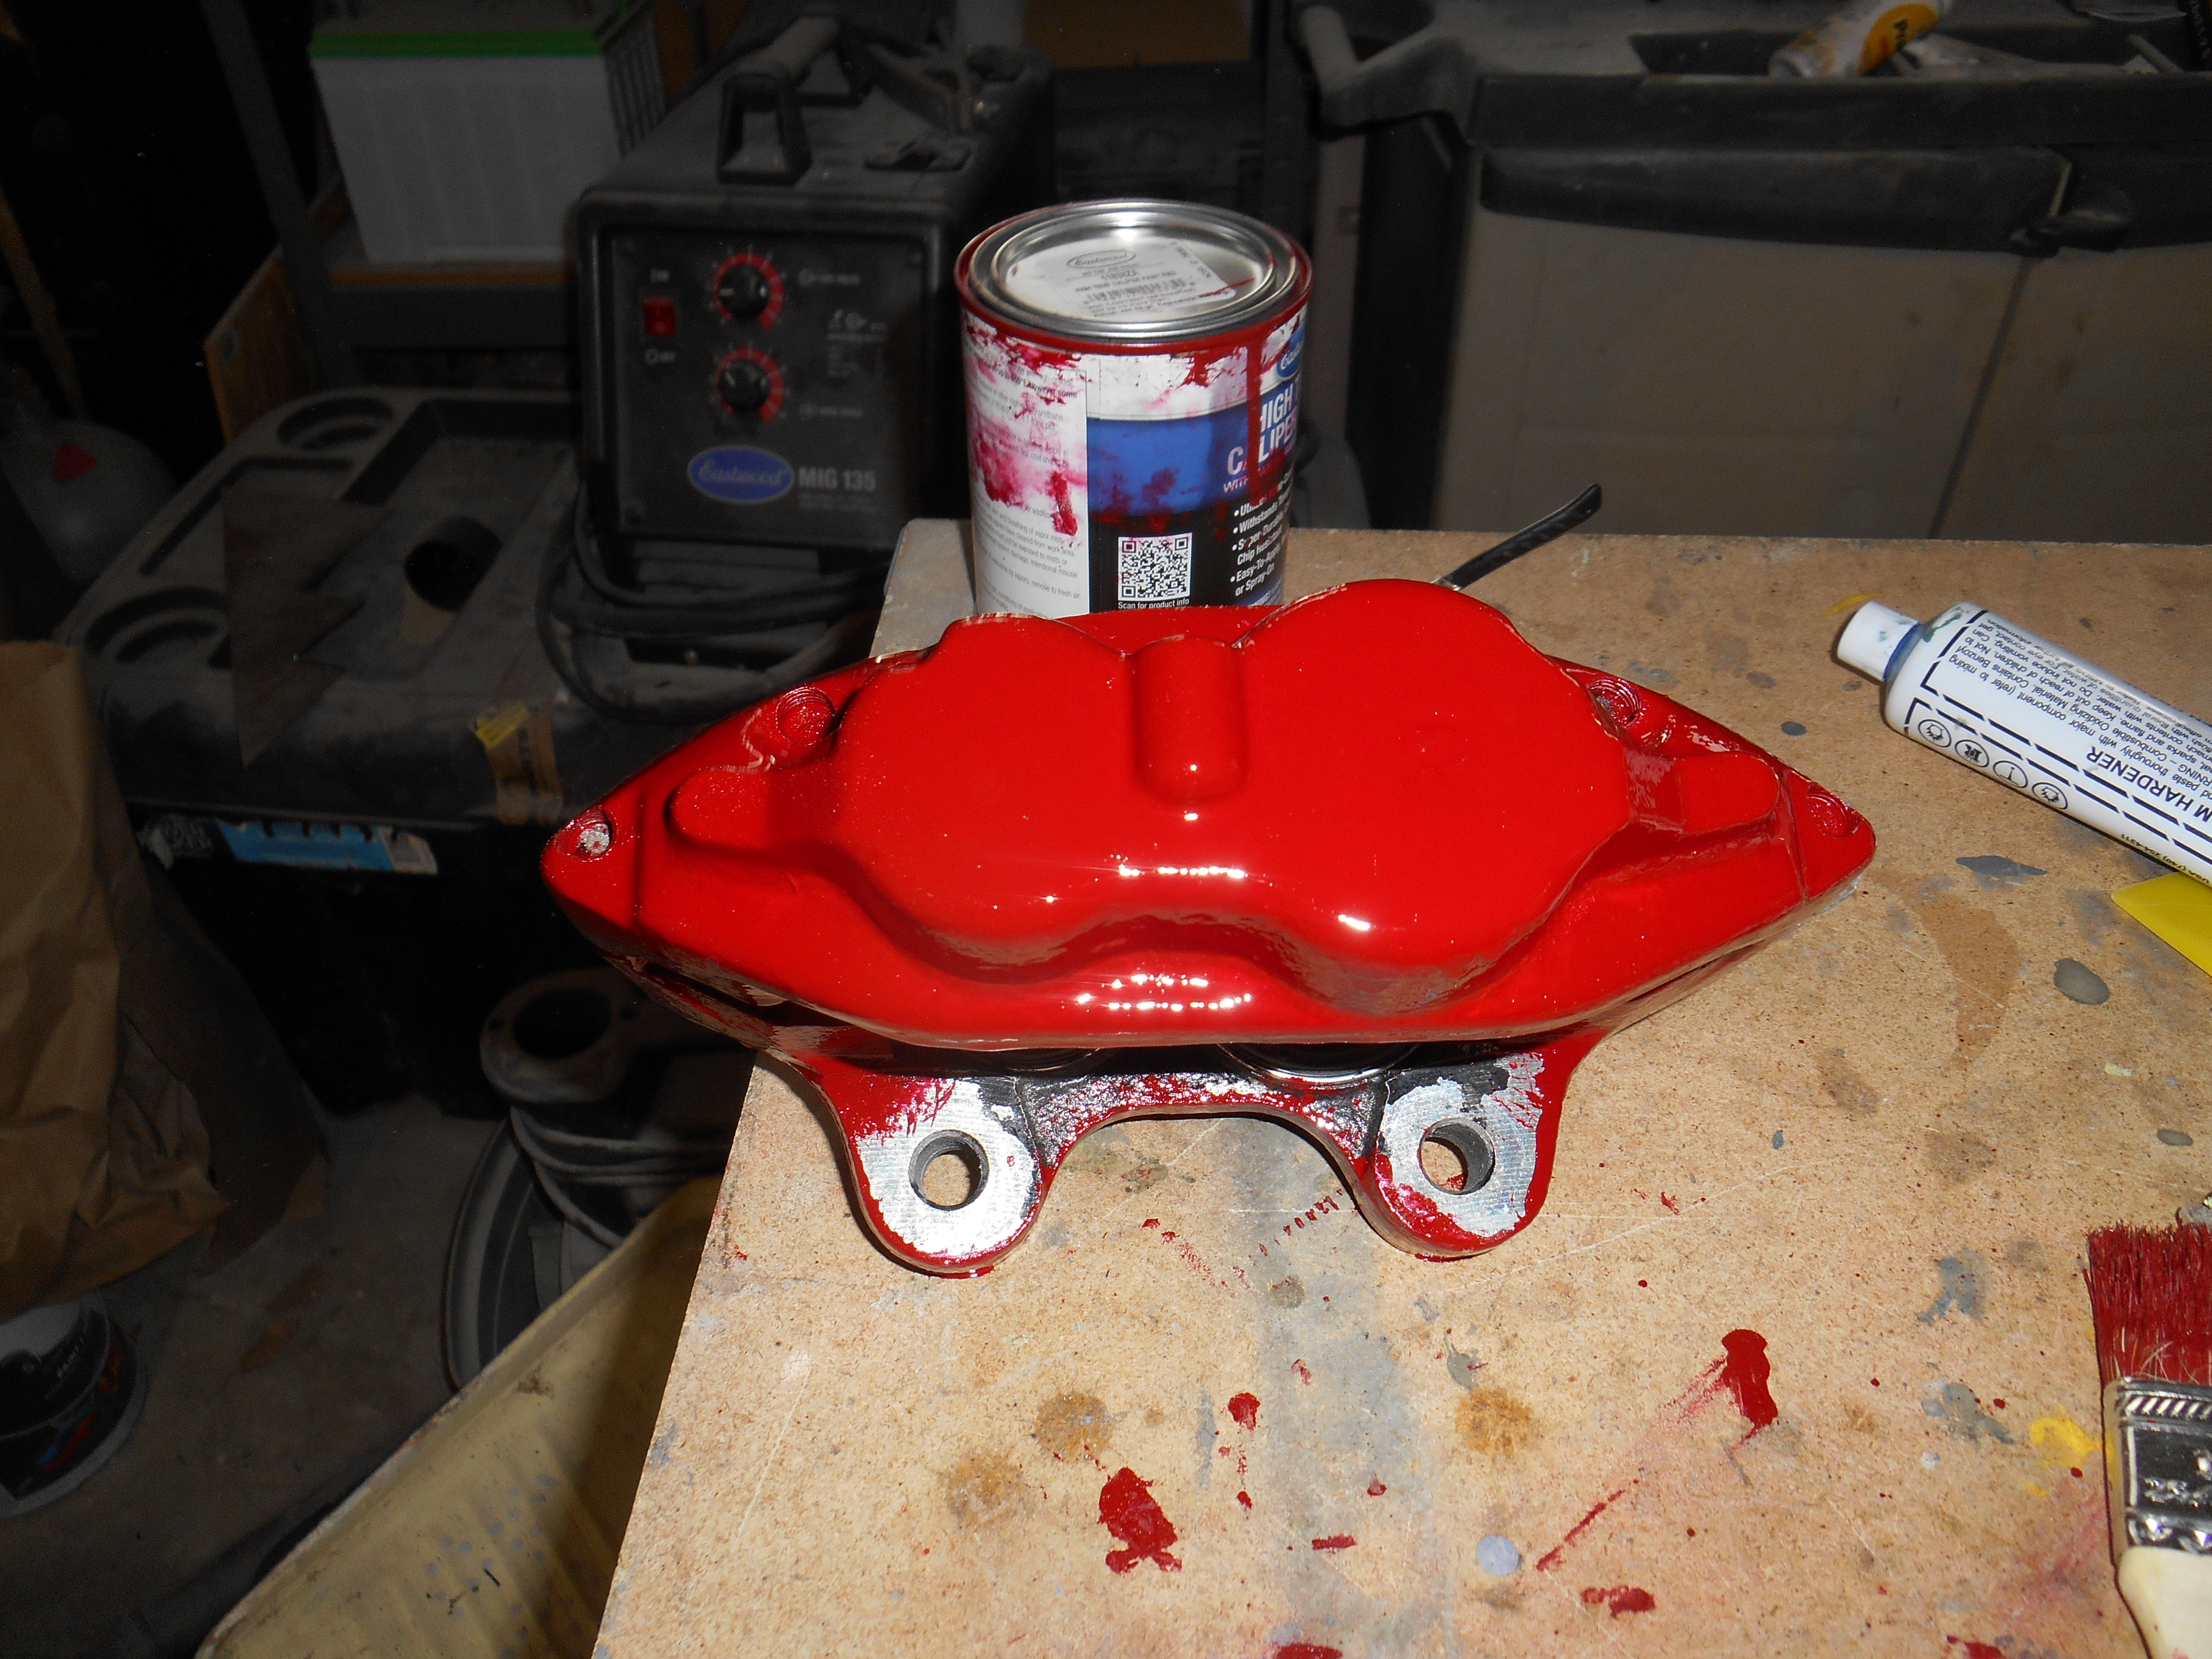
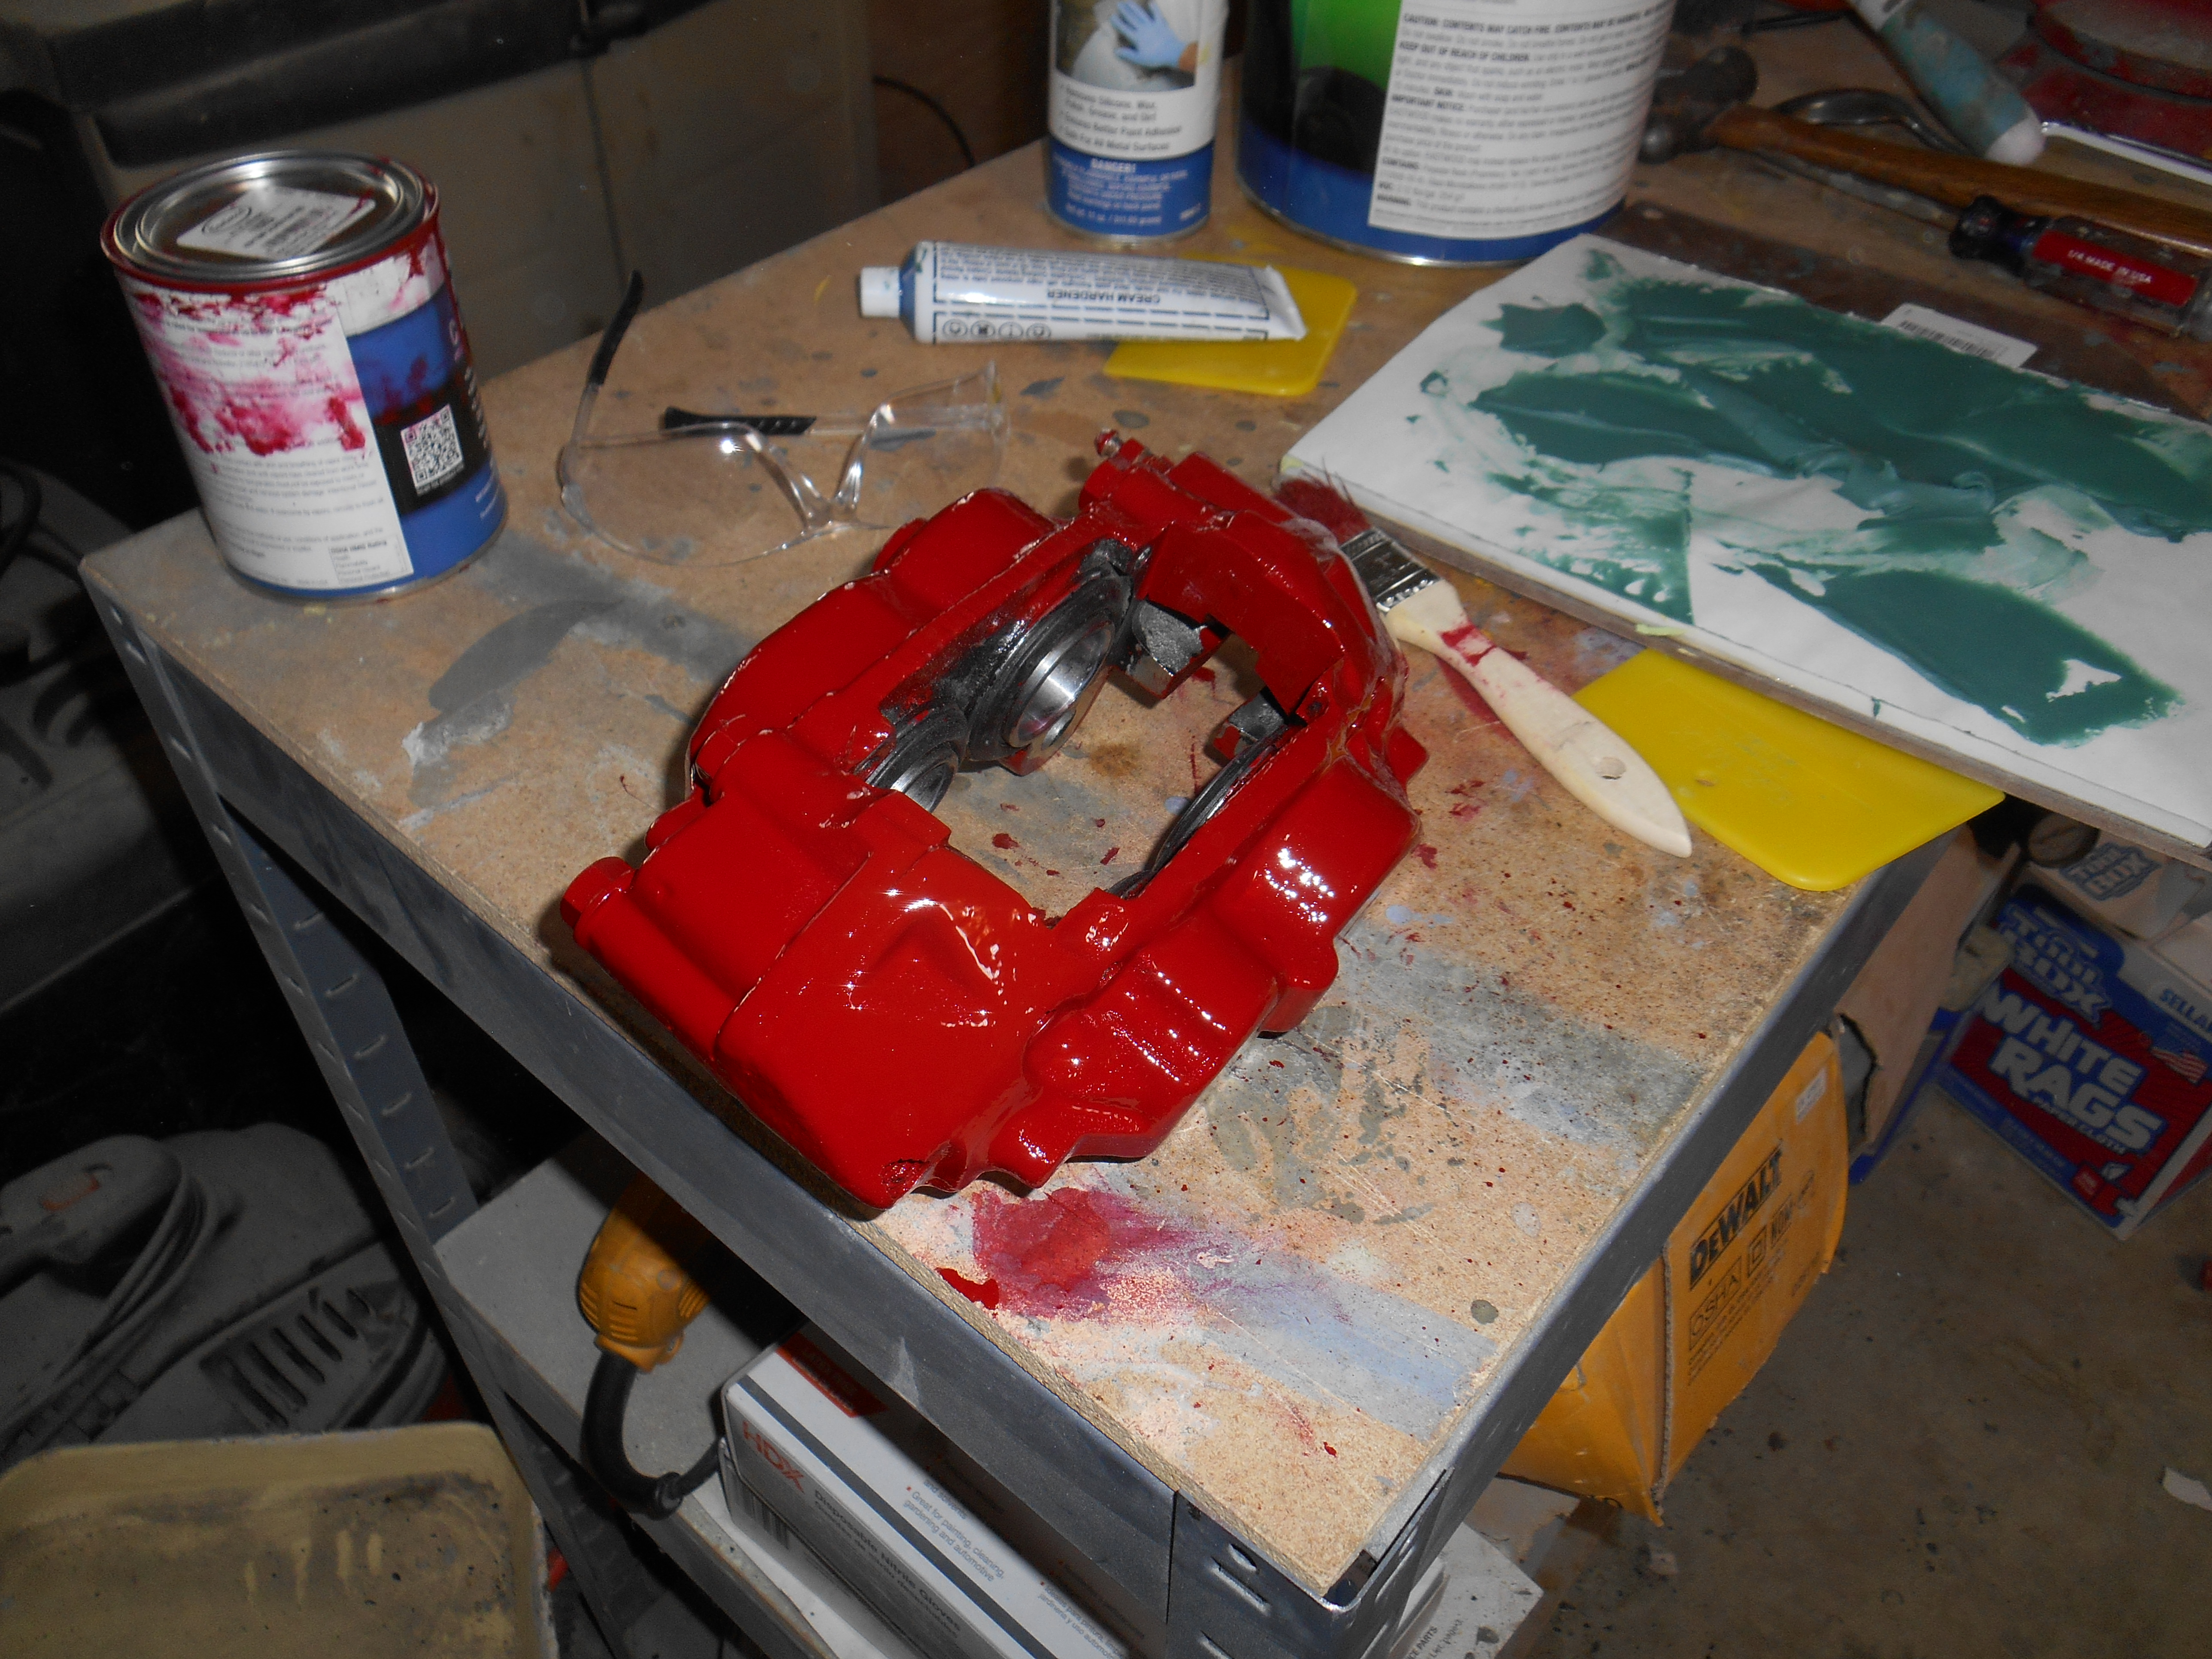
No, its Eastwood ceramic caliper paint. I may be somewhat against the grain, but I don't like POR15. I've experienced too many adhesion issues.
-
I bought an Eastwood rotisserie for $1200 and sold it when done for $800 two years later. So my cost to use was $400. Not too bad. You might give this approach some thought. The reason I decided to go commercial was safety. I didn't want to get crushed. I used the bumper mounts, but they are high and will lead to the car being bottom heavy. It does work ok but is not ideal.
-
Thanks for the reply. I was starting to feel like I was talking to myself. :-)
-
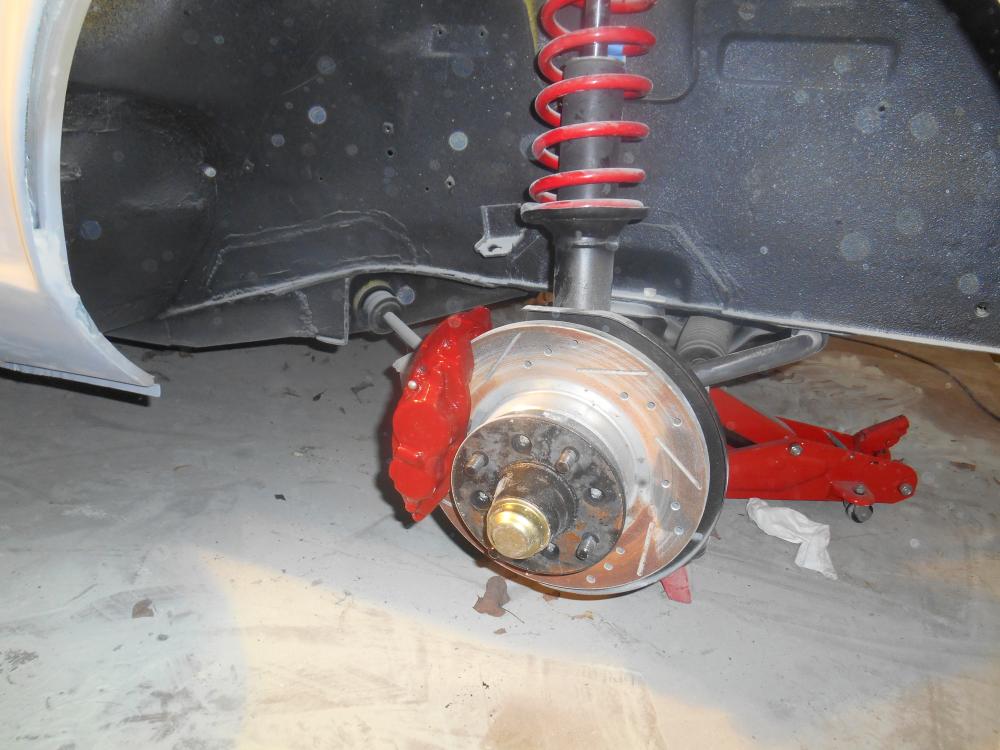
I also took a break and painted the front calipers. Here are some pics.


-
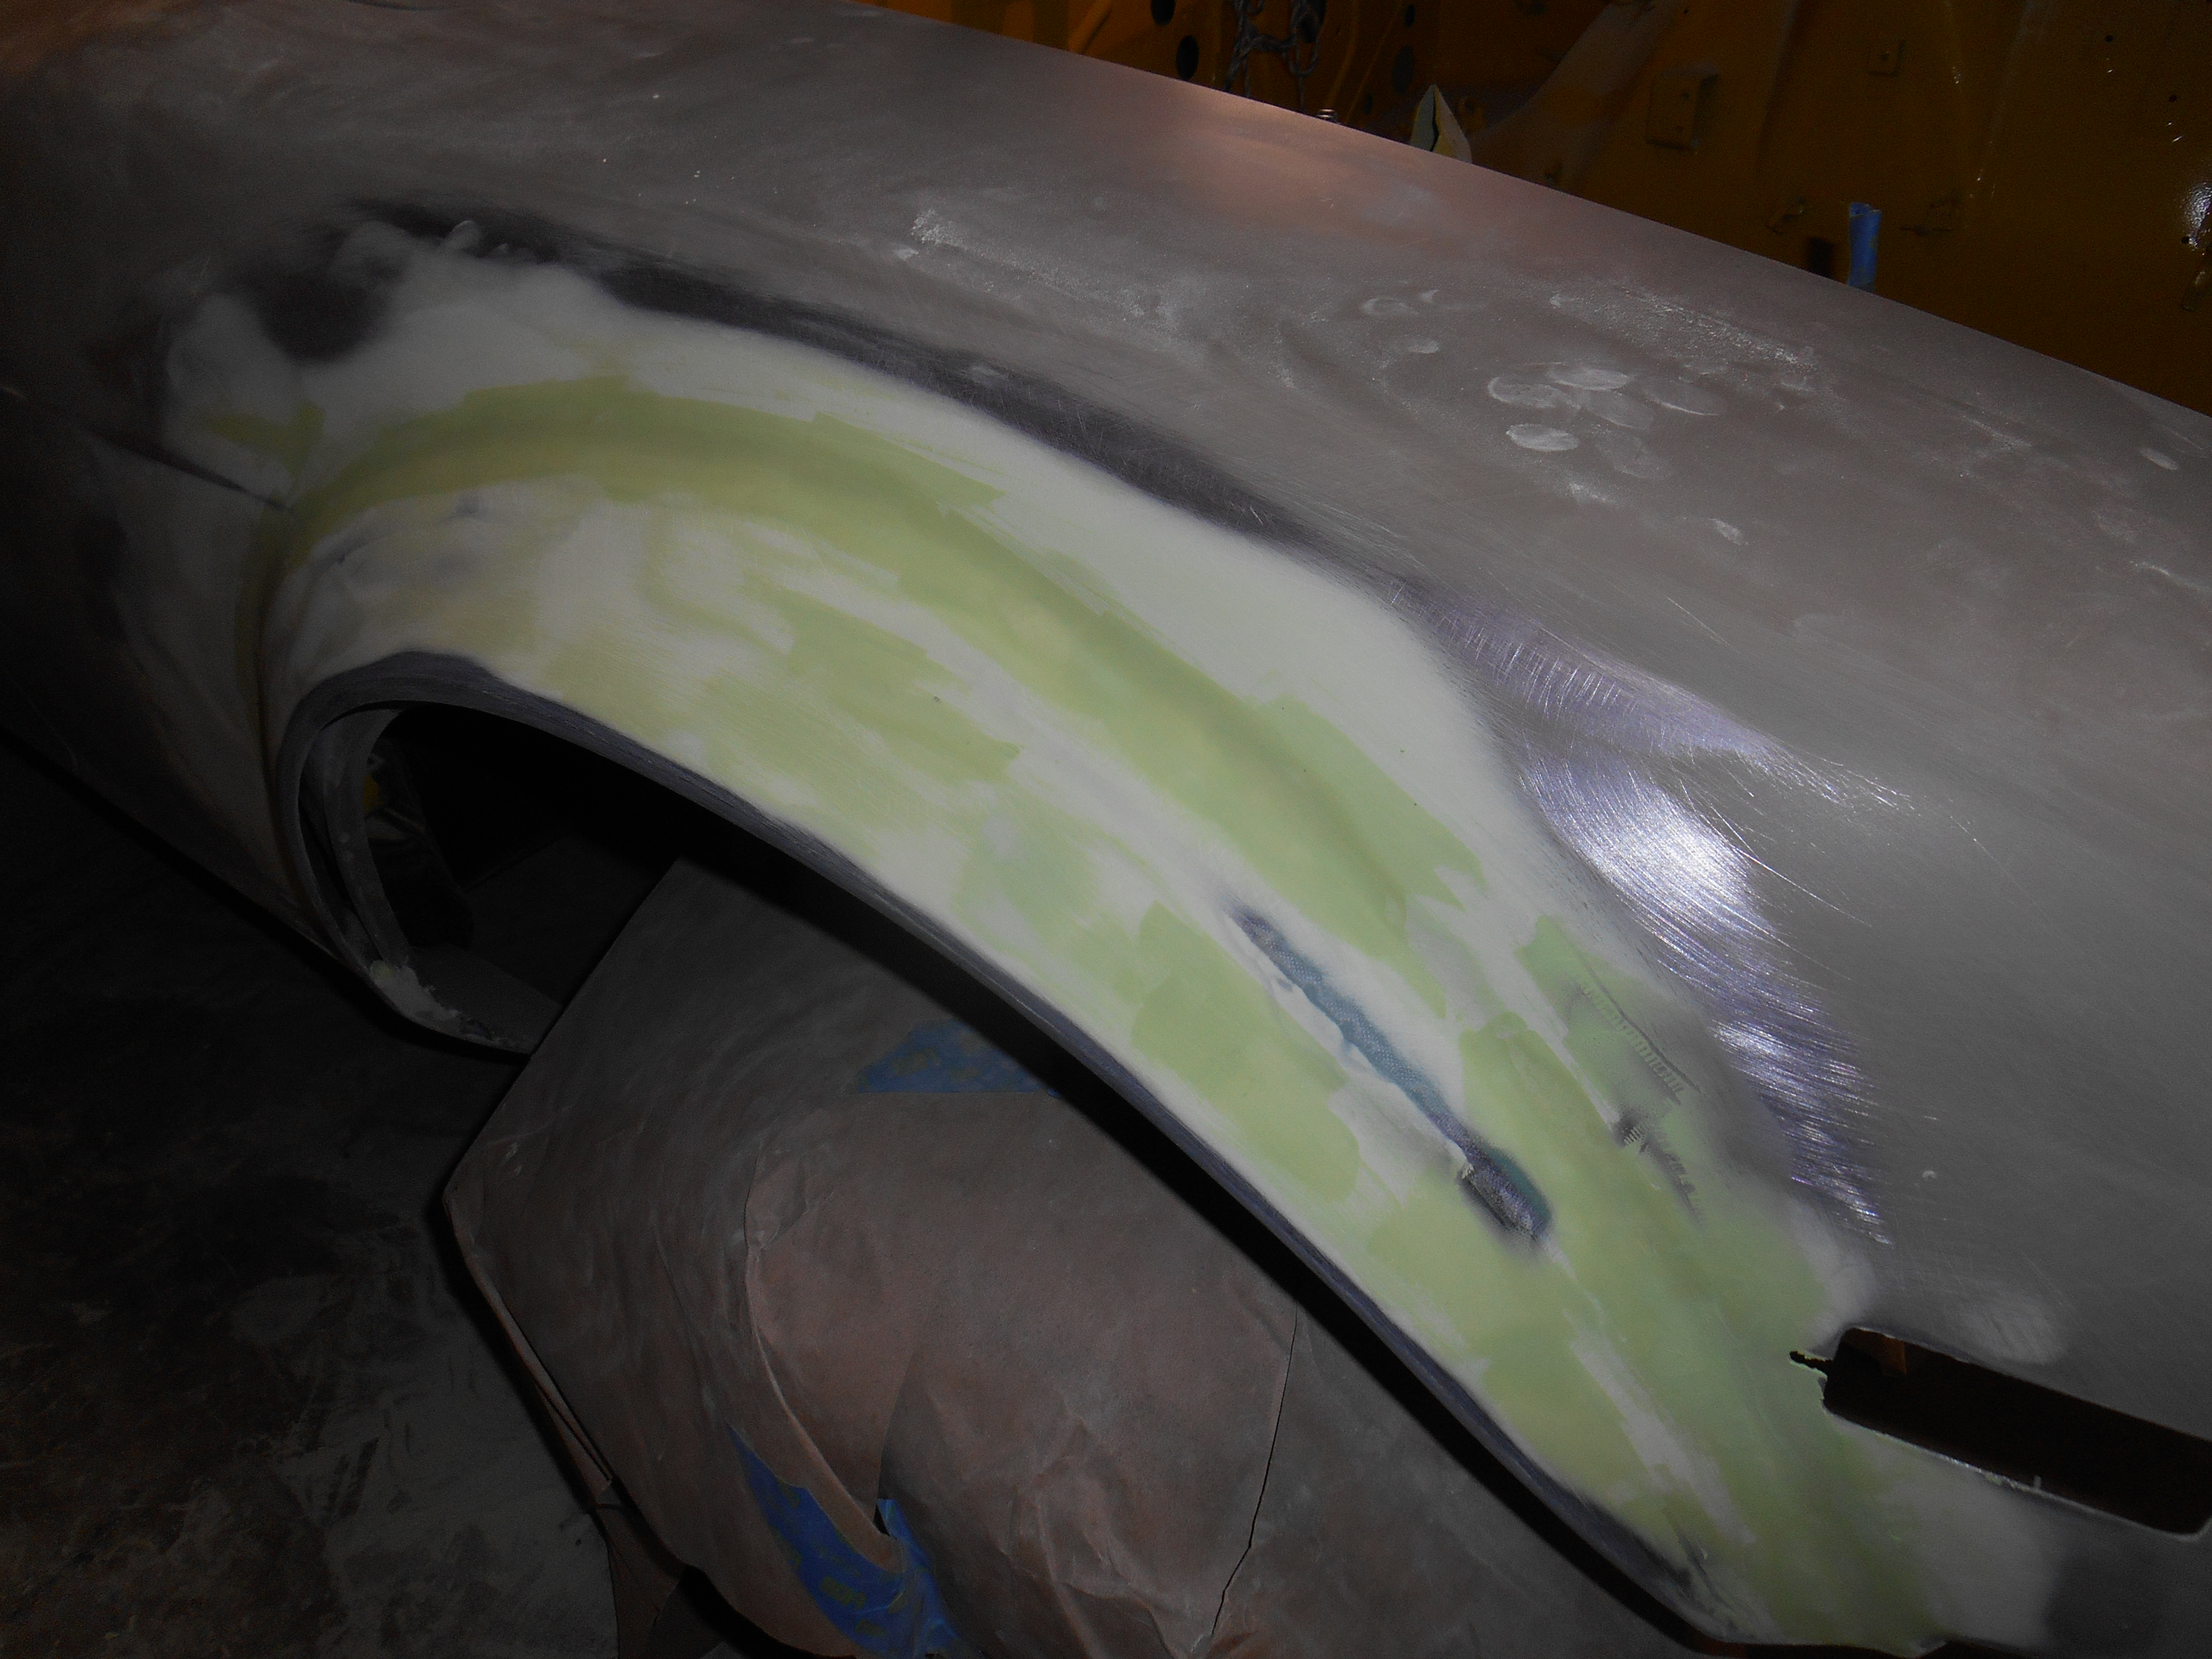
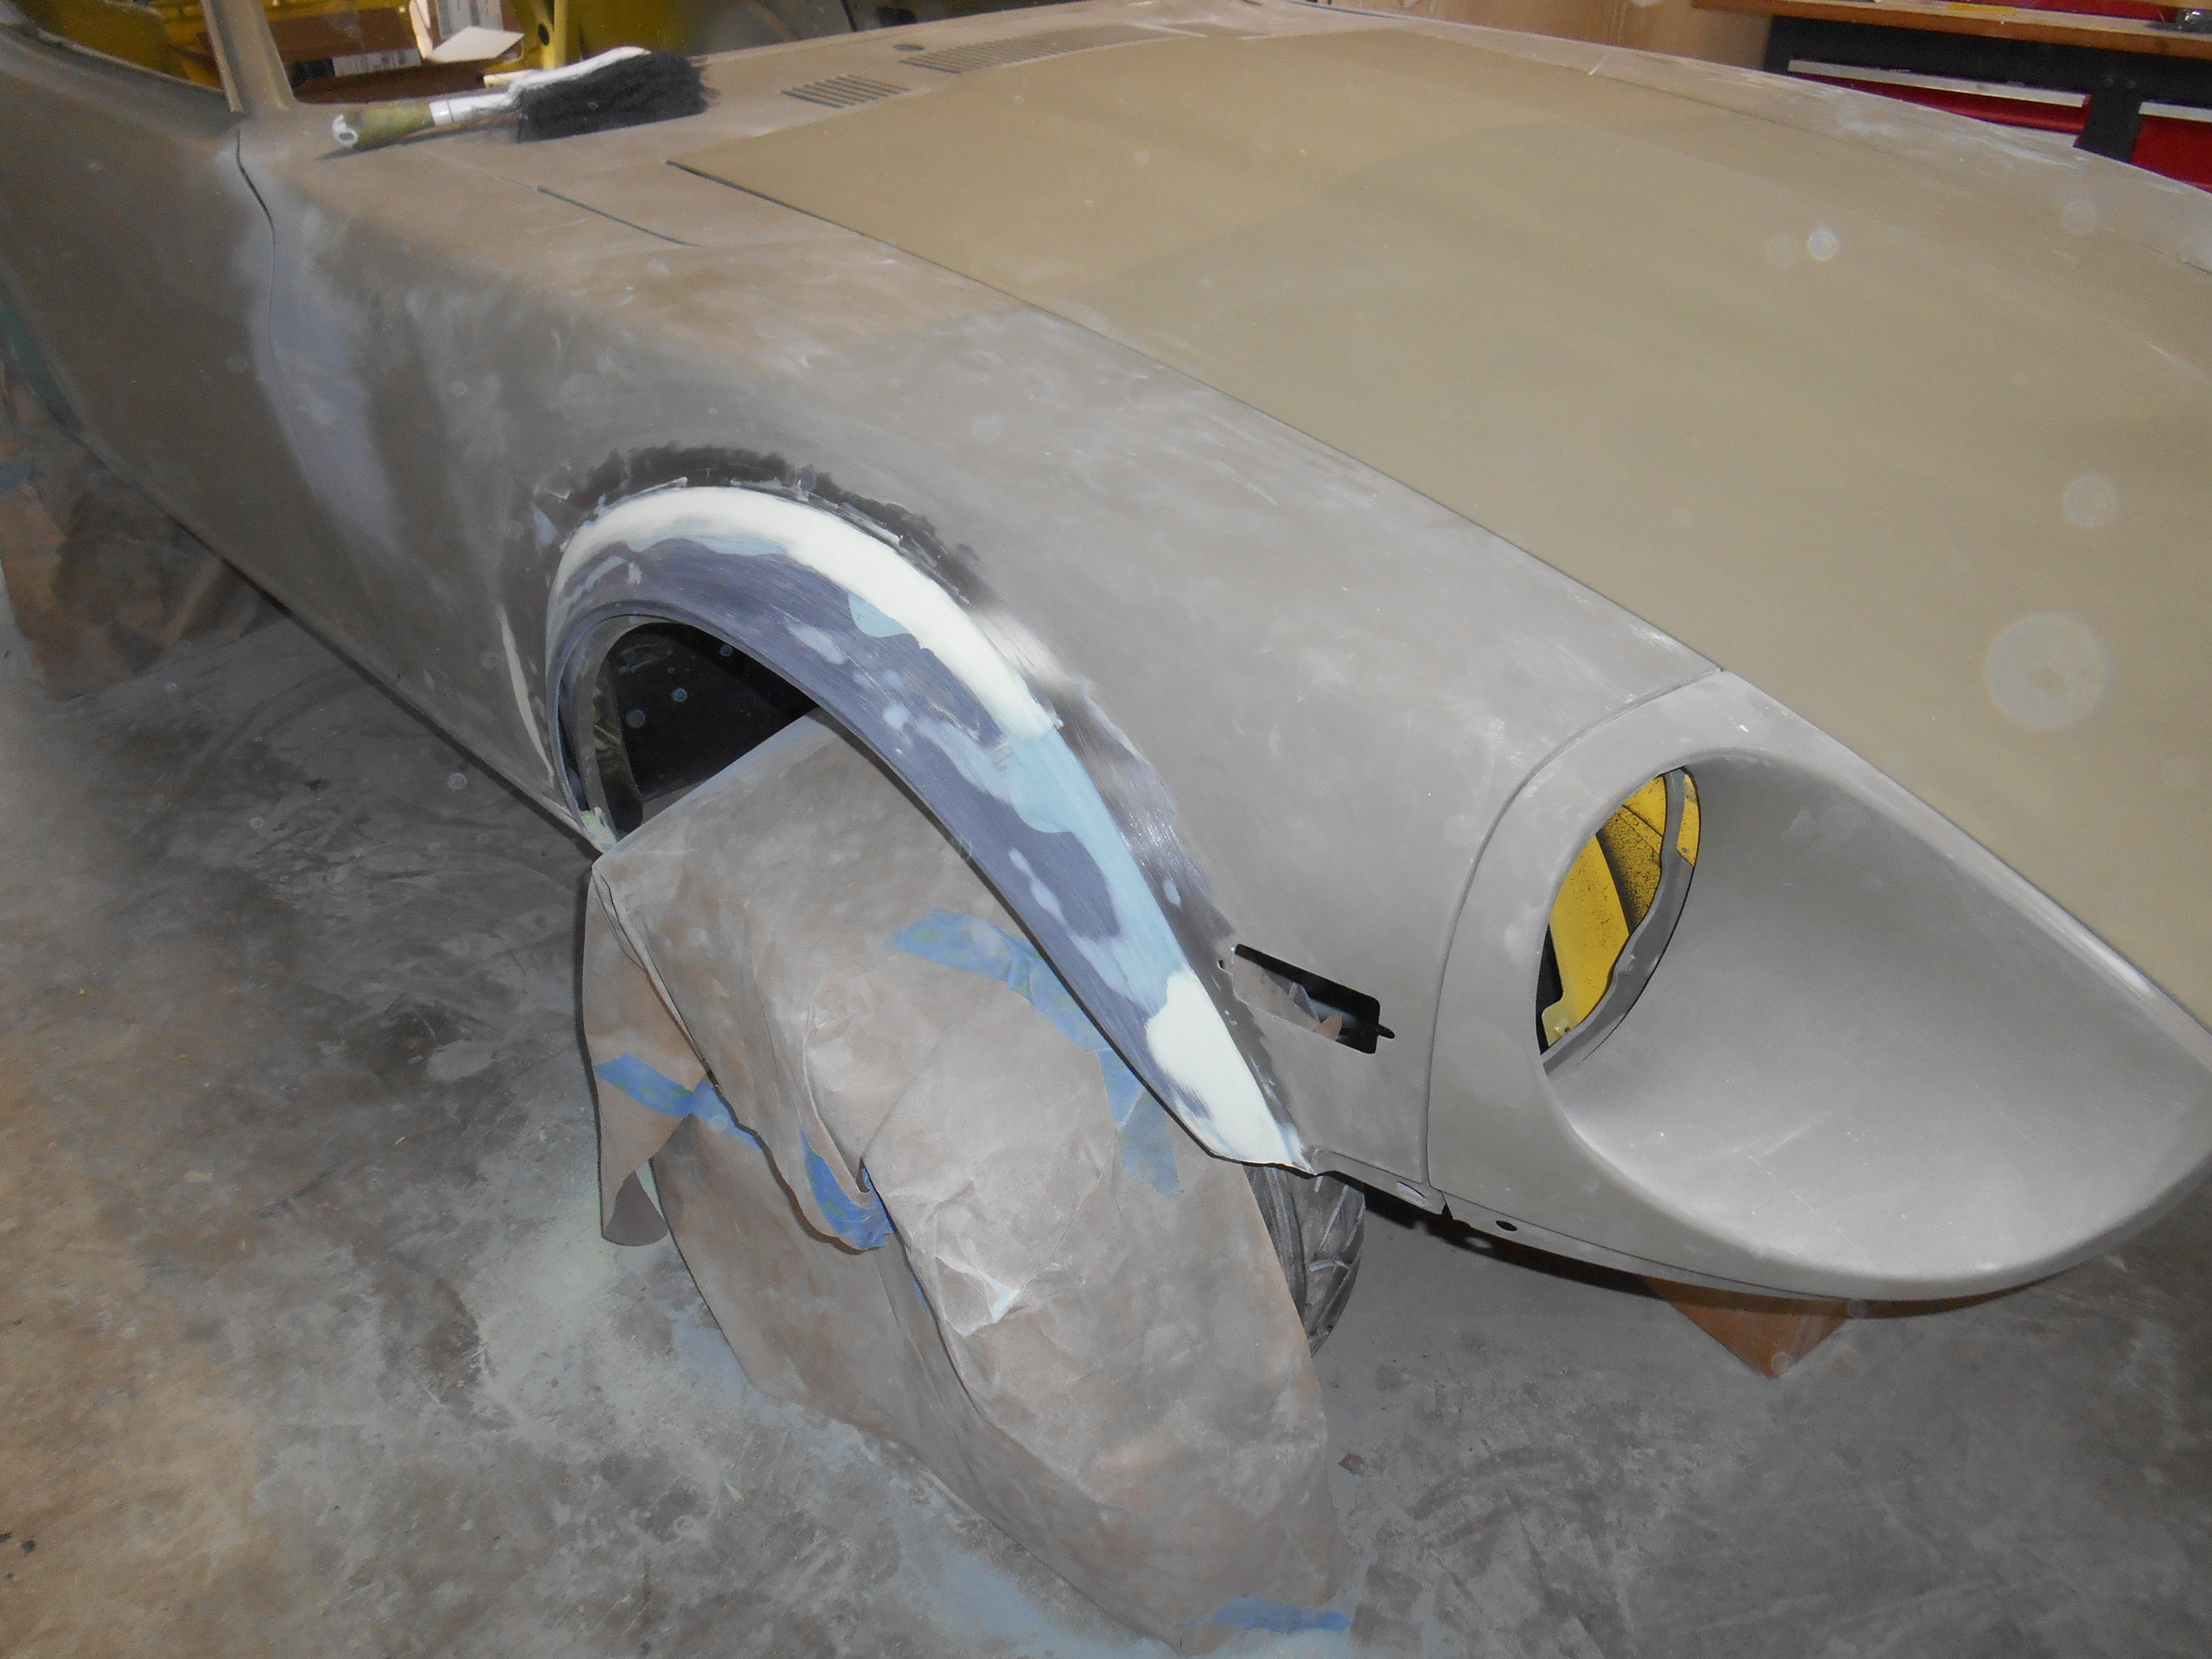
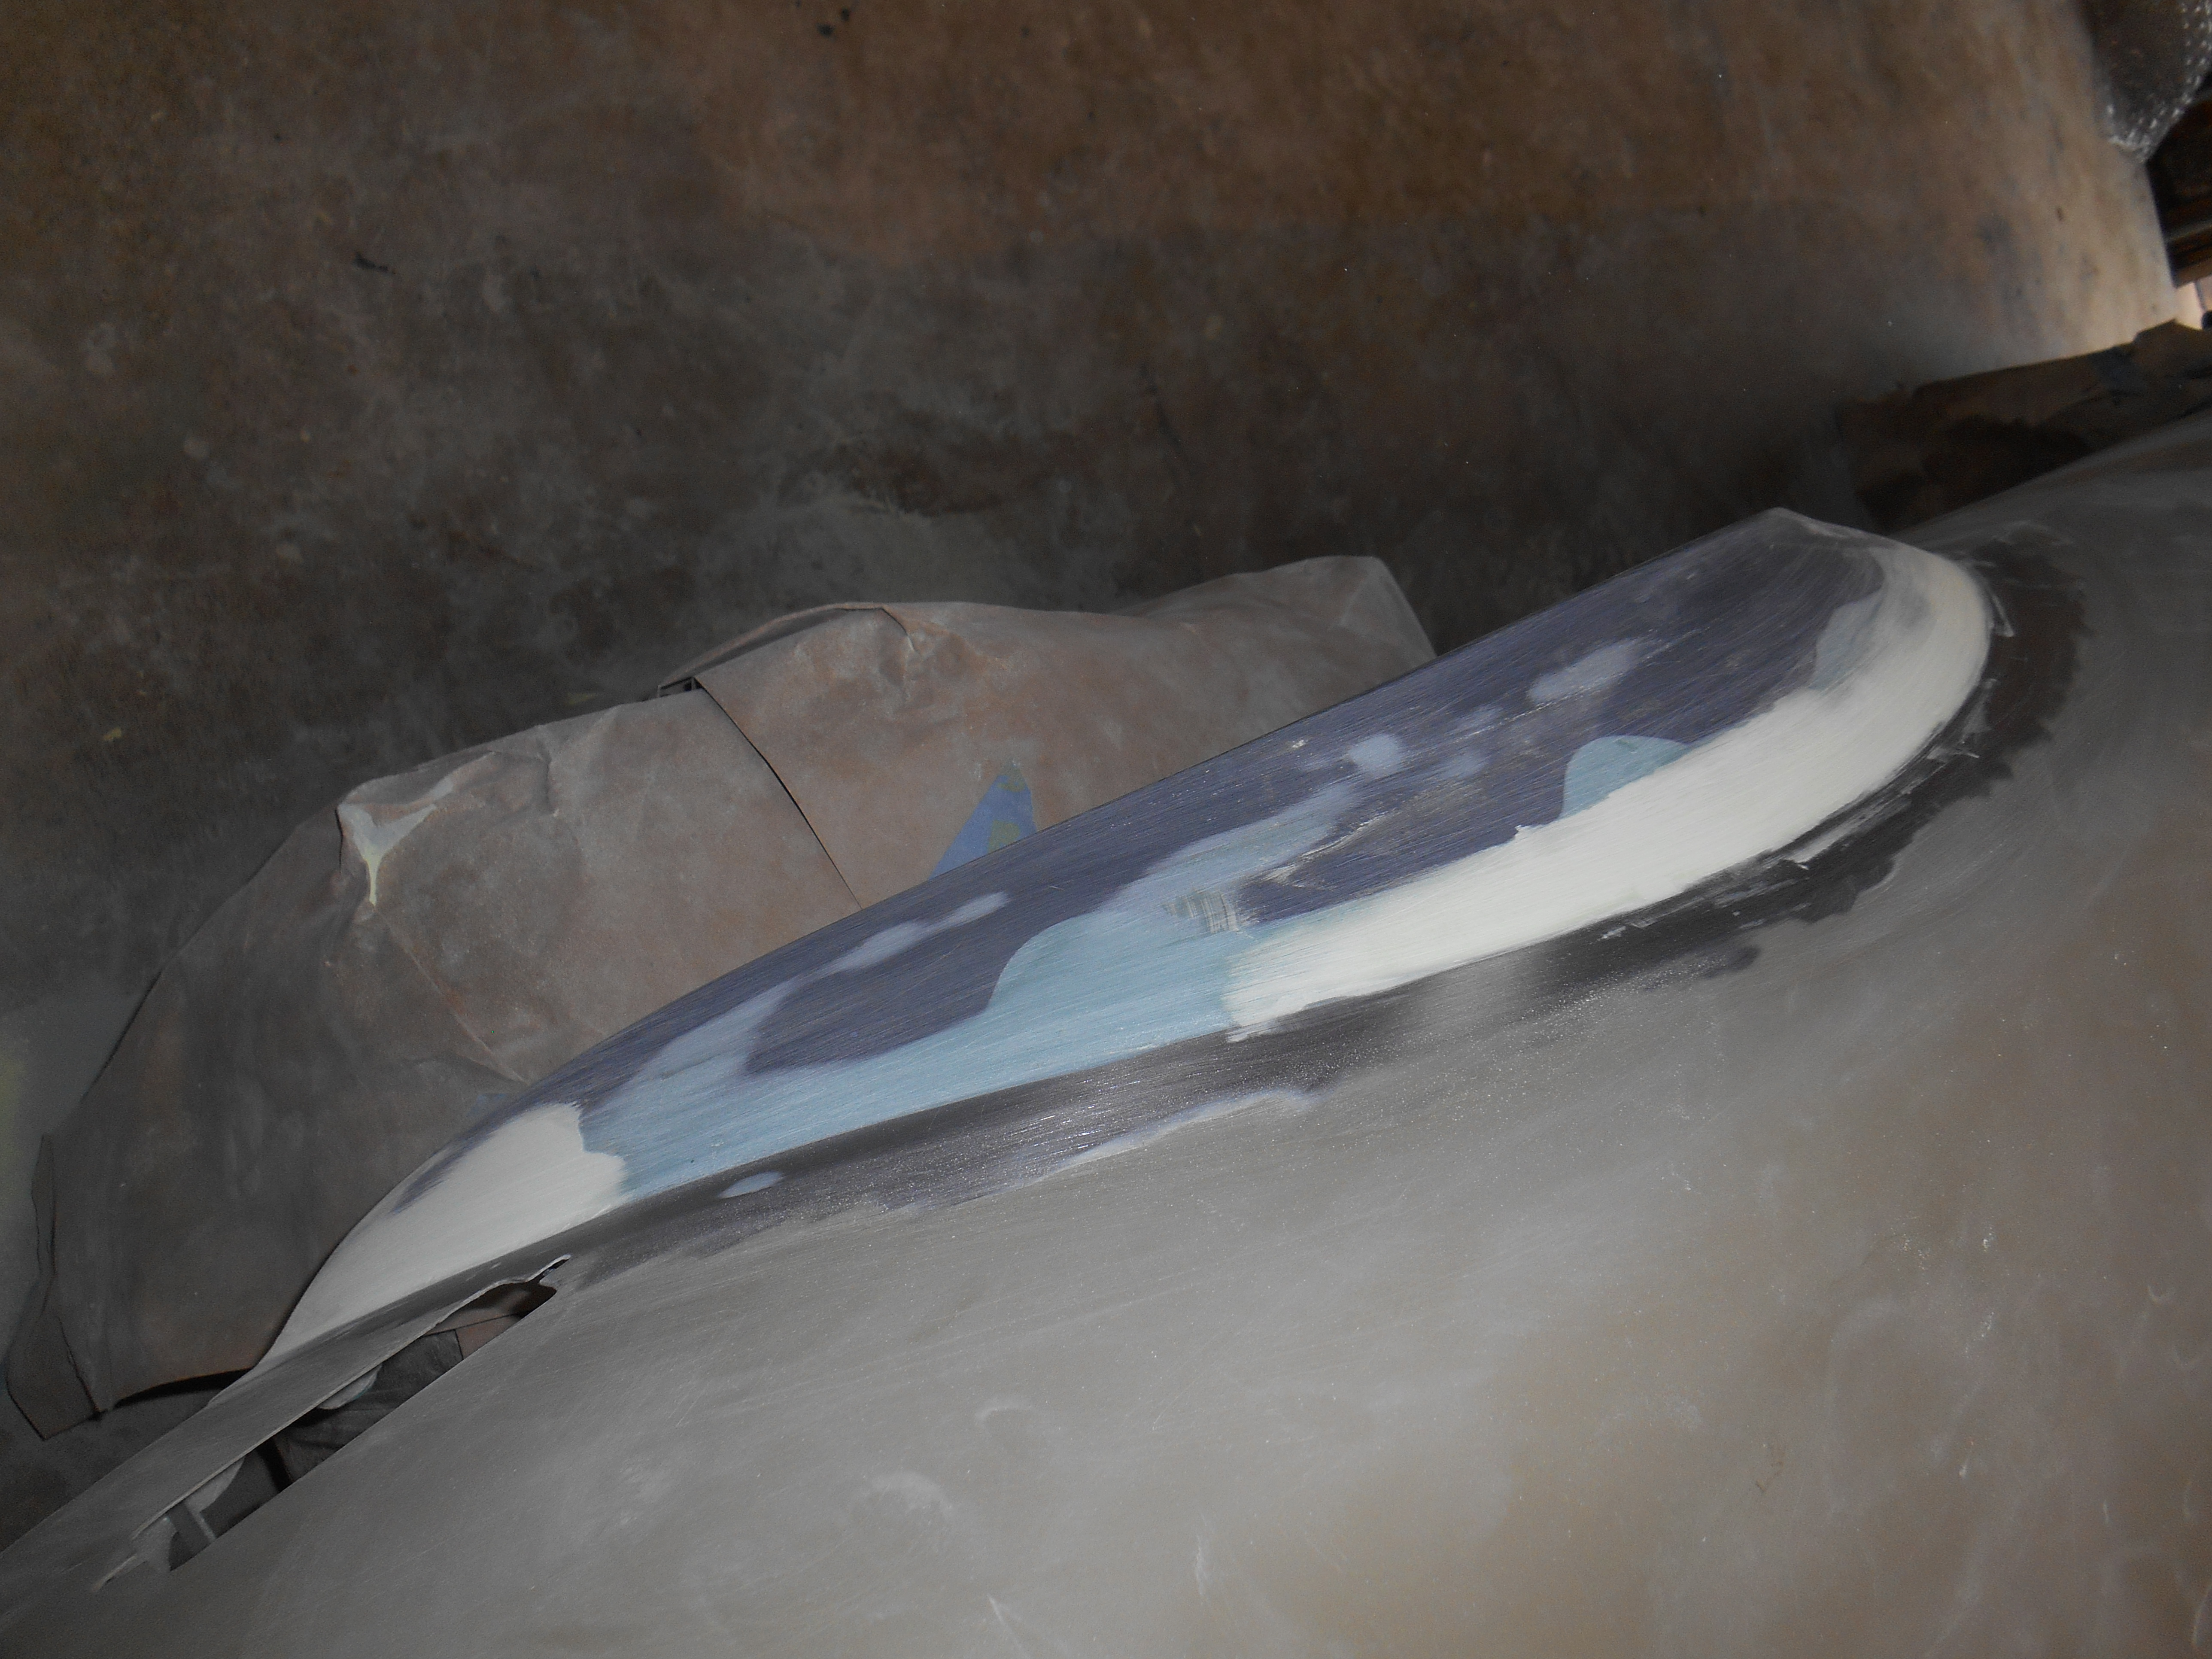
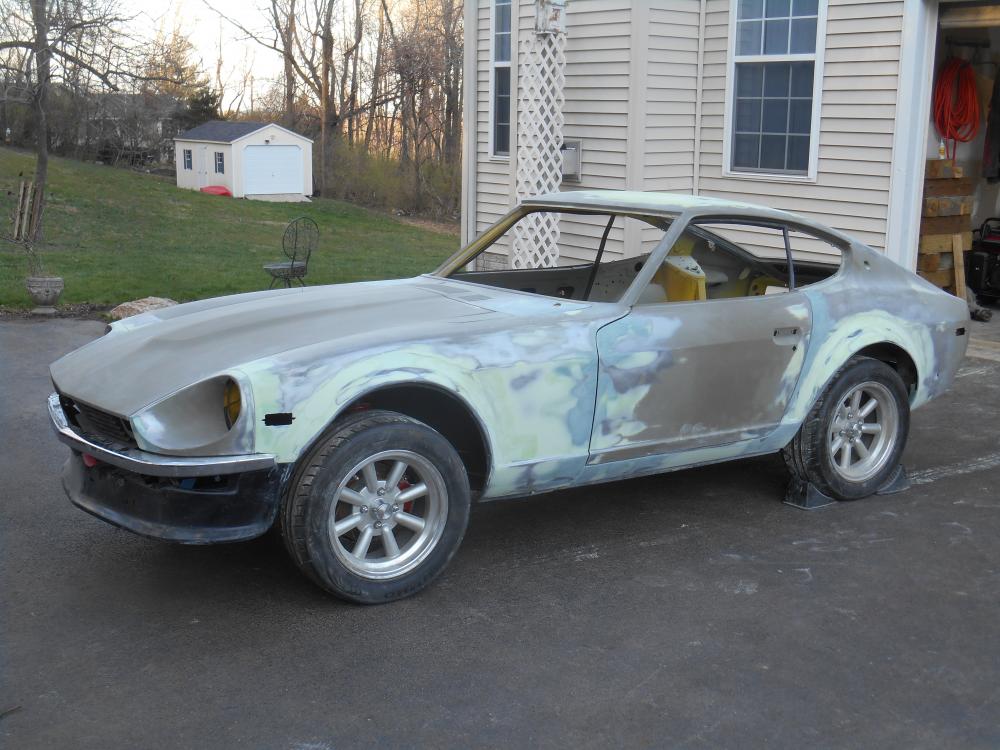
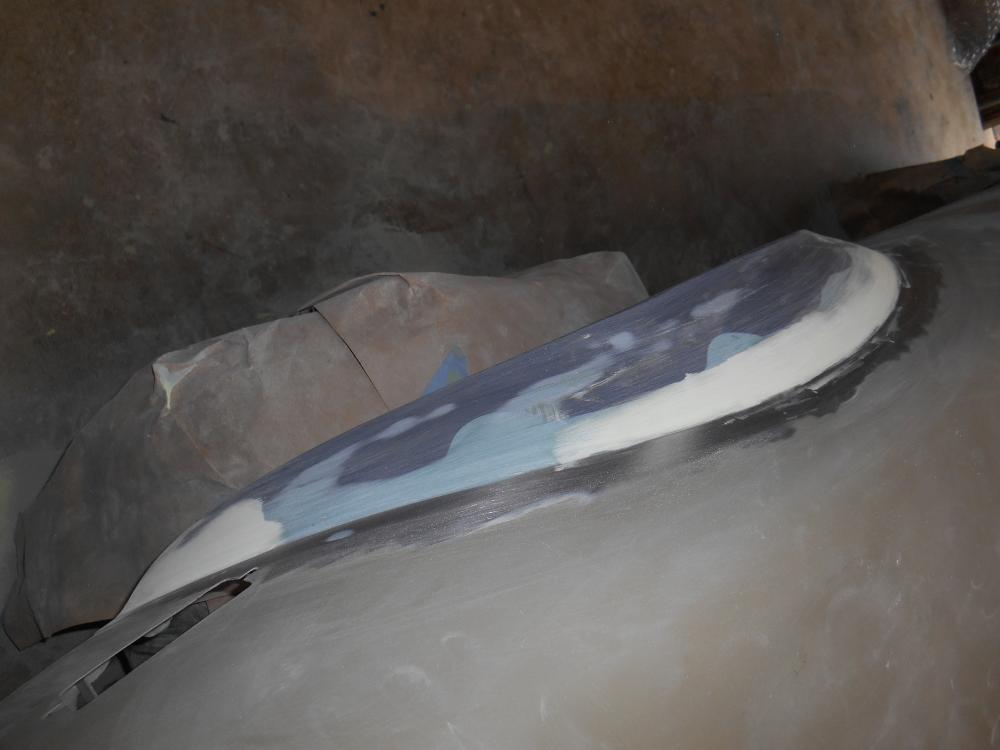
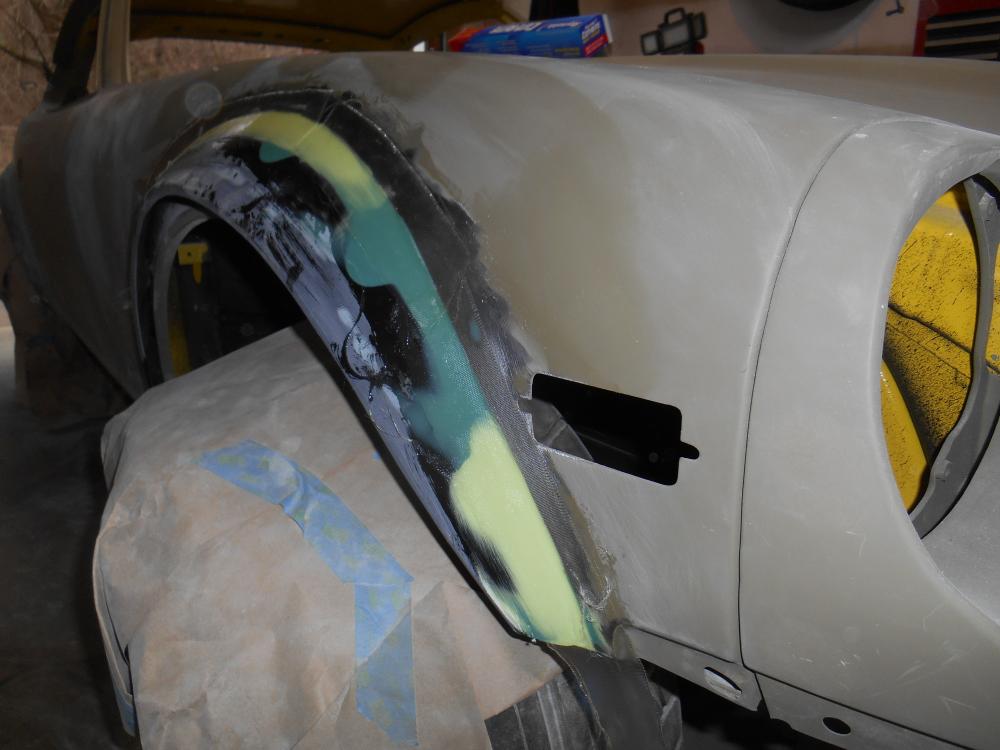
I've been away for a little while...well I've still been lurking. I'm making progress on the fender flares. A lot of filling sanding, filling, sanding, etc. I think I finally have the shape about how I want it. There's still some detail work but this was more or less what I was after...


-
Looks like getting the seat belt redone could be pretty easy. I found this almost immediately: http://www.safetyrestore.com/seat-belt-repair-service/11-seat-belt-webbing-replacement.html
-
Haha! I did the same thing.
-
Thanks. I like the garden hose idea. Should be about the right size.
-
-
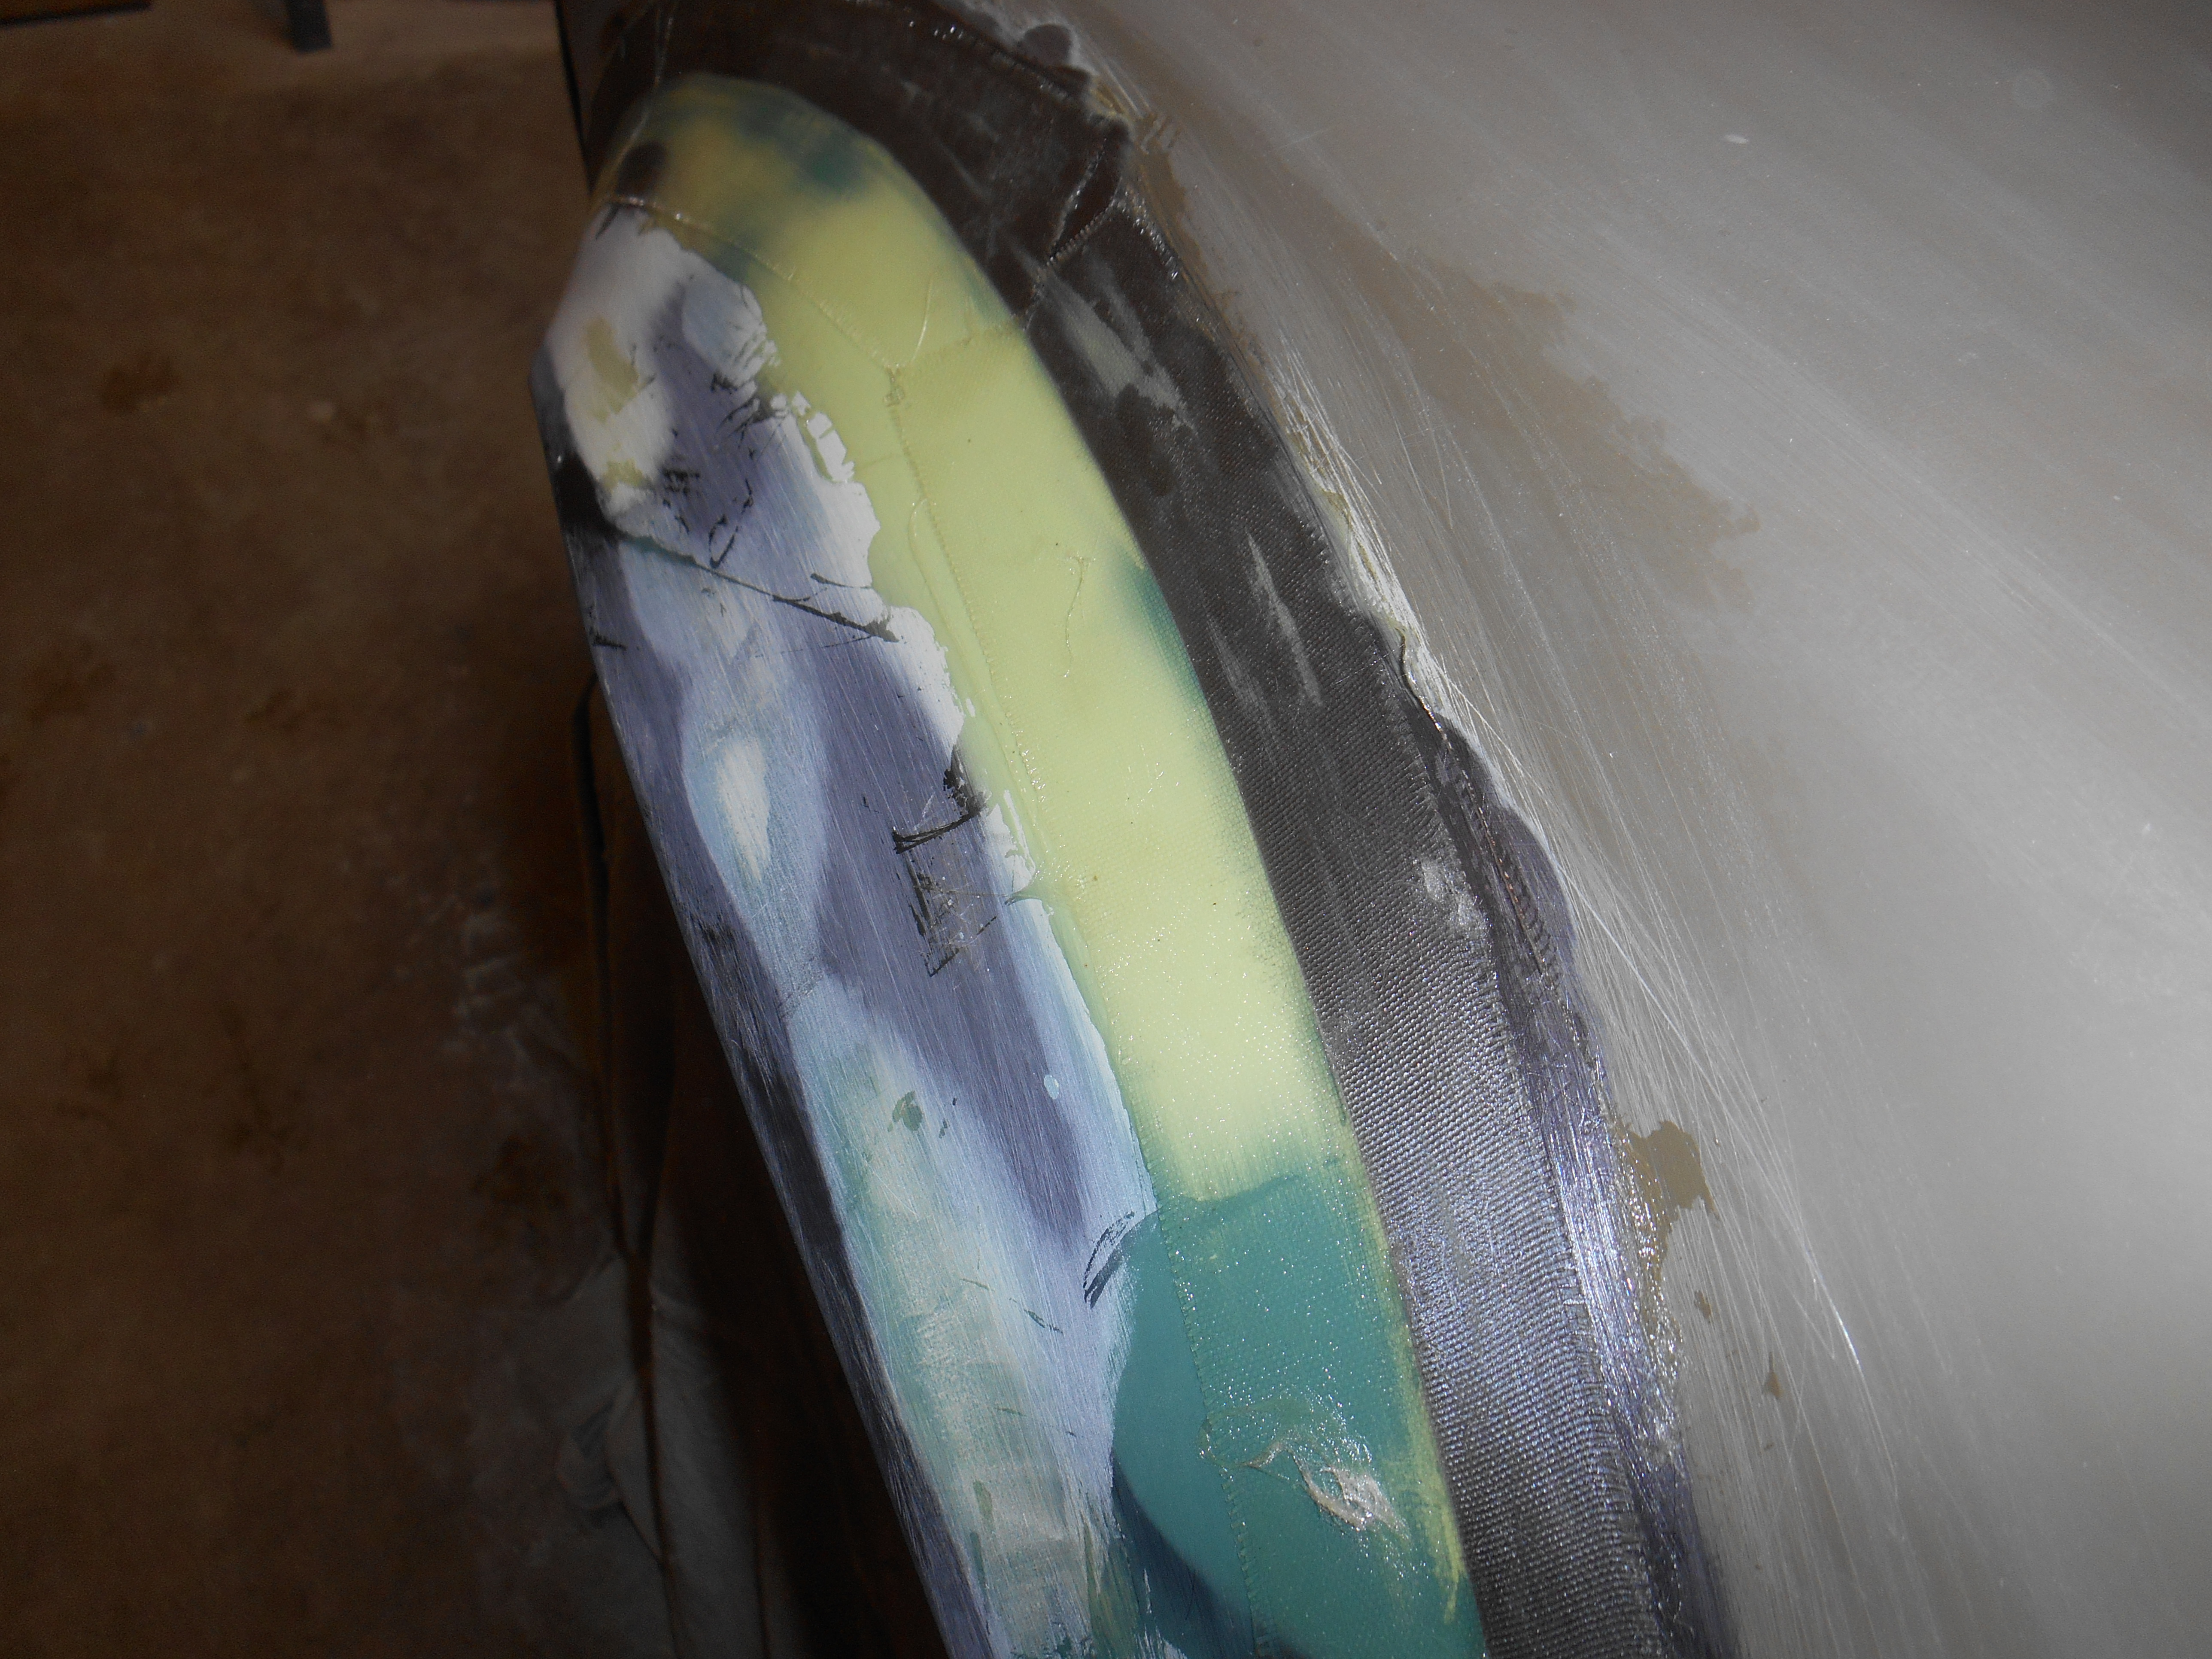
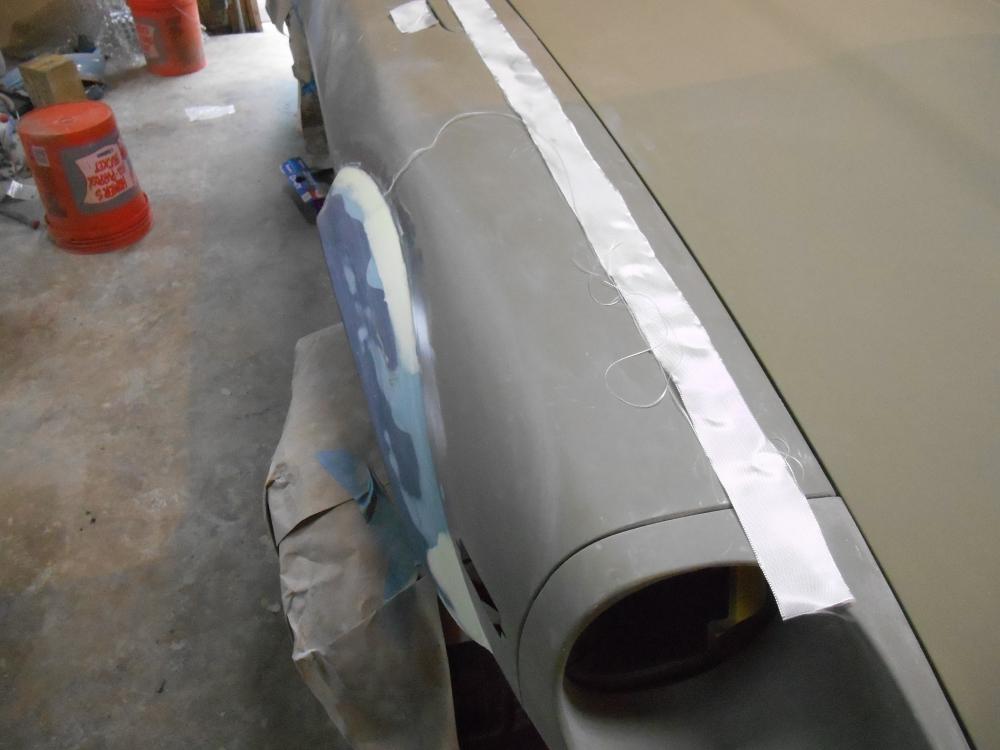
I'm still woking on the fender flares. I have to admit the holidays and a bit of car apathy slowed me down some. I have fiberglassed the front flares and am doing the final bit of blending. I'm struggling a little getting a good line where the flare meets the body. If anyone can suggest some good techniques I'd be grateful. I want a good consistent radius both where the flare meets the body and around the wheel that is free of high and low spots, but I haven't found a good blocking method yet. I don't like my round durablock very much and because it rigid it can't create a consistent radius on a round flare.


-
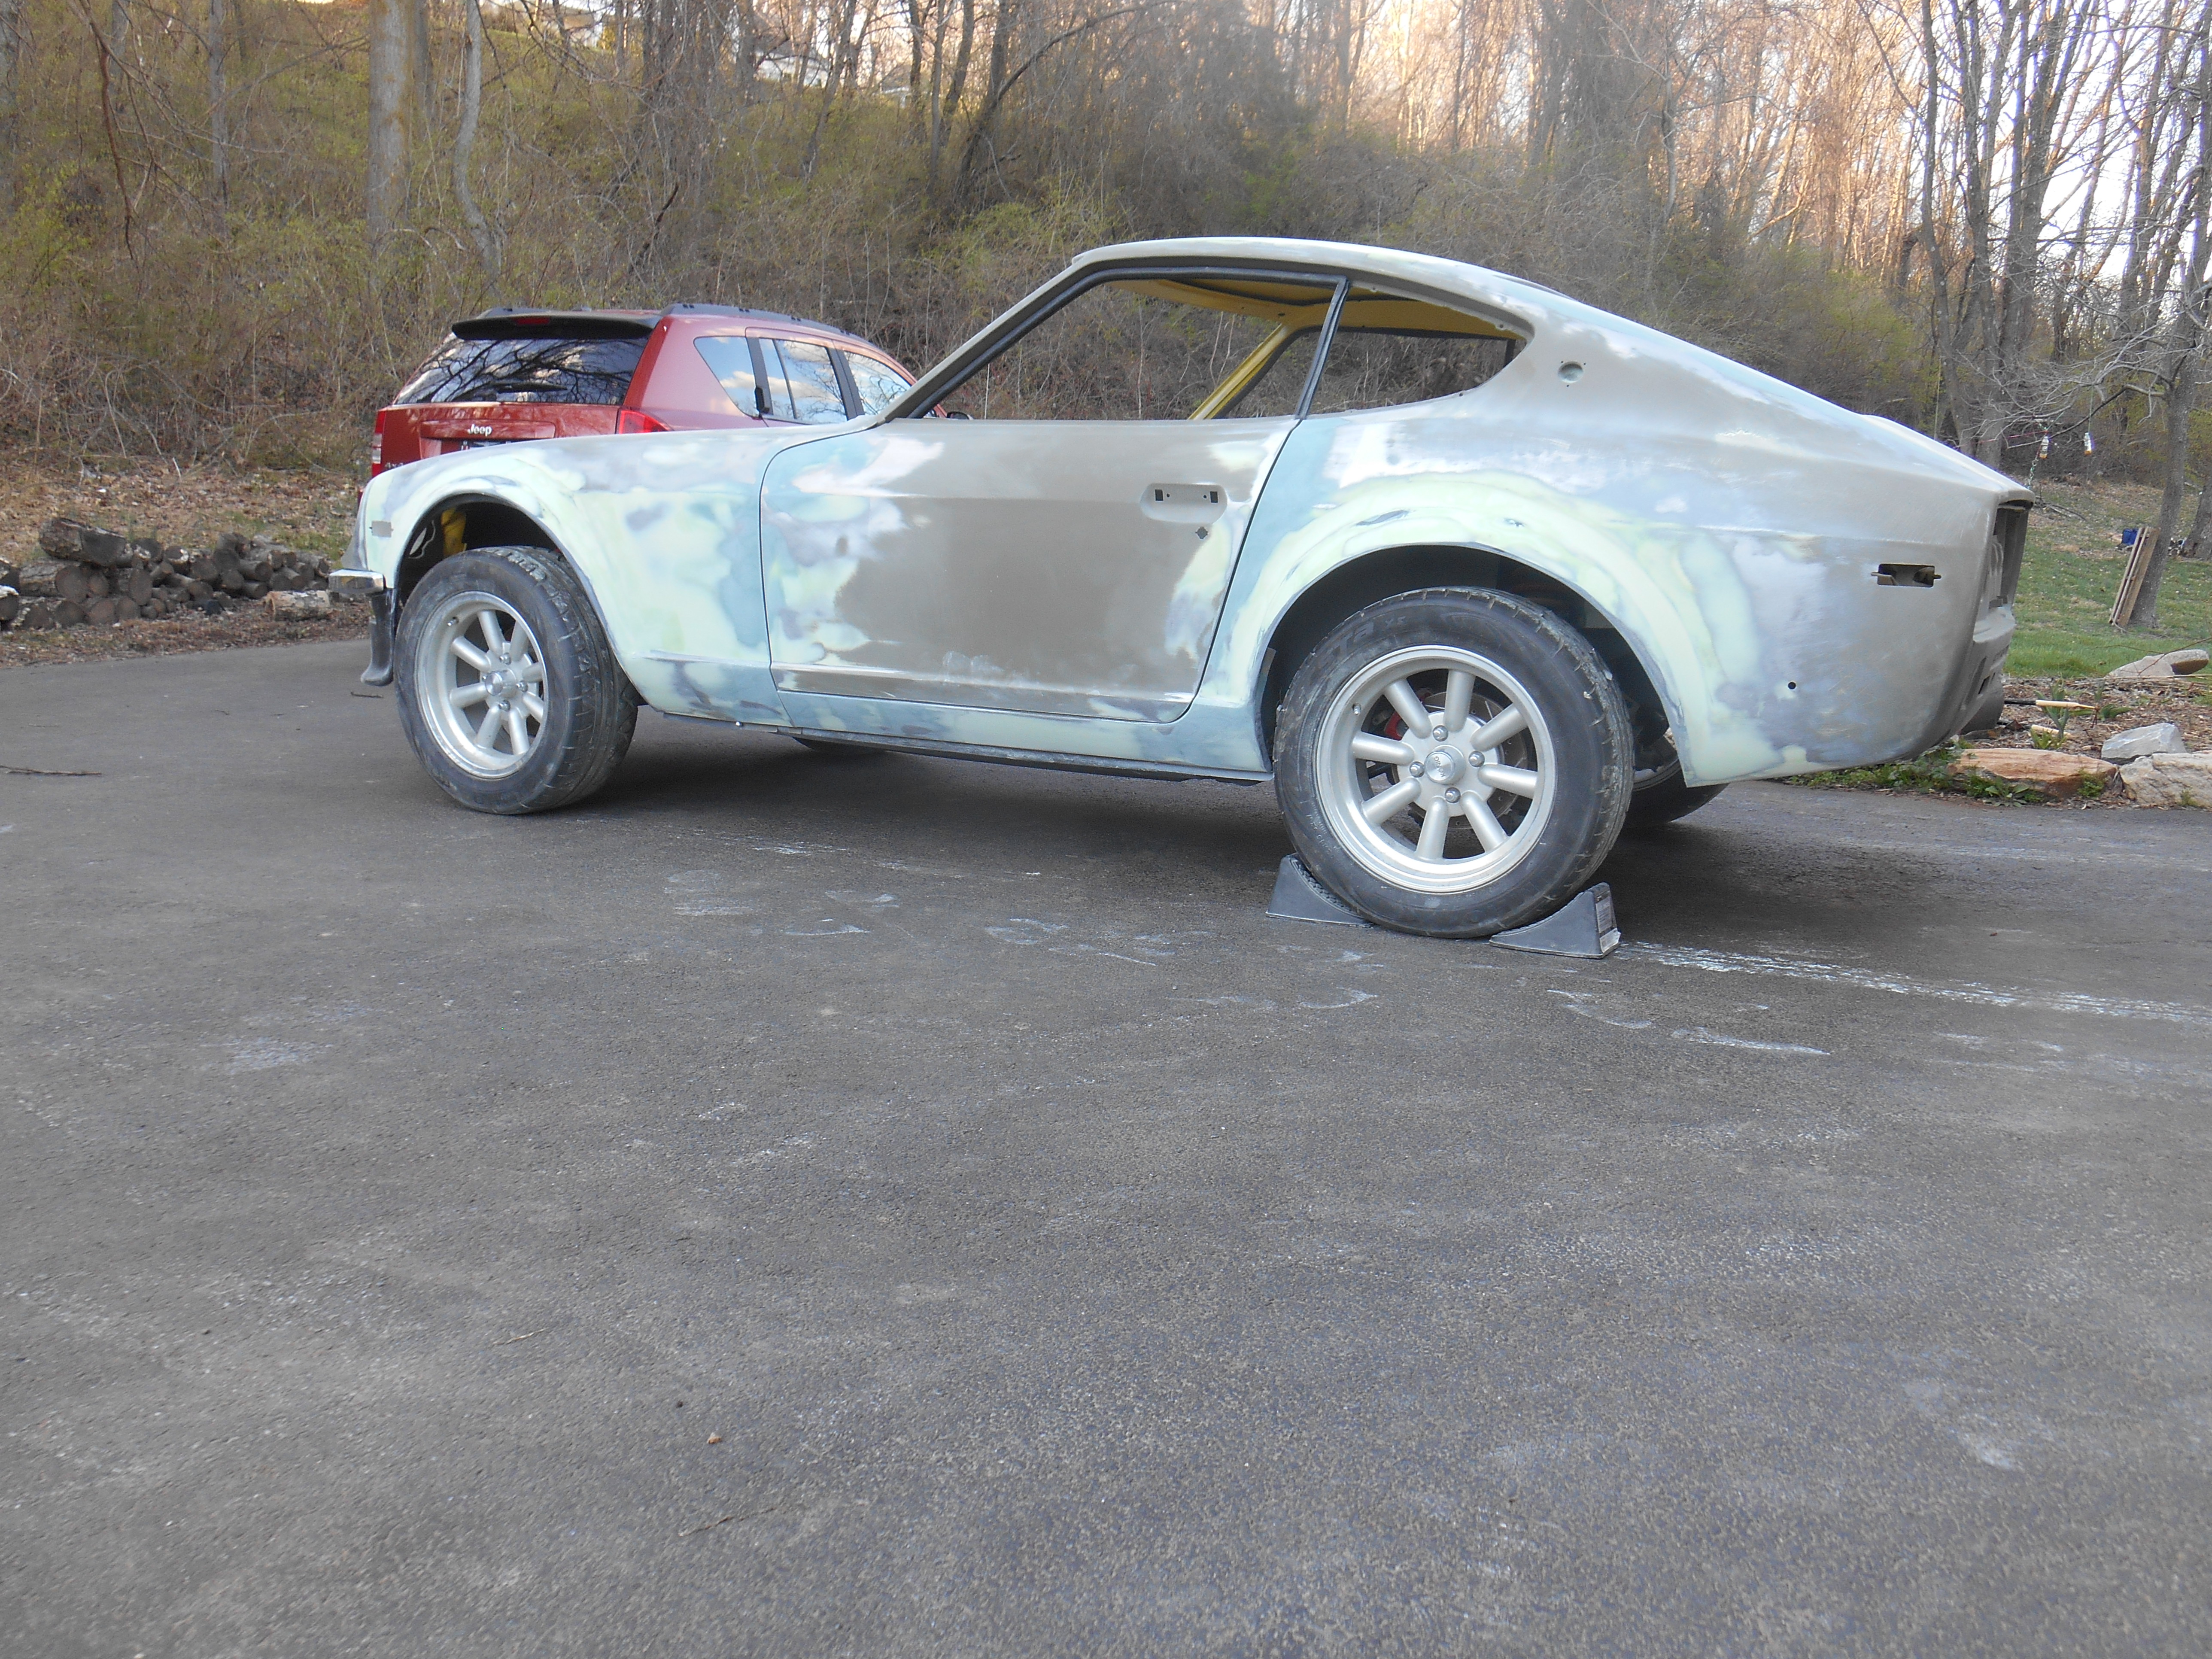
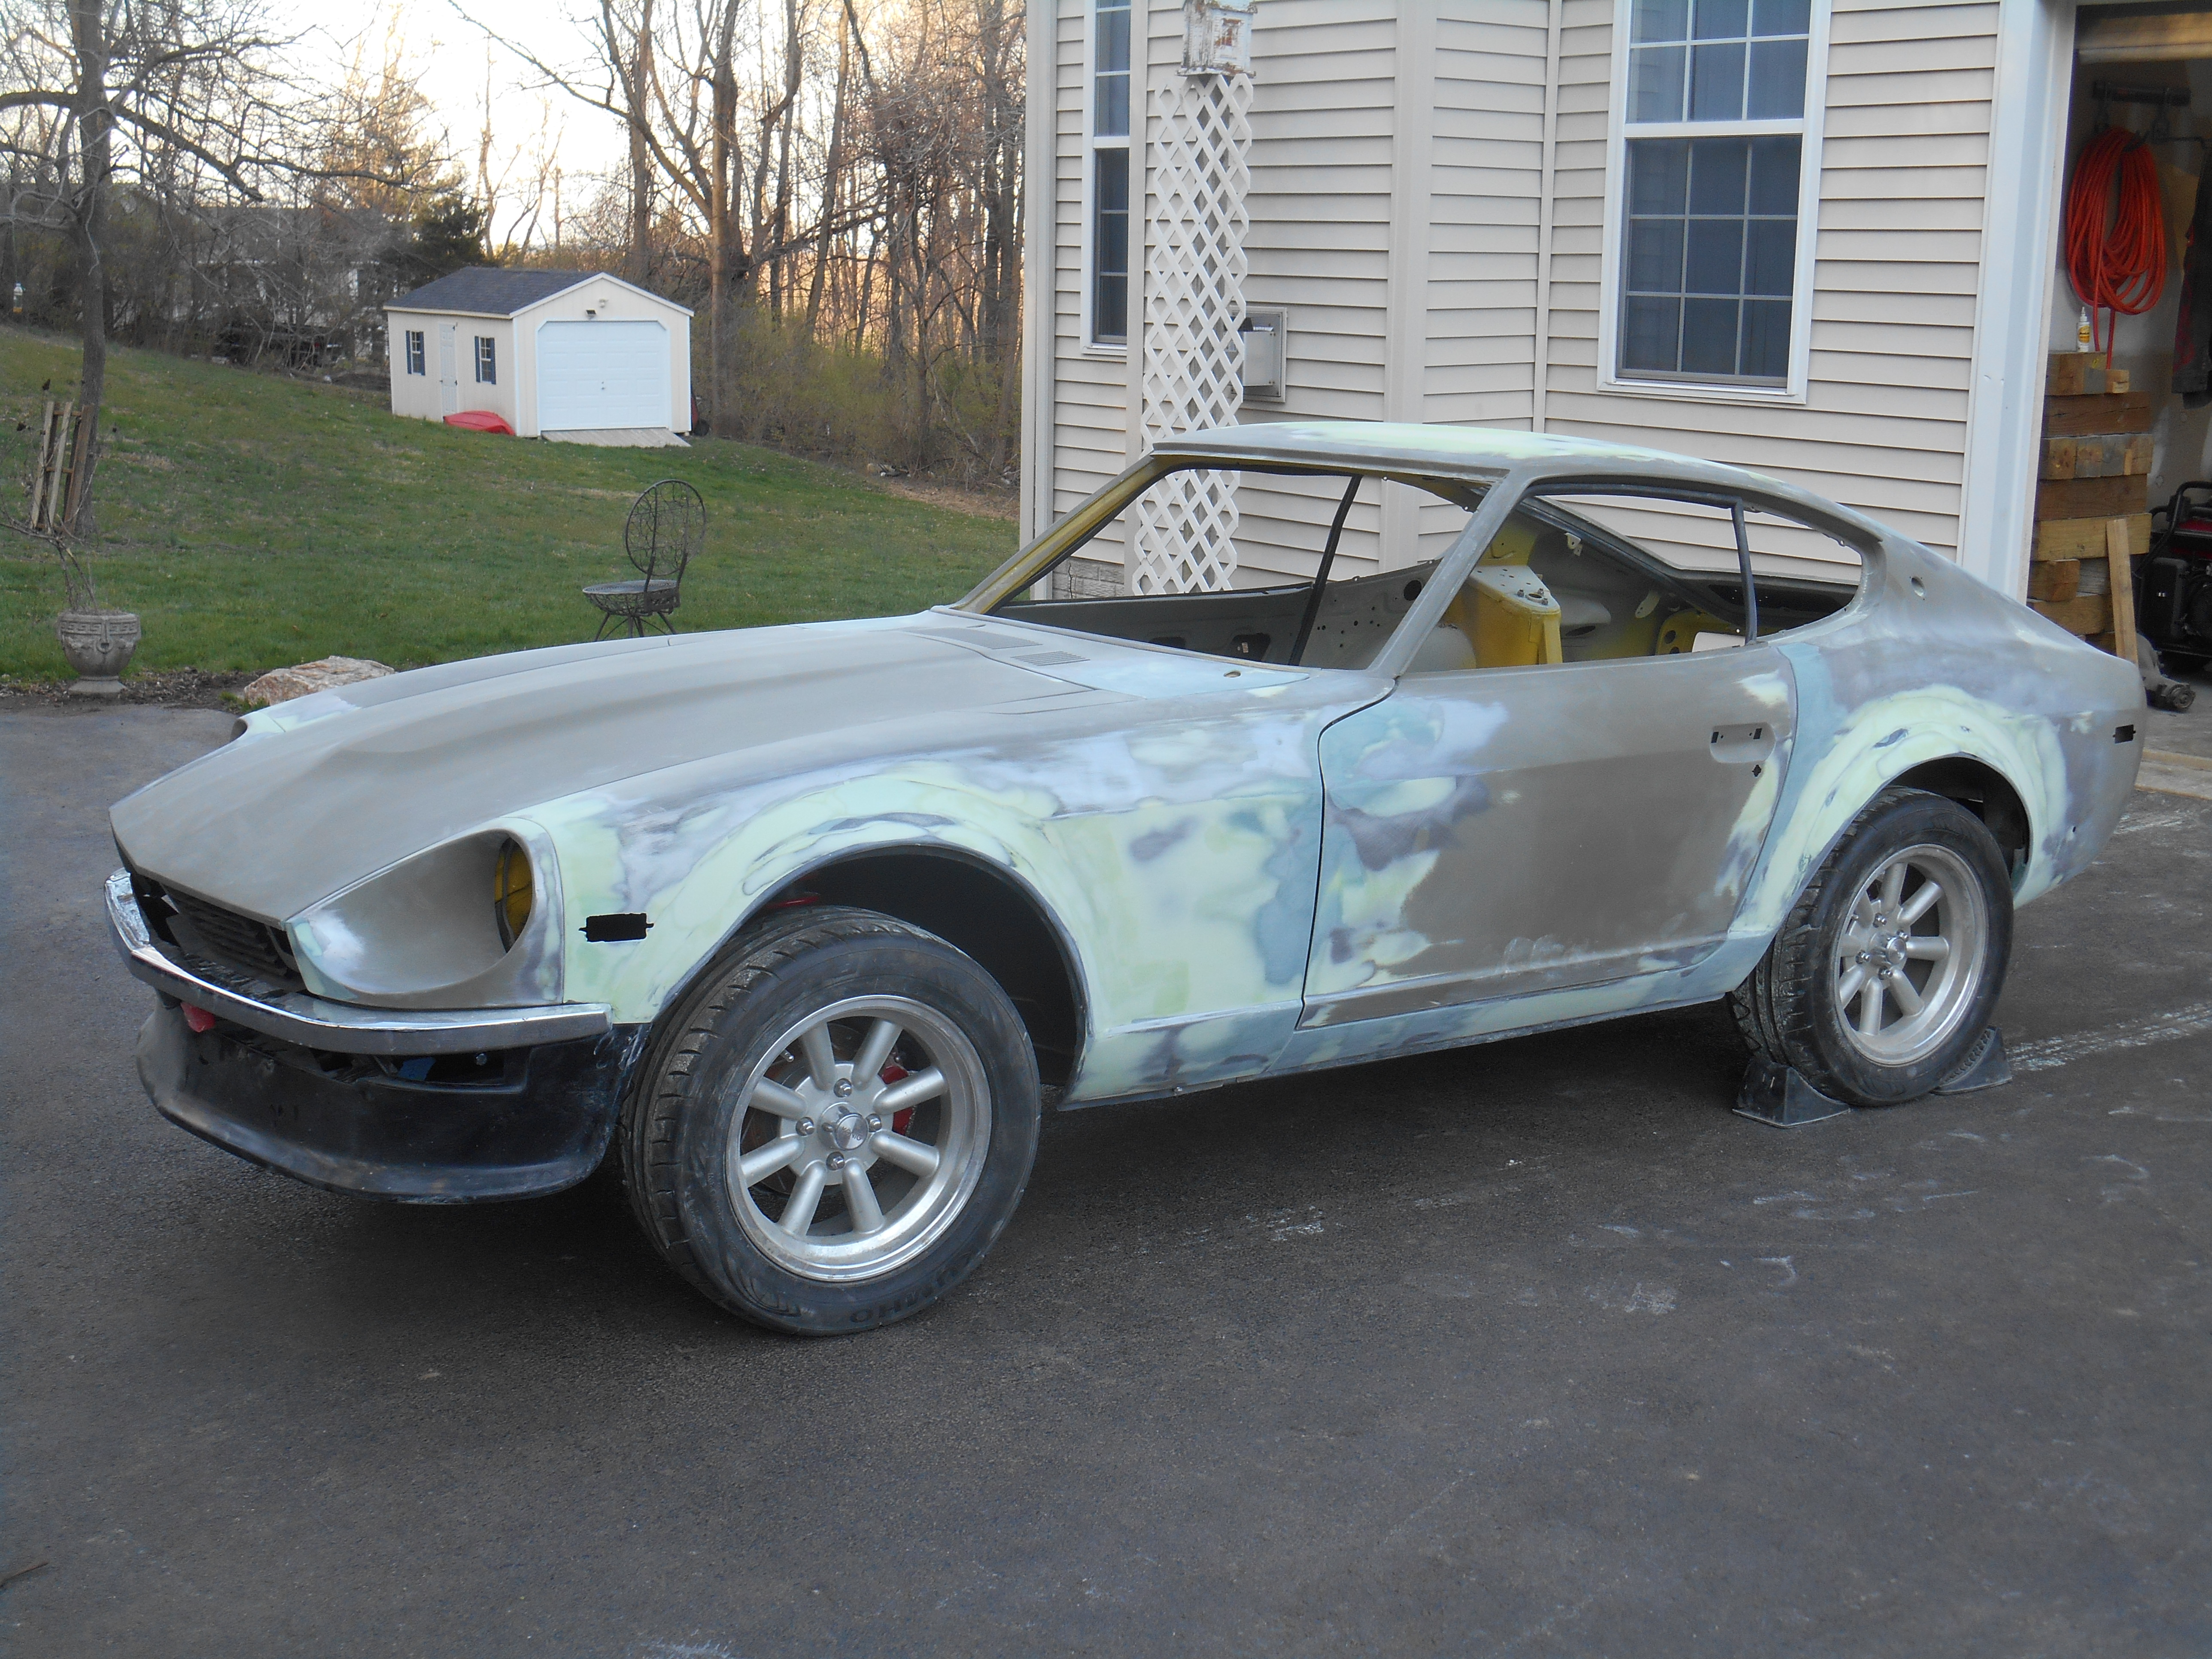
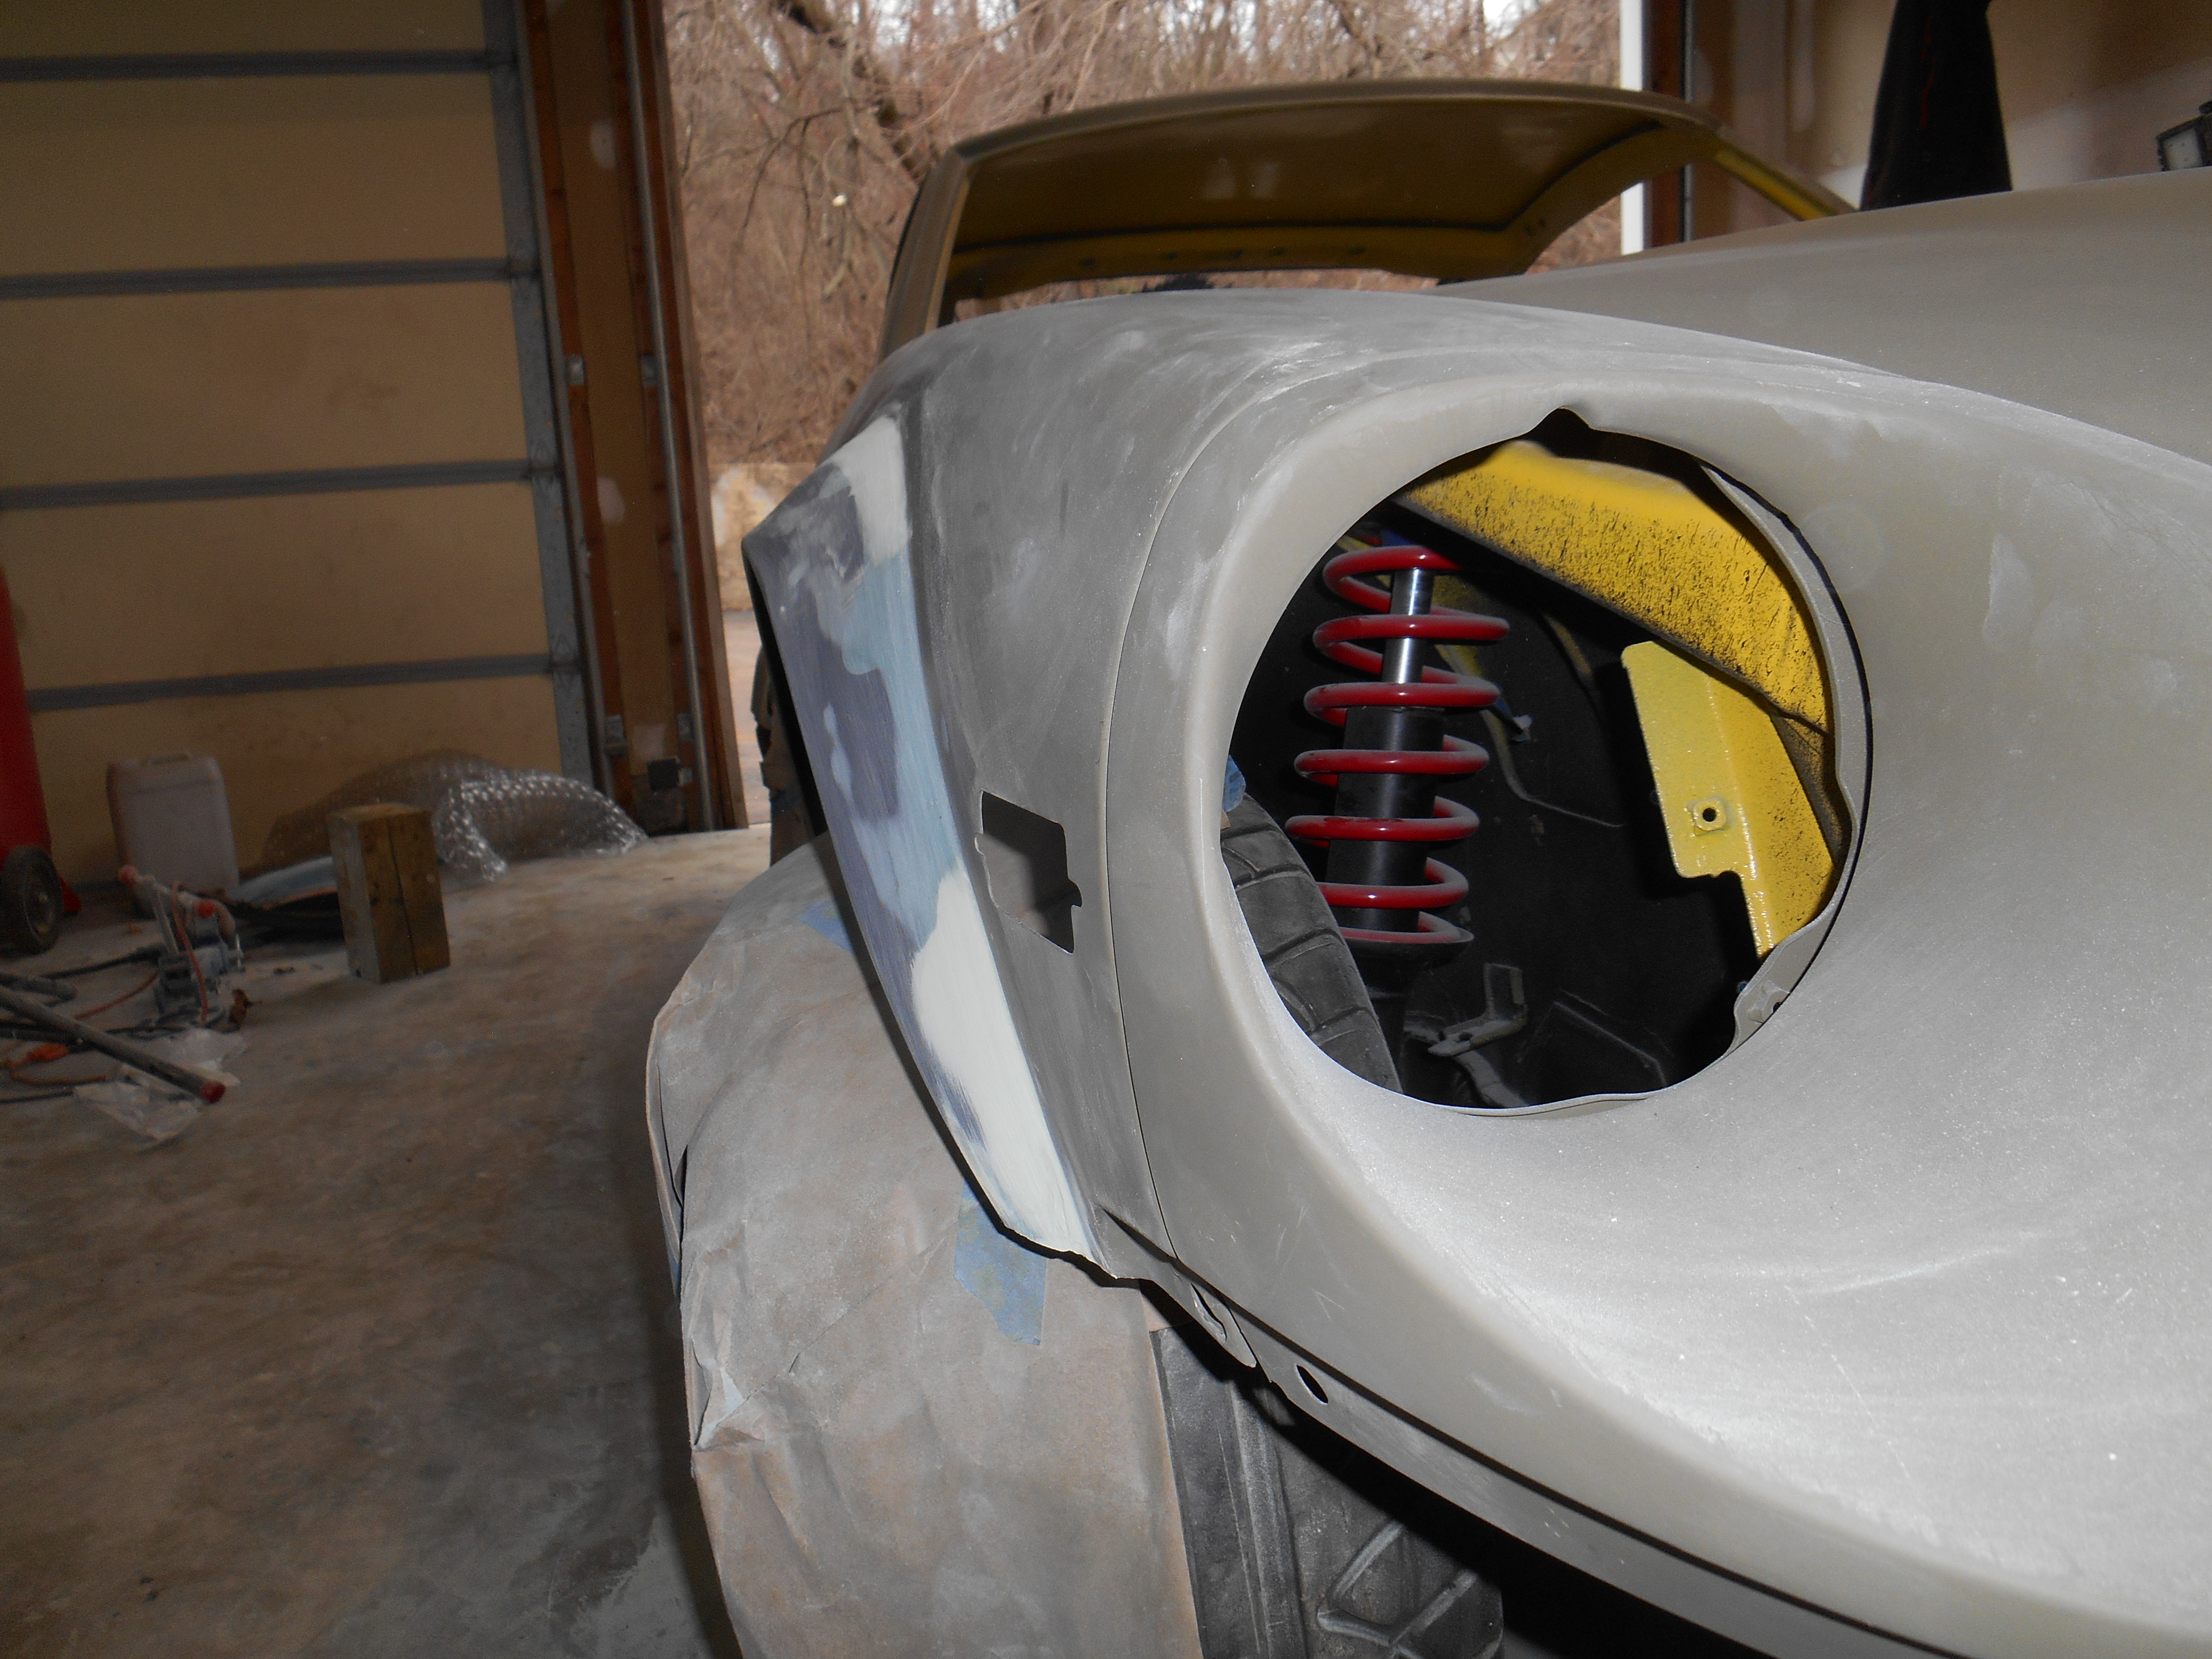
Yes, several. The body work is far from finished. I've done the "gross" filling. I still have a lot of detail work to do. Too many imperfections to list. The goal in this phase was to get everything about right and under an etching primer. I have a grey high build primer that will go on before the color coat. I'm sure there are still some low spots and a lot of scratches and other minor blemishes to fix. I'm not completely satisfied with the panel alignment either. I can live without a perfect 5mm gap, but some panels are still higher or lower than their neighbors. That I want to fix. I'll tell you all this sanding is breaking my back. I woke up this morning and my left hip is sore as hell because I spent too long sitting on the floor working on the flares. I've made a couple of milestones, though. No more rust repairs - they're done. No more paint stripping - it's done. Finishing the flares is the next goal and then perfecting the front valence and bumper fit. After that I don't know. I might jam it out at that point. The motor's being built so I'm trying to get a home ready for it. Still so much to do...
-
-
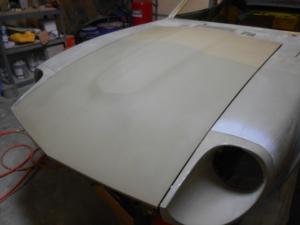
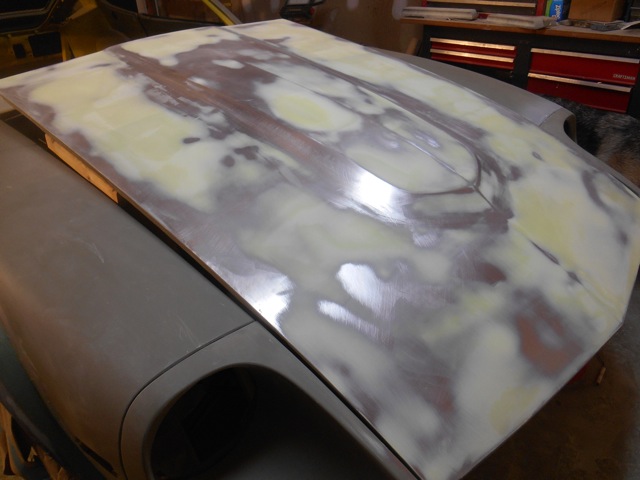
I also finished up the hood and got it under a coat of primer.