ksechler
Free Member
-
Joined
-
Last visited
Everything posted by ksechler
-
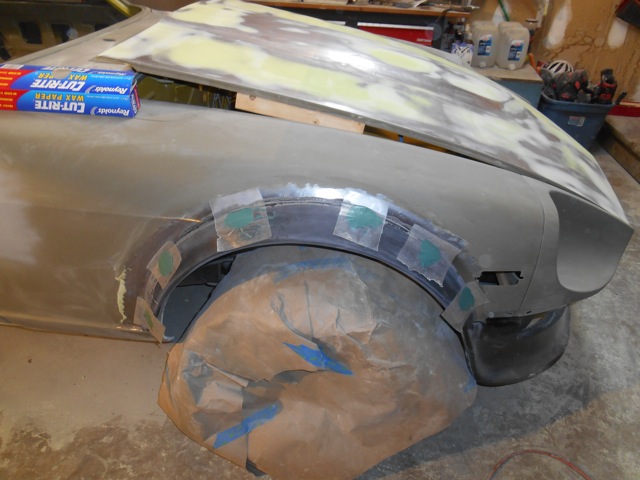
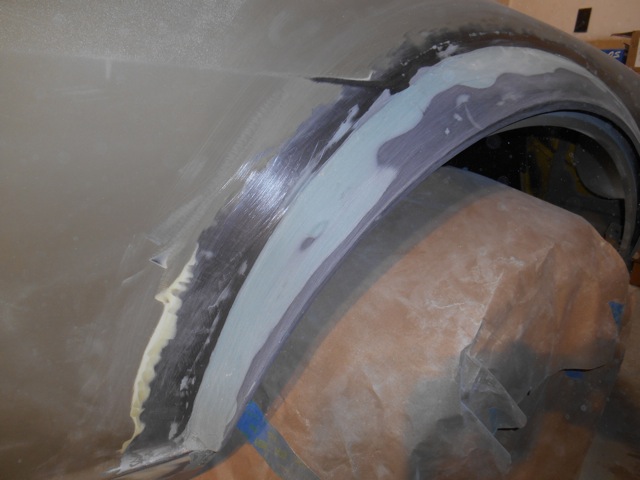
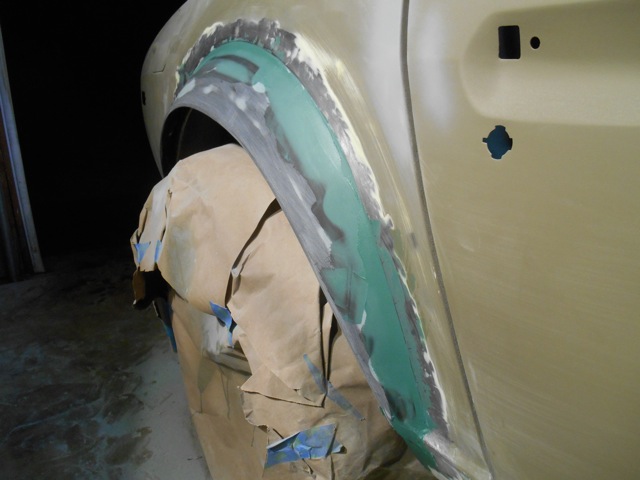
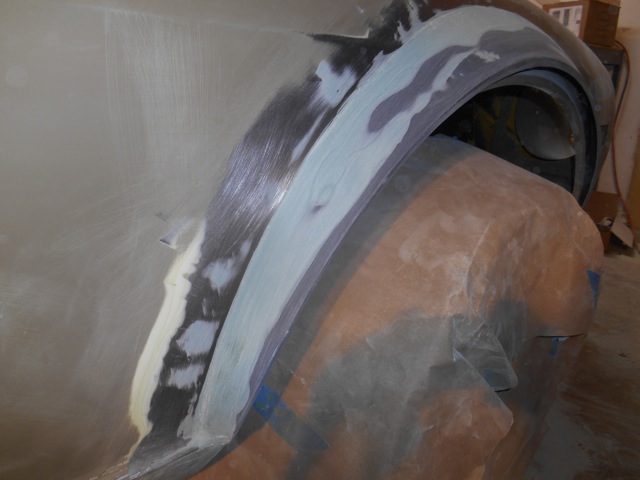
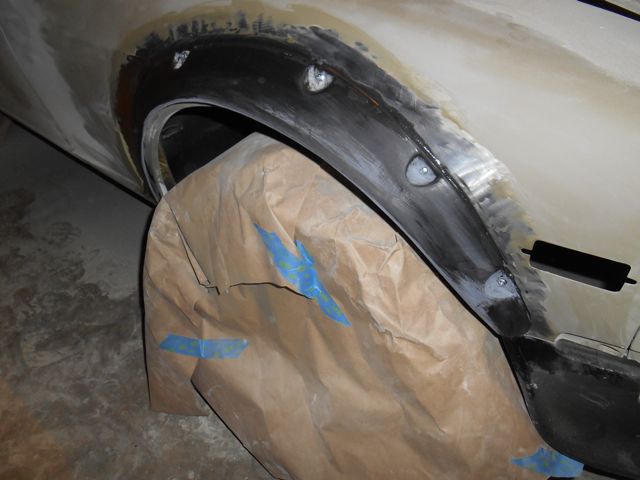
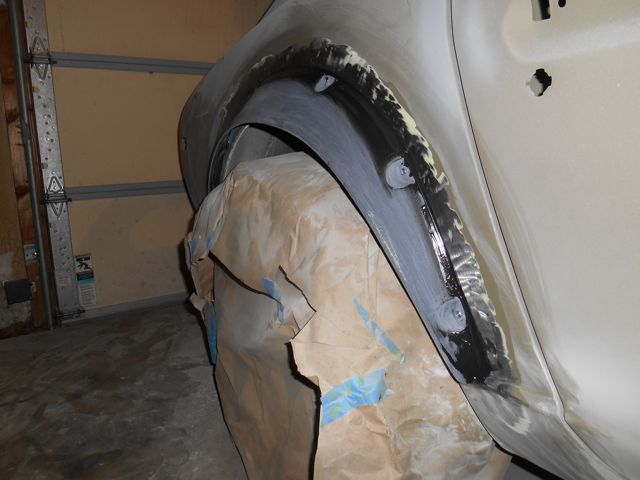
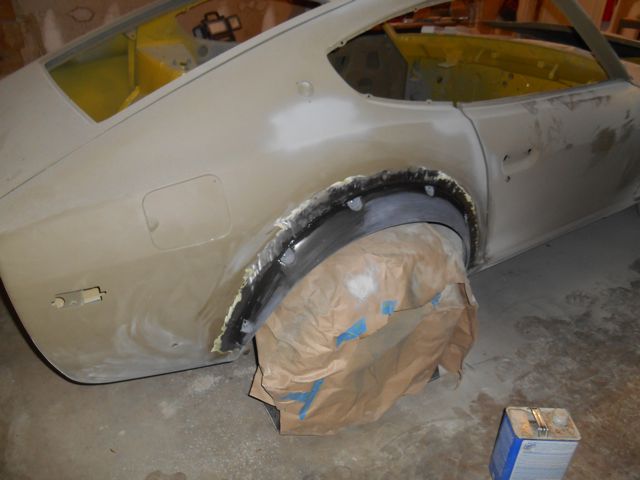
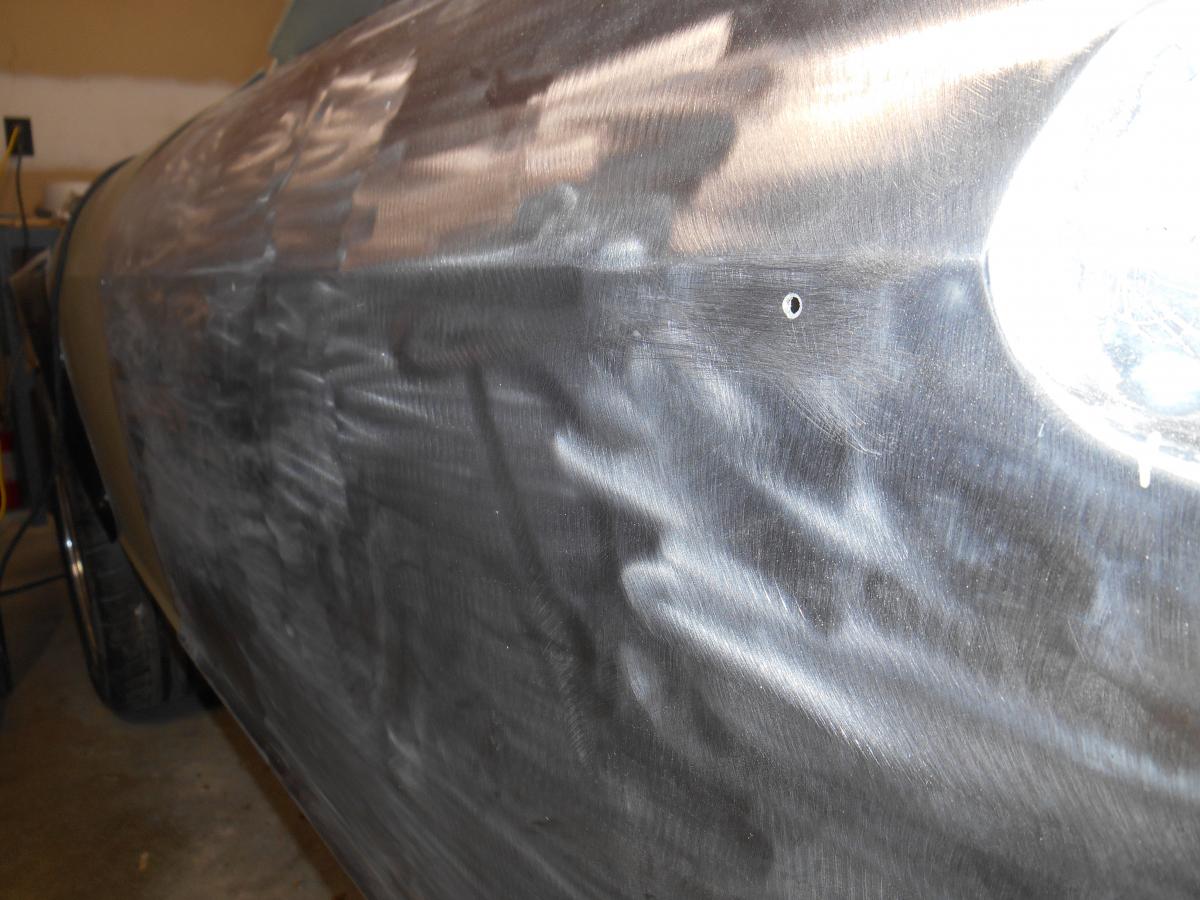
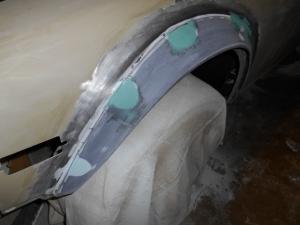
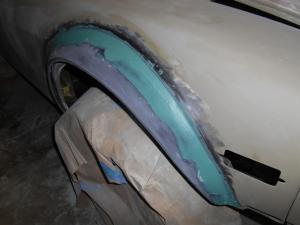
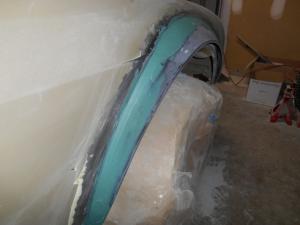
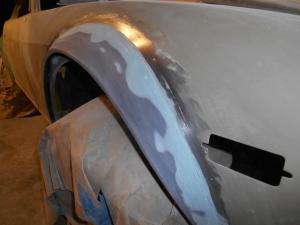
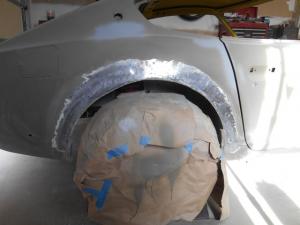
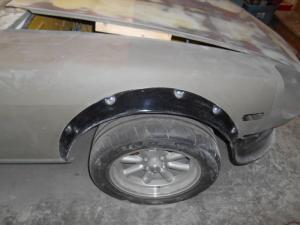
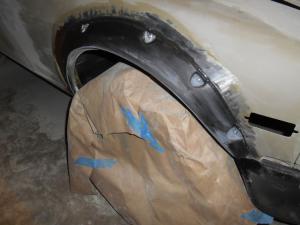
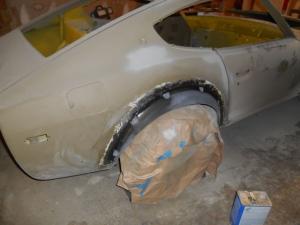
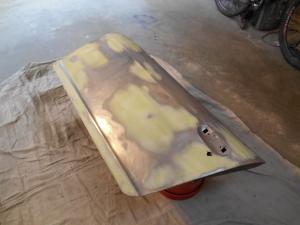
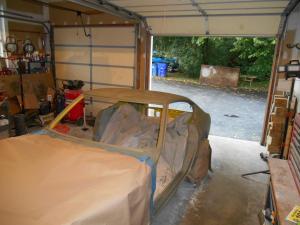
 Time for an update! While Santa's elves might have been getting ready for the big night, I was working in a workshop of my own! My boss told me to go home early for the holiday around 1:00 yesterday, "Yes Sir!!" I said. Kids were at their grandmothers' so it's just me, myself and I. Naturally, I ended up in the garage with my best (metallic) buddy. Time to start blending the fender flares. How to fill those ugly screw holes? I filled the holes with glass impregnated filler. Then I put a piece of wax paper over the mess and smoothed it out. Then just did a lot of filling and sanding. When I have the right contour I will put a layer of fiberglass overtop and then smooth everything out with normal filler. I have tried a variety of products, but I really love the Eastwood fillers. They are very workable and don't have the initial stickiness ( which loads up sandpaper instantly) other products have.
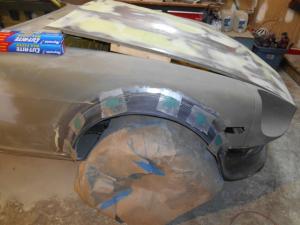


-
Headlight buckets can be readily found on ebay for $50-$100. It might be easier to just replace them.
-
-
What size compressor do you have? I found my compressor (5 Hp) was not able to keep up with blasting at all. Couple other things... The lenses or whatever you'd call it in the hoods/googles get pitted quickly and most of the time you can't see what you're doing. Proper lighting can help. Media gets everywhere. My car still bleeds aluminum oxide at odd intervals. The nozzle on your media blaster wear's out. Have a spare. The nozzle will clog. Sift your media (twice) and keep your air dry. Good luck! I freaking hate blasting. I'm glad I'm done with most of the big parts.
-
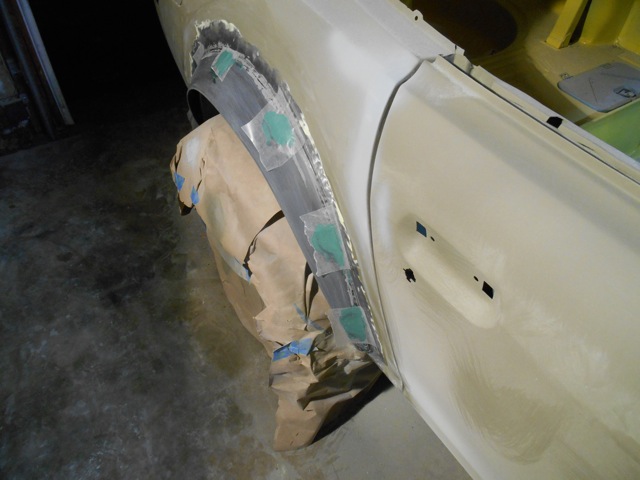
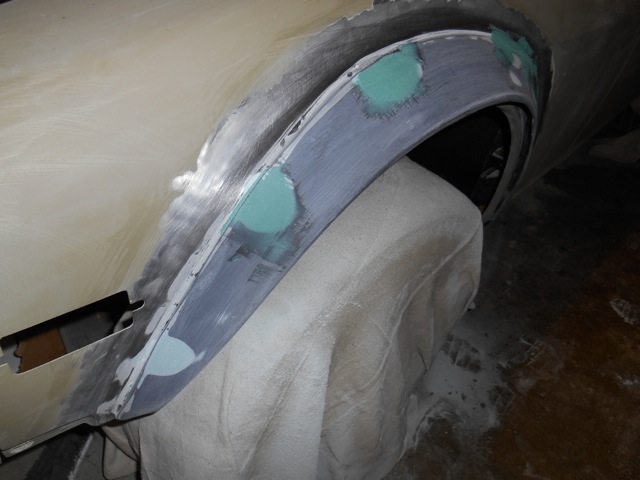
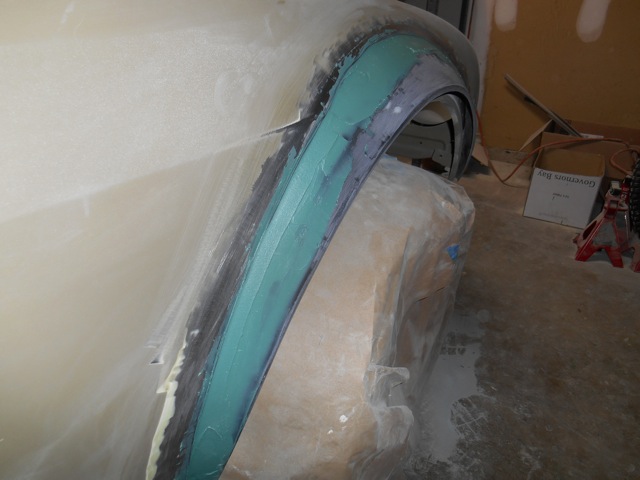
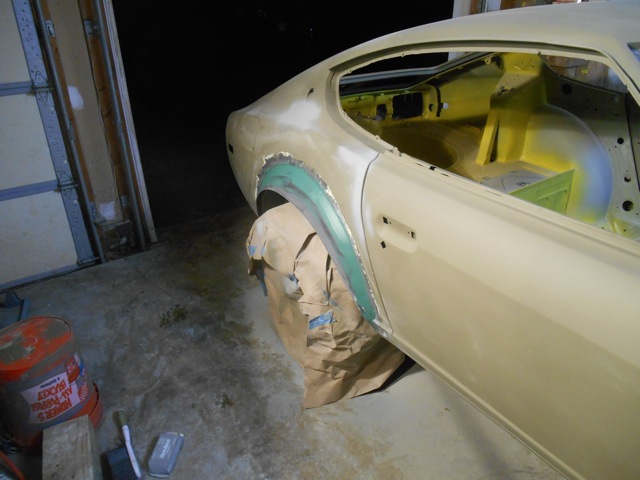
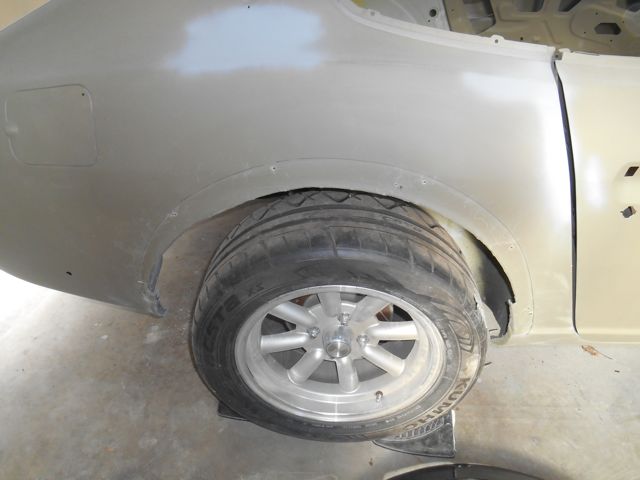
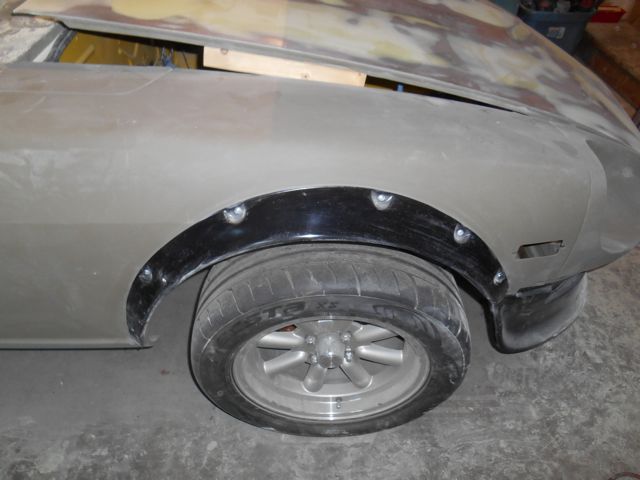
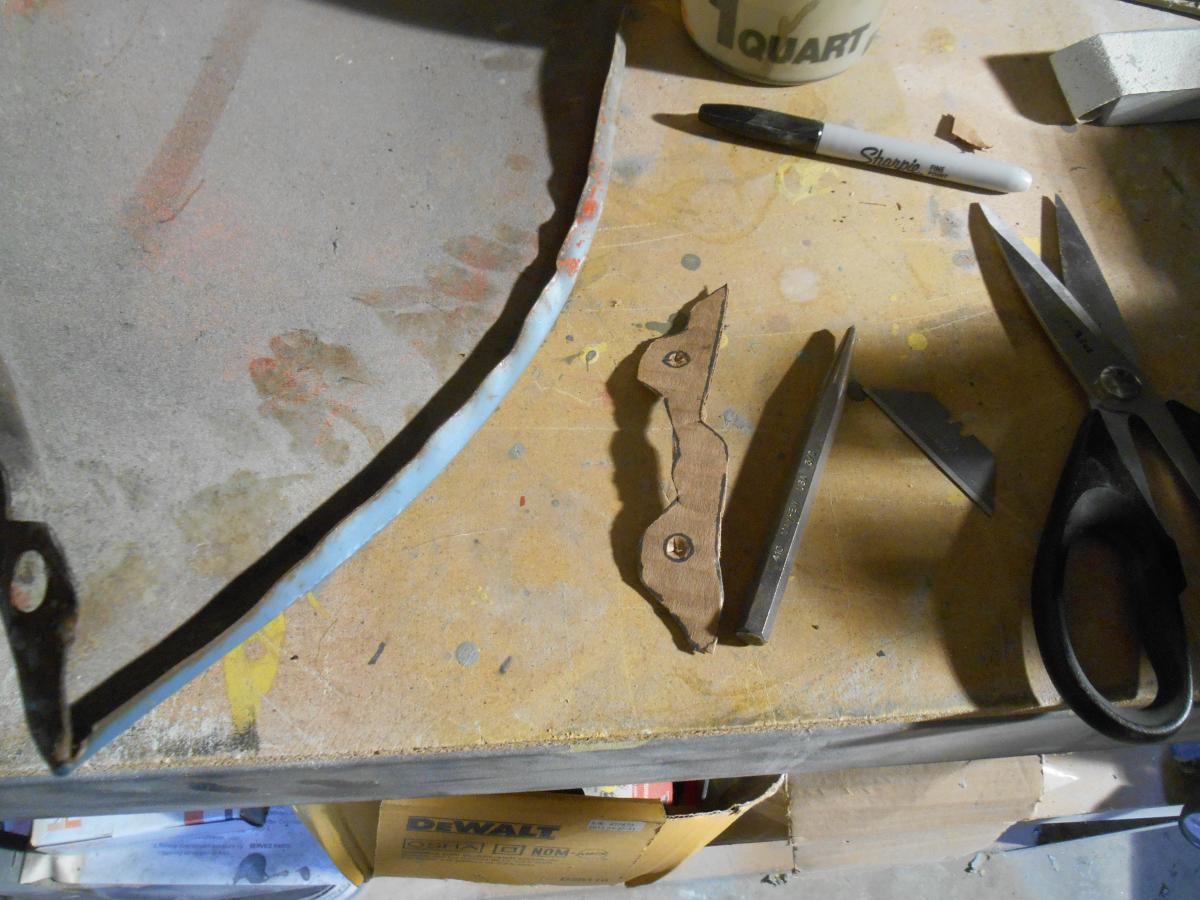
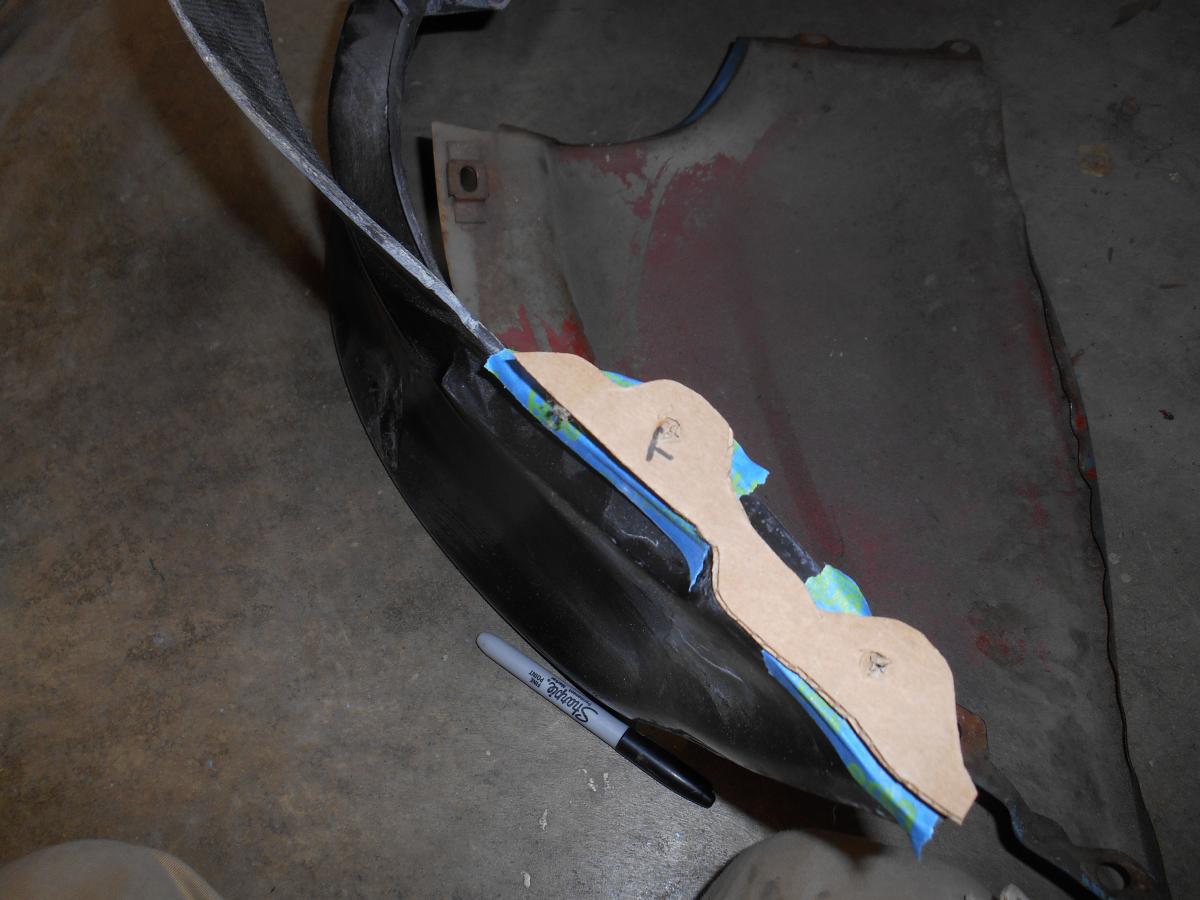
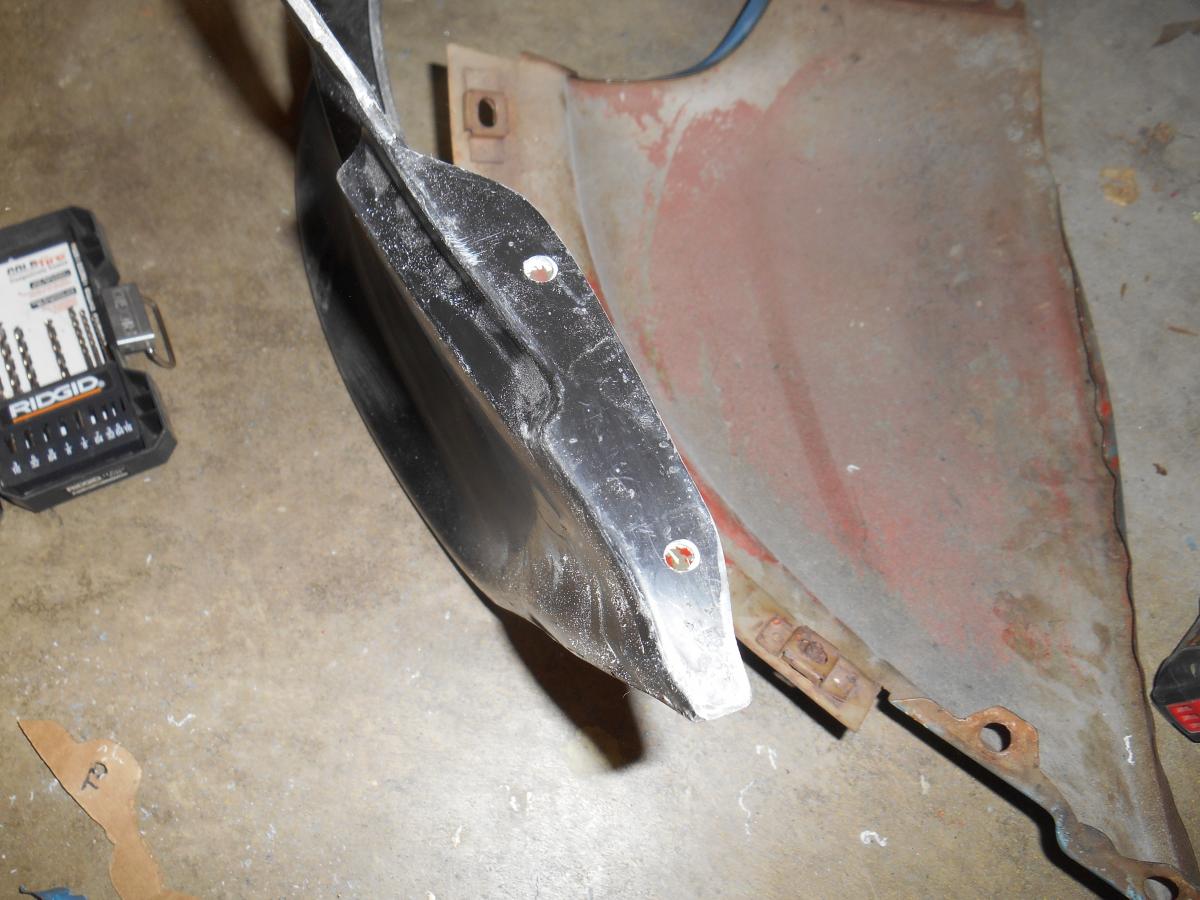
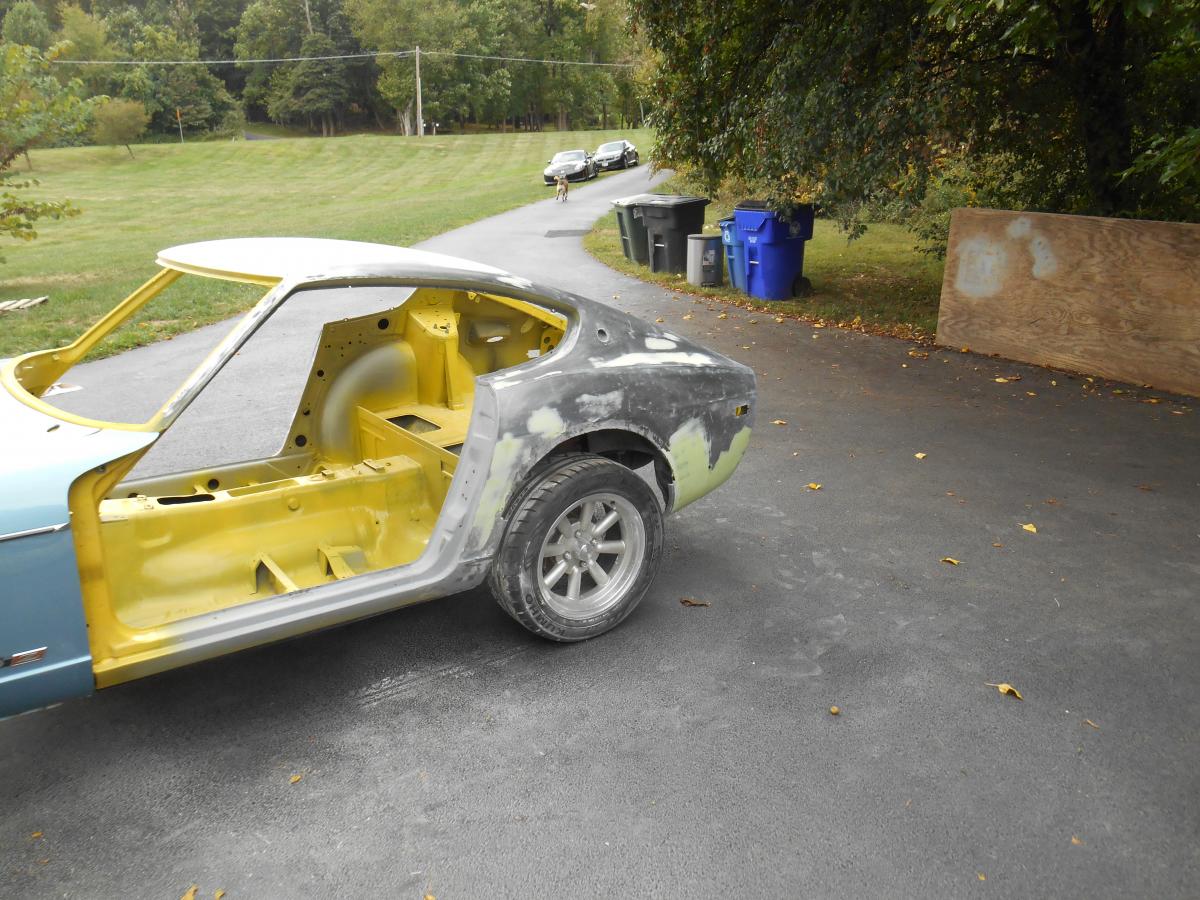
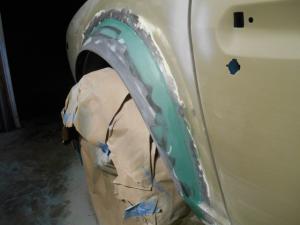
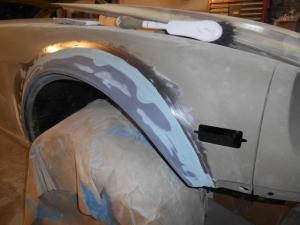
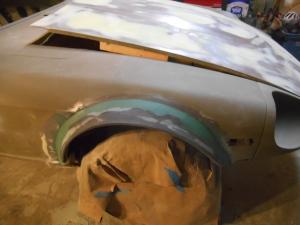
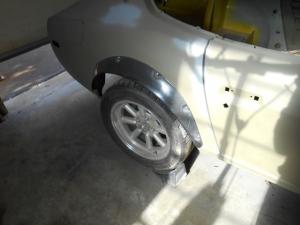
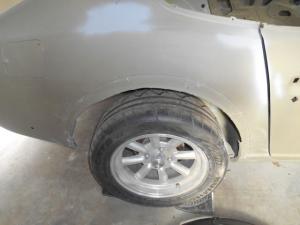
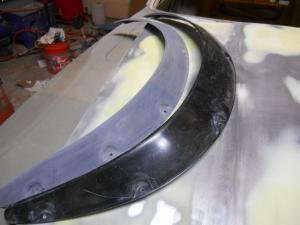
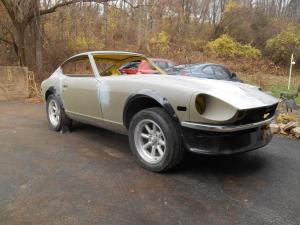
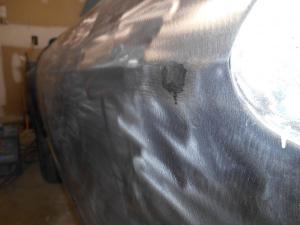
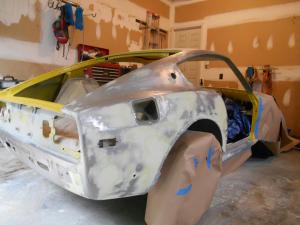
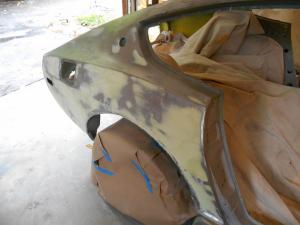
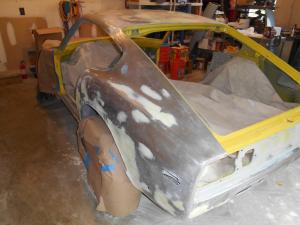
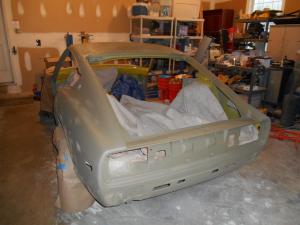
Some work on fender flares... These are the MSA fiberglass flares. Screwed on (front and back): I traced the fender flare outline: Stripped the fender back to bare metal: Sanded the flare to rough it up to glue on, fill, primer, etc. The left one is sanded the right one is not: And glued the suckers on: I used 3M panel adhesive. Interestingly I found out that you needed a special gun to apply. It's only $200! Yikes! So I squeezed the contents into a cup and mixed it by hand before applying it manually. The next step will be to apply fiberglass to further secure everything in place and then fill and sand until I get the contour I like.

-
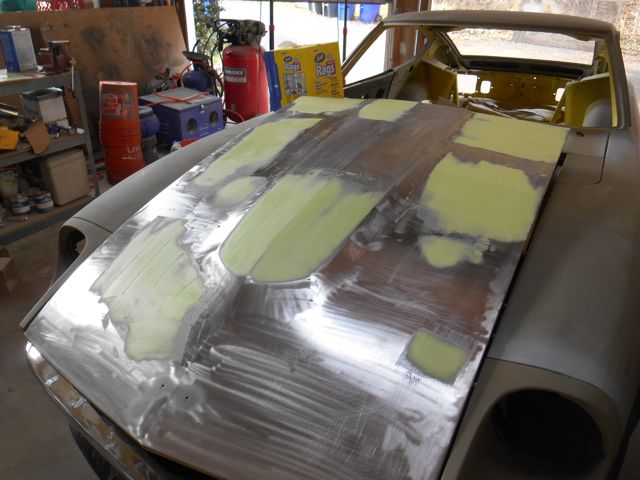
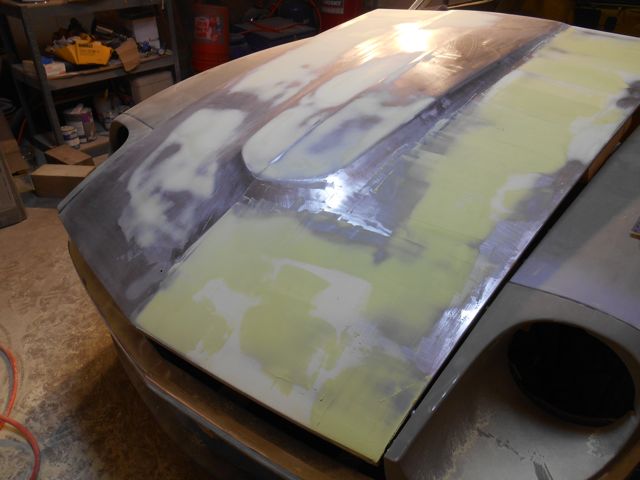
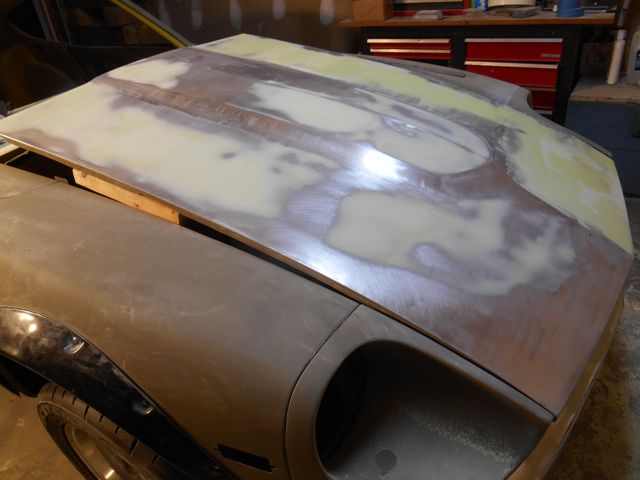
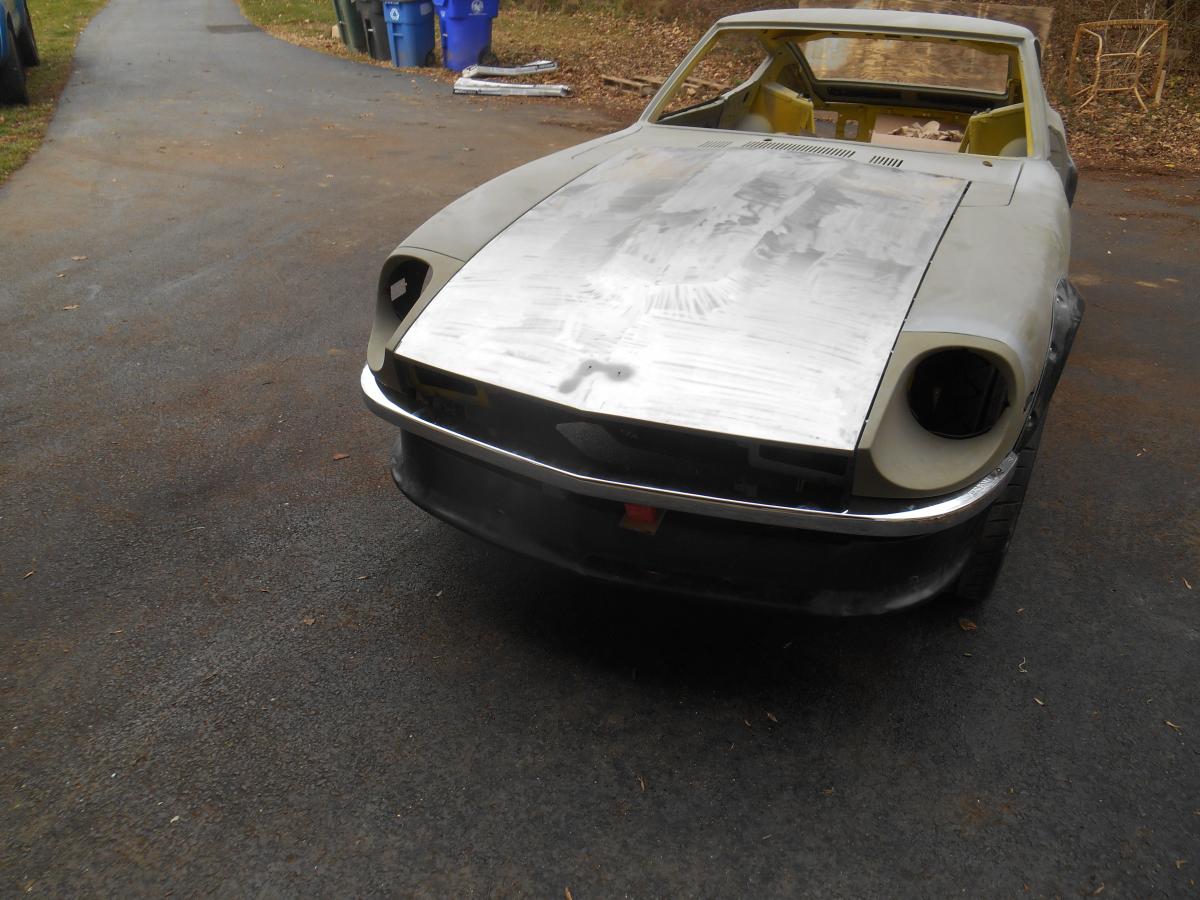
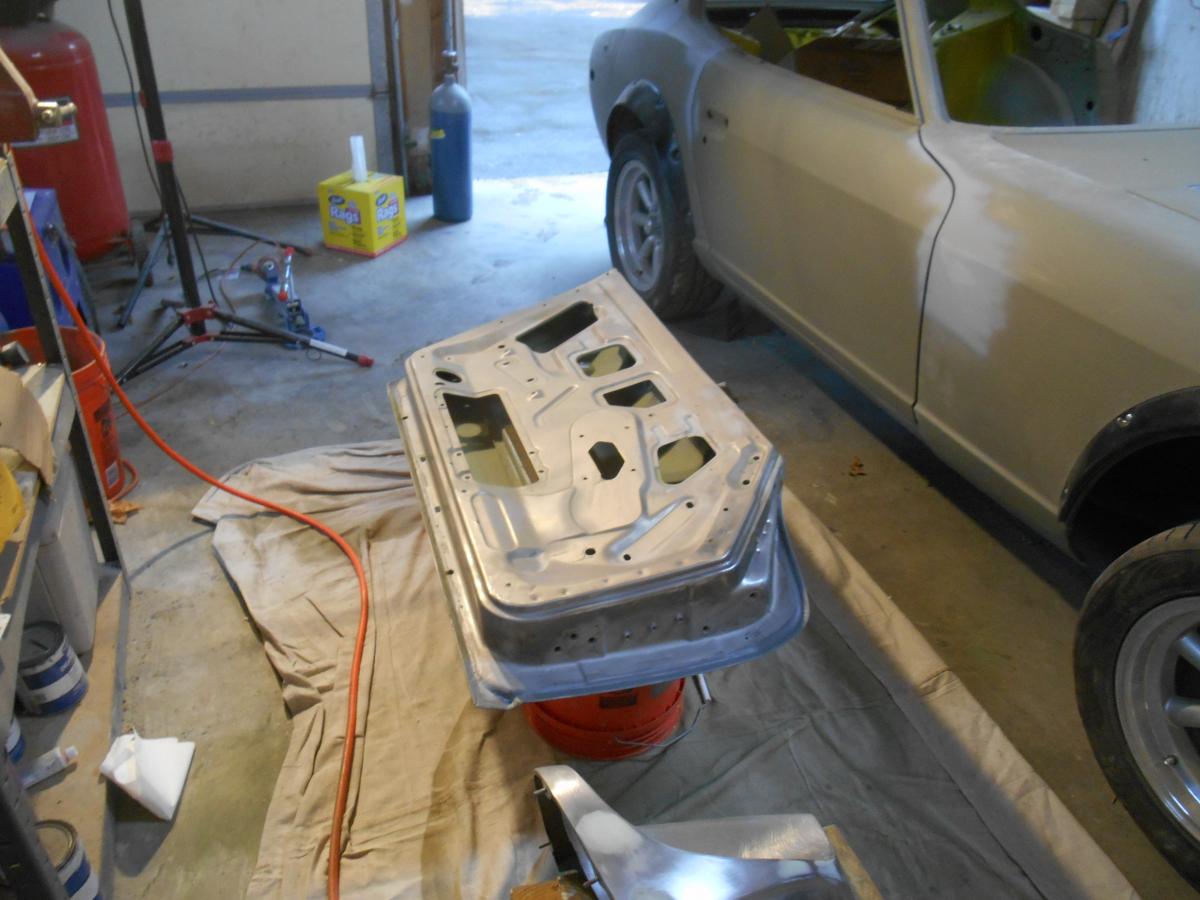
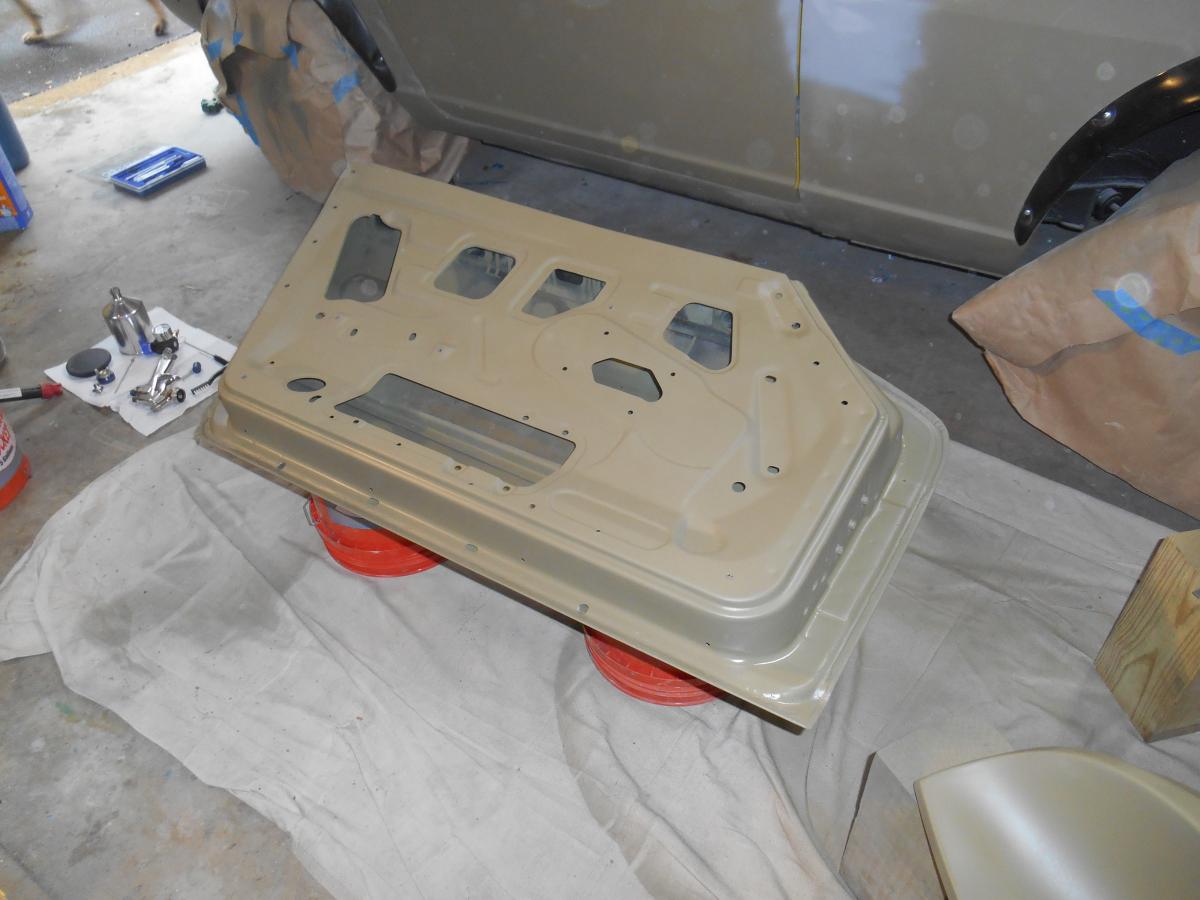
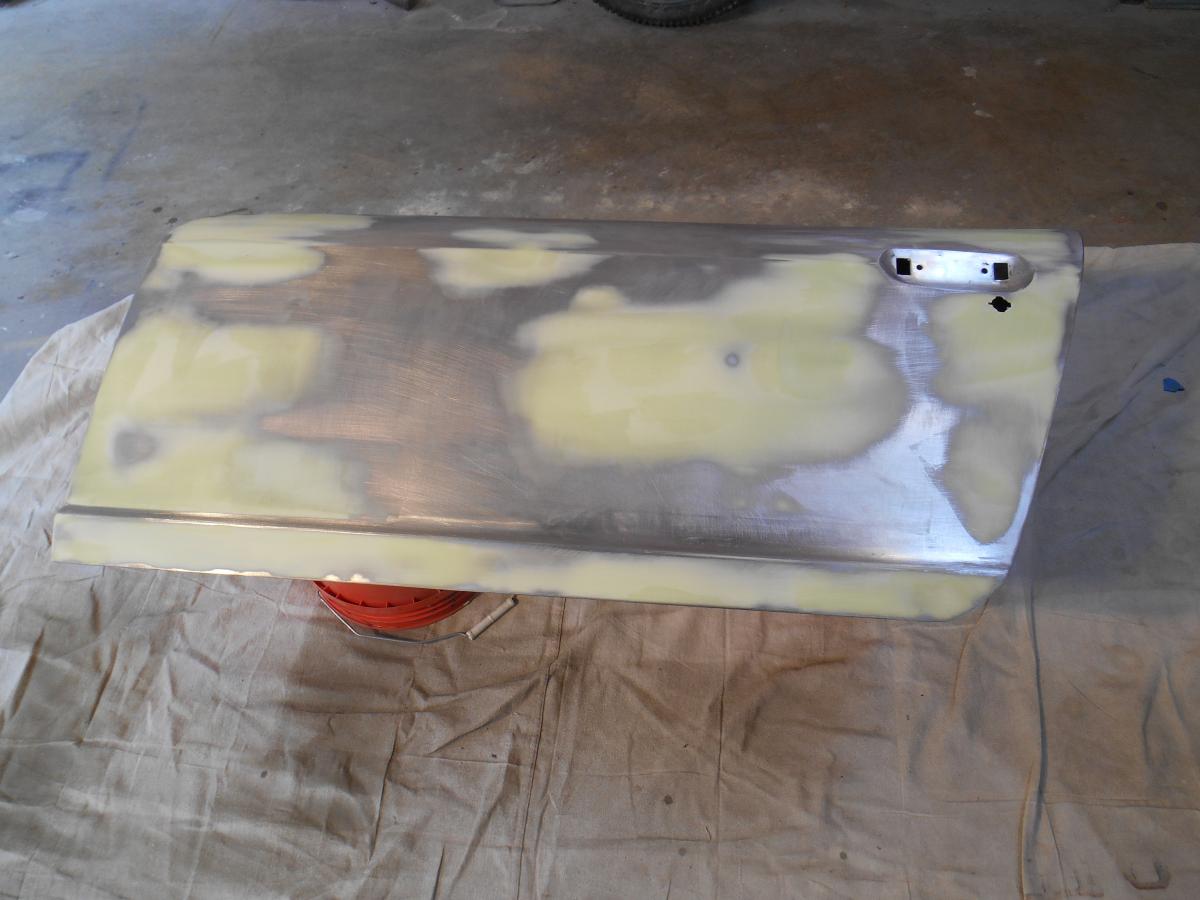
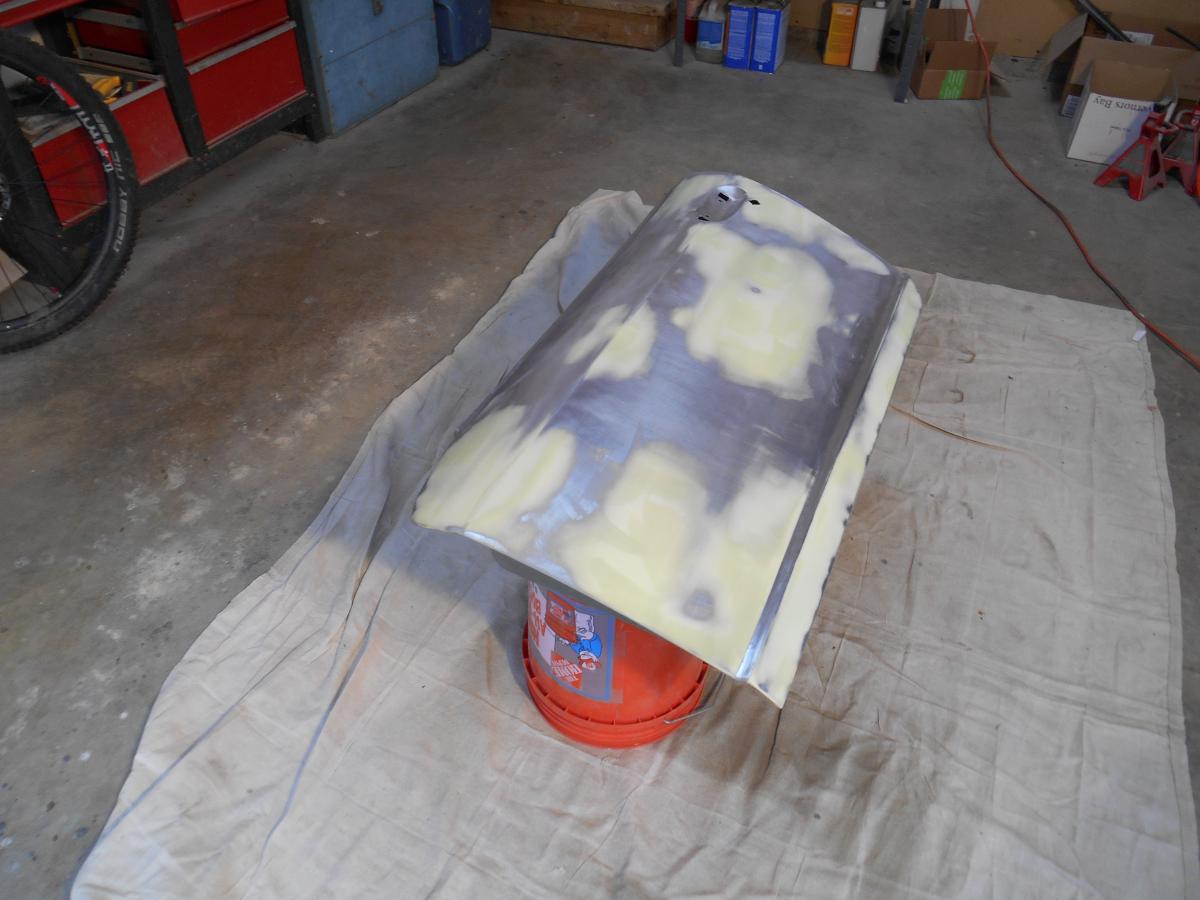
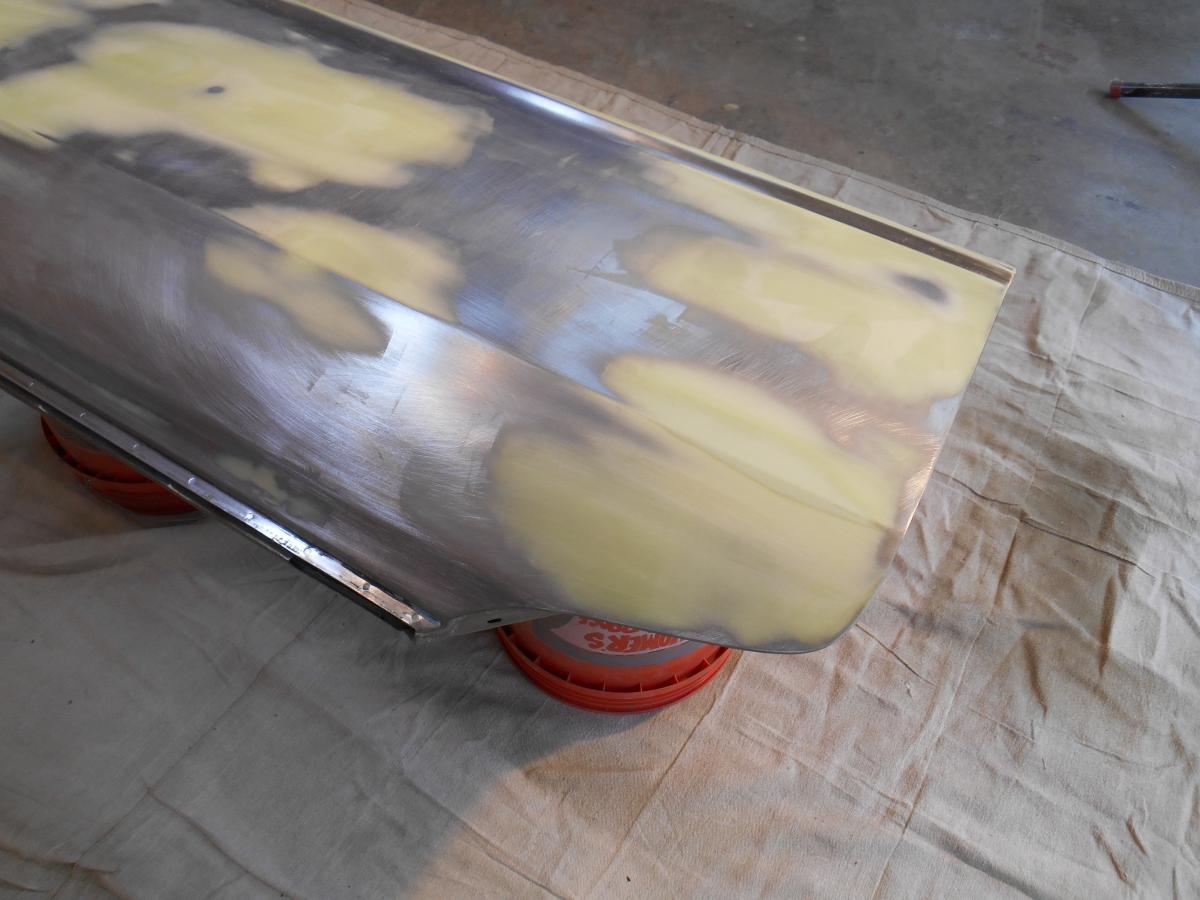
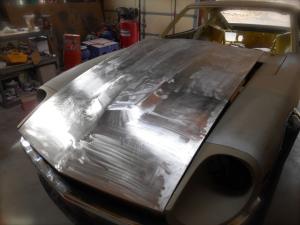
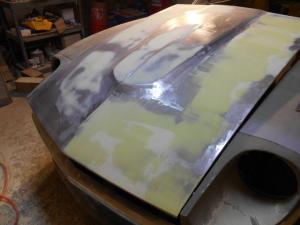
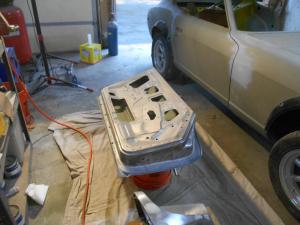
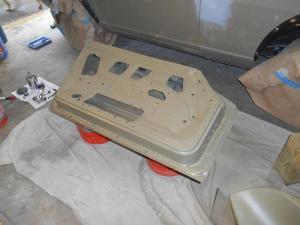
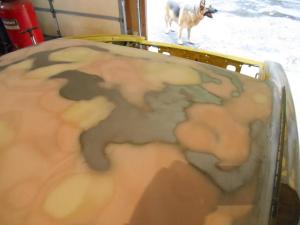
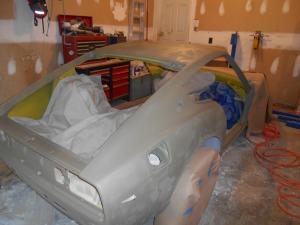
Some updates... The updates will be slower now since I'm current. So everything I post will be as I complete the work. I have been working on the hood. Stripped it inside and out then sprayed Eastwood internal frame coating everywhere that I could not reach. I am doing the blocking and filling now...


-
I think you made the right choice. Good luck finding a better candidate for restoration.
-
For what it's worth, I used Eastwood weldable primer inside the areas I patched. I also used Easwood's internal frame coating when I was done. I put the nozzle they provide in the boltholes and sprayed it everywhere until the car just sat there with green paint leaking out of every seam.
-
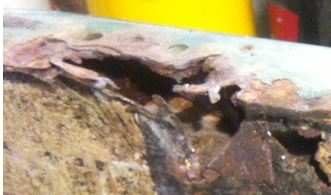
I'd start by cleaning all the rust out on the frame (where the anti-sway bar was). That's the worst of it from what I see and the most likely to derail the whole project. My frame wasn't bad that far forward. This part worries me: Do you know how to weld? That's a pretty important part of the structure and it needs to be strong when your done.

-
-
Yikes! That car looks pretty rough to me.
-
Chuck: I think you're right. The black on the lower fenders makes me really suspicious. I also don't like the black engine compartment and the fact that the car looks like it was very recently sprayed. Every time I look I see more wrong. I suspect there are a lot of hidden issues. I've since decided that I'm going to pass. My original thought was that if it was really rust free and really an early(ish) production car I could get it running with some of my leftover parts and flip it for a few $. I think in hindsight that it won't be worth the trouble, and since my existing project car is coming along nicely (finally) I'm not going to borrow trouble.
-
If one had the opportunity to obtain a rust free 1970 240z in non-running condition but with all the parts to make it run, how much would you expect to pay? Does $7K seem unreasonable?
-
Nice shorts! I like the look of those black Webers. Keep up the good work.
-
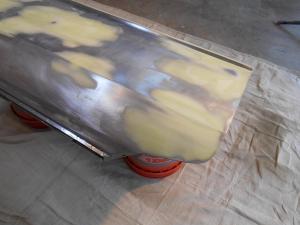
Your car looks a lot better than mine did. I also encountered the yellow primer. I guess they used that at the factory. I went to bare metal because I had some stupid notion of stripping the whole damn car. I think I made a lot of extra work for myself but I know exactly what I sprayed over what and that there isn't any rust hiding there. My car was an east coast (USA) car and had a lot of rust hiding. I feel pretty confident that I have an actual rust-free chassis now. That should be an oddity around here :-). You seem to be making good progress. Keep up the good work. I hope you don't finish before me since I had a pretty big head start.
-
-
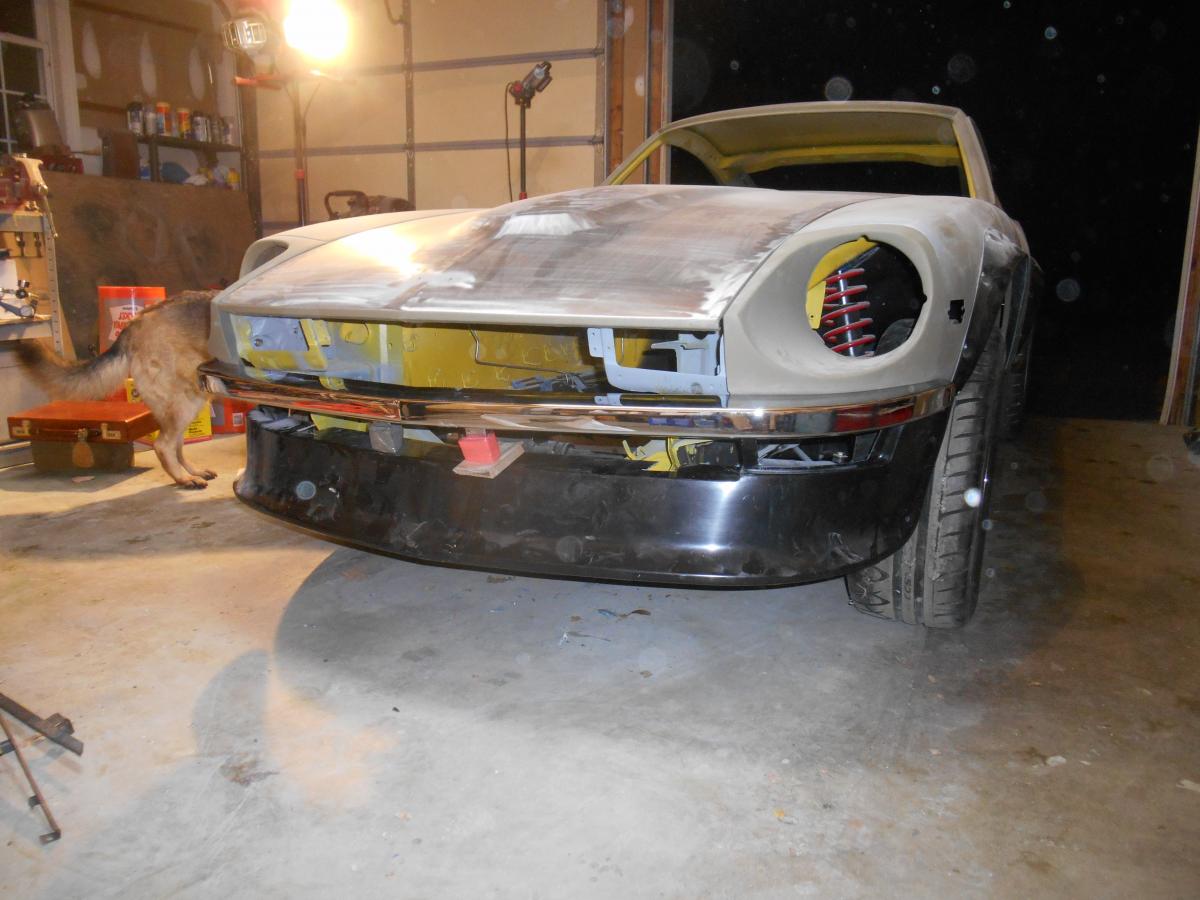
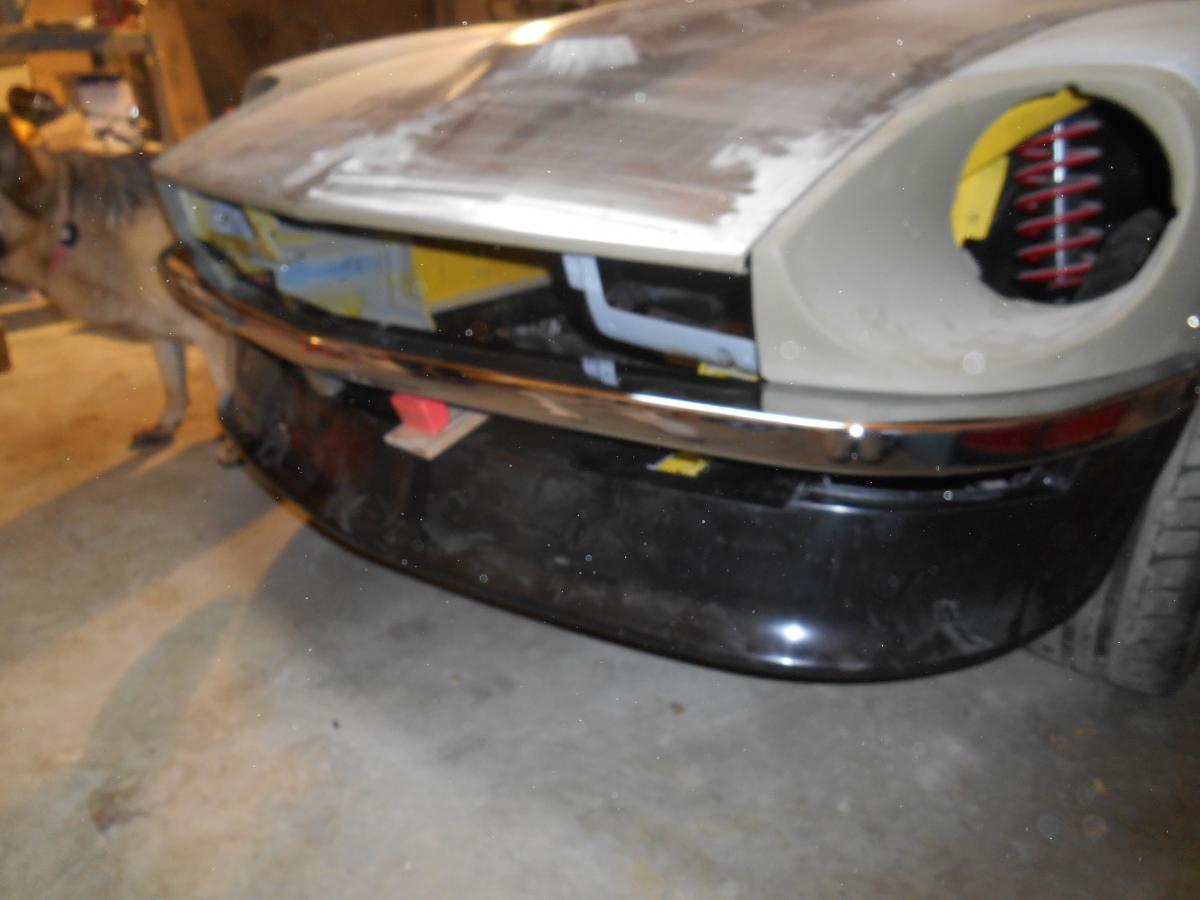
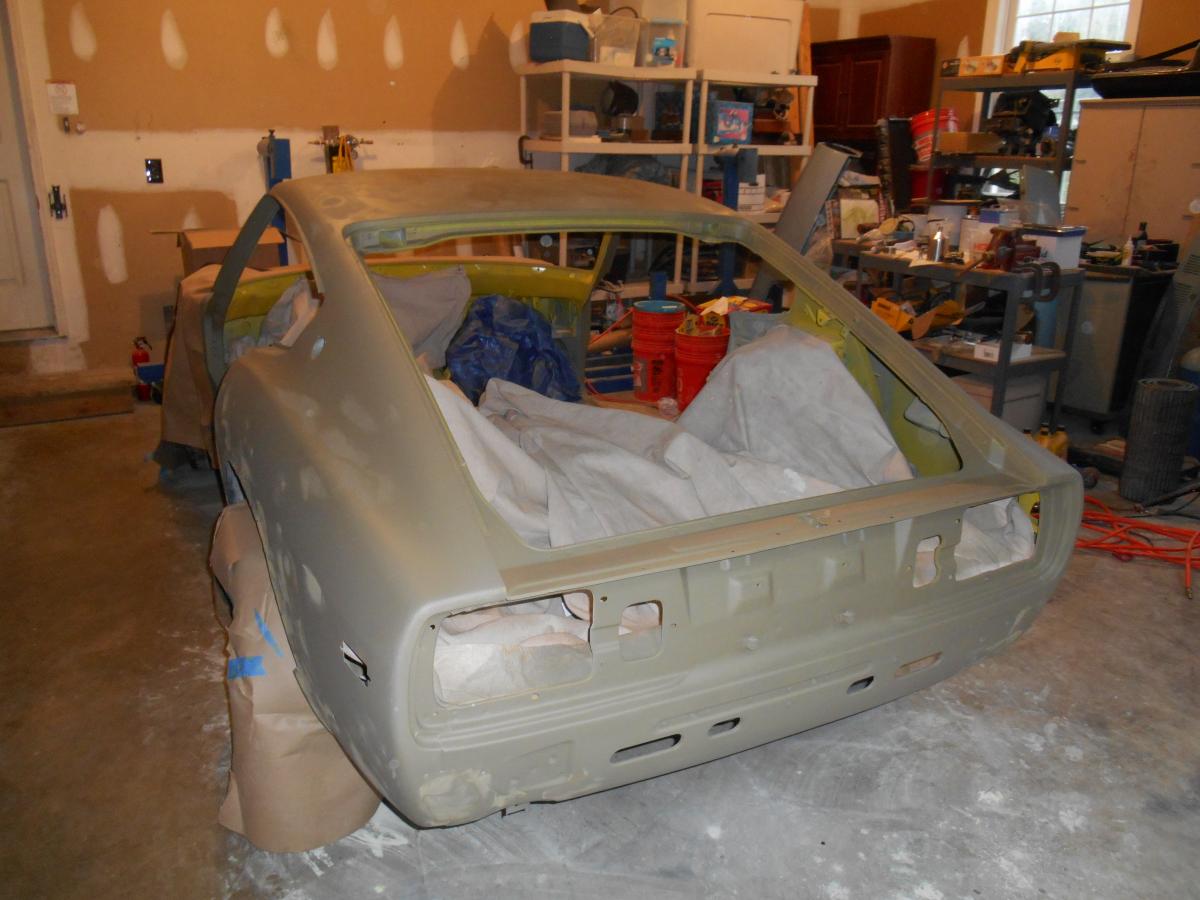
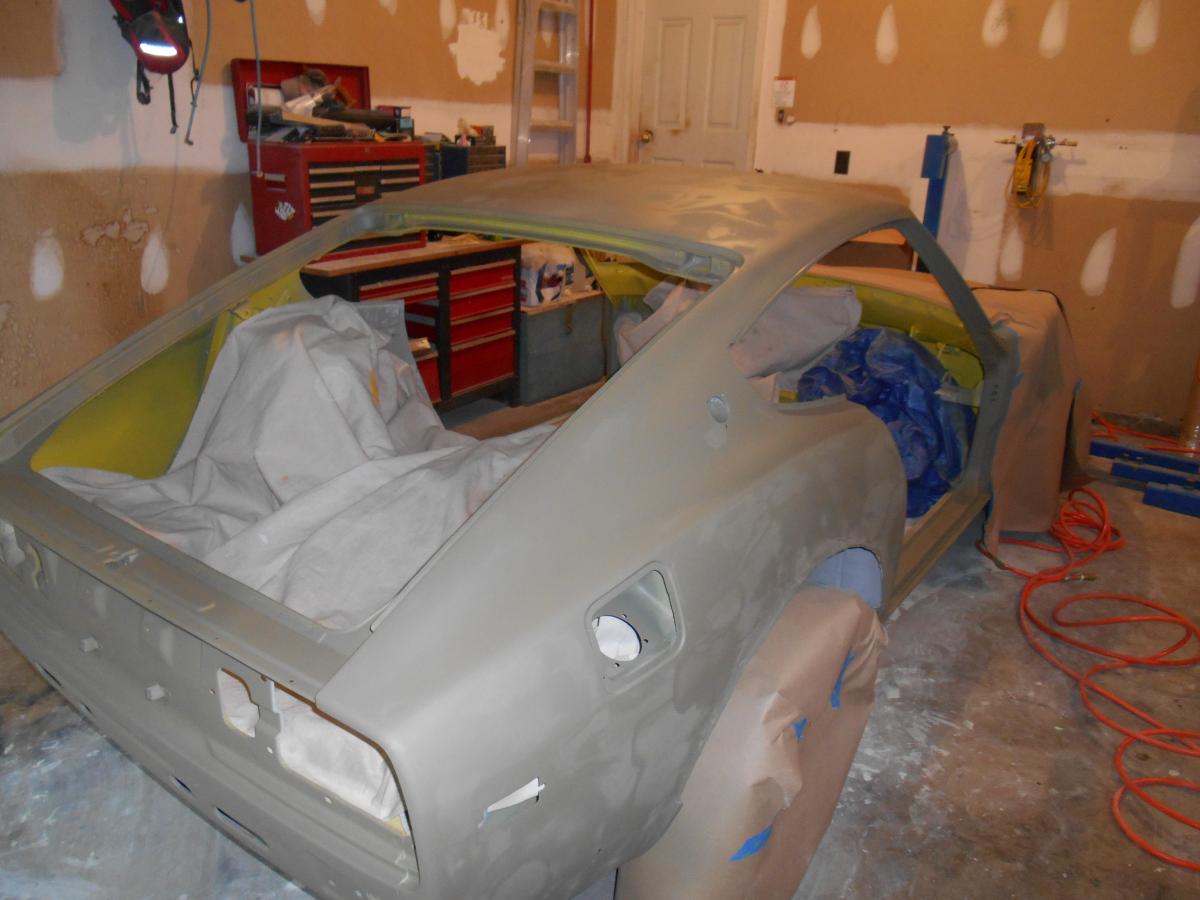
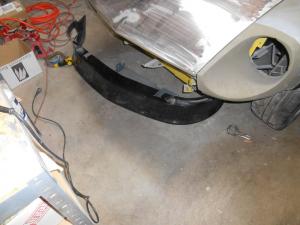
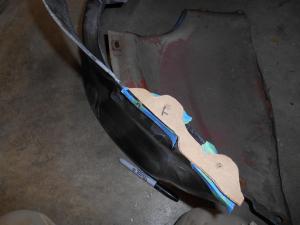
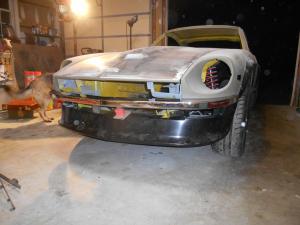
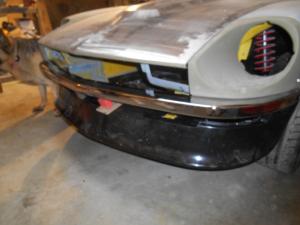
Lately I have begun to fit the front valence and bumper. This is a 280z but will have 240z bumpers.


-
Here's some old stuff just to make my thread complete: Rear suspension rebuild - this is the first thing I did to the car before I decided it needed a rotisserie restoration: http://www.classiczcars.com/topic/45155-rear-suspension-rebuild-thread/ Front suspension rebuild: http://www.classiczcars.com/topic/45331-front-suspension-rebuild-thread/ Fuel Tank repairs:http://www.classiczcars.com/topic/50605-i-brought-my-gas-tank-back-from-the-deadhttp://
-
Here's the original thread: http://www.classiczcars.com/topic/47703-i-open-myself-for-you-criticism/
-
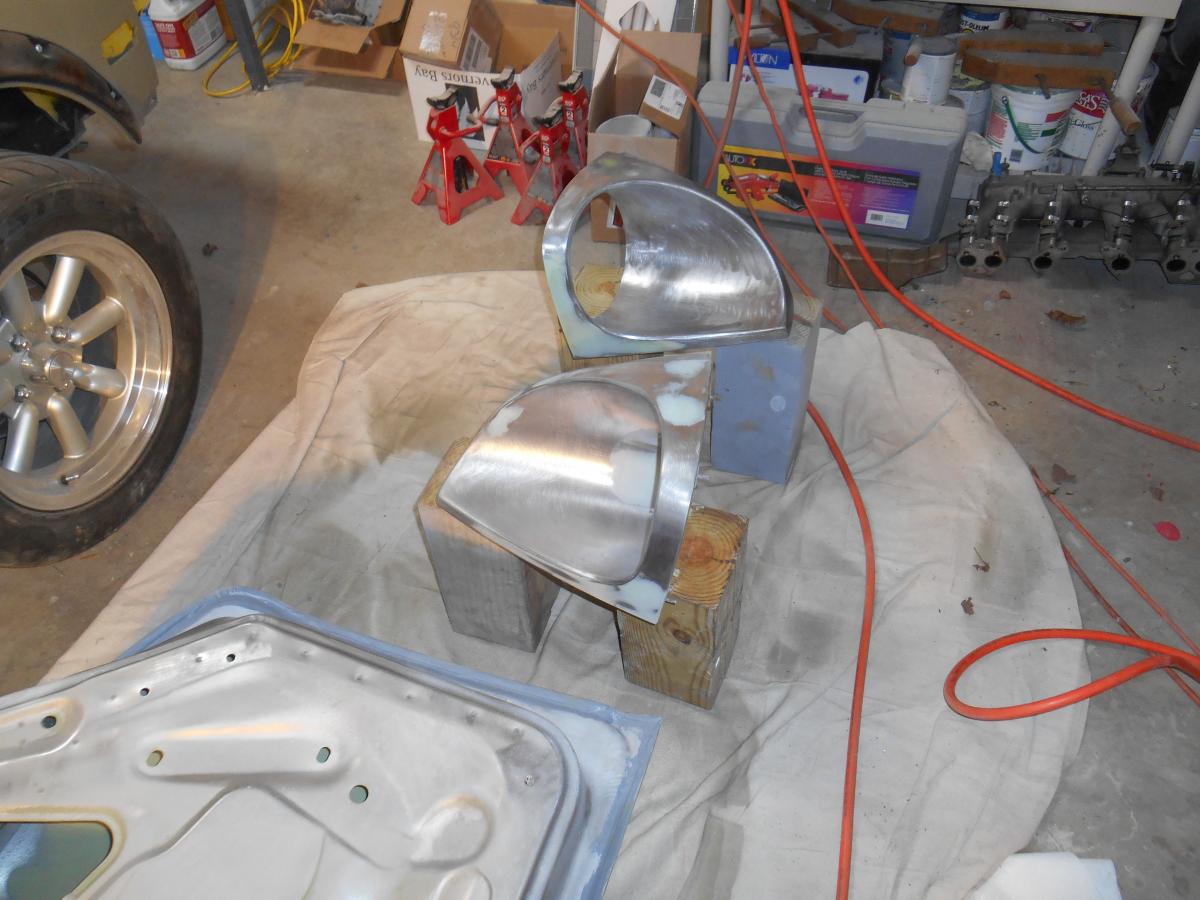
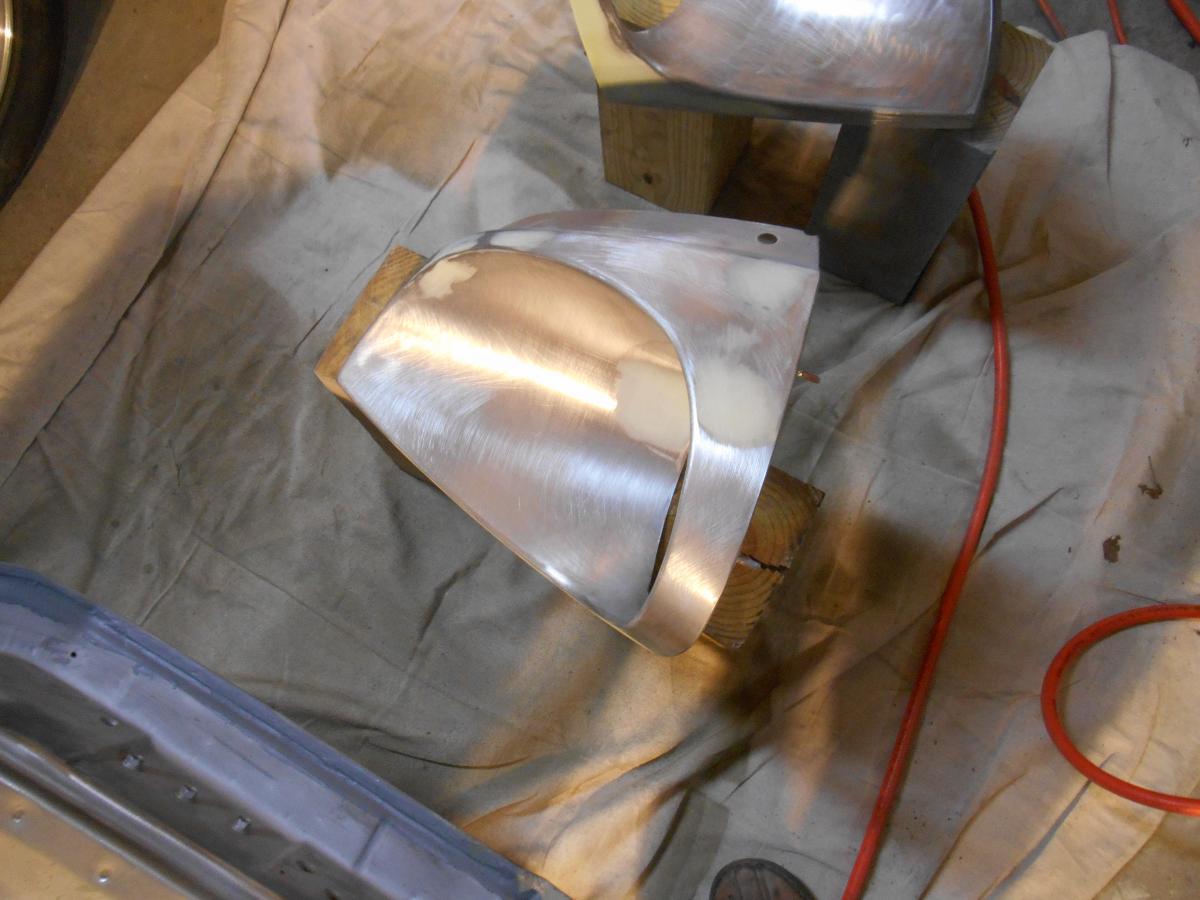
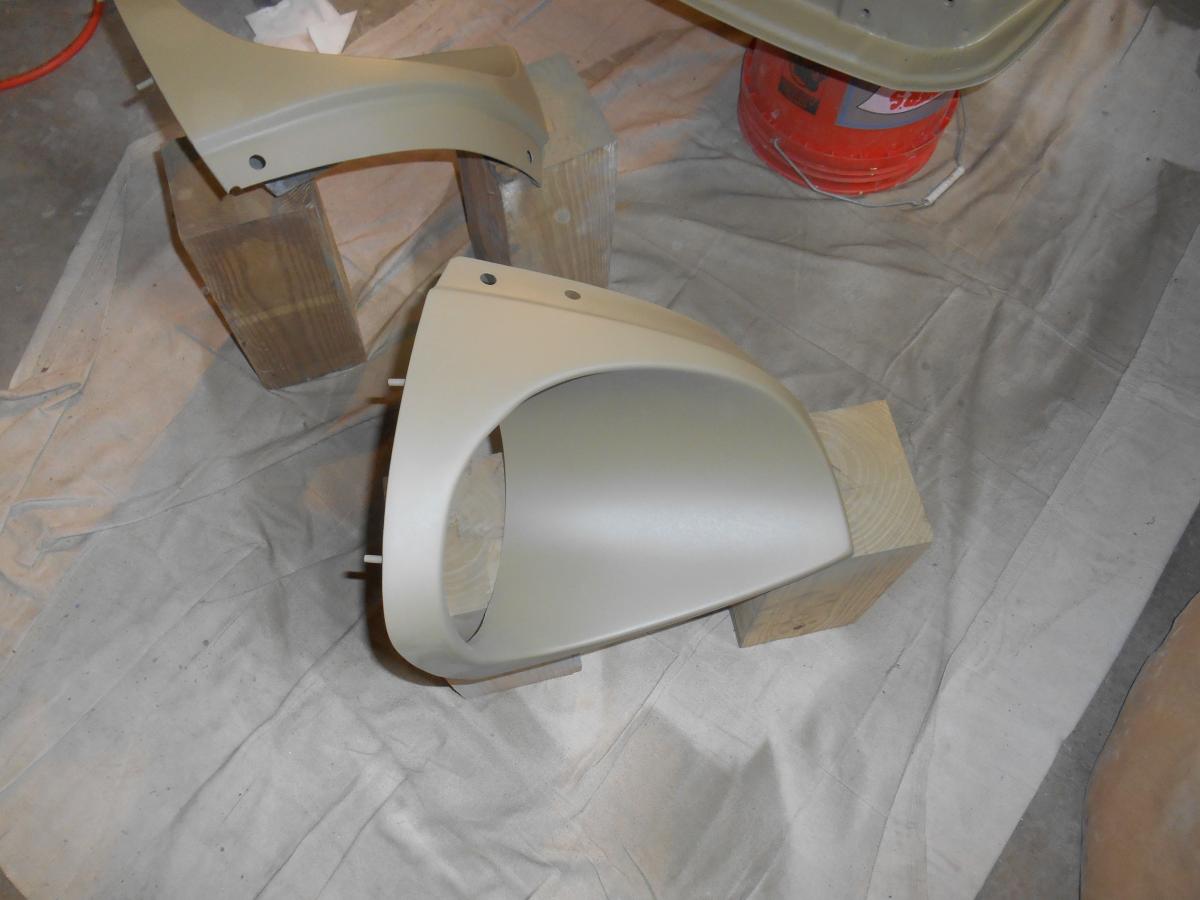
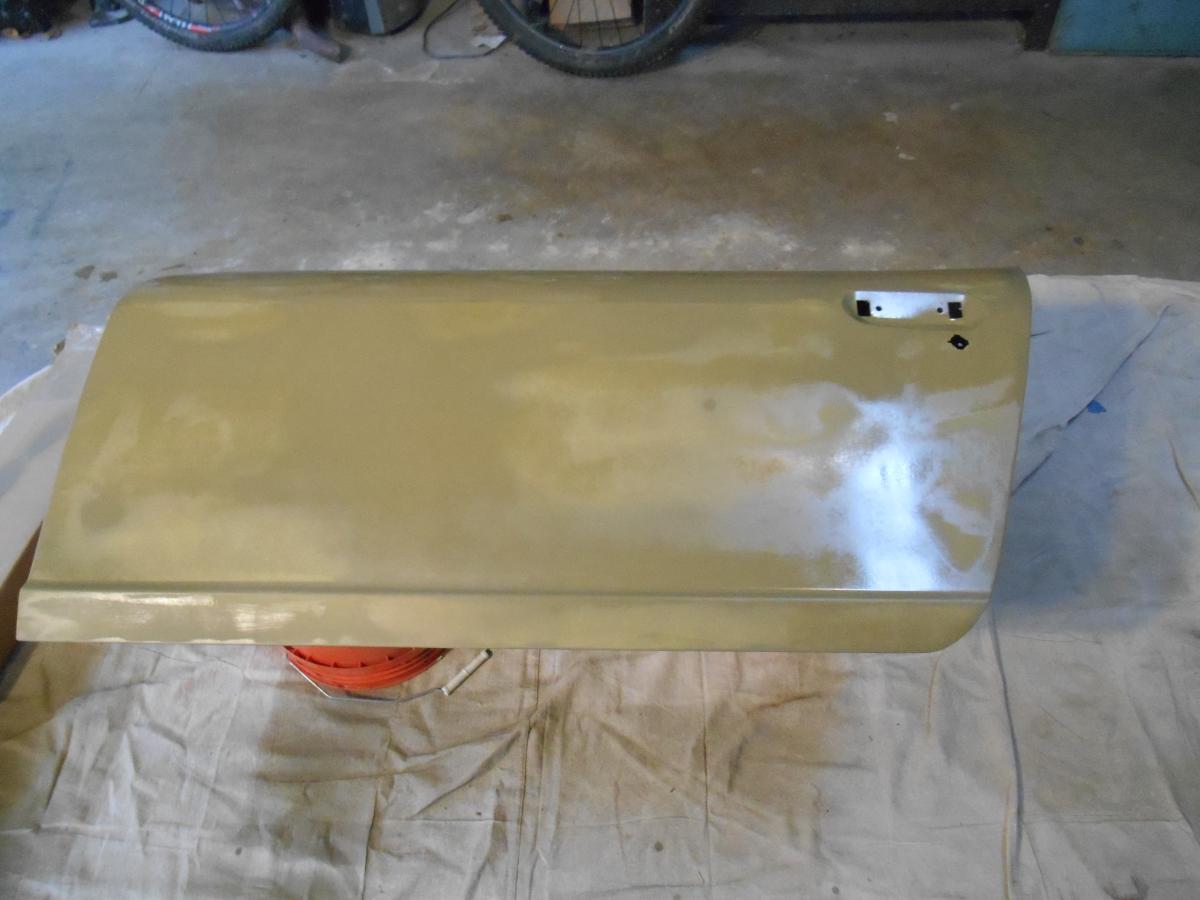
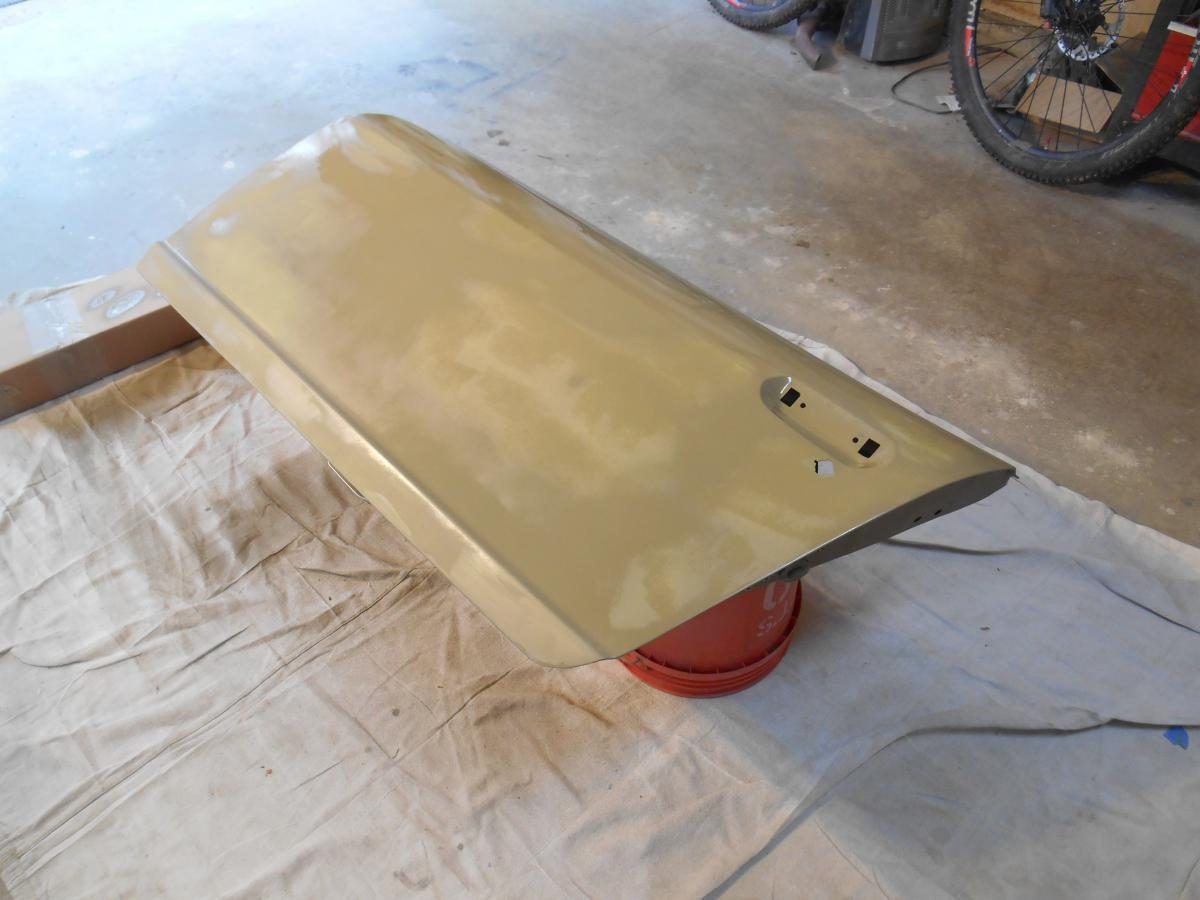
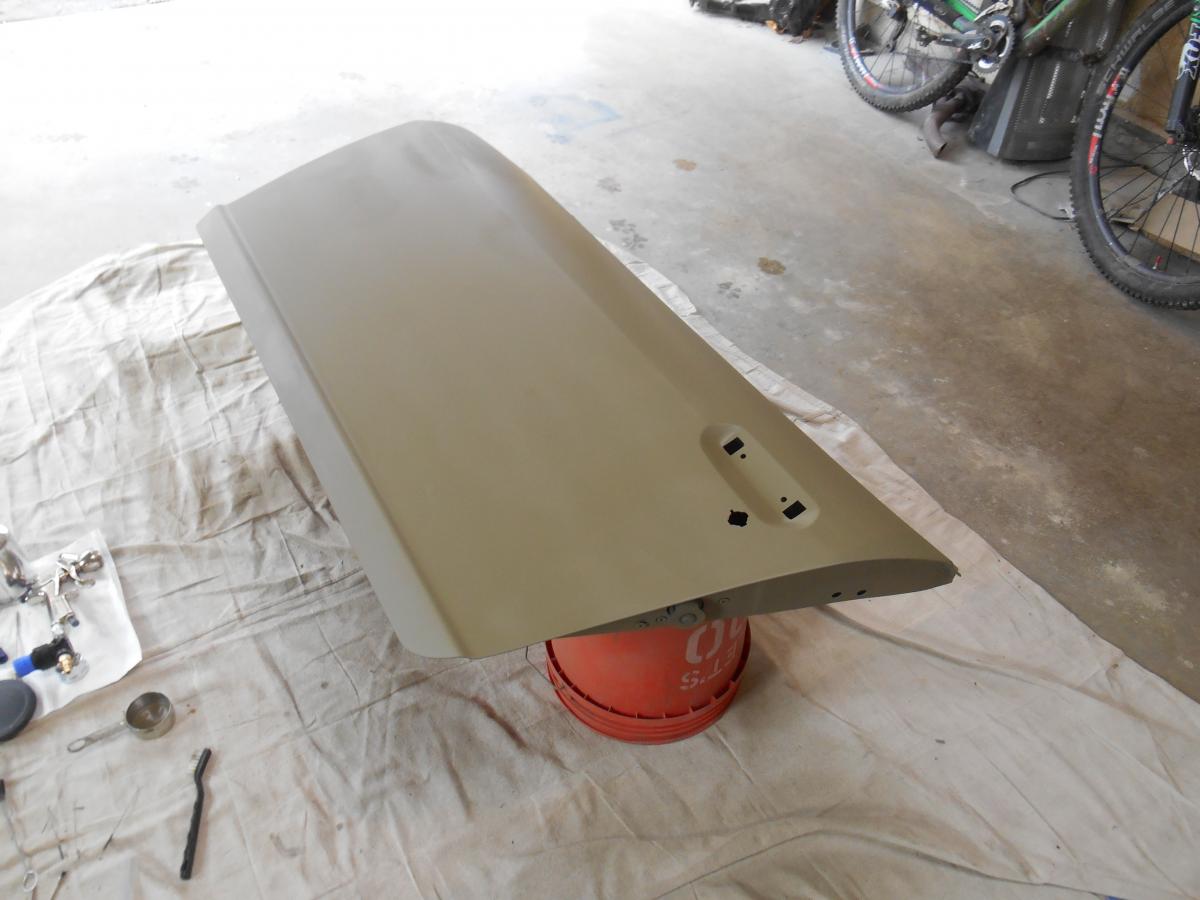
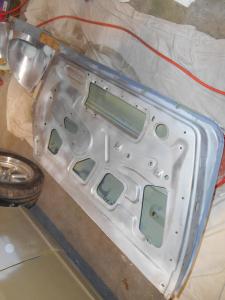
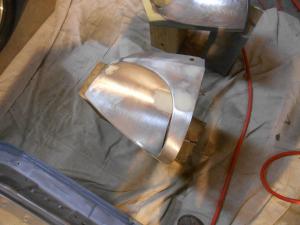
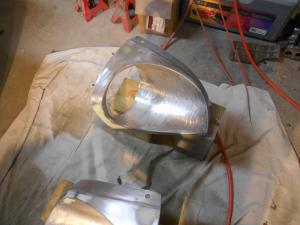
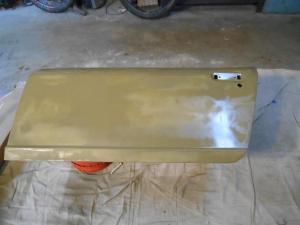
I am starting a new thread for my restoration. I'll link to other work I have done. I didn't like the title of the other one and the typo annoyed me. I have finished with the driver side door and light scoops. The passenger side scoop was an ebay acquisition that needed a lot of love. Too bad I don't have a before picture. Enjoy!


-
-
Now it gets messy. I used to give myself headaches looking at the bottom of my car and trying to figure out how to get all that crap stripped off. Have you watched any of the Eastwood videos on you tube? There's a zed-sled (Z-28 camaro) series that's pretty informative. Of course you have to take it with a grain of salt because it's one big Eastwood advertisement. Still, very good learning experience for me.
-
No problem, but don't give me too much credit. This is my first blocking job and I haven't painted it yet. I may very well botch the painting and decide to take it somewhere. Right now I'm just doing the rough body work. There is still a lot more filling and sanding to follow. I just want to see the car together before I paint it so I can correct panel alignment and any other issues I find.
-
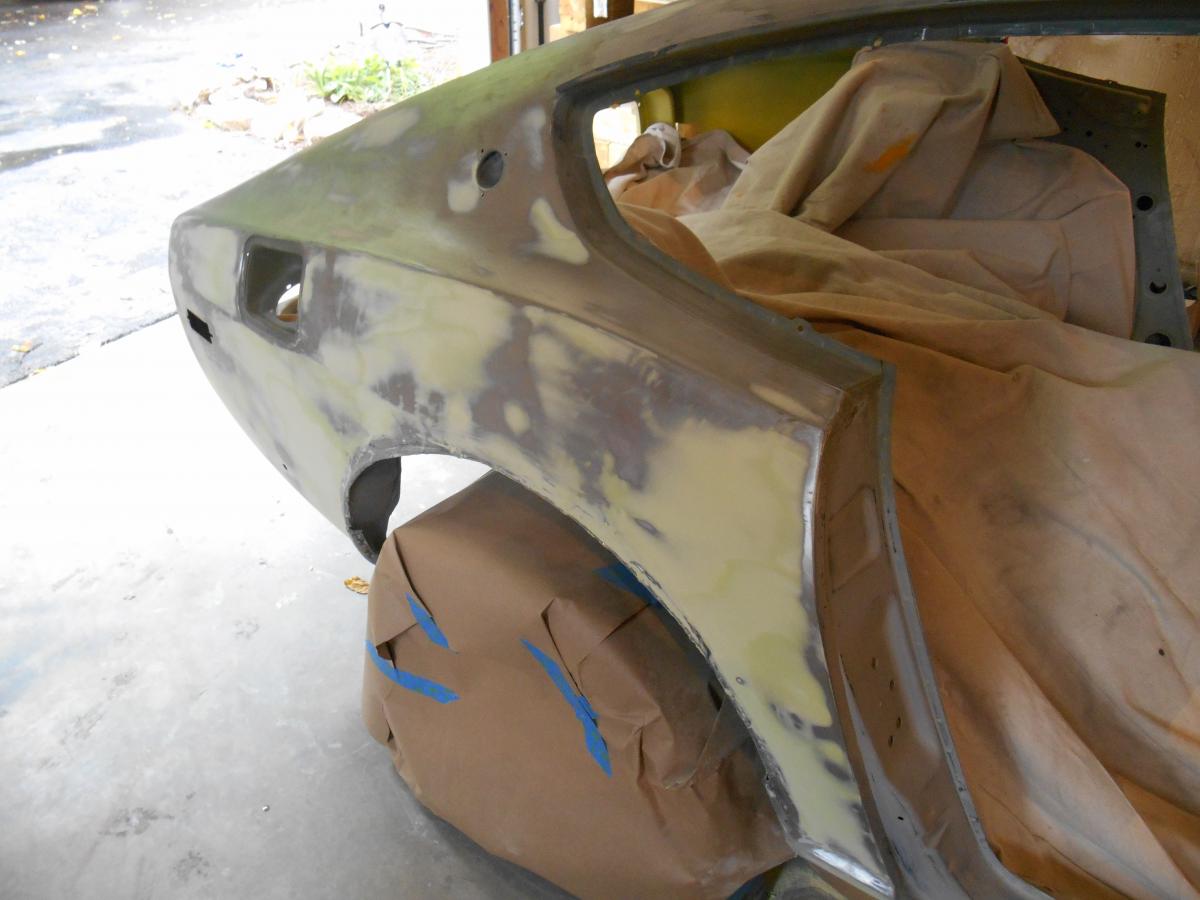
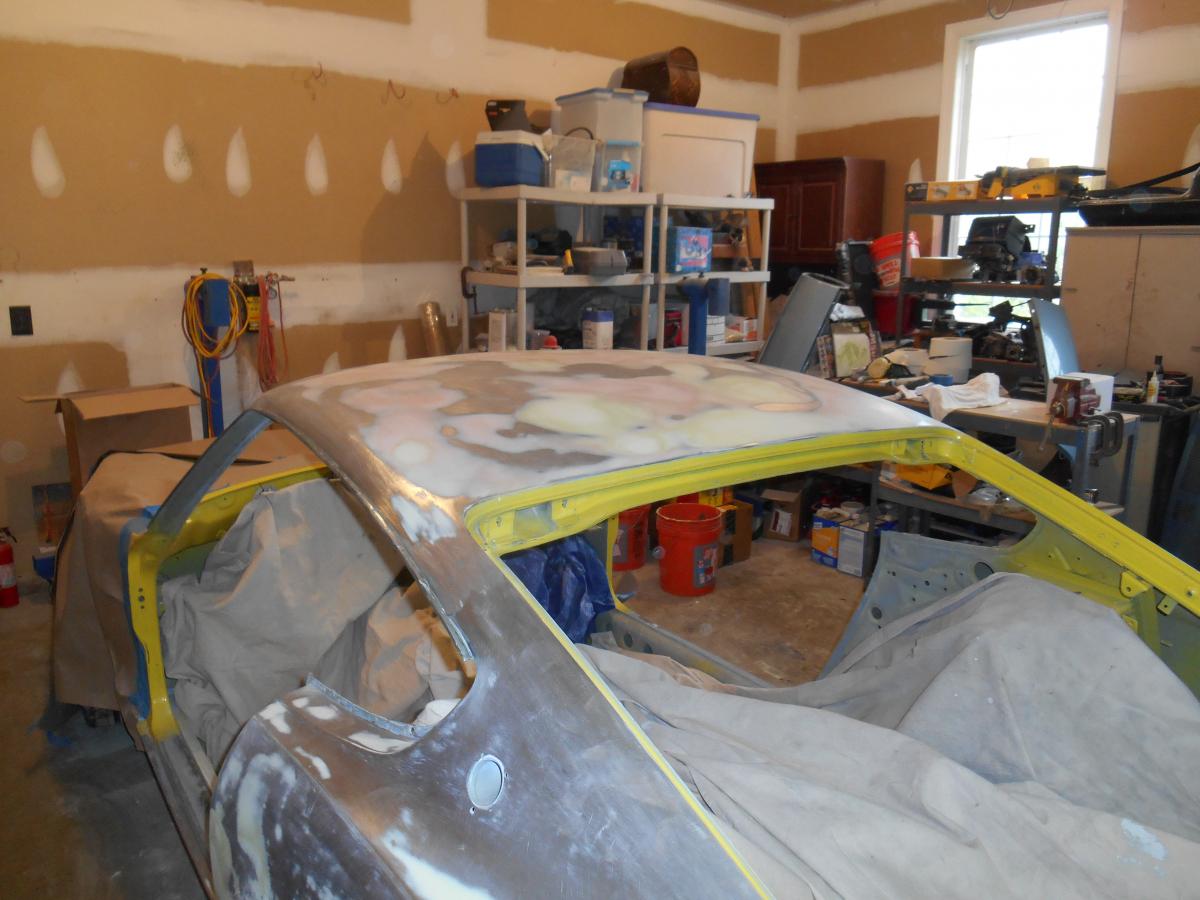
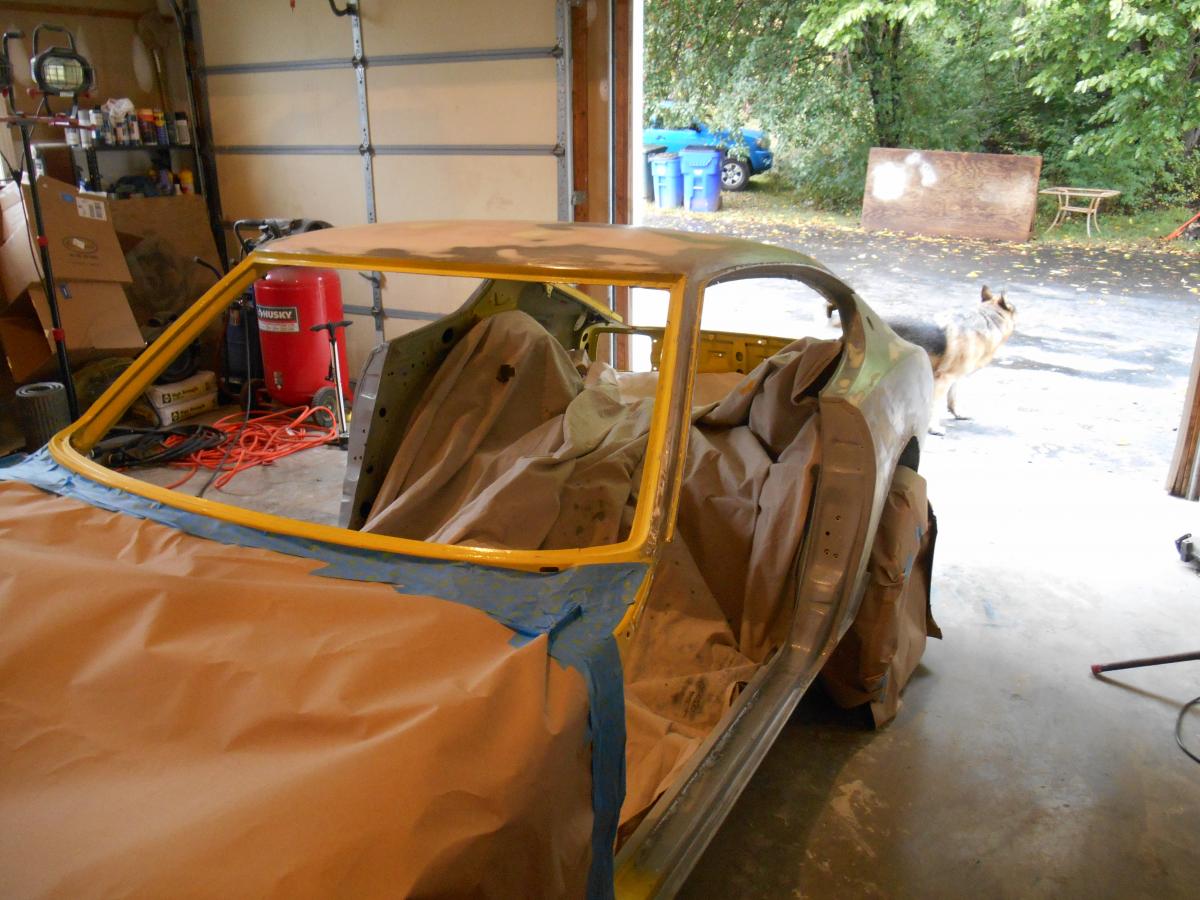
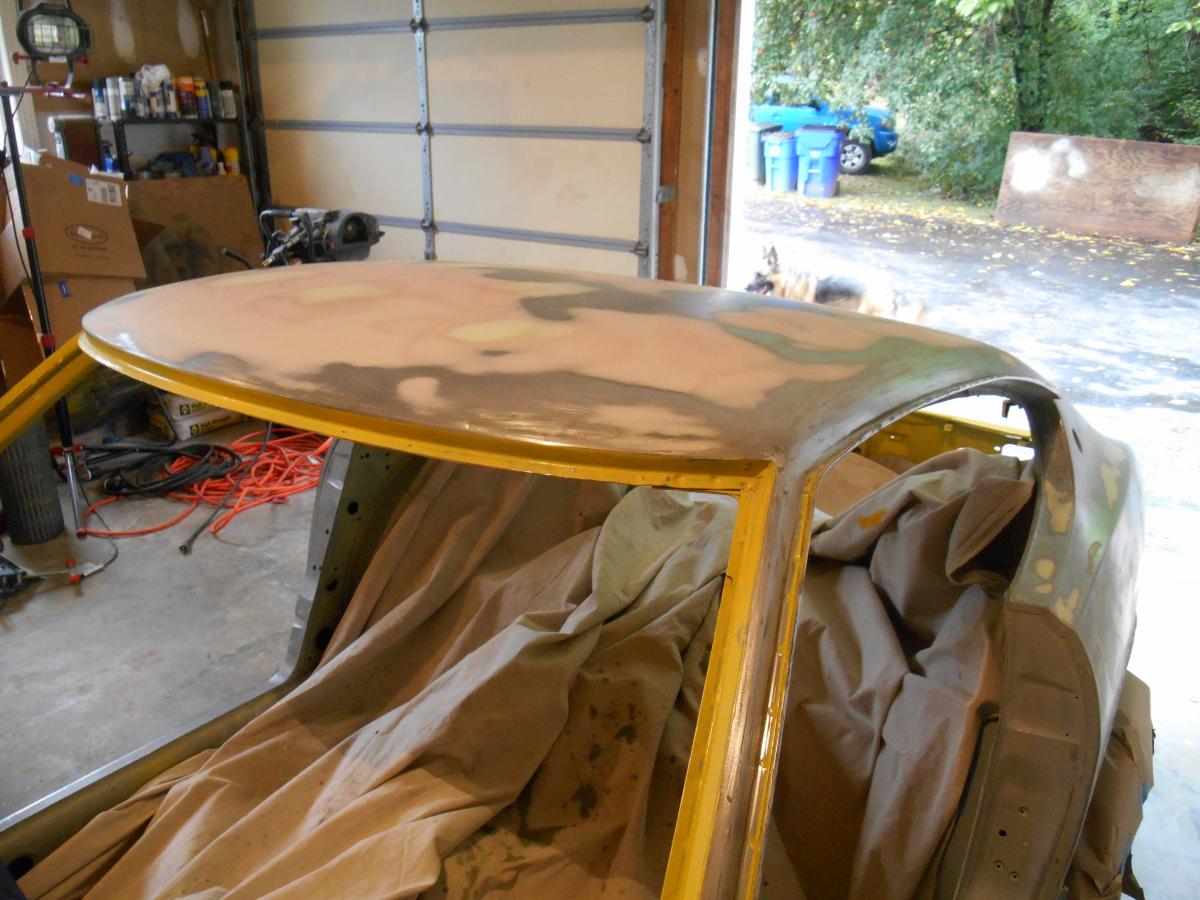
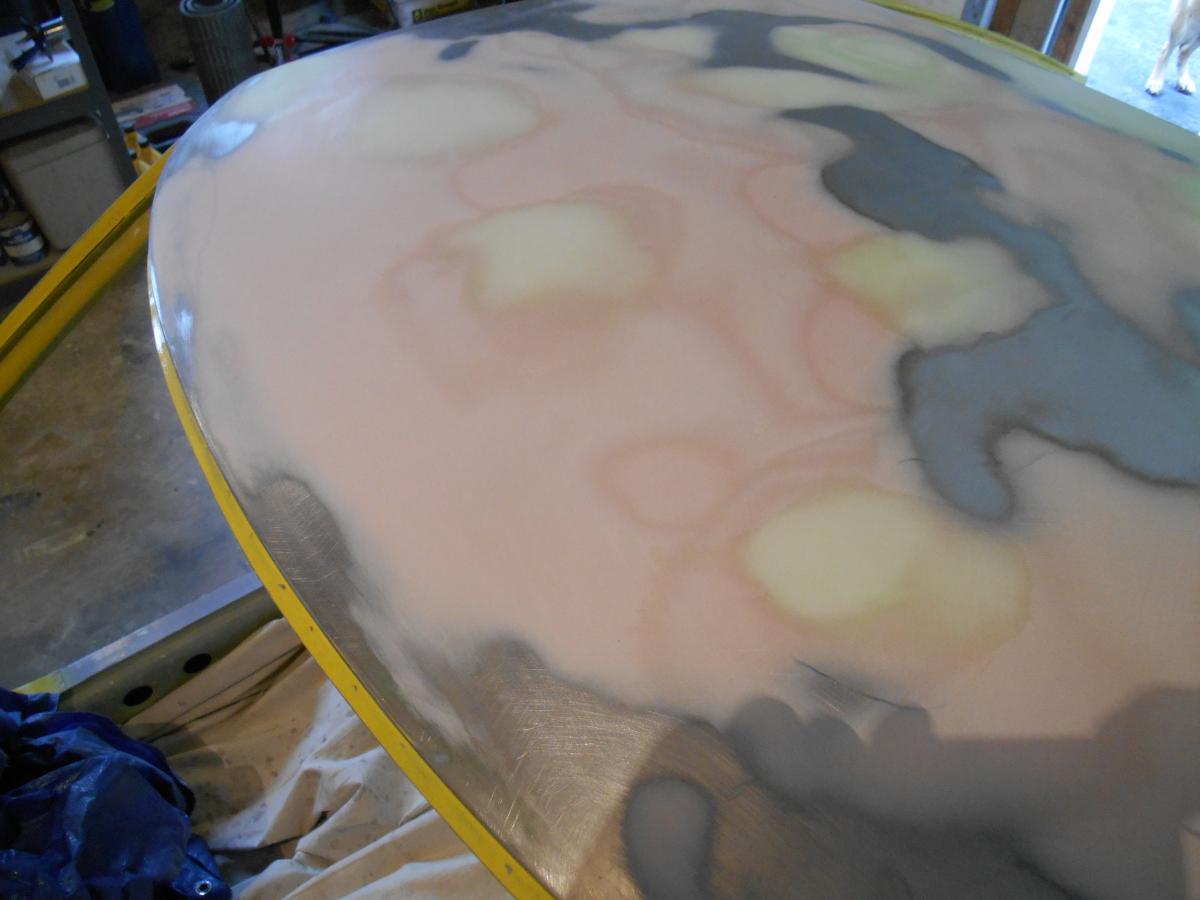
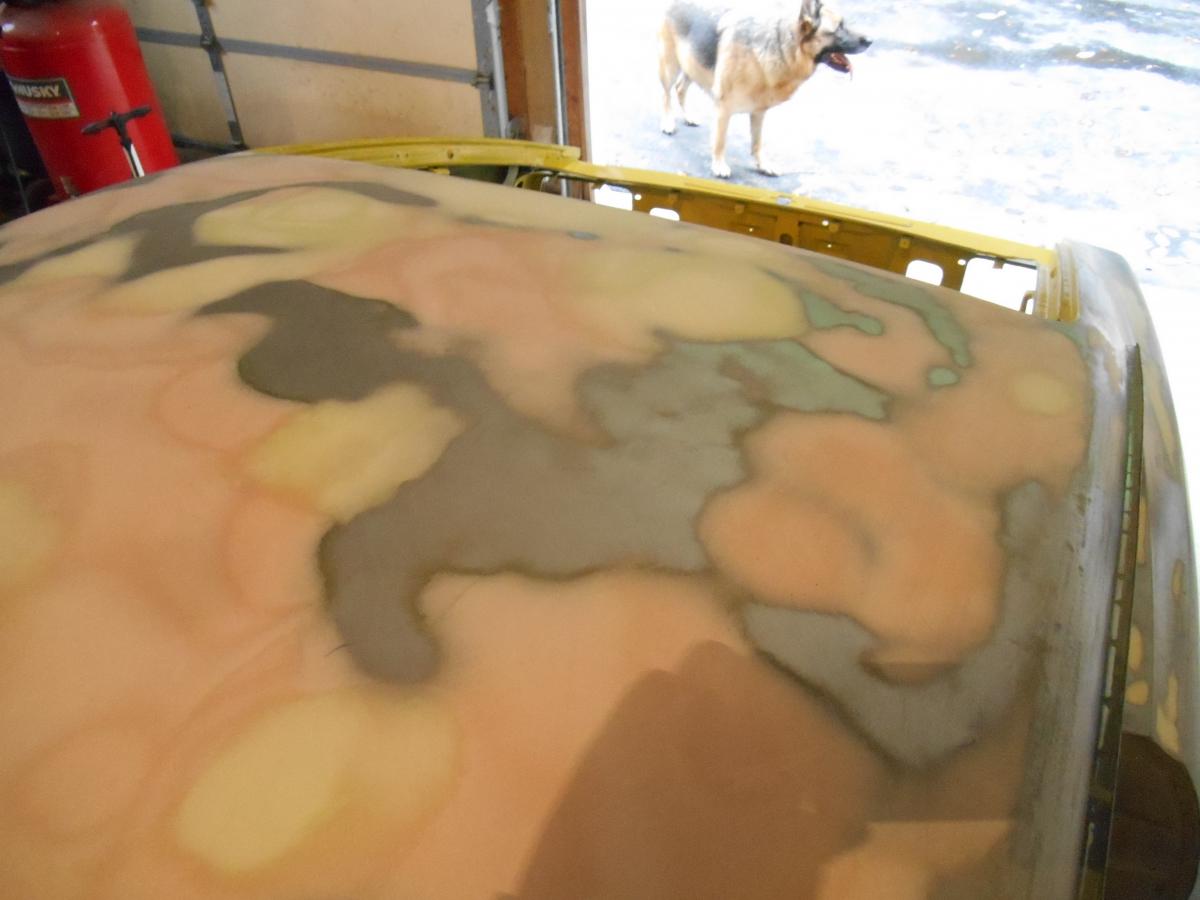
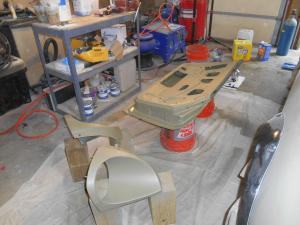
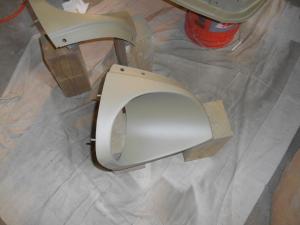
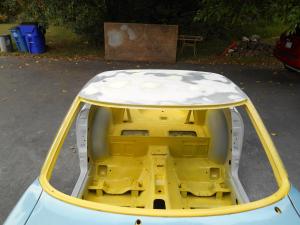
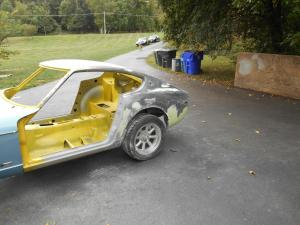
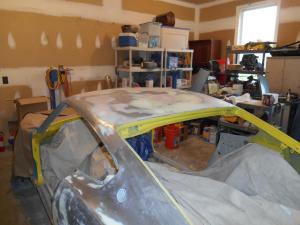
I'm pretty much current now. Working on the driver side door and hood this weekend. Here are some out of sequence pictures of the roof and rear car body work. I did the sugar scoops last weekend, but didn't take any pictures. Sometimes I forget... :-)


-
The amount of force you putting on that pin makes me nervous. I have visions of the pin mushrooming inside the strut and making it even more impossible to remove. If you have the tools to drill and cut threads on your pin puller couldn't you just drill the pin out? Every time I have tried to use more force to remove or install a stubborn part I end up with something broken and more work to do. Take a few minutes to see if you can think of any alternatives.