ksechler
Free Member
-
Joined
-
Last visited
Everything posted by ksechler
-

-
-
-
-
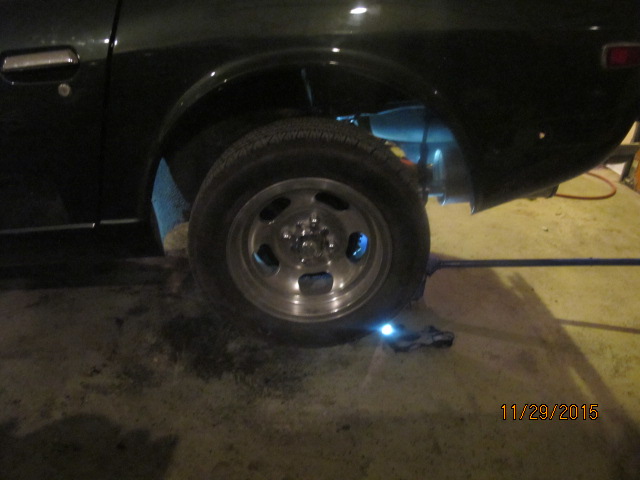
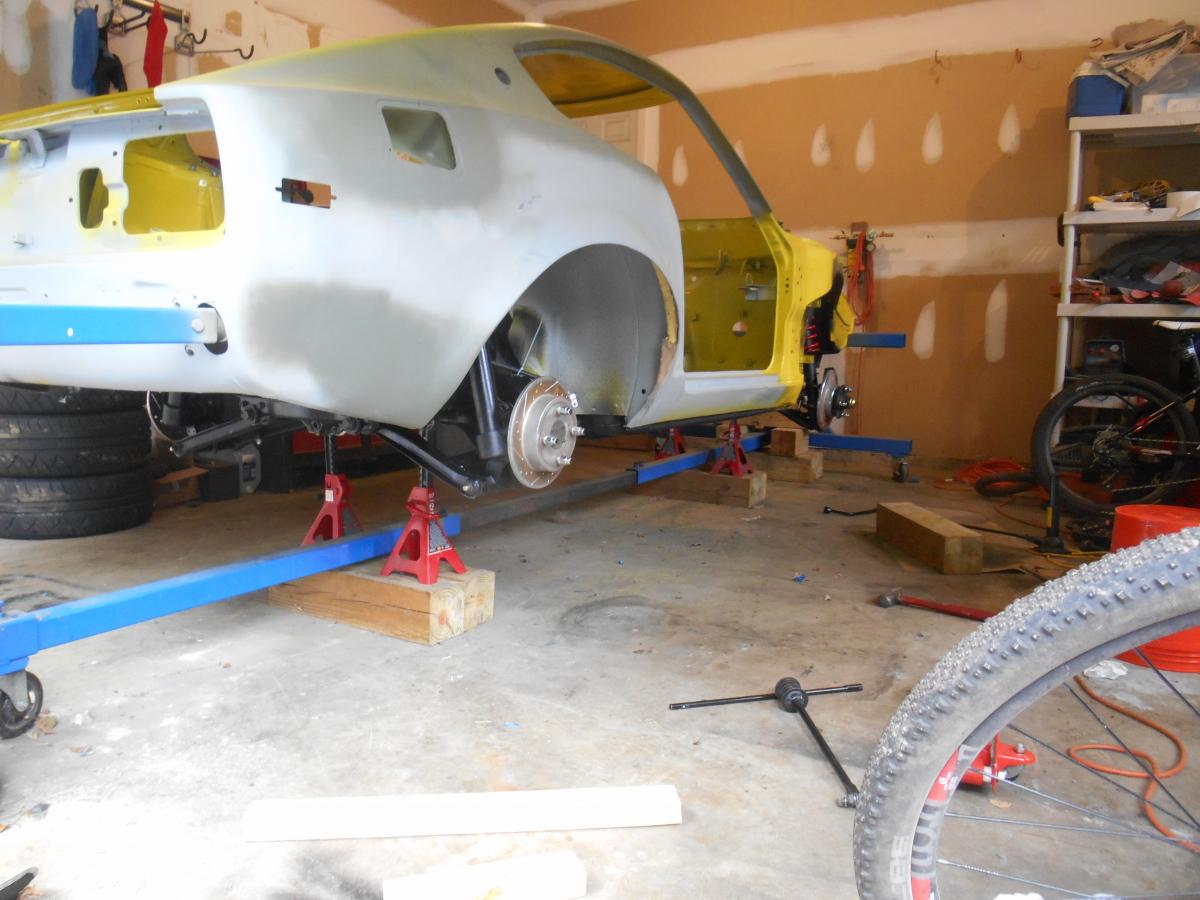
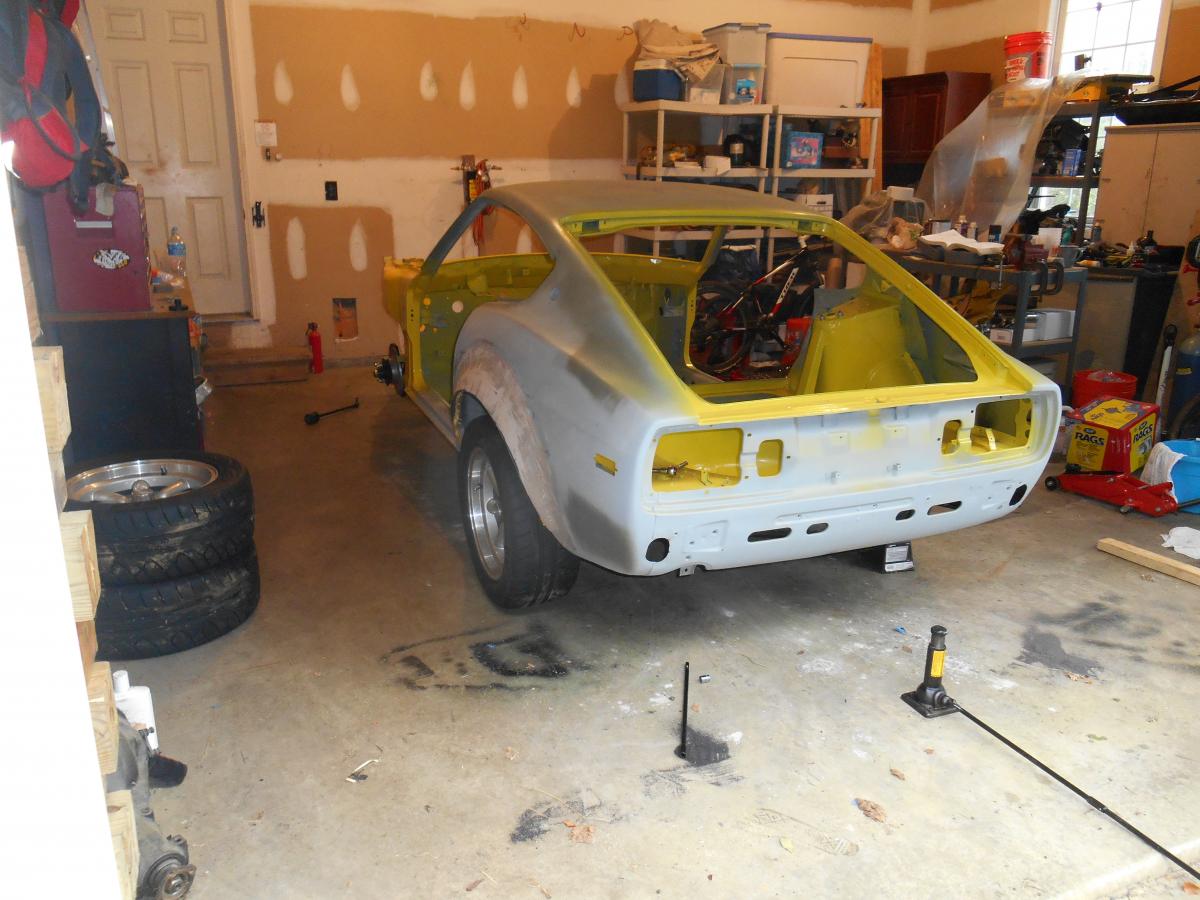
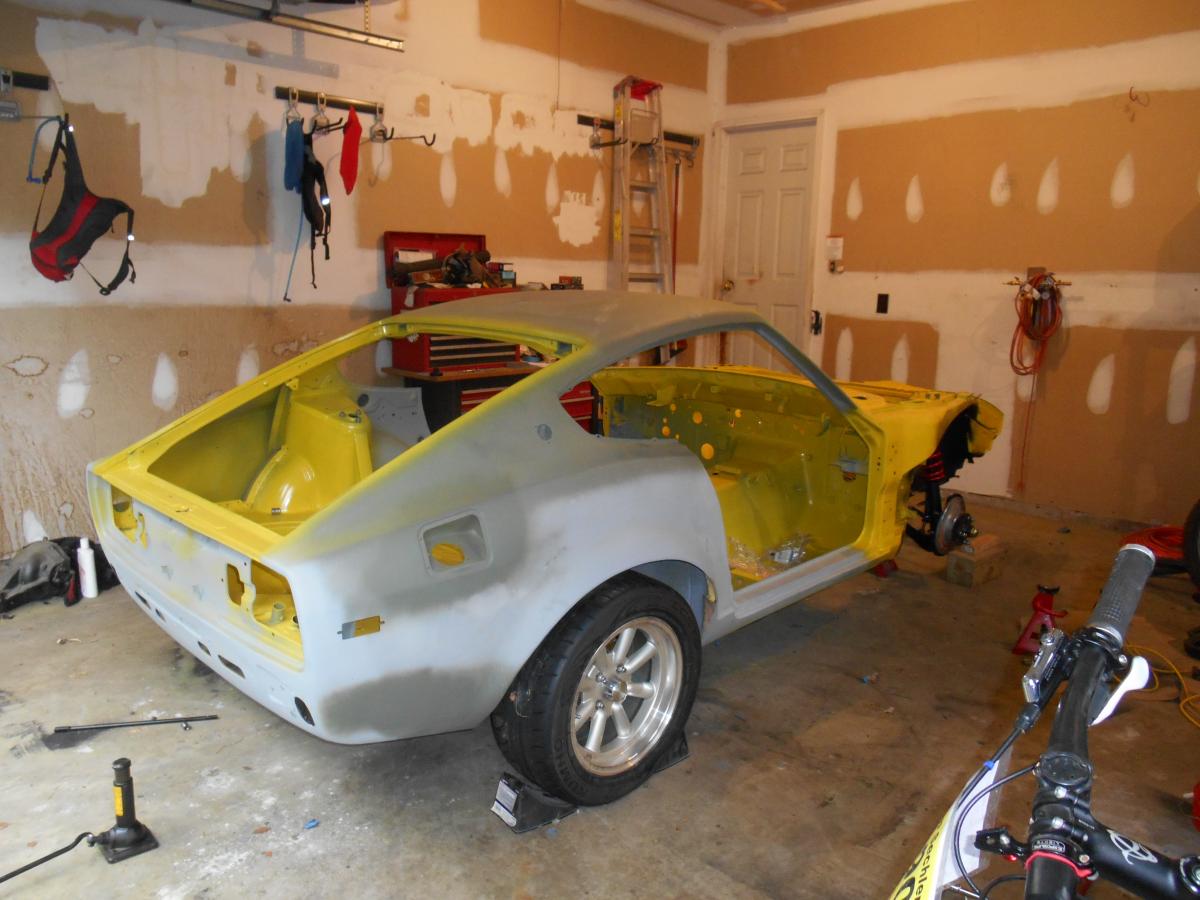
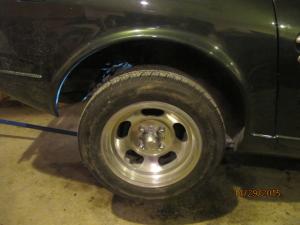
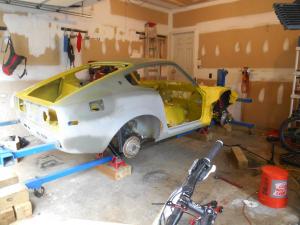
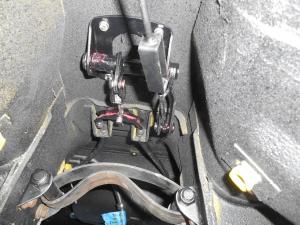
I was planning to stay out of this, but what the heck... This post (that I quoted) established that the frame (chassis) is ok. That is unless it is rusted out and is sagging when loaded. That would be fairly obvious, though because the door gaps would be affected and in the extreme case the doors might not even open. So check the chassis off the list. There are two posts that in my mind narrow down the search considerably. First, look at these pictures: It's pretty obvious to me both sprung and unsprung the passenger wheel is higher that the driver's side. The only way that is going to happen is if the struts are different lengths. I suppose that the bushings could also cause this if you tightened them wrong but you said this problem was there before you changed the bushings and springs. My suggestion is to take both strut assemblies out. Shine a light into the strut tower and make sure there isn't anything jammed in there and then measure the height from the center of the axle to the top of the strut mount insulator. Obviously they should both be the same. If they are you should check the damper and make sure they are the same on each side. Then the springs (but I don't think it's the springs because the unsprung height difference). One thing that you might not know is that the MSA strut mount insulators are 3/4" lower than the stock ones. So, if you have two different insulators...


-
Nice work. Car doesn't look to bad rust wise. Mine was a mess under the battery tray.
-
-
Thanks for the advice!
-
-
Nice work! I have to admit that I broke a few rules and pounded my spindle pin out. I didn't know any better at the time and luckily it came out. I replaced it with a new one liberally coated in anti-seize. Have you started to feel like the pre-work part of the restoration is more than the actual working on the car? Wait until you start taking off the undercoating. I remember doing that. Getting a little patch cleared and then looking toward the back of the car and thinking, "I still have all that to do!?" Are you going to strip your car to bare metal? Ugh, been there. What a chore.
-
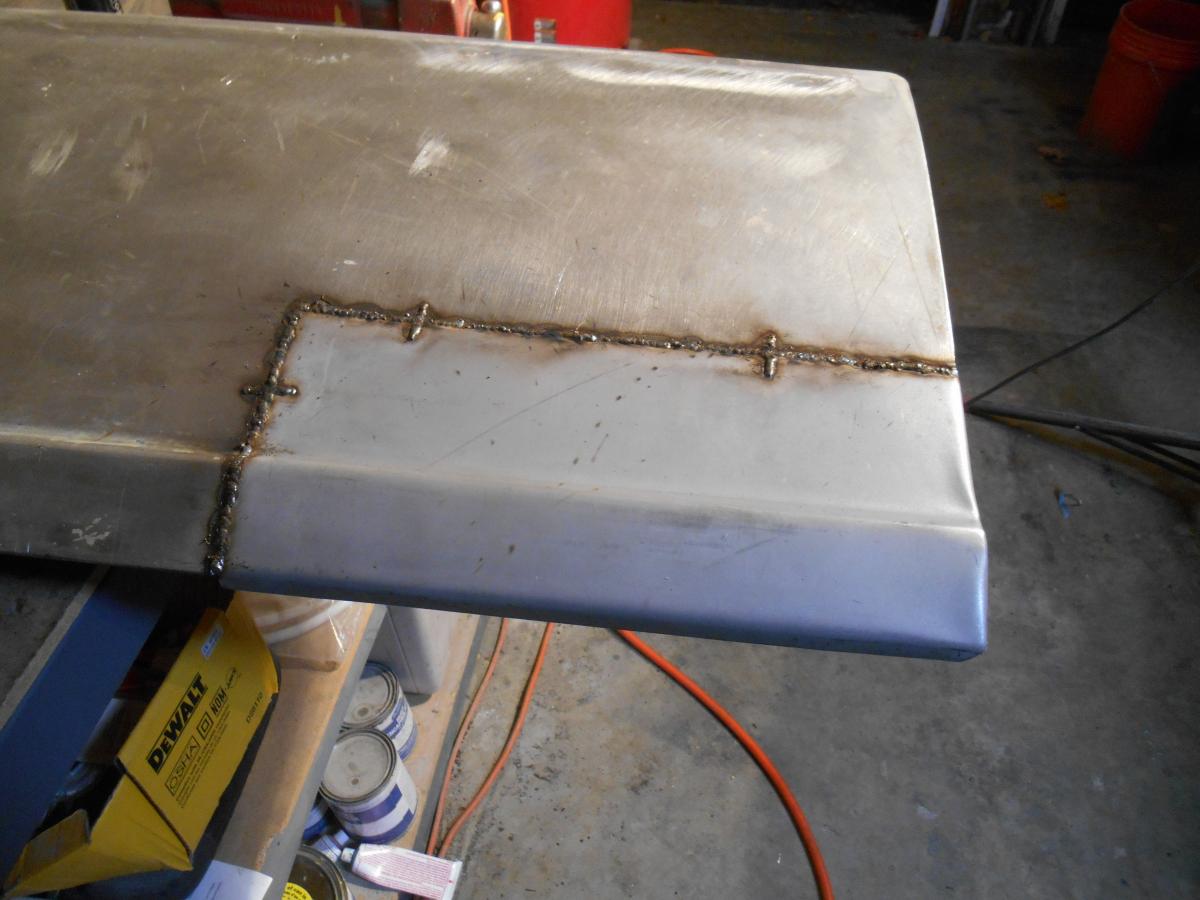
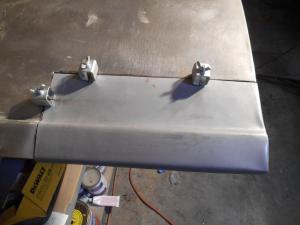
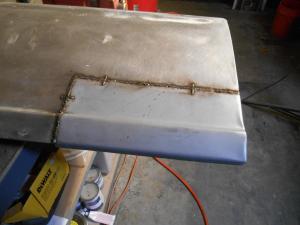
Yes, I used a dolly and hammer to roll the seam but I did kind of a sloppy job. ...I've gone through about 10 cans of the Eastwood frame sealer. I've sprayed it inside everything including the doors (after welding).
-
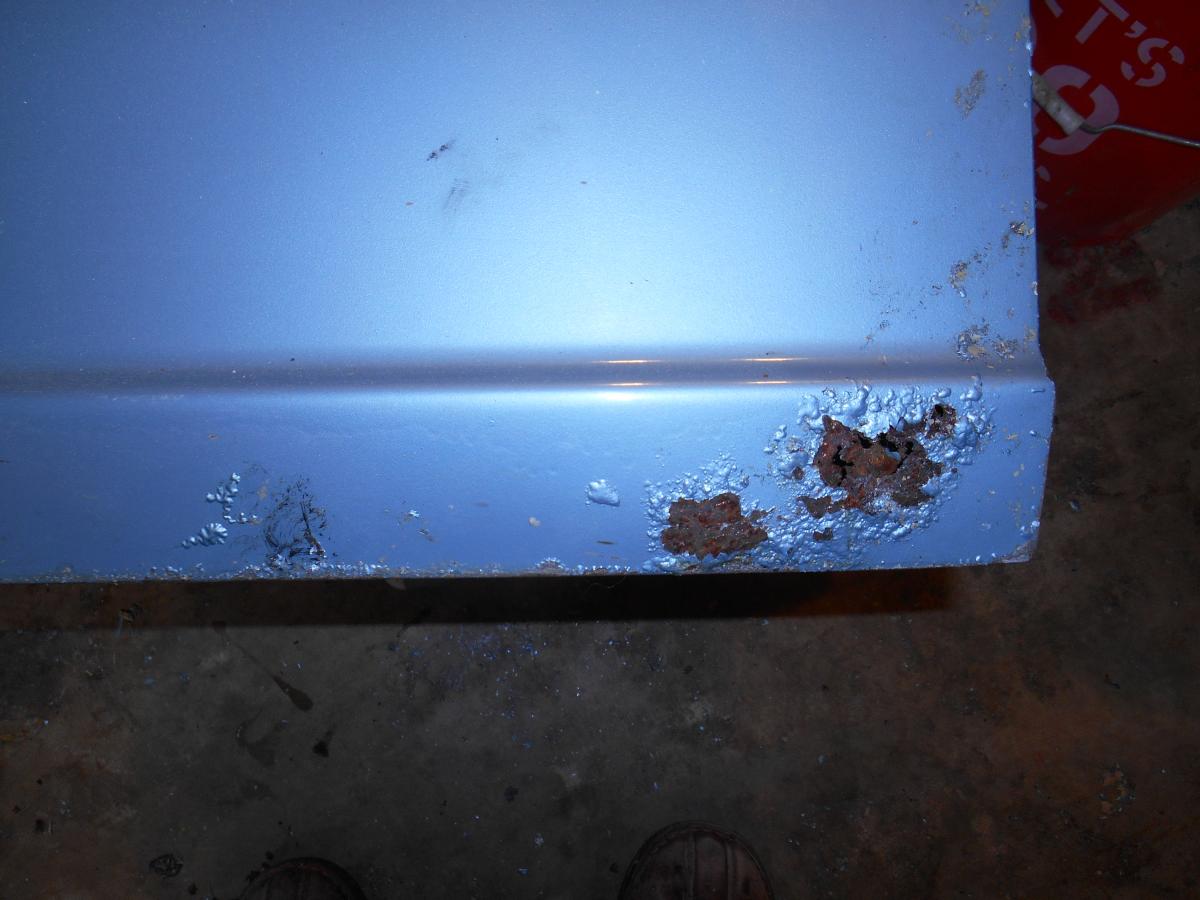
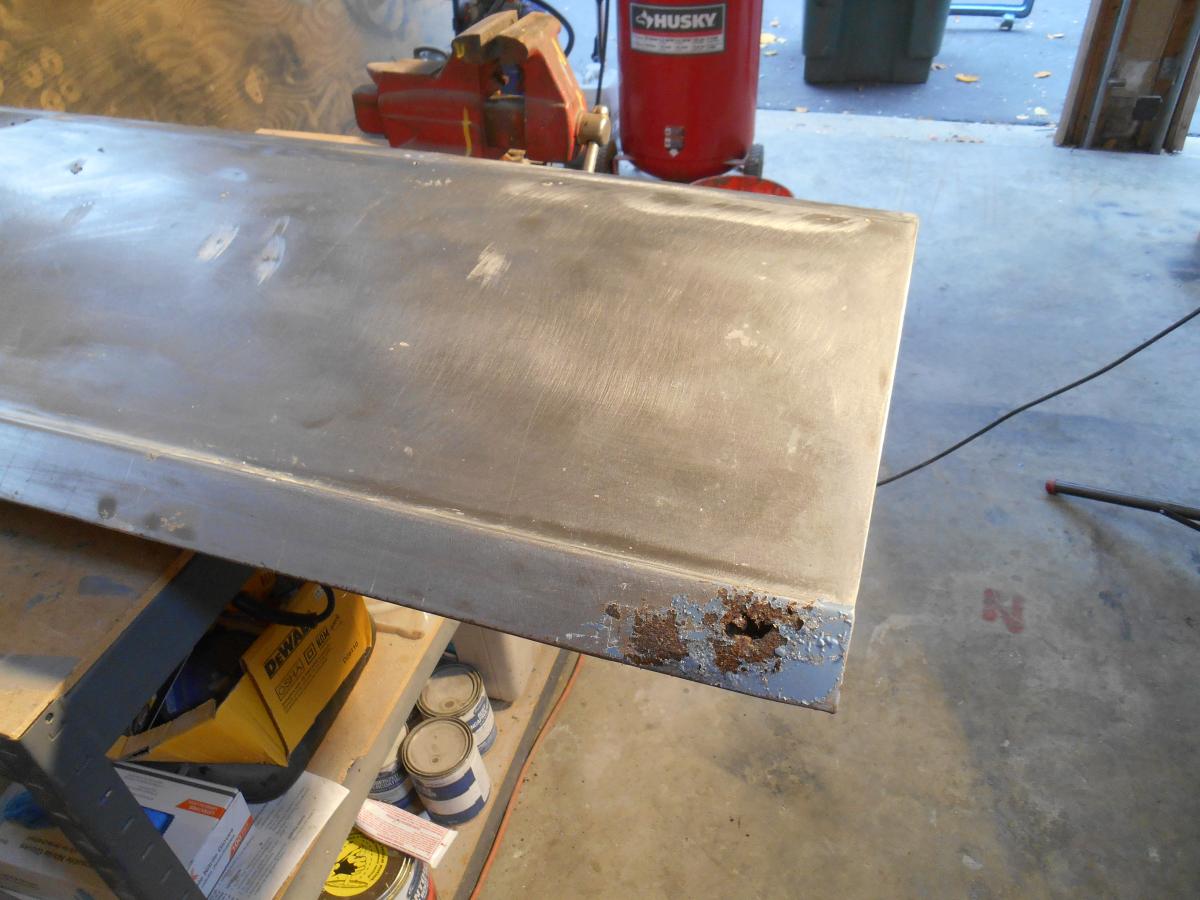
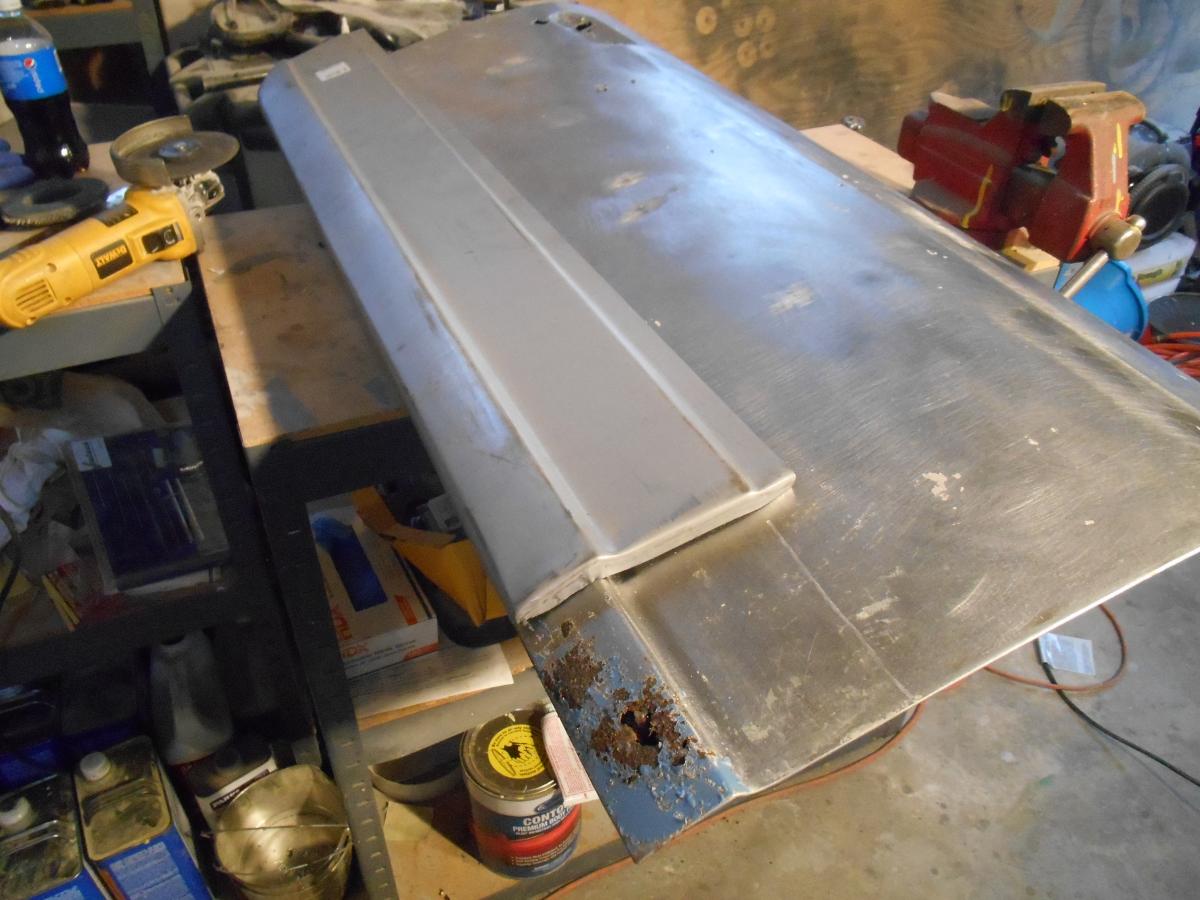
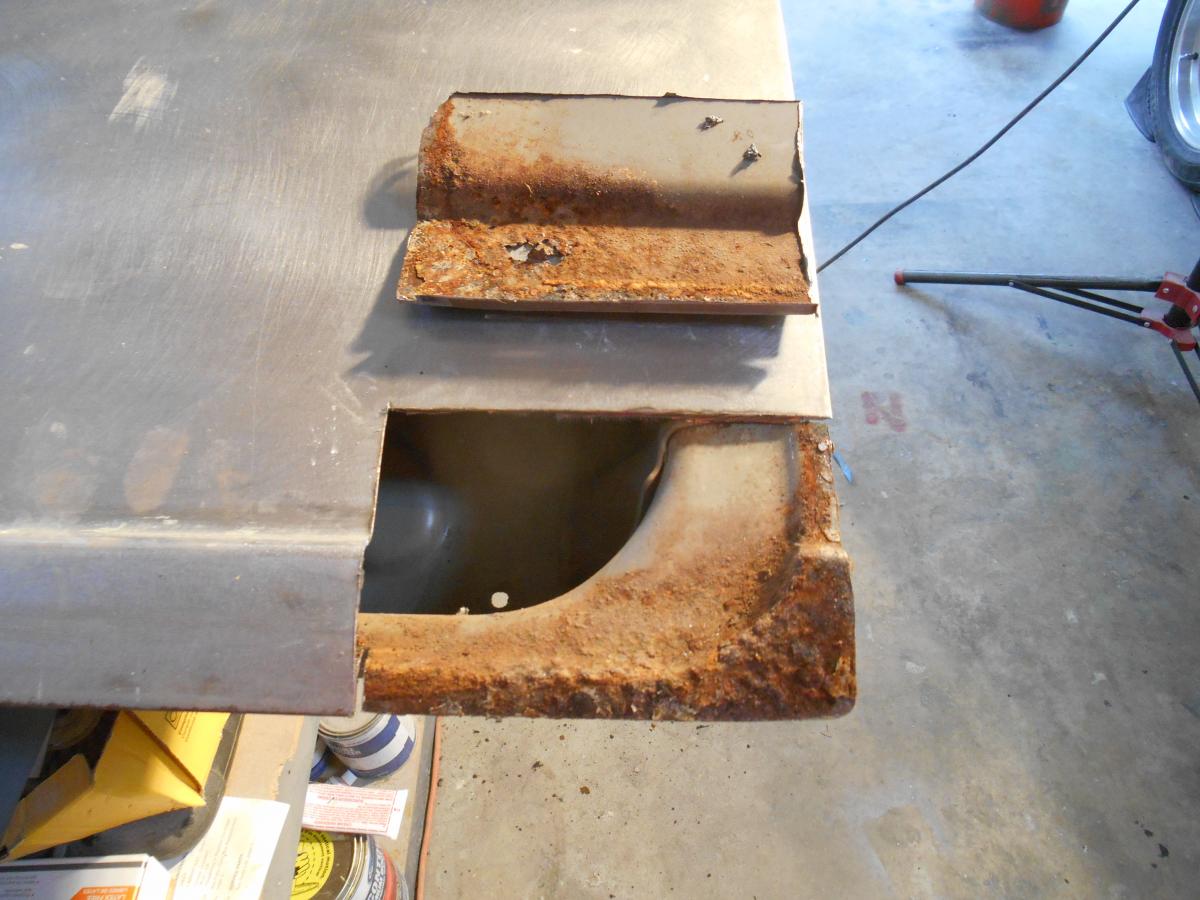
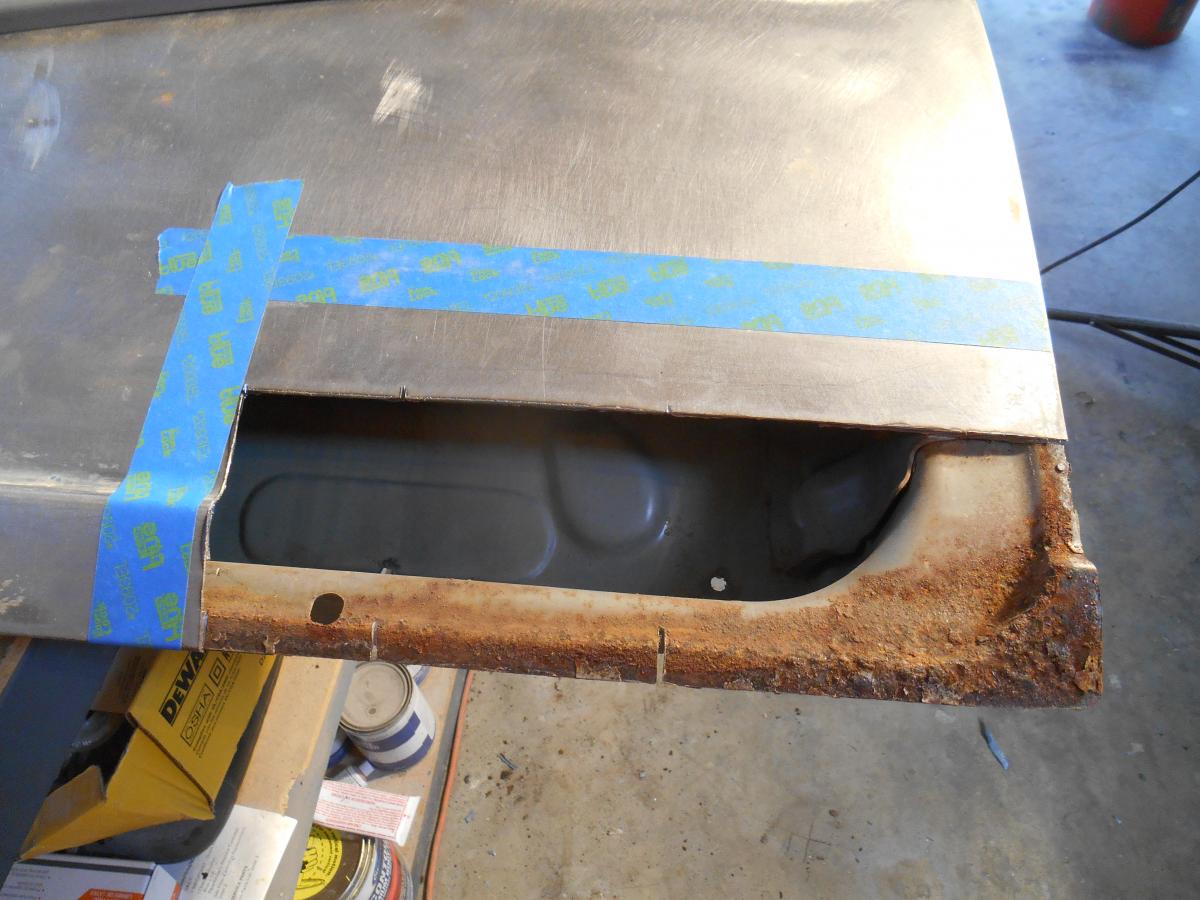
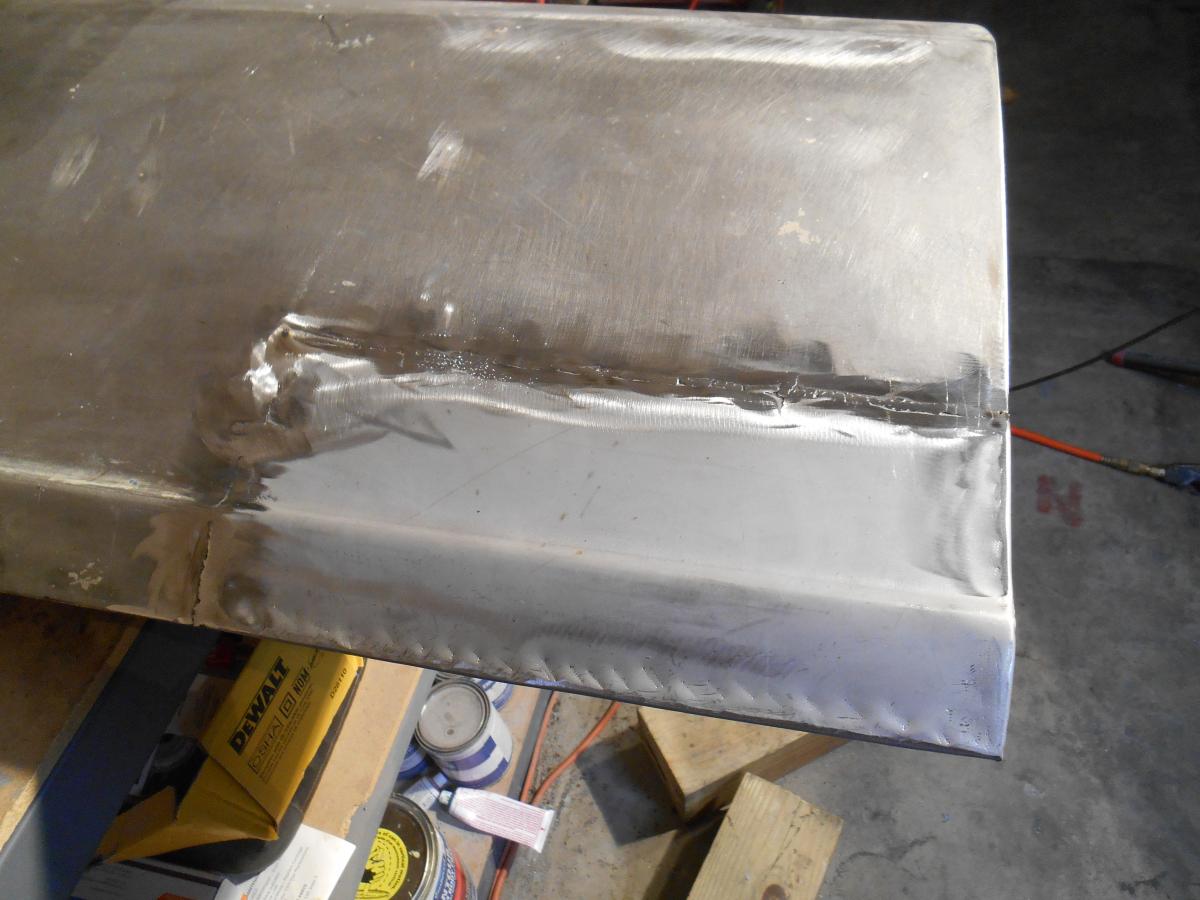
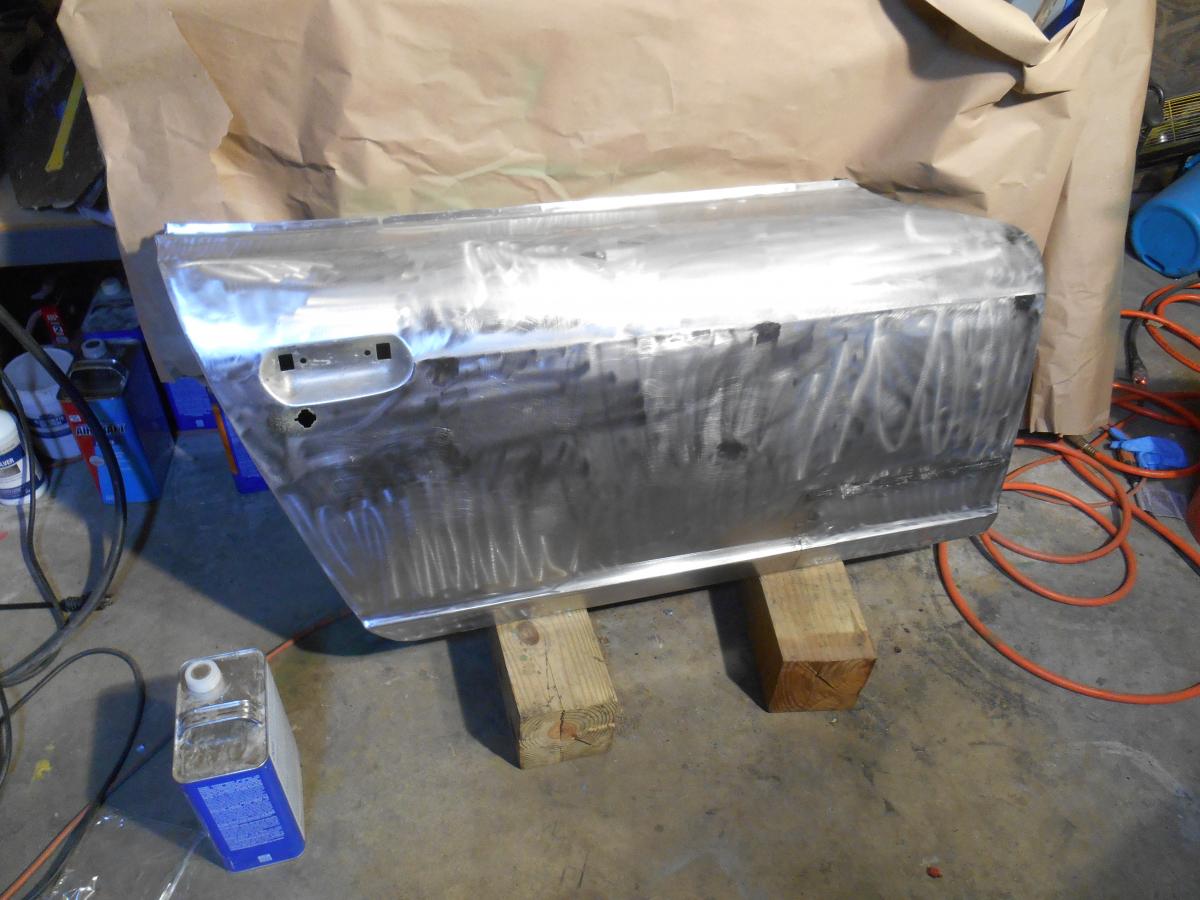
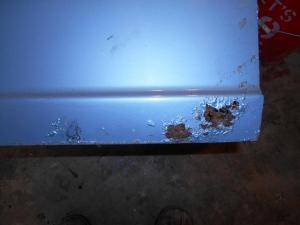
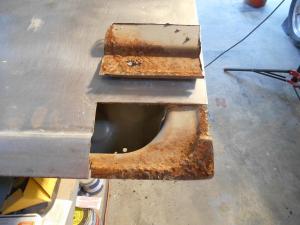
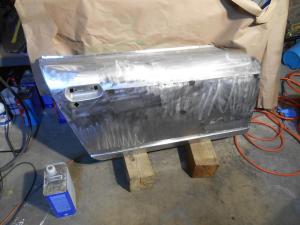
One more post for today. This is a rust repair on the passenger door. I have started to slip and didn't take as many pictures as I meant to. I used a lot of filler before I primed the door. Nothing too thick just a lot of fill, sand, fill sand, until I felt like I have covered most of the door. That one was a little rough. By contrast the driver's door which I am working on now is almost perfect.


-
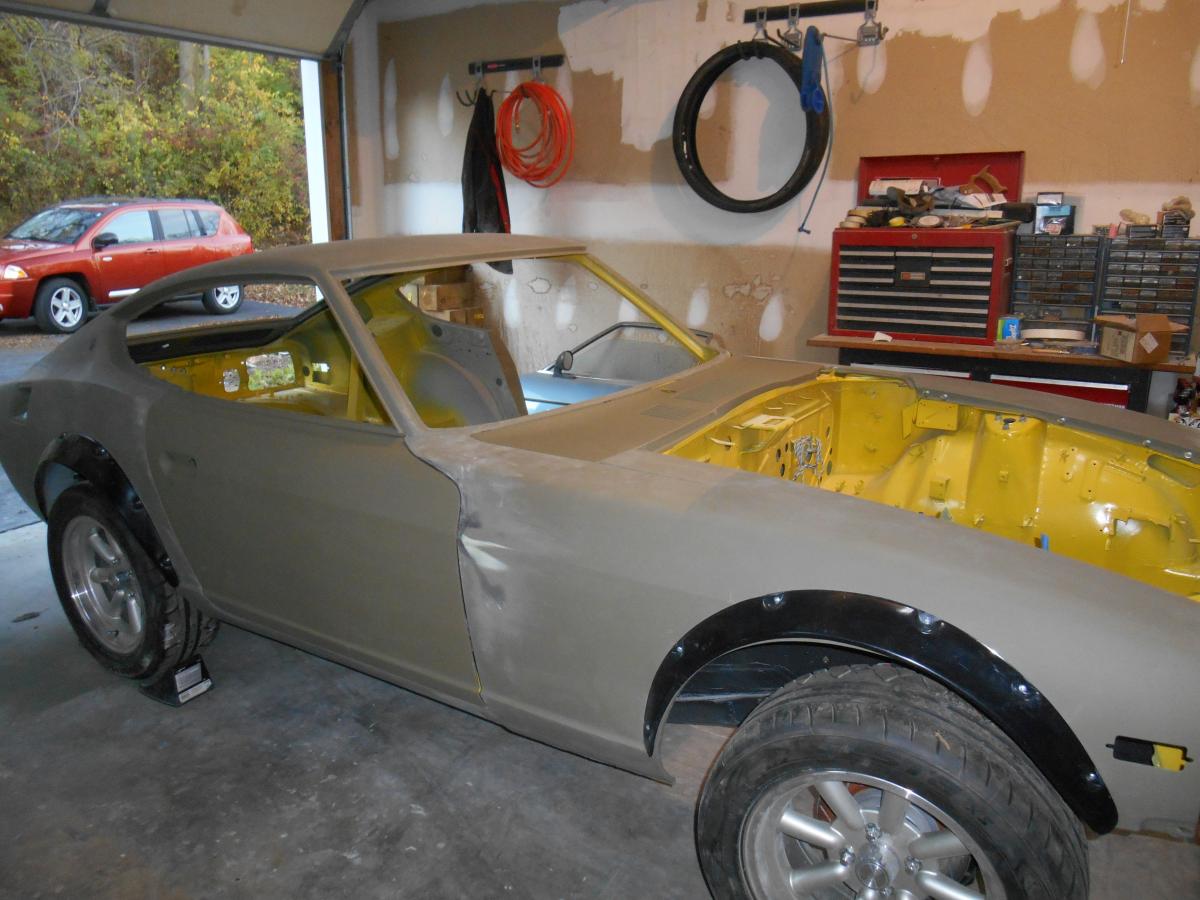
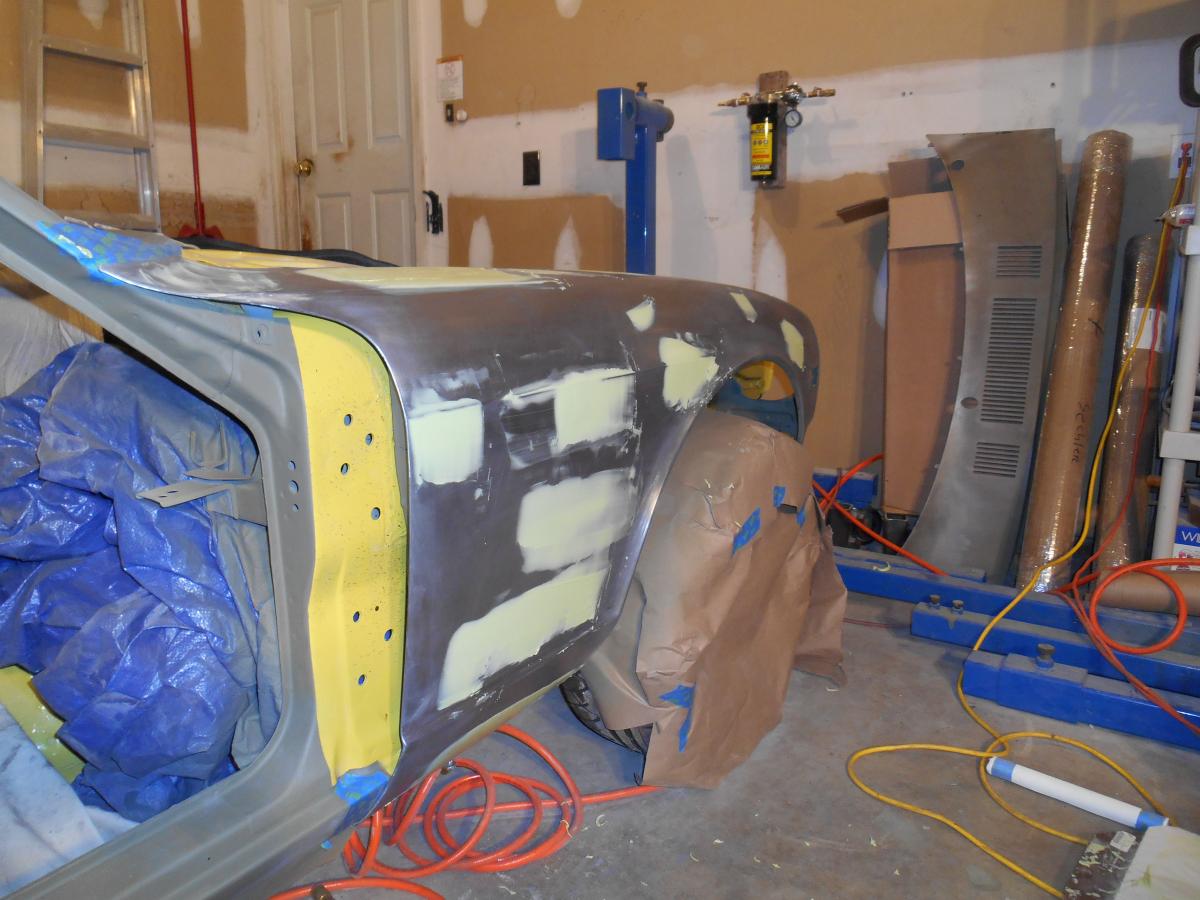
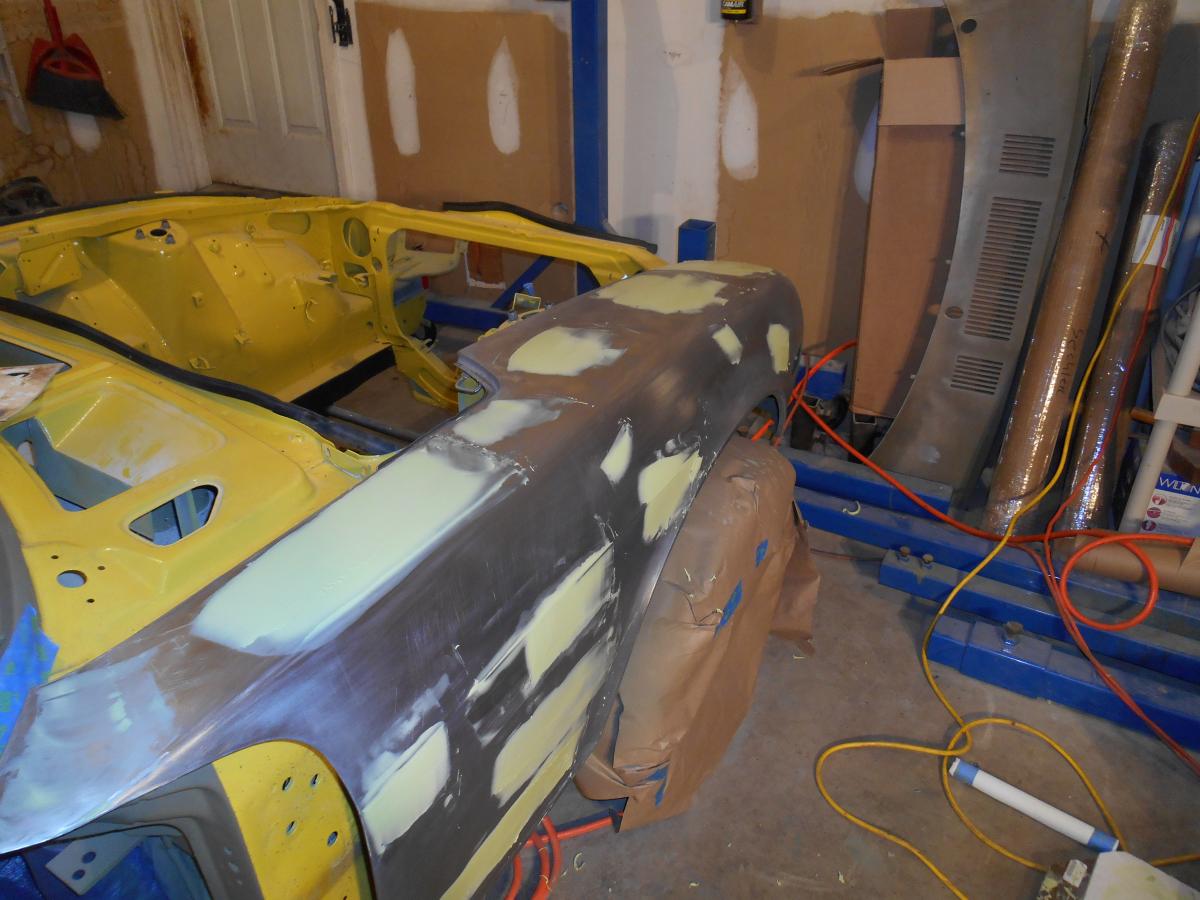
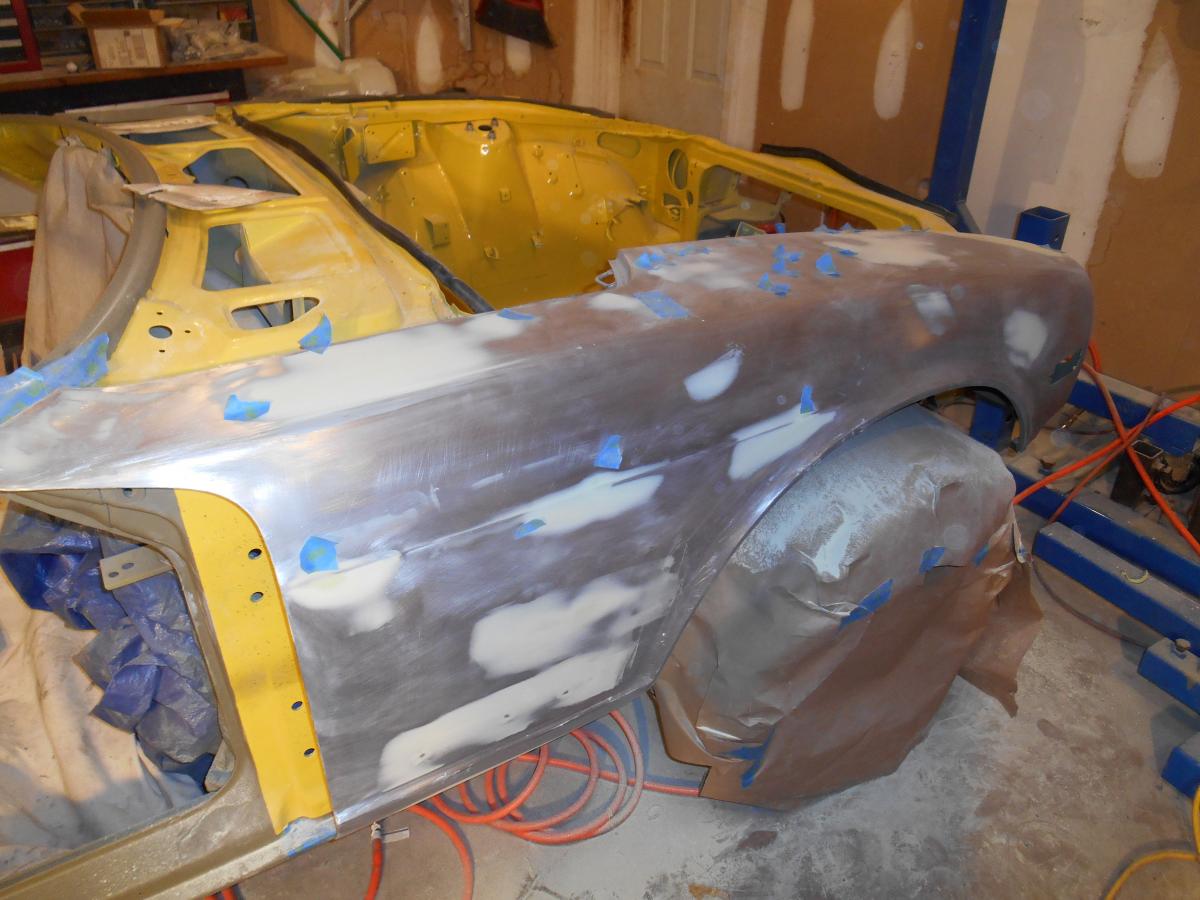
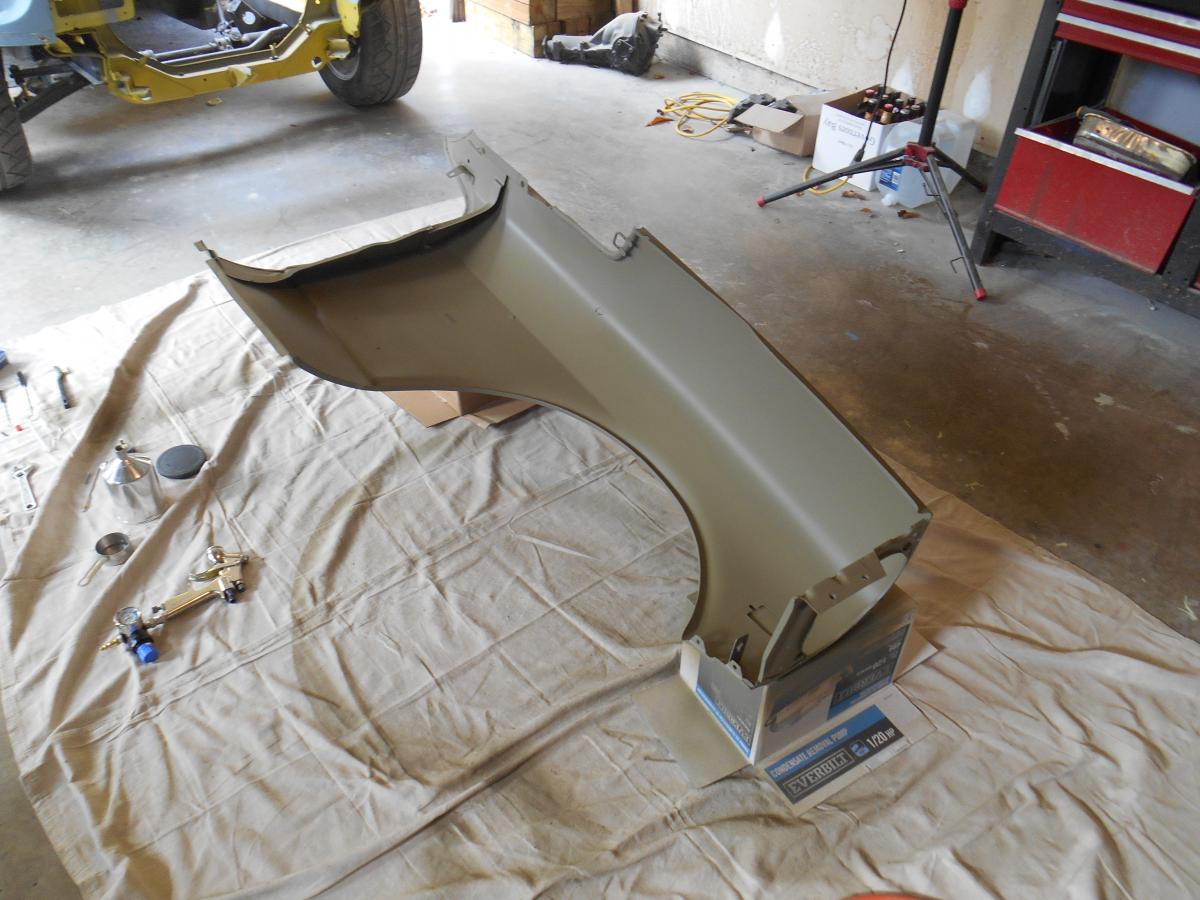
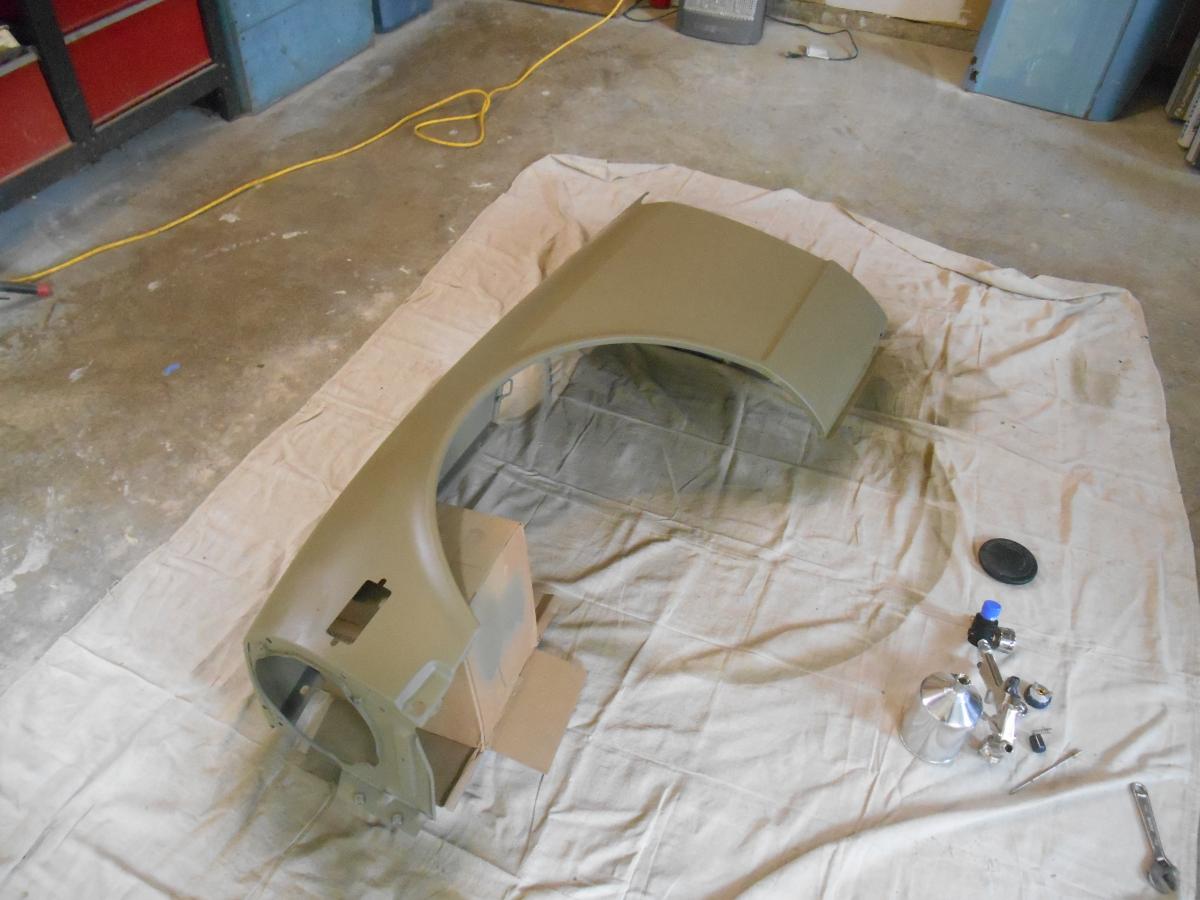
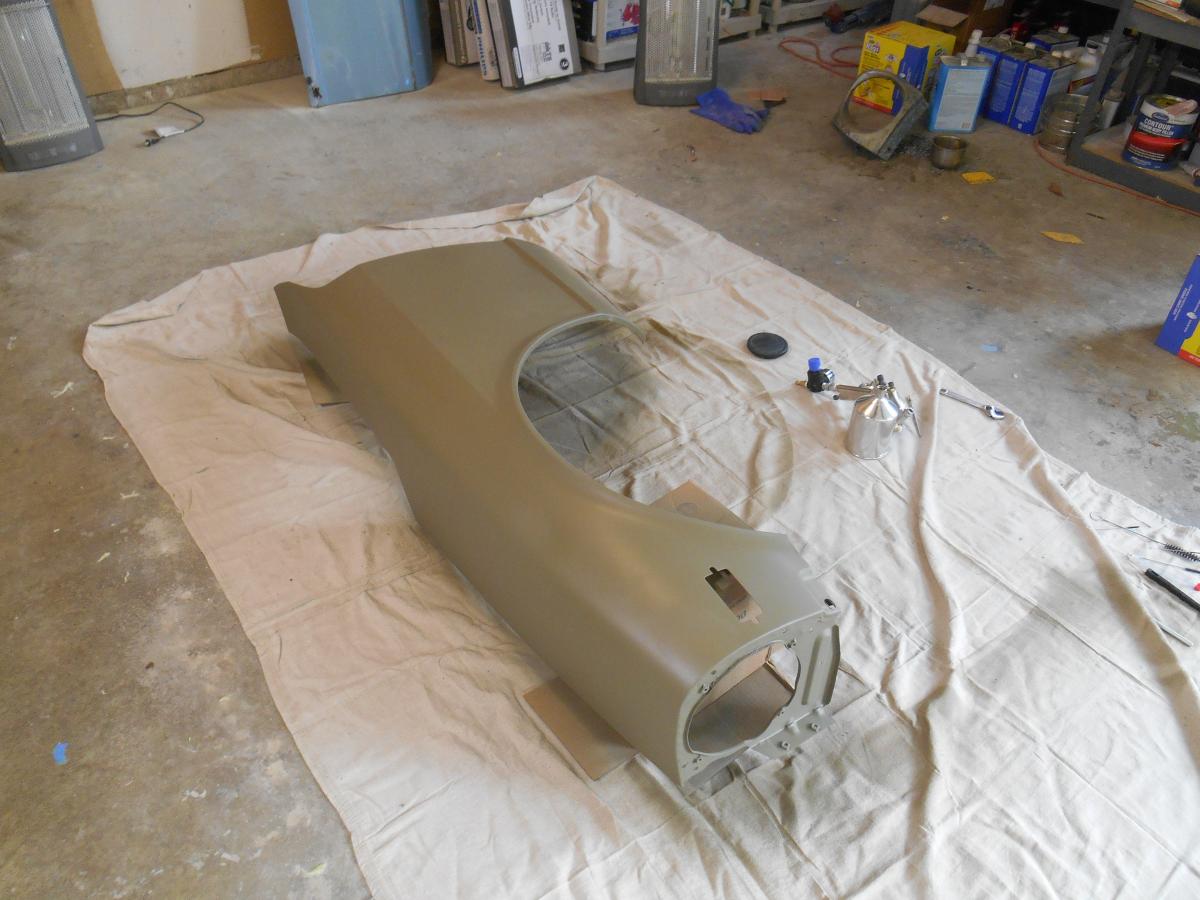
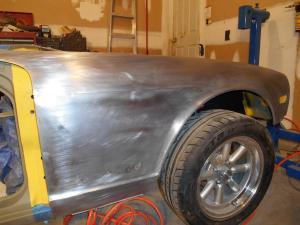
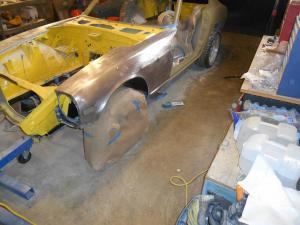
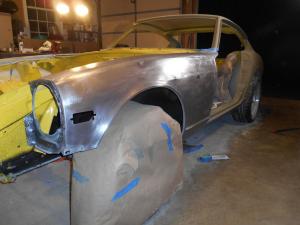
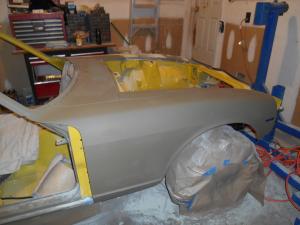
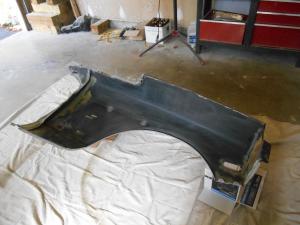
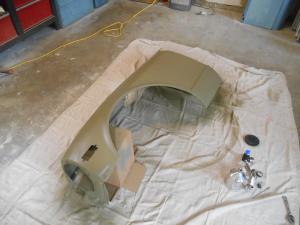
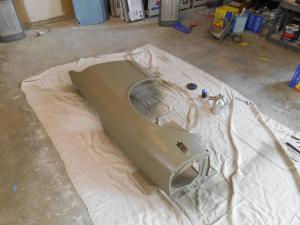
Ok, I am going to post some more pictures. I'm getting real close to current so the rate of posting is going to slow down soon. I did some work today and should have an interesting future post that I will probably title "The Cost of doing things Wrong!" In my haste today I did something wrong that will need to be reworked -sigh. I hope that post will serve as a reminder that sometimes it's best to walk away and rethink your approach before you compound a problem. Anyway, here are some pictures of front fender work. Both front fenders were in very good condition and required very little help except taking off the ugly dealer trim strips and welding the holes closed. Here's the finished product. Don't worry about the flare. It's on wrong and I have corrected the problem.


-
No problem. I've gleaned enough information from your threads. Glad you could get some here!
-
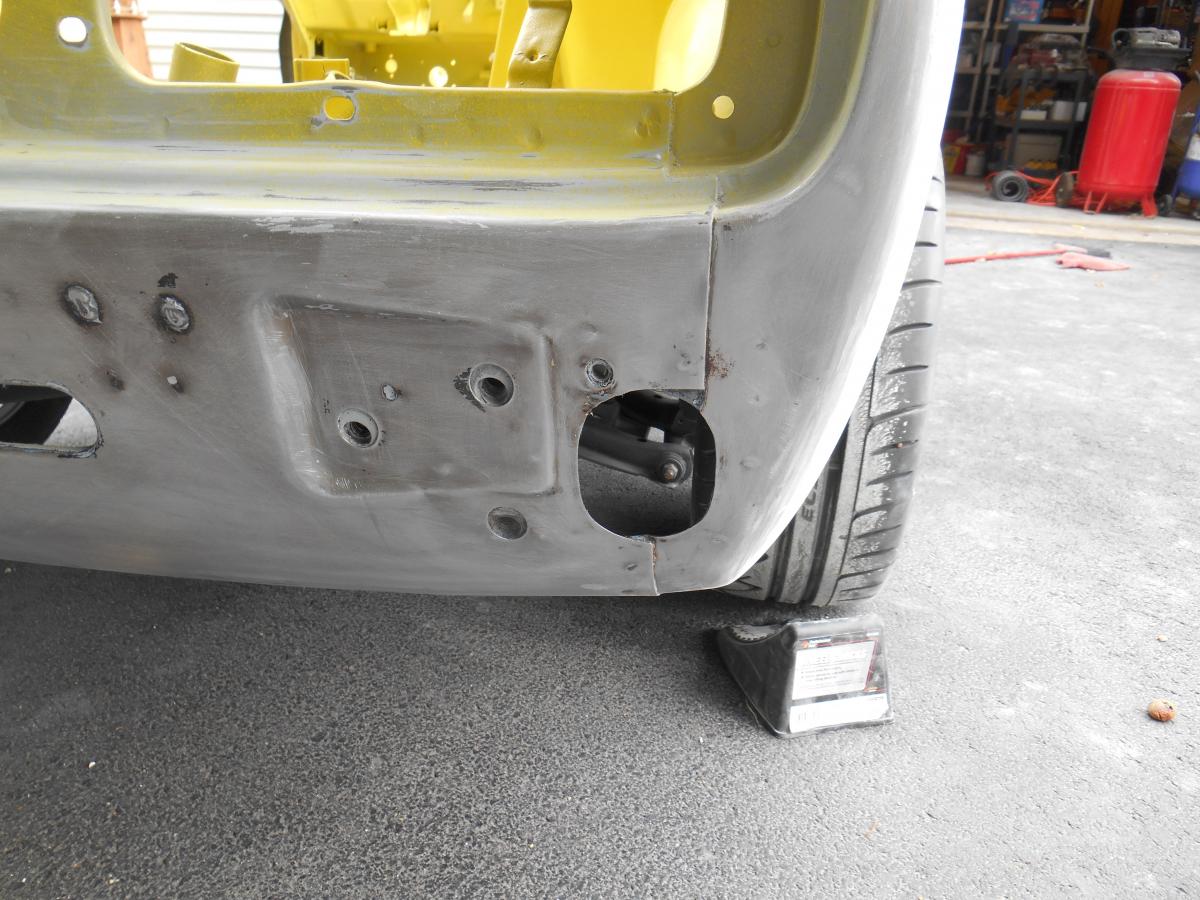
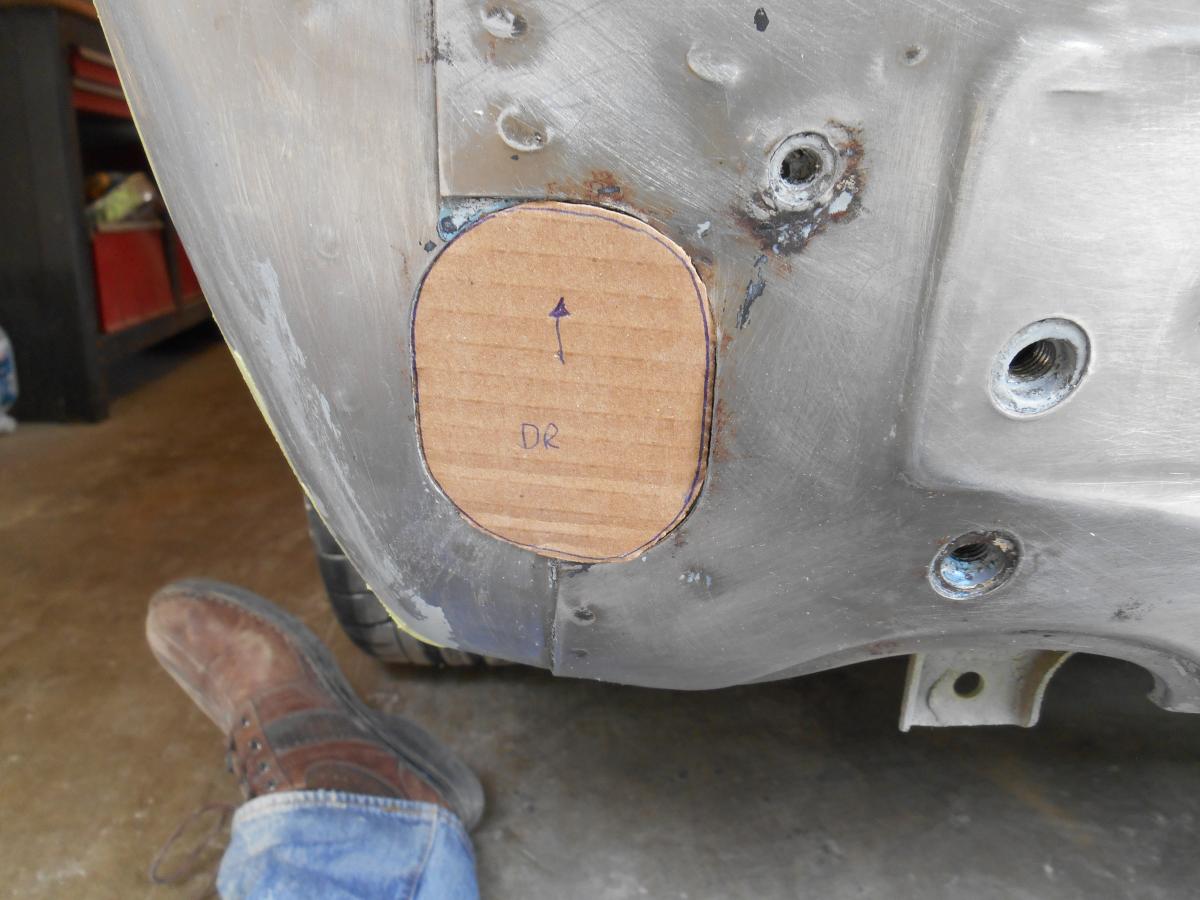
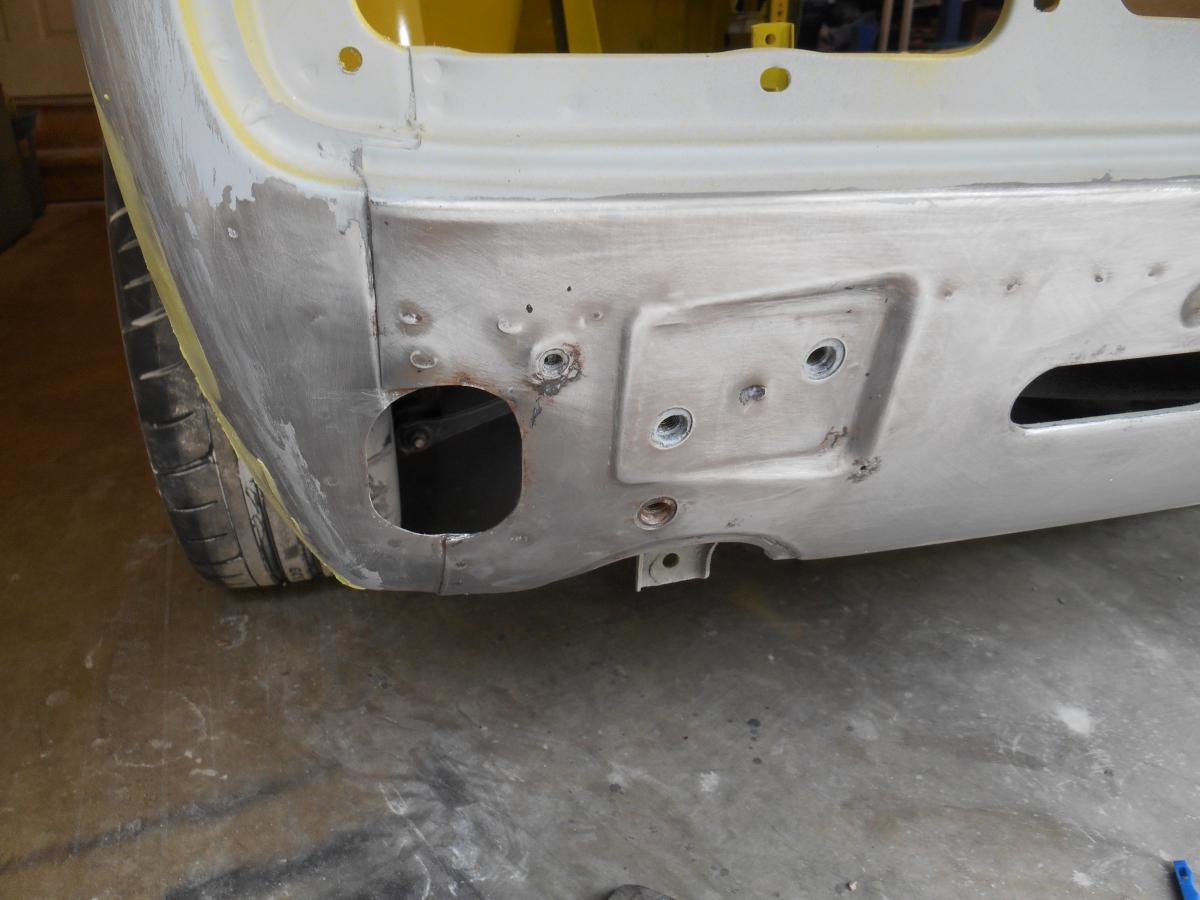
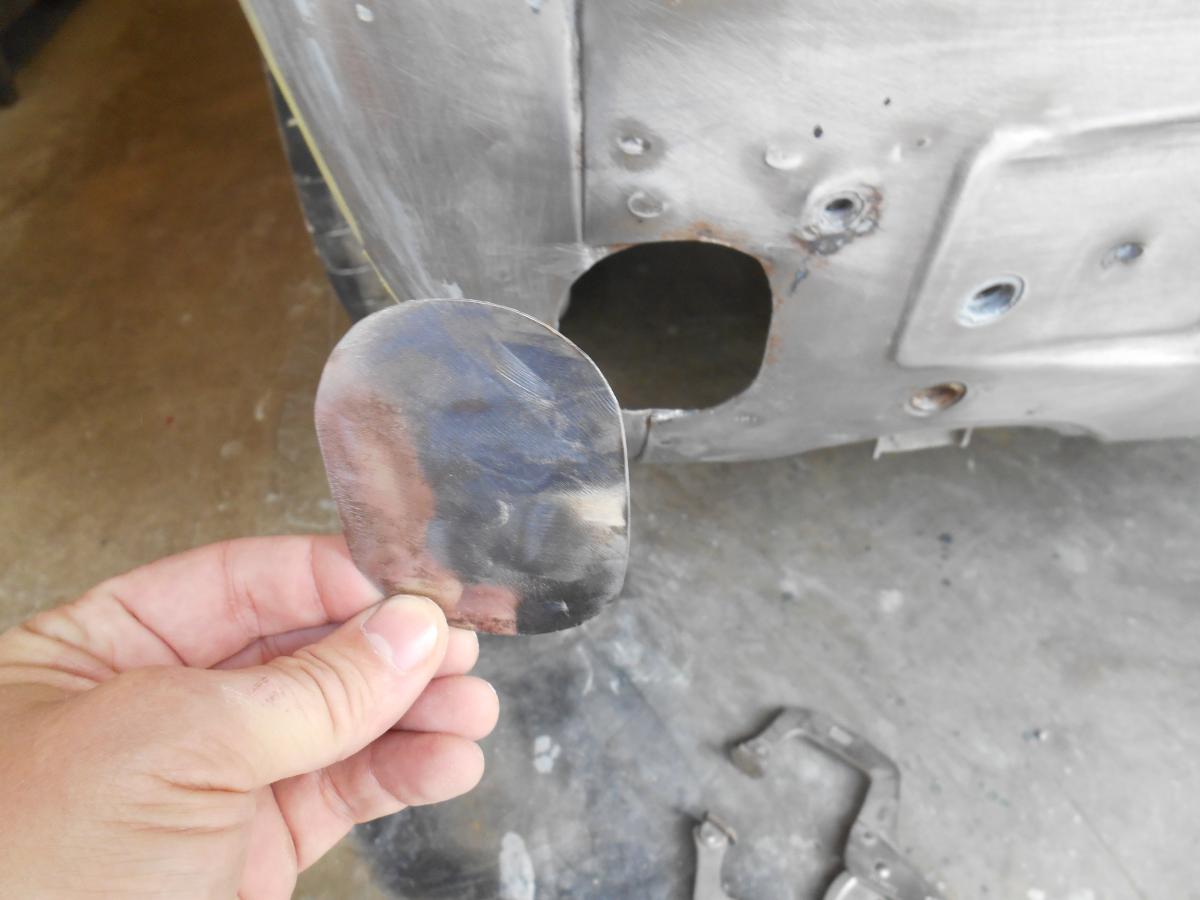
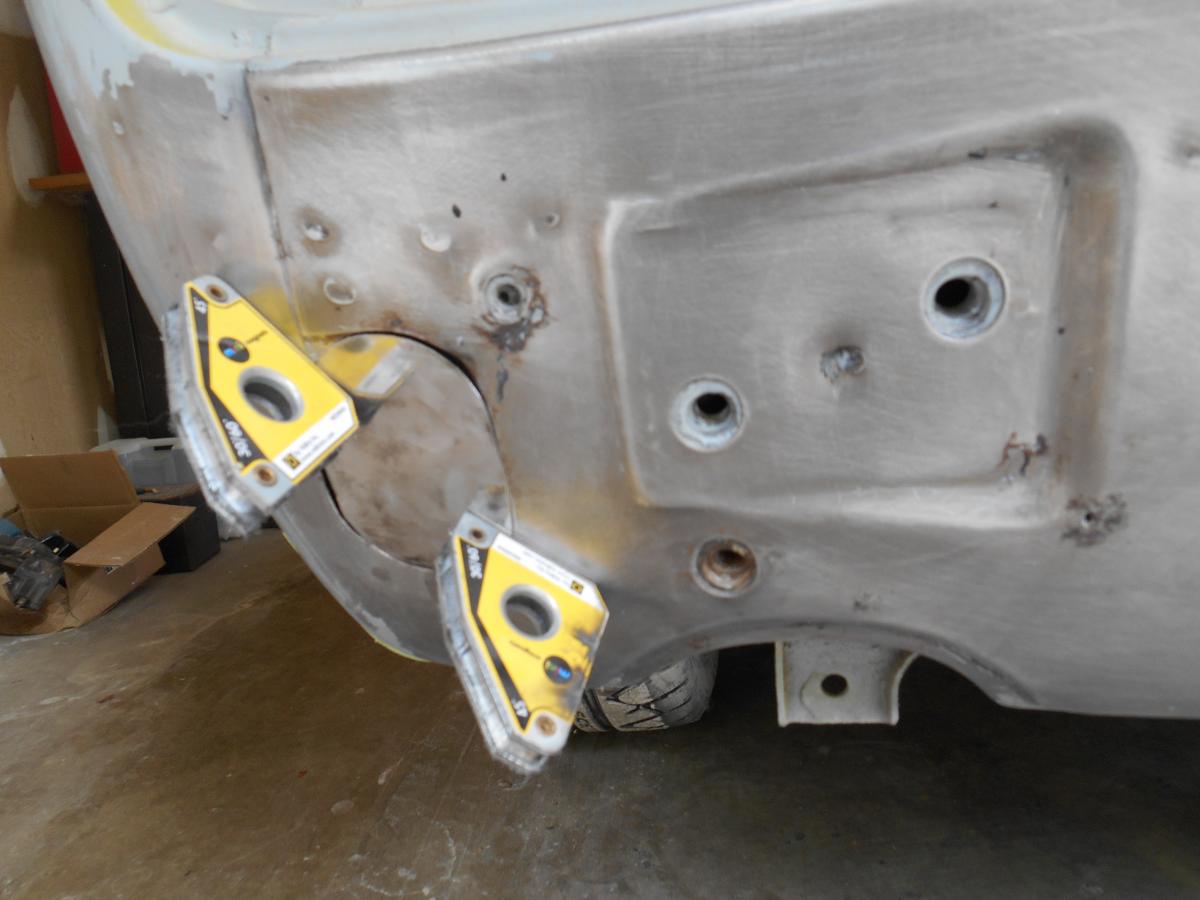
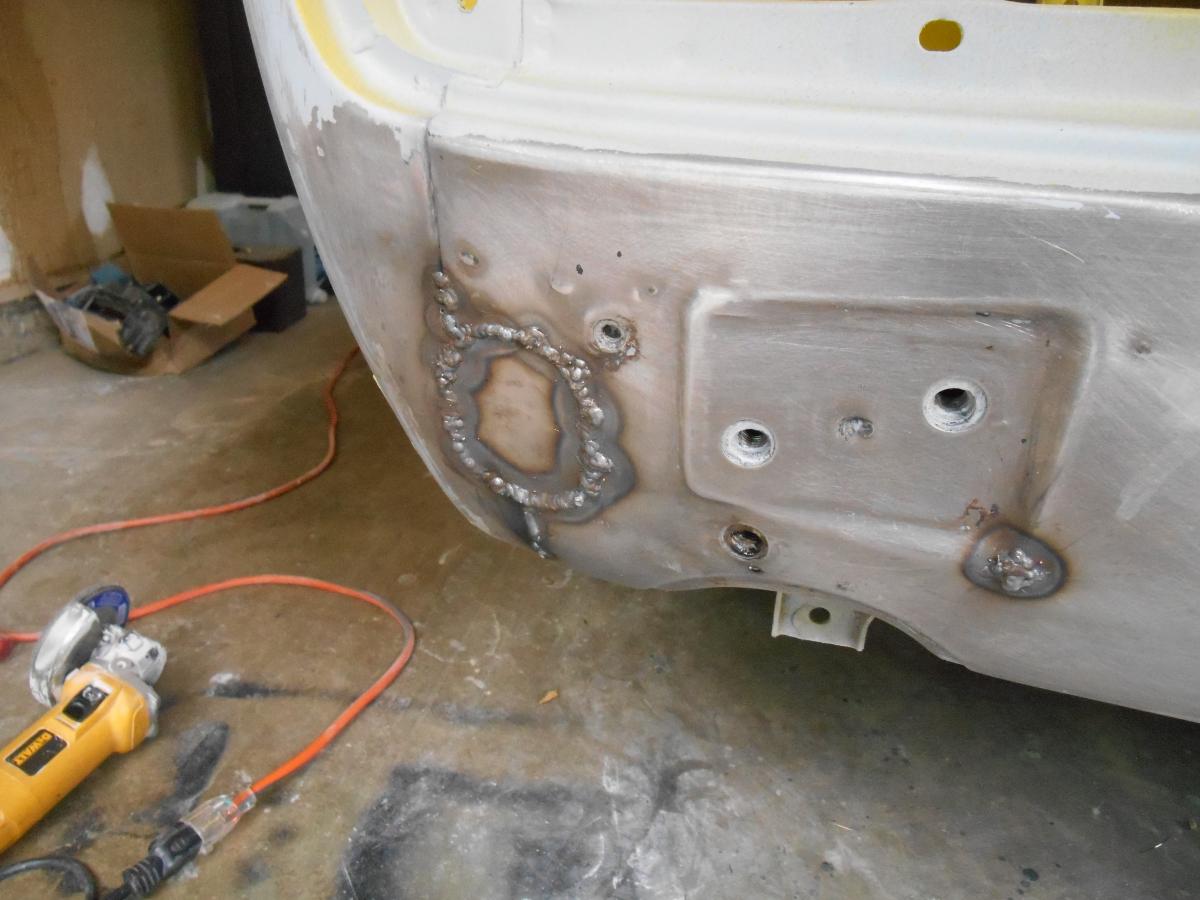
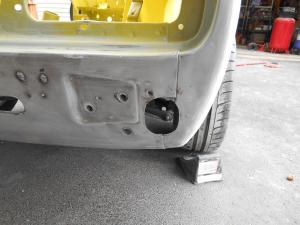
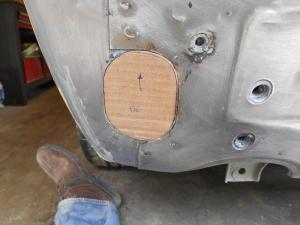
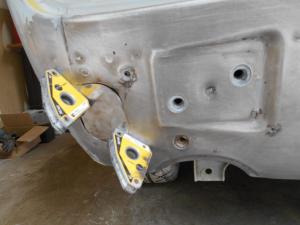
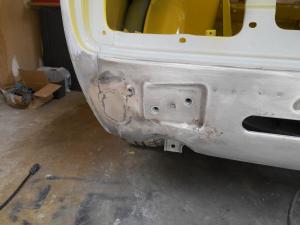
For those of you (myself included) that don't like the 280z 5 mph bumpers...


-
Hmmm... My understanding was that the rear disc upgrade increased the rear braking power which required a proportioning valve to the rear brake to allow the proper bias to be established.
-
-
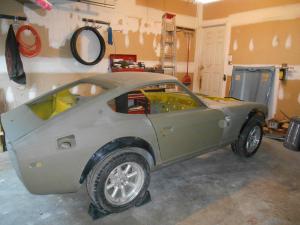
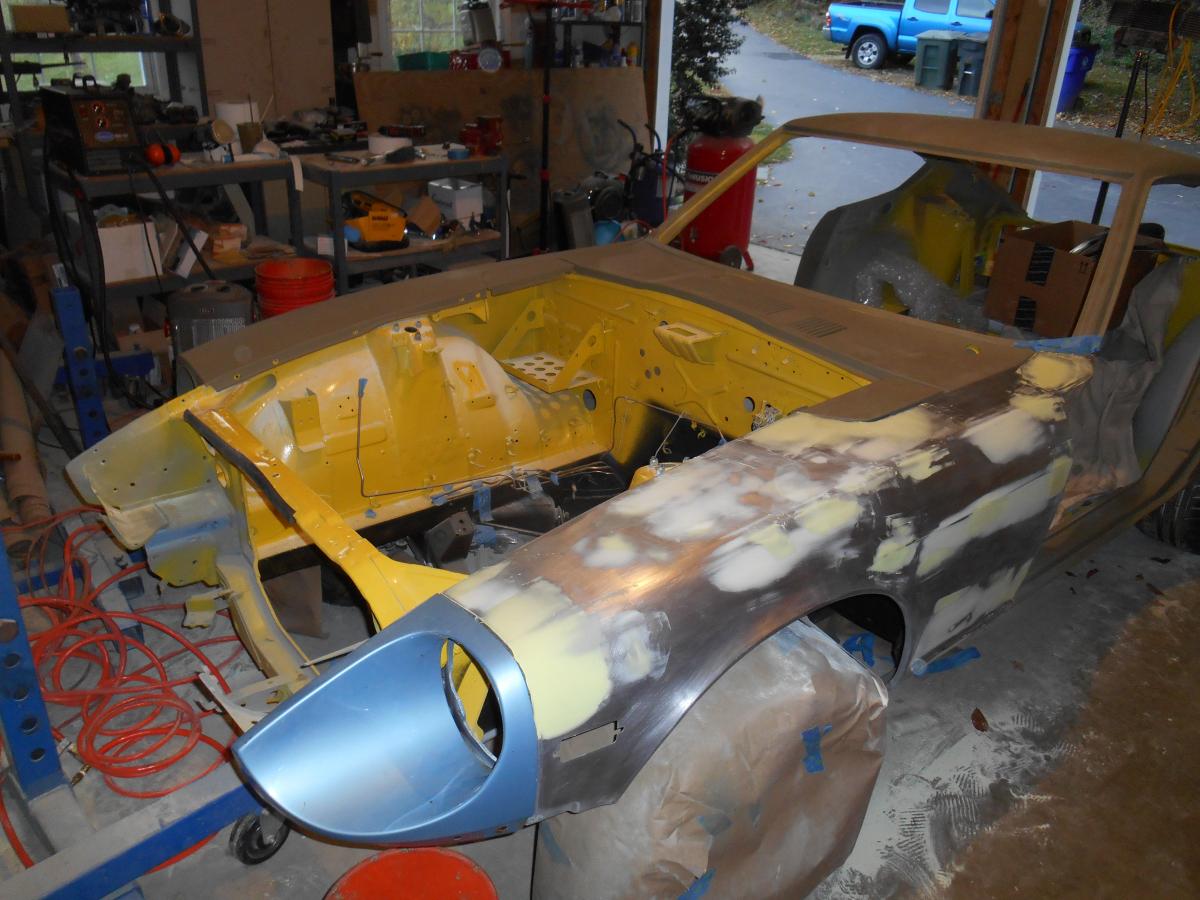
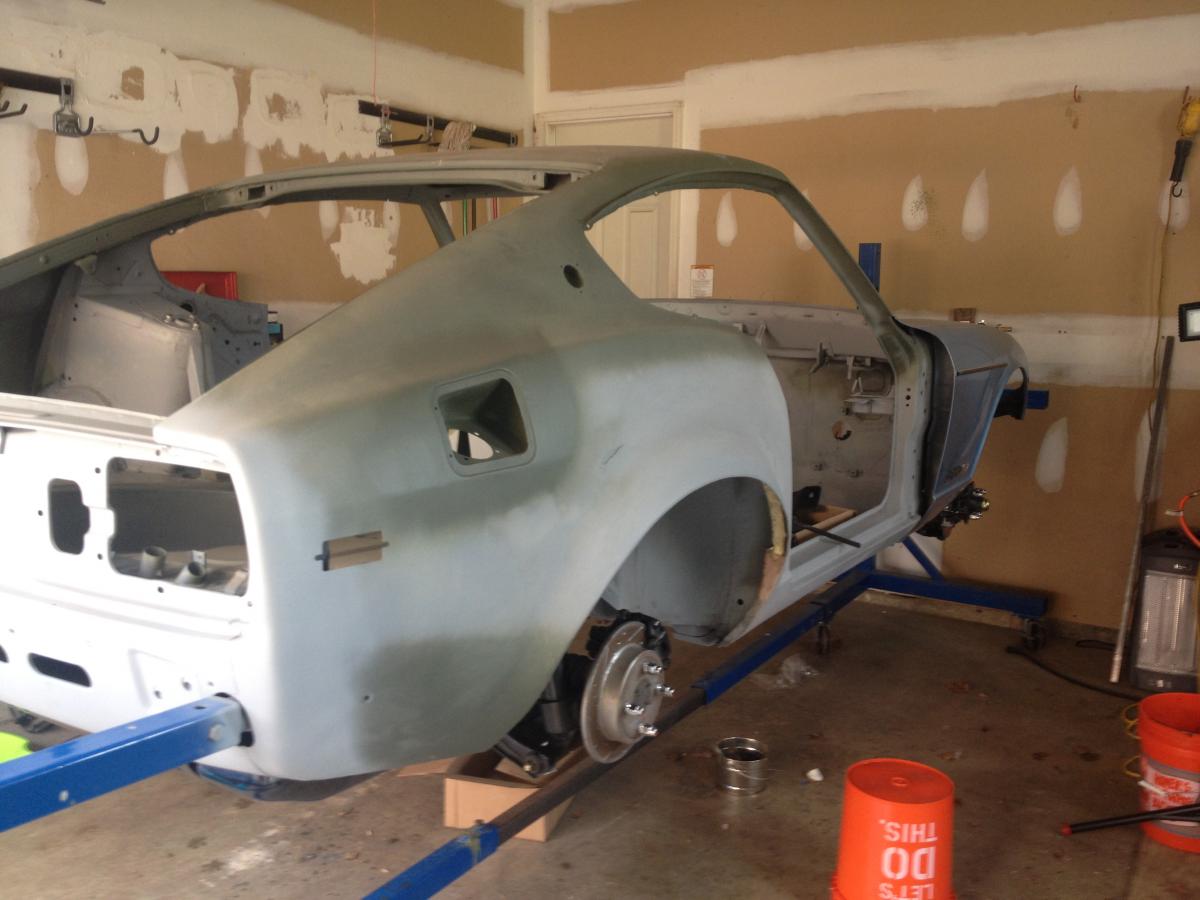
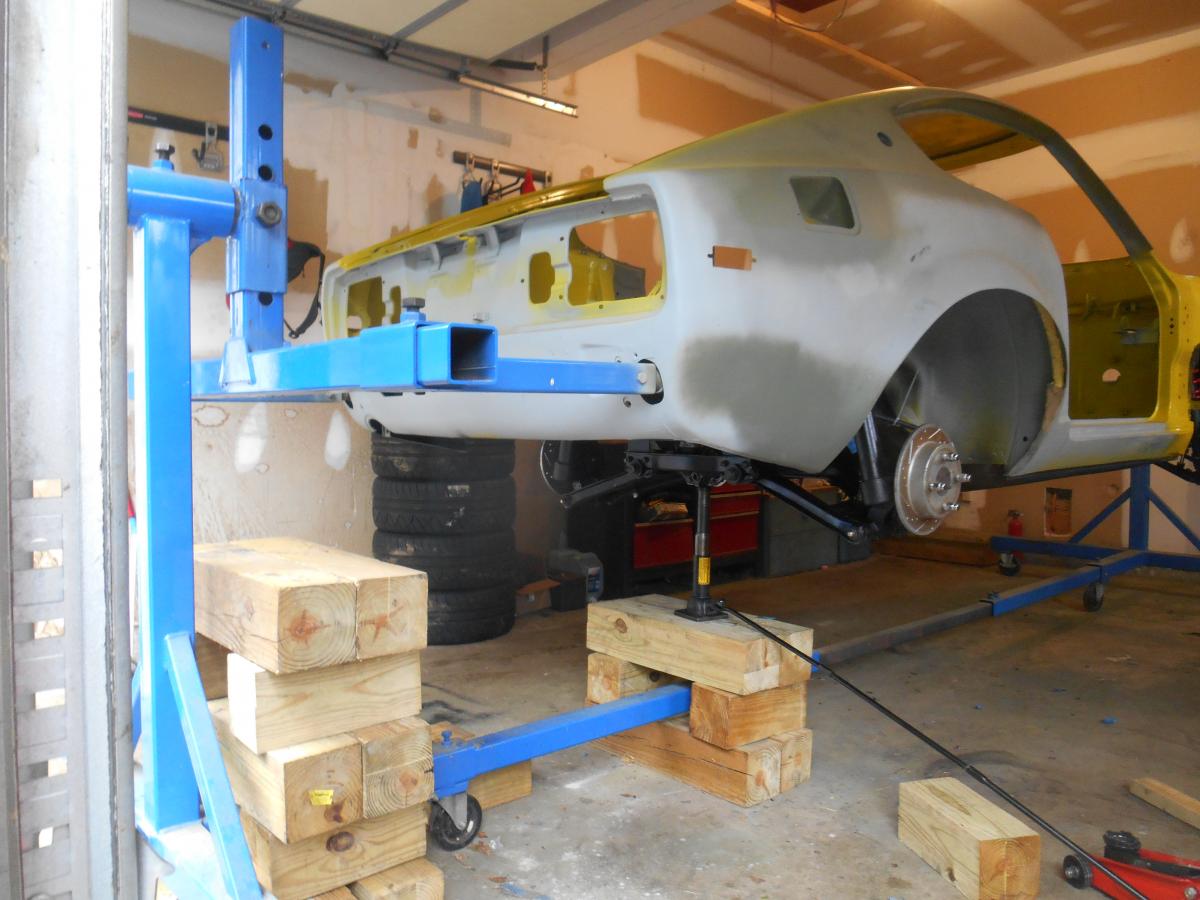
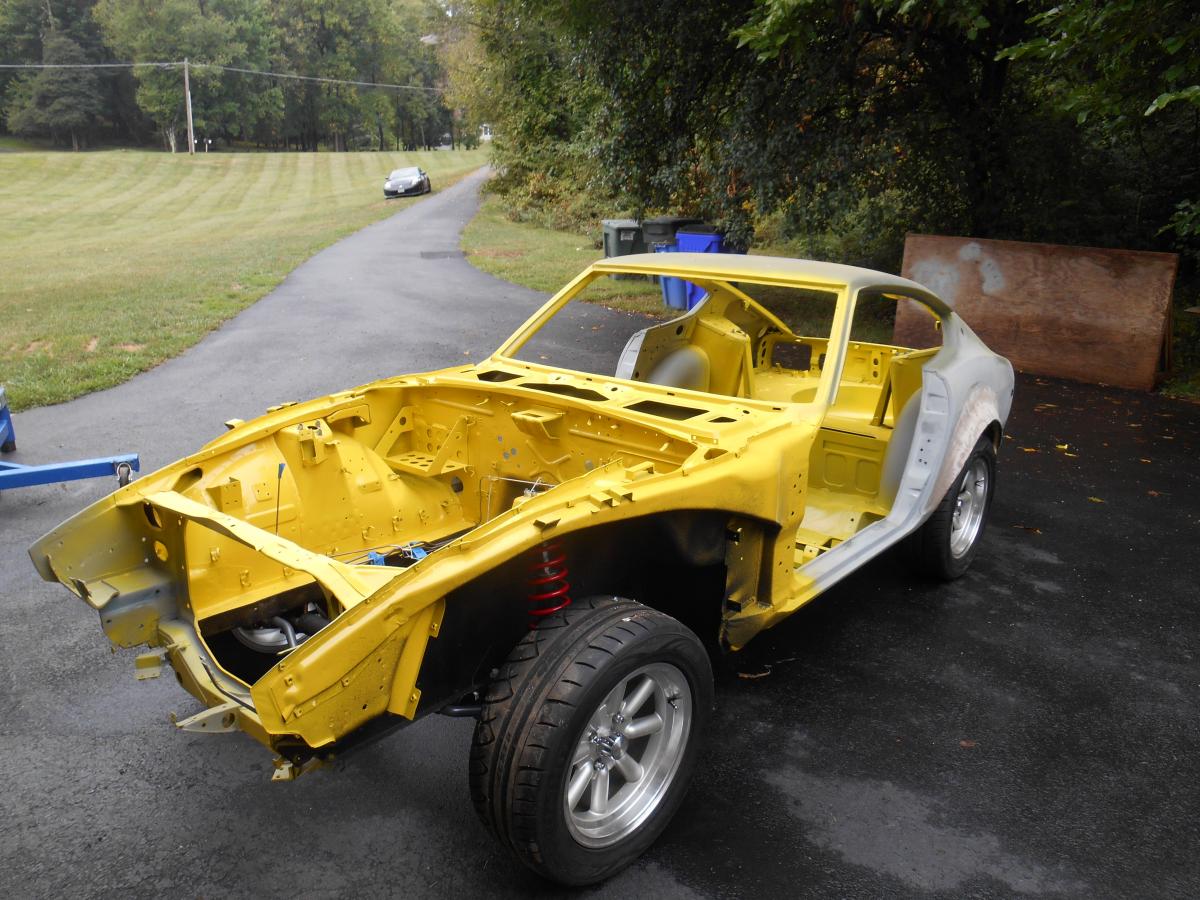
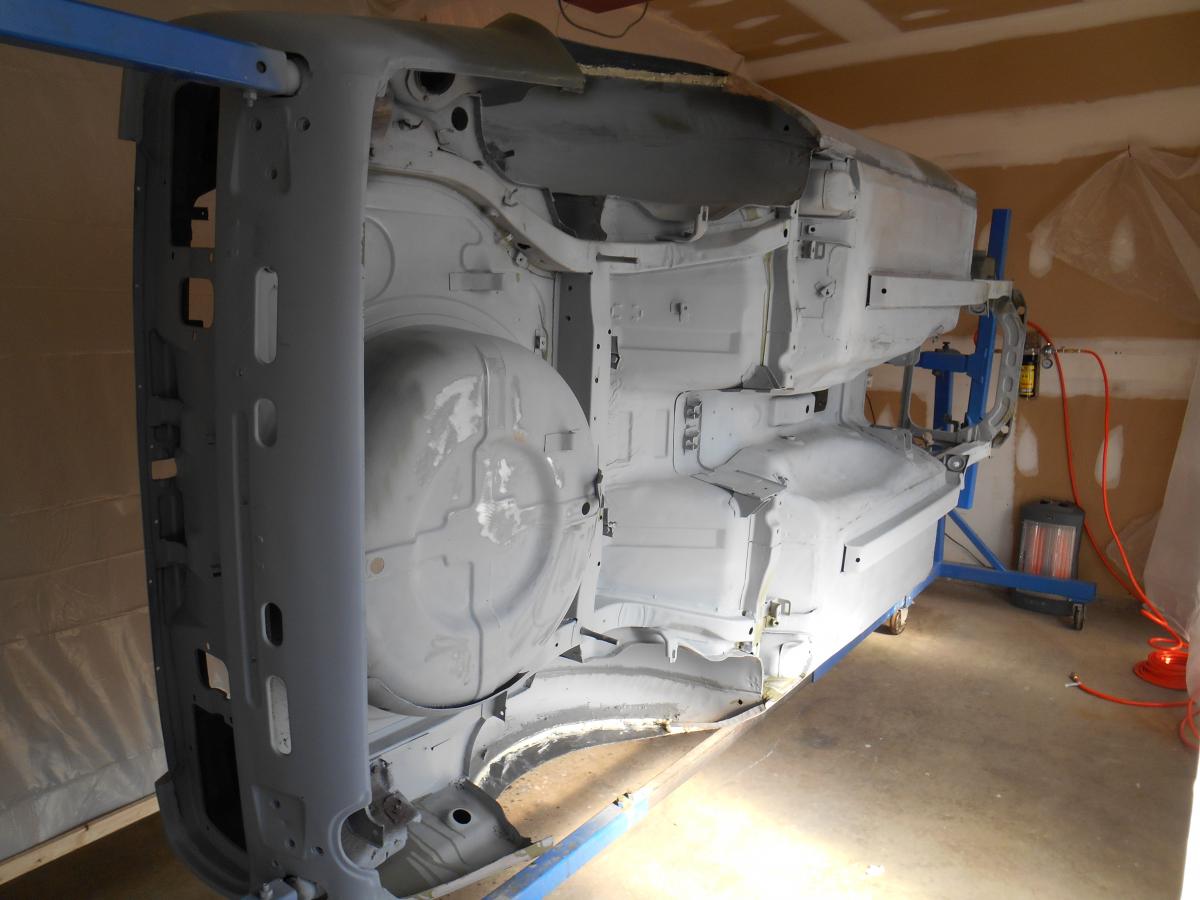
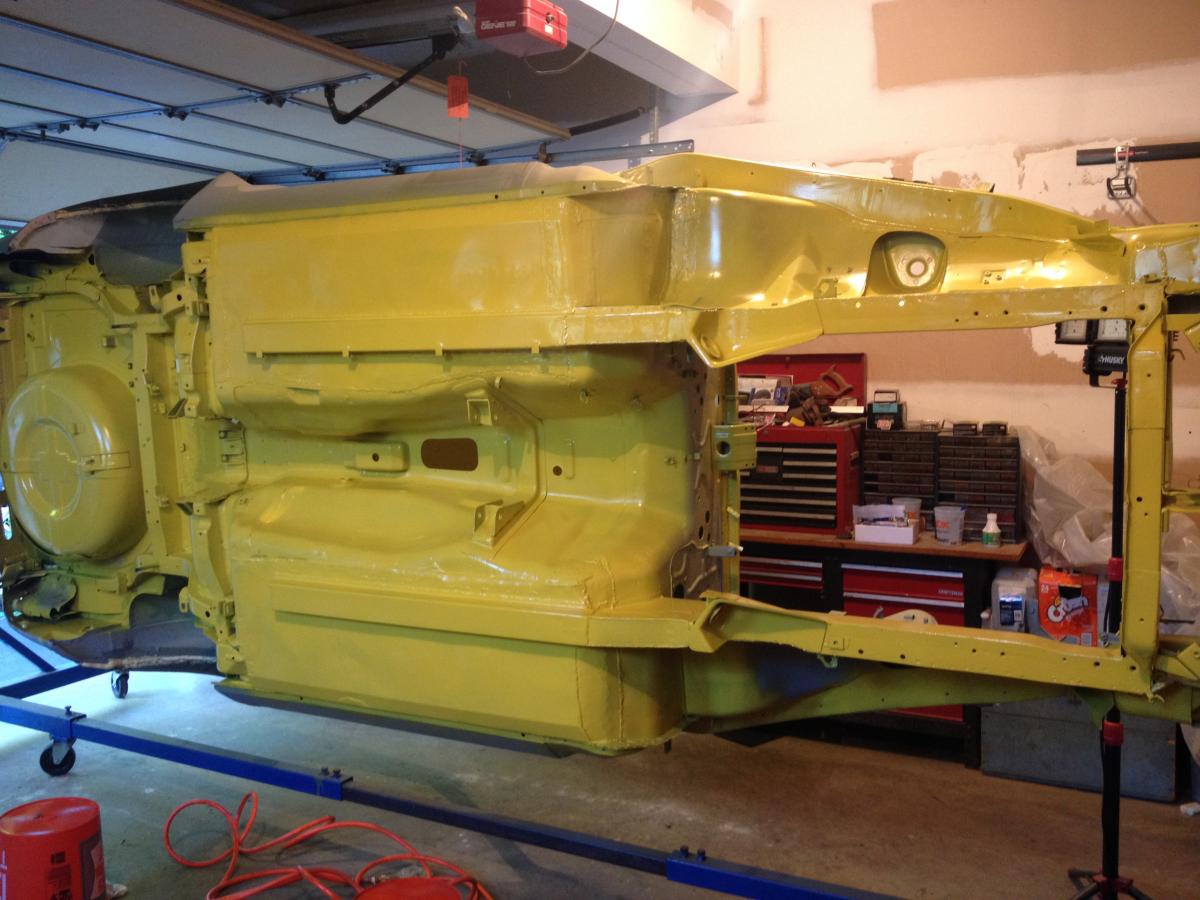
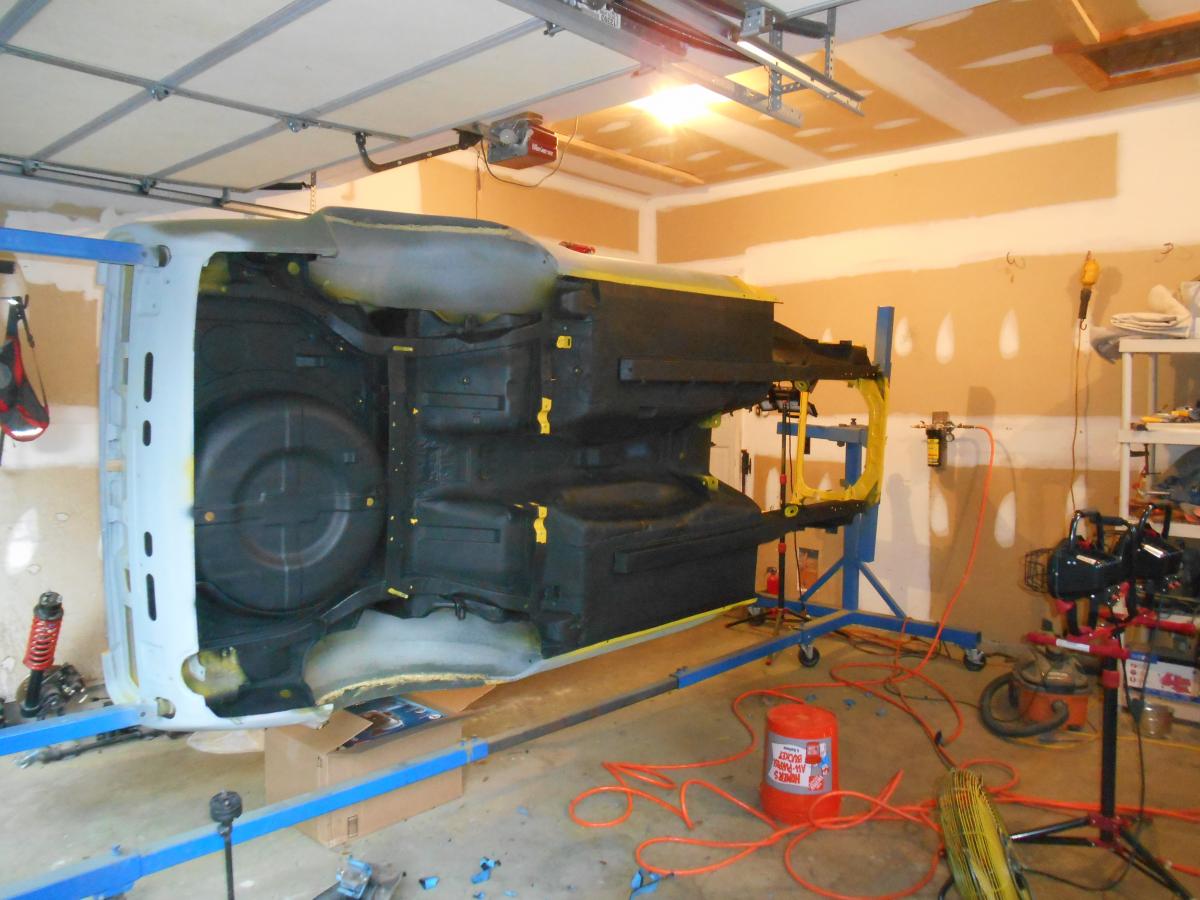
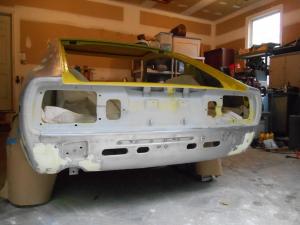
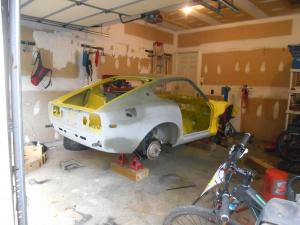
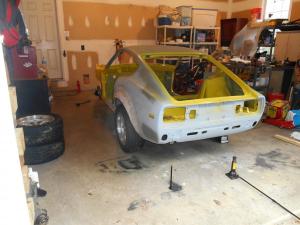
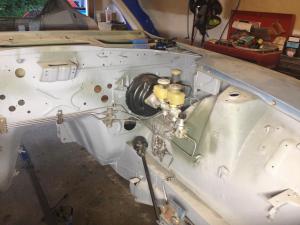
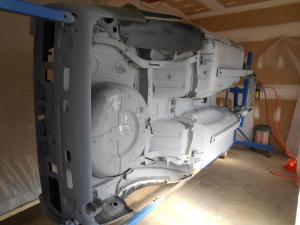
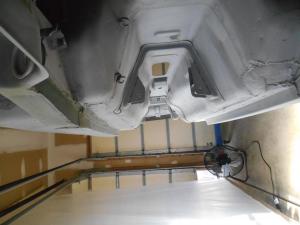
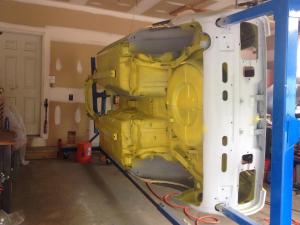
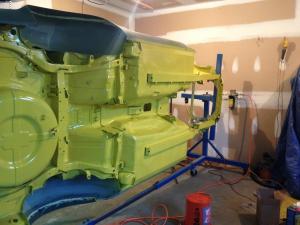
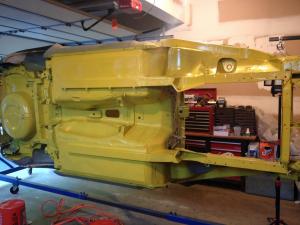
I'm getting closer to current. Here's the car coming off the rotisserie...


-
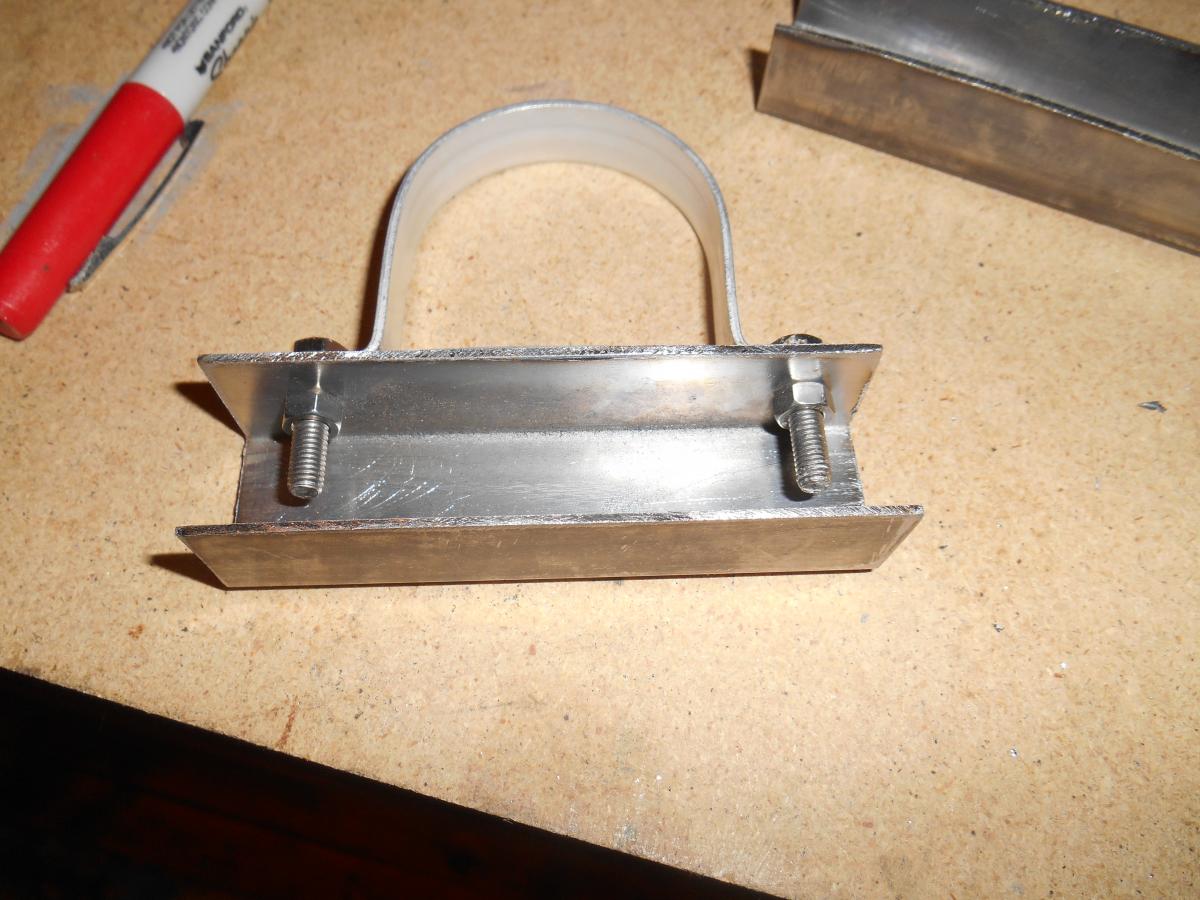
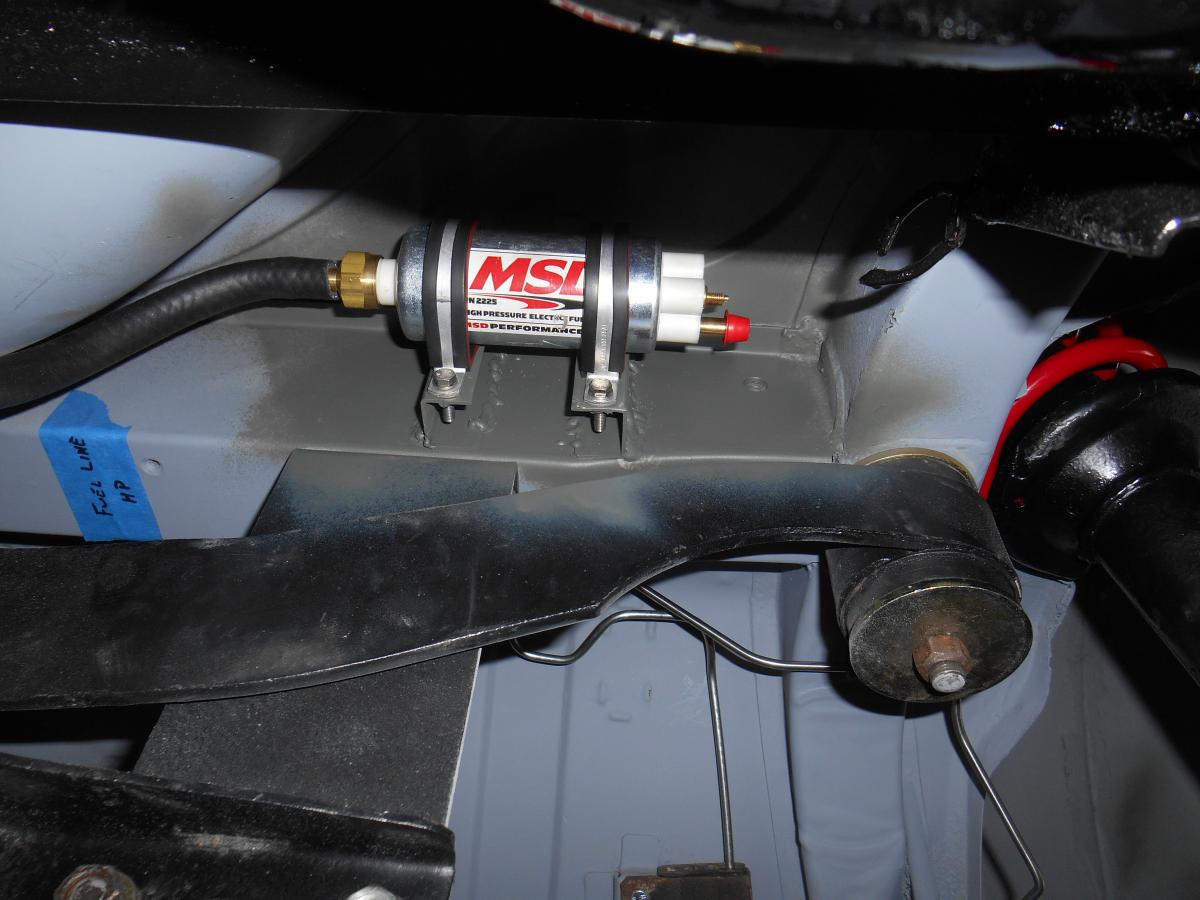
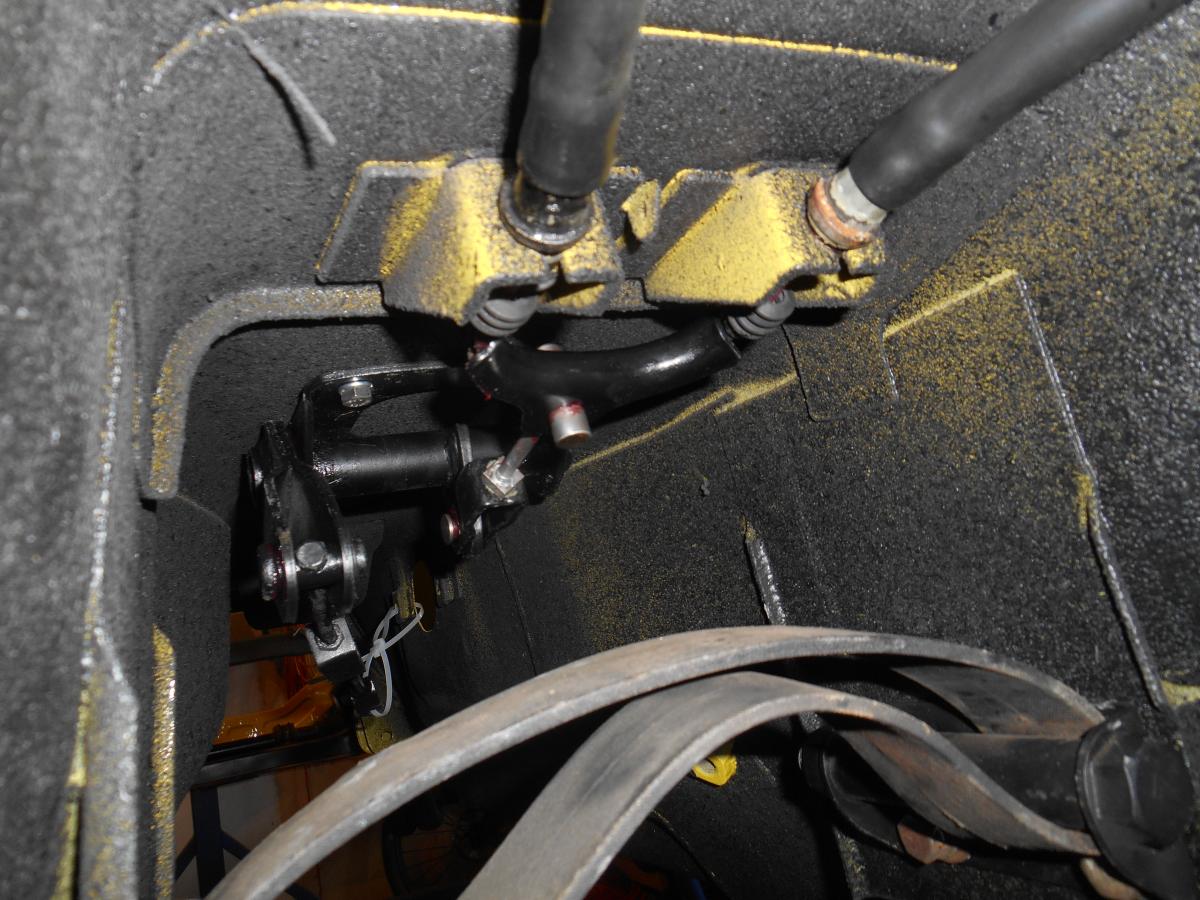
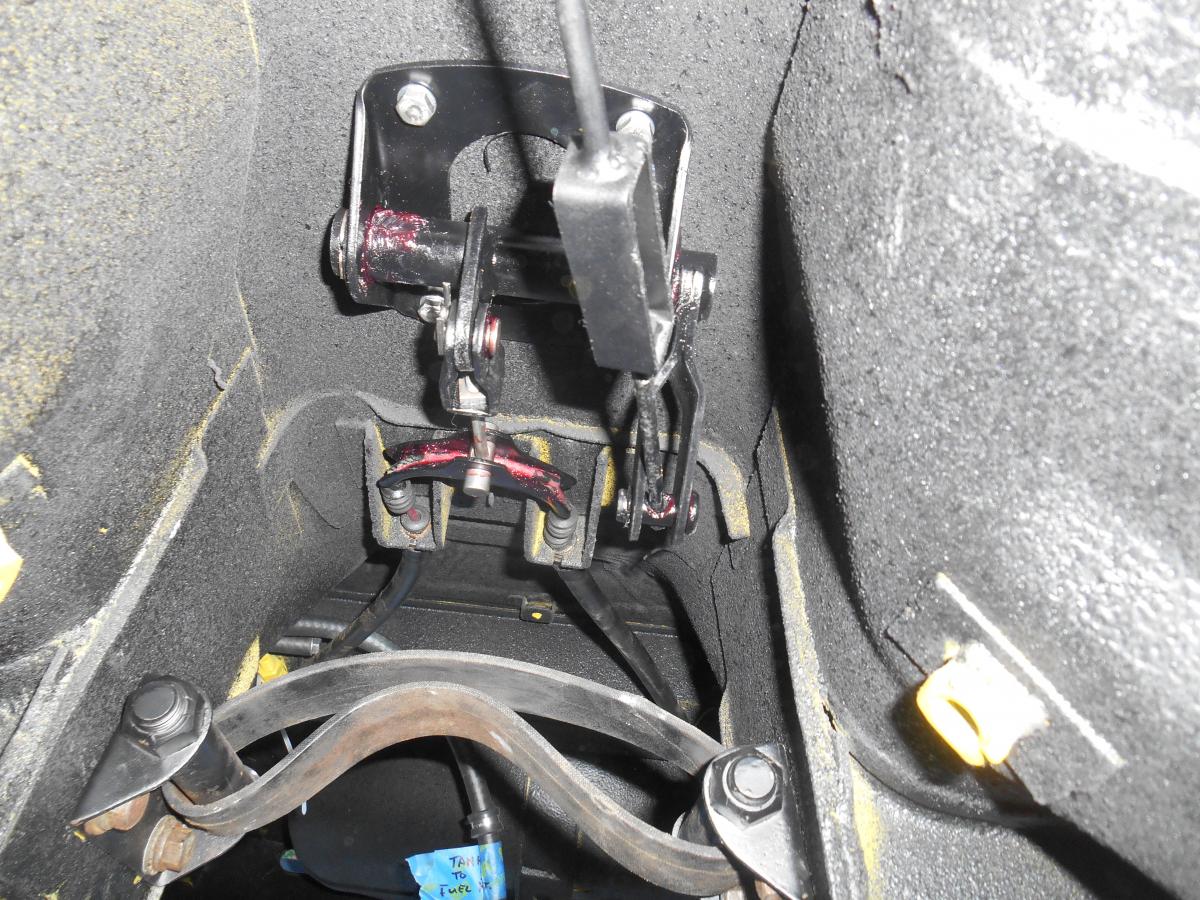
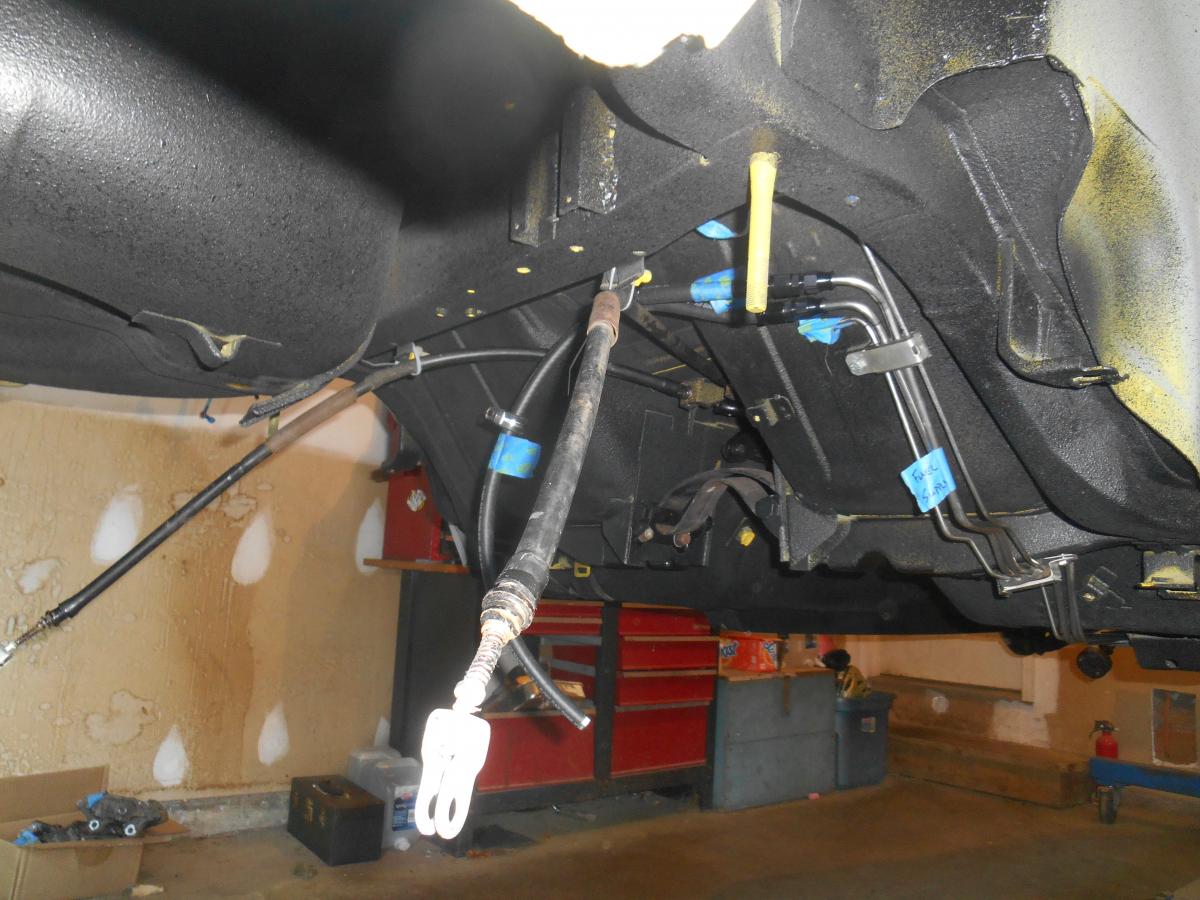
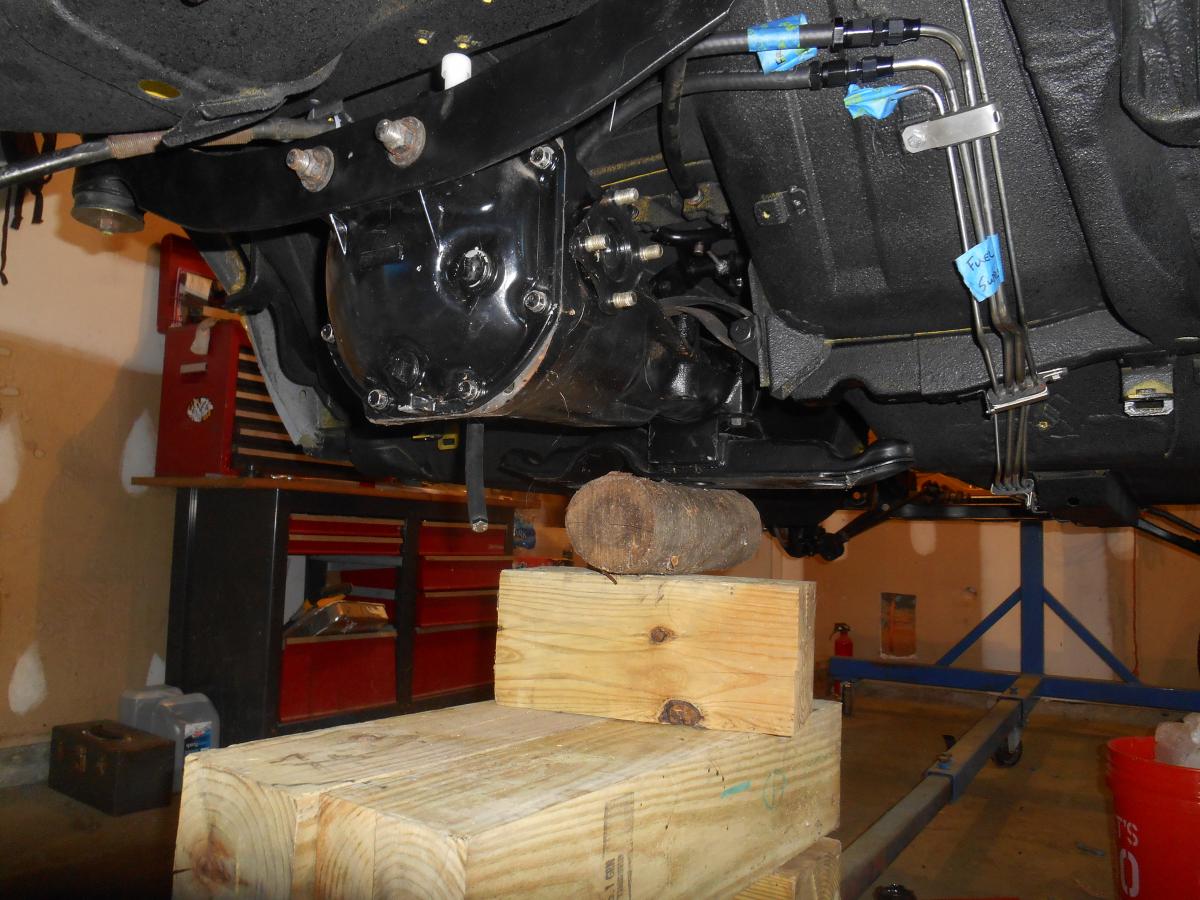
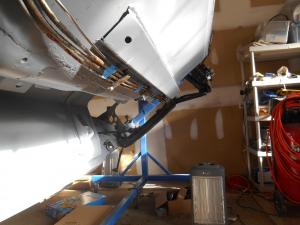
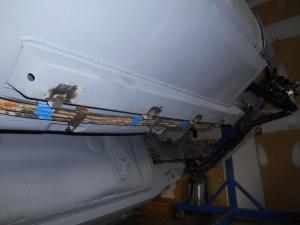
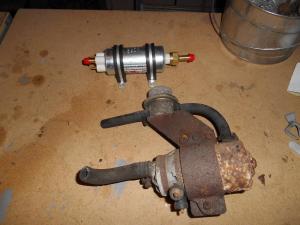
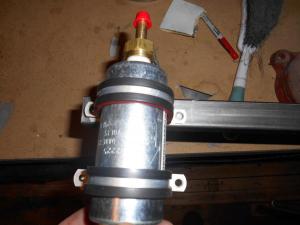
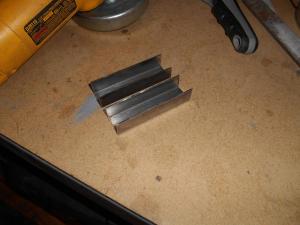
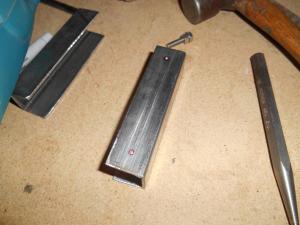
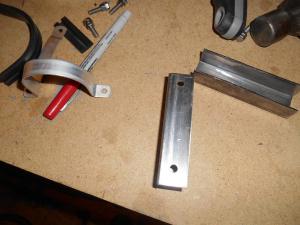
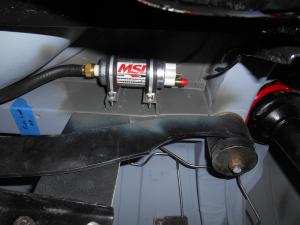
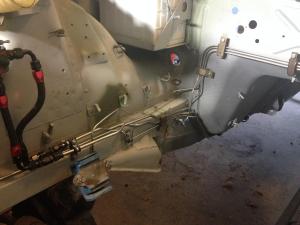
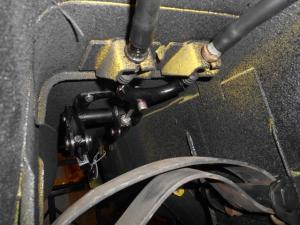
Here are some pictures from my work on the hardlines and fuel pump:


-
Brilliant Blue! Thanks.
-
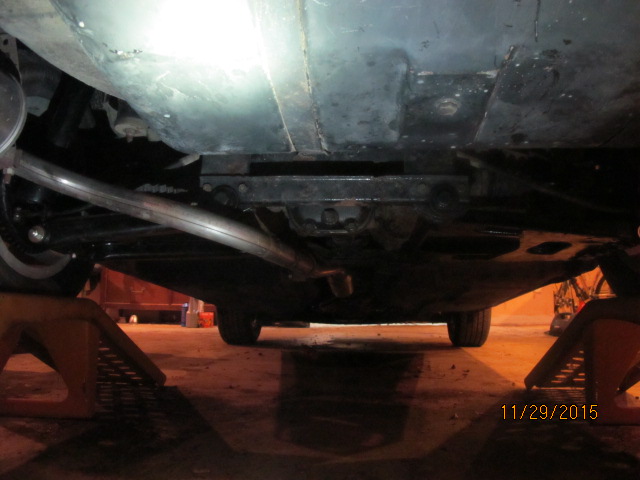
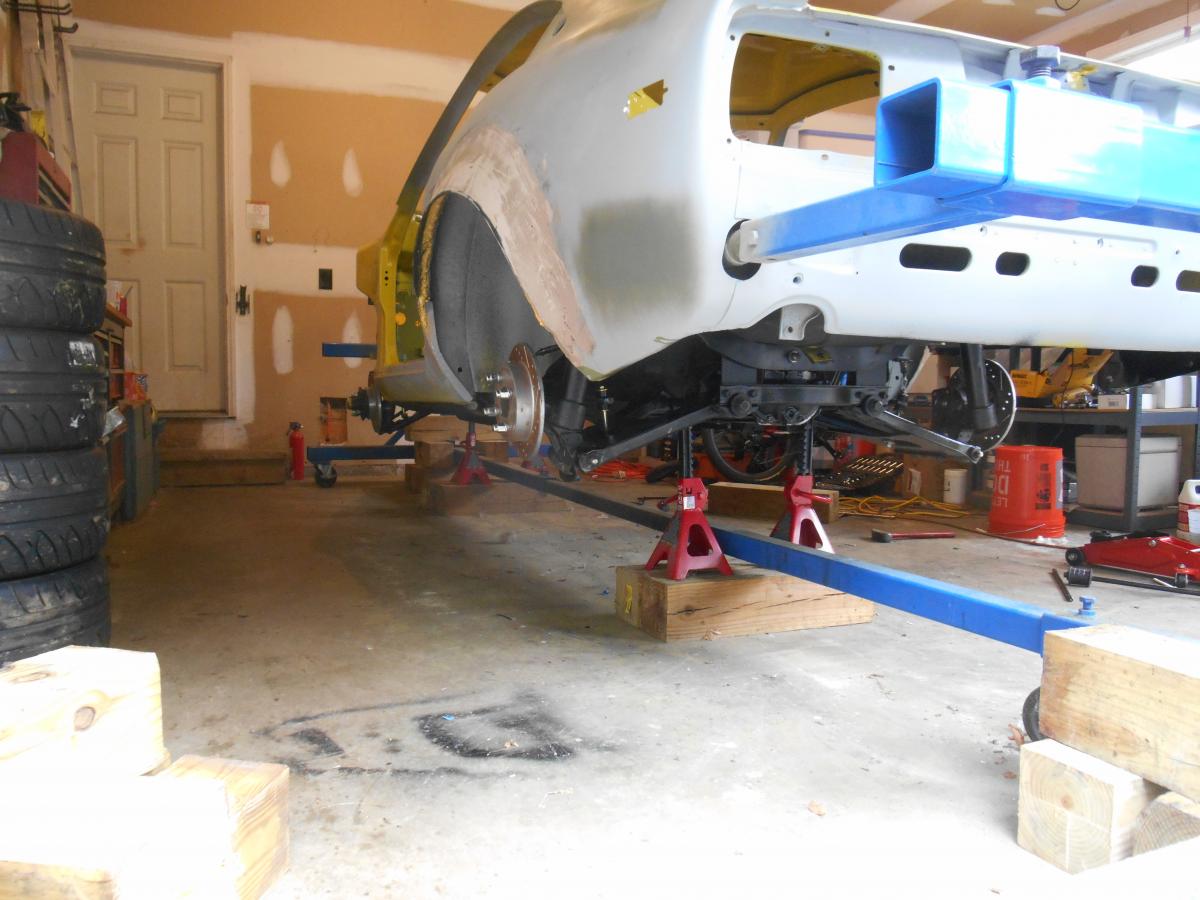
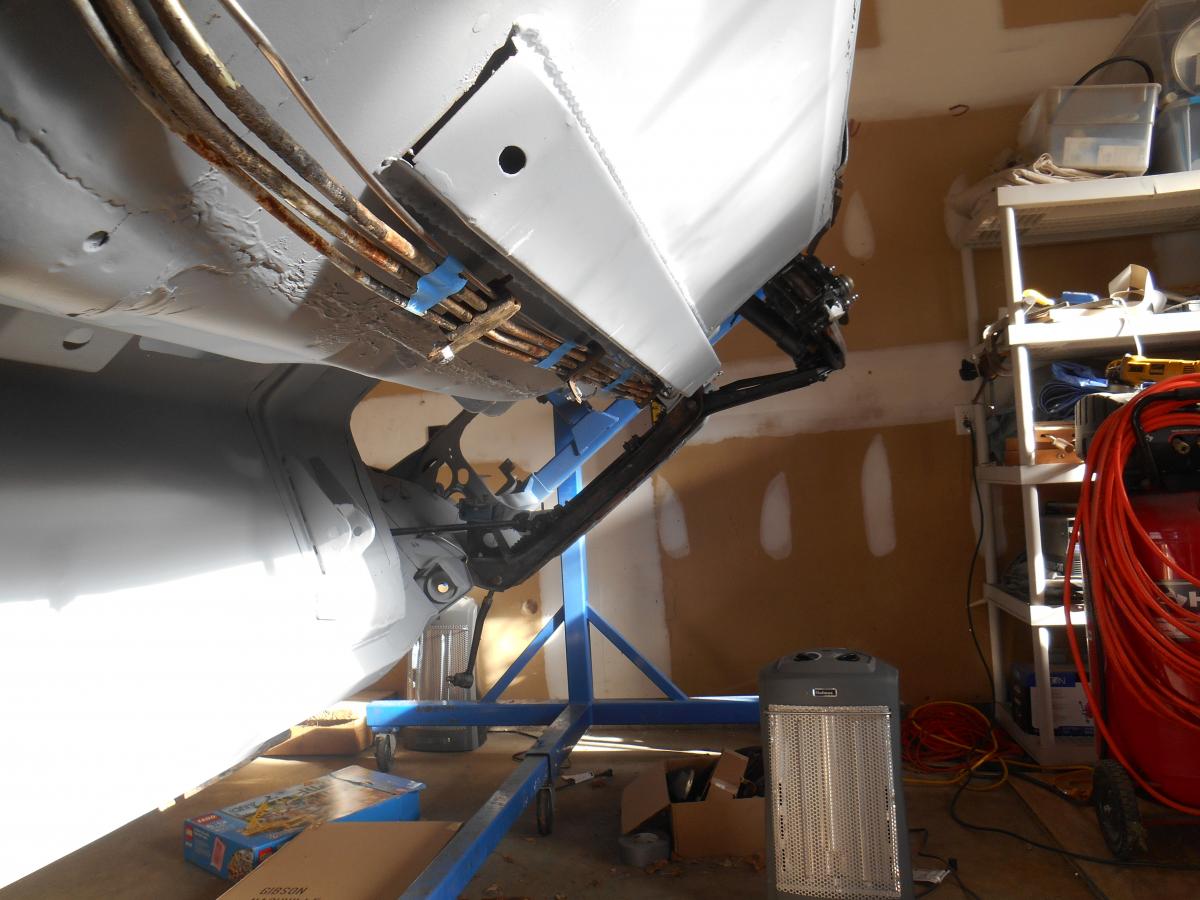
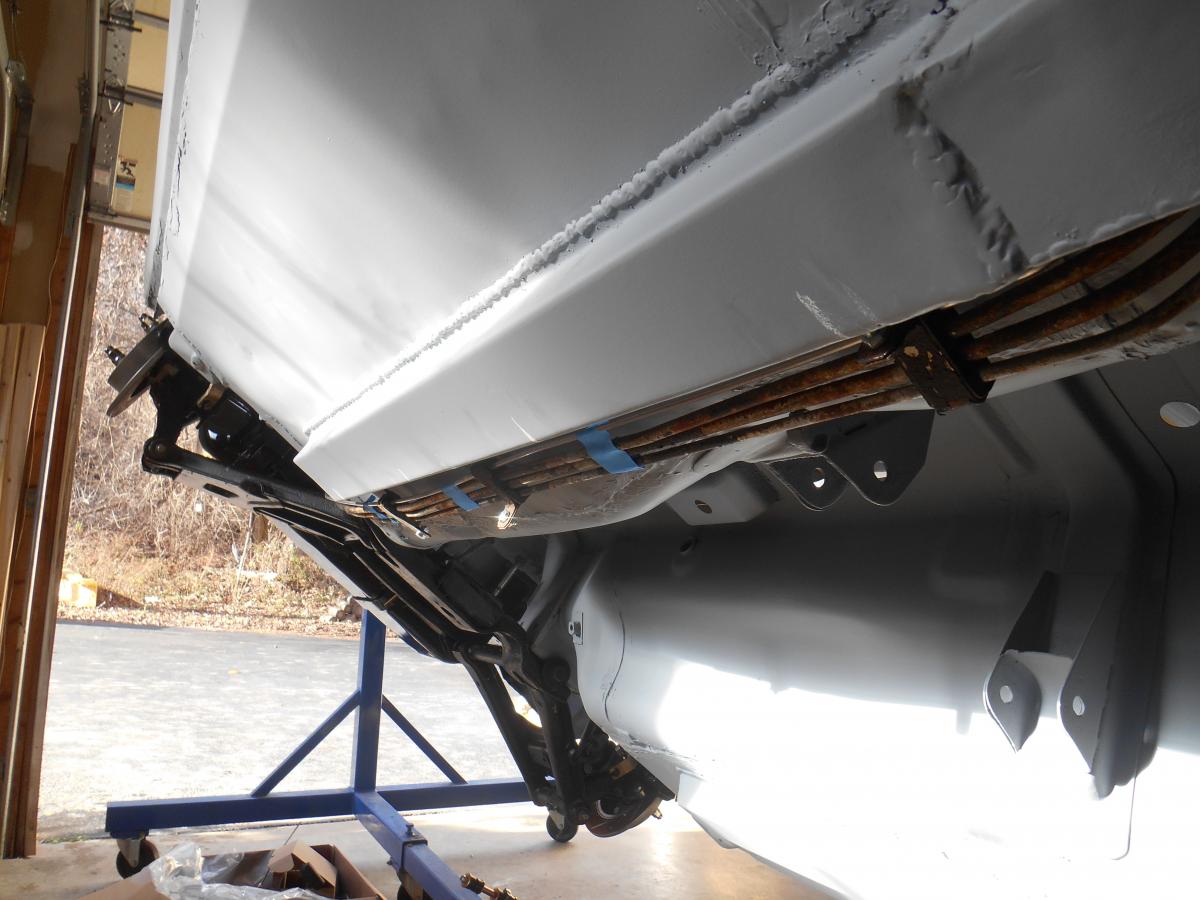
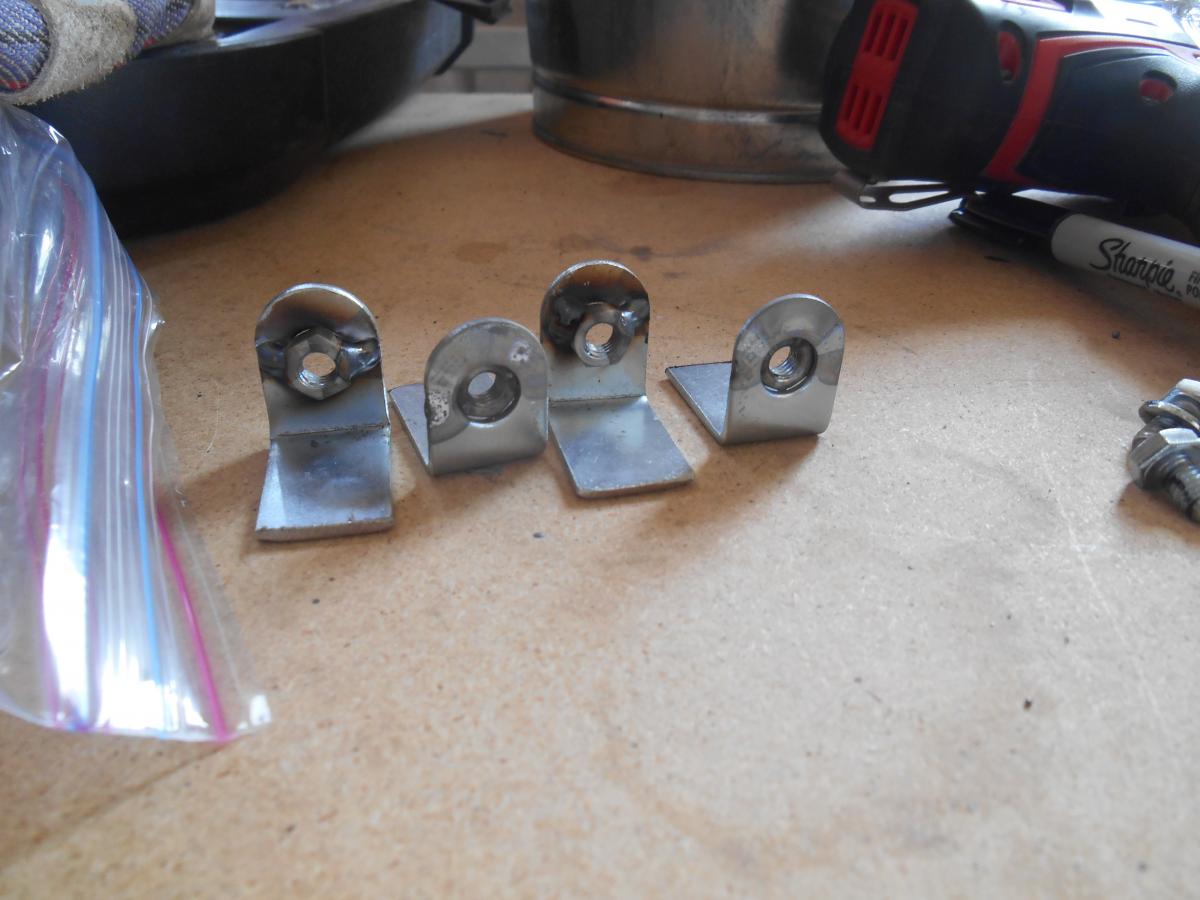
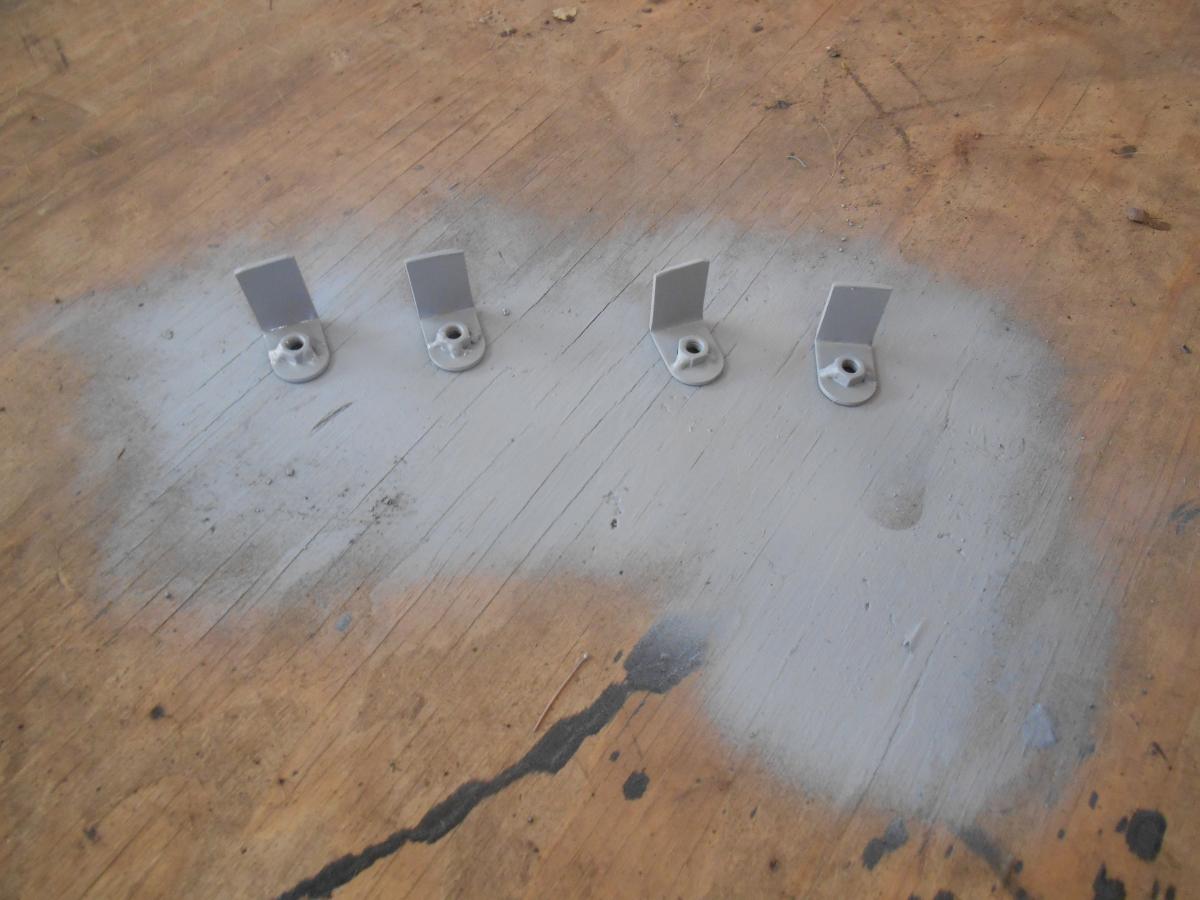
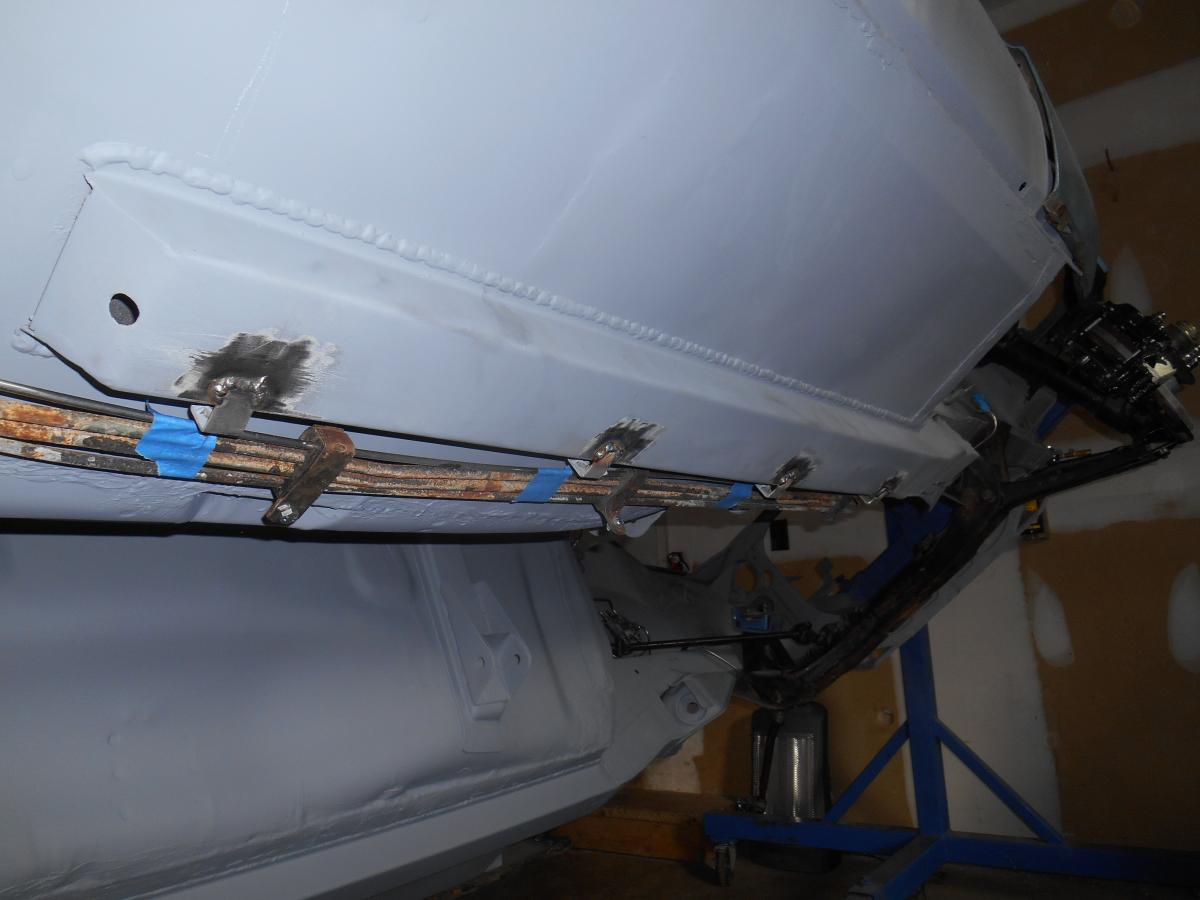
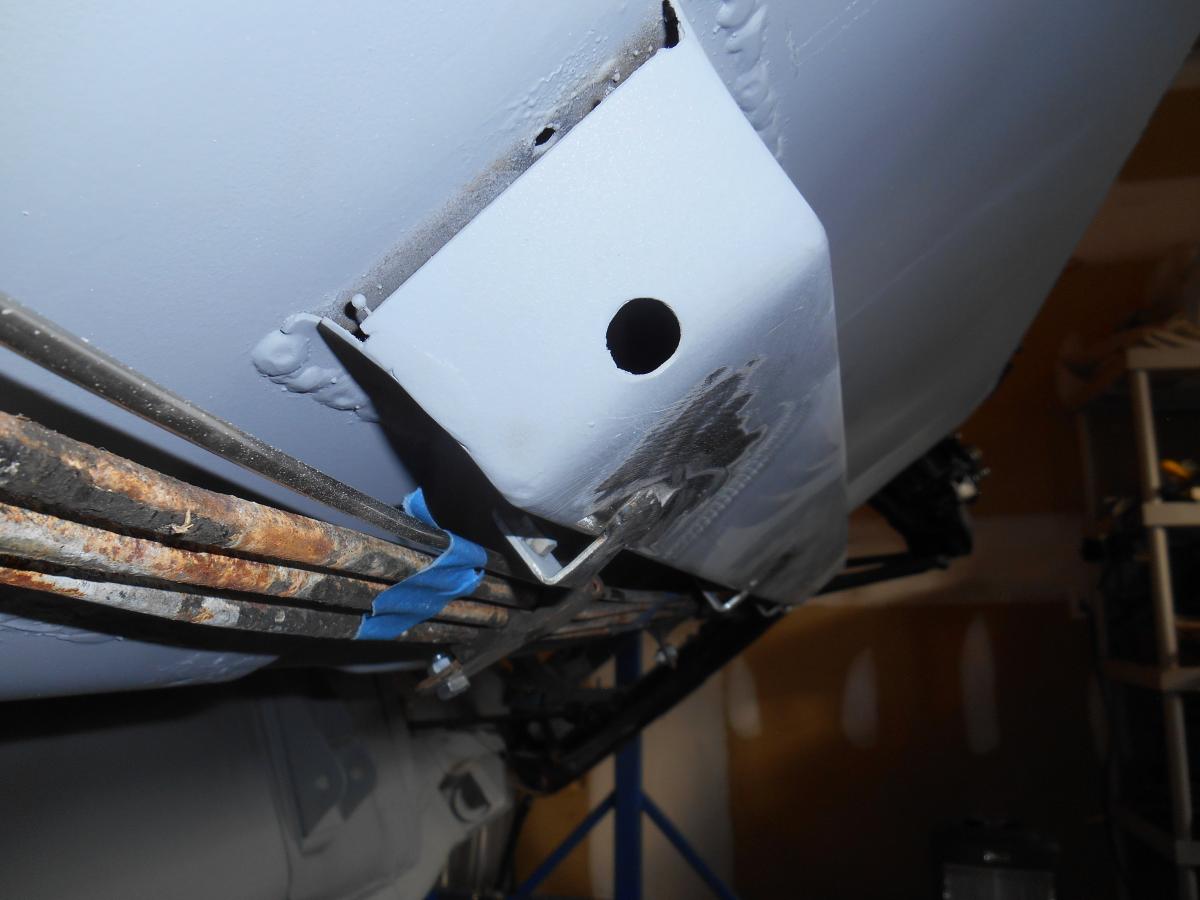
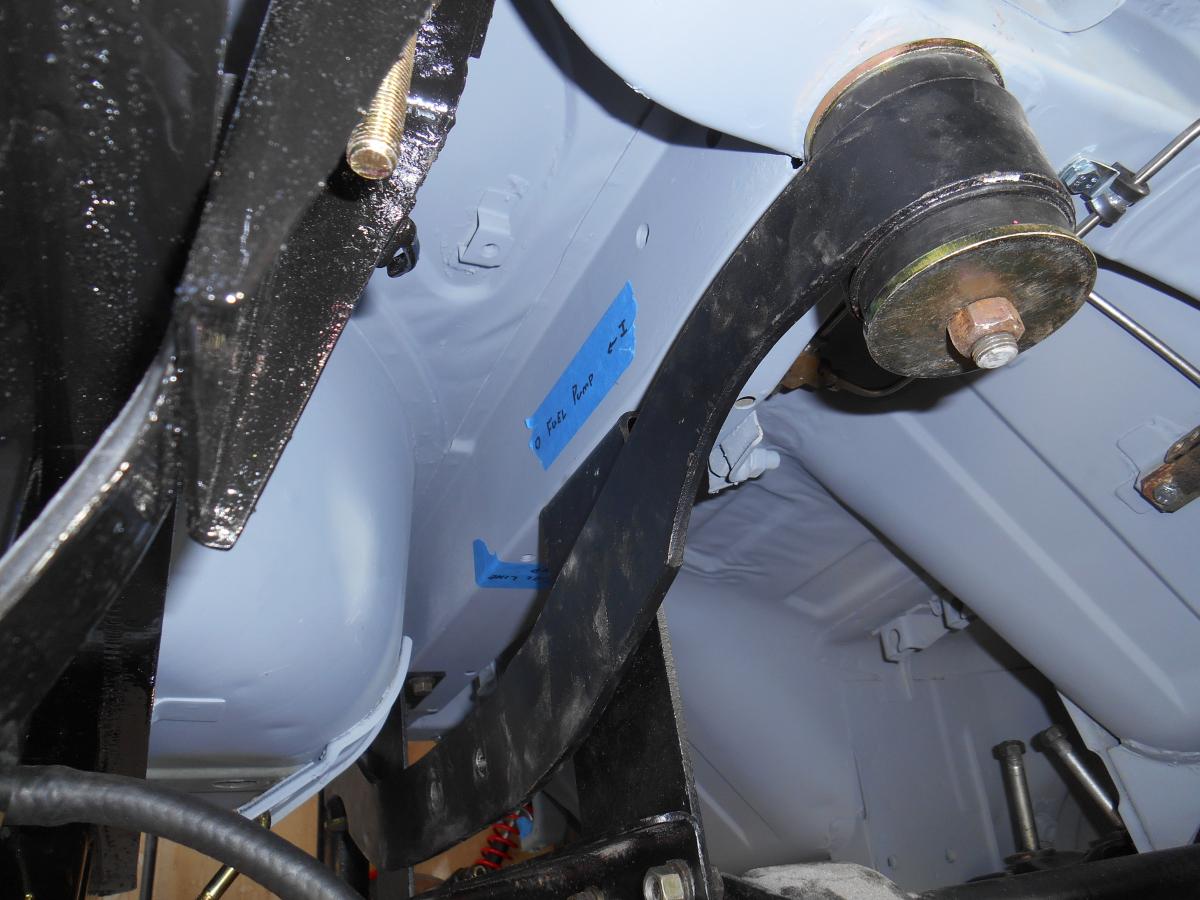
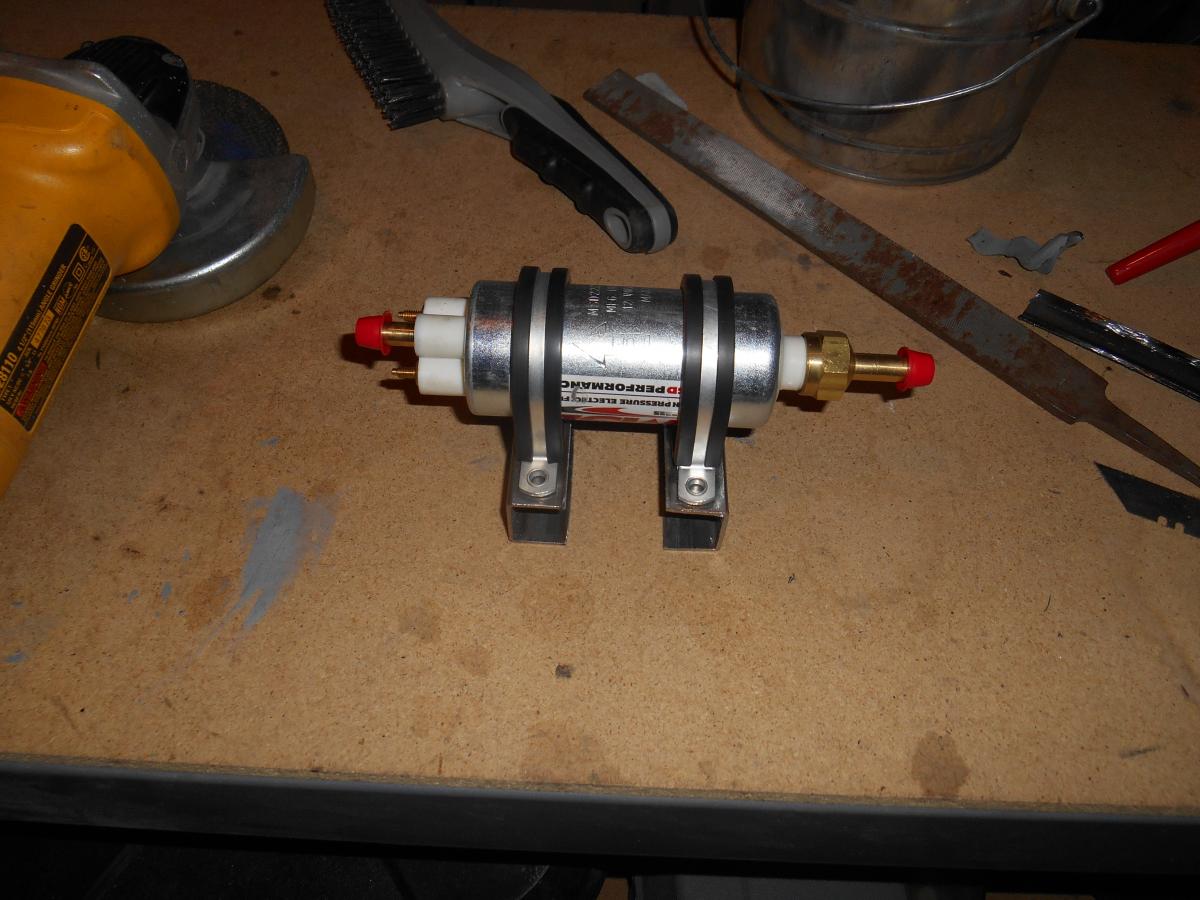
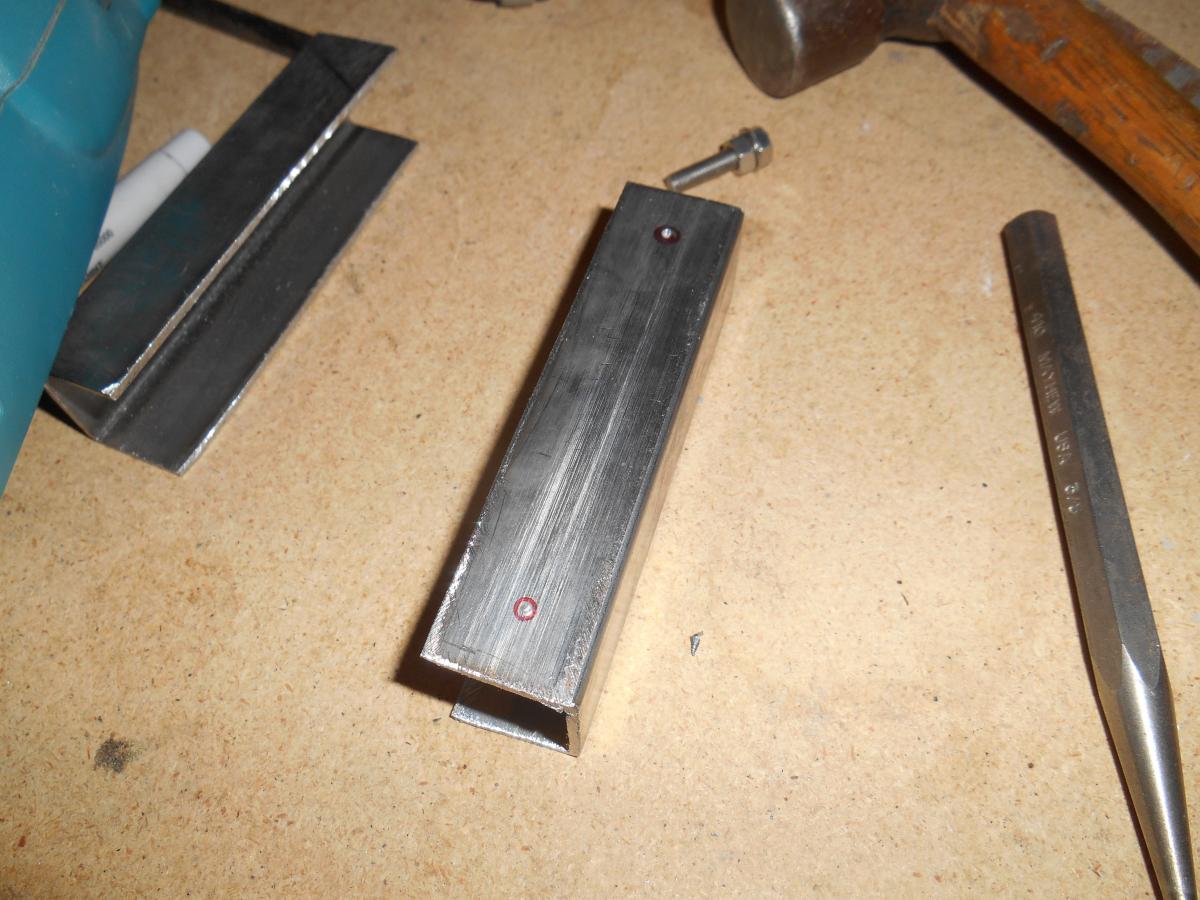
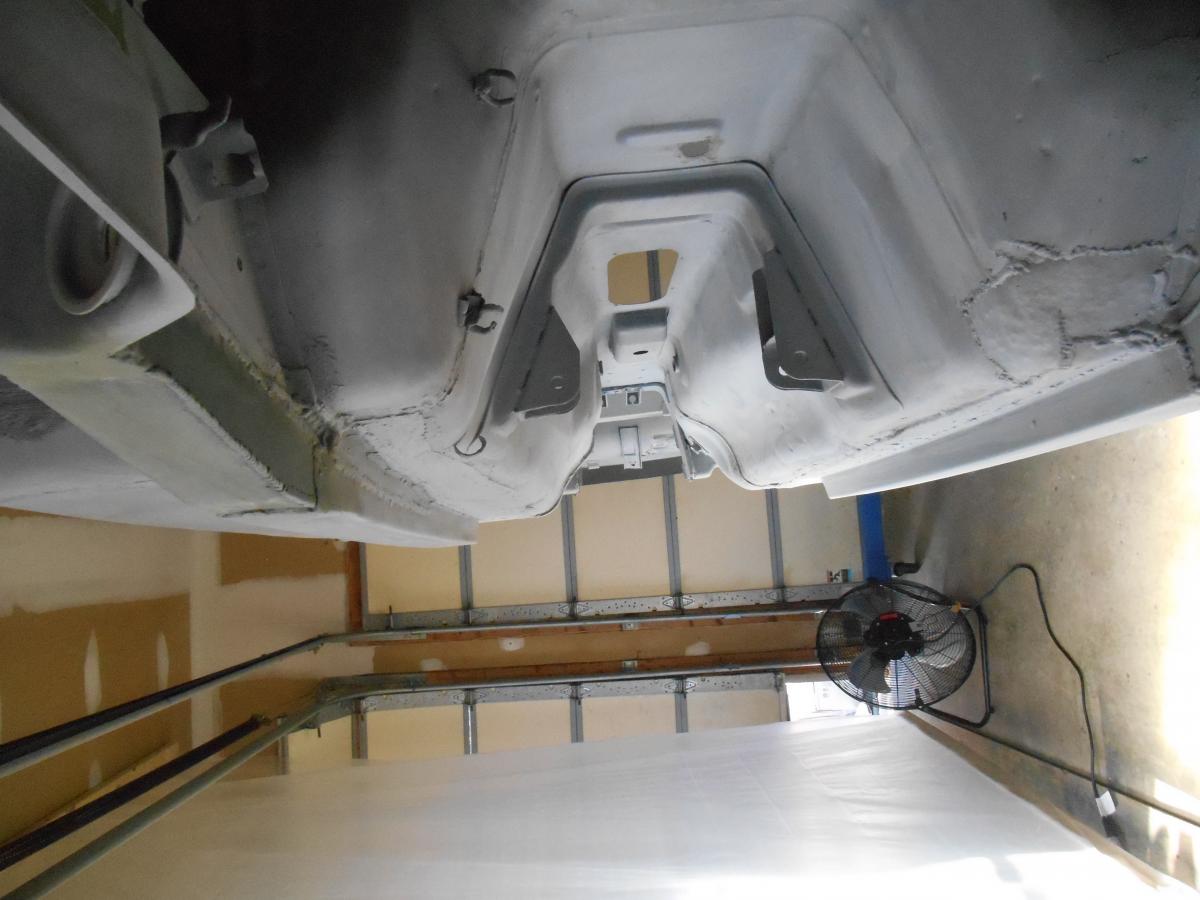
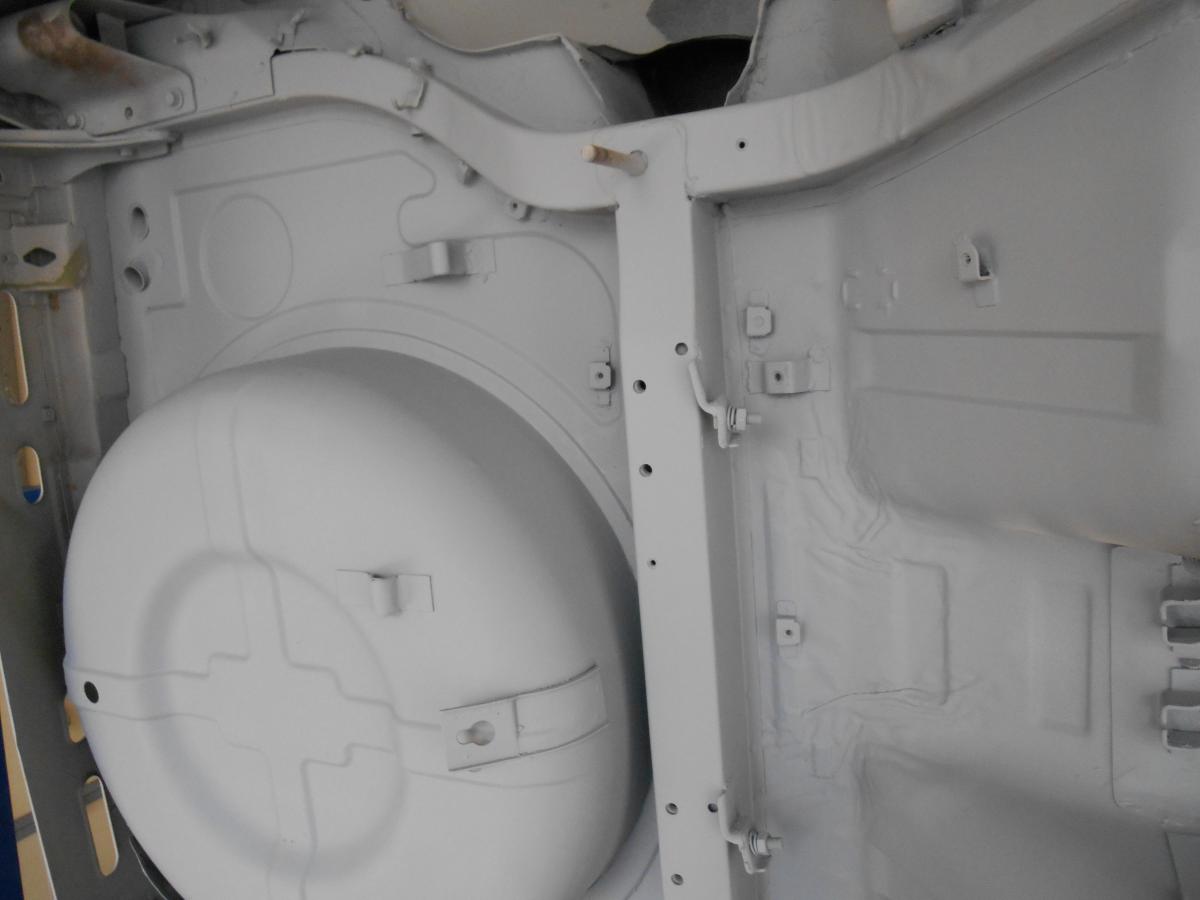
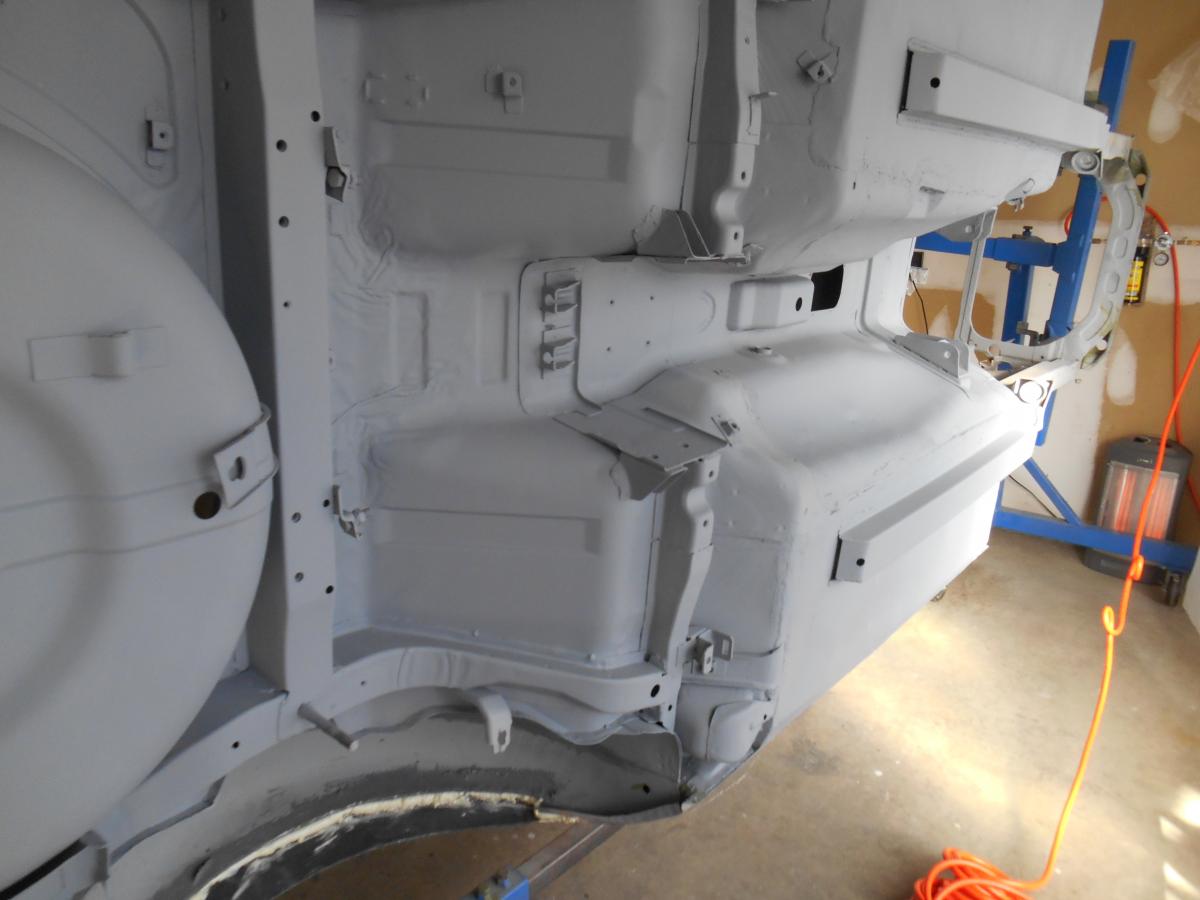
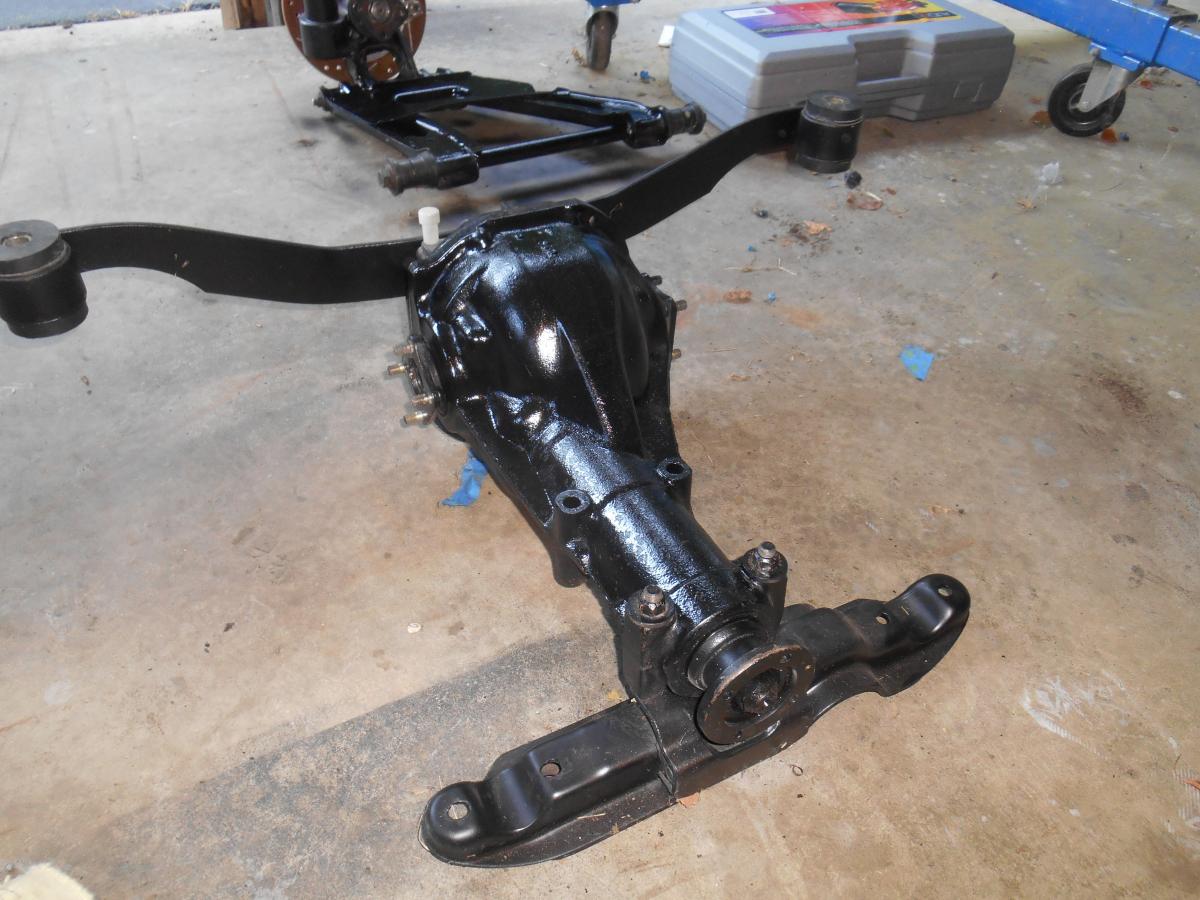
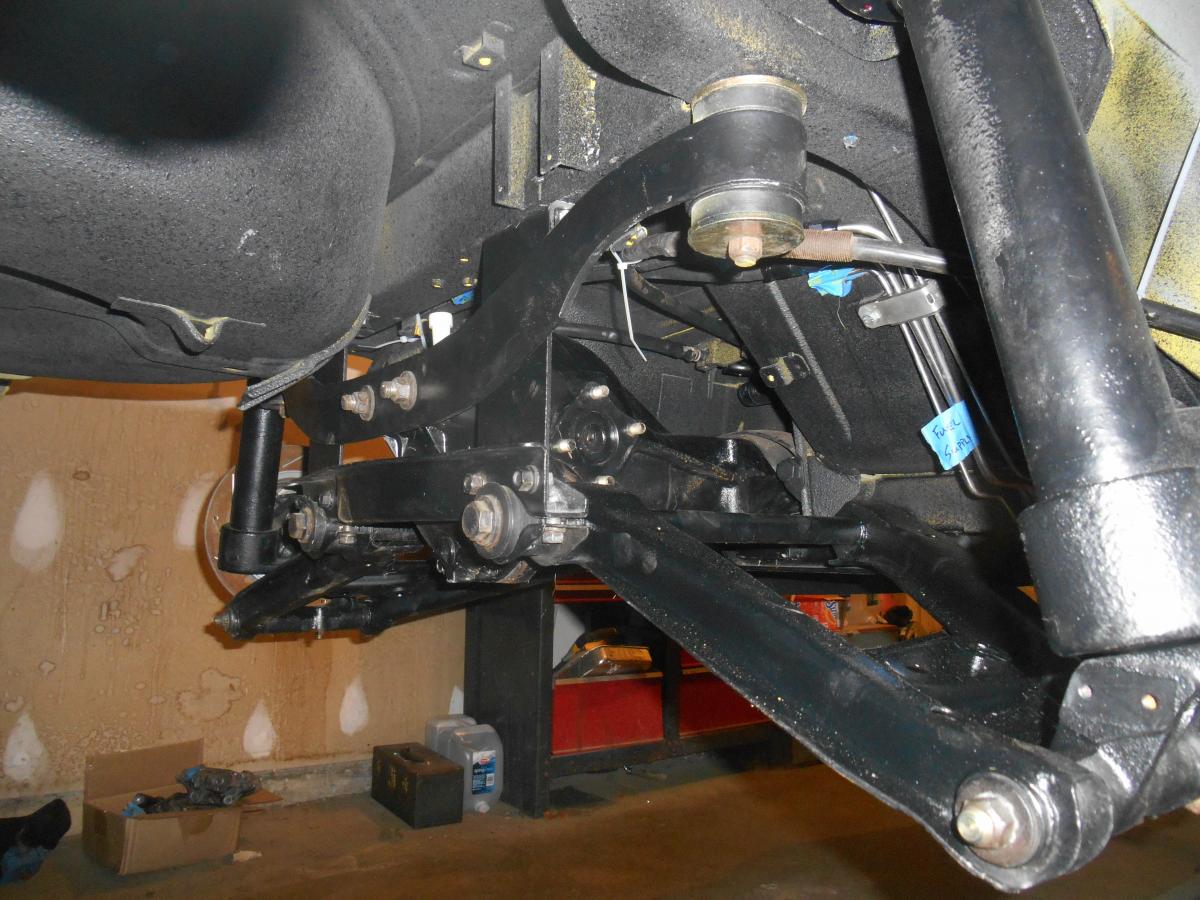
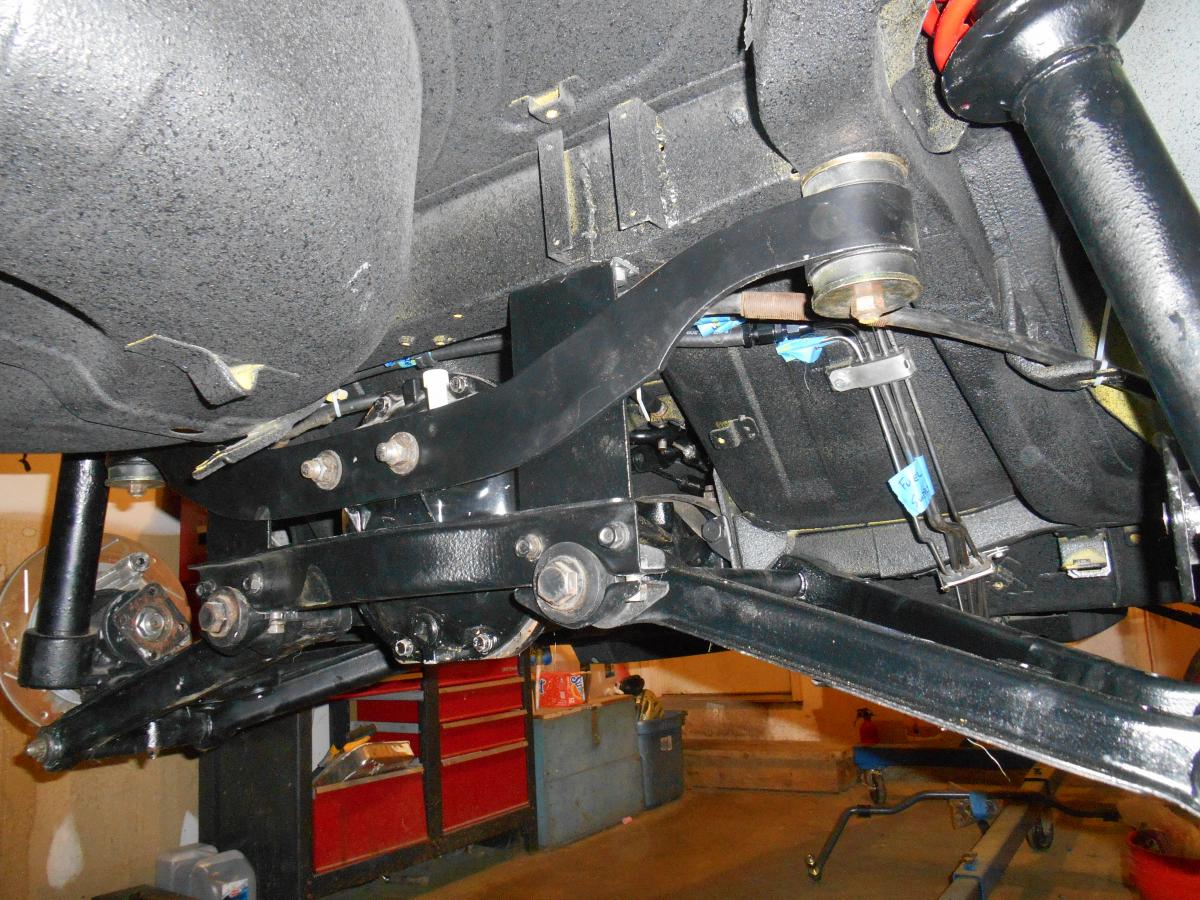
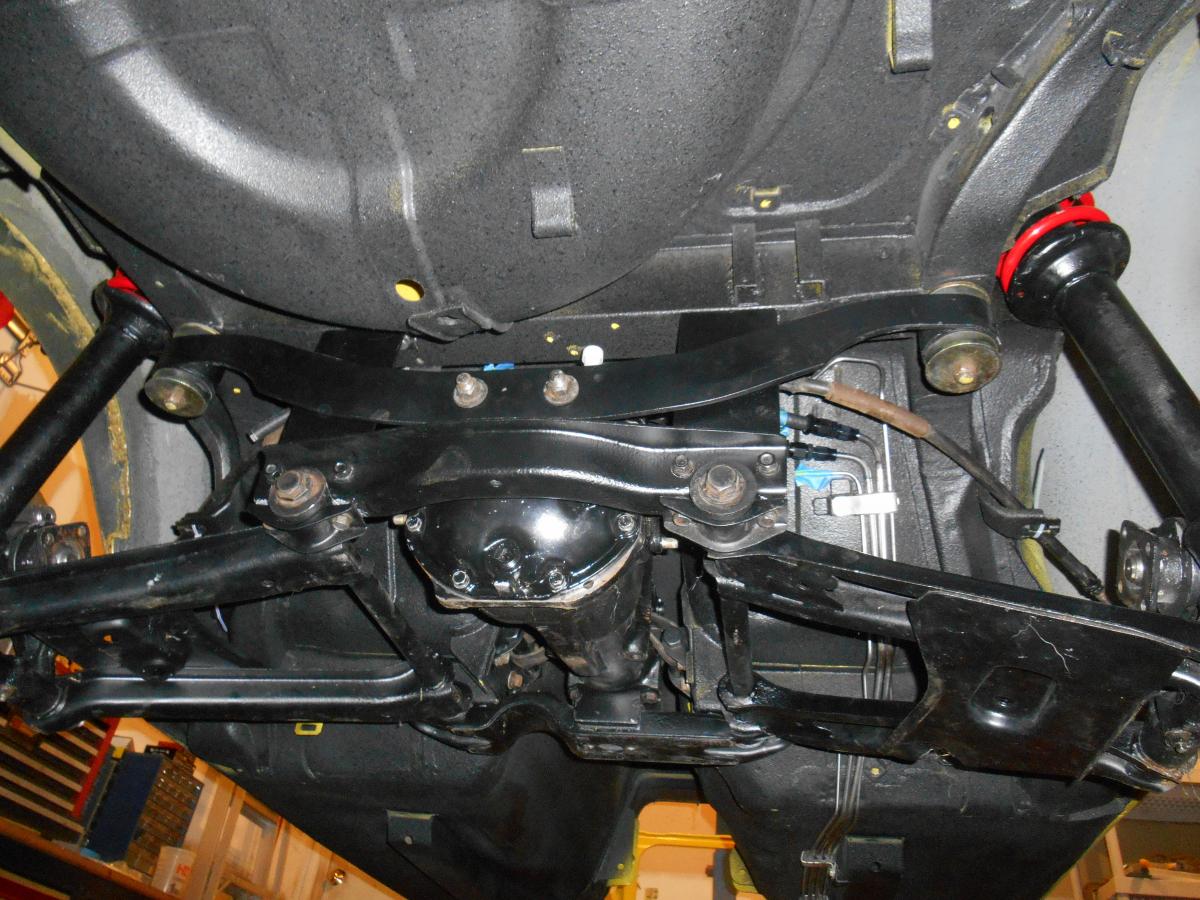
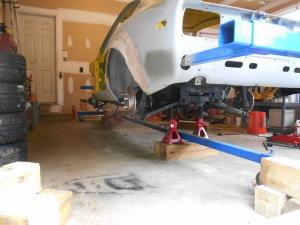
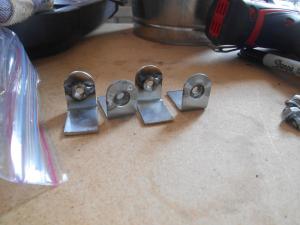
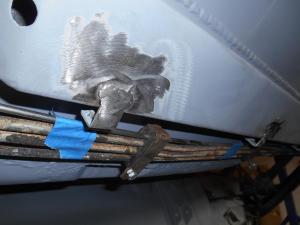
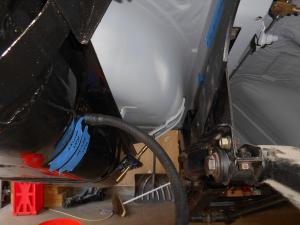
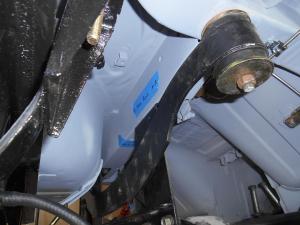
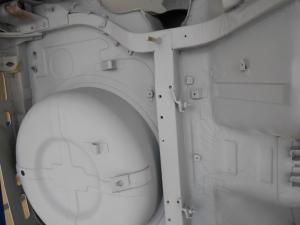
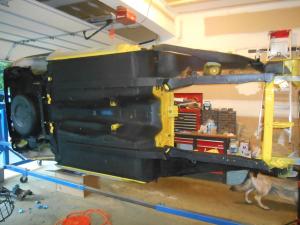
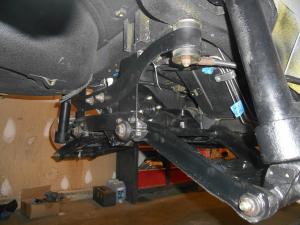
Here's some work under the car. The plan and sequencing went like this: 1. Put on the old rusty hard lines to remind myself where they went. 2. Bend new ones (wrong) 3. Re-bend the lines (right) 4. Weld on new attachment points for the lines 5. Mount the tank, new (aftermarket) fuel pump, and (aftermarket) fuel filter, which included welding in mounts for the filter and pump 6. Put on the suspension to sort out the hardware and verify there is no interference 7. Take the whole works off (I labeled and packaged the parts better this time -lesson learned) 8. Prime, paint and undercoat 9. Put all that crap back on


-
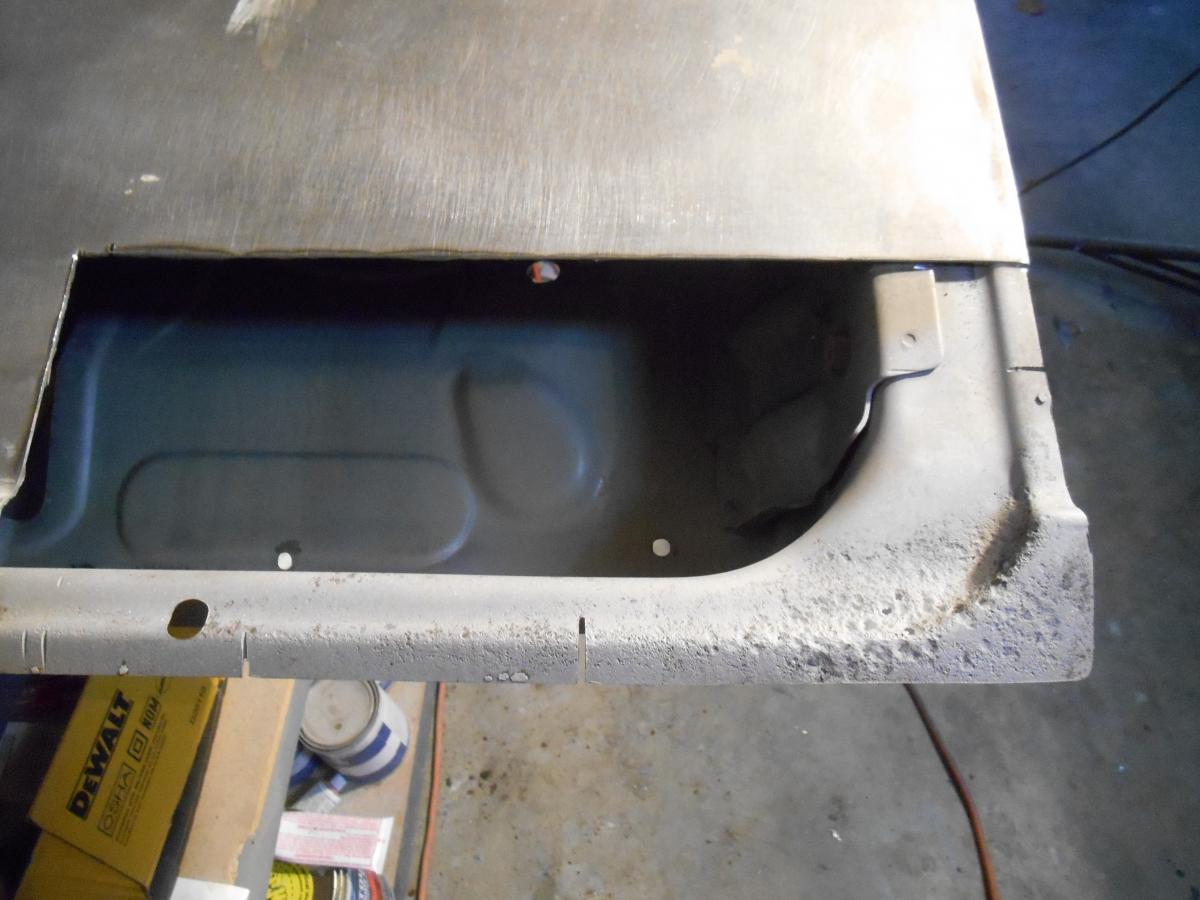
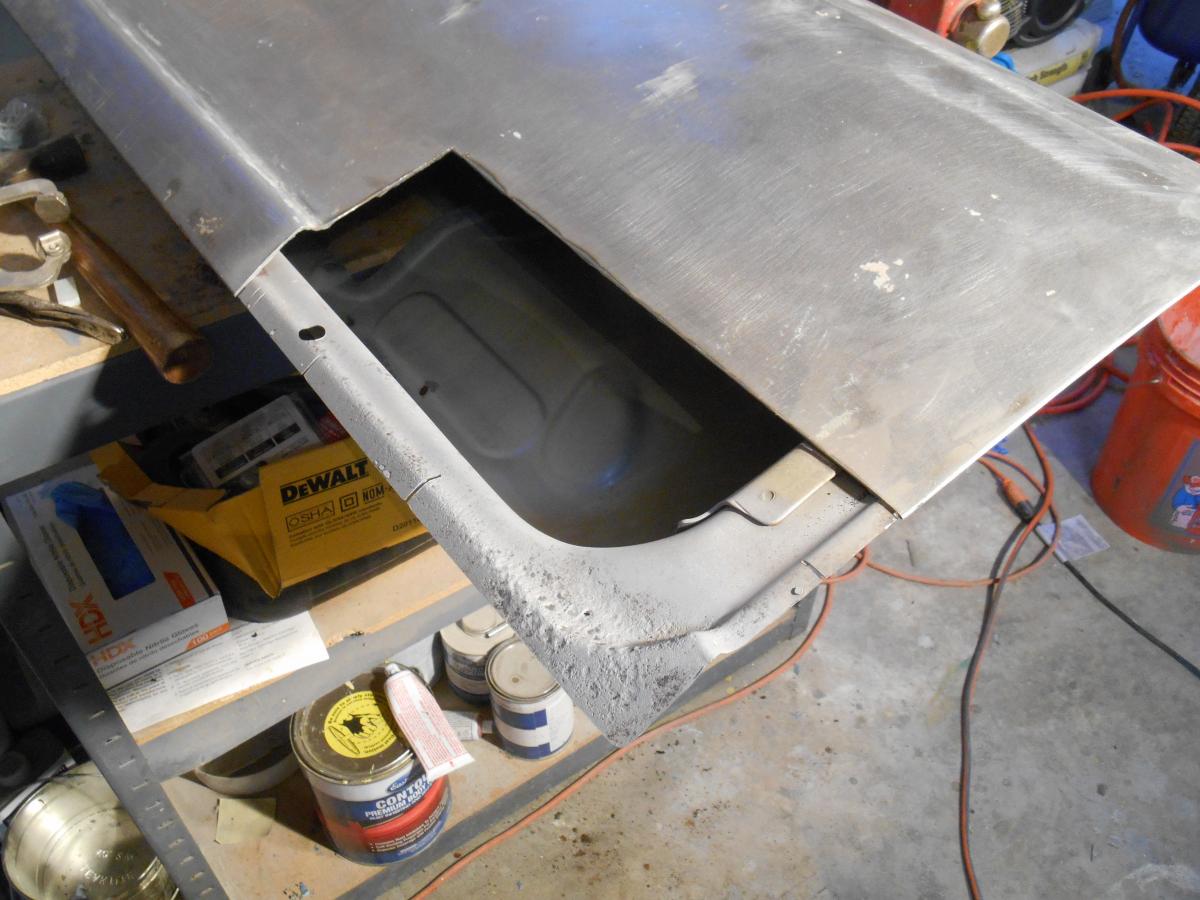
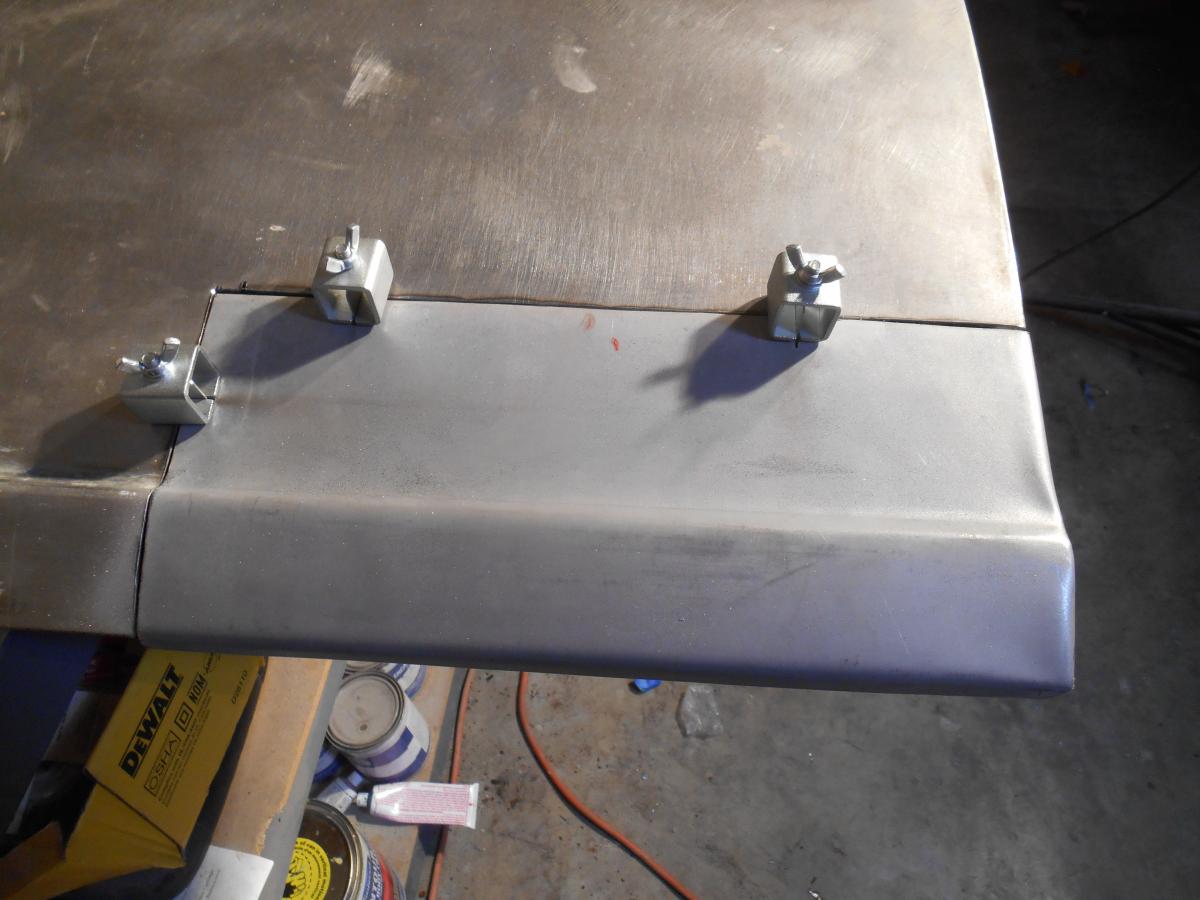
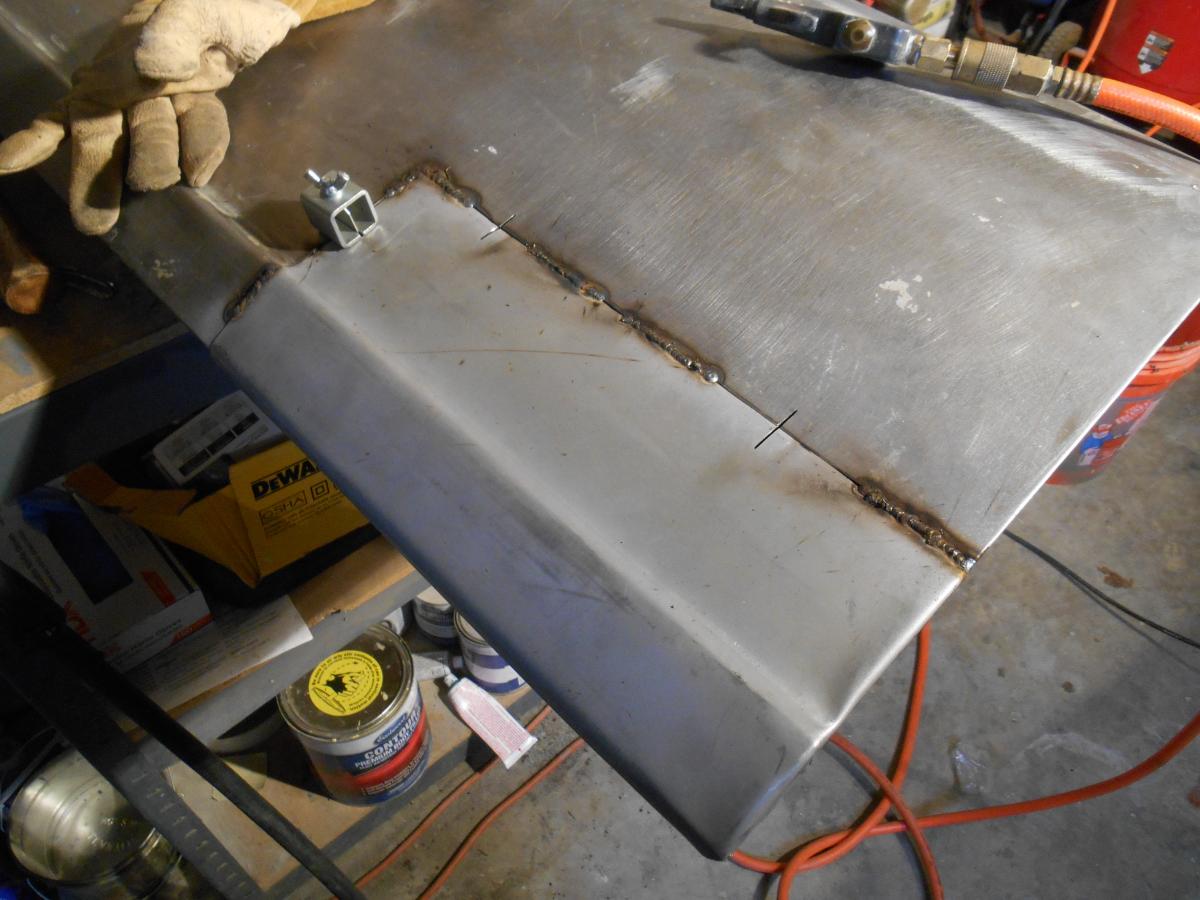
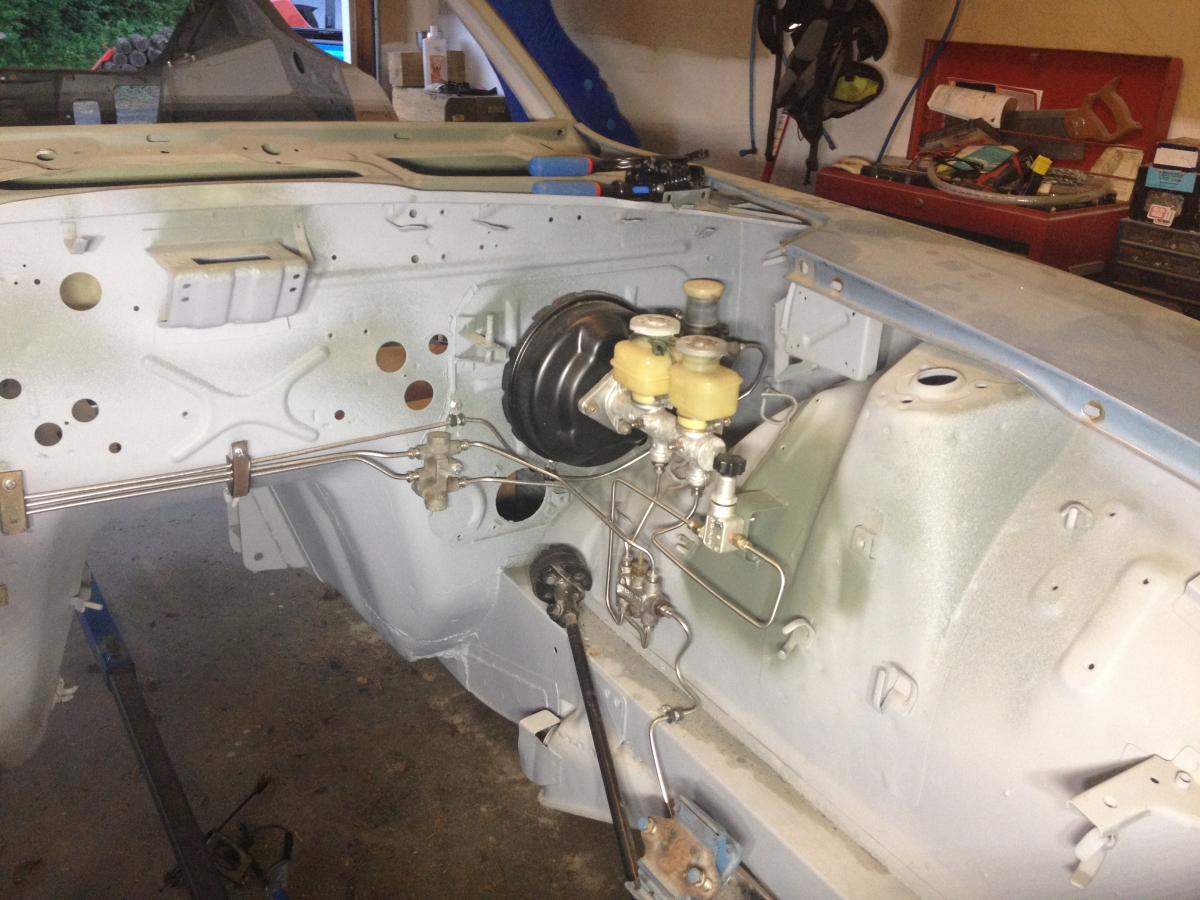
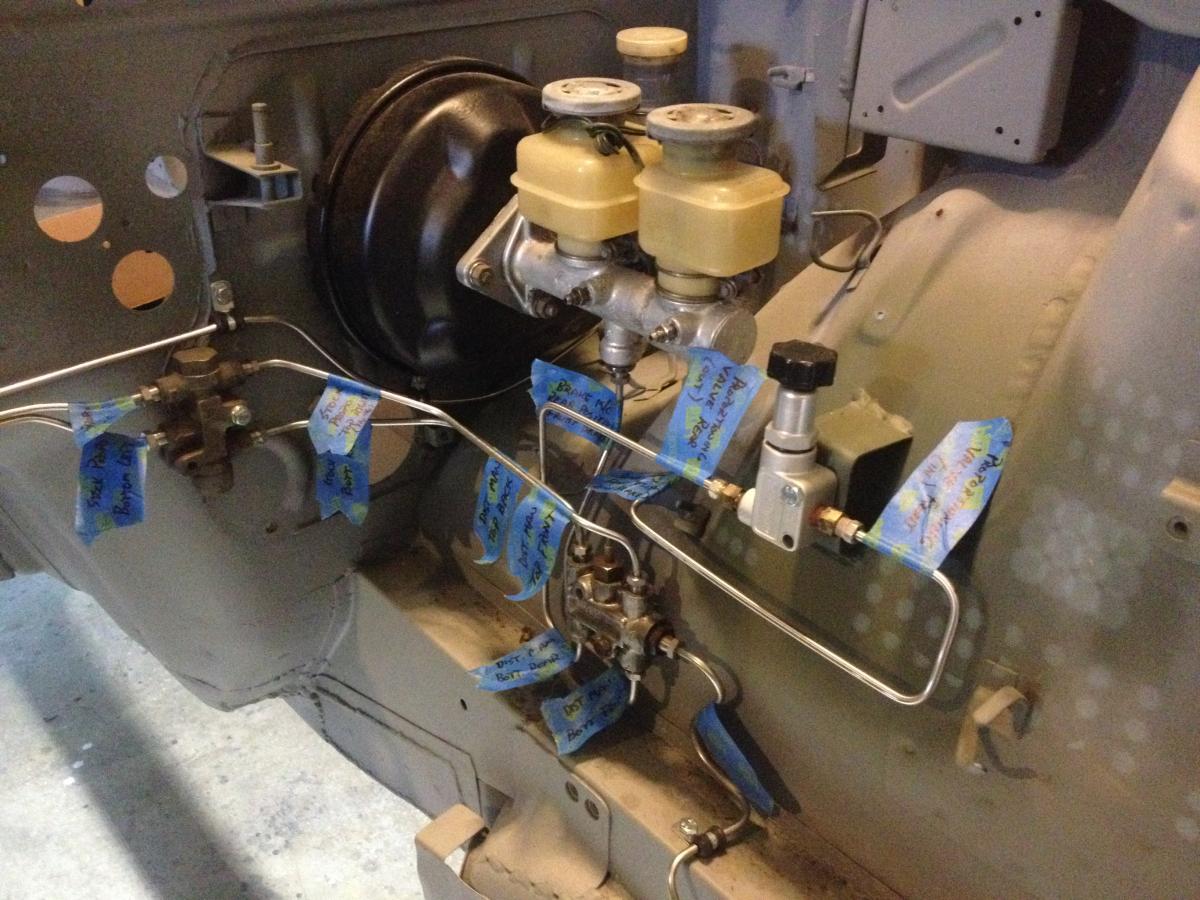
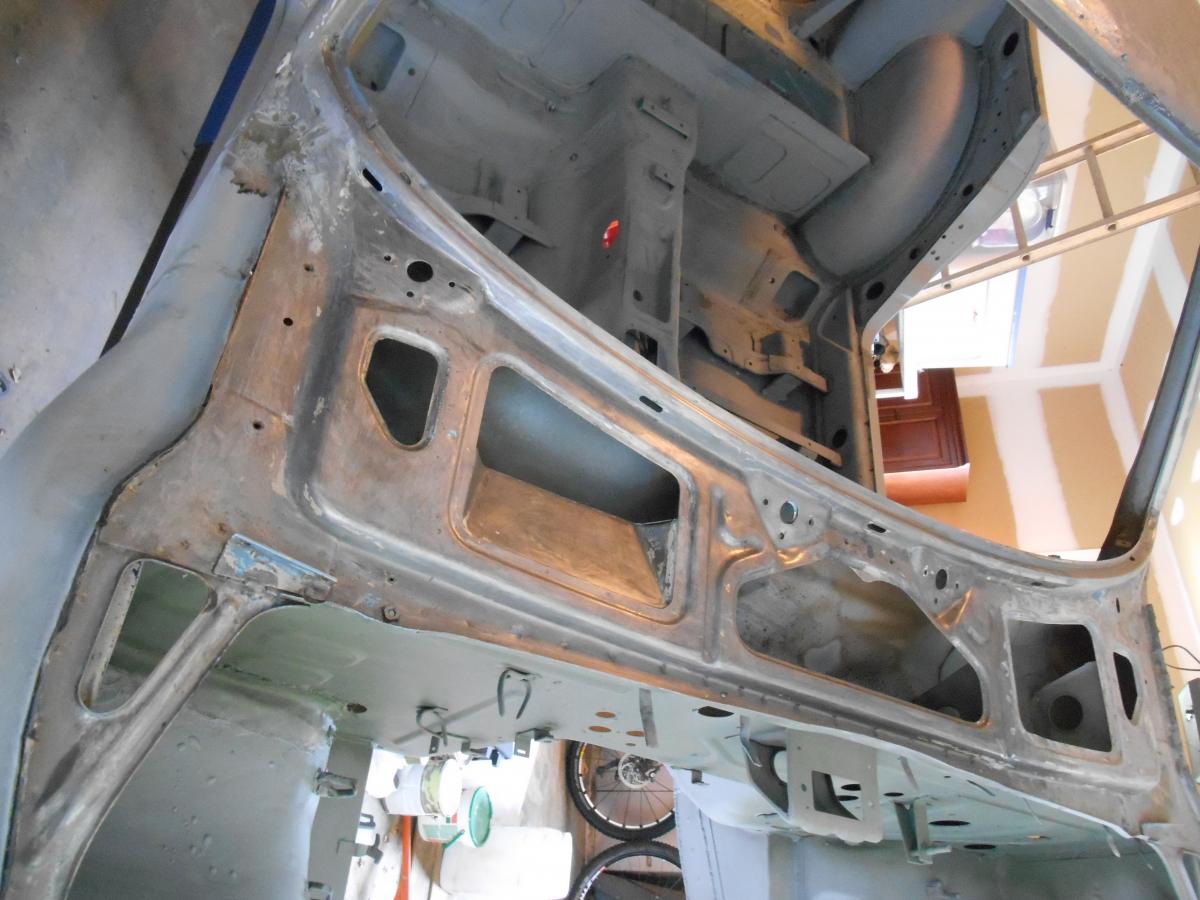
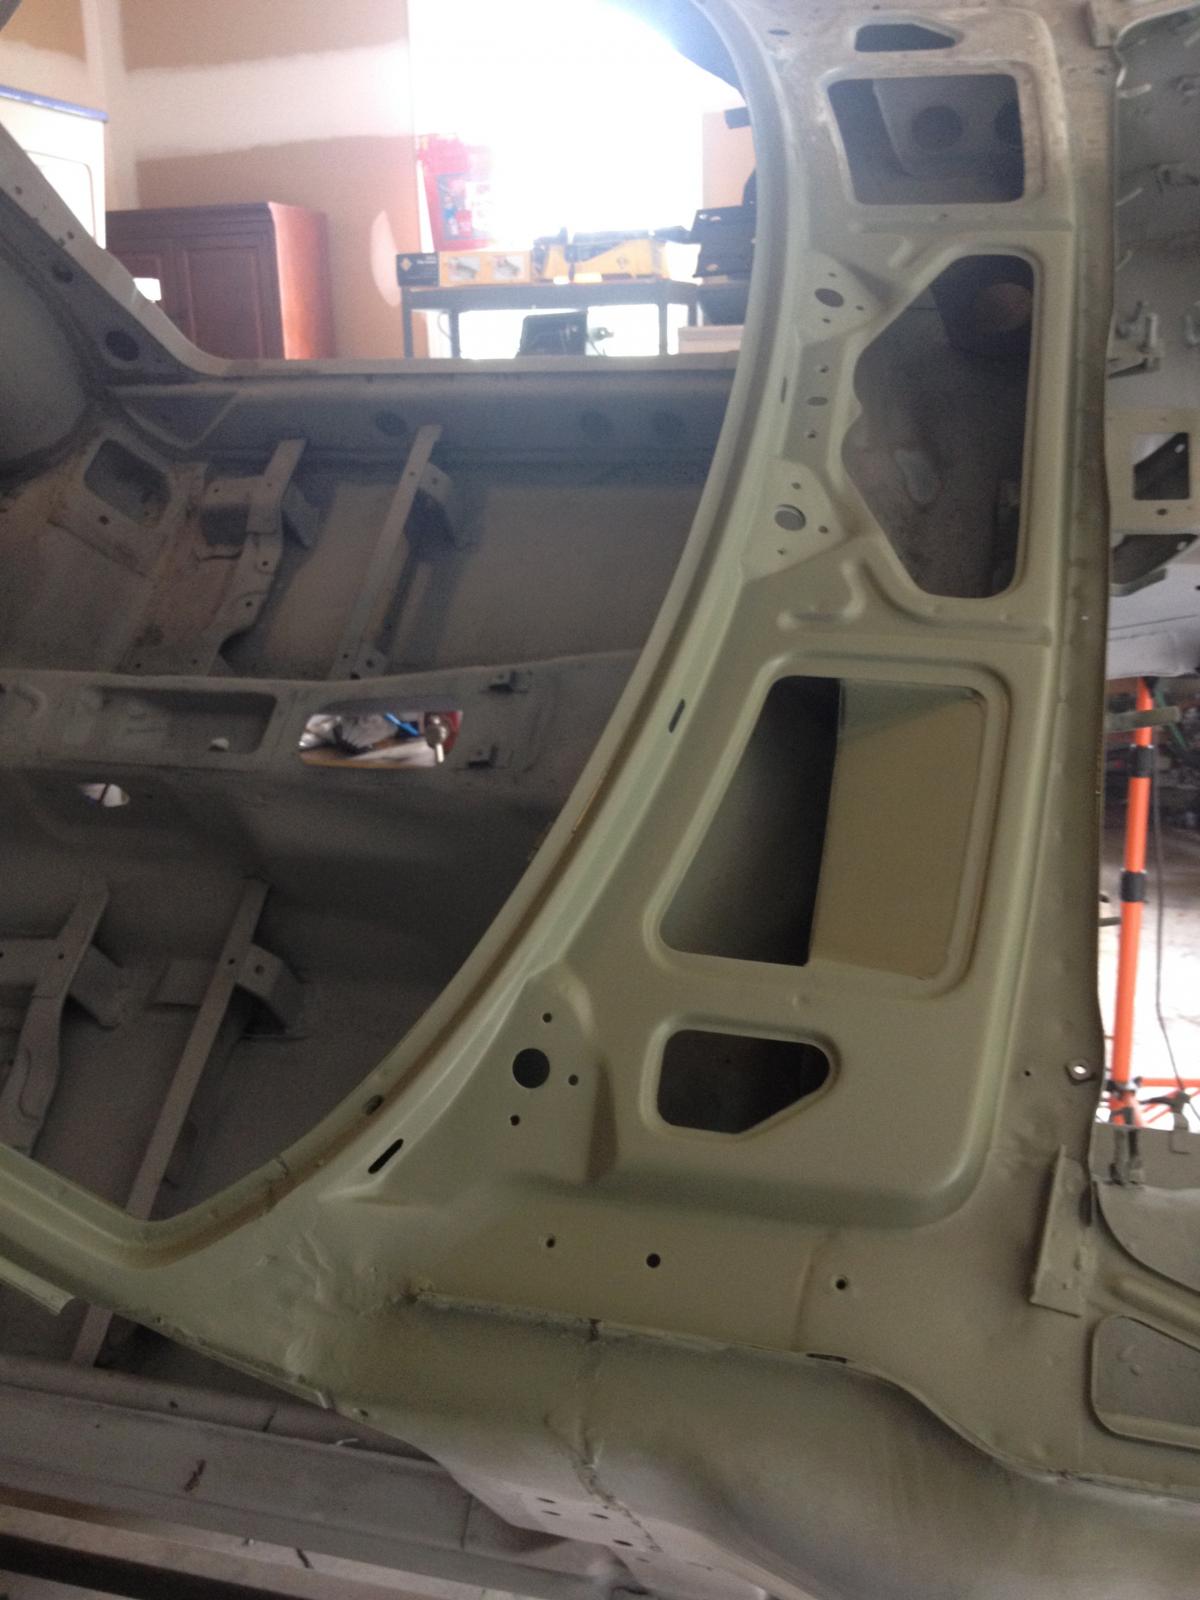
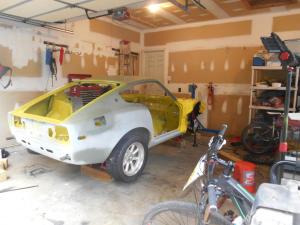
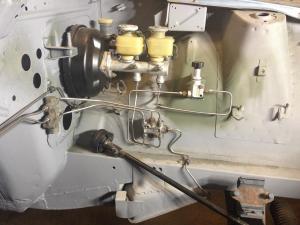
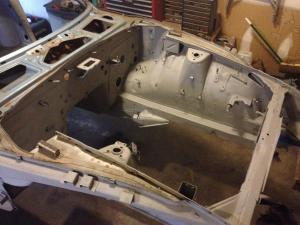
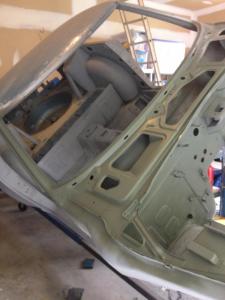
Here are some photos from the engine compartment. I went through a phase where I didn't take too many photos so I don't have much to show. The engine compartment work went hand in hand with me sorting out the undercar, hardlines, and fuel delivery. Somewhere in there I did some *gasp* welding on my gas tank to repair pin holes, which I have posted elsewhere. The engine compartment was sandblasted and a couple mounting points welded in for my brake proportioning valve and fuel pressure regulator. Enjoy!


-
You're scaring me a little here. What about the engine compartment which I already sprayed over grey?
-
Thanks! Funny the thing that turned the project around is I changed jobs and got rid of a 2 hour commute. I work on the car almost every day. Frankly, I do a lot of rework. For example, I put the hardlines on and off the car multiple times. First the old rusty lines to remember how they went, identify the right hardware, and weld new mounting points (replacement floors didn't have any). Second time, to fabricate and put new lines on. I botched it and third... my second attempt to fab new lines, which I nailed. Then everything came off (and got labeled a lot better) and I painted the undercar and engine compartment. Finally, fourth, the hardlines went back on, I put in the suspension and took it off the rotisserie. Four times to get it right!
-
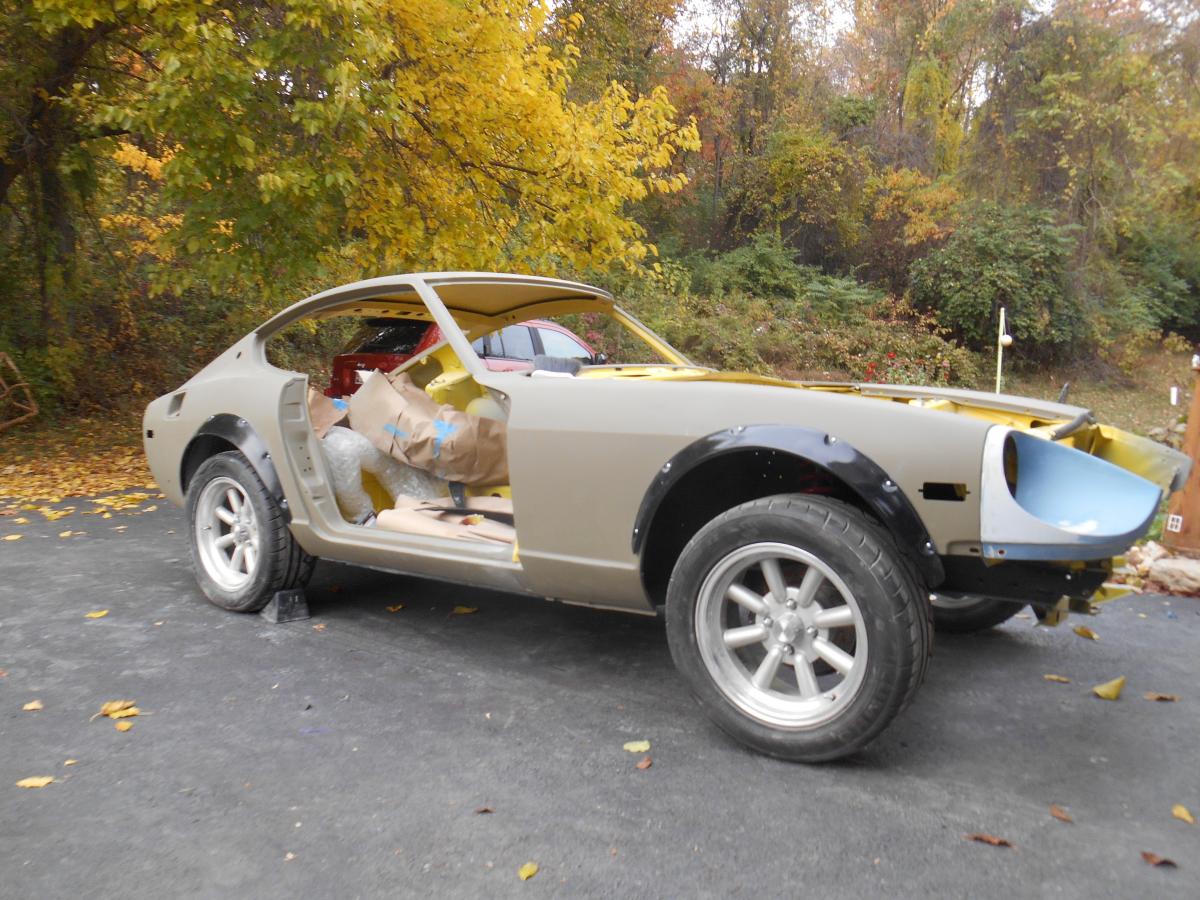
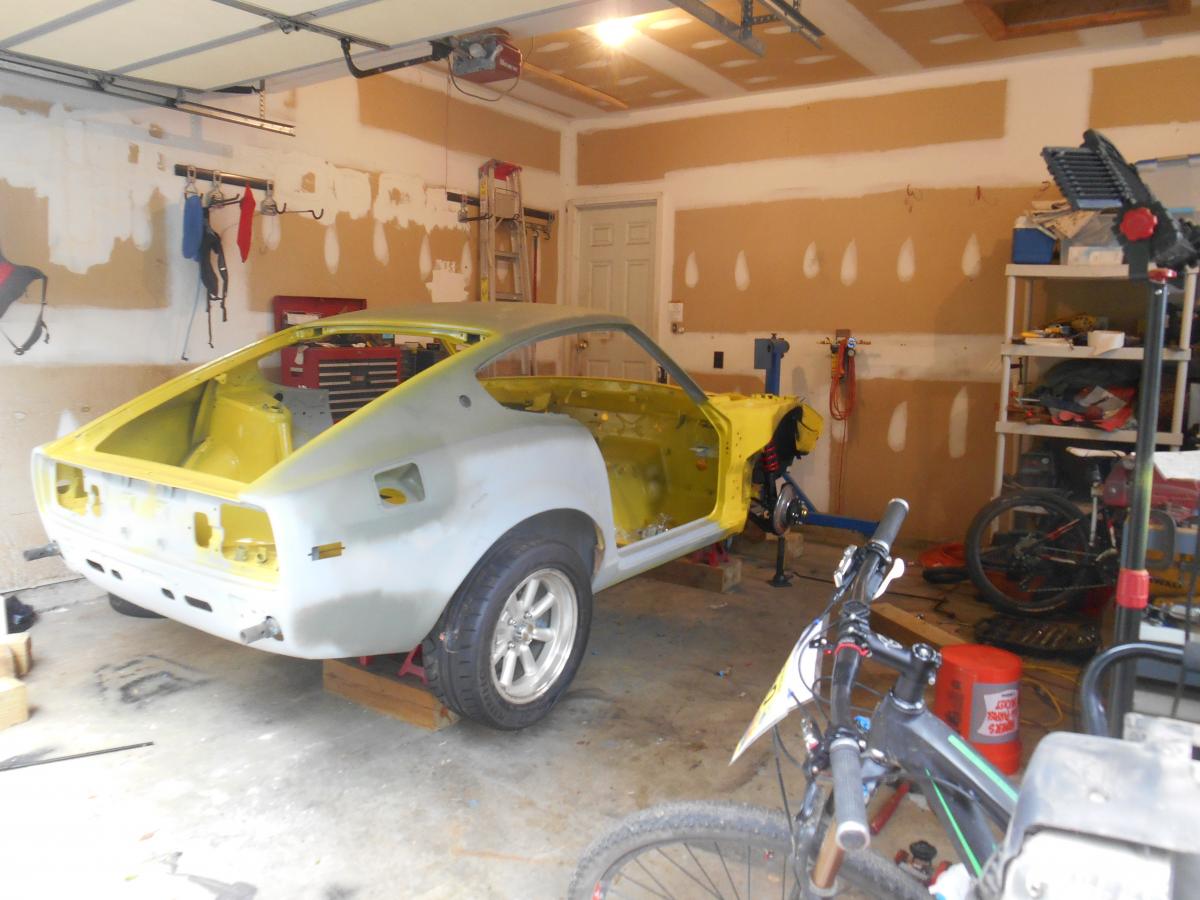
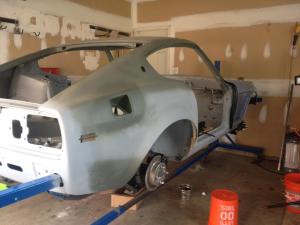
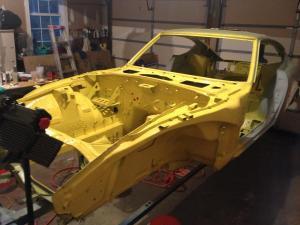
This is older stuff. I've been incredibly remiss in posting as I go. Most of this work was done two years ago. I'll throw some more photos together and continue to post. I have a ton of stuff. Right now this is how the car looks: