ksechler
-
Posts
544 -
Joined
-
Last visited
-
Days Won
4
Content Type
Profiles
Knowledge Base
Zcar Wiki
Forums
Gallery
Events
Downloads
Store
Blogs
Collections
Classifieds
Everything posted by ksechler
-
1). squeaks and rattles - I don't know but starting with #5 is probably a good idea. I would imagine those rubber bushings are pretty dried out after 38 years in Texas. God knows what the strut inserts look like. 2). Yes, try the 5-speed. Go to hybridz.org and search the archives. I think there are several 5-spd options that are plug and play, but I have not researched the issue in depth because I planned to keep my 4-spd. 5). 205's shouldn't rub. The Tokico struts won't drop the car, the springs will. If you plan to do both that's ok, the 205's still shouldn't rub. If your wife makes you sell the car let me know. Maybe I could take it off your hands! ;-)
-
I single flared my brake lines! Some of you out there are probably shaking your heads and thinking, "amateur". You're absolutely right! For those of you that are thinking, "so what", you need to double flare the brake lines! I discovered my mistake by creating an EPA site in my garage when I tried to fill the system and the fluid leaked out onto the floor. Running the brake lines was a big enough pain. Doing it again because of inadequately preparing for doing the job right was even worse. So have a laugh at my expense. Hopefully by posting my shame I may be able to prevent another amateur from making the same mistake.
-

When to stop with "while this is off, may as well fix that too"
ksechler replied to Ptero's topic in Open Discussions
Good question. I started to fall into this trap when I was rebuilding my rear suspension. The brake and fuel lines were looking rough. The brake lines I had to fix because the flare nuts were frozen and I had to cut the lines to get things apart. I put on my blinders for the fuel lines and left them as they were. They aren't leaking and I'll fix them later. I'm doing a "phased" restoration and decided to replace the fuel lines in the next phase. I will also slush the tank and replace the fuel pump. The more stuff you take on because you are there the further the car gets from drivable. For a ground up restoration that isn't an issue. For a phased restoration it defeats the purpose. The only reason to phase the restoration is to have a car that's drivable at least part of the time because it's a lot more labor. -
.Thanks, I consider this a high compliment. I only got this far with the help of the board.
-
Food for thought: If I were in your situation I would lube up the section that you now have exposed and the inside of the other side of the strut where you pushed it through. Then I would push it back in (as long as it didn't take excessive force) and see if the pin would come out the other side. I would just keep lubing and working it back and forth the small amount you can. Eventually the lubrication will work in and you will be able to press it all the way out.
-
Hi all. I'm posting this for posterities sake. I have found searching past posts particularly helpful so I wanted to share some knowledge. I ordered the grant Mahogany steering wheel from MSA for my 1976 280z and installed it this weekend. The instructions were absolute crap and I was pretty disappointed. Through a lot of trial and error I finally got the wheel on right so here are some notes to help anyone else struggling with this. The kit includes the wheel, a billeted adaptor, a Z-emblem horn button and various hardware. The instructions are much photocopied and contain one small exploded view of the assemble along written instructions. There is also a small bag with a brass pin and a tiny spring. There is a sheet of paper and some vague directions in the bag. If your car is first generation I believe you can just throw that bag away. I did but only after trying to figure out how it went in for about an hour. The first step is to tap two pins into the back of the billeted adapter to trigger the turn signal release. Use your old steering wheel to figure out how deep they go and the approximate placement. My original wheel had the pins at 9:00 and 3:00 o'clock. The billeted adapter is stamped at the top. There was no way it was stamped properly because this would not allow me to place the pins at 9 and 3. So I went freelance and figured it out on my own. There are 5 allen head bolts that hold the center cap of the wheel. One of these bolts should be at TDC and then the pins will be at 9:00 and 3:00. I found the right position and installed the pins. I test fit the wheel and ensured that the signals released and they did. Next is the confusing part. There is a copper or brass ring on the back of the billet (the part that will be pointed toward the front of the car when installed is what I am calling the "back"). There is a contactor inside the steering column that will touch that ring. You need to grab that contactor at the base with a pair of needle nosed pliers and then bend it toward you so that it sticks out about 1/2" further than originally. Then you need to use your pliers to straighten the part that contacts the brass ring in the billet (sorry for the lack of technical names) so that it will be parallel to the ring. Once that is done you smear the ring in the billet with the included grease and install it. Be sure the wheels are straight in the billet is installed in the proper orientation (the "top" bolt hole at TDC as discussed in the previous paragraph). Install your original lock washer and nut and torque it down. Now install the wheel, and center section. Take the horn button out for now (its easier to put this in last). Pull the single wire through where the horn button goes. Tighten all 5 of the allen bolts. Connect the single wire to the horn button and install the button. If you did the part with the contactor right, then your horn will work. If you did not you will have to disassemble and bend it out a little more; so try to do it right the first time! I did not and it's a pain. As an aside, the "Z" emblem on my MSA supplied horn button fell off during assembly. It wasn't very impressed and just used the Grant button. I'll come up with a more suitable solution later. Good luck!
-
Yes, you are probably right. I take back that bad advice. Hardway, I will tell you a press is mandatory for the rear bearings and also helpful installing the bushings, so if you on the fence maybe you should go ahead and get it for this job and also use it on the bearings.
-
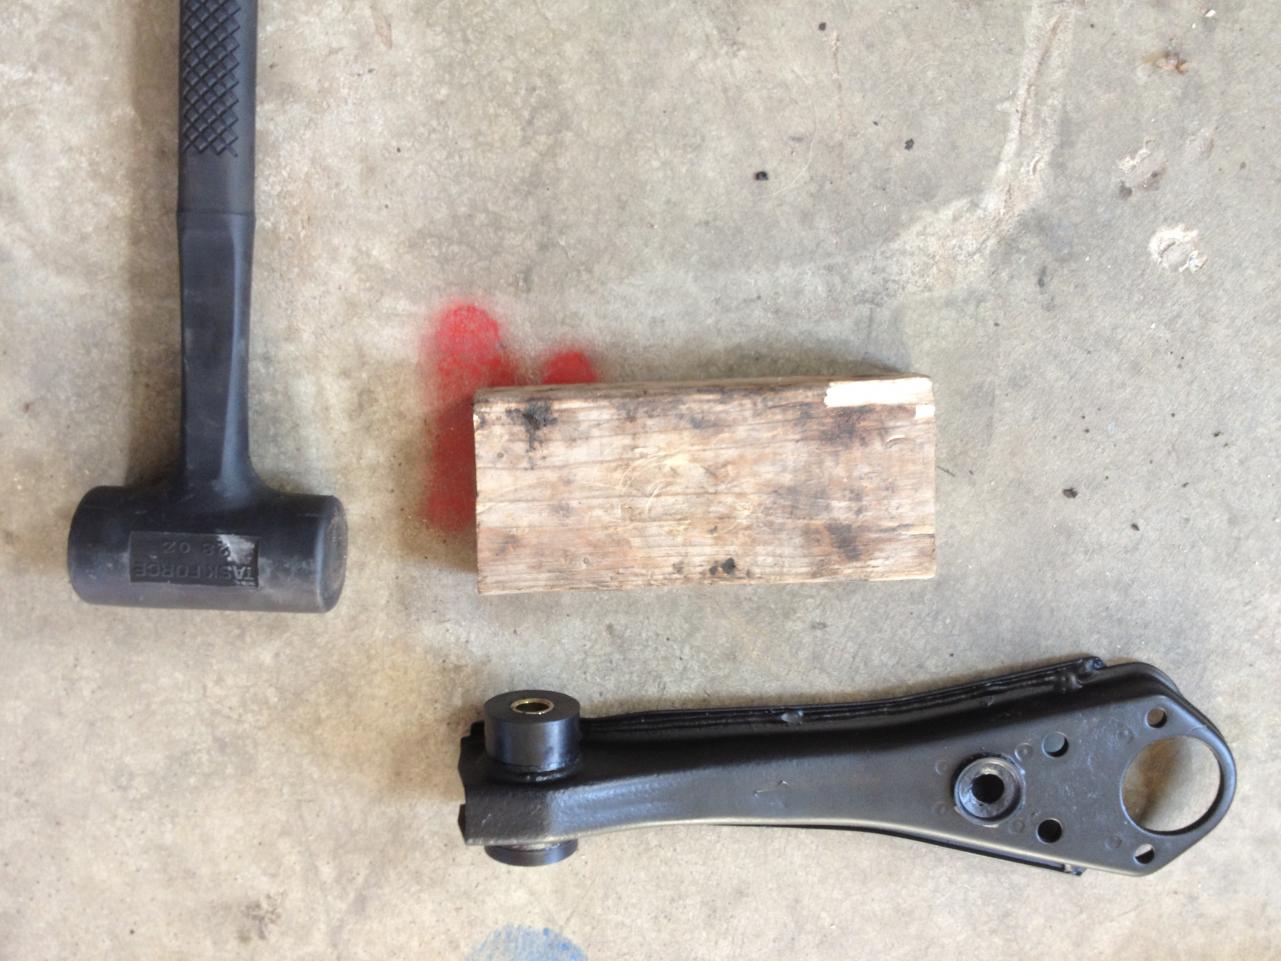
Get a drift and pound it out. You don't have to worry about damaging the pin anymore! There's nothing easy about that job.
-
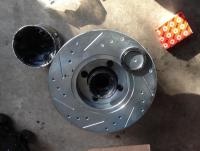
They had good reviews and to quote a wise man, "They look great and have an aggressive looking pattern."
-
Thanks for sharing
-
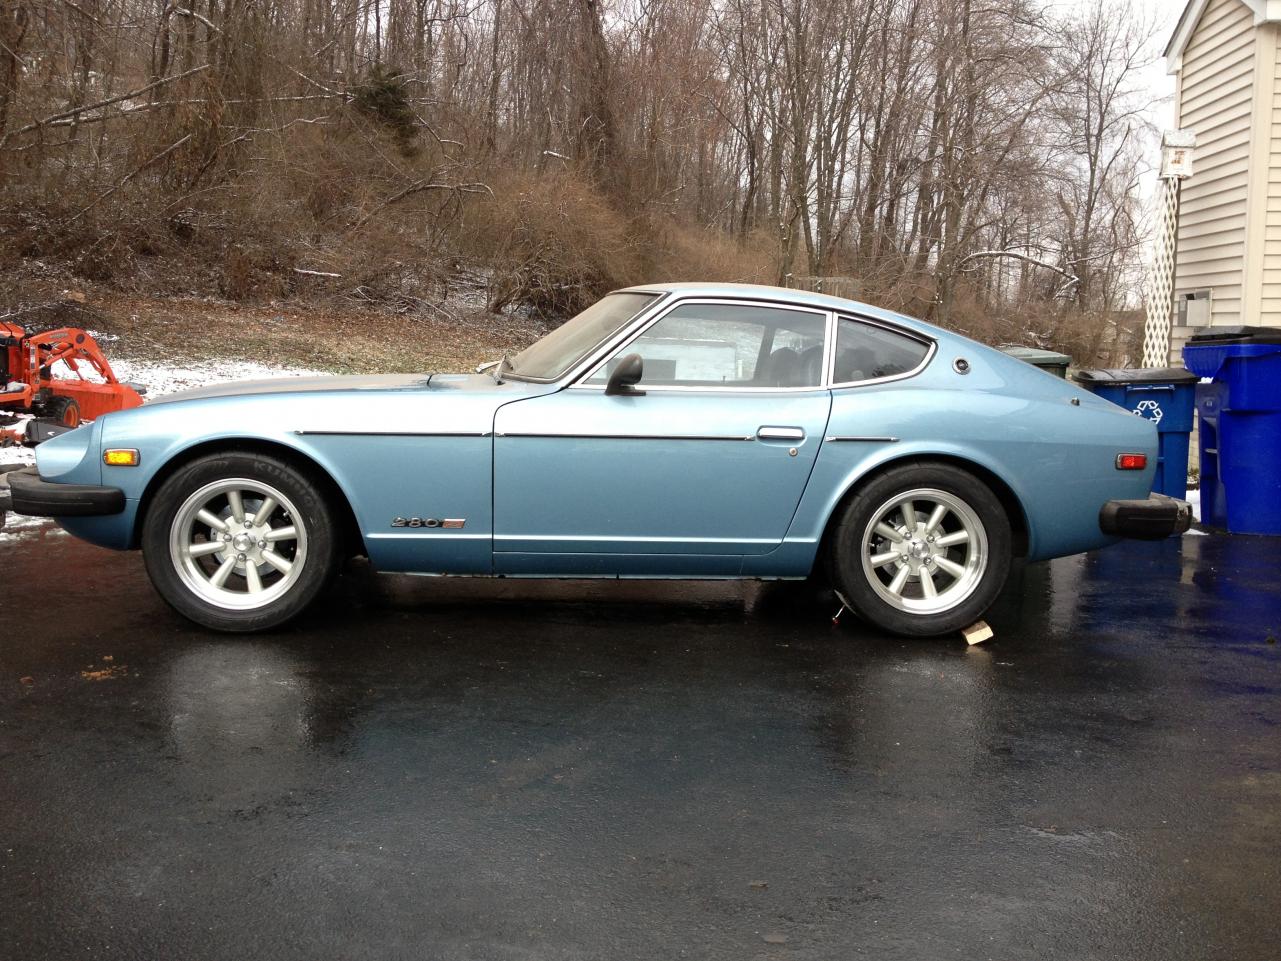
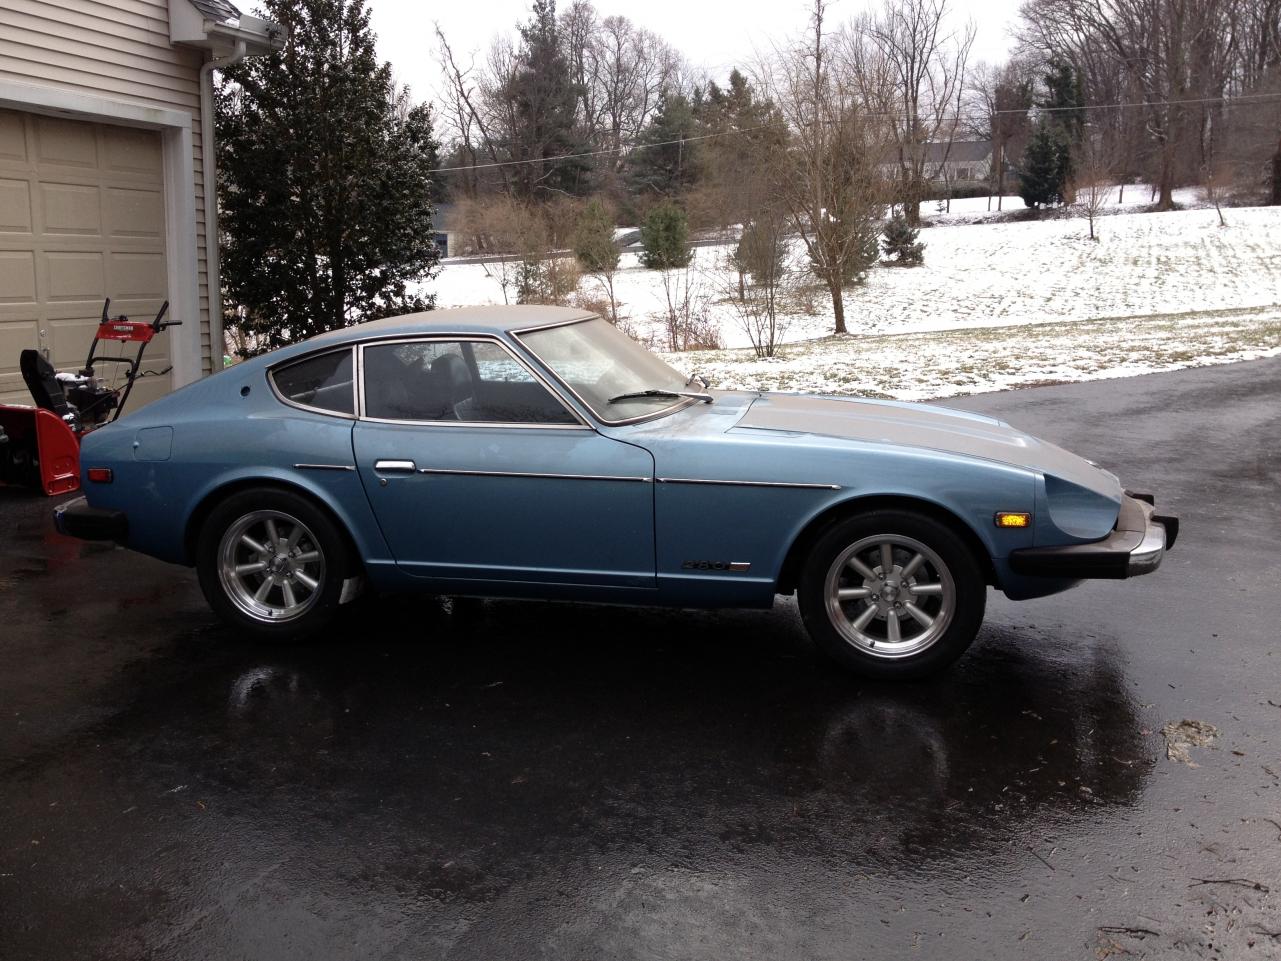
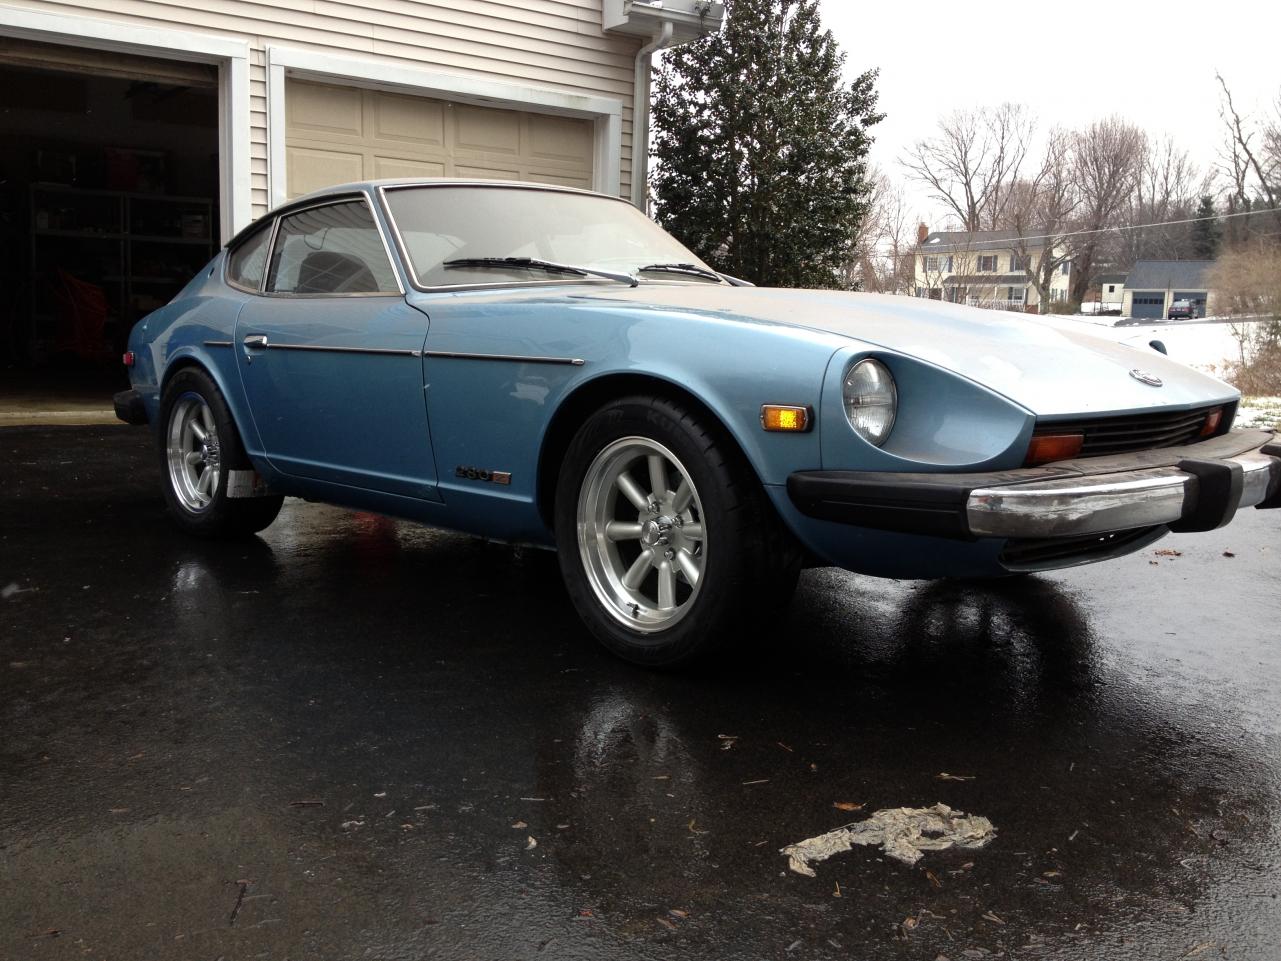
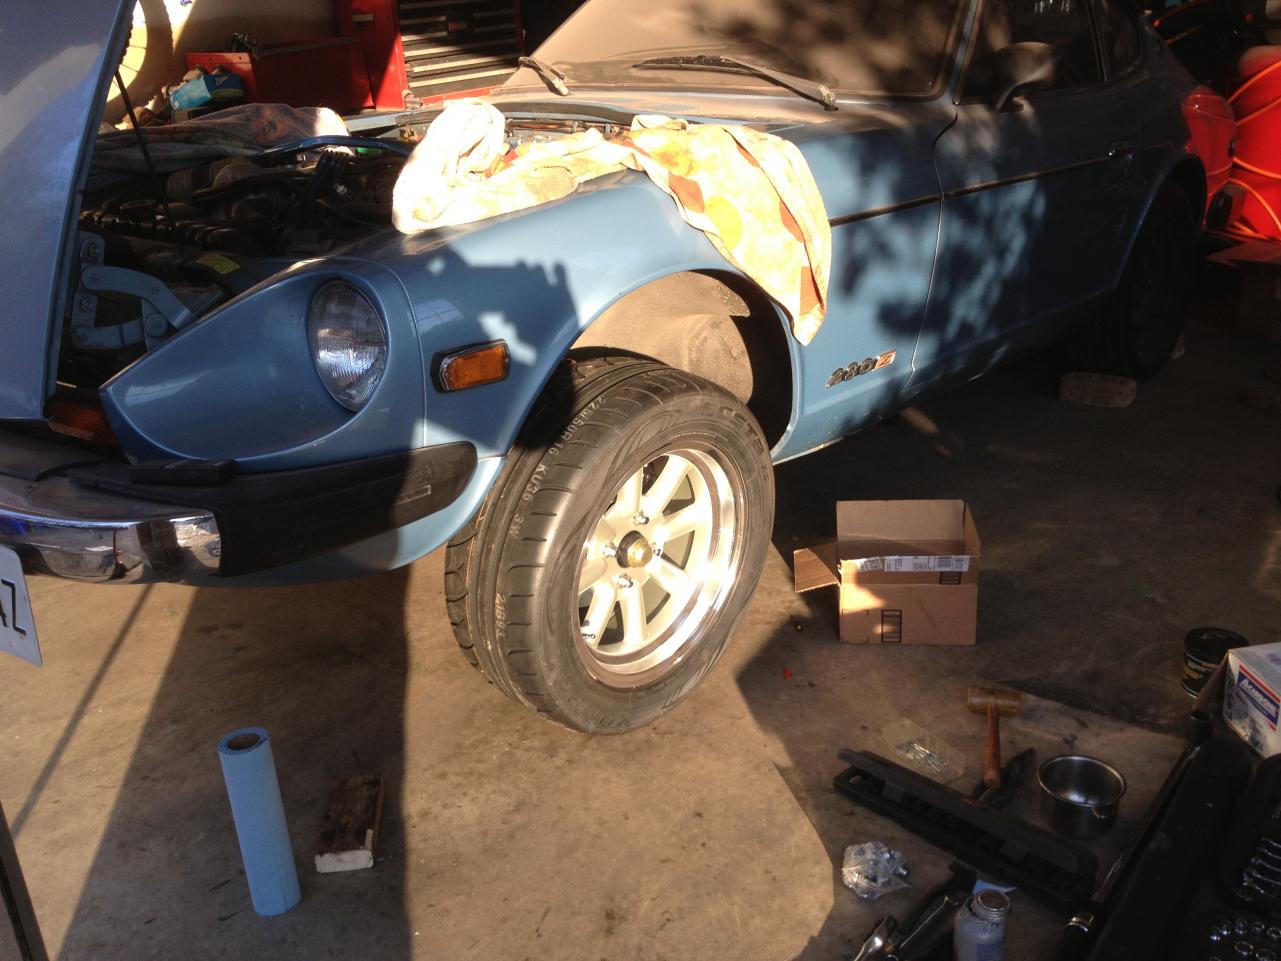
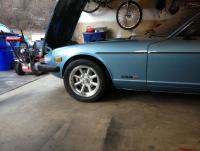
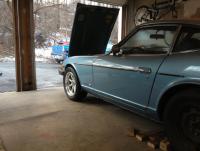
Alright, here are a few pictures of the car down on all 4 wheels. Specs: Konig 16X7 wheels, zero offset. Kumho 225/50/R16 tires. The rear tires rub the fender and I will need to roll the lip. The front tires rub the lower valence which will require some trimming. Neither is a big deal or completely unexpected.


-
240z rebuild / restoration right down to the shell
ksechler replied to grannyknot's topic in Build Threads
Wow! The difference between where you were and where you are now is incredible. I'm not sure I would have had the resolve to tackle that job. You have pulled it off nicely. Well done. -
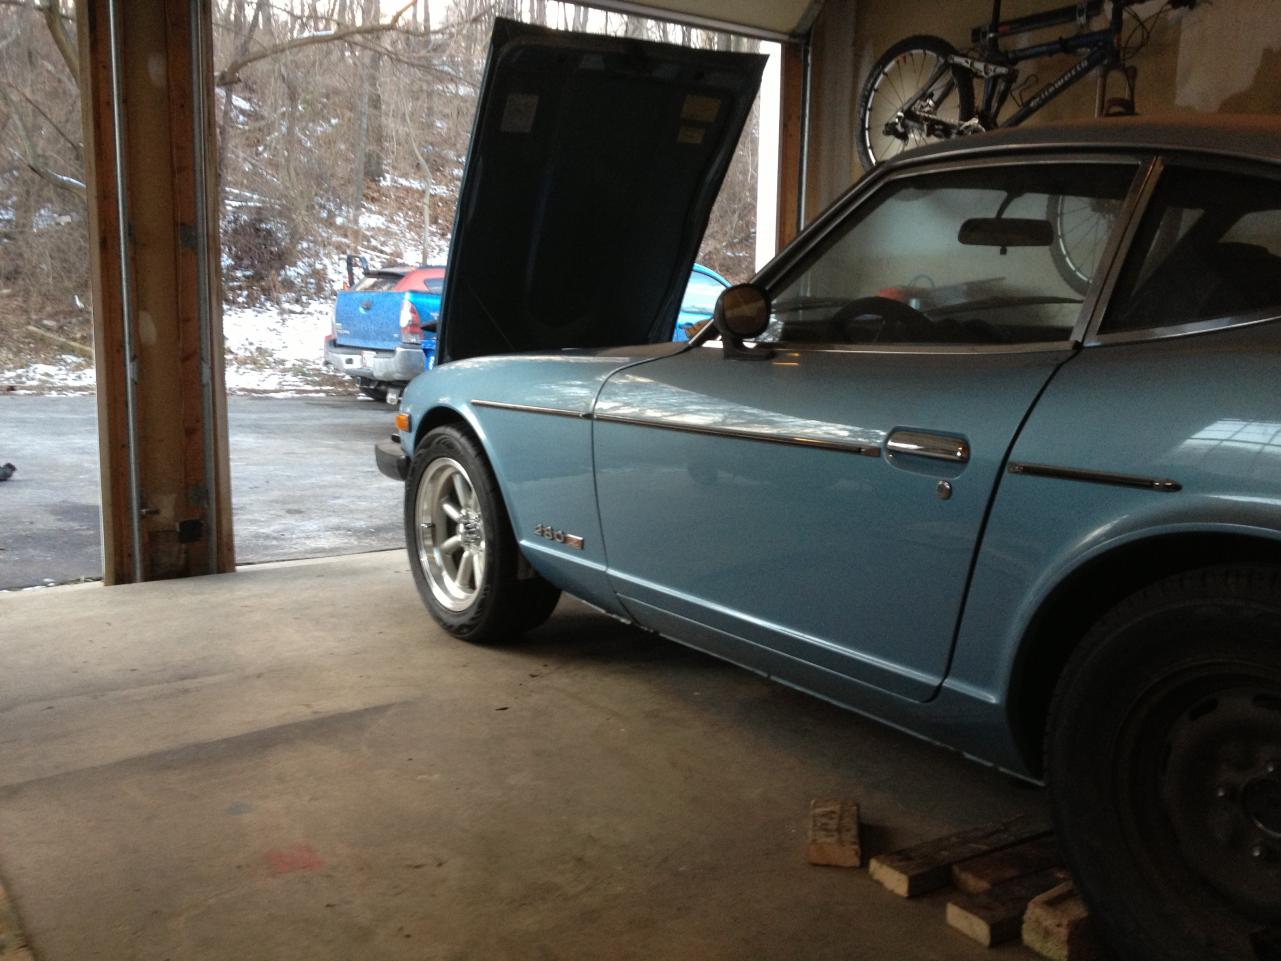
I havent' been able to get the car out of the garage because I hadn't hooked the steering up yet. I hooked it up today, though. Here is a teaser with the front wheels installed. I have the back on now, too and will take pictures tomorrow if the weather permits. It has been snowing off and on and cold as heck (for Maryland). I will say, though, that the back absolutely will rub. I will first try rolling the fender (at a later date), but I'm not even sure if that will be enough. it's tight!

-
I found a part of my car in a box today. I have been doing a staged restoration and am through the front and rear suspension and working on the brakes. The car isn't quite drivable but it does run and is very close to drivable. The part was a pretty little silver washer/shim. When I looked at the part my first thought was, "hmm...I know where this goes." Then my second thought was, "Oh sh1t!" When I realized the implications of installing said part. I thought it might be interesting to share and see what other stories people might have about things they forgot to install and found later. My part was a spacer. It goes on top of the Illumina Strut insert on my front right strut. I recognized it instantly. So this is going to require pulling, disassembling and reinstalling the strut. Not horrible, but not exactly a light task either.
-
Unknown. You still need to crawl under the car and check the usual spots for rust. It's not promising, though. It's been sitting for 10 years in a non-running state. How much are you willing to spend to make it run? IMHO if you want to make one of these cars run cheap then you need a lot of knowledge and I mean specific Z-car knowledge not shade-tree mechanic knowledge. If you don't have the knowledge then you need a lot of money.
-
240z rebuild / restoration right down to the shell
ksechler replied to grannyknot's topic in Build Threads
Very impressive. I'm going to be referring to this thread when I repair my passenger floor. -
JM: Zohan's the original poster. I asked him if his bike was a Bullit (which it is). The picture with the Ellsworth is my garage. You are correct it is a 4 link but an Epiphany not a Dare.
-
Are you copying me? This is almost like reading my own thread! http://www.classiczcars.com/forums/suspension-steering-s30/48081-rear-suspension-rebuild-thread.html http://www.classiczcars.com/forums/suspension-steering-s30/48260-front-suspension-rebuild-thread.html http://www.classiczcars.com/forums/wheels-tires-brakes-s30/48242-yet-another-tire-wheel-size-question.html I even live near you (MD). The only difference so far is I haven't pulled my motor (yet). Good work so far.
-
Johan: Is that a Bullit in the background? It's funny the guy I bought my z from was also a cyclist. Sometimes the stuff in the background is as interesting as the car.
-
Yes and no. The bushings have a metal inner sleeve and a metal outer sleeve with rubber in between. I started by burning out the rubber with a propane torch. That took away the inner sleeve but left the outer sleeve. I cut a slit in the outer sleeve and tapped it out. It went pretty easily. Cutting the slit in the outer sleeve is a challenge. Once that's done it is a piece of cake. If you try to do it without cutting the slit it is a freaking nightmare. I know, I tried once.
-
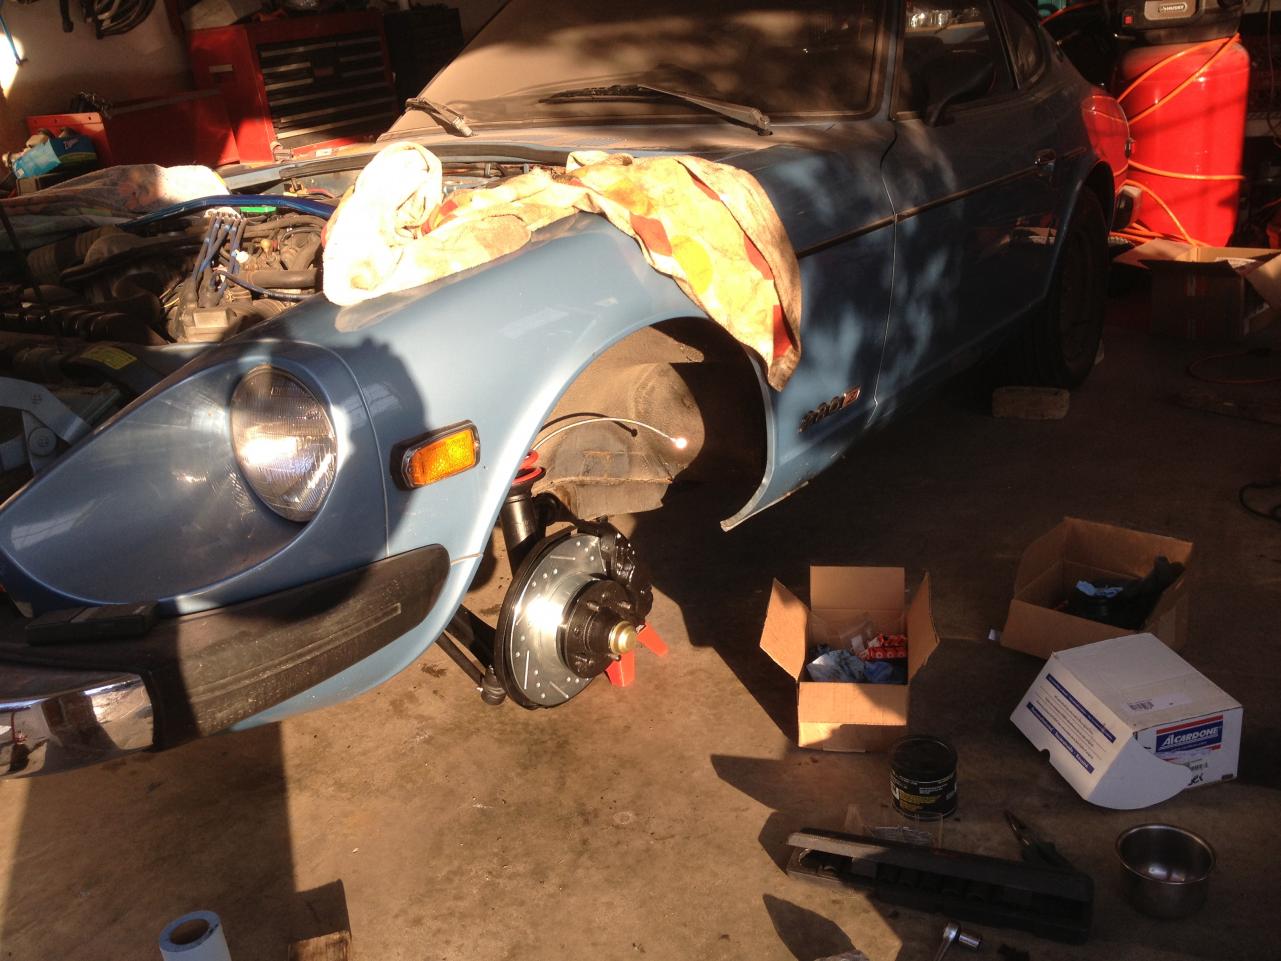
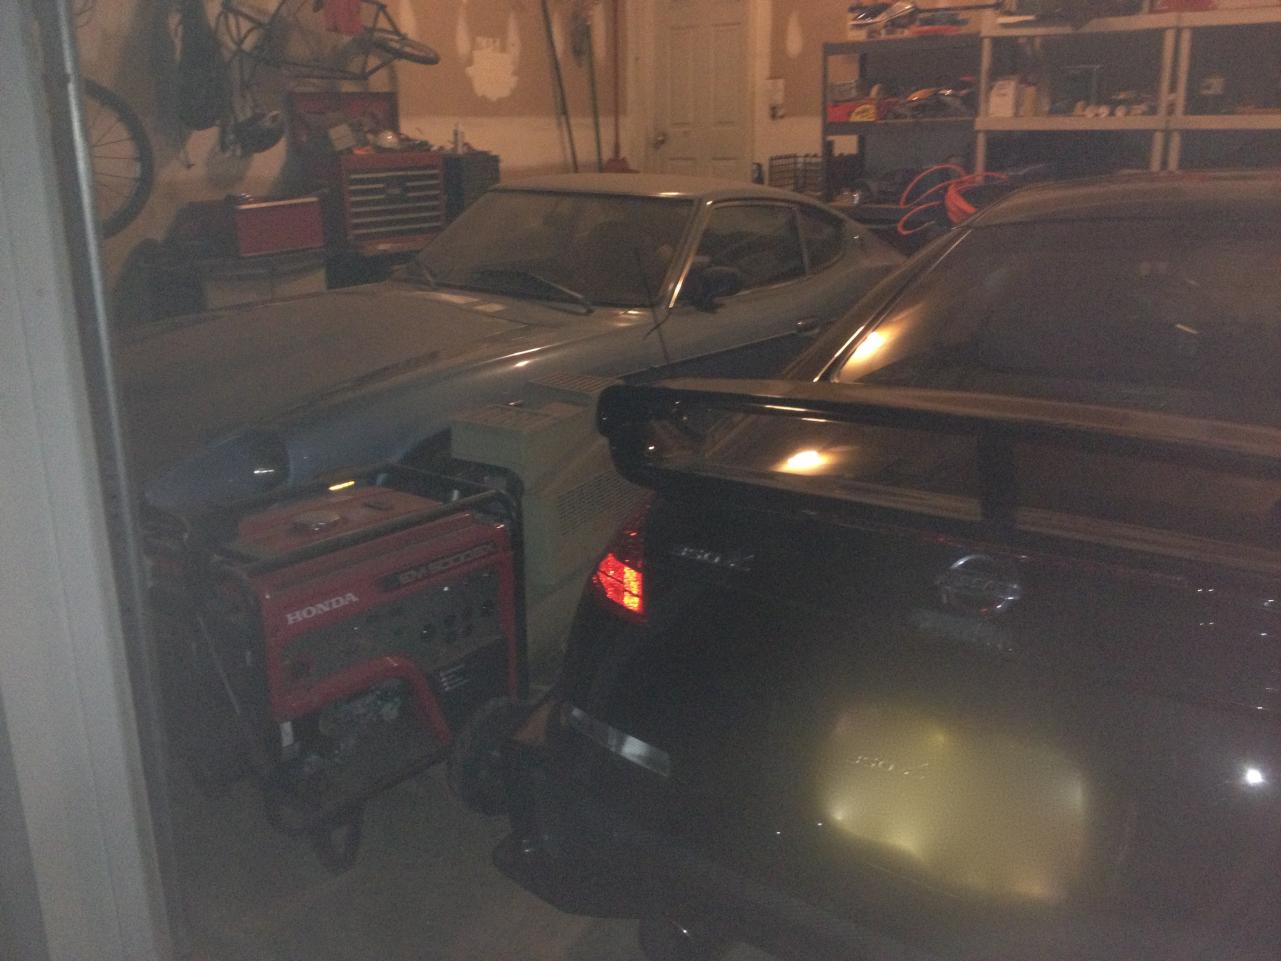
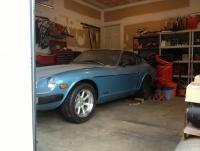
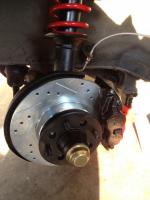
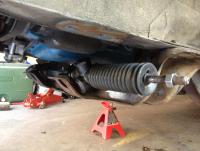
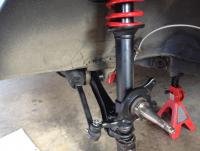
Alright, next I put in the wheel bearings which was surprisingly easy. Then I installed the 4-piston front caliper. Things went pretty well on the left side but I made a mistake on the right side that was kind of funny. I attached the hub to the rotor. When I got to the fourth bolt I couldn't find the split washer. I searched in vain for a few minutes then gave up and got another one. I torqued everything down and proceeded to install the new bearings, washer and spindle nut. I torqued the spindle nut and turned the hub a few times and re-torqued the spindle nut. I noticed that the rotor was rubbing. I looked at it end on and it appeared really warped. Then I realized that the missing split washer was stuck to the hub and was actually between the rotor and hub. So I took everything back apart and removed the offending split washer. Once I reassembled everything the rotor ran nice and true. At long last I put my wheel on. I got these a week and a half ago and had the tires mounted last weekend. I love these things! At last, I took the car off the jackstands. I still need to torque the nuts on the traverse link and compression rod. I didn't have the energy to carry the weights up from the basement to load the car down so that can wait until next weekend. I also have not installed the anti-sway bar. That is also for next weekend. There was only one other thing to do after that. Forgive the terrible picture quality: Together again. Now they can talk about me. My poor NISMO has been out in the cold for three weeks to make room for grandpa to have his surgery.


-
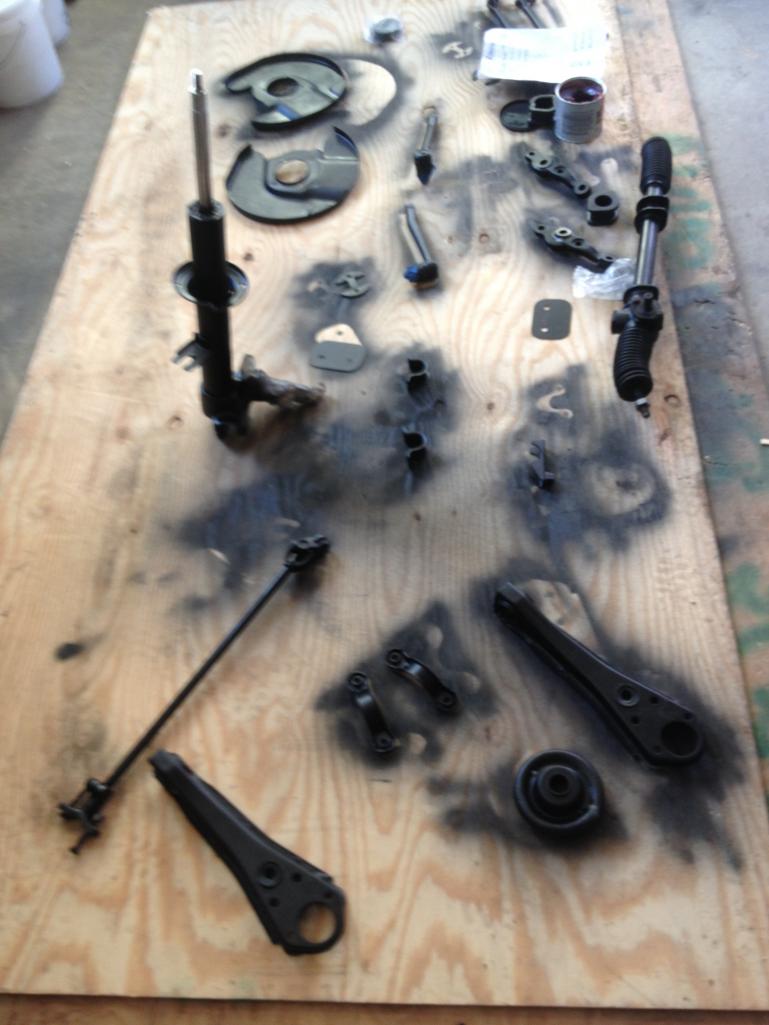
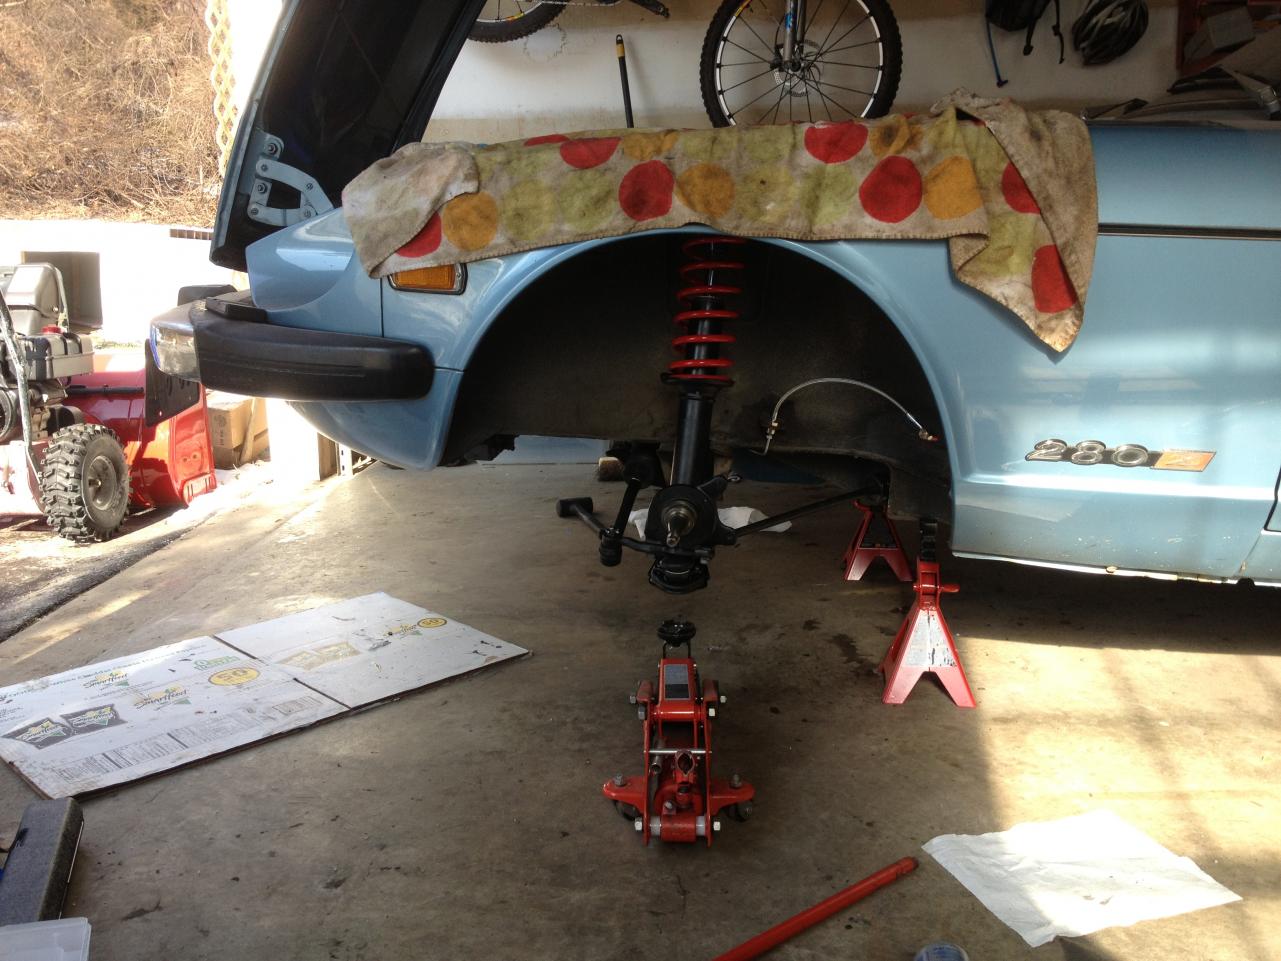
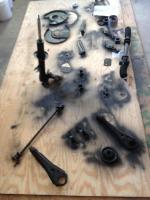
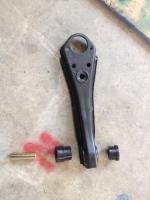
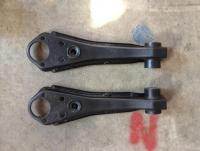
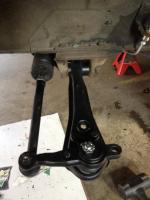
I got up early today. Didn't have a darn thing to do other than work on the car! I have been gradually sandblasting and painting the parts over the past 2-3 weeks. I knocked down the half-a sandblasting booth yesterday and cleaned up all the sand. Here's what I started with this morning: First things first, I had to put the steering rack back on. So I did! It got new bushings of course. Then I put new bushings in the traverse link. I took some time here to make sure I made a right and a left. It may sound obvious, but stupid mistakes tripped me up and caused a lot of extra work when I did the rear suspension. I've never done this before so I took my time and started fitting things together so I was sure I had them in there right. Here are a few shots of the progression: . The floor jack was a vital piece of equipment when it came time to get the nut on the compression rod. It think I have exceeded the max size for posting b/c I can't upload any more pictures. So...more the follow:


-
Brilliant!
-
IMHO your concerns are in all the wrong places. The bondo crack and rusthole on the door indicate some serious rust issues that were probably repaired in a shoddy way. The rust in the door frame is very serious. You need to get under that car and see what it looks like. There is probably extensive rust under there. You also need to open the rear hatch and take out the spare to see what's under it (rust). If you are looking for a car to drive for $2K then unfortunately you should look elsewhere. At first glance the car looks nice, but I suspect a basket case. Sorry.
-
The old shock is frozen. The new springs are actually 1" lower than stock. The new cap is the MSA camber adjusting one which also lowers the car a little.