ksechler
Free Member
-
Joined
-
Last visited
Everything posted by ksechler
-
 I have a 280z that I am going to put triple webers on. In the course of my restoration I had to completely redo the fuel lines. The plumbing had been a real pain and bending 5/16" stainless precisely isn't easy. I have bent the supply, return and vent lines, but I can see where I really need a return line anymore. I have an electric fuel pump and a pressure regulator. Can't I just go to the fuel rail after the regulator and be done with it? Any help is appreciated.
 -
Seriously?! and after I followed your build thread! I like the Ferrari, but didn't like the silly Lamborghini Miura. That car was fugly. I do wish that they would have at least shown a stock 240z maybe in a front-side view. These car comparison articles are all fairly useless but it's always good to see the z-car get some respect.
-
Nice work and nice photos! You are further along than I am, but I see that you abandoned the FI in favor of triples. I'd be real interested in comparing fuel system notes with you since I plan to do the same. If you have then time (and interest) PM me.
-
Perfect. This is what I was looking for! Thanks guys.
-
Aw, come one guys.
-
I am restoring a 280z and have decided to abandon the fuel injection. I know the pros and cons of this or at least most of them. There are reasons I made the choice regarding mods to the powerplant and my doubts about constructing a custom fuel injection system and programming to match so I don't want to open that debate right now (don't get me wrong I do appreciate whatever advice I get). I had to run new fuel lines because the old ones were badly corroded. I am using a high pressure fuel pump (because I may want to go back to FI later) and using an Aeromotive regulator to reduce pressure. So I intend to go out to the regulator and back to the tank with the carbs taking what they need. My question is about fuel line size. There are three lines. Two 5/16" and one 3/16". I know one 5/16" is the supply. Should the return be 3/16 with 5/16 to the vent or 5/16 for the return and 3/16 to the vent? If anyone has a similar setup and would like to share notes and/or a schematic I would really appreciate it. Thanks!
-
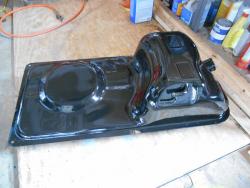
POR-15. I may paint it again to flatten it some. I just wanted to be sure to kill all of the rust.
-
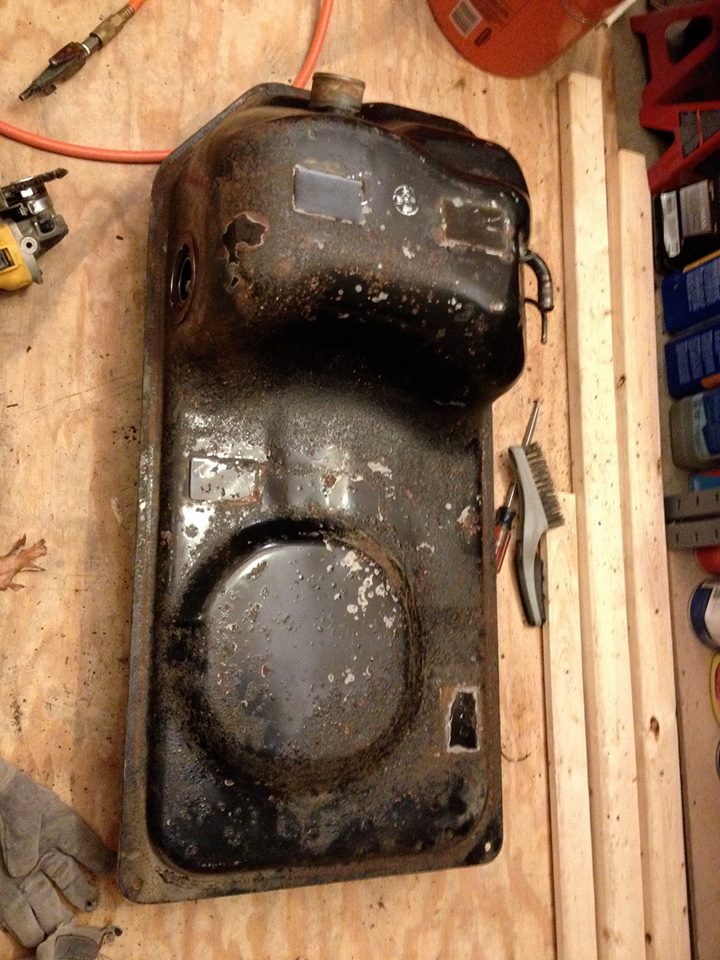
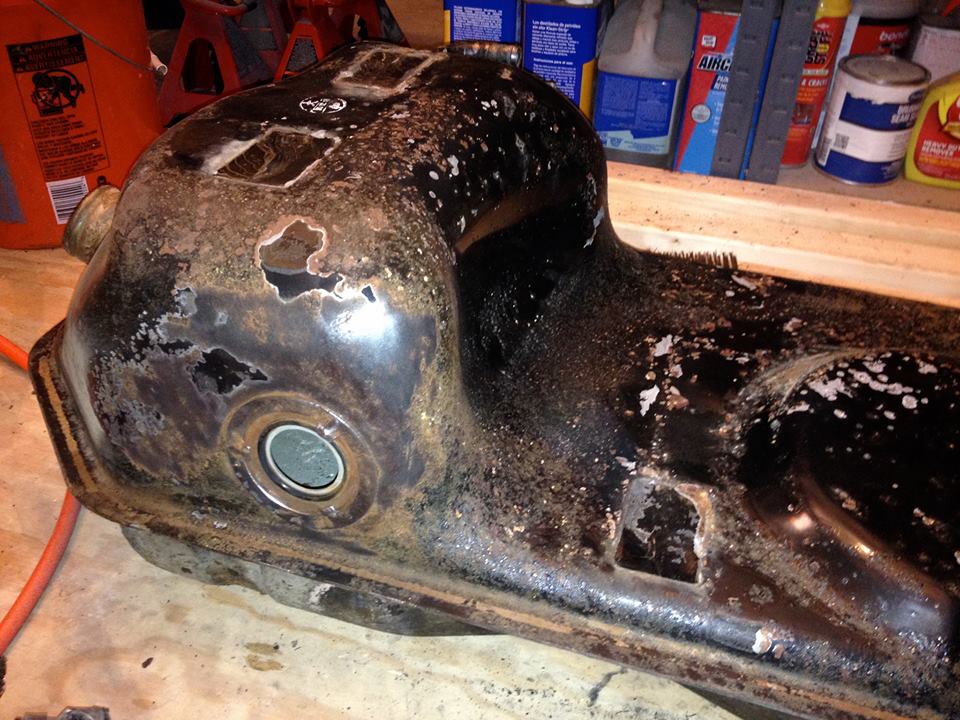
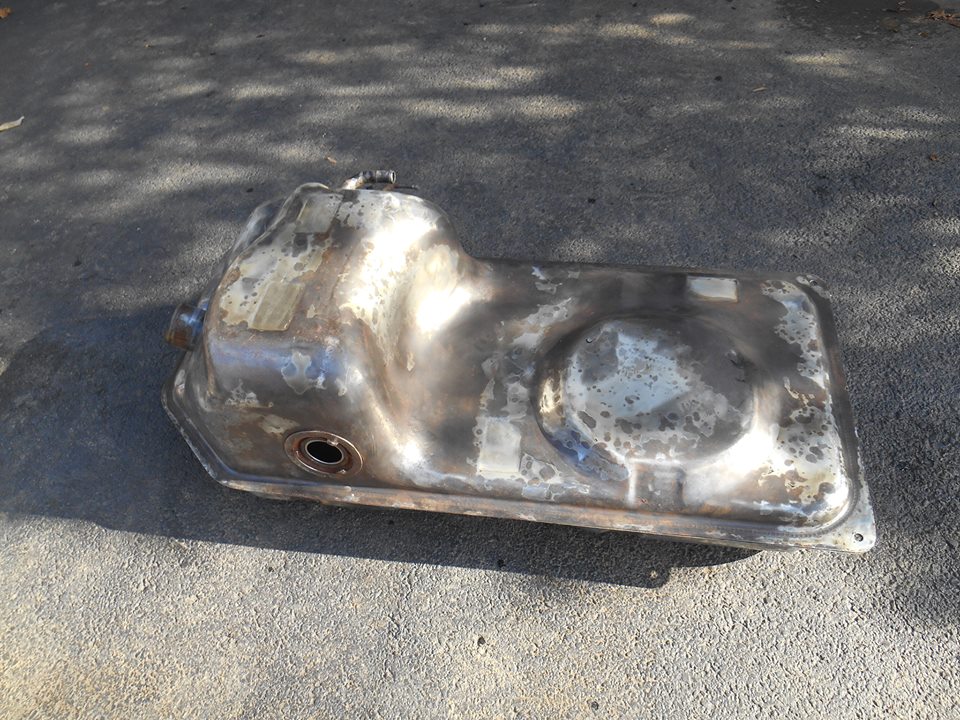
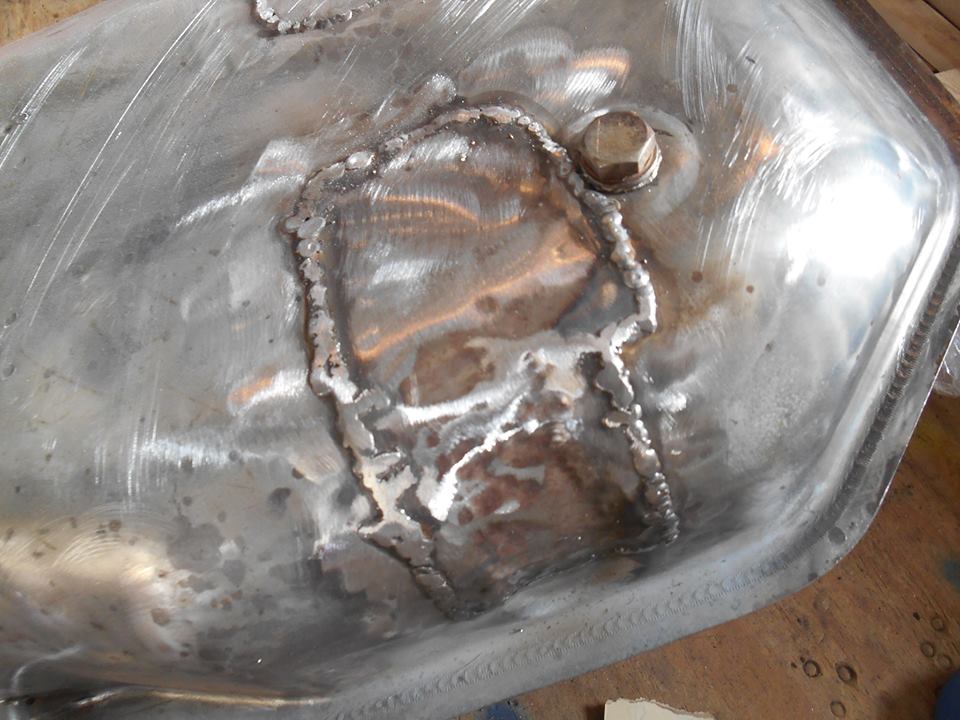
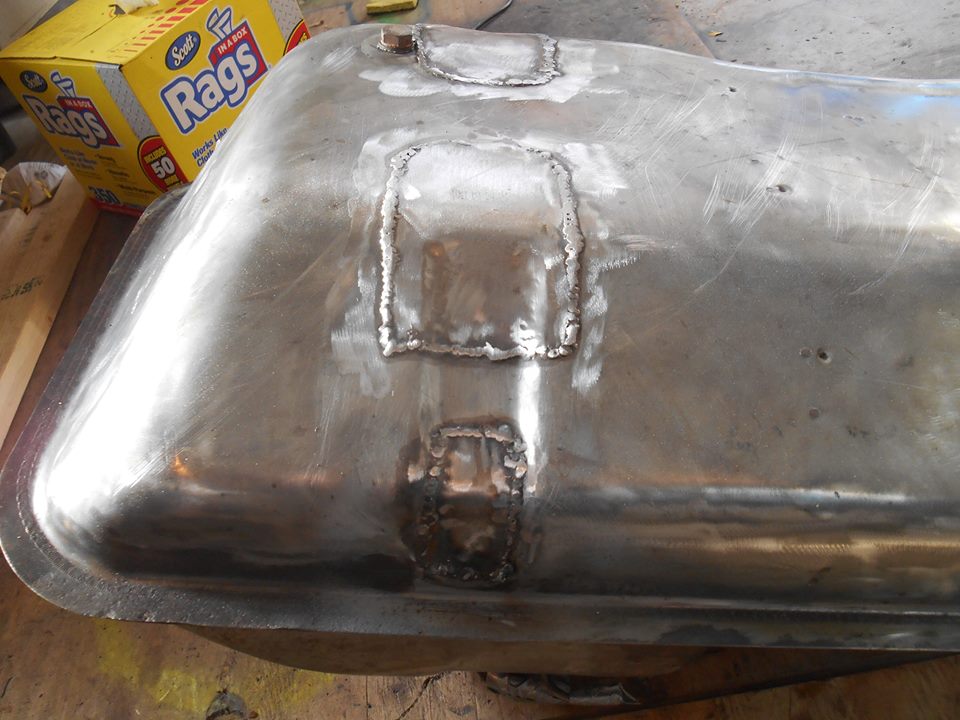
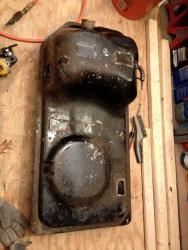
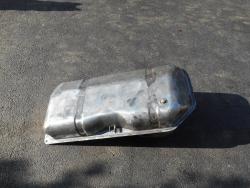
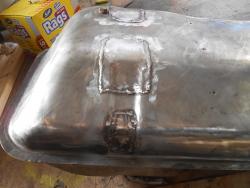
All: Here are a few photos of my recent gas tank restoration. My tank was a real wreck with severe rust pitting where the mounting straps went. You could see daylight when looking through the filler neck. Try as I might I couldn't find a suitable replacement. That left me no choice but to weld on patches. Welding on a gas tank isn't exactly a good idea so you can imagine I was pretty nervous. To prepare the tank I cleaned it up, rinsed it several times, blew a lot of compressed air through it and then filled it with argon. Everything went well and I didn't blow up. I will be lining the tank prior to installation. Enjoy the pictures!


-
I have been restoring a '76 280z for going on 2 years now. There's still a long way to go, but as most of you can probably understand I prowl ebay on a near daily basis just to see what pops up. Well last week a 280z dash popped up! My original dash is restorable - I guess. It's cracked and covered and the cover's cracked too. What I found was an original uncracked dash with all of the instruments. My winning bid was $599. I hope it's the bargain it seems! It seems from most of the posts I've seen that I could expect to spend $1K to get my original dash restored. Here're the auction pictures: http://www.ebay.com/itm/Datsun-Nissan-280z-Complete-Dash-Pad-Speedometer-Rpm-Cluster-Rpm-77-/191442531532?nma=true&si=qyhaQpALAbKBOzsrexI%252BKPAePHY%253D&orig_cvip=true&rt=nc&_trksid=p2047675.l2557
-
Nice, I book marked that for future reference. Thanks!
-
-
I had to replace the floors and frame rails on my 280z due to some pretty severe rust issues. In the process most of the mounting brackets for the brake and gas lines went away. Is anyone aware of somewhere I can source a generic mounting system. I can weld brakets on easily enough but I want something that is rubber lined similar to the original configuration. Any help would be much appreciated. I've been searching for quite a while and must not have hit on the right combination of key words.
-
How can you tell? The bumper?
-
I heard this song on Octane called coconut dracula. It was a catchy tune, but seriously what the heck is a "coconut dracula". Since I'm not up on the latest slang I decided to google the phrase. I never did get an answer to my question, but check out the cover art for their album. I like them more already! Islander: Violence & Destruction CD - Victory Merch
-
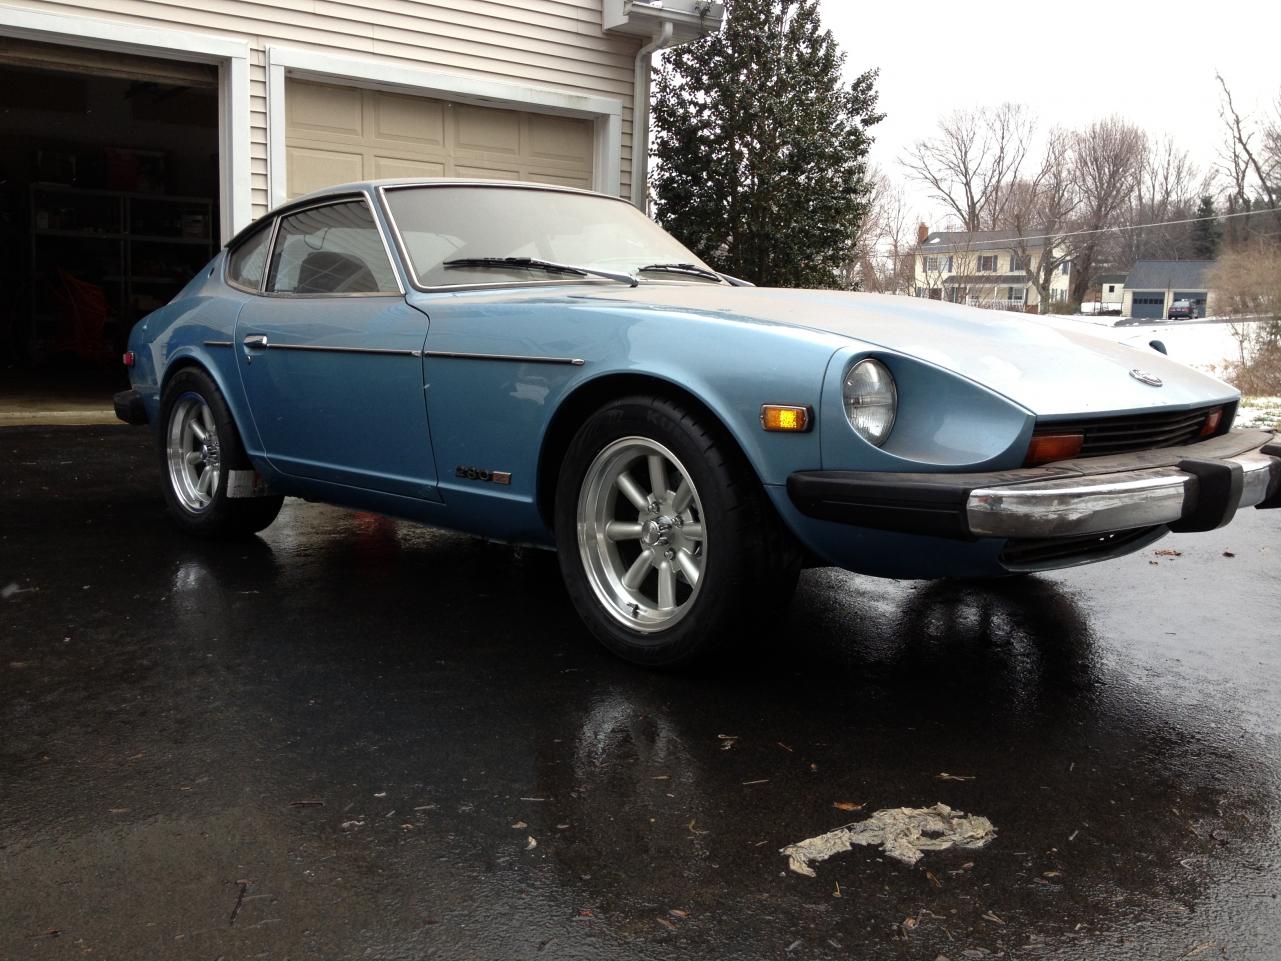
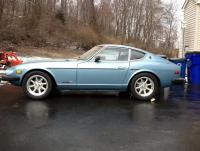
I was in a similar situation a year ago. I also live in the rust belt (east cost) and I wanted to buy locally. I paid $6,500 for a car that appeared neatly perfect. It turned out to be a hooker in a prom dress. It was drivable and looked good from a distance but was really a mess. It is on a rotisserie in my garage right now having had both floors replaced and large sections of the frame. My advice to you is not to buy until you have seen the car on a lift. You need to look under the battery, the passenger side firewall, the inside back of the passenger side front wheel well. Also pay attention to the rocker panels and rear fender right behind the wheel. This quote haunts me, "There were a few small rust bubbles around one fender." This is a very bad sign for a restored car. It tells me they didn't address all the problem areas adequately and they are coming back. One final thing you need to ask yourself. If this is a Texas car with minimal rust, why were both the floor boards replaced? I suspect this car may have some hidden issues. That said if it checks out, I'd buy it in a heartbeat. It looks like a nice car. Just be sure you understand what you are getting.
-
These are 225/50/R16 on Konig wheels with no offset. They rubbed all the way around even with the fenders rolled.

-
Nice car. Well done!
-
Grannyknot! Post a link to your floor replacement thread it was a good one. Here's similar work I performed on my rust bucket: http://www.classiczcars.com/forums/open-s30-z-discussions/51255-few-pictures-new-year-floor-replacement.html#post447370
-
Check the passenger side and under the battery. You might have some work ahead of you. I like the paint job, though. Very nice!
-
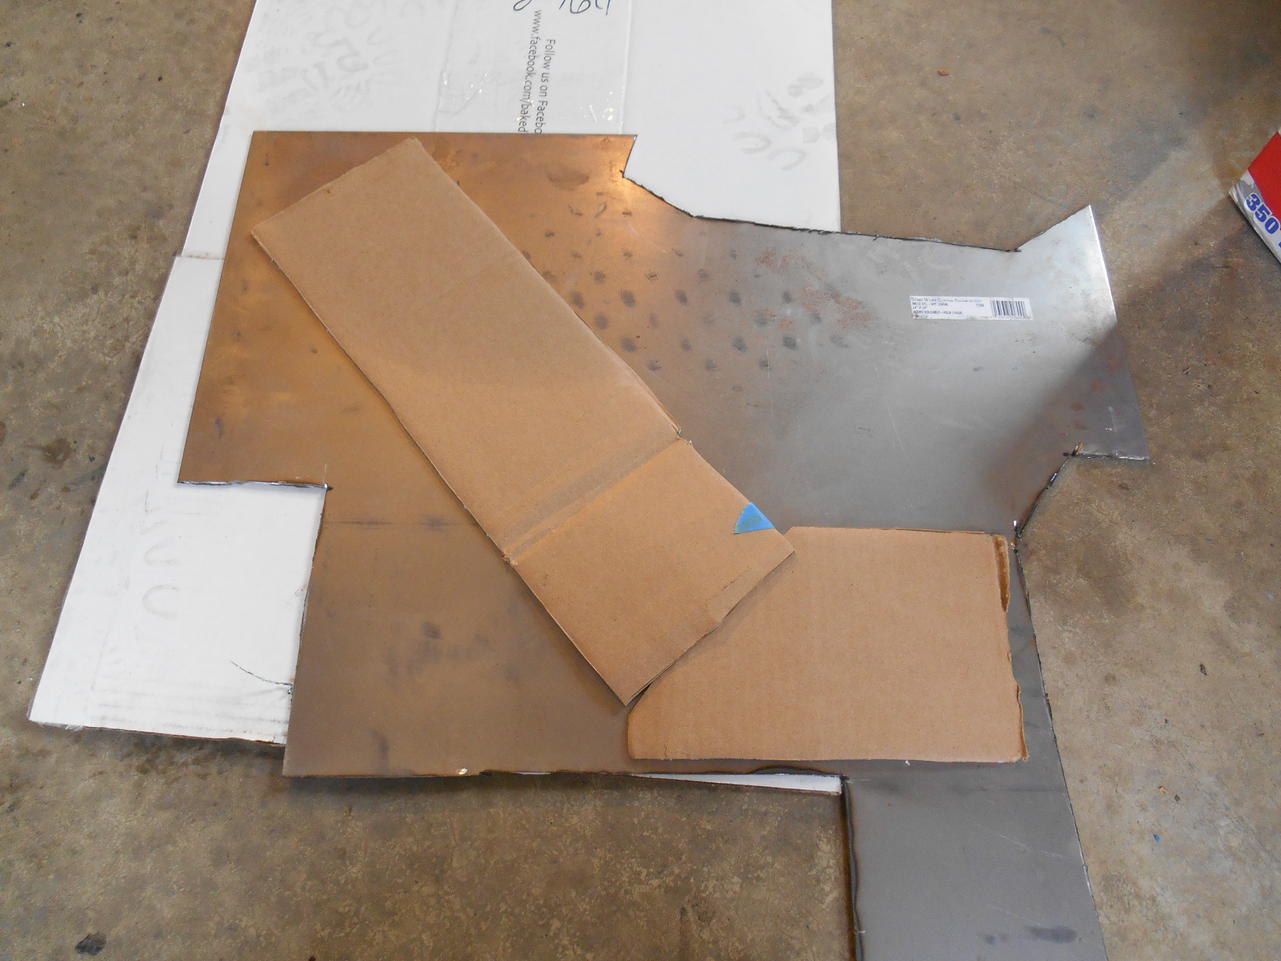
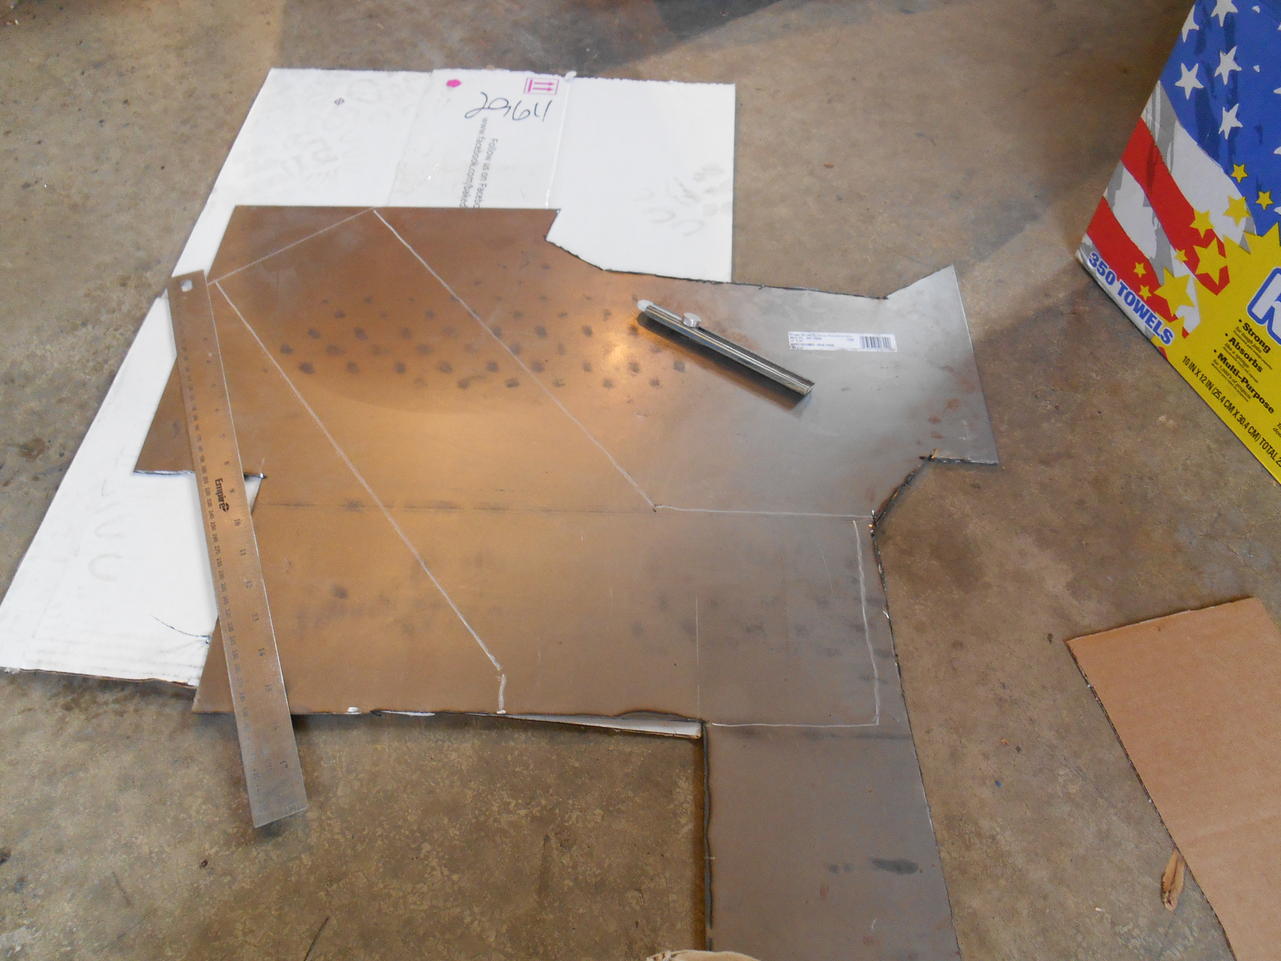
16 gauged matched what was there pretty well.
-
A happy ending! This isn't a pro job. This is just me in my garage learning as I go, but I have saved one more z from the junk yard. Believe me, this one was almost there.


-
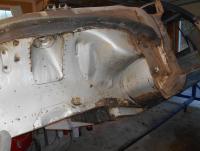
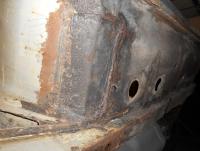
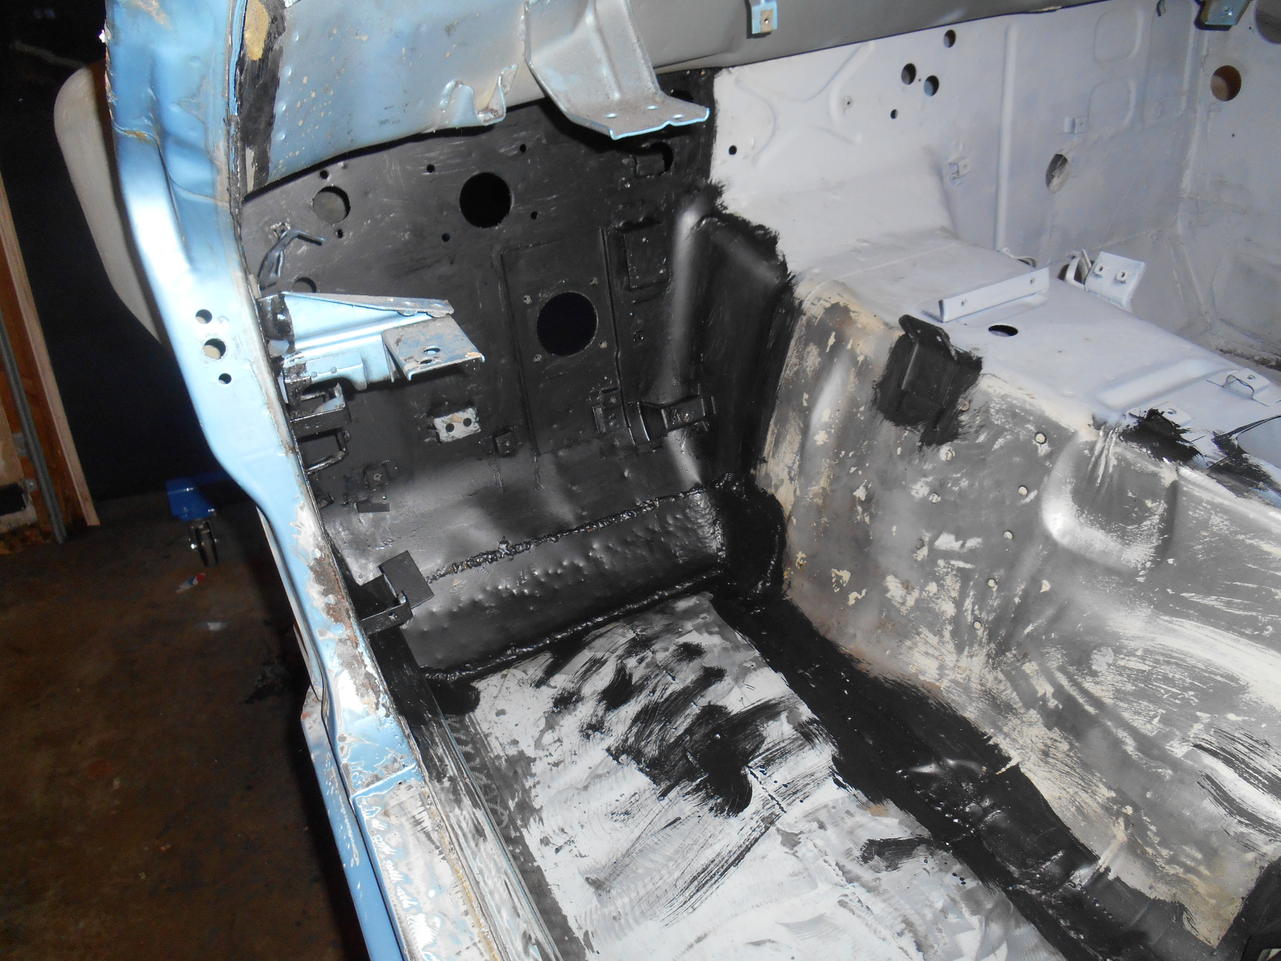
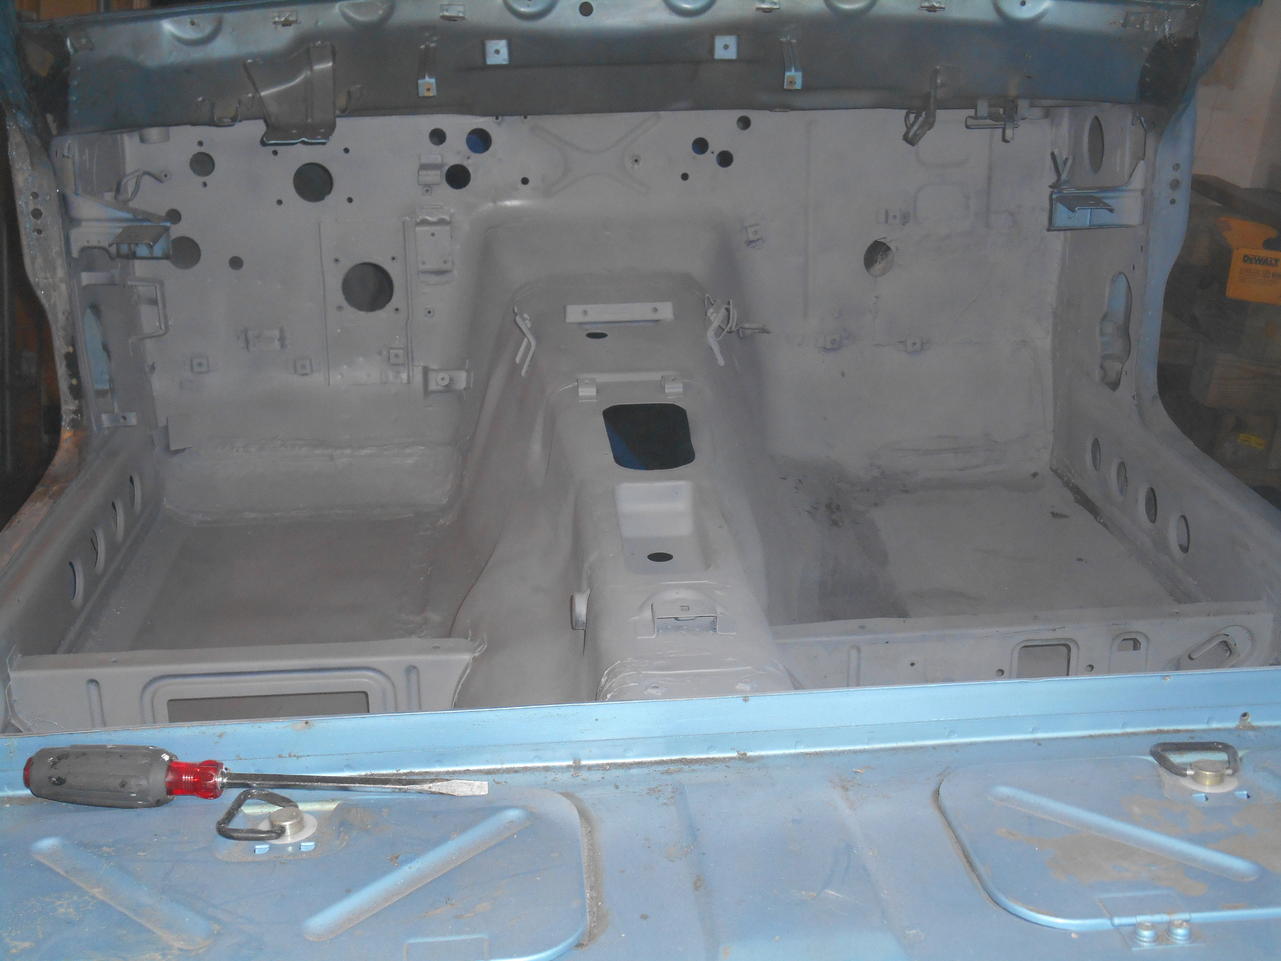
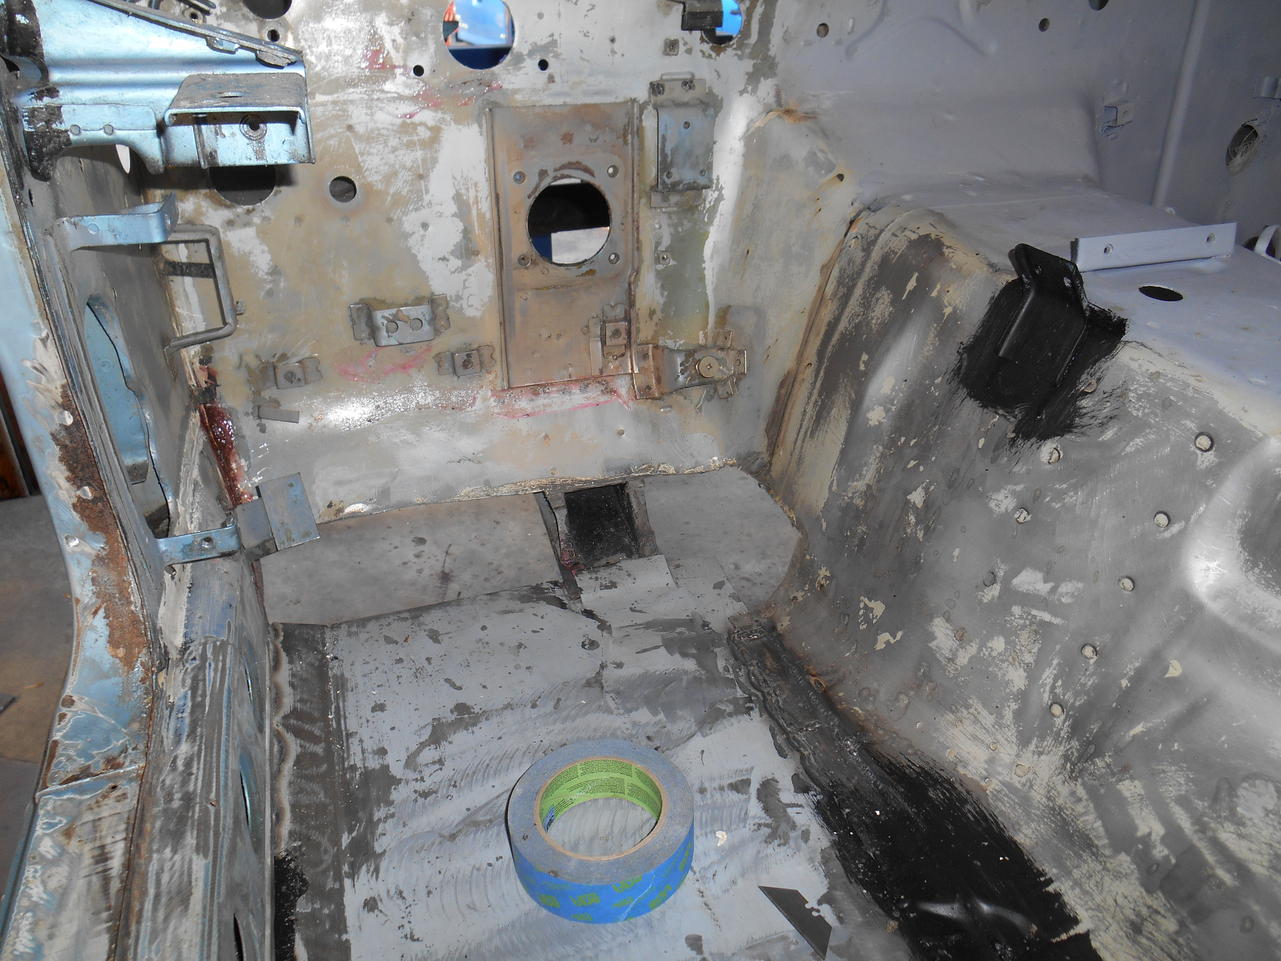
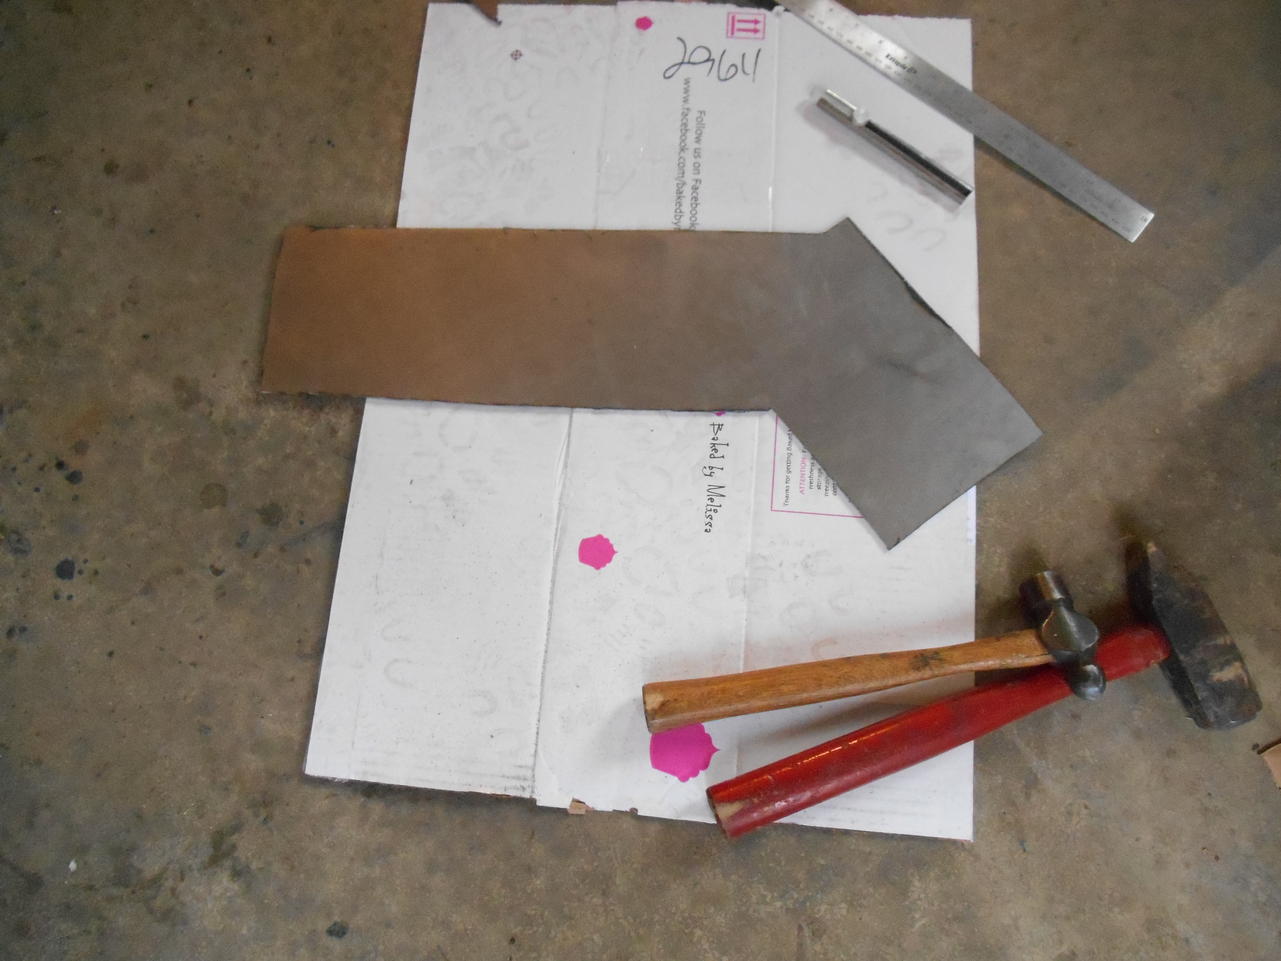
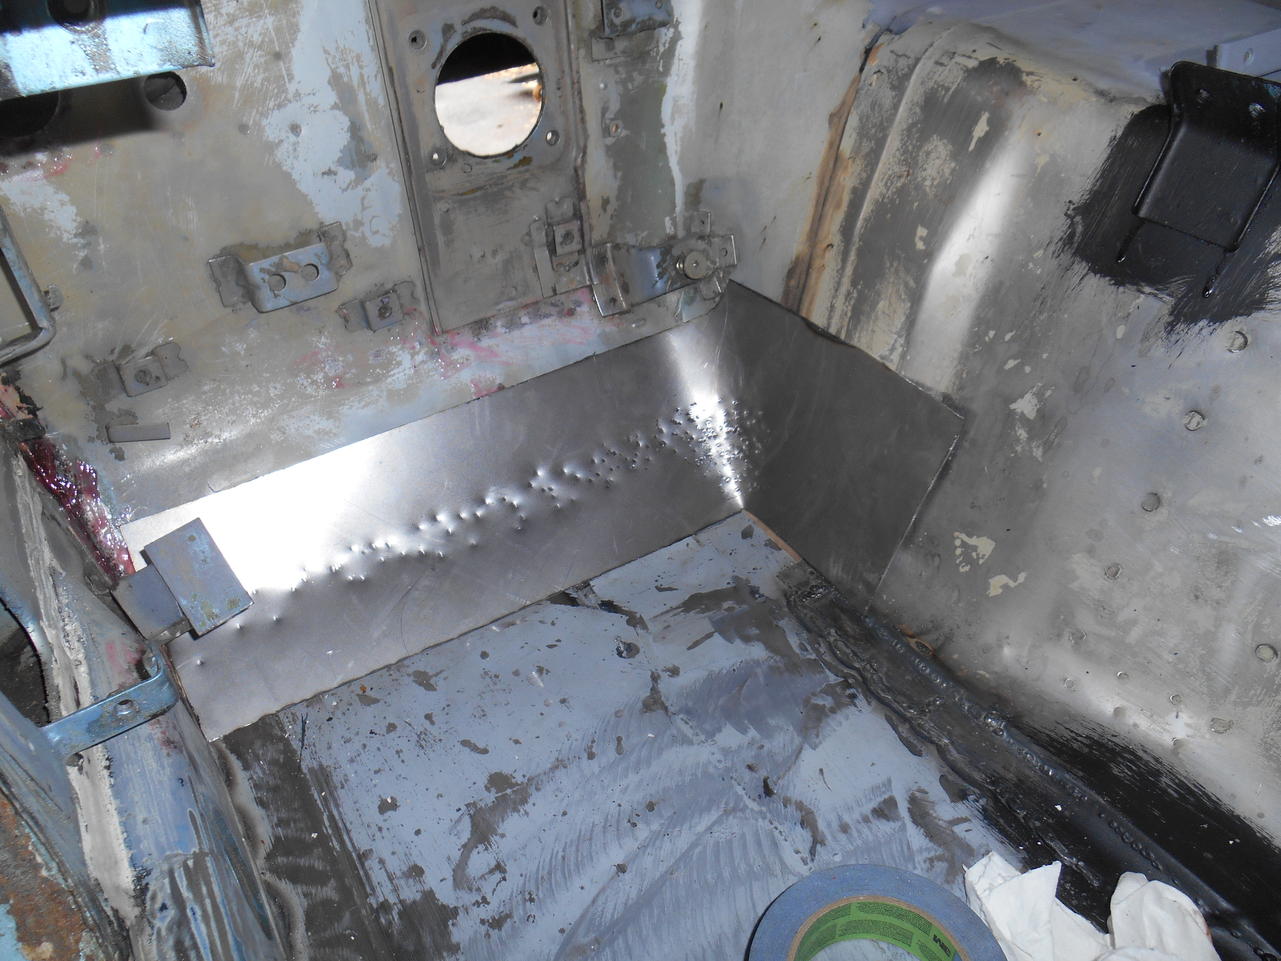
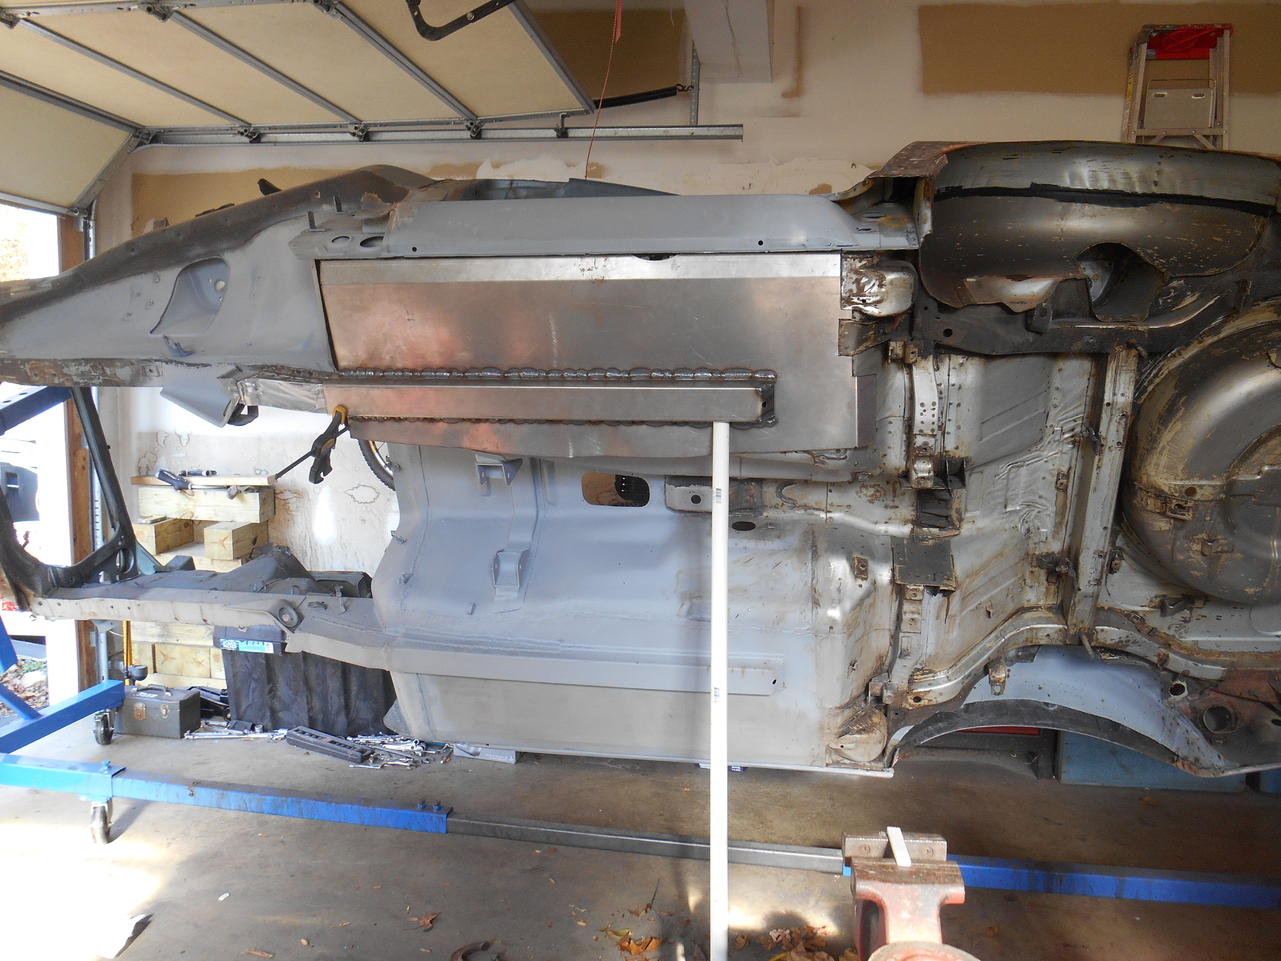
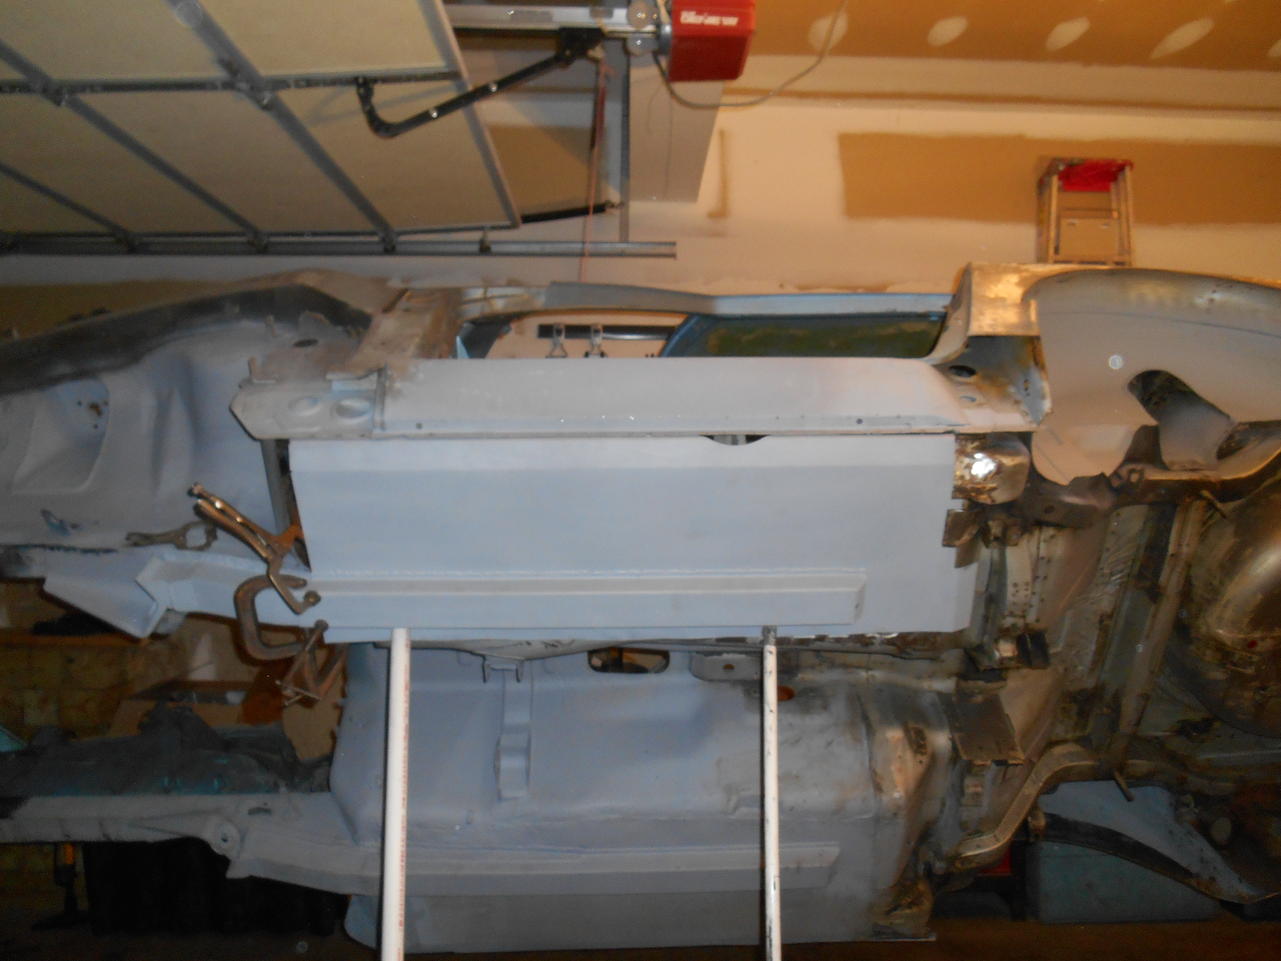
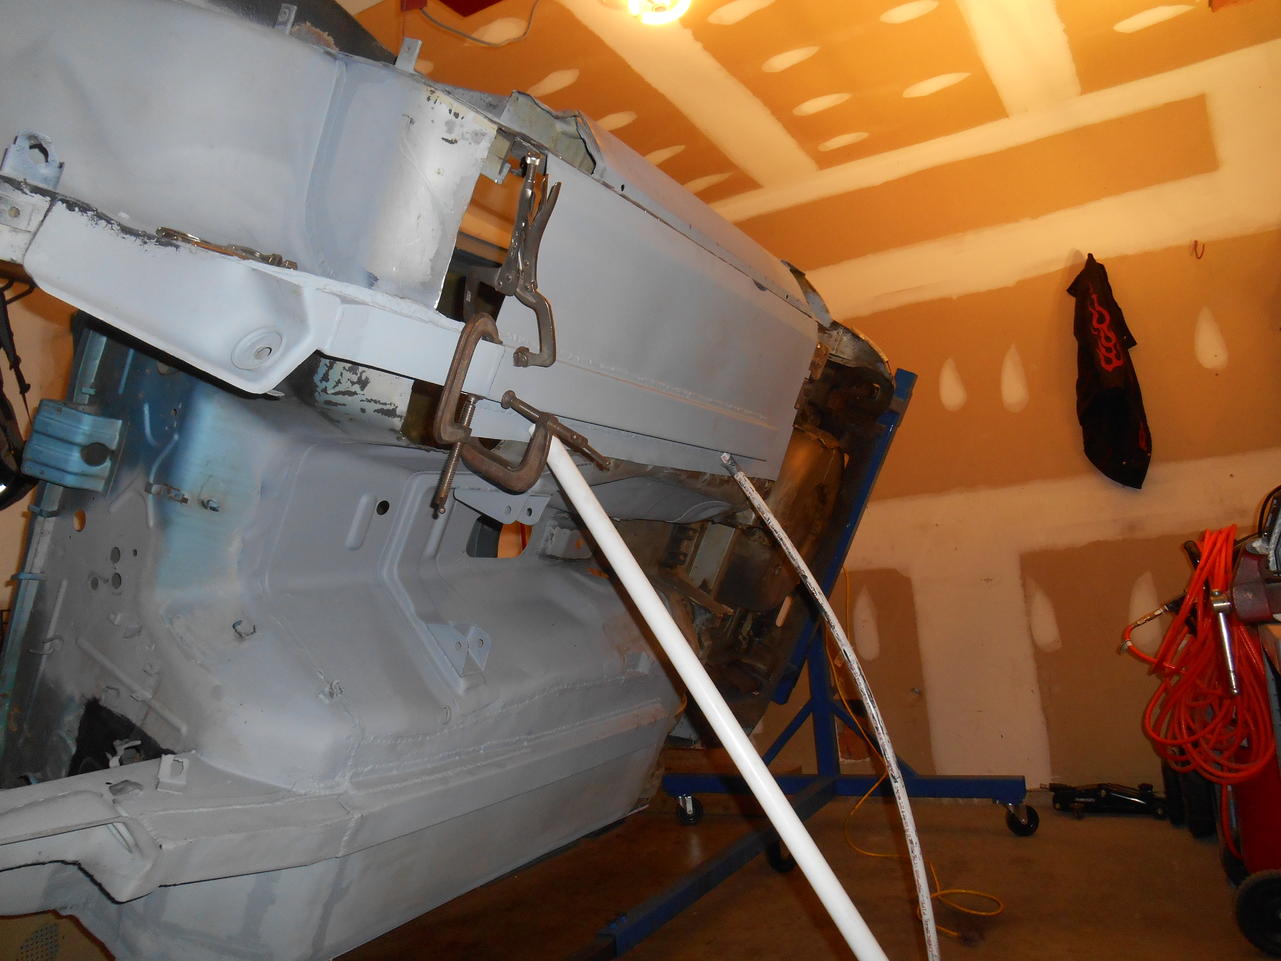
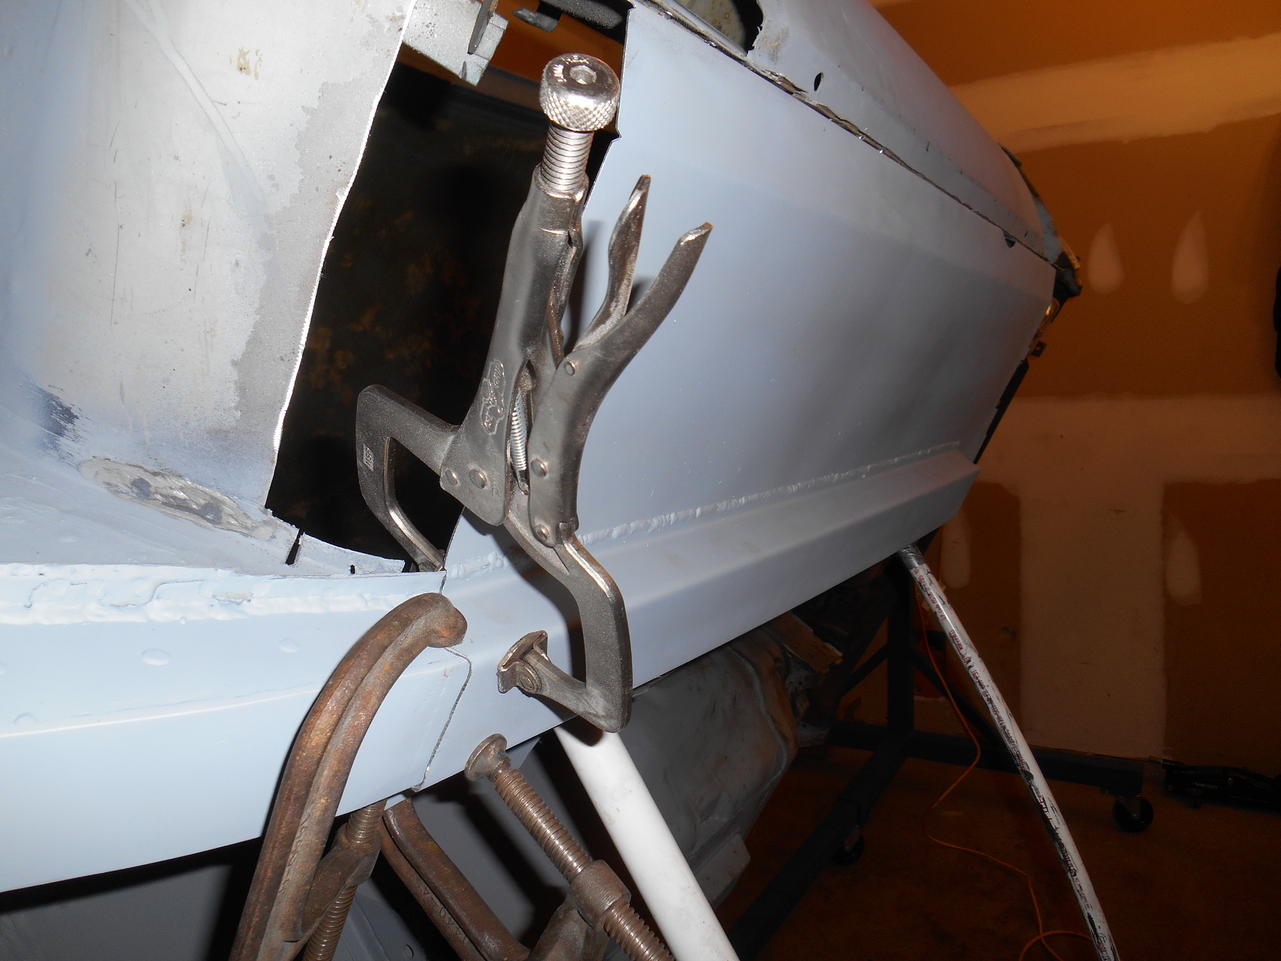
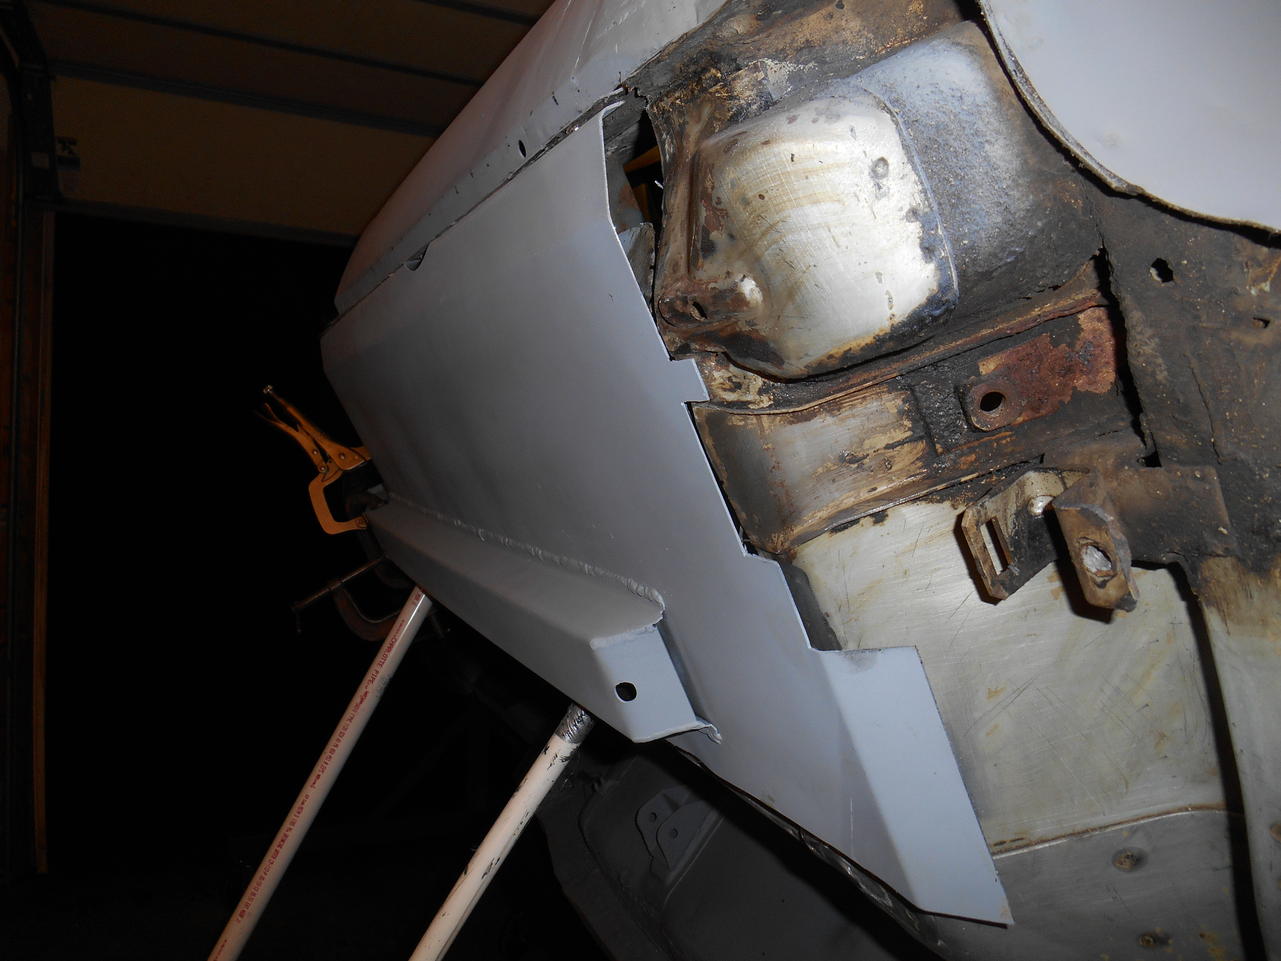
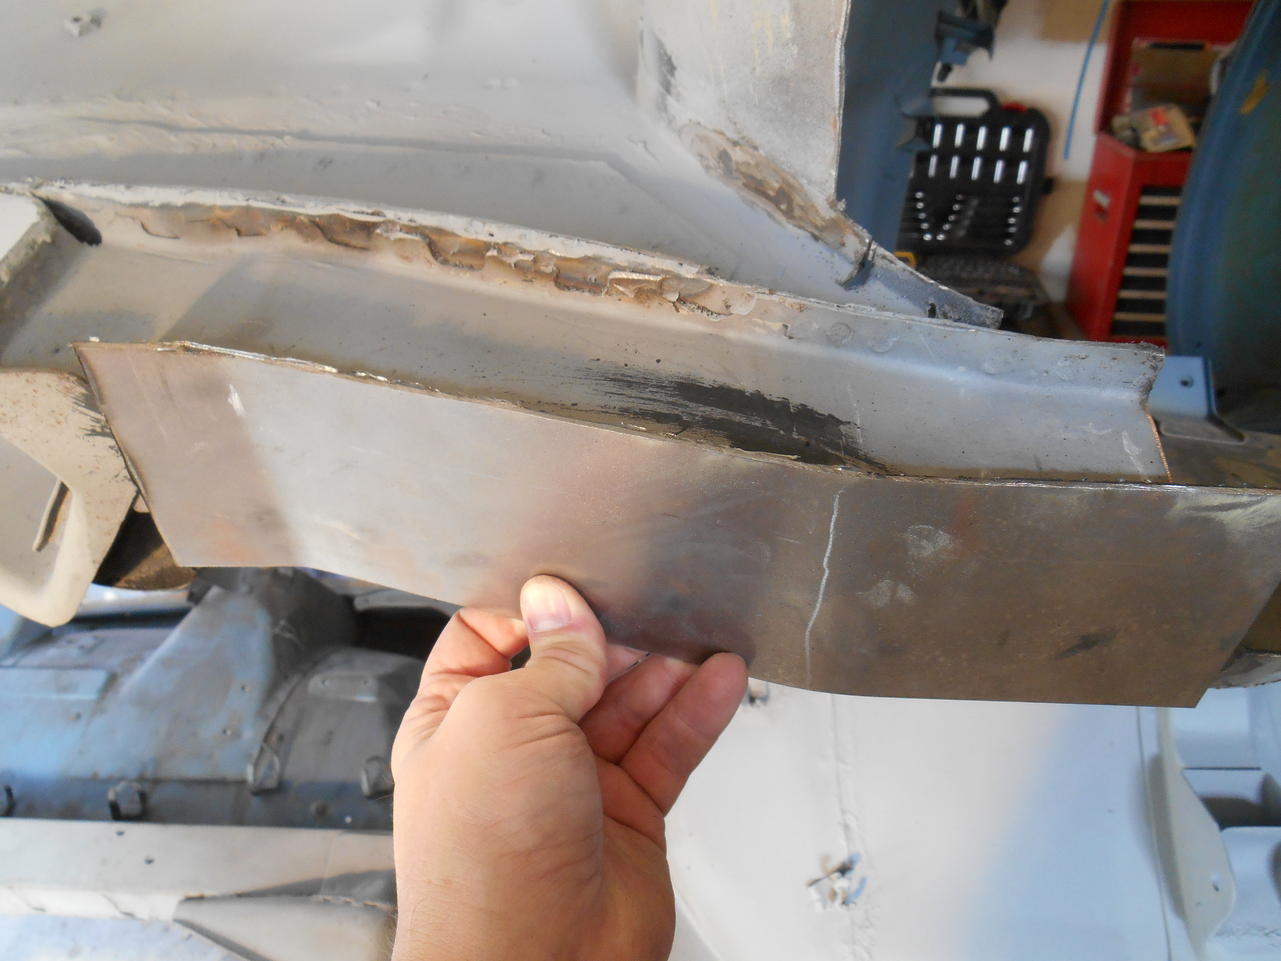
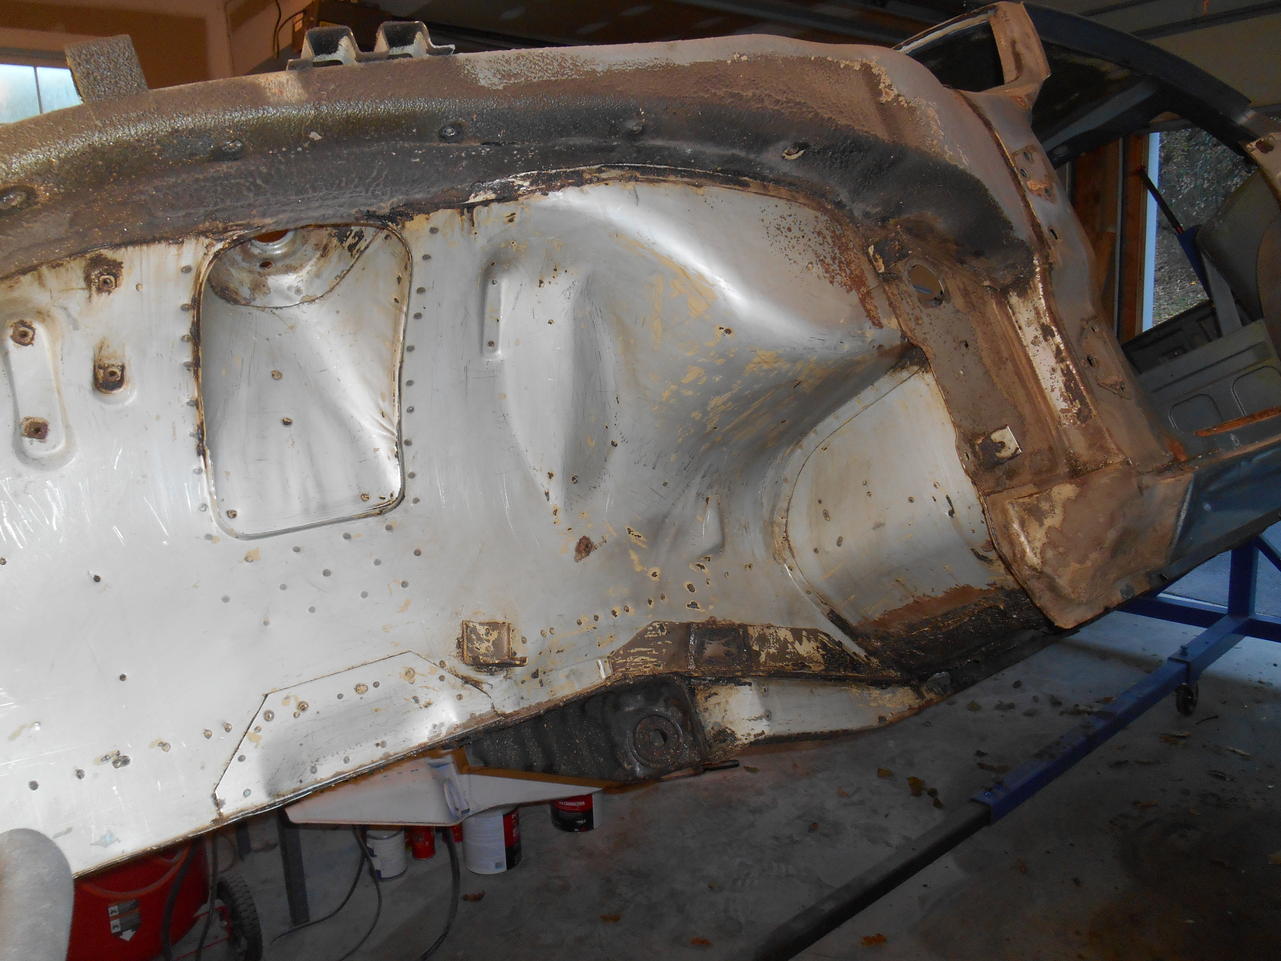
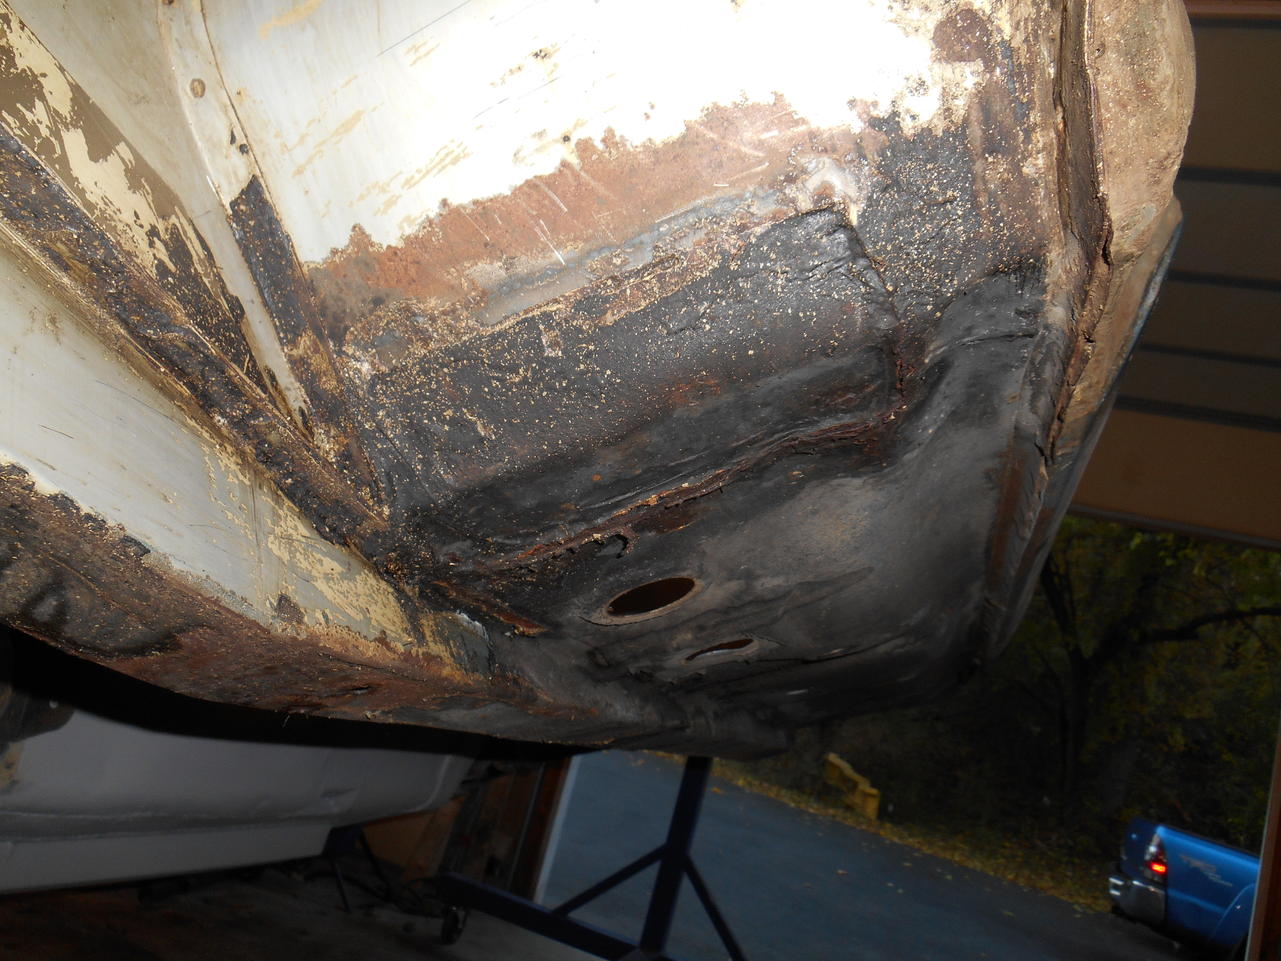
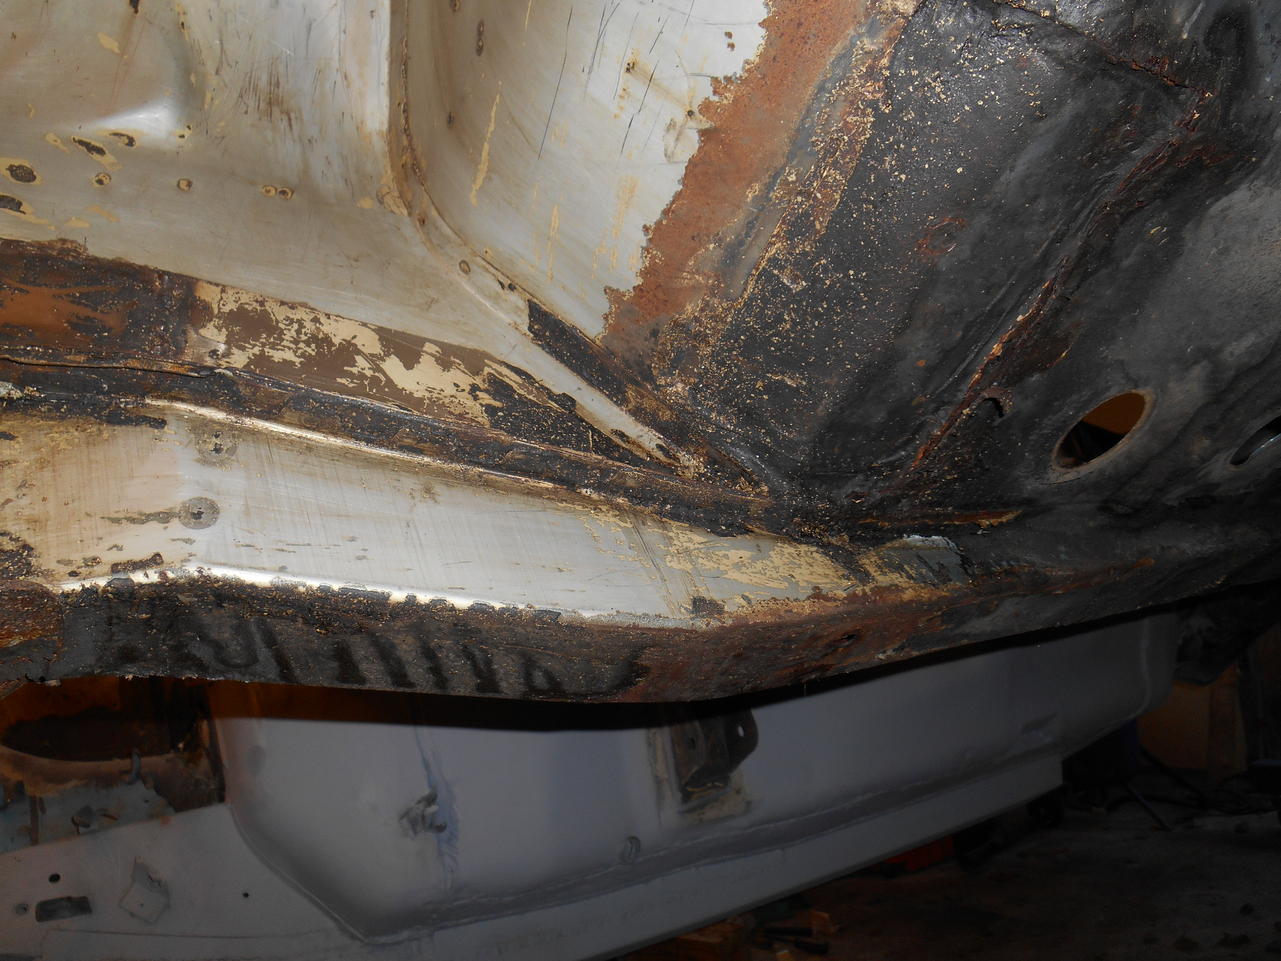
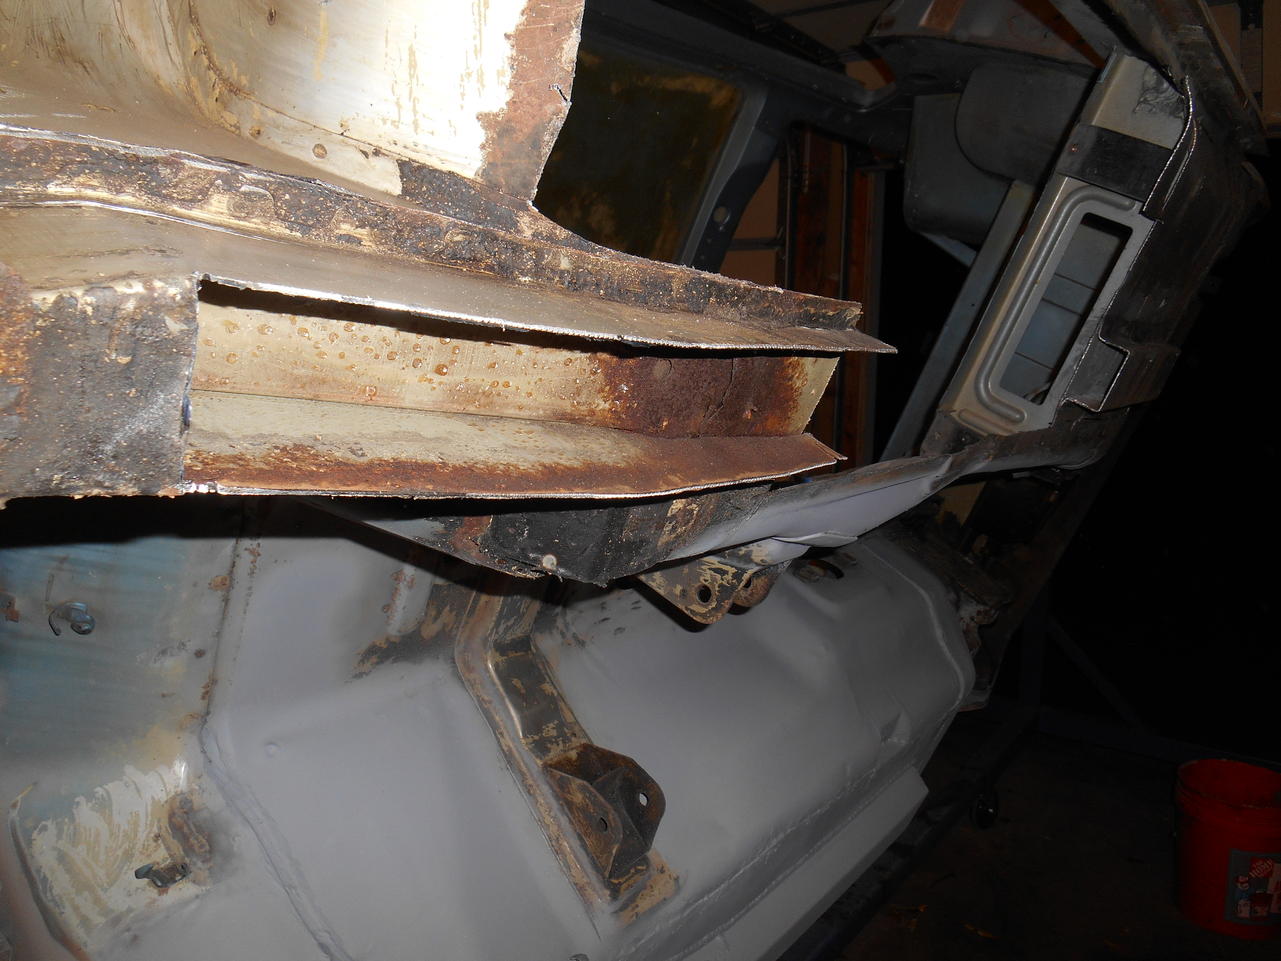
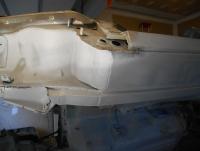
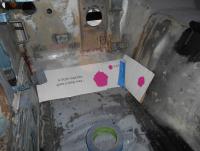
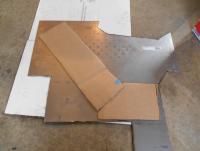
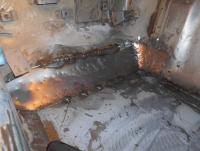
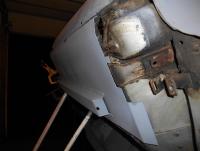
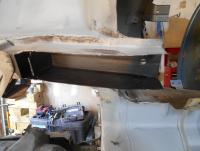
Here are some more photos. There was a small section missing where the floor transitions to firewall in the difficult corner adjacent to the transmission tunnel. I chose to replace it as one piece and the photos show how I beat it into submission with a ball peen hammer. Definitely an amateurish brute force approach, but nonetheless I was pleased by the results.


-
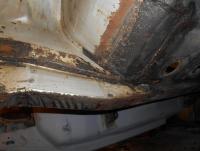
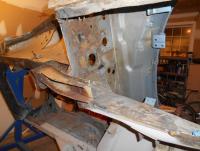
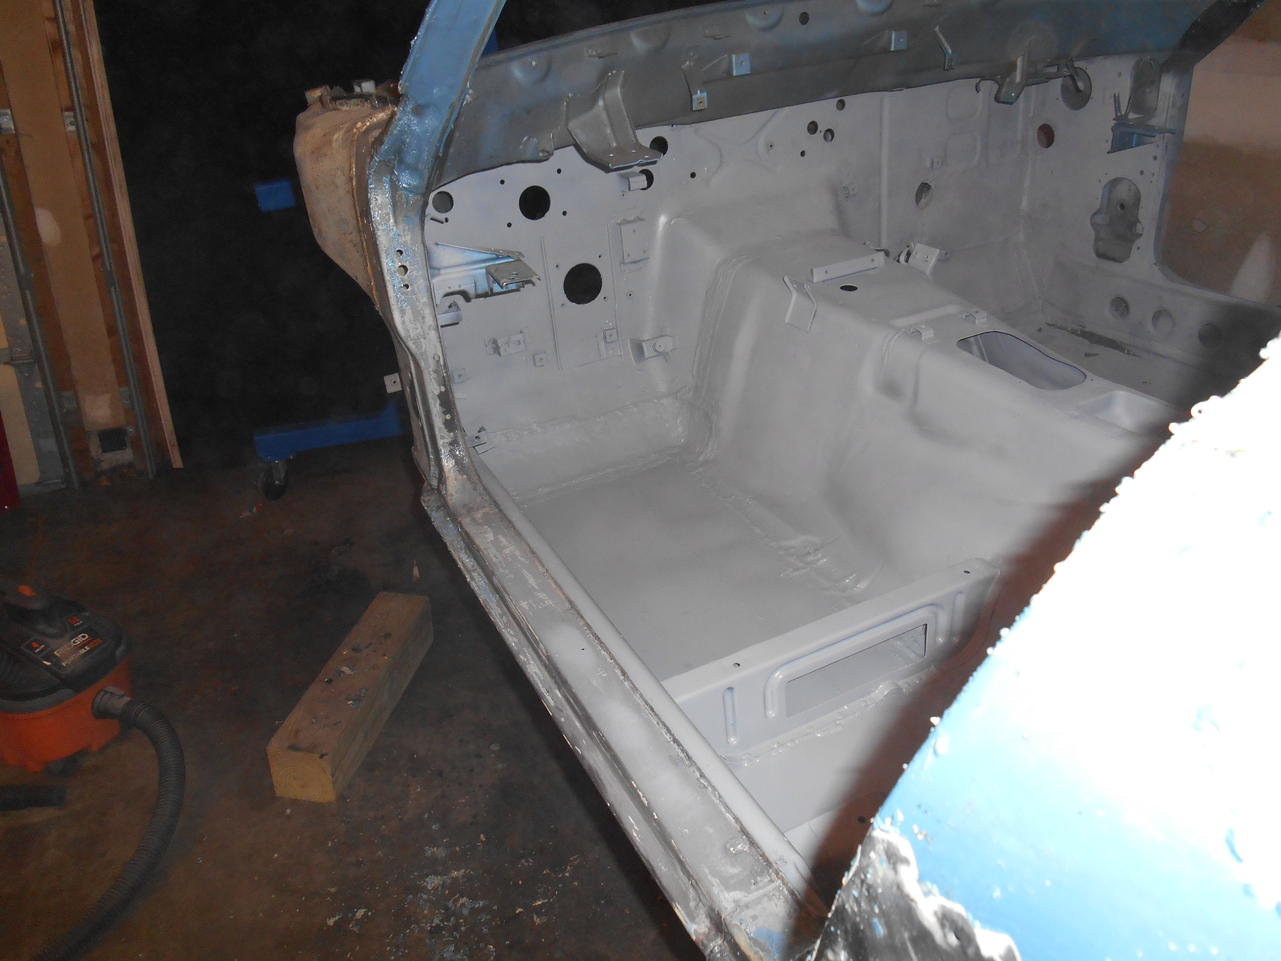
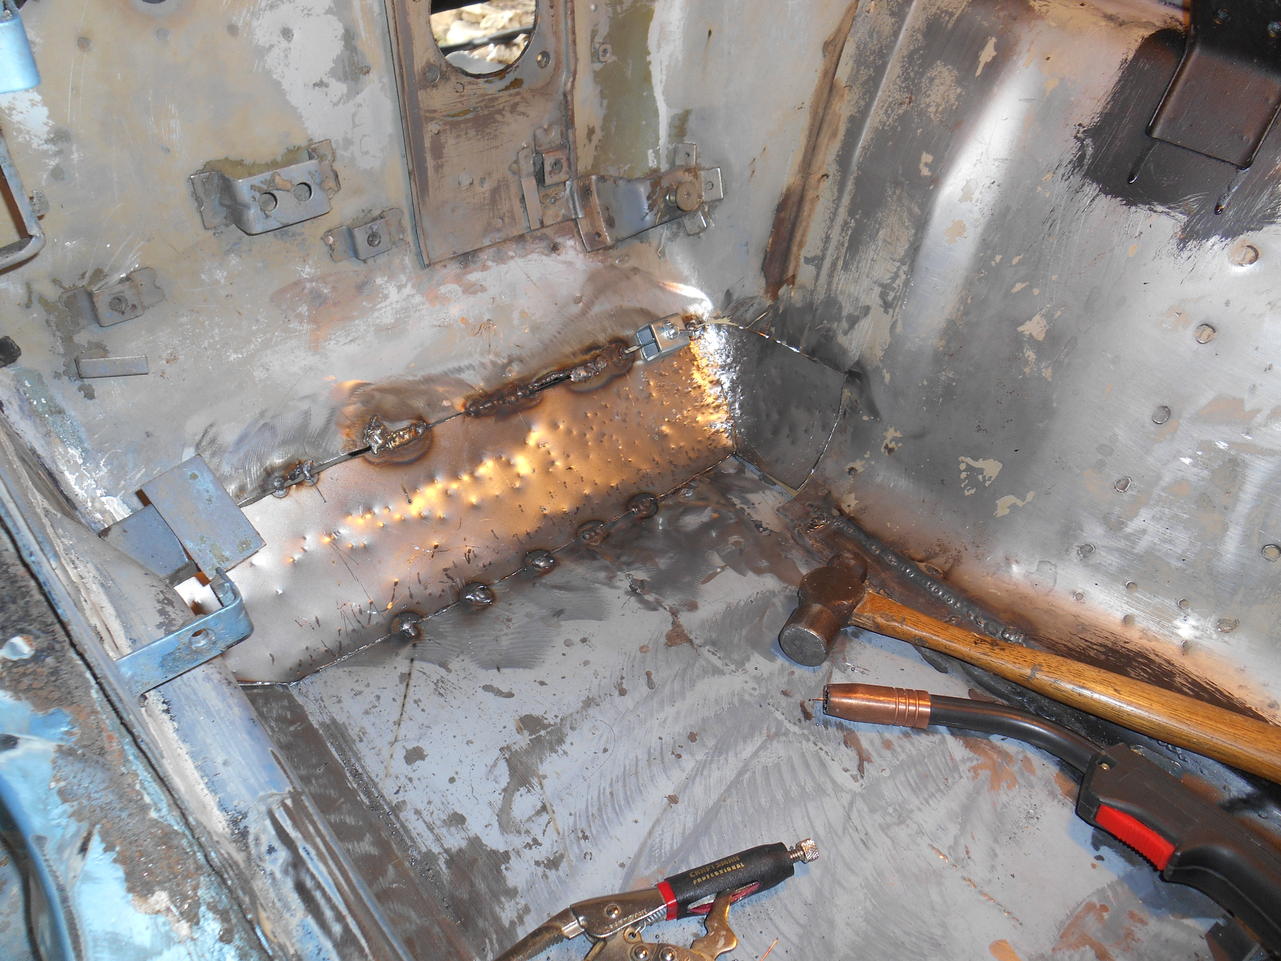
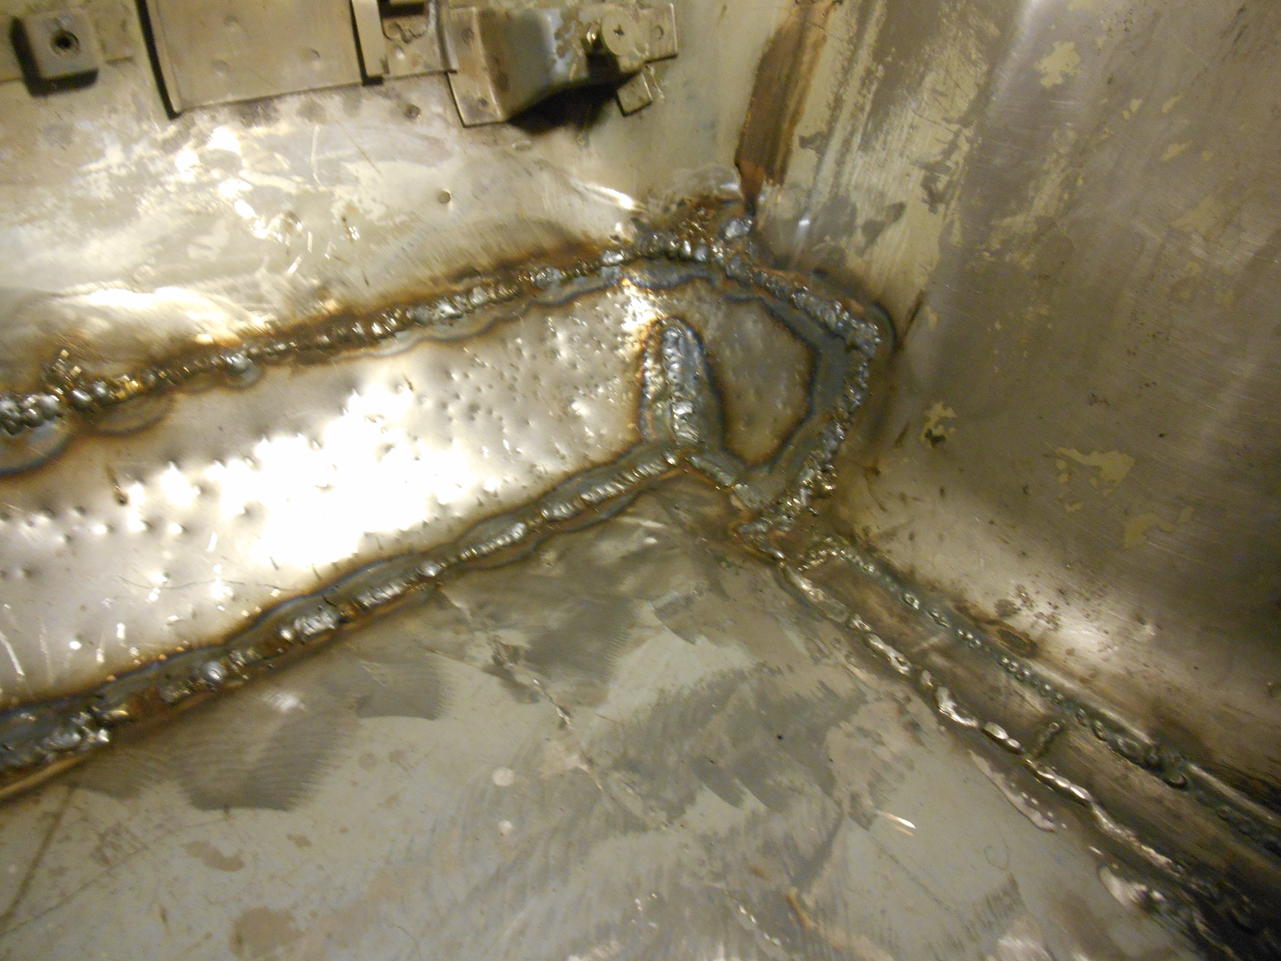
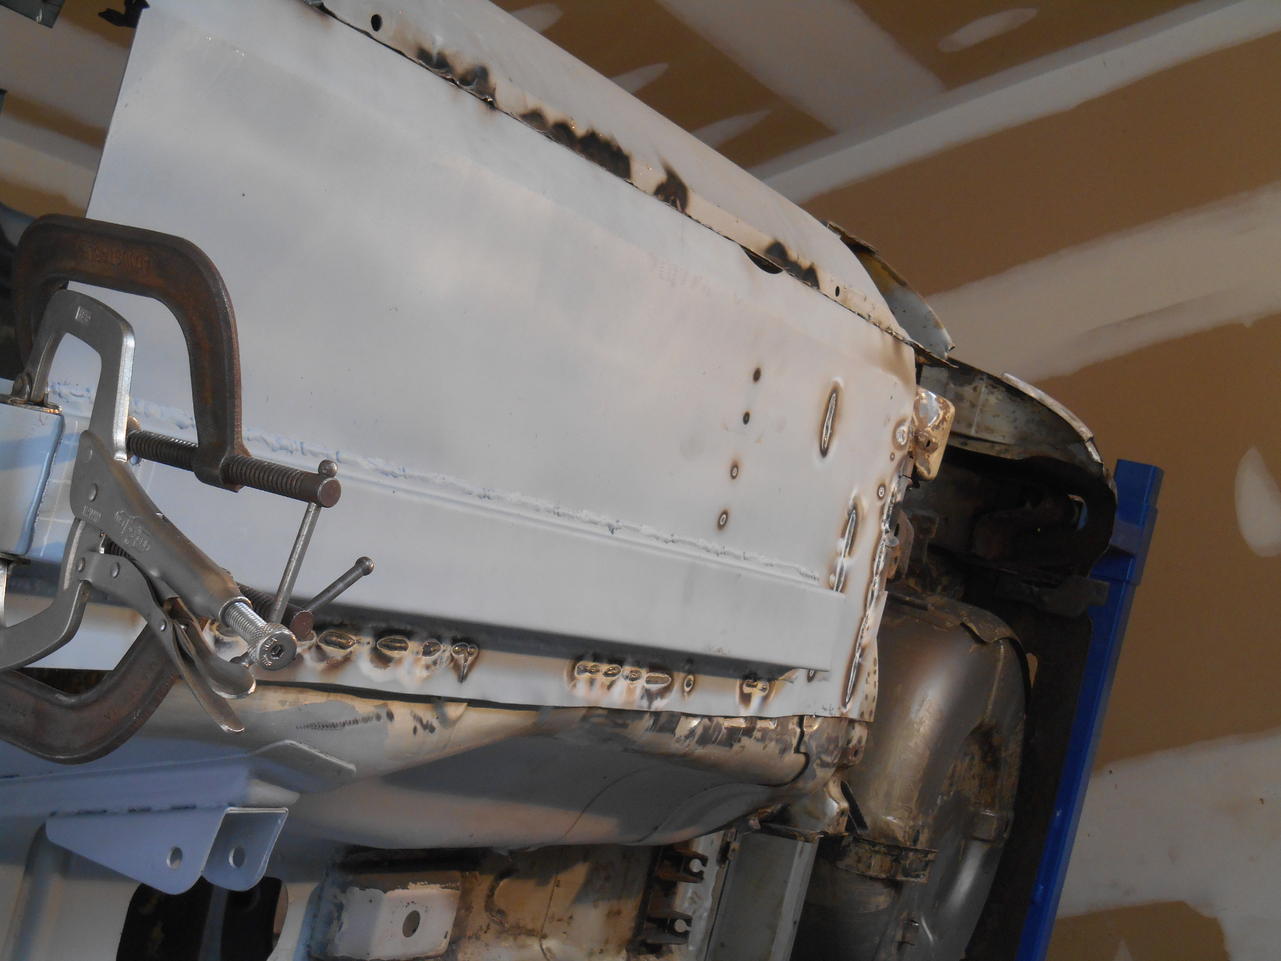
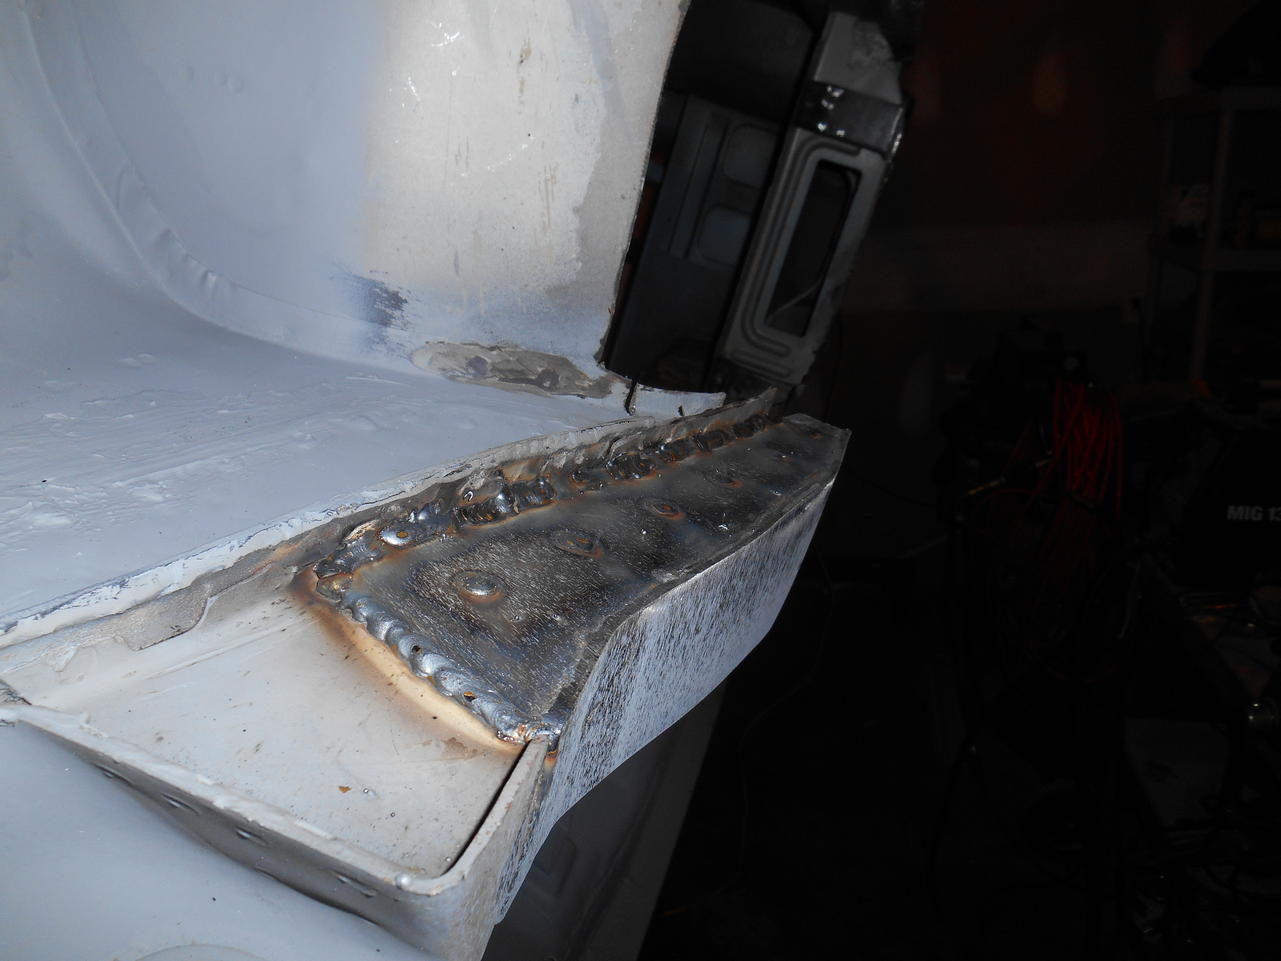
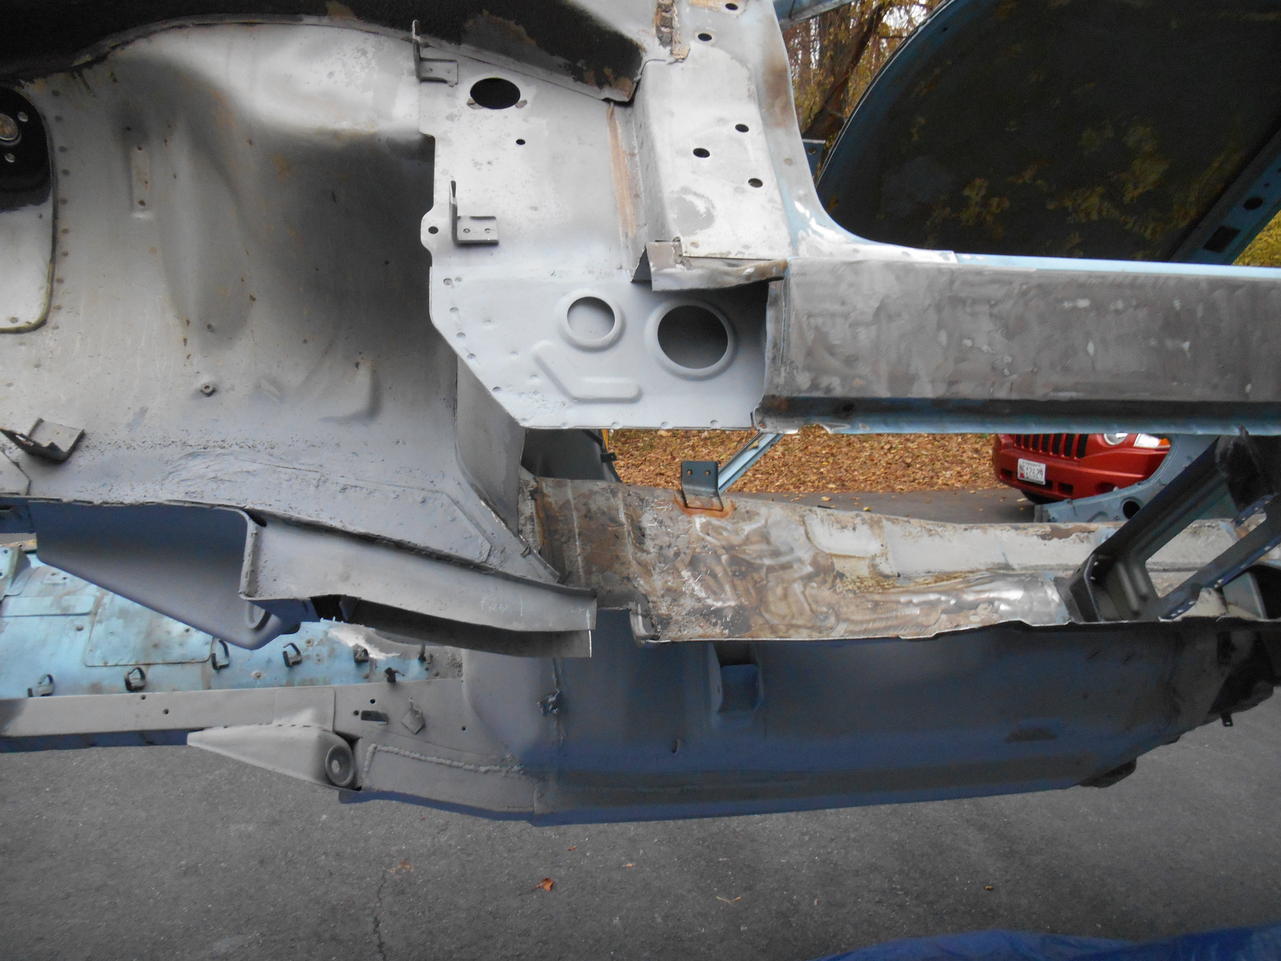
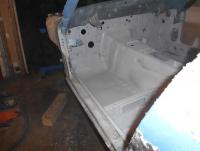
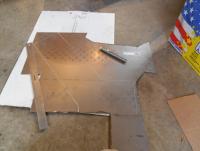
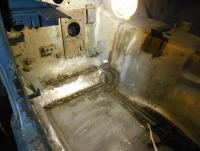
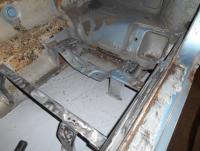
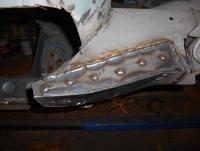
Here is the fit up and welding of the floor pan.


-
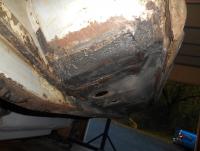
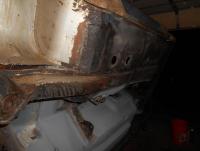
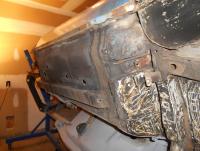
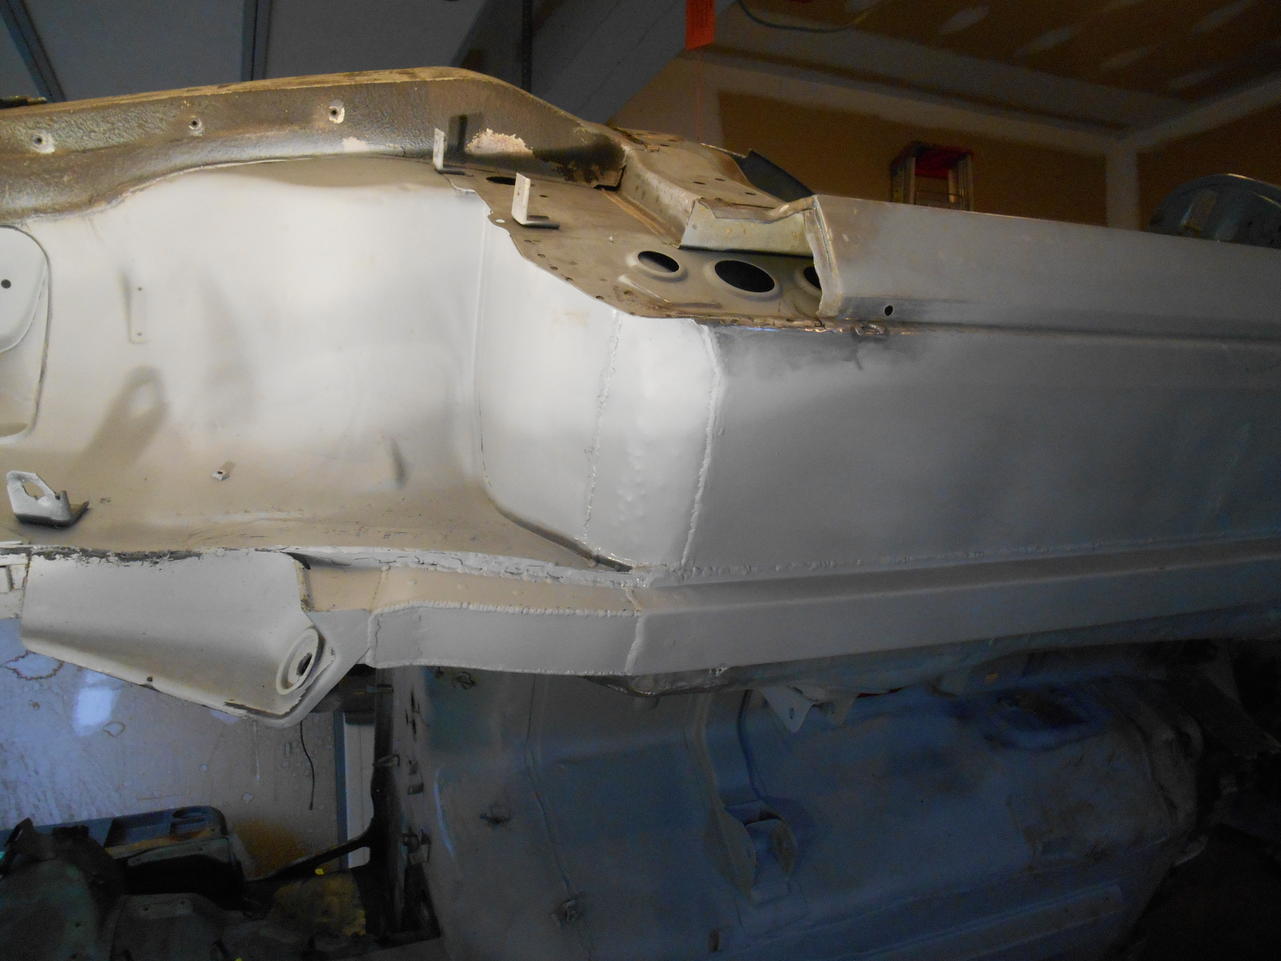
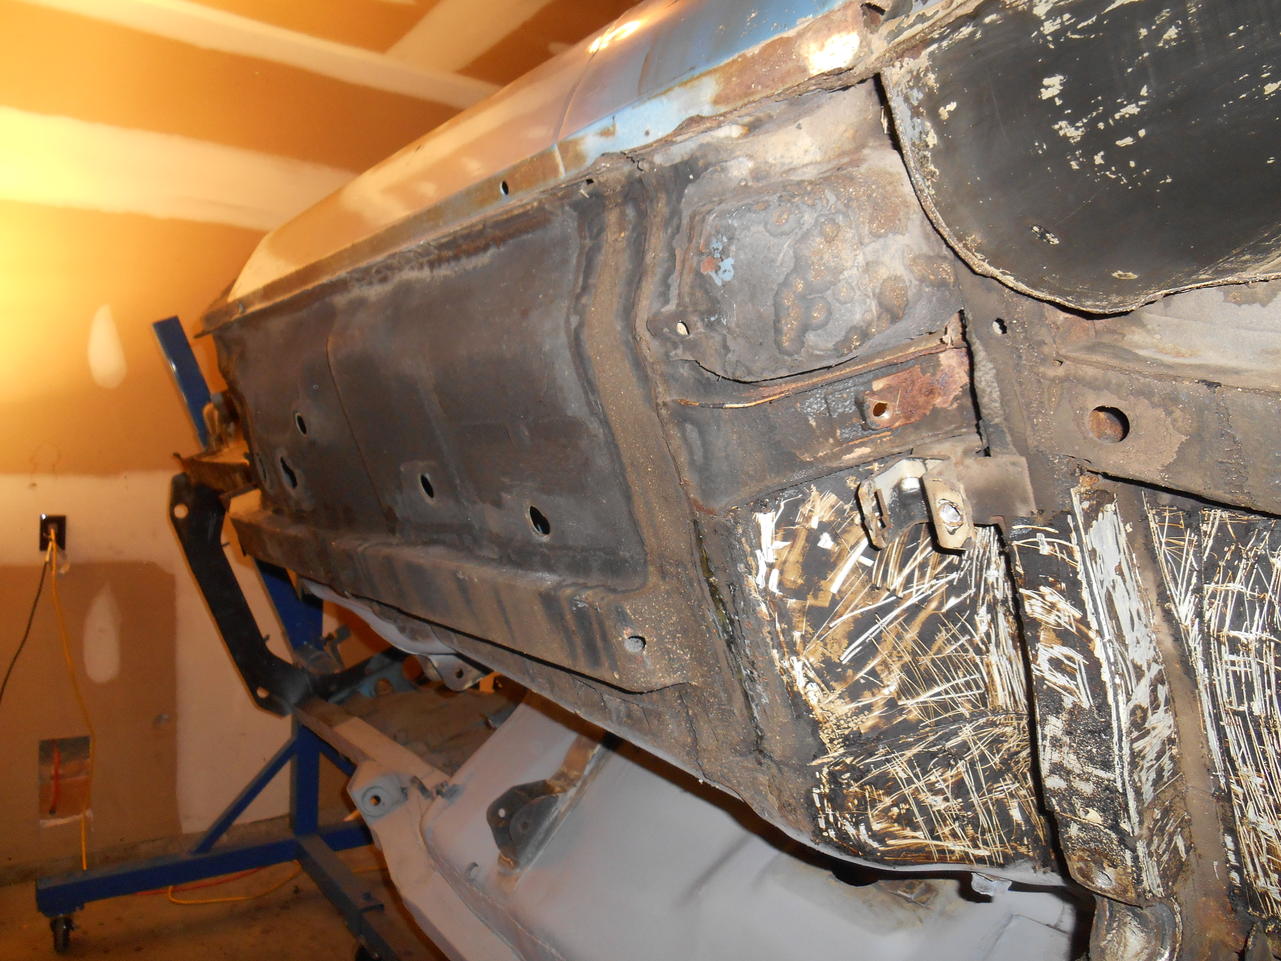
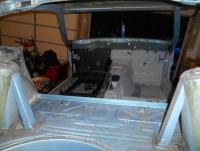
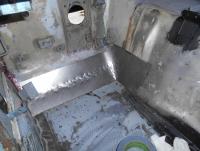
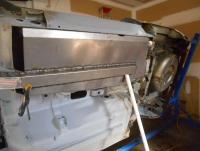
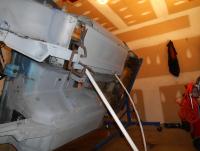
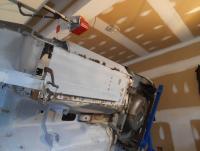
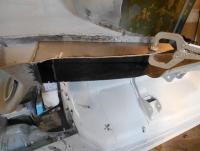
This is the frame repair.


-
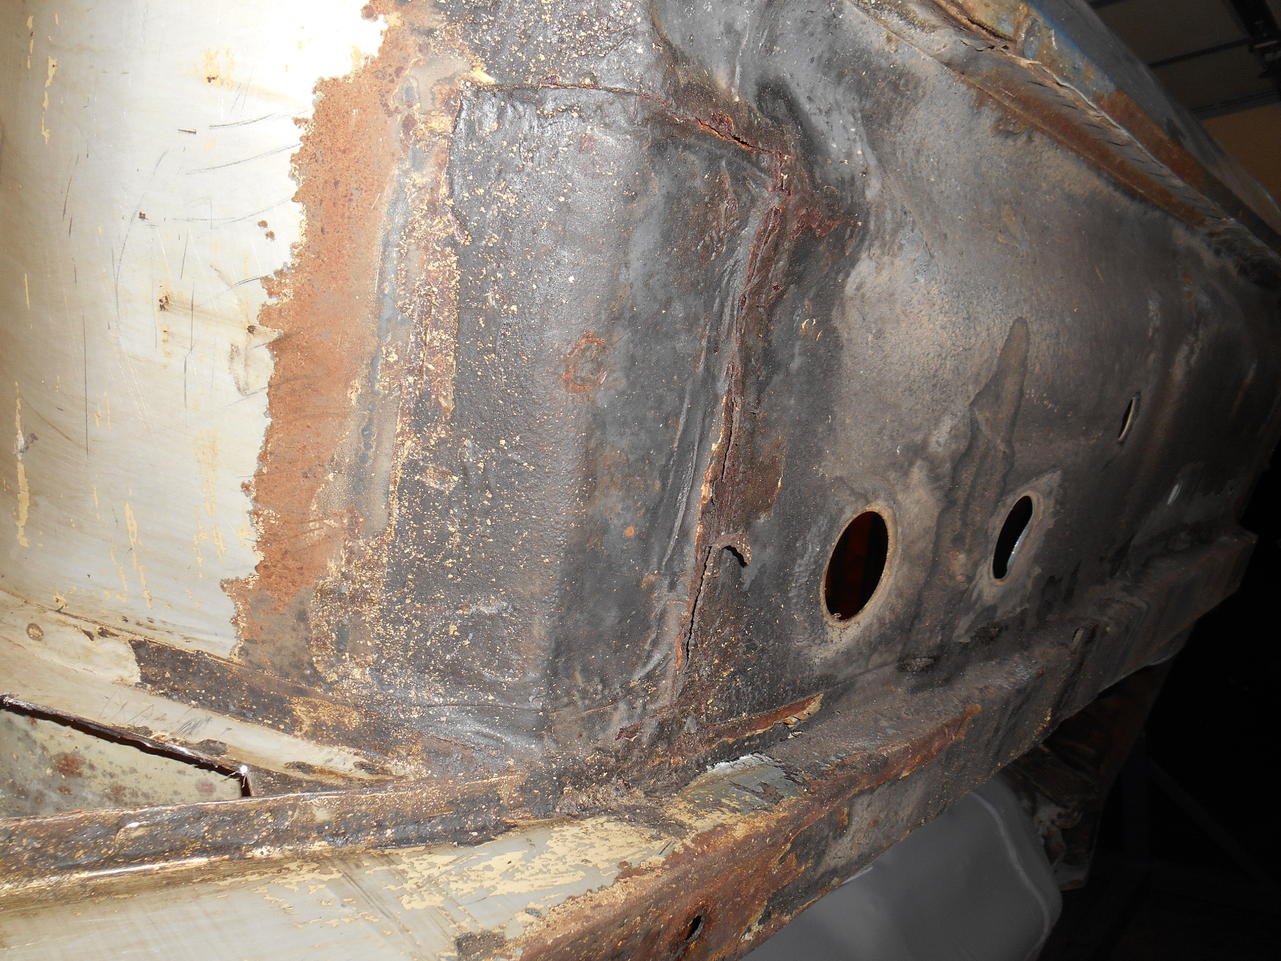
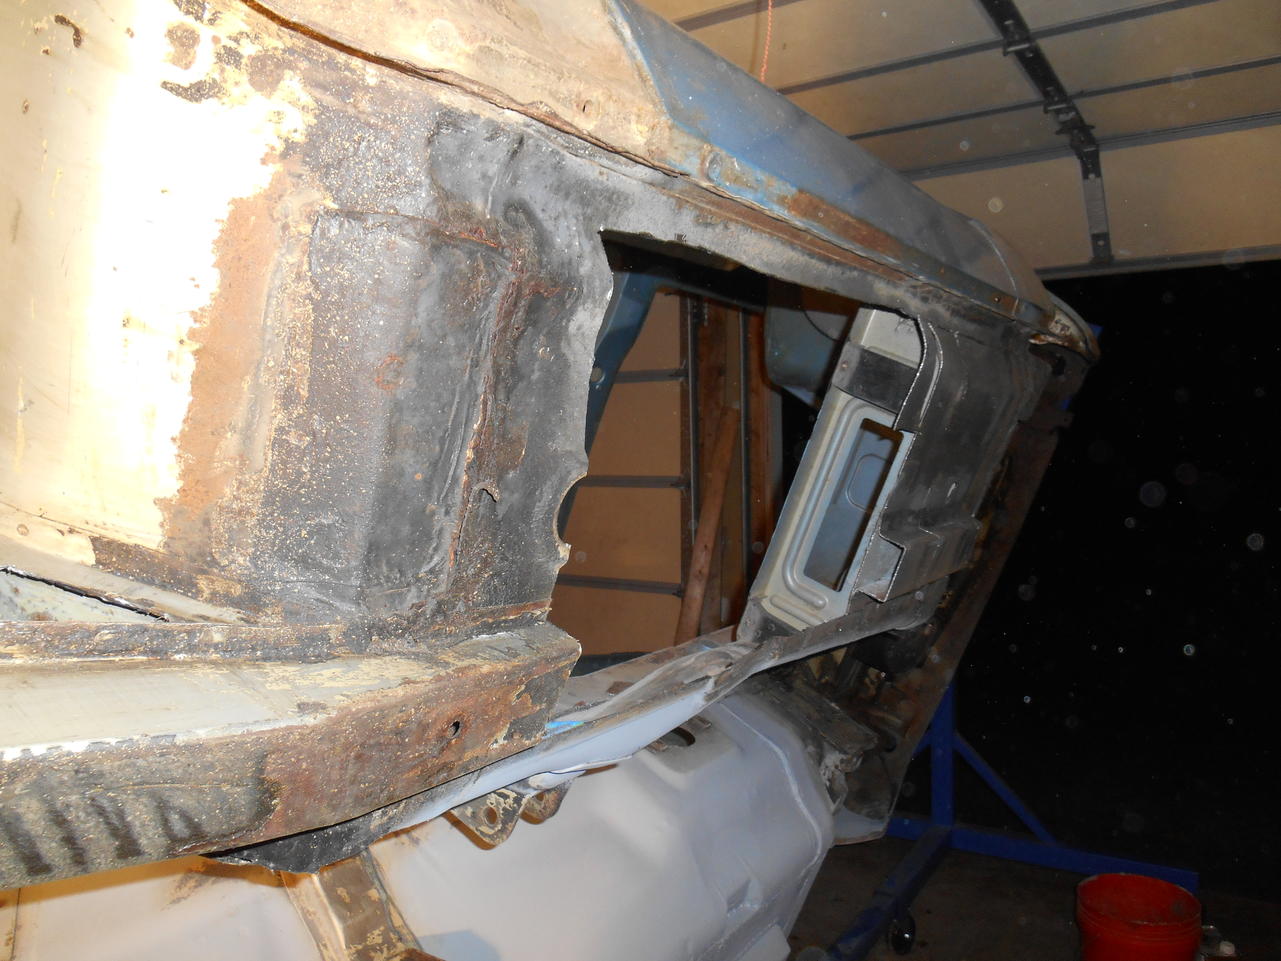
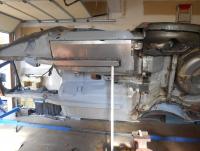
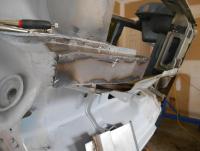
I never should have bought a rust belt car, but I am stubborn and I wanted a first generation z-car. Here's a little motivation for those of you facing a basket case like mine. I previously replaced the passenger floor pan and frame. Here's the same work on the driver's side.