cgsheen1
Free Member
-
Joined
-
Last visited
Everything posted by cgsheen1
-
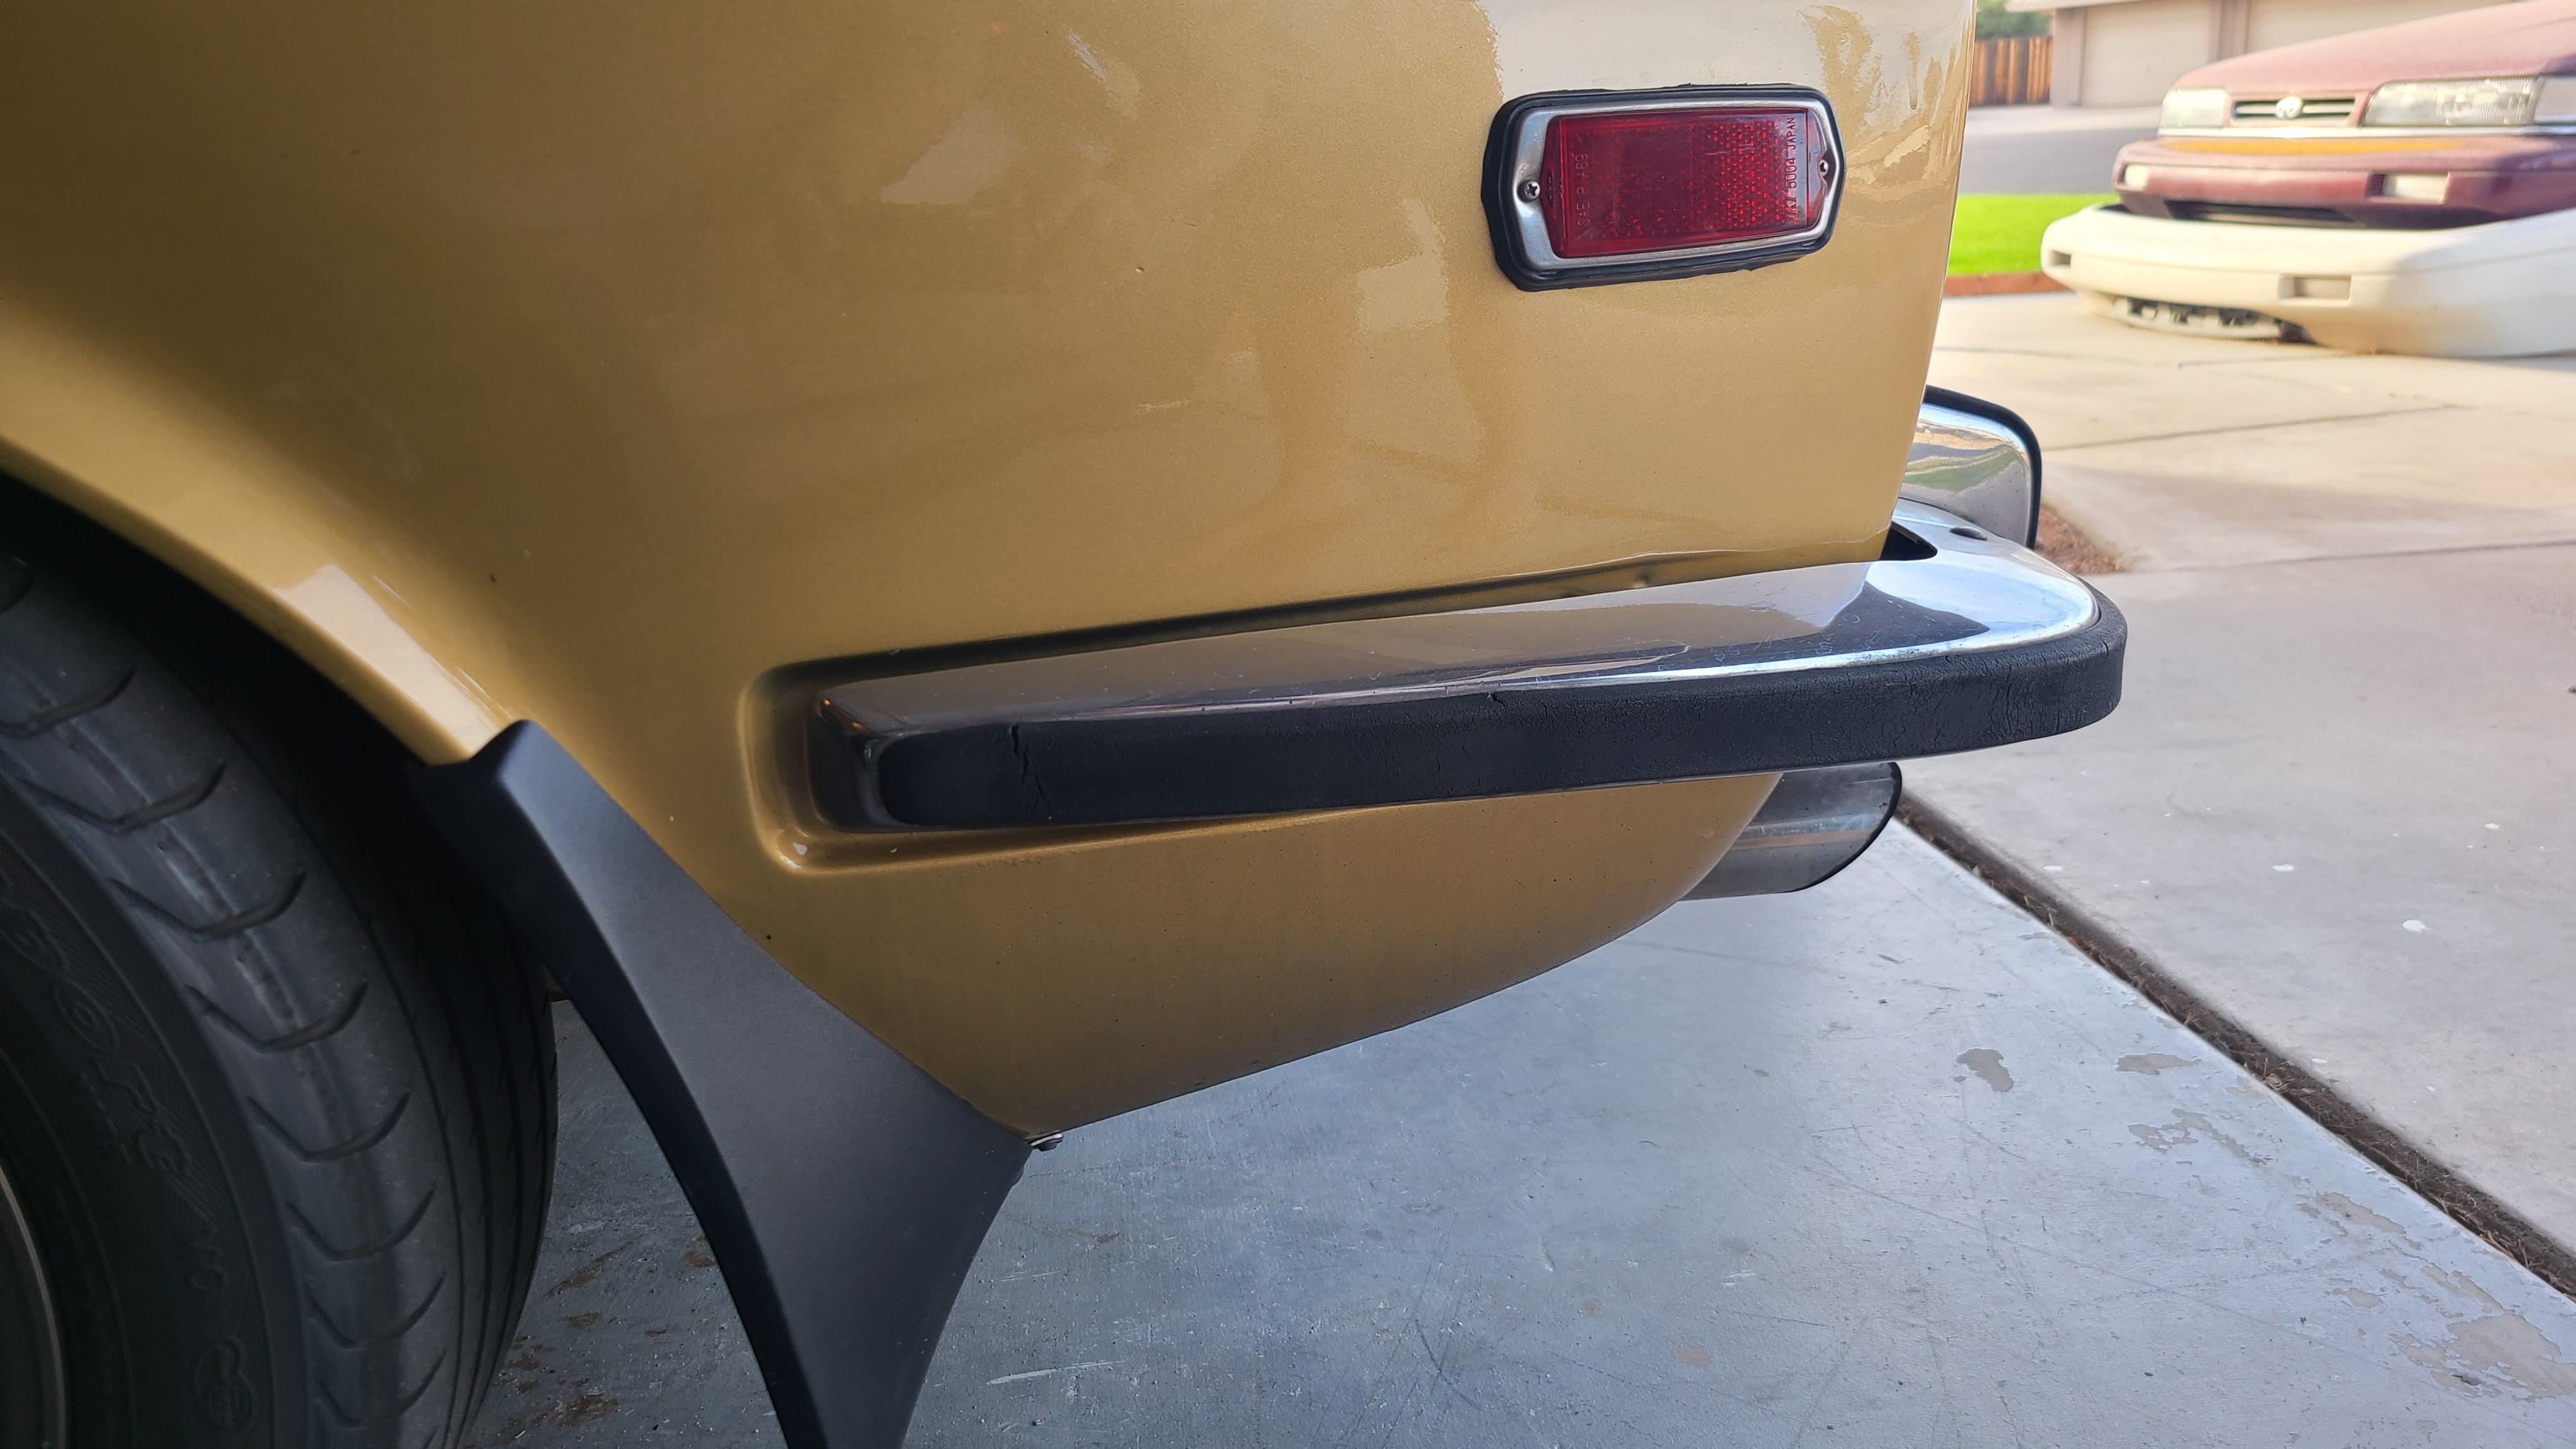
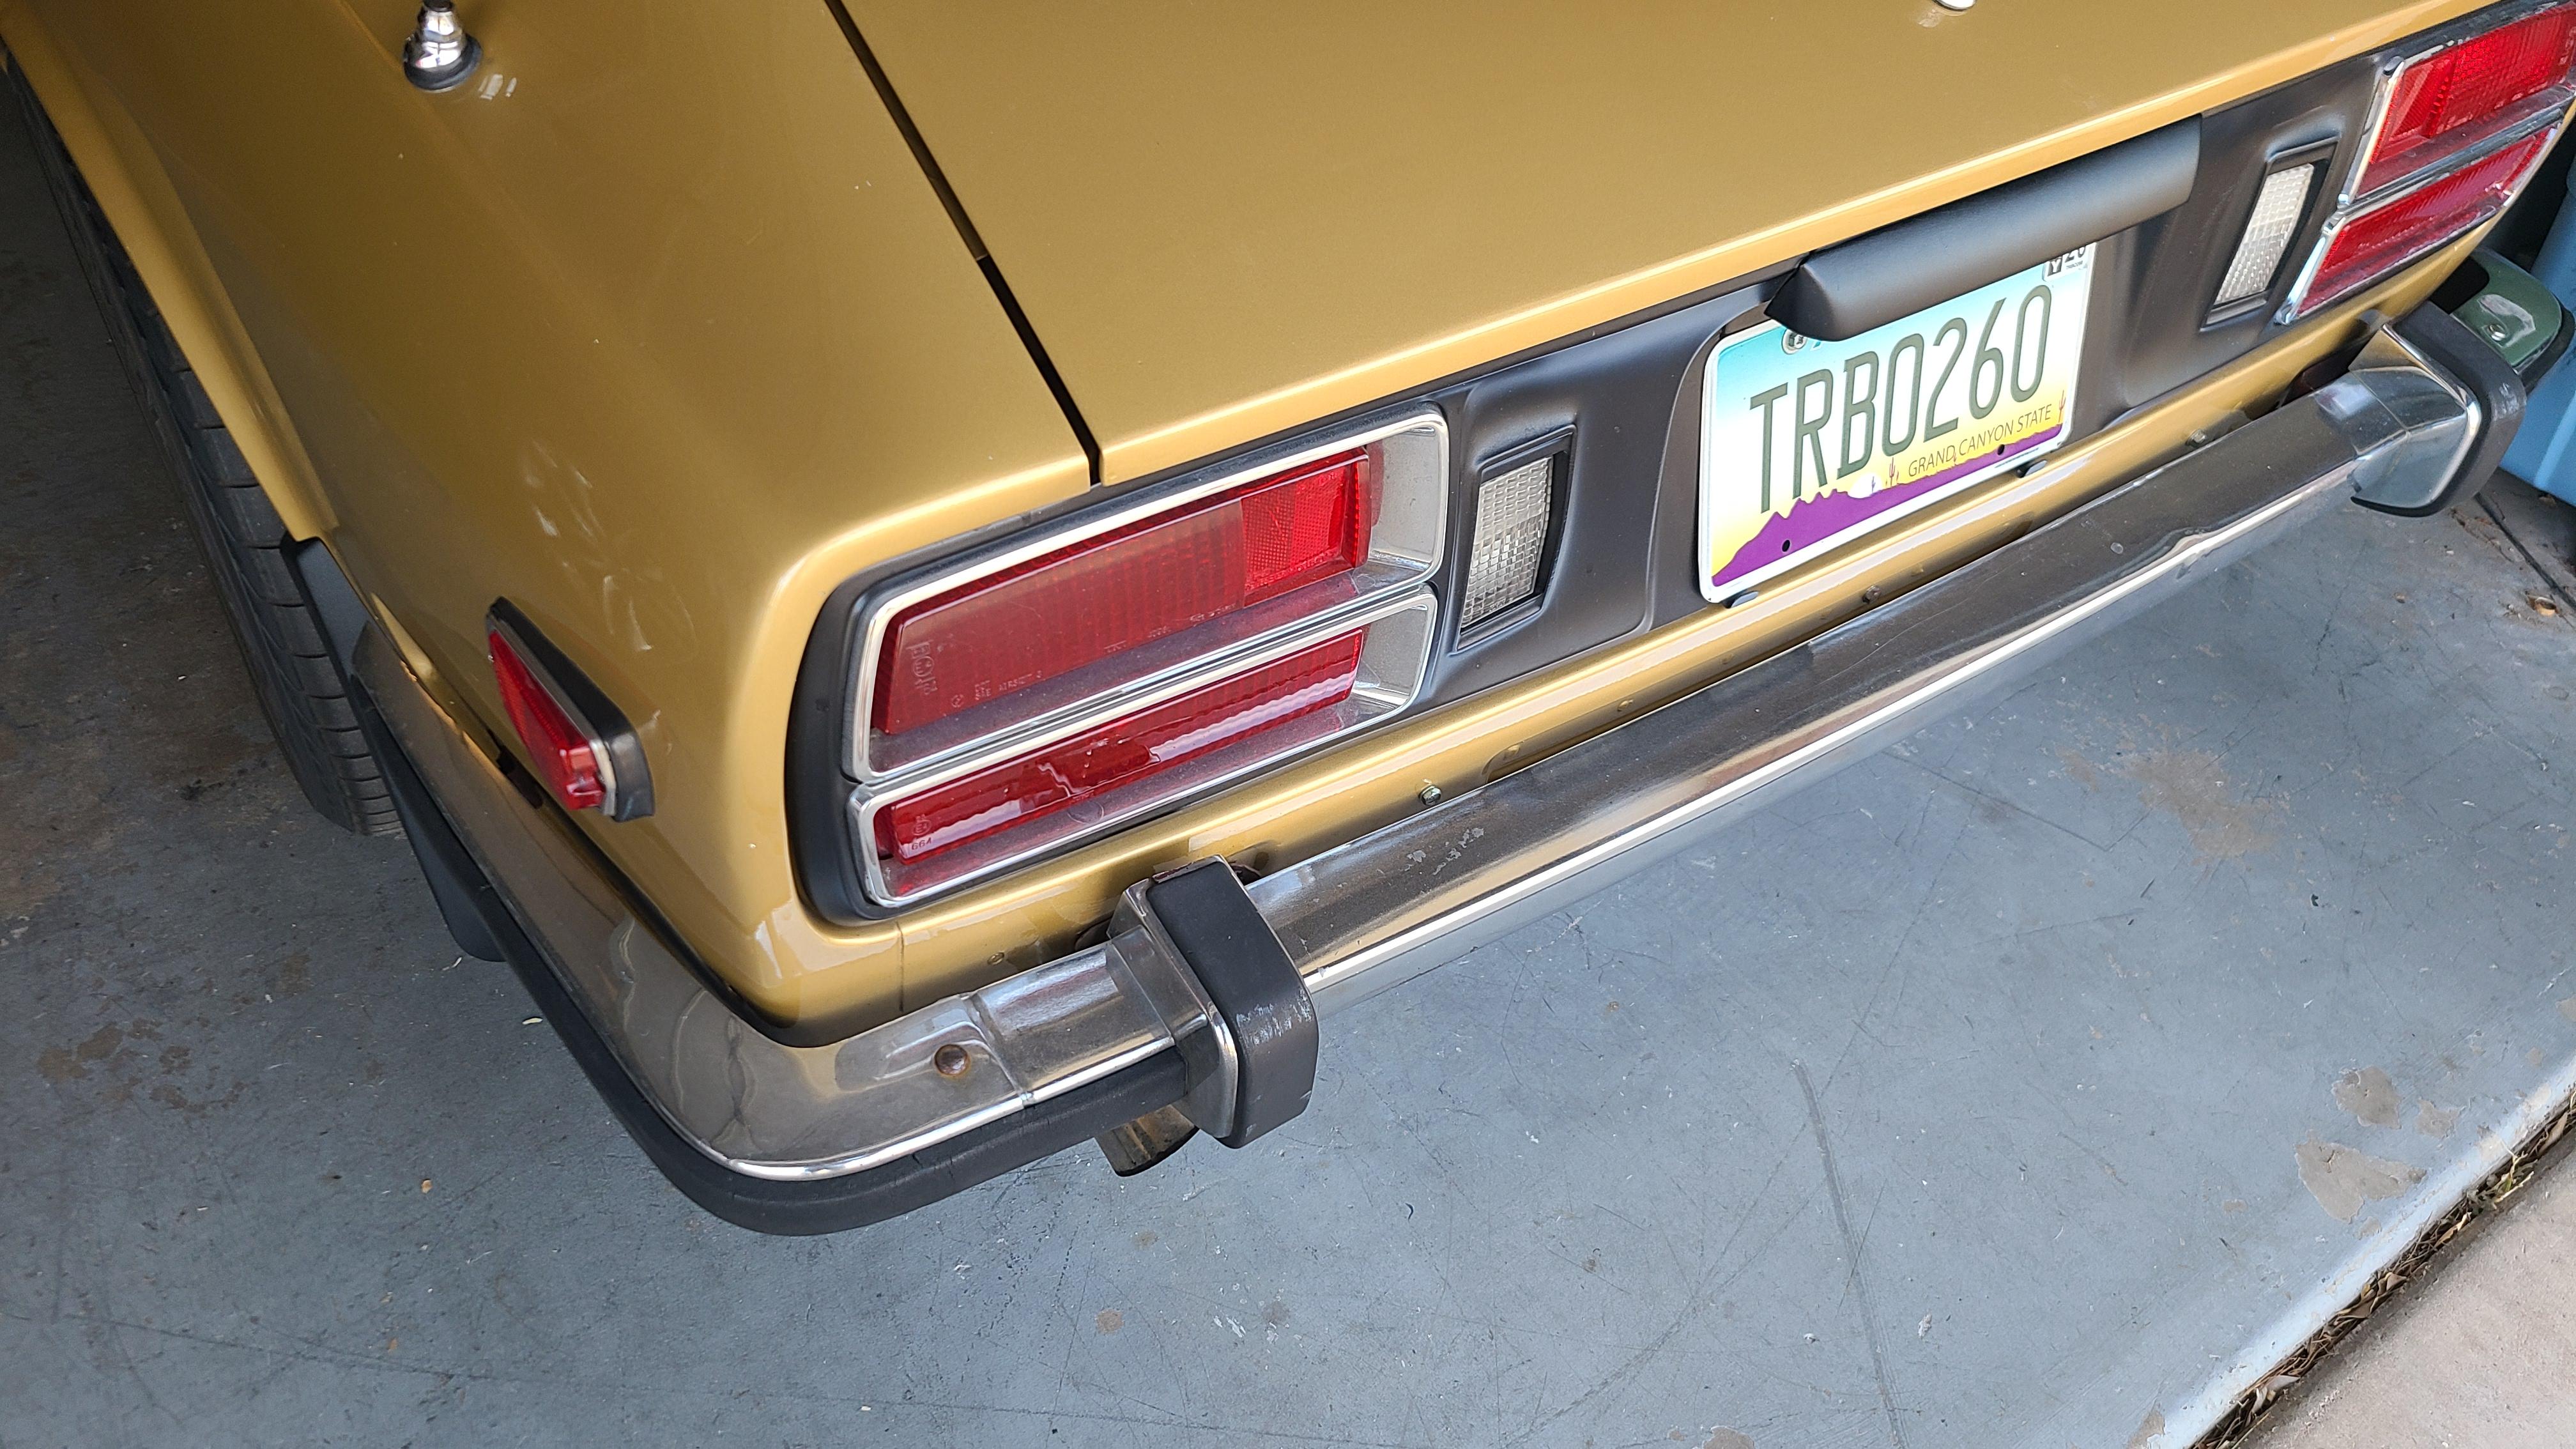
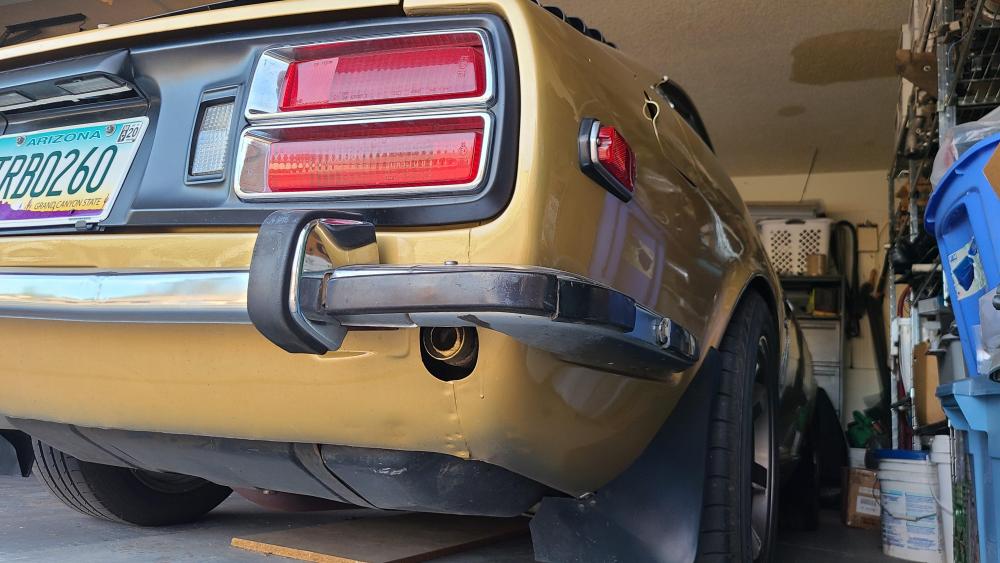
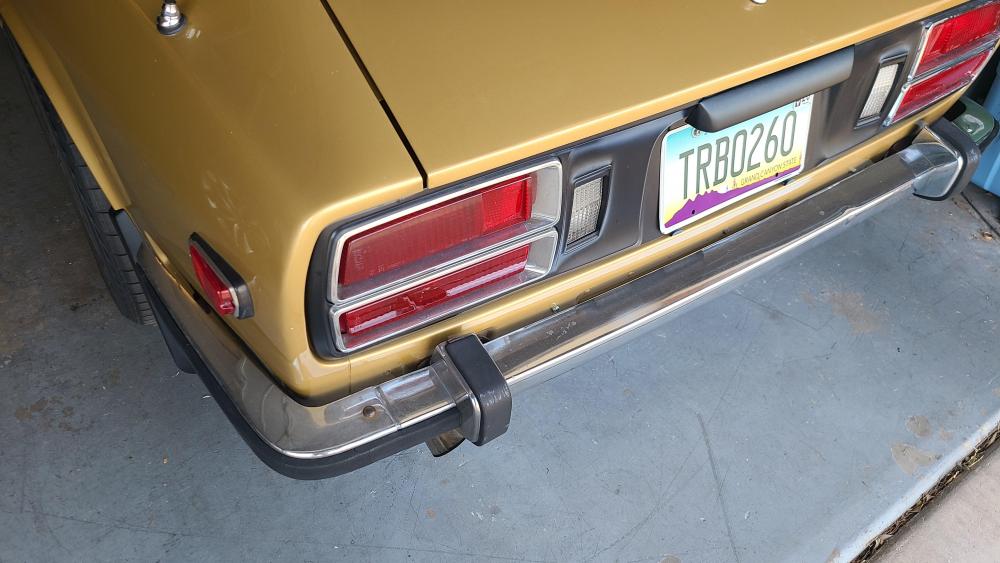
 I hope these aren't huge - Galaxy S20, best camera I've ever had. See, my chopped off bumper strut is still there...

-
I can't tell from that photo. I used 240Z bumper mounts and the ones I have don't really fit right but mount the bumper fairly well. I should have fabbed a pair of custom brackets, but you know the old saying about the cobbler and his own shoes... I don't make the time to work on my personal Z like I should. I'll post some phone pics.
-
That's me. Mine had no bumpers, took quite a search to find early 260Z bumpers and I hated them... Later found some fairly good '73 bumpers and installed them (ya, huge front bumper mounts too)...
-
Ya, should have mentioned that I've done a few subsequently on other Z's in the shop. It is entirely possible to remove that strut without completely removing the tank AND without cutting anything. It's much easier when you have a lift. I've lowered the tank - disconnecting as few of the hoses as possible (normally right side only - but that's most of them, right?) - supported the tank variously (rope, straps, whatever) and wormed the strut out in one piece. It's kind of a PITA but completely do-able. On the floor it's a little tougher.
-
I installed 240Z bumpers on my early 260Z several years ago. I didn't want to use the pistons for mounts so I removed the driver side completely. I too, at the time, didn't really want to drop my fuel tank to get the passenger side piston completely removed. My answer was my Sawzall (reciprocating saw)... I cut the end of the piston off flush with the end of that outer casing. I cut from the bottom upwards so when I got to the pressurized section it spewed oil and gas out the bottom.
-
Ya, I'm an A/C nut - cuz Phoenix. I've collected about three complete stock A/C assemblies over the years but just like SteveJ says - that expansion valve... It's a doozy. Most expansion valves just have an inlet and outlet for refrigerant, but the one Nissan used has multiple tube connections to the evap core. To get a simpler expansion valve you need a whole new evap core. The expansion valve CAN be dis-assembled and cleaned/refurbed - but it takes a bit of a wizard to reset the adjustment screw for the orifice if you need to and you'll have a search for the proper o-rings. Having said that, my A/C has been all stock since I got my 260Z back on the road 11 years ago - and it's my daily driver even when it swelters here in Arizona. (Oops, except my Ultra-Heaven duct which increases the airflow from the center vents HUGELY!) (dang, I also forgot my Kia Sportage blower...)
-
Yup. That's what I found in the '73 FSM. Got to be it.
-
How many pins (wires)? What are the wire colors? What is the manufacture date?
-
-
There are fairly detailed instructions and examples in the Factory Service Manual regarding the adjustments to the two "rails" you may need to look at to get proper window movement. The part you mentioned may help you in other ways, but not with the issue you've described above.
-
Just as a side note, this type of side-bulb welt can be acquired from many different sources including Amazon. Just be sure the "bulb" is large enough diameter to fill the largest gap space you have between door and body. If your door is still a bit hard to close after installing this type of welt, it's likely due to a place where the gap is much too small and part of the door is actually hitting the "pinch" portion of the welt. The bulb is generally super soft. You may need to adjust the flange (ya, bend it in a bit) on the body at the pinch point to increase the gap a bit.
-
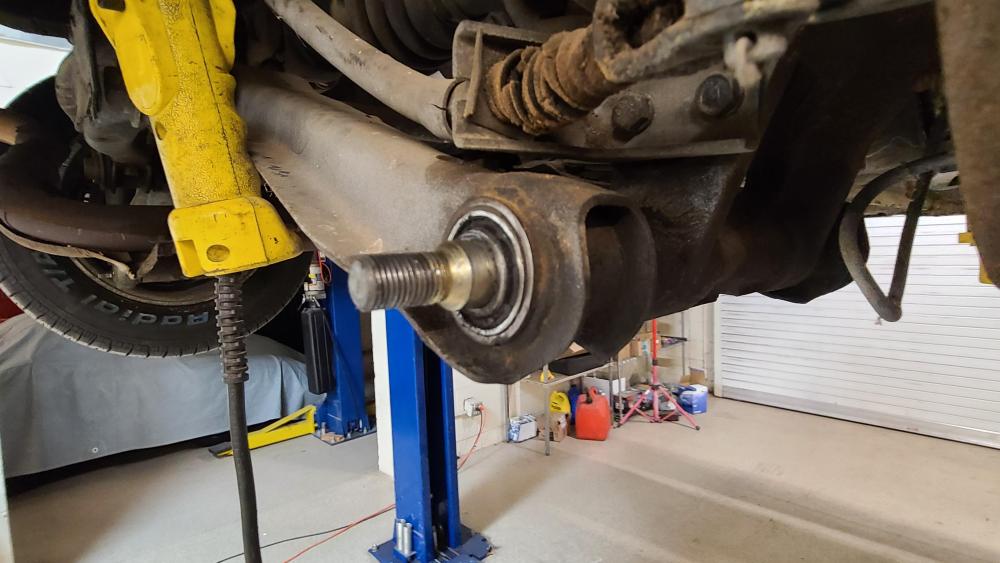
Yup. This is my preferred removal method. I've found that if I can get them to turn, I can get them out. Even if they don't spin freely, it I can get them turning at all I can tap them out while they're turning. I love that they're the same thread as a lug nut. I always use an old lug nut to protect the threads when I'm removing a spindle. Normally I'm locking two nuts together and using my impact wrench to see if I can get them to turn.
-
Even if you got them on without chipping the paint, you'll never get them off without scratching it. I know, you're not PLANNING on ever taking them off again... Guess again. Some things you just have to live with.
-
You have no reason to fear drum brakes. Ya, they're different than discs but once you understand how they assemble it's not hard to deal with them. (Okay, I'm an old guy who was raised with drums on everything, but still...)
-
I think you can tell from the picture the OP posted that there is no room on the right side of that radio for the switch he has in his hand (which is from a later 240 radio). That radio needs the switch it was supplied with but is now obviously broken off. (which is probably the reason some previous owner bought the switch he has and mounted it in the place he did...) It doesn't need a new face plate...
-
-
Okay, I understand your concern but I'm not convinced thin rubber is what you're looking for. Might be better to cut a thin strip of a more rigid plastic to interface between the handle mount and the door surface. Use rubber to seal the hole. There is a good amount of force exerted on that handle every time the door is opened, I don't think you want that bracket rocking on a piece of rubber...
-
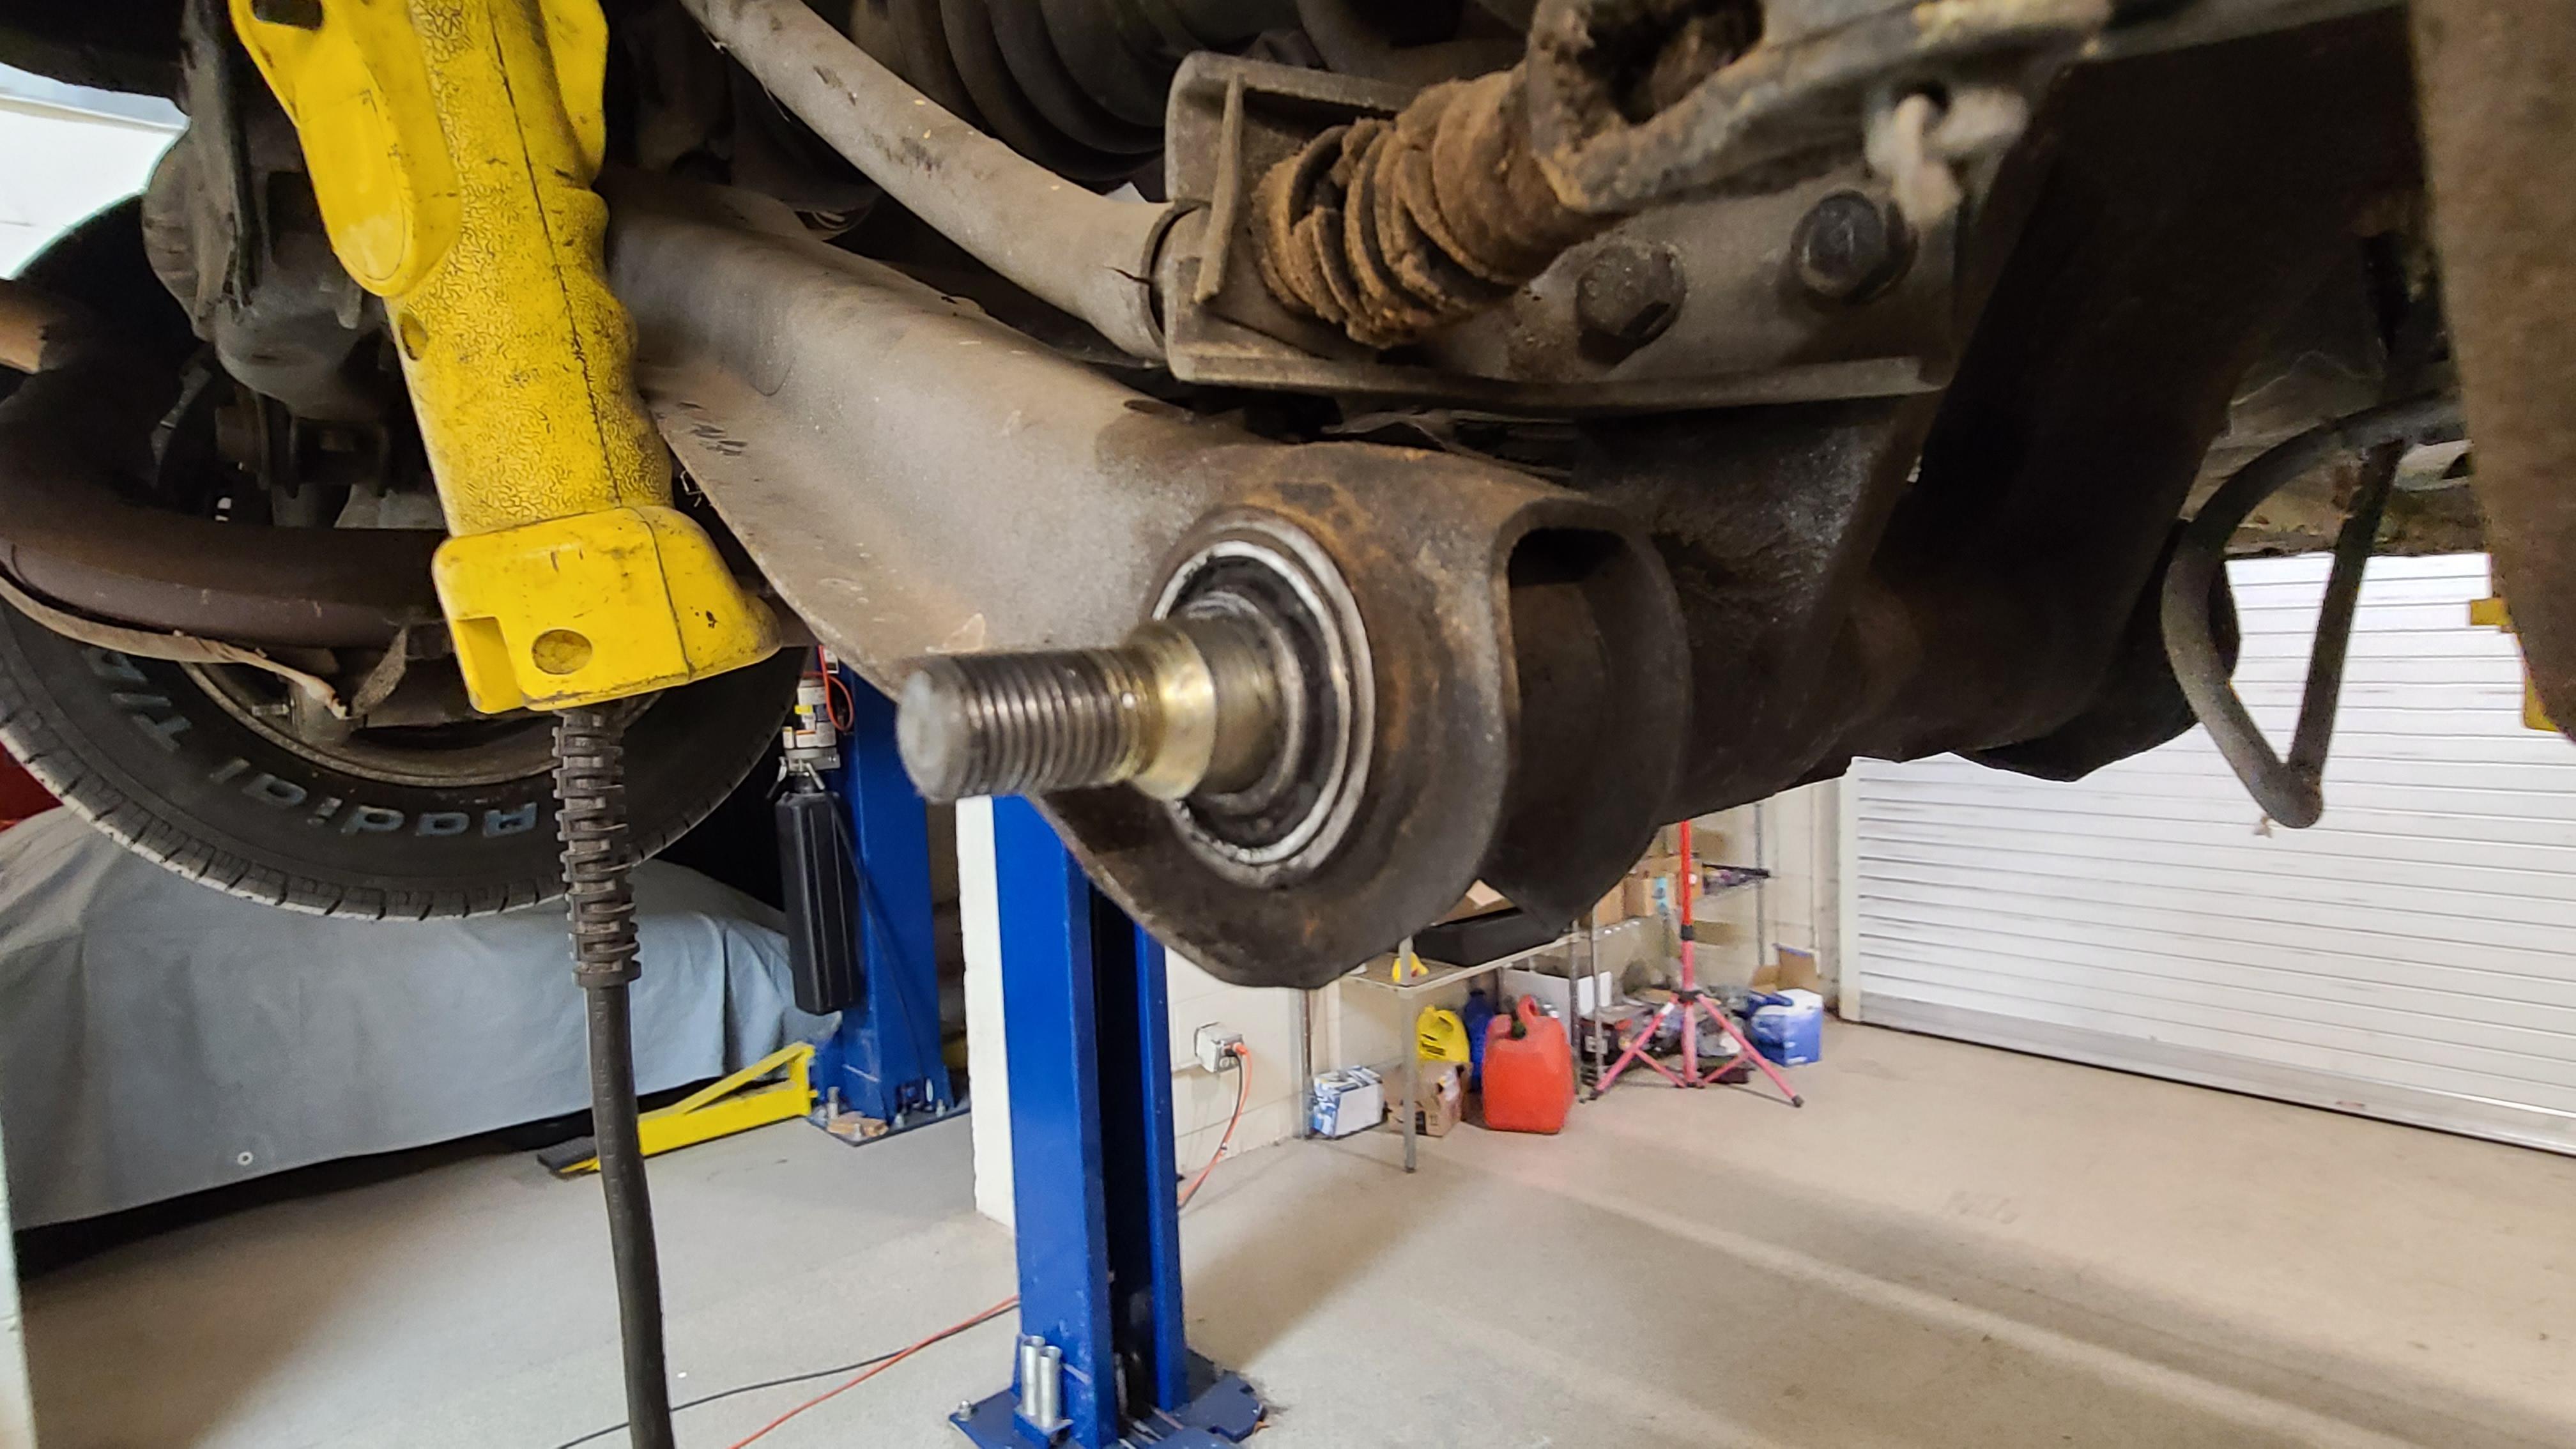
@zKars & @240260280 Far from my first rodeo. (And, that's as far as I got the pin to move without damaging it - at that point the threads began to give as you can see in the picture. No use going further as they have to be replaced now anyway, so I'll just cut them and press them out.) I guess this is my karma. I did bushings on my 260 before I ever got it back on the road - 12 years ago. My spindle pins pushed right out without much fuss thereby lulling me into a false sense of mechanical superiority... After that I did 8 or 10 pins in the shop that I pulled without destroying them - not all of them easy, but they all came out. I even once or twice bragged about my removal prowess and may have scoffed at those having difficulty. 😏 Then about 4 years ago I had my very first total fail. Couldn't get pins to budge no matter what. Even after I cut those pins up I couldn't get them out of the hub. I had to take them down to the mechanic at the end of our building who had a press beefy enough to push the pins out. This pair will be the third fail since then - so the smirk is definitely off my face. Luckily now I'm in a shop where I have everything I need to cut and press these pins out but it's such a waste, and a royal PITA. Without exception, the pins I've had difficulty with have been mushroomed at the locator notch - and there is no reason for it other than sloppy installation procedure. (Yes, I've seen pins with corrosion that hampered dis-assembly (but this is Arizona, not Maine...) - I can generally get those loose, unless they're also mushroomed.) I'm still gonna look for this guy...
-
Why... BRAND NEW spindle pin from all appearances - can't get it out. Whomever installed this (these - other side was "replaced" as well): A. OVERTIGHTENED the lock bolt B. A little lubricant would have been nice or maybe some ANTI-SEIZE... Now I'm going to have to saw these once perfectly good spindle pins and press the centers out... I can guarantee you that these pins will be mushroomed in the middle because the installer didn't position the pin properly and OVERTIGHTENED the lock pin! PLEASE stop doing that!! I understand that not everyone knows the value of anti-seize but given the level of frustration the spindle pins usually deliver, it should be used whenever you're replacing them. The center section of the hub should also be checked and cleaned thoroughly before re-installing the spindle pin. If not anti-seize, a good coat of lithium grease should be applied and you should always be able to both move and rotate the pin after it's in place. Try to get the notch in the pin aligned correctly before installing the lock pin. Don't just use the lock pin to bully the spindle pin into position. The spindle pin is relatively soft metal and it's easier than you think to deform it in the notch area. If you overtighten the lock pin it will mushroom the spindle pin on one or both sides of the notch and even with anti-seize, you'll have trouble removing it. There is NO reason to tighten the lock pin like most people seem to do. (For me, this is like the 99% overtightened fill and drain plugs on transmissions!). If you've aligned the spindle pin correctly you can push the lock pin in with your finger and just SNUG the nut on the bottom. THEN follow the FSM instructions and torque specs for the spindle pin nuts. DON'T torque the hell out of one side - especially without snugging up the nut on the other! If you do, you'll drag the spindle pin back tight to the lock pin and... MUSHROOM the spindle! Evenly cinch up the two opposing nuts on the spindle until you get them into proper torque range and finish up with your torque wrench (NOT an impact wrench...). If I ever find the guy that installed these, I'll kick him in the nuts. <end rant> <for now...>
-
I installed a similar inertia switch in Cole Markham's 240Z when I added an electric fuel pump and wondered the same thing. We went over lots of bumps, braked hard, swerved hard - did everything but crash - and it didn't cause the inertia switch to break the circuit. I think there has to be a certain amount of energy transferred through the frame to the switch to pop it. (it's deceptively easy to make it break circuit when it's in your hand though, right?)
-
Dude... You painted your rubber vent air duct... The next guy that's sticks his head up under your dash is gonna see that. What the heck...
-
Let me chime in on the transmission FILL and DRAIN plugs... (begin rant) I have no clue why people tighten these SO TIGHTLY! It's un-necessary. In my former life I was a licensed Journeyman Plumber (Ret.). Actually, I guess I still am a licensed Journeyman Plumber - just not employed as such... What in the crap does this have to do with transmissions you ask?? THOSE PLUGS ARE PIPE FITTINGS (well, they have pipe threads...) So, now that you know that I am eminently qualified to speak on the subject: - Go the Home Depot. Plumbing Department. BUY an entire roll of TEFLON TAPE. - Go home. Properly apply (ya, just wrap that sucker up with tape) the teflon tape following the manufacturers directions to the male threads of BOTH PLUGS - BEFORE you install them. - Tighten the plugs (BOTH PLUGS) ONLY ENOUGH so that they don't leak! There is NO pressure inside the transmission (like there is in your Natural Gas line or your galvanized water pipe) SO THE PLUG DOESN'T NEED 80 FT/LBS OF TORQUE. Seriously, you can practically screw them in by hand if you use teflon tape or good pipe dope (just kidding (exaggerating really) you need to snug them up.) But you really, really can stop over tightening those plugs. How do I know? Come and remove these plugs from MY transmission. Be a plumber - even if you don't want to - for me... (end rant);
-
I actually had once where the engine slipped right into the transmission without much fuss. It's the 12 other times (slow learner) that finally made me: A. Always pull the ENGINE AND TRANSMISSION as a unit. B. ALWAYS reinstall the ENGINE AND TRANSMISSION as a unit. We exclusively use the "Raise The Rear End method" when we re-install. Someone told me once to cut the heads off four head blots and round the ends. Screw them into the block. Now the engine has GUIDES to make a perfect re-alignment into the transmission. He SWORE by it. I SWORE while doing it because it didn't help me at all (I'm obviously not as skilled - it seemed like the perfect method) The one interesting thing about the L-series when installing an engine (where the transmission is still in place) is it's "lean" to the left. If you can't get that lean right (I mean correct - and I'm not talking politics here) it's more difficult to mate them.
-
Mostly, but with most metallics and pearls it's the entire package - sealer, base (mid coats), and clear. Usually the only coat that you can't see through is the sealer. (Don't believe? Seal a panel with a dark sealer, paint another panel with a light sealer, spray the base coat exactly the same on both panels, spray clear coat exactly the same on both panels. Then look. Under certain colors dark sealer really adds depth or character to the tone of the paint because of the contrast that it adds.) I'm not a painter - but I work with one.
-
Awesome, that's looking great! Wait until you pull it out into the sun - you'll be astounded.