


cgsheen1
Free Member
-
Joined
-
Last visited
Everything posted by cgsheen1
-
 Standard sealed beam headlights are ~ 40 watt low beam, 60 watt high beam. That being said, it's never a bad idea to take electrical load off that 40-something year old headlight switch.
 -
Pull ANY 10mm head bolt out of the engine bay area - fender, intake, anything - that's the thread and pitch. (Not sure? Screw it in that hole...)
-
-
My guess would be the small spring that helps keep the lock "arm" in it's proper place. It's an extremely simple mechanism that's very poorly documented in the FSM. Someone might have a pic they could upload, but if you compare the lock and latch mechanism of door that works to the one that doesn't you'll have your answer...
-
The answer to these questions is a book... Start going through these guys threads and you'll begin to get an idea. Don't worry, others will undoubtedly chime in with pointers you can really use. ?
-
It's the "Anchor Block". The top part of each brake shoe "rests" and pivots on this part. It's a solid and static point for one end of the shoe while at the bottom of the brake assembly the brake cylinder can expand or contract the shoe to engage or release the brake drum. Non-wordy answer: You need that for your rear brakes to work.
-
The 260Z seat did not have vent holes. Ended with the 240Z.
-
The pedal boxes changed with the brake booster. So I believe the '70-'72 are all the same - the '73 is different, and then the '74-'76 are all the same. The pedal boxes had to change because of the spacing required for different brake boosters. The early clutch pedals are very different than the 260-280. You'll know if it's correct if the clutch pedal arm is thinner than the brake and curved along it's vertical axis. If you're doing an automatic to manual conversion, don't change out the entire pedal box unless you have everything striped down to the bone. Just replace the pedals and associated hardware (springs, bushings, and etc.). The boxes were made to be interchangeable and accept the auto brake pedal or the clutch and brake for the manual transmission madels. $350 sounds a little steep to me also, but if it's been meticulously restored with new hardware, and foot pads, maybe. The state of the other hardware might be just as important as the pedals. There are a few "wear items" that you would want to be in good condition. I have a few pedal boxes, maybe I should put them up for extra cash - naw, then I'd have someone come in wanting a swap...
-
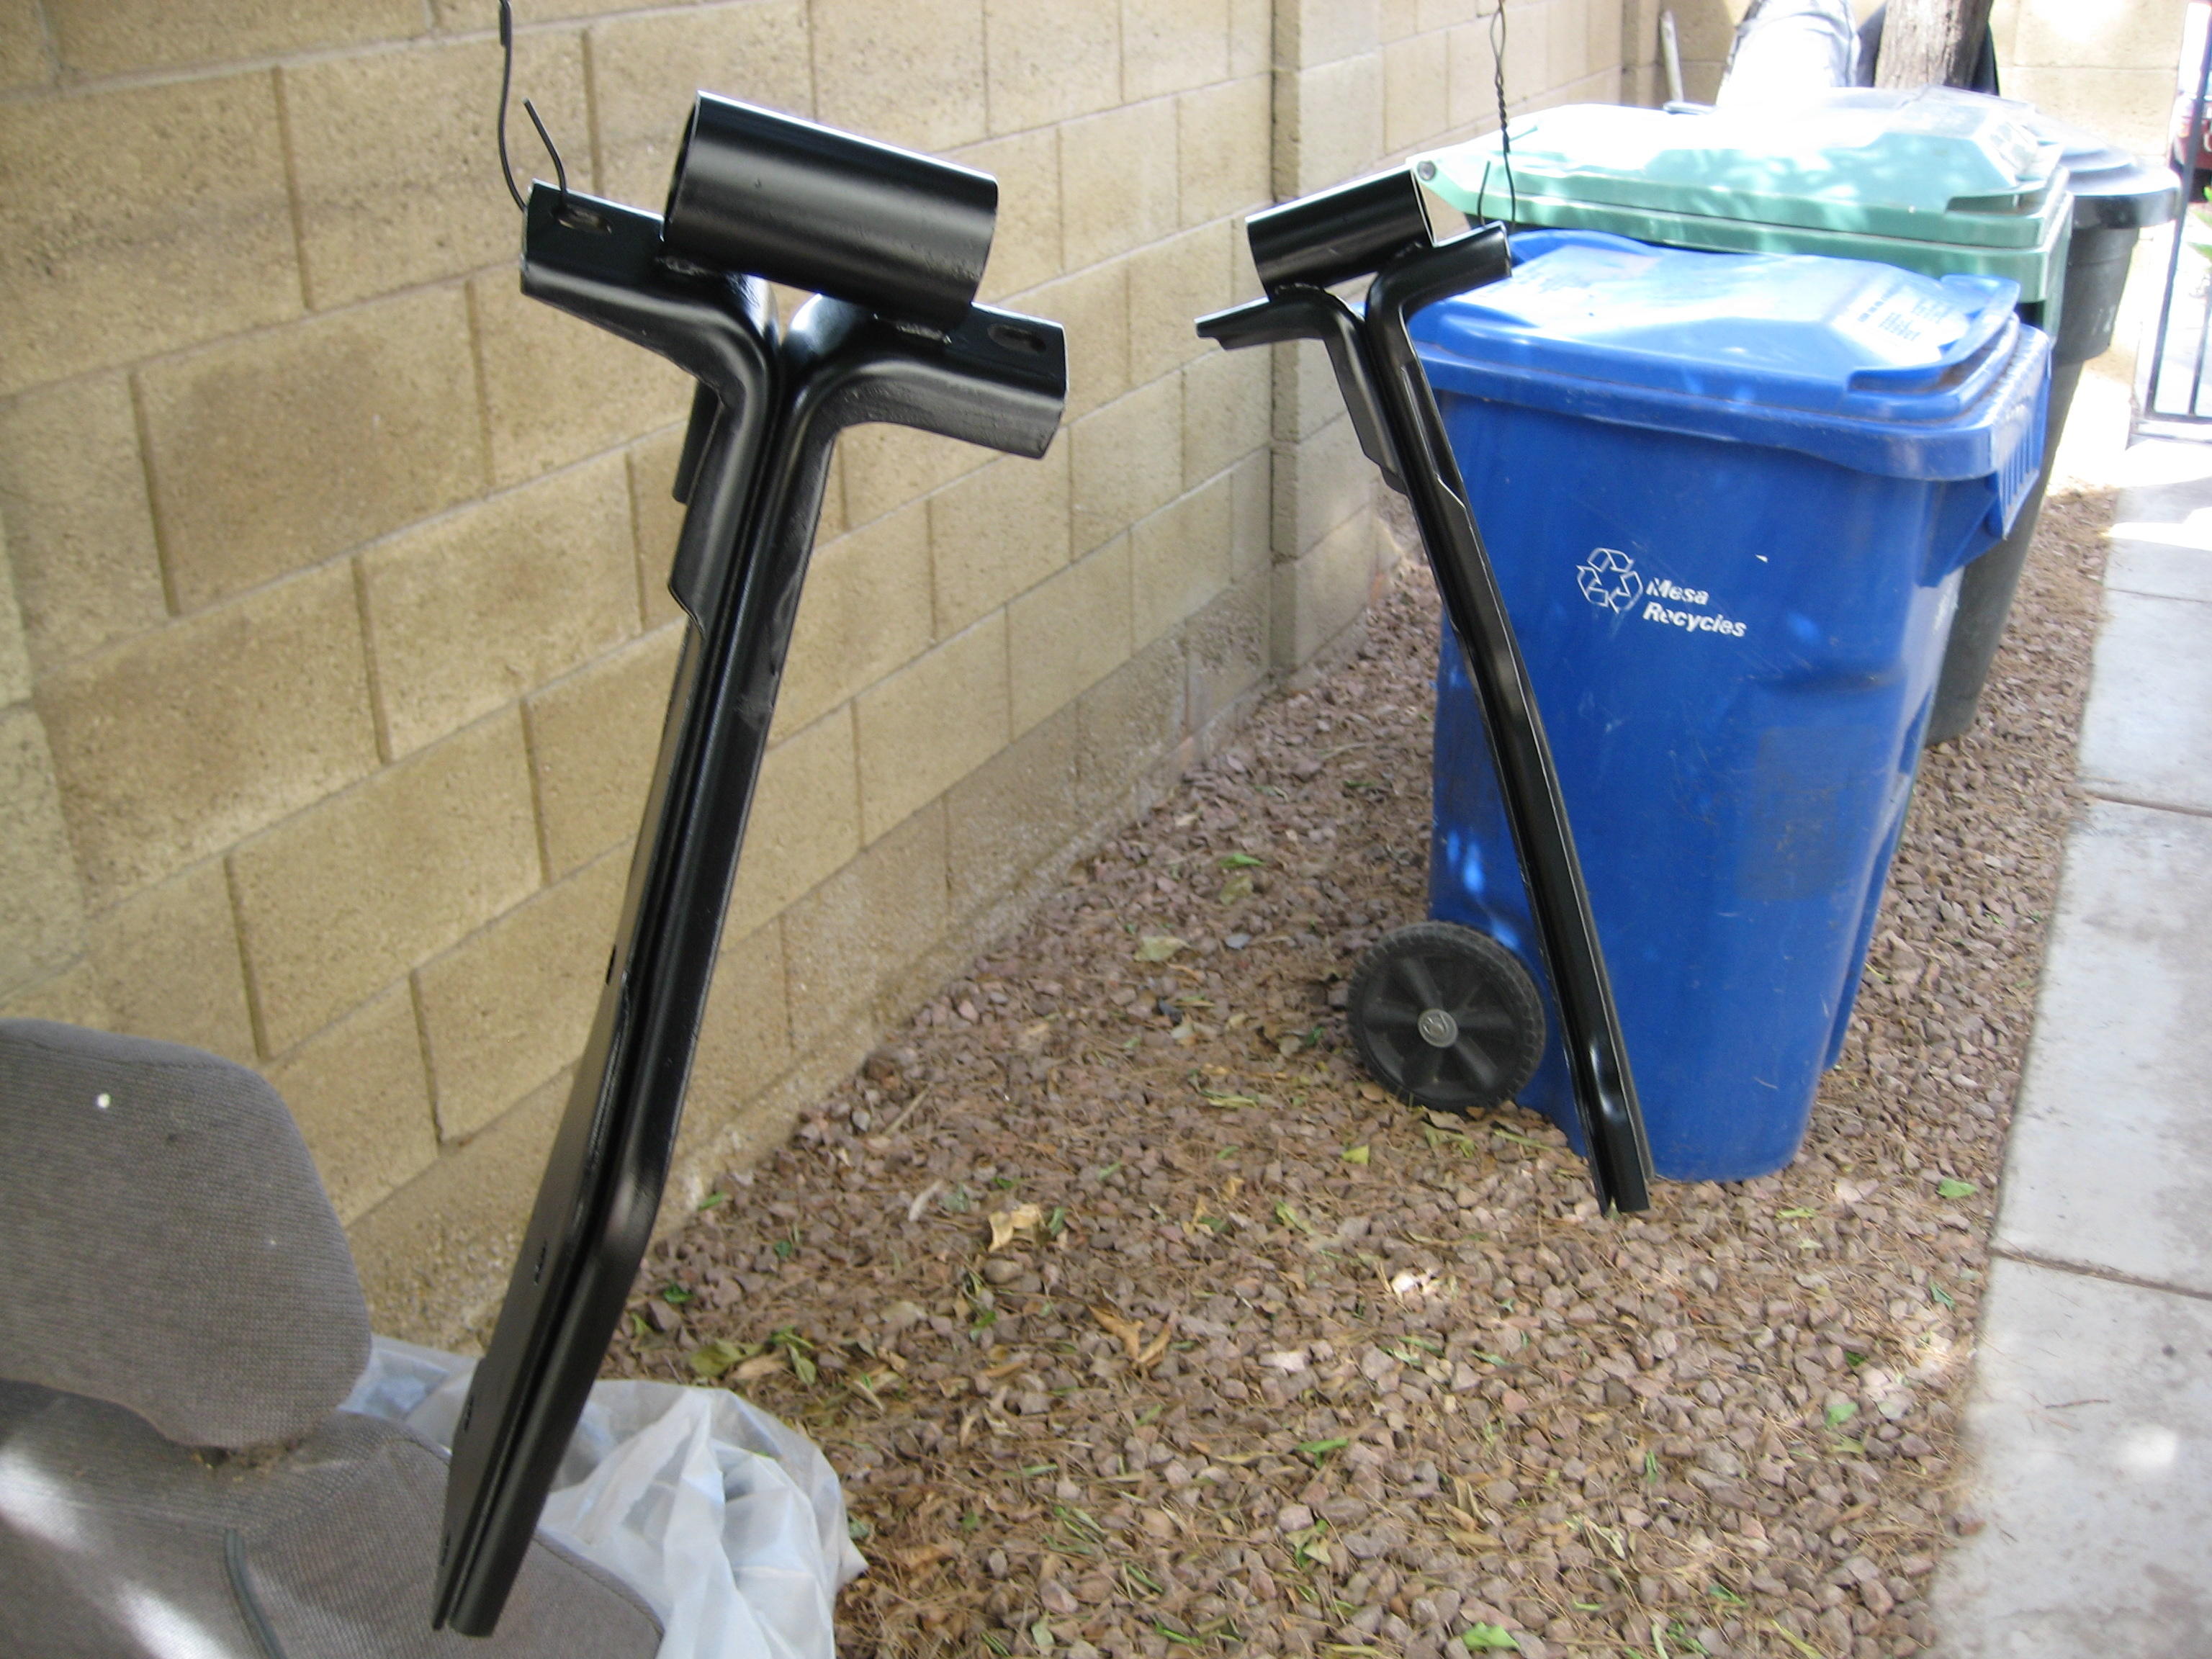
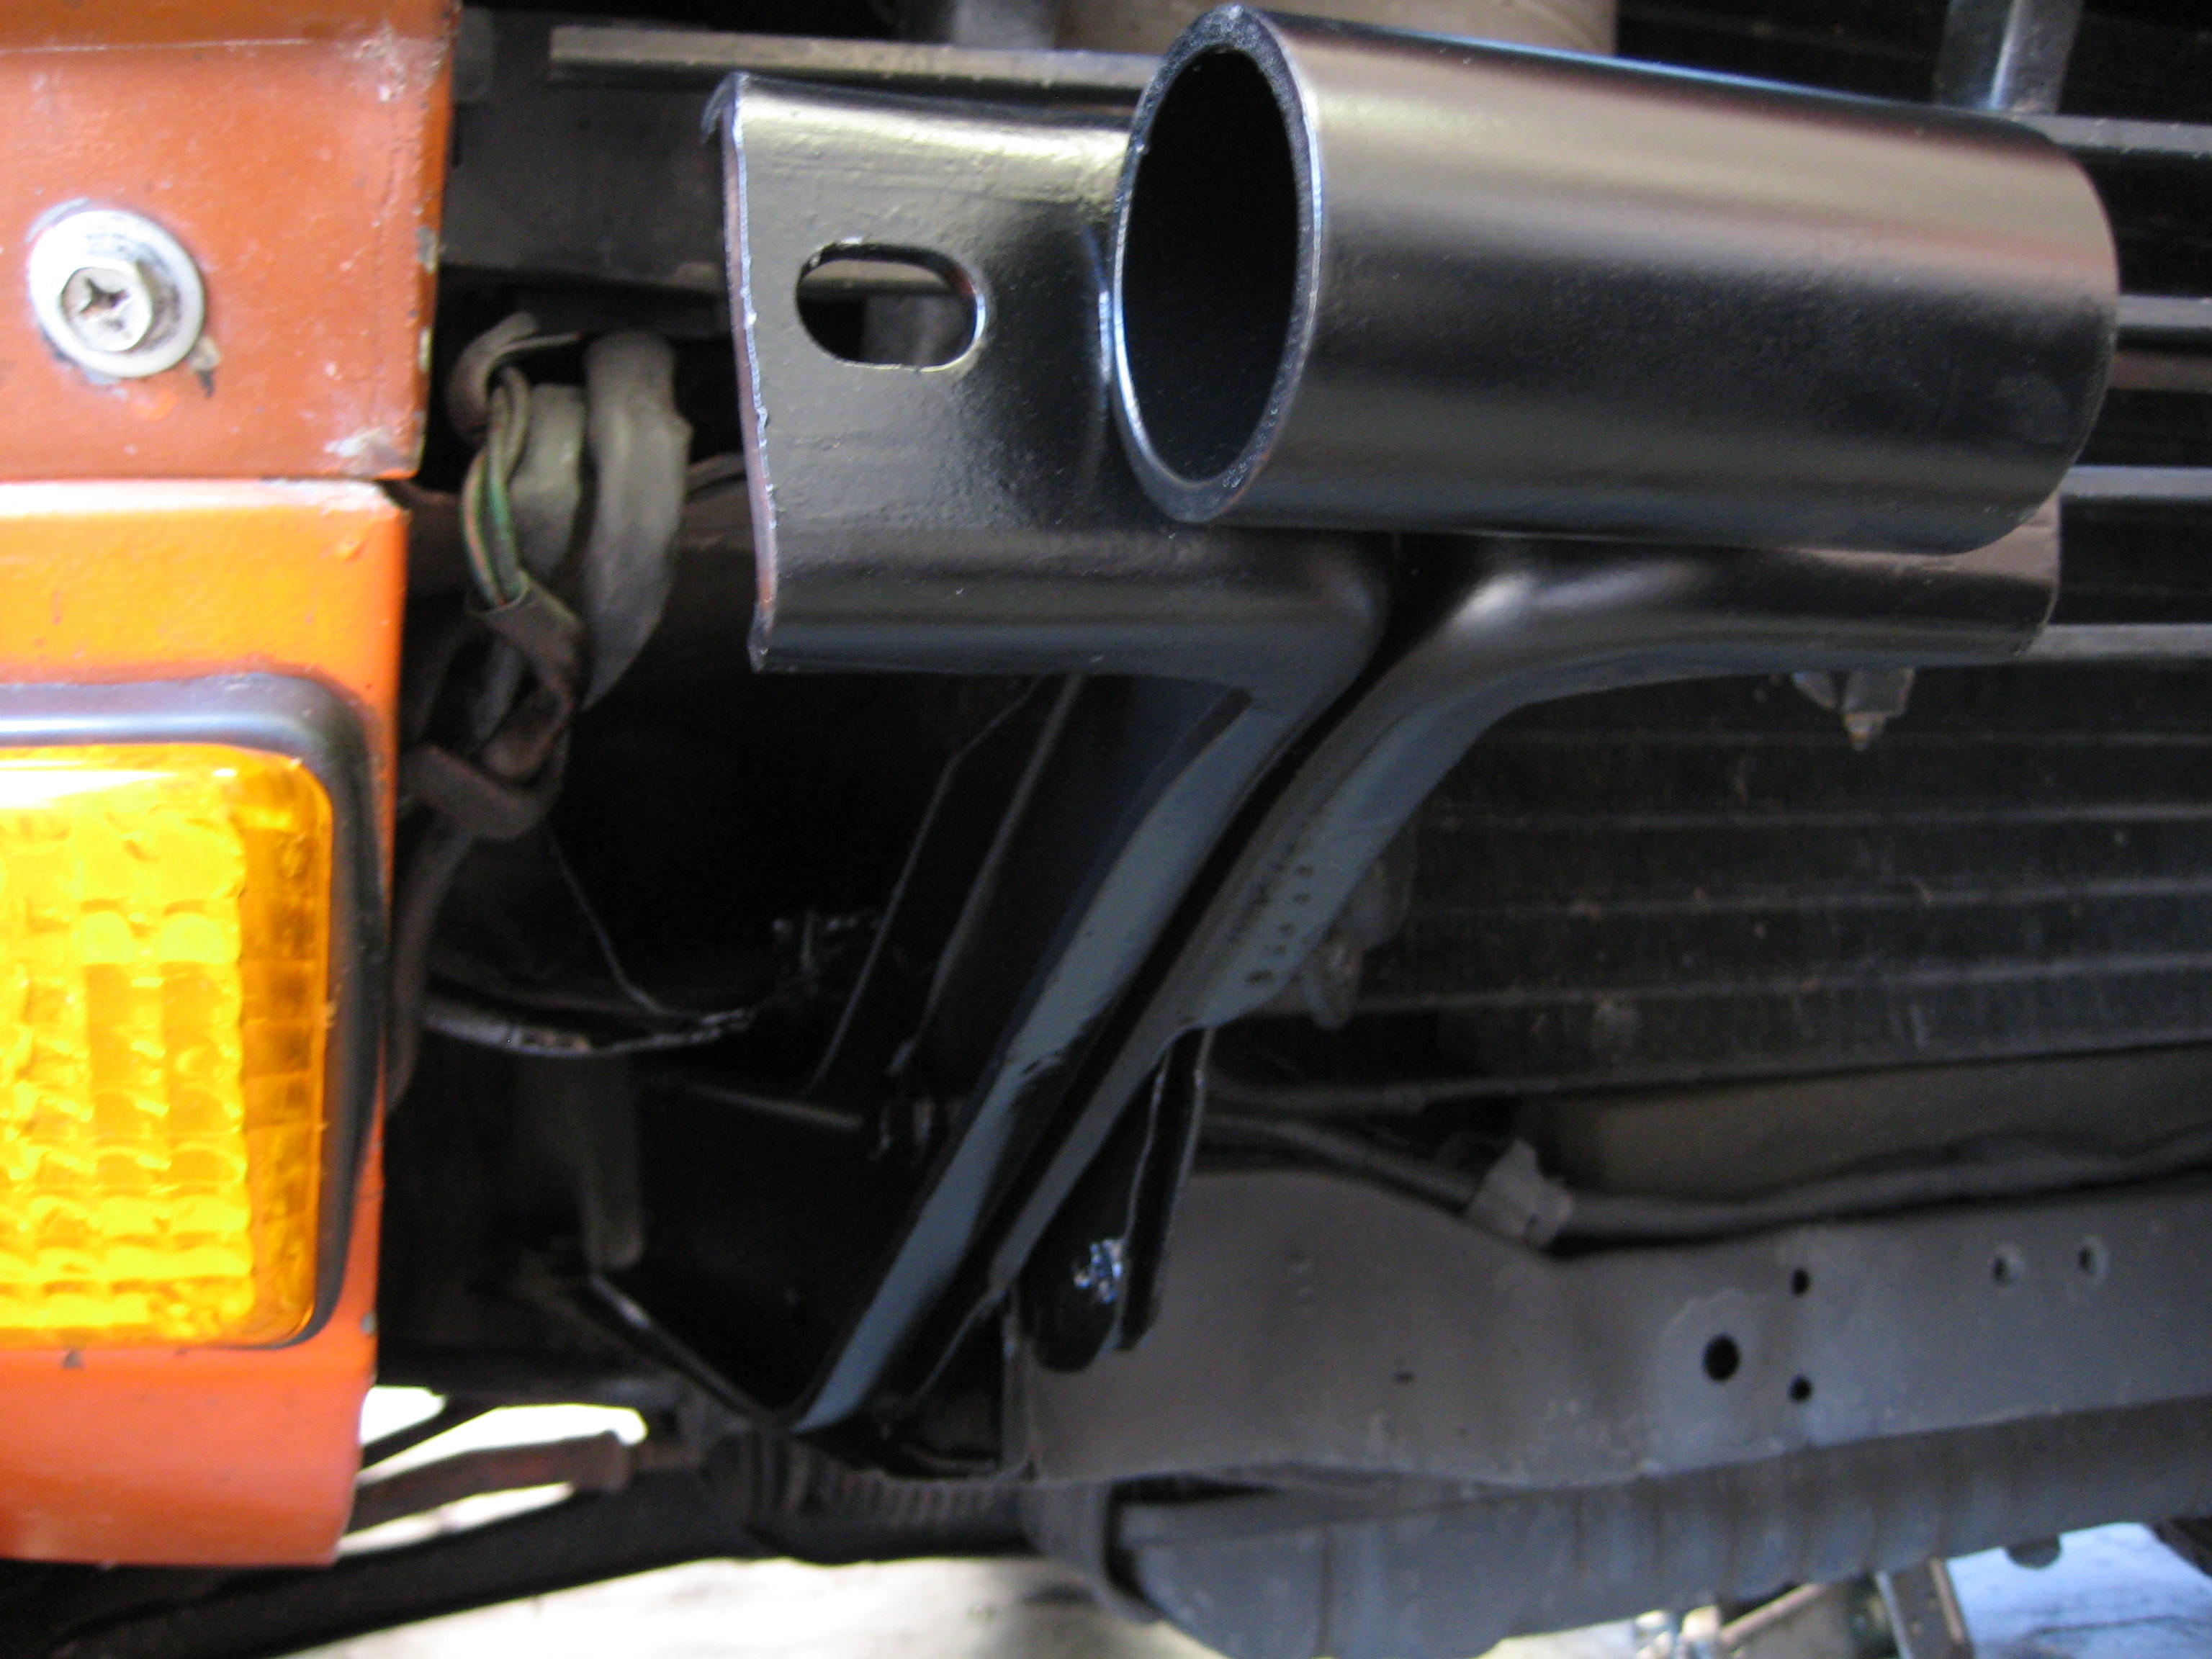
I used '73 front bumper mounts to put early bumpers on my 260Z. (found a '73 in a yard with a set of early bumpers in the hatch) I found it extremely funny that these mounts are SO overly beefy for such a stupidly light bumper. But, as you can see they just bolt to the frame rail (with four possible bolt locations) - flat on the side of the rail. They are fairly thick, but you can just figure the spacing you want to achieve and drill new mounting holes. Four bolts each are just overkill - like the mounts themselves. Nissan, trying to keep the U.S. Govt. regulators happy.


-
Just replace the rails - get the correct rails for your original mounts.
-
What he said.
-
So you couldn't complete the installation? (to see if it would consistently pump without the spacer) I wonder if anyone has been able to compare the arm geometry between the original fuel pump and these aftermarket pumps. If the arm geometry is the same then GMB and Delphi must be doing something different inside the pump. Sadly, I guess I'll be playing with this myself. I have a customer bringing in a 72 with similar symptoms. Been pulling his hair out swapping mechanical pumps. He wants me to install an electric fuel pump. I'm an EFI guy - abandoned carbs in the '80's and have avoided them as much as possible since then. While I have the '72 I may look into this mechanical fuel pump issue. I think all the eccentrics are exactly the same but I have a couple of them to compare. Wish I had a Nikki pump...
-
Here's the wiring schematic from the 1971 240-Z Sports Supplement to the Factory Service Manual. 12V Power to the "Heat - Glass" comes from the Accessory Relay through a 20amp in-line fuse (one of the blue (L) wire in-line fuse holders behind the heat/vent control panel) to the switch (heat glass sw.), then directly to the glass. (I don't see any mention of hatch glass heat in the Series One FSM or anything in the wiring schematic although we know that the 1970 240Z did indeed have that installed.) 1971 240Z FSM Supplement schematic.pdf
-
Yup. And, more than once... Never sanded, ground, or "resized" a single bushing. And, yup, they are tight to get the control arm back on the hub - both Prothane and Energy.
-
+1 for transmission bearing noise.
-
So I should probably sell the original steelies with the original tires and the original Z hubcaps from Bob's '75 "museum car" completely separately from the car itself. Oh, and the original spare...
-
Have you given thought to installing the mechanical pump without the spacer - just to see if that makes a difference?
-
Arizonan's really have a thing for cloth seats (and white cars) - if not cloth, it's gotta be leather. (Just sit on vinyl through an Arizona summer.) Even if you have the coldest A/C in the state you're still sweat-stuck to the vinyl if you're in the car for more than two minutes. I'm sure that some of the dealers here had an ongoing relationship with an upholstery shop to re-do the seats in these cars as soon as they came in. Otherwise they would have never sold a Z in the summertime.
-
JavelinZ has a late 280 with southwestern pattern cloth seats that appear to have been dealer installed. His is 110 and the seats are Red/Orange Arizona looking. Guess it fits. My sons '76 also had cloth with a Tan/Gold weave pattern - it was originally 304 Gold Metallic. Both Arizona cars (where NO ONE likes to sit on black vinyl that's been sitting in the Arizona sun!).
-
Wow, my first thought was "why the hell is he putting jack stands UNDER THE FRAME RAILS?"...
-
During the 46 years the 260's have been on the planet, most have undergone changes. When I got mine nearly 12 years ago, I pulled all the locks and had my locksmith key them all the same. The code is on the passenger door lock. But, the suggestion above would be the easiest. Me, I prefer one key.
-
The Precision door weather strip is crap! Not only did I install it on my 260Z, but have installed it on several other customer Z's because they bought the whole Precision kit. I finally got SO sick of mine, I pulled it off and used side-bulb welt (which is marvelous in comparison). But we still have access to Bob's 1975 280Z "museum car" and the original weather-strip is phenomenal.
-
What about door cards for any and all years. I'm talking about someone molding the MDF, fiberboard, pressed board - or whatever it's called - into the correct shape and with the proper cutouts. It would be nice to get proper vinyl also but I'd settle for new cards.
-
Bob's 1975 "museum car" has one and I thought it was added for an aftermarket alarm. Thinking about it, there is no other evidence of an alarm system. Looks just like the picture above and it's in the same spot. Guess I ought to check and see if it lights the dome lamp.
-


Important Information
By using this site, you agree to our Privacy Policy and Guidelines. We have placed cookies on your device to help make this website better. You can adjust your cookie settings, otherwise we'll assume you're okay to continue.