


cgsheen1
Free Member
-
Joined
-
Last visited
Everything posted by cgsheen1
-
 Have you downloaded the 280Z Factory Service Manual for your specific year? They're free and readily available on xenons30.com and nicoclub.com. Might fill in the gaps...
 -
Kia used the same blower in many different models and years. I have seen many with that hose to circulate air over the electric motor. You can modify your blower box to use it or block it off. Here's a picture of the Kia blower I installed in my 260Z (Goldie) all those years ago and a picture of a spare Kia blower that I have. I think most of the guys doing the swap lately have just bought them new from the dealer. Maybe Amazon... (edit: Yup, Amazon has them...)

.thumb.jpg.f670f85302e2a4b1dc8597fd02b82674.jpg)
-
Try this: It will require a helper. Loosen the four hood bolts to snug - you don't want the hood to drop or move by itself but you want to be able to force movement. With the hood up and the bolts loosened - using both hands, one on the front edge of the hood and the other towards the back of the hood (one hand down, one hand up on the side of the hood each man (or woman)) - push the front of the hood back and the rear of the hood forward as much as it will go. So, down hand aft, upper hand forward. The bolts should have been loose enough that the bottom bolts will move as far as they can towards the rear of the car and the top bolts will move as far as they can towards the front of the car. You don't want them to move up or down, that would spoil your hood-to-cowl fitment. May help, but if it doesn't you'll have to repair, modify, or replace the hinge as suggested above. This is a simple and quick thing to try to get the nose of the hood down. It has worked for me on several of the Z's we've had in the shop. Some just had to much wear in the hinges to be able to get the hood to stay where it belonged. If the hood sits properly when the torsion rods are out and pushes up when the torsion rods are in place, the hinges are too worn. Please keep in mind that these cars were built in a different era and fitment back then was nothing like the sheet metal fitment of modern vehicles. When we were putting Z cars back together after paint we usually tried to get fitment that was as "visually pleasing" as possible, not perfect alignment of all the parts and seams... (The factory certainly did not take the time to shim and correct body panels for perfect alignment.)
-
I have access to a 1971 (late 1970) and a 1972 at a shop near me. I have a 1973, my early 1974, and my son's 1976 at my house. I the next day or two I'll try to examine them for differences and get some measurements.
-
That's what I would think...
-
They changed the pinion body clamp design in the ZX transmissions. The pinion is essentially the same but the mount is reversed 180 degrees. On the early transmissions, the key and bolt were on top. With the ZX, they moved the key and bolt to the bottom. It was actually a smart design change for ease of service but it has tricked many a Z owner. The change was only in the pinion body (carrier) - the gear & shaft remain the same and are interchangeable as are the seals. If you take one completely apart, you'll see what I mean. To use an early Z transmission pinion assembly in a ZX transmission, you'd need to cut a new slot on the bottom of the pinion body. Easier to either get the right assembly or swap the new gear & shaft (which you can order separately) into the correct body for the ZX transmission.
-
Looks like they did on the rear cover. Can you get anything between the cover and the plate to cut the seal (slim putty knife)? Have you tried standing it up with the input shaft on a board (tail straight up) and tapping the front cover downward.
-
Trying to put a Z pinion in a ZX transmission... You can swap the gear & shaft & seals to your original pinion body. When you have two cars in one, you have to remember which is which when buying parts. ?
-
I love that the OP has never posted back to his thread and yet it's taken a life of it's own...
-
And you'll need to strengthen the frame considerably! 500 RWHP will twist a stock body to pieces.
-
Yup, the foam gets old and crunchy - doesn't hold the metal plate well anymore.
-
We've seen stock L28E 280Z's on the dyno running from in the 90's RWHP to 110 RWHP - depending on condition. (don't be dismayed, a Z doesn't need much to make it fun to drive...)
-
You can buy new connectors and pins from vintageconnections.com. You'll need a crimping tool and some patience but replacing those corroded spades will be much better than cleaning them. It's not hard to de-pin those connectors either...
-
We actually have the correct engine block color. Years ago we took an unmolested part to one of our paint suppliers and had them match color and save the formula. I have the paint in single stage for brush-on (or HVLP) and they also make spray cans. We've painted blocks both ways and I find it easiest to brush-on the block and spray parts like pulleys, brackets, and idler parts. IDK if I'm ready to sell and ship block paint, but not painting a block in stock Datsun Blue is one of my OCD triggers...
-
I'm wondering if the ECU isn't getting a good "the engine is turning now - you can start firing the injectors" signal when it's cold. Does your Tach show RPM while cranking? Also, have you checked the ECU plug and socket connections for oxidation. (Going back to the "90% of the problems I've found in these old EFI systems have to do with wiring and connectors"...)
-
Looking good! Get the 304 shot over dark grey sealer and you'll be happy with the result. Mine was originally brown metallic (my youngest son's '76 280Z was 304). He decided to go dark grey on his and I couldn't find a color I liked - so I "stole" his original color (Hey, it was also a stock color offered in '74...). We don't see any Z's that still have 304 around here (most are red or orange). Since we painted mine, I've seen a few that were 304 originally but painted over a different color. 304 stands out...
-
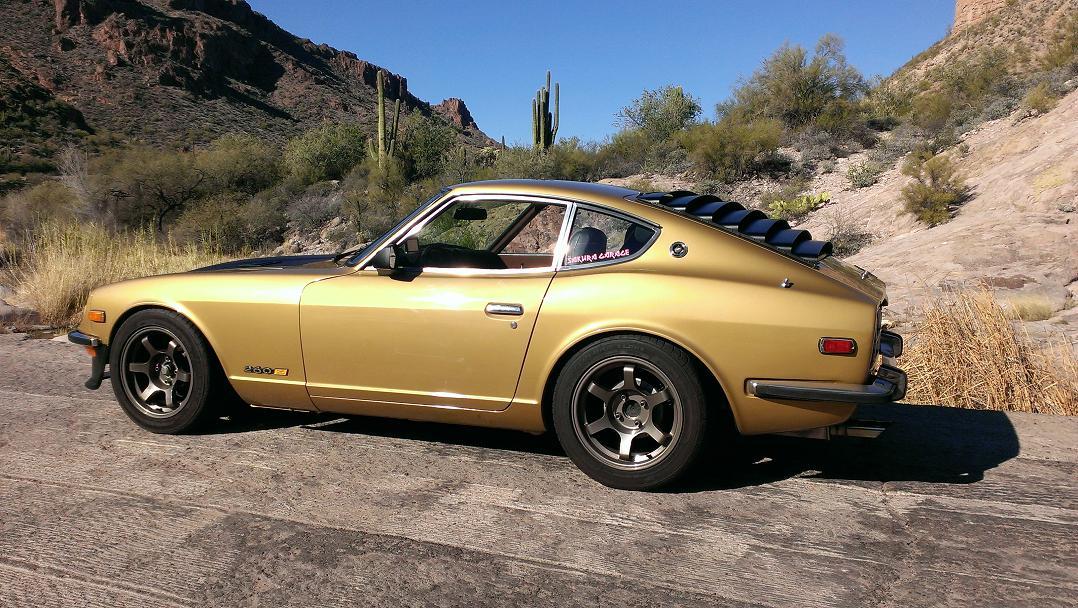
We (my son and I ran Sakura Garage for 10 years) had a Sherwin Williams Automotive outlet near our shop in Tempe. We bought most of our primer, sealer, and base coats from them. They have all the early Datsun codes and match pretty faithfully IMO. Never liked their clearcoat. We used PPG DCU-2021 for the most part. That's the clear on my 260 - my son shot it in 2012 and it's held up well in the Arizona sun. (My son shot the 304 over dark grey sealer - it added "depth" to the color. Shot over lighter primer or sealer, 304's tone is lighter and a little "washed out")
-
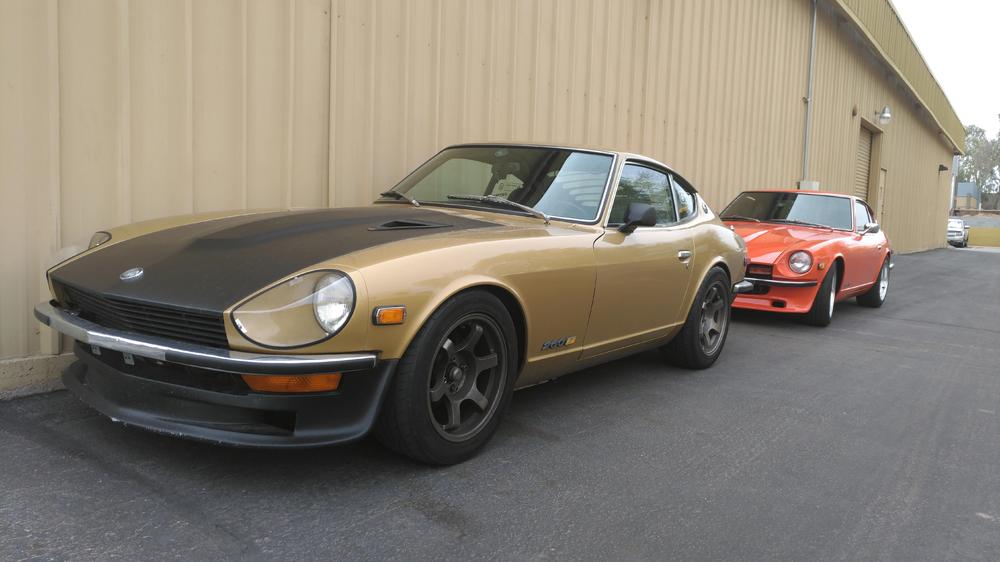
A little different in the shade. My early 260 in front of Peppers late 260...
-
A good hose company will be able to make whatever you need.
Yup
I heard one time that it's important to "lap" new baulk rings (synchros) in when installing. True? (like you would lap a valve?)
Mine was the heater core itself but my on my son's '76 it was the valve. He replaced the valve and hoses. I'm an Idaho boy in Arizona so I've never needed a heater - mine is blocked off... I'm not looking forward to replacing that heater core. Check it all though, you'll only want to do it once.
I believe that blue wire should have a Female Bullet connector on it's end. (that's what I have in my notes) It ties to the RL (Red/Blue) wiring for the gauge lighting but I'm not positive what it connects to in/near the center console... It will (should) have battery voltage when the lighting is on. As far as I know it would have nothing to do with A/C. My best guess would be Radio lighting... (I just built a new 240Z dash harness and ran into this exact thing. I have pictures of the same connections from the stock harness - I had to chuckle when I saw your pics...)
I ran my stock 3.36 R180 with a close ratio ZX 5-speed in my 260Z for years before swapping the diff to an 3.54 R200. I loved it, but it was also sitting behind an L28ET so, big torque difference. Like Dave, I now run 3000 RPM at 80 MPH. But, I've always believed that you use the lower 4 gears for spirited driving - 5th for cruising.


.jpg.ebd5decf9d2259de60f9855bede3d871.jpg)


Important Information
By using this site, you agree to our Privacy Policy and Guidelines. We have placed cookies on your device to help make this website better. You can adjust your cookie settings, otherwise we'll assume you're okay to continue.