


Stanley
Free Member
-
Joined
-
Last visited
Everything posted by Stanley
-
 73' 240 Z with automatic. My ATF is very low and I don't see a leak. I don't know how the modulators are built. Is is possible for the vacuum line to the modulator to be sucking ATF into the engine ? And if so, could it dilute the break-in oil for the new engine ? I think it would just burn up in the cylinders, but not 100% sure.
 -
Looks like the pitting is at stations 1 & 2 which are in the idling zone. Polishing the needles only in this area will make it richer at idle which will foul the plugs unless the mix nuts are raised, and that will make it too lean at cruise and top end. According to the "Just SUs" book (and common sense), modified needles must have an even taper. According to official SU publications, modified engines (they include engines with only a change to air cleaners or exhaust system) require non-stock needles. The publications refer to British SU's for which there are a variety of needles to choose from. Nissan didn't supply alternate needles for the Hitachi's as far as I know. Modifying needles is easy enough I guess for Z car engine builders and race mechanics (I saw one with 40 years experience leave with stock needles and bring them back 5 minutes later after modifying them) but for me it's an all day job, with lots of note-taking and micrometer measurements, followed by road tests, and it's still a bit iffy.
-
Still using stock N-27's ?
-
Yeah, still got it. Didn't get around to the heater fix swap. It's in Torrance. Was supposed to pick it up last week but was swamped with work. PM me if interested.
-
Thank you, that photo with millimeter lines is helpful. I was wondering how 20mm vs 23 mm from top of bowl question affects the 10 turns down at nozzle which the photo illustrates. I haven't decided on 20 vs. 23 yet, I want to check it with the sightglasses first since I suspect probably the rear fuel level is going too high at times causing intermittant flooding or rich condition, due to either too much fuel pressure or a worn needle valve. If the needle valve tip is OK I'll go with the 23 mm average since I definitely don't want it smoking or leaking gas. Since I have the later carbs I'll go with the 4mm front/rear difference per the tech bulletin, which makes it 23 average (from top of bowl), 10mm down / top of nozzle, and 25 mm down front, 21mm down rear (from top of bowl measured with sightglasses). If the 20mm average down is really correct, I don't think using 23 down average will cause the front bowl to go dry since I have plenty of fuel pressure. It might cause problems for a racer going WOT around long banked turns but I'm not doing that.
-
You see any type of tripper that's not paying attention, you can be extra careful, but the car won't pick up on it.
-
Smart car. Knew that would happen. Ten years from now maybe they'll be OK but for now if I see one on the road I'm getting as far away as possible. "I wasn't me officer, it drove itself there. I would never drive illegally in the carpool lane"
-
My new fuel pump is putting out more fuel pressure than the old one and I want to see if it's affecting the float bowl levels. Will try the sightglasses first, then check by nozzle method. I'll use the magnifying glass for the nozzle method since I doubt if I'd be able to see fuel level in the nozzles well enough without it. I don't want to complicate this topic since it's already sort of complicated but .... the drawing in the FSM shows that 23 mm measured from the underside of the middle of the lid, not at the rim of the lid. There's no easy way to measure from the underside of the lid. Others have measured from the underside of the lid to the edge as 3 mm, so that makes it 20 mm down from the edge disregarding front / rear difference. We all assume the drawing is correct. But how do we know that ? Maybe the 23 mm was supposed to be measured from the edge and the engineer that drew it got it wrong. I trust the FSM but not 100%, especially a oddball measurement like that. Sorry in advance.
-
Here's that tech bulletin again. Check page 3, it shows fuel level measured from bottom of the lid to be 4 mm lower for the front carb. Where it says 11.5 to 12.5 let's say 12. For 15.5 to 16.5 let's say 16. 16-12= 4. and let's figure 23 mm down at the nozzles for both carbs. The difference is due to tilt of the engine and the distance from the center of float bowls to the nozzles. Now let's forget about measuring from the underside of the lid to to of the float since its too iffy, and relate the 4mm difference to fuel level instead to check it with sightglass method. Now some easy math. All in mm, OK? 23mm average for both bowls since if Nissan is correct the 4 mm difference will put the levels for both carbs 23mm down at the nozzles. Say A = distance lid to fuel level at front carb. B = distance lid to fuel at rear carb. A+B = 23 x 2 A+B = 46 A-B = 4 A = B+4 B+4 +B = 46 2B = 46-4 2B = 42 B = 42/2 B = 21 A = 46-B A = 25 So 25 mm down front, 21 mm down rear. TechnicalSupportBulletin-TS73-10.PDF If you use the "fuel level in the nozzle" method you don't need this, since the levels should be the same for both carbs.
-
Allow me to drop another worm into the can. I copied from the "Technical Information Page" tuneup procedure. This procedure is also in ZTherapy video. I think it may apply to those using SM's or other British SU needles more than those using stock or modified Hitachi SU needles, due to the 0.099 station 1 dimension vs. 0.095 for Hitachi. After passing this on countless times via email, I figured I'd post some info on setting the needle position. Many of these cars have been around the block a few times, so often times, the carbs are way out of whack - too far to straighten out with the above procedure. F'rinstance, when I got my latest "70" 240Z, the rear carb was about five turns out, whereas the front carb was at around two. Yikes! So, when you encounter something like that, or when you just can't get them lean enough, try this: Warm up the car. Shut it off and remove the carb domes (take out the dipsticks first). Remove spring from dashpot (the piston-thing that lives inside the dome). CAREFULLY remove the dashpot - see the needle on the bottom? Loosen the set-screw that holds the needle so that the needle can move a bit. Turn the adjusting nuts all the way in (located underneath the carb throat, where the fuel line enters from the float bowl). Pull the needles out about 1/8" or so, you should see the shoulder of the needle sticking out past the dashpot body. CAREFULLY reinstall the dashpot, and push down ever-so-gently to seat the needle fully in the nozzle (that's the hole the needle sits in). Pull the dashpot back out, snug down the needle set screws, and put them back together. Set the balance and mixture as above.
-
I see the float is tilting a little, but it's probably OK. It might just be the weight of the float. I wouldn't try to un-tilt it unless it's proven to be jamming against the side of the float bowl. Messing with the tilt of the floats can cause them to jam, so don't fix unless broke.
-
I'm fairly sure having this conversation will be helpful somehow.
-
I was going to post "righty-tighty, lefty-loosey" thinking that it might help. But after a little more thought, I guess that's only correct half the time. Visualizing a clock face, when tightening a fastener, you're turning the wrench to the right from 9 o'clock to 3 o'clock. Then you turn the wrench to the left from 3 o'clock to 9 o'clock. Refried confusion is making itself clear. But the factory service manual, chilton, etc., will all say turn the mix nuts counterclockwise to richen the mix. They don't mean looking down from the top, since the mix nuts are on the bottom of the carb and screw in like any normal threaded fastener. They mean looking up from underneath. If you tune by the FSM etc. and make that mistake it will be impossible to set the mix. Seems extremely simple, but I've done it wrong too.
-
The AAA adjuster came over today. She's looking for a door too. Very professional. Looks like the other driver is accepting responsibility, so no deductible. Mark, thanks, will keep you in the loop. Why did I post this in the electrical forum. Duh. Back to the original concern, seems to be fine. Got on it a little today, nice. Going with more and more idle was stupid. Have to shift into neutral when stopped is OK, people with a stick shift do it and don't complain, so I can do the same. If that's what I have to do to run a big cam no problem. Maybe too much idle keeps the butterflies open when they shouldn't be. Dunno, but at least I'm not standing on the brake pedal whenever I can't go fast. The modified (for richer mid-range and top end) N-27's seem to be perfect. Idle's not too rich, and mid-range's just right. Total luck (what do I know about polishing needles, I've done two sets) , but I'll take it. Here's a shot from a couple months ago, oh crap it's 5.7 MB probably way too big sorry.
-
I got it. Just had to tell my browser to disregard it for this site.
-
The fuel level is supposed to be 4 mm lower in the front carb float bowl, but that's not it, right? There's a couple of things I've noticed that might help or not. A float can get hung up on the side of a bowl, depending on how it sits. That can make it stick closed or possibly open. Can be fixed by rubbing the area of the float that hits the side of the bowl with sandpaper. Also, especially with the new type float valves with the thinner, more wobbly pins, if the pin doesn't contact the float tang at 90 degrees it can wobble forward and jam against the tang when the float comes up, so the valve doesn't open. Fix by flattening the tang so it hits the pin at 90 degrees. The red straw from a can of carb cleaner will fit through the vent on the float bowl lid so it sits on top of the float. Using that, sometimes you can tell if the float is sticking, and approximately how much gas is in the bowl.
-
The cop showed up but didn't give her a ticket, said he couldn't tell who was at fault since he didn't see it, and we'd already moved the cars. Which is correct. Wish I'd taken a photo before we moved the cars. I did get some photos though. When she said she didn't do the damage I hit the video button, haven't looked at it yet, don't know if I got all that. Got a picture of her front license plate in the road, maybe that's enough evidence. Anyway I'm using my own insurance. It's way faster if I let AAA take care of it. Learned my lesson last time, waited about two months before I got the check. Opened a claim today. Thanks Mark, I'm definitely going to need a driver side door, probably a left rear fender. Front fender probably just needs some high-build primer and paint. I think the window is OK but can only see the top 3 inches of it. Might be able to get the door locally, there's a shop in Gardena that hooked me up with new / used body parts when I got rear-ended a few years back, so I'll check with them first.
-
Mostly the door. It's gonna rain so taped some plastic over the window.
-
I've got bigger problems now. Somebody smashed into my car. I was driving in the right turn lane. Traffic in the left and middle lanes was stopped. She was coming down the other side of the street and made a left turn between the stopped cars. Smashed into my driver side door. She started lying immediately, saying she was stopped and I hit her. She looked at my smashed in door and said she didn't see any damage. Then she said she didn't do that, "it was like that". I called the cops because I thought she was going to take off. Can't open the door or close the window. Have to get in the passenger side. Damn, damn, damn. Before the drive I dialed down the idle a couple hundred rpm. It seemed better, or maybe I'm getting used to shifting into neutral at a stop. Not running-on anymore. Was enjoying the drive until the wreck. Love the low-end torque. Not broke-in enough to try upper mid-range. Third bozo that that hit my Datsun. First one that lied.
-
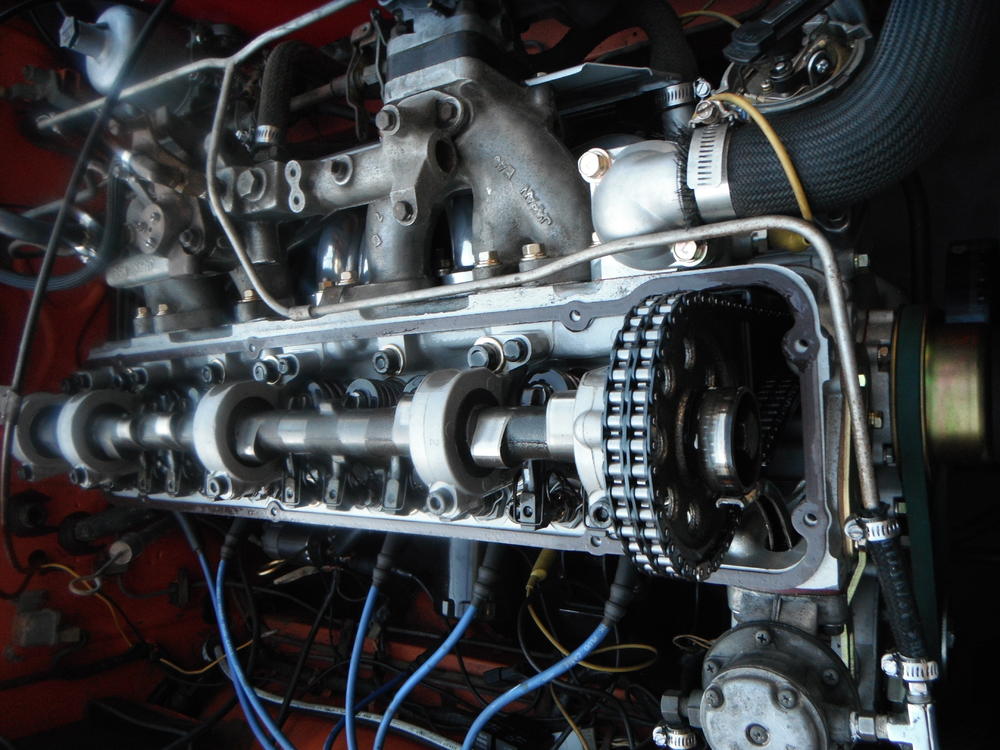
New stage II L28 in my 240Z with automatic trans. Got new mechanical fuel pump installed yesterday and took a test drive / grocery run. Trying to put some break-in miles on it. AF ratio looks good, per builder's spec., not smoking or lean while driving. Runs good except stopped in drive. Starts cold easily with some choke. Problem is in gear (Drive) with the car stopped at a stop sign or in traffic. It tends to stall. I cranked up the idle, it's supposed to have higher idle due to the cam. I set the idle up even higher, 1500 rpm in neutral or park, so it would keep running when stopped in drive, but there was some run-on when I shut off the engine. I figure the run-on is due to the high idle since it didn't do it previously. Run-on could damage the new engine so I'm going to dial back the idle until there's no run-on. Still need a solution, if possible. I could give it some gas, and push on the brakes, or shift into neutral, but I hope there's a better solution. What about giving it some more timing ? would that help. Anything else to try ? Mods to the AT might be the fix for some other cars, not available for the stock AT as far as I know. Also, for a better long-term solution, I wonder using a Crane Hi-6 would help. I was planning that eventually. Maybe the hotter multiple spark would help the cammy engine run at low rpm. Also, read a little about the 123 distributor. Maybe running more advance at idle would be the fix. I'm guessing here, though.
-
I saw a bunch of cars with clear over rust in the hotrod magazines. Usually way rustier than that. It was the latest fad a couple years ago. Maybe a backlash against paint jobs. That car still looks good, though.
-
I want to post this tech bulletin again. I'm still seeing references to ".55 inch", "9/16 inch", "14 mm down", or "23 mm down" in this thread. It's in the '72 FSM like that but all those numbers are wrong. The official Nissan Bulletin below, posted a couple years ago by Jonathan Russell (thank you), corrects the errors. It works out to 21 mm rear and 25 mm front (plus or minus 1/2 mm) down from the lid. So it's 4 mm higher for the rear carb. Or use the numbers in the bulletin to measure from the lid to the float if you have to try that method. Yes, the nozzle method is more accurate and you don't need to be concerned with numbers. So it's best to use that and forget about this. I don't like float to lid measurement method either. But if you want to use the float to lid measurement method anyway, or if you use the sightglass method, please read this at least once. It won't make it any easier to adjust the tangs but at least you'll be trying for the right numbers. TechnicalSupportBulletin-TS73-10.PDF
-
Take it back to the store. Maybe Harbor Freight will exchange it for another one.
-
Ok
-
No, 25 mm down, front, and 21 mm down rear. There's supposed to be 4 mm difference between the front and rear. I'm not making it up. It's in the Nissan tech bulletin that I posted couple of days ago. The measurements in the bulletin refer to dimension from bottom of lid to top of float but if you do the math (addition/subtraction) you come up with 25/21. Jonathan Russell posted the bulletin originally on the parallel thread. Suggested reading if you're setting the floats. (25+21) / 2=23 mm so the corrected numbers in the bulletin average up to 23 mm. Did you measure the fuel levels like I suggested? It's super easy. What numbers did you get ? Good Idea if you can remove the lids without letting some gas out, which isn't easy. Also, the float will displace some gas though so you'd need to mic it twice, once with the float in place and once with it removed to measure the difference. Suppose the difference is 2 mm (don't go by that - measure the difference !). Then the target would be 27 mm front and 23 mm rear. Don't get any gas on those plastic calipers, take the measurement with the other end. When you're done, at least check it with the nozzle method.


