nix240z
-
Posts
468 -
Joined
-
Last visited
-
Days Won
10
Content Type
Profiles
Knowledge Base
Zcar Wiki
Forums
Gallery
Events
Downloads
Store
Blogs
Collections
Classifieds
Everything posted by nix240z
-
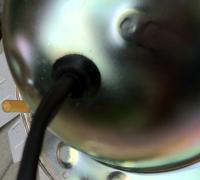
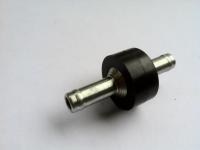
 next item reproduced is the headlight housing rubber insulator, for the wiring going into the back of the headlight bucket. replace your old cracked insulator. more rubber items on the way. Steve
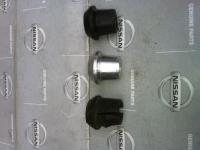
-
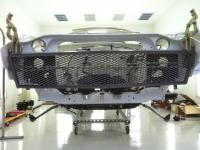
Here is a pic of the grill on my car... Gun metal gray is powder coated and a perfect fit.
-
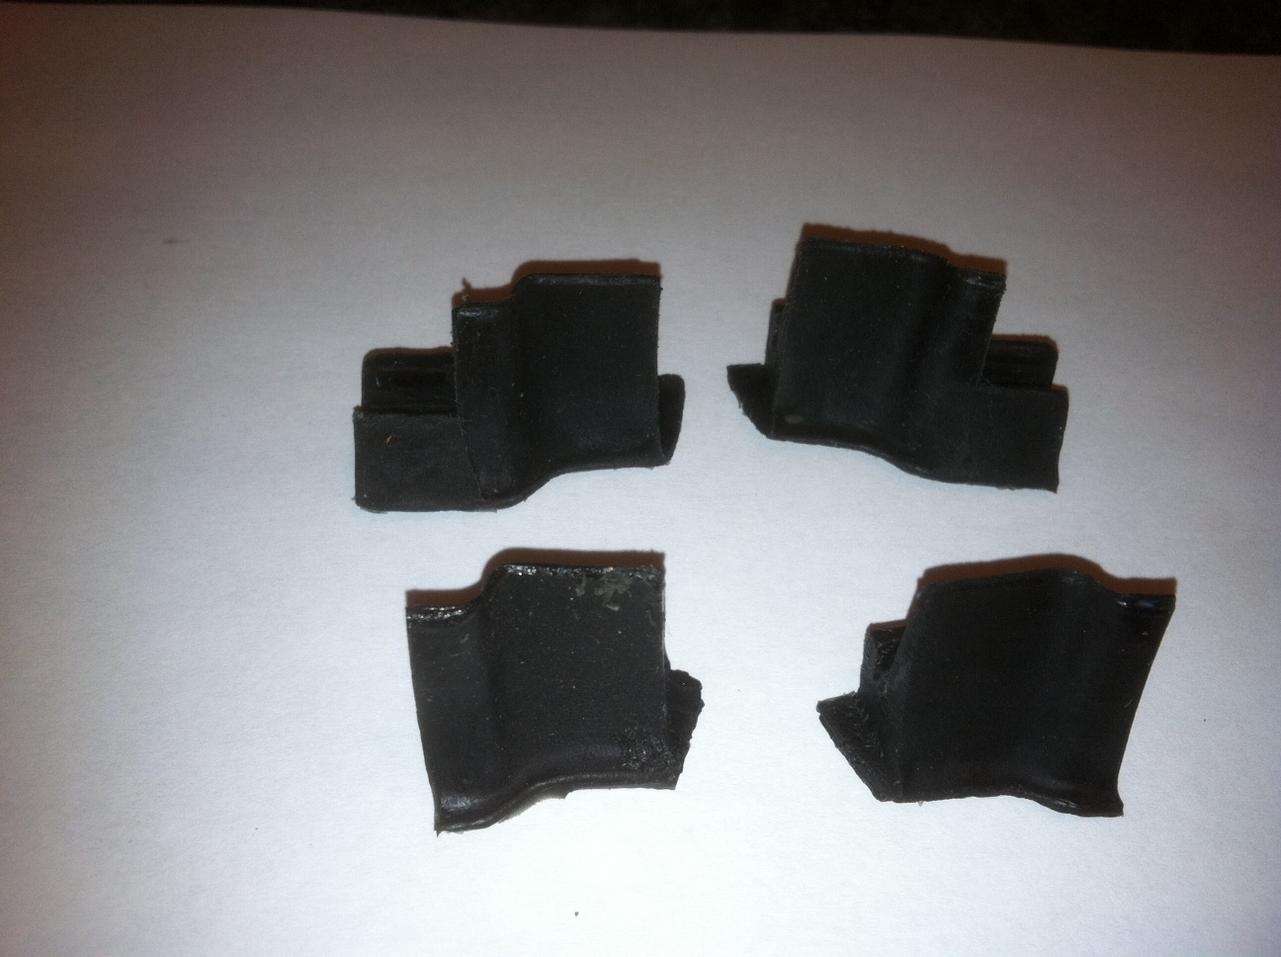
next items reproduced are the front and rear bumper to fender shims. more rubber items to come.... Steve
-
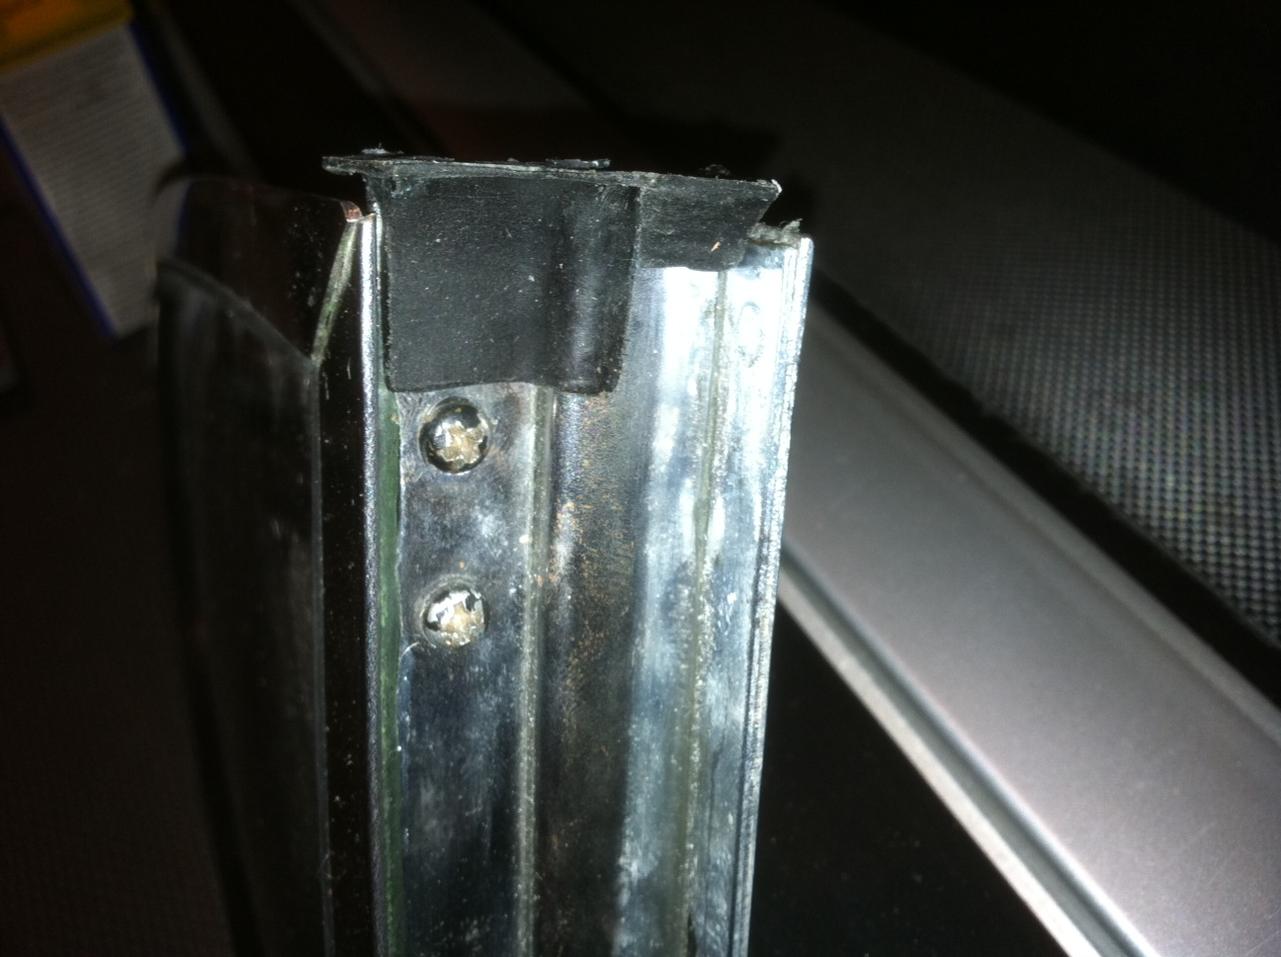
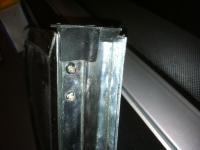
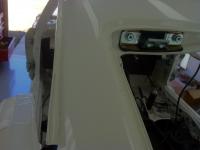
76837-E4100 & 76838-E4100 WEATHERSTRIP-SIDE WI this type is longer, is now also available. Same price, $16 plus shipping for a set of the right and left. short type (76837-N3400 & 76838-N3400 WEATHERSTRIP-SIDE WI) and the longer type (76837-E4100 & 76838-E4100 WEATHERSTRIP-SIDE WI). shorter version on bottom and longer version on top. rubber on the upper quarter window. More rubber parts are in the works..
-
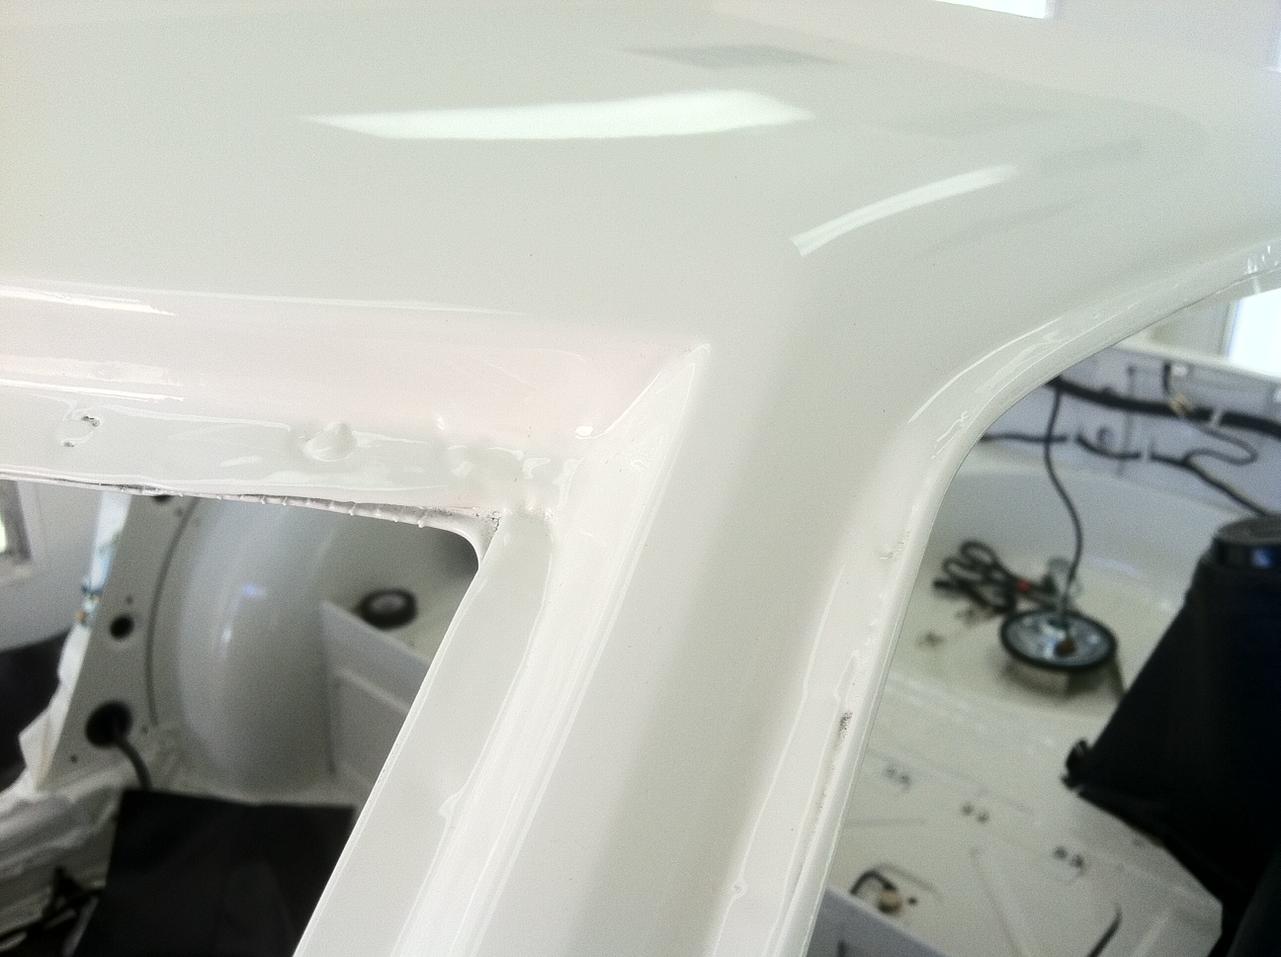
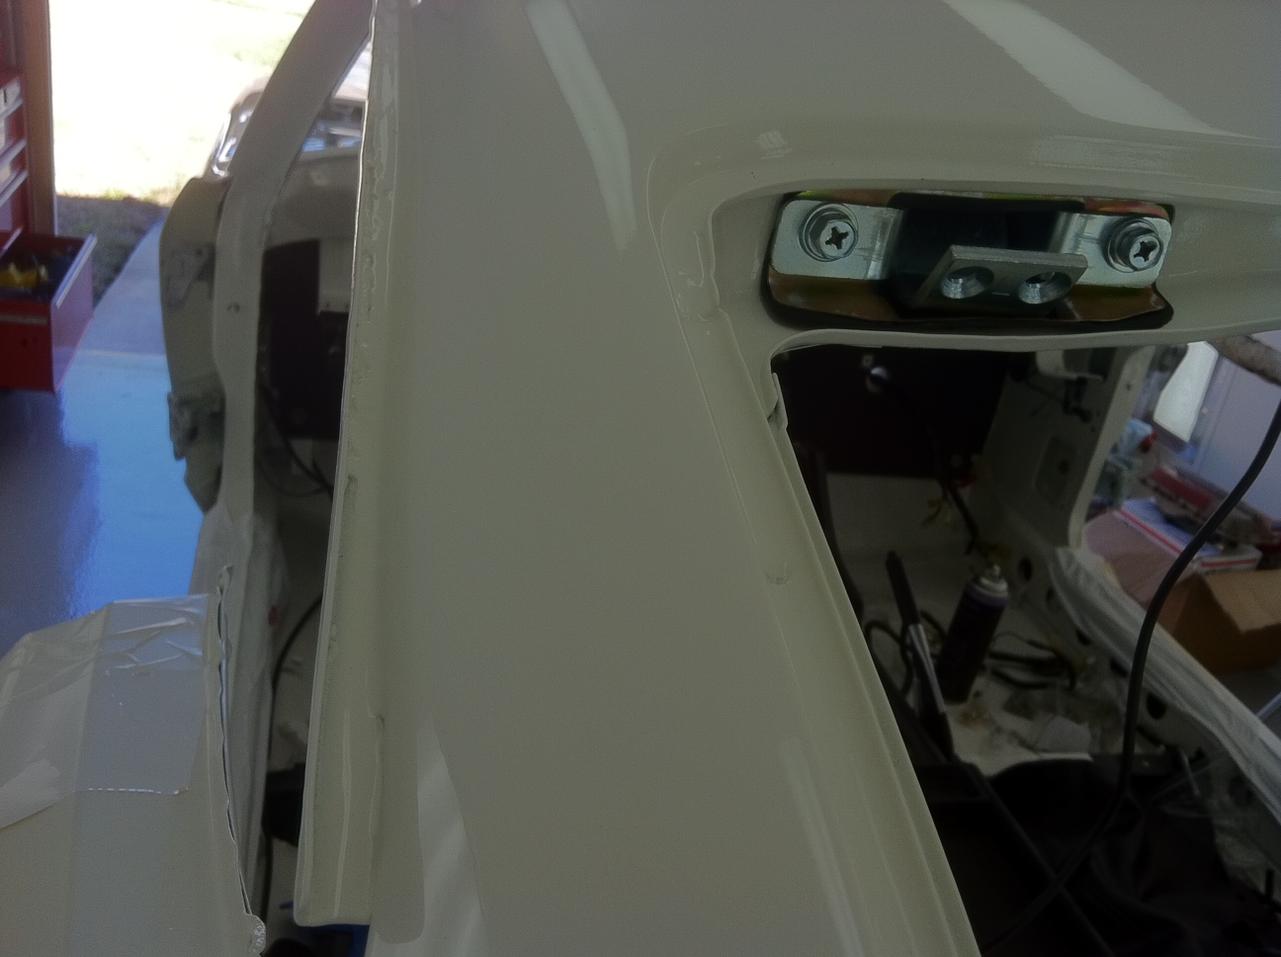
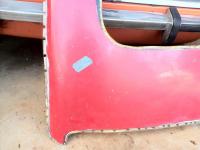
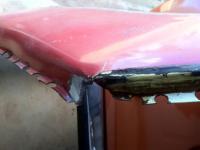
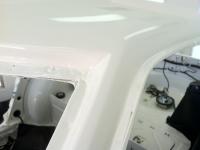
Pictures are worth a thousand words. Spot welds cut out. donor roof from 280z with spot welds cut out. I used body lead in the corners like factory did. Body lead for rear also.

-
Clarification on this part. The original part numbers are: 76837-E4100 & 76838-E4100 WEATHERSTRIP-SIDE WI this type was longer, which was replaced with 76837-N3400 & 76838-N3400 WEATHERSTRIP-SIDE WI ( Shorter type, this is what I reproduced) Then replaced with 76837-N4500 & 76838-N4500 WEATHERSTRIP-SIDE WI This is the newer type from nissan which covers the entire quarter window, with the screws. This is the shorter type that also comes with a 1/4" filler piece that is glued in place, just like from the factory. PM me if you have any questions. Steve
-
I also had a sunroof in my 240z. I replaced the entire roof skin on my car with a donor roof from a 280z. Each roof will have about 90 spot welds that will need to be cut out. Well worth it IMO. Steve
-
Another item, this time it is the 240z quarter window upper rubber seals. The right and left set is $16 plus shipping inside the usa. Replace your old or missing seals. seal on the upper quarter window. right and left seals
-
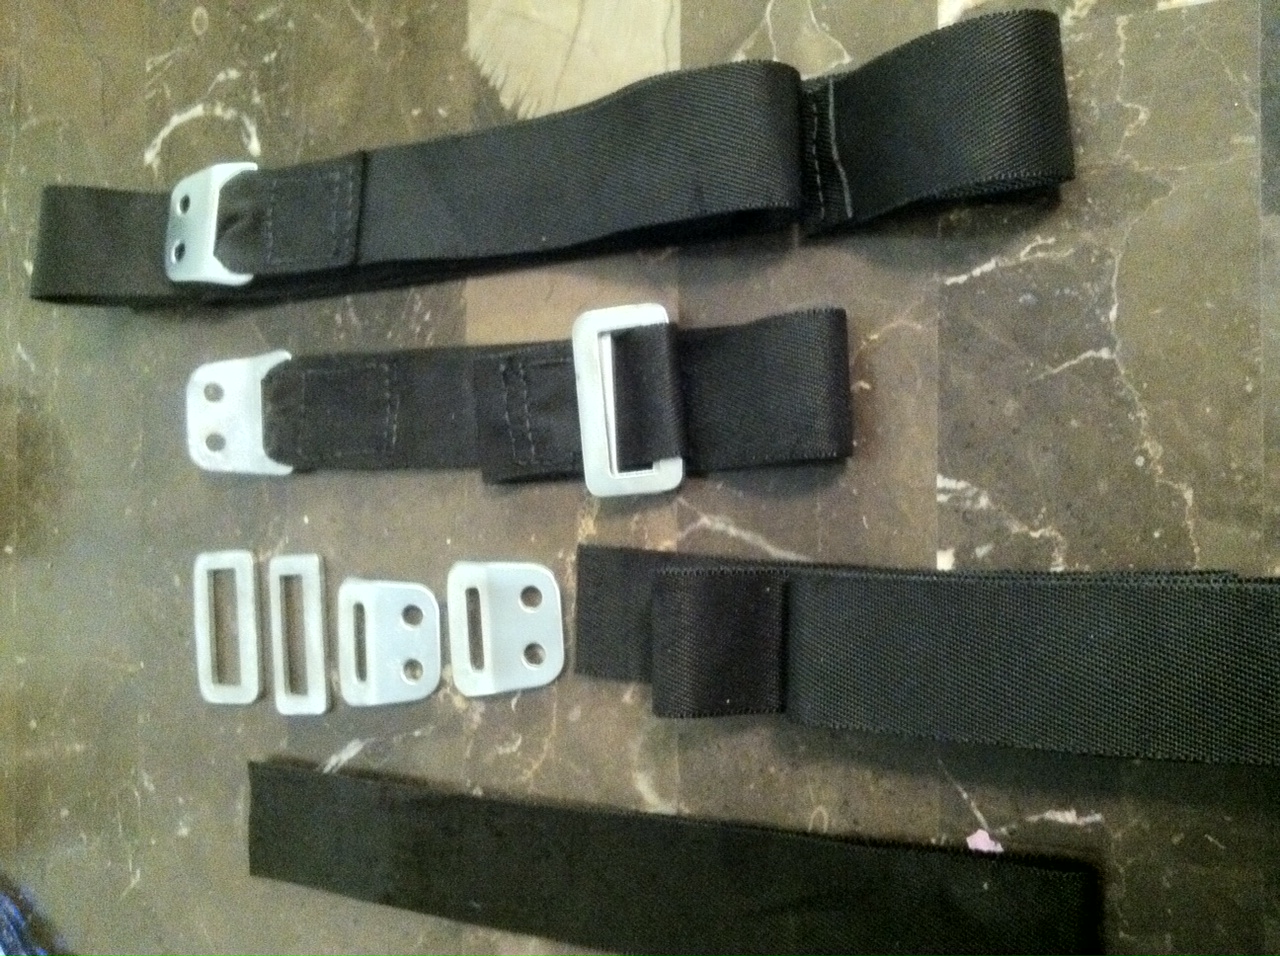
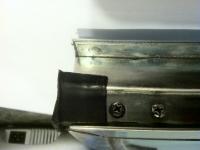
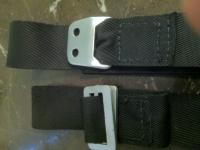
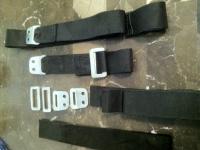
Refurbished luggage/cargo straps. Completely disassembled the straps, refinished the hardware with zinc plating. Dyed the straps black and hand stitched them back together.
-
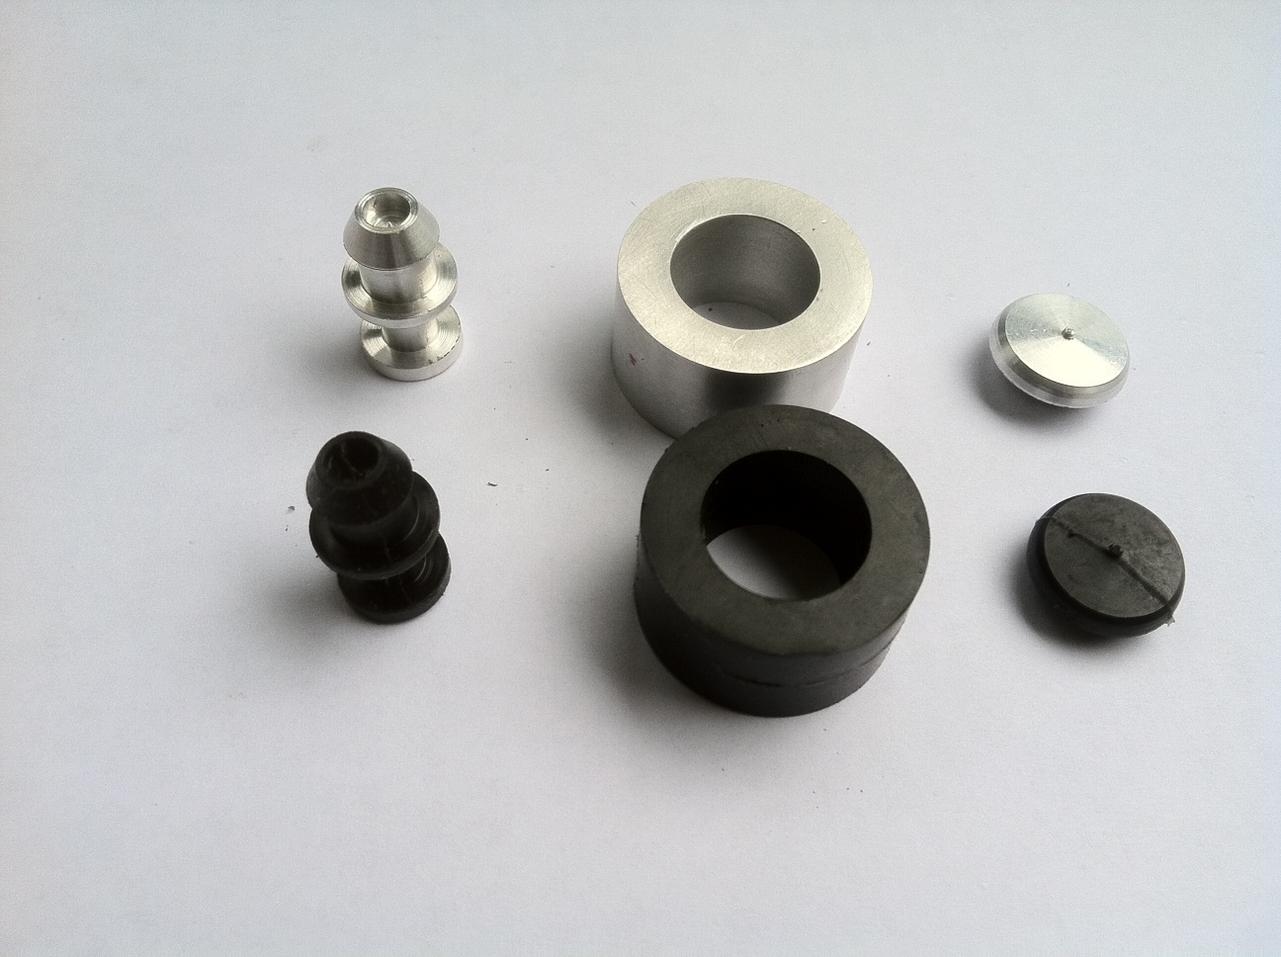
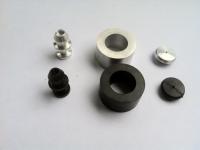
rocker panel plugs $8 each plus shipping brakebooster $15 each plus shipping hatch stopper $10 each plus shipping
-
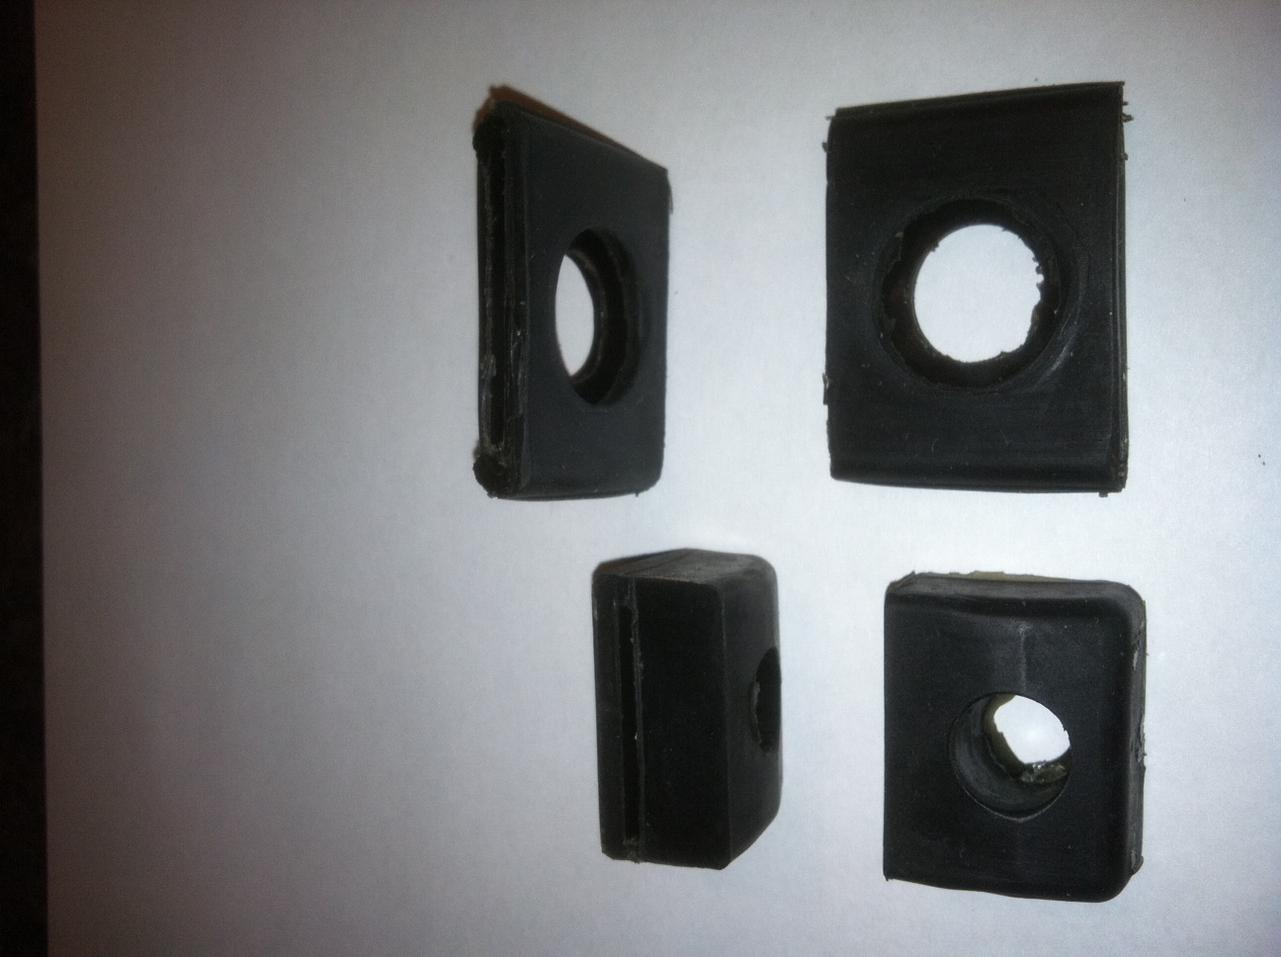
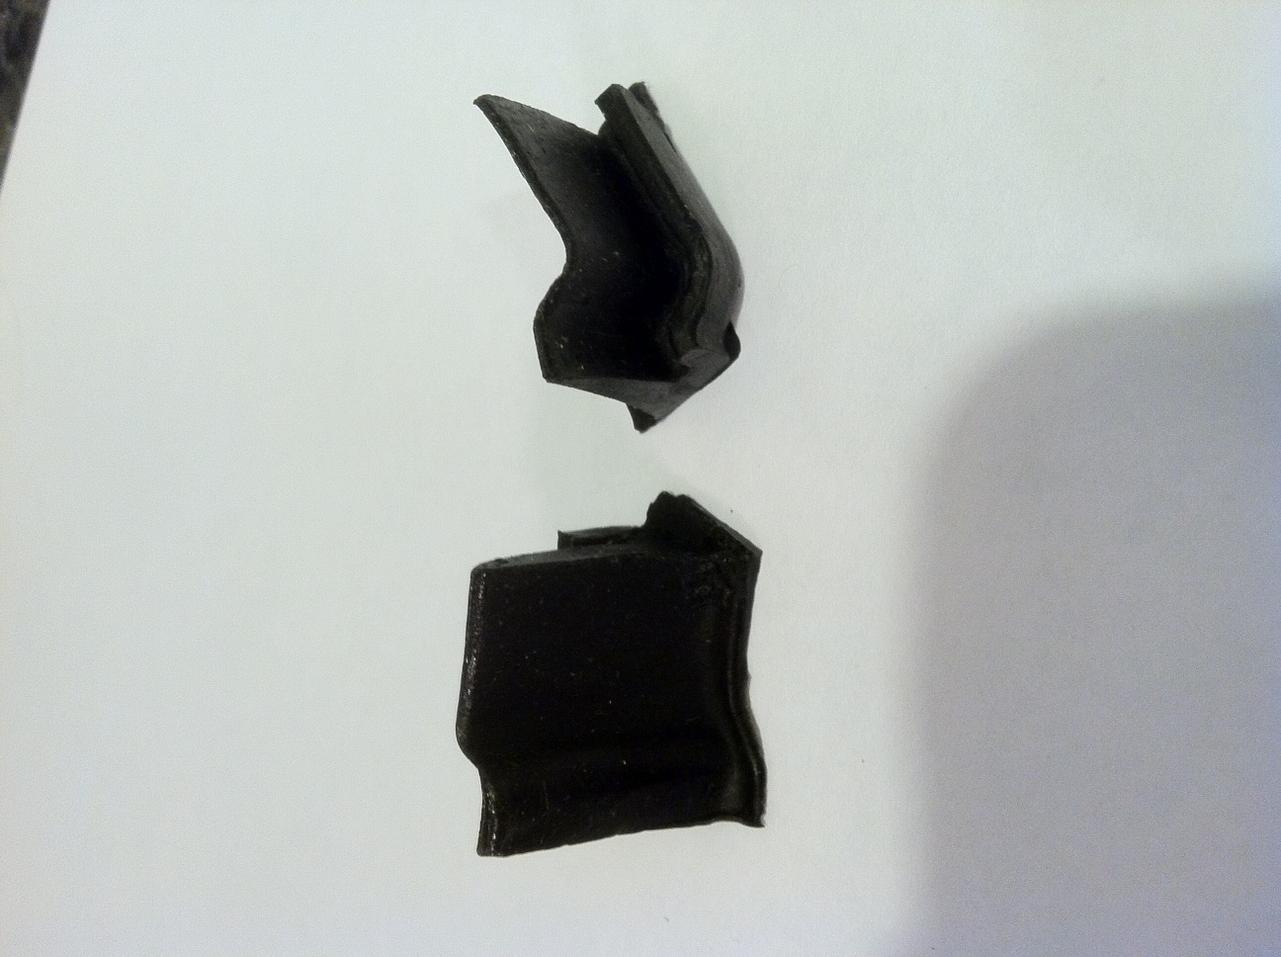
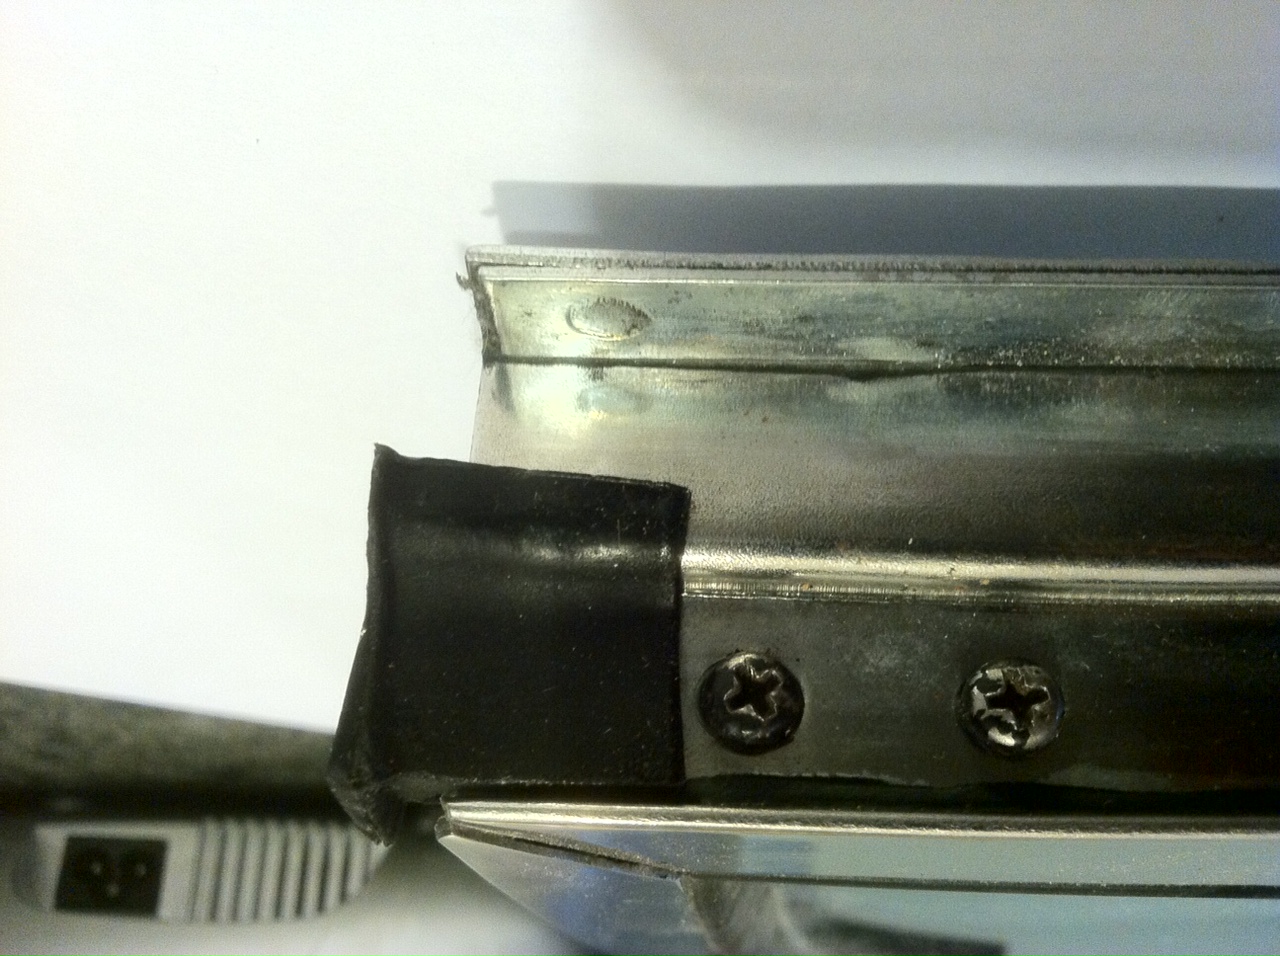
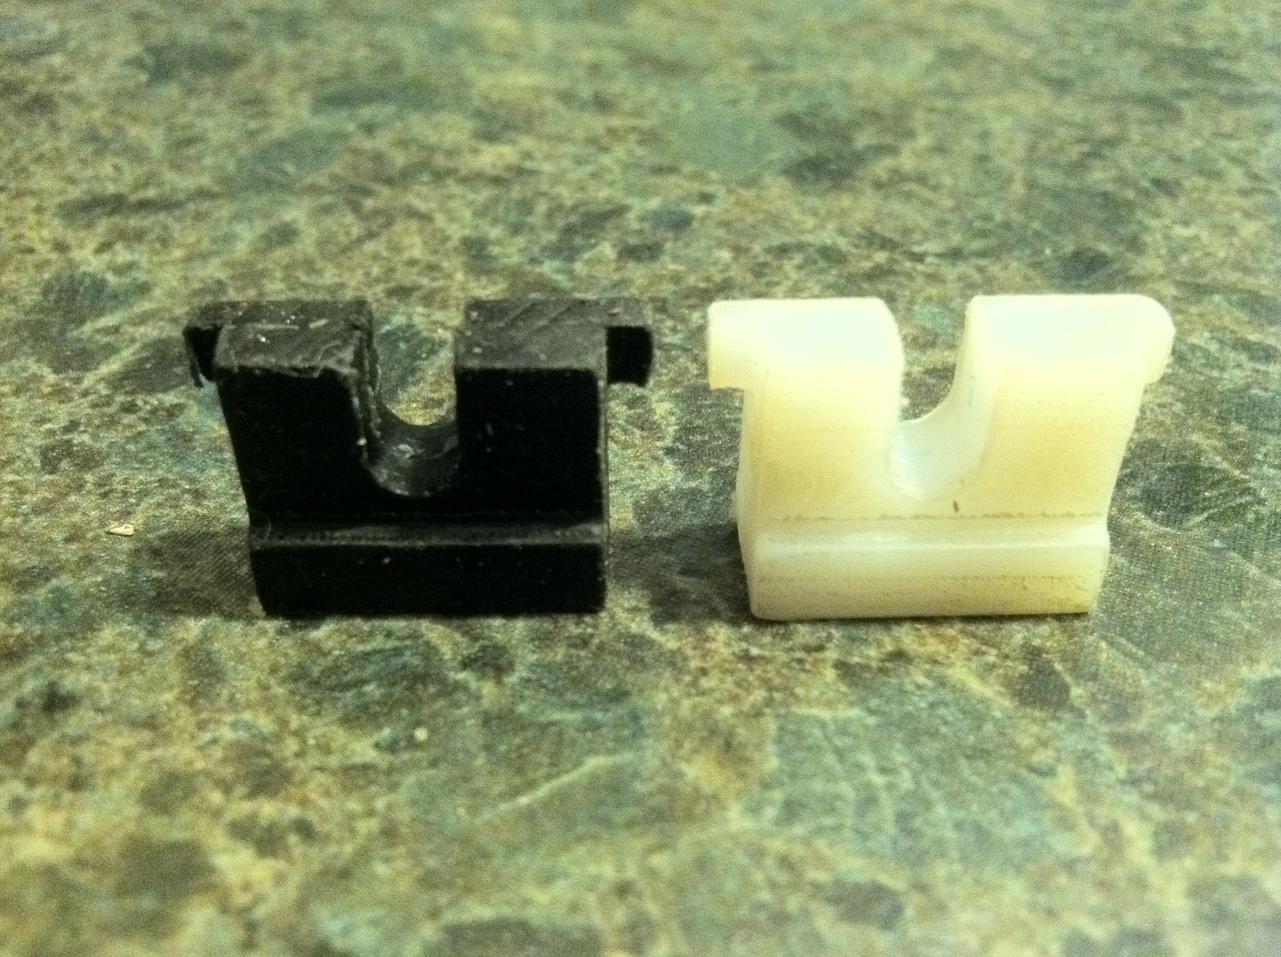
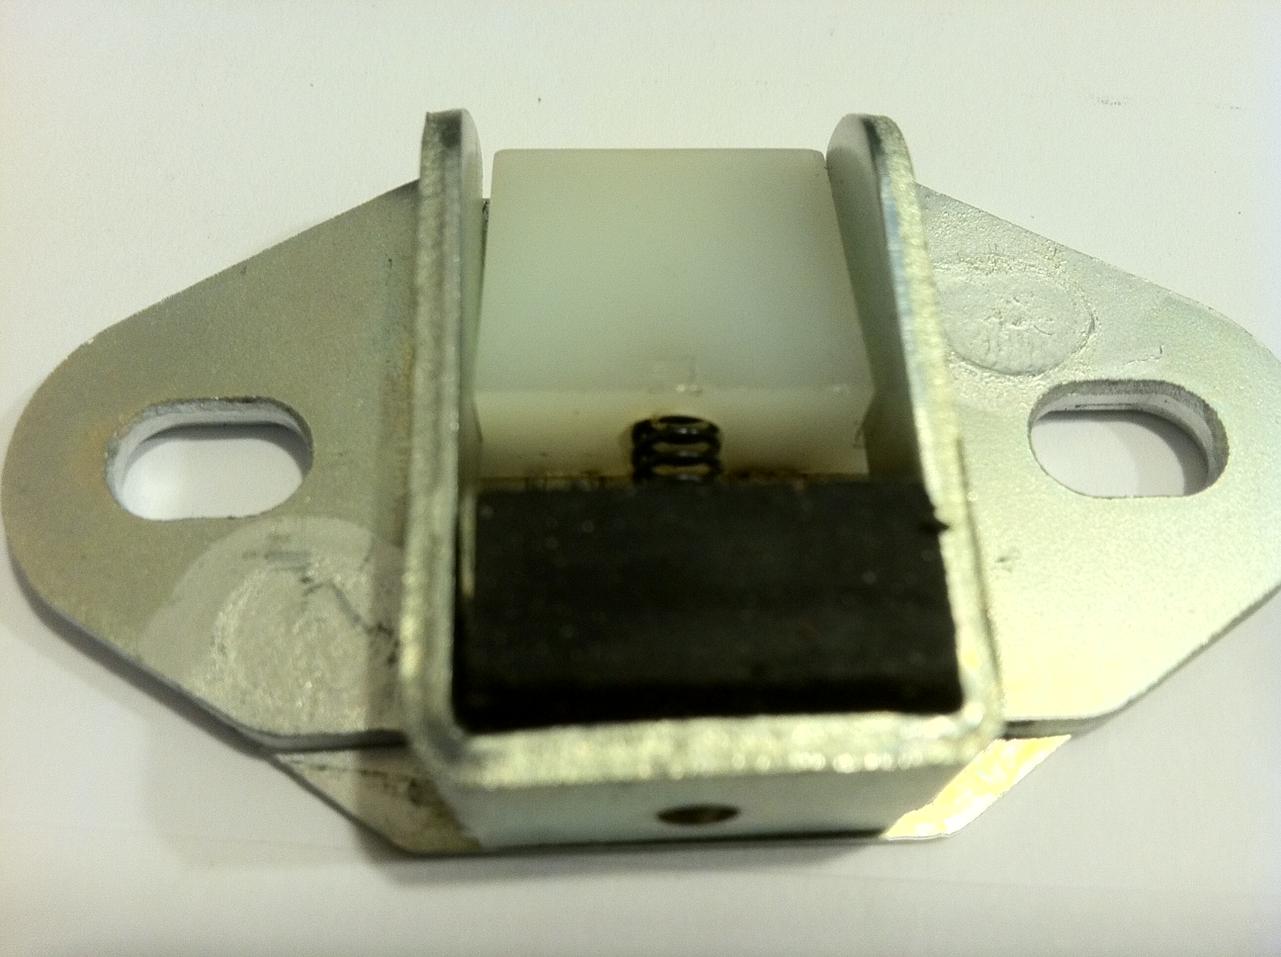
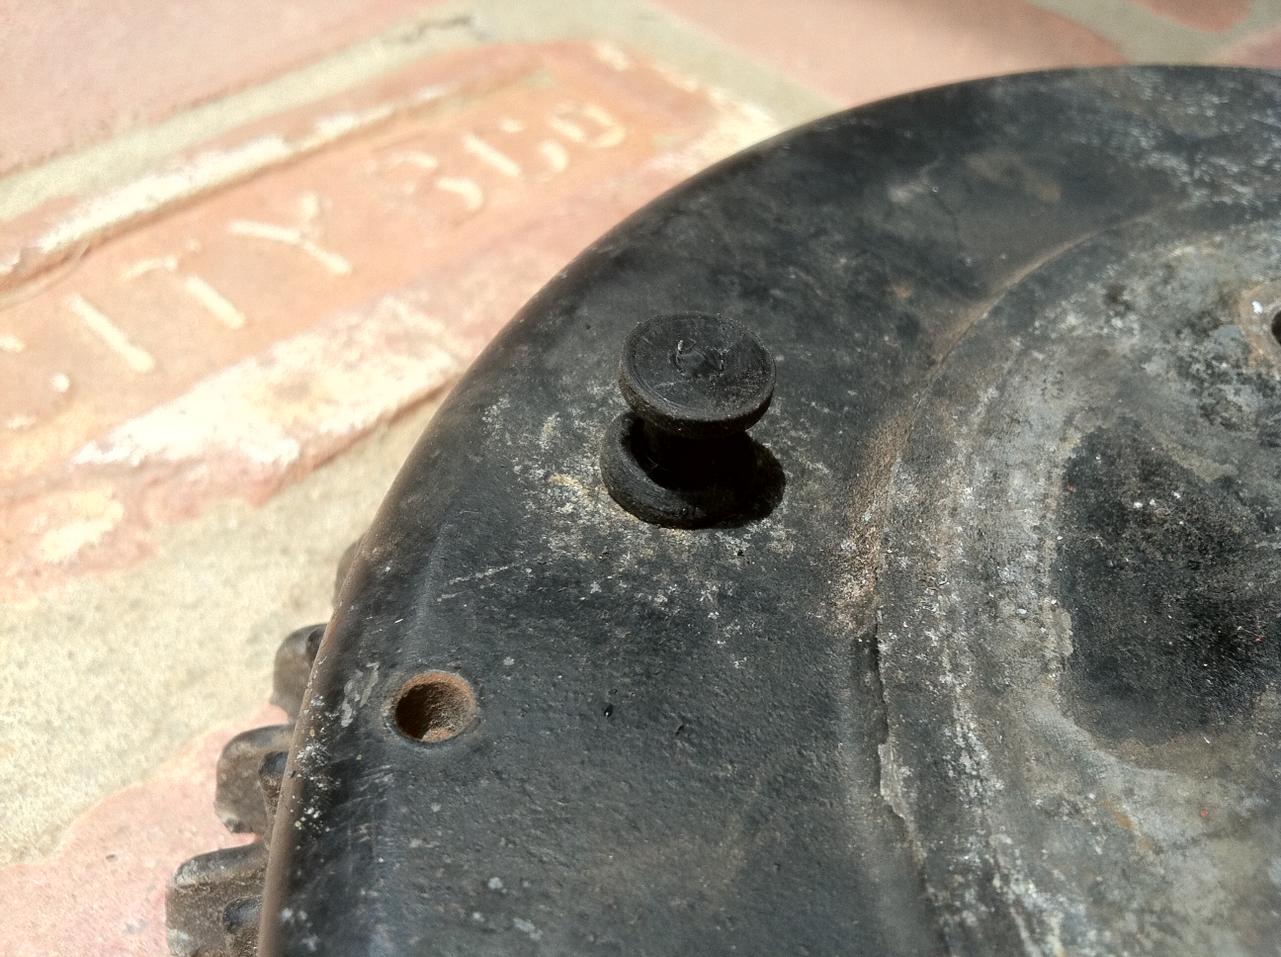
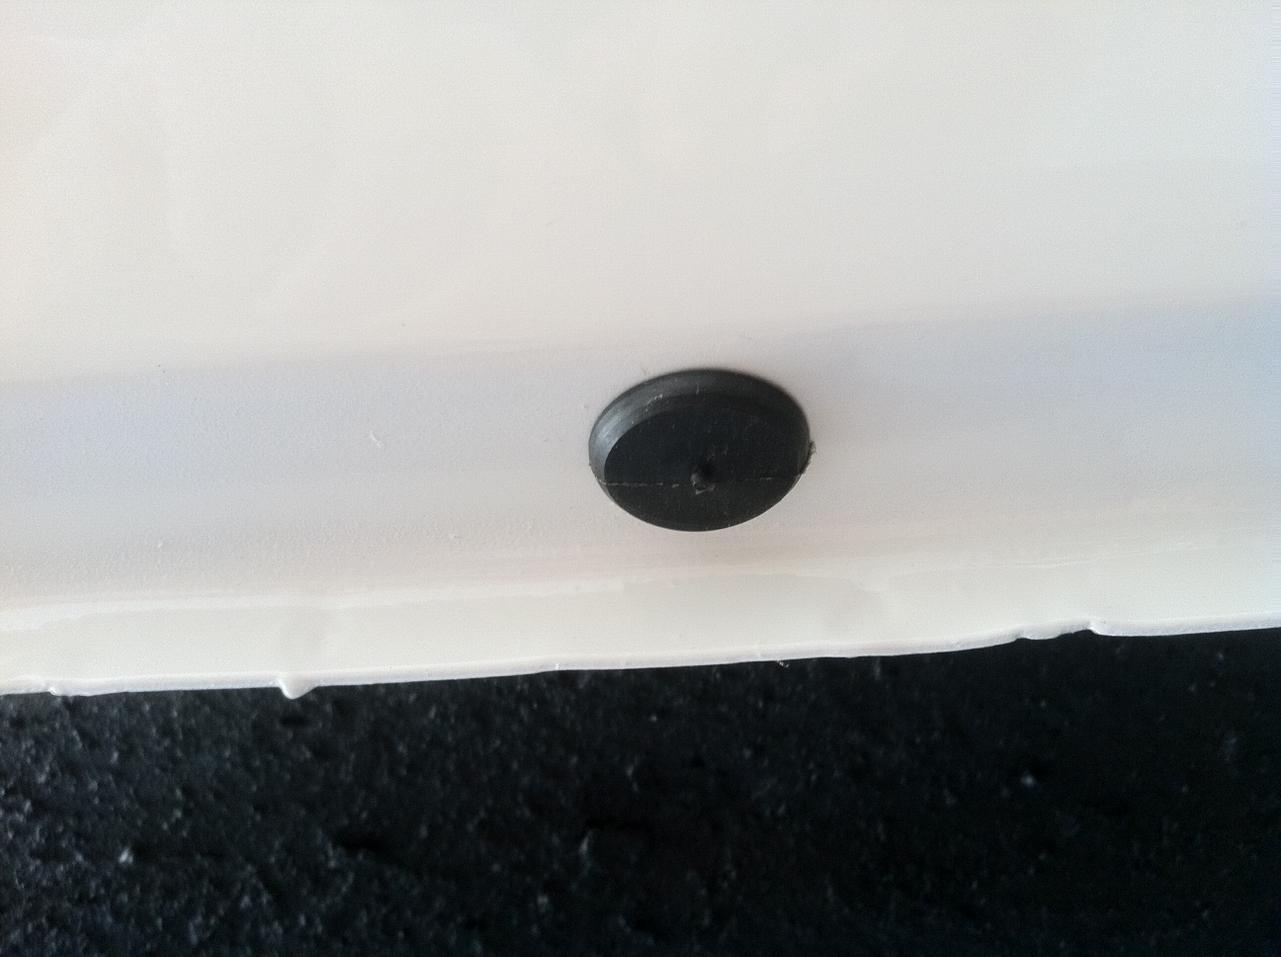
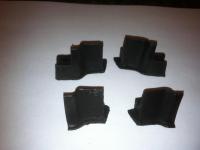
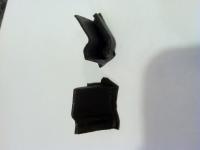
Another item reproduced, its the rear hatch stopper rubber insulator. This one was milled out of Delrin and cast into a 2 piece mold. This is the correct replacement for your old worn out rubber. It even has the two little side parts that are on the original ones. The new ones come in a cream color and these are the correct black color. These are not hand cut or drilled, these are from a two part mold just like all the other insulators. Sorry just the rubber not the metal stopper.


-
check caswell Pump Silvering Kit
-
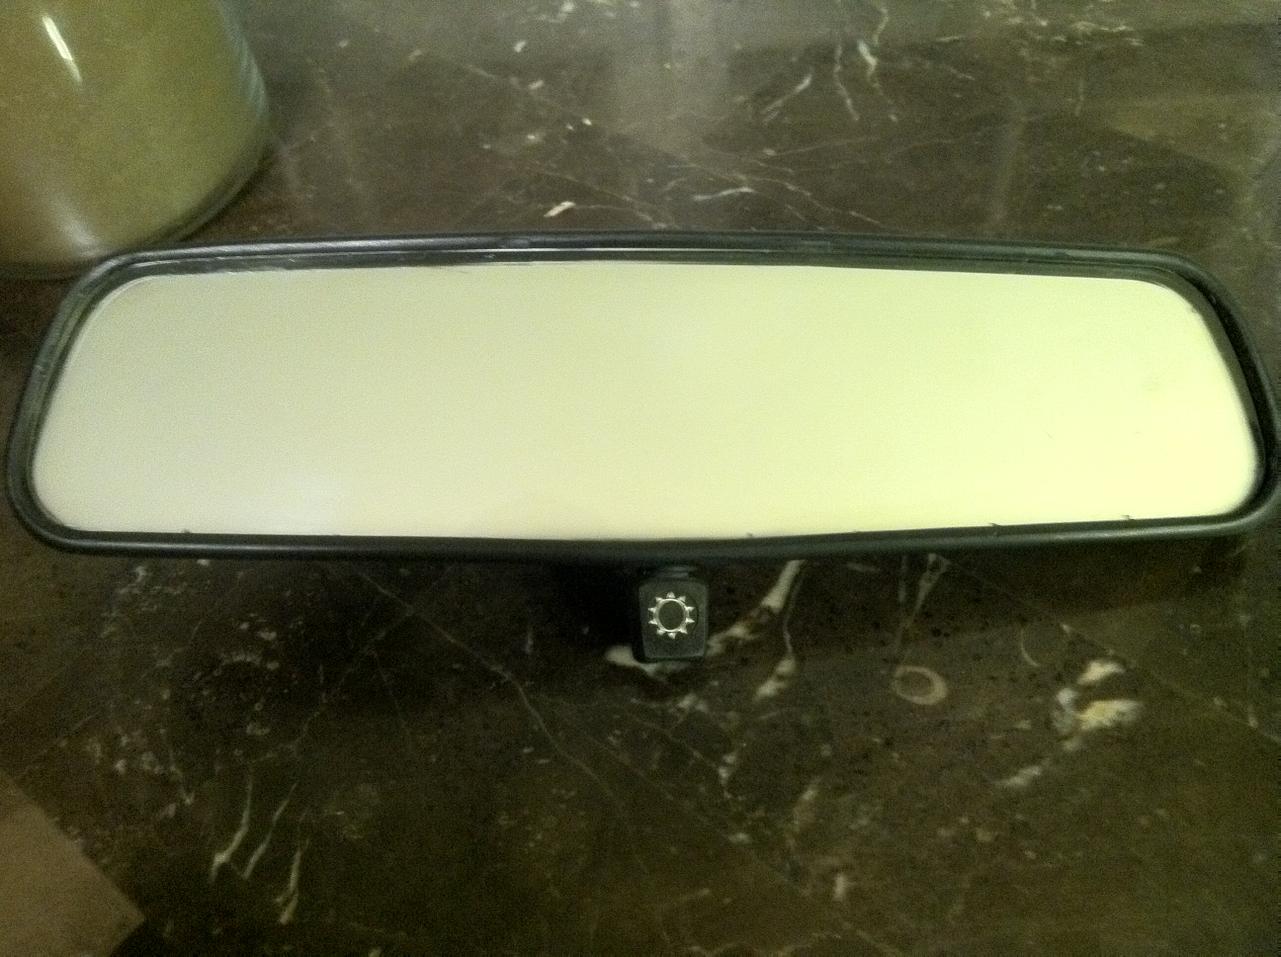
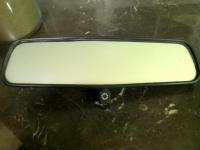
Charles, I did but not with the setup I showed you. Next time you come over, bring your mirror and we will silver it. I ordered some Cerium Oxide to see if I could get the glass even cleaner and get a better silver job. Even the littlest scratch effects the silver. I have two more mirrors to strip and silver. Steve
-
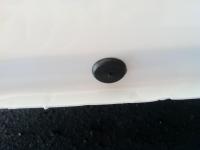
Stripped and silvered my mirror. It not perfect but it came out really nice for 40 year old glass. To be perfect, the glass must be perfect.
-
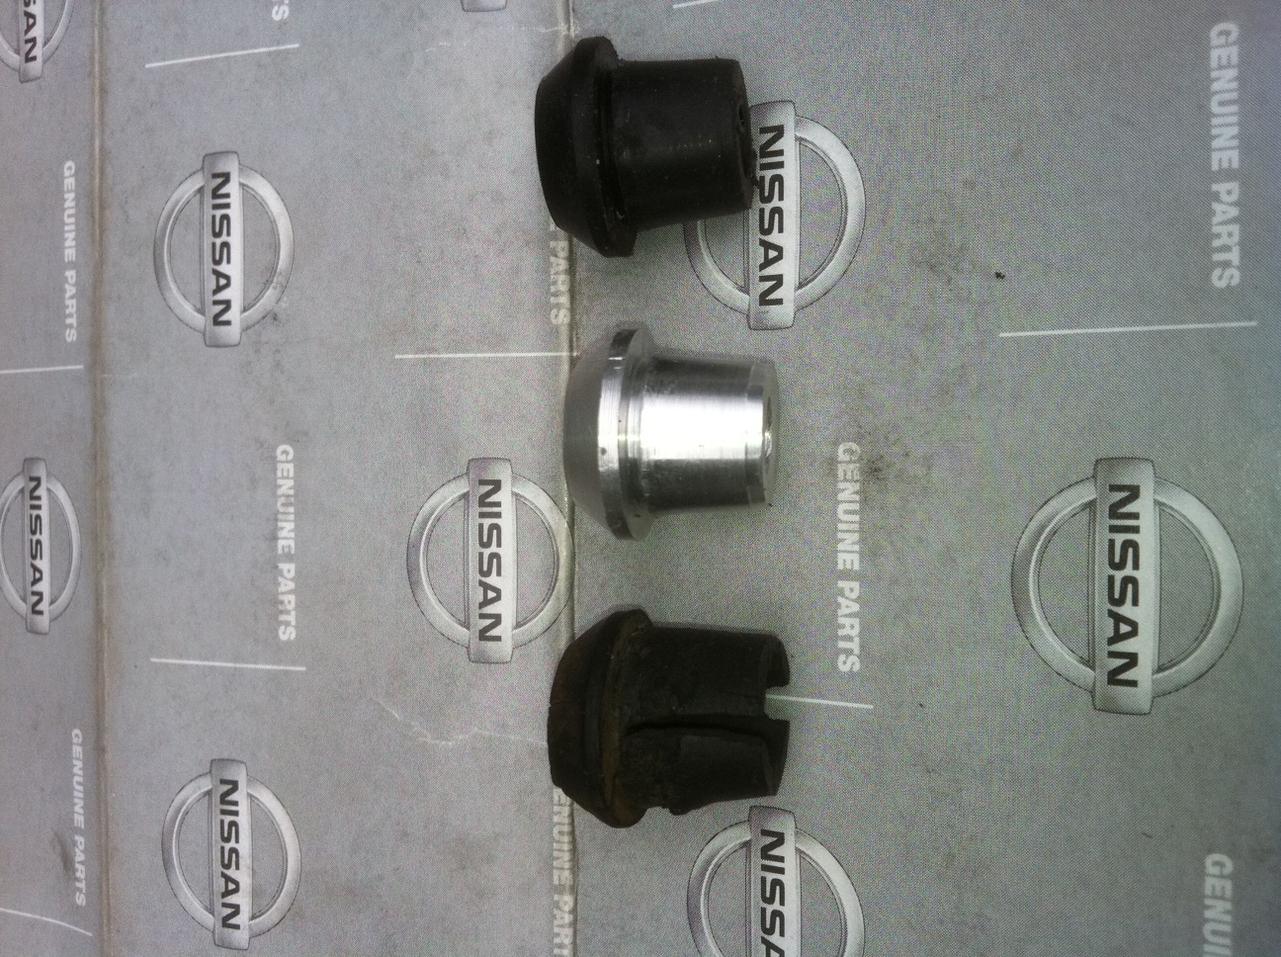
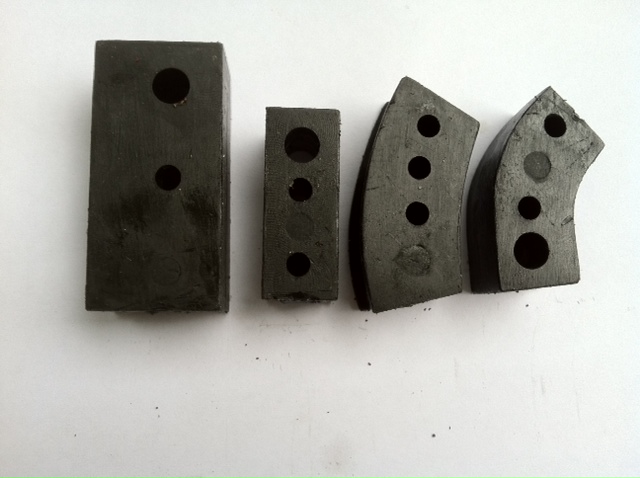
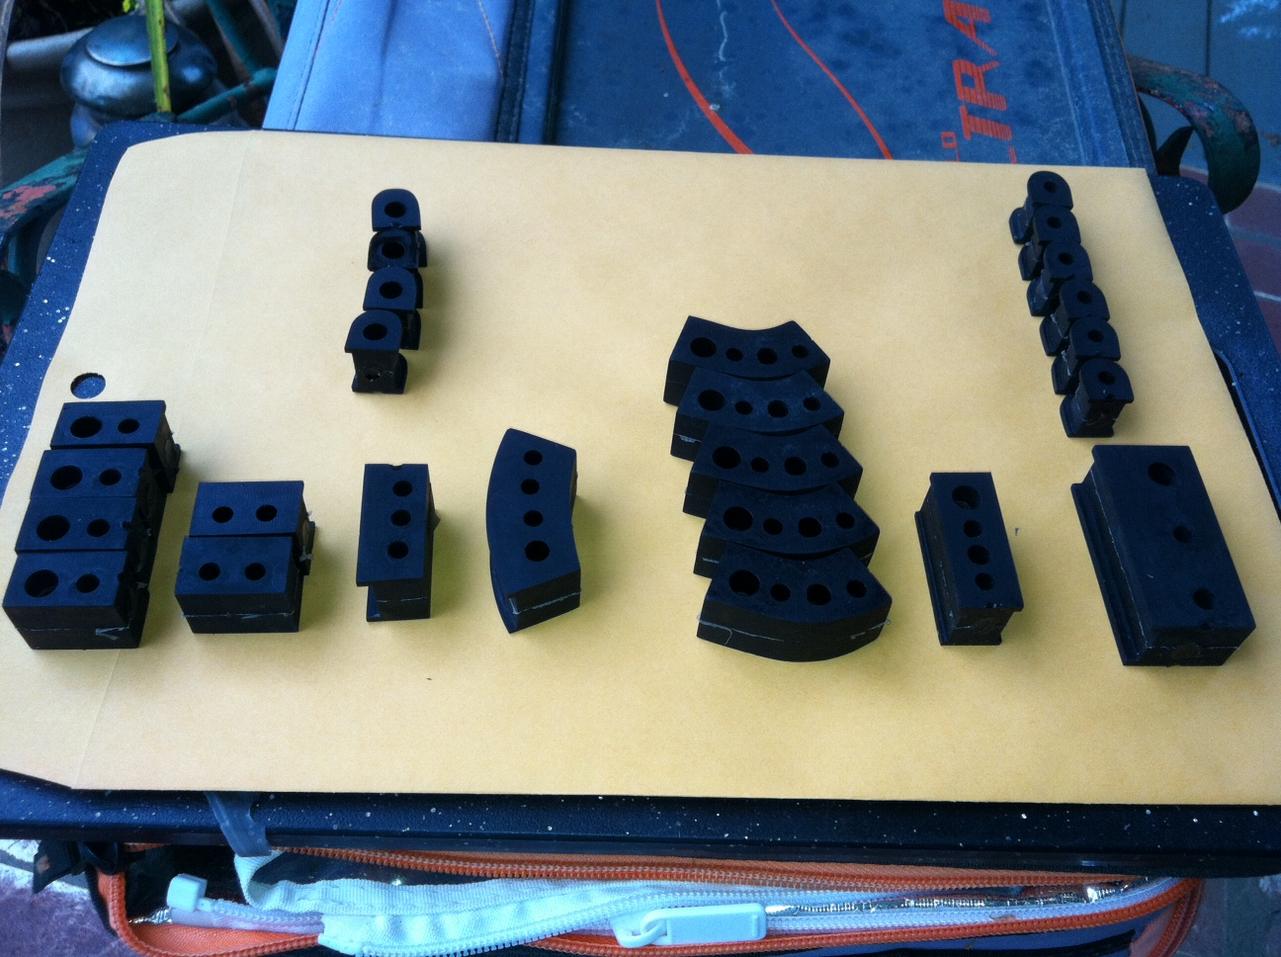
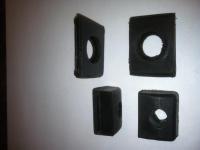
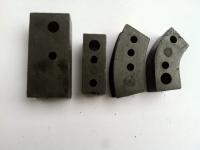
Early 70 3 hole insulators.
-
other items for 240z I am working on. Each parts was milled out of Aluminum 6061, then cast into a two piece mold. Brake booster check valve rubber insulator. Rear Brake drum plug, this plug will need to be tested to see how it stands up to the drum heat. Rocker panel plug.

-
The Early 1970 3 holes insulators are now available to order as a complete set. These will be made to order and will take 1 week to produce. Remember these are cast insulators not hand cut and drilled insulators. thx Steve
-
If someone could send me a pic of the insulators in question, I can make these insulators.
-
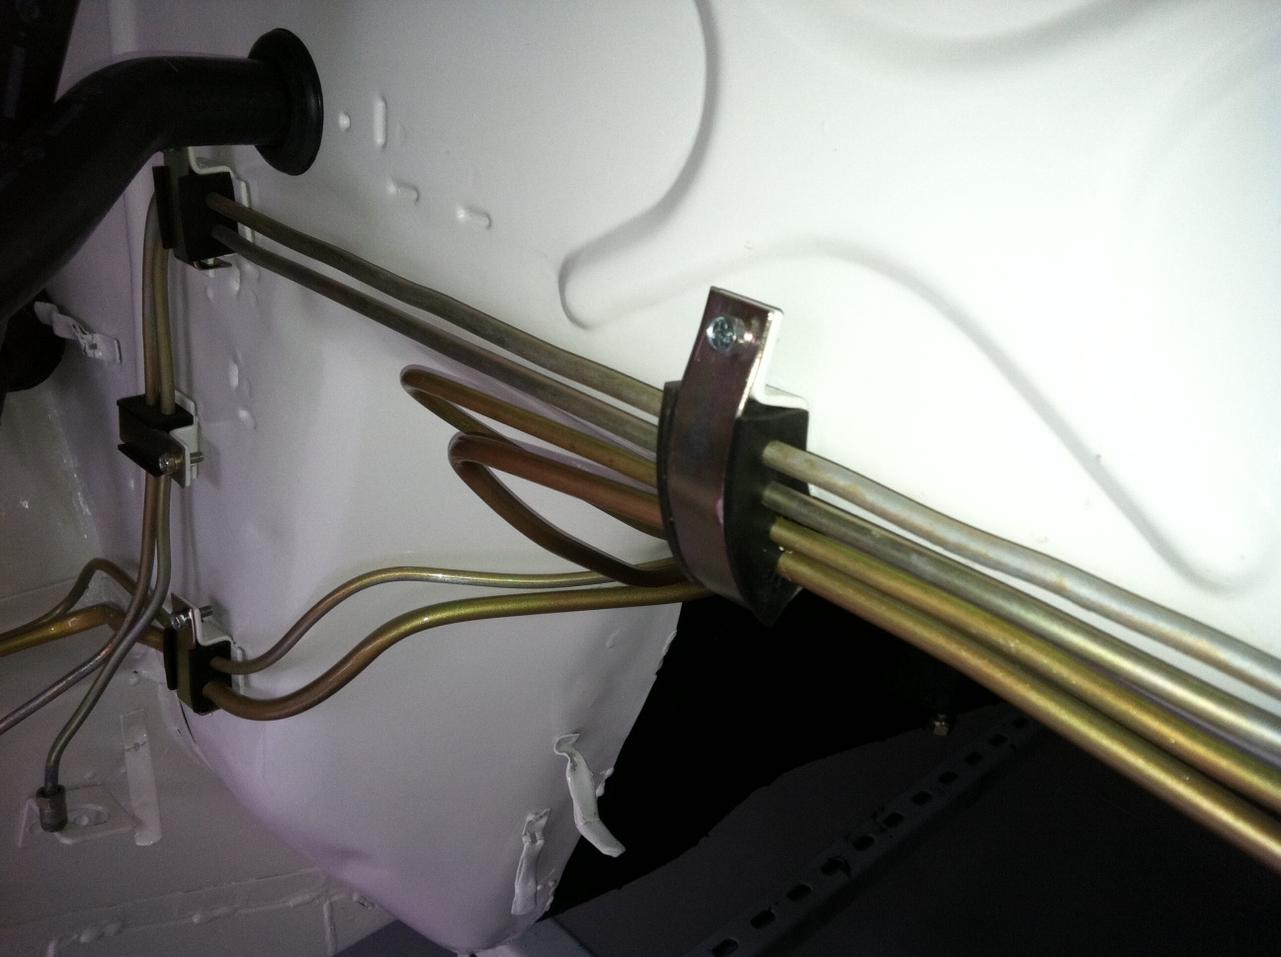
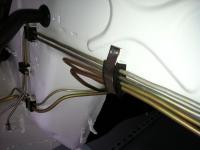
Not sure how the emission controls affect or are related to the fuel line and return line insulators, if anyone could give any feedback or comment, that might help answer the question. Steve
-
The first run of ten complete sets of insulators are now sold out. Please send me a PM on availability and price. Thx Steve
-
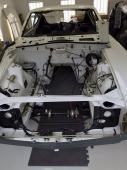
Charles, you can see how I painted my car on saturday. Steve
-
If anyone else needs a partial set or individual insulators let me know, I have a few misc. insulators left.
-
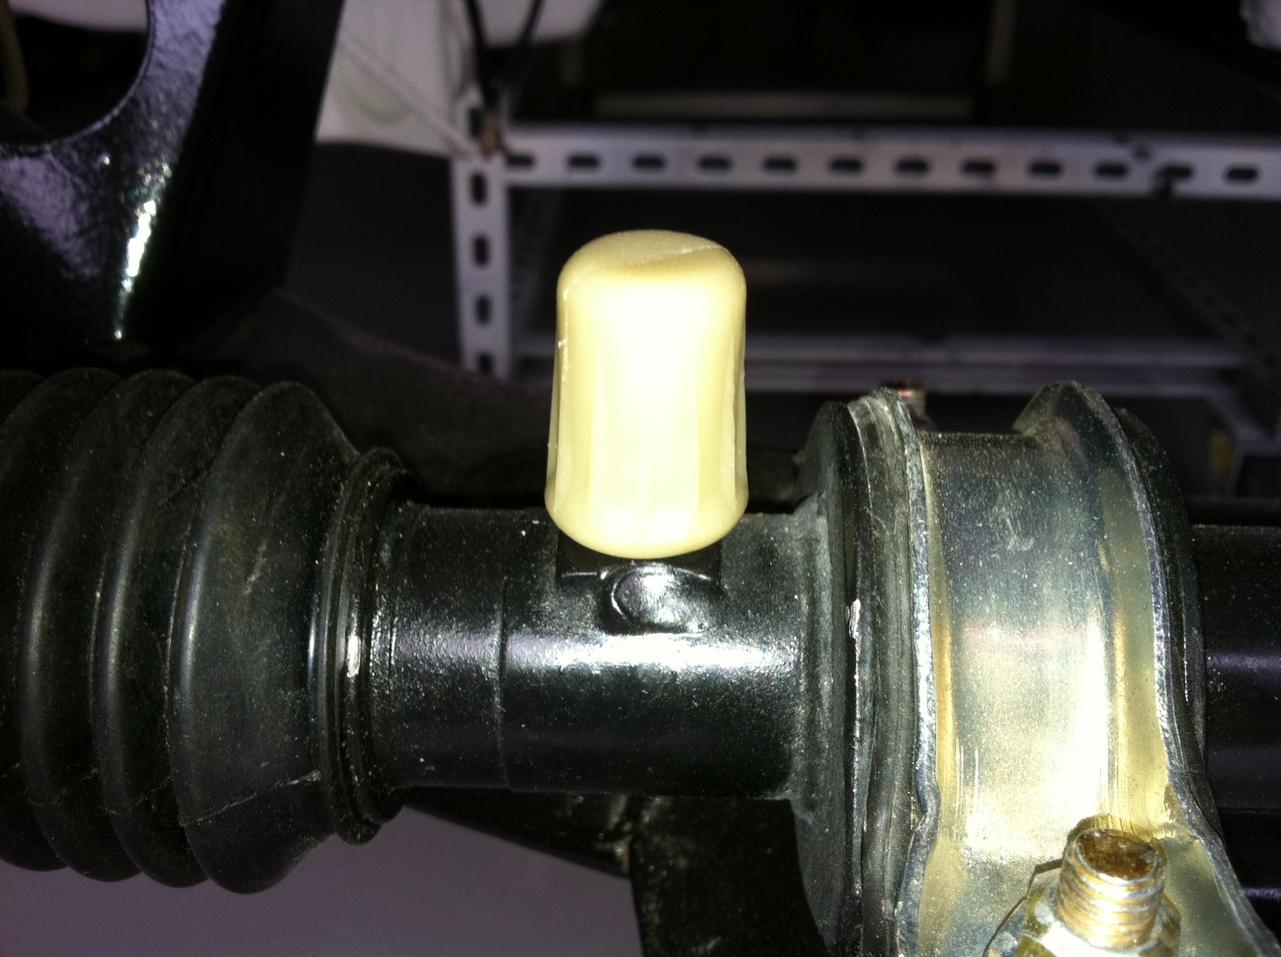
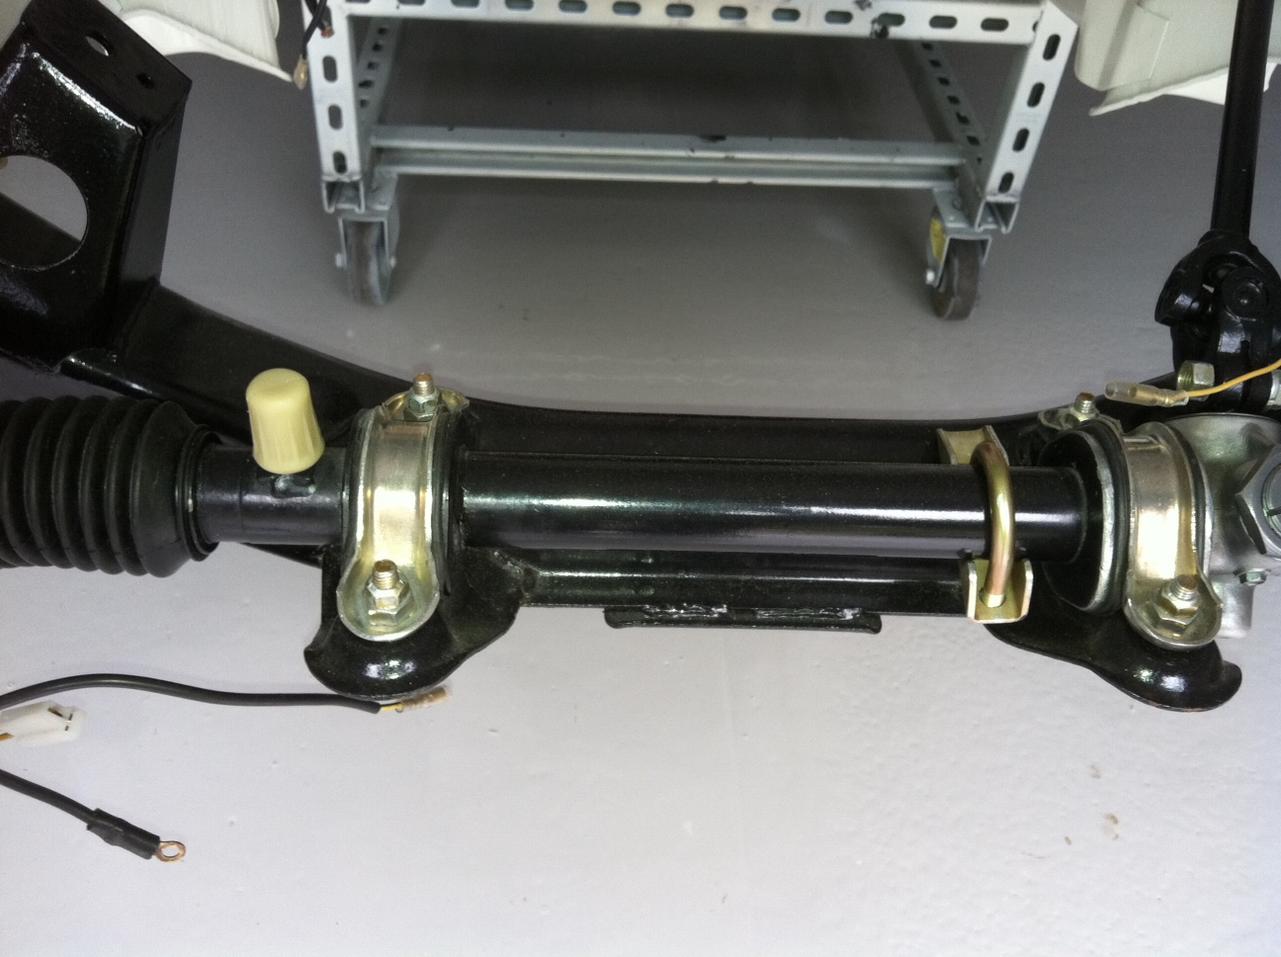
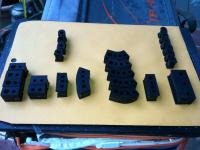
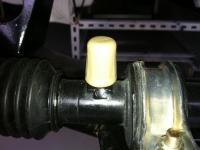
Each 240z fuel and brake line insulator was reproduced in a urethane plastic on a milling machine, which made for a very high quality master insulator. Each insulator is then cast in a two part high quality silicone mold. The insulators are cast in a urethane rubber with a shore hardness of 70A. The urethane has been degassed in a vacuum chamber, then cast and cured in a pressure pot for 24hrs. After curing for 24hrs the insulator have been heated to 150deg for 8 hrs for post-curing. It takes two day to make one complete set of insulators. 70-72 has 15 large insulators, 6 brake line insulators and 4 flow guide valve insulators. 73 have 14 large insulators, 6 brake line insulators and 4 flow guide valve insulators. Insulator sets are available in either the auto or manual transmission 240z. The price for a complete set of insulators is $150.00 plus $6 shipping inside the usa, on a limited few sets, then Zeddsaver.com will be selling the sets via the website at a higher price. Reproduced a steering rack expansion reservoir, in a beige color, for the 70 and early 71 240z with a 12mmx1.0 threads. This is a solid piece without a reservoir; this is for nostalgia look only. This was reproduced in a urethane resin that cures to a solid plastic with a shore hardness of 83D beige color. Make sure you have the 12mmx1.0 opening on your steering racks since later models either have a 10mmx1.0 or no hole. The Price is $14.00 plus $6 shipping inside the usa. thanks Steve

-
I think the best way to do this is to burn the rubber bushing out of one side and cut the other side of the pin. This will allow the A-Arm to be removed and still leaving 1 side of the spindle pin with the 12mm threads. Now you can now get the pin in a press, with the A-arm removed and still have the puller pulling as you press. This is the way I got the last pin out in less that 20min once I was pulling and pressing. Pin is cut like in my first pic and it is the Pin on the top..
-
look on the inside of the rim..it should say American Racing.