disepyon
Free Member
-
Joined
-
Last visited
Everything posted by disepyon
-
Robert thanks for the comment and letting others know the quality of Charlie's inner rockers. Glad to know you are satisfied with the set I made for you.
-
Hey Just figured id update everyone that might not know already. But just noticed that Charlie at Zedd Findings is now offering the Inner Rocker Panels. I dont think I am allowed to post up links, but if you check out his website they are on there on their own link/tab. Hopefully what he offers will be a great alternative to mine. My apologies to those that tried to buy from me, just unfortunate that I dont have a lot of time to spend on make parts. Hopefully ill be able to make some more soon.
-
Sorry for the extremely late response. Unfortunately I am unable to do high volume production. I can do seat brackets, but they are really time consuming to make as I dont have much time to spend on making things for others anymore due to my work keeping me busy and the time I need to put into my own cars. But there are times when I can put time into making stuff for others. Well all id like to update this and inform everyone that Charlie at Zedd Findings called me up and talked to me about he wanting to start making the inner rockers. I told him I have no issues with it as I think competition is healthy to have in any business. Honestly he didnt even have to talk to me about it, I wouldnt had cared if he made them with out speaking to me, not like I have a patent on this, but its nice to know he wanted to talk to me about it first. I told him that I dont have time to keep up with the requests I get in providing these panels, thus the reason he wanted to start selling. I am currently making a set for him as he wanted it to use as a prototype. I think be better to have the actual Factory panel to mimic off of but I guess he doesnt have any on hand. I dont know when he will be getting his inner rockers ready for production, I dont know how he will be making them and what he will be charging, but I will keep this updated for when that happens or you can just get in contact with him or regularly check his site. Ive already told some people about him, so hopefully he is motivated to get this going. Id love to keep this up and even making other products like talked about in this thread, but still dont have enough of my own time to give up on this. Hopefully in the future ill be back at it and be able to provide for all that wants. Well anyways, stay tuned!! P.S. sad news for my project 240Z is it hasnt gotten any attention since I left off in my build thread, for those wondering. I actually have some surprising news about it, some may think im crazy....but wont say it, so you will have to stay tuned!! Edit: I should add that the best way to contact me is at bpeck@prospect-d.com if you call me and I dont pick up my phone, then leave a message. I hardly answer the phone when its out of state callers. You can check out my site as stated in my email.
-
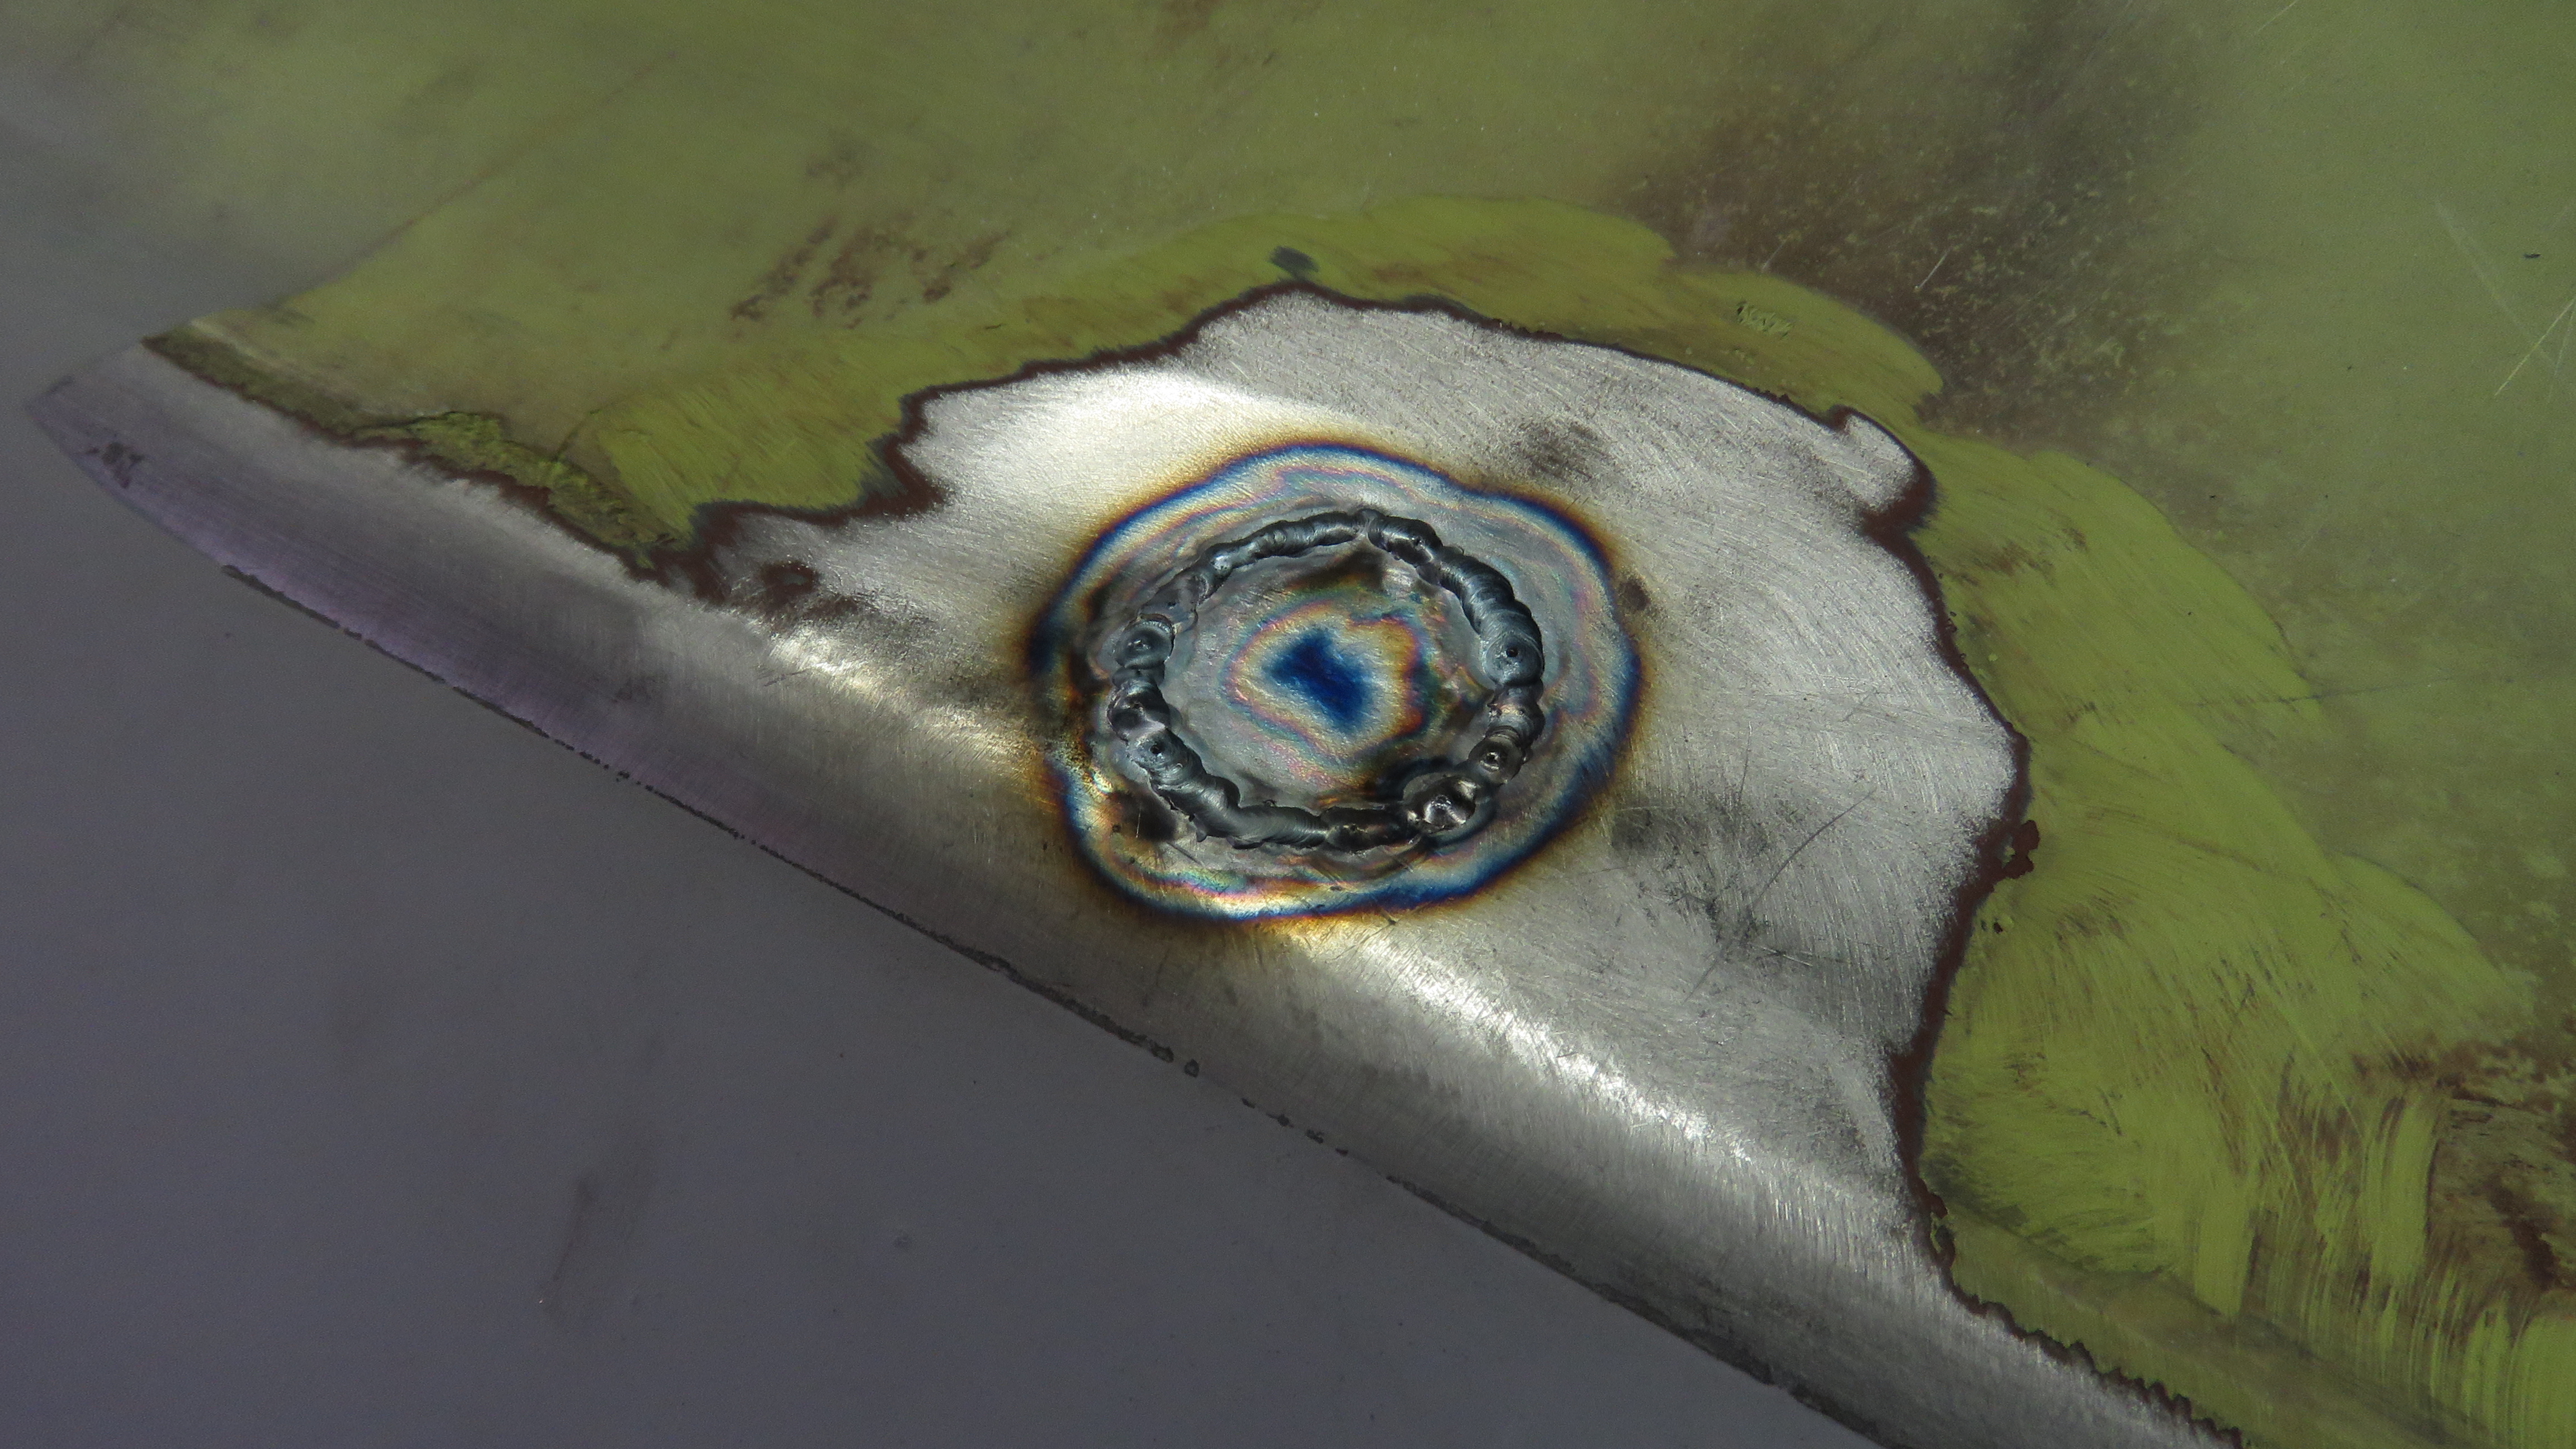
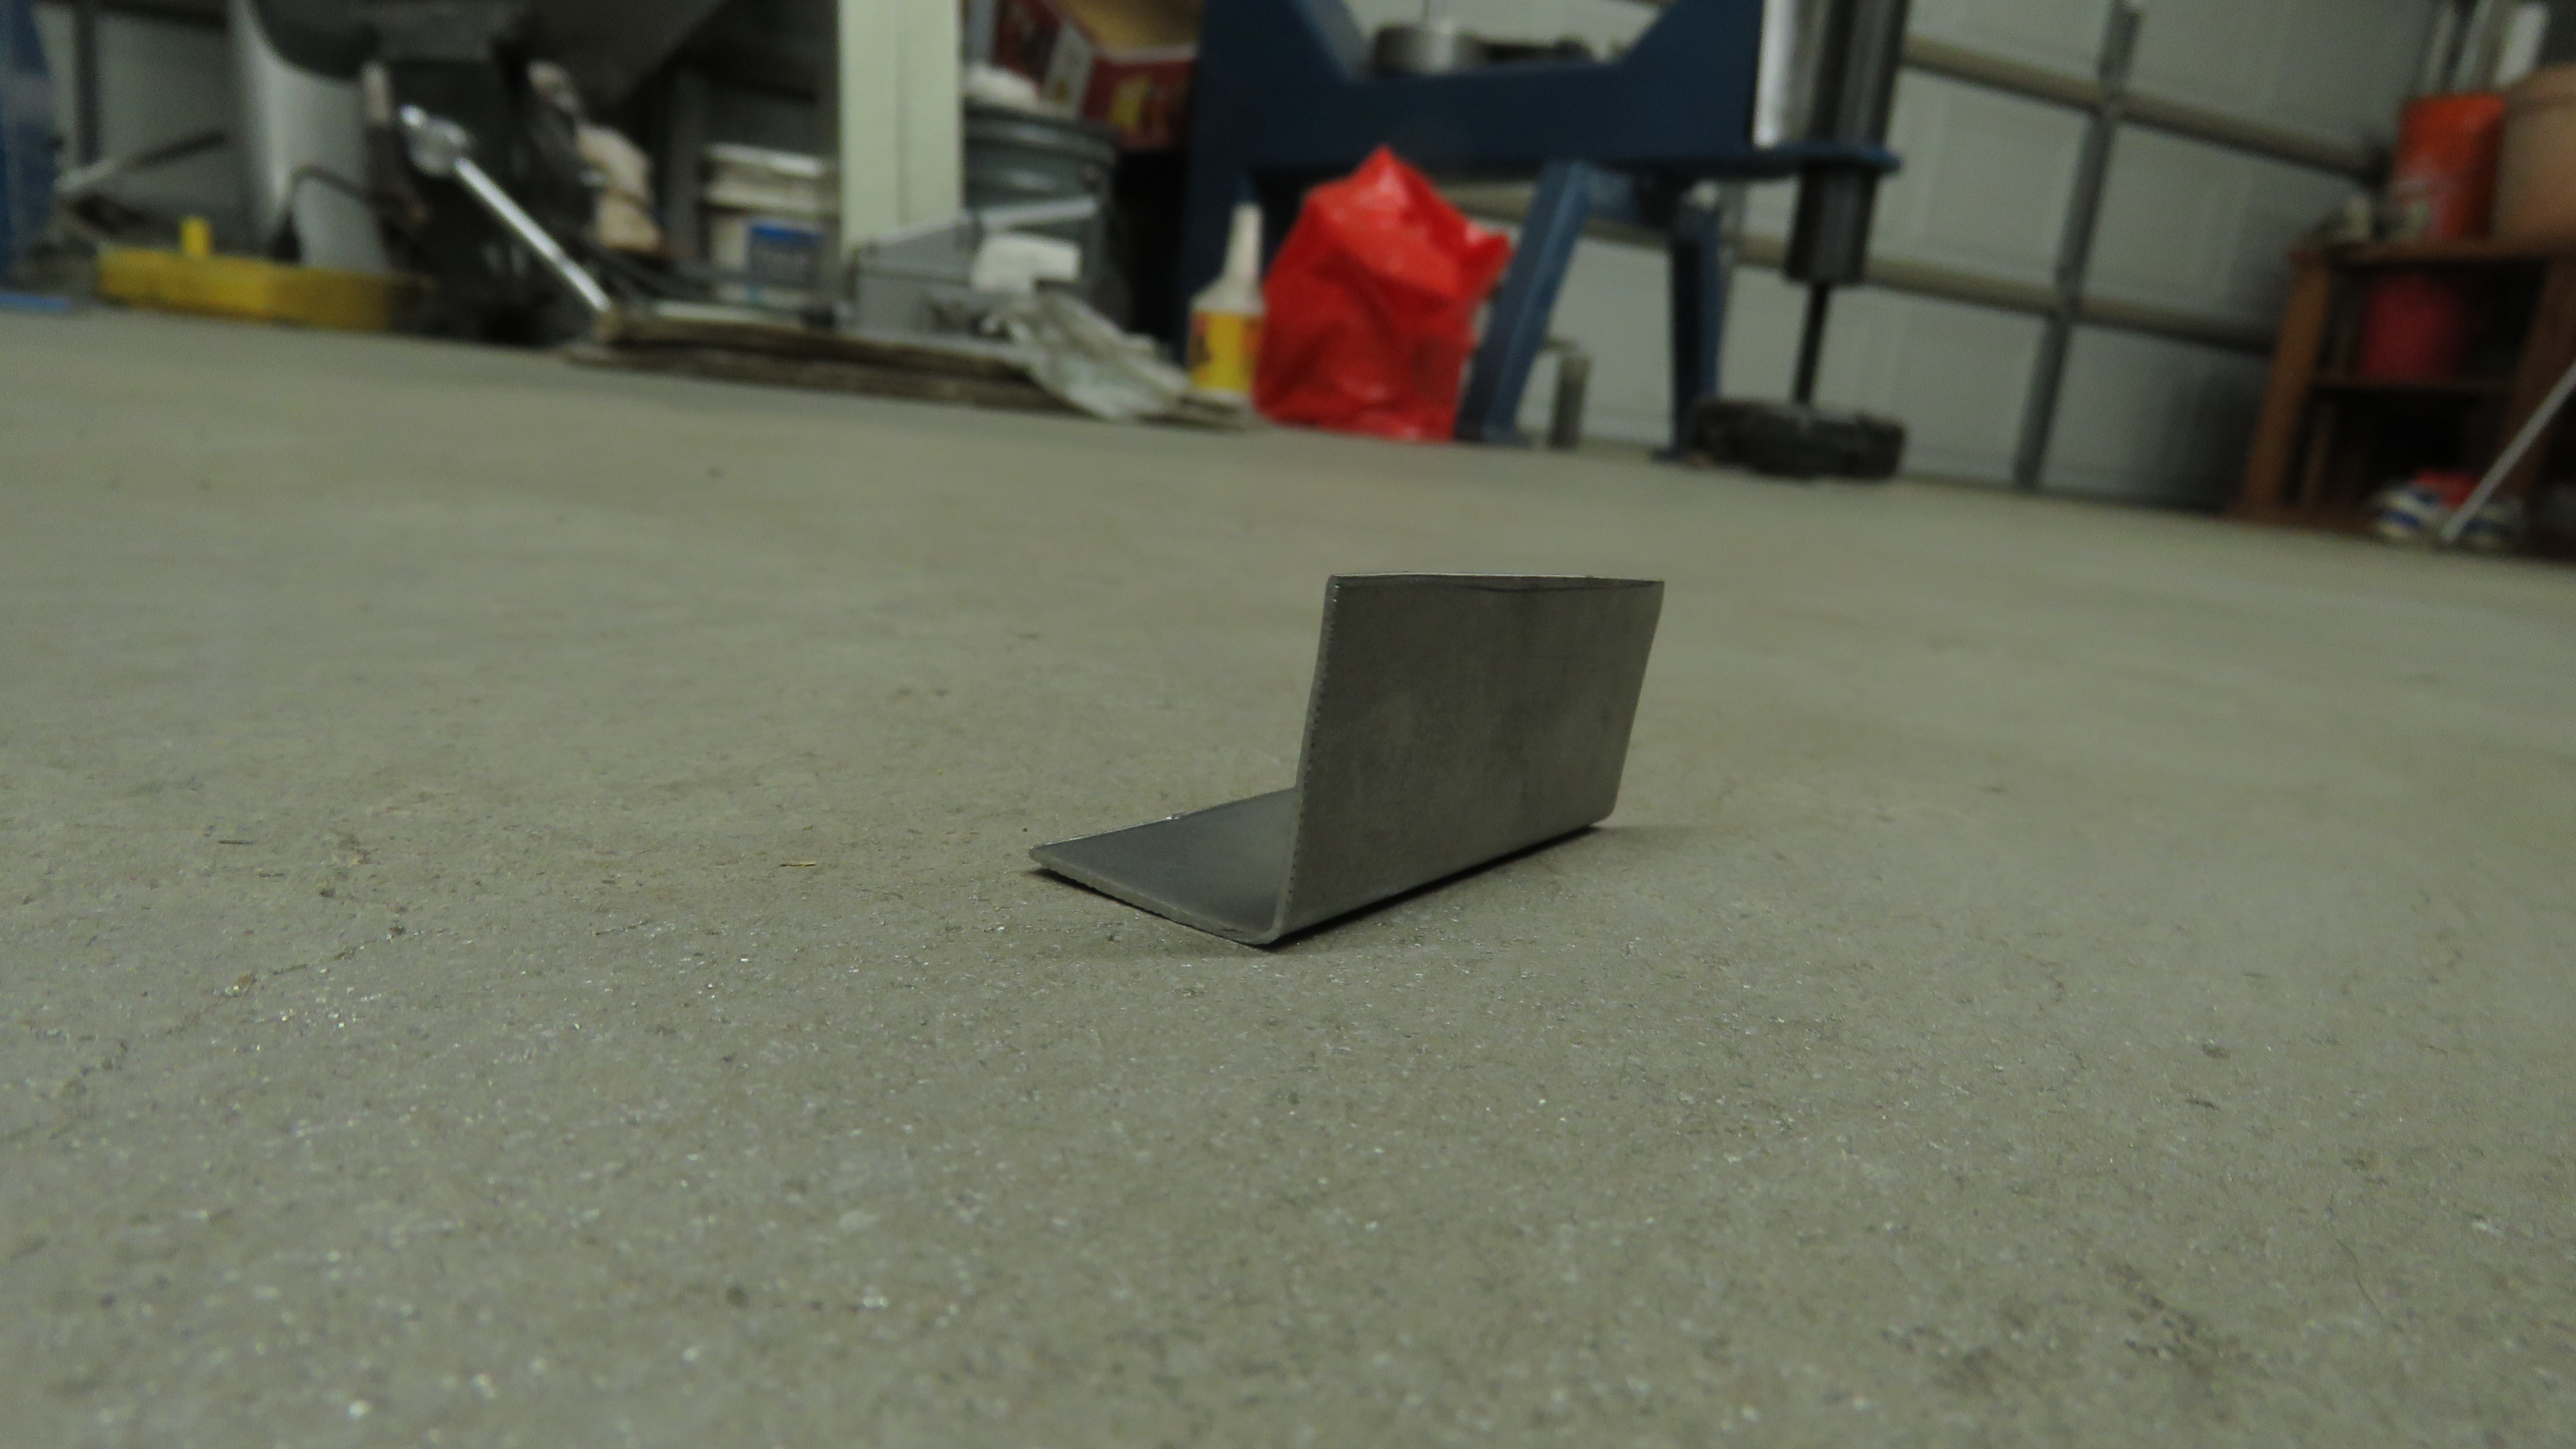
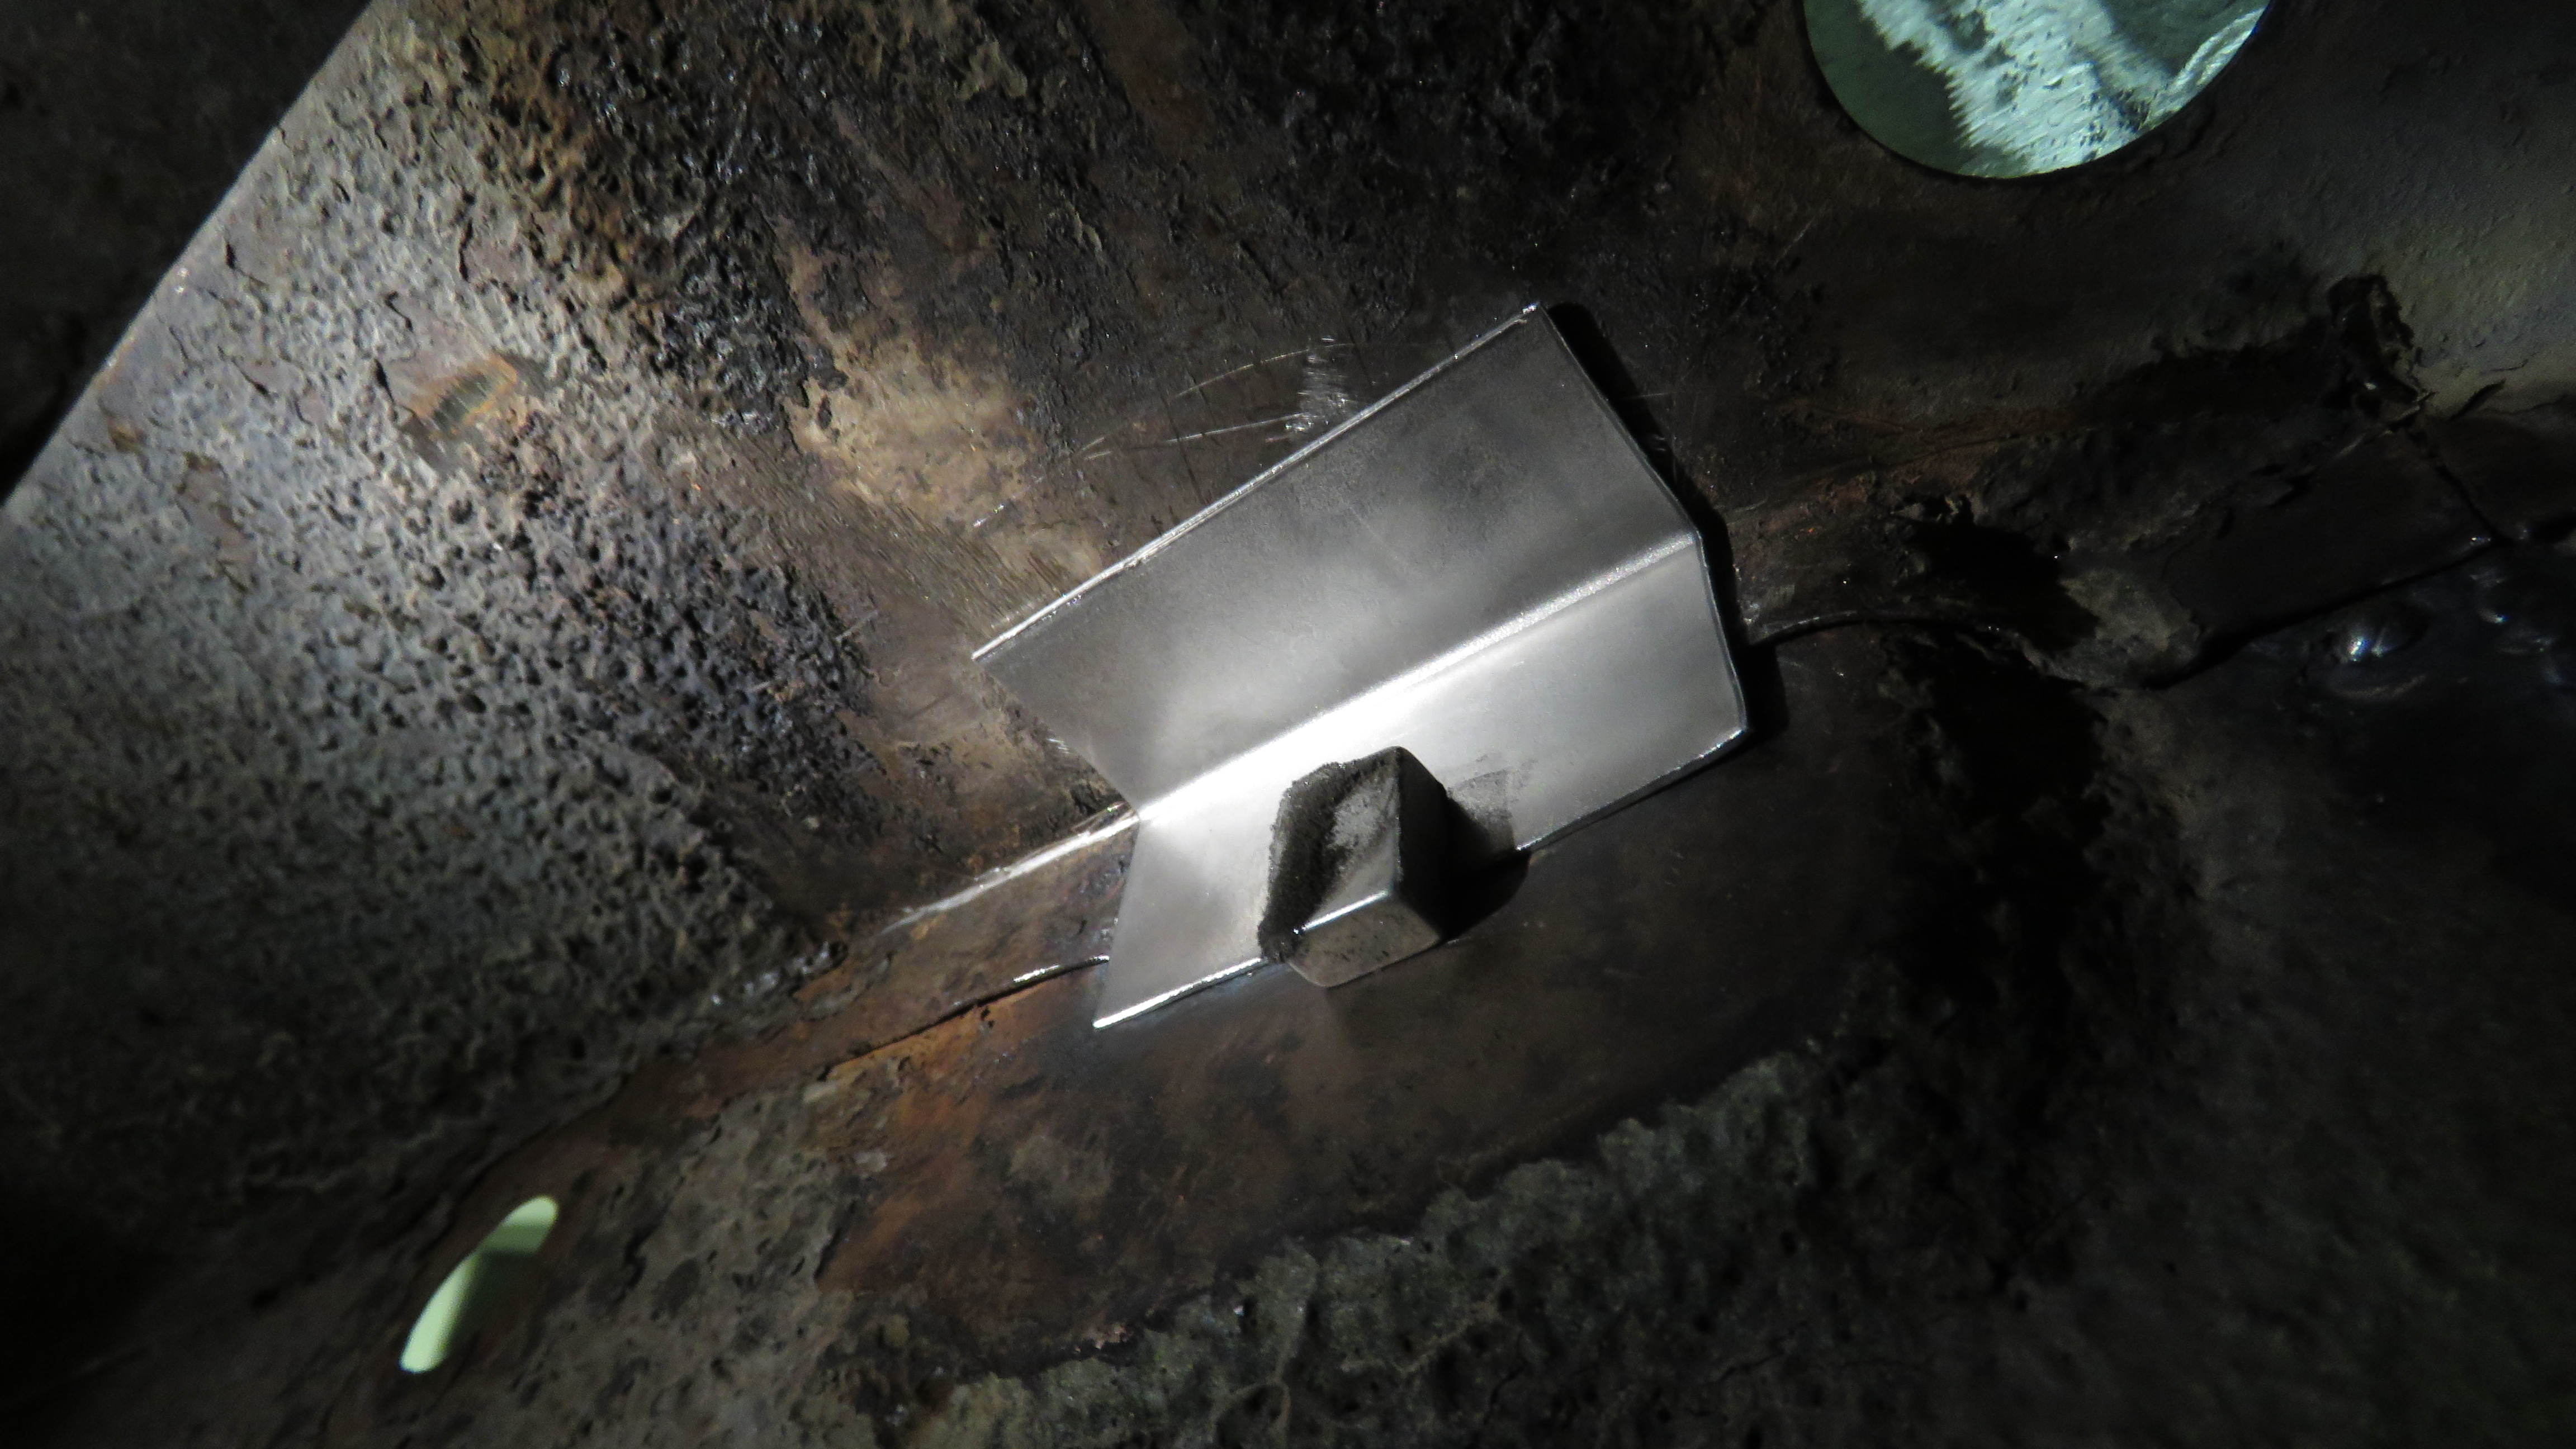
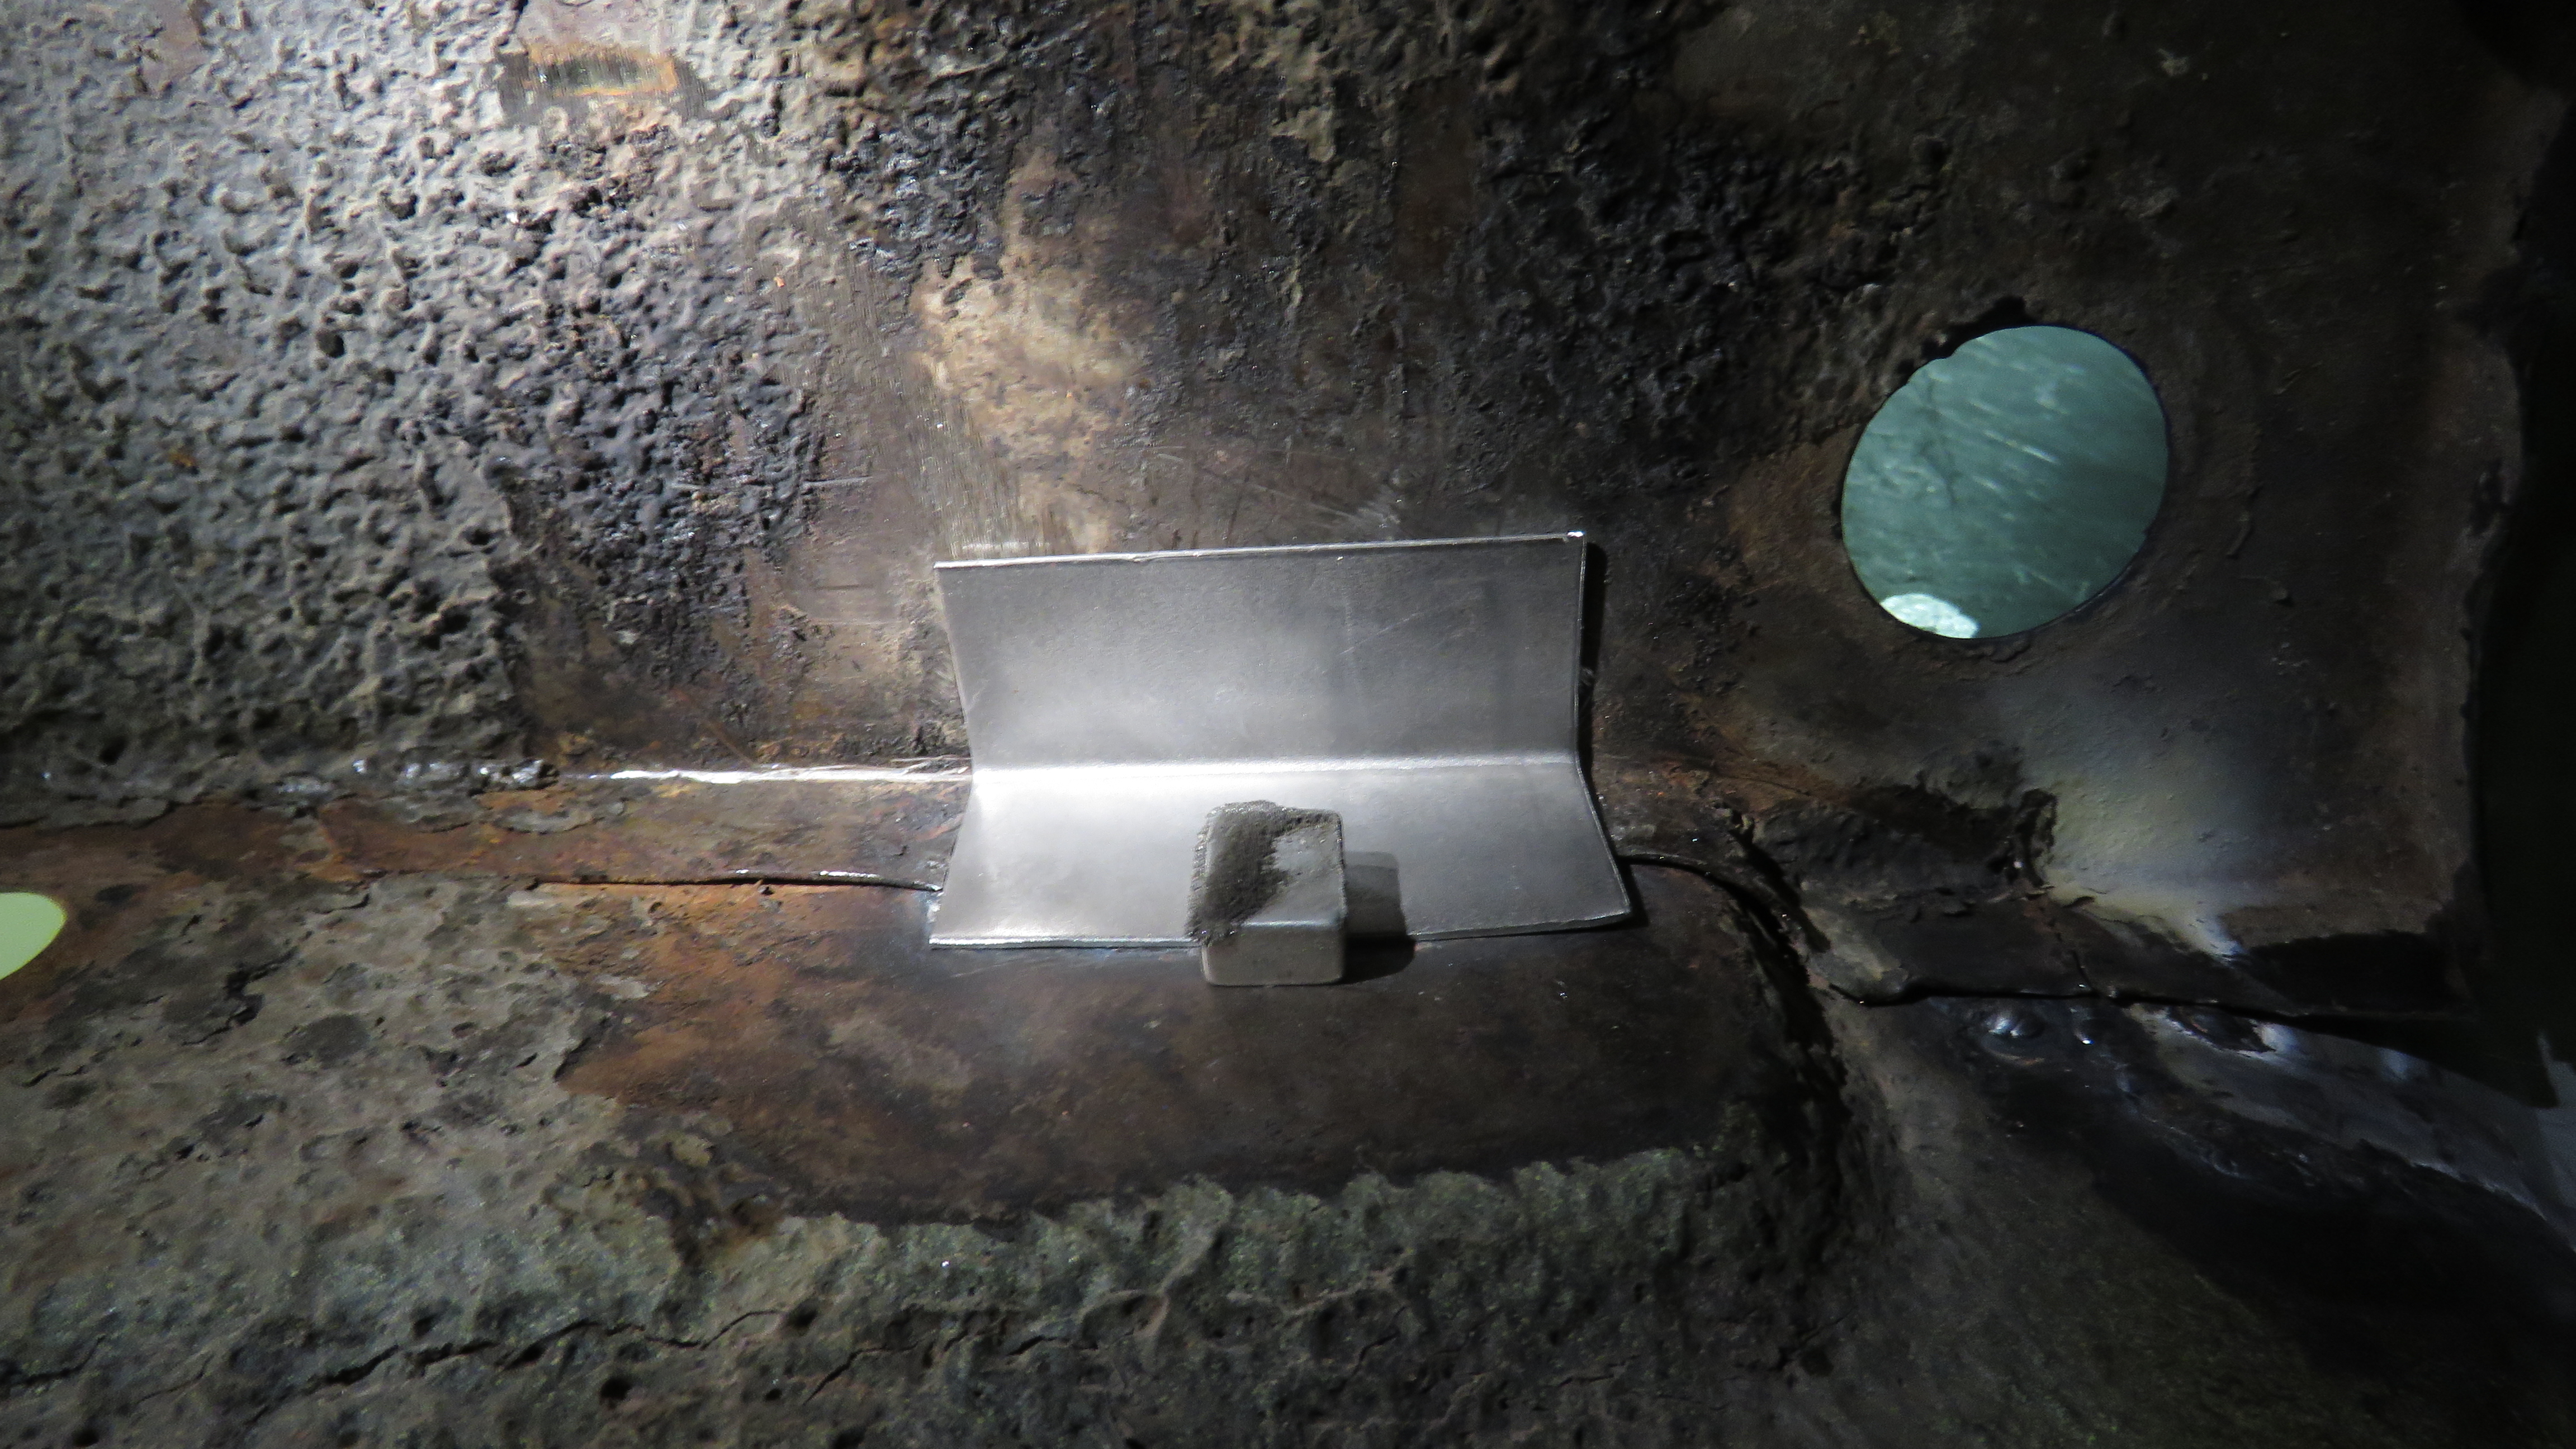
In regards to your welds on the insert you made, looks like the material was well cleaned. As others said, probably just a combination of your settings when you welded it. Only thing I can say is just practice practice practice. I myself should be out more practicing but I tend to get lazy. If I were welding on someone else car parts, then I would spend some time practicing before. But if its just for me, I dont care, like you said, more of a function guy than looks (to a certain extent). Looks like it worked out well in the end for you. Now I know what to look for if I have to do this, thanks.
-
-
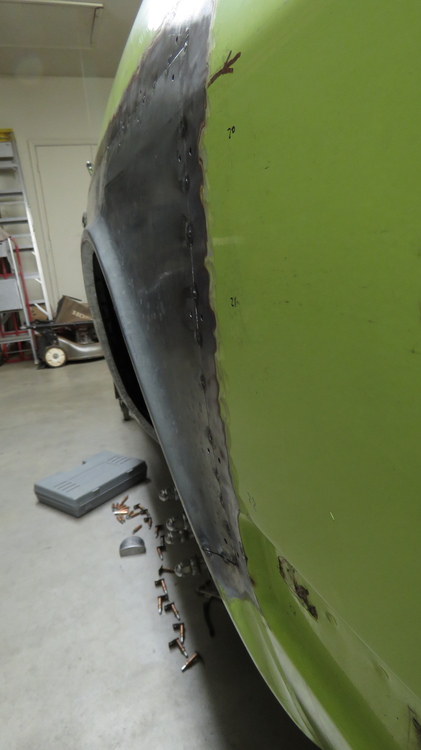
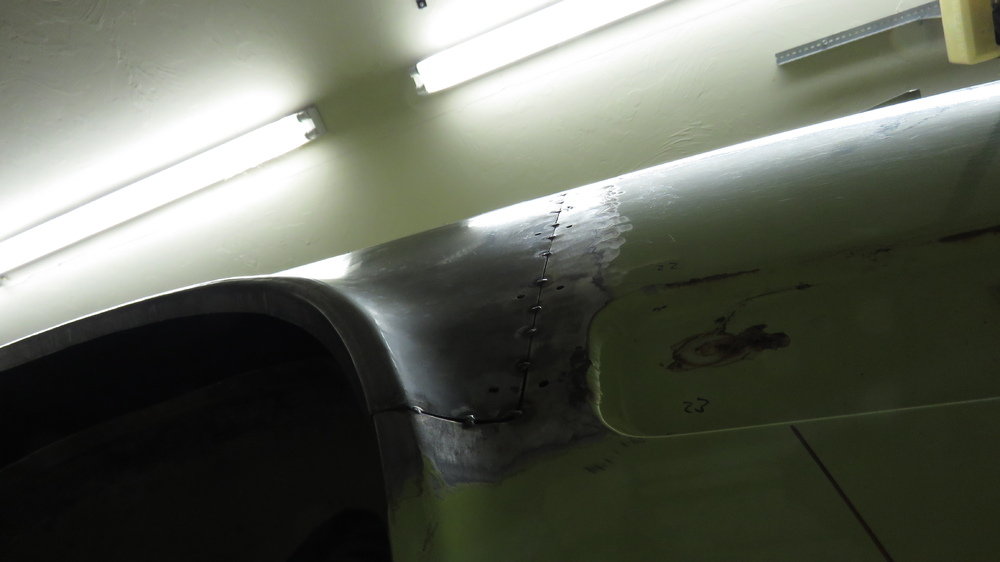
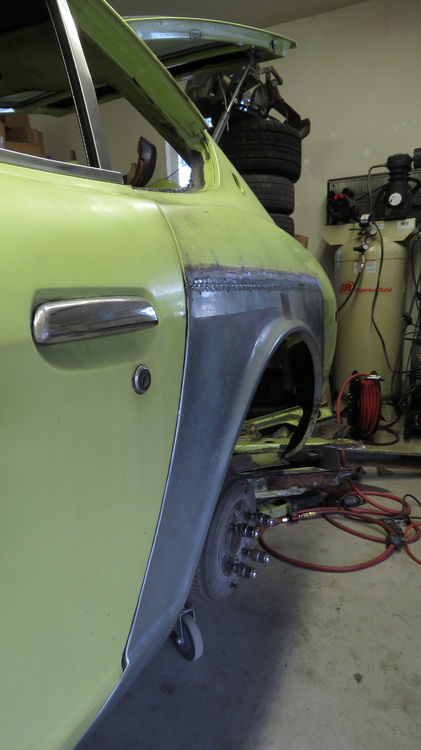
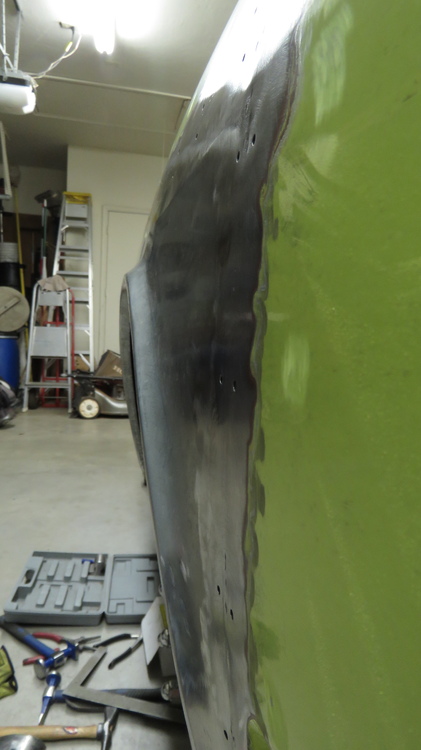
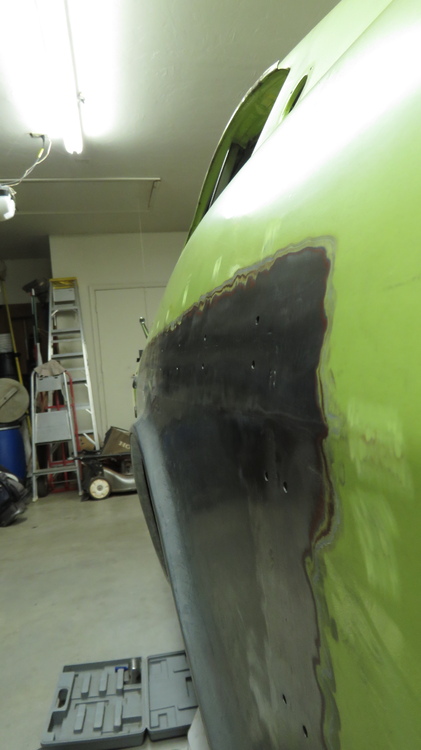
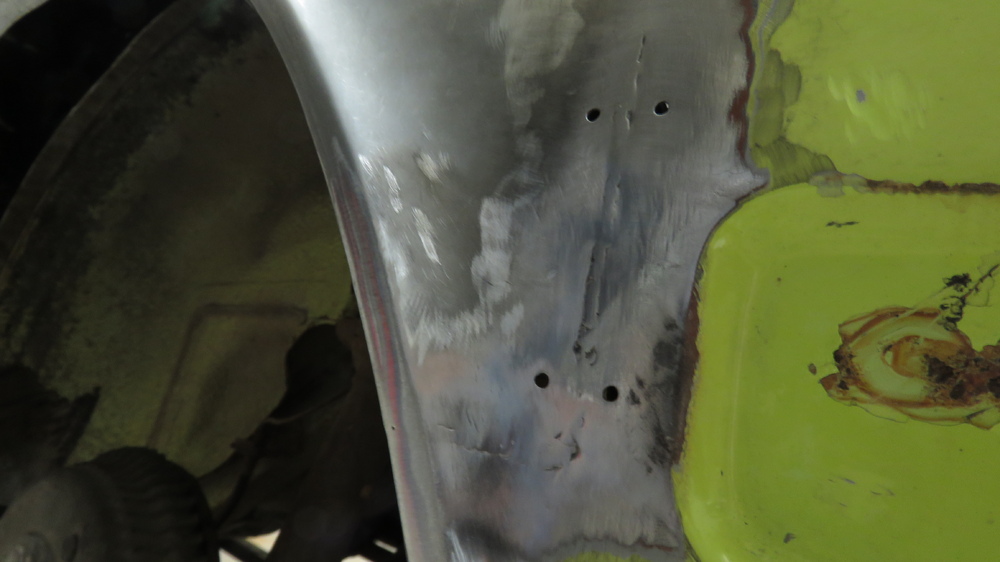
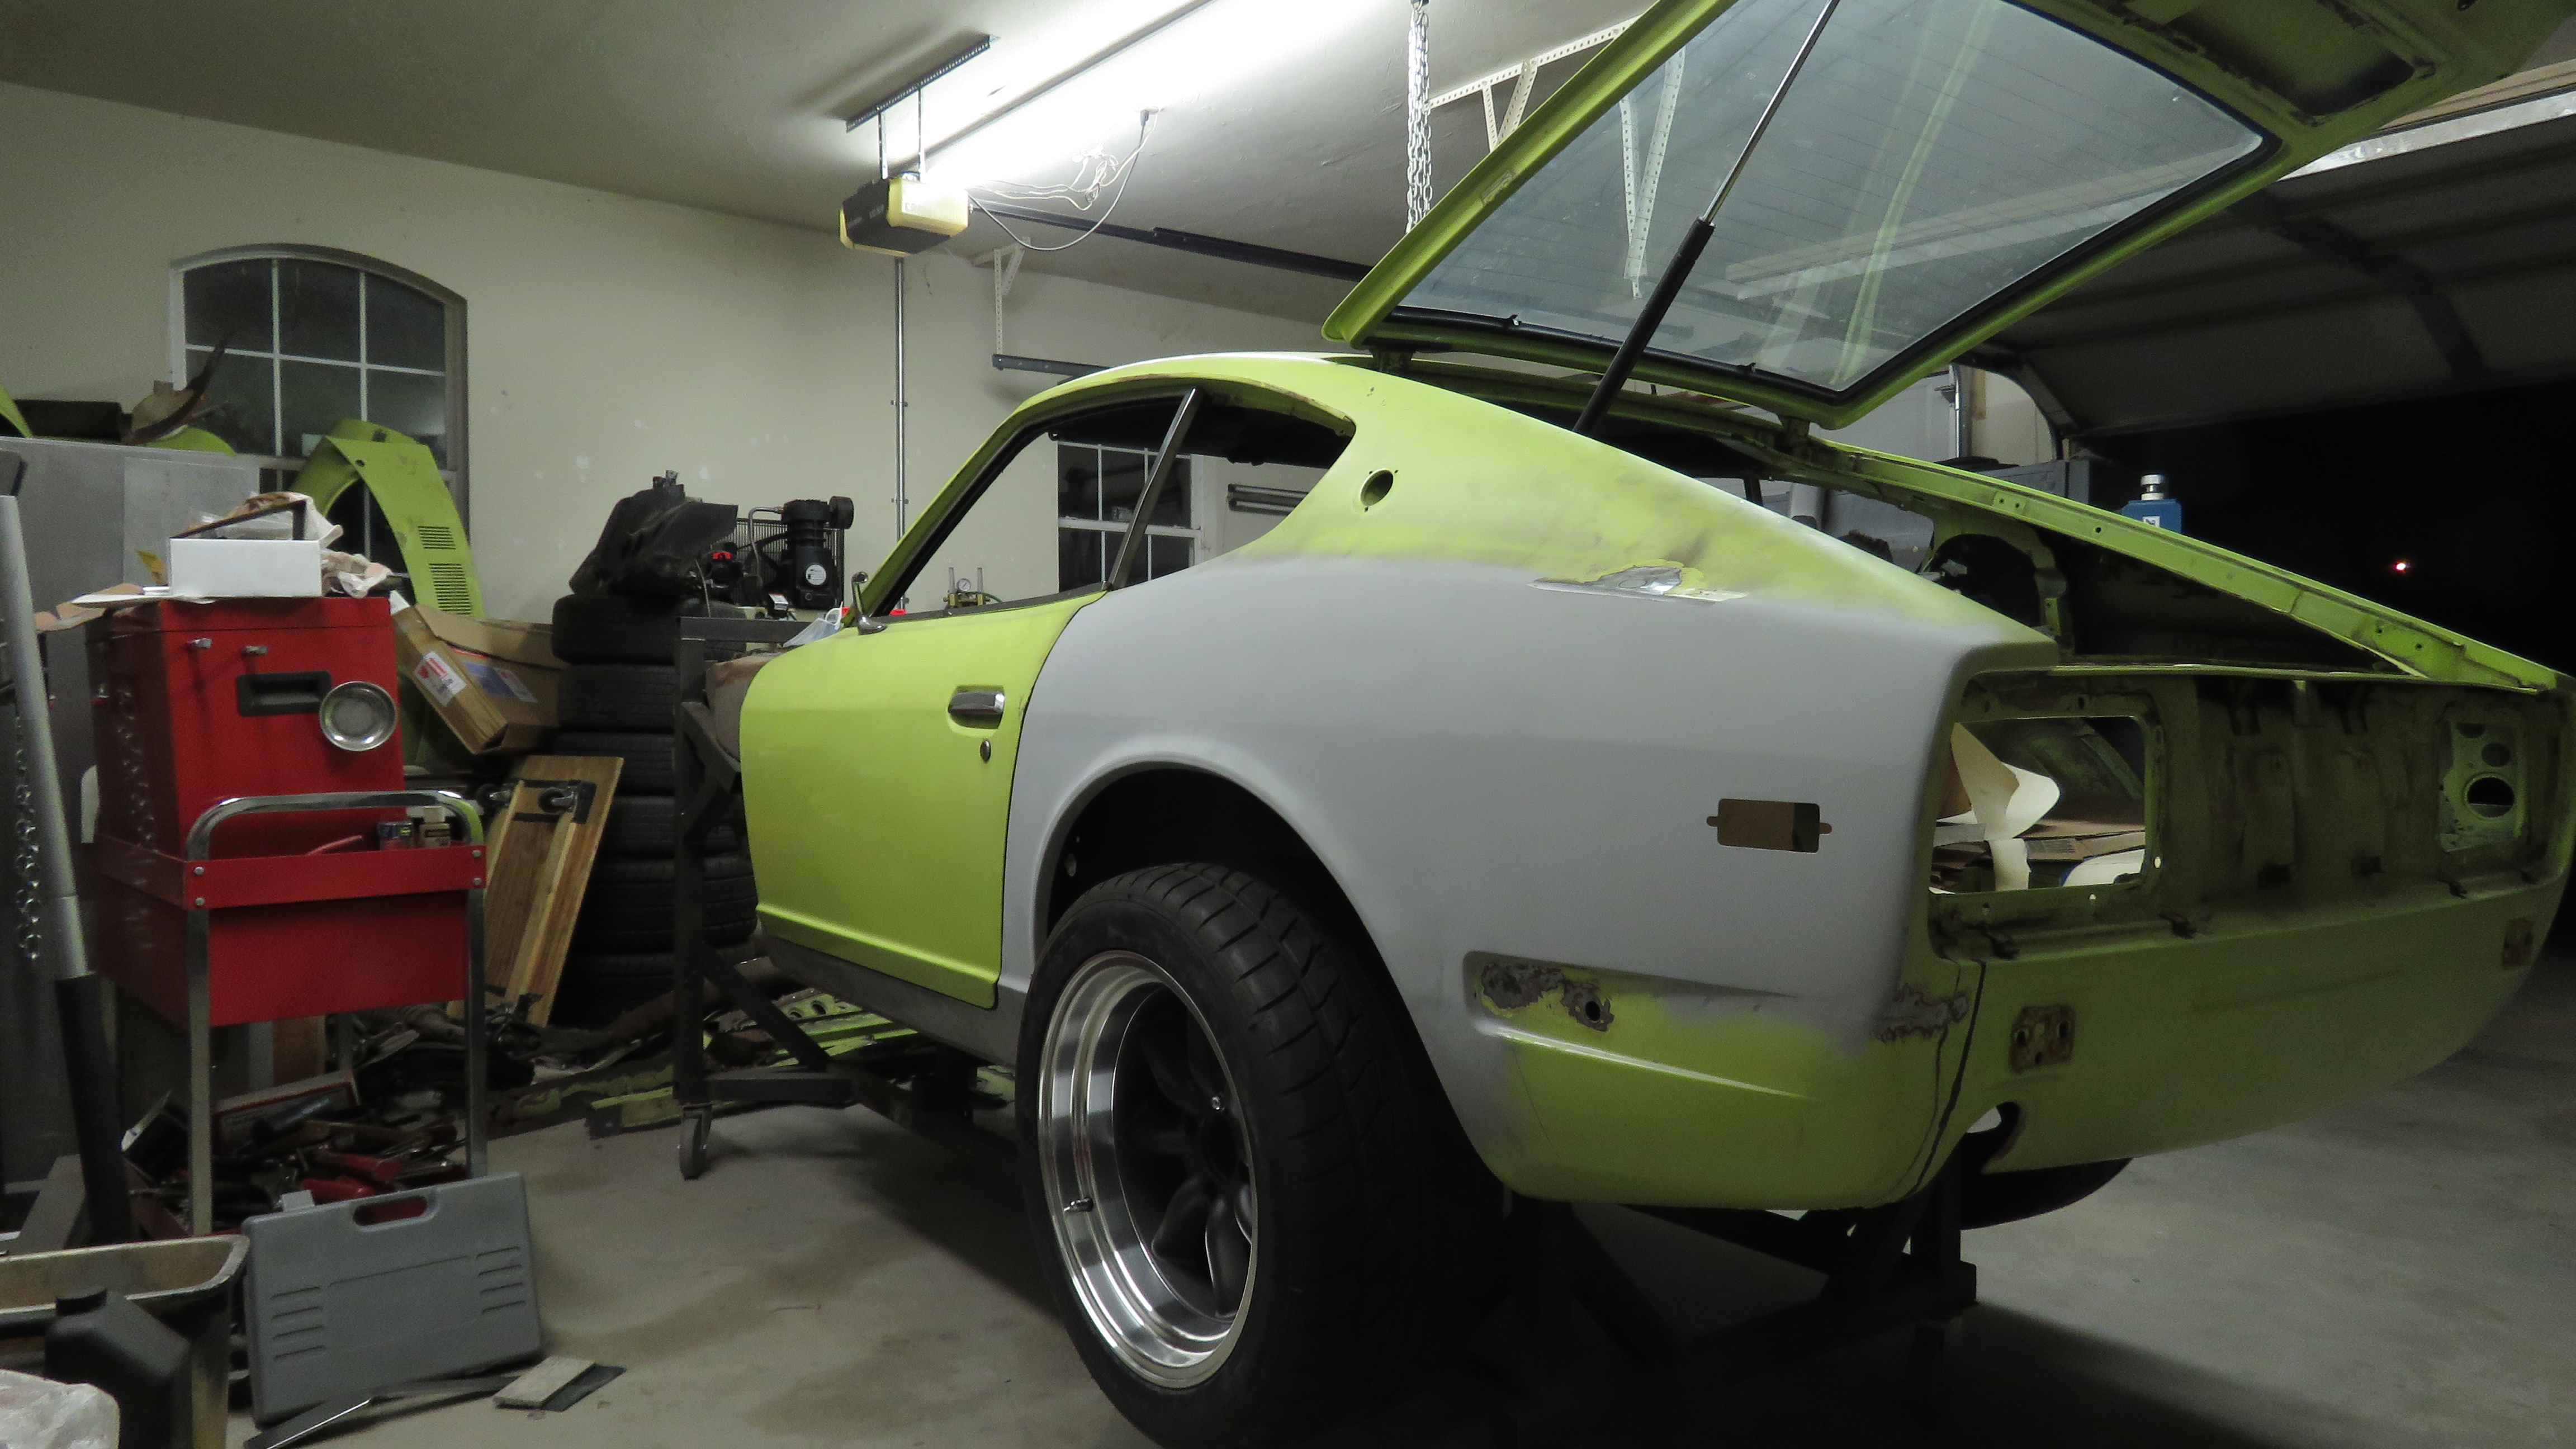
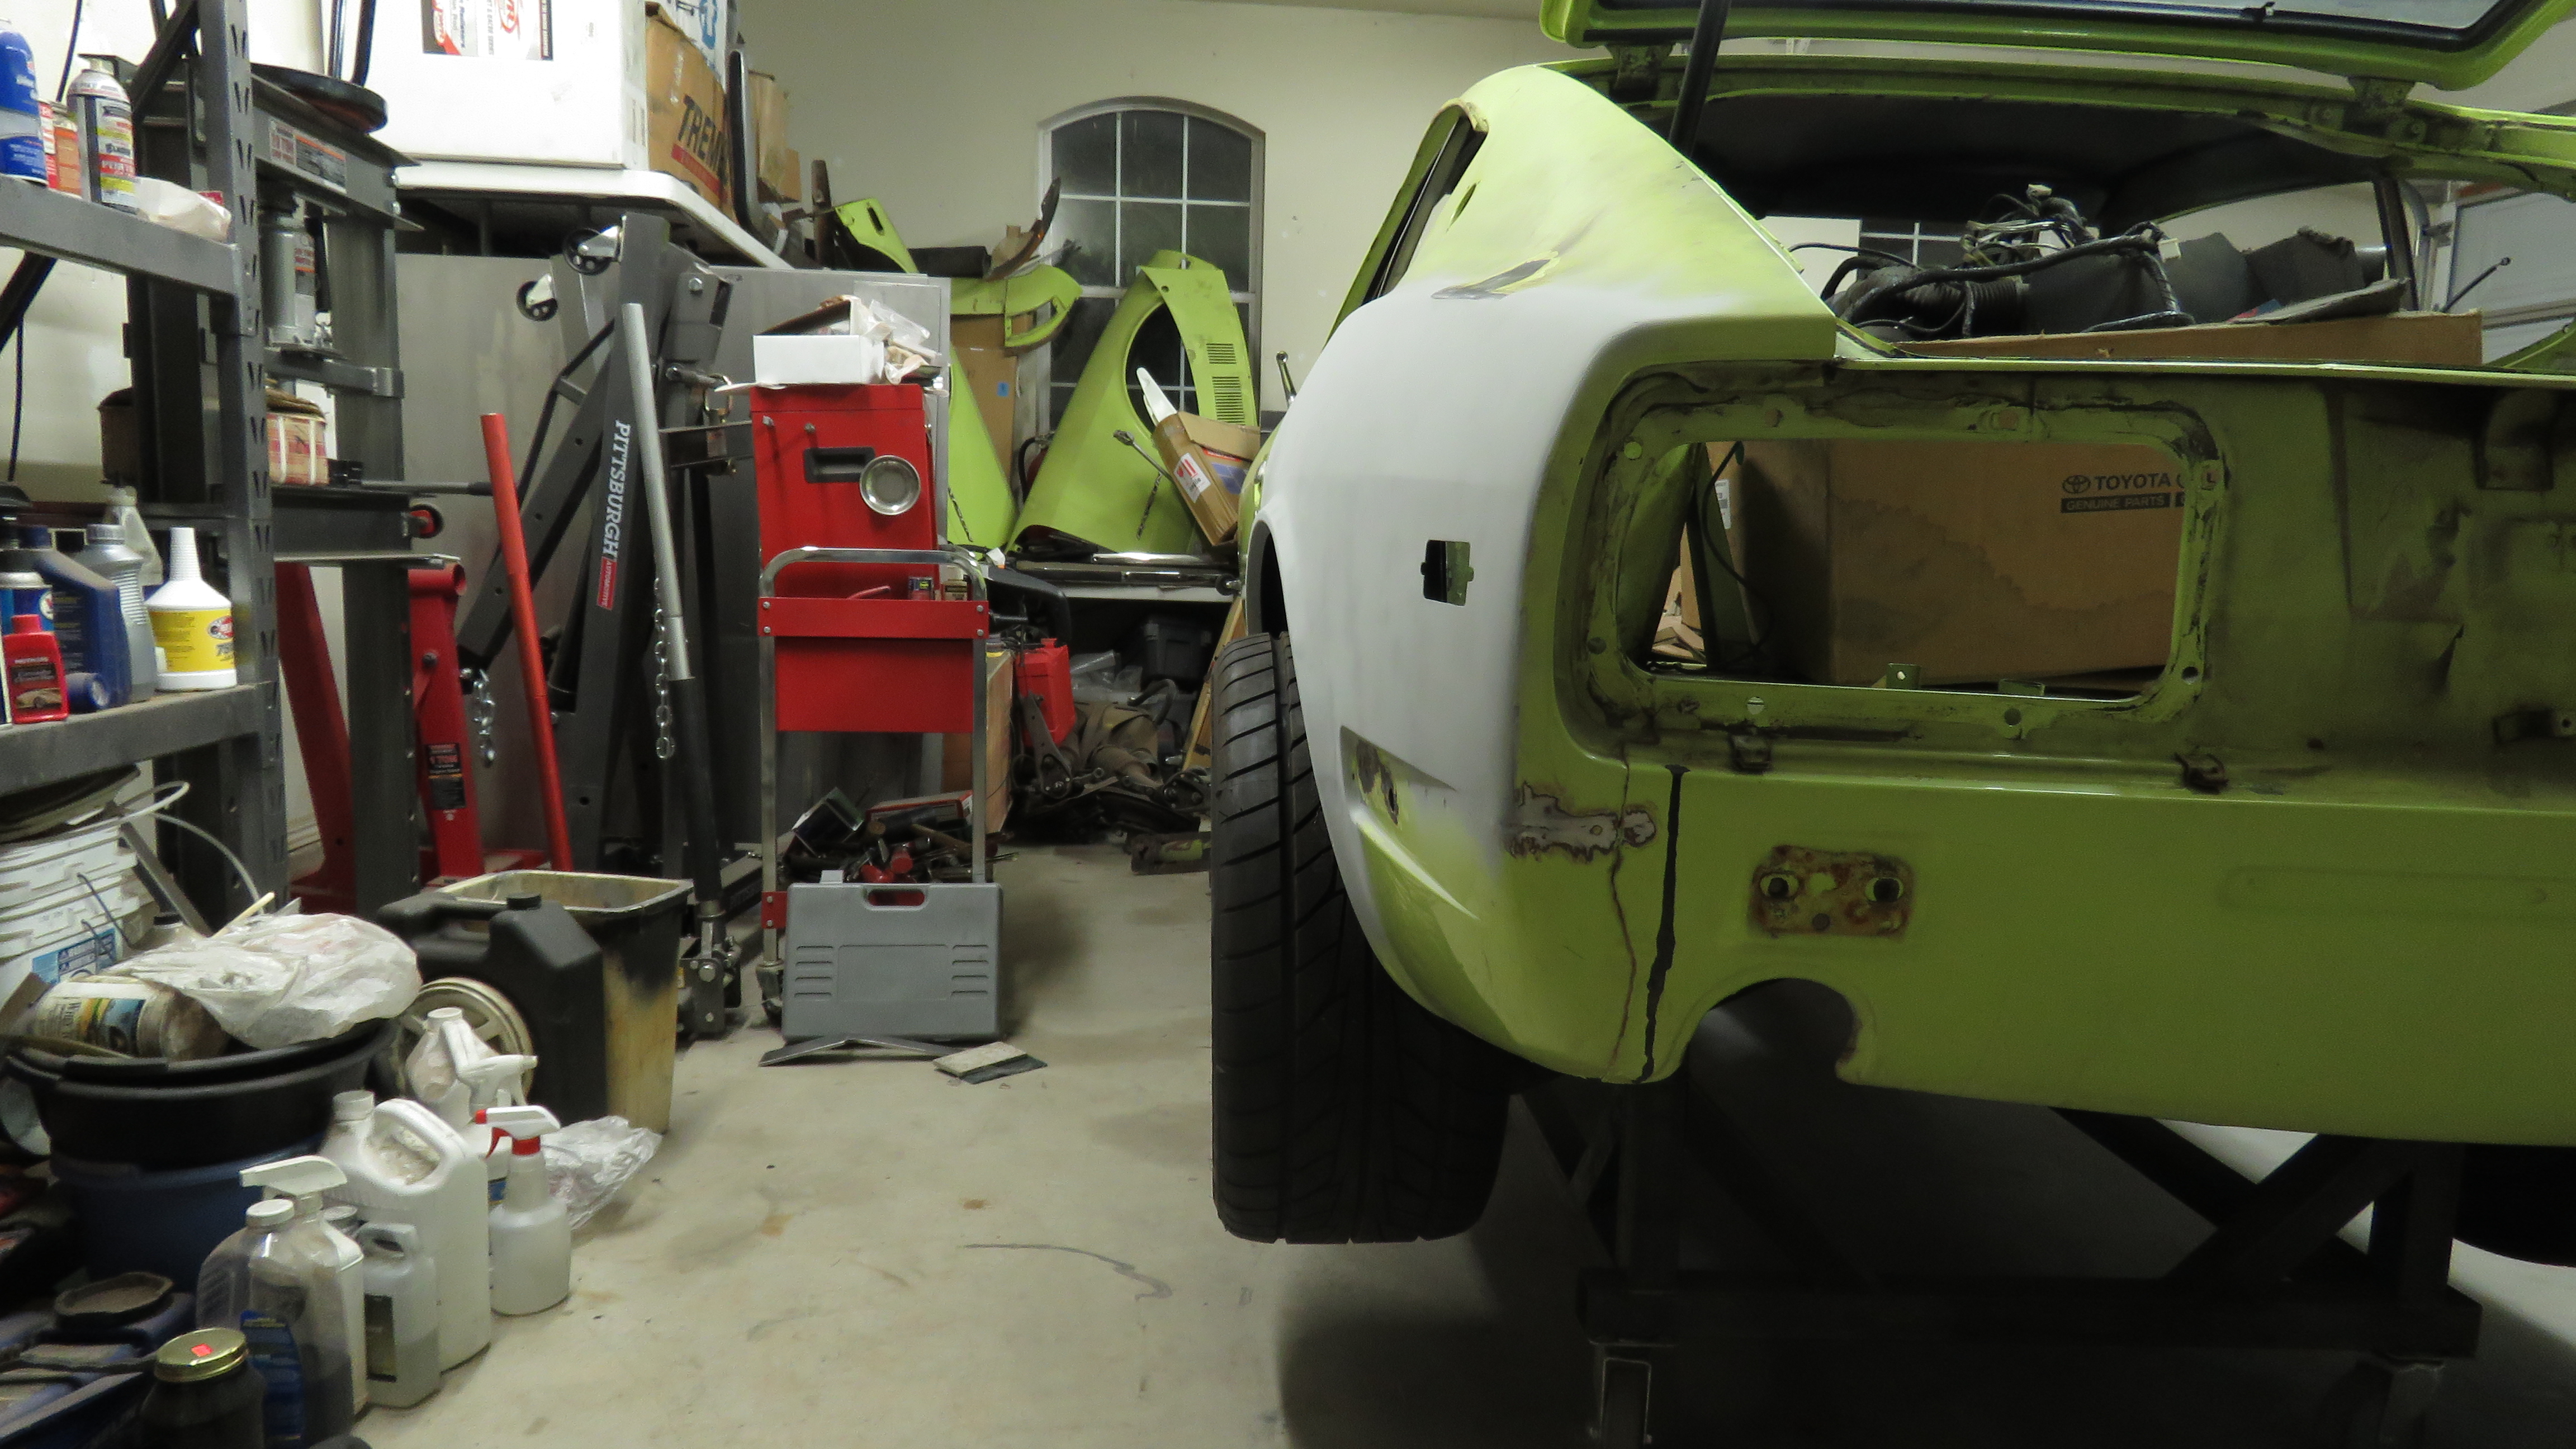
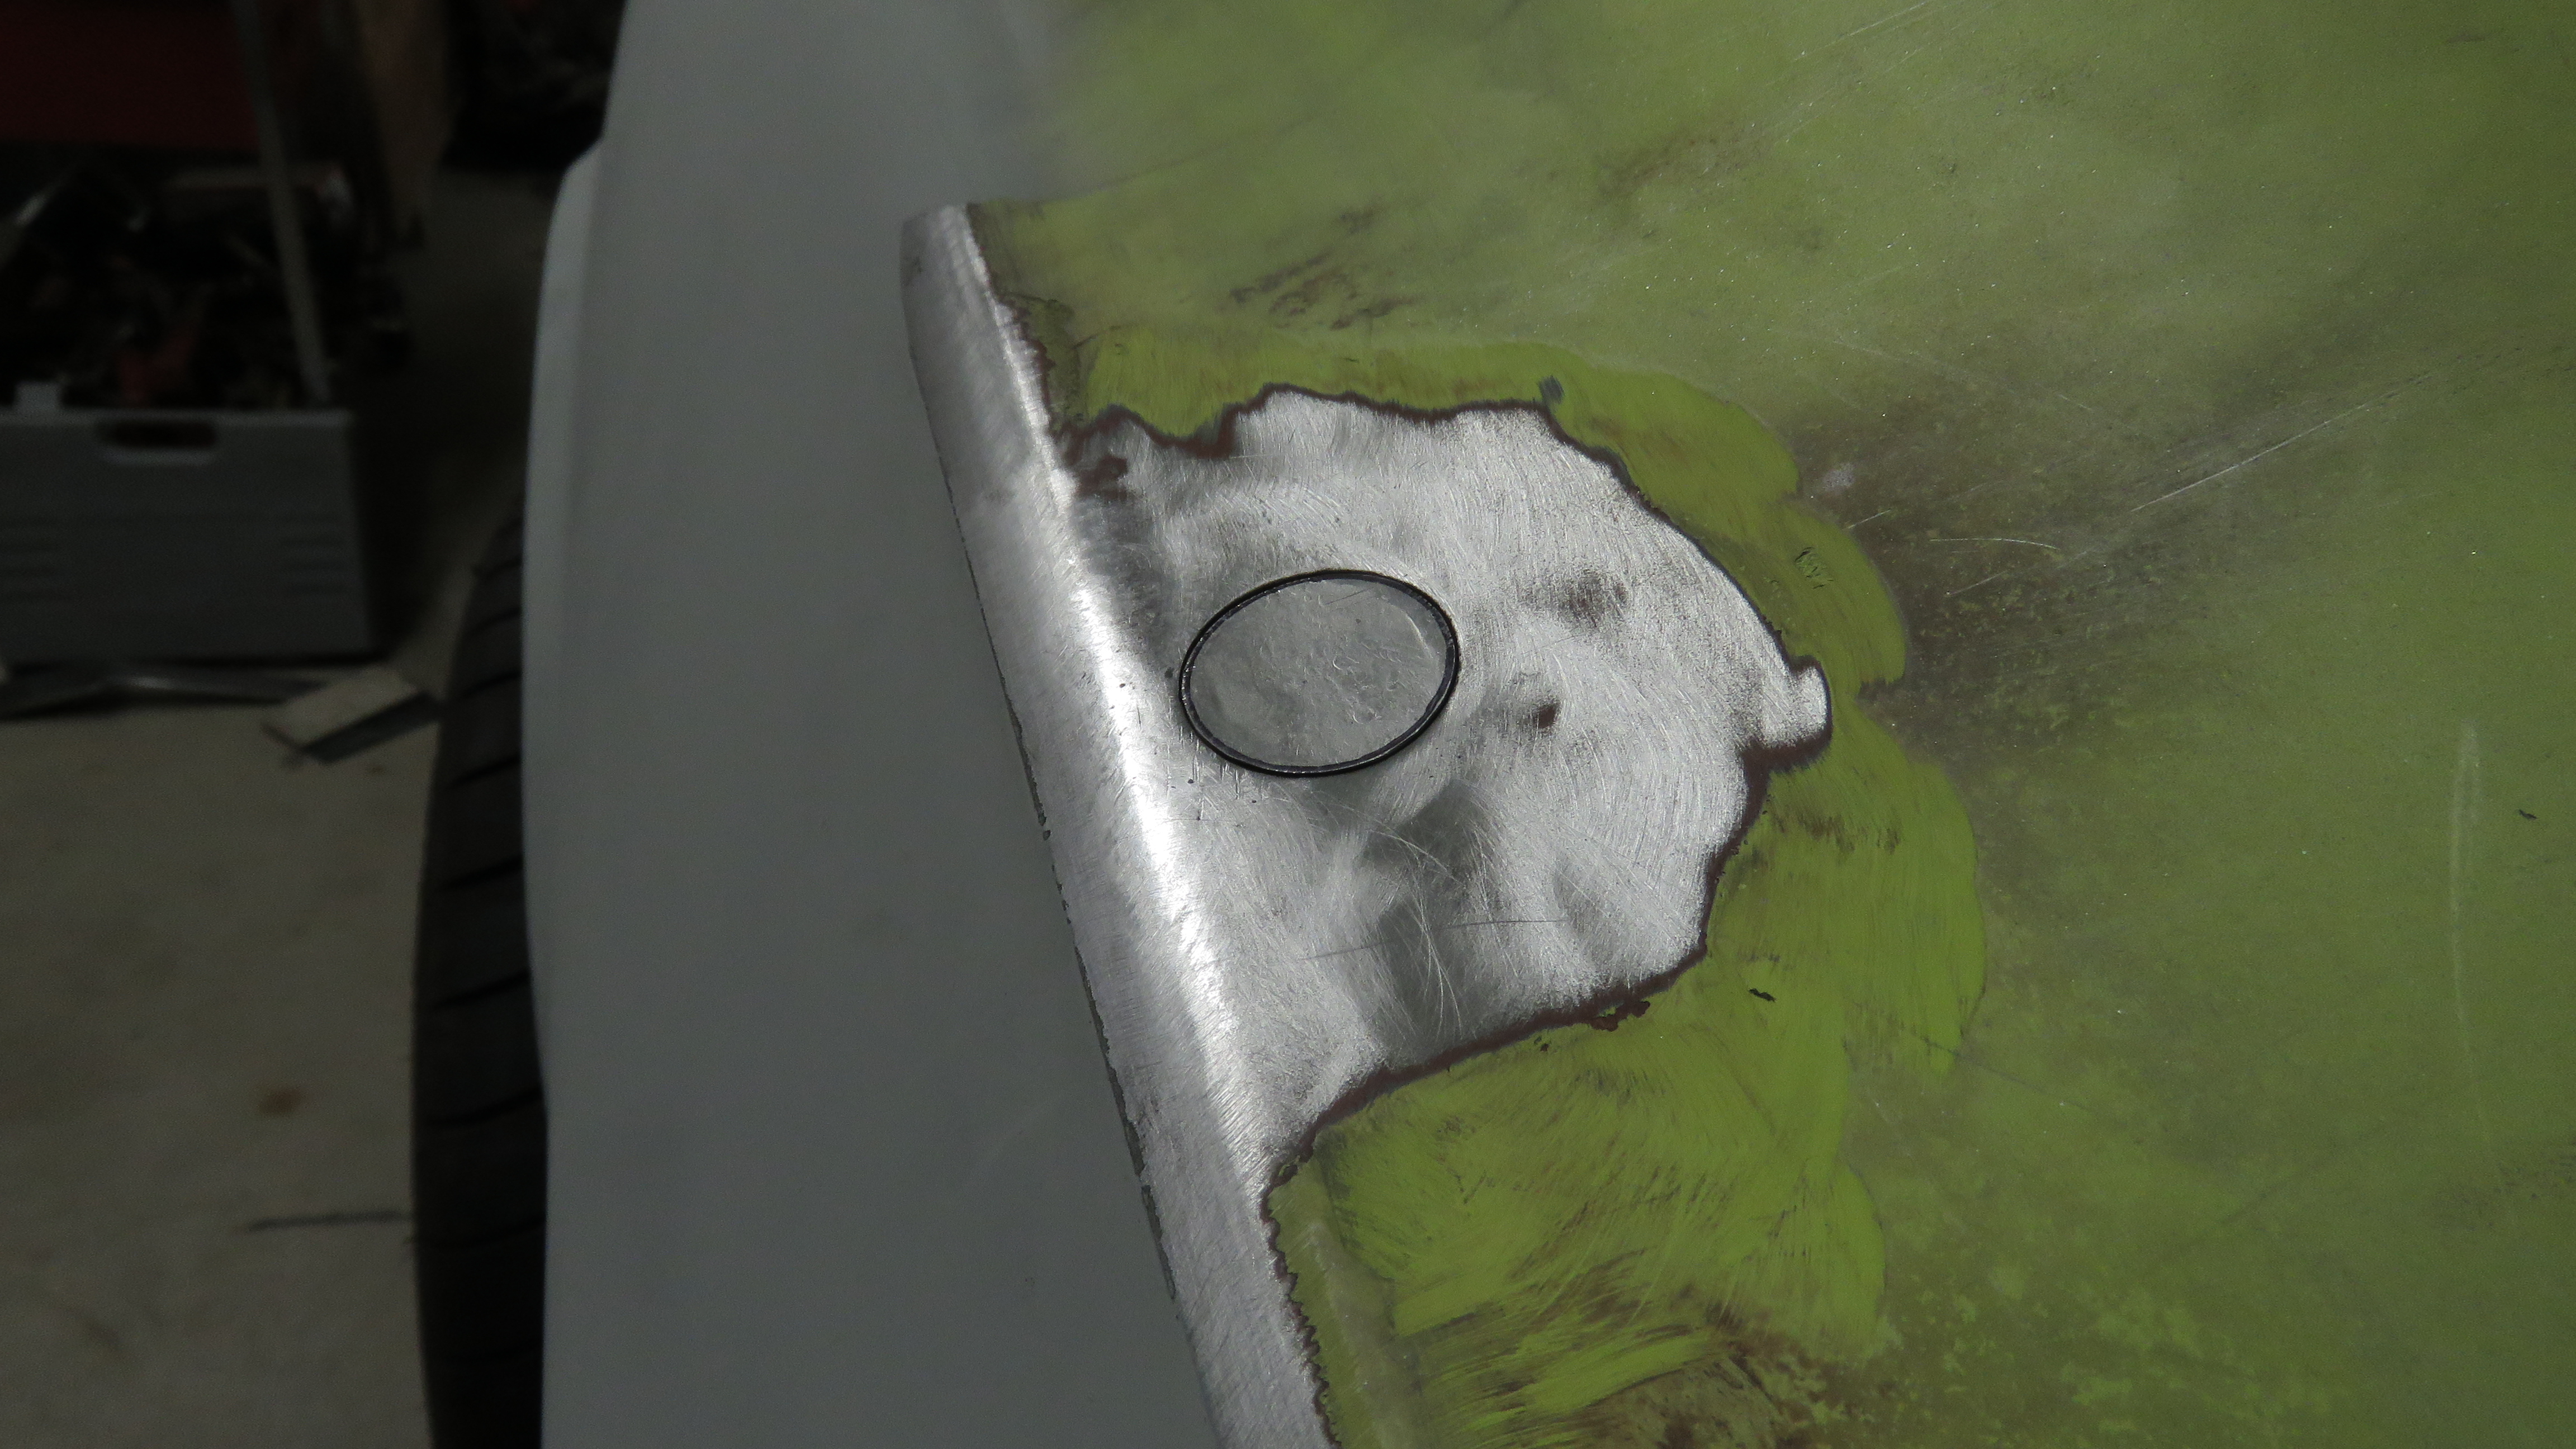
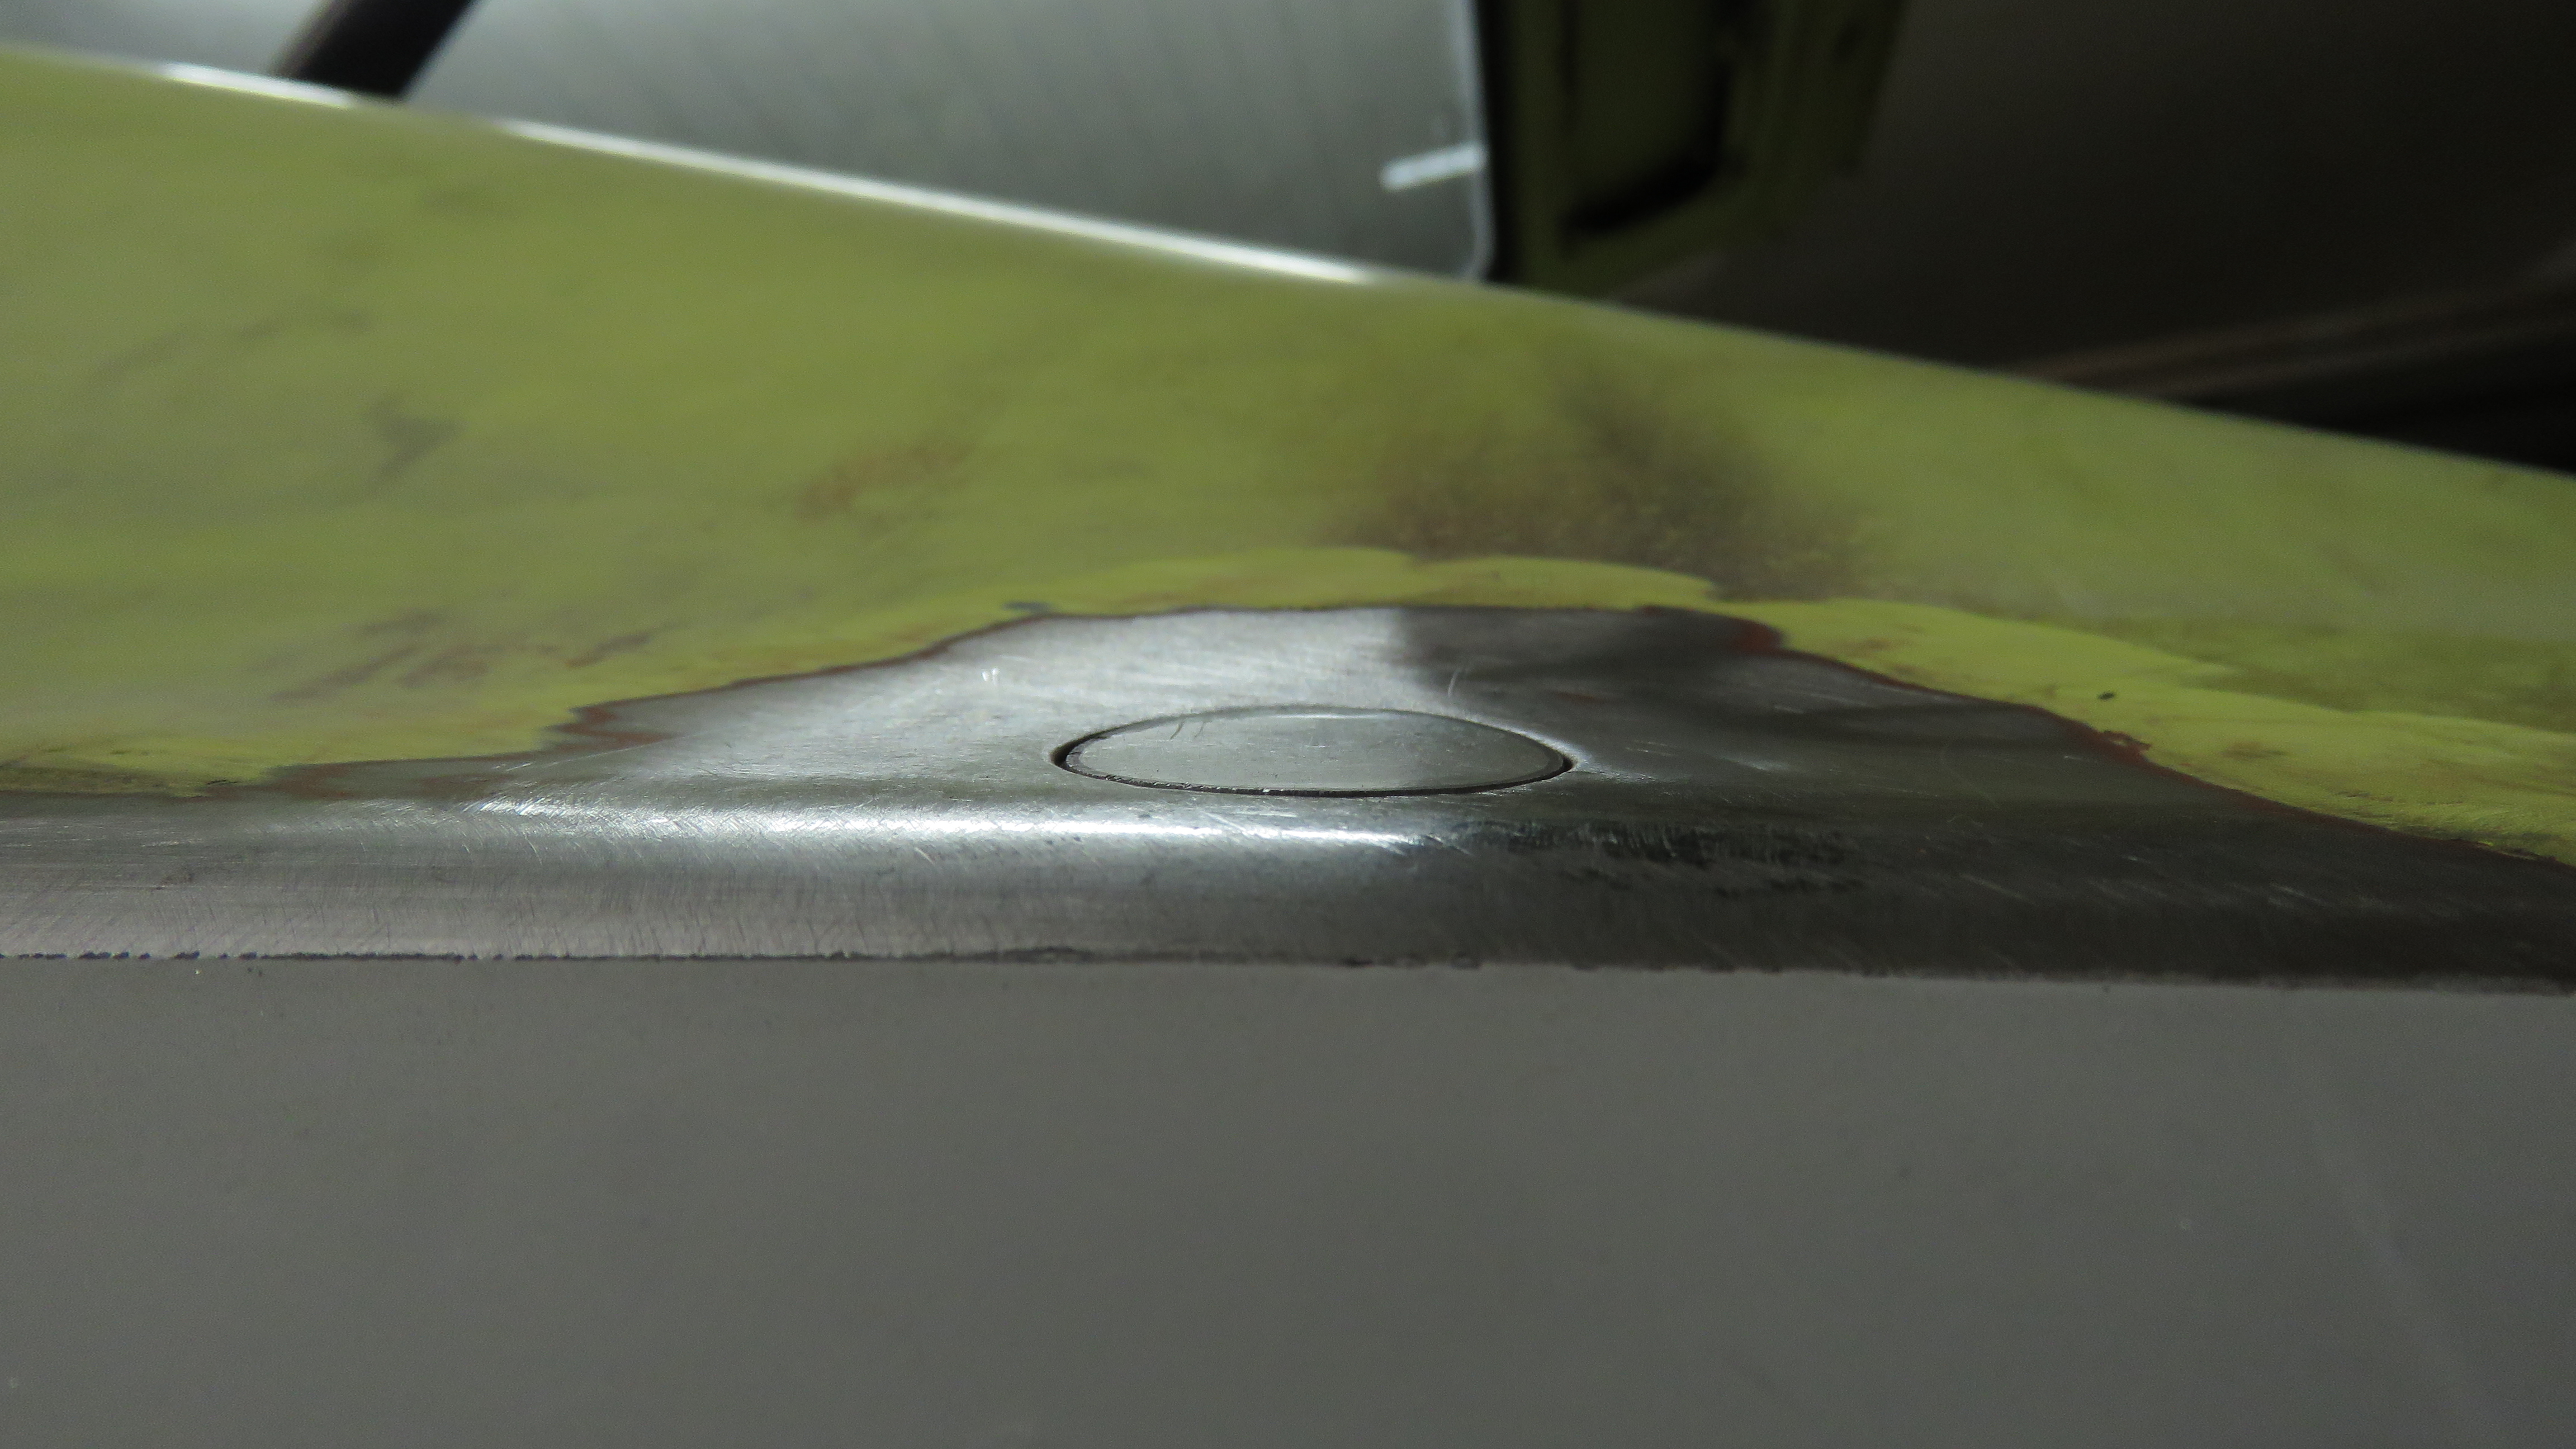
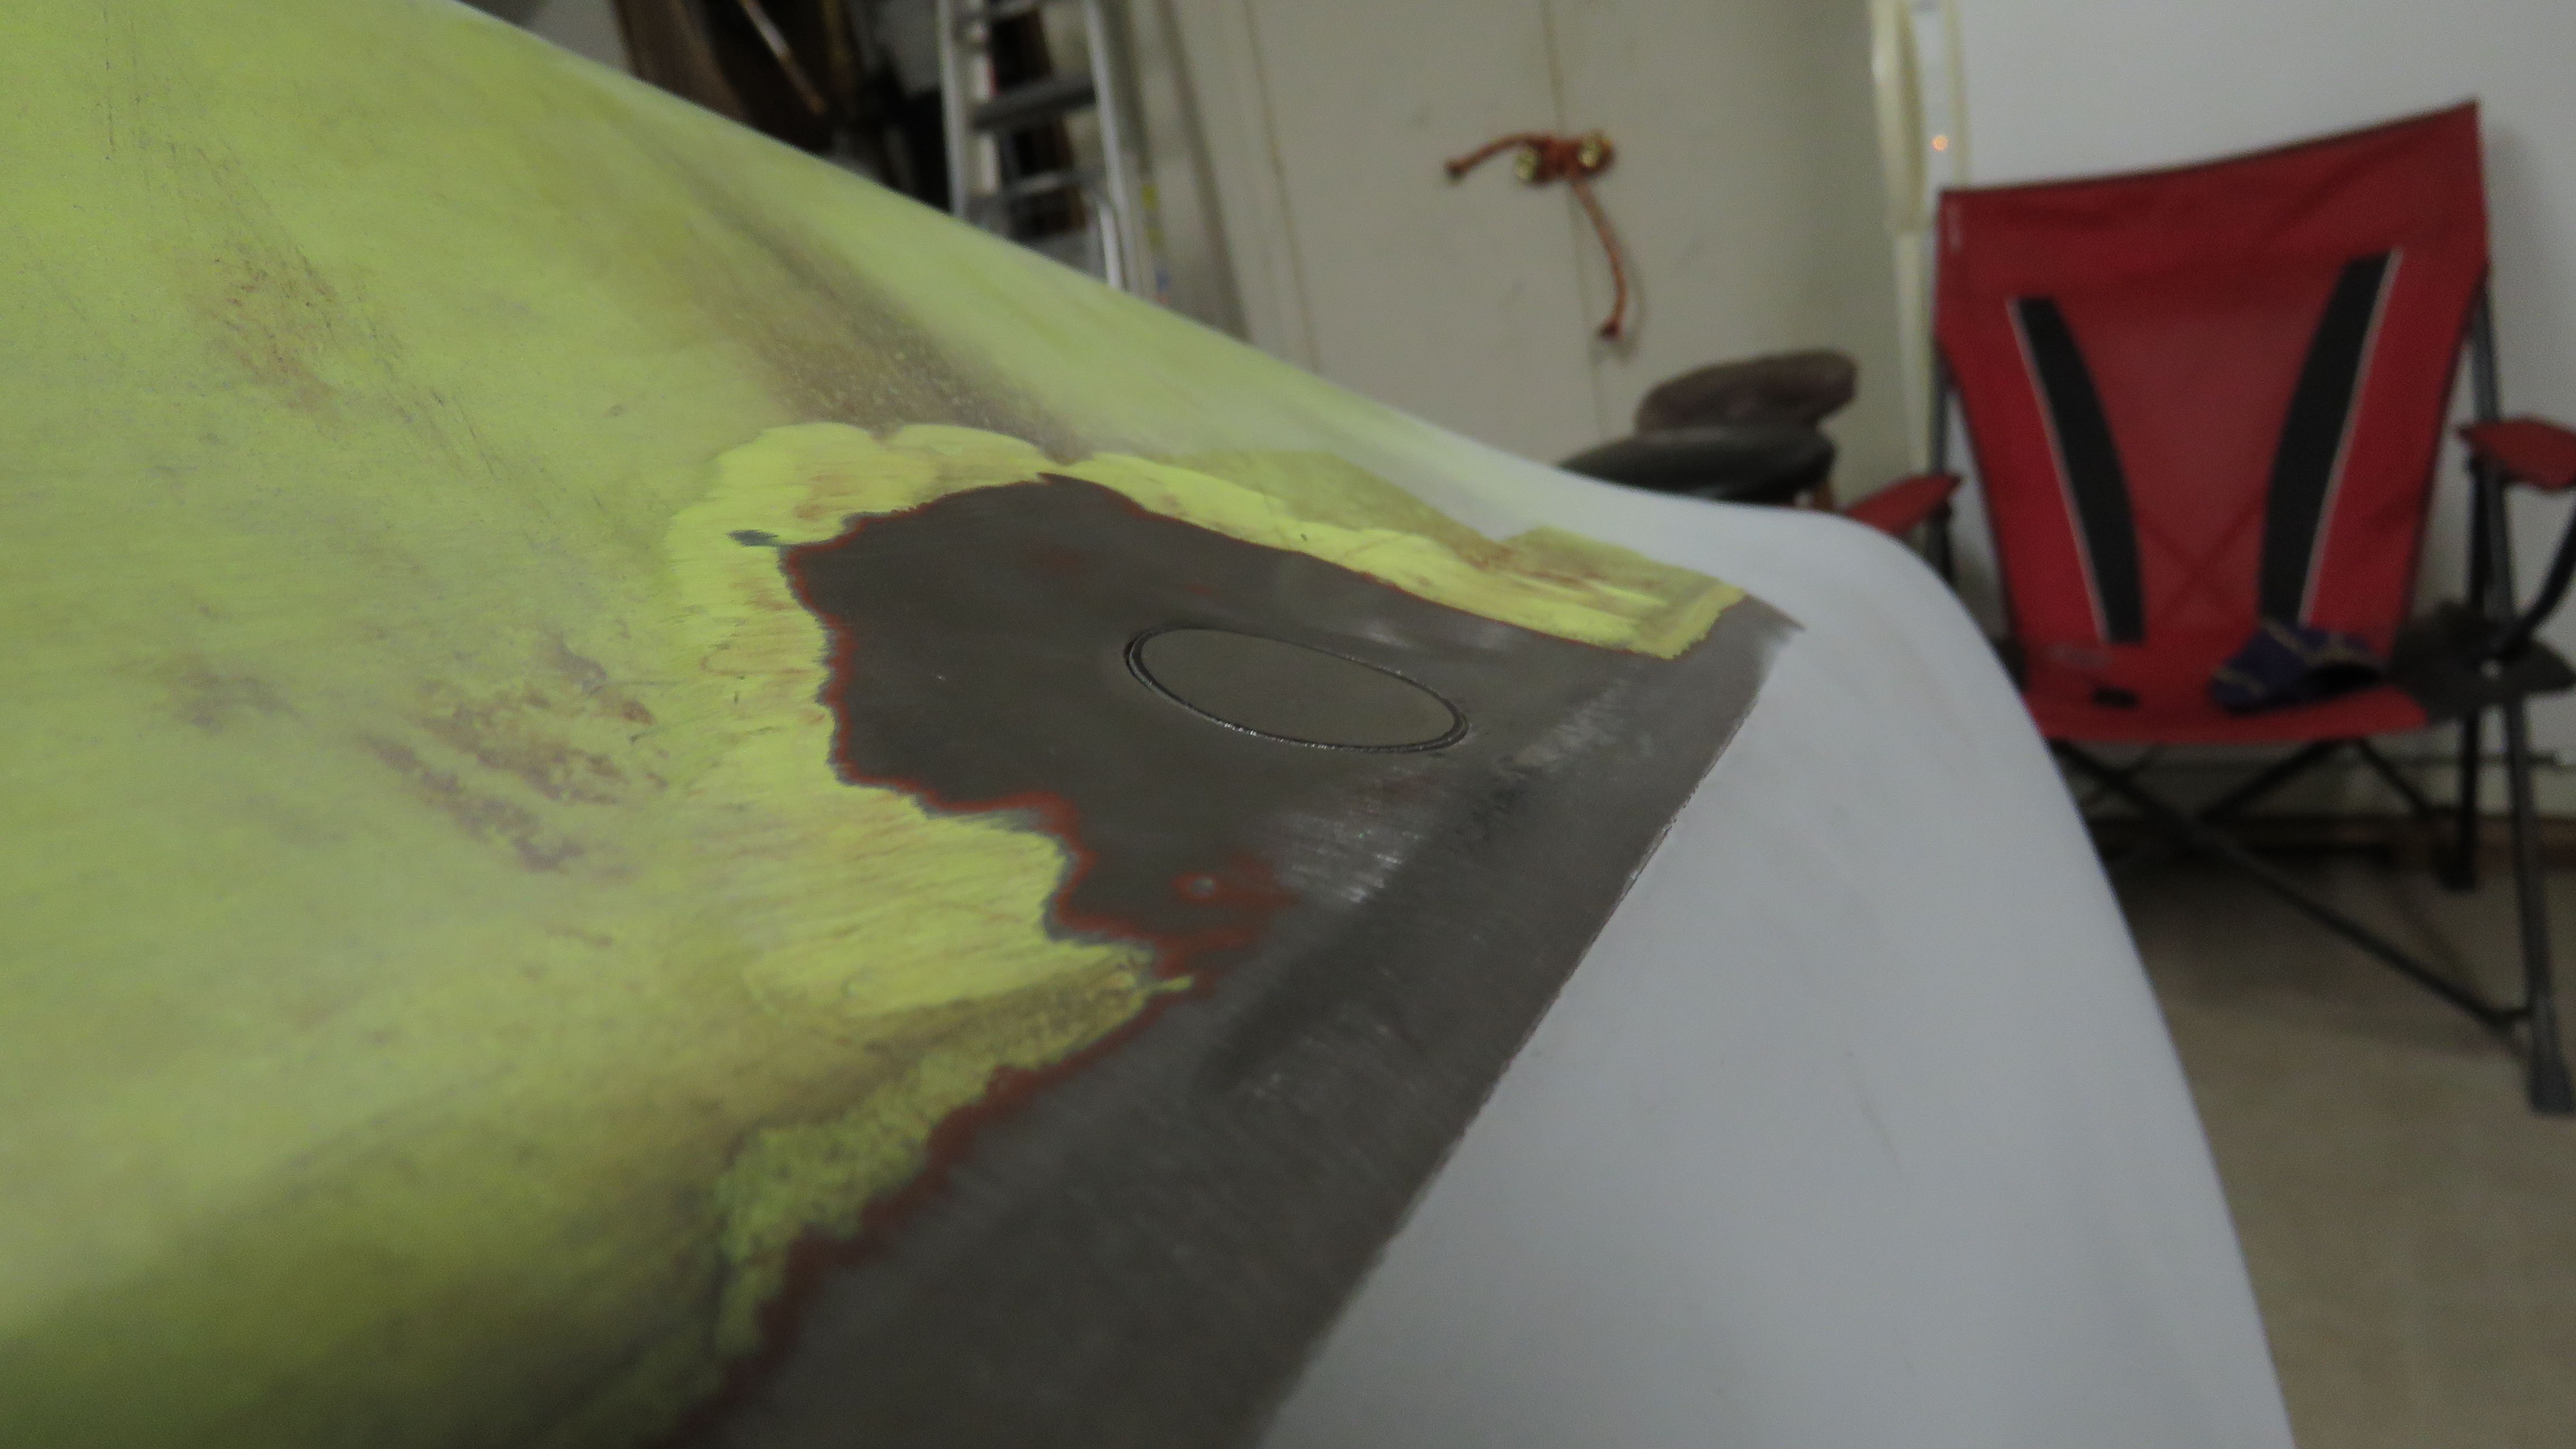
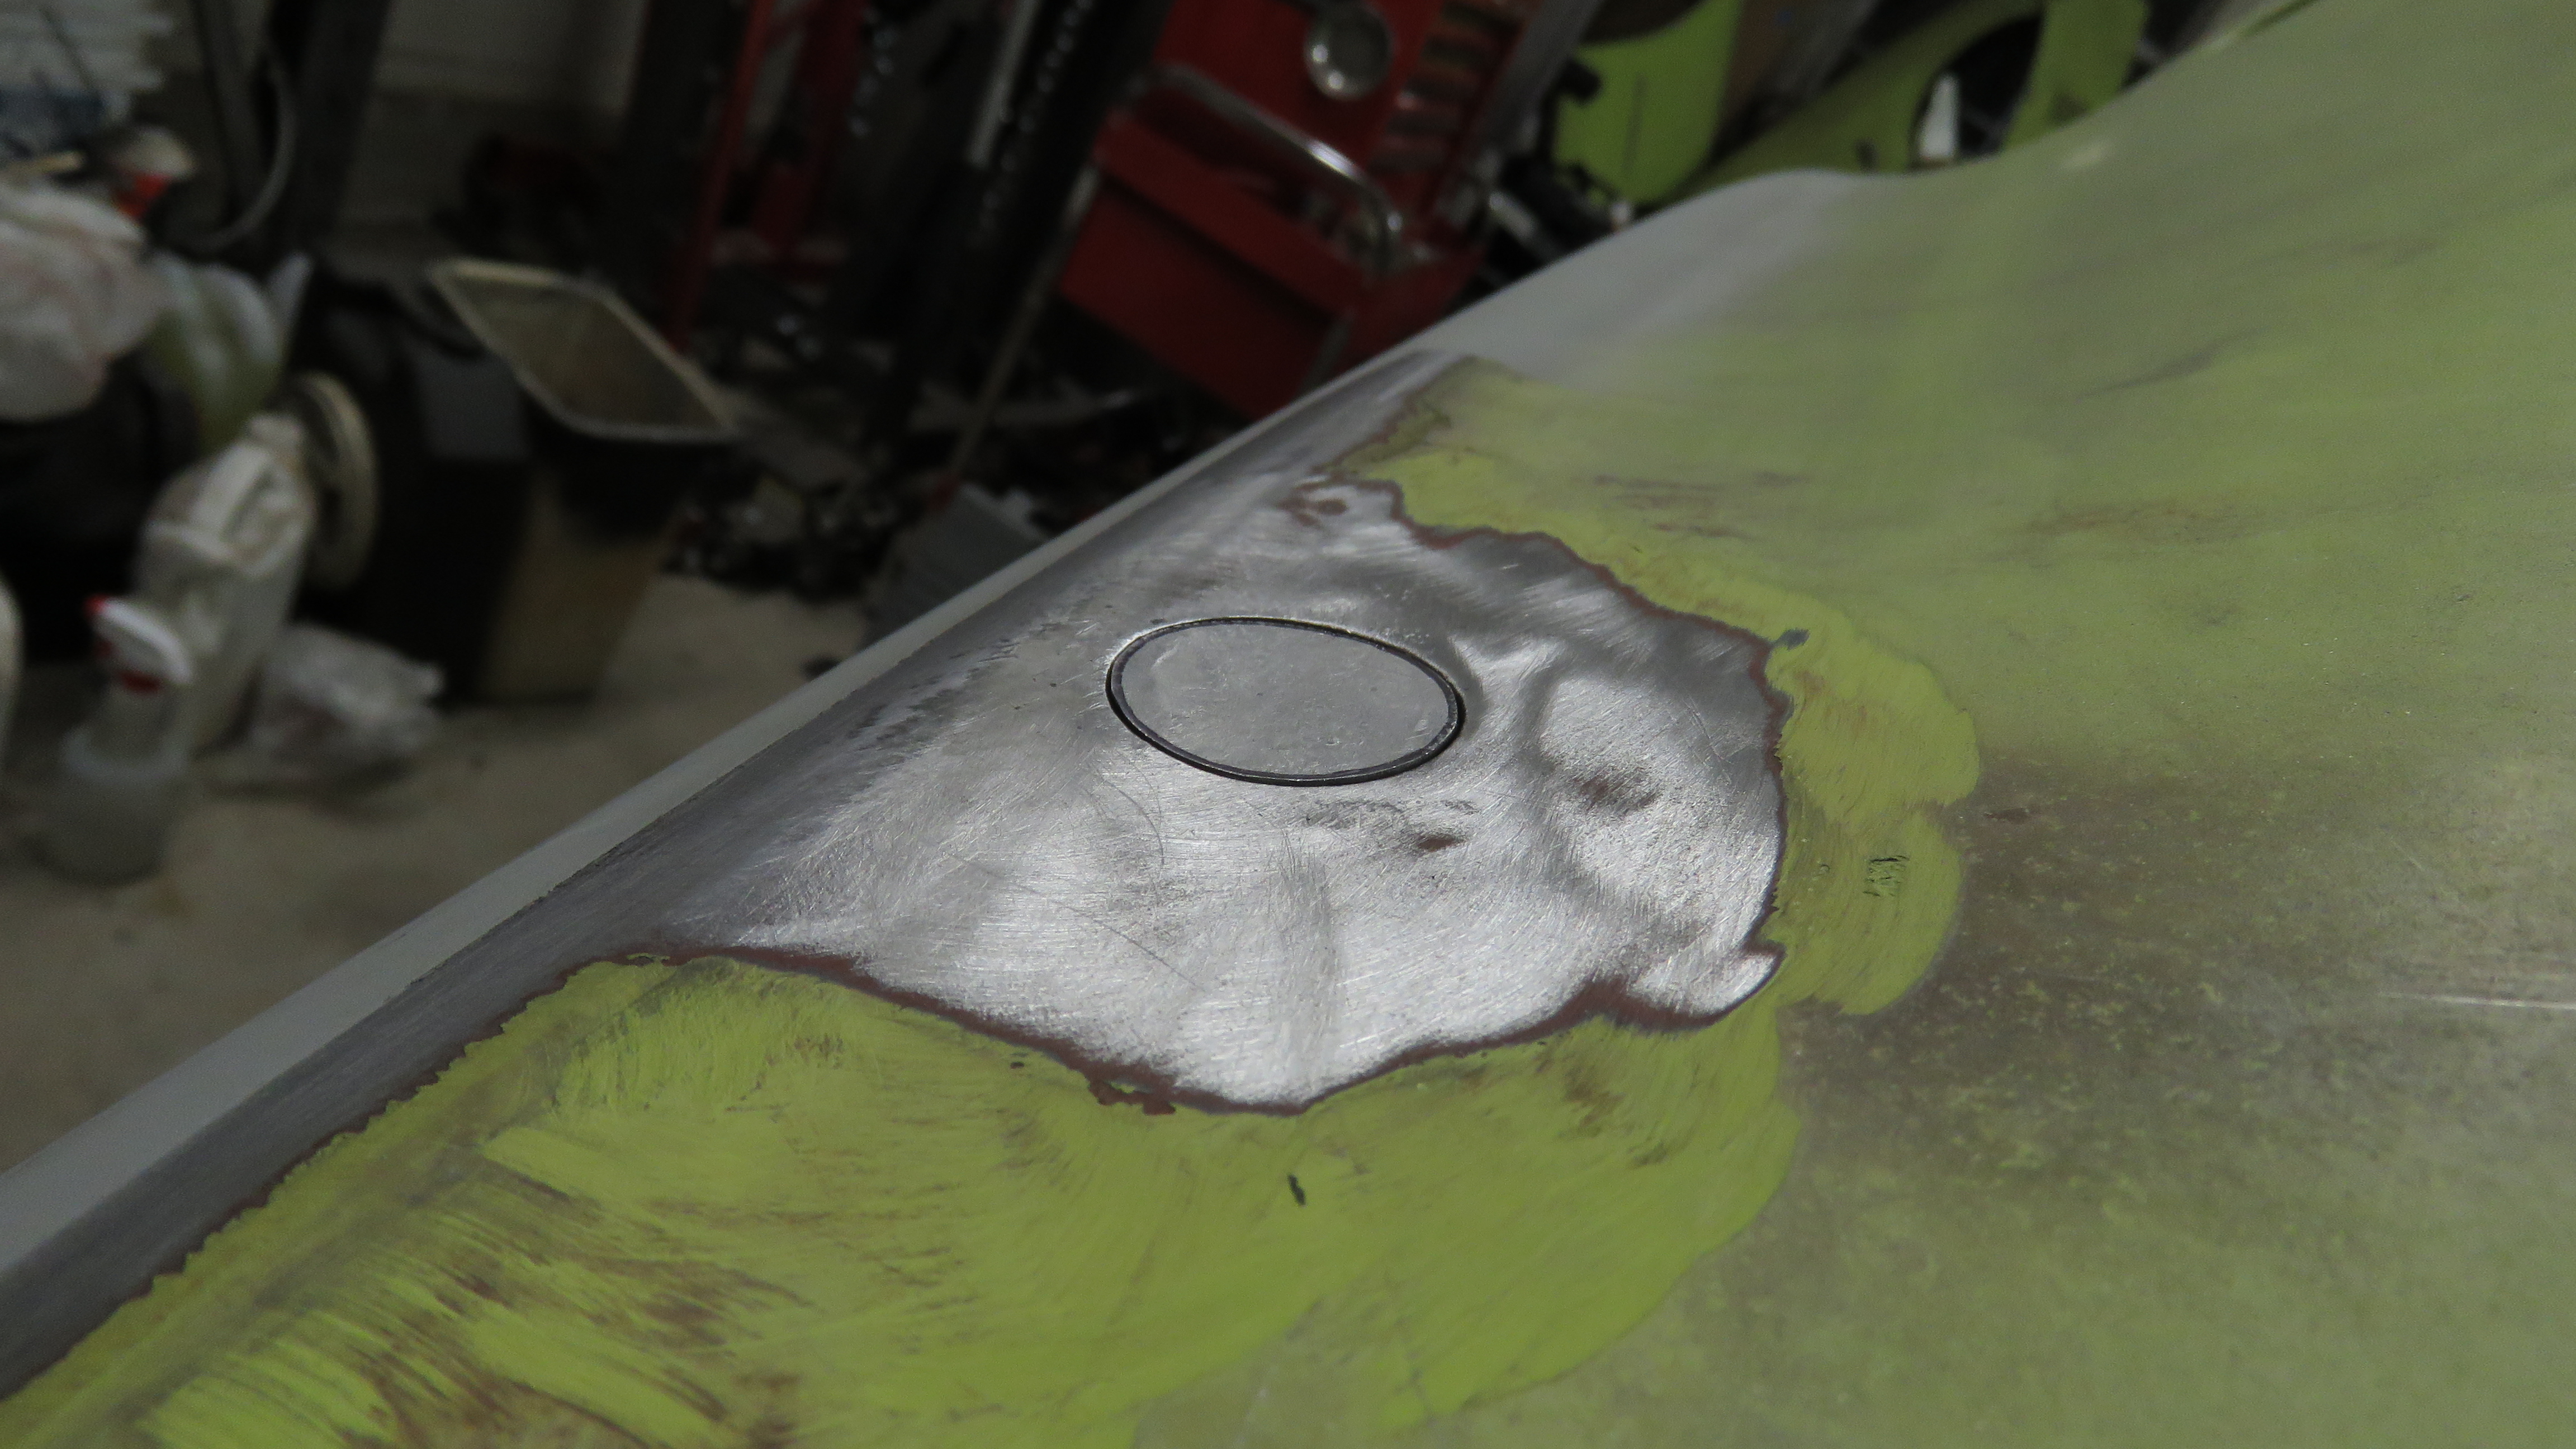
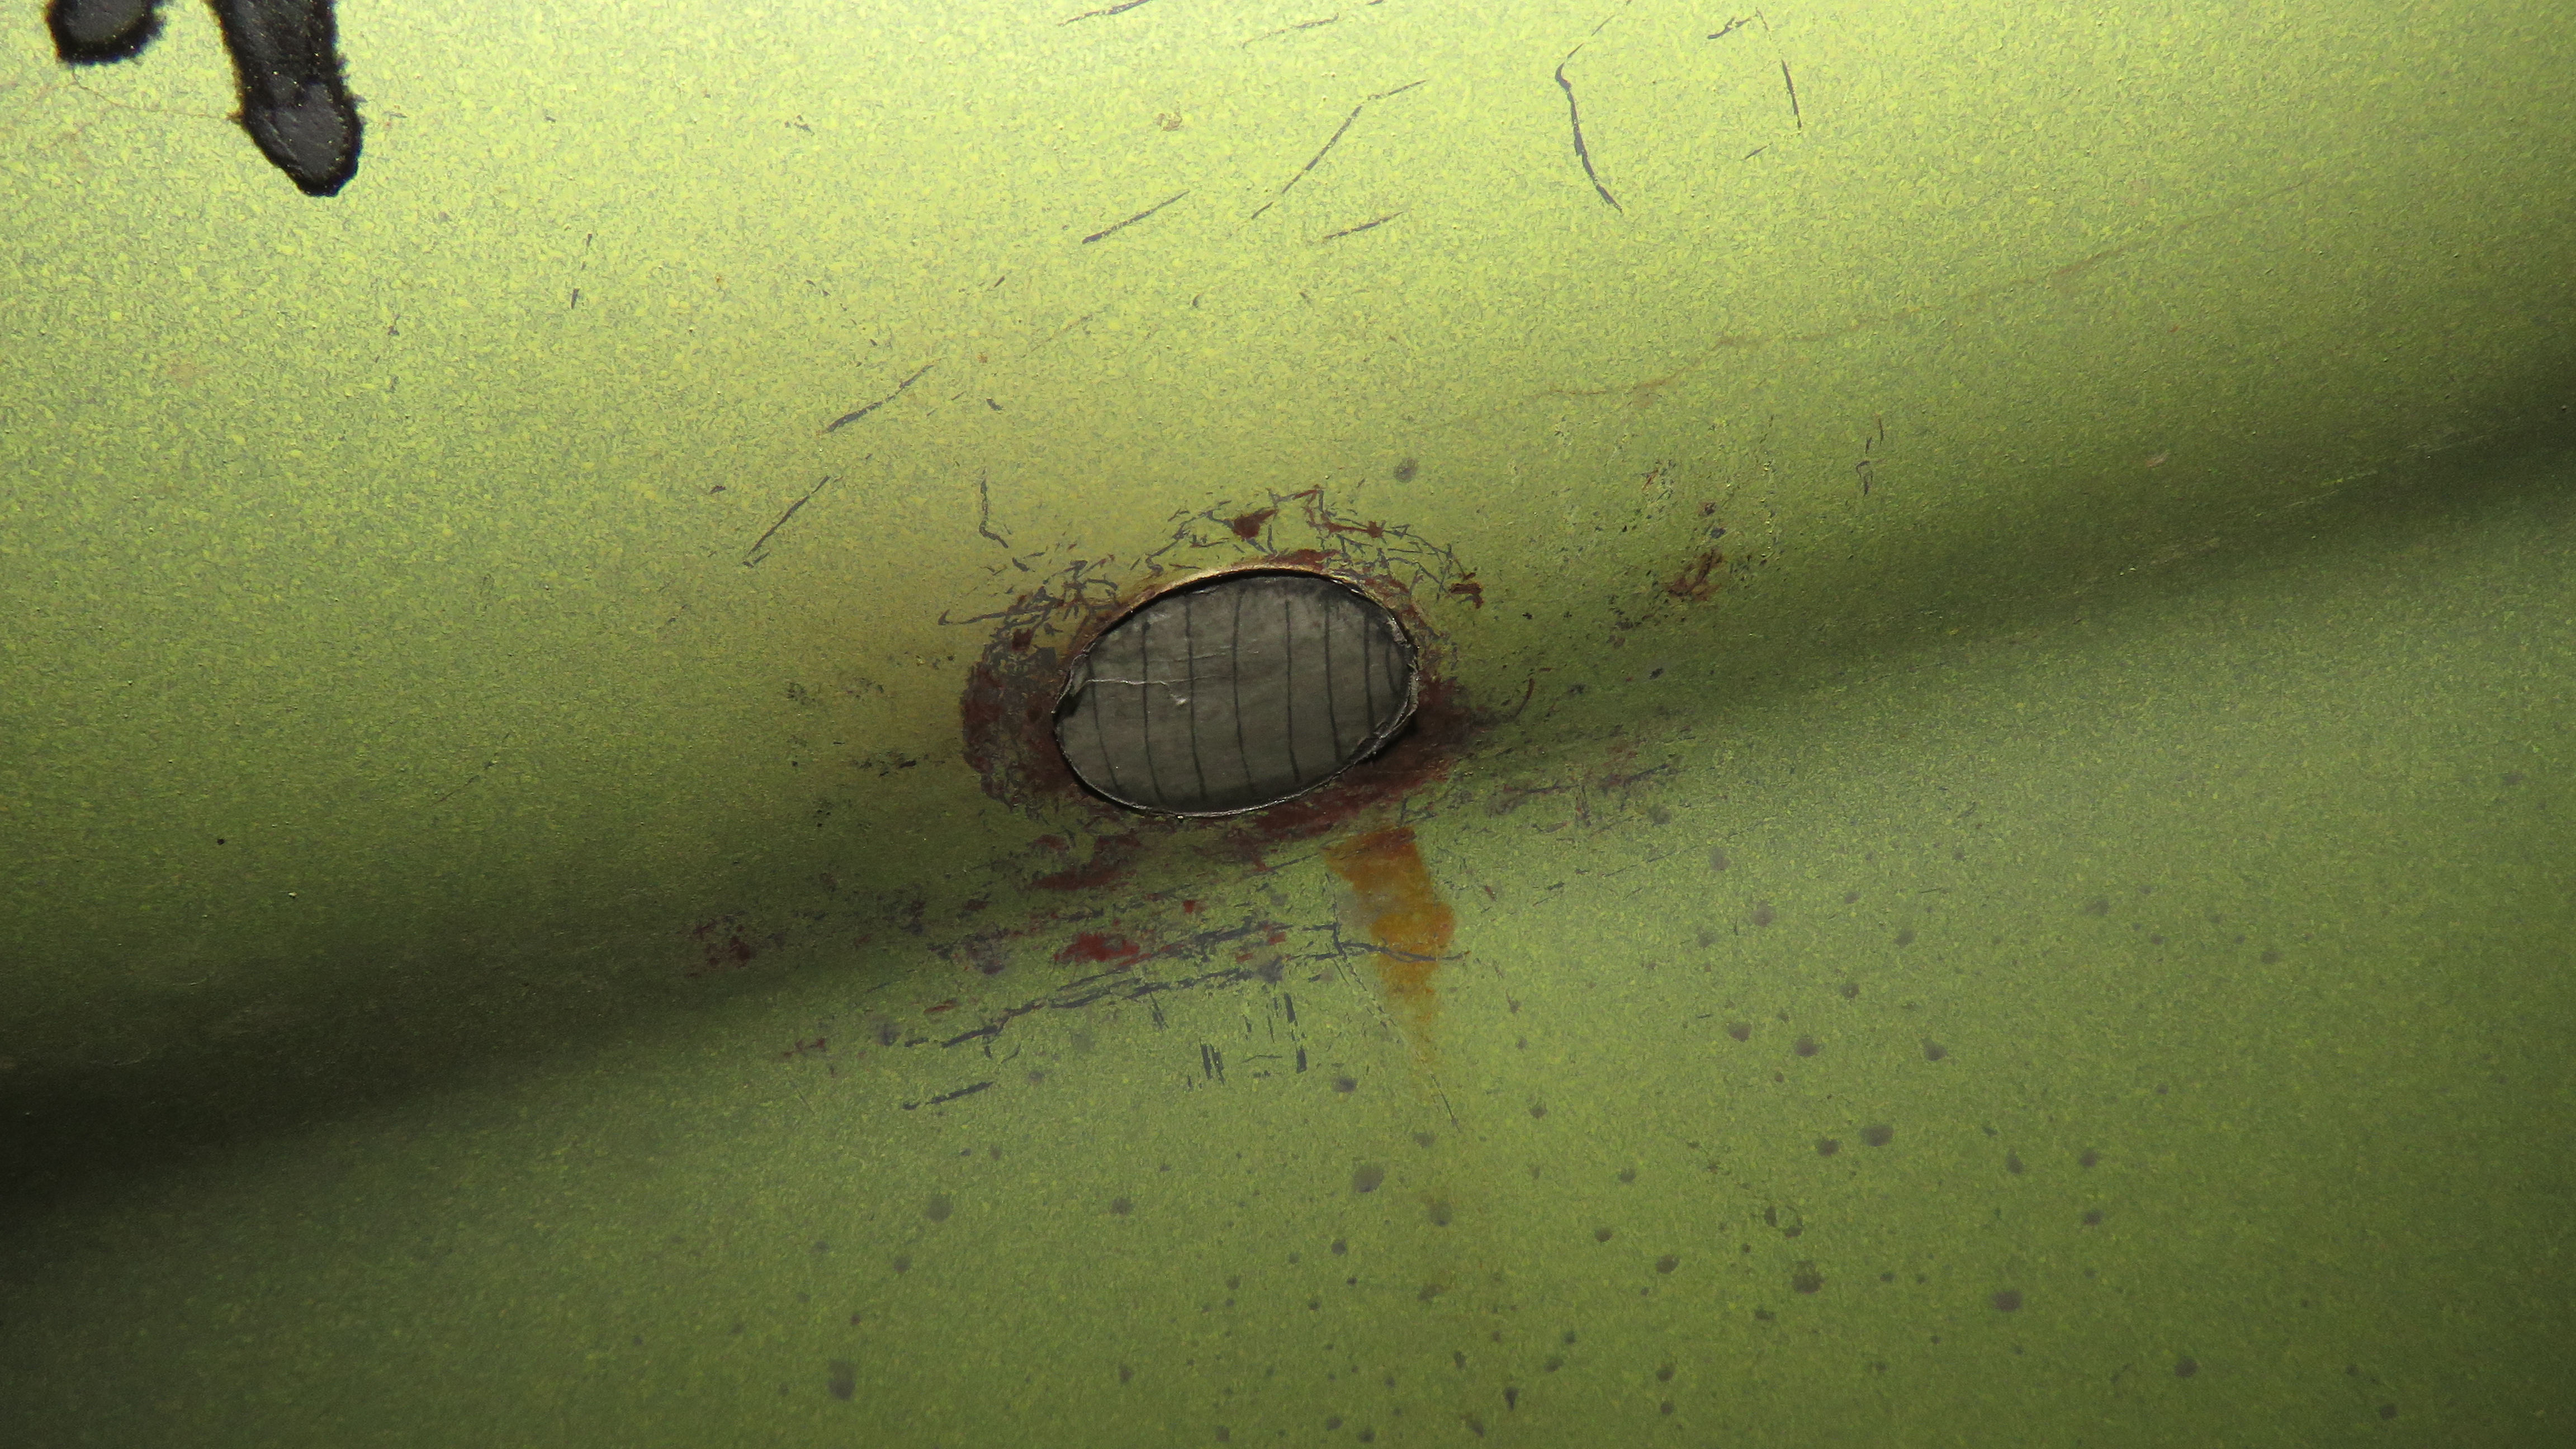
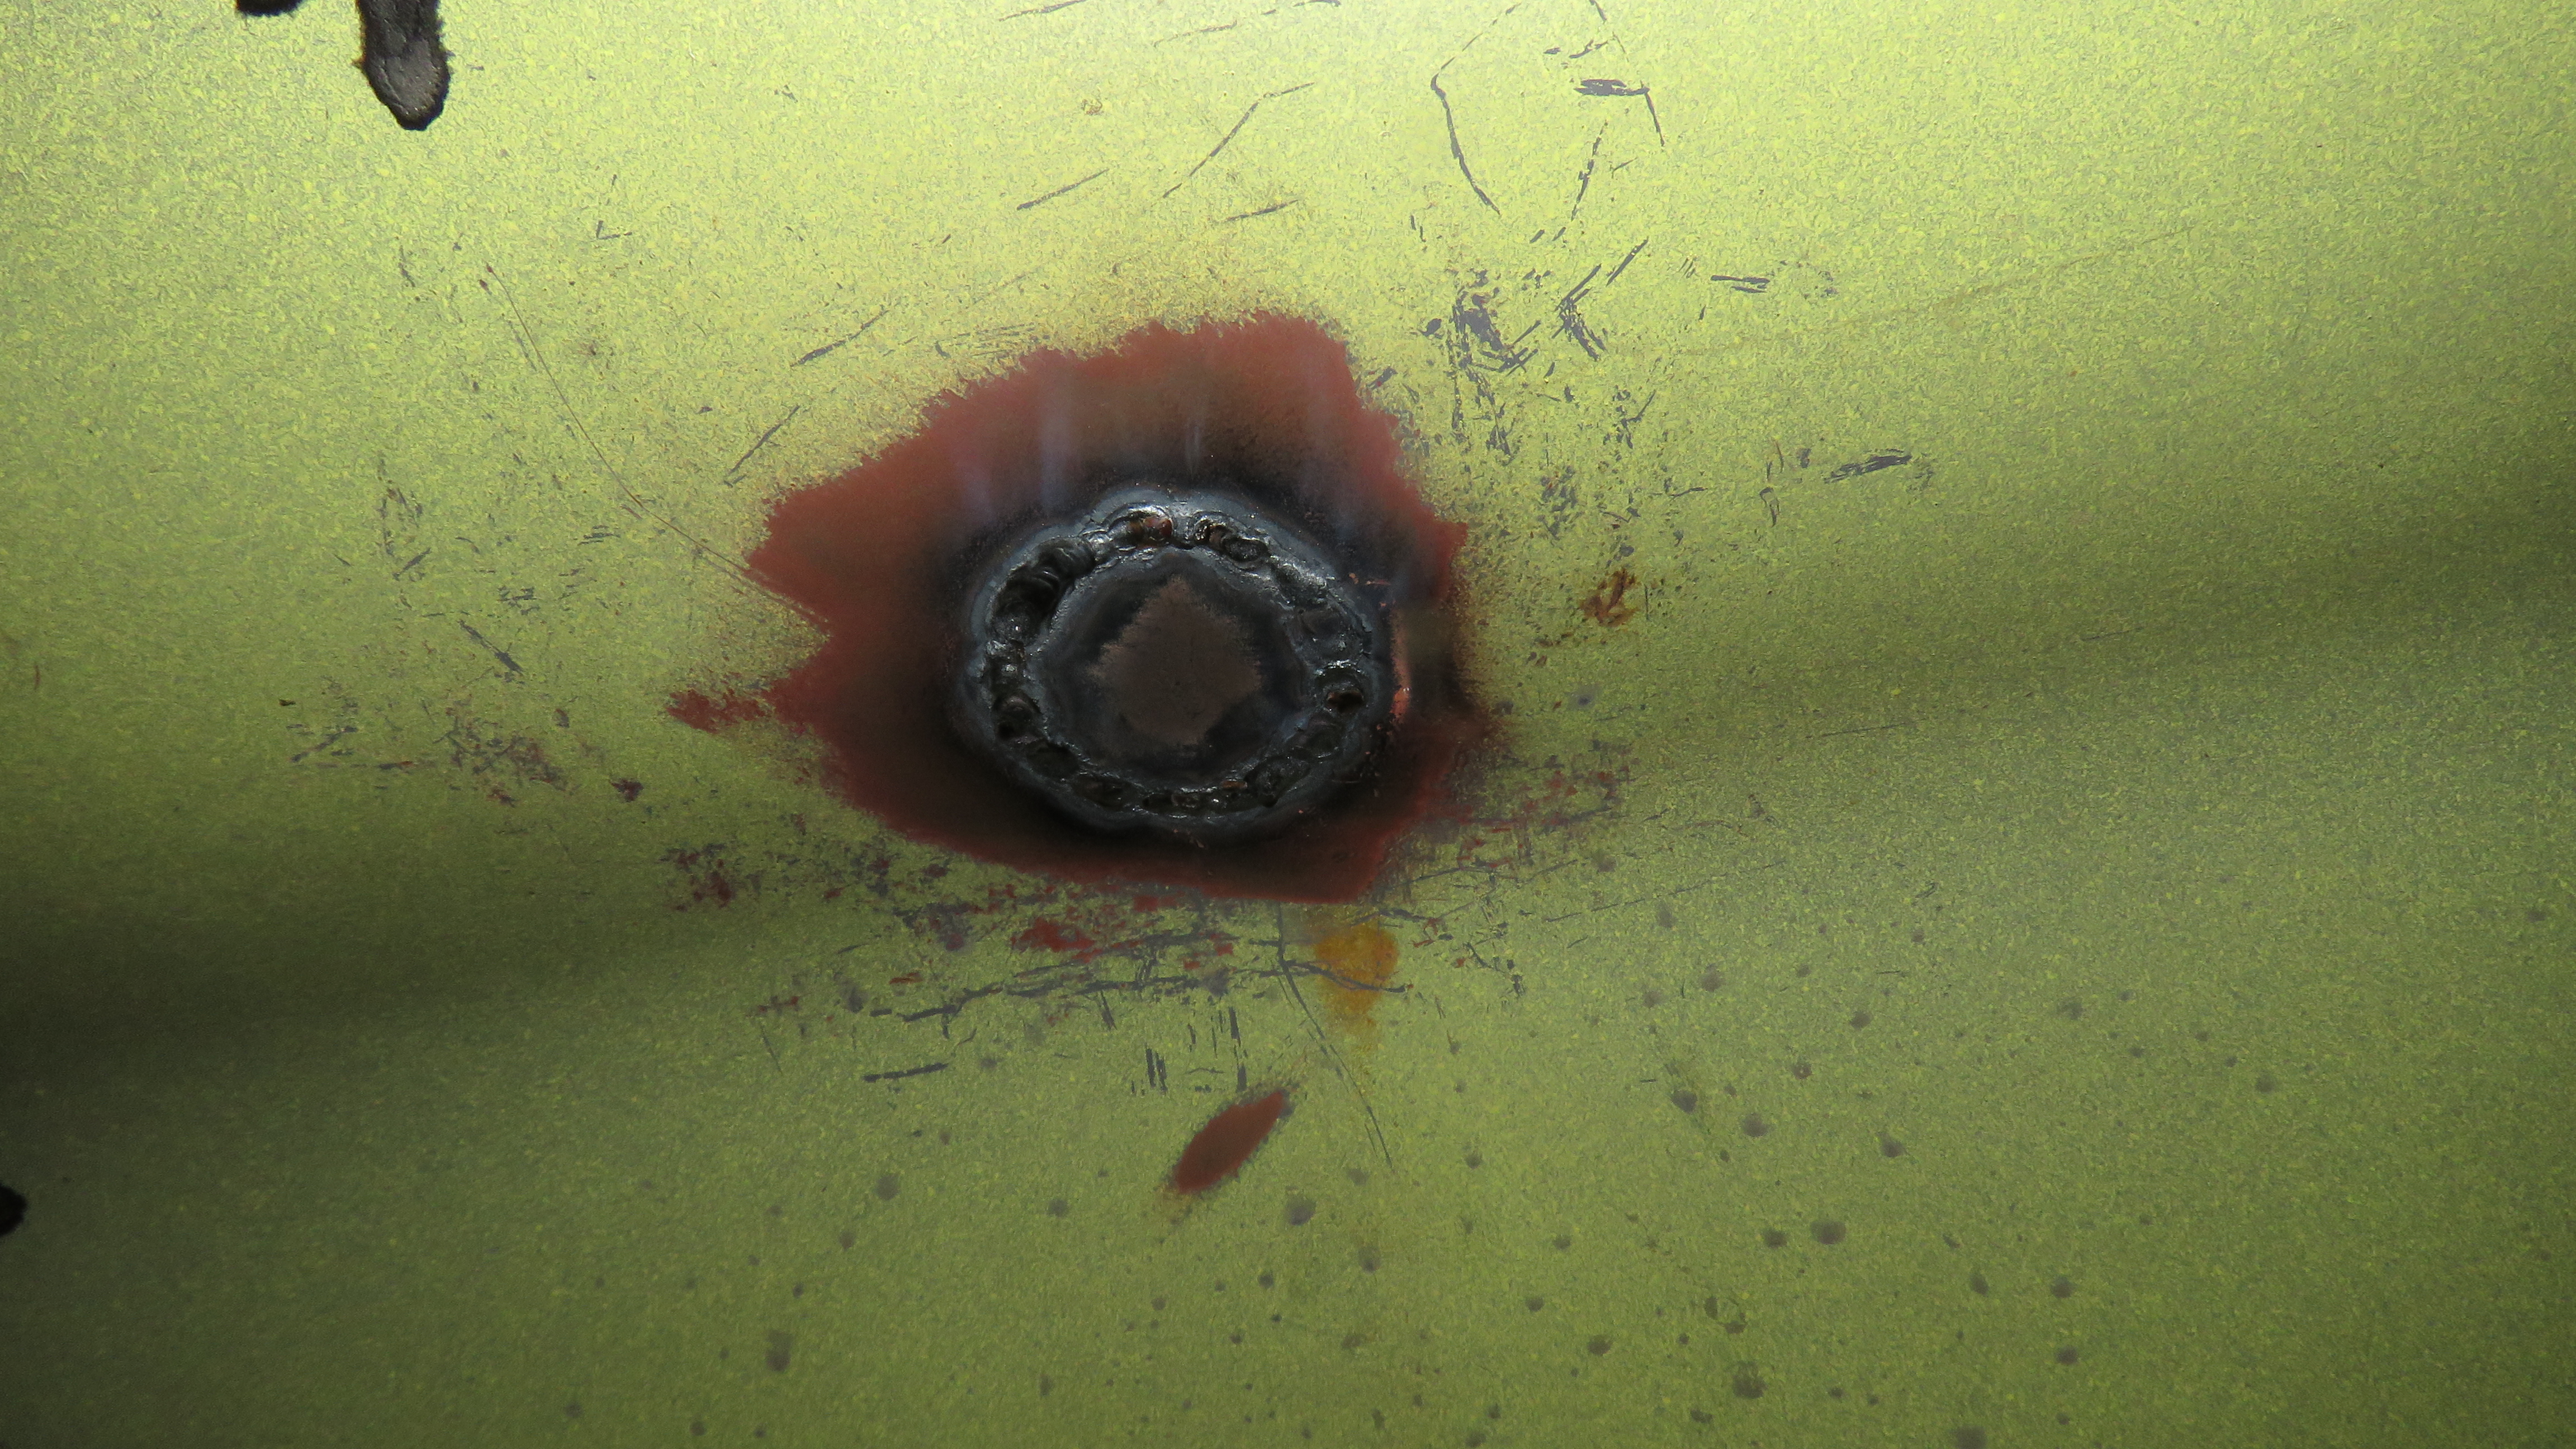
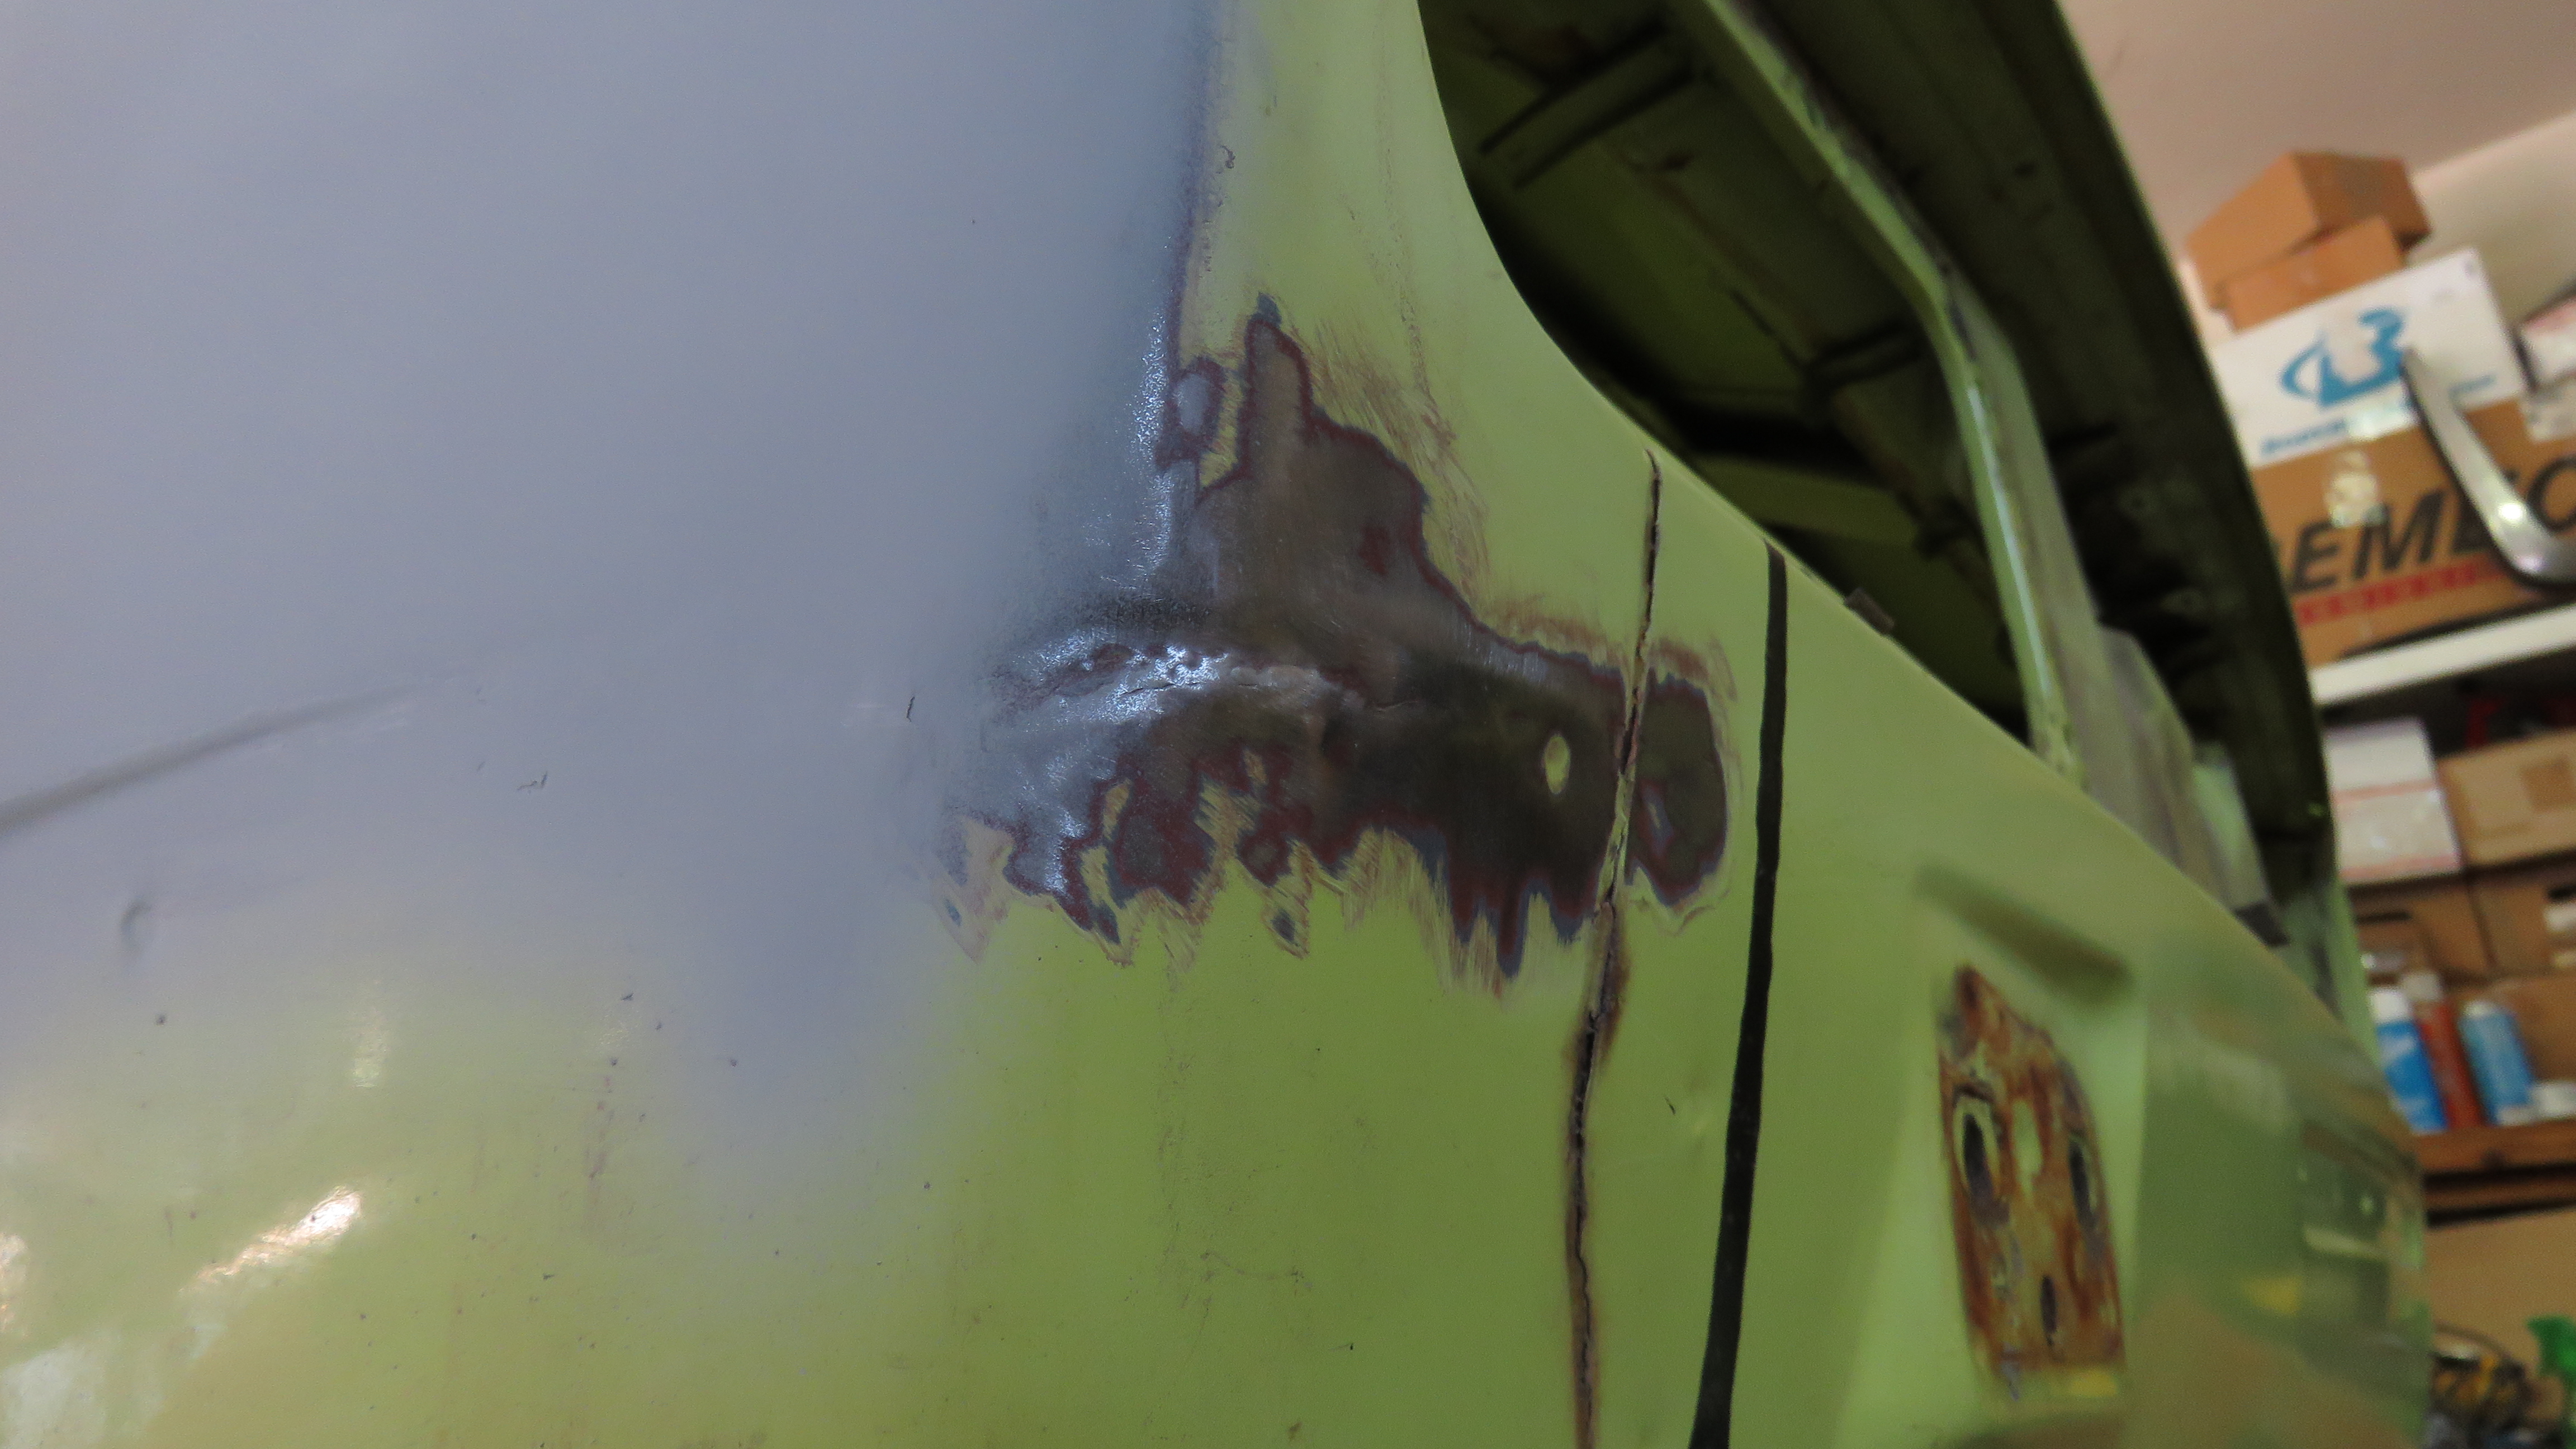
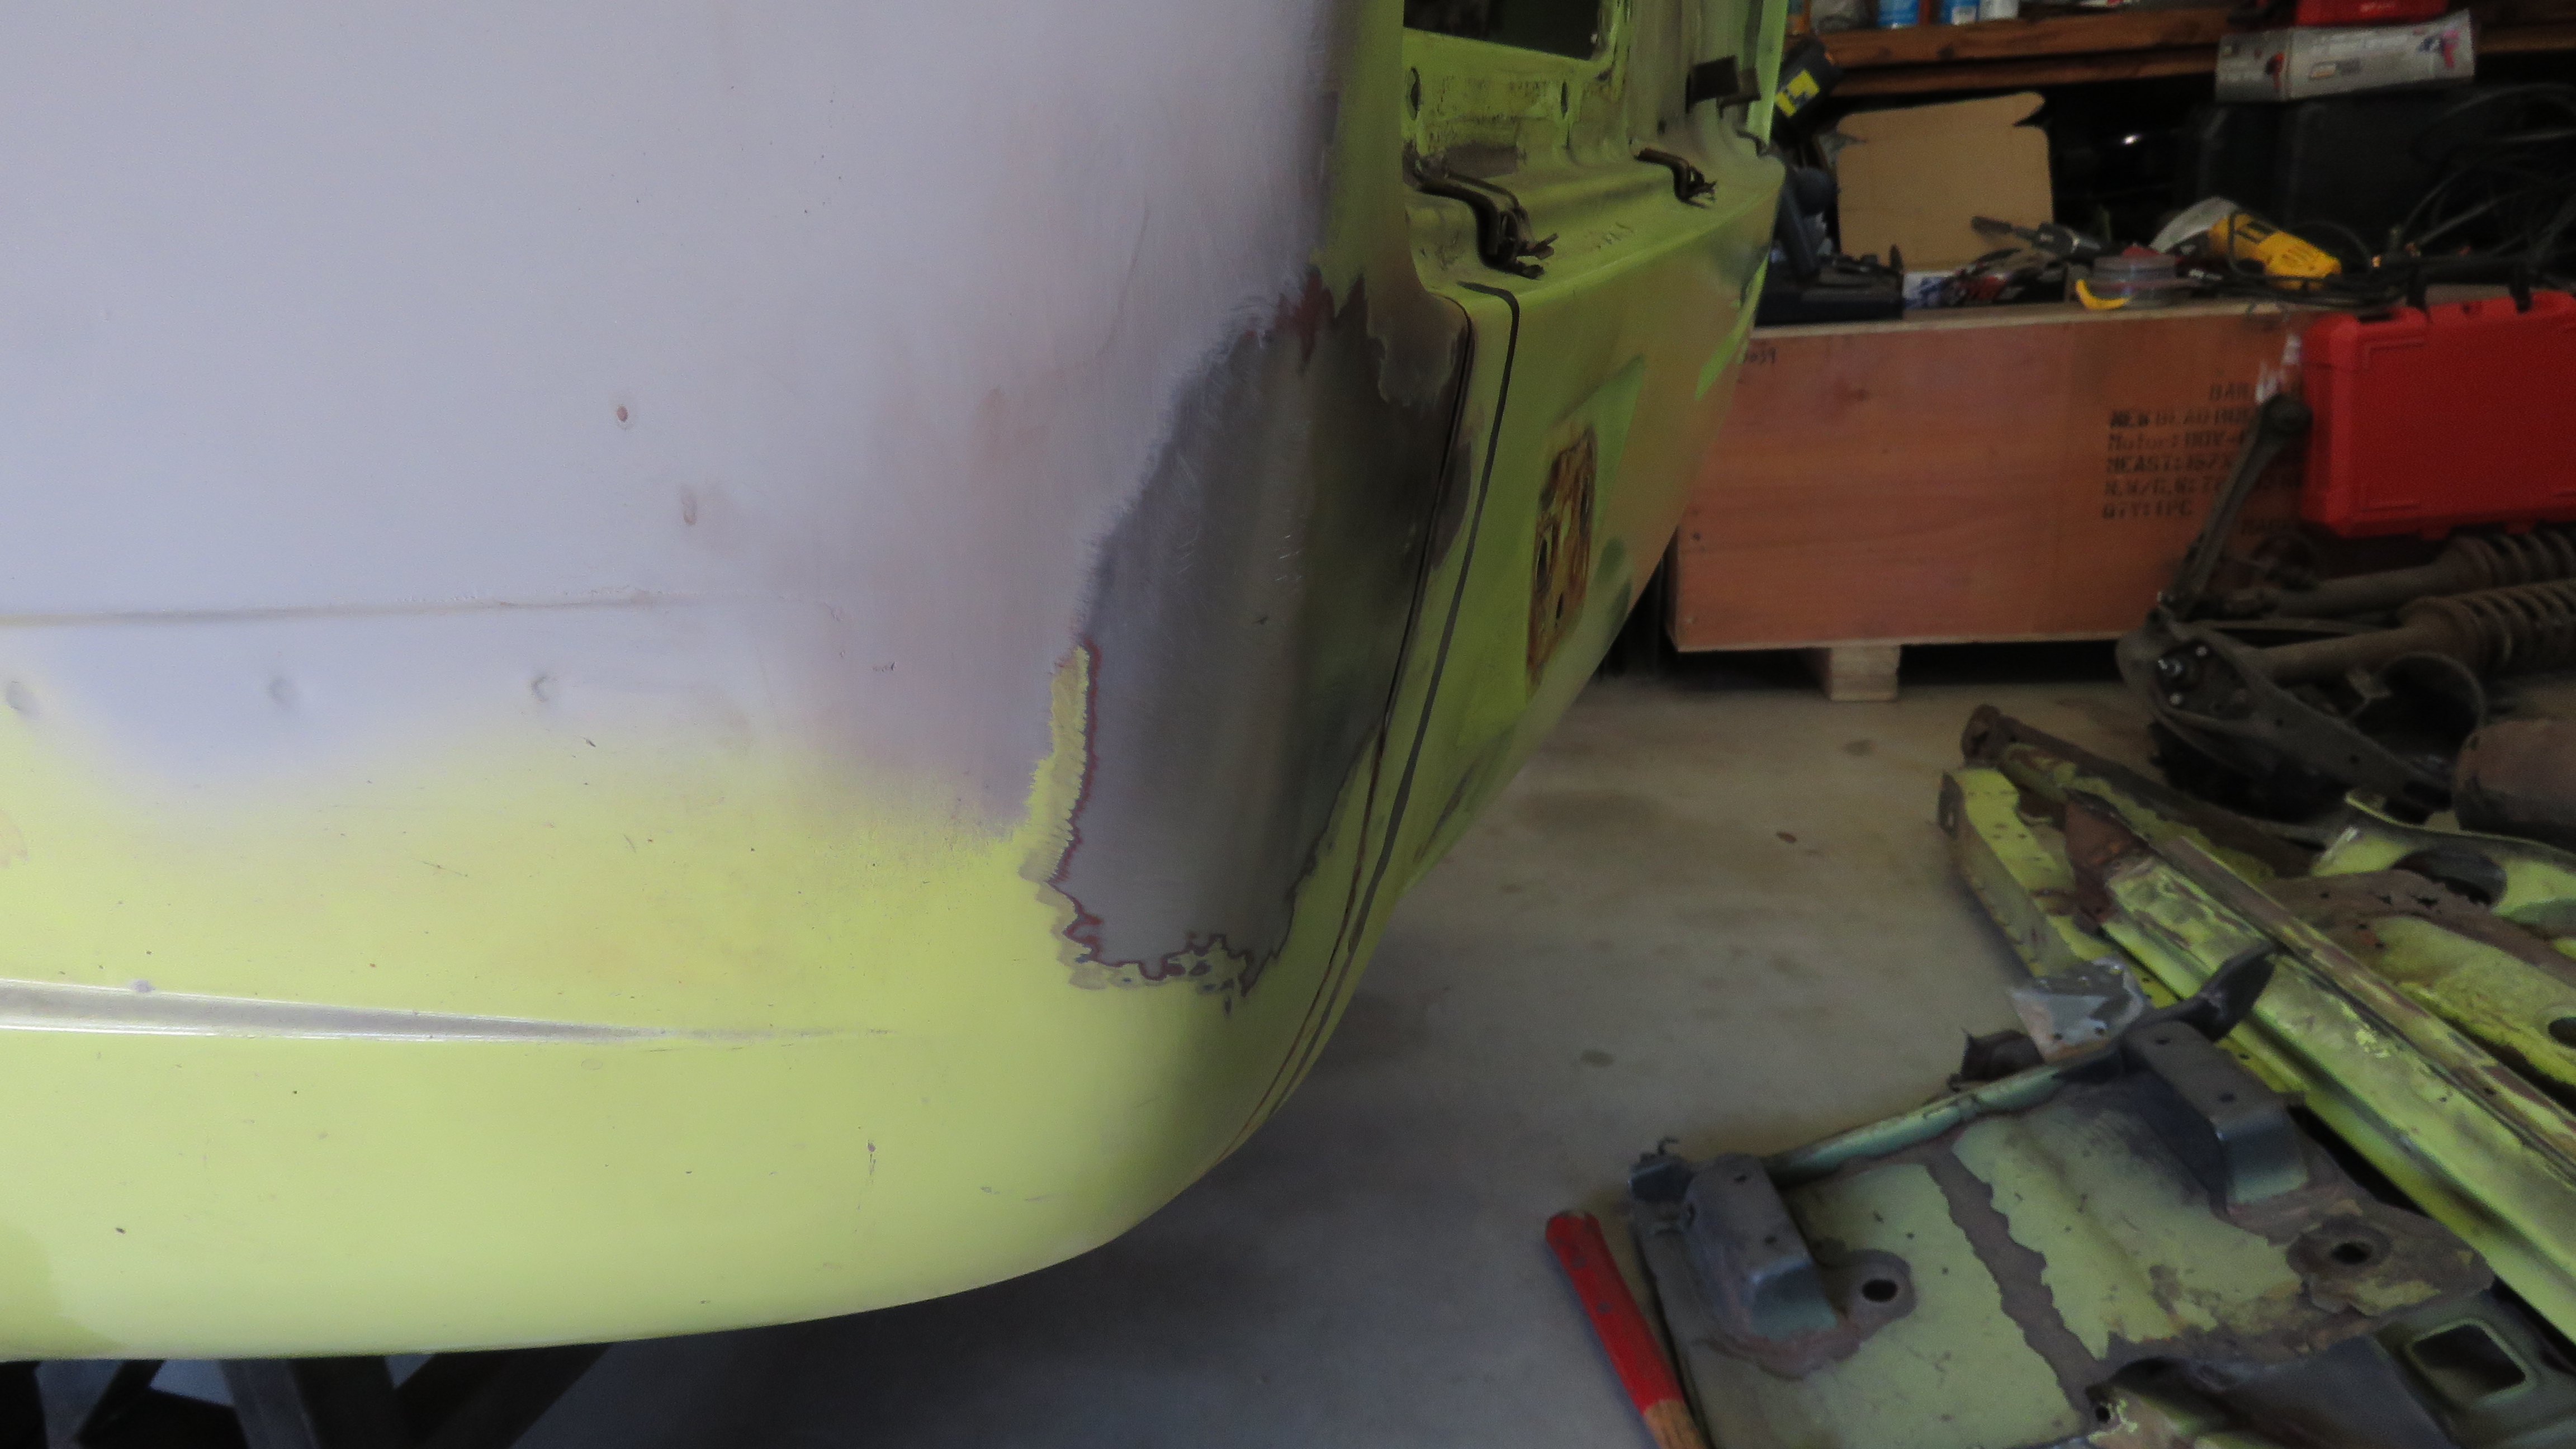
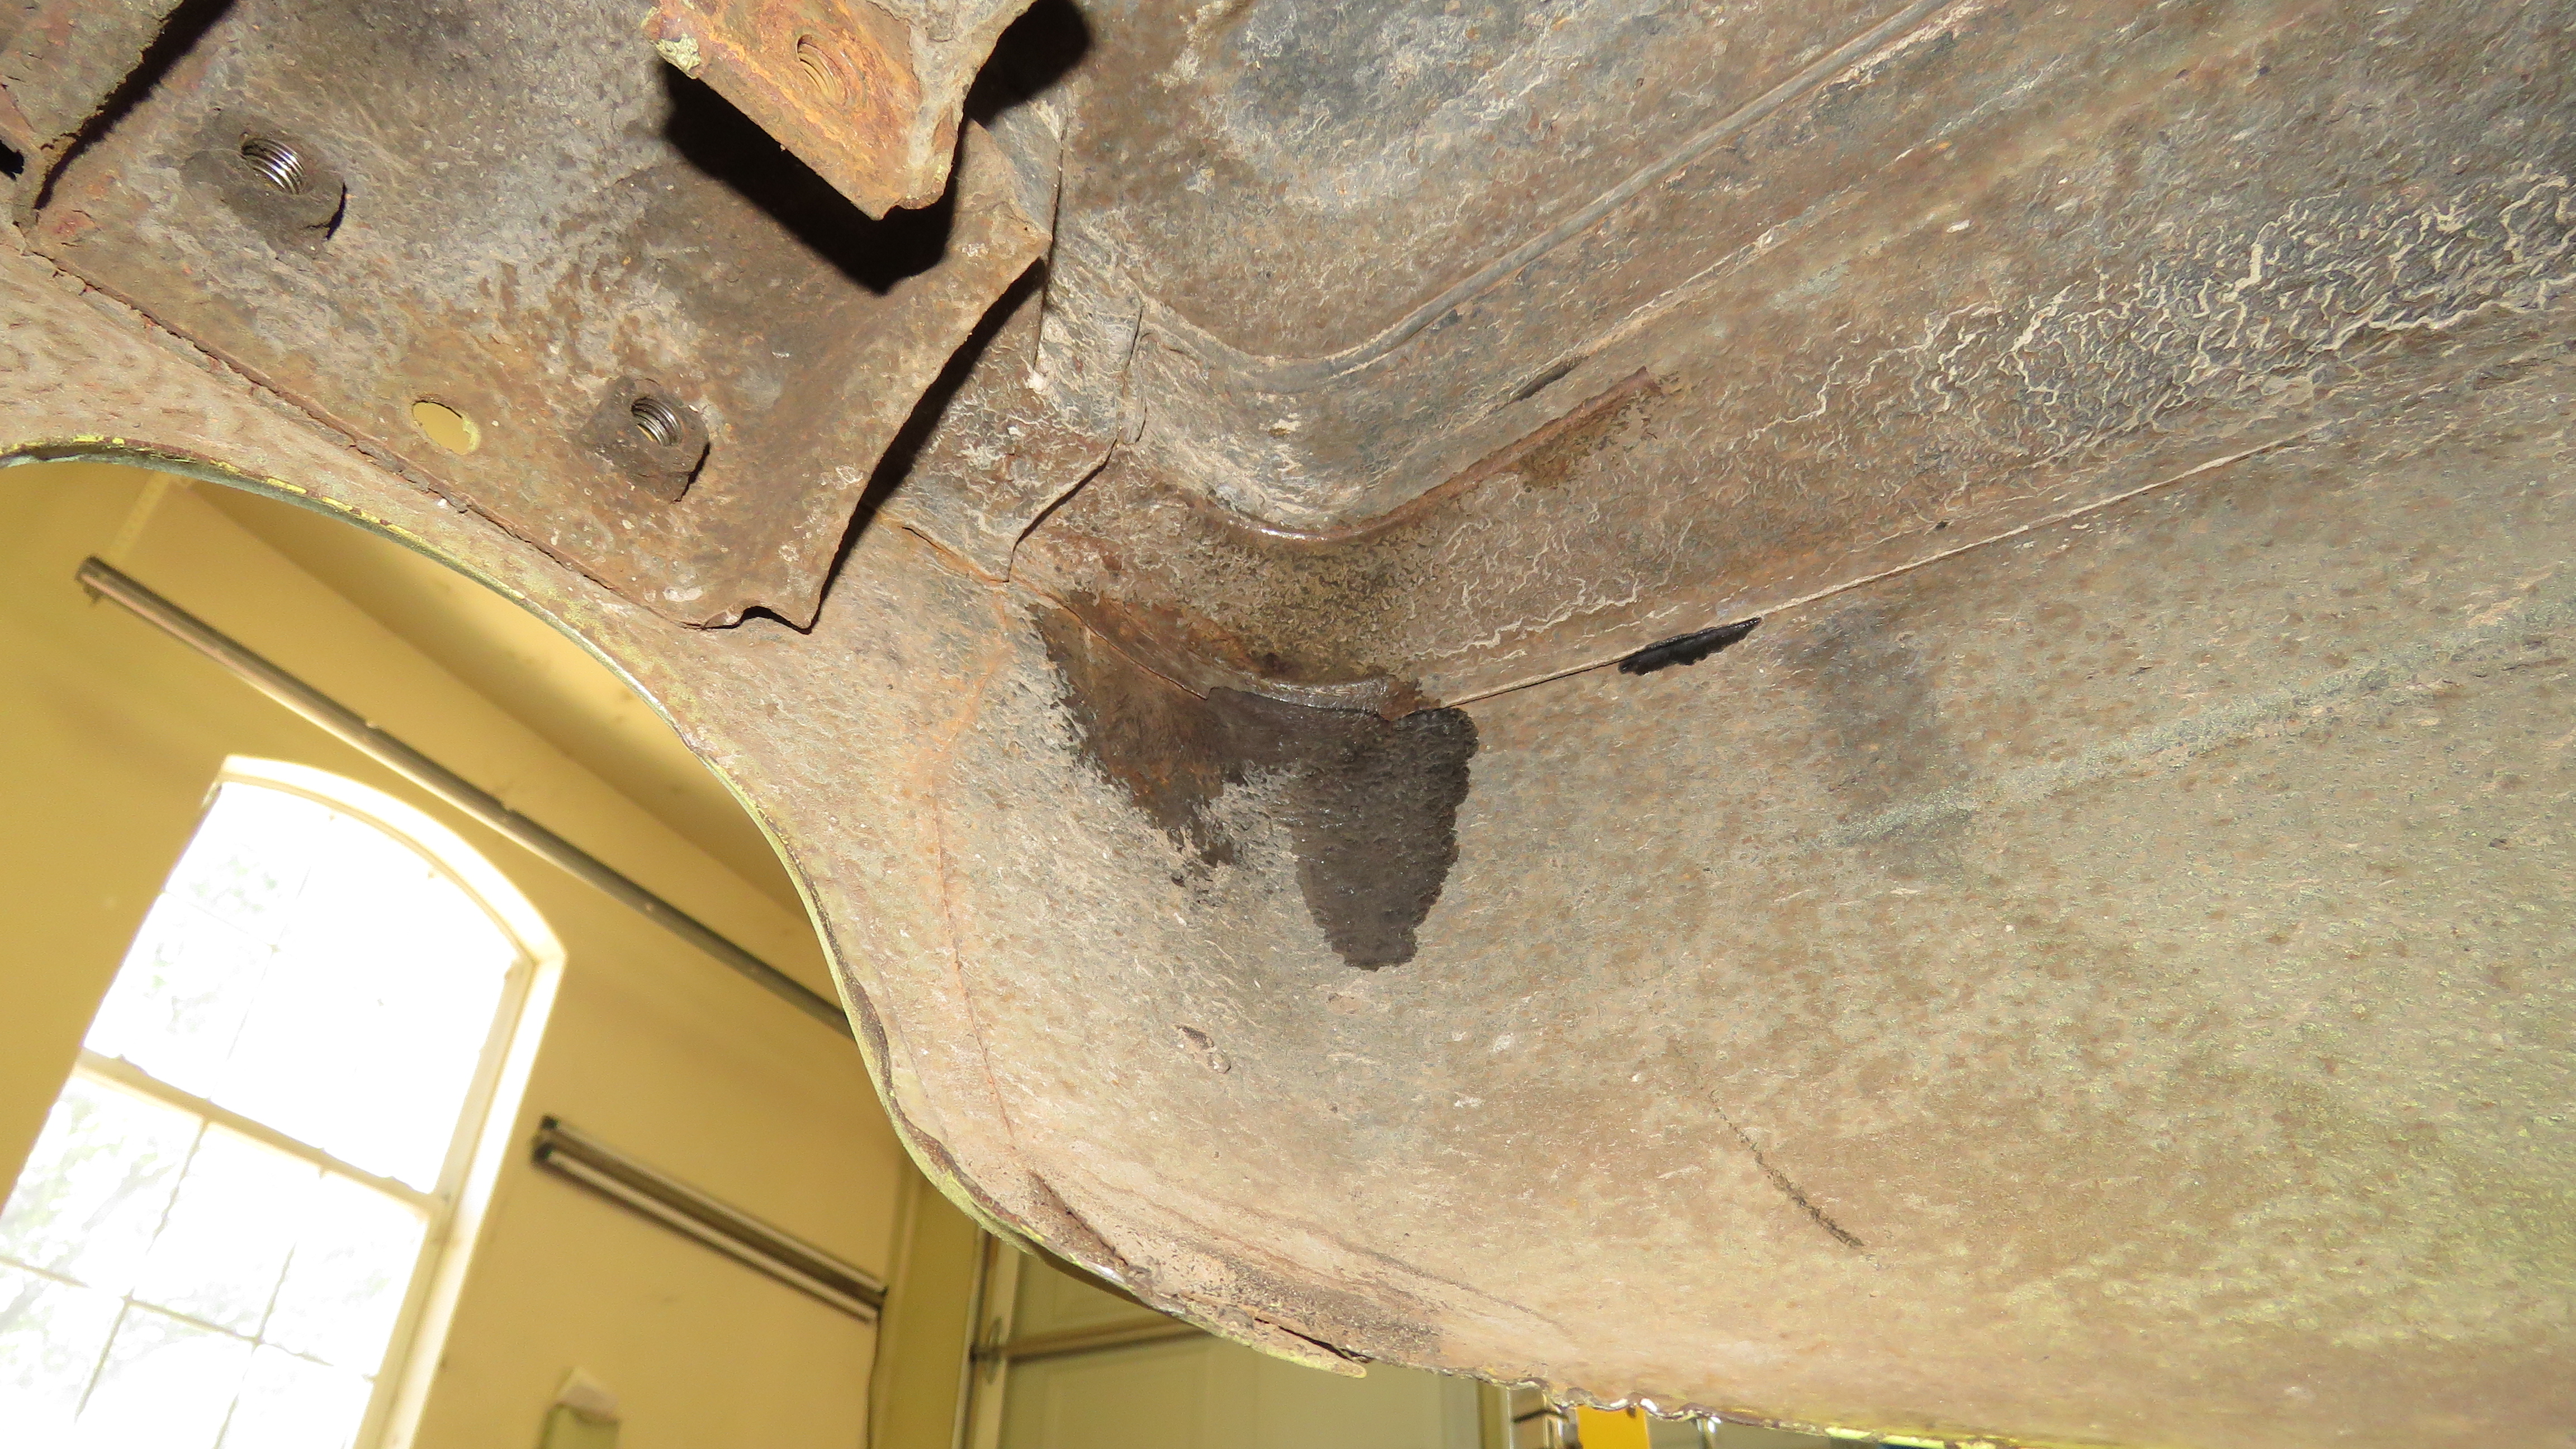
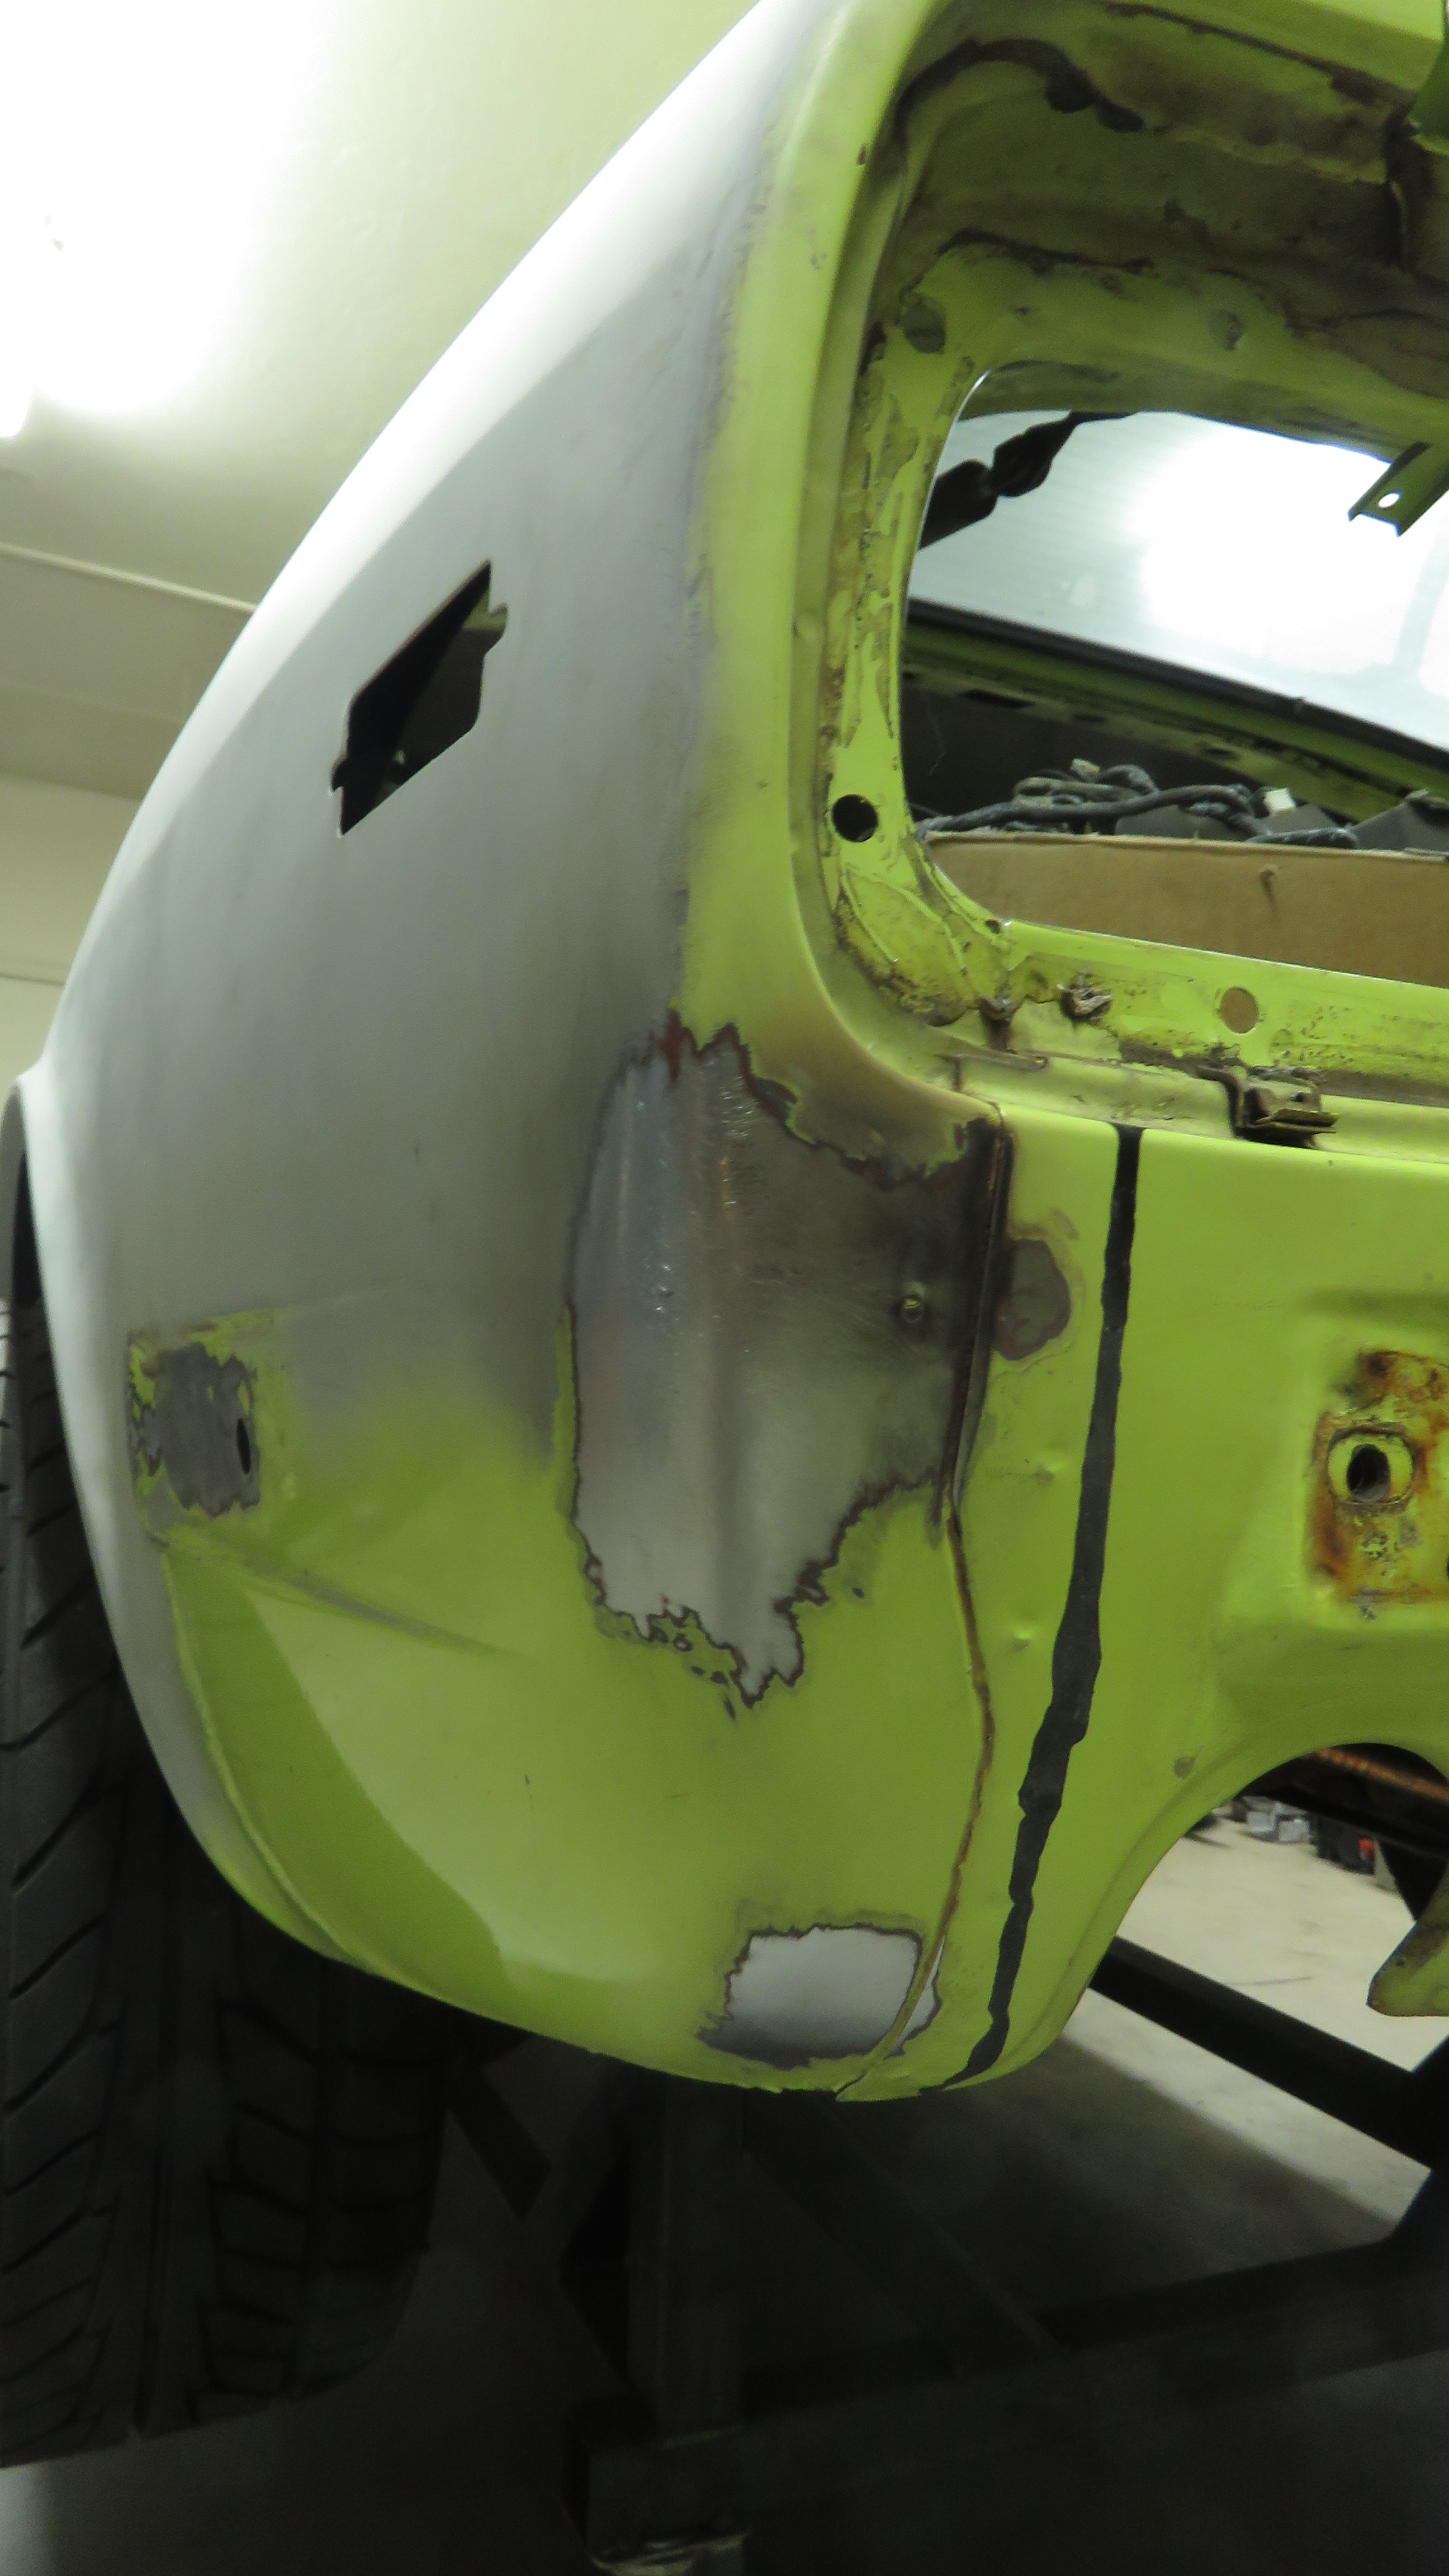
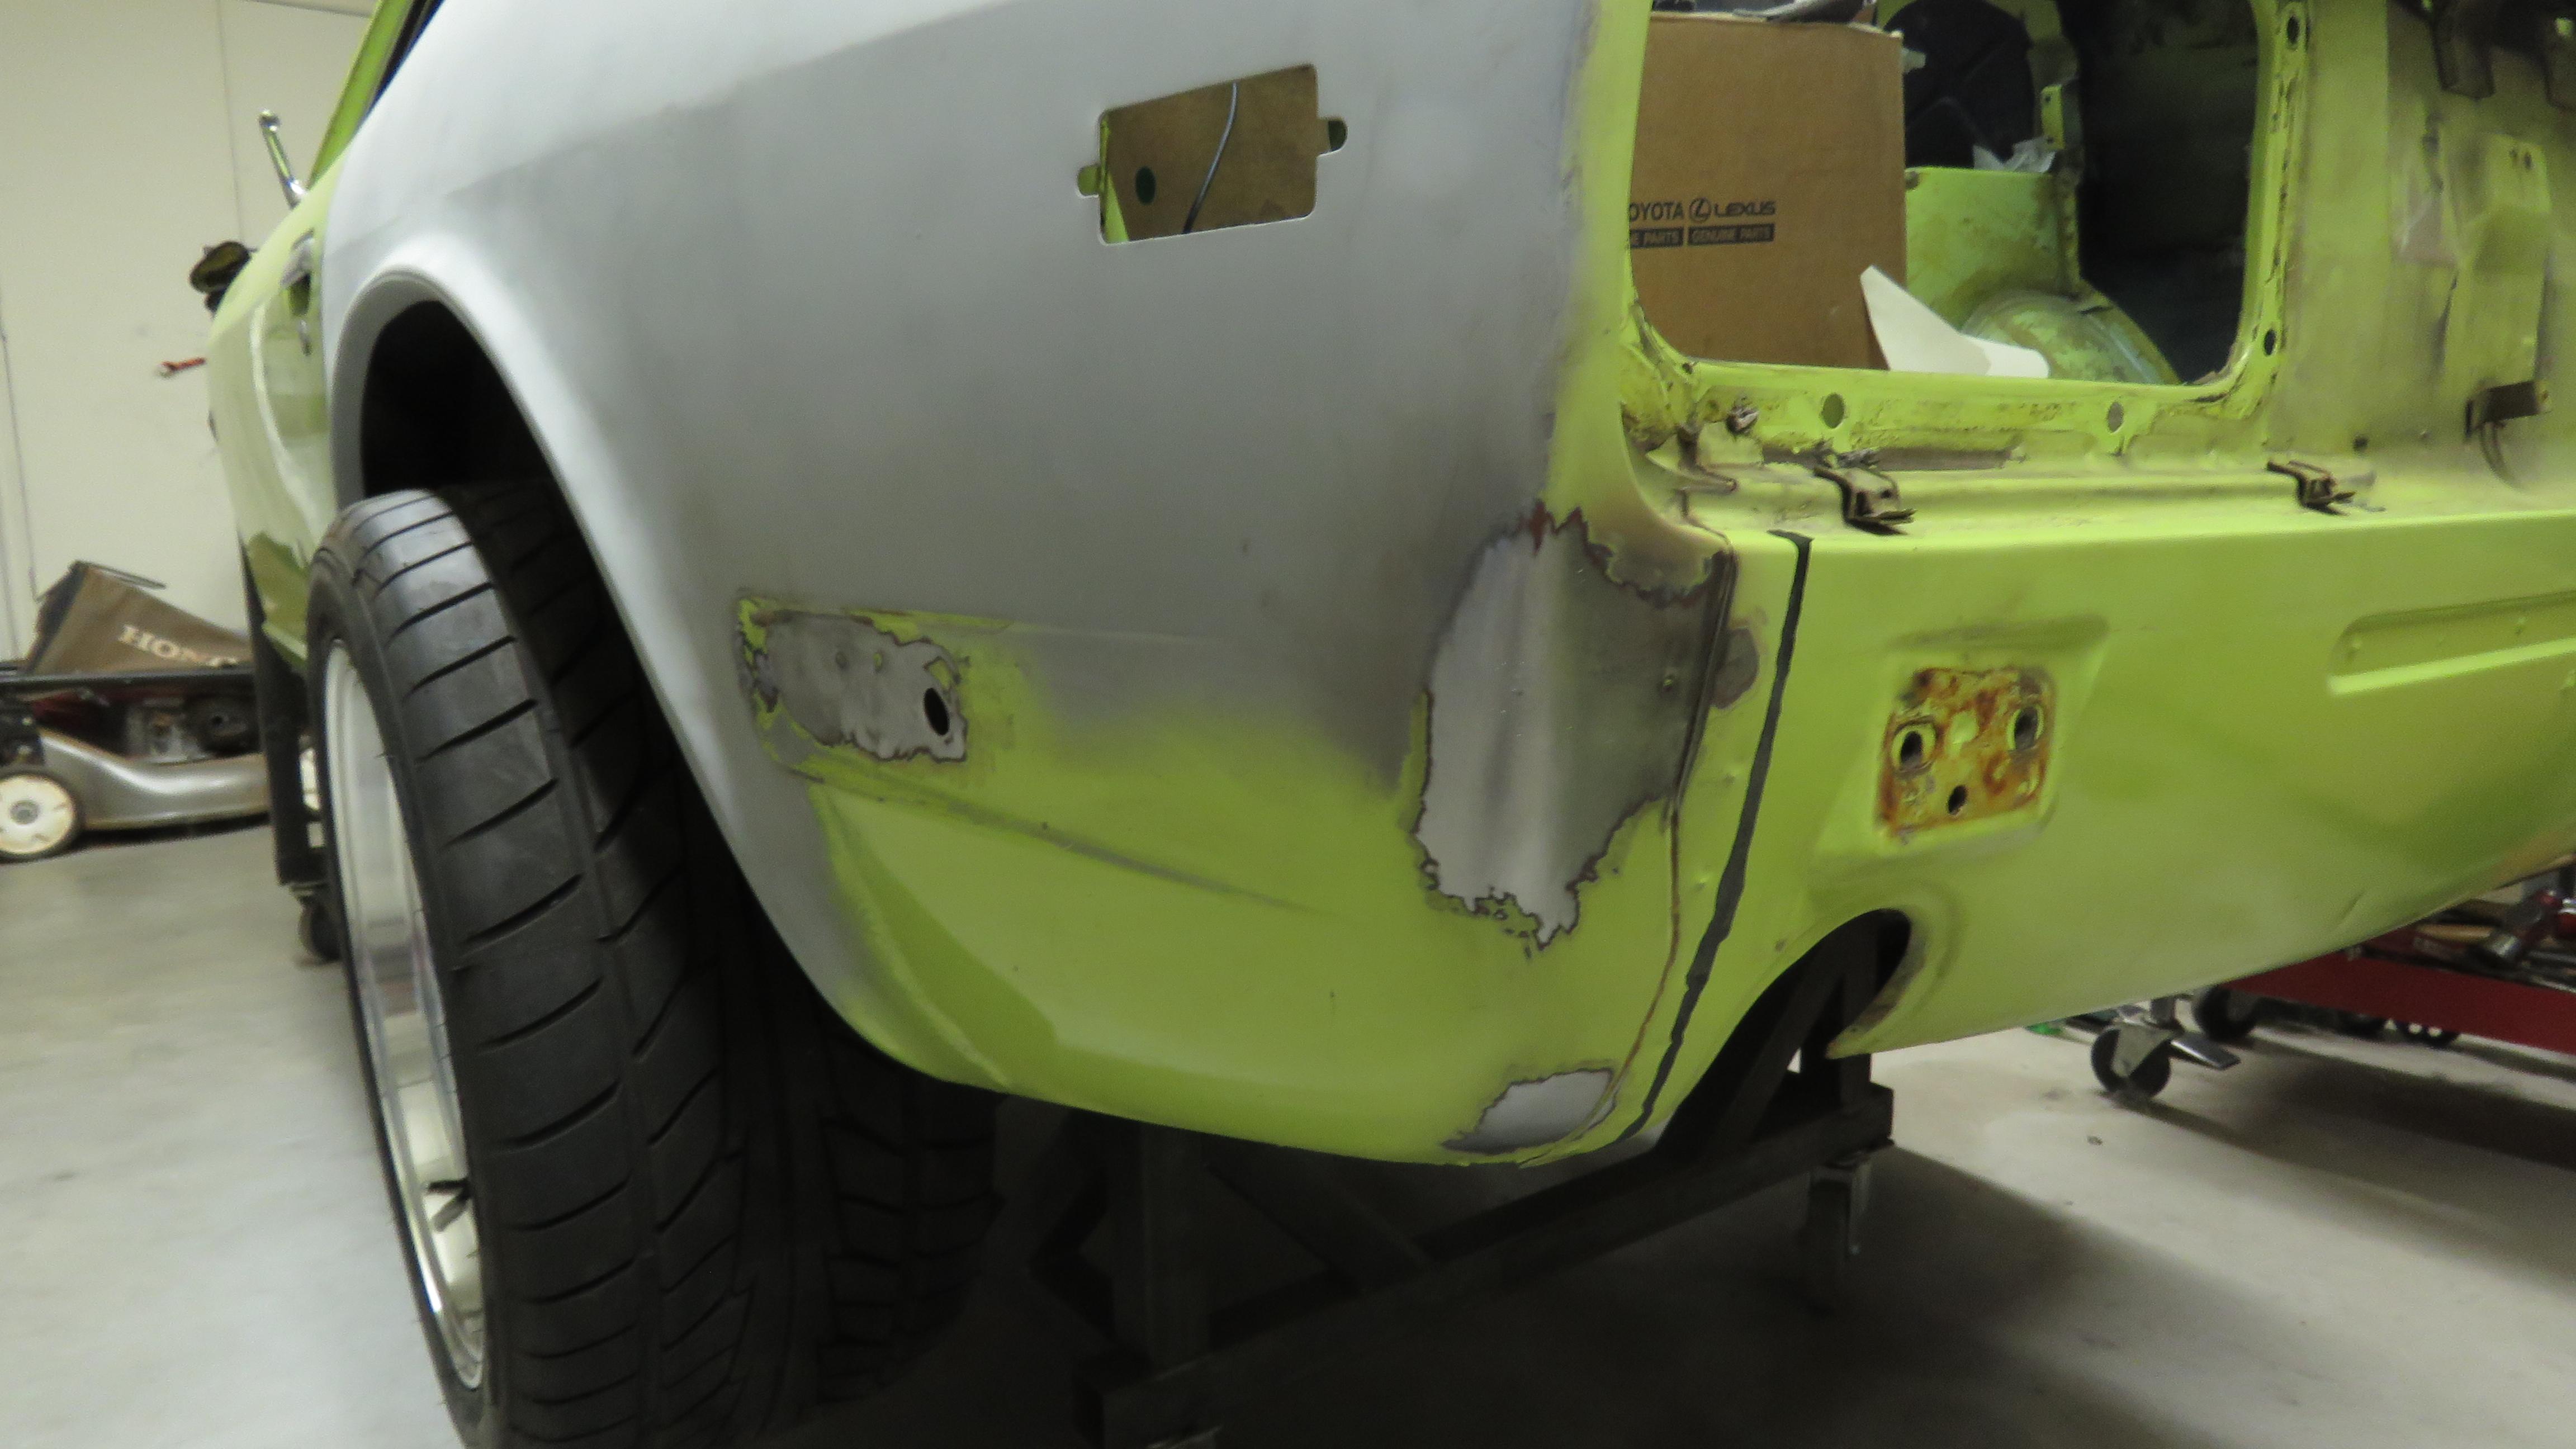
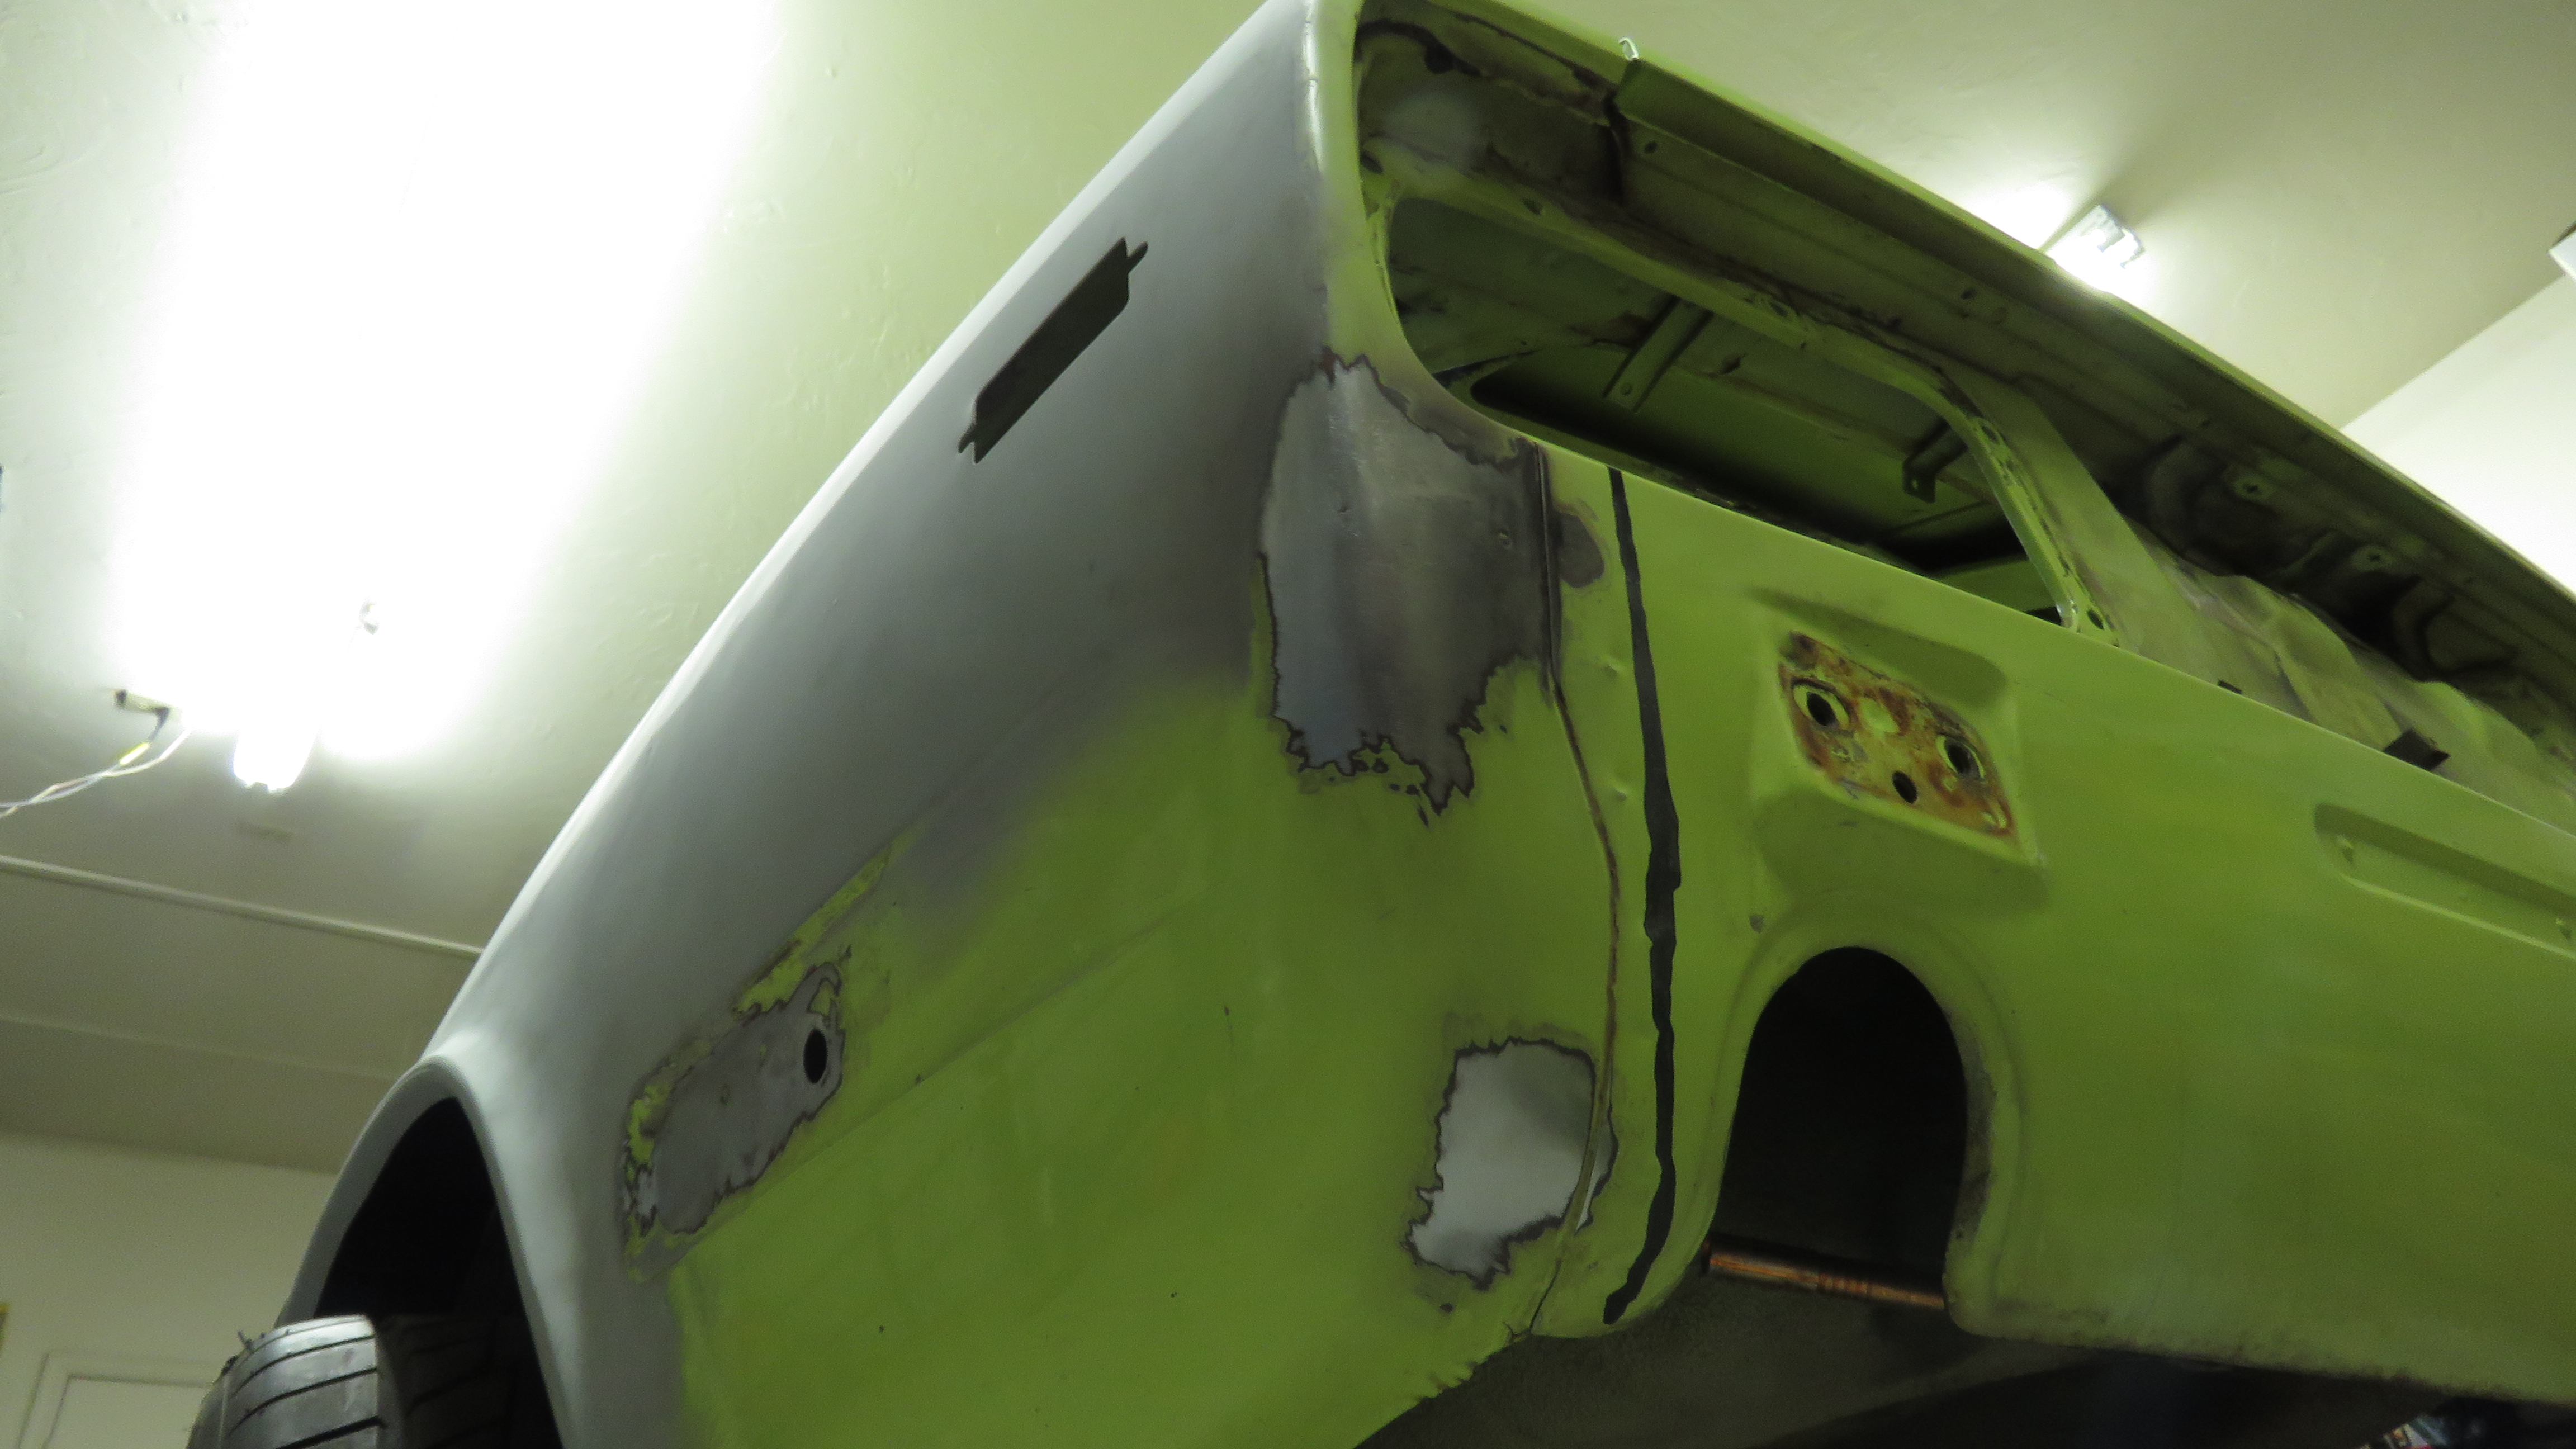
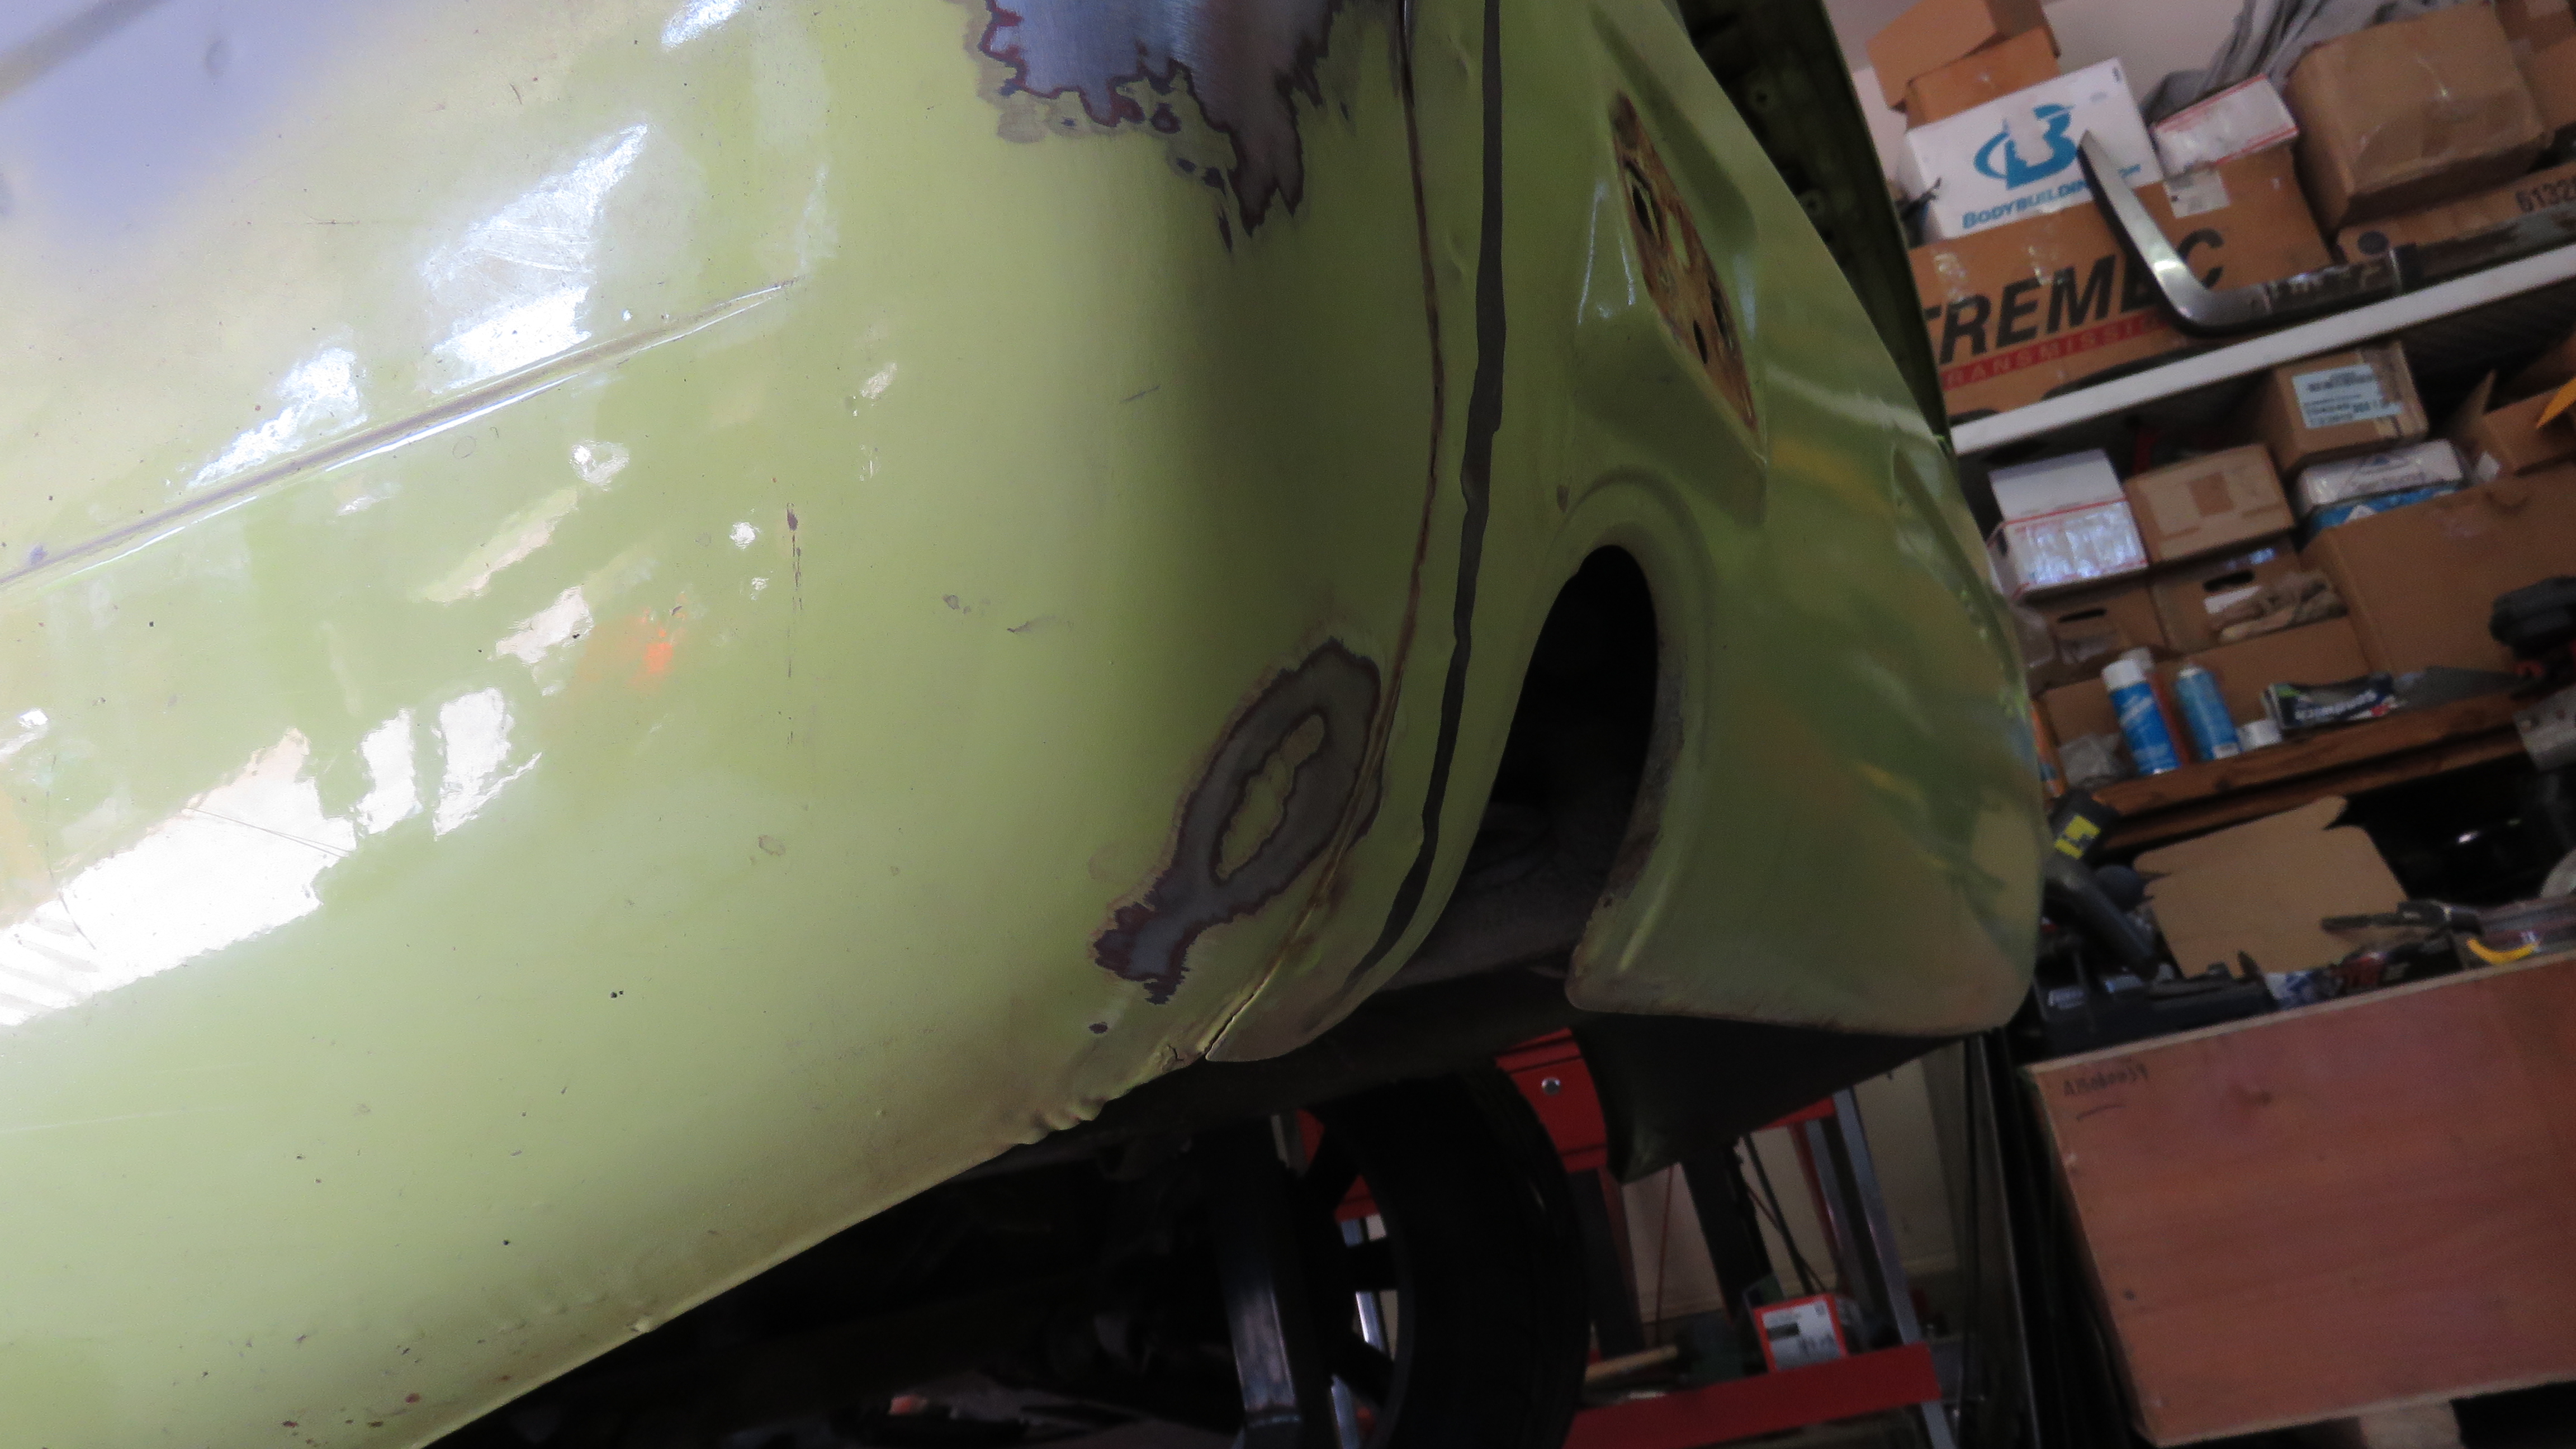
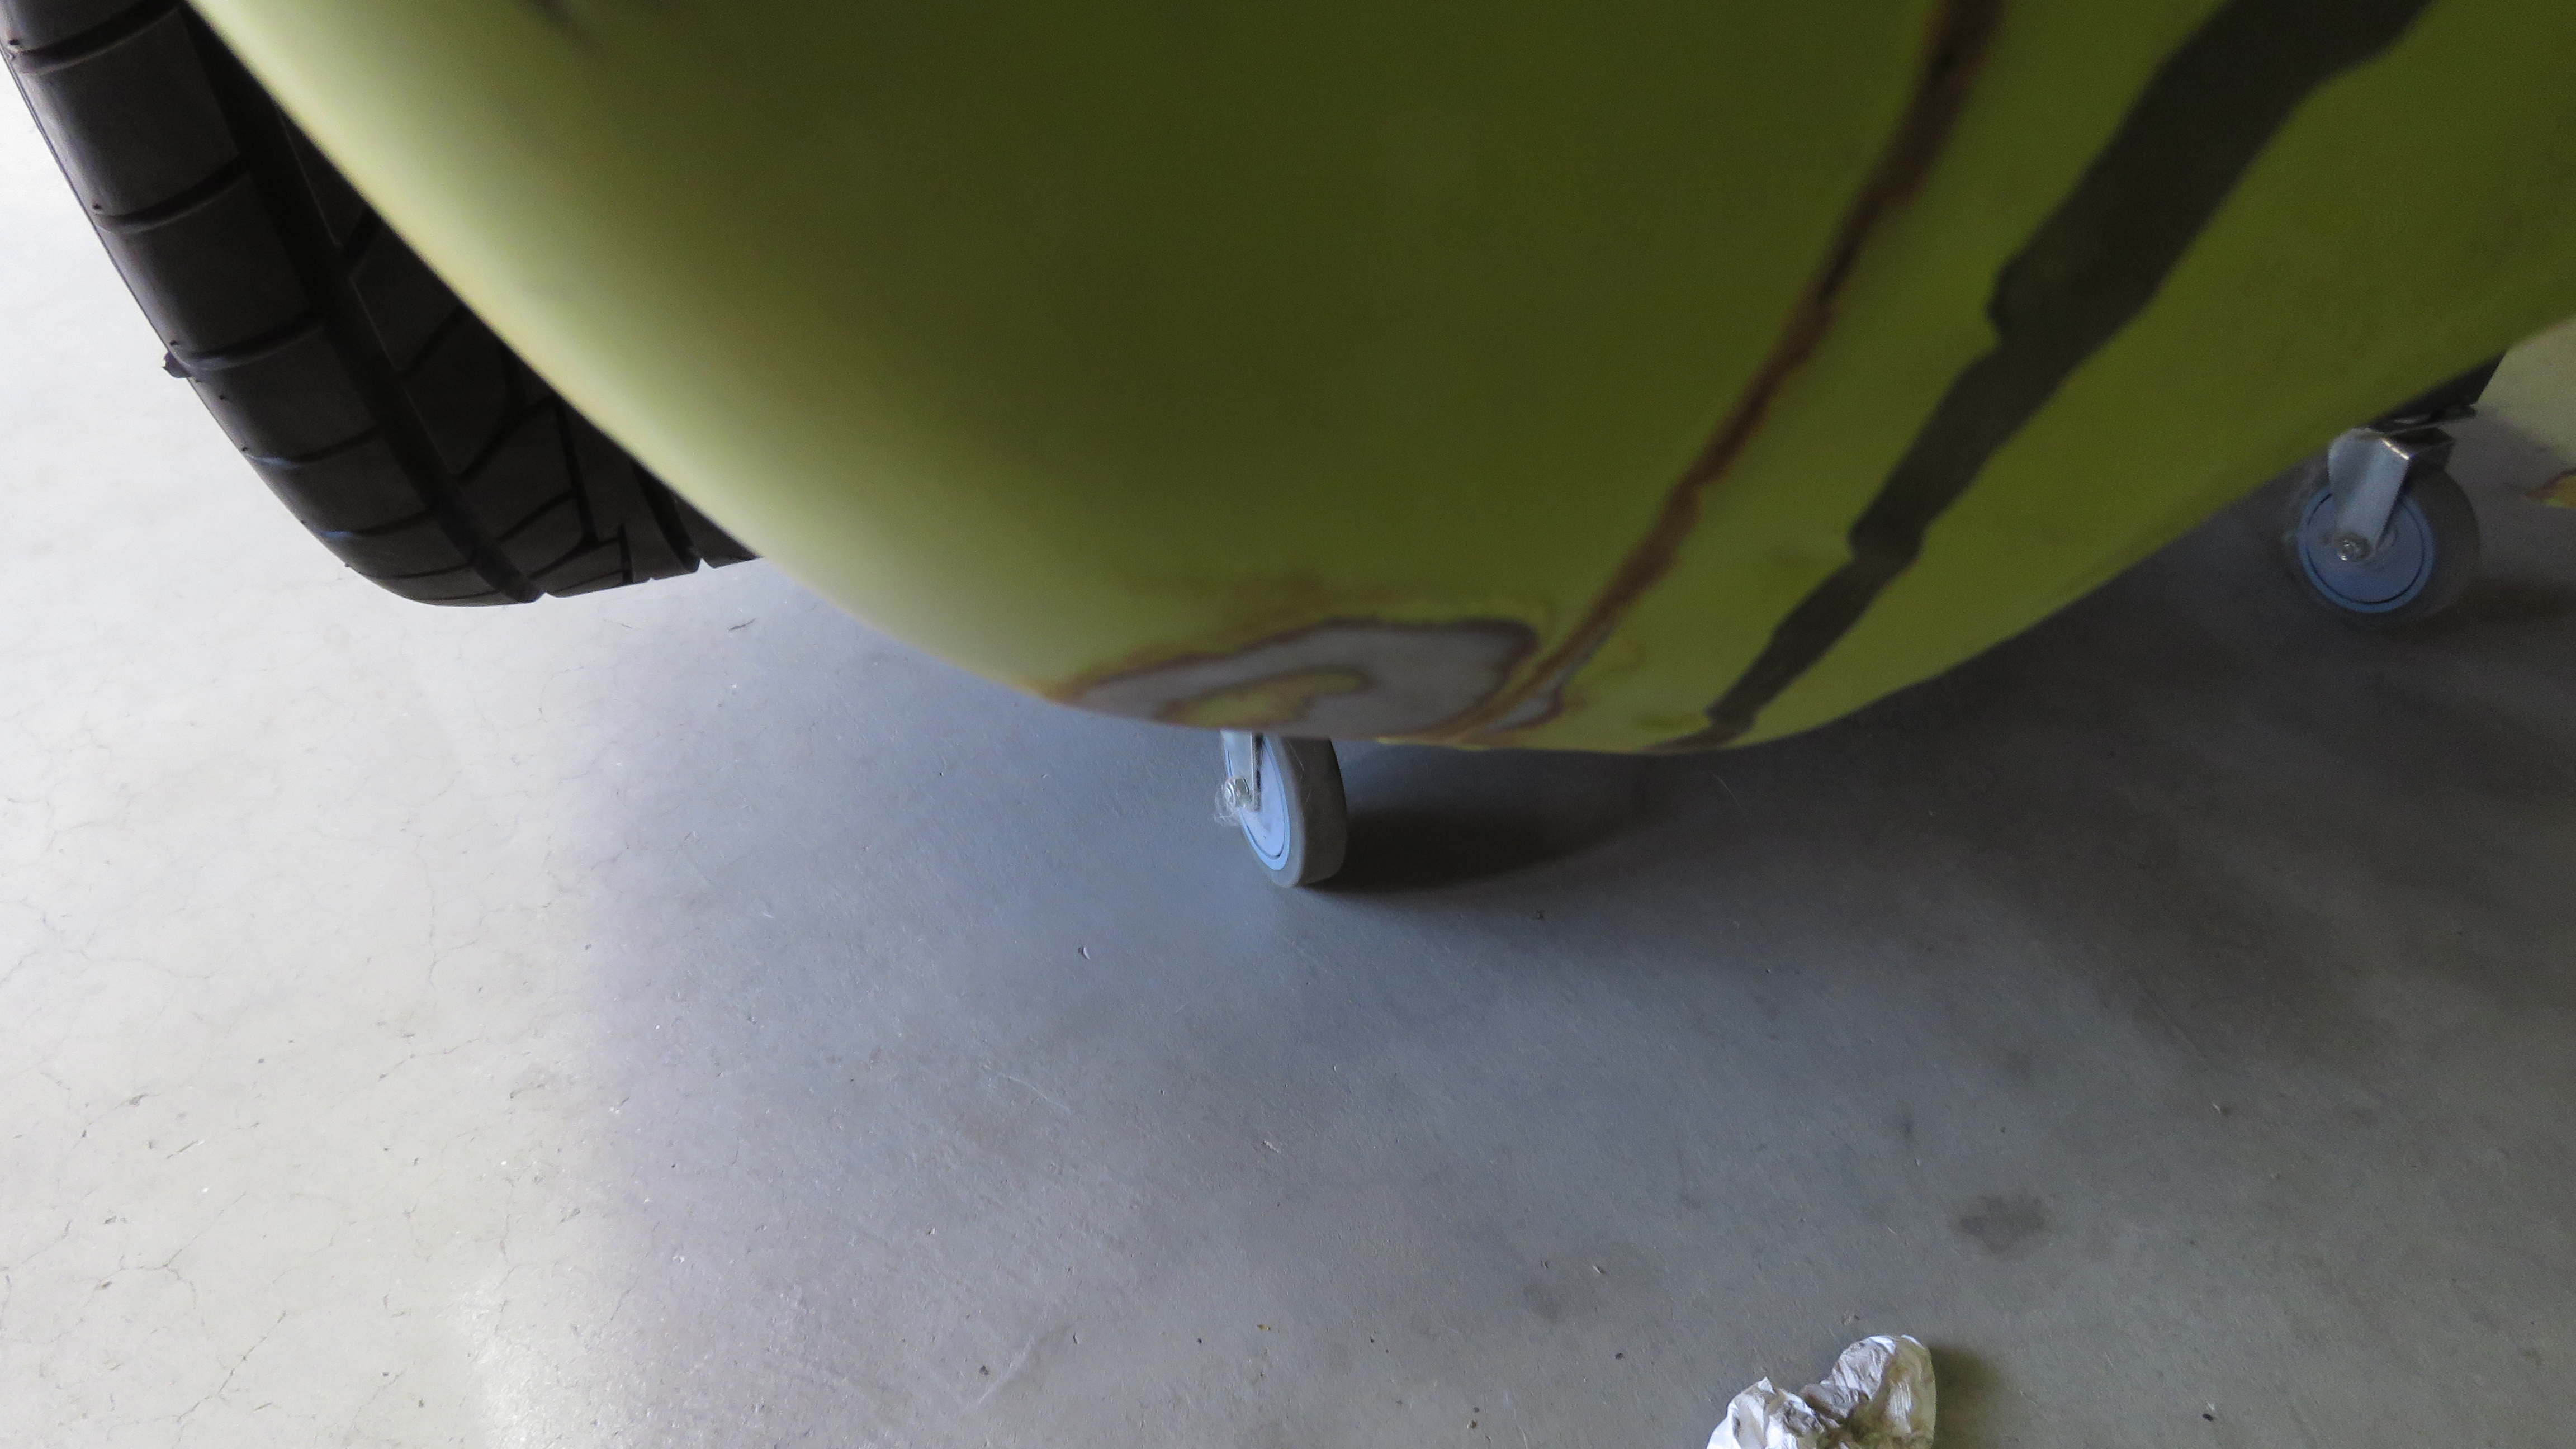
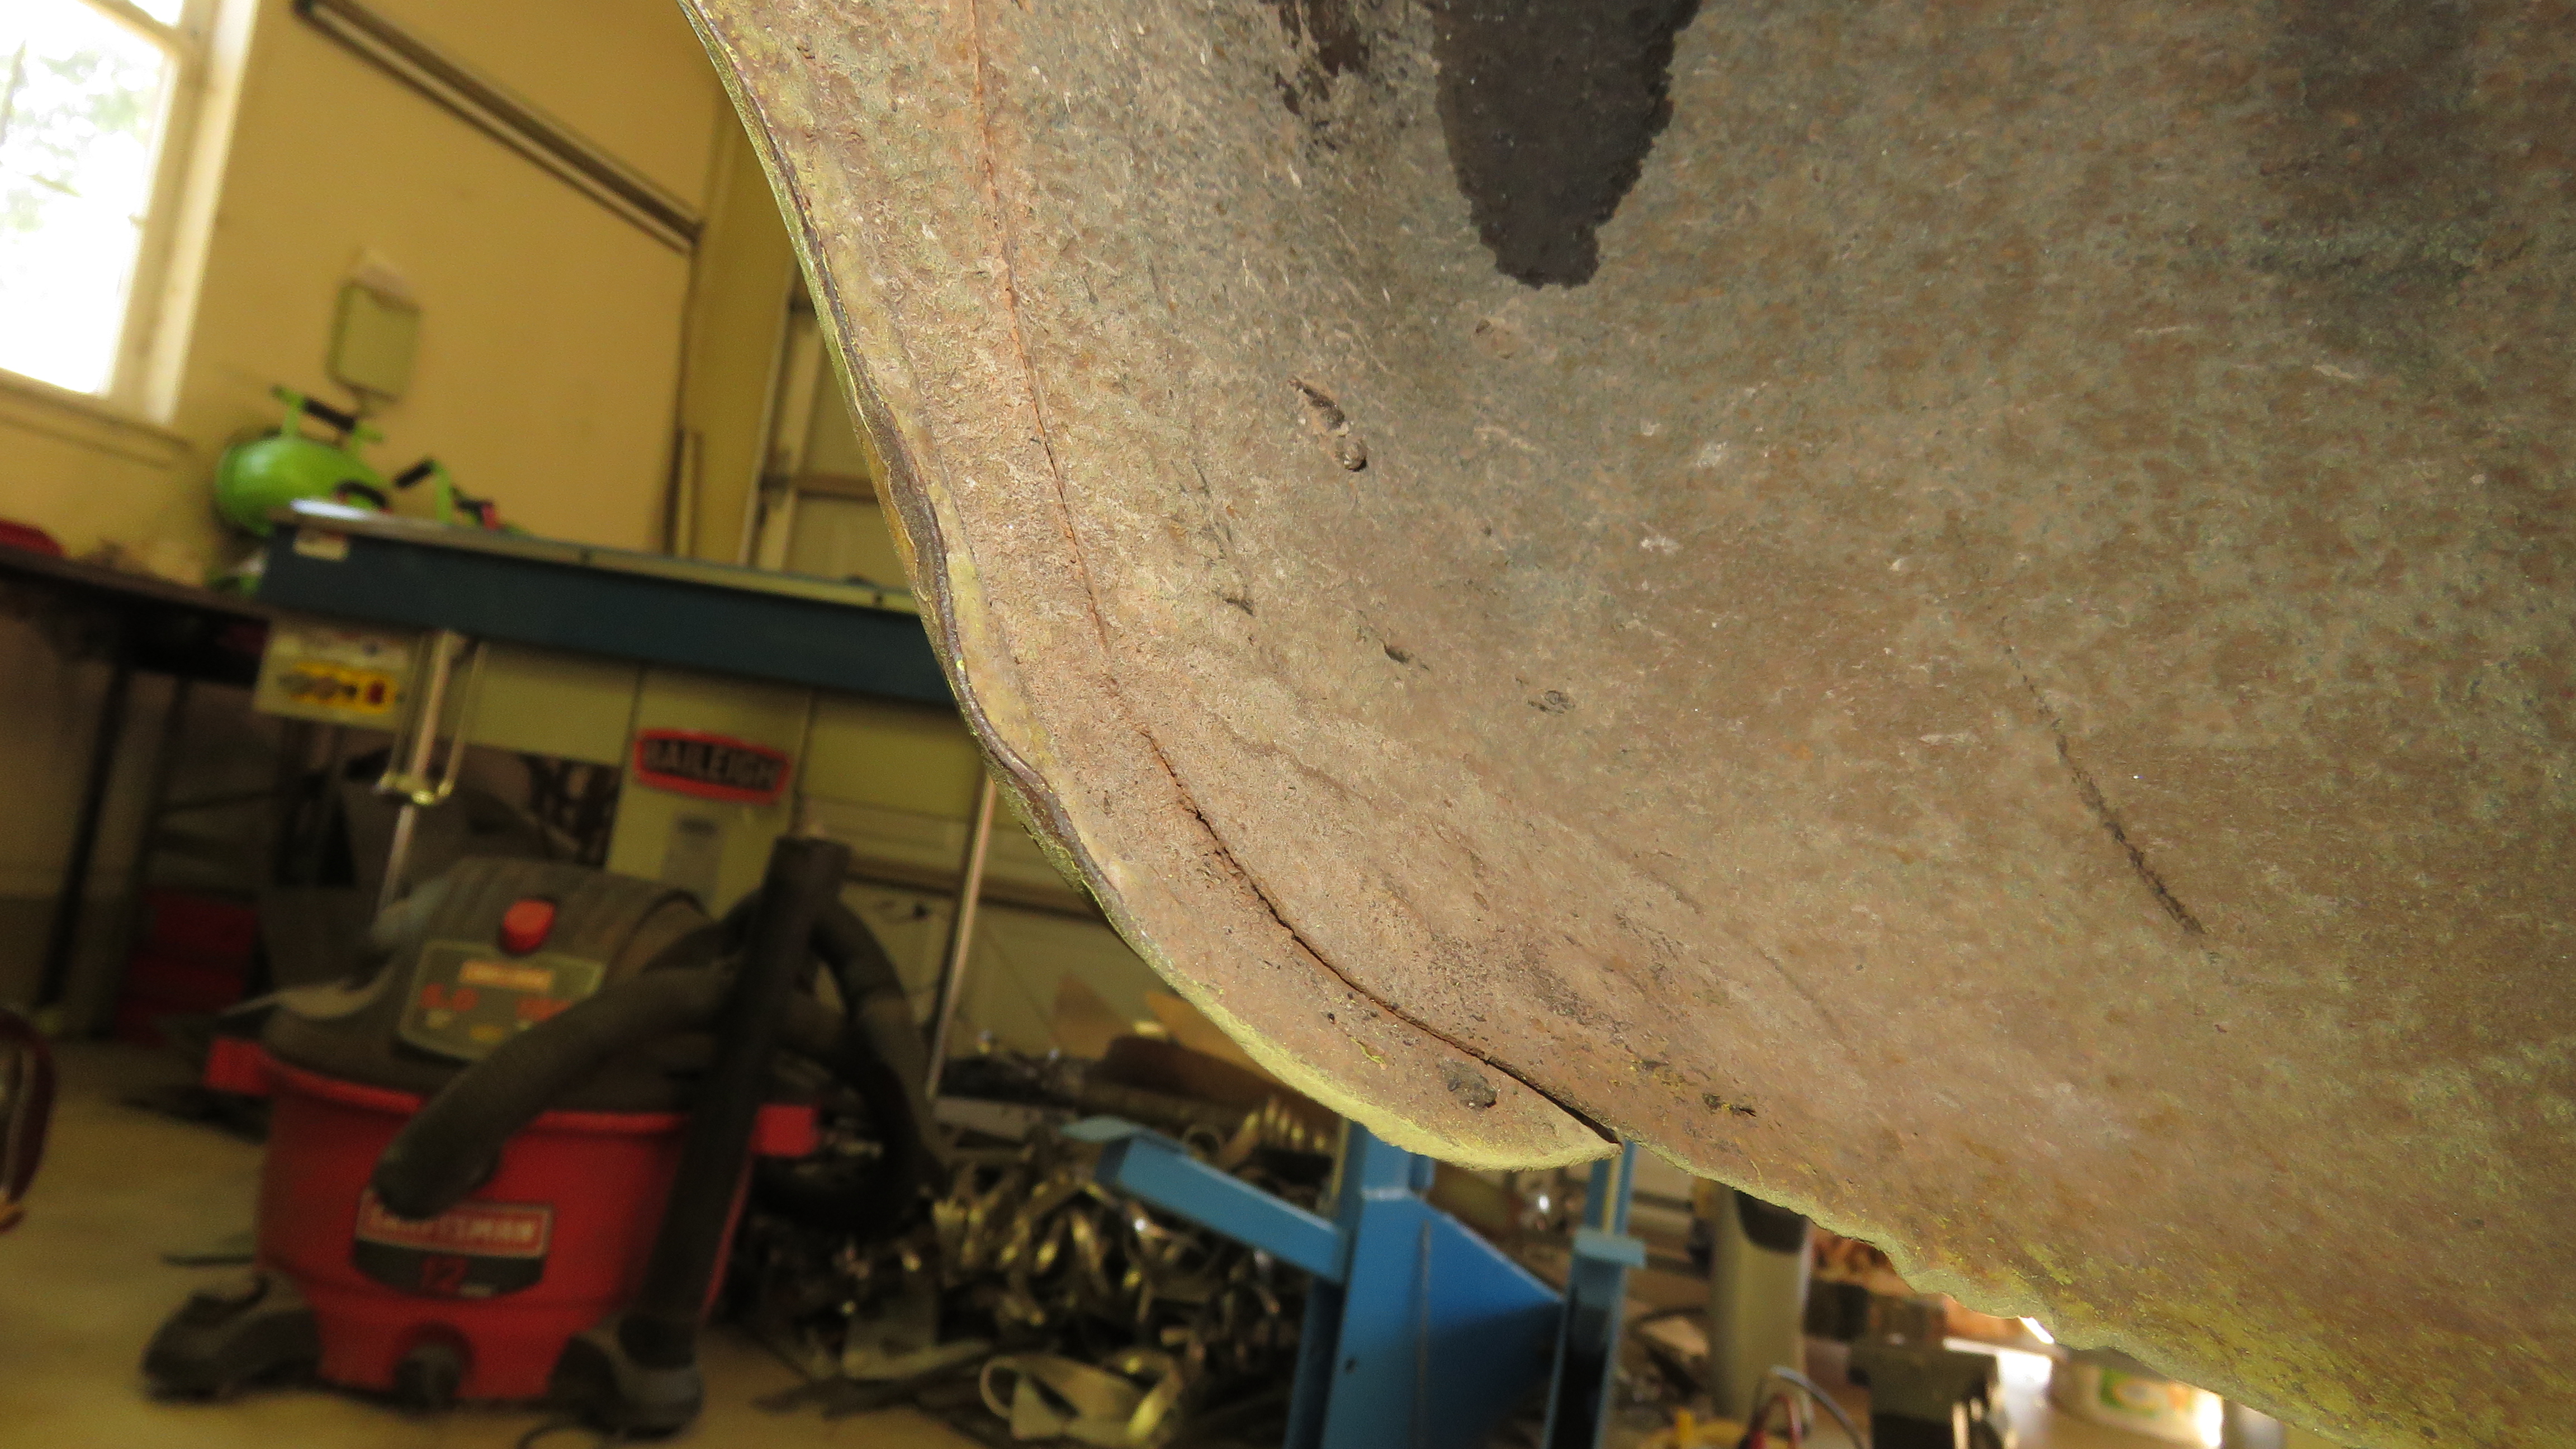
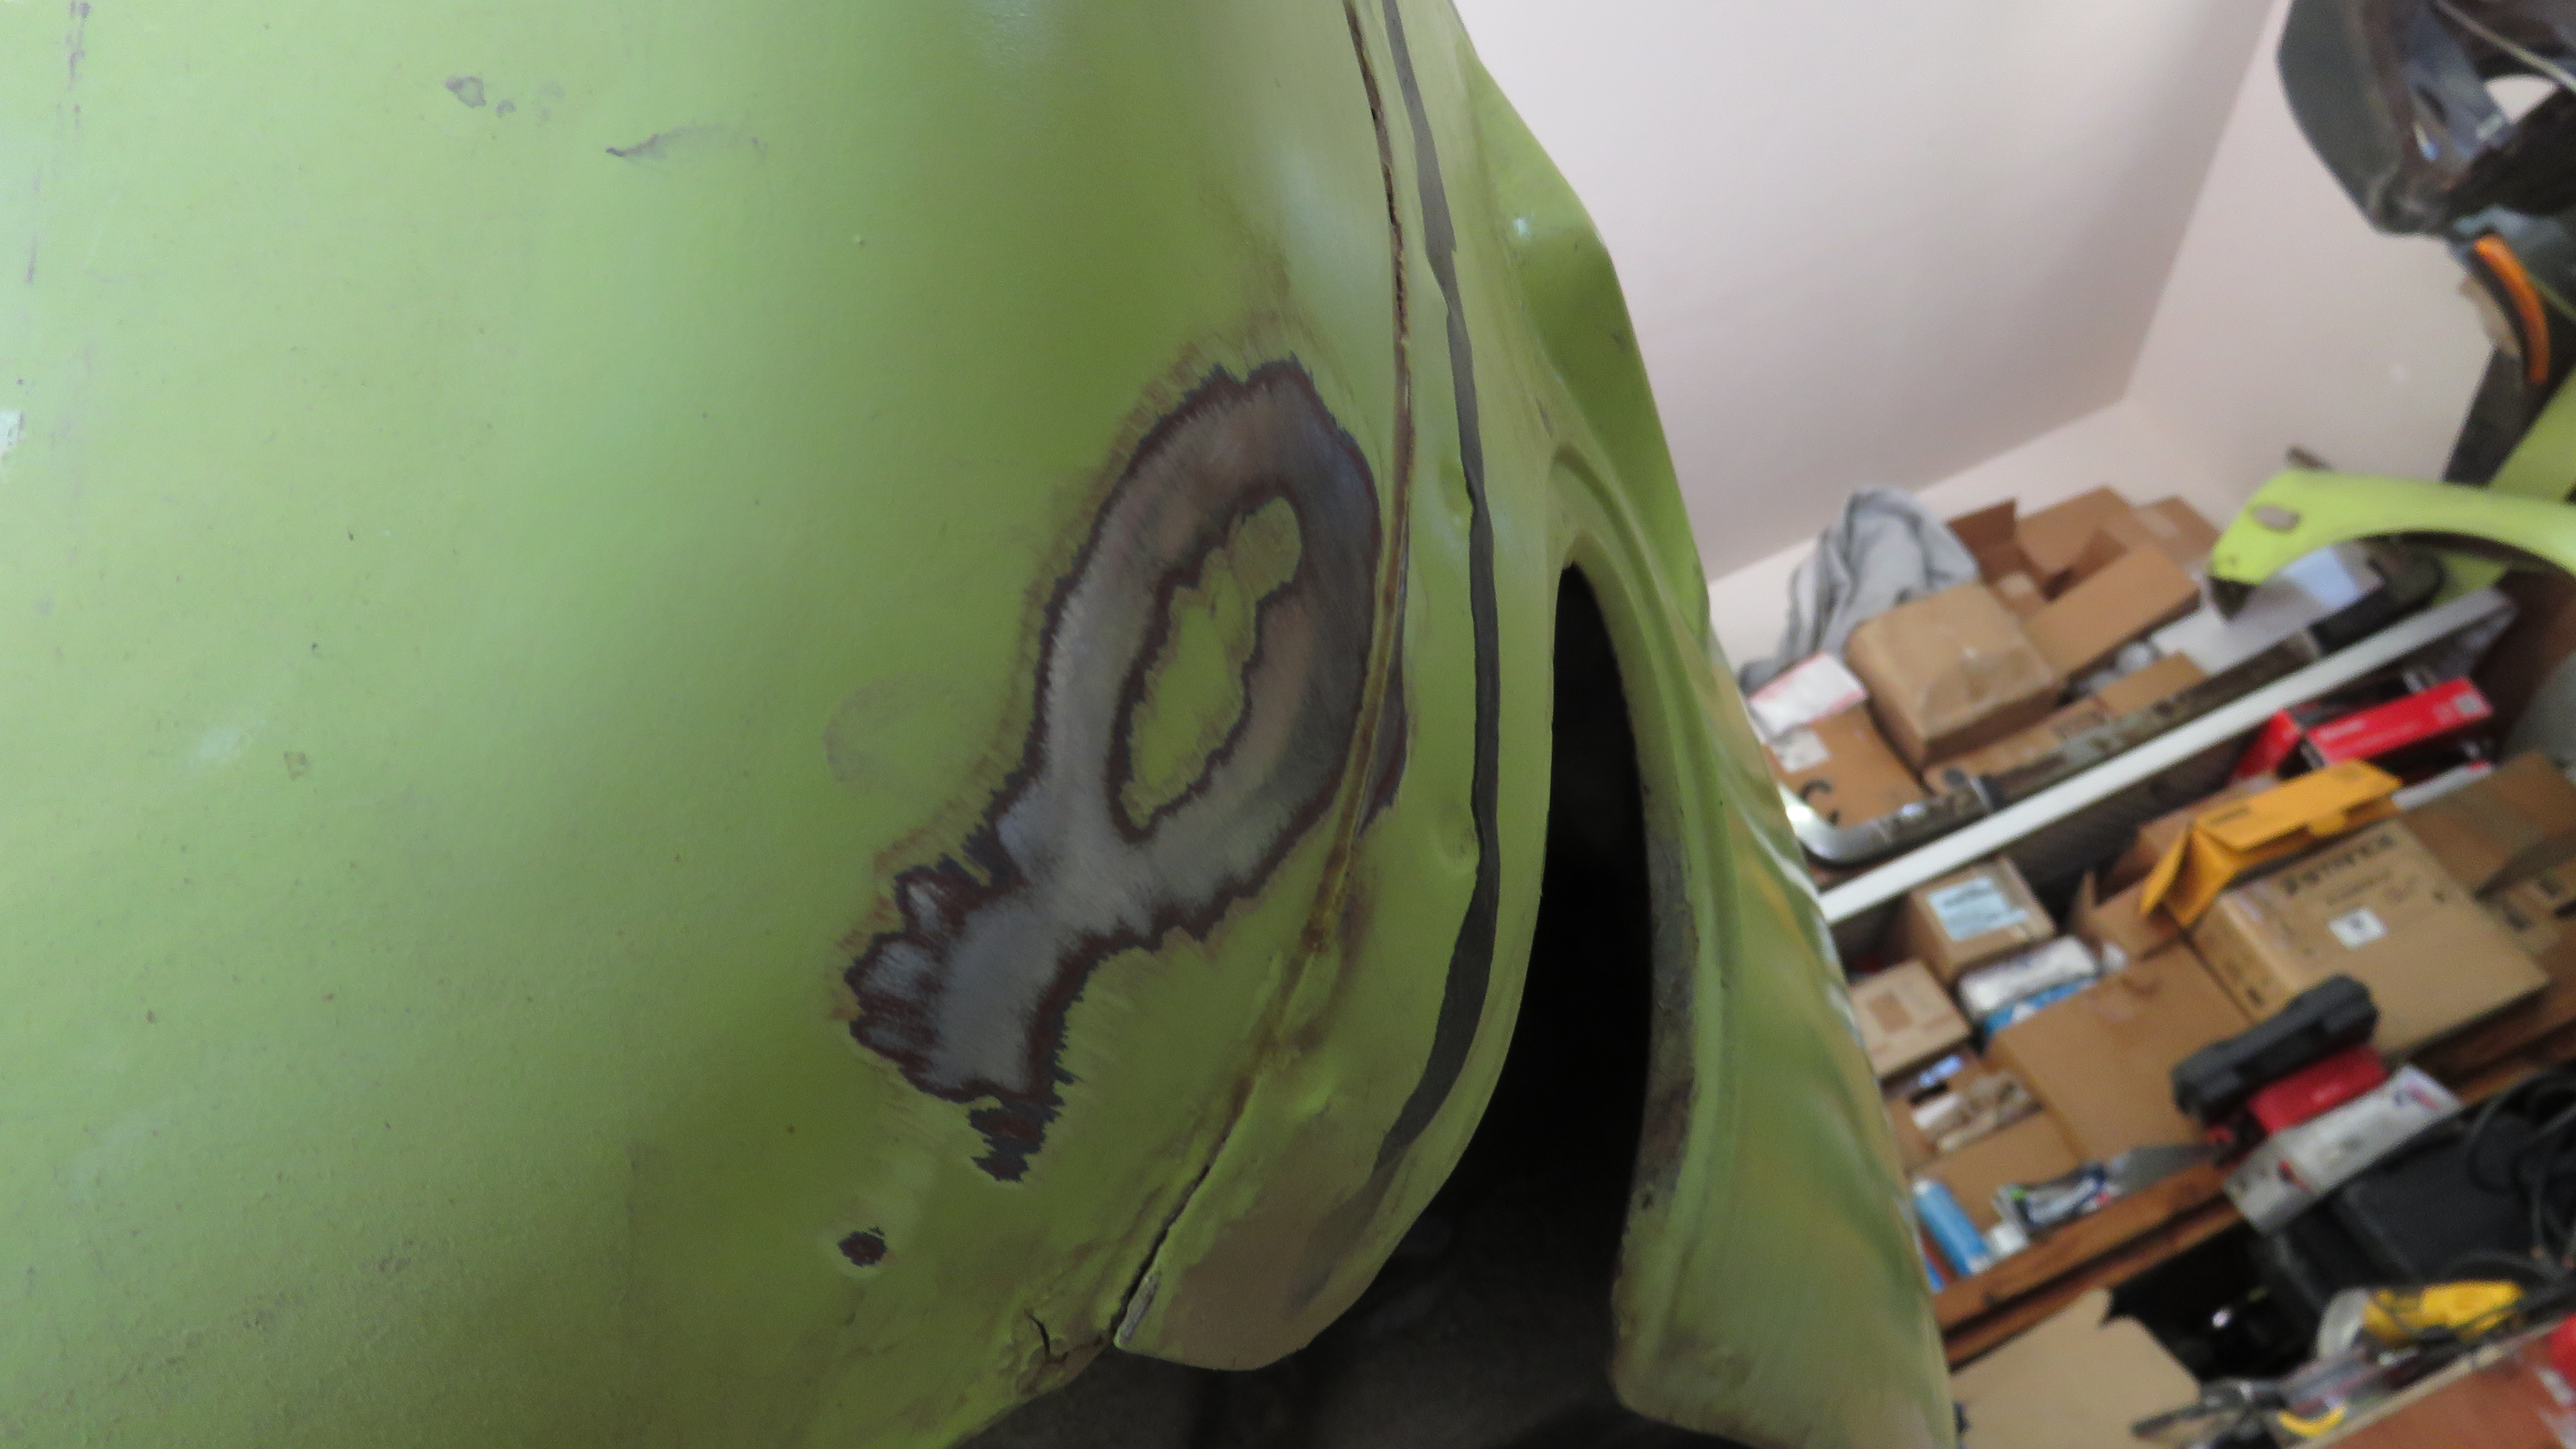
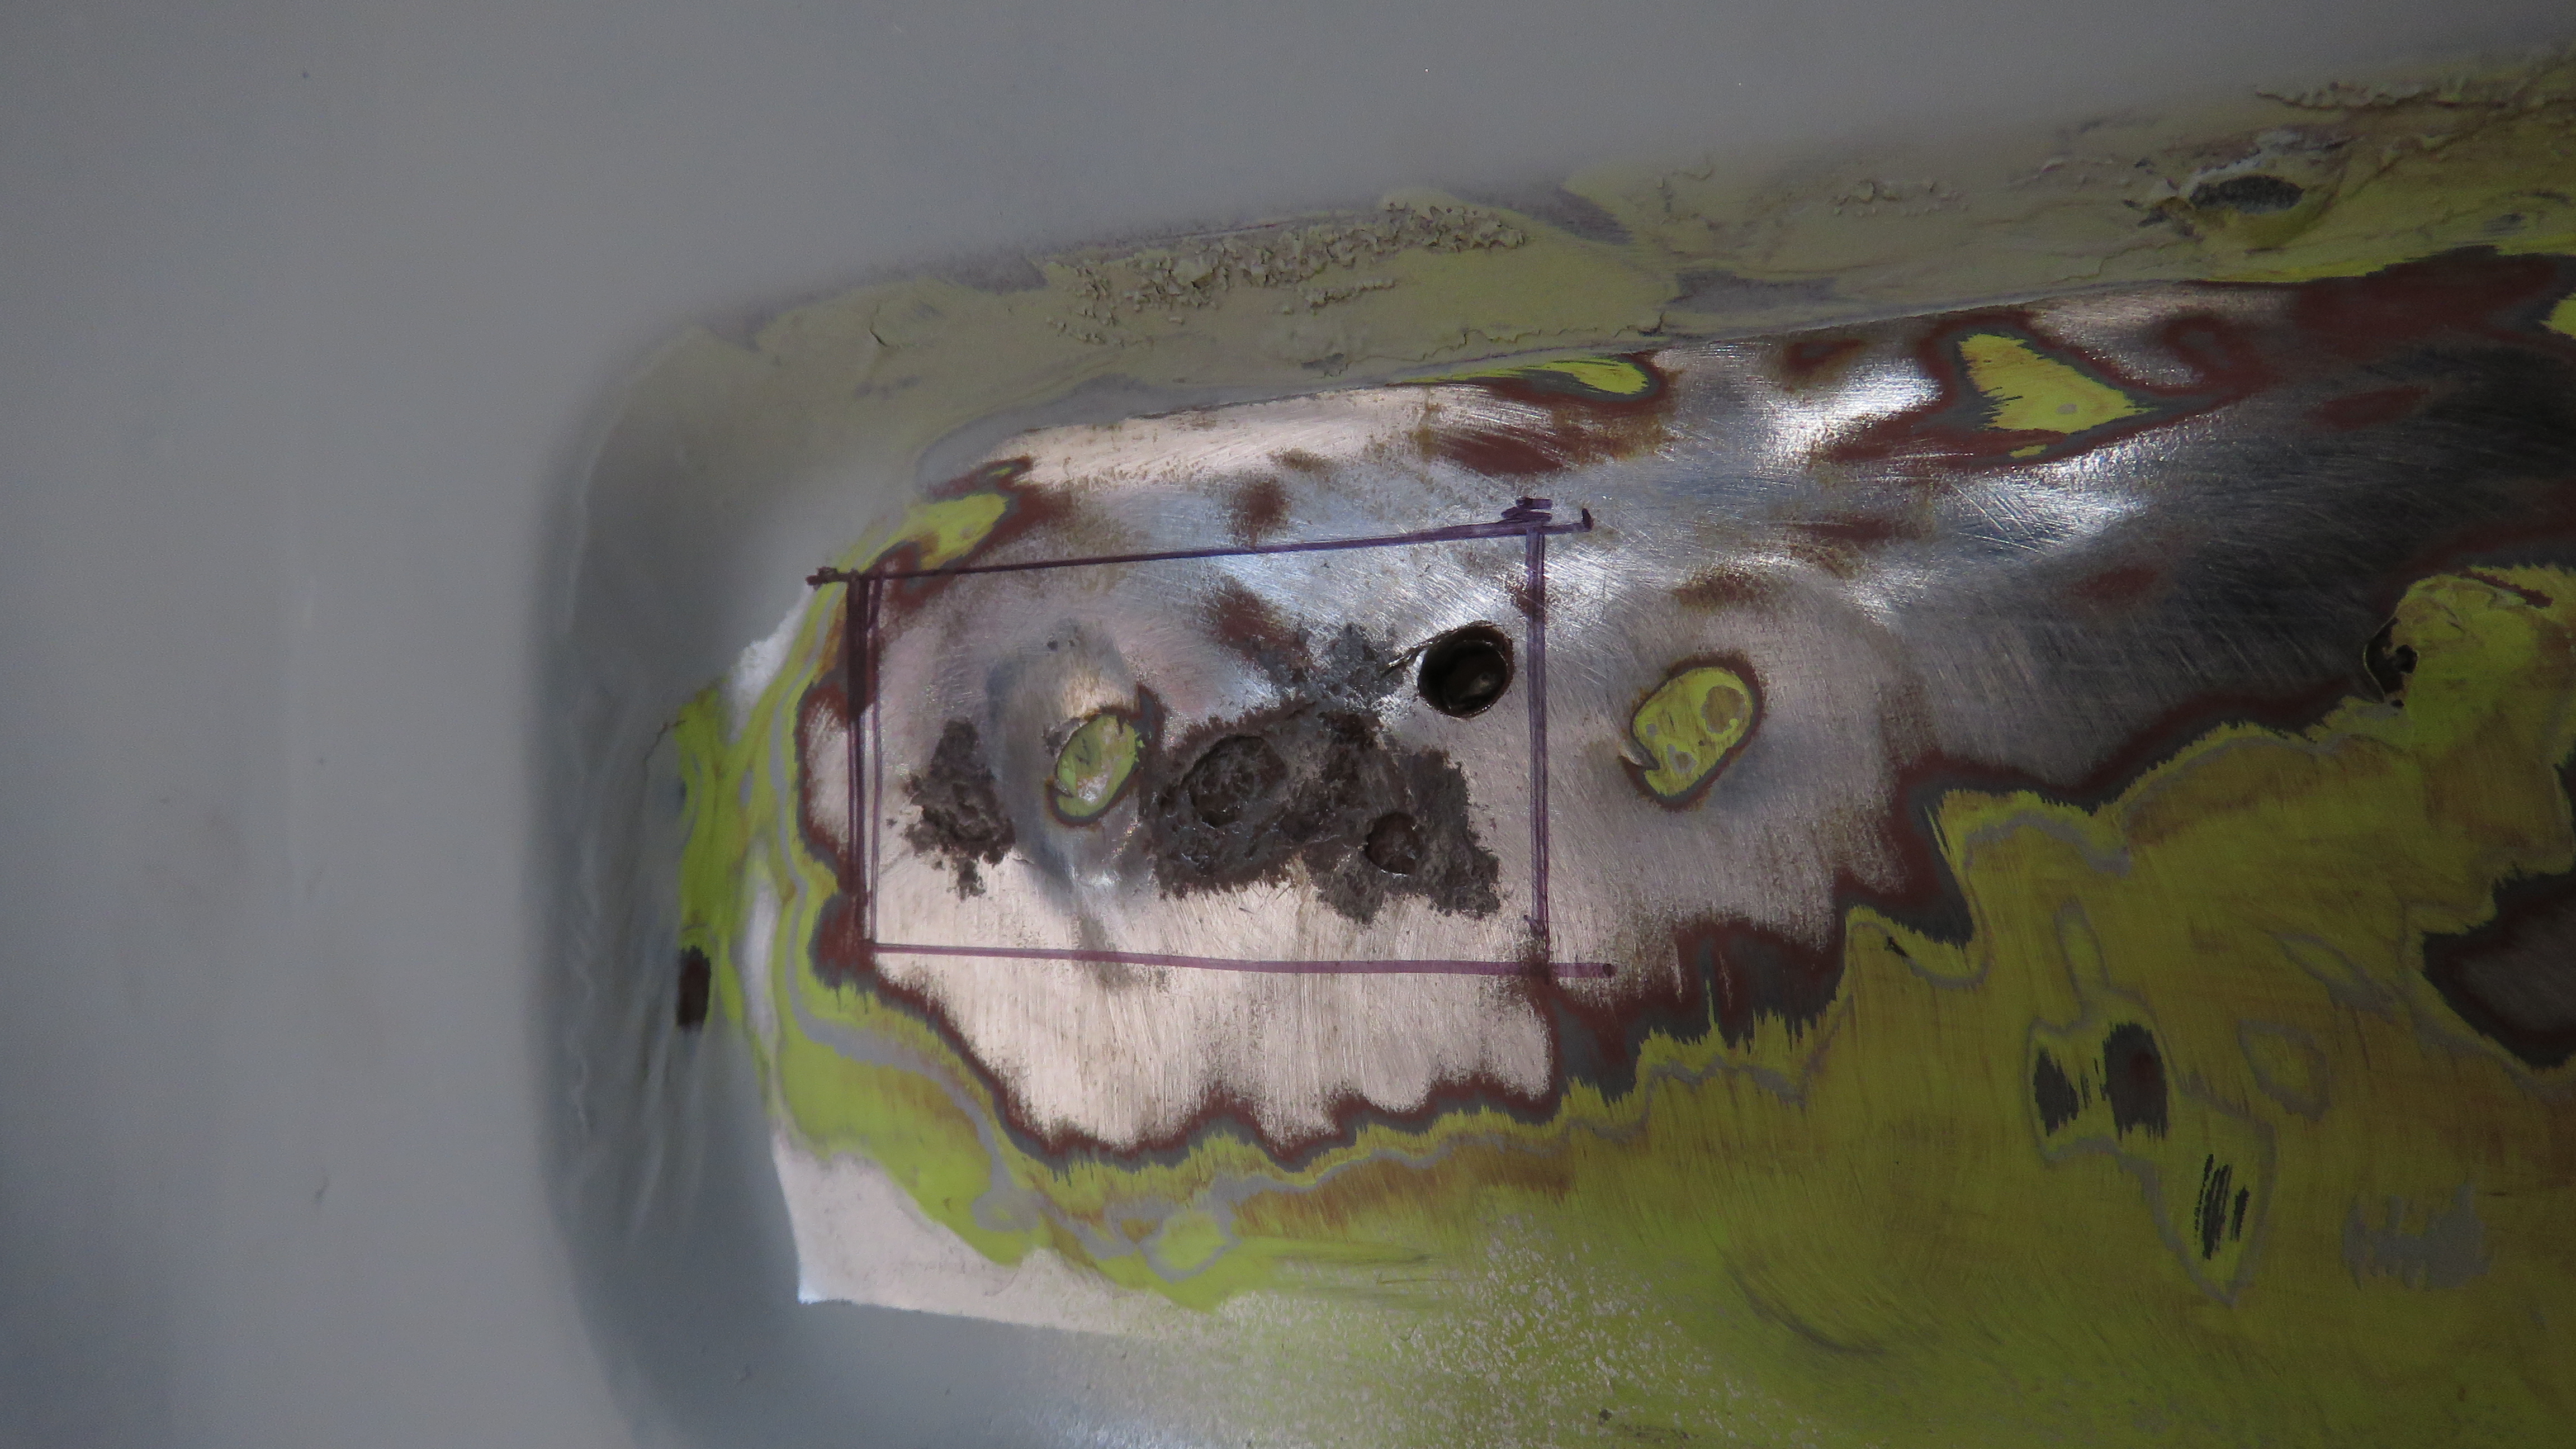
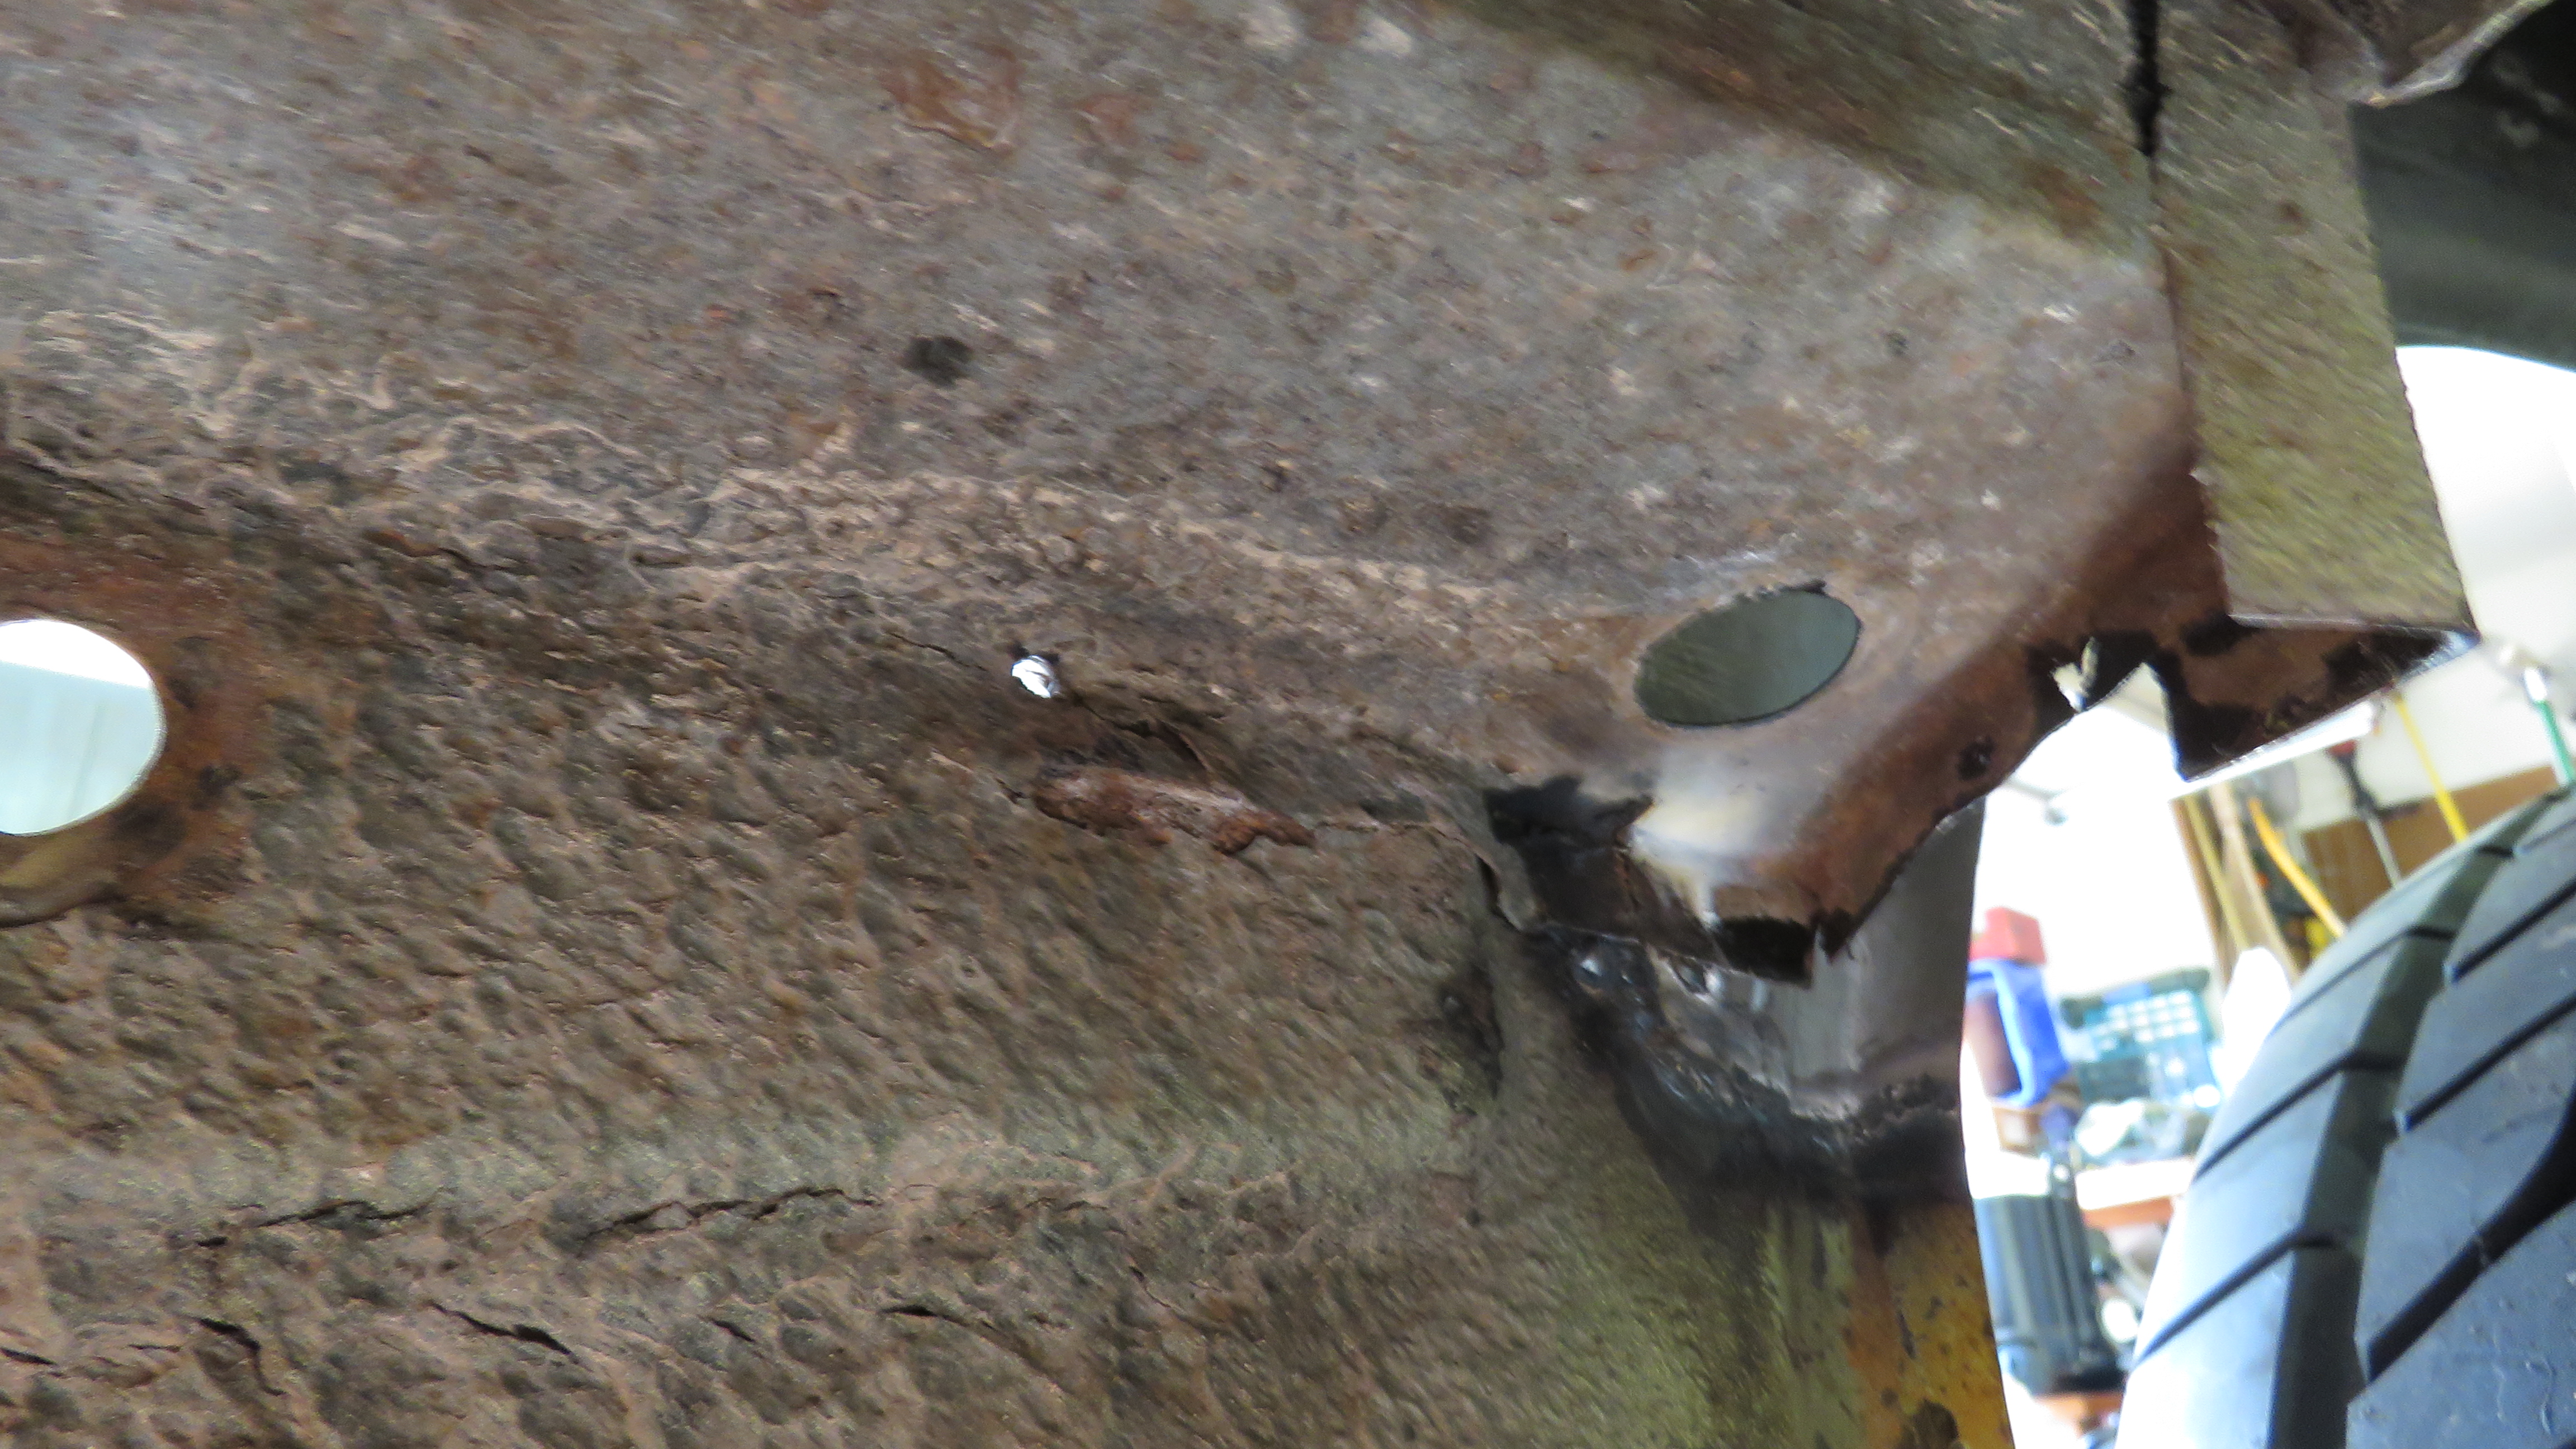
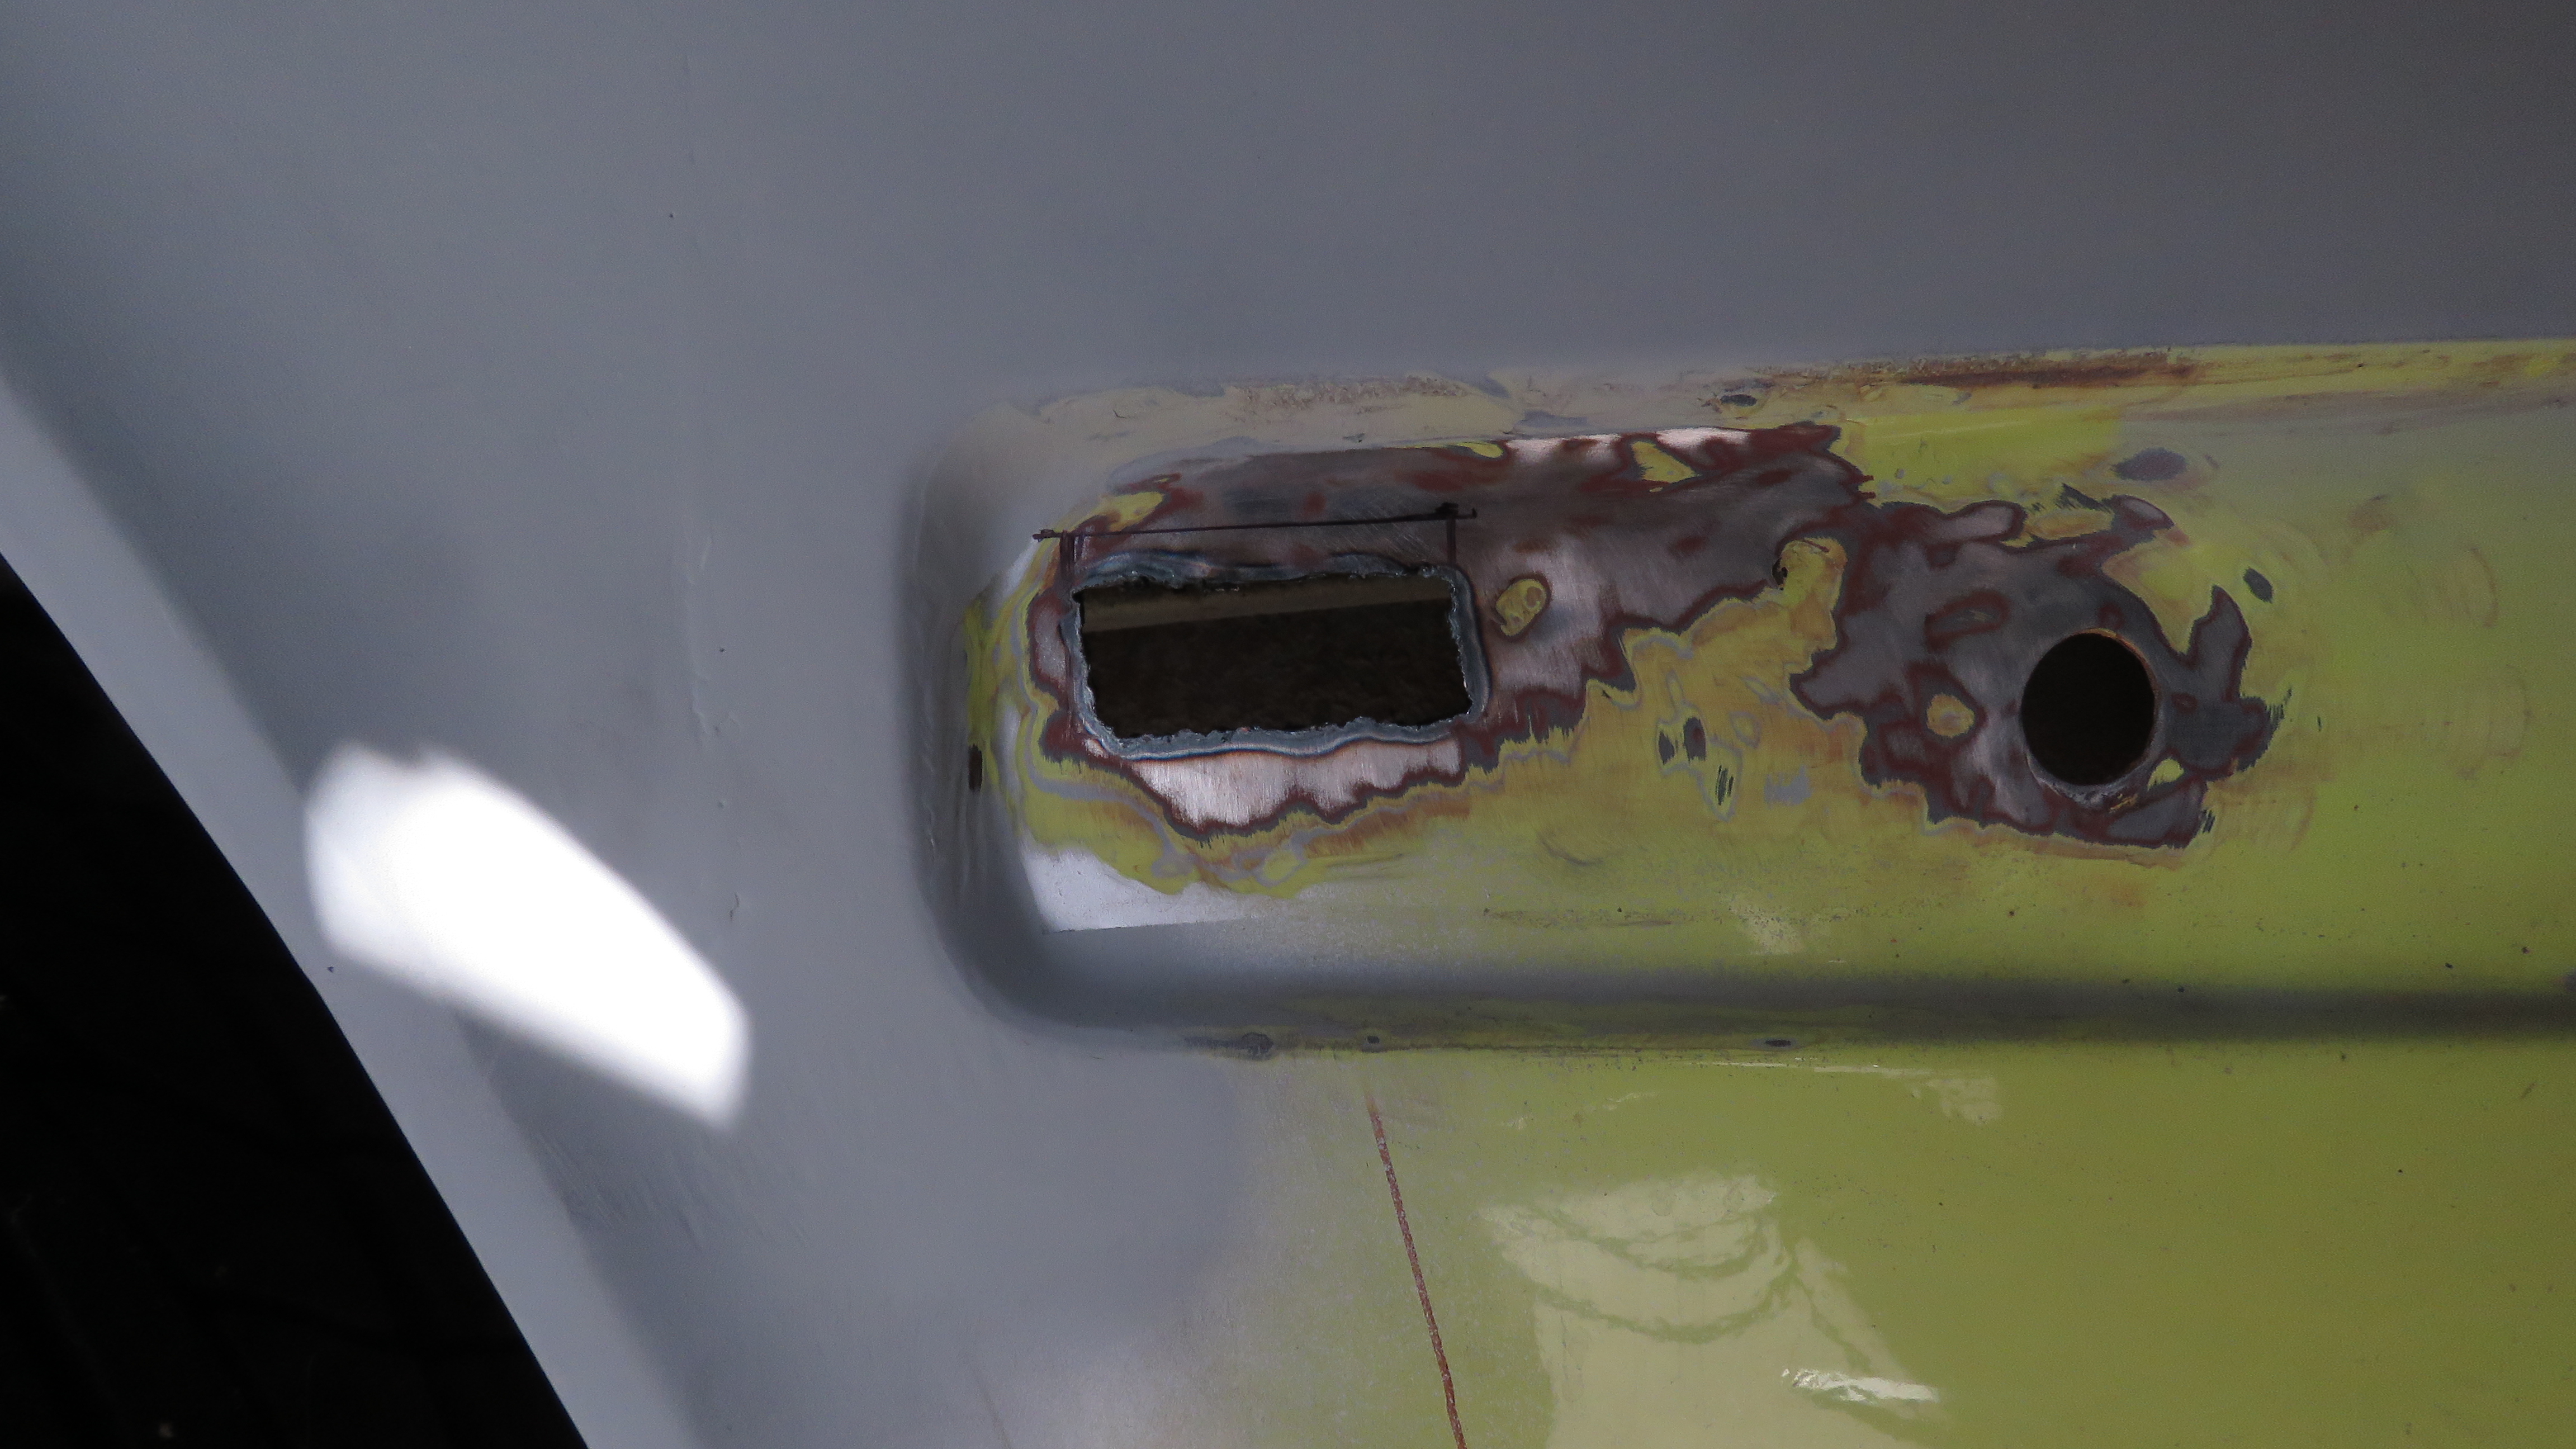
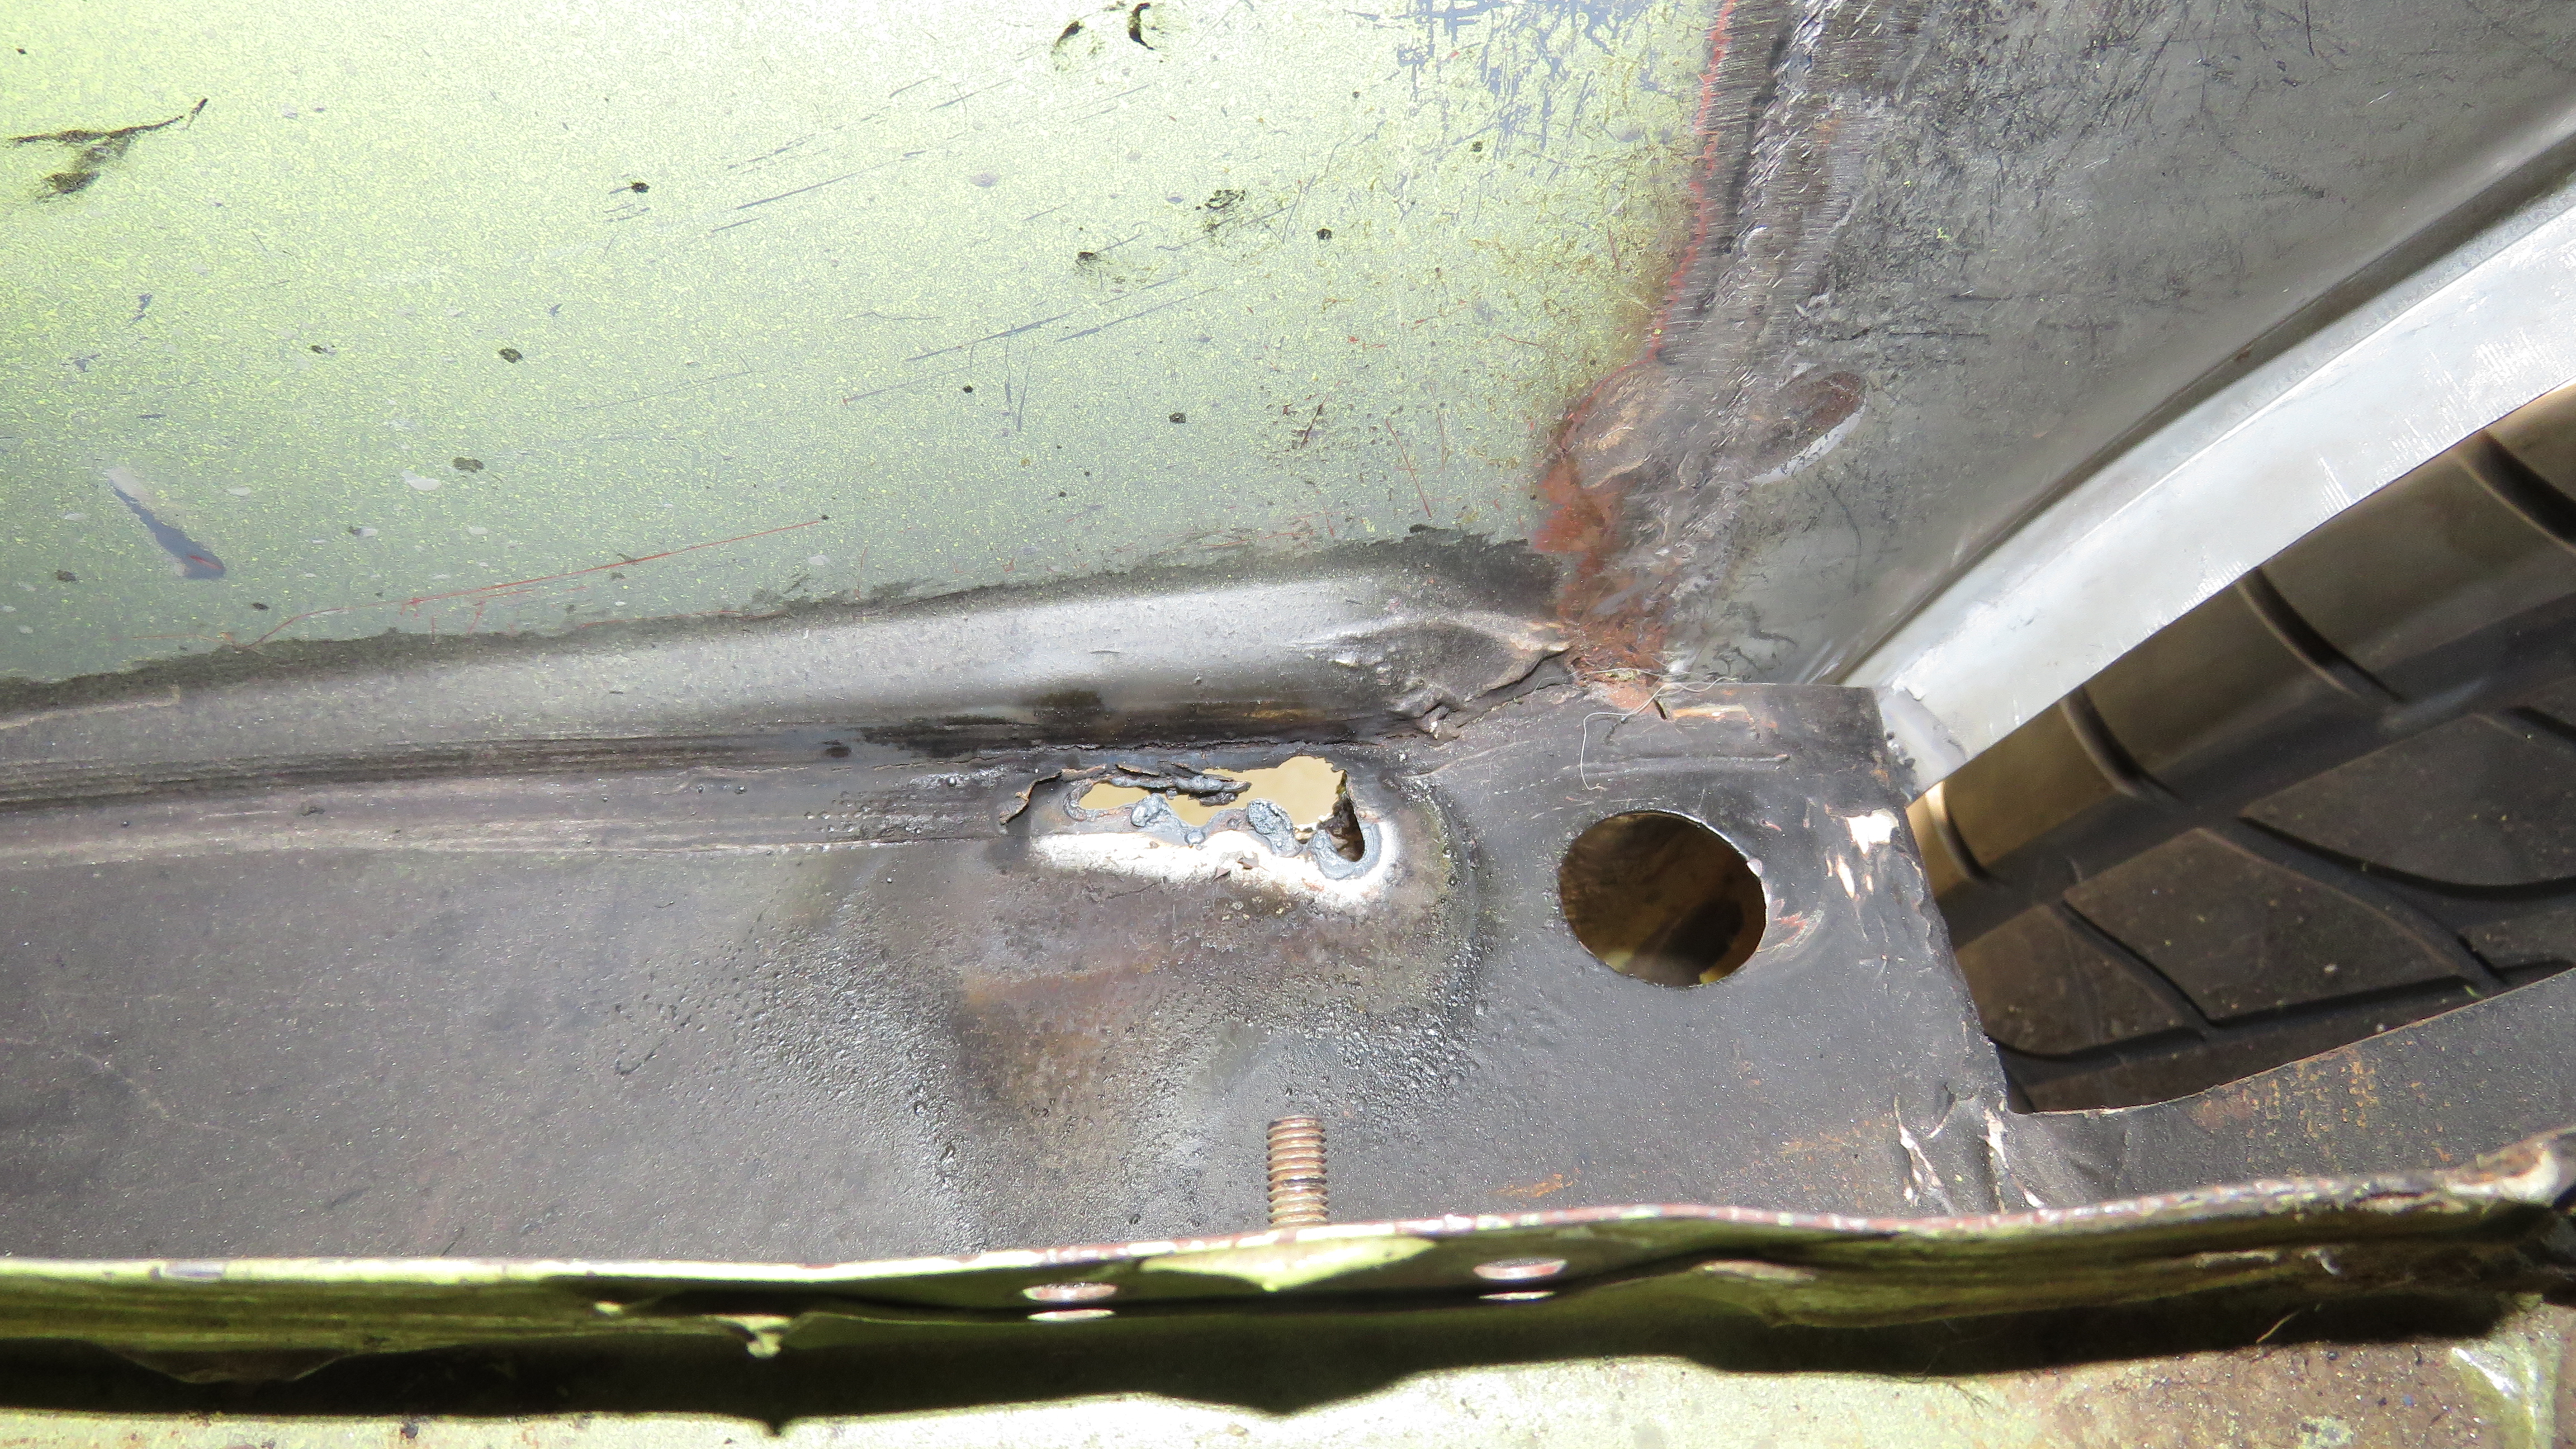
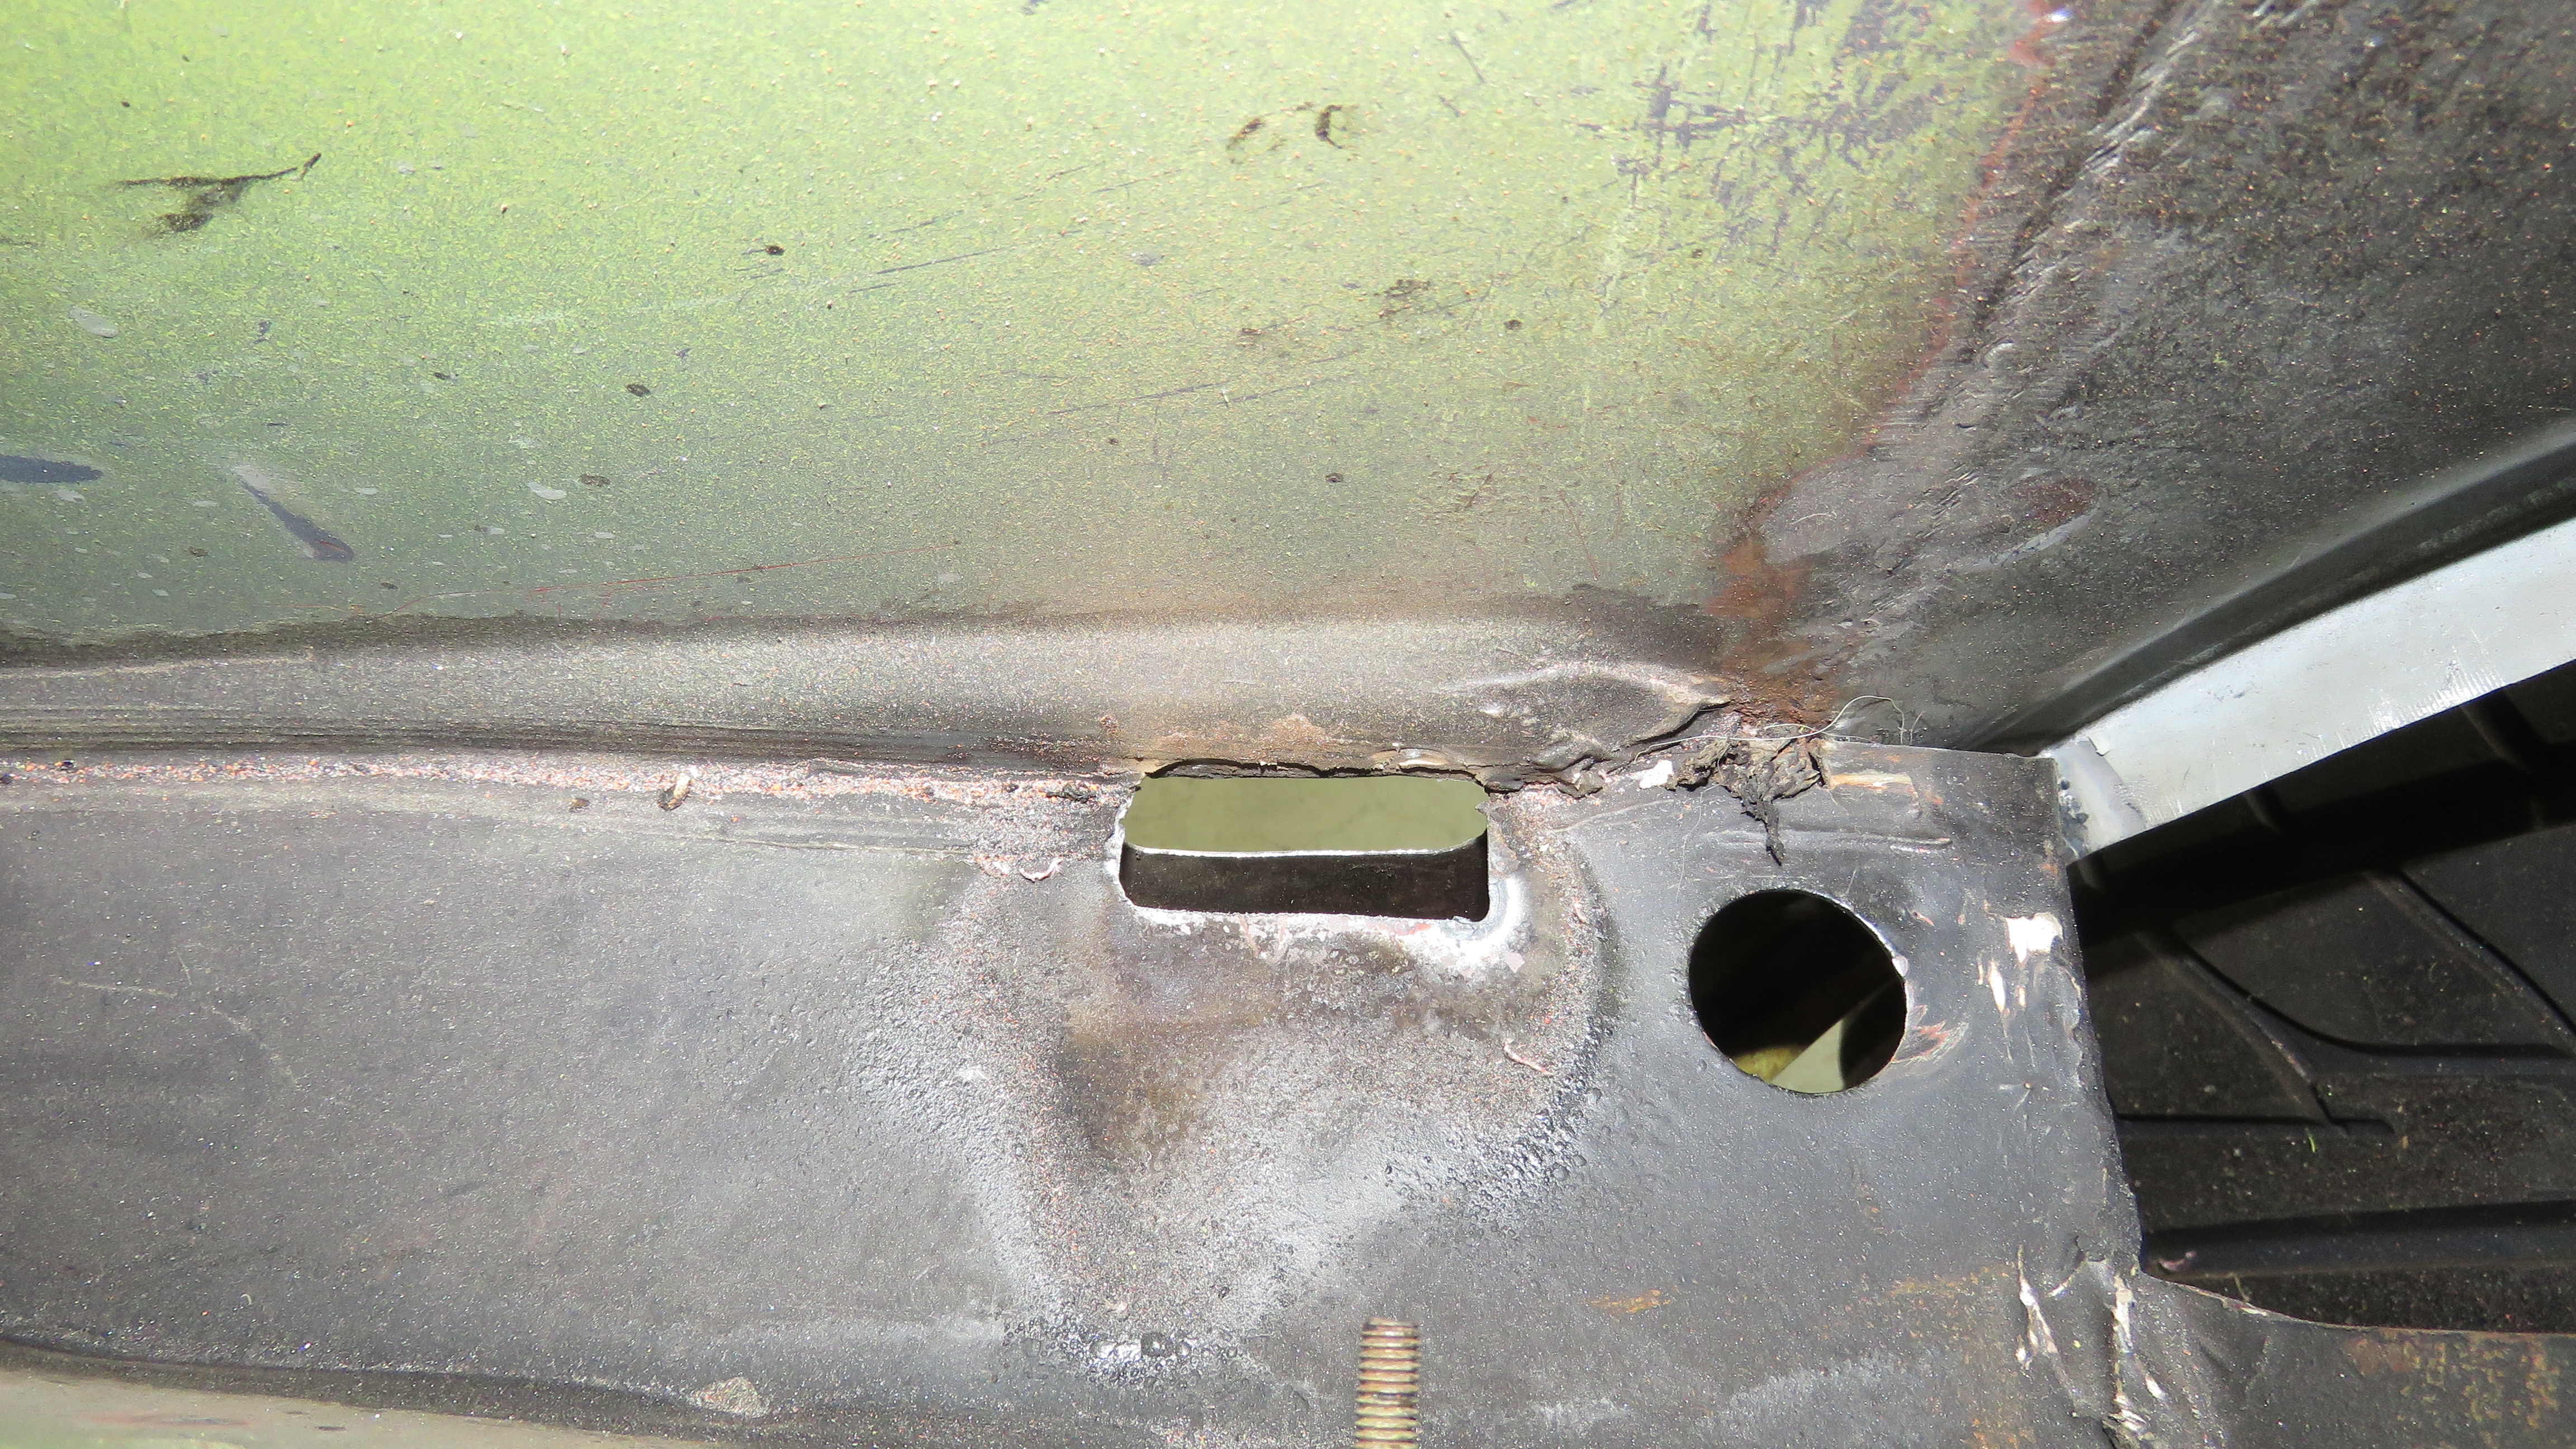
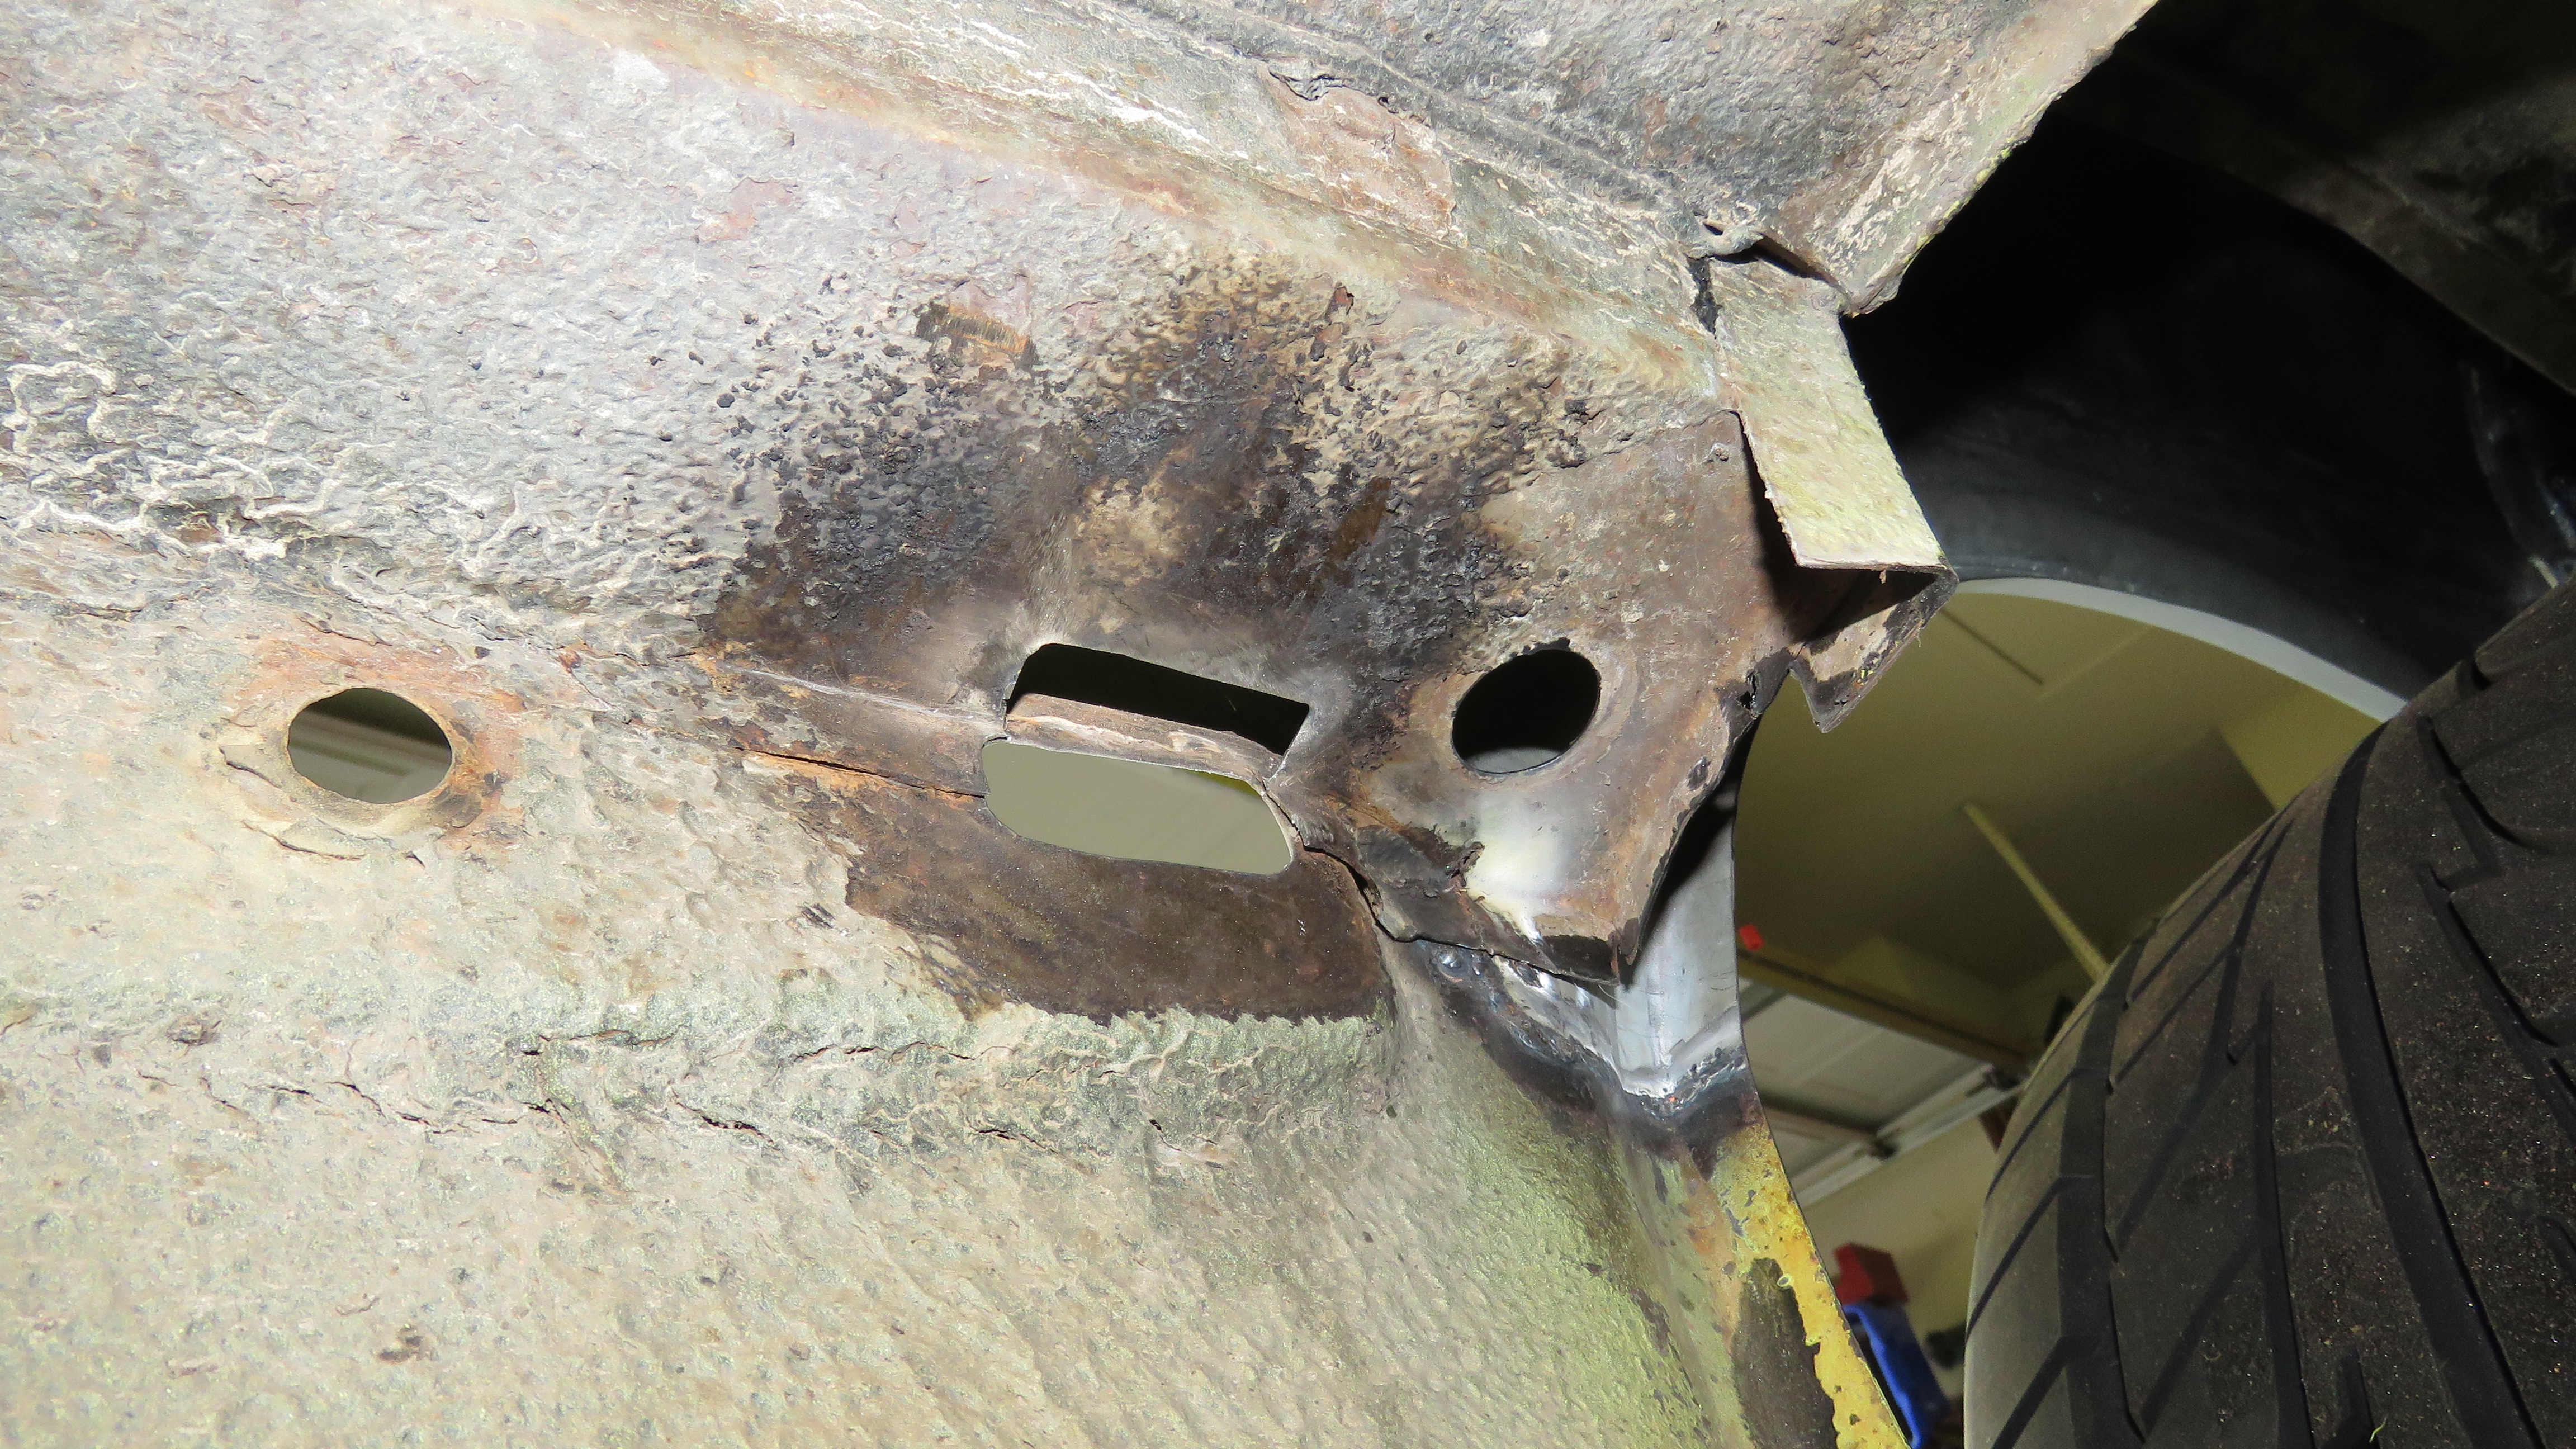
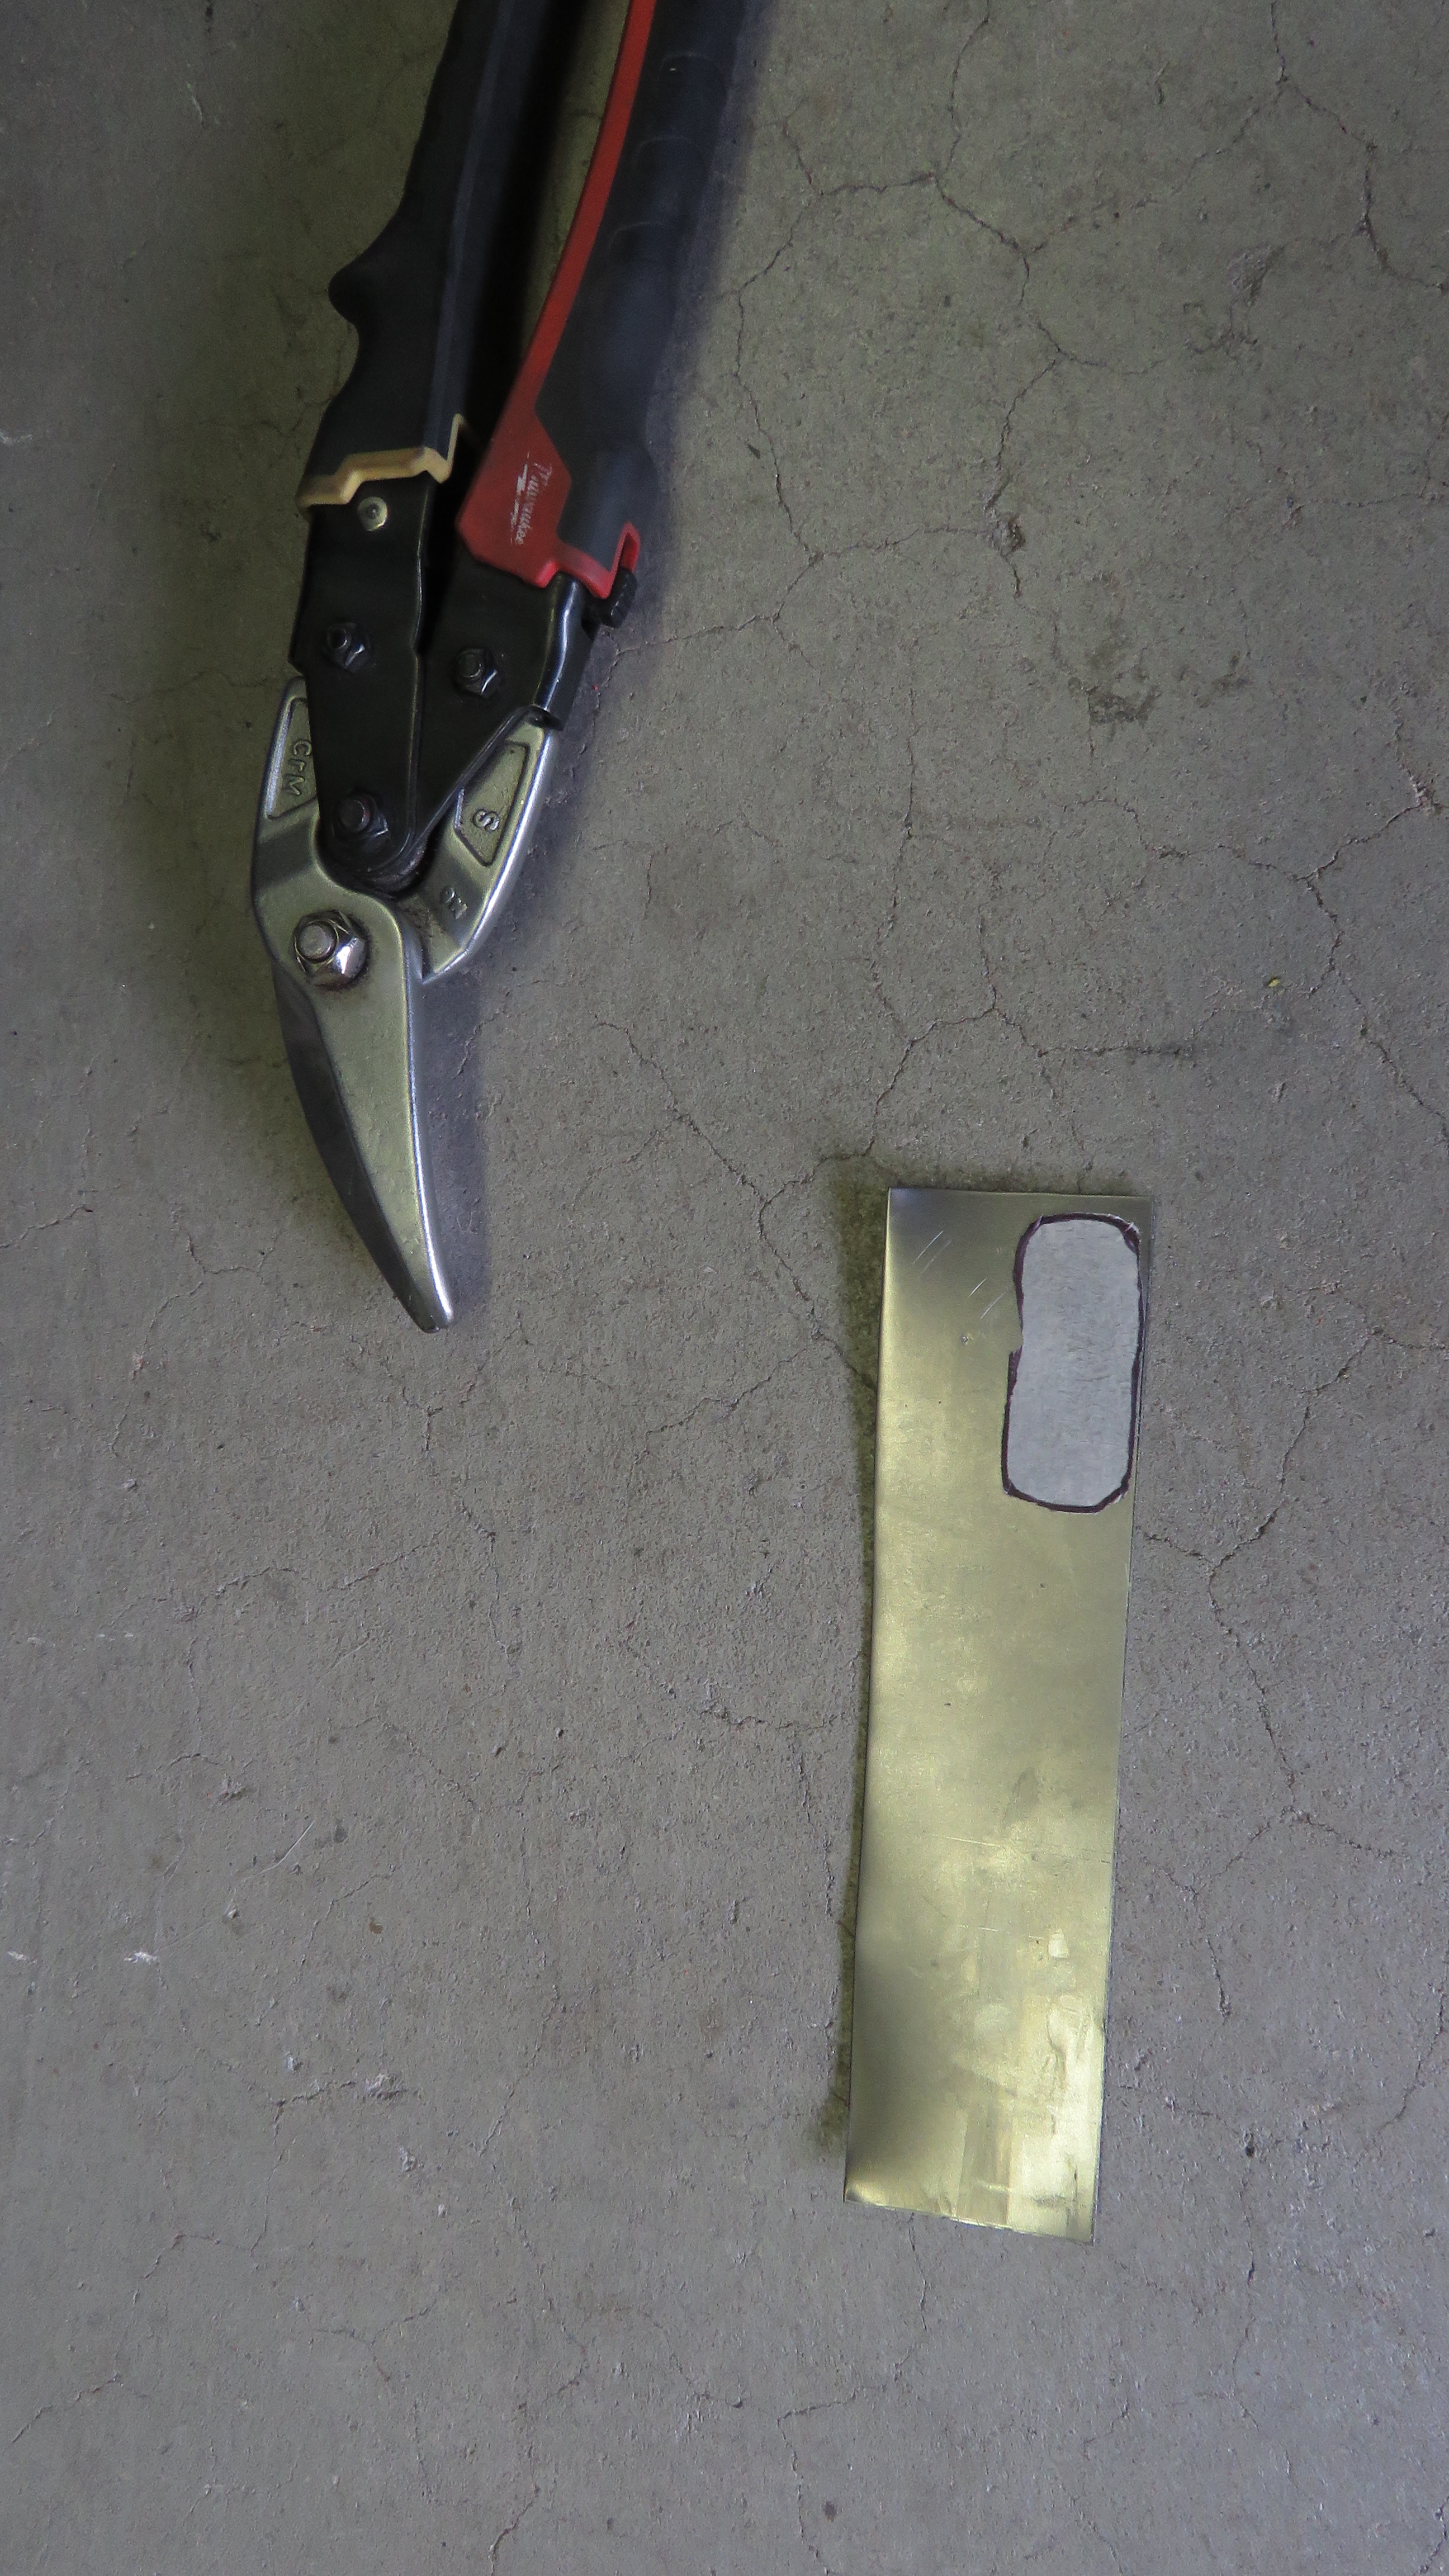
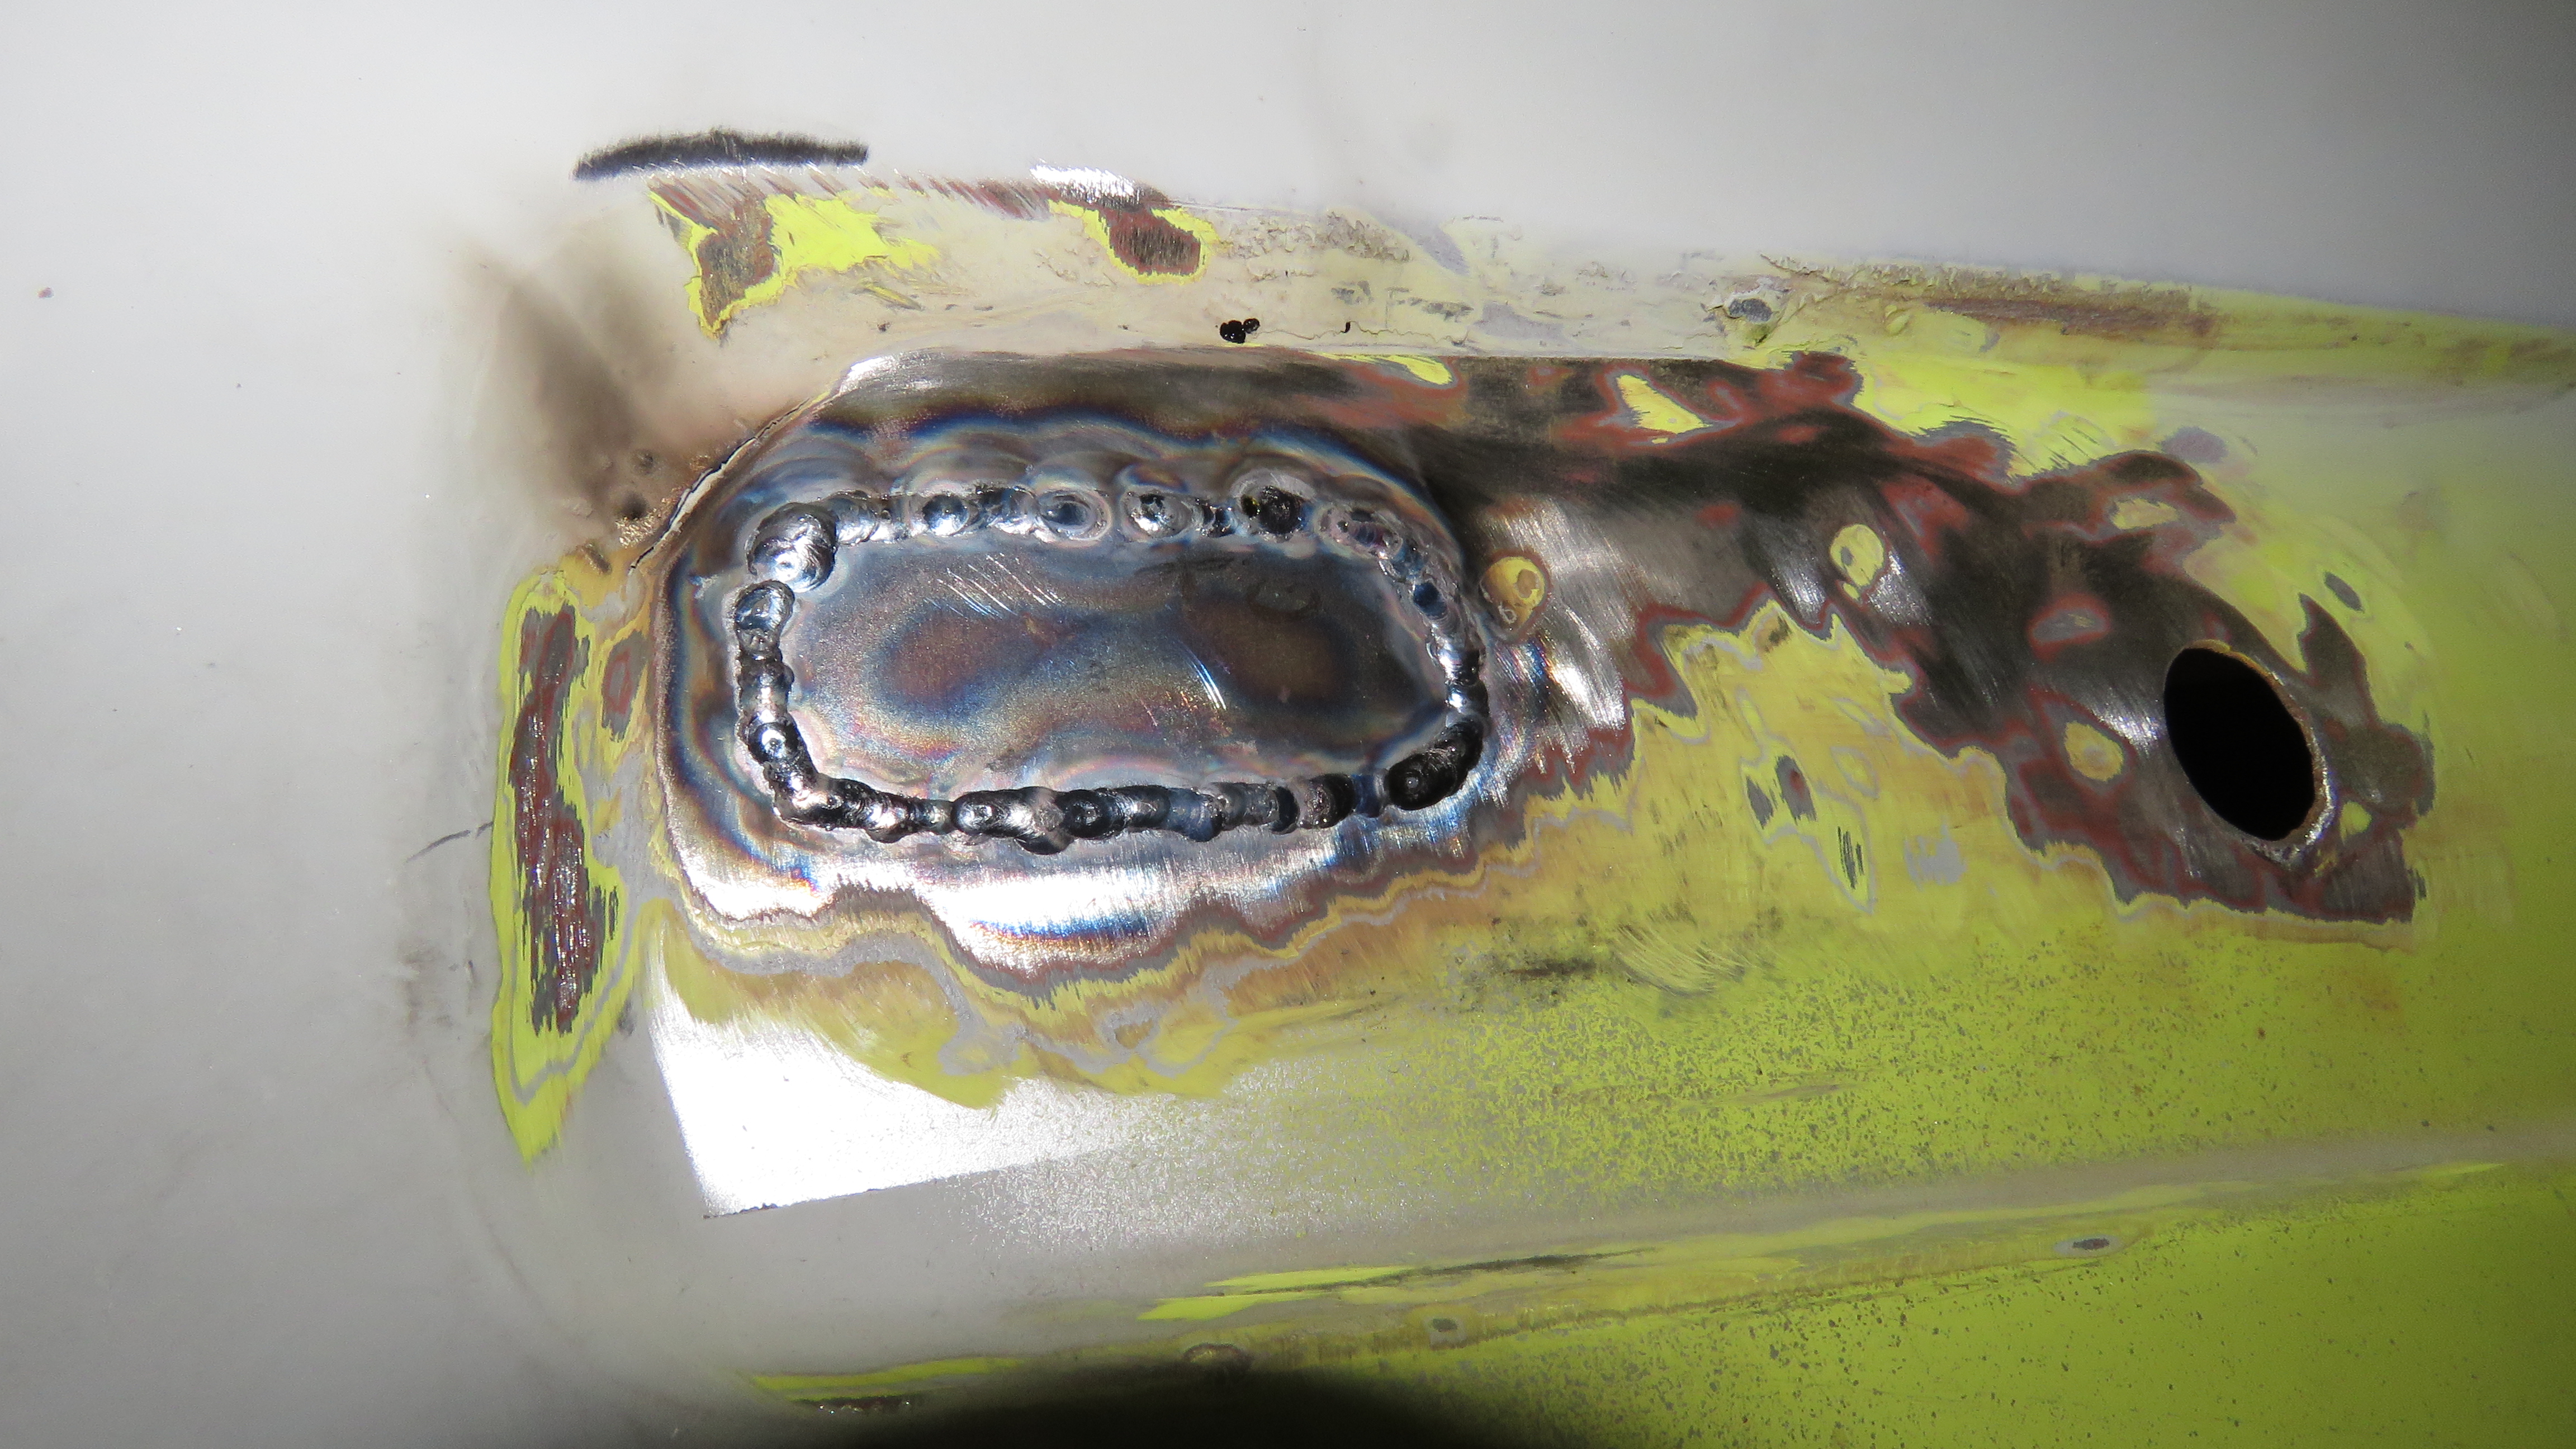
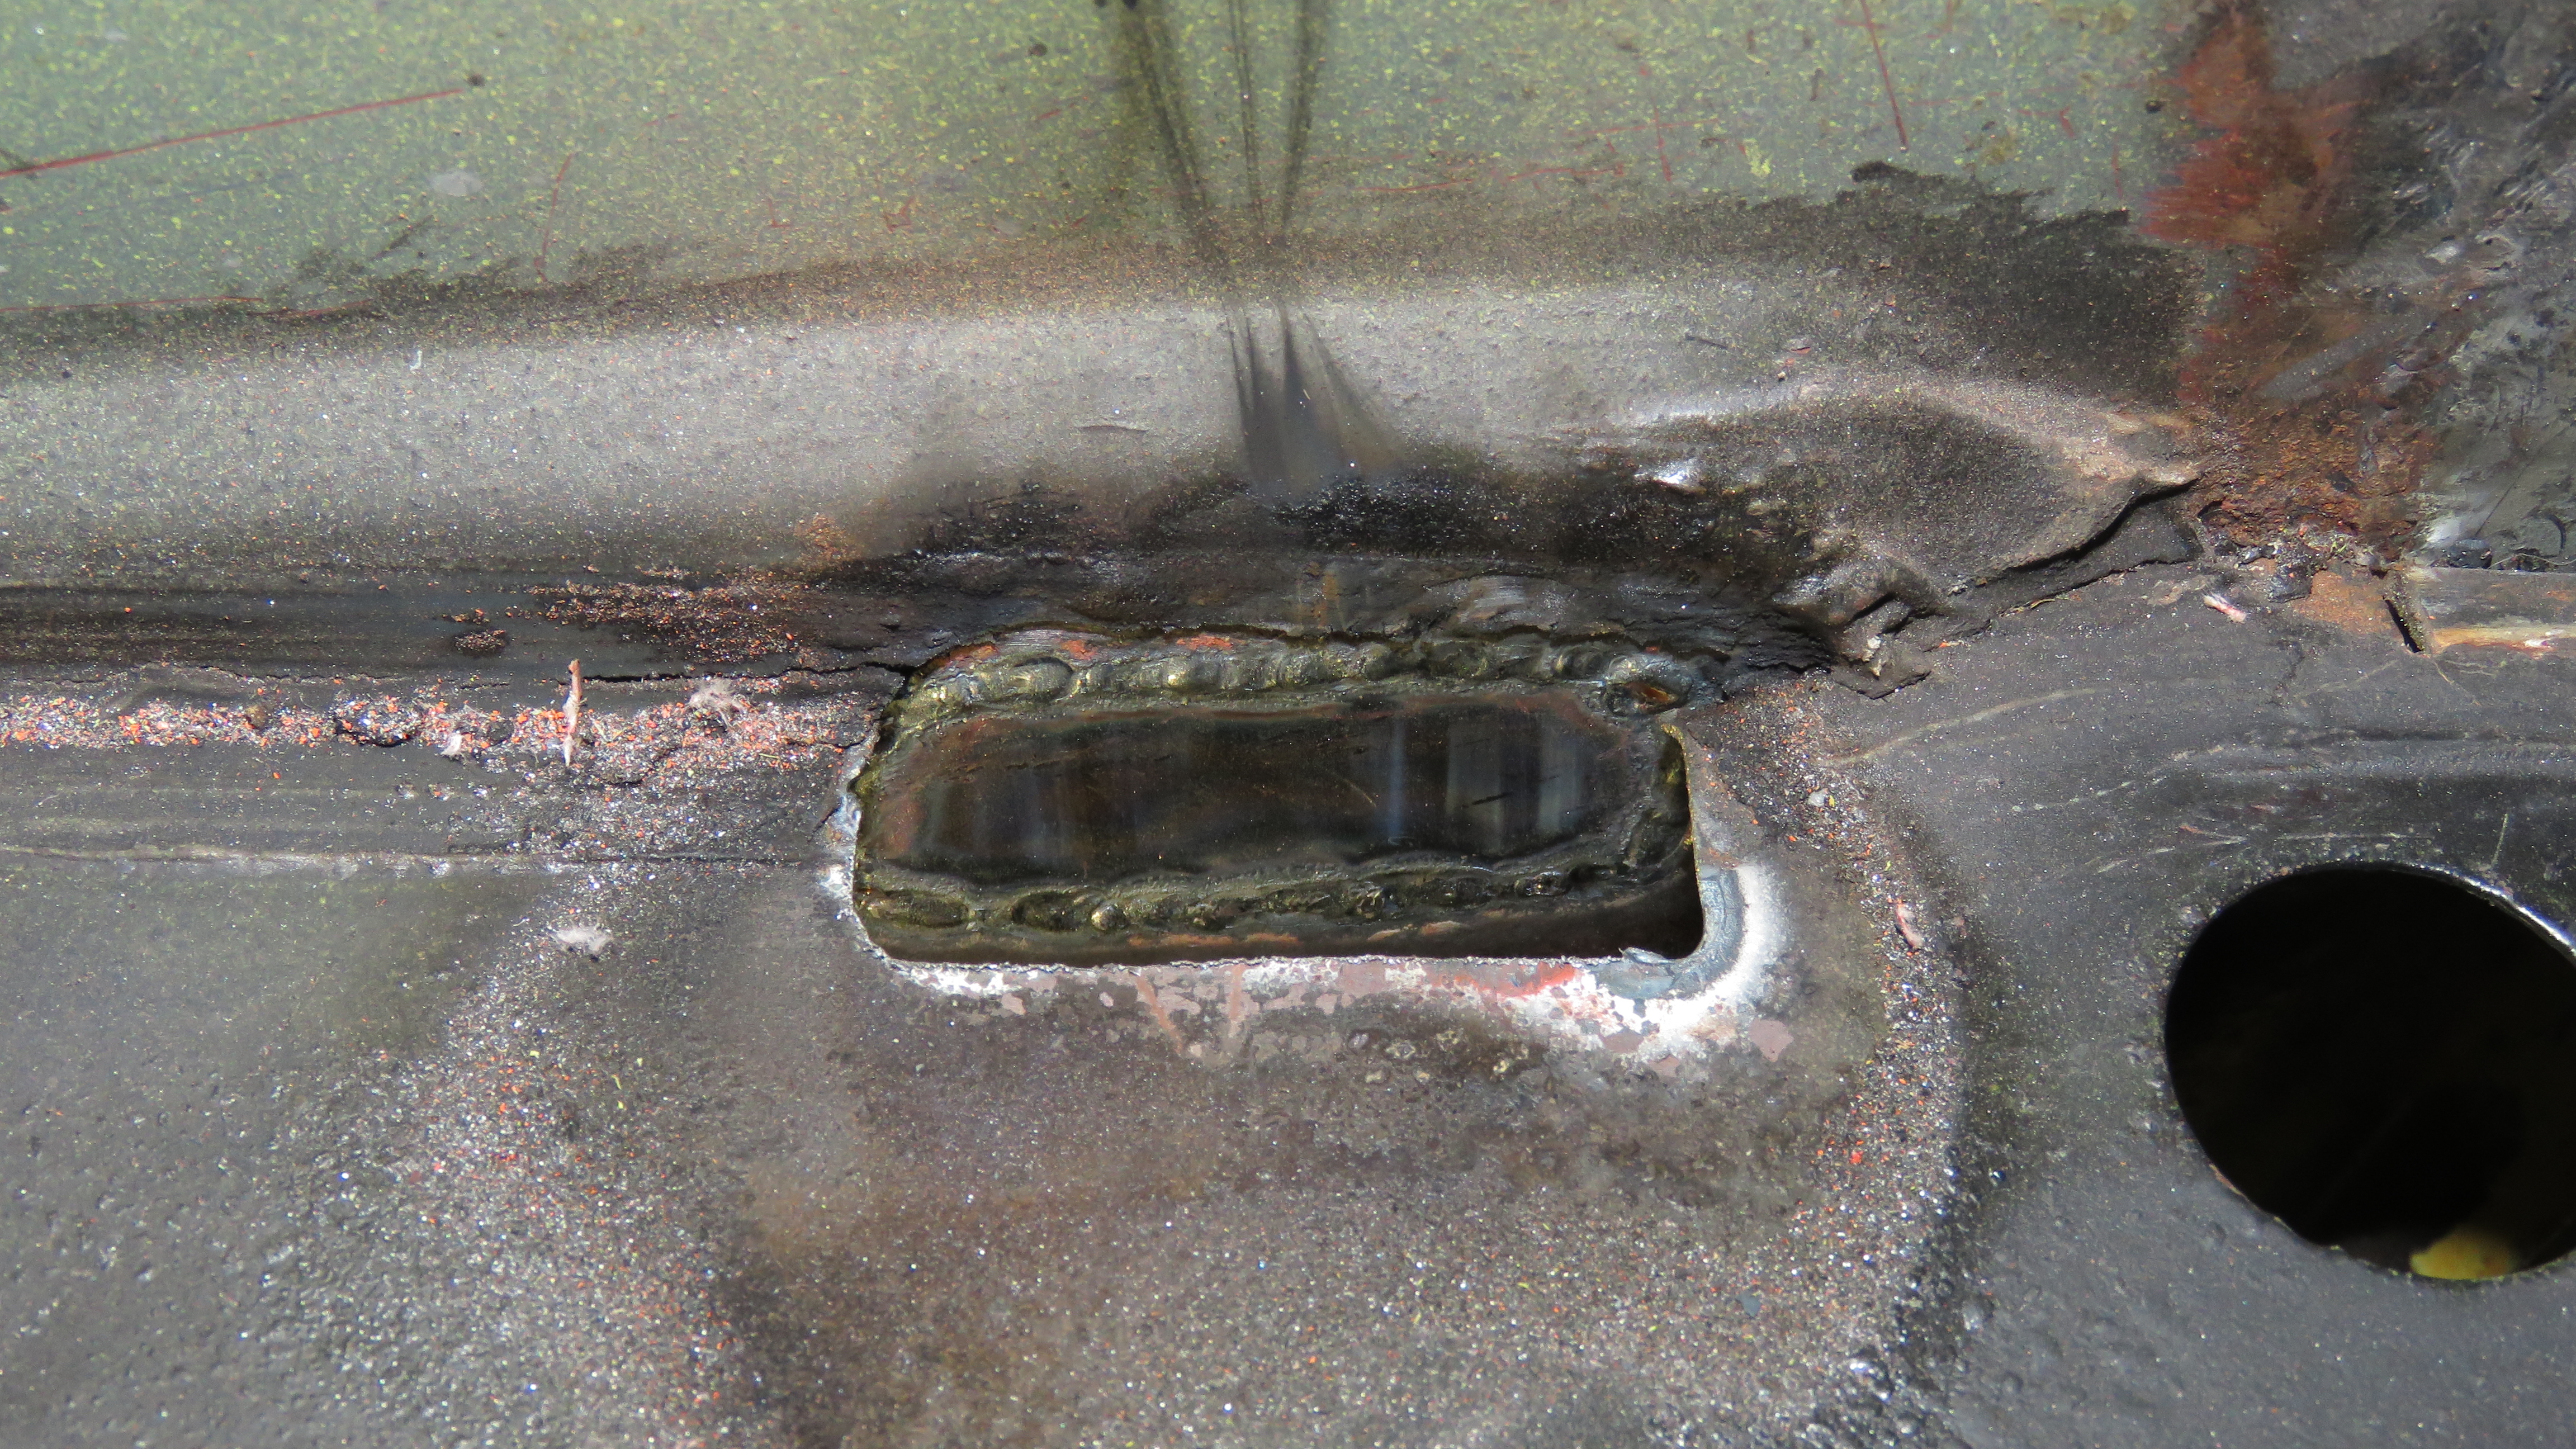
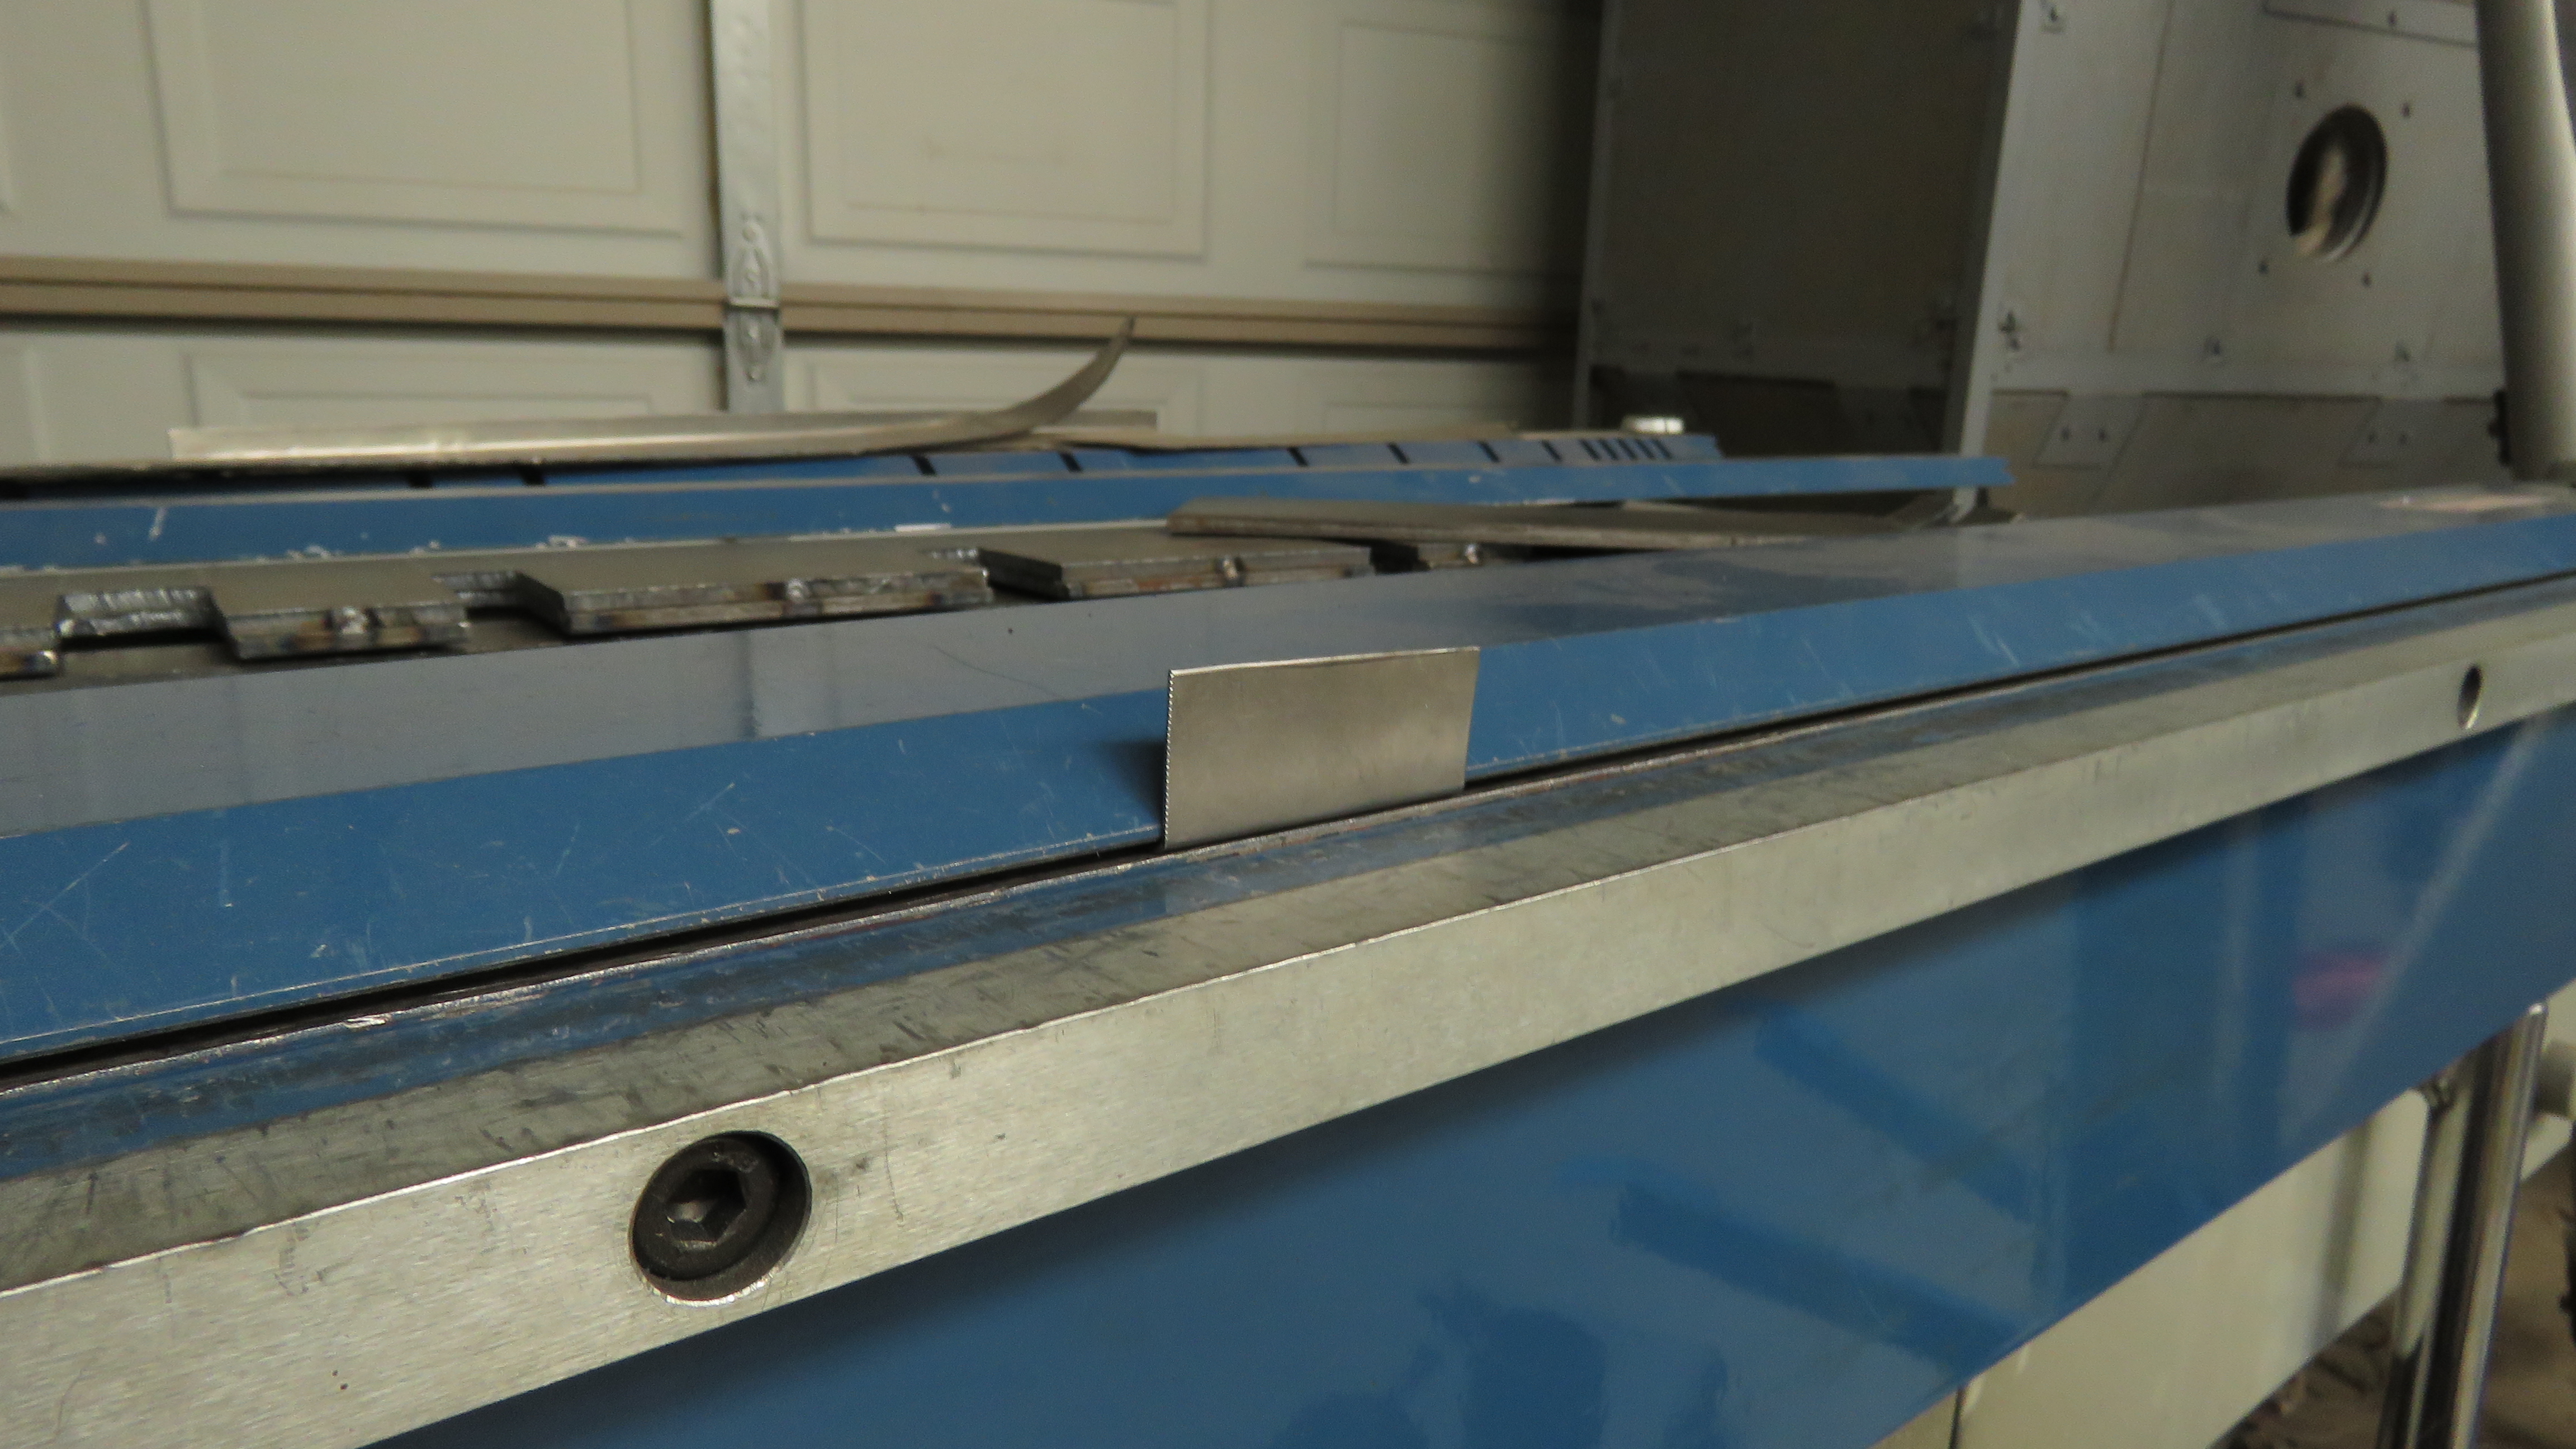
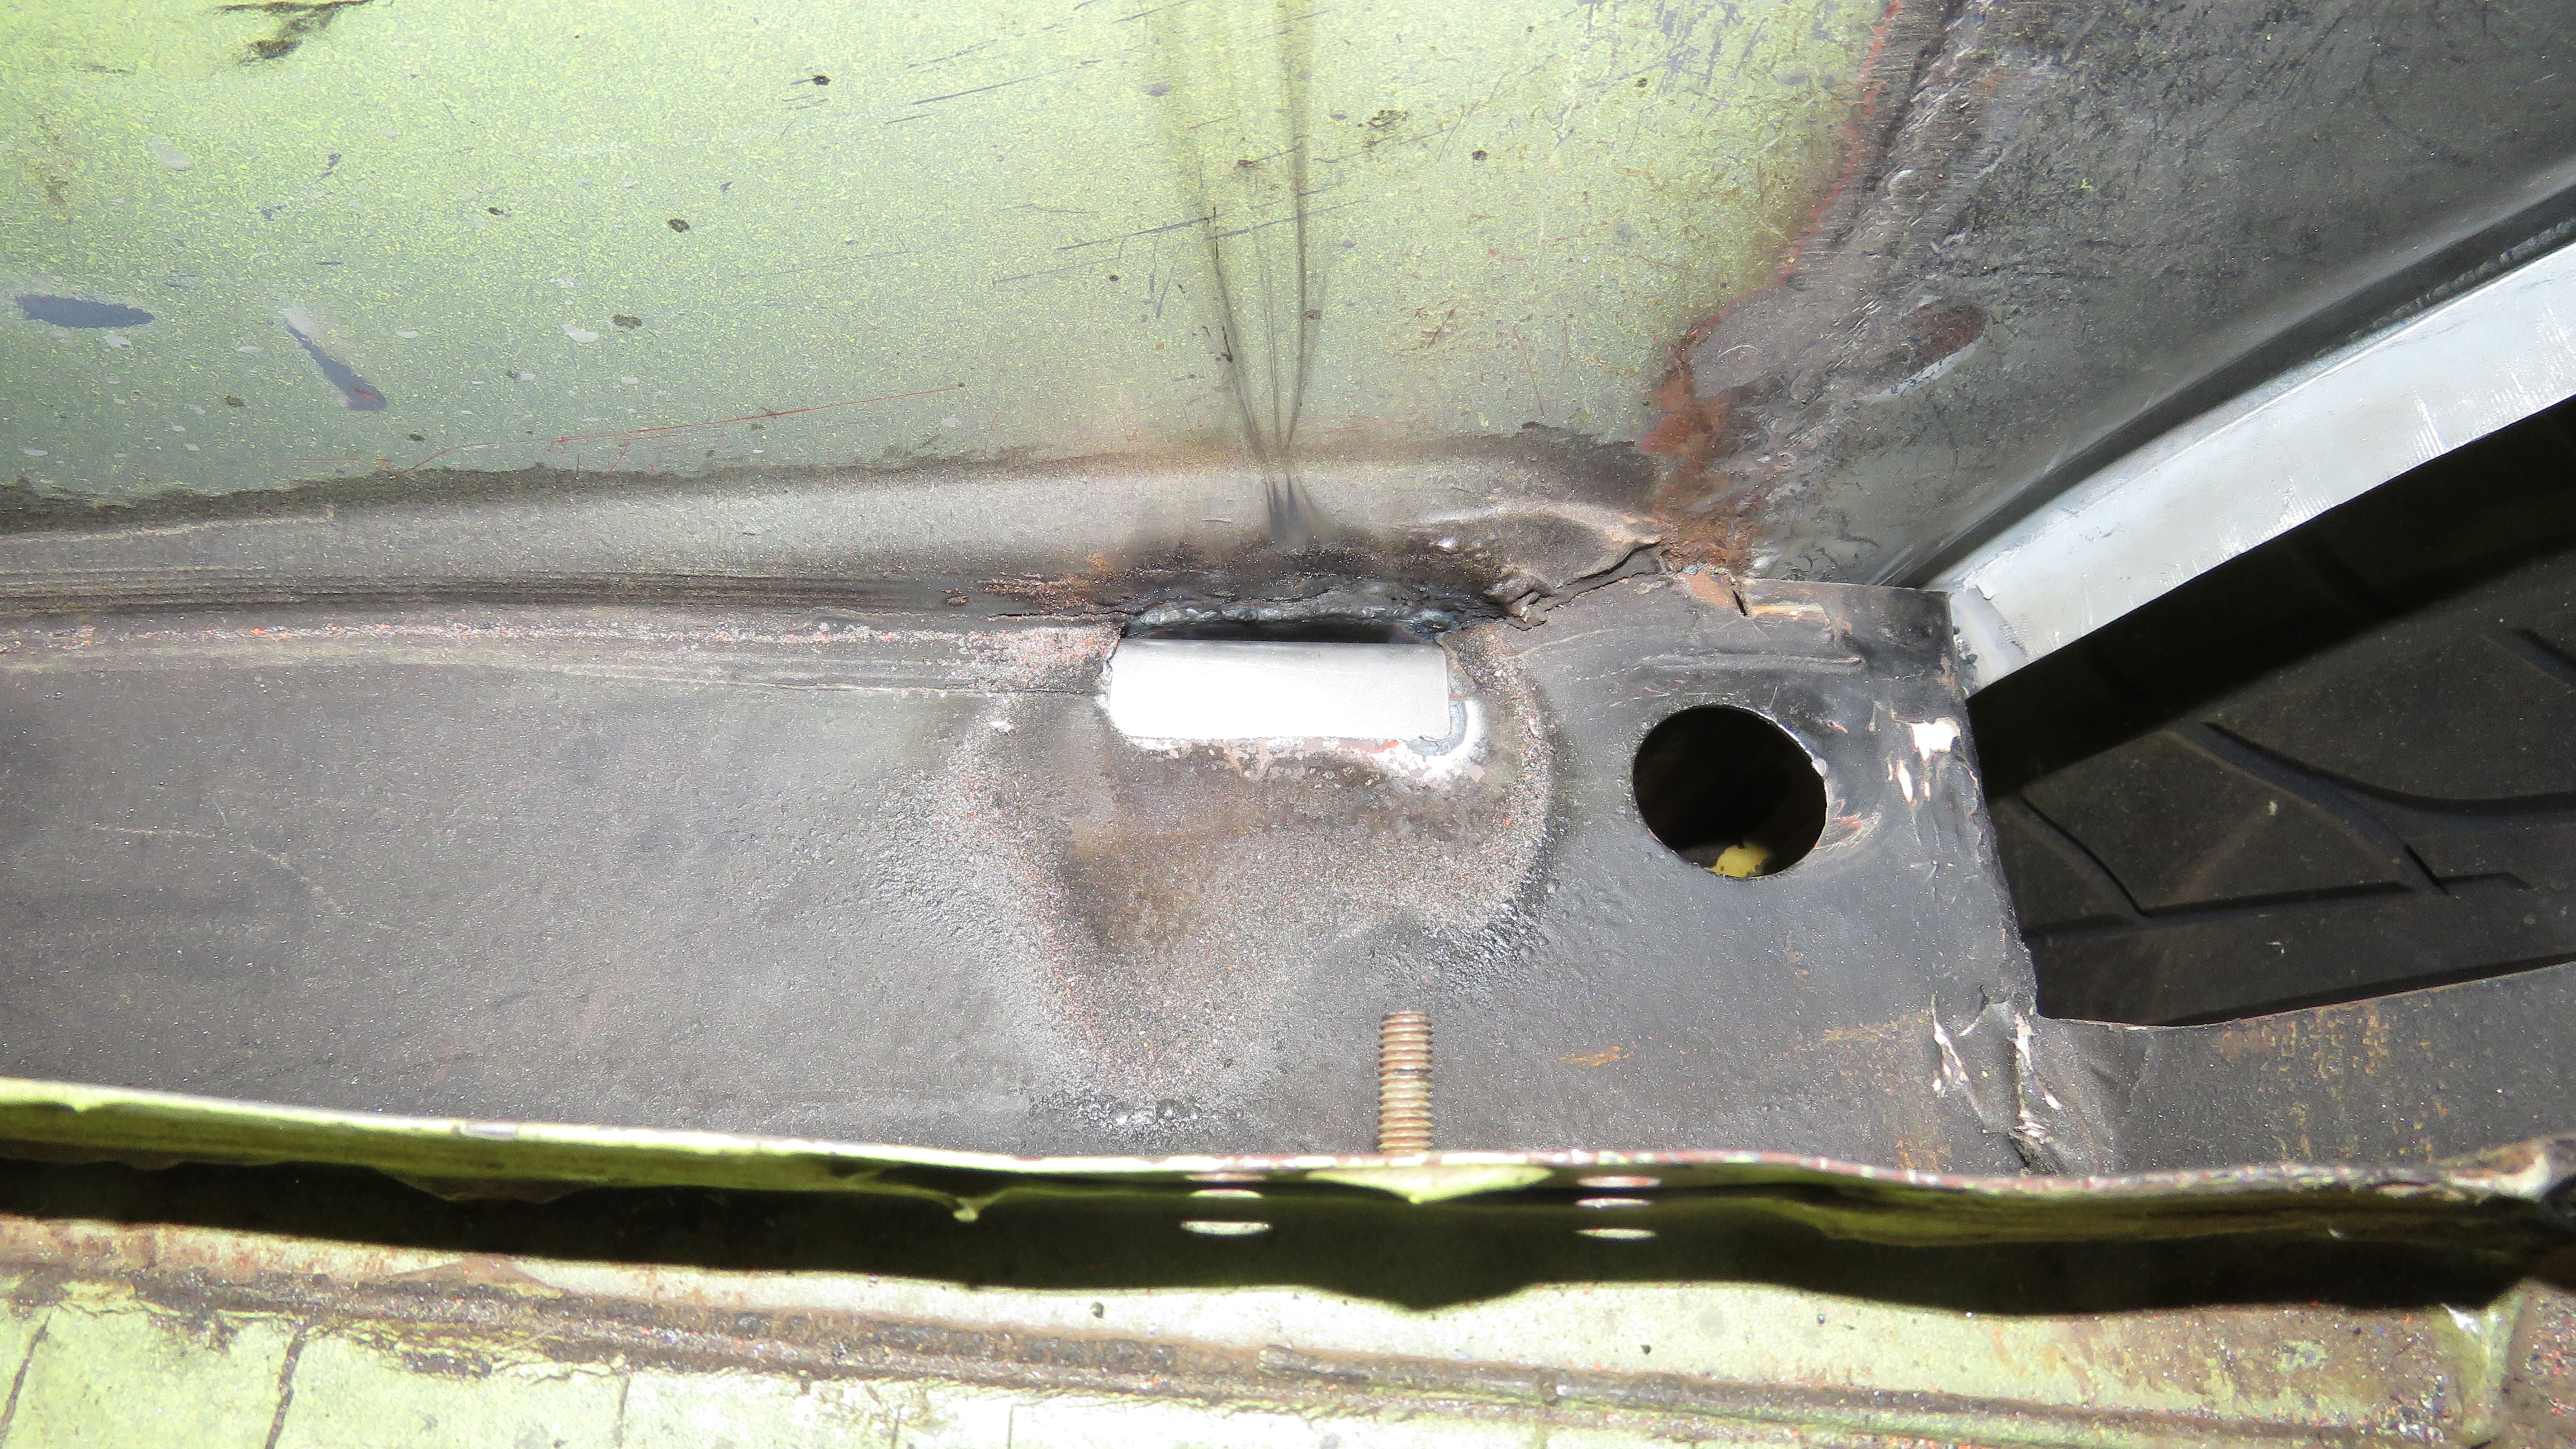
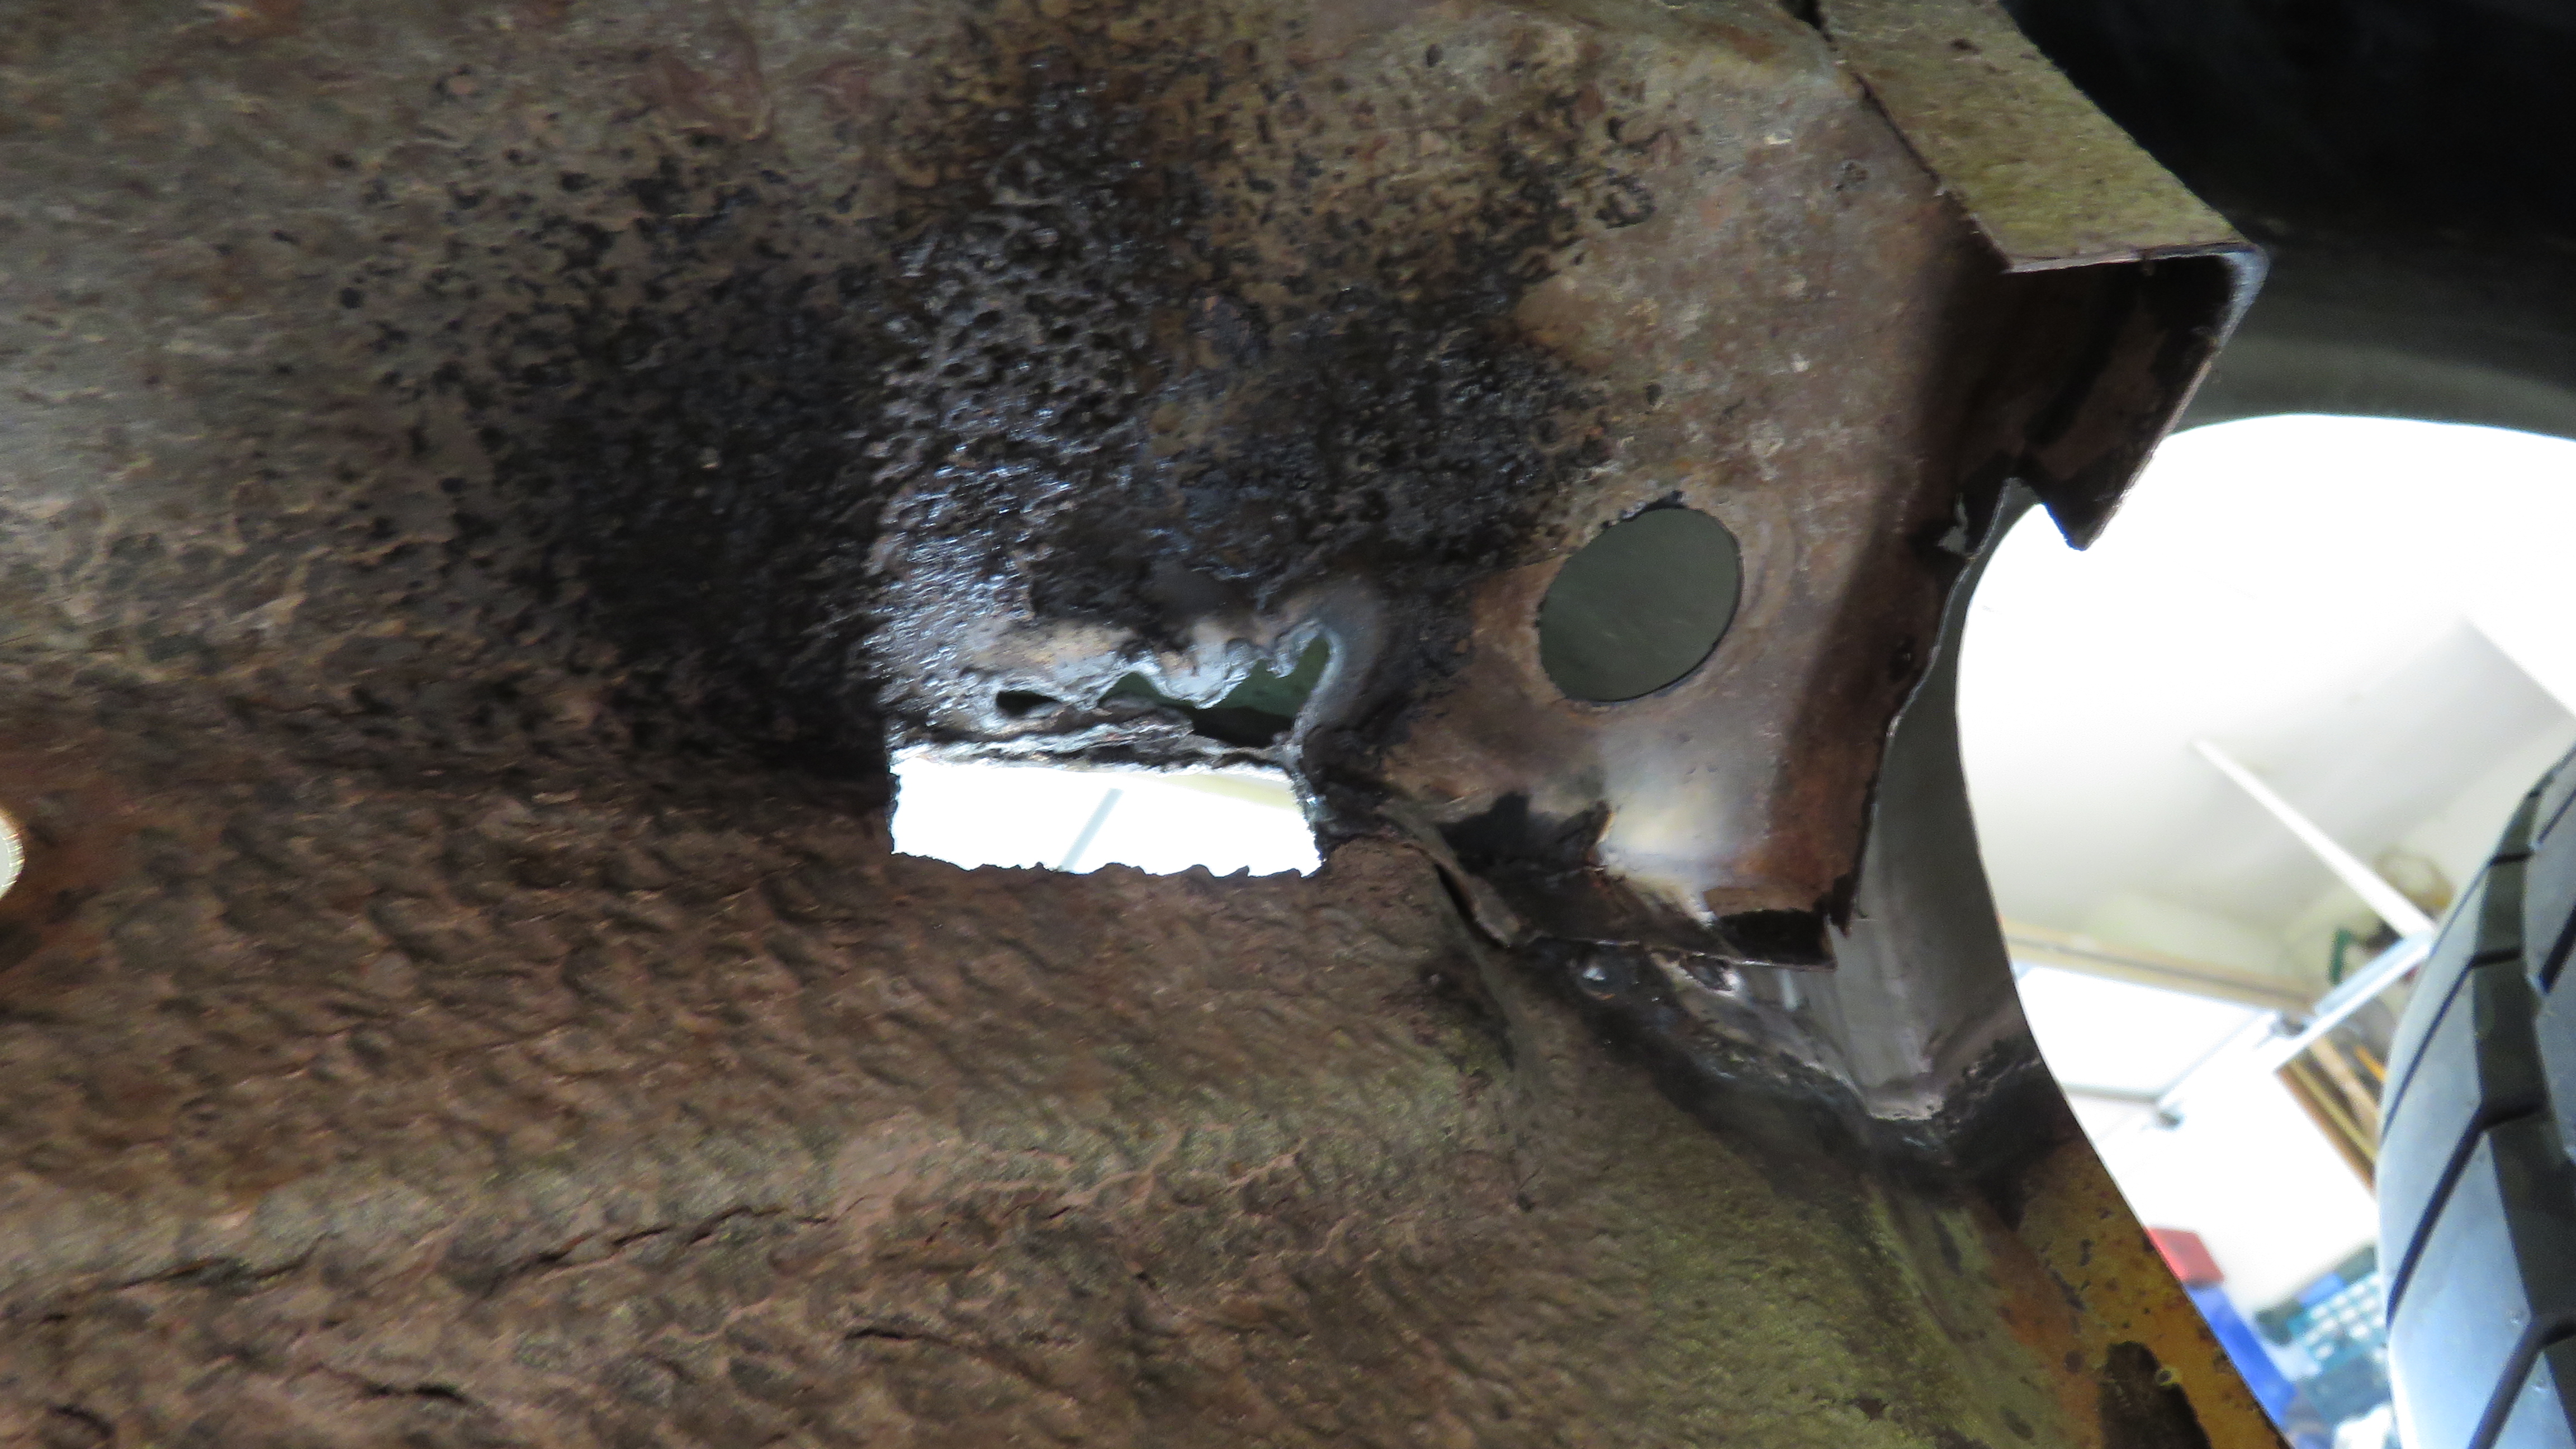
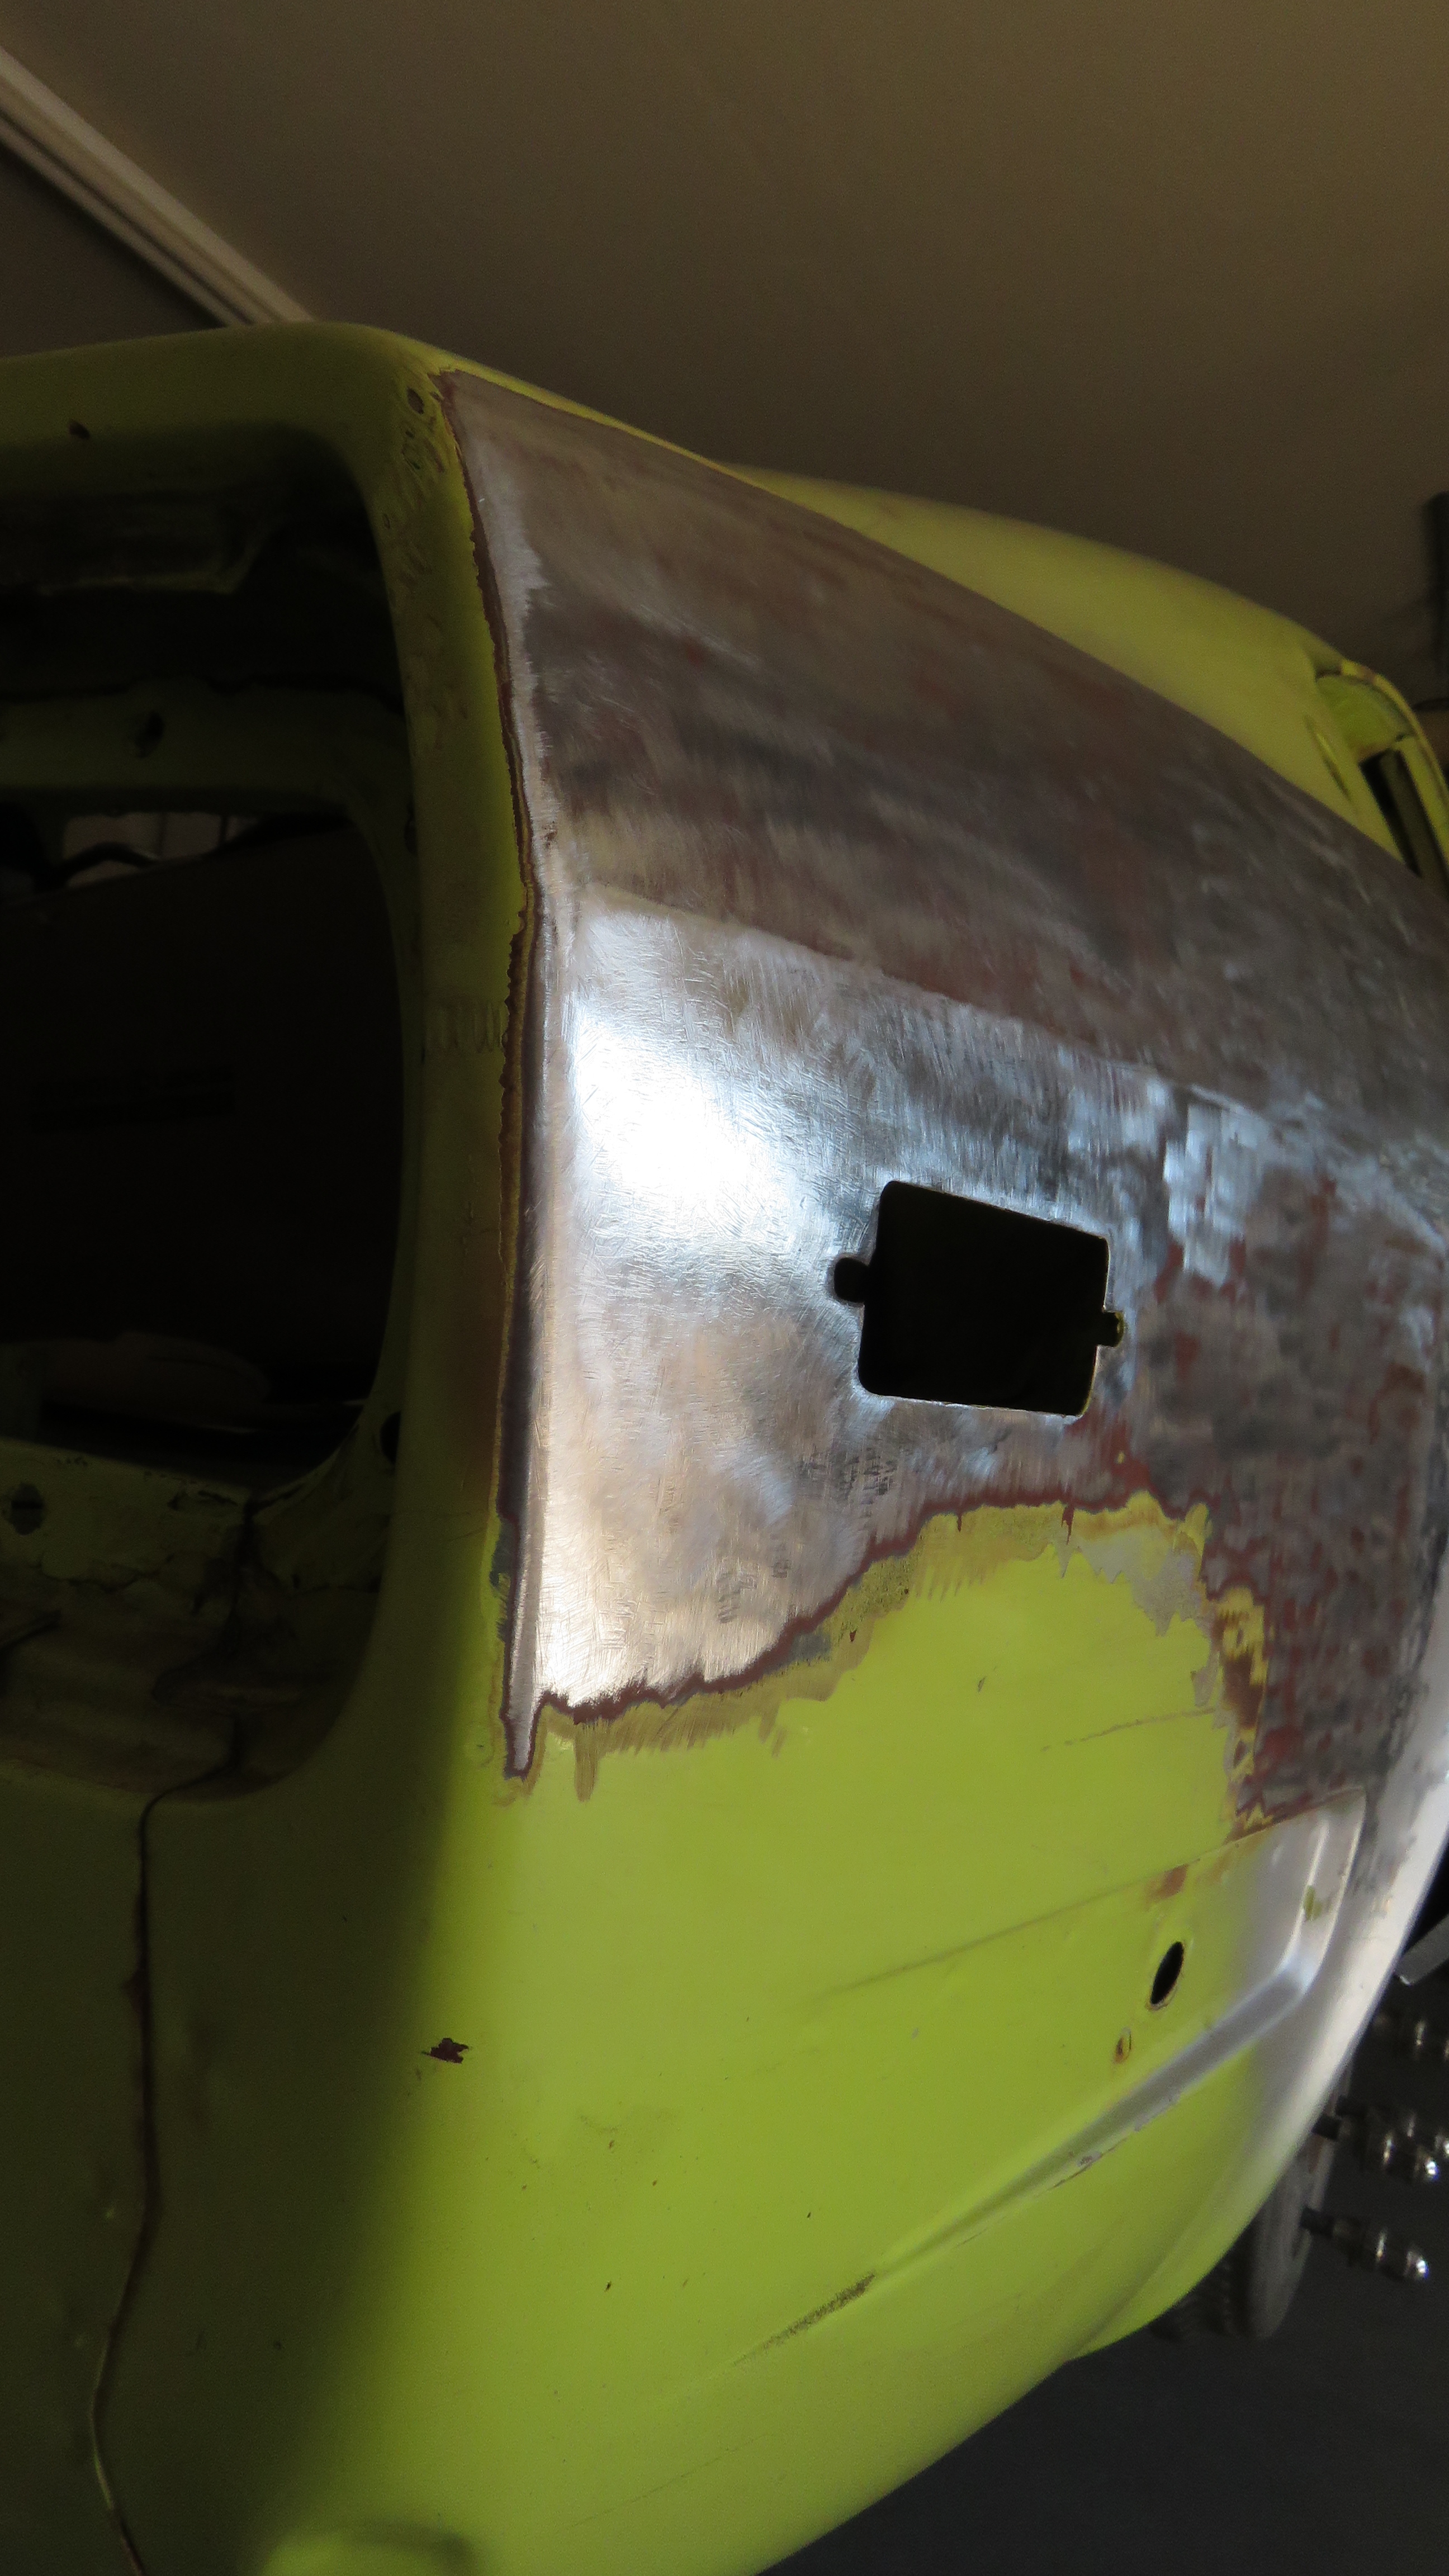
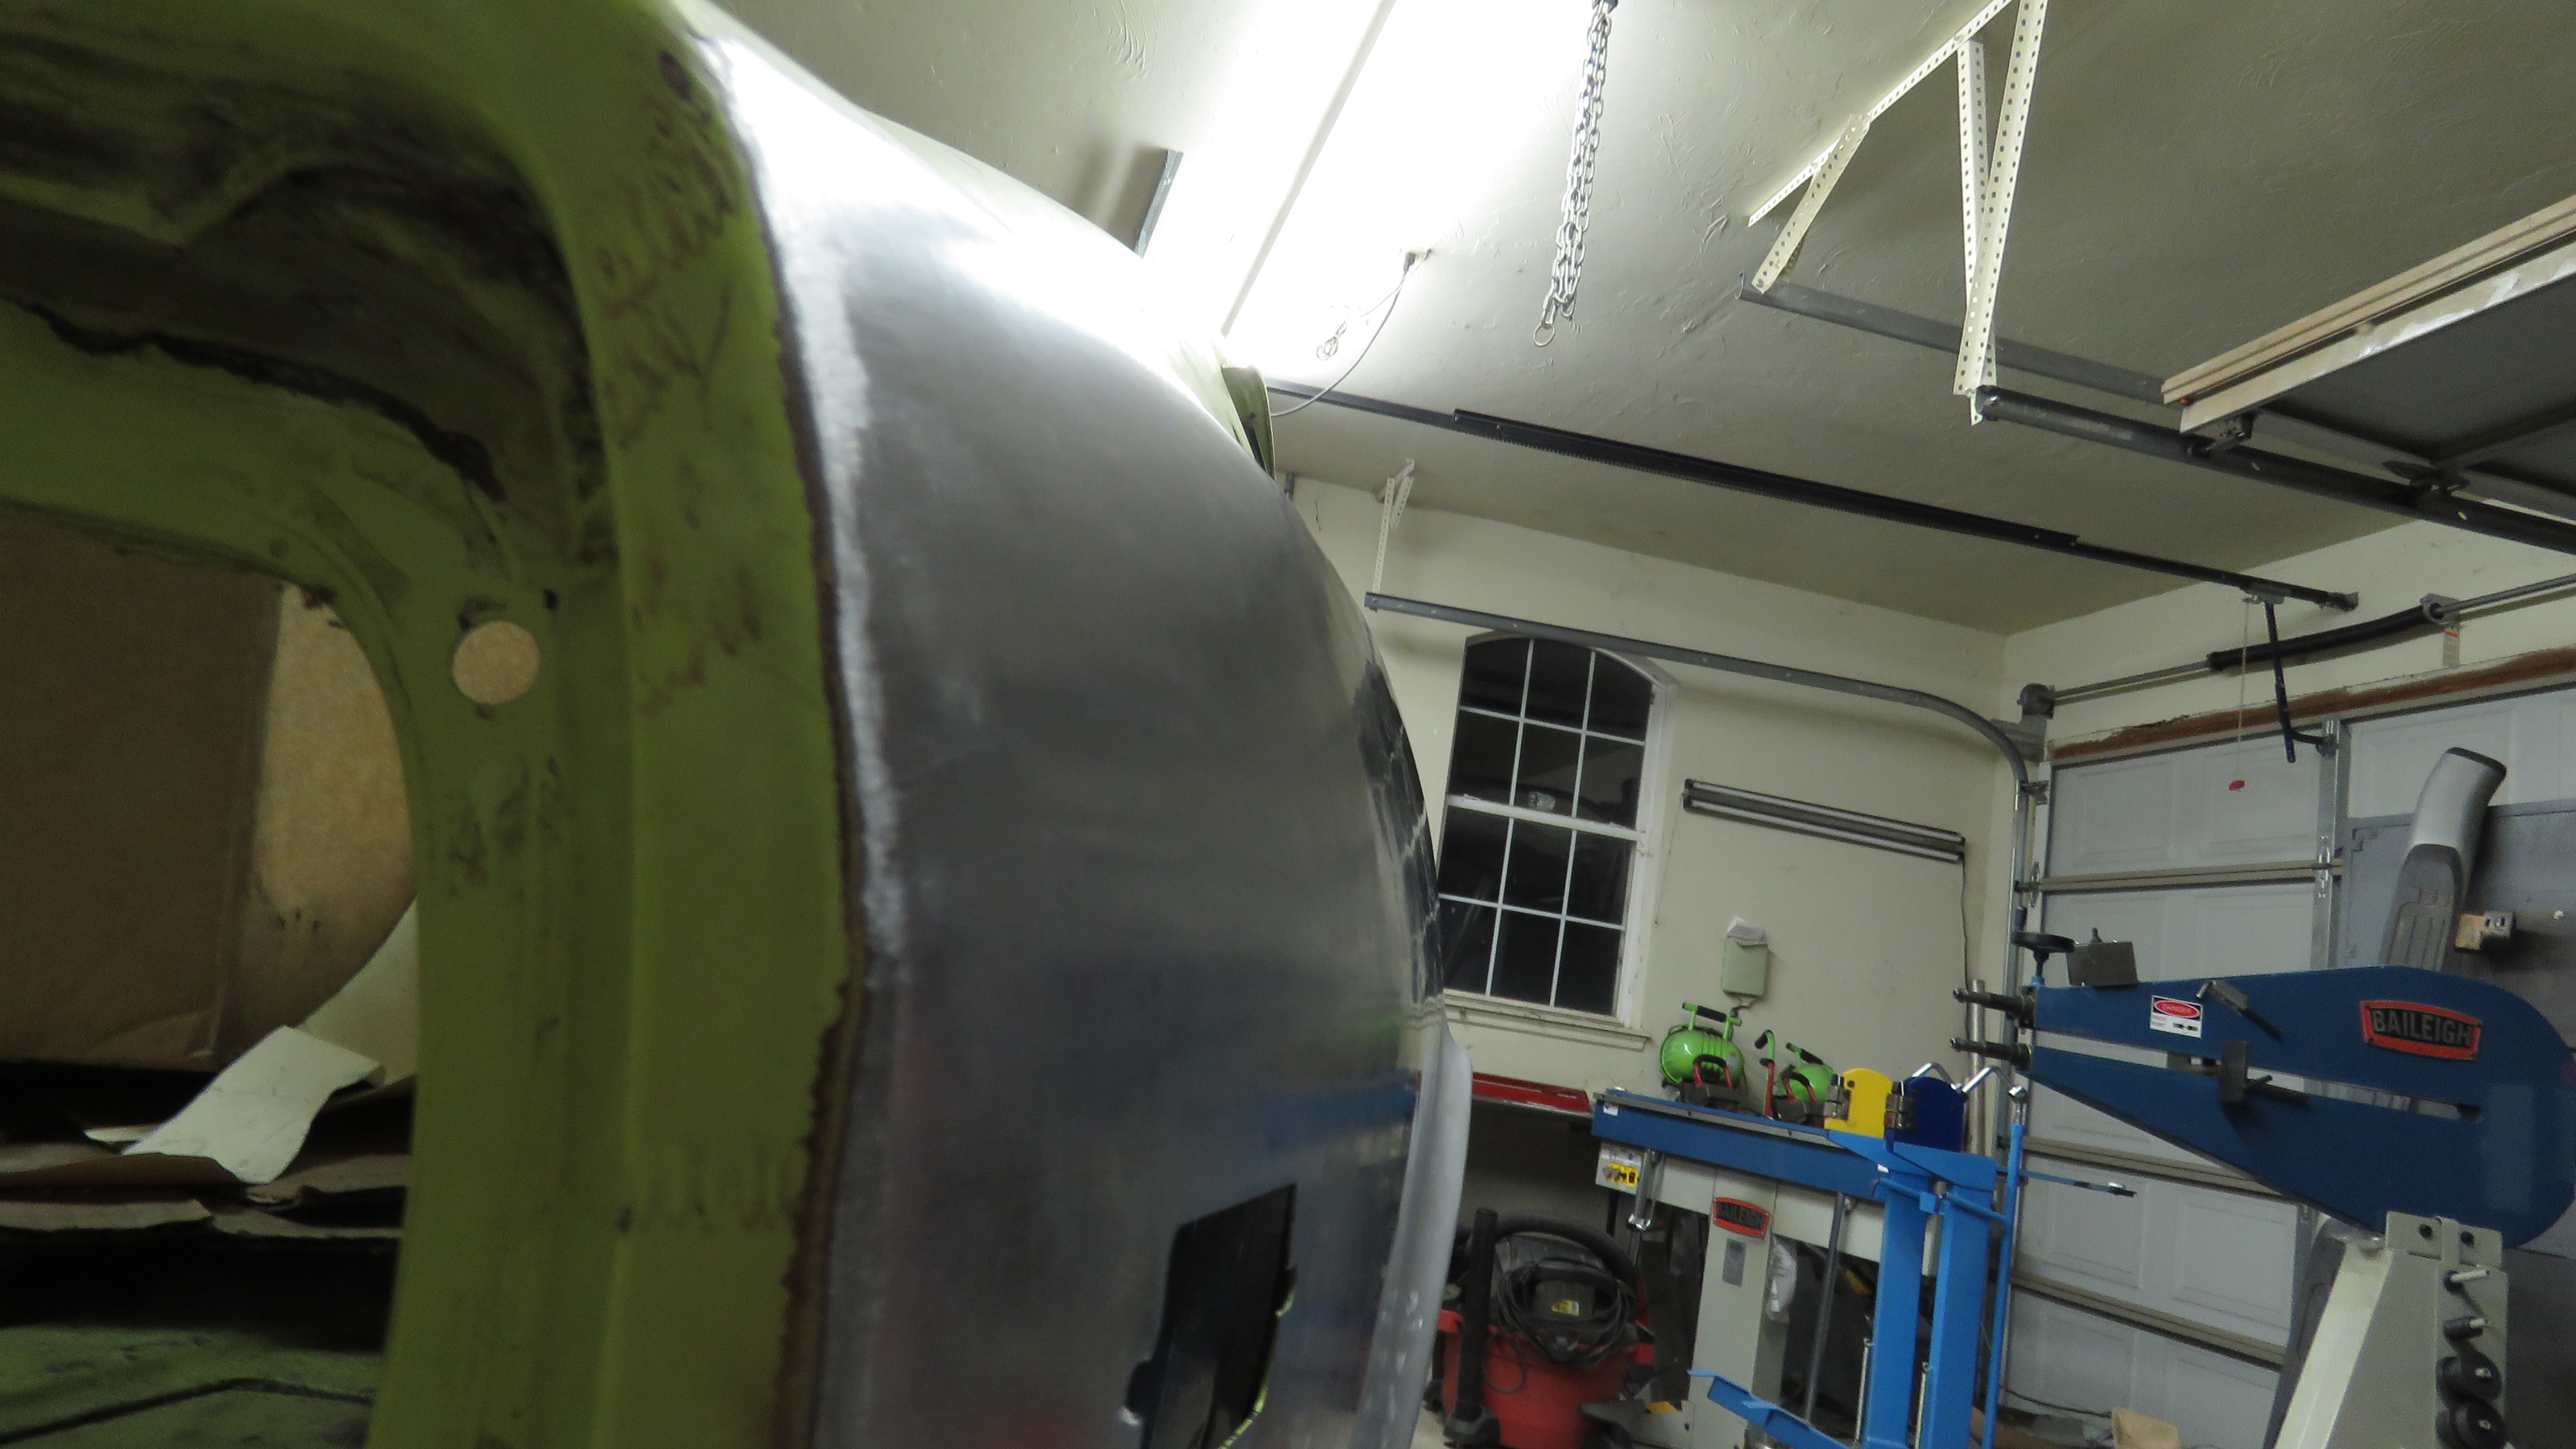
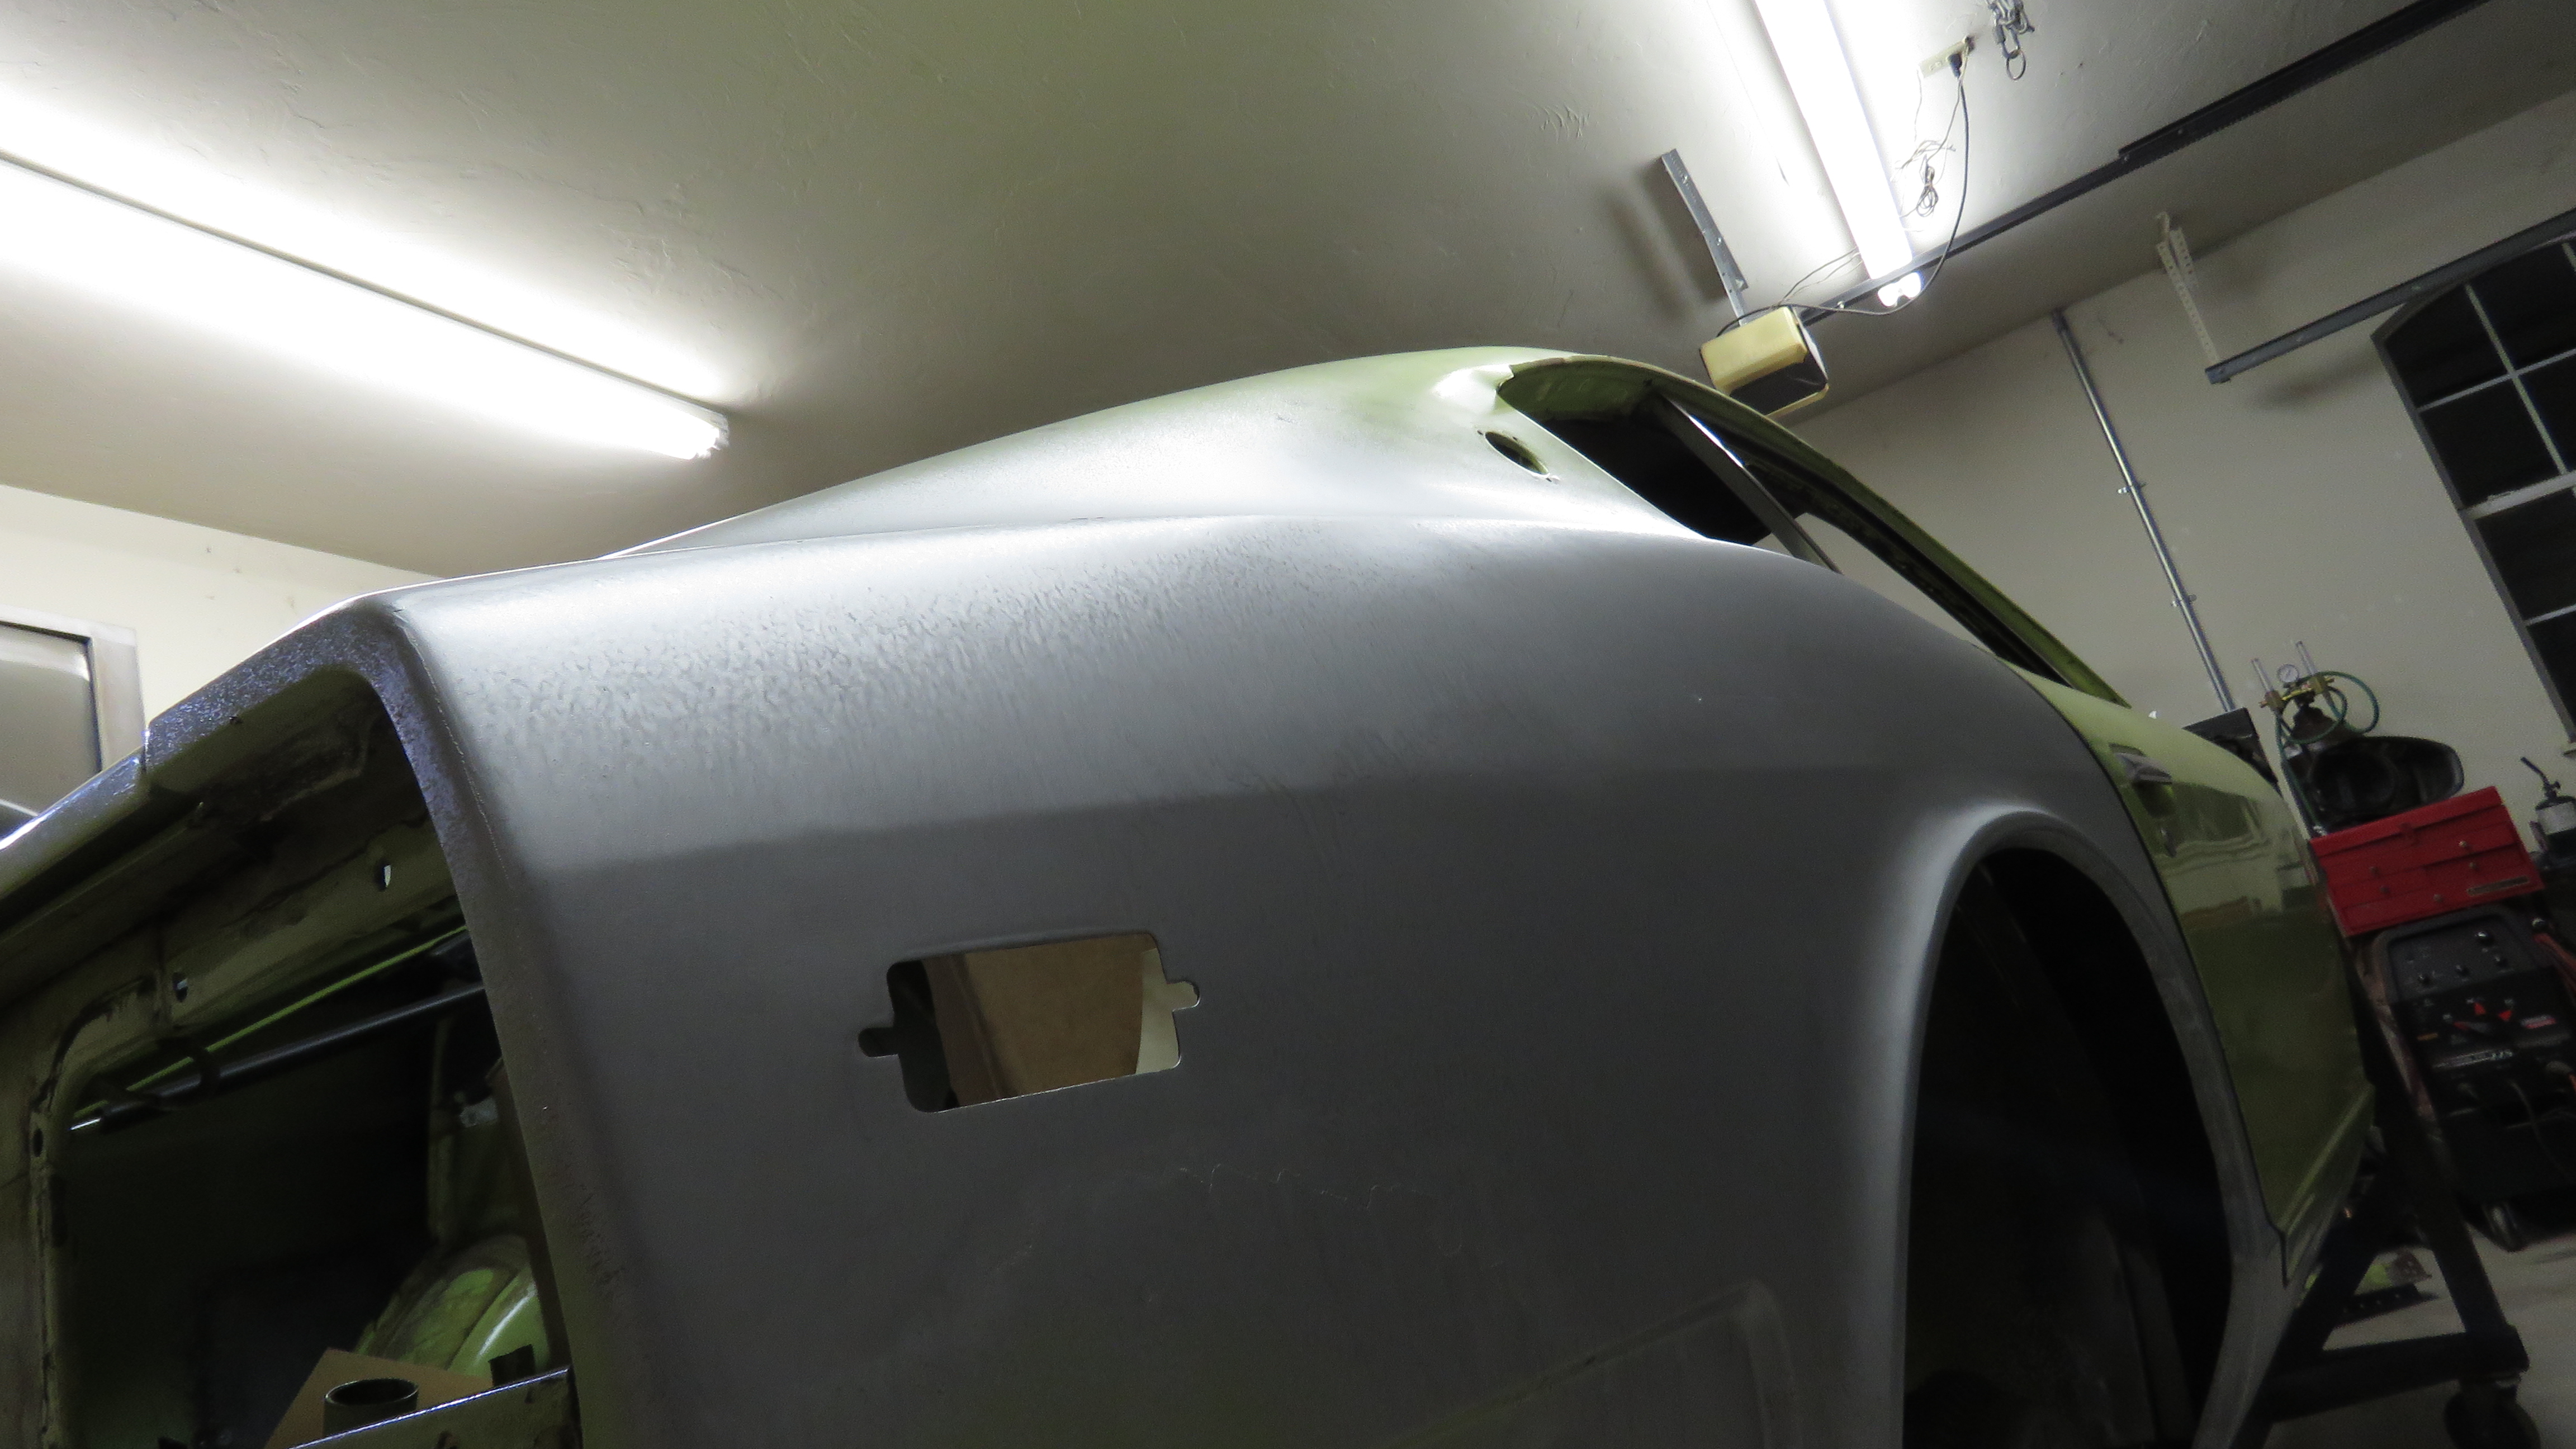
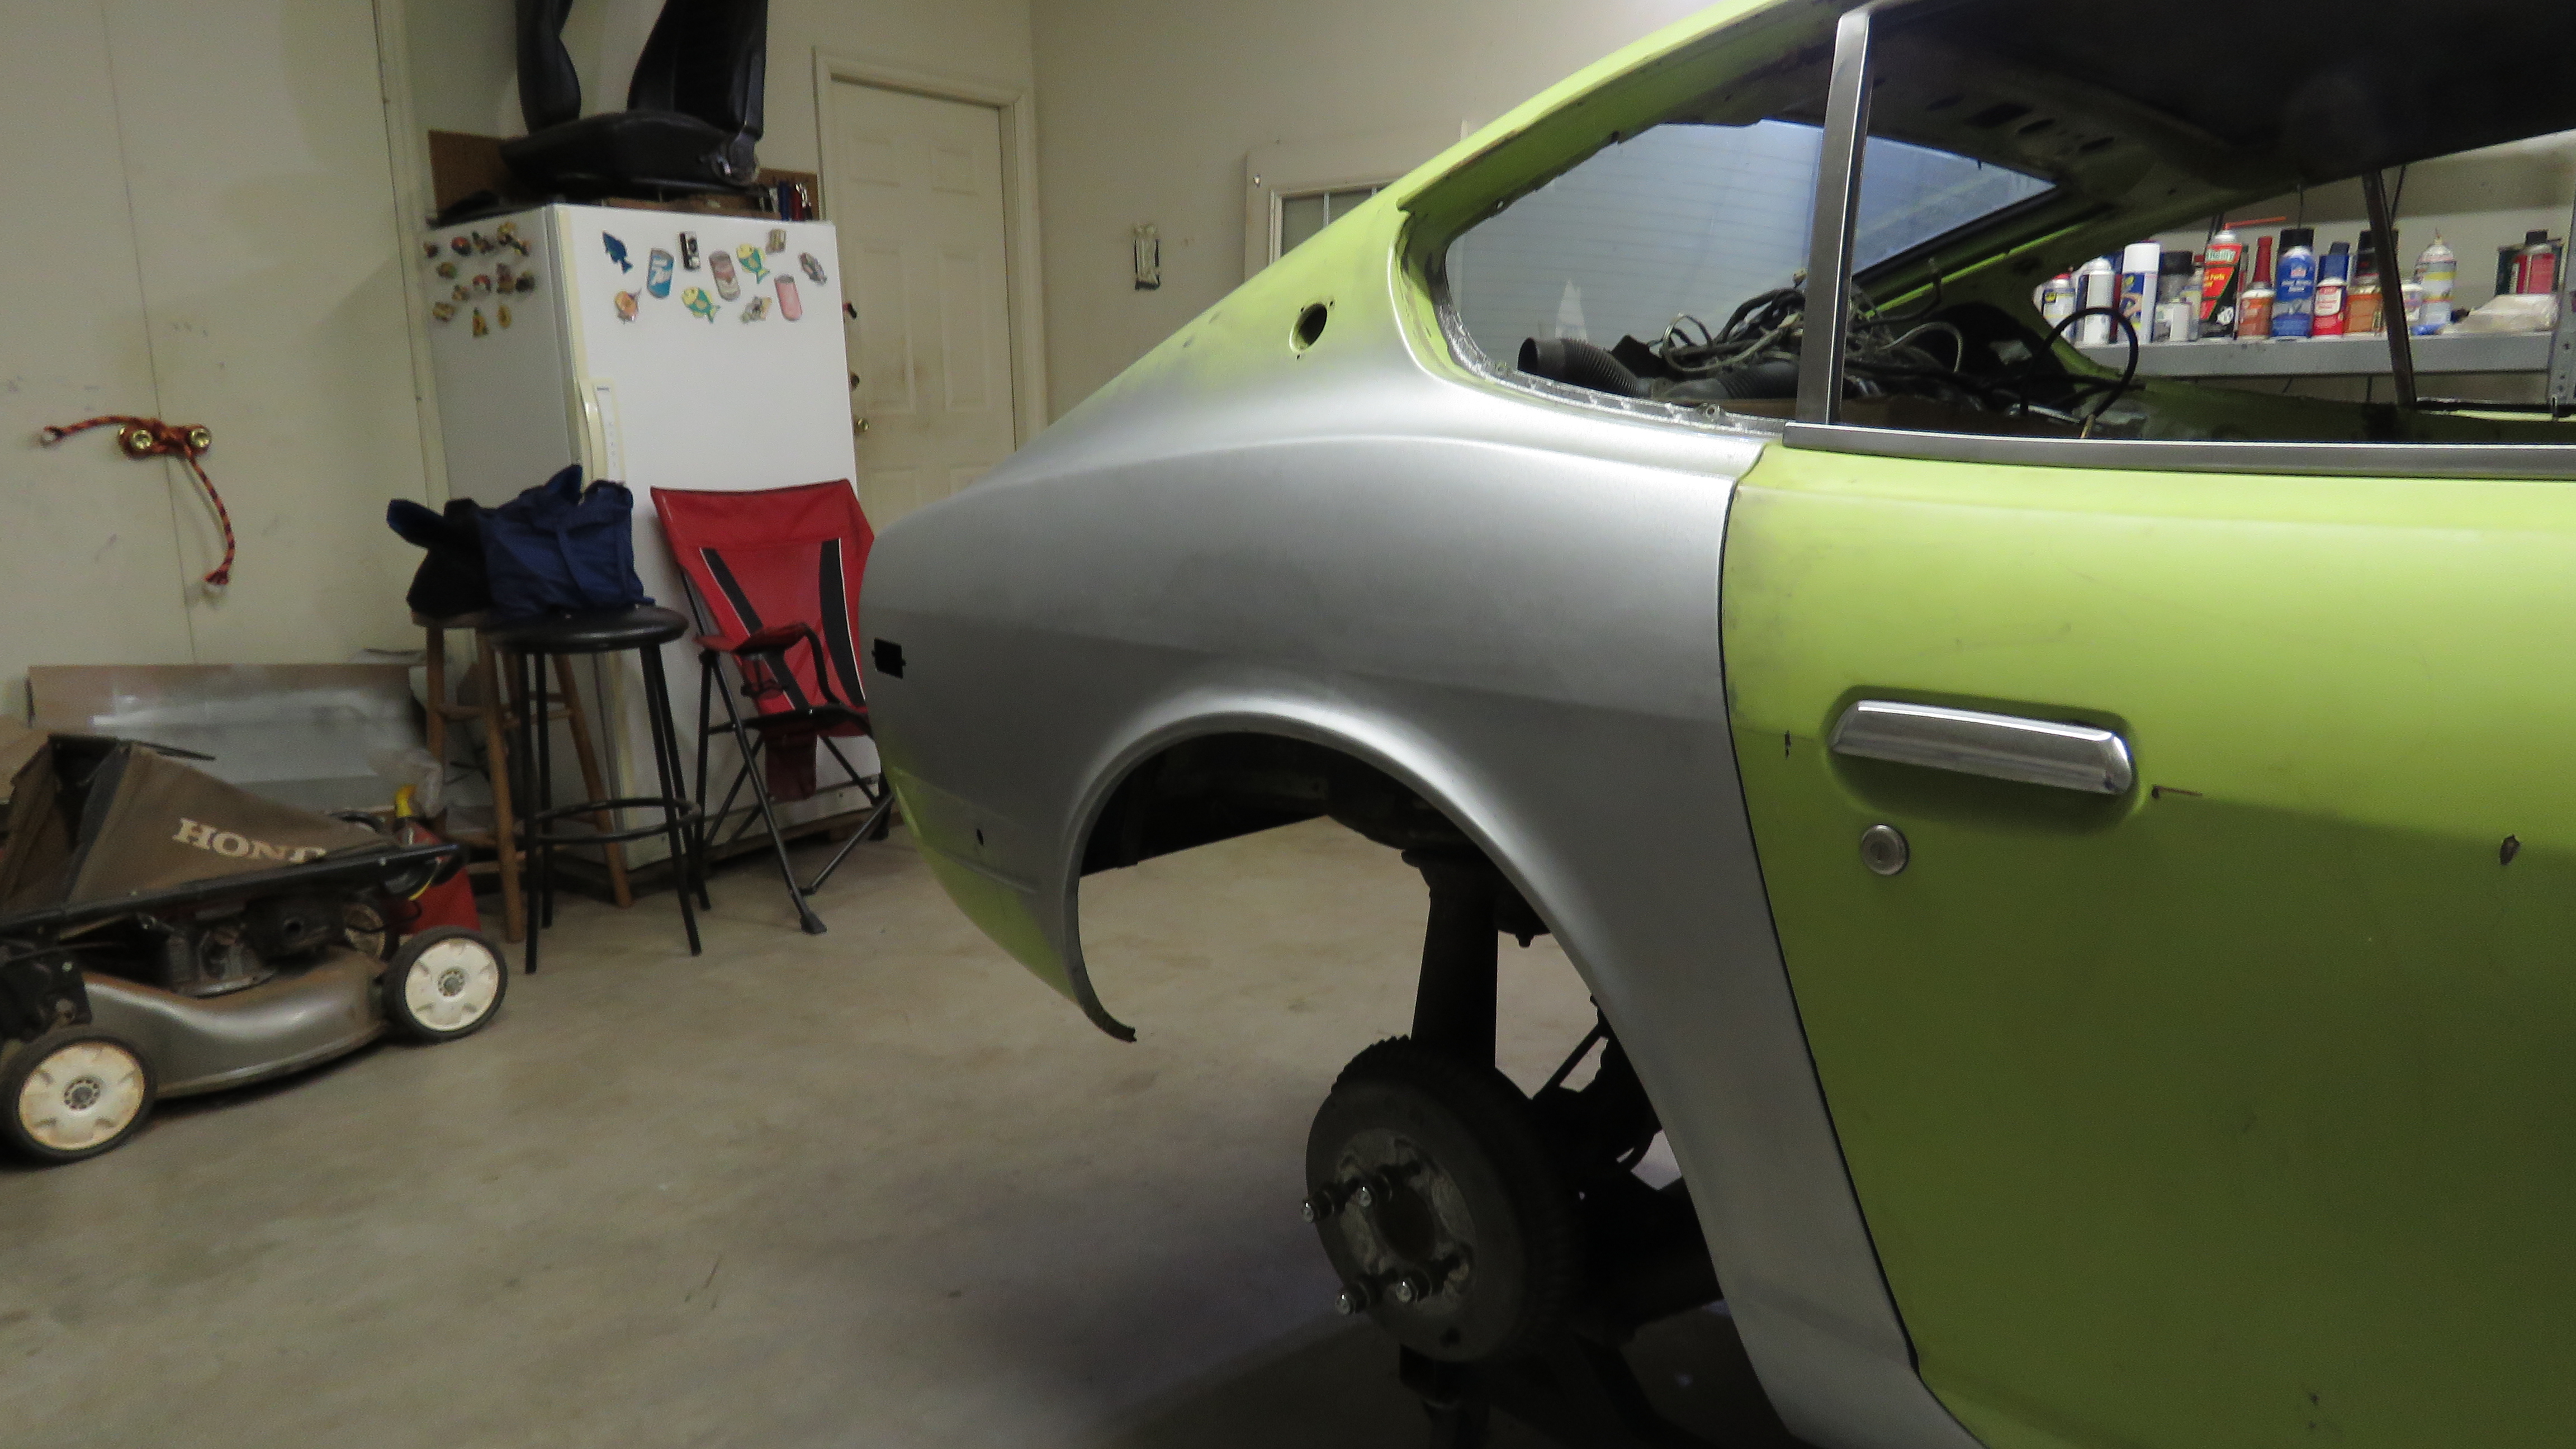
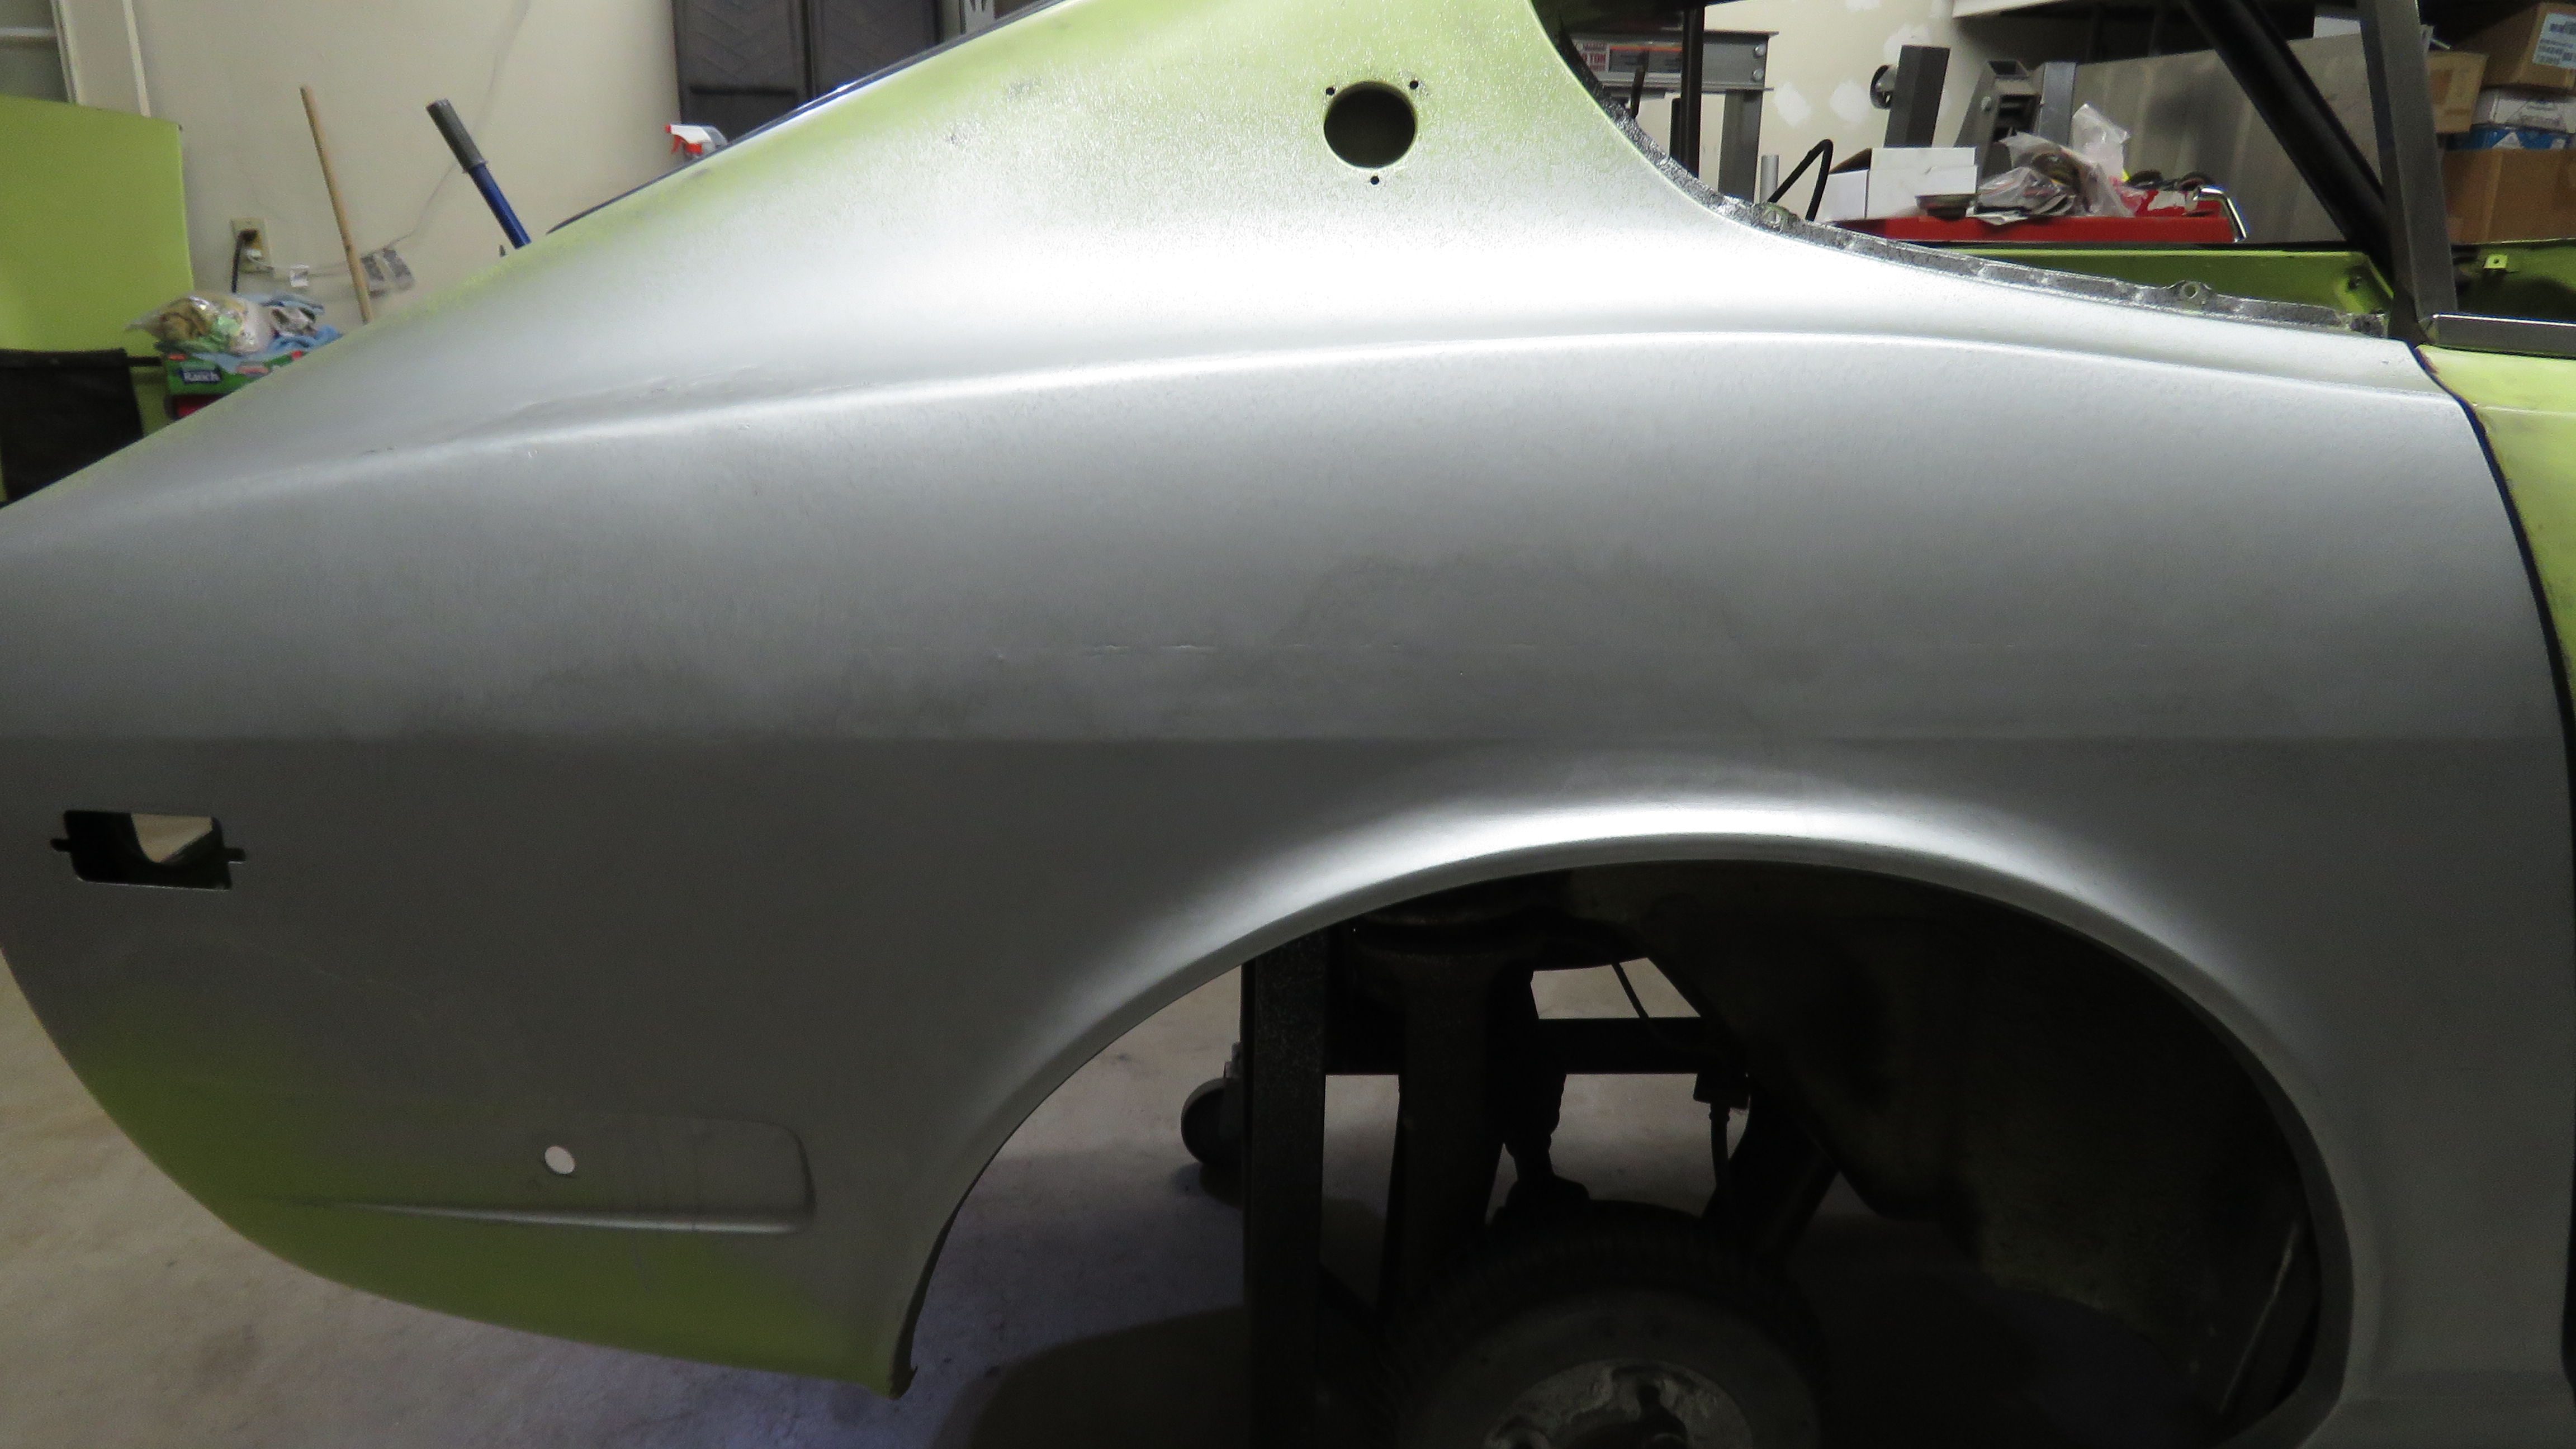
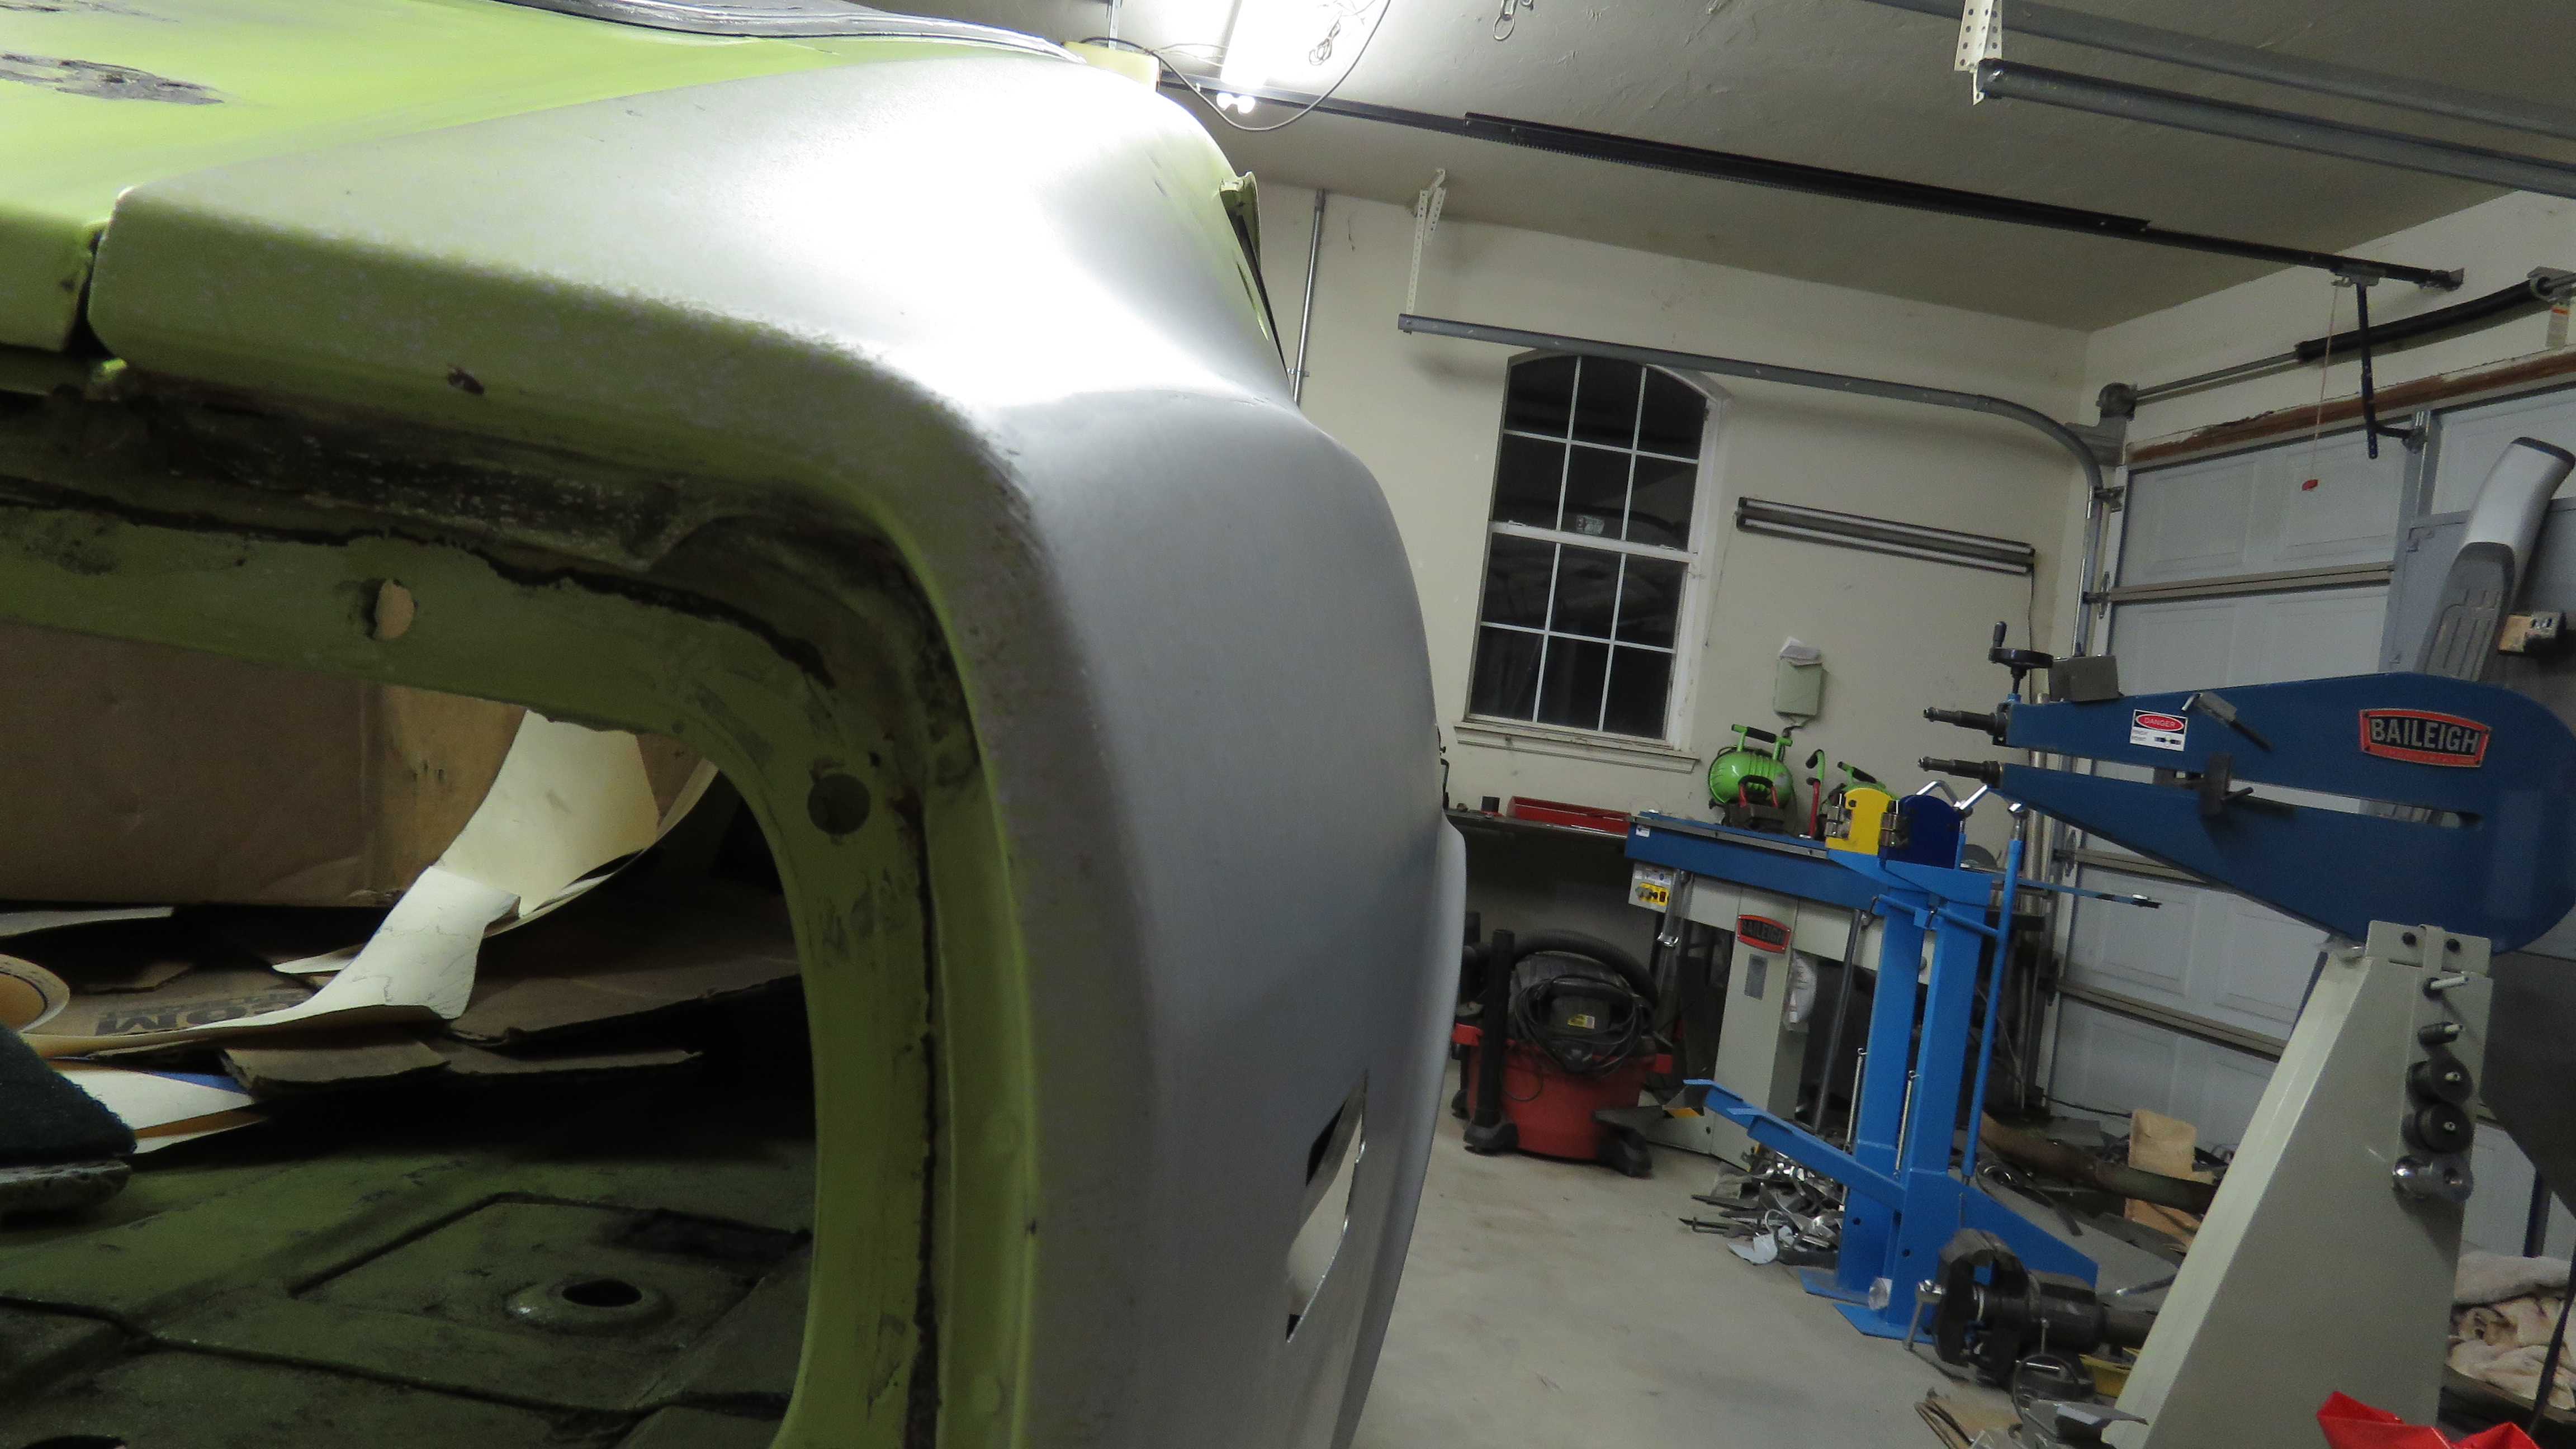
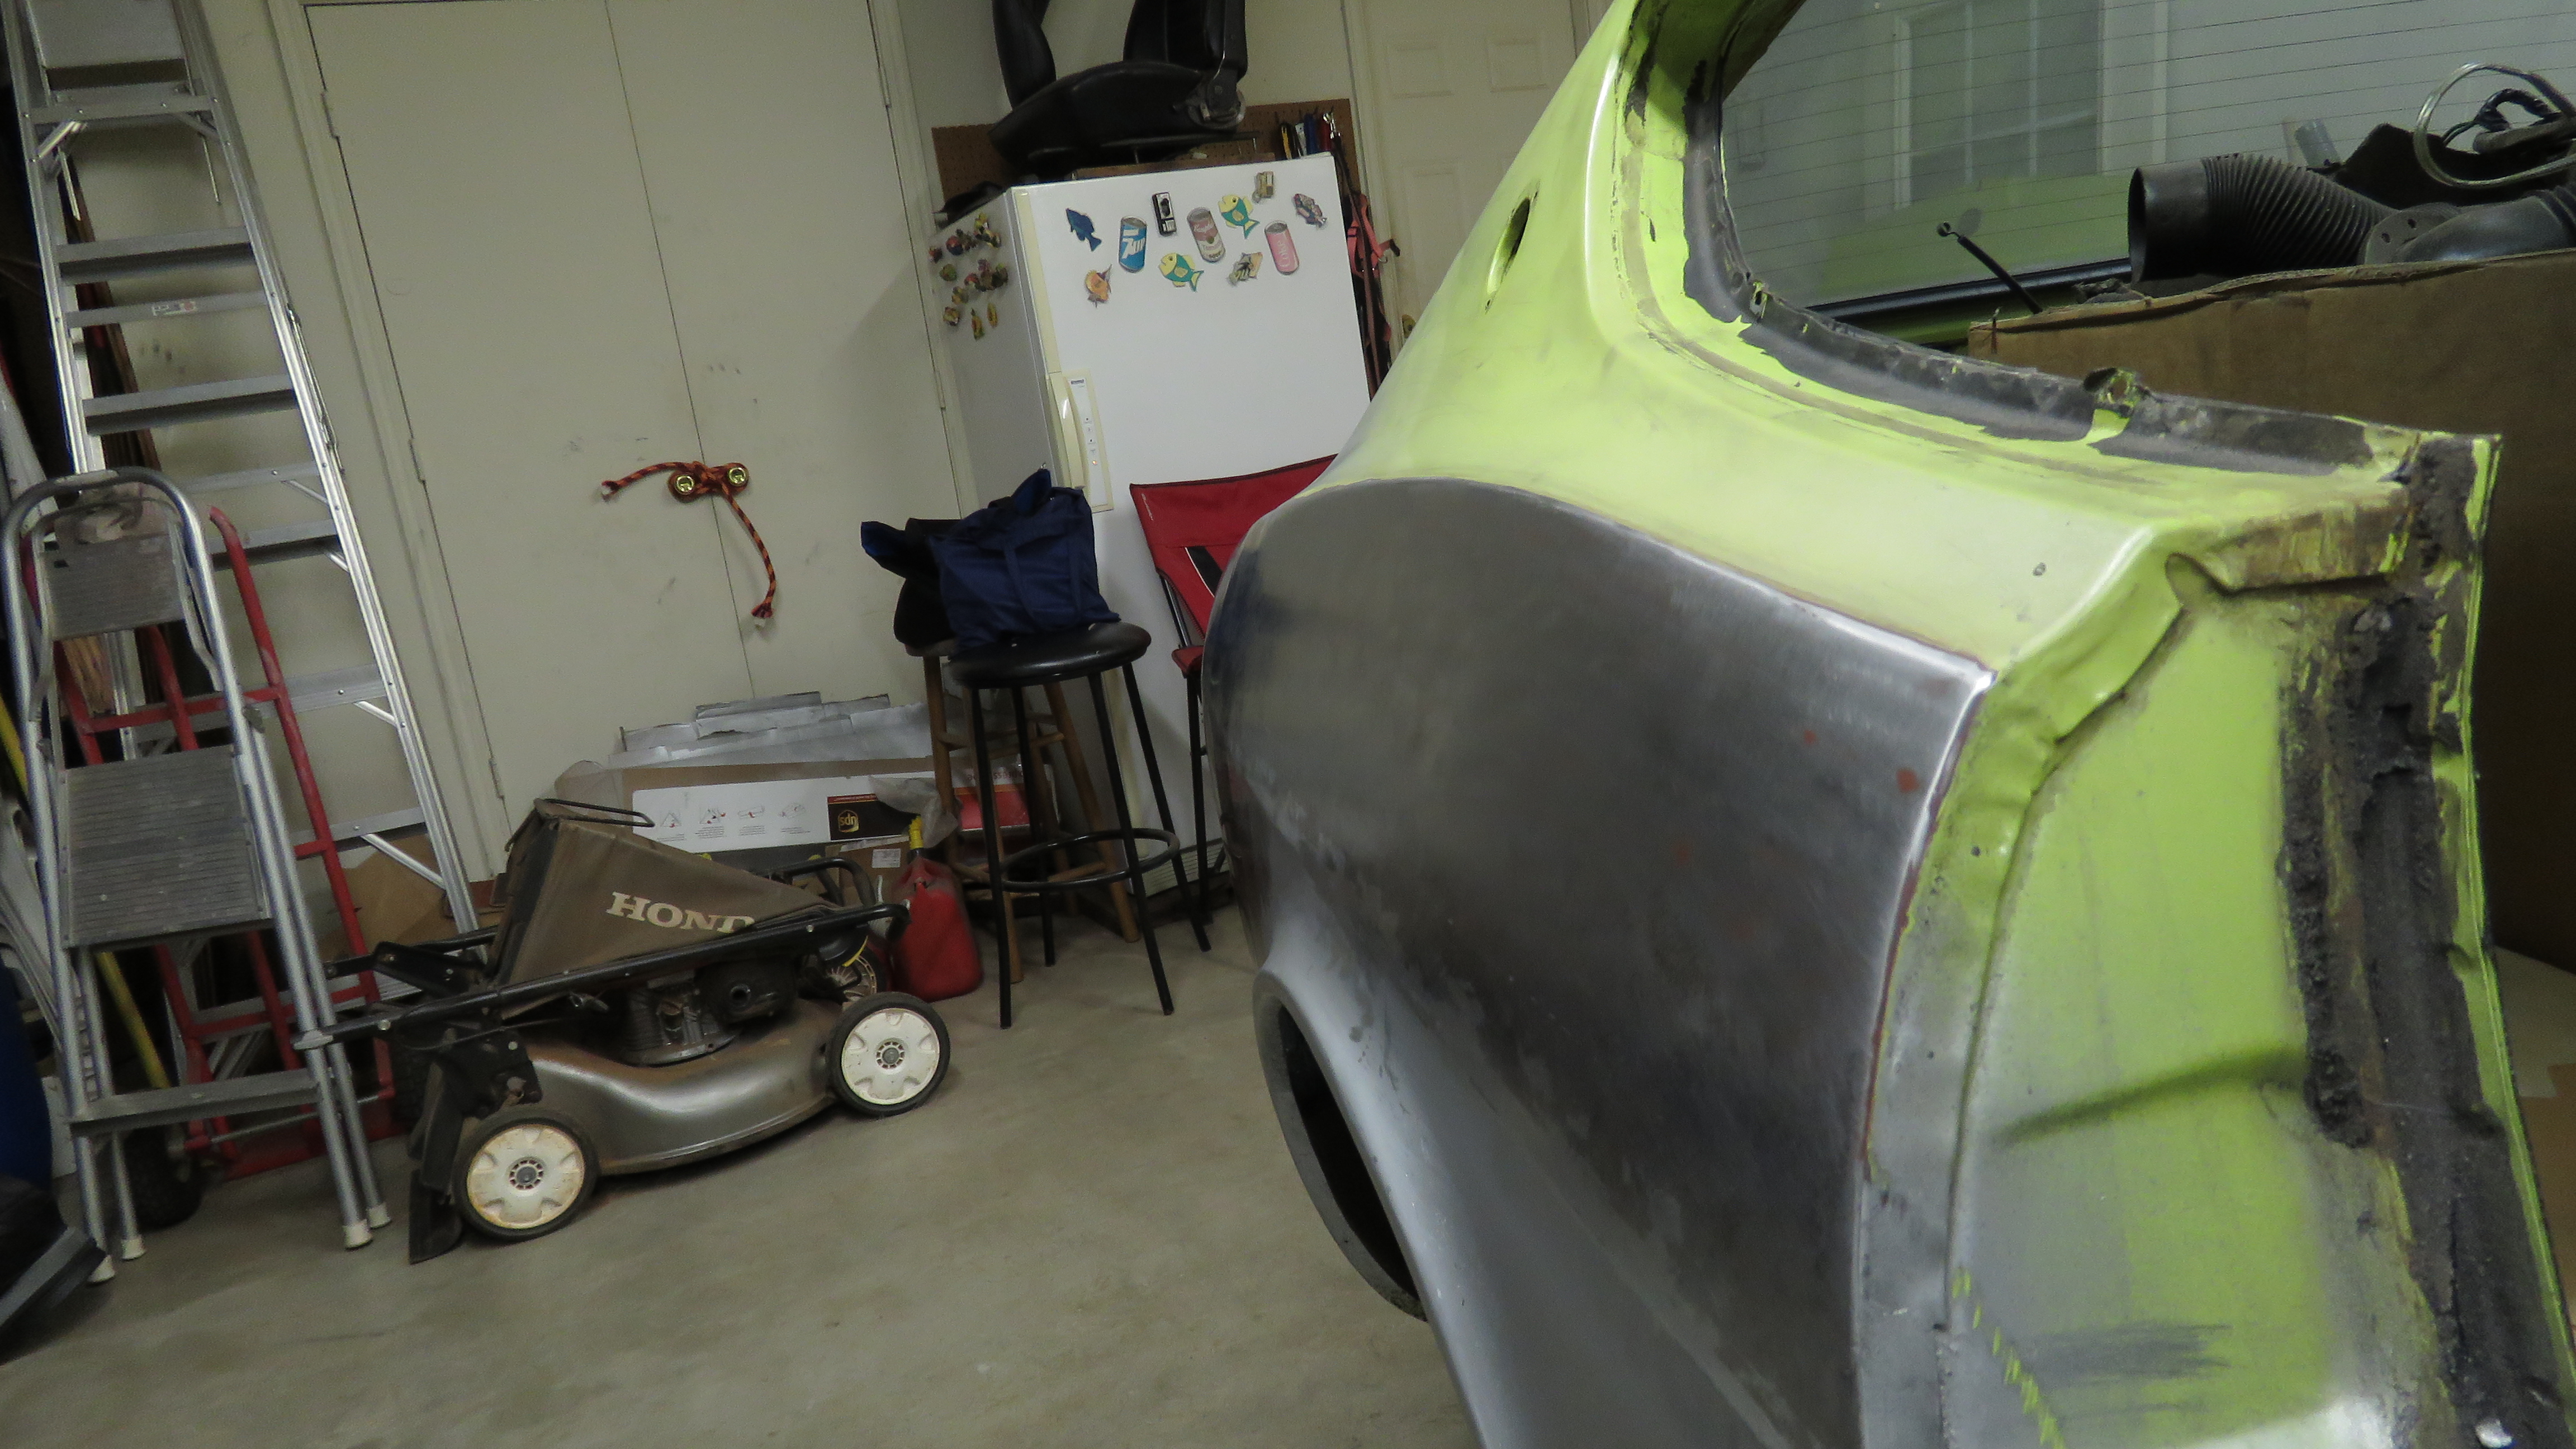
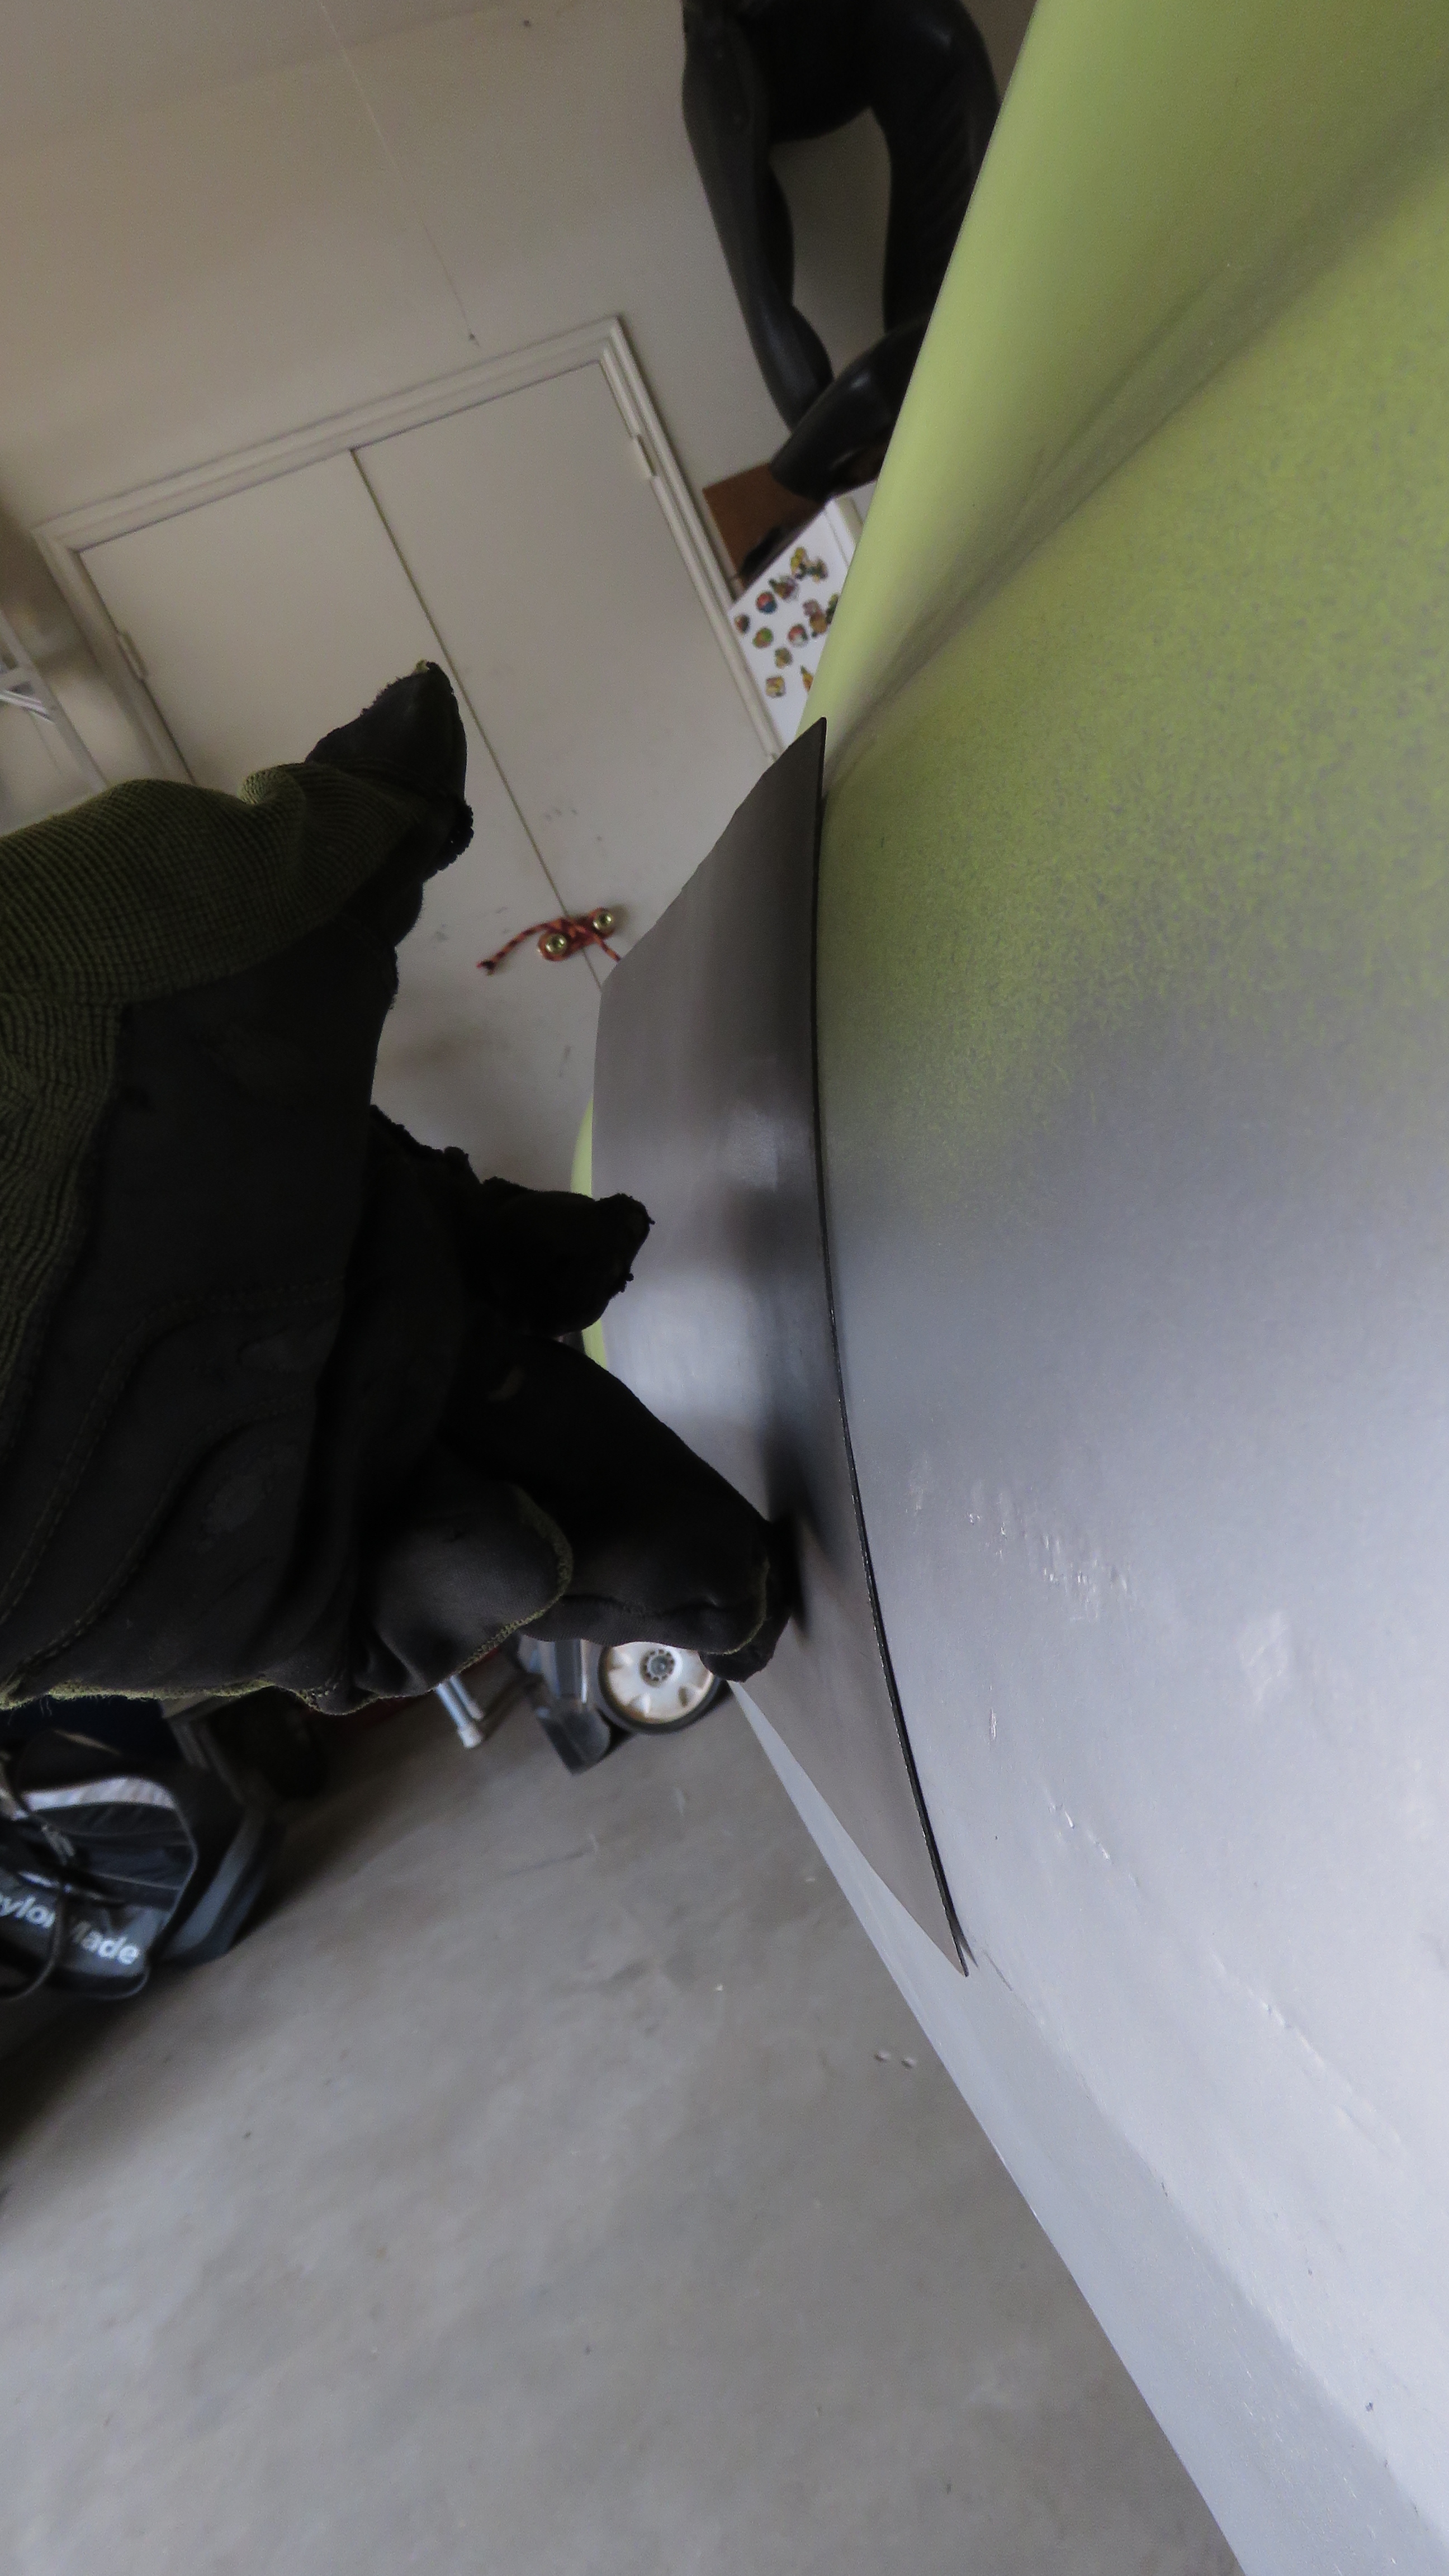
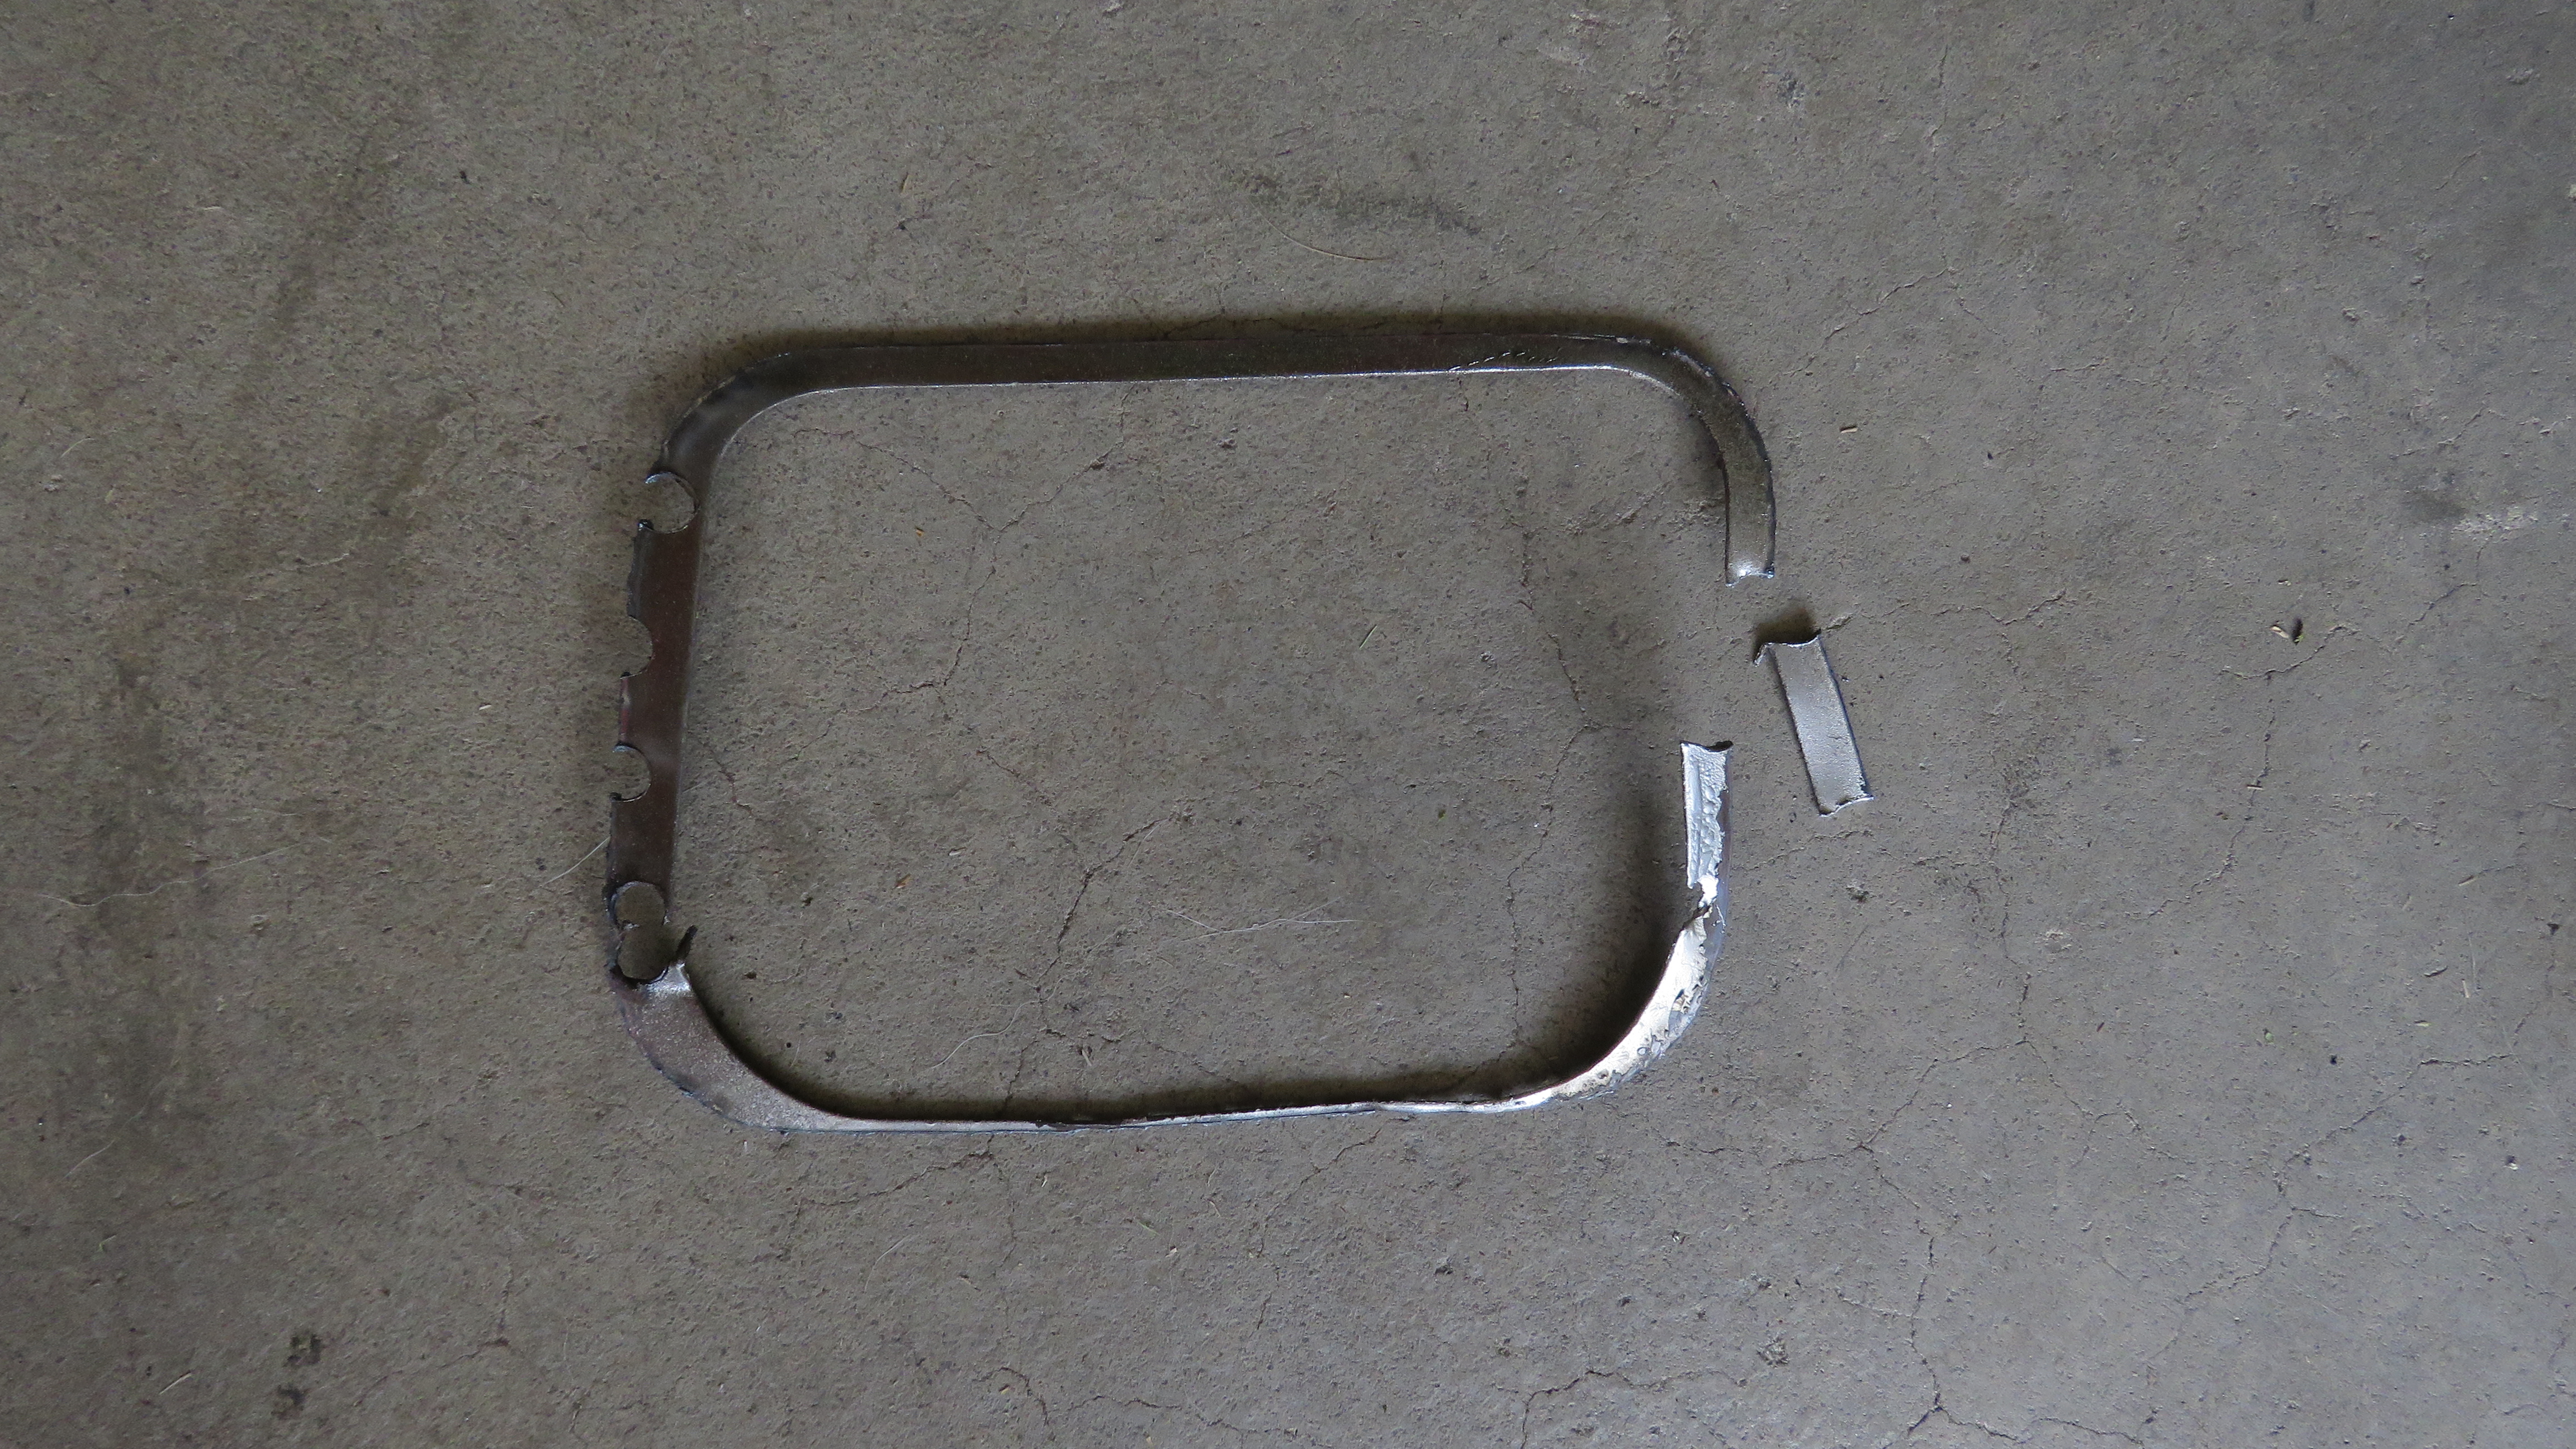
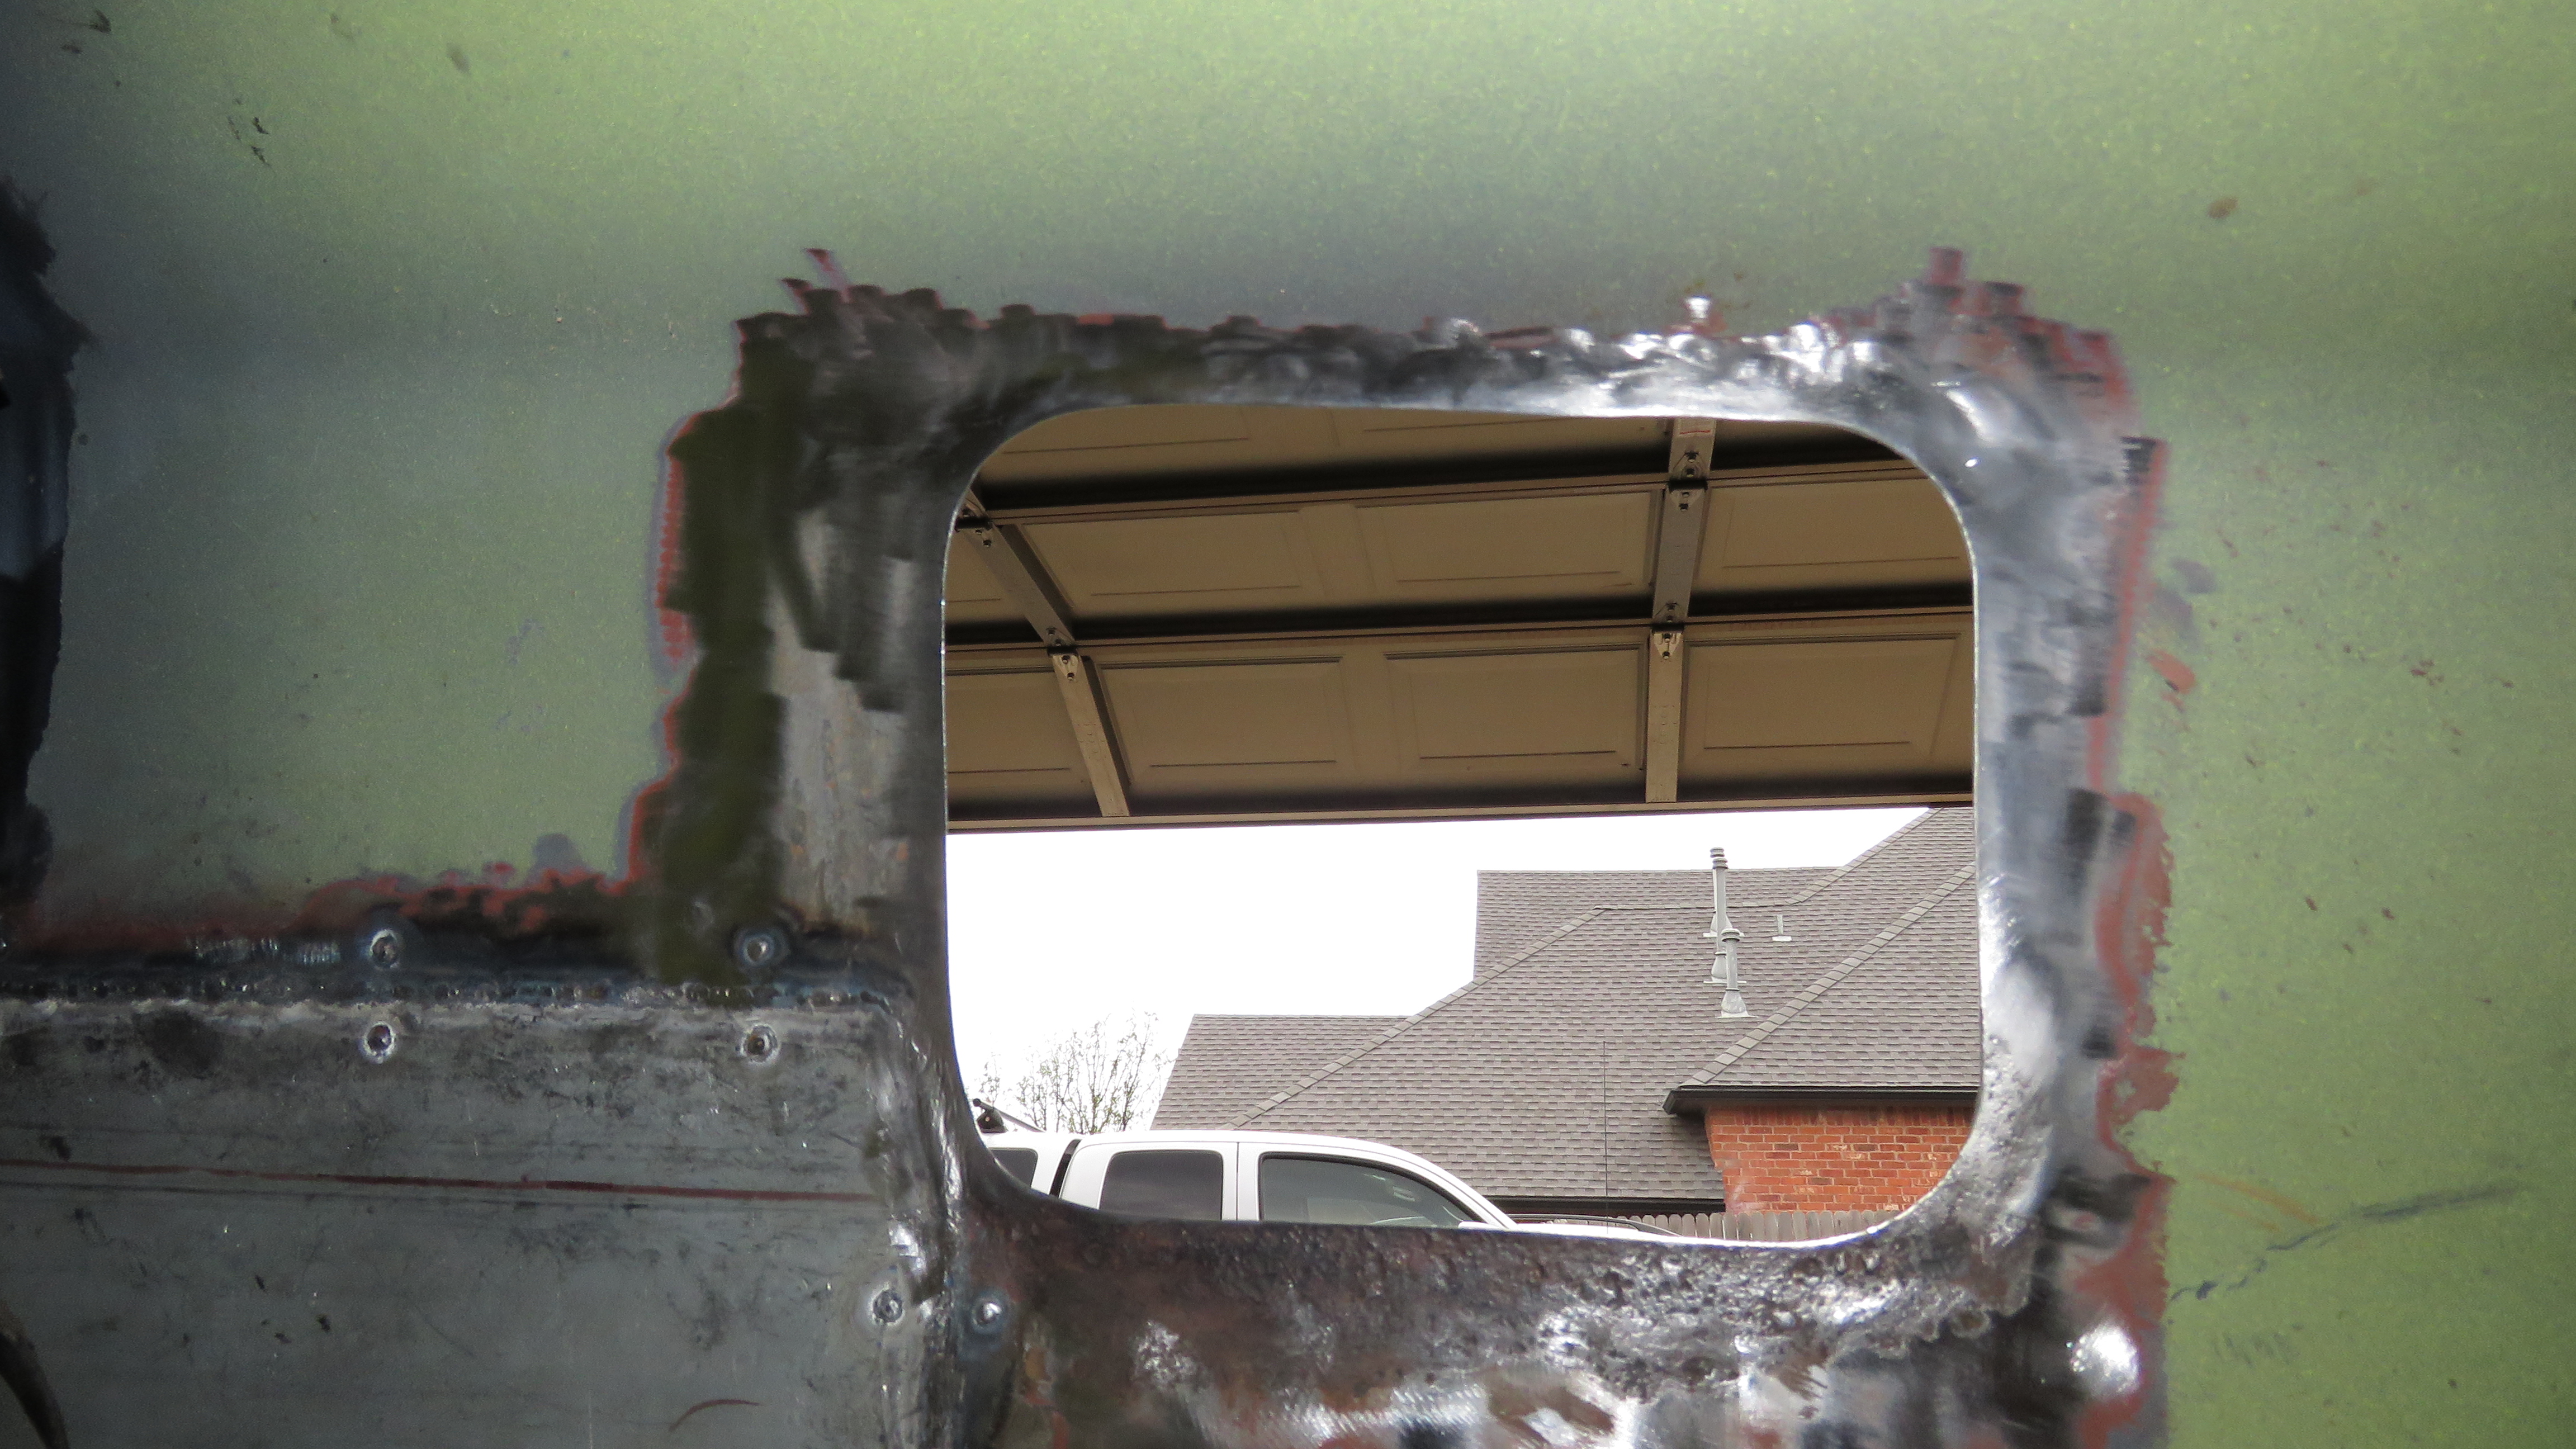
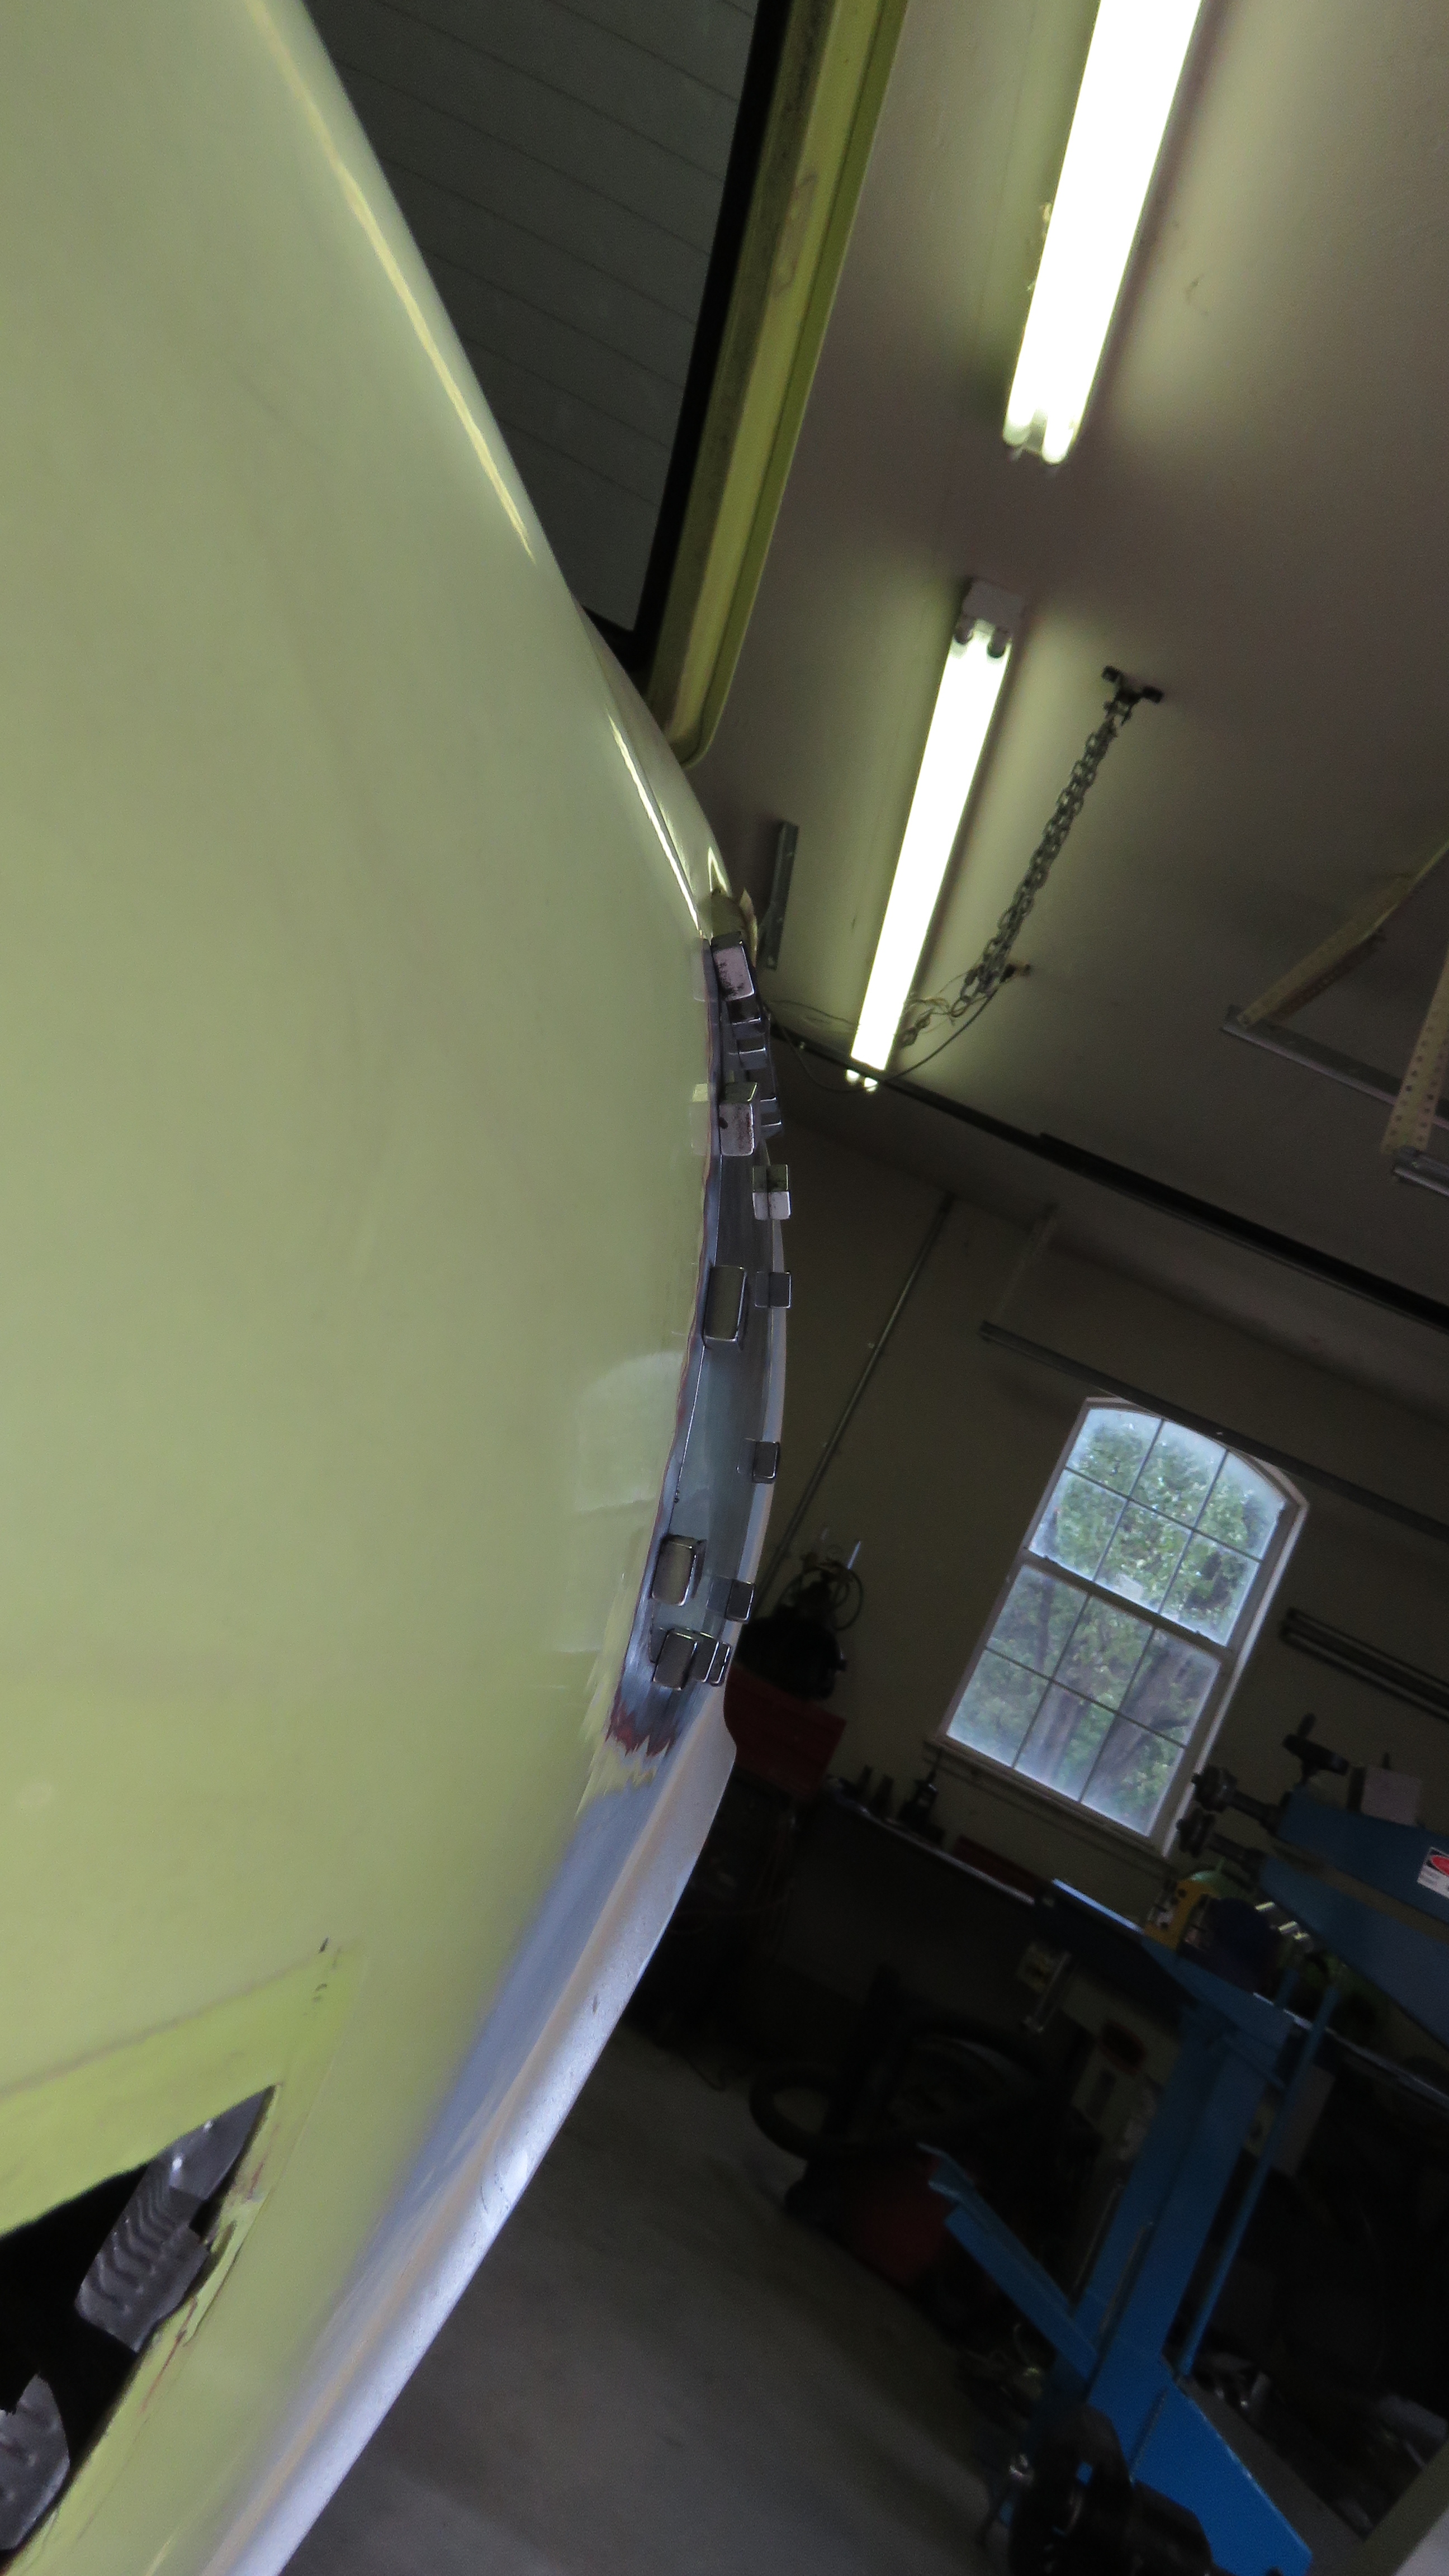
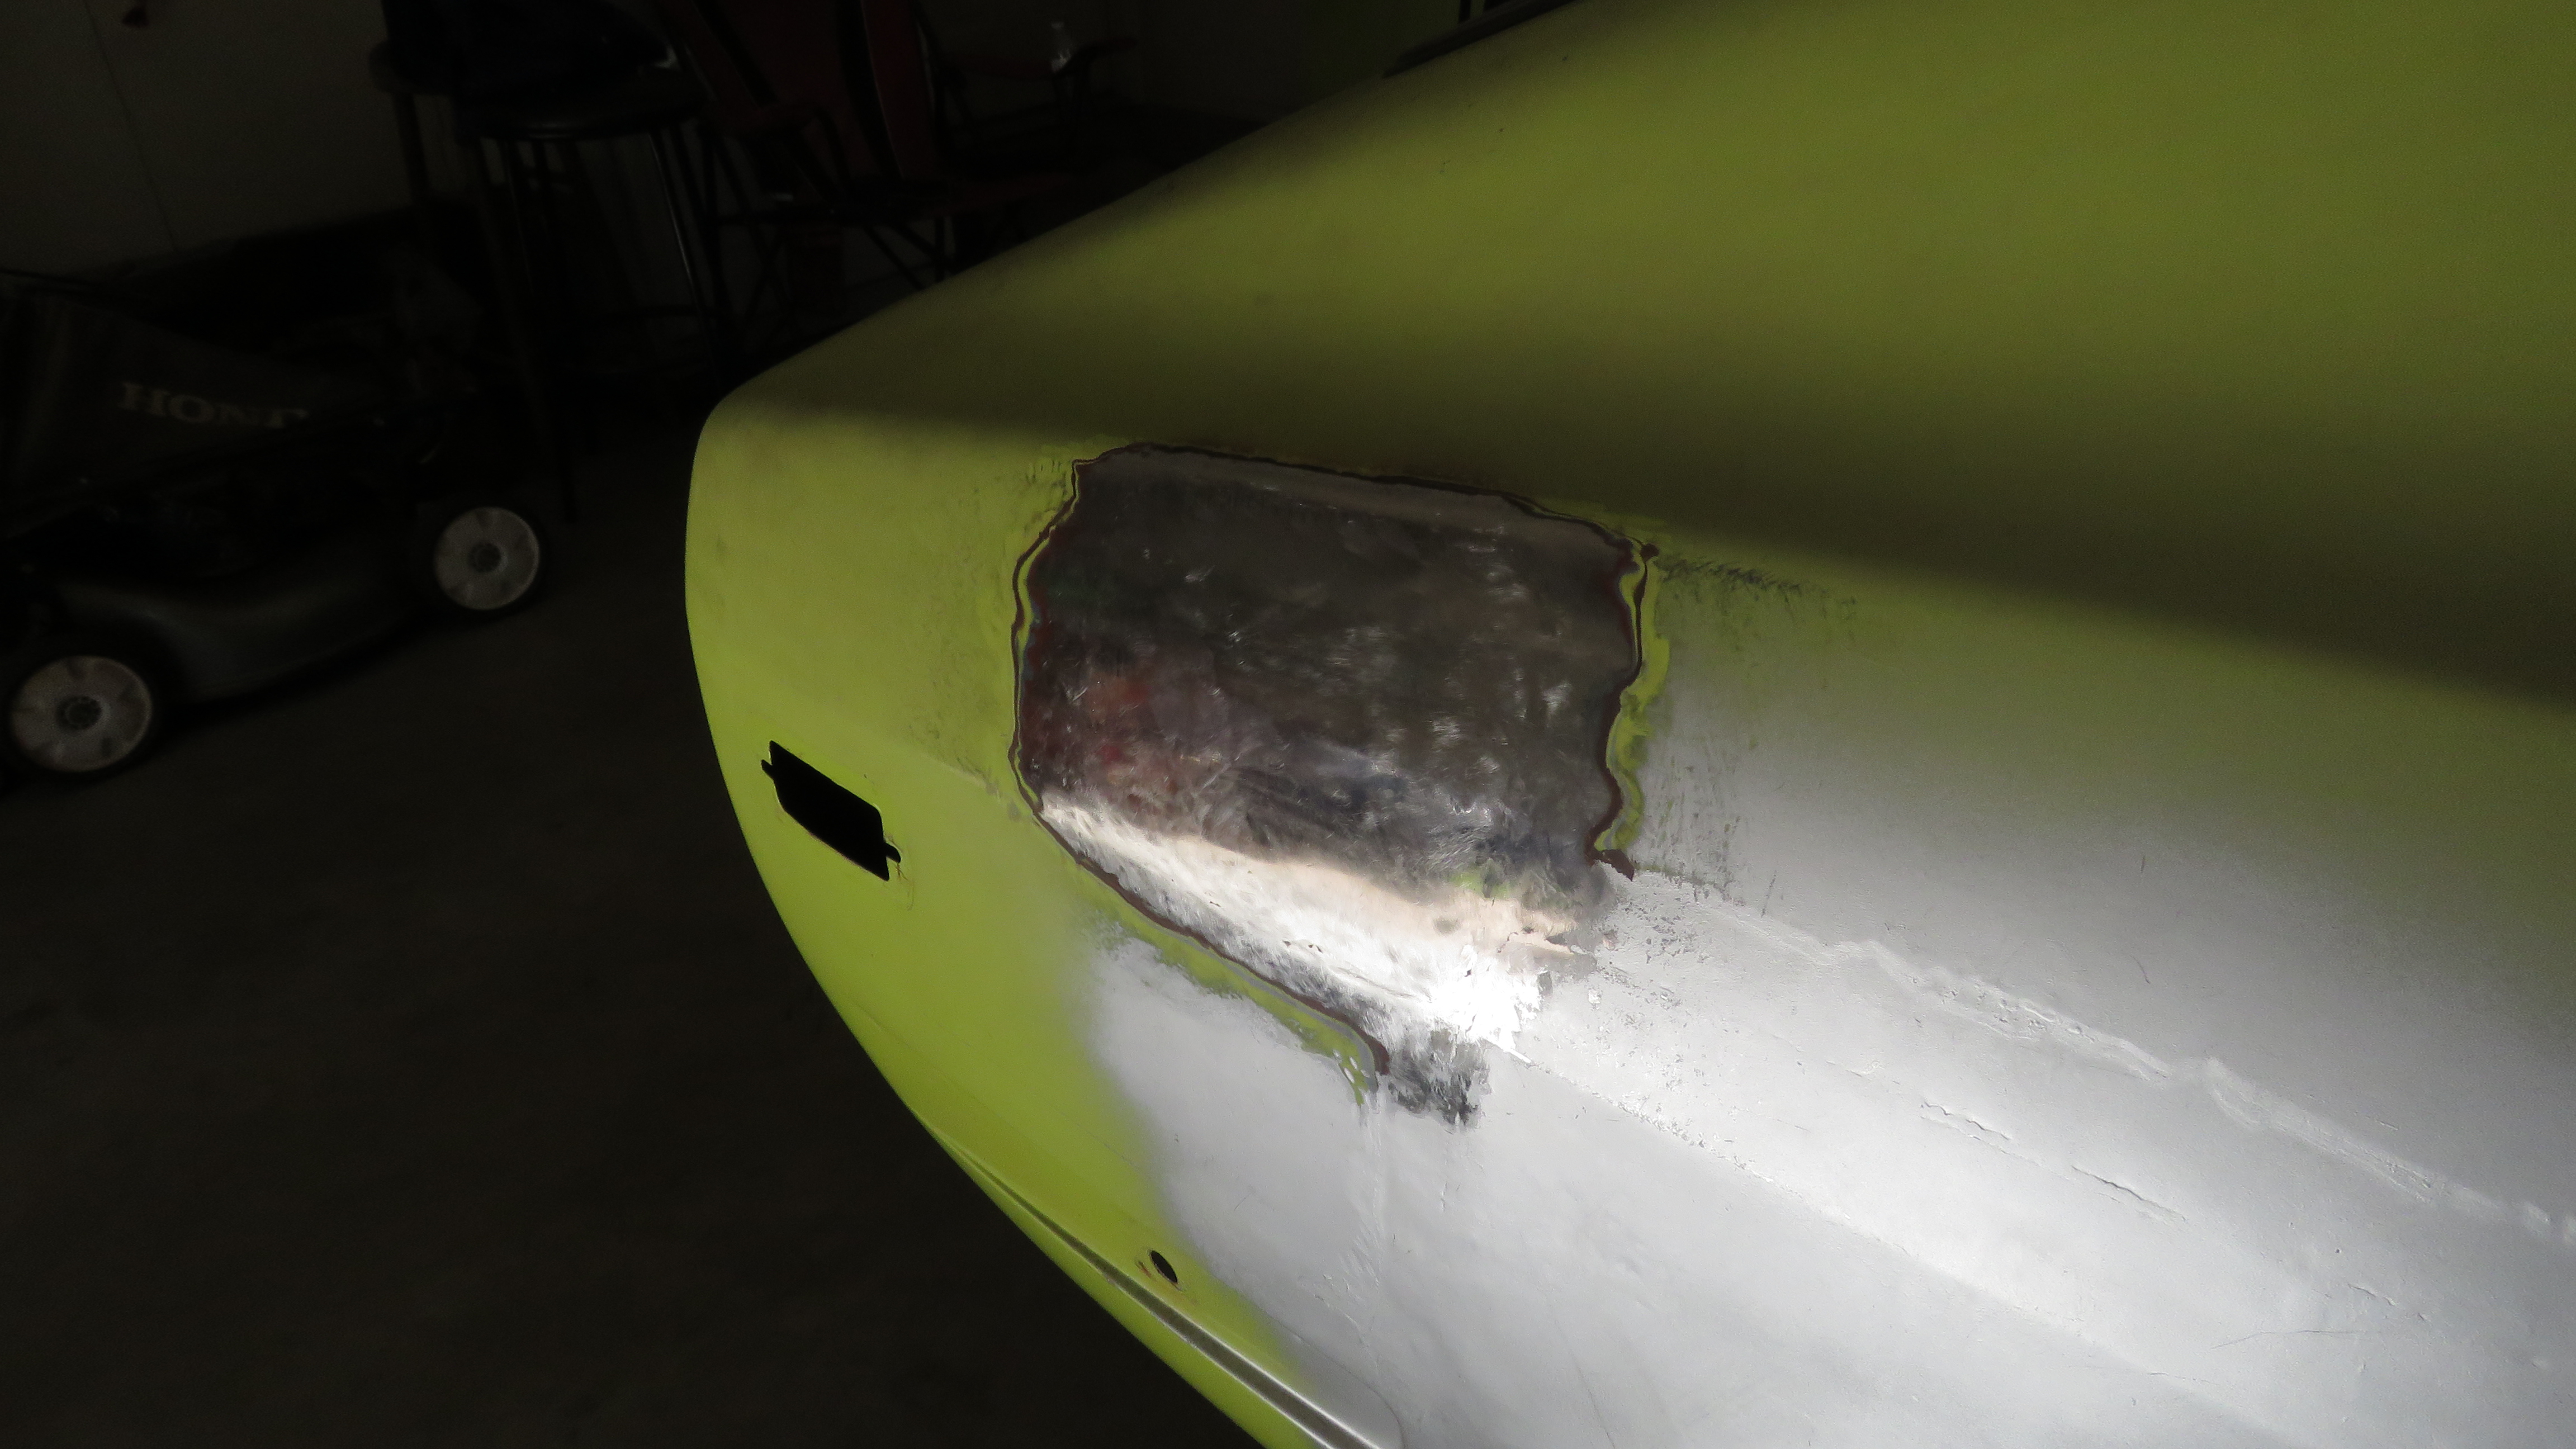
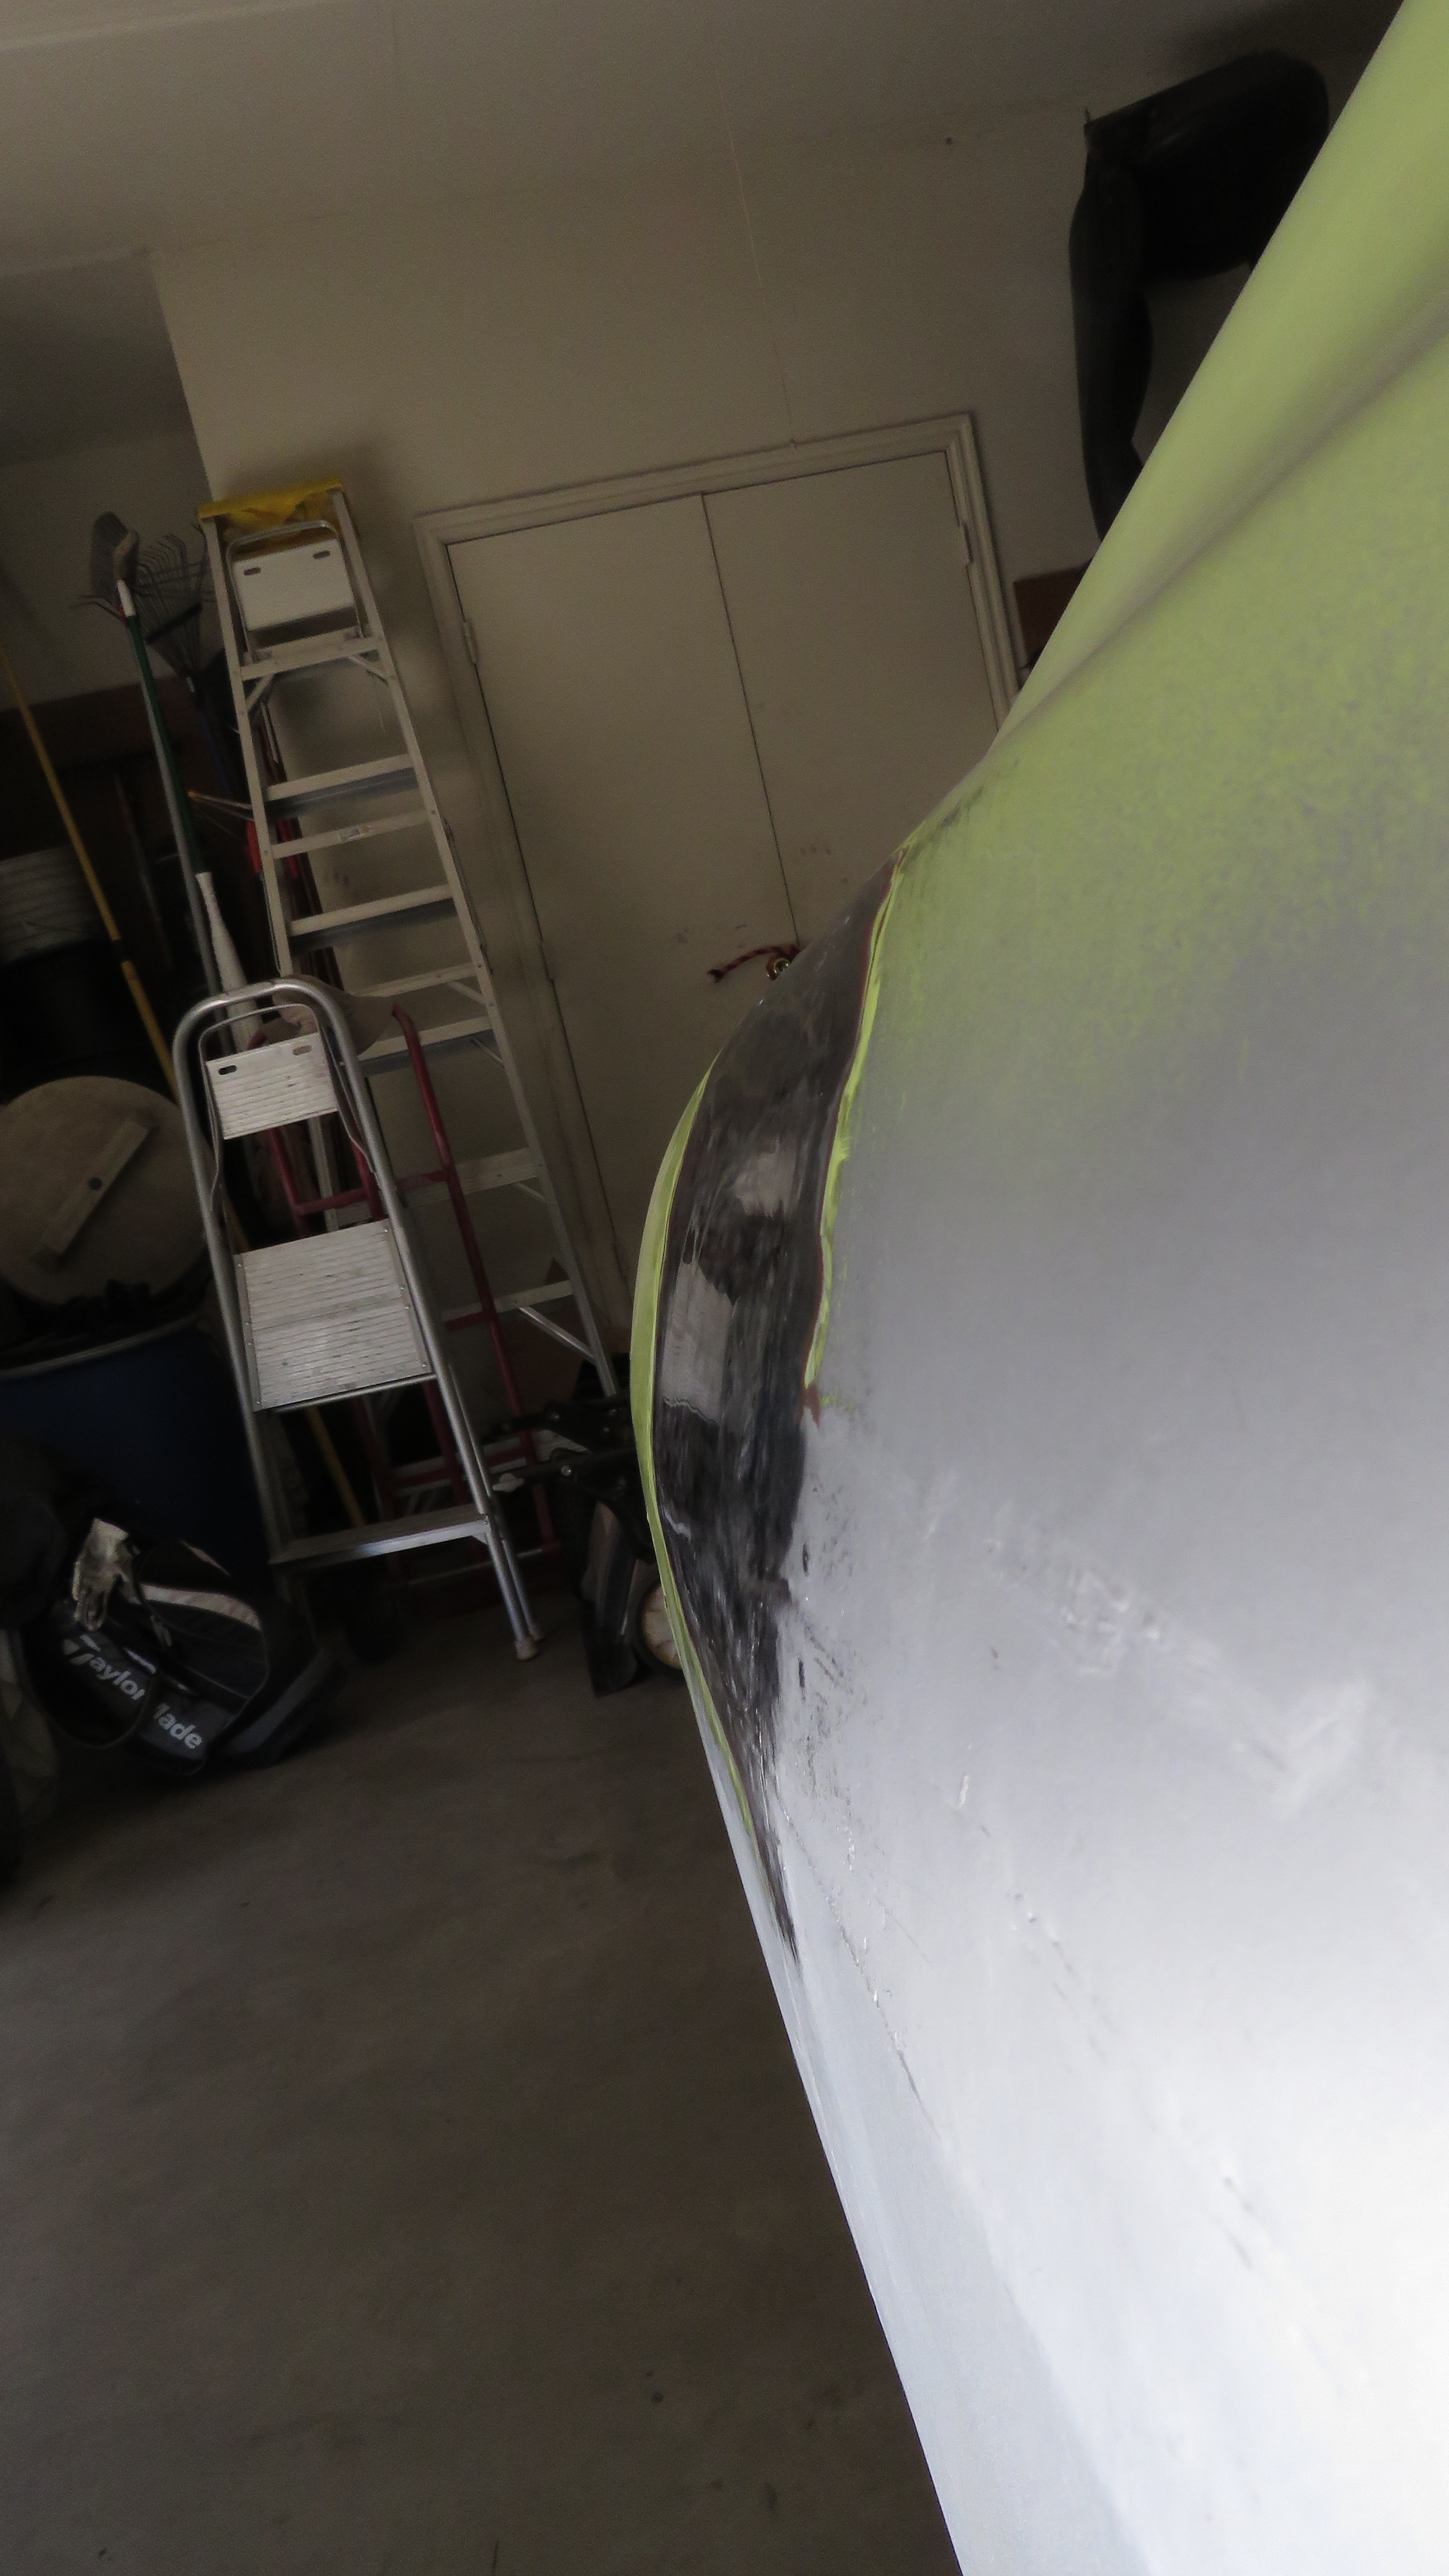
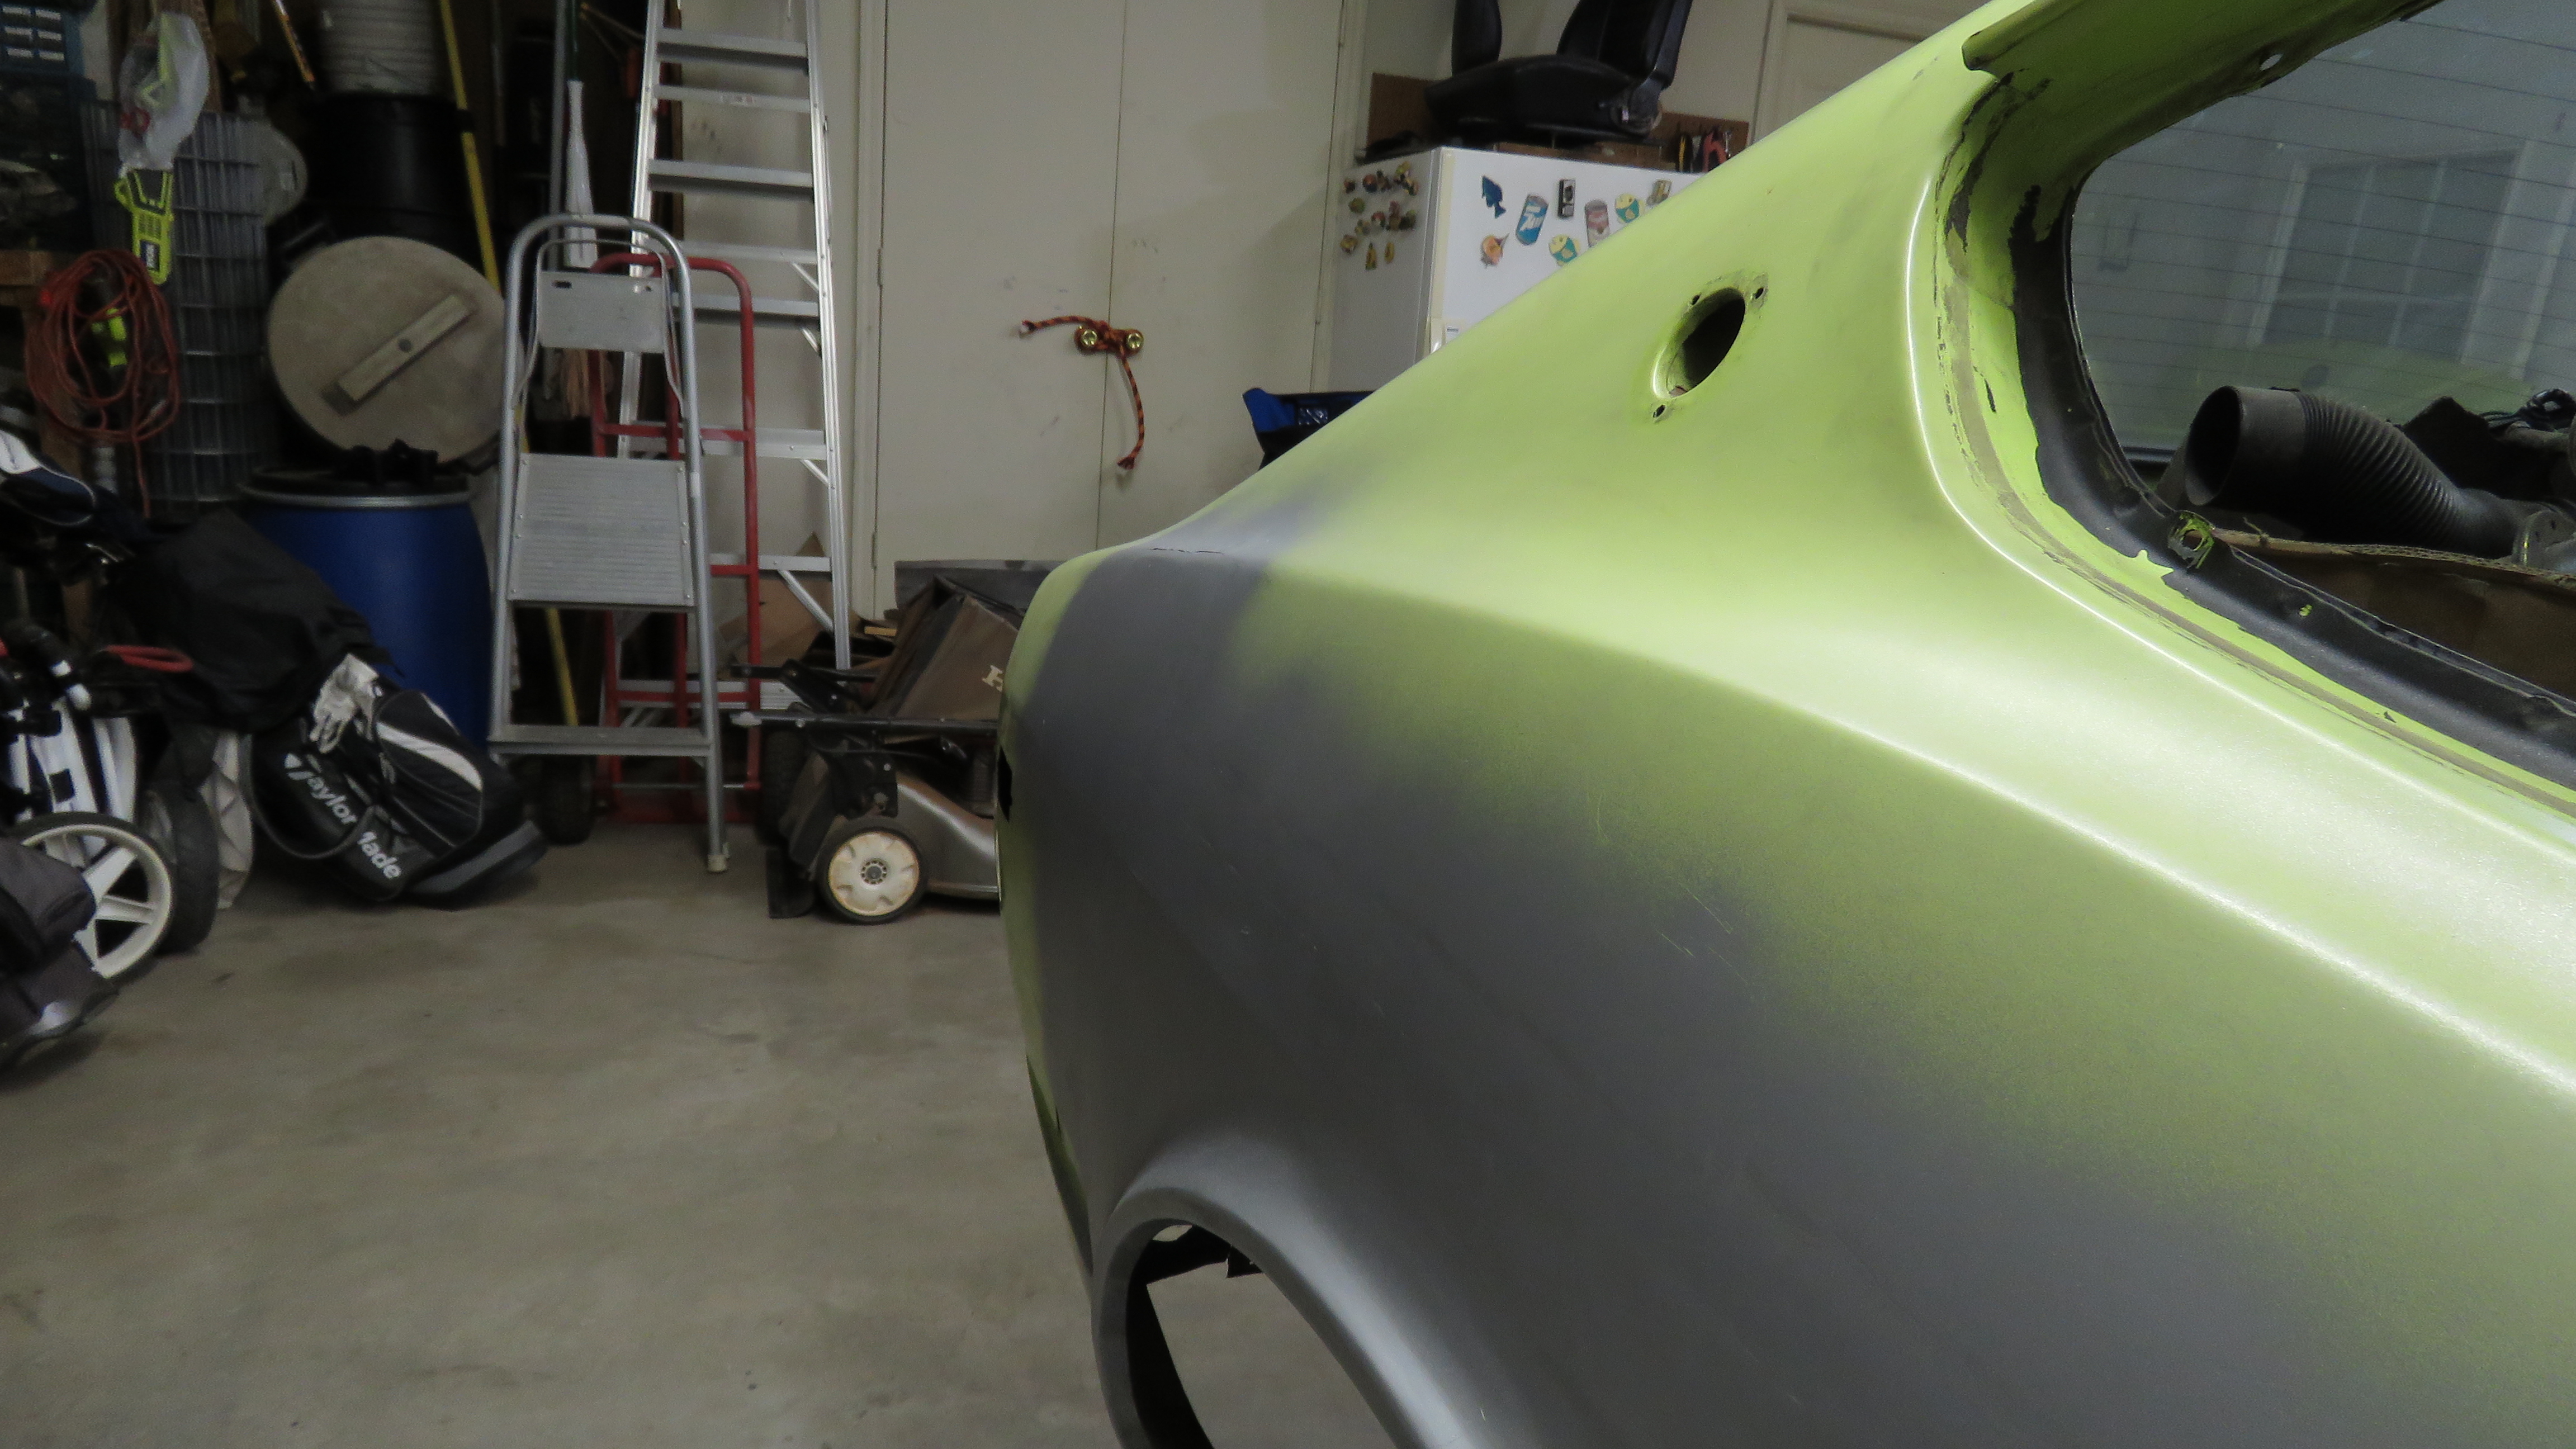
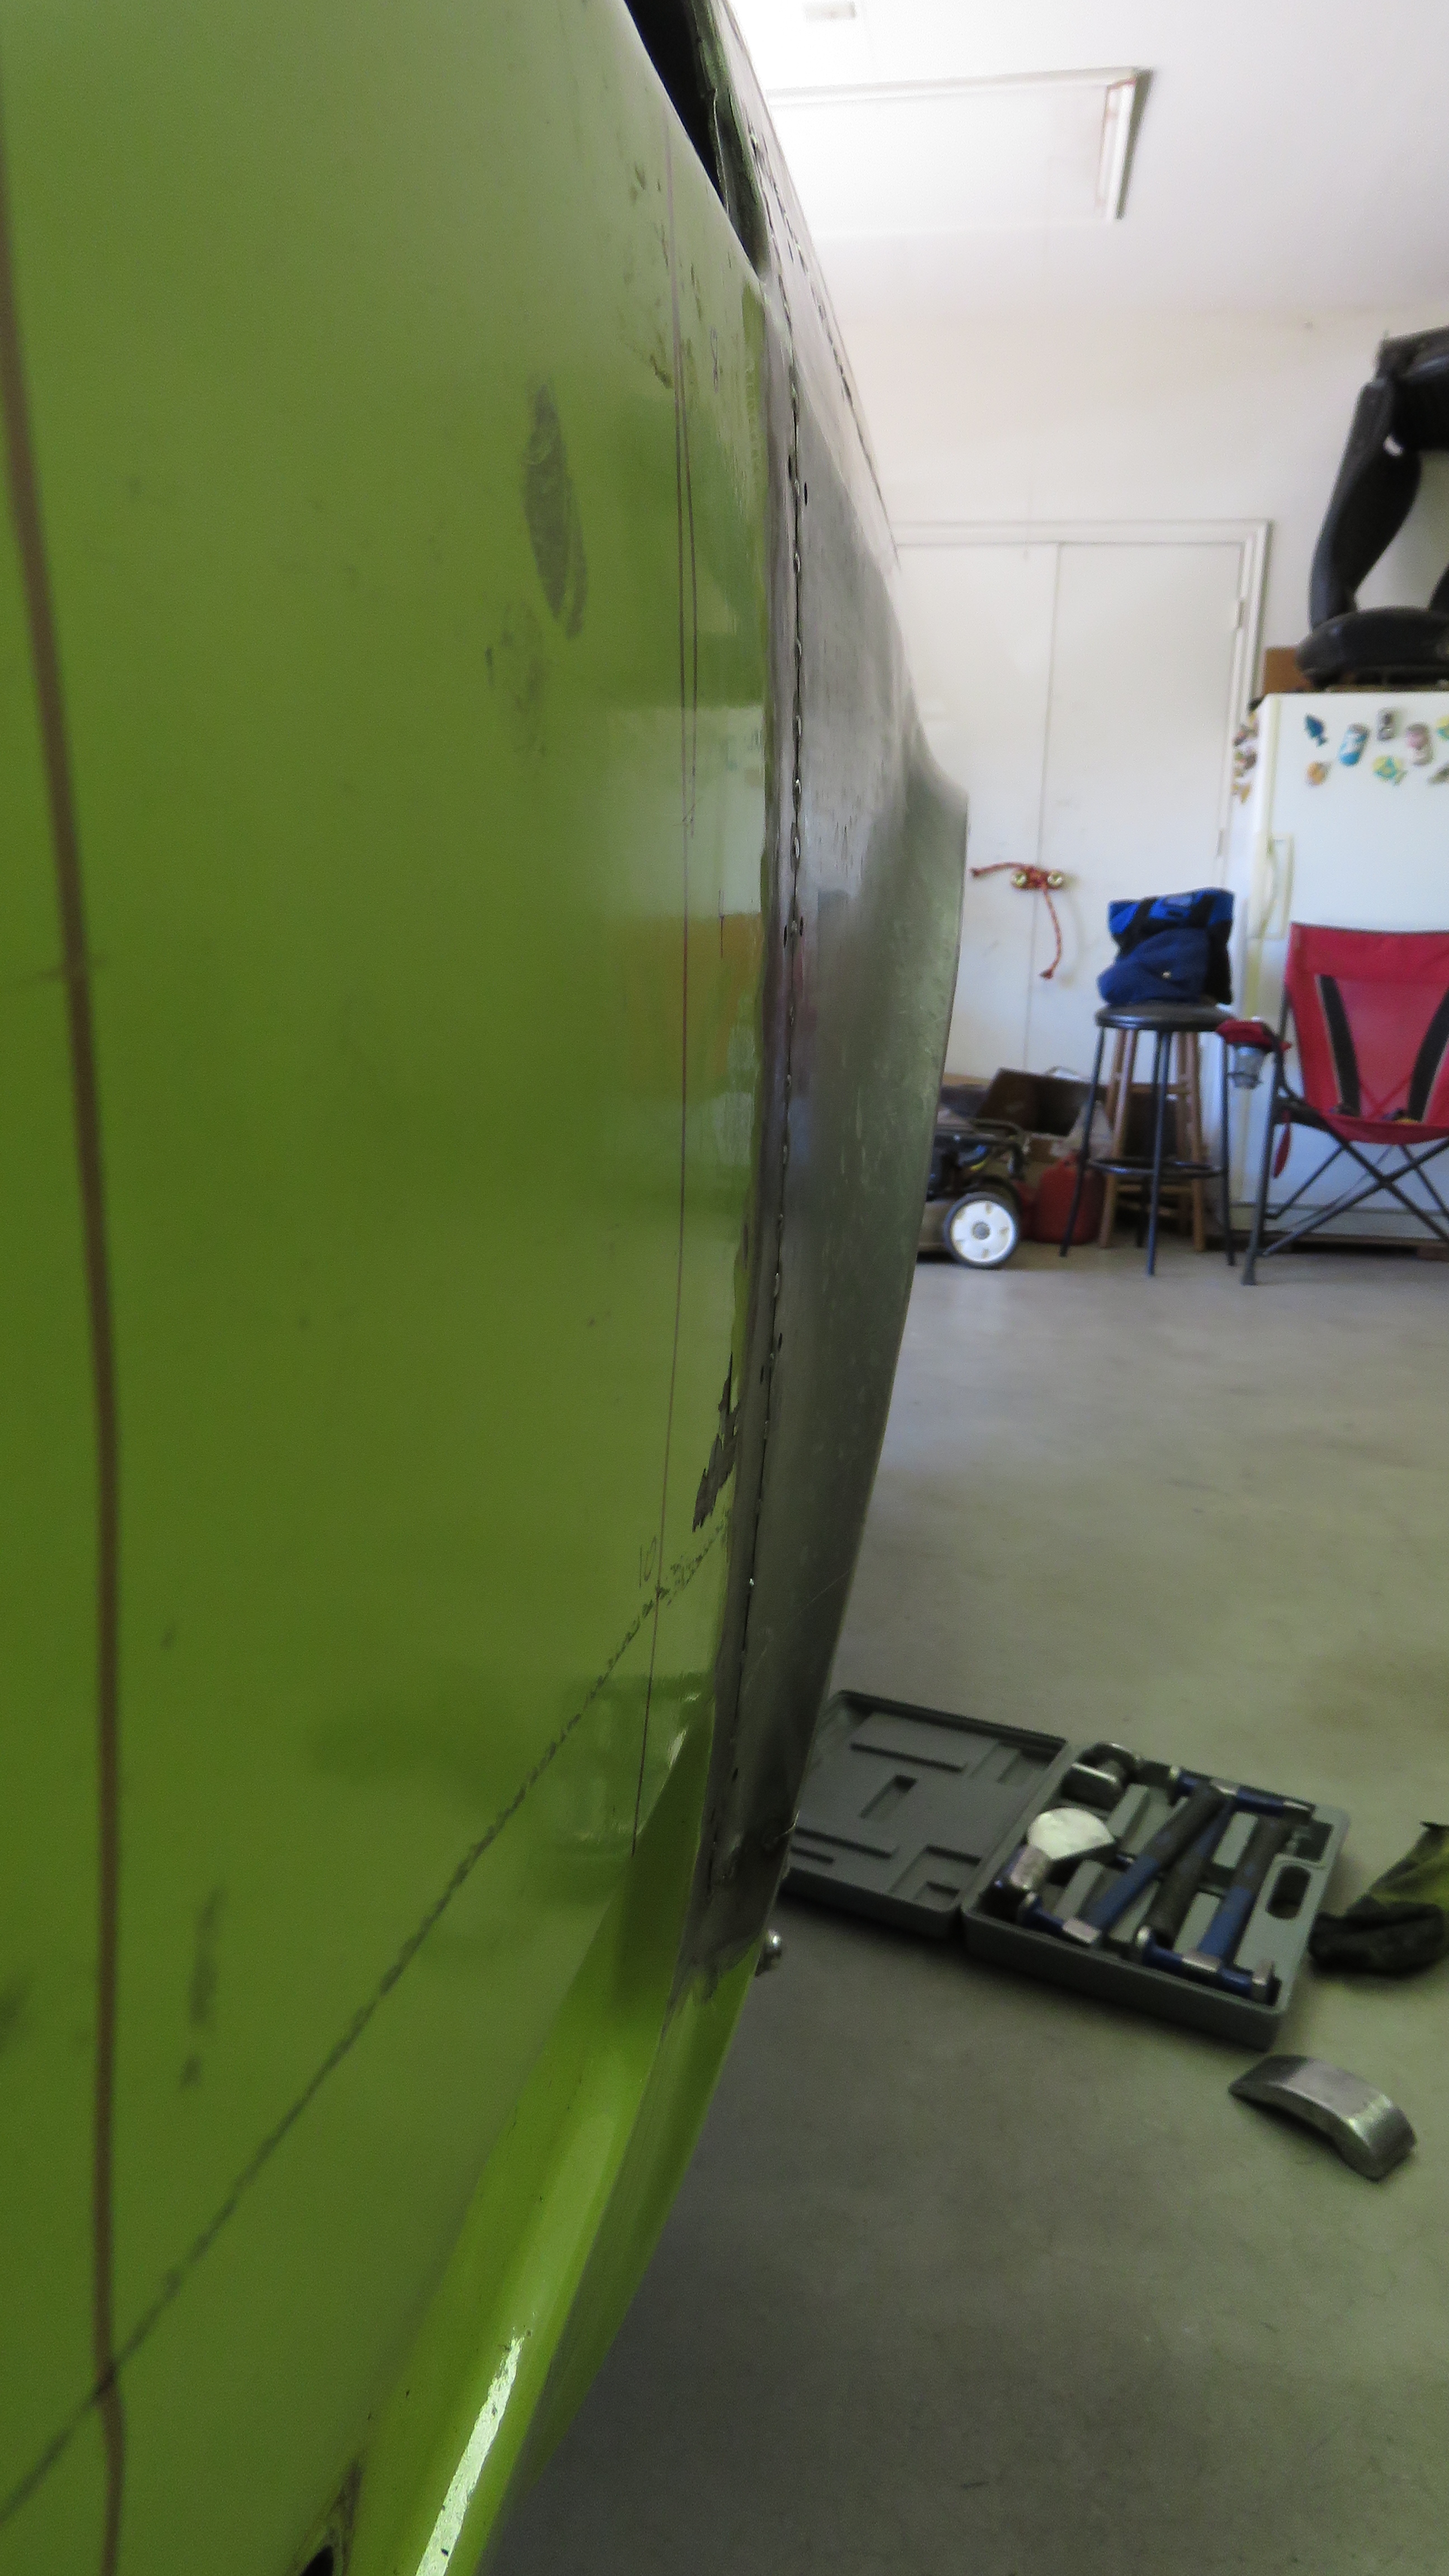
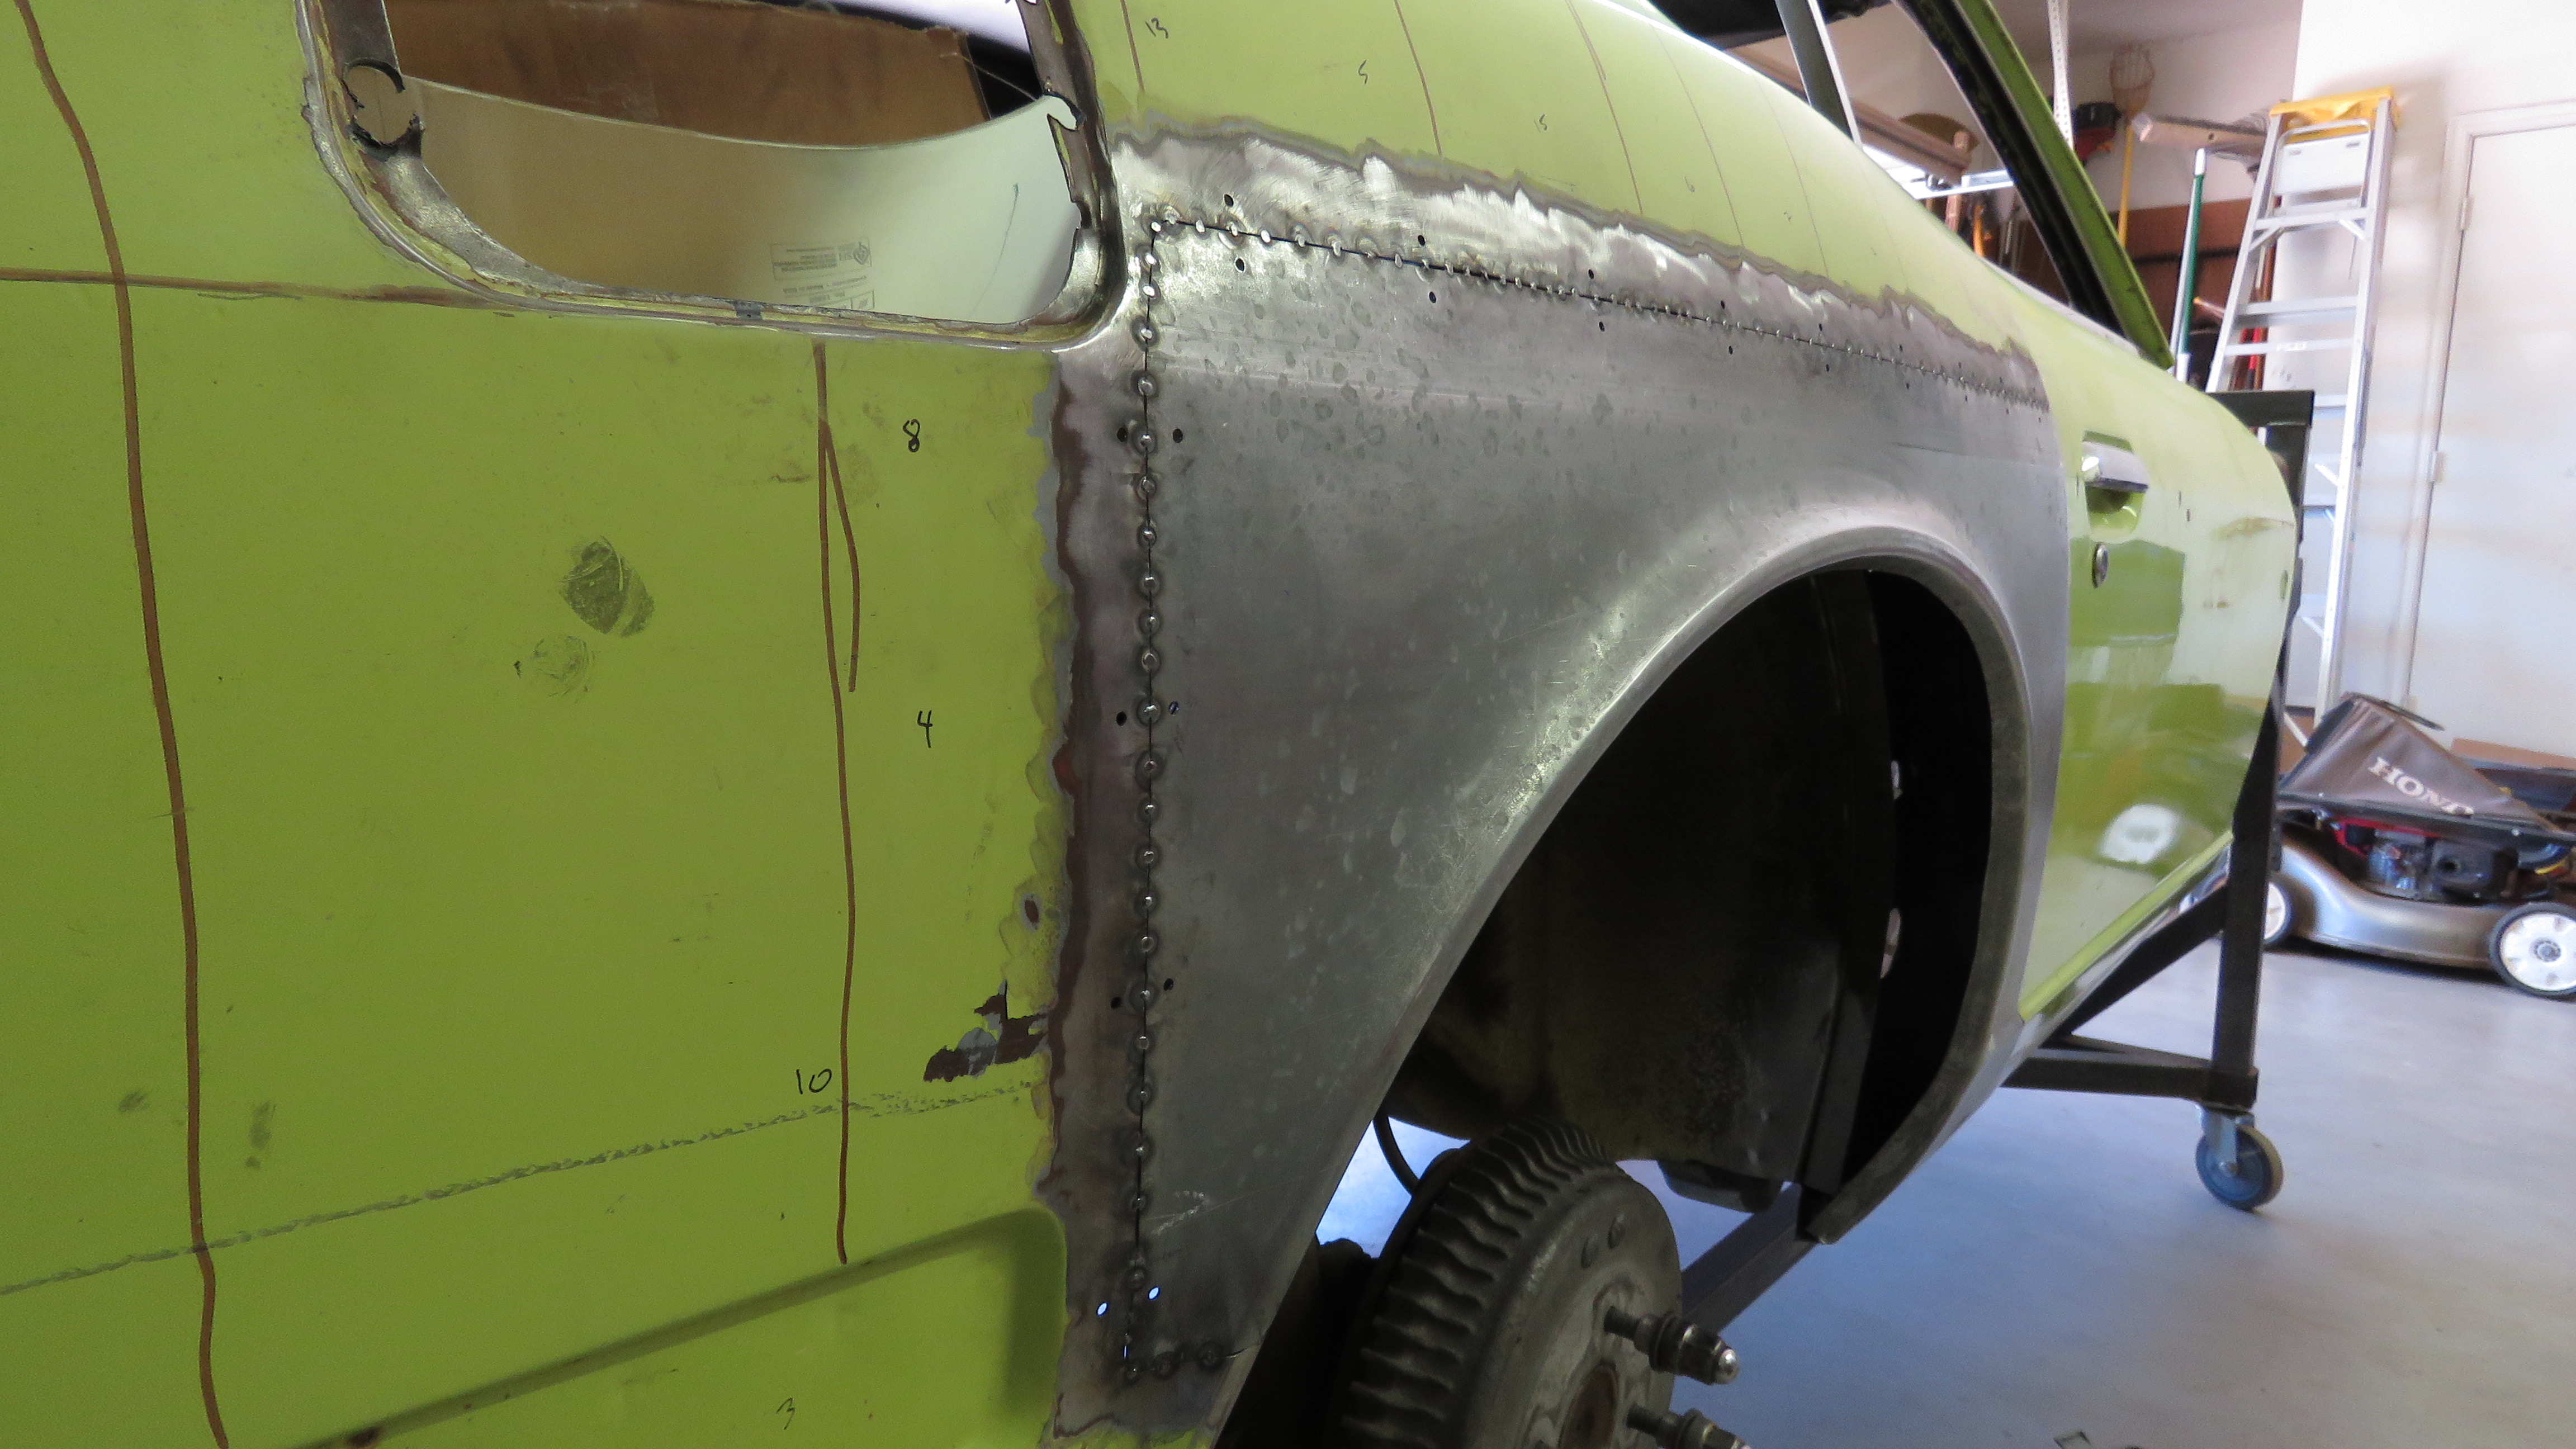
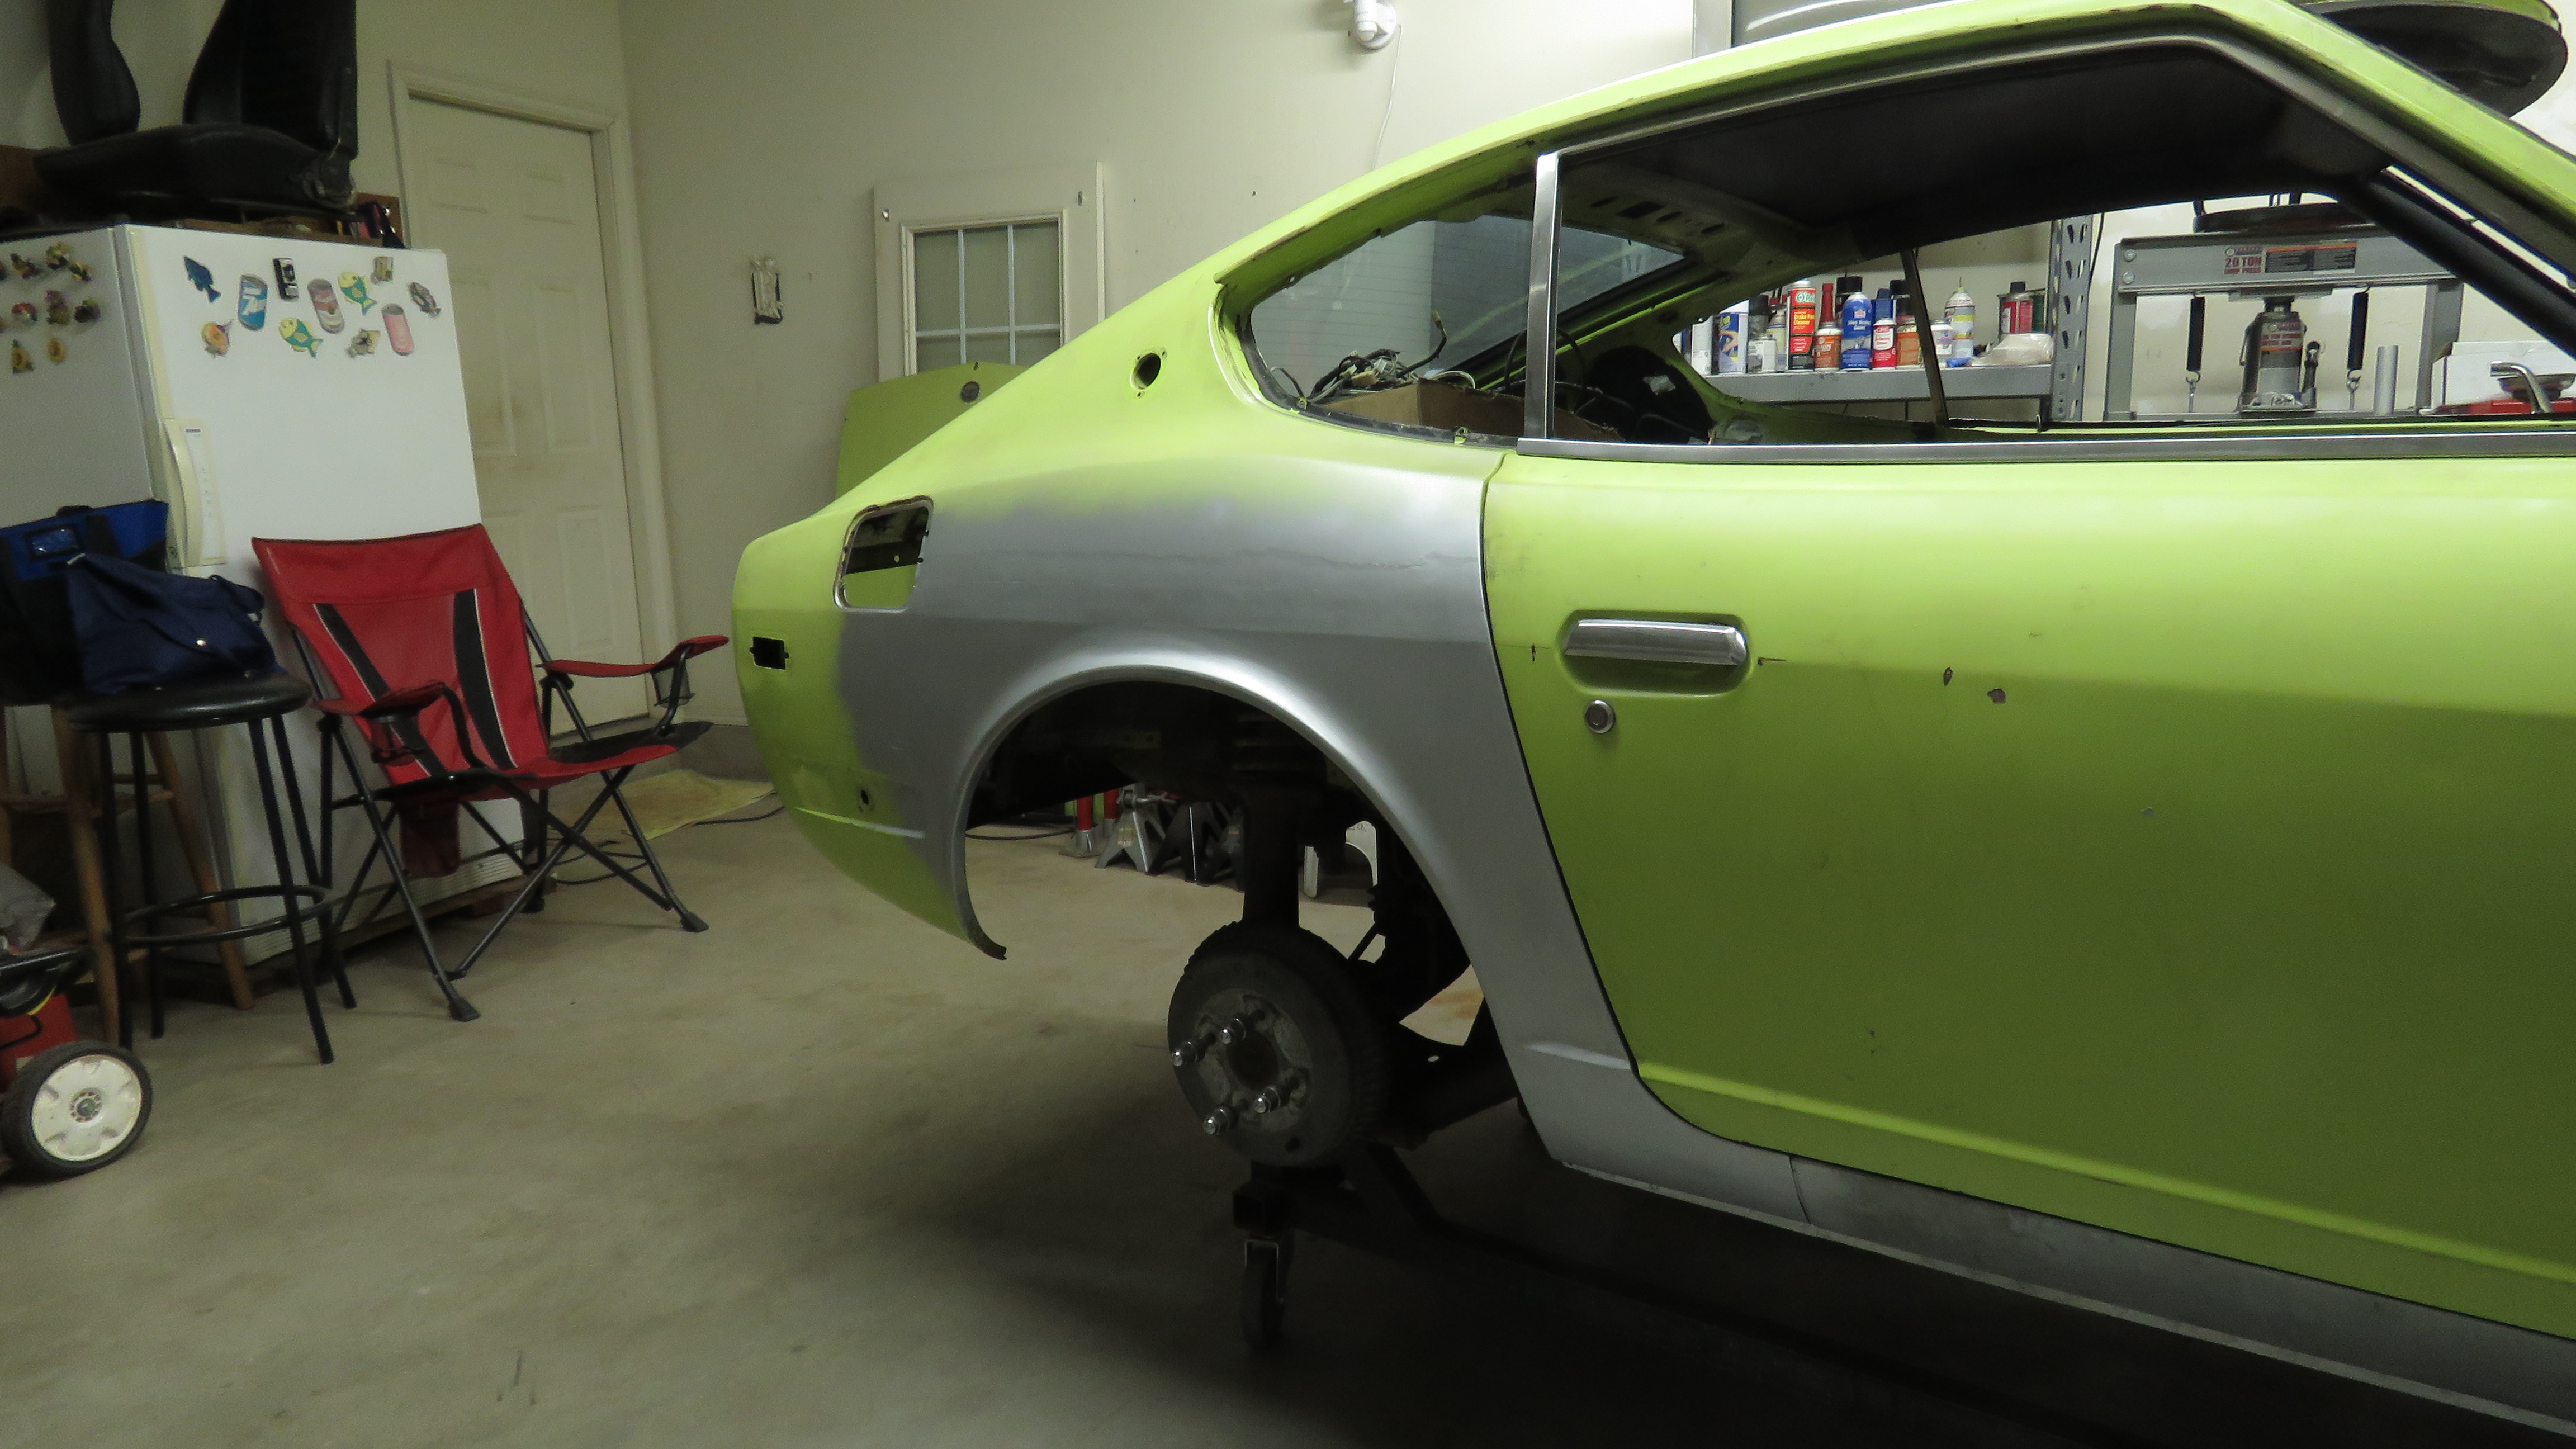
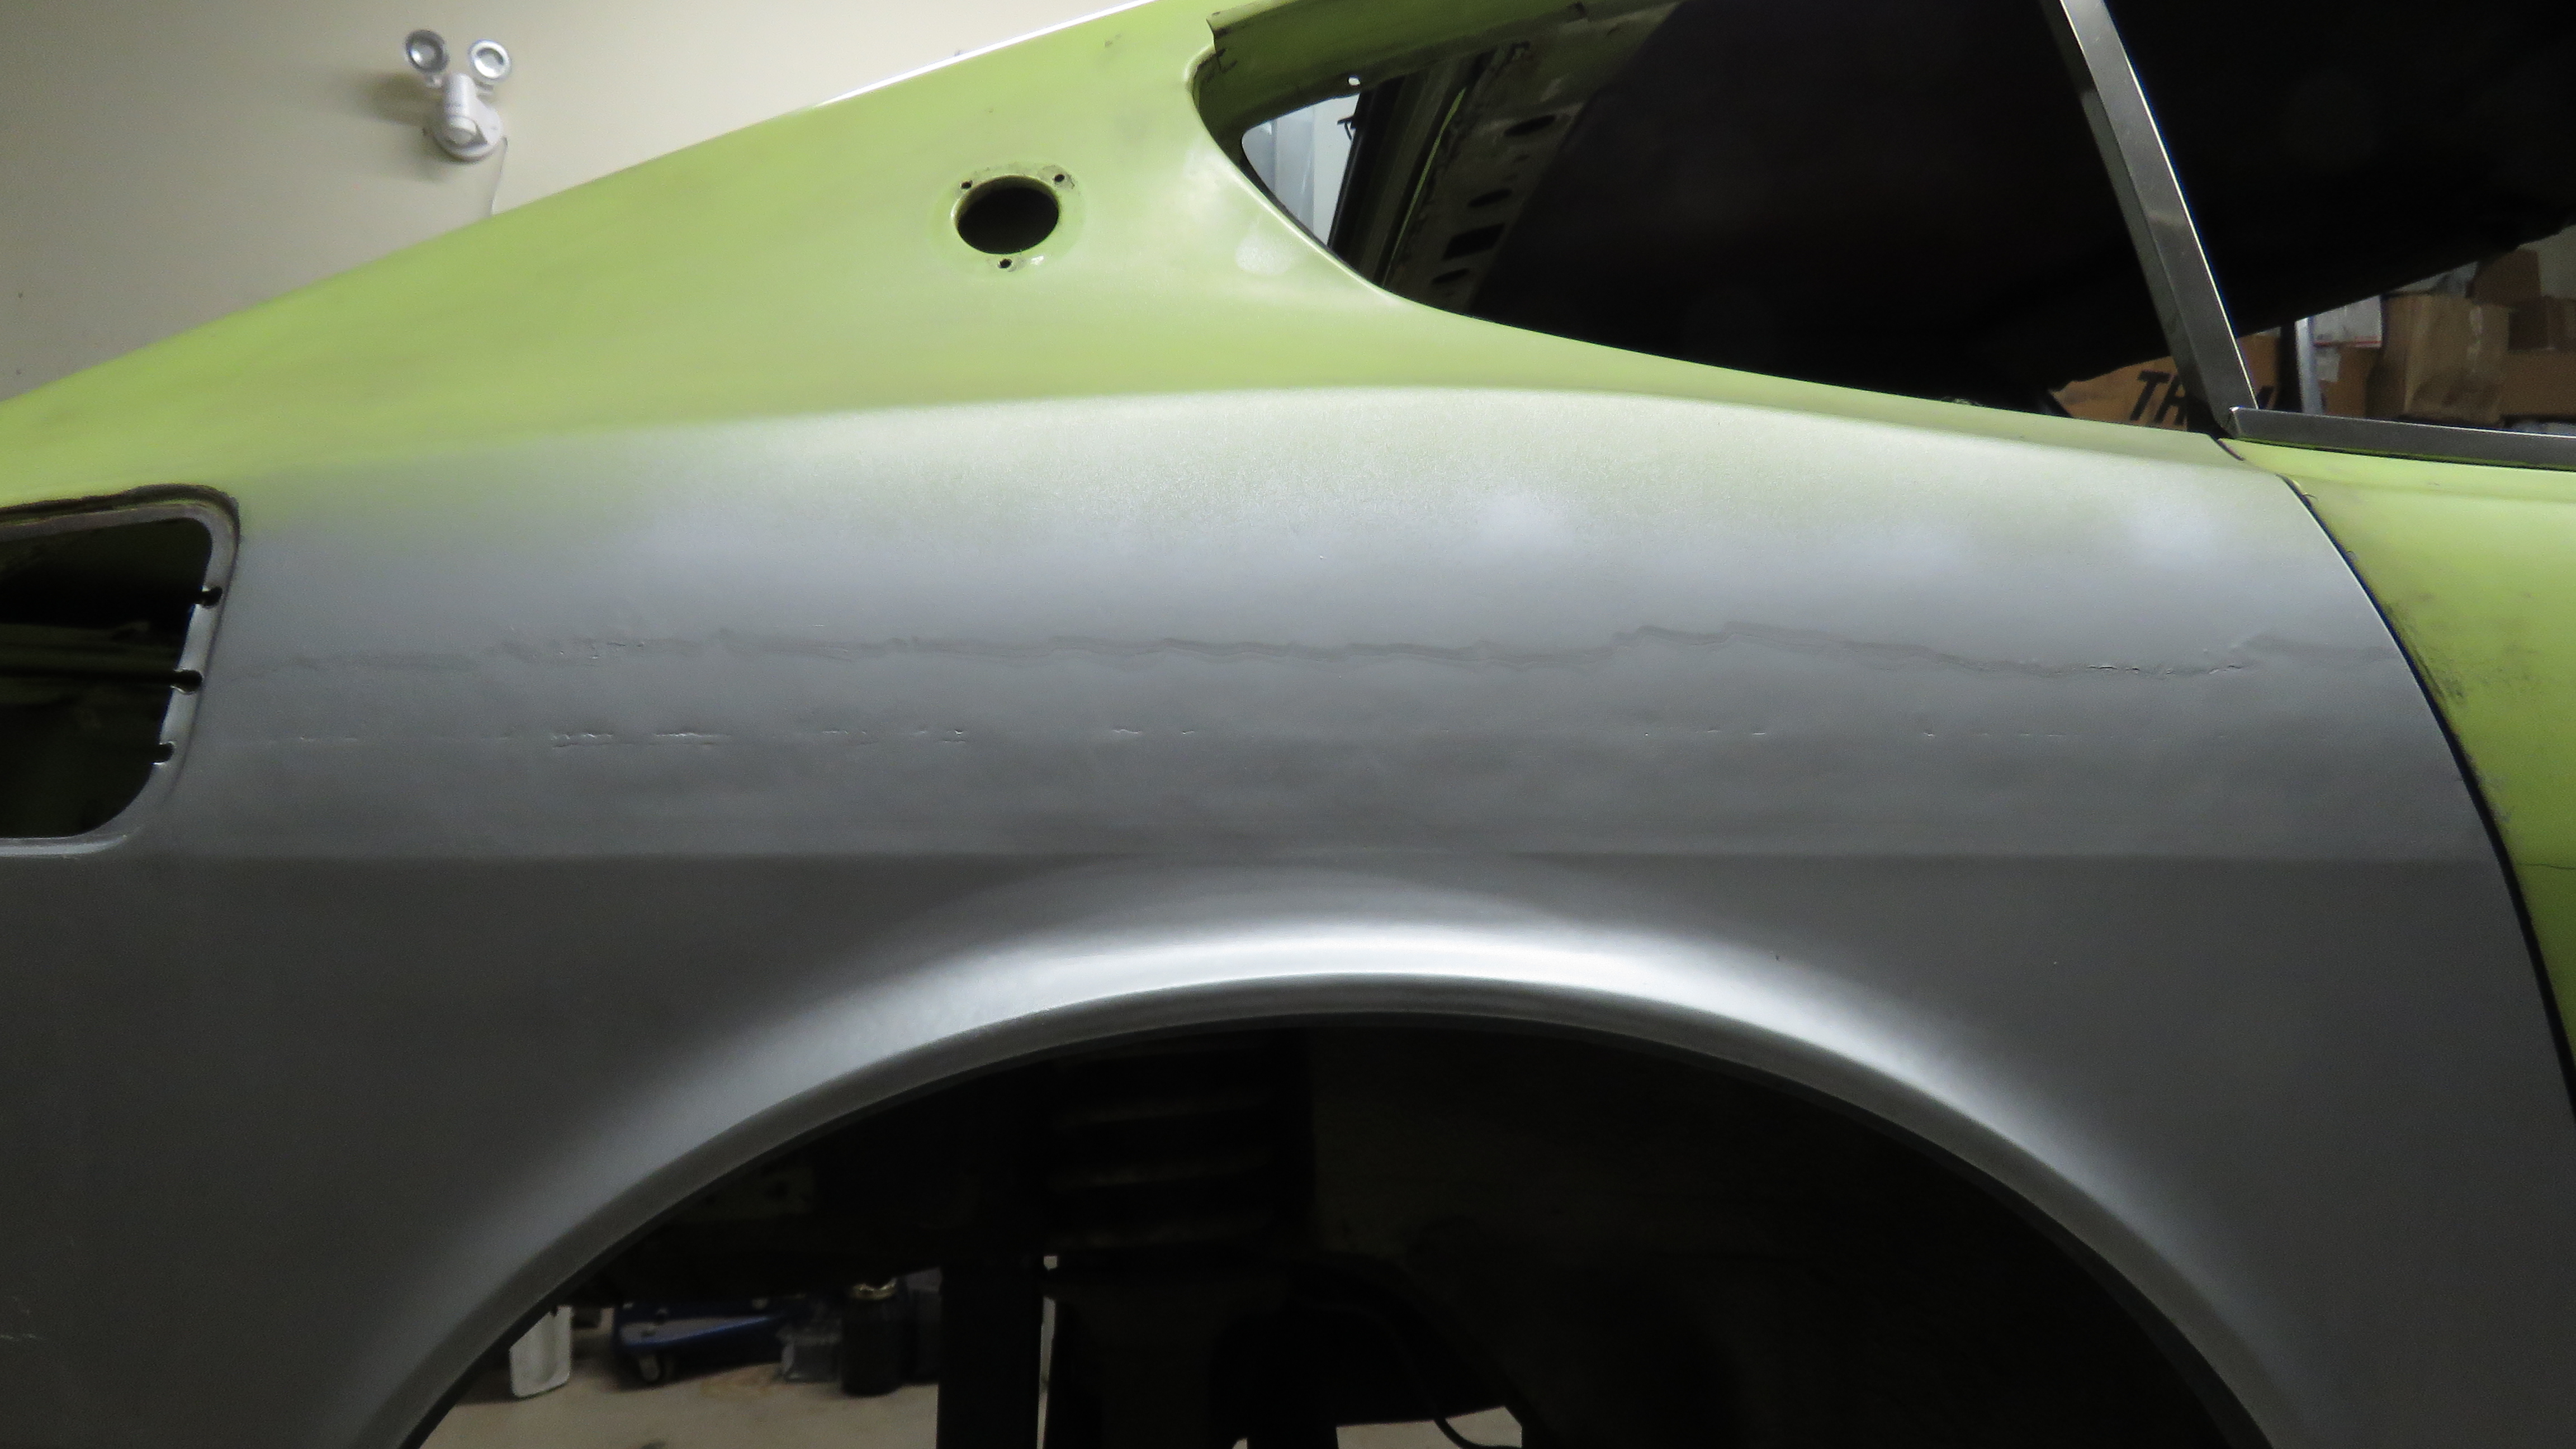
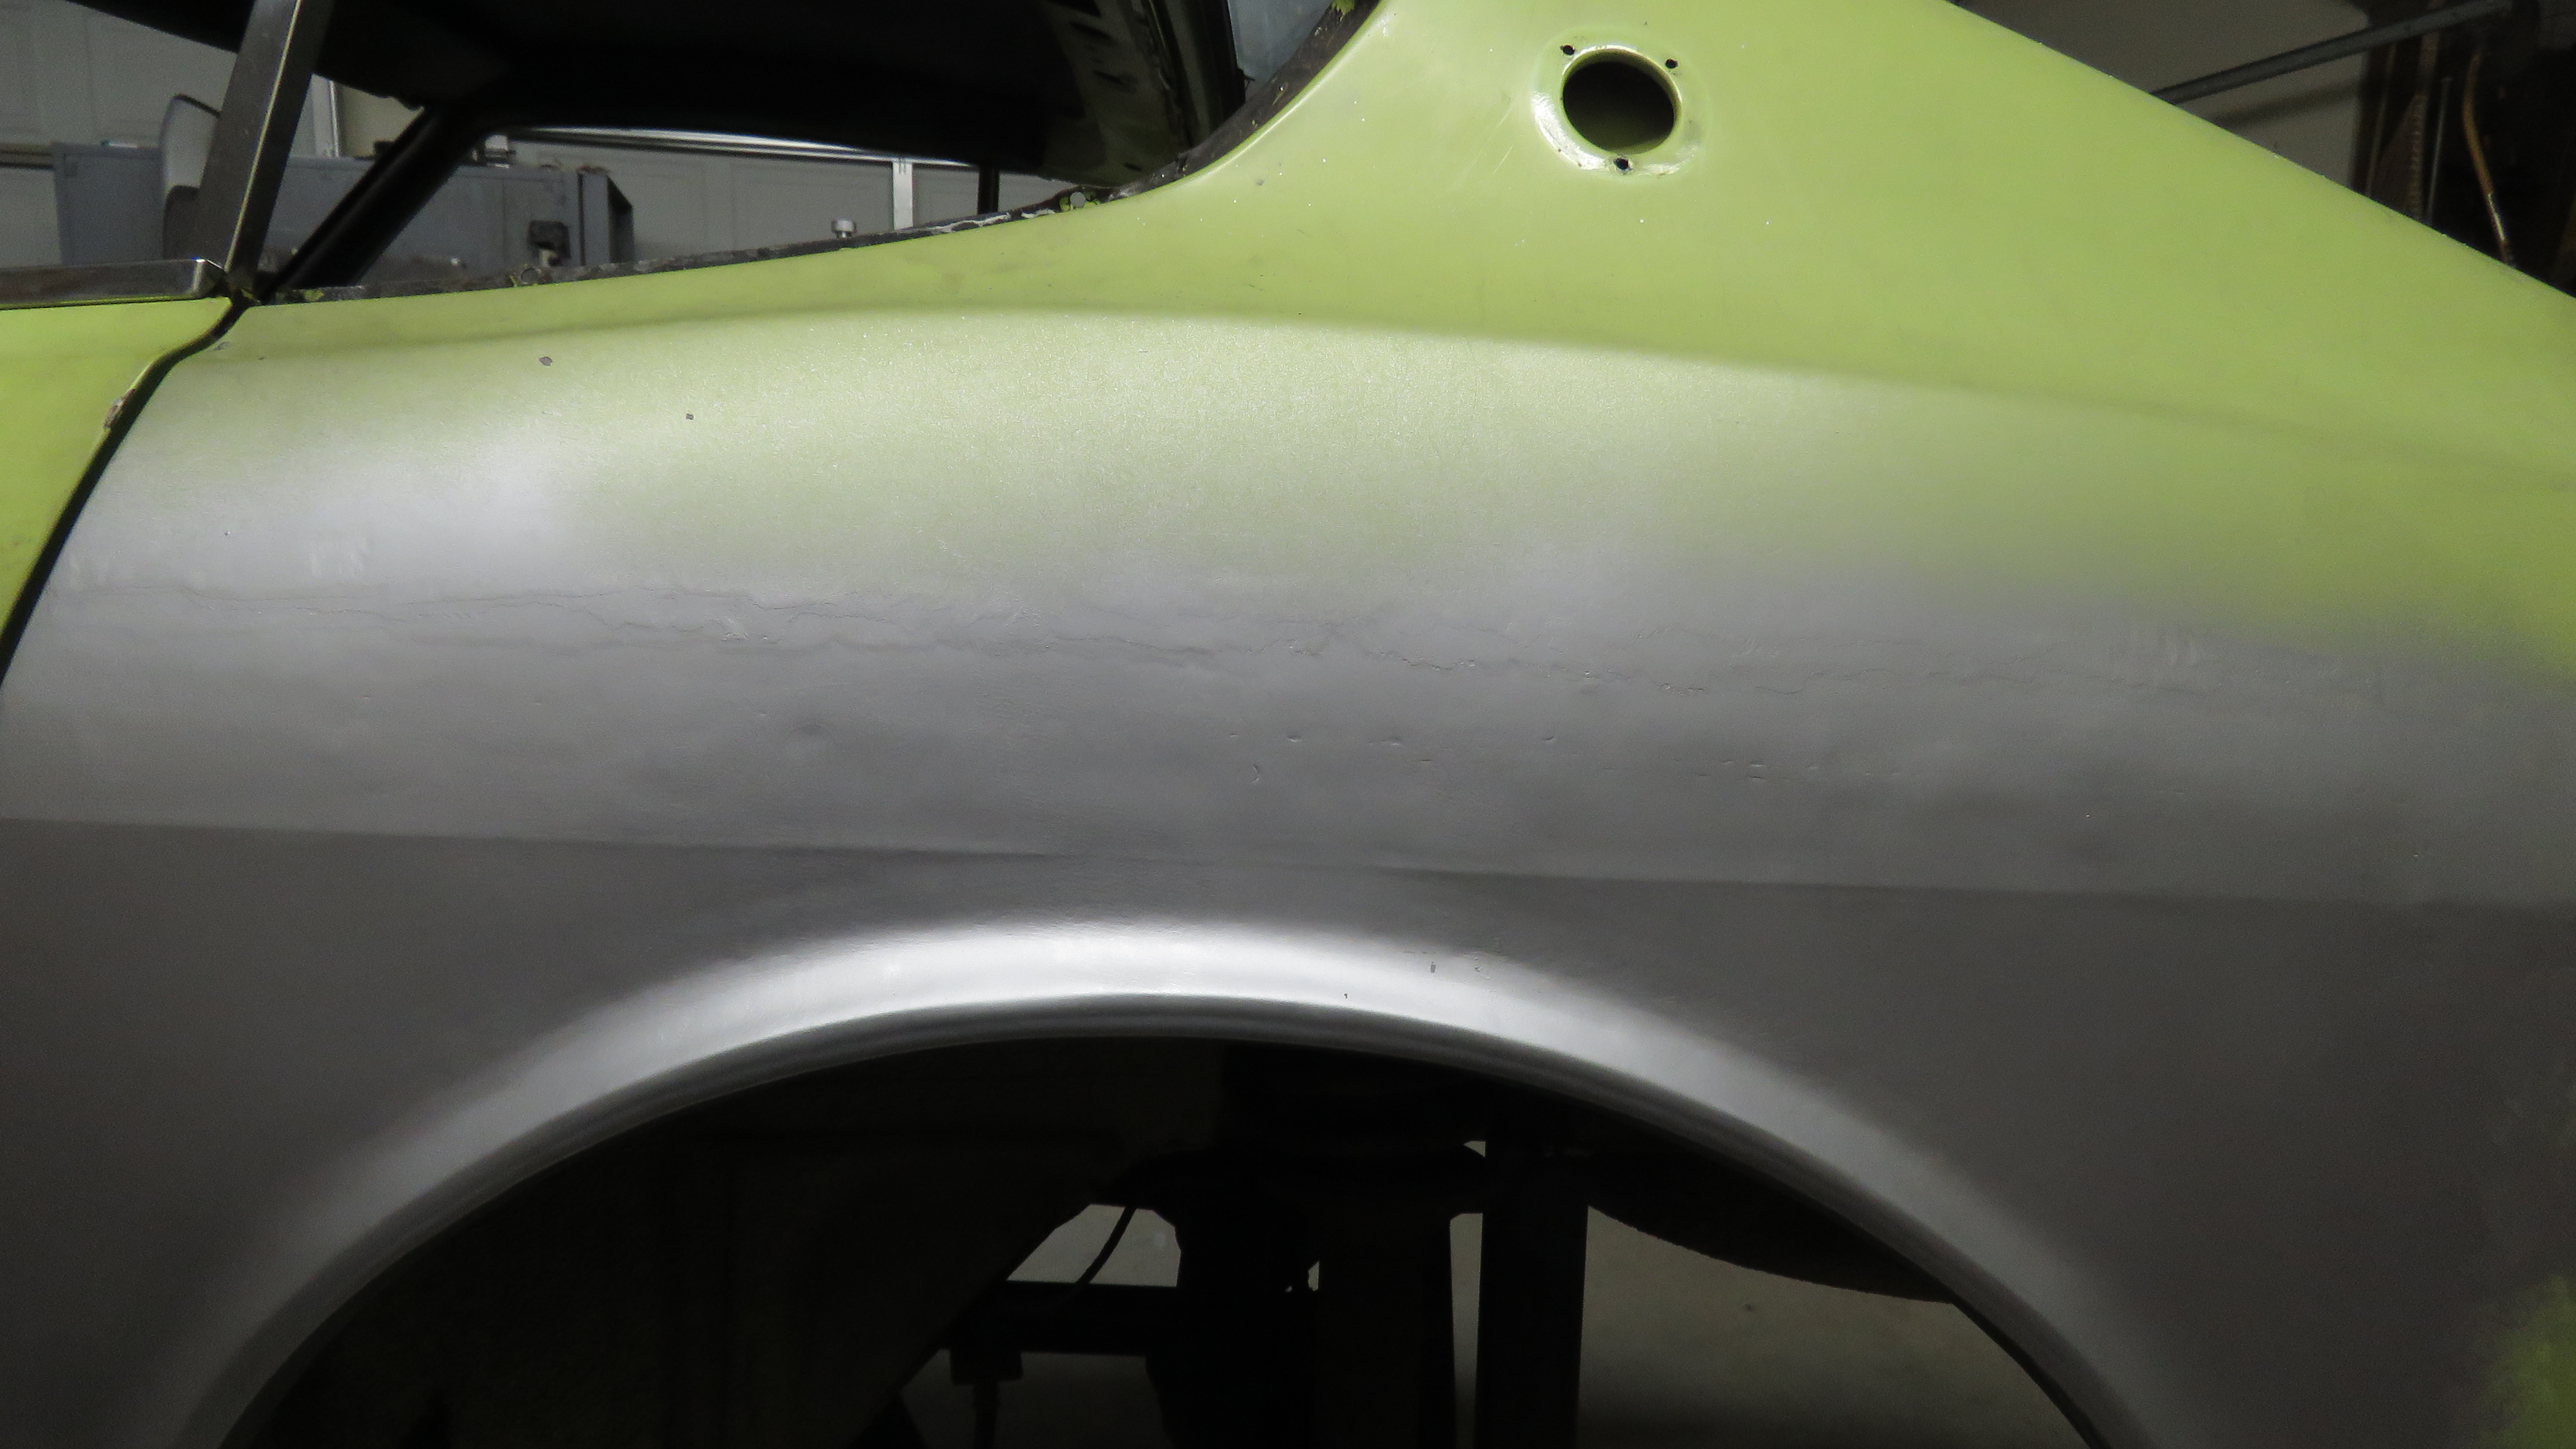
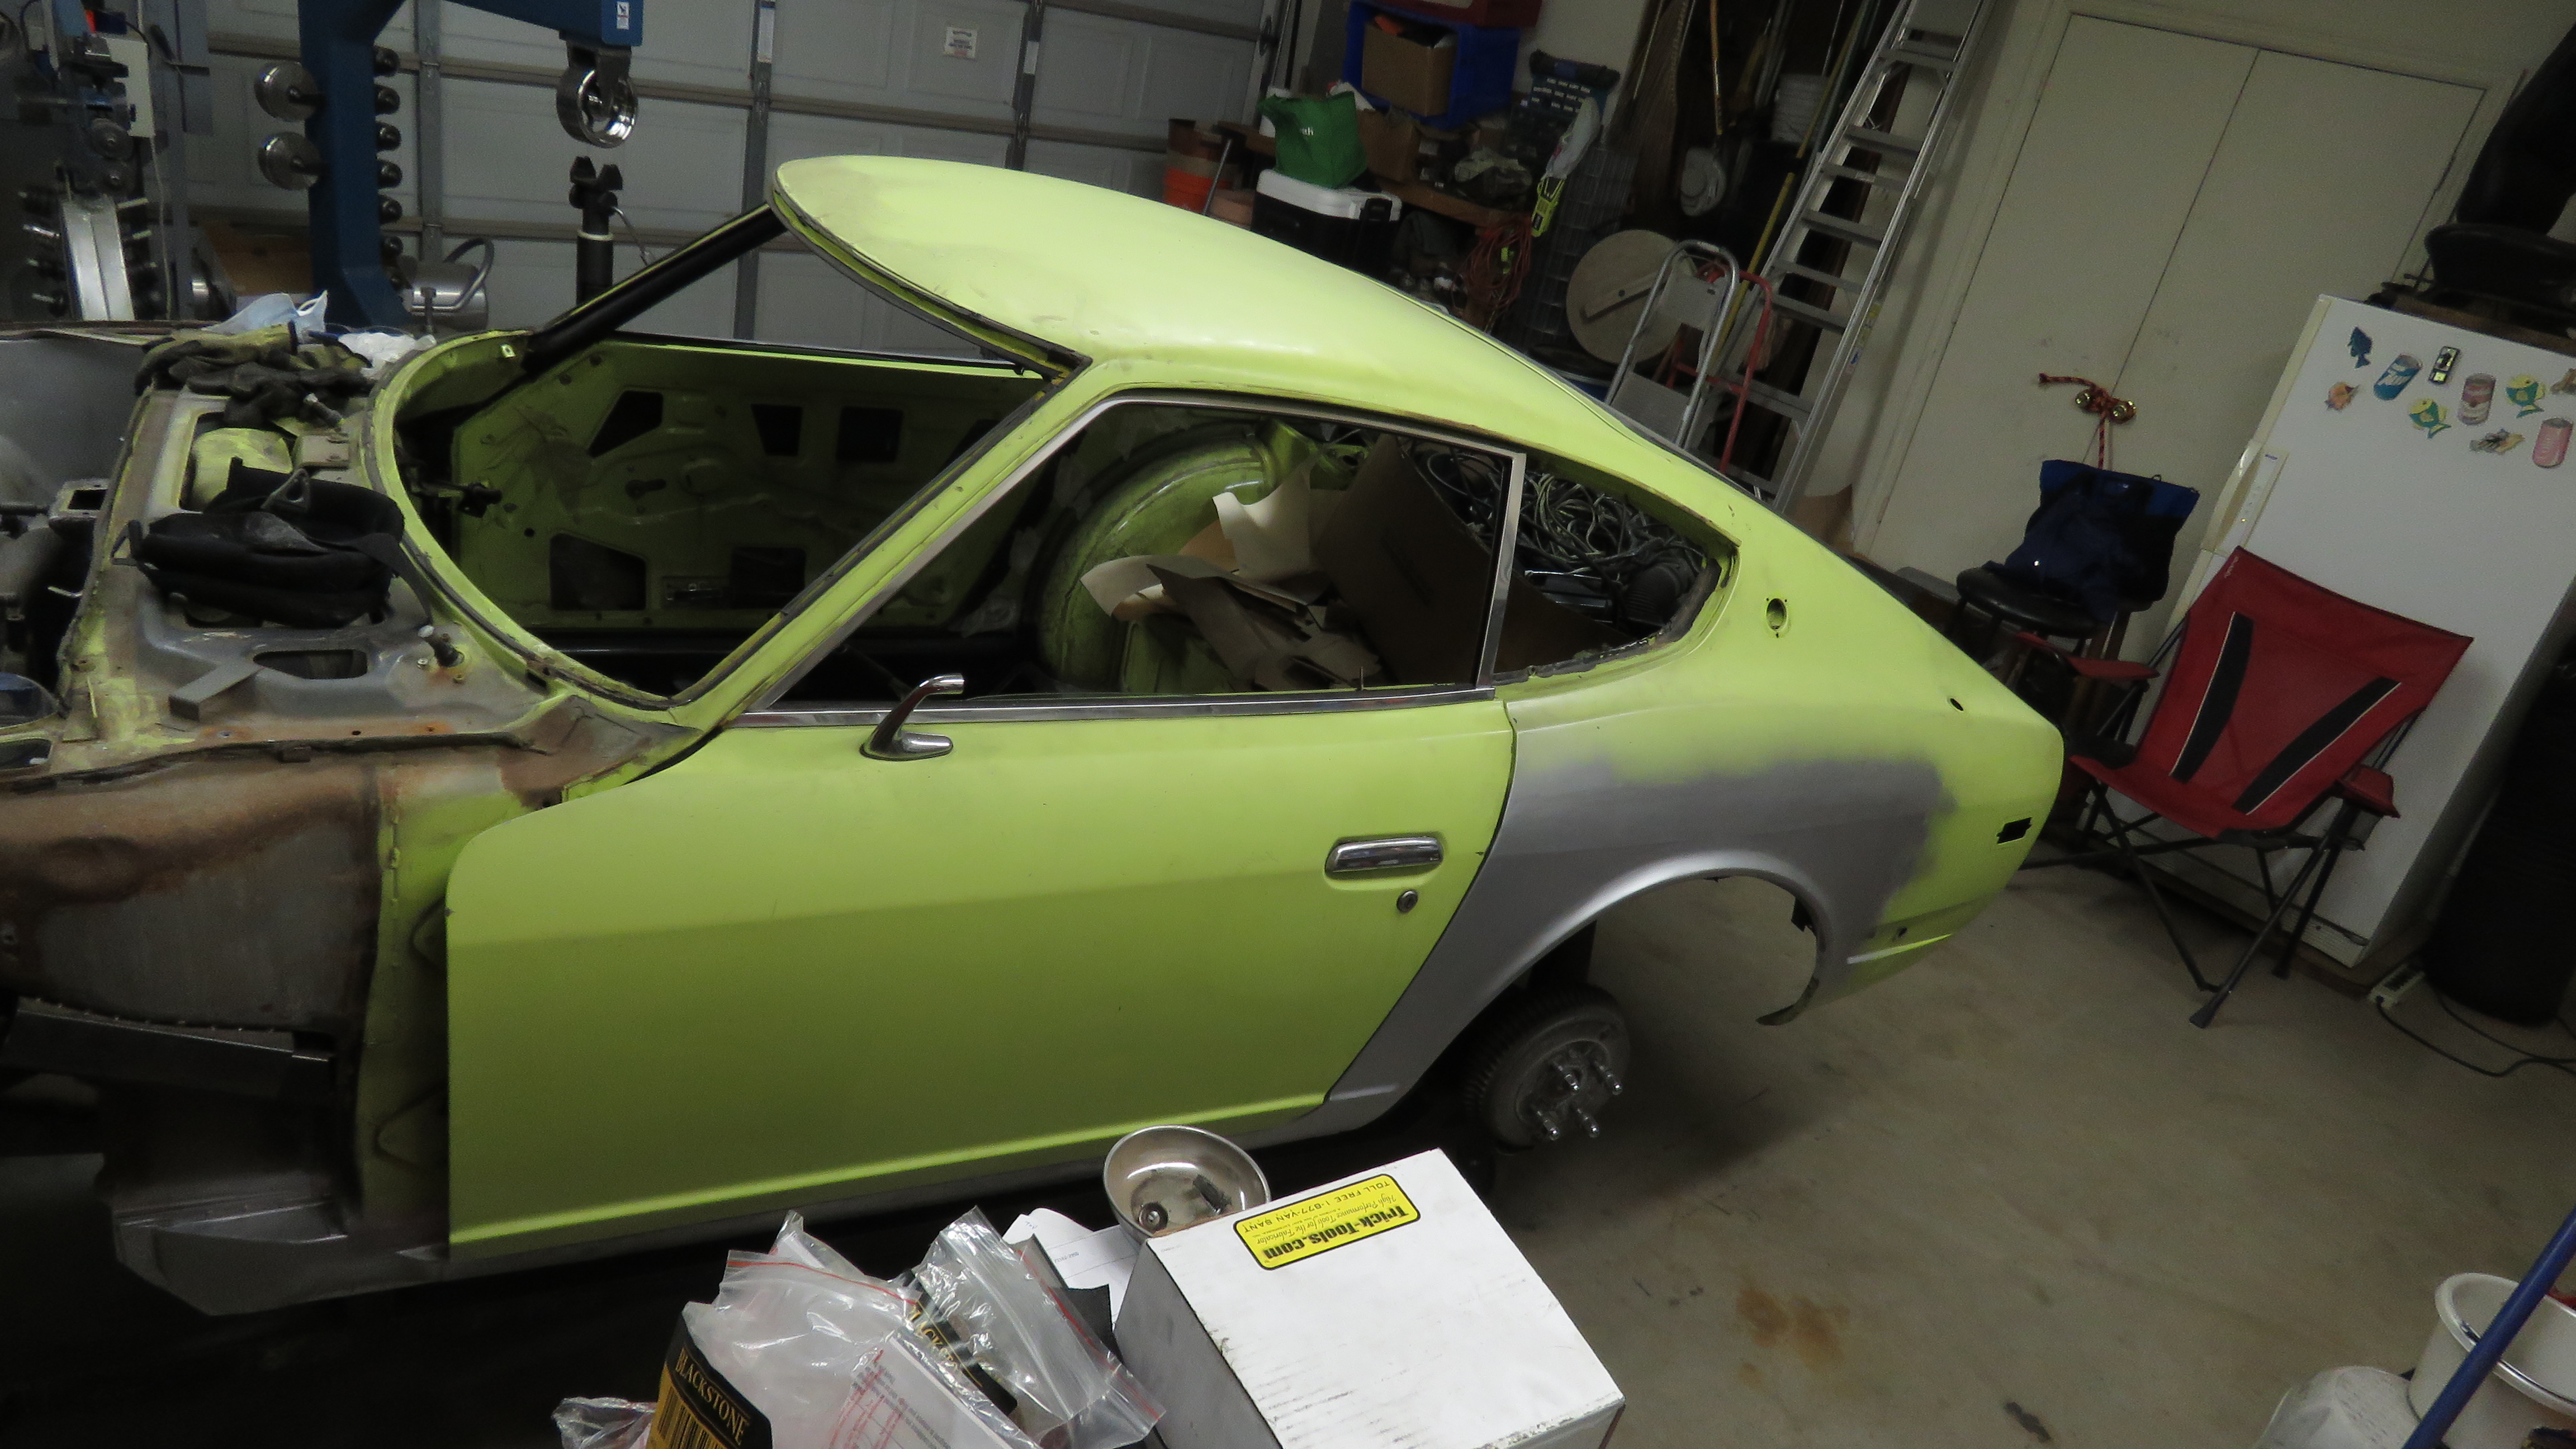
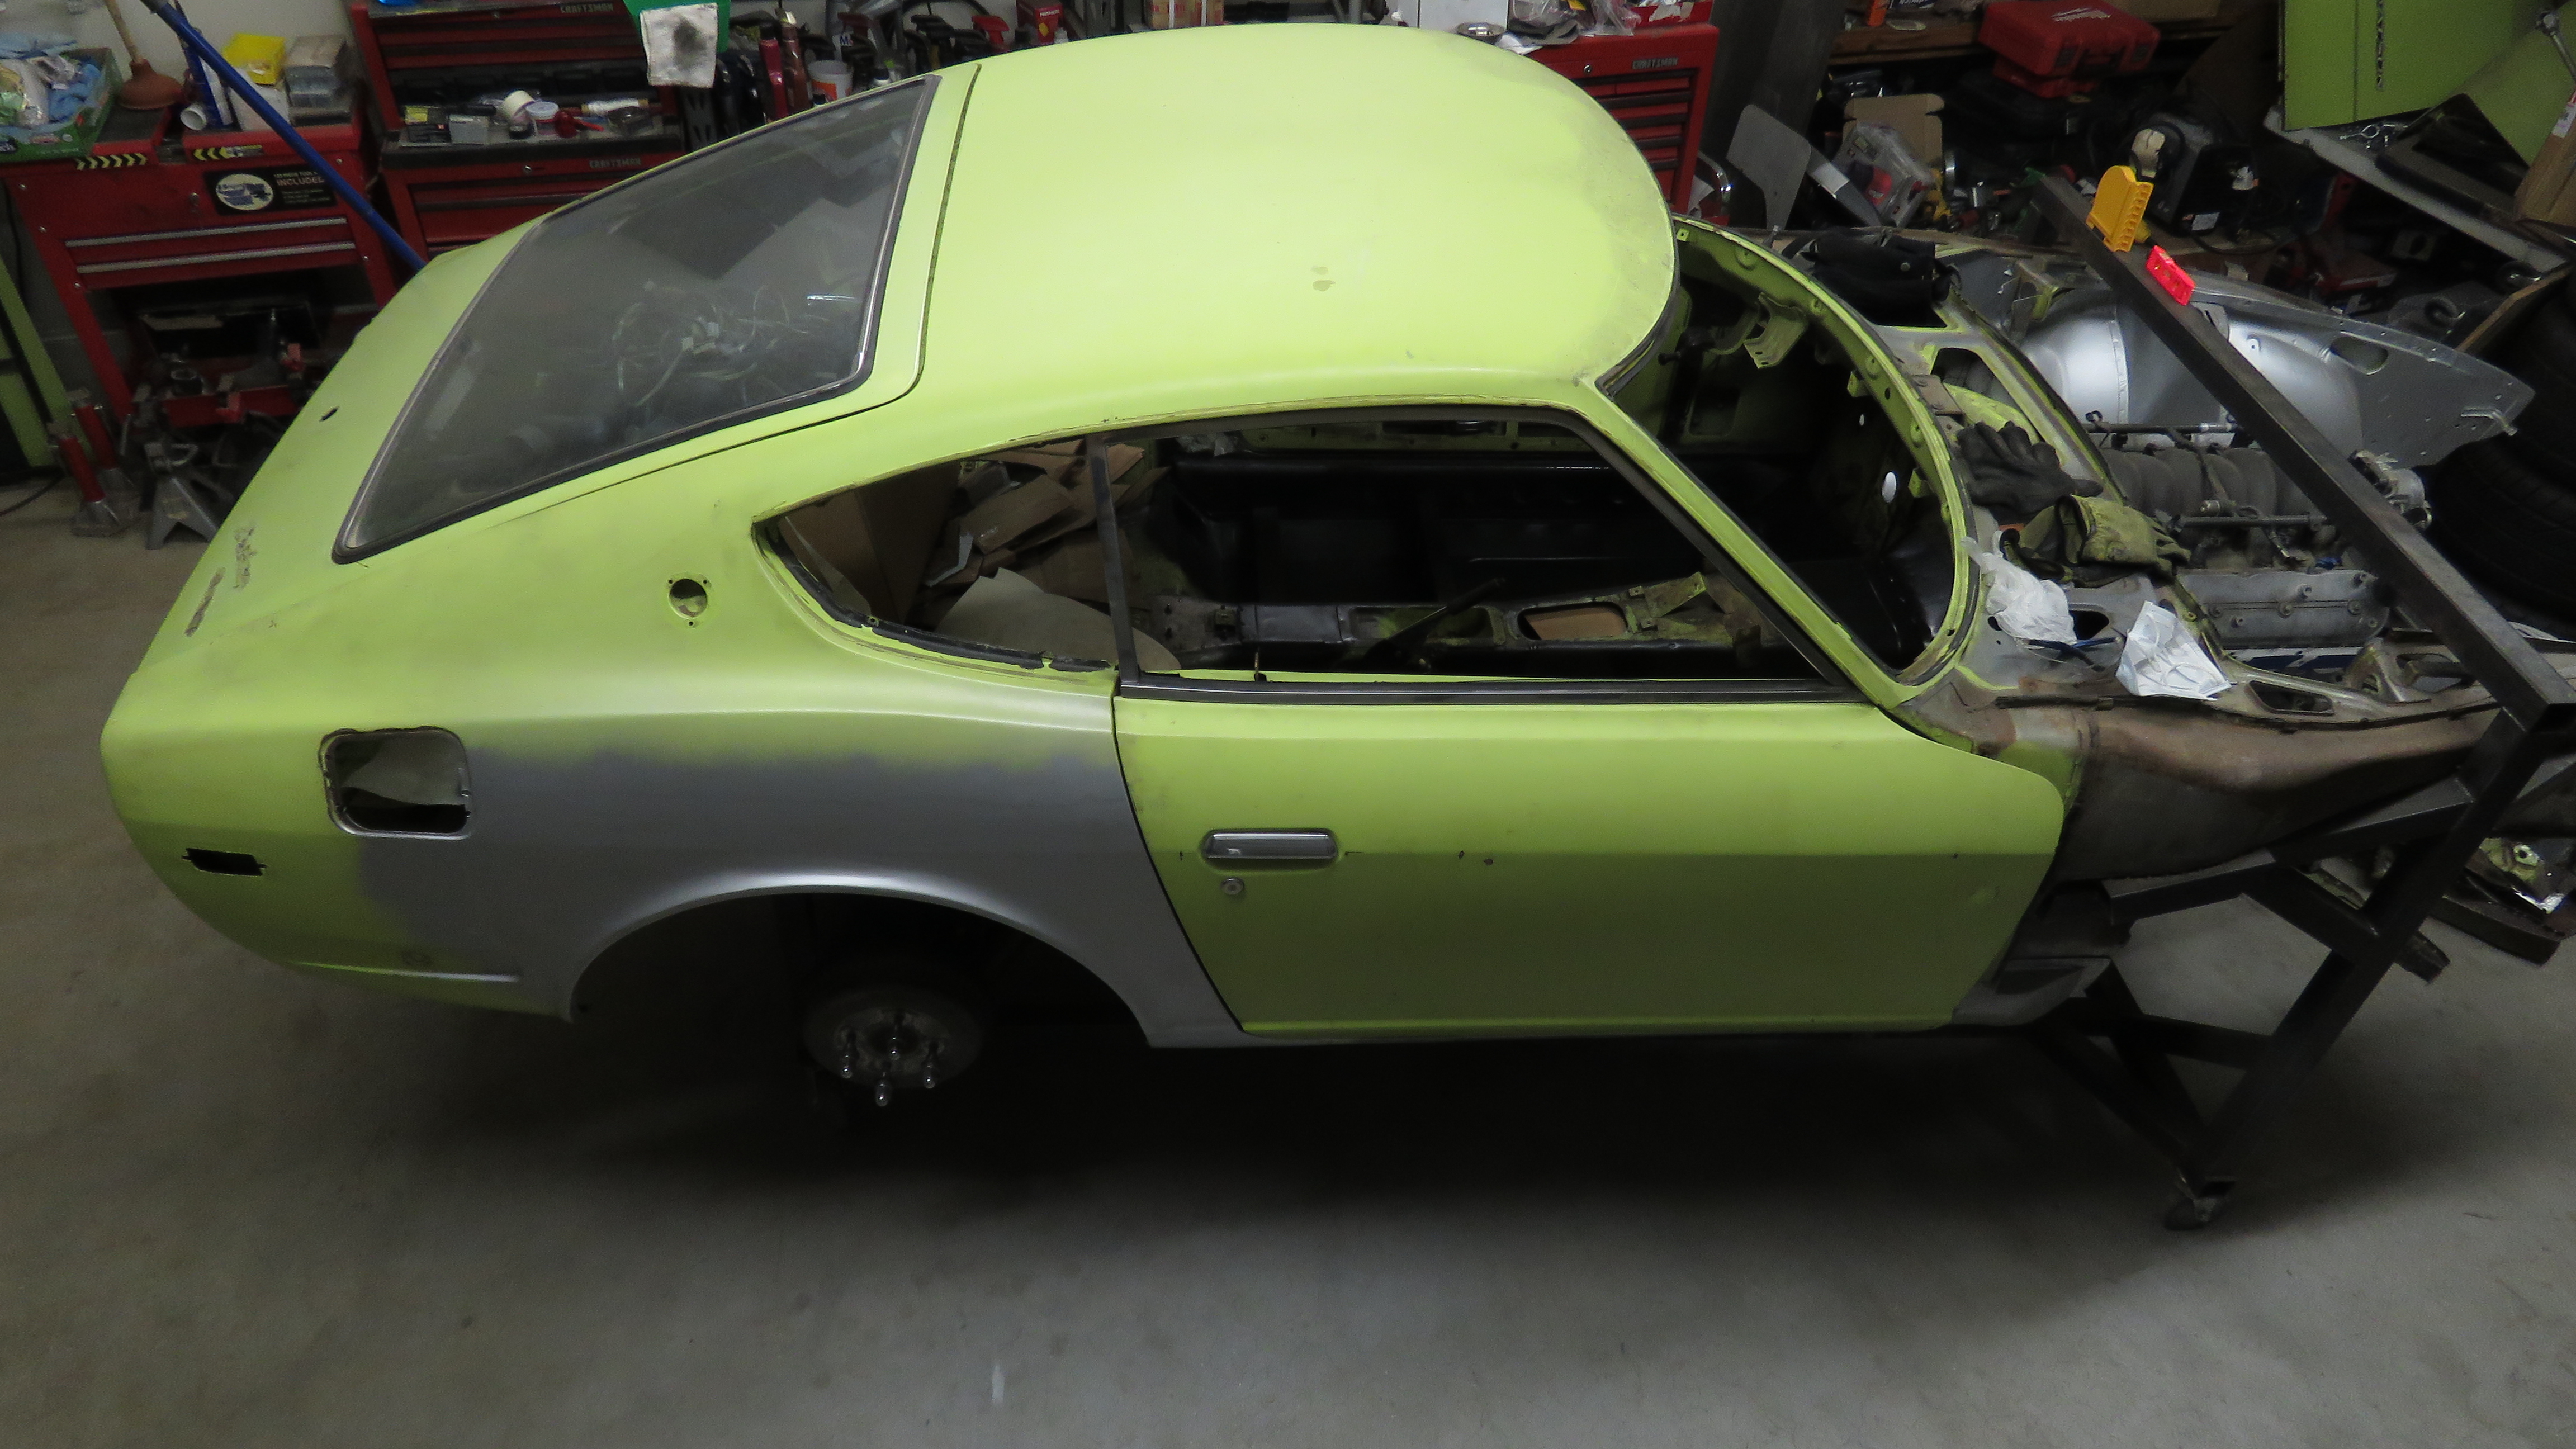
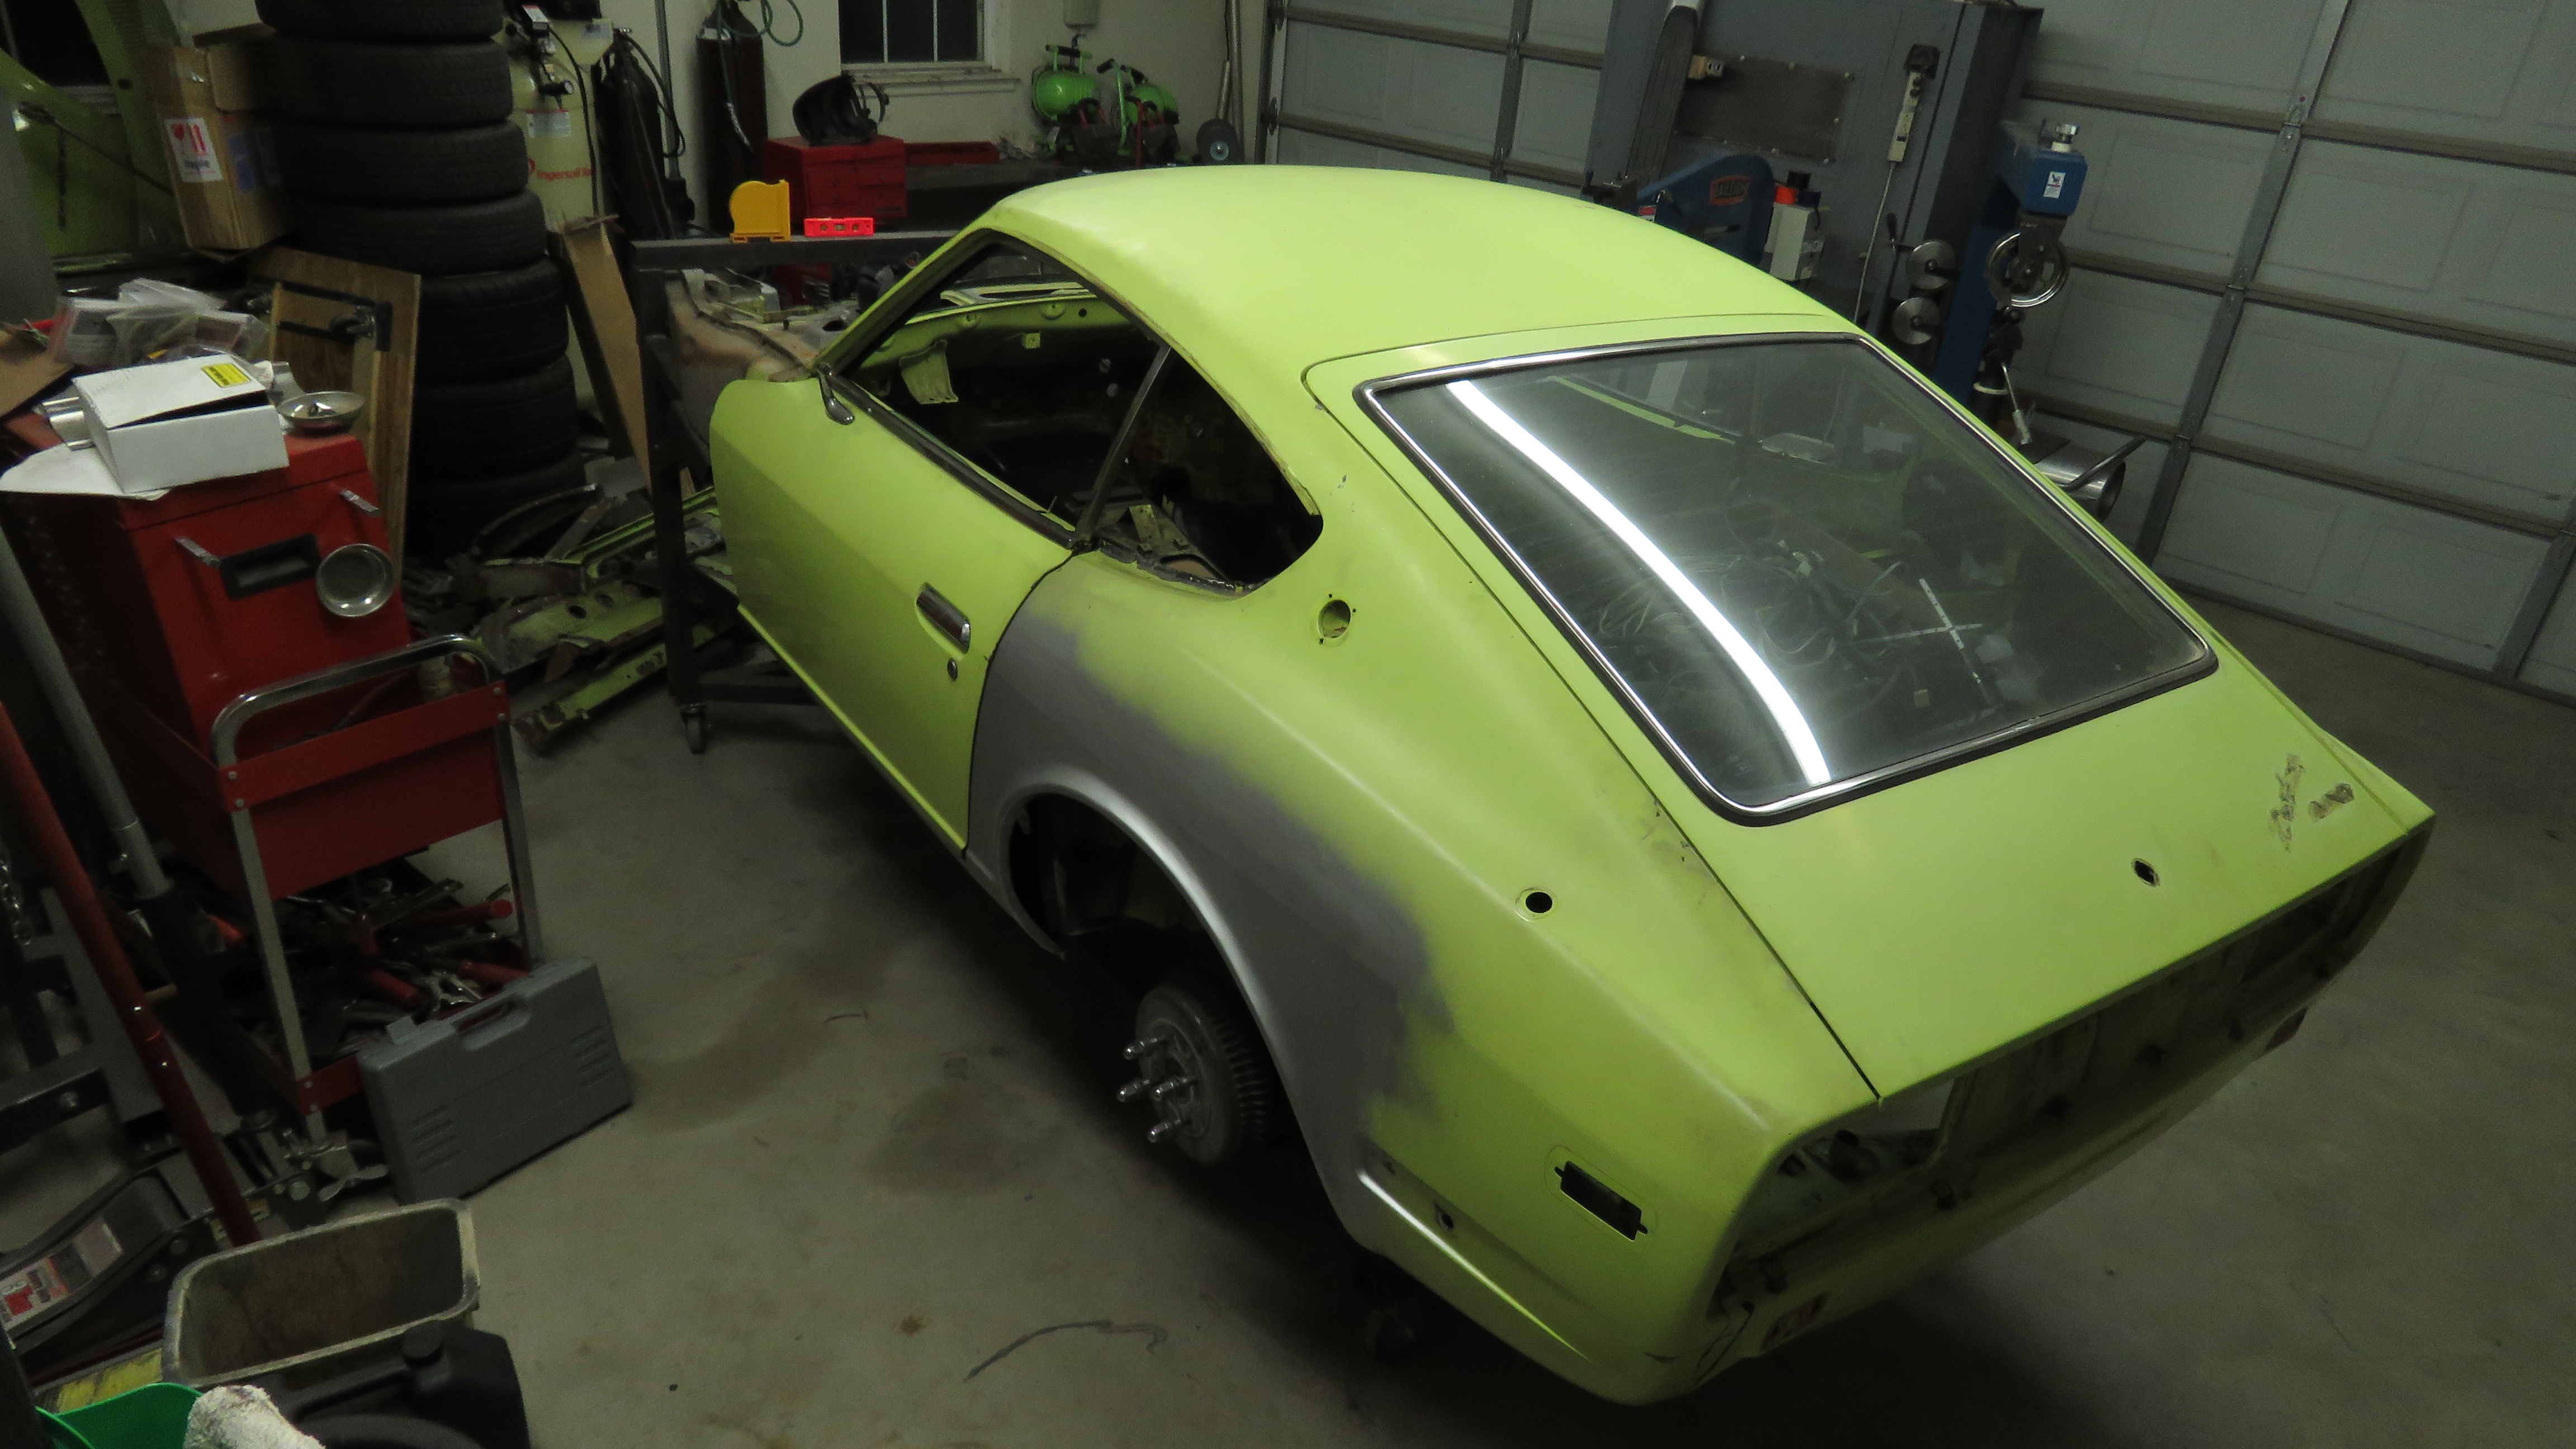
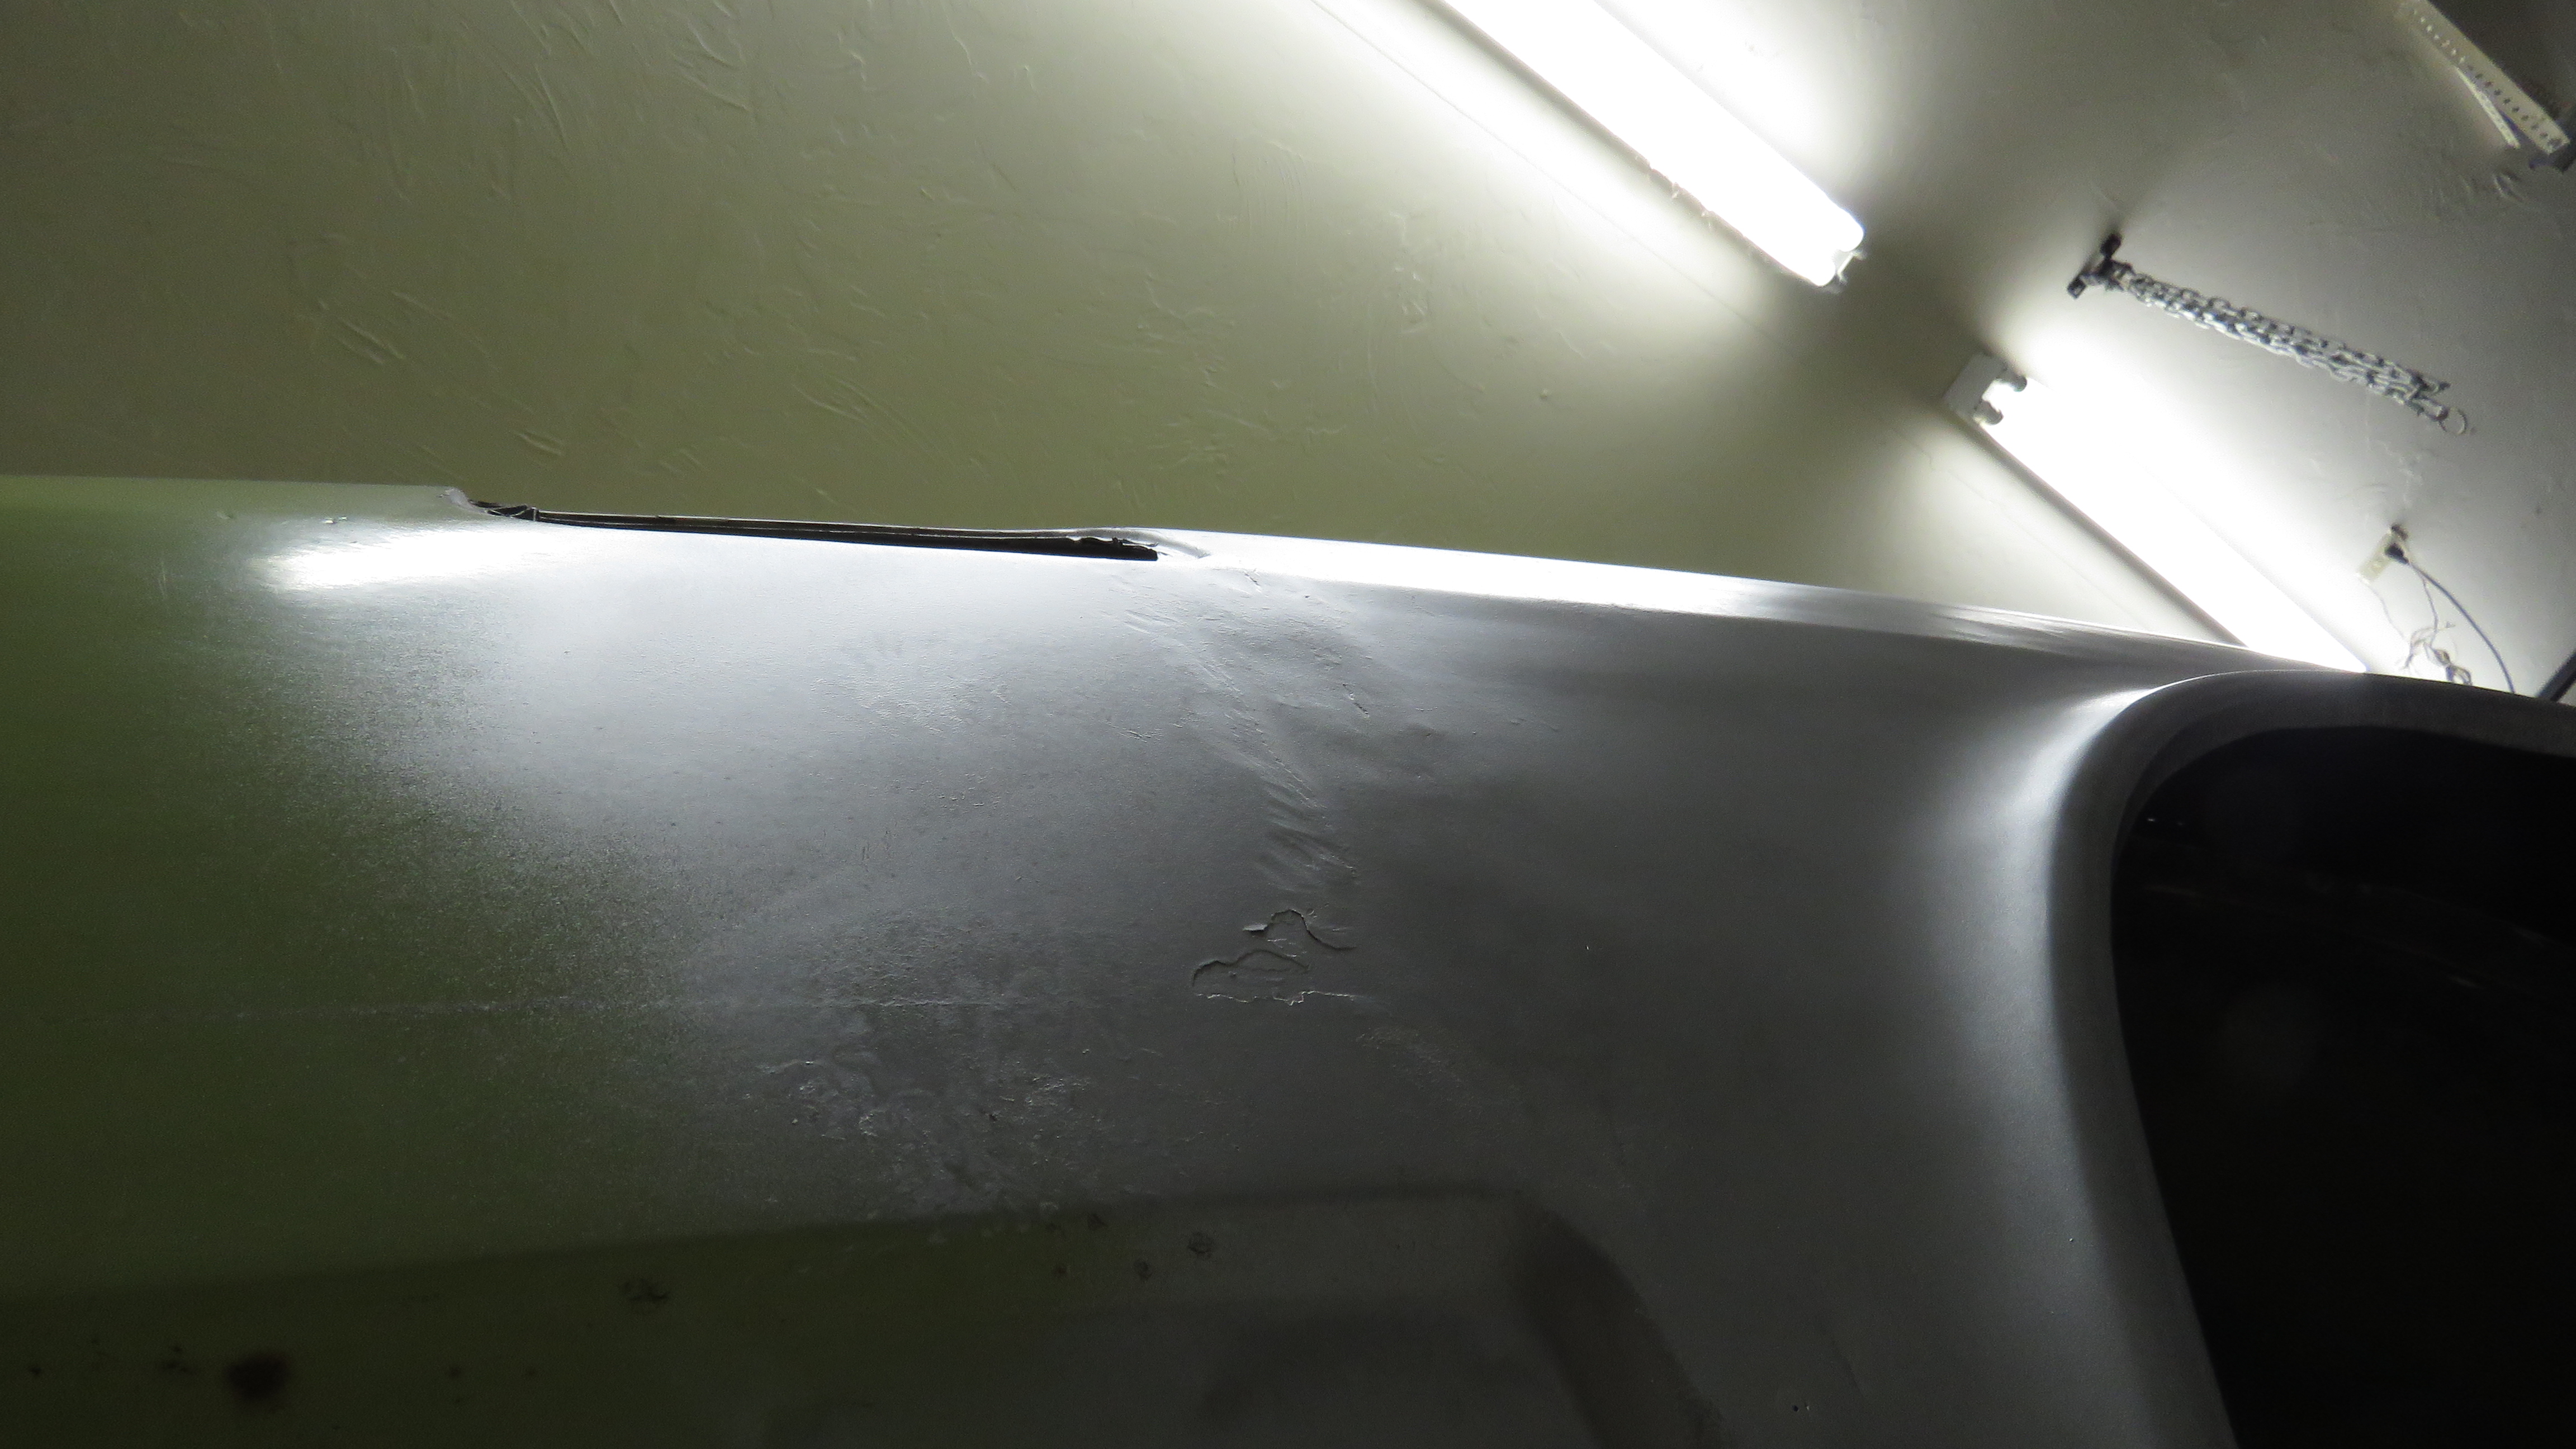
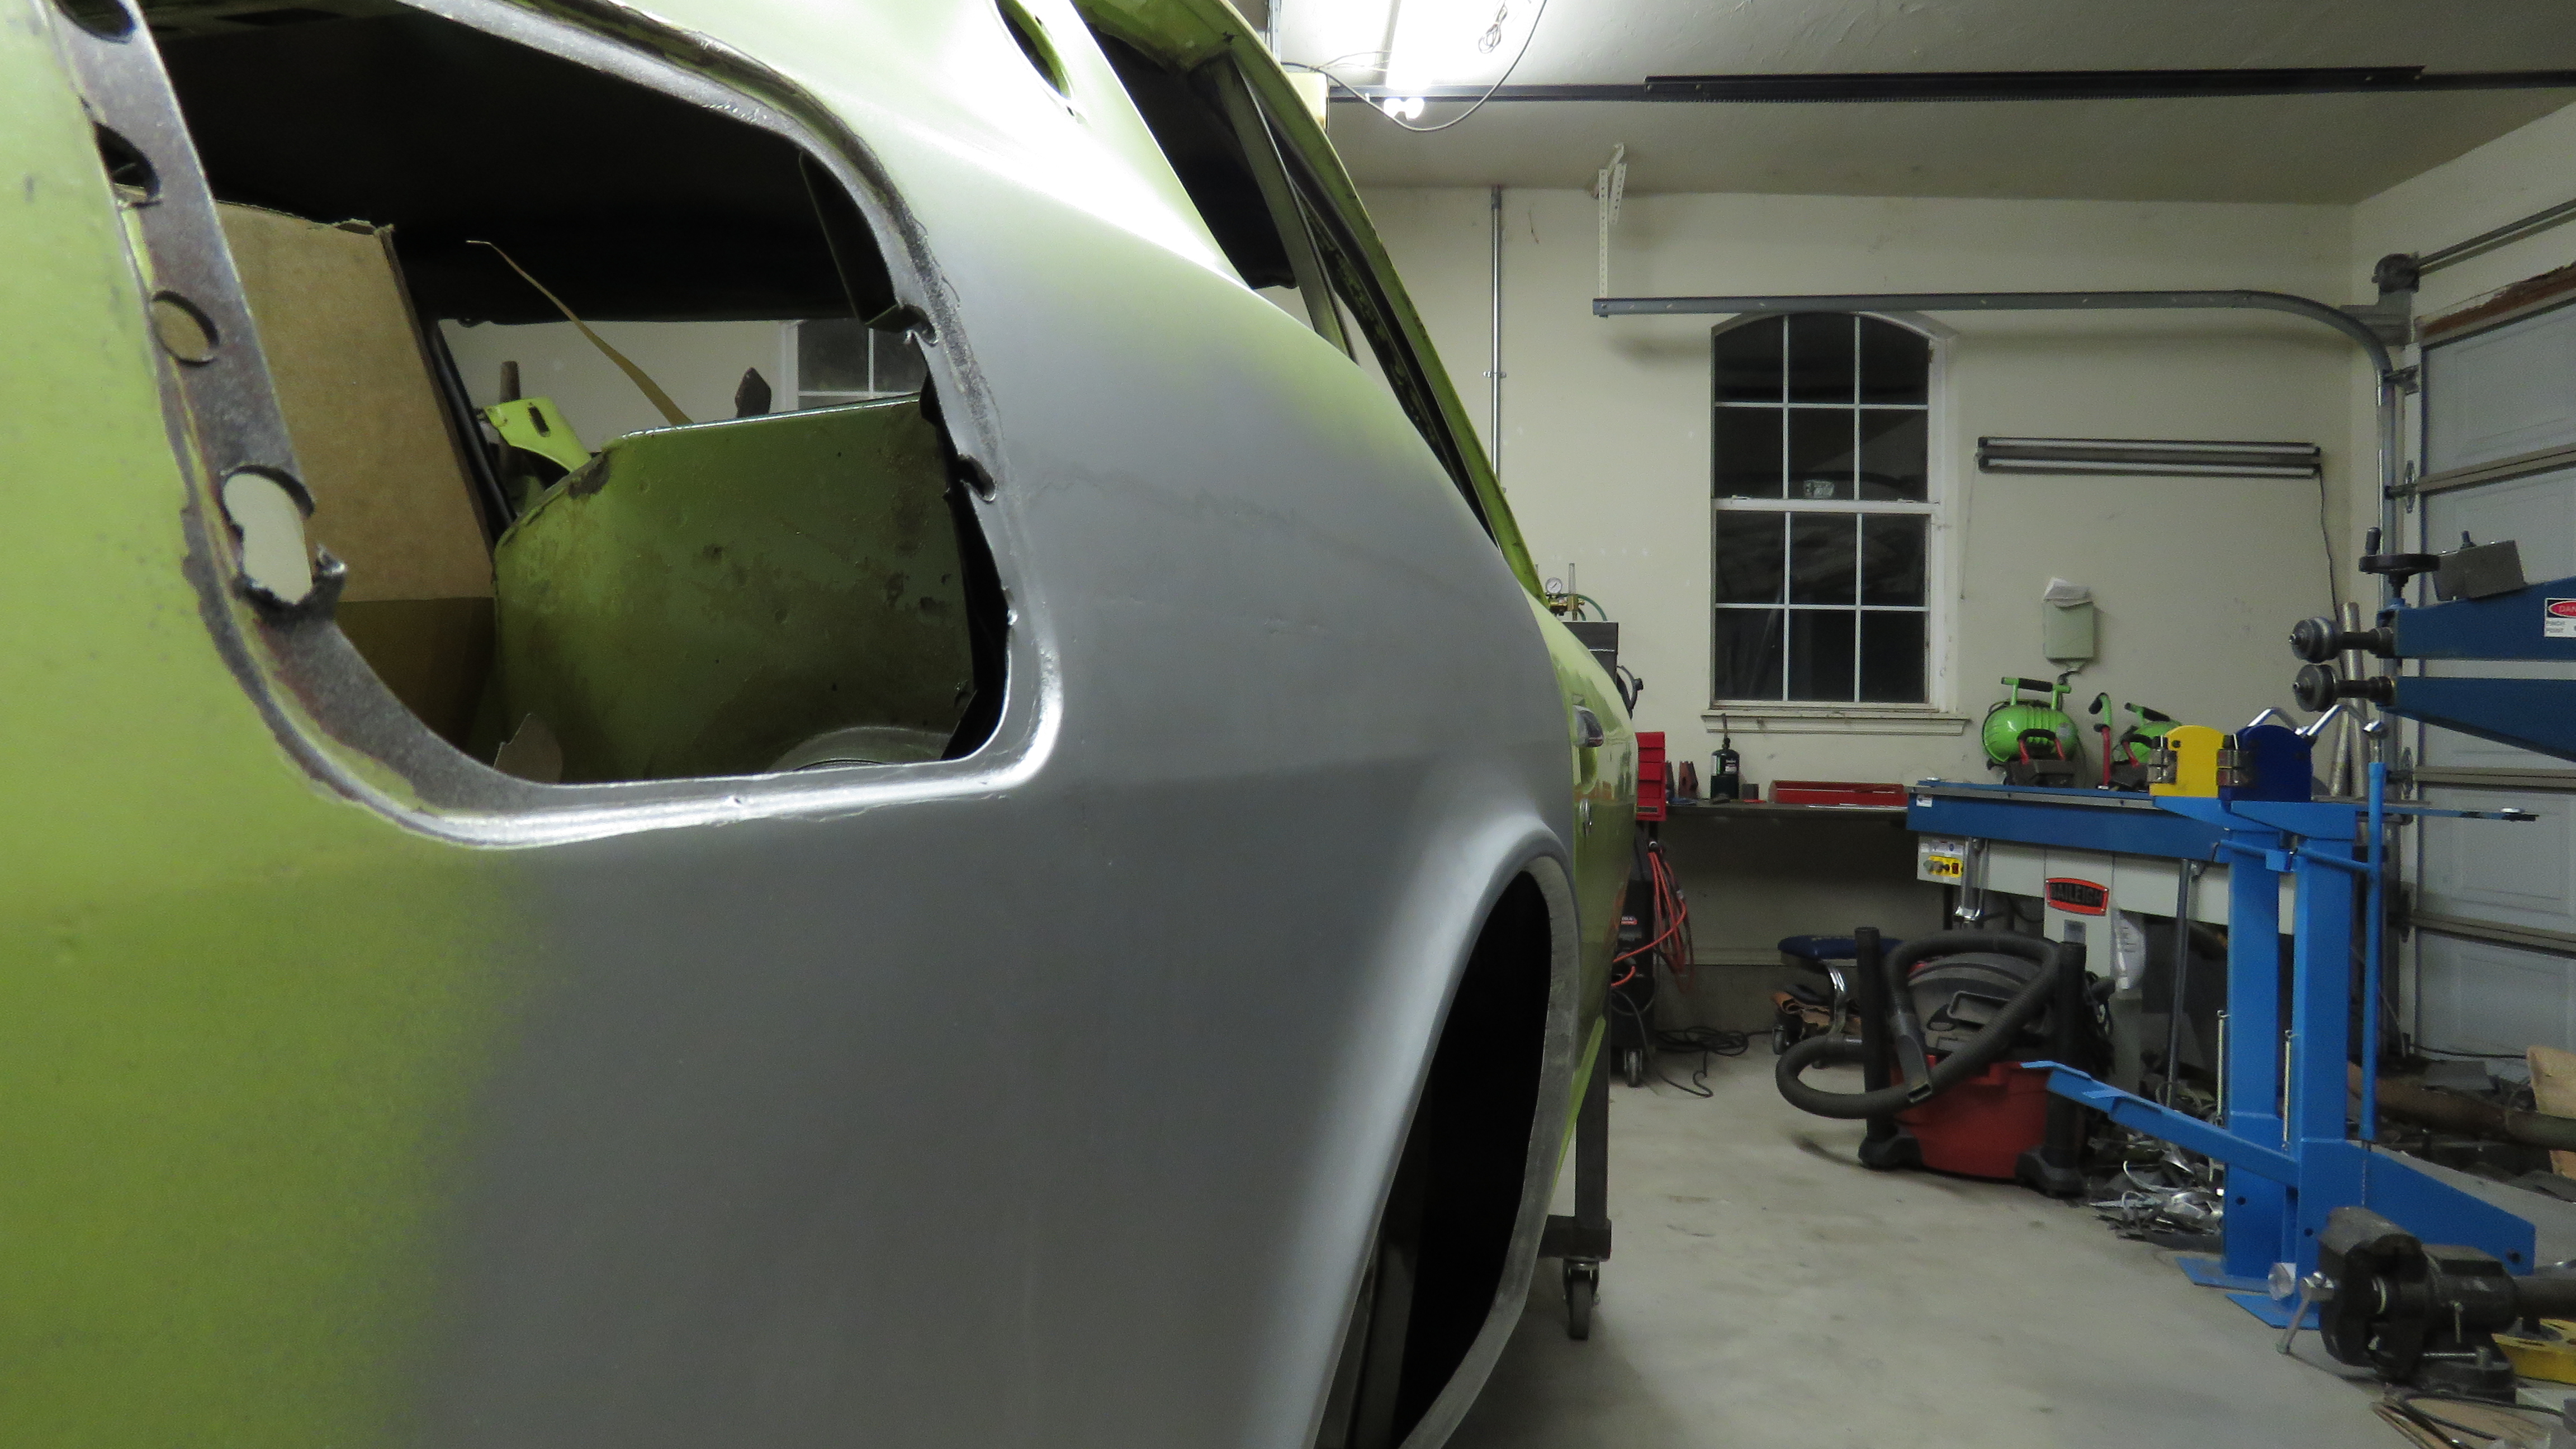
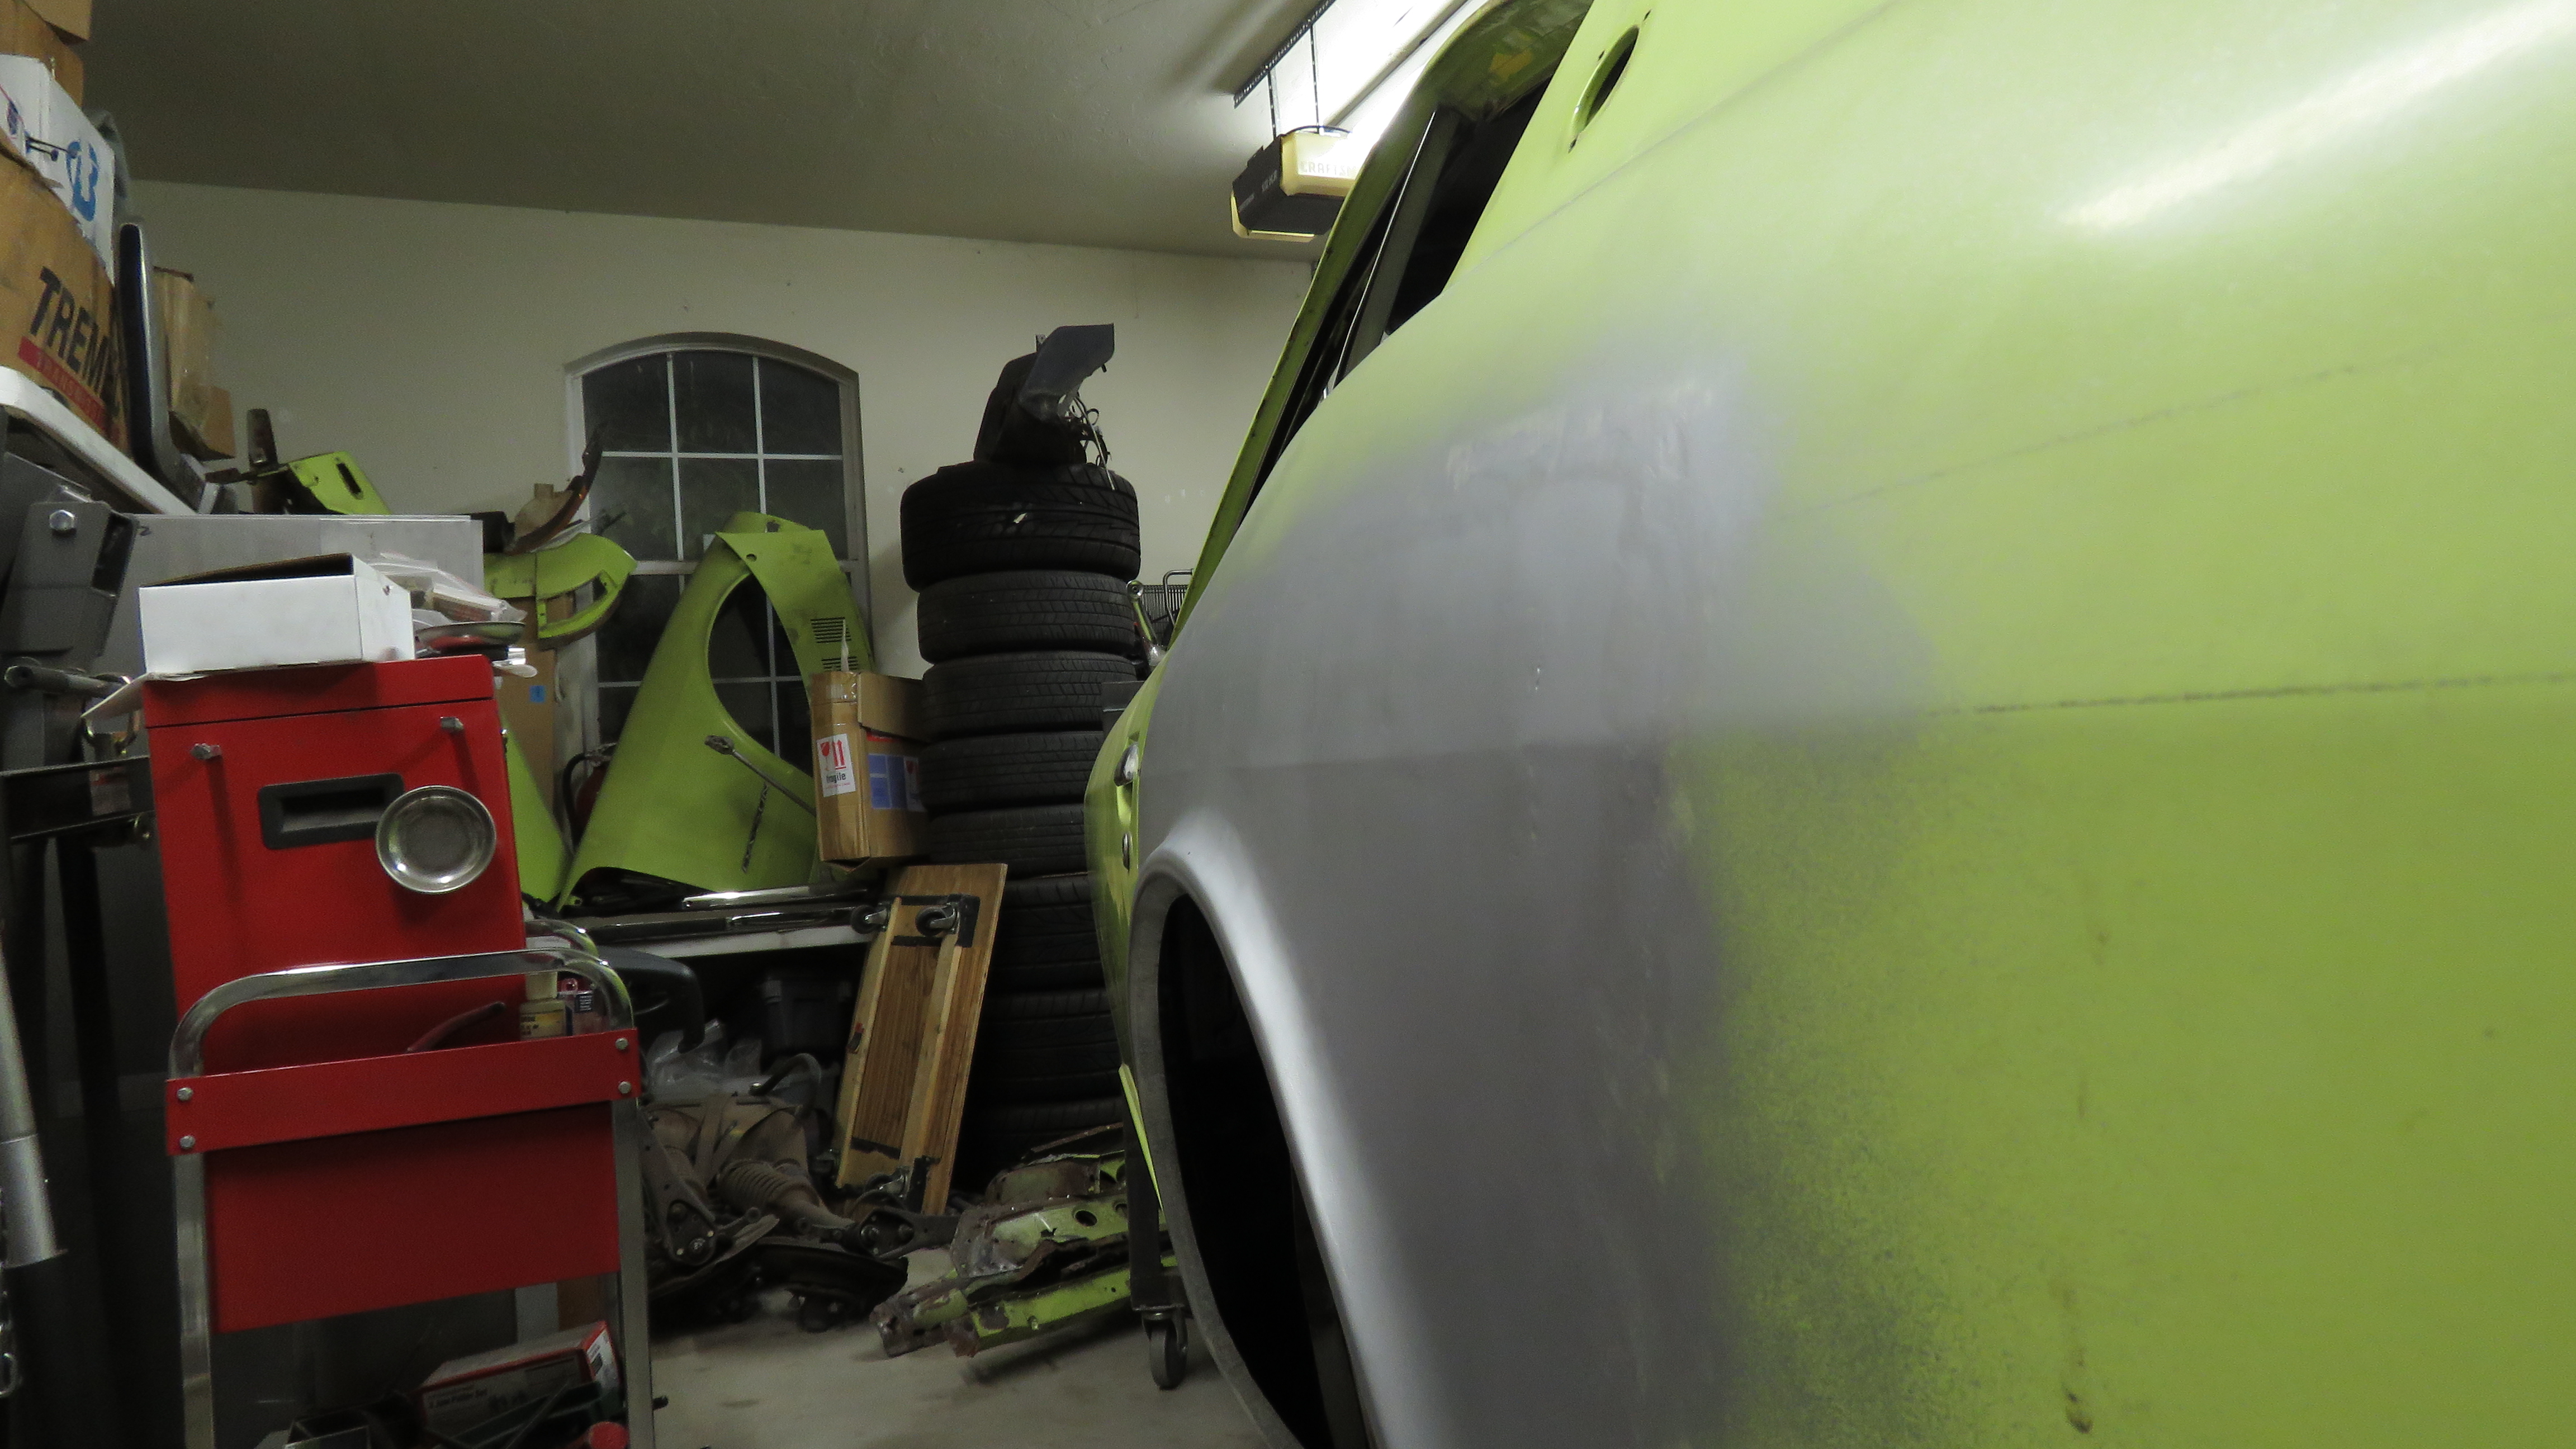
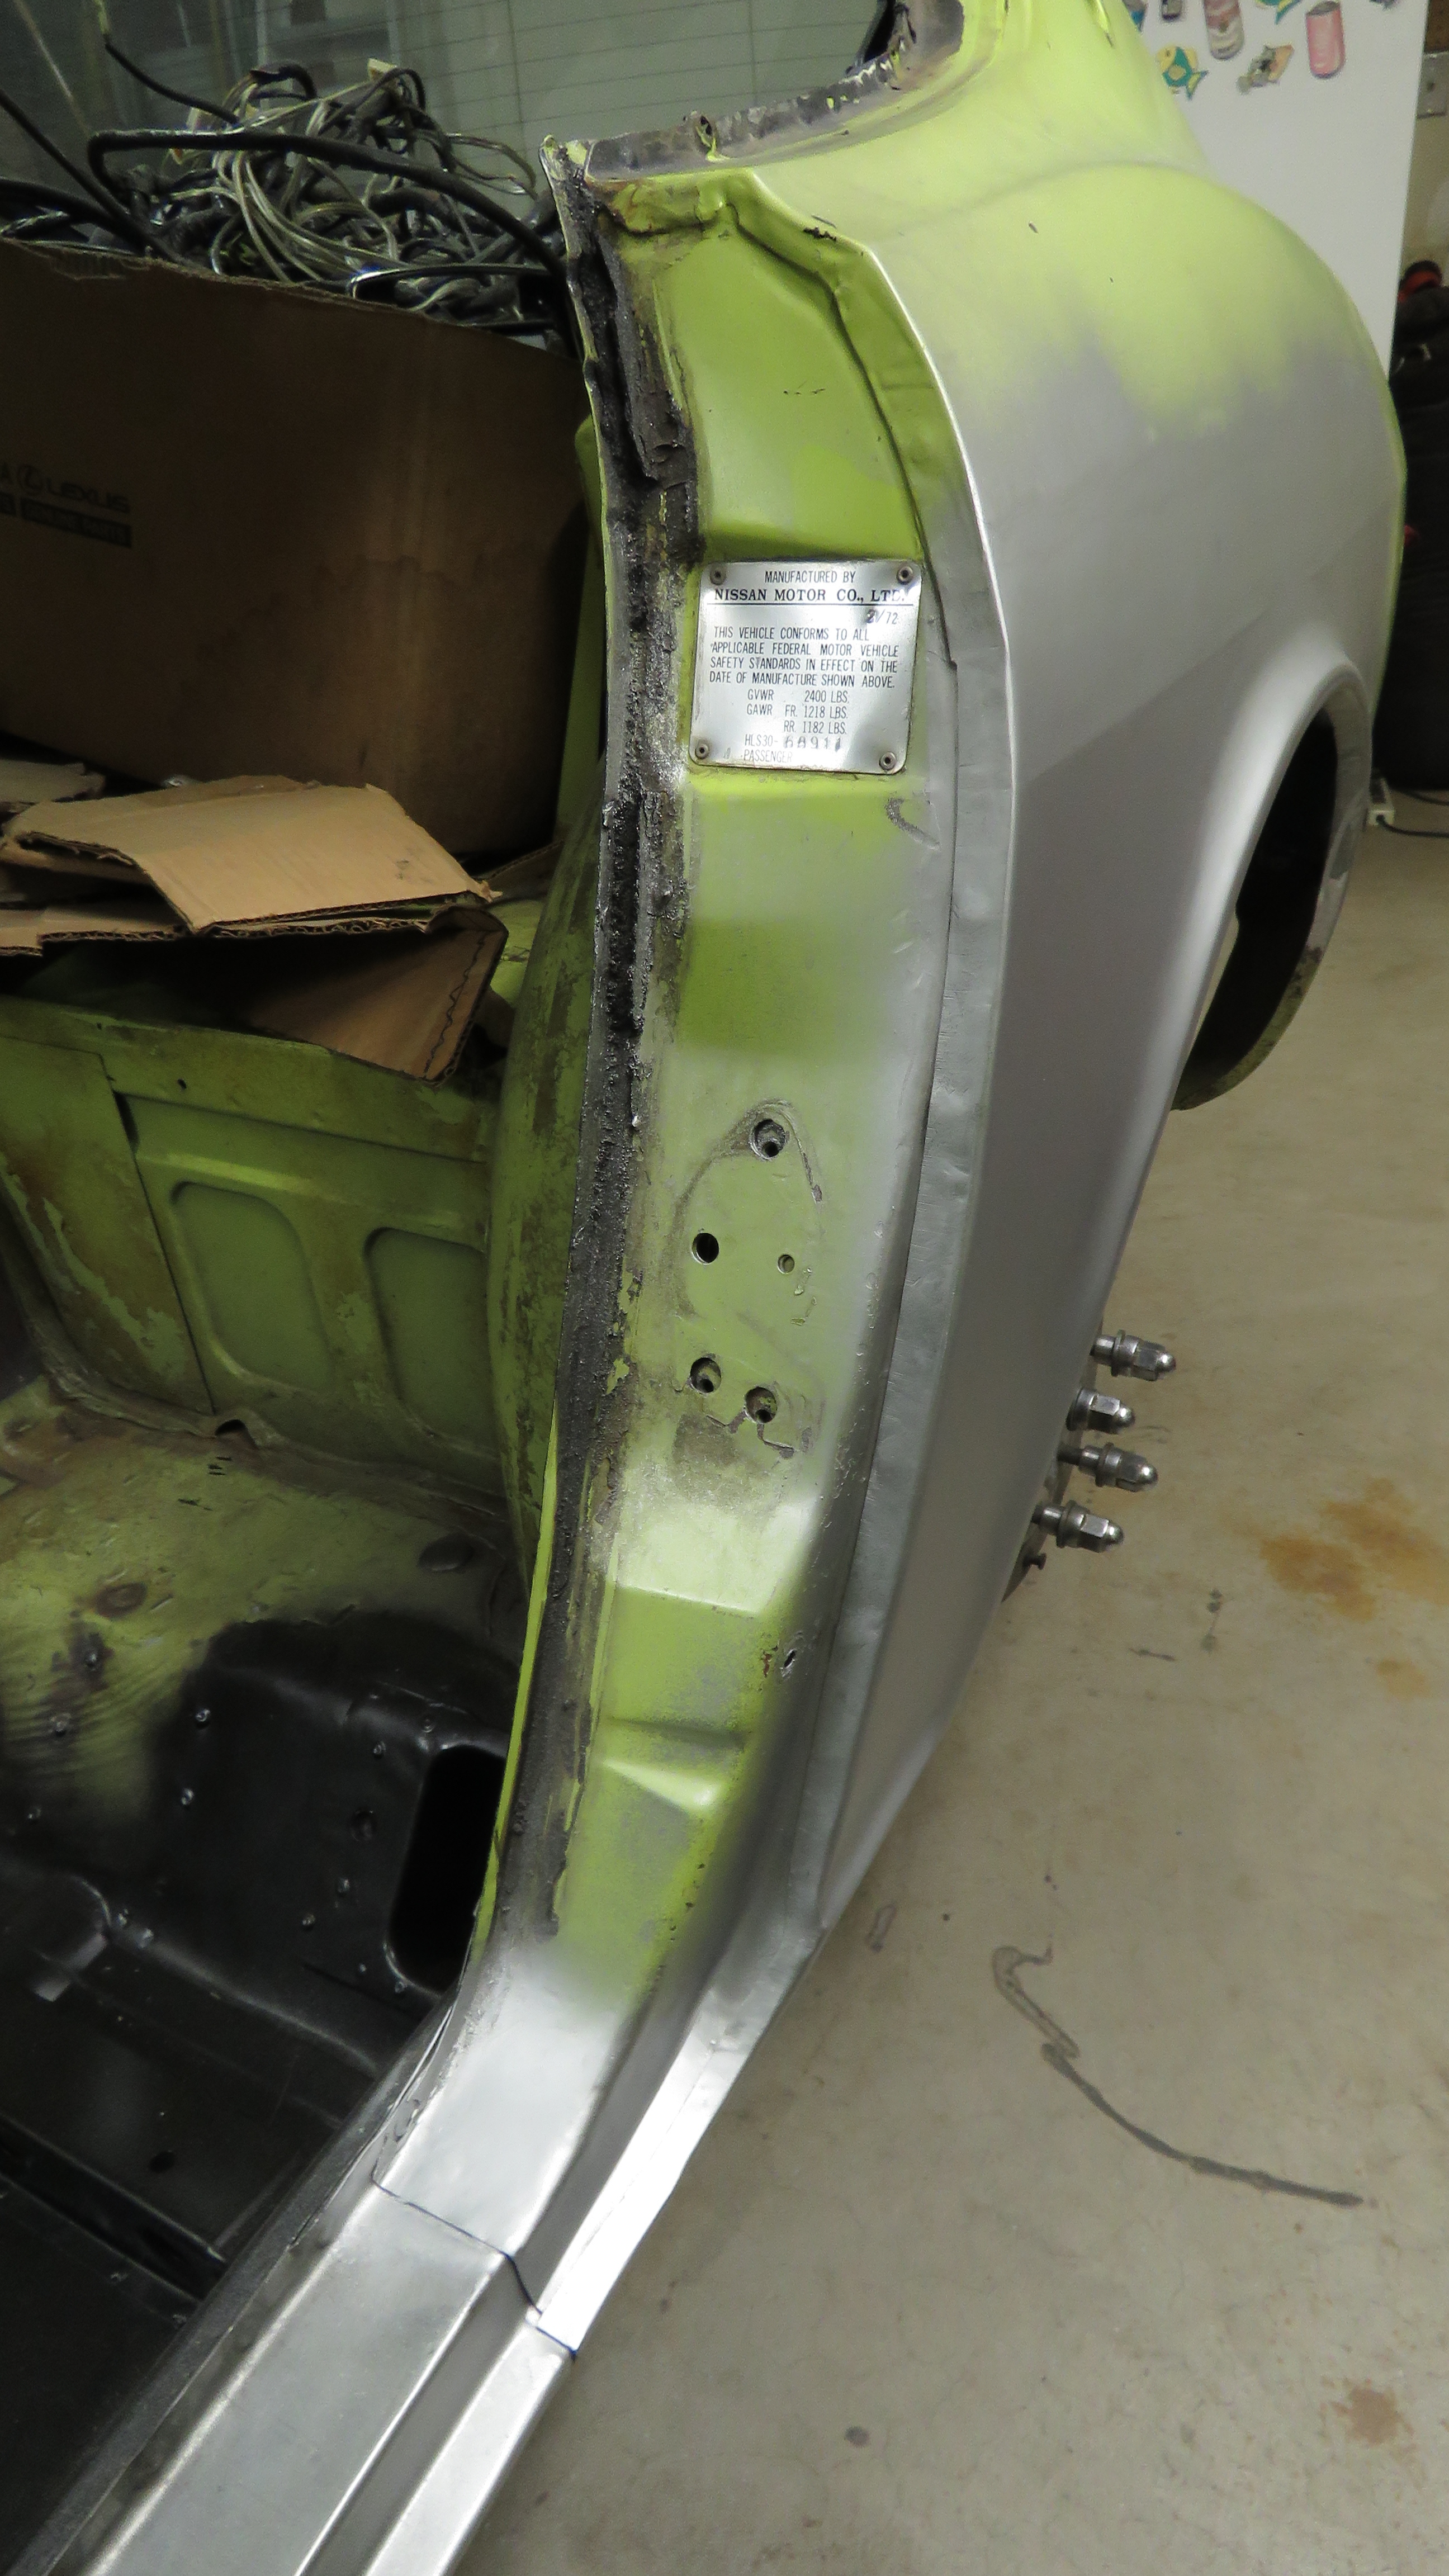
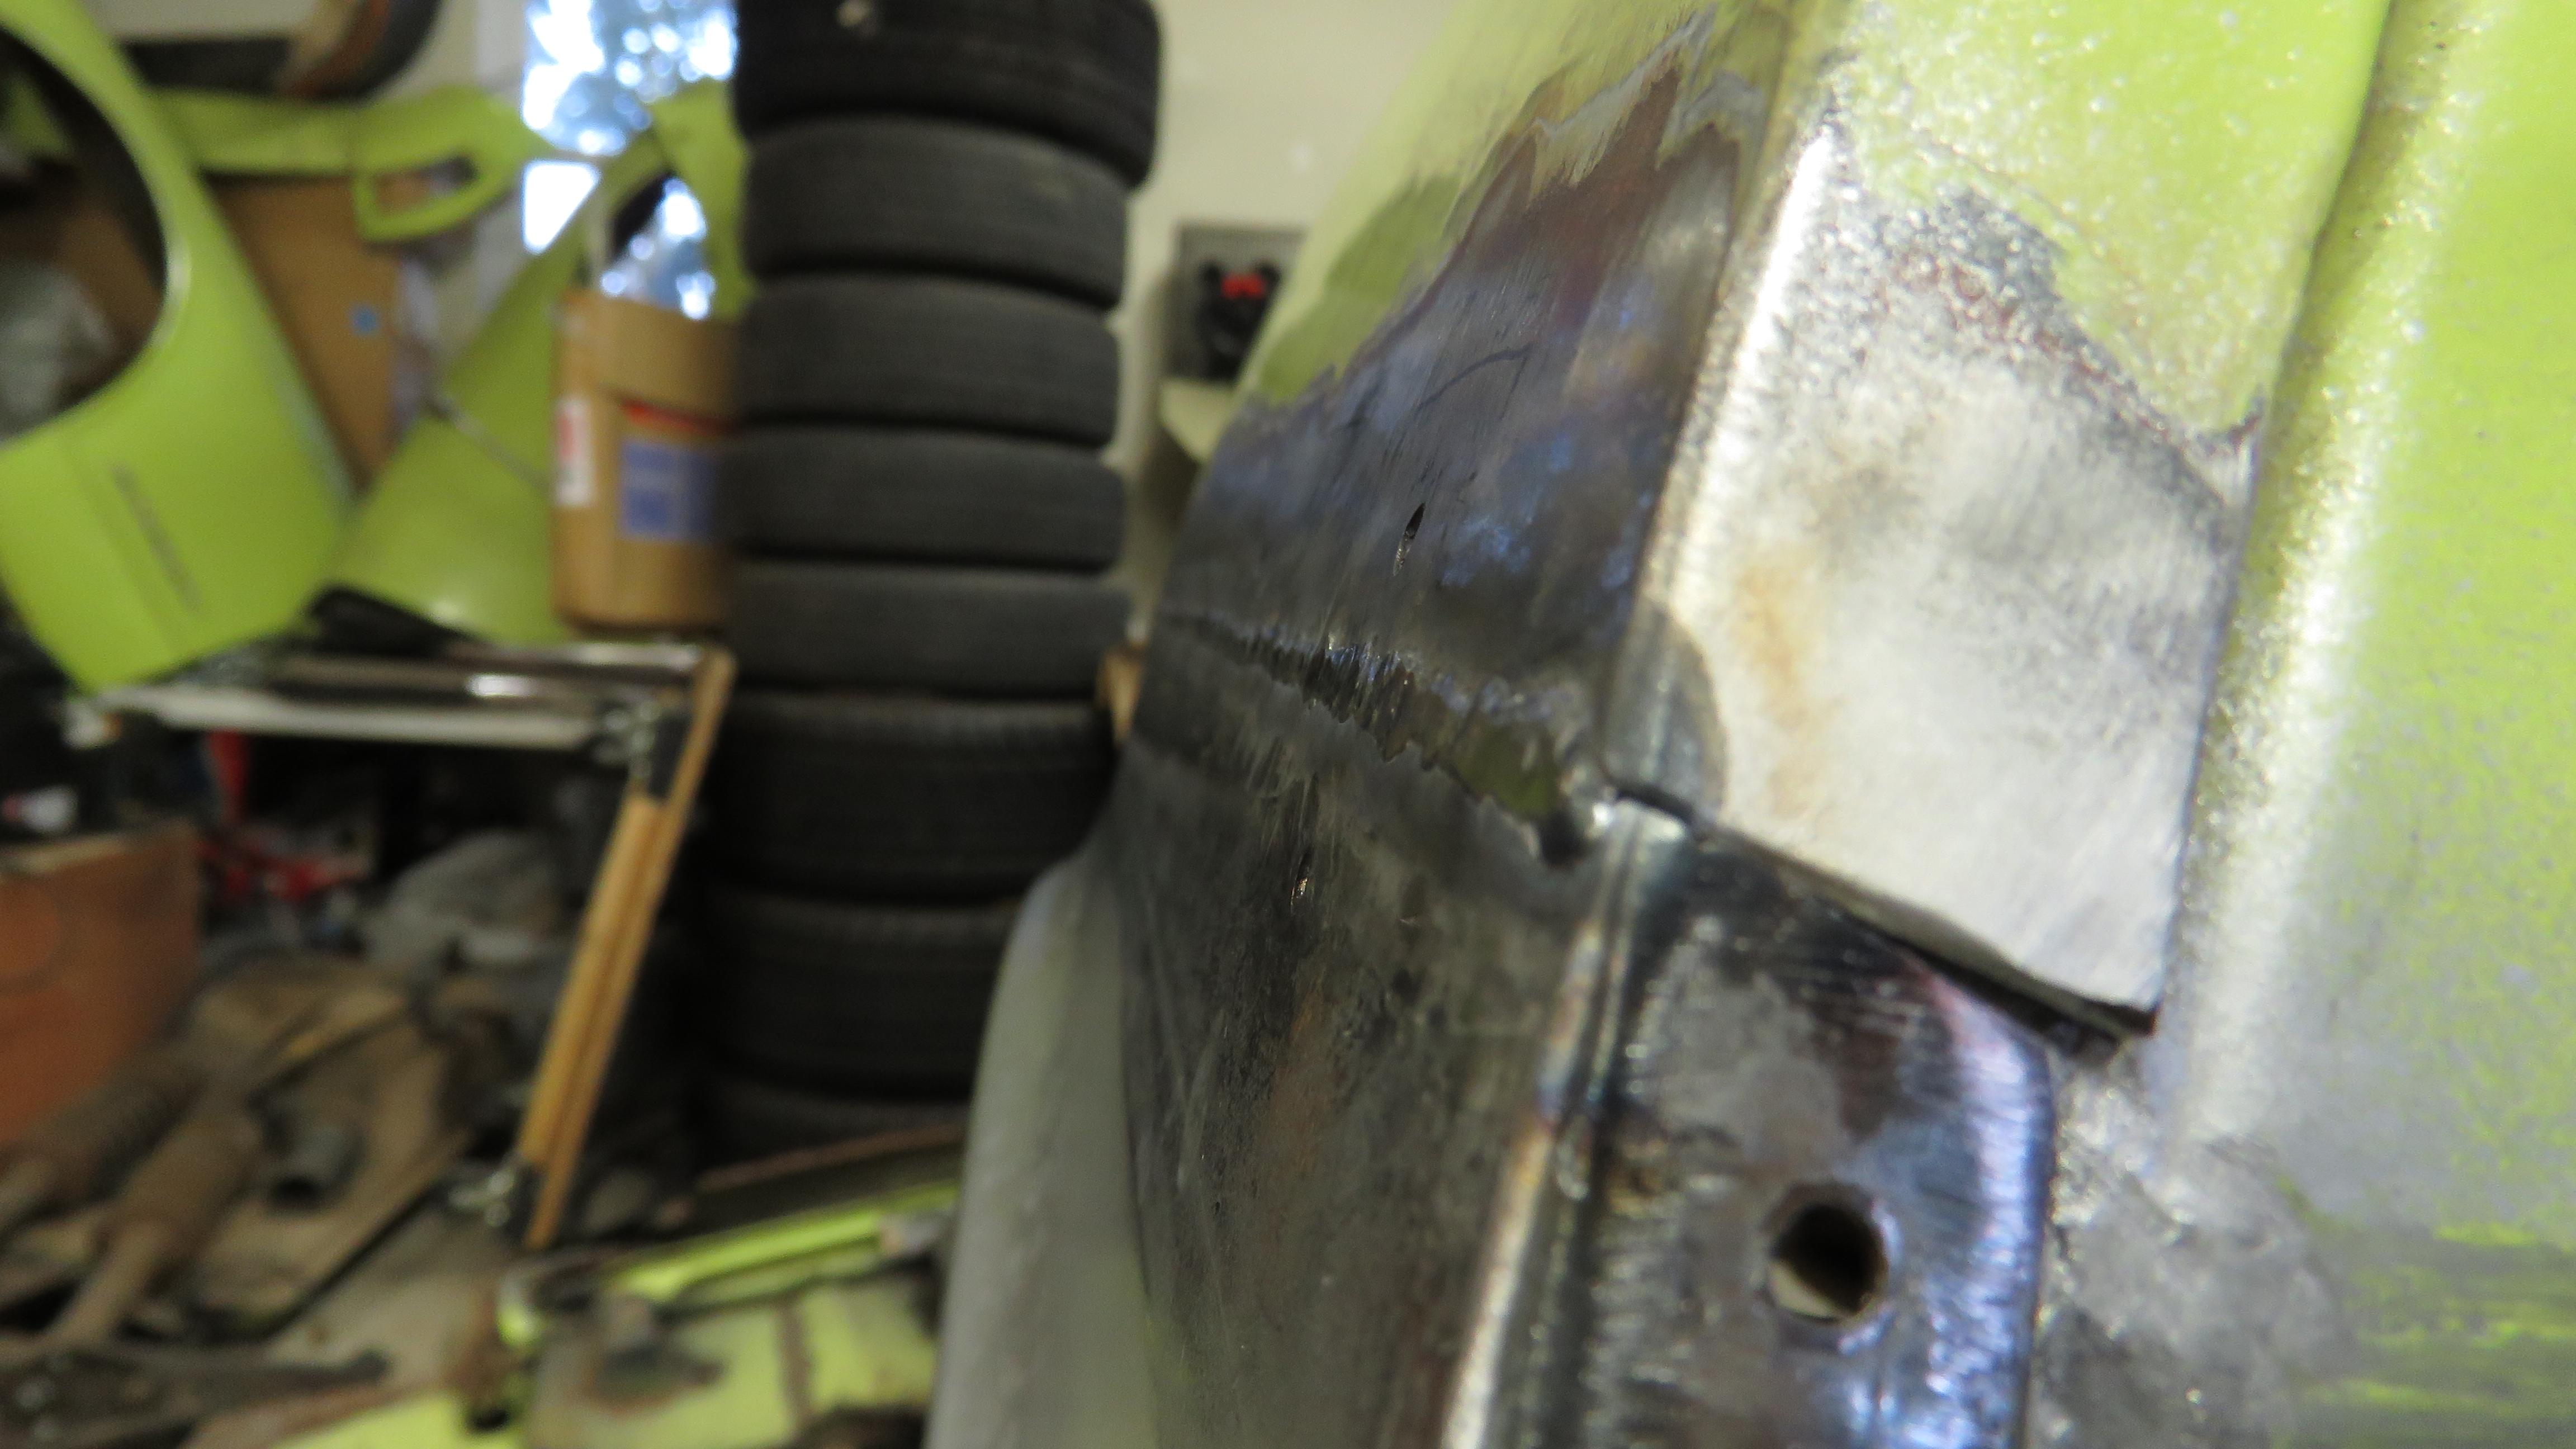
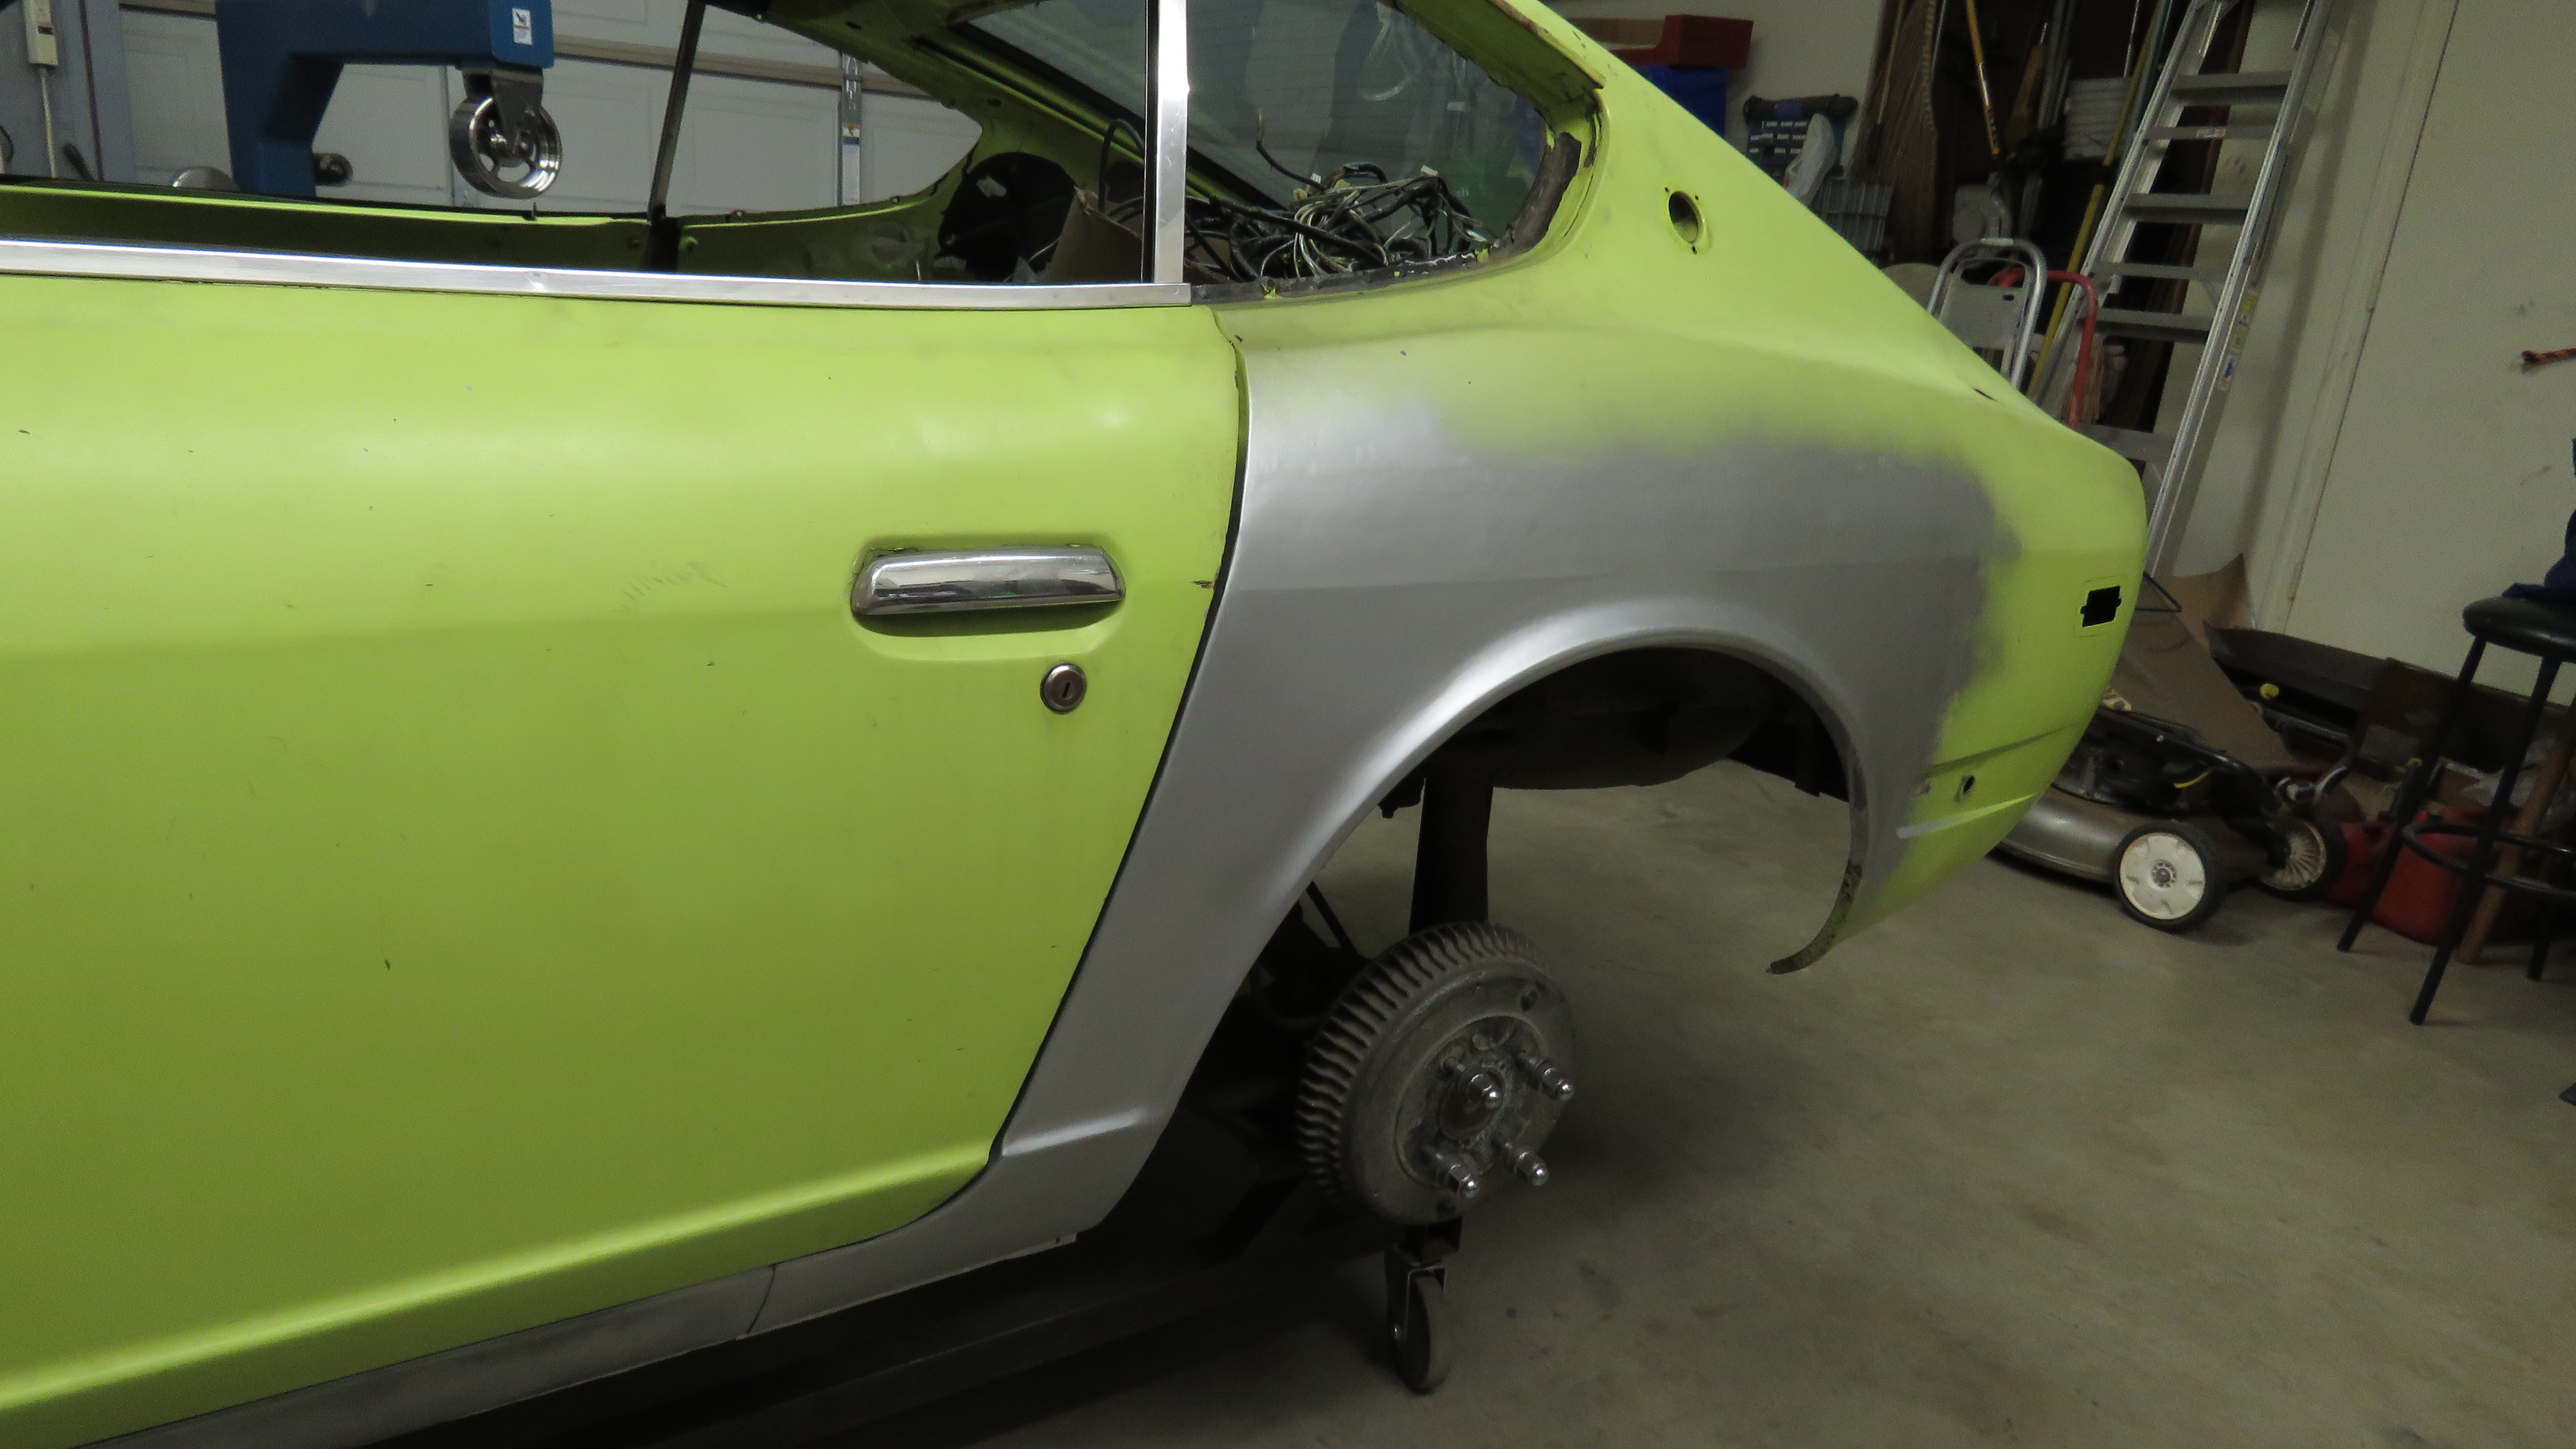
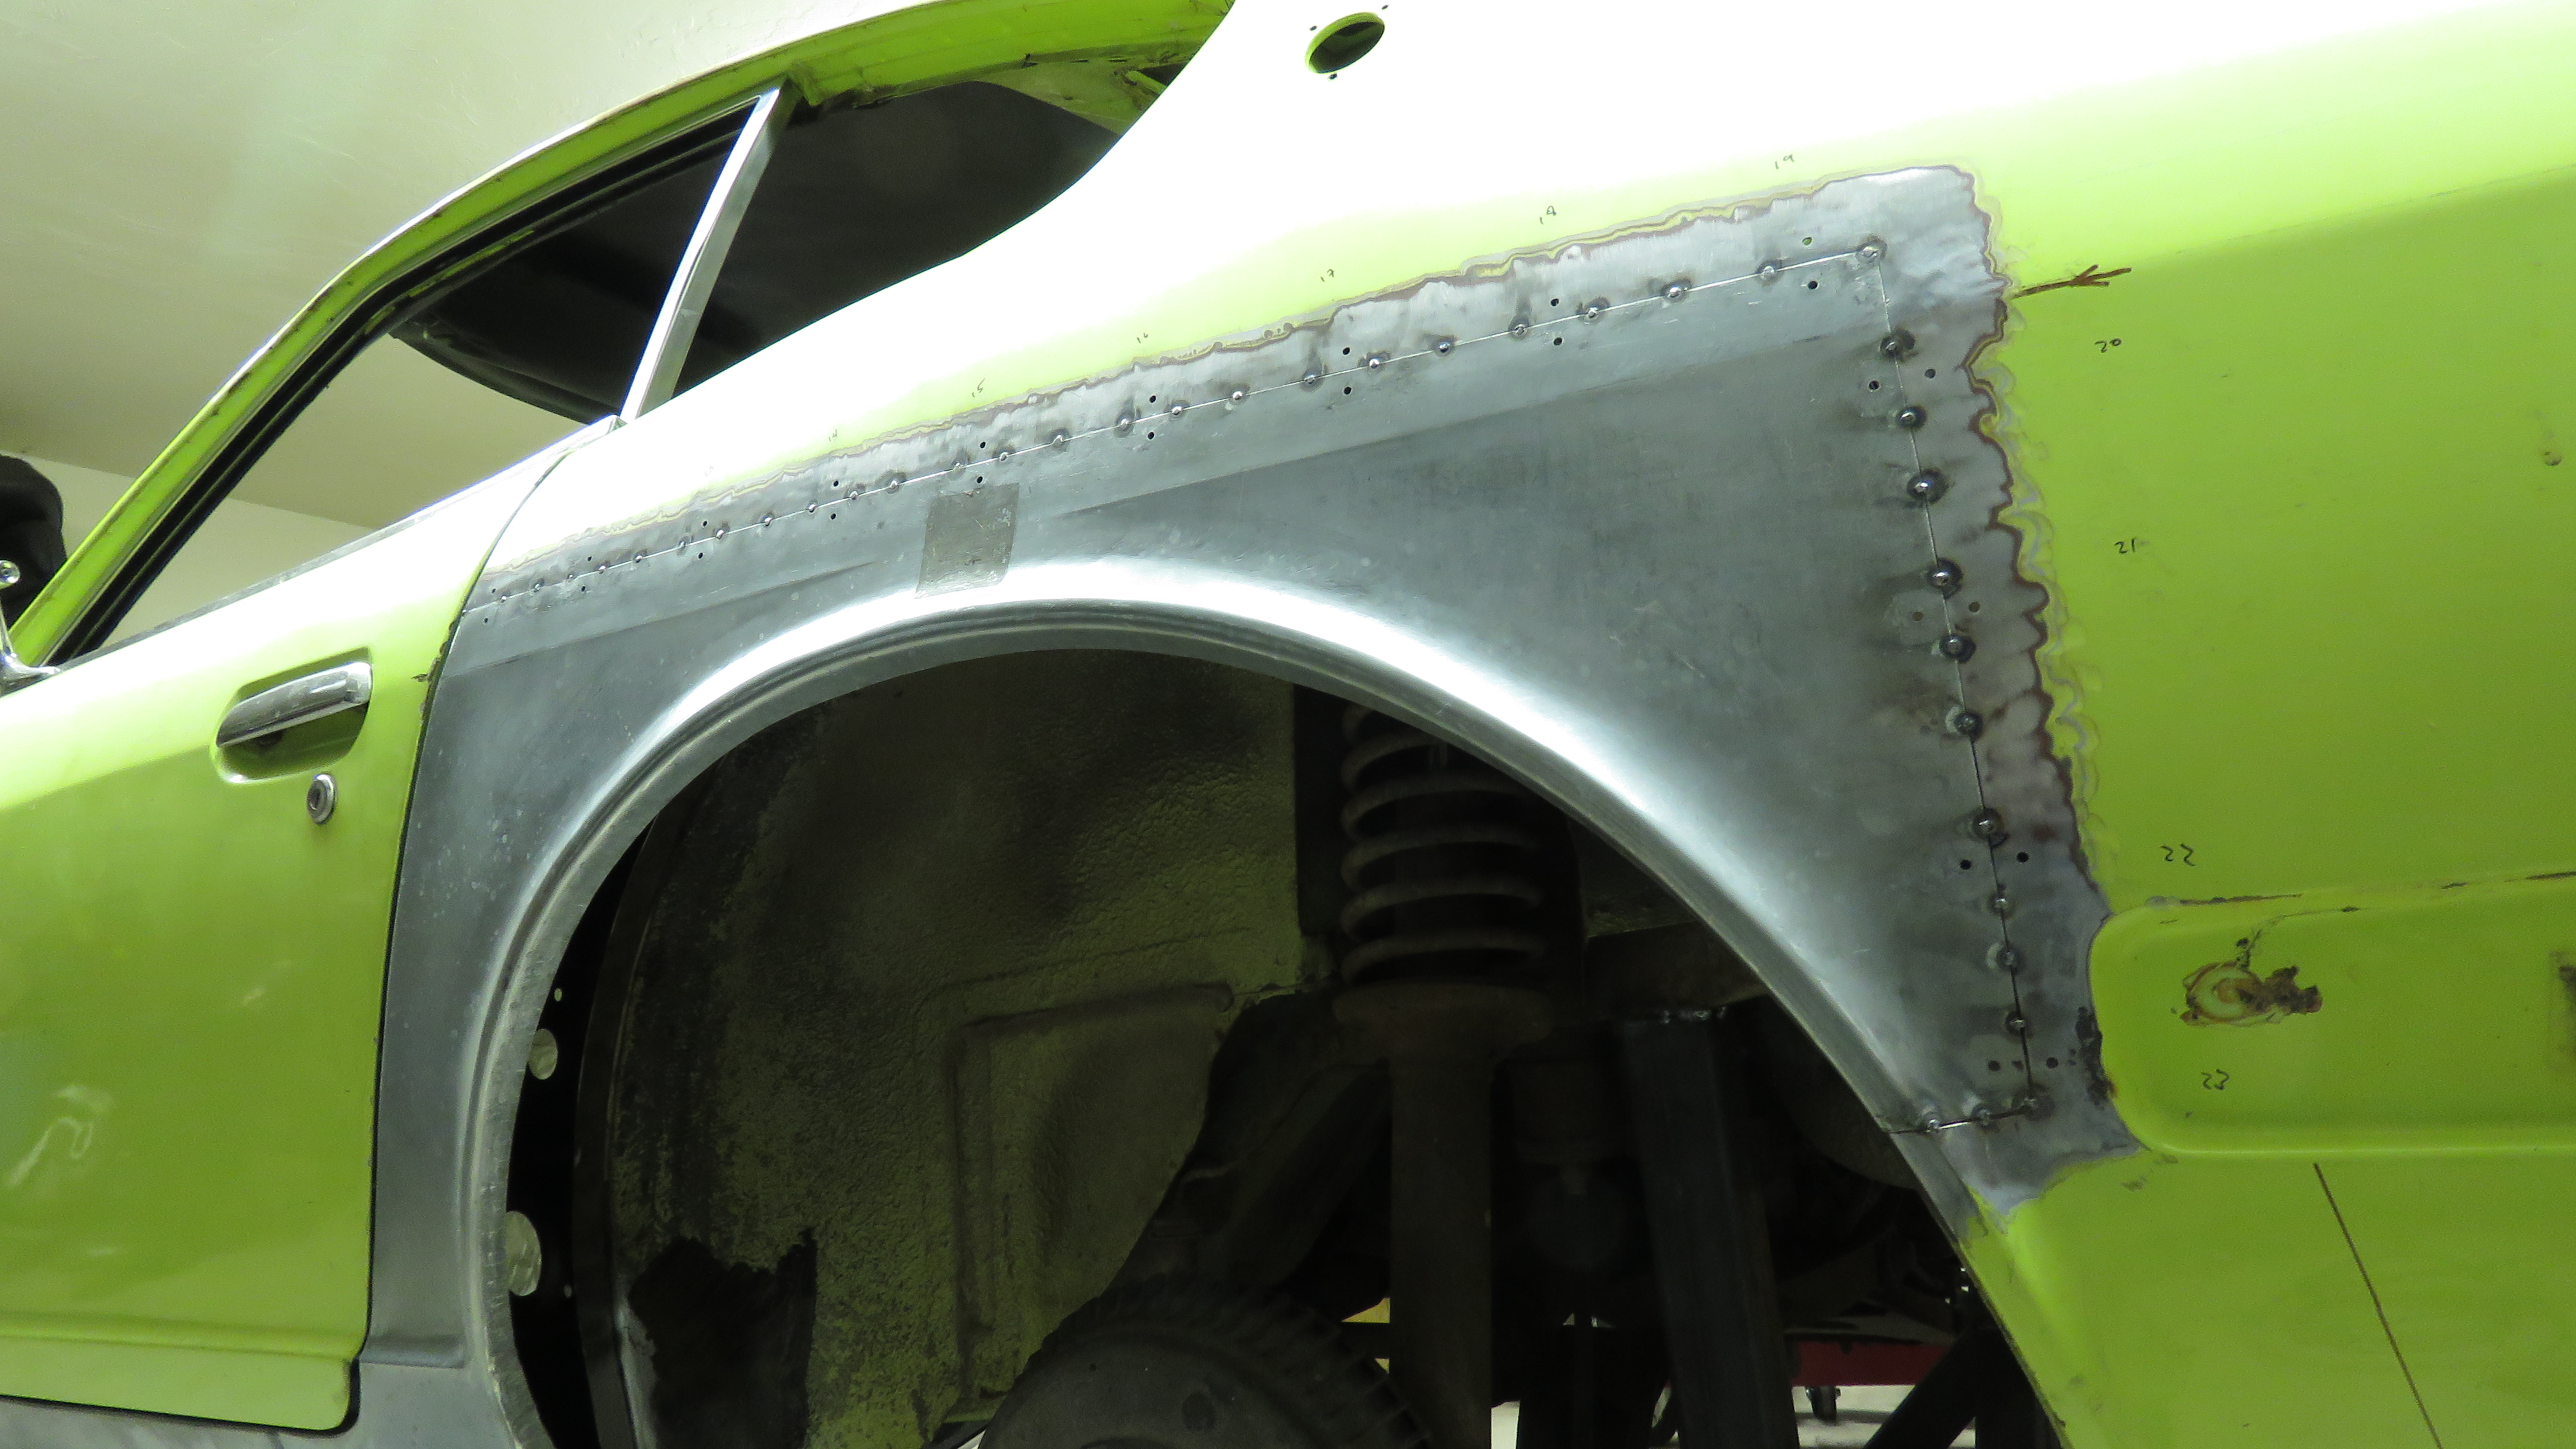
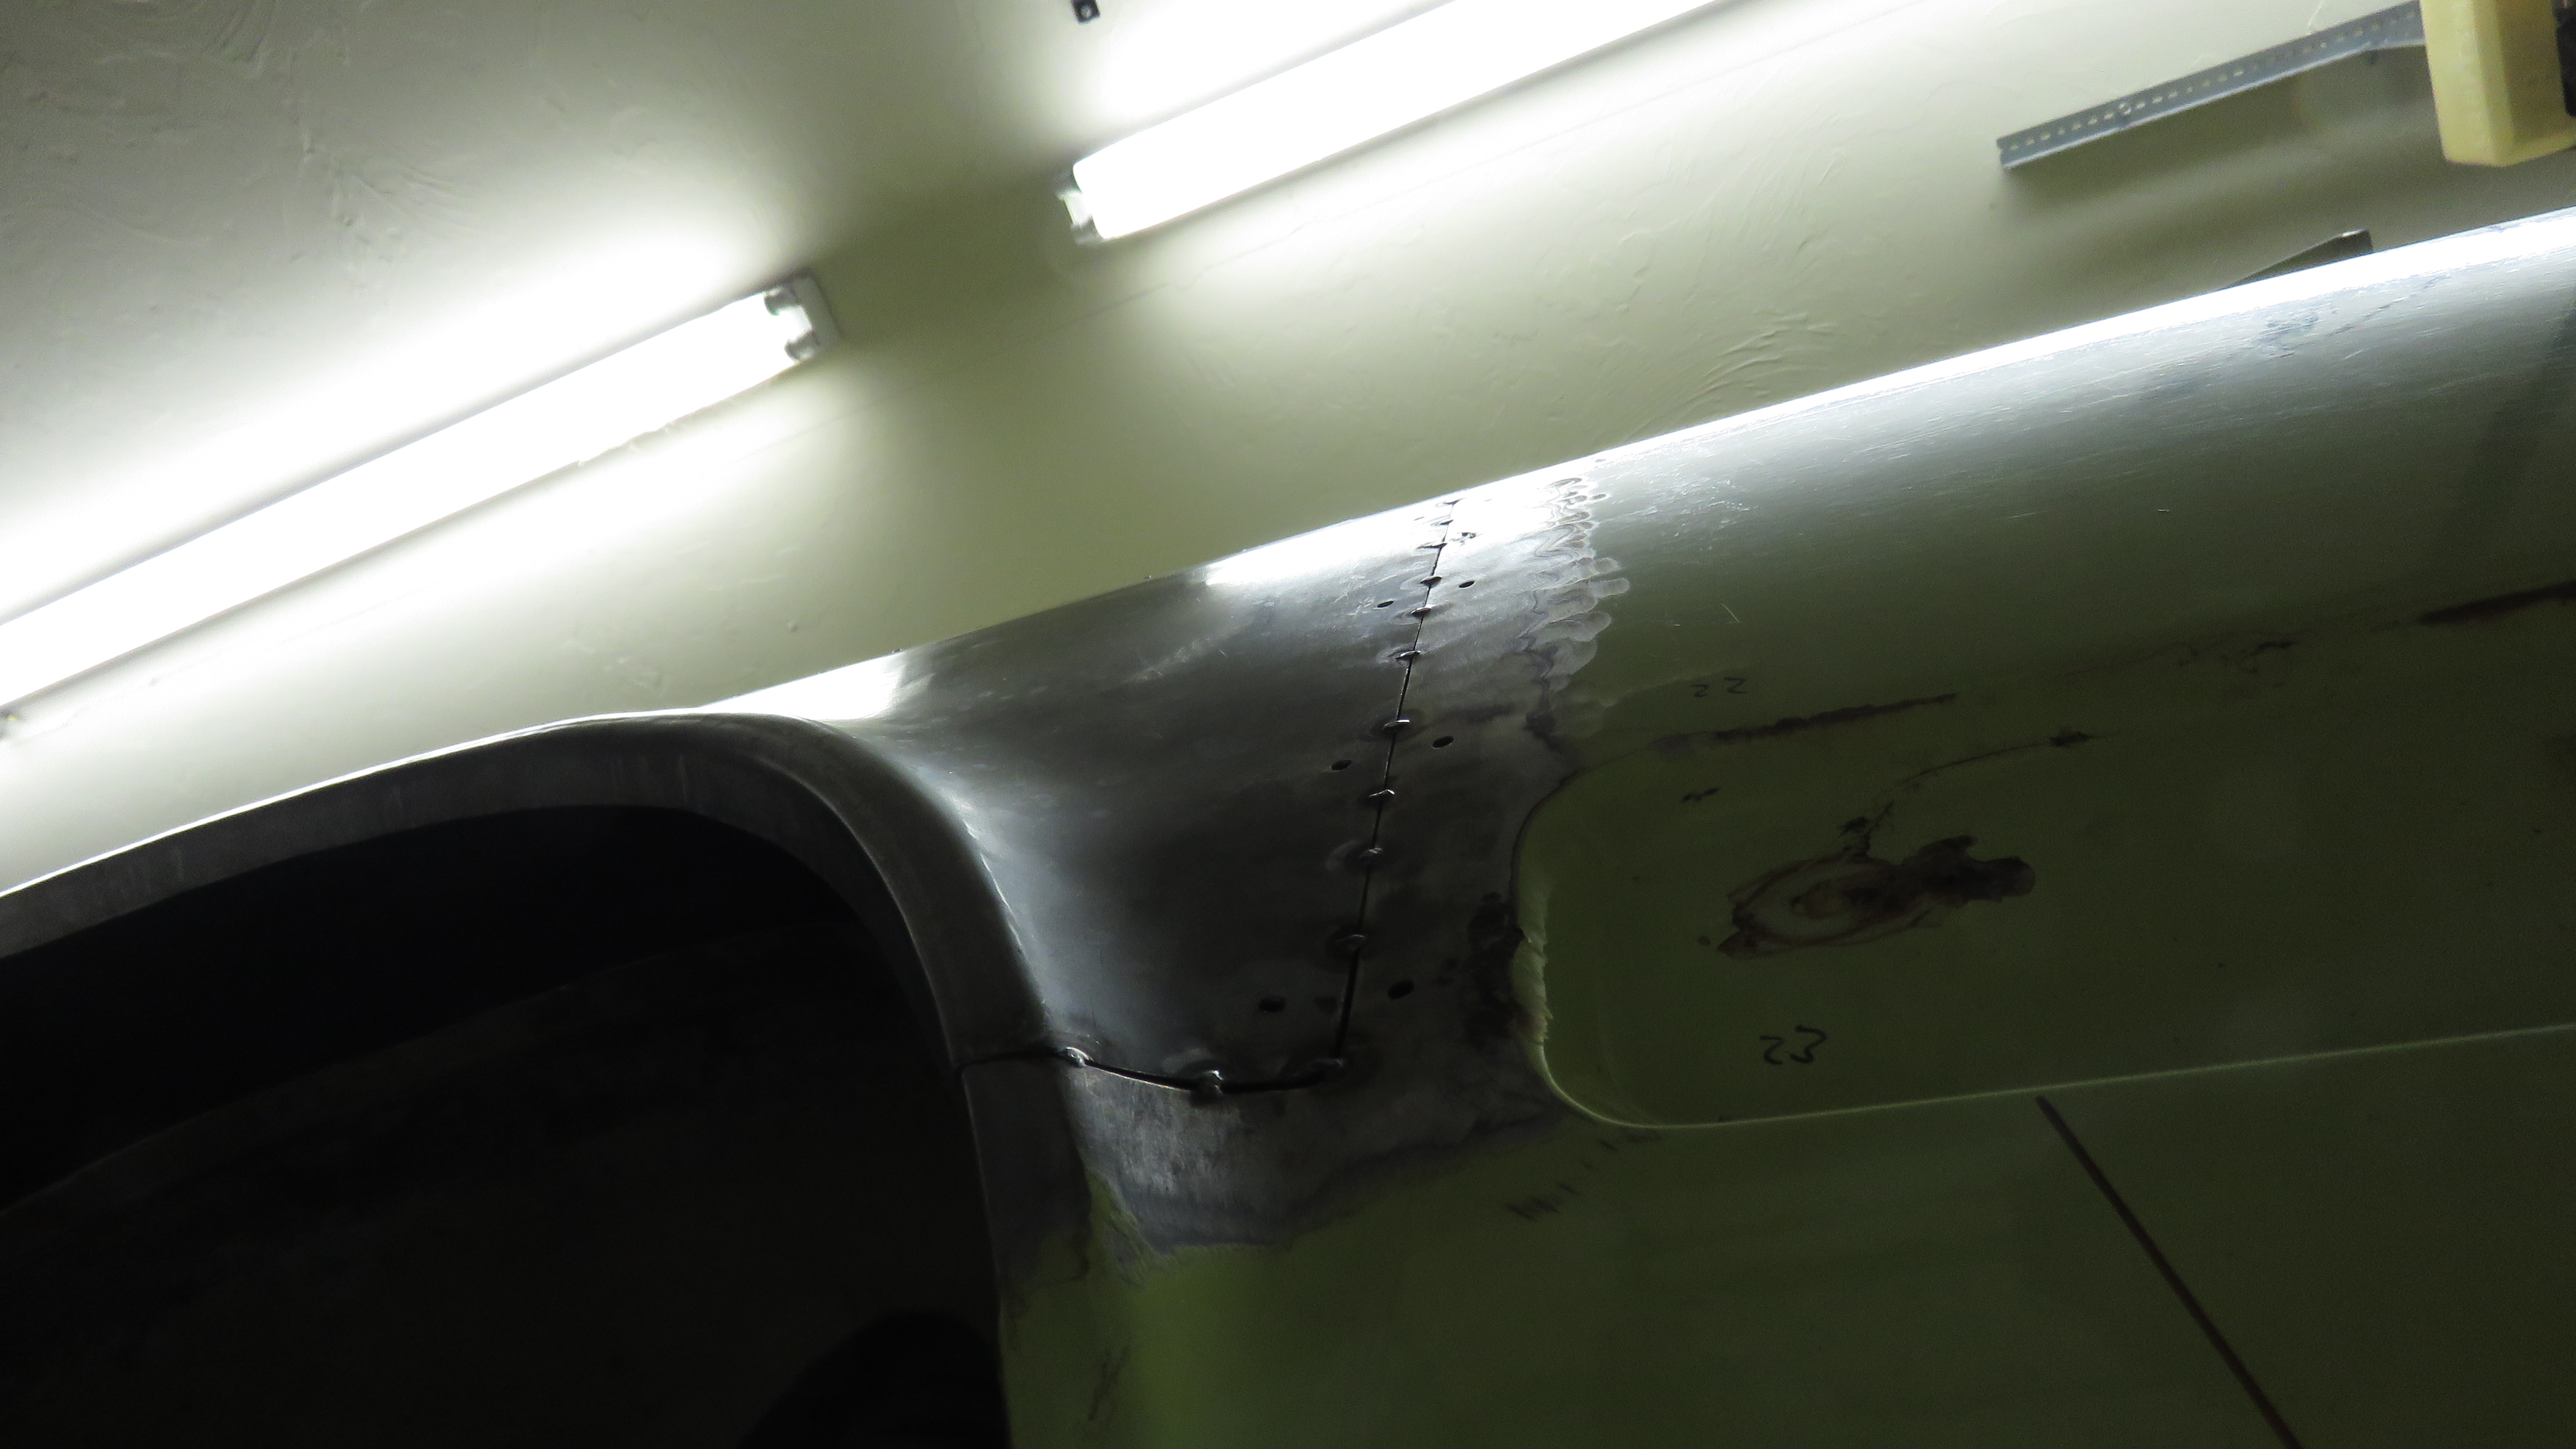
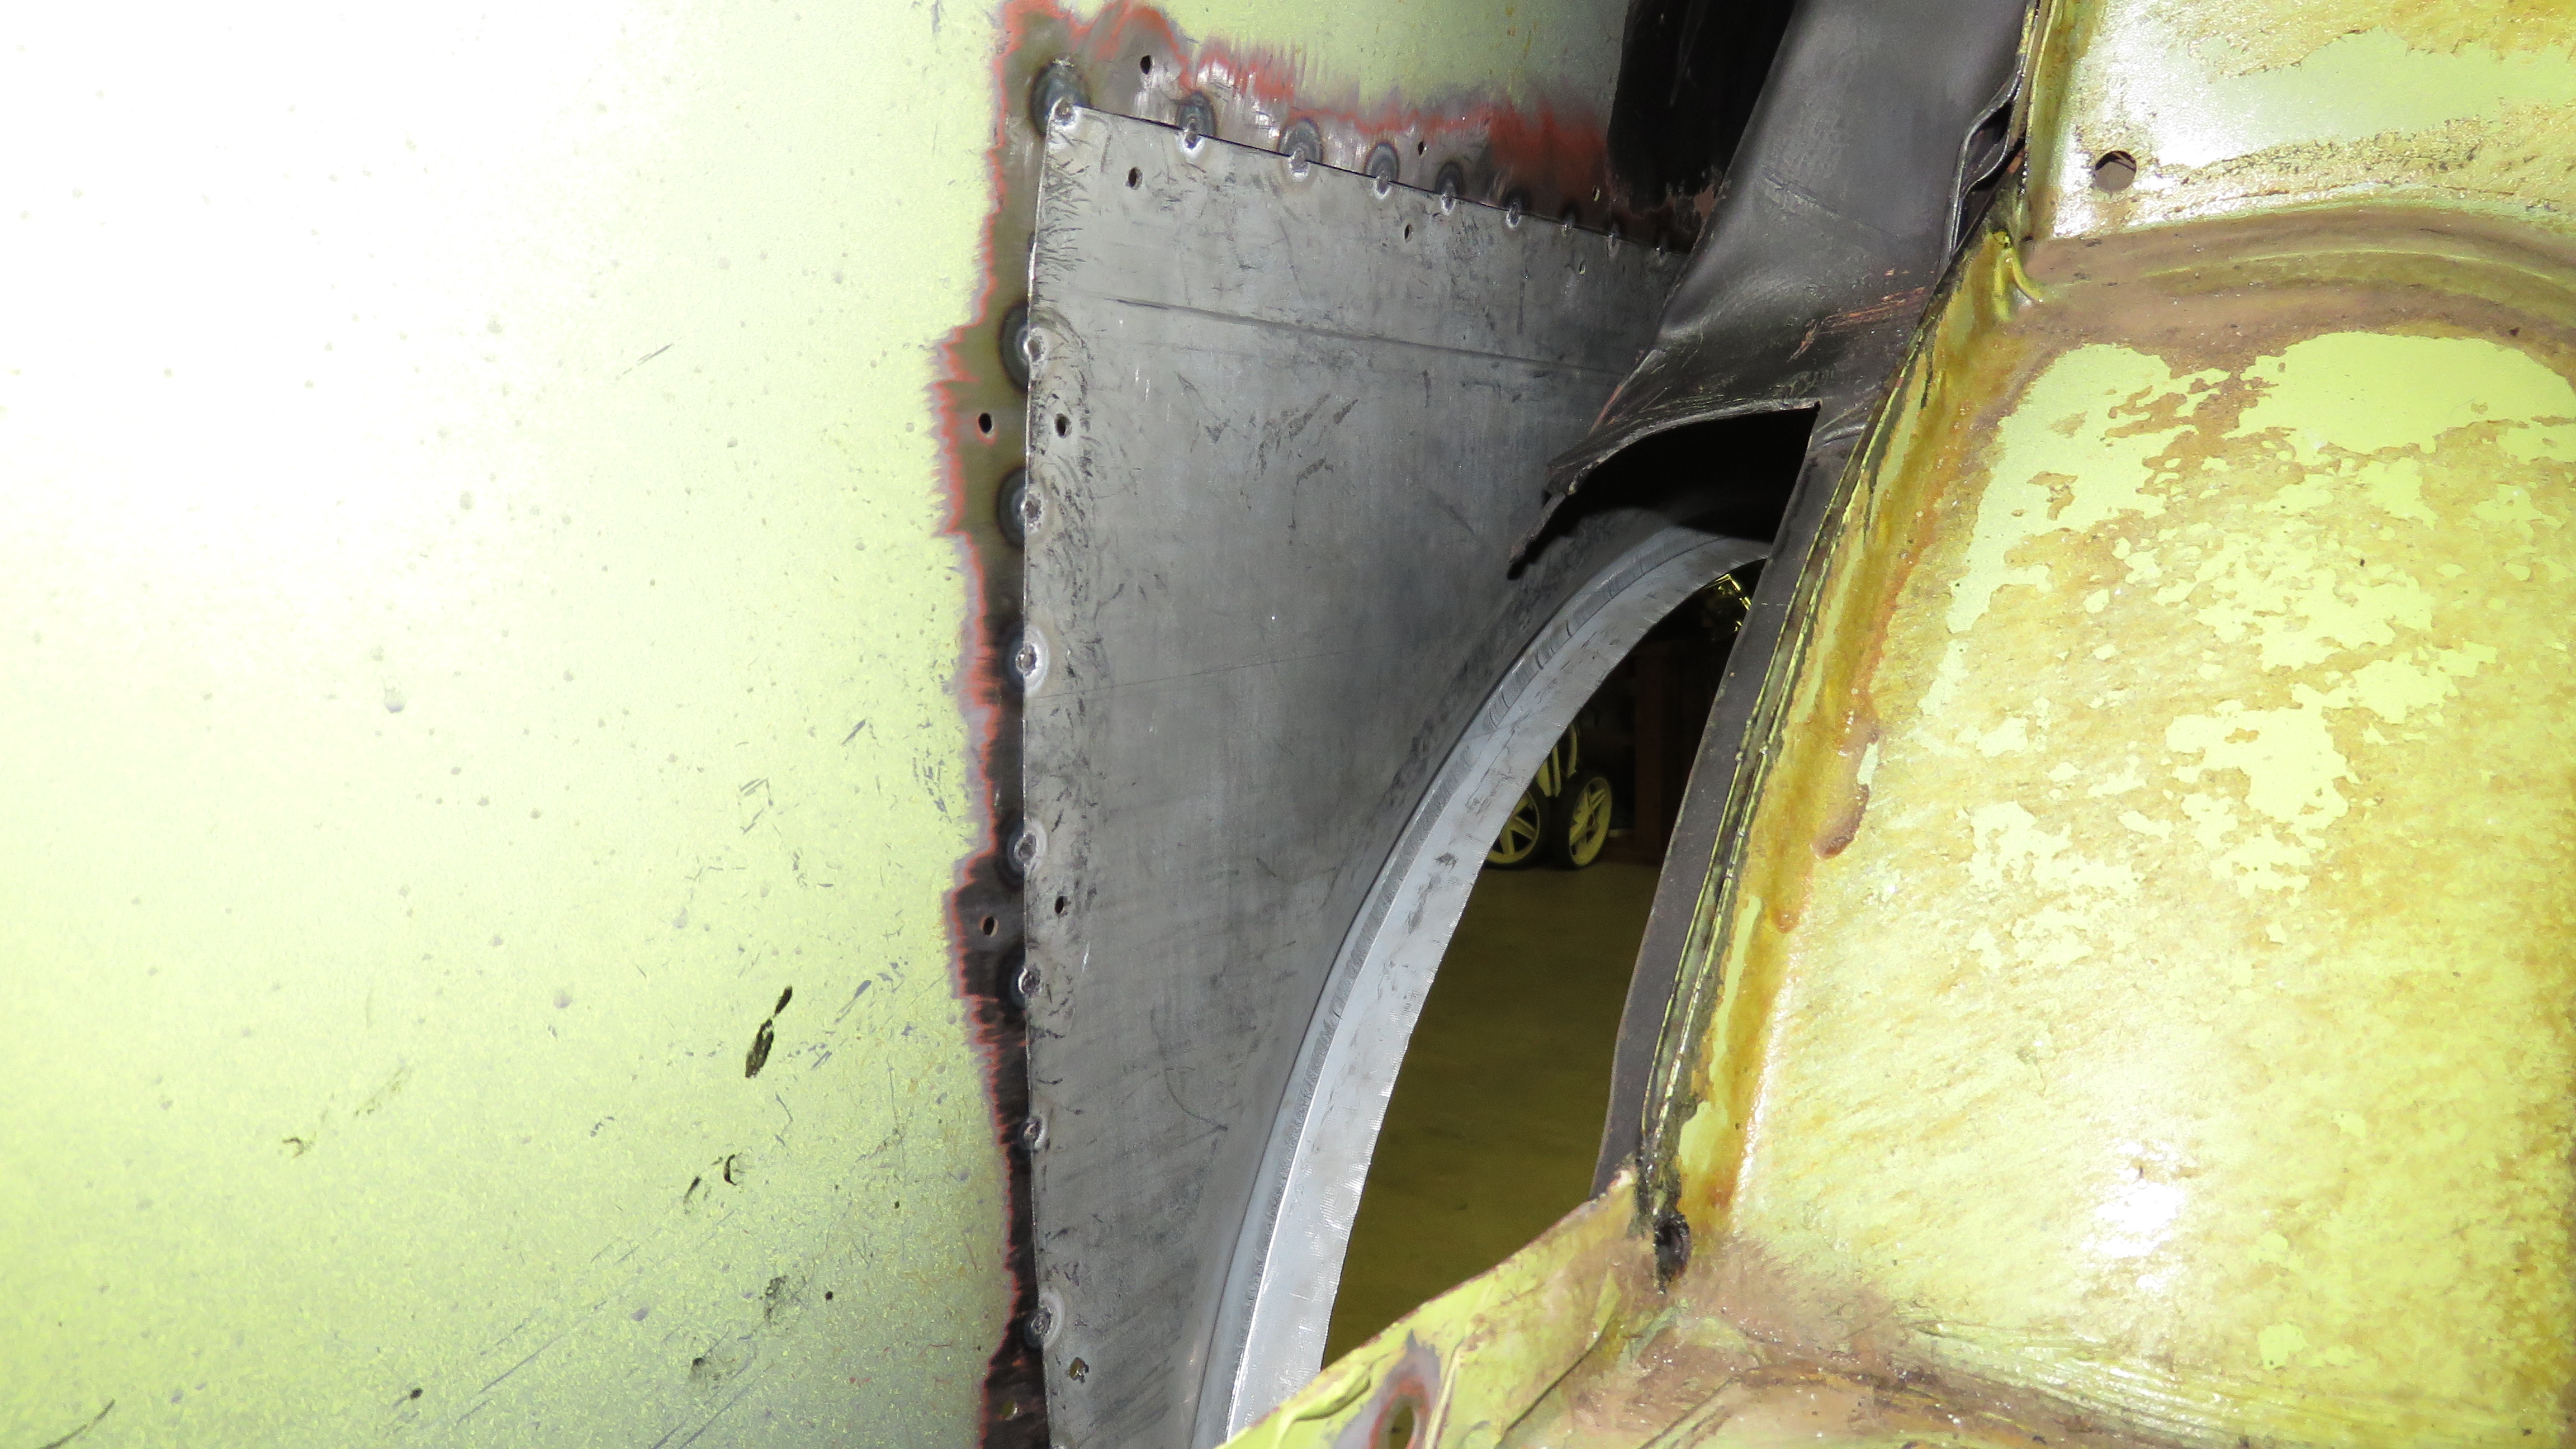
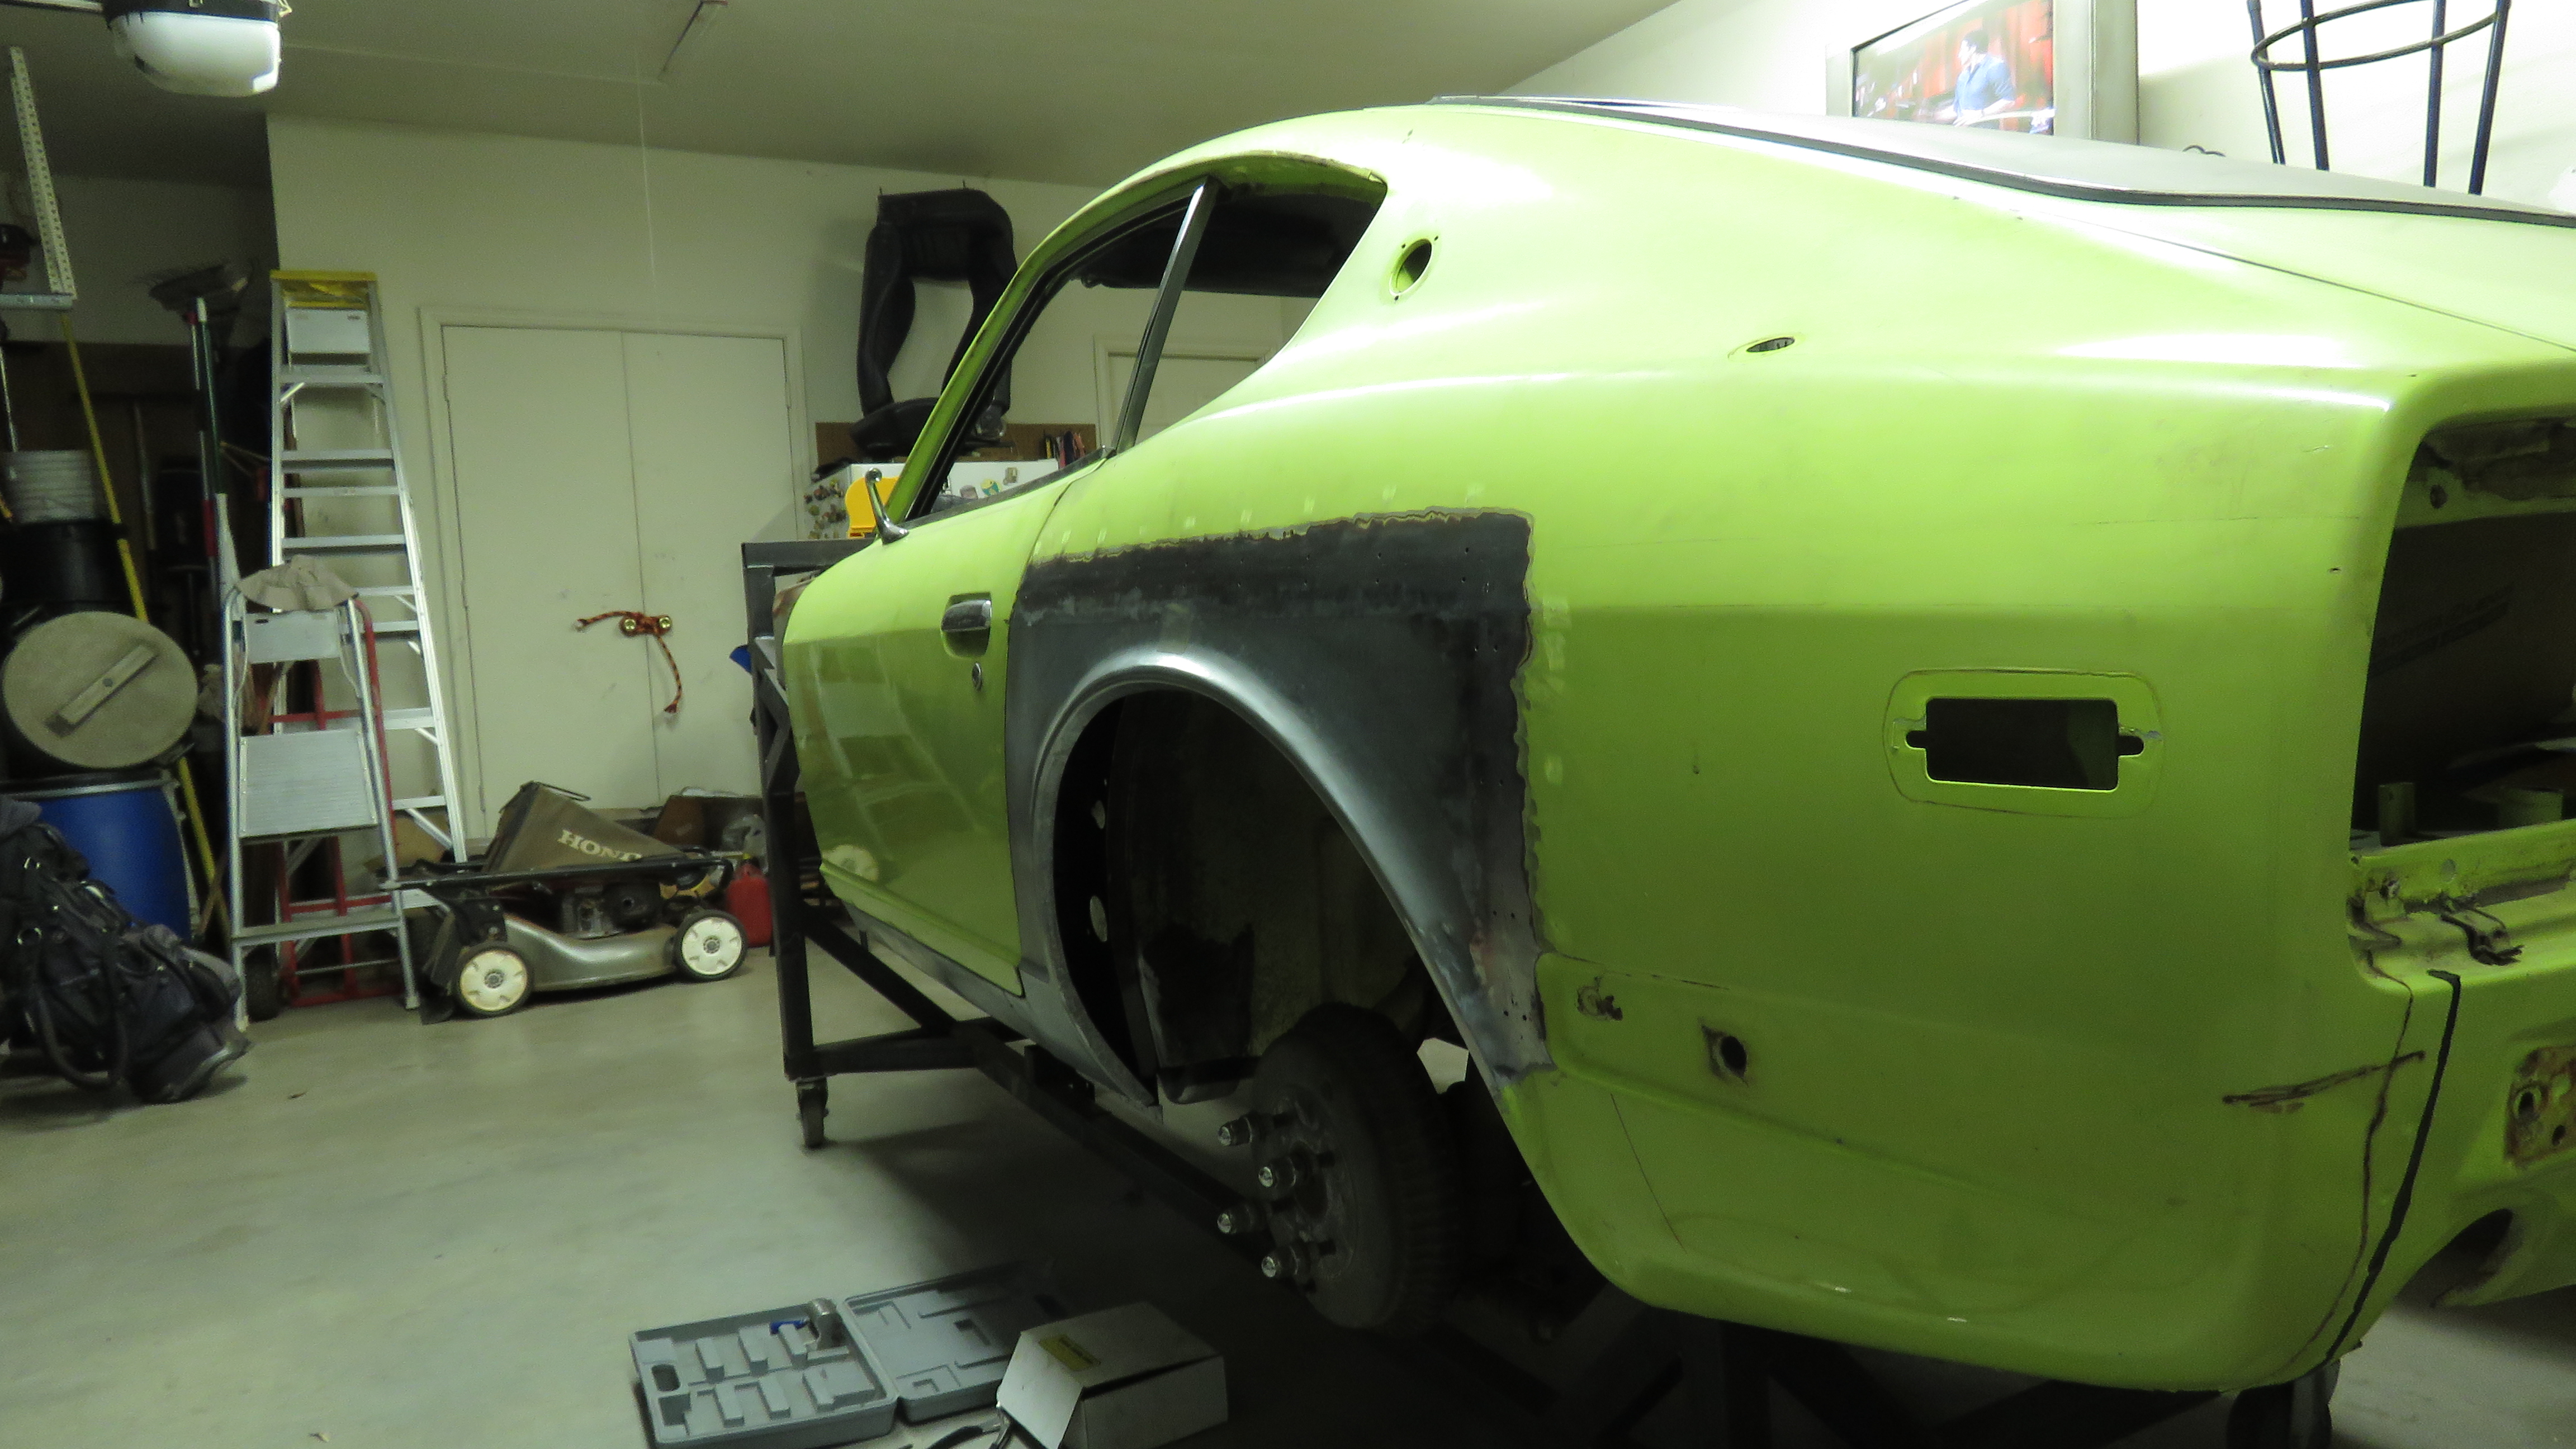
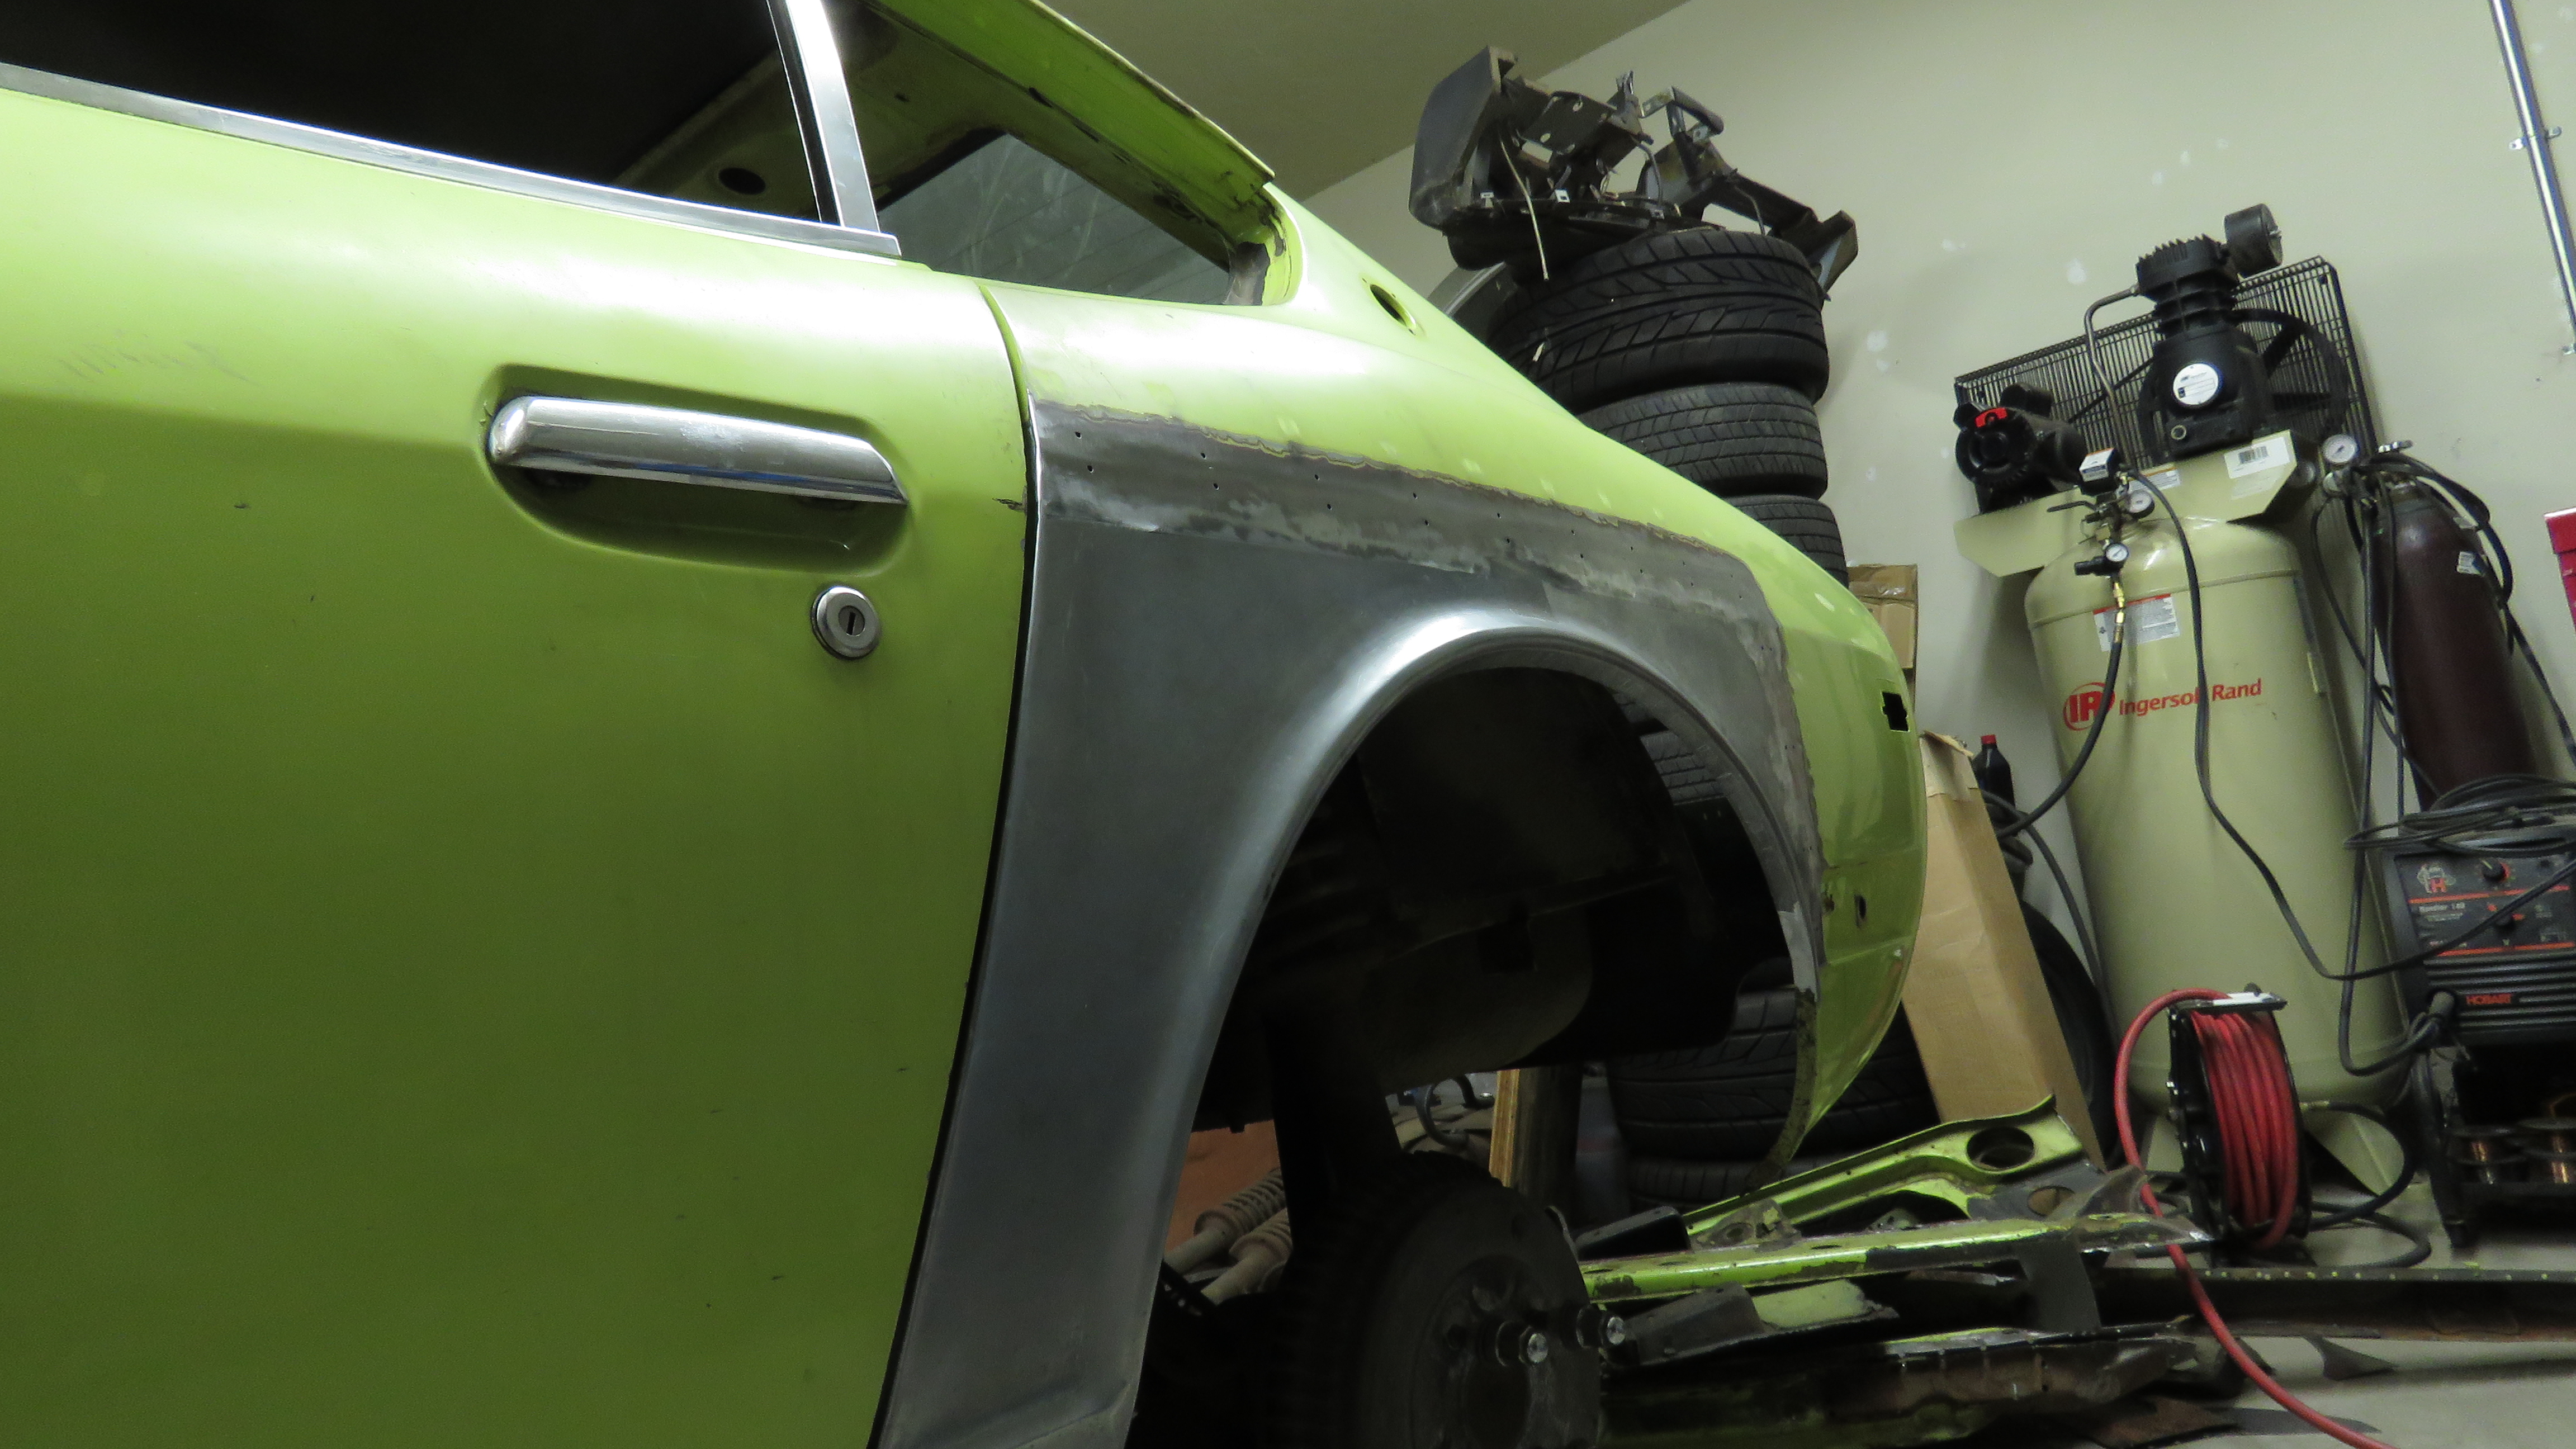
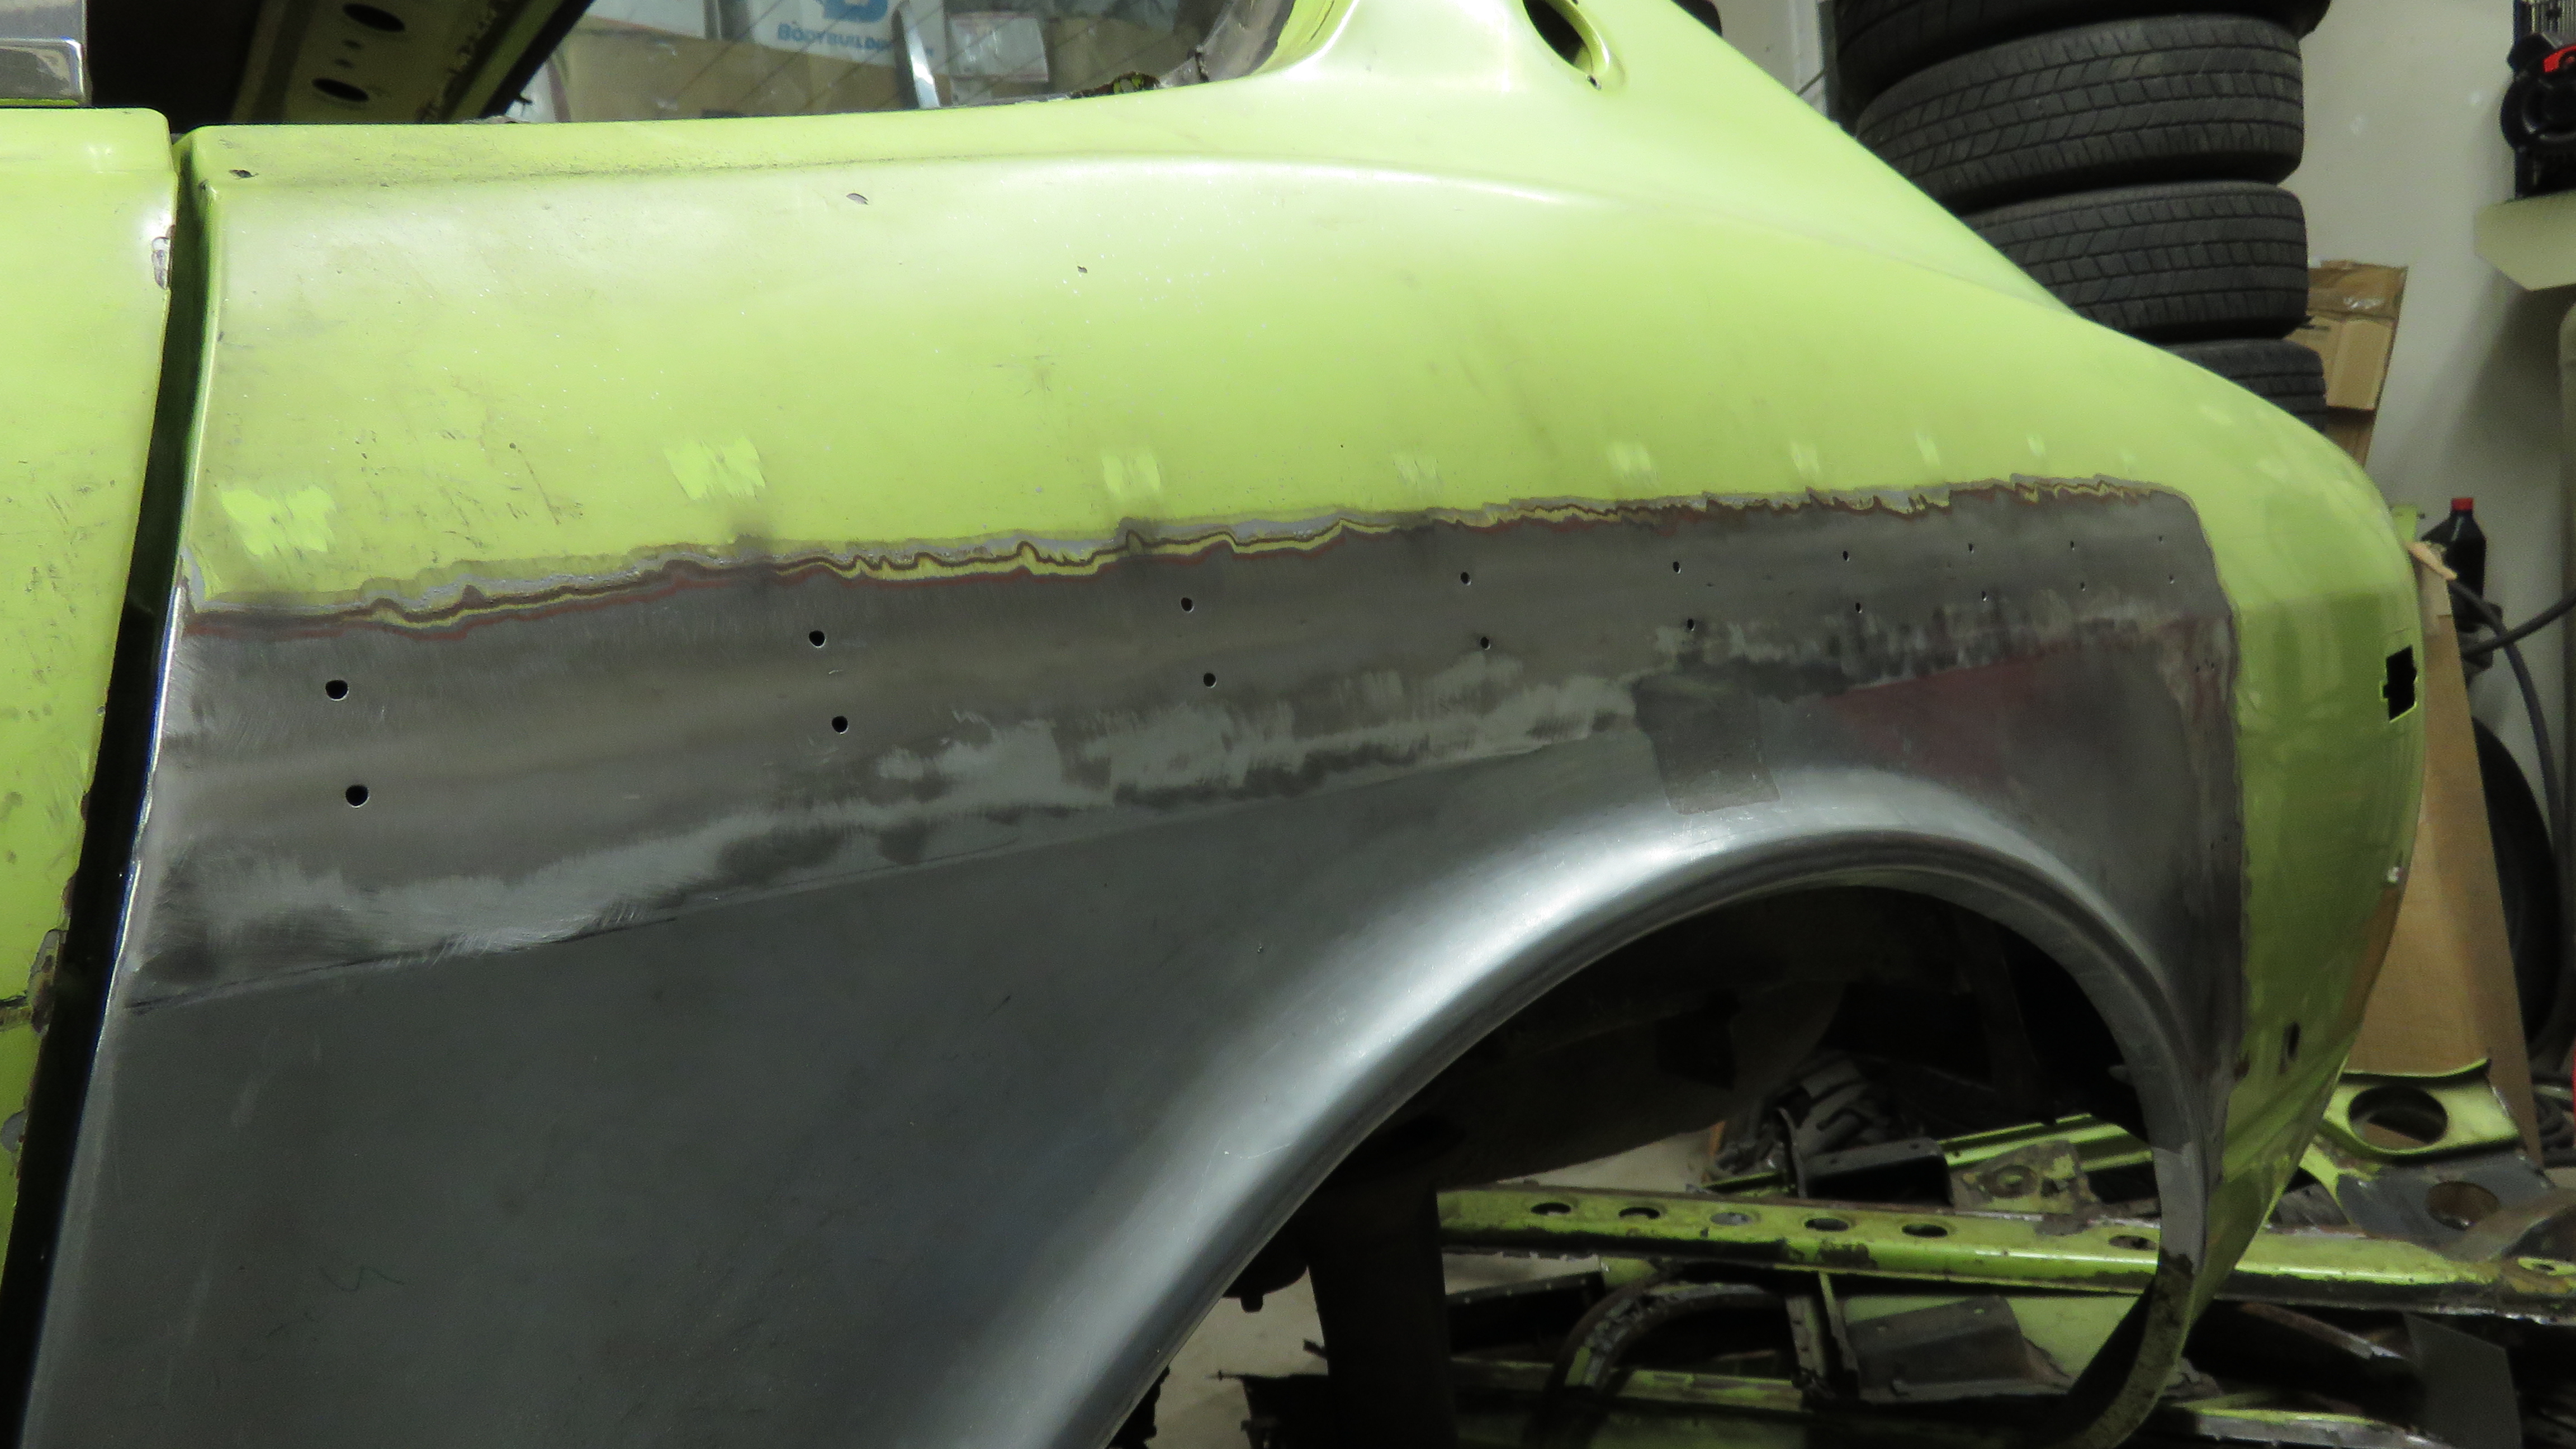
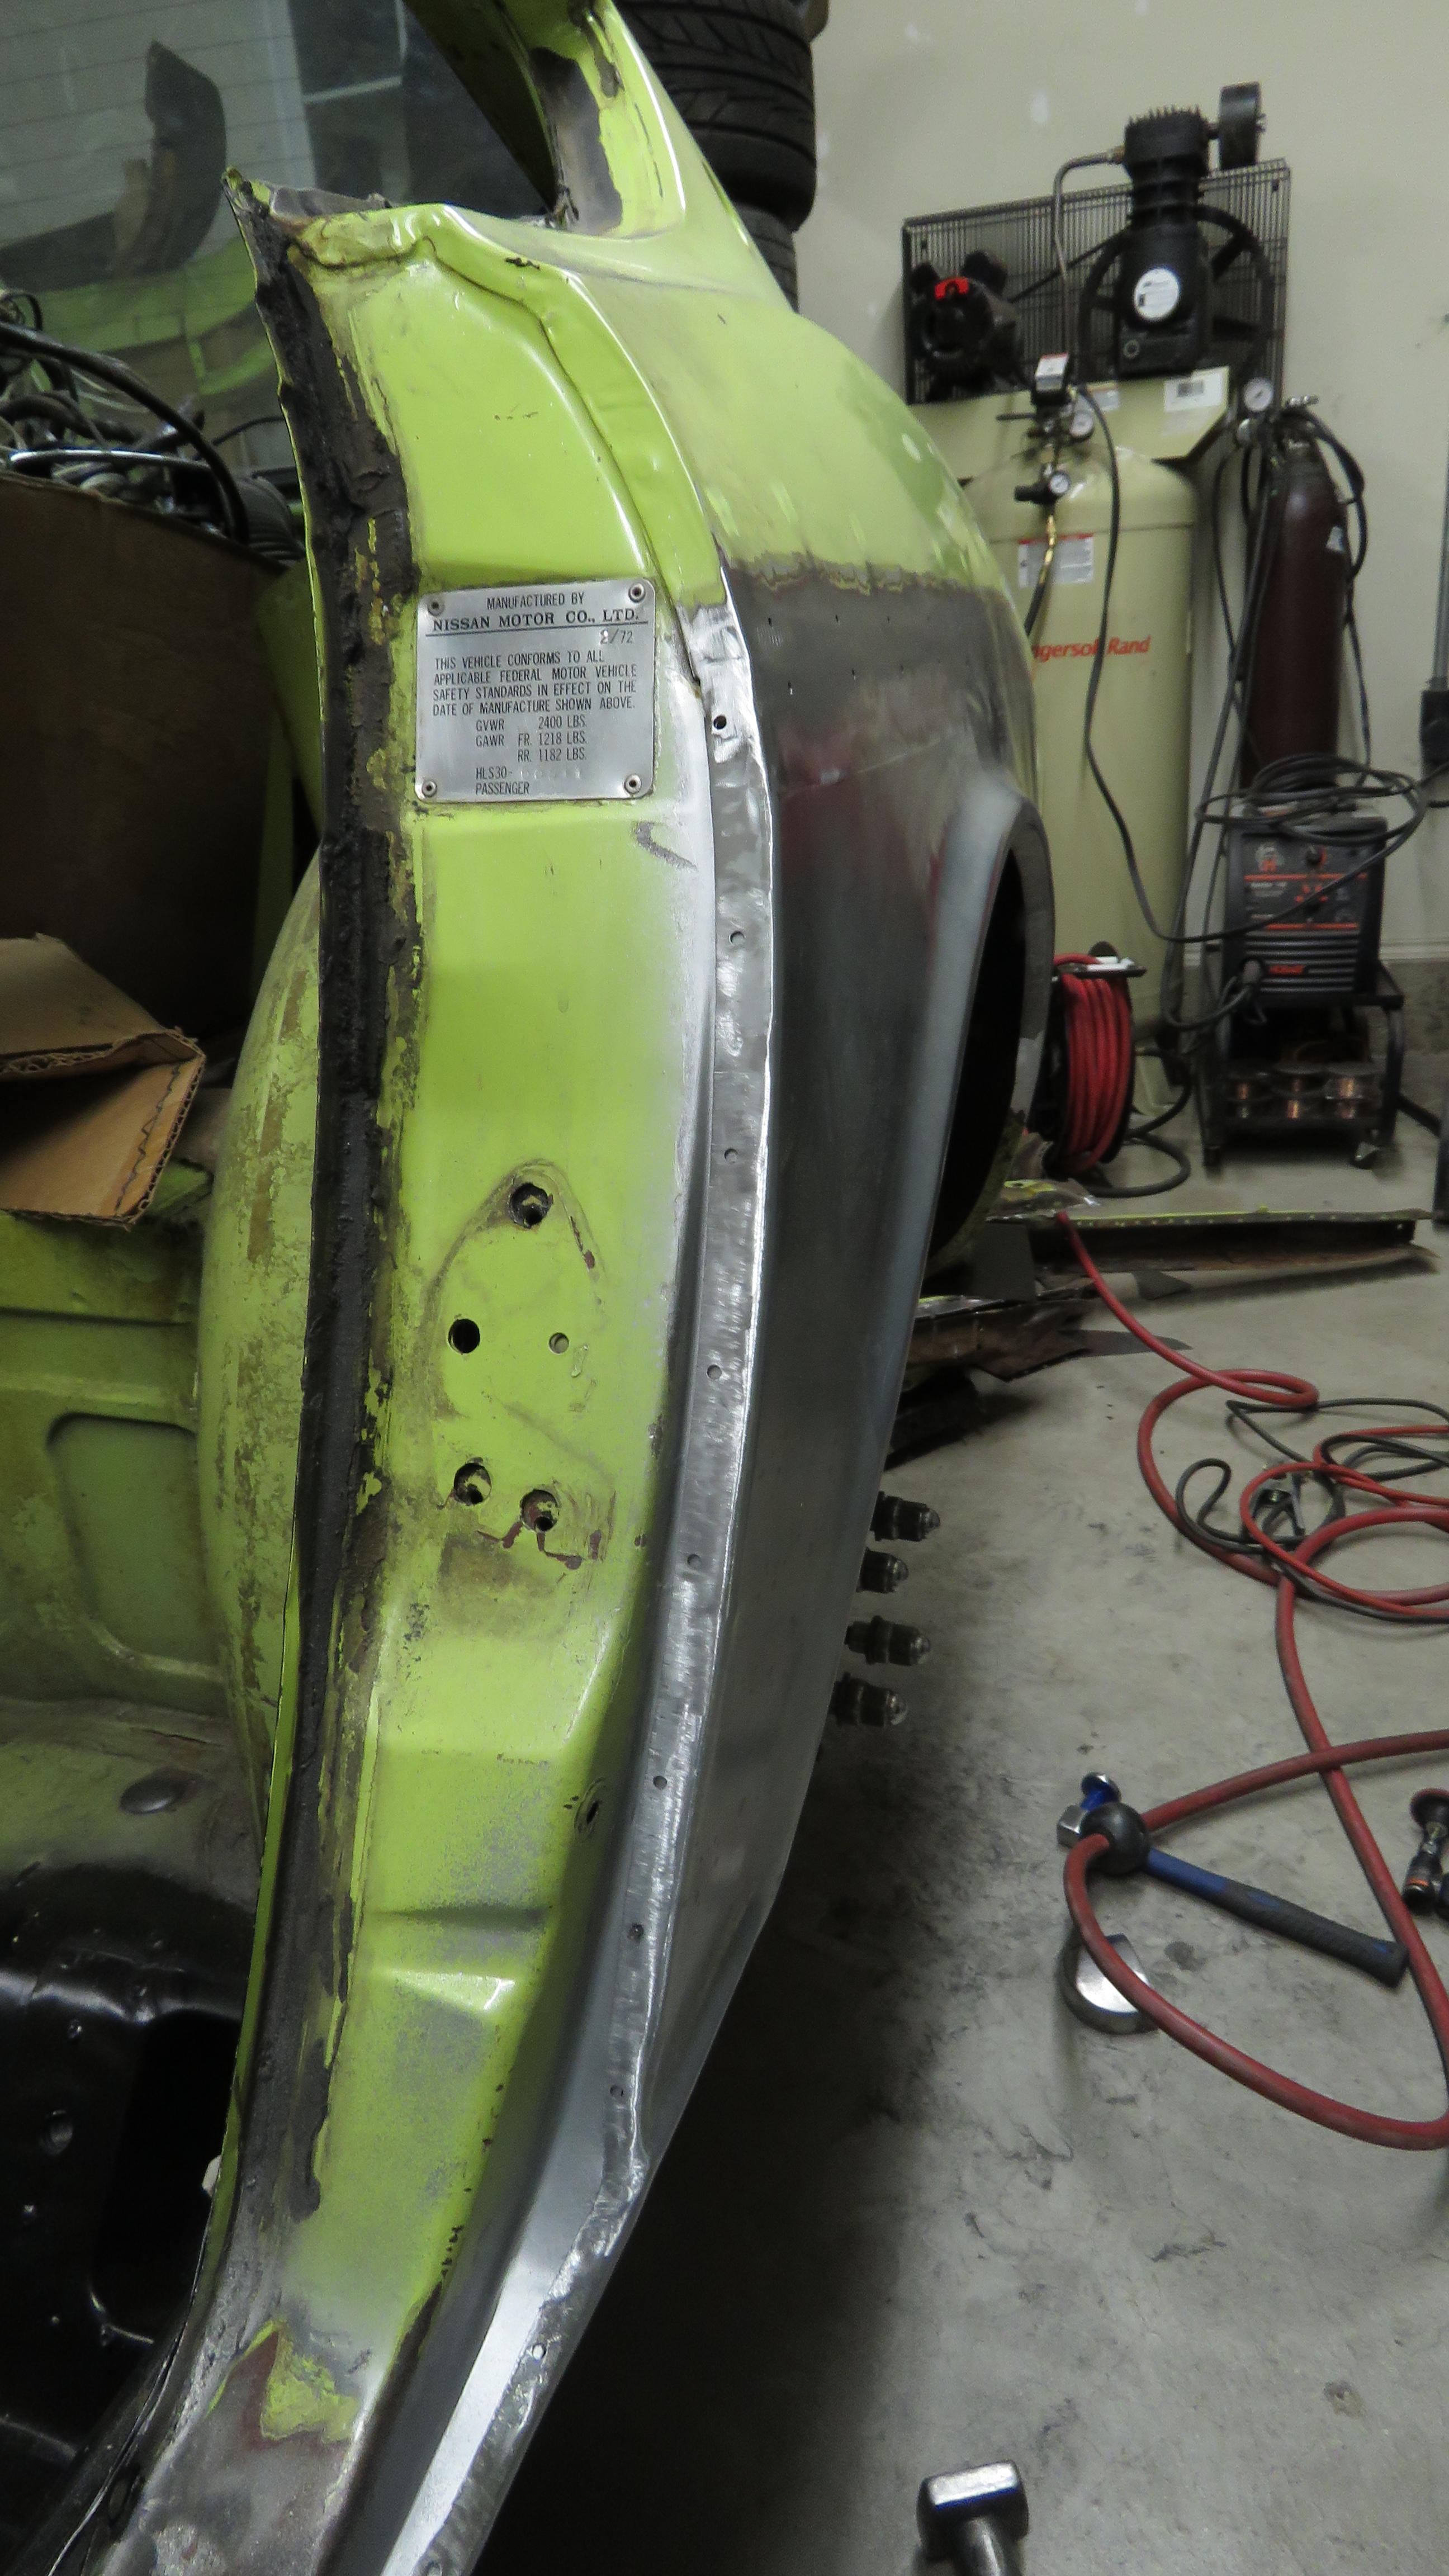
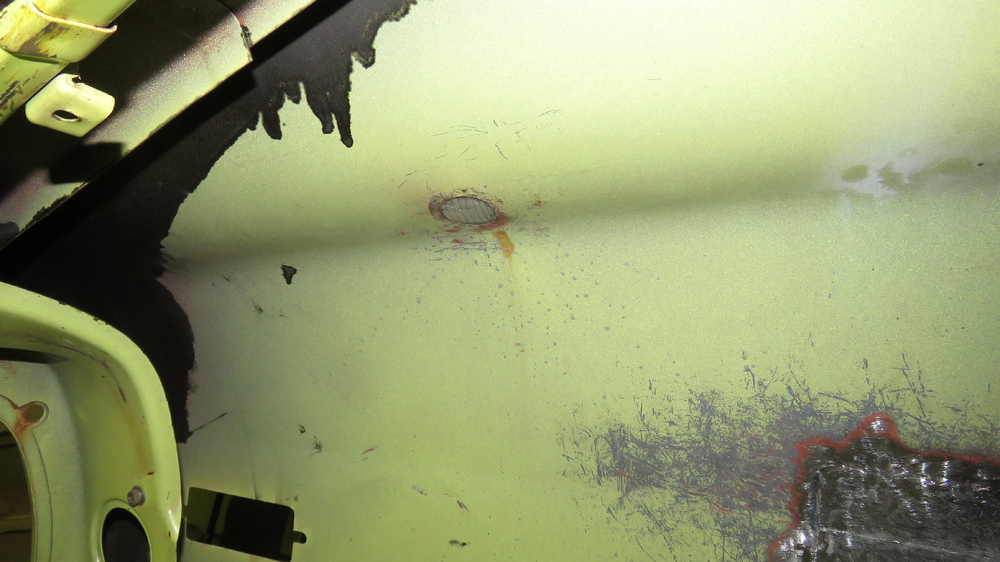
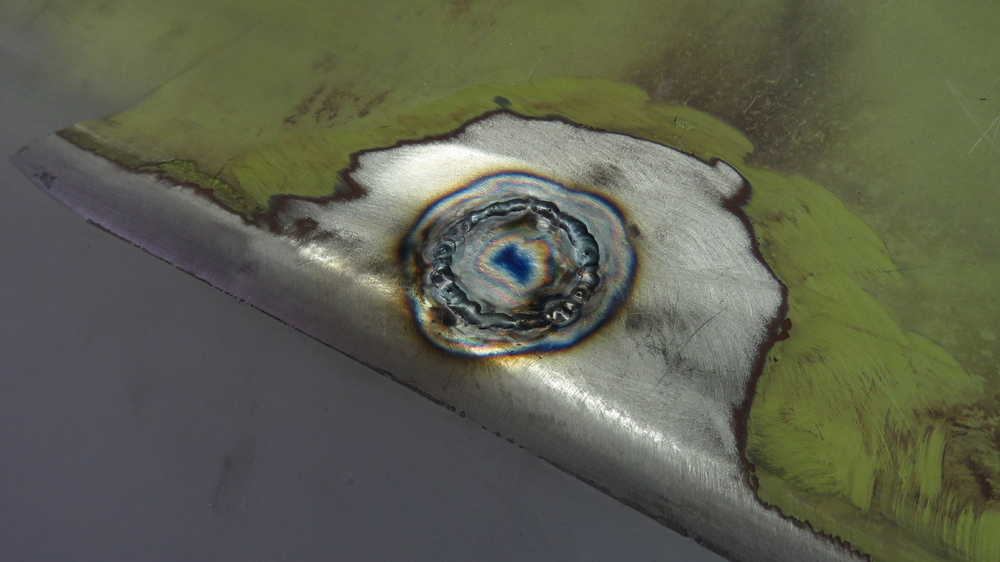
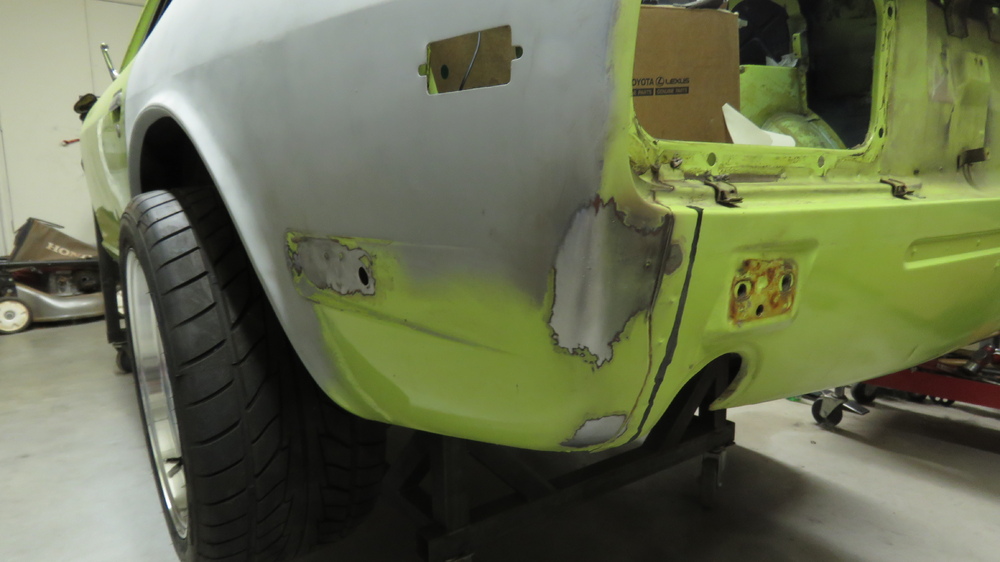
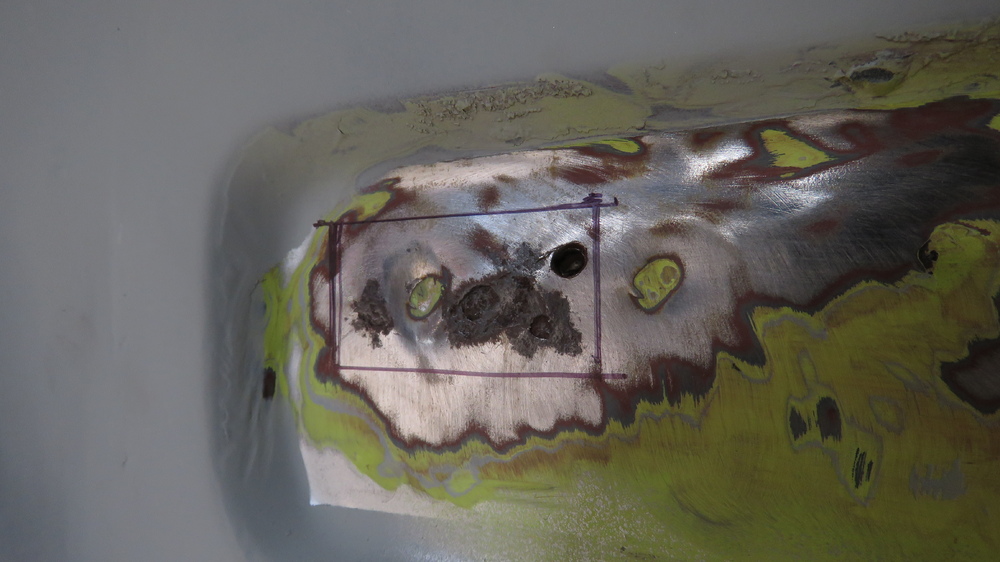
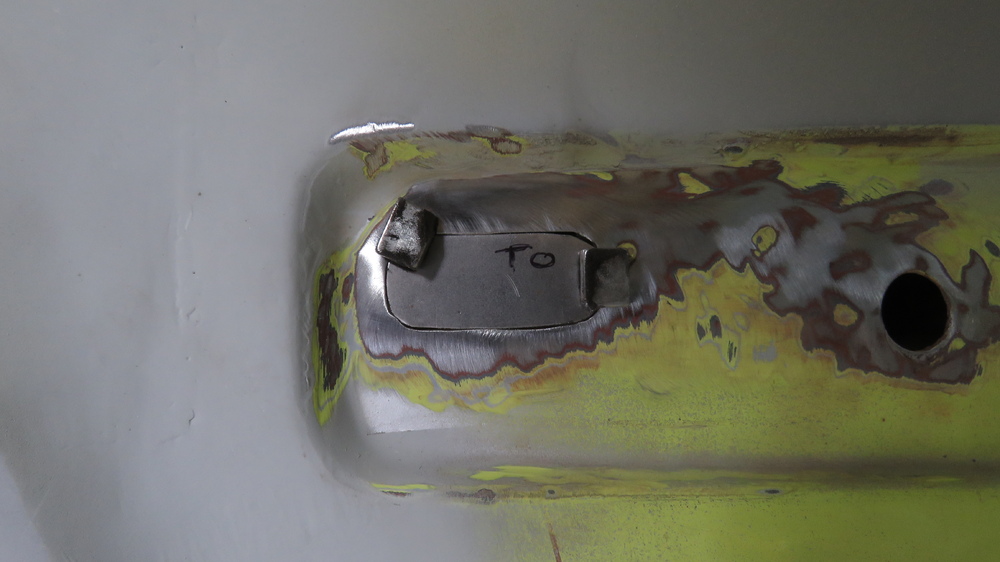
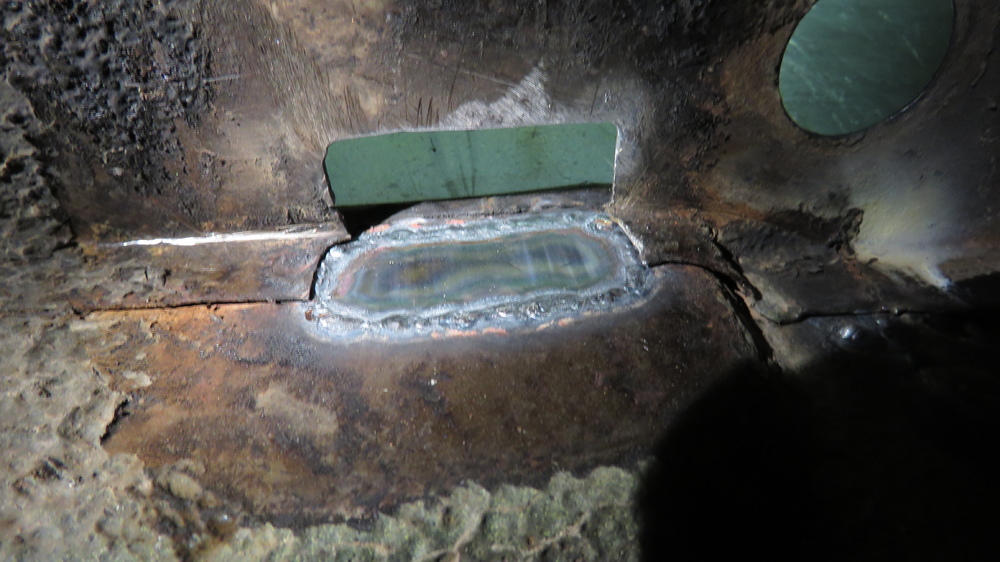
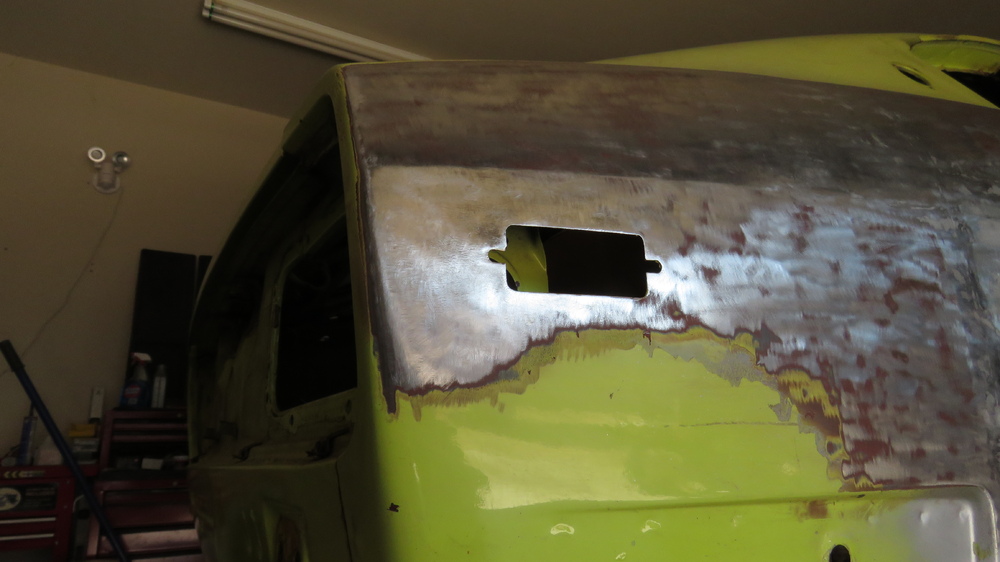
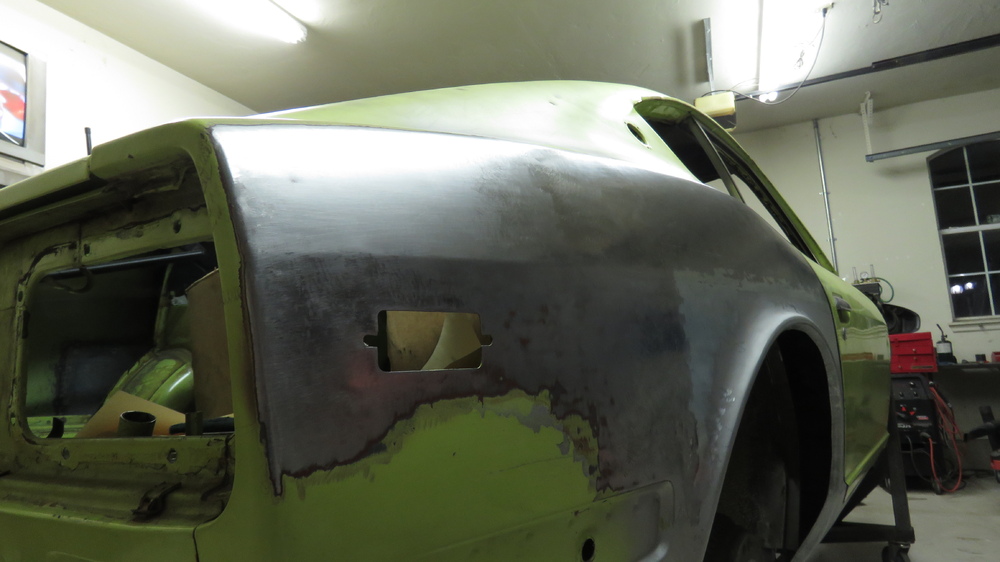
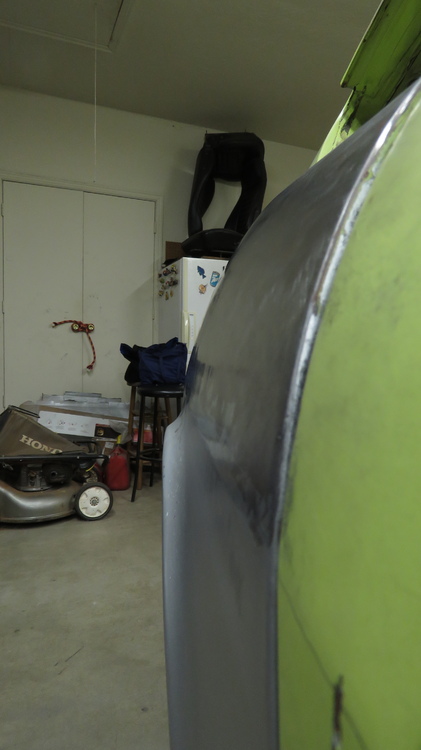
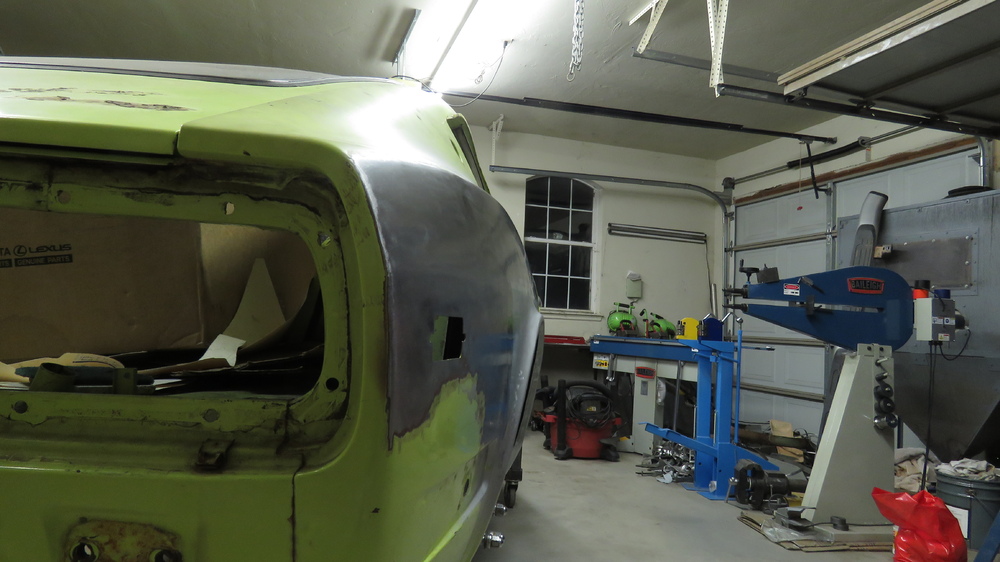
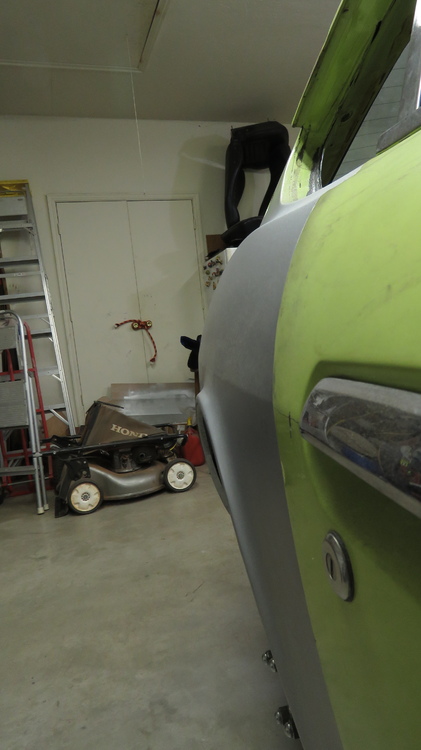
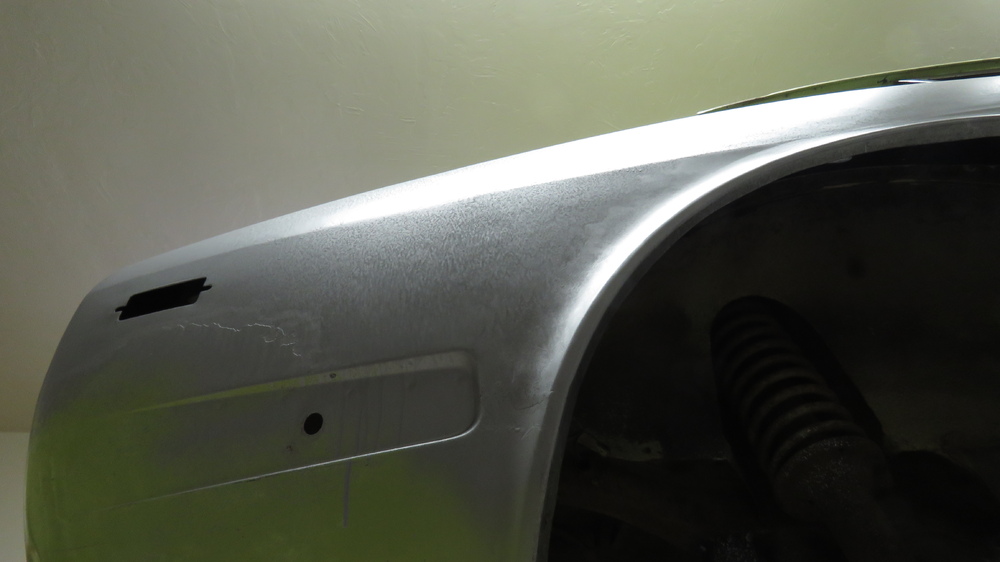
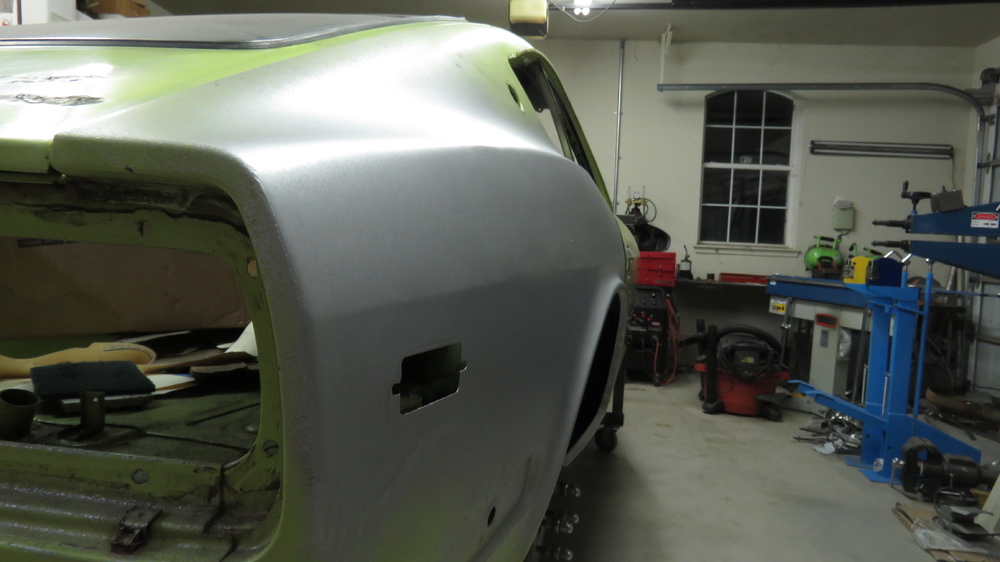
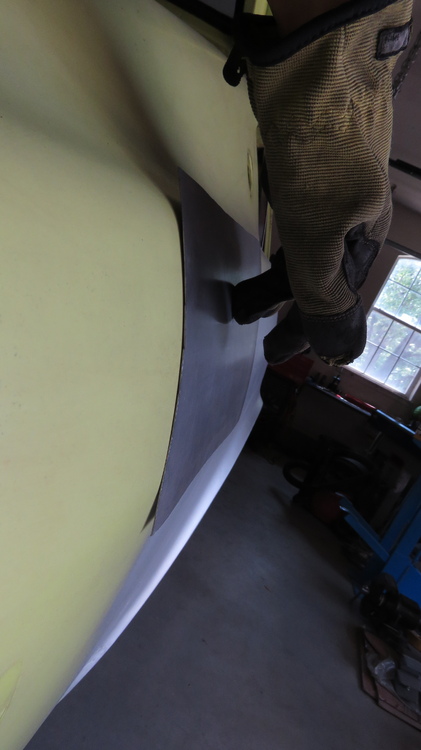
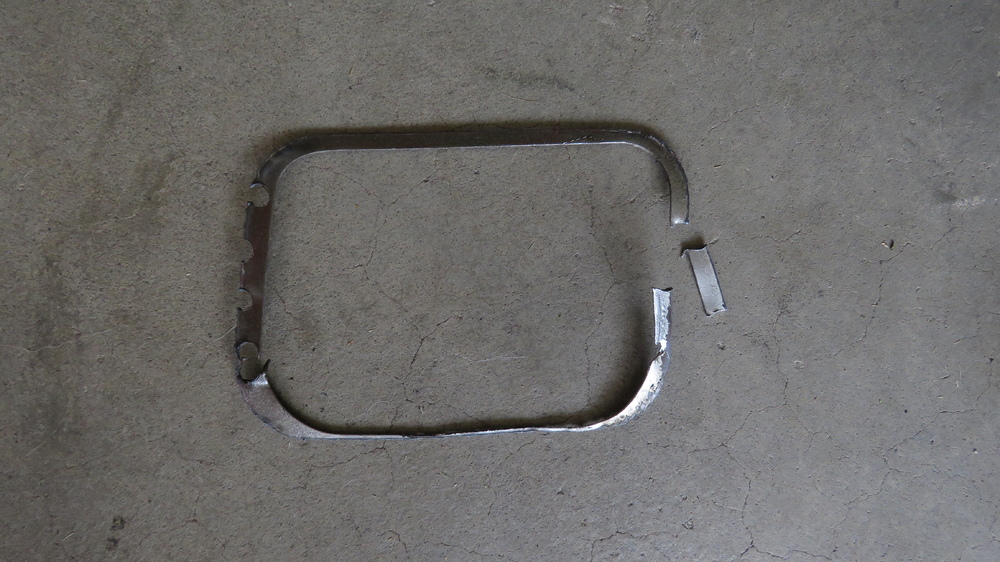
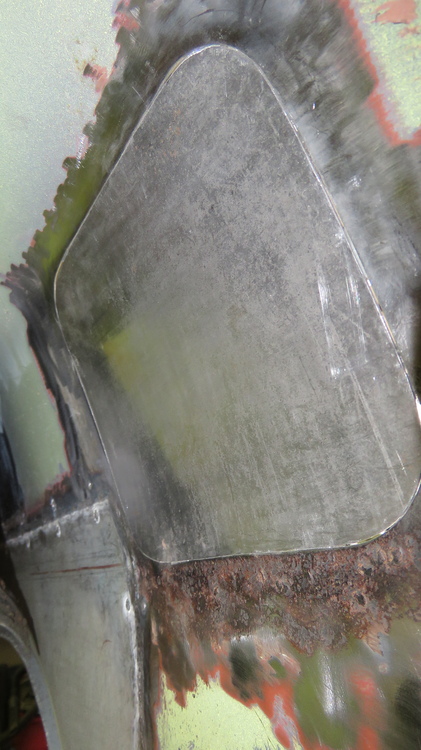
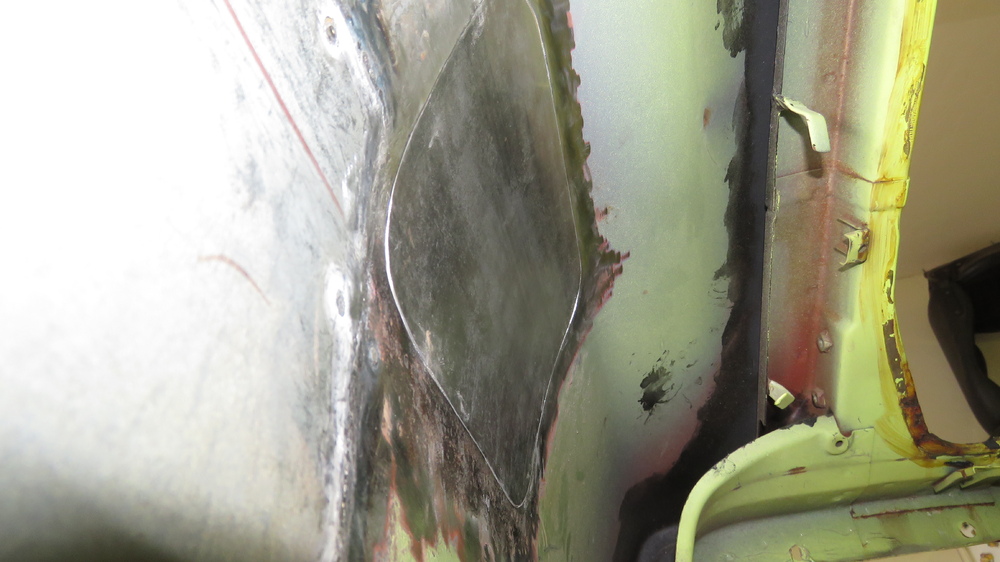
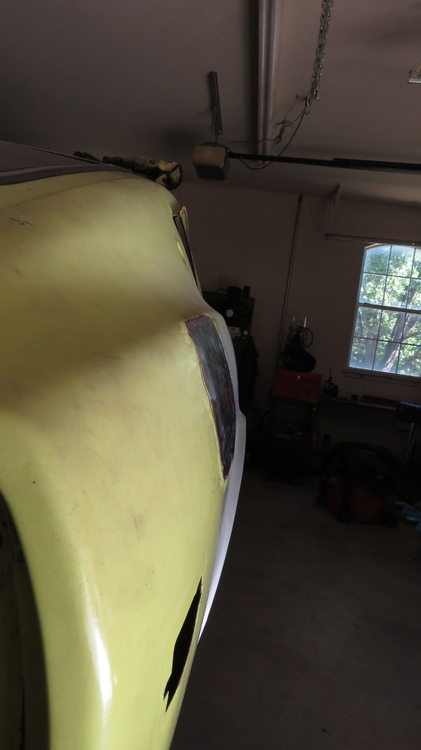
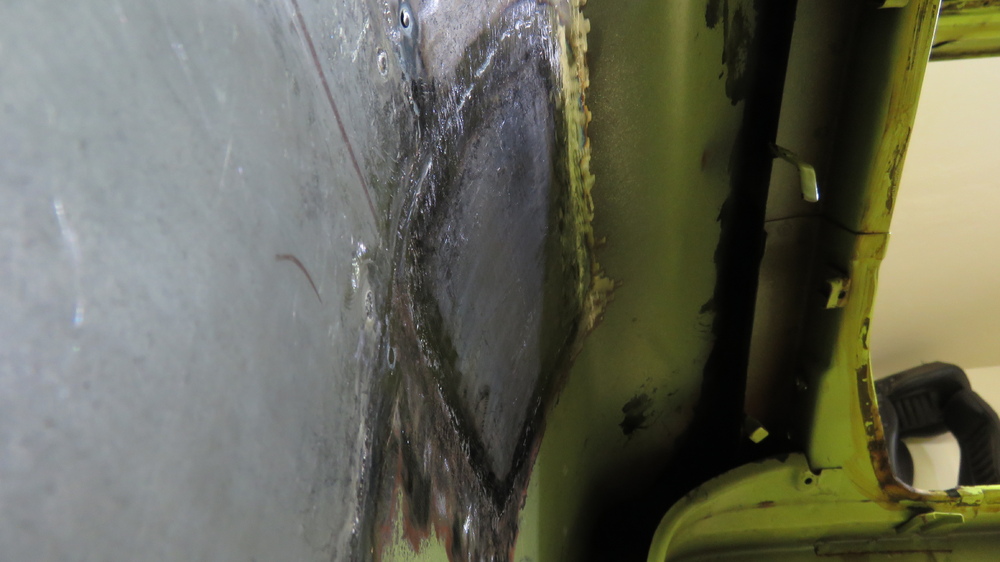
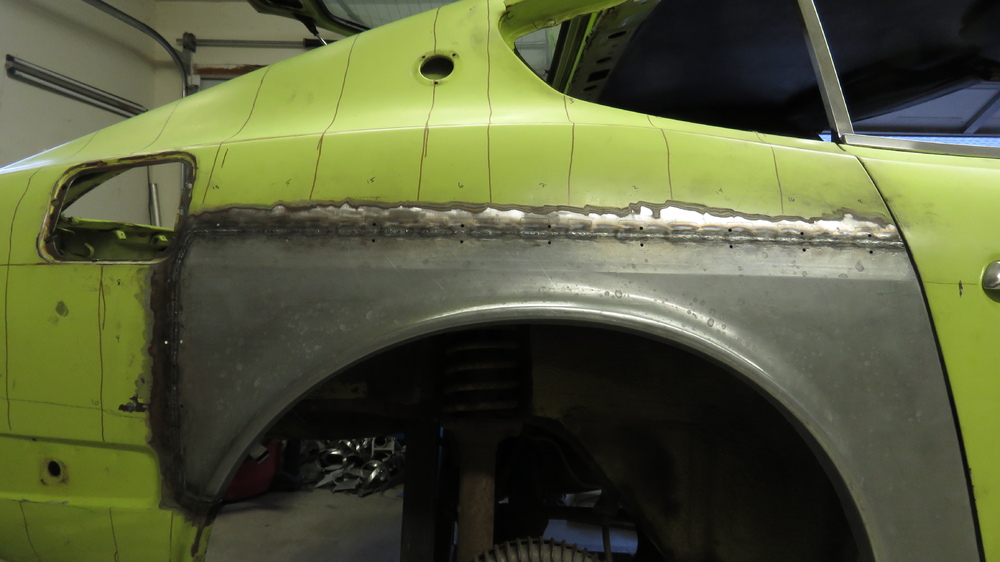
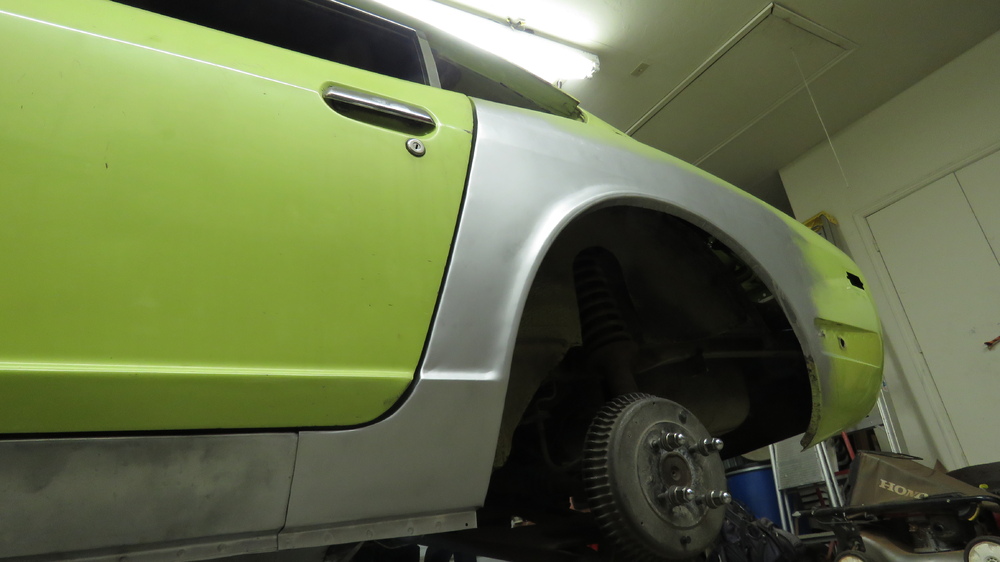
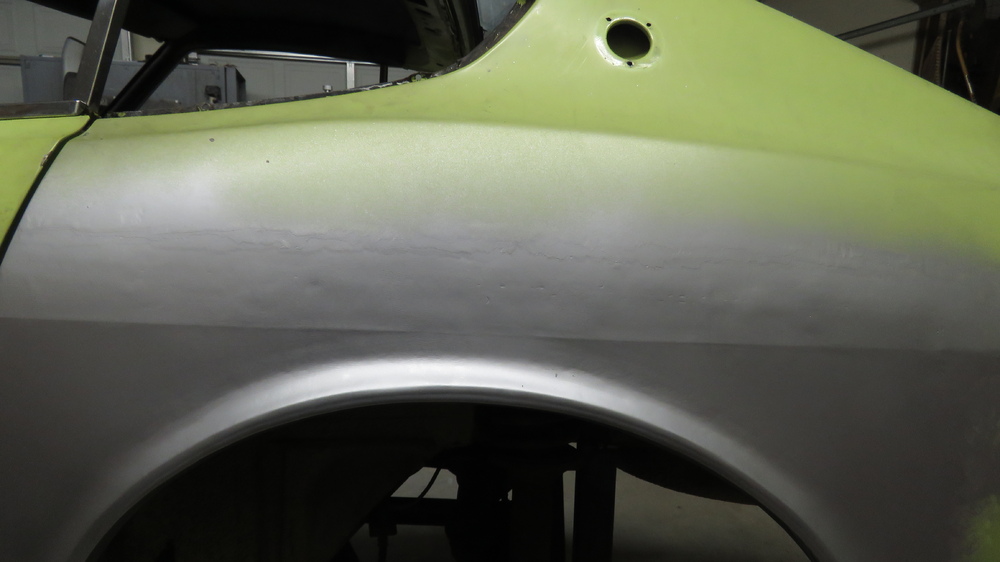
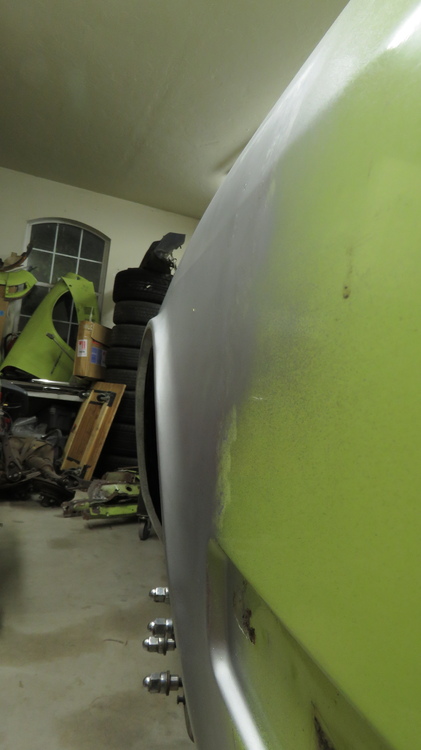
Another slow progress update. So I am kind of mad at myself for not knowing what happened to the pictures when I reworked on the driver side quarter panel. I must of either forgot to take pictures or accidentally deleted them. But anyways here are some pictures I took before welding the antenna hole. The crease got a little banged up during the rework, tried to crease it back out some. The Antenna hole metal piece cut out and test fitted. I used tape to get the shape. Taped over the hole, then just marked on it. Peel the tape off then tape it on to a scrap piece of metal to make the piece to be welded in. Used my snips to cut it out, then fine tune it with a sanding disk. I marked lines on the tape so i know the direction to curve the metal piece as antenna hole area isnt flat and has a slight curve. Tig Welded into place. I used the pulse feature this time. Starting to get used to using pulse and liking it. I probably didnt need to add that much filler, but it all worked out in the end. Welds sanded down and some hammer and dolly work, then shrinking disc work. Had to fix a sharp dent in the driver side rear. It appears that sometime in the past from the previous owner, that he either got hit in the rear or he backed into something that cause the rear metal bumper to get pushed into the rear quarter and leave a nasty dent. luckily it was right below the structural beam on the underneath of the car and I was able to get behind and pound out the dent. If the dent was covered up by the beam, then im not sure what I would of done. Probably would need something like a dent puller weld kit, weld on a rod, then attach the dent puller to the rod and start jacking it...... The area right below the tailight in the corner is lower than the area I worked on. I cant get behind it and this would be a case I would need the dent puller to bring it out flush with the area I worked on. Only thing I can think of is make something that can reach back there from the inside of the car and use my slapper to help bring it back out. Older picture of the dent. Dont have any good pictures of it other than the one above. Good as I can get it. Painter will either need to Bondo up the sunken part in the corner below the taillight to blend it the area i worked on or user what ever trick tool they got. Also had to work on a small dent in the rear driver side bottom corner. You know I just dont understand why there are so many dents in the rear. I fixed two I or so think on the passenger side and now all these on the driver side. You can kind of see in on the back side. Smooth out. There was a bad rust spot on the driver side quarter panel in where the bumper would cover it up. I used my plasma cutter to cut it out. Pretty angry with myself because I either cut to high up or I cut to hot or maybe the angle I was holding the torch while cutting, but it ended up cutting a hold in the quarter panel support. Made more work for myself than needed. Belt sander used to smooth out the holes. Used the tape method again to getting the shape needed. Welded in. Smooth out. My replacement piece for the support bracket. Used my magnetic sheet metal bender. Now I just need to trim it to fit and weld it in. Will do that tomorrow. Dents, antenna hole, and rust spot fixed. Now I can start getting those quarter flares mounted and panels trimmed out so i can make the inner wheel well. Stay Tuned!!


-
-
Thats awesome, may have to look into it. Would it work on the hood?
-
Those actually dont look too bad. Ill have to think about those. Thanks for sharing and taking time to post up pictures.
-
Glad you got a chance to use one. Really is the magic marker tool of the sheet metal tools.
-
So Im kind of curious now. Looking at various pictures online of what appears to be stock datsun Z's from japan and perhaps other counties, they have no rear side markers, only the fronts. Was it only America that had the rear makers?
-
Thanks for the interest, will let you know If I decide to make them. This guy has the answer right! Yeah it would suck if someone side swiped you because they didnt see any lights on the car at night, which I highly doubt would happen. I had my front side markers wired to blink with the turn signal on, to better help others on the road knowing if im turning right or left when looking at my car from the side. Thanks for sharing, I would like to see an image with a Z having those side makers installed like everyone else.
-
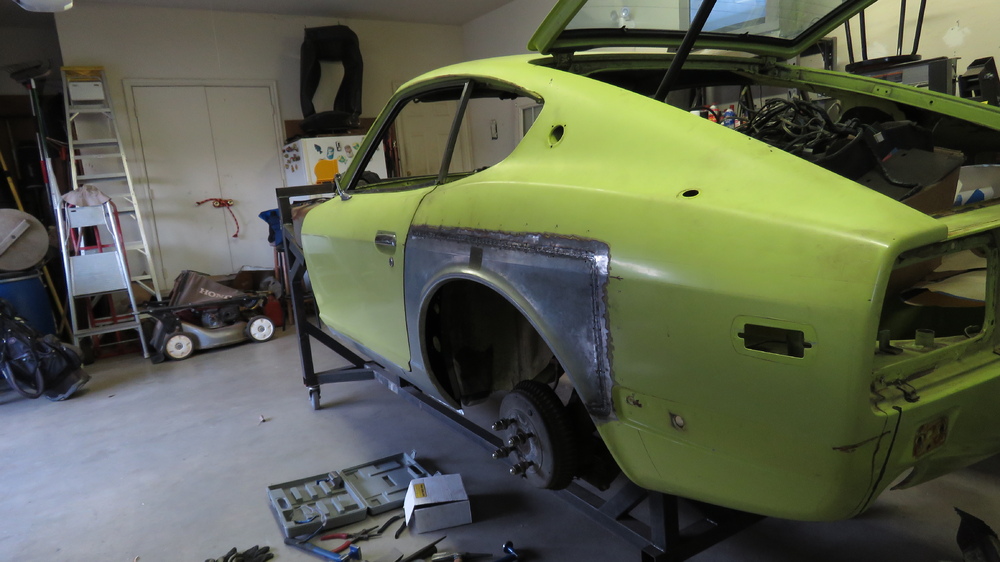
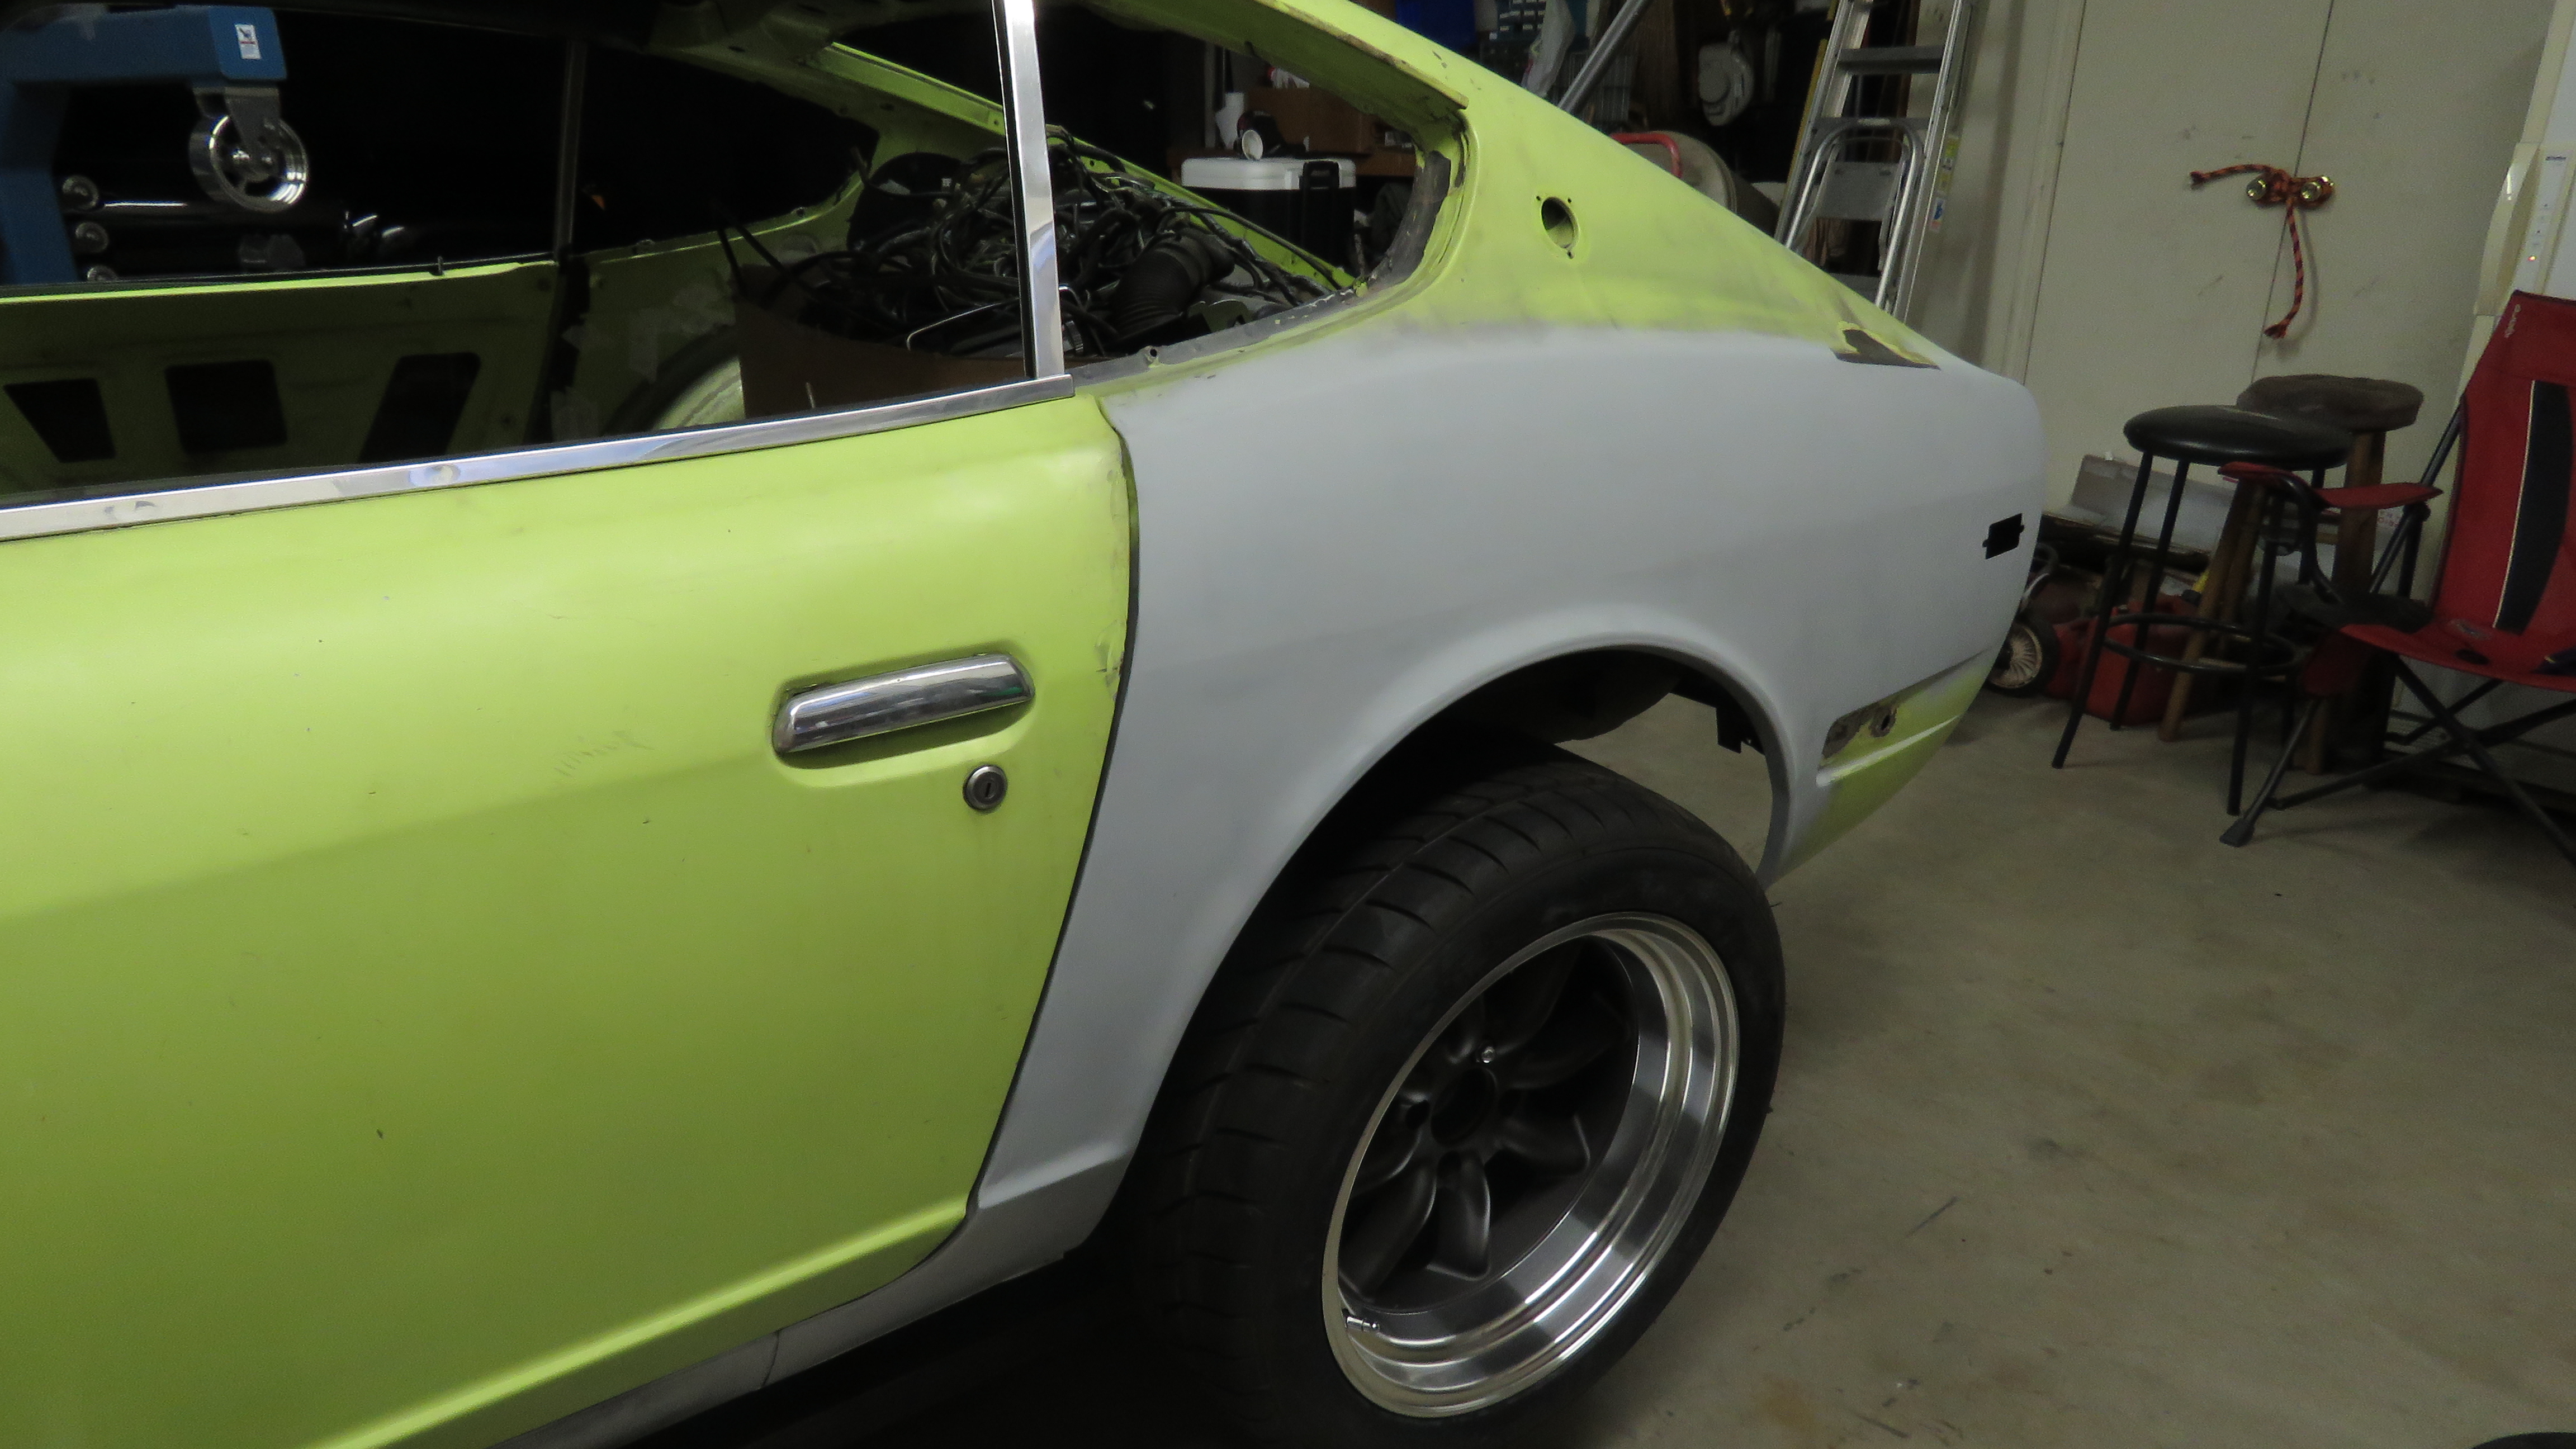
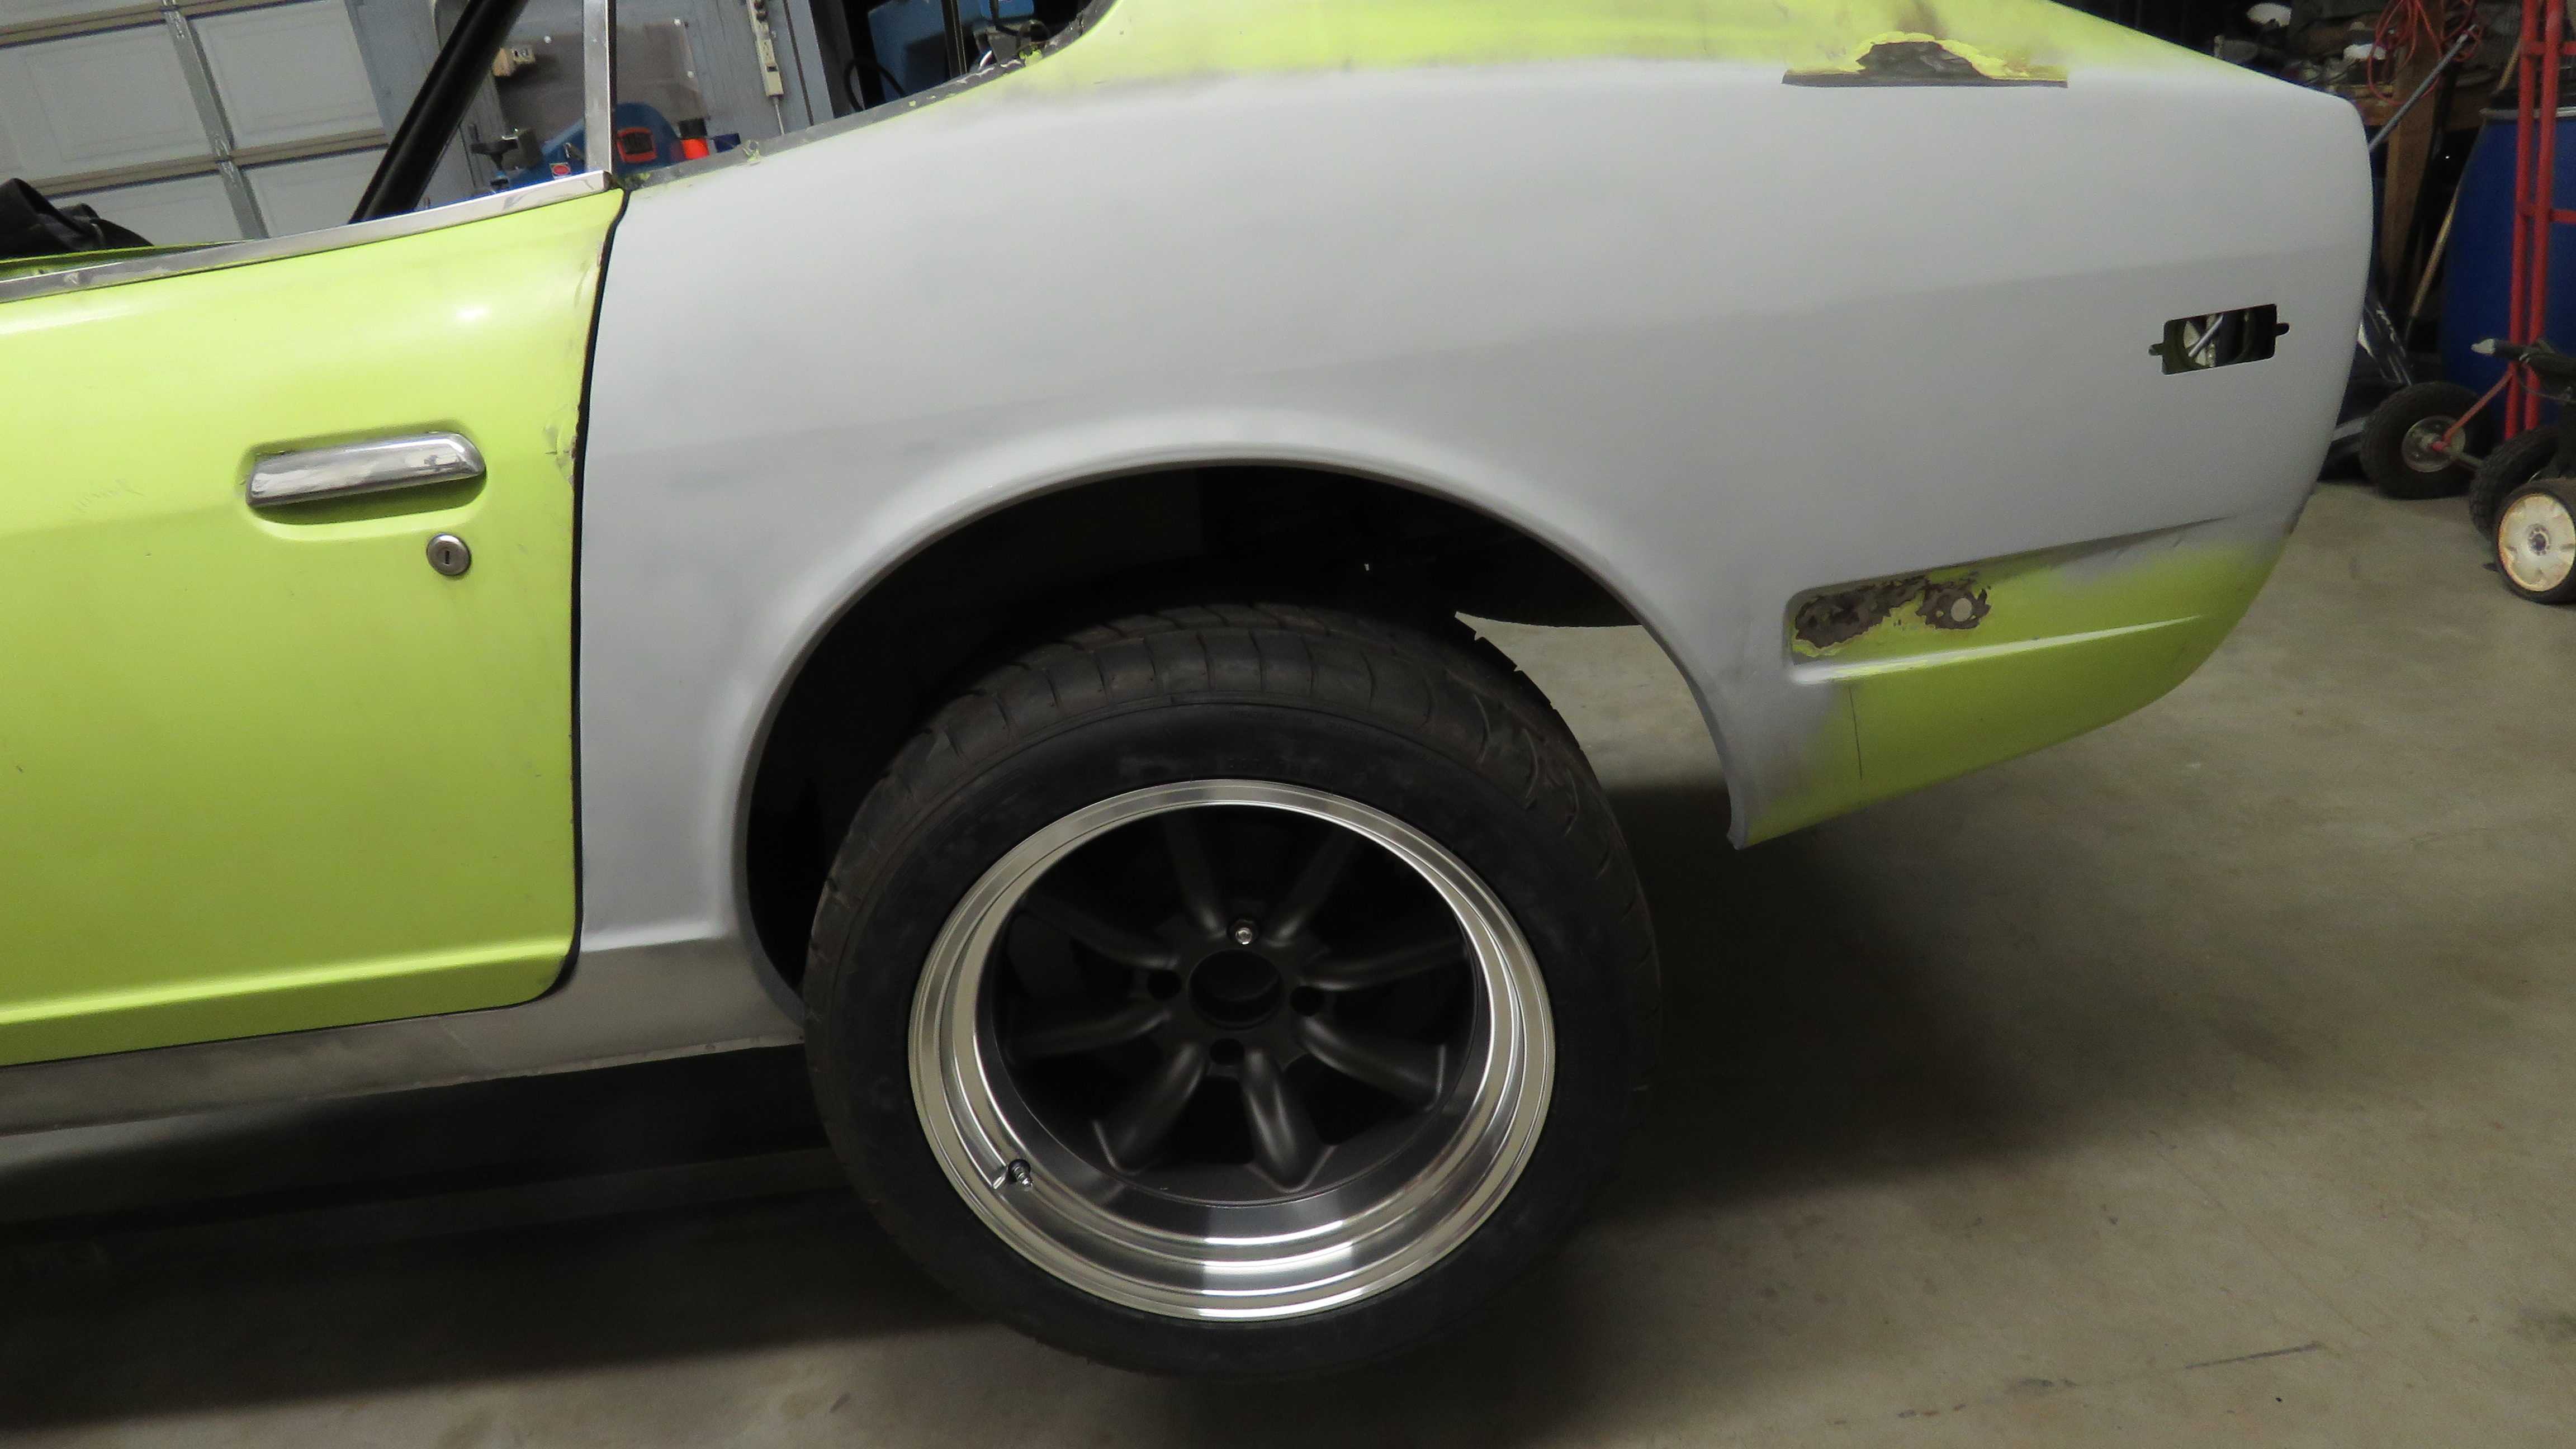
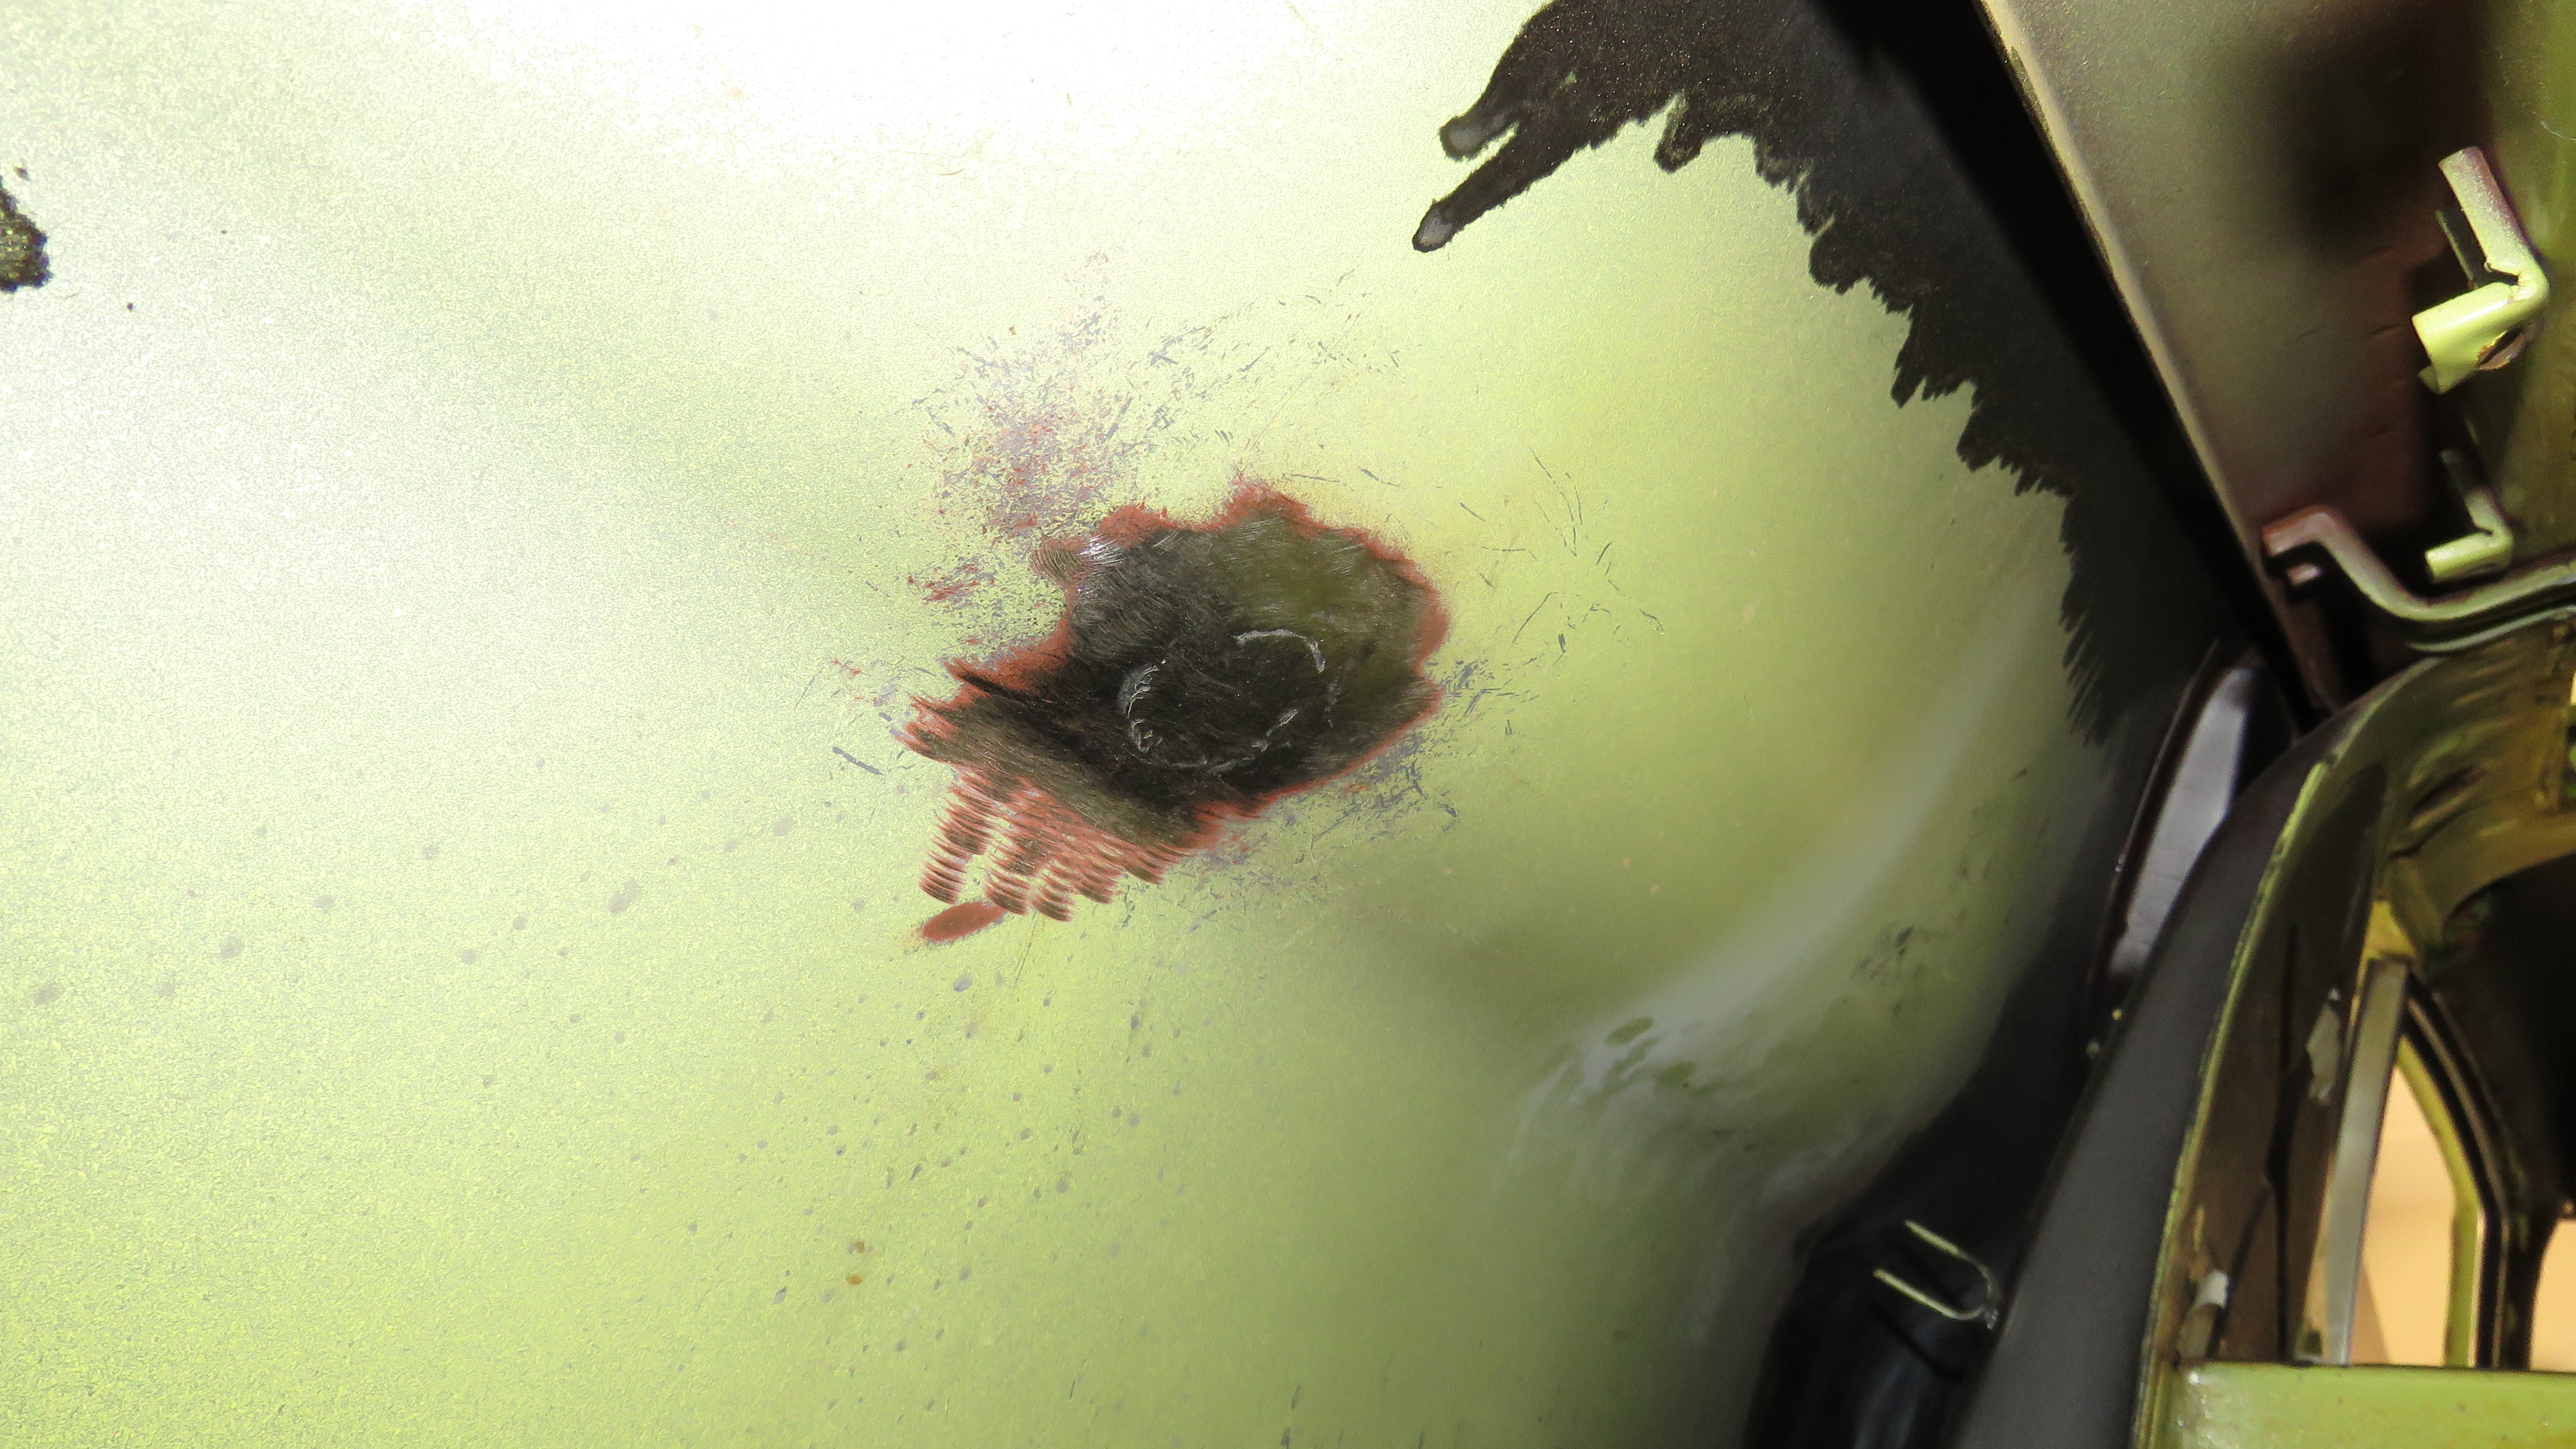
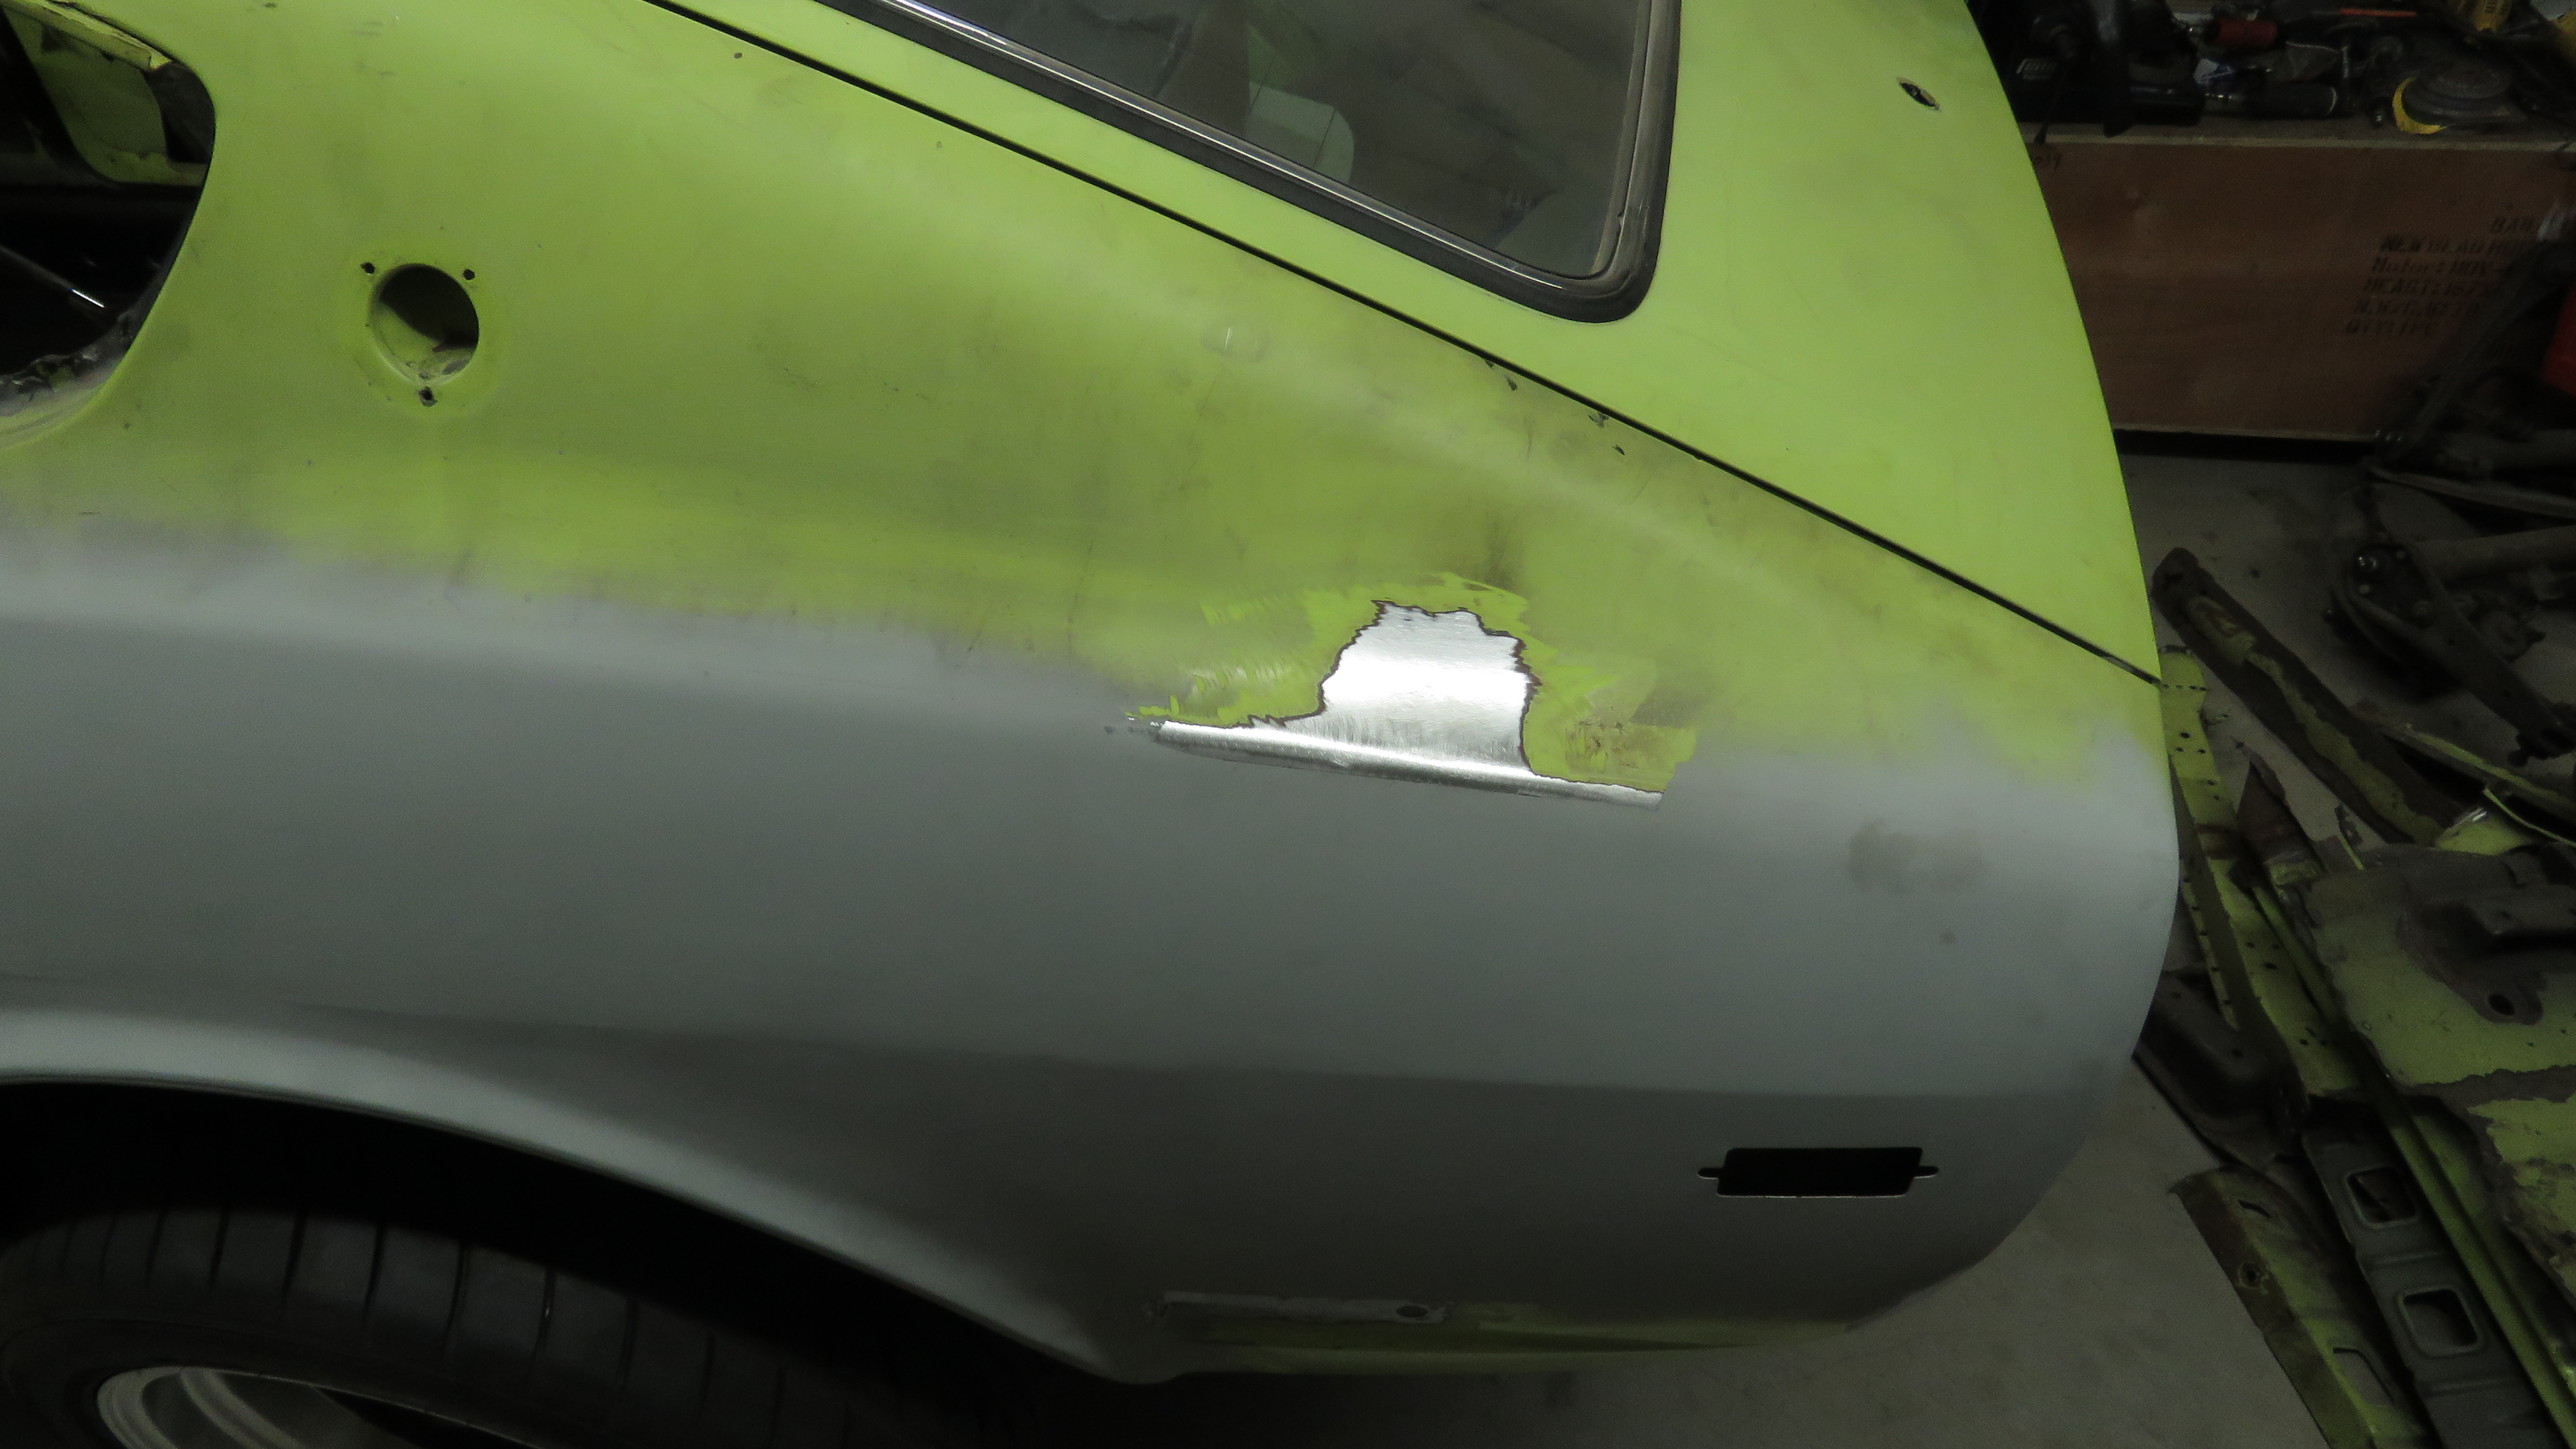
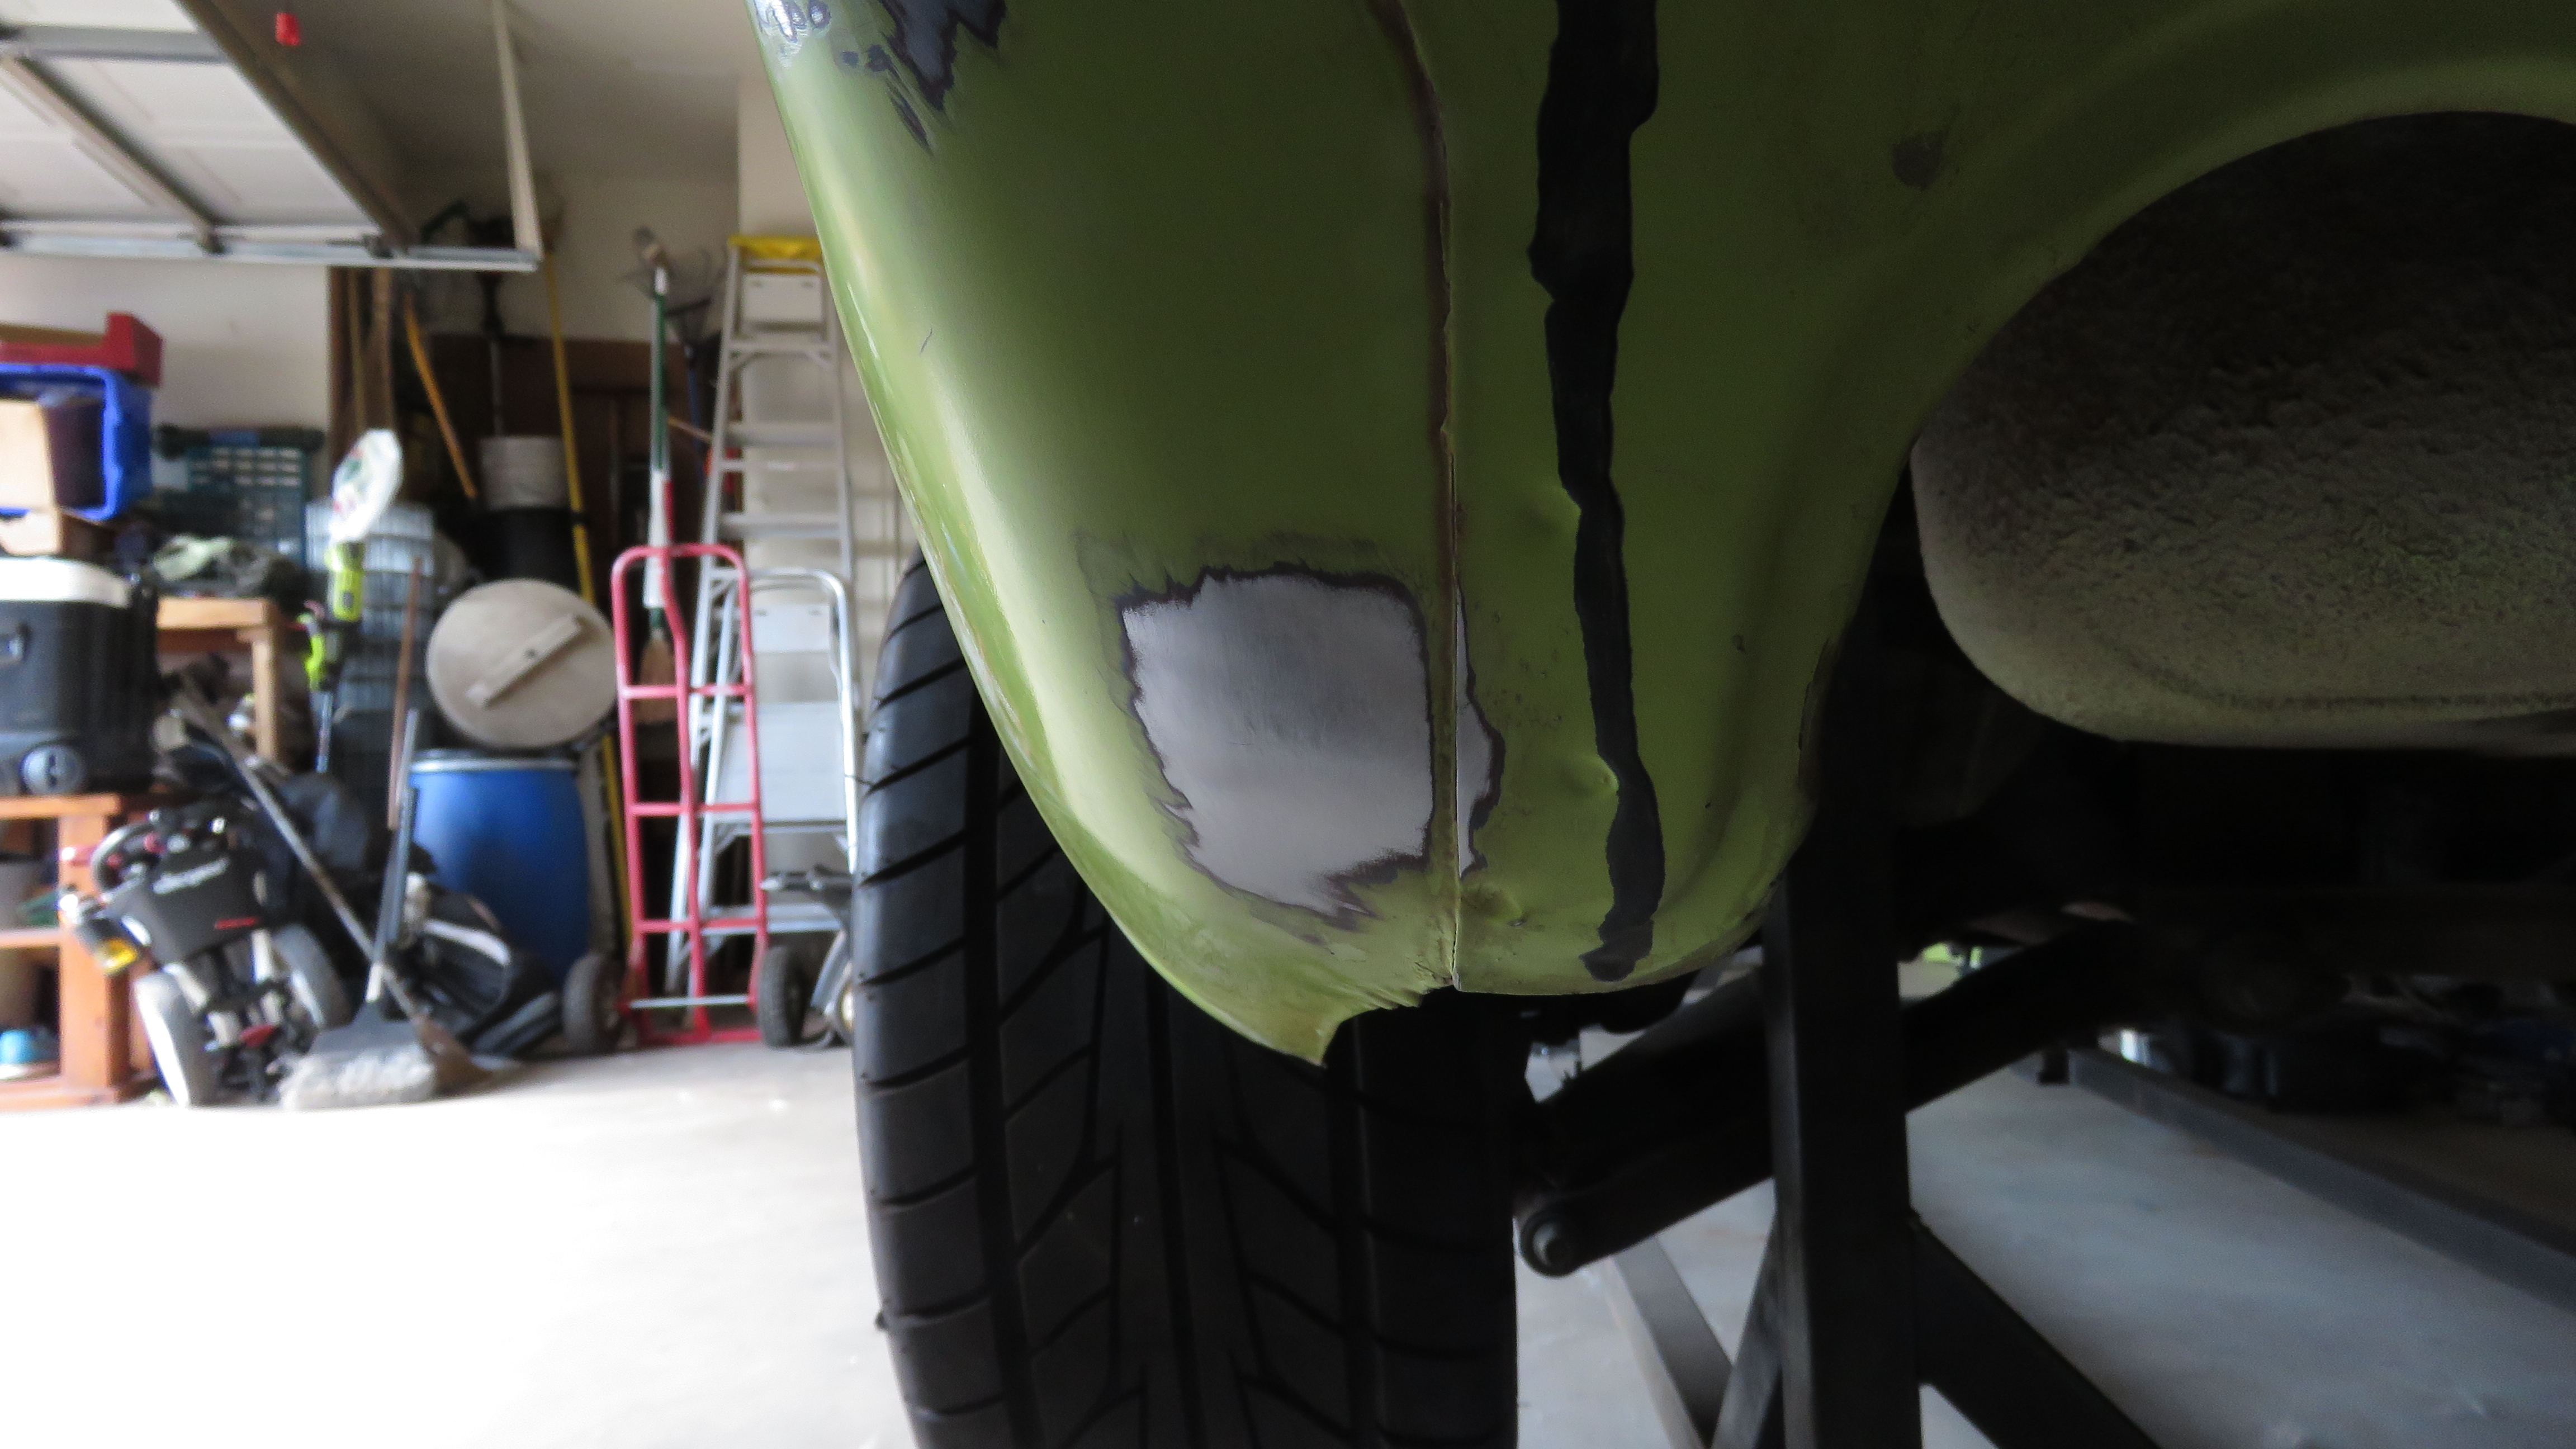
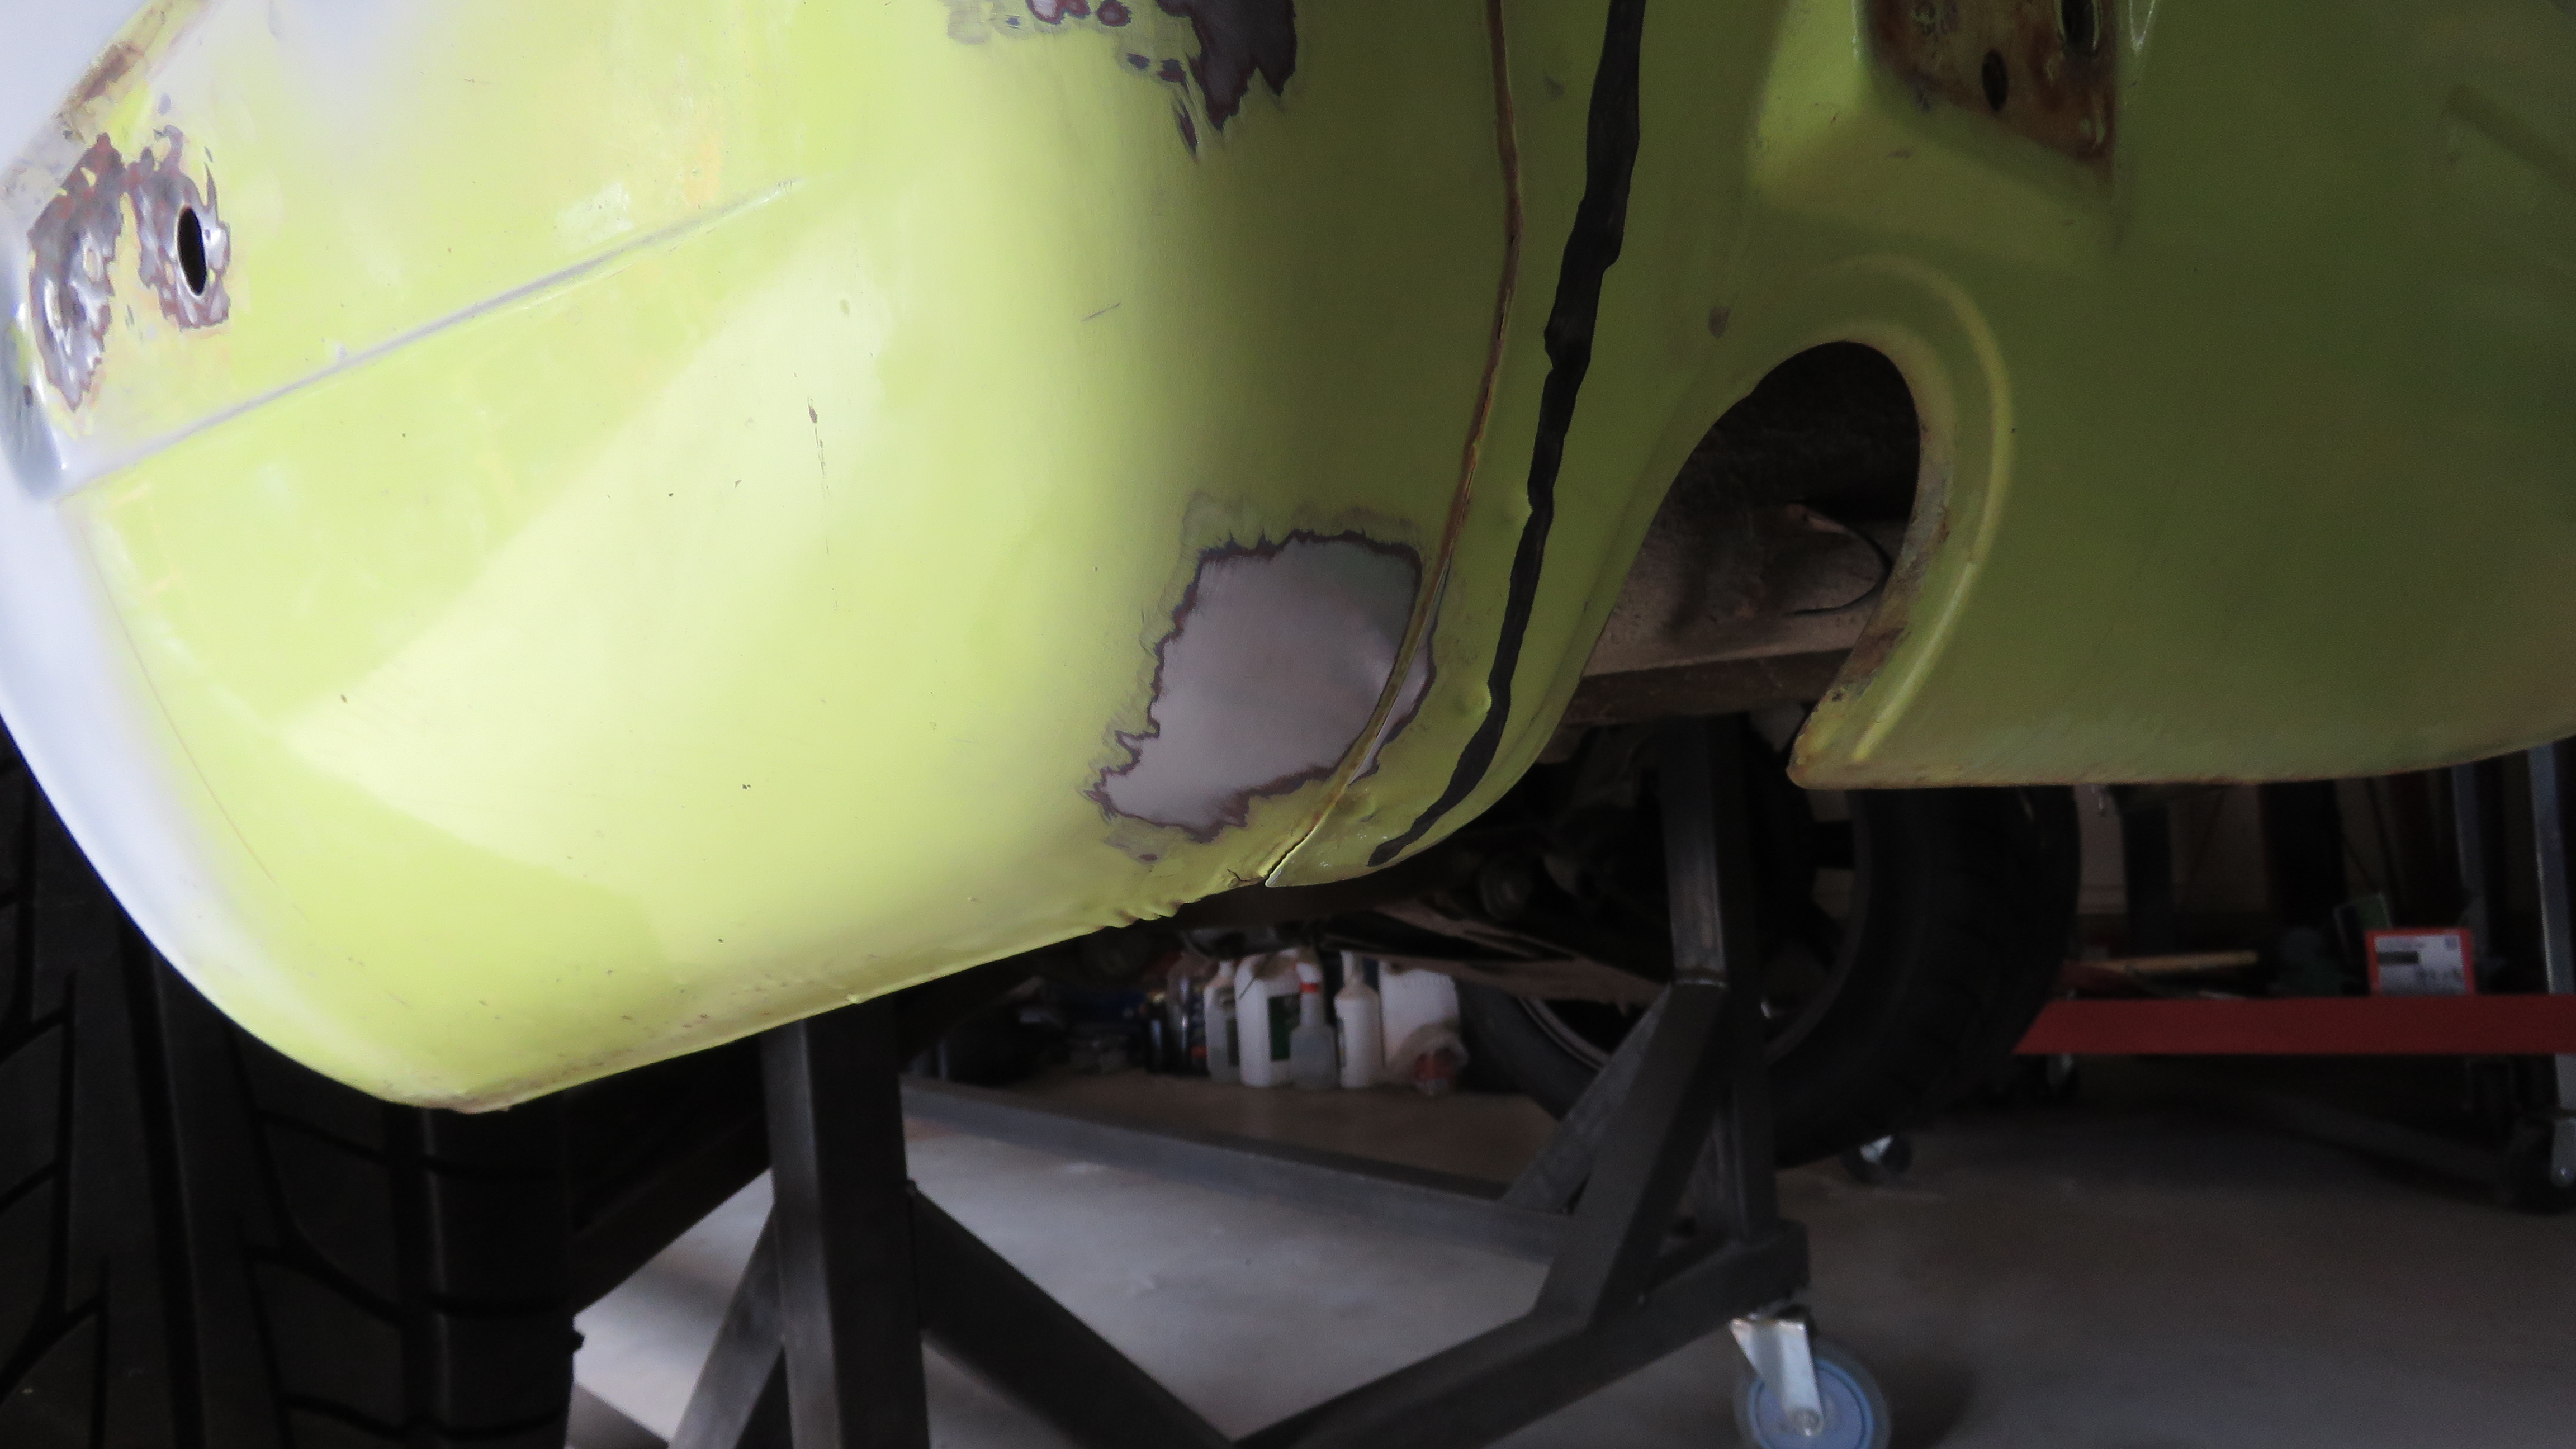
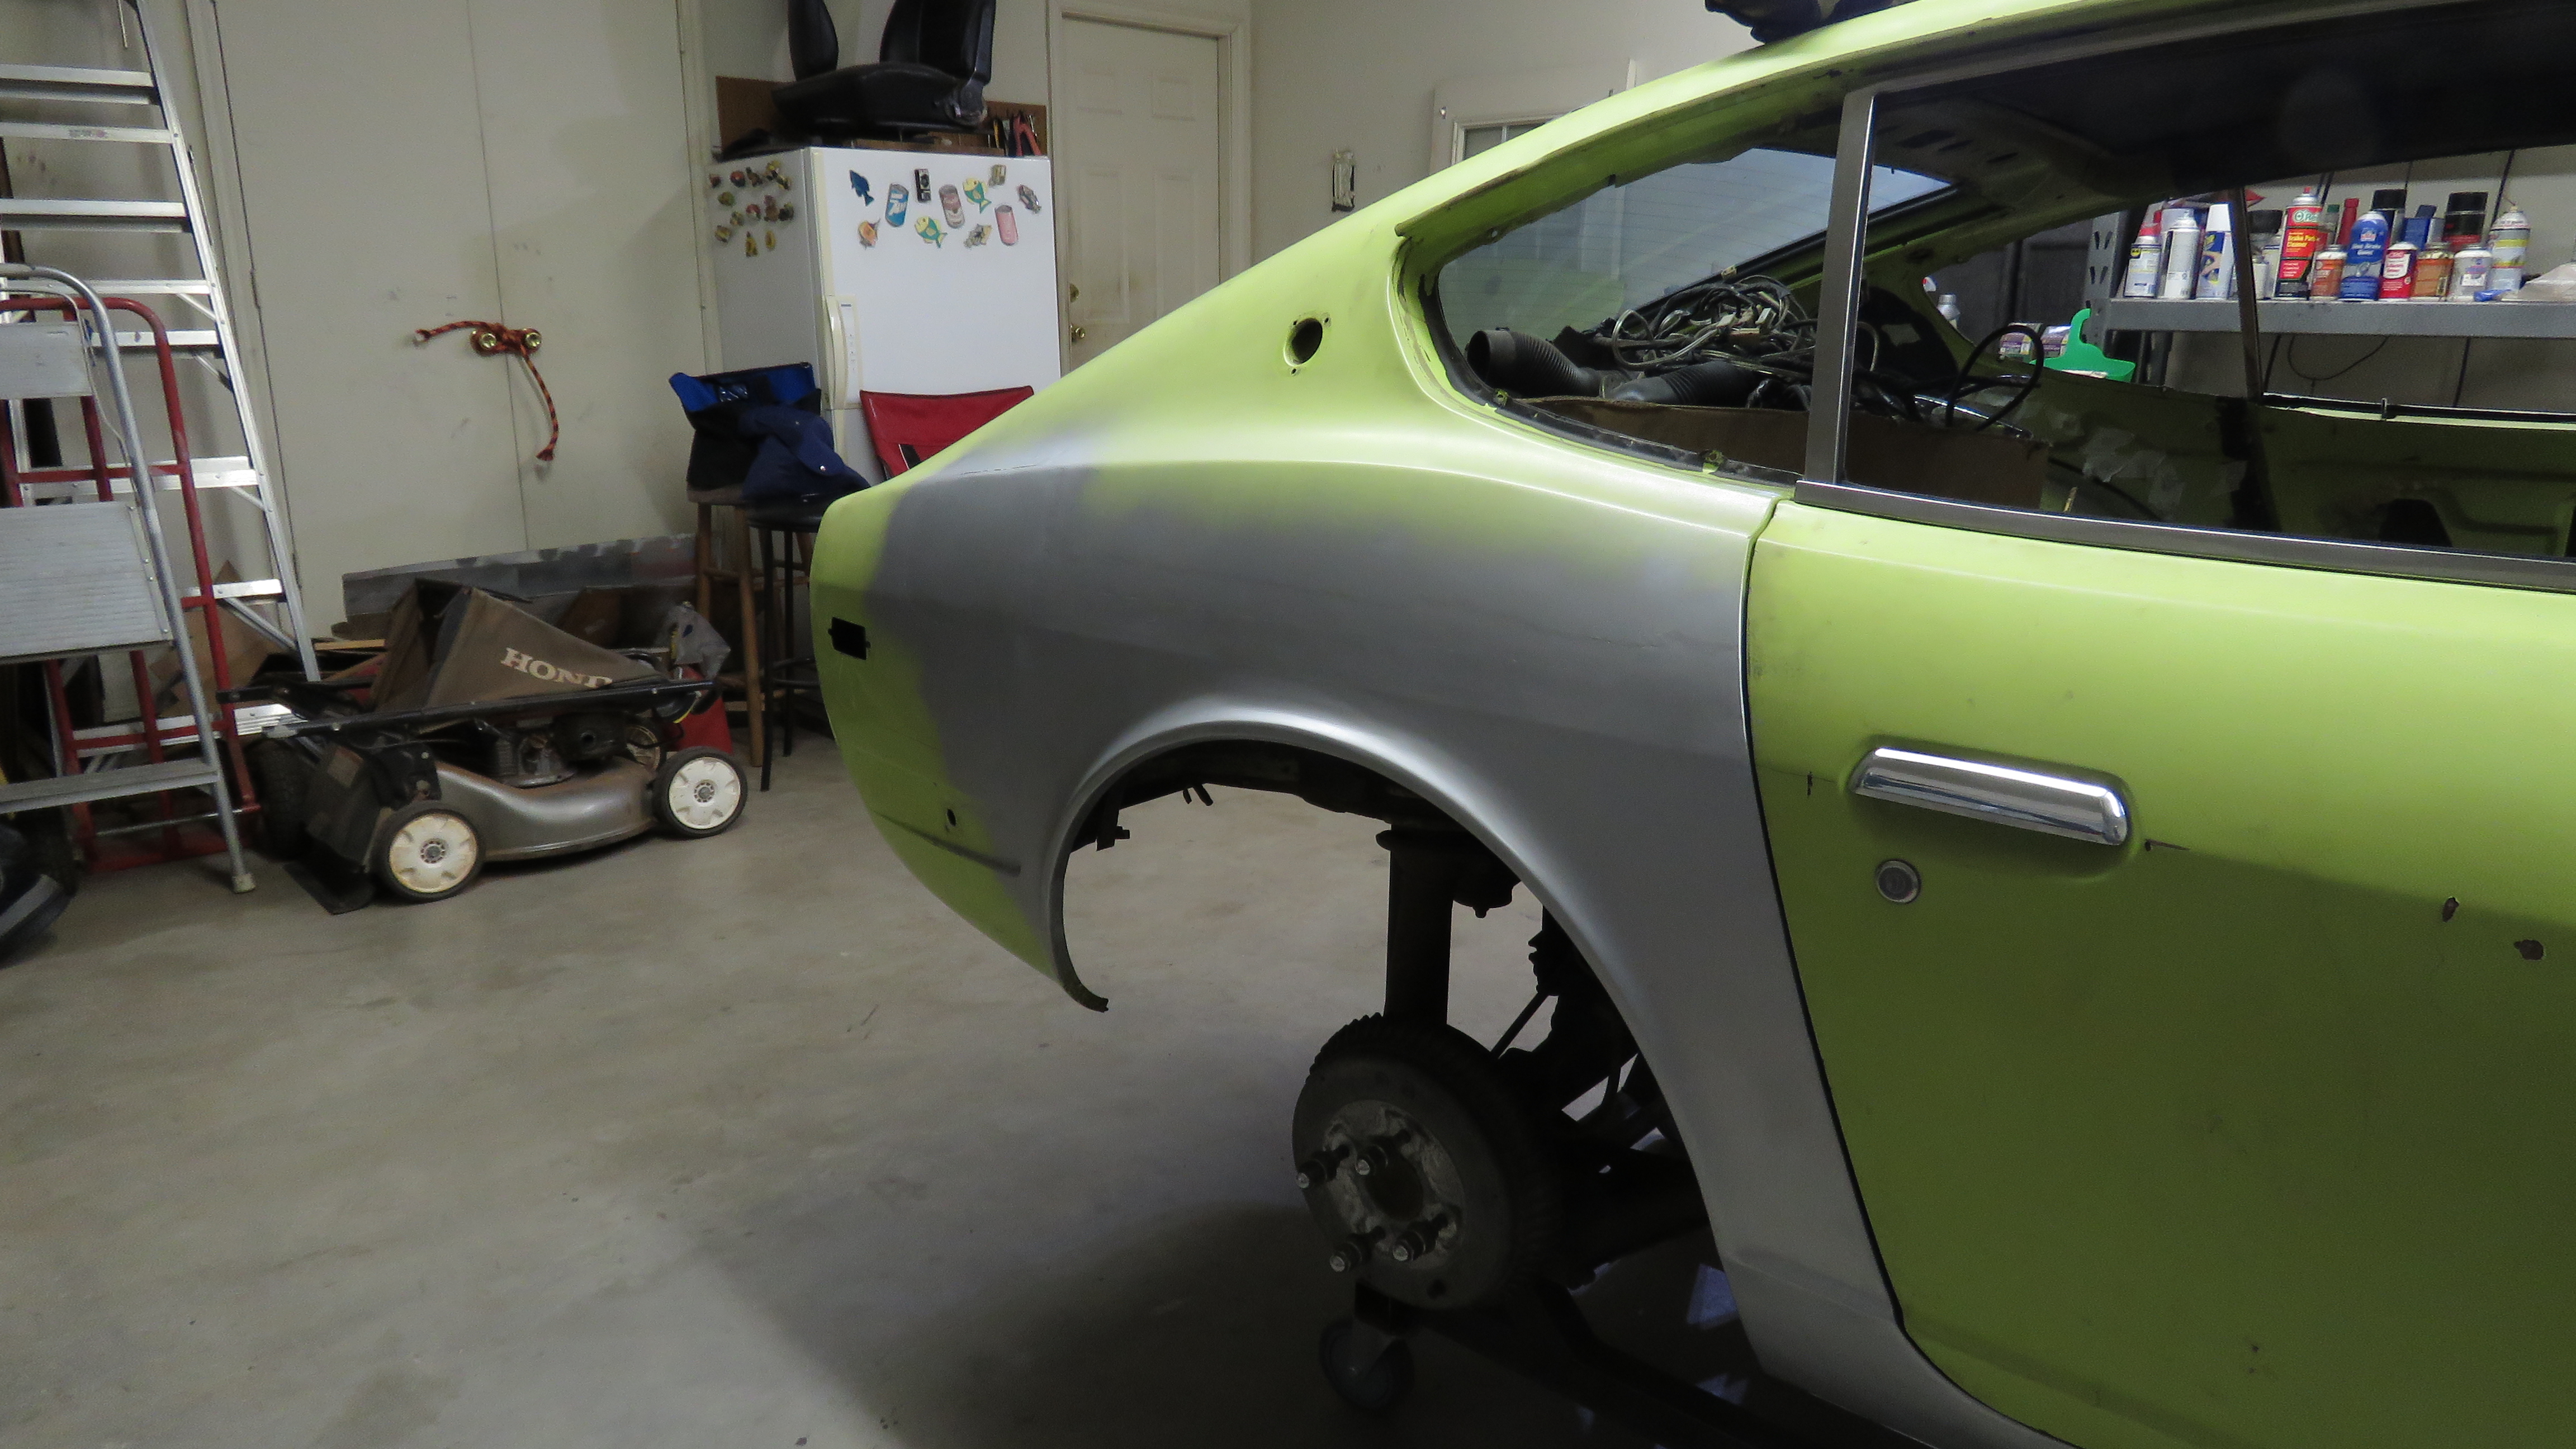
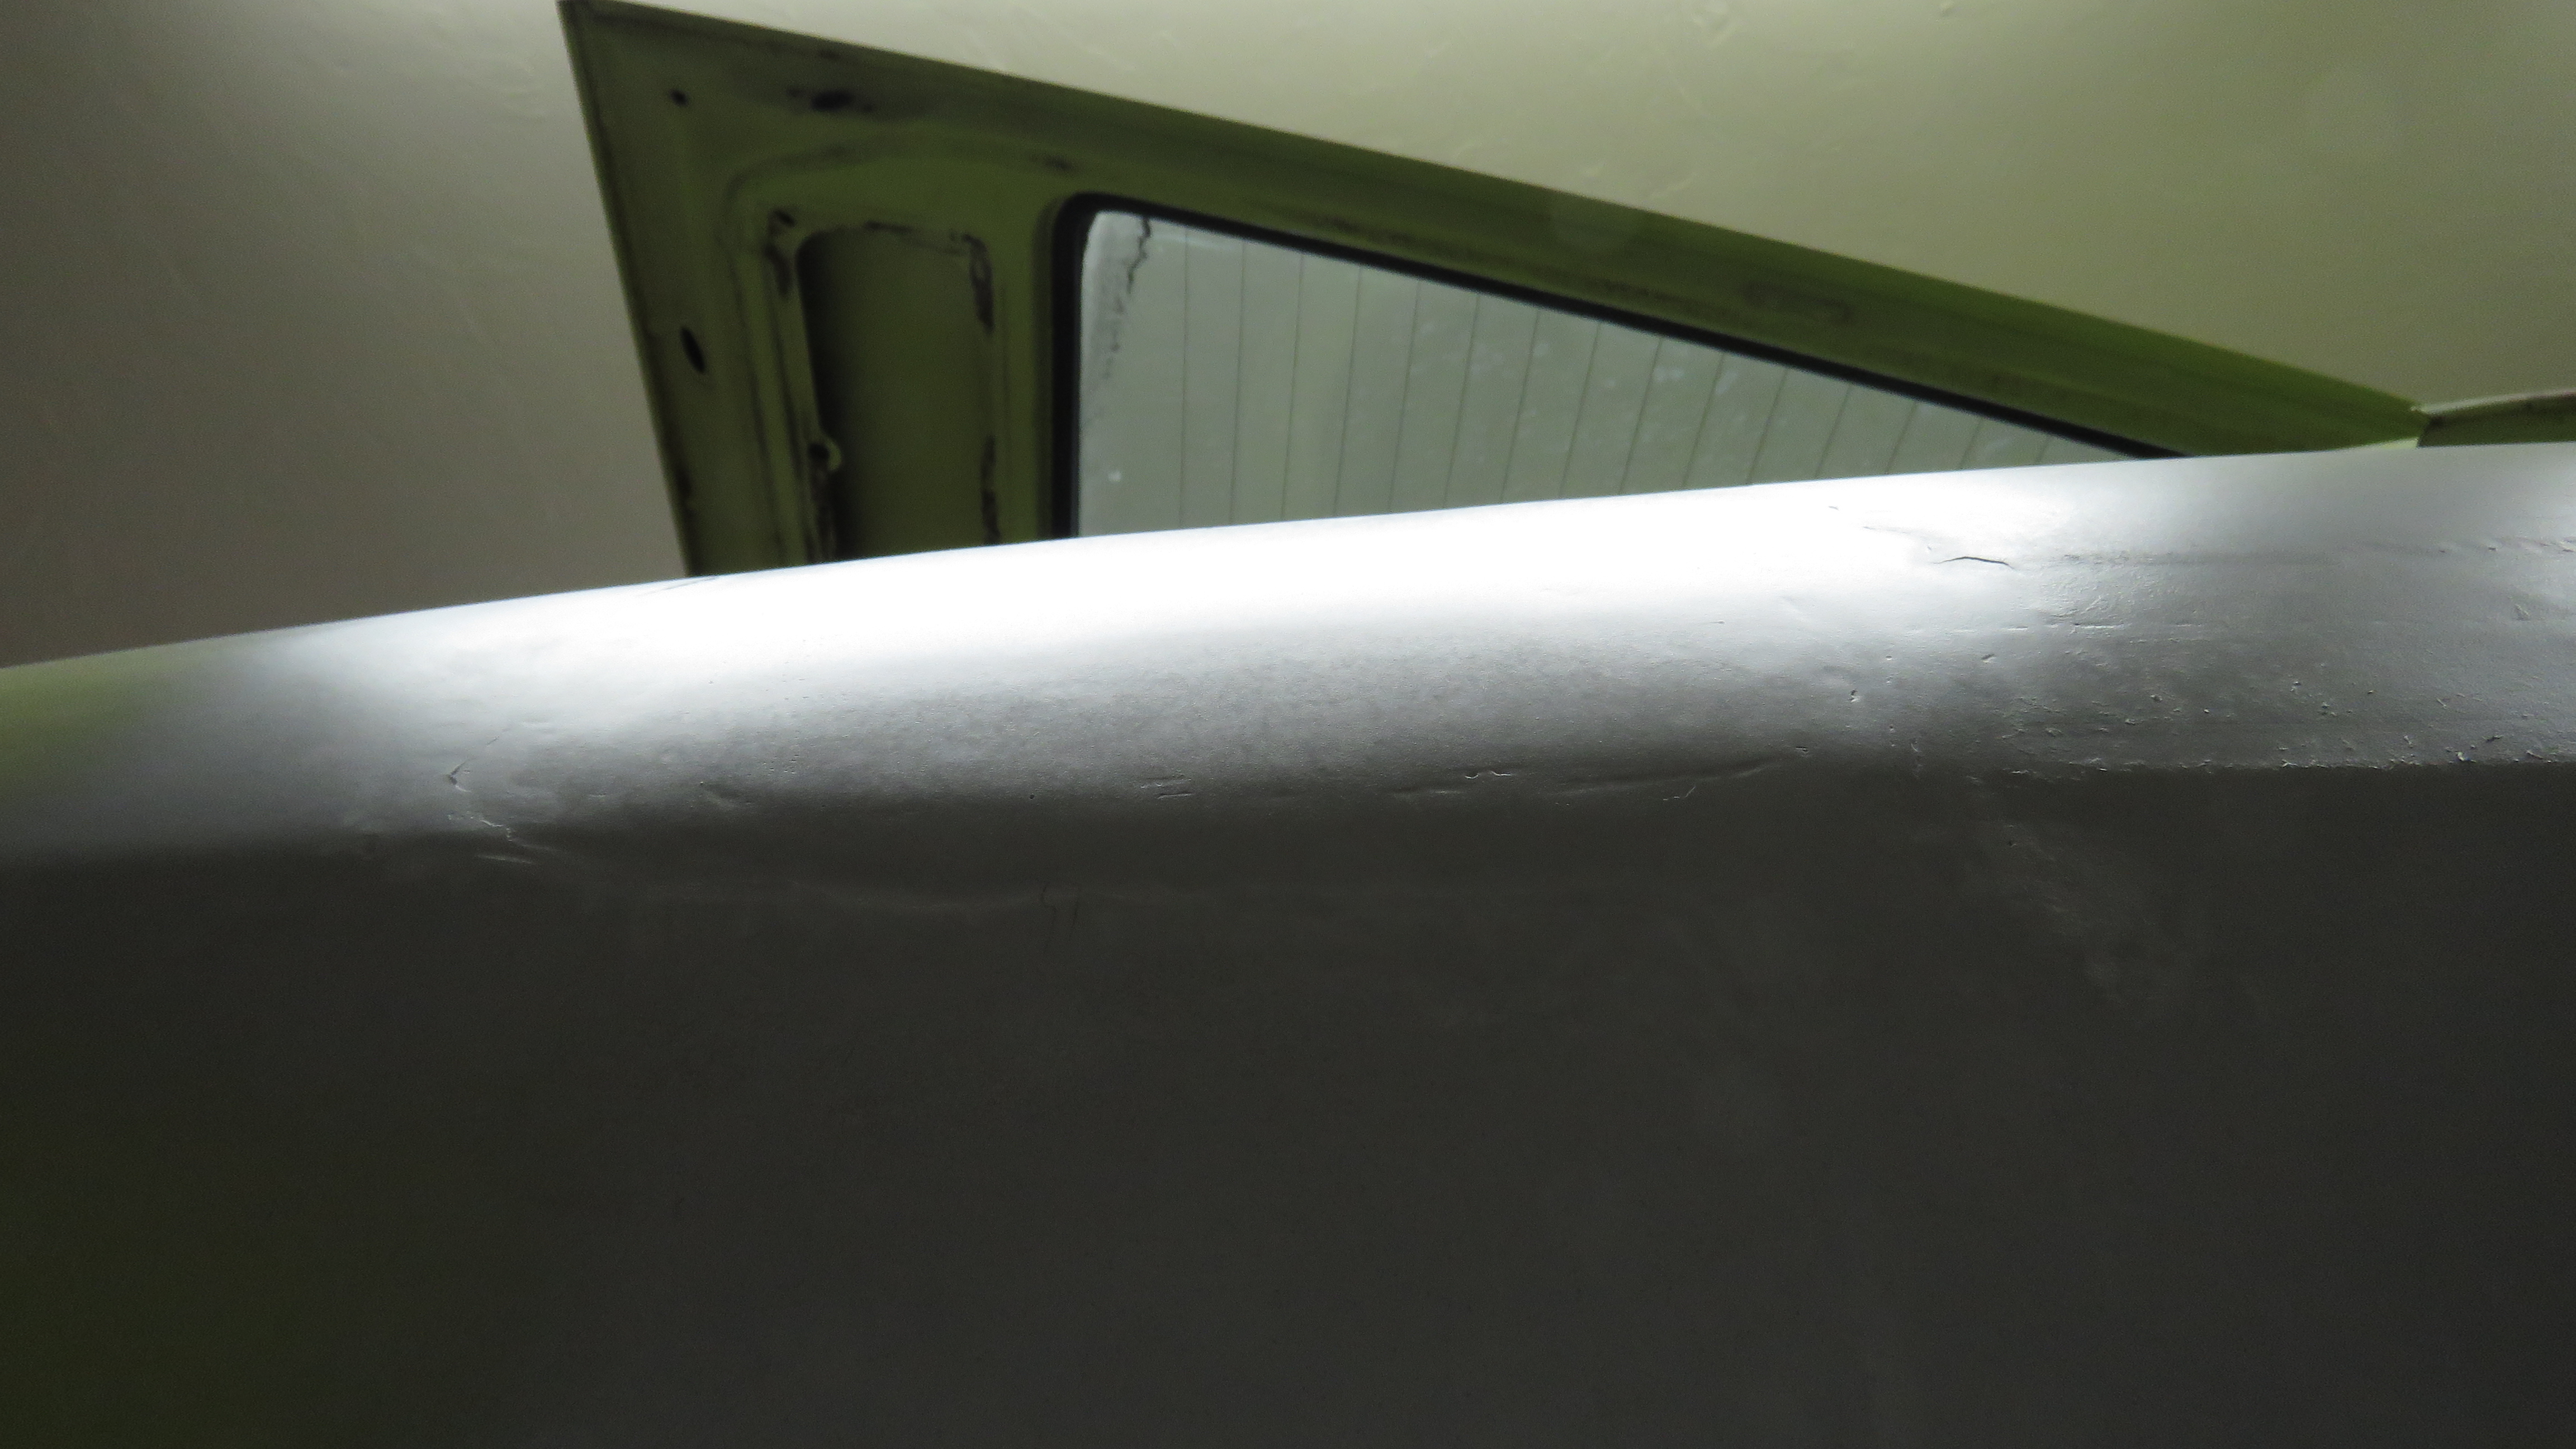
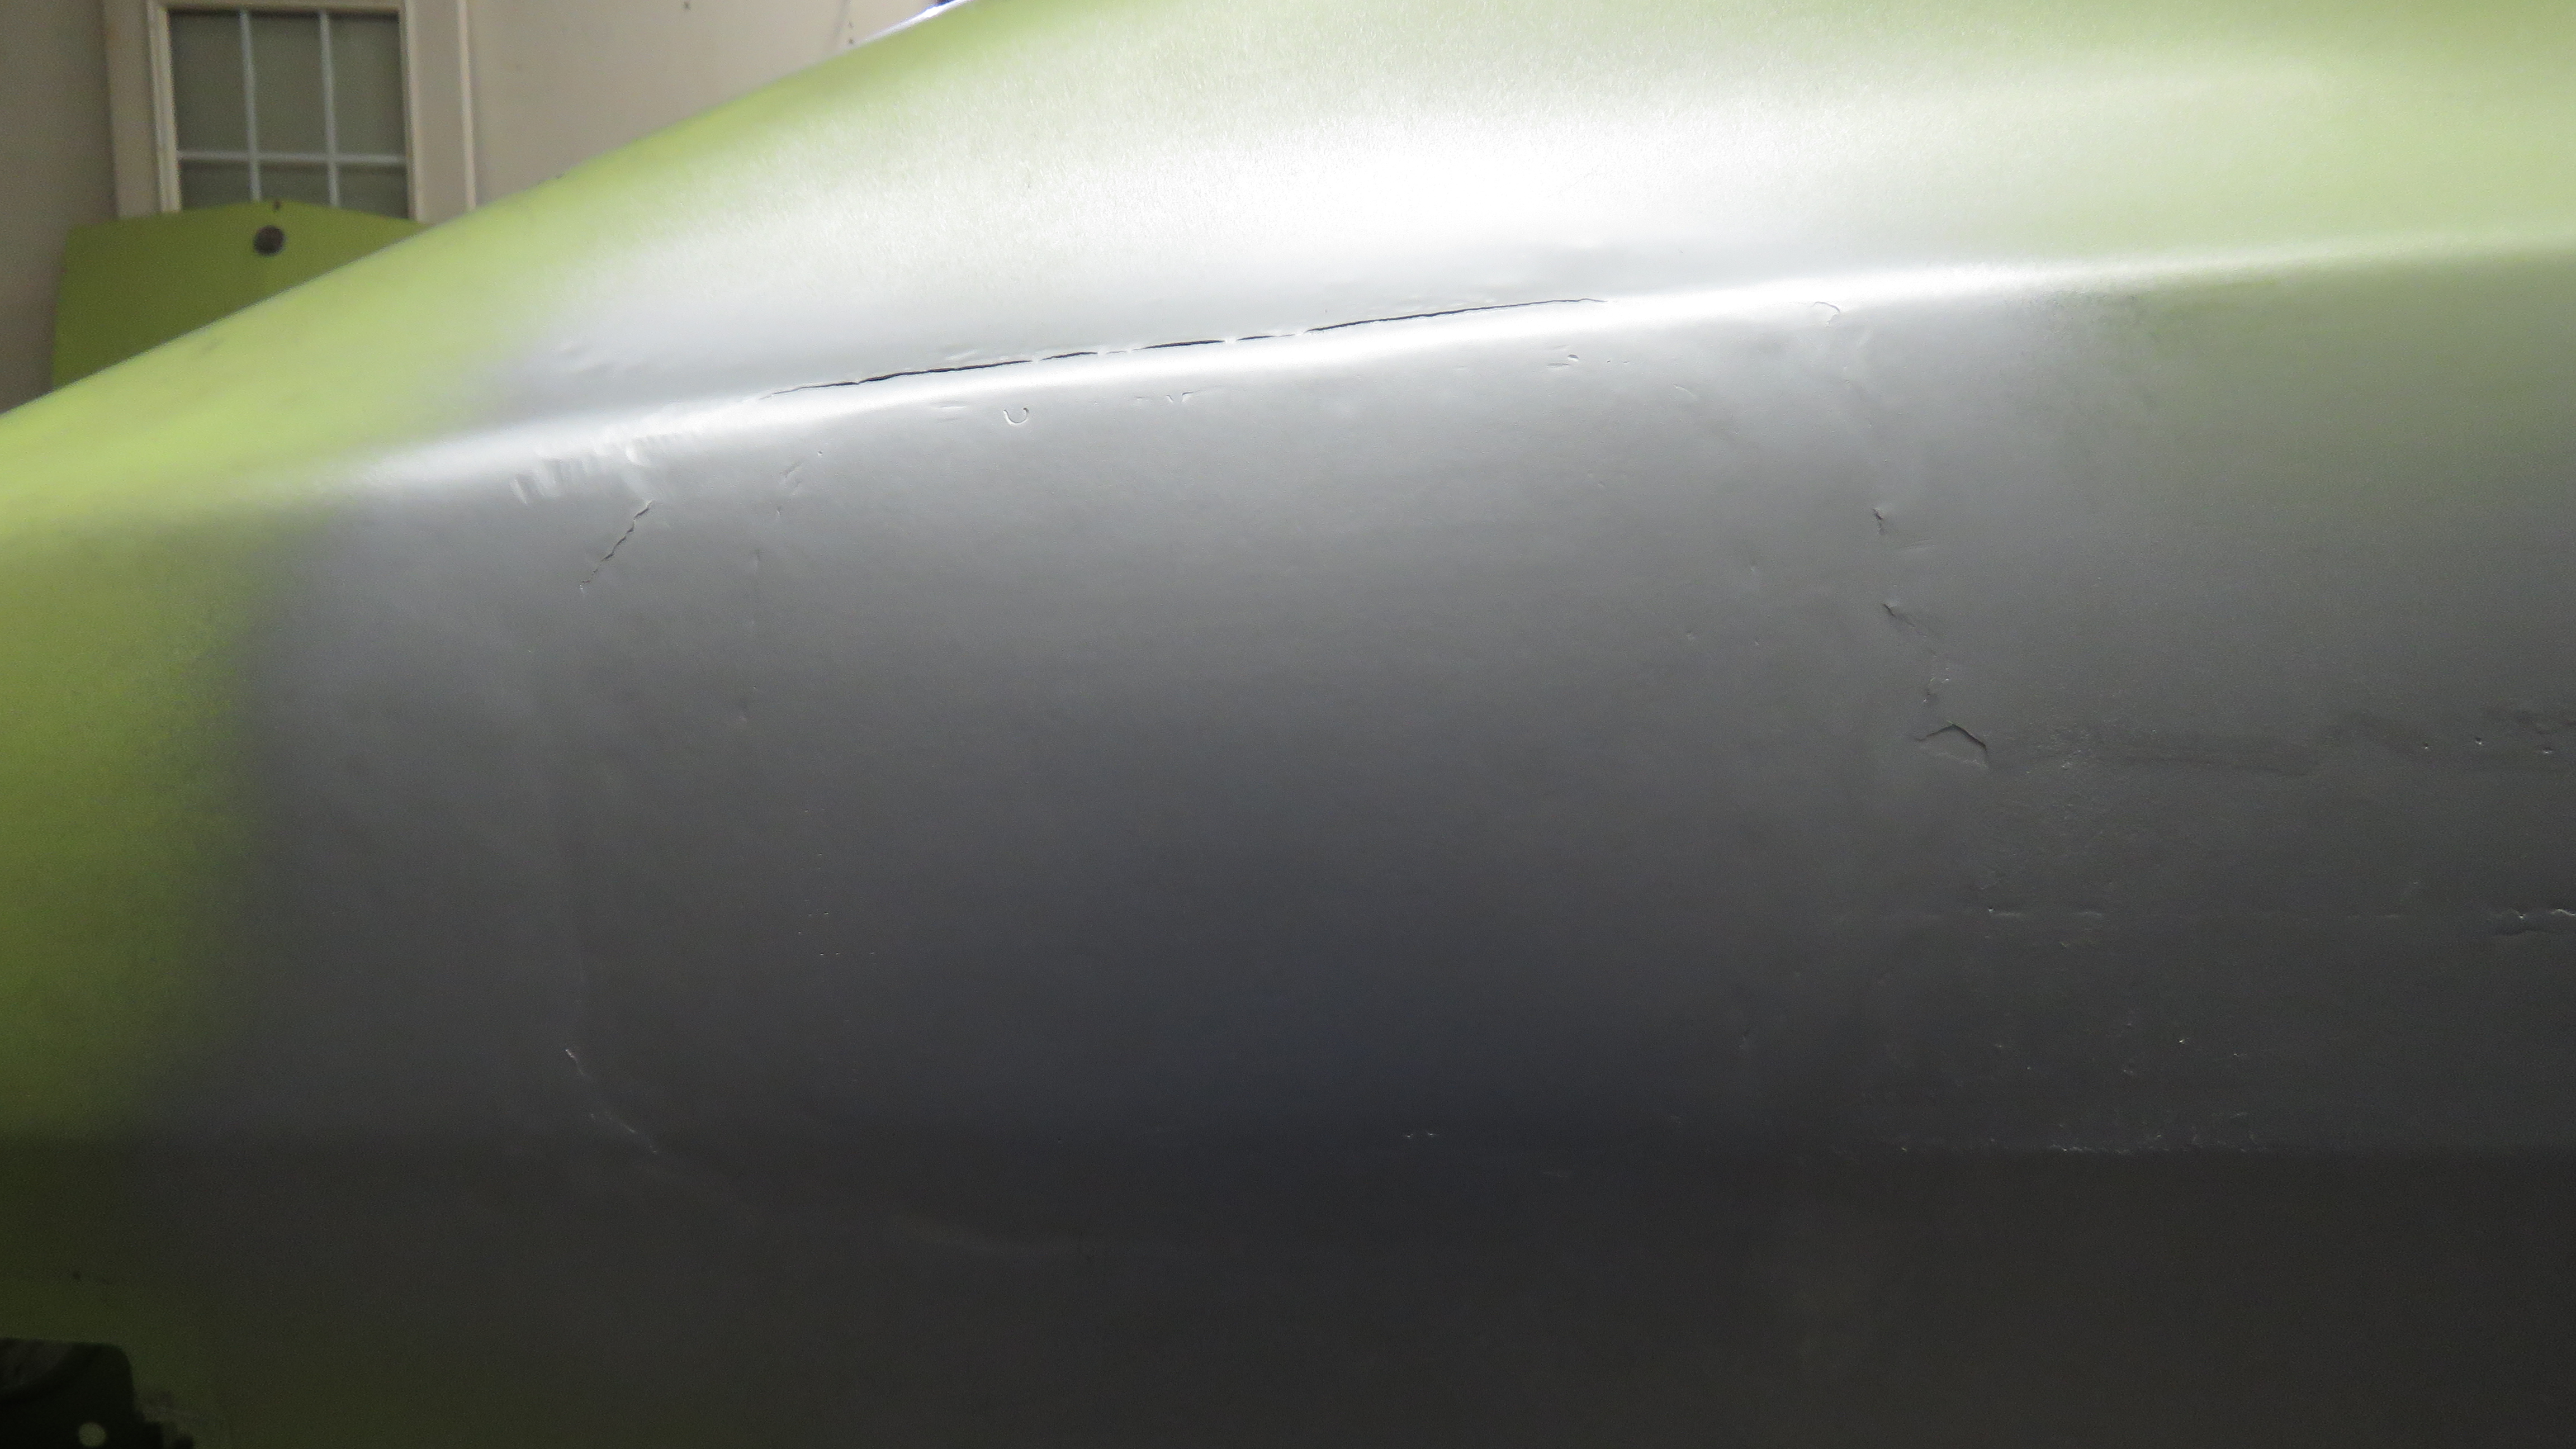
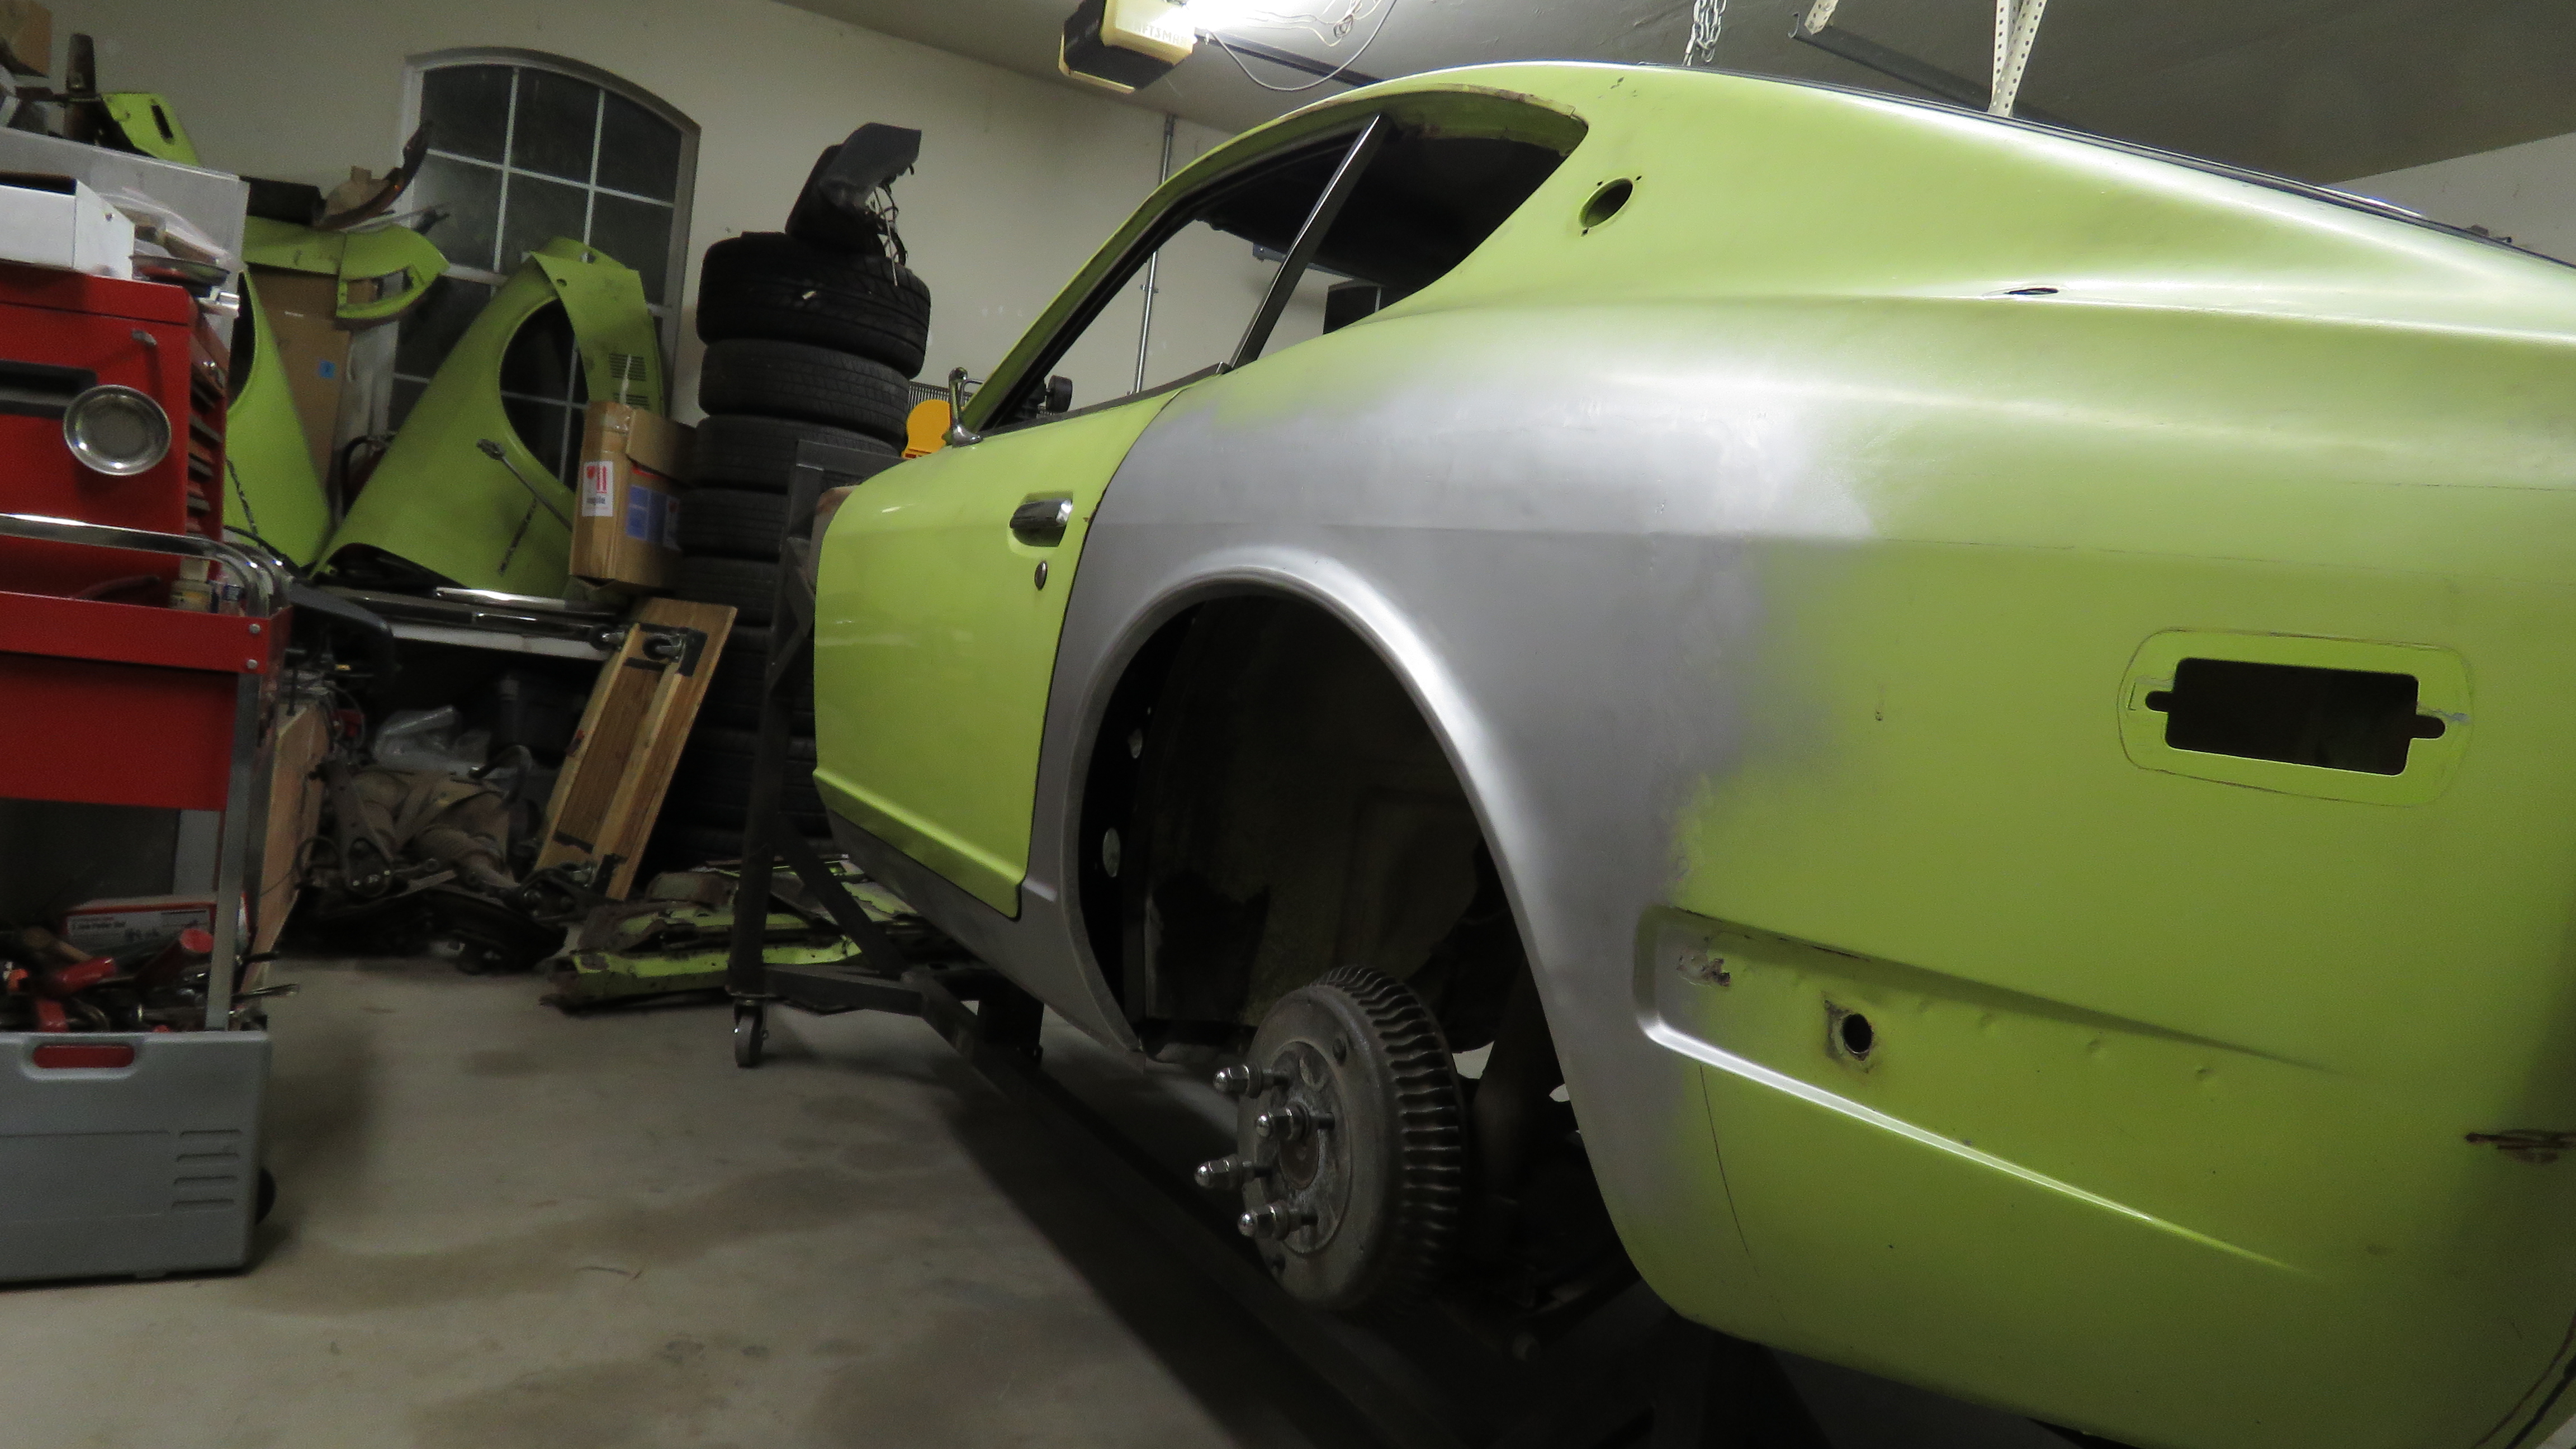
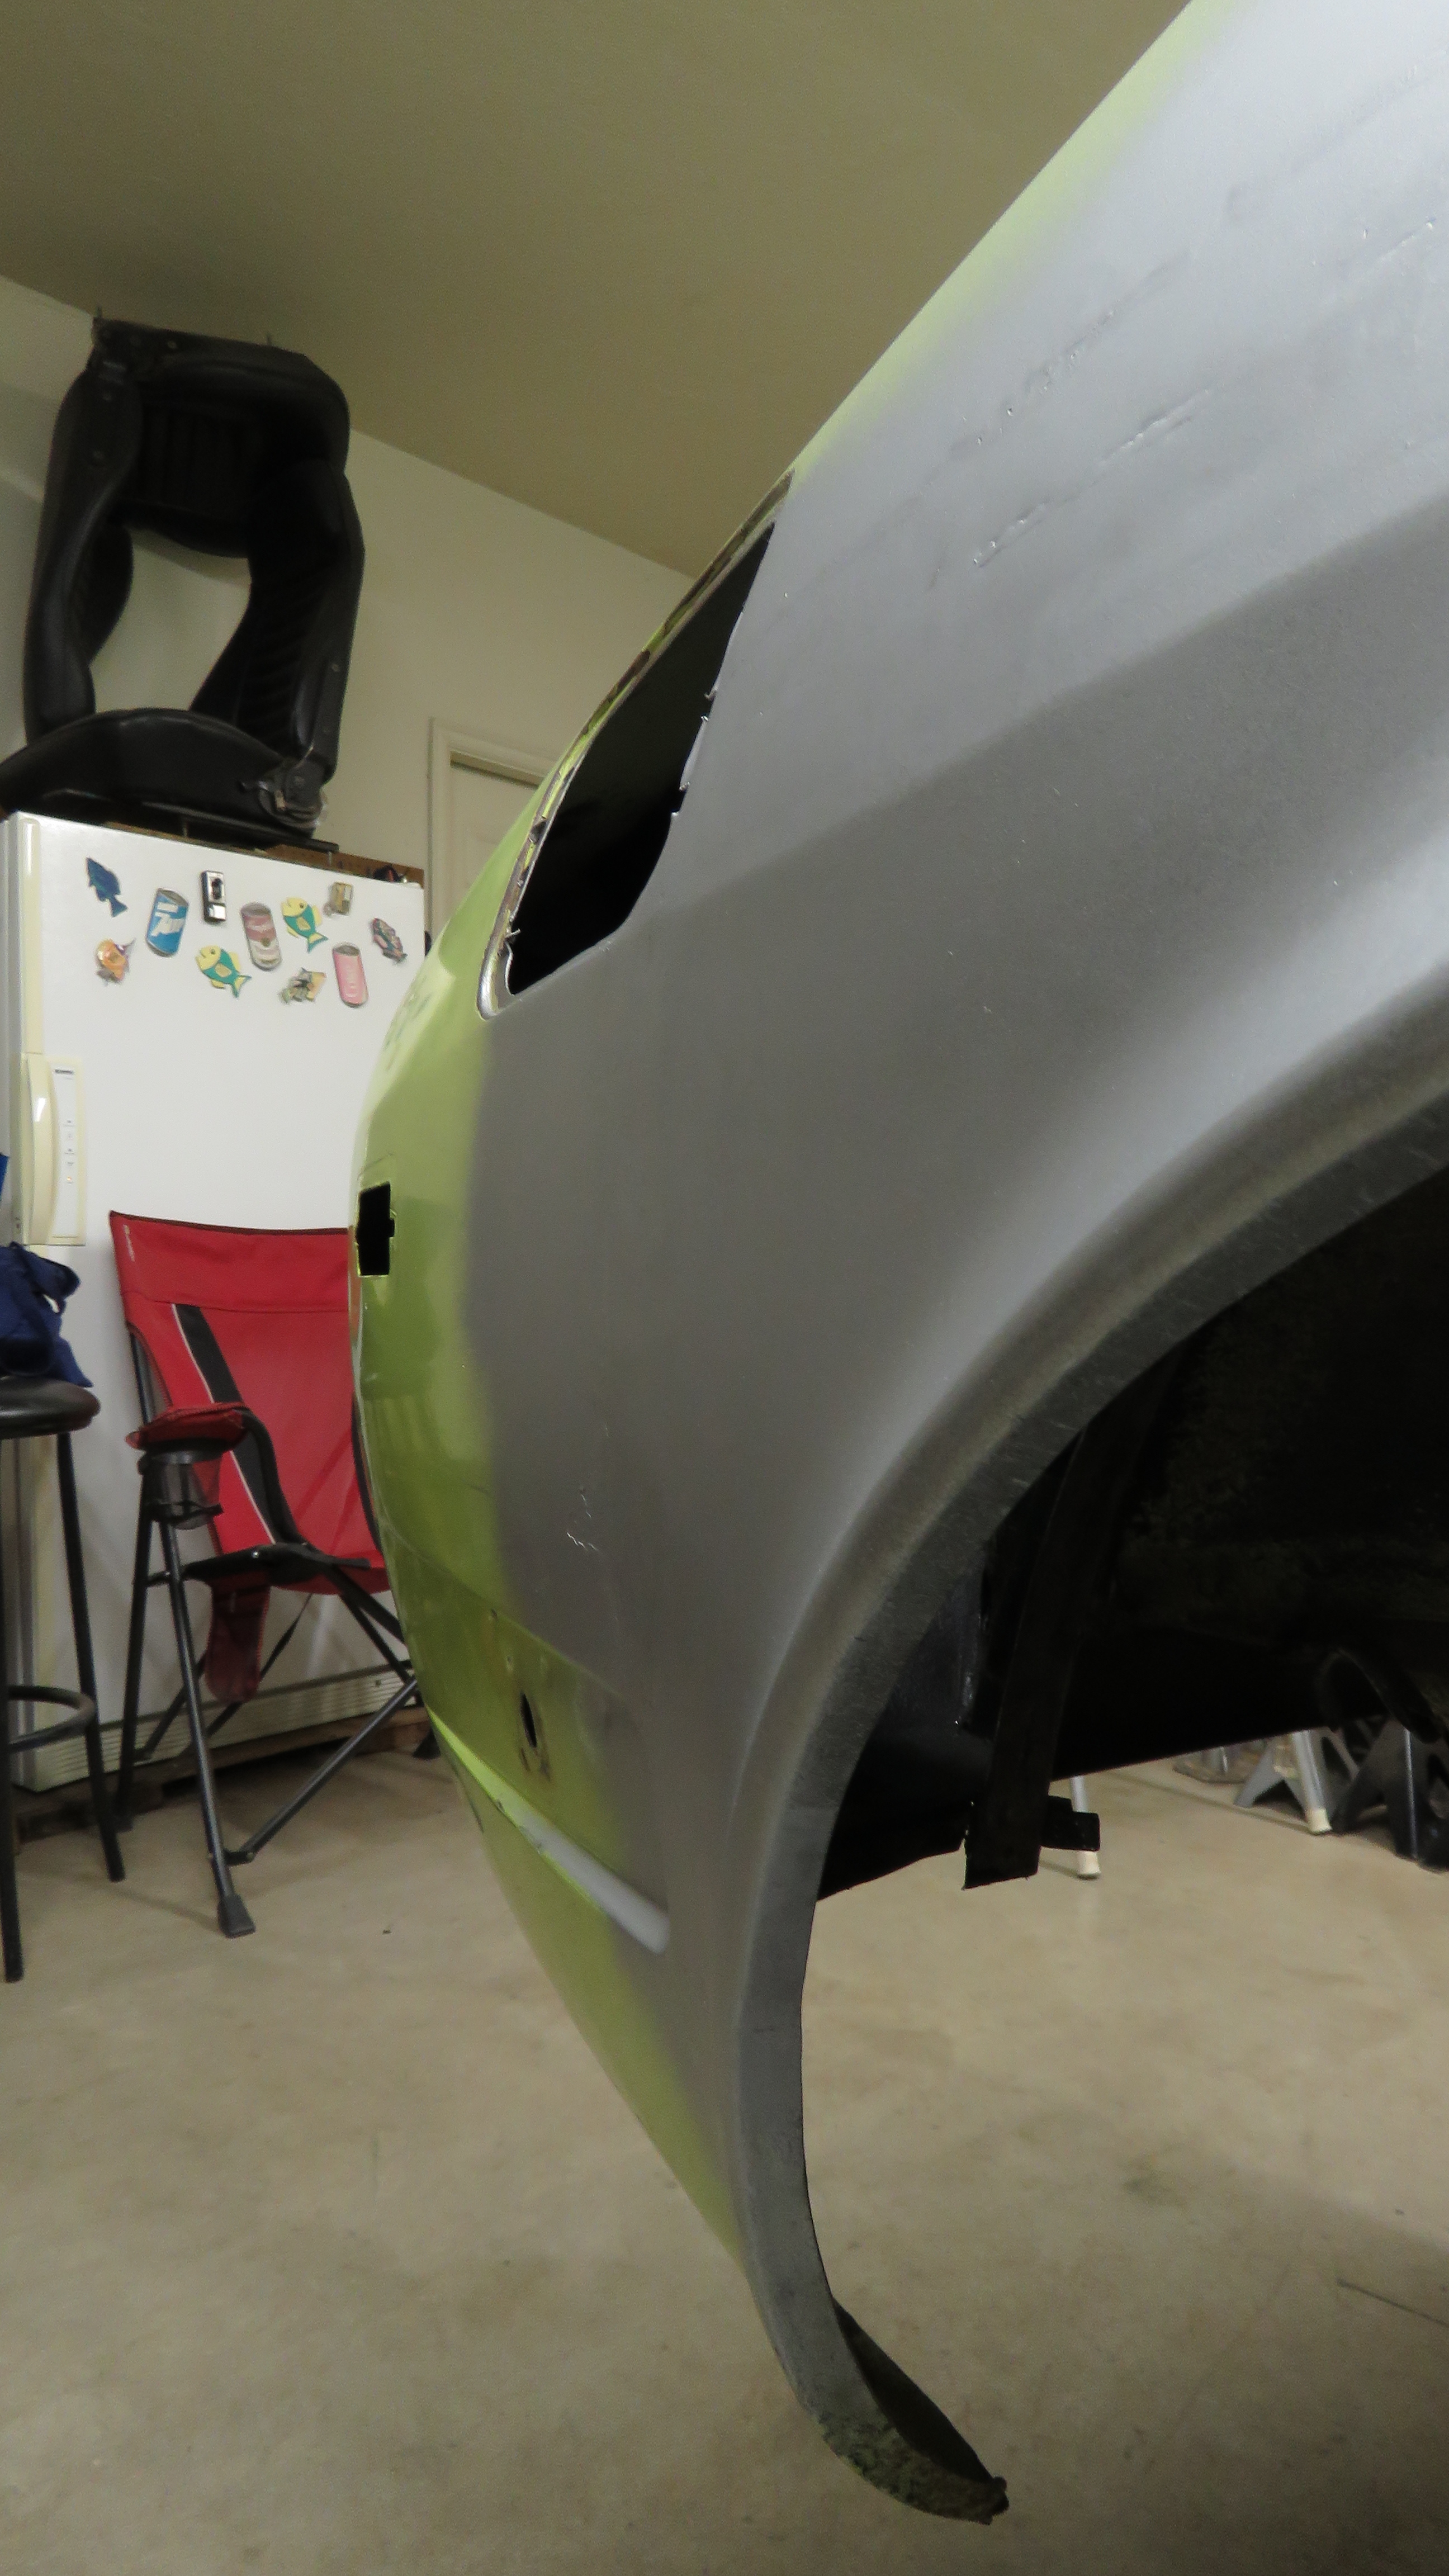
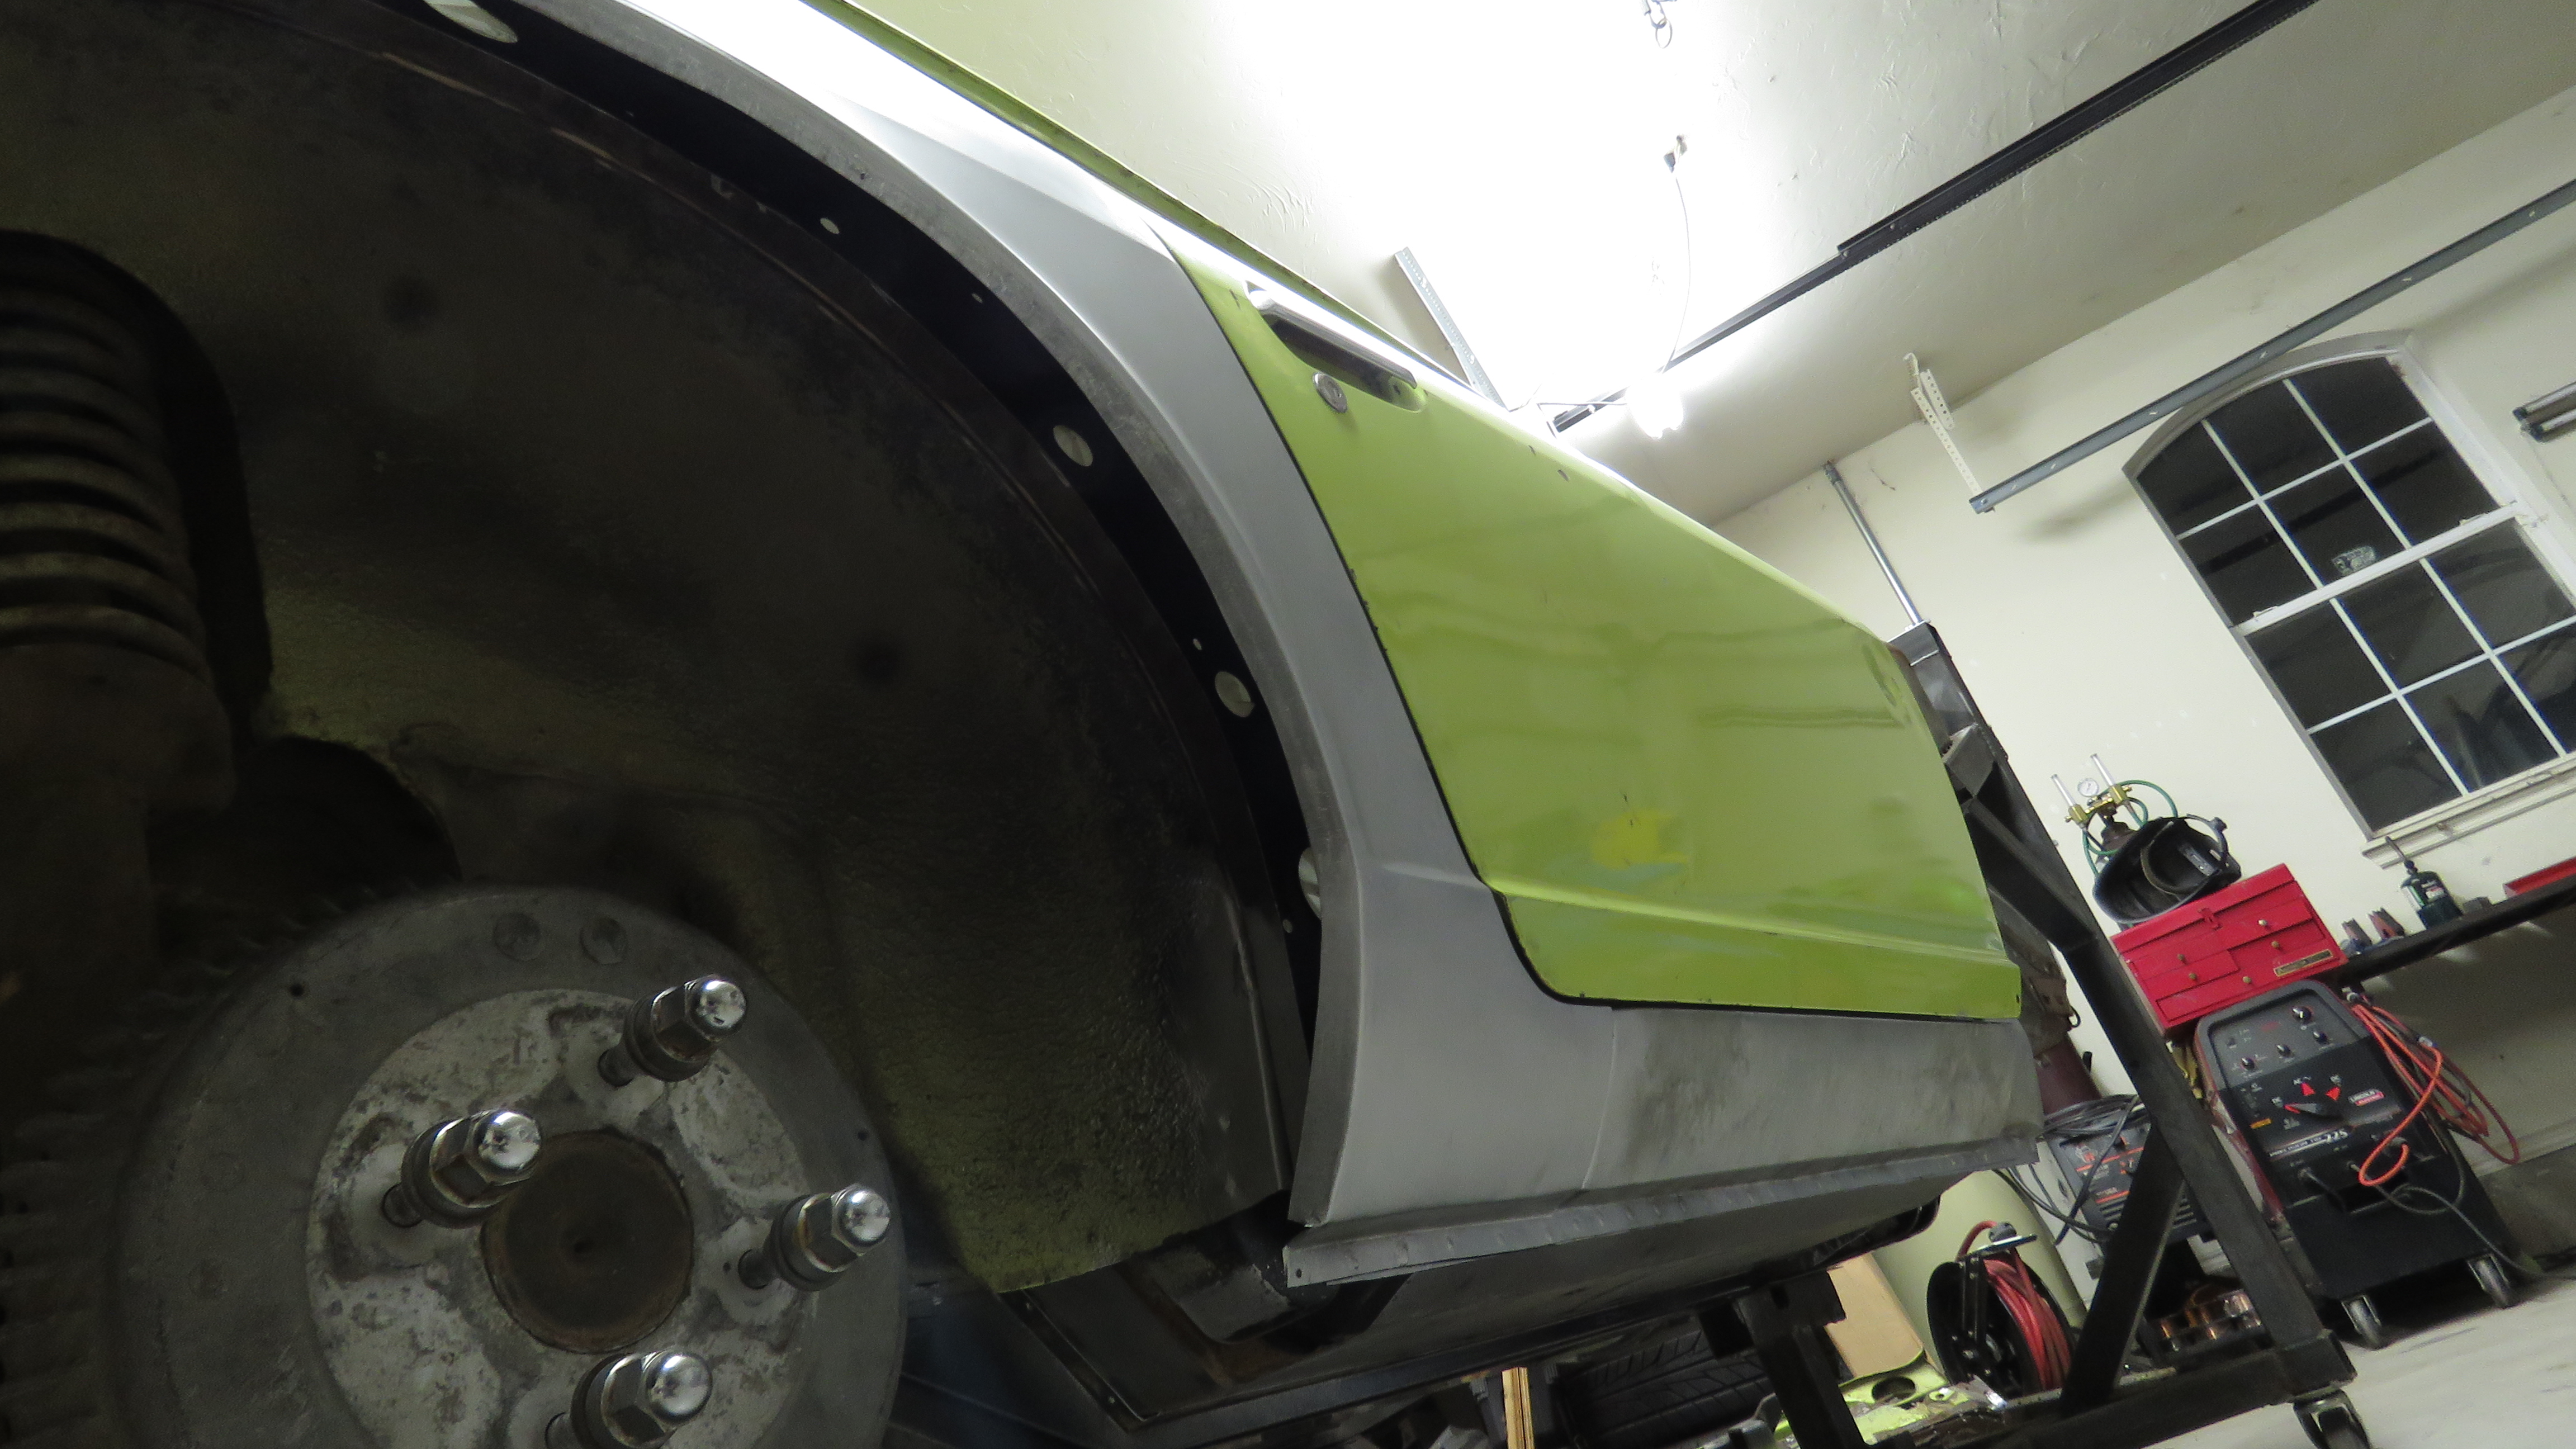
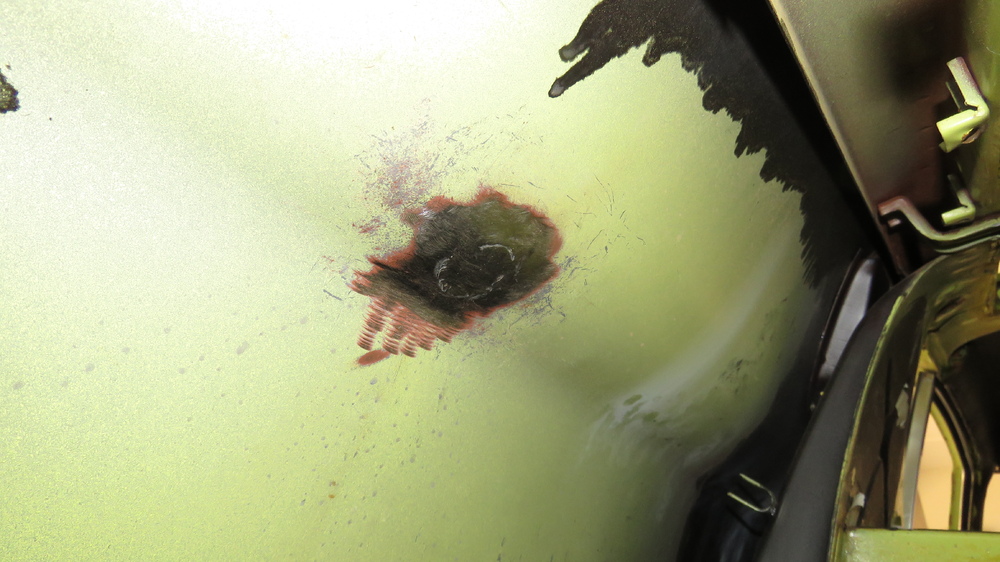
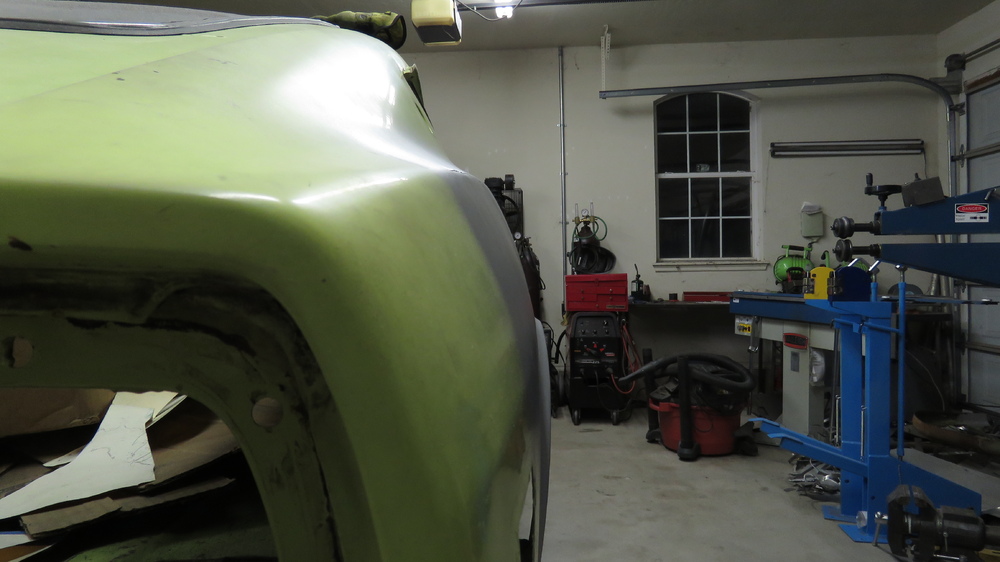
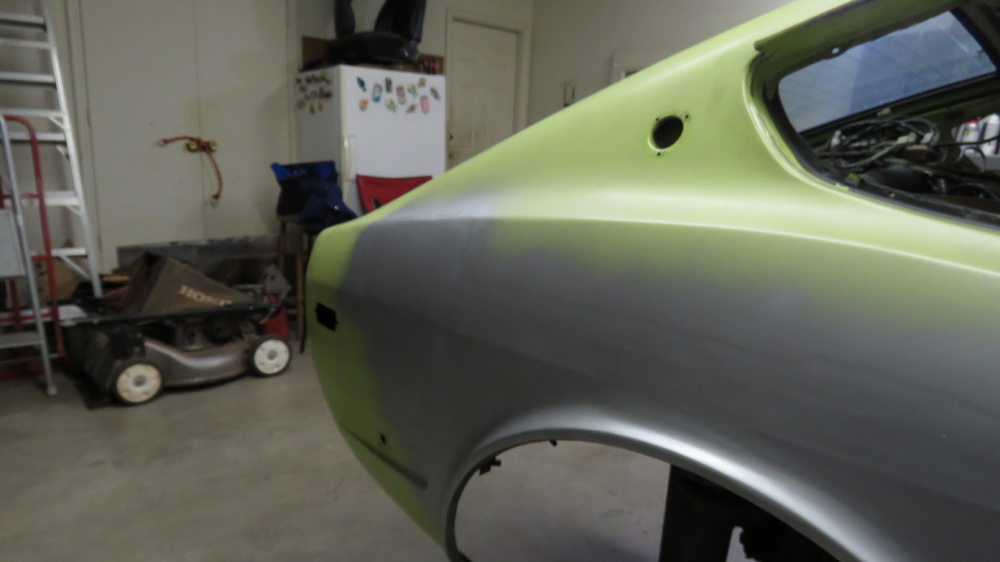
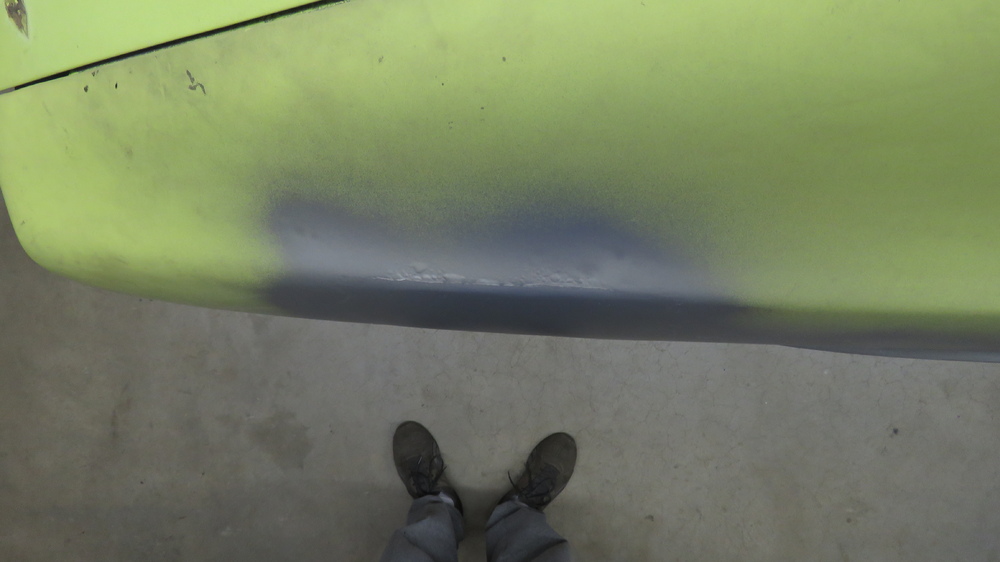
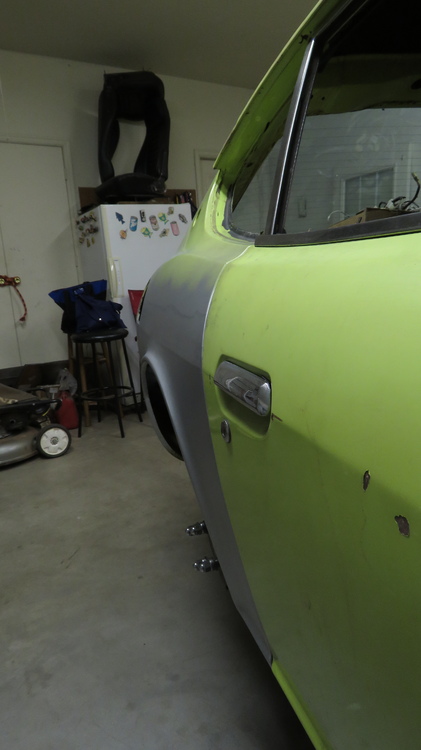
So I ended up reworking the passenger side quarter panel. I had to fix one of two dents at the very rear end and figured while I was at it, might as well do a better job than my previous hack job. You all probably had enough with these quarter panels updates, but this will show you why not to give up and keep at it till its about where it should be for the painter. Painter should only need to but a skim coat of bondo and sand a lot of it off. Heck if your a true master of metal working, painter would only need some coats of primer then off to color paint. If I welded better from the get go, I wouldnt had to do so much correcting, hehe. So the dent I worked on was right next to the side marker. I forgot to take a pic, but found an old image showing it, can kind of see it in the below picture. What I did this time to redo the areas where I welded and some areas of the replacement panels away from the weld was first remove all the paint from the quarter panel, then use the shrinking disk. Did some hammer and dolly work, then shrinking disc again and repeat till its where you want it. Now the welded areas blend in a lot better than before versus if you look back at my older pictures. Also the vertical weld on the rear side of the replacement quarter panel blends in better too. I had to do some major dolly work to bring up some low spots, still a little low, but way better than before now. My bad for the bad quick primer spray job, Damn nozzle was spitting instead of spraying paint, left some runs. As always a bunch of pictures from various angles to get lighting to show. Will rework the drive side tomorrow while shaving the antenna hole shut. So I am debating now whether I want to shave the rear side markers. What are your guys opinion? Think it looks better with those huge things on or off?


-
-
Hehe, Maybe, I can be a cheapskate sometimes. Well I got the idea from previous LS1 Swap builds. The projects I looked at back then used the same tank I bought. Seemed to work great for them. However in my defense, this was before I started with the whole fabrication thing. Interesting choice, I may check it out, thanks for sharing. I too want to run dual exhaust for me car. Sounds like it will be an awesome car when all said and done. I wanted to put in an RB, but back then I couldnt afford it, so i bought this LS1 engine locally from a guy in a nearby town. He wrecked his 2002 Camaro SS back in 2003 I think, if my memory serves me right and pulled the engine with drive train and stored it in his shop for many years till I came along to buy it. For the most part the engine internals are in good shape, however the cylinder walls and crank need some attention from the machine shop, shouldnt be much but still enough to need a little work done. Thanks for sharing that information.
-
Anytime! Looks great.
-
I had bought a Firebird/Camaro Plastic Fuel tank a while back. I am still wondering if I should use it or not as I already have wiring for it and a replacement fuel pump for that tank. So to get my monies worth, I will most likely use it. Using that fuel tank requires me to remove the spare tire well which kind of sucks. The Fuel Filler location would have to be on the side somewhere to use that fuel tank. Just not sure where id like to place it. Dont recall me saying I would put it in the rear, but thanks for your concerns. Just curious what would actually happen in a wreck, would anything catch on fire? or Just the Tank would get damaged from the filler tube? Come to think of it, I dont know of any race car of any type of race where the filler is in the rear, so there is probably truth on why its not located back there. A friend of mine wants me to do it just like you pictured. A neat way to hide it. What is your friend using that car for, Drag or Circuit racing?
-
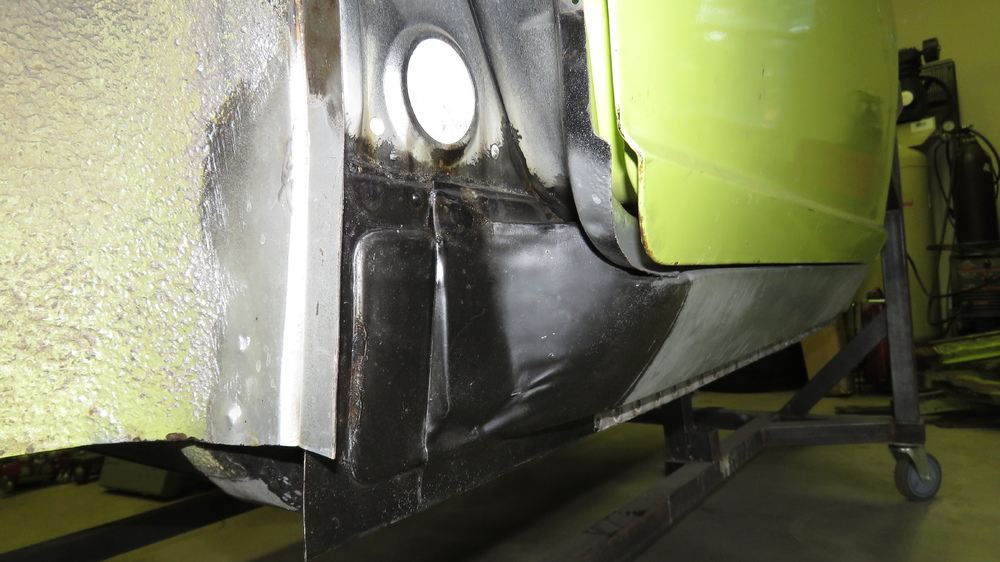
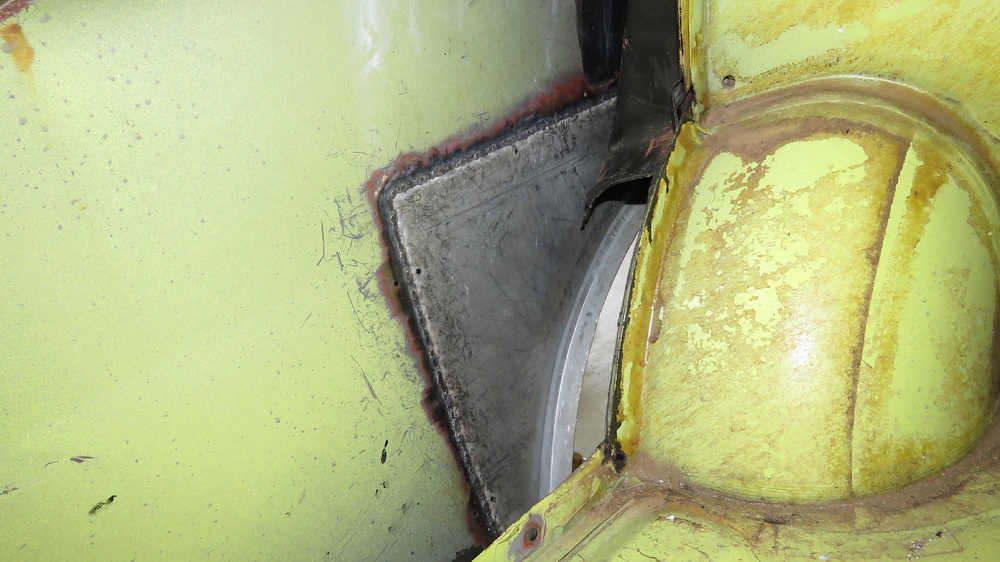
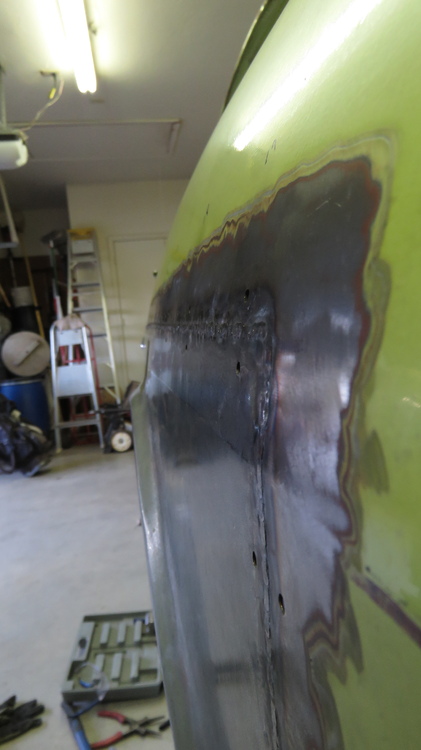
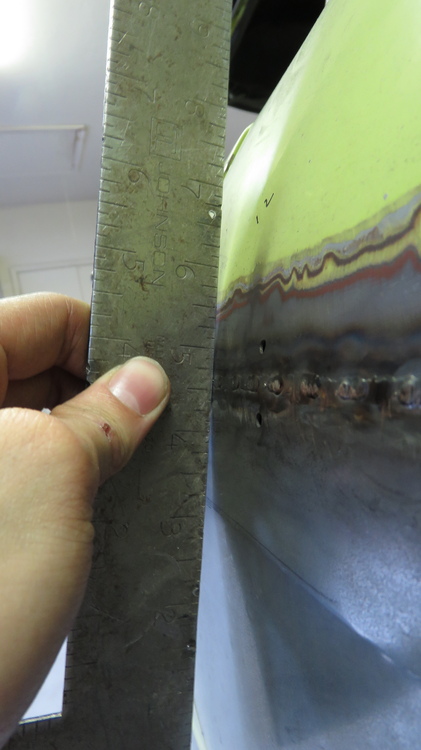
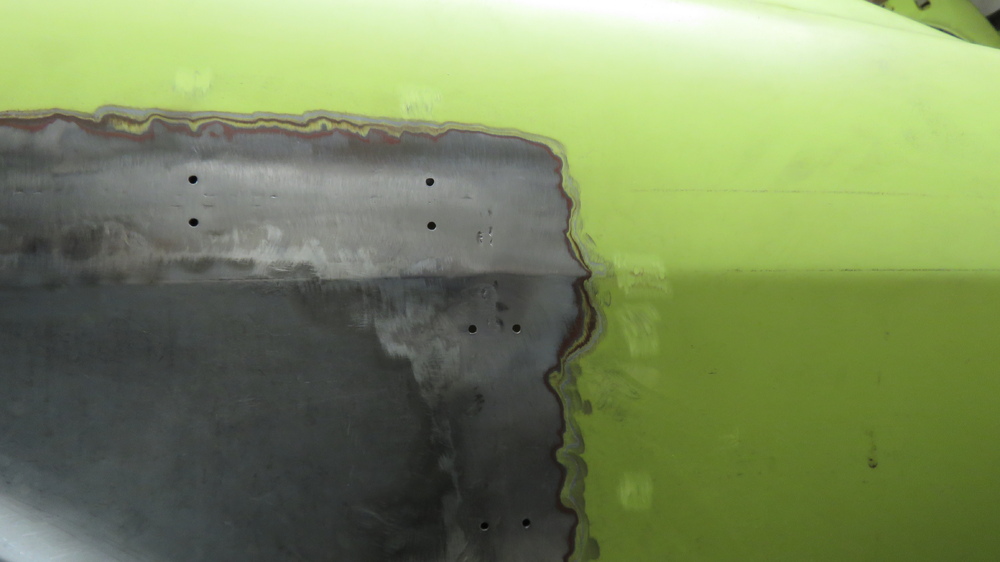
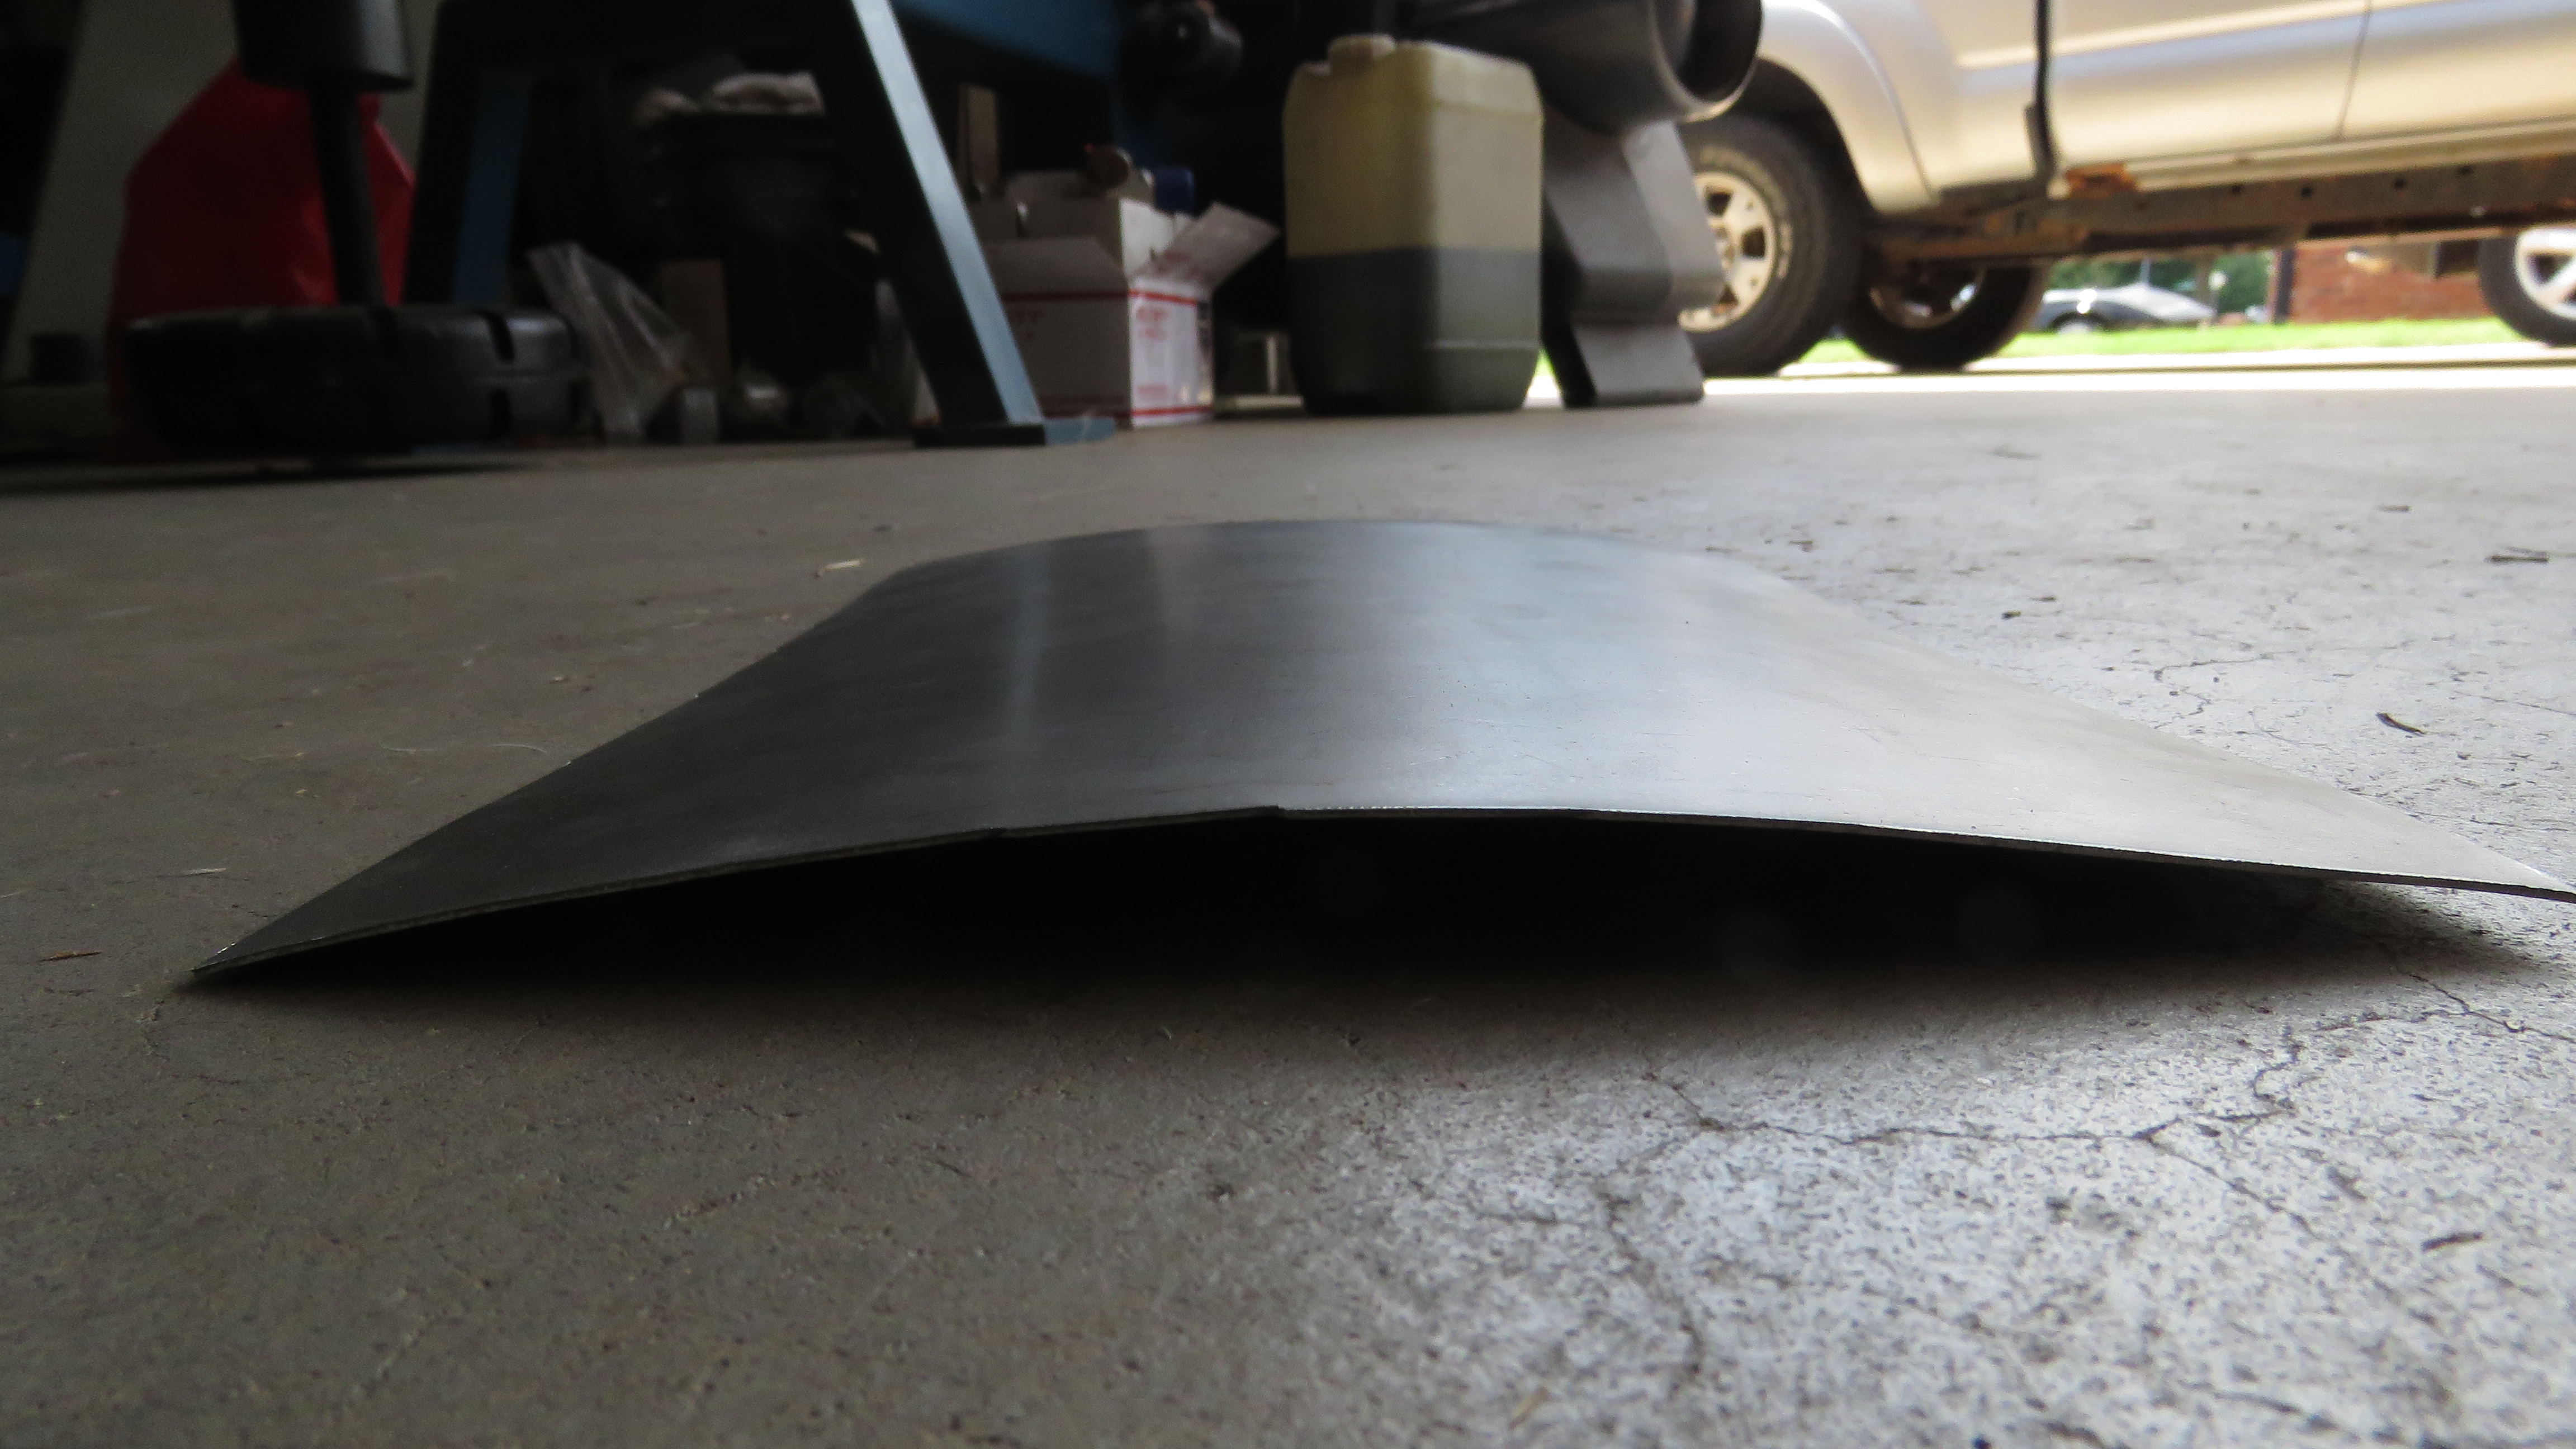
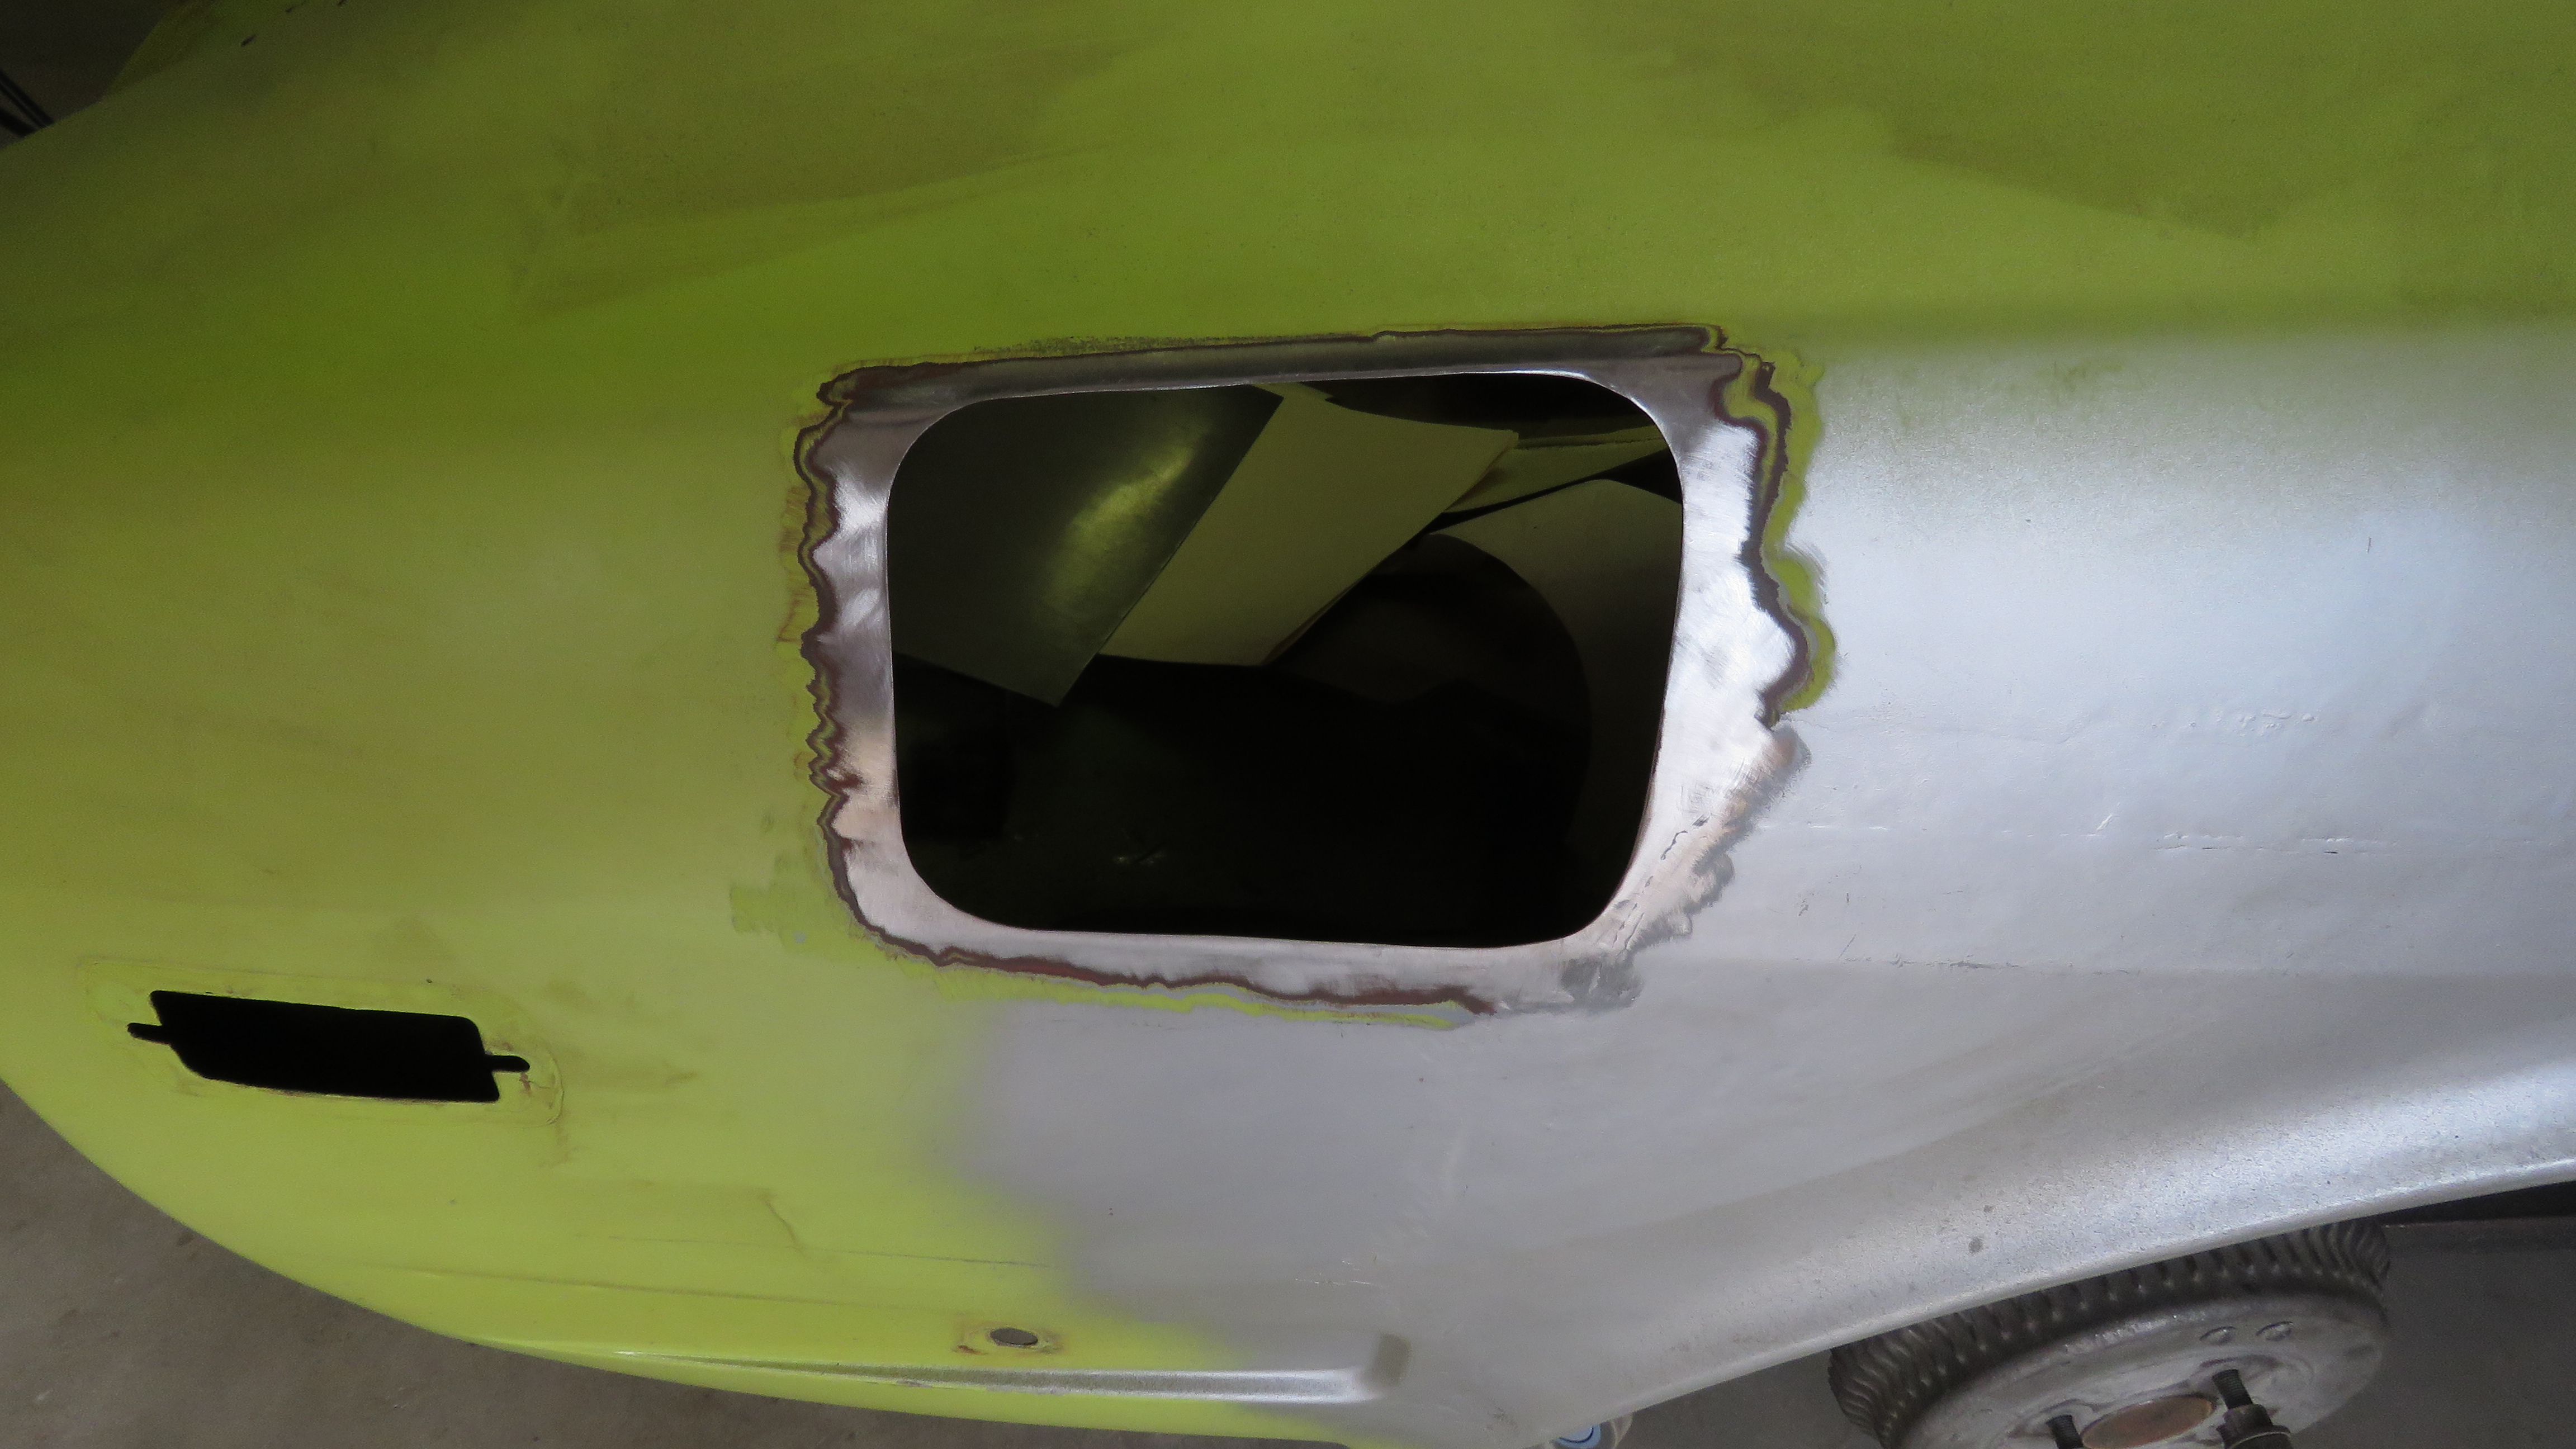
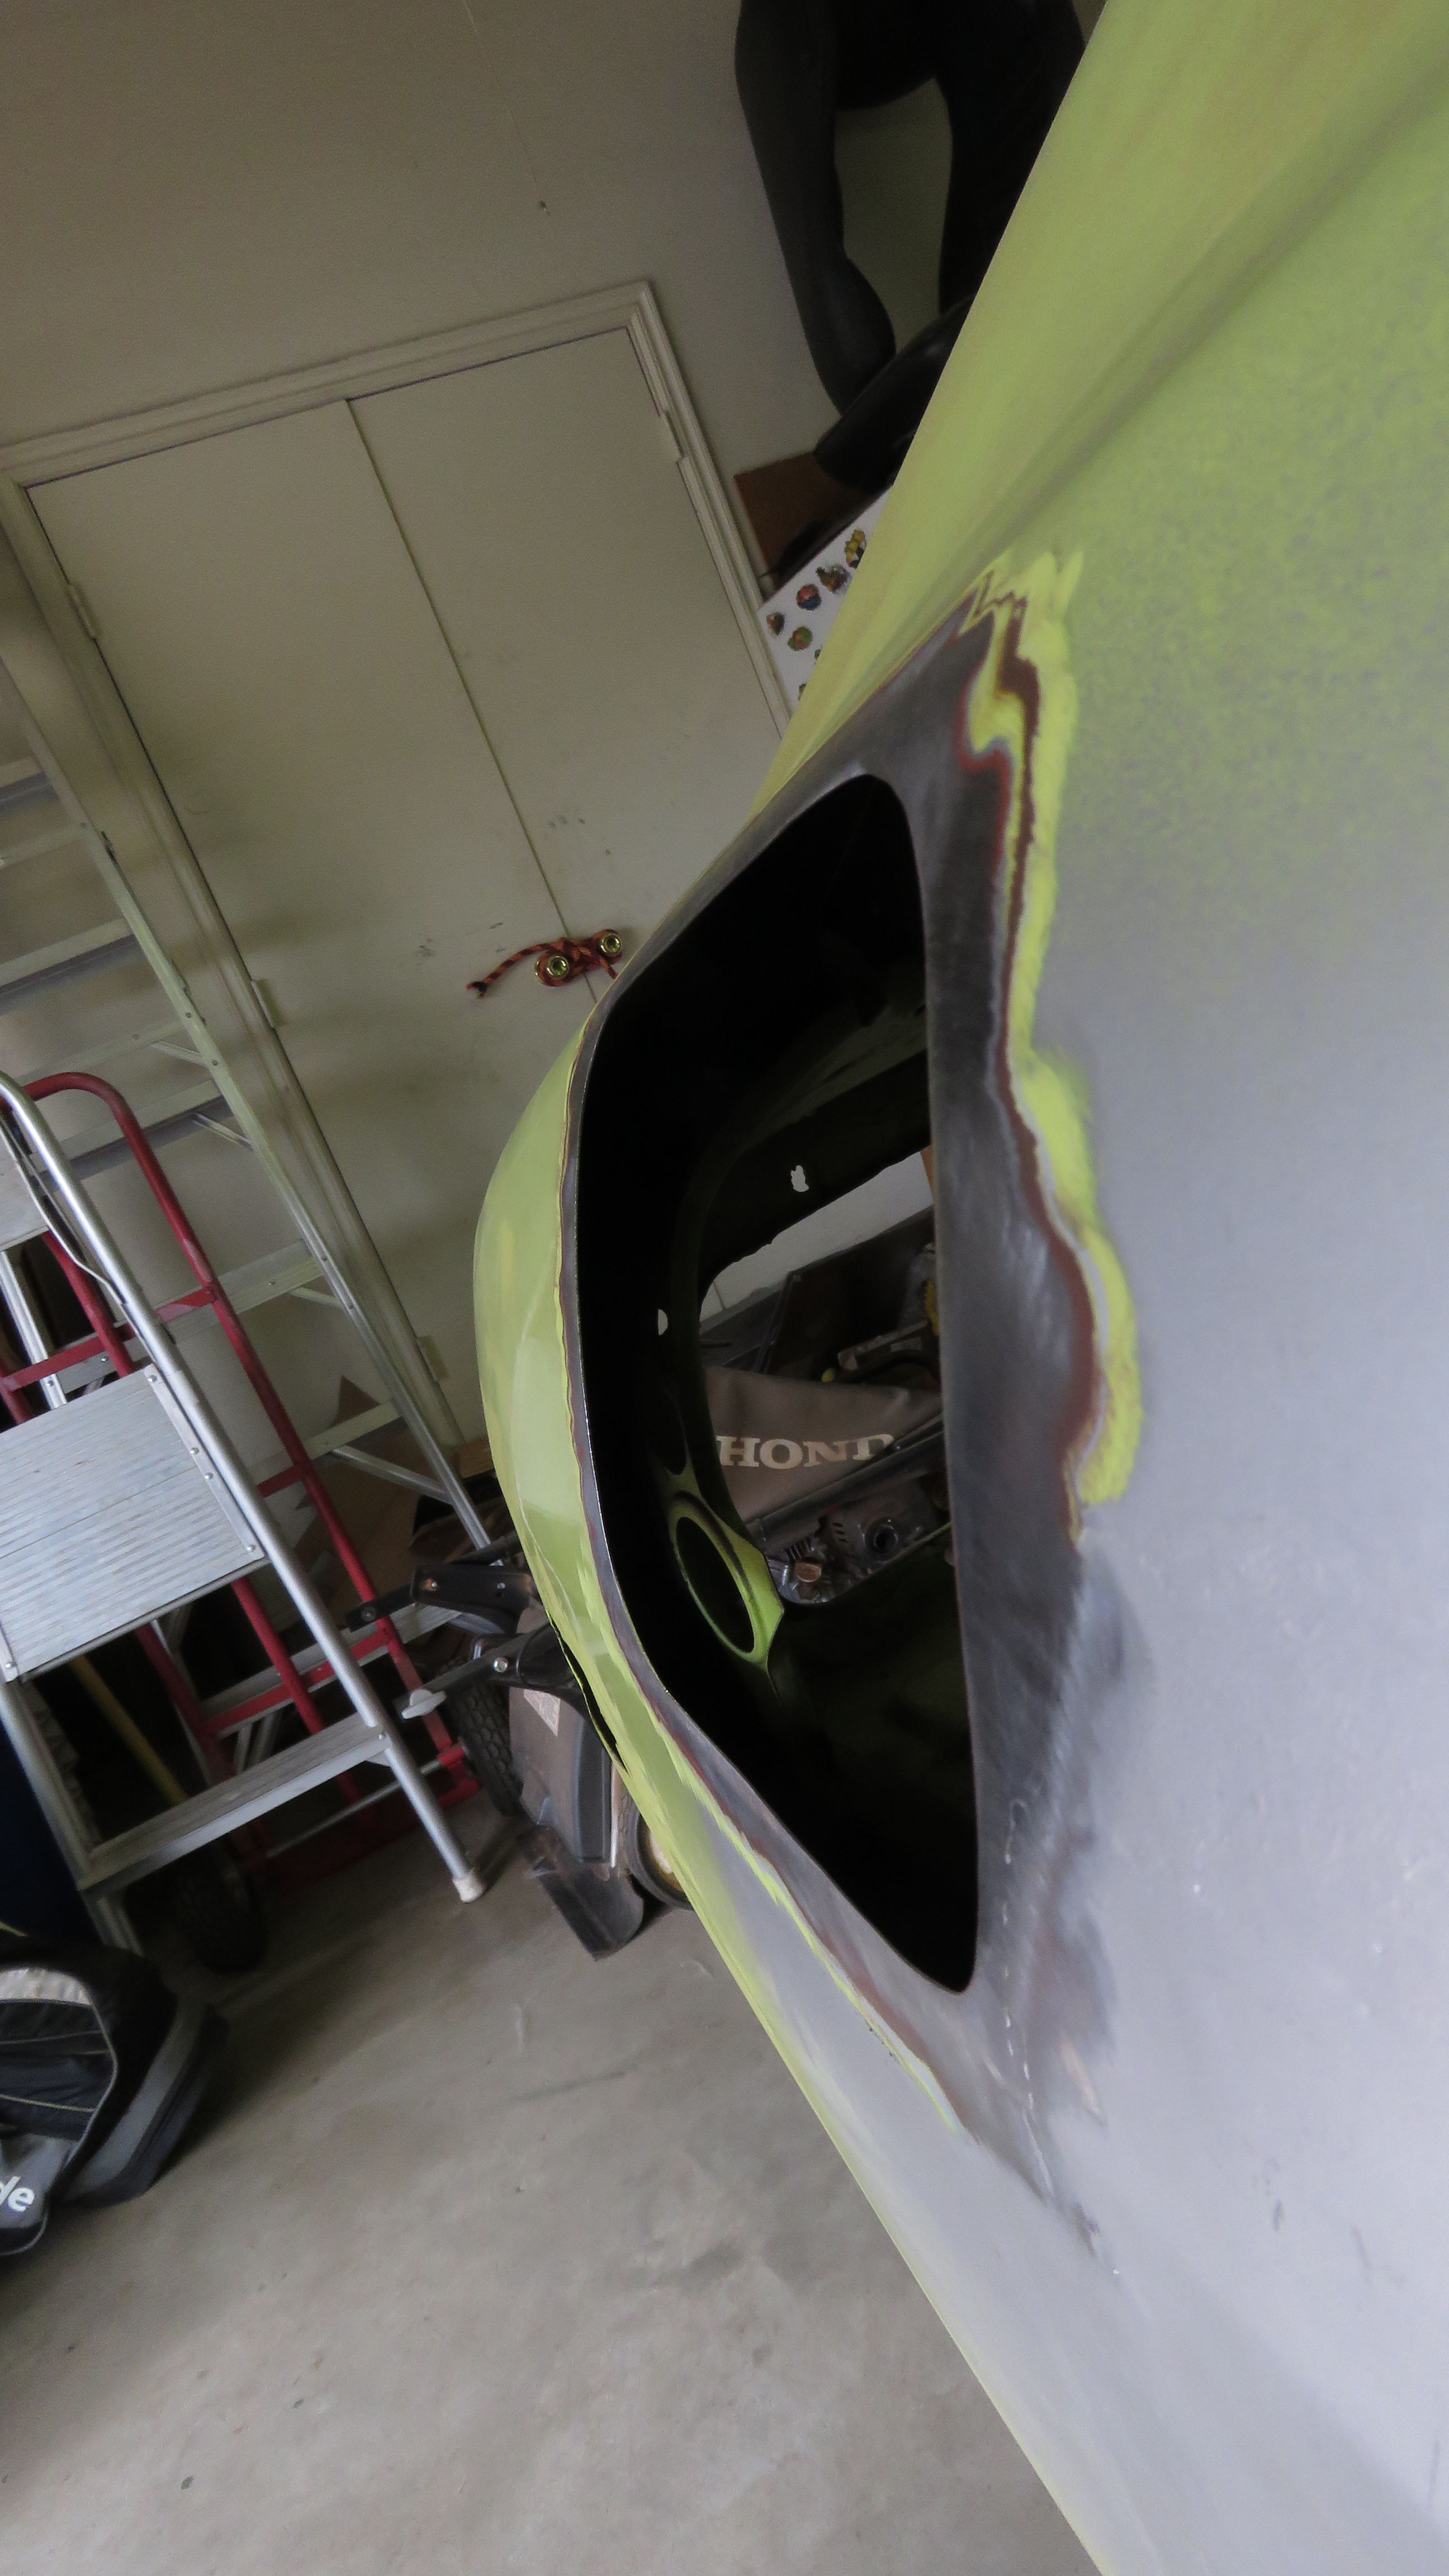
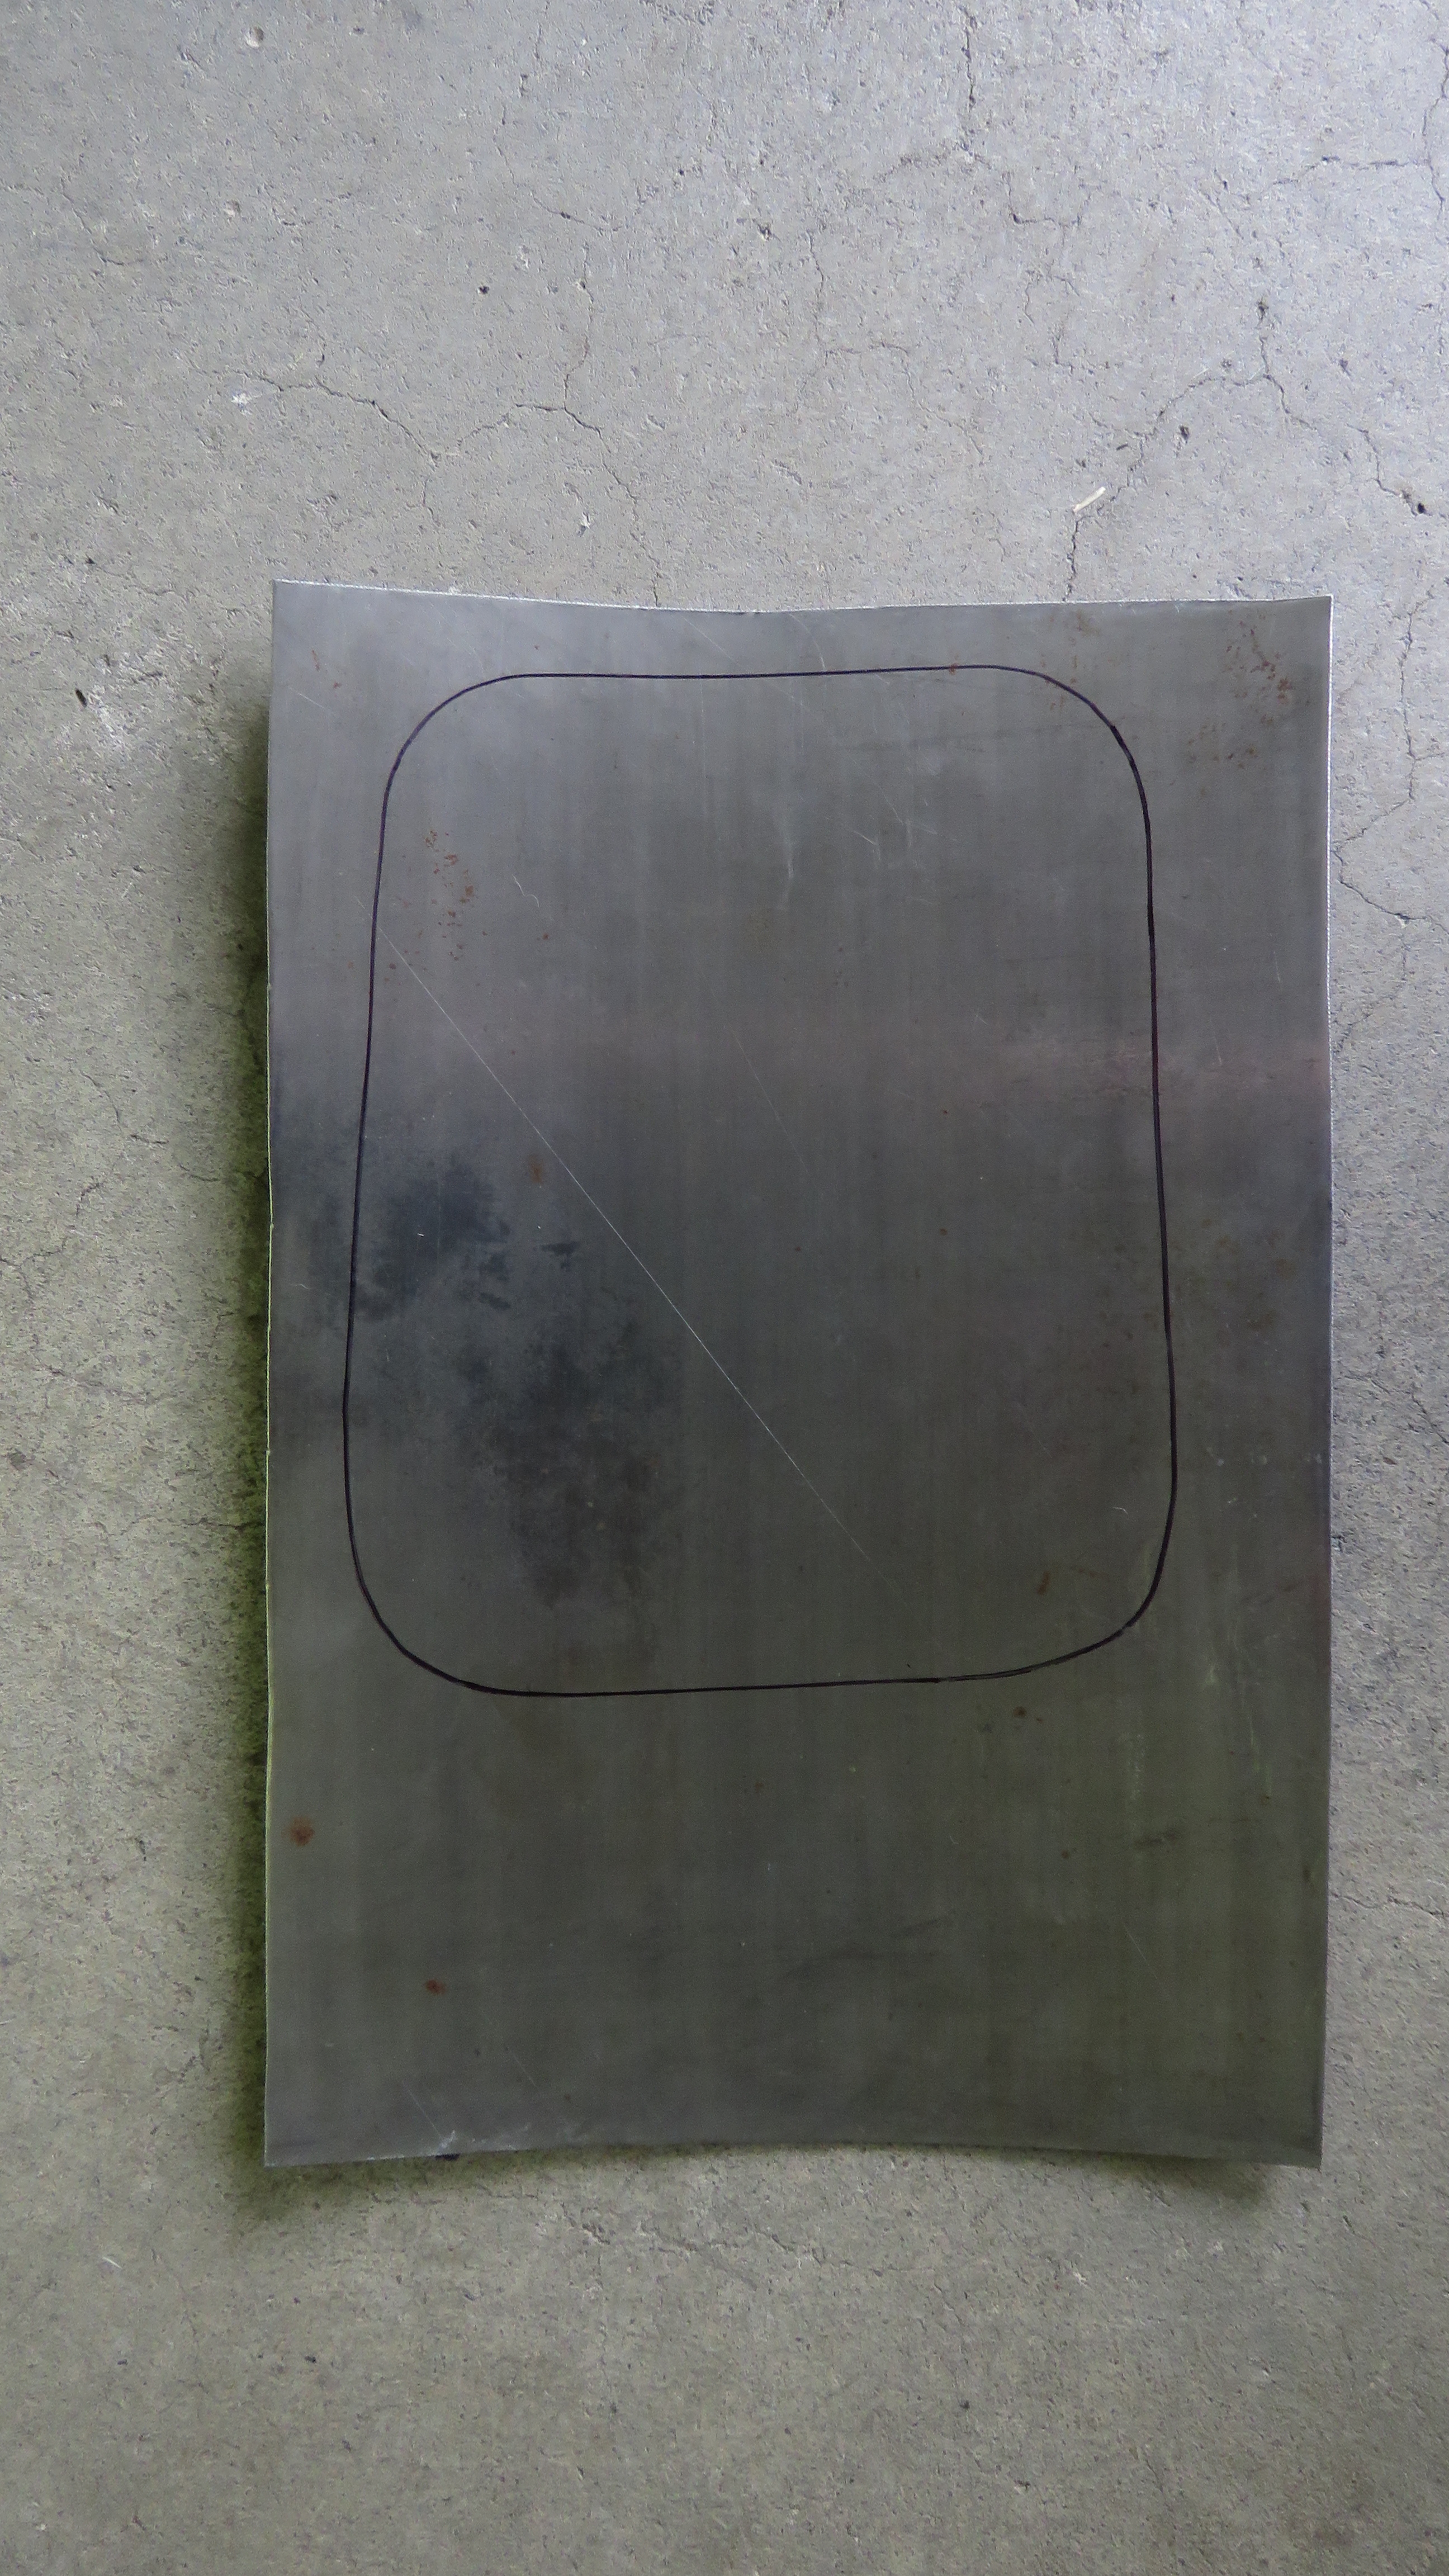
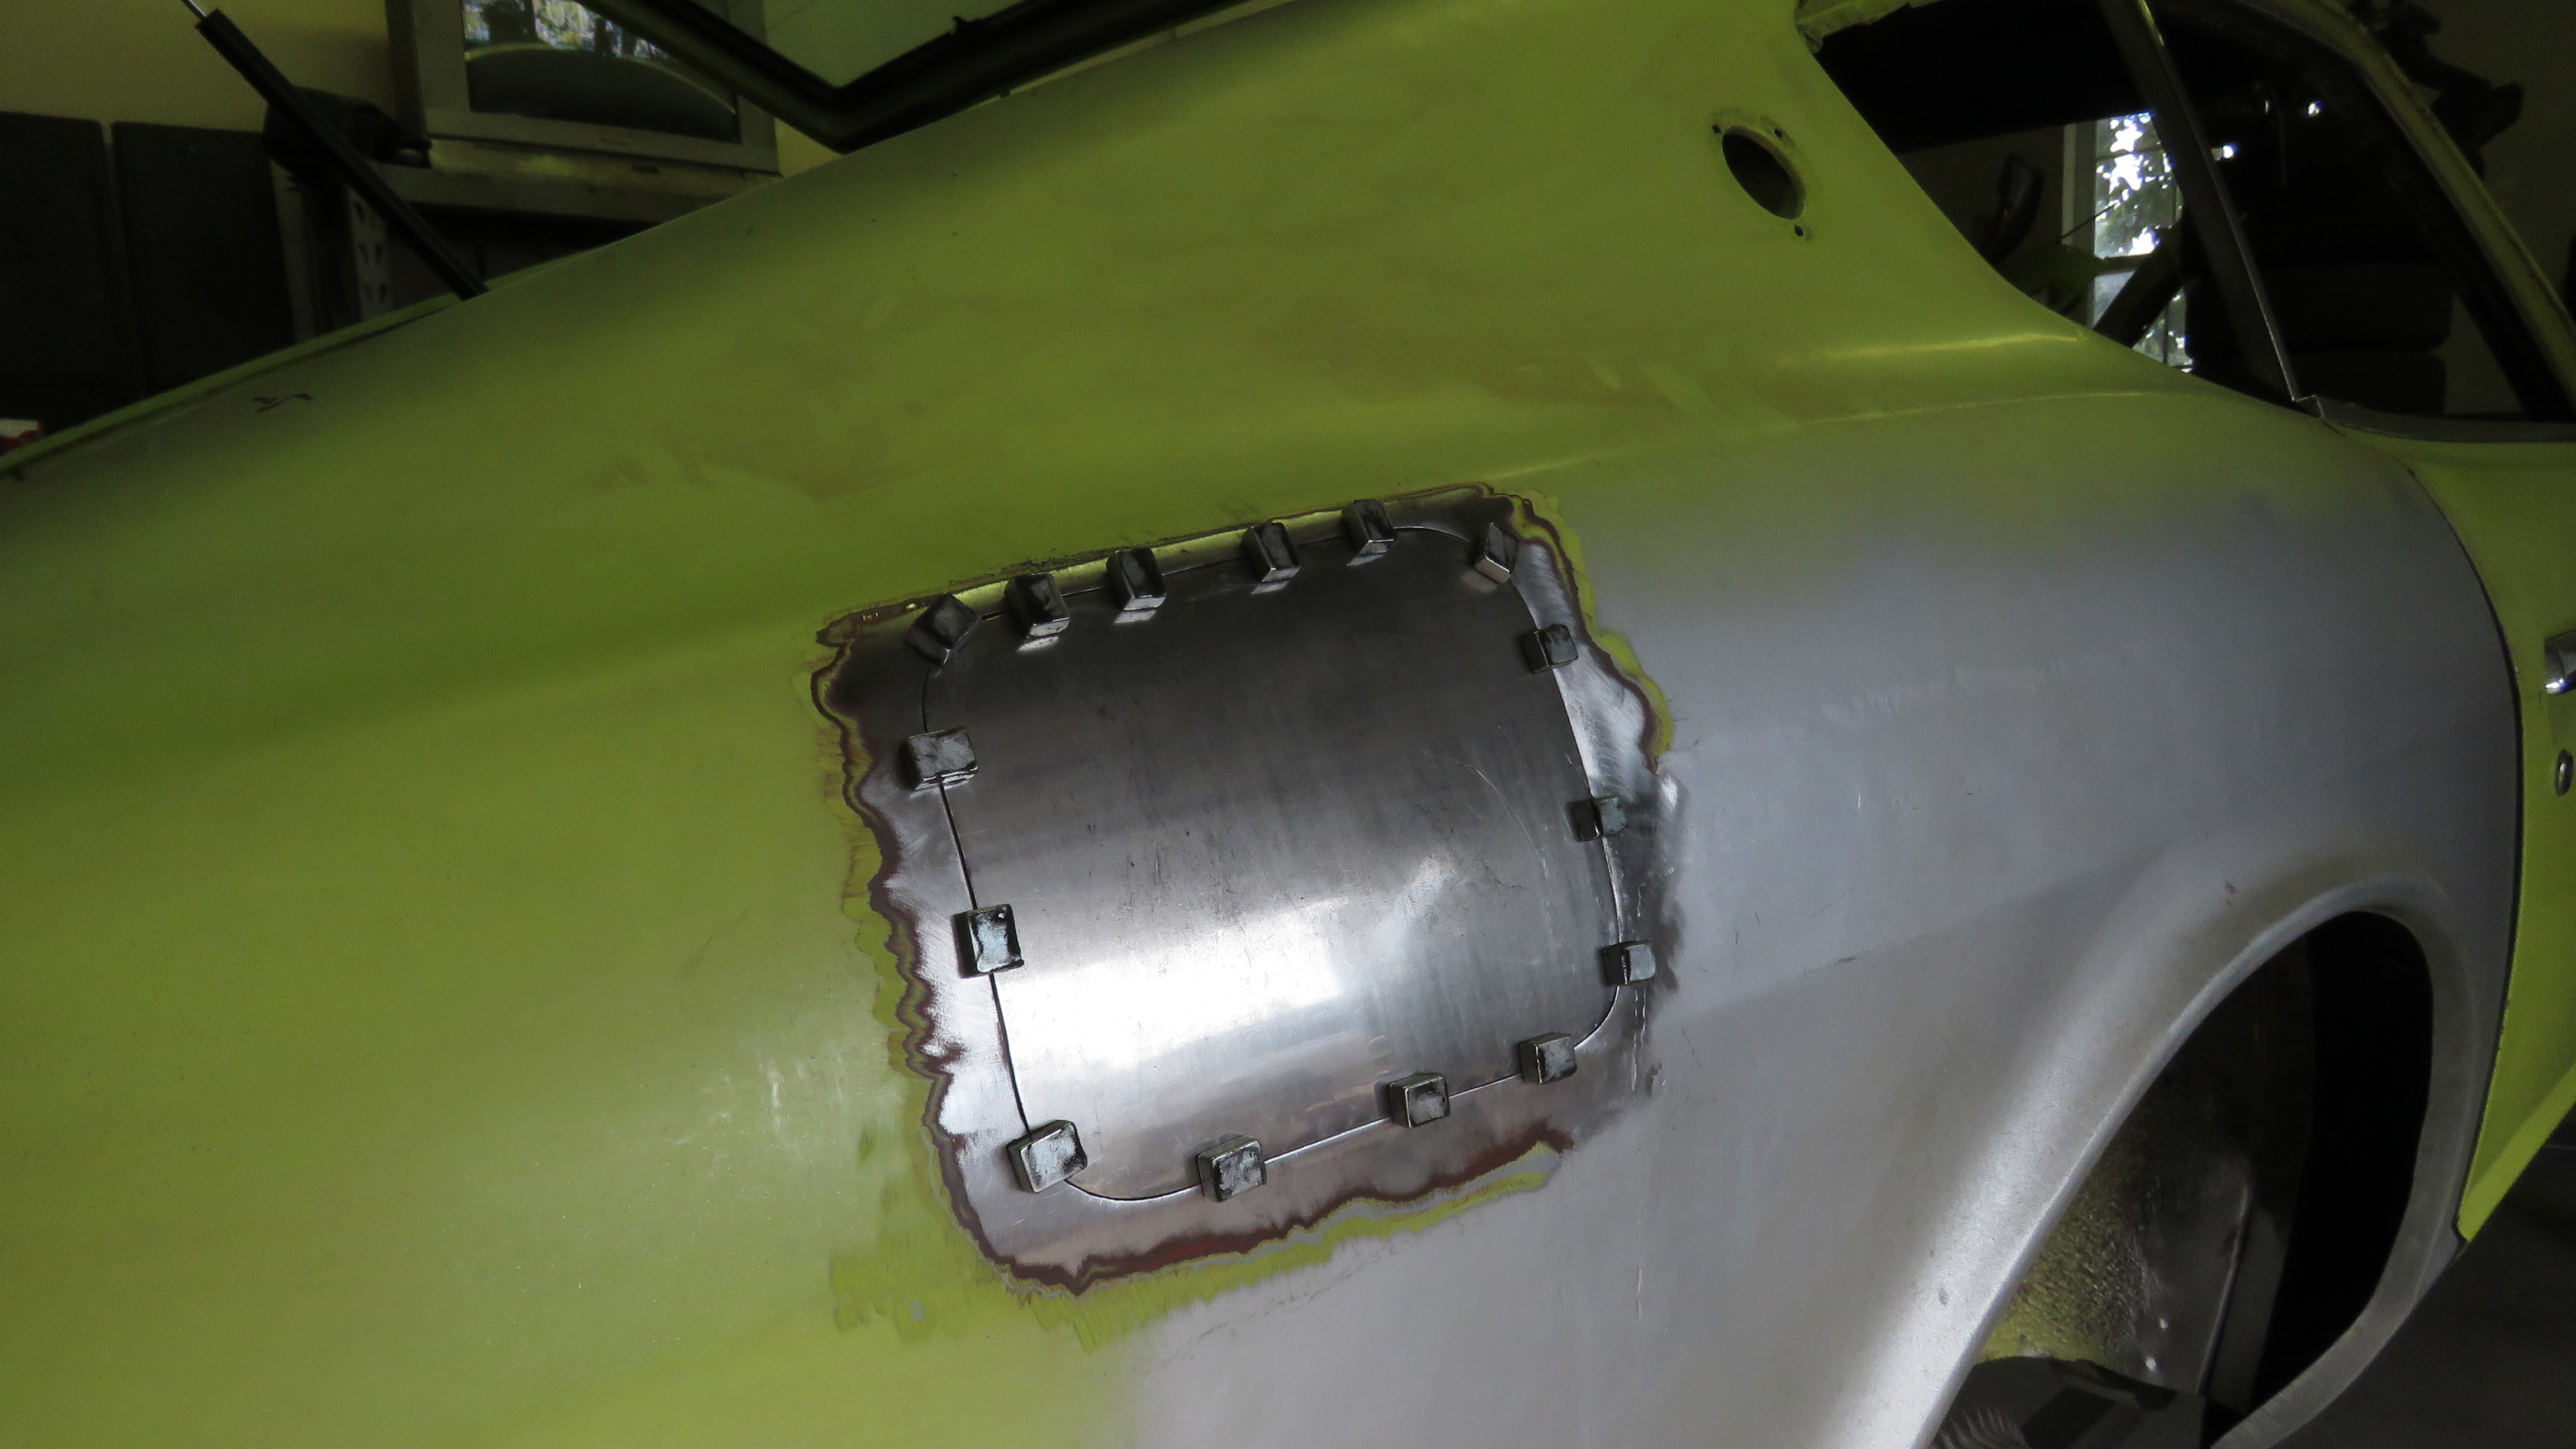
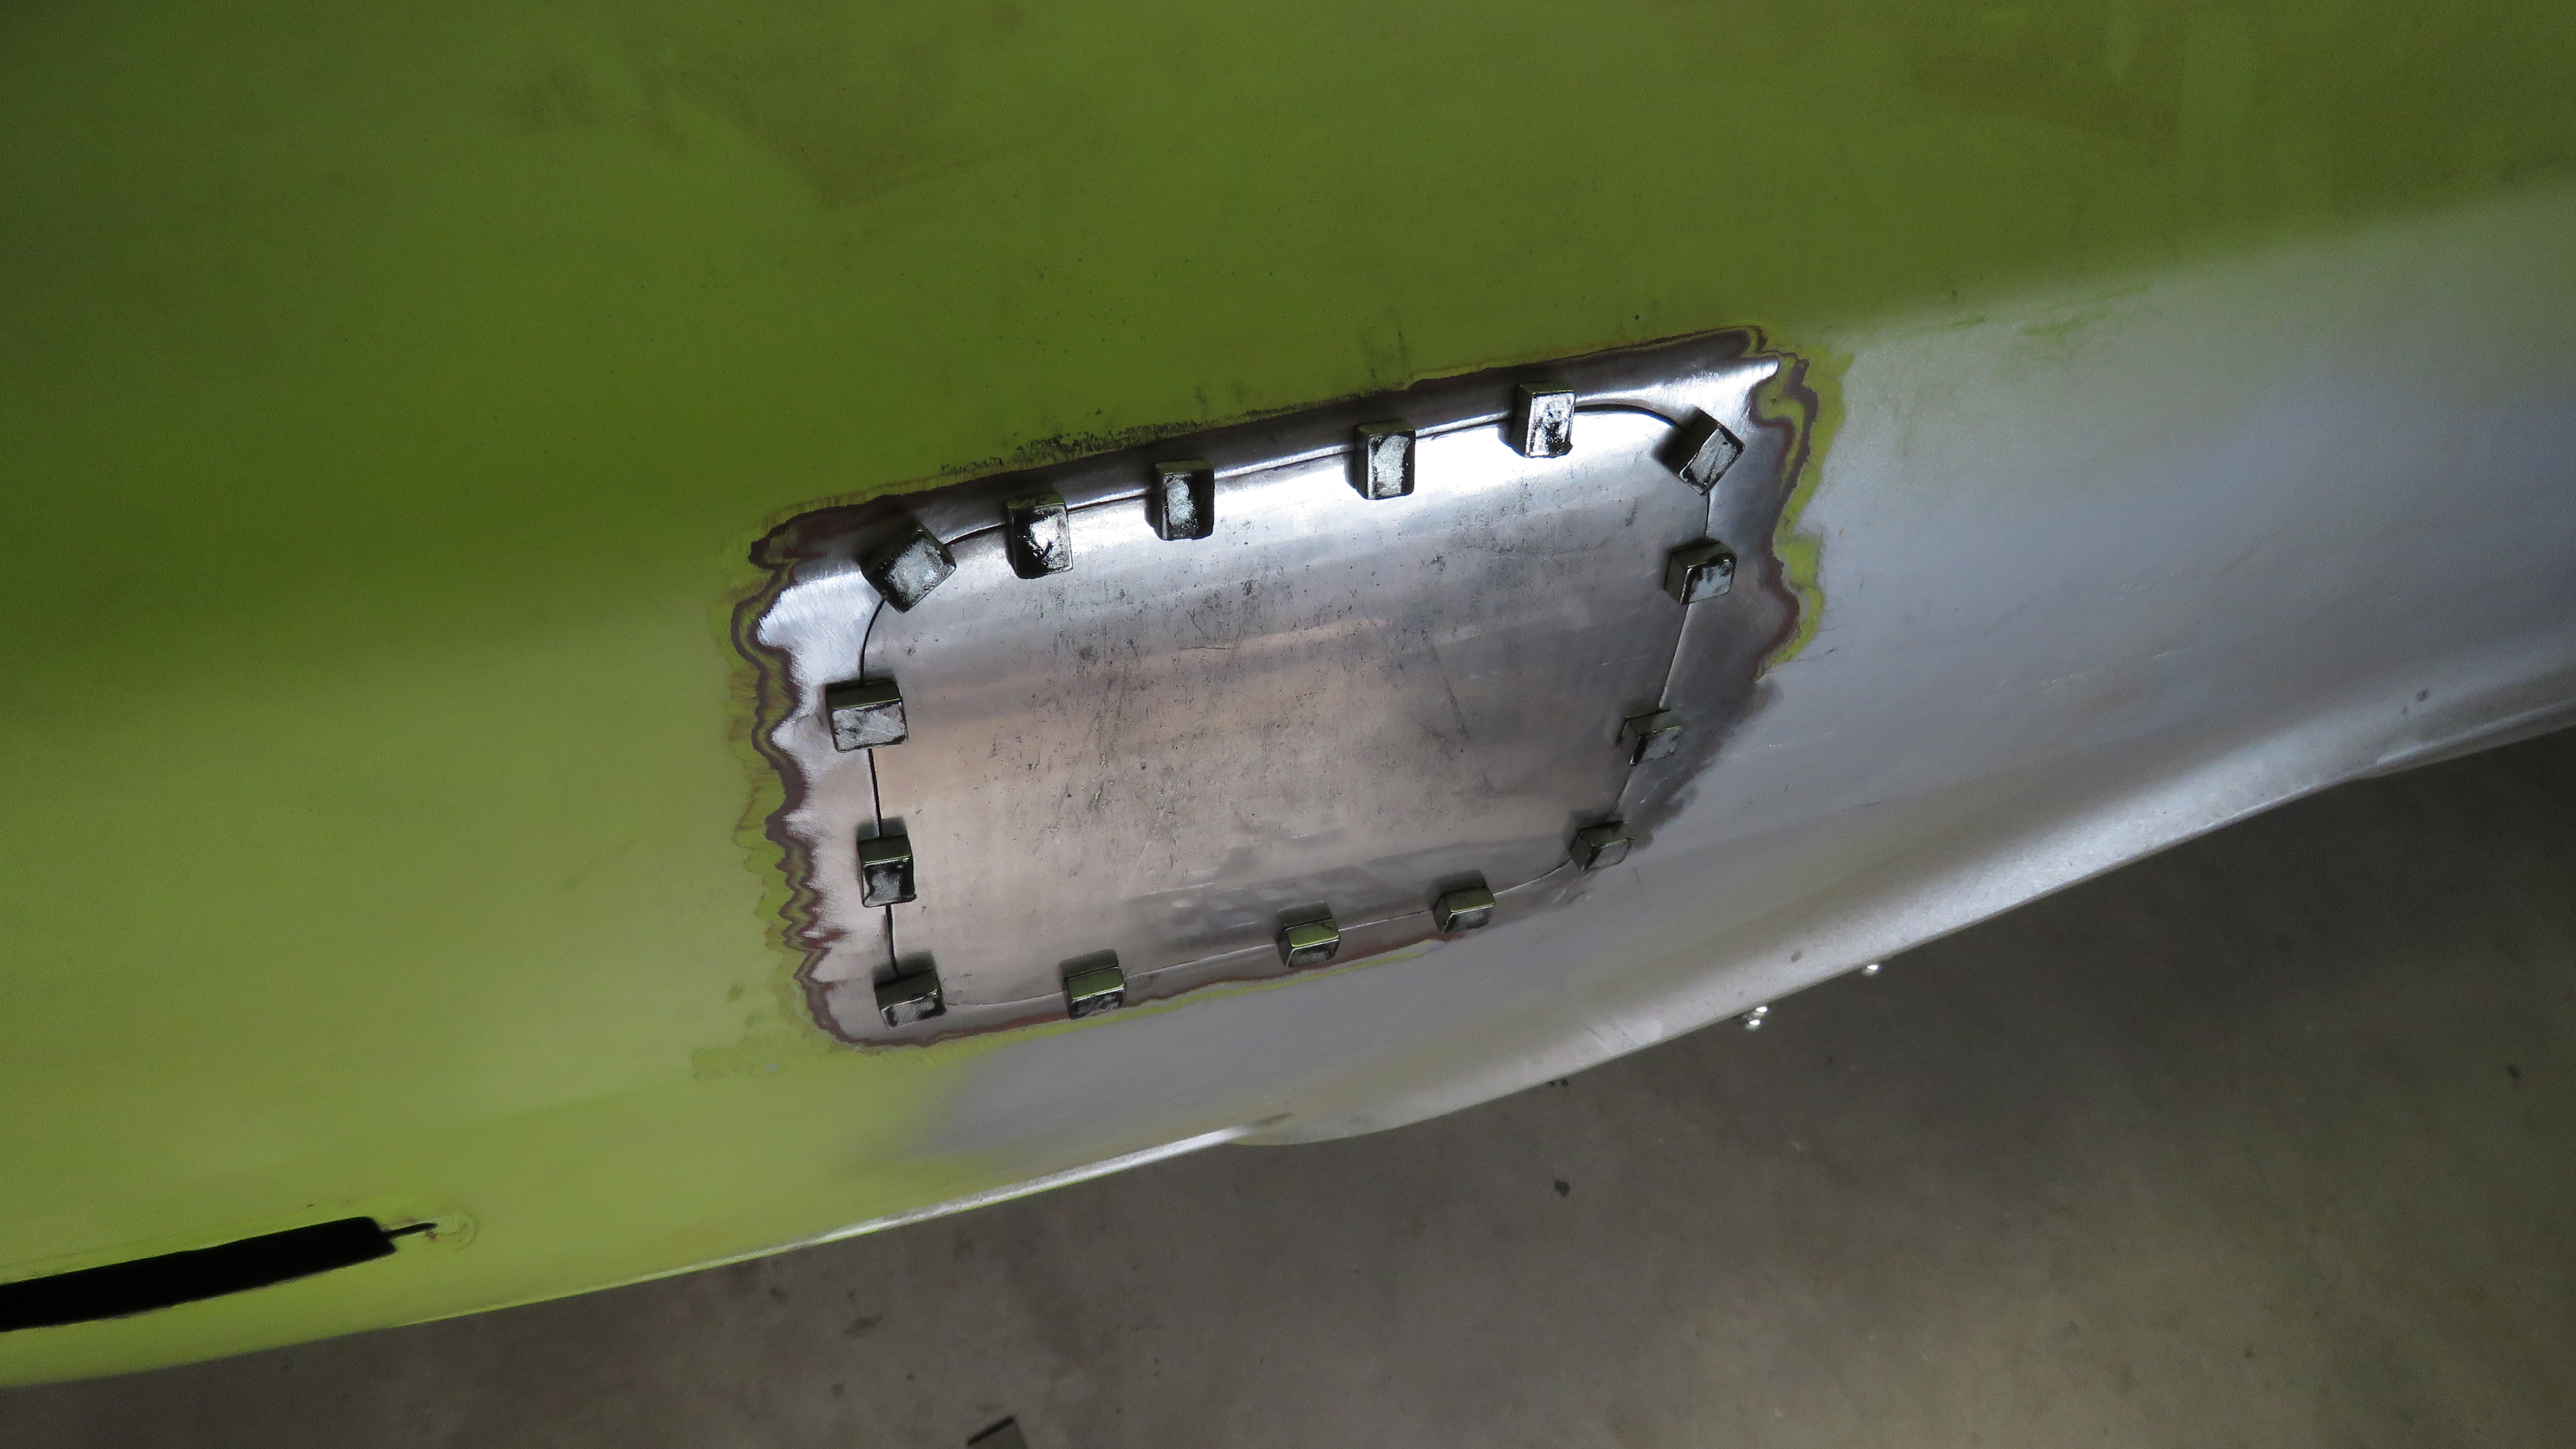
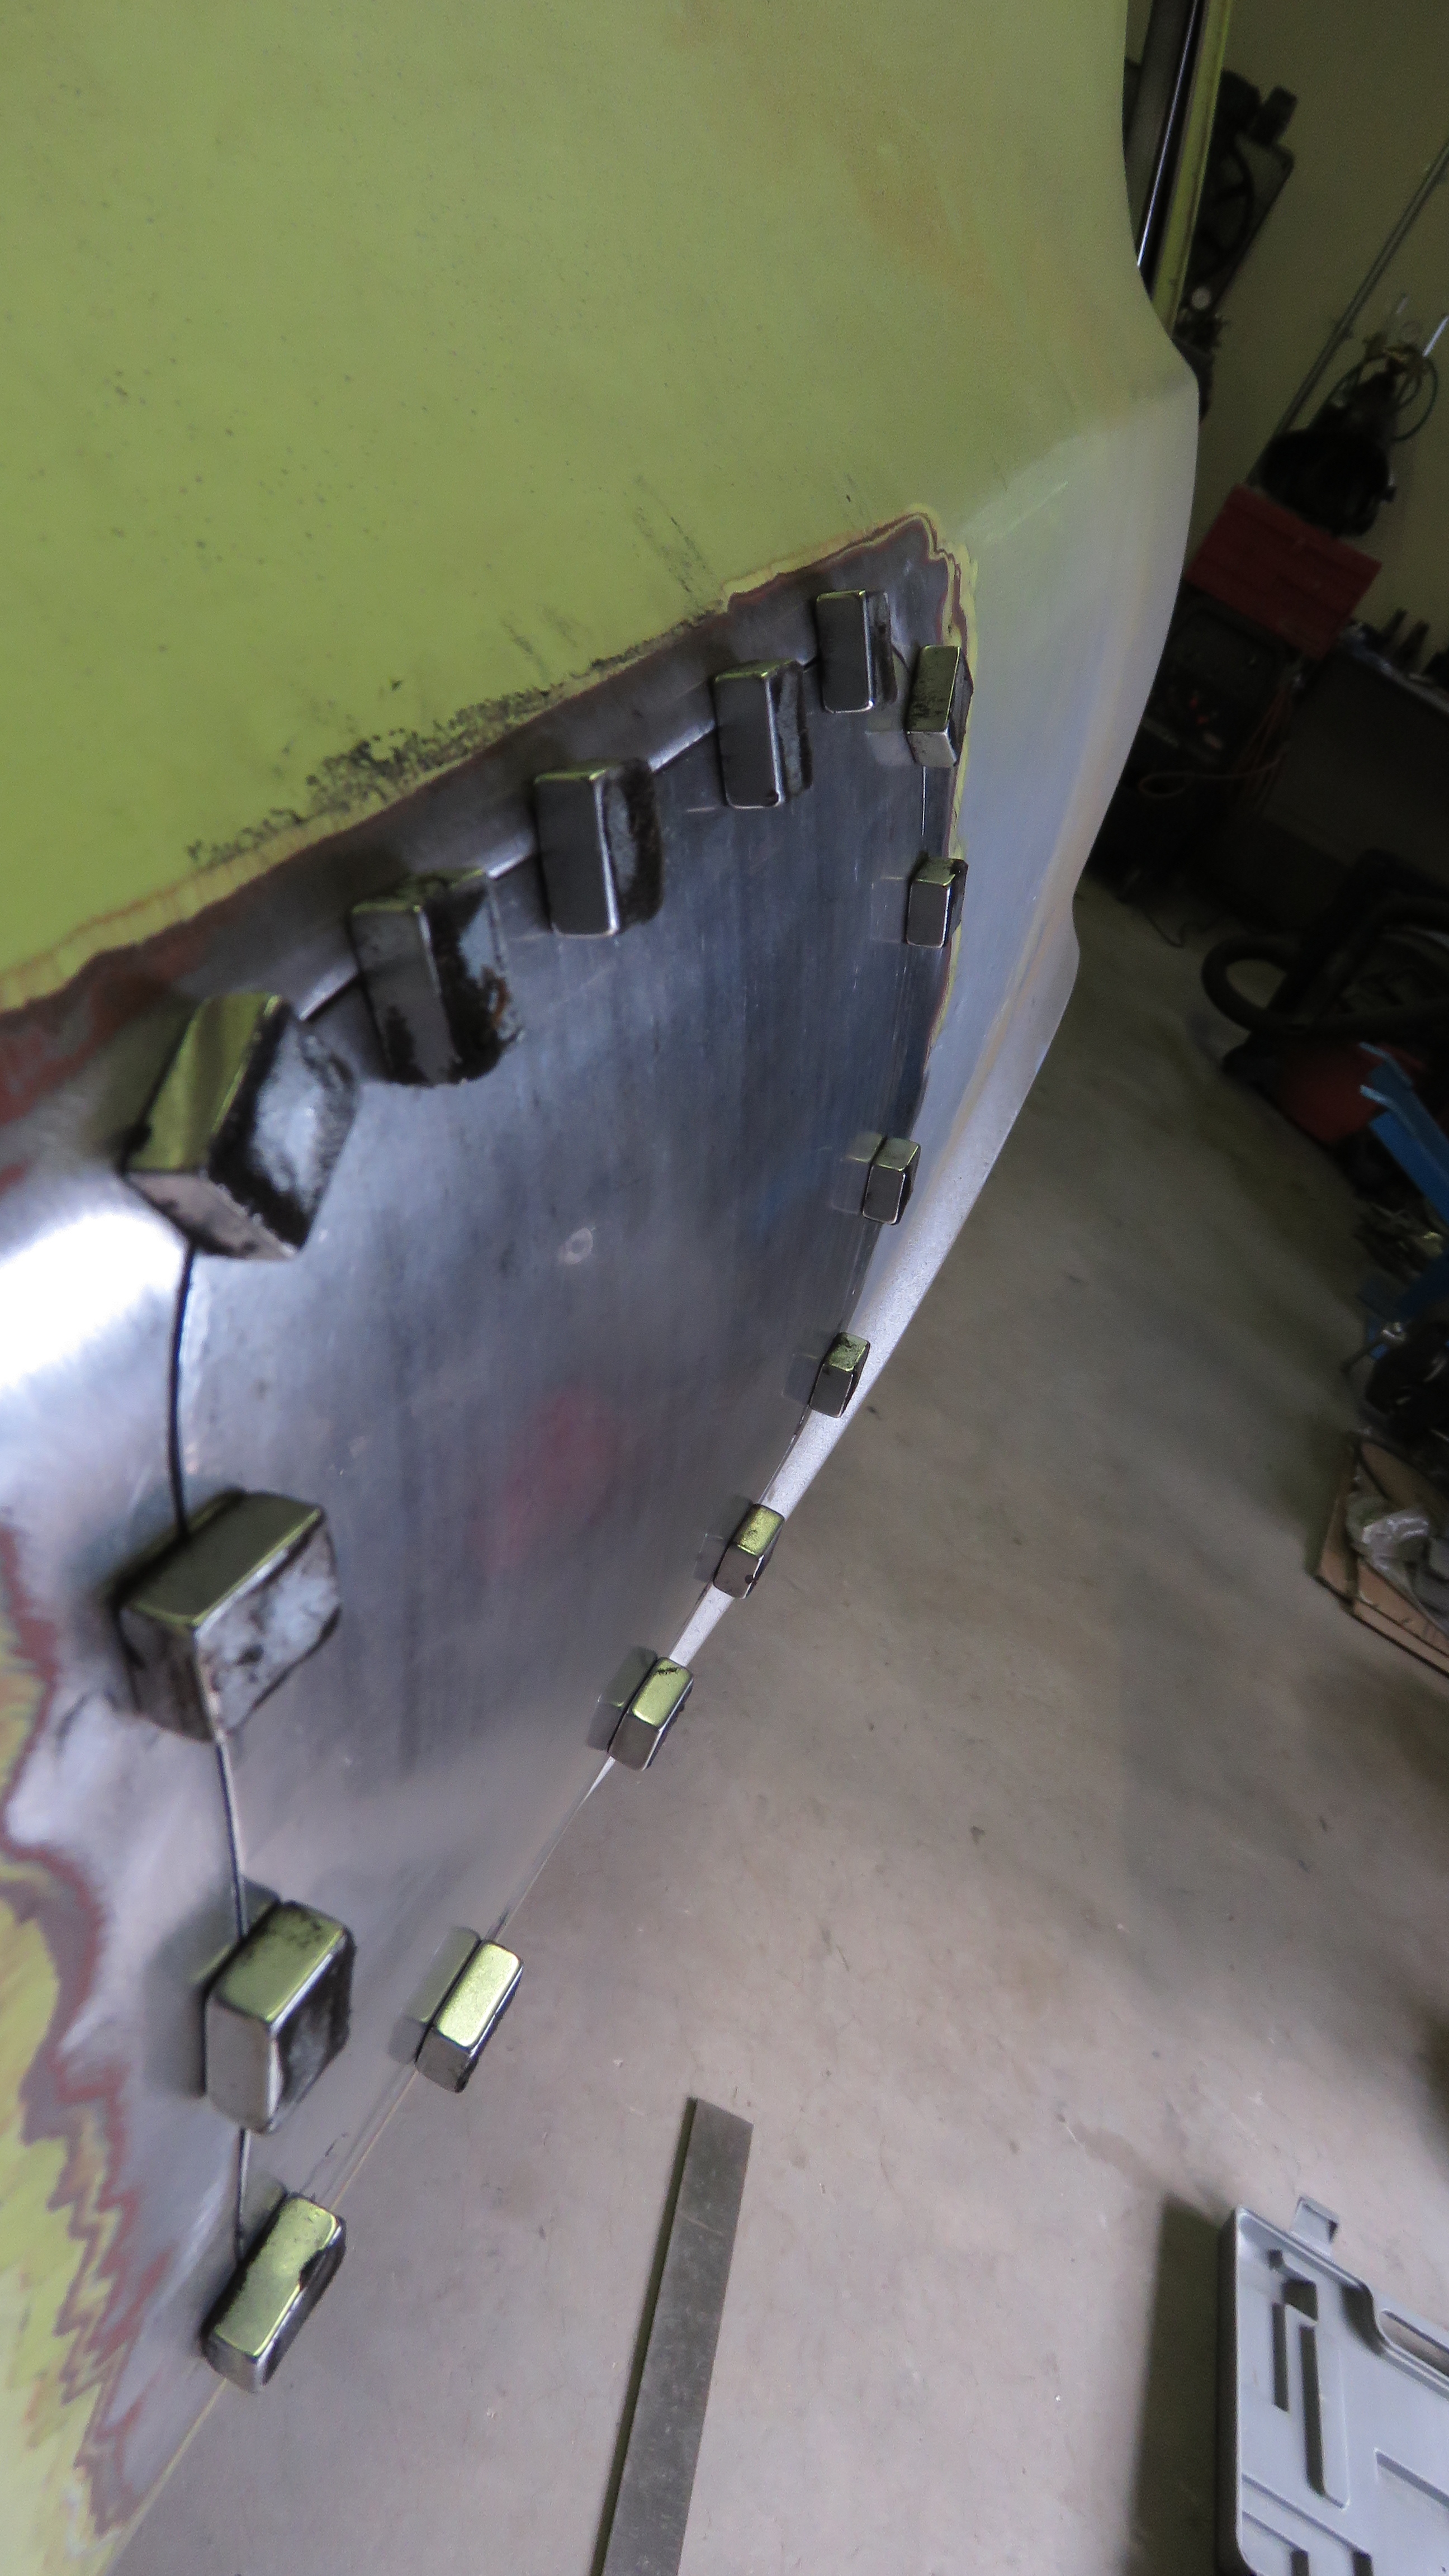
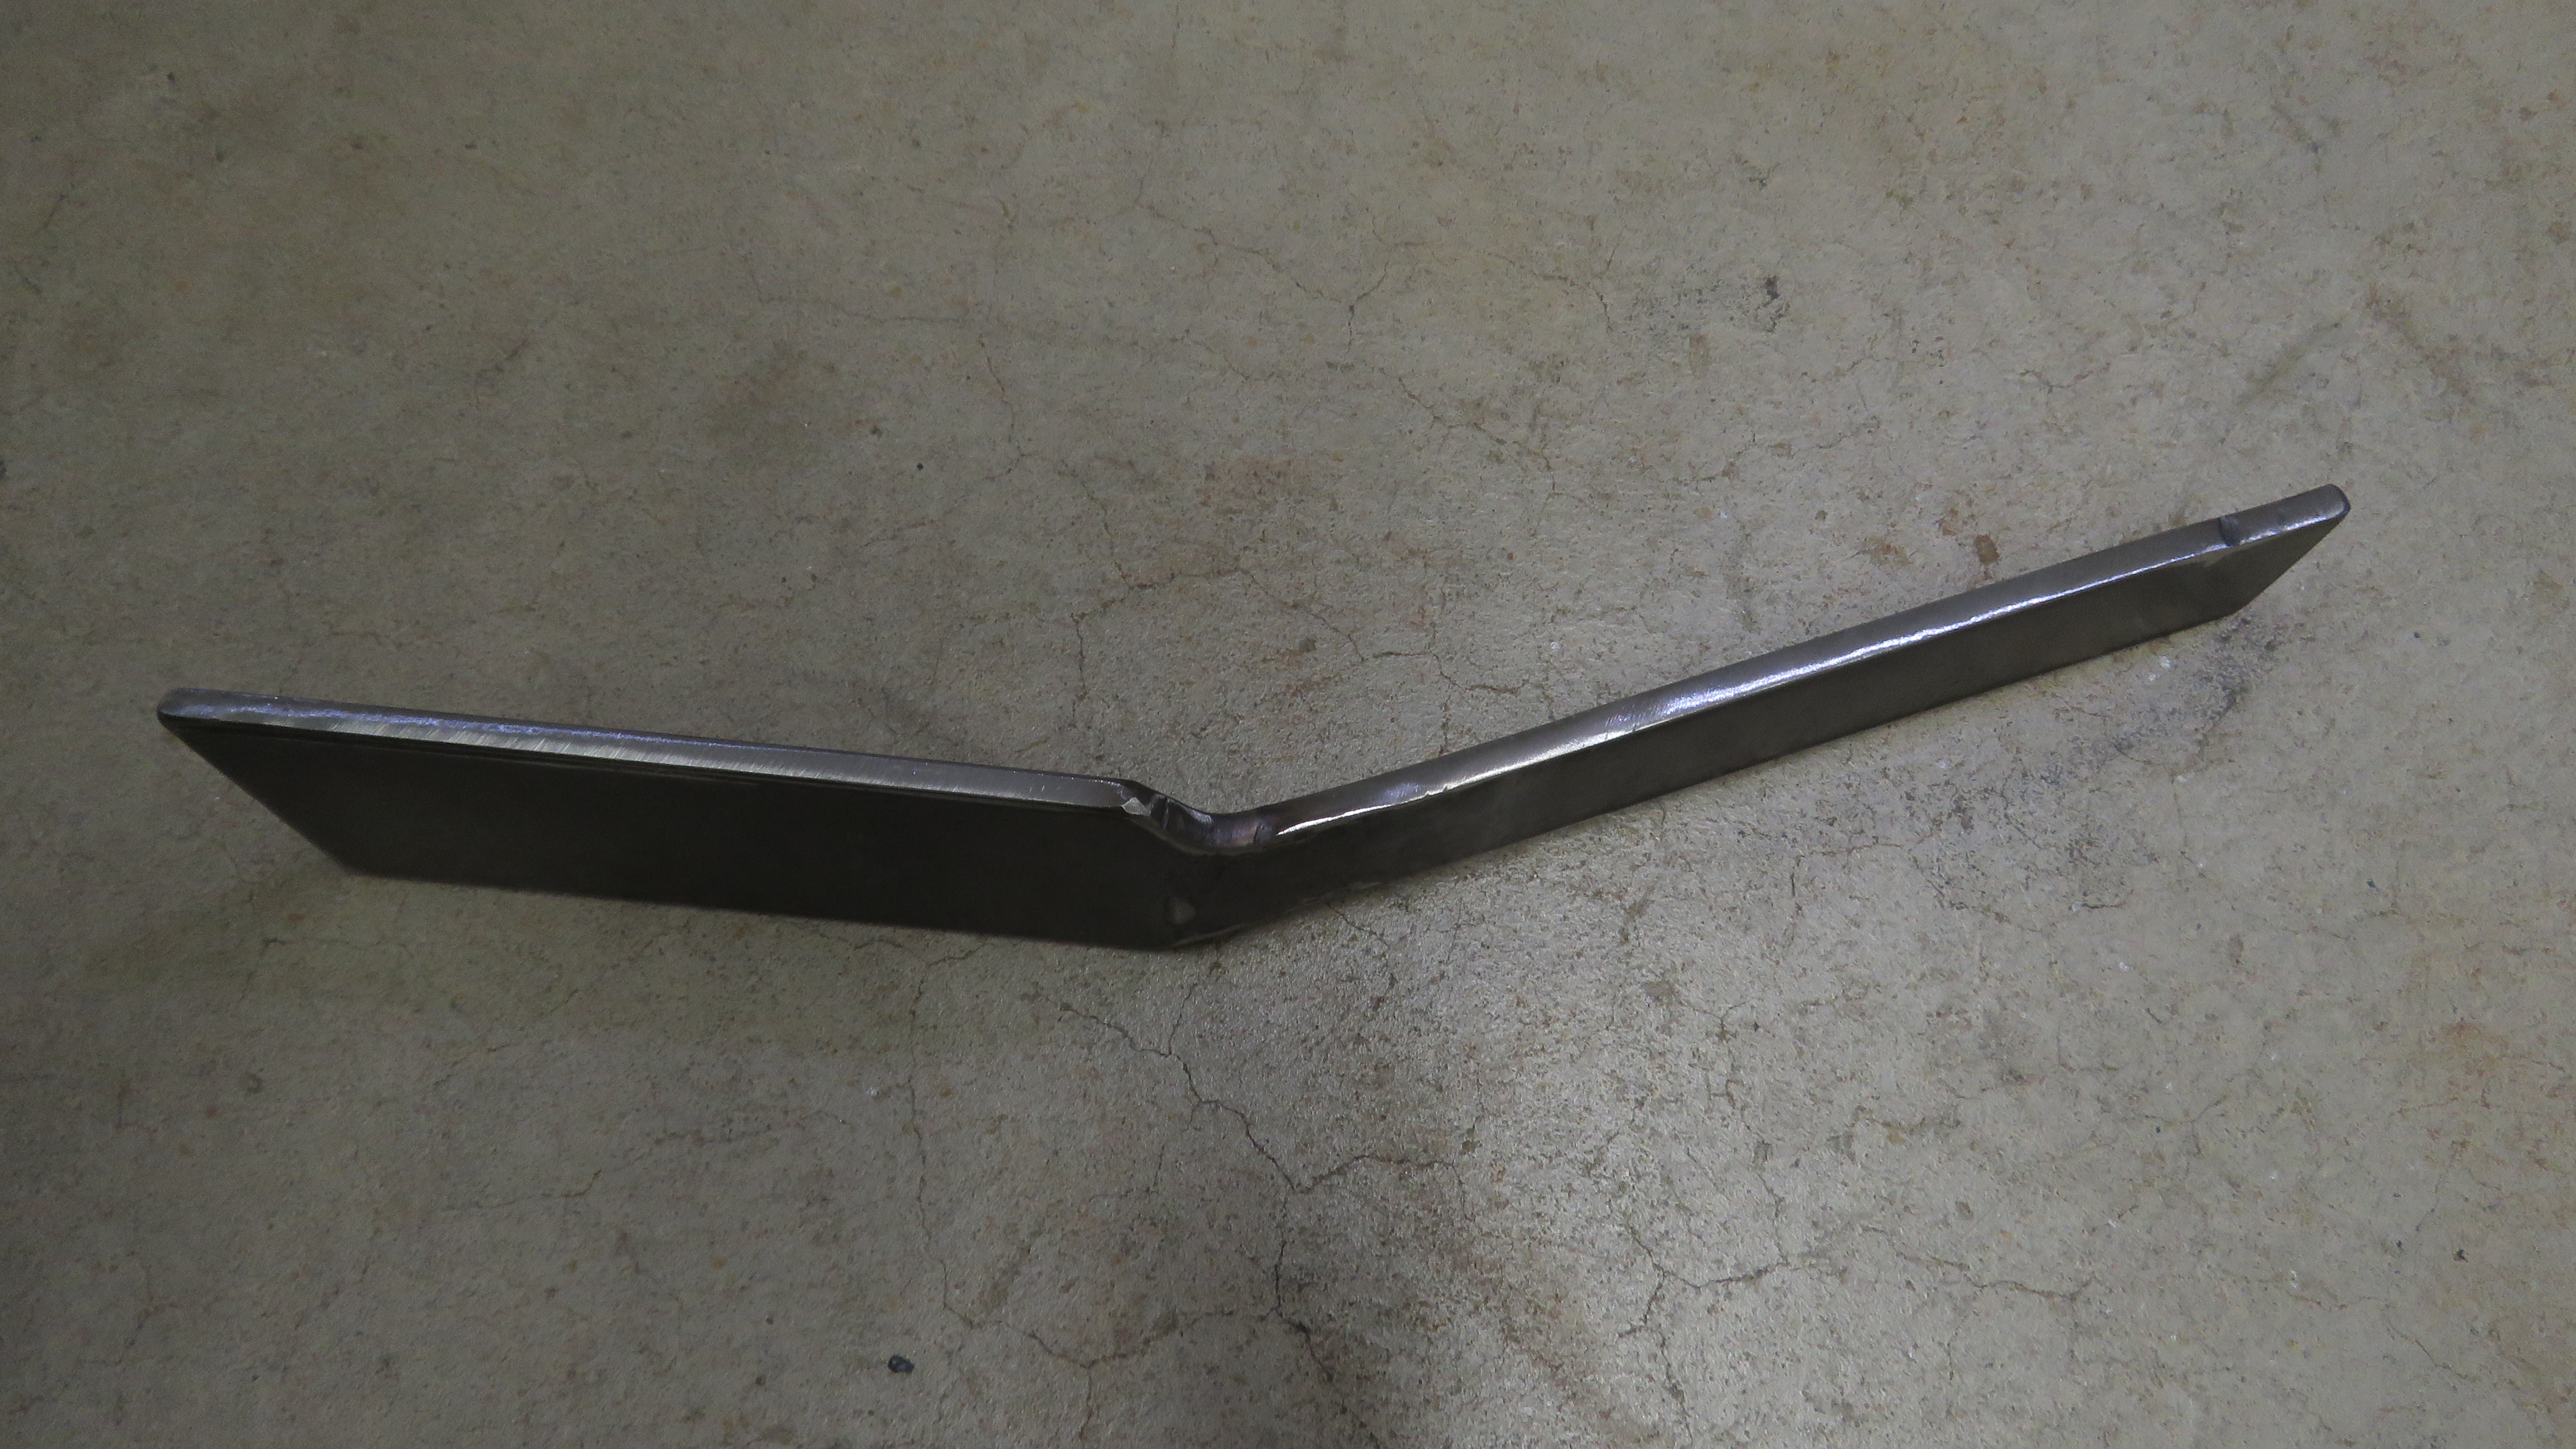
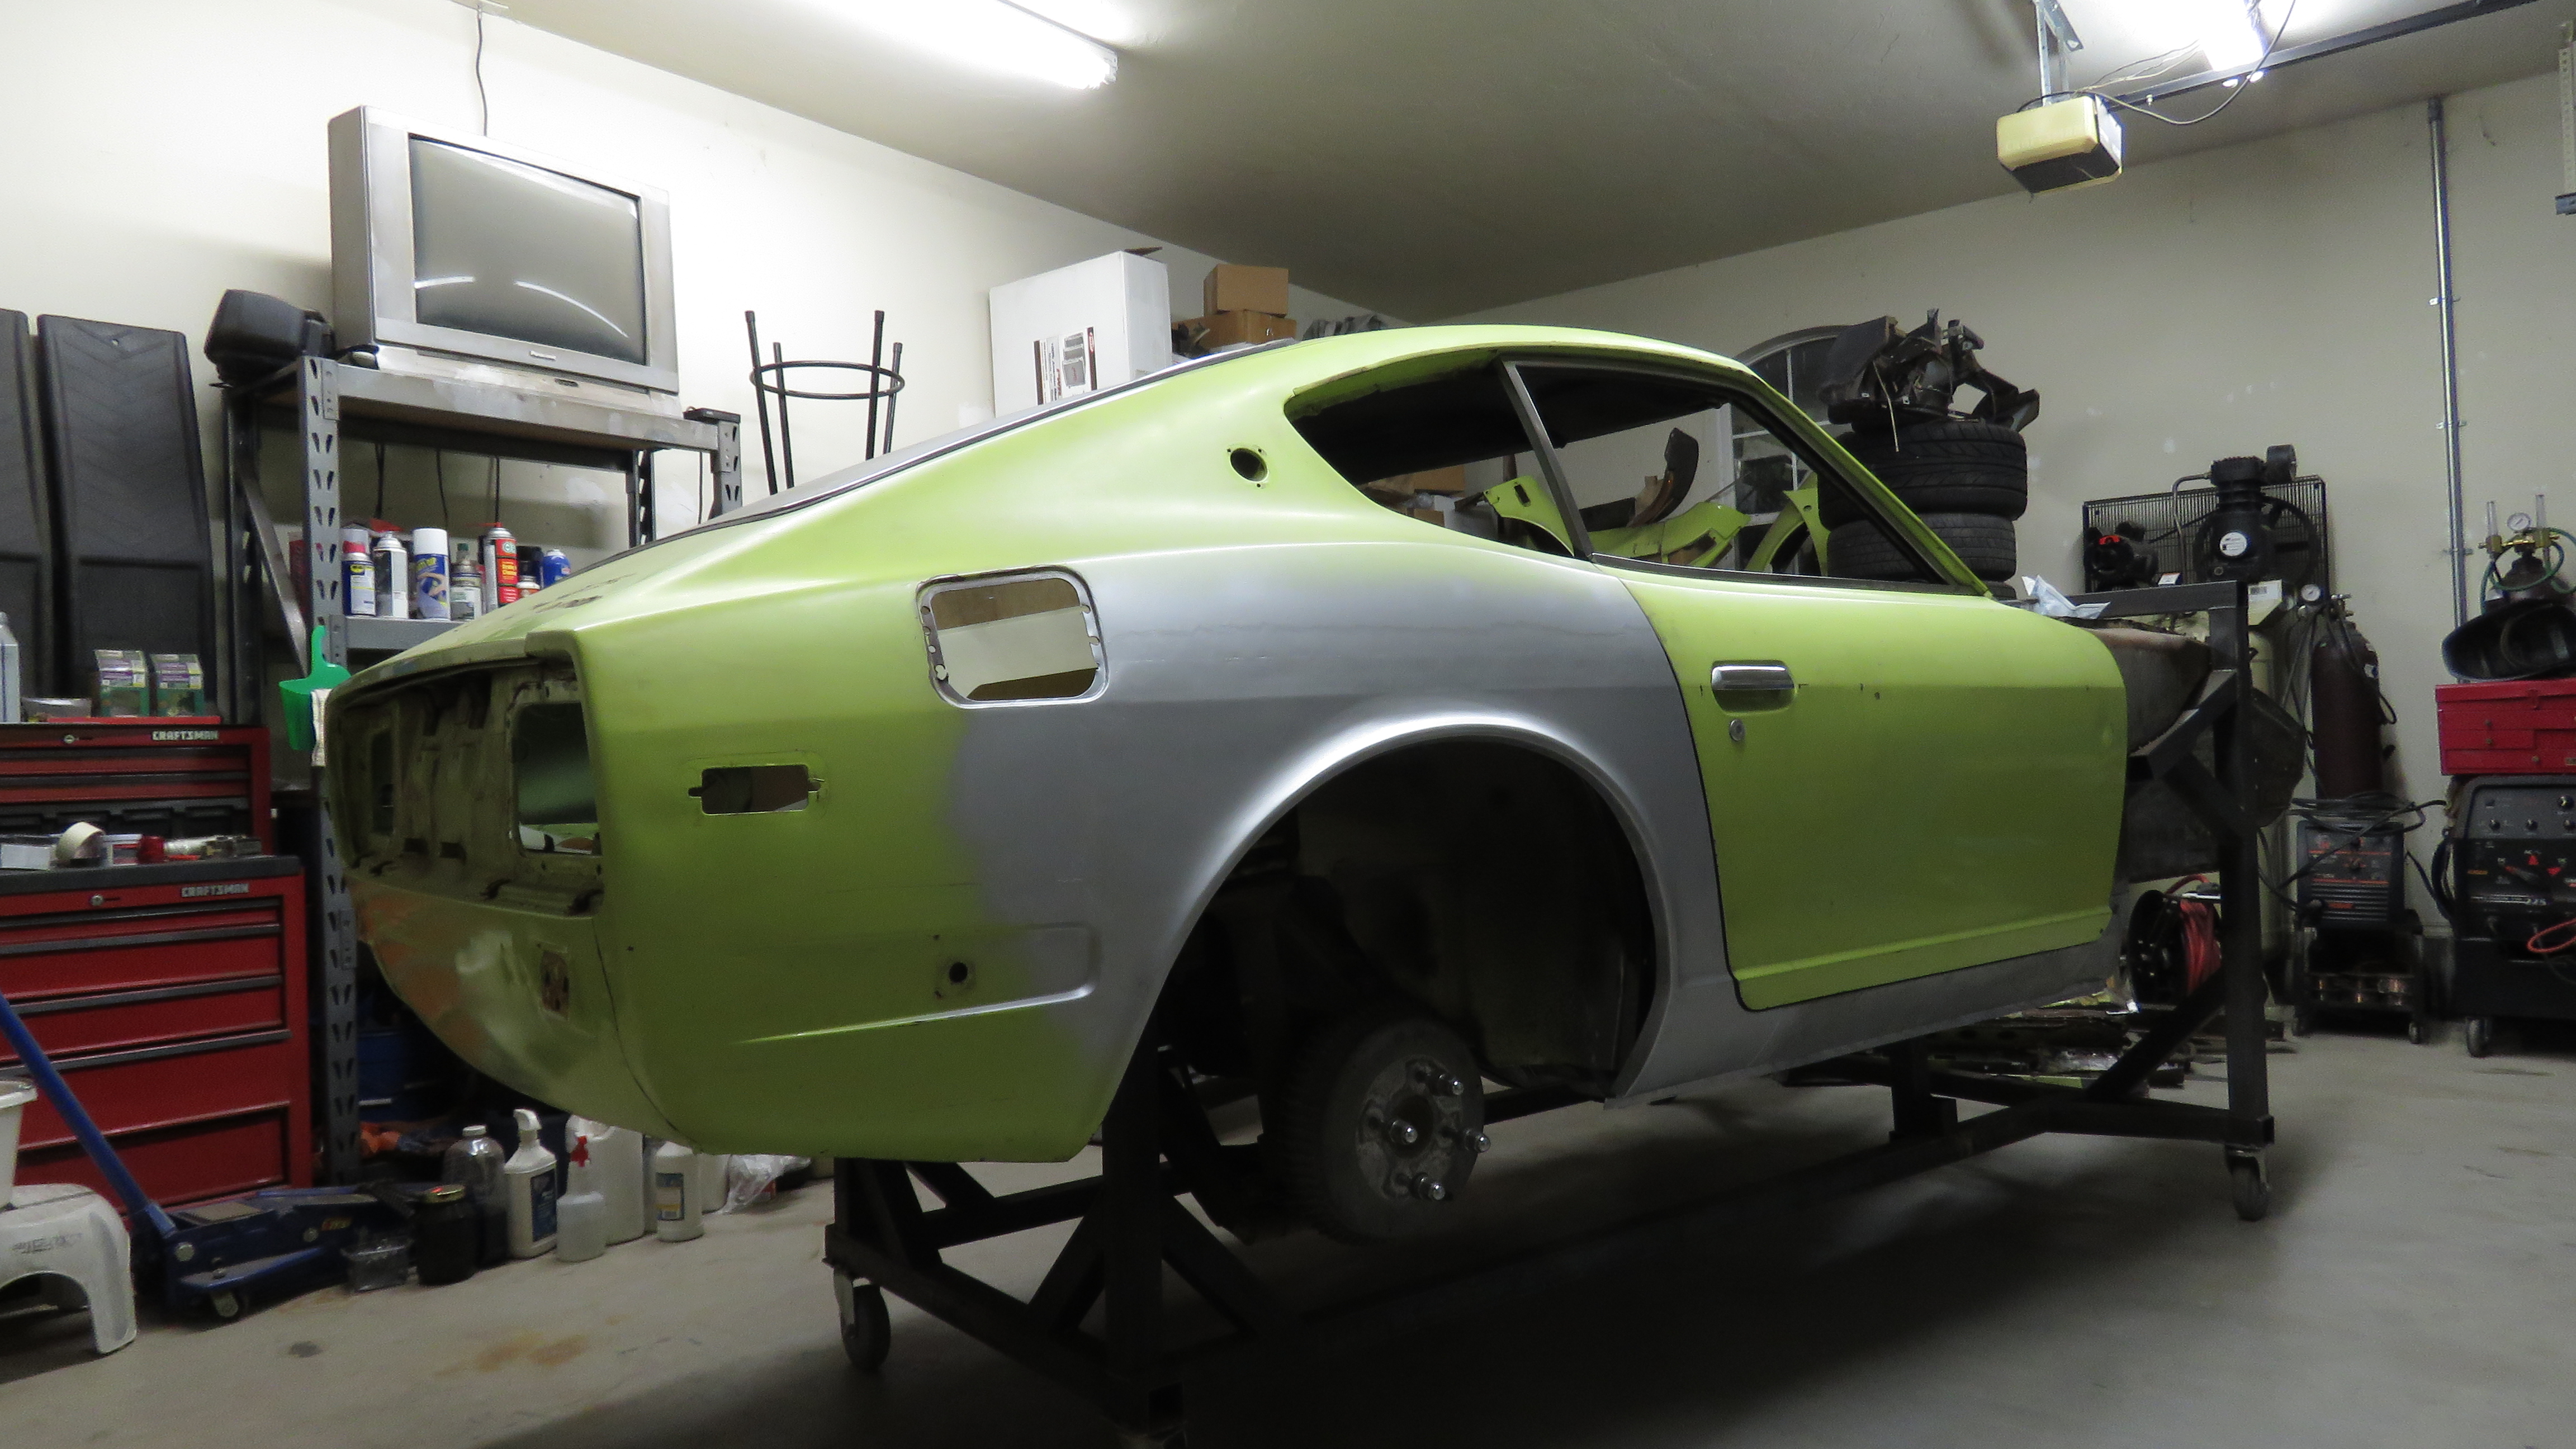
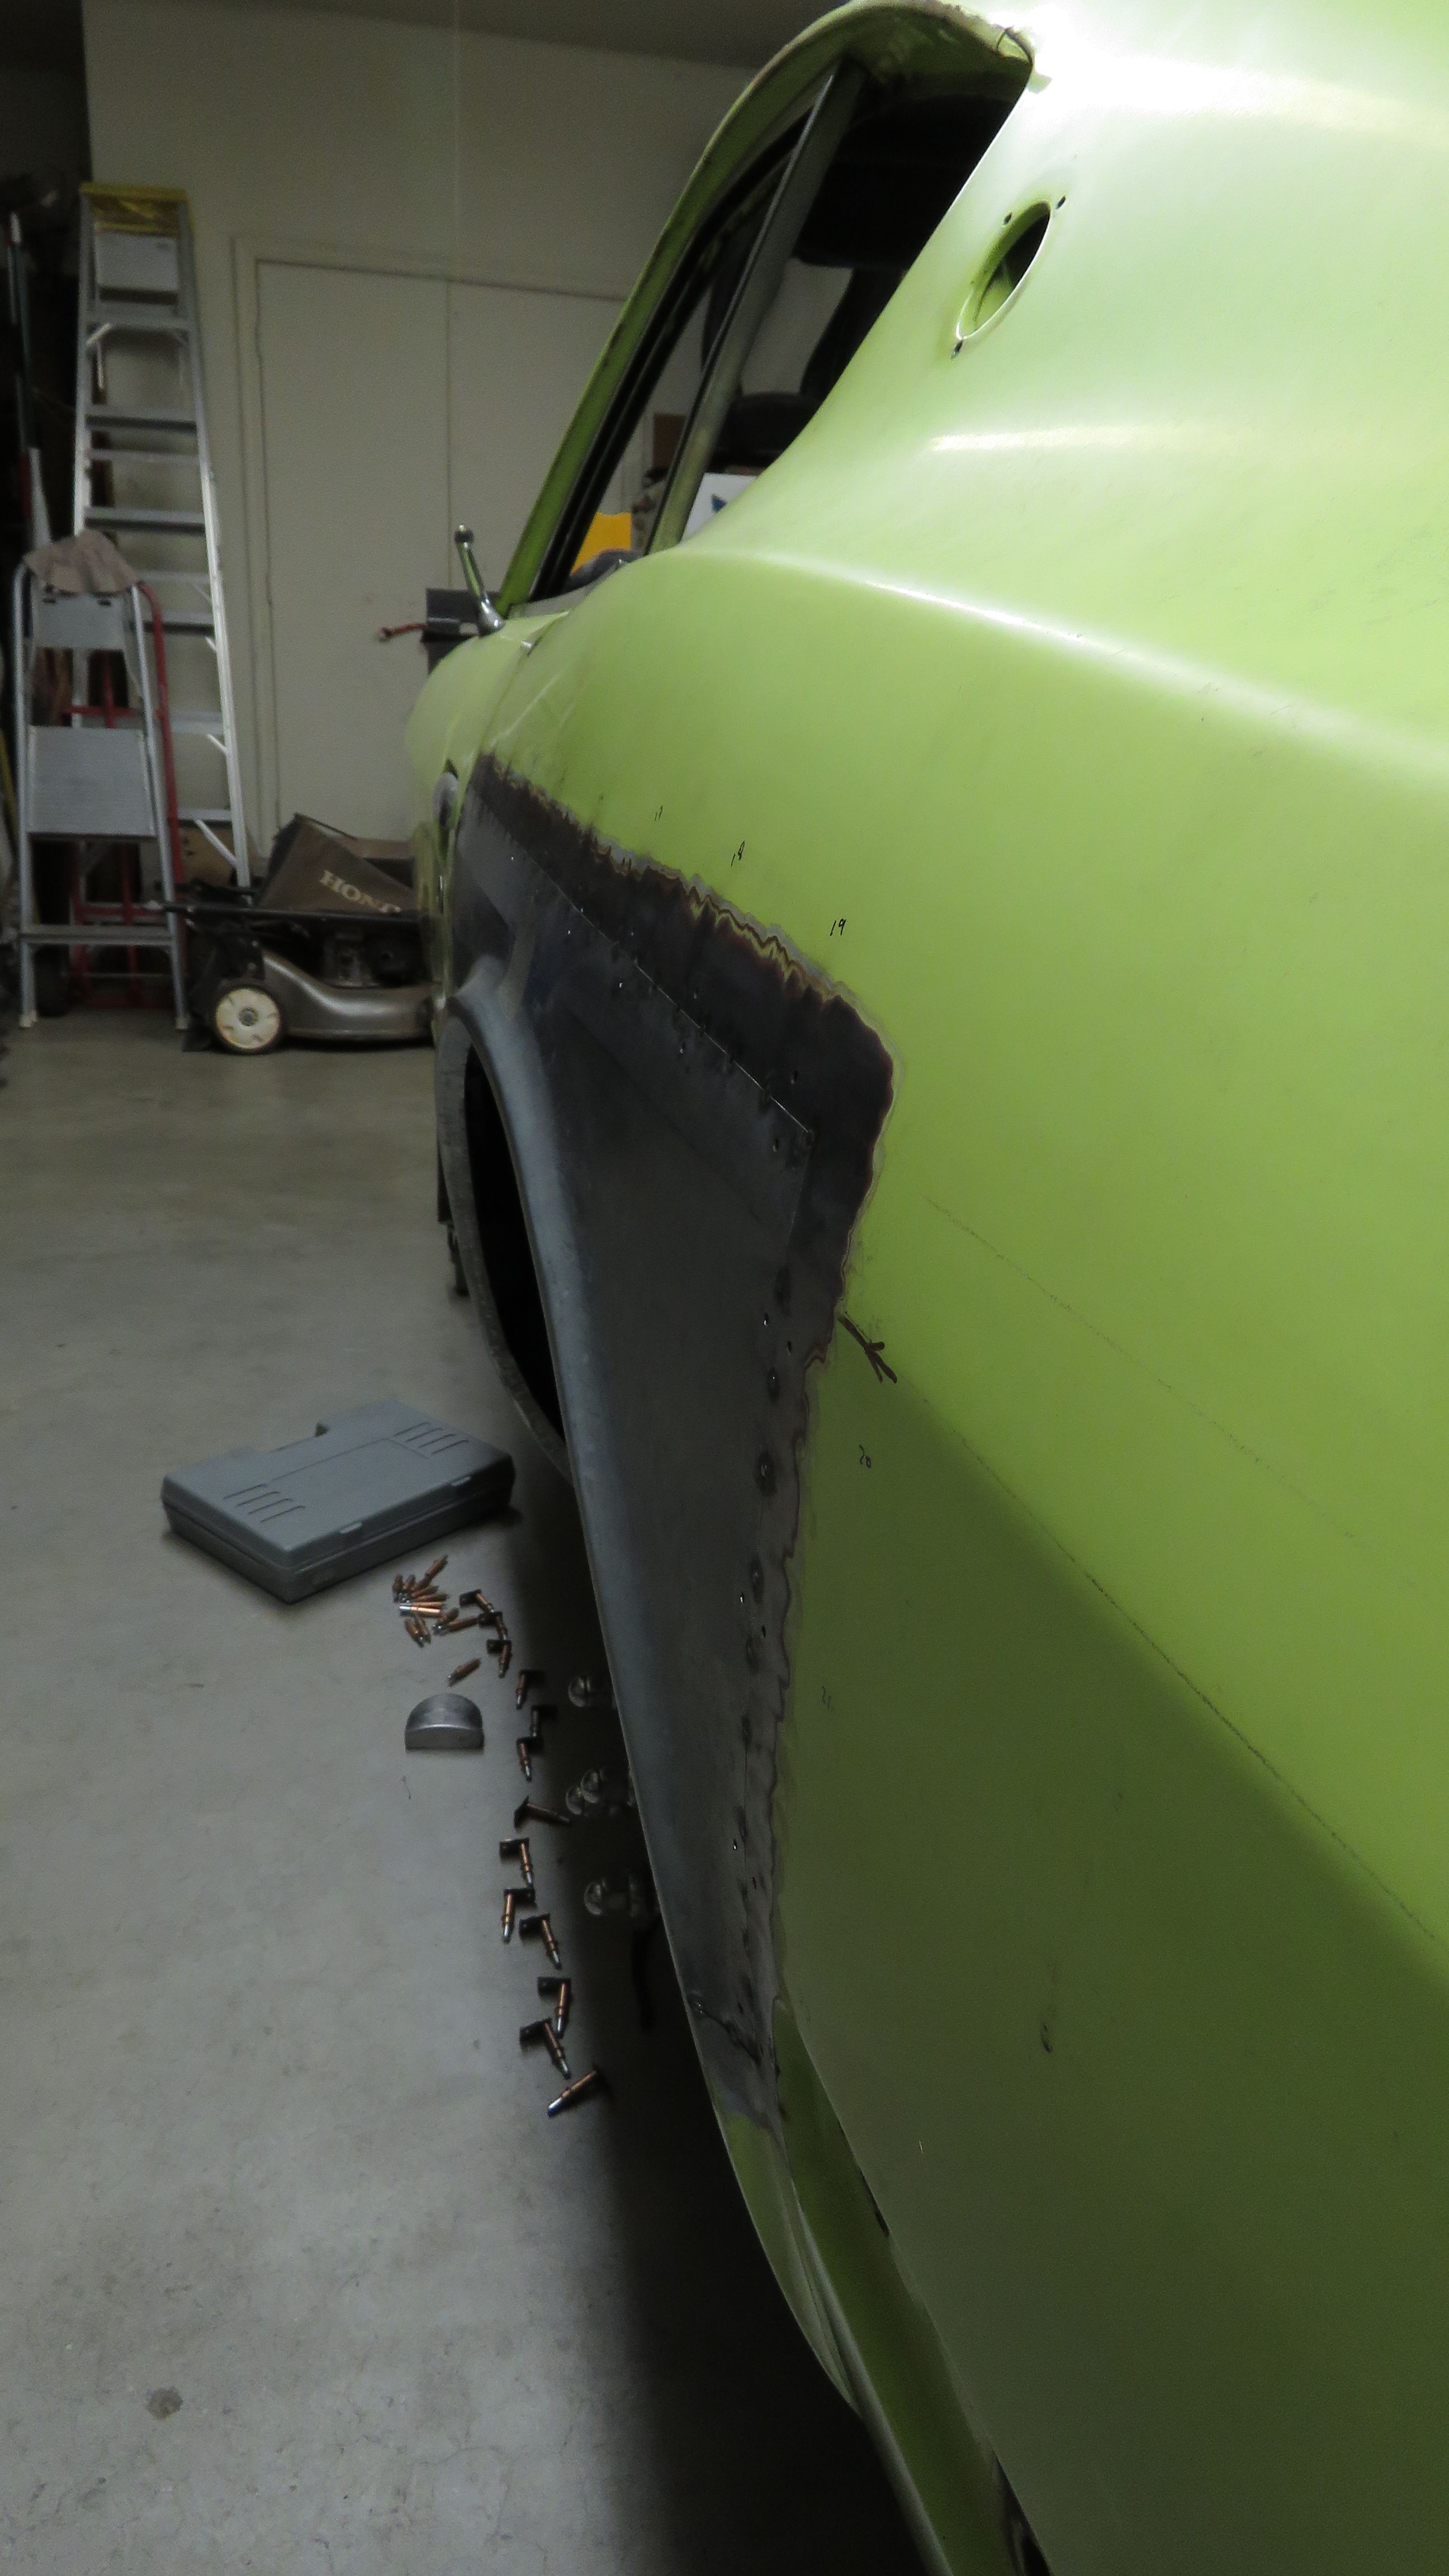
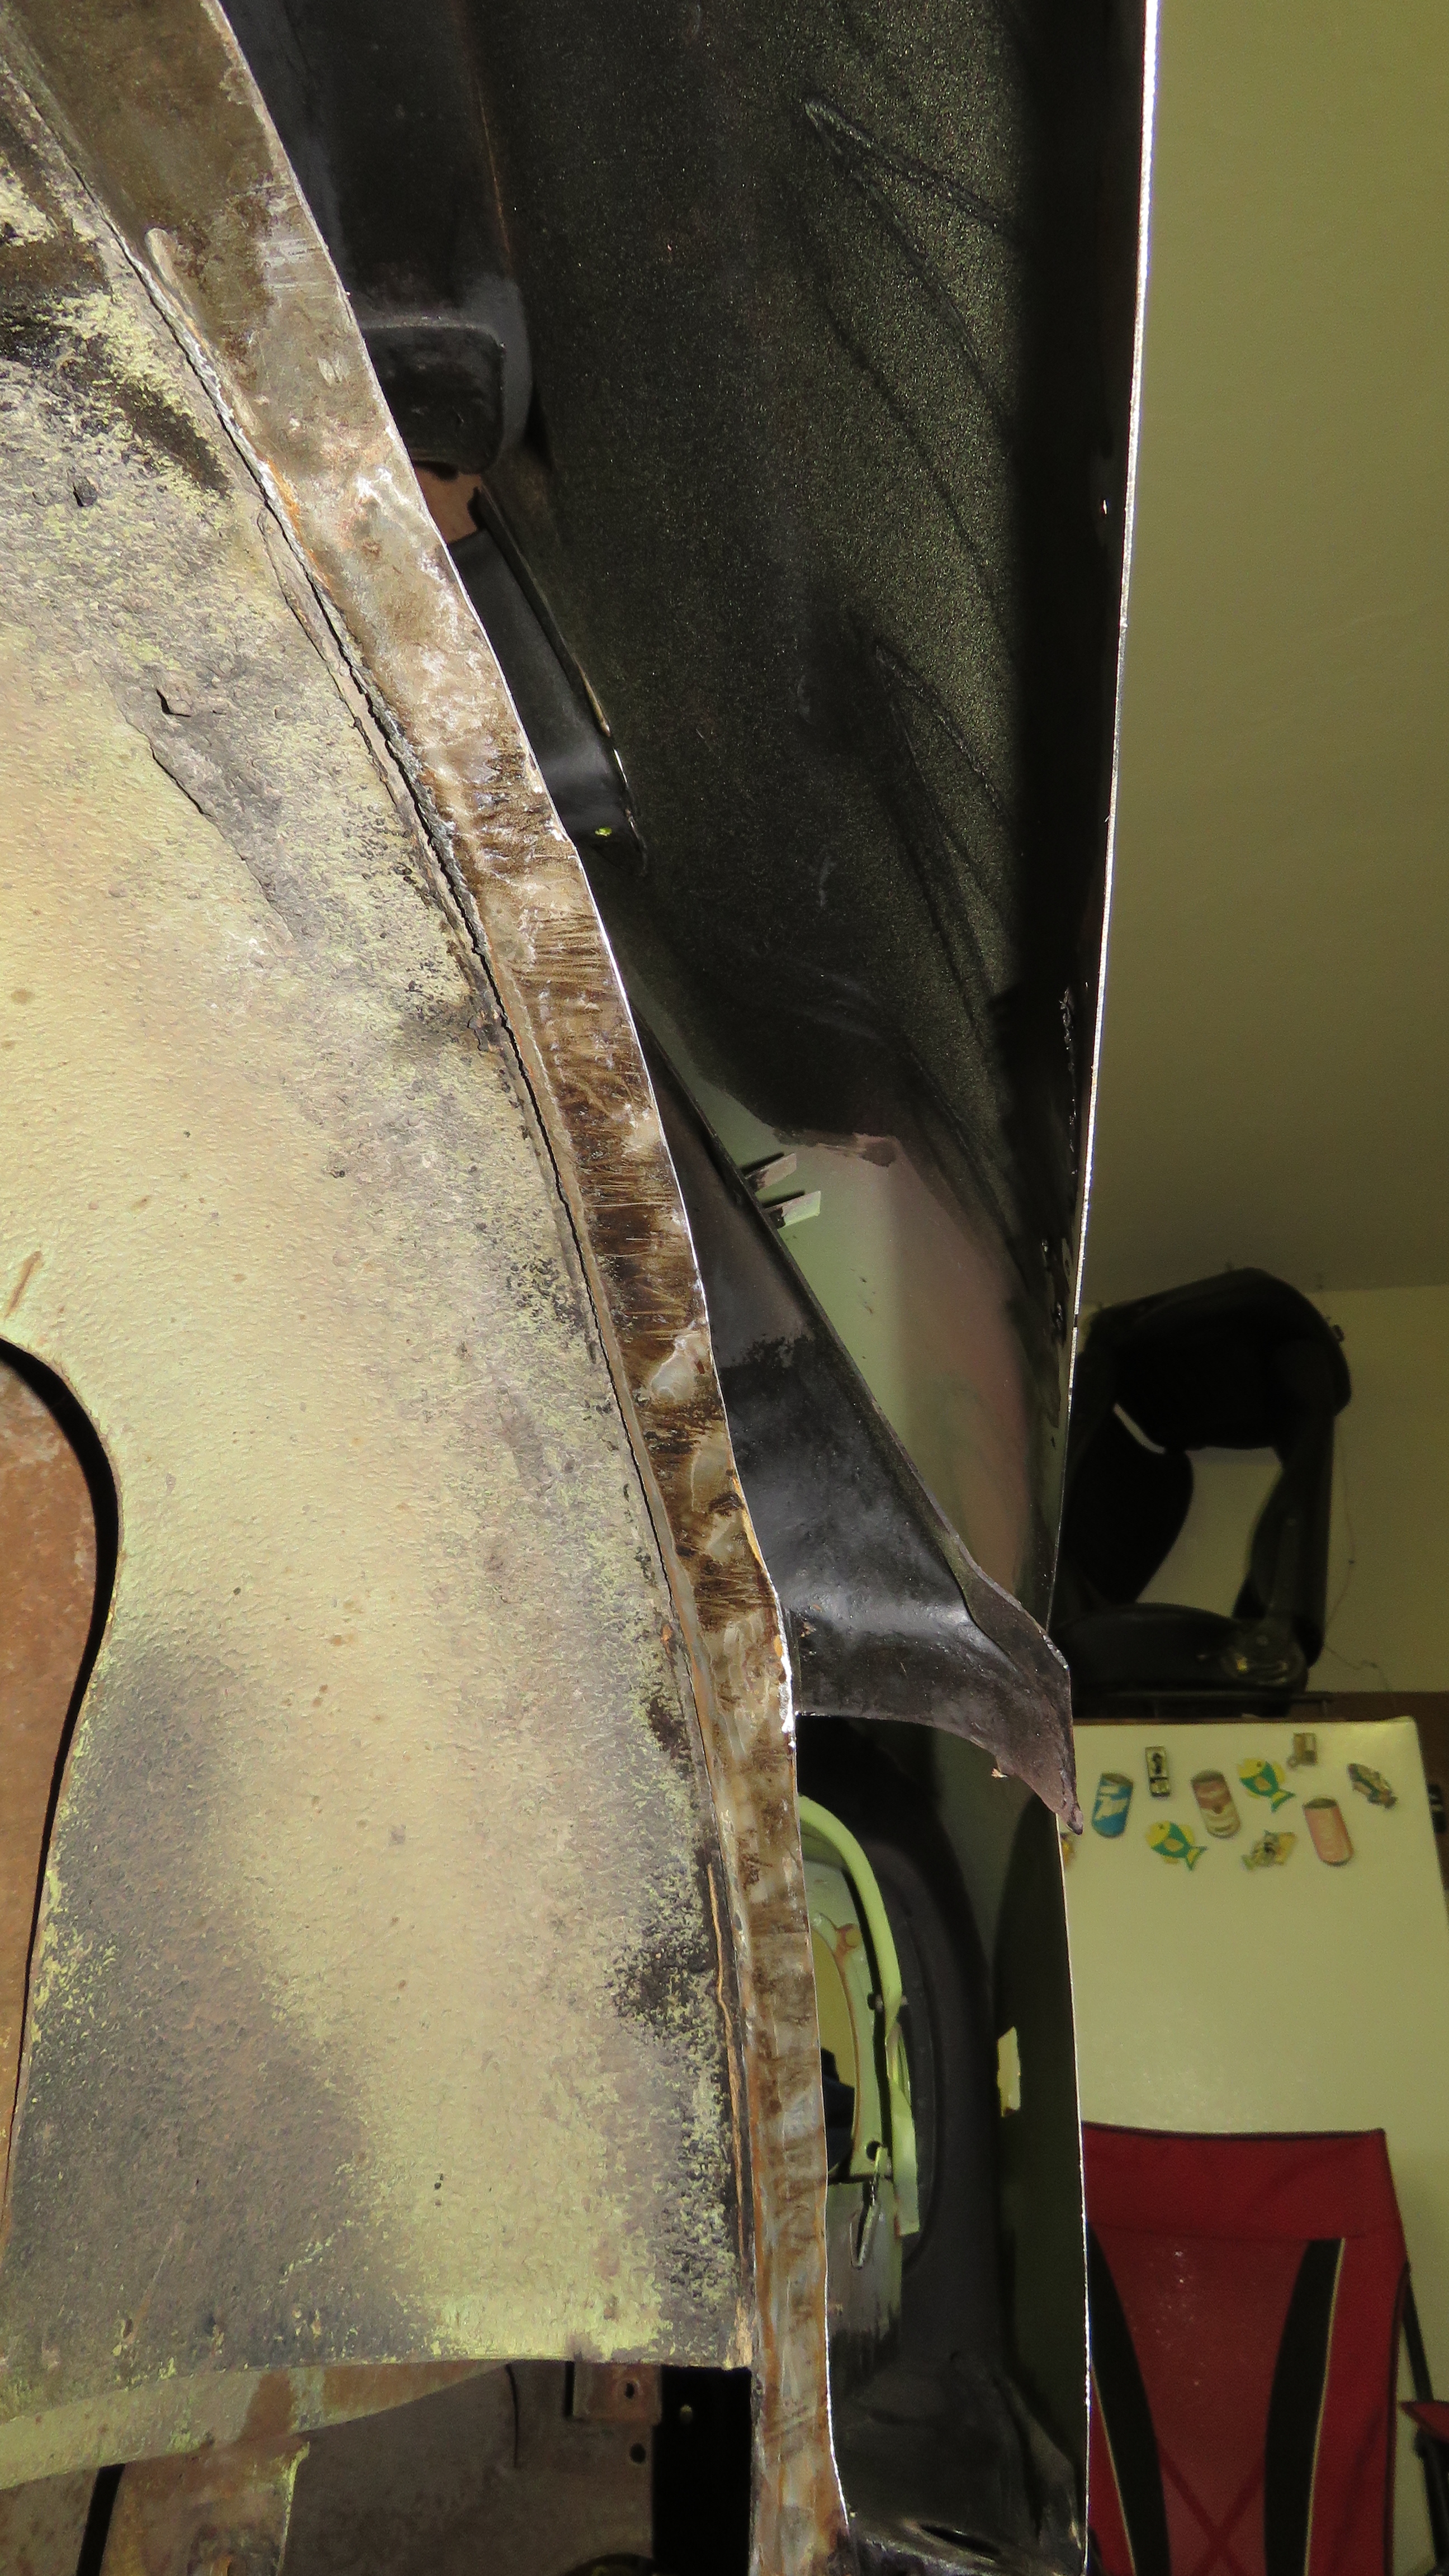
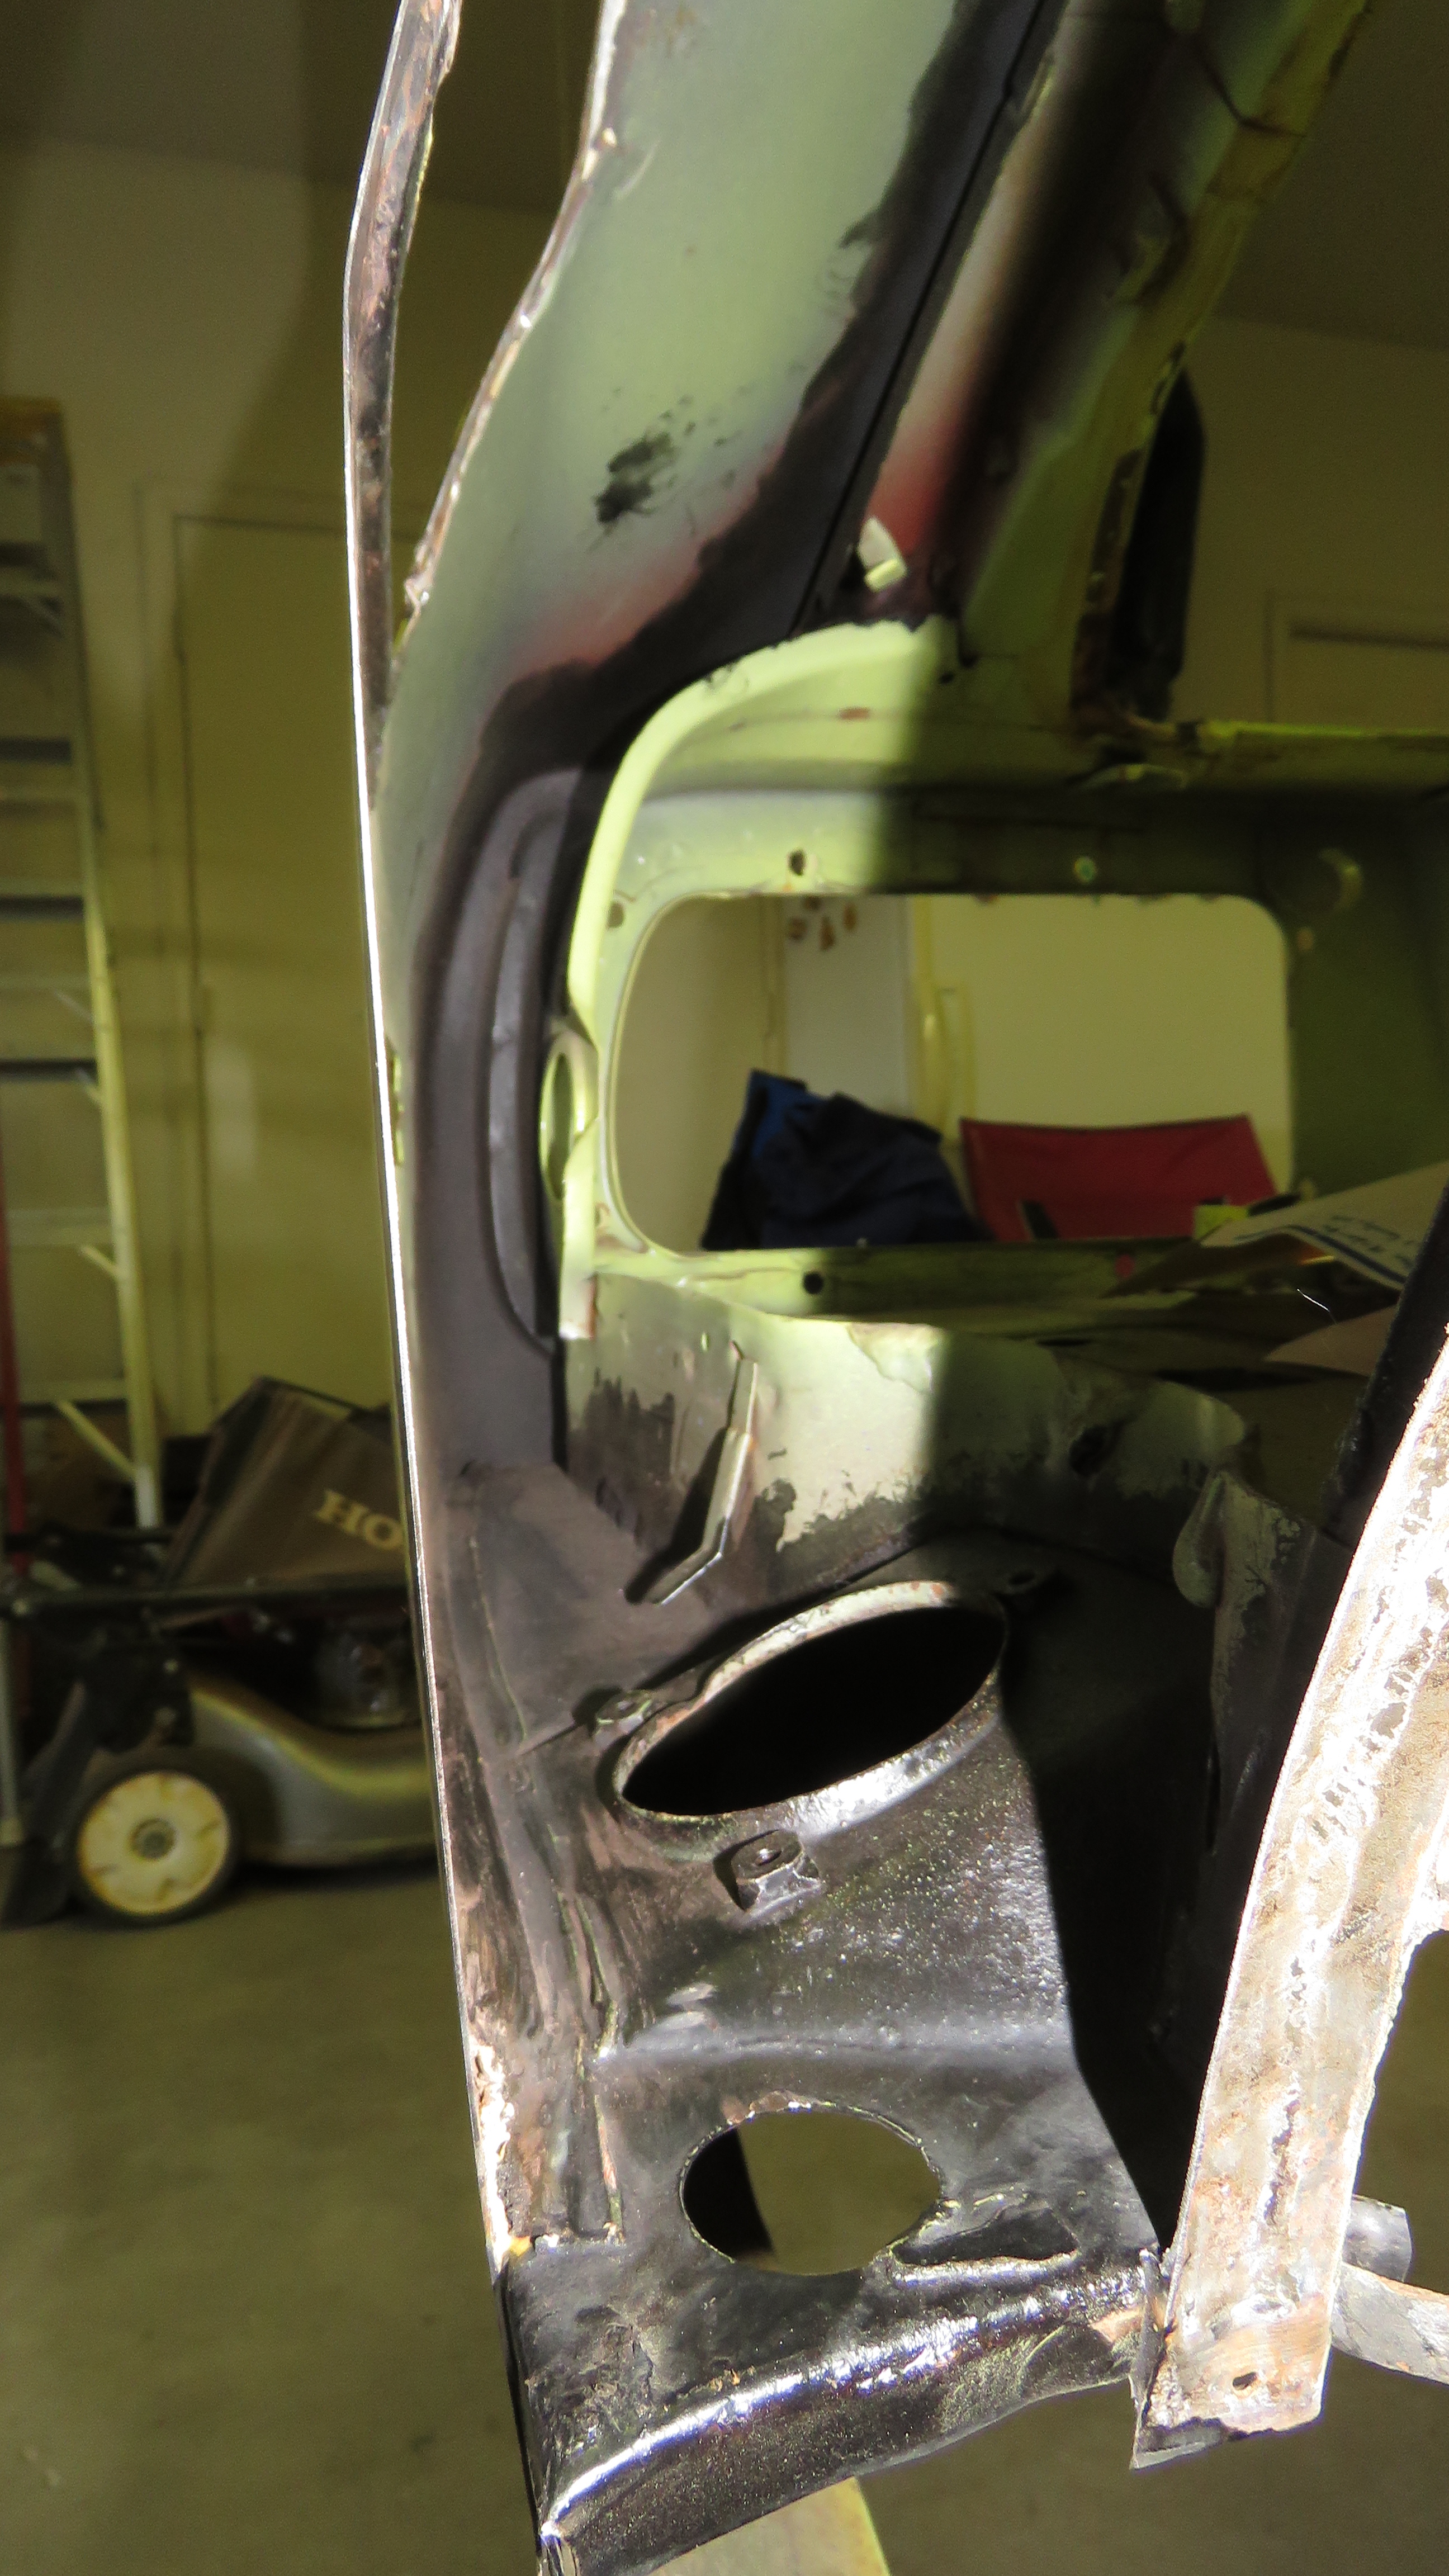
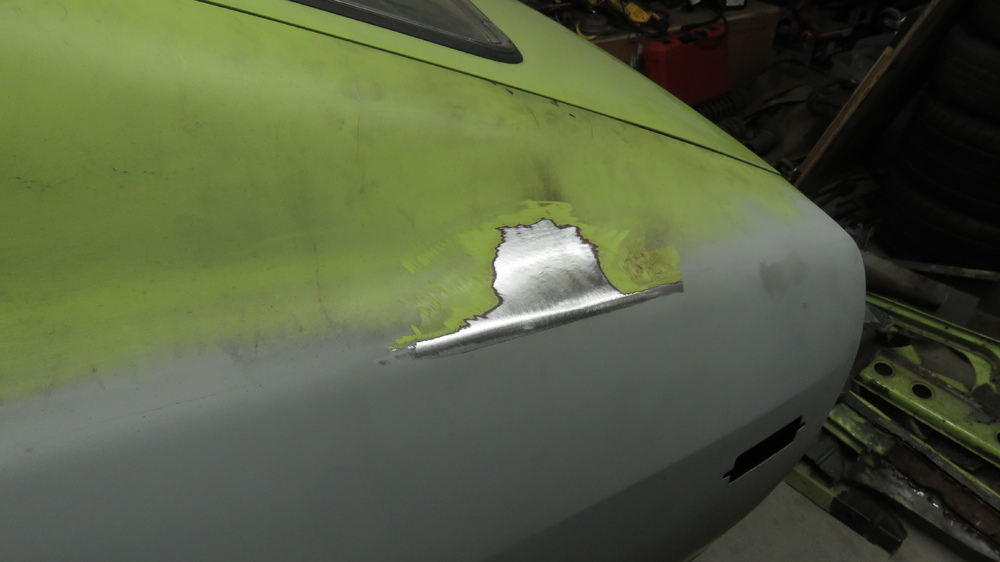
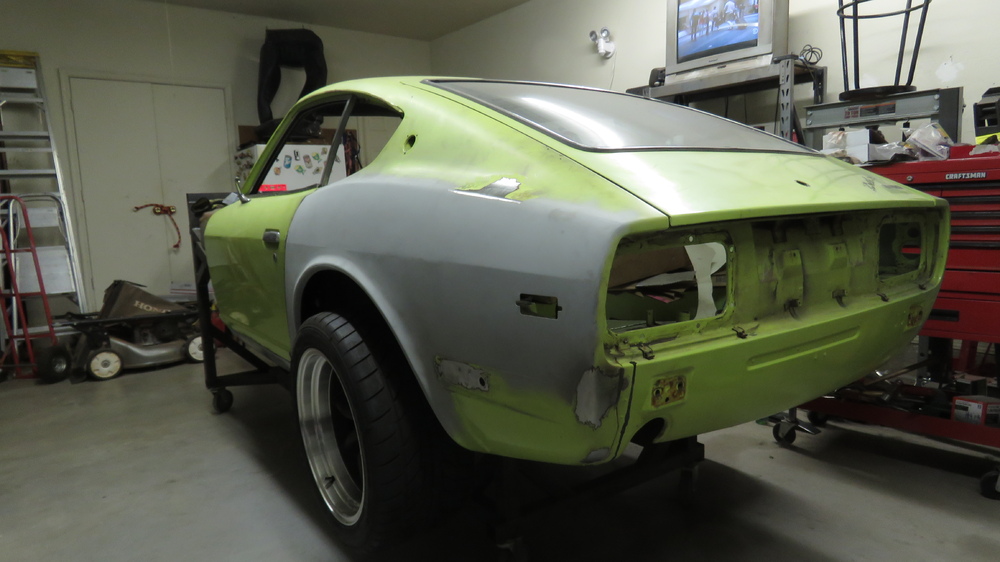
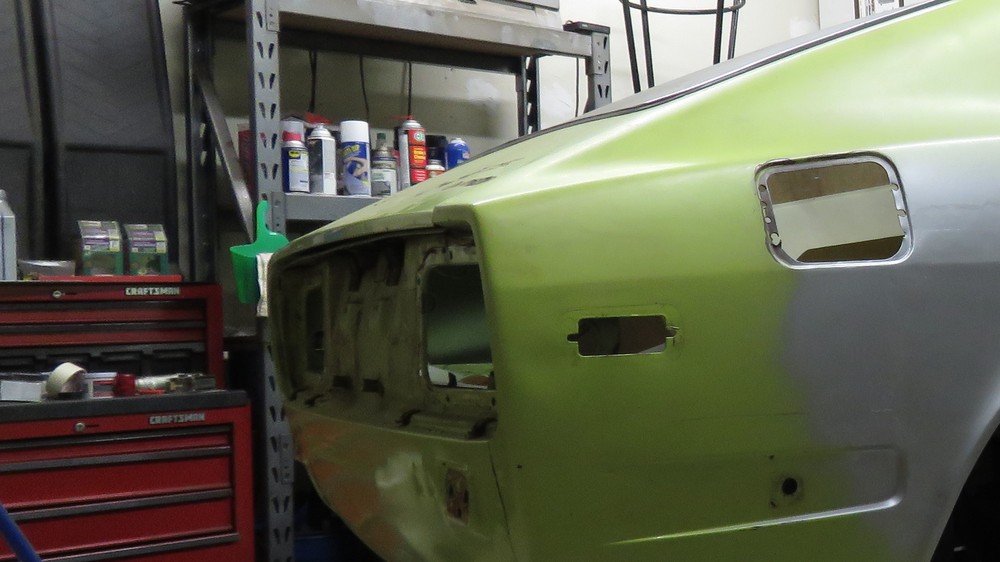
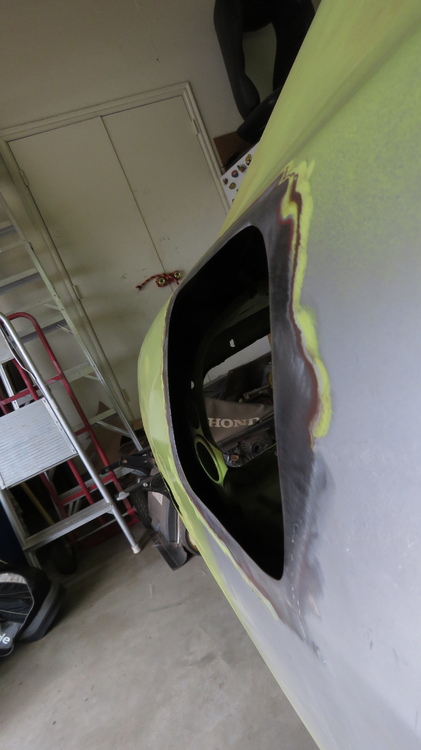
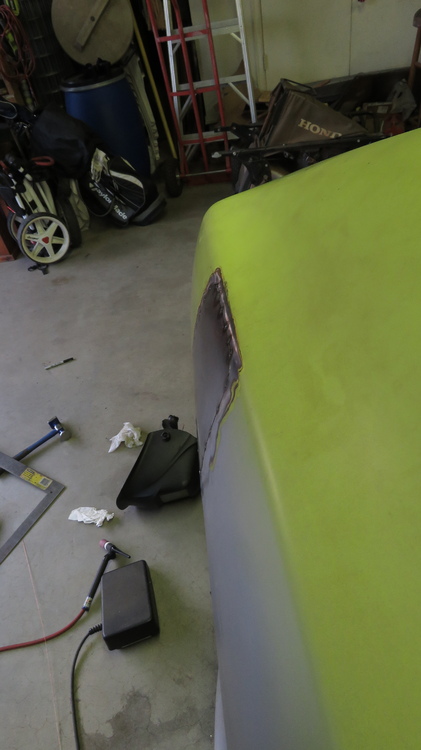
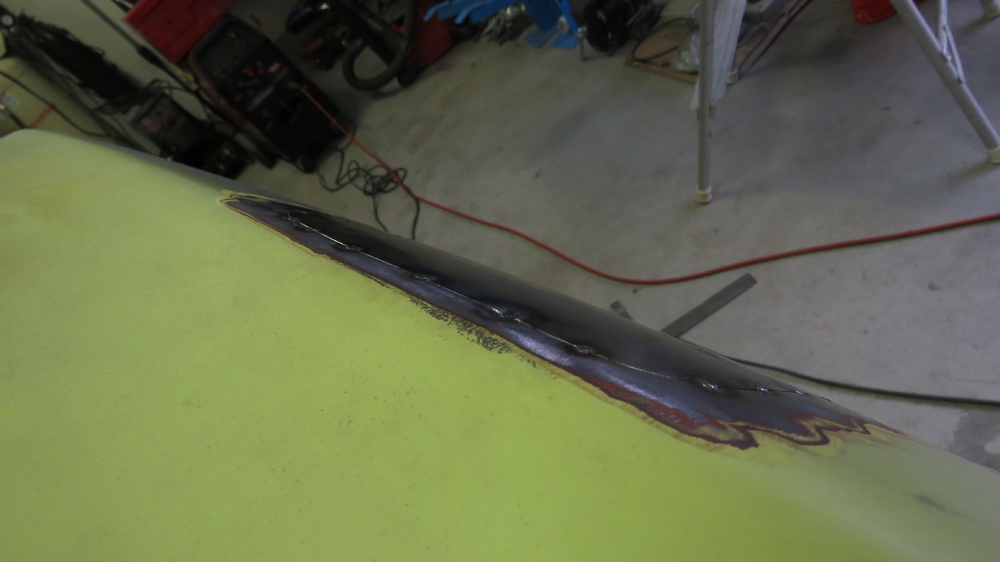
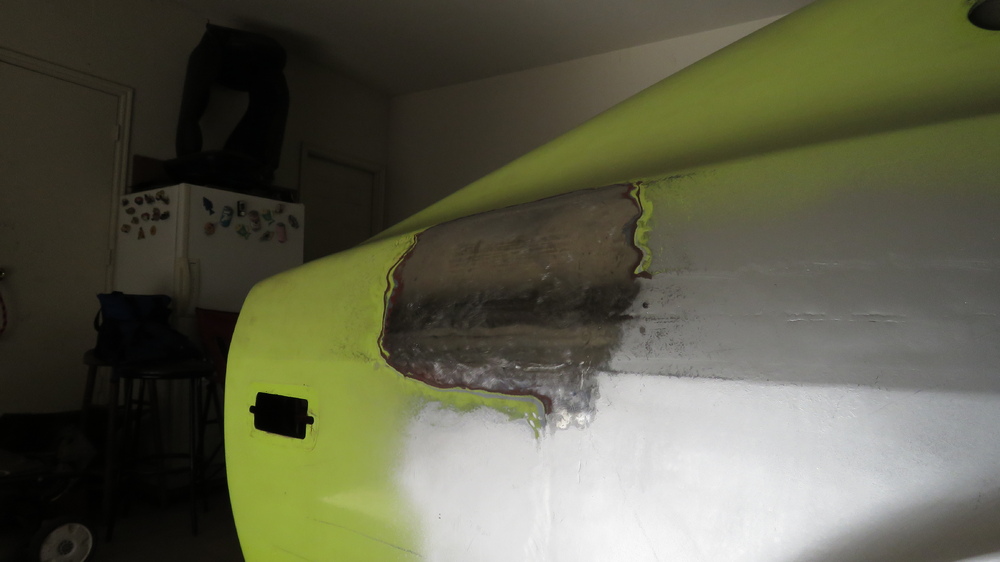
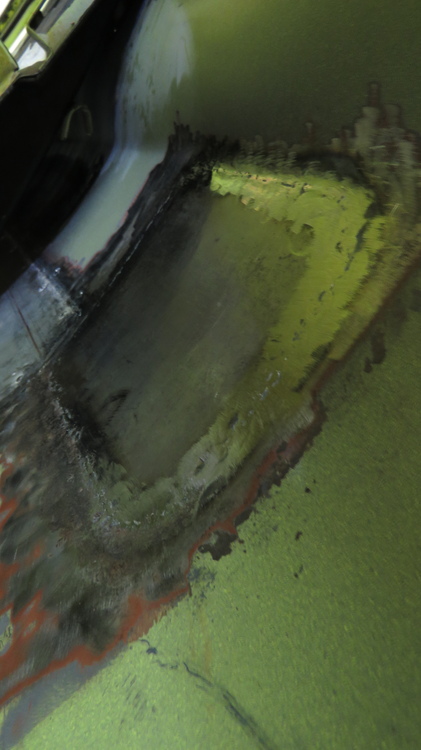
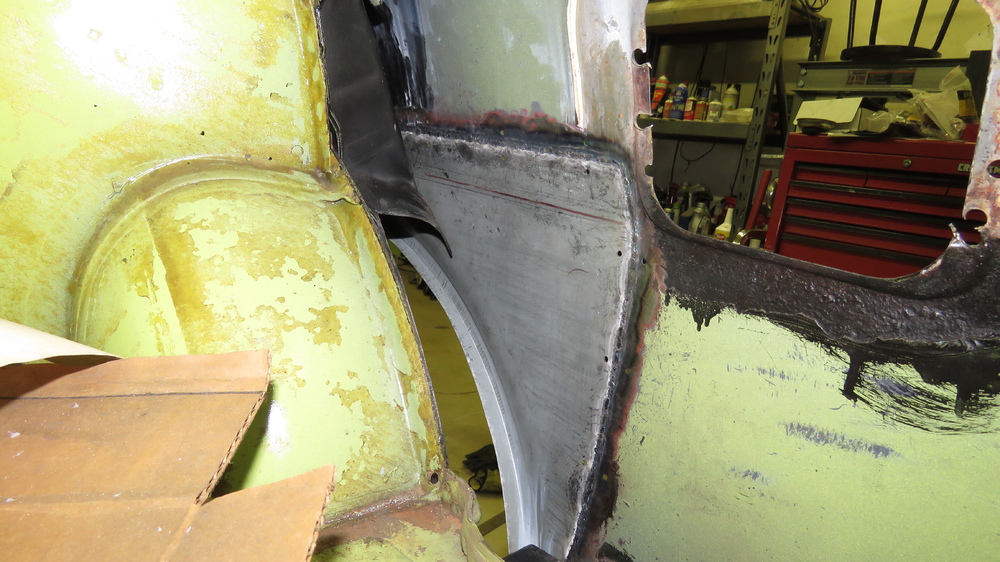
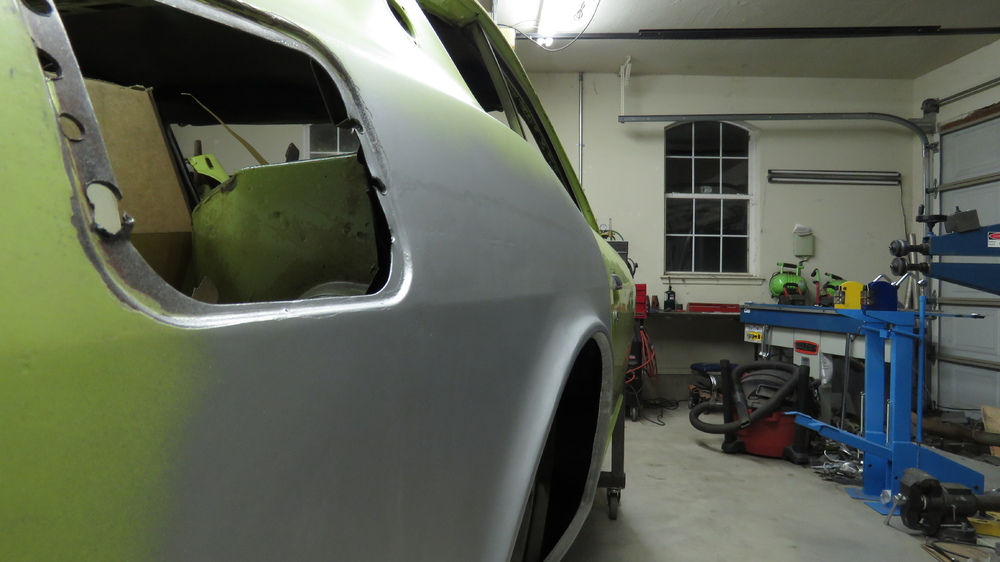
Small Update, Lots of Pictures! Got the Gas door opening welded shut on the passenger side. As of now havent decided where I want to place the gas filler at, just know I didnt want it where it was. Started out cutting the flange out. Used the plasma cutter for this. Used the Belt sander to sand back the indention/lip back. What it looks like after all that. Made a replacement panel with the English Wheel. Put a band on the upper wheel and used a lower anvil with a radius similar to the panel. For those that dont know, the band is so the metal gets bend in two directions (left and right), prevents it from bending/shaping the metal front to back. What it looks like after a round of band wheeling. I then took the band off and wheeled metal to metal because I need a radius on the replacement panel left to right when on the car as the quarter panel isnt flat from left to right (has a slight curve). Traced out the panel, used the snips to cut it out, smooth out the edges from the cutting, then test fitted it. Tack welded in place. Welded, hammer and dollied,sanded down and coated. So I made a Slapper out of some scrap metal, the thickest I had. Feel dumb on why i wasnt using this before on the other stuff. Thing works great in bringing up the low spots and smoothing out the welding zones. This little project came out better than the quarters, the welding zones are a lot better and smooth. Still might could work on it a little more, but I am happy with it. One thing to note is the replacement panel I made is a little too curved (left to right) and you will see in some pictures how it bulges out slightly from the quarter panel. I suppose I could try to heat it up and cool it down to shrink it some. I used the pulse feature for this project on my Tig Welder, seem to help some with the welds but not much. Ill have to keep practicing. The crease will need to be made with bondo, I dont feel like screwing around with it. I still want to get some body filers for sanding, still looking up on some sites and deciding which to buy. Will get the side markers shaved and work on some dents in the rear. Stay Tuned!


-
Haha, according to Coast to Coast Am radio with George Noory, Witches still exits doing the usual witch stuff. In fact one was on the other night as a guest, though he claimed to be a good witch...
-
That was a great video. Wonder how much the car was worth before and after the restoration.
-
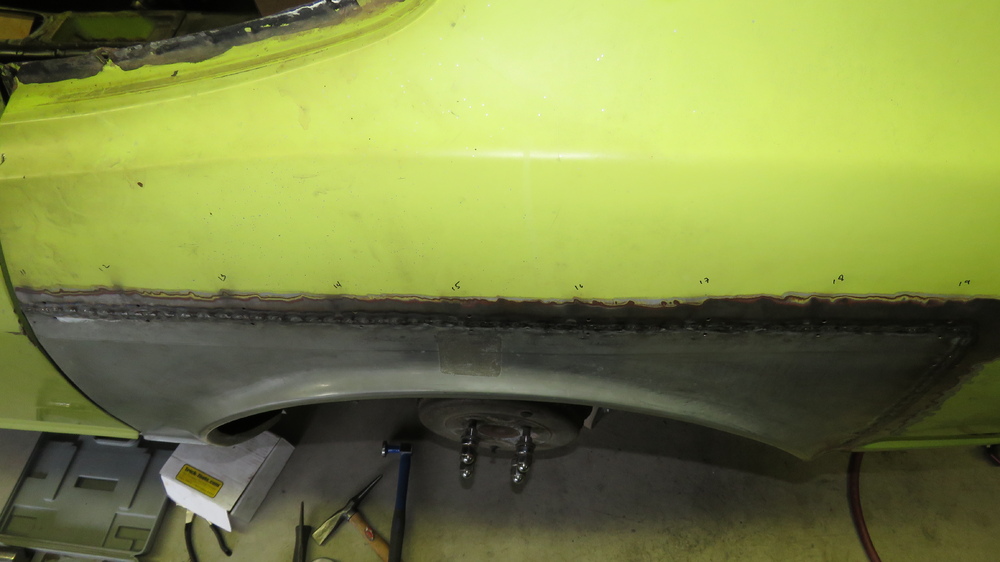
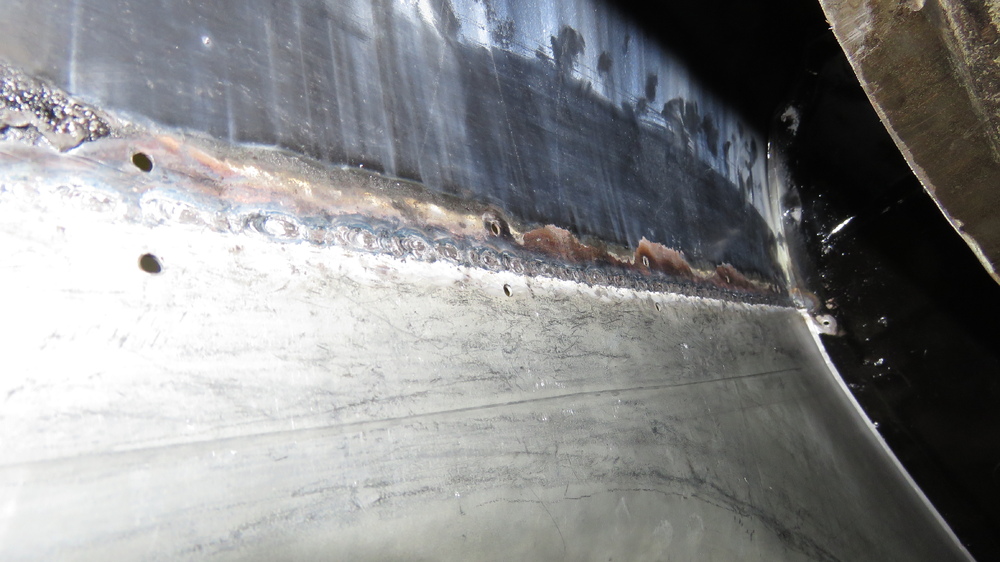
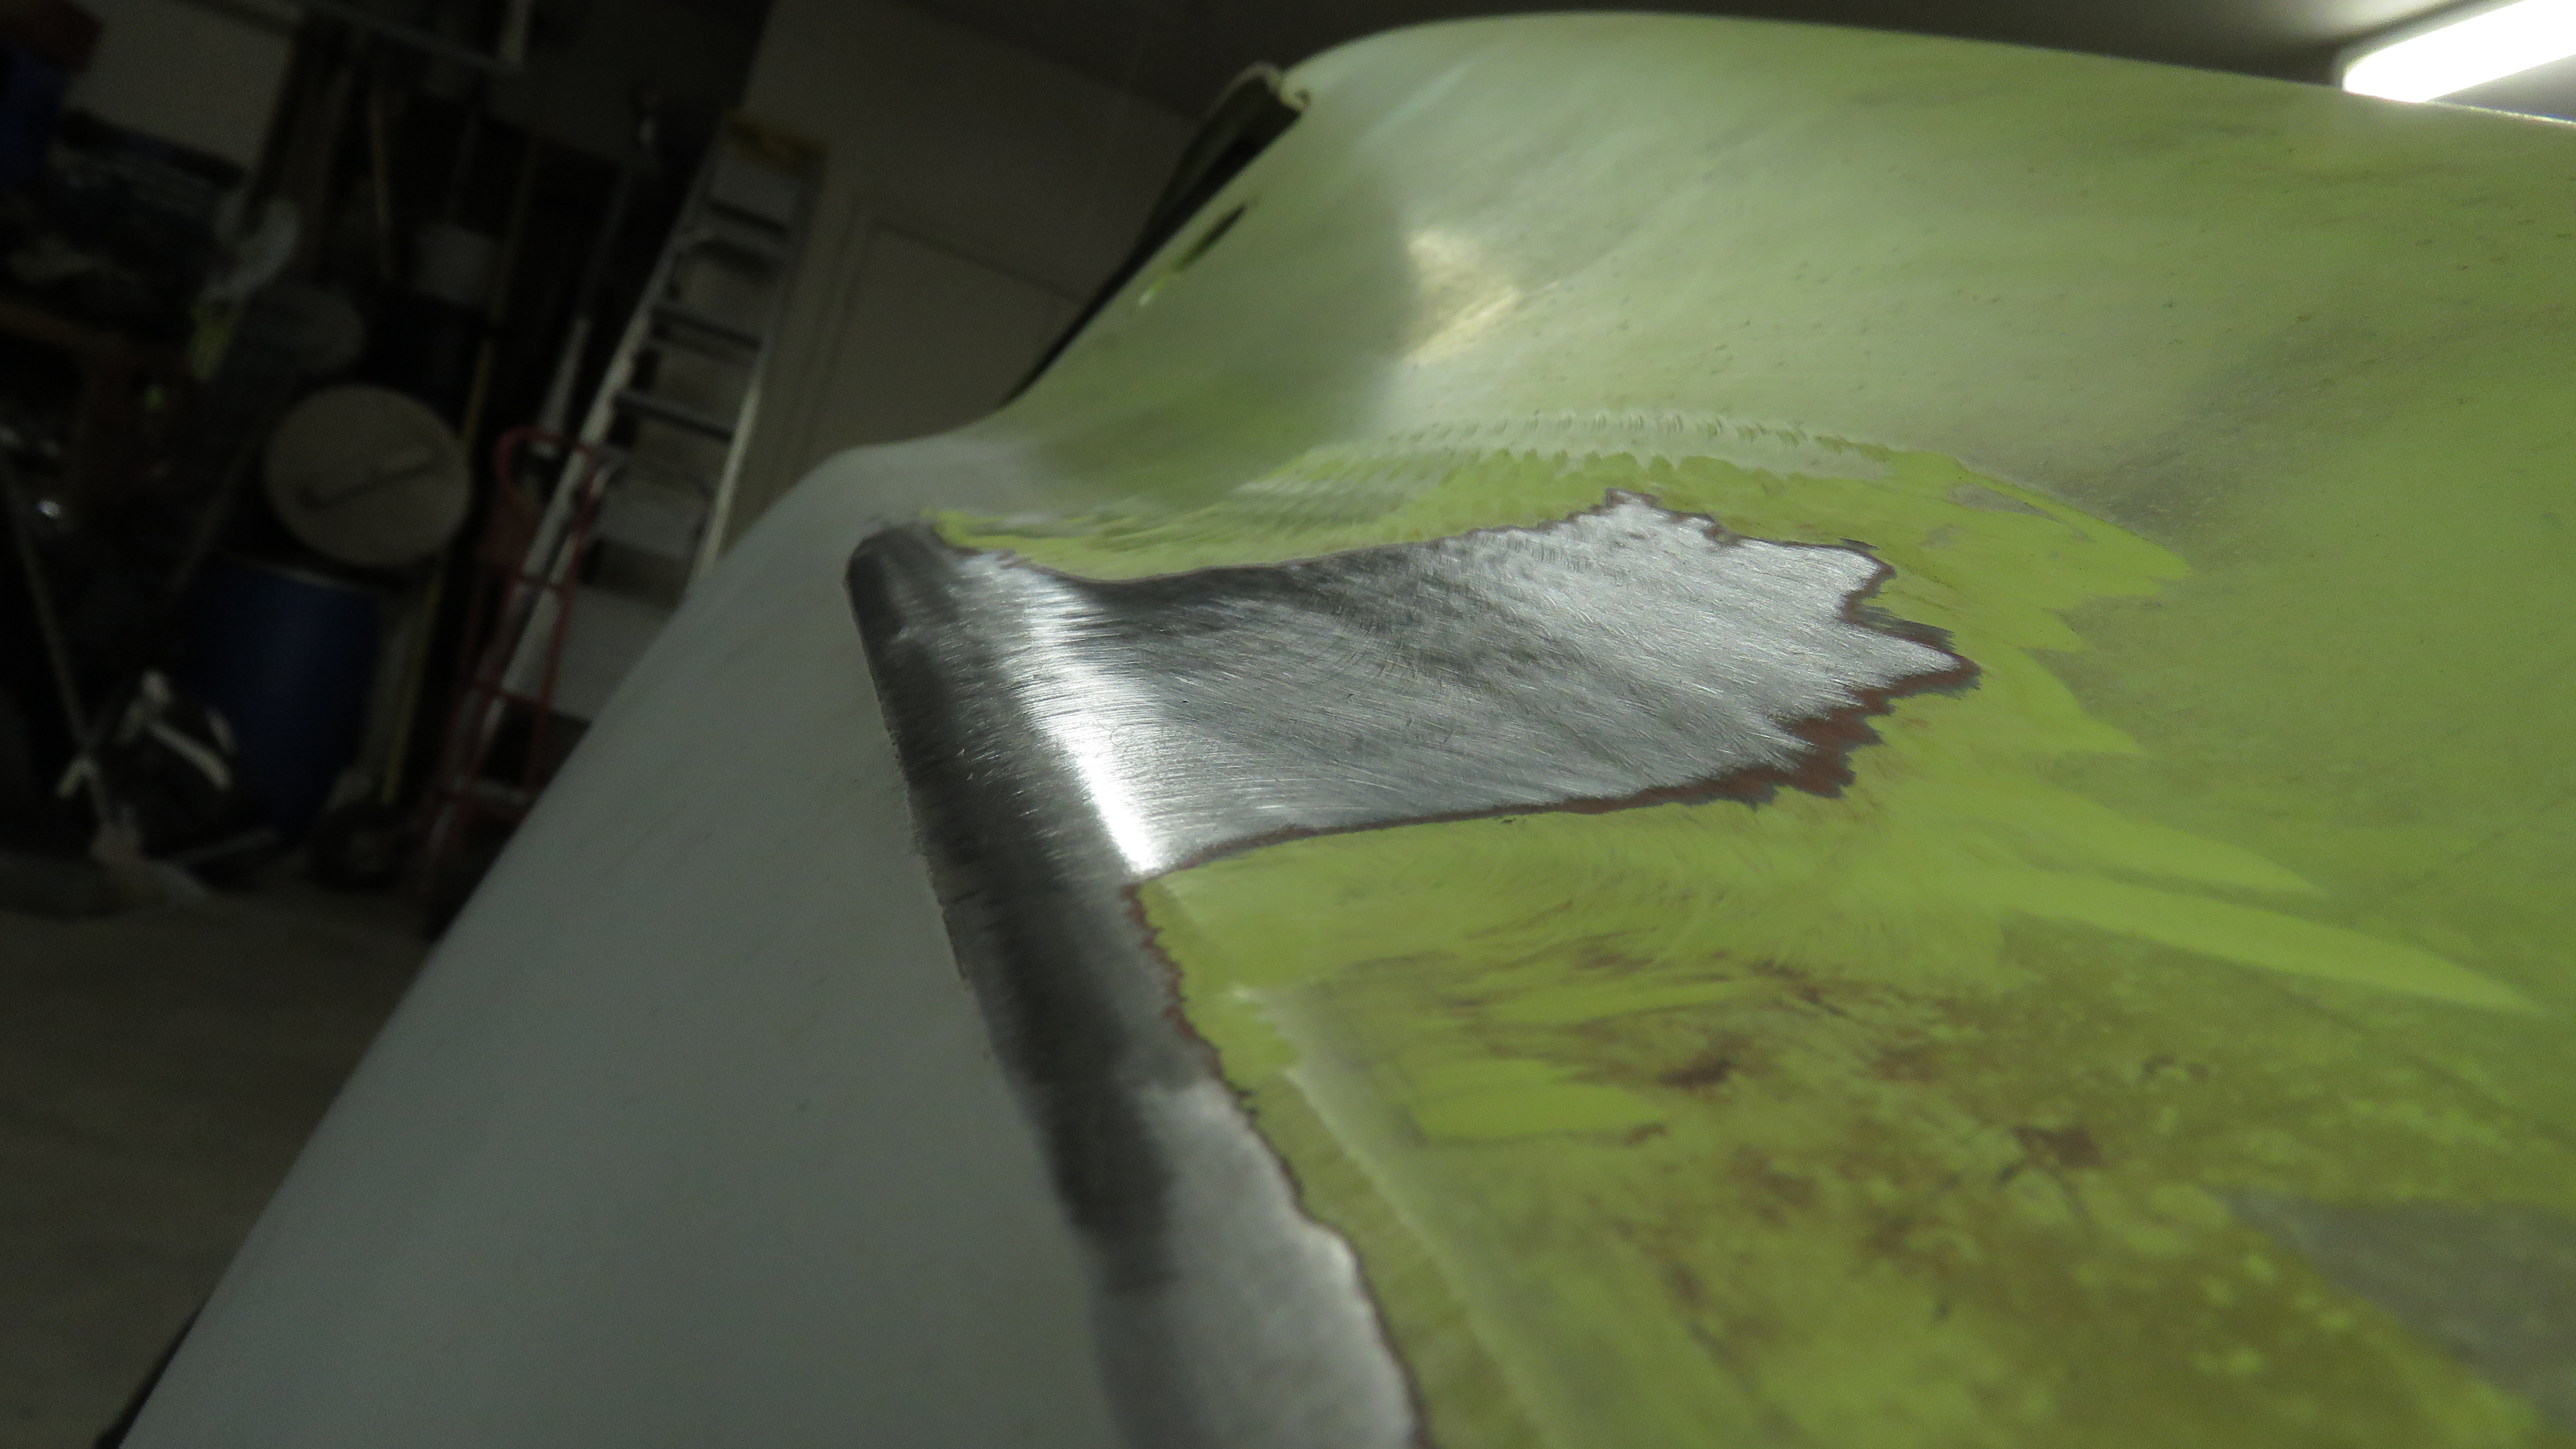
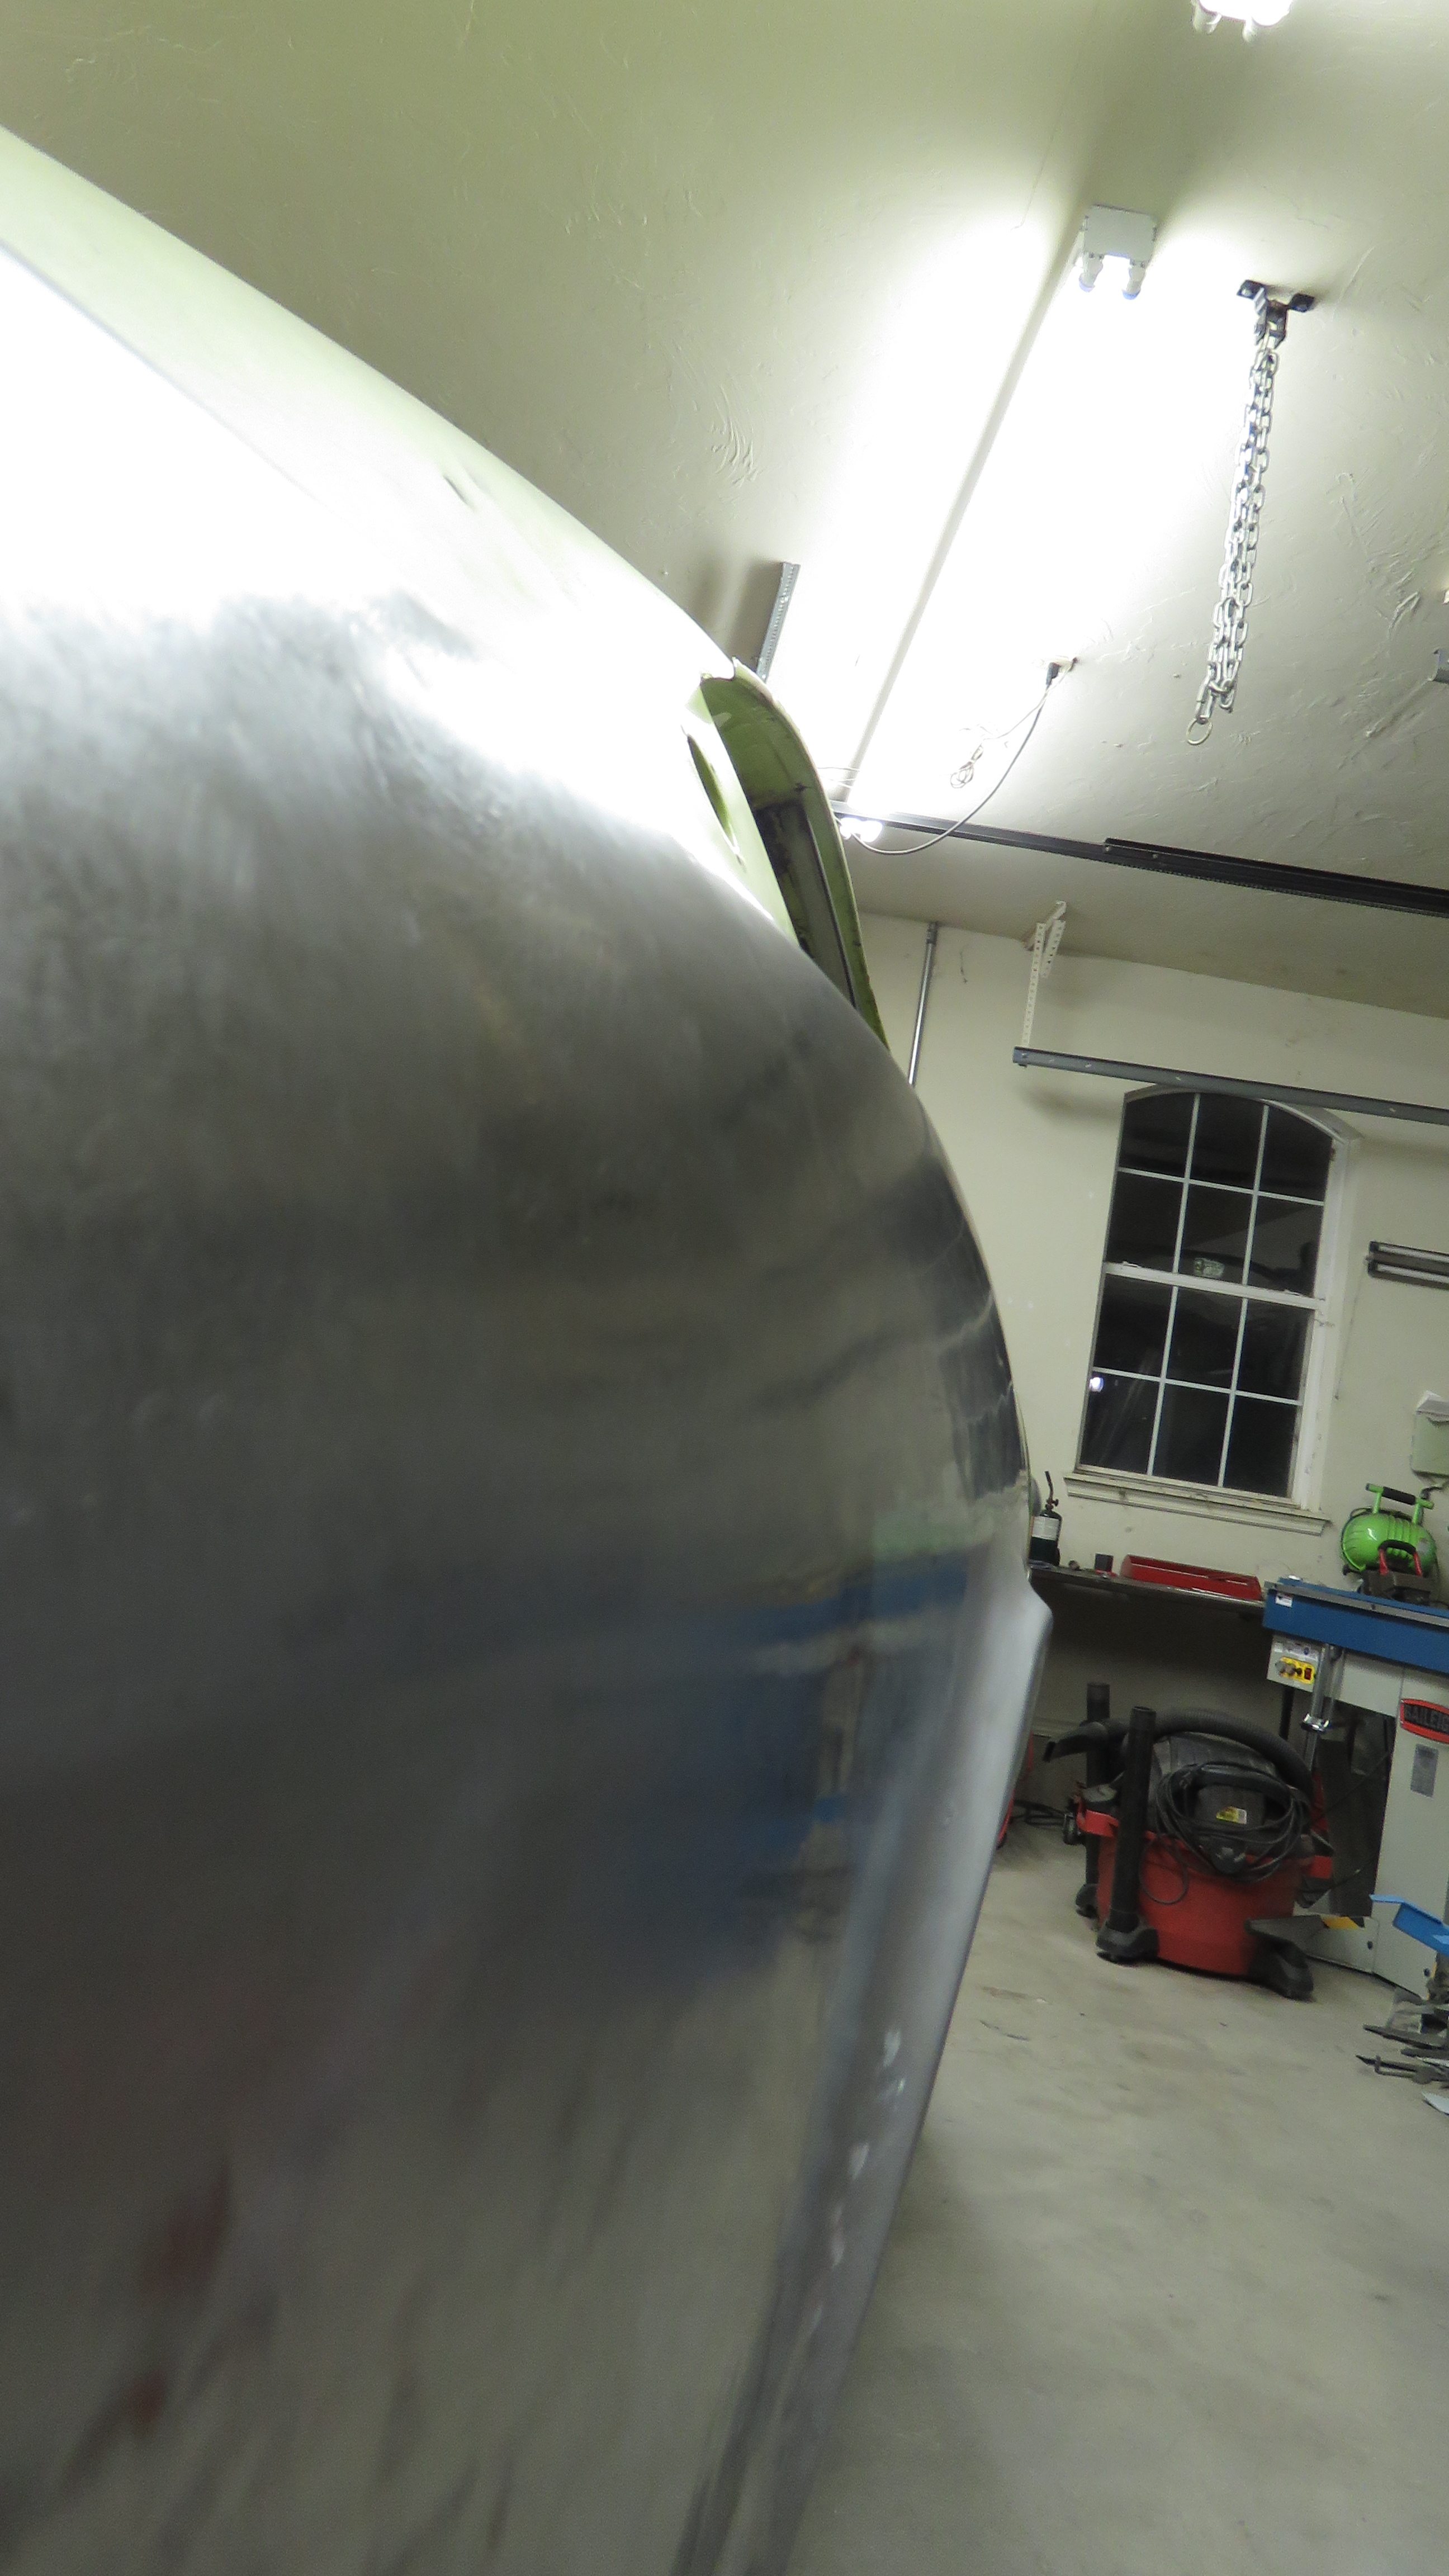
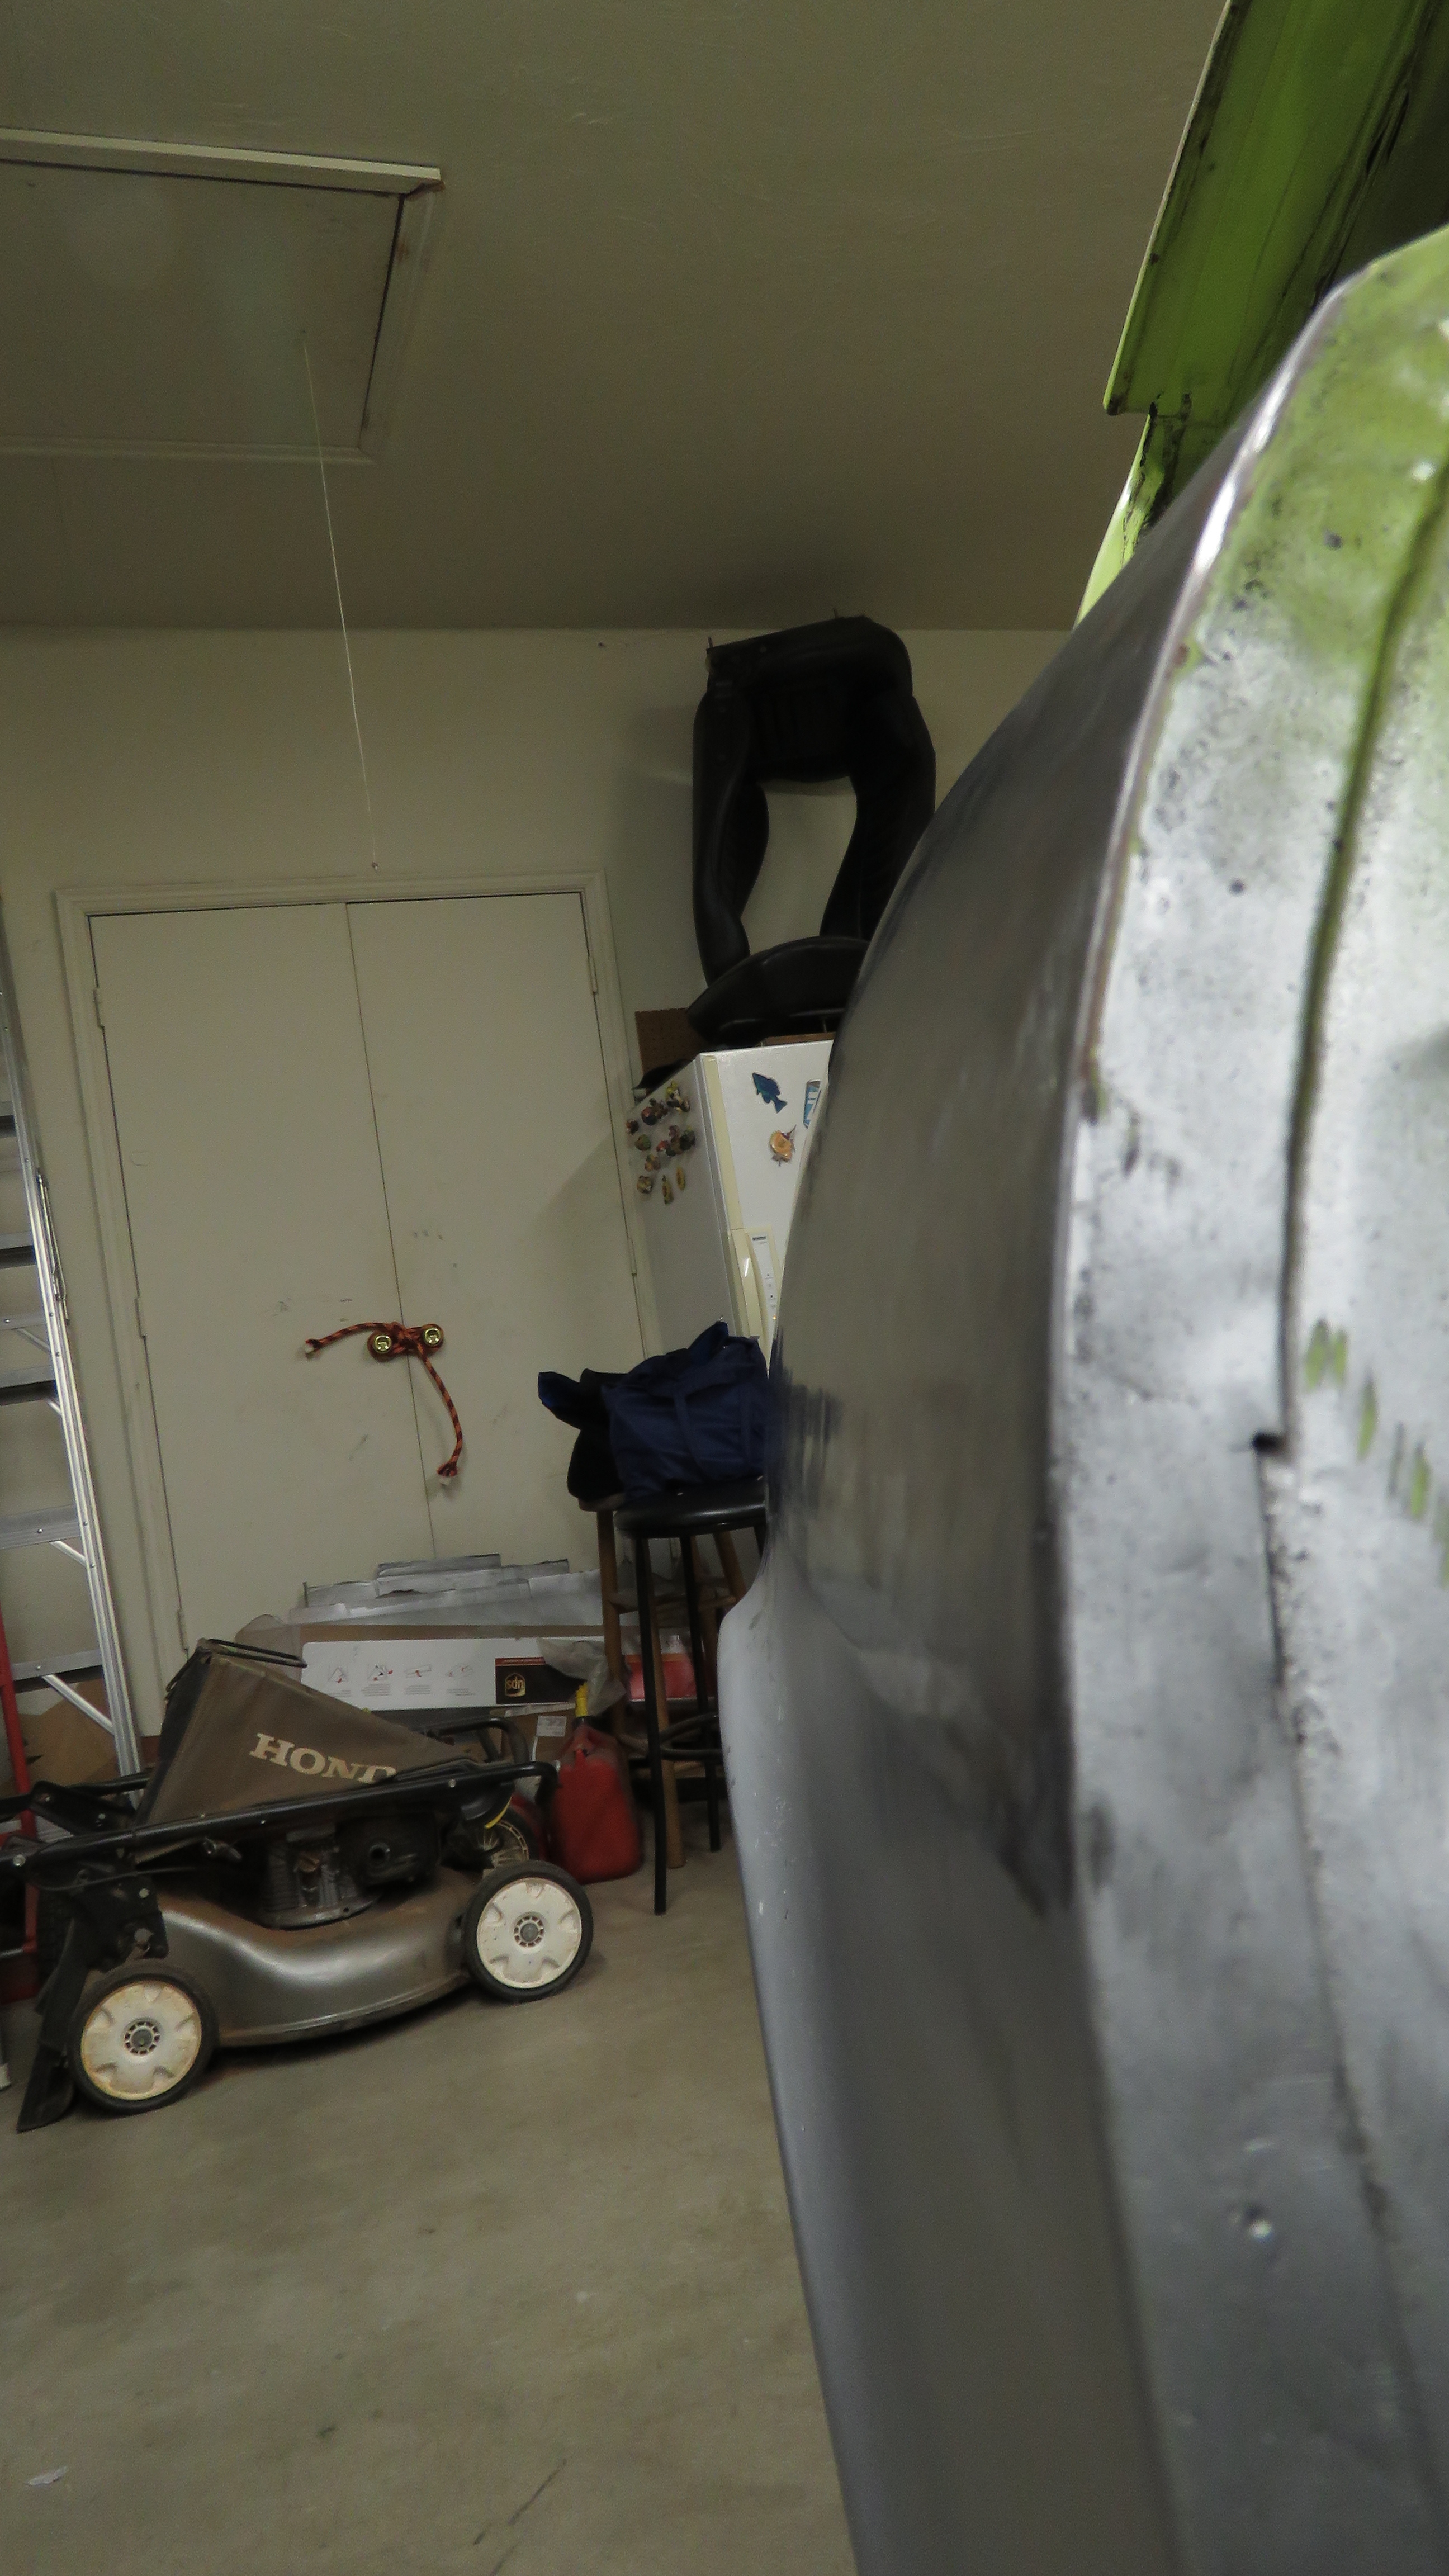
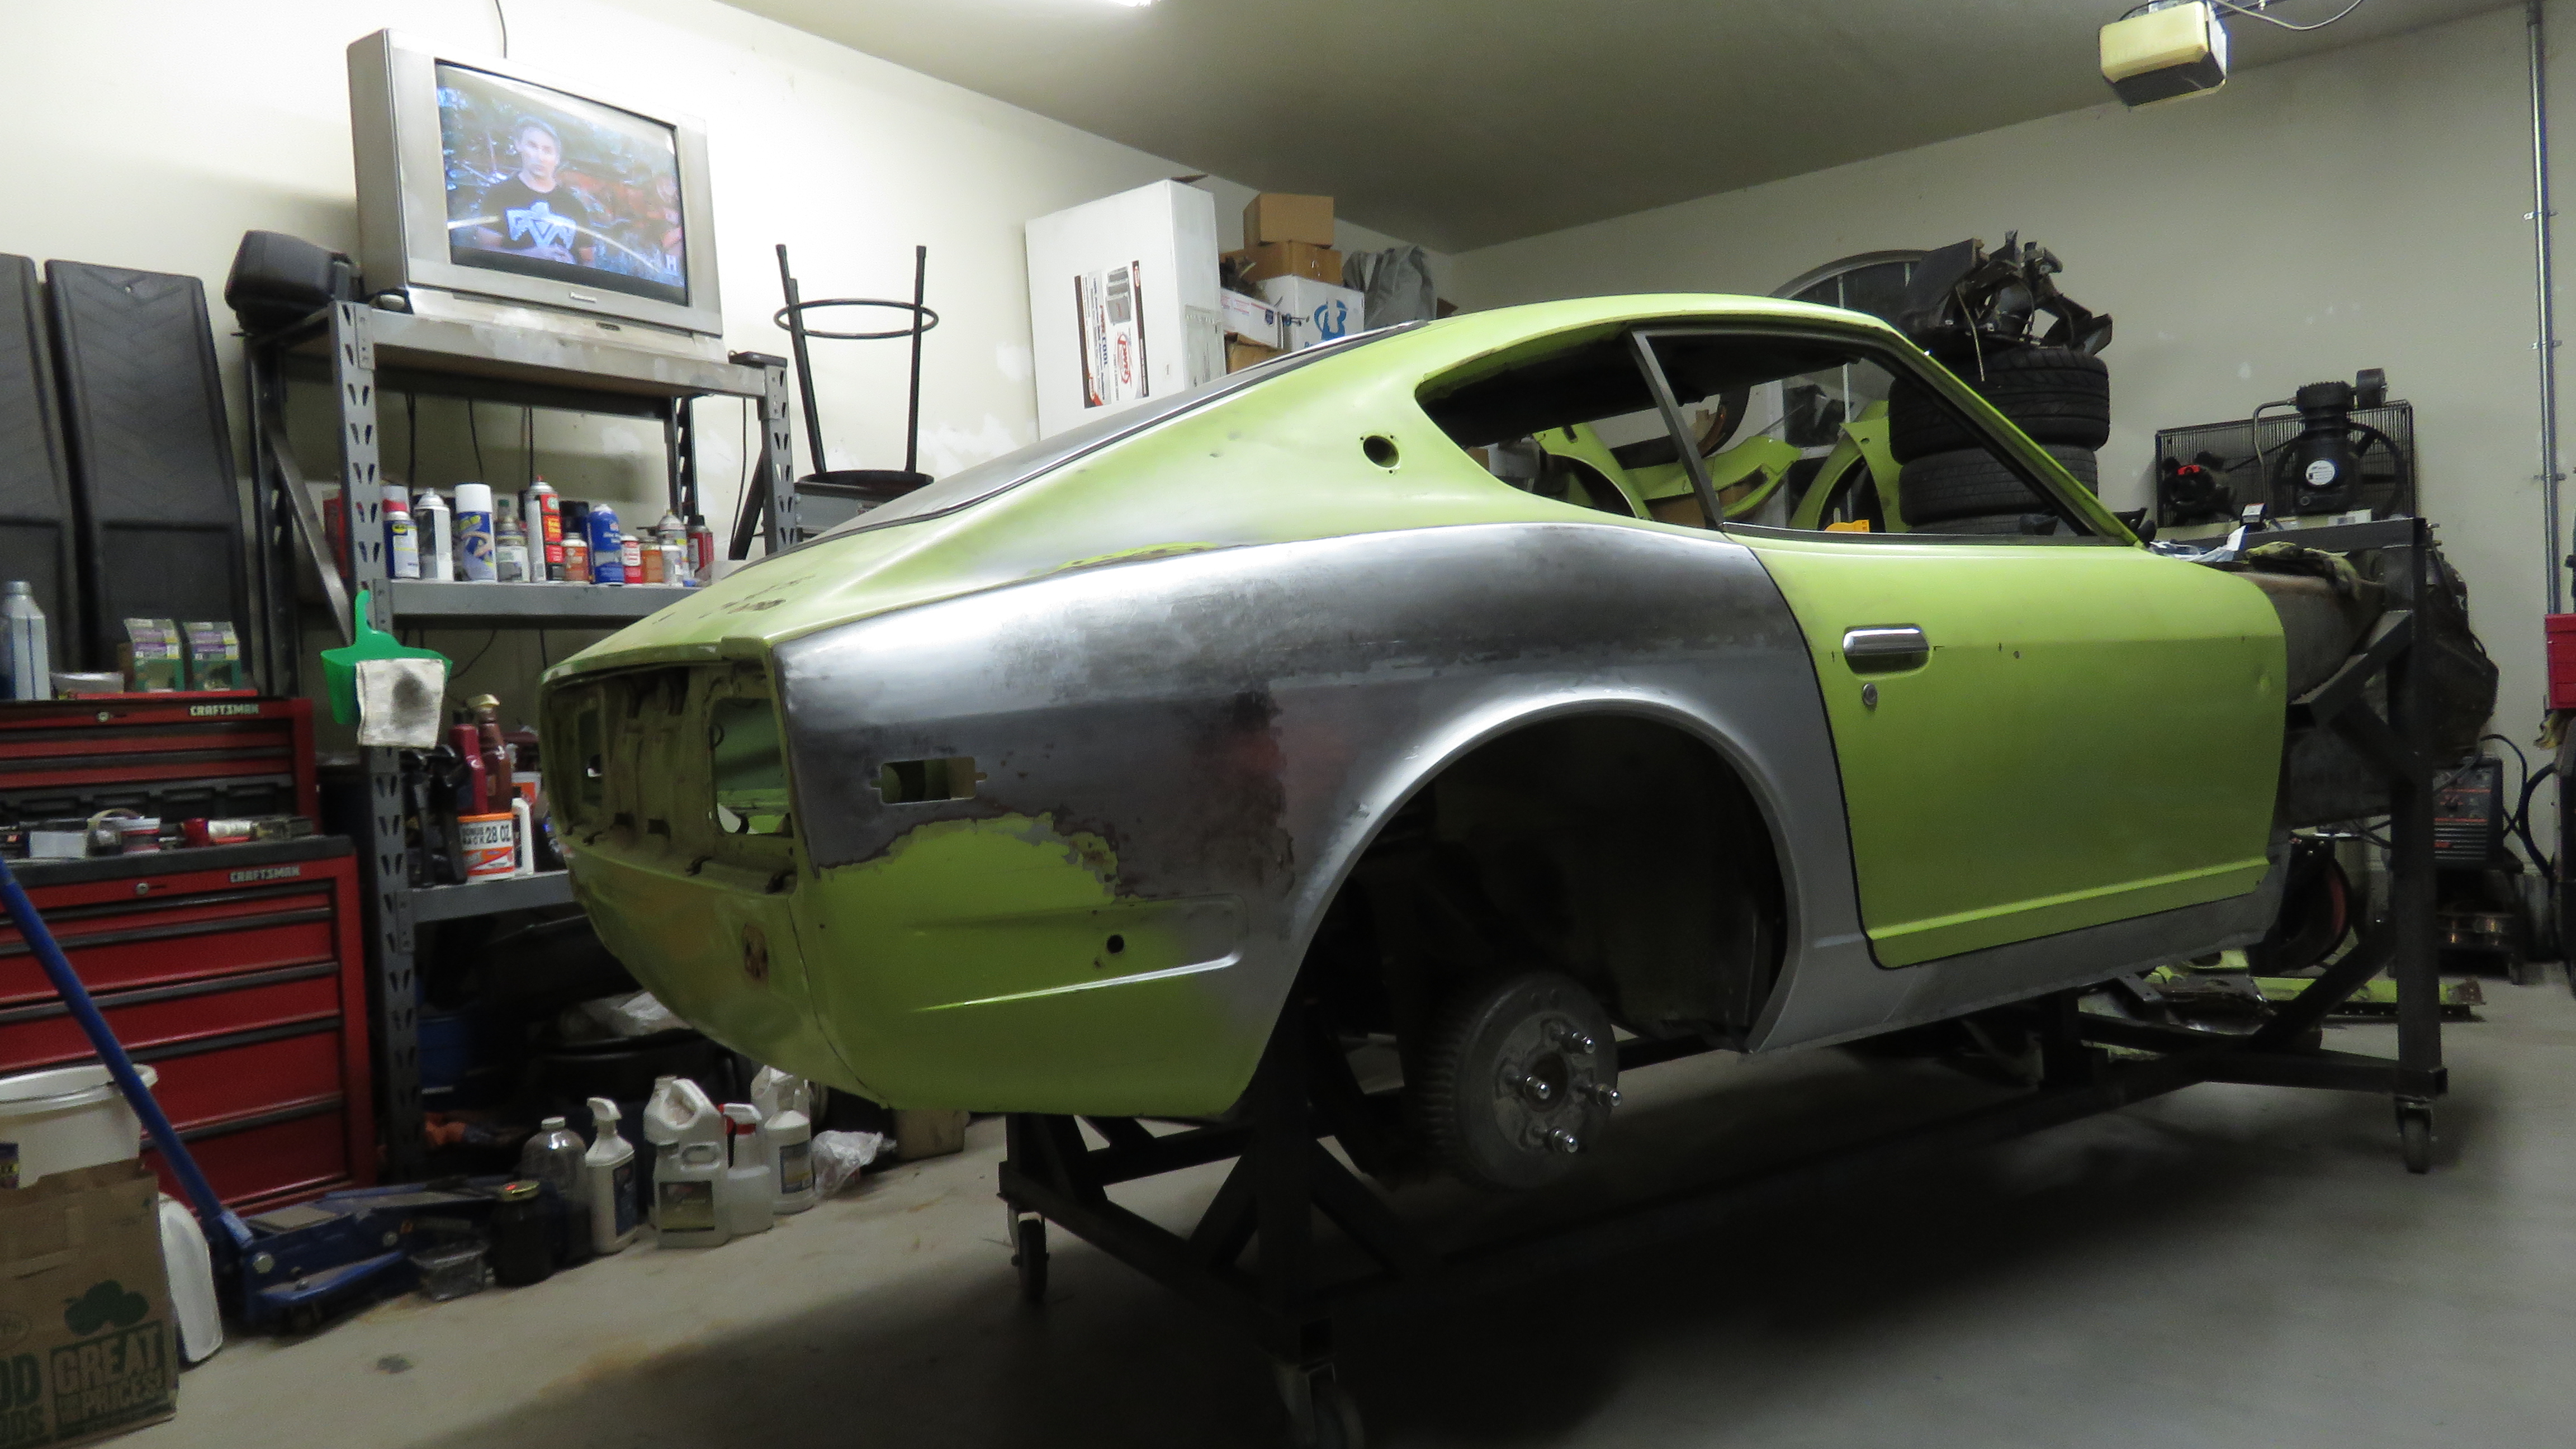
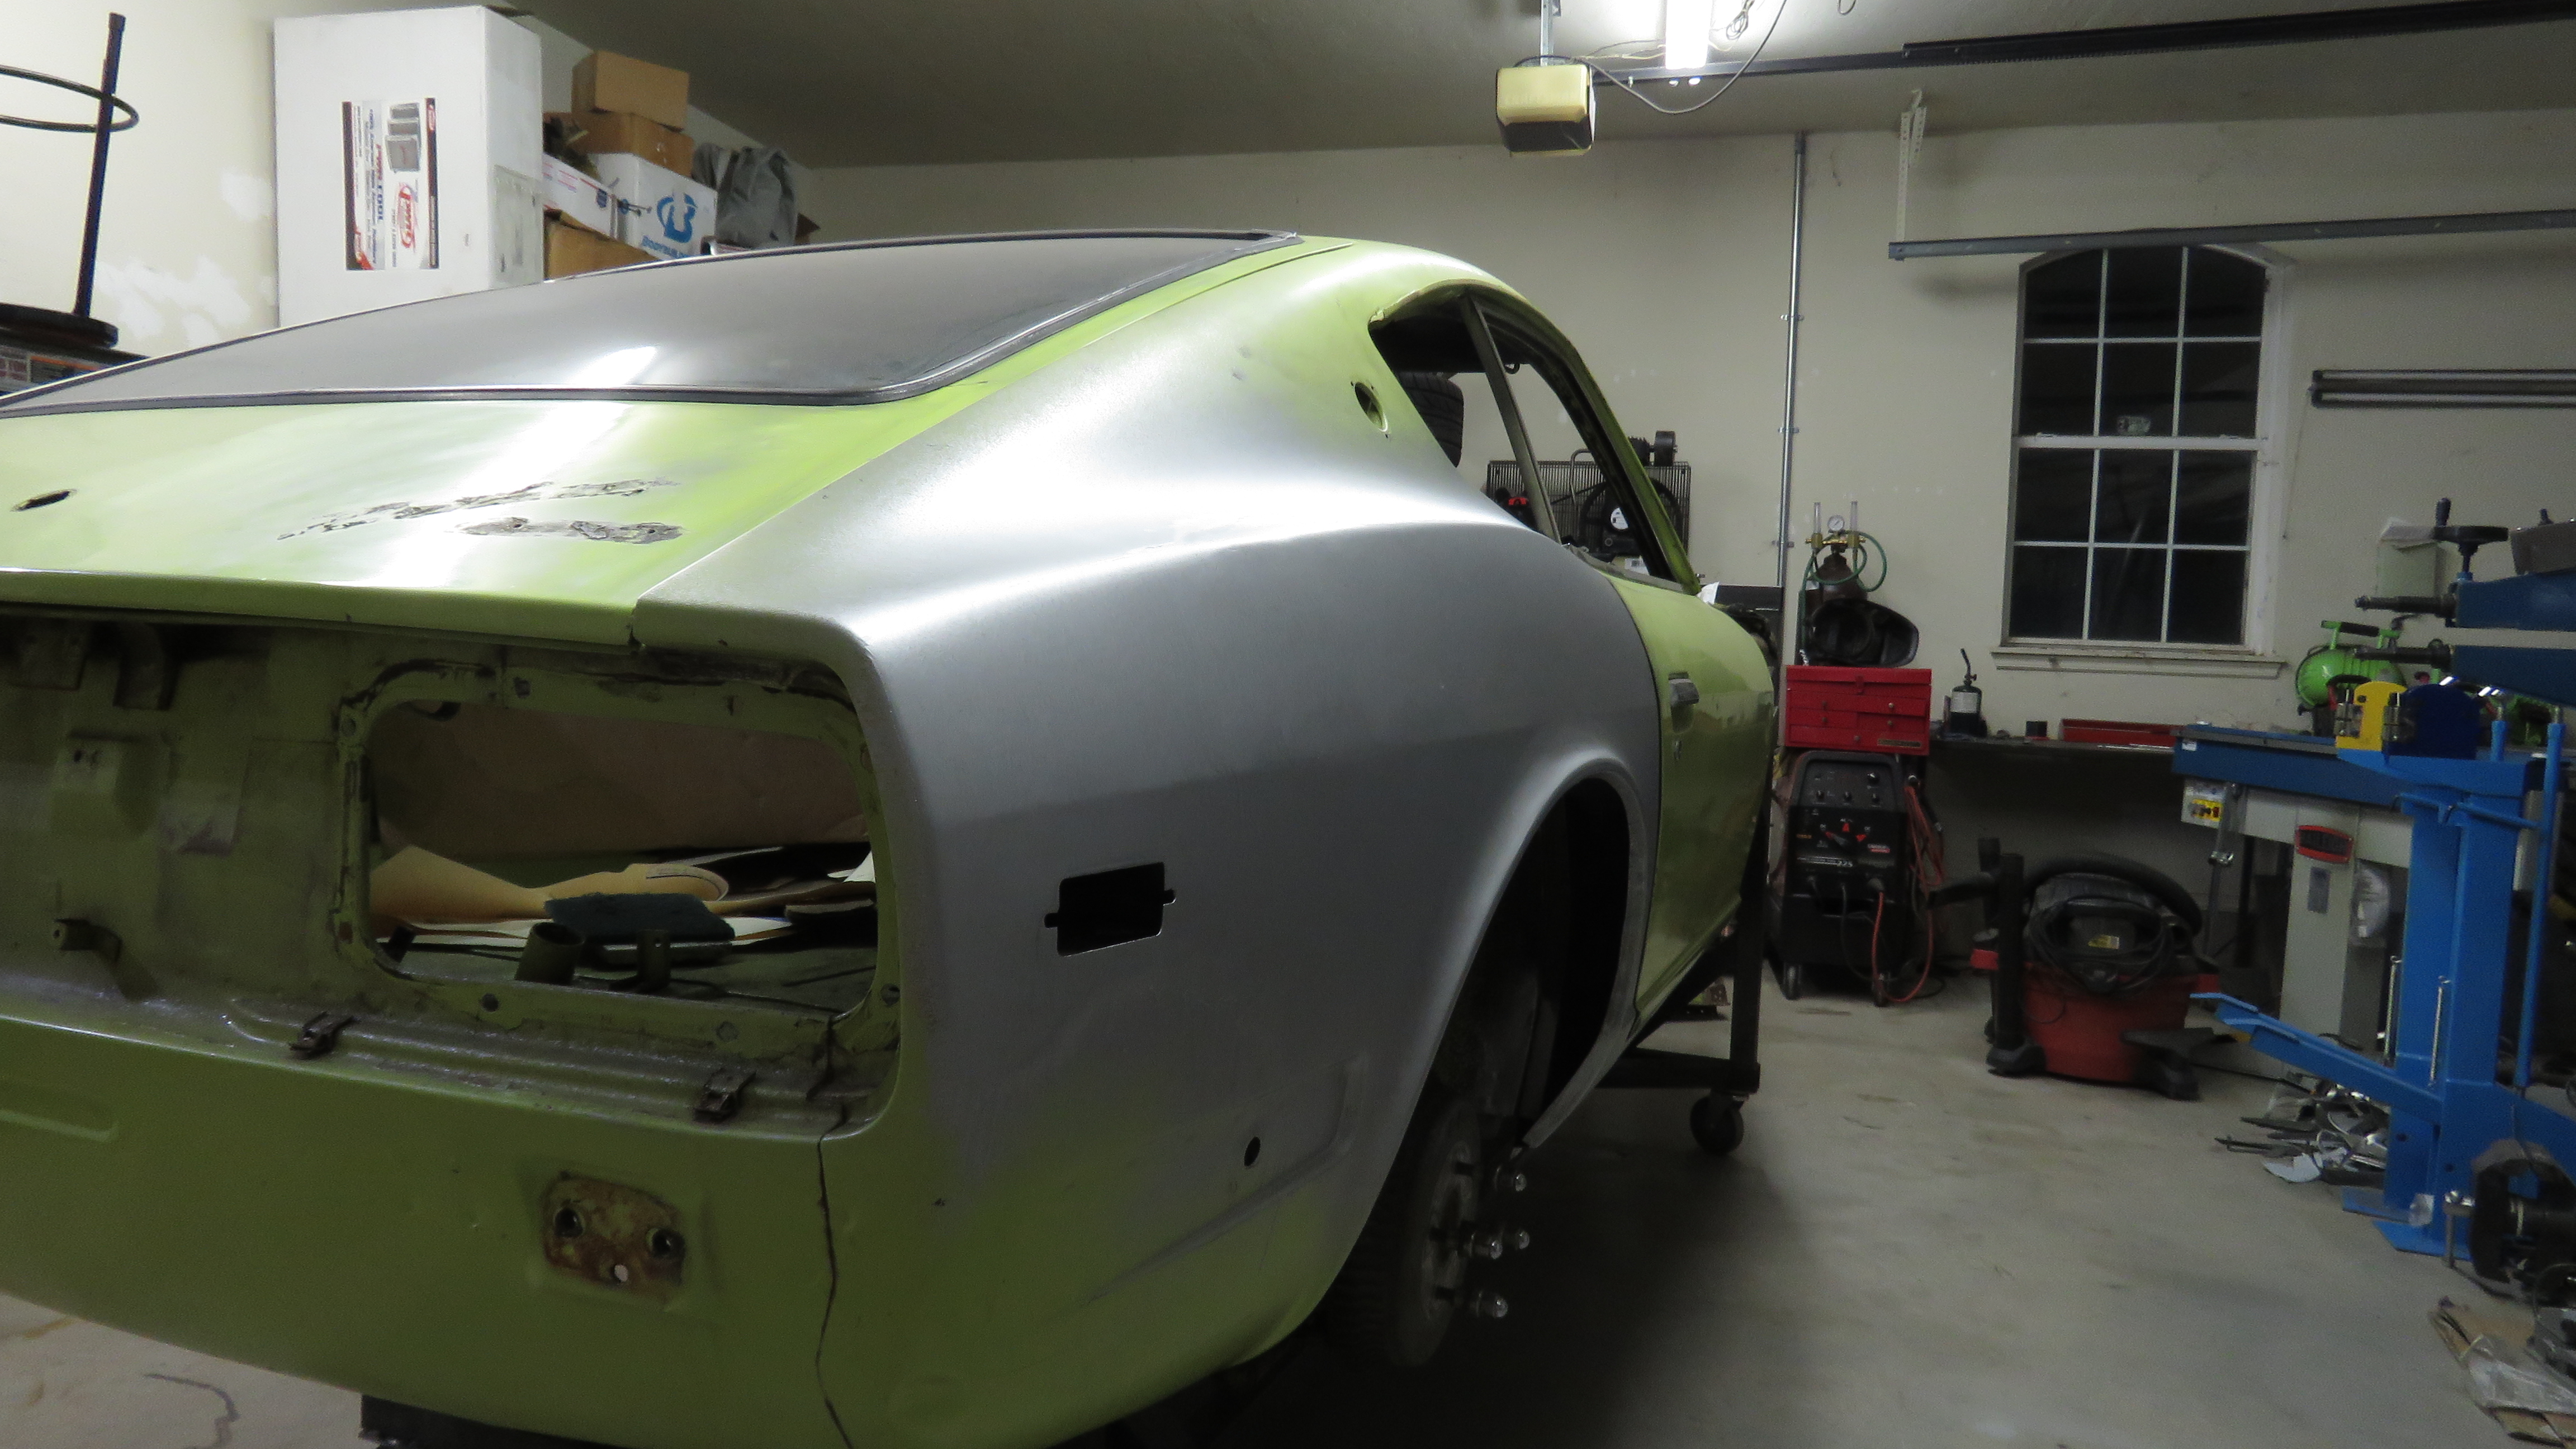
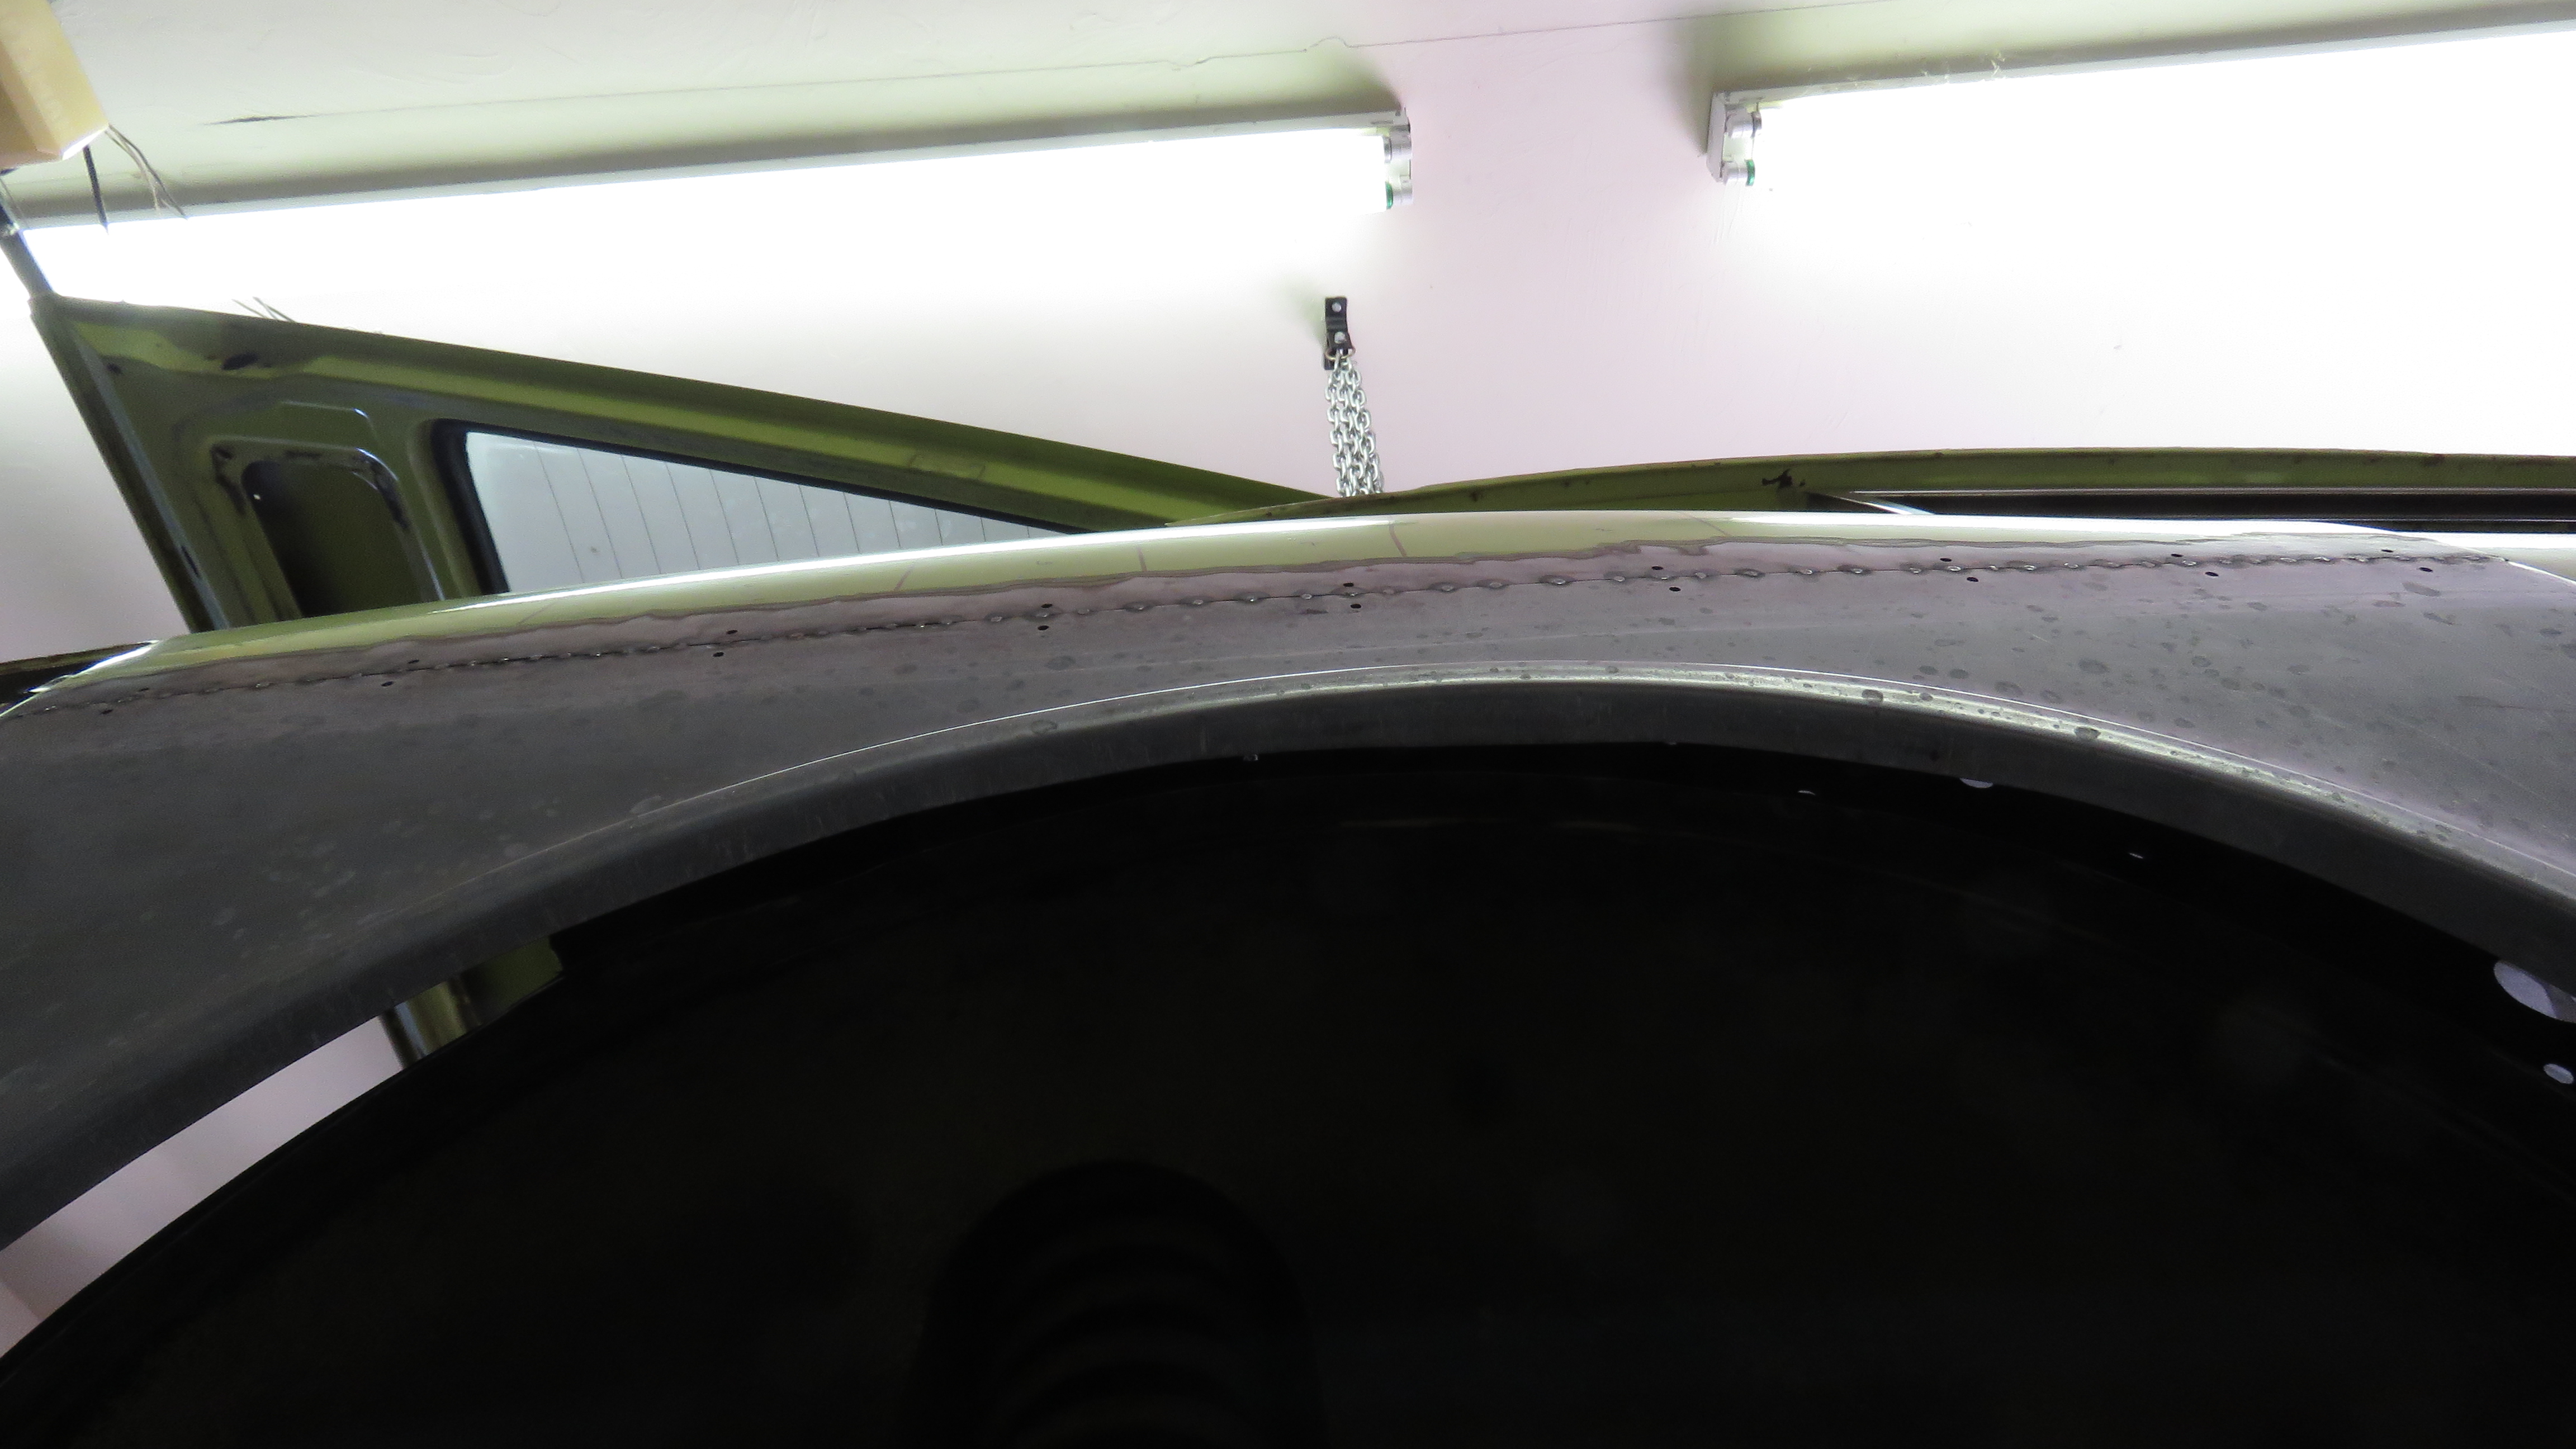
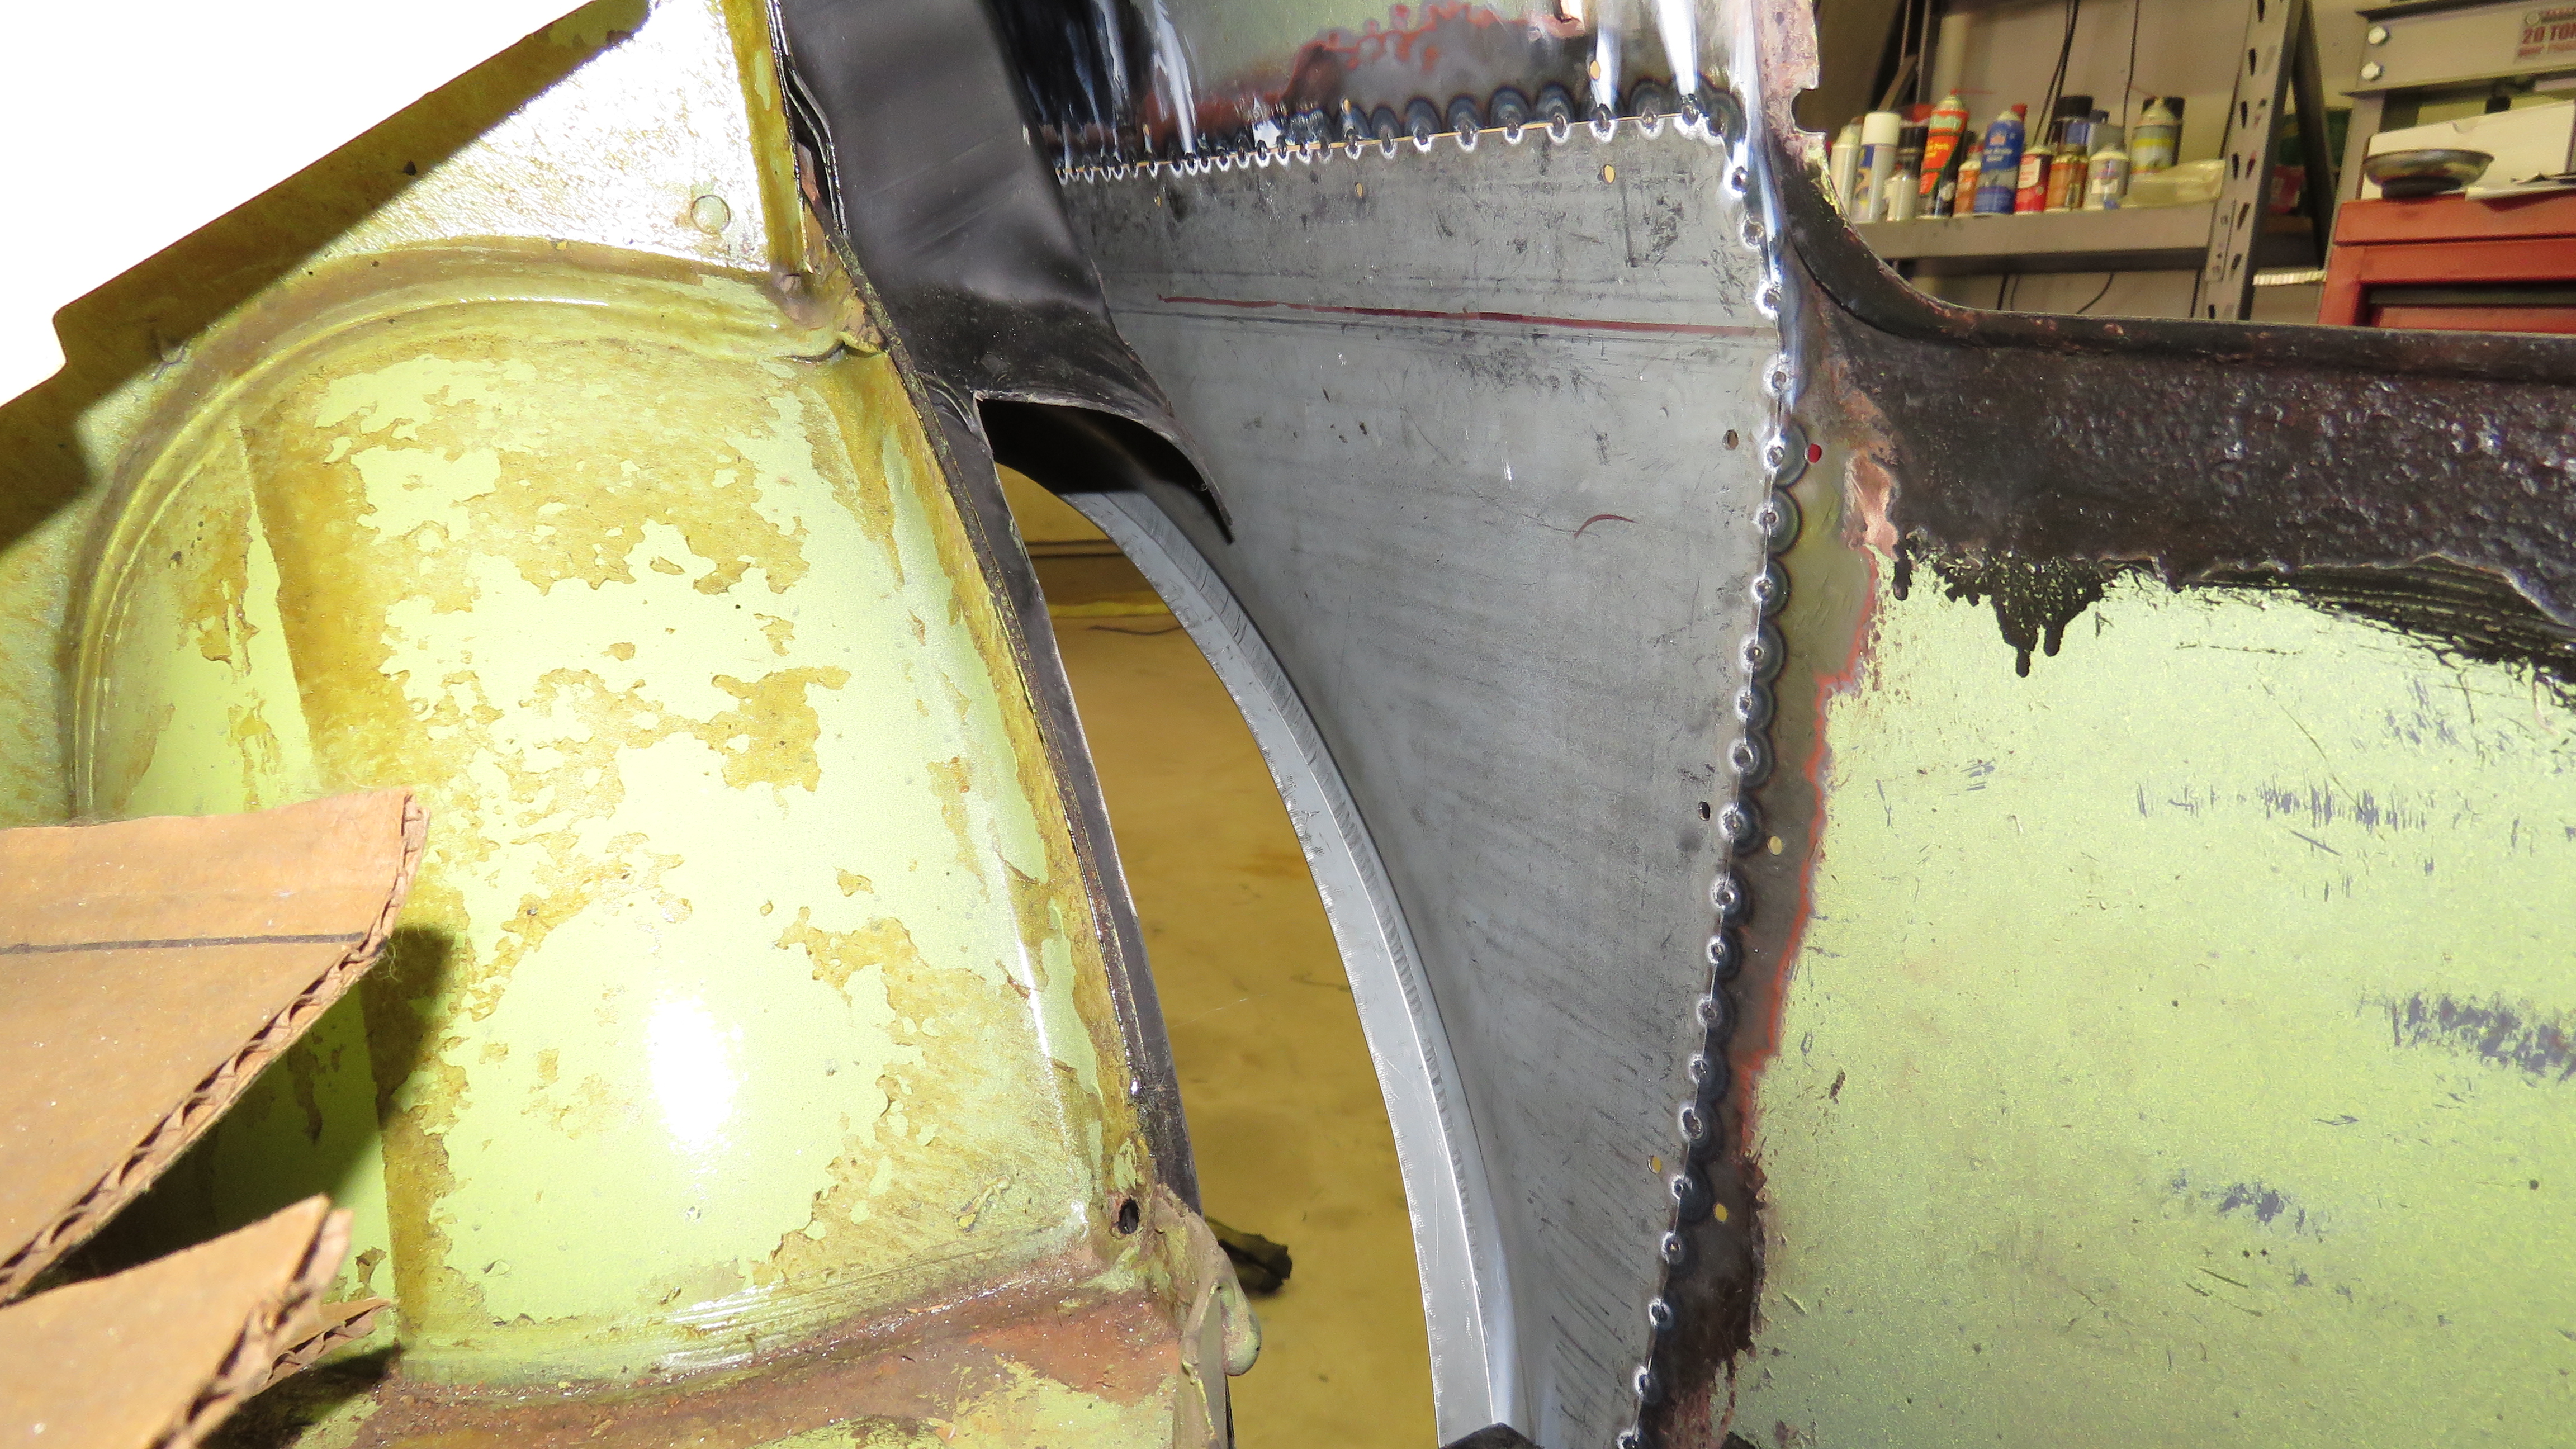
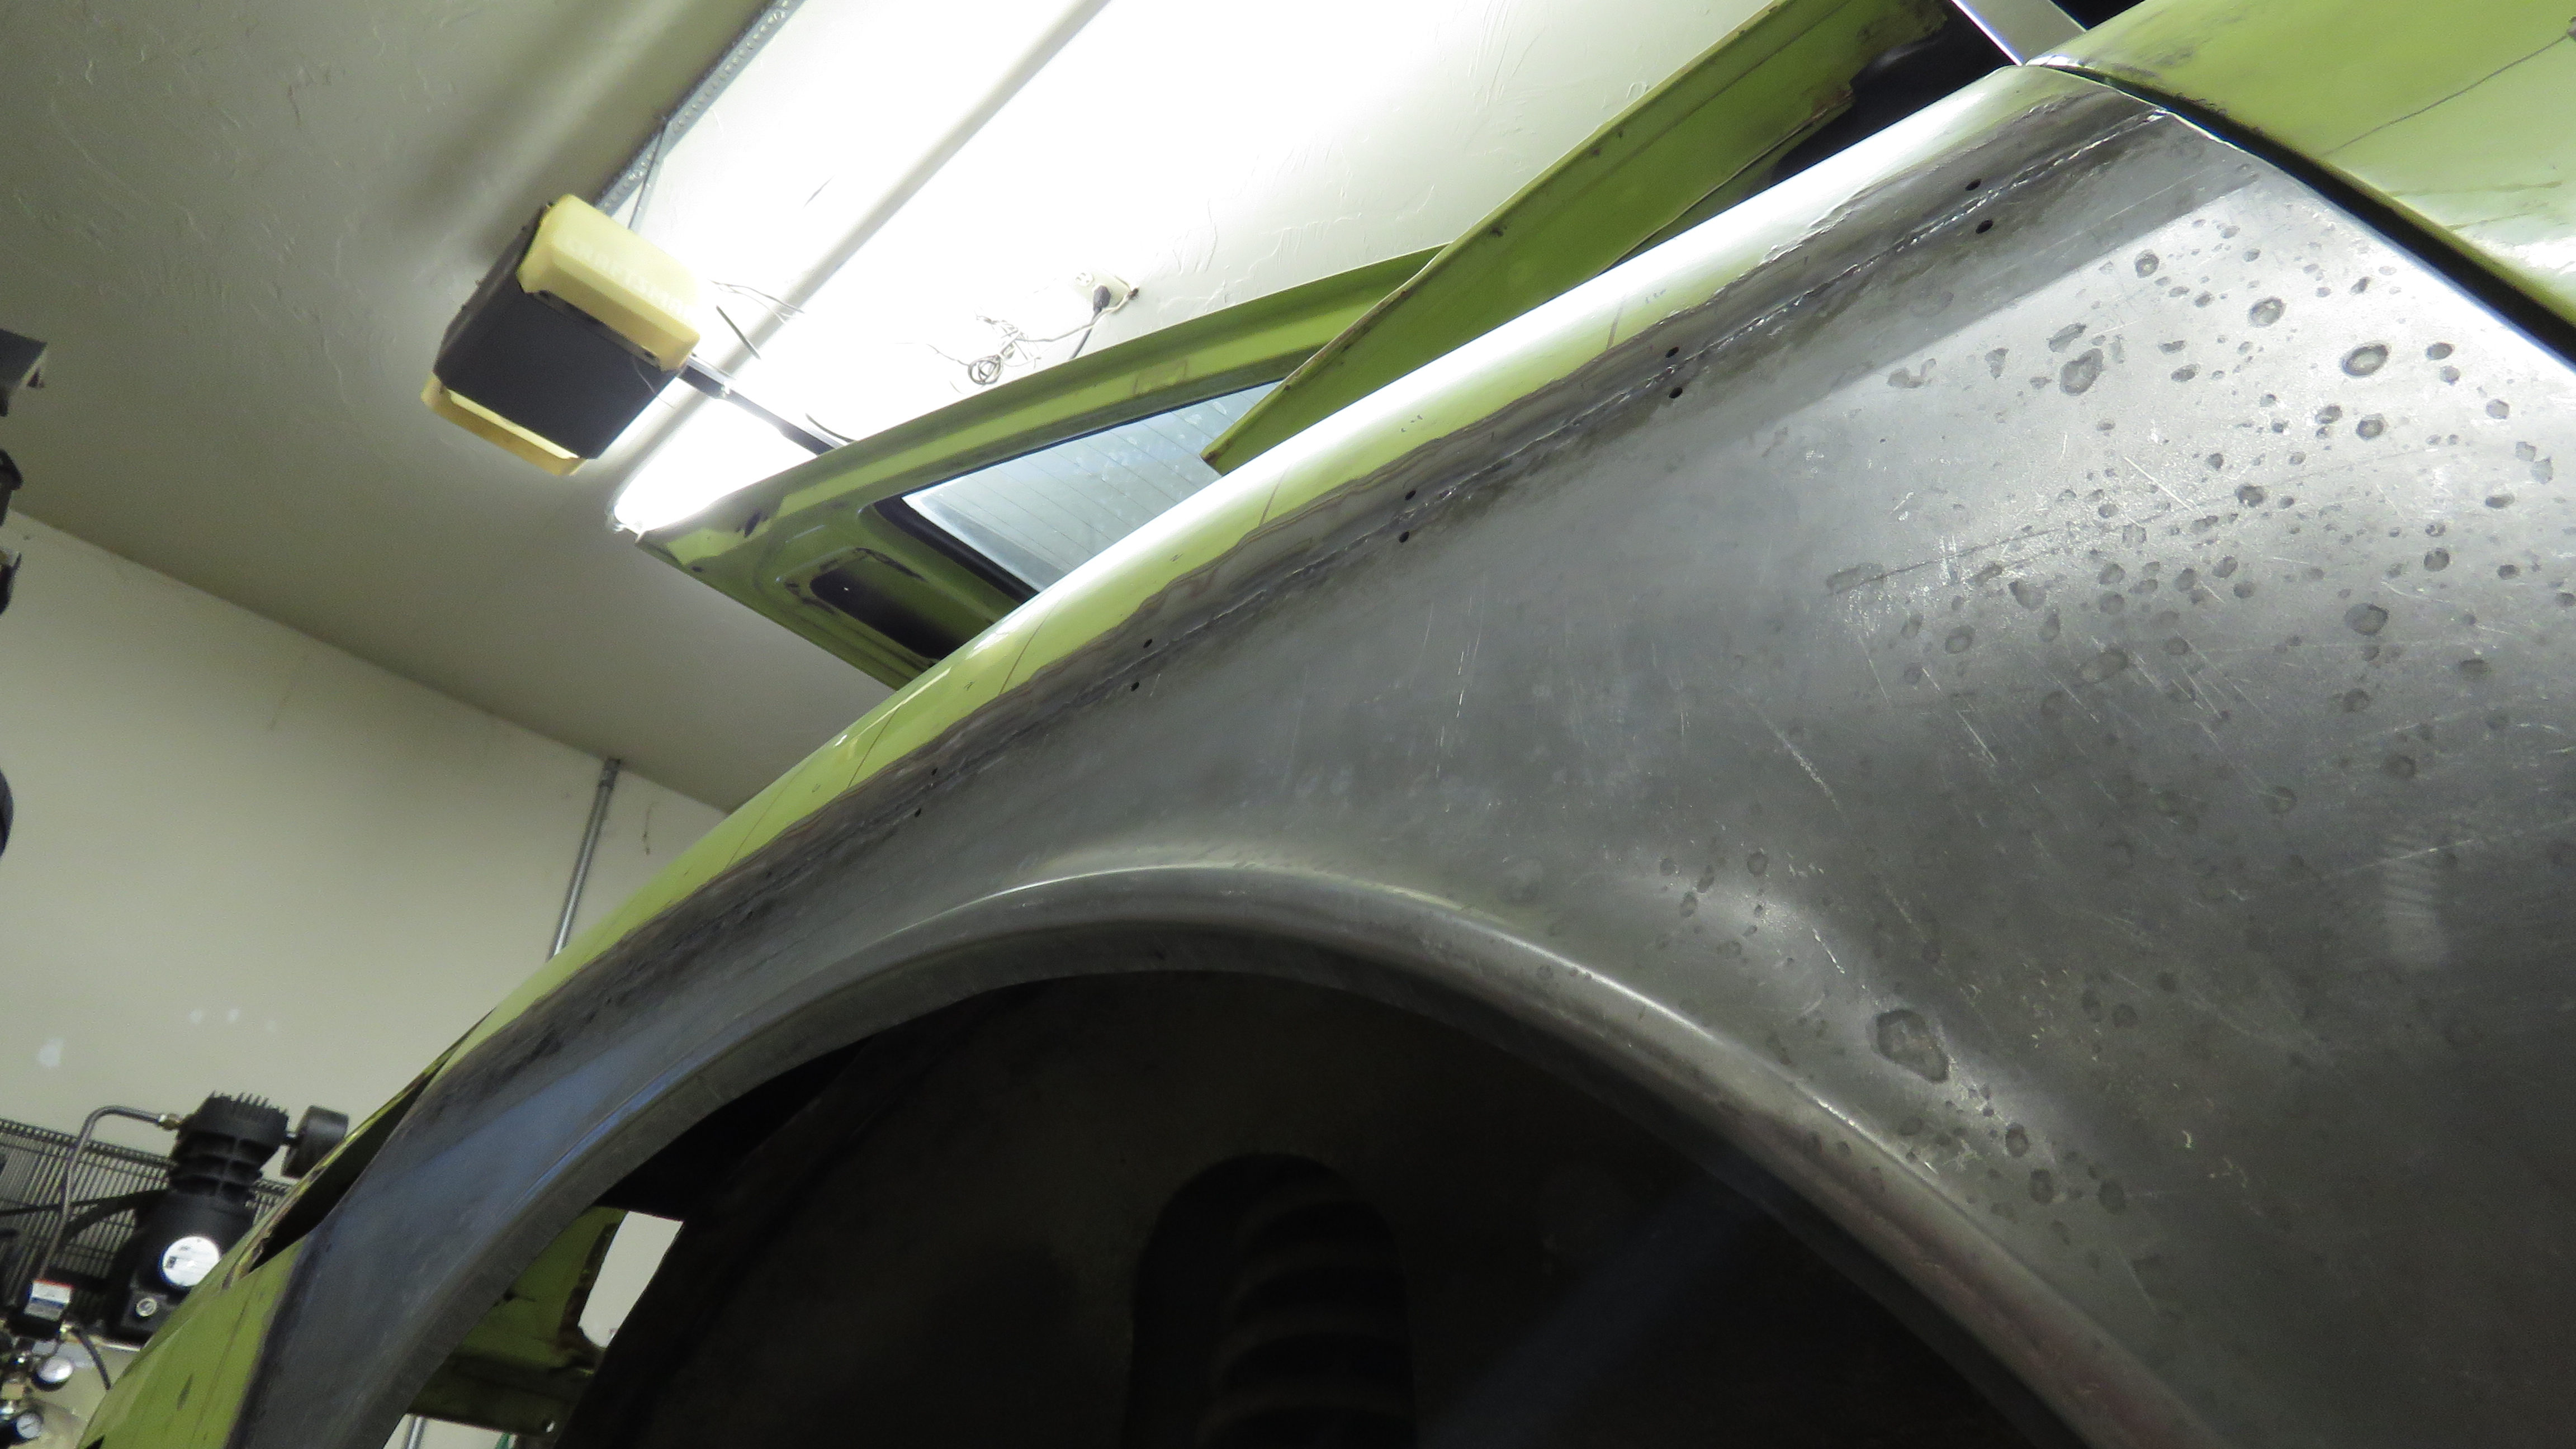
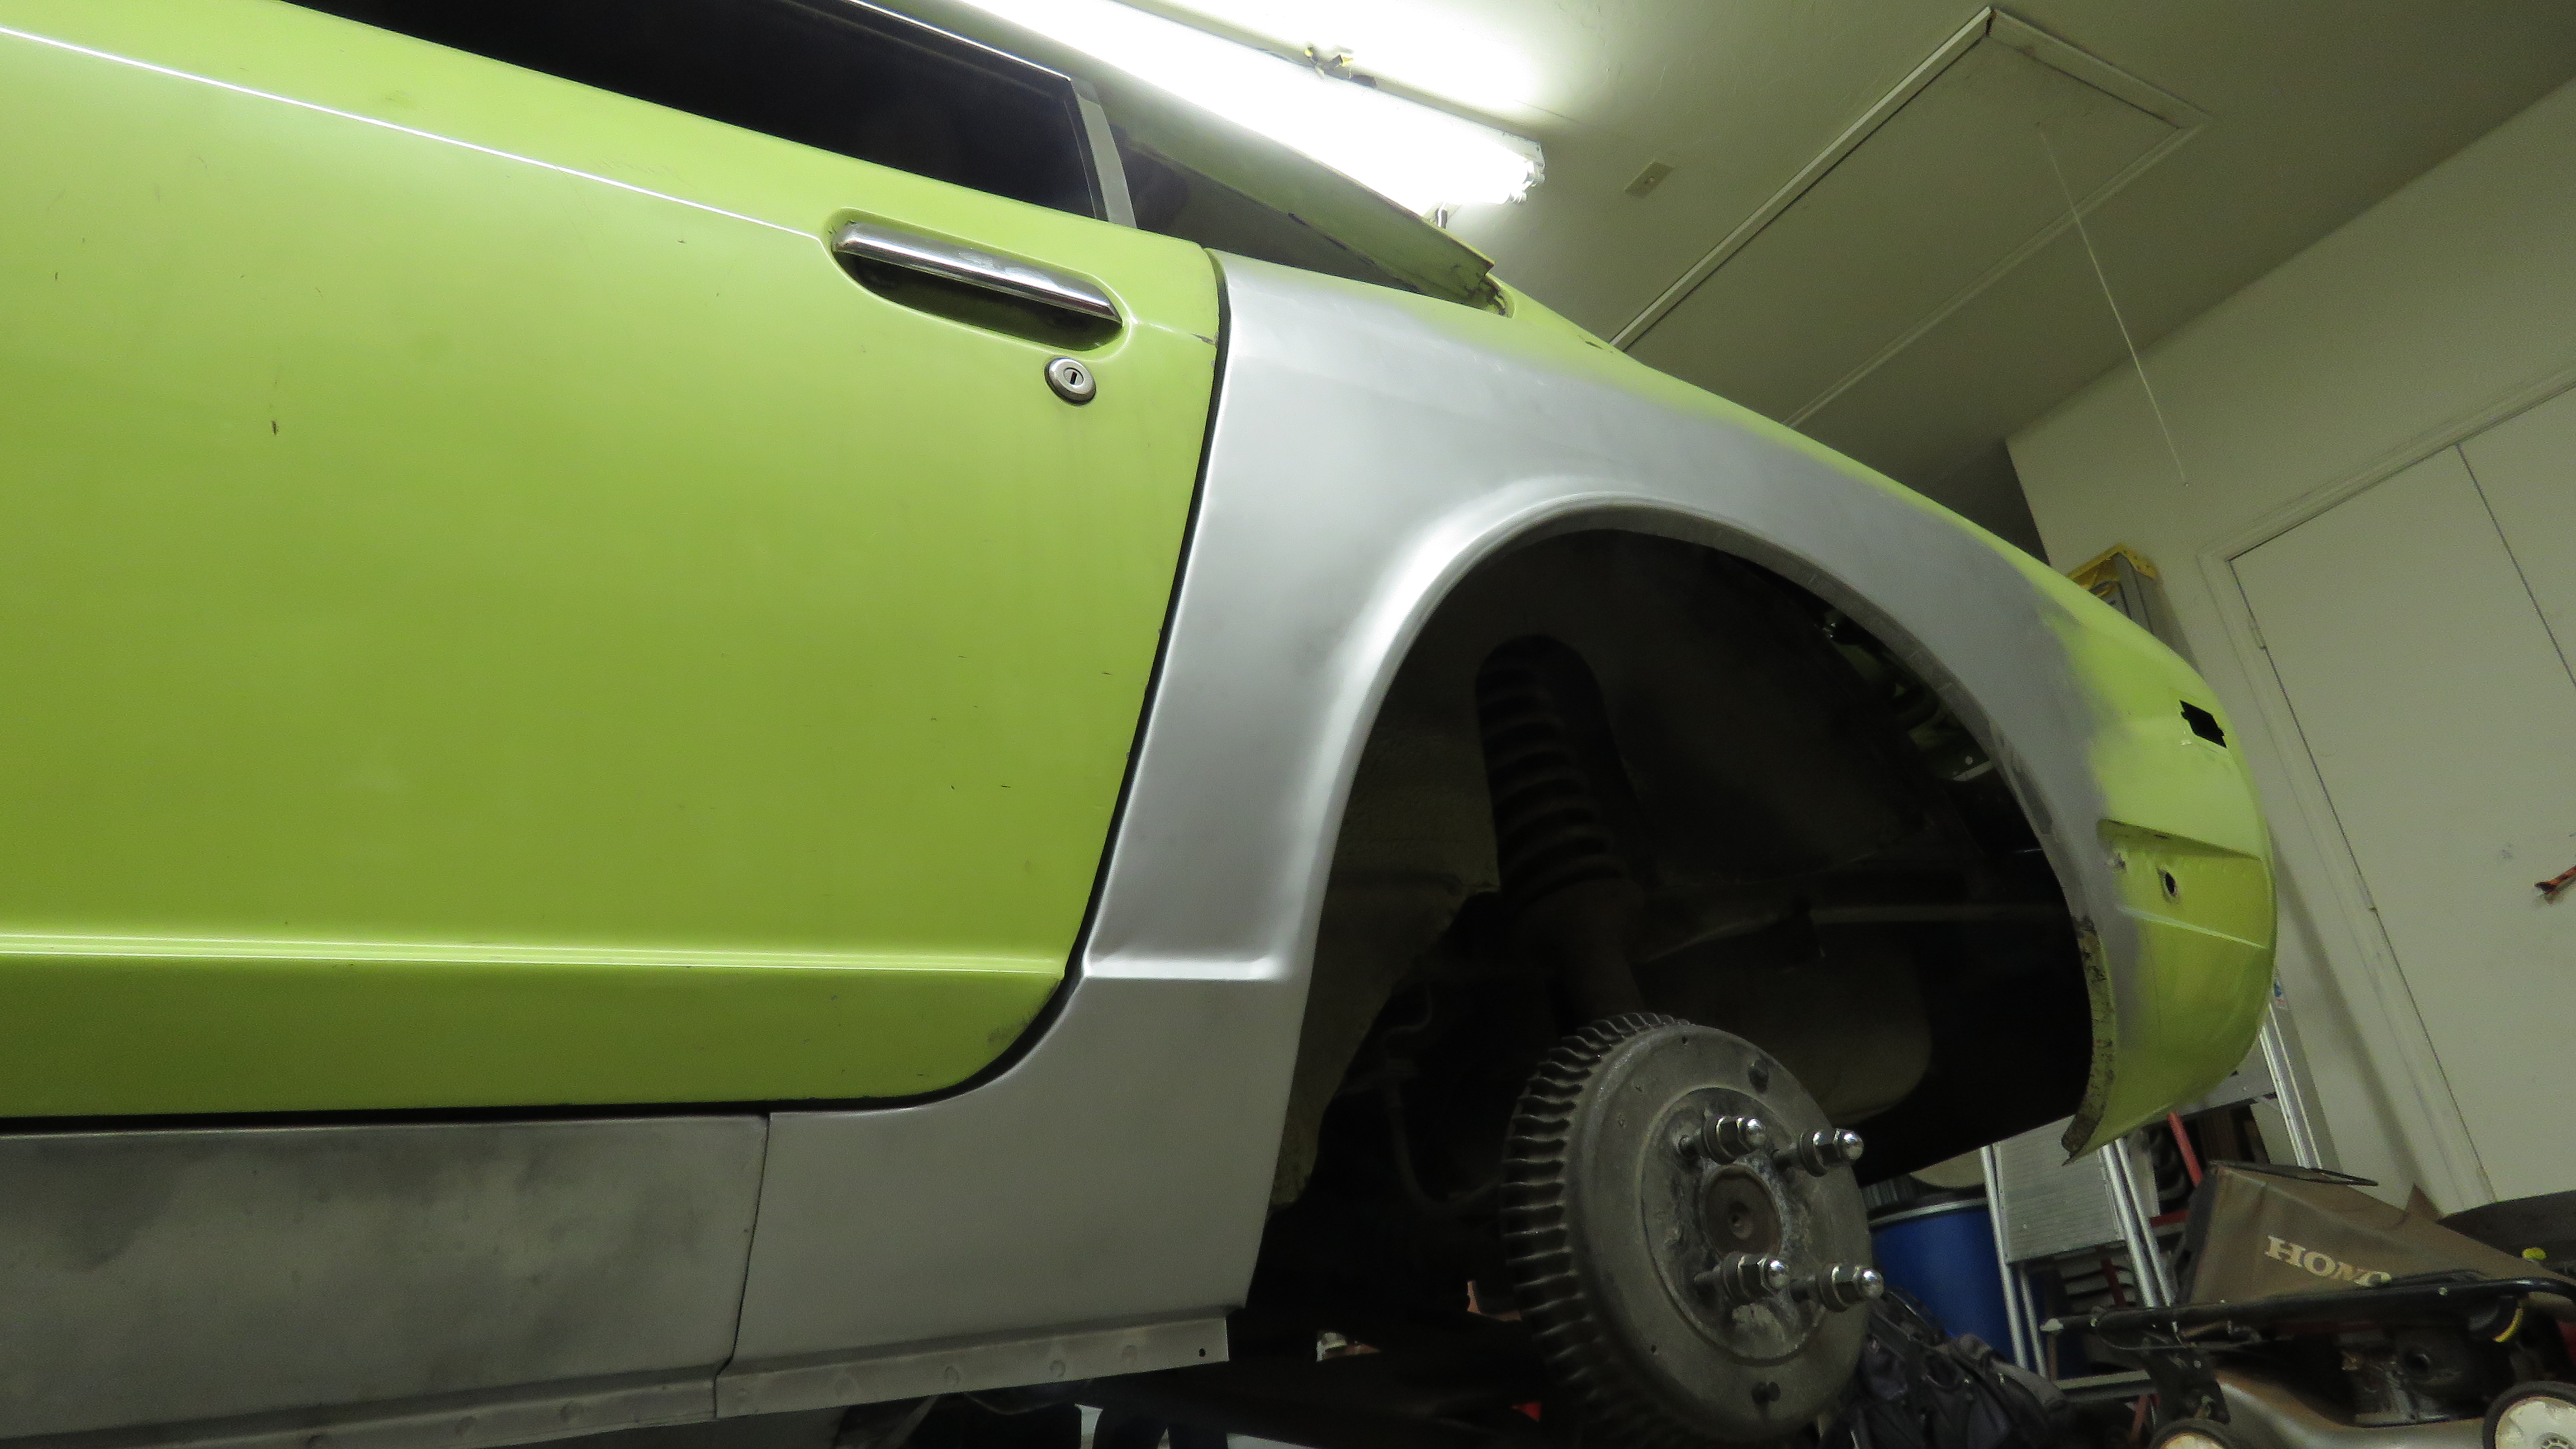
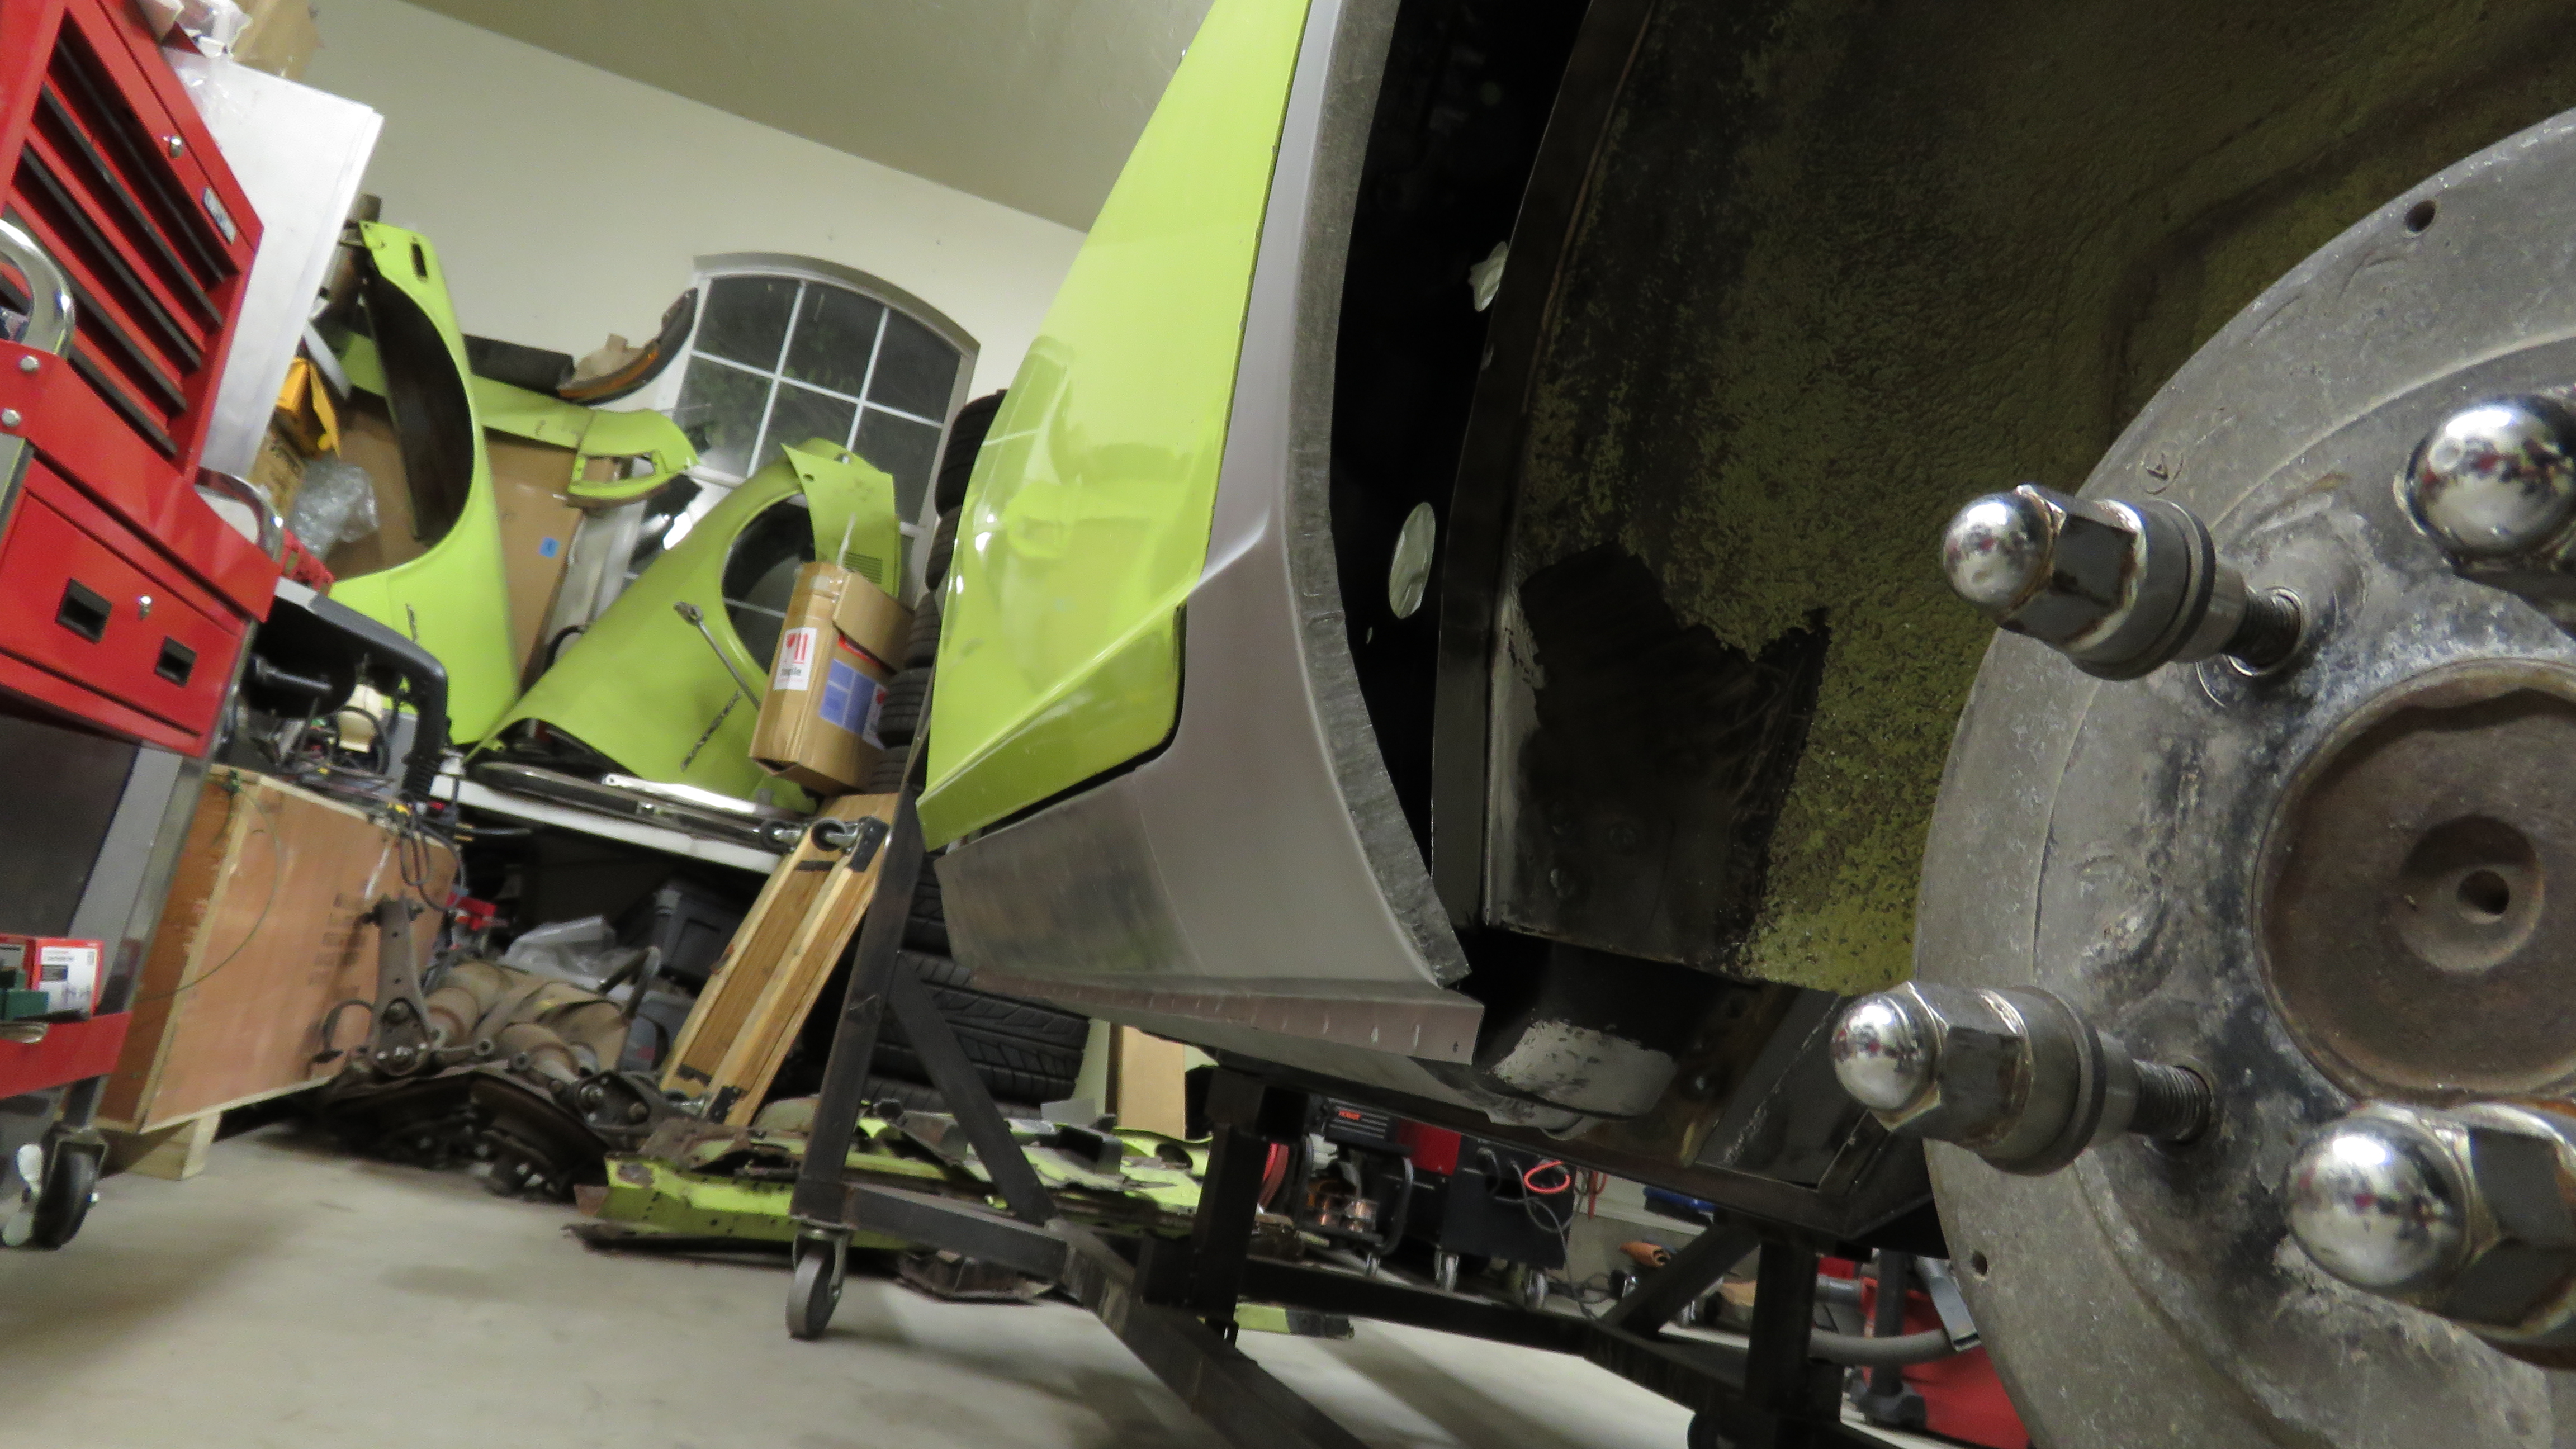
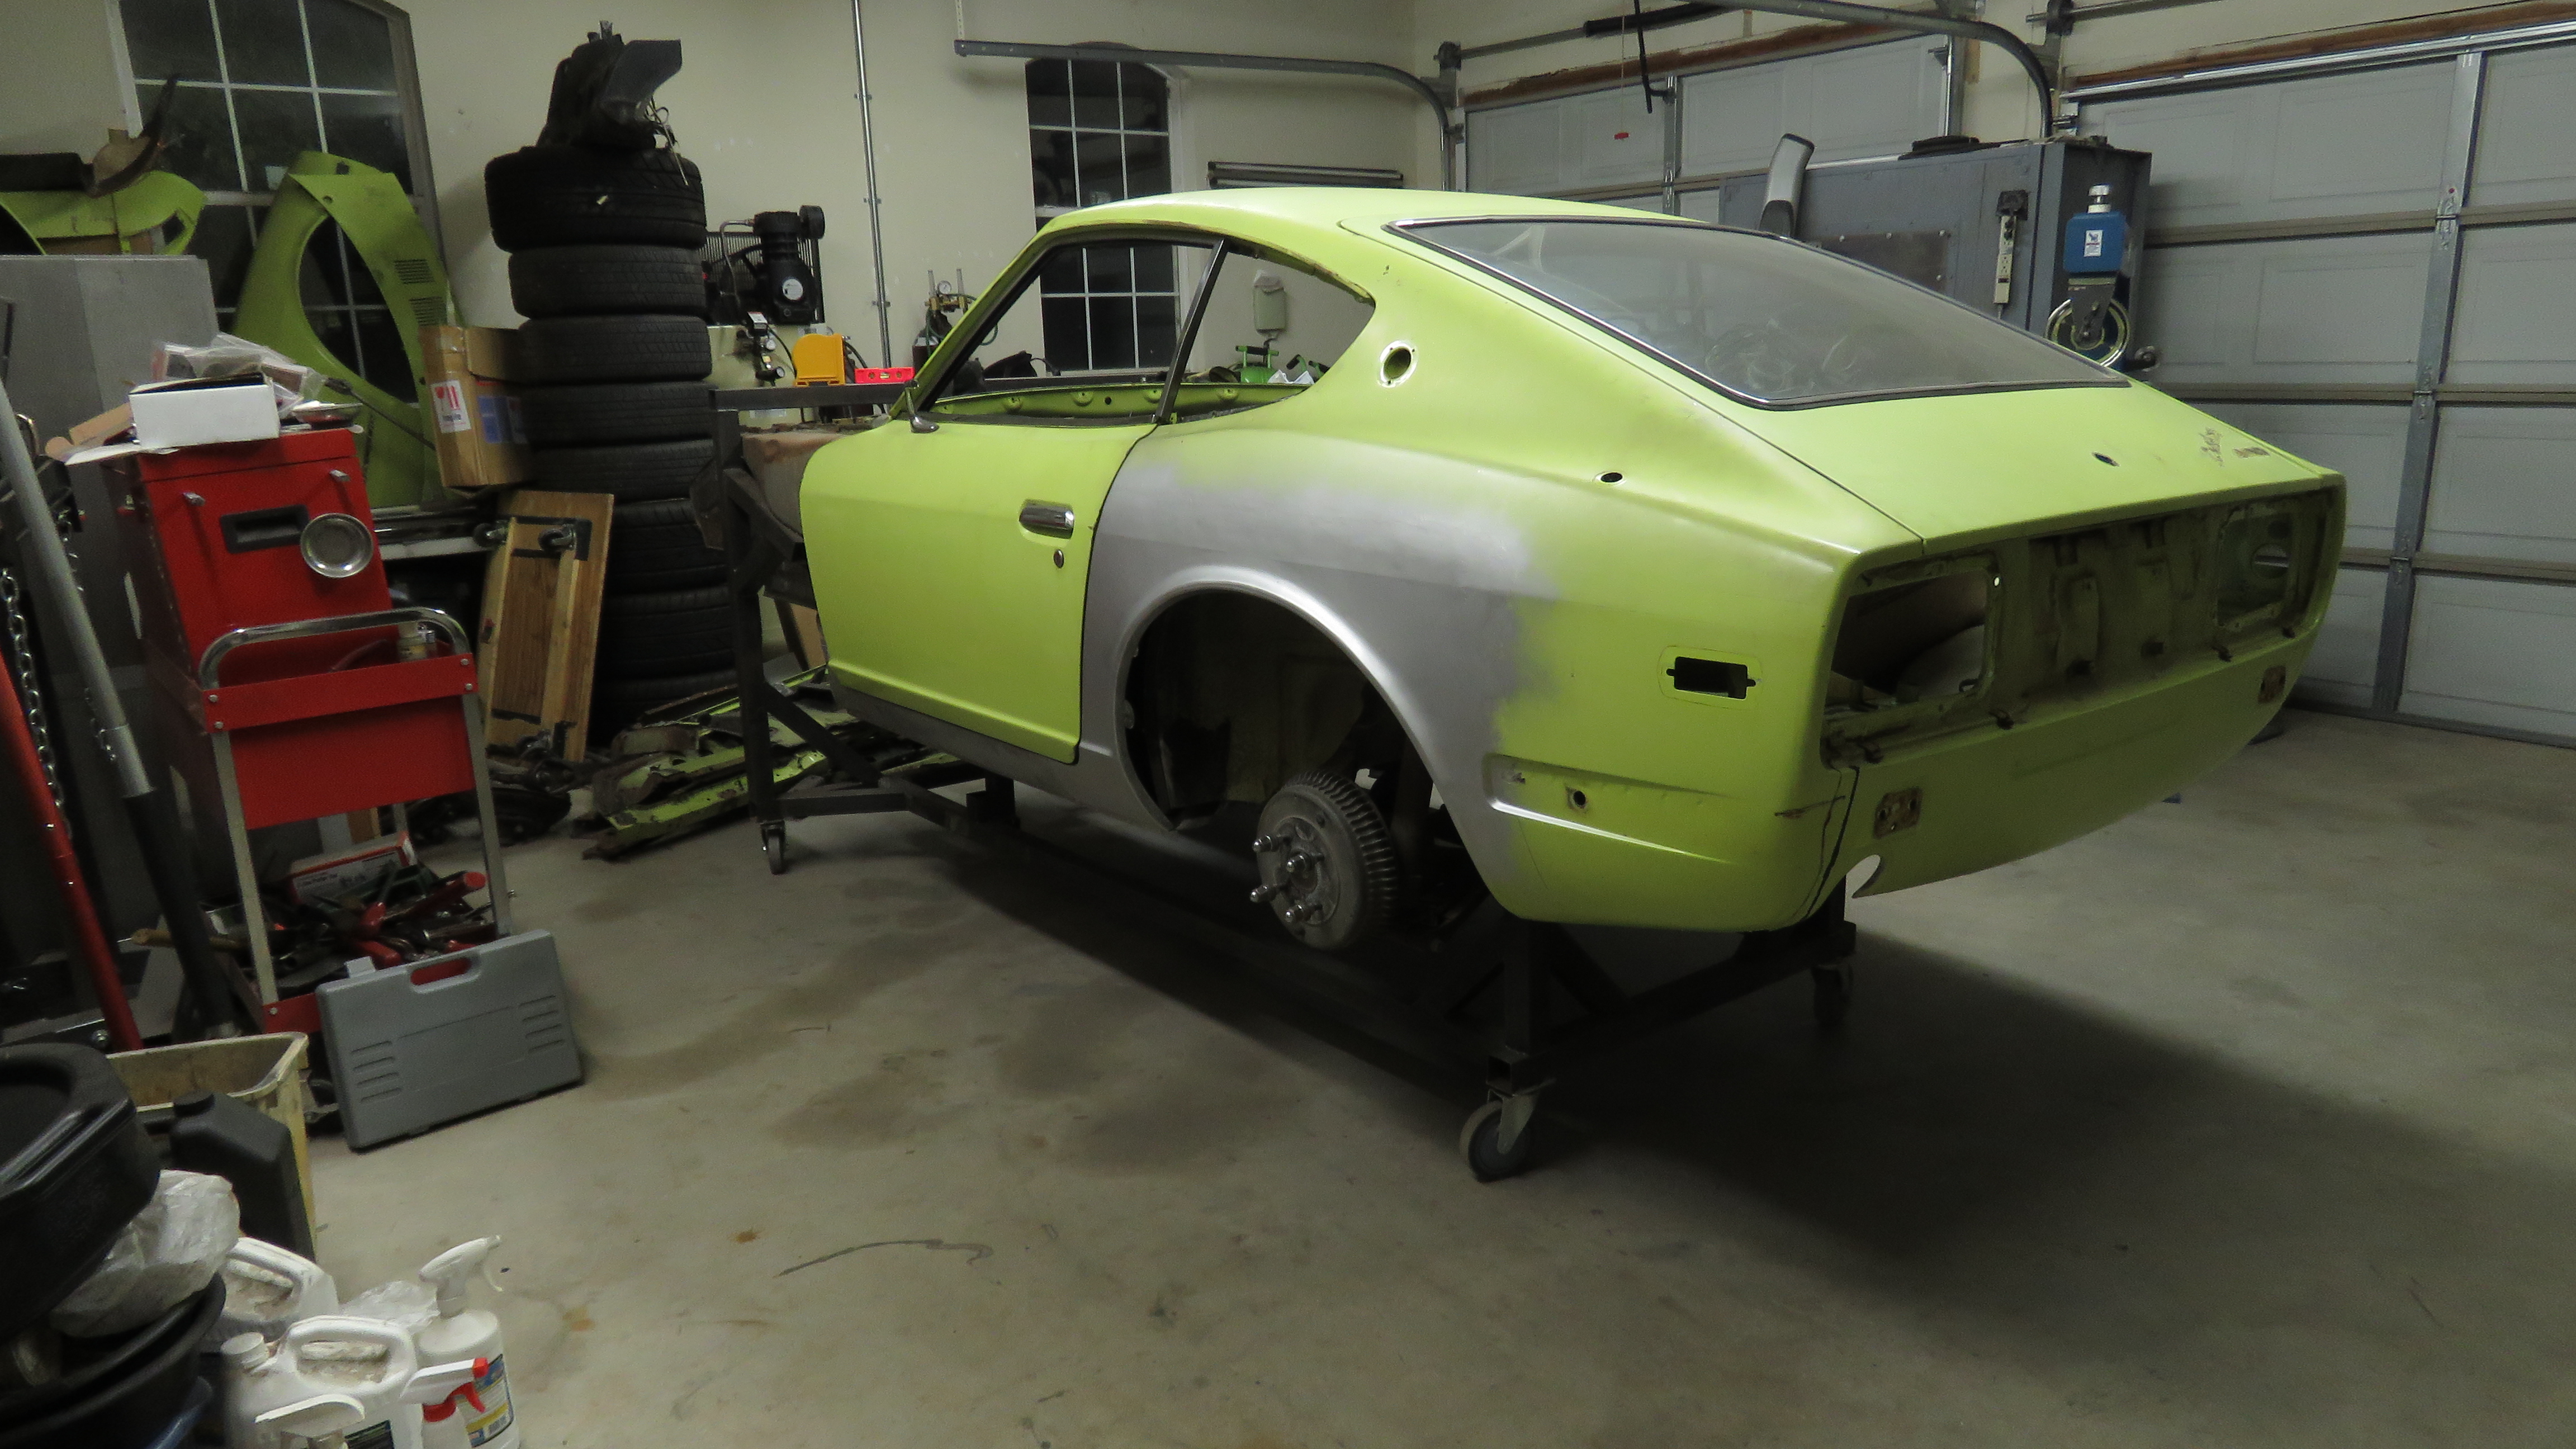
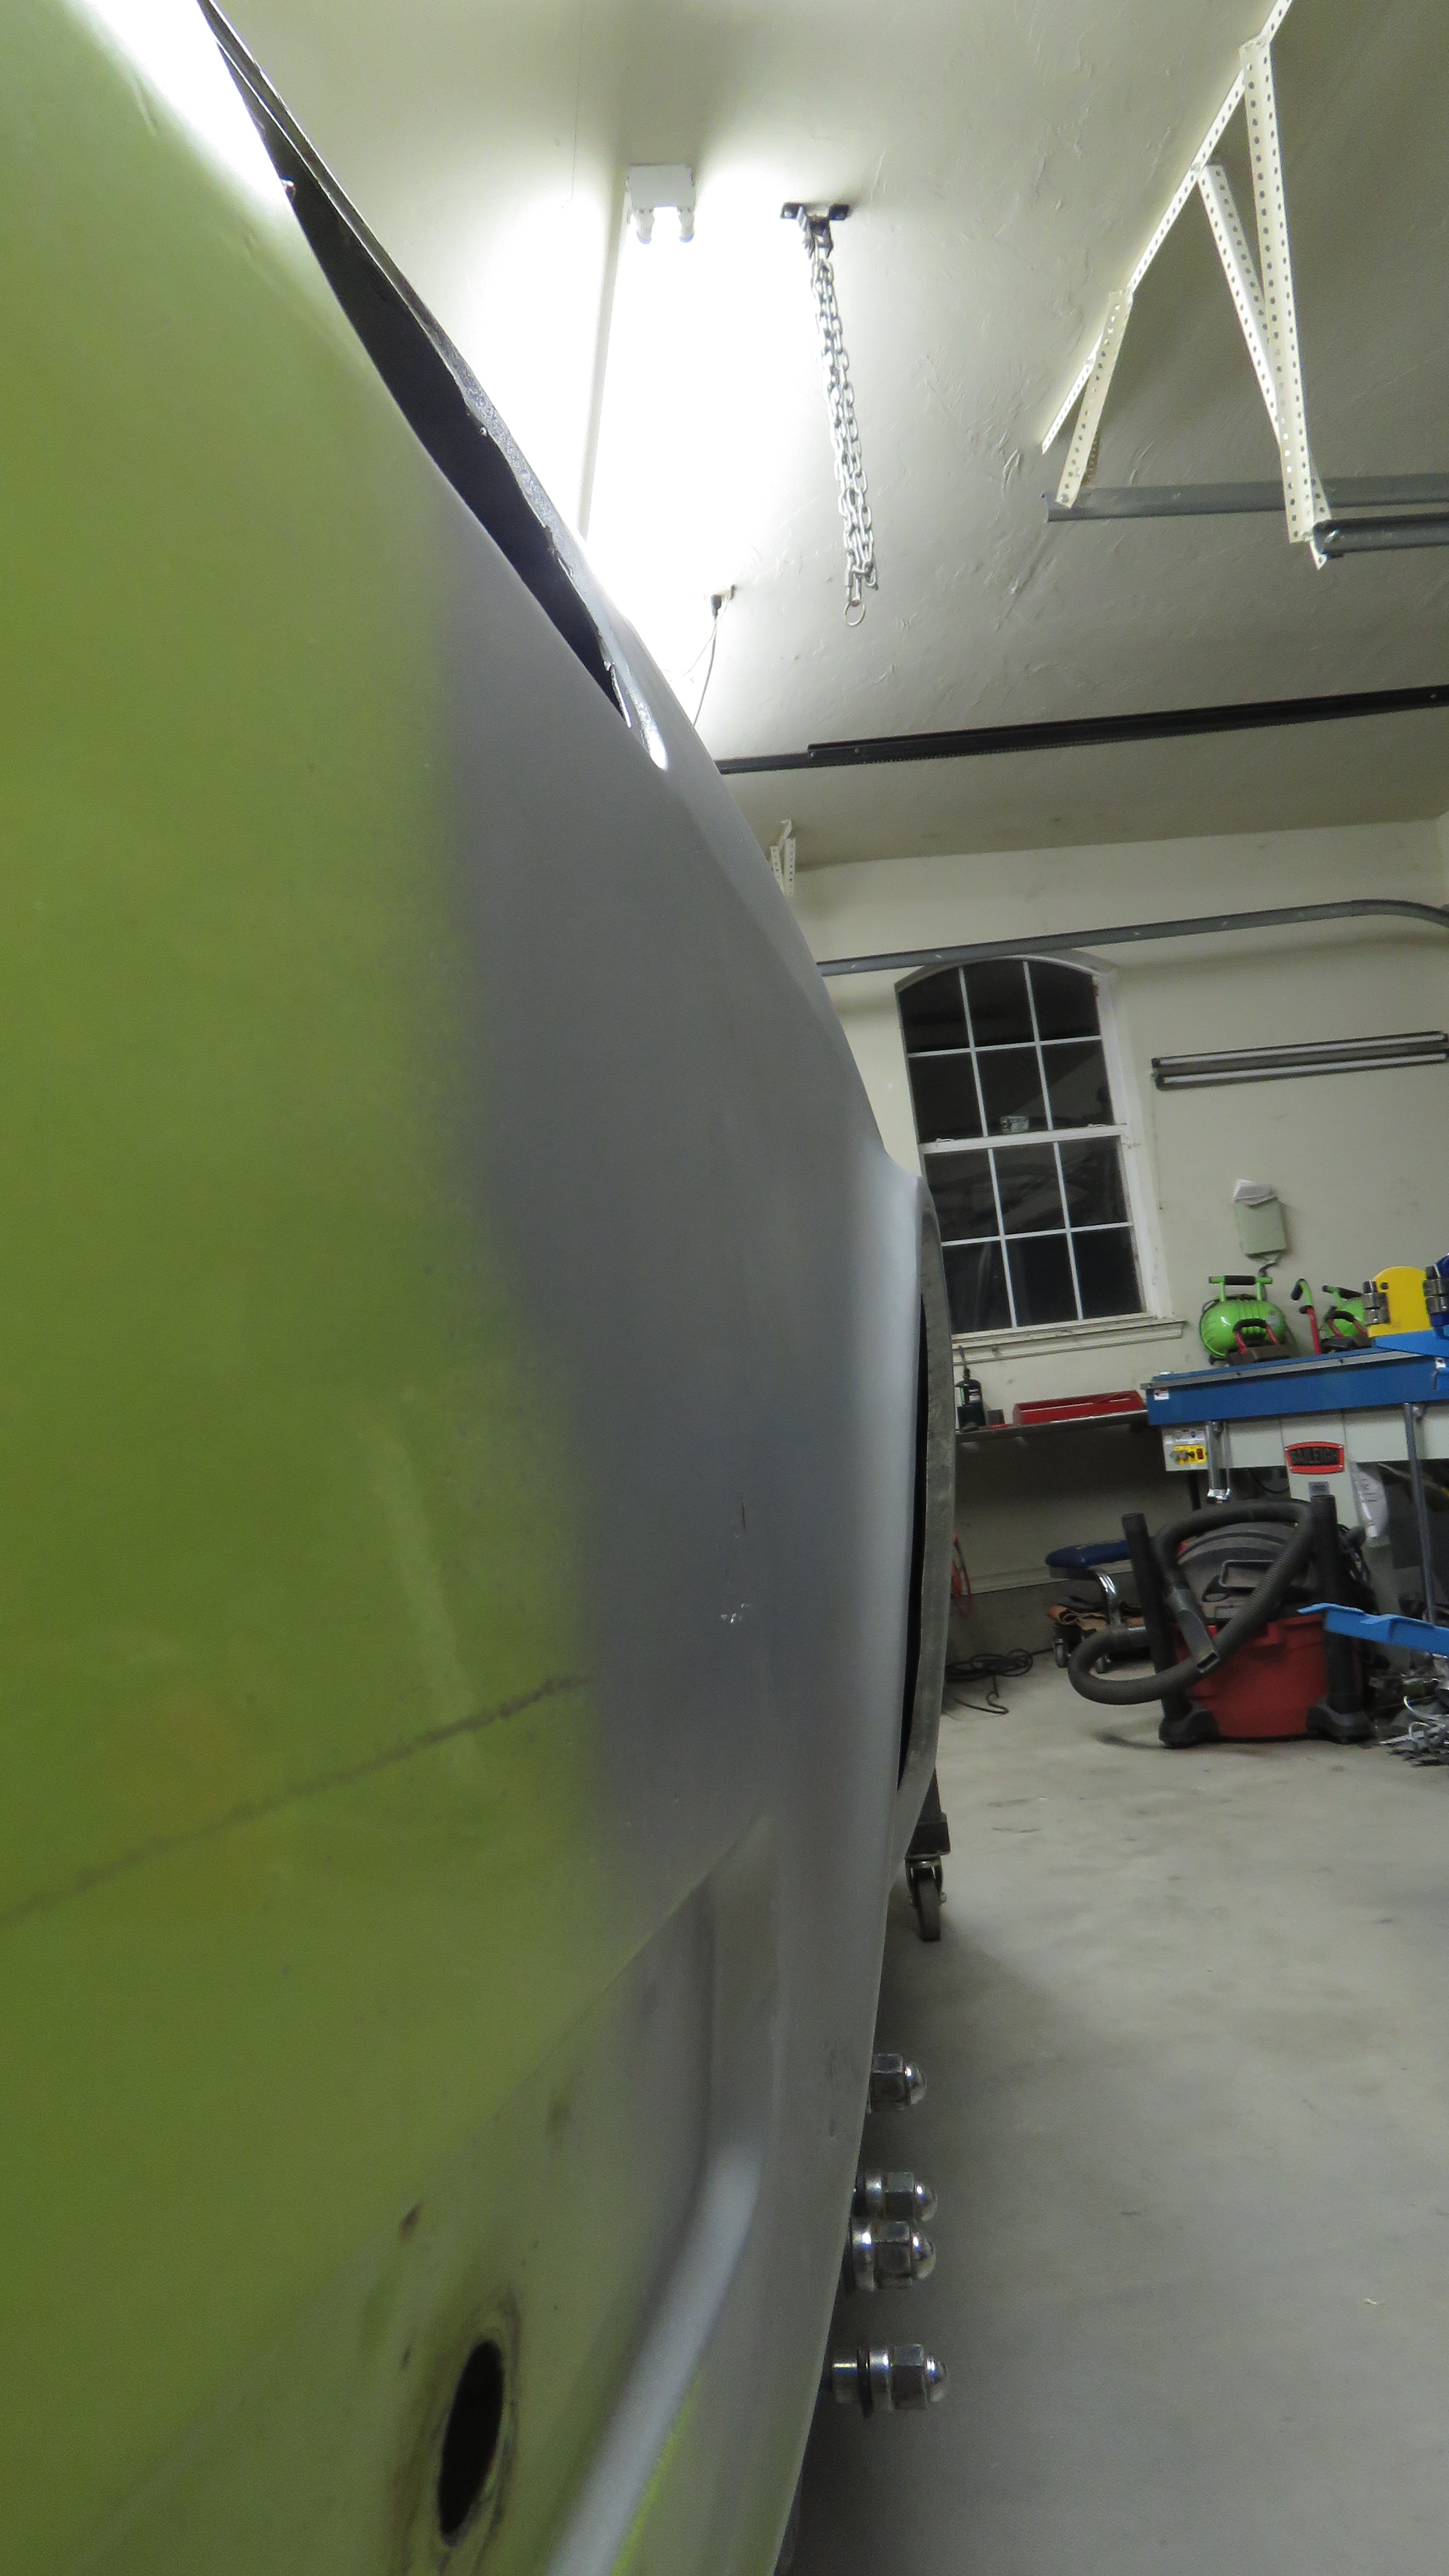
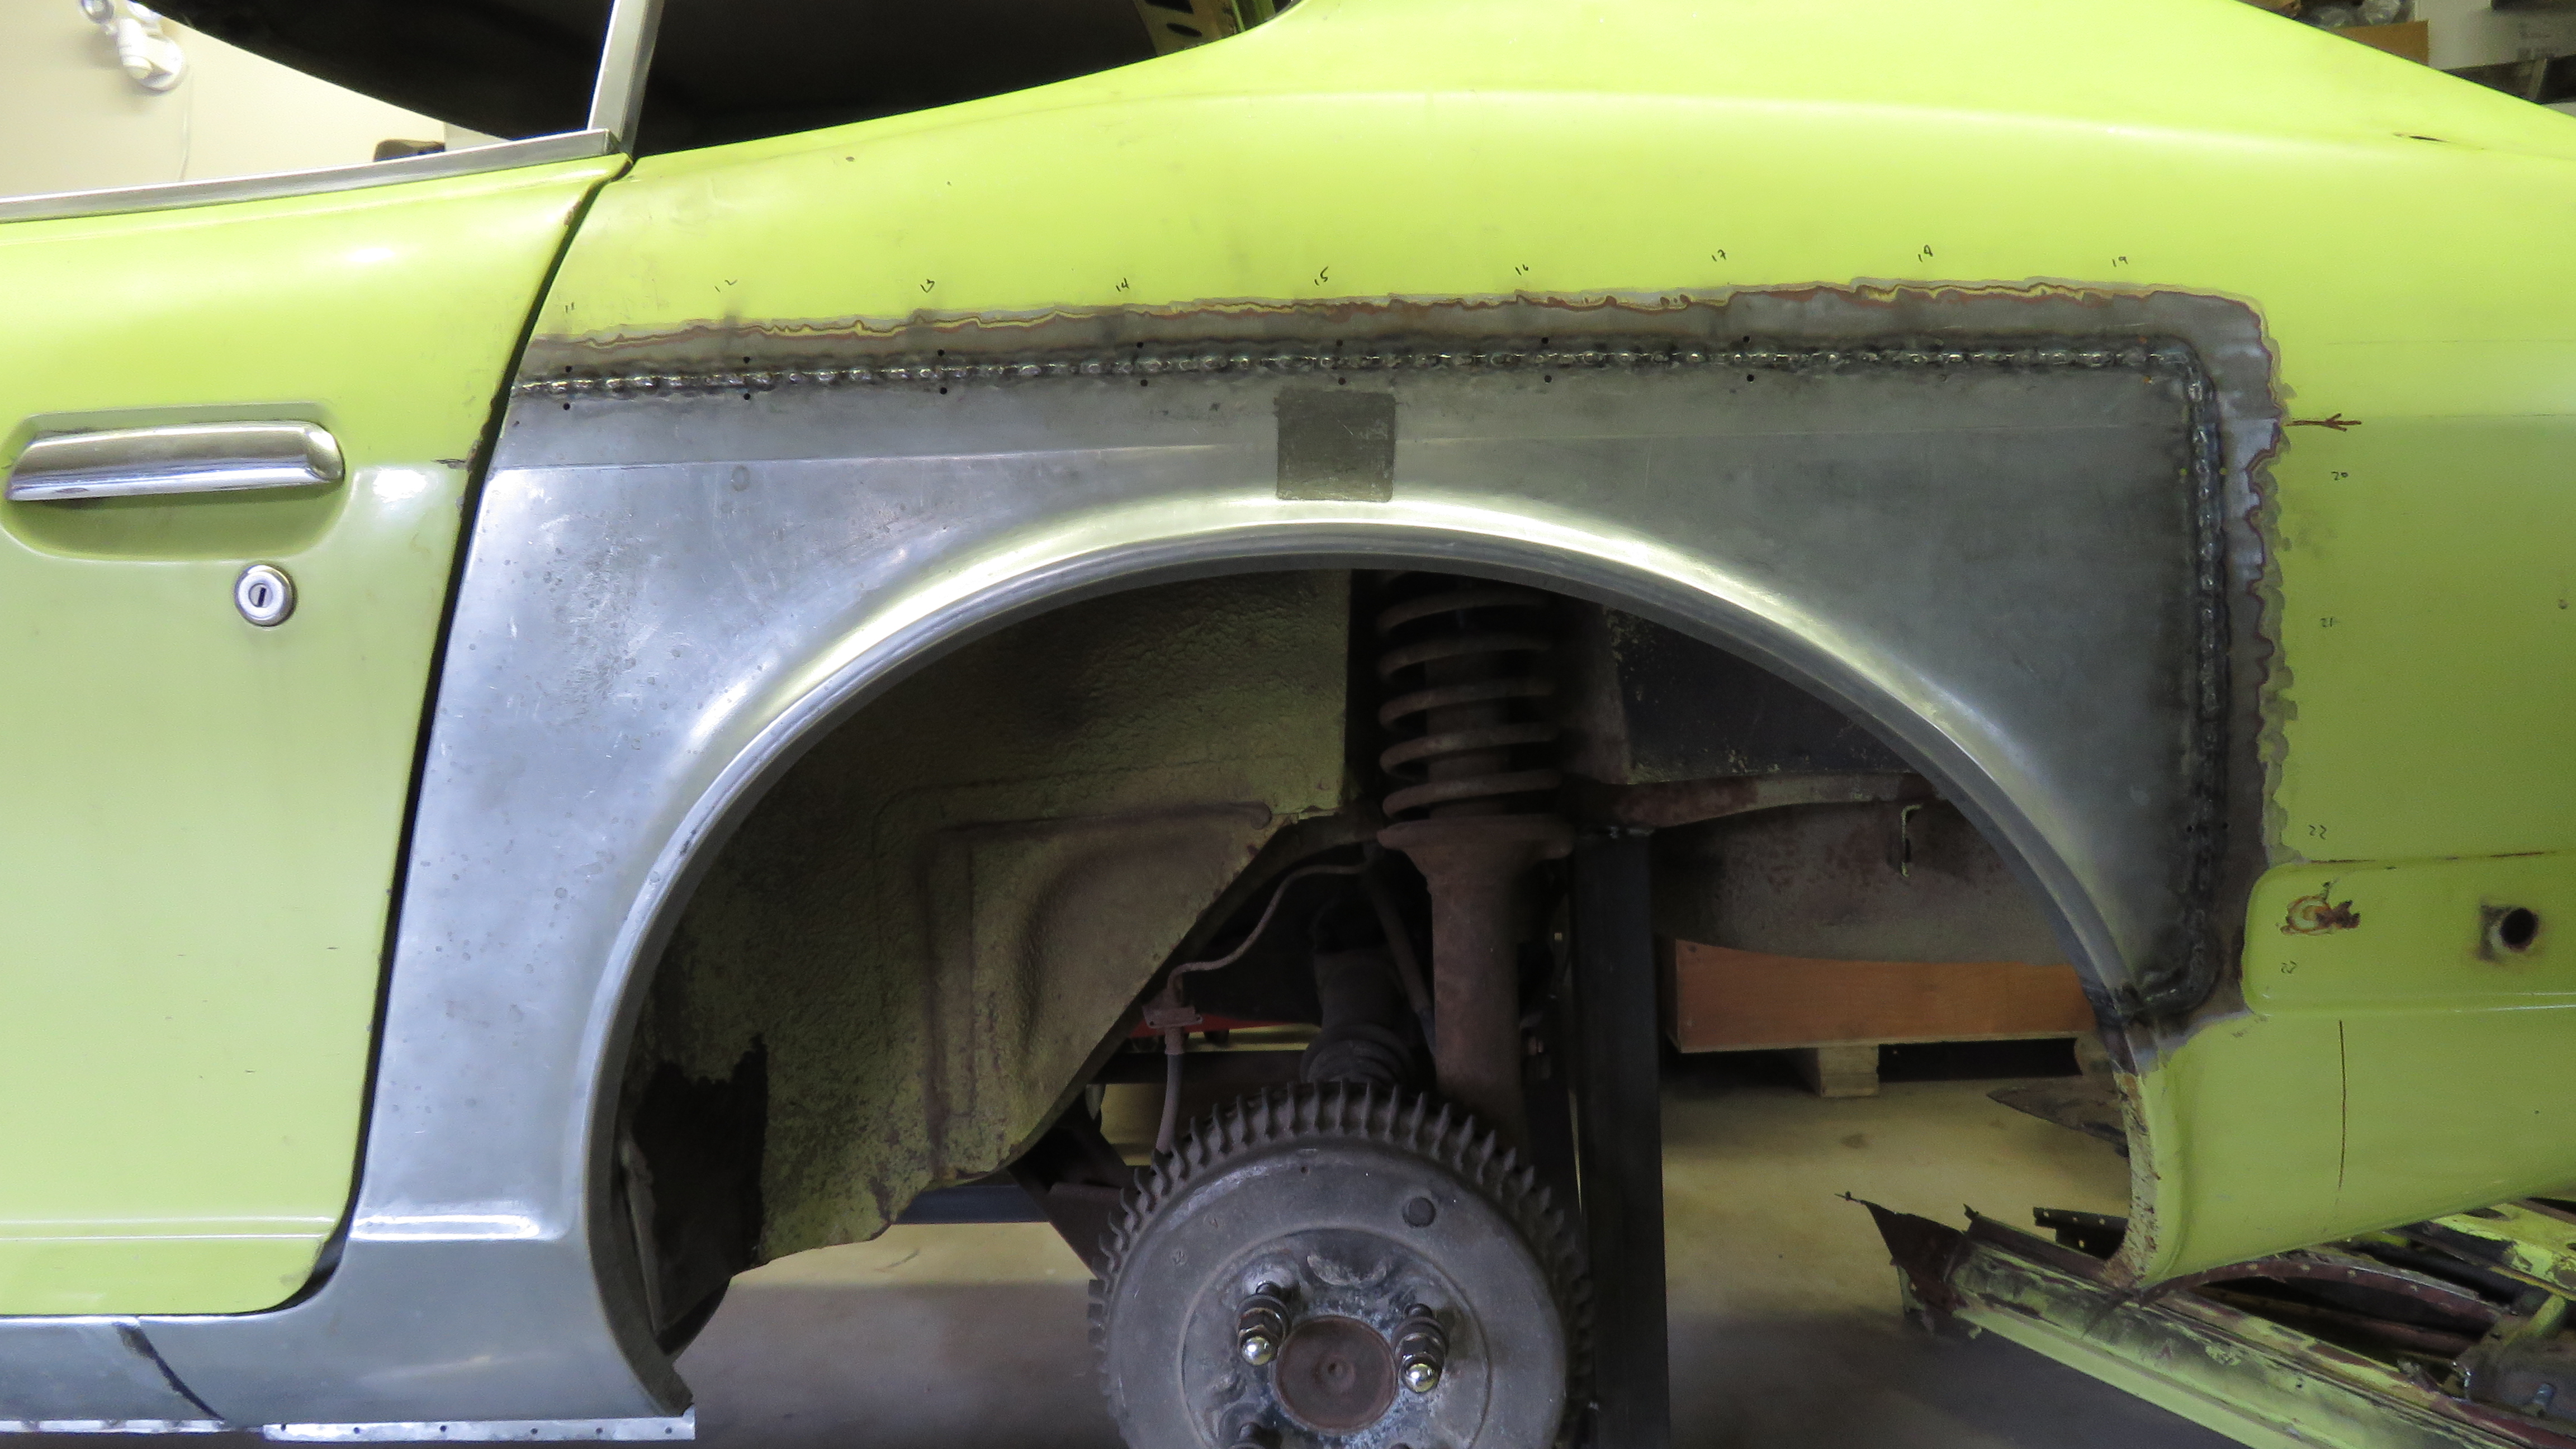
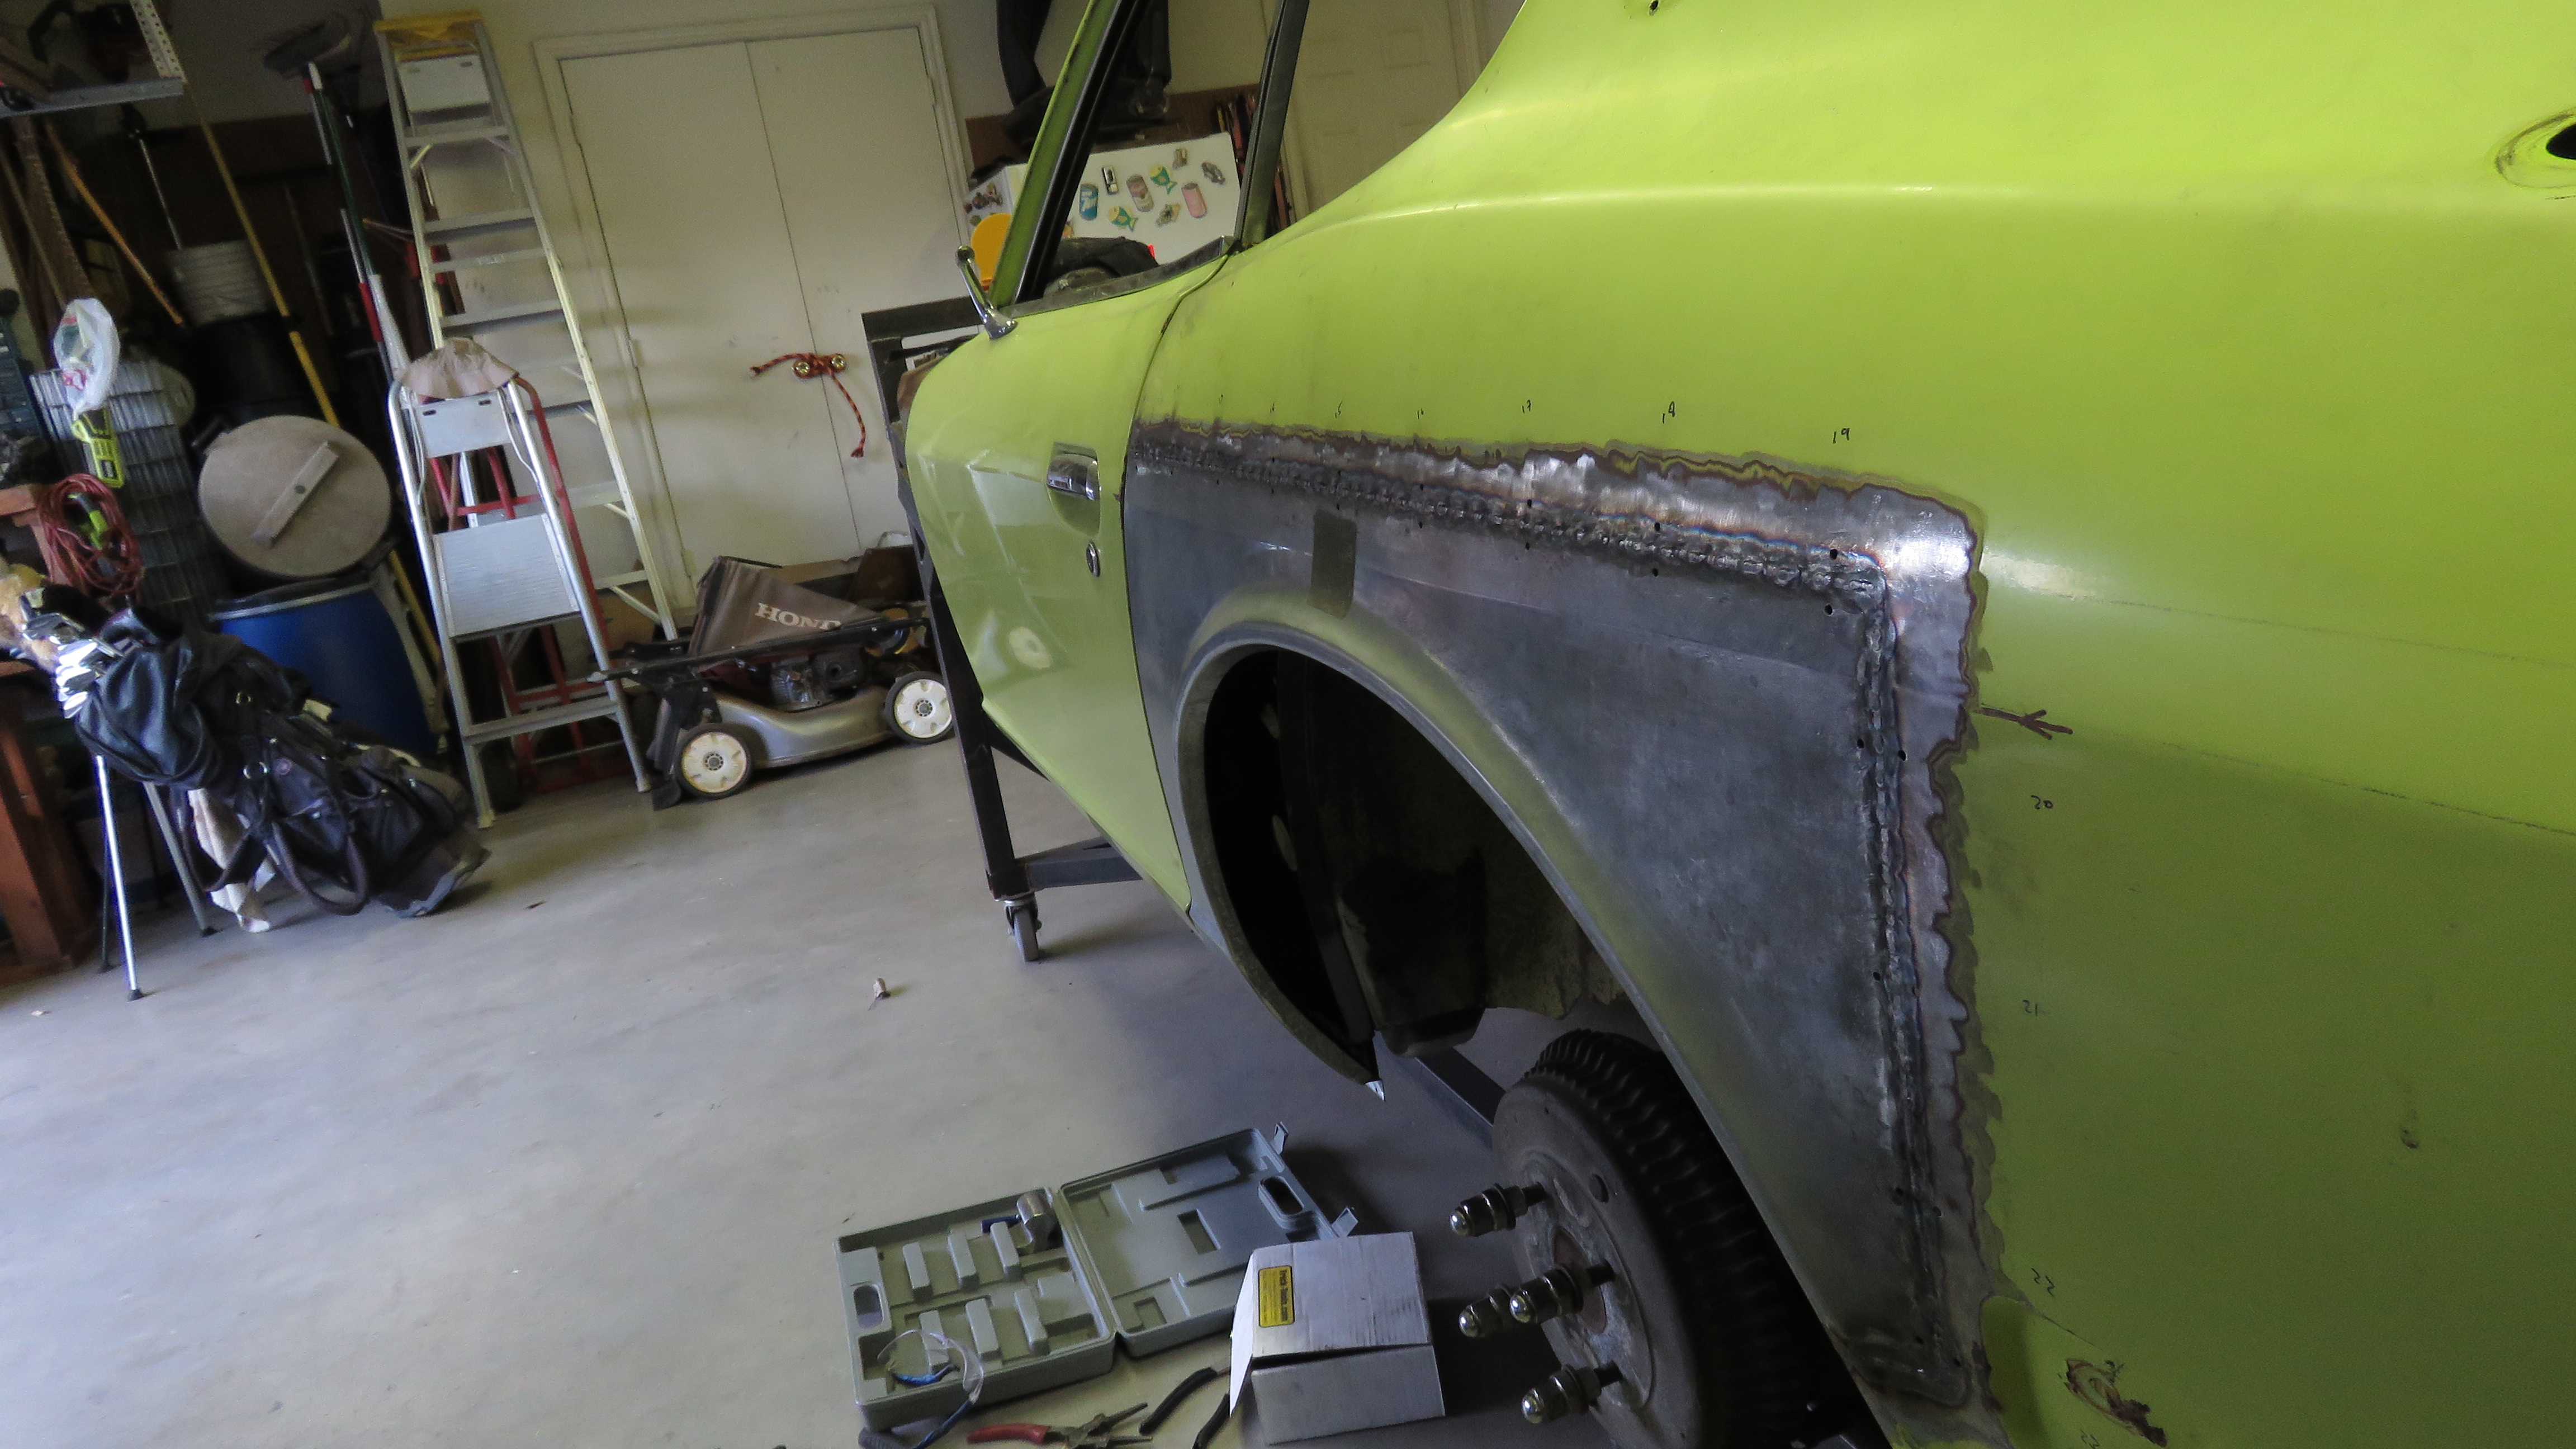
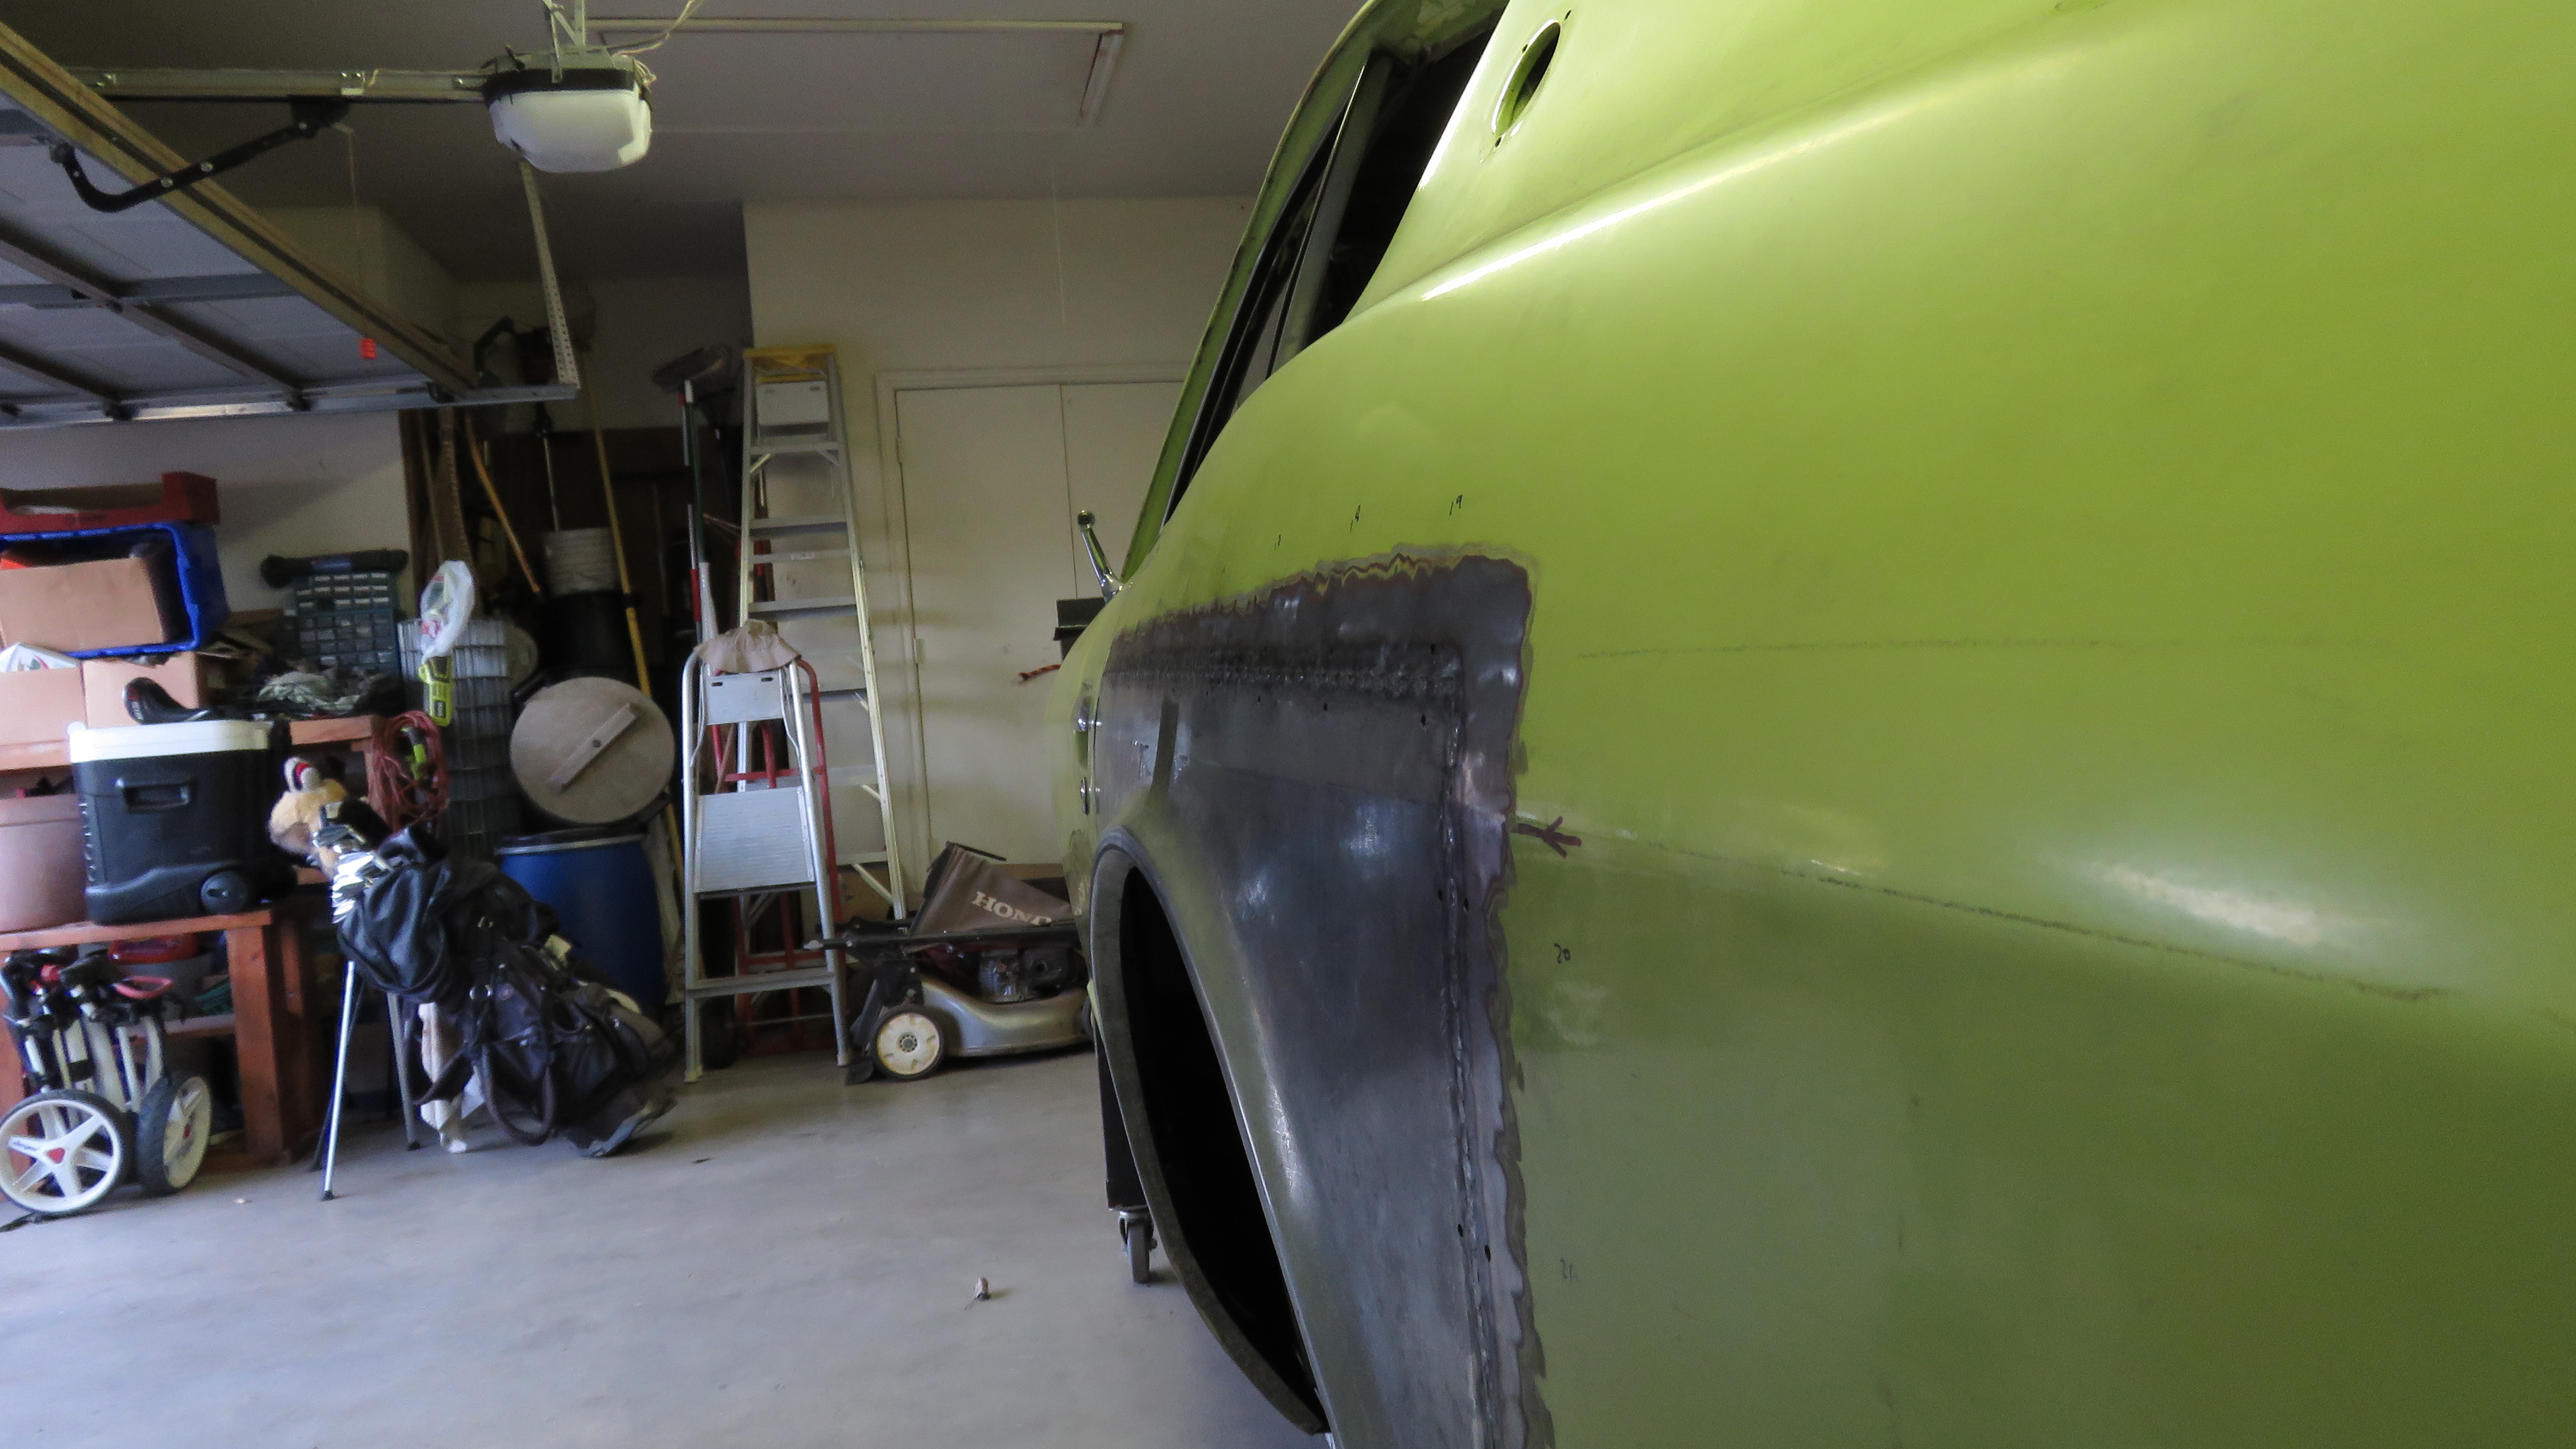
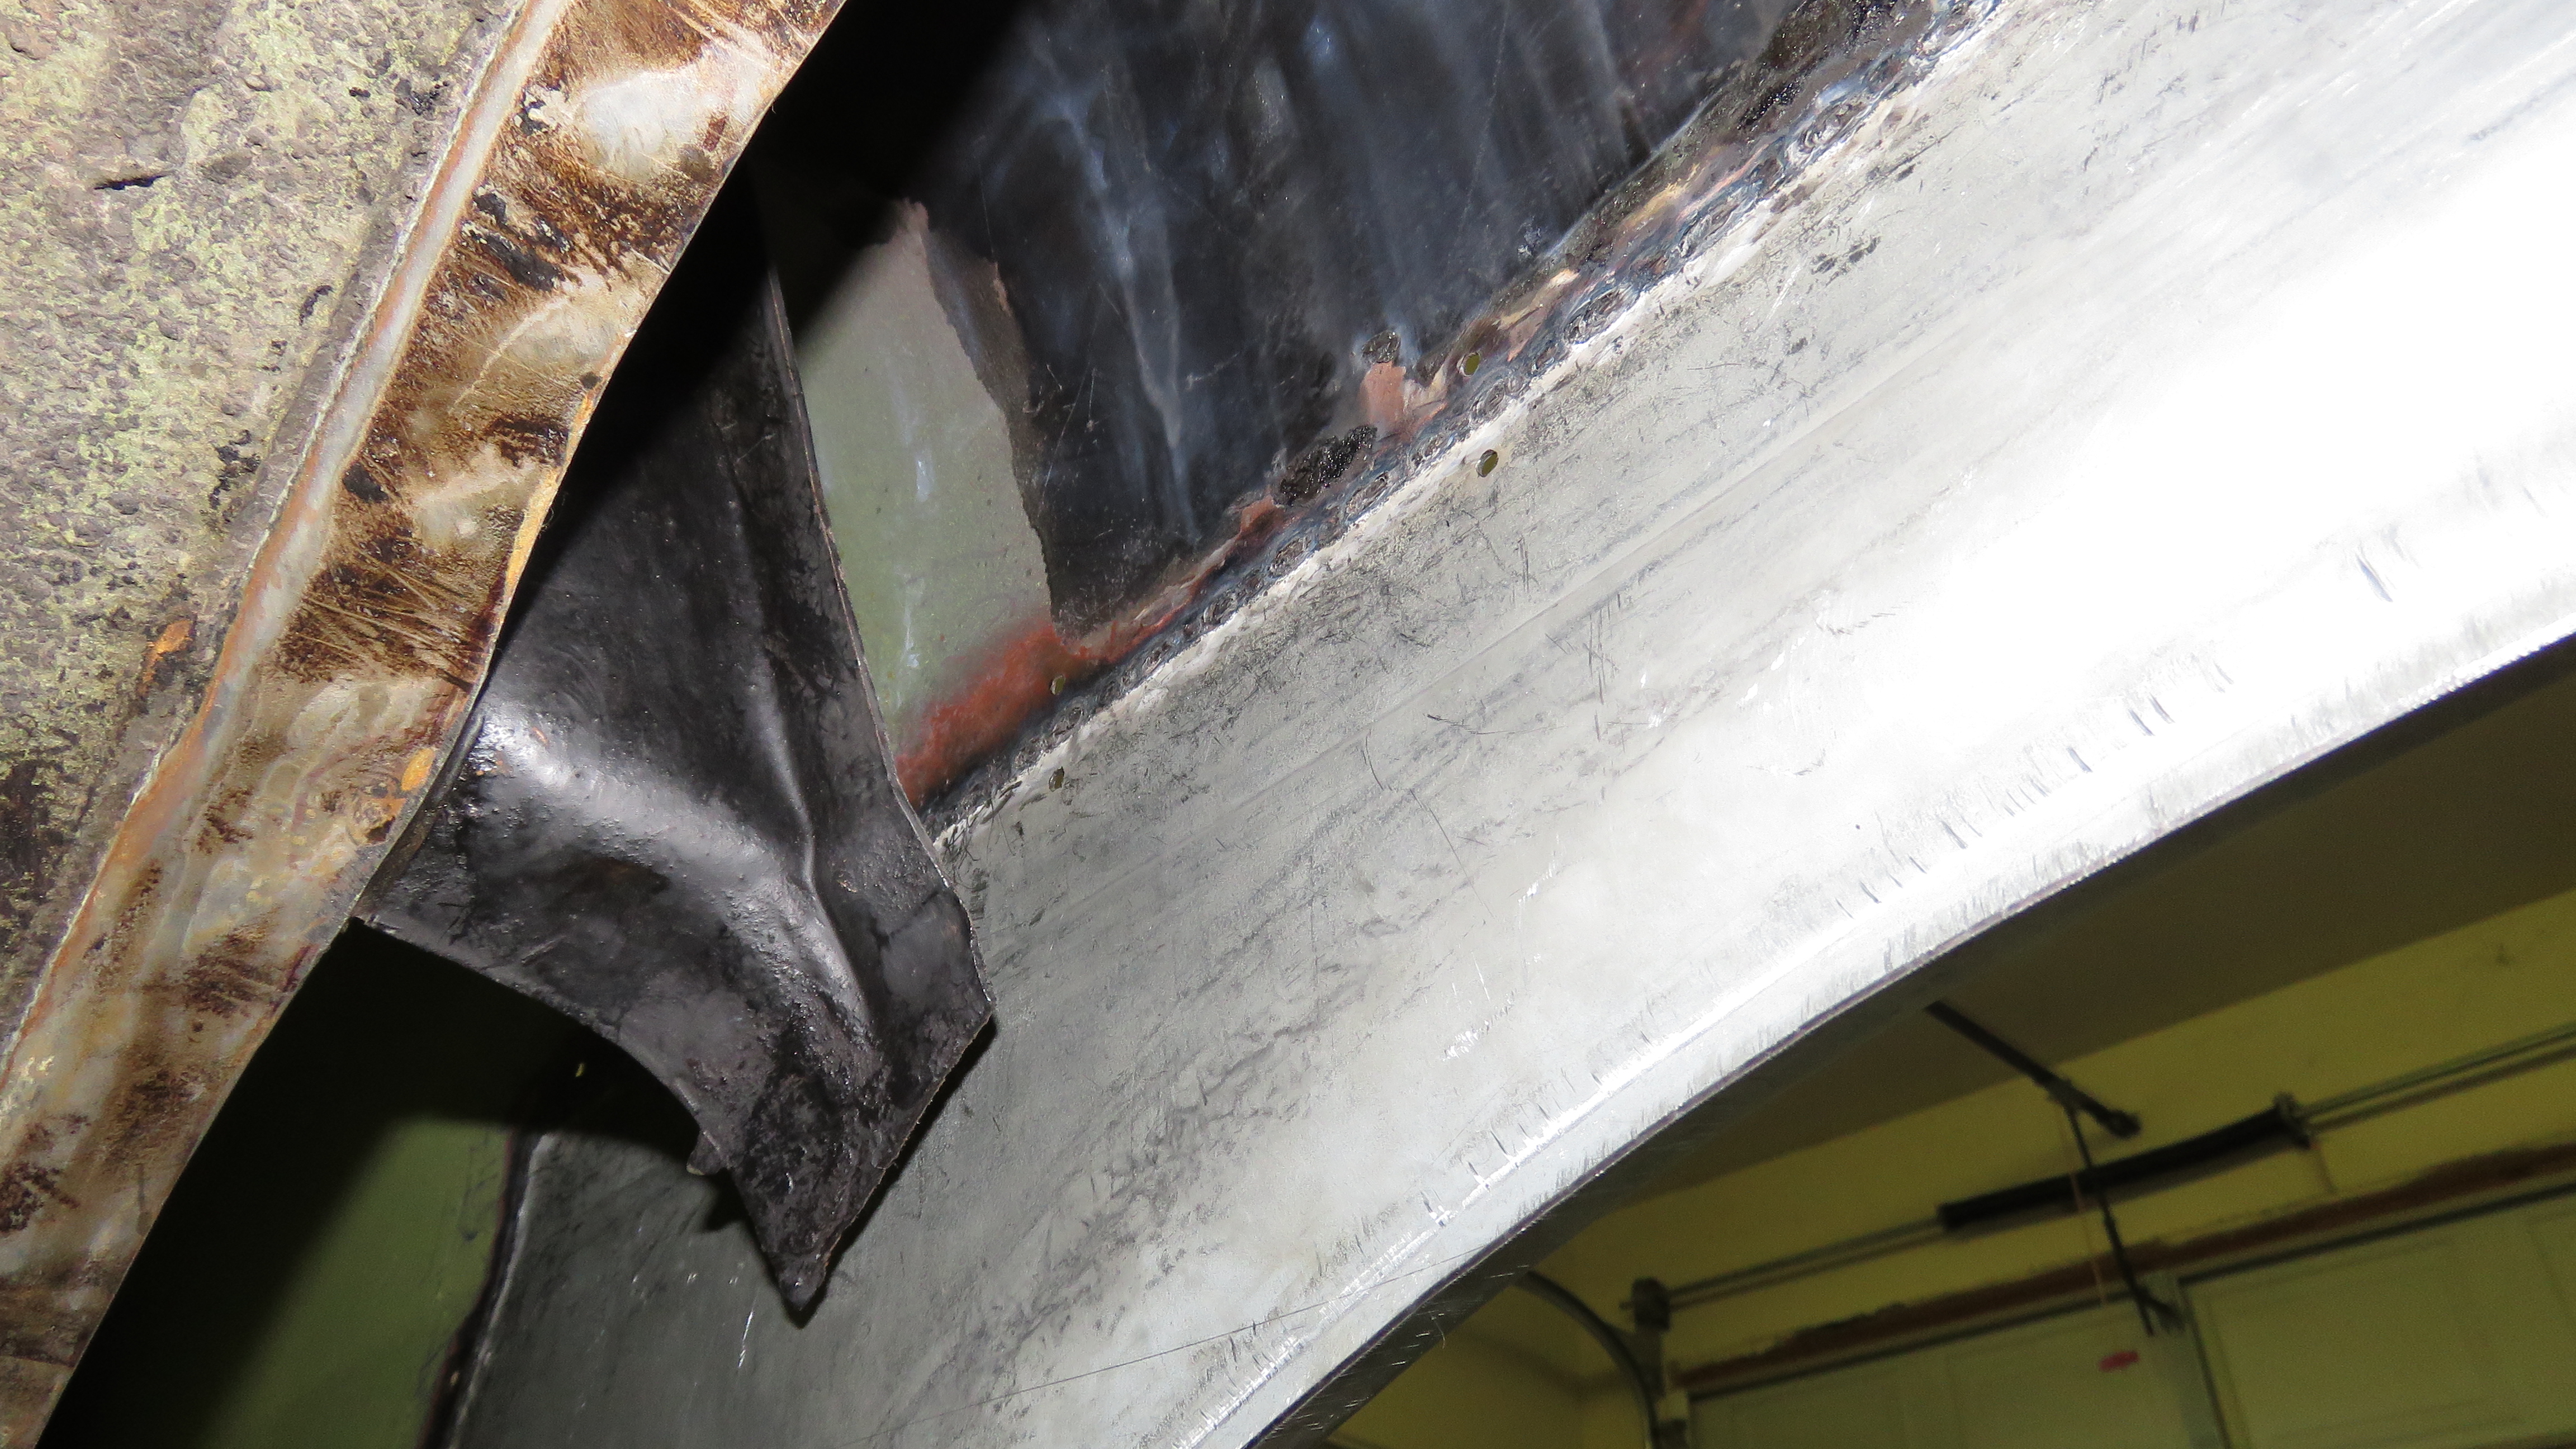
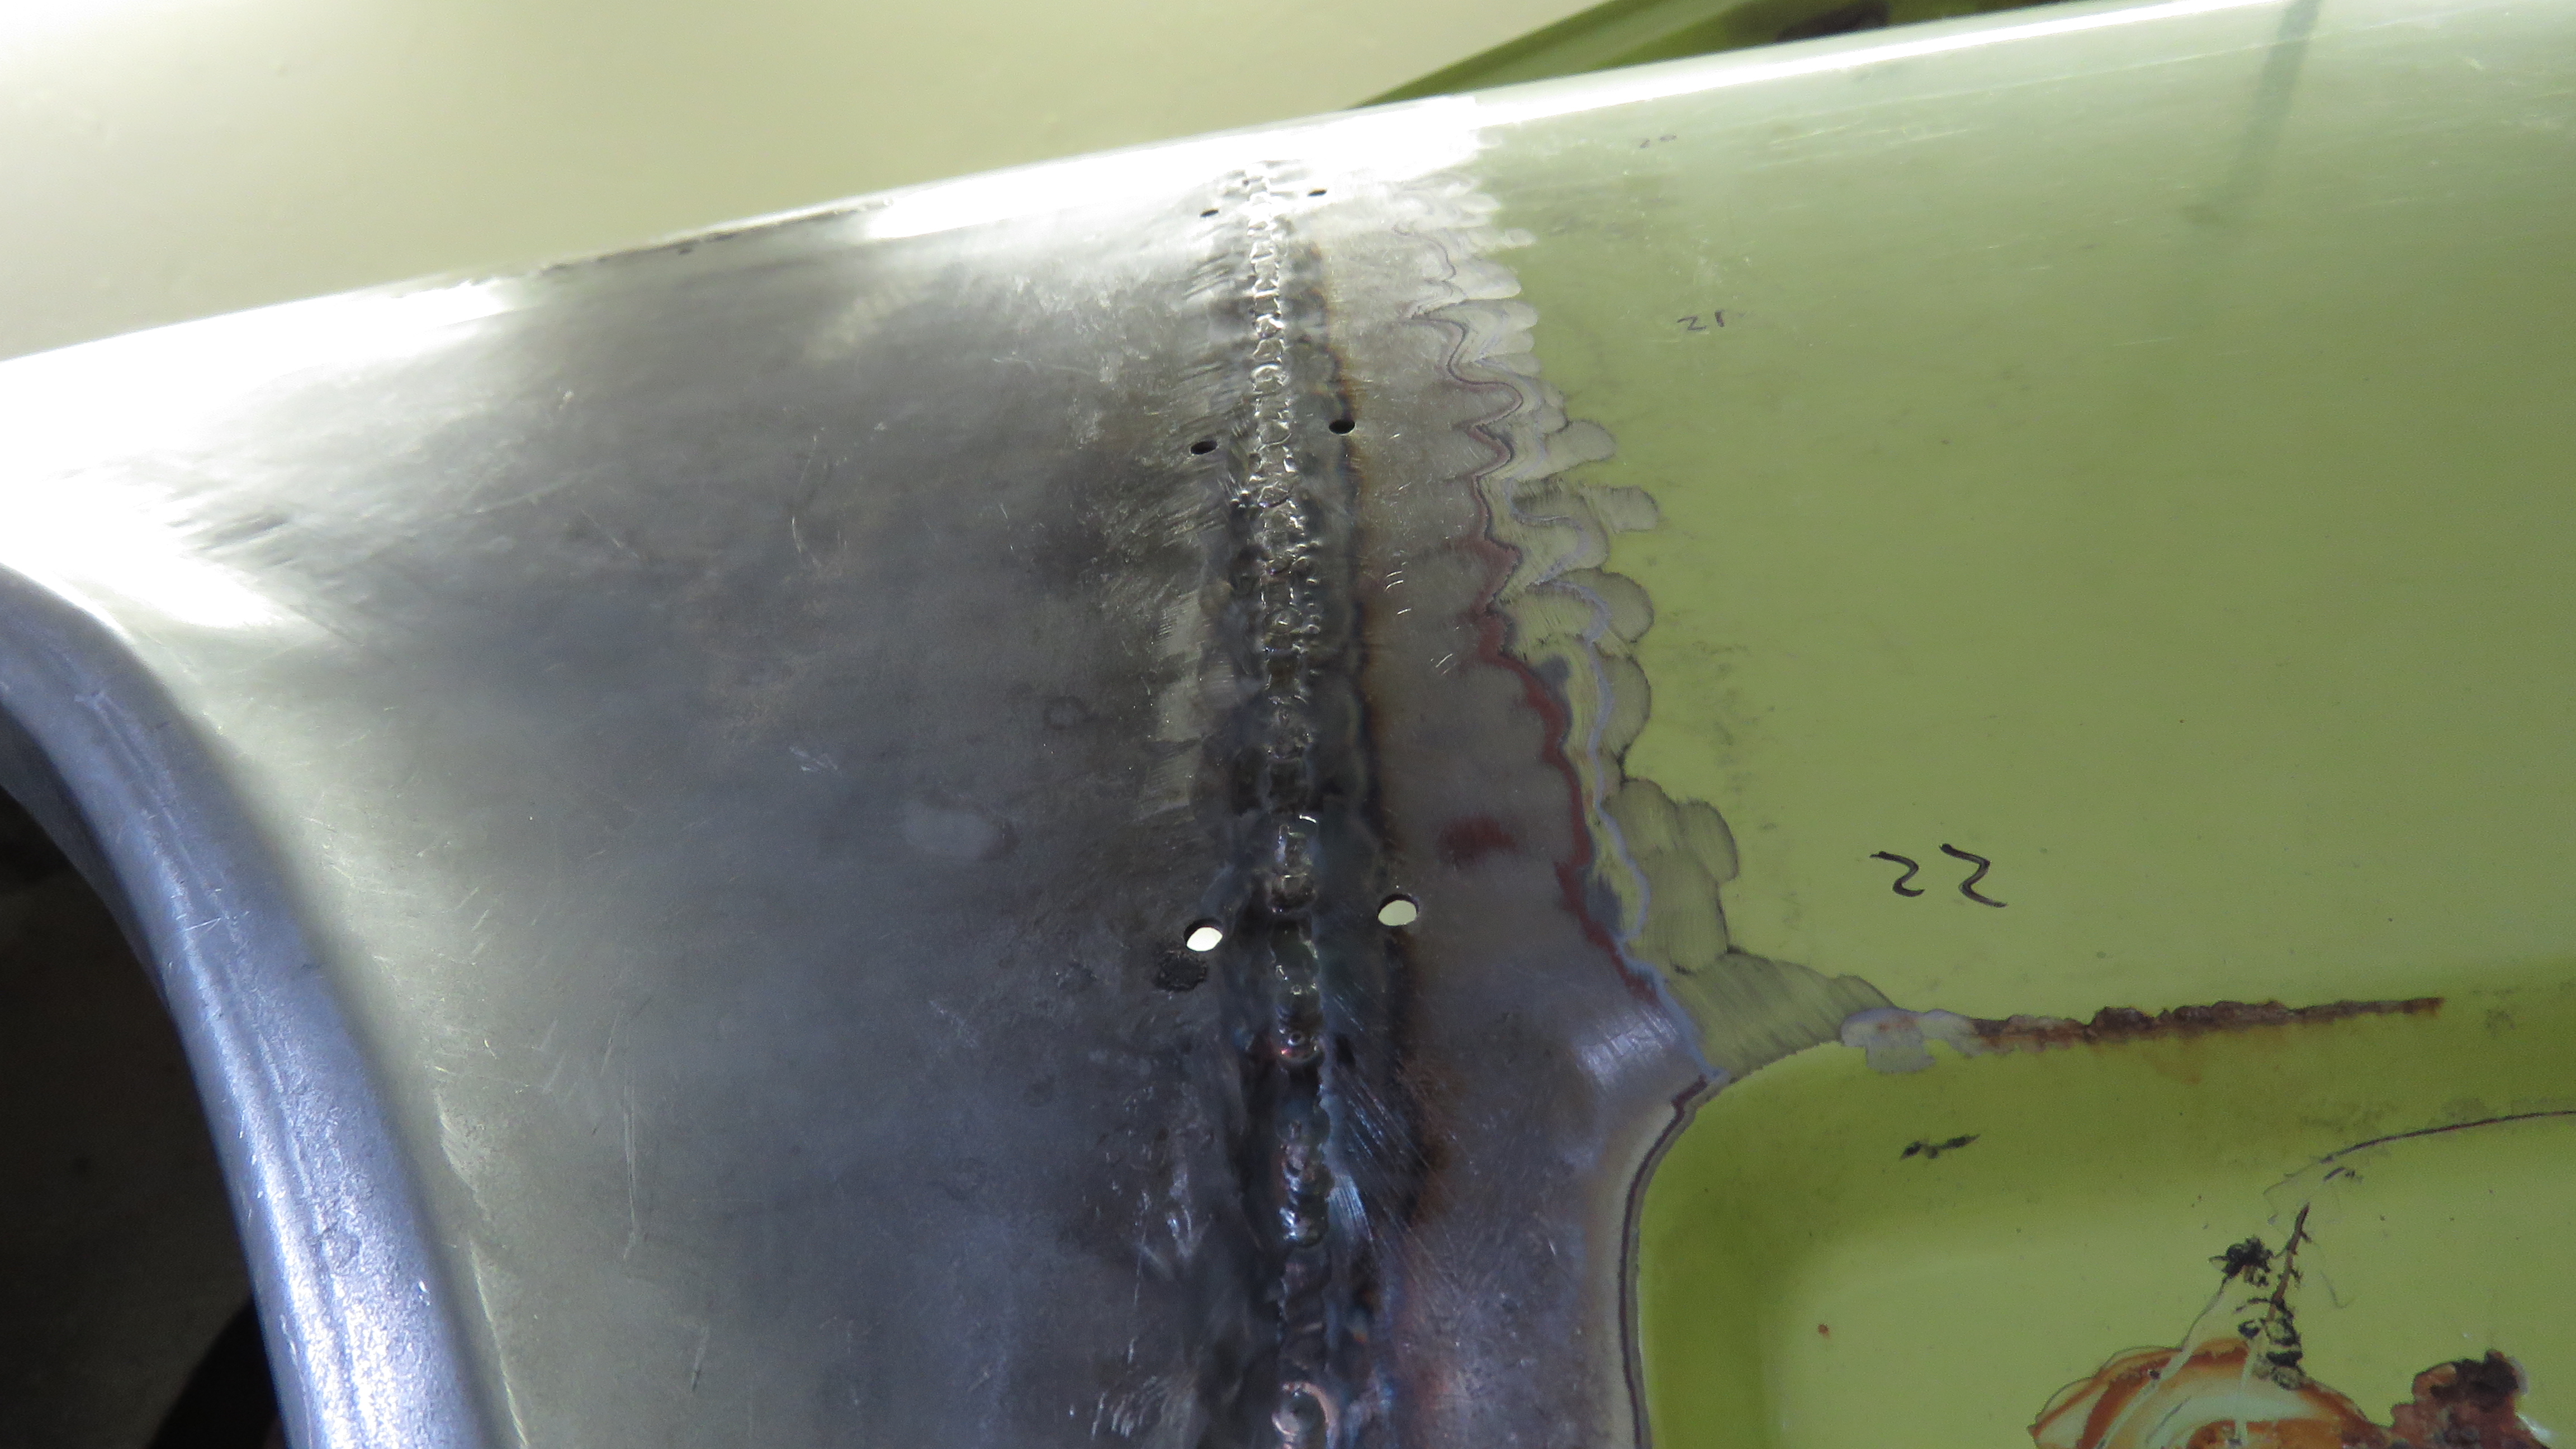
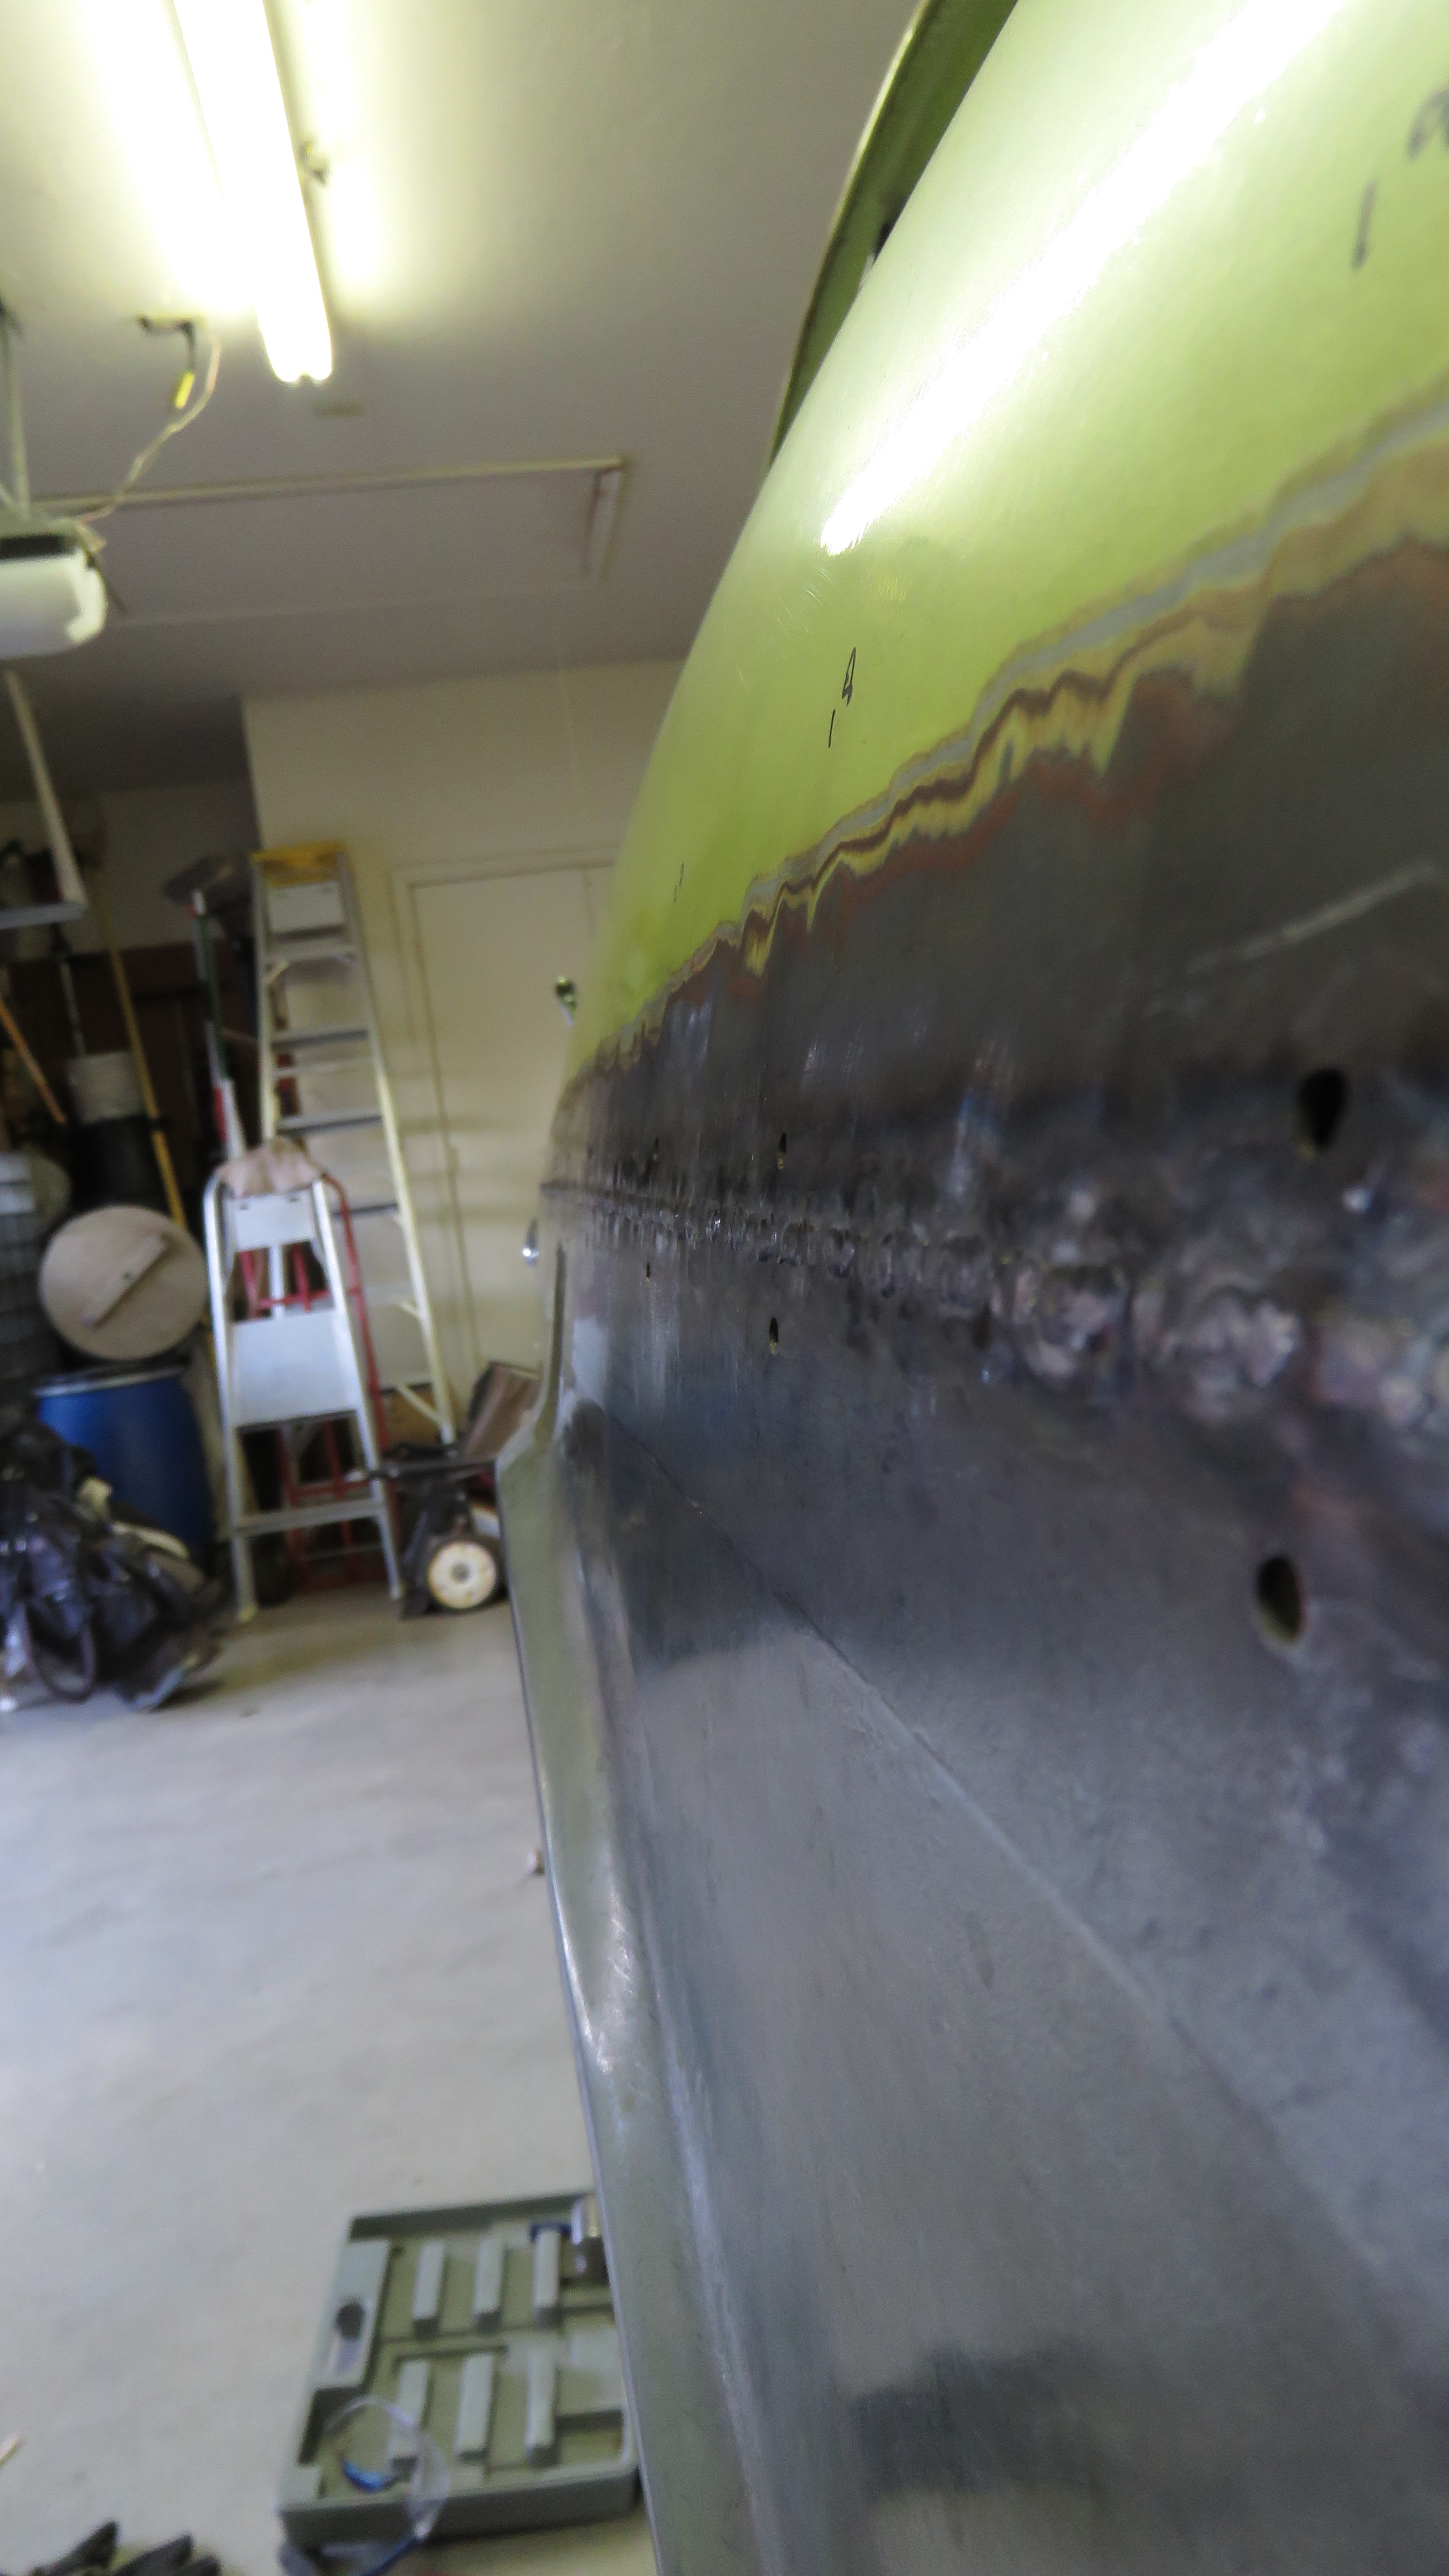
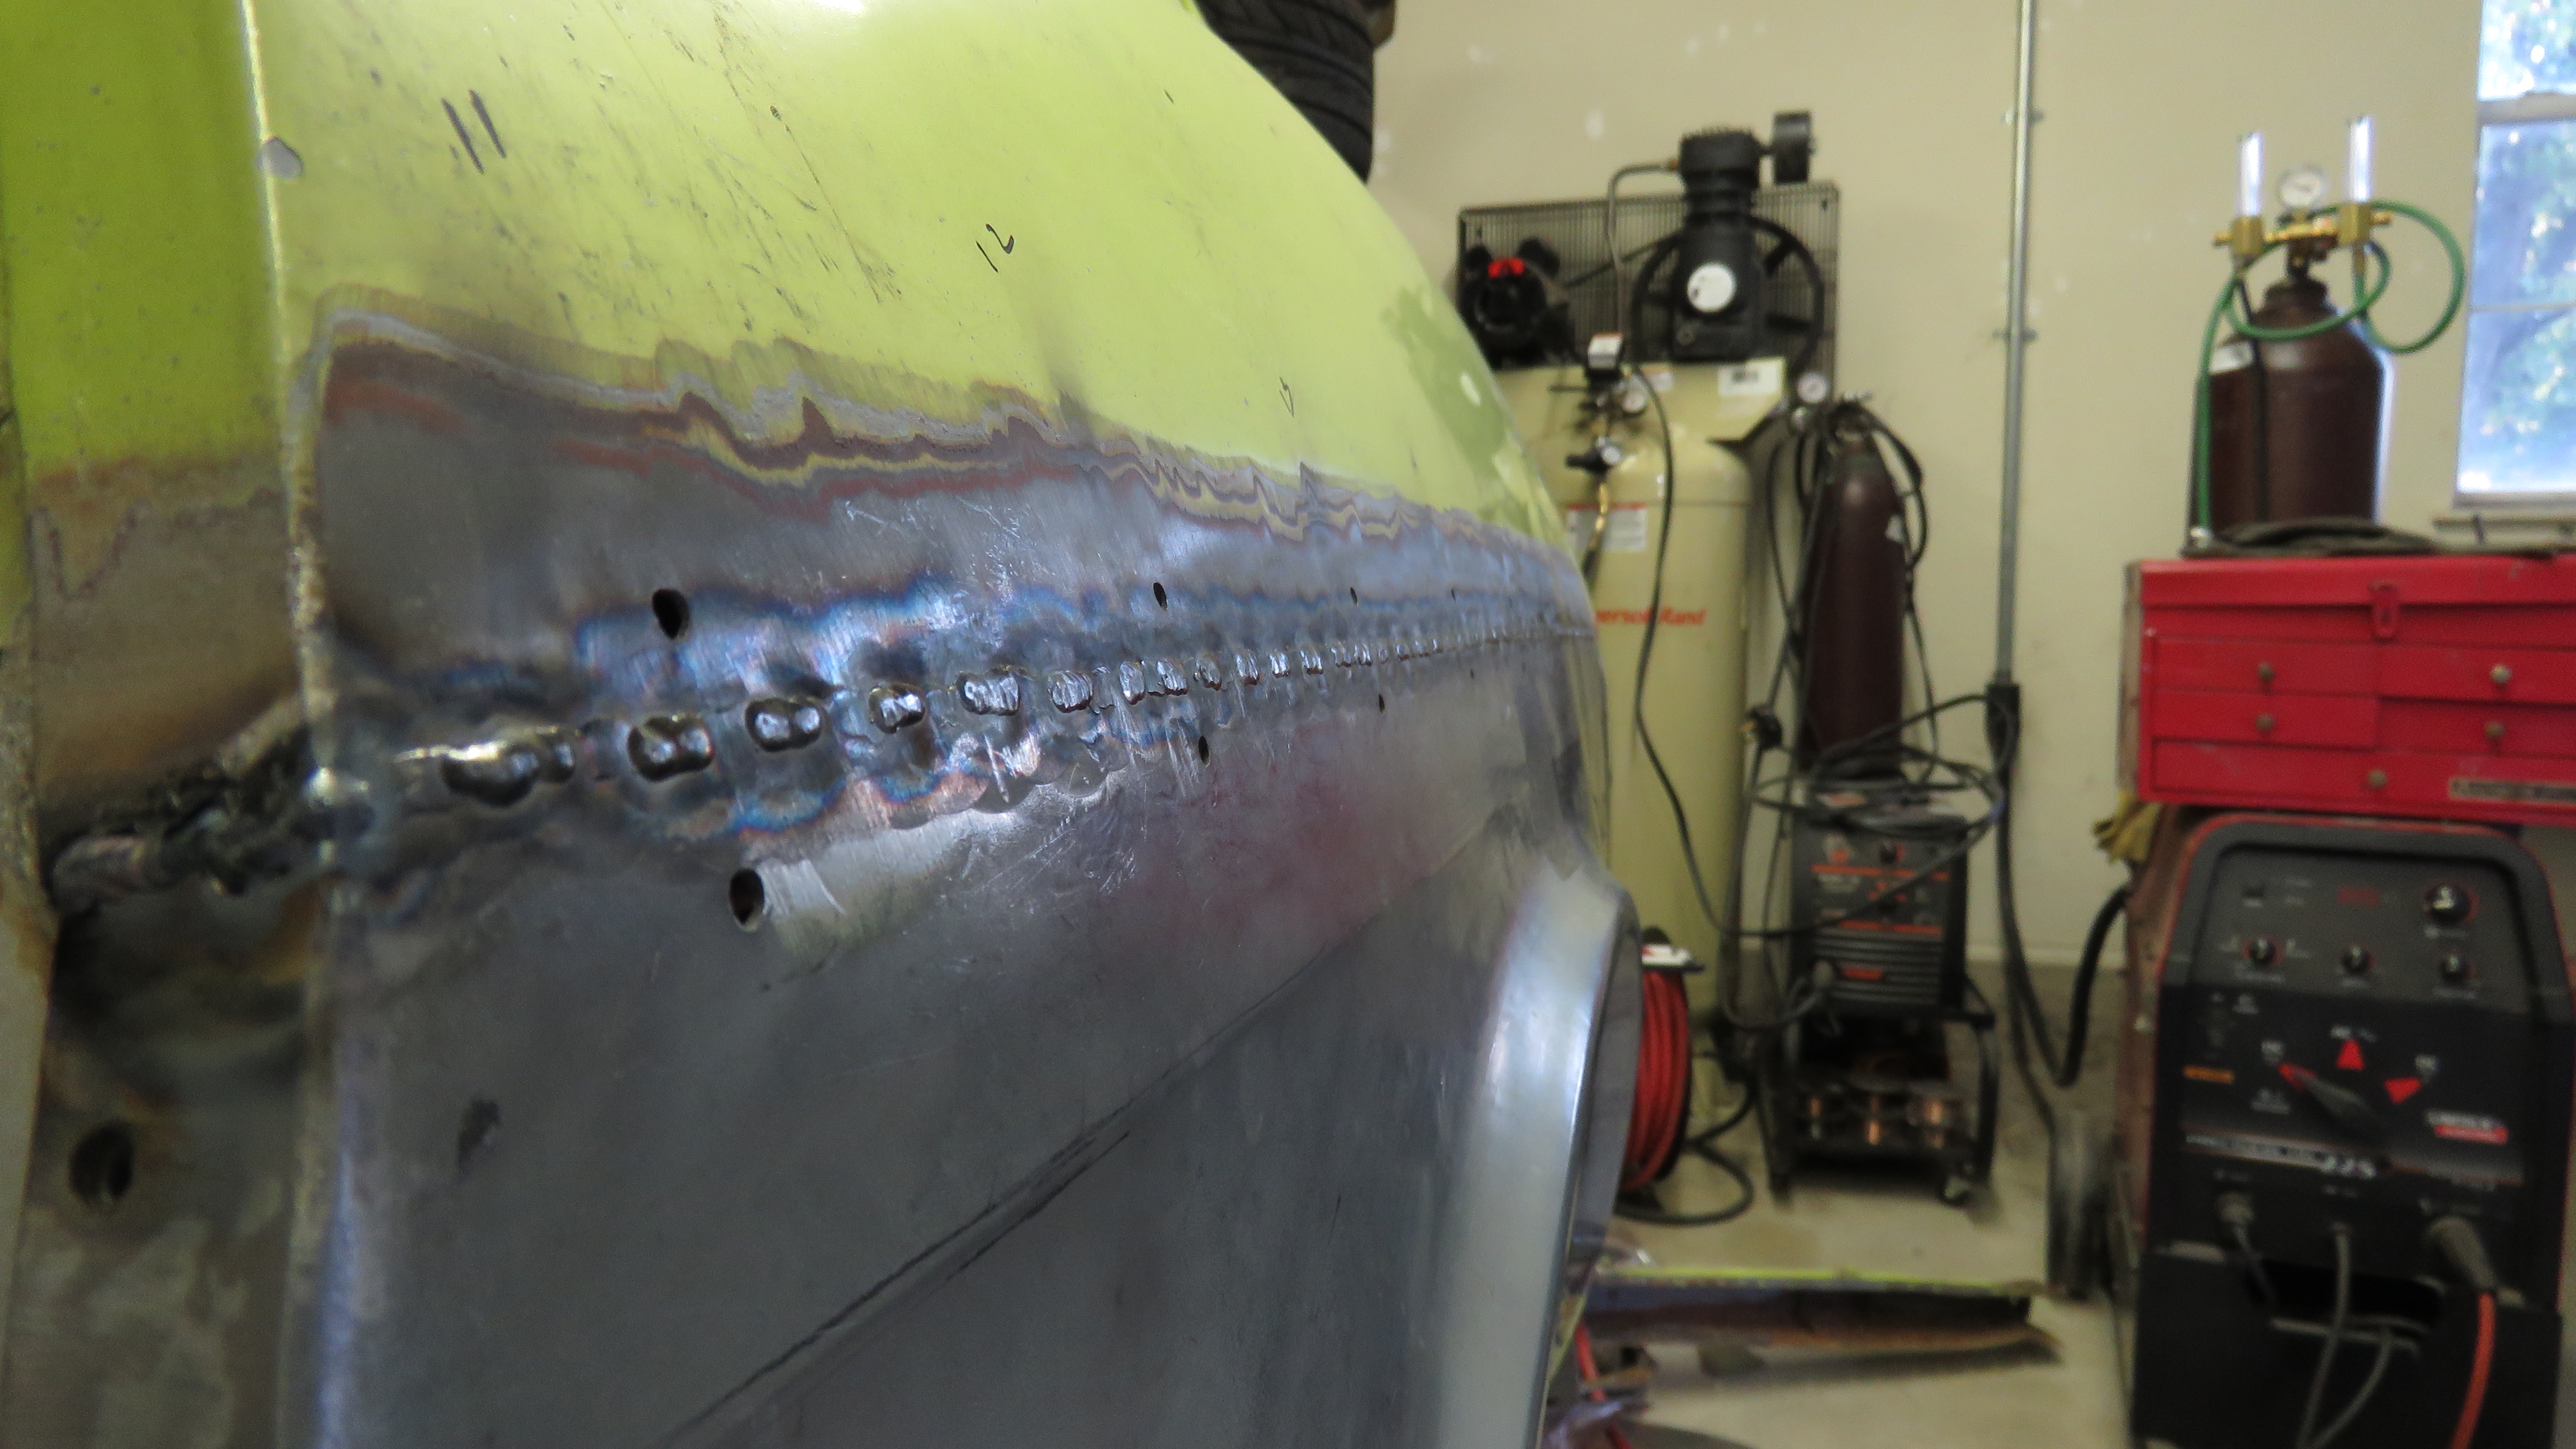
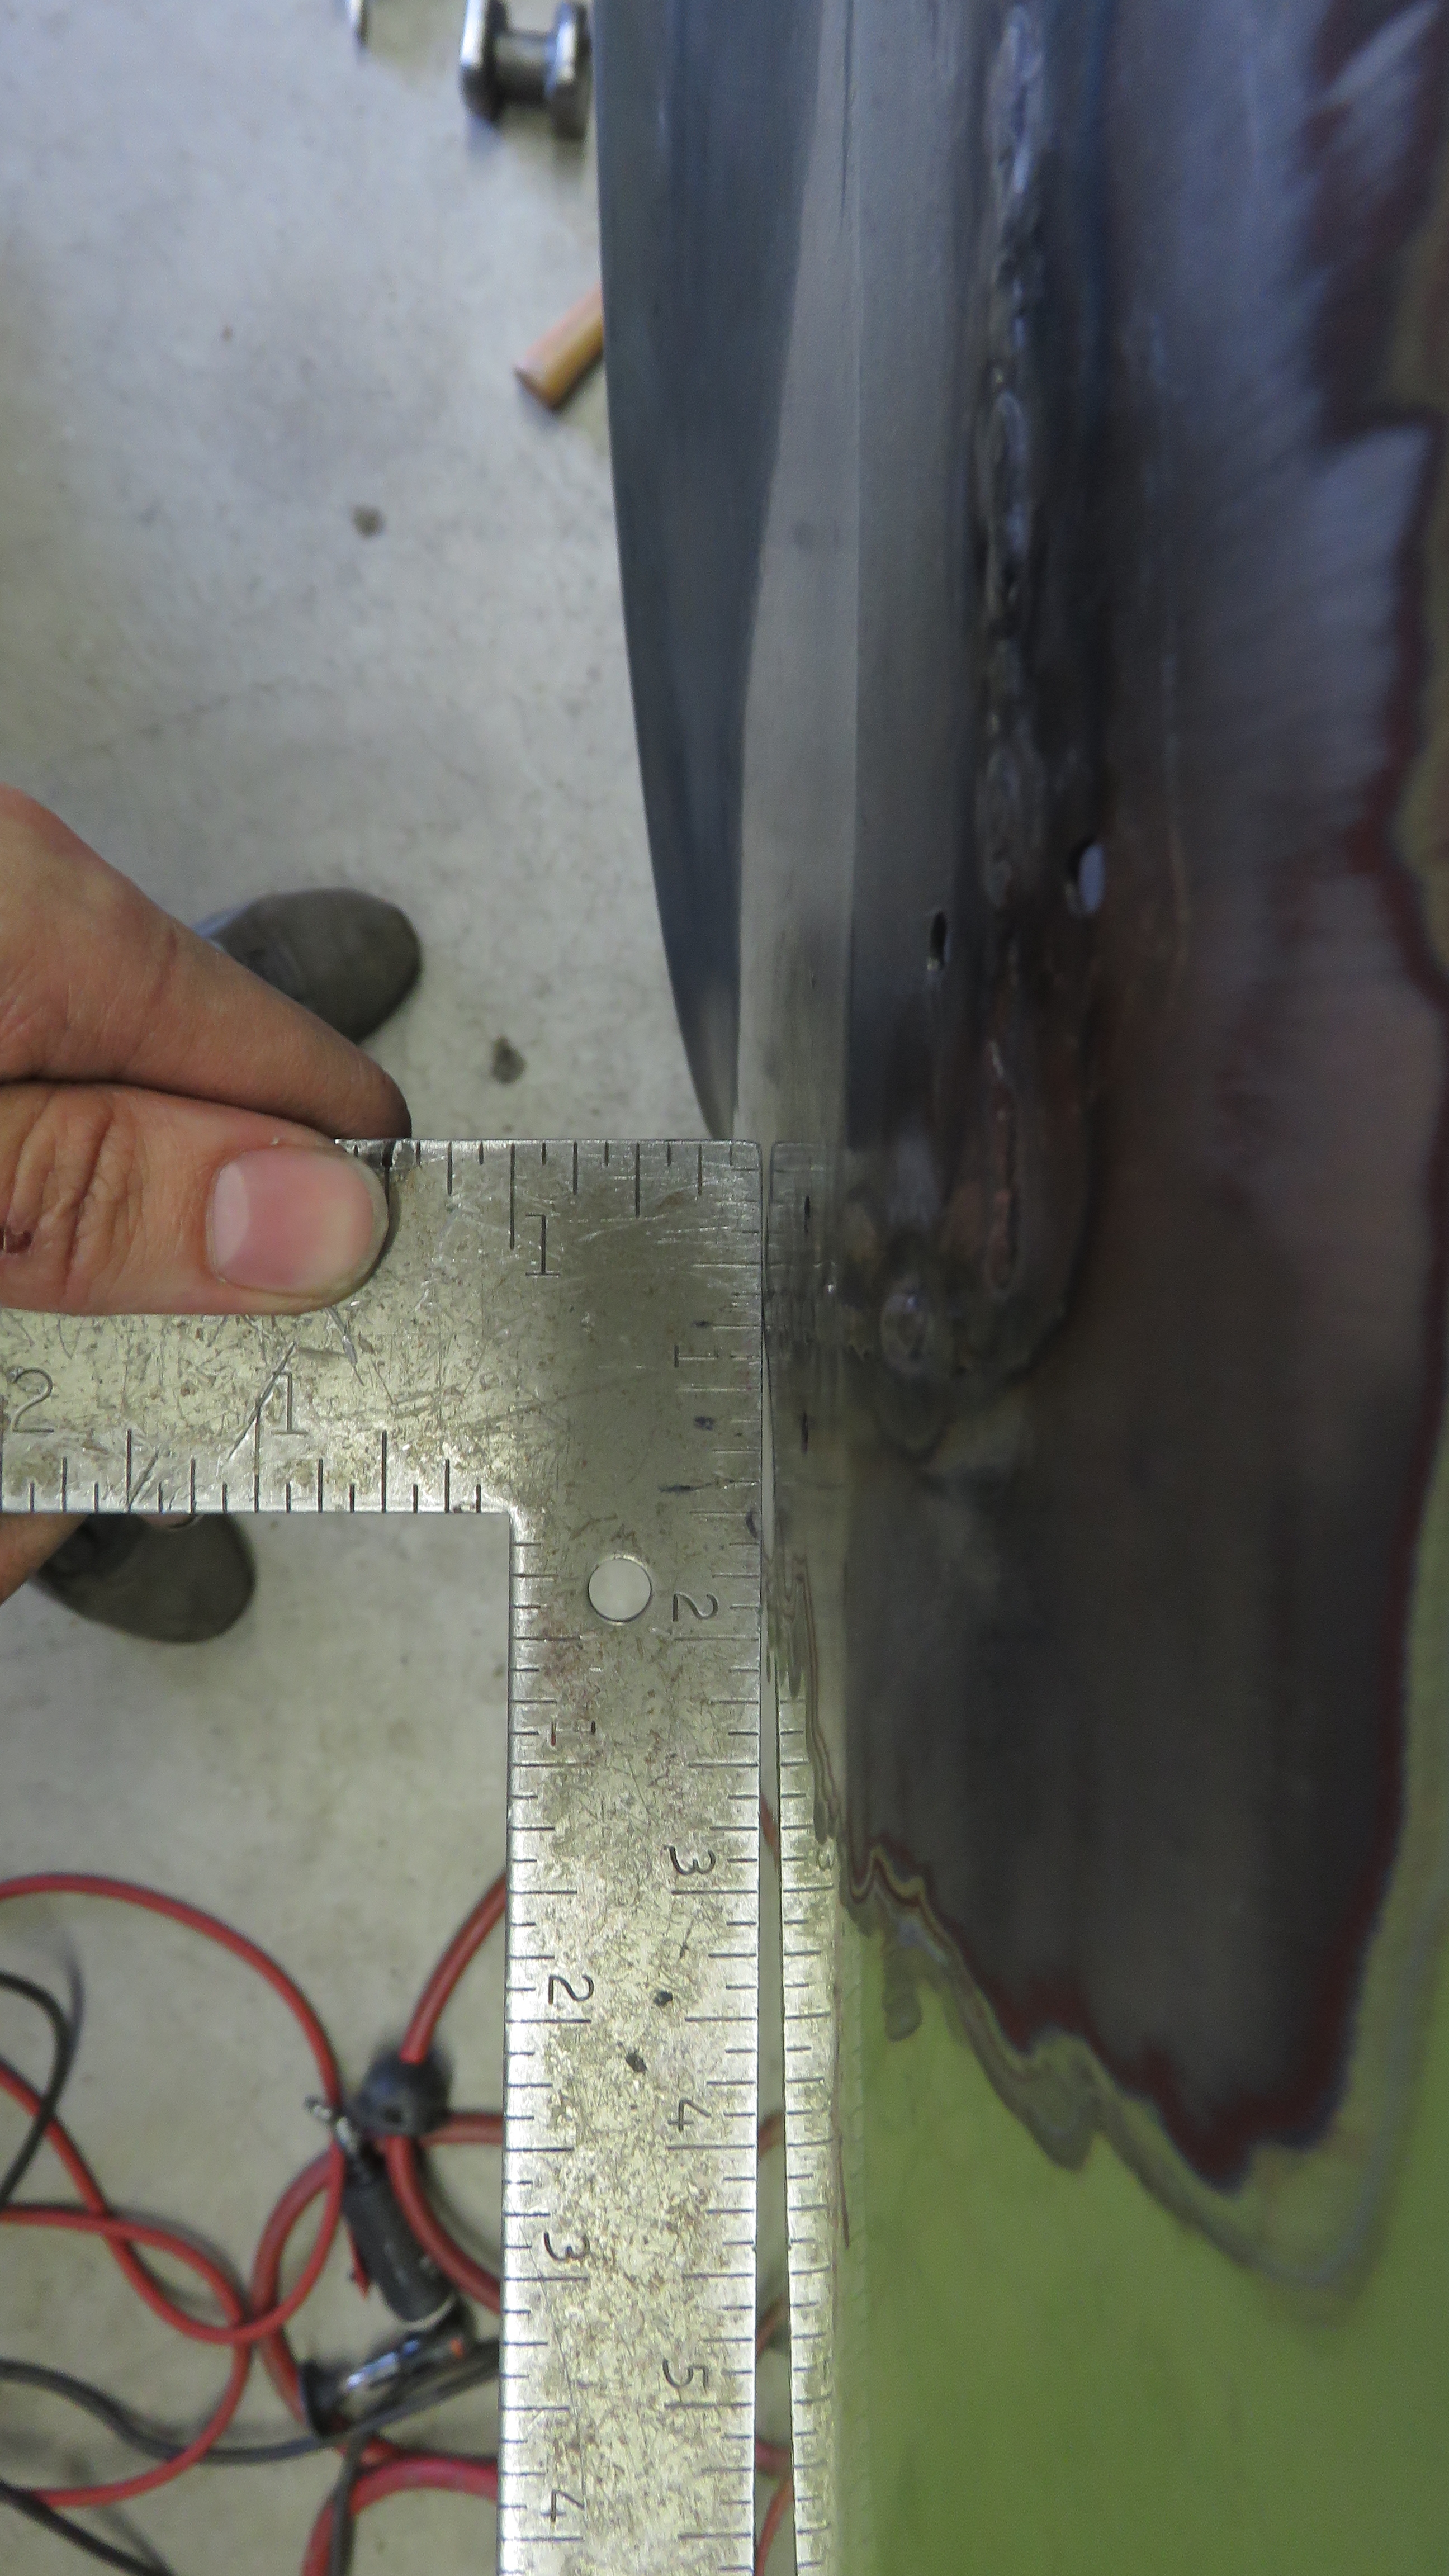
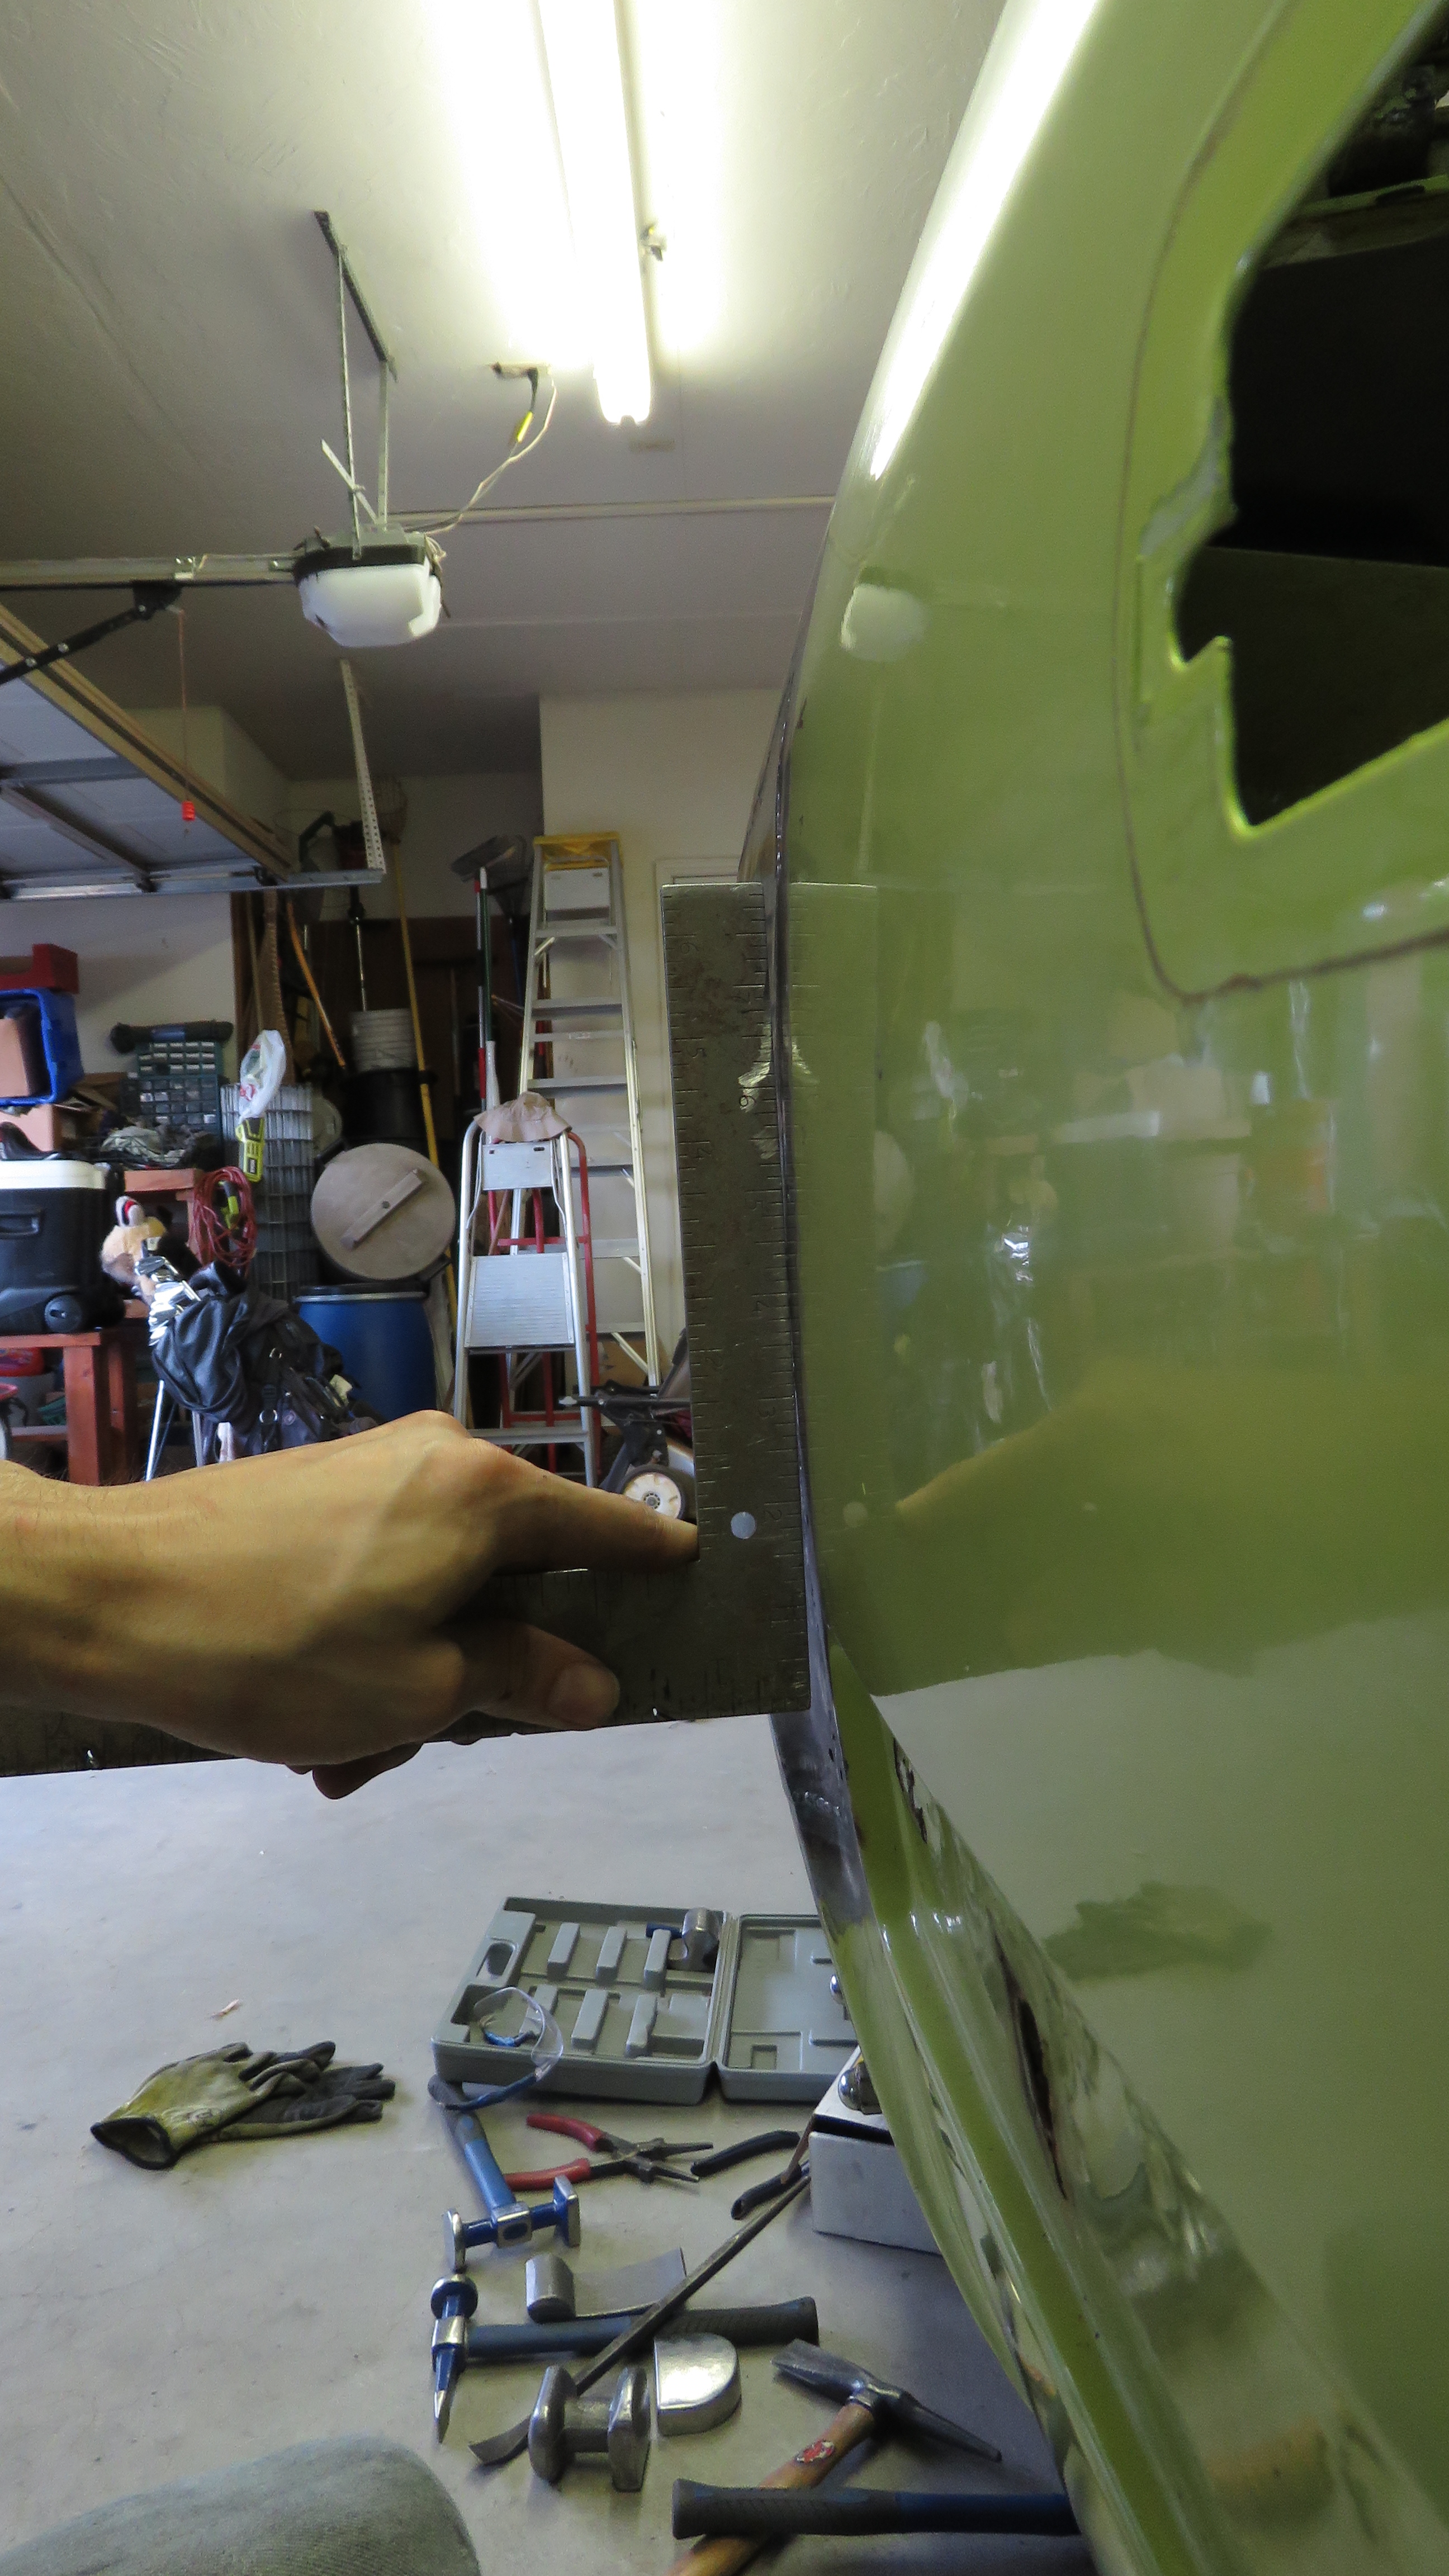
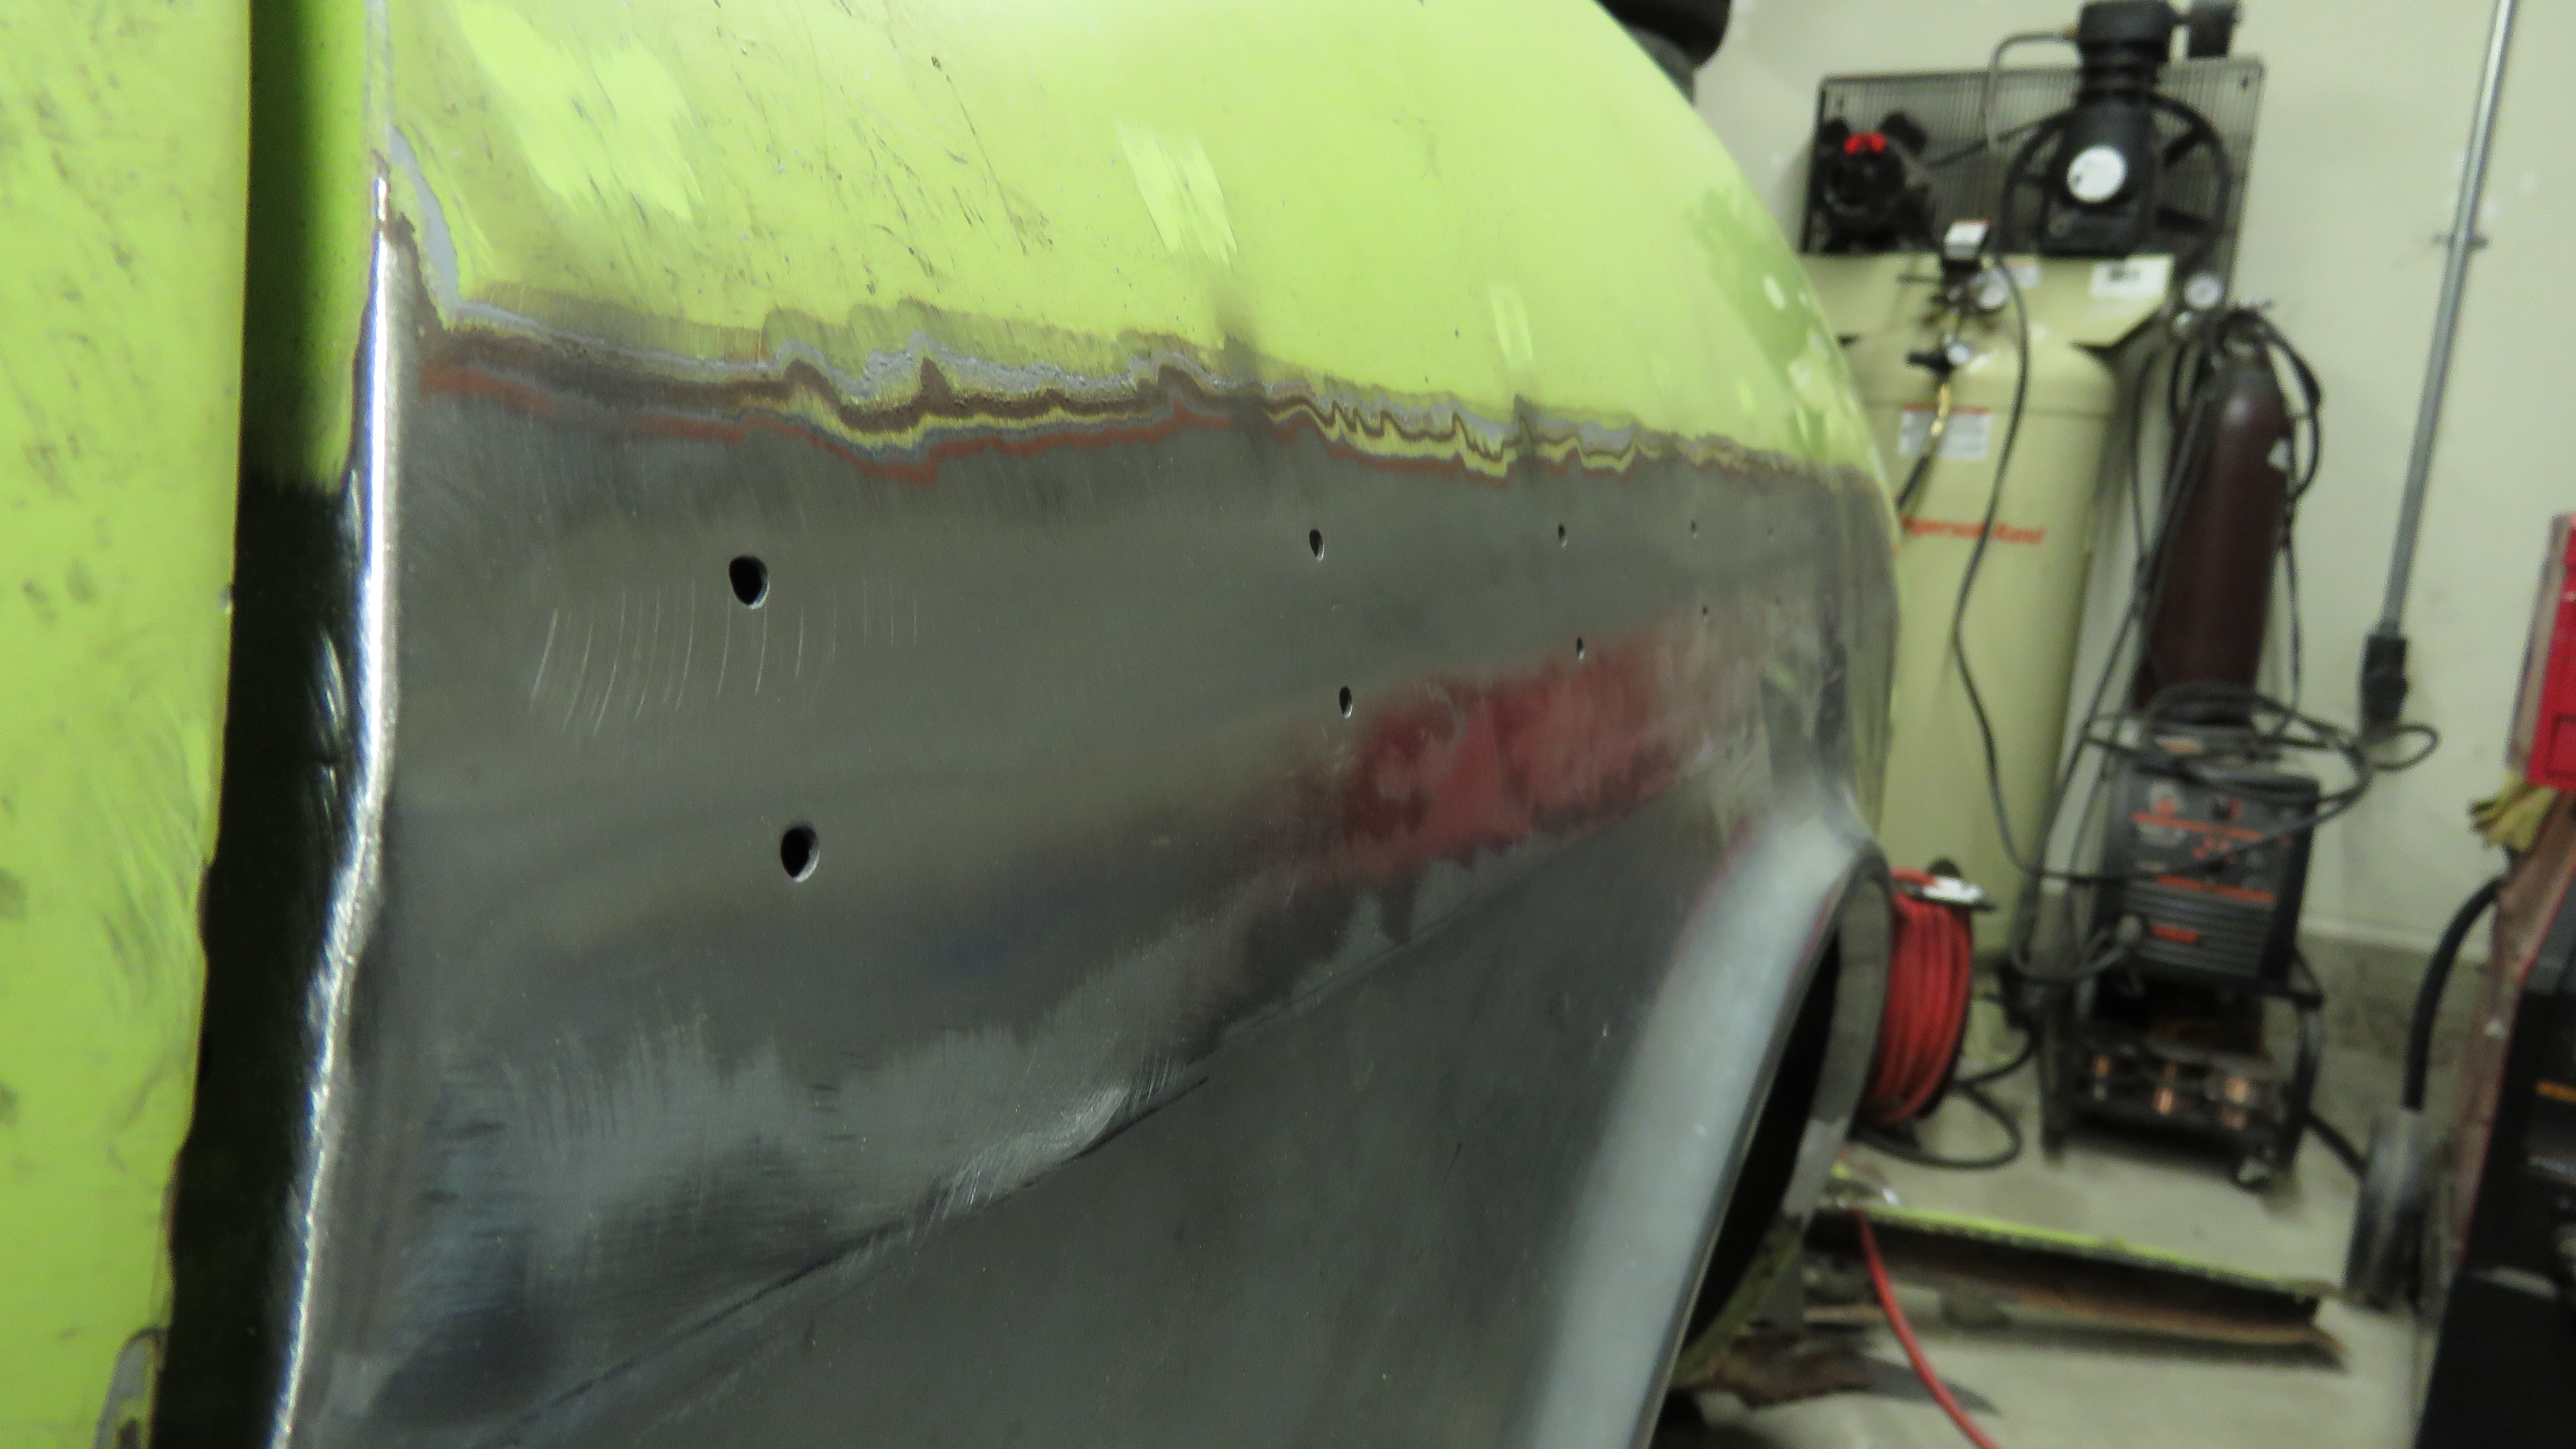
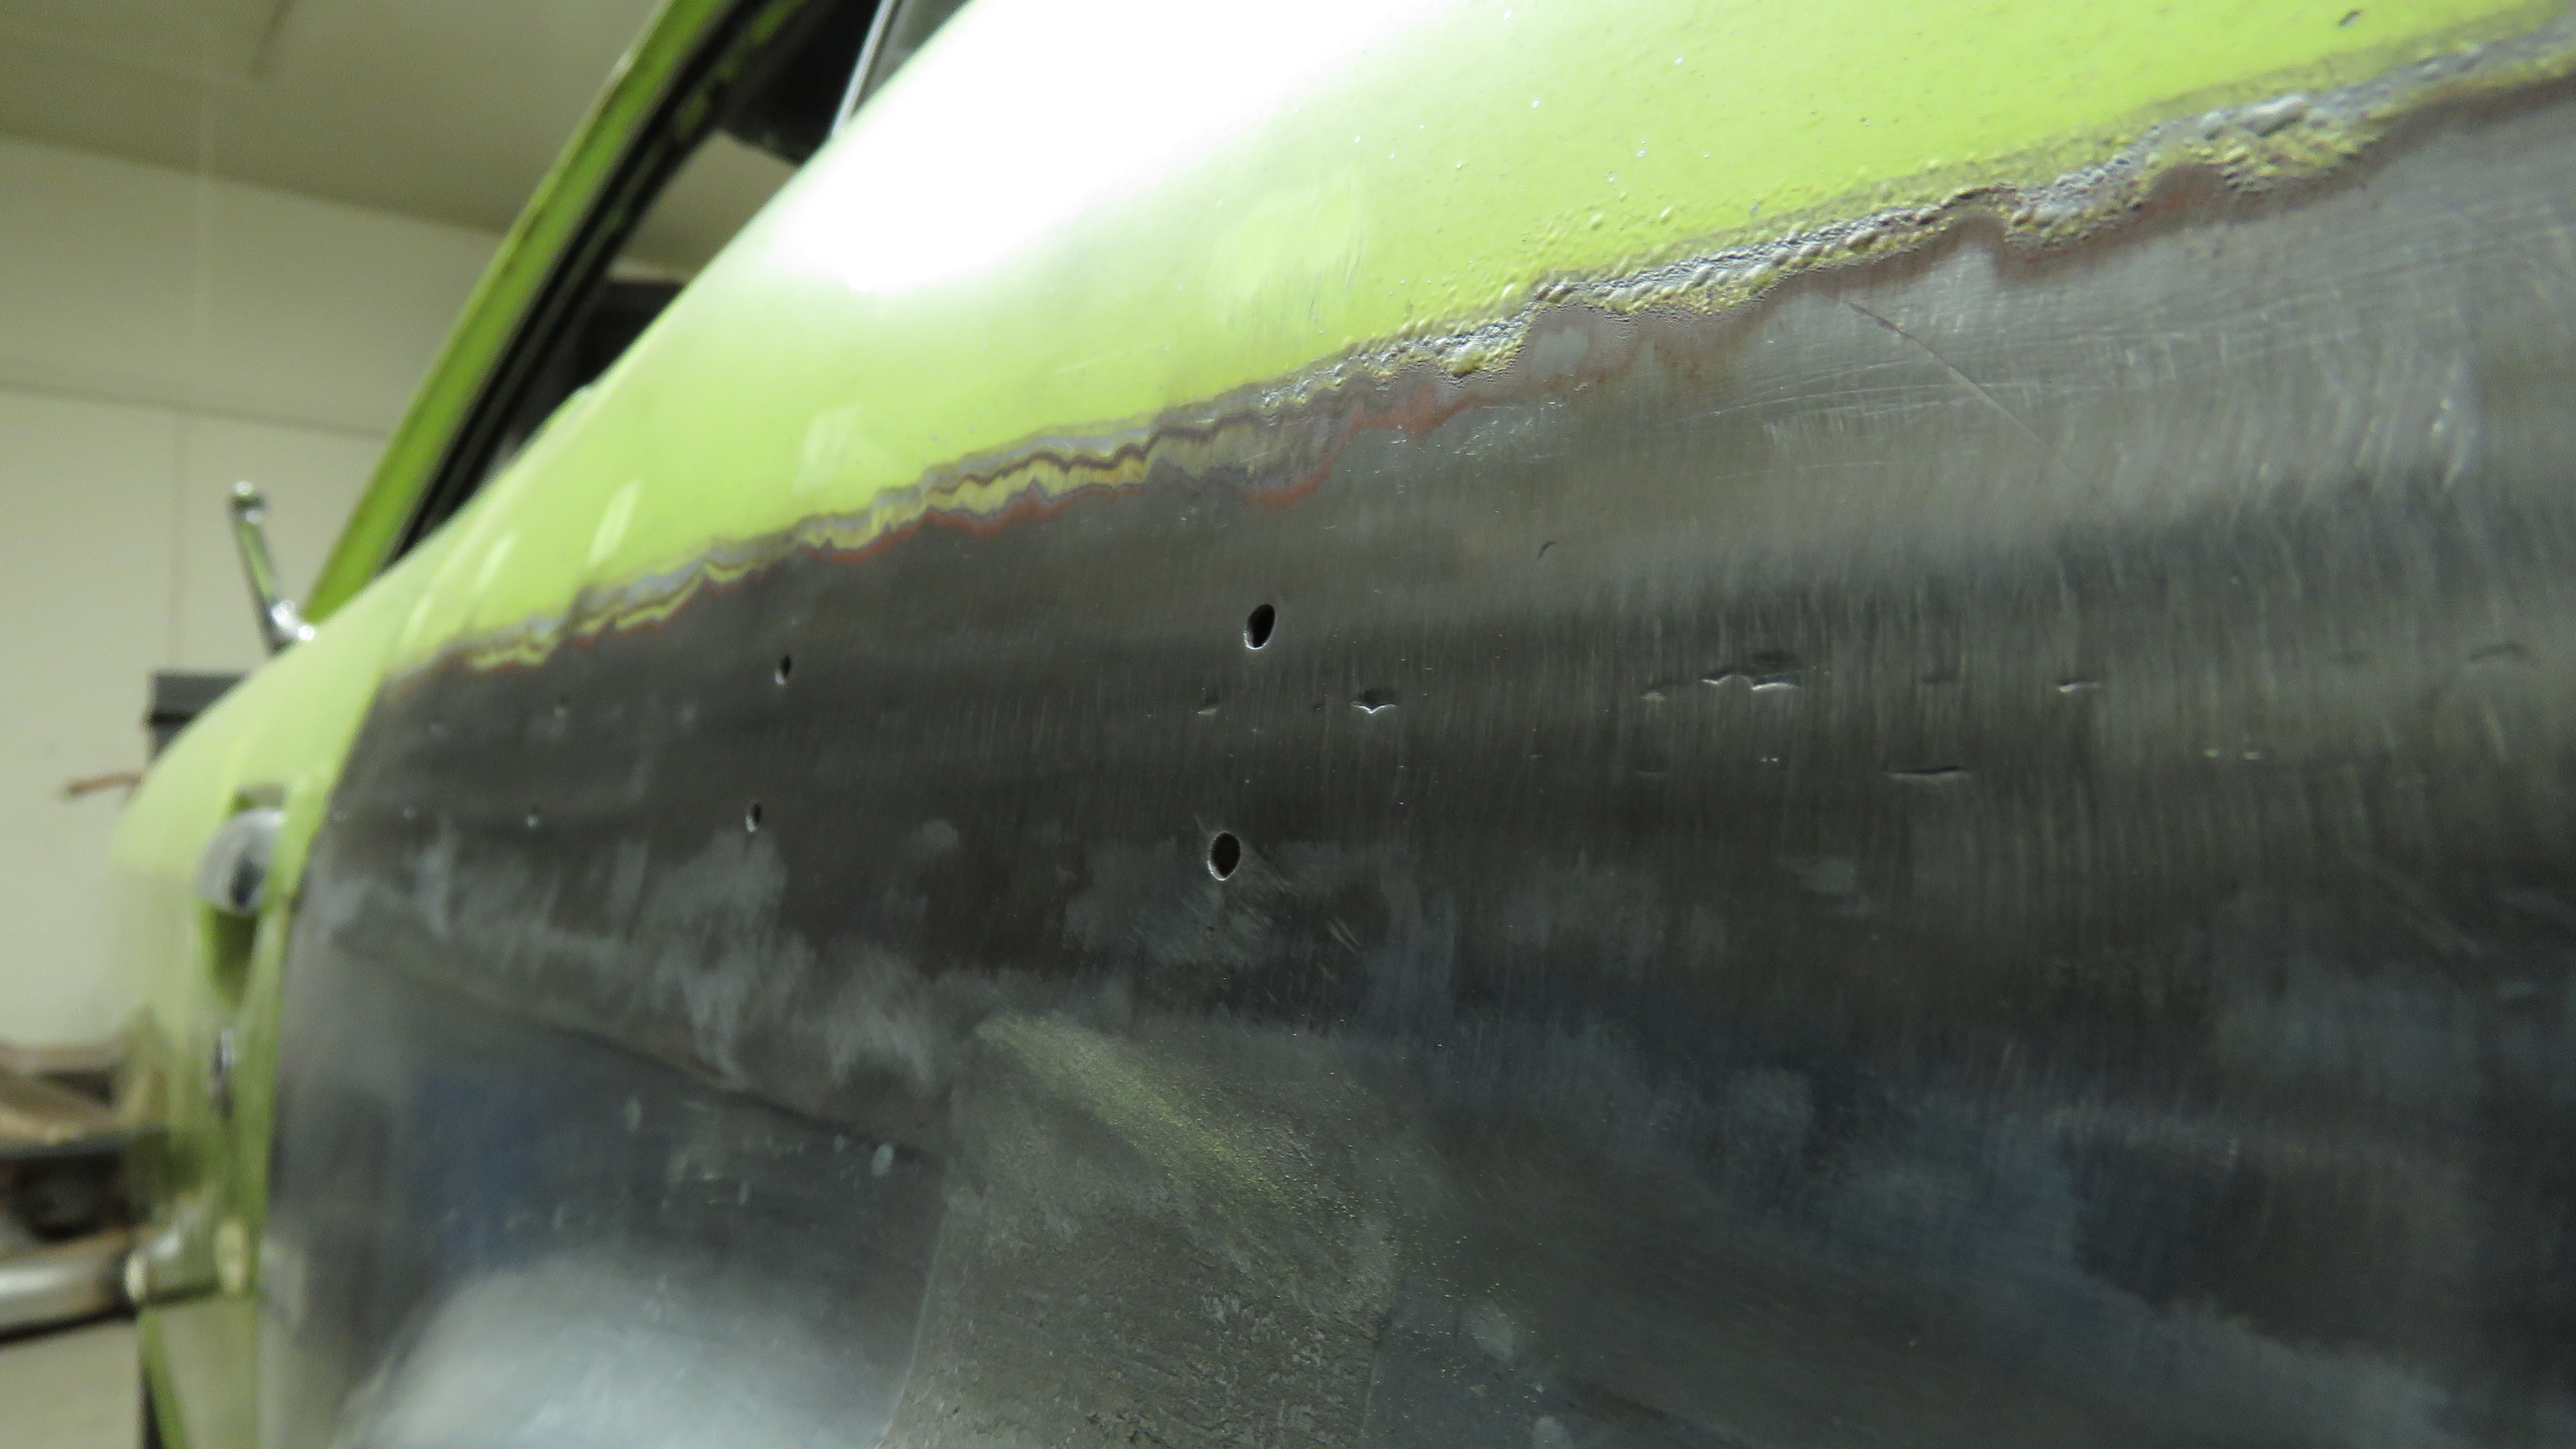
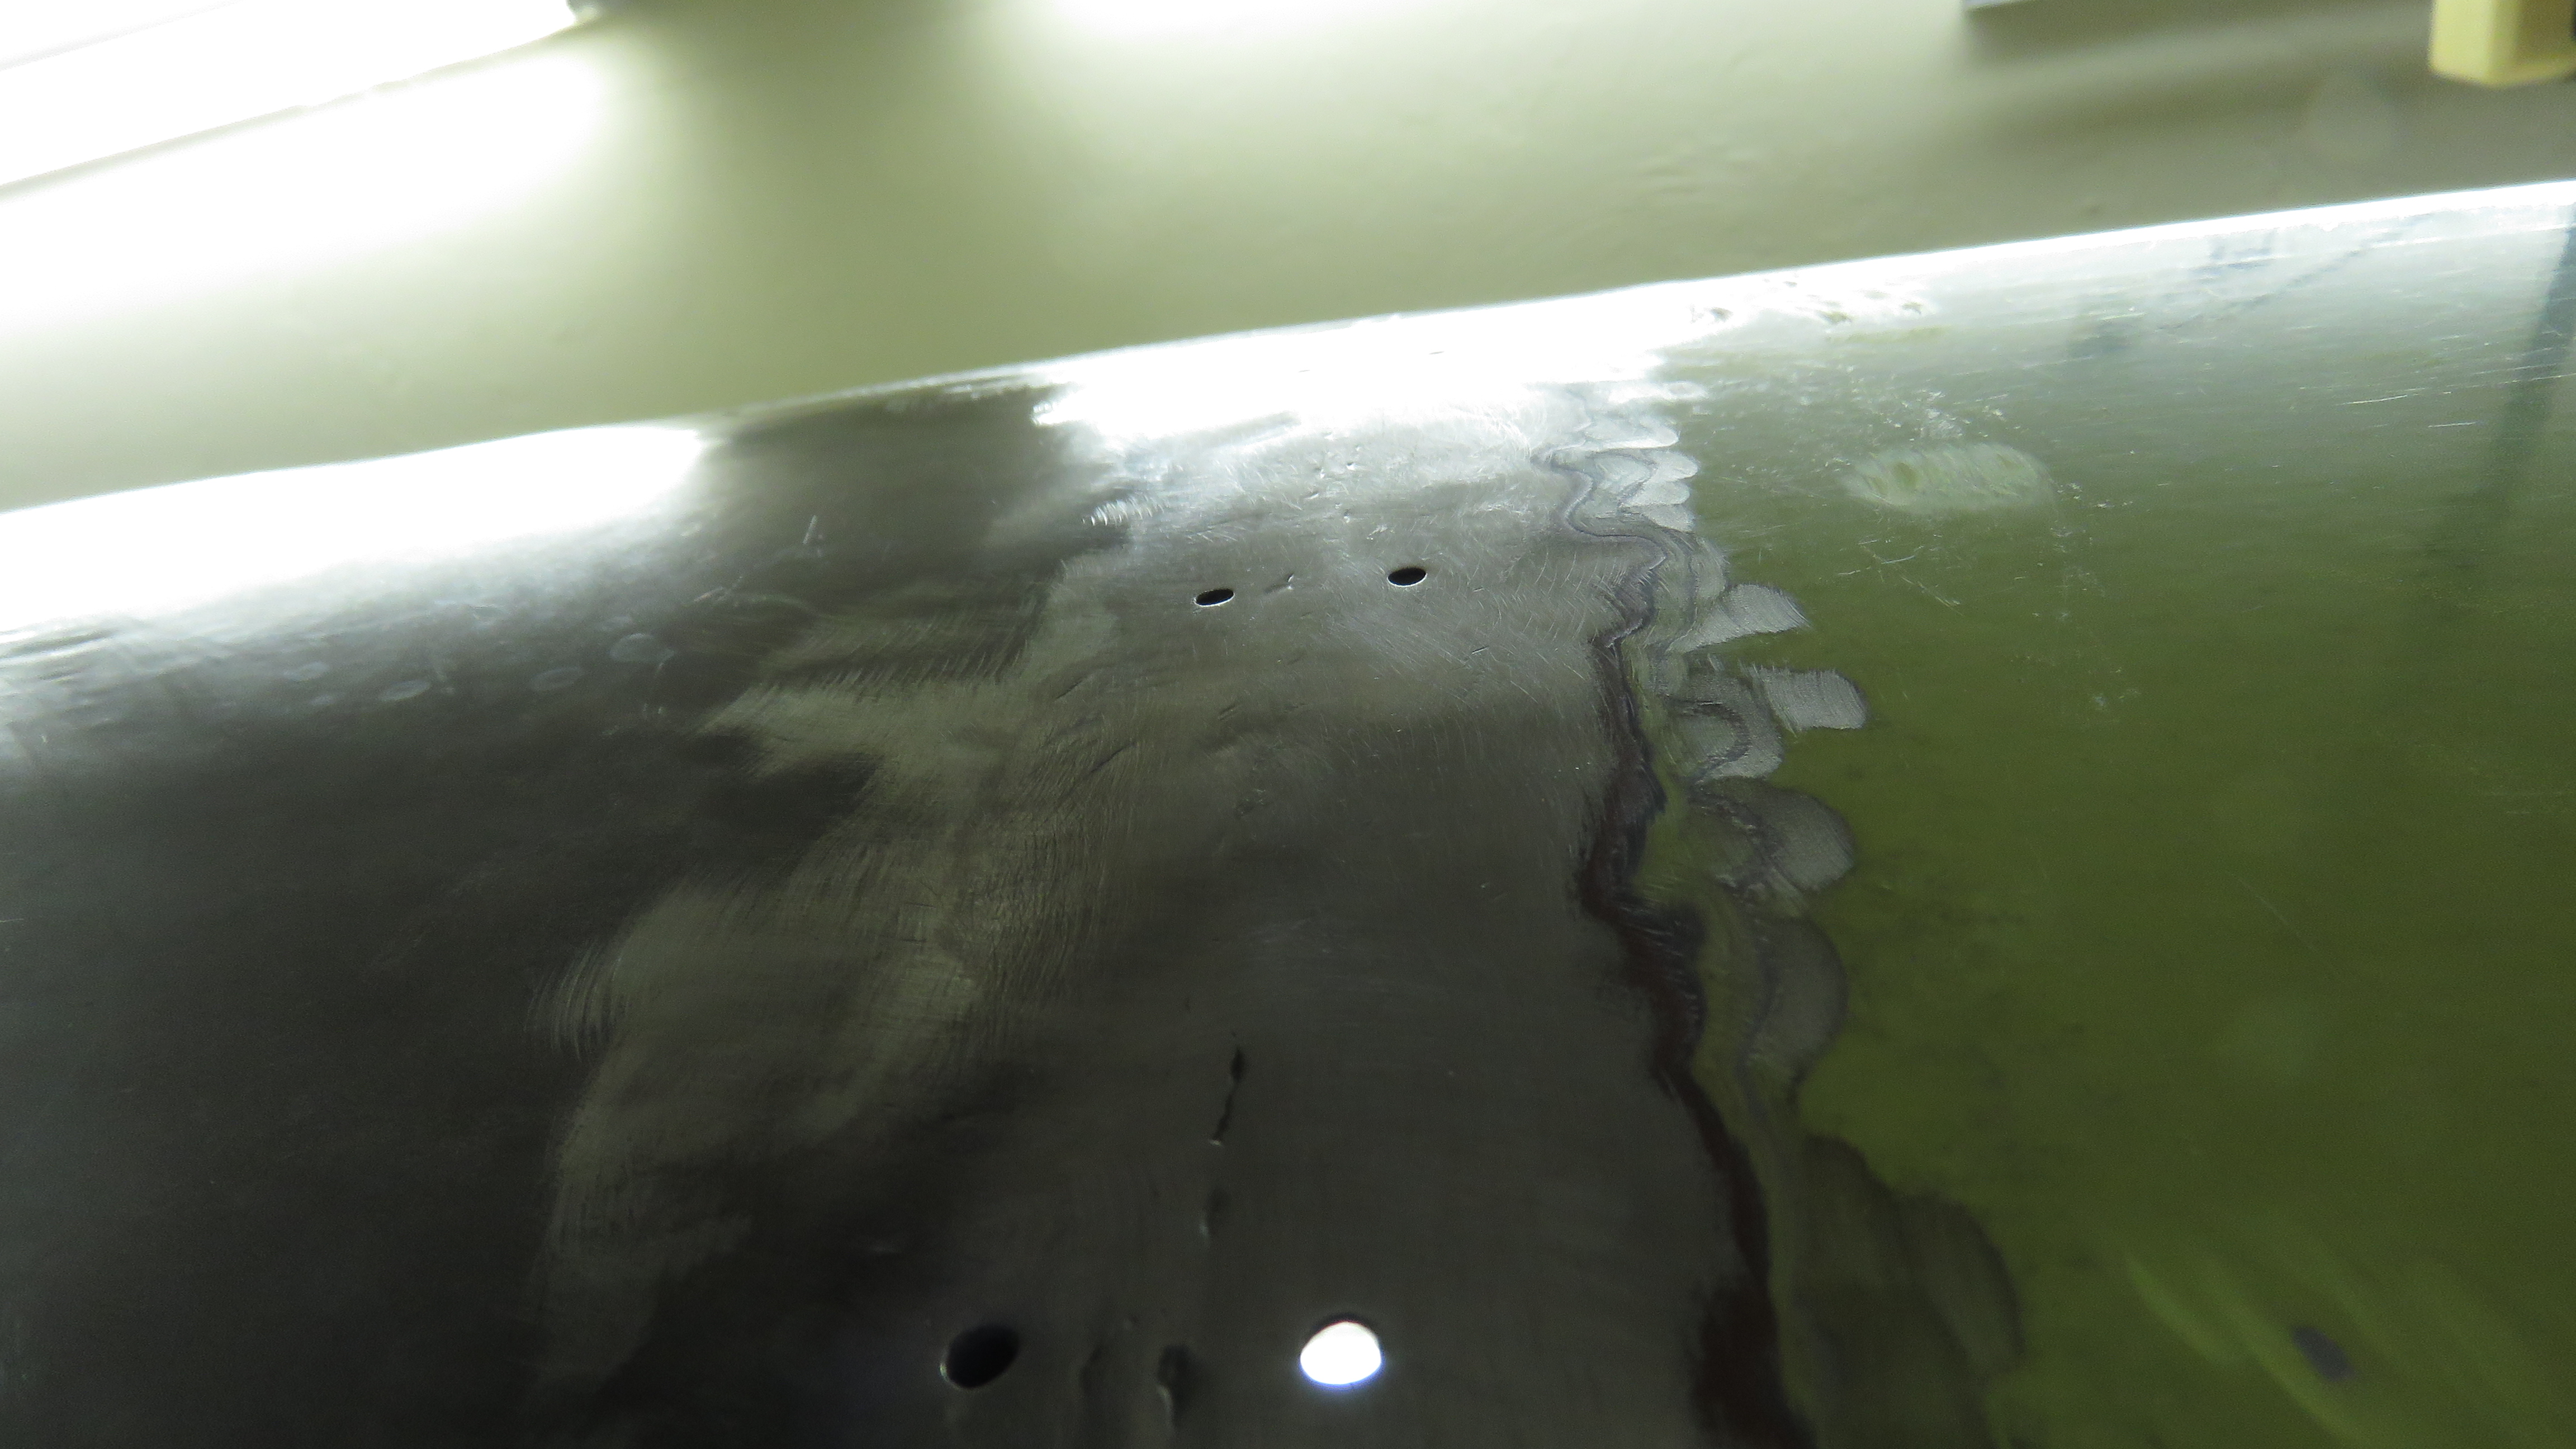
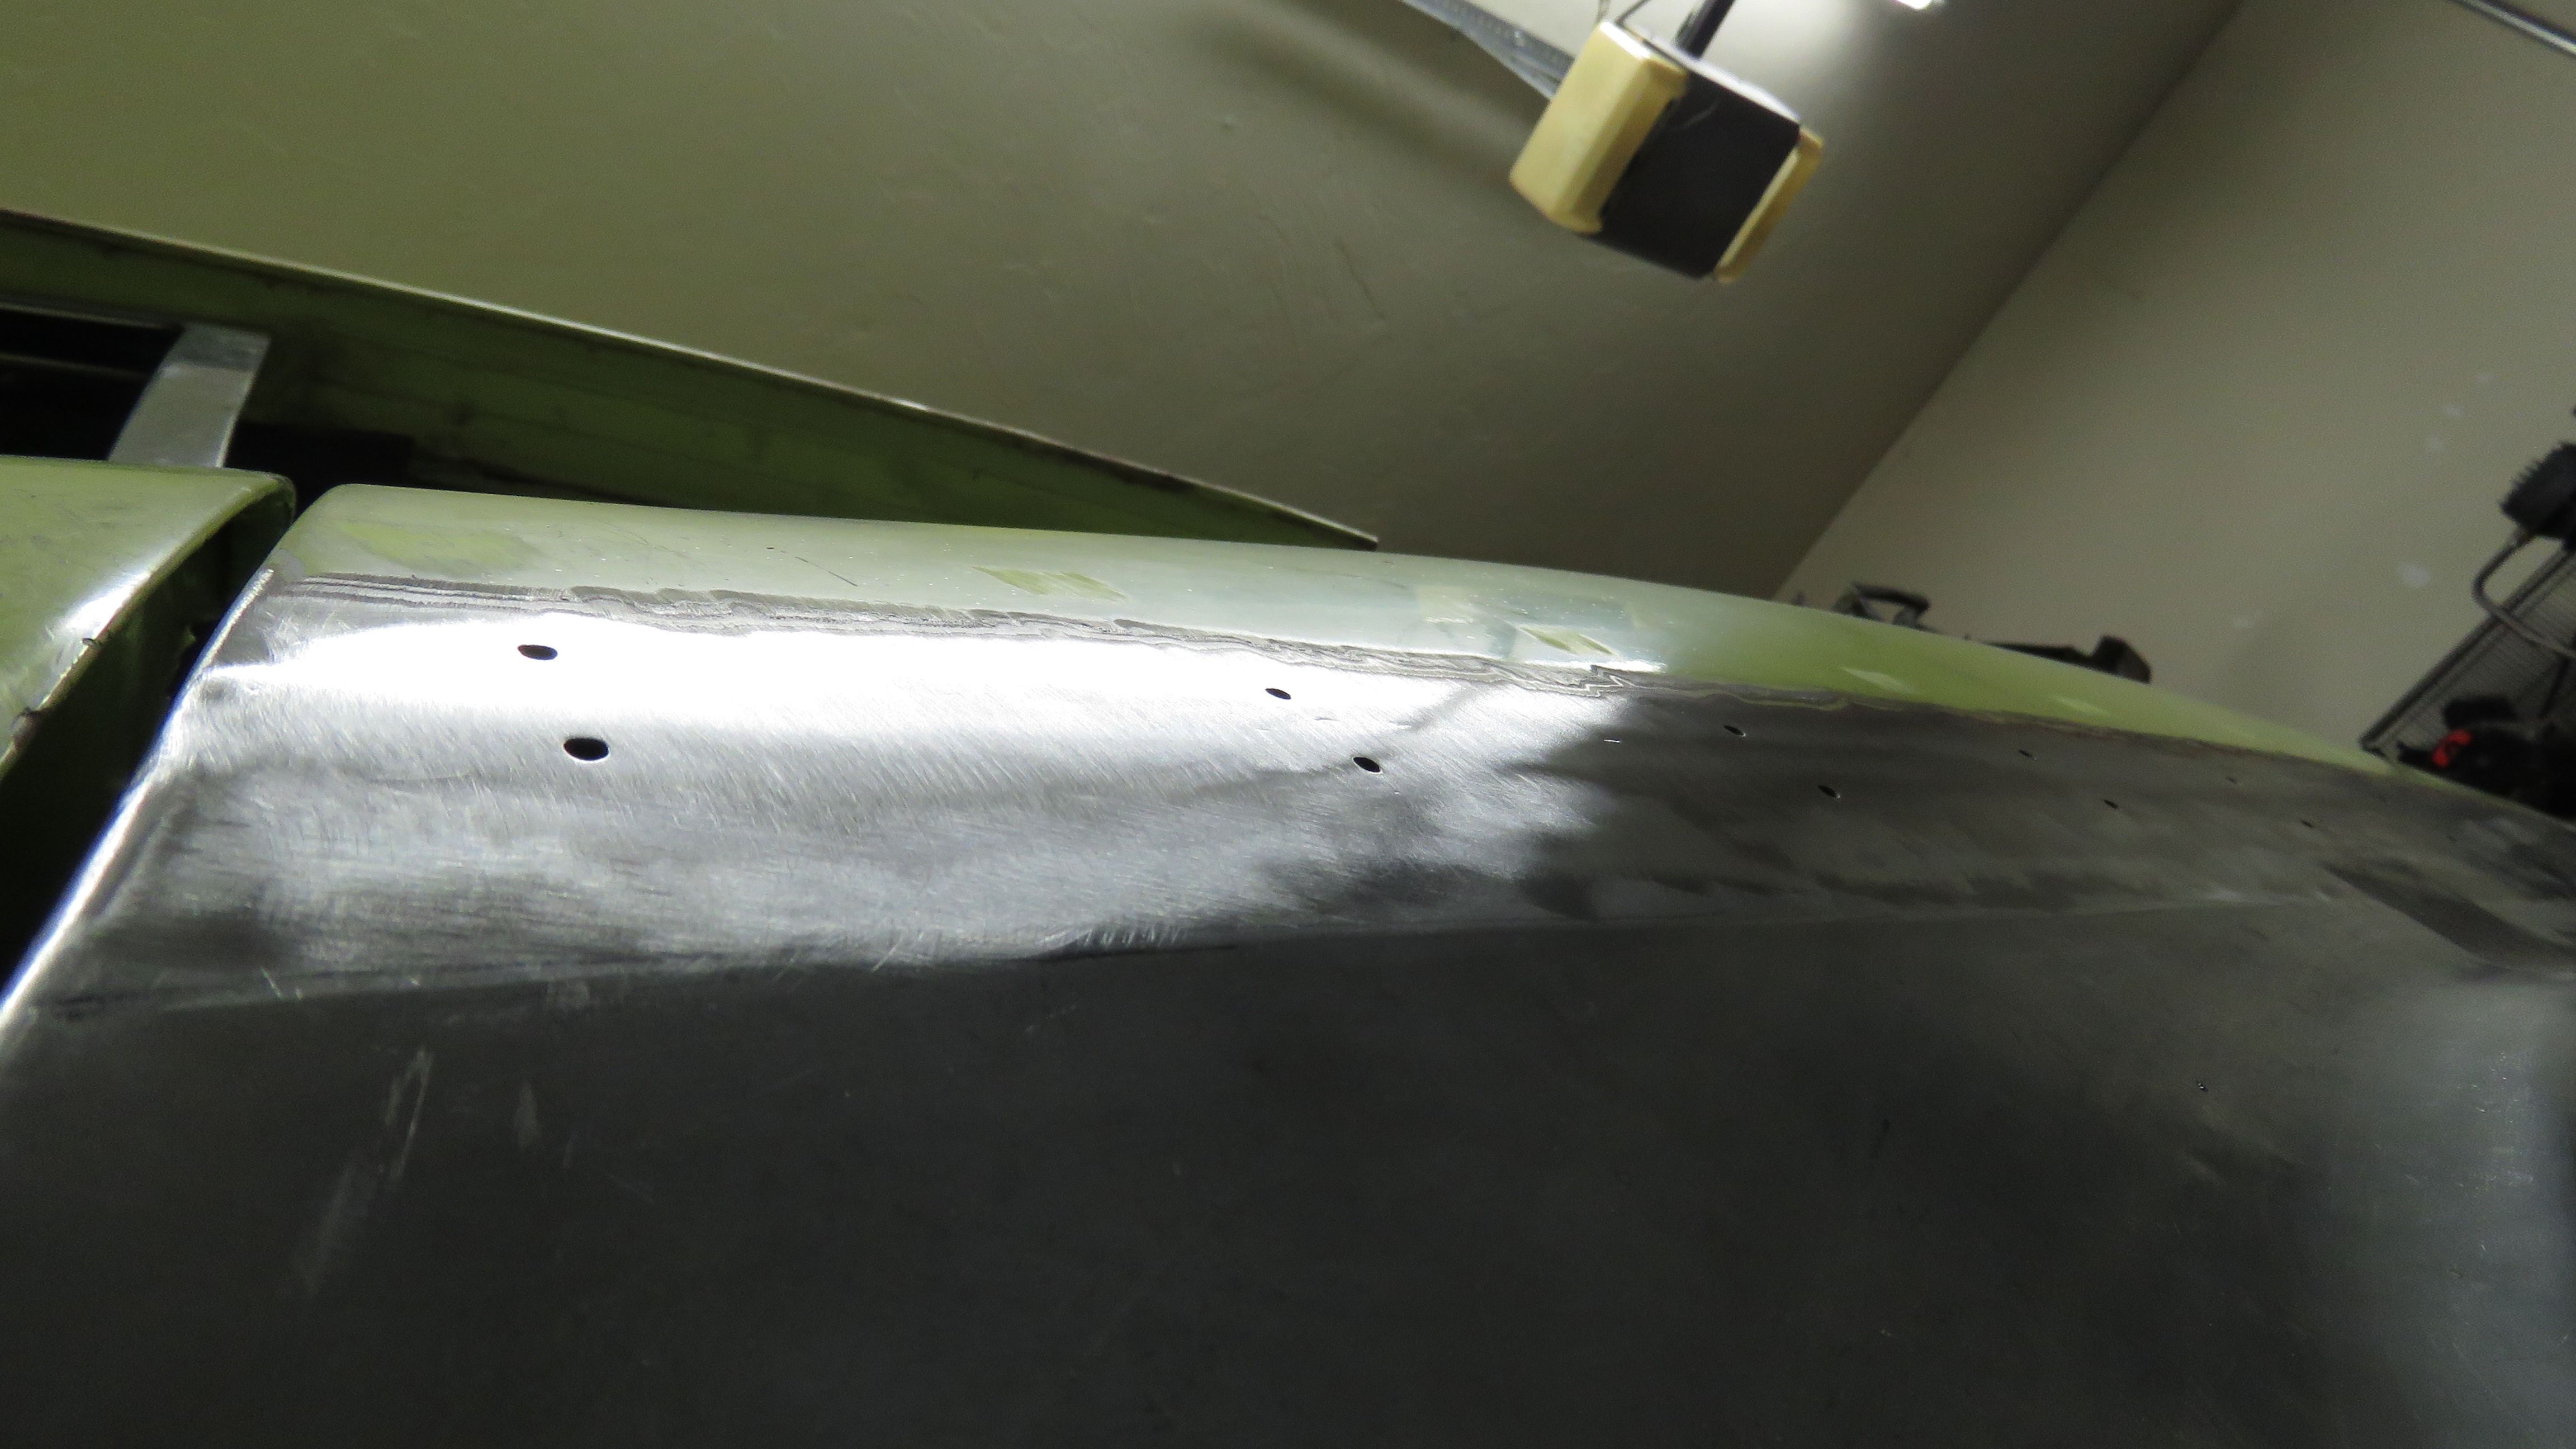
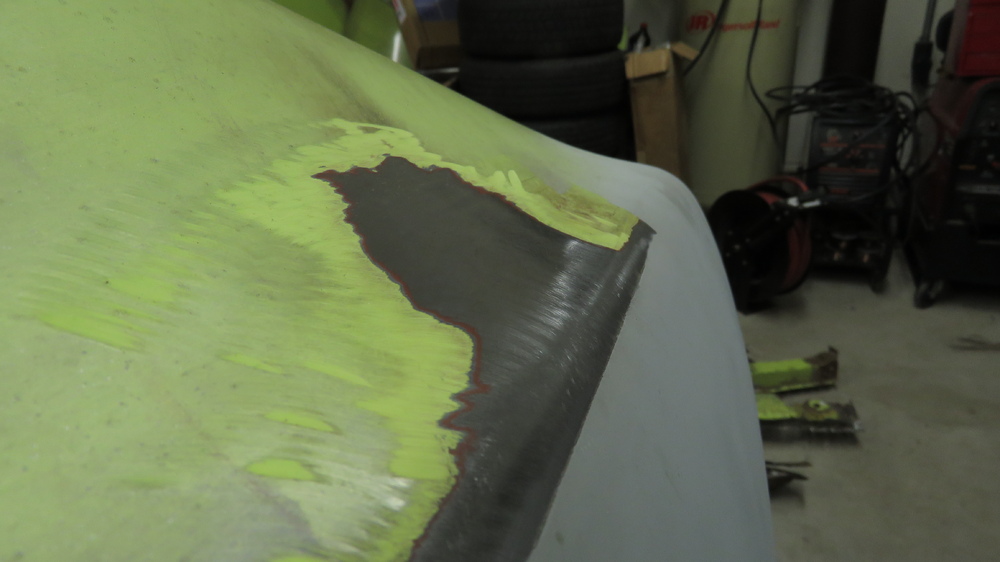
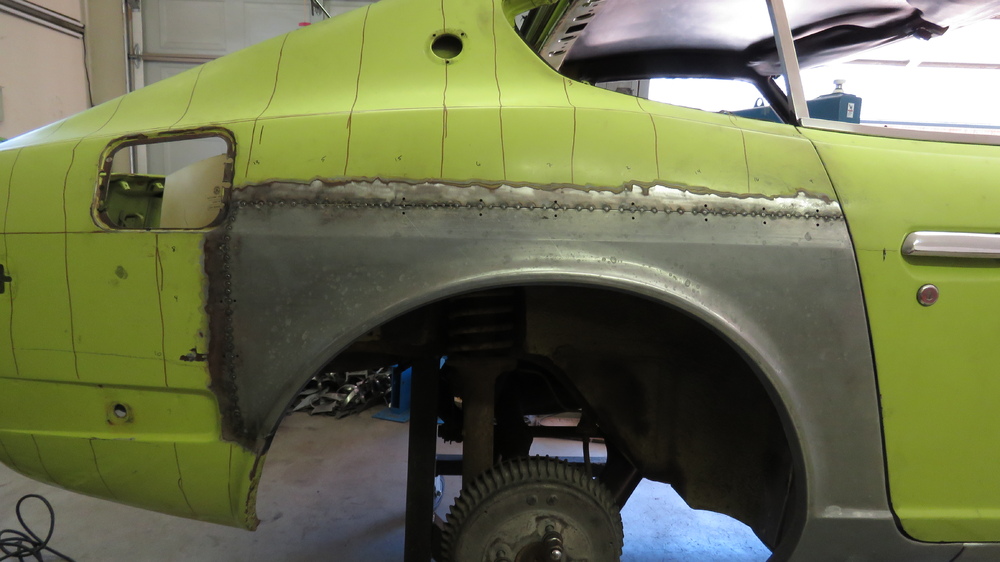
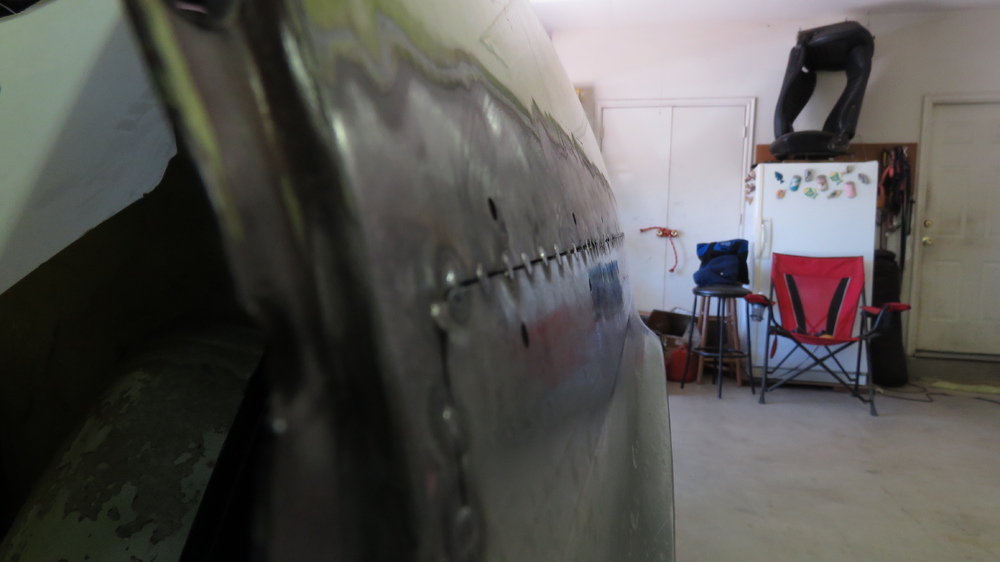
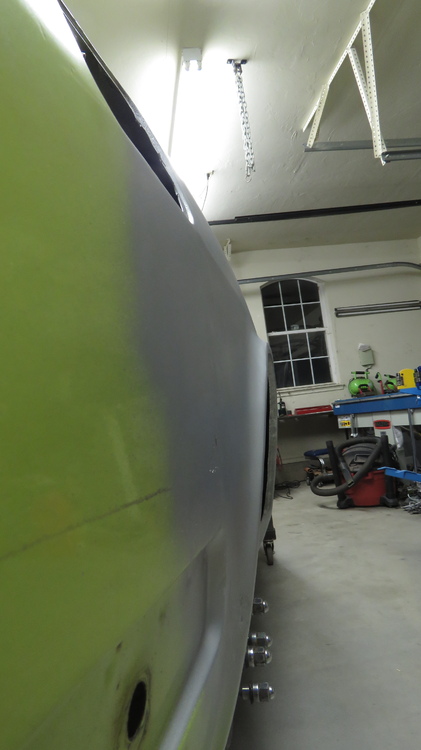
At last, both rear panels welded in. Bout time! Did the passenger side this weekend. Pretty much the same process as I did the Drive side, except this time I used a shrinking disc on the Passenger side in some areas to lower the high spots, still has some wavy in it but not as bad as the driver side. I took a crap load of pictures from all angles for you guys to see based on the lighting. Some far and some close shots. The really close shots, you will see how uneven and wavy the welding zone is. I probably can get some more waves out with the shrinking disc and hammer and dolly the welds in some areas, but on a car like this, I am satisfied, not excited, but pleased enough to move on. Just take what I did and learn from it for the next project. I still need to work on my welding, as in laying the weld bead. Still trying to get the welding part figured out. Having gaps in the fitment doesnt help, so getting the fitment right may help me out more. Also I think I am still laying to much filler in the weld, though with good Butt Fitment, I wouldnt need much filler, which goes back to having good fitment from the start. Also on my list to buy are Body Filers to shave down the welds, like block sanding bondo. Starting to think now the angle sanding grinder I have is a no no if I want to achieve the invisible weld/smooth transitions, hehe. Another thing is the base metal seems to cave in on its self at the toe/edge of the weld. I am gonna have to work on how to eliminate that aswell. Its not under cut if thats what your thinking. I may have to play around with the pulser feature on my welder, could be I am spending too much time in the act of welding which means too much heat that is not needed. Also I wish I had done a better job on the profile of the crease. The dies I used were to sharp, needed a little bit of a radius to better match the original crease profile. Enjoy! Well Now its time to get the rear side markers shaved and the gas door shaved. Then get the flares mounted, panels trimmed and inner fender well made. Just never ends... Stay Tuned!


-
Thanks Patcon. For those of you that want a more in depth look at finishing your welds on sheet metal, jhnarial over on weldingweb form has a quick little write up. Kind of an old thread, but its similar to what I do. http://weldingweb.com/showthread.php?61786-Metal-finishing-your-welds As he mentioned in his thread, it really is a pain staking process to get a seamless invisible weld in the end. If I had spent more time getting my fitment better, then maybe my weld/seam would blend in a lot better in some areas, then again this Z is no show car, hehe. However great practice in case you do weld on aluminum sheet and want to polish finish it, or even on chromed parts.
-
Thanks, hope this thread helps you out. I too would love to have a bigger area to work, but as of now limited to the three car garage. For me, the learning process is a pain and a bit frustrating, but once you start getting the hang of things then the fun starts.
-
I know a lot of words to come up with, such as need more practice, could of done that or this, should of done this or that, hehe. Haha, its actually a great car to build up some skills and get practice. Give me a handful more projects and tons of years more experience and maybe ill be ready to tackle on priceless antiques and high end cars.
-
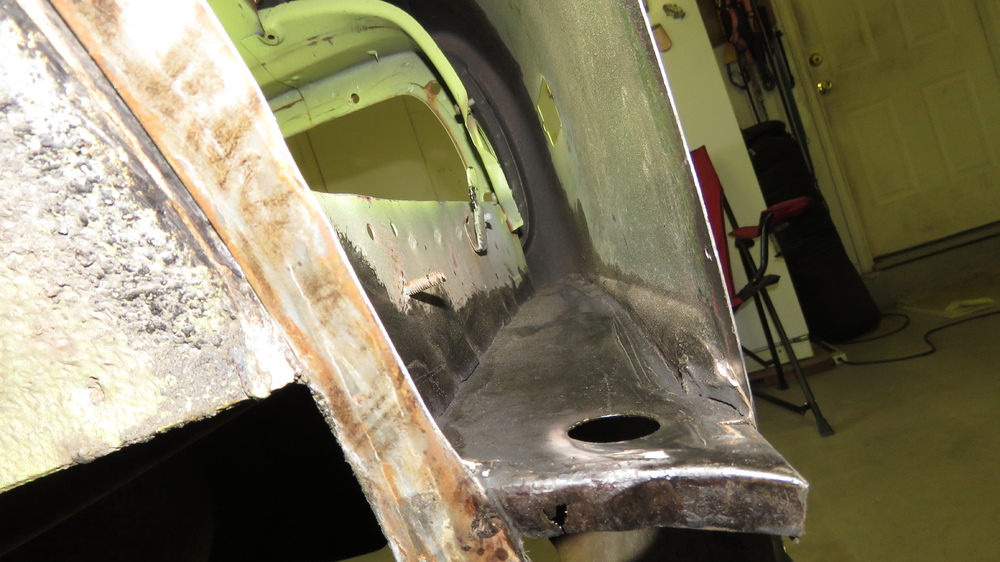
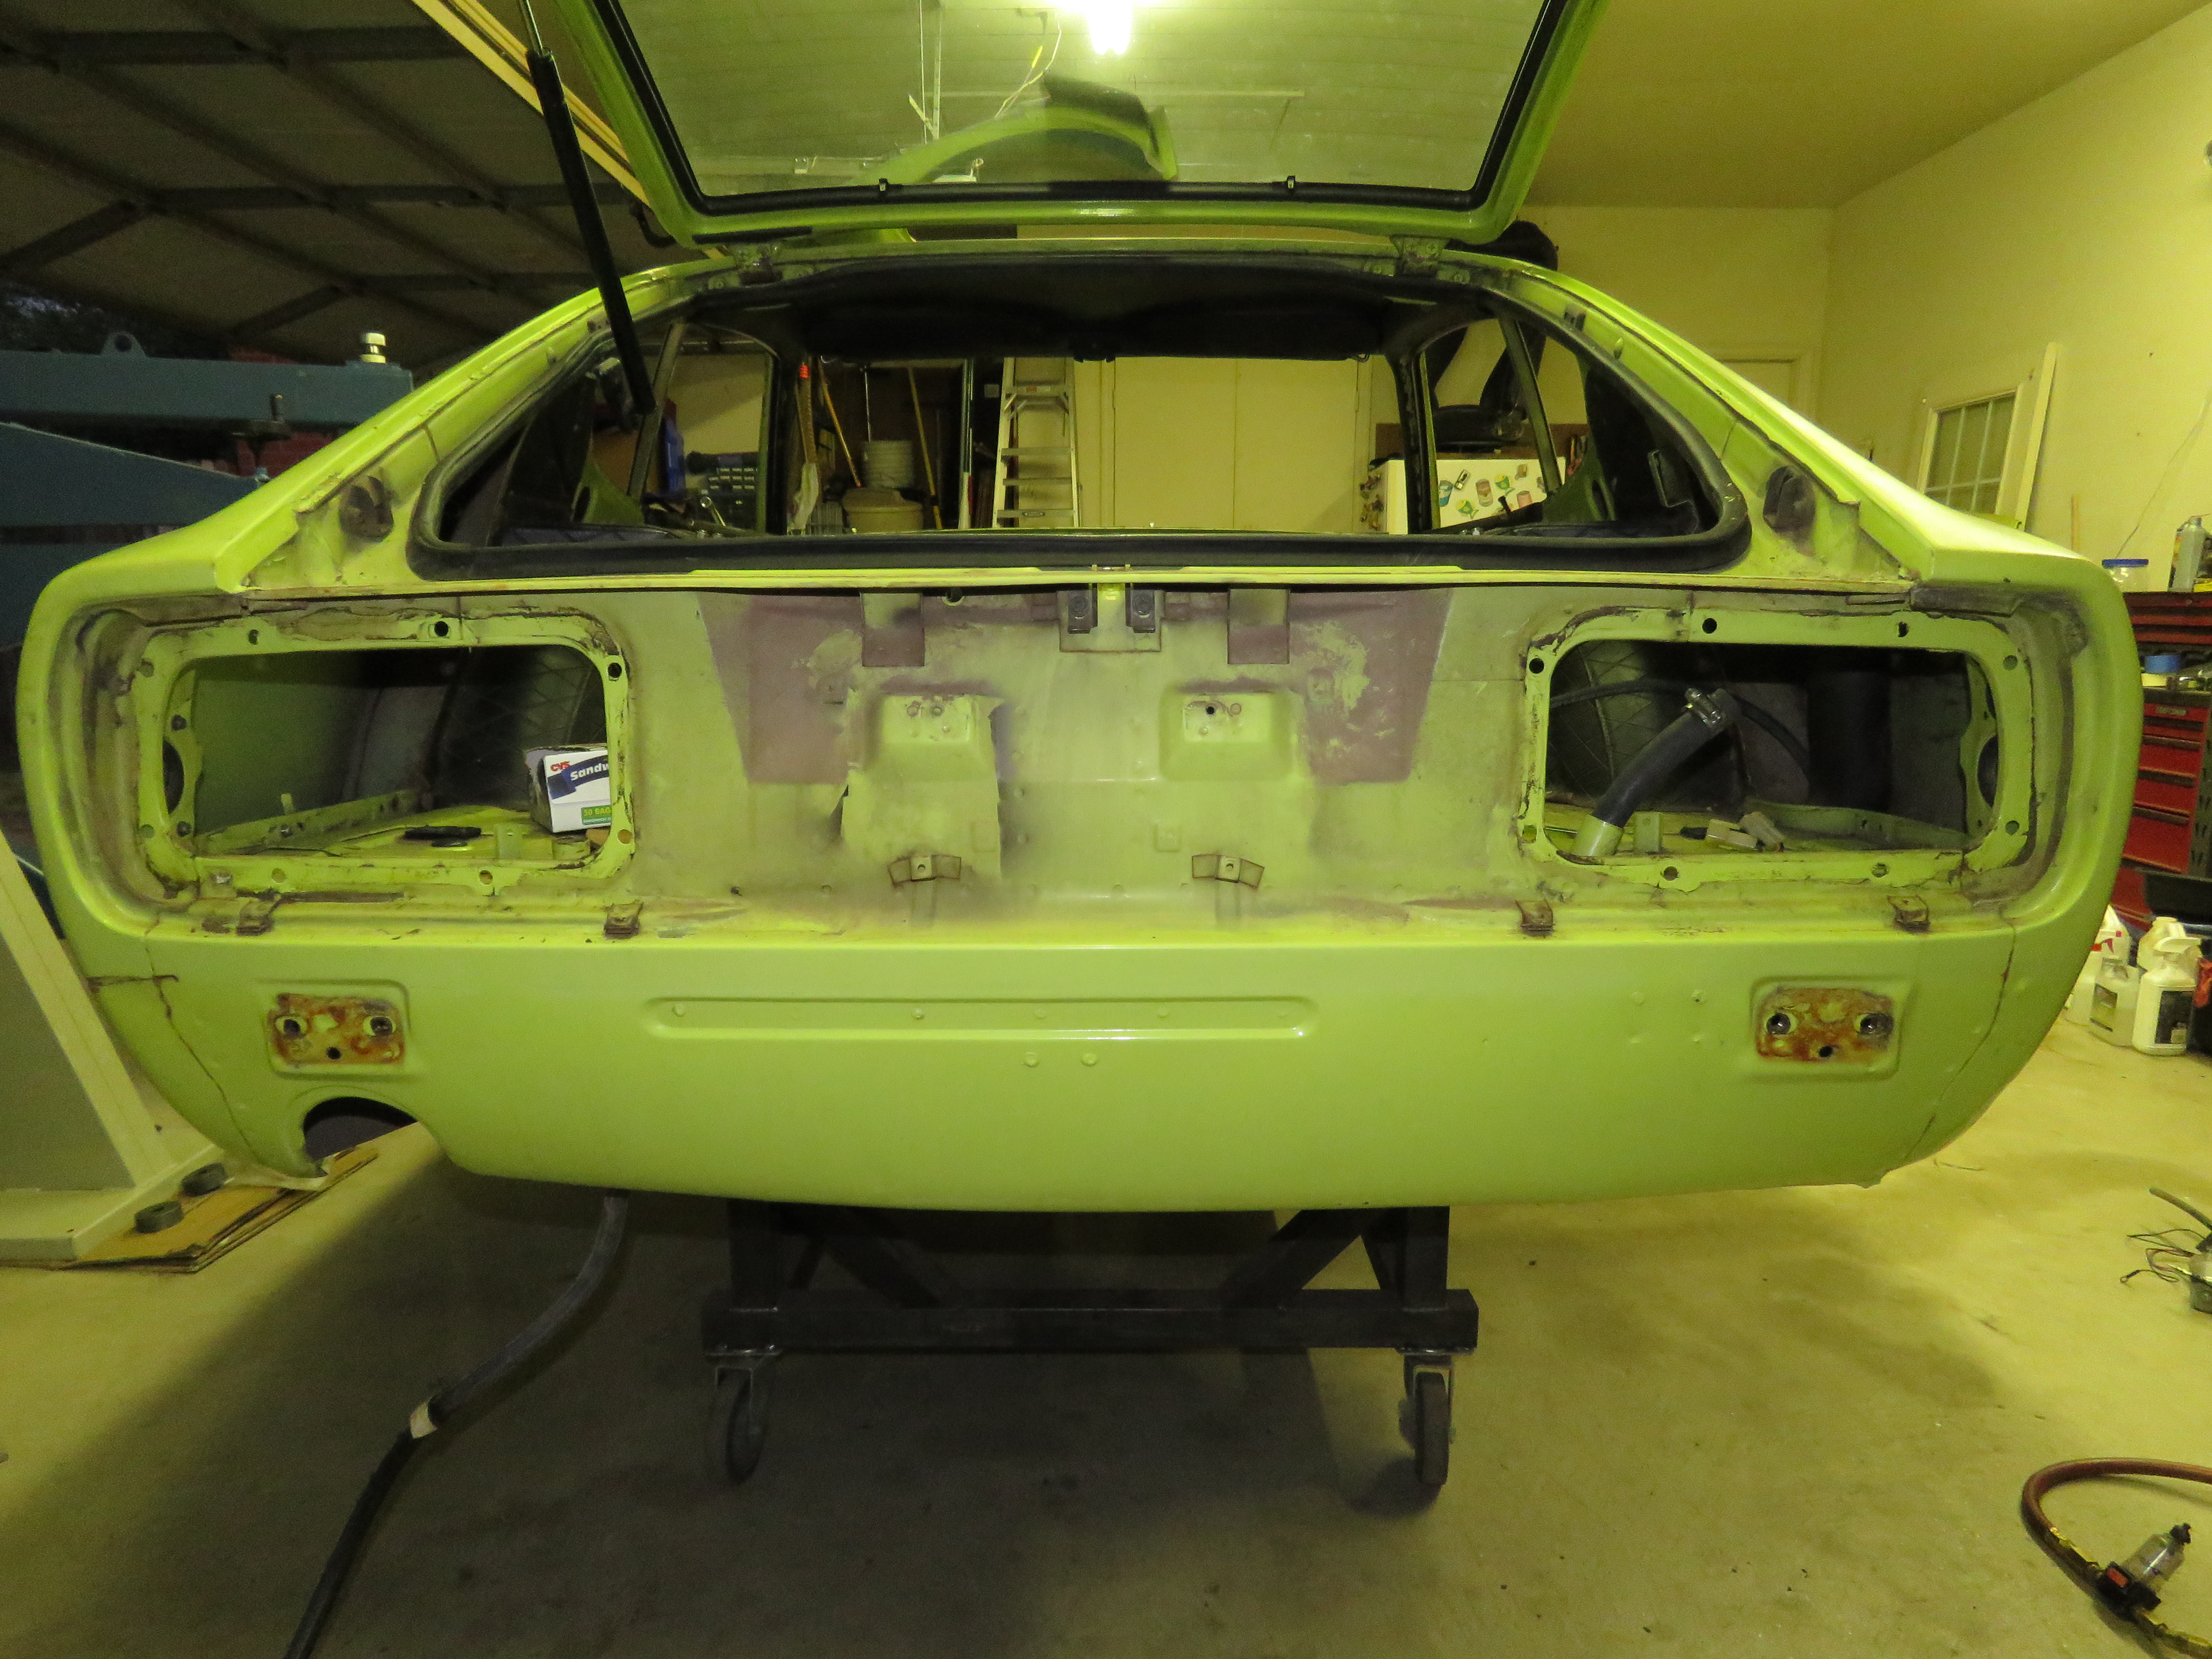
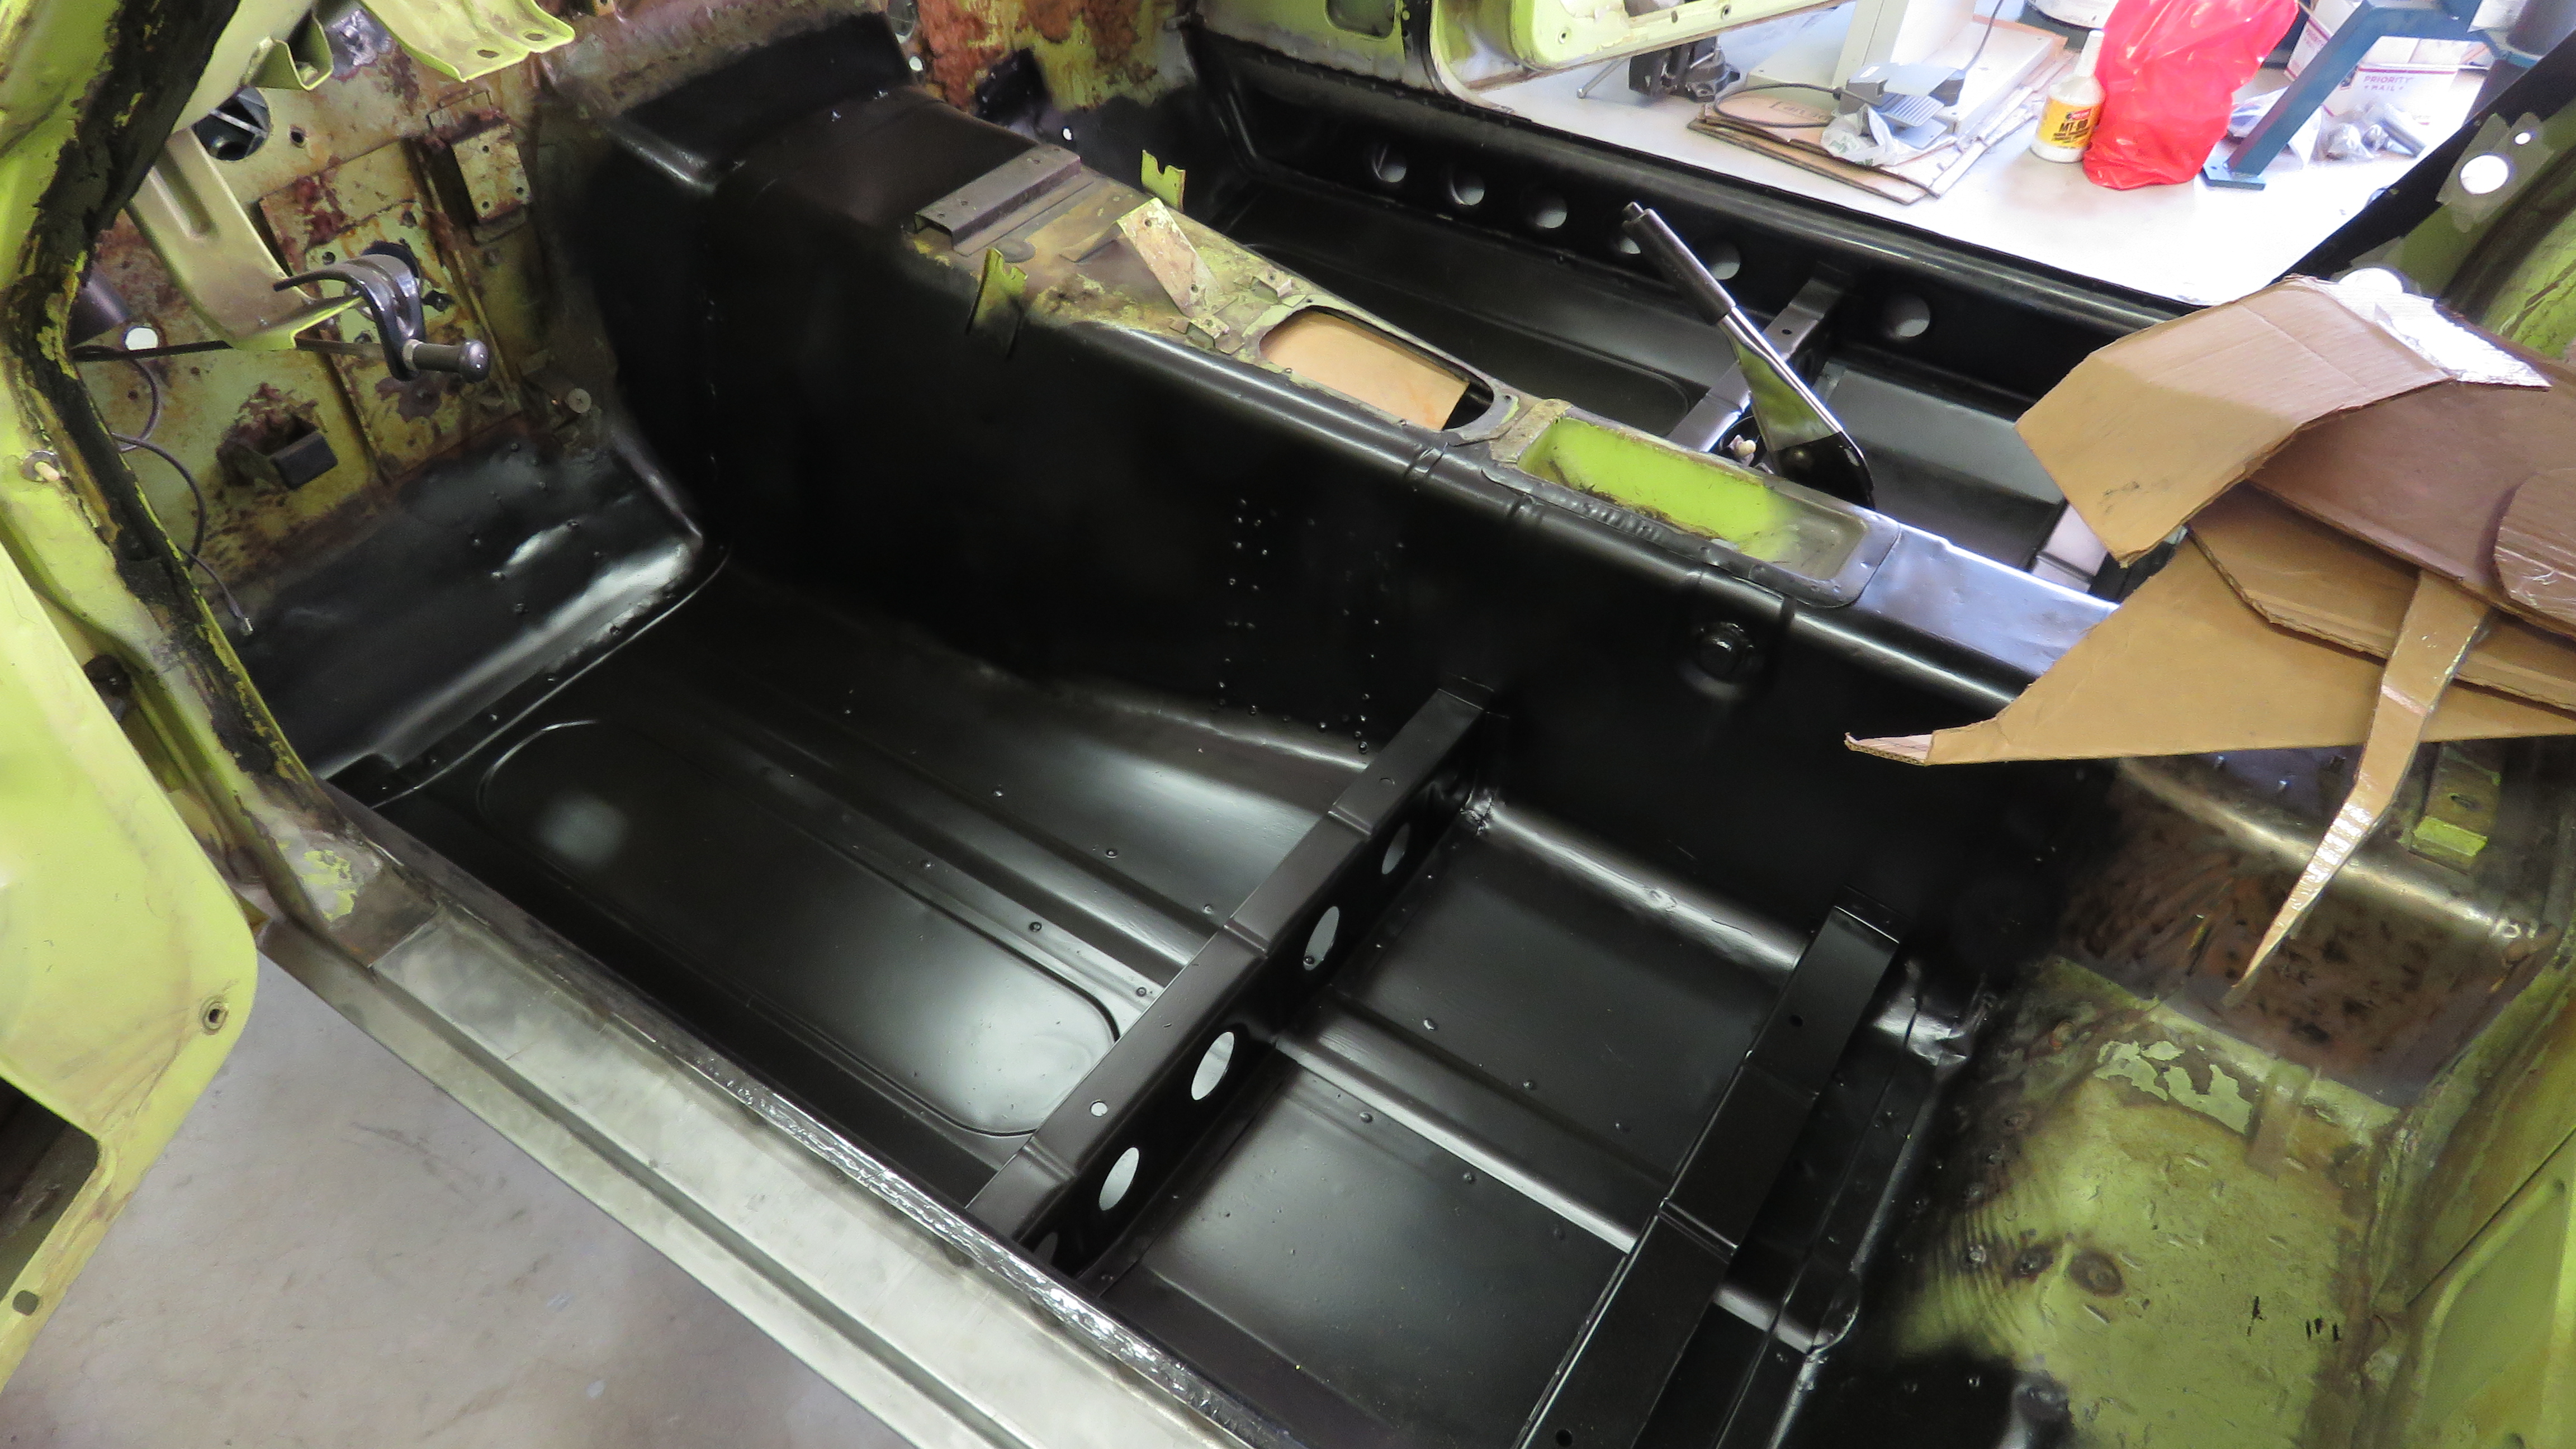
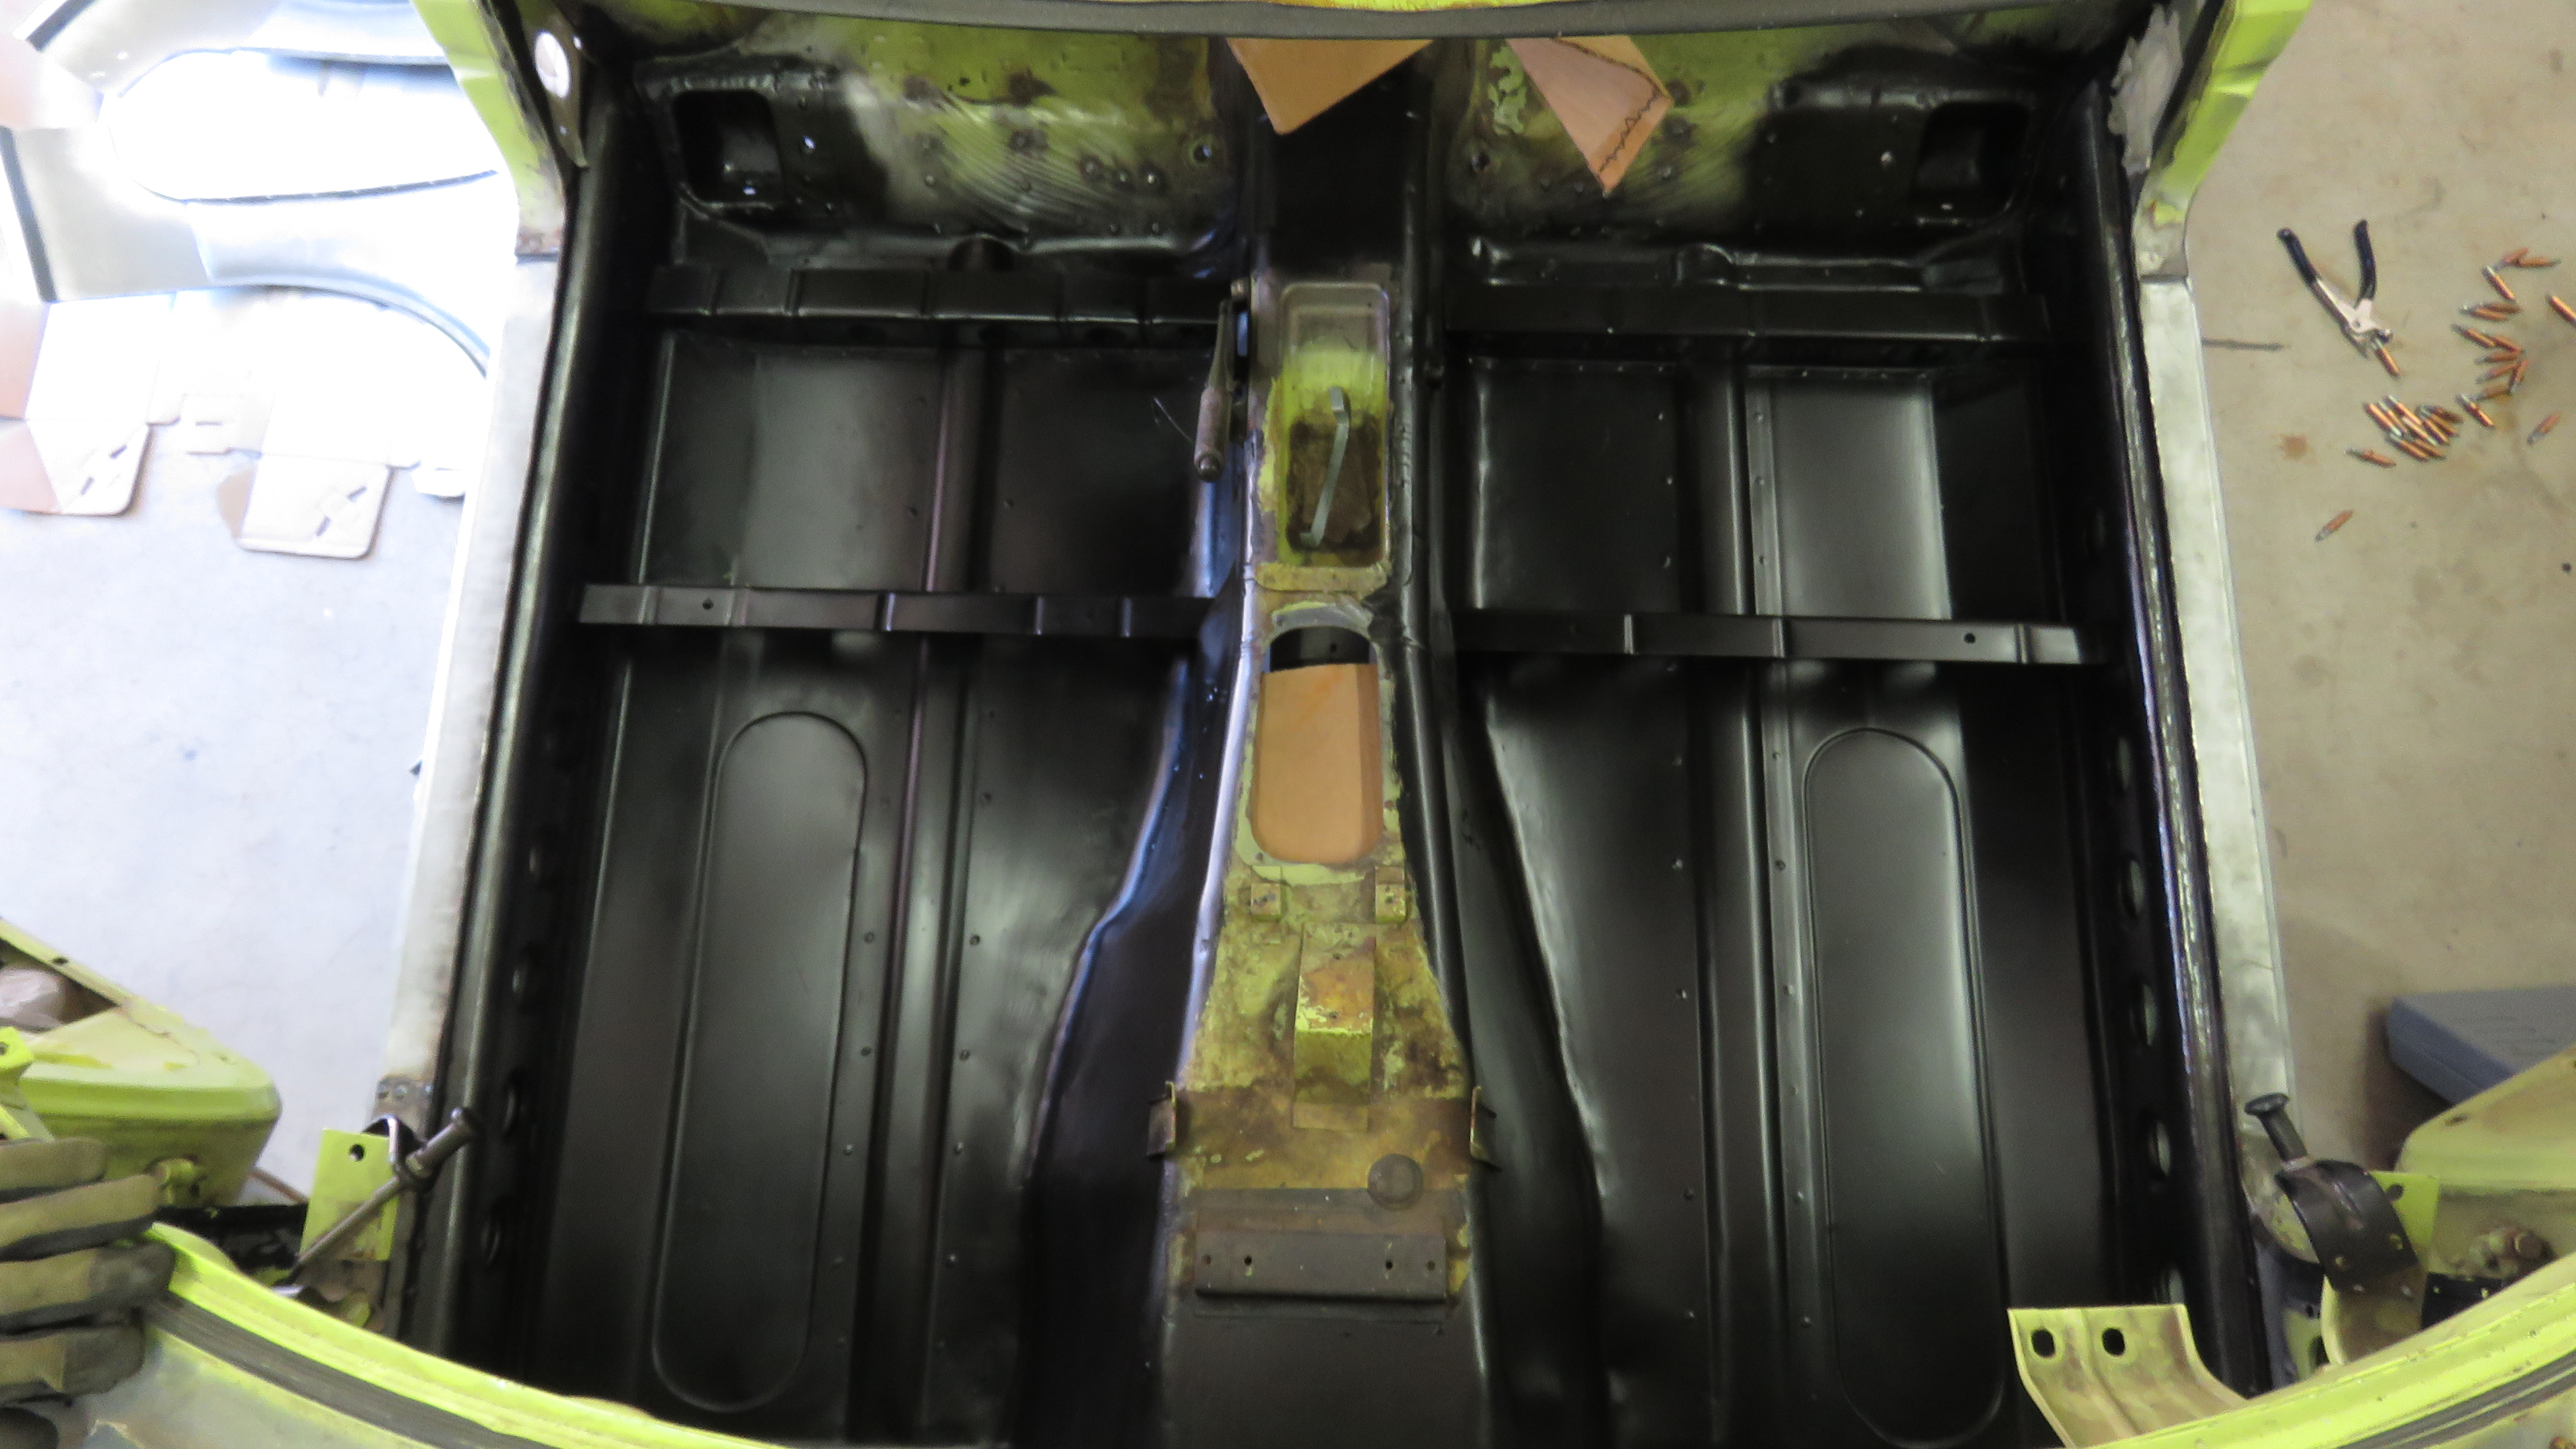
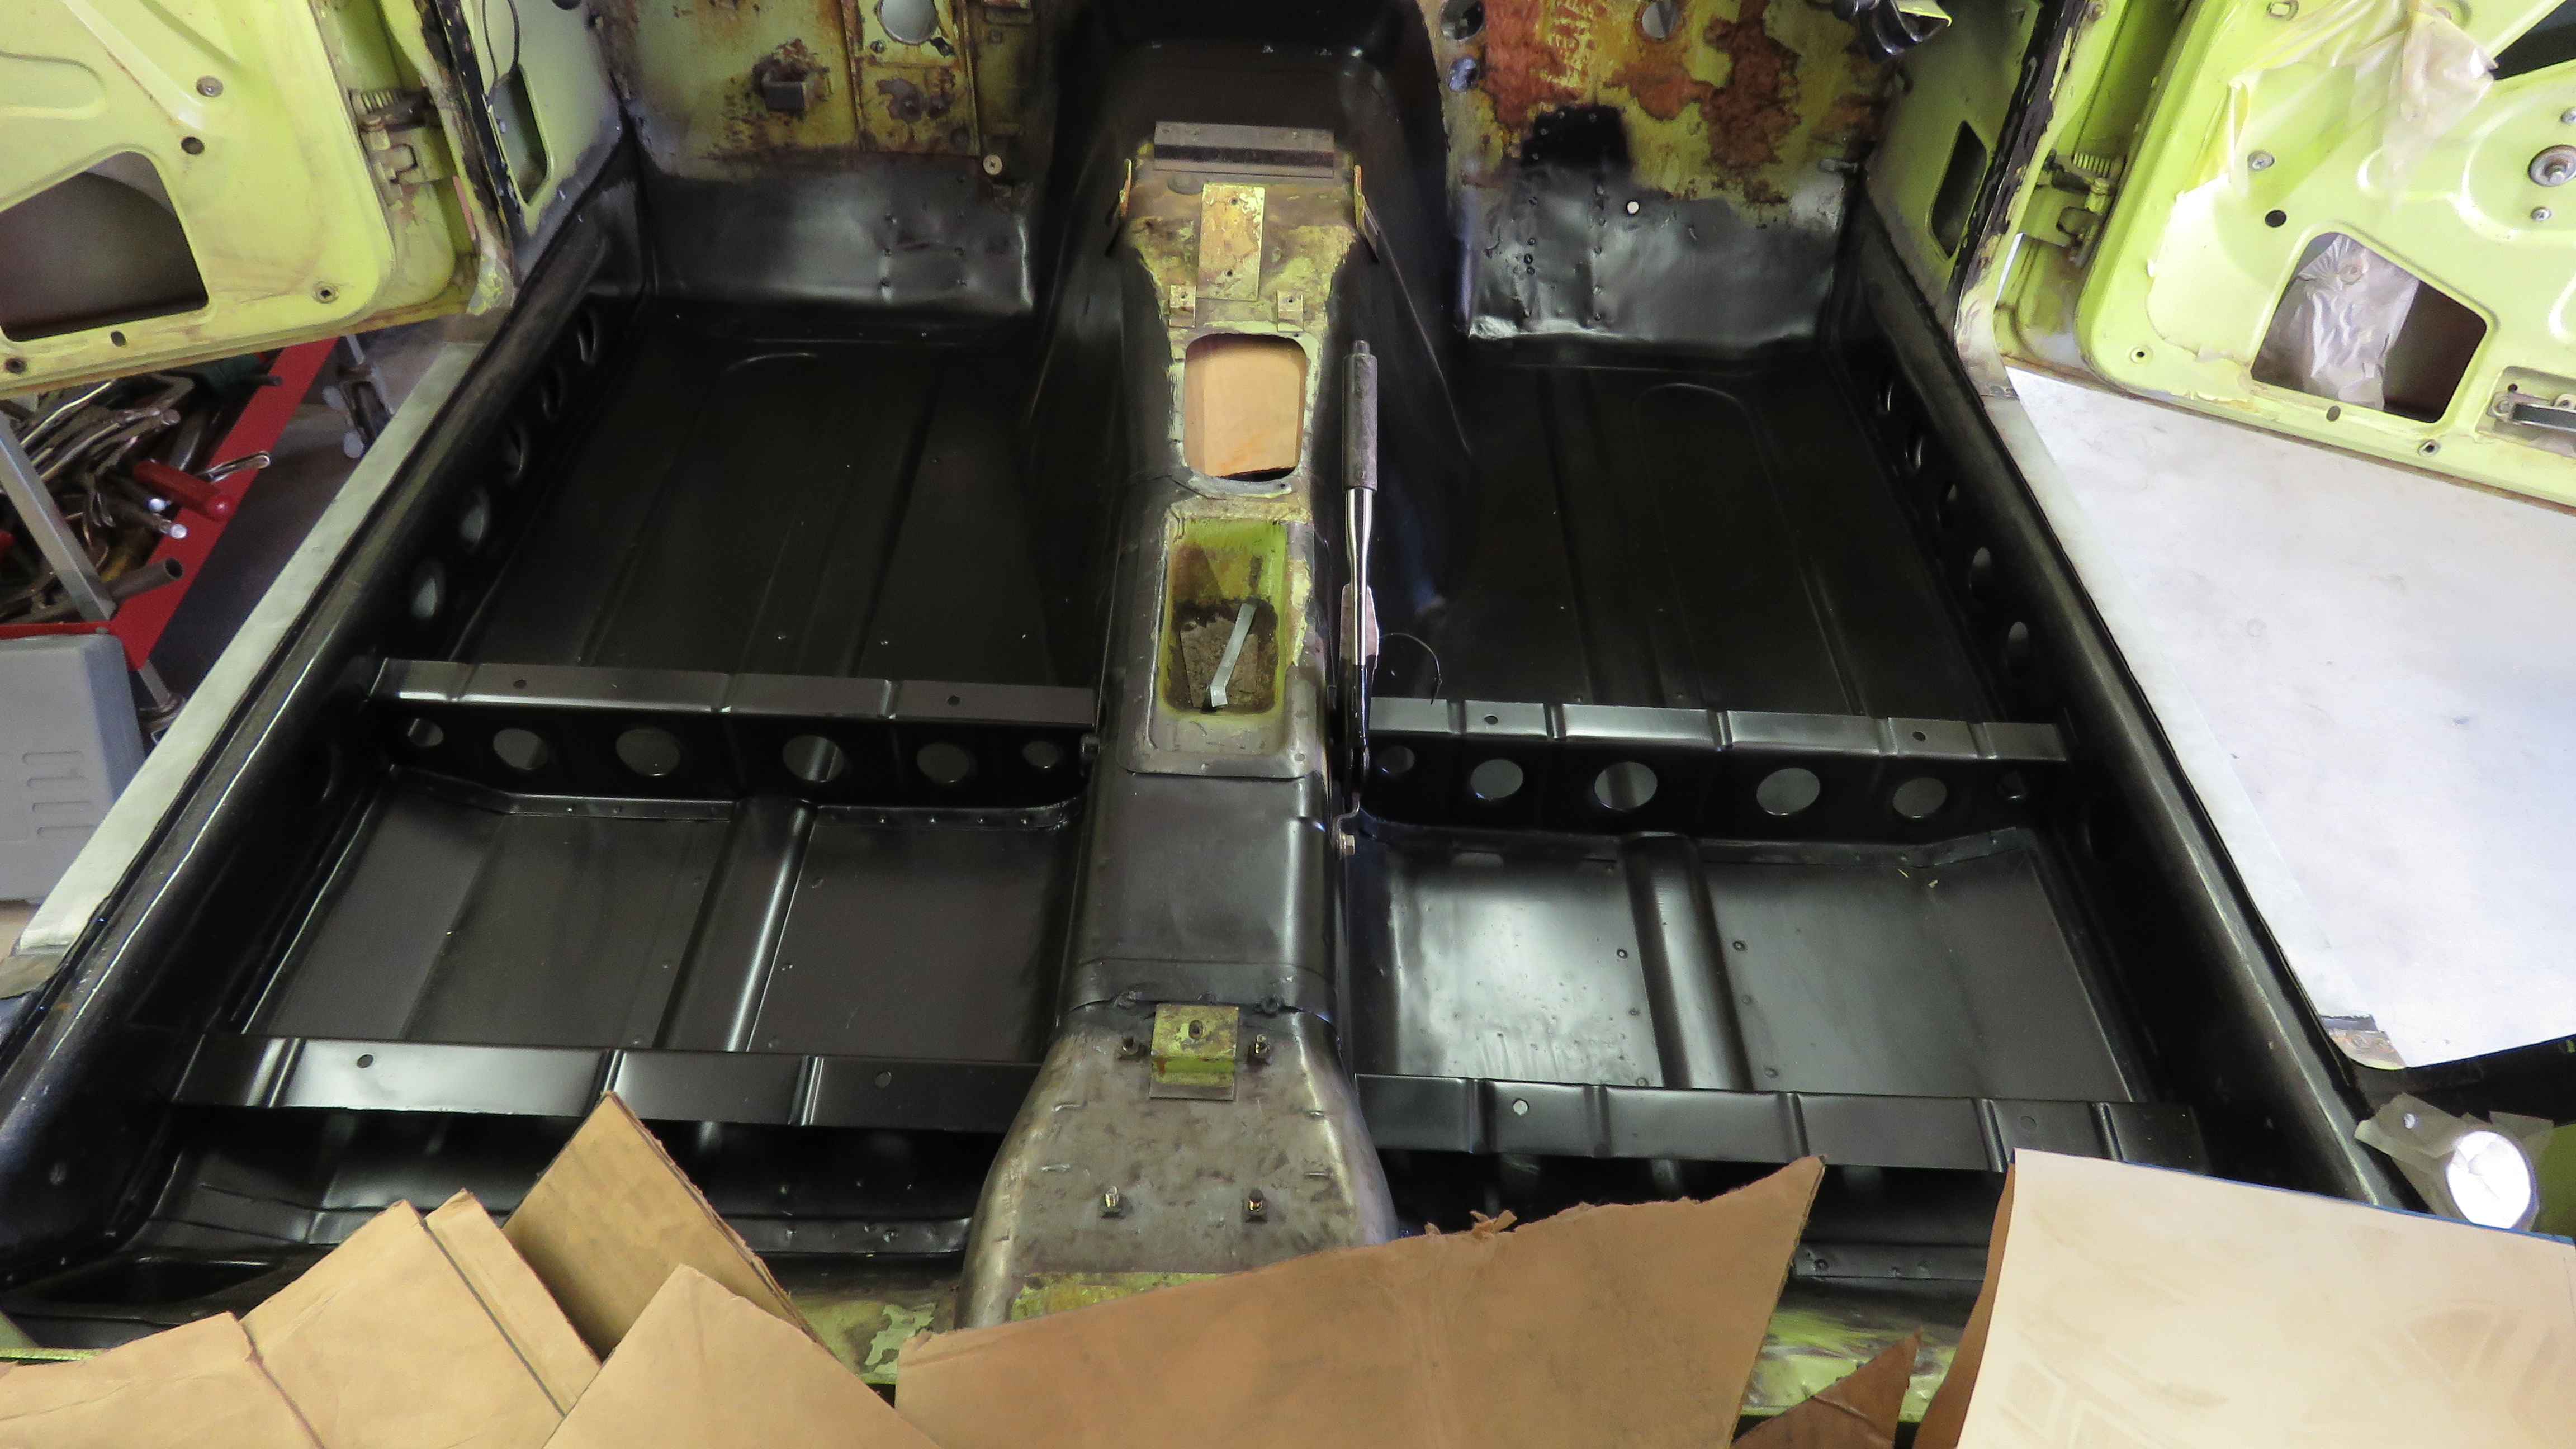
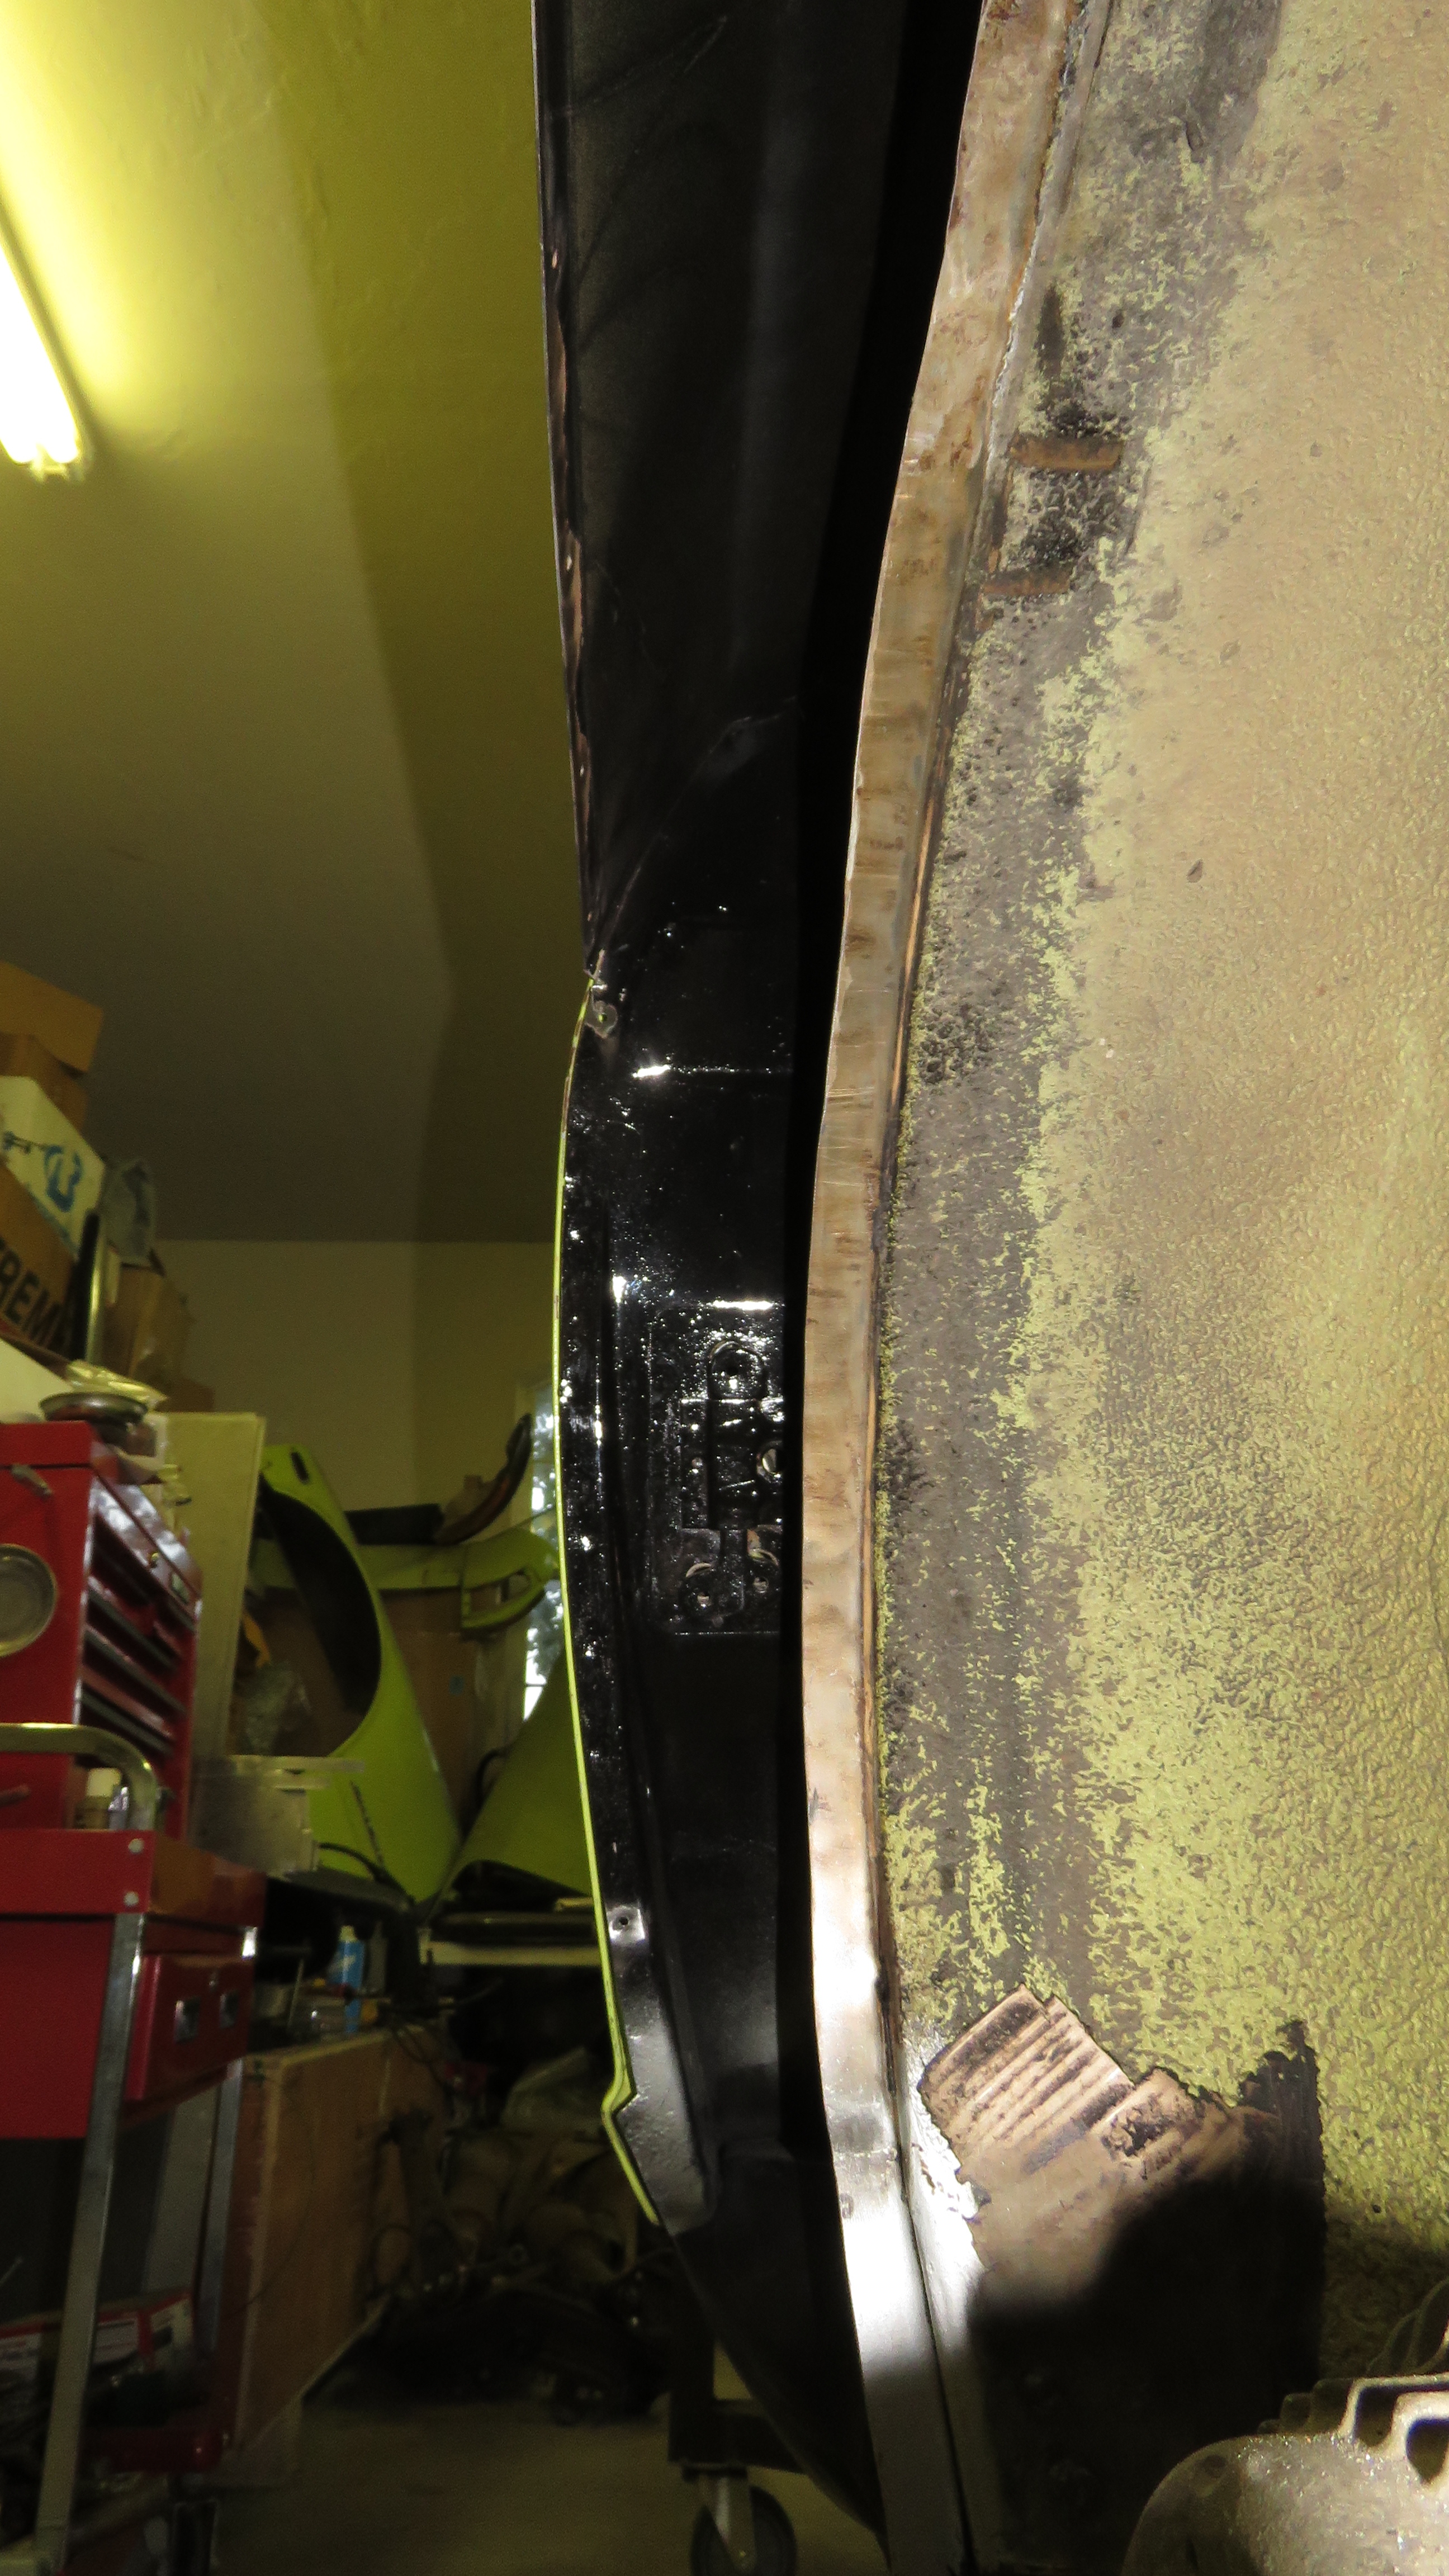
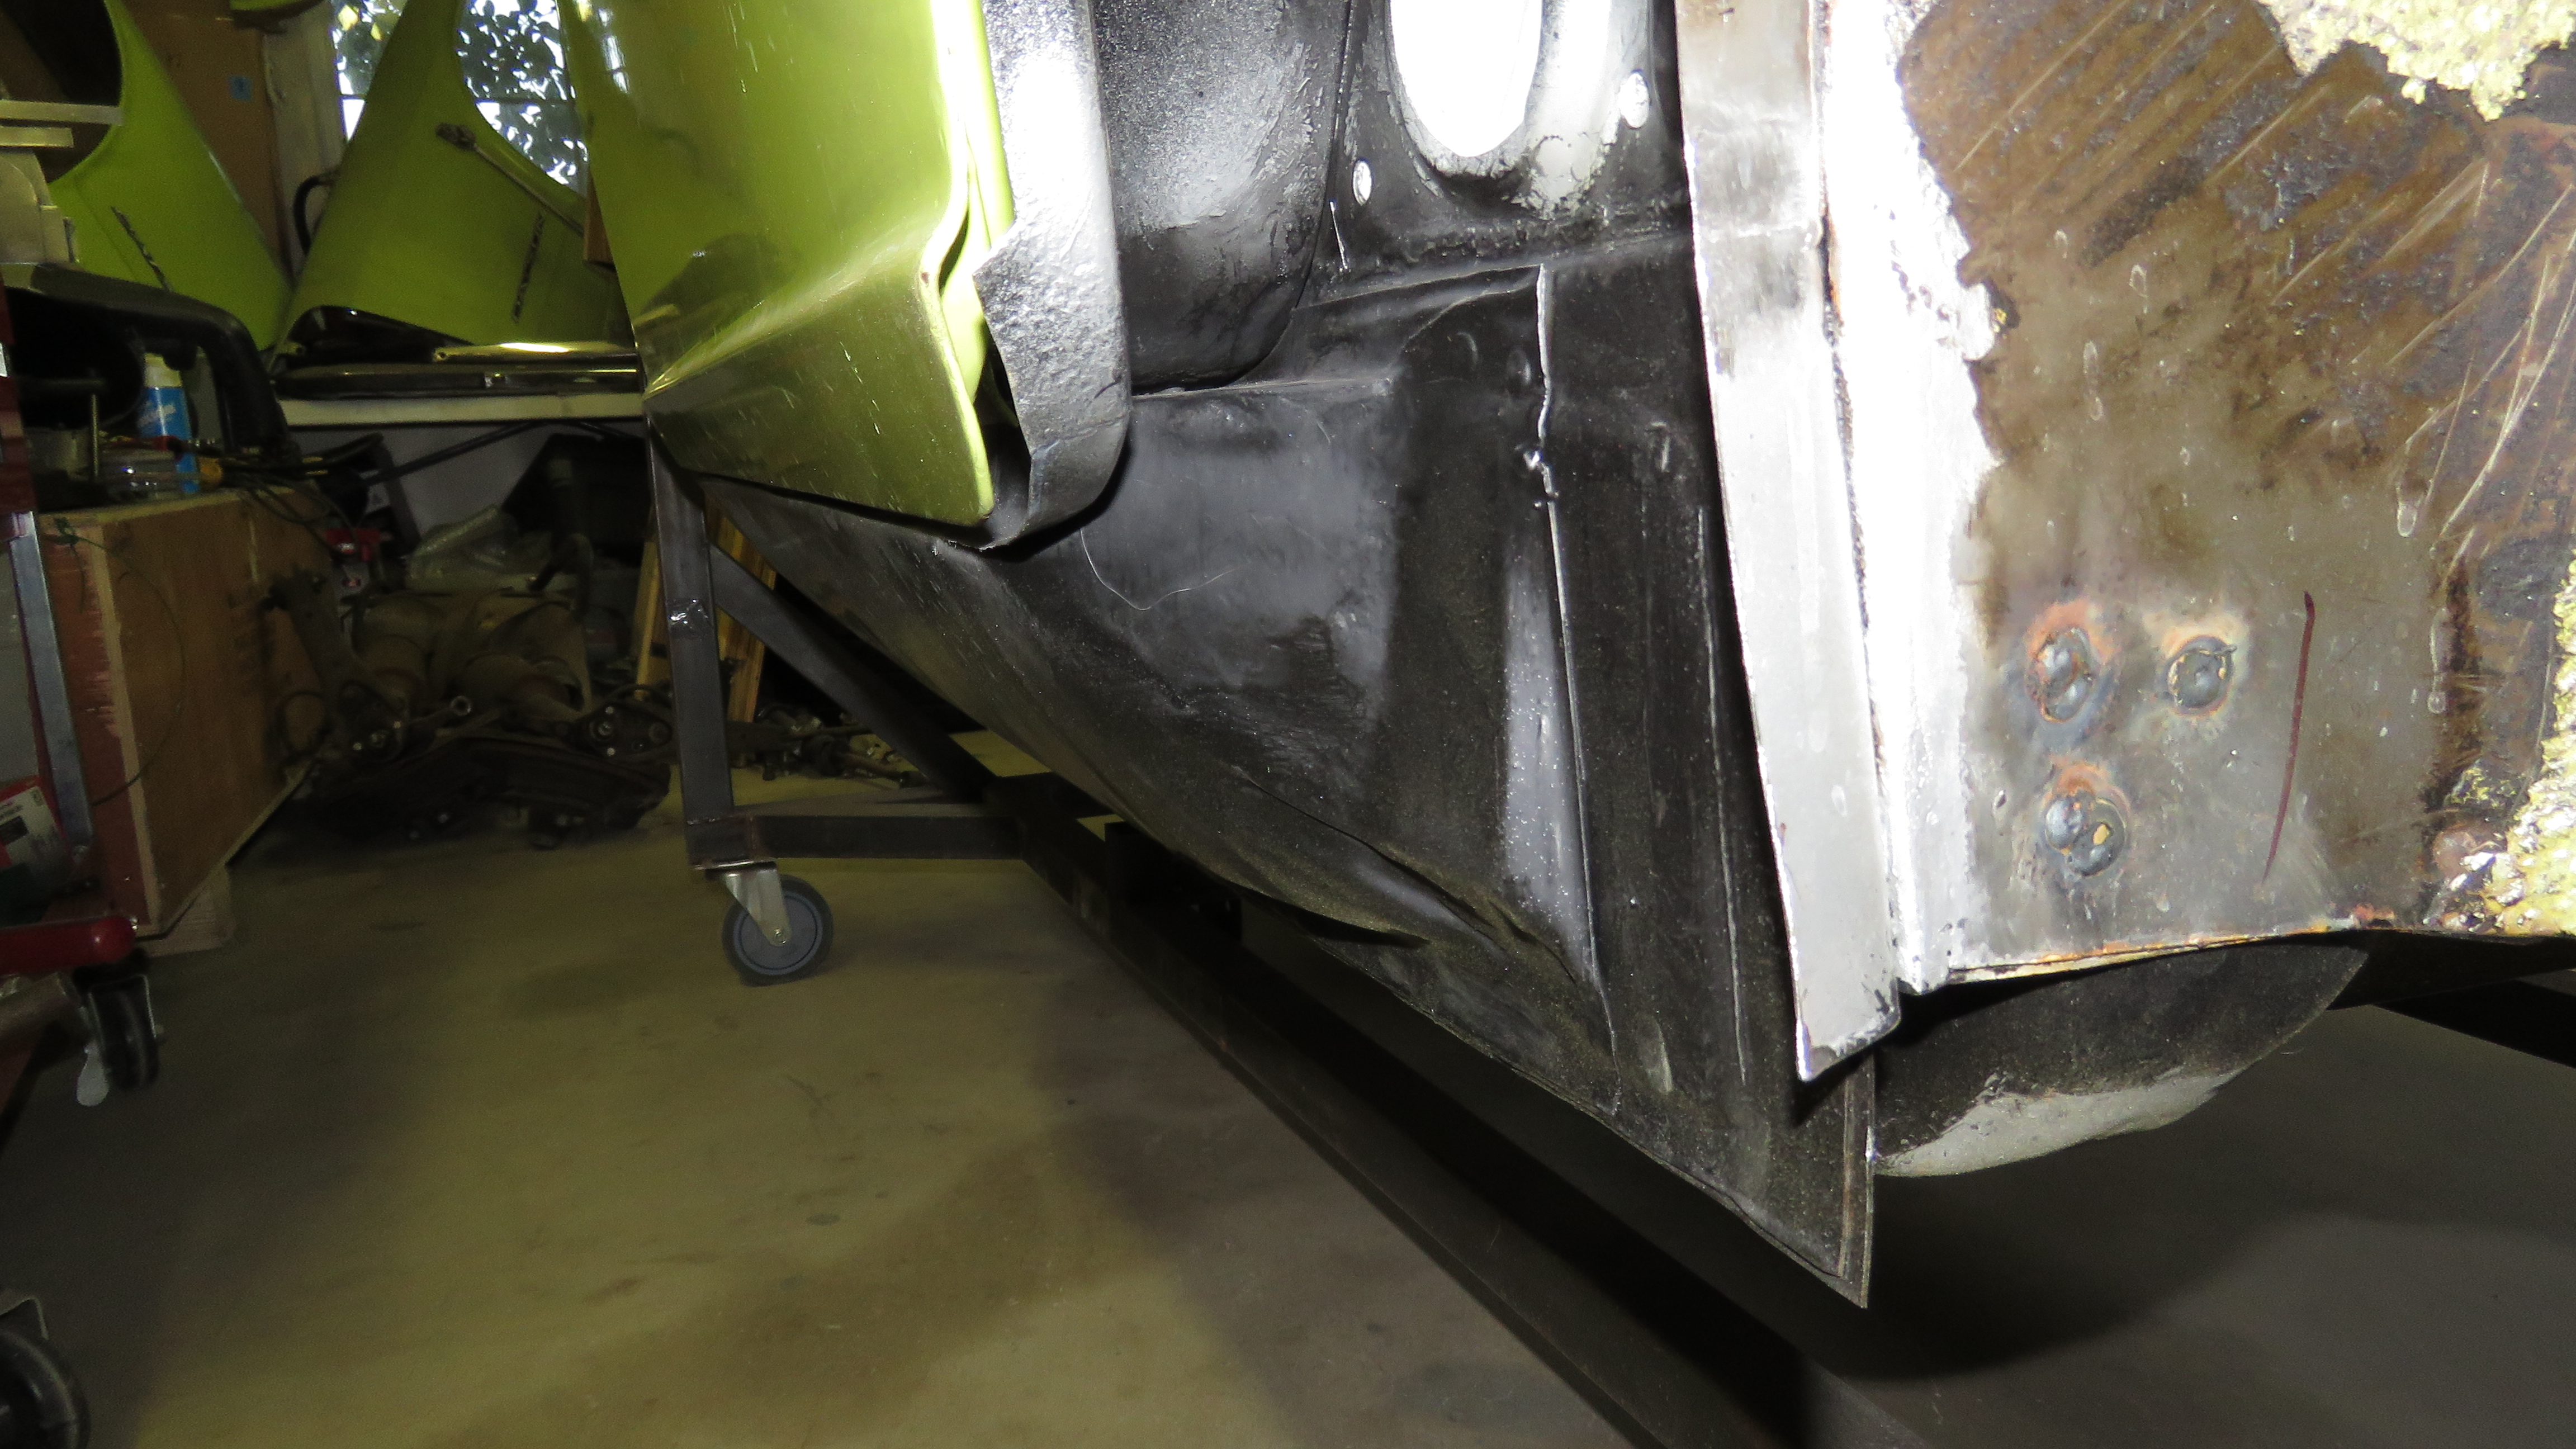
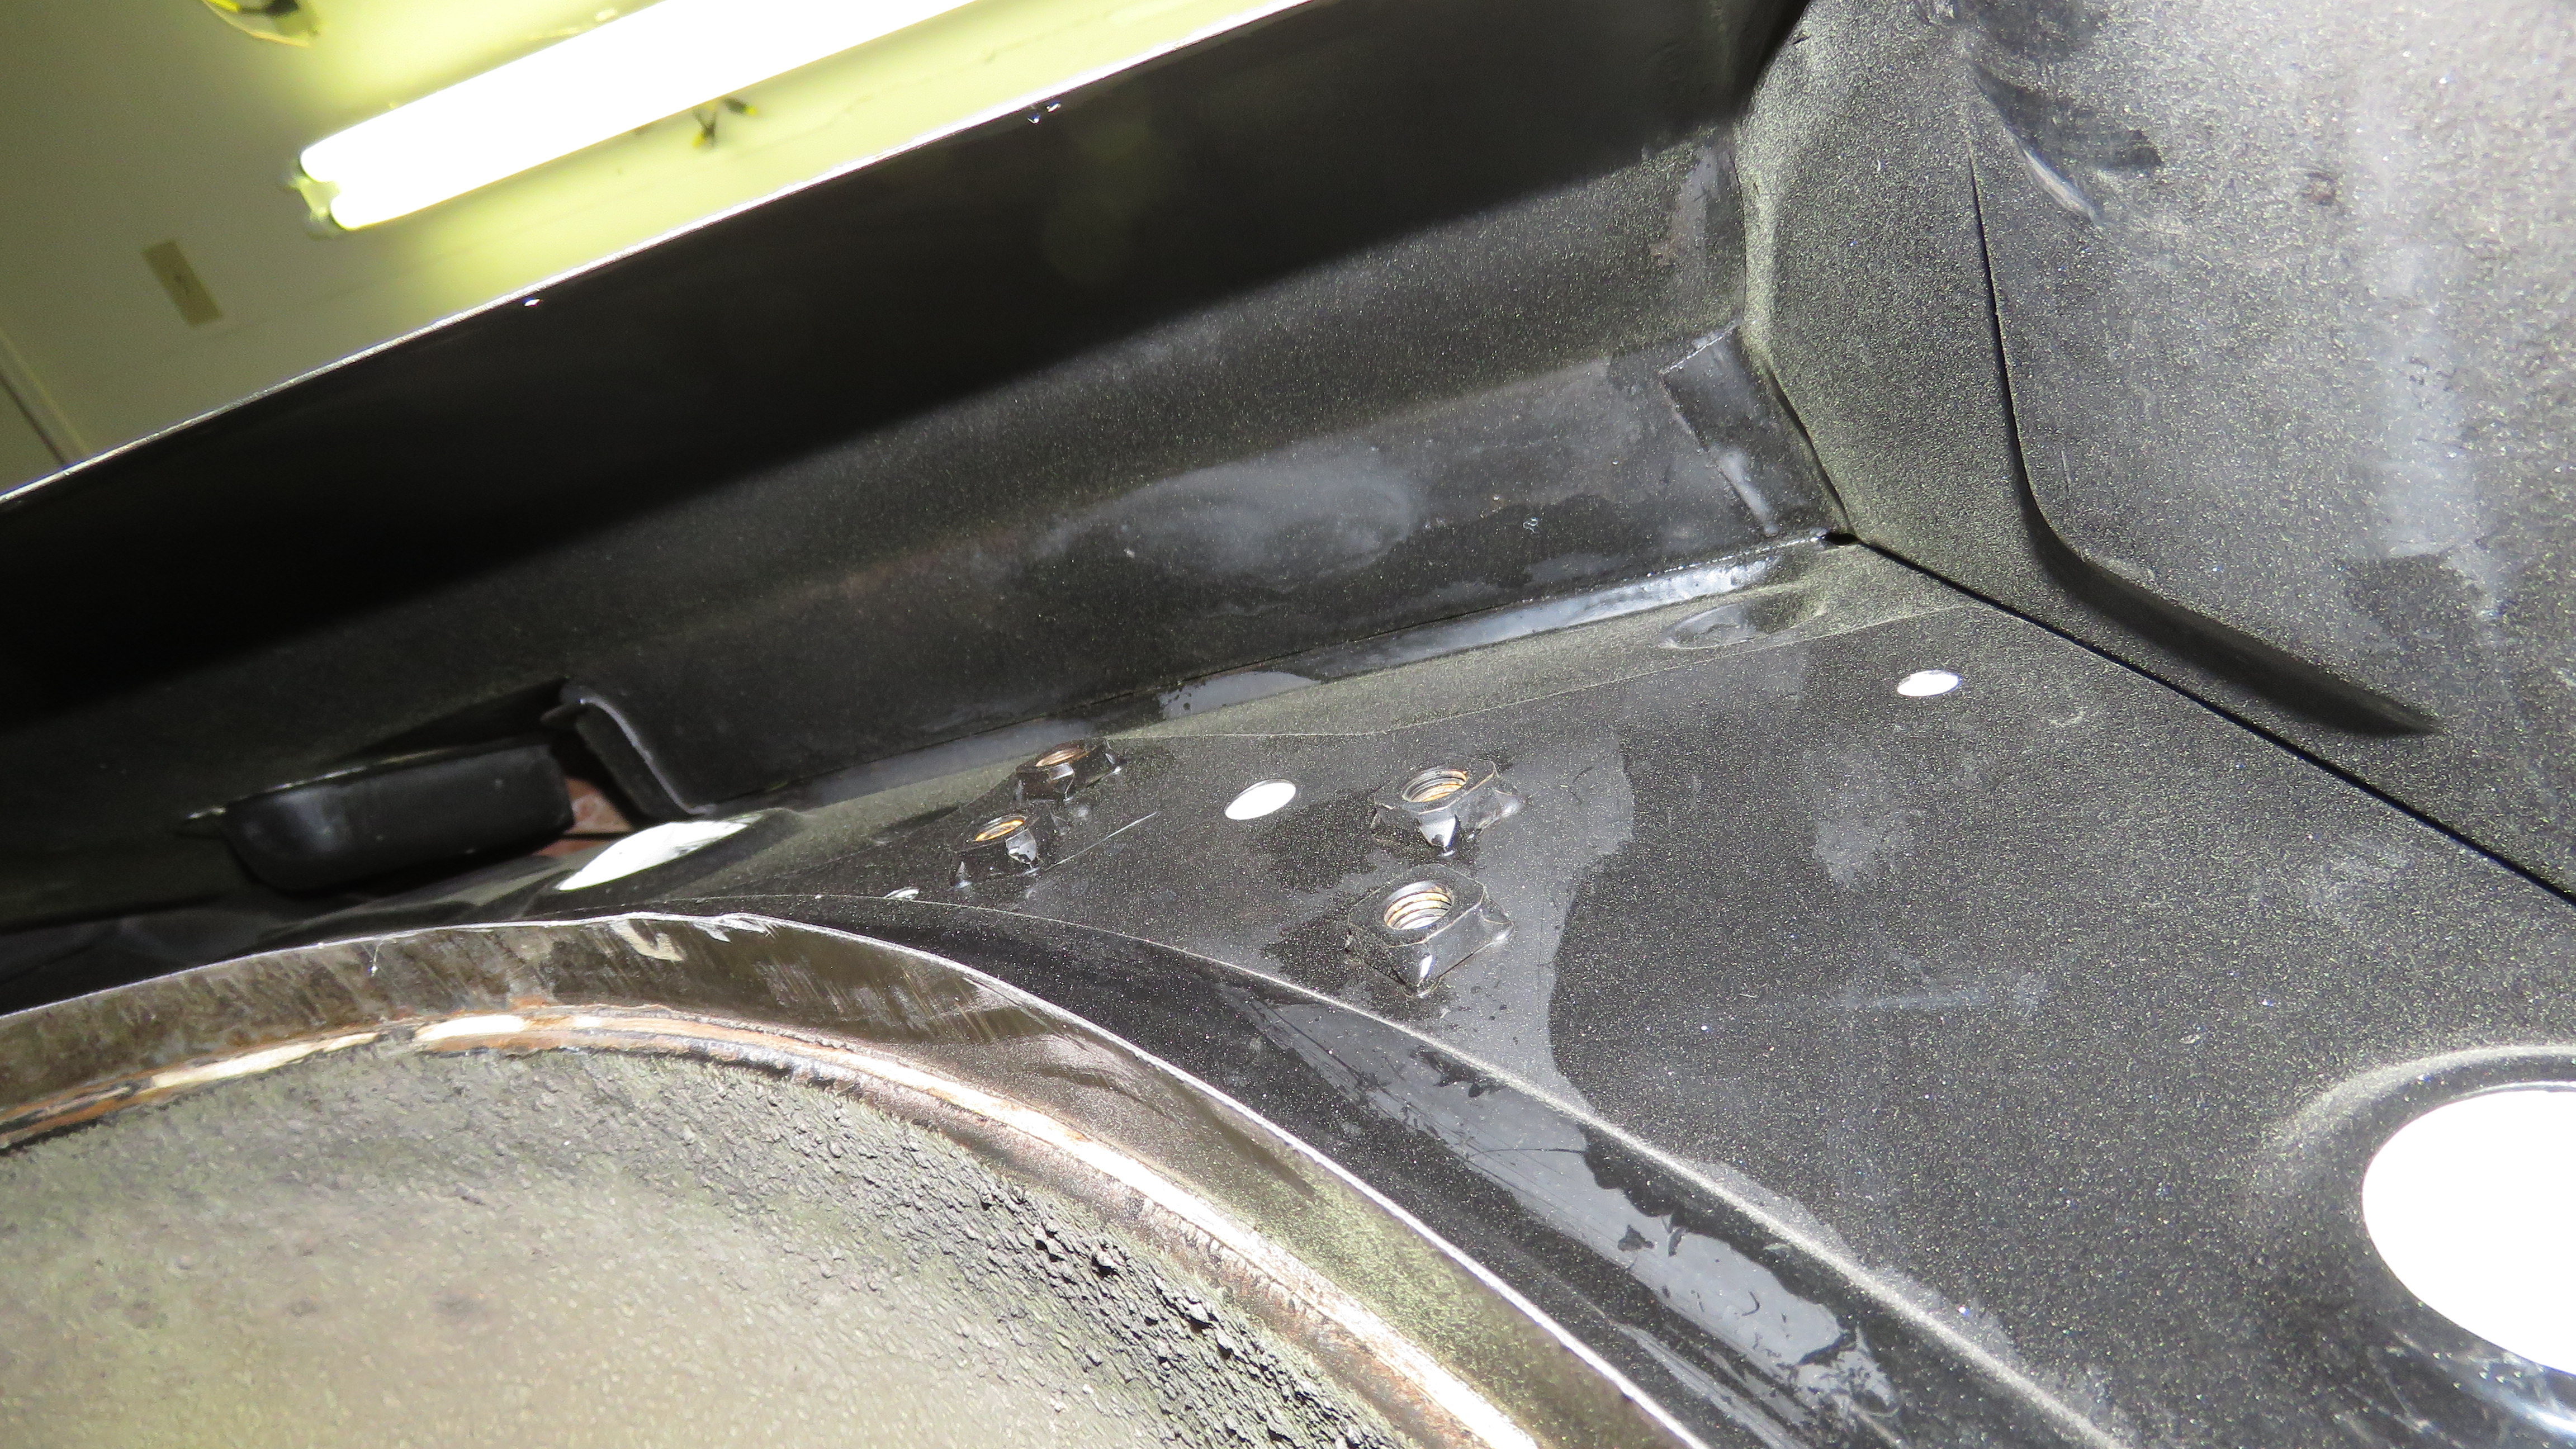
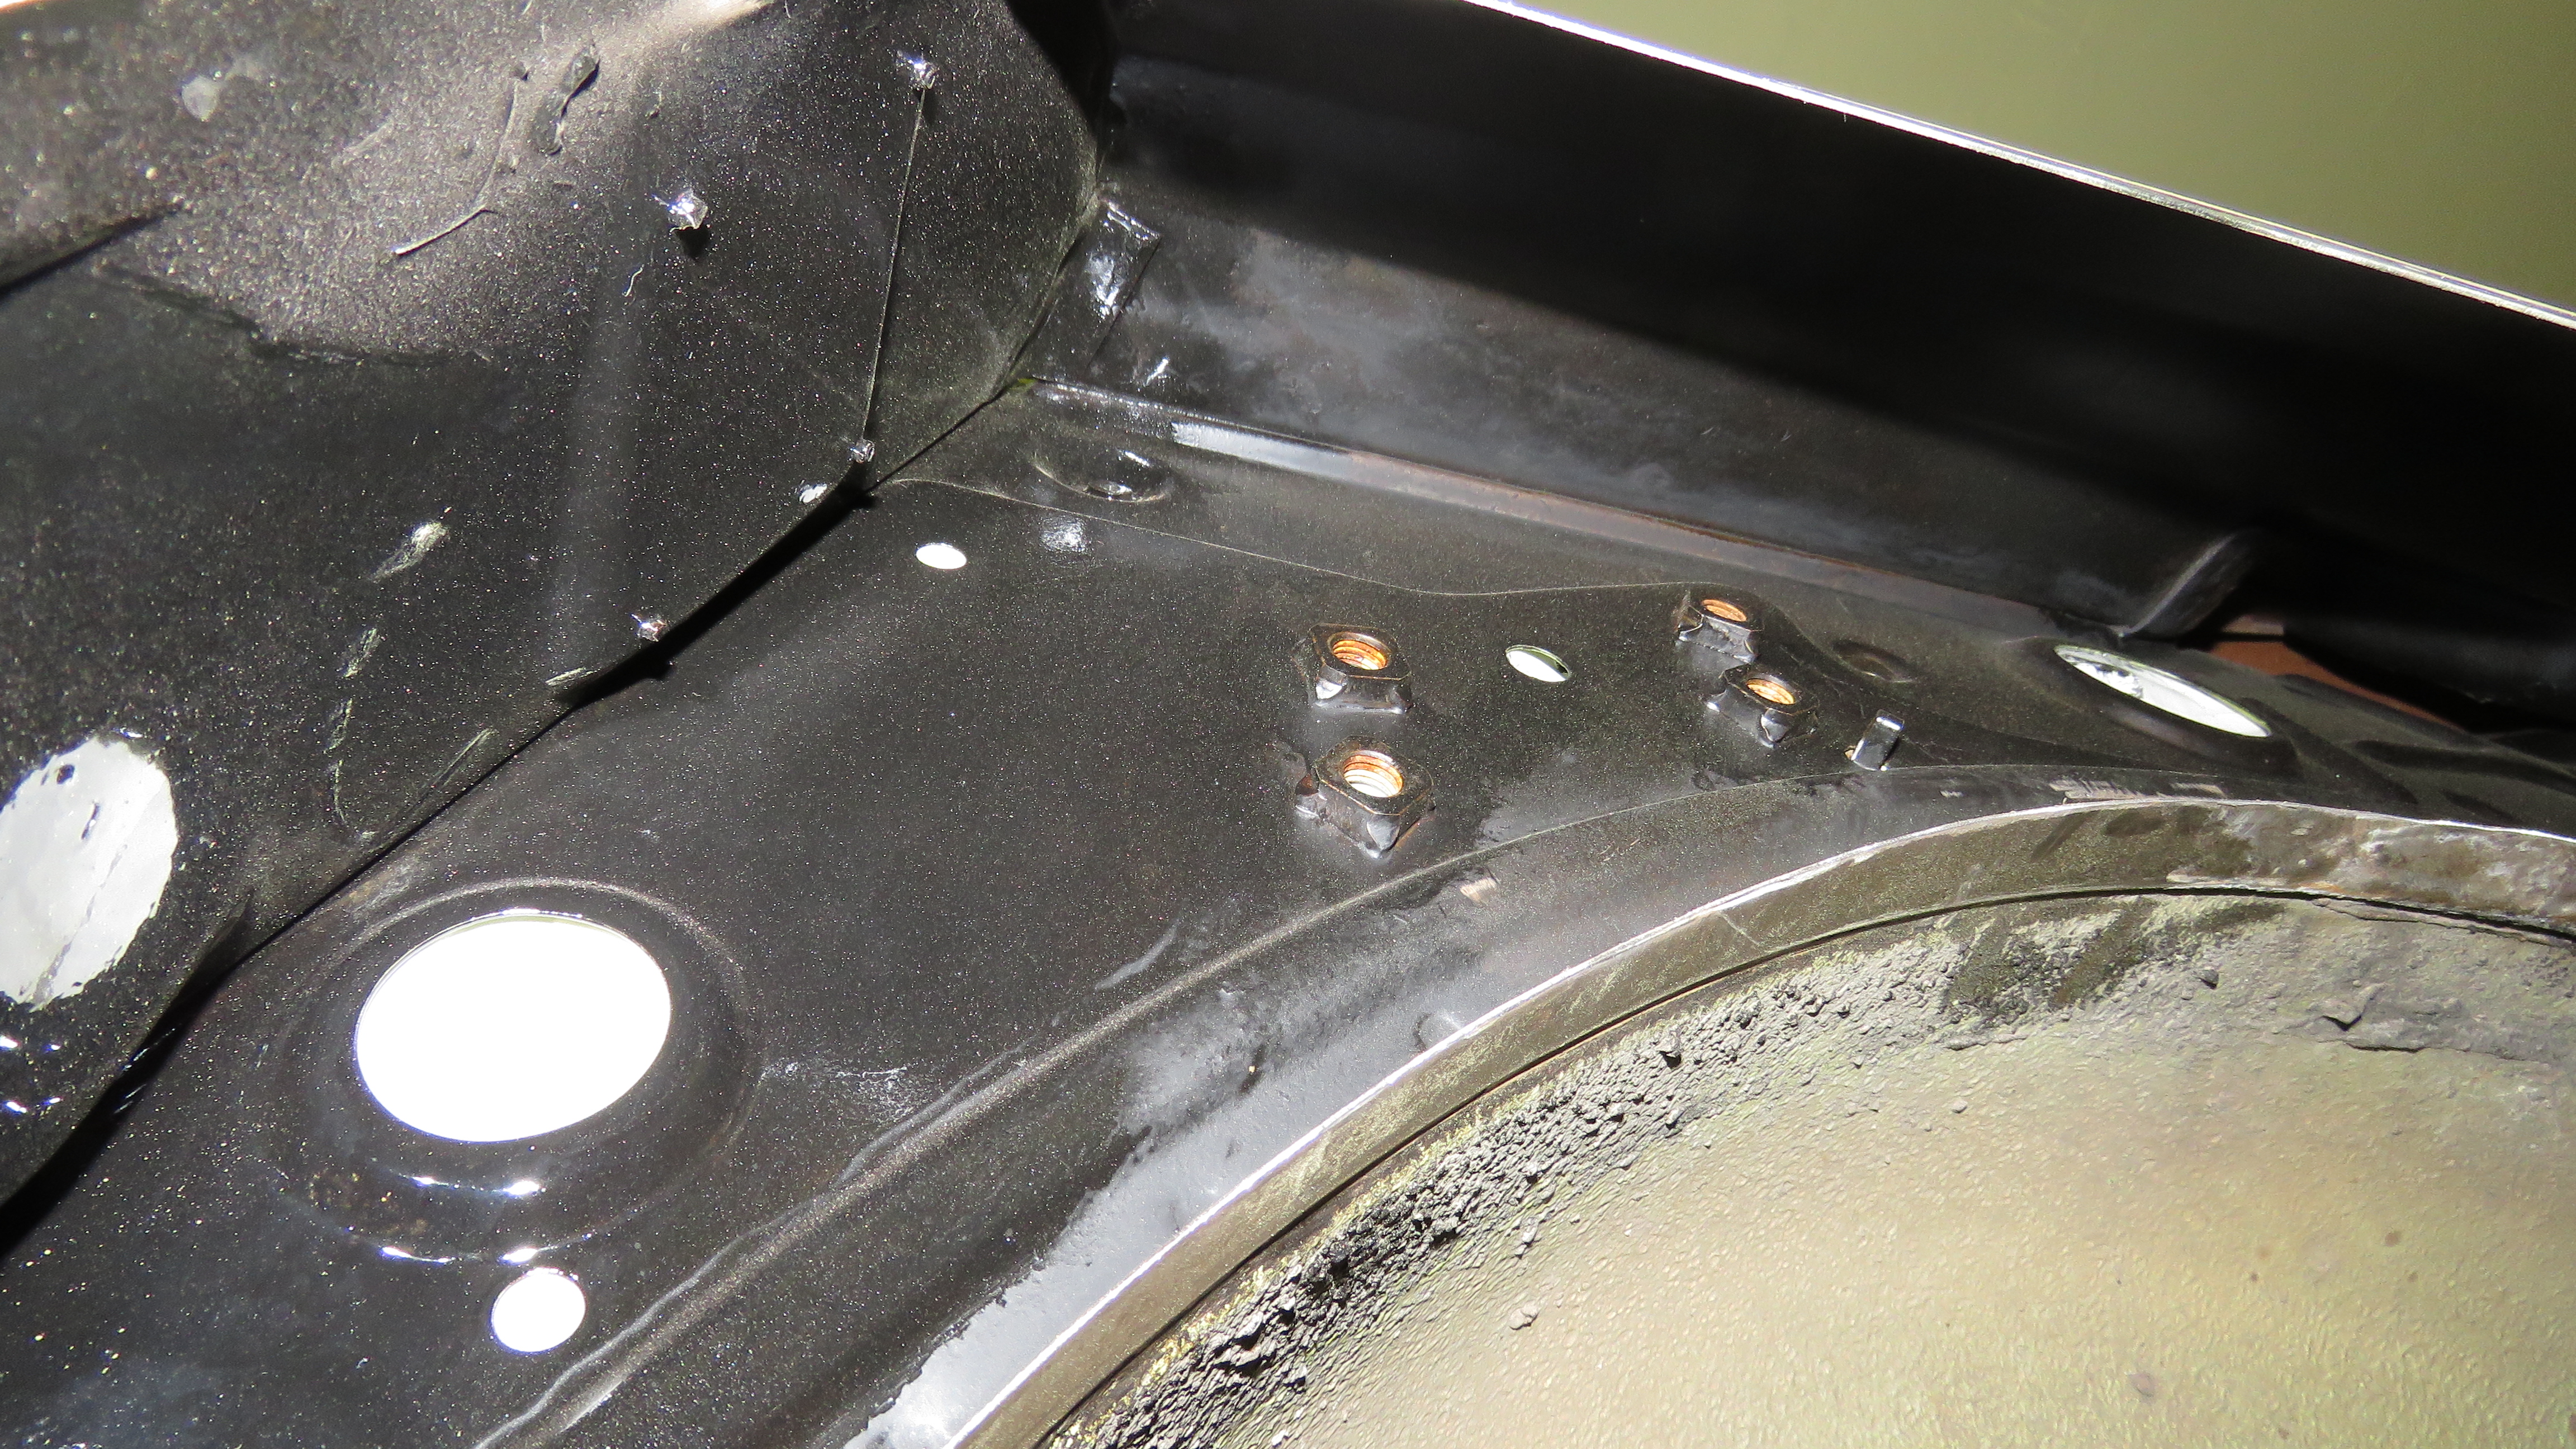
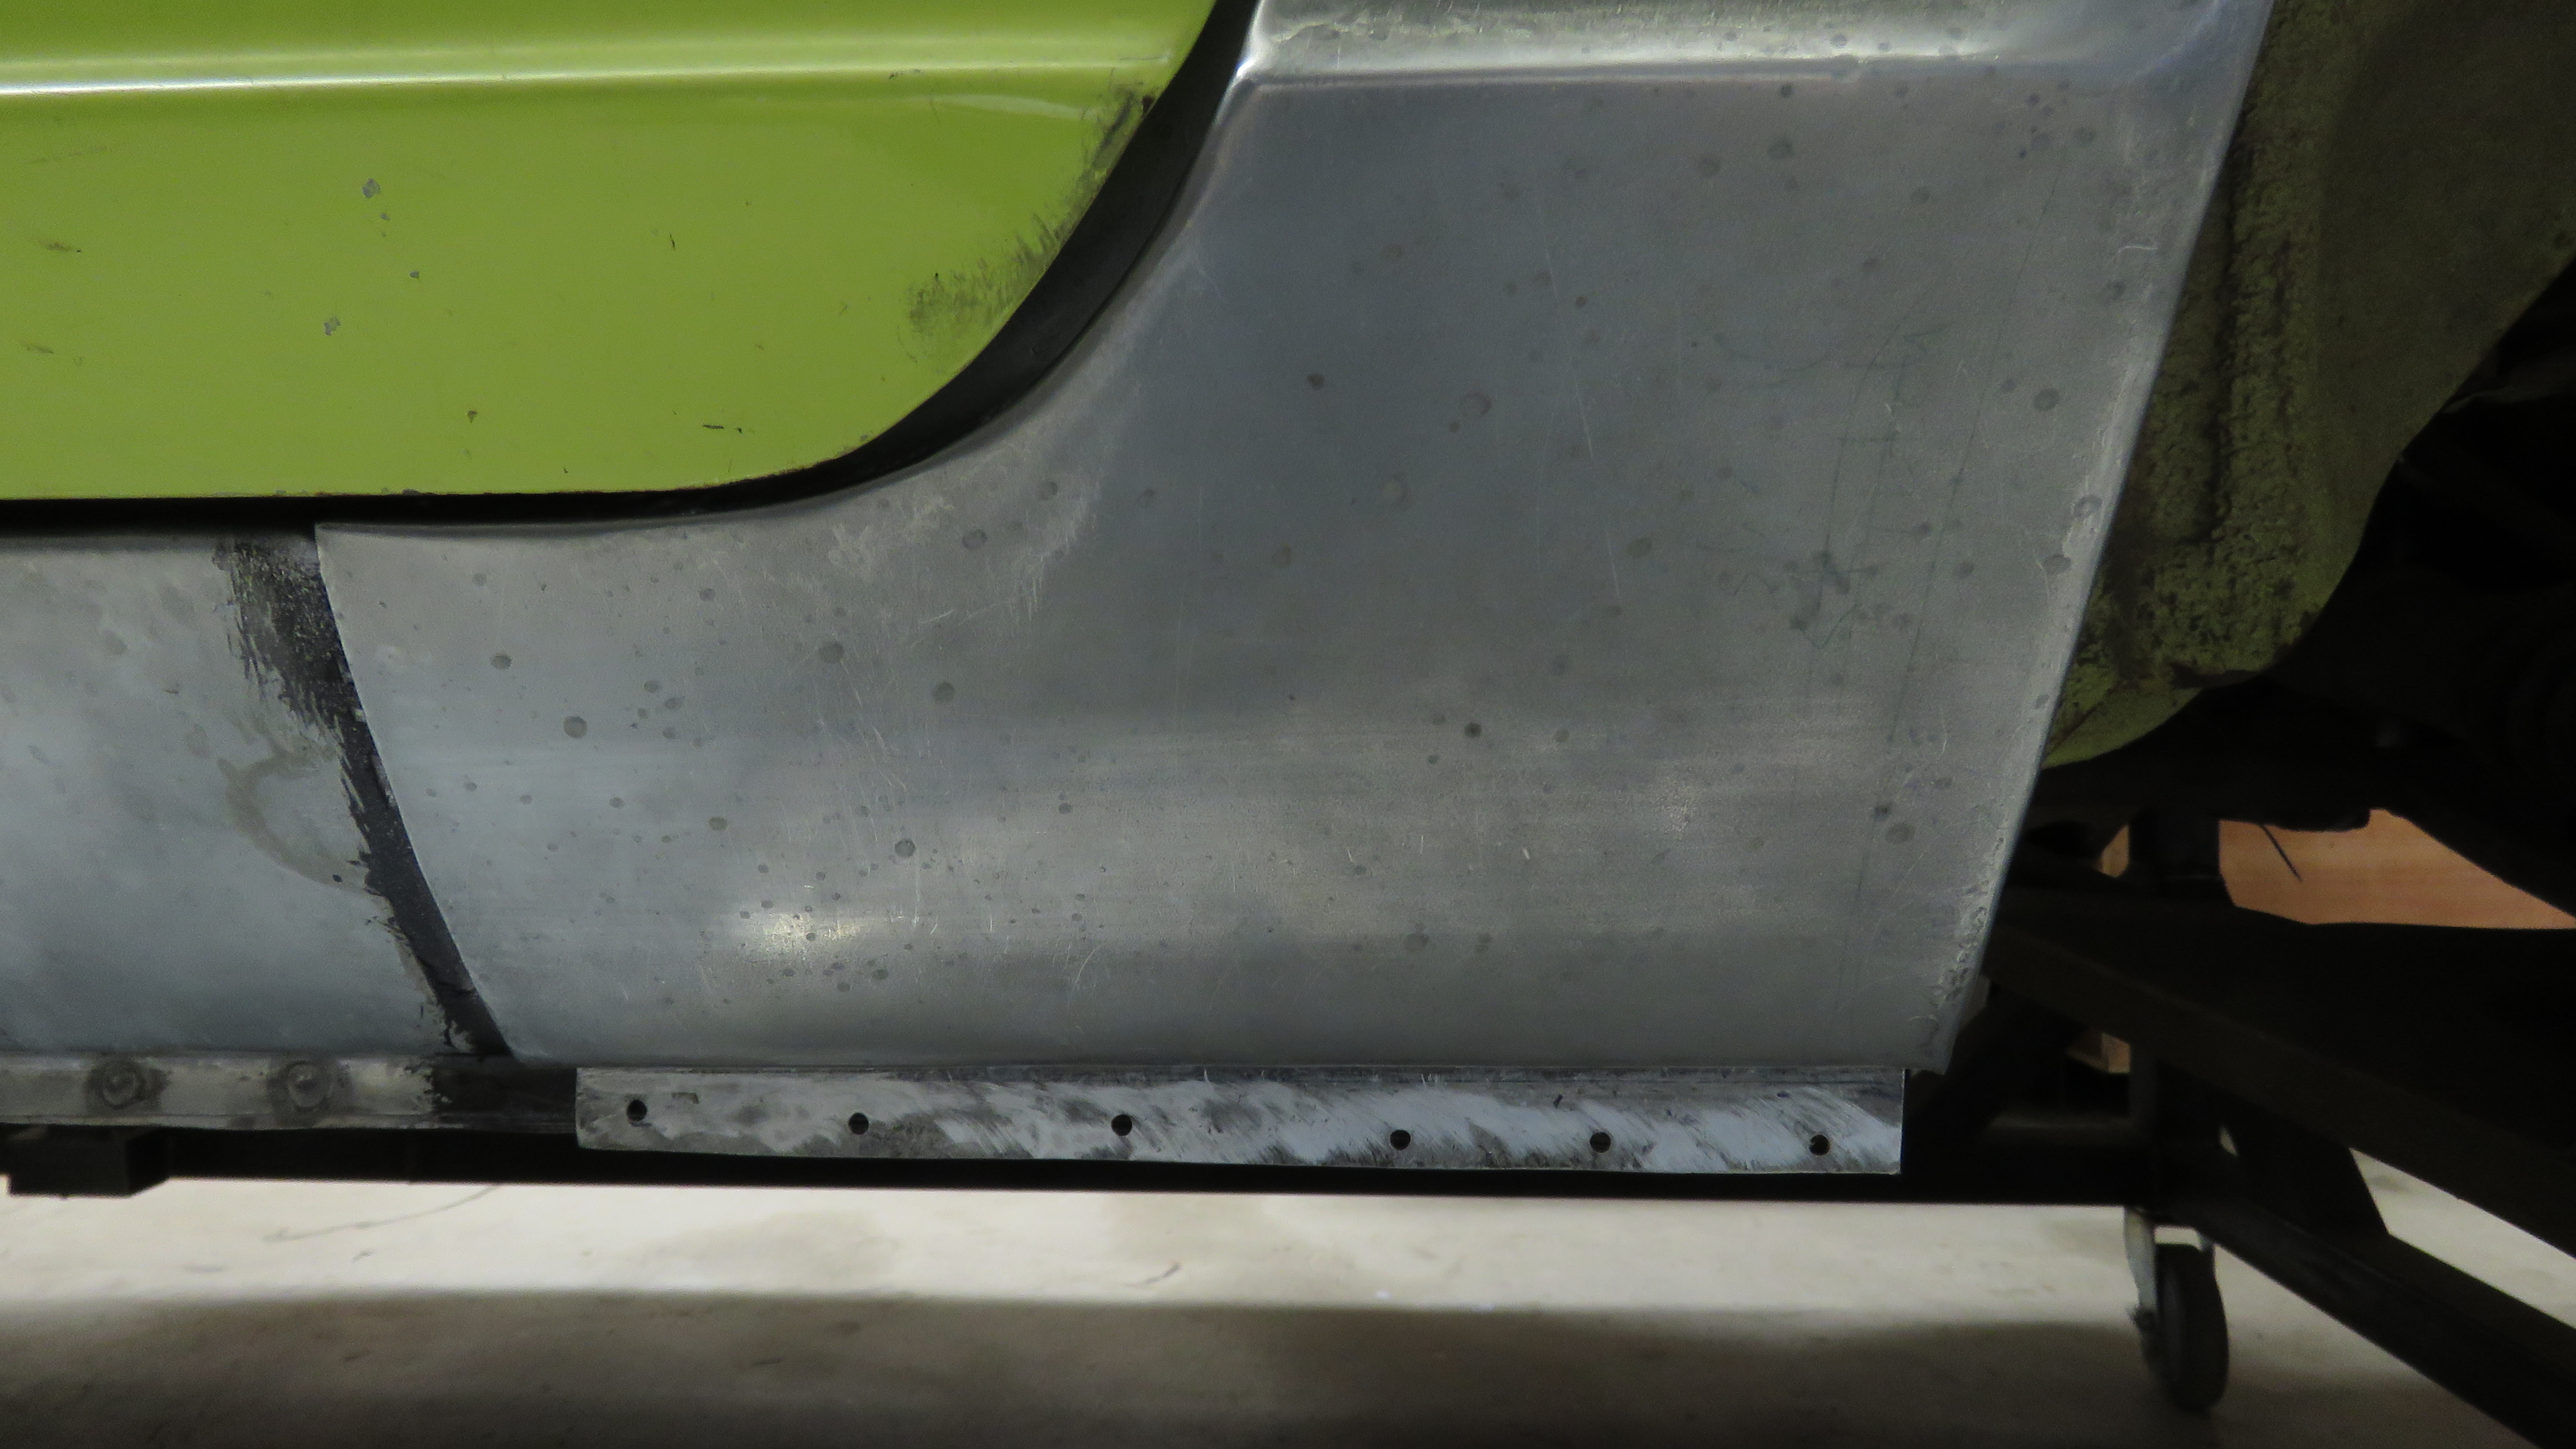
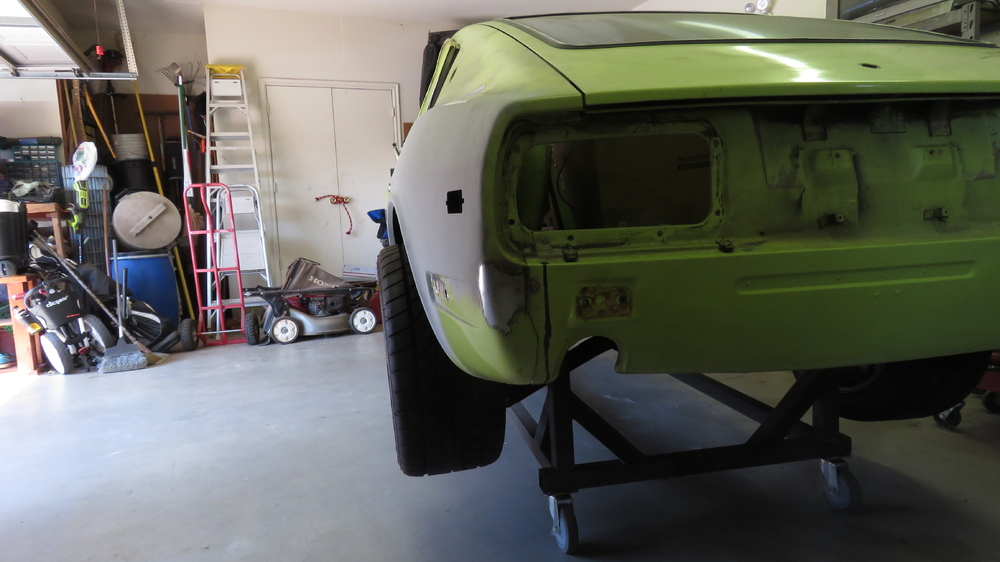
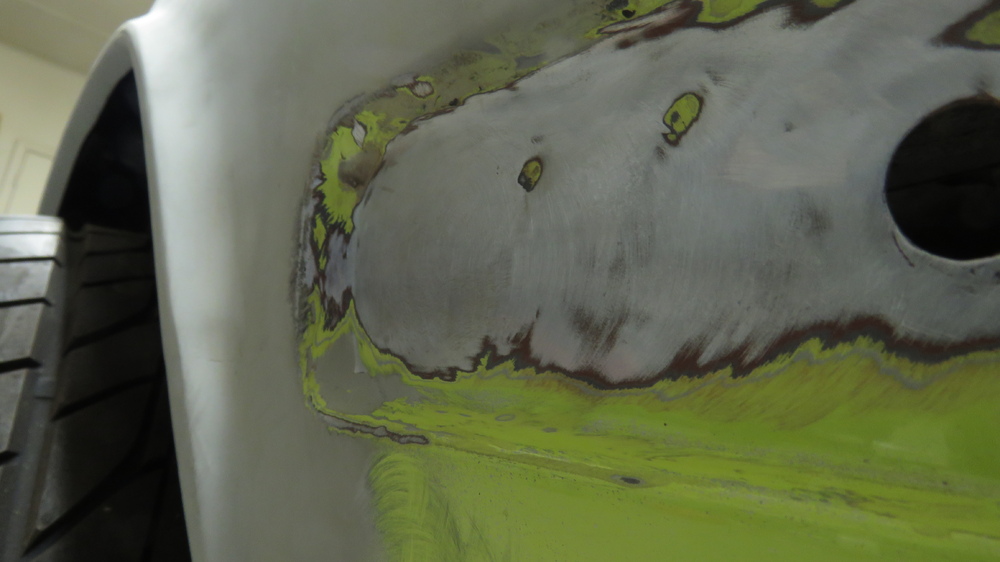
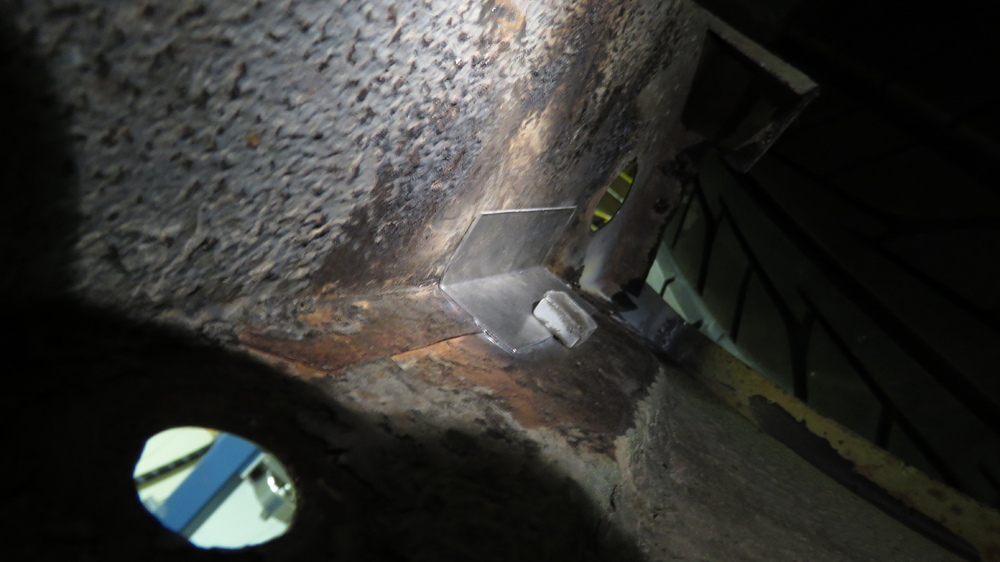
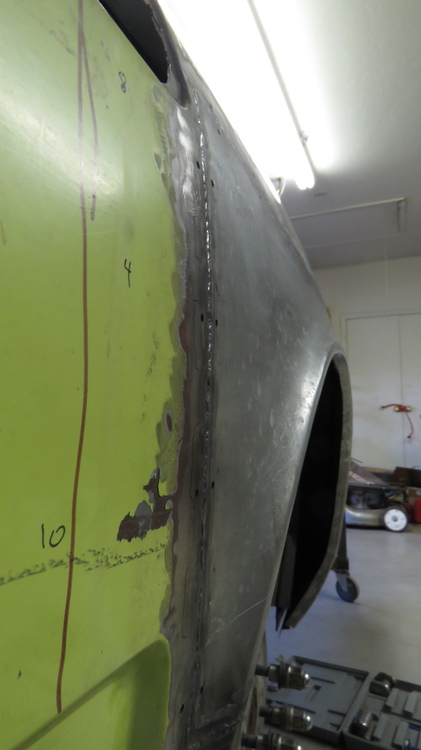
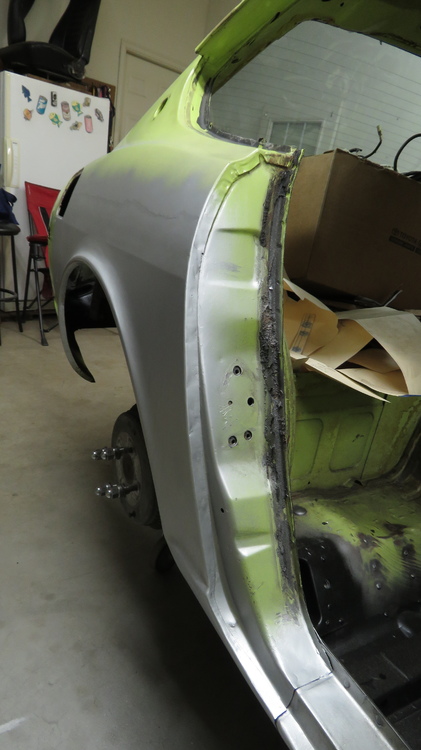
Another Update!! Progress has be extremely slow at a snail pace, but going at least. Now that is pretty much summer here in Oklahoma, the humidity has be attacking the exposed metal on my car. The floor pans stated to rust, so figured since this car will have full interior when all finished, I might as well coat with with some POR15. The bottom is alright, will coat the underneath of the car later. Had some Chassis Black Colored POR15 left and finished it off with a semi black top coat. Will coat the back end of the floor later to match. Finally it was about time I stopped being lazy and got to work on the freaking quarter panels. Started with getting the inside of them cleaned and coated. The supports for the rear section of the quarters where still in good shaped, So I just cleaned them best I could and coated. Worked on the Driver side quarter panel yesterday. All tacked and some hammer and dolly work to get everything aligned. I also did another two rounds of tack welds and hammered and dollied all the welds to stretch them out so the panel can go back to its original shape. All welded up and again hammered and dollied the welds to relieve tension/stress on the panel so it can return to its original shape/position. Used a straight edge to check for any flat spots and gaps. Welds smooth out. There are some pits/low spots, thought about filling it with weld, but dont feel like it. Will leave it up to the painter to smooth it all out with bondo. There is one small area near the back end of the panel that dips in a little where the support bracket for the wheel well is on the inside. Because of it, I cant really get behind and stretch out the weld in that area. Tried my best to work with it from the outside. Hopefully not much bondo is needed to blend it in by the looks of it. Also the lower rear corner of the panel I couldnt get to either because of the support bracket for the quarter panel. Looks like POO, and again, hopefully not much bondo is need to smooth all that out. The creased line needs to be blended in with bondo as well. I got careless and over sanded on the lower end of the crease. Now just need to fill in the hols and plug weld the flanges. I decided not to add material on the flange of the door jam side, dont feel like spending time on it when its just gonna get covered up with sealant. Thats it for now. I may do some more hammer and dolly work to smooth out some areas. Passenger side should go a bit smoother as the fitment of the panel is better.