disepyon
-
Posts
121 -
Joined
-
Last visited
-
Days Won
6
Content Type
Profiles
Knowledge Base
Zcar Wiki
Forums
Gallery
Events
Downloads
Store
Blogs
Collections
Classifieds
Everything posted by disepyon
-
Project Boondoggle (or, so I went and bought a Z!)
disepyon replied to charliekwin's topic in Open Discussions
I see. Yeah I am not surprised either the cost to get a Steering Wheel redone. Ive checked into some local places where I am and even online, and your right, be best to buy something like a Nardi Wheel. Though id like the Wheel to be thicker/fatter, for a thick grip. Ah, Kids, that makes sense now. -
Project Boondoggle (or, so I went and bought a Z!)
disepyon replied to charliekwin's topic in Open Discussions
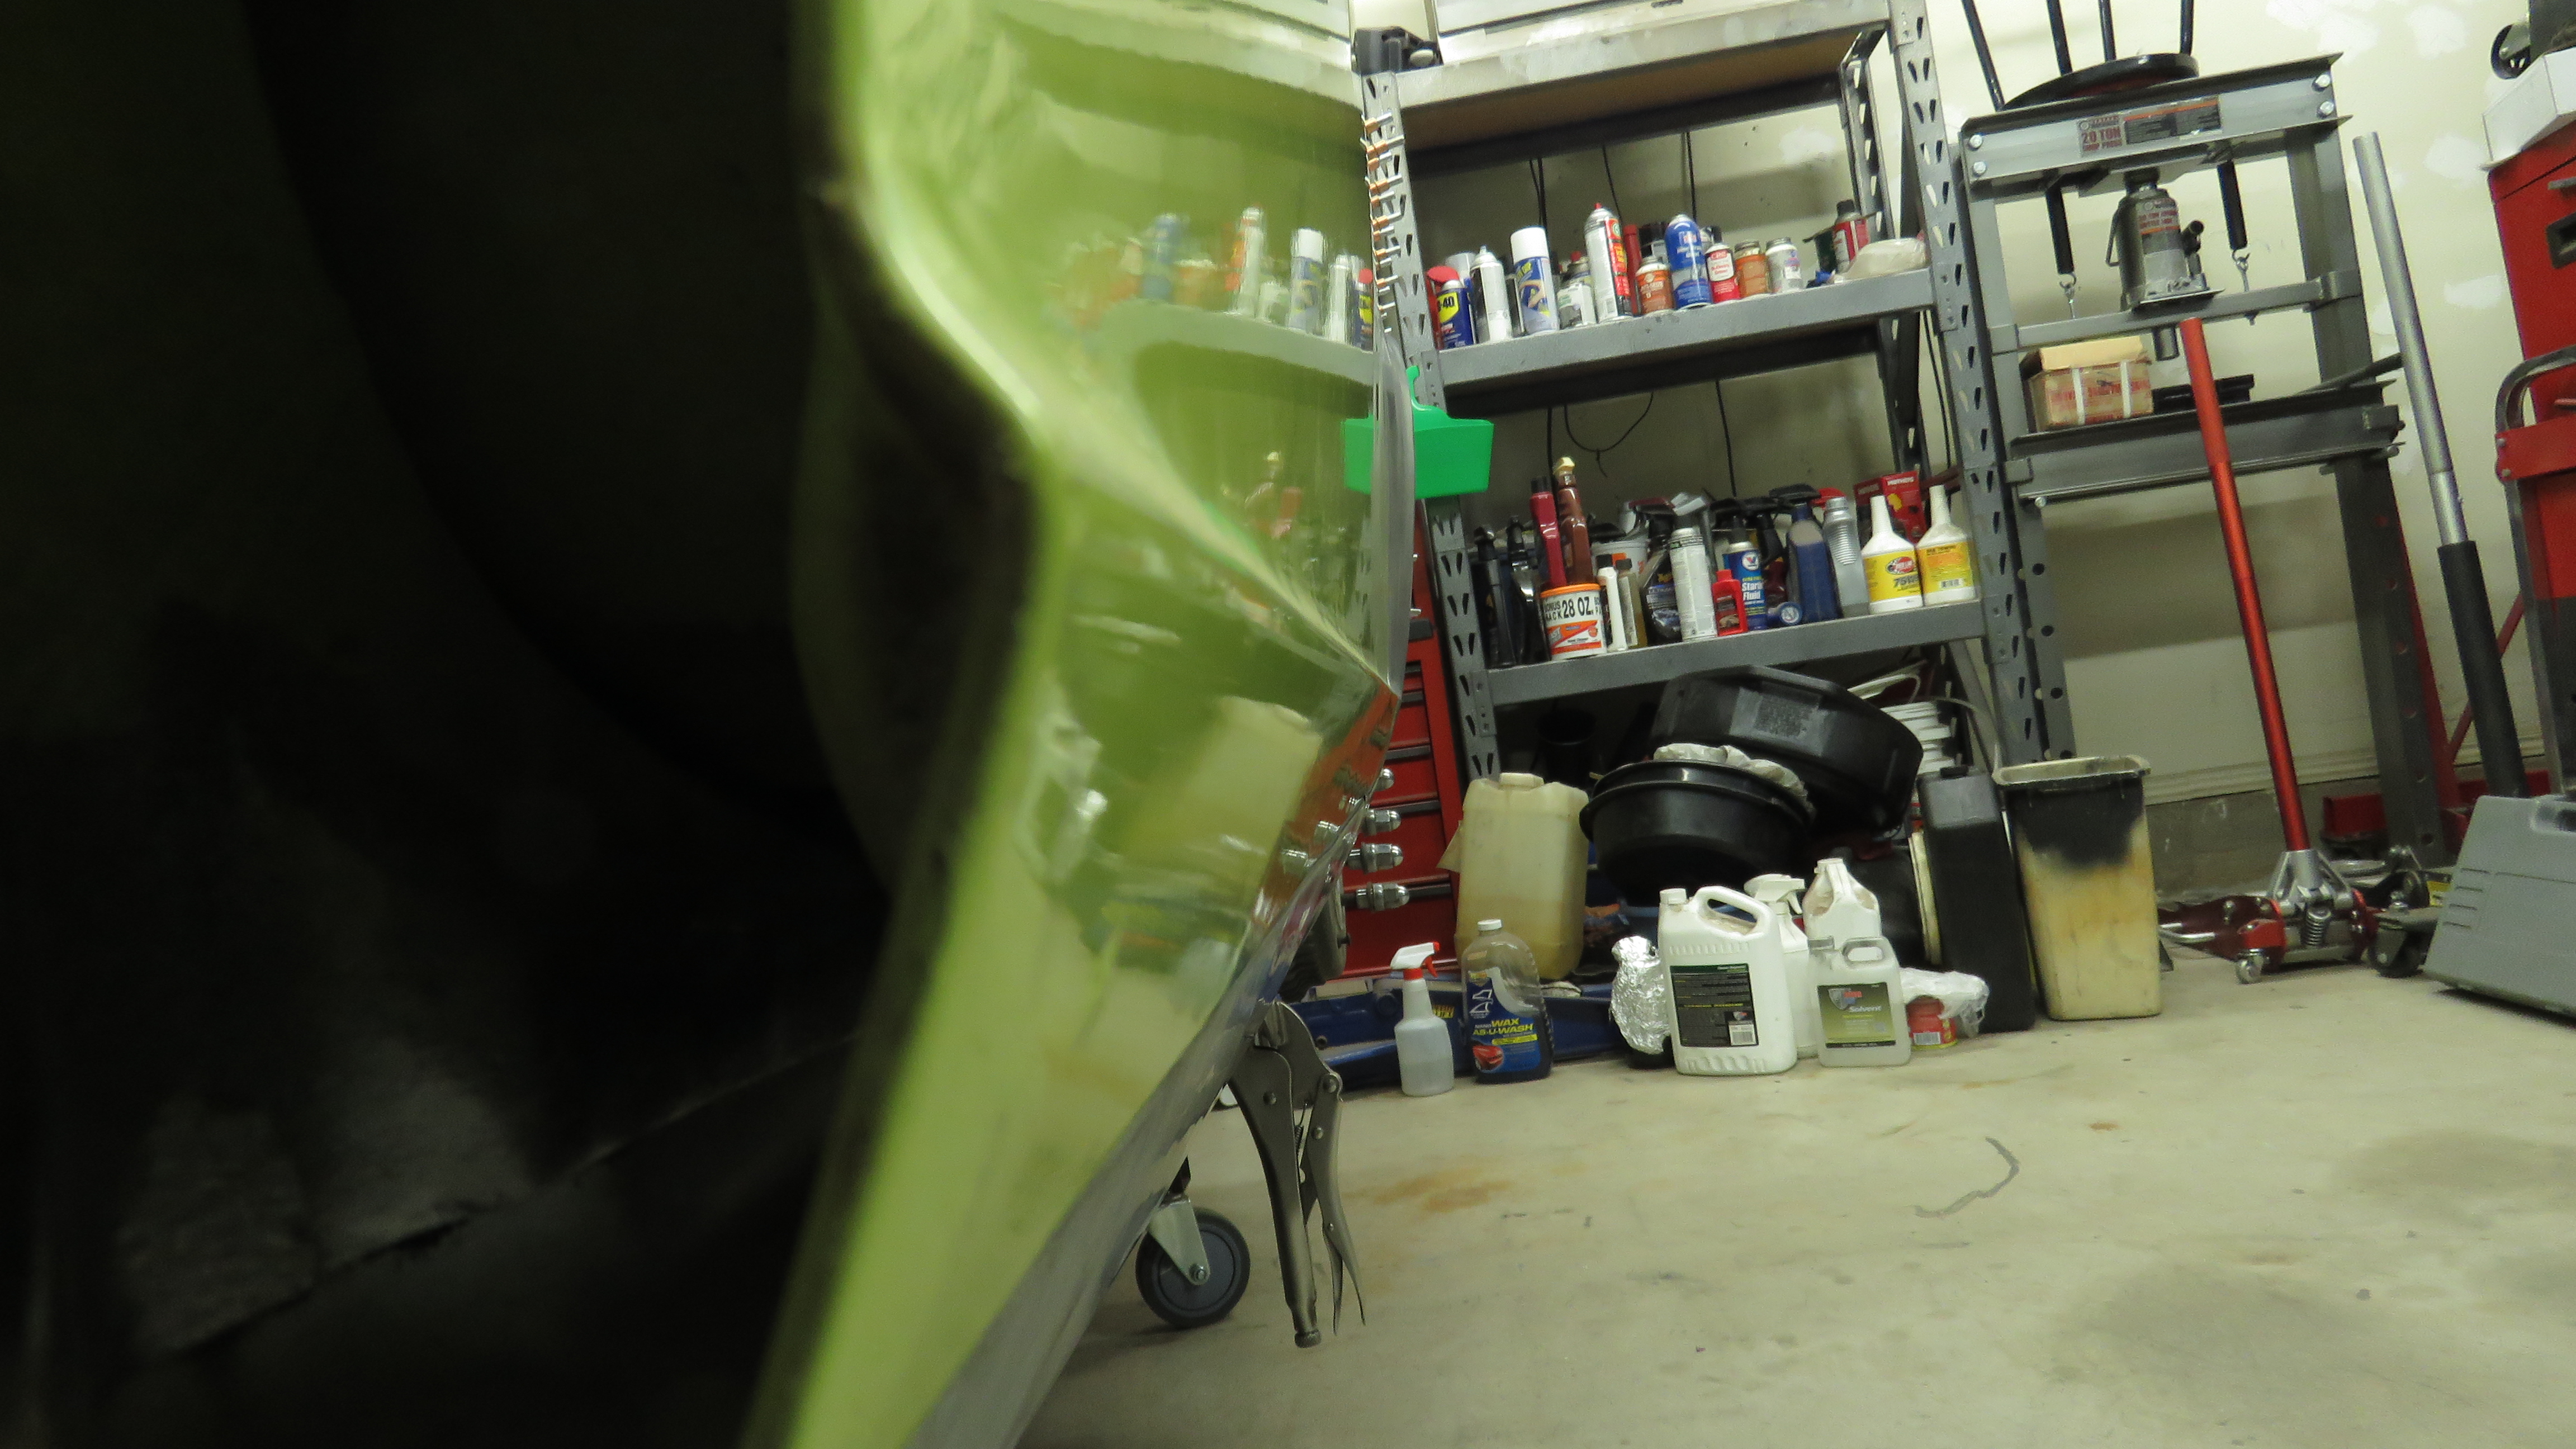
Awesome Wheel! depending how well your work holds up I would pay you to redo my wheel. Im more interested with the half eaten orange wrapped in saran wrap. Never seen a half eaten orange wrapped. Do you wrap the the apples like that too? -
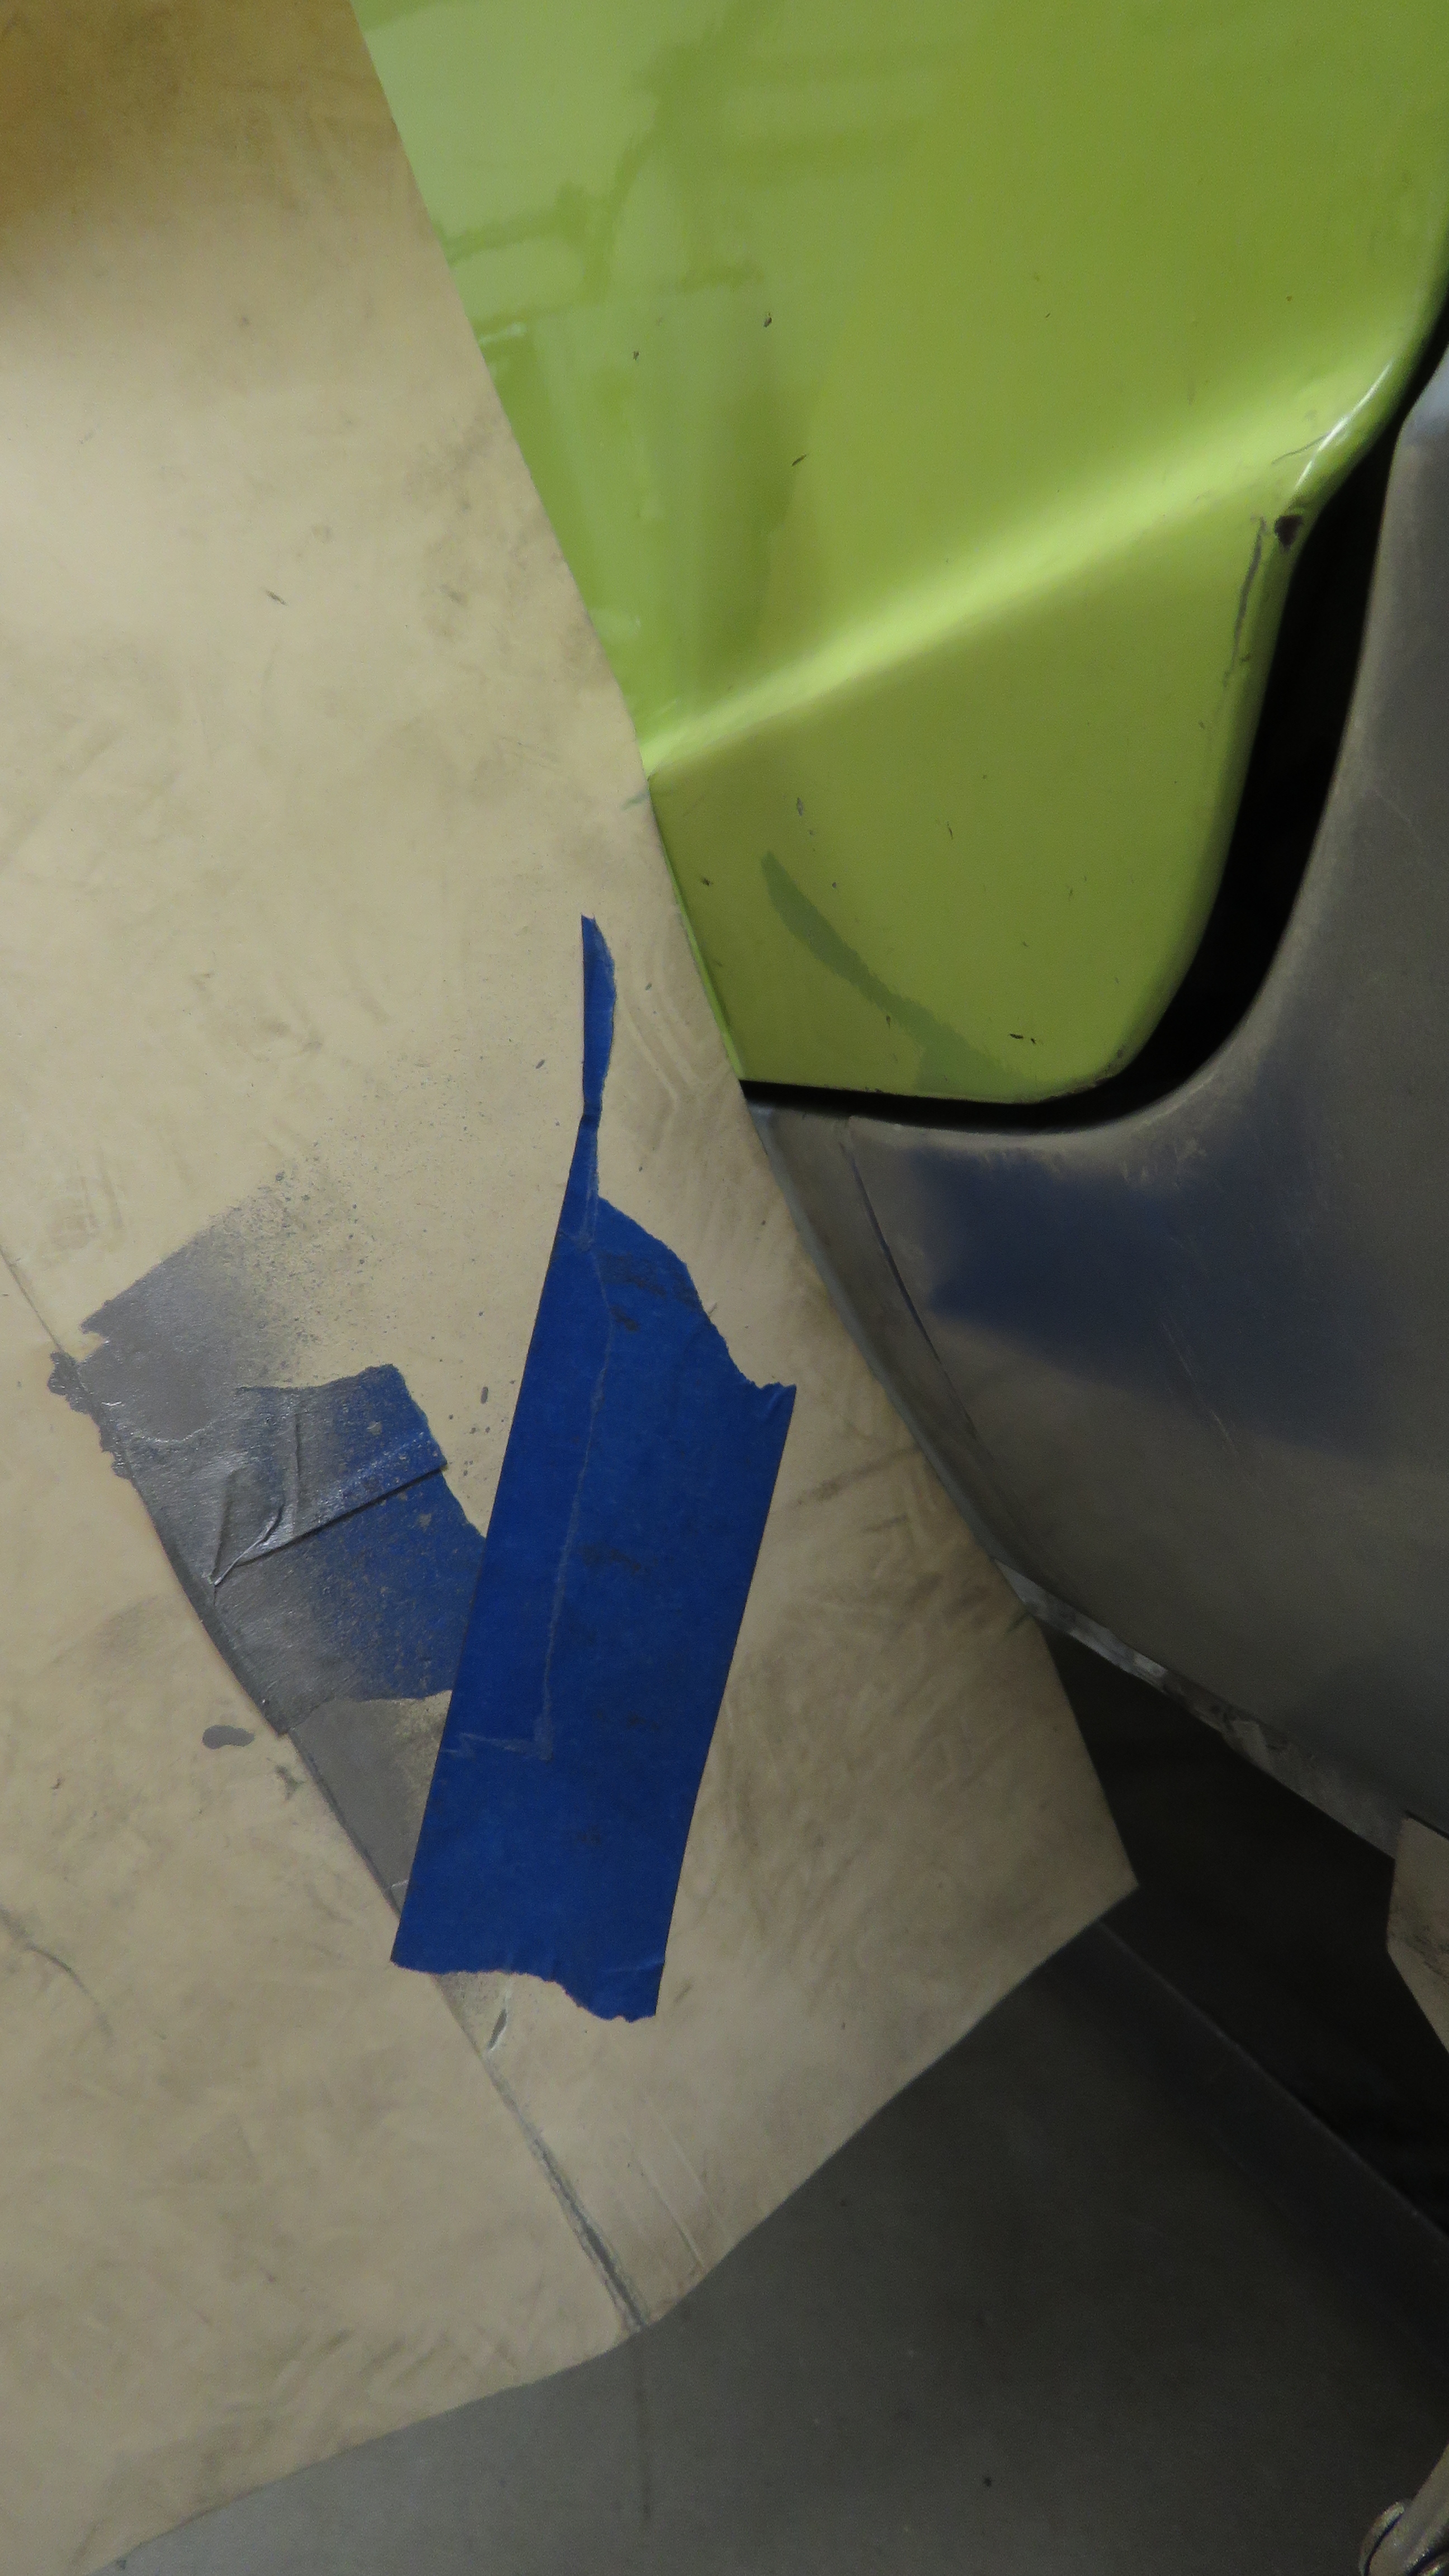
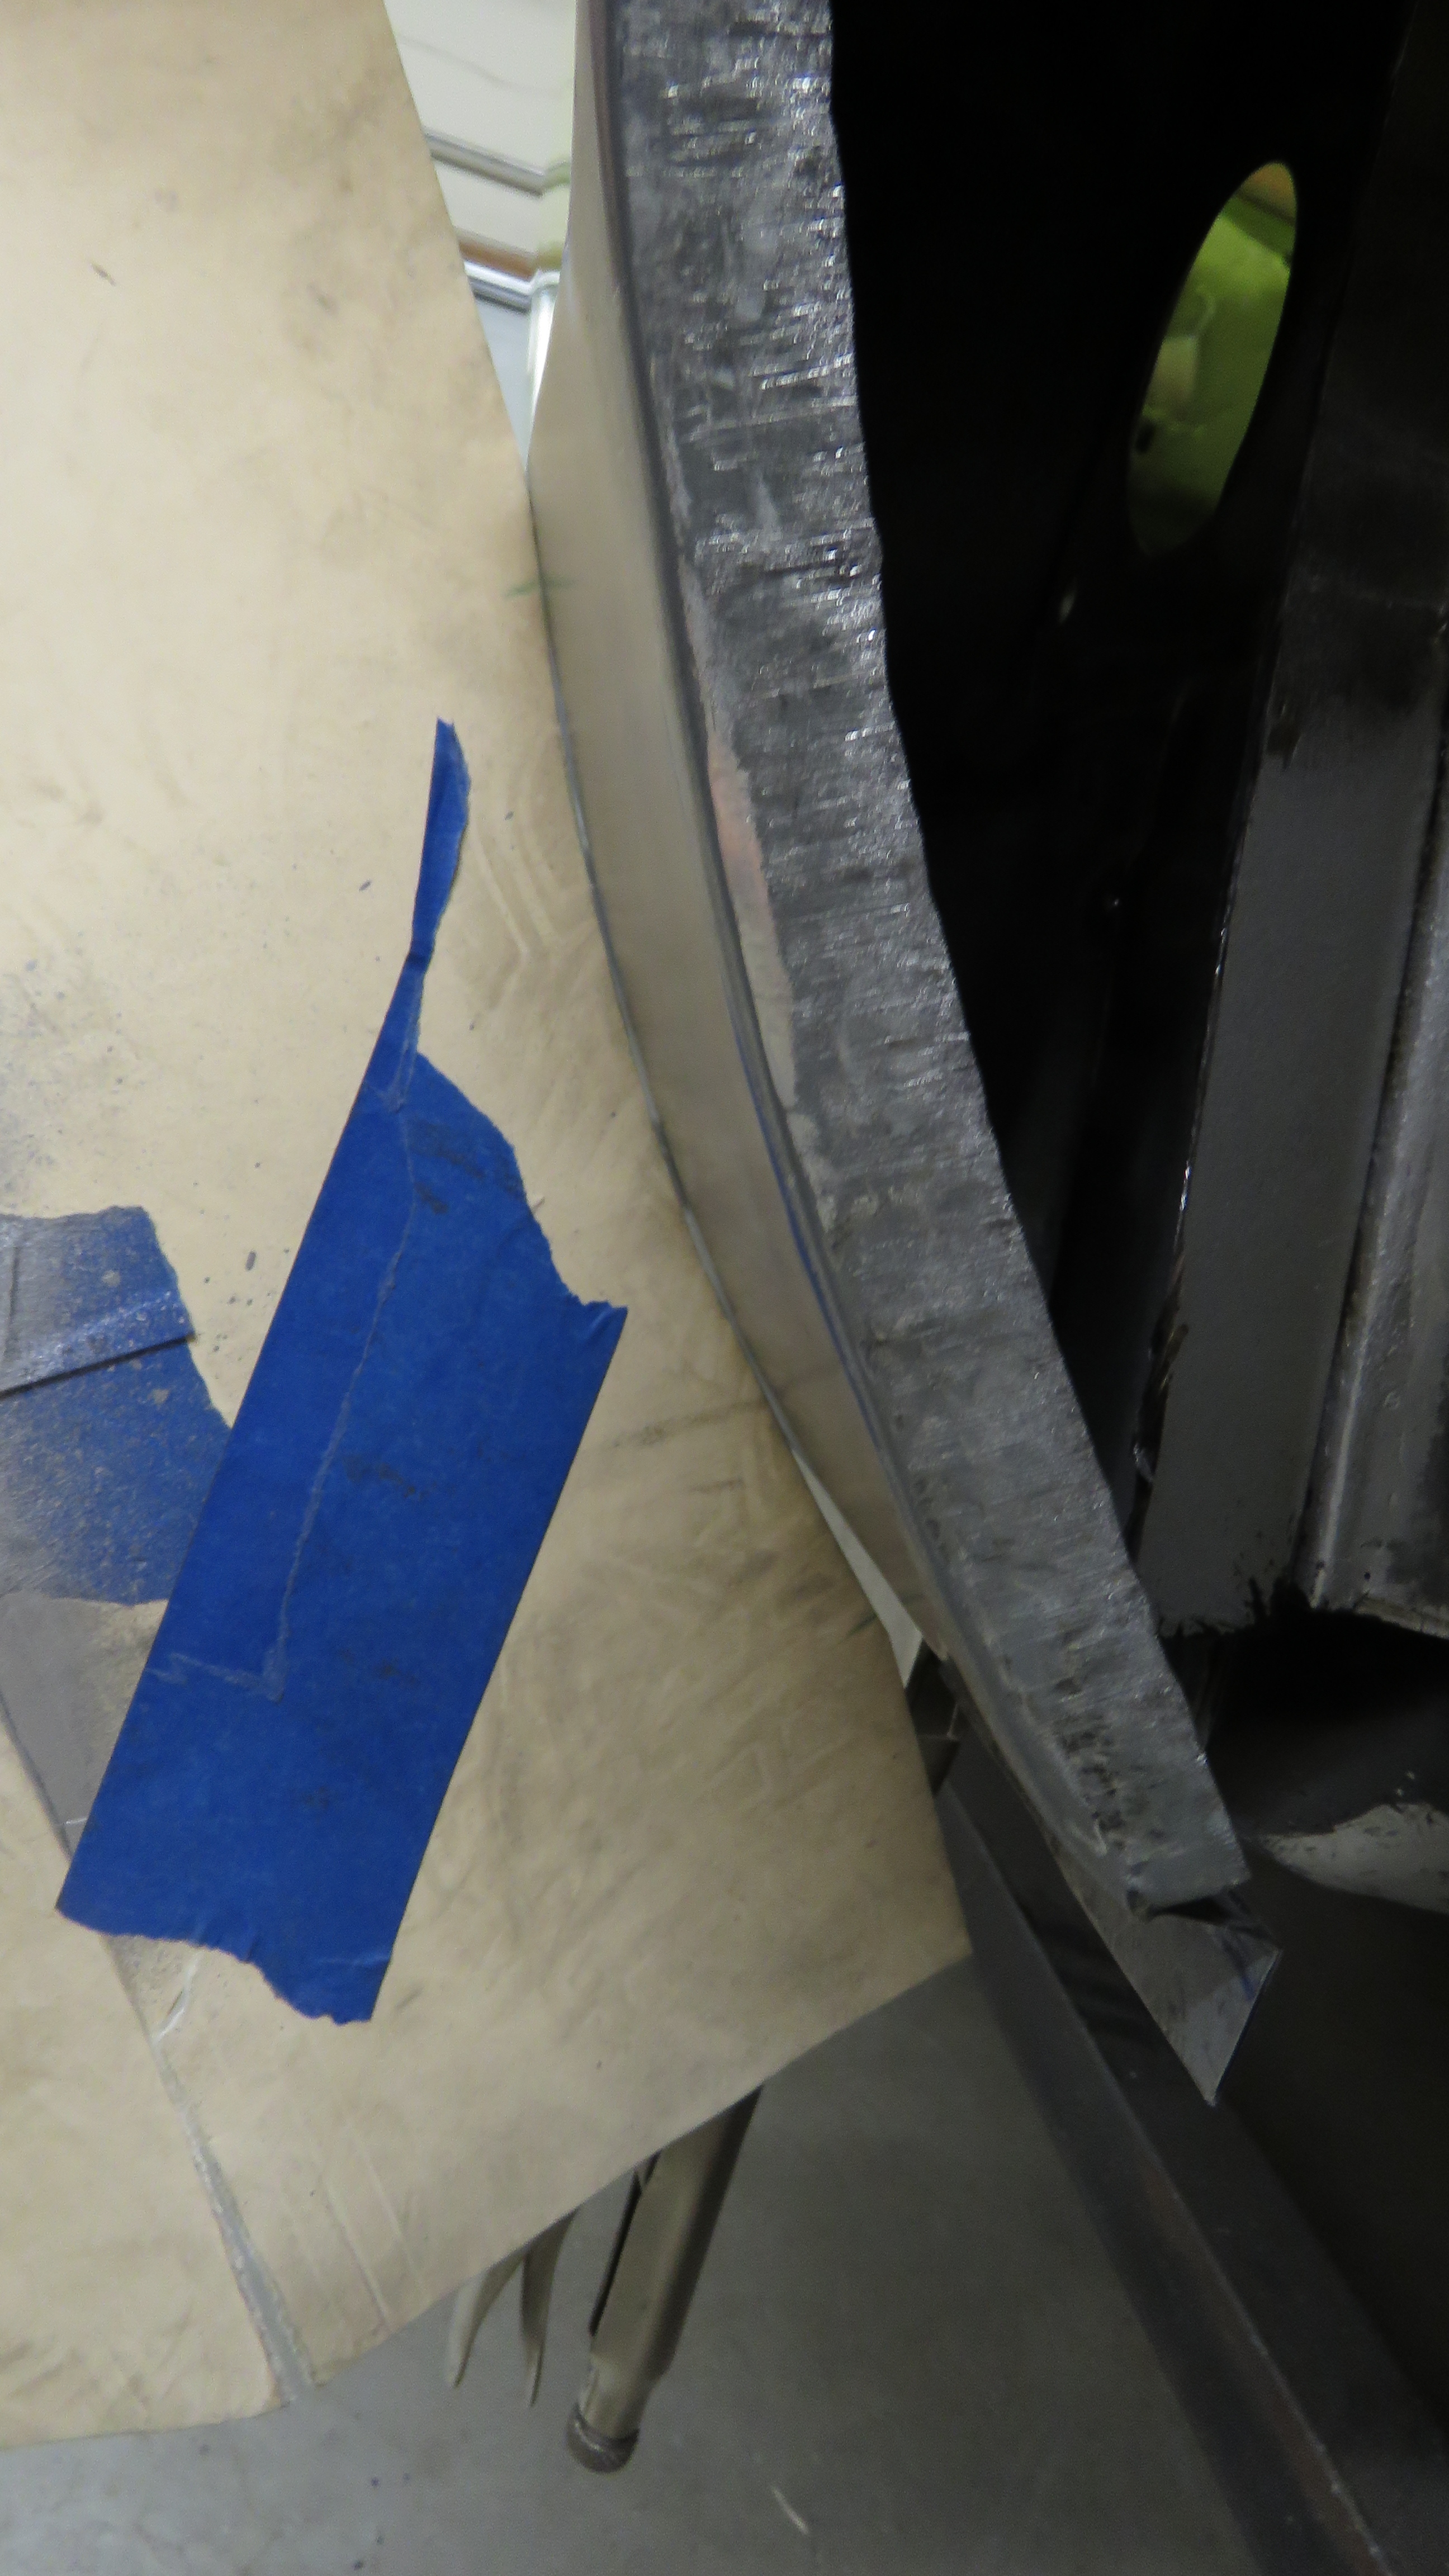
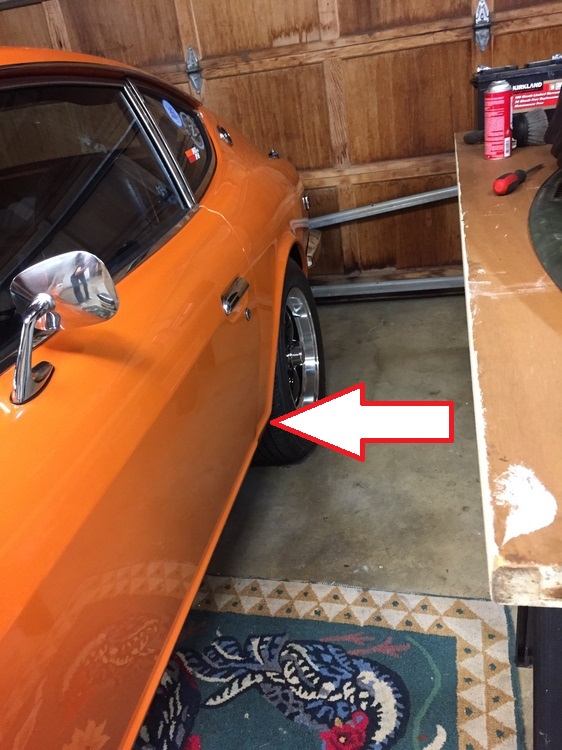
Dang, I should had left my creased line alone on my car. I though the same in that the crease faded right before the peak of the wheel arch and softened it up to help it fade away. Now after looking in depth more, that crease clearly is the same the whole way on the rear quarter panel. Guess just depends on the lighting and angle as shown below that makes it appear it fades. 7tooZ: One thing that would bother me is the lower dog leg area/rocker panel area, where the arrows are pointing. I think its supposed to be aligned straight with the door and not flare out. Wonder if the body shop knew that or not. I could be wrong though. Was your rear quarters replacements or originals?

_rear-right_Toyota_Automobile_Museum.thumb.jpg.bb9fd7fa72b0fc91e771f1664f4cd82f.jpg)
-
Thats nothing compared to what ive done in the past. Believe me, you would of thought my work was a joke/pranking someone. The only difference now is i rather spend the time to make my fitment as best as possible then to spend it to sand, grind, weld to build up material and over bondo. Still have to do that just not as much. im still trying to get my welds/seams to blend in after sanding.
-
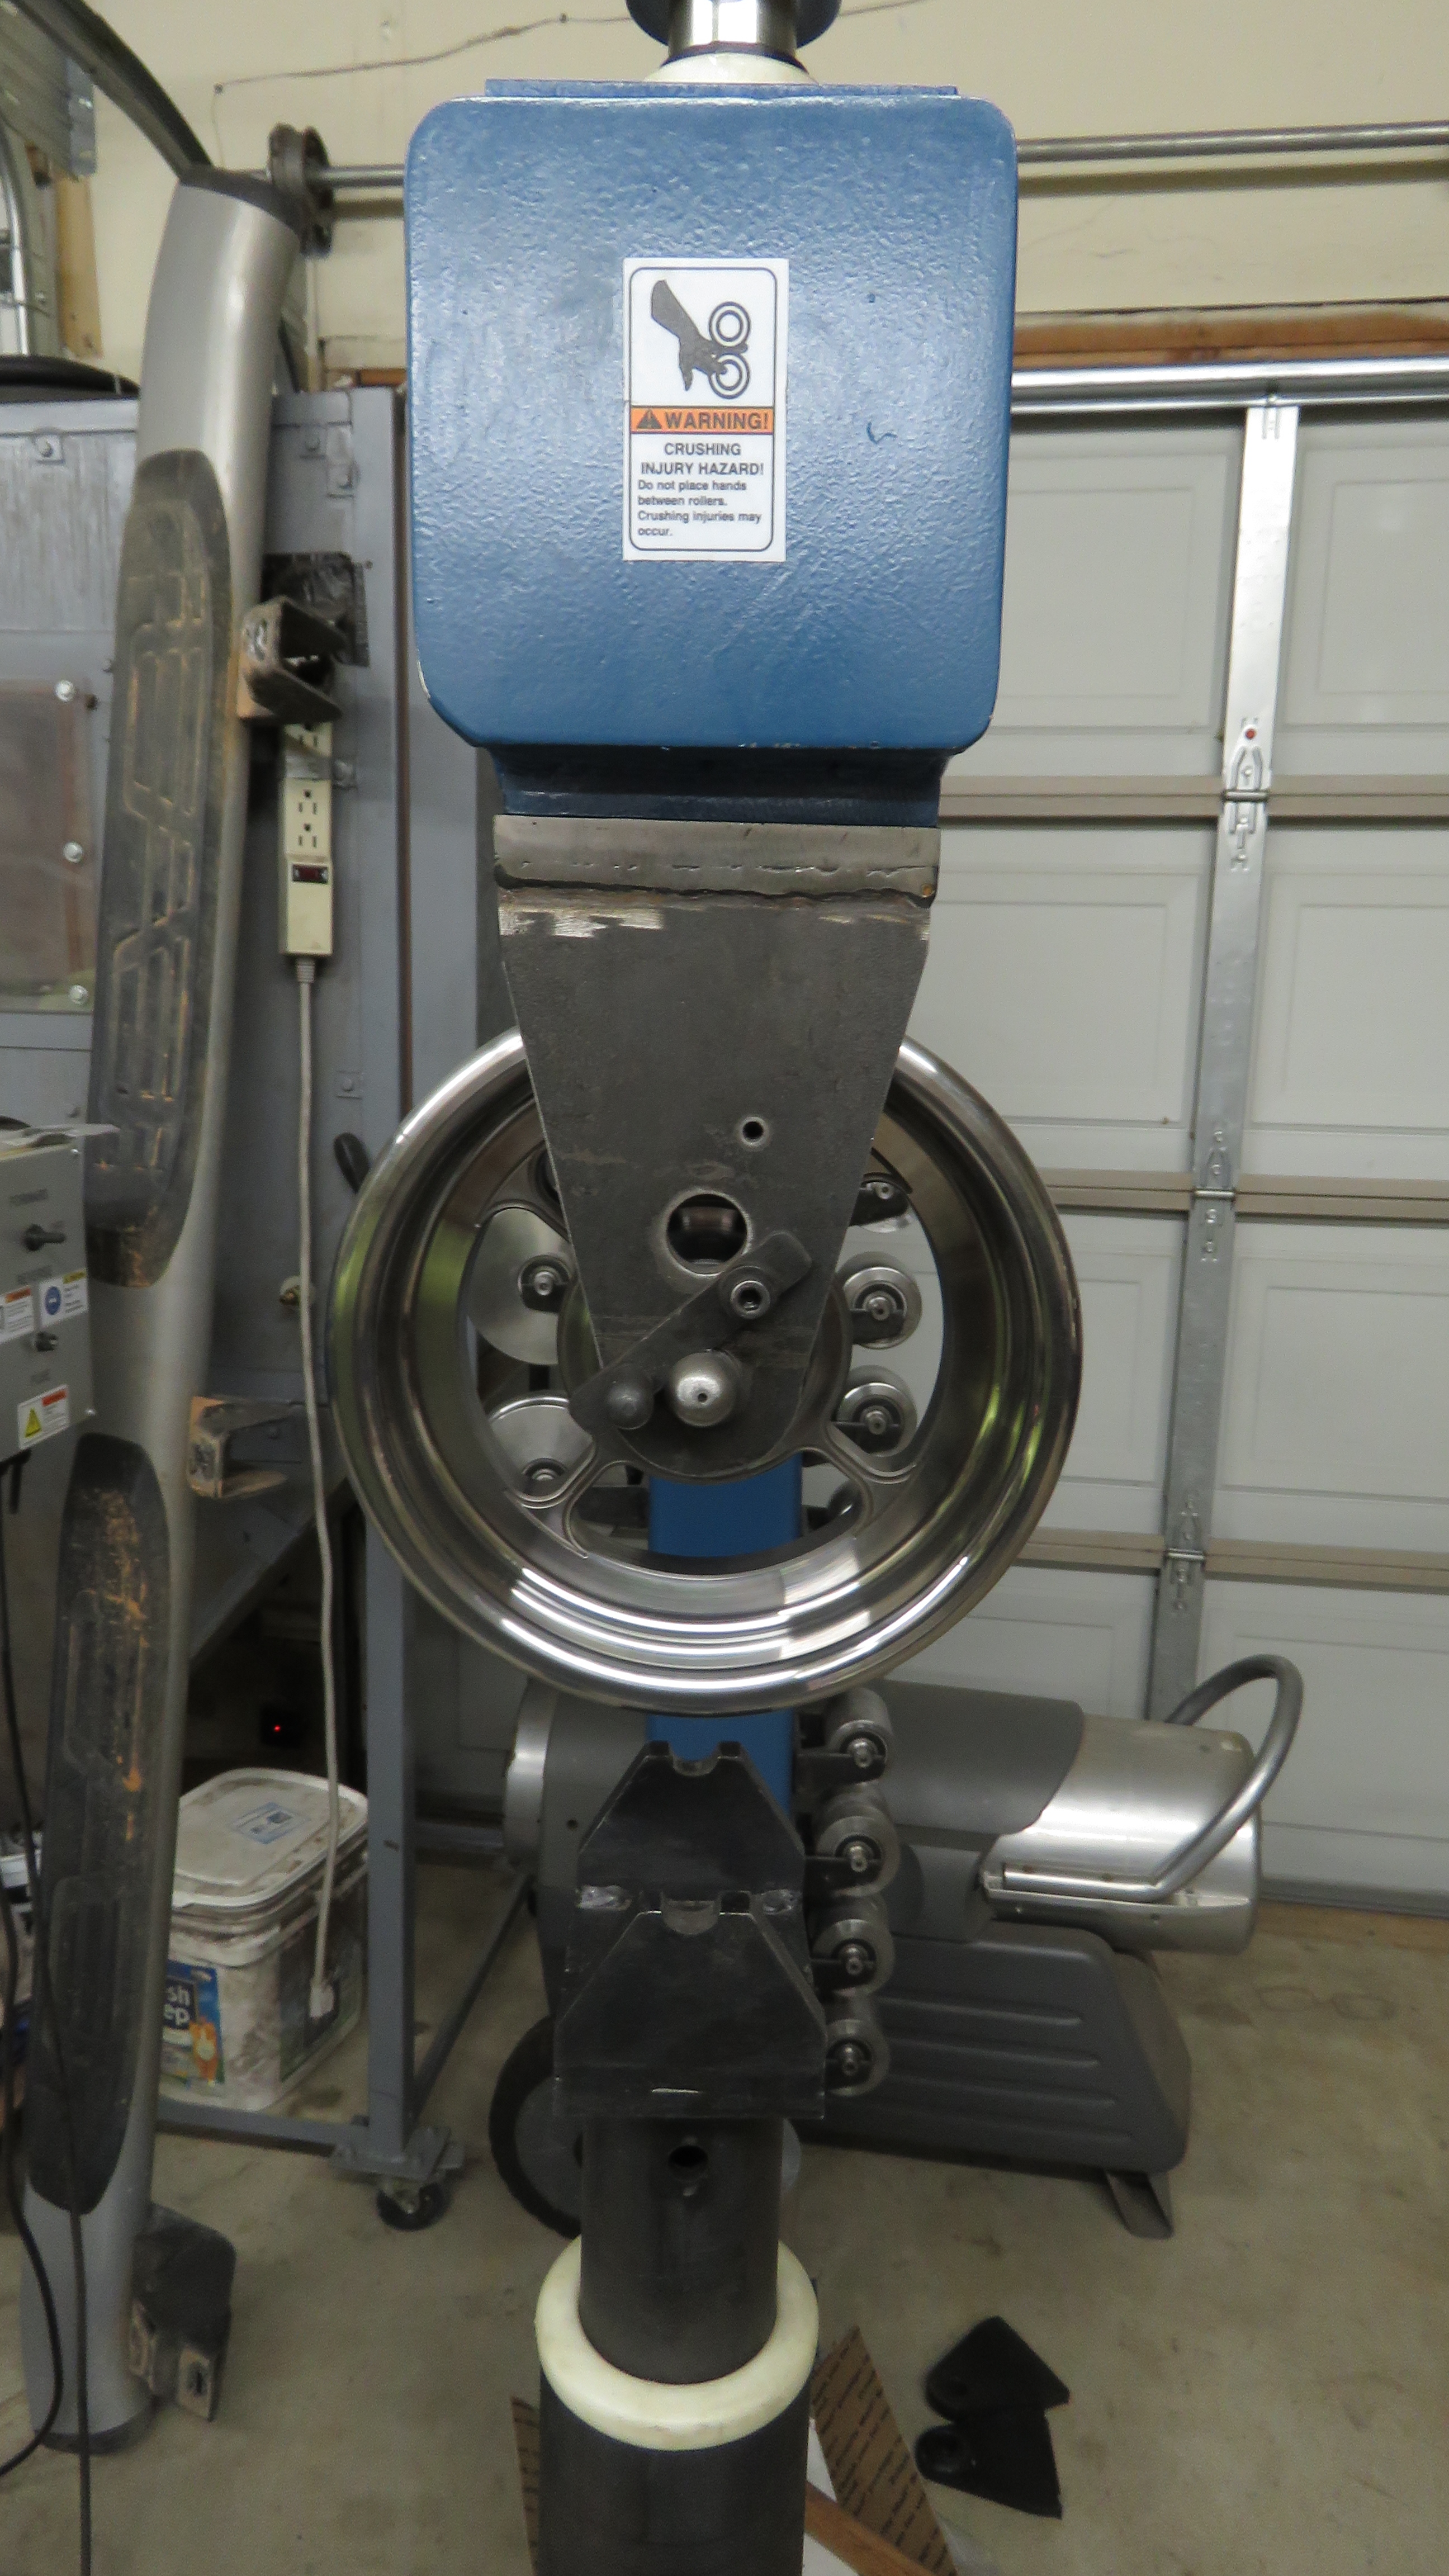
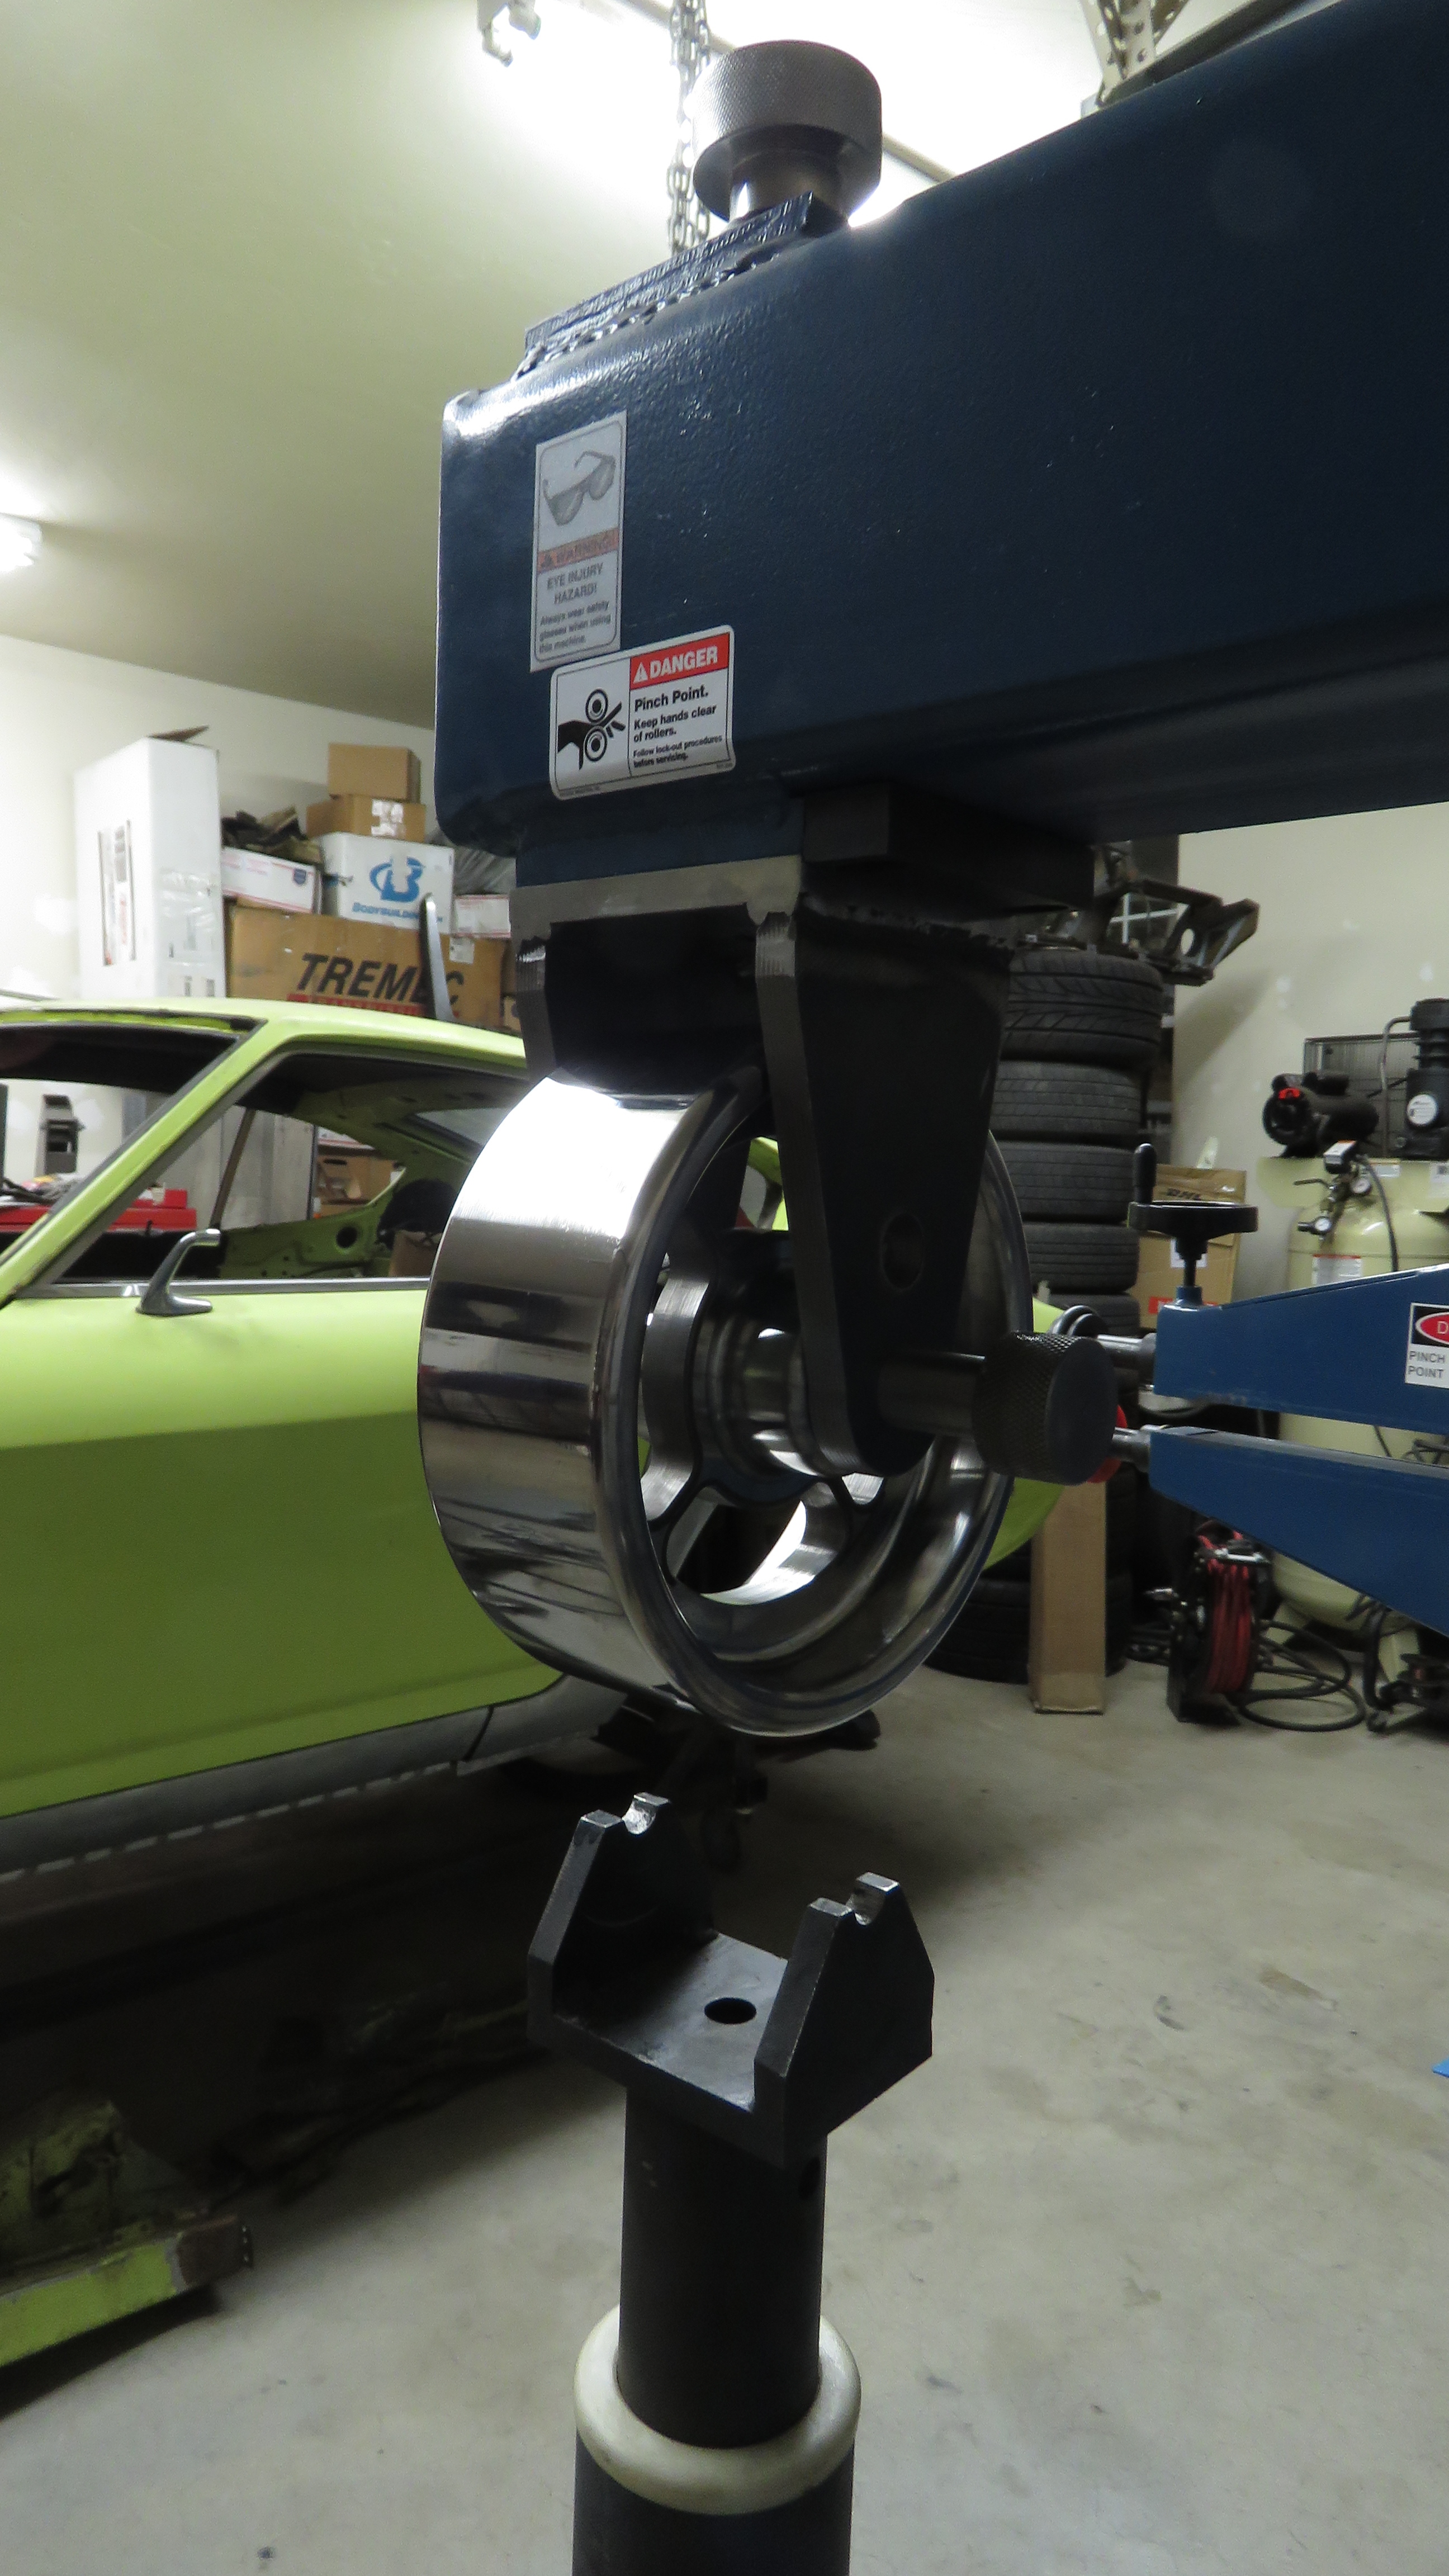
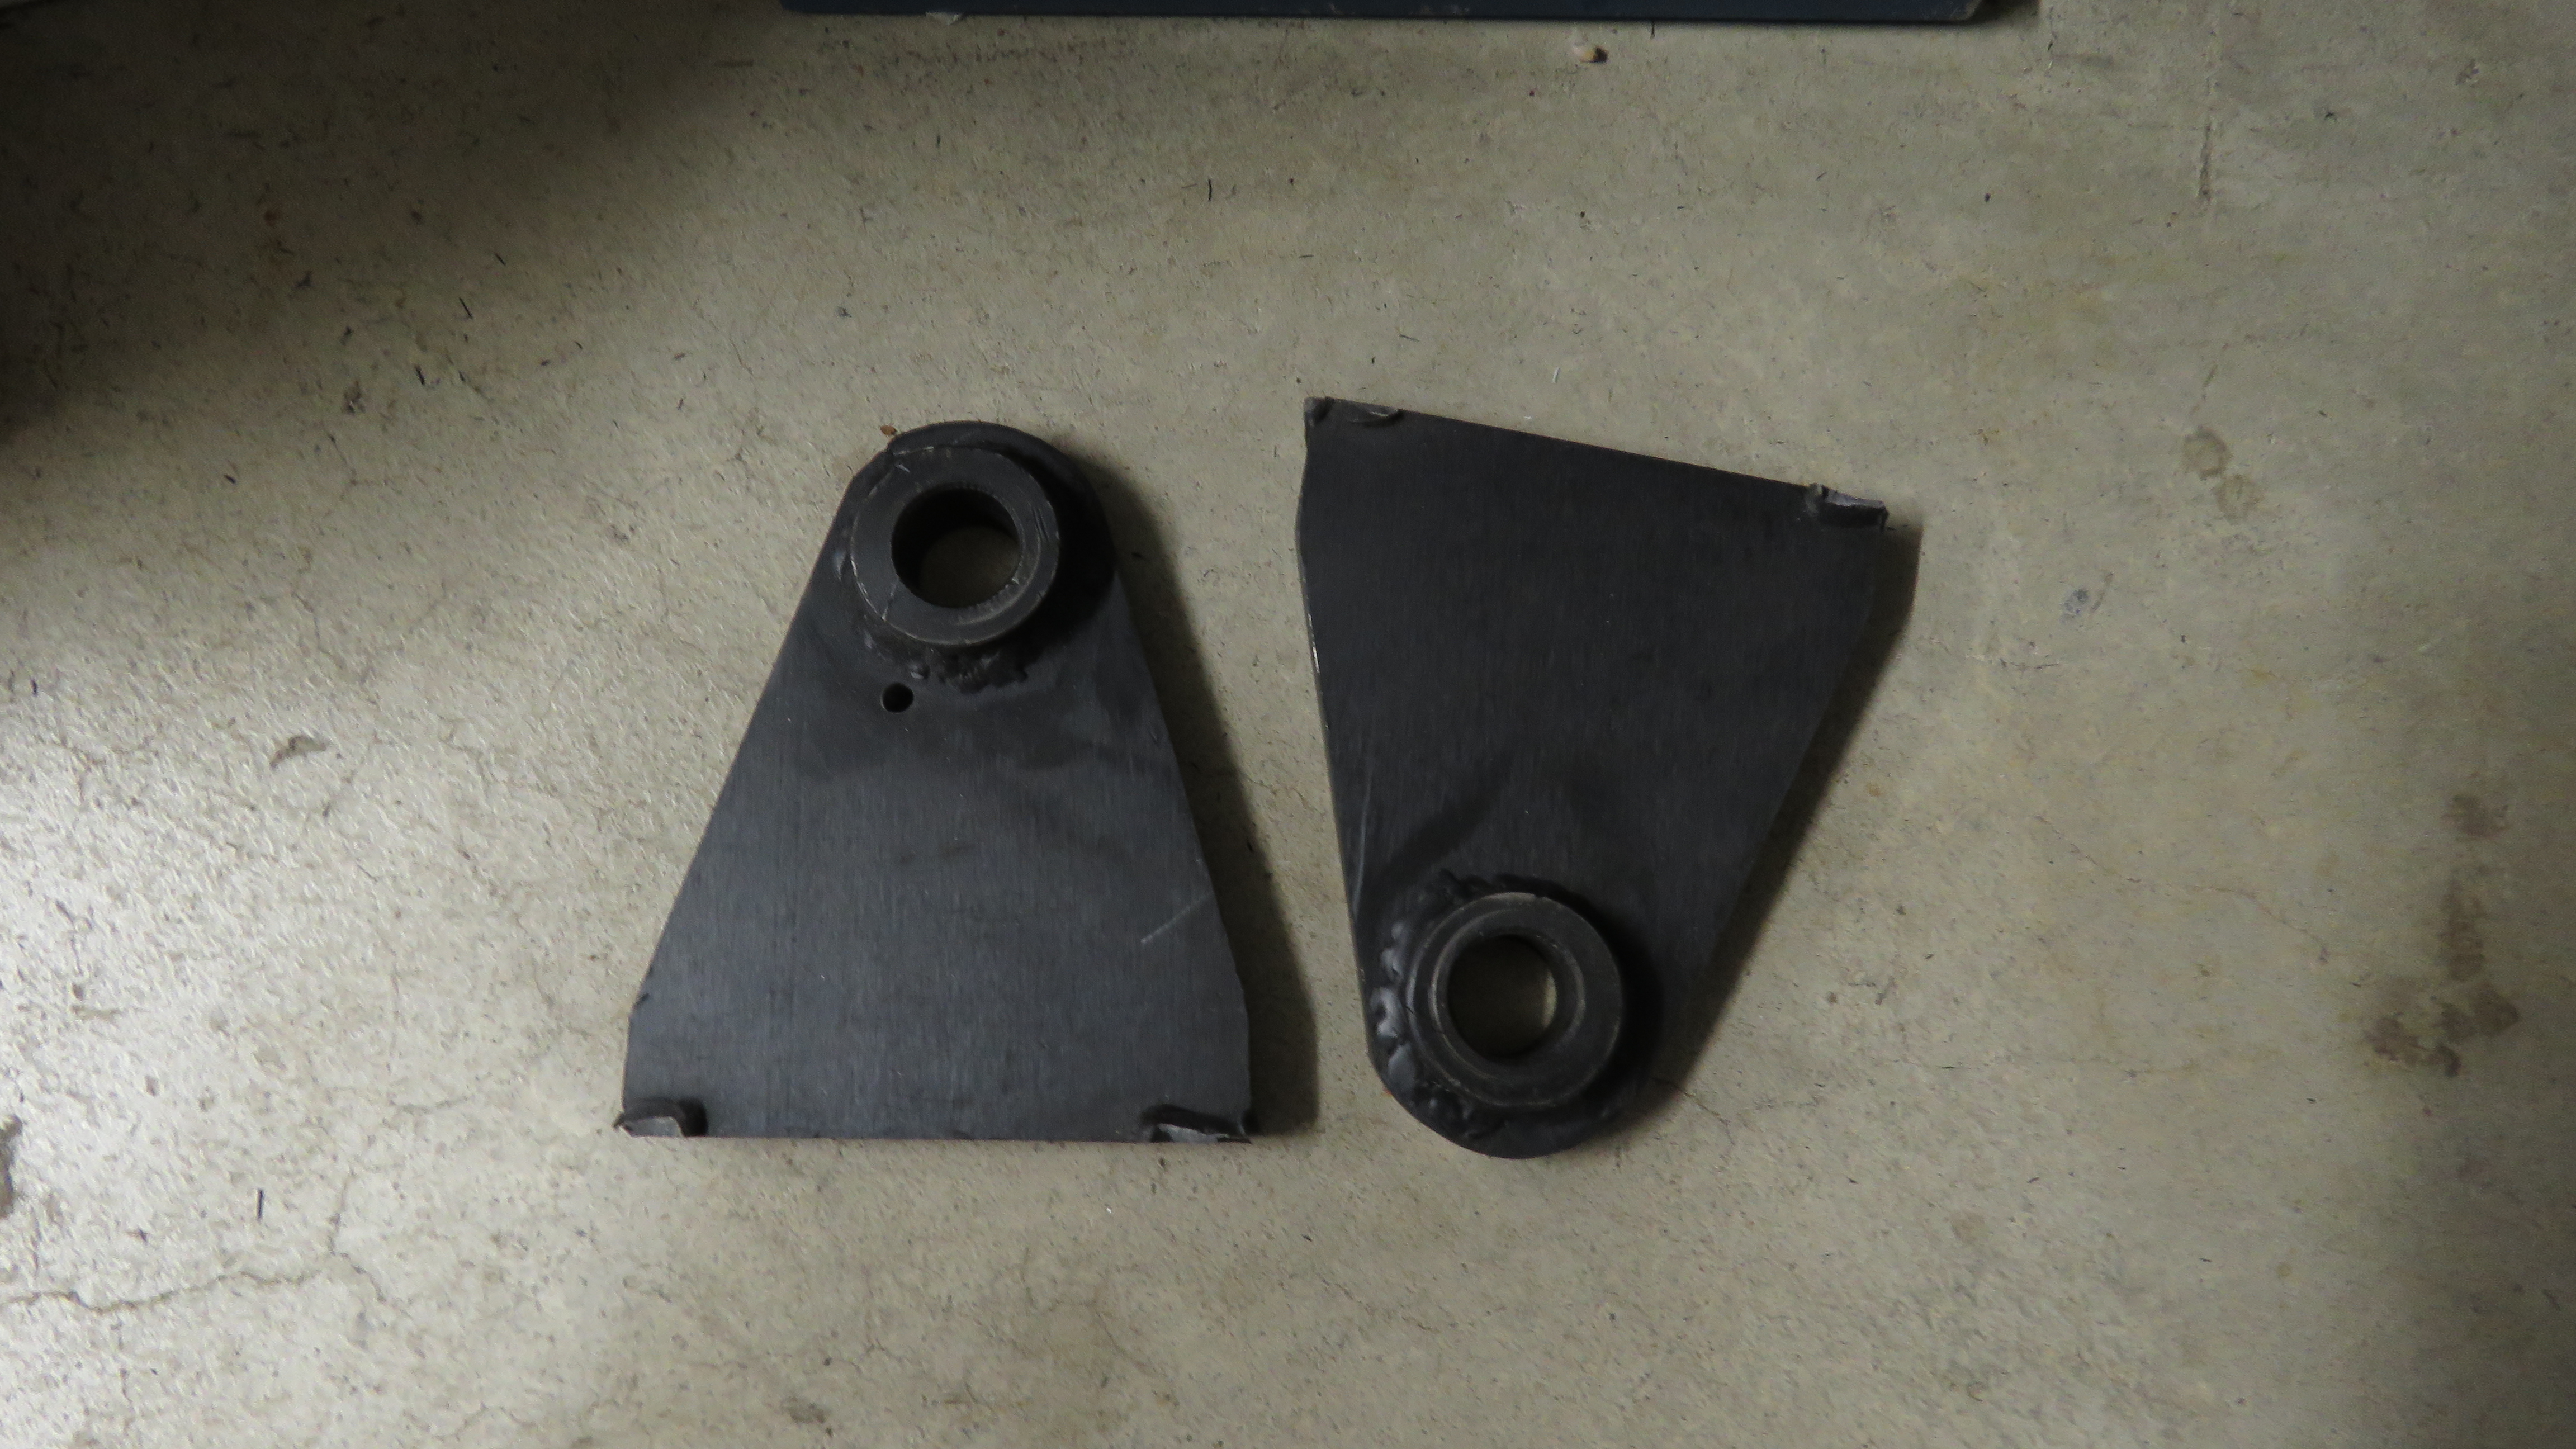
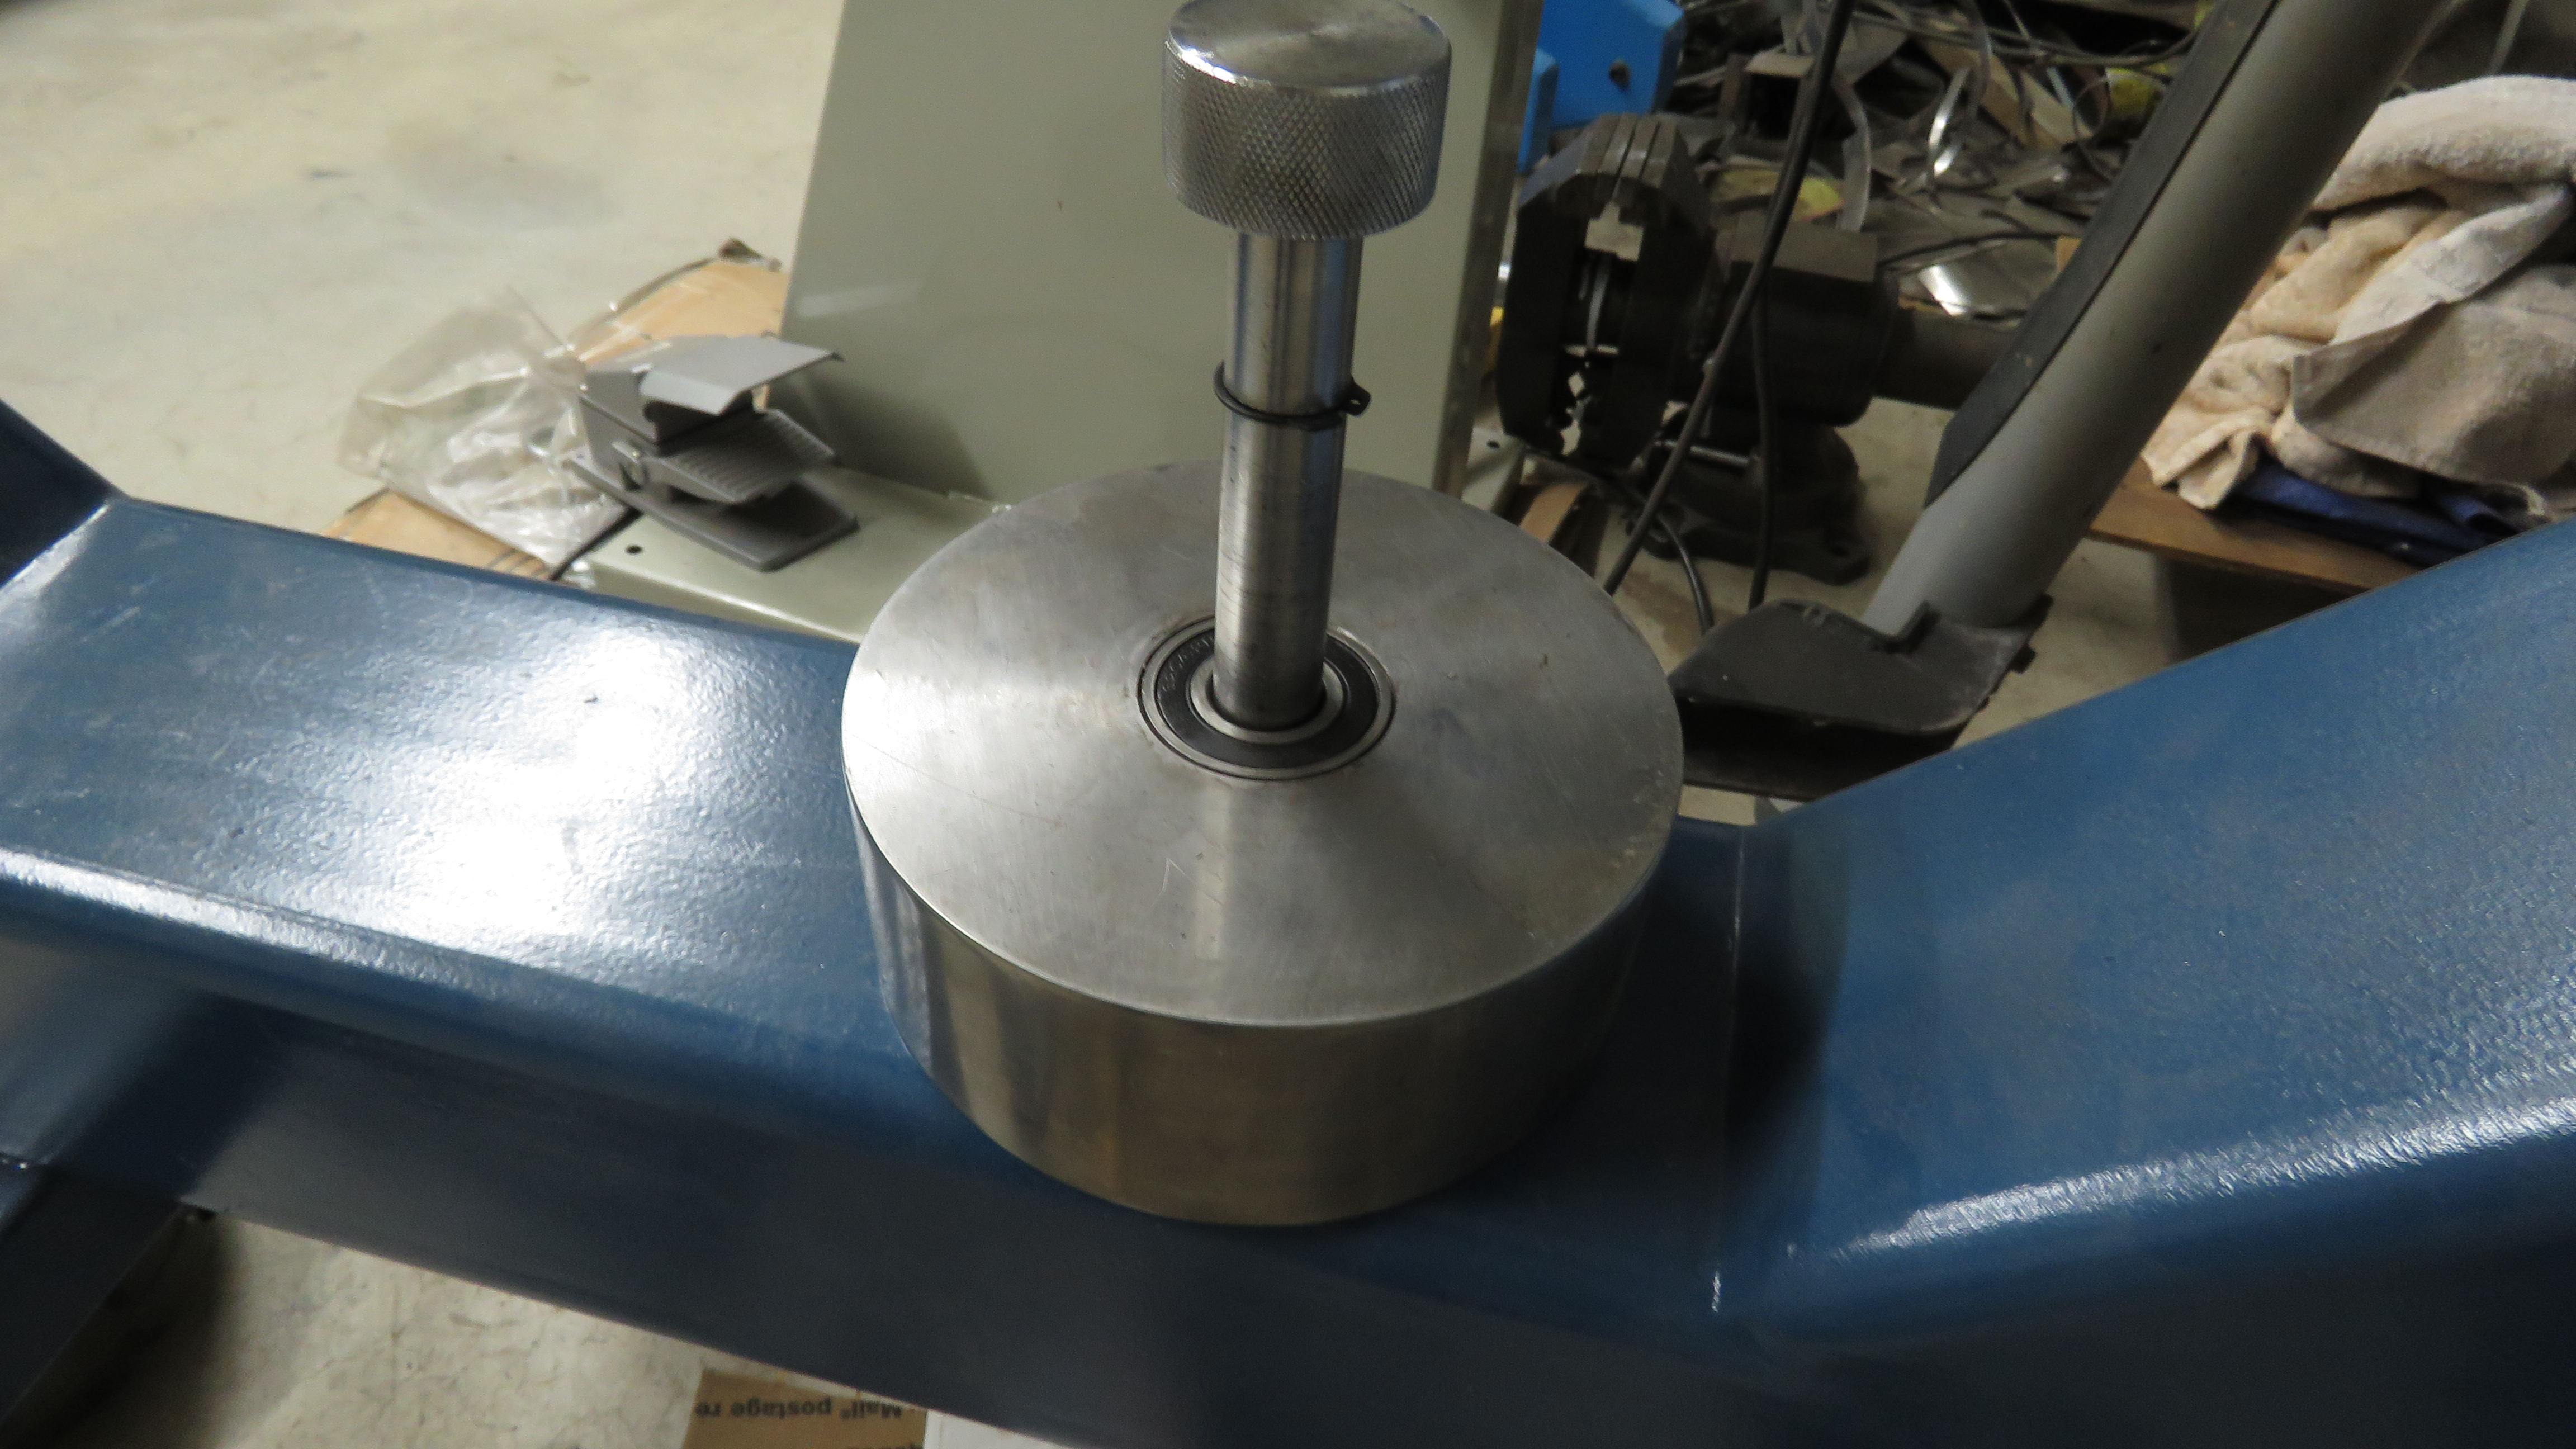
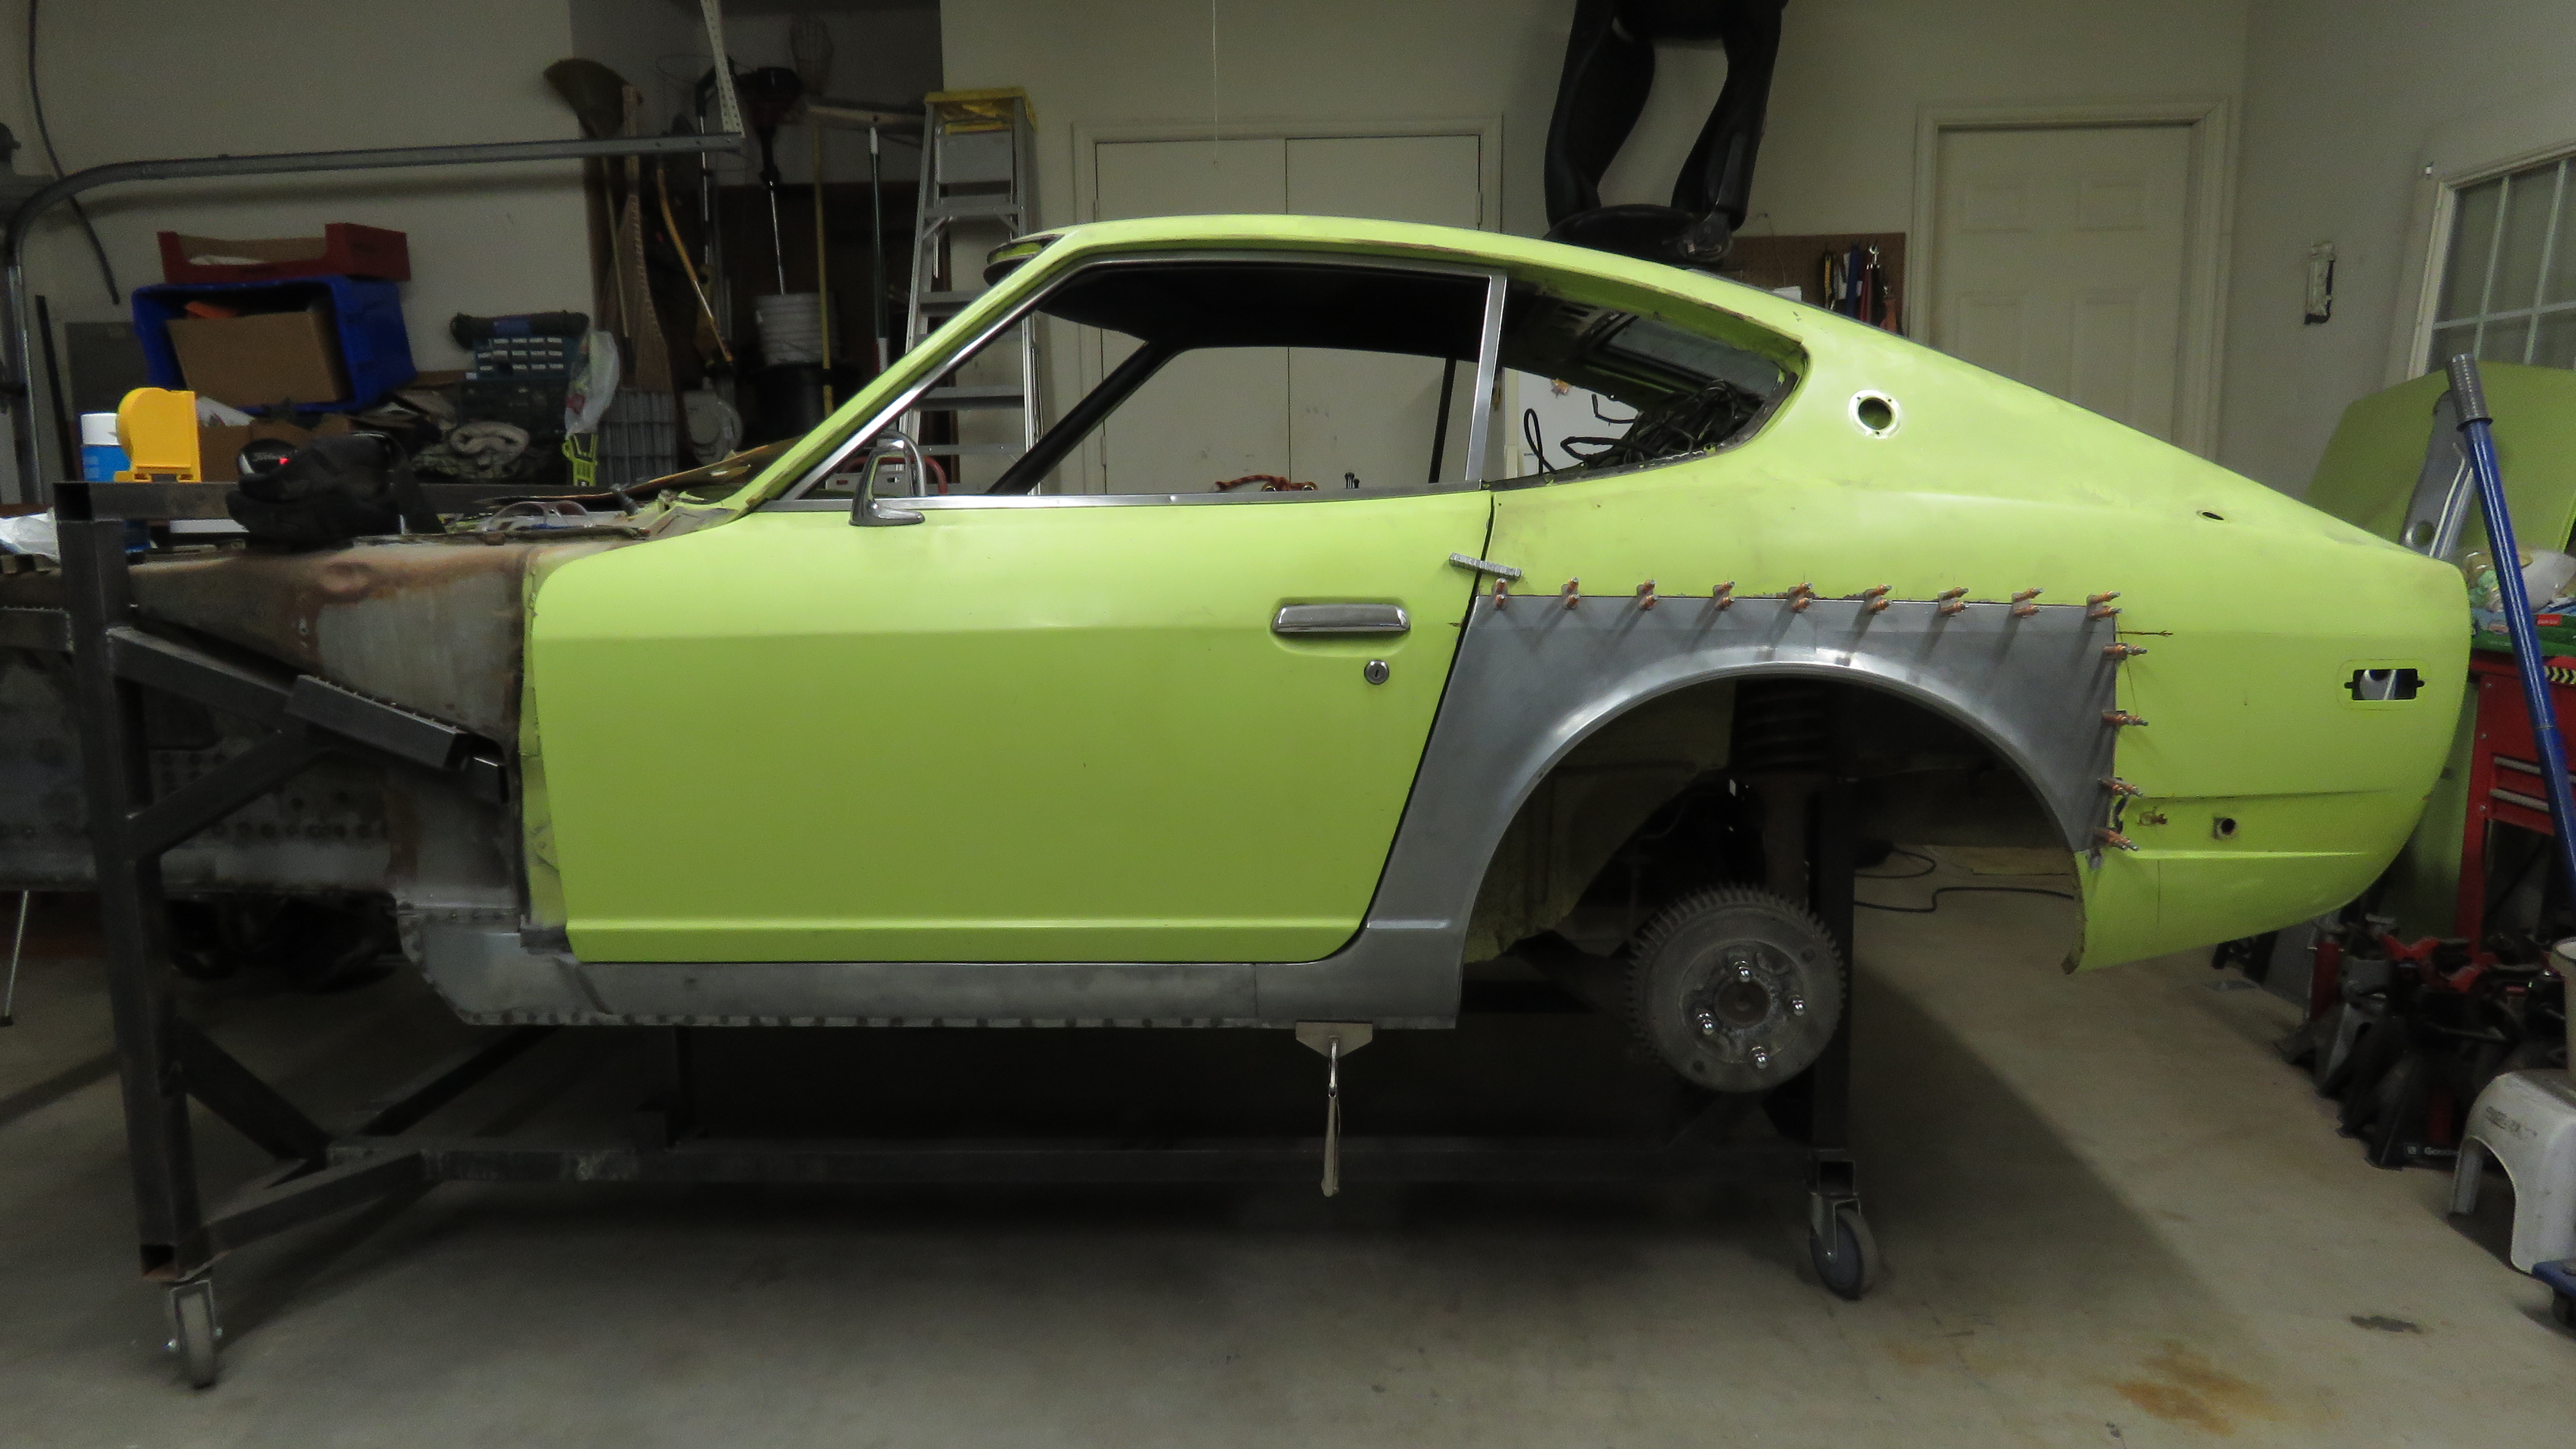
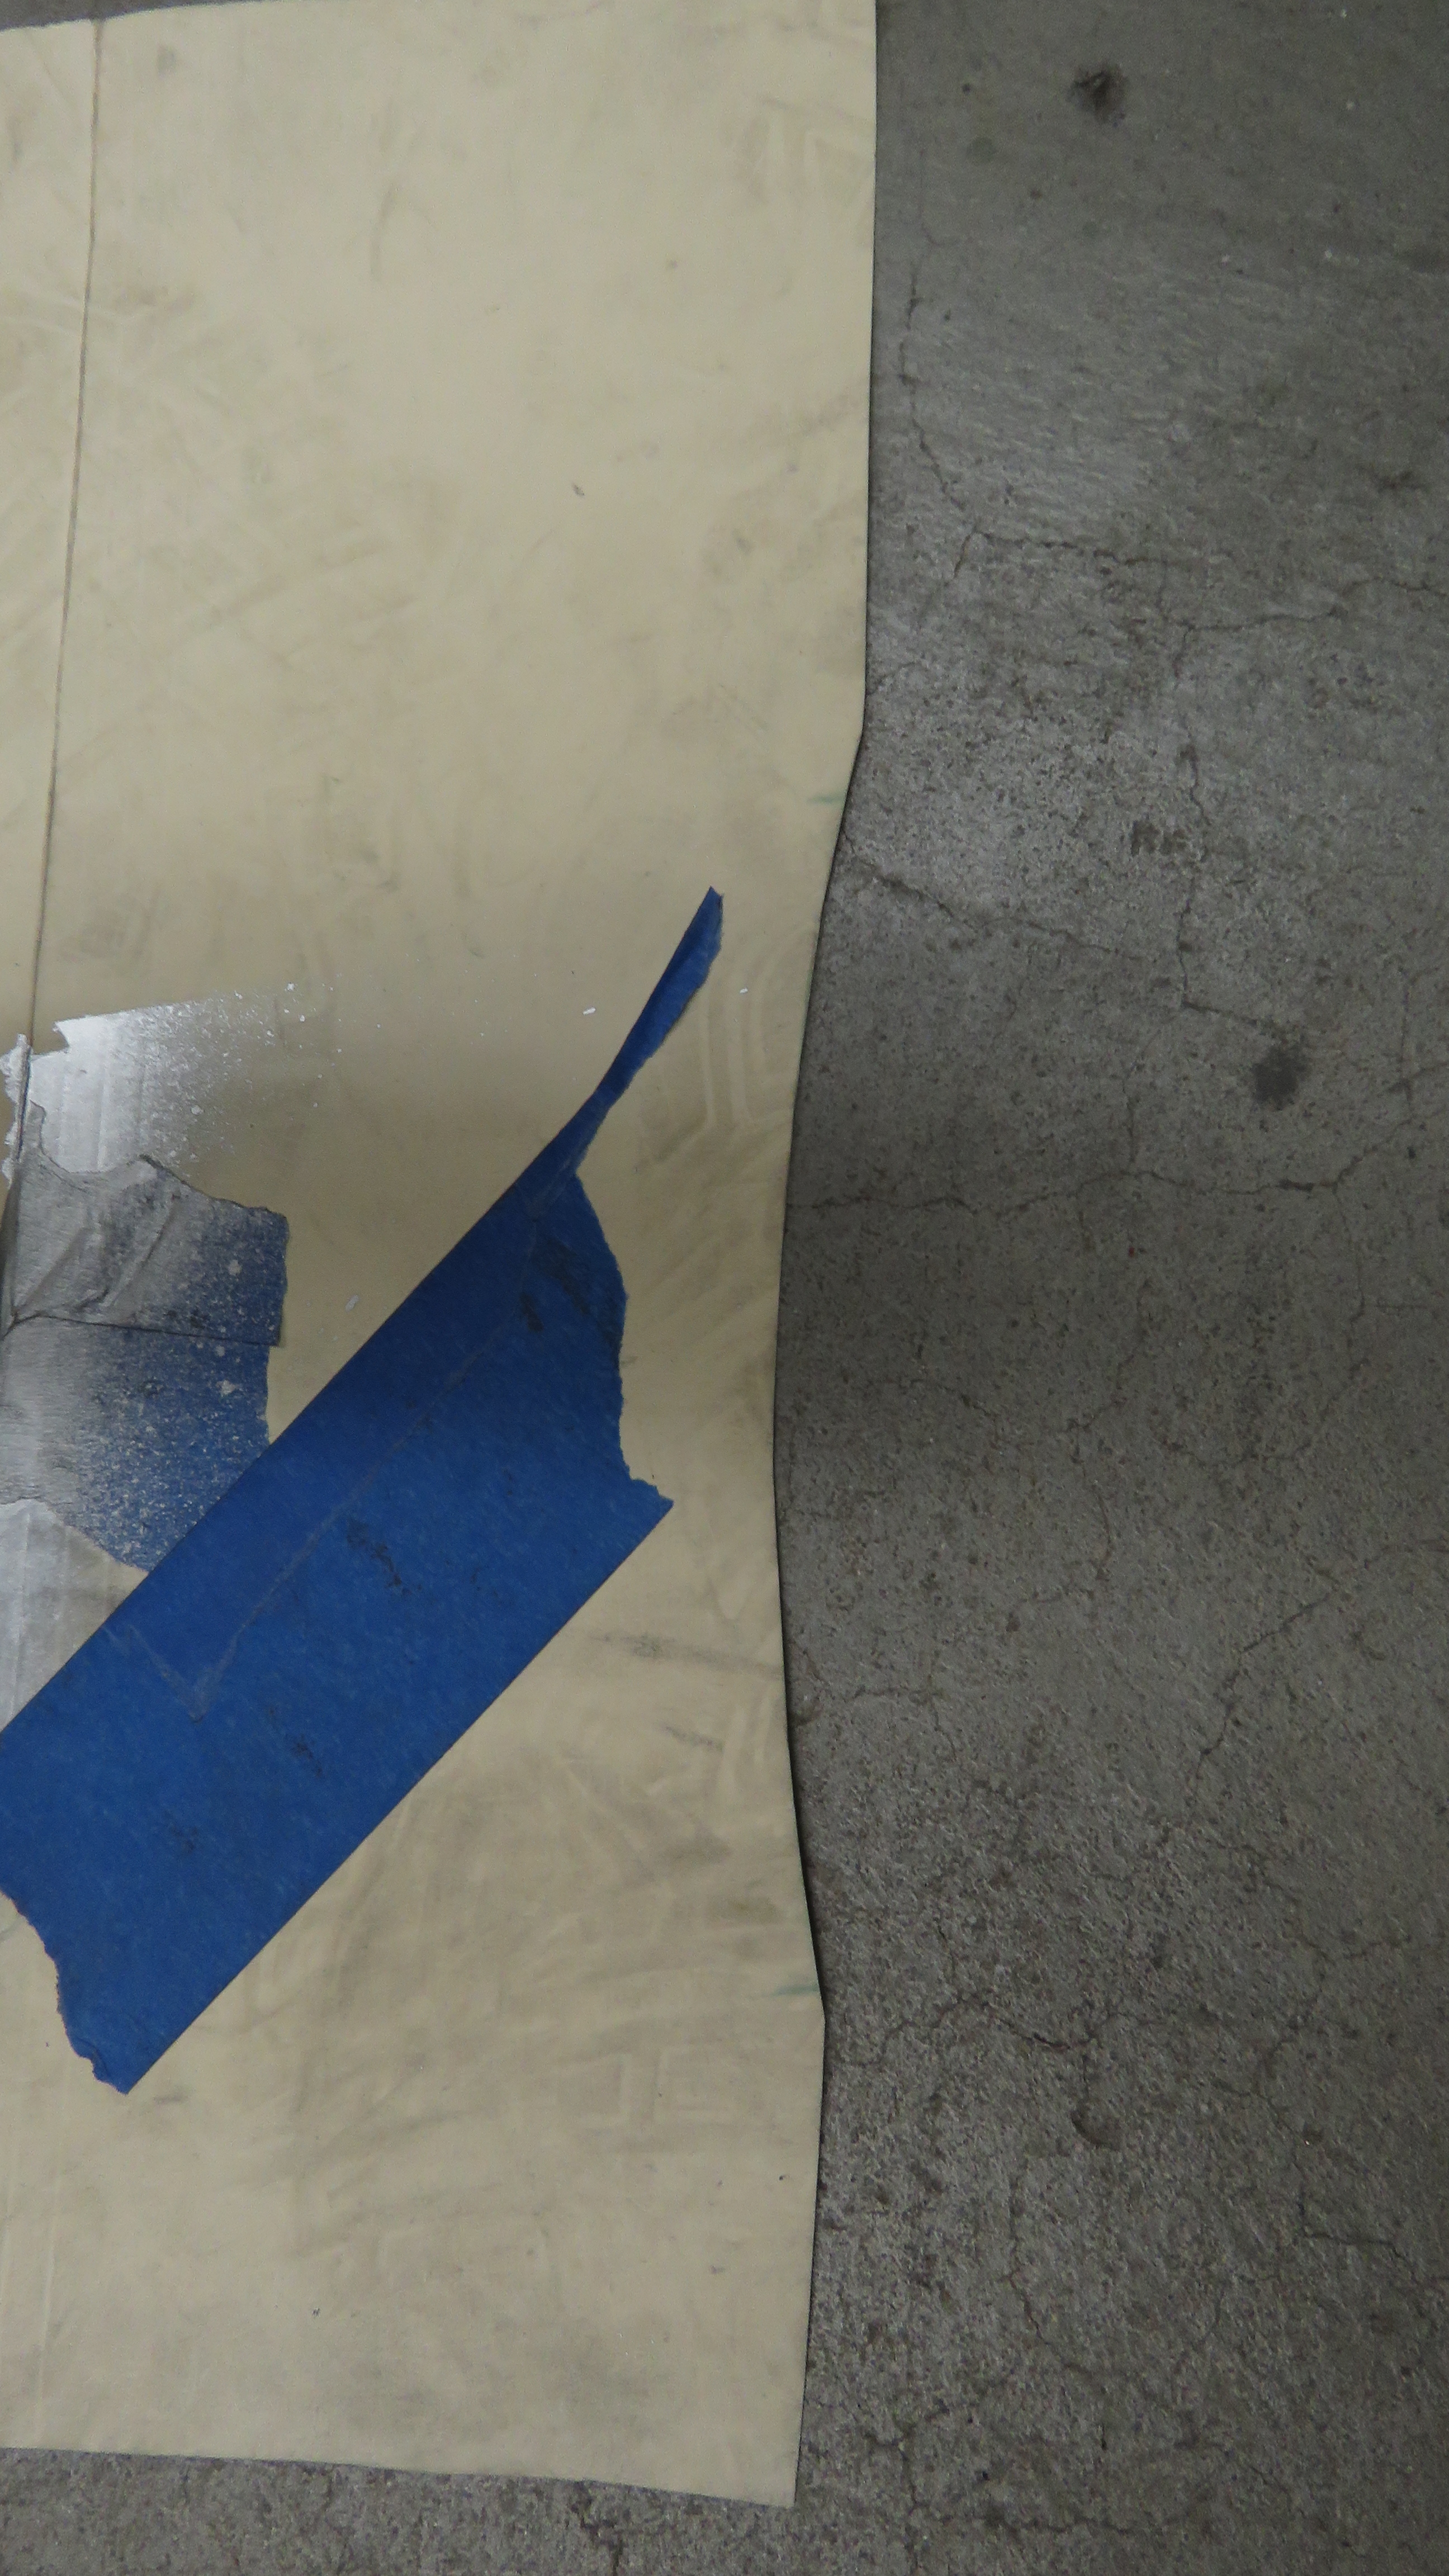
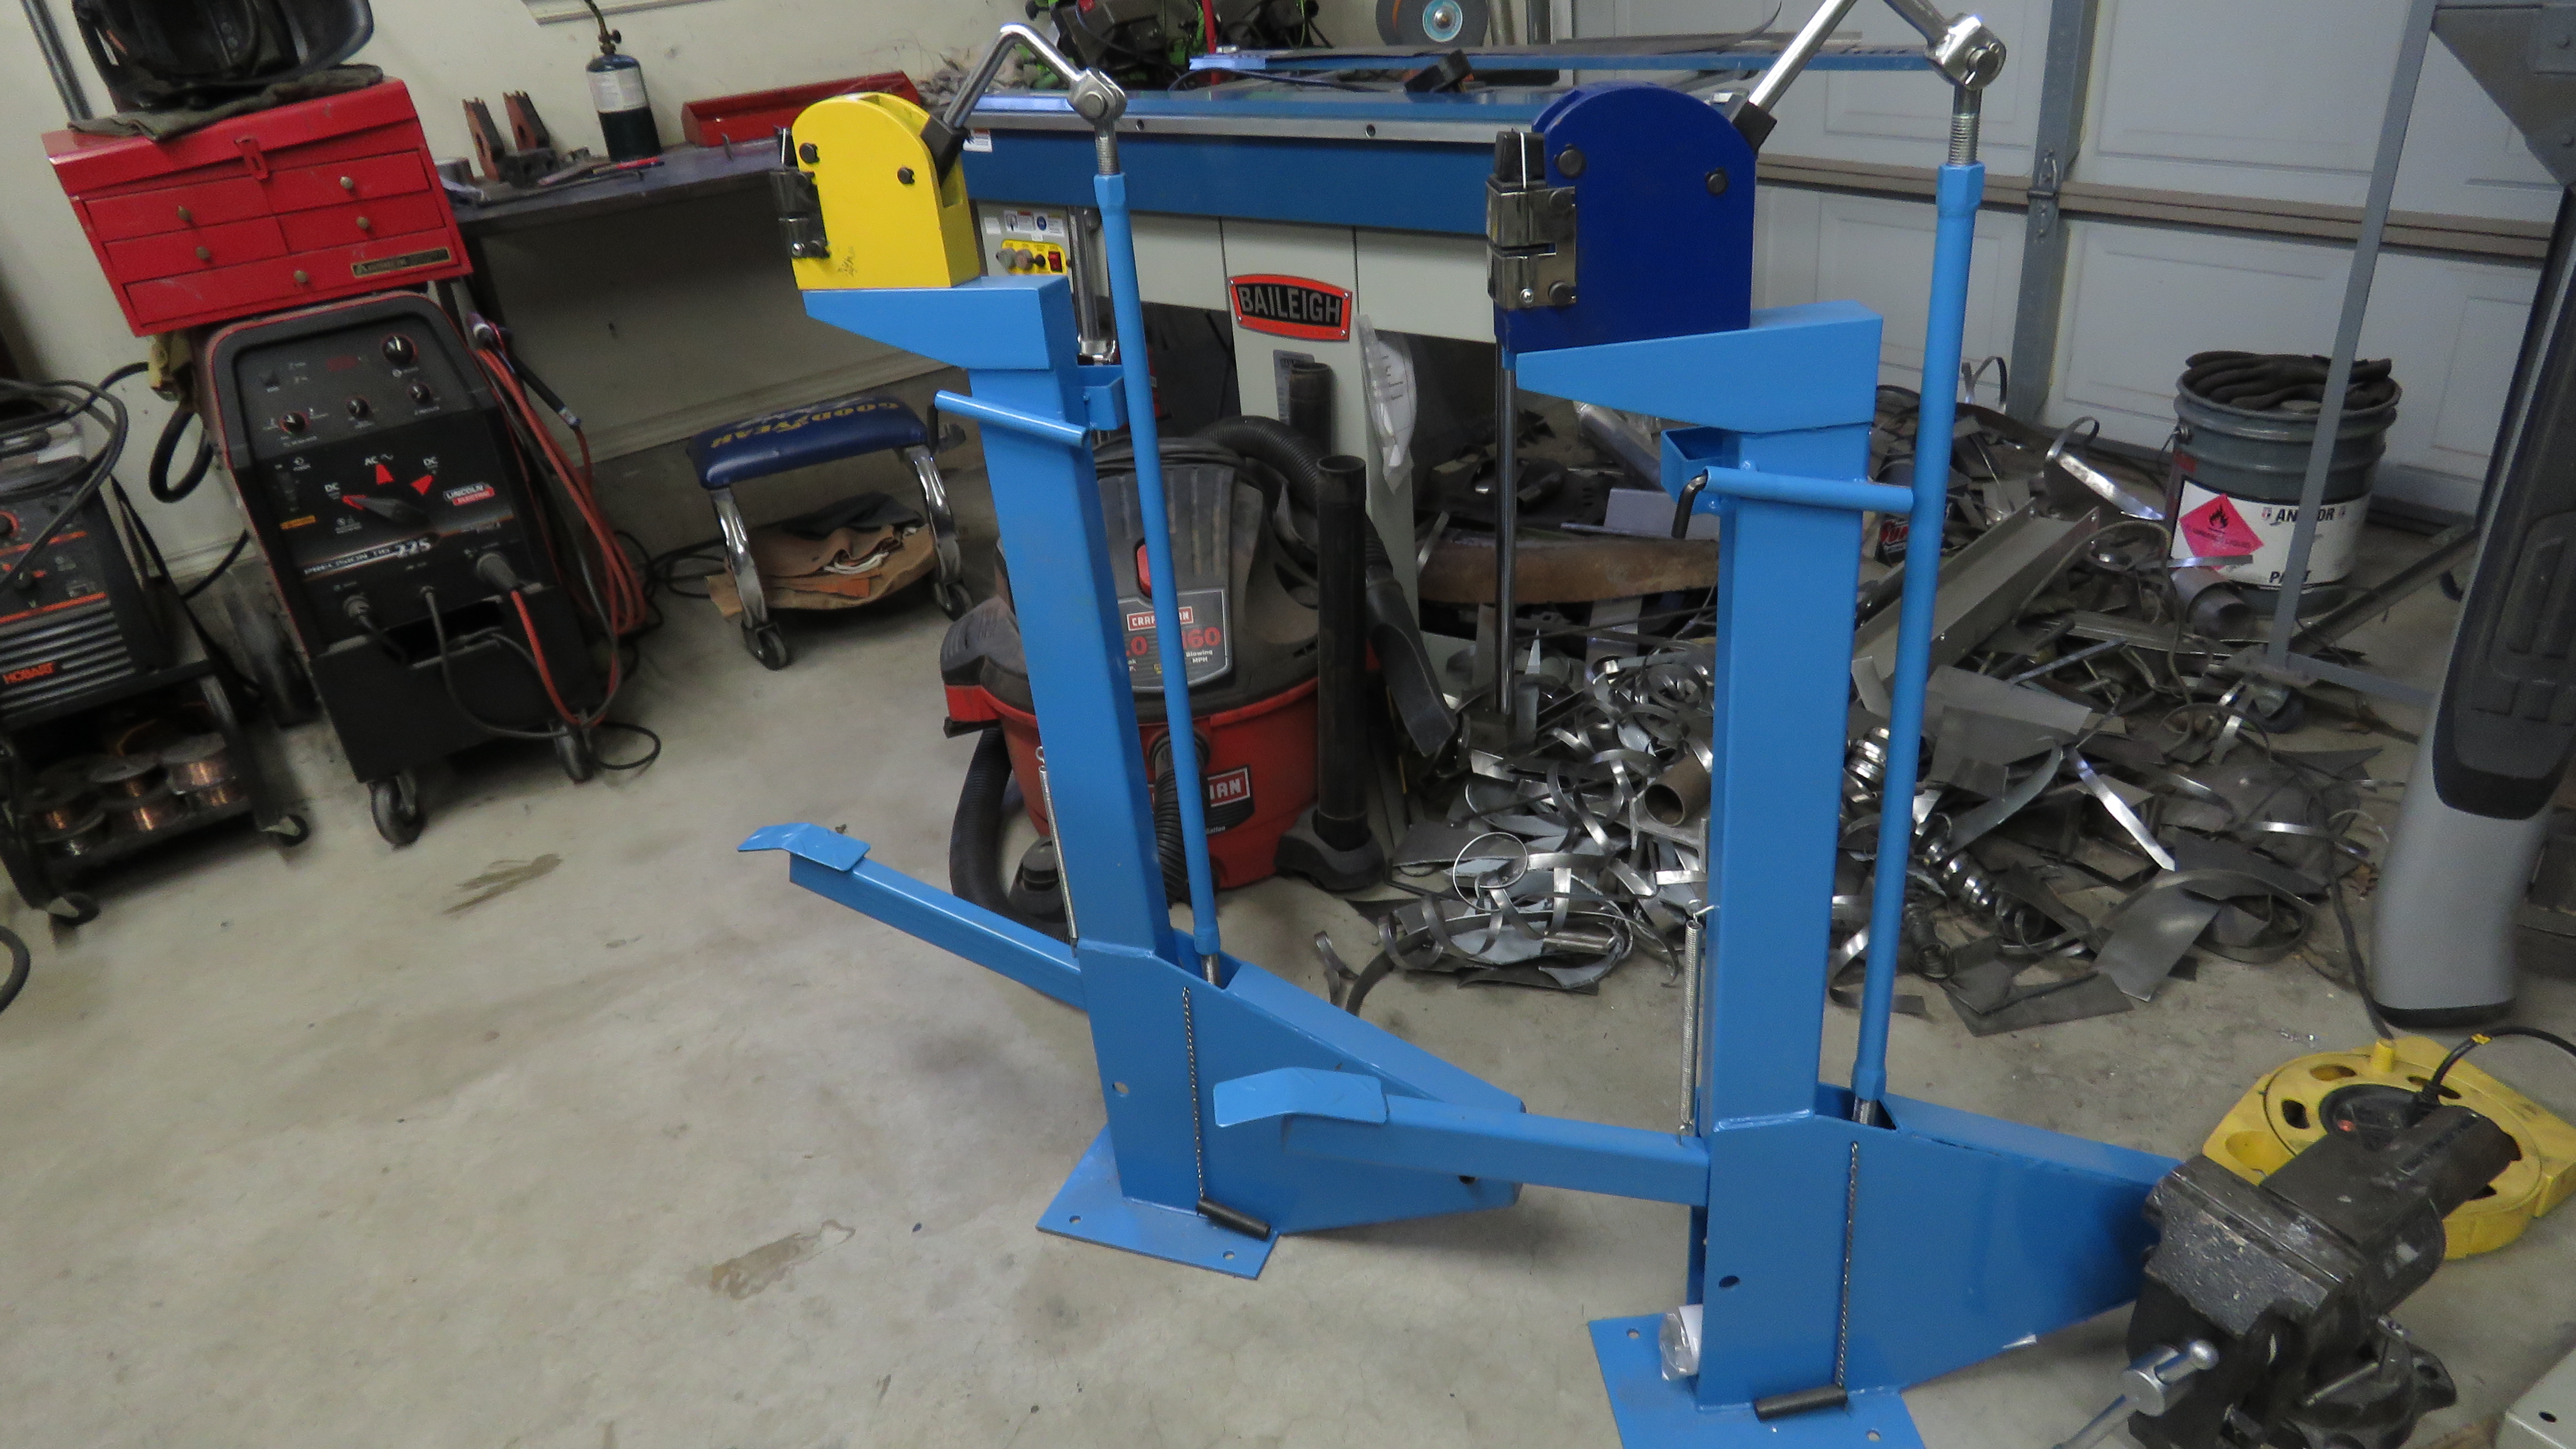
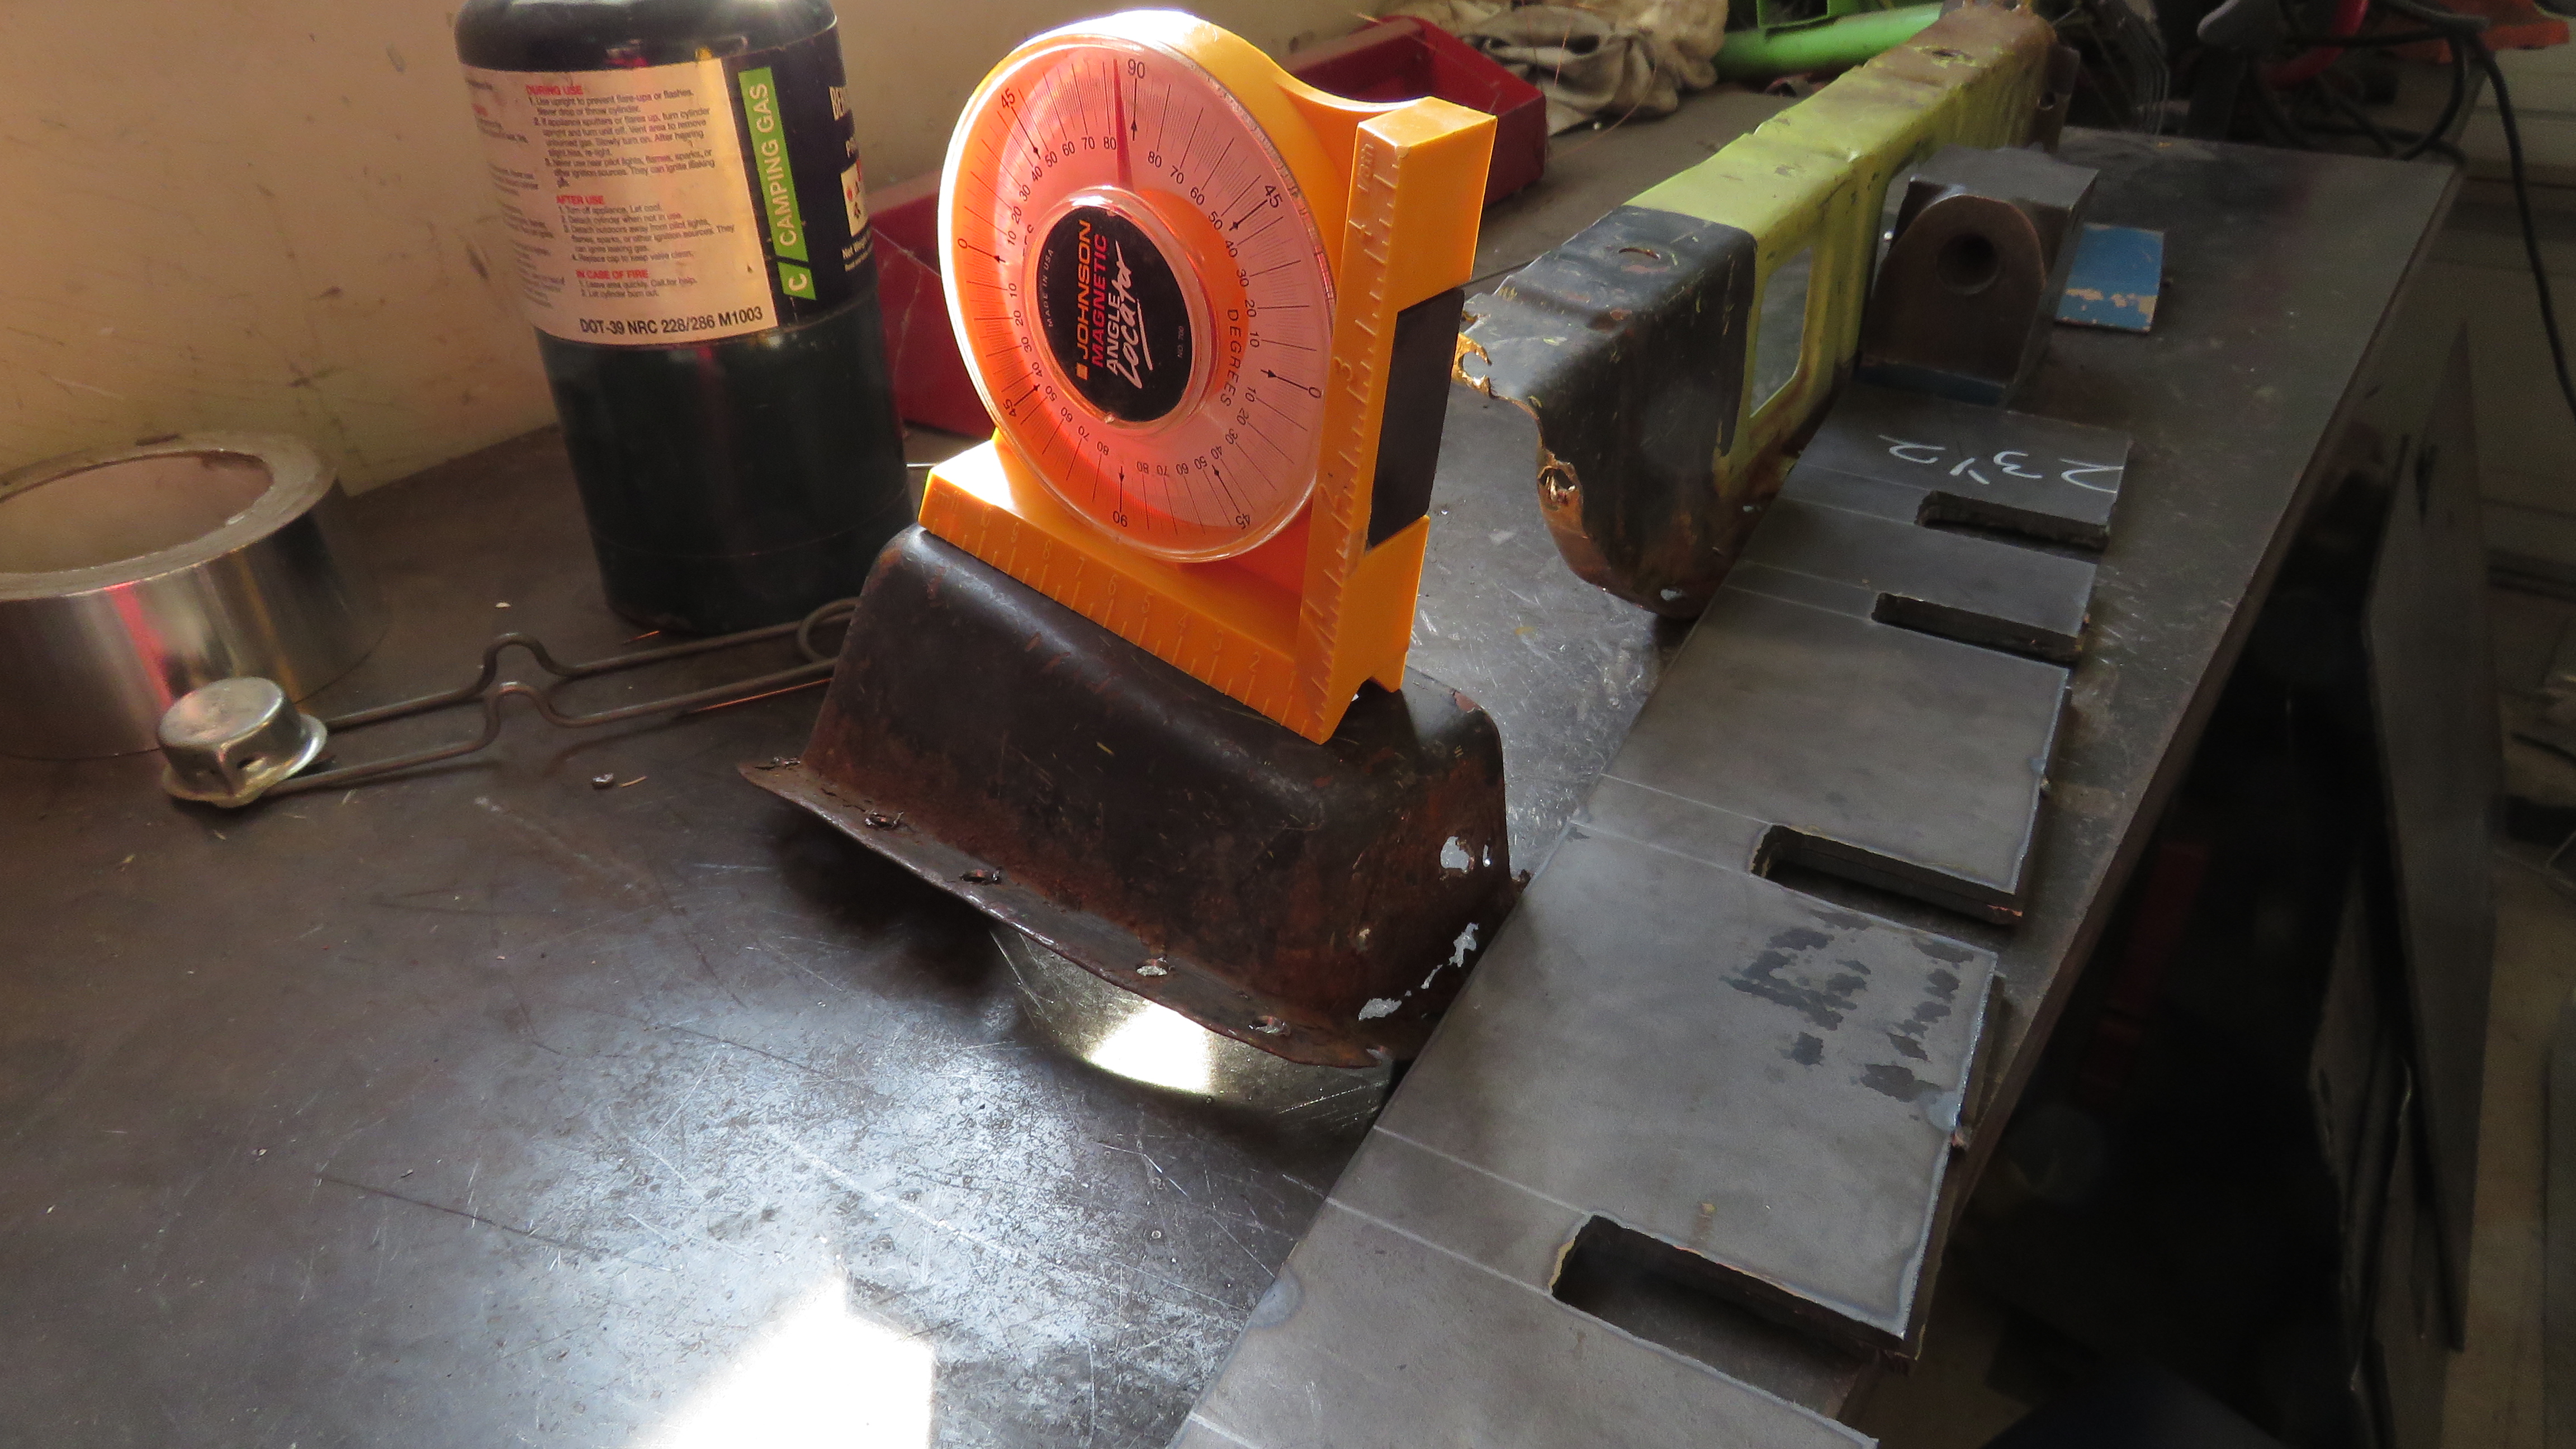
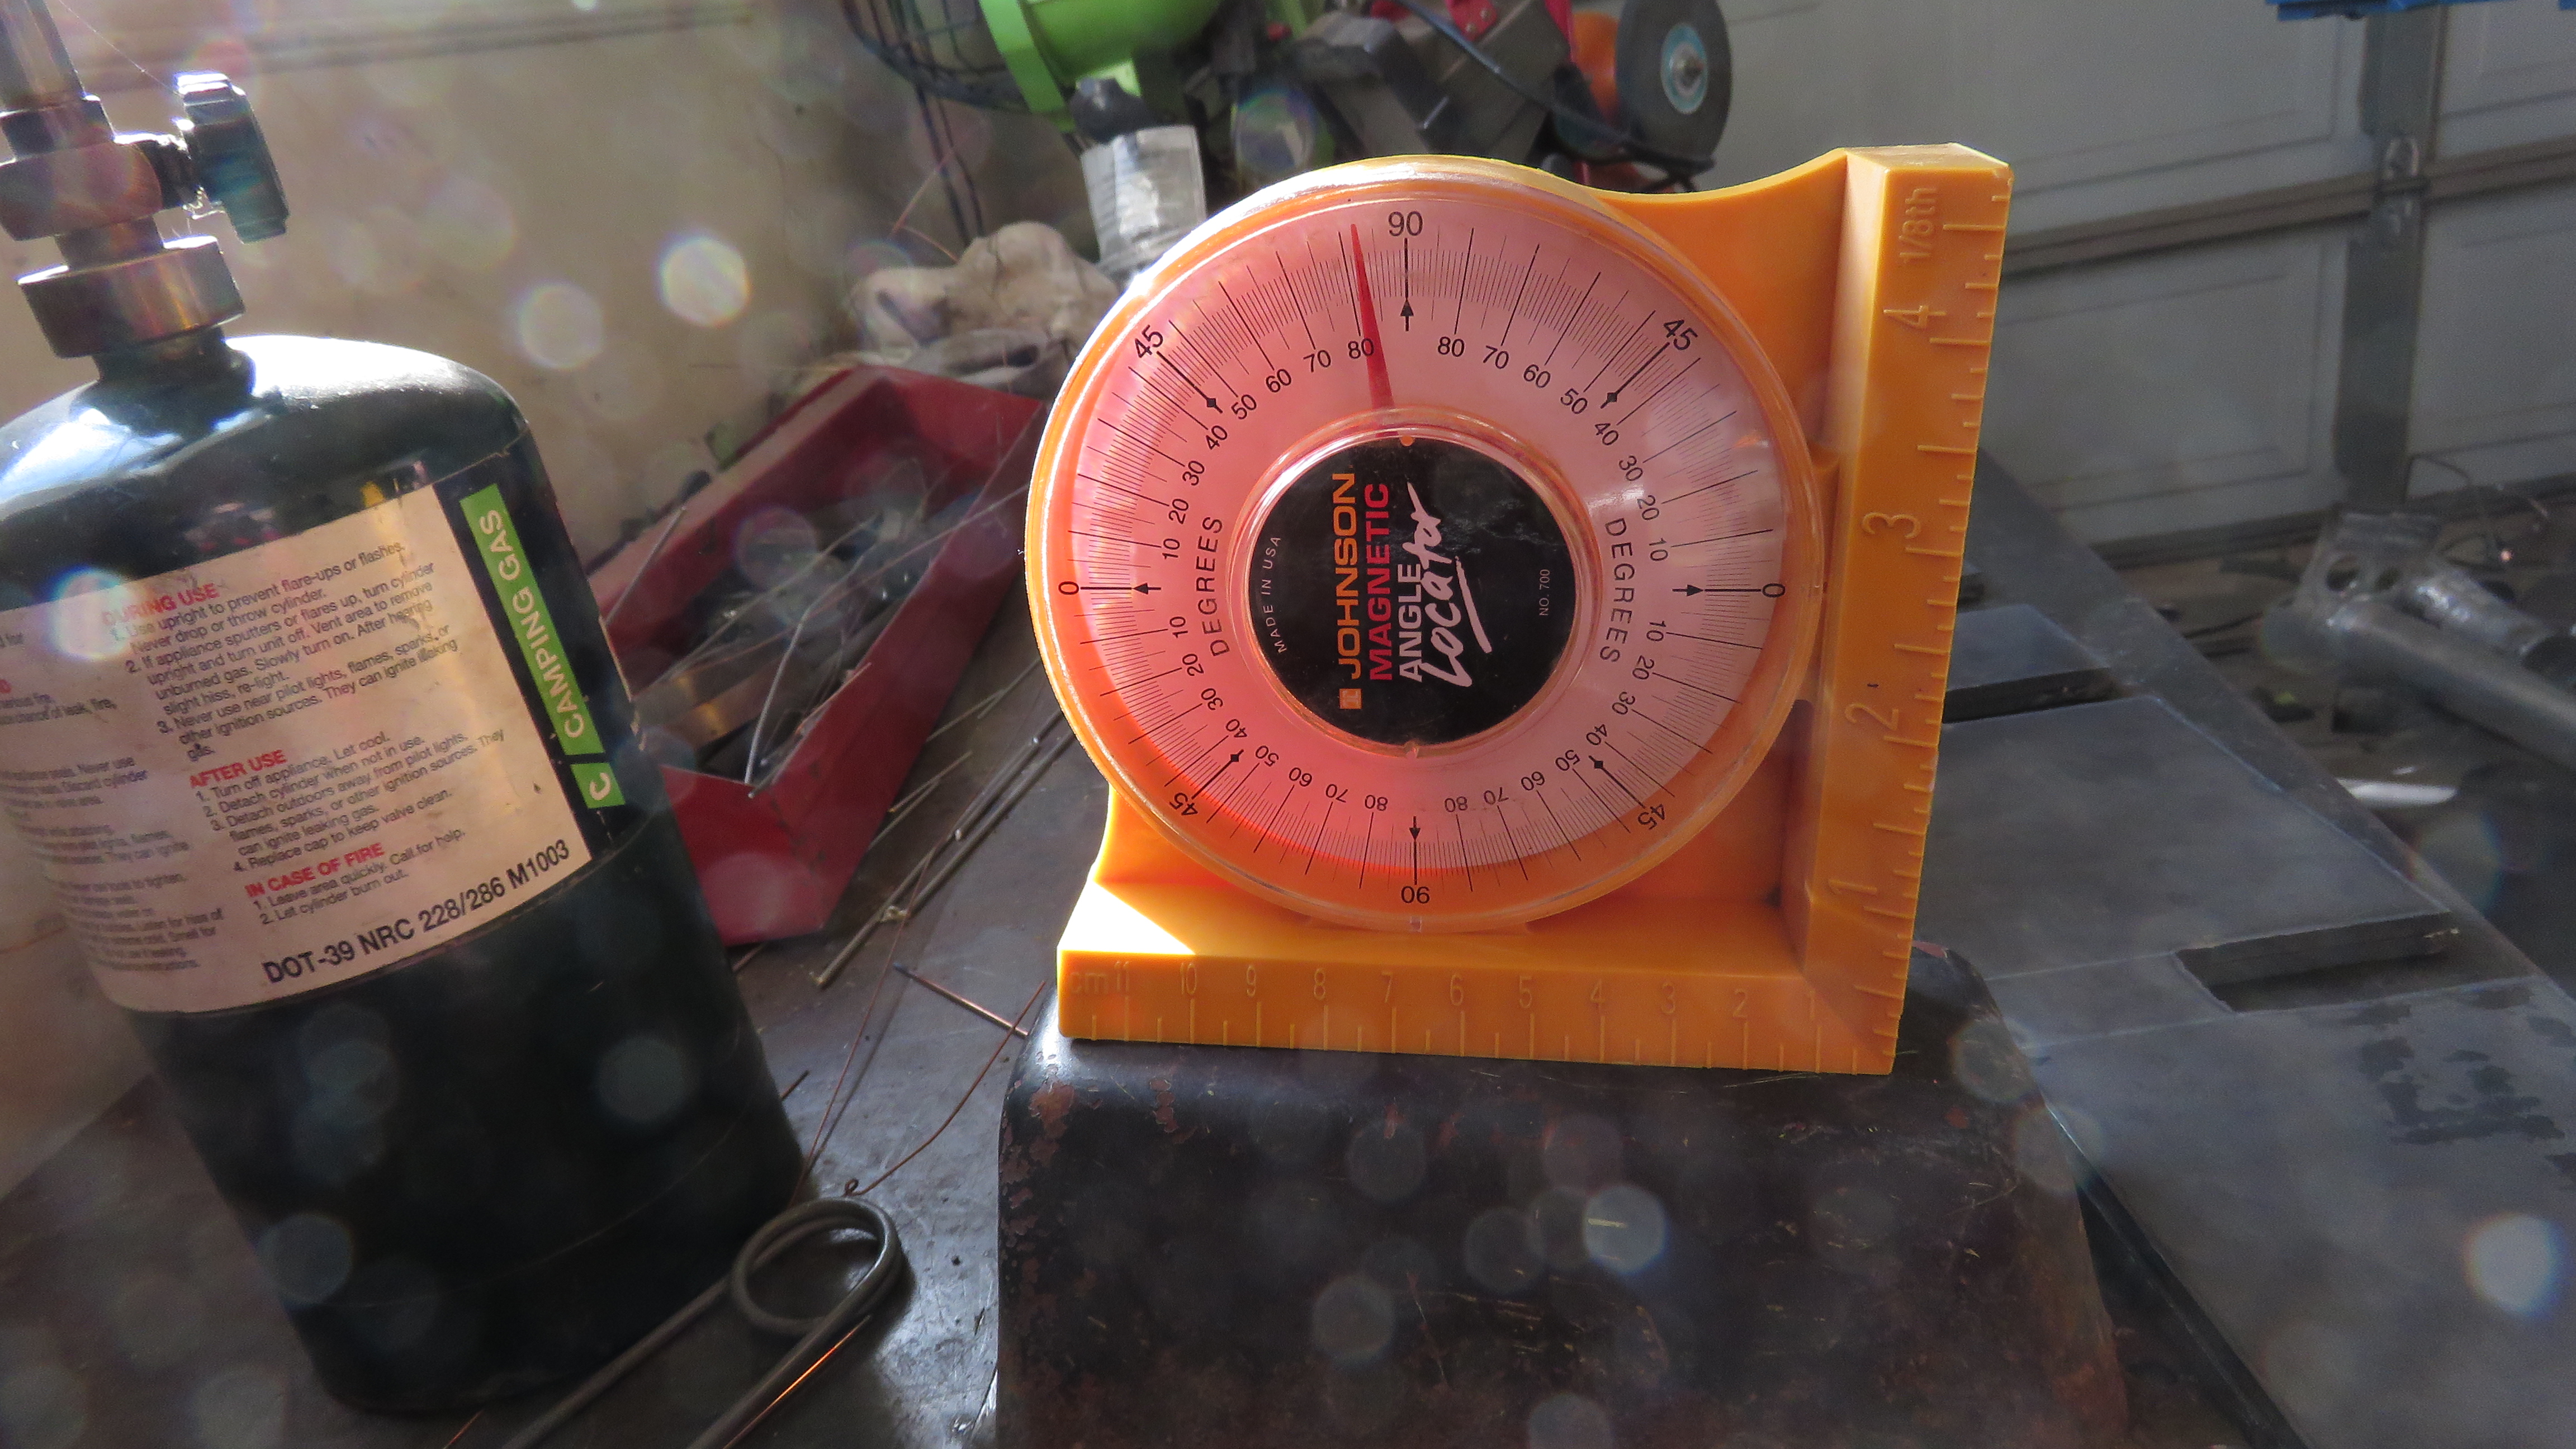
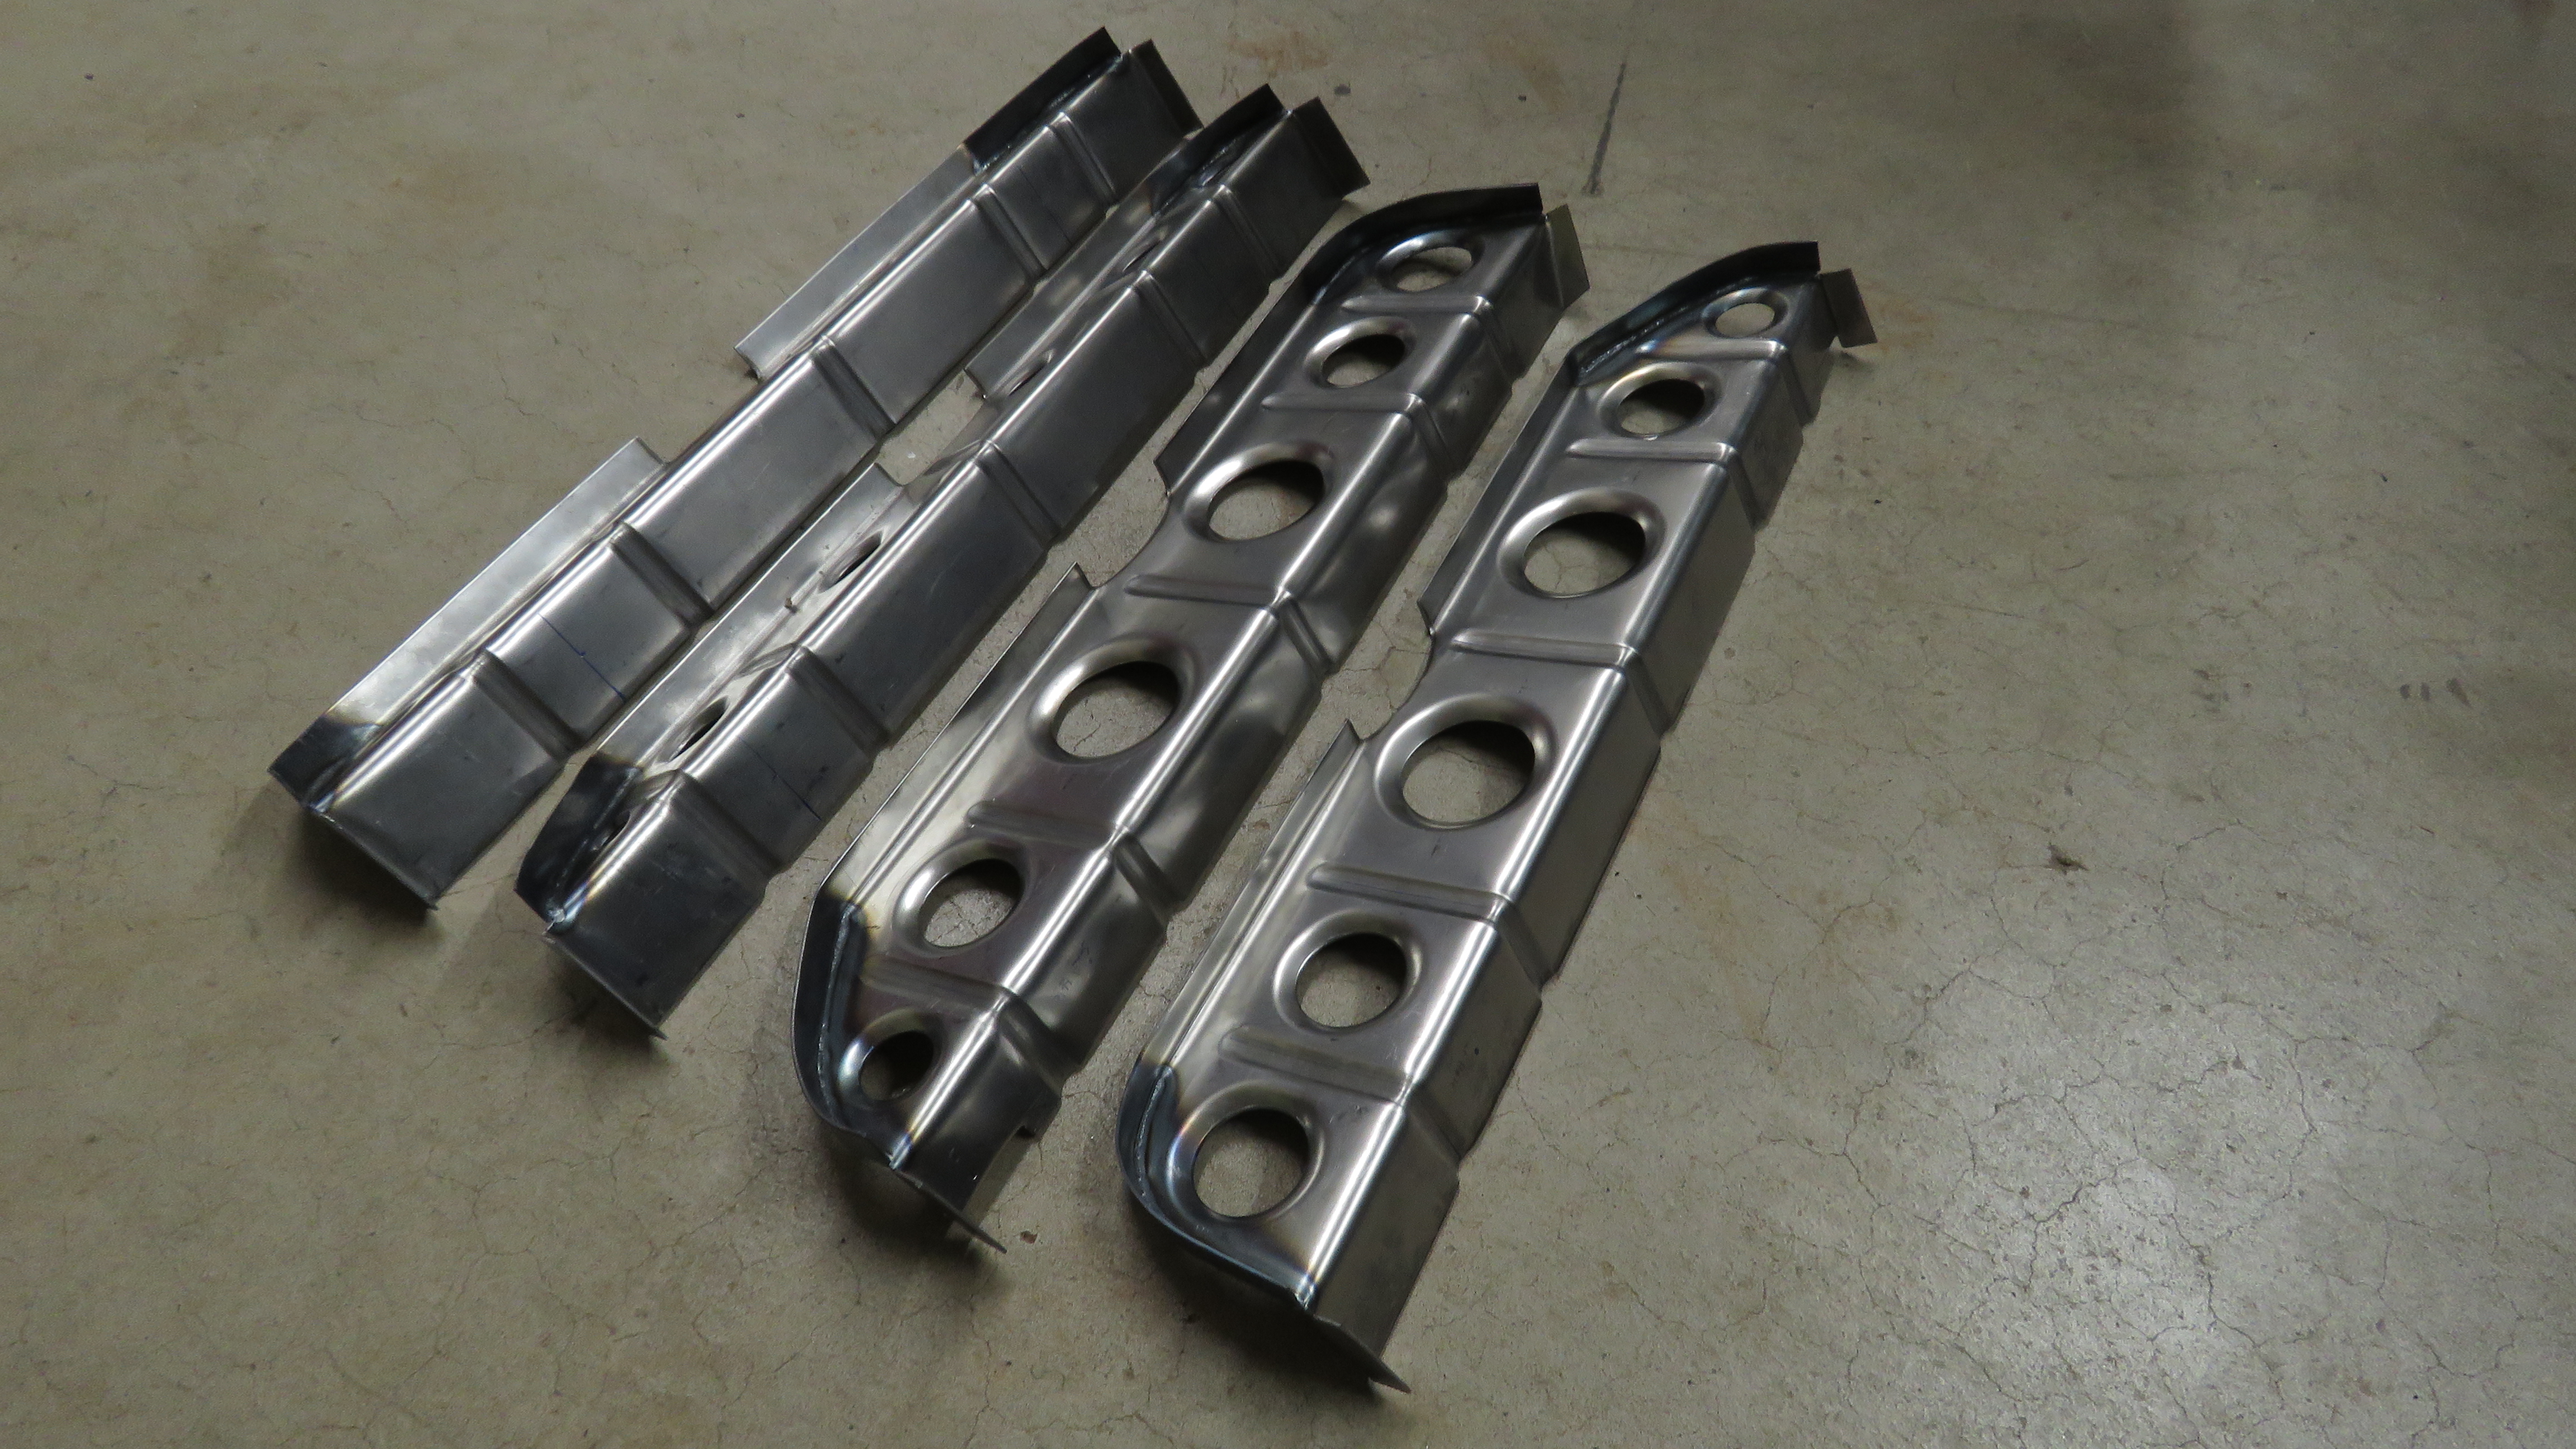
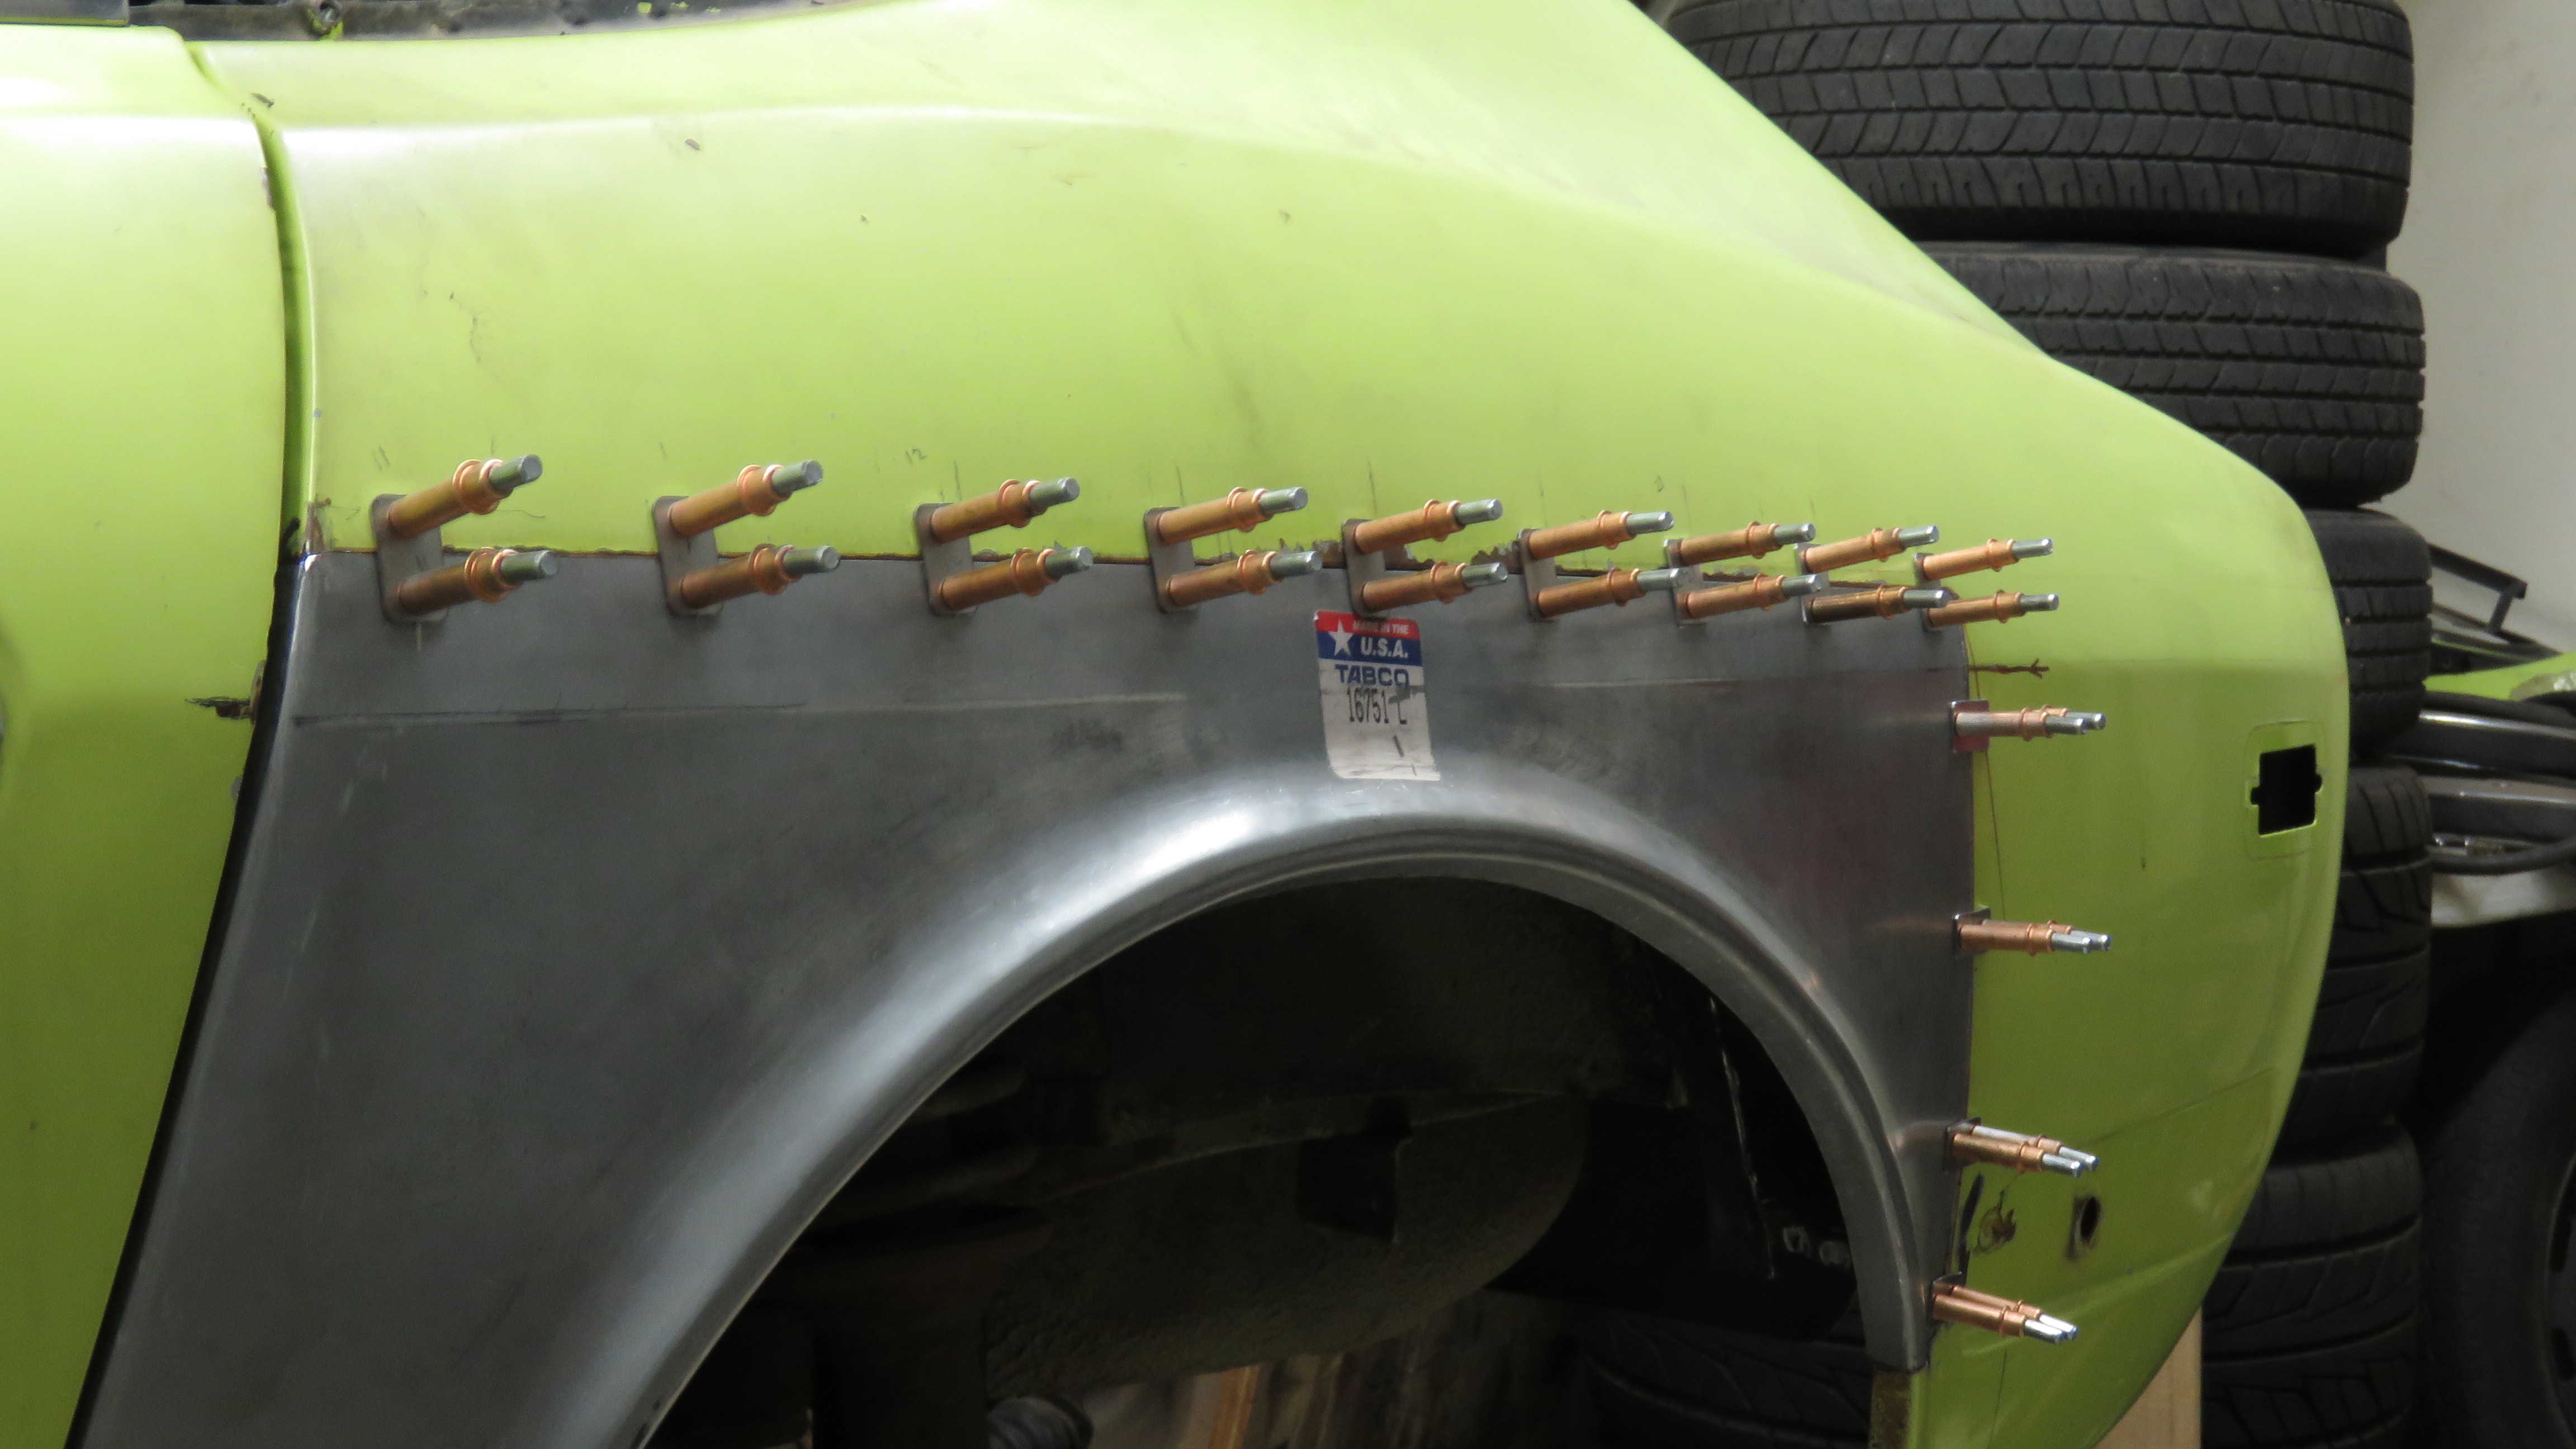
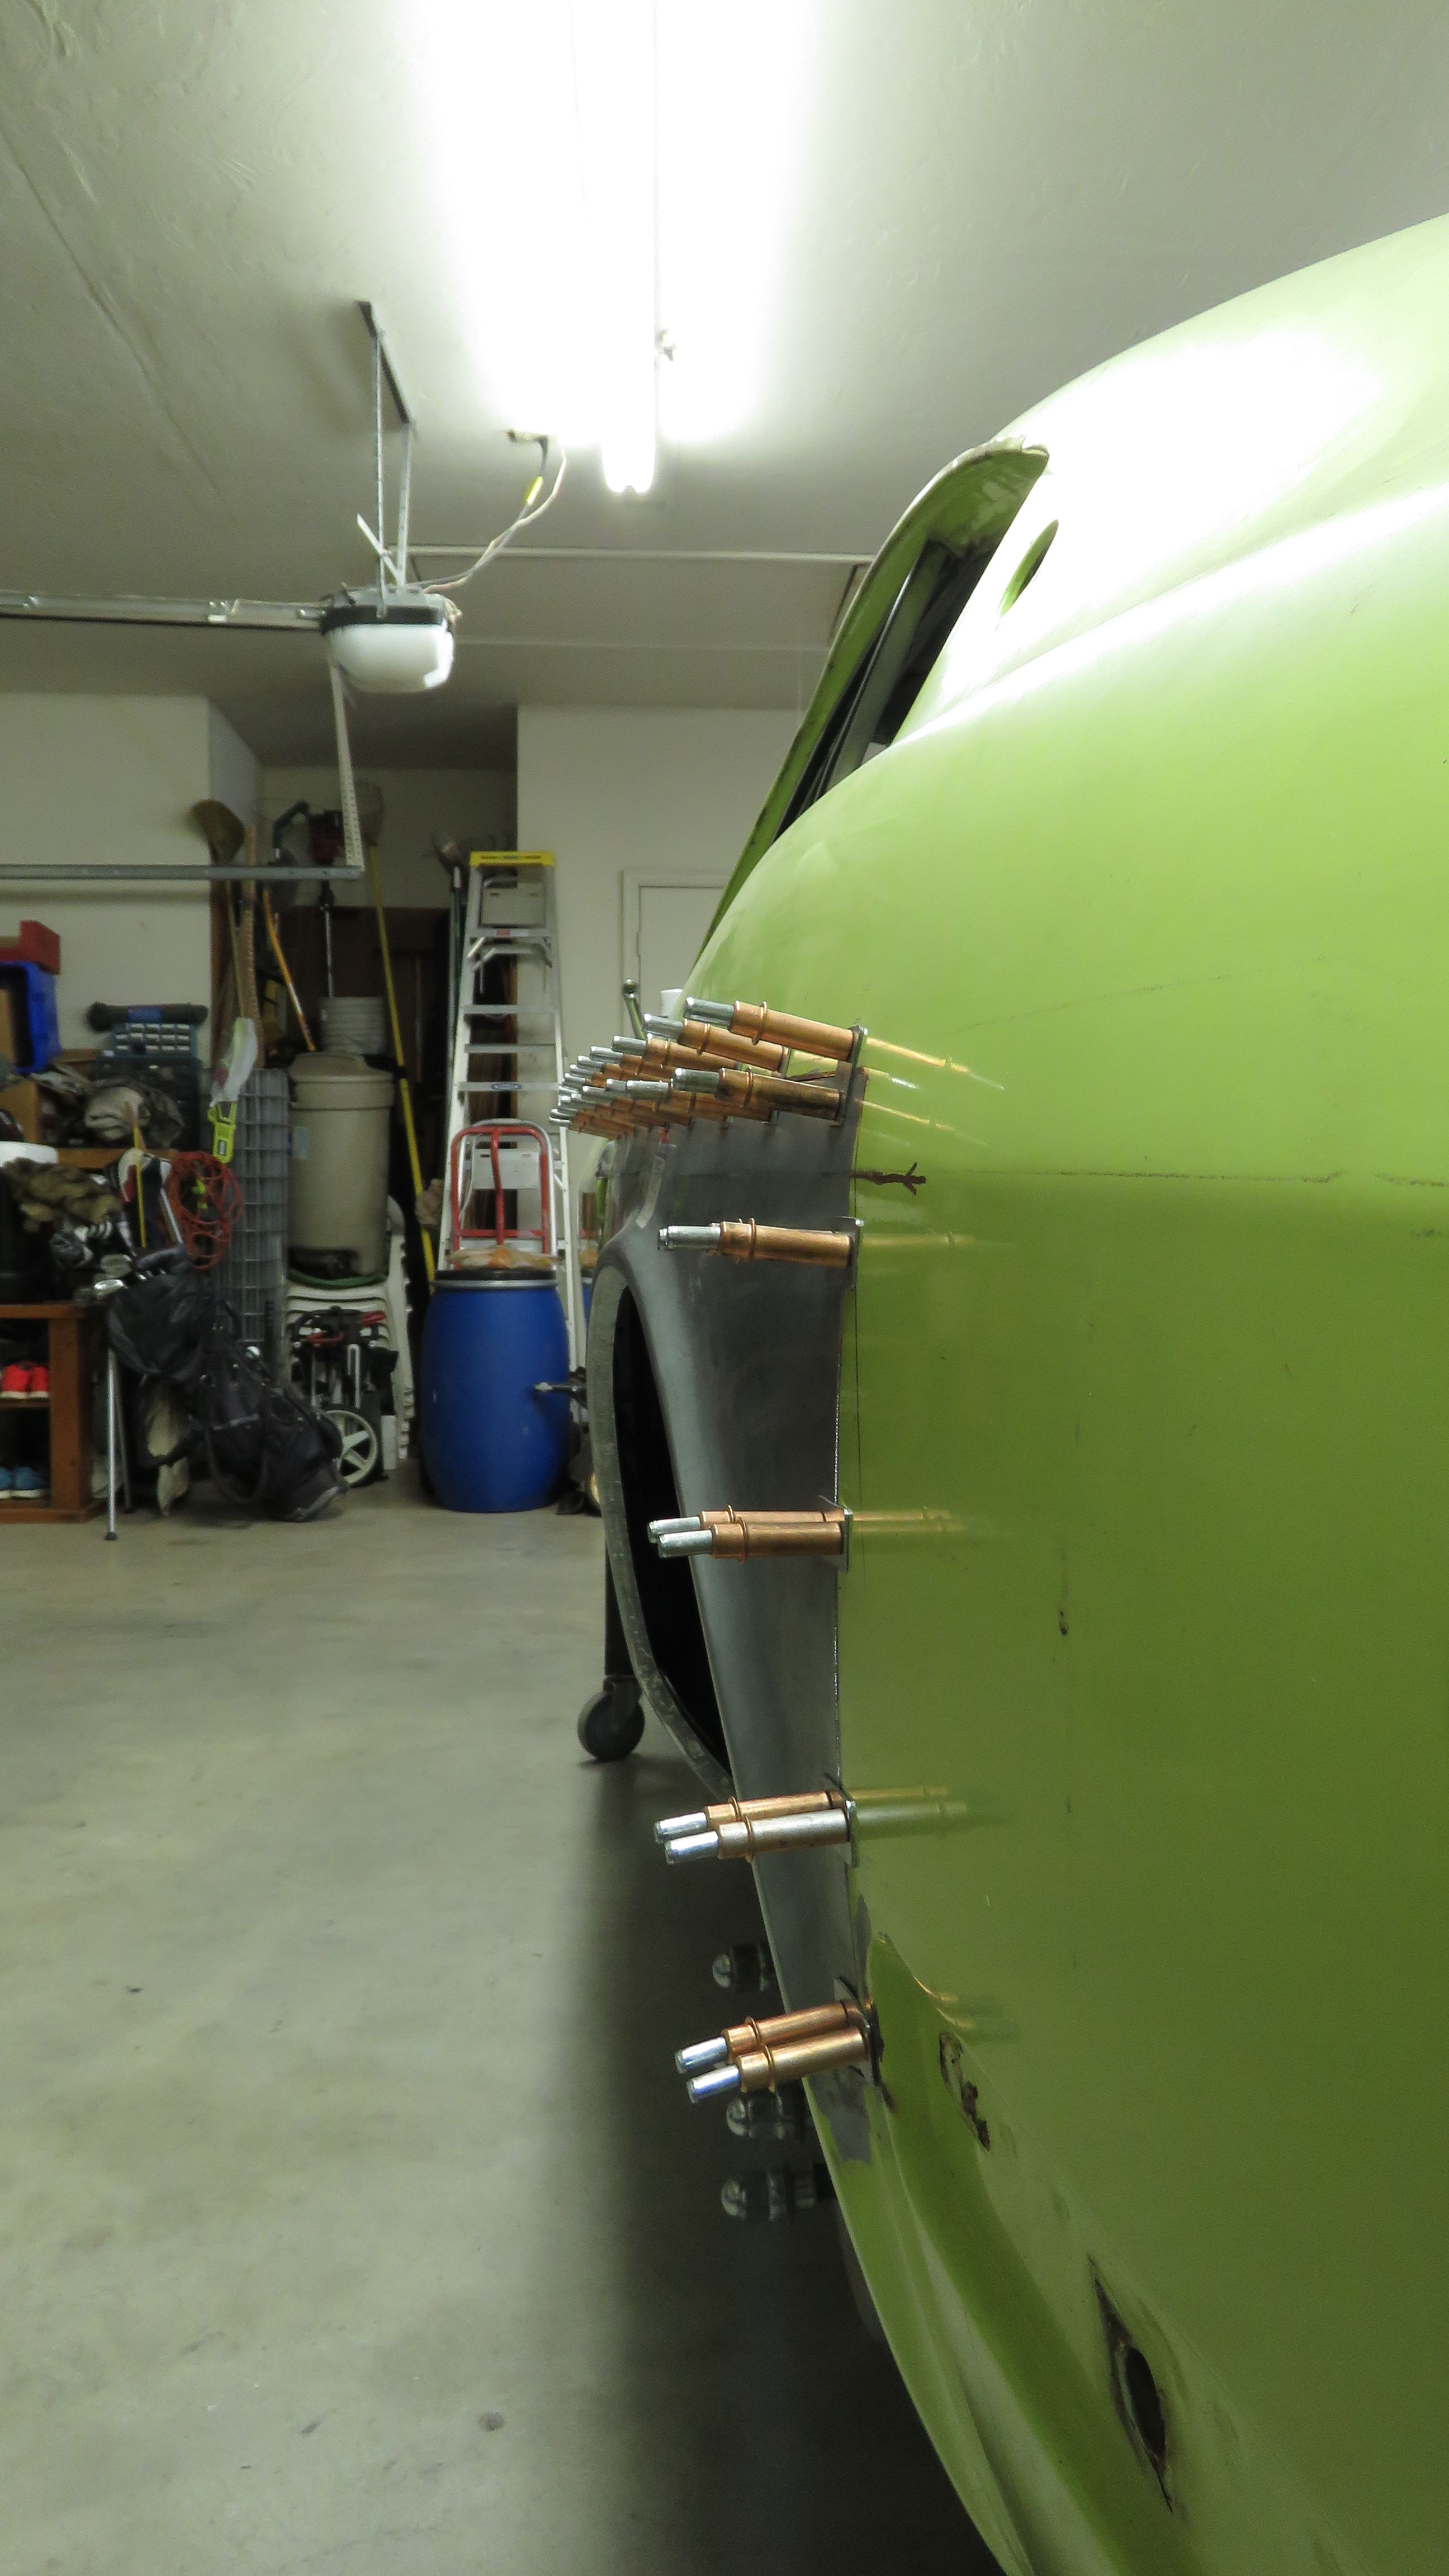
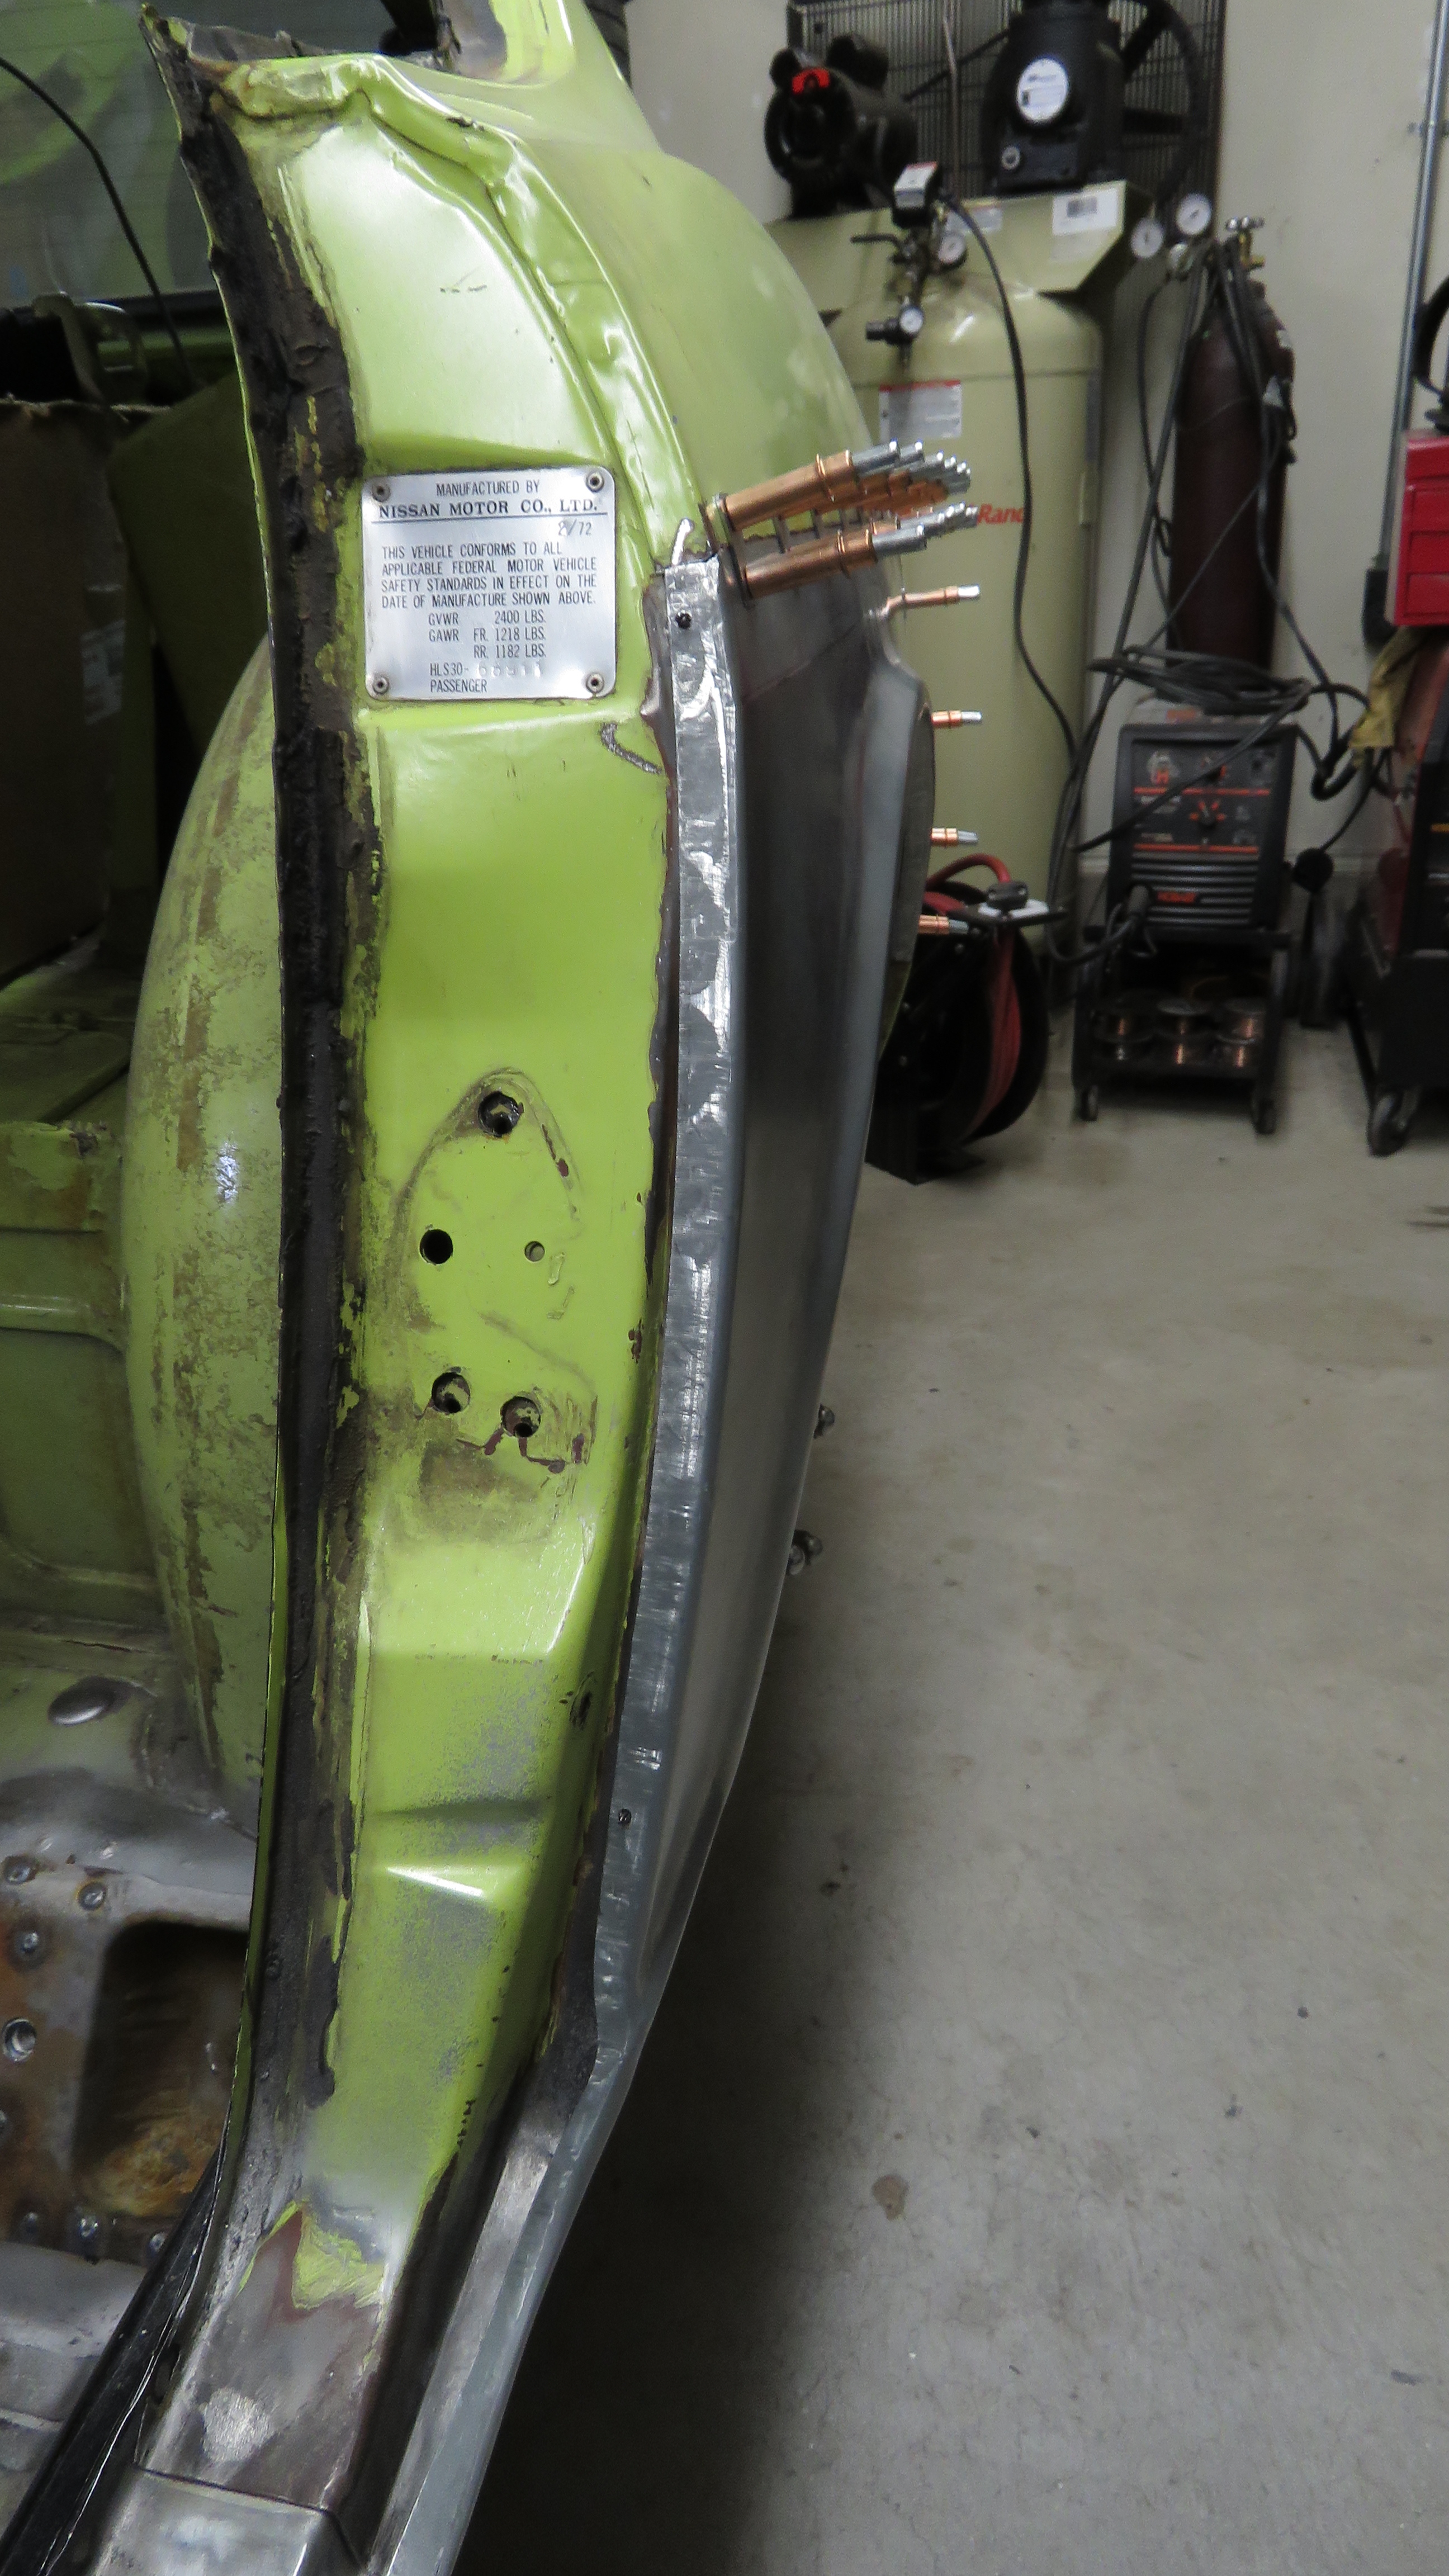
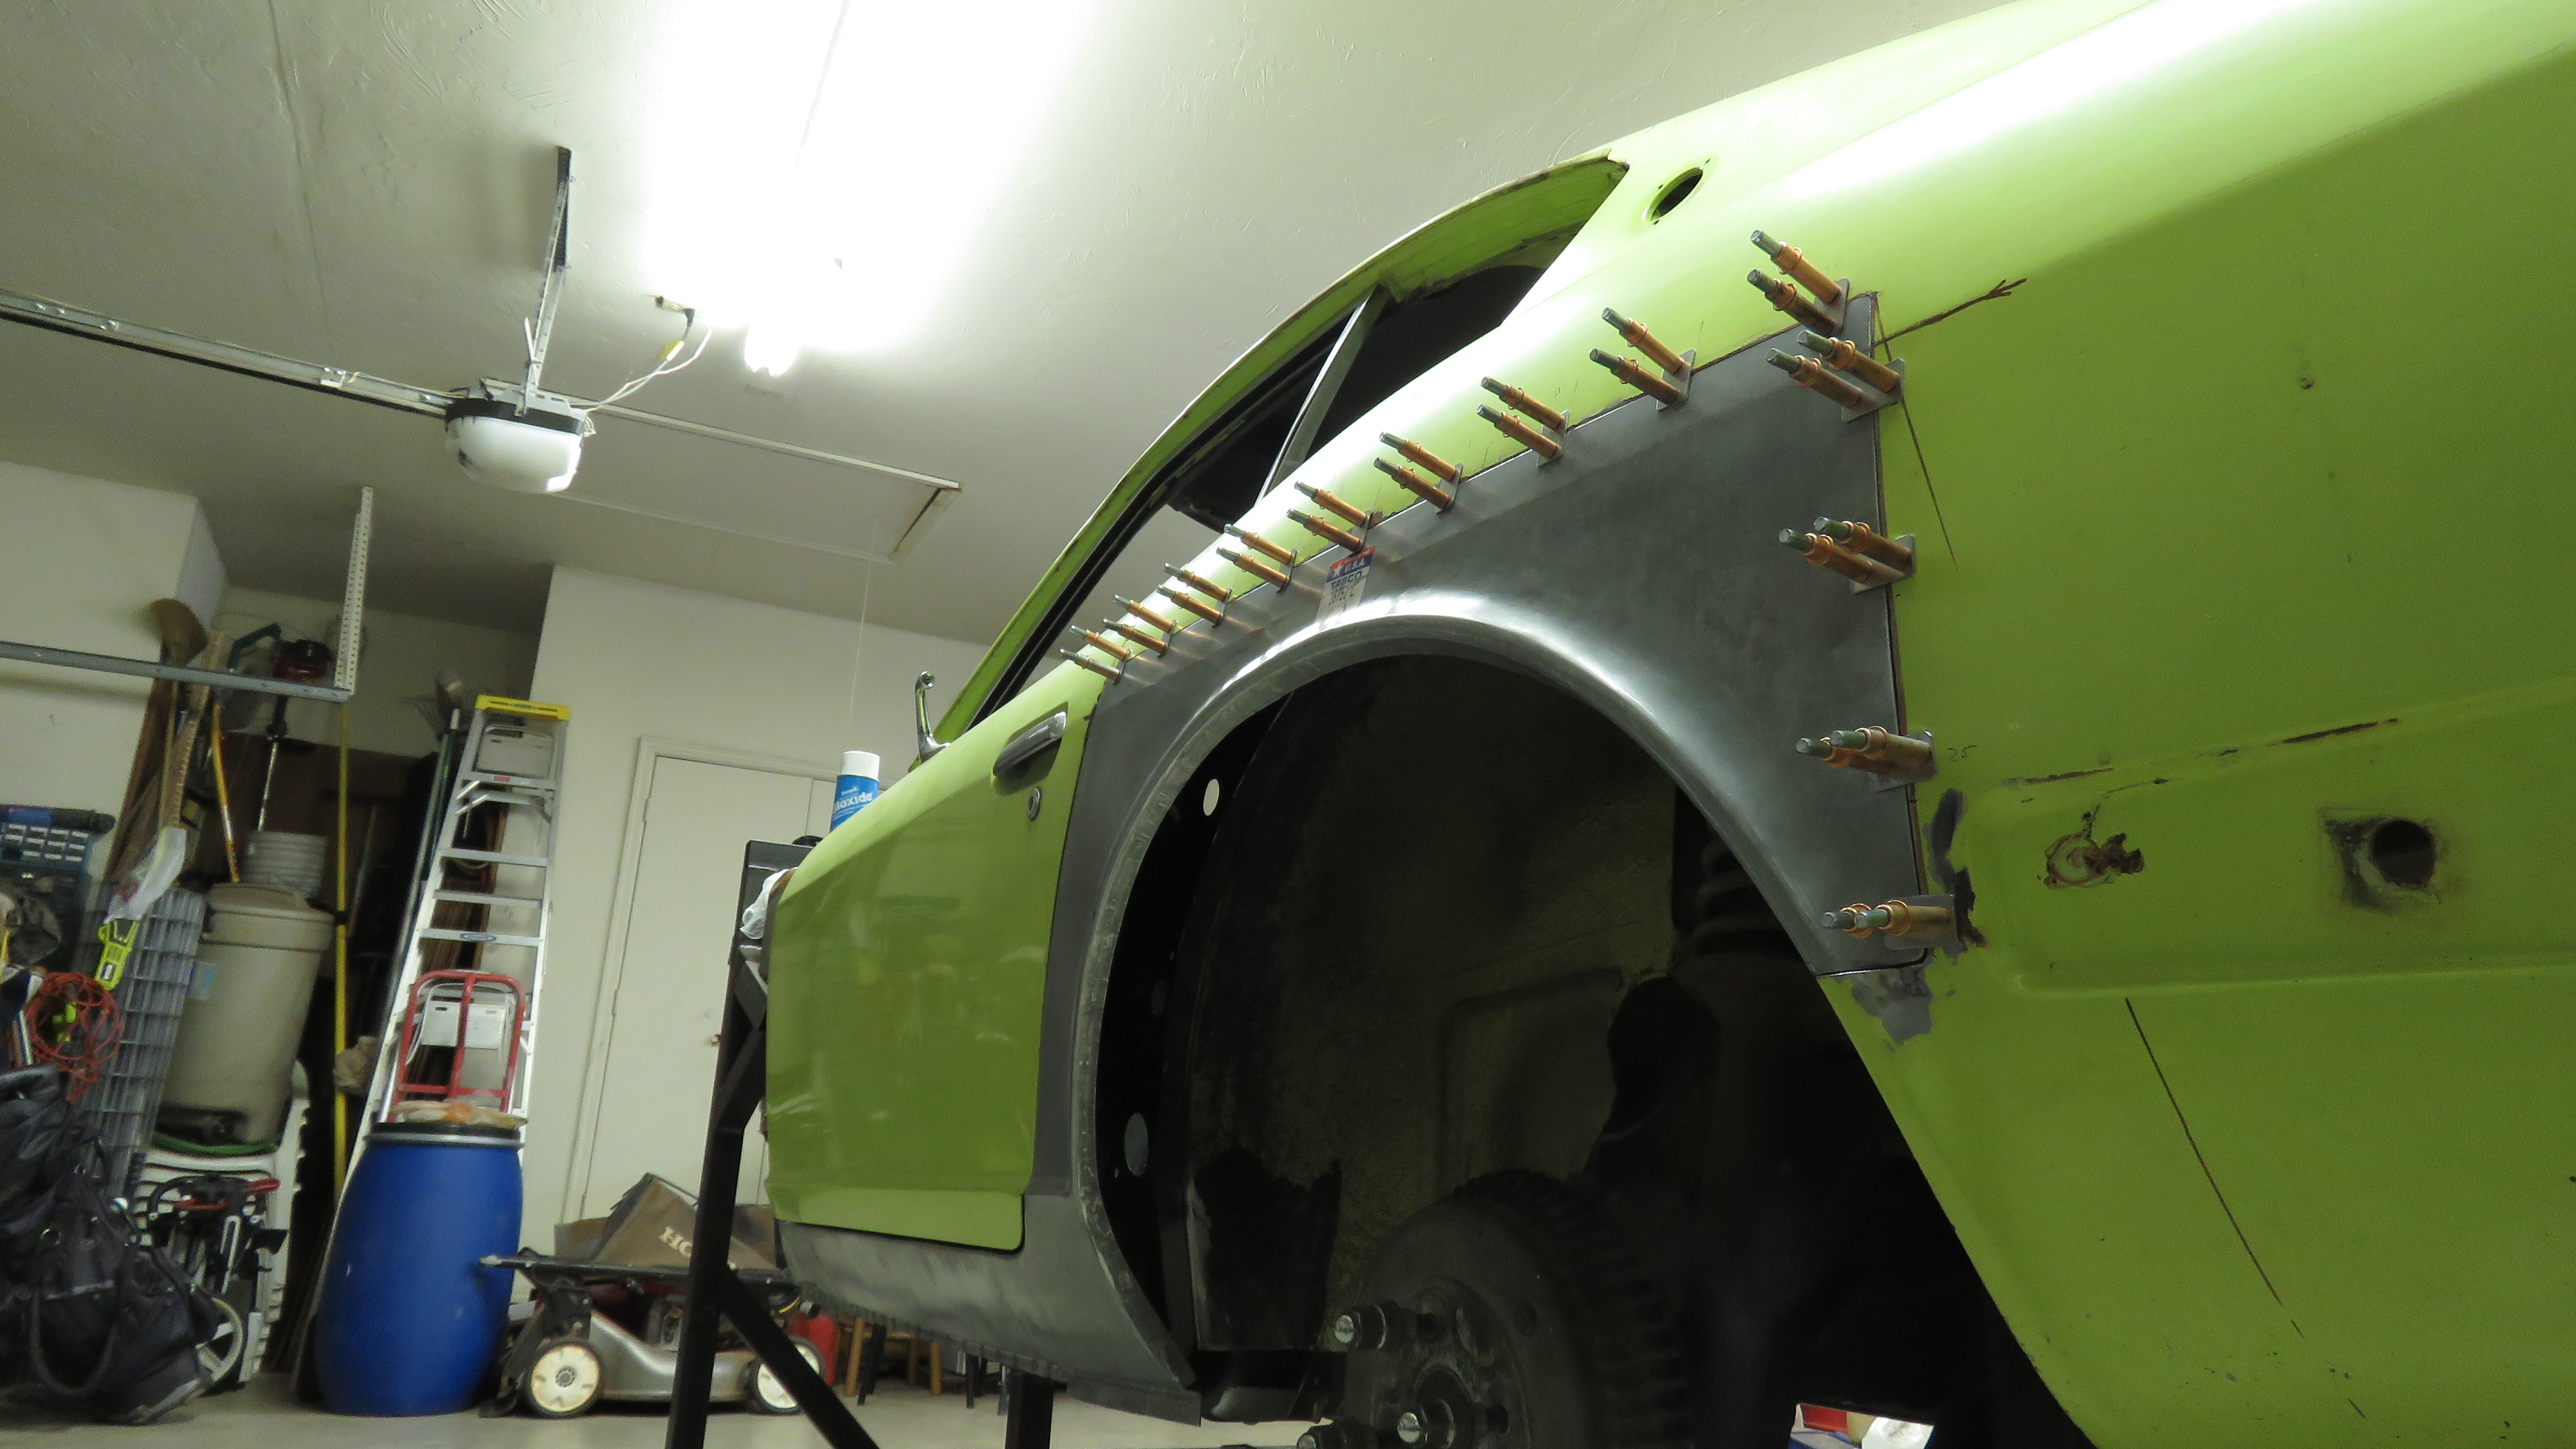
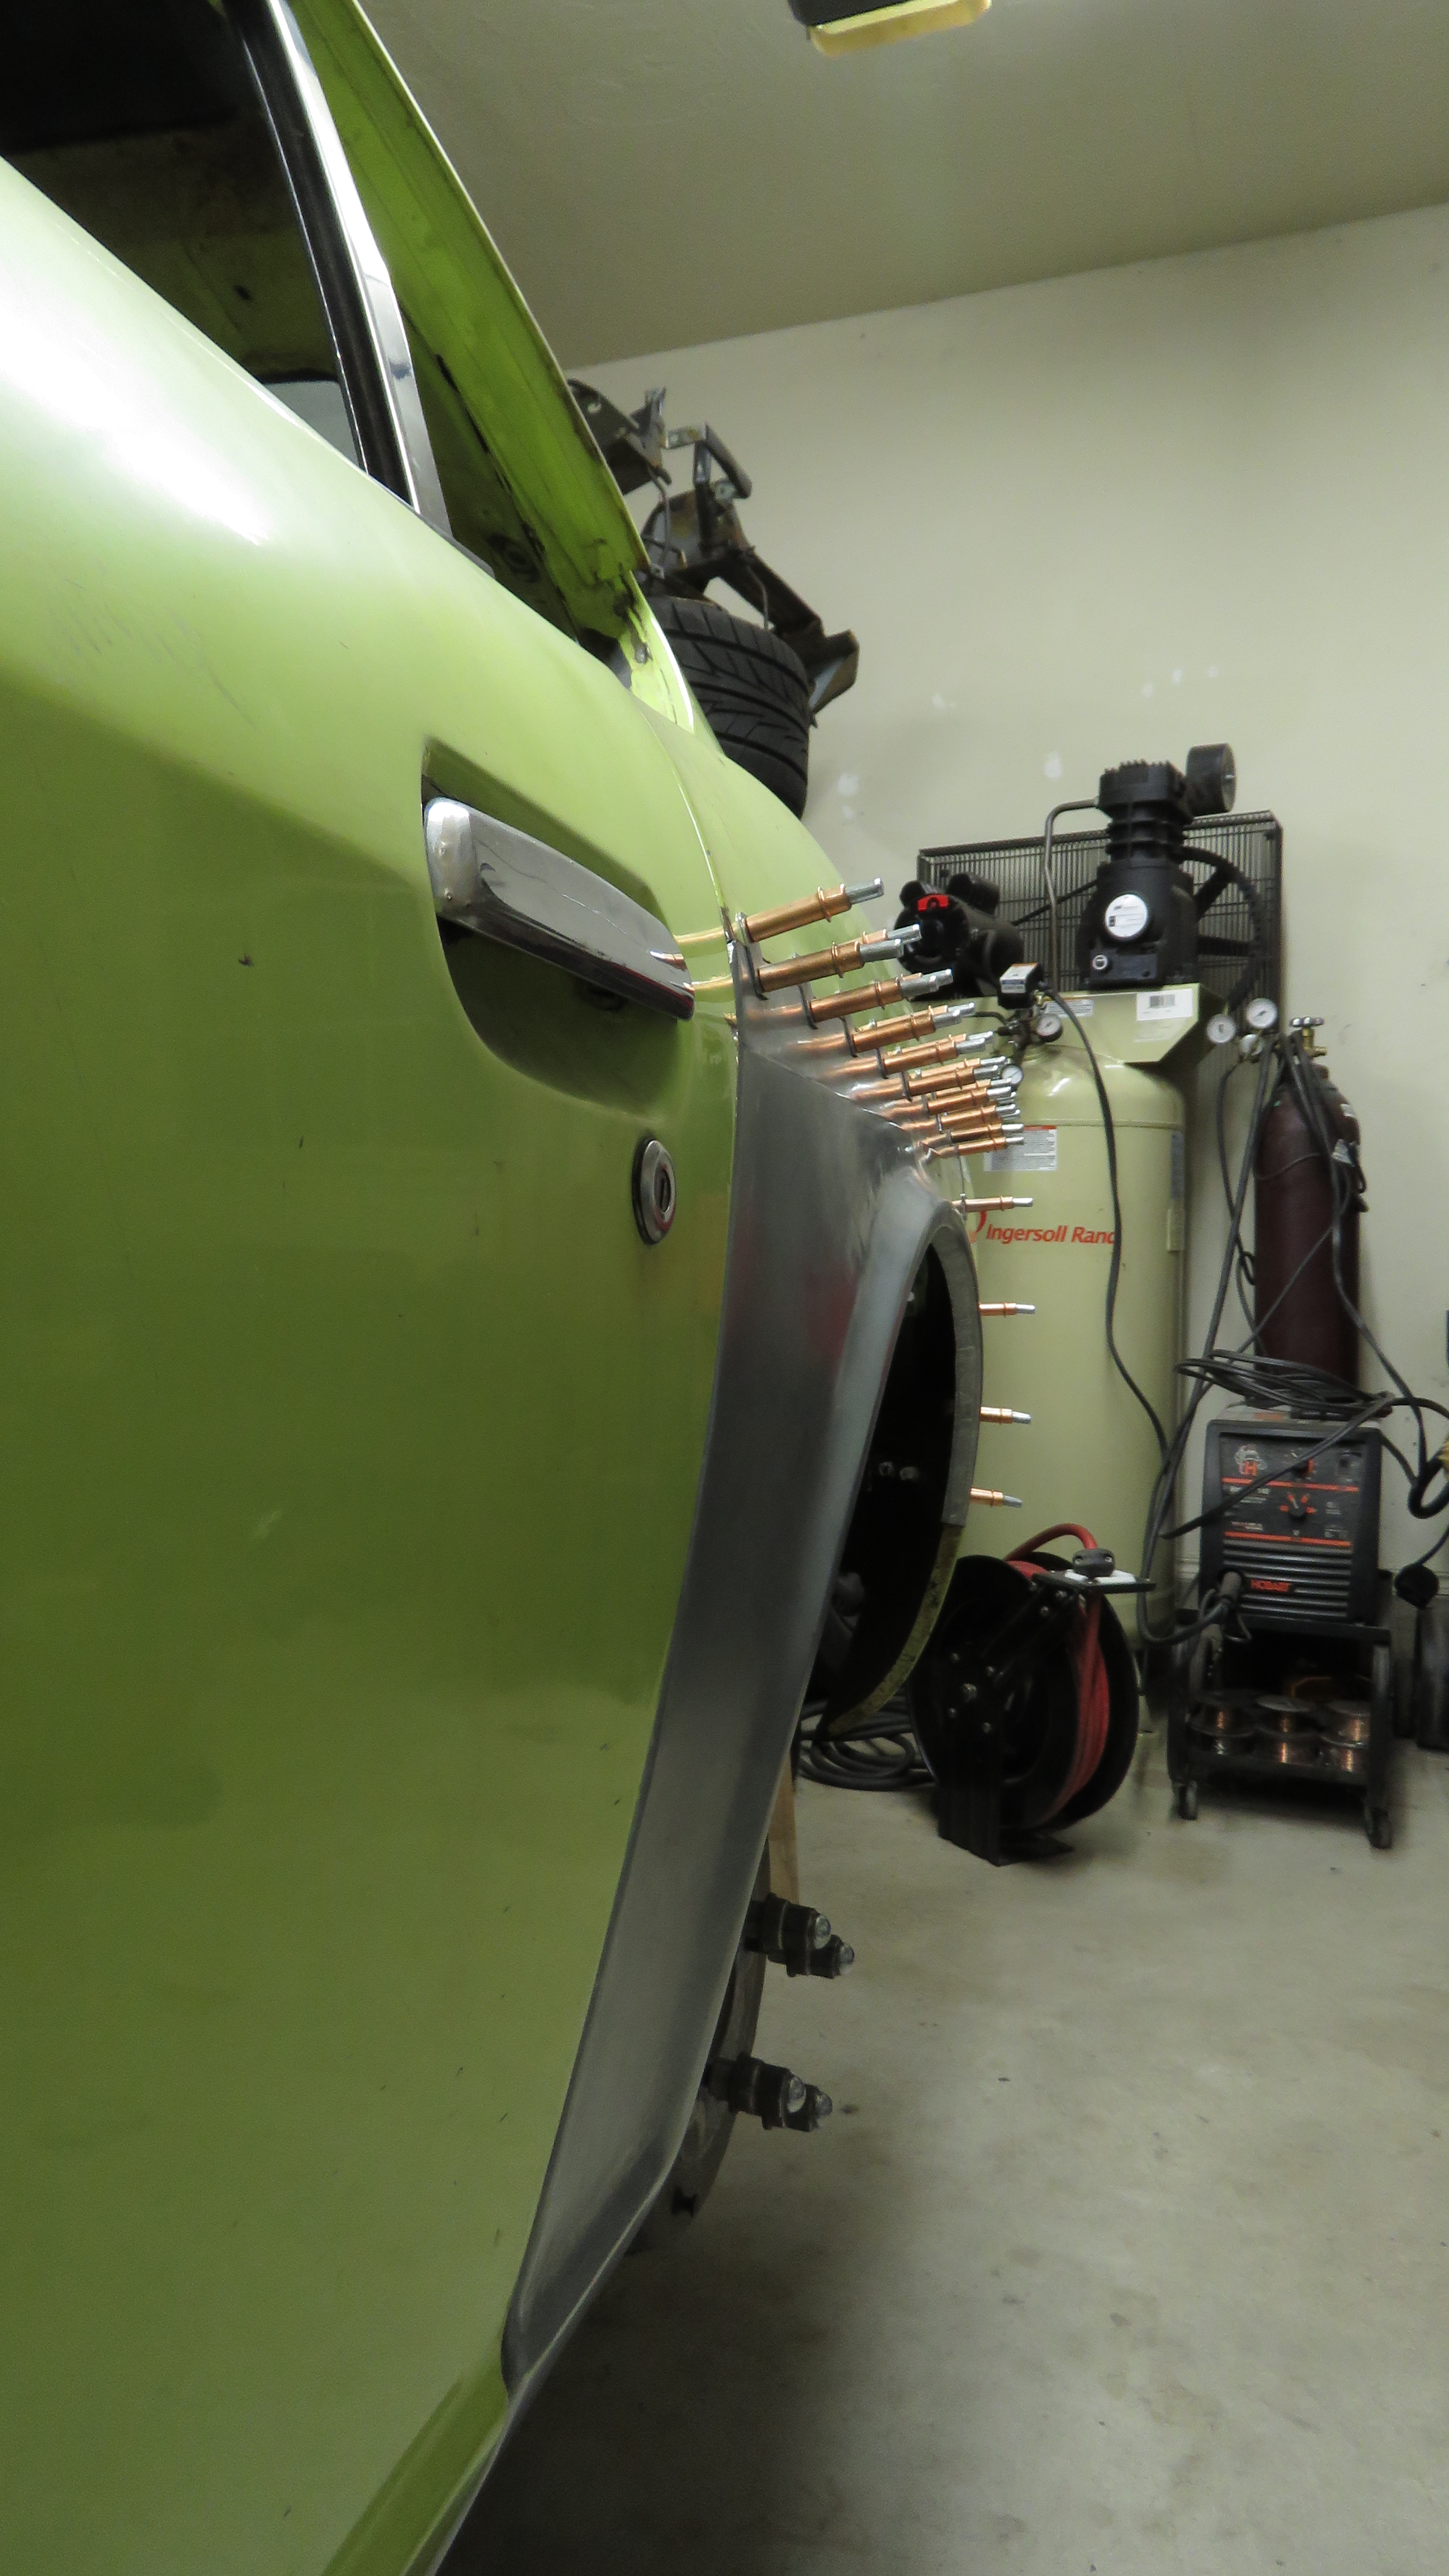
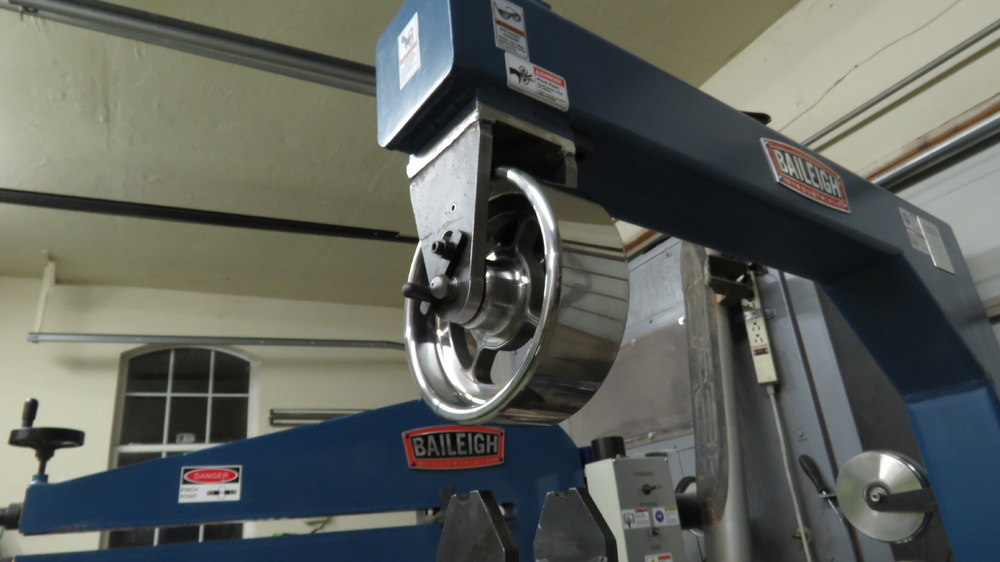
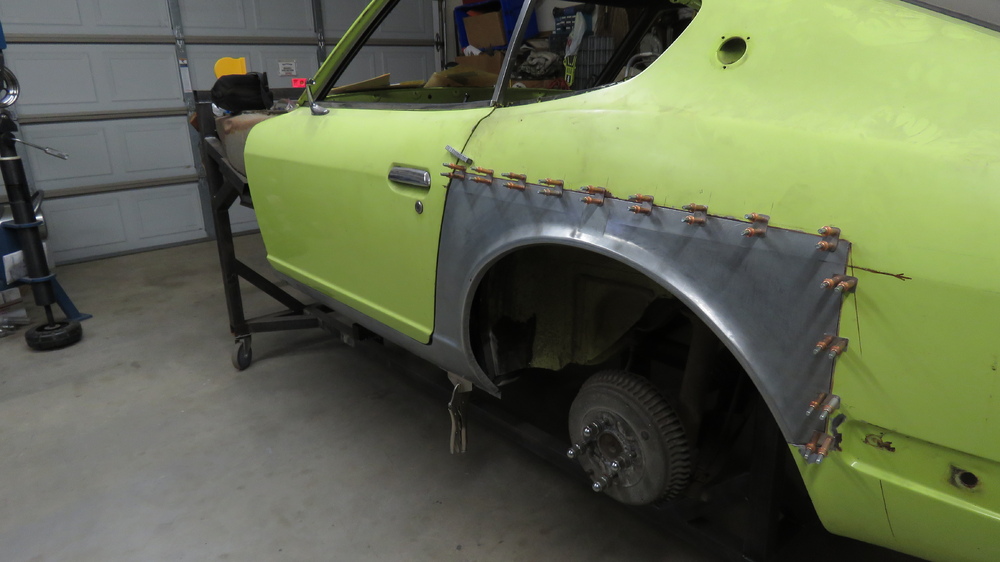
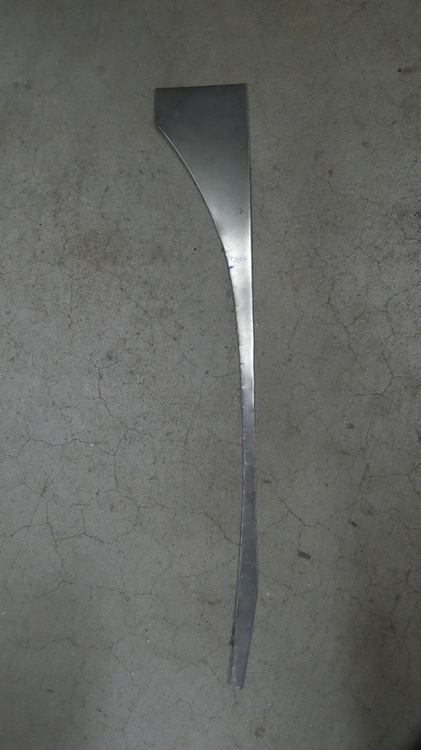
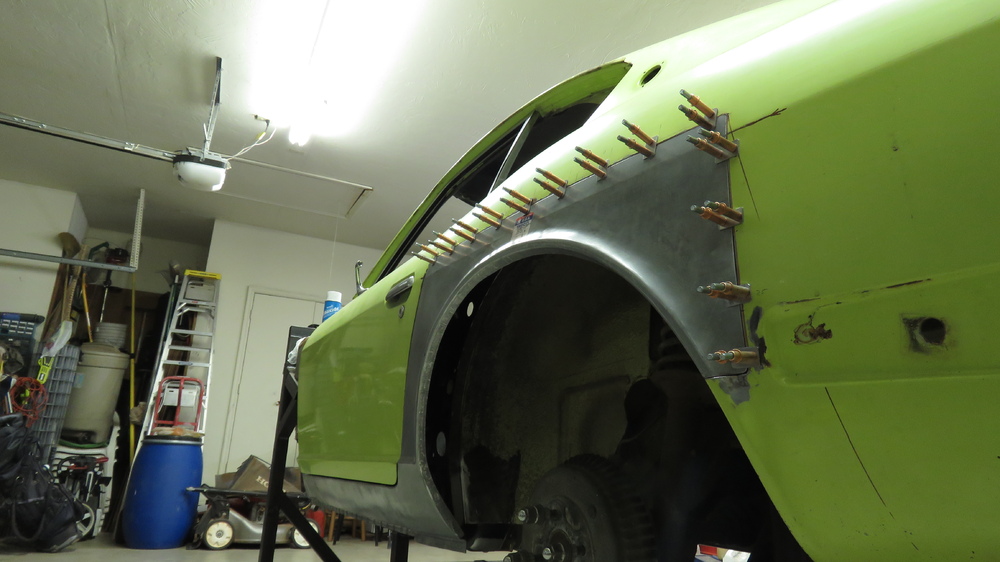
Small boring Update! Back at it again with the Quarter Panels. My previous work wasnt working for me and decided to redo the dog leg area and the area that matches up with the door. First though, I got my upper English Wheel bracket made by a local machine shop. For the most part is great, just slightly off on one side but not by much. Works great and able to switch out between the larger wheel and the smaller wheel. Old Brackets. Smaller wheel. Also I purchased foot operated stands for my shrinker and stretcher. Yeah I could of made them for much cheaper, but too lazy and didnt feel like spending time on it. Much better than the one I made originally out of junk aluminum that didnt hold up. Rework on the driver side rear quarter panel. Keep in mind the door isnt perfectly aligned, but close enough to get the quarter to match up. This aint no show car, hehe. Made a quick template of the contour of the end of the door to use for the edge of the quarter panel. Made a paper template for the rocker area. Good enough for me, will rework the passenger side and then get them prepped for welding. Next will be the inner fender. Stay Tuned!!


-
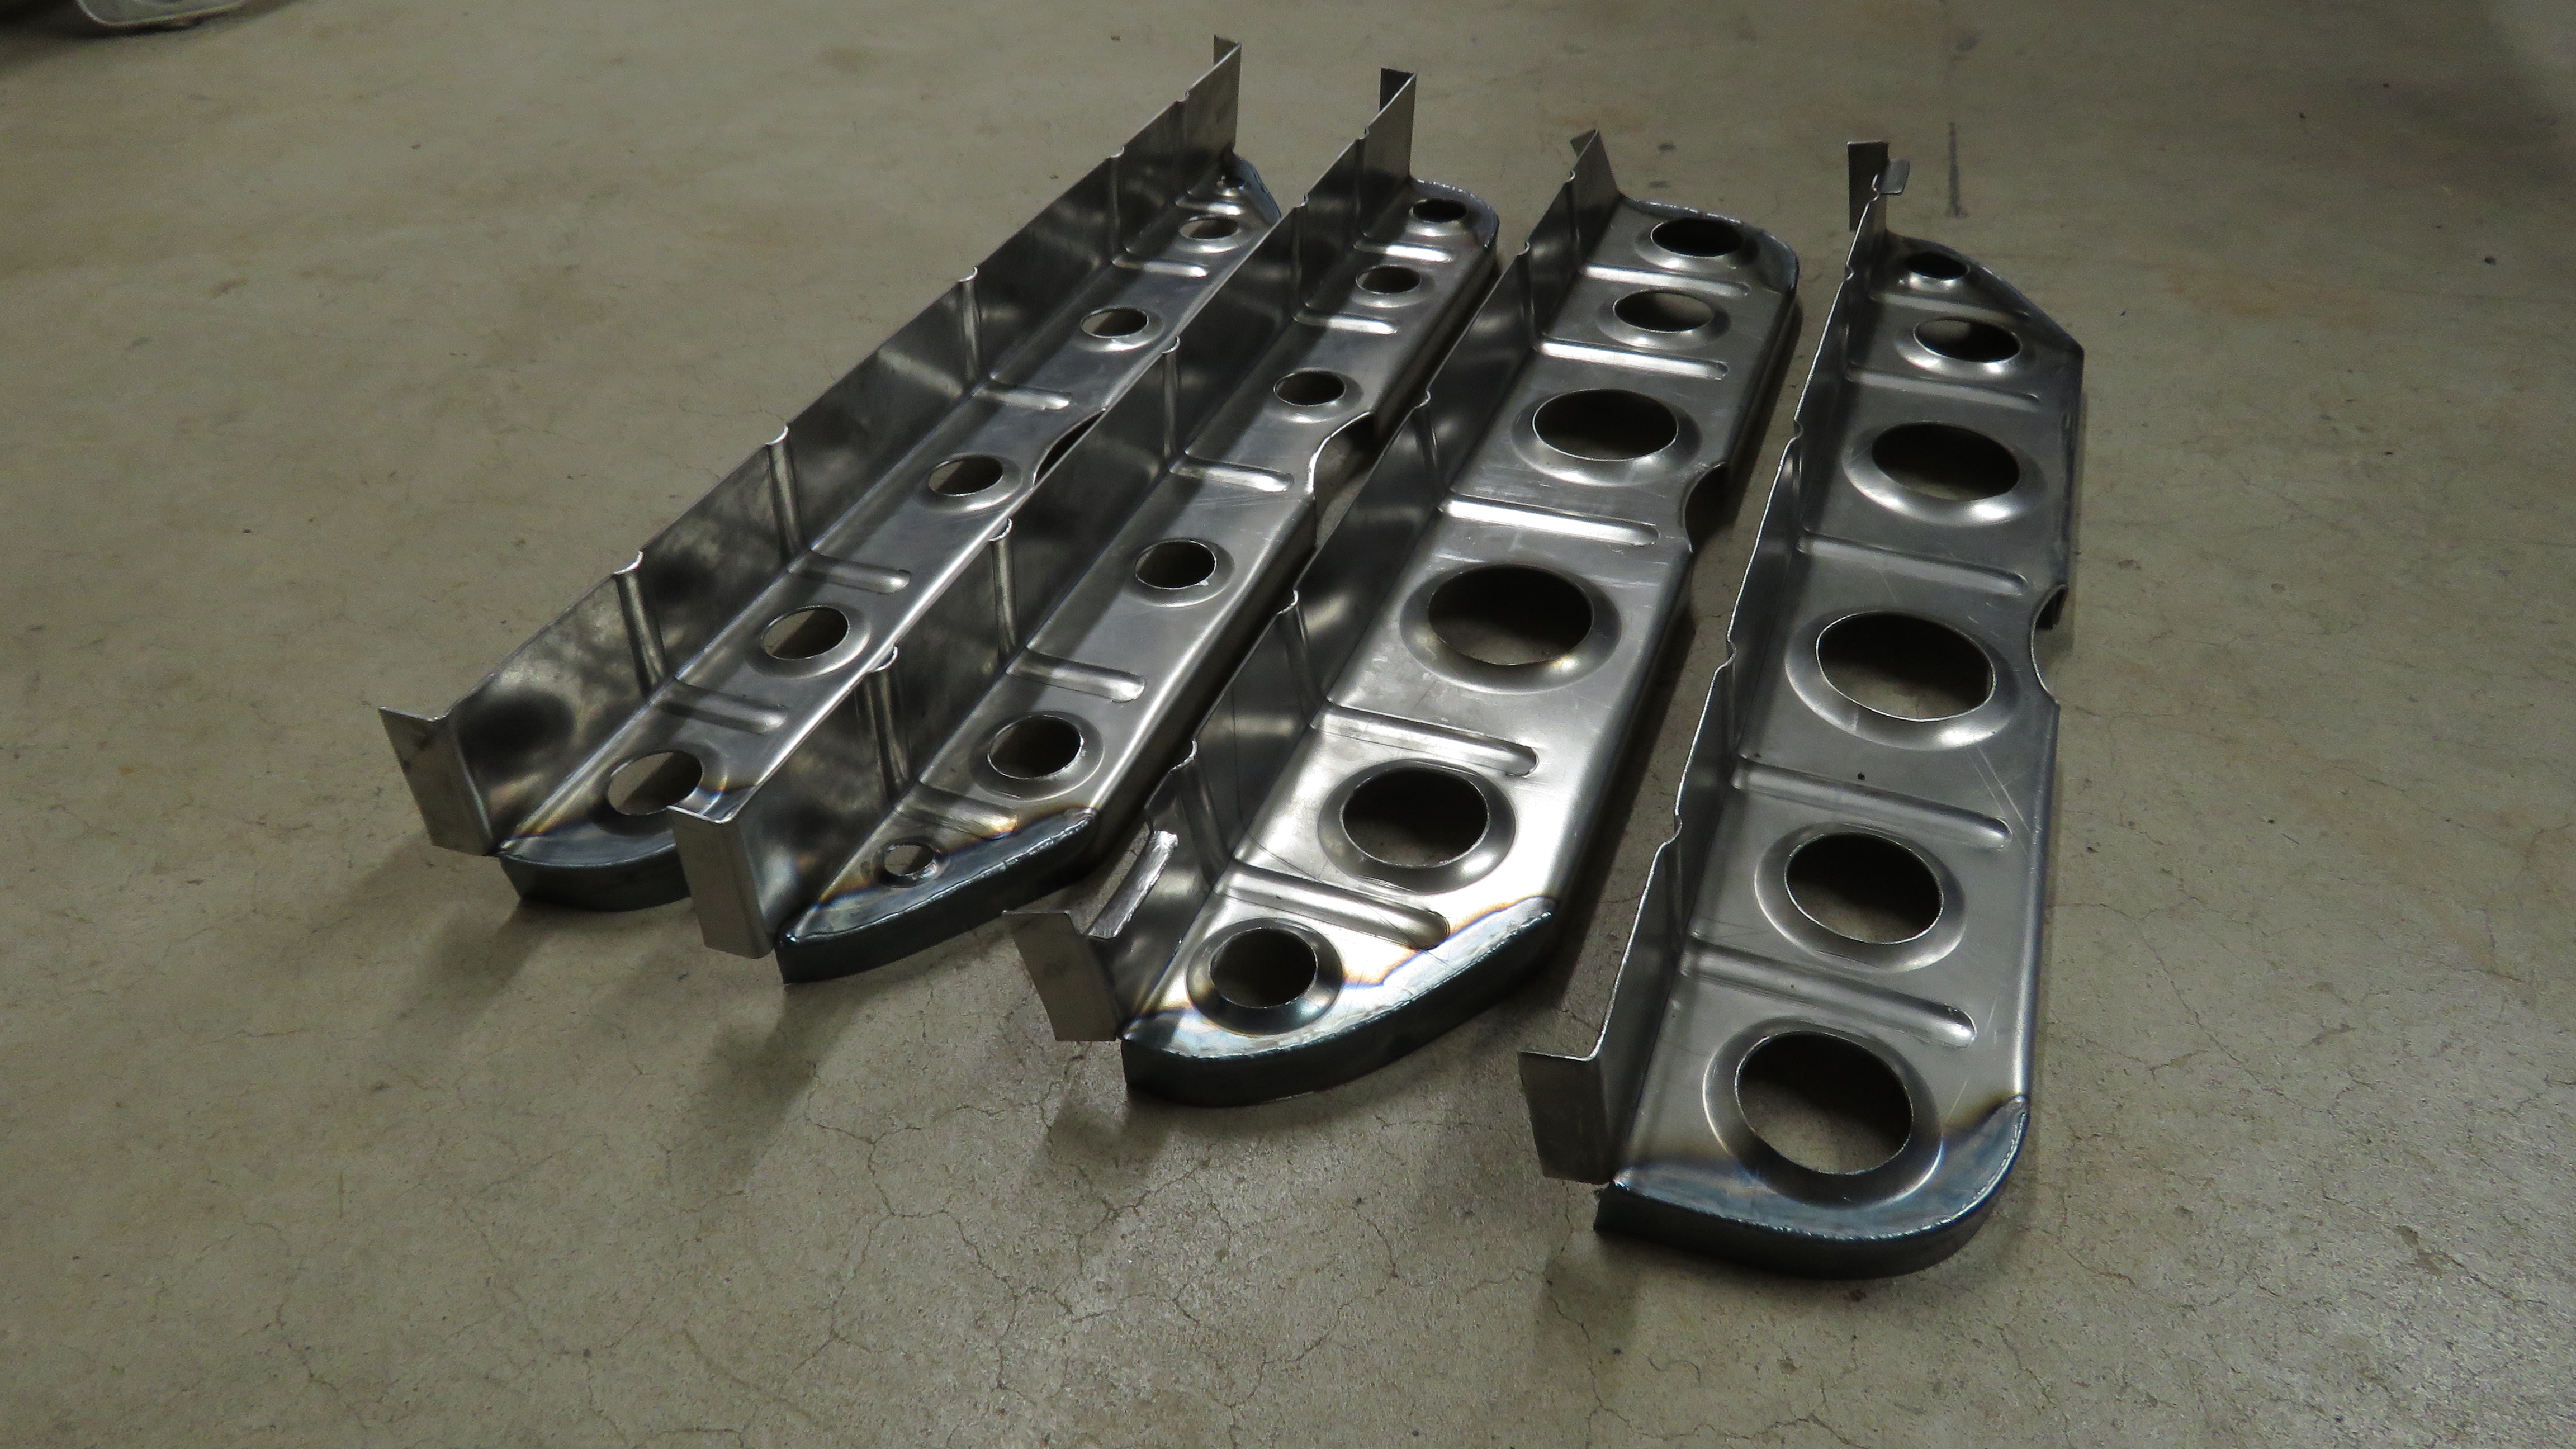
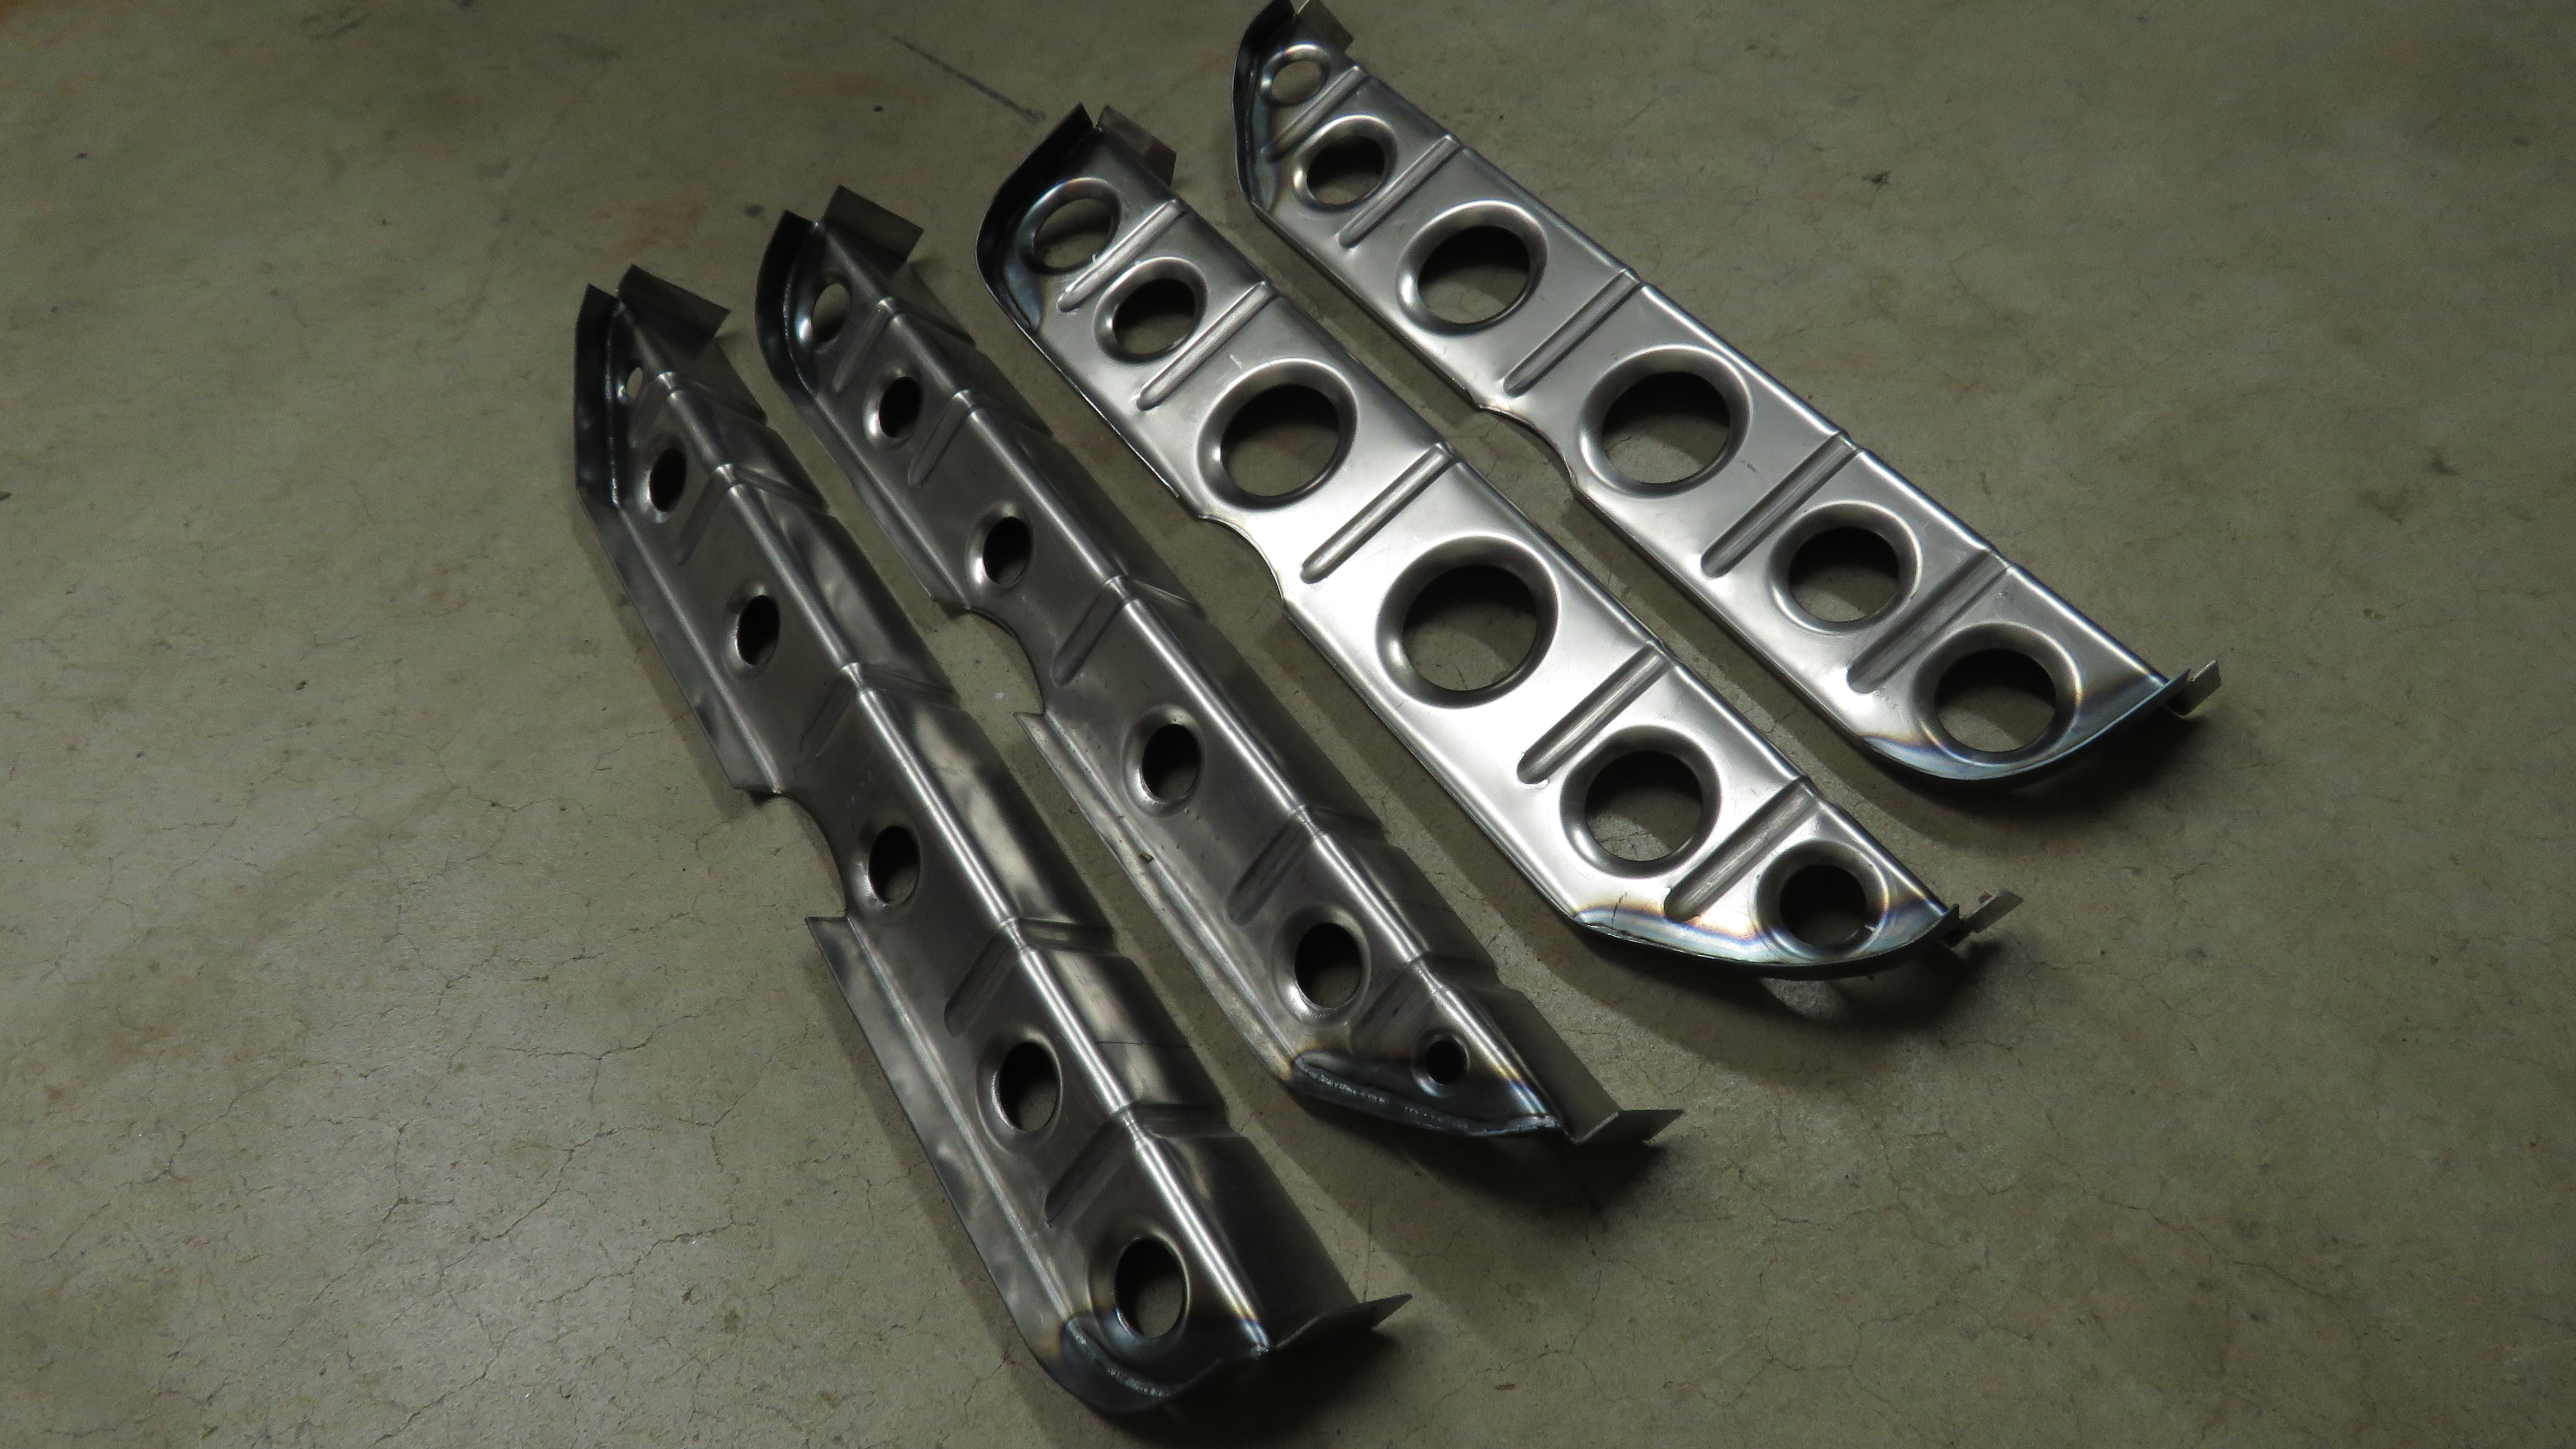
Thanks you Sir. Just received Pictures of those Seat brackets I made for first test fitment. Looks like these got the green light for fitment. Thank You newtonhubcap for your help with these!


-
Looking good, You planning on shaving any holes in the engine bay? I did close up some holes on mine, but really want to wait till I get an idea of how everything will be laid out before I get to carried away with it.
-
Interesting Ideas. Will keep a list of your suggestions and hopefully to show up on my site someday soon. Keep them coming. Managed to get the seat brackets finished. However as of yet these have not been approved yet for fitment. Once approved they are ready for purchase (https://www.prospect-d.com/). Can also review the installation guide as well in the install guide section. Similar to the ones I made for my Z, already posted pictures. These appear to fit and made a lot better. Pictures:


-
Talked to John at Baddogparts. He gave me a call and we chatted for a while over the phone. Great guy! and very knowledge of course. Talked about various things, went over the stuff I may be possibly making and selling. Talked about the floor rails, said he had no problem with my floor rails, didnt mind if I used his idea for the rear section. His floor rails and mine are different and are for different applications. Told him Id give credit notice on my site if I do sell floor rails for his rear section idea of the rail. Didnt mind my seat brackets either. He suggested tips to me on certain things. Went over how business is doing for him and me (I wont talk about this). Overall he didnt mind me entering the datsun community as a producer vendor. He was very understandable about the situation. Hope to hear from him again.
-
Hey thanks for reminding about Charlie. I contacted him, currently waiting for a response. Will keep you guys updated with this information. I will contact Baddog as they produce seat brackets, which im planning to make.
-
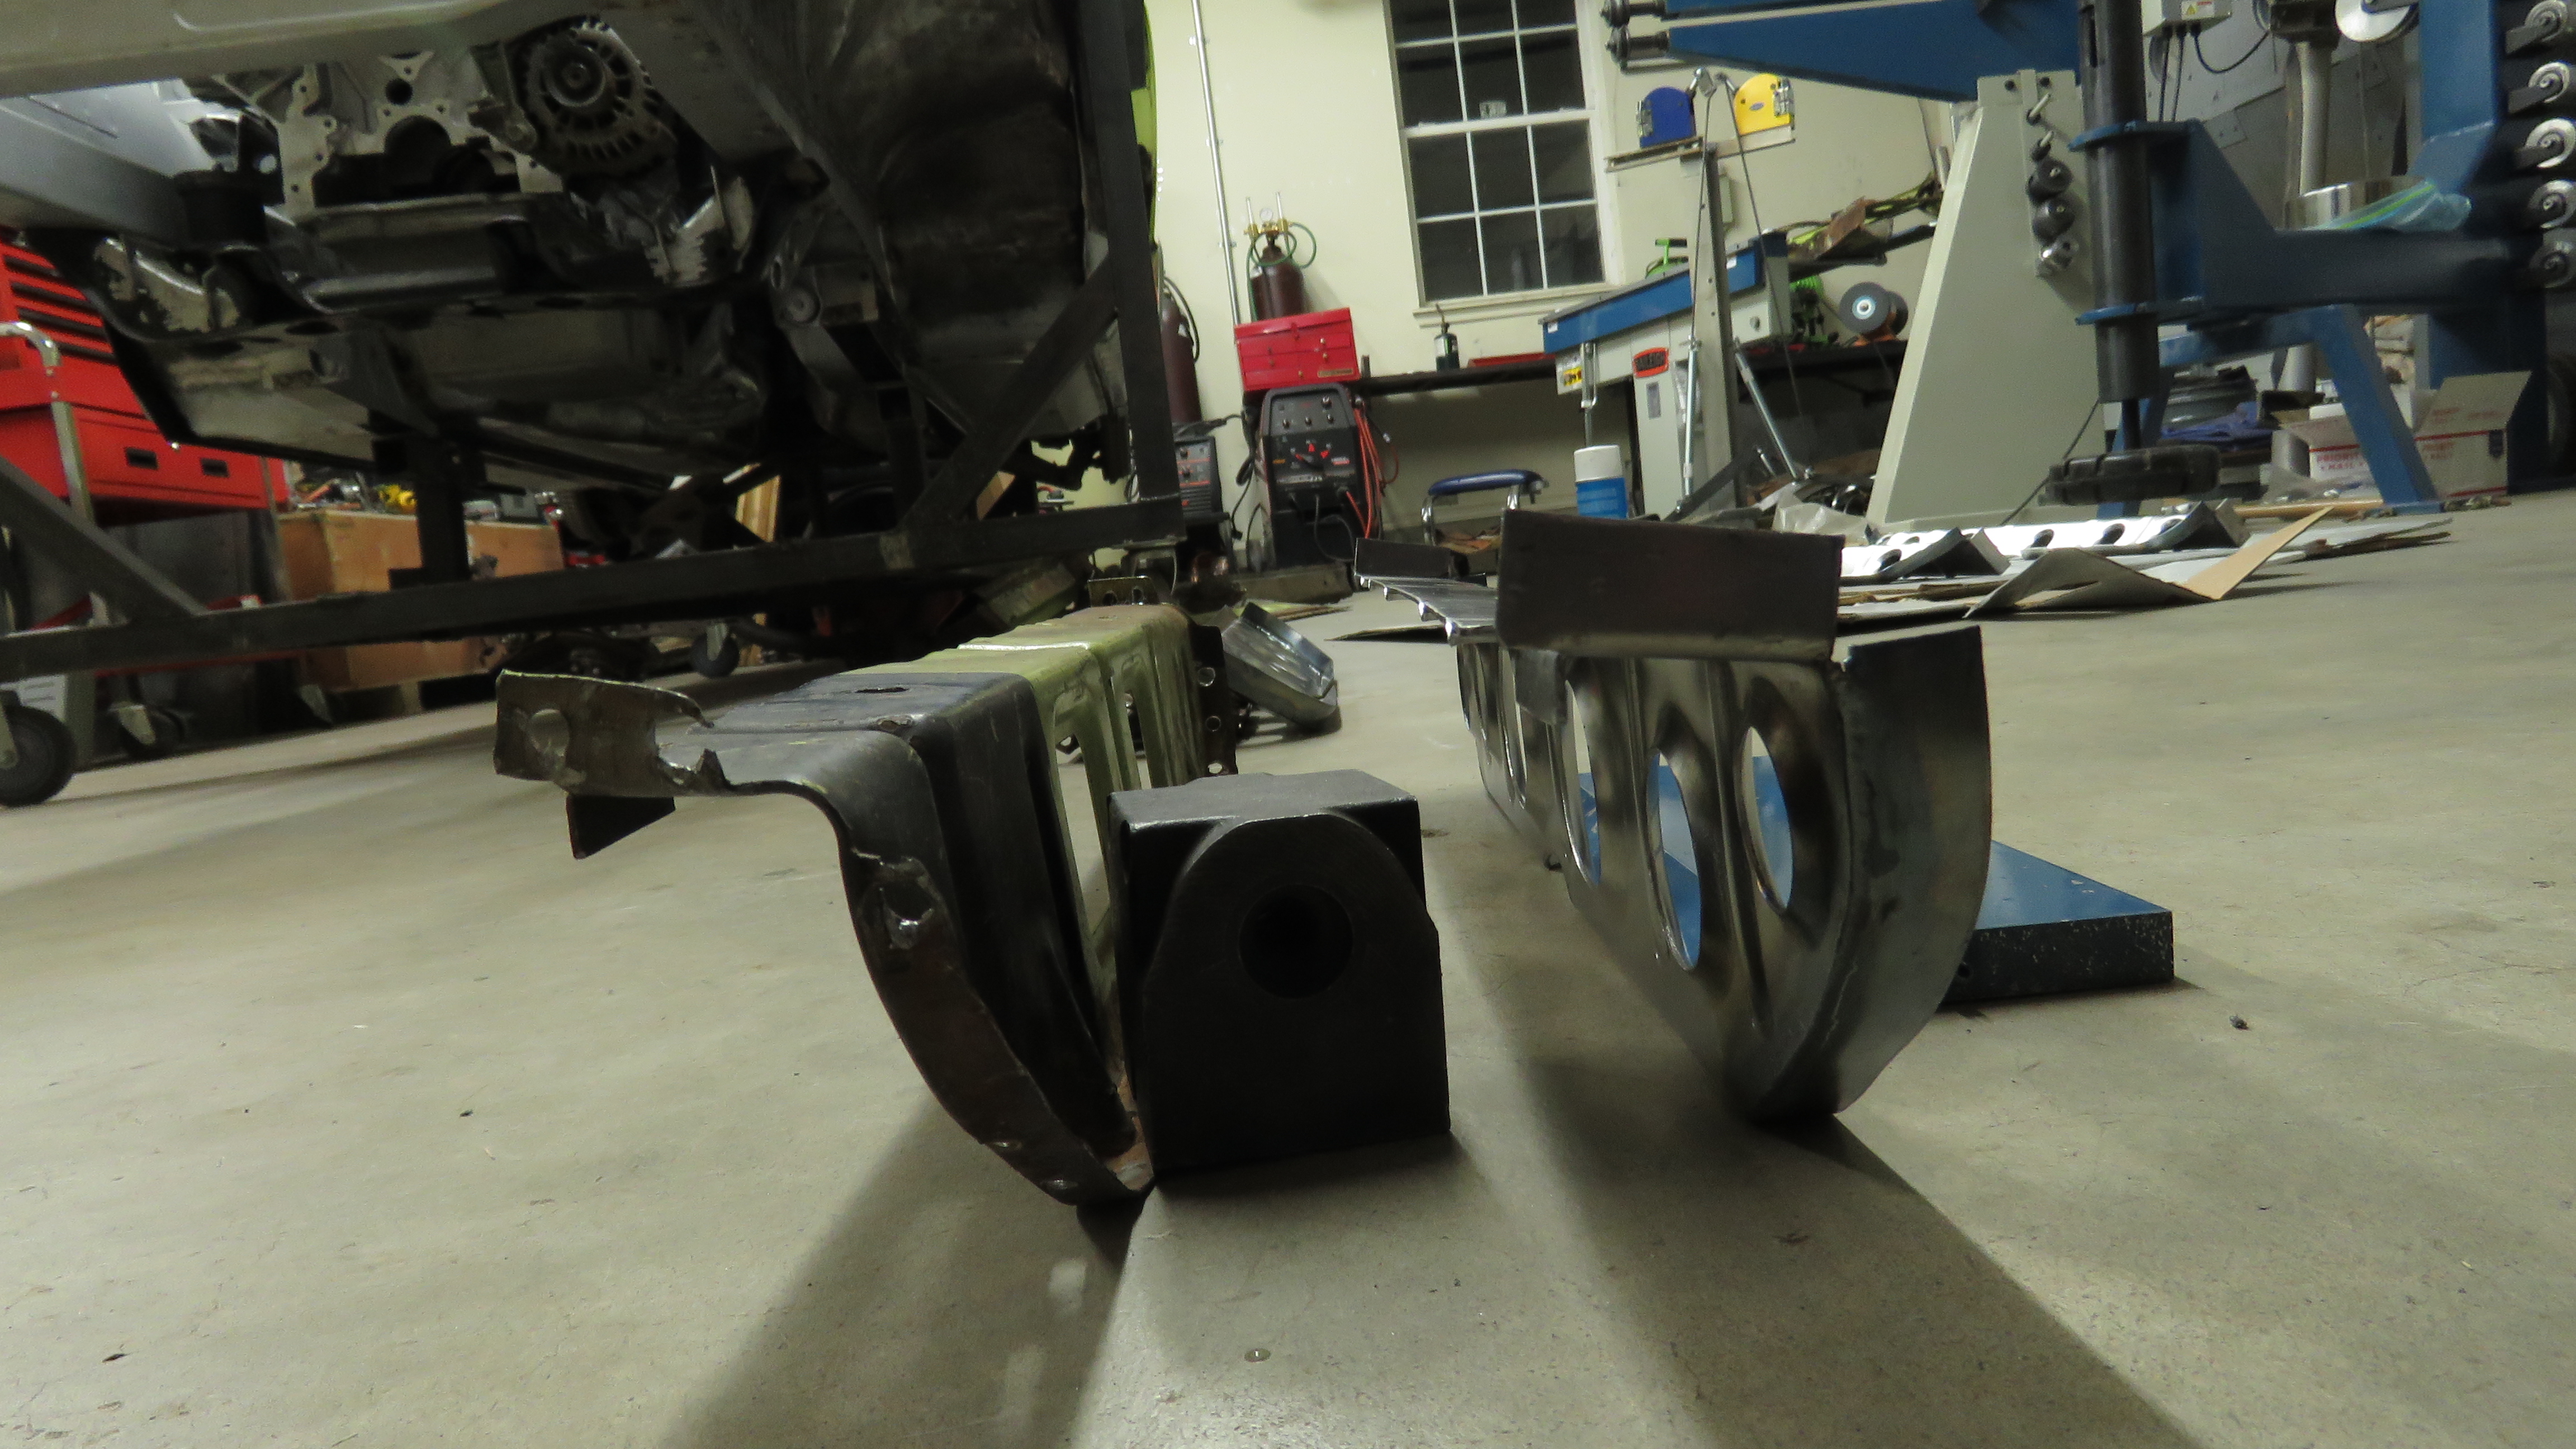
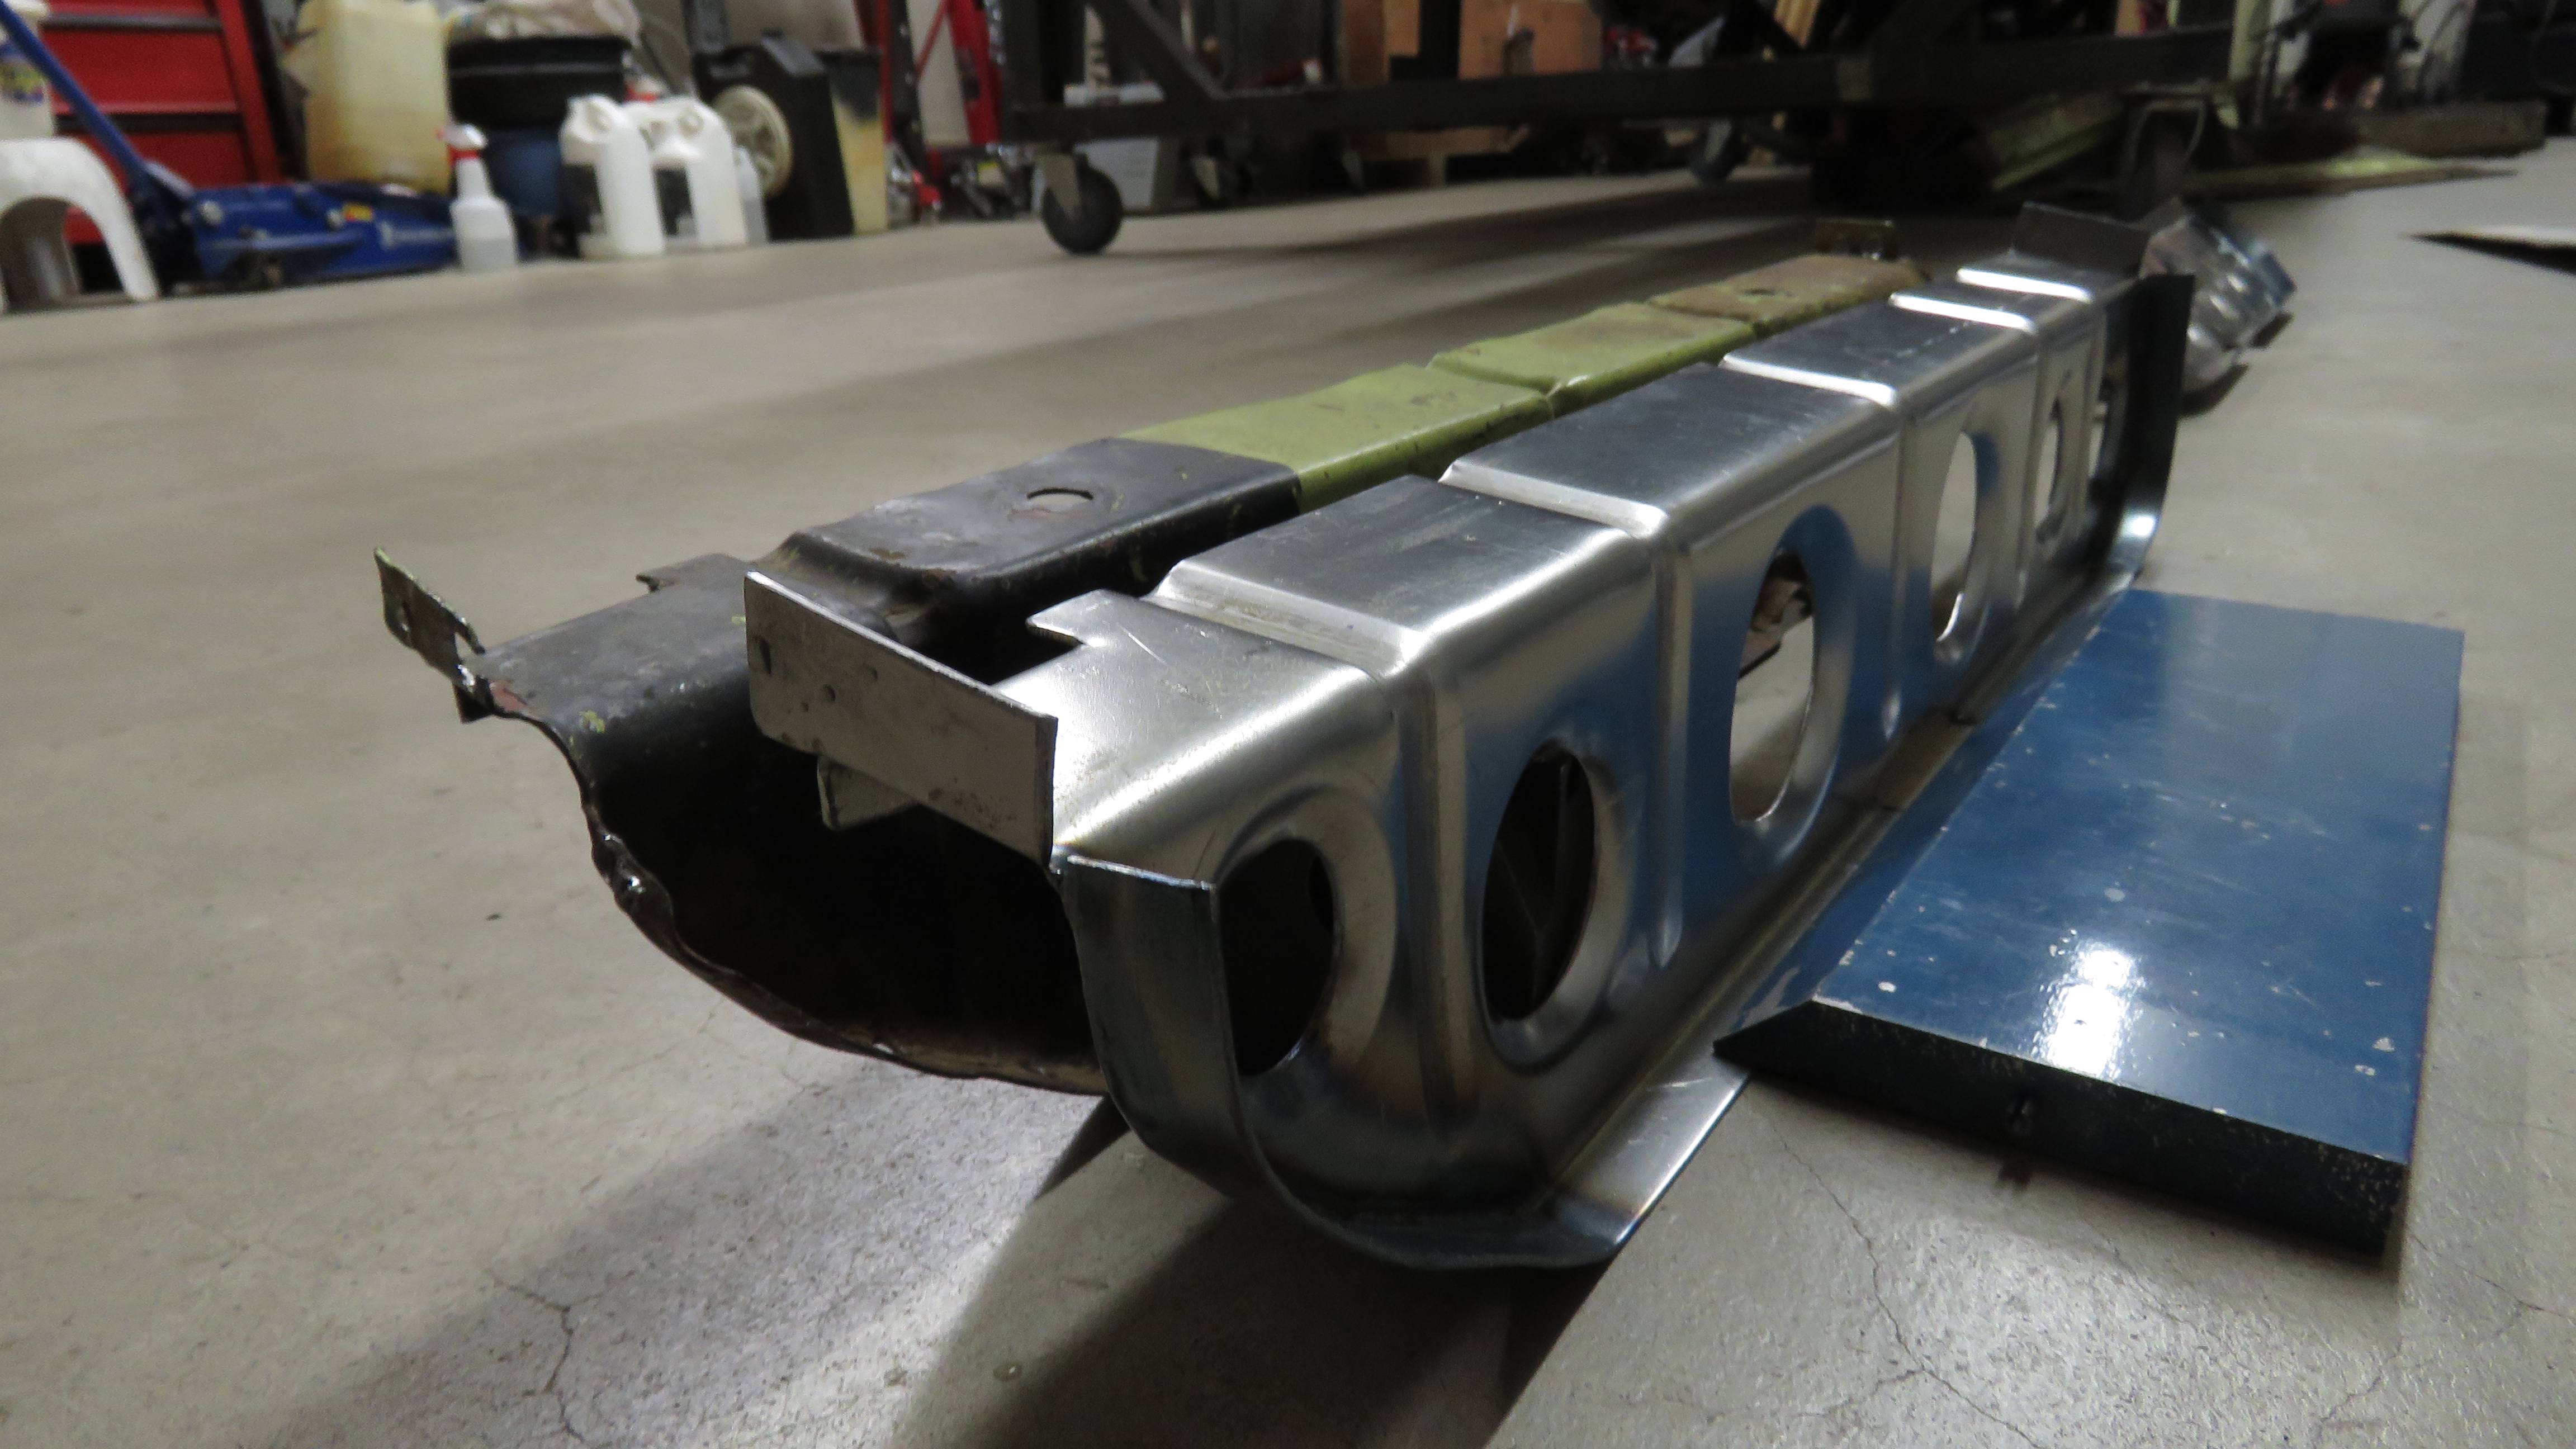
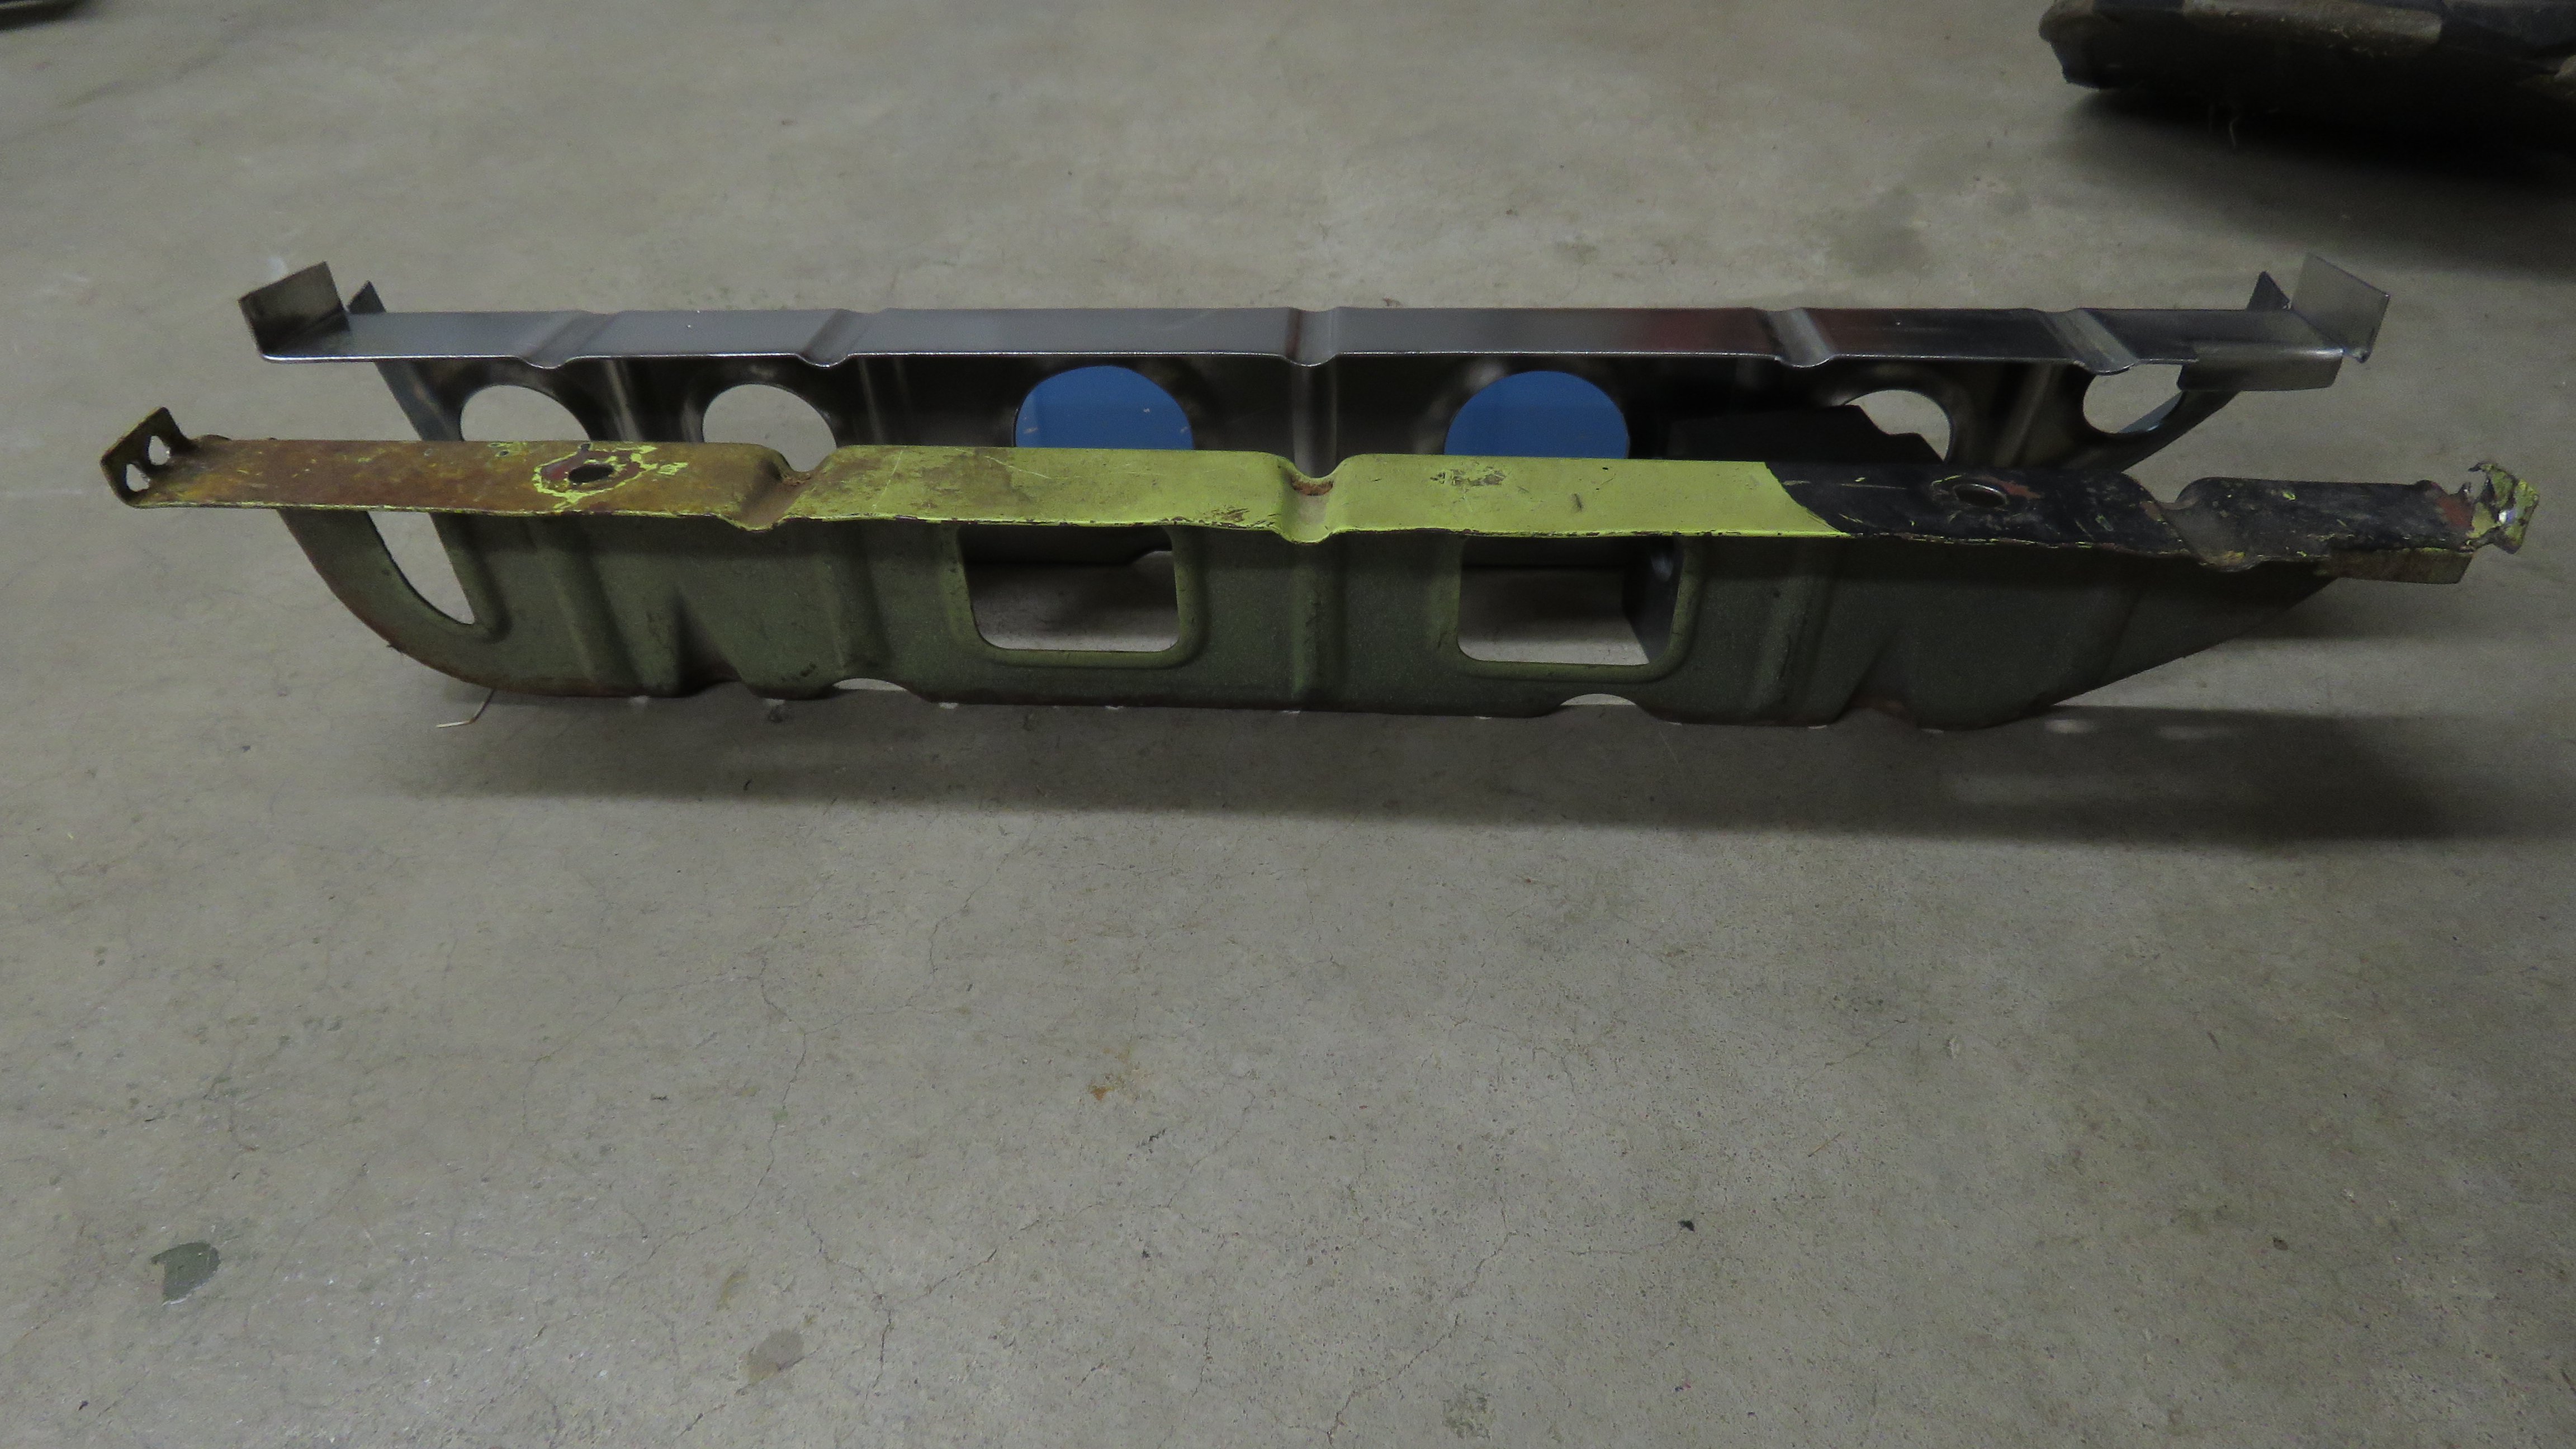
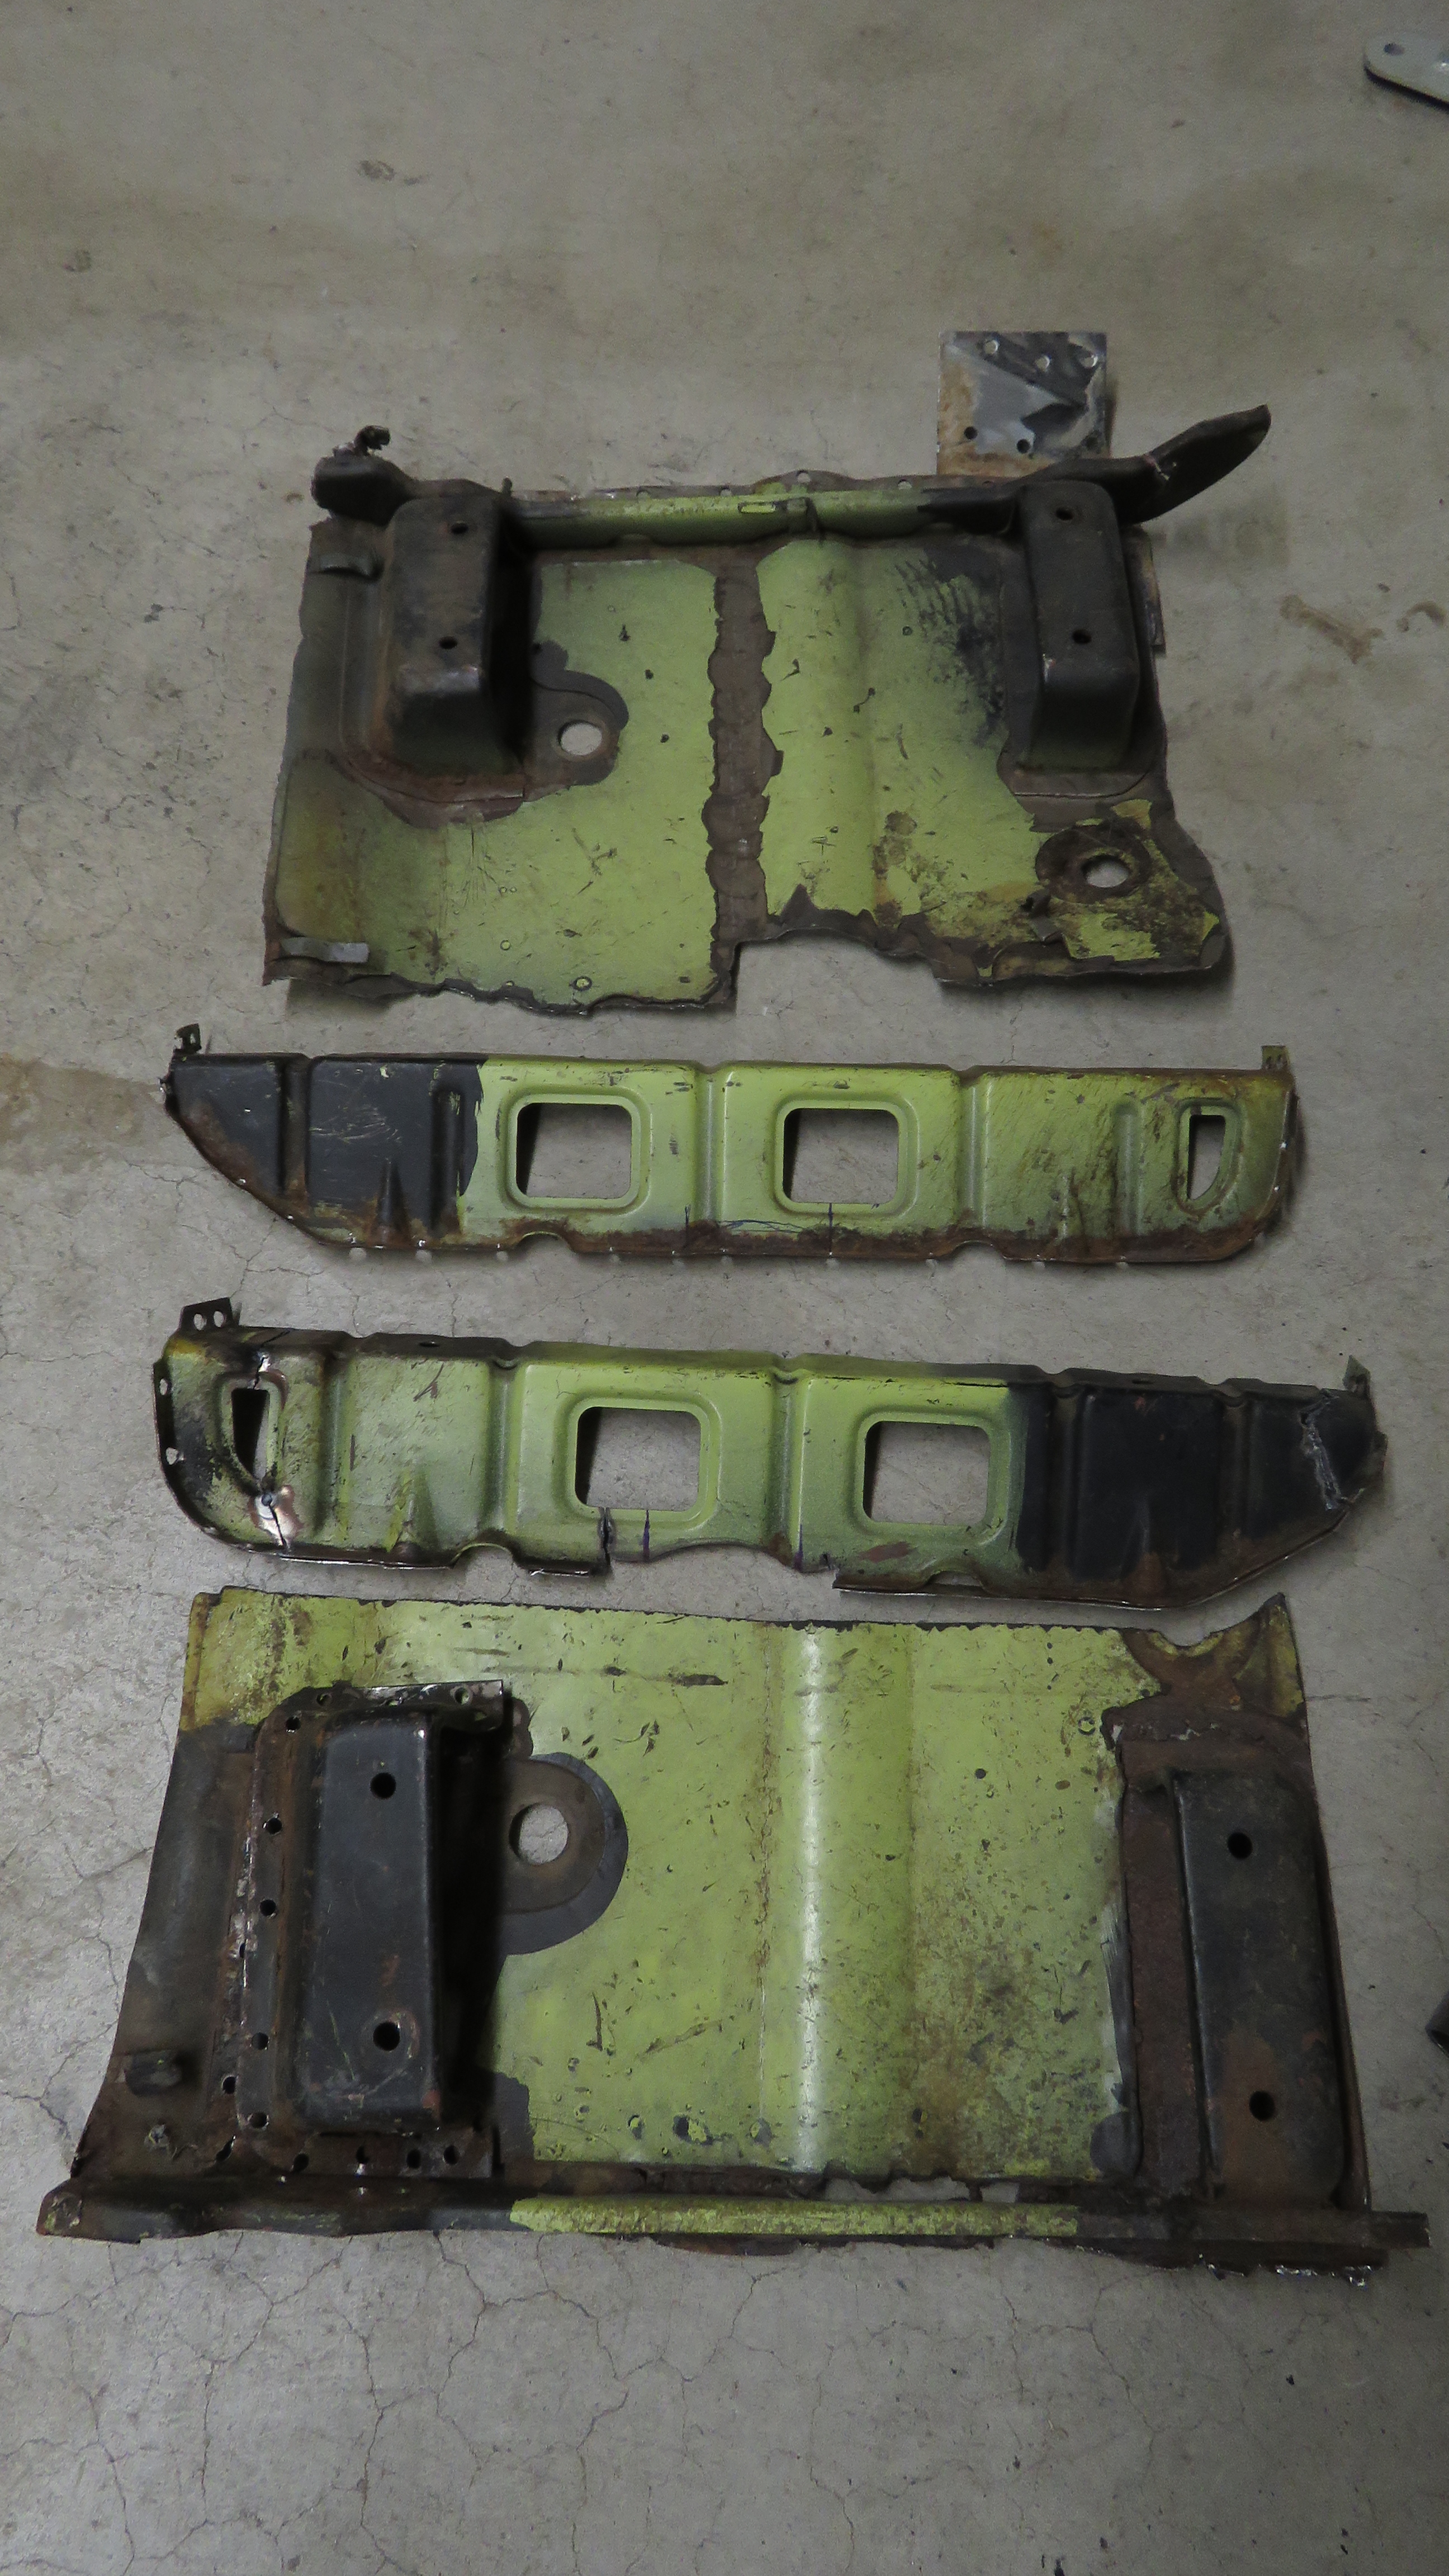
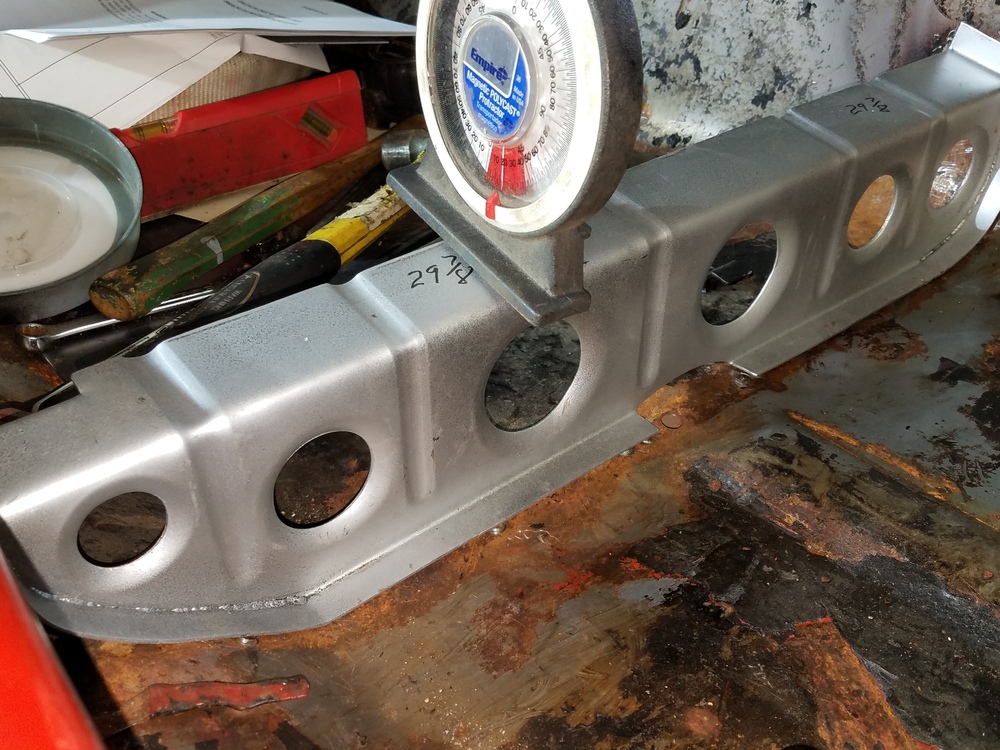
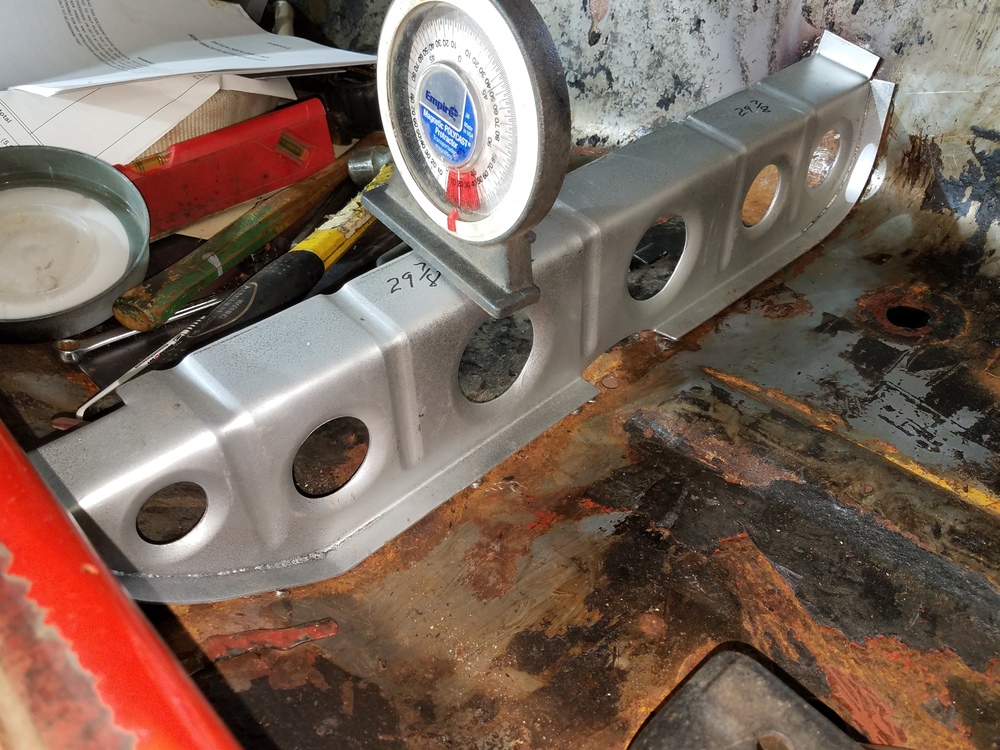
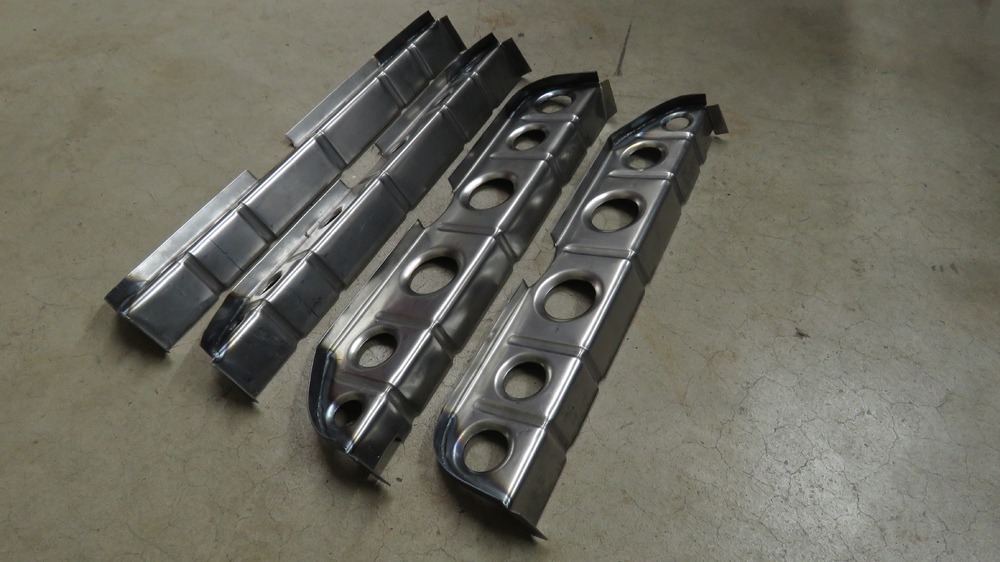
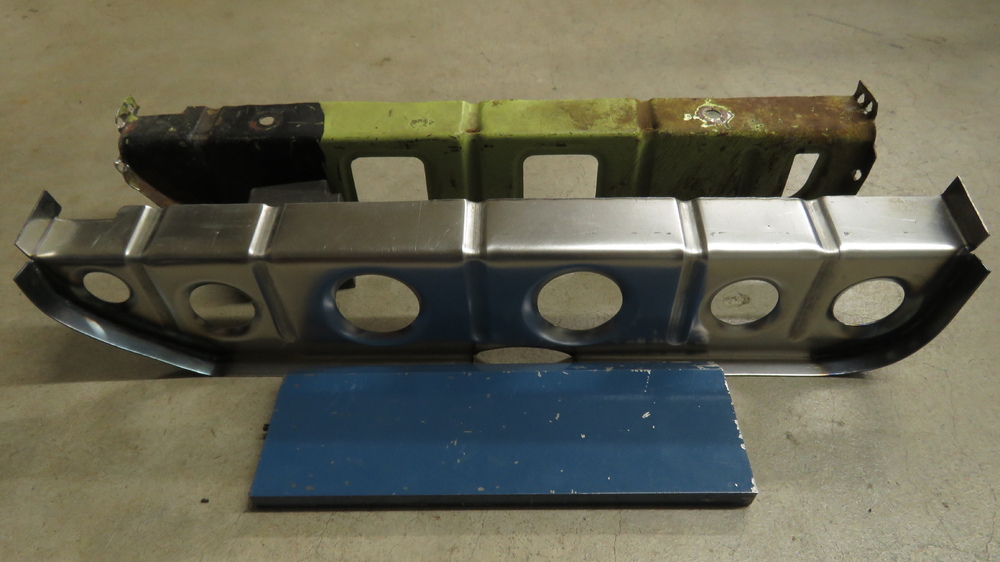
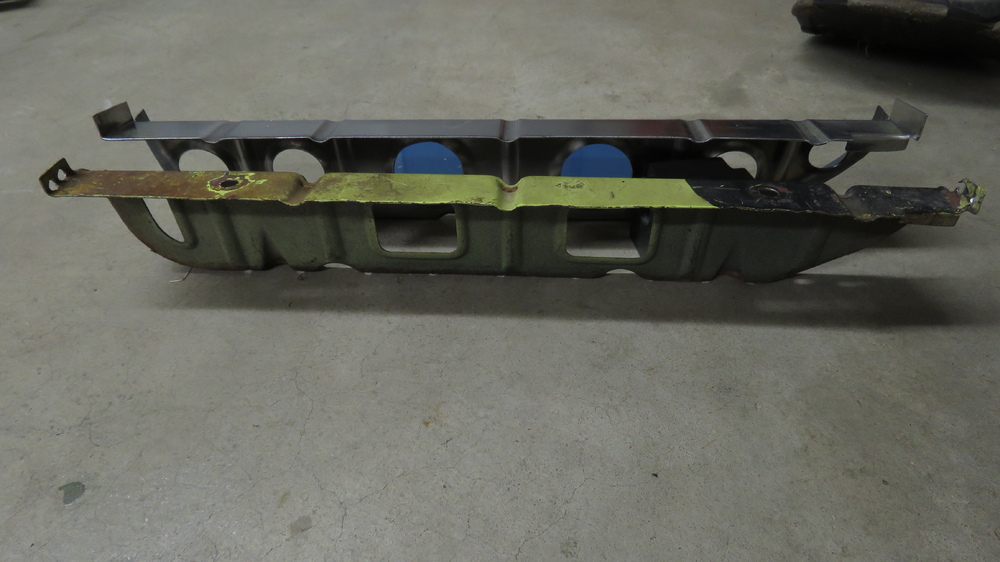
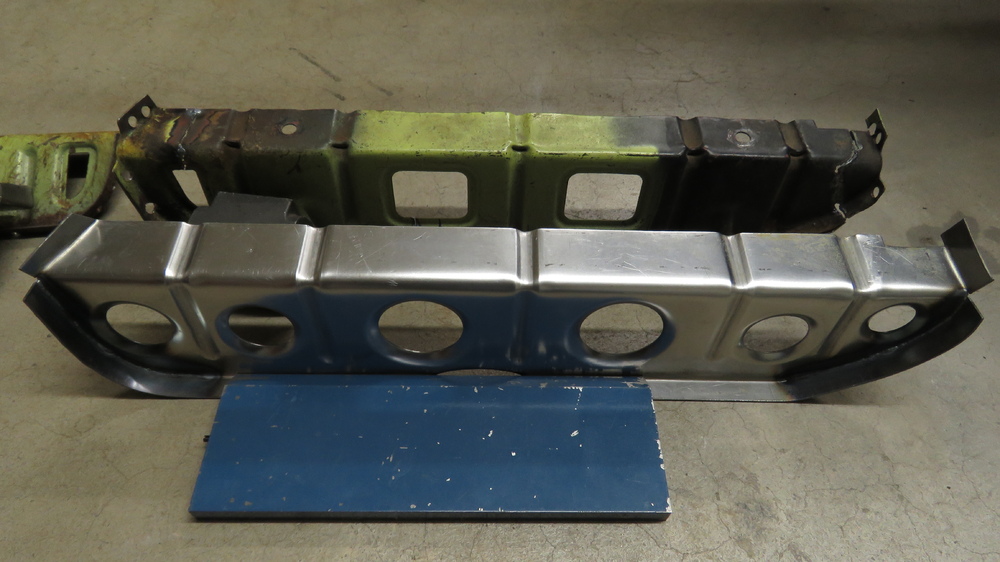
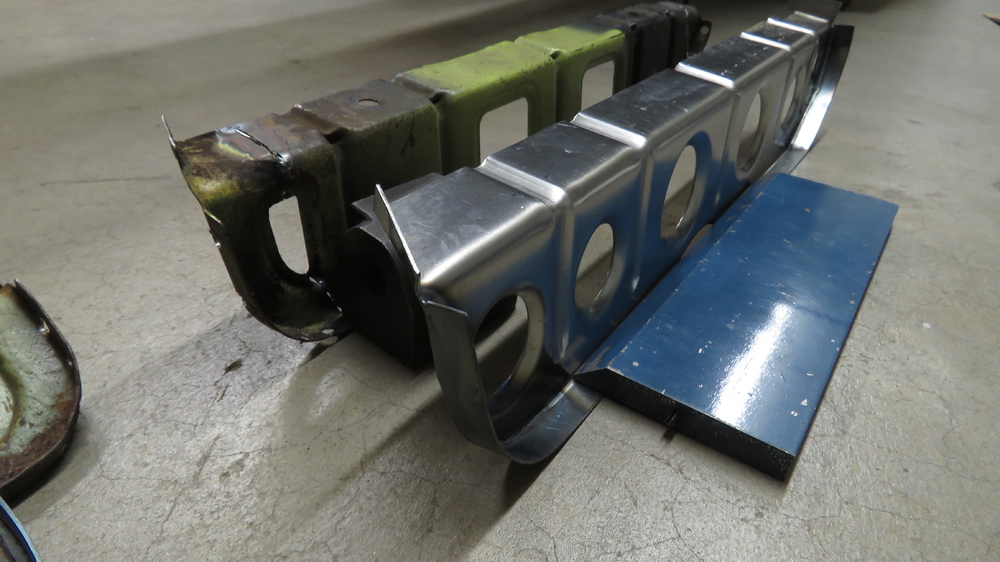
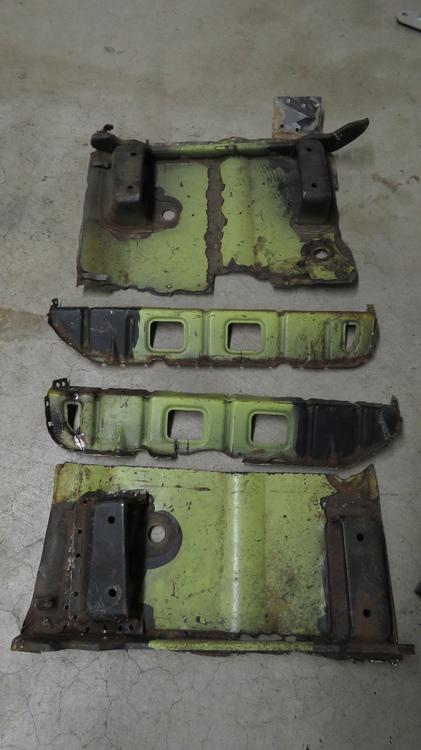
Robert, hang on to that tray and thanks for offering it to me. I may perhaps ask for it, but not anytime soon. The tray itself is something I may end up making later on down the road. However the wheel well area underneath the battery tray would be a panel I will consider doing in the near future. You guys are right that this is a common heavy rusted area on almost all 70's Z's and nobody makes them. Cant believe I didnt think much of this. Thanks to you guys and your ideas, it will happen. I first want to finish getting the seat brackets dealt with (just about there), then front frame rails. Next on my list will be the passenger rear section wheel well underneath the battery tray.
-
Thanks, hope it helps out the community. Thanks for the suggestion, I will for sure keep that in mind. I took the easy way out with my car and just filled in the rusted holes with weld and sanded back down, so I dont have a template already to go off of. But I wont let that stop me. Ill think of something.
-
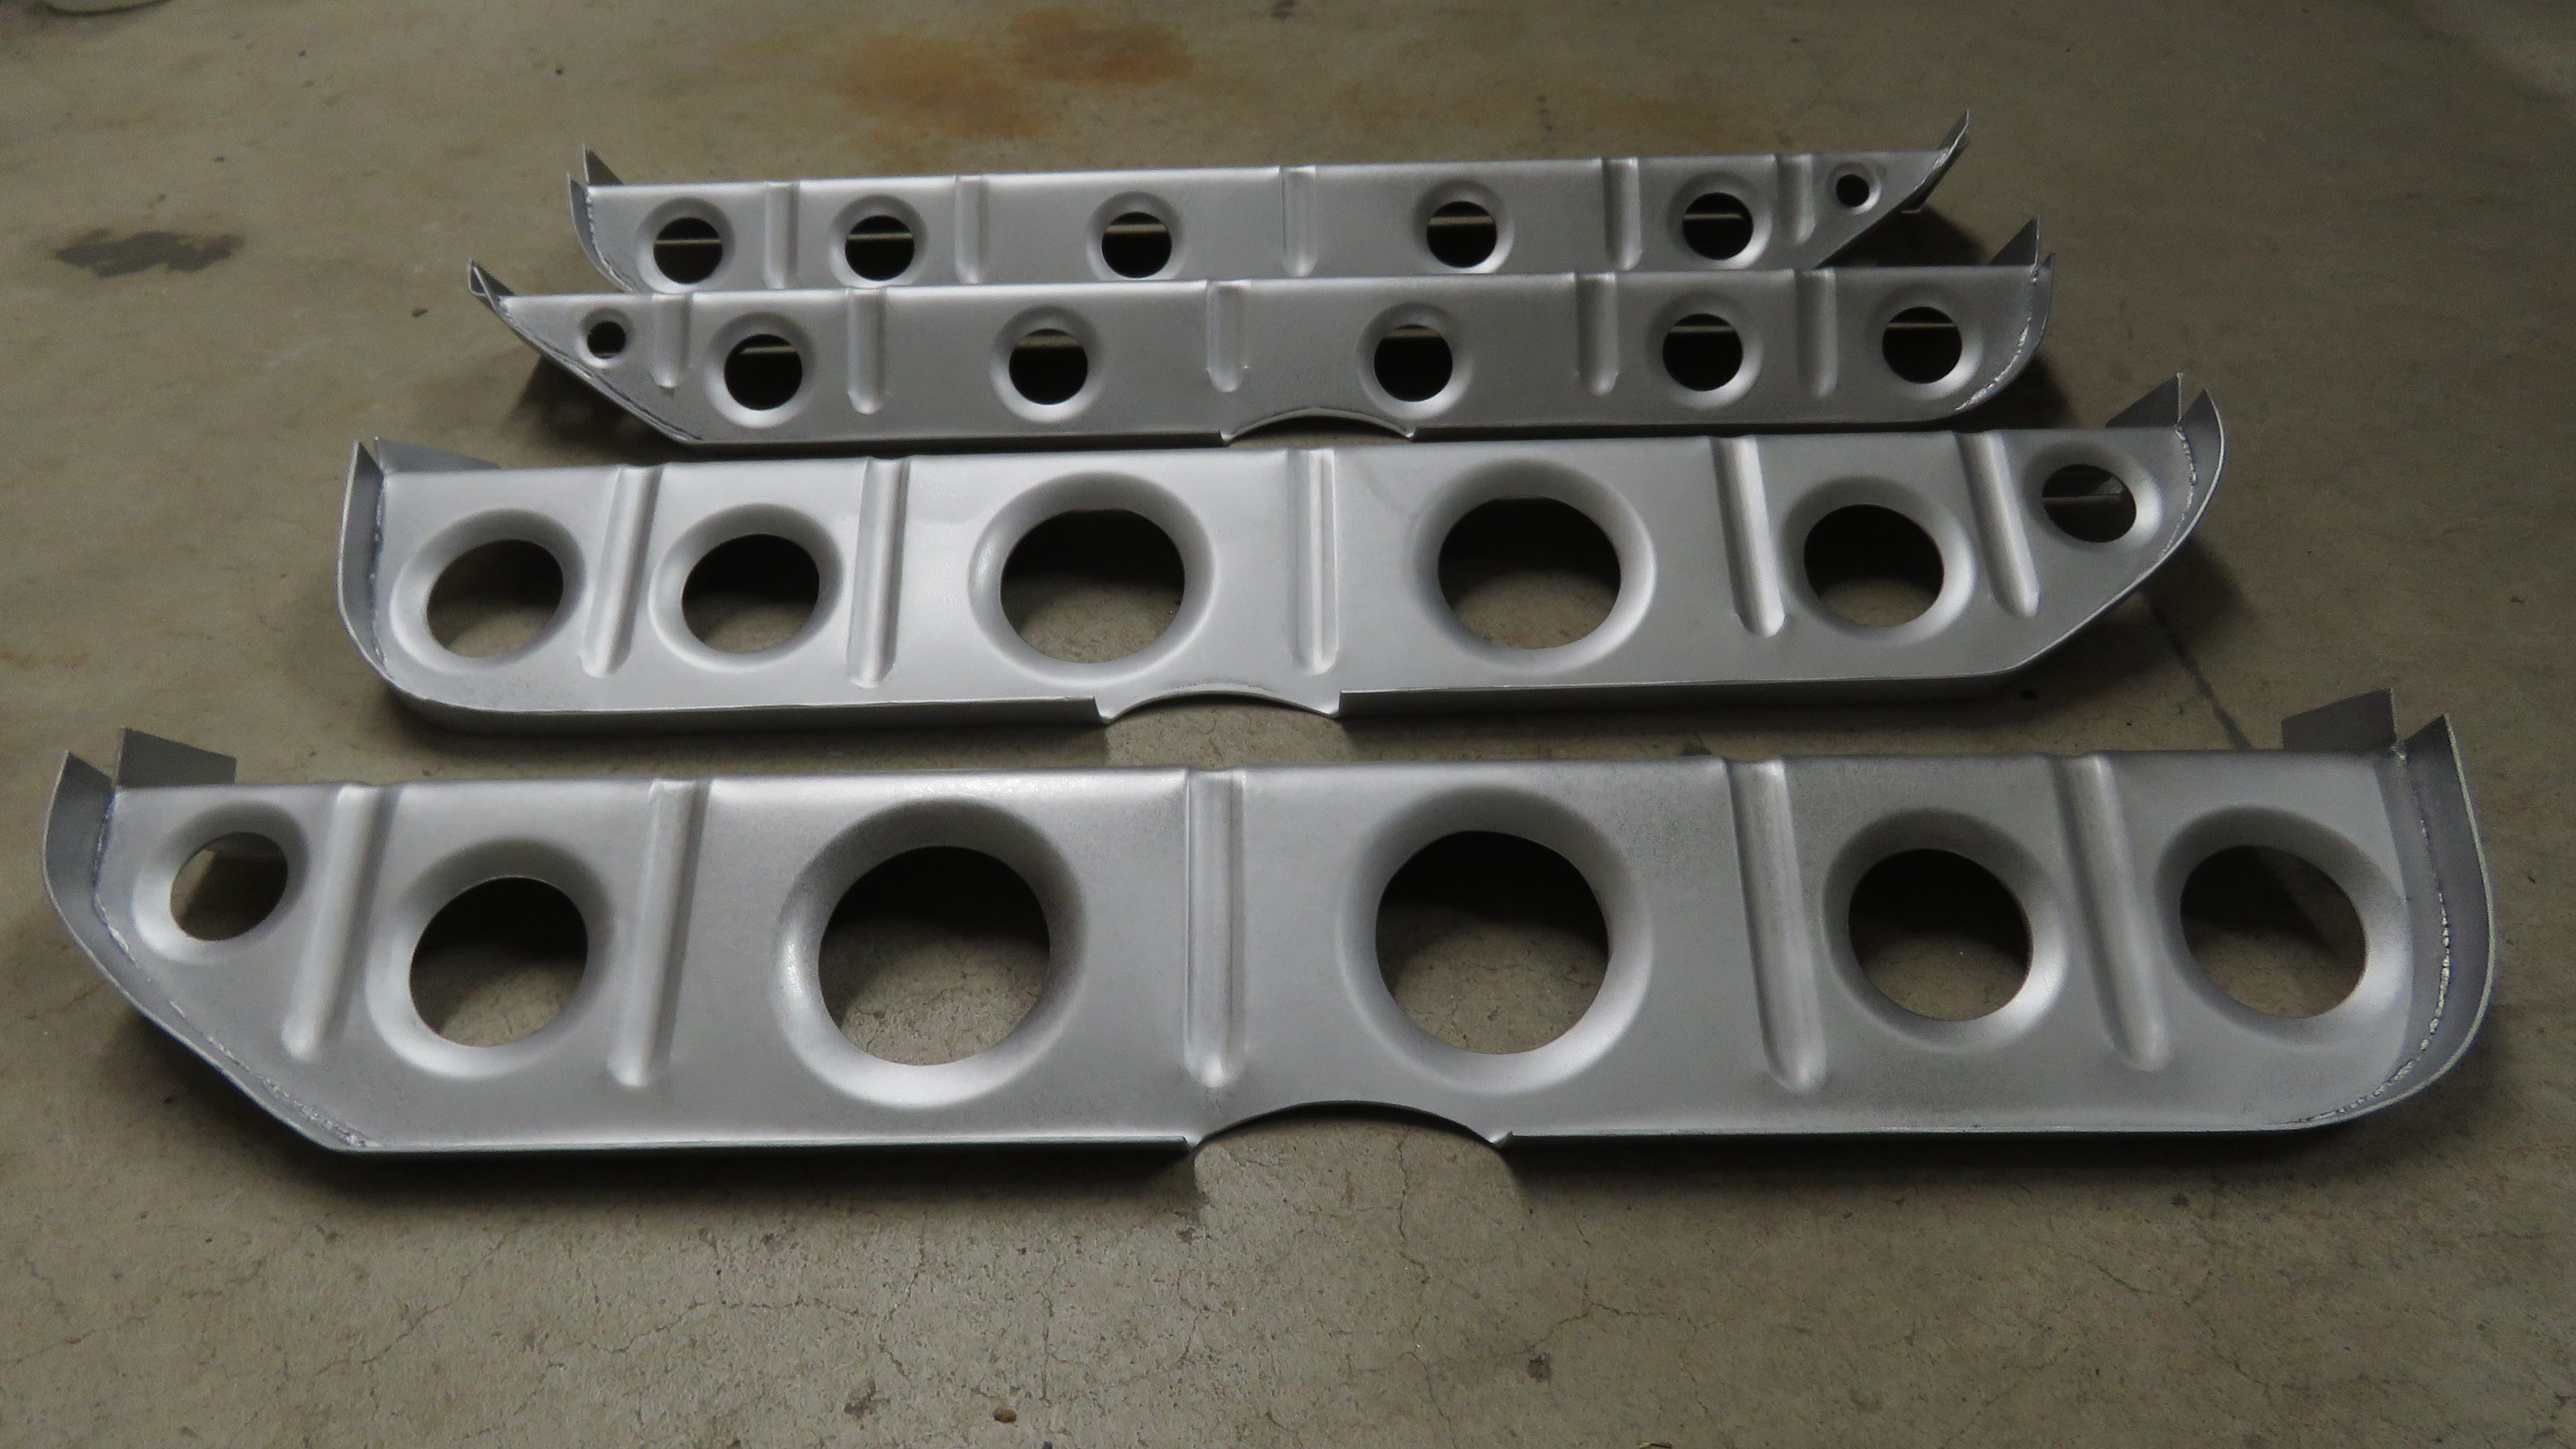
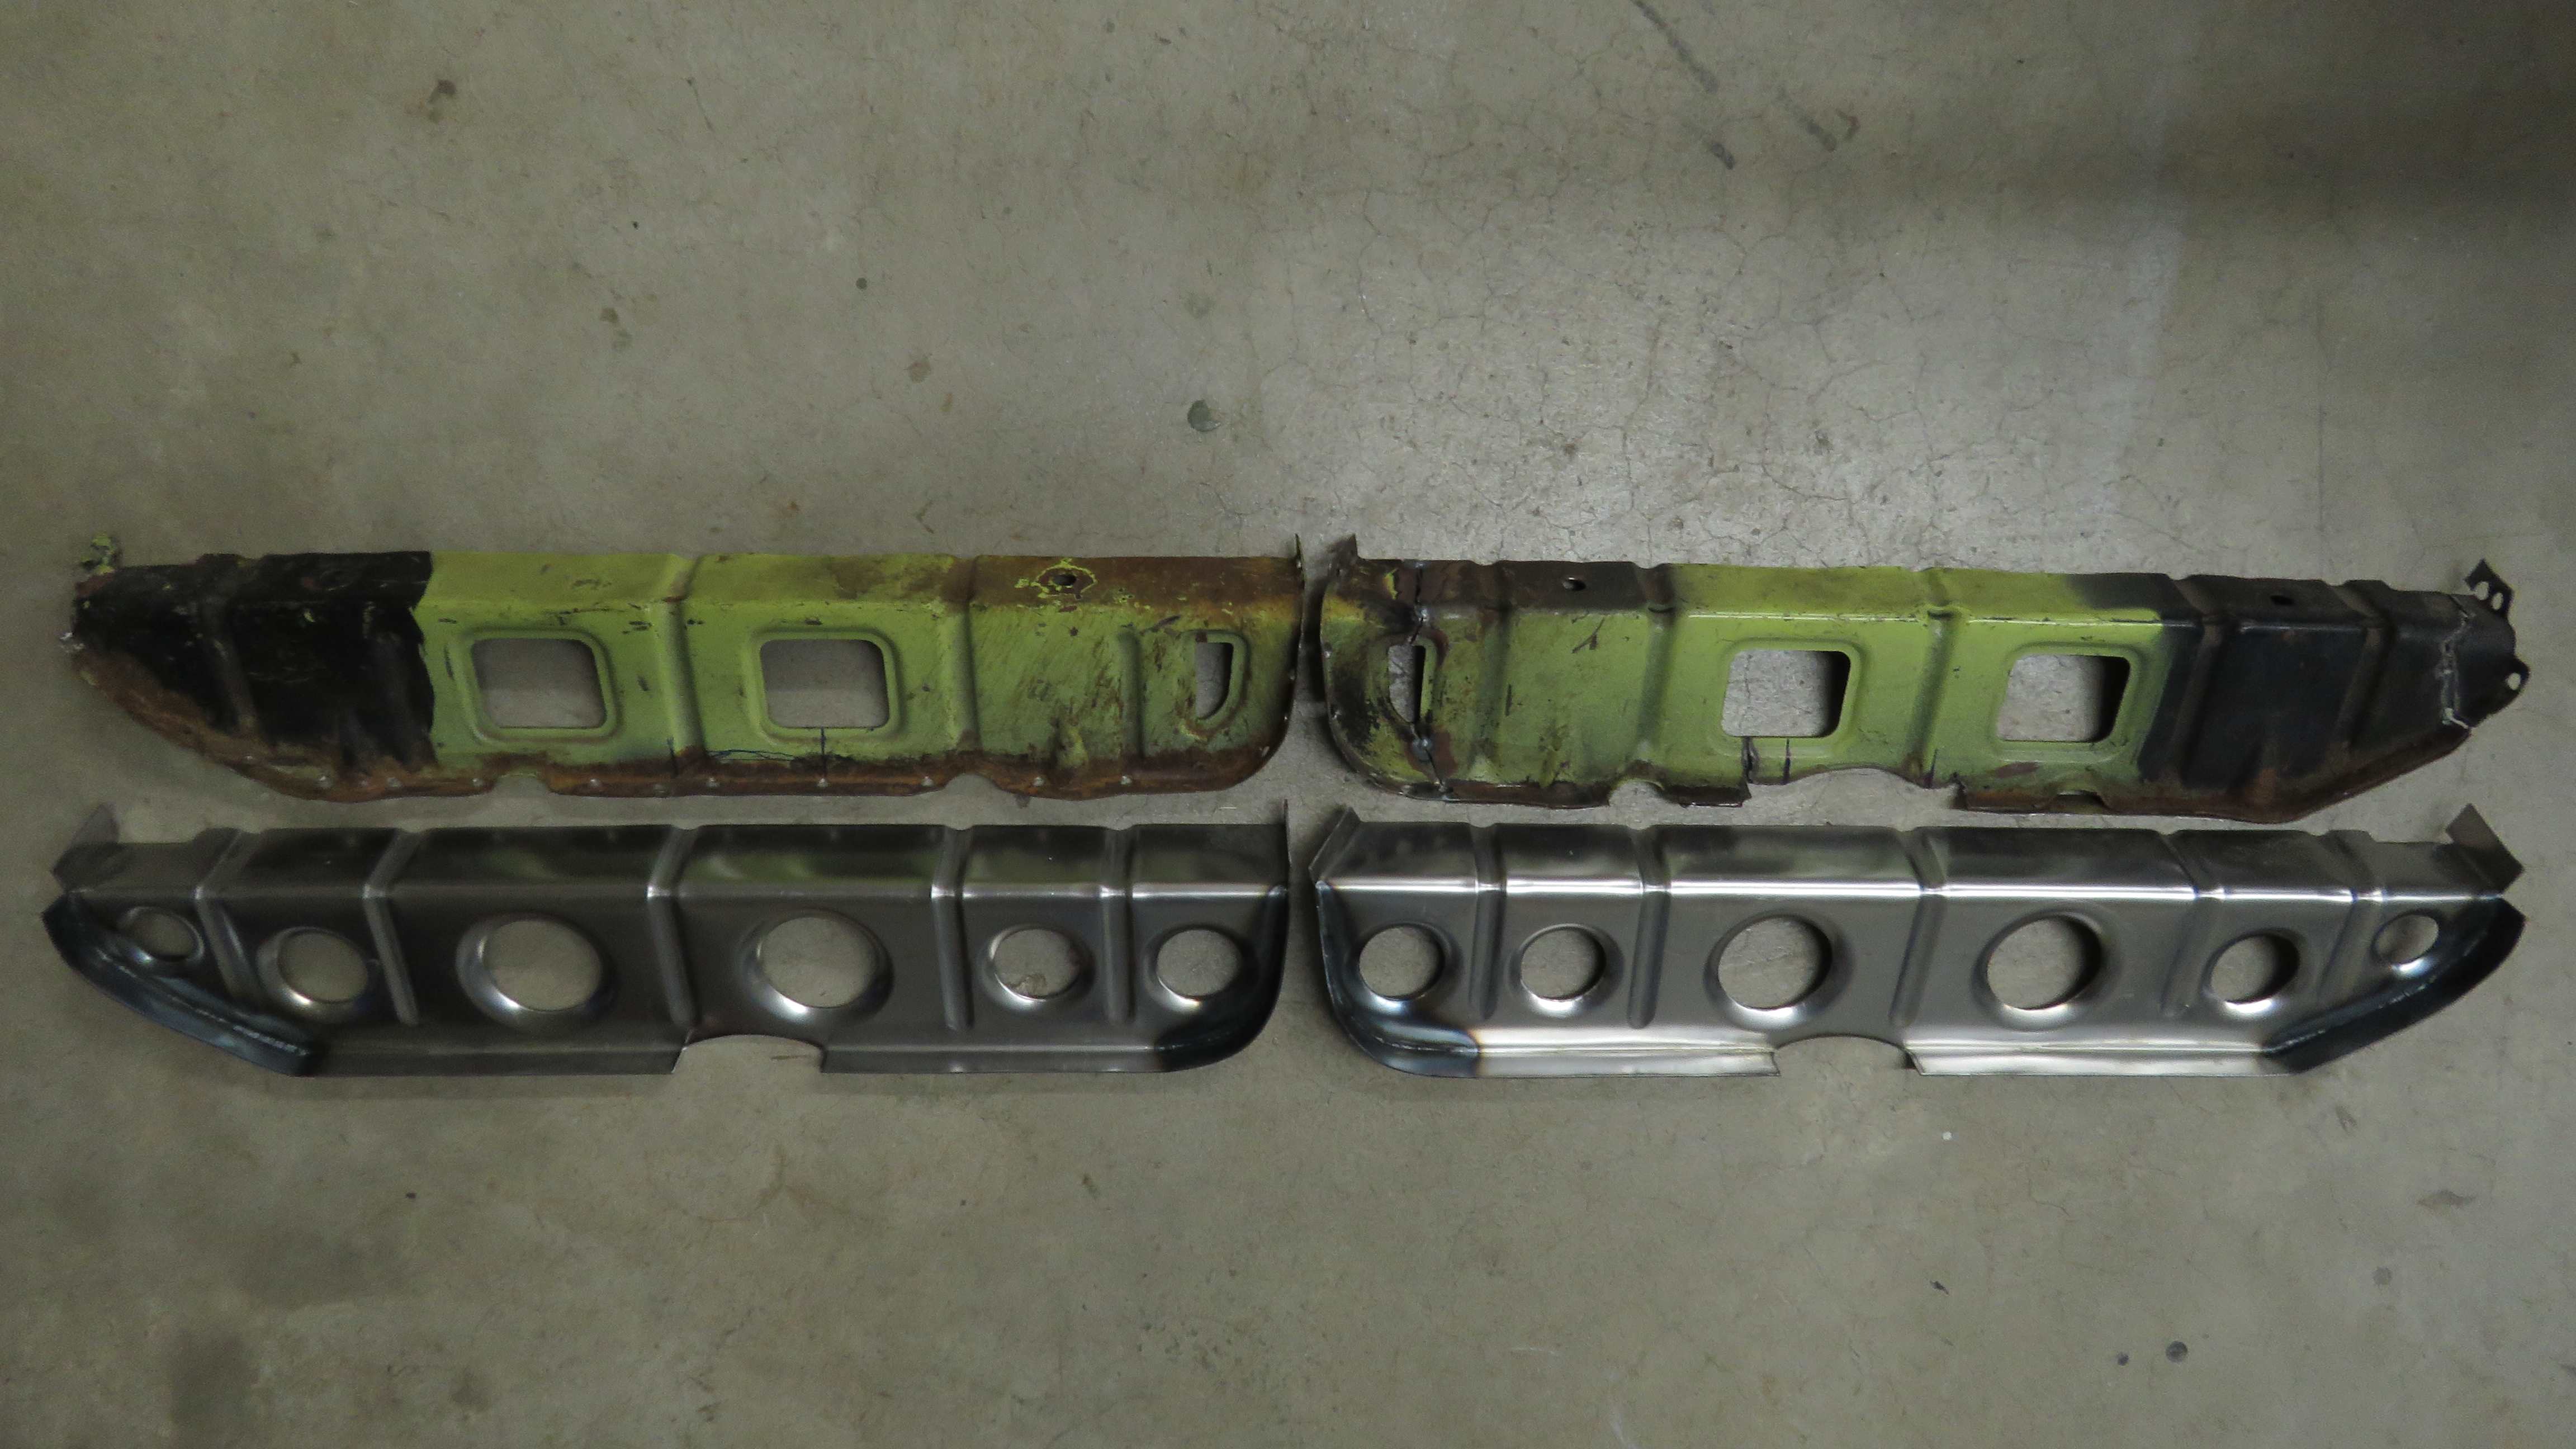
Update, Officially Established a Working Website: https://www.prospect-d.com/ Sorry the prices keep changing on these panels. Prices are set and final, not changing anymore. Keep in mind that it is an intensive process in making these. Robert S. I will keep your price as before since you informed me on your situation of saving for these. Wouldnt be fair for you on my end. Send me a Pm or email me at bpeck@prospect-d.com when your ready to order.
-
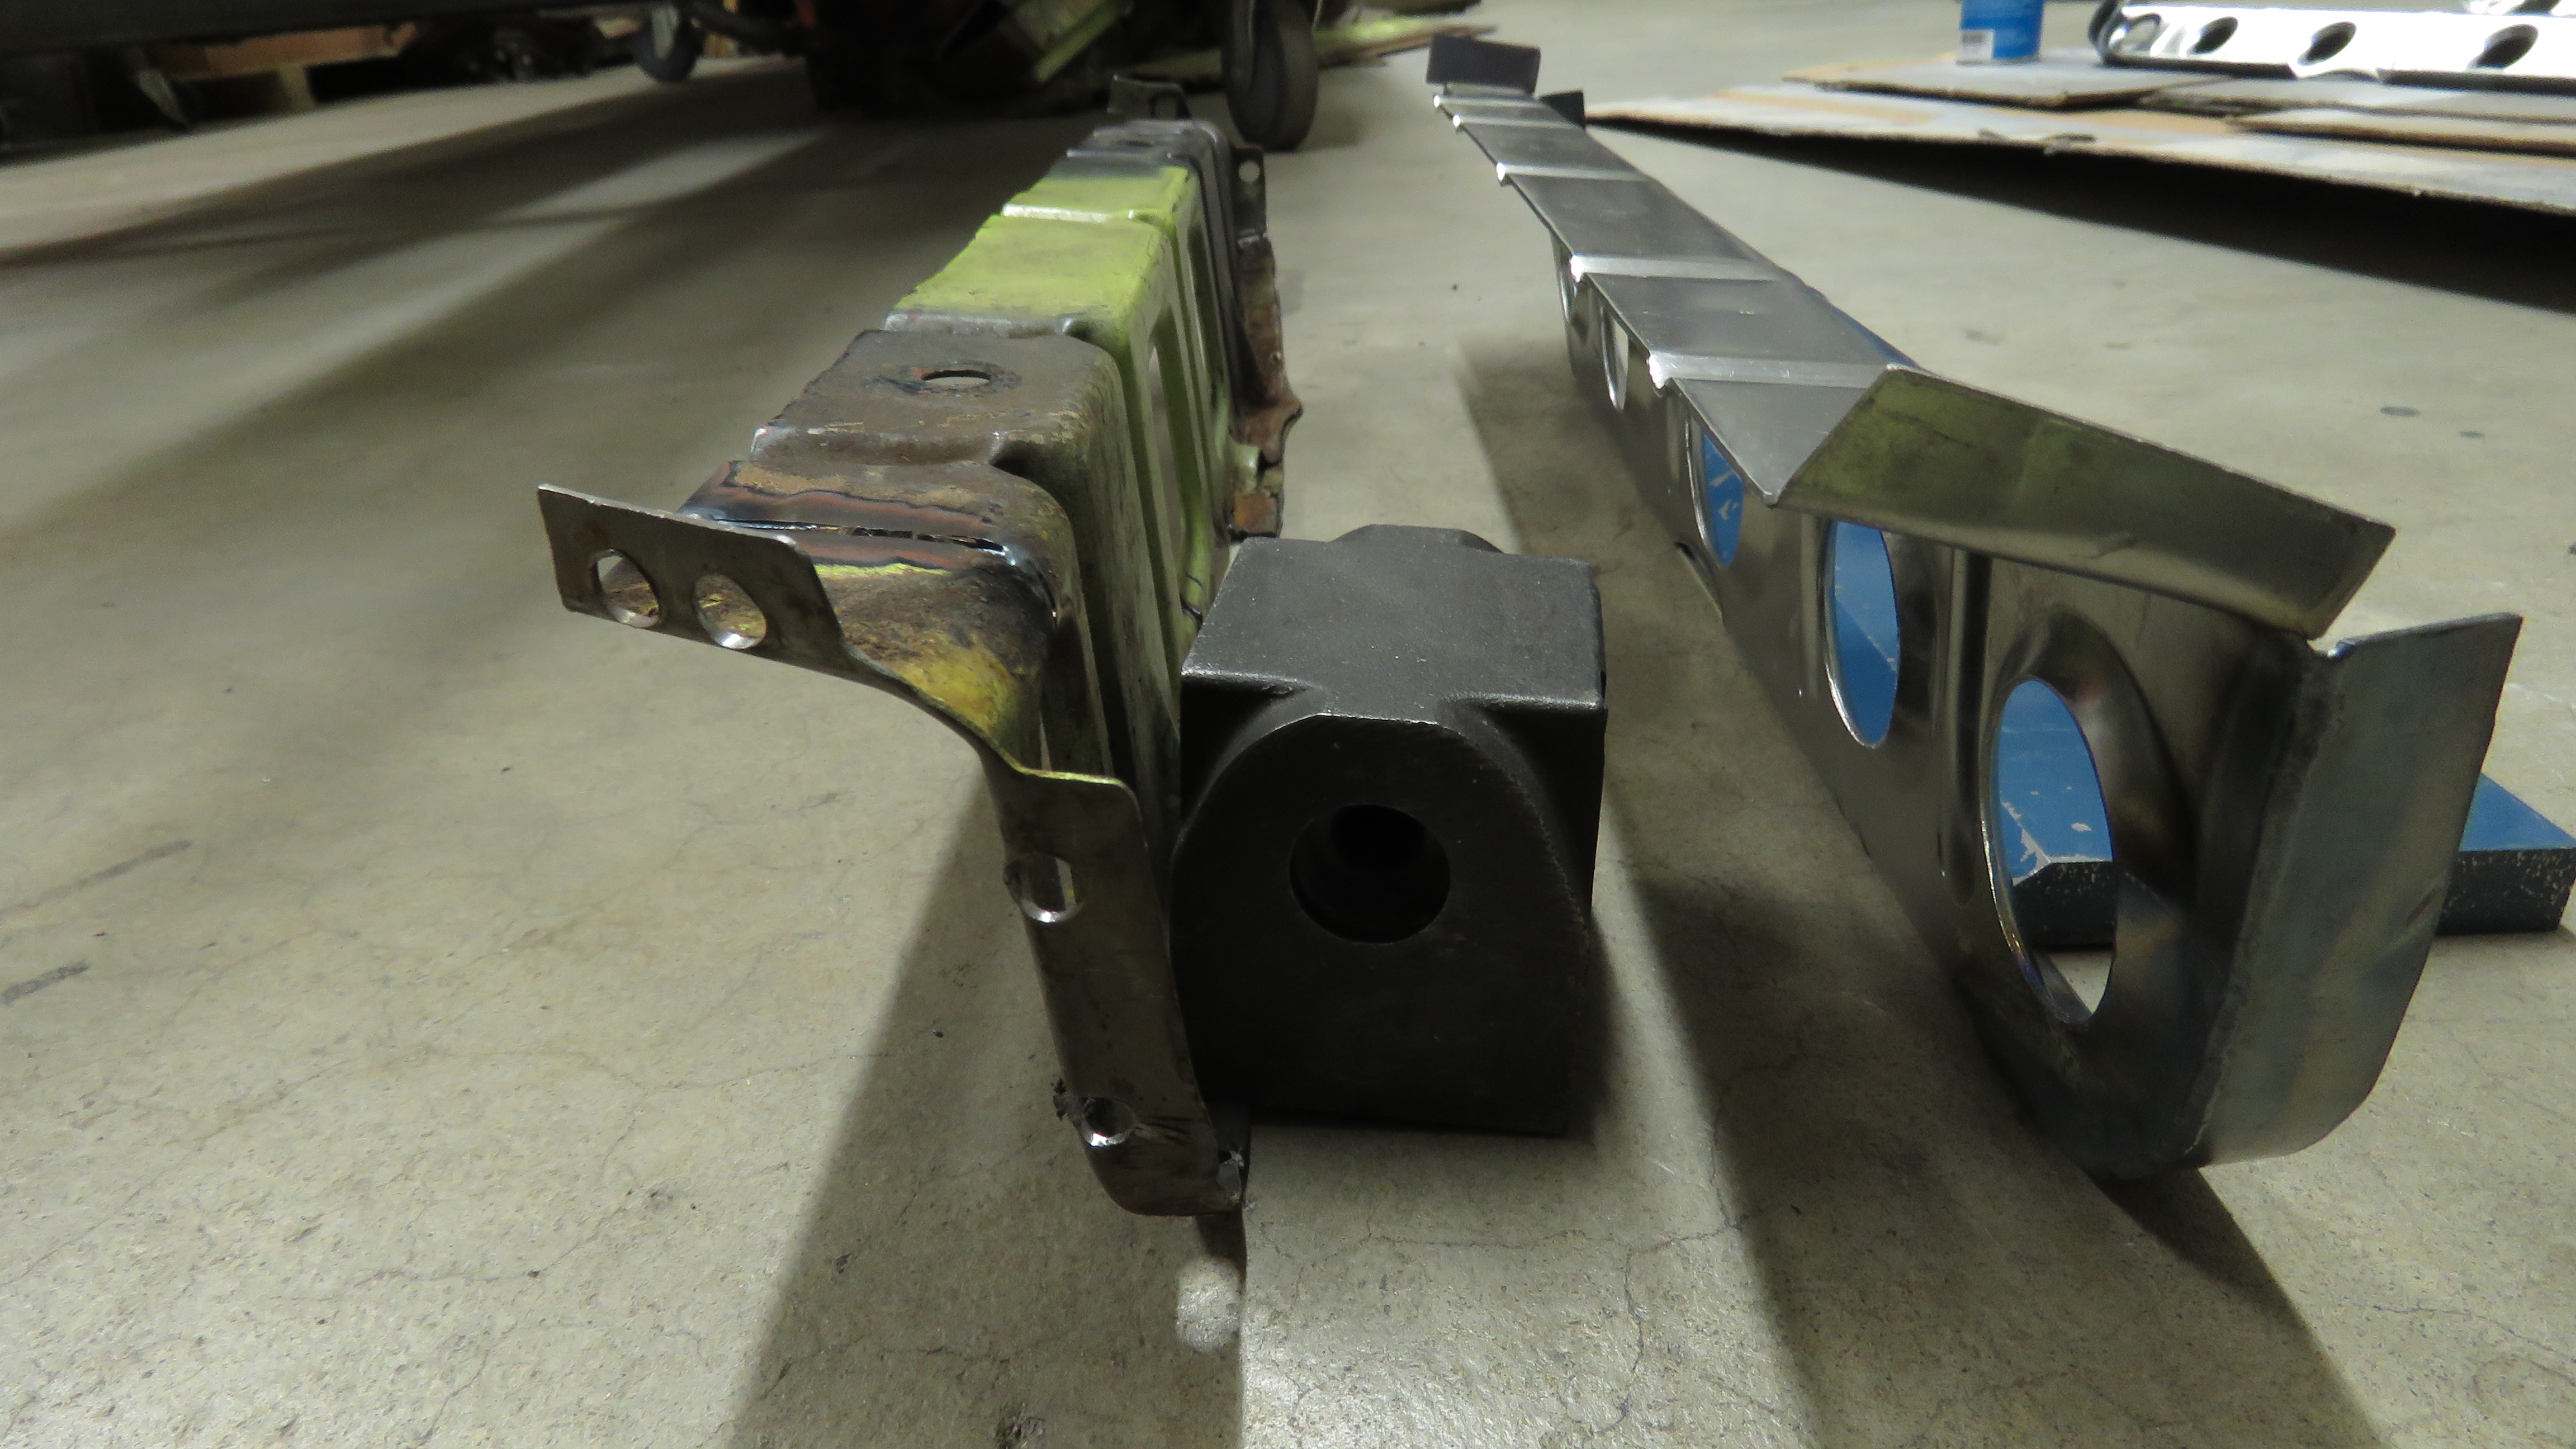
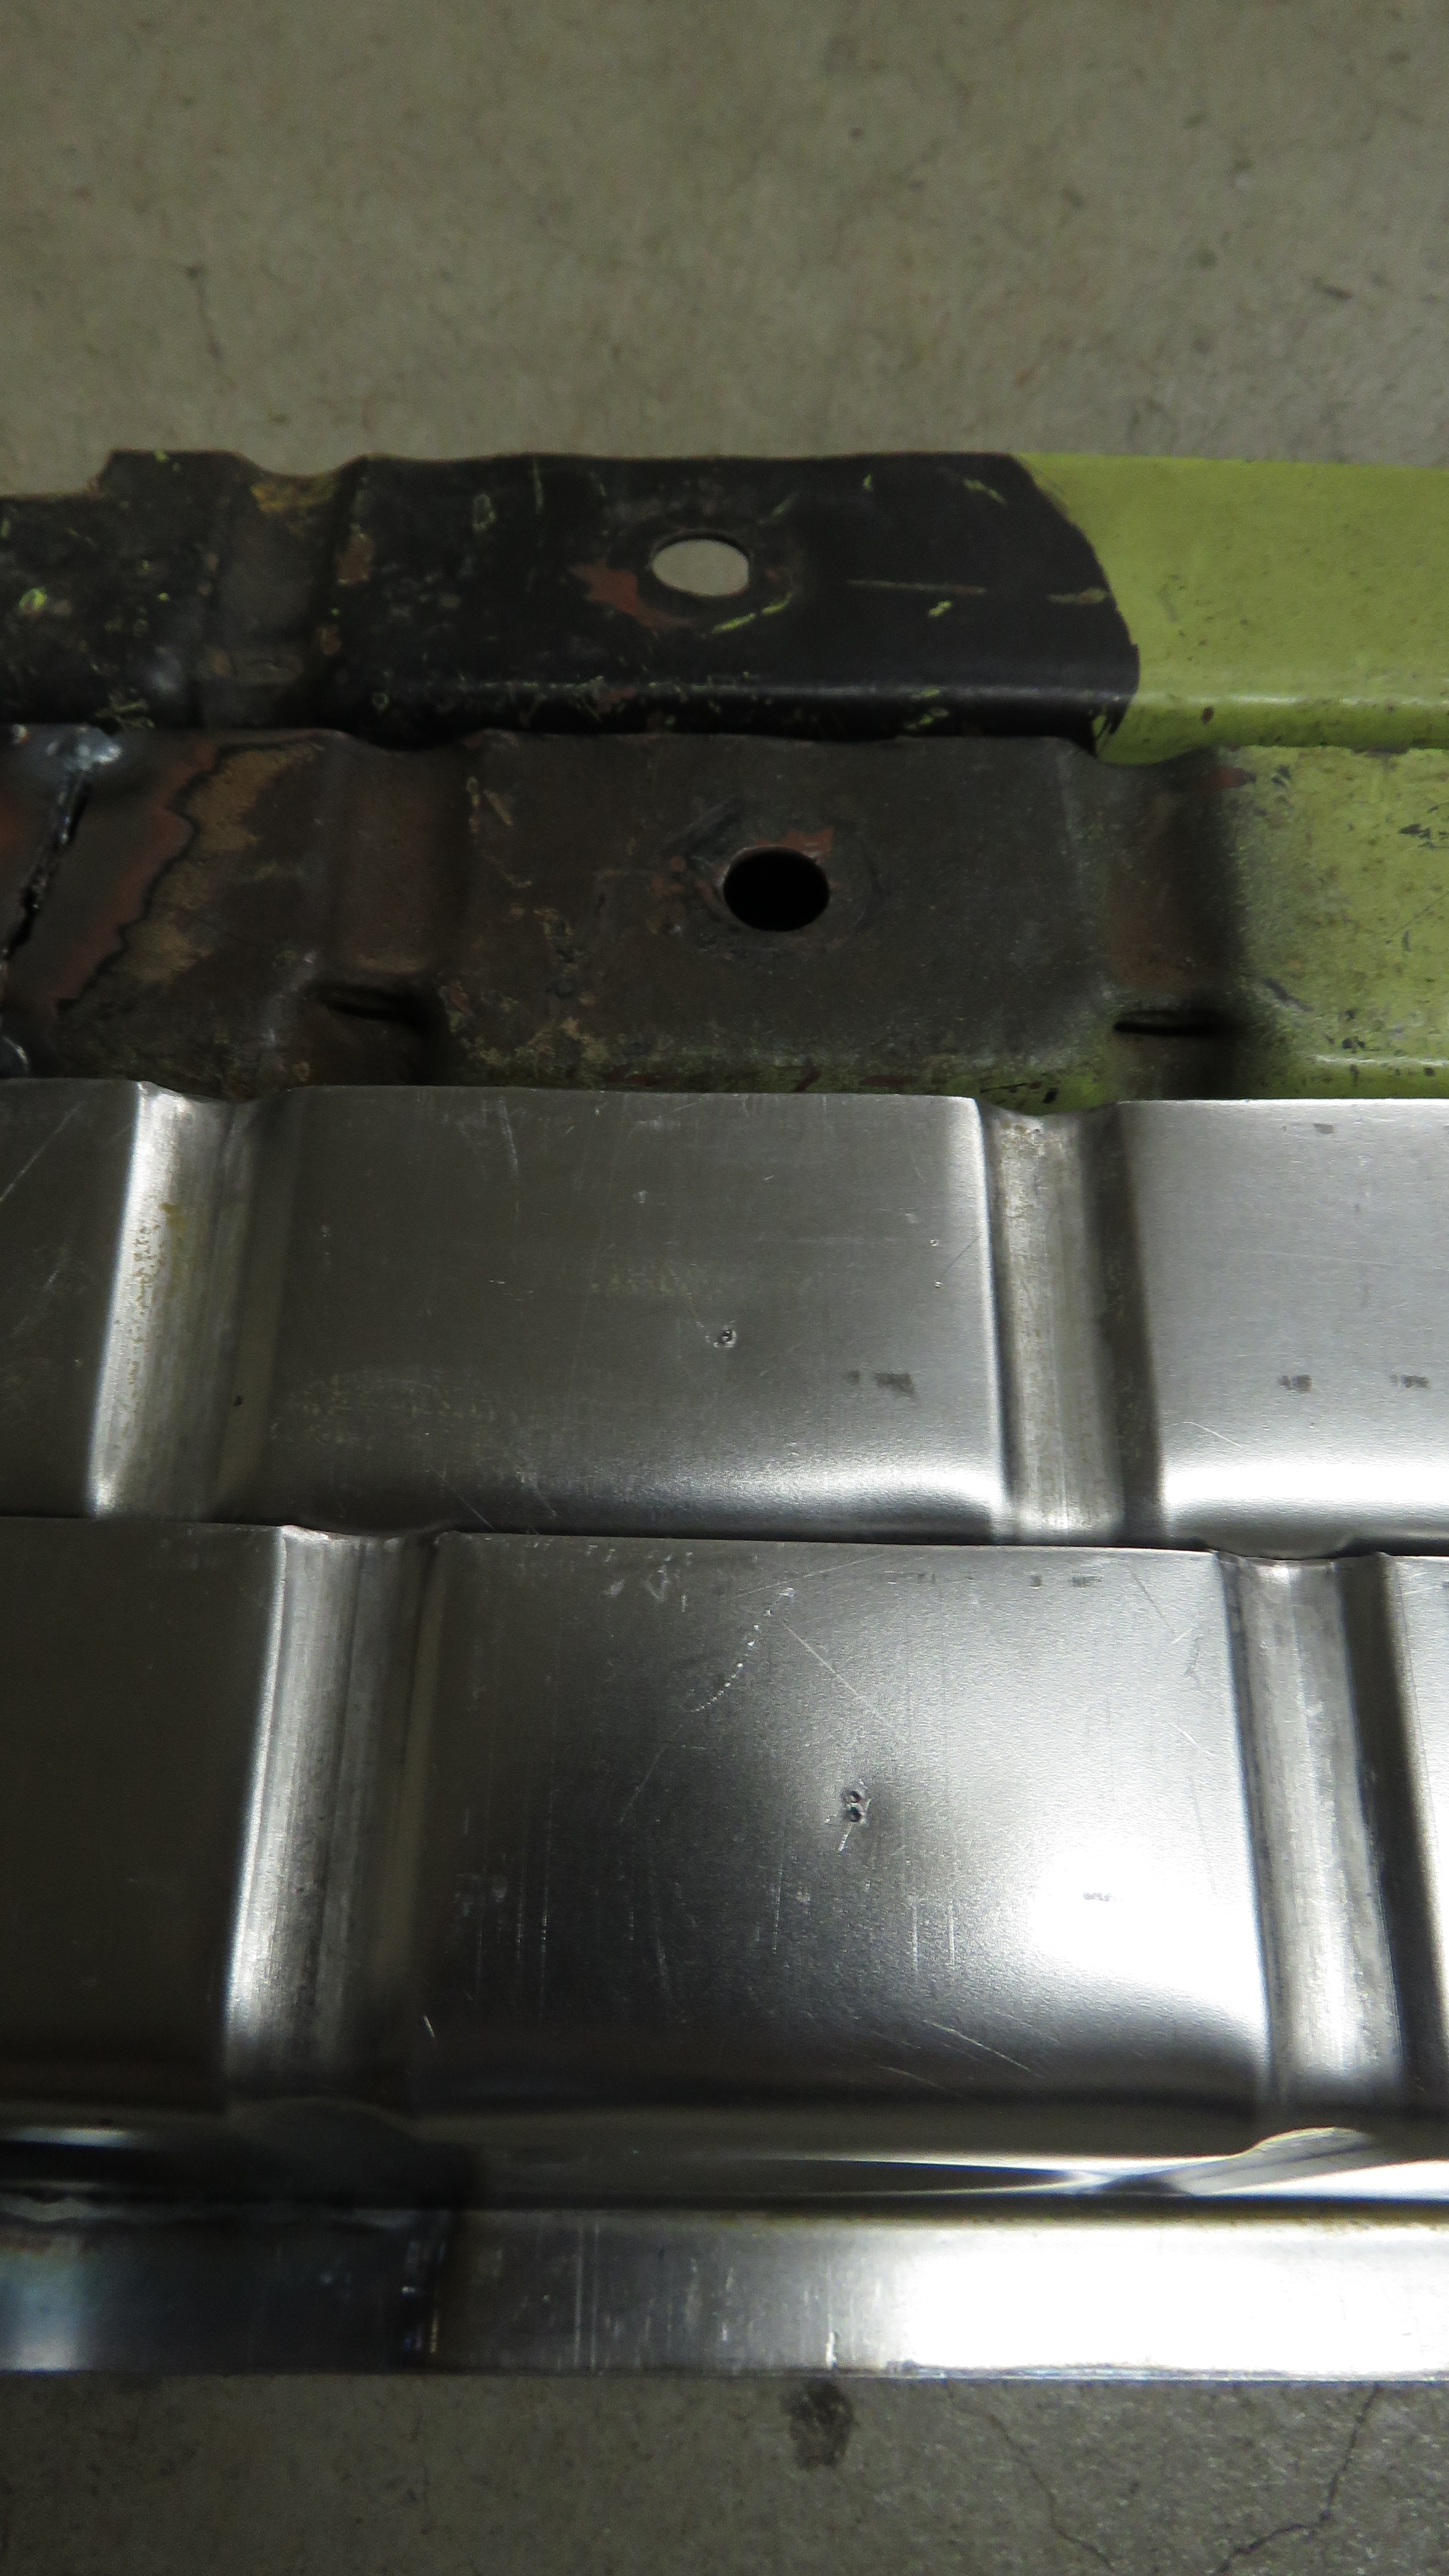
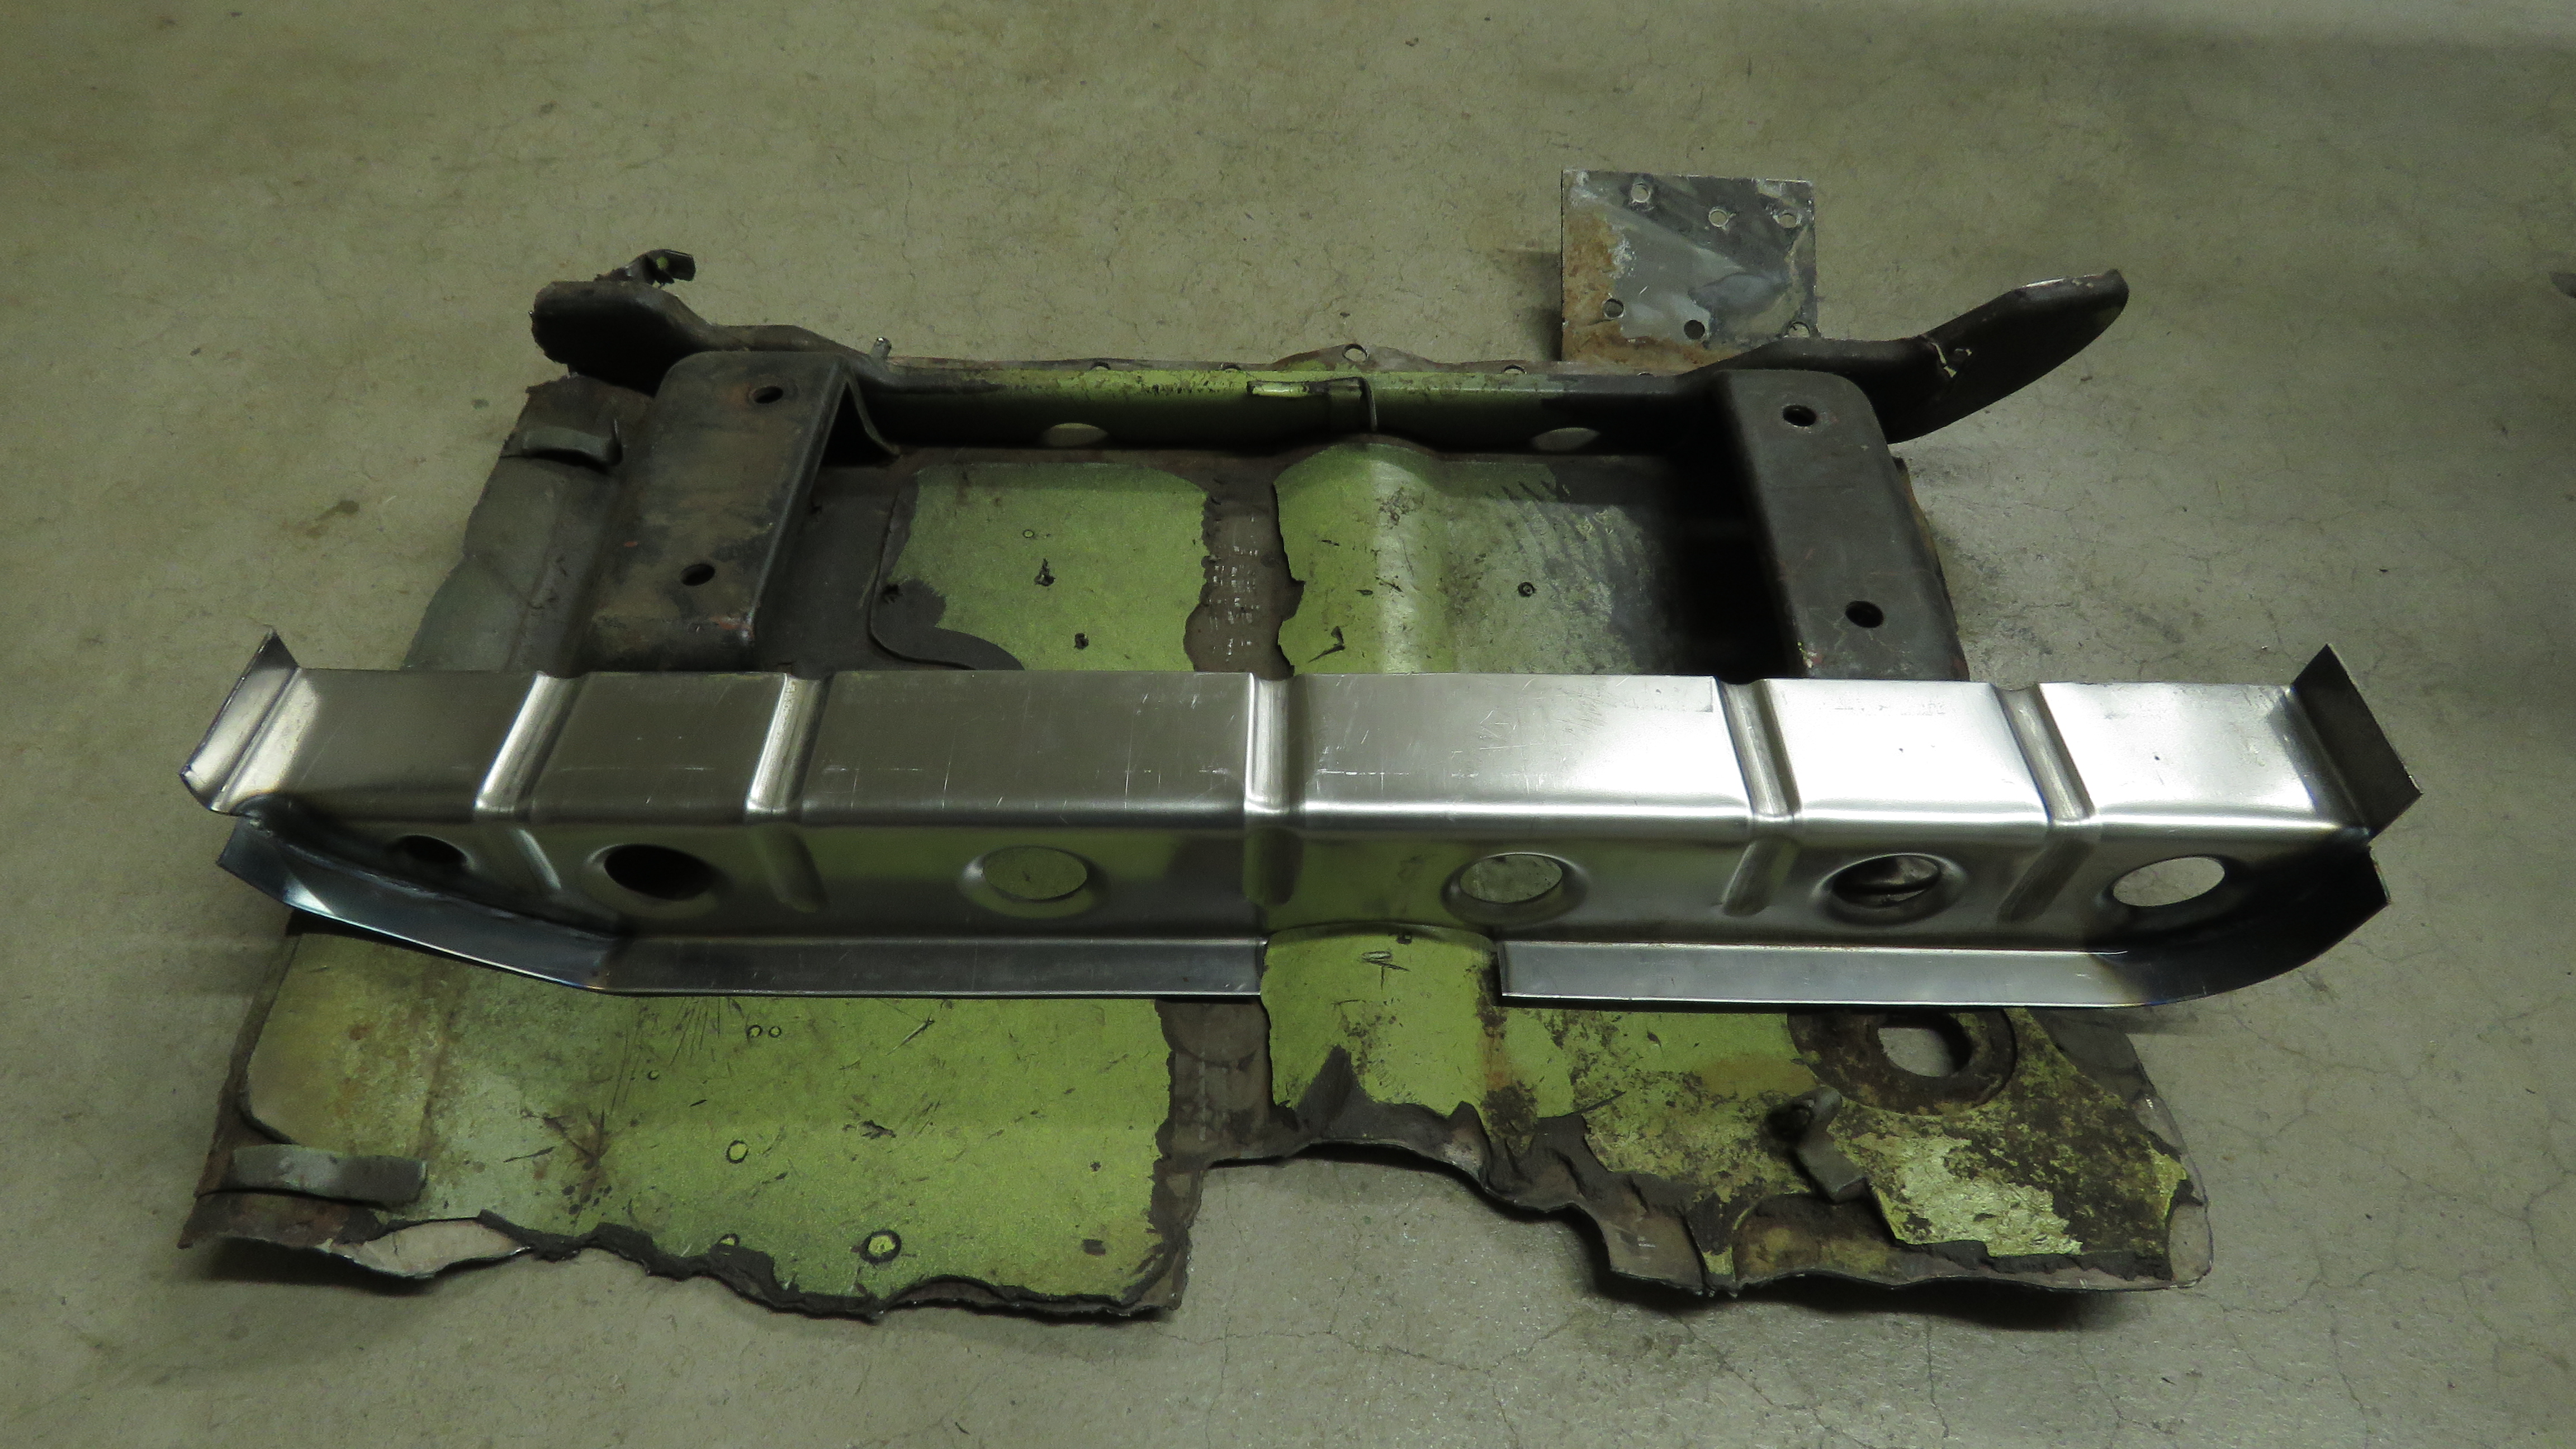
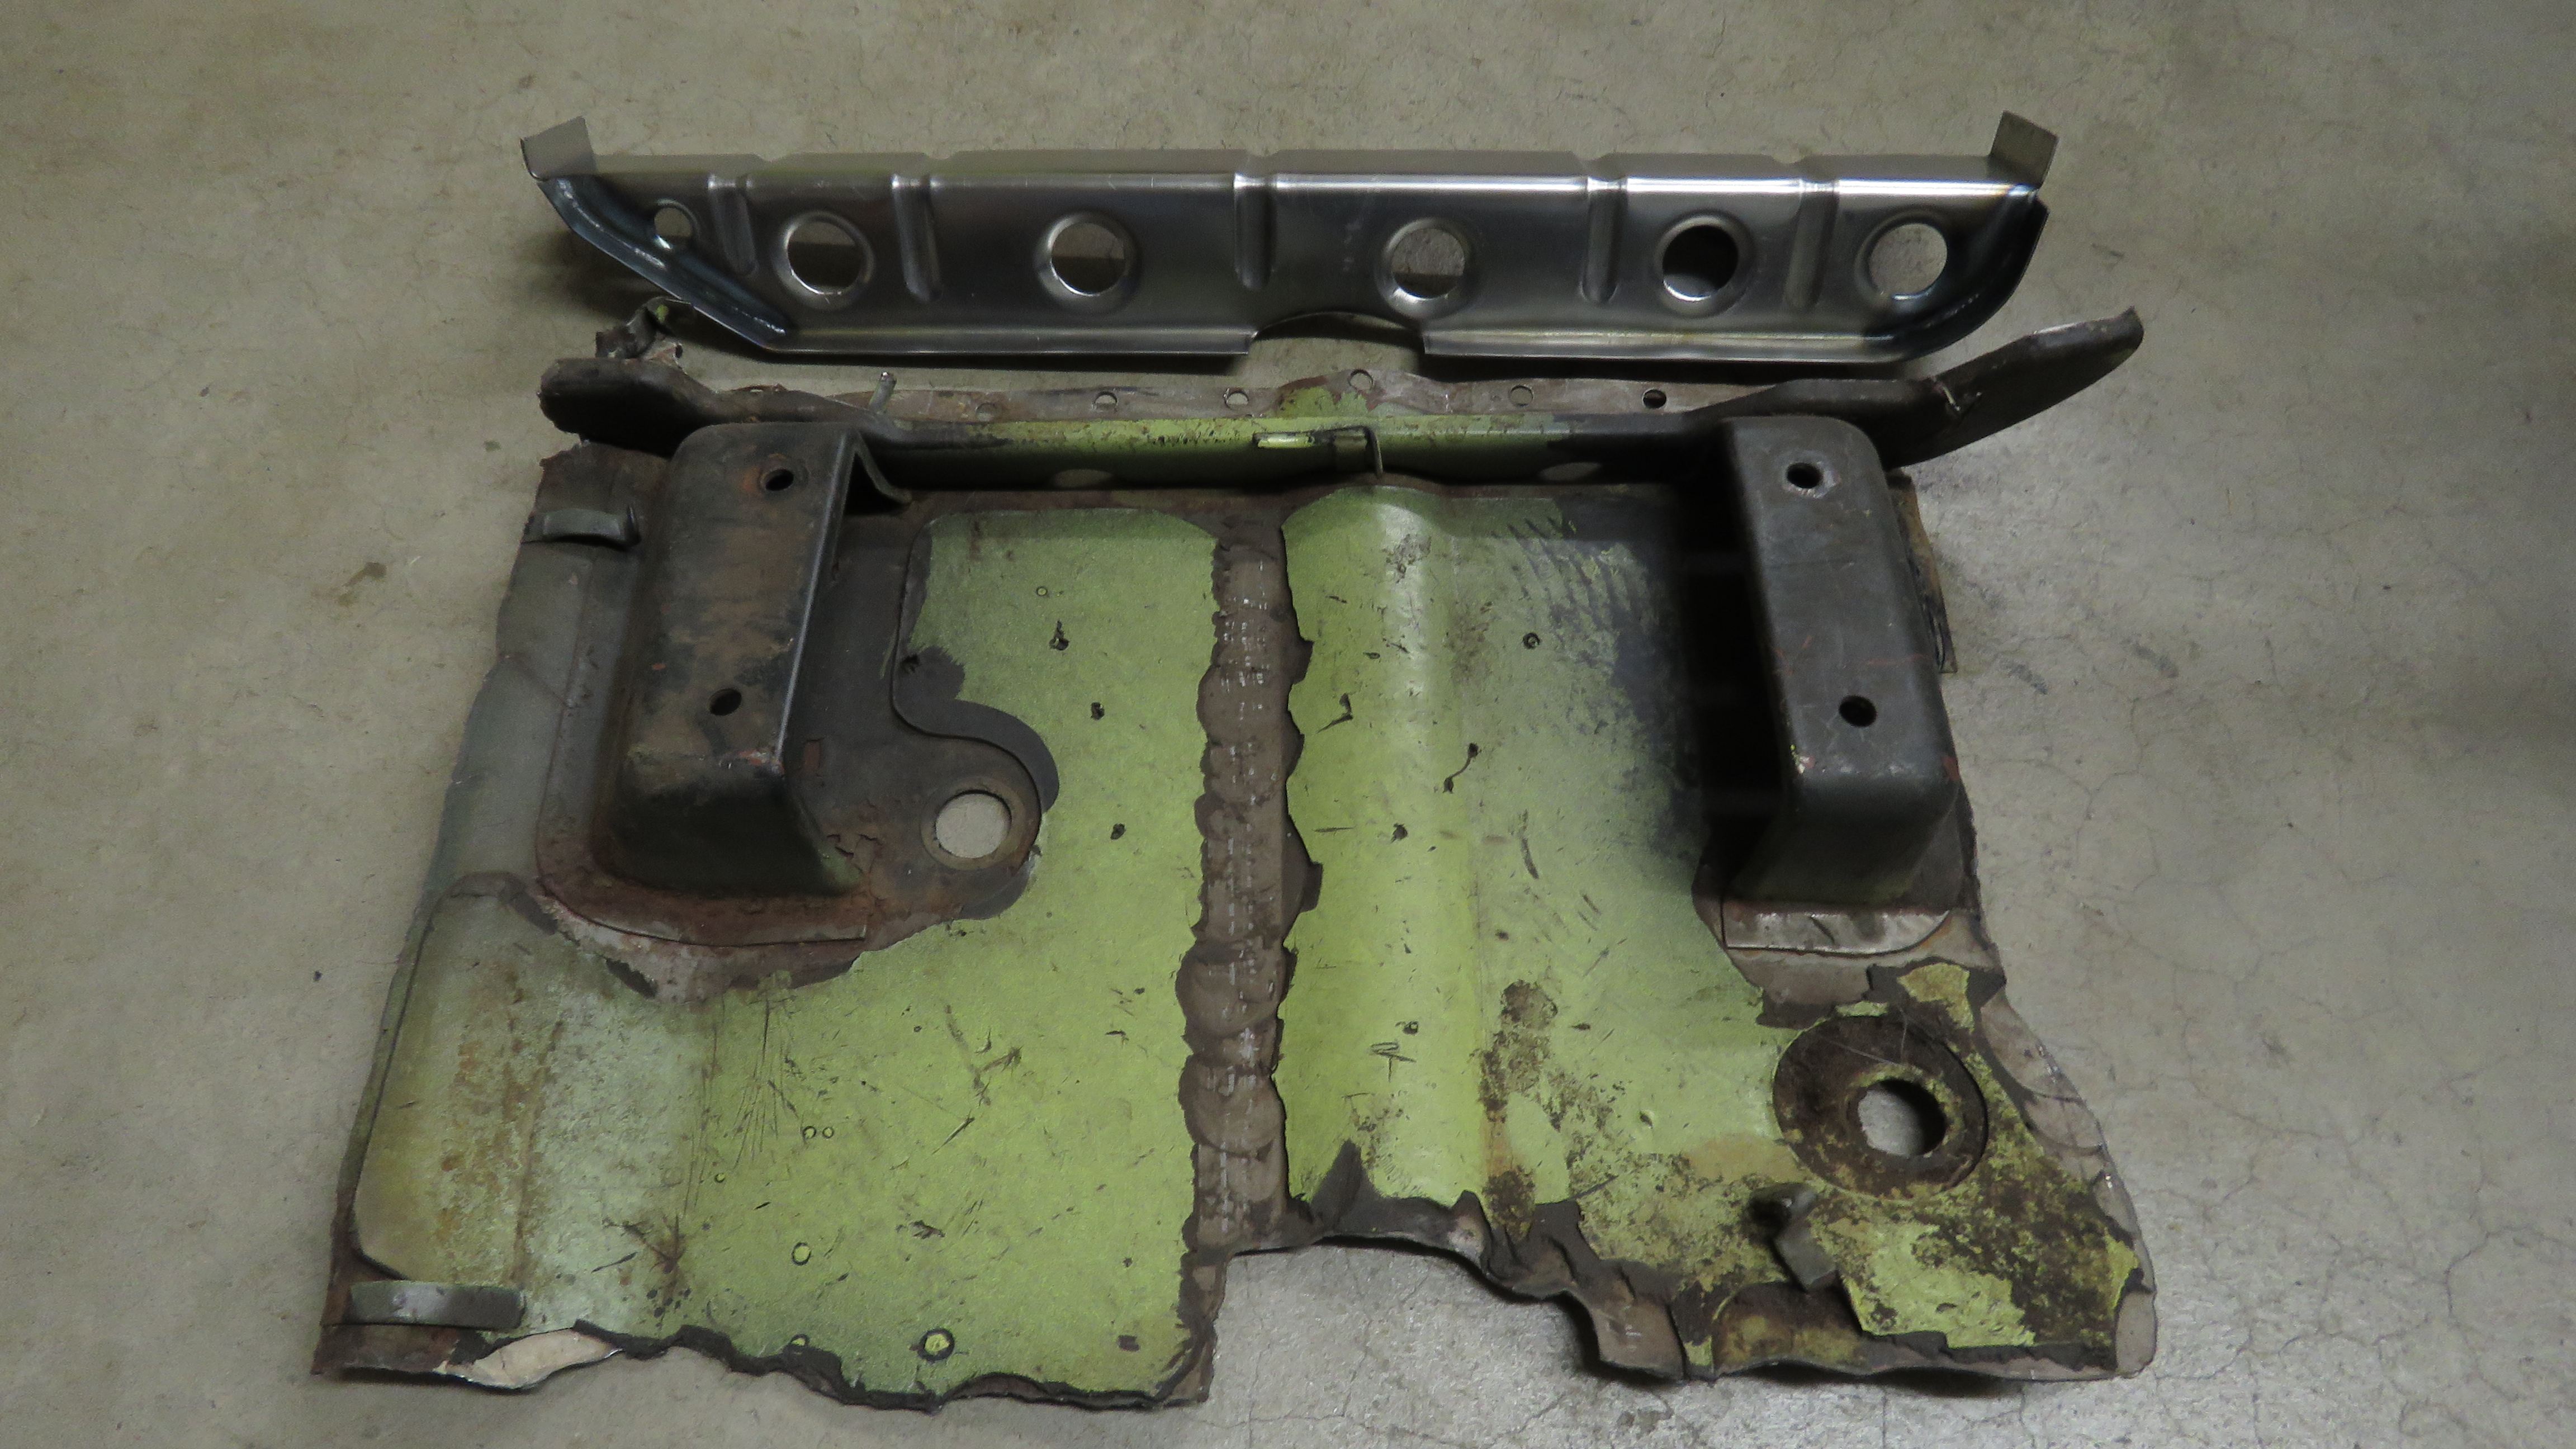
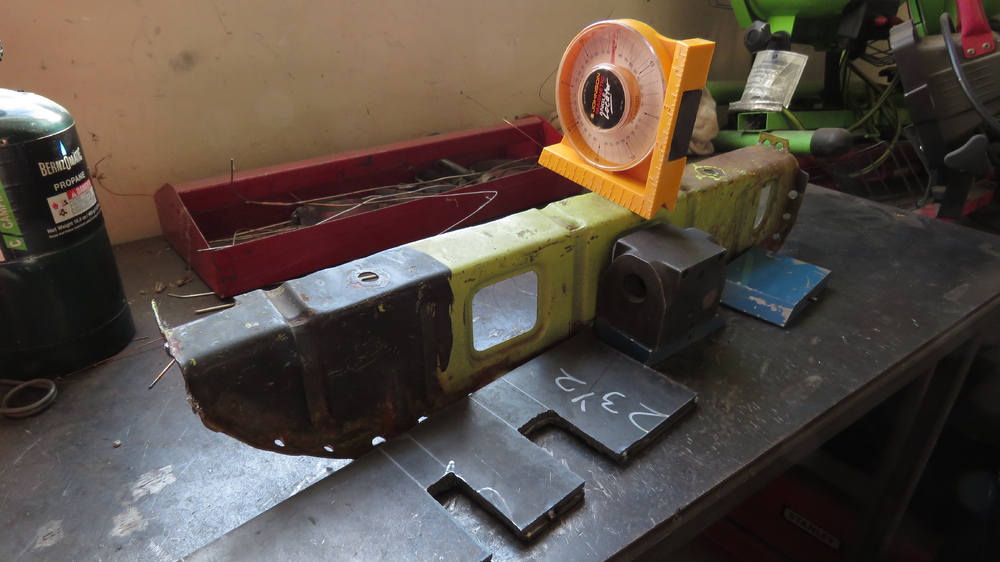
Hey Ive been thinking about it, I may take you up on making front frame rails. I dug up my old ones in a pile of scrap in my garage (thankfully one side is still in one piece). If your not in a rush, give me little bit to ponder on the idea. that is you havent bought replacements yet. I have already made a template of the front seat brackets, Will start on the rears tomorrow. Also just so you know, since you are my tester for these things, you will be getting half off price of what I am going to sell this stuff for.
-
Cool, let me refigure out the plans and I will get back with you by the end of this weekend.
-
I still havent made a set of seat brackets for someone to test fit for me. I am still interested in that person, so let me know if you would like to be a tester. I may possibly fab up front frame rails, would need to have plans made for them first. They actually dont require much fabrication to make. Damn, the video ad at the end of this page is messing with me when trying to type this post.... Thanks, Brent
-
Yeah that makes sense. Think im going to add metal there to keep it consistent looking with the rest if the lip.
-
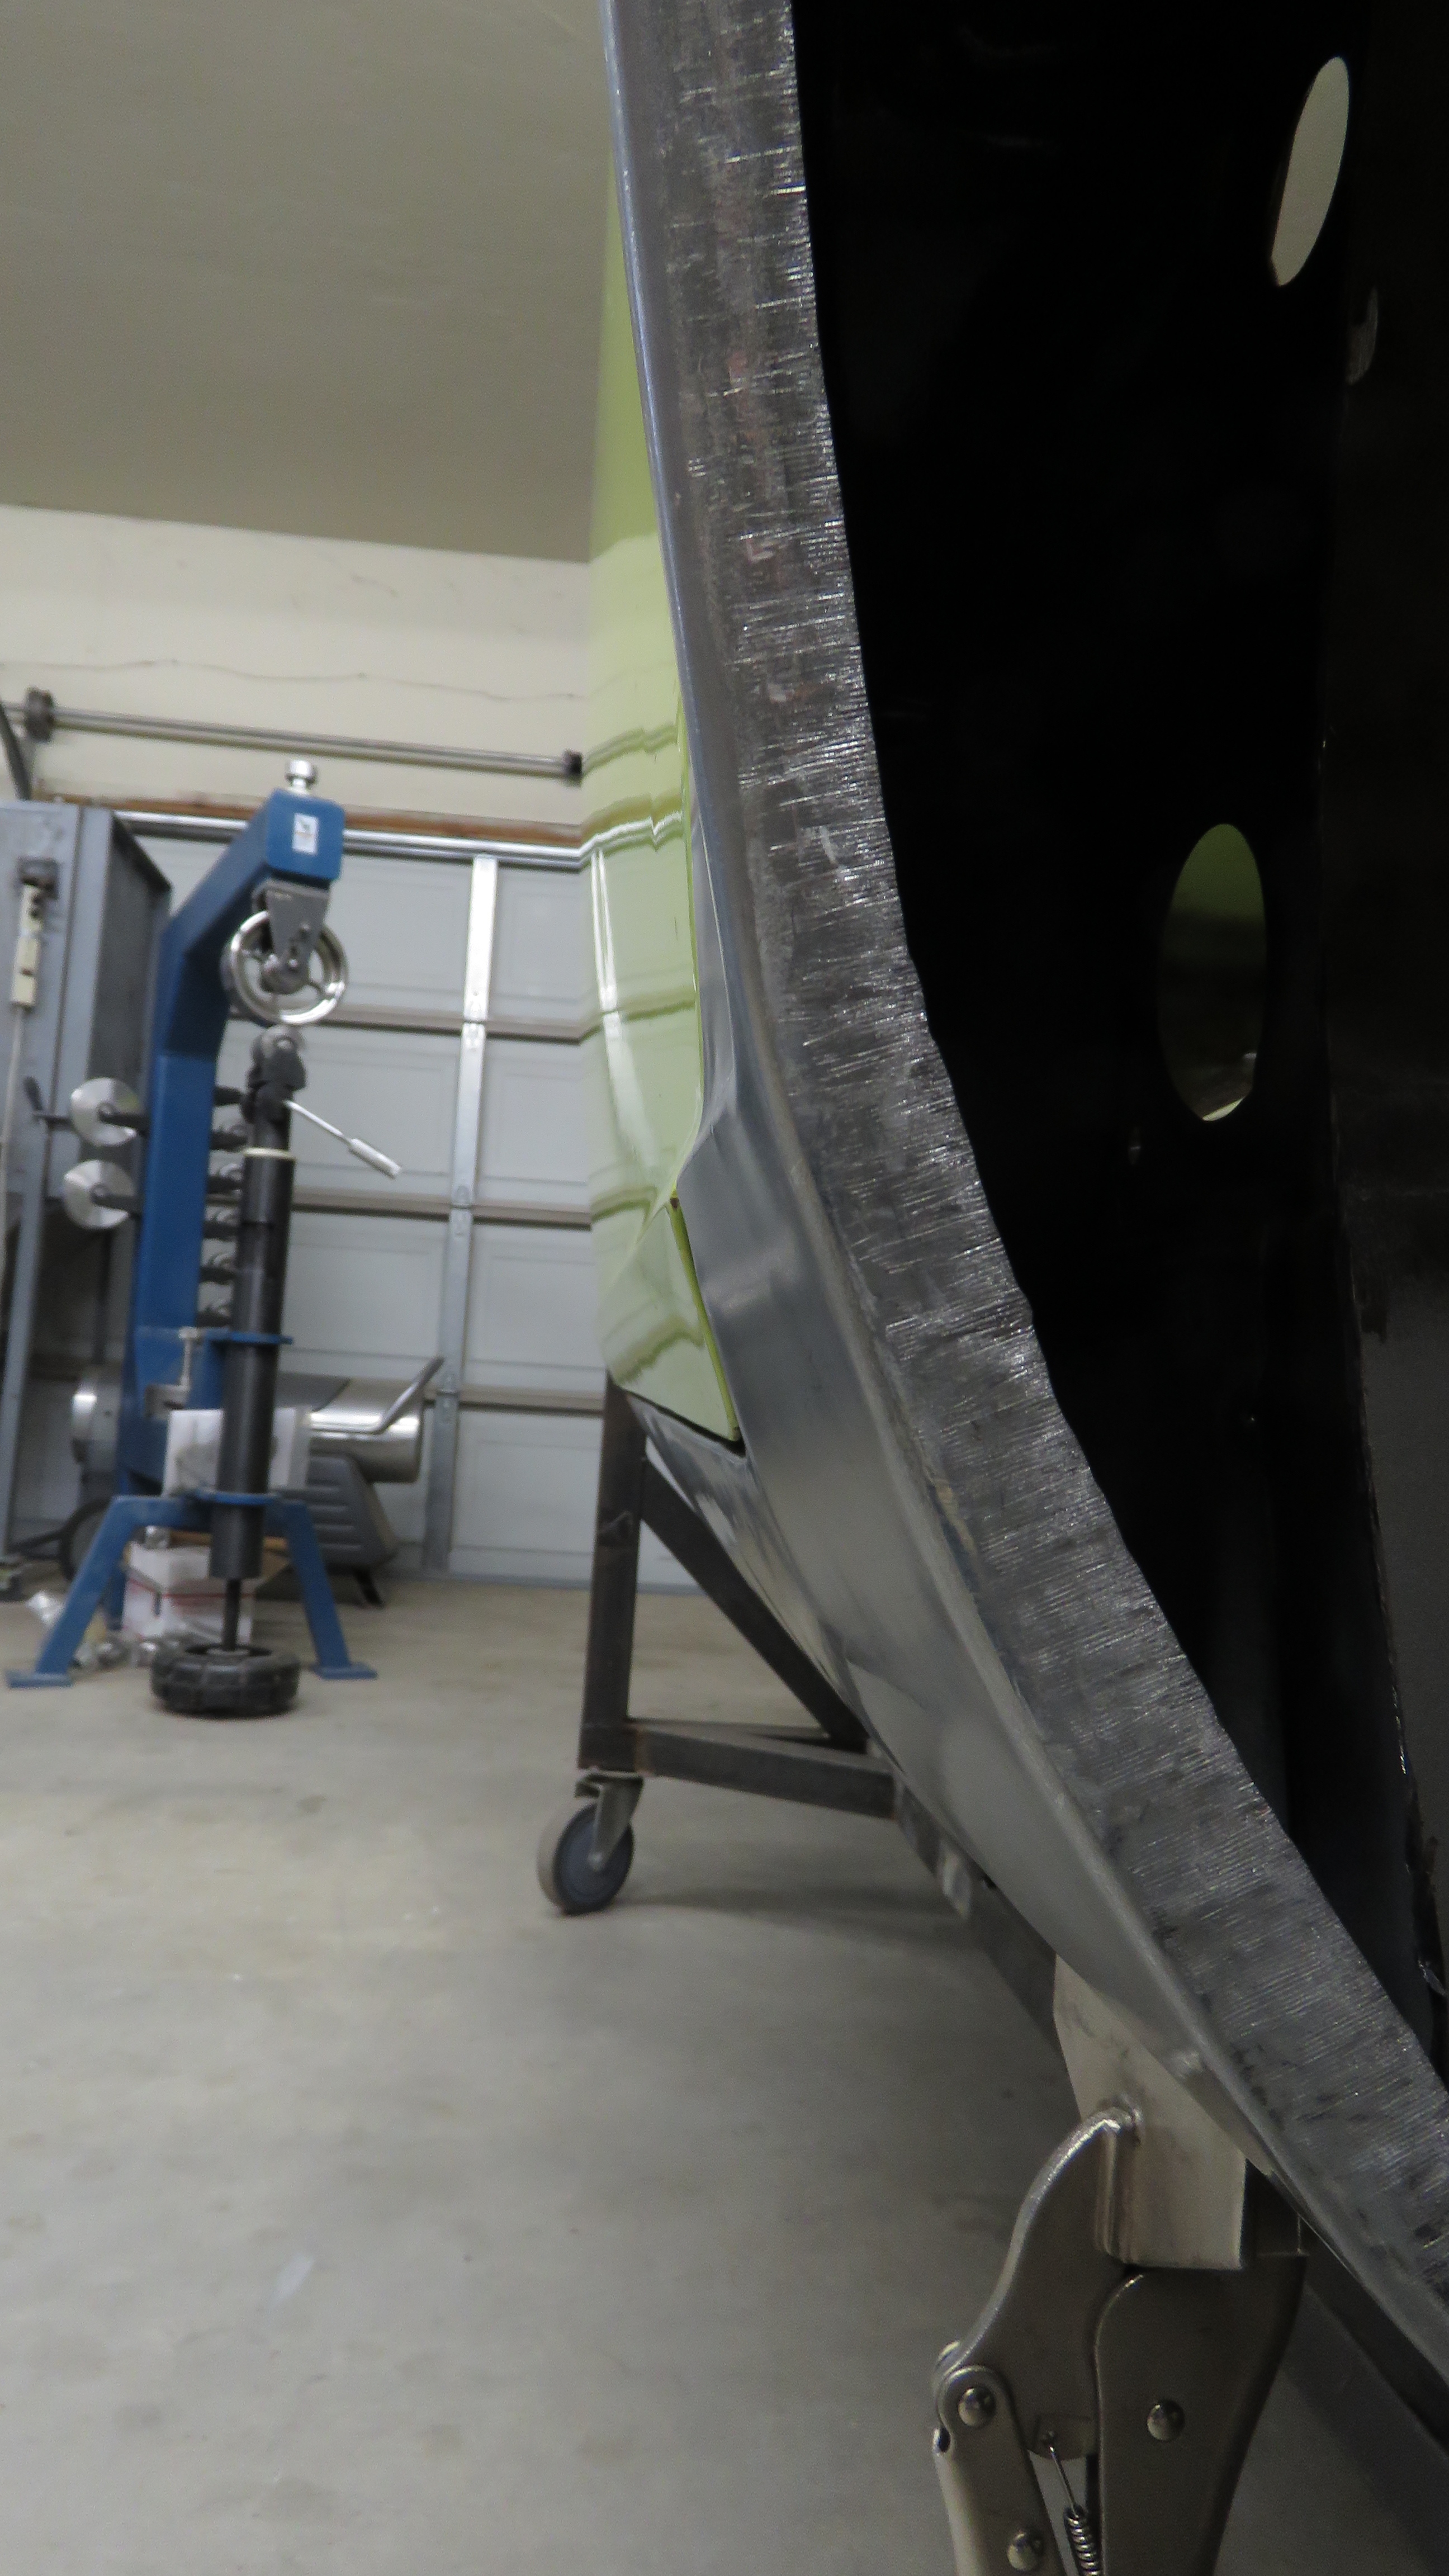
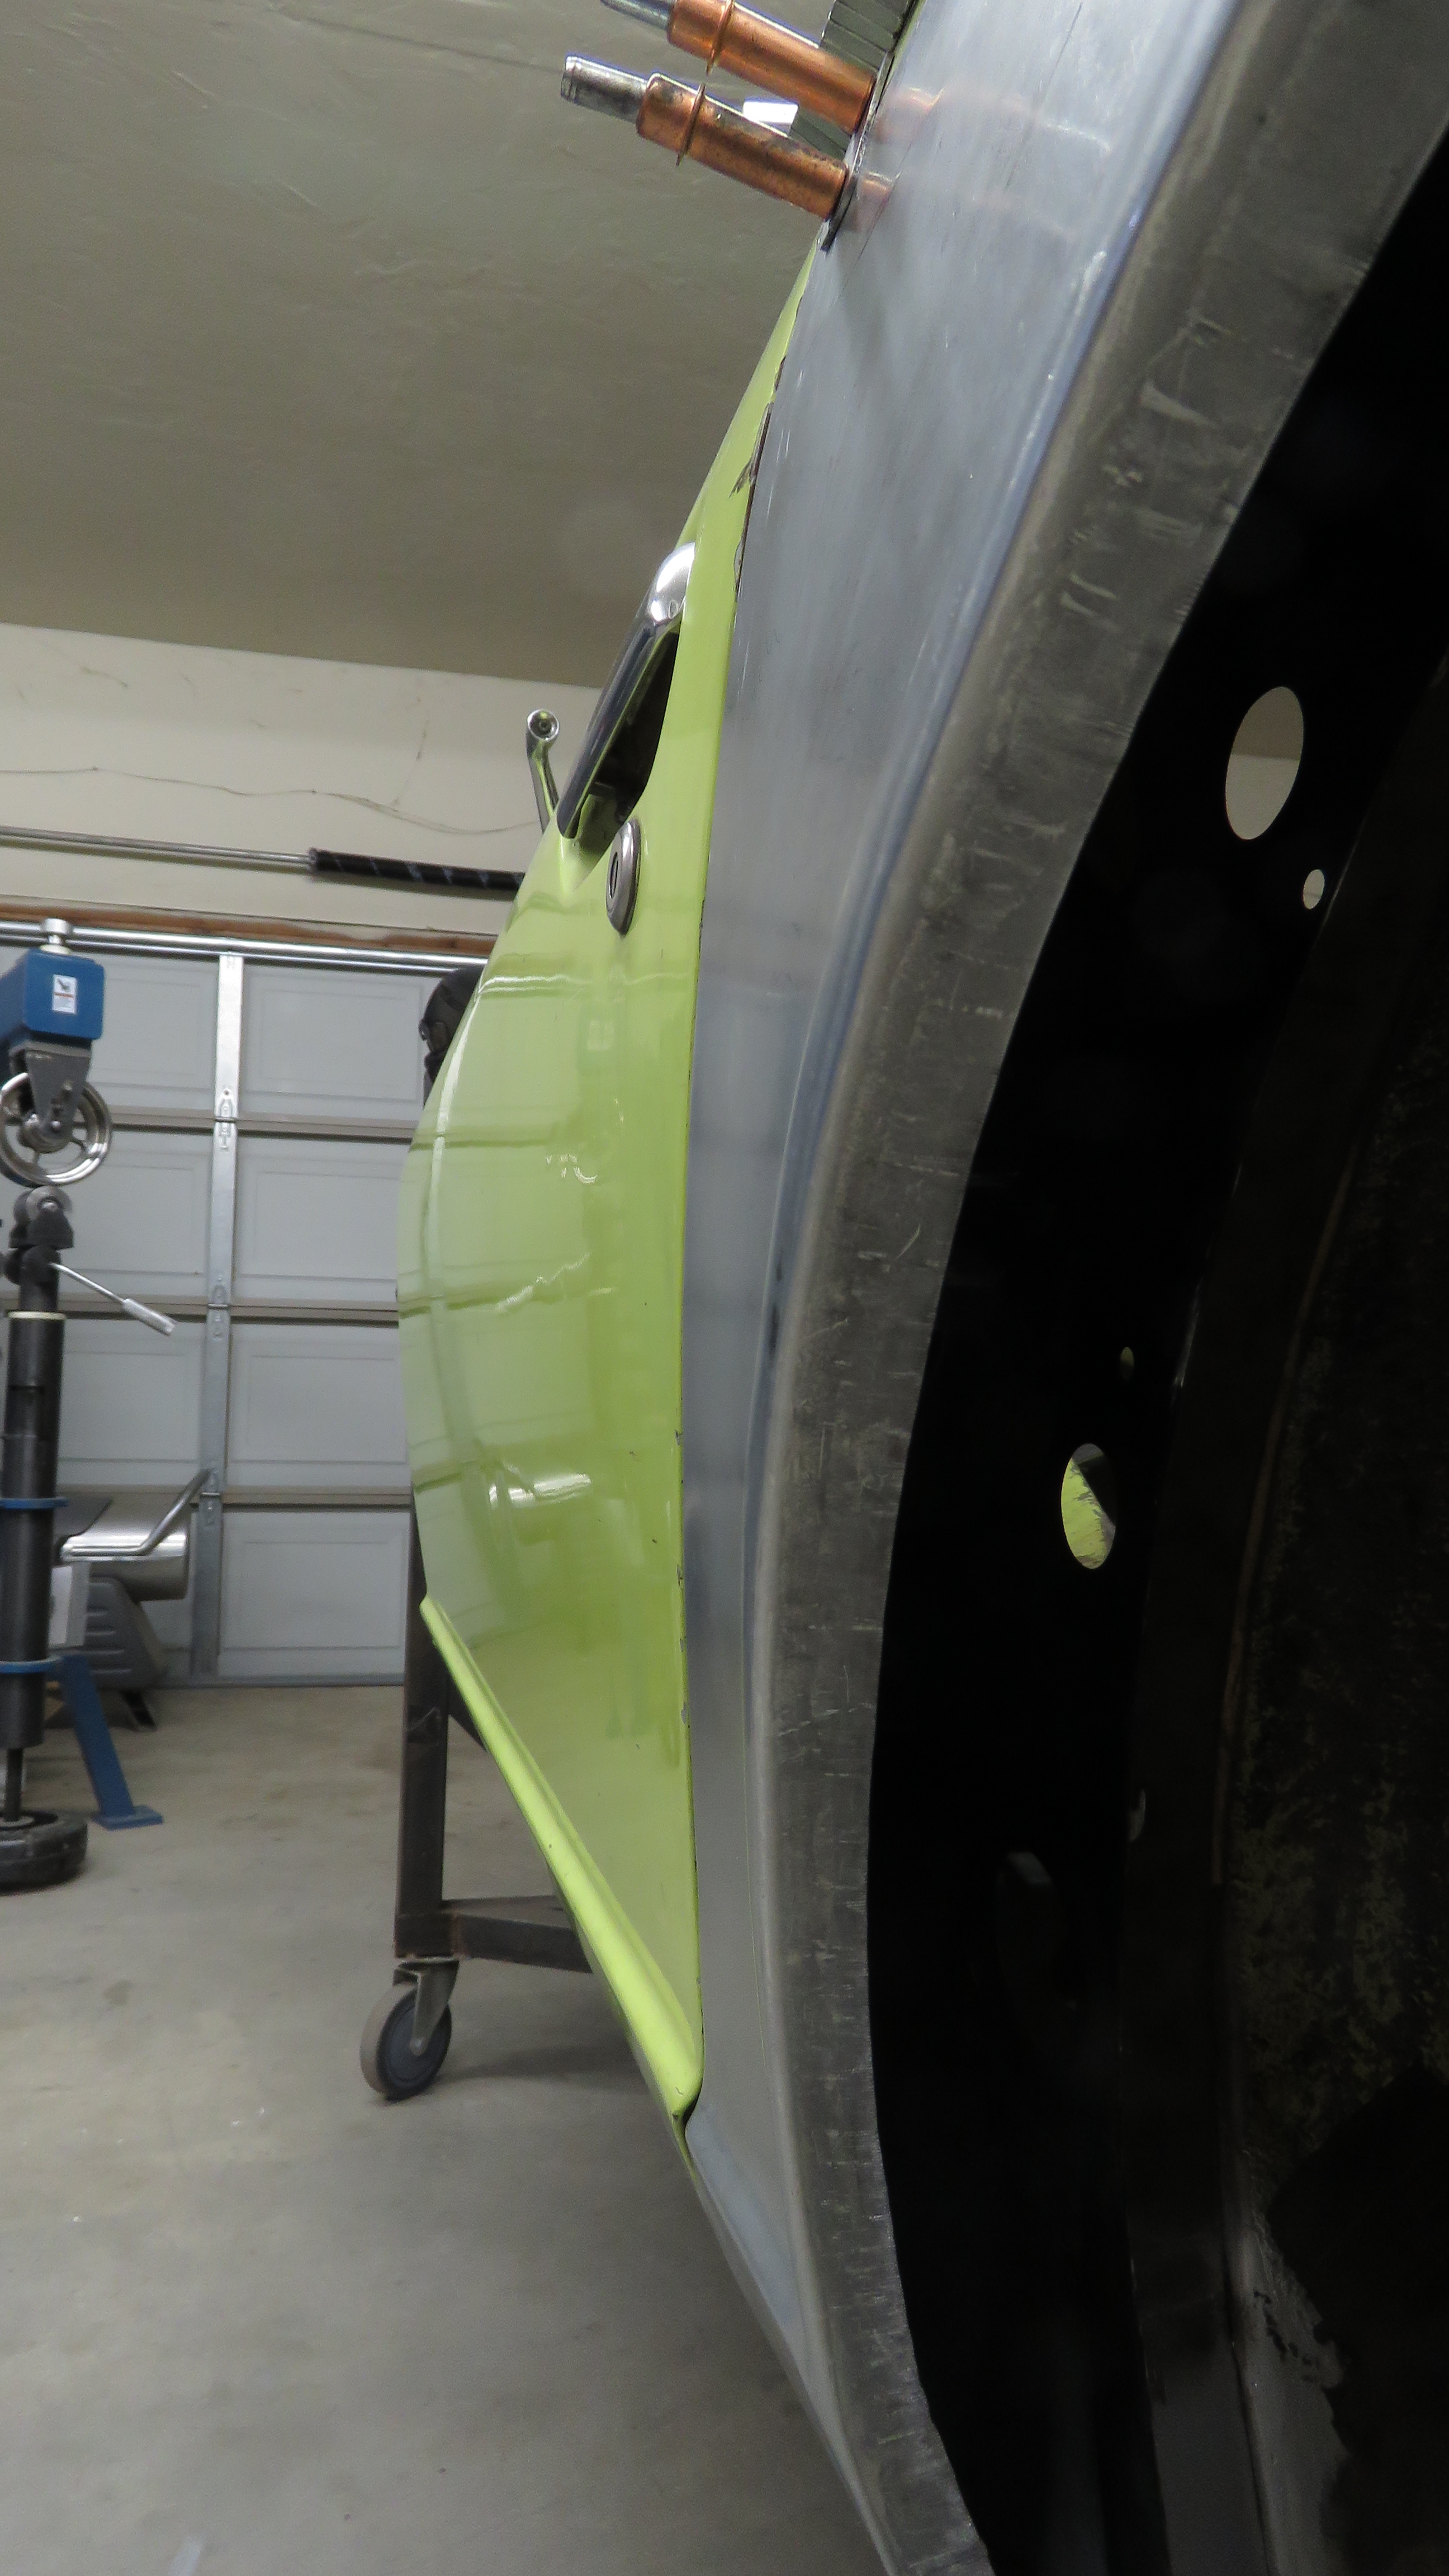
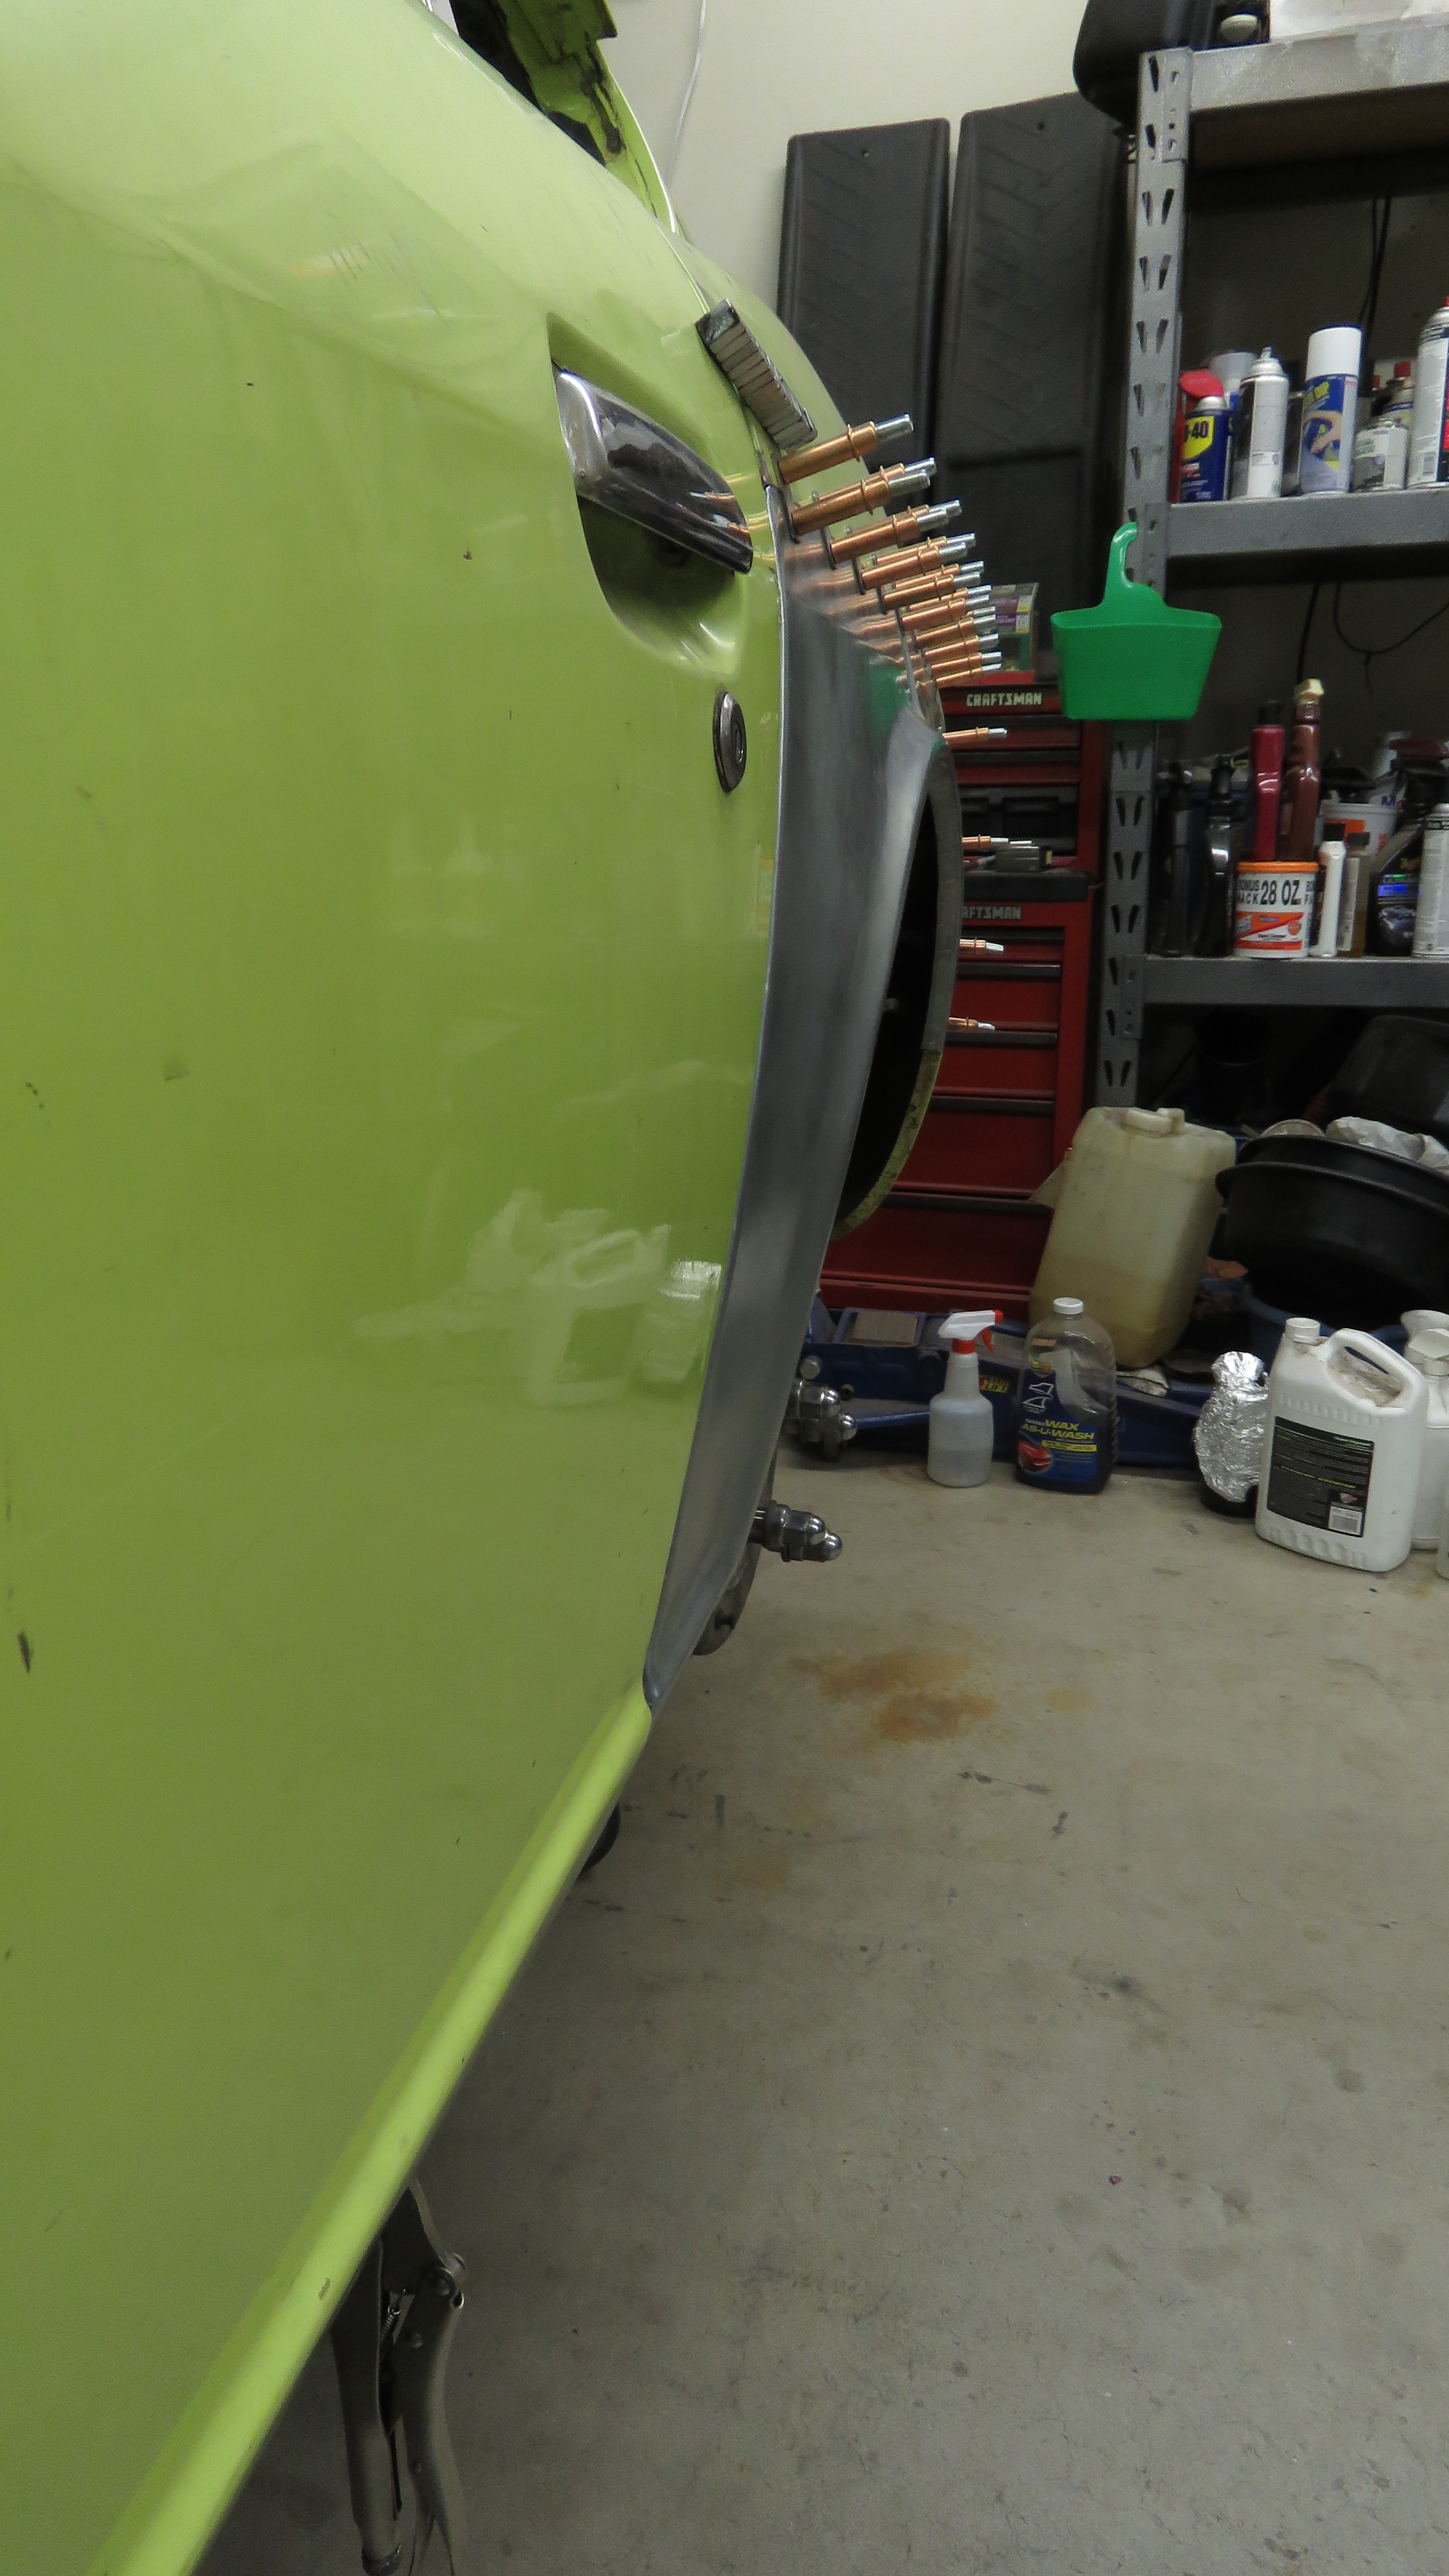
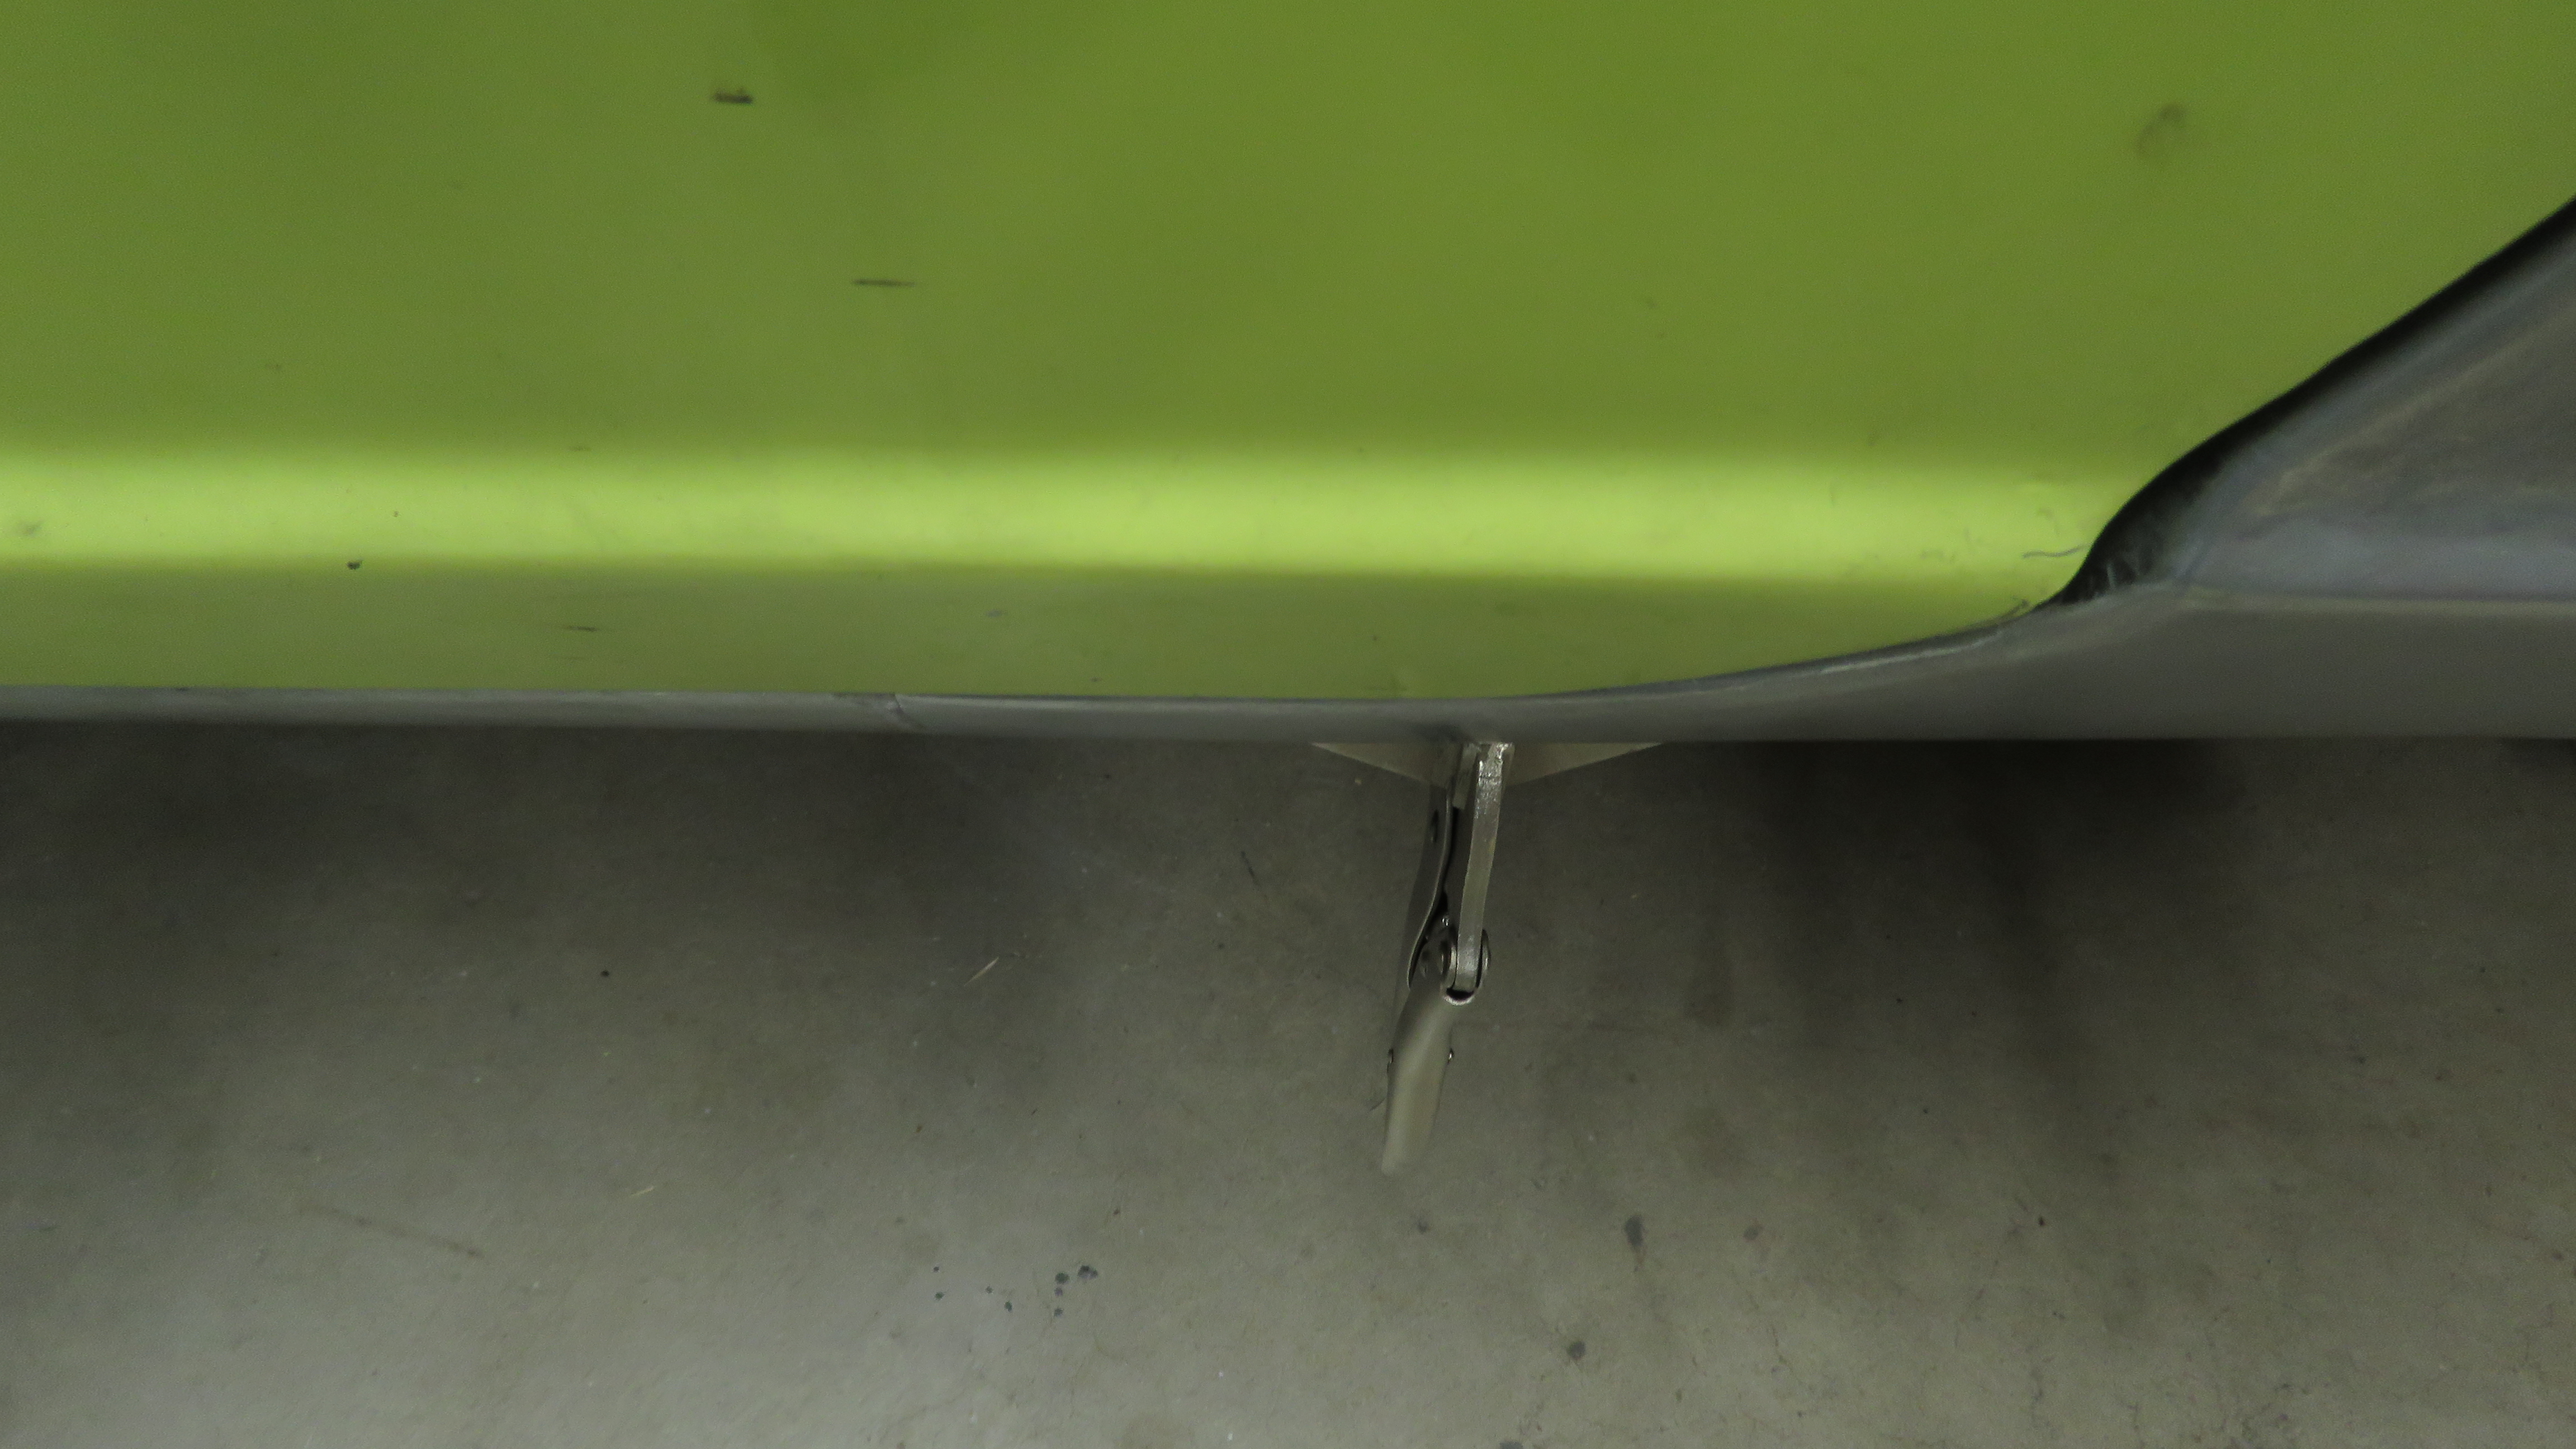
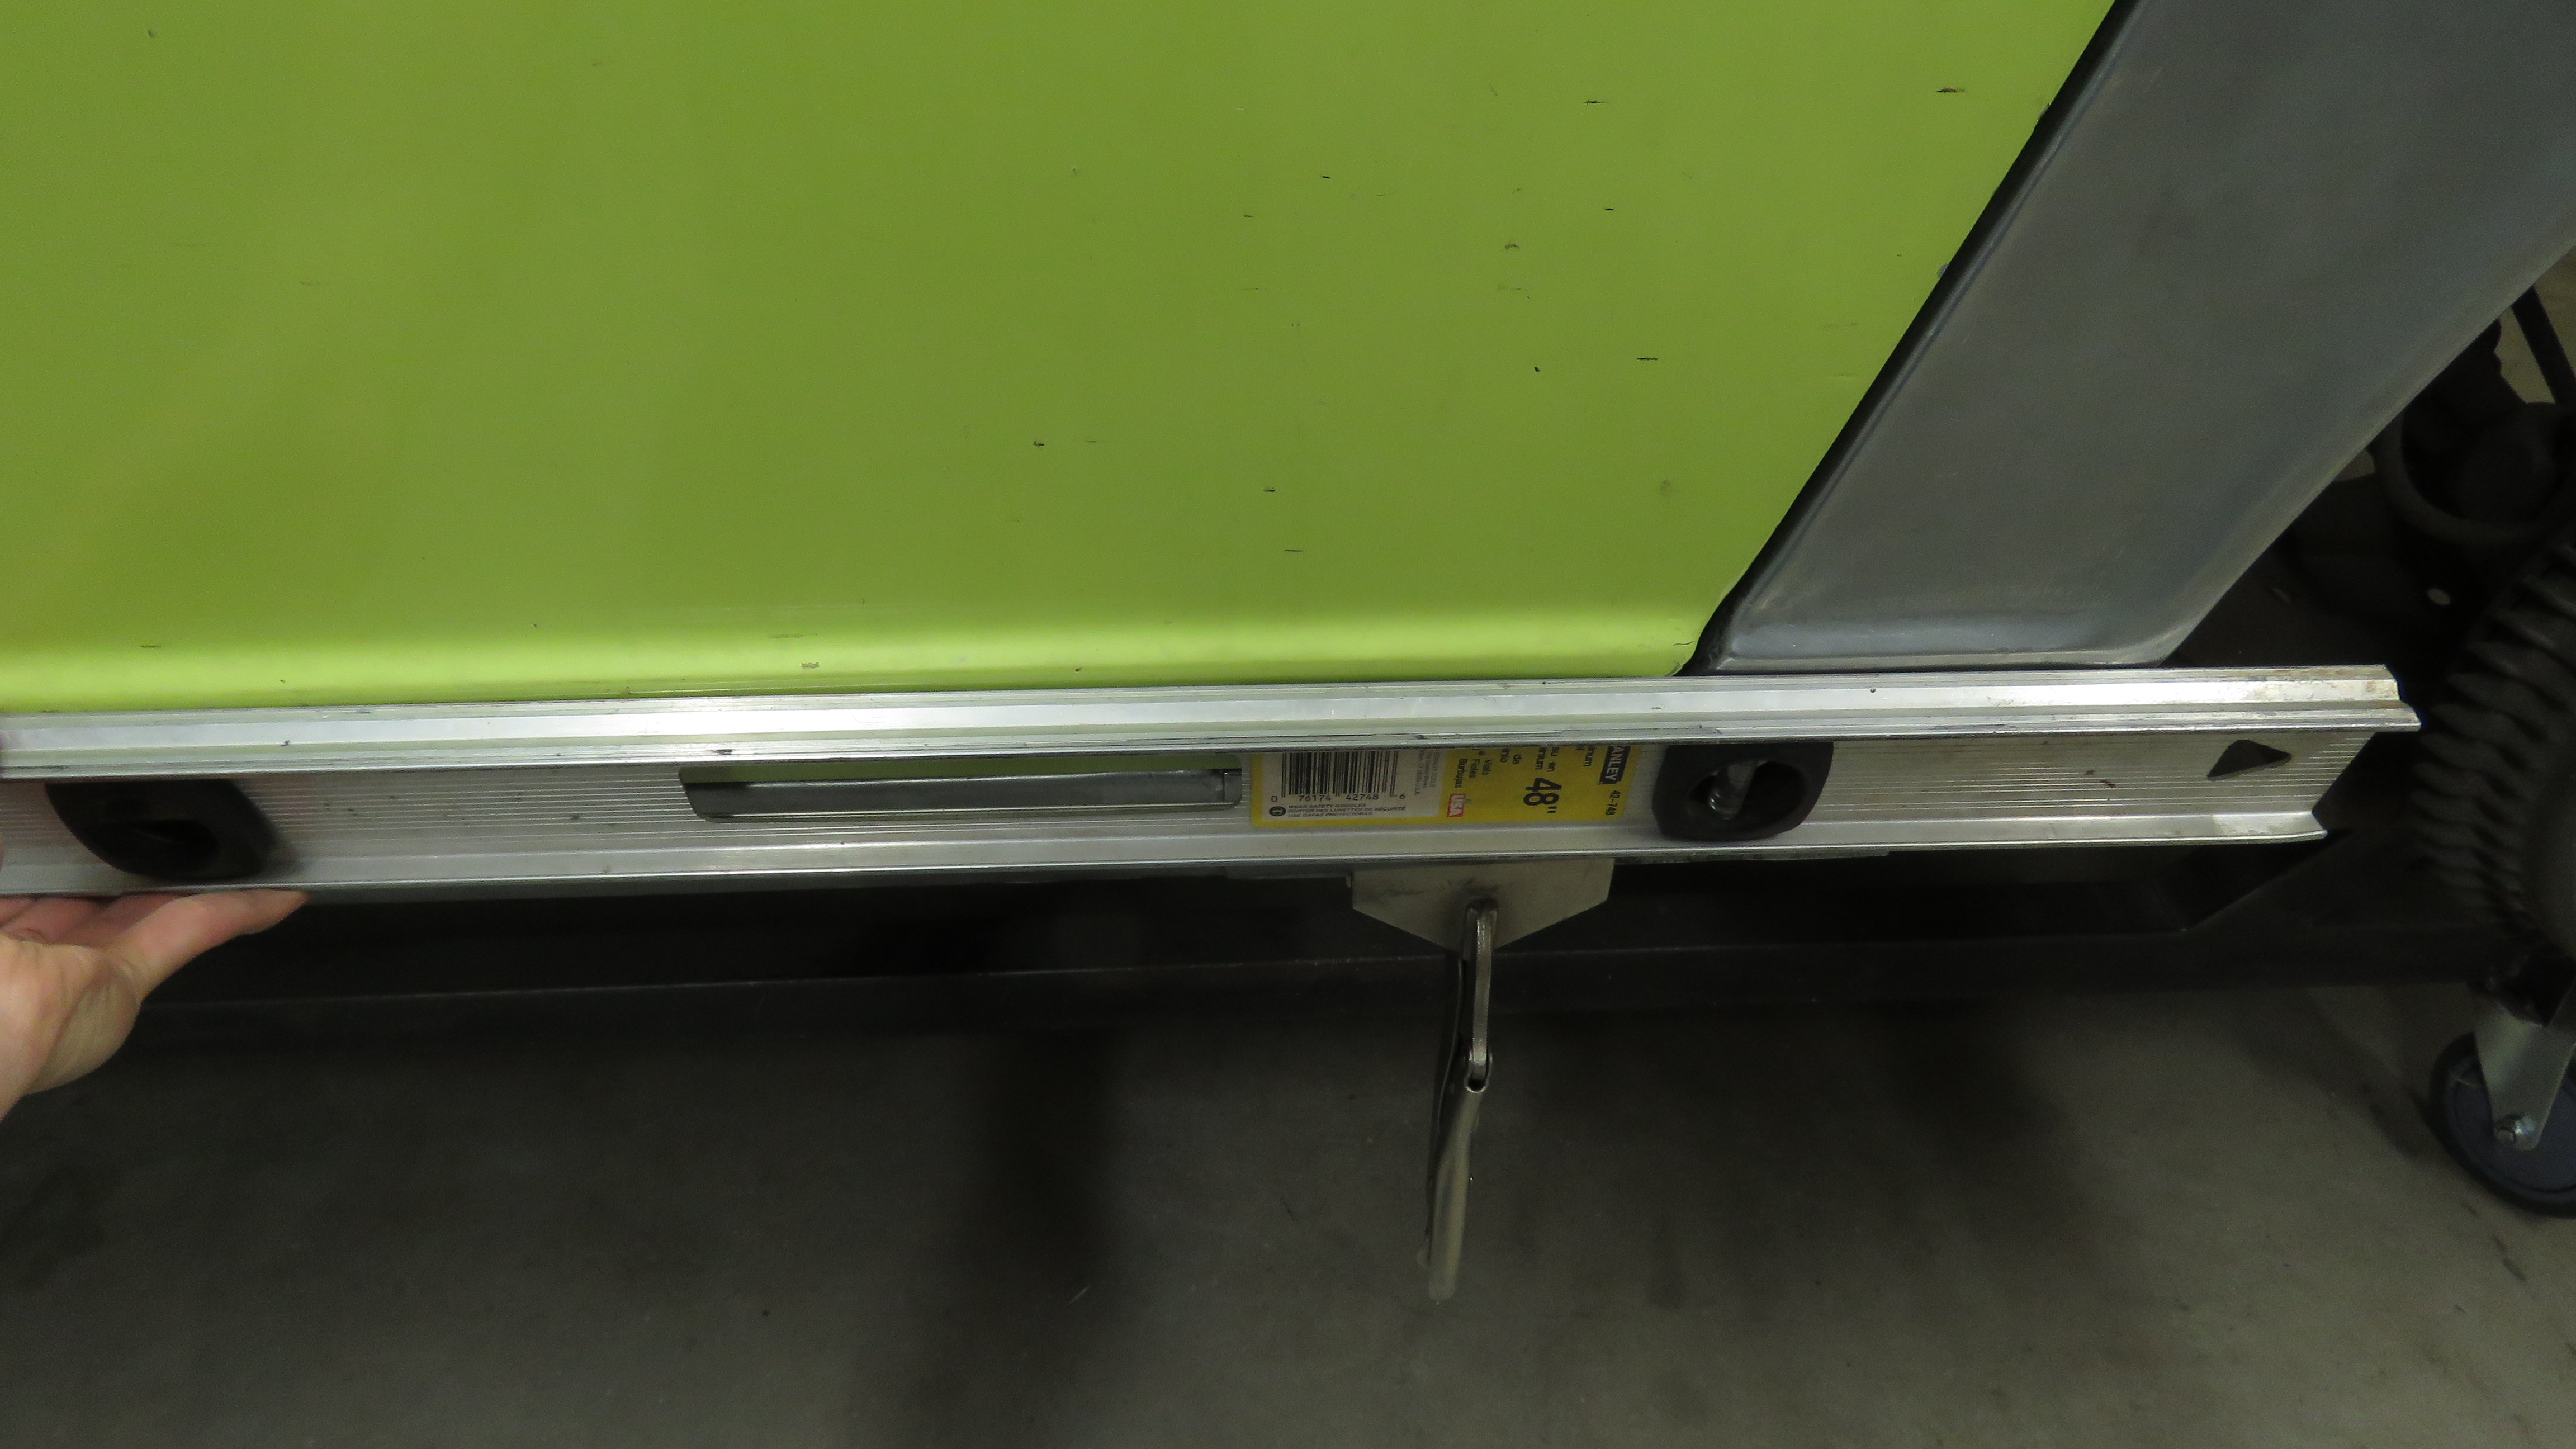
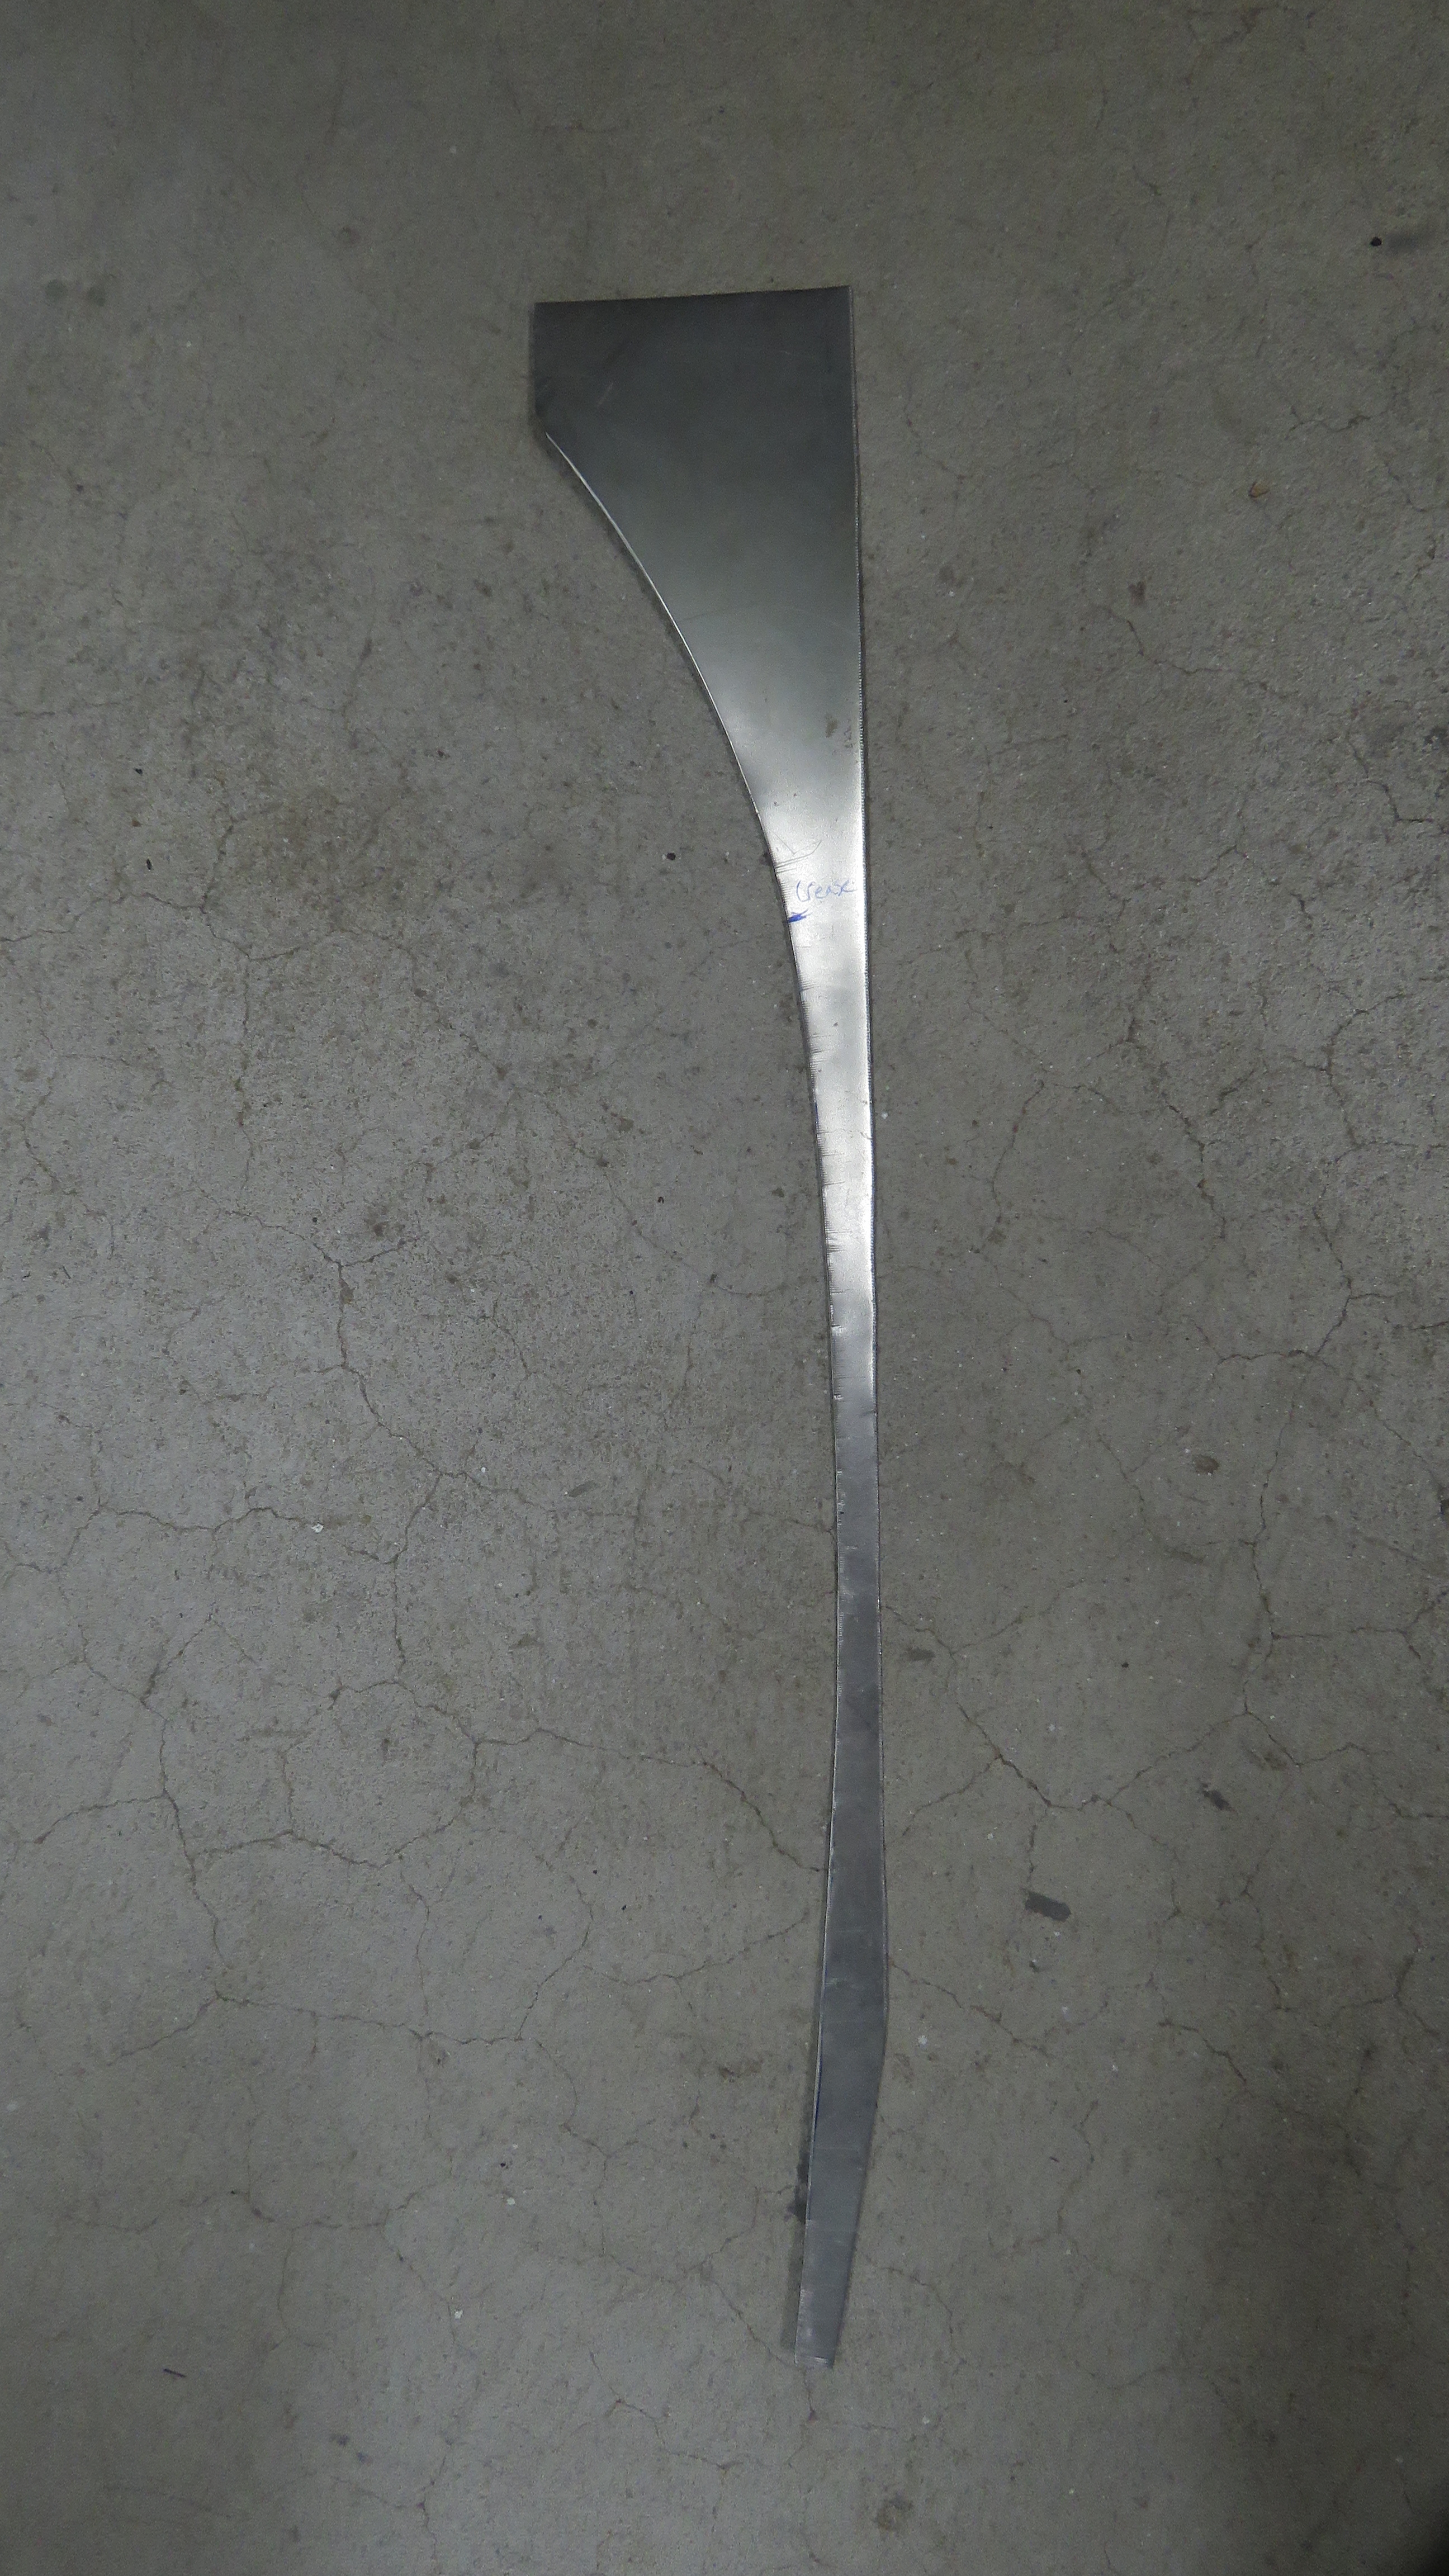
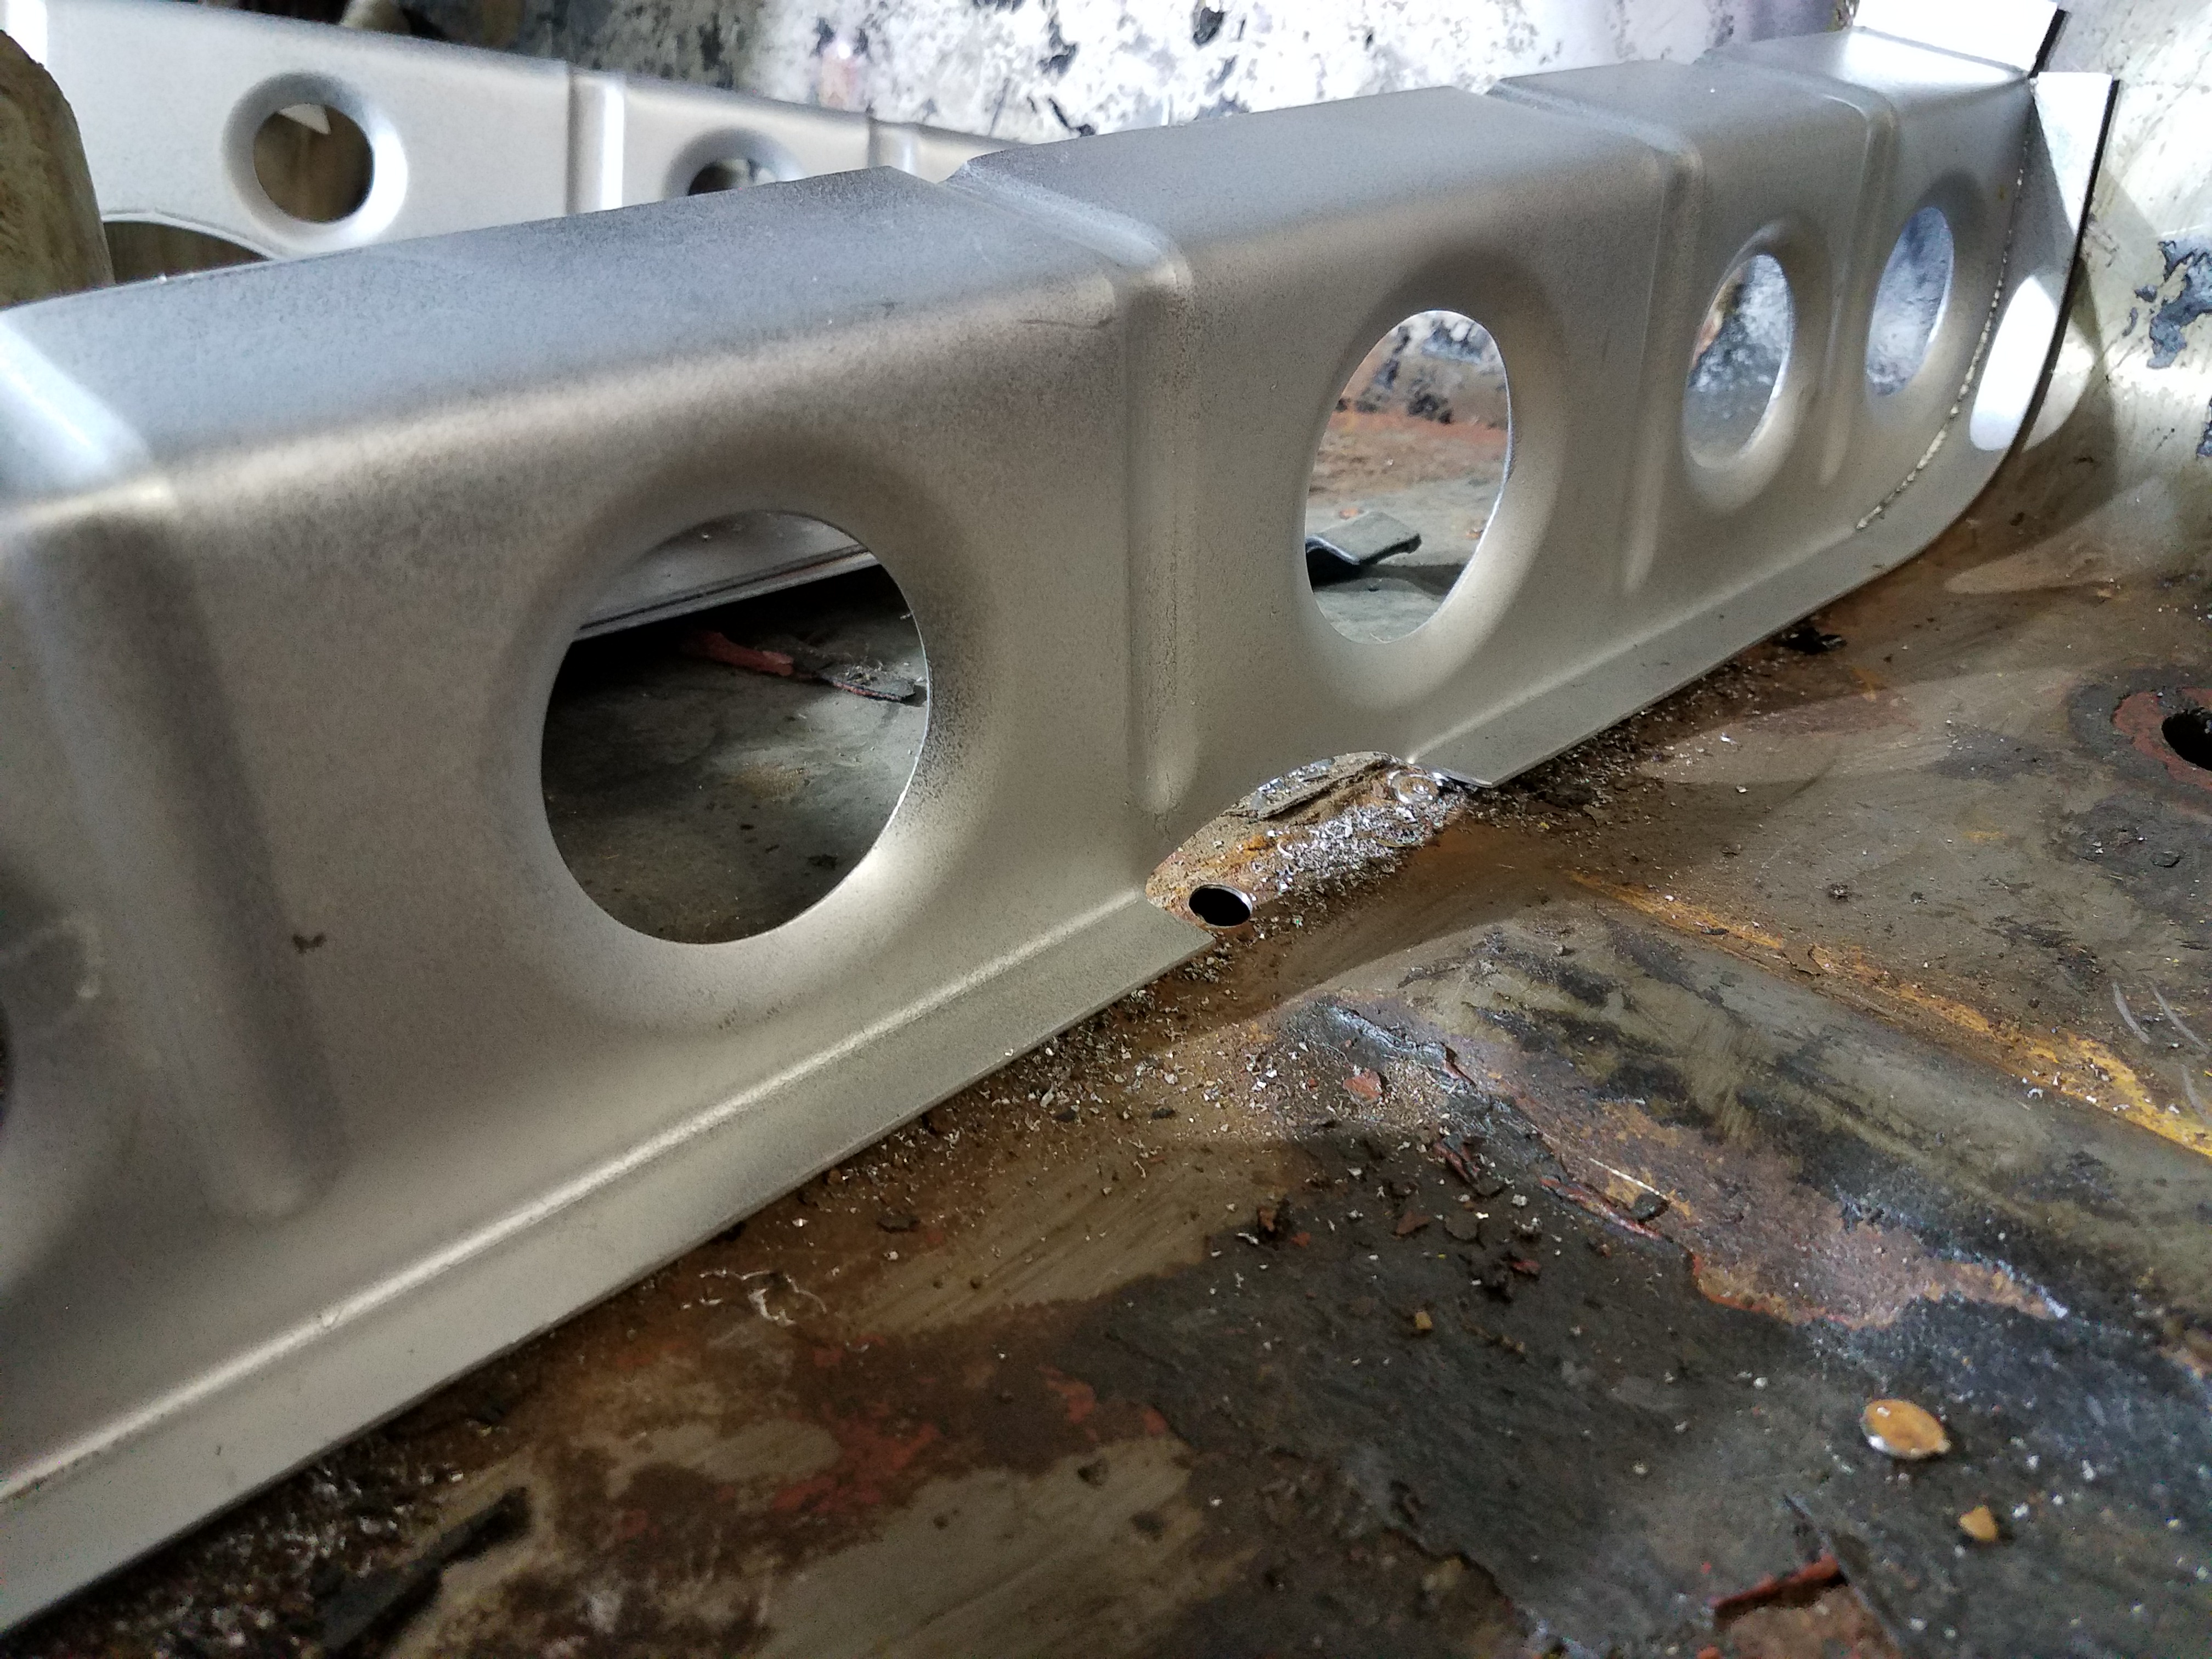
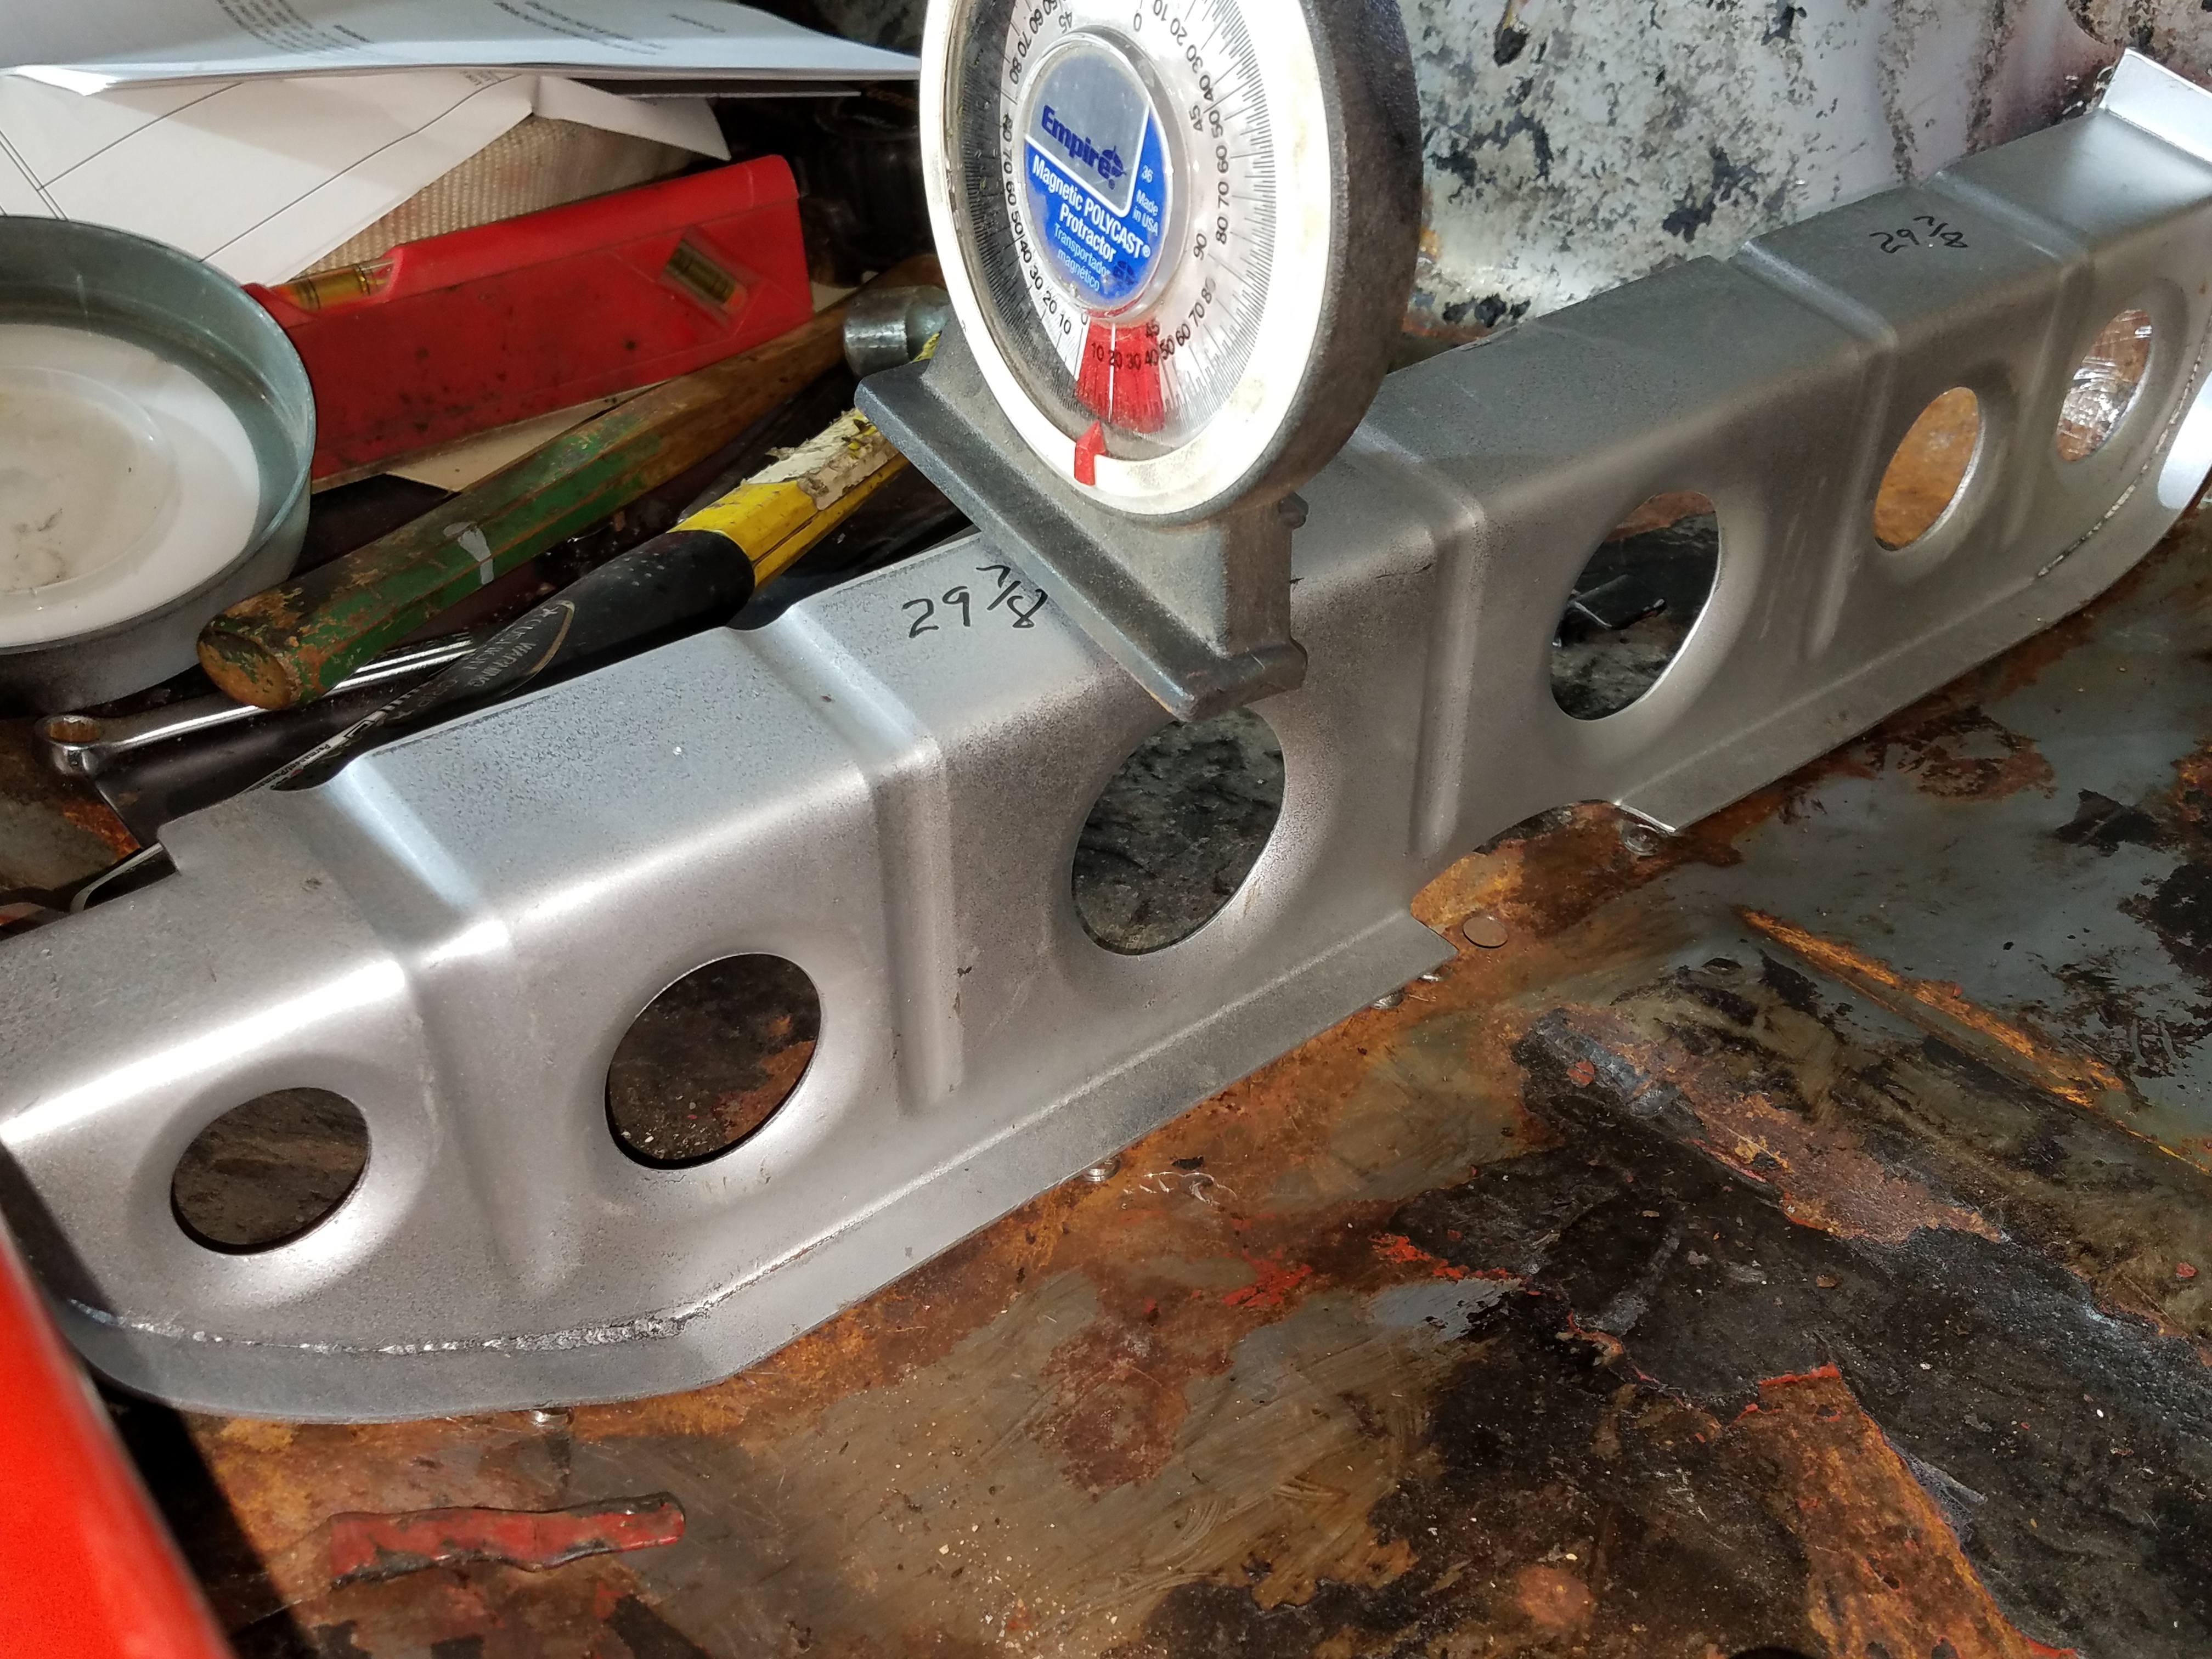
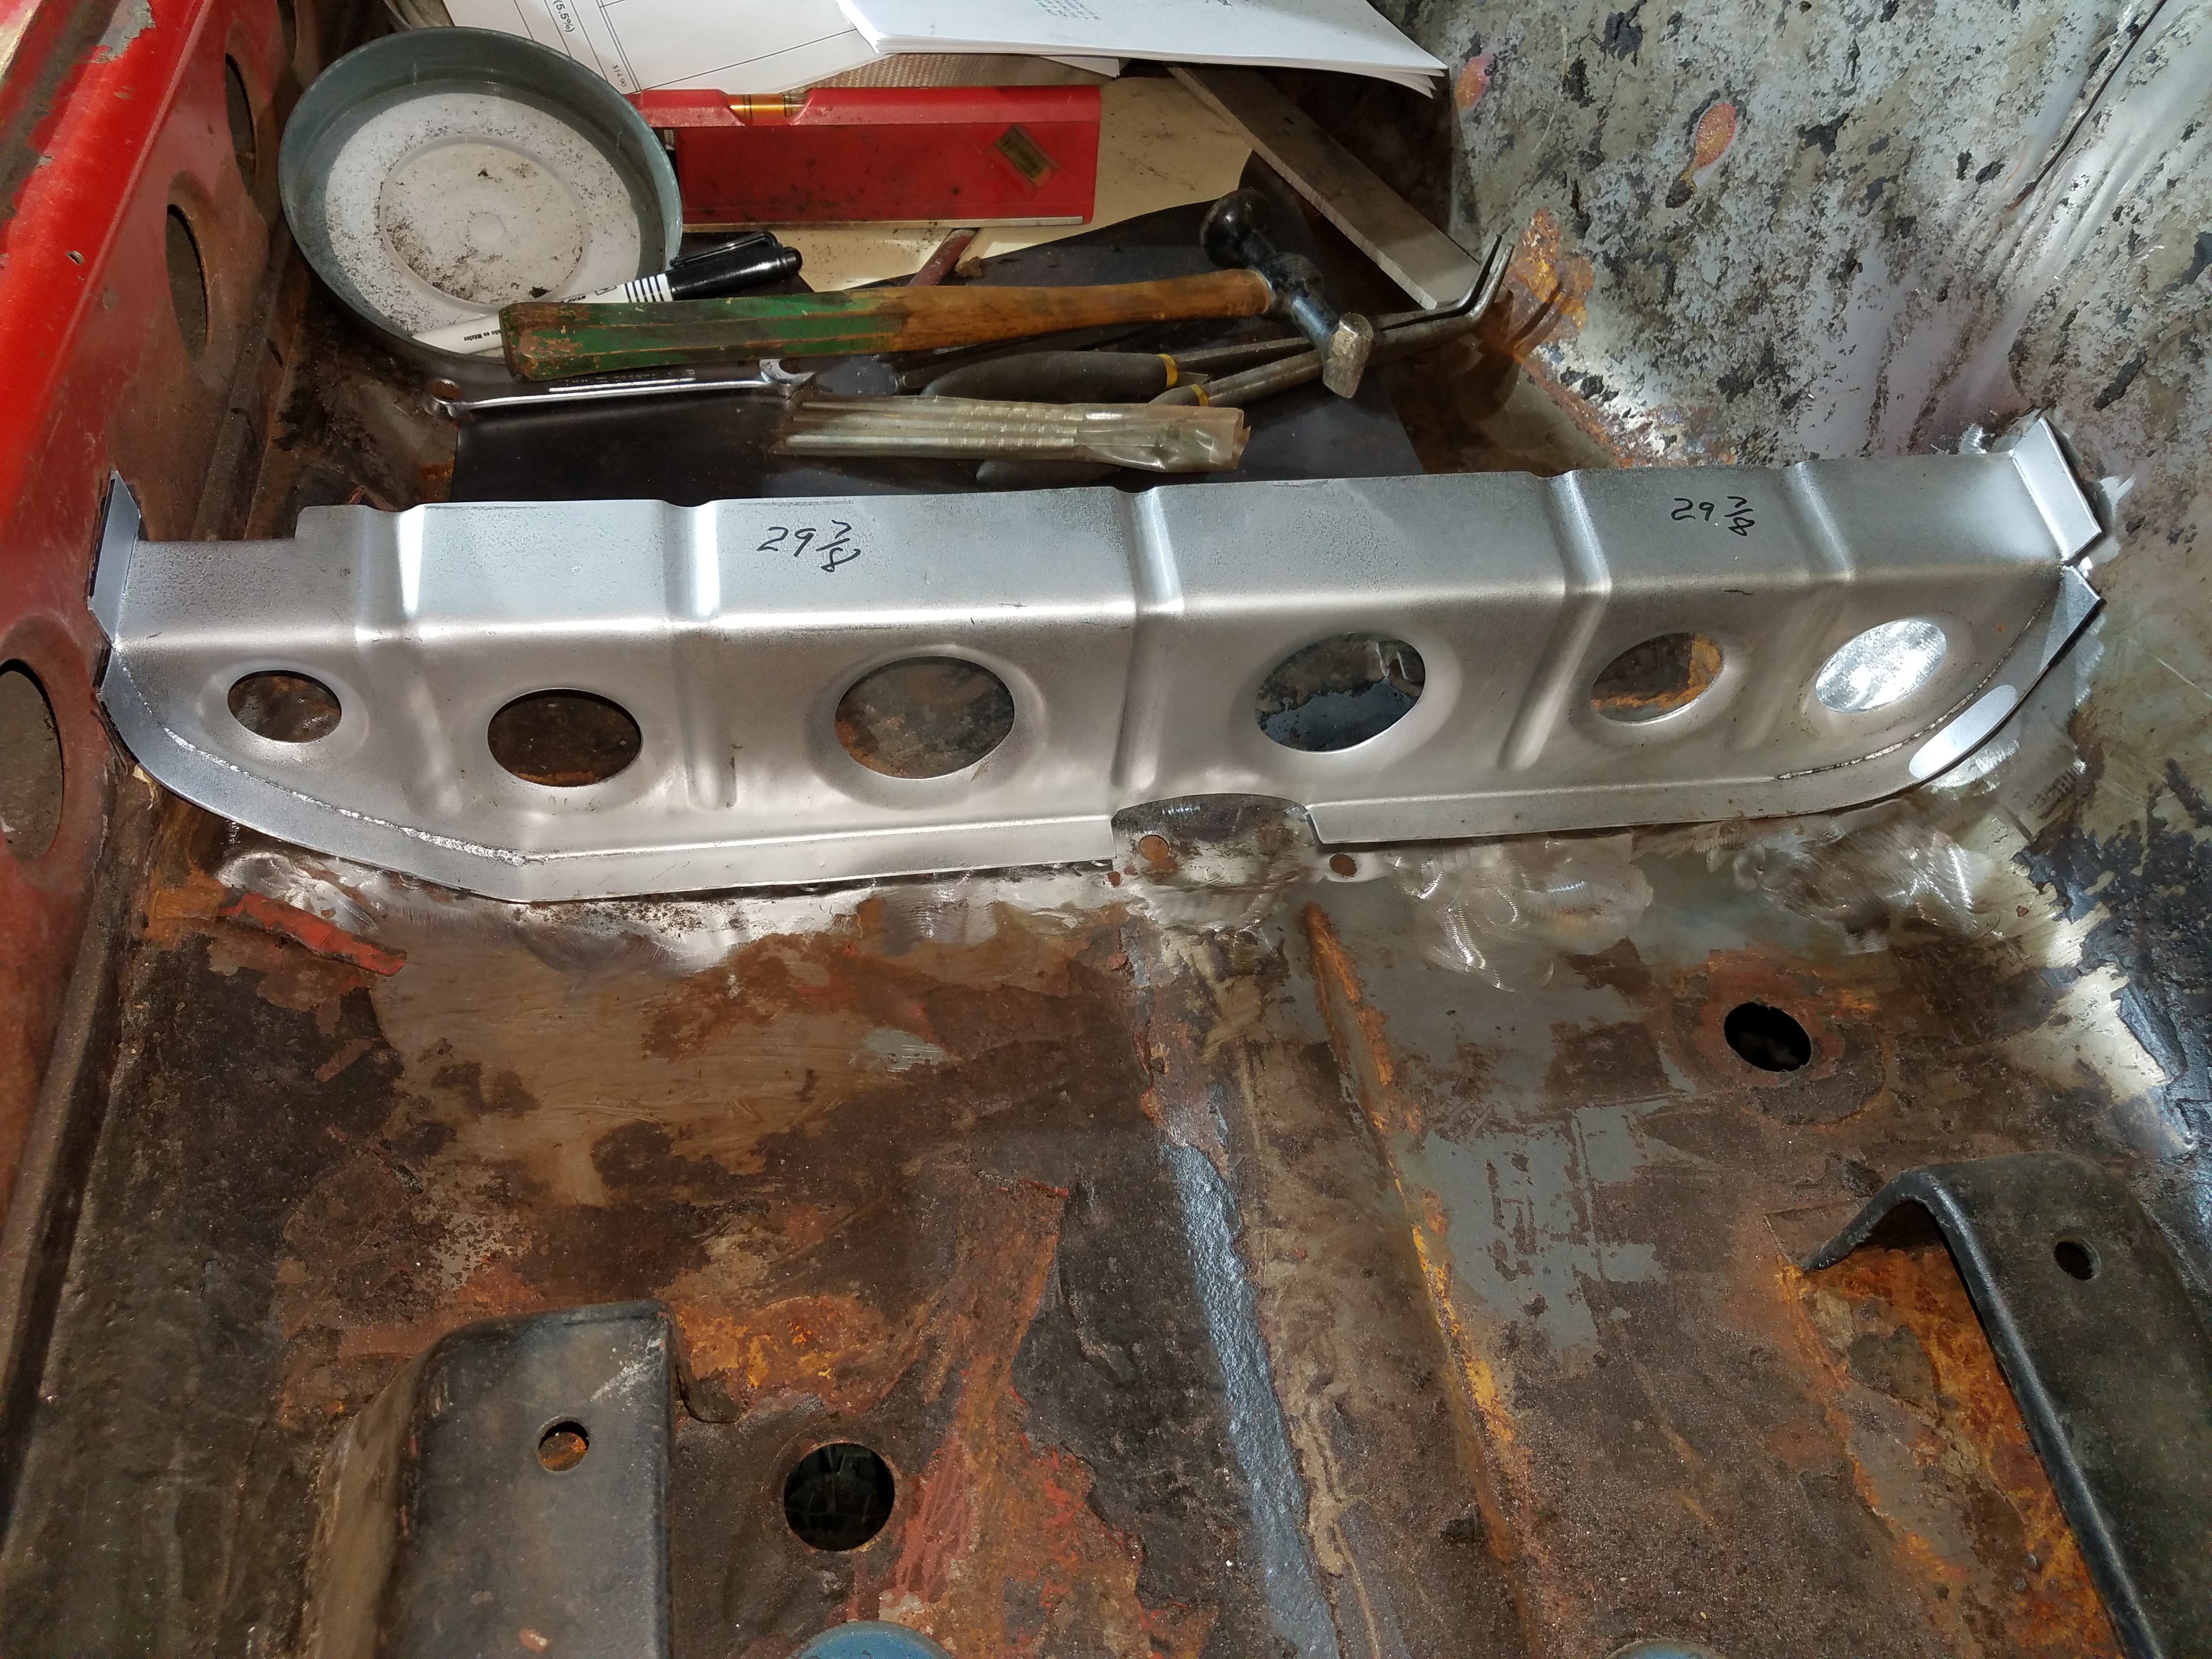
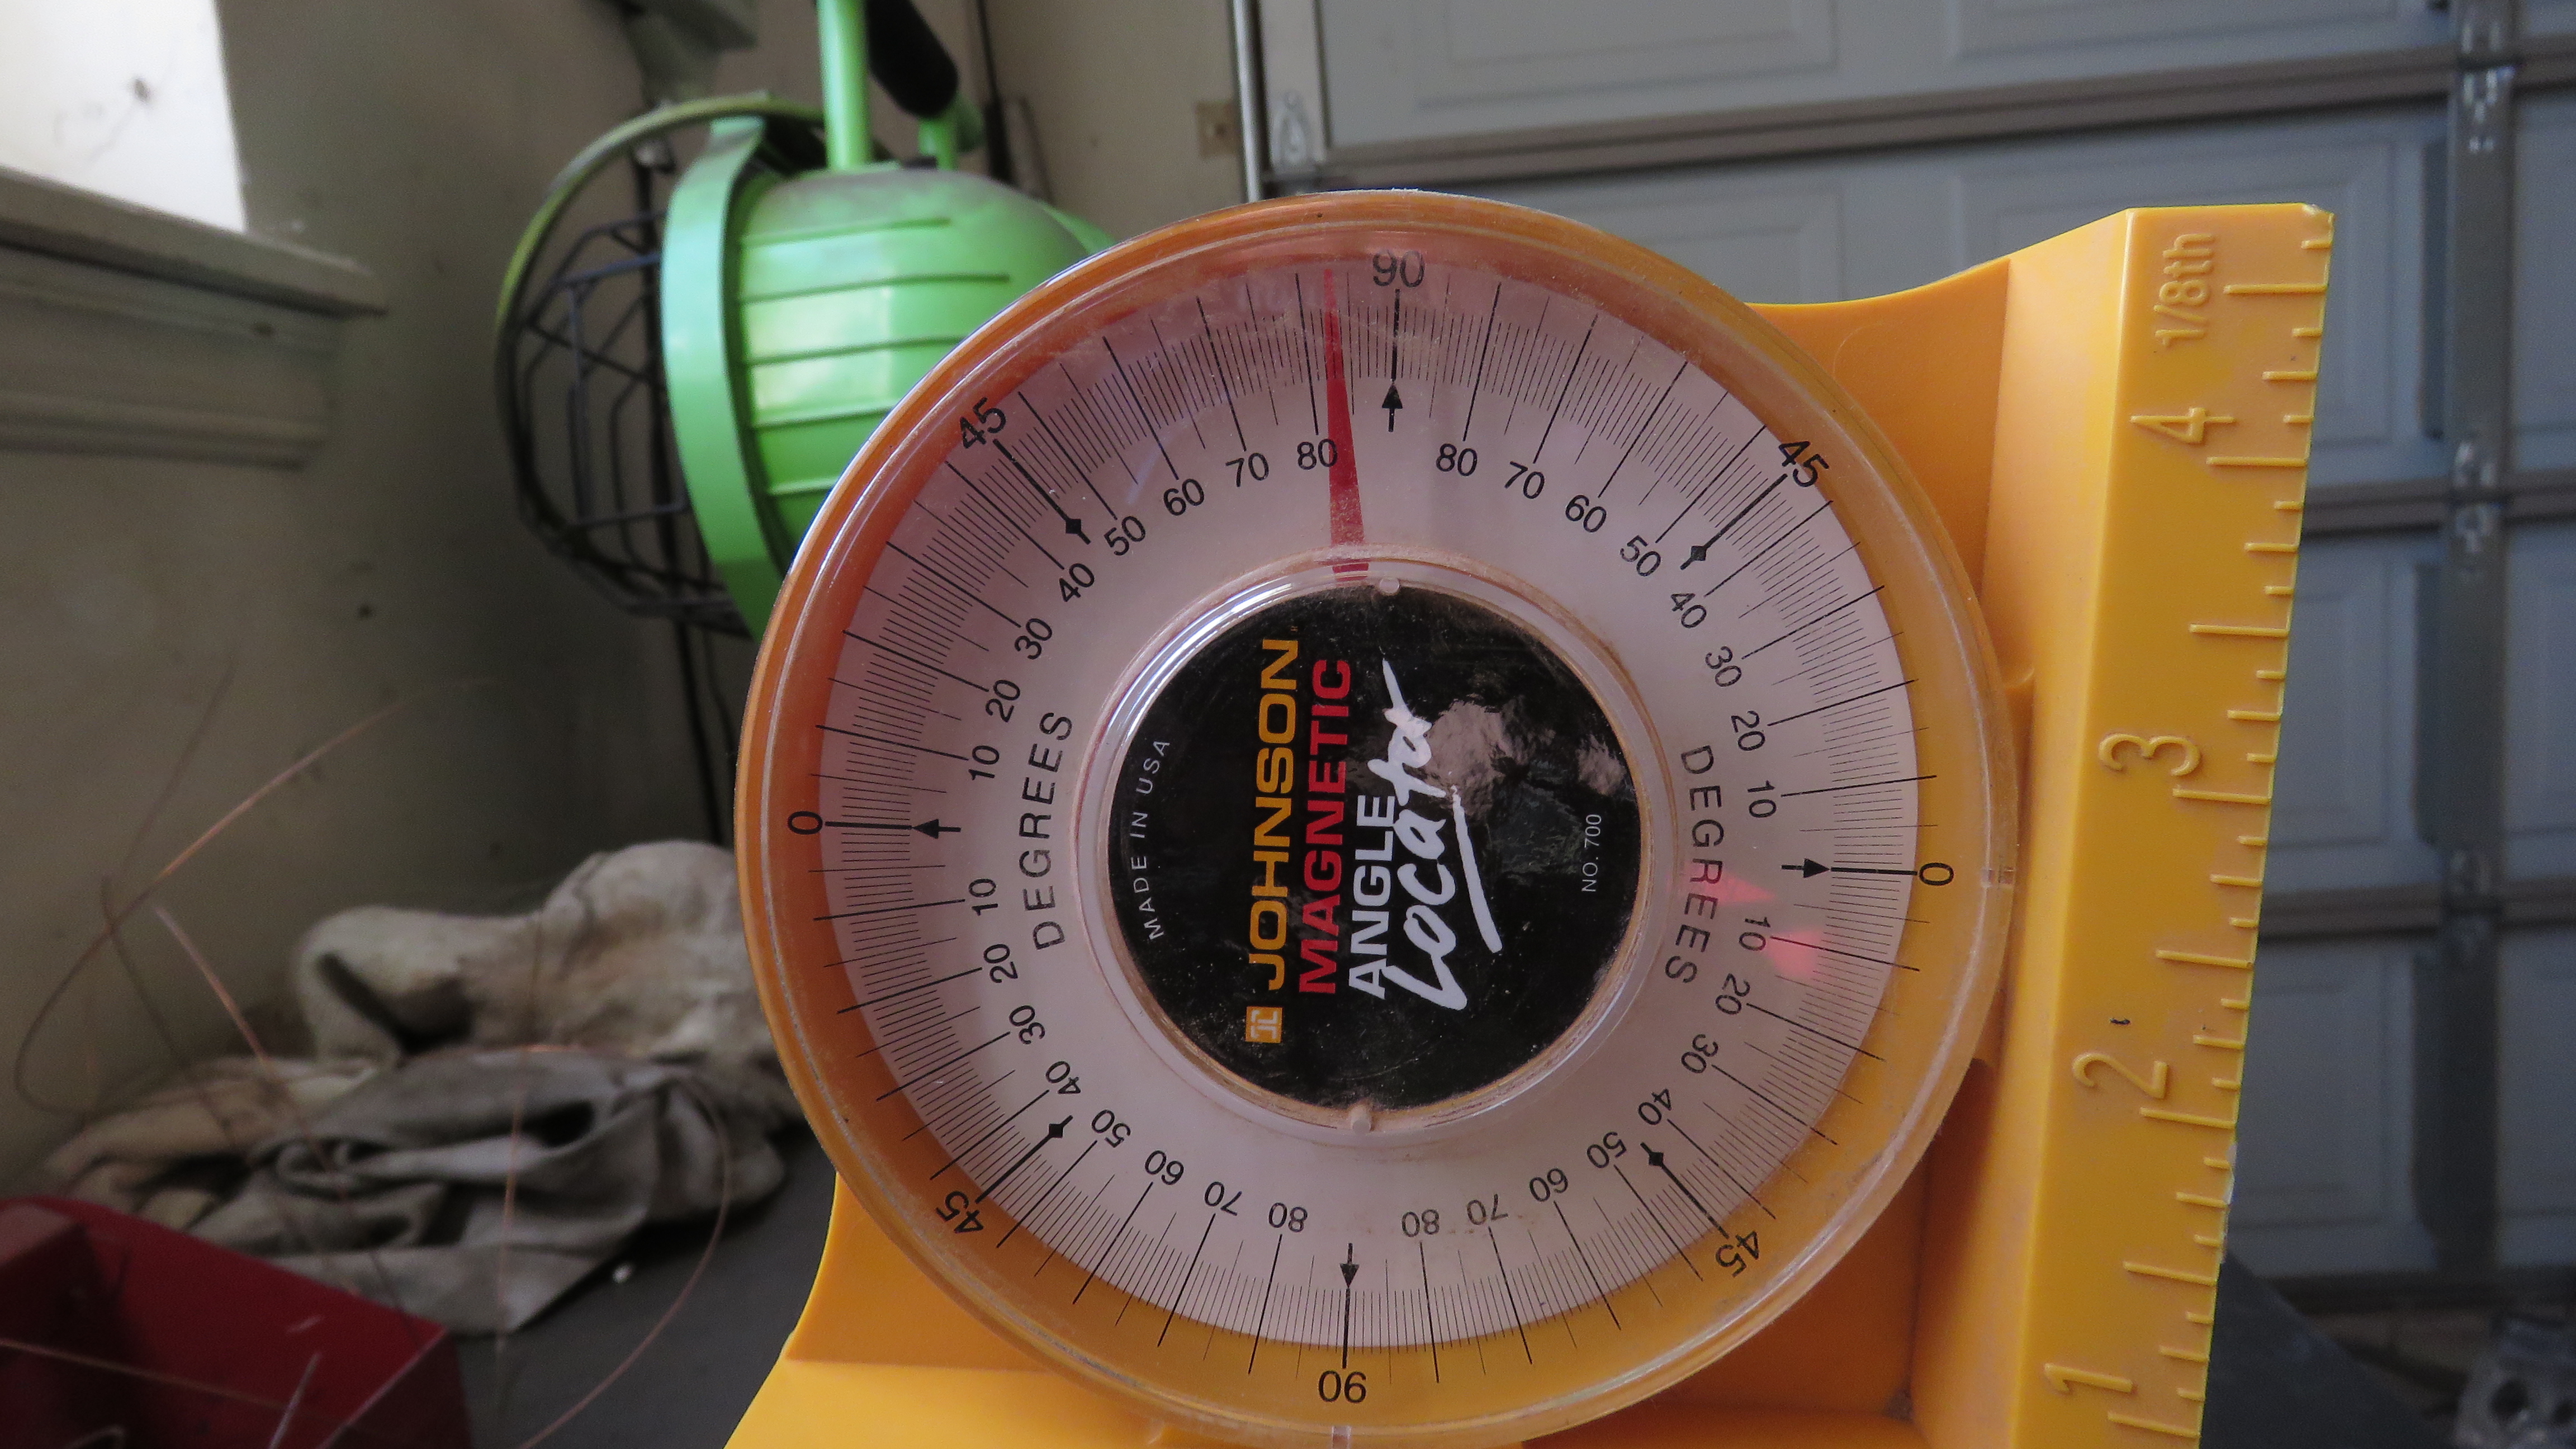
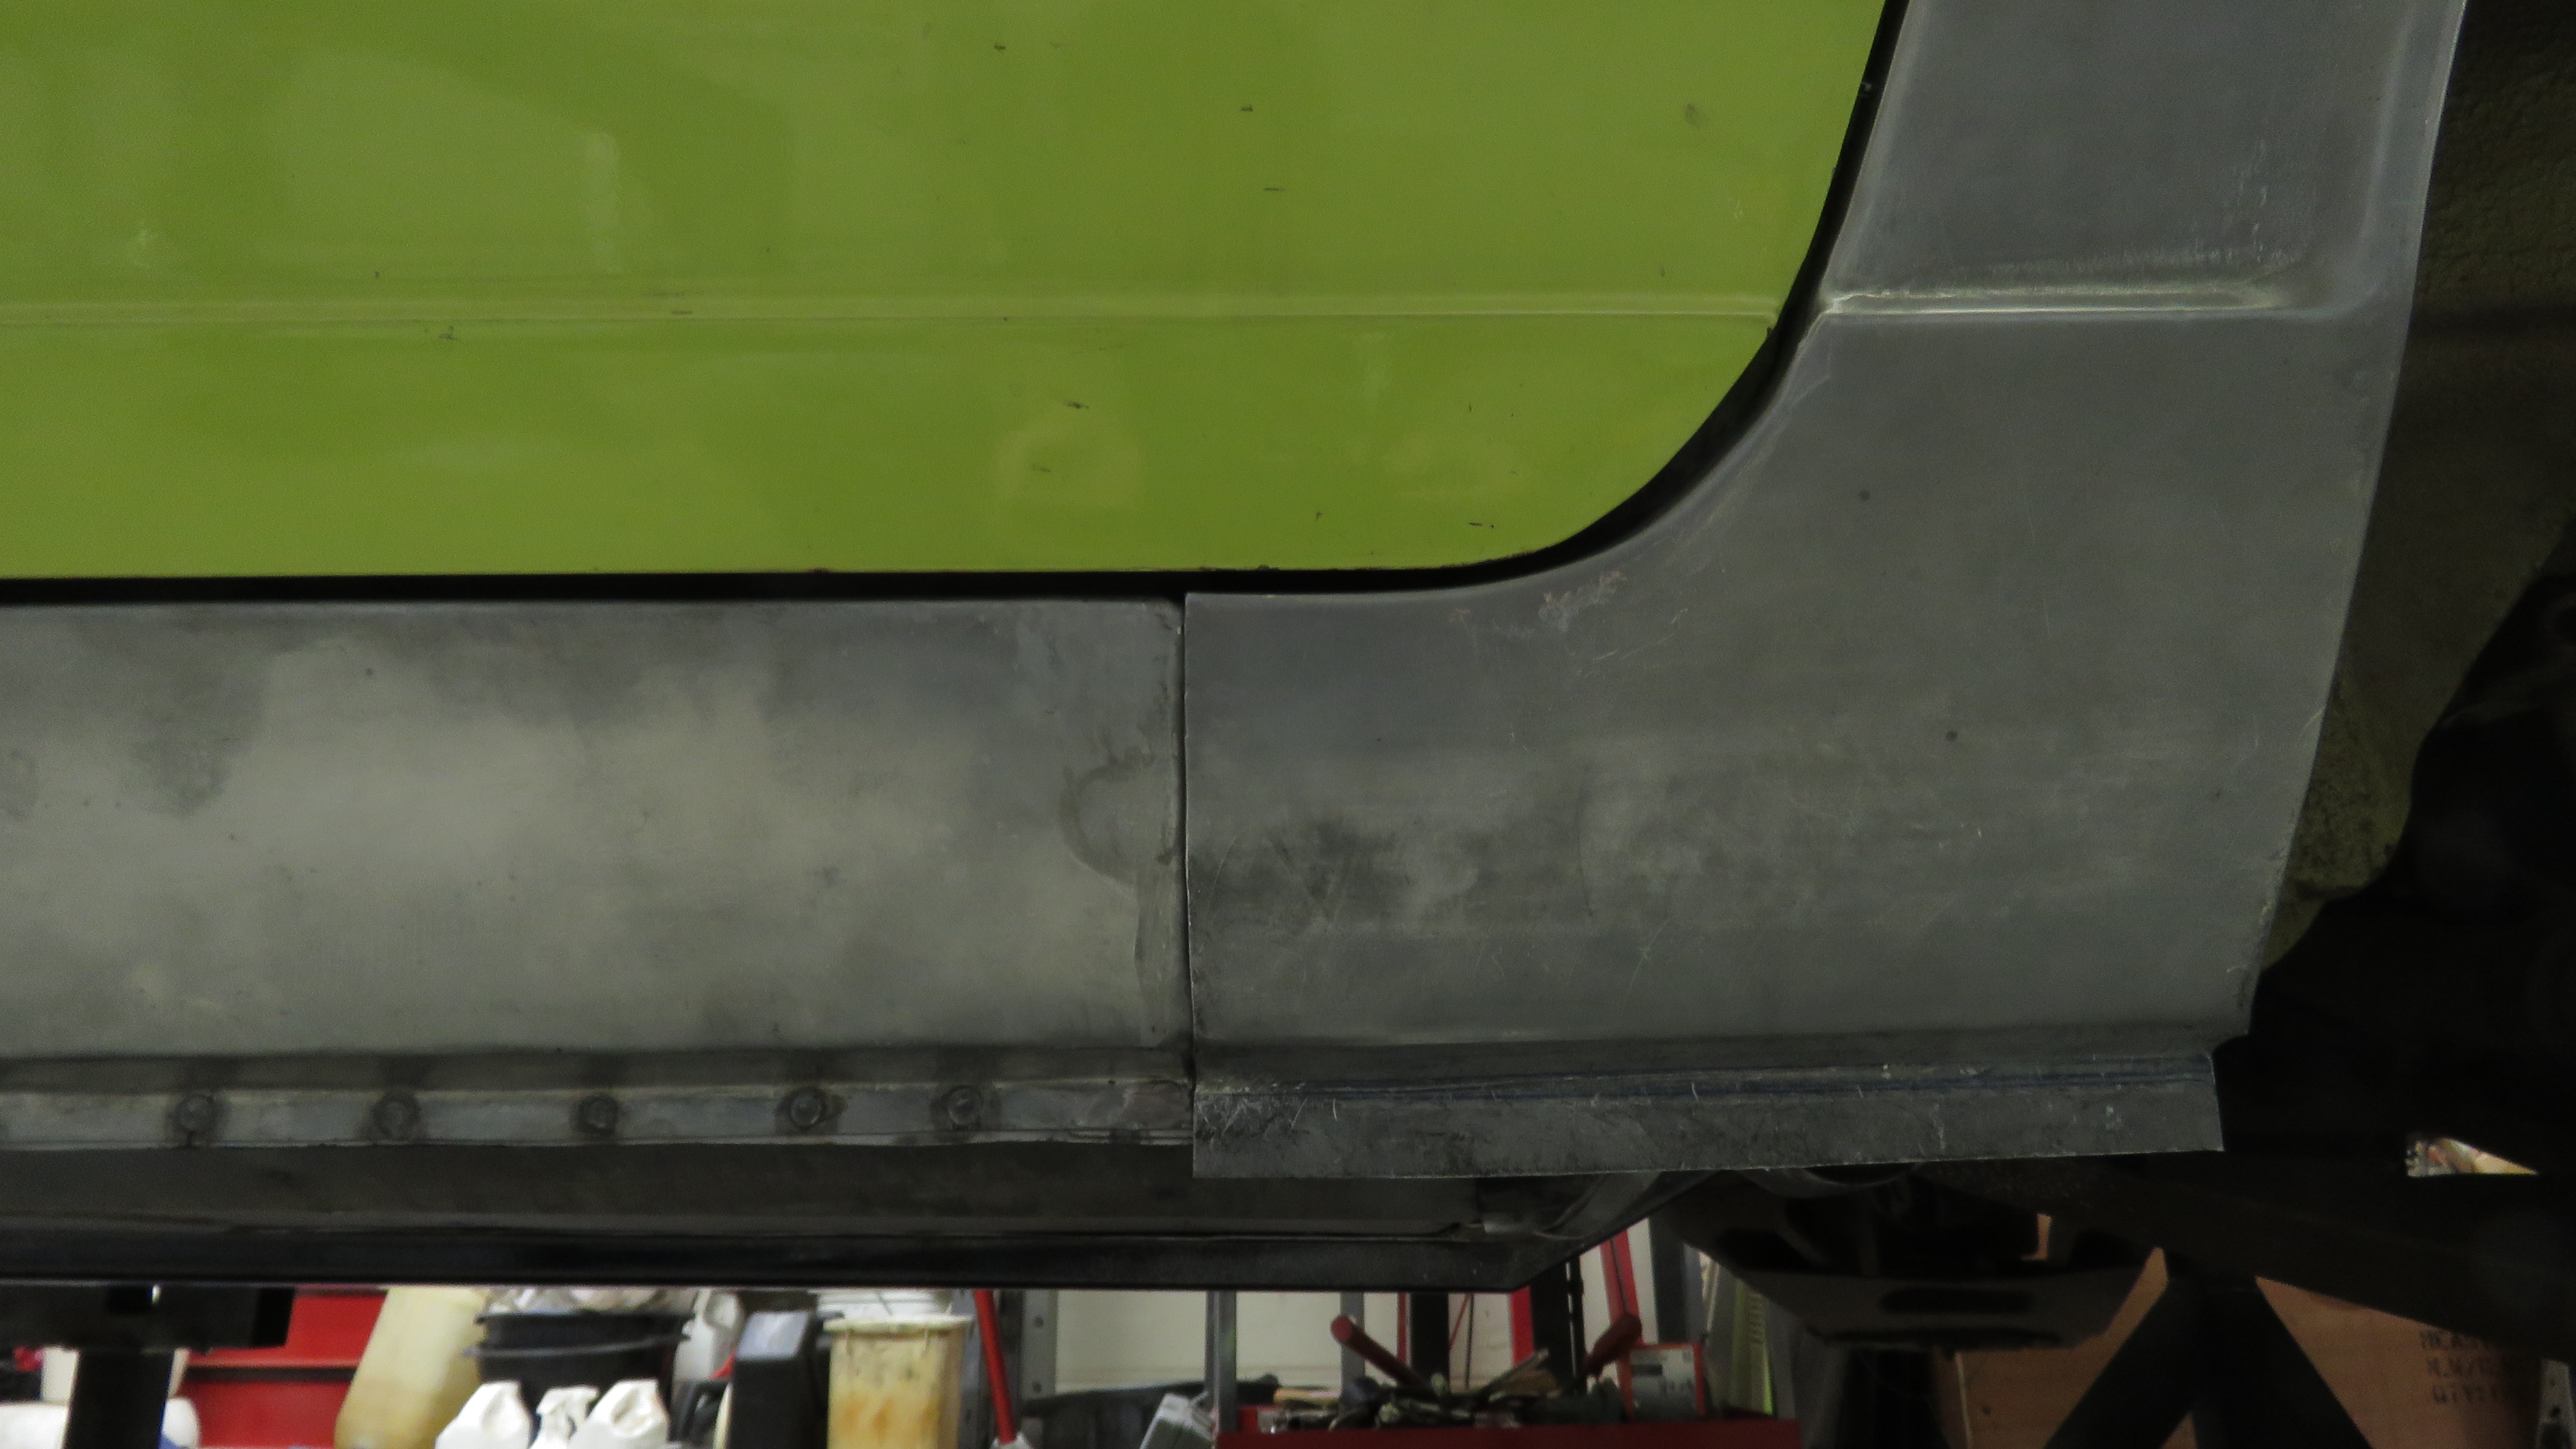
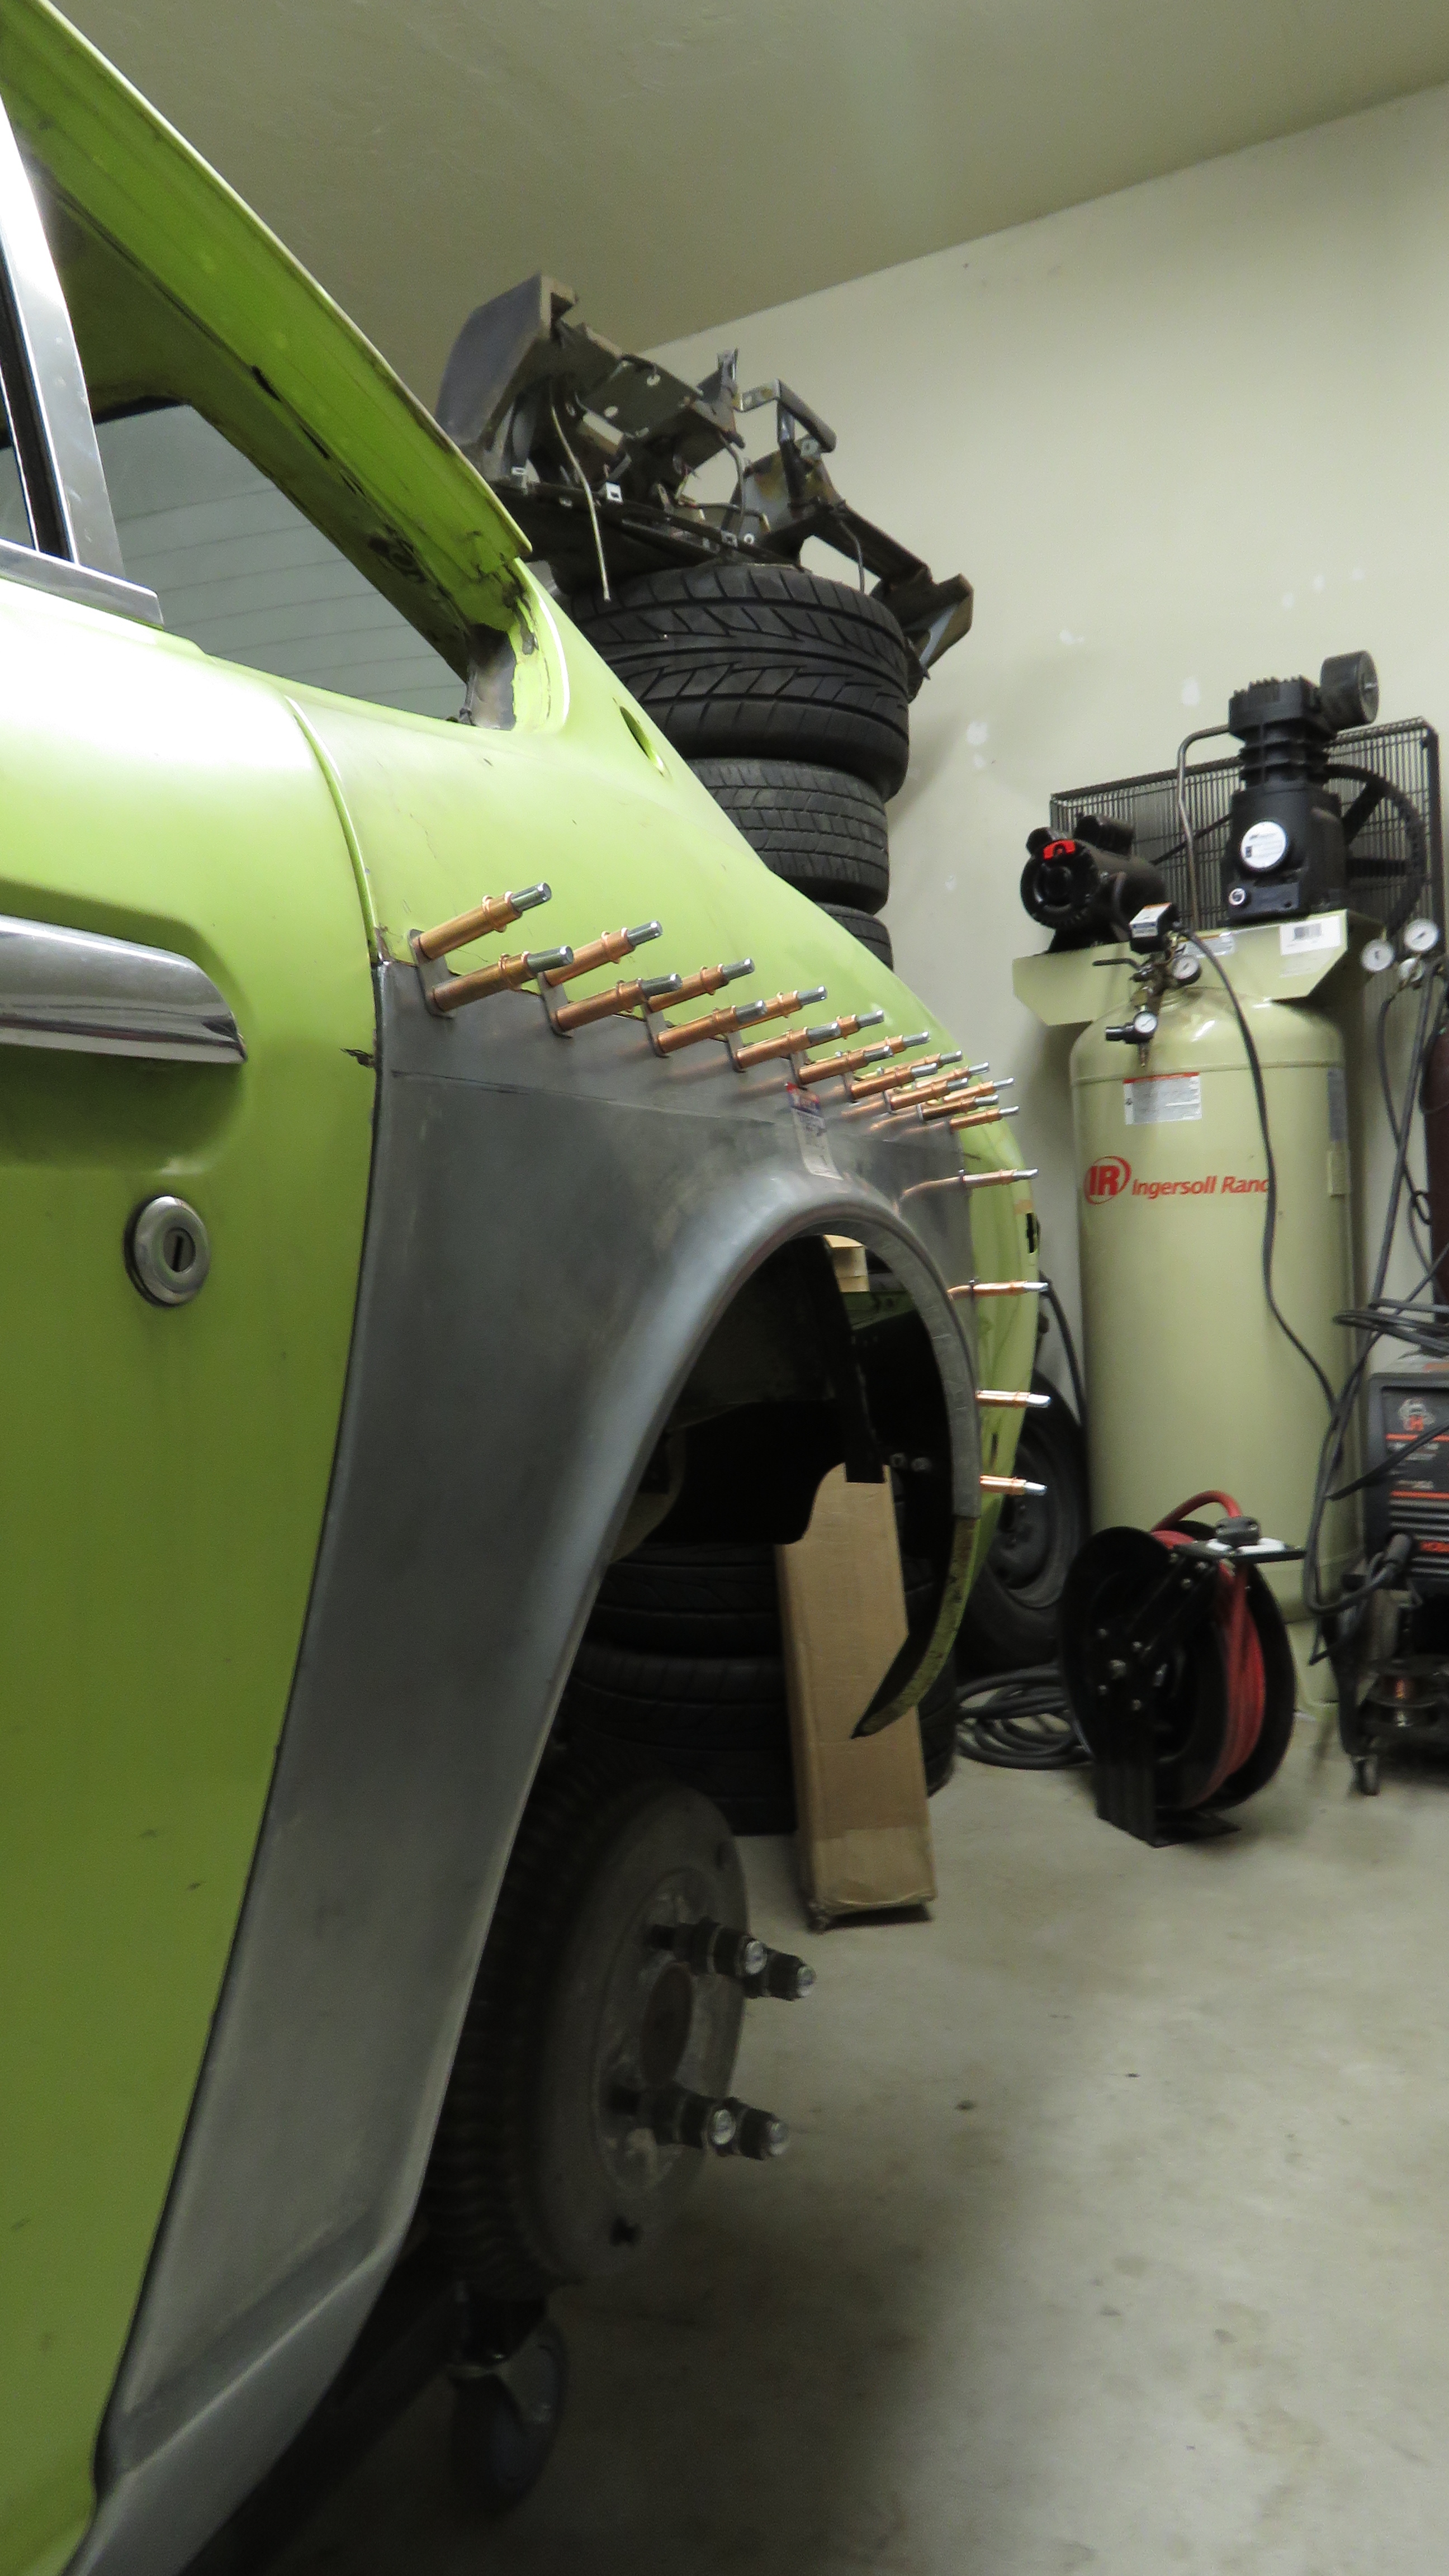
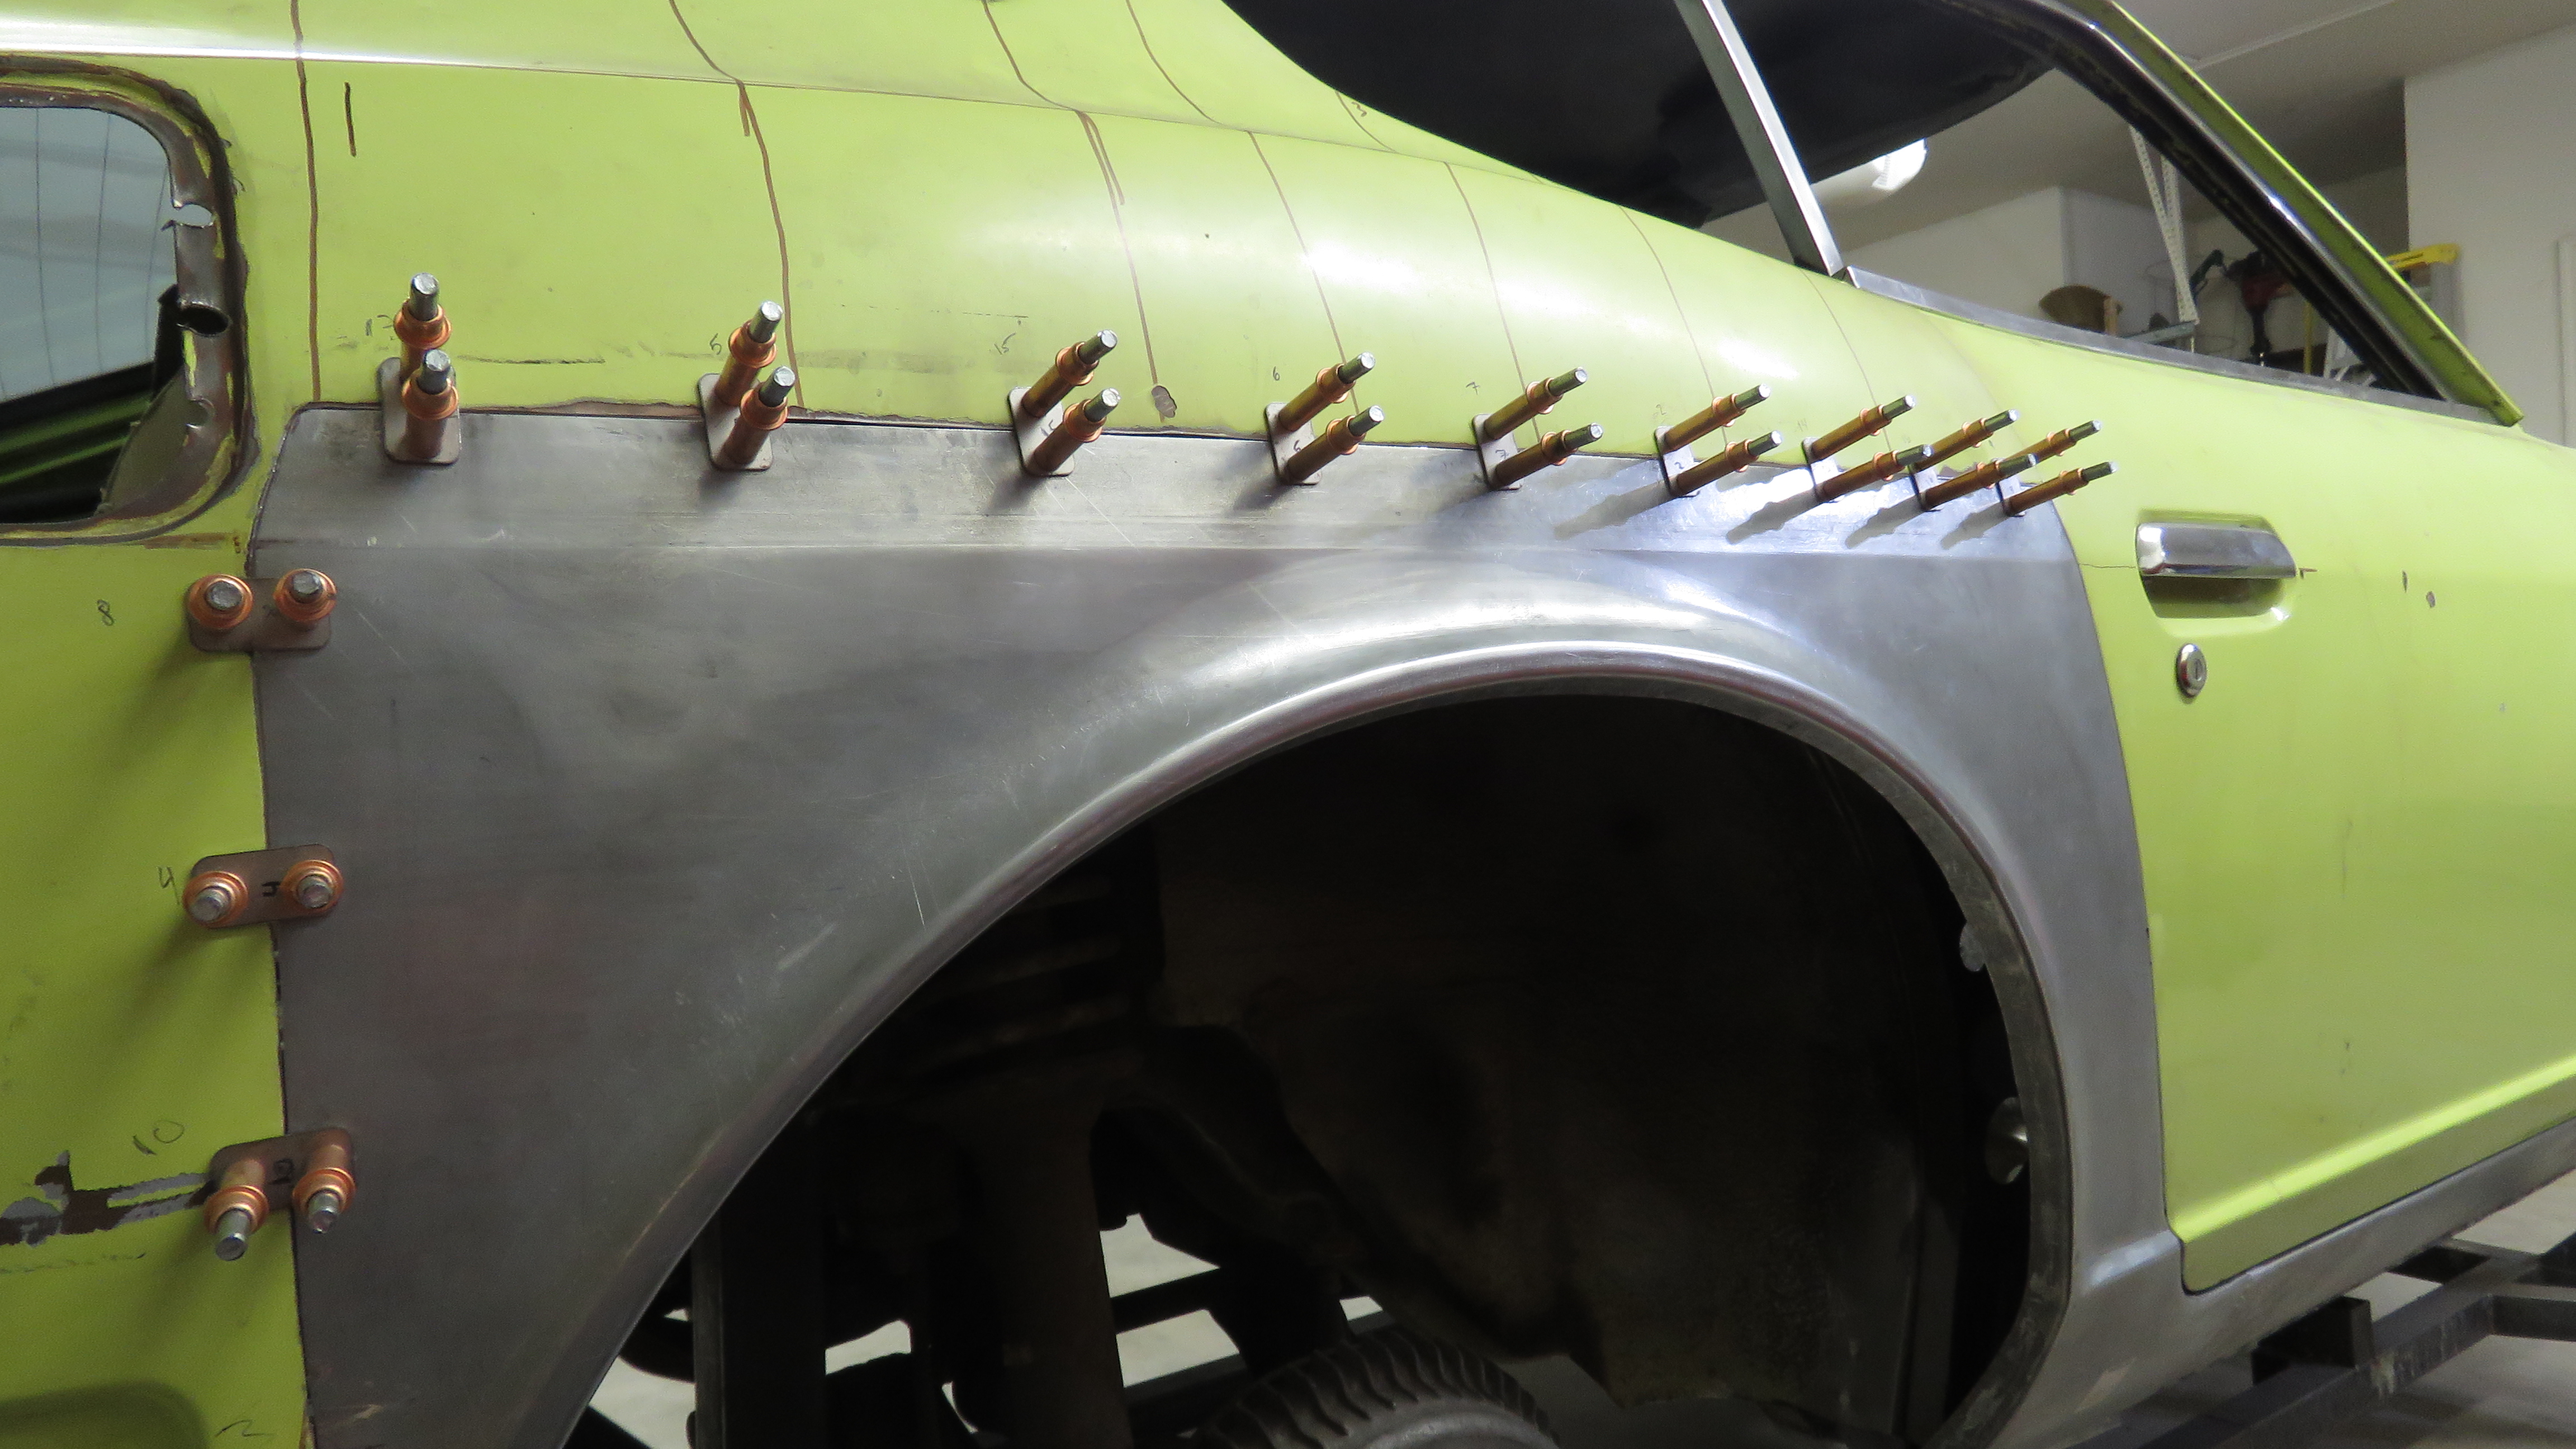
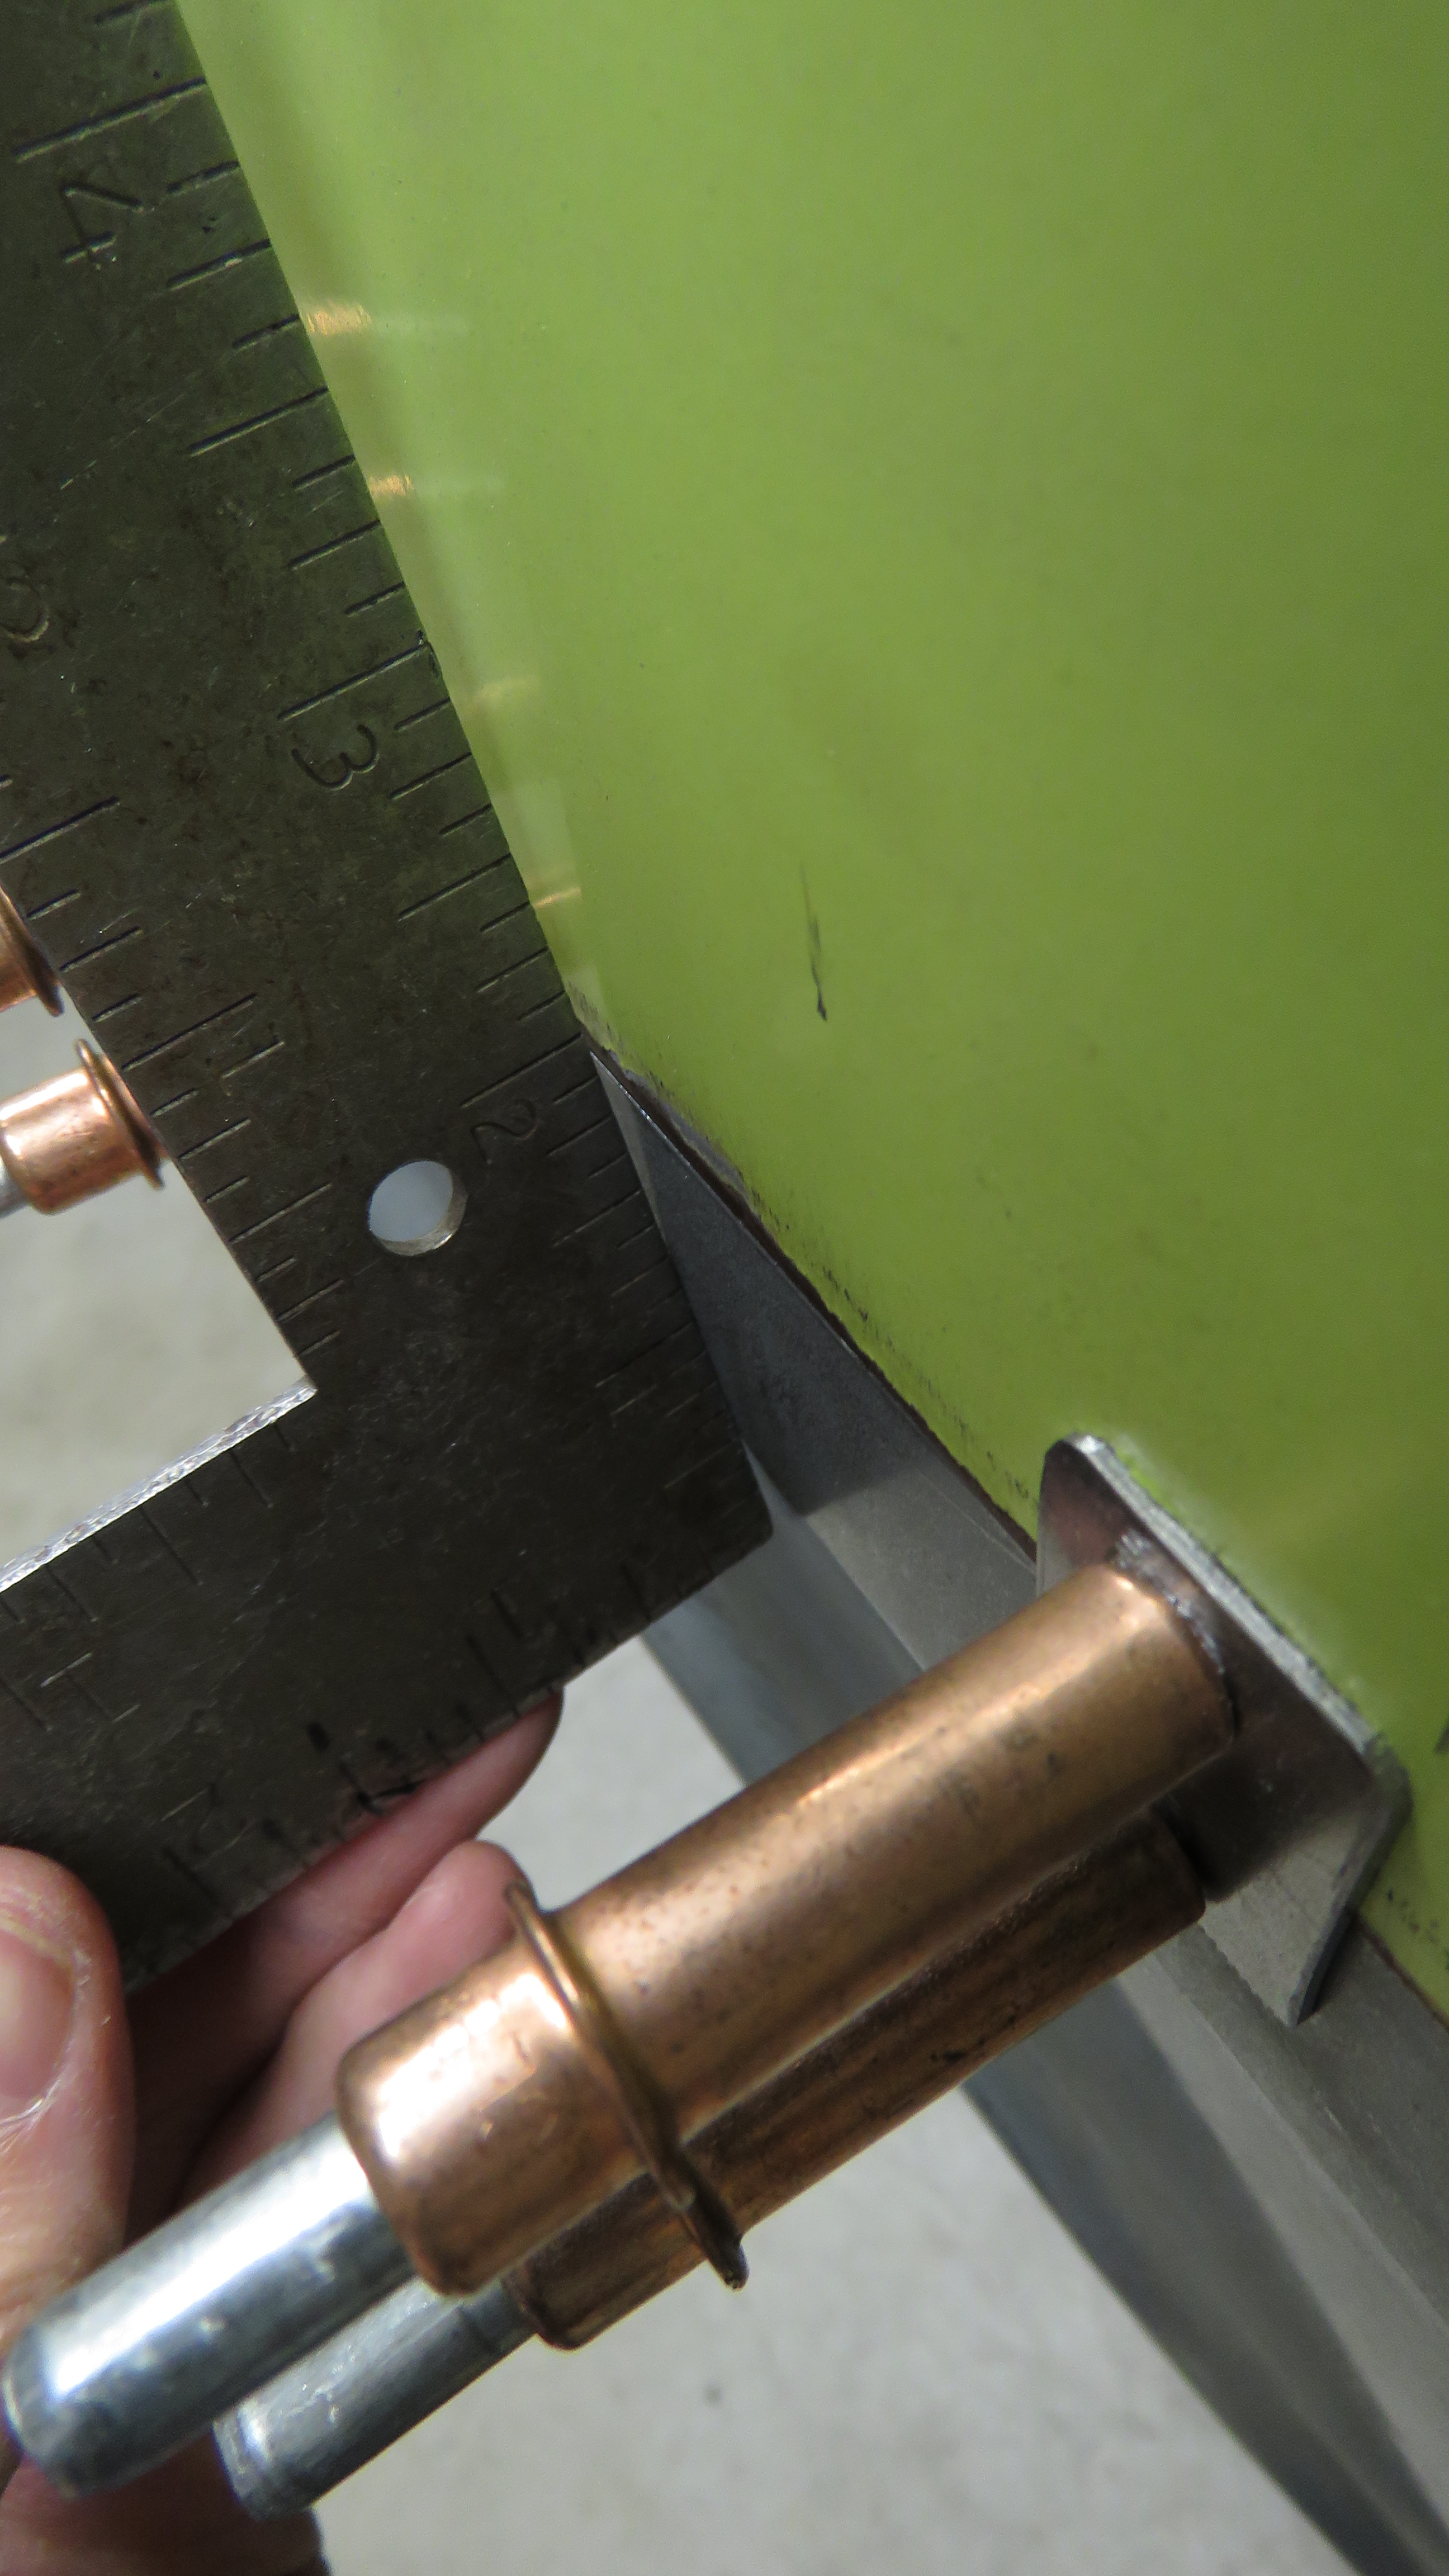
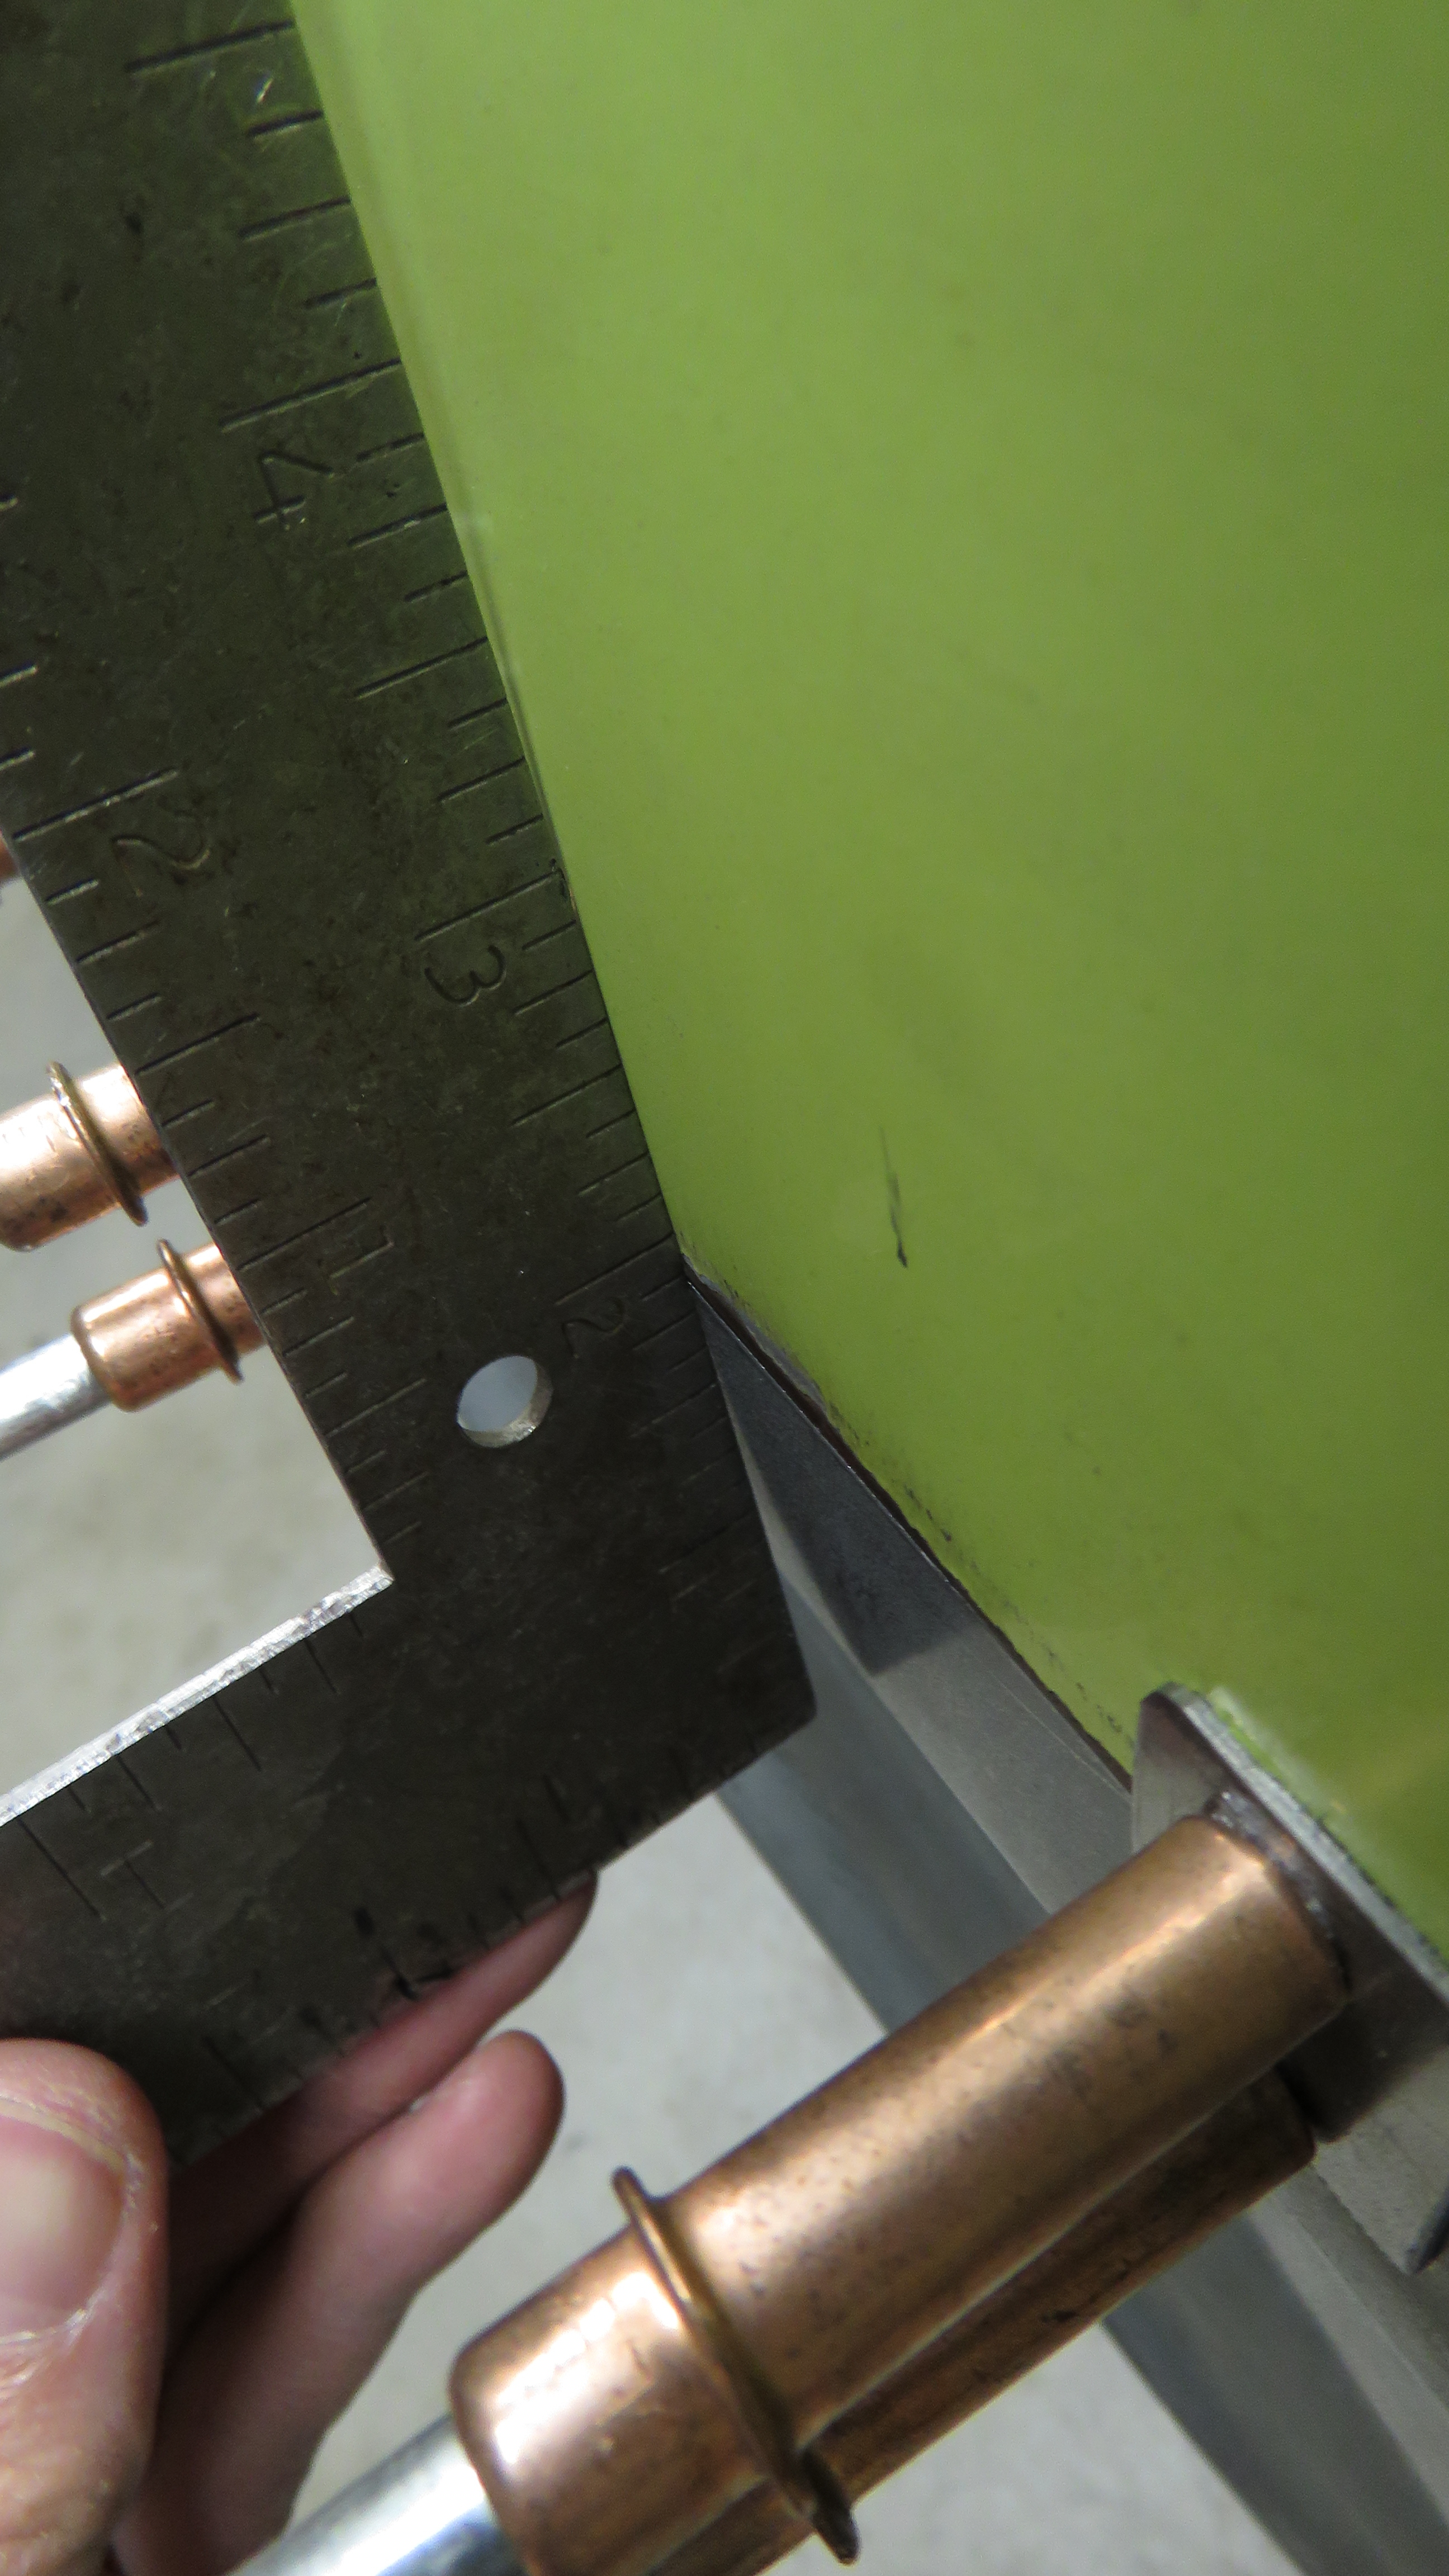
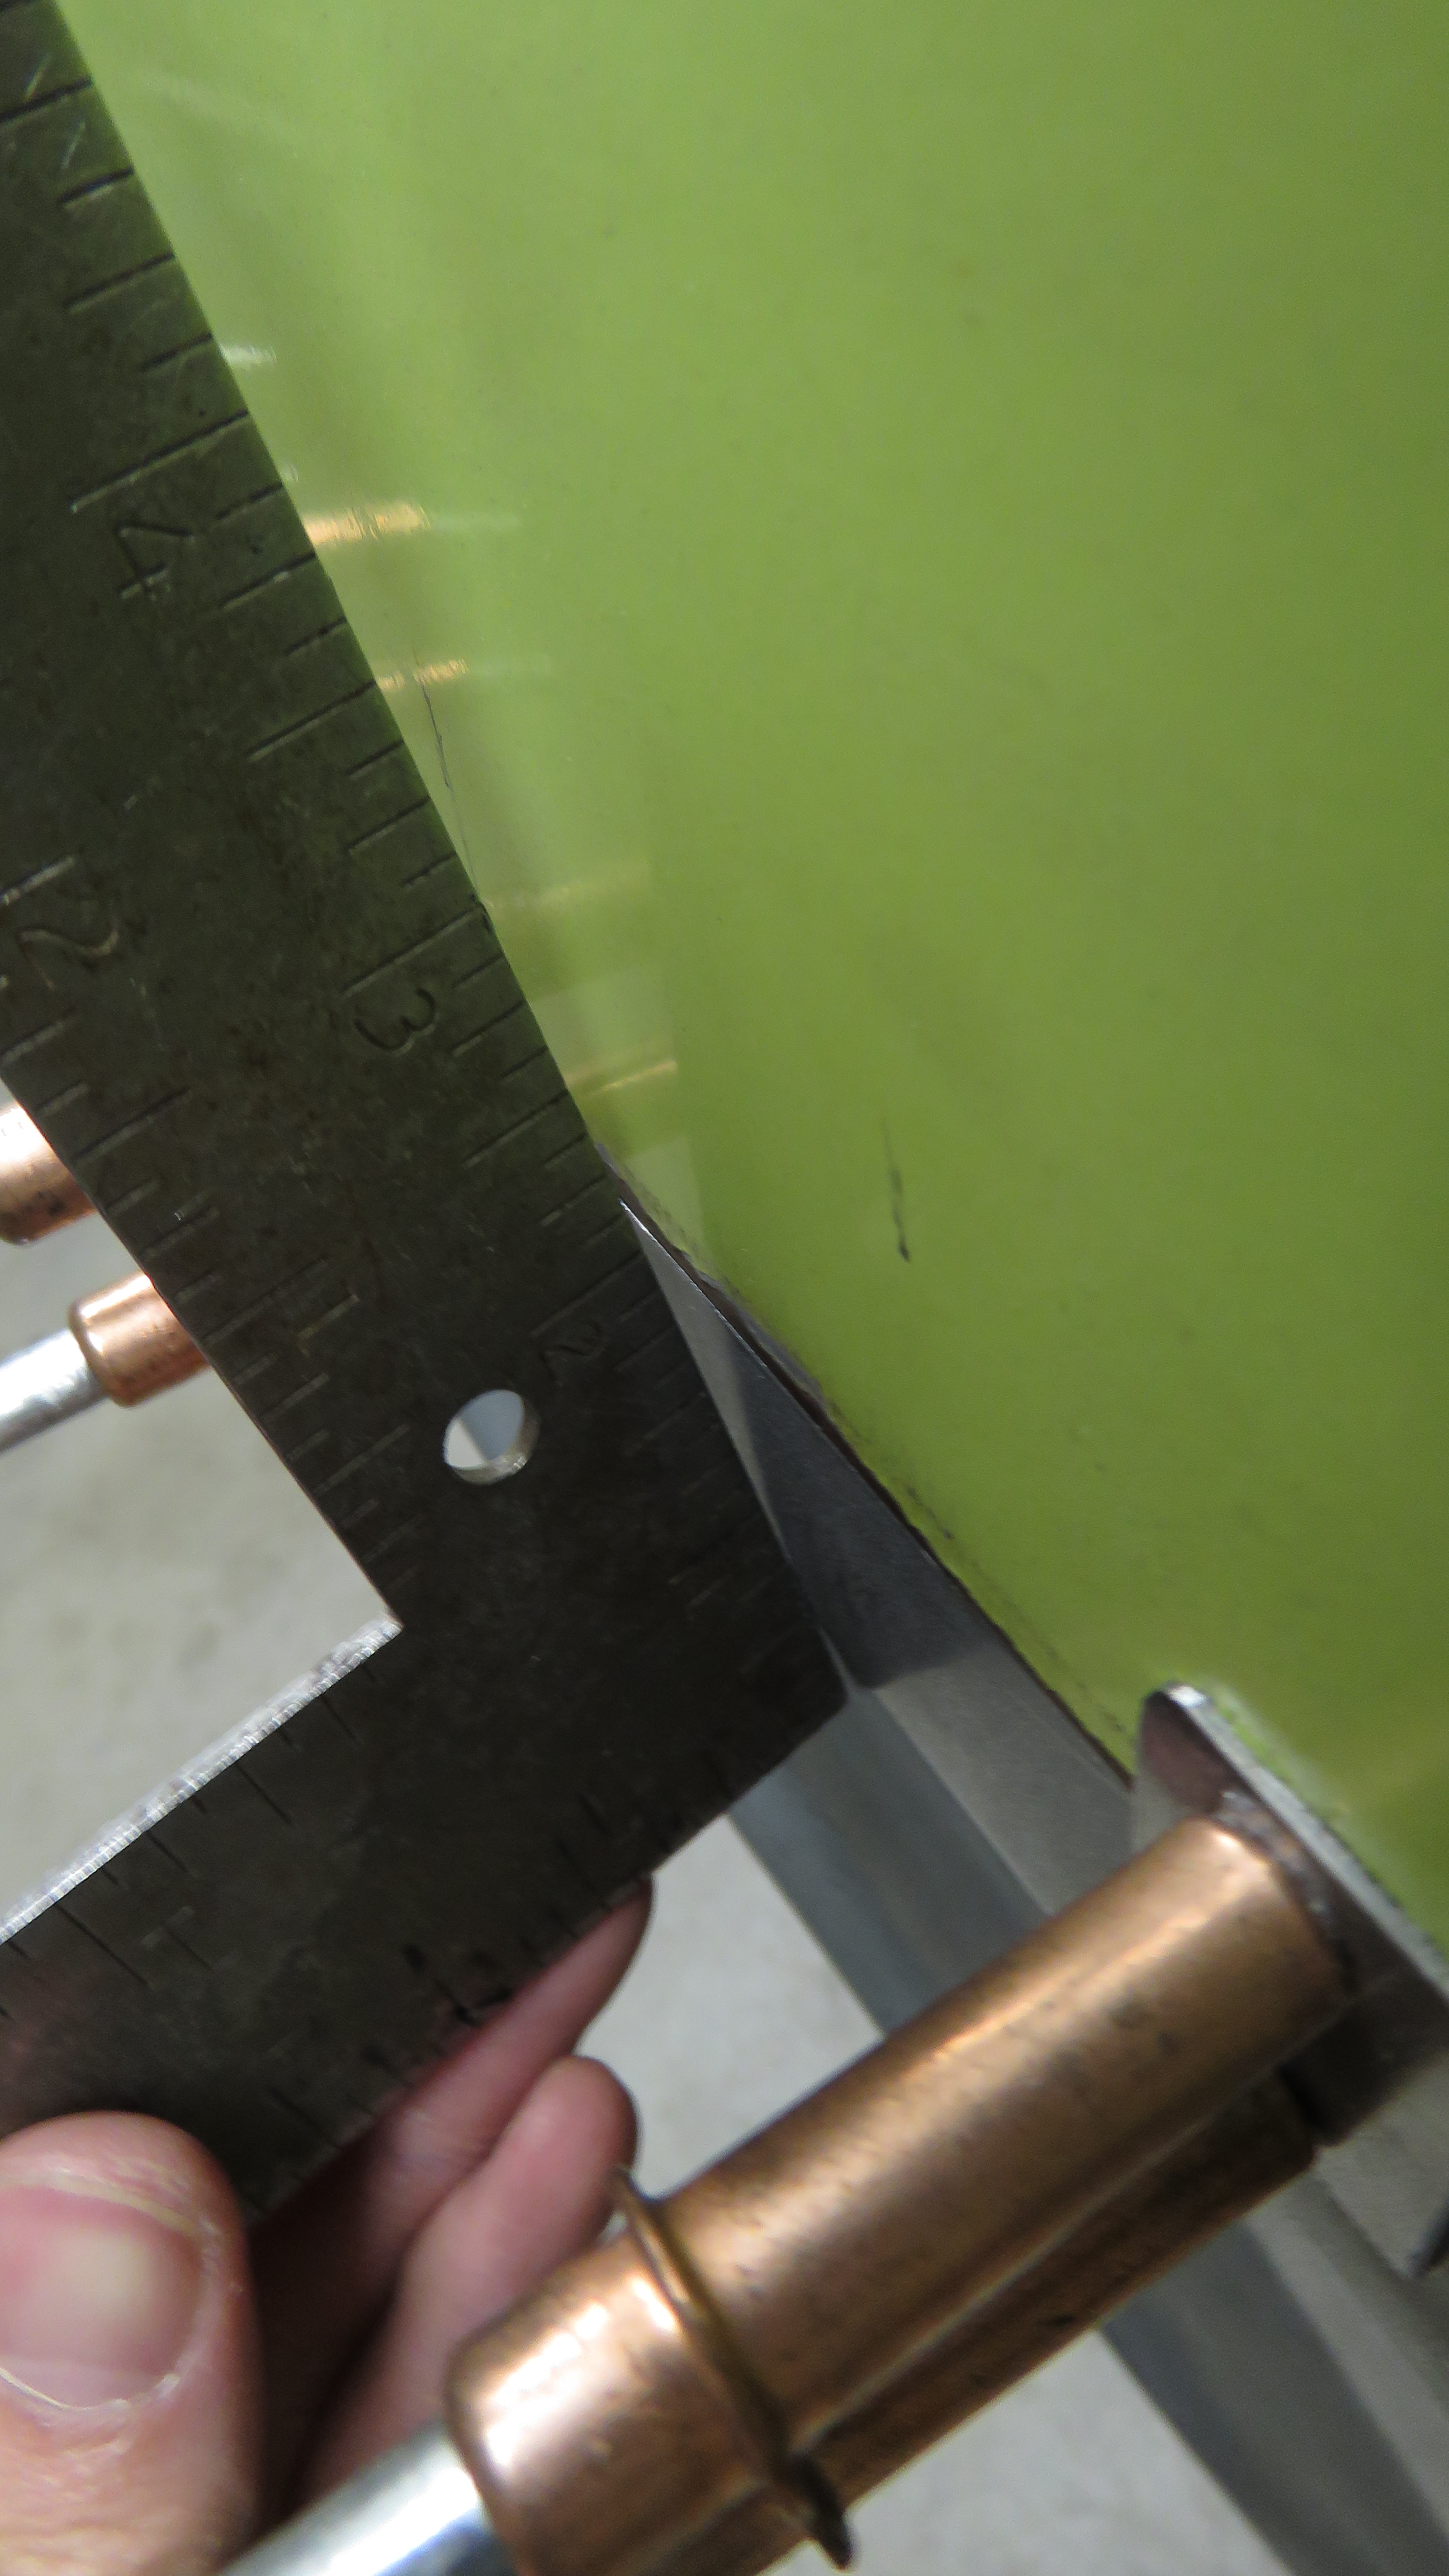
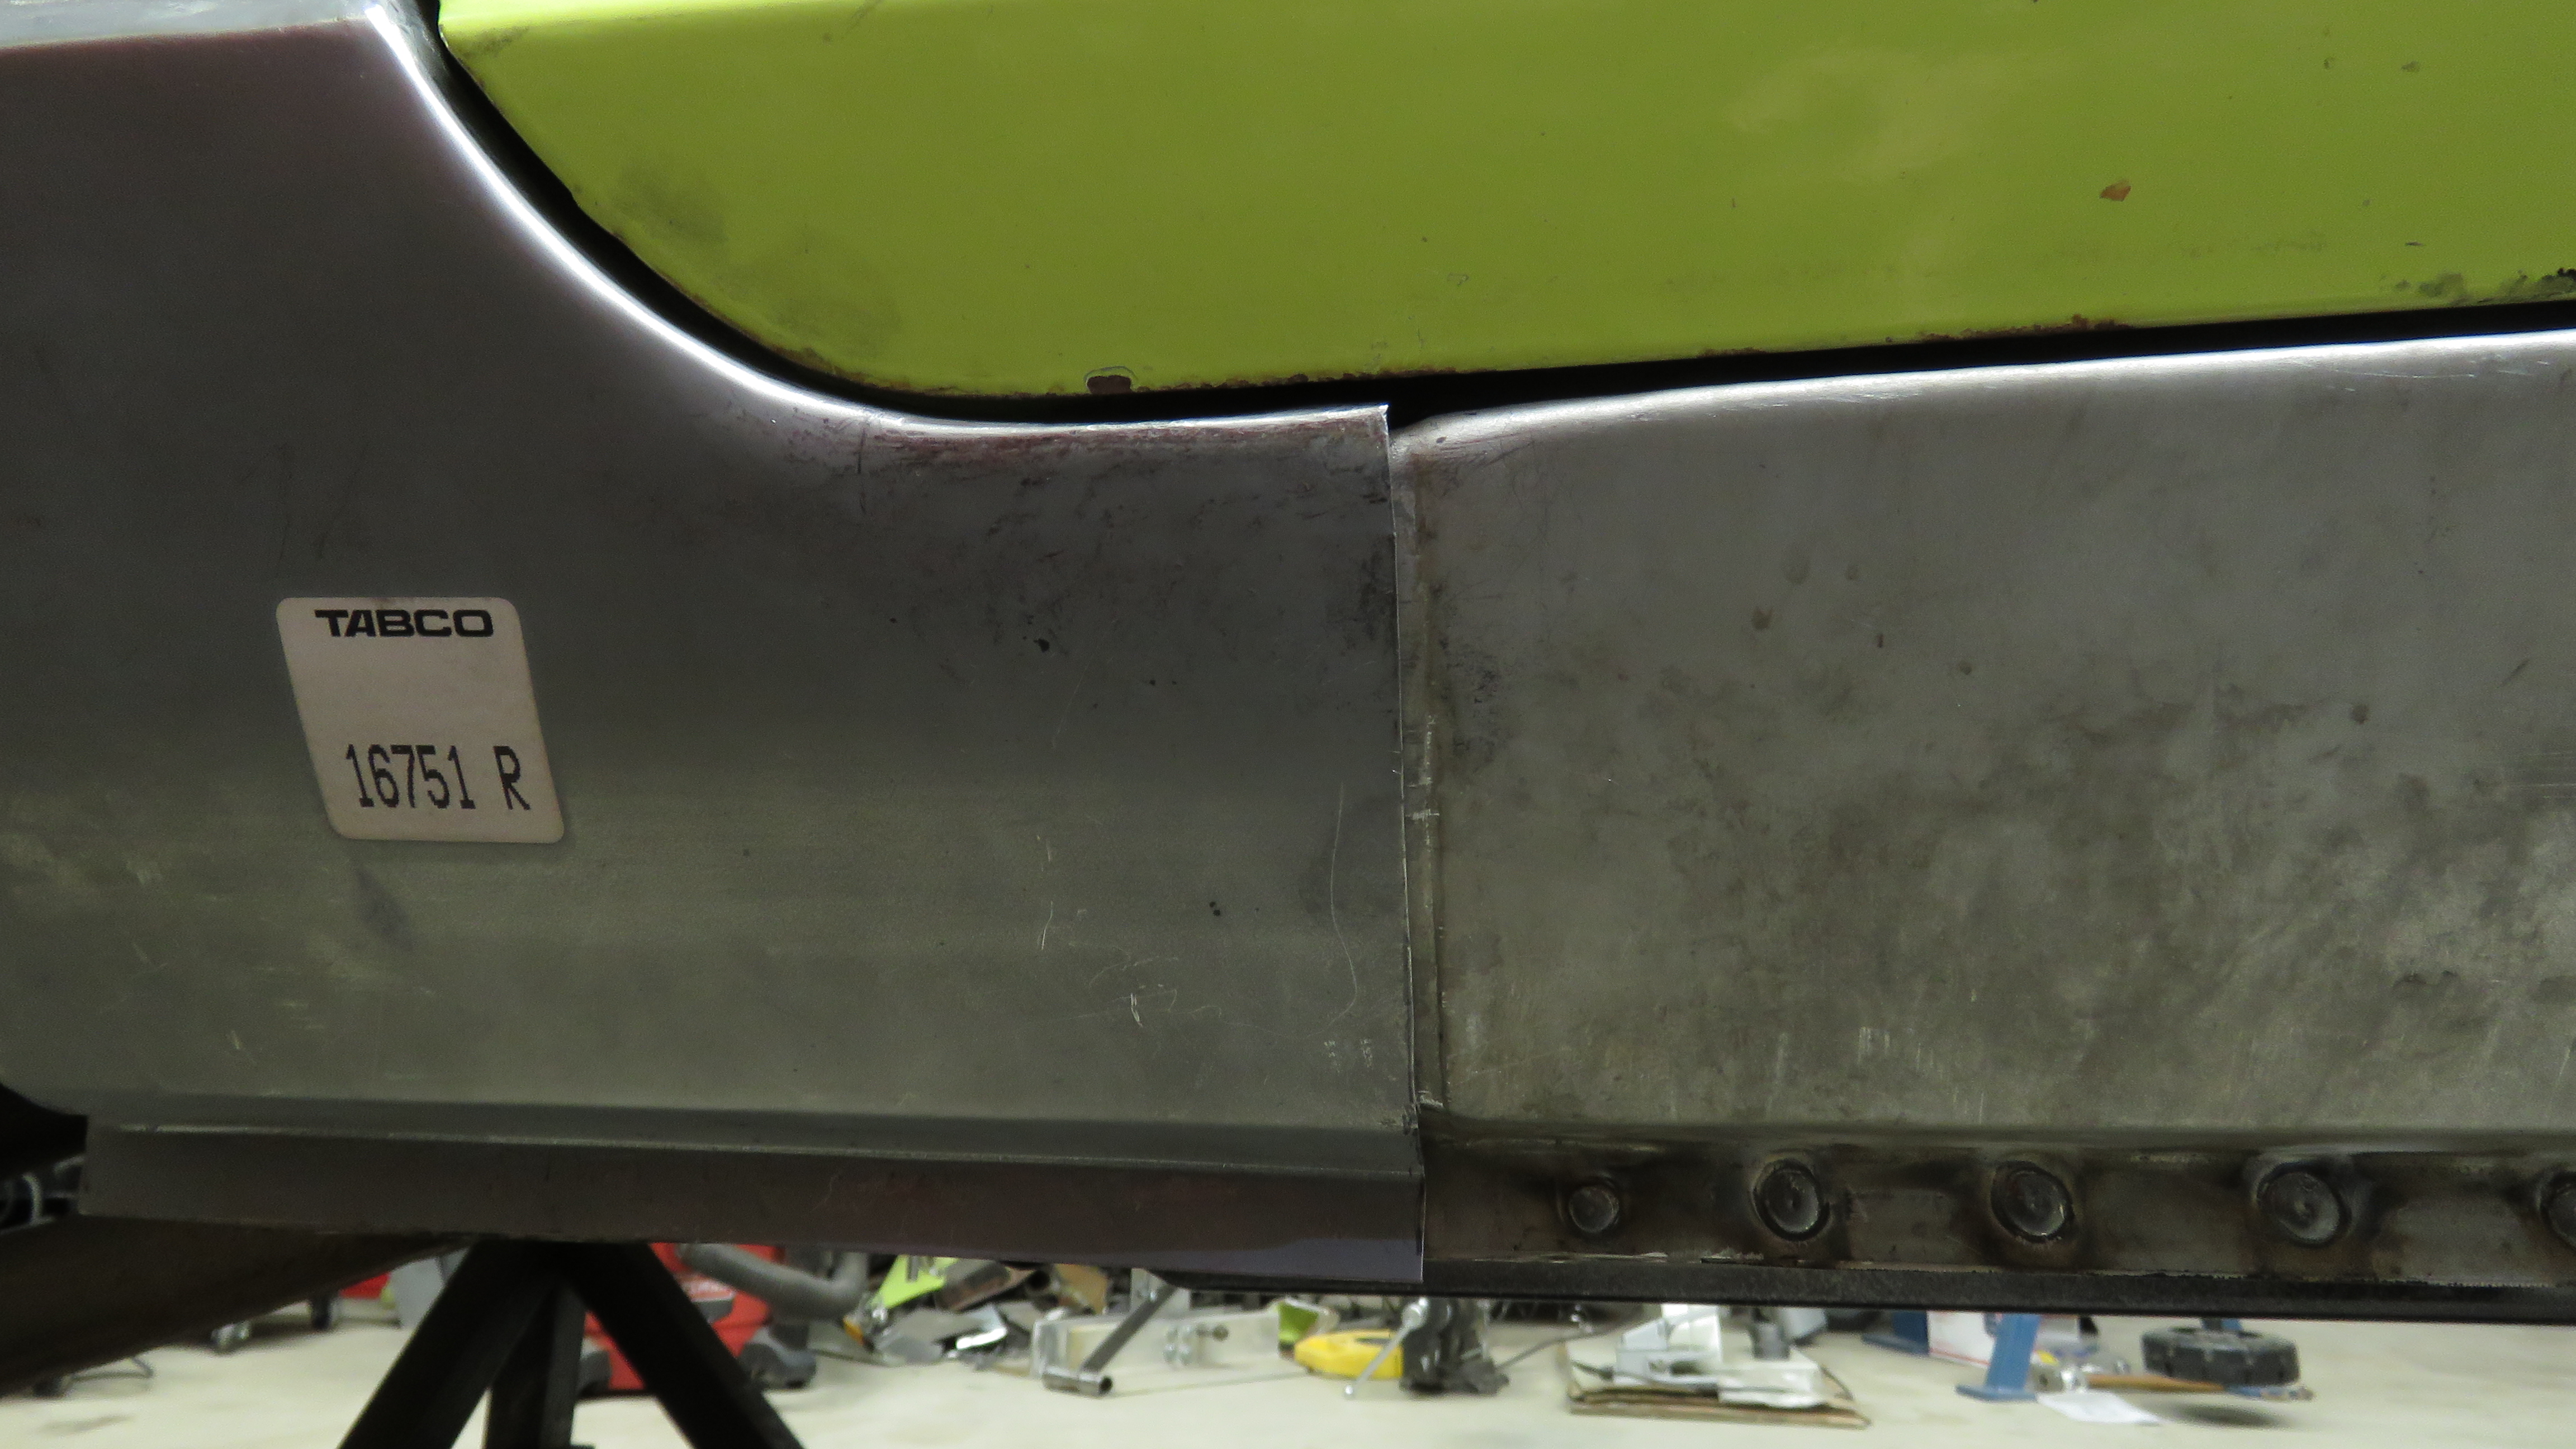
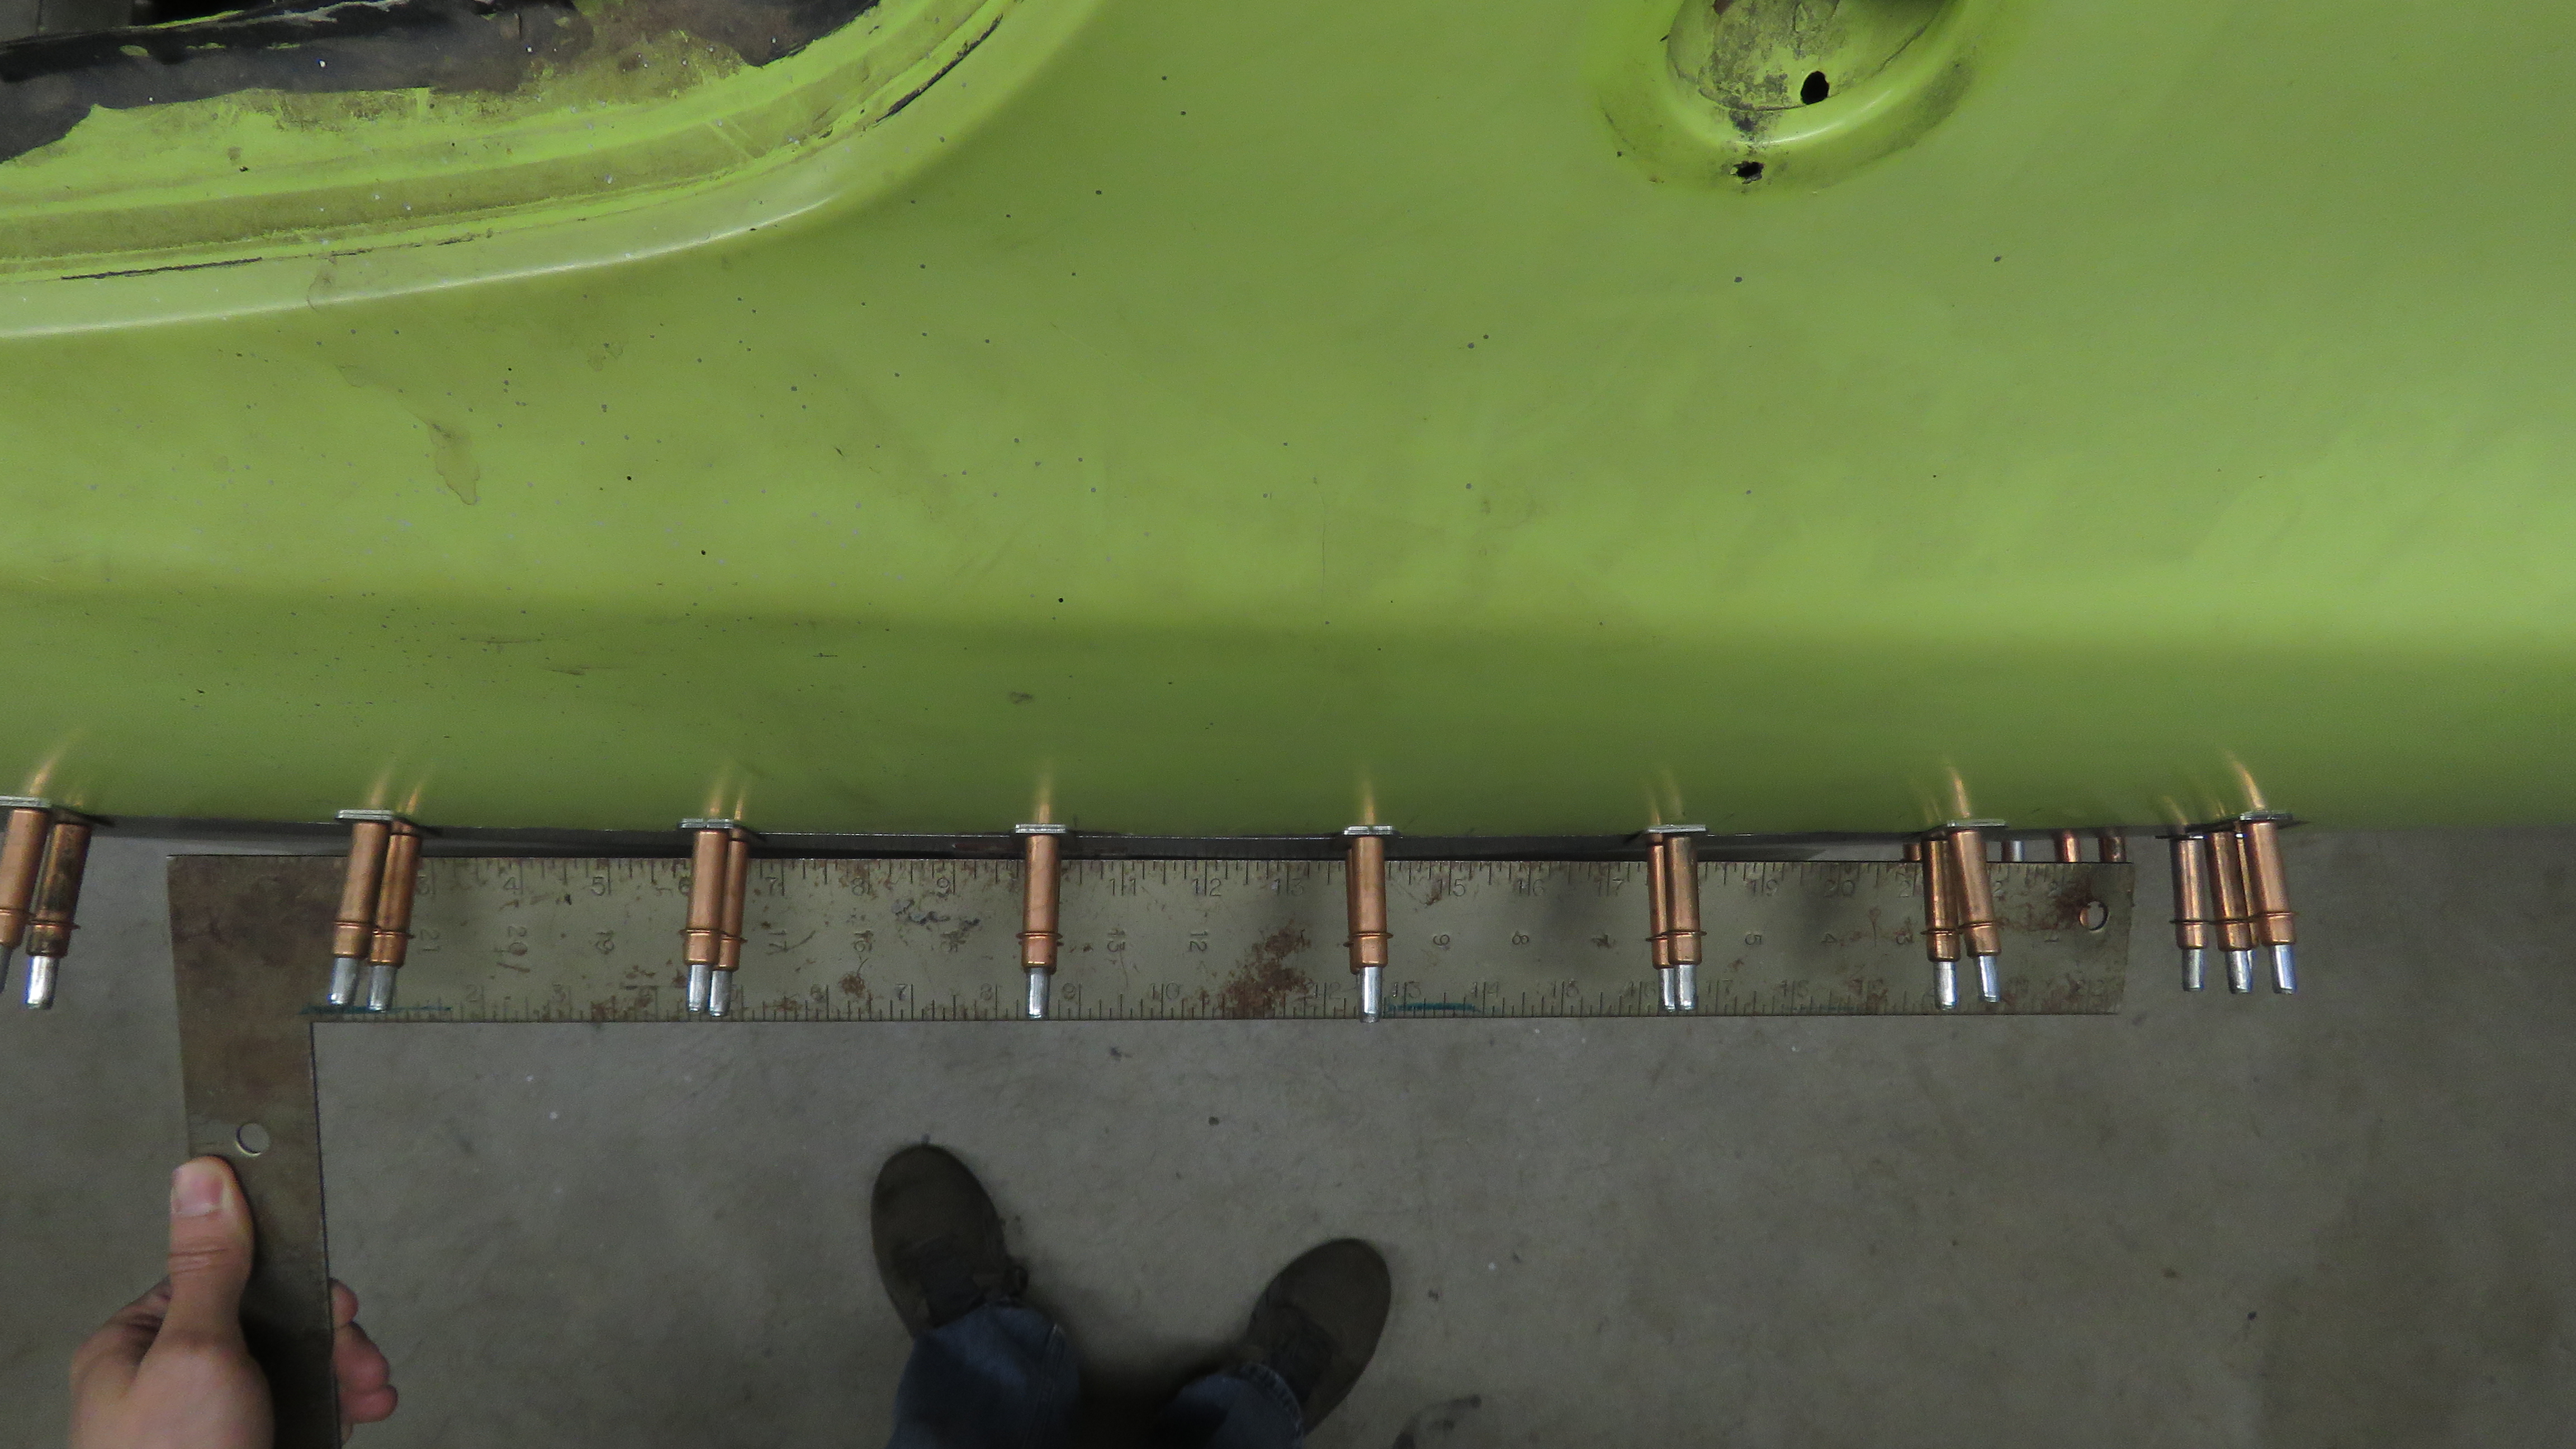
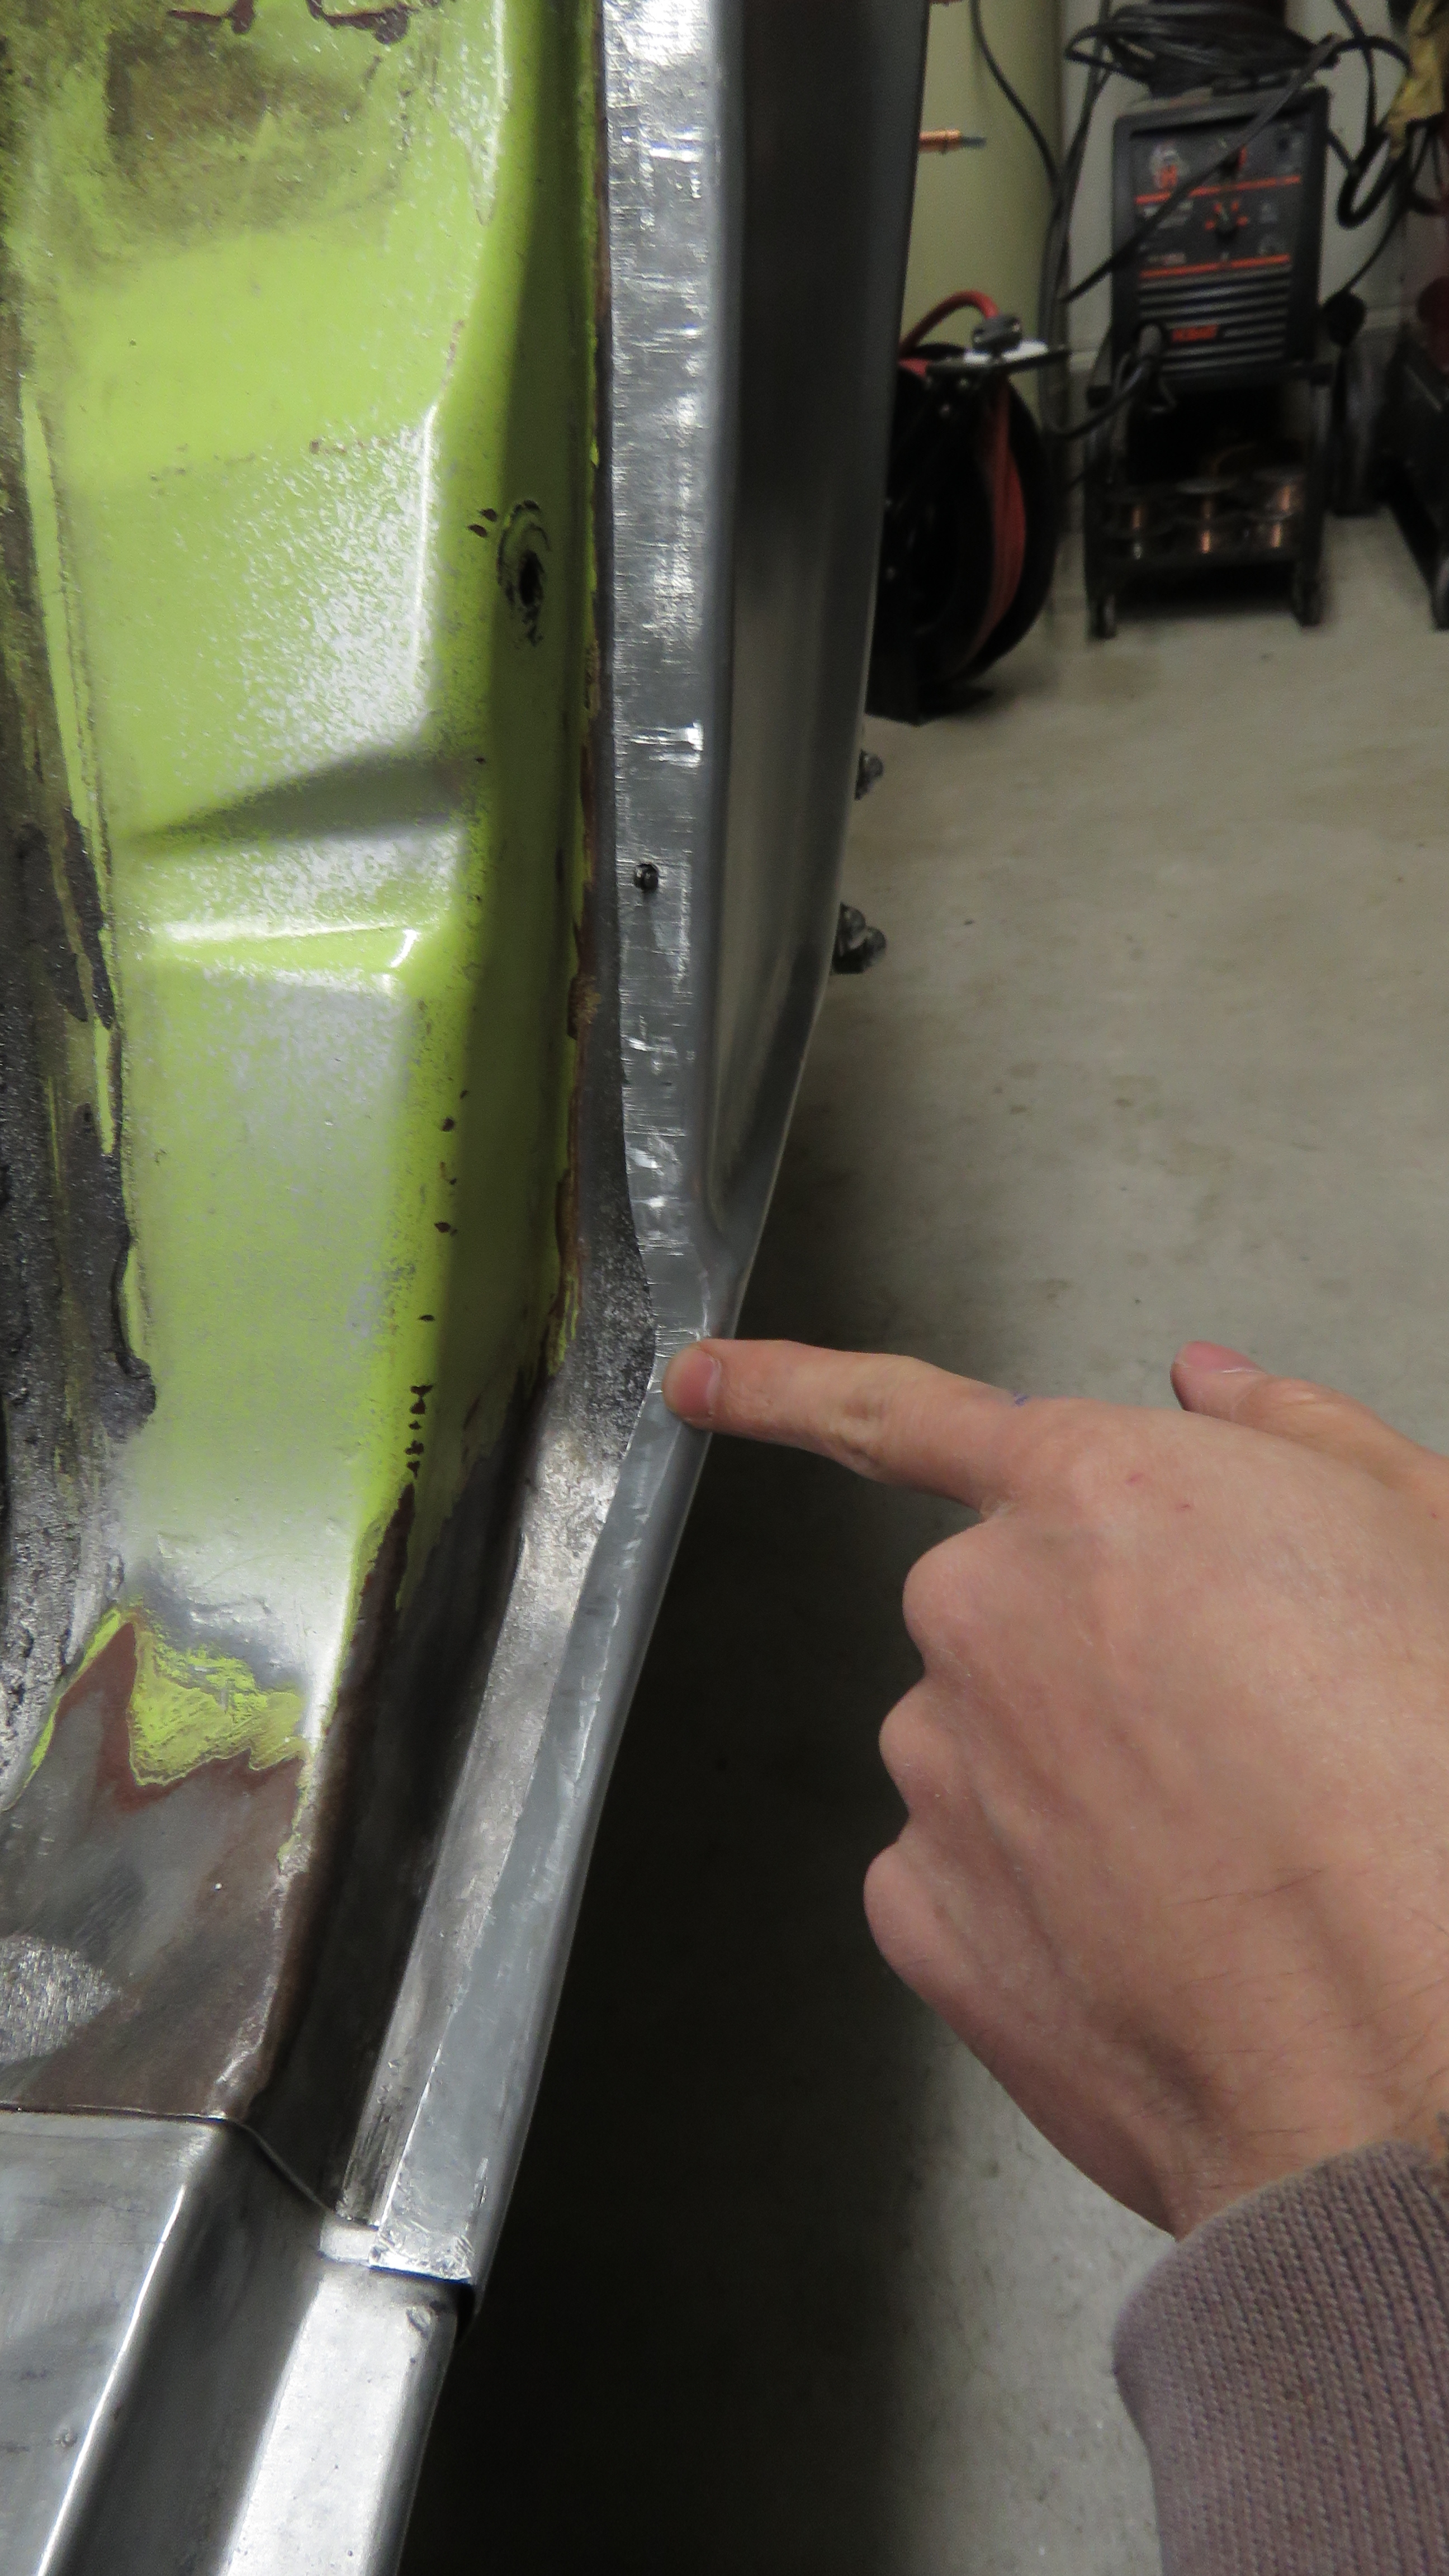
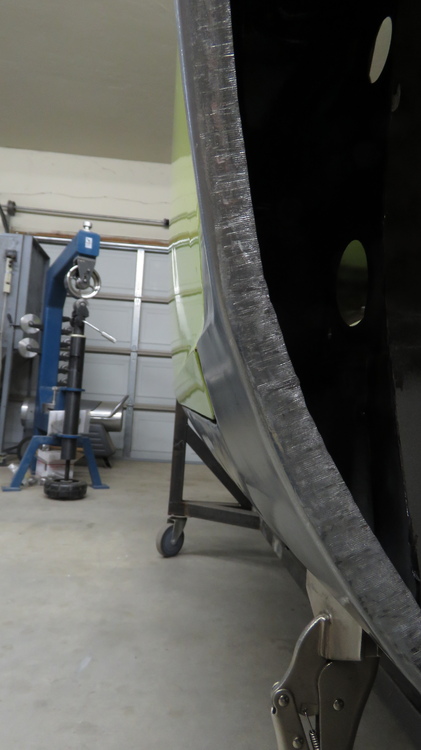
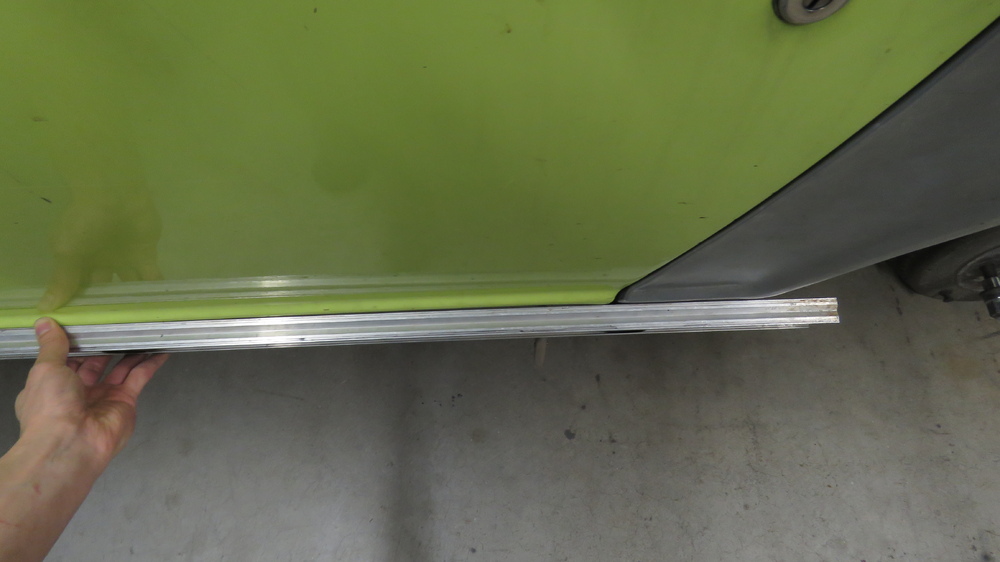
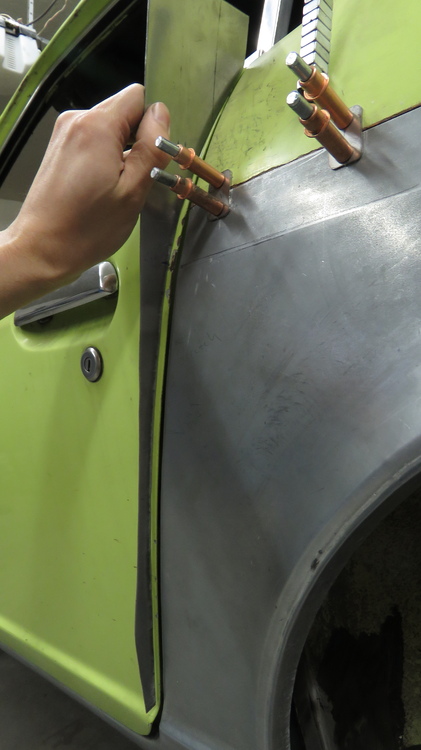
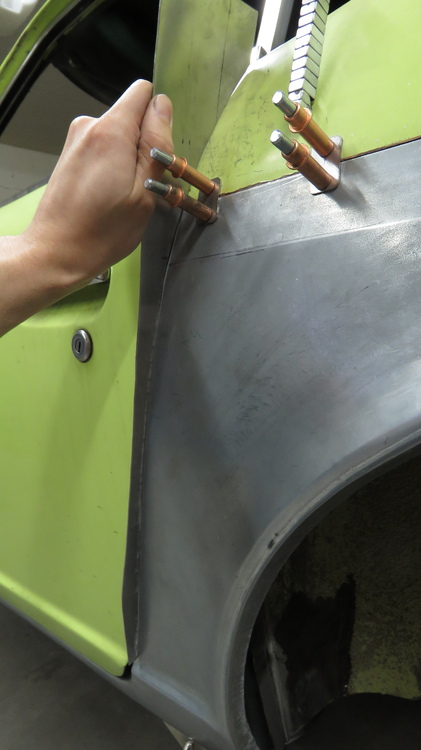
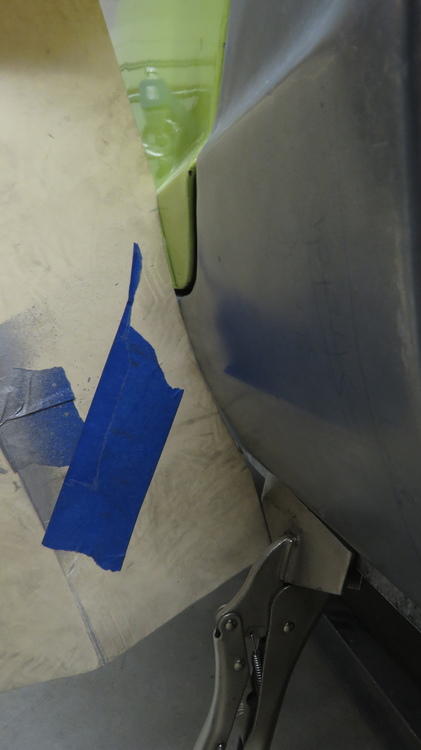
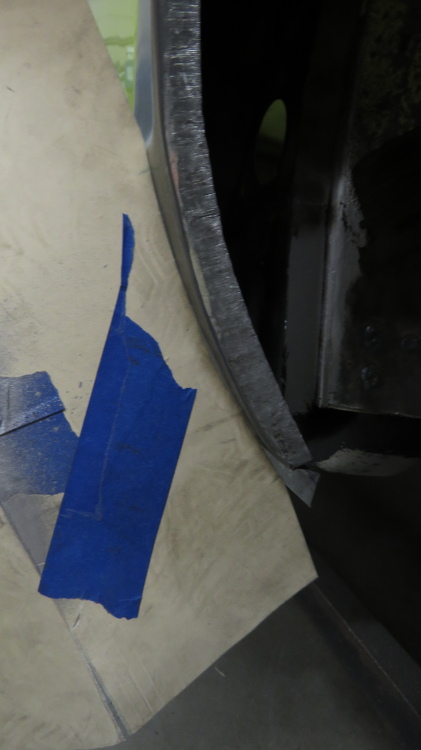
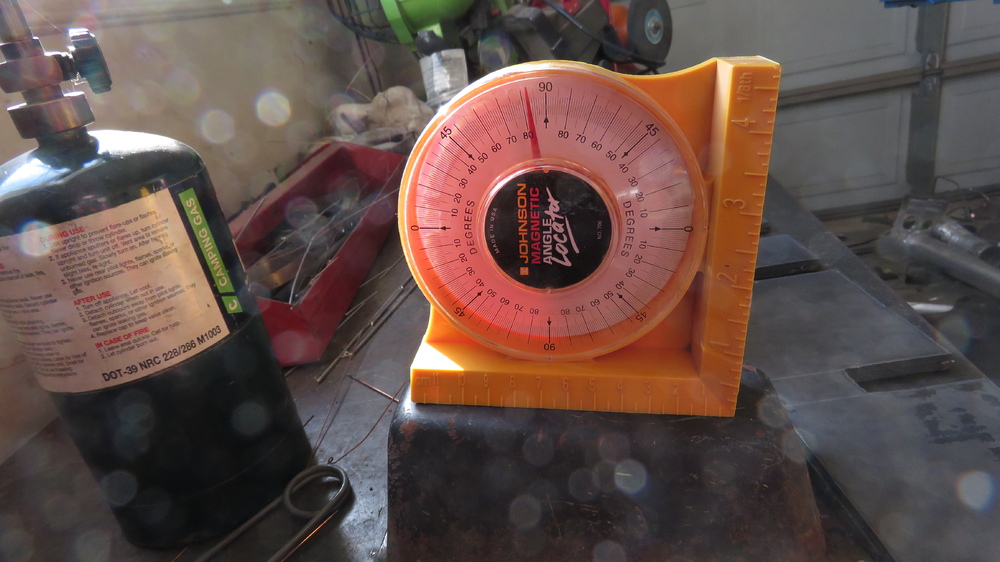
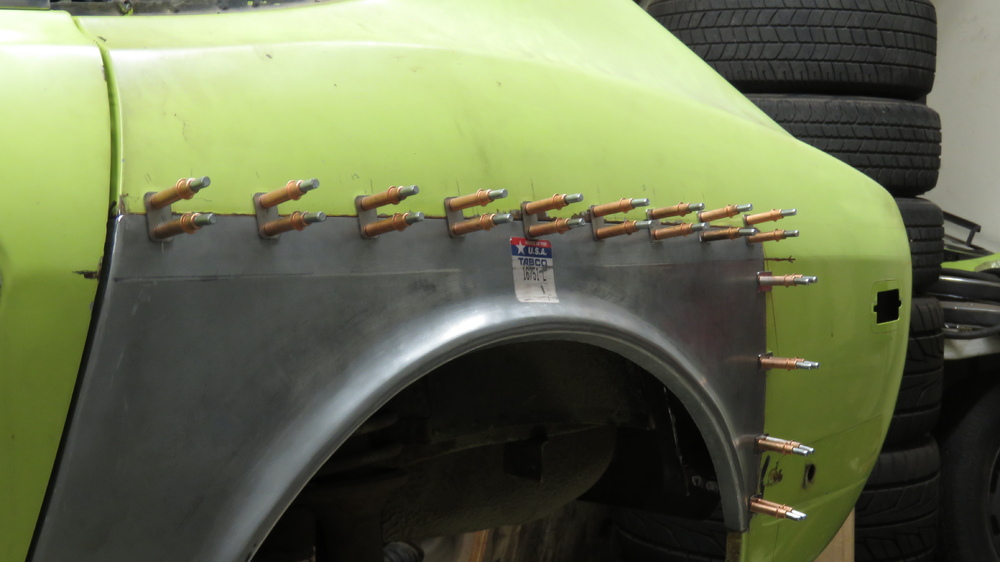
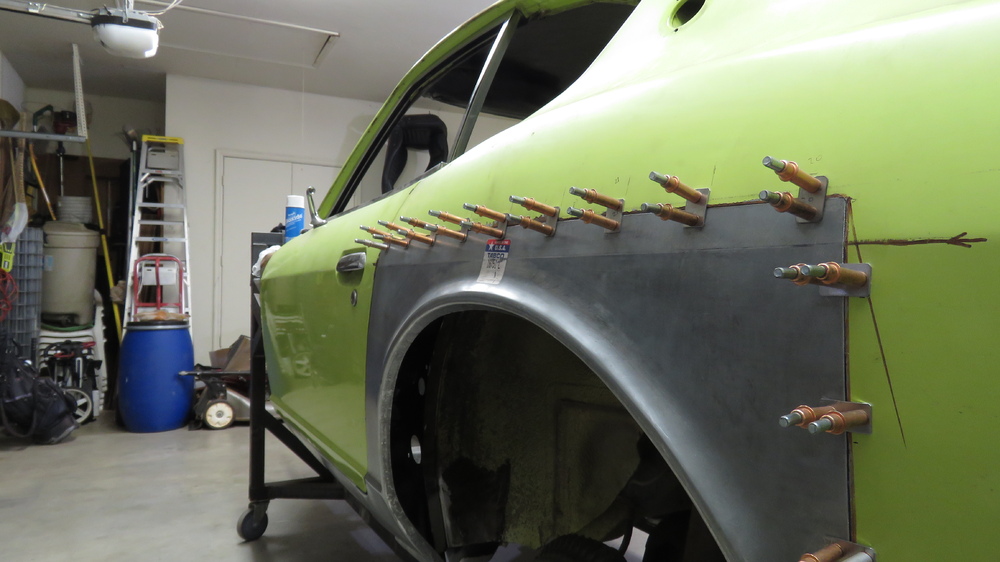
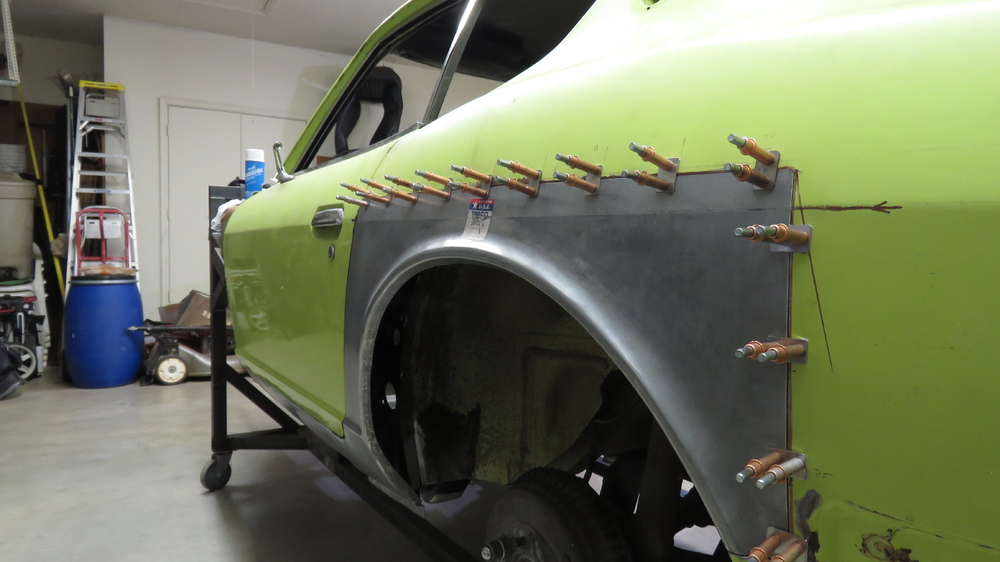
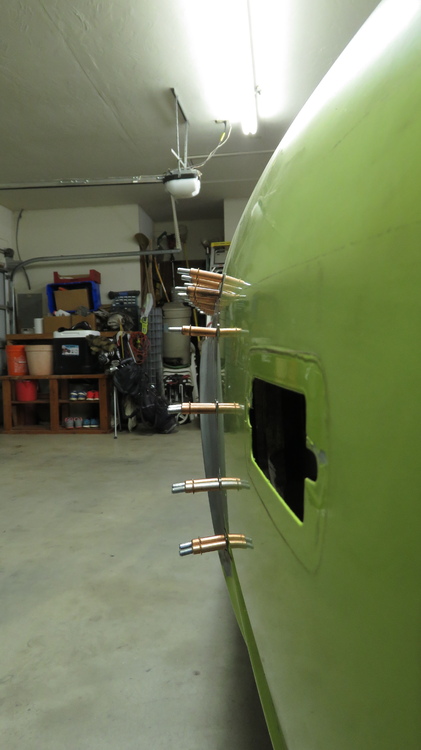
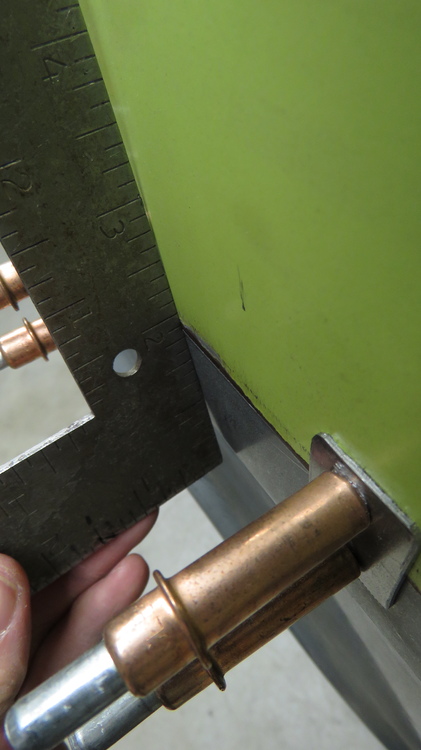
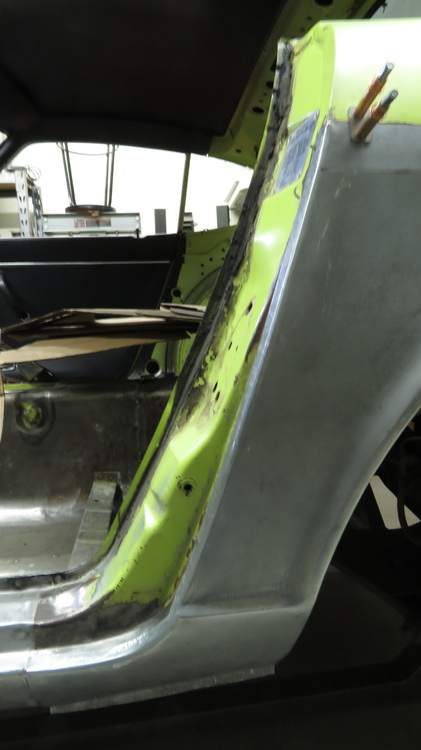
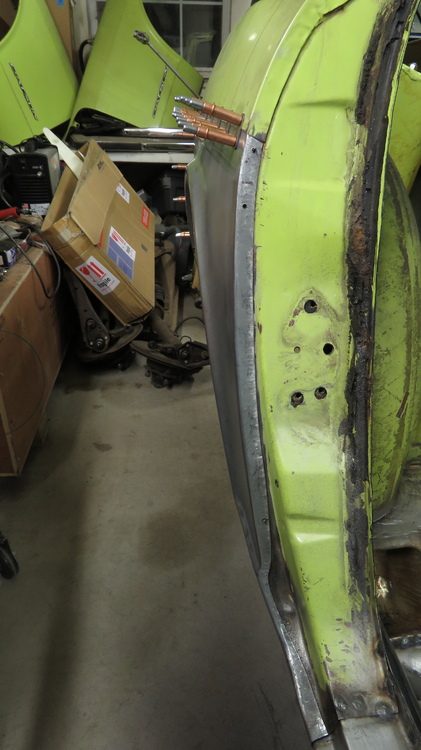
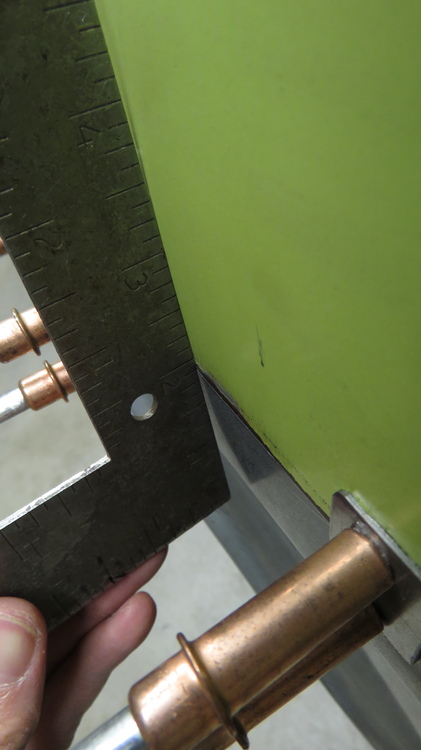
Thanks for that pic and letting me know. Yeah I kind of figured after a while and looking at hundreds of pictures online that it should be straight across in that area. Glad to here my thread is helping you out. I havent been up to much on my project. Been spending most my time working and making replacement inner rocker panels for customers. When I do have free time, I am already mentally and a bit physically exhausted to dig back into my project, just want to relax. I have done some work on my car though. Got the driver side quarter up and fitted. I still need to work on the dogleg area to get it straight, but other than that, they are read to weld in. Will wait though till I get the inner well made and figured out. I reworked the crease, softened it up a bit and blended the middle of it where it peaks with the wheel arch like it is stock. I actually didnnt have to do this as the flares will cover all of it up anyways, but its good practice, good to learn and gain experience. A body shop will have to fine tune my inexperience work with bondo, but shouldnt have to be that much. The more exact you are with your metal work, the less bondo the body shop will use, the goal to achieve when doing stuff like this. Just a tip if none of you didnt know or maybe it isnt a tip, but what works for me. Get a straight edge (i used a 90 degree ruler) and put up against the joints of your panels. There shouldnt be any flat spots or gaps in the straight edge.The straight edge should always be touching the panel at its center point or only be touching at one spot of the straight edge where your holding it. The only area on the rear quarter where it is flat, is at the peak of the arch where the crease fades. Once I get the joints tacked and welded, I will go back and fine tune the joint by hammer and dolly as best as I can. Since I did the passenger side quarter first, I cut the dogleg area of the rocker to short, hehe. You learn I suppose. Will have to weld a new piece on and re cut it, talk about a pain in the arse. Driver side is good! Pictures of the door jam area. One complaint I have is Tabco didnt leave more metal in this area. Deciding if I want to add on extra metal. All for now, Stay Tuned!! Edit: To answer your question about the use of the shot bag on the lower part where the seatbelt pocket is, would be no. I need to buy one though. I have a stool with a soft top on it. Been using that to beat on metal, hehe. Though I dont do much shot bag metal beating. Some of the shape was from the bead roller. I used various dies to bend it into shape. The passenger side, I actually made a relief cut, cant remember off the top of my head, cut excess metal after folding it into position then welded it back together. The driver side I made no relief cut, it didnt fit as good as the driver side. Though I did the driver before the passenger side, which is why. I also used various dollies for shaping as well.


-
Your Tech was right. I had a case once with bad gas, new filled tank. I was stressing out for a couple days on why I couldnt weld. Read online and figured out I just had a case of poor gas quality. Good to know you got it sorted out.
-
Robert, I will be around when your ready for a set of rockers. I used the Tabco outer rockers. Just takes some trimming and a little bit of forming on the lips of the panel to get it to work. The ones I had fit pretty good. The only issue I had with one of the Tabco rockers was a hairline stress crack on a seam. Refer to the last page of my guide, cant seem to find the picture in my image vault on my computer. INTERIOR ROCKER PANEL INSTALLATION GUIDE.pdf
-
Robert, My bad for the late response. Seems to be about what mine looked like but a little bit worse. For rocker tie end panels replacements I make, my concern is how far up does the rust travel on them? Looking from inside the car at each end (front and rear) from the inner rockers, does the metal appear solid, bubbled, surface rust, dark in color rust? If it seems to travel above the top of the inner rocker panels, then I may need to give you extra material up top on the tie ends. However from what I can see from the pictures you provided, that area still looks healthy and the rust seemed to stay at the bottom of the rockers, which is a good thing, in terms of replacing all that. I can also tell just by looking on the outside too, that it seems to be fine, but I may just give you a little bit extra material up top just to be safe. Id be up for making you a full kit, just let me know. Keep in mind though, I am working a lot at my job, so getting your parts may take a week or week and half before shipping. So I would allow you some time for me to make and ship to you before your ready to work on it. Also once you remove the rockers, id look up from the bottom up into the front door jam structural beam thing (not sure what its called), where the door hinges bolt too. Hopefully the inside isnt all rotted. Mine wasnt and all i did was spray it with POR15 prep and ready, degreaser, wash it with water up inside as much you can, then go to town with rust preventive paint. Let me know what else you have questions about.
-
Id be interested in reading the research paper as well!
-
Haha yeah, Just always thought that 280z's in general were always less than 240z's when it came to being rusty. Thanks for the heads up, well worth knowing this to anyone wanting seat brackets. As of now I dont have anything to offer to the 280z crowd, would require me to borrow someones car or get my own. The 260z's I have no idea about, way beyond my guru knowledge as how identical they are to the 240z's.
-
Oh WOW , a lot of the ones ive seen looked to be in decent shape. Seems like they rust just like the early Z's.
-
Thanks, Id like to get to know the 280z better to help that crowd out with replacement panels, but I dont own a 280z. Also I am not sure how rusty they often get compared to the 240z.
_rear-right_Toyota_Automobile_Museum.jpg.ffc3ca214401b4252a9692670e98bab7.jpg)