skillinp
Free Member
-
Joined
-
Last visited
Everything posted by skillinp
-
 Man, EE was definitely one of the tougher classes for me in college, and it's still intimidating! However, I think I understand you here. Is that anything to be worried about, do you think? The part in EE they never explained (annoyingly) was what the real-world consequences would be for various scenarios, like this one. Thanks!
 -
I'll have to check that out, thanks for the reply!
-
Hi! I was having some trouble with my left headlight being really dim compared with the right hand side (yet according to my multimeter, the connection was still pulling 12V), so I looked around and found it might be a fuse problem or a ground problem. I looked here: http://www.classiczcars.com/forums/electrical-s30/4684-fuse-box-73z.html Found the fuse that I needed to check, the upper right hand one. I pulled it and just for kicks, turned the lights on. Nothing changed. I still had the dim left hand light. Um wat? Put the fuse back in after dusting if off with my fingers, the light is now 100% But I think that the fact that the left hand light still worked, albeit at only partial strength, must indicate something else as being wrong. How could the light work at all without the fuse? Should I be checking for crossed wires or something having melted? Thanks! Paul
-
-
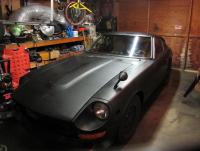
This will probably be the last update for this specific issue that I will write. The car is basically finished. Everything is wrapped, and tonight I'm reattaching my fiberglass bumpers which I painted glossy black. In a few days, I'll be getting the rest of the interior body panels put in place with plastic rivets, though I'm not really sure if that's what I'm supposed to use... I guess it was what was there before so it should be fine. The driver side door is hanging kinda low, I tried a couple things, but none of them fixed it I need to clean it both externally and internally, there is some grease and silicone on the outside that will be fun to remove. I somehow lost the right hand fender light (turning signal I guess?), so unless I find it soon, I'll be ordering a new one. Same with the plastic bit that connects to the rod for the passenger door's door handle and the latch. I used this 3m spray that's supposed to be good stuff, but it left a mess all around the areas I used it, and it doesn't seem to hold the weatherstripping in place like I had hoped. I might need to reapply something else instead. The hatch lock isn't in place correctly, but I'm not too worried about that since I'm going to re-key all the locks soon anyway. That'll probably be the next step, actually. After that, maybe some new tires and wheels, or brakes, or an MSD ignition system... maybe even fender flares and an BRE spoiler. Anyway, here's how it came out:
-
Sorry for the late reply, for some reason I didn't get a notification of your reply to this thread. The single piece from MSA (the one that was from precision origionally) was too long, I had to cut it back by about two inches on each side of the hatch. The three piece fit perfectly, but again, that was a problem because the middle third was all messed up.
-
-
-
-
-
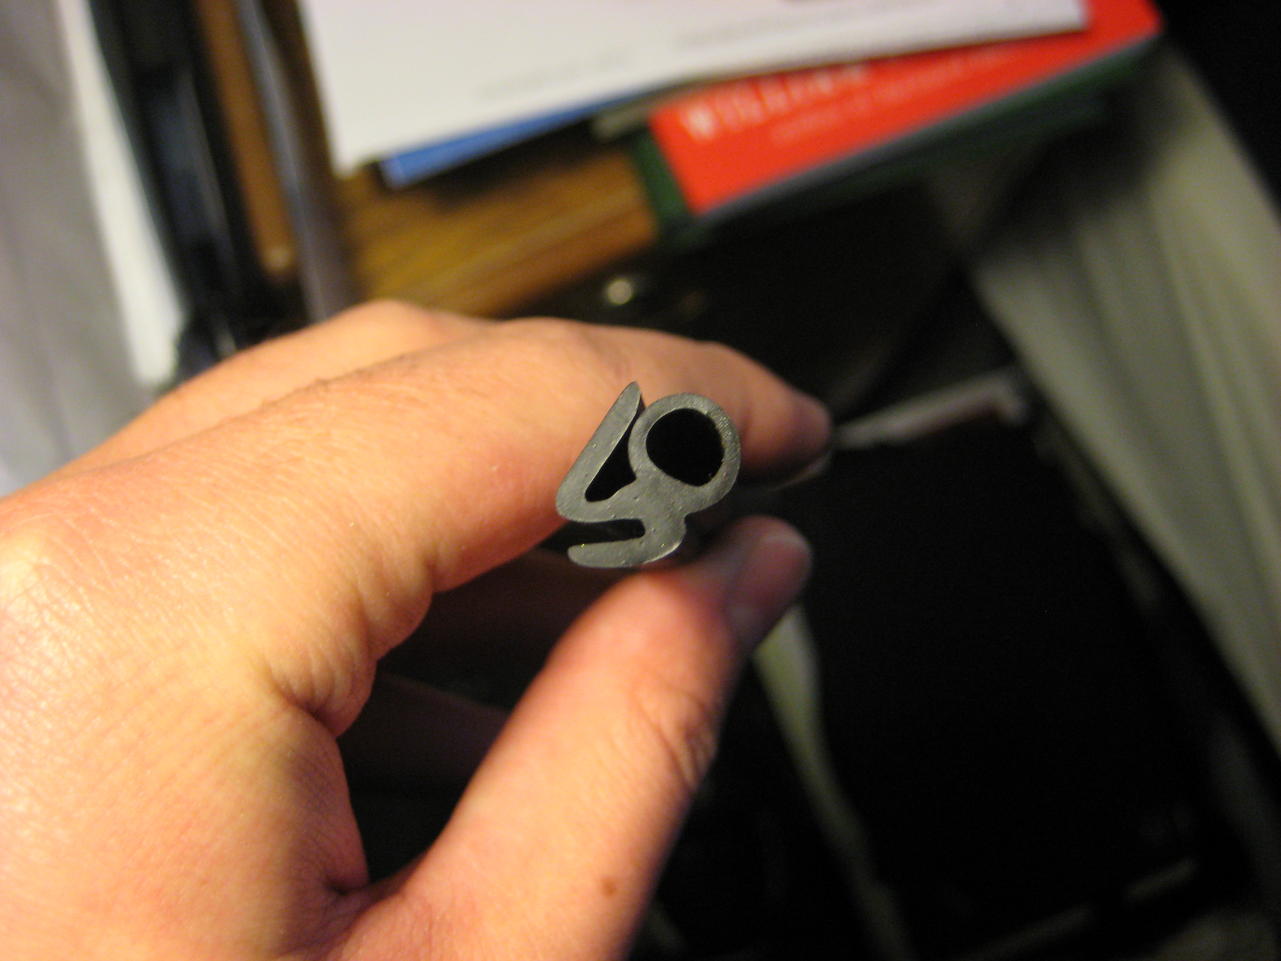
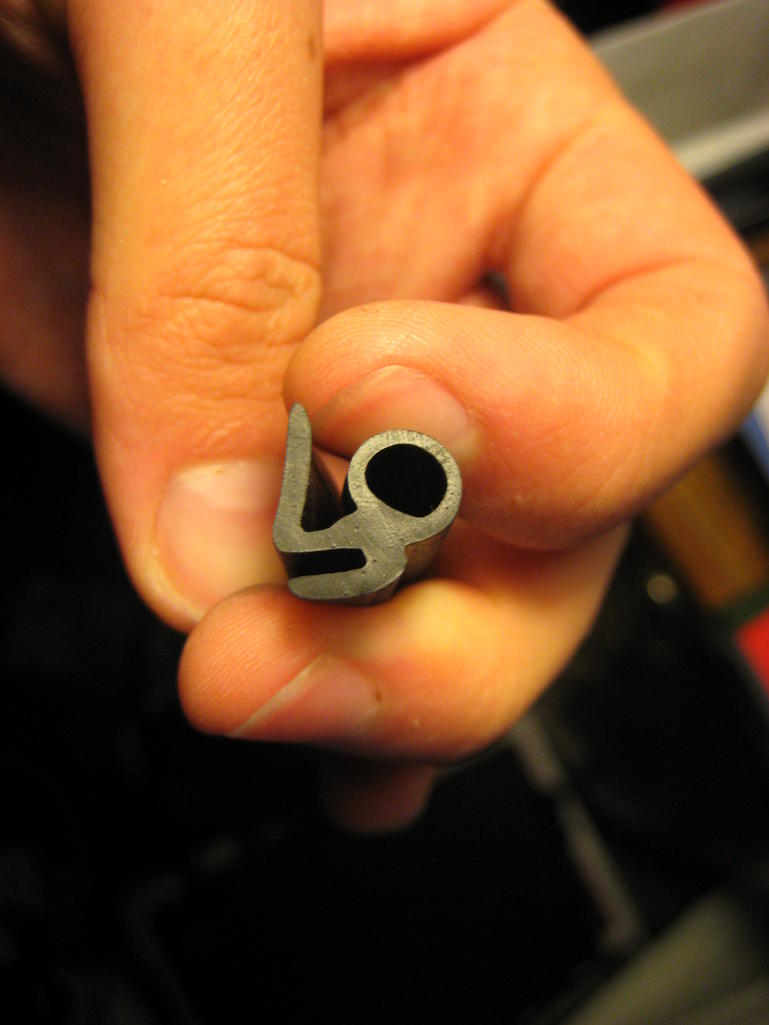
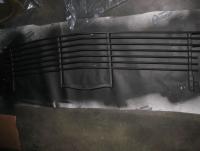
Hey all, I bought black dragon's weatherstrip kit recently. Everything seems to be fitting about as well as I had hoped, but I've come across an issue with the upper outside hatch seal (the type that's broken into three parts). The top section is supposed to look sort of like this: Instead, it looks like this: Which I think means that it isn't going to sit as well, or be as effective. I'm considering dropping a couple bones on MSA's "Rear Deck Outer Weatherstrip, One Piece Top & Sides", but I'm not sure that it is something I should worry about, or maybe I should stick with the three piece system and simply get a better top third section from another source, like MSA, Vintage Rubber or Precision (though I'm not sure if I would actually get a better quality product, since I don't know the sourcing for these parts). Anyone have any thoughts/experience on/with this? Thanks!


-
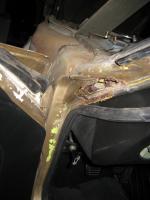
My roommate actually helped me out with this one, we dug pretty deep, though not as deep as we could have gone (we didn't do the floor panels or underbody) but we did take out, seal off and repair the metal under the fenders, along the front of the roof, along the rear of the roof, where the seals met the metal (and replaced all the seals)... it's not quite done, but I have a lot of pictures uploaded with the process documented in two albums you should be able to see on my profile. I know this won't keep rust at bay forever, but it will buy me a good amount of time before I need to do a whole body strip down and repaint from bare metal or a new car or whatever.
-
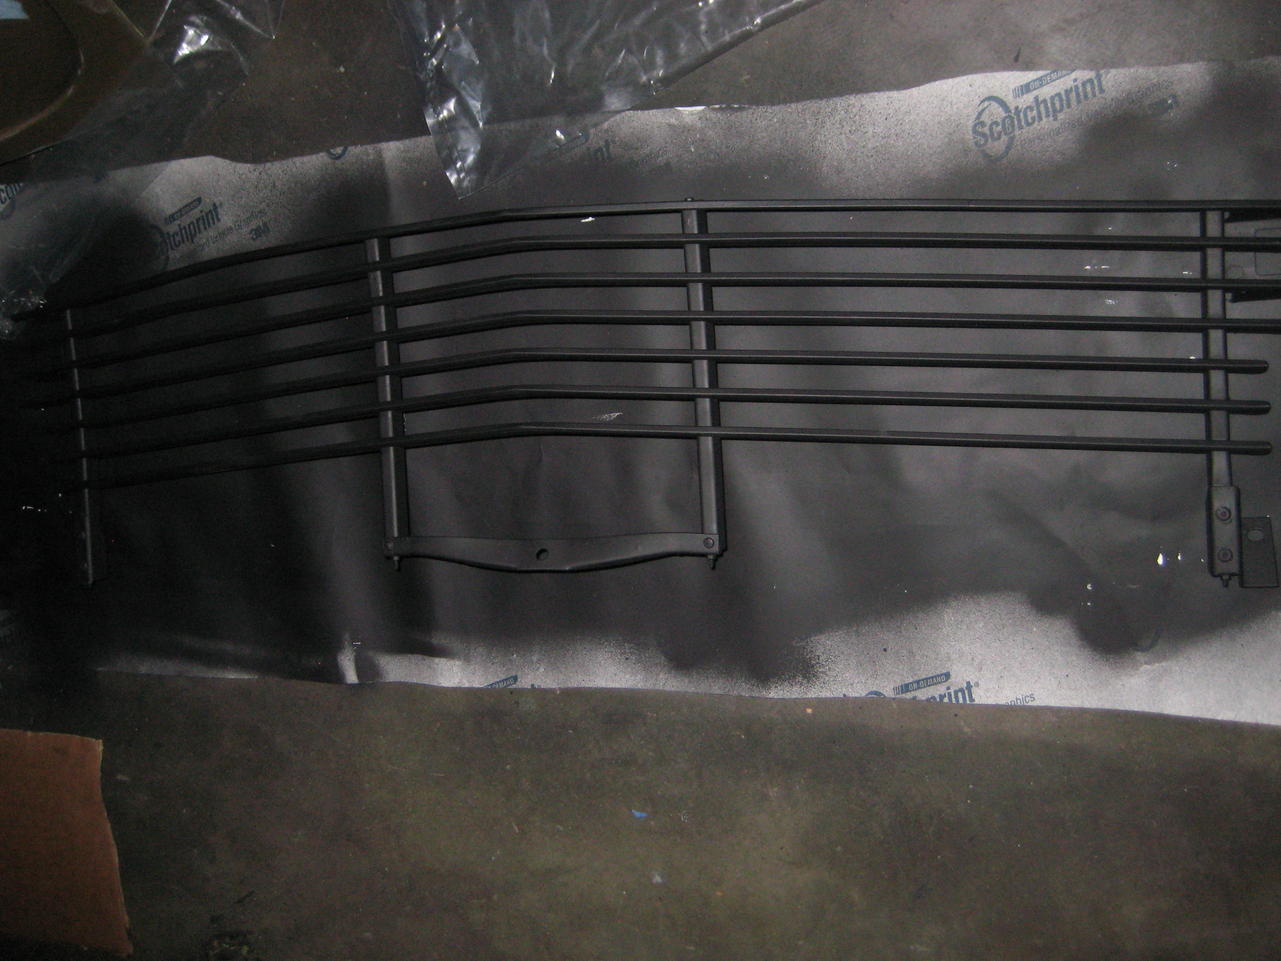
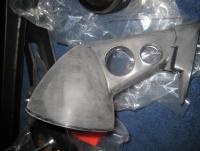
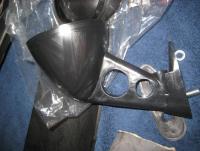
I've decided that not all parts are worth the effort of wrapping, for example, I just rattle-canned the grill in flat black, and it seems to work just fine. I might have to touch it up every now and then, but that'll save me a lot of trouble since the wrapping would be a huge pain in the butt. Something of note for anyone who wants to wrap anything: don't start out with the hood. It may be flat-ish, but the fact that it's so big and actually not very flat at all makes it good to do once you've figured out the rest. I'm going to re-wrap the hood, now that I sort of know what I'm doing. Instead, start out with the inspection lids. Those are the smallest and flattest. If you screw them up, it won't put you back 15+ square feet. Then move on to the doors, fenders, roof and rear quarter. I still haven't done the headlight scoops because they are going to be a major pain, so I'm just putting that off as long as possible.
-
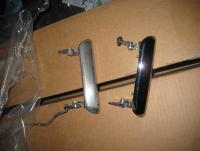
Hi all, just stripped the paint off my 73 240Z so I could wrap it in vinyl, and I've come across a problem that has stumped me (granted, this doesn't take much). I recently replaced my driver side door handle because it broke (fatigue and age, I guess), so now it is a nice shiny chrome surface. The passenger side was covered in paint by whoever the previous owner was. Since I've taken off the paint (I used acetone, not an abrasive surface), I've found that the passenger's handle wasn't in the best shape, and looks quite a bit more dull and beat up than the driver's side handle. Is there anything I can do short of re-chroming the handle to make them match a bit better? I've thought chrome spray paint - maybe, but probably more just gray than chrome colored, or sanding it, though unlike much of the car's shiny bits, I'm guessing this isn't just some stainless steel with a high shine on it. (passenger side on left, driver side on right in case it's not obvious) Thanks for any help anyone can provide
-
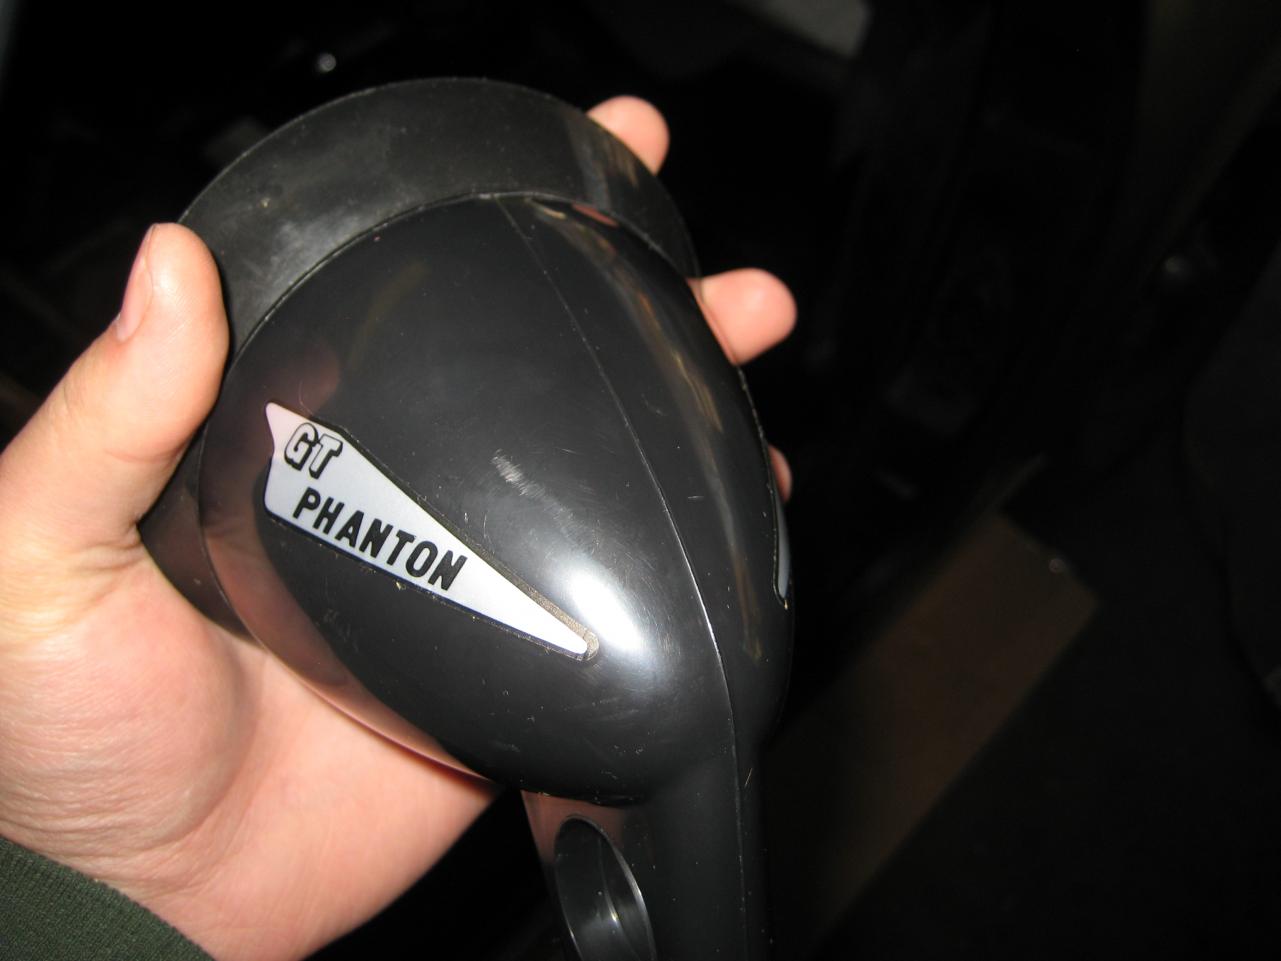
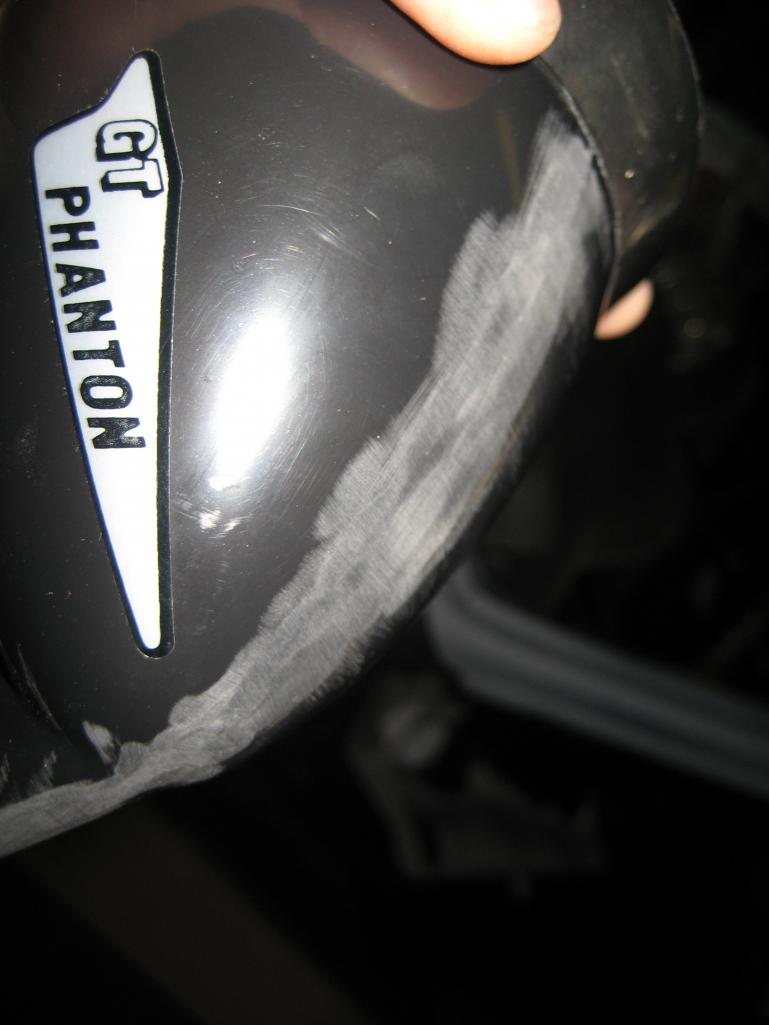
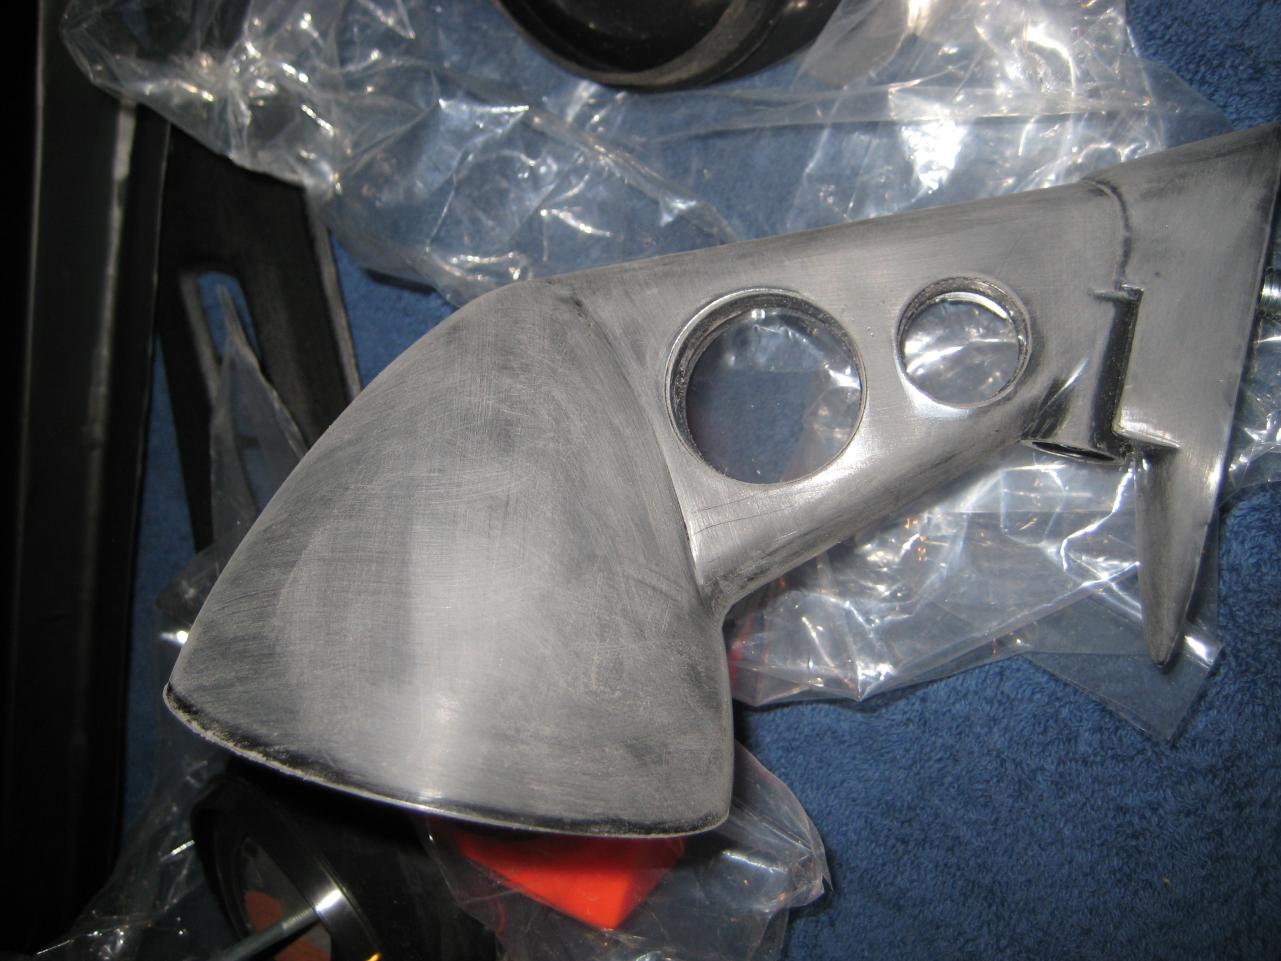
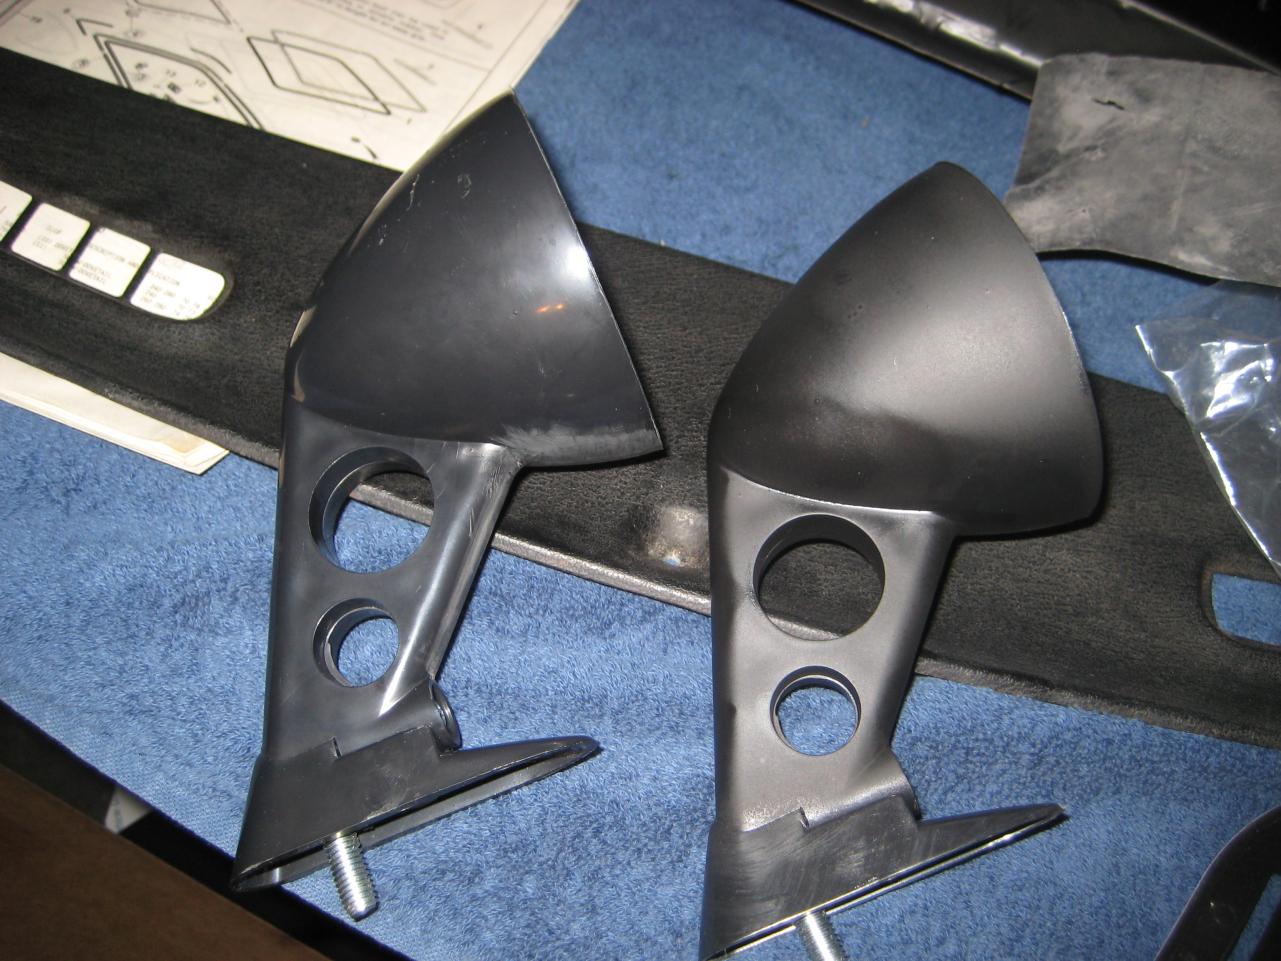
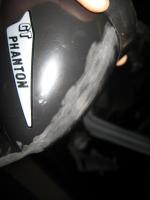
Found these review mirrors on eBay: Here Got them for Christmas, thought they looked like they were made from crappy cheap plastic (probably are, I mean the name on the sticker says Phanton when I'm guessing it was supposed to say Phantom) Lots of flashing made them look sort of bad as well, I thought. I took a razor, cut off the excess flashing, sanded down where I cut. Then I sanded the whole of the exterior, cleaned with acetone (which seemed to react with the plastic once the outside was sanded off) and rattle canned in flat black to match the rest of my nearly finished matte black car that I'm currently finishing the wrapping of (in vinyl).\ I think it looks pretty good now, and here's a couple pictures for reference: (the last picture shows original on left, painted on right, except the paint is not quite fully dry) The main reason why I wanted them was because they look so much more like they are JDM, but a fraction of the cost (I'm seeing JDM go for around $300 online, and that's when I can find a source), and these will be better than the bullet style mirrors which I find too short.


-
-
Another quick update: decided on and finished most of the following: open everything I can up, take off as much as possible and find source of rust. -it appears to be coming from the roof, so all new seals are now here cut out worst of the rust and grind away at more. fill with epoxy or weld in metal depending on size. Bondo over that and sand down bondo to get smooth surface lightly sand entire body and wrap in vinyl (I'm going with matte black) -this will be cheaper than a good paint job, and will last until I can afford a good paint job Everything is done now except for the wrapping, which is tricky, but will only take another day of solid work. -this is taking so long because I'm working double shifts and just got on break from school, which meant finals and studying for them through last week. I have pics of most of everything, not sure if anyone is interested to the level where I should post them. For the most part, I wanted to keep them as a record, but if anyone wants to see, I can post them here or link you to them on my dropbox folder.
-
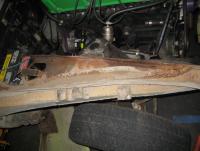
Brief update: I checked out the drain areas at the front of the channel, you're right, it appears that they were blocked by some caulk or sealer or something, which would have pooled water in there an eventually rusted through. Like it has. I've decided to take out the front windshield to try to trace the water source back to it's origin, it appears the seal was not very good and water was able to get in around the top there is also a spot on either side that looks like it would have allowed water in, so I'm going to get some new seals and really seal it in there. Also, I've decided to weld new sheet metal into some of the areas where the water was pooling, but also to leave some open for better drainage. Then I'm going over it all with some anti rust paint like POR or something to that effect. Again, thanks to everyone for all your great help!
-
Hi all, a couple of months ago I did the upgrade with a '97 Accord motor, using this forum and the following link as a guide: http://www.atlanticz.ca/zclub/techtips/wipermotor/index.htm Mostly because it was easier for me to find a motor online for that specific car/year than for the Civic or Acura motors. I ended up figuring out what the wiring was myself, just based off where the wires were coming out of, and comparing that with where they came out of the motor itself (the colors of the wires didn't match up with any diagrams I could find). It works great, except for the intermittent setting which makes something like half or 3/4 sweeps across the windshield instead of full sweeps. I'm not sure if that's clear, but what's happening is when I set it to intermittent, the wiper goes up and then a little down, then stops right in the middle of the windshield for a second, then it does the next sweep which takes it down and then up where it lands it someplace else randomly on the windshield (not the same place). If I turn it off, it settles back at the bottom where it's supposed to, the same as if it's going constantly and gets turned off. This means that it just looks dumb when I'm using intermittent, but at least I don't have to worry about it parking correctly at the bottom when I turn the wipers off. Does anyone have any idea how I could make the intermittent go all the way instead of most/part of the way? I'm not sure if I wrote that clearly either, so let me know if I need to clarify anything. Another note: I used shrink wrap to wrap all the wires at their connections, in an attempt to keep them as dry as possible. Thanks for the great guide!
-
Thanks for all the help guys, this is really helping! There are some other spots of rust, but for the most part it's just surface stuff and I'm removing it right now with a wire brush. All of this is meant to be preventative, since I have to park my car outside for the first time since I bought it a year and some months ago. Parking garages are nice to have with an old car. Most of this stuff has been there for a long time, I'm guessing, but since my roommate usually has his car in the garage, I wanted to make sure the rust I have now doesn't get any worse than it already is, and reverse as much as I can while I can. The whole car needs to be stripped and painted, and I want to do it right, but that might not be for maybe two years before I'll have saved up enough to do that, I just need this to hold out until then. Since I have this going on anyway, I'm going to see if I can't poke around some more and see if there is anything else hidden like you mention. Hopefully not, but if it comes to it, my plan B is to find another car with less or no rust issues and transfer the parts I like or have already customized over; the newly installed l28, the nicer shocks, the fender mirrors, etc. Again, thanks much for all the suggestions and help, I'll try to remember to come back and post results when I'm done with this bit of the project that is the z.
-
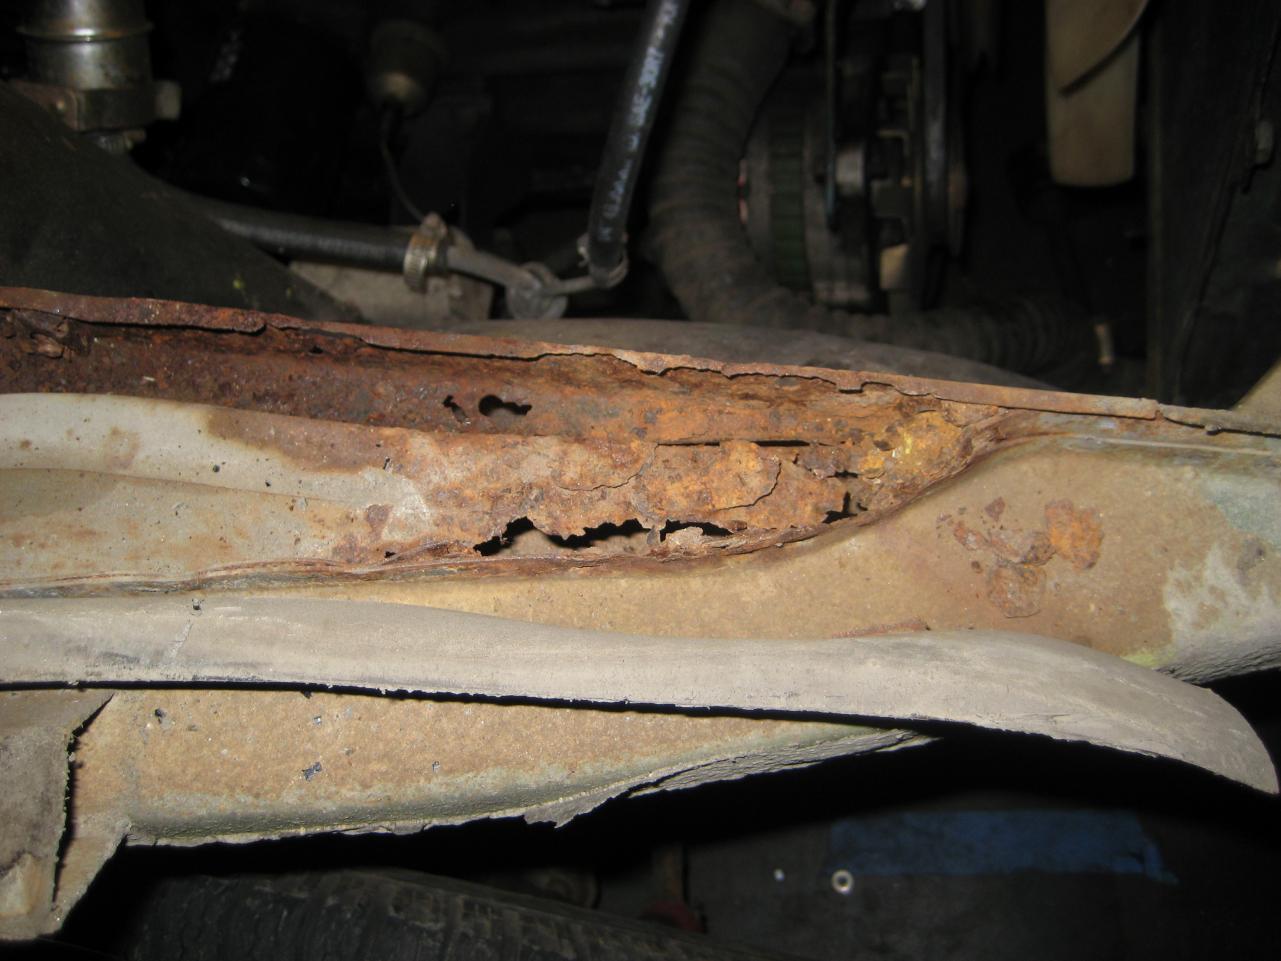
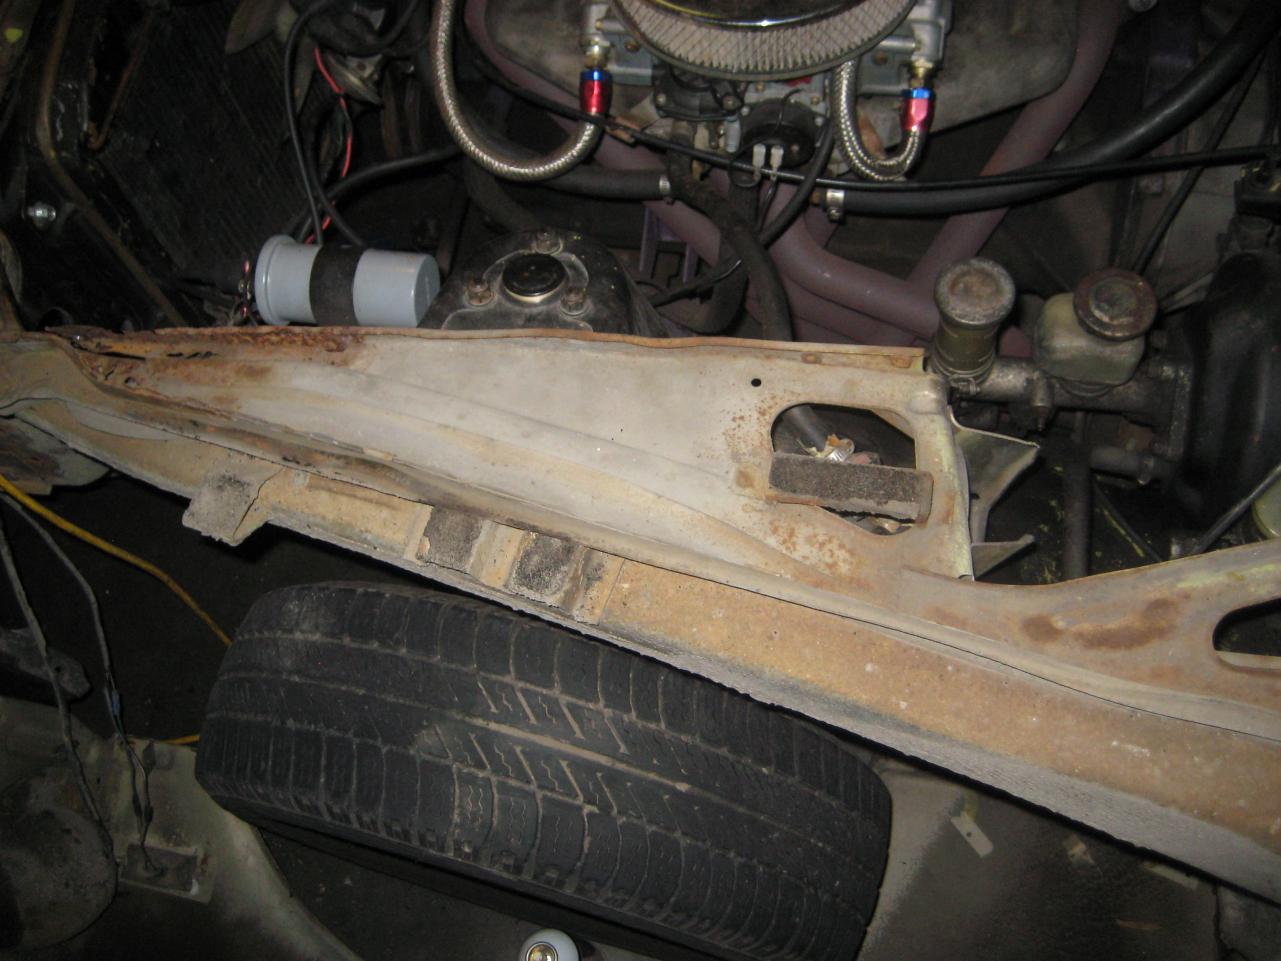
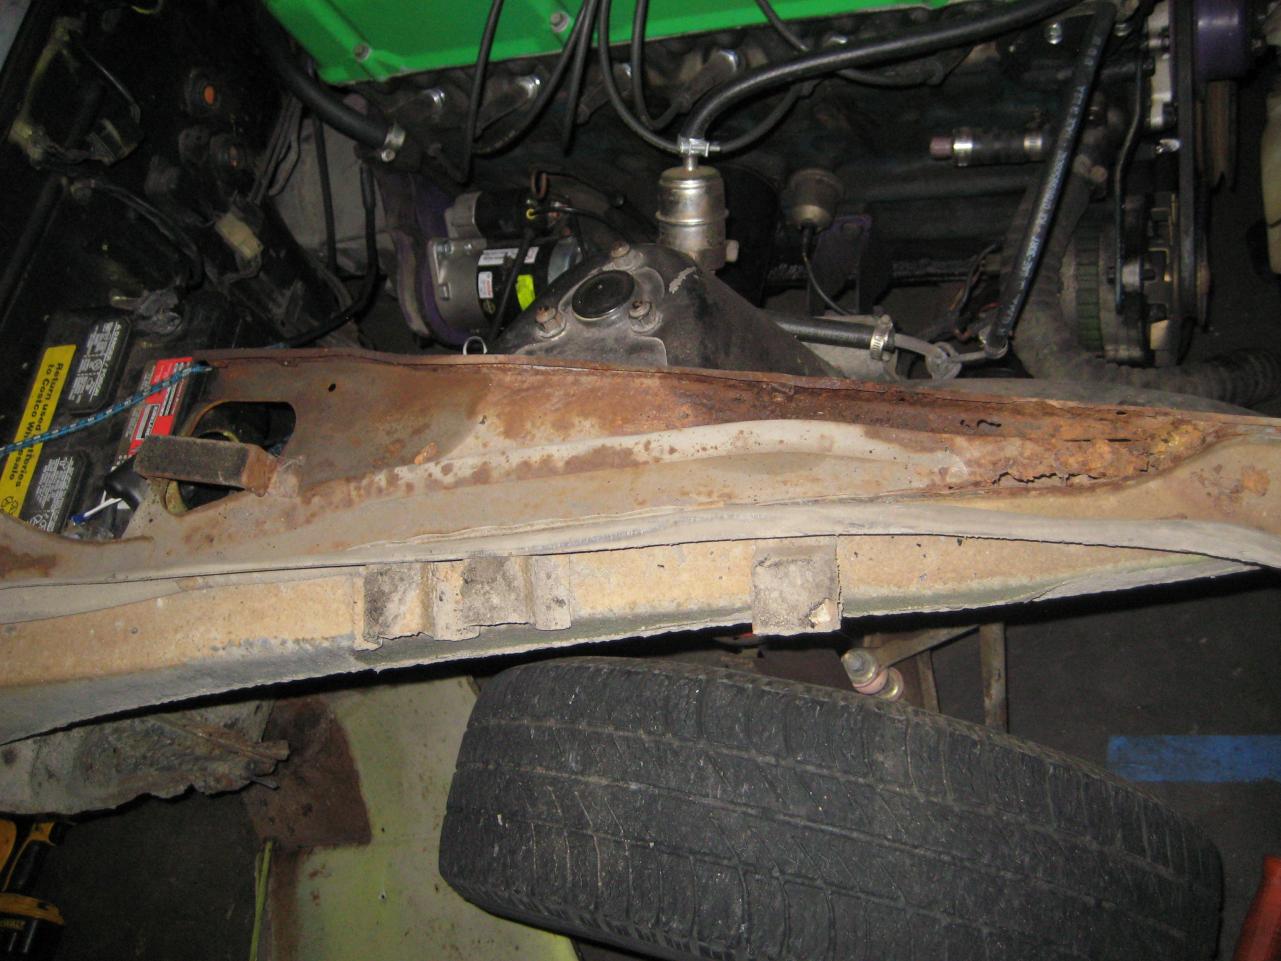
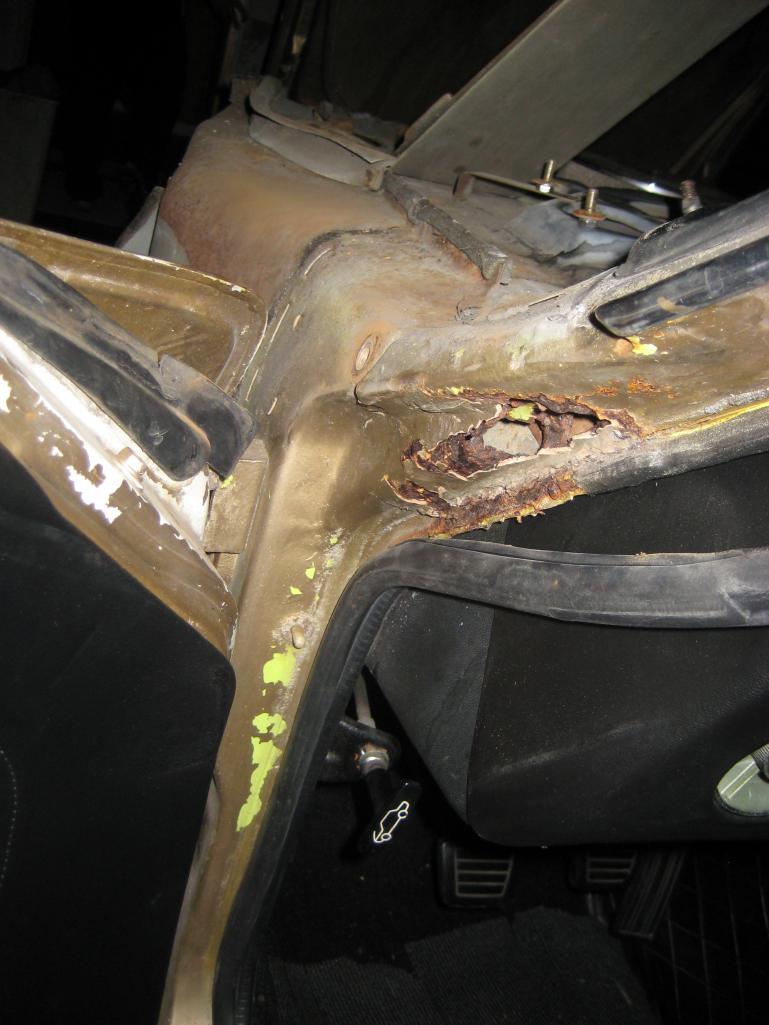
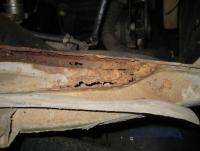
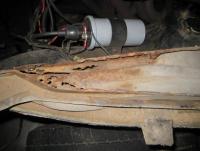
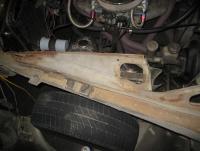
I don't know what it's called, but the area behind where my fenders attach to the inside of the engine bay had some issues with rust. By issues I mean I took off the fender to do some preventative POR and found that there were holes straight through the metal. I'm grinding the rust off now with some wire brushes, but I'm not sure what I'm going to do about the repair. I figure I have a couple of options: I could cut out the old stuff (the leftover holy metal) weld some sheet metal together and try a (probably ghetto, but hidden) replacement. I'd probably leave a hole in it for water to get out in the future. I could try filling in holes with epoxy (I have a pound or so from POR) cut out old stuff and replace with just what is needed to mount the fender back on (minimalist, just something for the bolts to go into) Find a place that sells this particular part and replace it that way??? I've looked around but am having trouble finding this specific piece Cut one out of an old car in a junkyard or something? Except I'm guessing the same piece will have the same issue there, too. I'm thinking of taking the pics to a body shop or the mechanic I trust, but I'm on sort of a small budget. As in starving college student budget. For reference: That's a '73 240z, though I'm guessing that the frame would be pretty much interchangeable with any other 240, 260 or 280. Any thoughts or opinions would be appreciated, thanks! Oh, and one more thing, there are two other spots with rust holes that I'm going to be dealing with at the same time as the above, one right below the gas cap's door and the other (the worst one) on the front part of the doorframe. I'm trying to figure out where the water came from that rusted out the area on the door frame, and it doesn't appear to be coming from the fender and moving back... could it be a bad seal on the windshield that's leaking water down into the frame? Thanks
-
If anyone has another of the items OP is requesting, I'm looking for one as well. I feel bad for my passengers right now because the belt is at a bad angle for many of them. Mine's a 73 but by the sound of it, it should be the same device in both cars. Thanks!
-
Just wanted to point out that you probably don't need the copper washer, the way new slaves are designed is that they taper toward the end so that the hose you screw in fits exactly in place. a washer may end up causing a leak. Also, you don't need to go to a specialty store for your slave or the hose that you screw into it. I got mine a month ago at my local Napa (I also replaced the clutch at the same time, but that I got online), and I'm sure that most places have similar products stocked. Just bring in the old and they should be able to figure it out if they are a good parts place.
-
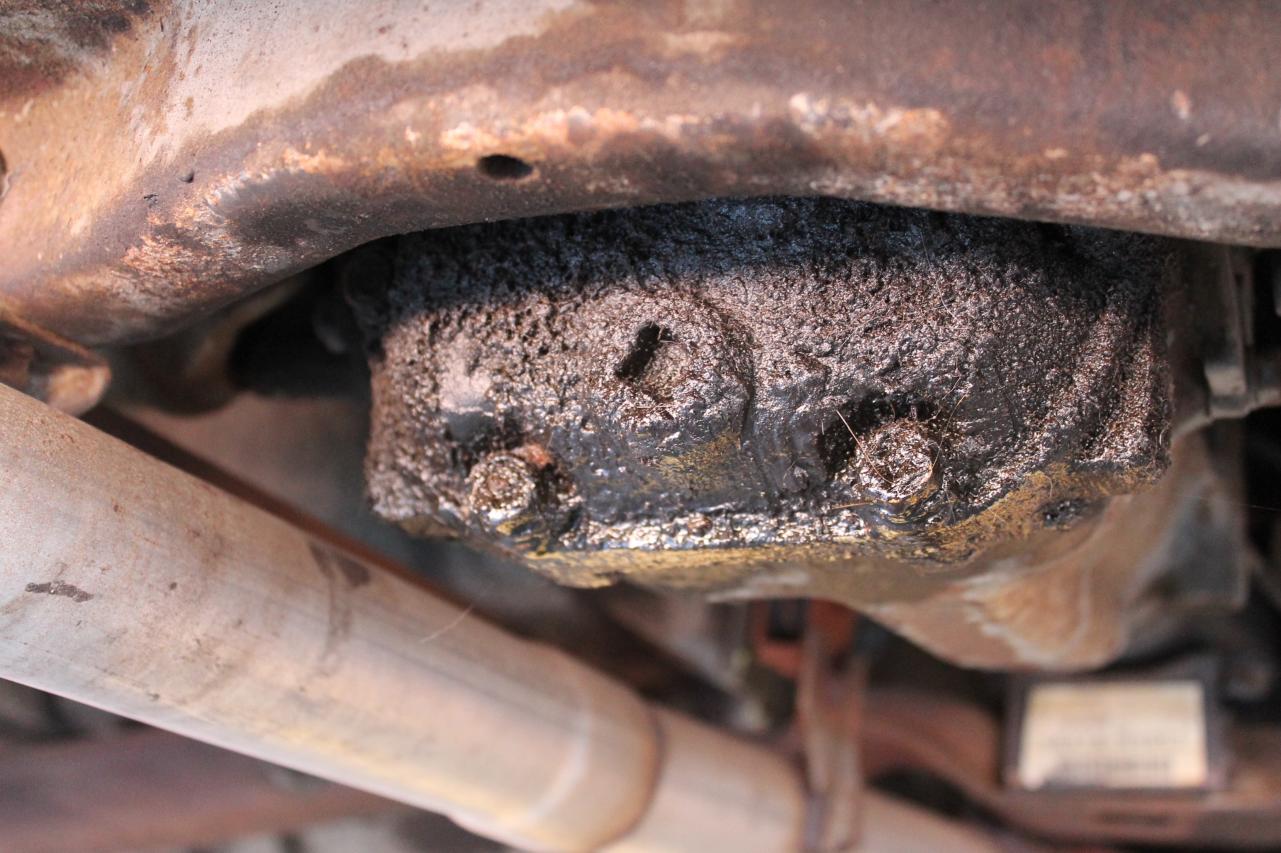
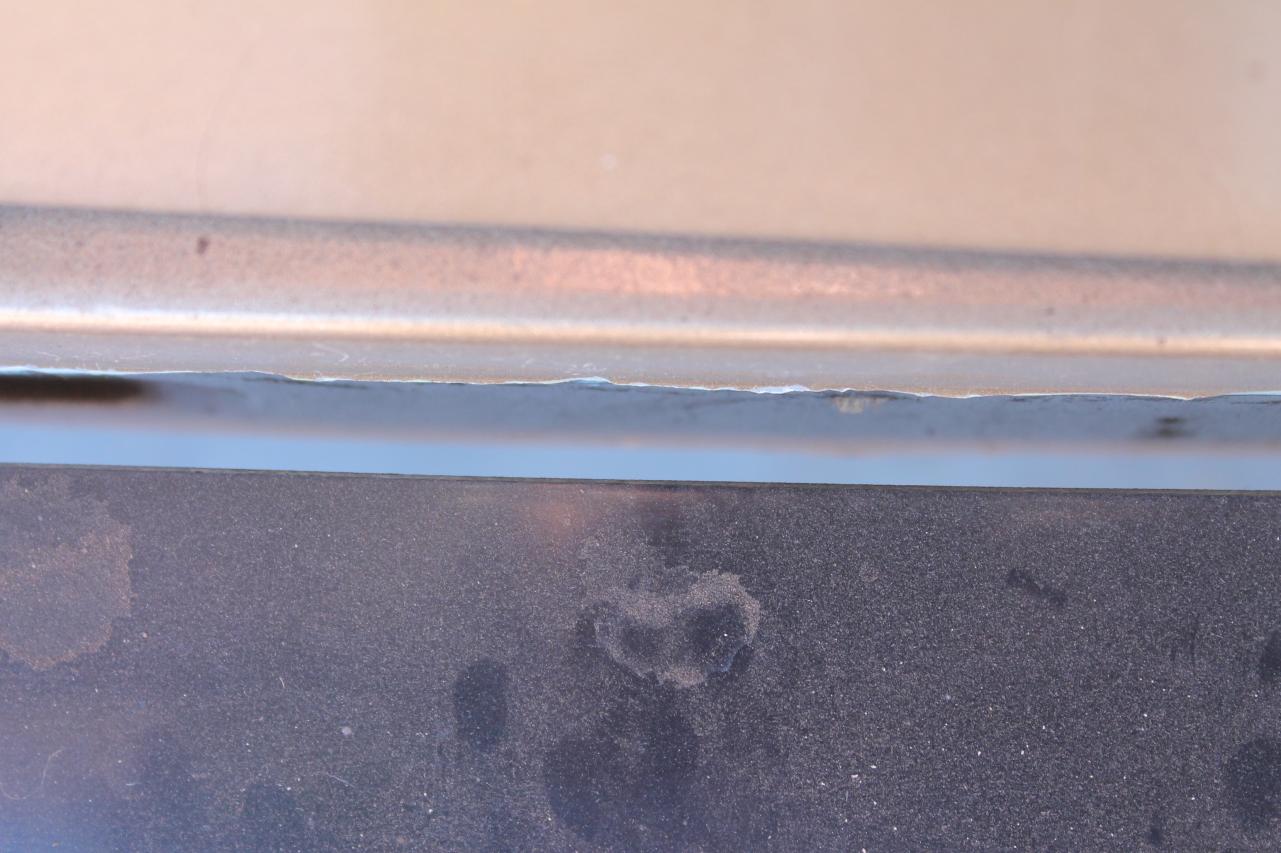
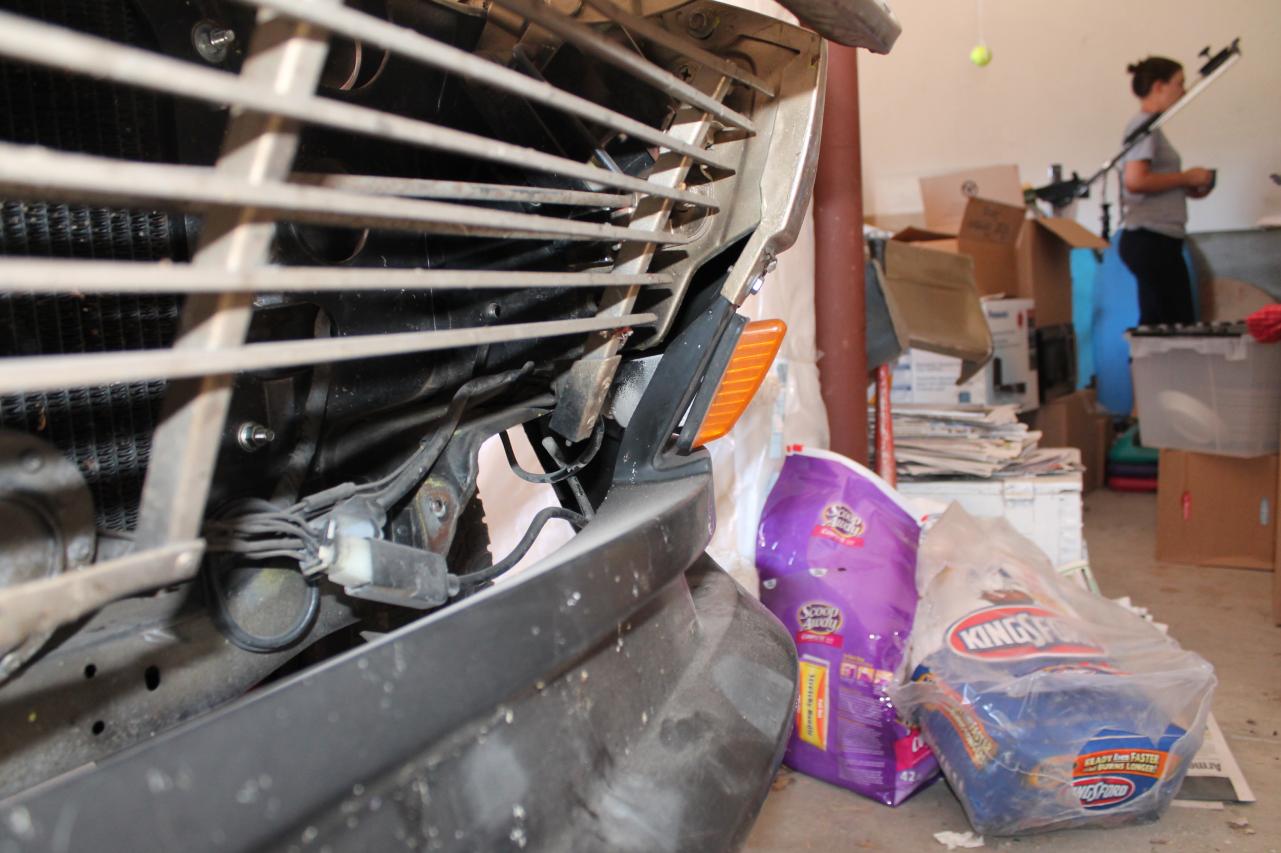
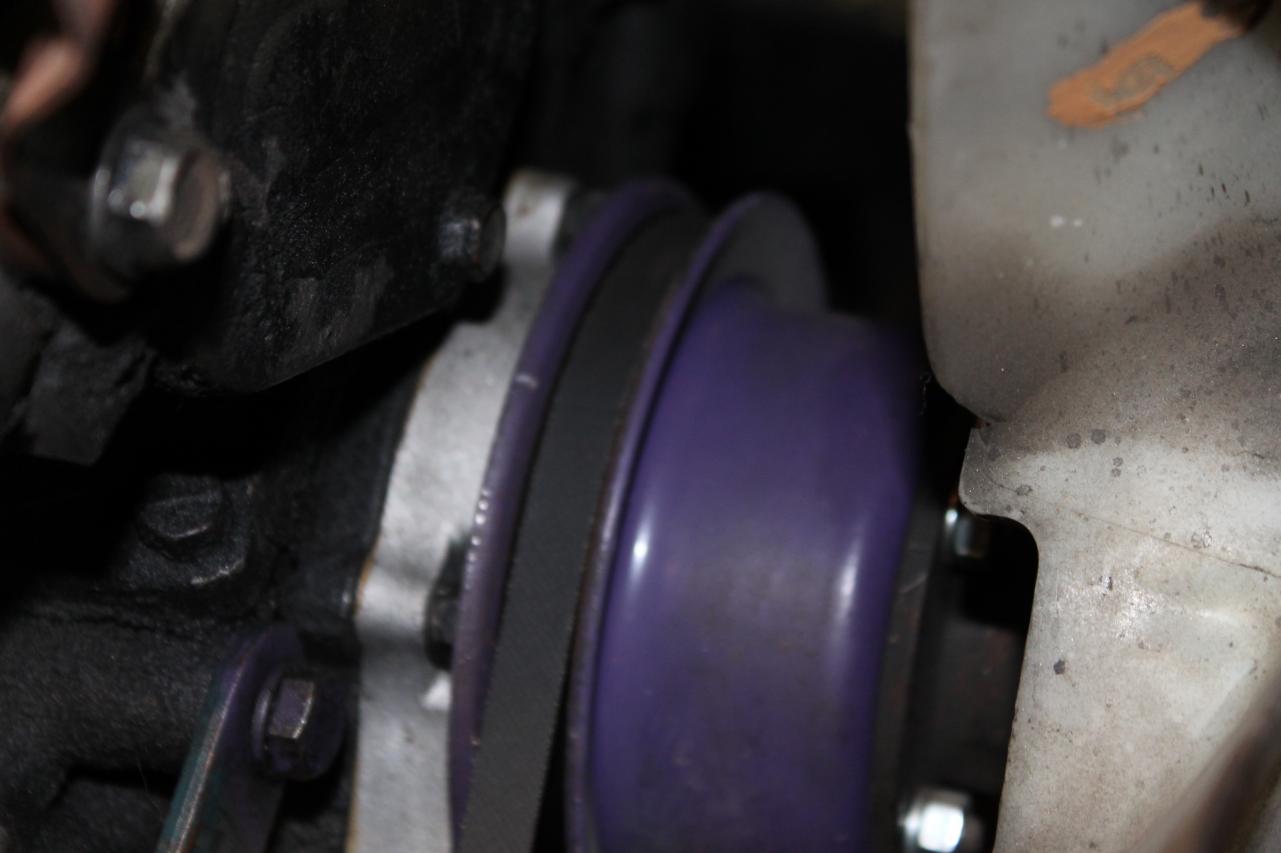
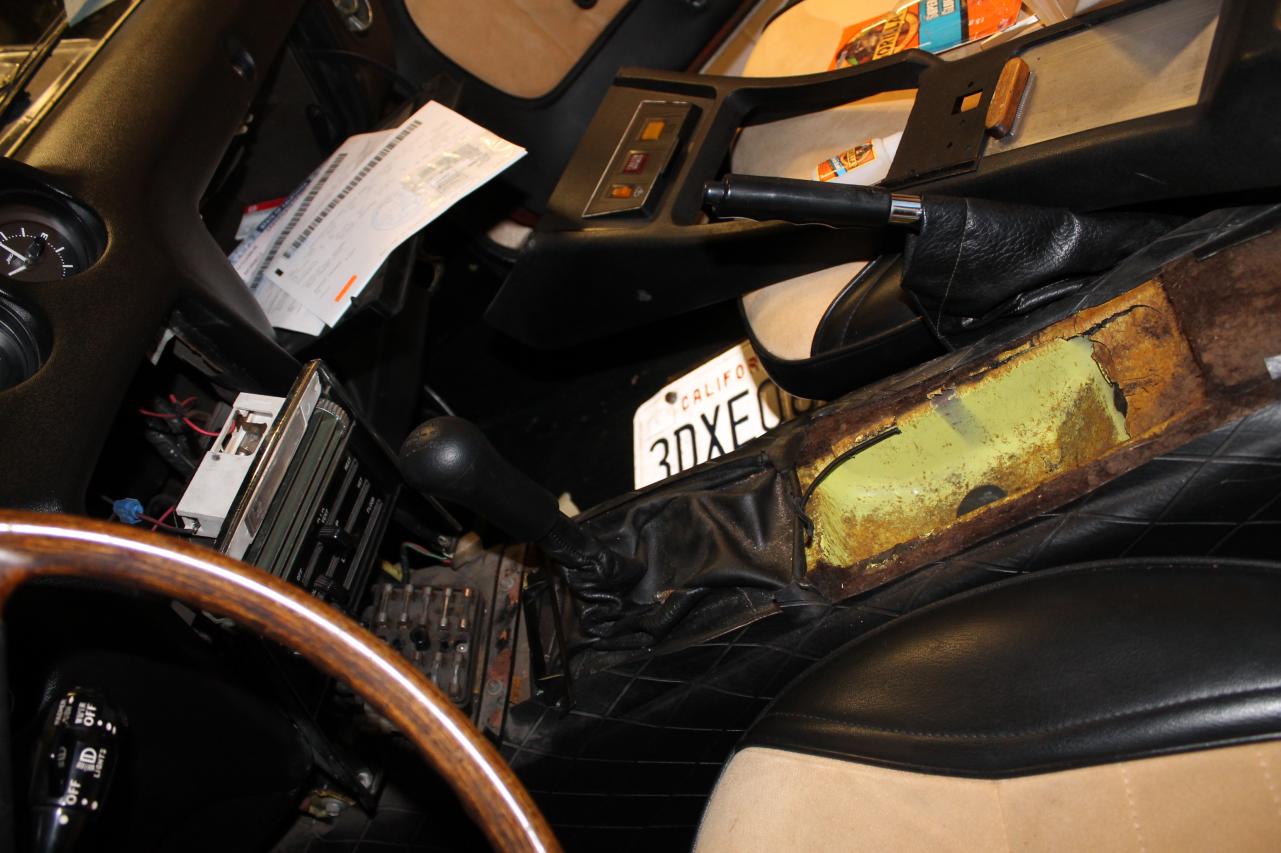
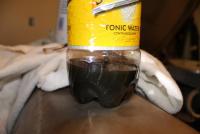
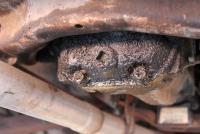
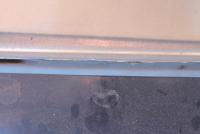
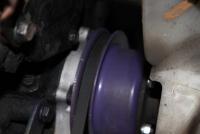
Put my car on stands for the first time... ABOUT TIME TOO. It's been less than a year since I got it, but I haven't had time to learn/do anything myself to any real extent, and adding the body kit didn't really require me to lift it... ANYWAY so I changed out the clutch fluid because I had noticed it was low, and then further noticed that it was looking pretty murky. First time I've ever done that, I hope I didn't introduce any air into the system. Probably should have used grease to seal the connection between the end of the tubing and the nipple. Tried a zip-tie but I don't know if that really helped at all. The bigger problem was that the nipple had some surface rust, and I didn't bother cleaning it off first, so the rough surface probably wasn't sealing with the tubing. Anyway, noticed/was reminded of some things that need to get done (the pictures) install choke (though I don't think I can attach it to anything since it's a 4 barrel system), figure out why the front air dam is bent weirdly, figure out how to raise the exhaust pipe, bleed the brake lines (why not, I have a lot of extra fluid), verify that I've found the timing mark, verify that it's ok that the rear bumper has a gap between itself and my the rest of the car, figure out why there is a part covered in oil and probably dirt, and not be such a newb when it comes to just about anything on my car. Learning by doing, though. And yeah, that bottle is the fluid I was replacing today. I think I'll probably be posting in the help forums soon for some advice on some of those projects. Oh, and I'm not a packrat, but I'm back at home with my family for the month, so I'm living out of boxes until I get back into my own place, so that's why the mess in one of the pictures there.


-
That worked perfectly for me, thanks!