z boy mn
Free Member
-
Joined
-
Last visited
Everything posted by z boy mn
-
 siteunseen, you do understand the situation correctly... And, I can add that both the outer tie rod that was on the car (probably OEM) that I took off wiggles the same amount as the new one (definitely not OEM) when I put it on. So, that's why I was thinking maybe it's the inner tie rod that is somehow a different size. Maybe the inner tie rod was replaced at some point? The good news is that the ball joint and the joint on the outer tie rod (both OEM and after-market) are fine. One option is to just order a new inner tie rod and see. Of course, I like the teflon tape idea as long as it's not dangerous.
 -
Hello everyone, I was replacing my outer tie rods this weekend and noticed on the right side that there was some "wiggle" for the old one as I threaded it off (counting the turns, of course). I said to myself, "well, good thing I'm replacing this one as it seems a little worn!" Trouble is when I threaded the new one on, it also had the same wiggle...like the bolt for the inner tie rod wasn't quite large enough. The "wiggle" didn't change as I threaded it on (18 turns), and the locknut seems to spin and move about just fine (it didn't wiggle). When I got to the driver's side, that tie rod threaded off and on just fine, no wiggle at all. I tightened everything down, which felt secure, but thought I better check with the experts. Is this an expected/predictable/common thing, or should I go hunting for another inner tie rod (which I see now are rather hard to find) for the passenger side?
-
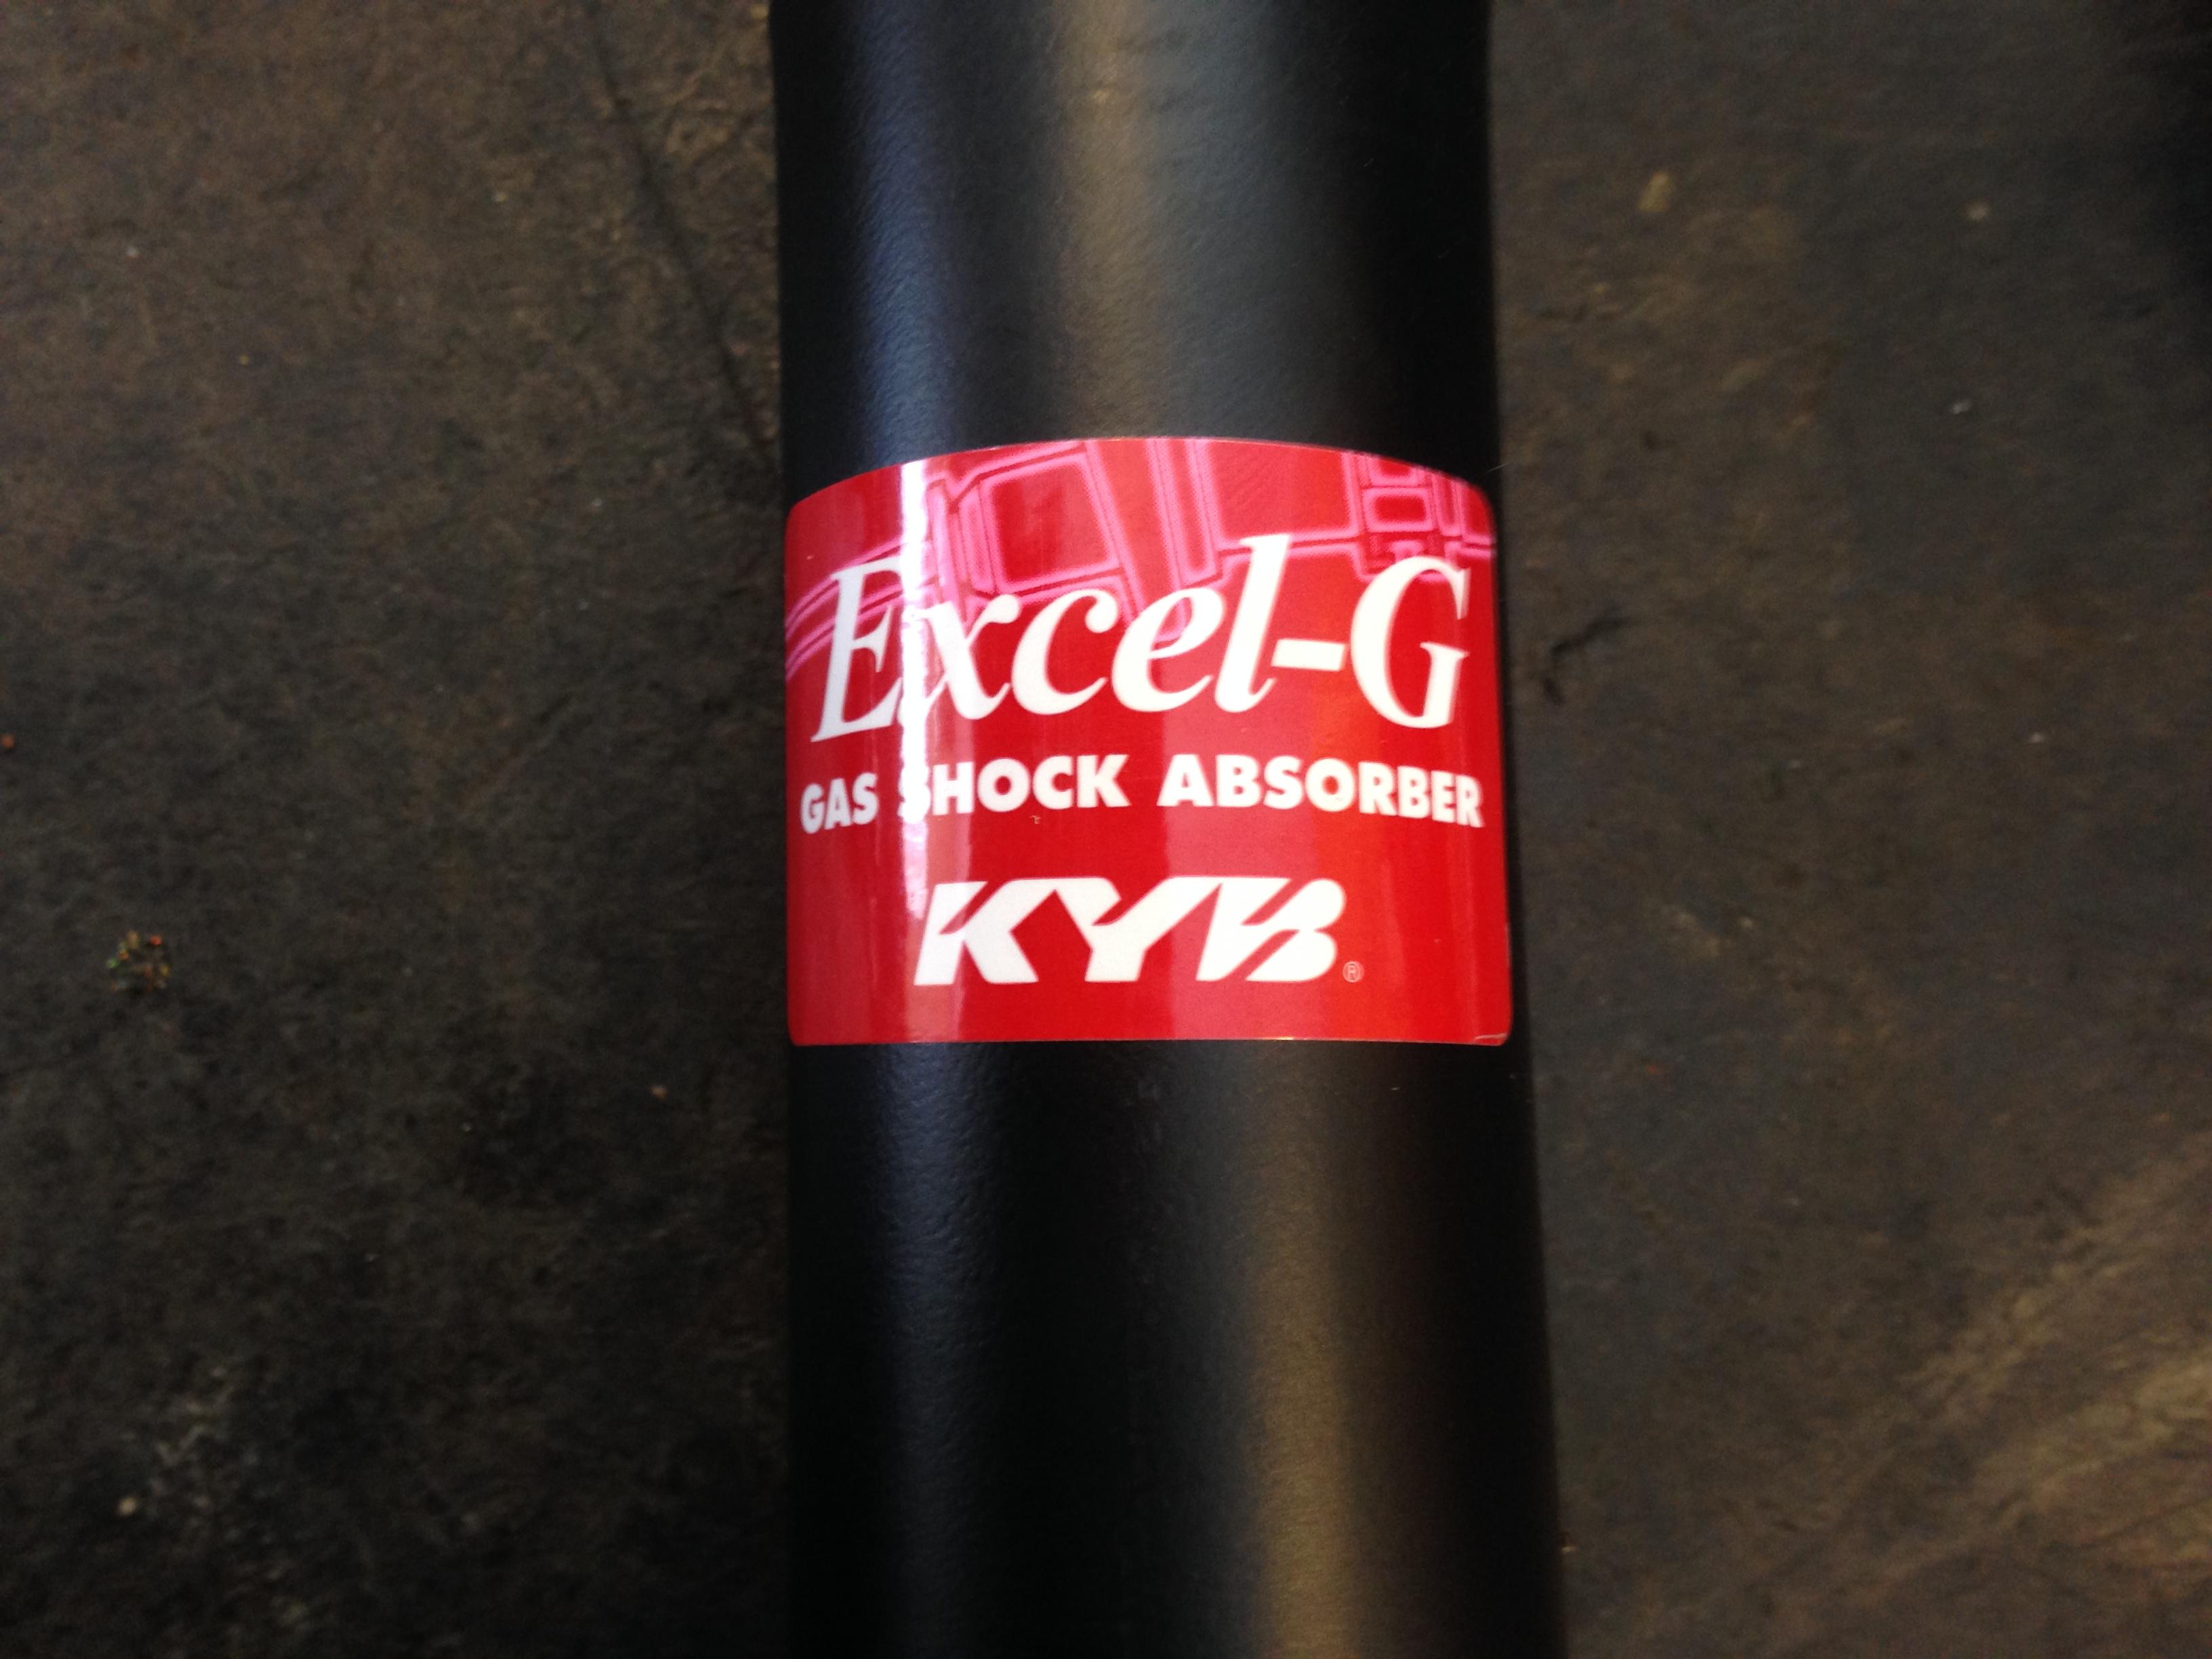
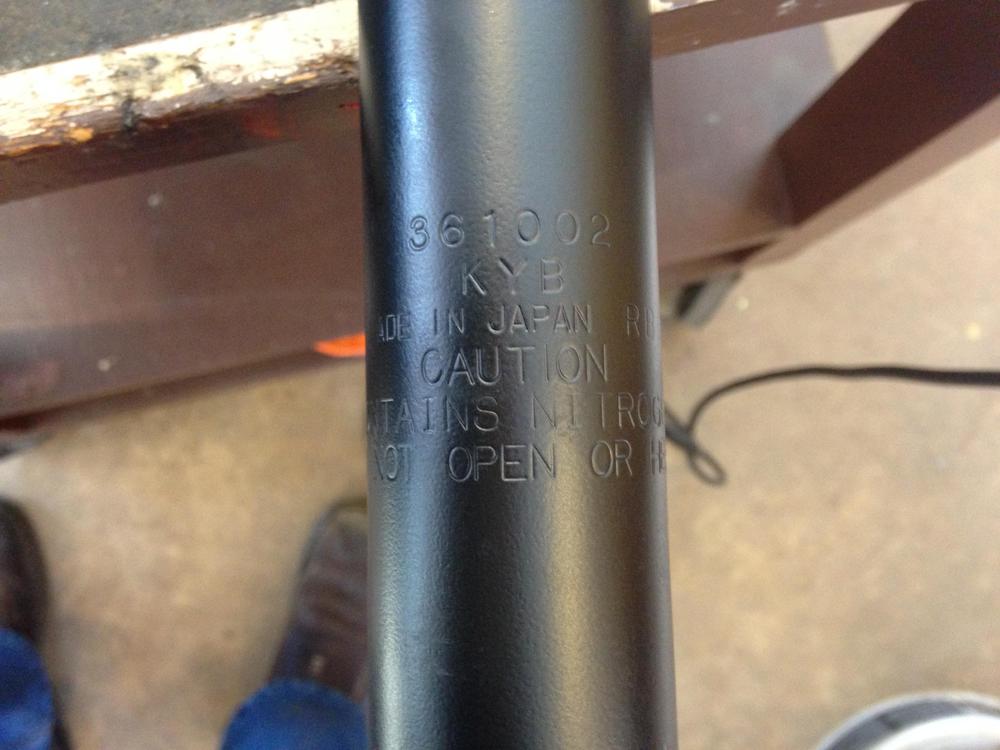
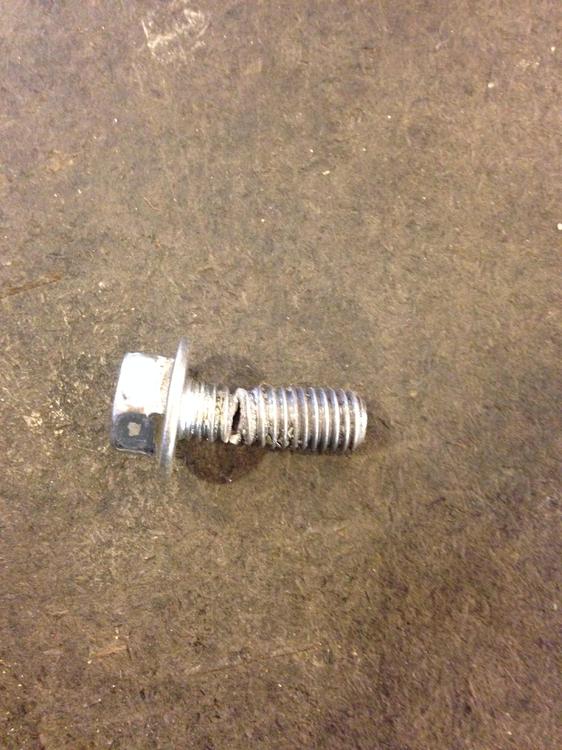
Finished with the shock replacement yesterday, and I was also installing new ball joints, tie rods, etc. For the record, the KYB Excel G shocks (I purchased them from MSA) fit fine, and I didn't need washers, etc. to make them tight. I added a little grease at the bottom to prevent sticking, but they went in smoothly. Also, it could be the Tokico Illuminas I had installed were totally shot (I know there was some air in them), but the resistance of the KYBs seemed to feel about like "setting 3" in terms of resistance and maybe "setting 1 or 2" in terms of rebound. Additional note 1: The instructions are very misleading, and if you don't look at the pictures carefully (there are no words), step 1 makes it look like you are supposed to drill into the shocks and oil them. After closer examination, that's for a different style, and the instructions for these (also no words) warns against opening them at all. Additional note 2: While not connected to this topic/thread, both threaded bolts for the ball joint on the passenger side twisted off when I tried to torque them (FSM says 40-50). They were 10.9 grade bolts but had clearly weakened. I replaced all four to be safe. Scary. It almost seemed like they had hollowed out on the inside (they looked fine when I took them out). Finally, I was also trying to level the car some, and so I took one coil off the Eibach springs (the top 5 coils just sit on top of one another when the car is loaded), which should reduce the front by approximately 3/8"; it's hard to tell if that will be enough, but I'm going to run with it for now.

-
I like this idea...seems the best of what is possible. I'm hoping the shocks come in today and I can get the car back on its wheels soon enough. We still have plenty of ice and snow in MN, but I want to be ready the minute it melts! LOL!
-
Good thinking... I did receive an email from the KYB technical support yesterday, and they -- in emphatic terms -- said that I shouldn't add any fluid to the strut tubes. They also wanted all previous fluids drained and the strut tubes cleaned out of residuals. So, I'm thinking there must be another issue (like you have mentioned regarding seals). I drained the tubes, washed them out with brake cleaner, and wiped them out with a rag. The car is stored inside and never sees winter, so I'm not that concerned about lots of rust, but I sure don't want the shocks to become stuck in there. I'll see how they fit when the arrived today and make a decision. Next time I pull them out, or take off the suspension, I'll dig up this post and do an update (hopefully with good news!)!
-
Just a note here... I checked the FSM and it recommended oil in the strut tubes as well. It even gave the quantity (290cc). BUT, I went to the KYB website and they suggest absolutely no oil. The website is here: https://www.kyb.com/knowledge-center/shock-tech-for-pros/installation-tips/strut-cartridge-installation/ I've got an email in to KYB's technical support to confirm their recommendation. My guess is that their assertion is that the quality of the shocks has changed over the last 47 years. I'll reply again if they recommend something different. As for what I'm going to do, I'm not sure yet. My gut tells me to go with the manufacturer of the part.
-
BTW, I think I figured it out. The nut is a 14M with a pitch of 1.25. I did some measuring and I'm 95% sure that's what it is. Just in case this is helpful to others!
-
Thanks for the heads up on the wrench, Steve, I will look into that! Also, I'll be careful with the oil and I like the idea of being able to remove the shocks in the future rather than have them rust to the strut.
-
That makes sense, Jeff, I'll try that and keep the washer handy in case I need it. I can understand why you don't want the shock rattling around on the inside of the strut. Thanks again!
-
Ahh, that makes sense, Jeff. Thanks! Any idea how much oil to put in? I'm assuming I should put the shock in first and then add the oil. When the oil gets hot, it'll expand, correct? So, I don't want to fill it to the top when it's cold. Or maybe there's a way to account for this? Also, I noticed that the shocks I'm replacing (Tokico Illuminas) also have a washer between them and the nut on top. The new ones don't come with a washer, so I'm not sure if that washer is part of the car, or simply what was needed to make the Tokicos fit properly. Are you familiar with this, too?
-
Good morning everyone. I'm replacing my front shocks during a suspension refresh, and I noticed the previous owner filled the strut towers with oil when I took them apart. When I talked to MSA (which is where I got the new shocks), they said this was an "old school" practice to reduce noise and sticking. I'm not crazy about filling the struts with oil as it seems it could leak all over the place, including all over the brake rotors--which would be bad. So, does anyone have any advice on this practice? If the oil is meant for rust protection, I was thinking maybe I could just coat the shock body in a light oil/grease...or maybe just use anti-sieze instead. Hoping someone can help!
-
Good morning everyone, I'm replacing the boots on my stock ball joints. The joint is in excellent condition, but removing it from the steering arm damaged the castle nut thread. I've gone to the local hardware store and the local parts stores, including Nissan, but they don't have a replacement. I'm sure I can find one somewhere, but I need to know what it is first. My guess is a 14m with a thread pitch of 1.25 or 1.5? Hoping someone knows...
-
Wow--what a solution, Grannyknot, I'll definitely look into that once I find a way to measure the vacuum that's there. I'm thinking that at the high rpms of the track, the car is producing plenty of vacuum but maybe I'm just using it up. Seems like this would be an easy thing to test out to see if it helps as a next step. Also, I noticed your brake check valve is different than mine...mine is some plastic thing. I figure I'll replace that, too, as even if it's not original, the PO was working on the car for 16 years before I bought it (not running) and it's been 5 since then...so could be it's lost a little of its effectiveness, too.
-
Wow, this is a lot to think about. I'll try to figure out if the boost is running out or if there just isn't enough there to begin with. The extra canister seems like a good idea as it won't add any mechanicals, but it could be that there just isn't enough vacuum to begin with. I'm thinking I should try to hook a gauge into the line and see how much vacuum the engine is producing to begin with so I have a place to start. Any idea what a good number would be? It seems once I know that, I'd know which direction to go.
-
Wow, thanks for the tips, gnoze, I don't track the car every day, but 4-6 times a year I do get it on our local track (which is super road course) and so it does get pushed from time to time. (Interesting side note, even when I push the brakes hard on the track, they never fade or overheat. The PO installed Wilwoods on all four corners, and I'm always impressed with how they perform, even with the basic compound (B-10) pads.) I think I'd be tempted to reinforce the firewall just to be sure (and I wouldn't have thought of that!) But, this sounds like a good winter project...I'll start poking around for a 280 brake booster. Will both a Z and a ZX boosters work eventually? There are a lot of wrecks in MN, so I don't think finding one will be that hard.
-
Hey zKars, I'm not sure what a weak vacuum would be or if my car is producing it...seems like a good thing to find out. I will explore the option of a bigger booster, though, as that seems like an easier/quieter route, plus a fun winter project if it includes some fabrication. I'm always up for a challenge! Have you done this procedure before? I'll see if I can find anything here on the forums to help guide me.
-
Grannyknot, it sounds like a workable solution but maybe not something I want to do while I still have leg strength to push the pedal now. The system certainly works, but of course I'm always looking for ways to make it work better. Hmmm. Maybe I can keep an eye out on how these pumps develop and locate one in time that is quieter. The one I saw at the car show didn't make much noise, but of course it didn't operate for very long either as the car wasn't moving. It could get pretty annoying in traffic. At the same time, what do you think about adding other cylinders to the mix? It would be pretty easy to do now that I look at the manifold as each runner has a bung.
-
Thanks for the suggestions....hmmm...maybe a 280 master is the way to go. Something to try first, perhaps. The fuel pump is loud enough, I don't need another thing making noise. Also, I do have a mild cam, so another way to go is actually measure the vacuum I'm producing now to see what the base is. As for the brace, 240260280, I noticed the rod would flex some during initial throttle-up pressure, so the brace keeps that from happening. There are probably other ways to correct it, but this one works pretty well.
-
Hey everyone, I was at a car show (the Z took first place!) yesterday and was talking to some other folks who have cars of the same vintage of mine with similar mods (Wilwood calipers, etc.). One of them was getting older and decided he wanted more brake assist, so he installed one of these: https://www.summitracing.com/parts/sum-760152 or https://www.amazon.com/dp/B005JV7O6S/ref=psdc_15706961_t2_B0030Z666E Or something just like it. He fed it into the intake manifold of his V-8 (it was a 1973 Z28 Camero) and said it made a huge difference for him. I've got the triple weber set-up, and the vacuum for my master is generated from just cylinder #6. I know it works as when I shut off the engine and brake, the pedal turns into a rock. I've also tested the one-way valve and it works fine. But...maybe more vacuum would help? I could plumb it in between the one-way valve and the master, adding vacuum to the system that way making it easier to operate the brakes, yes? Or...would it be easier/cheaper just to plumb cylinders #2 and #4 into the vacuum? So, I'm wondering if anyone else has tried this...or if there's a difference at all. Always looking to improve the Z experience!

-
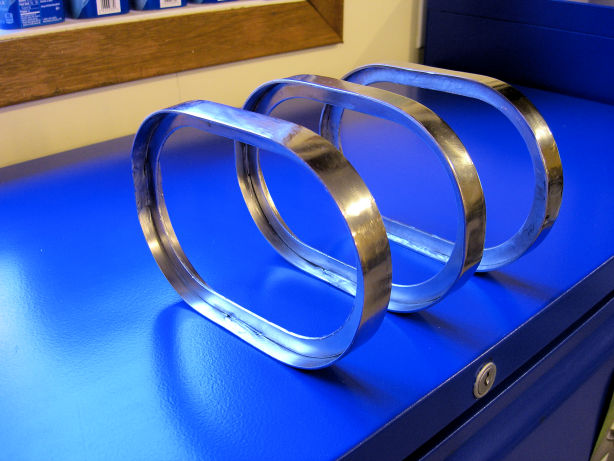
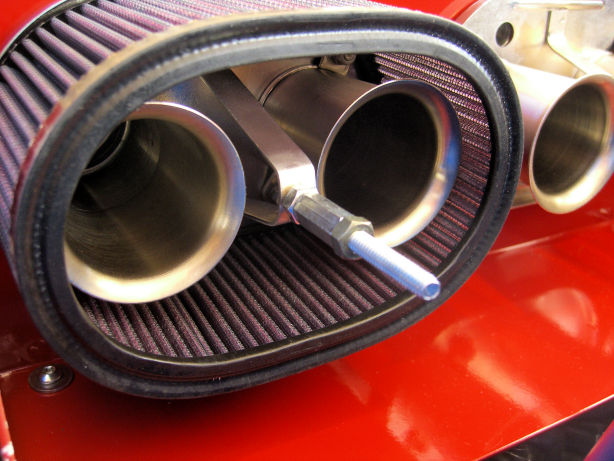
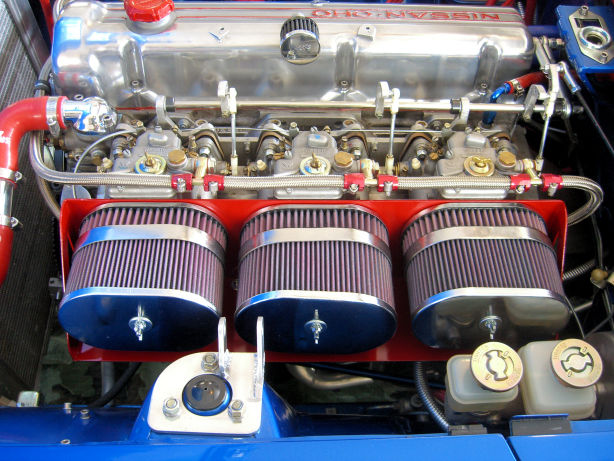
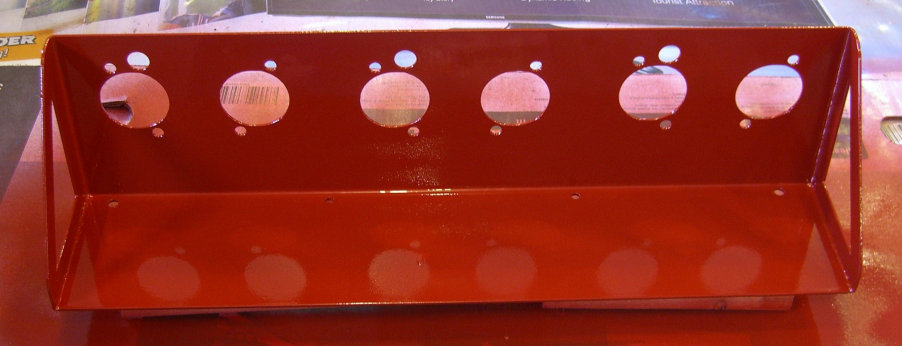
Hey everyone, just a follow-up to this thread and some photos of the end result. I made some brackets that hold two air filters, a 1.75" from K&N (I found them on sale at MSA) and the standard 3.25" filter kit from Redline. Without the bracket, there was just over .5 inches of clearance, but with the additional filter bump there is now over 2". I got it assembled yesterday, and the car definitely breathes better, especially at higher RPMs. The last dyno test showed the airbox I was using was reducing the overall horsepower by about 10 (even when it was sucking in hot air from a non-moving car), and while I didn't put it on a dyno yesterday, I think these filters have almost the same result as running wide open. Also, I noticed that it goes more lean now at the higher RPM, so I can probably increase the main jet a bit. Seems to support the idea that it wasn't getting enough air before. Incidentally, there wouldn't have been room for larger K&N filters as the master cylinder was in the way. Photos attached.

-
Hey Madkaw, I'm not surprised with that work of art in your engine bay. That was similar to the set-up I had earlier (not quite so shiney, though), but part of the problem is the piping that ran through the radiator support area kept getting damaged because the engine shifted. In one case, it cut right through the aluminum pipe. In other "drafts," it destroyed various other types, too. So, do you have solid engine mounts on your engine from shifting so much? Maybe the silicone protects the aluminum? Or, did you make the hole larger? I also like your linkage set-up...I'm re-examining mine, too. Do you have a close-up of that?
-
Rossiz, thanks for your update. I've been working on this since the posts began (well, mostly thinking). And, I've come up with some ideas to try. Overall, though, my thinking has landed on the following (supported by your own dyno runs): 1) Longer (i.e. stock) air horns/velocity stacks are best...both for resonance, runner length, and air conditioning (streamlining, compression, air speed, etc.). This was confirmed by a few folks I know at Redline, Top Performance, etc. and others who like to ponder fluid dynamics. So, decision 1: keep the 2.5" horns. 2) More air is better. I looked into the generic air filters which are 3.25" deep and the K&N ones which can be 3.75" but both sit really close to the air horn (.5" or .75"). This seems to suggest that there would still be a restriction, especially at max RPM) made worse by the environment inside the air filter as valves open and close. As the opening of the air horns is 2.5", I'd like the same space between the end of the air horn and the filter surface. In plumbing, that's how you'd do it, yes? It's true that air "turns" more quickly than water as it's lighter, but it's the same idea. Decision 2: more space is needed. 3) The turbulence thing you talked about is definitely an issue, as well as filtration, so in addition to lots of air, I need to make lots of it available, protect it from the heat coming up from the header, turbulence, and keep it relatively cool. I have a heat shield over the manifold already, but decision 3: add some kind of heat shielding. I've attached my latest heat shield and have a plan to build a bracket to stack two air filters on top of one another which will give the horns the 2.5" of space I think they need. I've got the heat shield finished I CNC-ed from aluminum (see photo) and added heat protective shielding on the bottom. I will work on the brackets next. More when I'm finished!
-
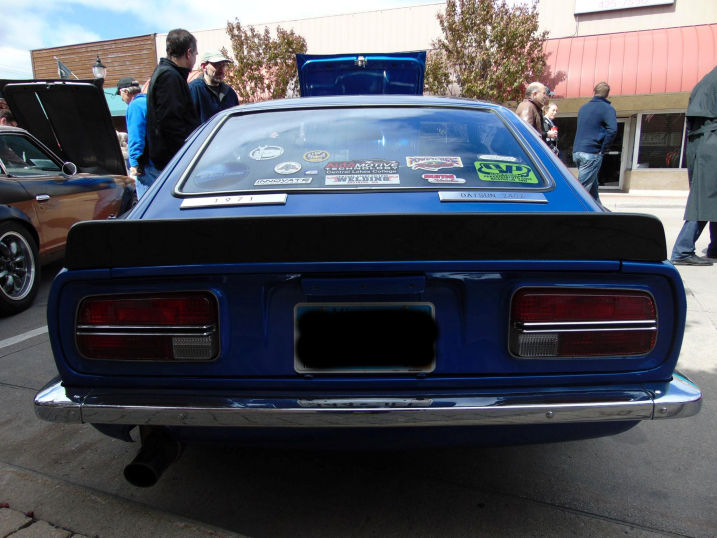
I did this a few years ago using all new hardware from MSA and trying my best to make it a good seal. But, to be honest, I never got rid of the exhaust fumes and I was worried about water getting in. Maybe you will be more successful, but just in case I'll show you what I did, which was to fabricate a couple stainless steel plates and glue them over the vent holes with silicone. I can always remove them if I want as I have the original and the replacement hardware, but no more smell. I'll attach a picture so you can get an idea. I also added some text, the left one says "1971" and the right one "Datsun 240Z" (I used a font called " KaiTi" which seemed to match OK)...this is so people are less likely to ask me if it's a Porsche ;-O . (BTW, I know this means the cabin doesn't "breathe," but I haven't noticed any real consequences of this.) EDIT: I will also add the file I used for the plates. Hatch Covers.pdf
-
rc240z, that's the info I was looking for--thanks. I'd be interested in the regular antenna so as not to draw unwanted attention (or give them something to remove). I share some Derek's apprehension about speed data, or just data in general hanging out there--especially with Putin in the mix--but I understand that the system needs data to operate, so it'll just be a compromise. I can always turn off the device (or disconnect it...maybe with a switch), that will act as my "tinfoil hat" if I get worried. ;-D
-
Derek, I had the same concerns about the FAQ. It also looks like they only have one product. Ron, I am not being clear. I'm not looking for a sales pitch. What I wanted is information about what it's like to use a device like this from someone who has actually uses one. So, same question I asked earlier: have you personally used either of these devices (or another one like them)? Do you have them installed on your vehicle(s)? How long have you been running them? What has your experience been? Finally, I just called my insurance guy, and I'd save about 5% per year on my comprehensive insurance with the device installed, but of course other policies could be different (mine is a regular policy through Travelers, not a collector's policy, and it's for agreed-value). So, in my case, the savings from insurance is pretty negligible.