grannyknot
Free Member
-
Joined
-
Last visited
Everything posted by grannyknot
-
 I have made quick and cheap pushers/pullers with threaded rod an a turn buckle. That's what I would call high level fabrication, would love to do that kind of thing but I would probably stretch the hell out of the thing.
 -
You really do need a box structure in that area, plate won't do the job. Building a complete boxed arch like that is pretty high level fabrication but if you don't care what it looks like under the fender you could build it in bite size sections adding each one on to the other and the inner fender at the same time. It might not be pretty but it will work. With that kind of rot your car may have already sagged a bit, I would support the car under the sub frame only taking cross directional measurements as you go.
-
What? Does not compute, how can lubricant cause sticking?
-
But he did achieve one thing, he managed to eliminate every advantage there is to either the Z or the bike in one build, not everyone can do that.
-
-
The ground wires for all the lights in the back are incorporated into the sockets and it's not uncommon to find them corroded or pulled out enough so they are not making contact anymore. But you say the signal is working so it might just be the brake light filament that has blown in that bulb, if you can't see a broken filament in the bulb, switch the right and left bulbs to test it. Hope it's a simple fix.
-
I took that pocket reinforcement a little farther with mine as I've always felt the front shock towers are a bit under supported.

-
If you are still looking for a way to brace the Xenon this one cost me $50 and a couple of hours, Skillard's is very nice but not in my budget.


-
What size grit are you using? I think my is 50-80 grit. Been on there for 34 yrs, it use to have a braided rope design on both edges, wore off decades ago. My wife says " It makes me feel claustrophobic just looking at you finger" I say "No honey, that's just me that makes you feel like that way"
-
That's a terrific idea, I guess you could also take the hose from your Mig tank Co2/Ar and purge the oxygen that way too. Block off all the ports except one at the top to make sure the tank is filled with inert gas before cutting.
-
-
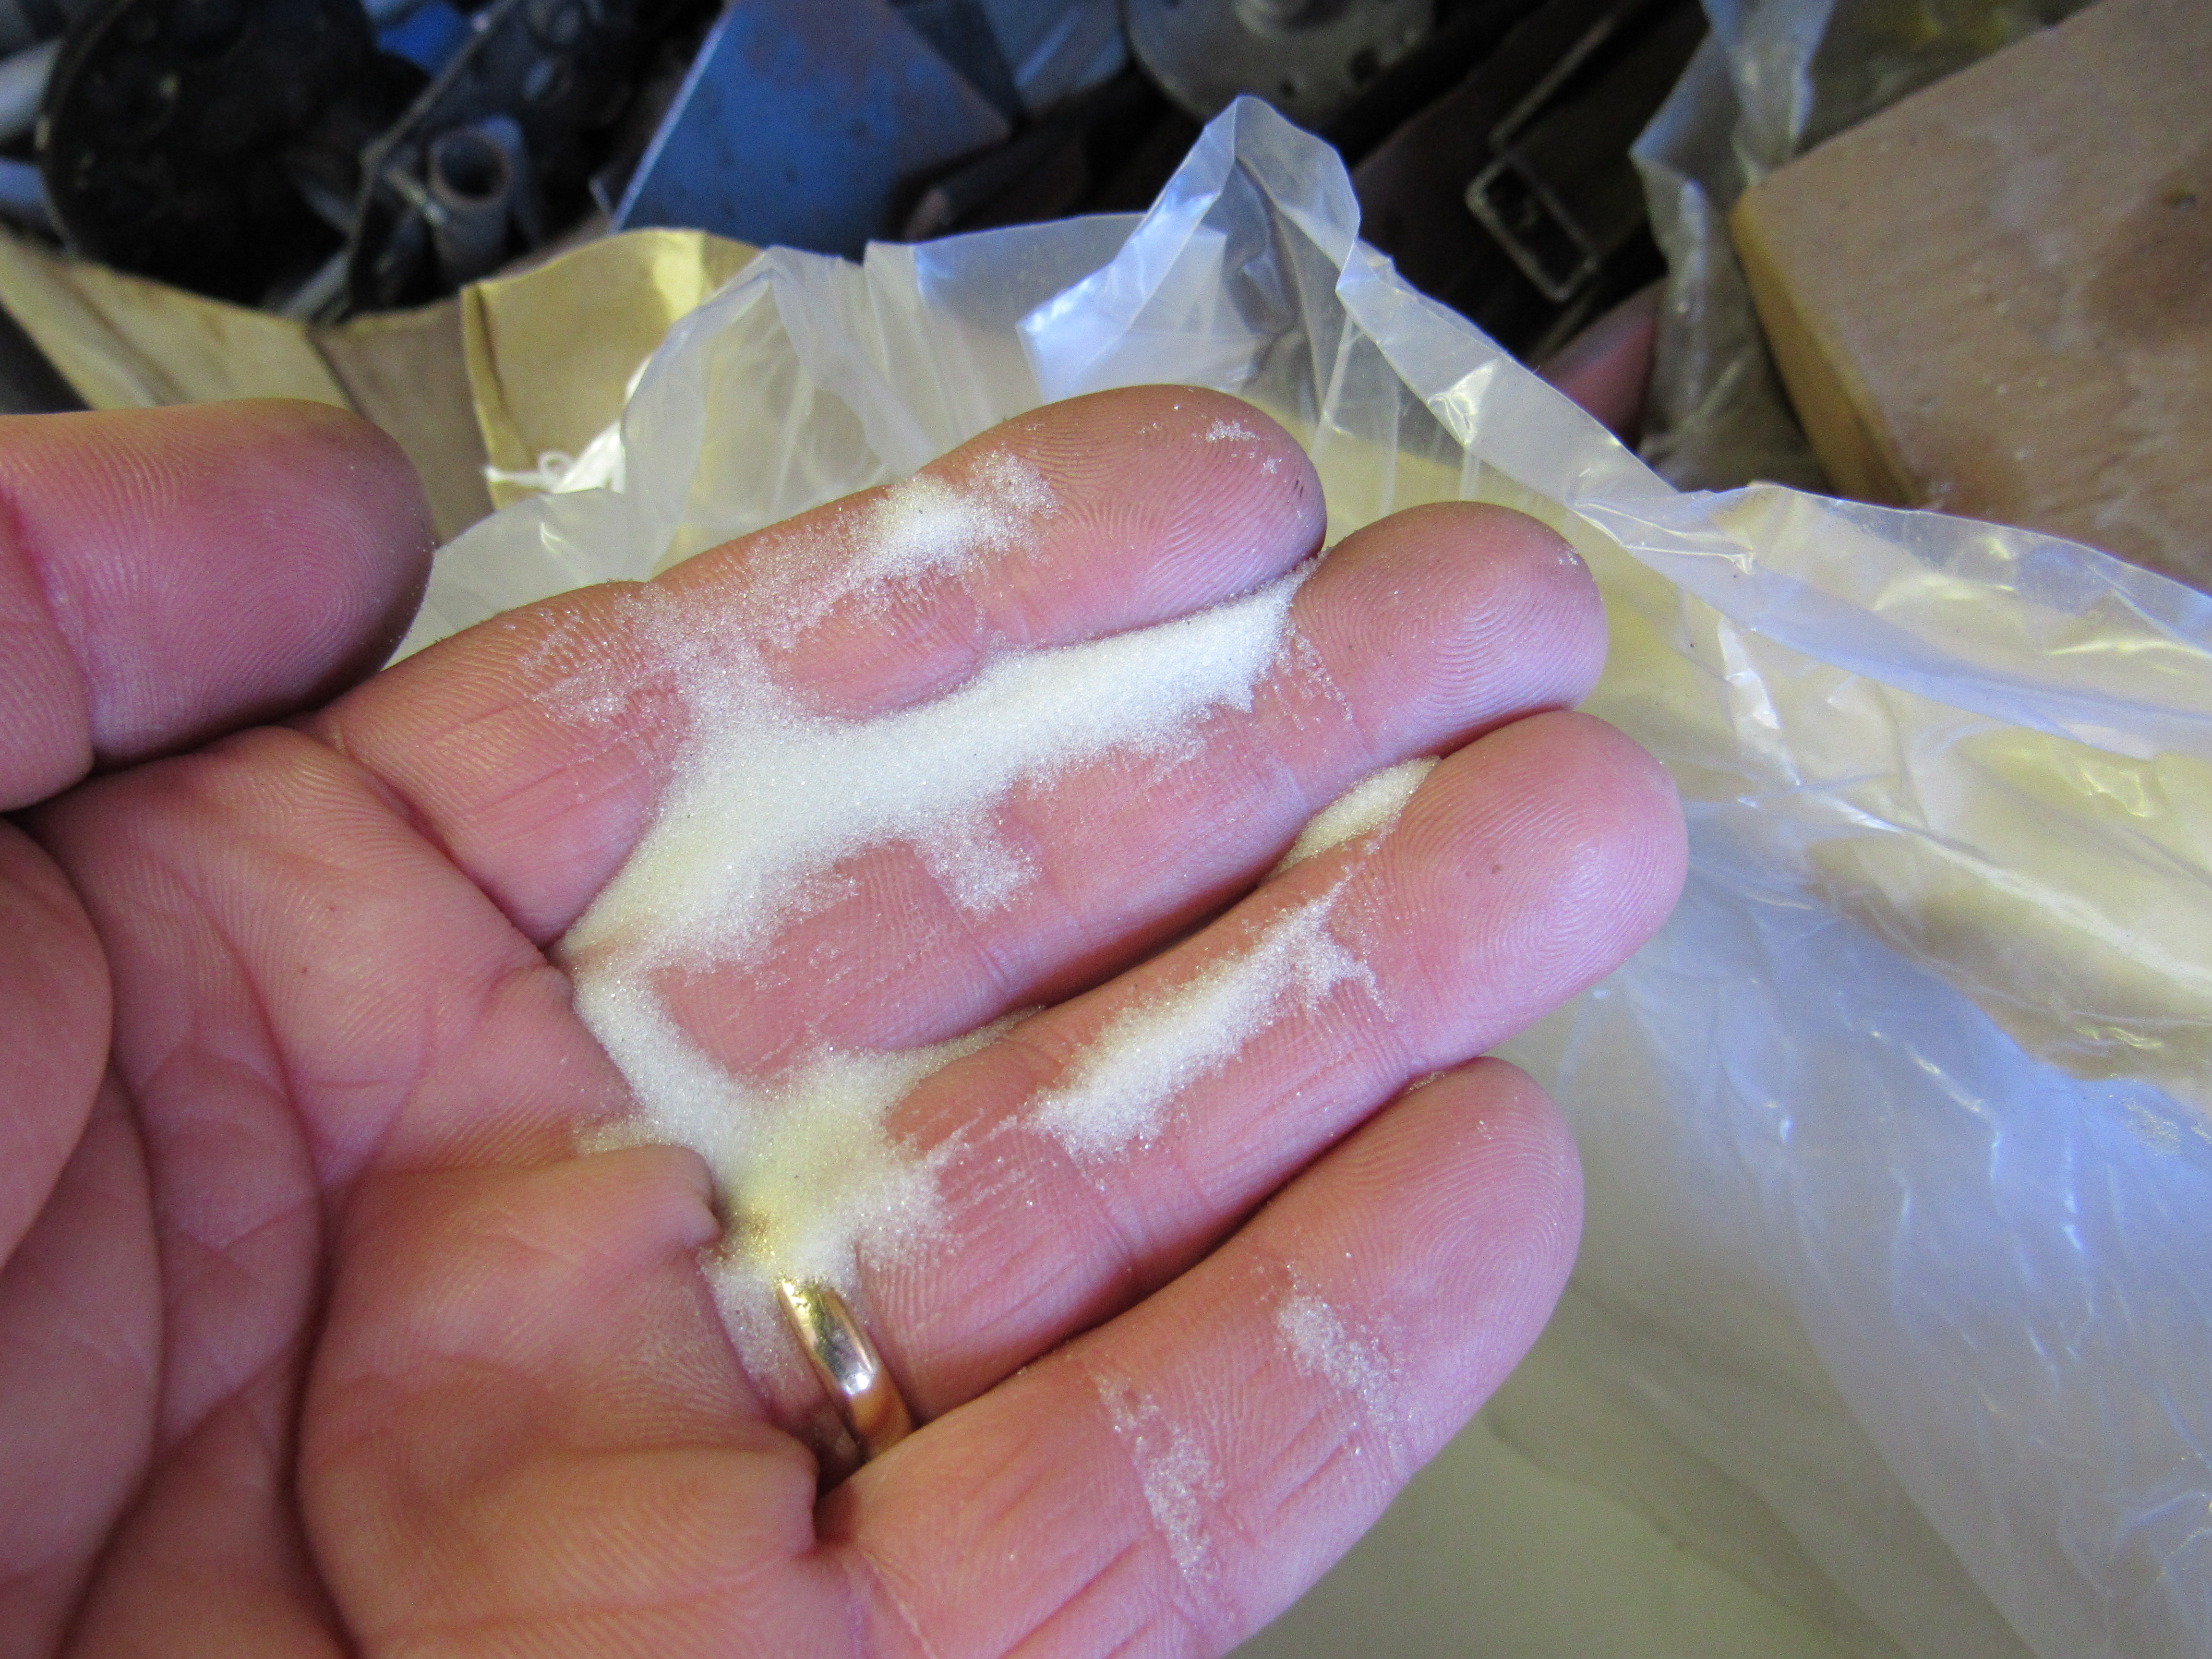
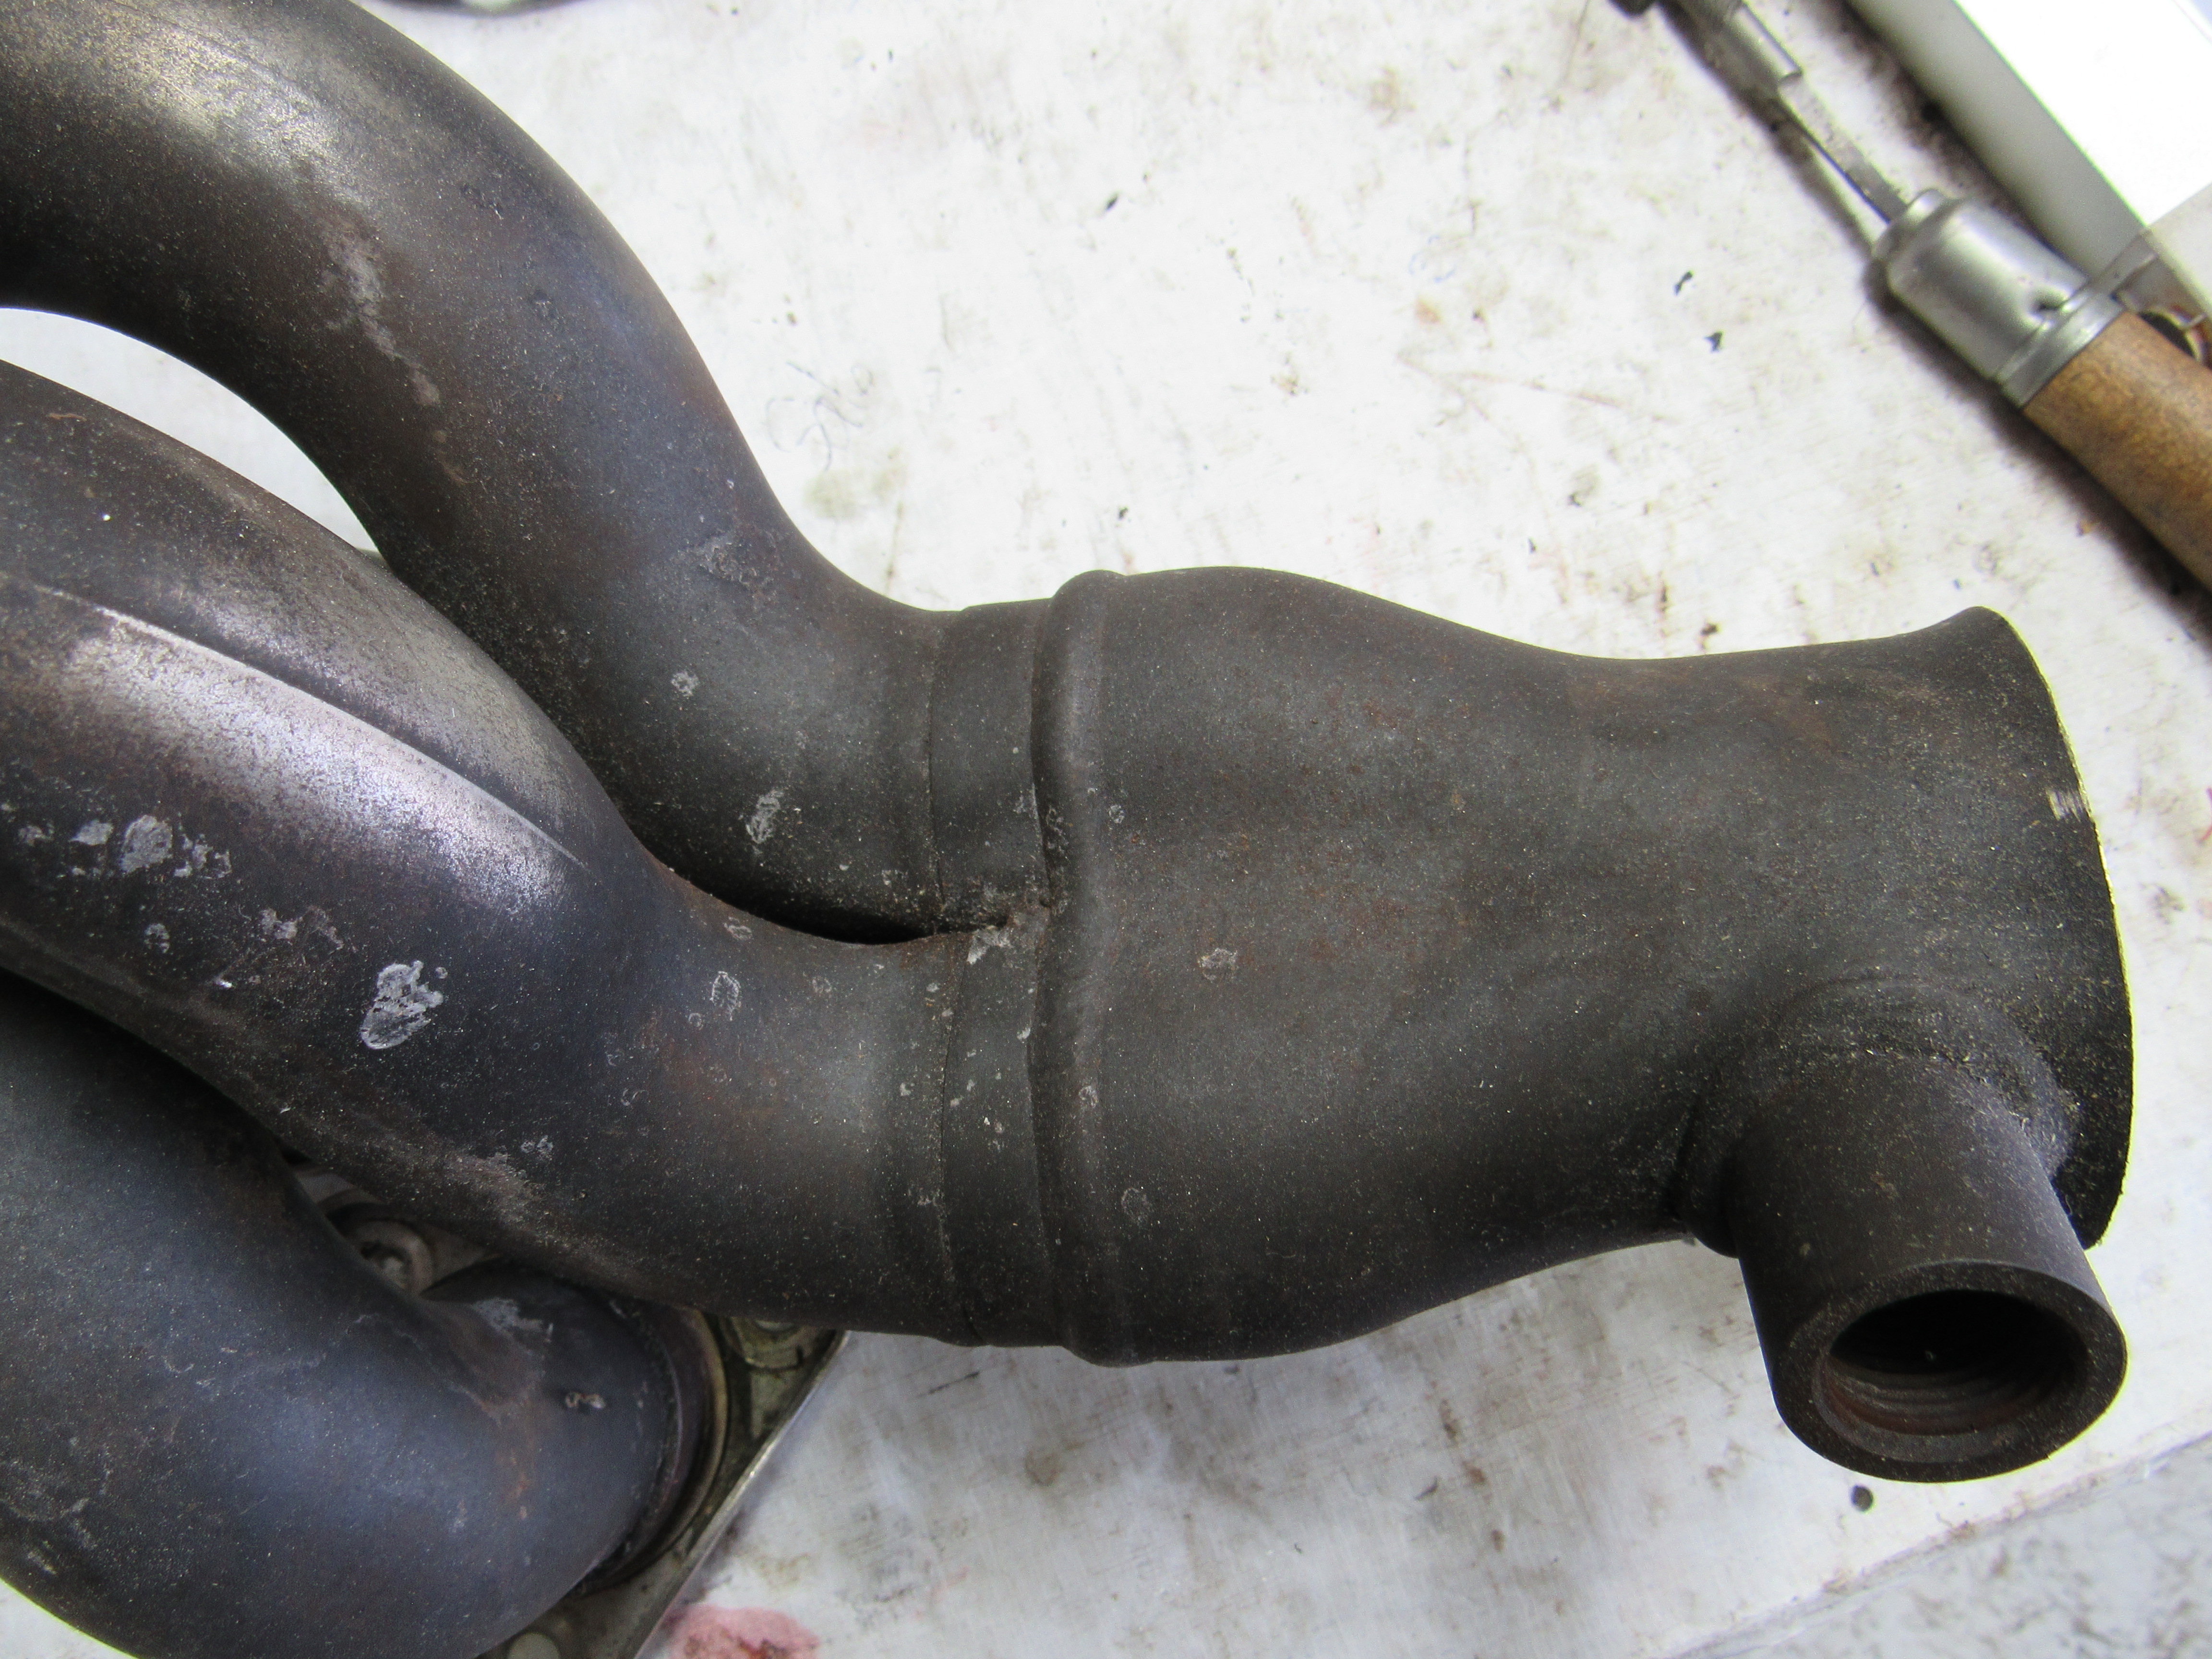
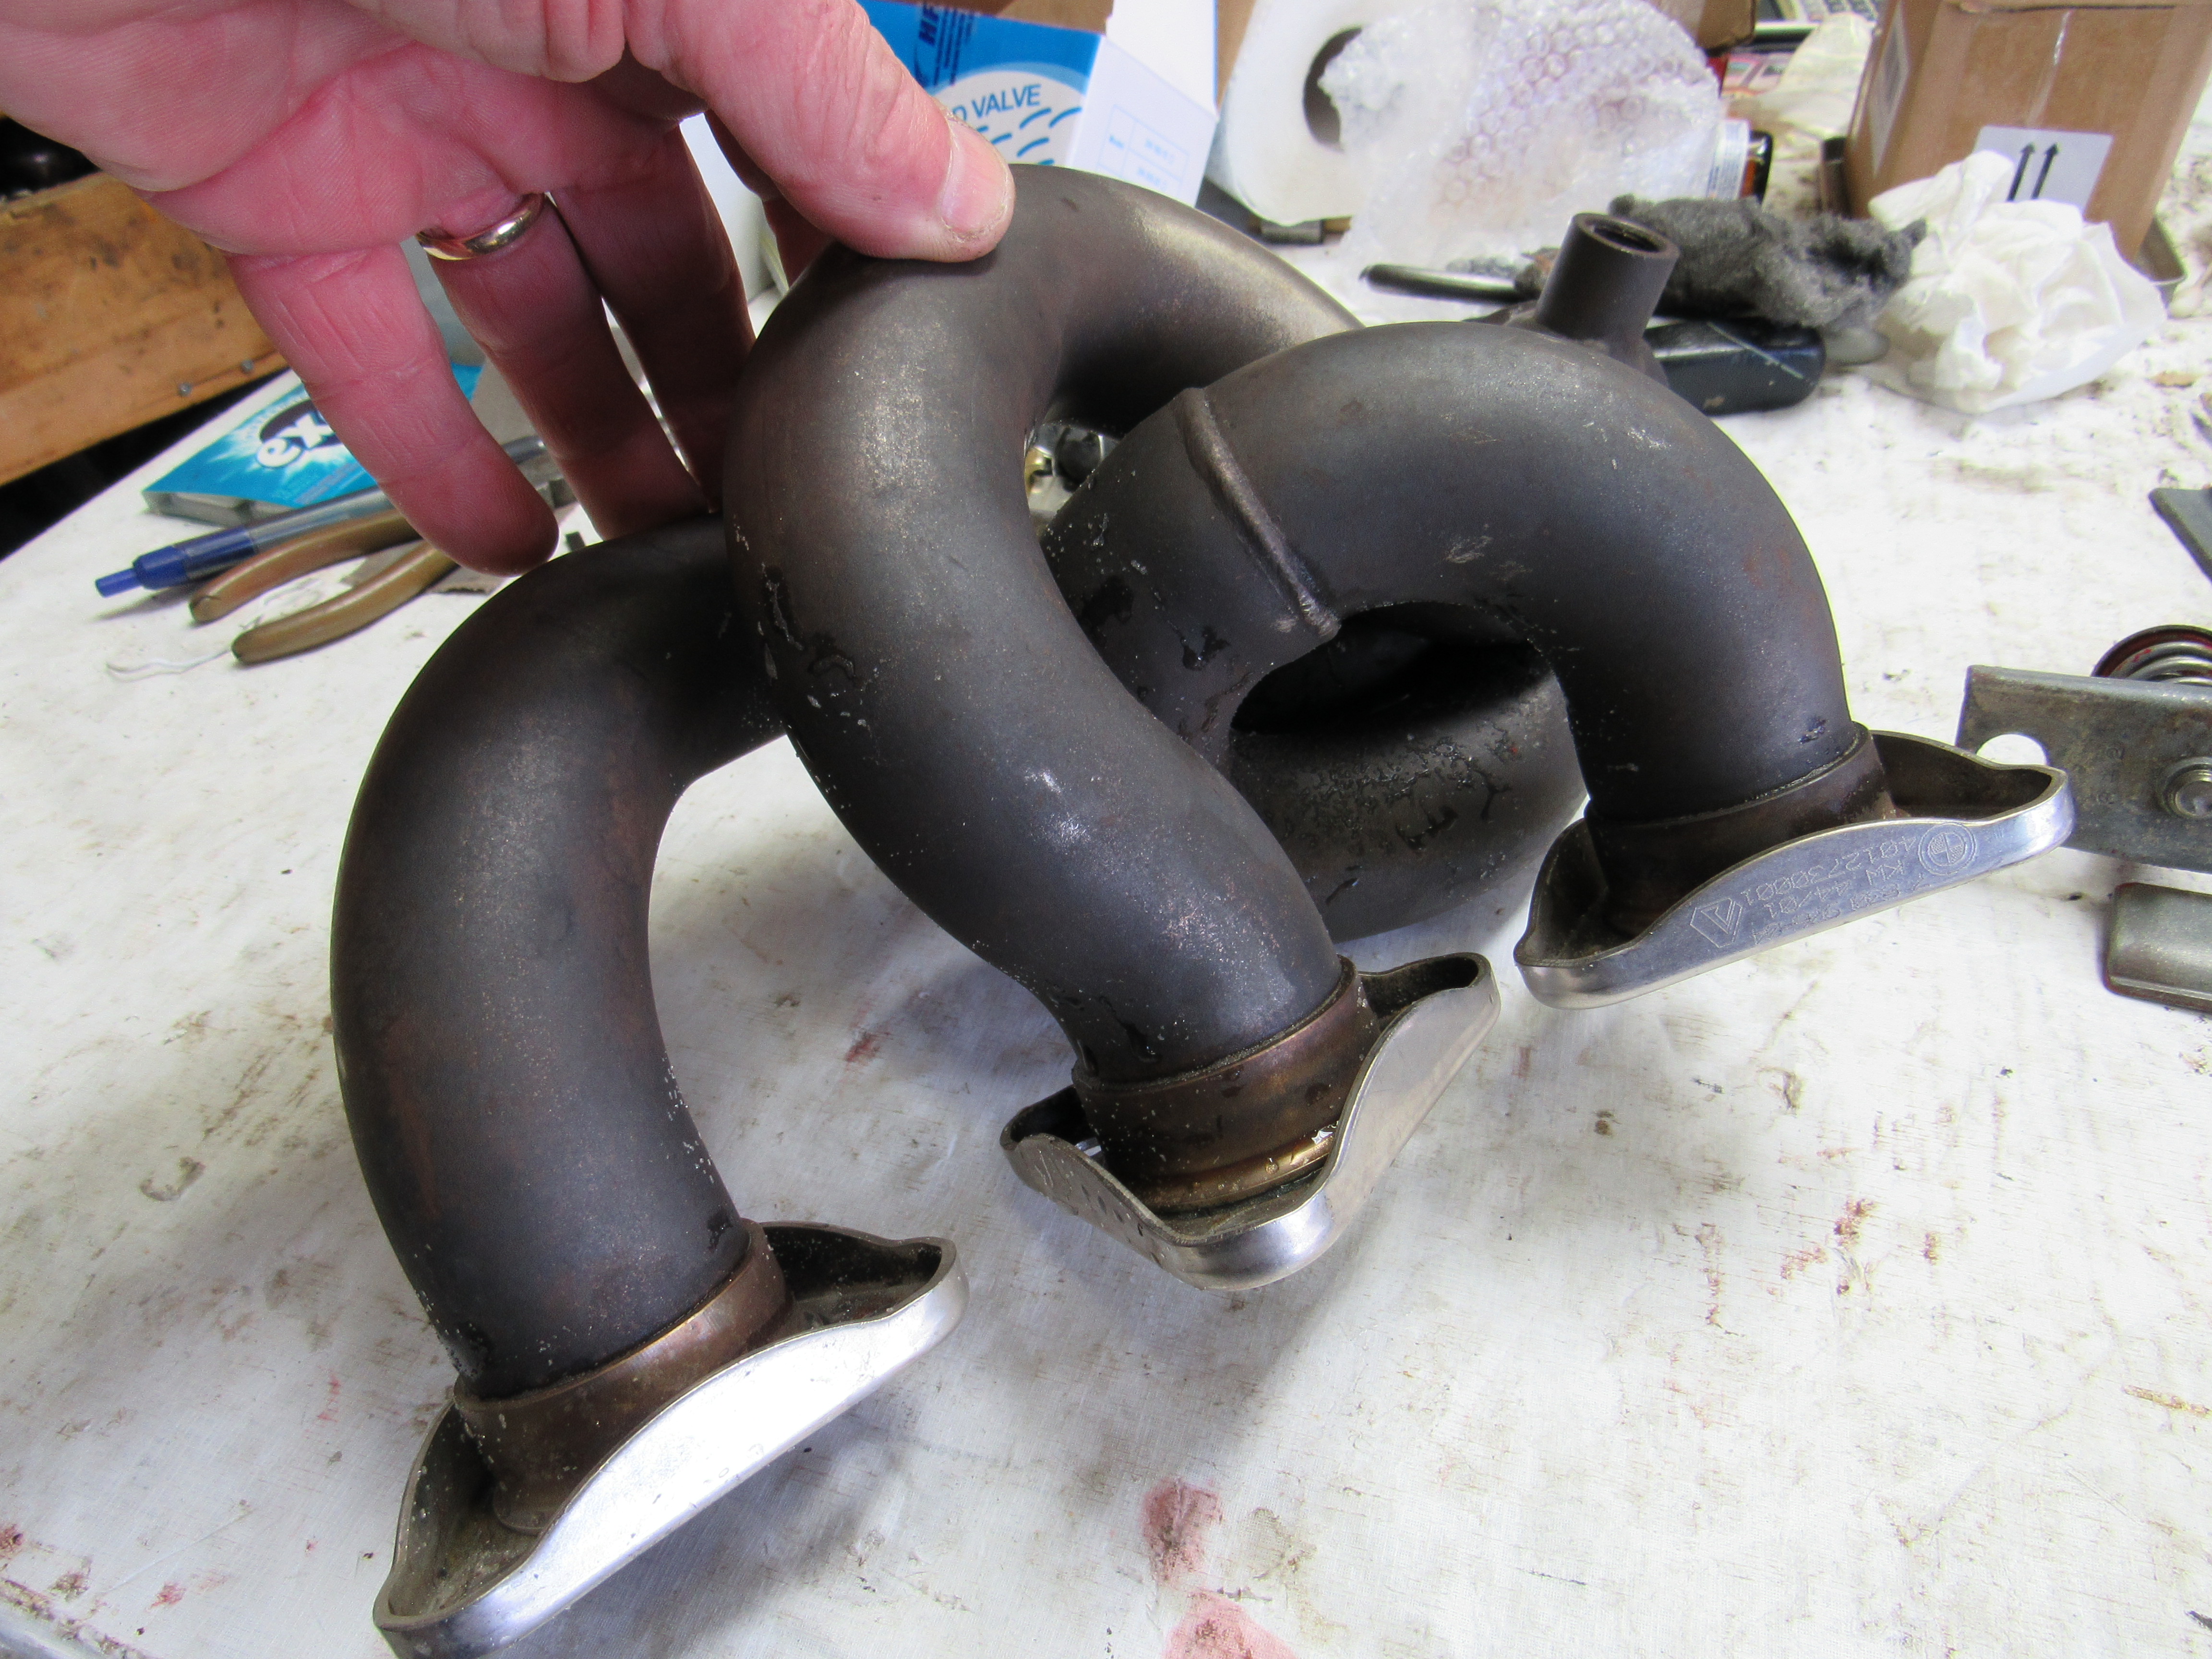
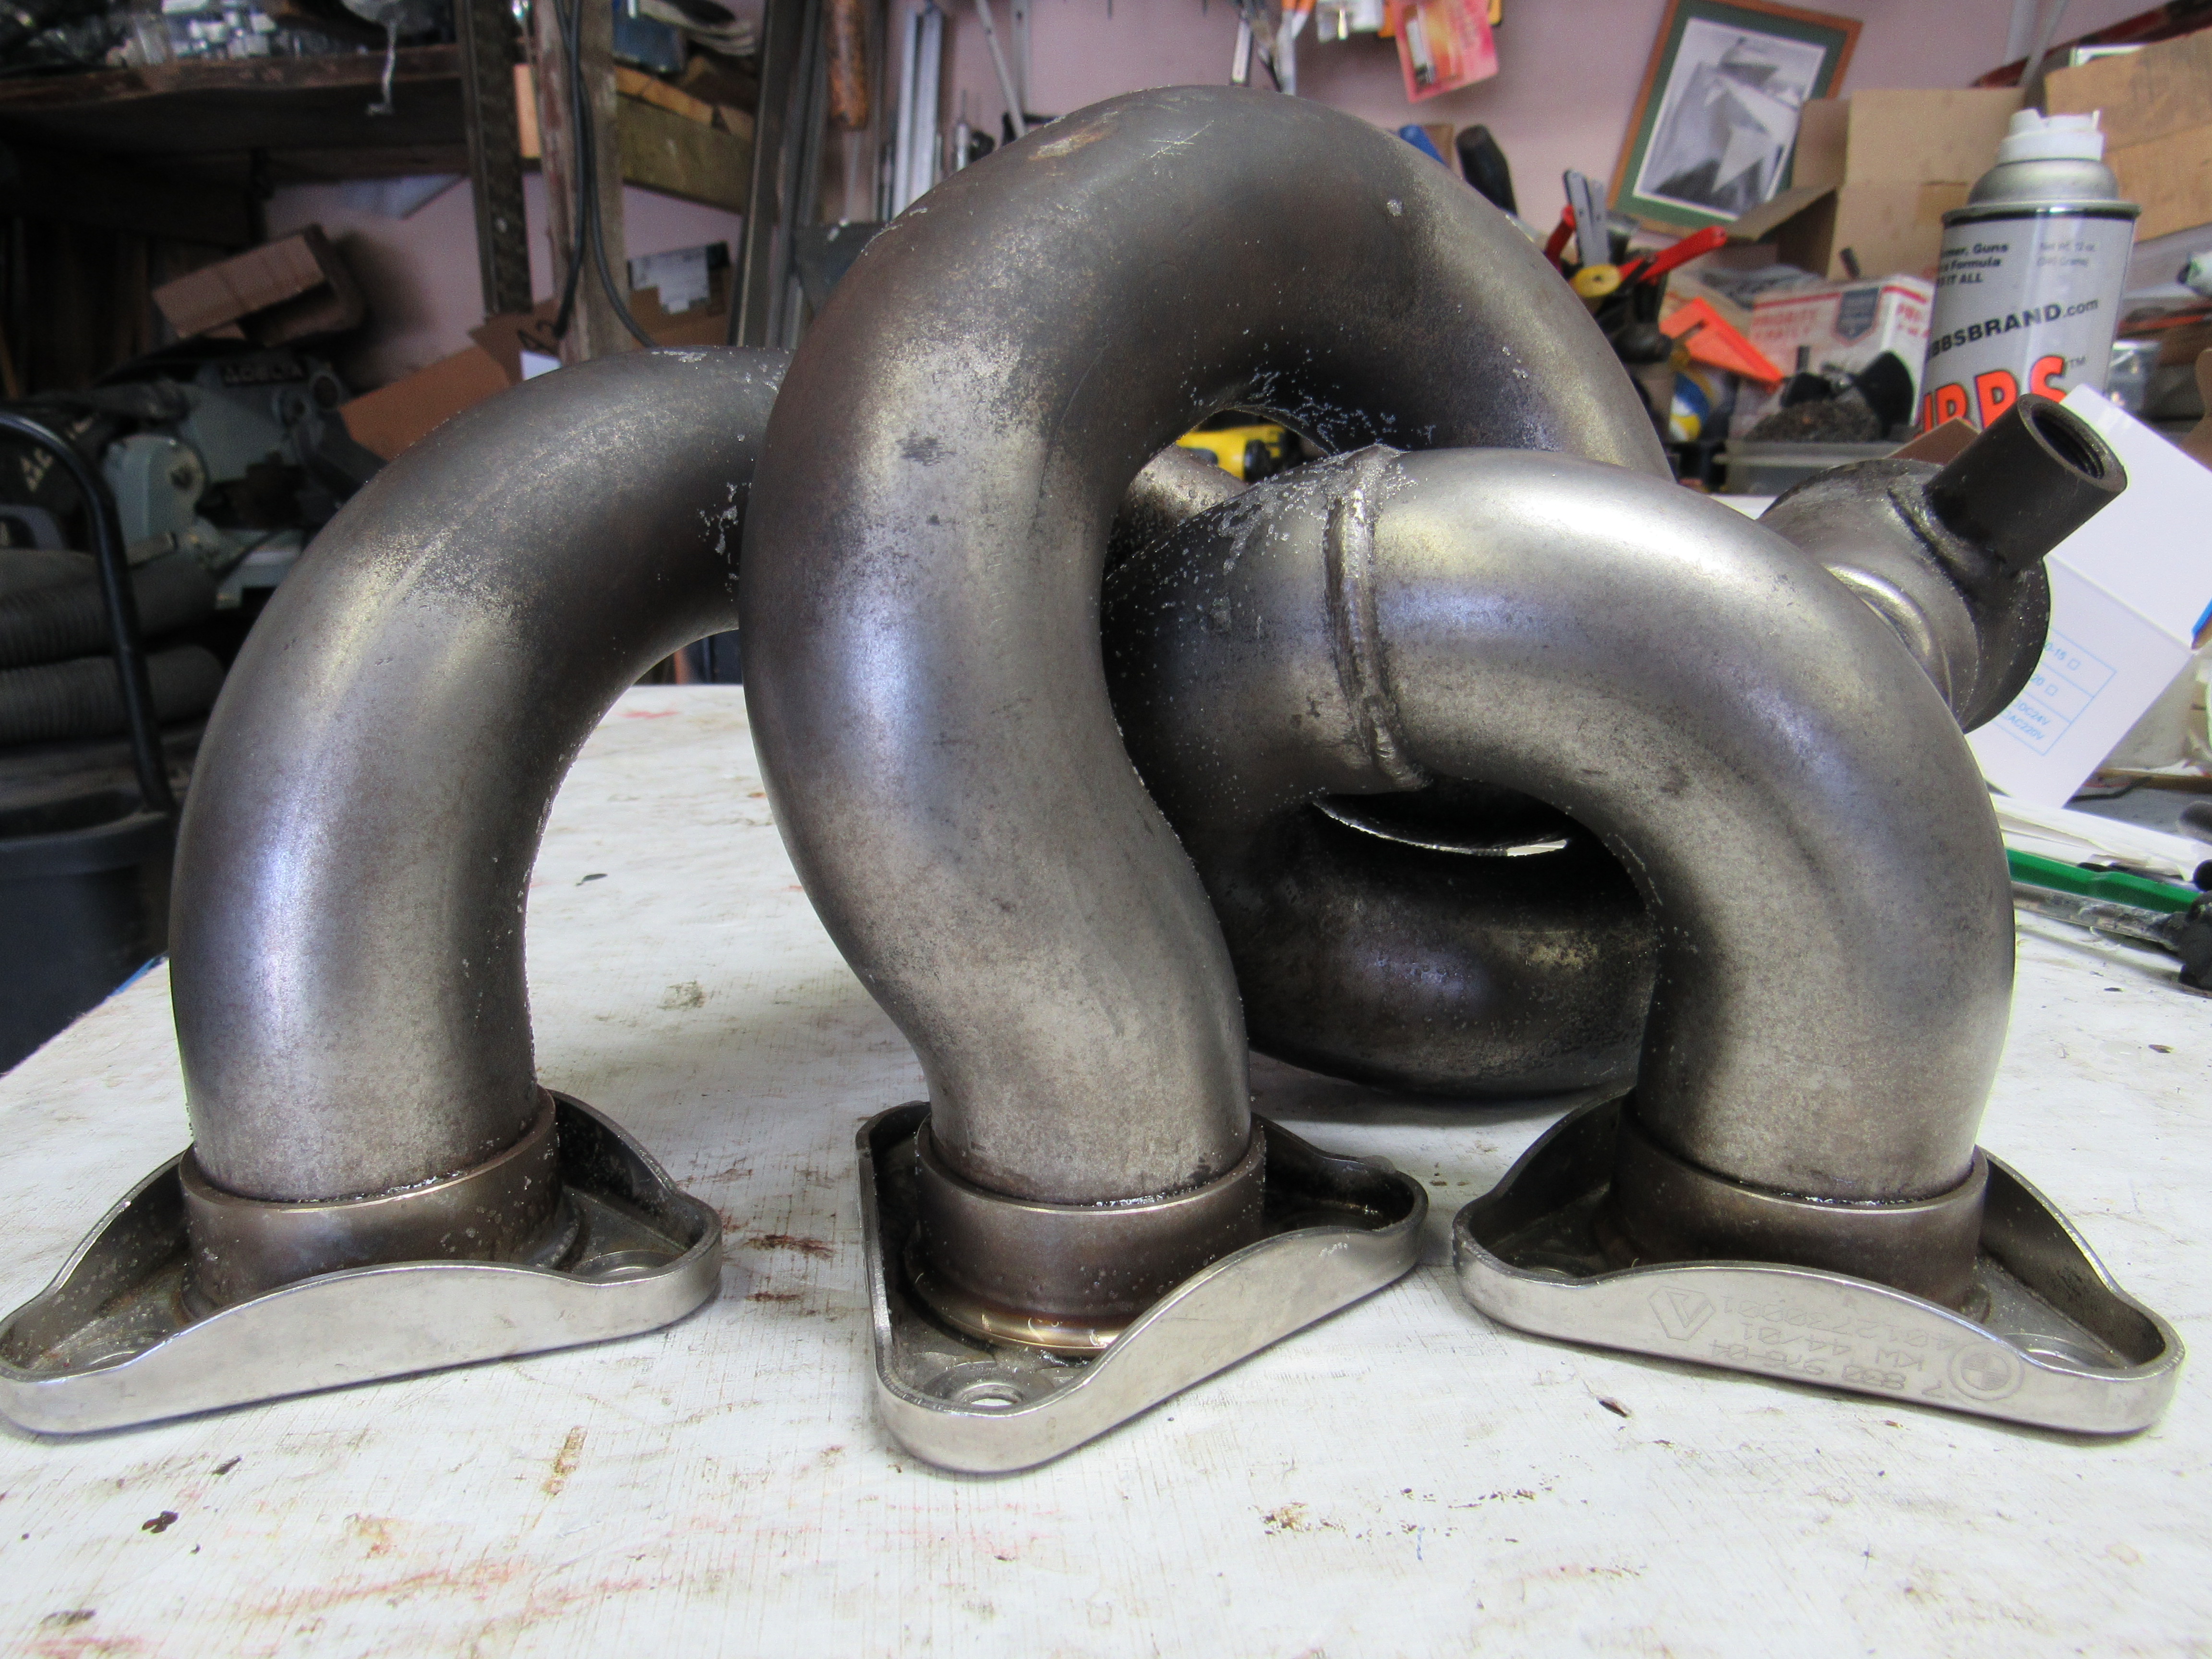
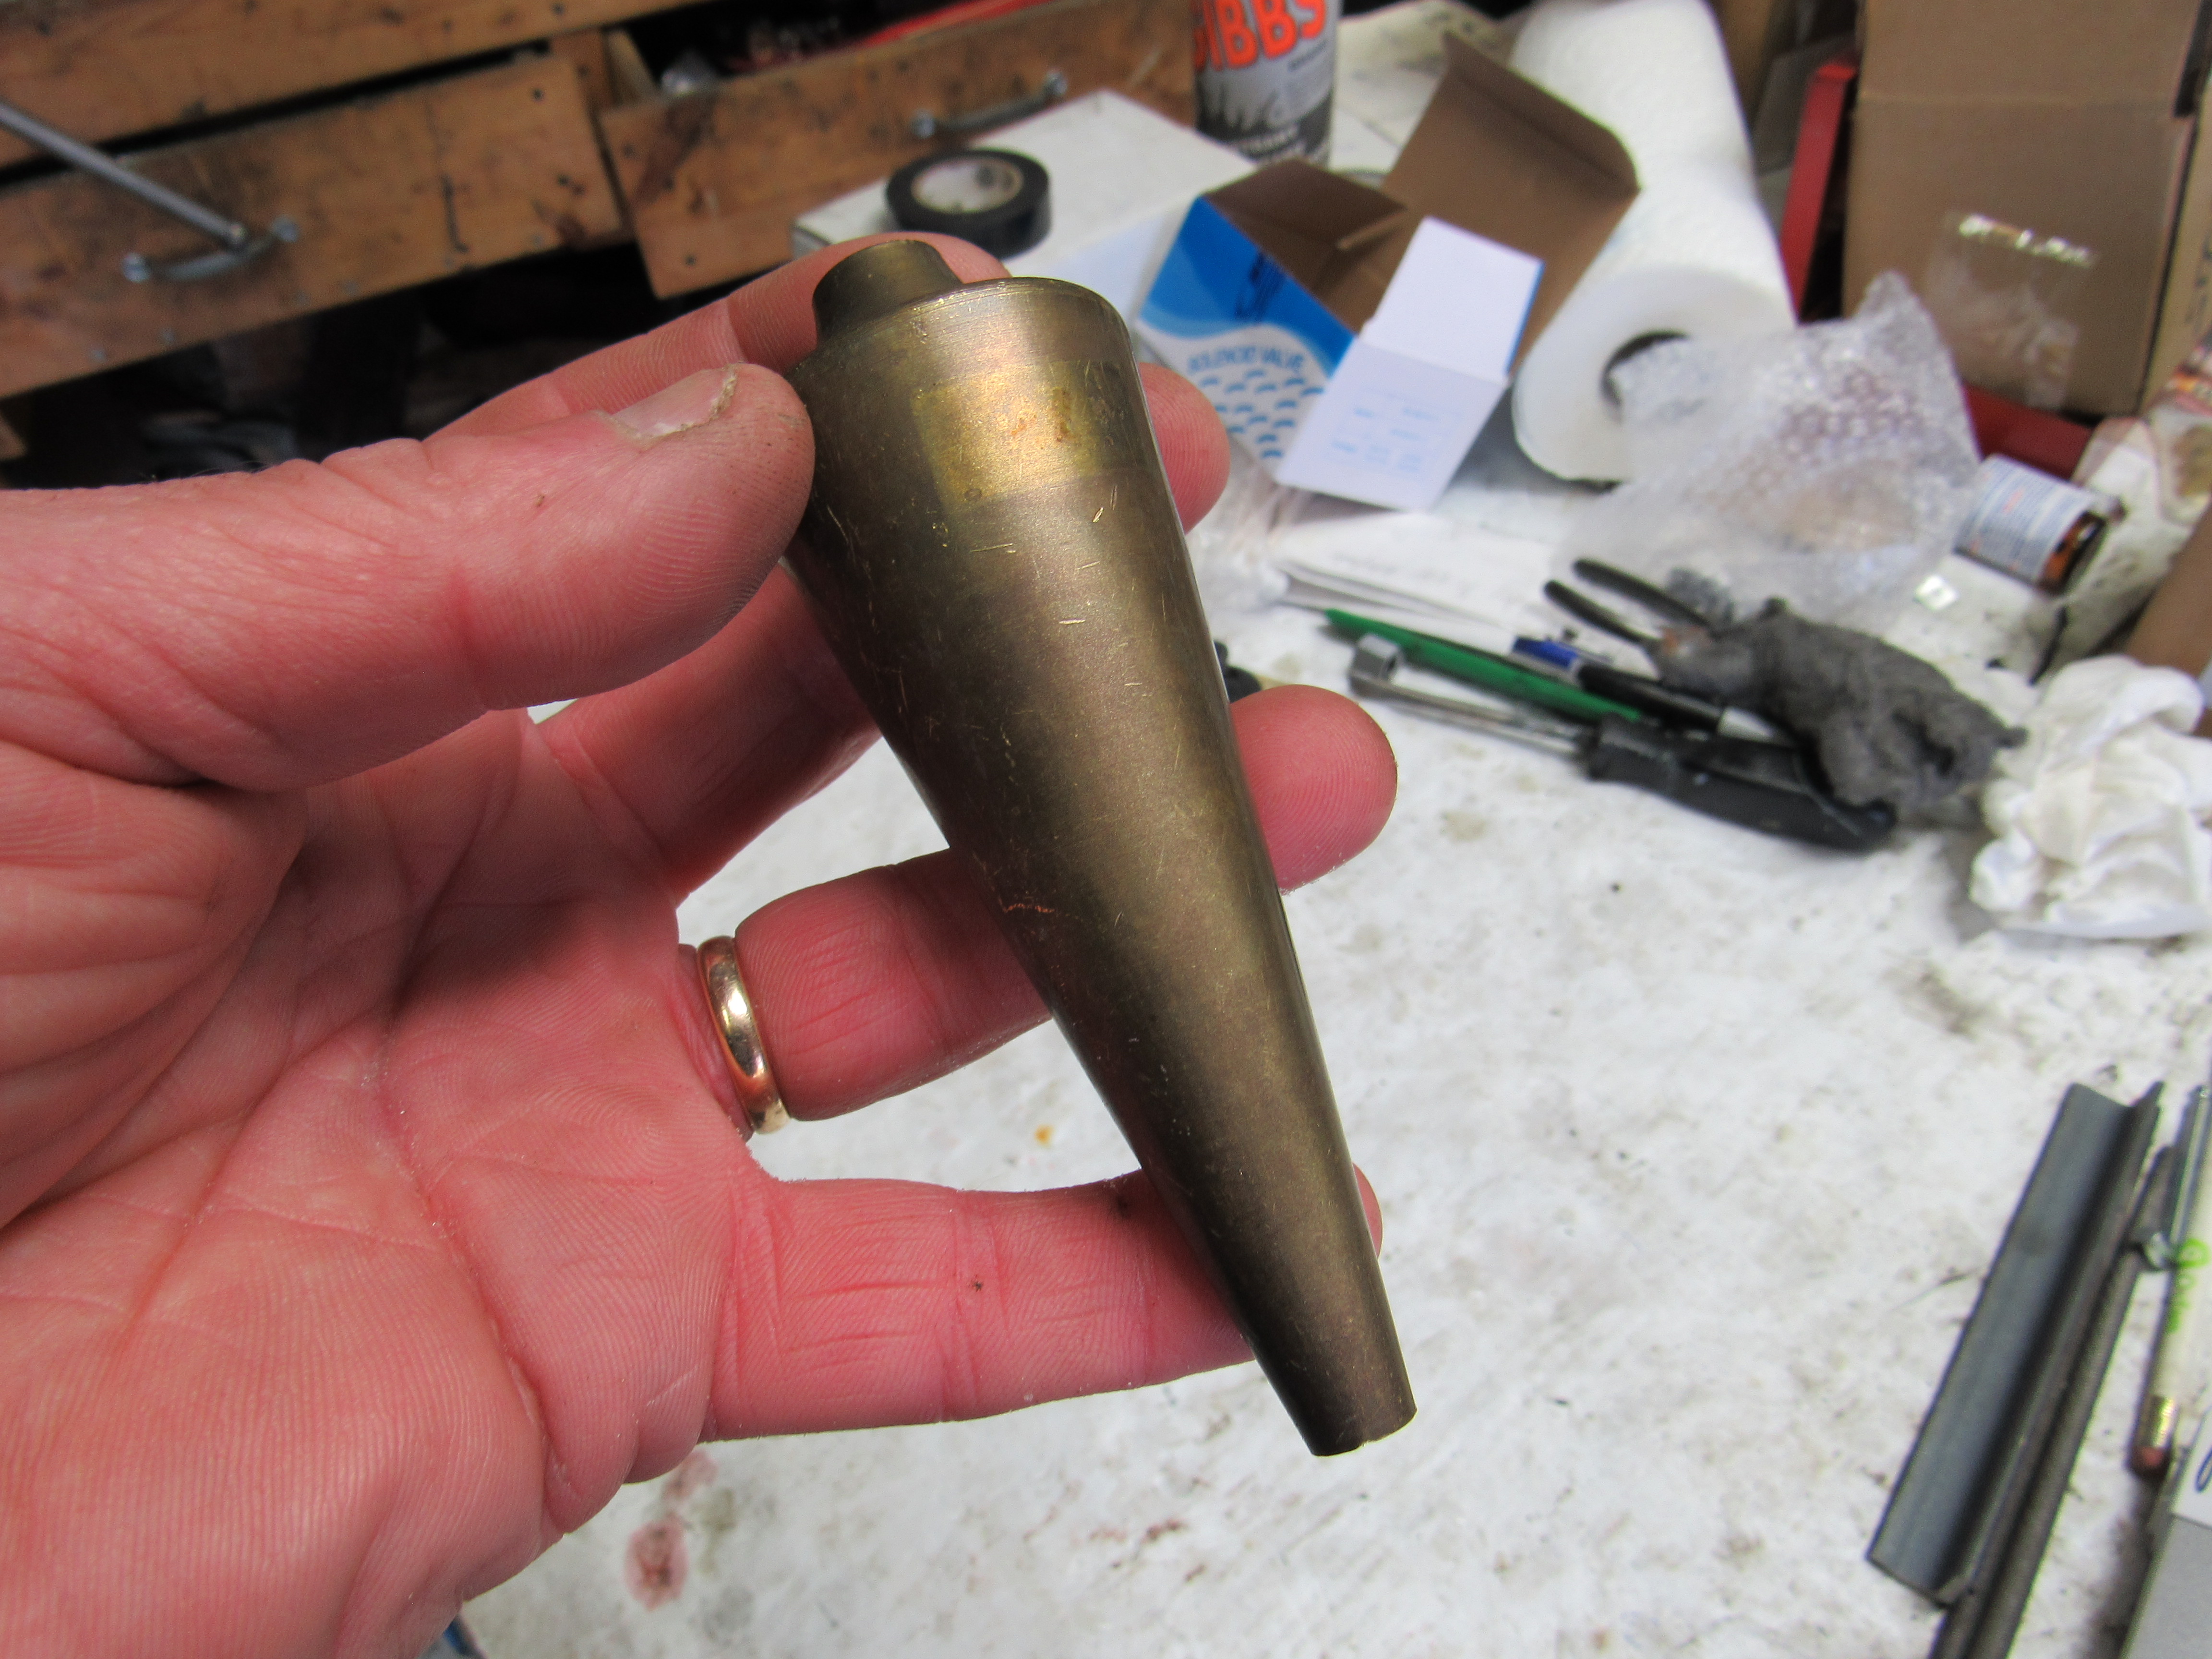
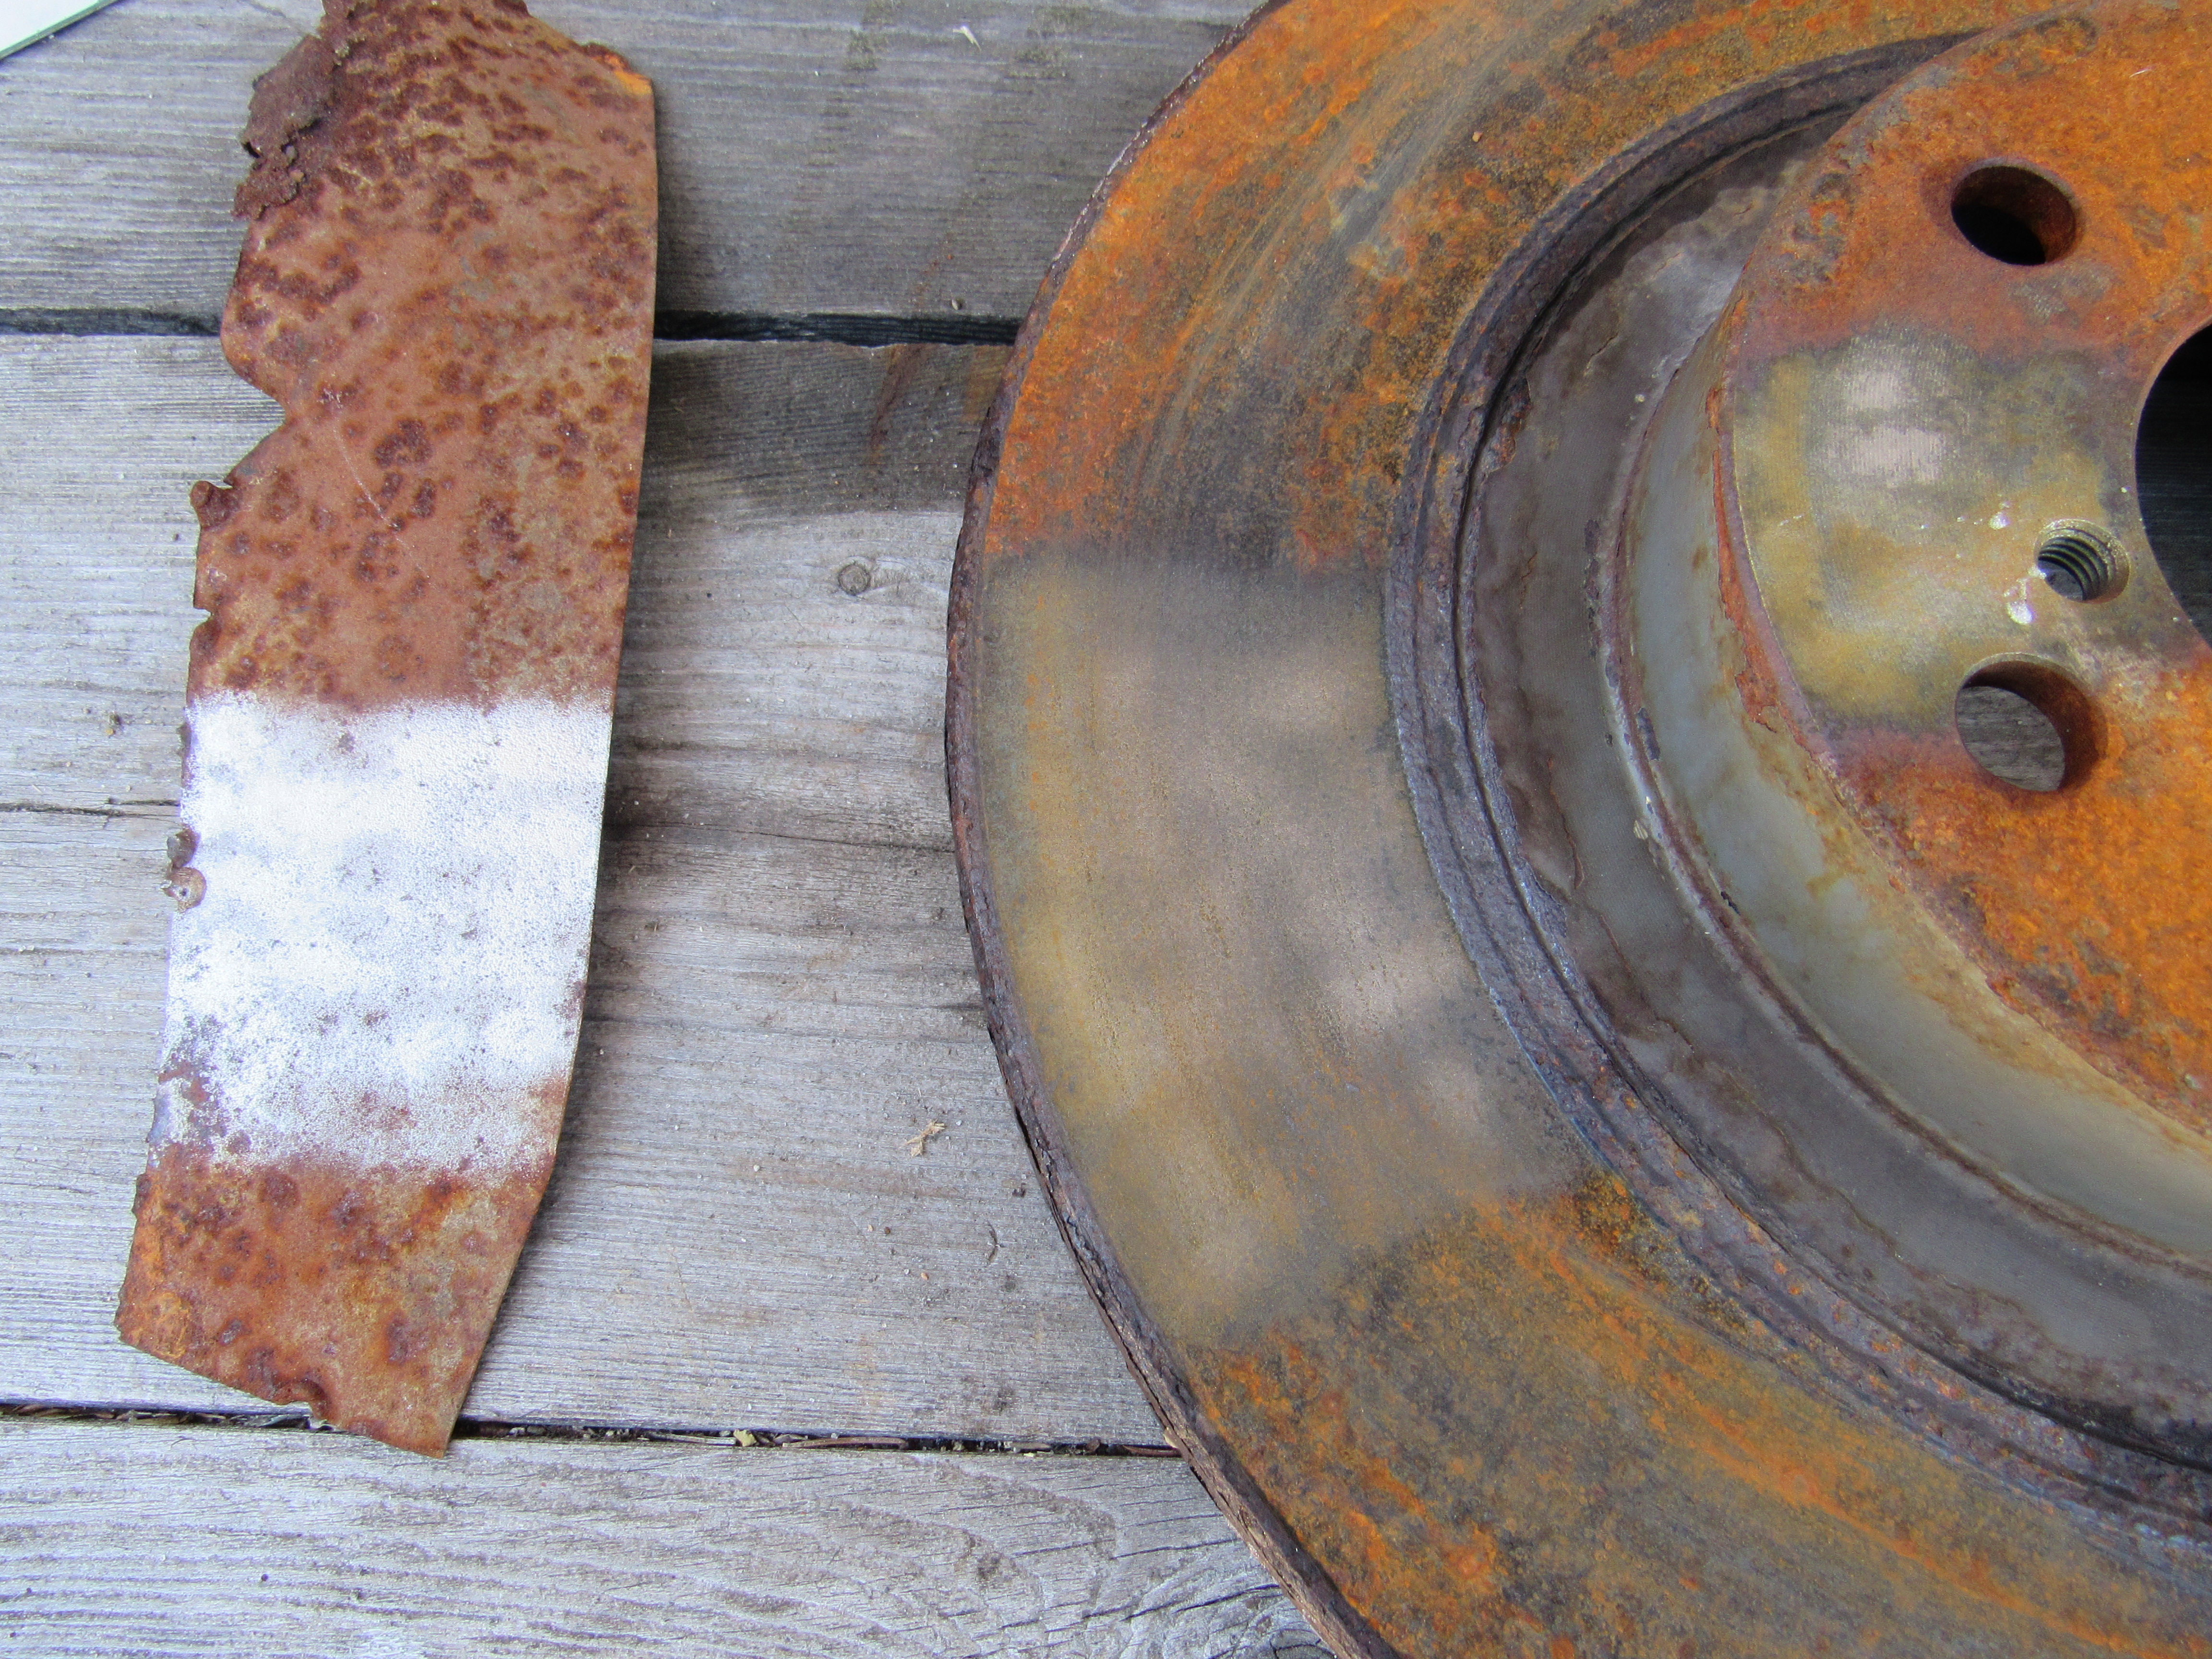
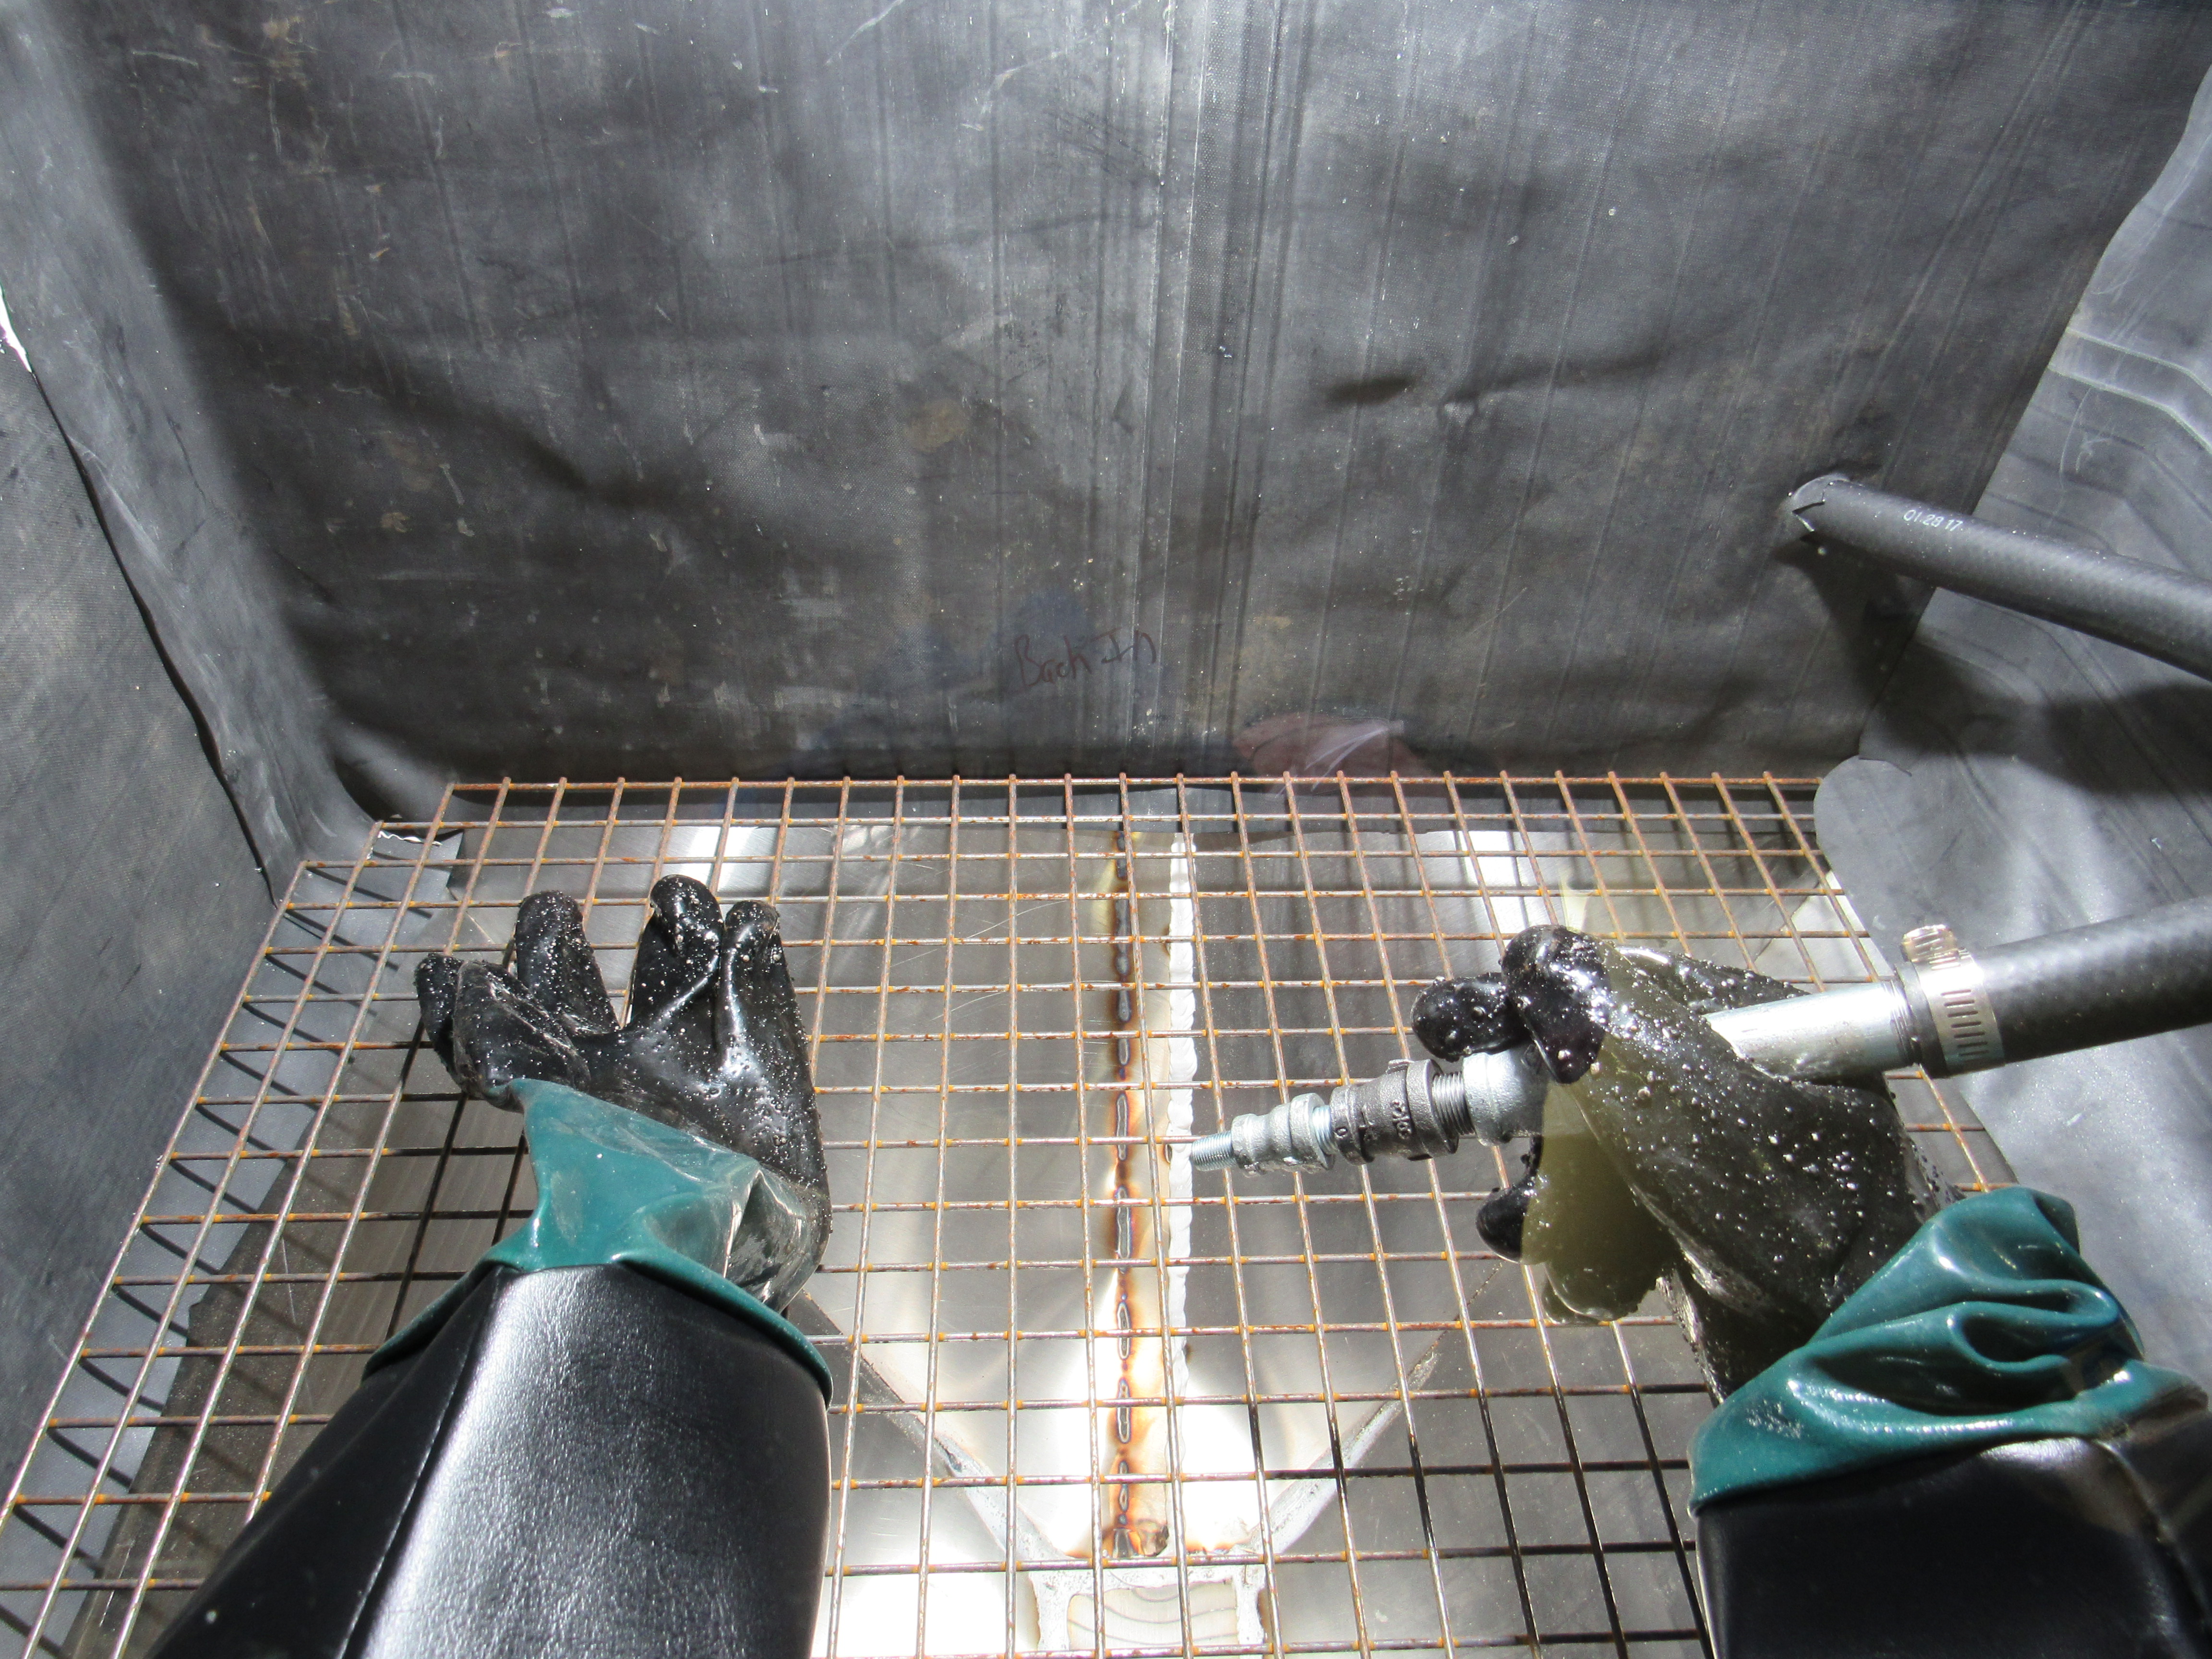
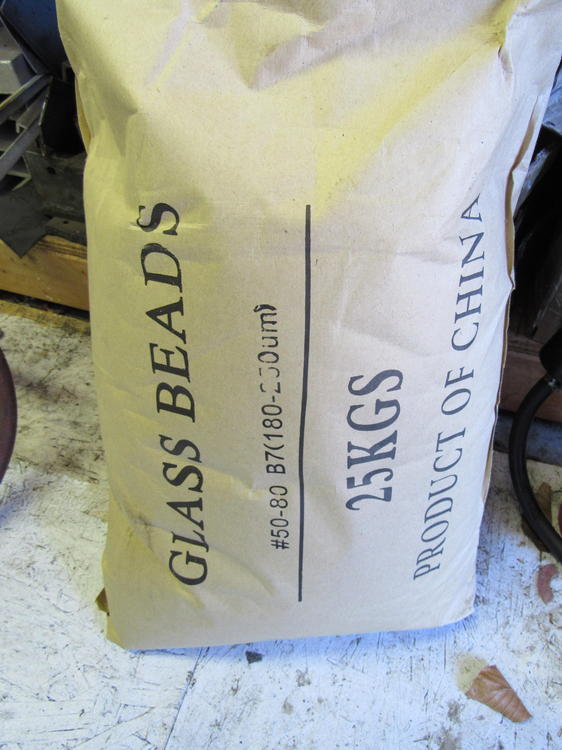
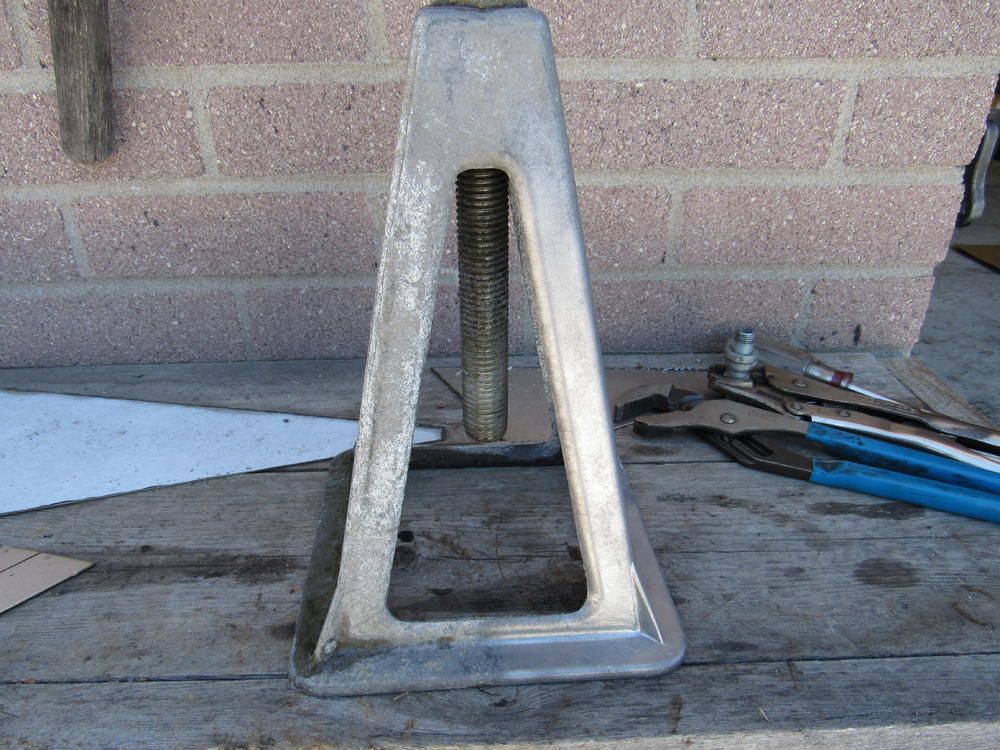
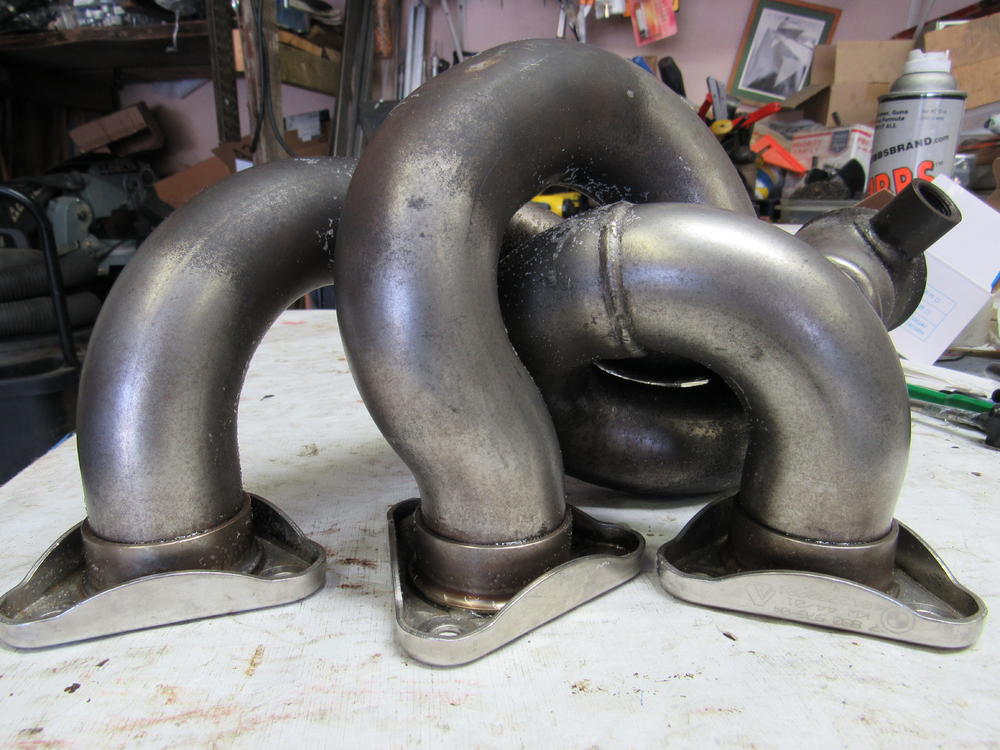
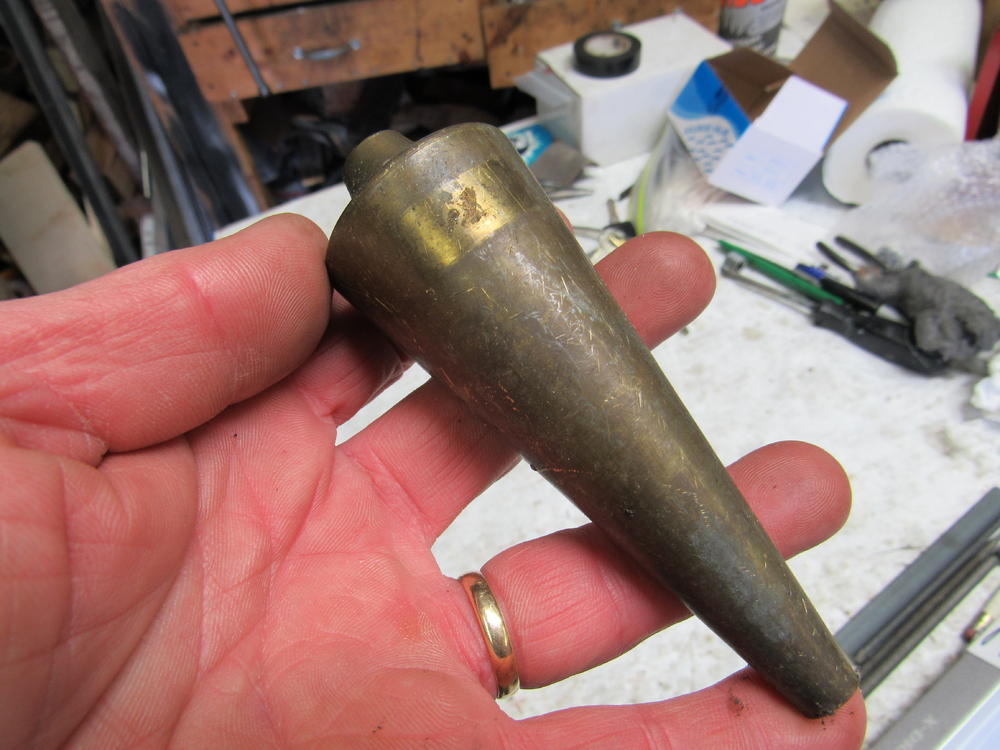
Got tired of waiting for it to warm up and just filled the hopper from a 5 gal. bucket, I also added the air line and it is absolutely needed. Glass beads are a lot smaller than I thought, same consistency as fine sugar. Most of the blasting was done with 60psi air, approx 8 gal water and 500 ml of glass beads, each piece was given about a minute of blasting time. The jack stand is about 50yrs old, the header is stainless steel and has been in use for 17yrs, the plum bob is very hard old brass, I thought it would clean up much better than it did, the last is rusty common steel. I also did some galvanized fittings and the blasting did nothing to the zinc, but it removes anodizing from aluminum in a flash.


-
Yes you're right, that's exactly what he did then placed it back on top and stitched it together, thanks.
-
You might want to leave all of them and find out as you reassemble which ones you need, the rest can be plugged before you install the tank. t Also, just wondering how your guy managed to get the two piece shell apart without cutting any metal on the seam?
-
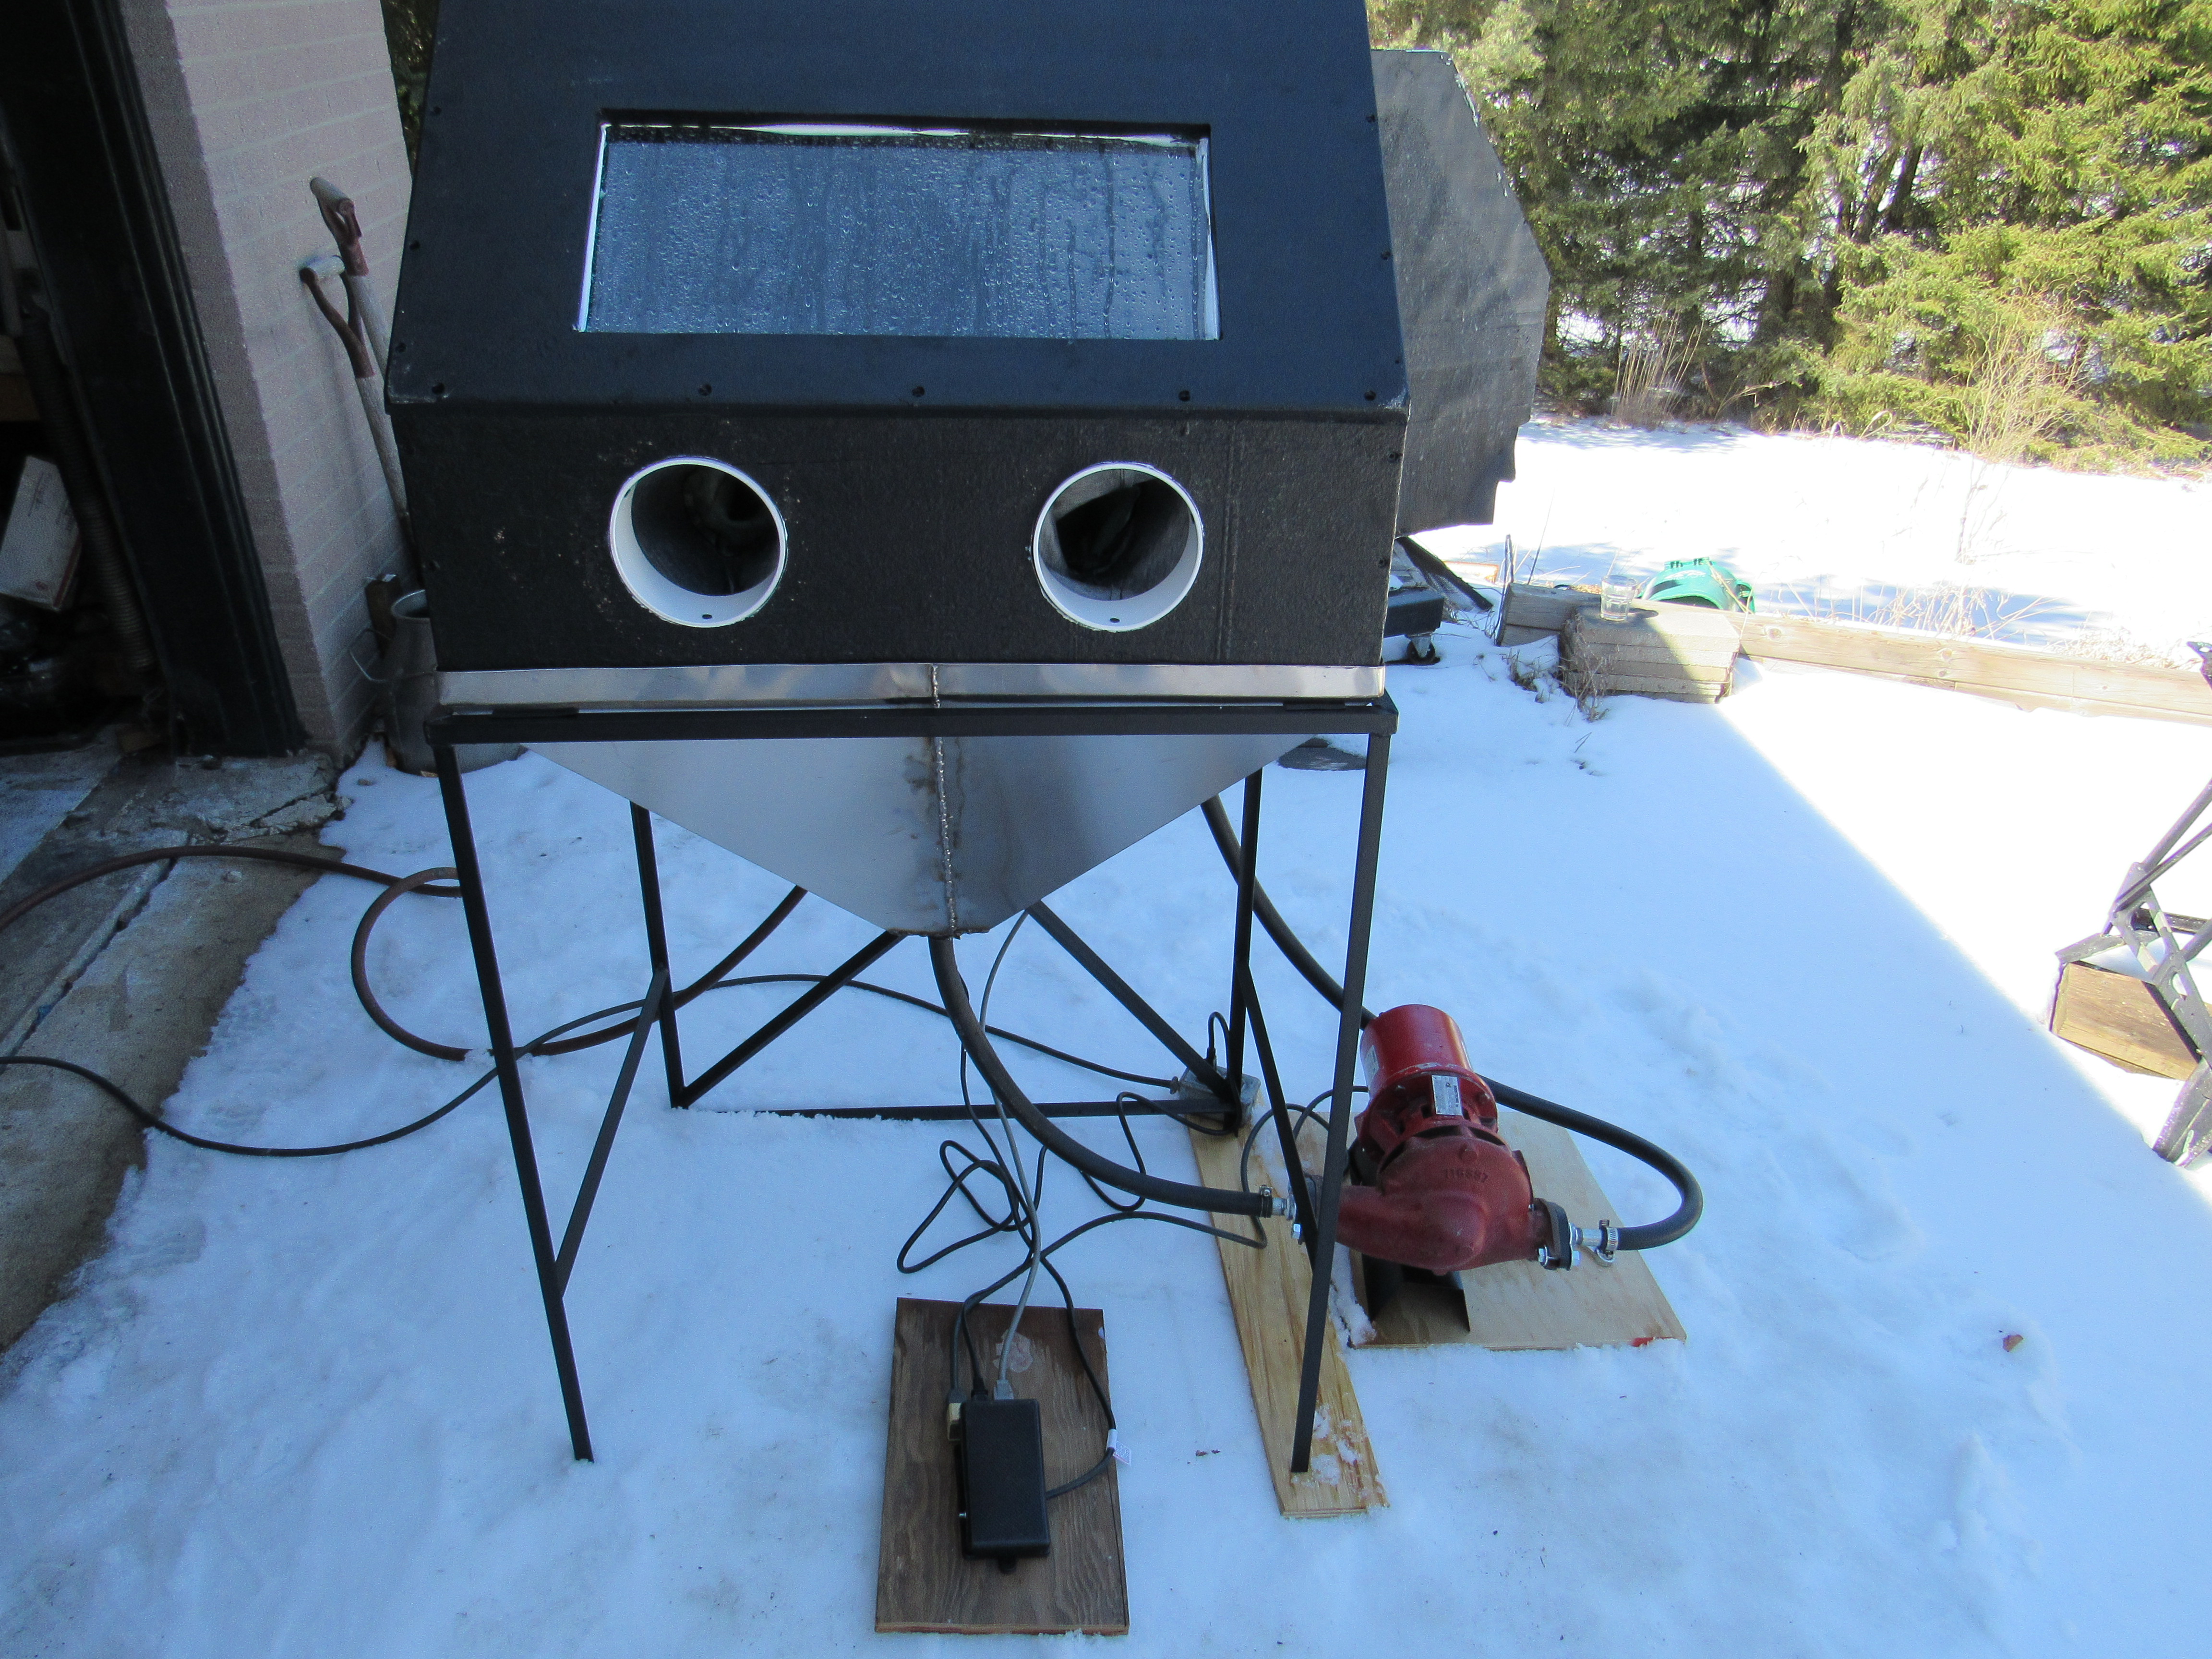
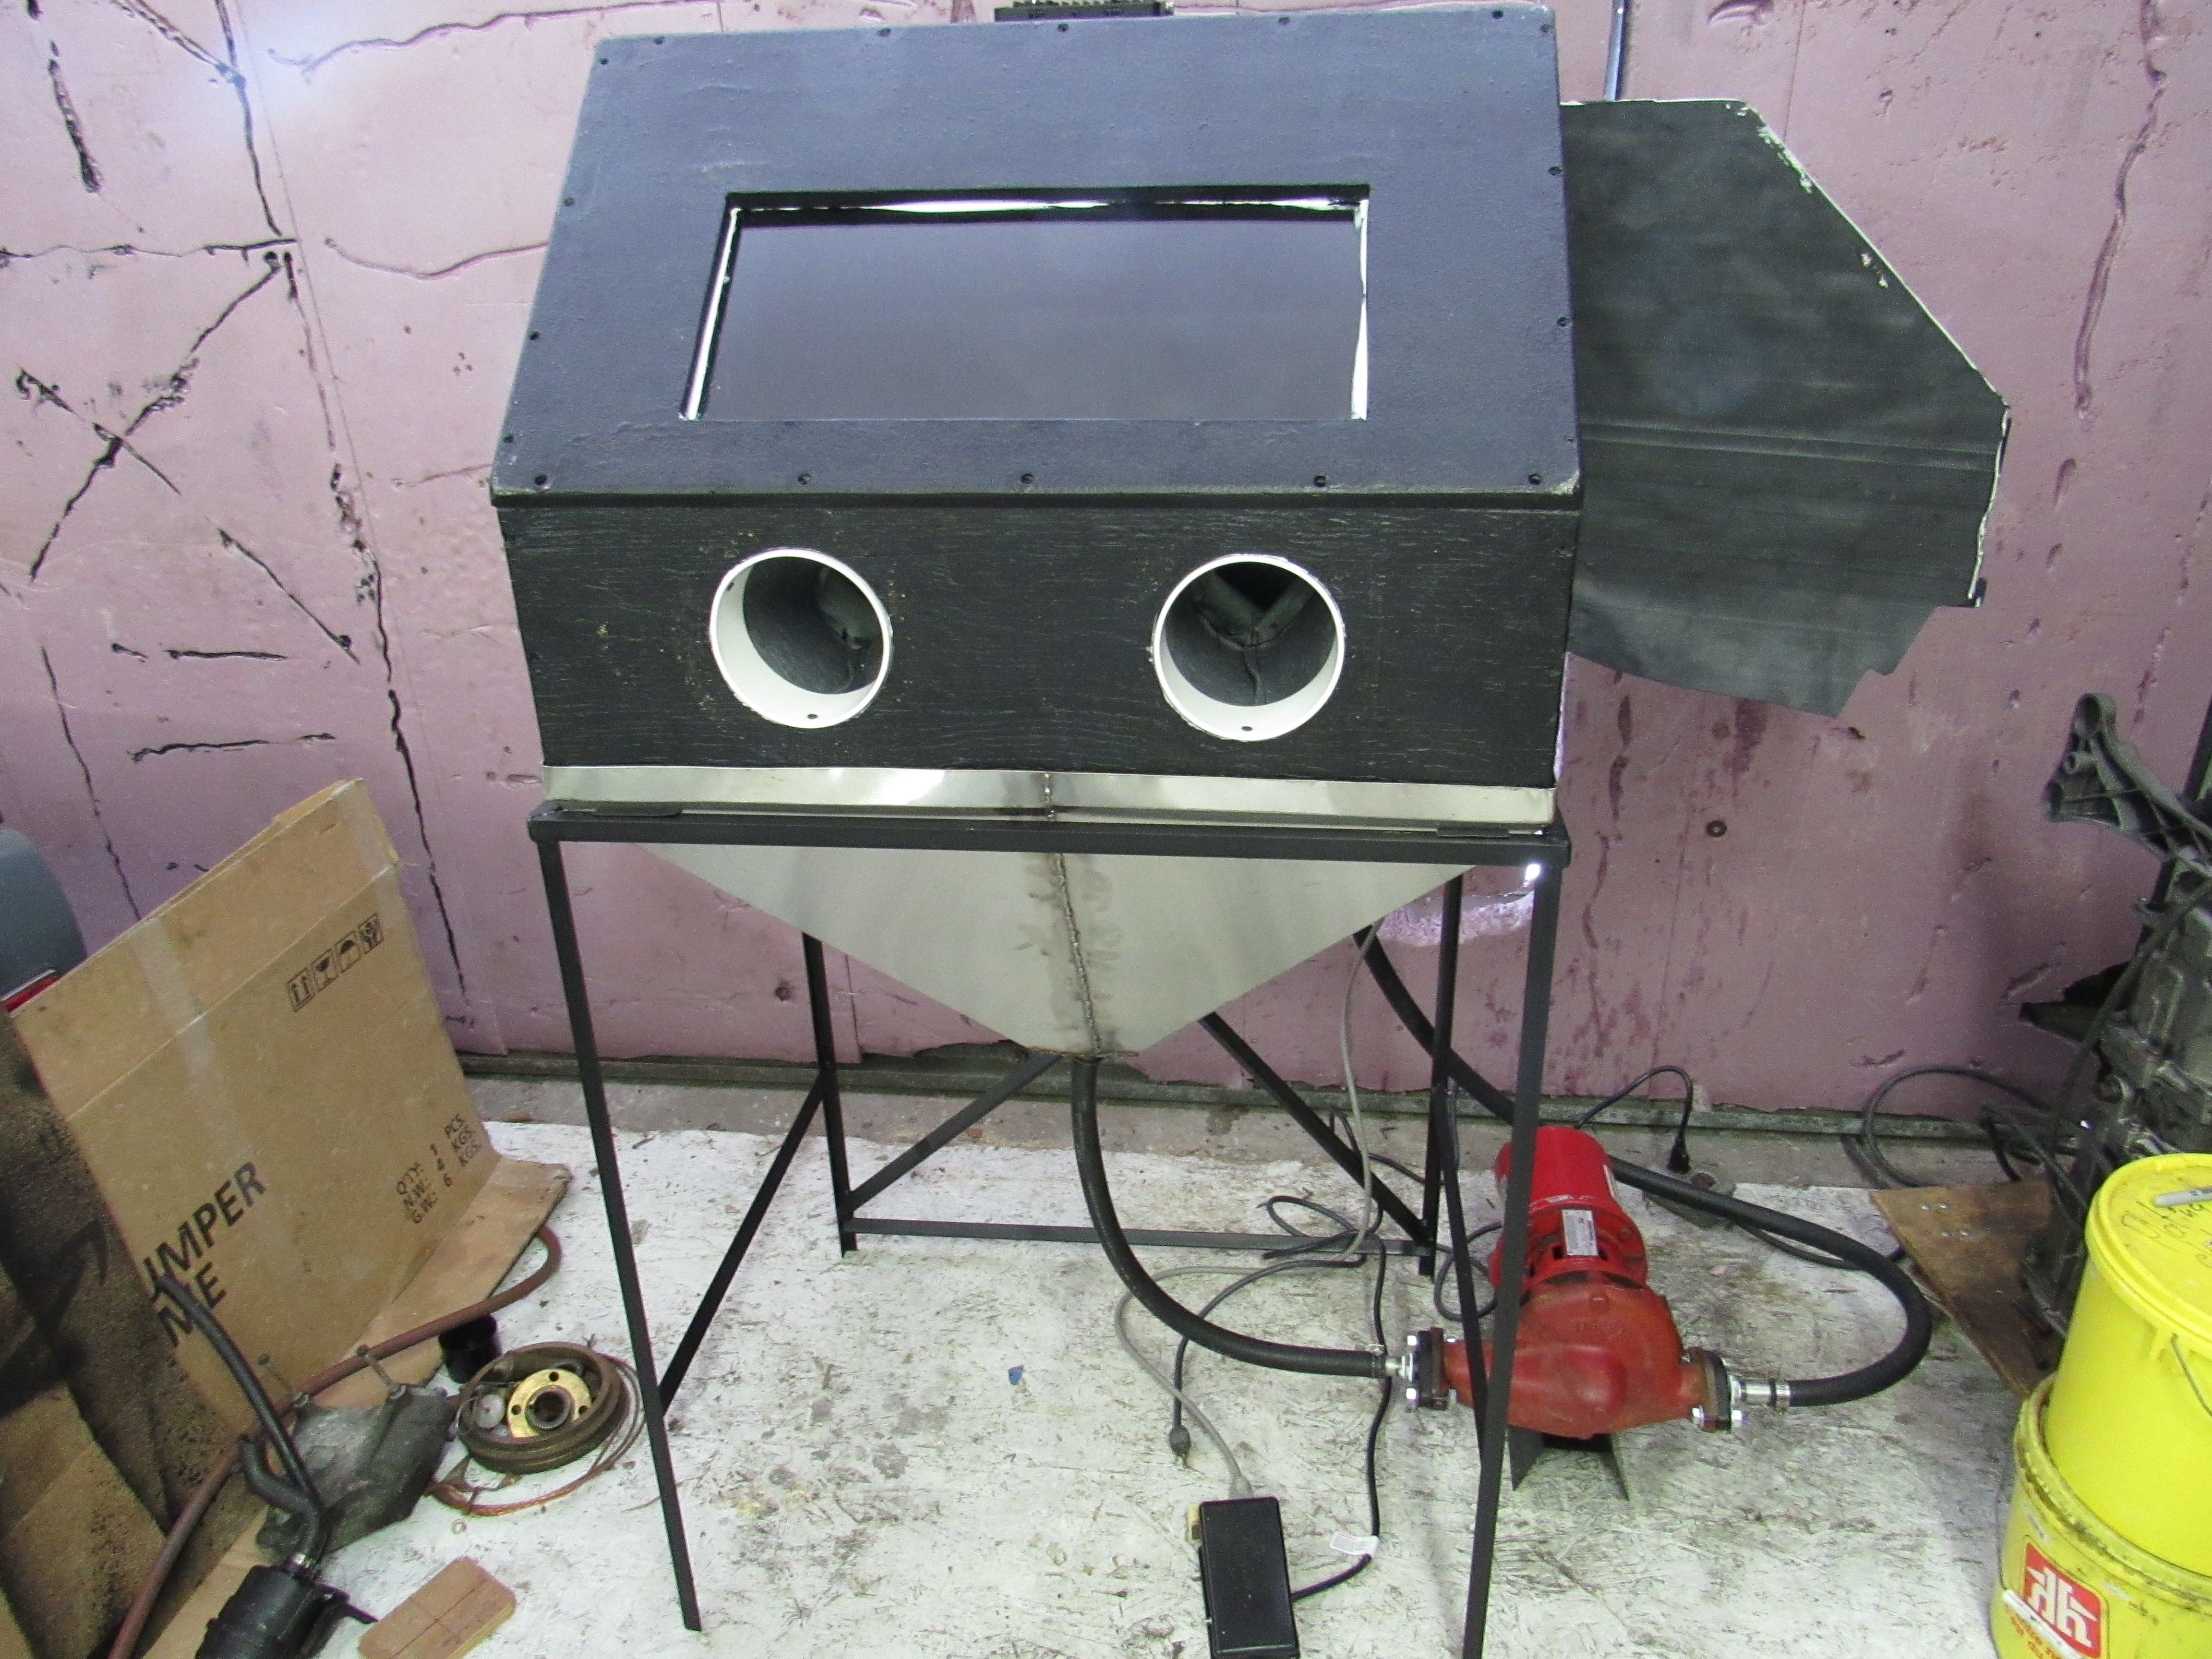
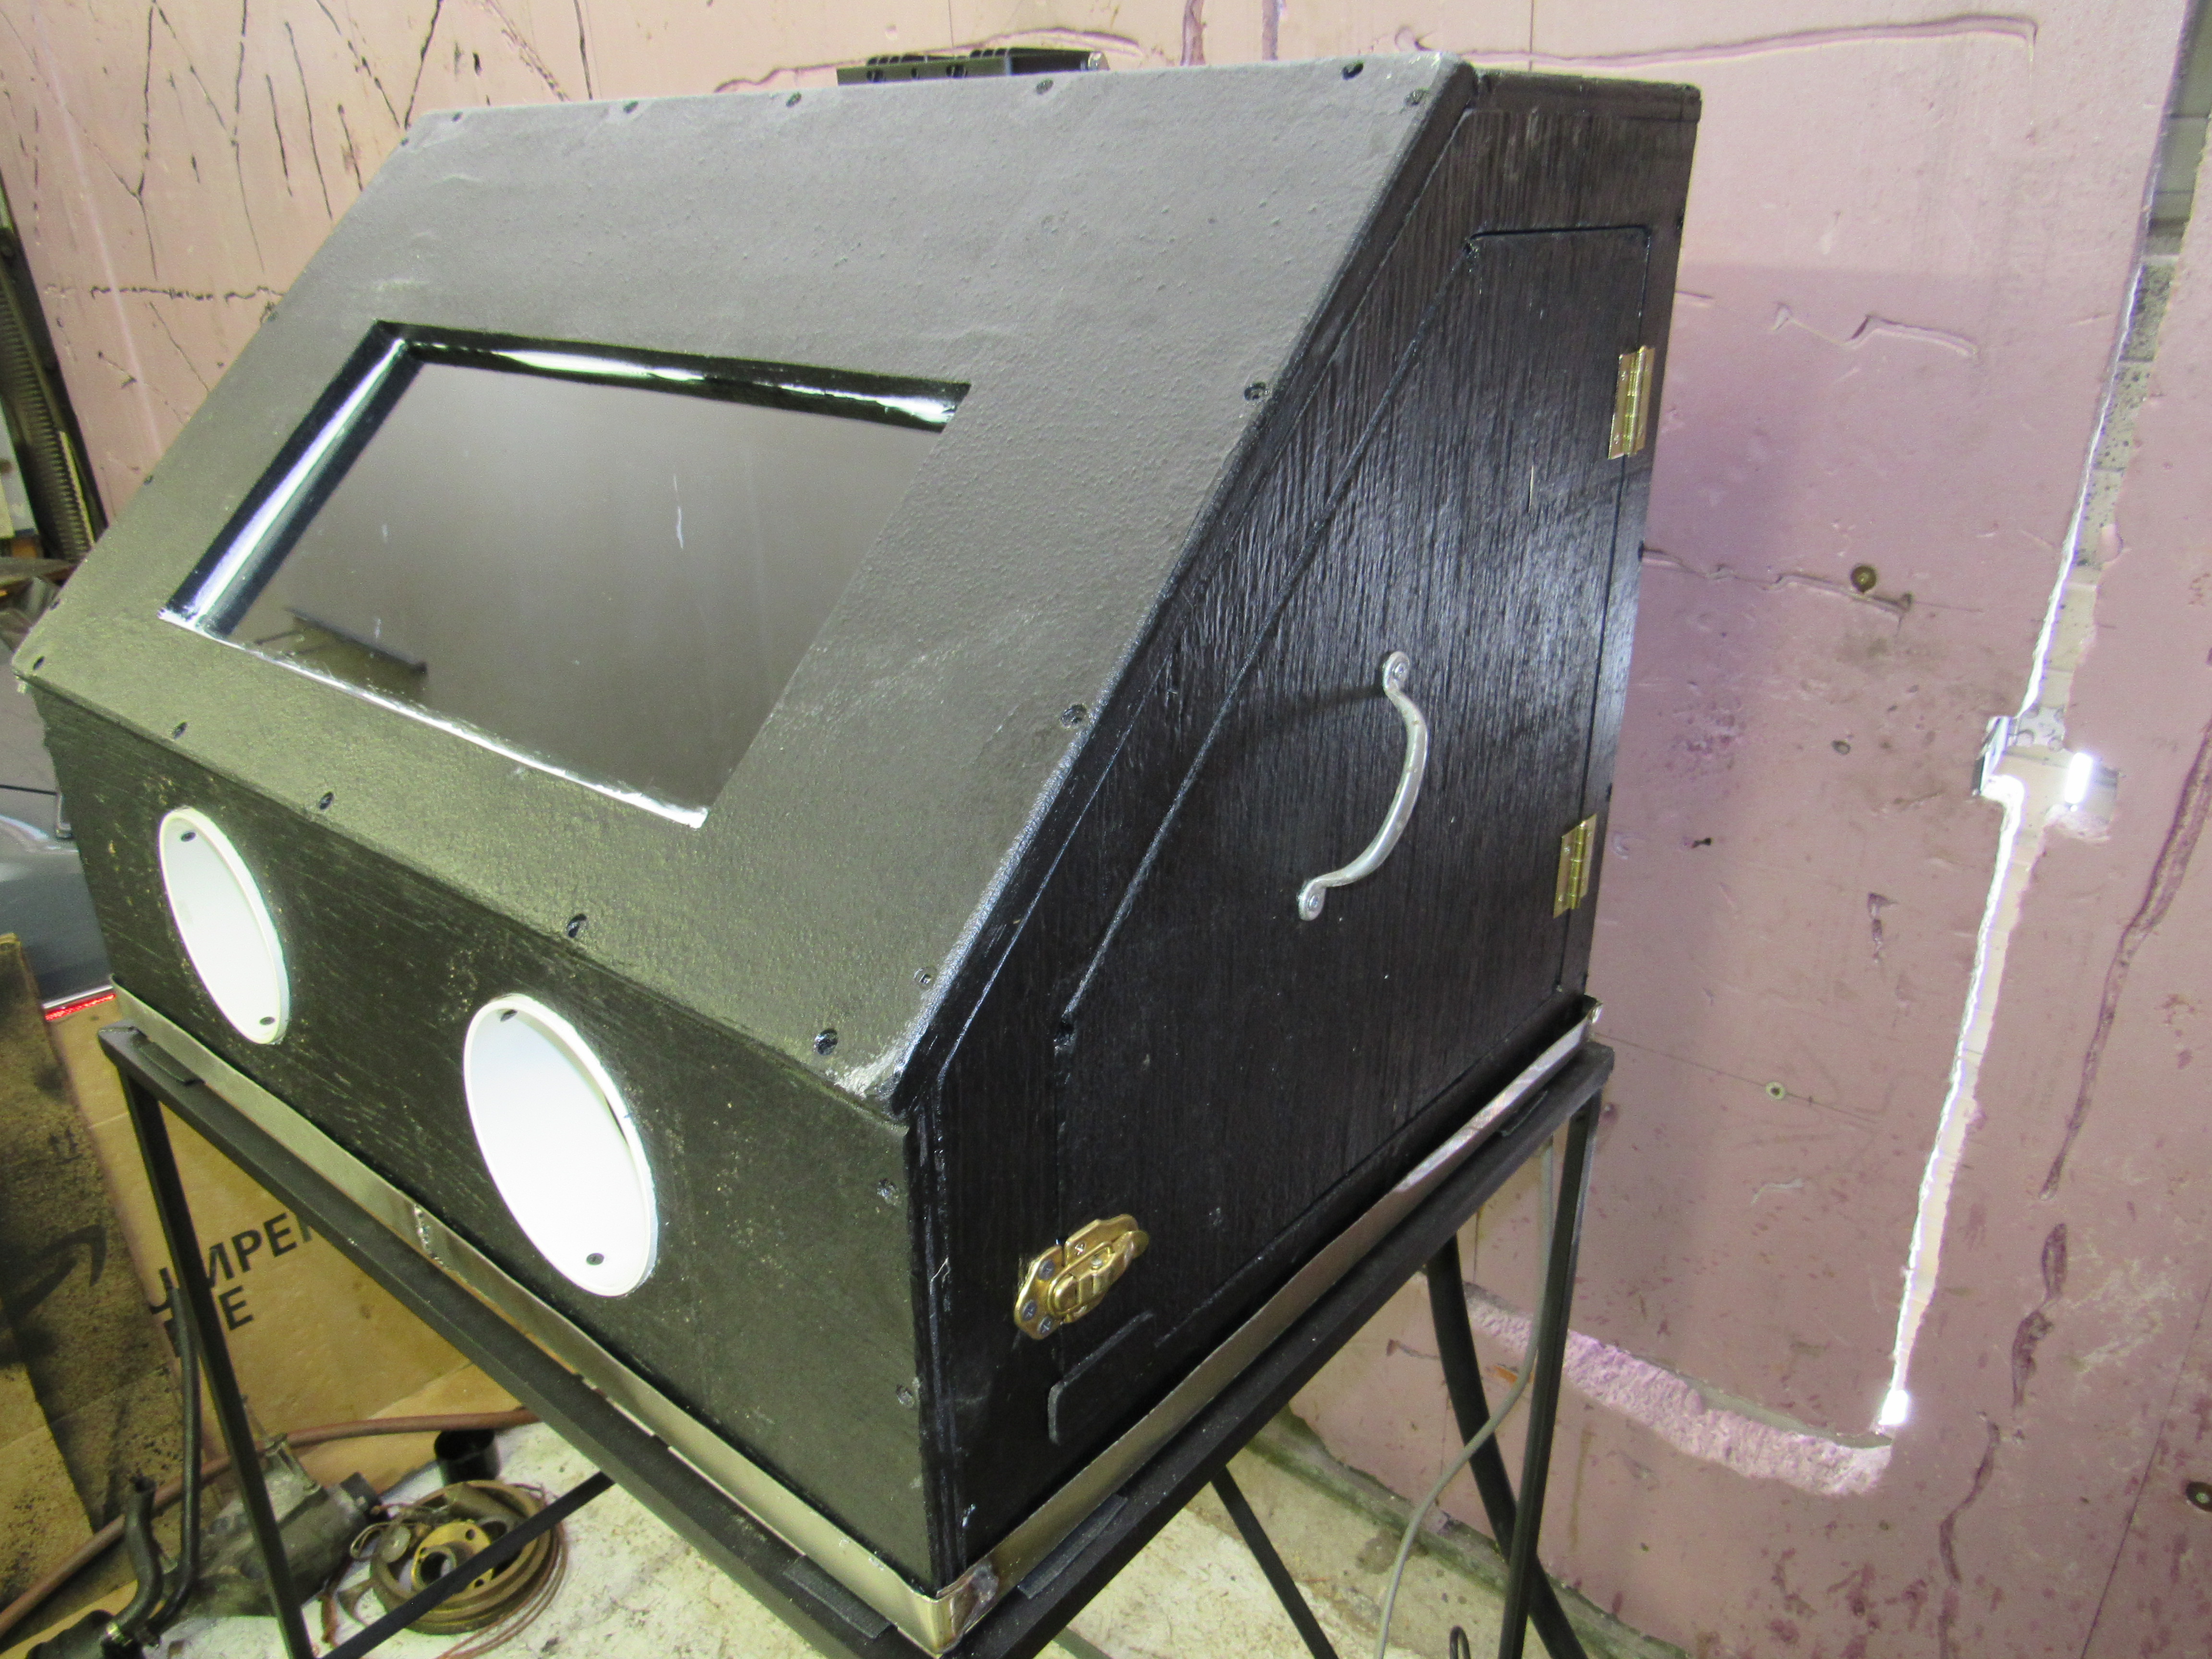
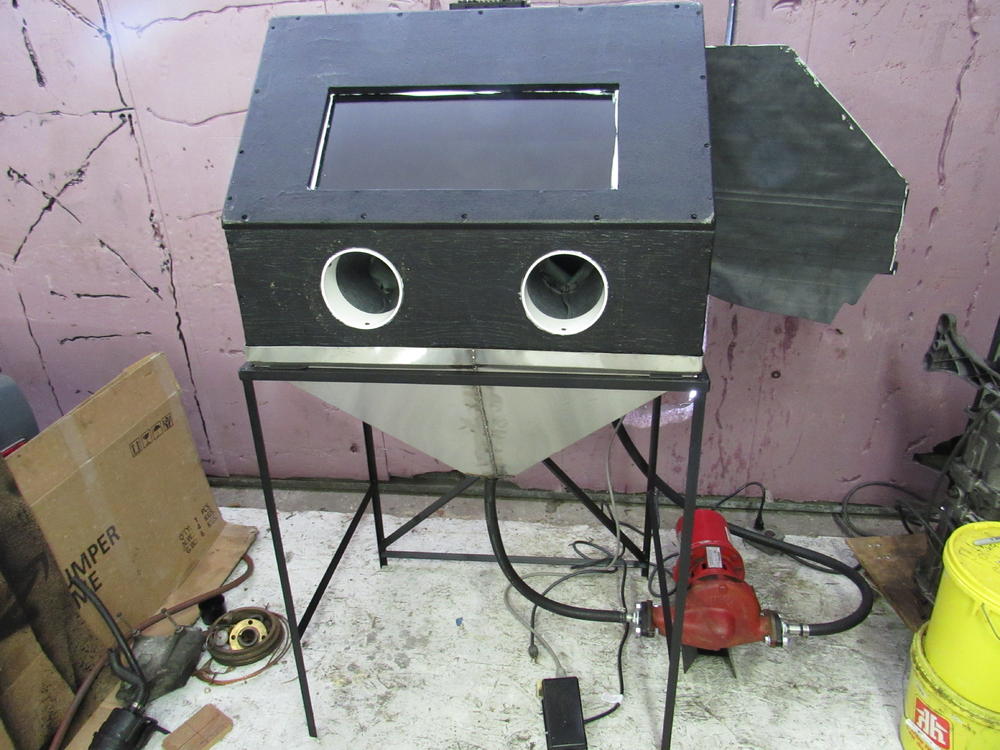
Thanks, inside dimensions are 29"x21" door opening 19"x 18" and diagonally 23". Now that it's done I wish I had put a hinge at the top of the front viewing panel and just forgot about the side door altogether. I haven't installed a wiper yet, I am hoping I can get away with coating the inside of the viewing window with Rainx instead. Can't wait to try it out.
-
WHAT? I thought I was buying #0037 No, No, I'm good with any Z, but I guess I'll have to keep this one stock, that's going to be a challenge. Thank you Jim
-
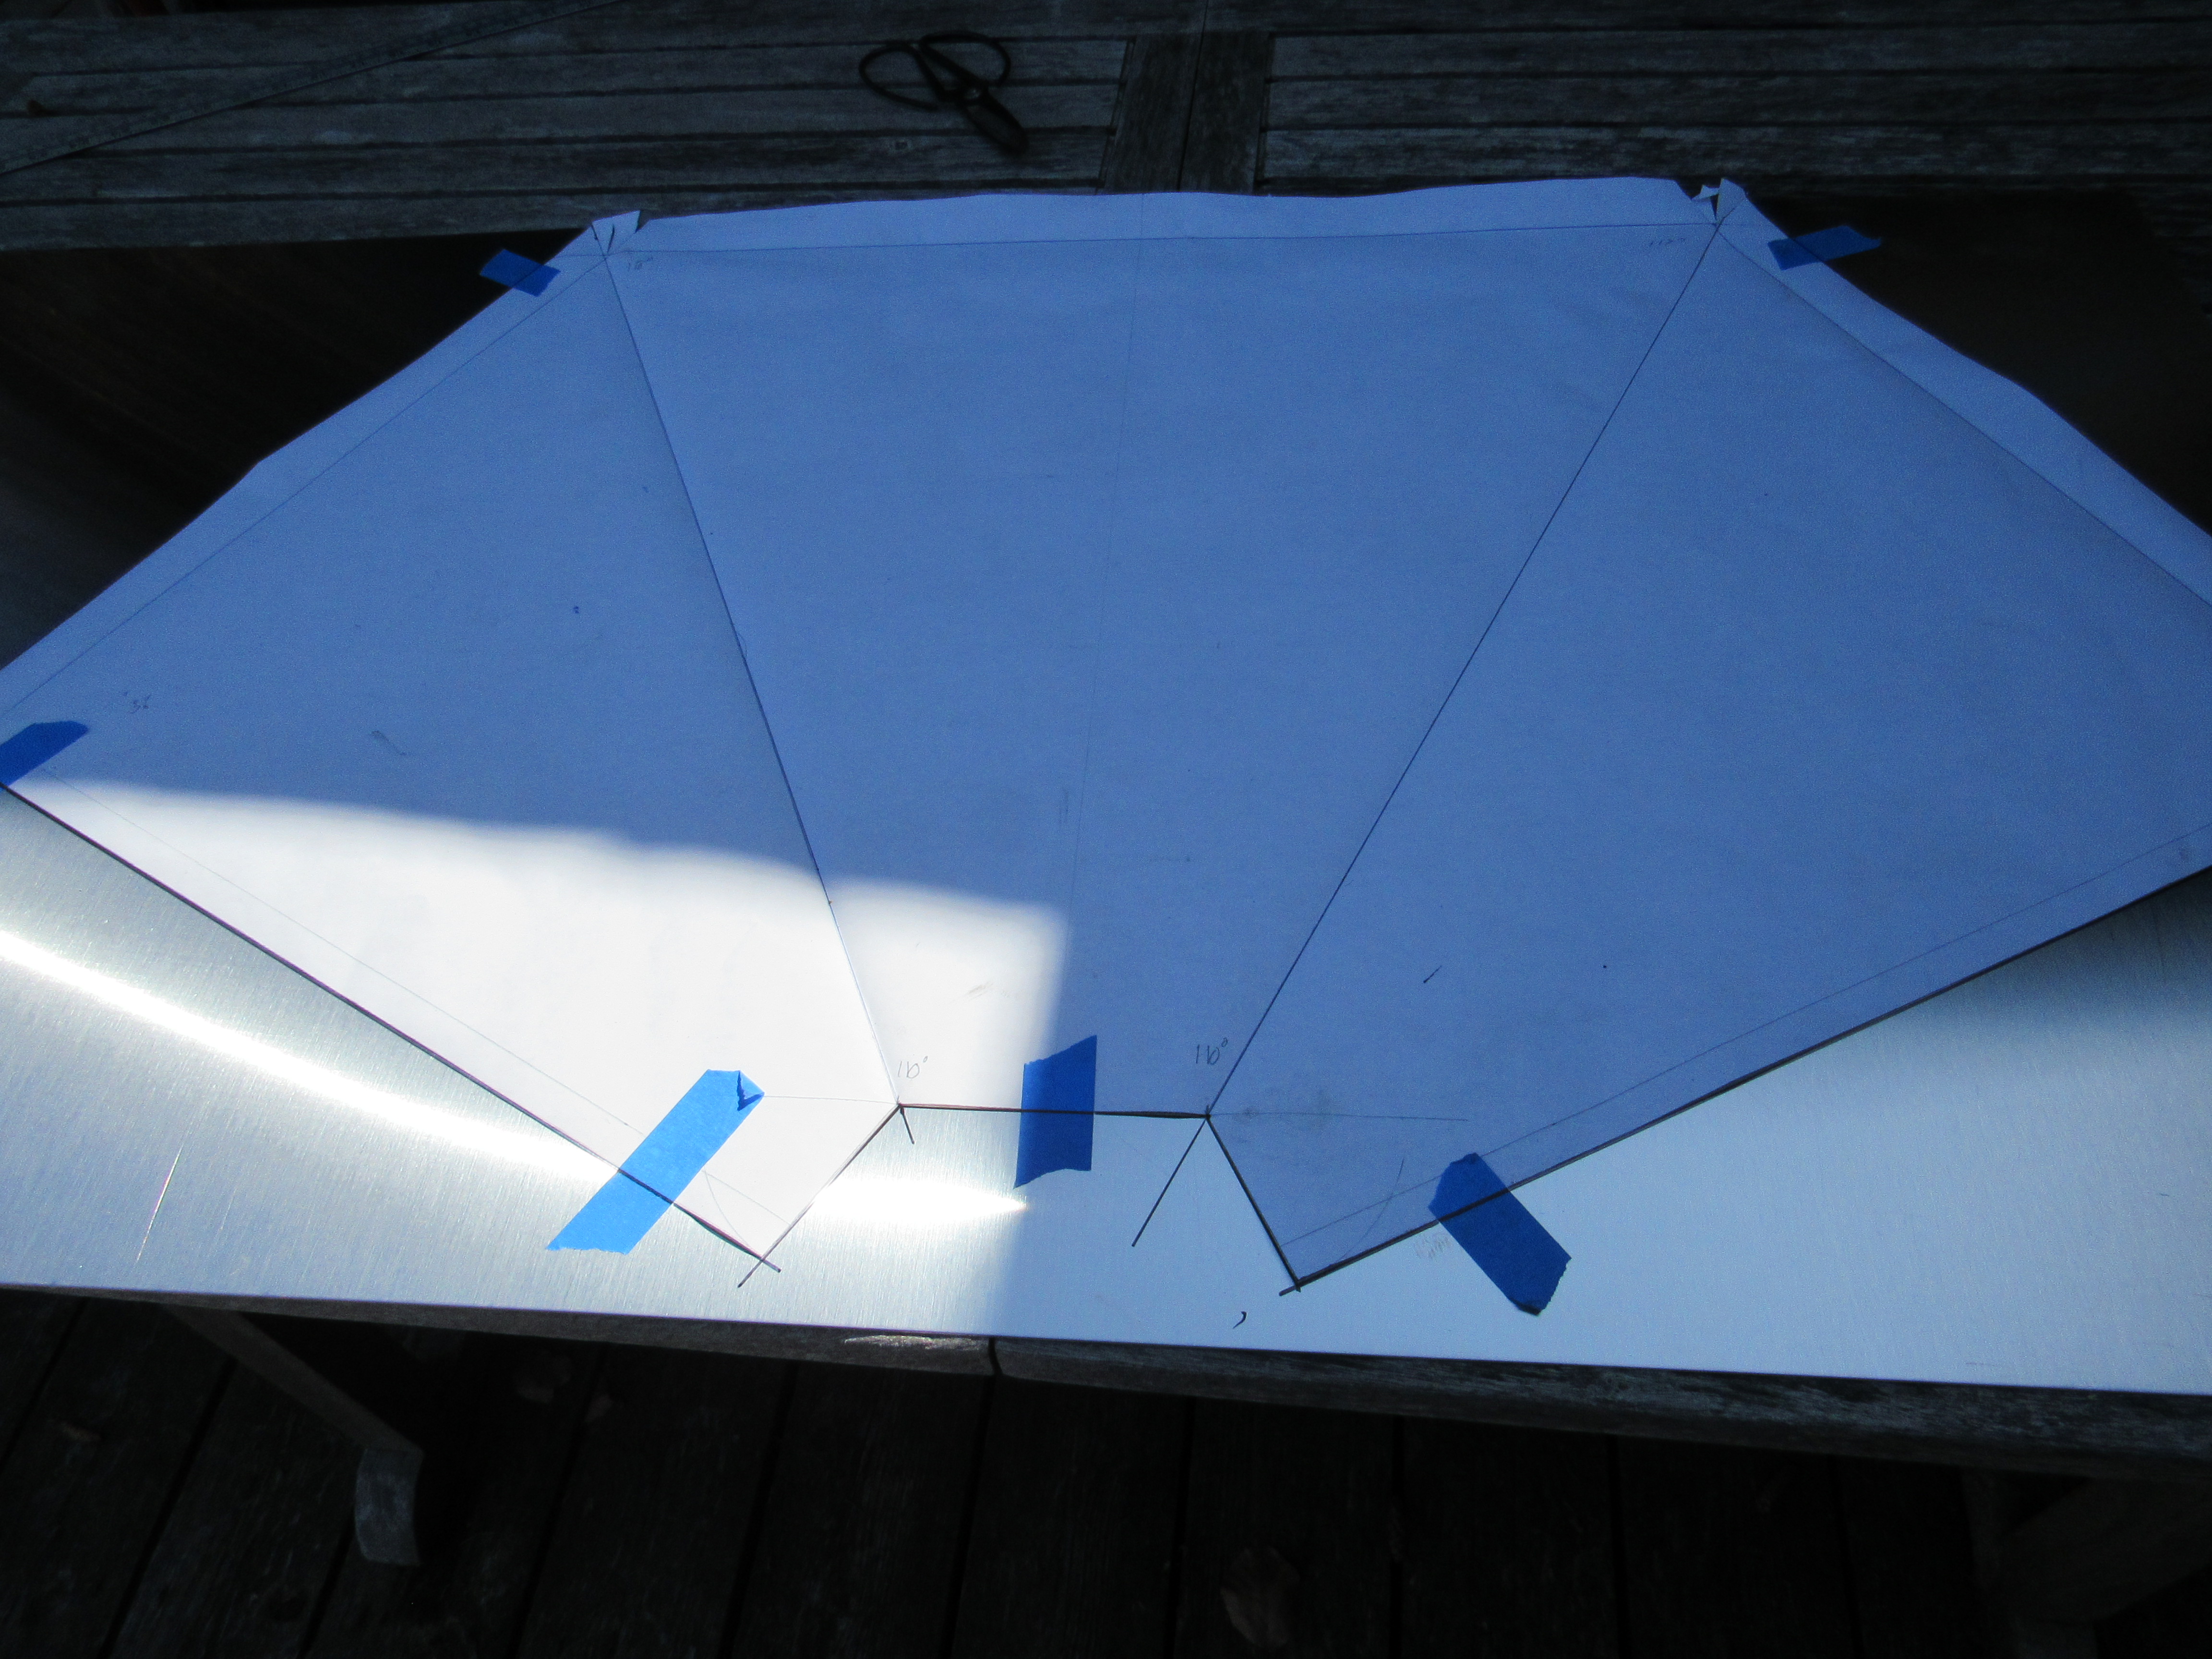
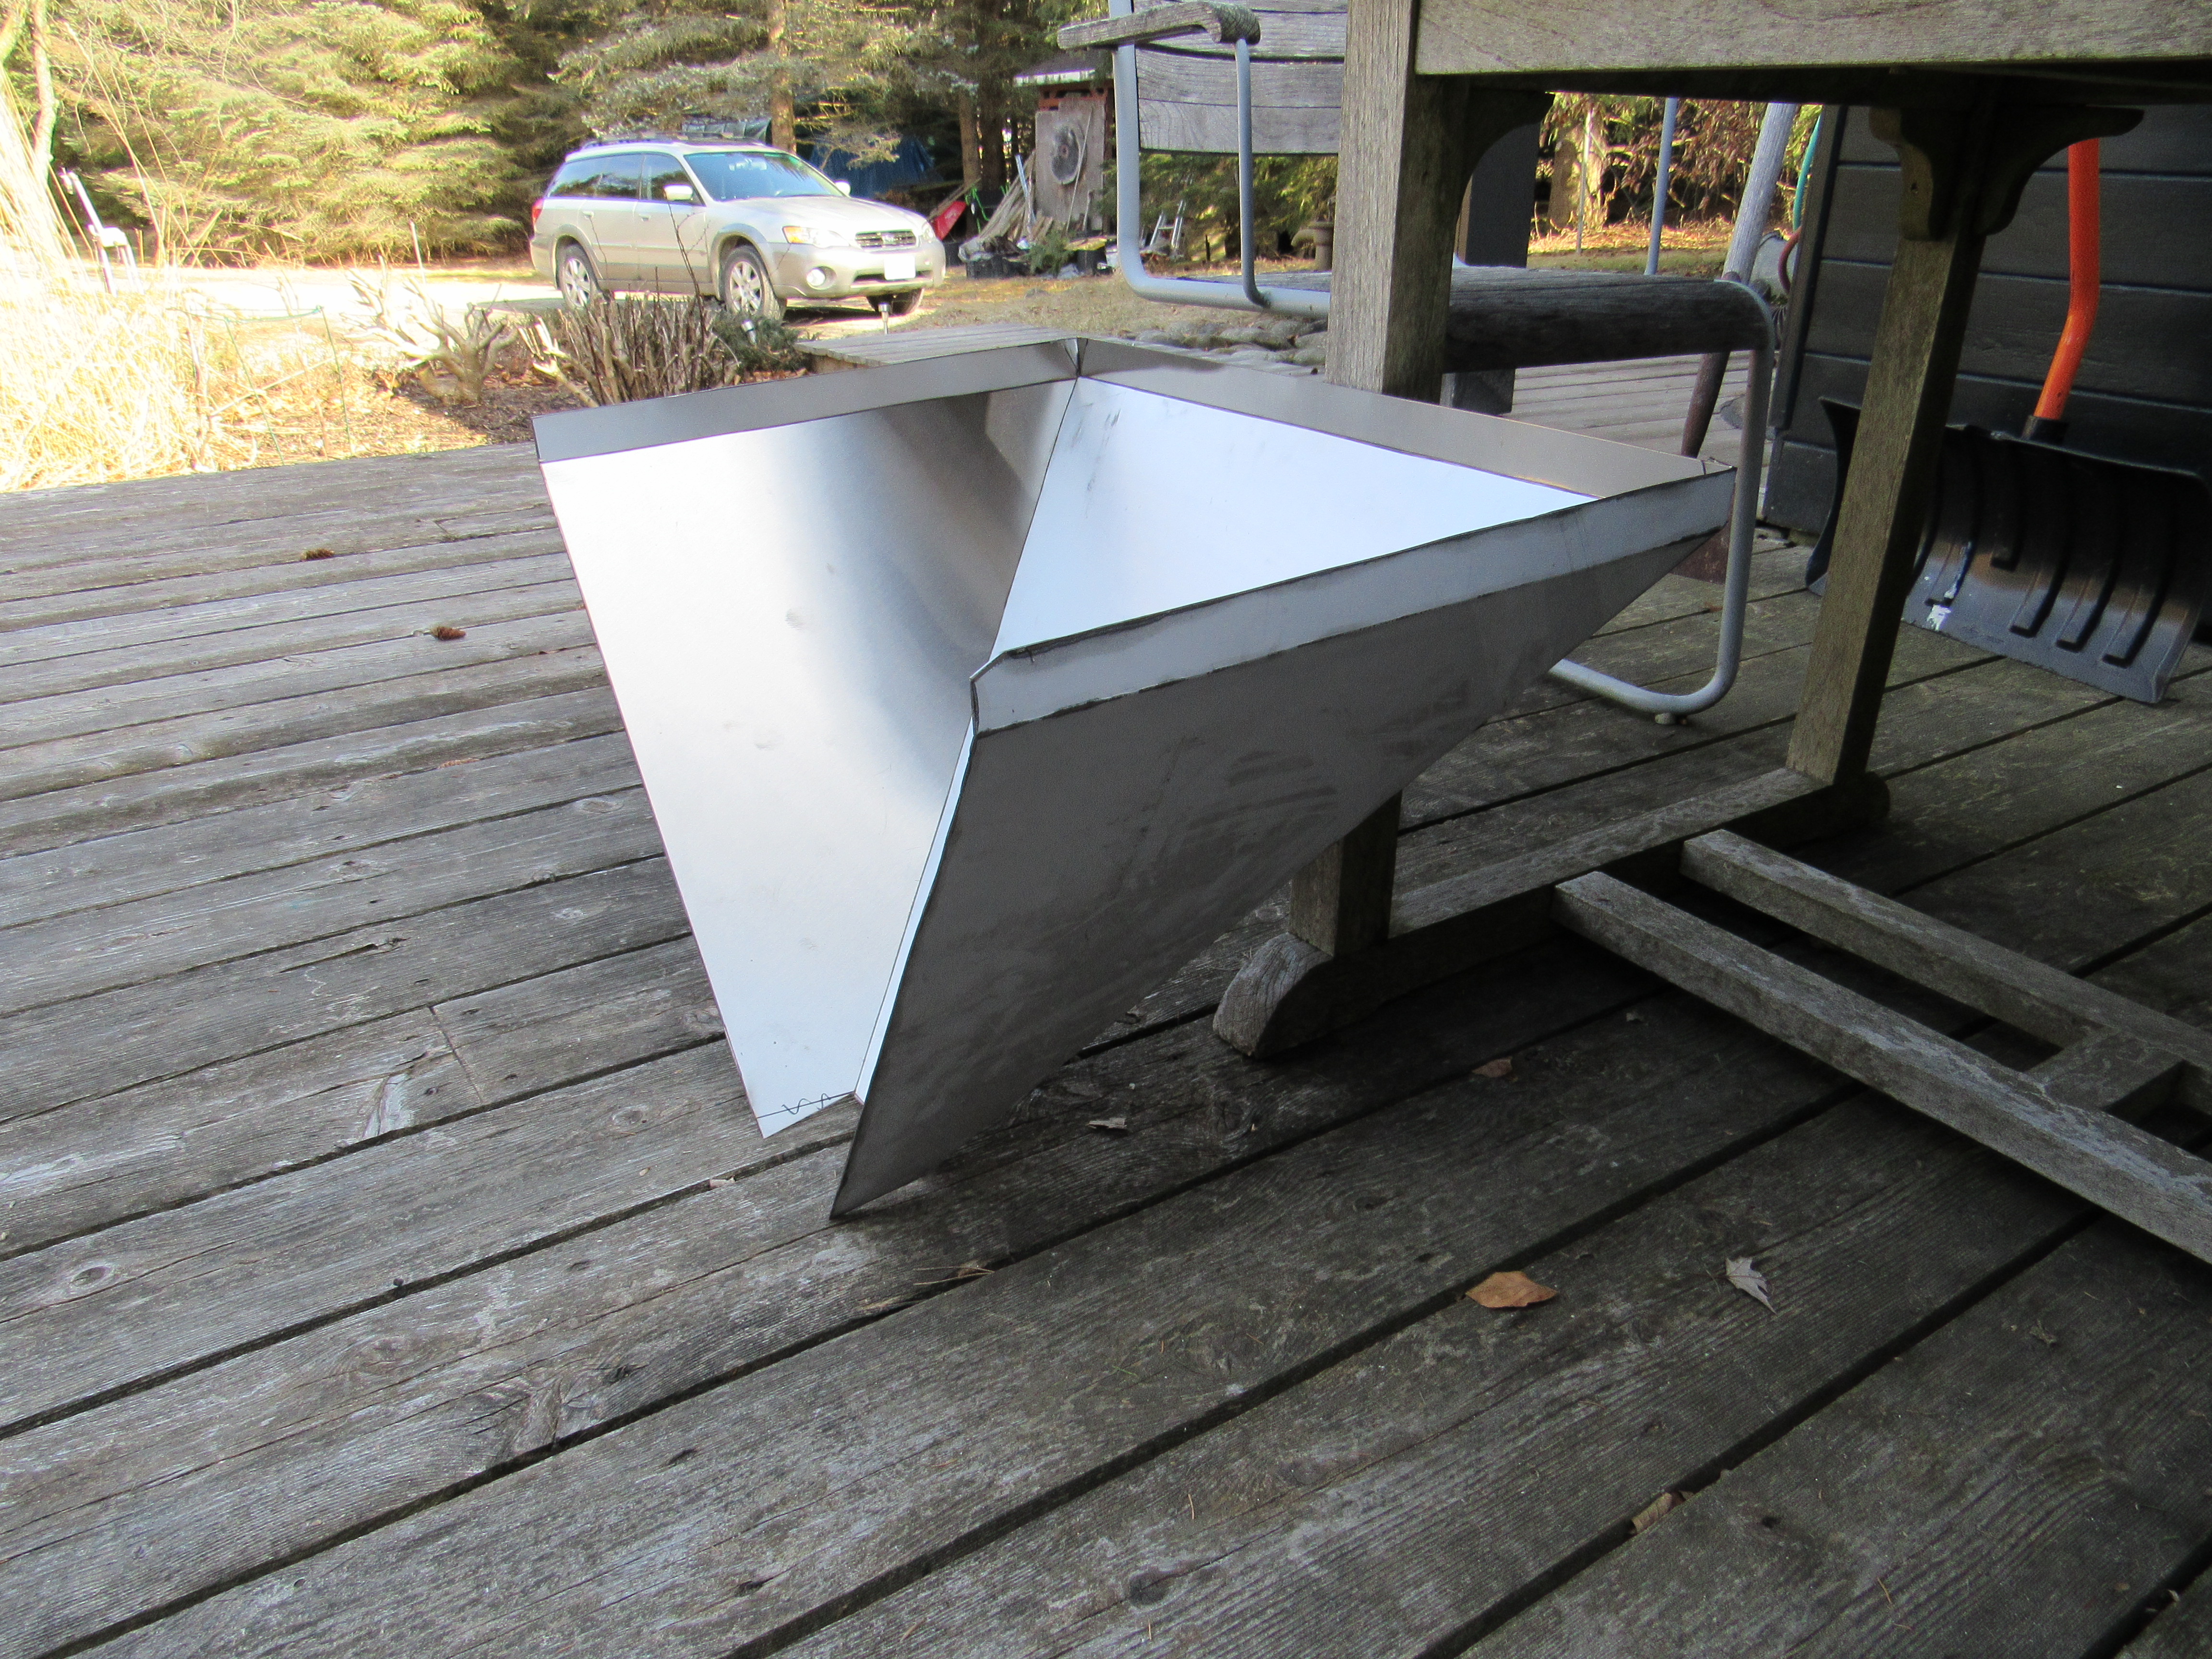
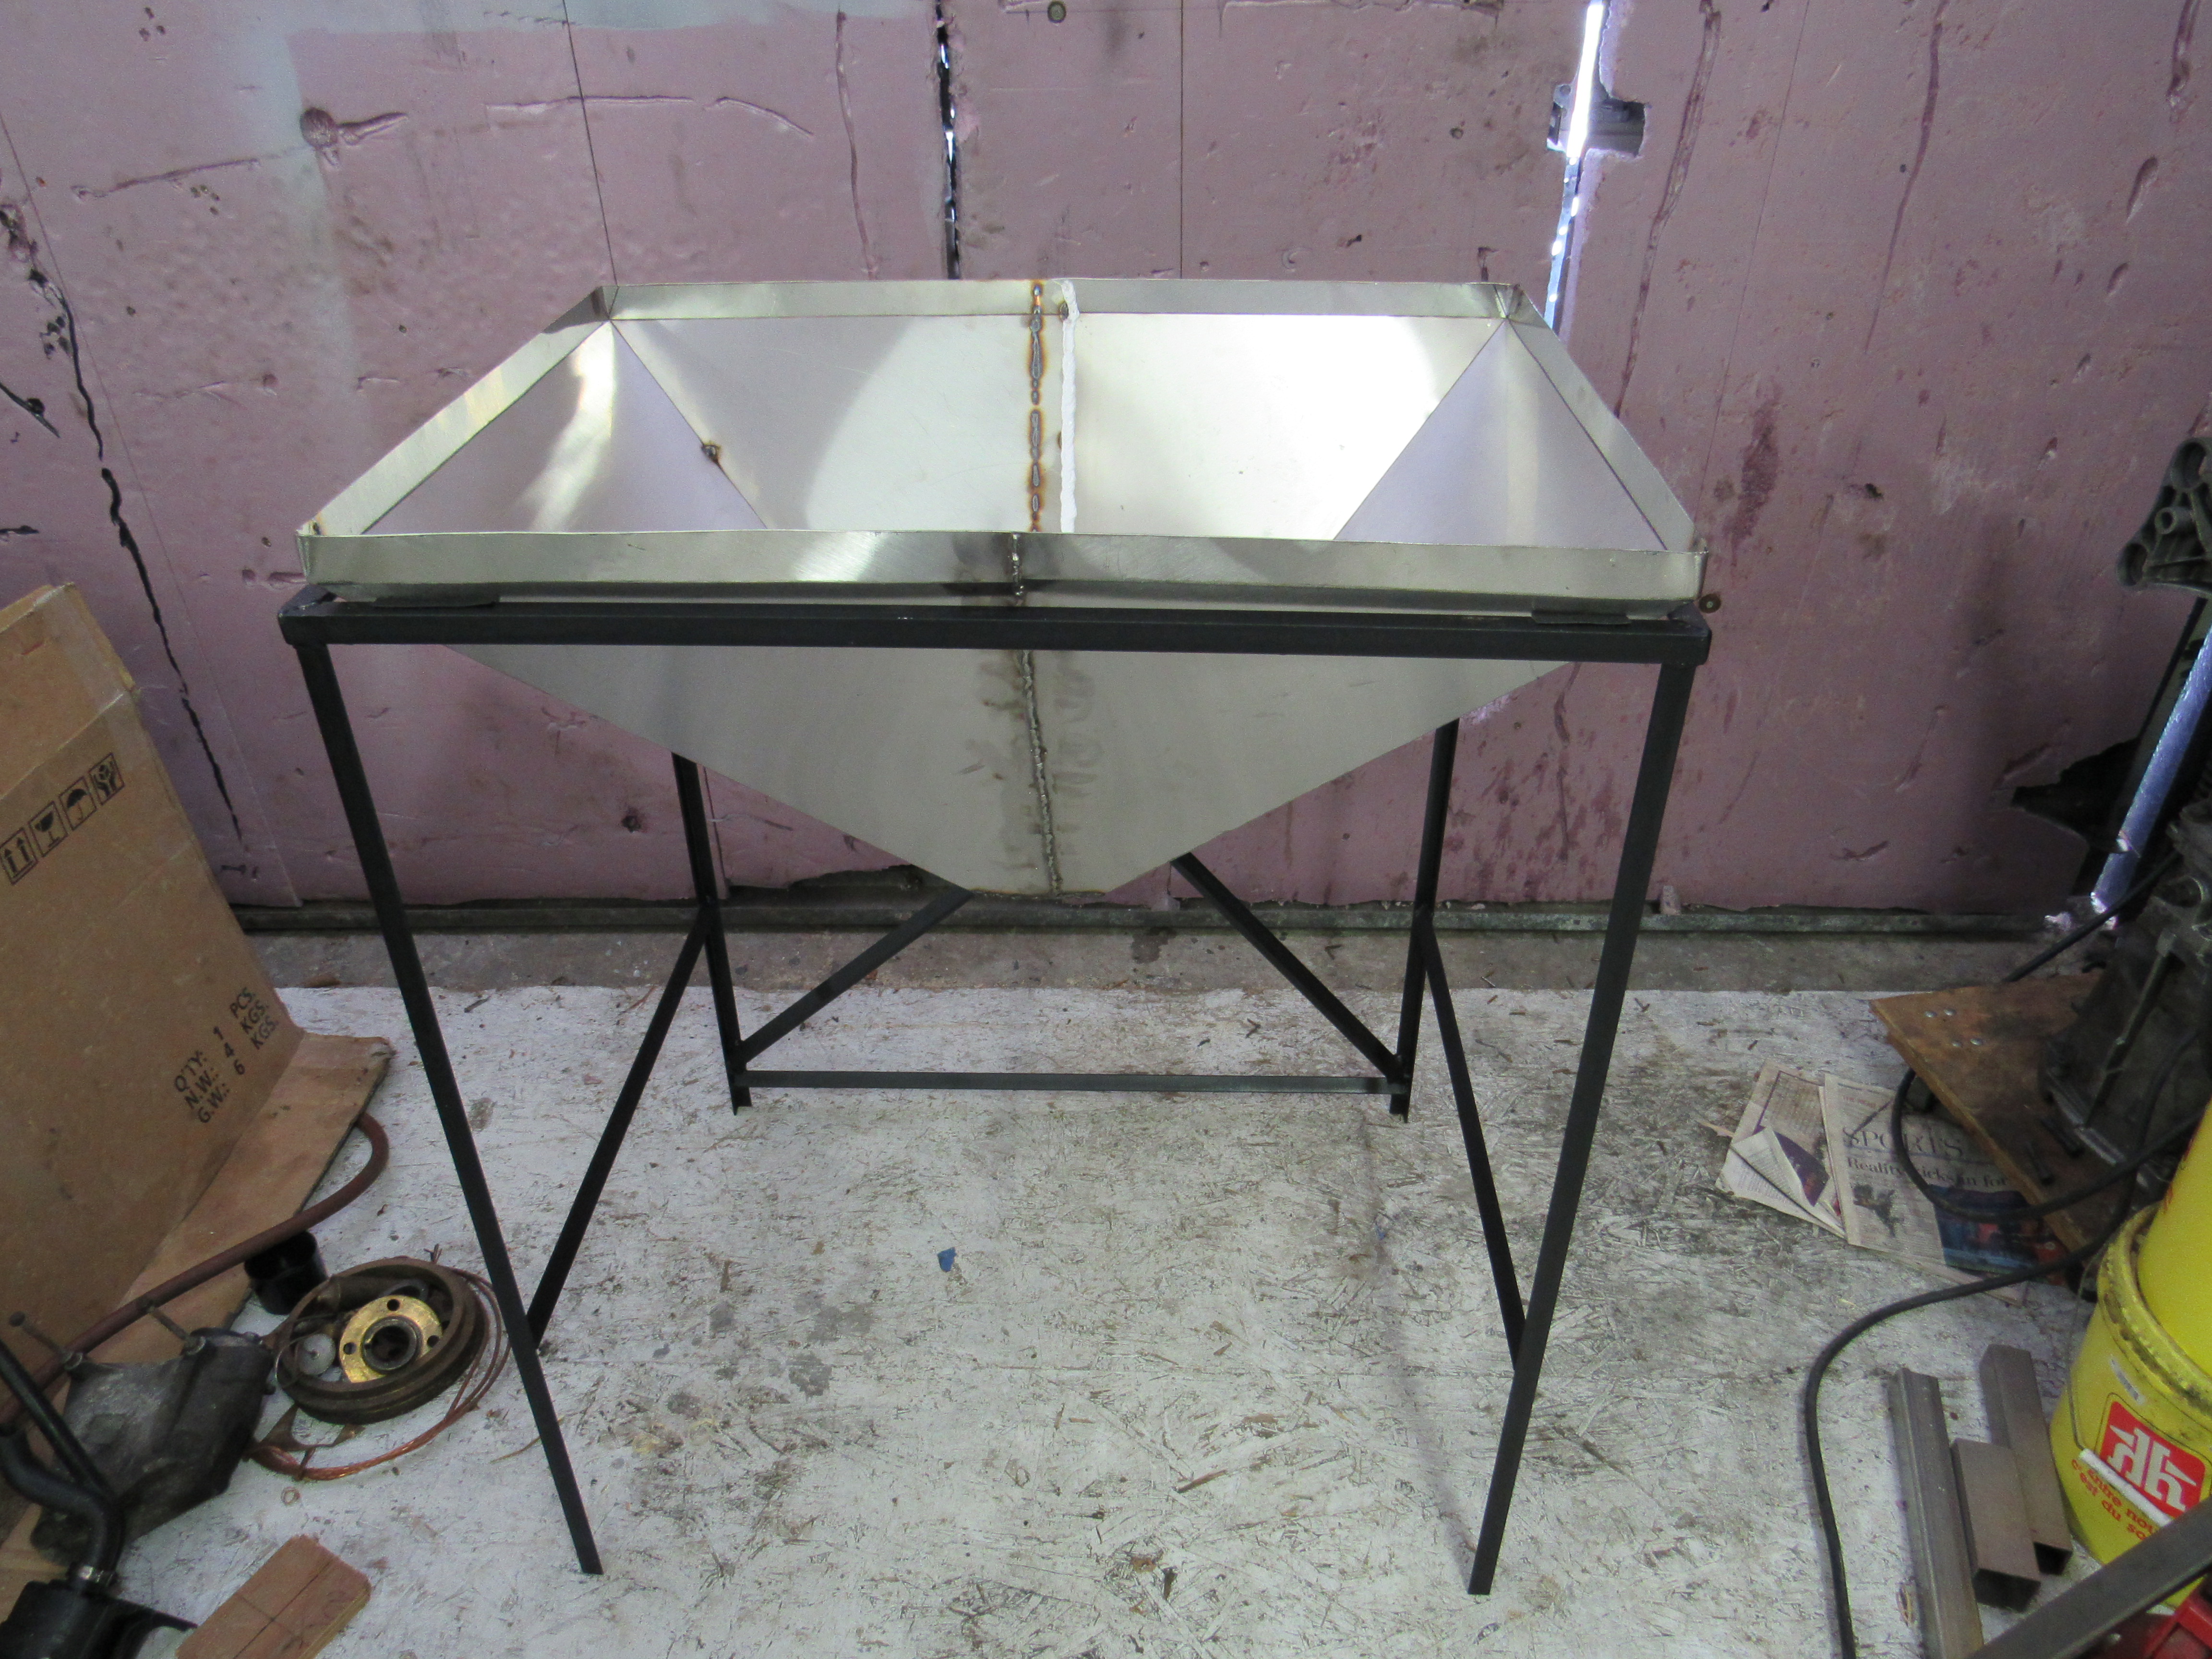
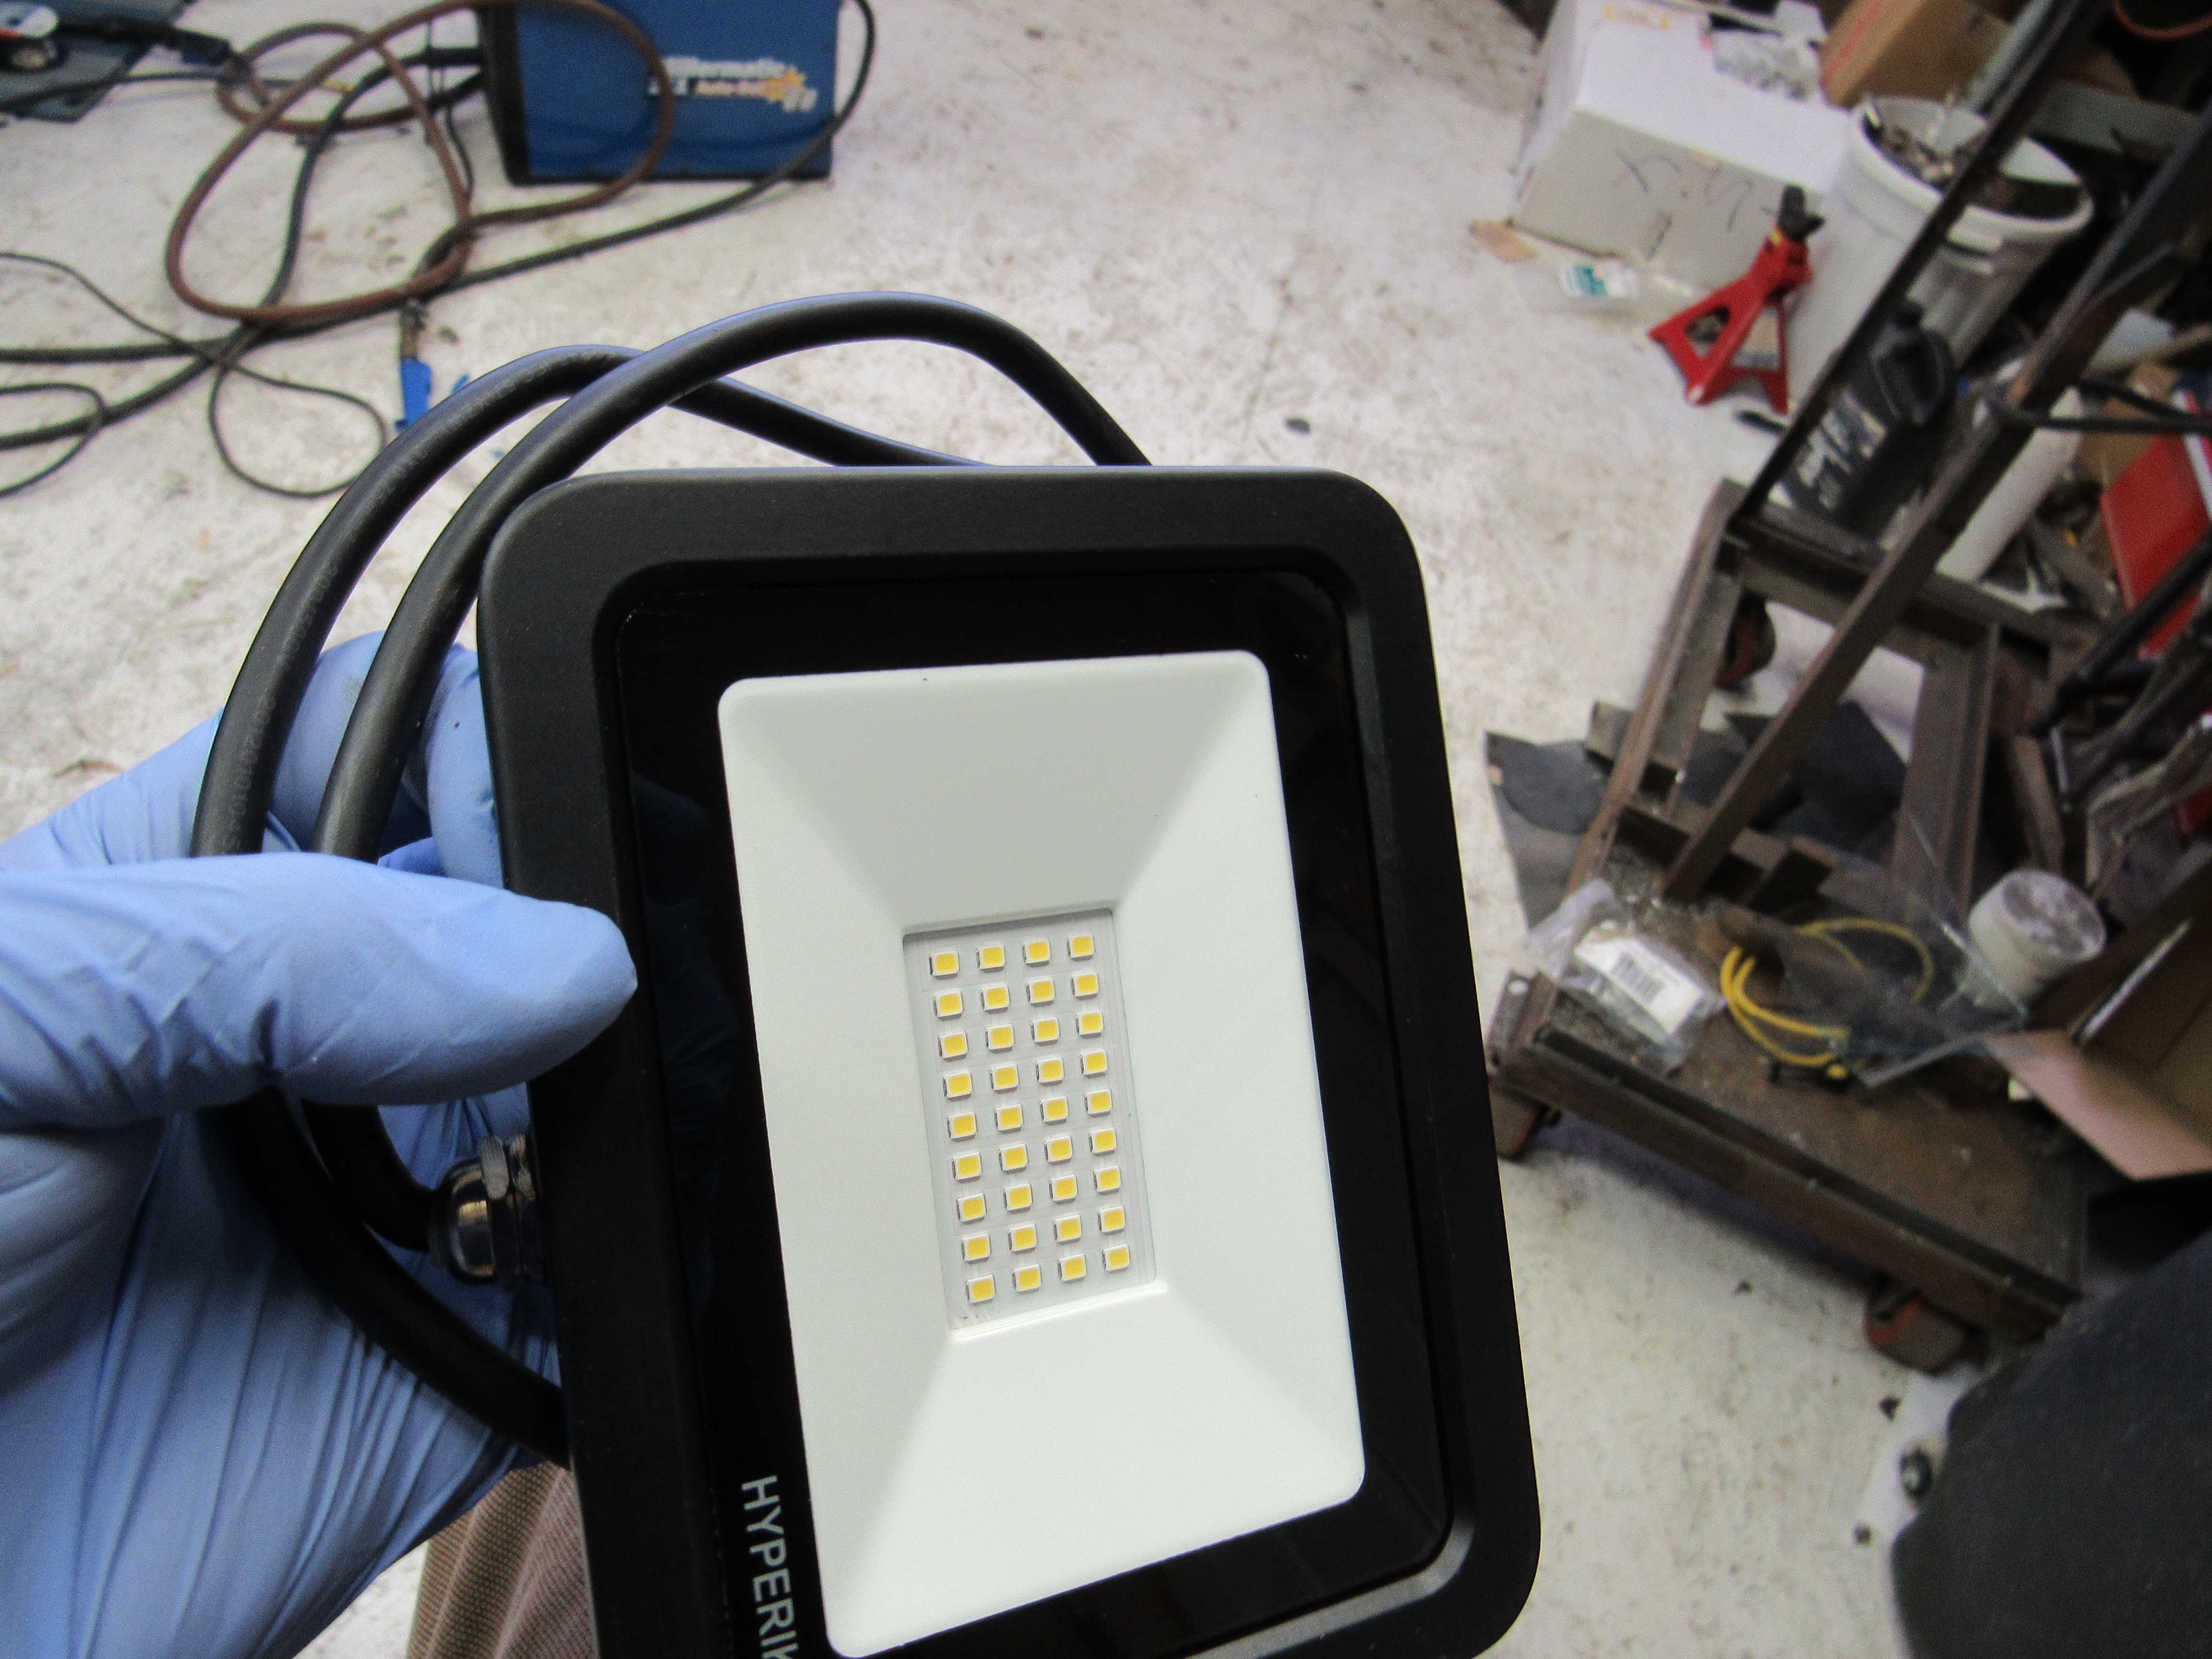
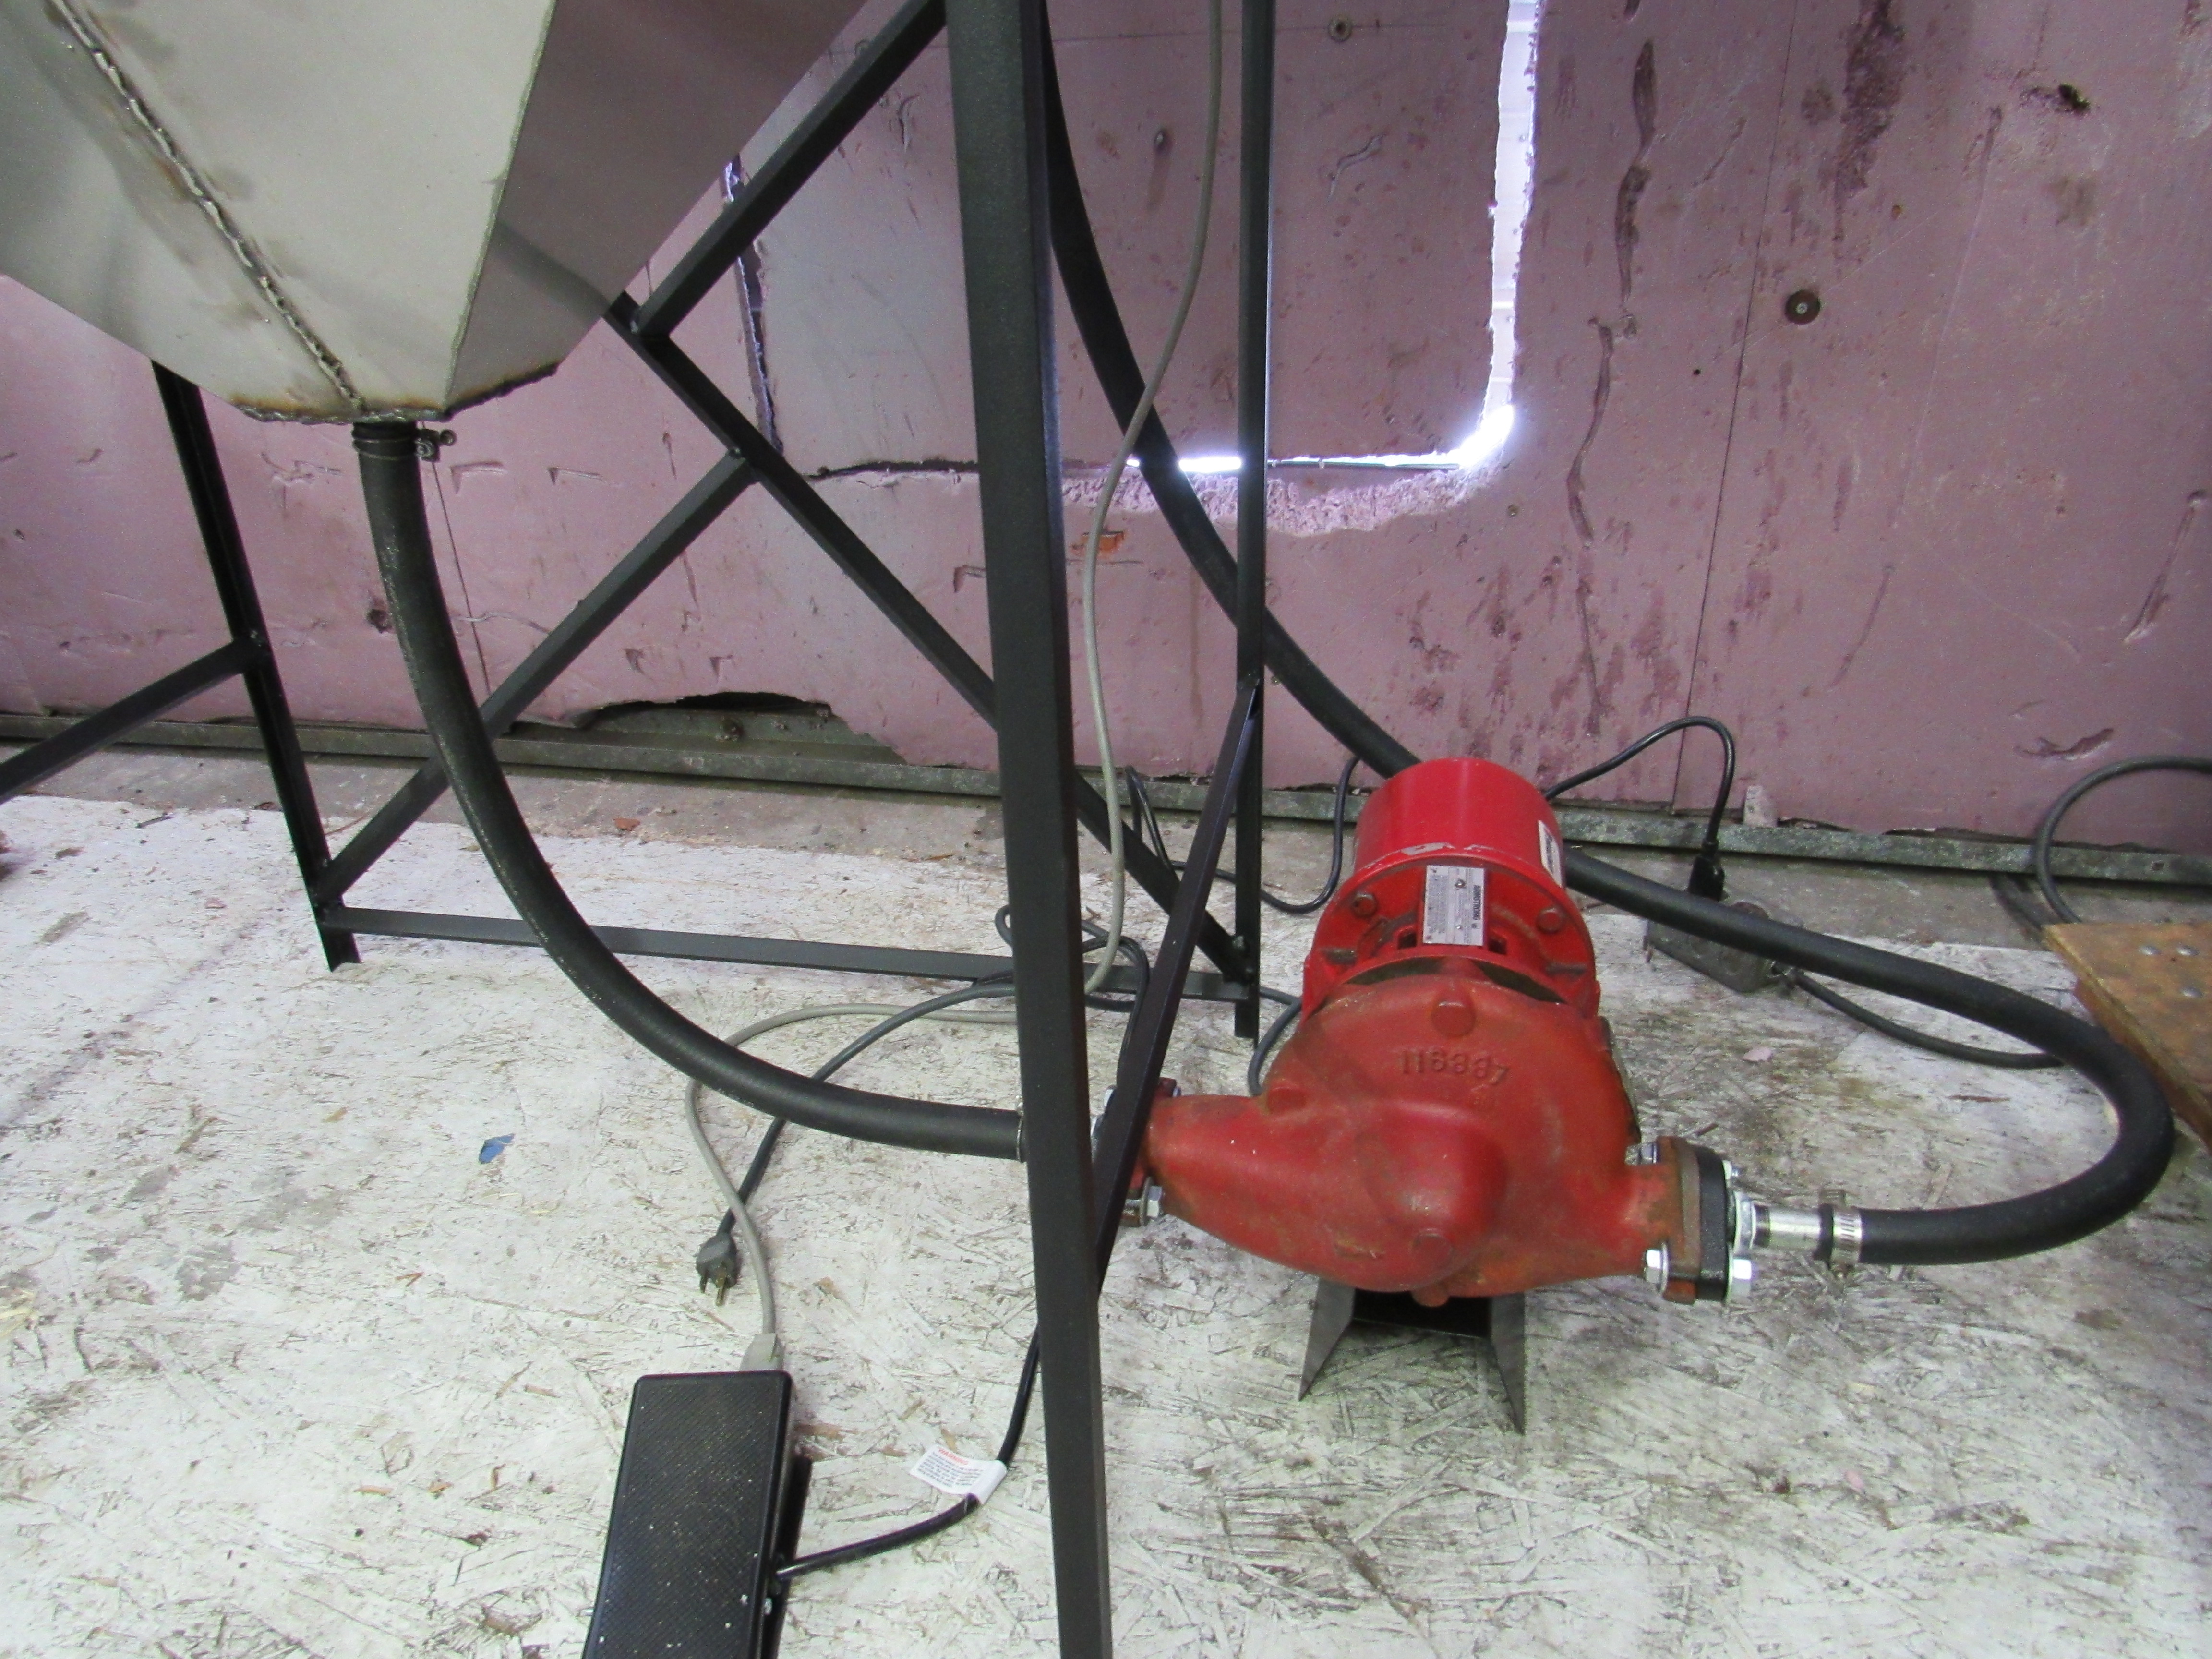
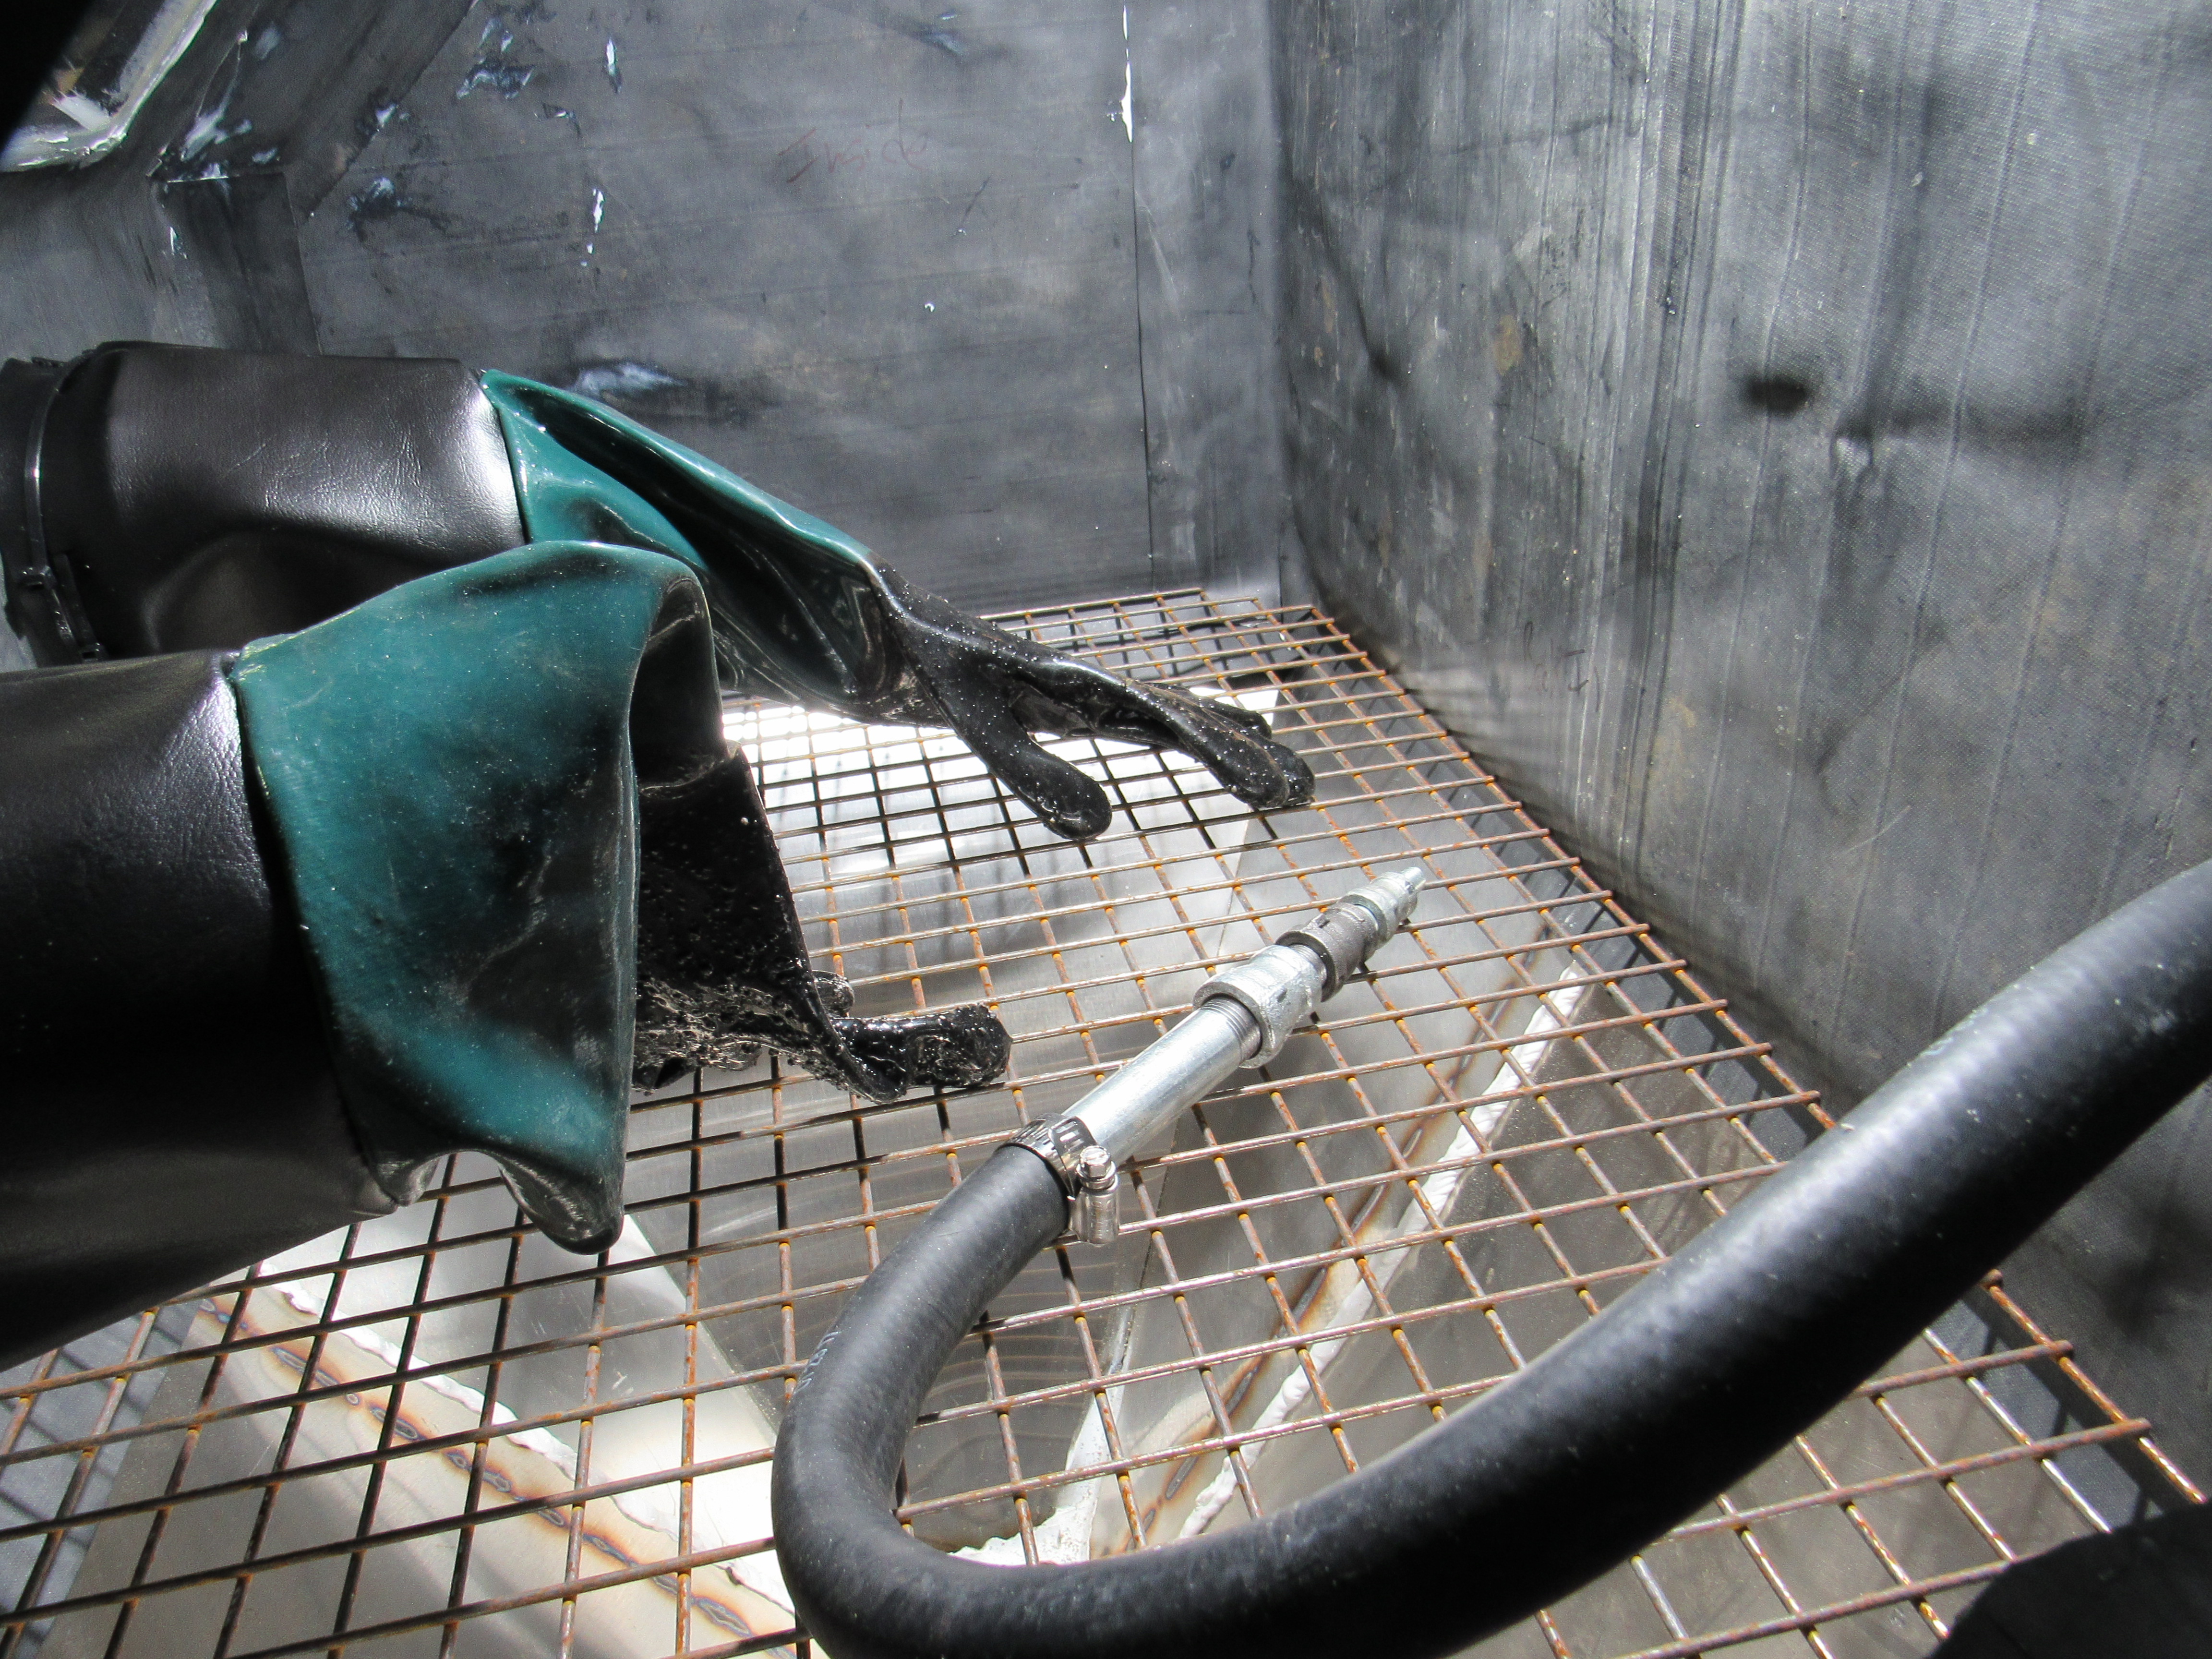
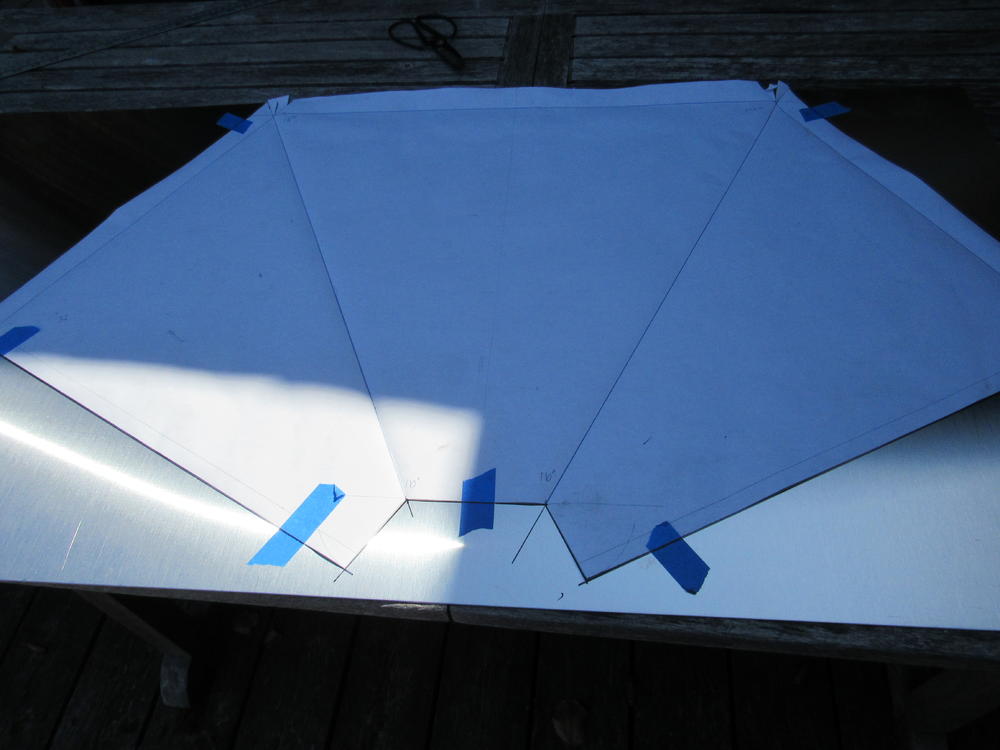
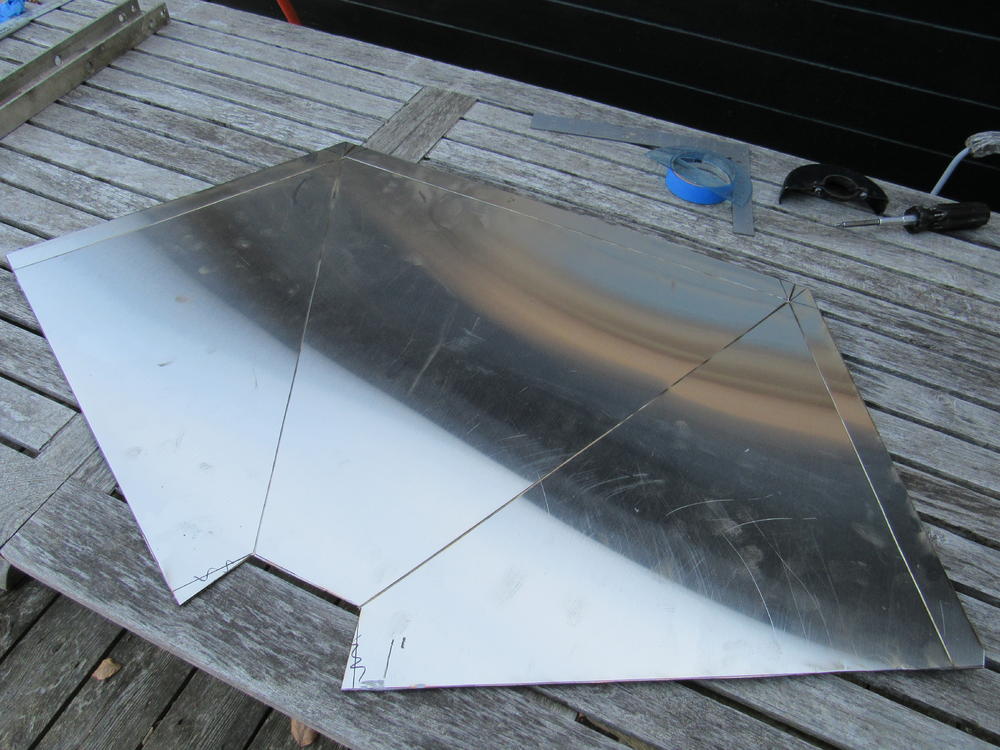
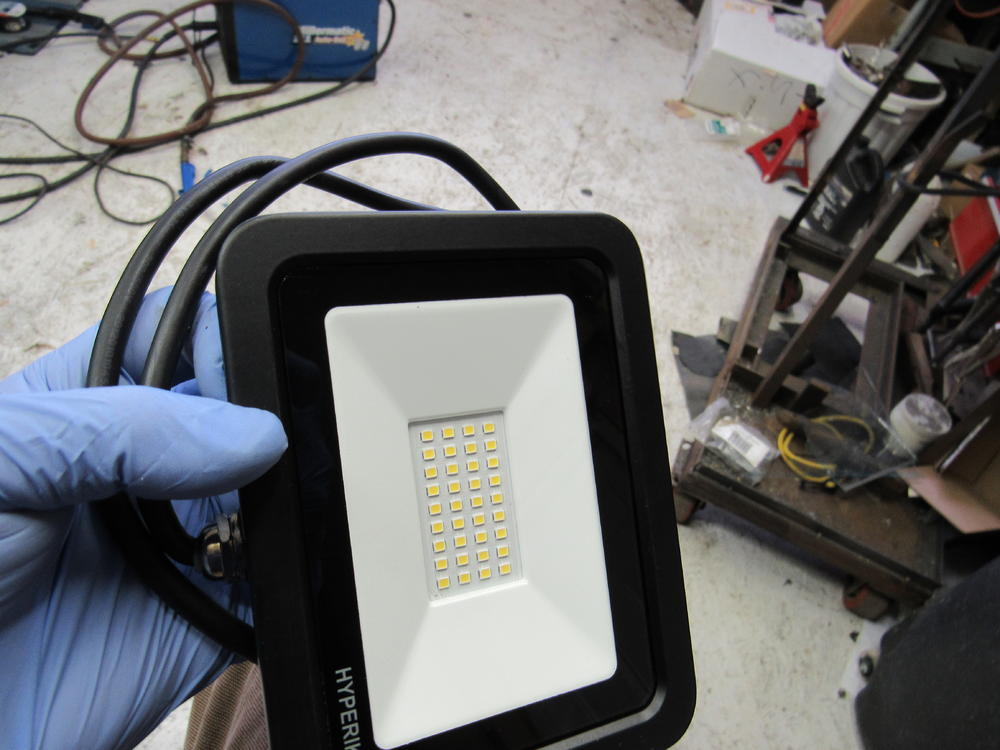
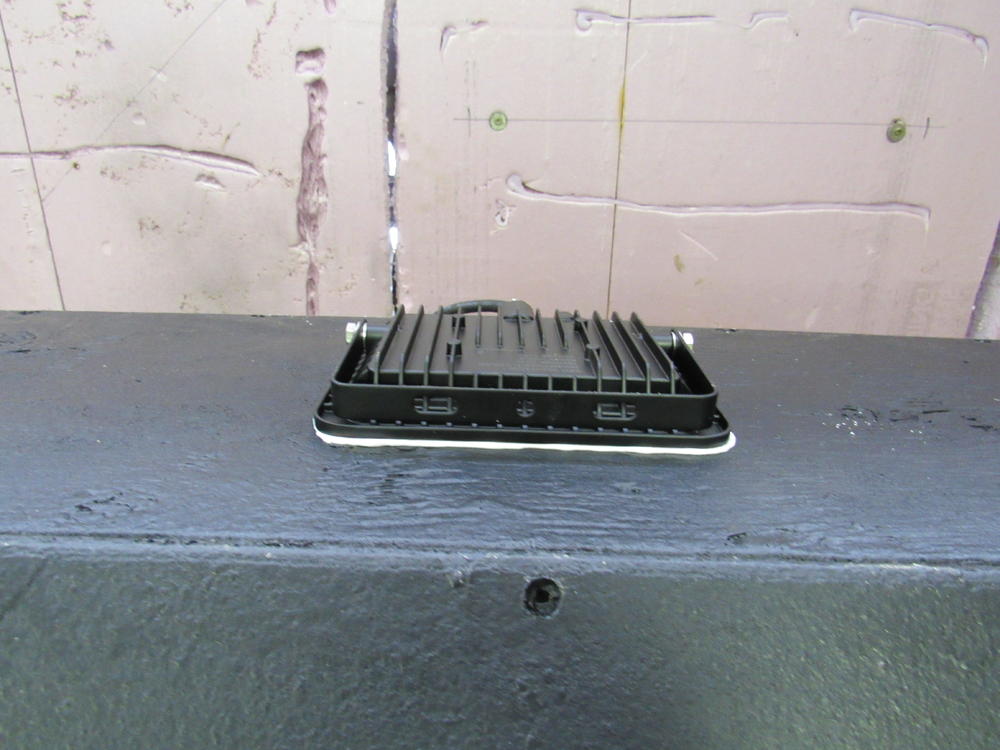
Duffy has encouraged me to add some pics and results of the wet blaster I just made following his plans, I wanted something a little bigger for larger objects but that can still be dismantled easily for set up and storage, most importantly I wanted it cheap. I have about $425 into it so not too bad. The hopper is made from some 16ga stainless steel sheet, I manged to get the whole hopper out of a 24"x 48" piece, the frame is 3/4" angle iron and the cabinet is some 5/8th plywood I had on hand. 4 cans of Rocker Guard to seal the wood inside and out and the inside is also covered 1mm thick pond liner. The pump I picked up is and old water circulation pump for a large heating system, it might be completely wrong for the job but won't find out until my outside tap unfreezes. I'm hoping that if the pump is a really high pressure unit that I may not need to add an air line, we'll see, it's easy enough to add it later. The LED lamp is a water proof outdoor unit with 2,400 lumens, $36 for two lamps.


-
Interesting, is there a reason you are removing leg room for the passenger, something behind the footboard that needs the space?
-
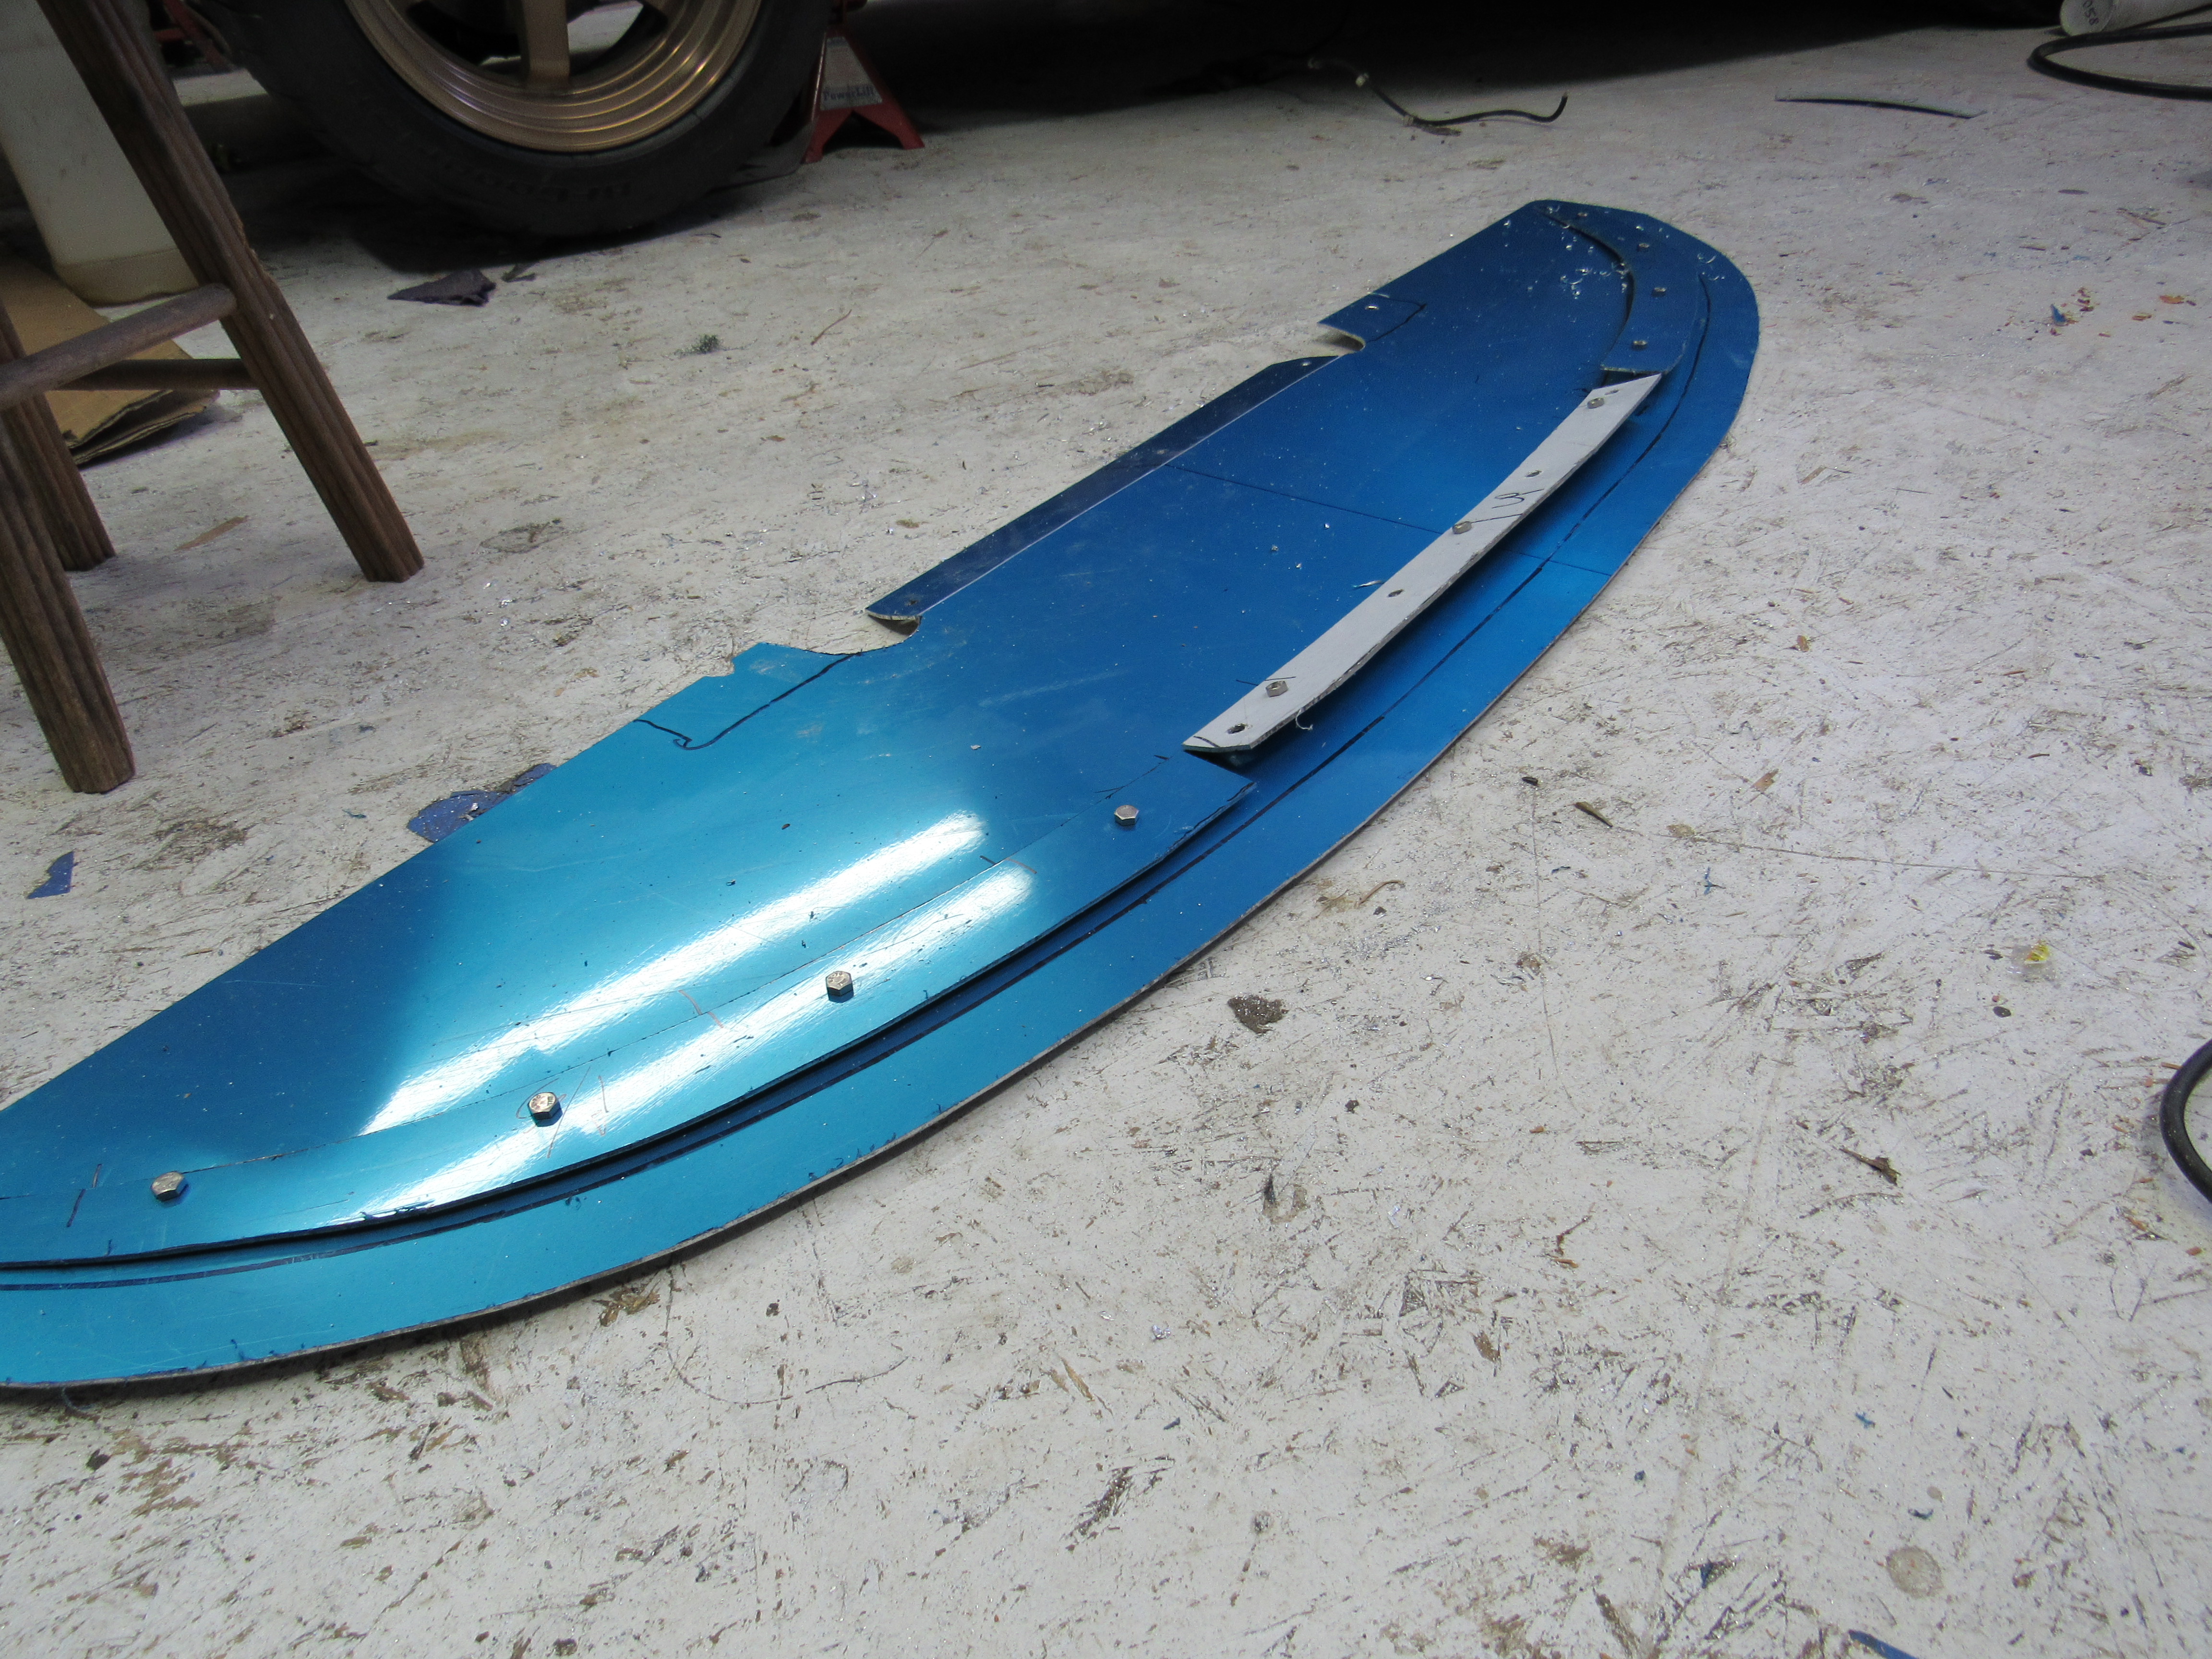
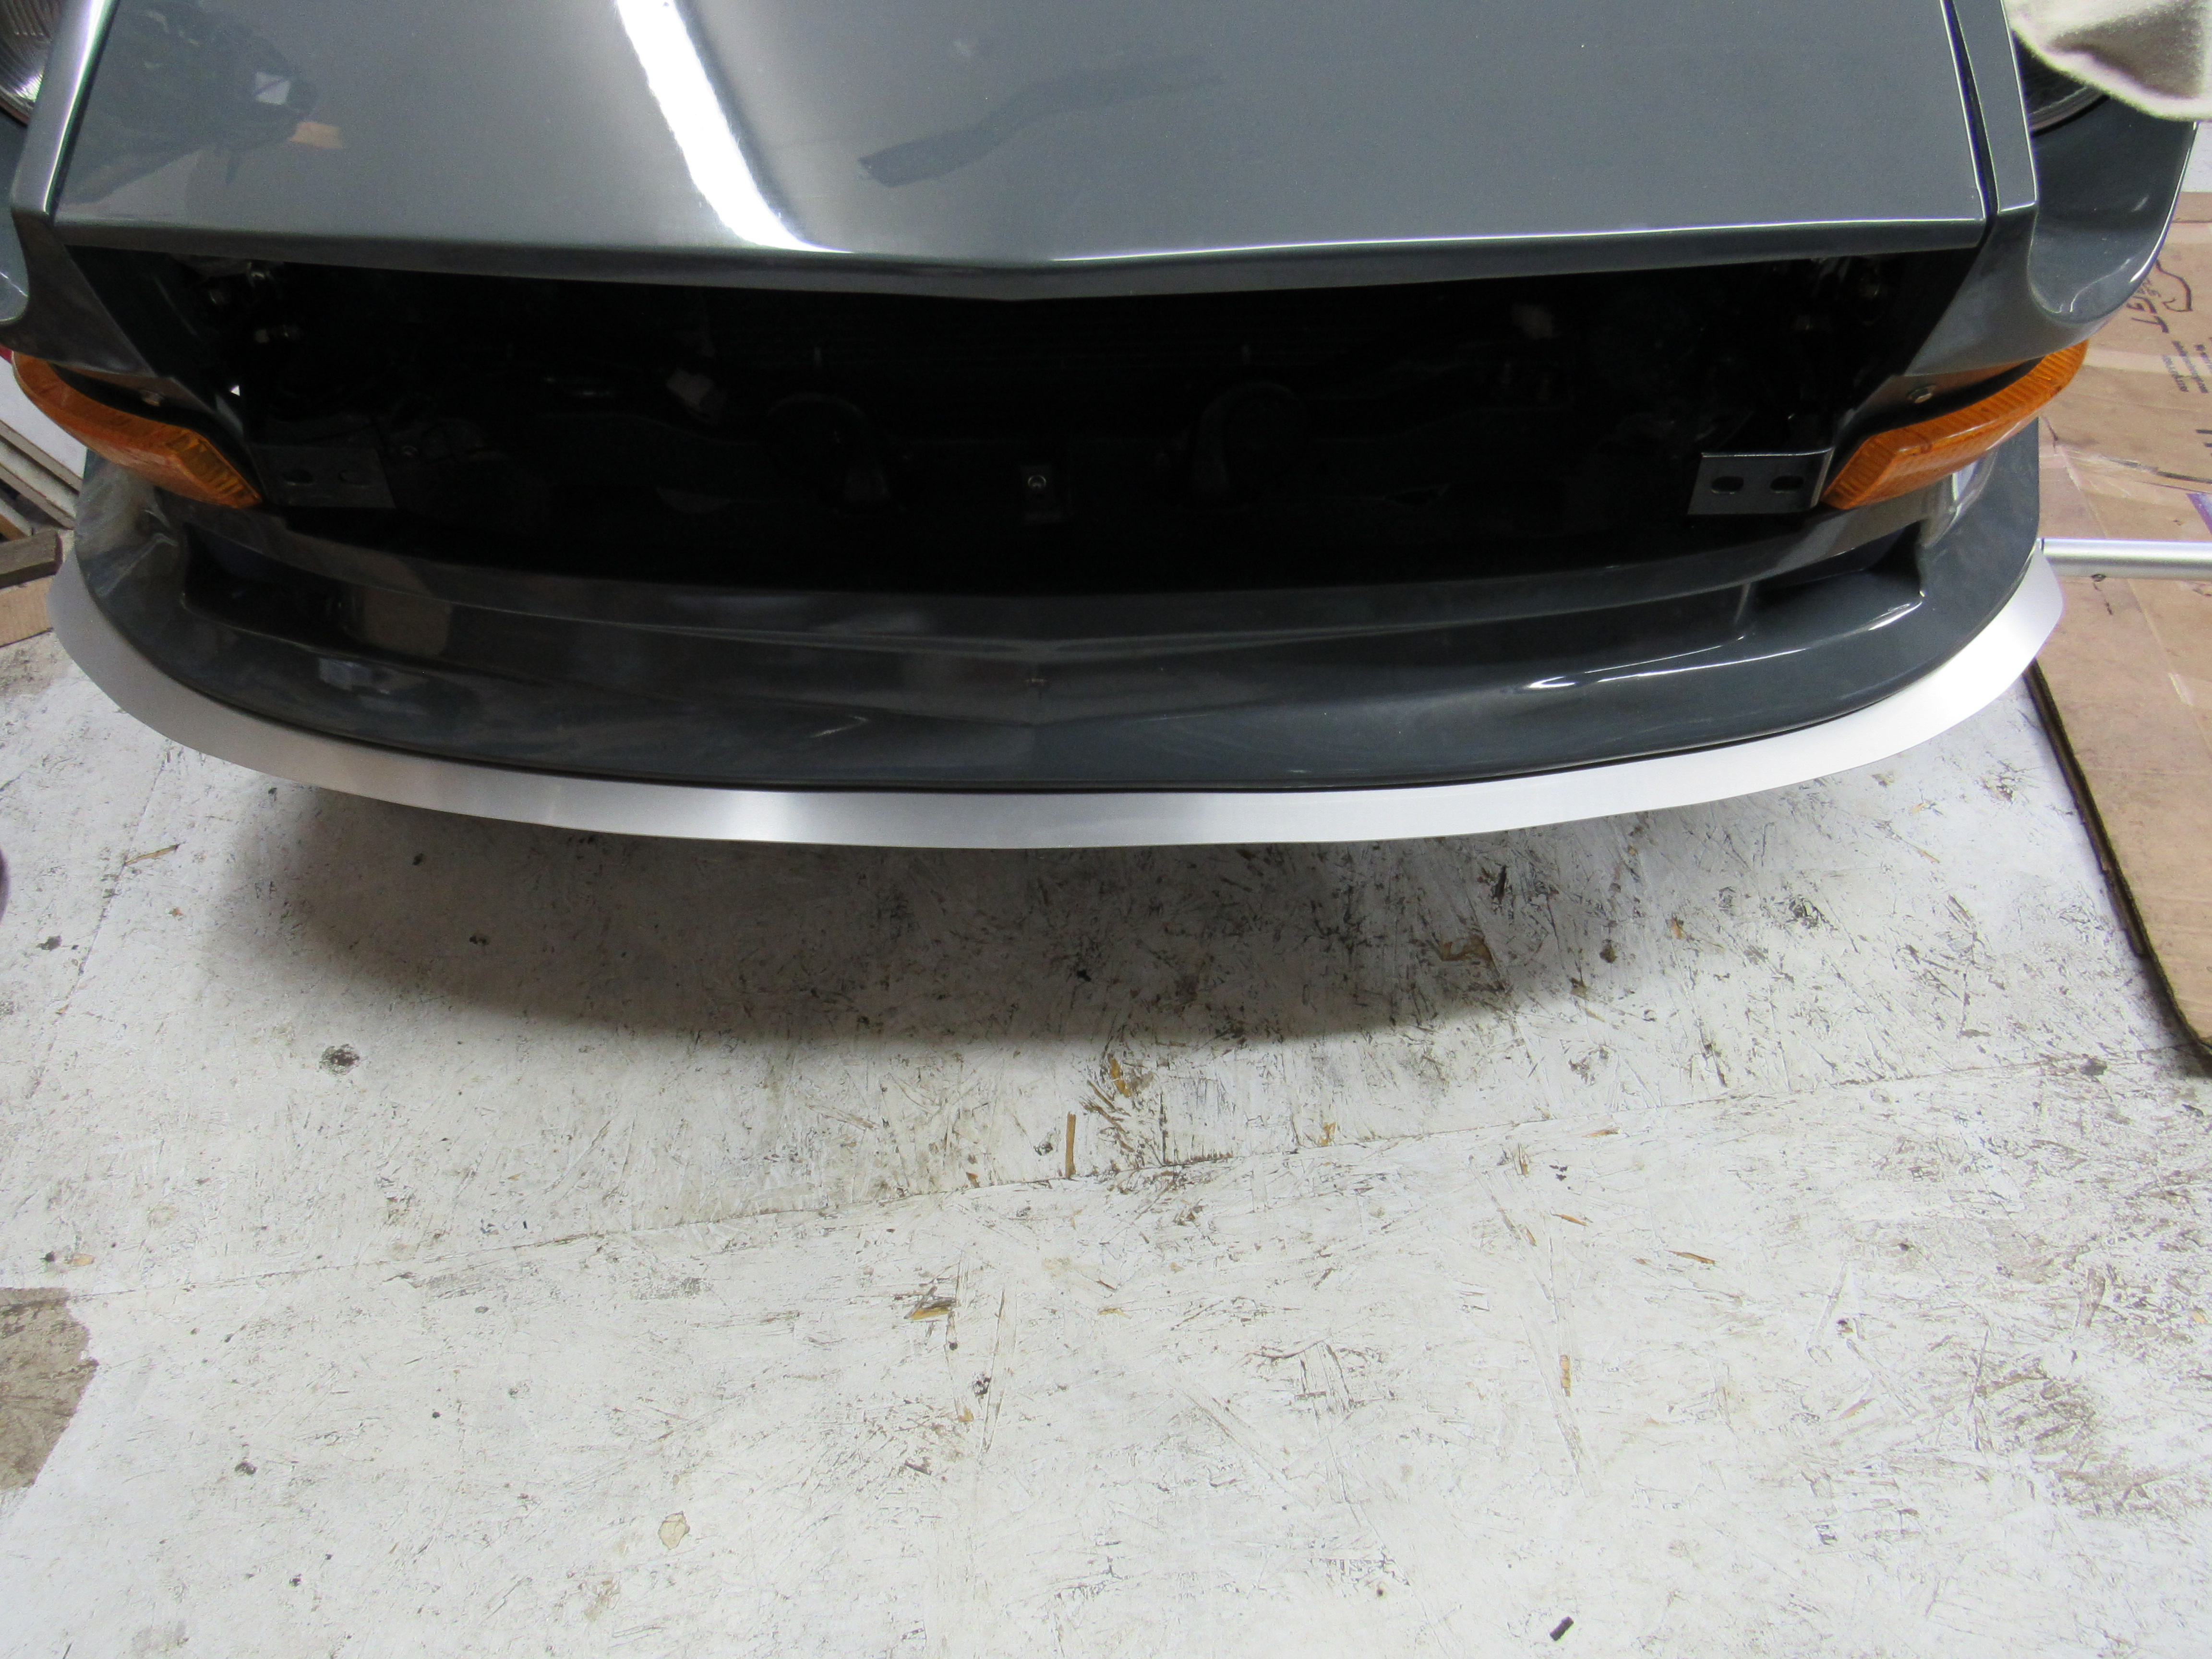
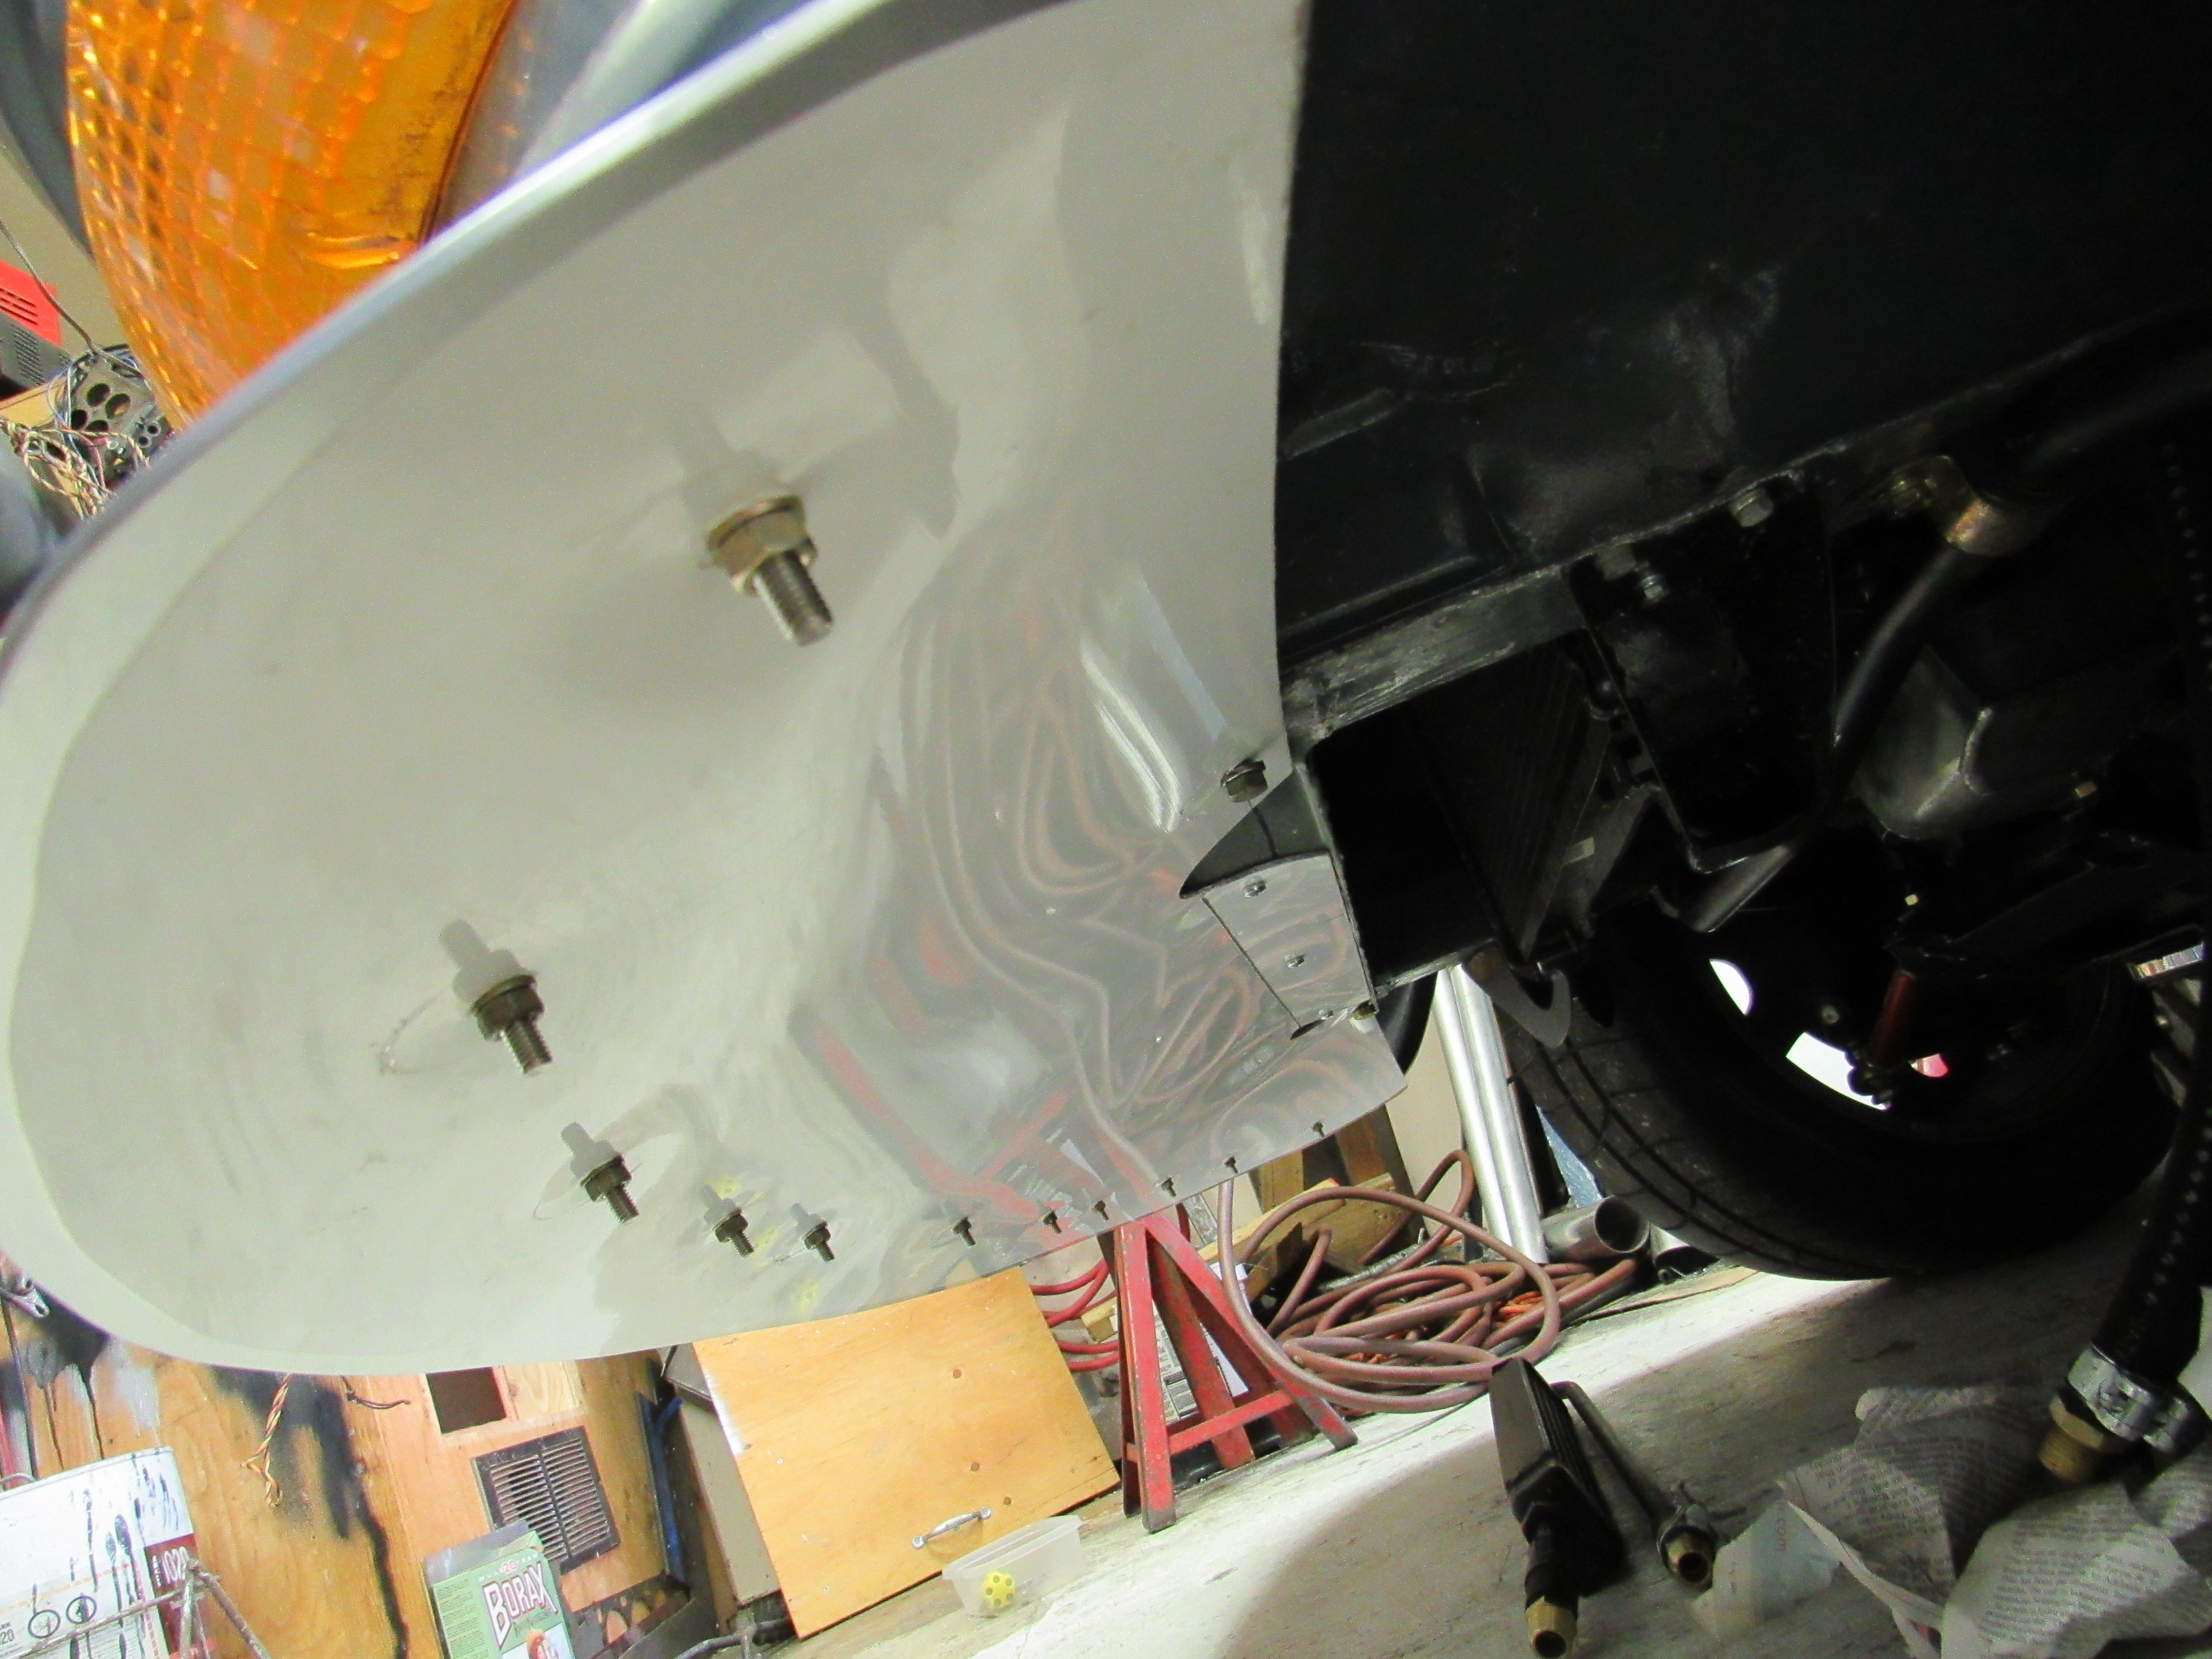
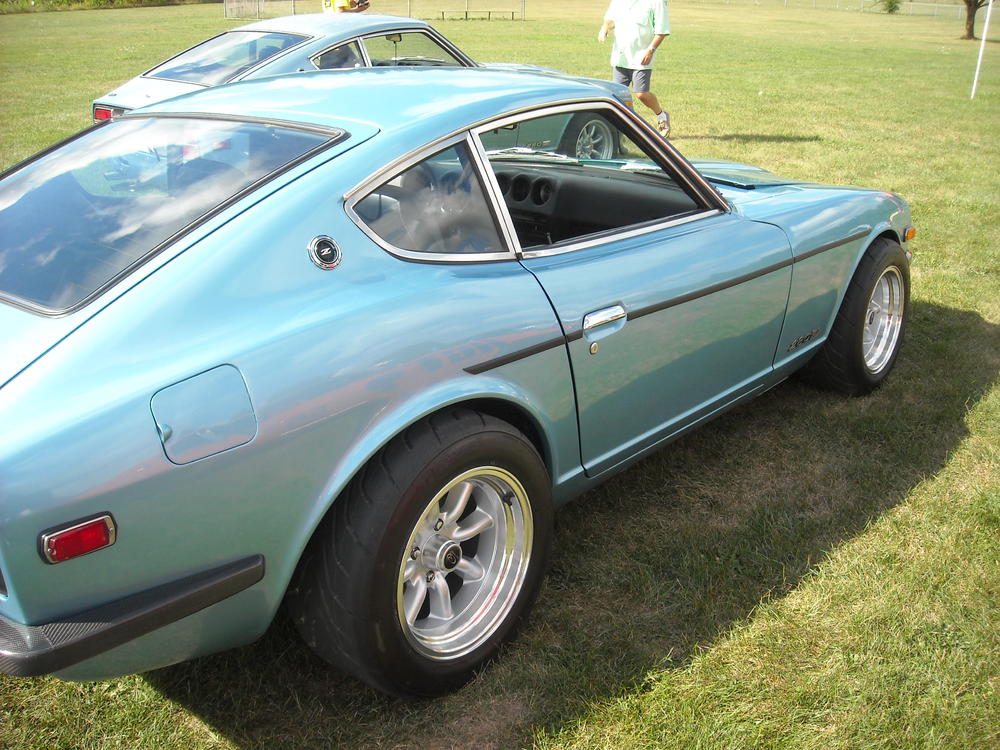
This car was at ZCON a couple of years ago when it was held in Toronto, I mentioned to the owner that I loved the look of the tires sticking out a bit but was leary of doing it myself for fear of bending the fenders or cutting the tires, he said he didn't have that problem. I checked, no paint removed, no cuts in the rubber, he got the suspension just right. His tires were 1.5 -2" out side of the fender, wish I could remember his name, maybe someone will recognize his car.
-
Yeah but having the tires stick out bit beyond the fenders is a really good look so you have to really finesse the ride height to make it work.
-
I bought the roller from Eastwood and it proved to be almost useless on my 240z, the tool is well made but I found the front/rear fenders don't lend them selves to that kind of roller. I had the same problem as cgsheen1 and ended up using well padded sheet metal ViseGrips to slowly squish the fender lips. Using the roller on the front is also useless as the front fender isn't really supported well enough and the fender just ends up flexing.
-
Very true, did the Honda motor on the first Z without fully understanding the linkage, 2nd Z I cleaned all joints/spindles and the original motor is more than adequate.
-
You can just smell mold, but looks pretty straight.
-
Thanks Cliff, first I would get rid of those watches and install some light weight pistons.
-
That does sound like a good kit.