


grannyknot
Free Member
-
Joined
-
Last visited
Everything posted by grannyknot
-
 I've read that this SS hard line is one of the easiest to bend but I have no personal experience with it, http://brakequip.com/products/tubing/
 -
No but I clamped the rubber isolators together and ran a drill through the hole, I think I ordered 20 end pieces didn't want to be short. I also put a female/female connector in the middle of the long brake line so I could concentrate on getting the bends nice presentable in the engine bay, dealing with long piece was a pain. Have you got a flaring tool yet?
-
The brake line, 3/16"I bought from Fedhill in a 25' roll of Cunifer, now that's just enough to do all the brake lines but you mustn't waste more than 4-5" or you won't have enough. I wanted the clutch hard to look the same as the brake lines so I had to retrieve one of the rear brake lines that I threw away and repair the end. The fuel line I bought a roll from my local NAPA and it has a O.D. of .315"
-
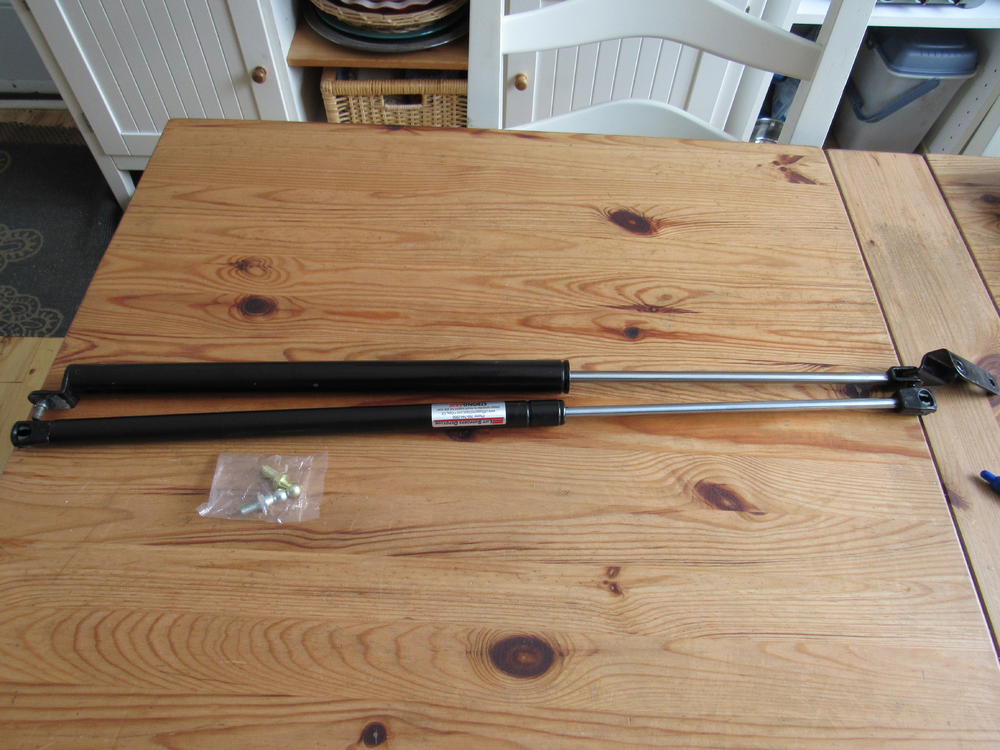
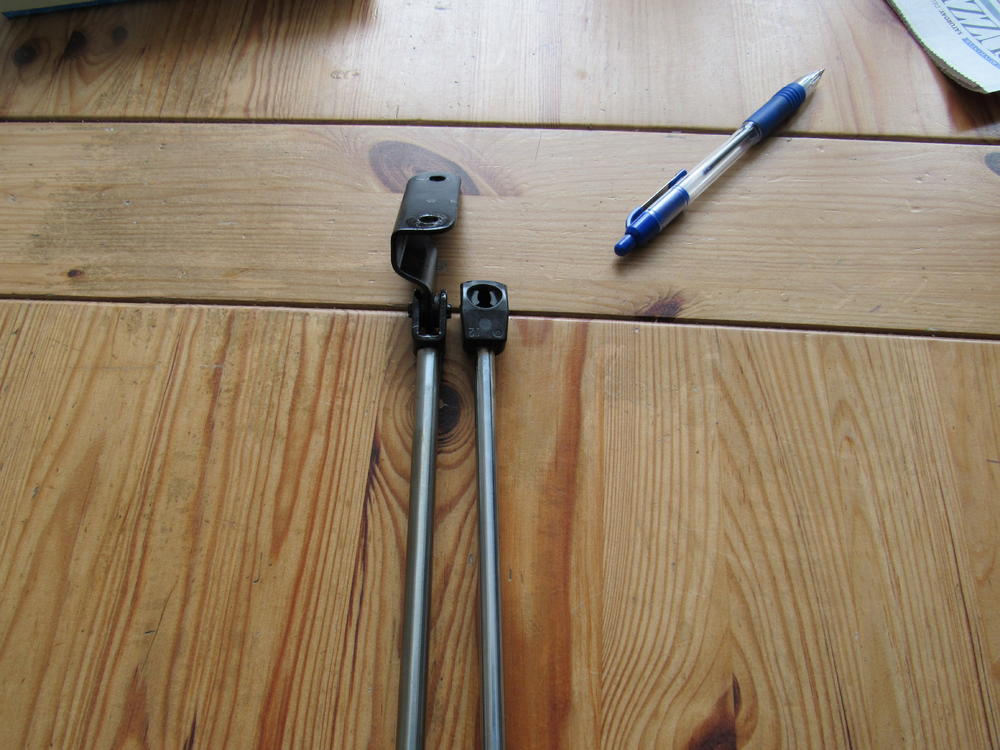
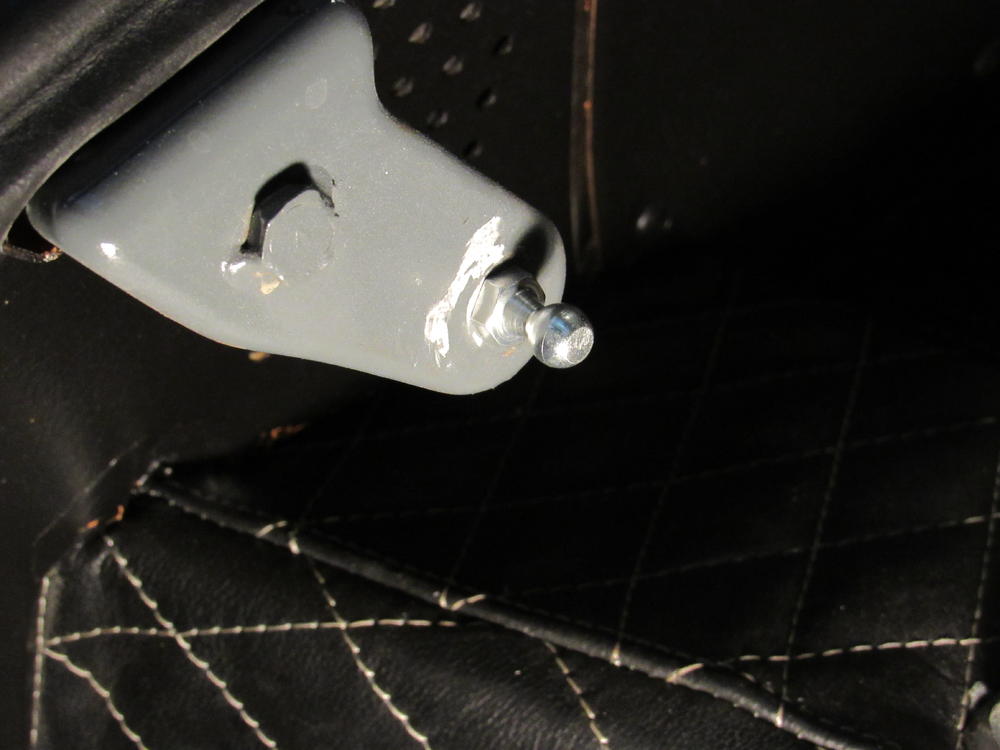
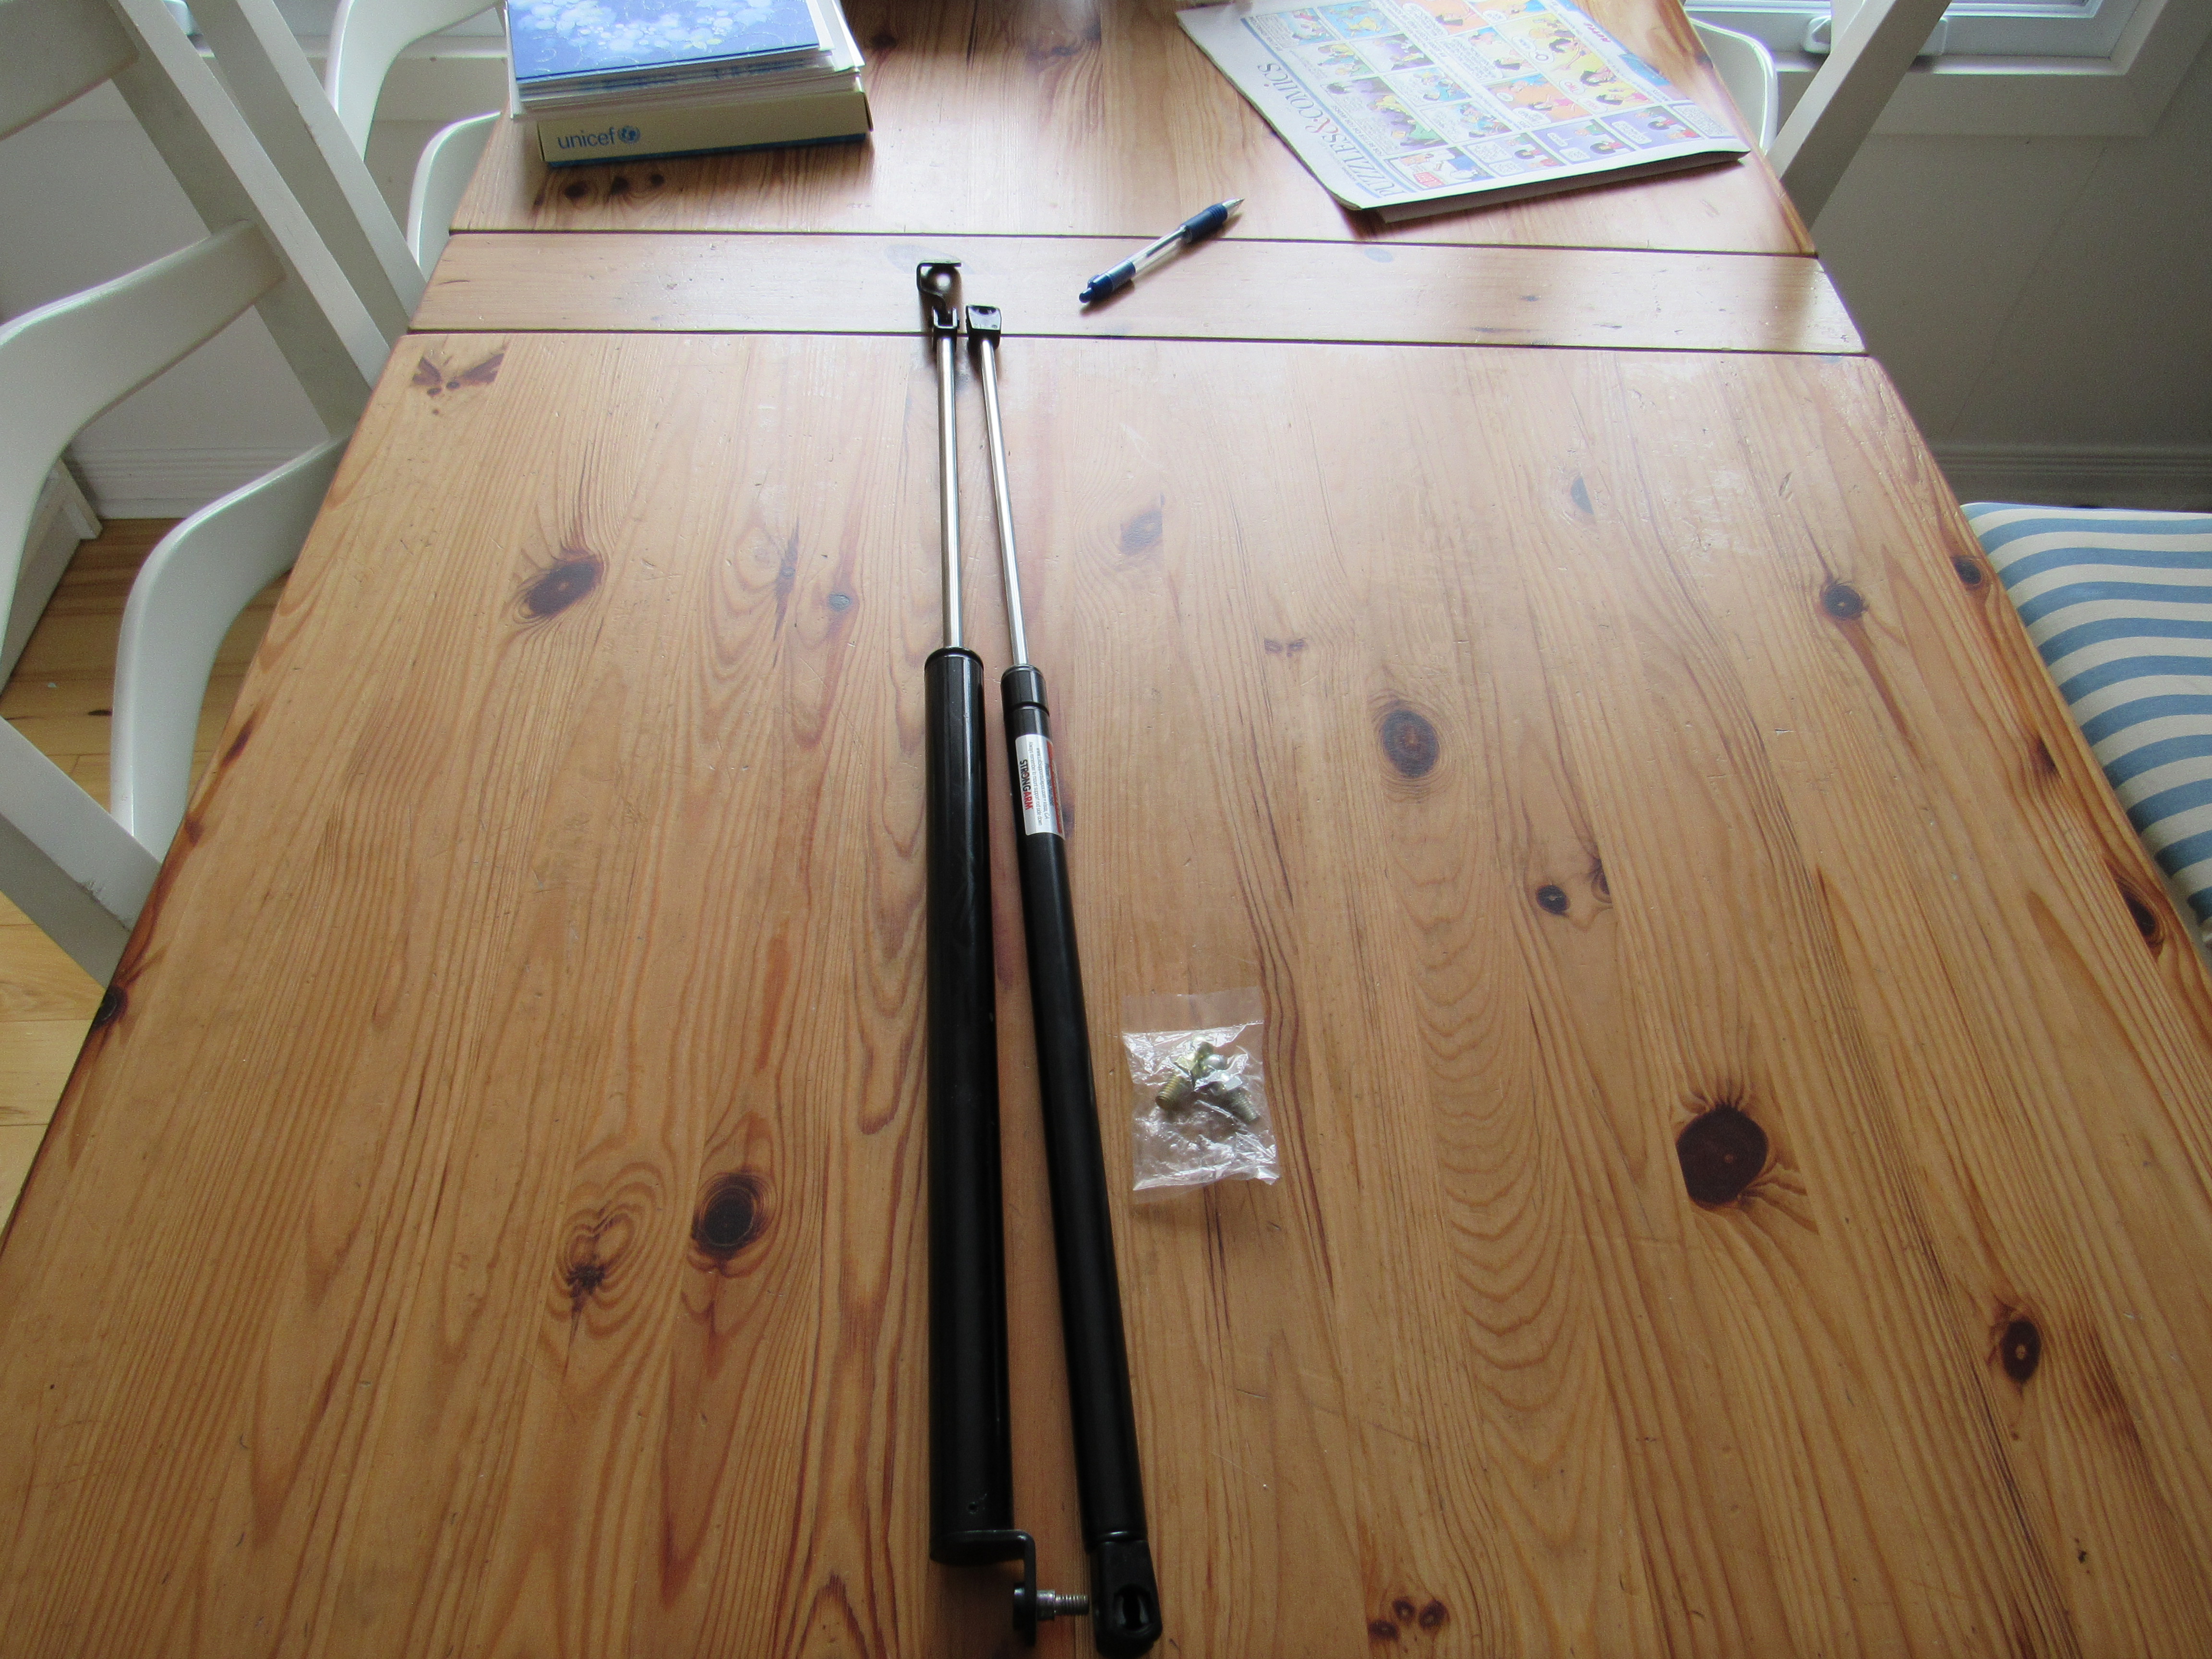
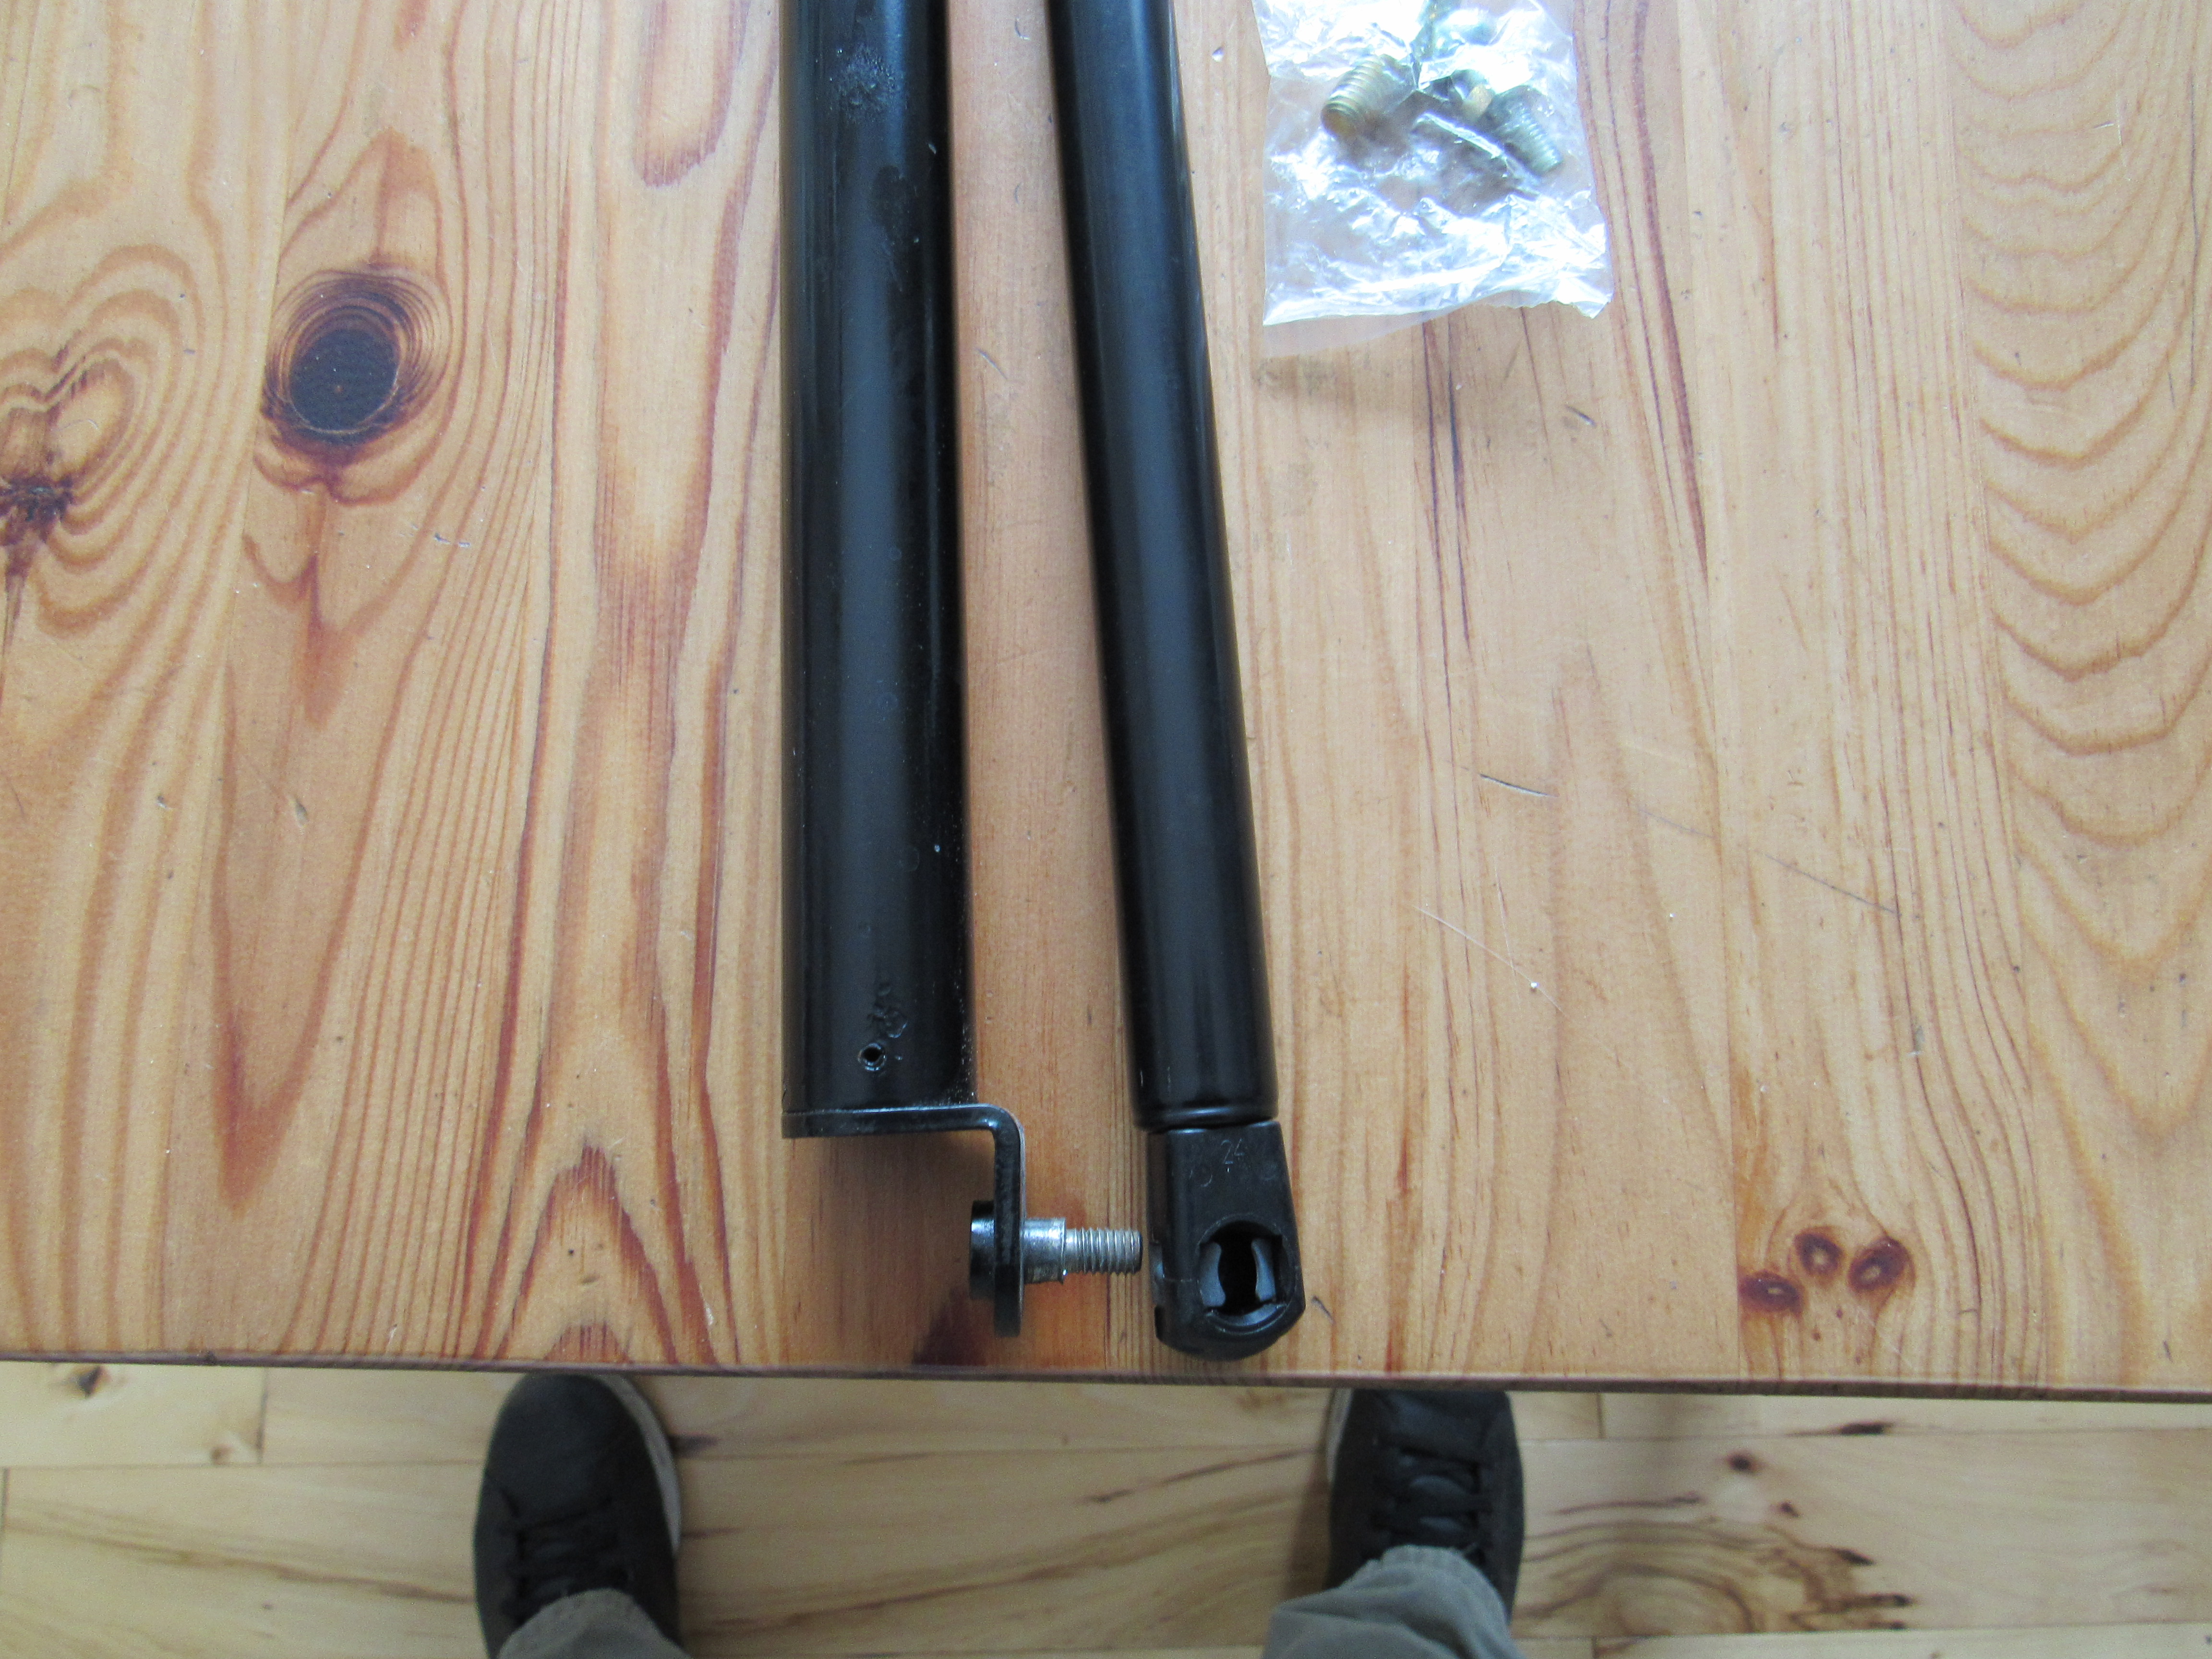
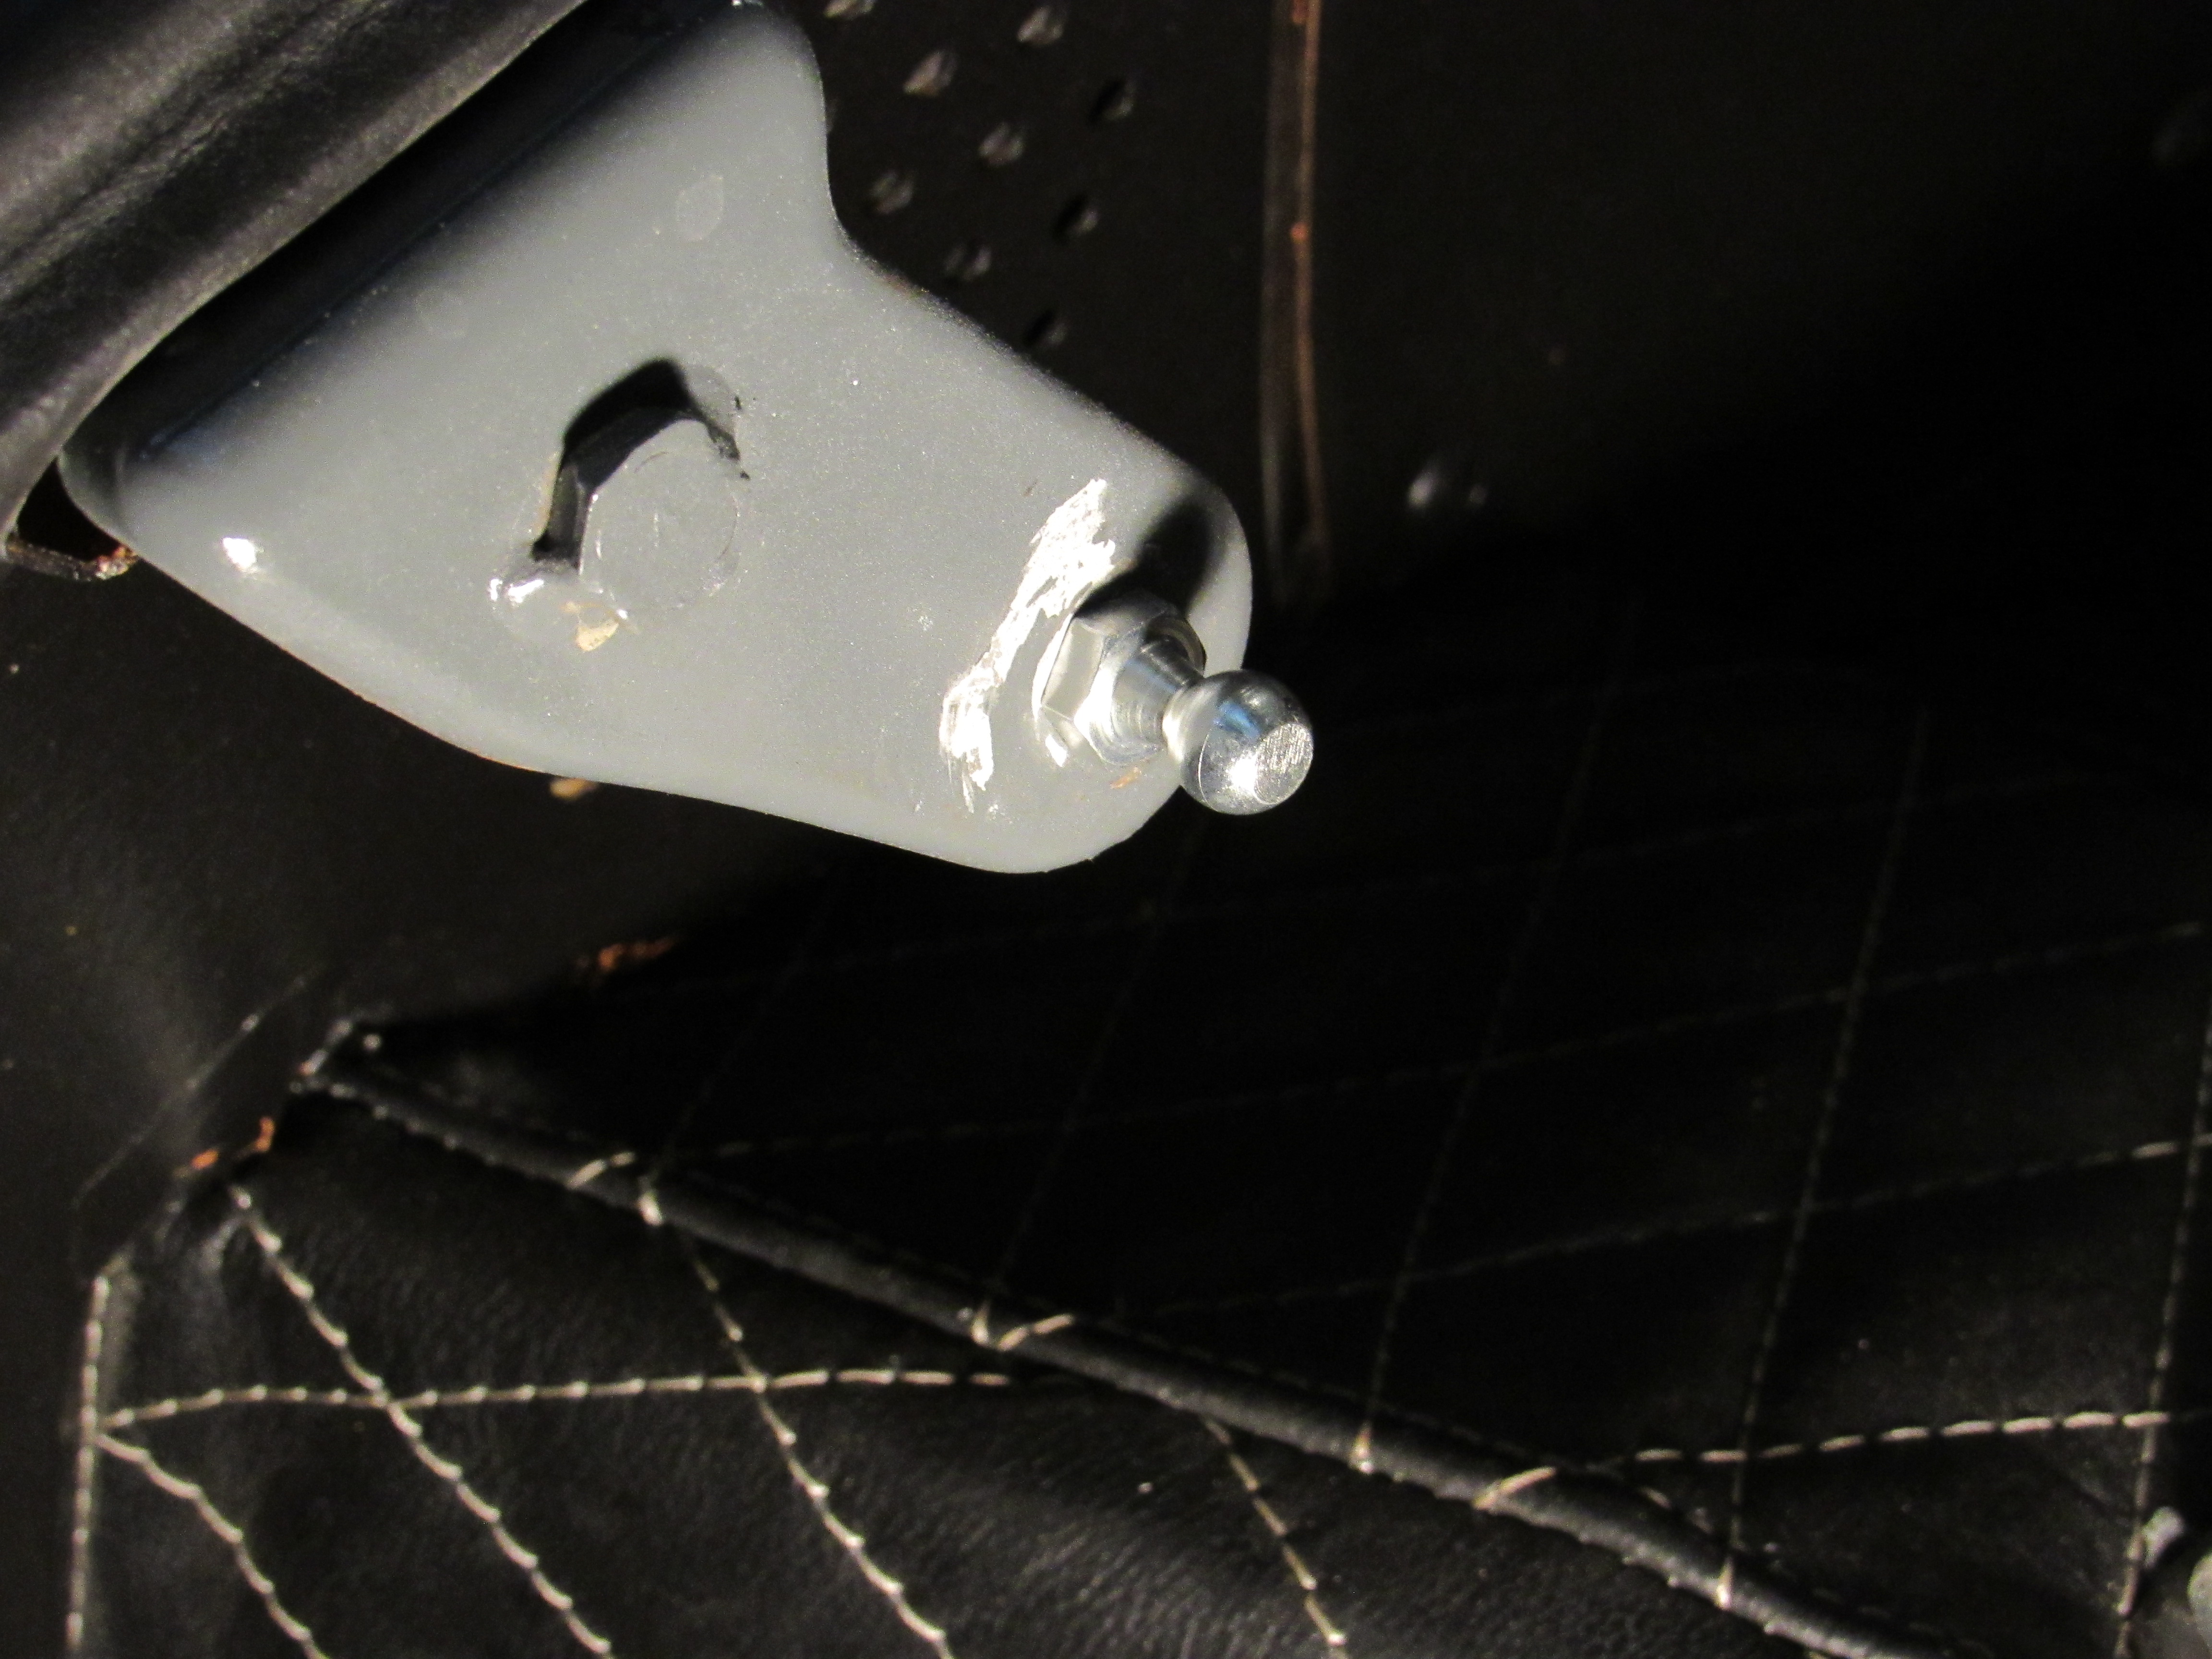
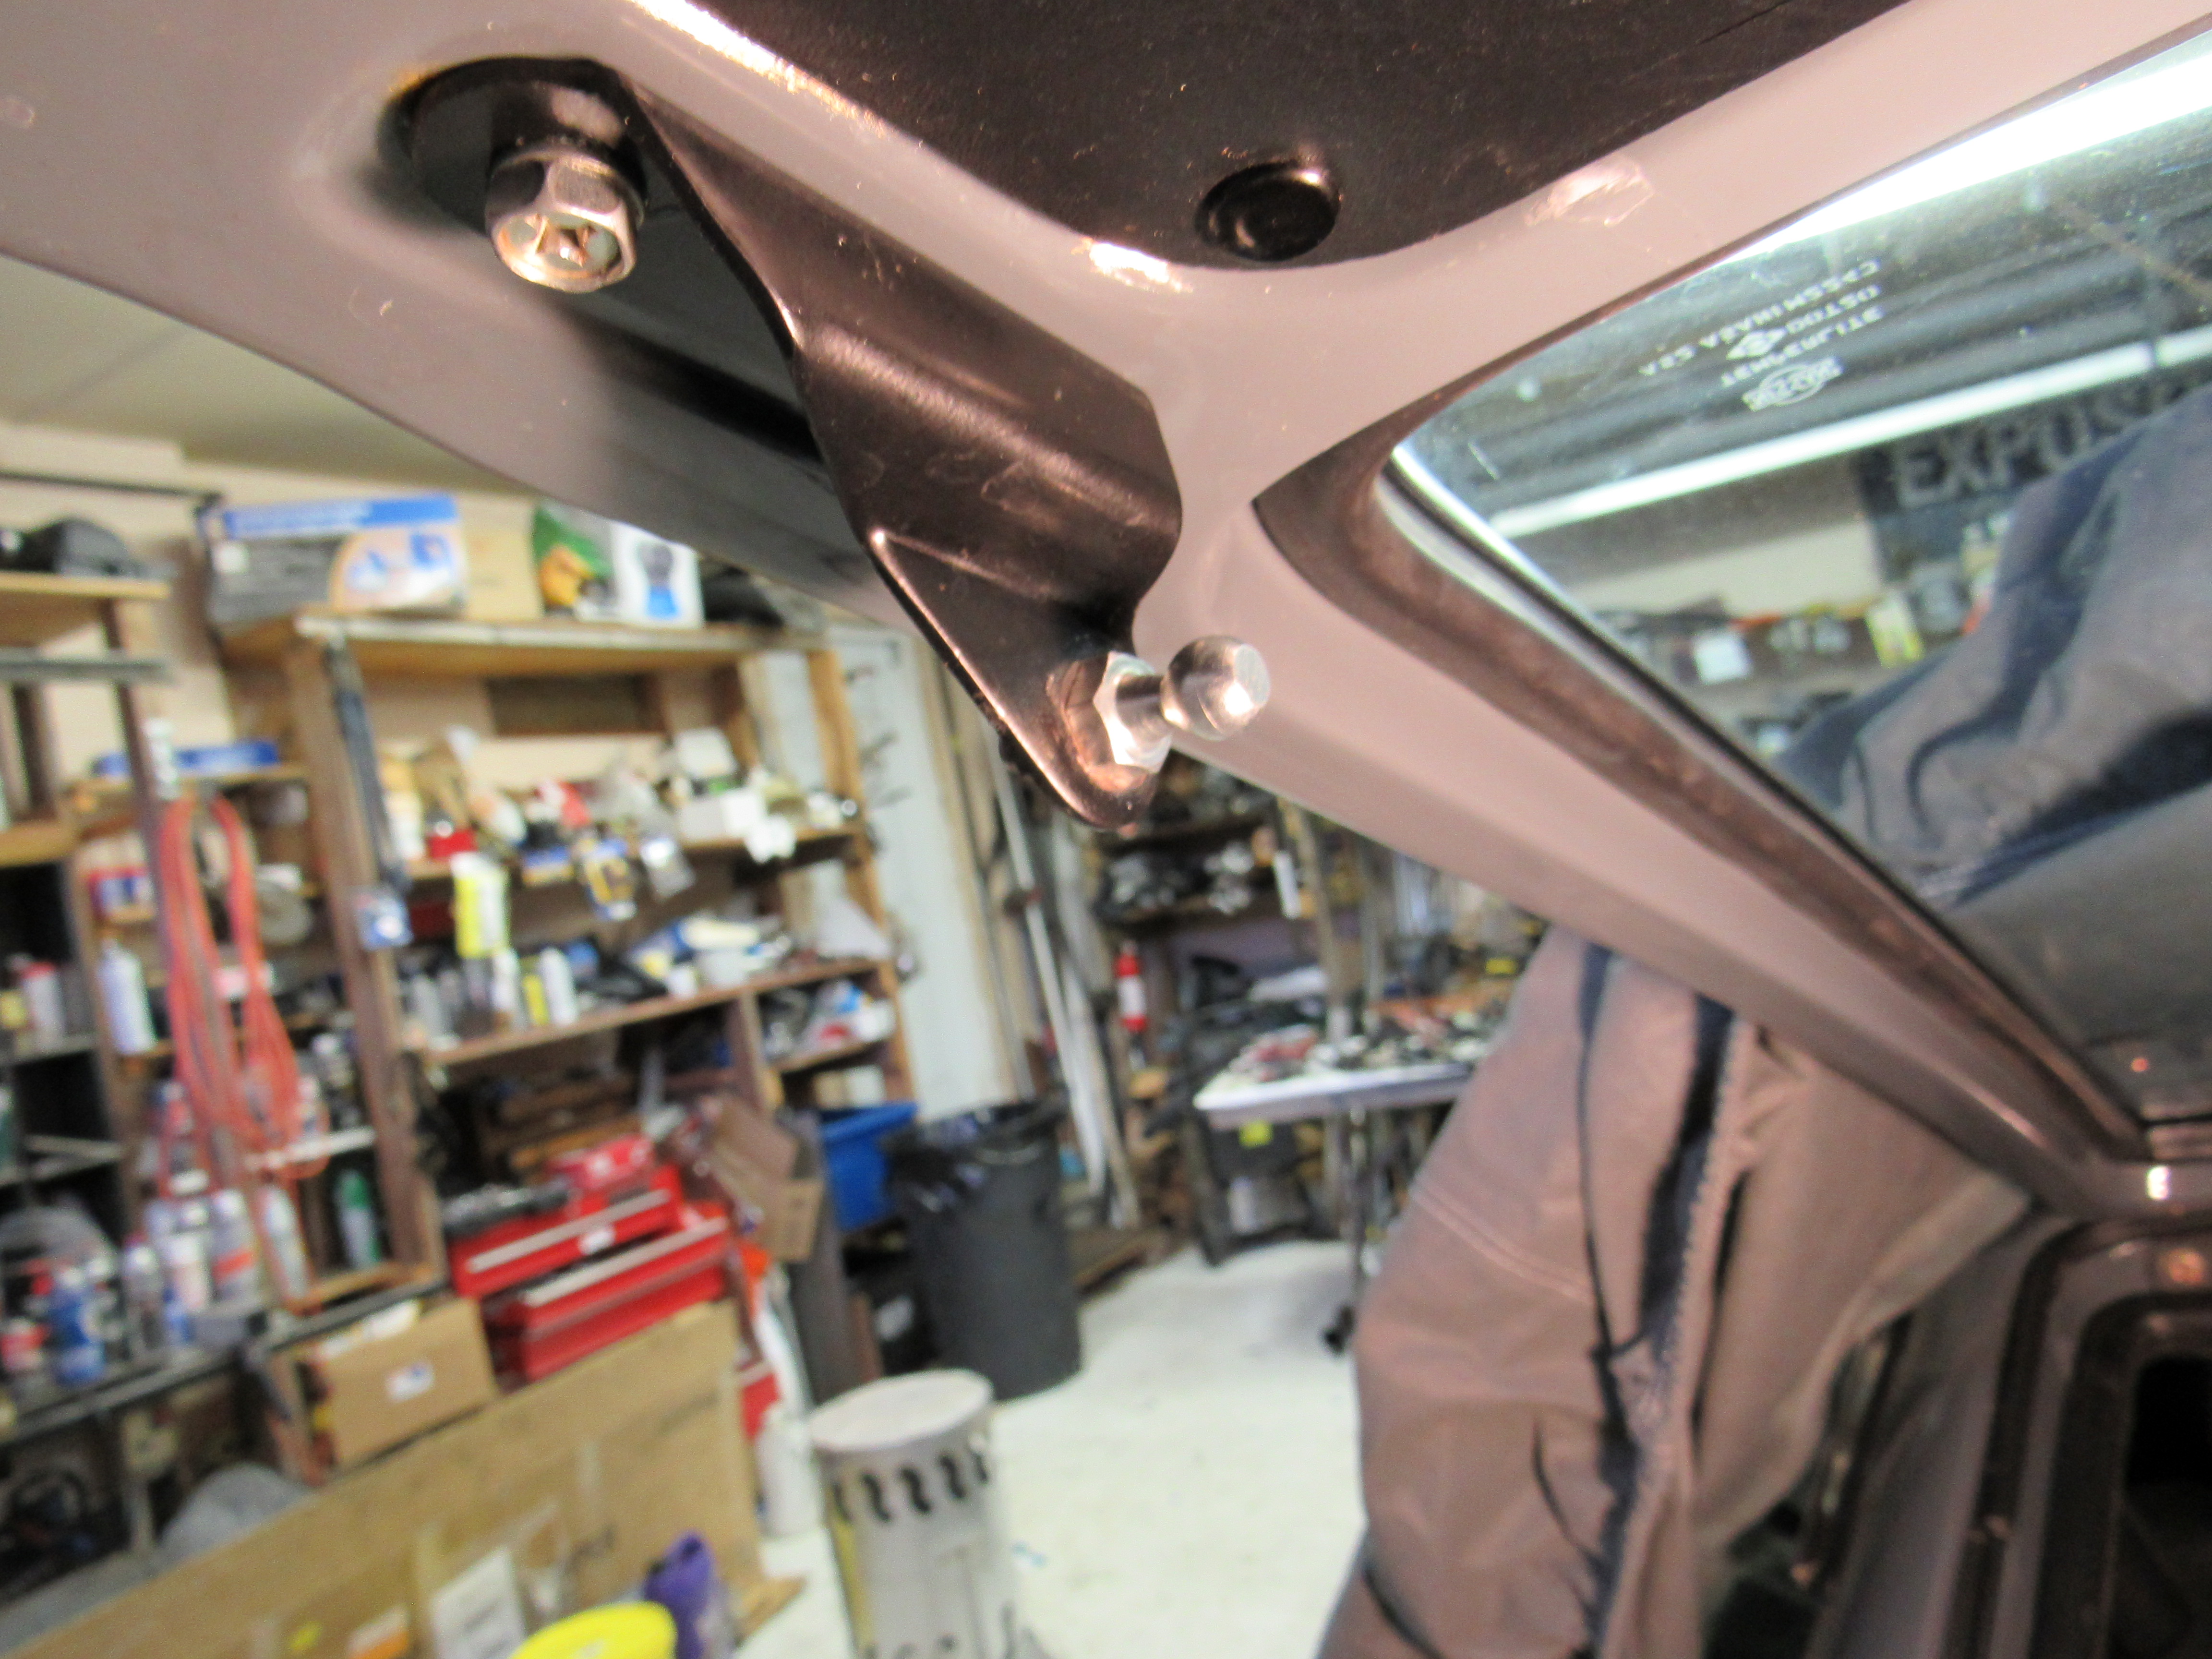
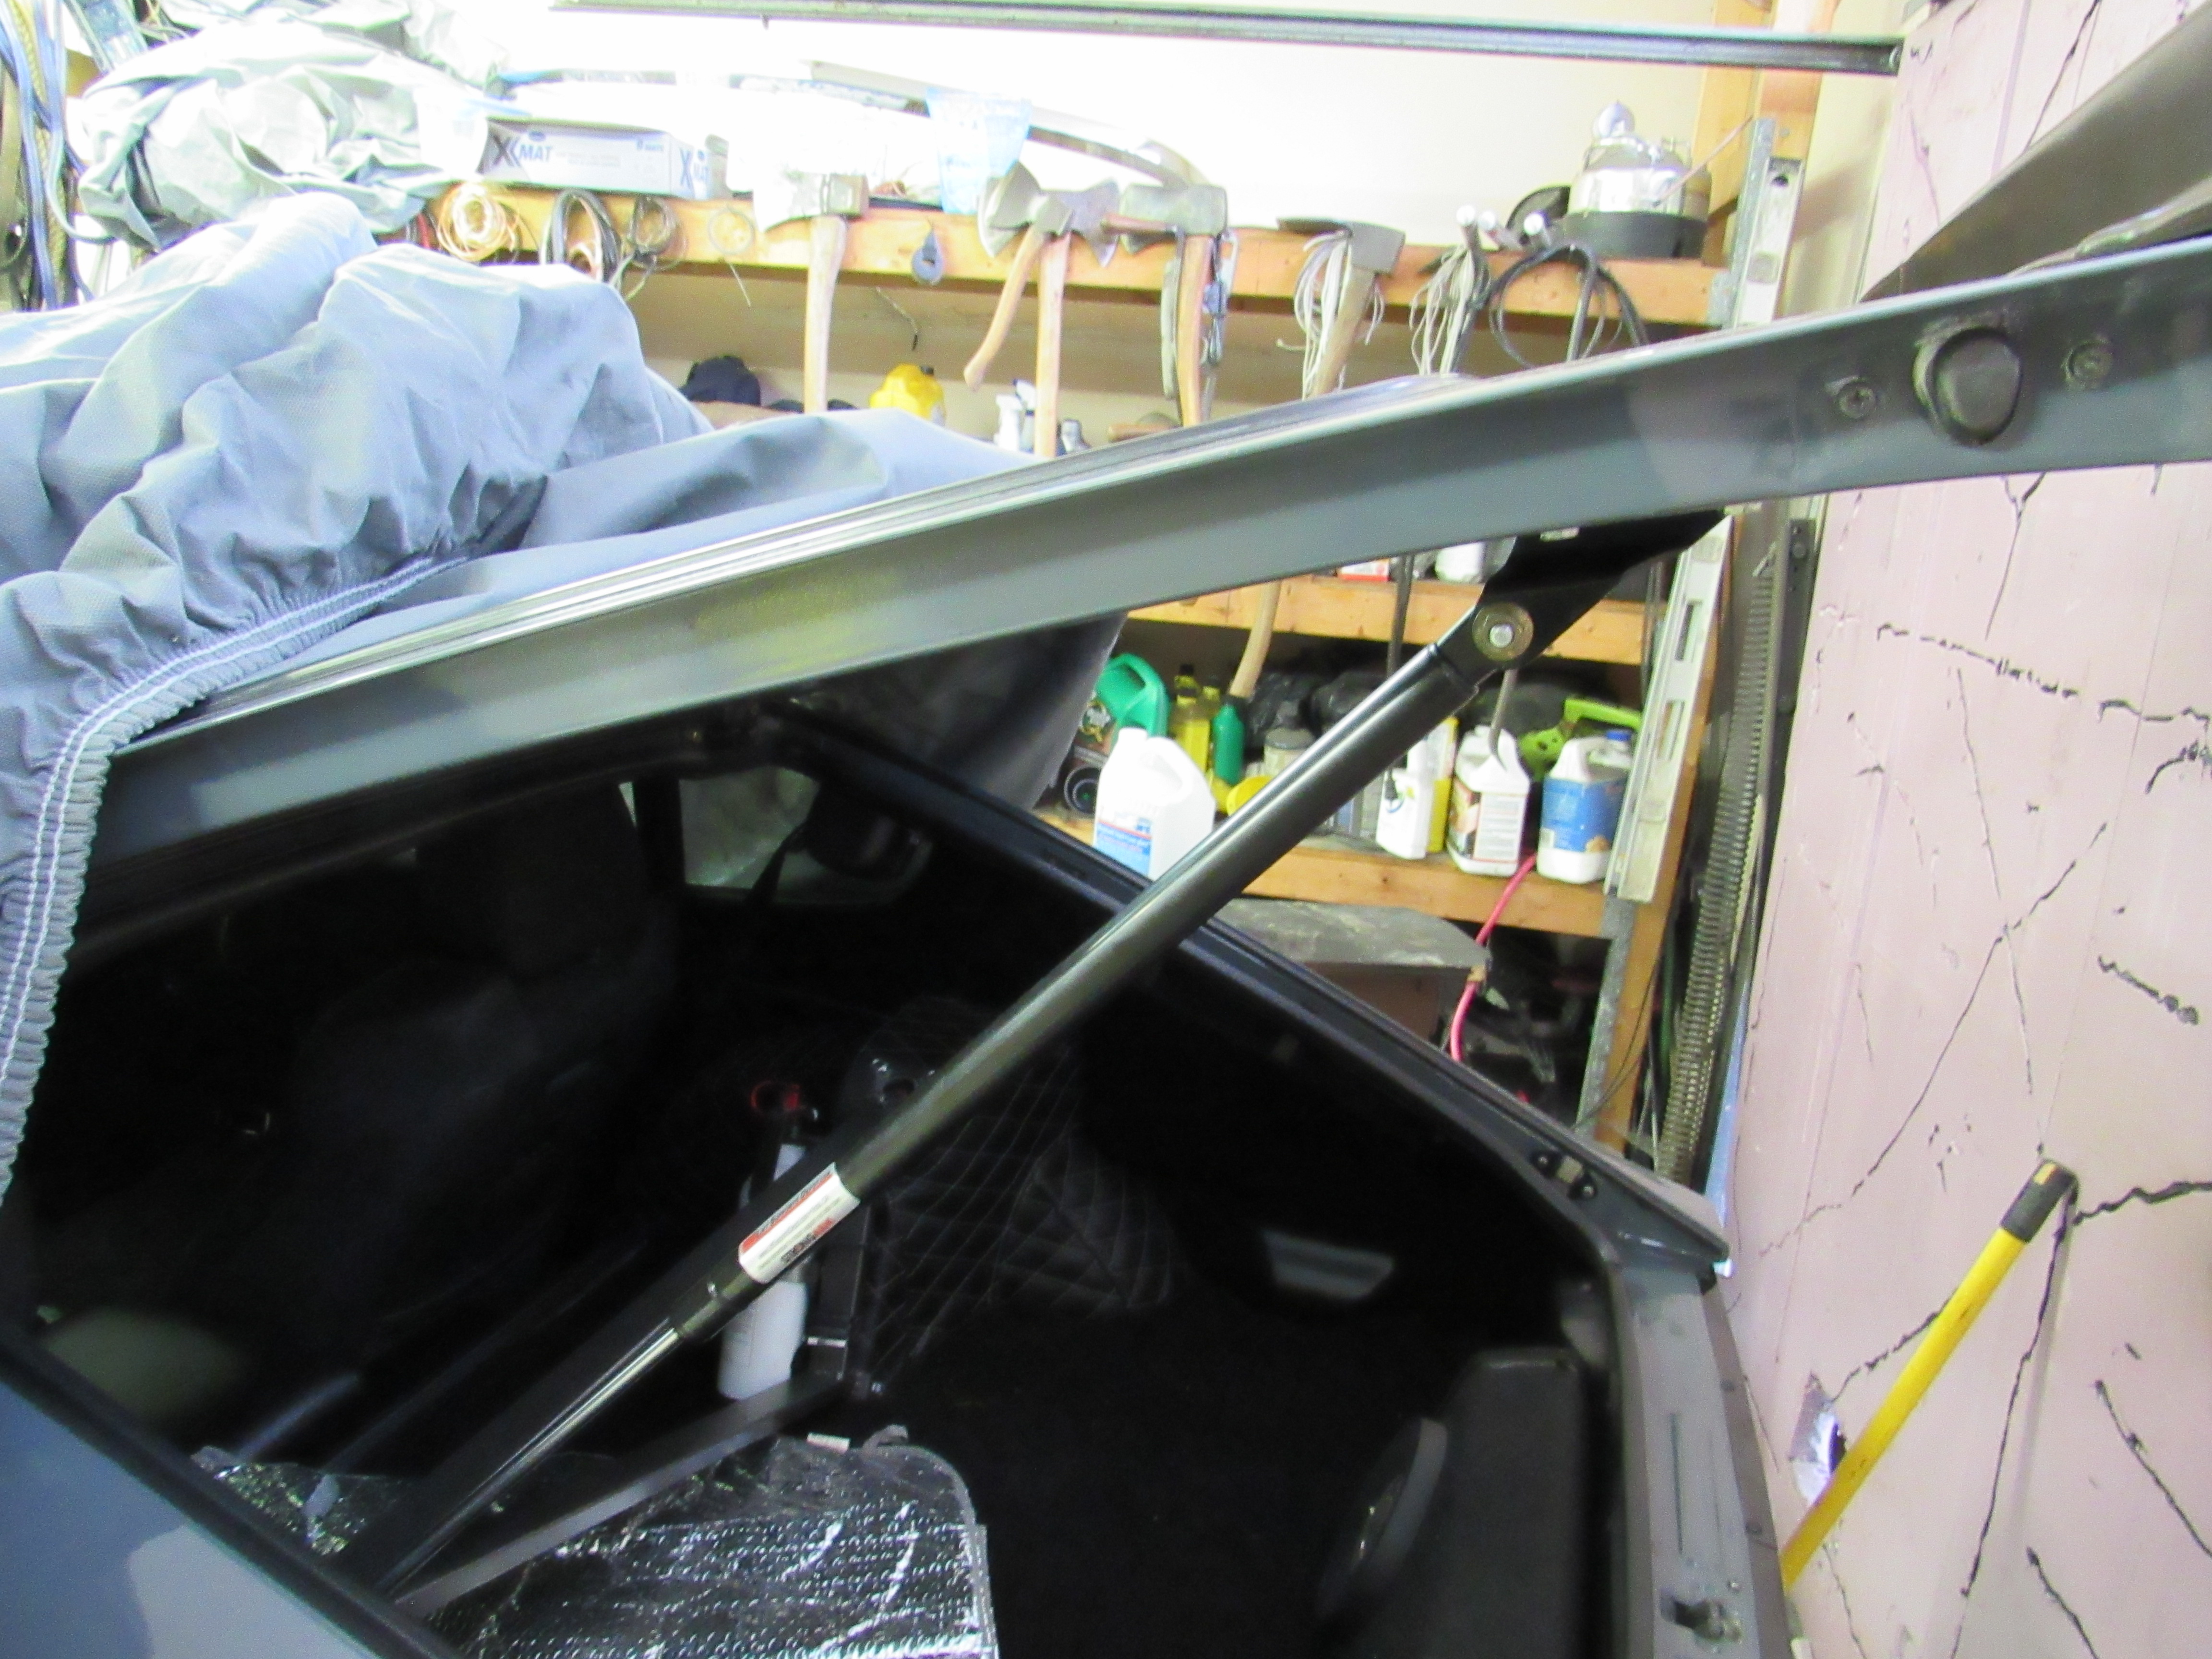
Now that there is a layer of snow on the ground I just got around to installing the new gas lift, this is the one I bought, https://www.liftsupportsdepot.com/strong-arm-4313-gas-charged-nissan-hatchback-lift-support-strut-10029w/ The whole job didn't take 20 min. Remove the stock lift, punch out the pin holding the upper rod to the mounting flange, attach the ball studs and snap in the new lift. It has nice action and has a great feature, when the lift is about 2" from being fully extended the motion slows right down so there is no sudden stop when fully open. Remember to mount it with the rod attached to the car and the black receiver end on the hatch, it keeps oil on the seal and the rod.


-
Aren't they a little optimistic about their auction estimate?
-
Looking good, where are you going with this one? Are you going to give it the full treatment like the last 240 or just a rip around car? A deep paint buff and it will be a real looker.
-
Guys, my 3/70 240z had the exact hinge arrangement, original on the passenger side with hardly any wear and a later roller/detent on the drivers side, I guess that's why Nissan changed the design, premature wear. NapaBill, the zinc looks good on the hinges and no more CRACK sound when you open the drivers door, mine was so loud it would turn all heads when I opened it.
-
Fantastic! I can see the weaknesses in my procedure now. A bead blaster instead of wire wheels, Caswell plating solution instead of vinegar/epsom, heated/agitated tanks instead of room temp tanks. Are you rinsing between the blue and the yellow? What kind of wood do you have drying there, looks like enough to do a big floor? Thank you, that's a big help.
-
Do you have a rear spoiler? It is the only thing I have found that gets rid of the problem for good and I sealed up both of my Z's tight as drum.
-
Cody looks pretty proud, couldn't ask for a cooler car than that.
-
Charles, you have done it, you found the right combination, the finish is perfect. Would you mind doing a synopsis on this latest run? I know it all changes when someone else tries the same procedure but it will get me in the ball park and I'm sure will produce better results than I had last time I plated.
-
Atta boy, they're just nuts and bolts, nothing fear. Mind you, once you have made the carbs and intake shine like new the rest of the engine bay will look kinda sad, it's a slippery slope. As much as I love driving the Z I'd rather be tinkering too.
-
The Milwaukee car was up on BaT not too long ago, it didn't reach the reserve but have a look, much better photos than the Craigs ad. https://bringatrailer.com/listing/1972-datsun-240z-36/ I don't mind a bit of rust if the price is right. If you are serious about this^ then the first car will teach you everything you need to know about these cars, it will have to be stripped down to the shell and mounted on a rotisserie and then every section will have to be gone through and repaired. It is a big job but can be fun and is very rewarding when you get it back on the road, besides someone has to fix these rusty cars or they will just be parted out.
-
-
I have always wondered about the break in period for a fire truck engine, do they ever get a proper break in? Seems like they would have to be pushed to the limit on the first time out of the Fire Hall.
-
That's a great idea, and if someone already has them installed a hair dryer or paint stripper gun on low might work, warm them up, close the doors and don't open them until spring.
In a perfect world I had to soak mine overnight in thinners then spend a couple of hours trying to get the piston to move at all.
SPRINGS... so that's what all that rust was, when I took my brake warning unit apart there was a lot rust and brown mayonnaise stuff, I thought the rust was from the piston but it seems now it was what used to be springs. Well then ZH I concede, sorry for confusing the thread. That illustration BR-14 clearly shows them.
It can only move when there is unequal pressure in one of the 2 lines or when it is reset manually. This Also, Nissan doesn't want anyone messing with the switch, that is just the small screw in plug on top of the brake failure warning unit. The switch itself is easily broken, I went through a couple. Maybe the later ones self correct but I'm talking about the early units.
Can't help on the hard pedal as when it happened to me it was the disk that dropped in the booster, #10 the rear proportioning valve is fixed, no moving parts that I remember. #8 the warning light switch, the switch itself is the plunger type that threads into the top of the unit. If the 2 ended piston that activates the switch is moved due to loss of pressure in either the front or rear lines it has to be manually reset to center by unscrewing the switch and moving the piston back with a small screw driver or dental pick.
On the last pic, is that the water line I see on the speedo & tach? That's a big project.
I would argue that even if they could prove it, it's STILL just a 72 with a history of crappy paint jobs. So it paced a few races, well that's an interesting tidbit of it's past life but I wouldn't give them an extra dollar for that. I would however give them an extra dollar if they took a rag with some thinners on it and wiped off the burgundy over spray.


Important Information
By using this site, you agree to our Privacy Policy and Guidelines. We have placed cookies on your device to help make this website better. You can adjust your cookie settings, otherwise we'll assume you're okay to continue.