grannyknot
Free Member
-
Joined
-
Last visited
Everything posted by grannyknot
-
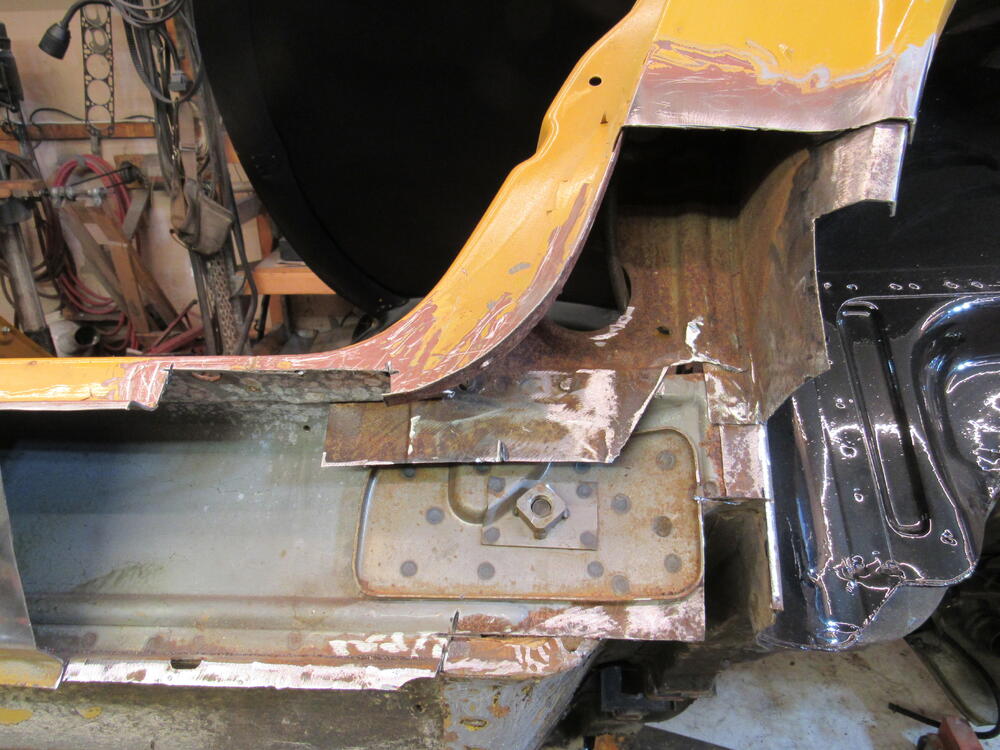
 I was hoping I could leave the front seat mounts in place and install the floor pan from underneath, I've done before with Charlie's pans, (Zedd Findings) but KFV's pans are such a tight fit that I had to remove it. Which is not a bad thing, they are showing some rust on the bottoms, now I can throw all 4 seat mounts into a 5 gal bucket of citric acid and clean them properly. I'll be working on one side at a time so as to ensure alignment doesn't go wonky.


-
Yeah, it's all bare metal in the rocker and dogleg, not even primer was applied, but then the design team were probably thinking the cars would have maybe a 10-15 yr lifespan.
-
-
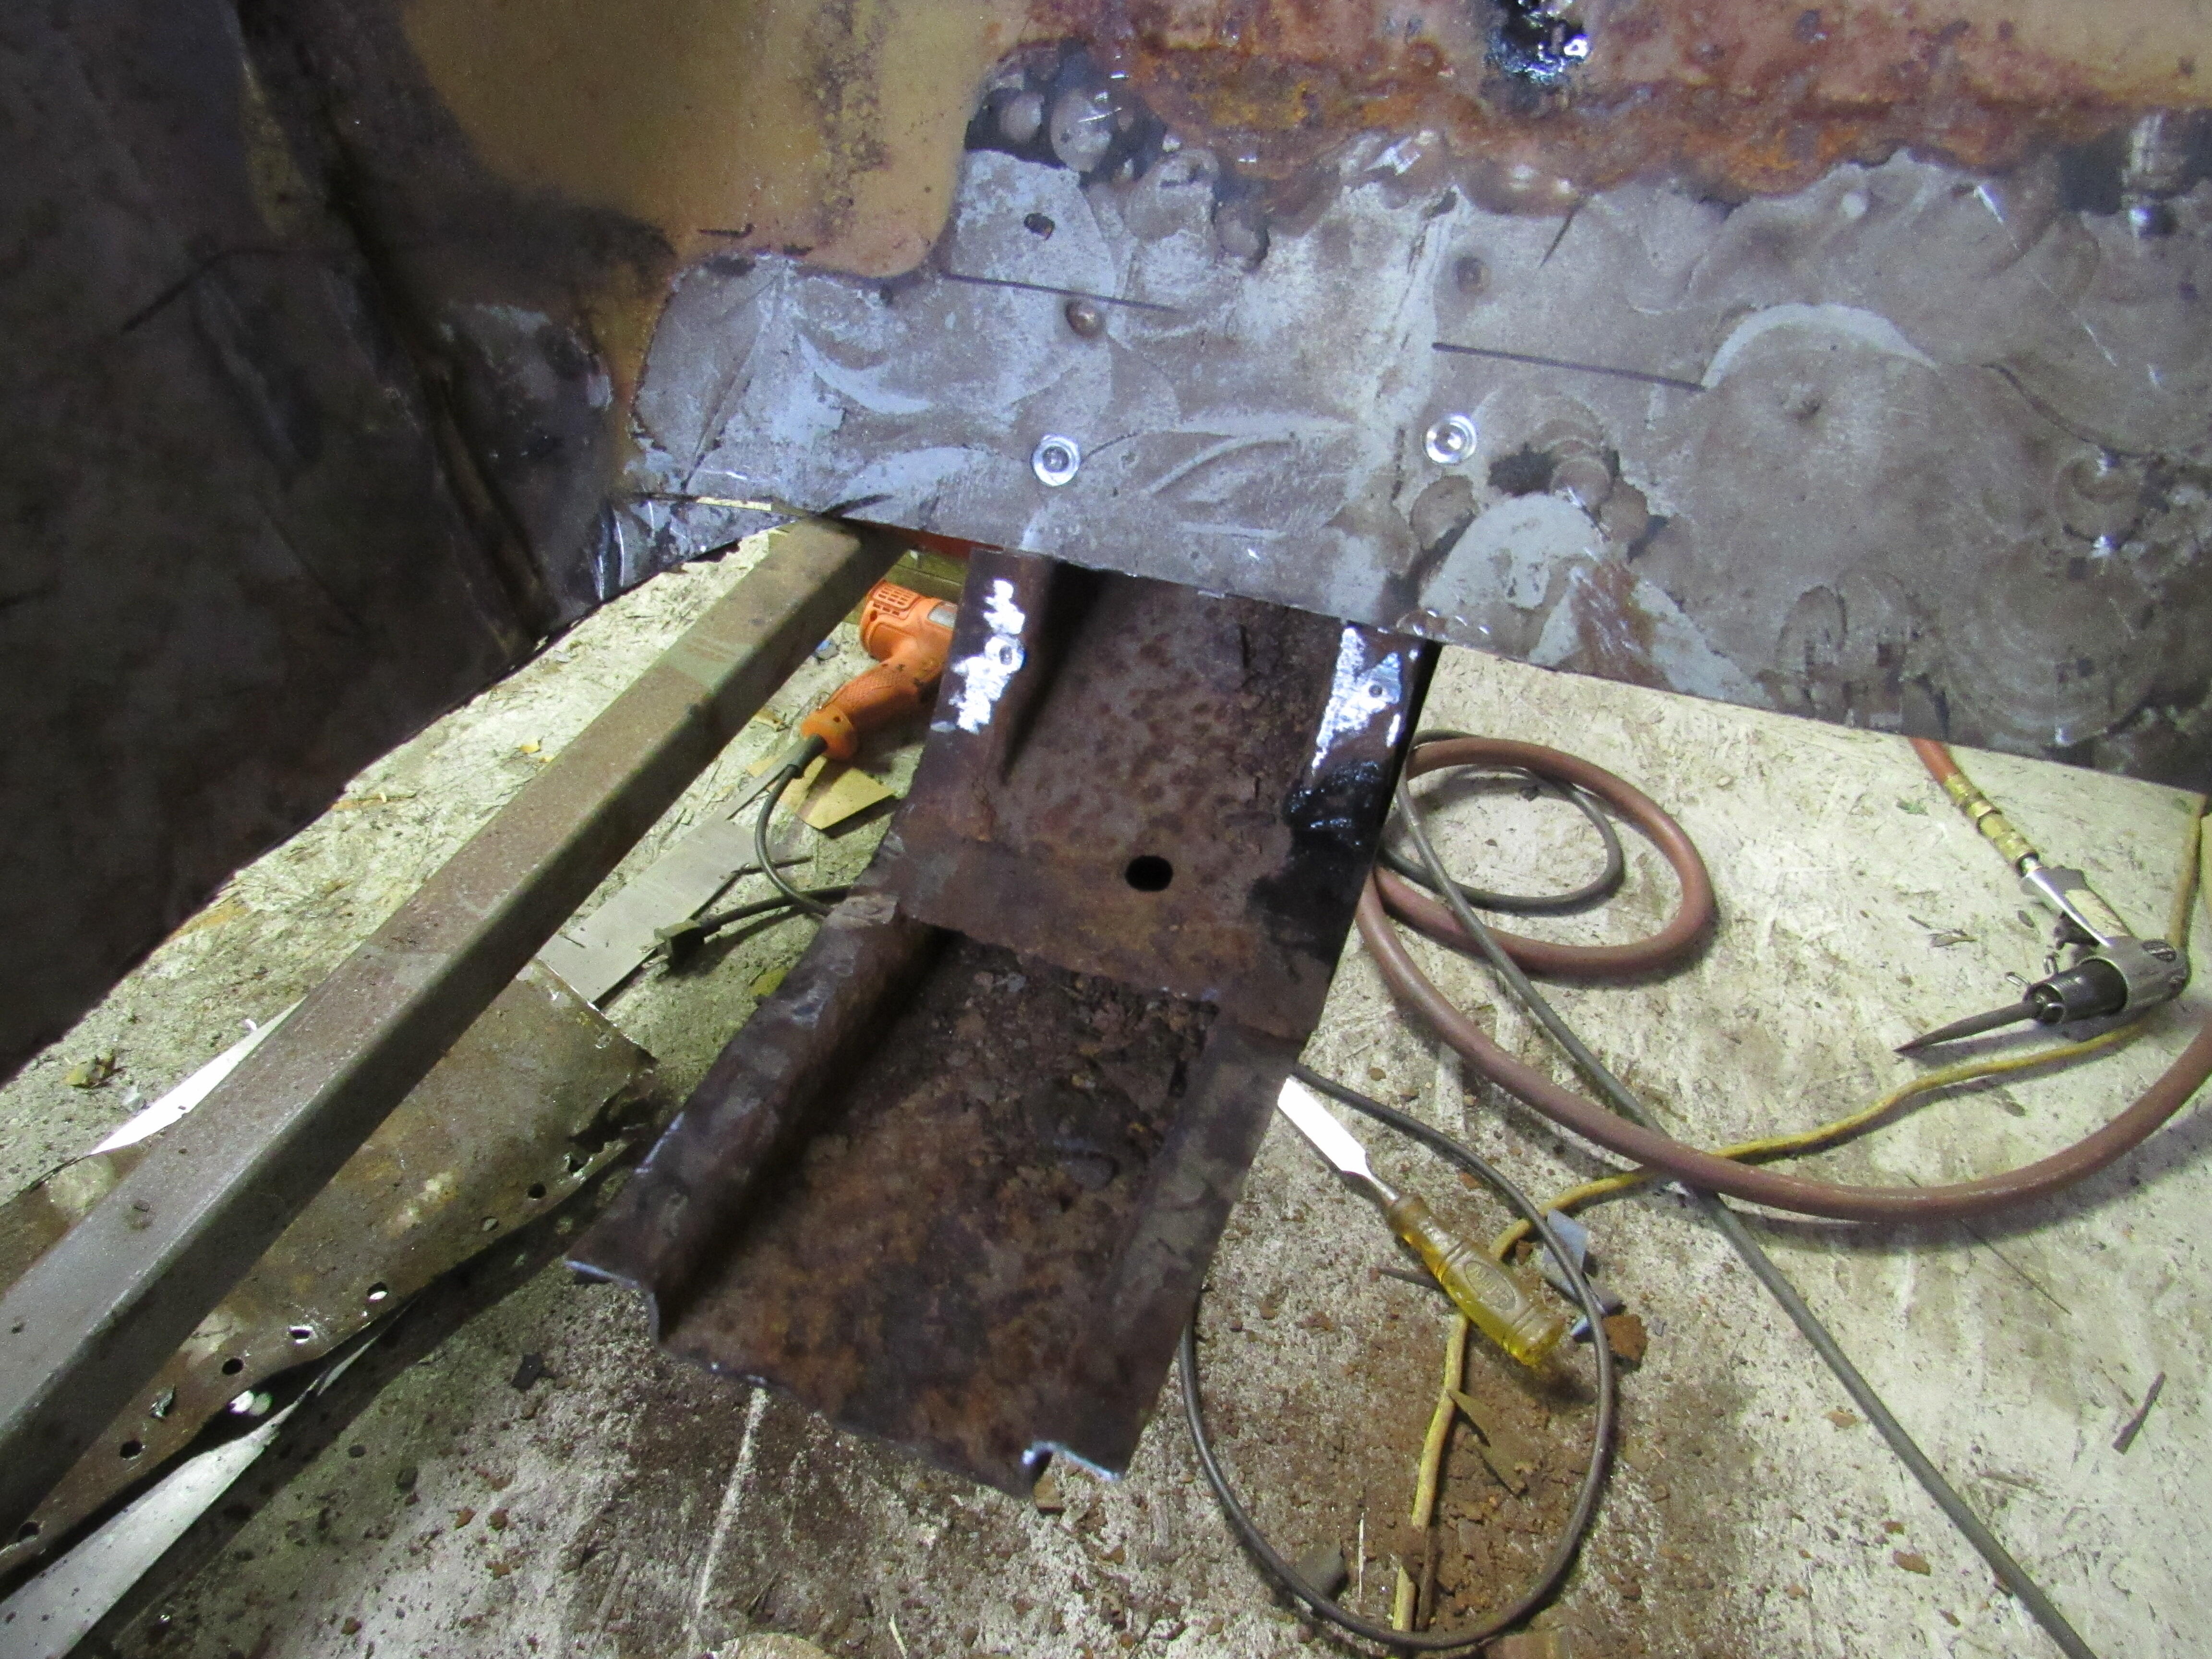
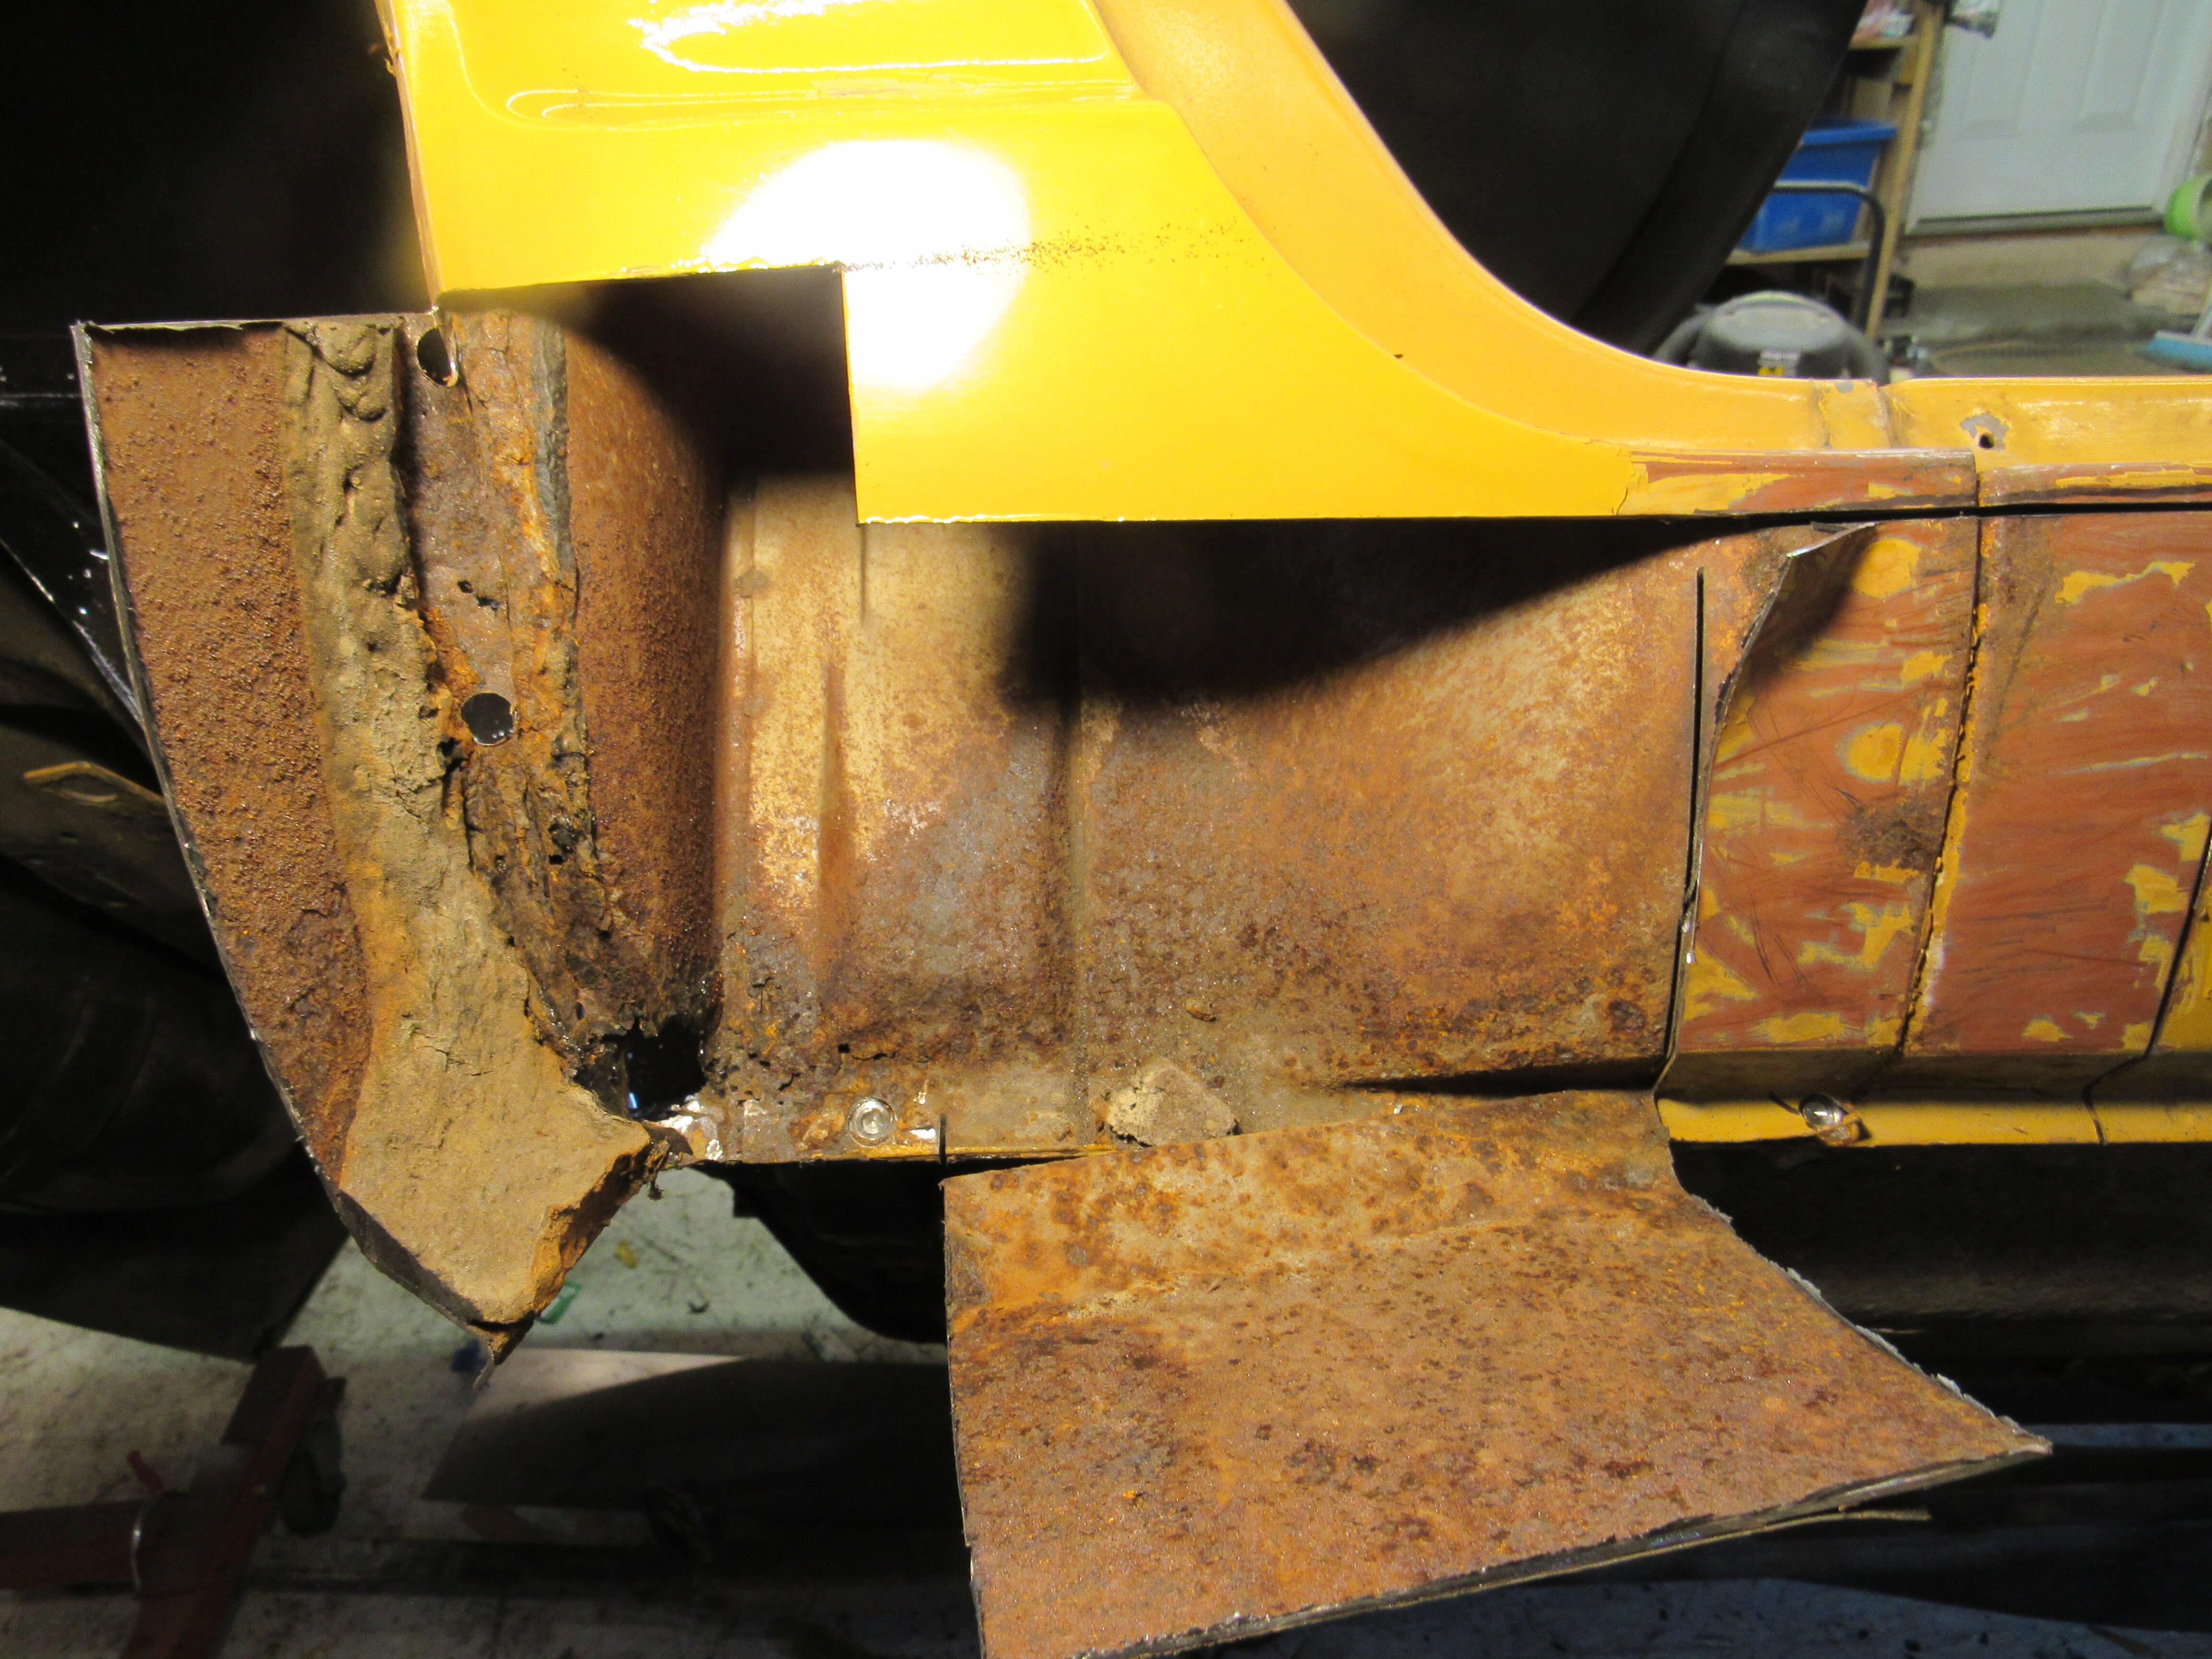
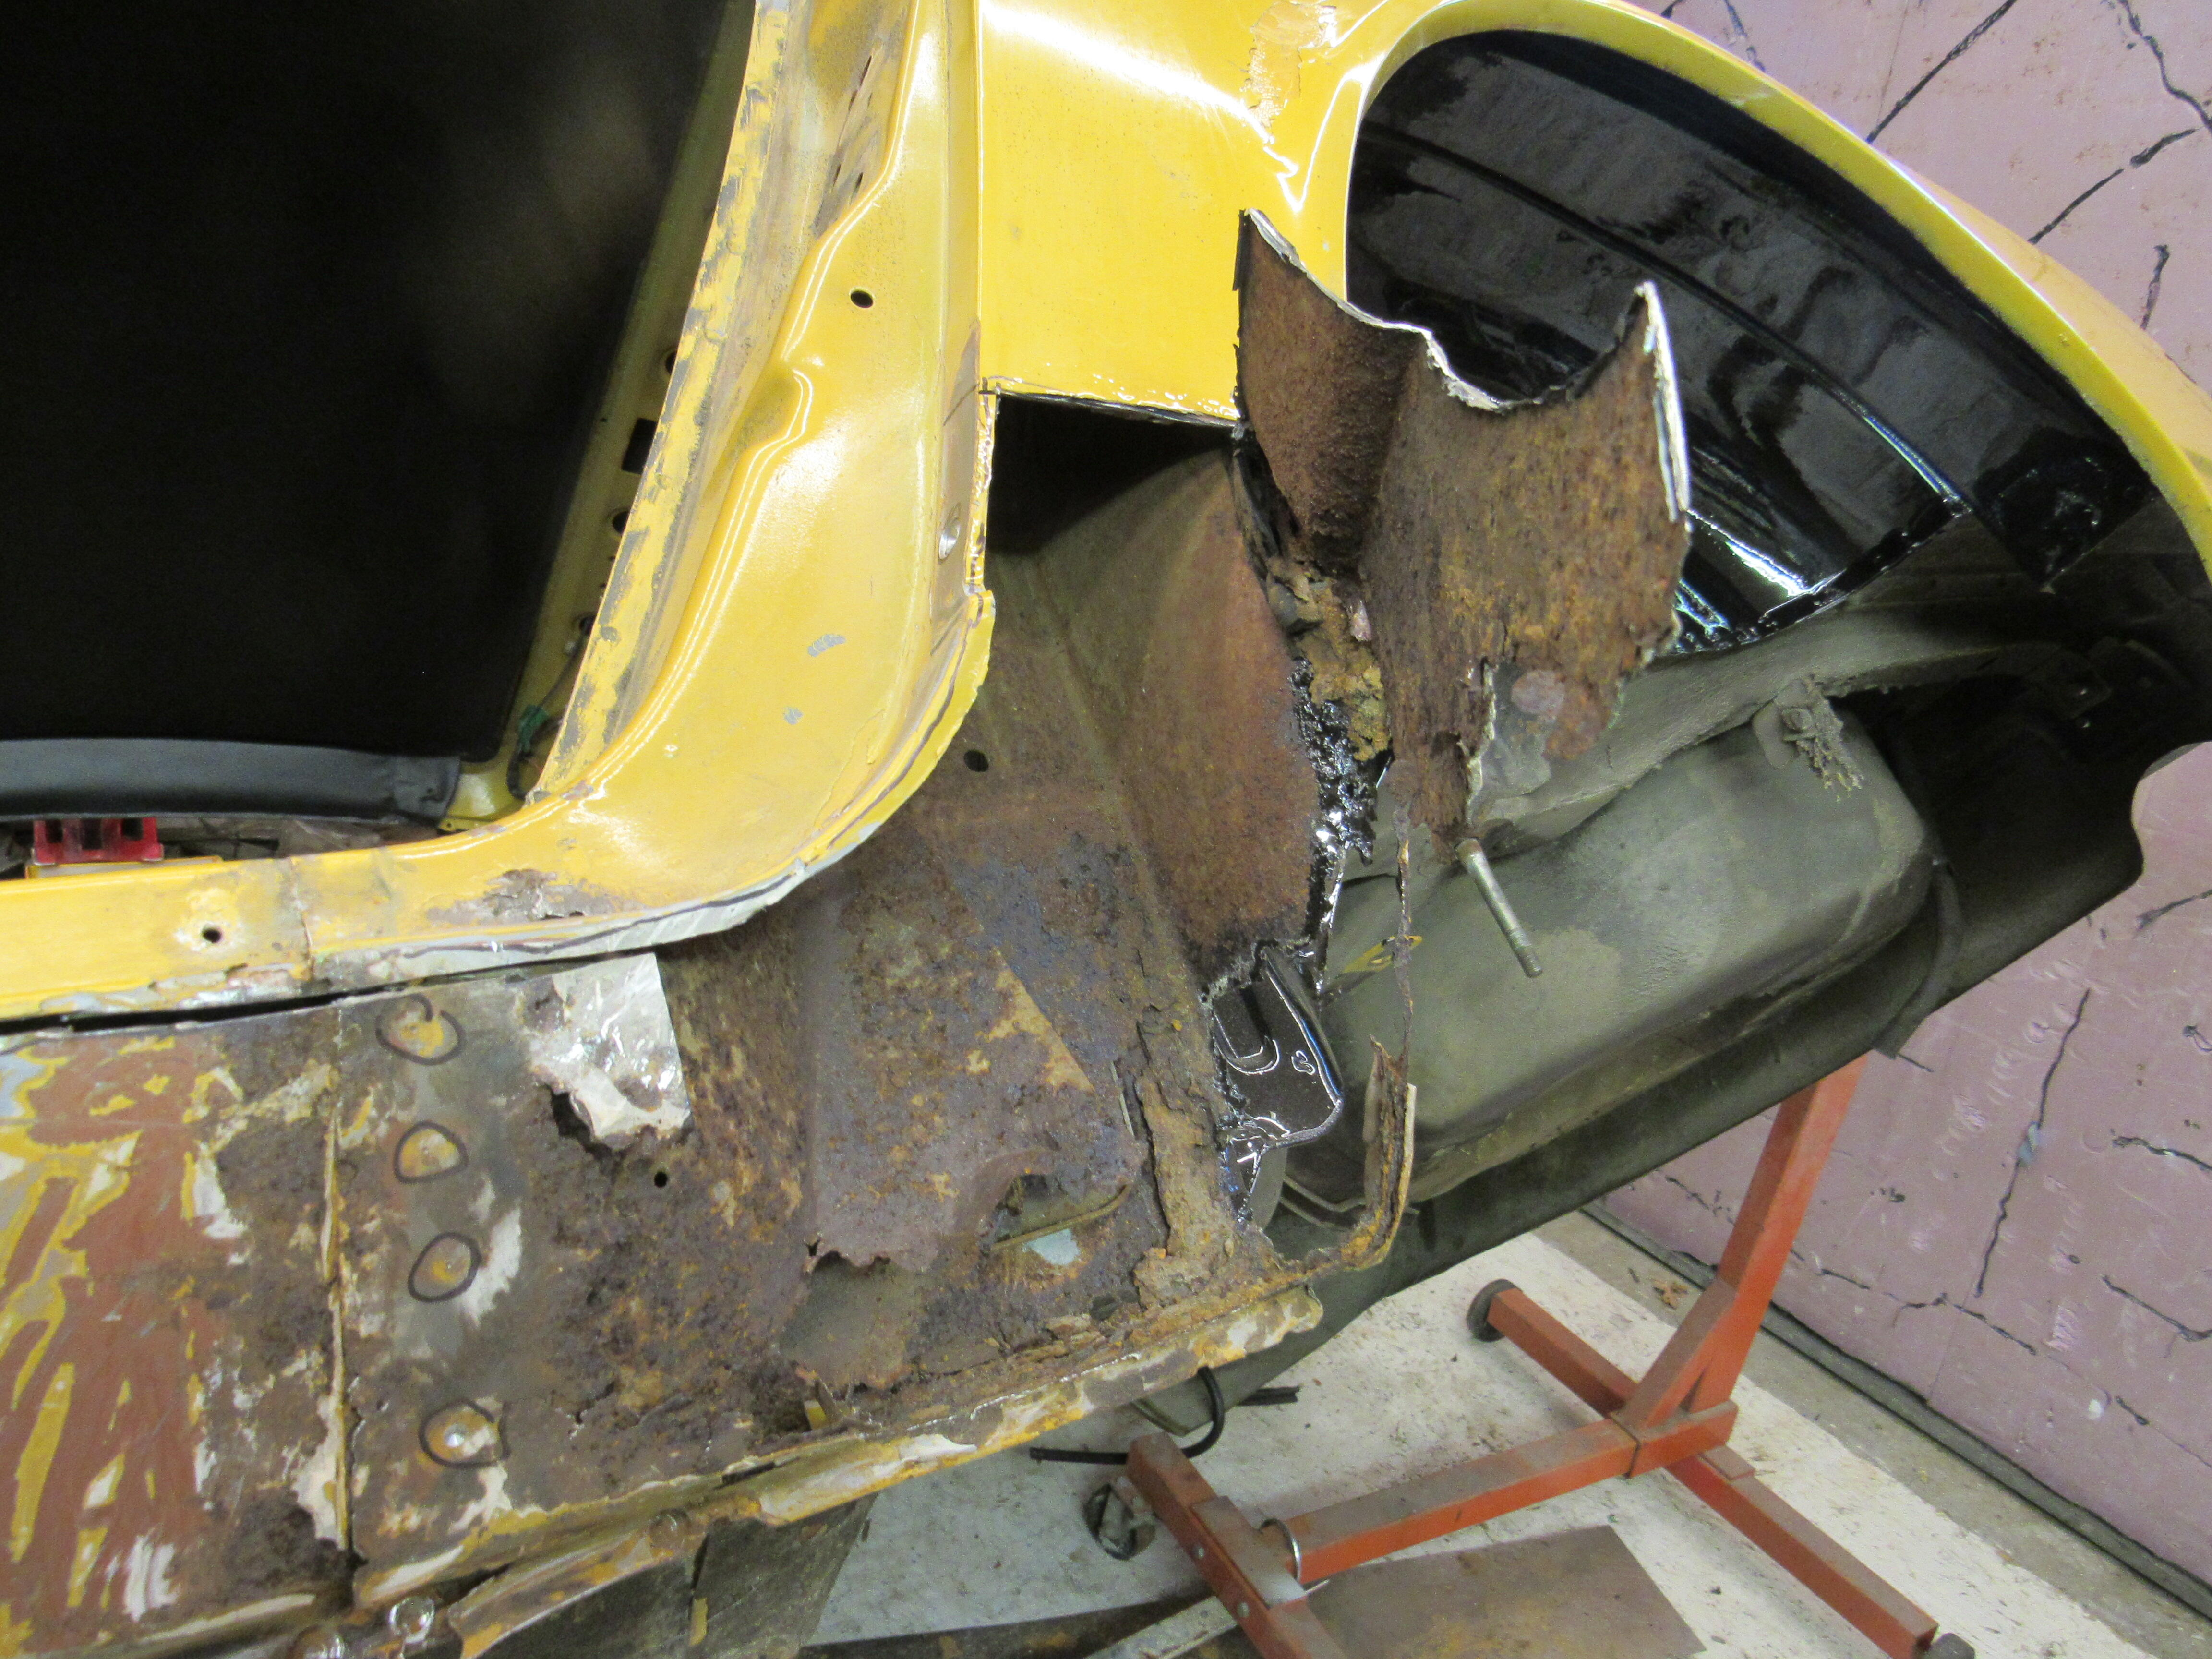
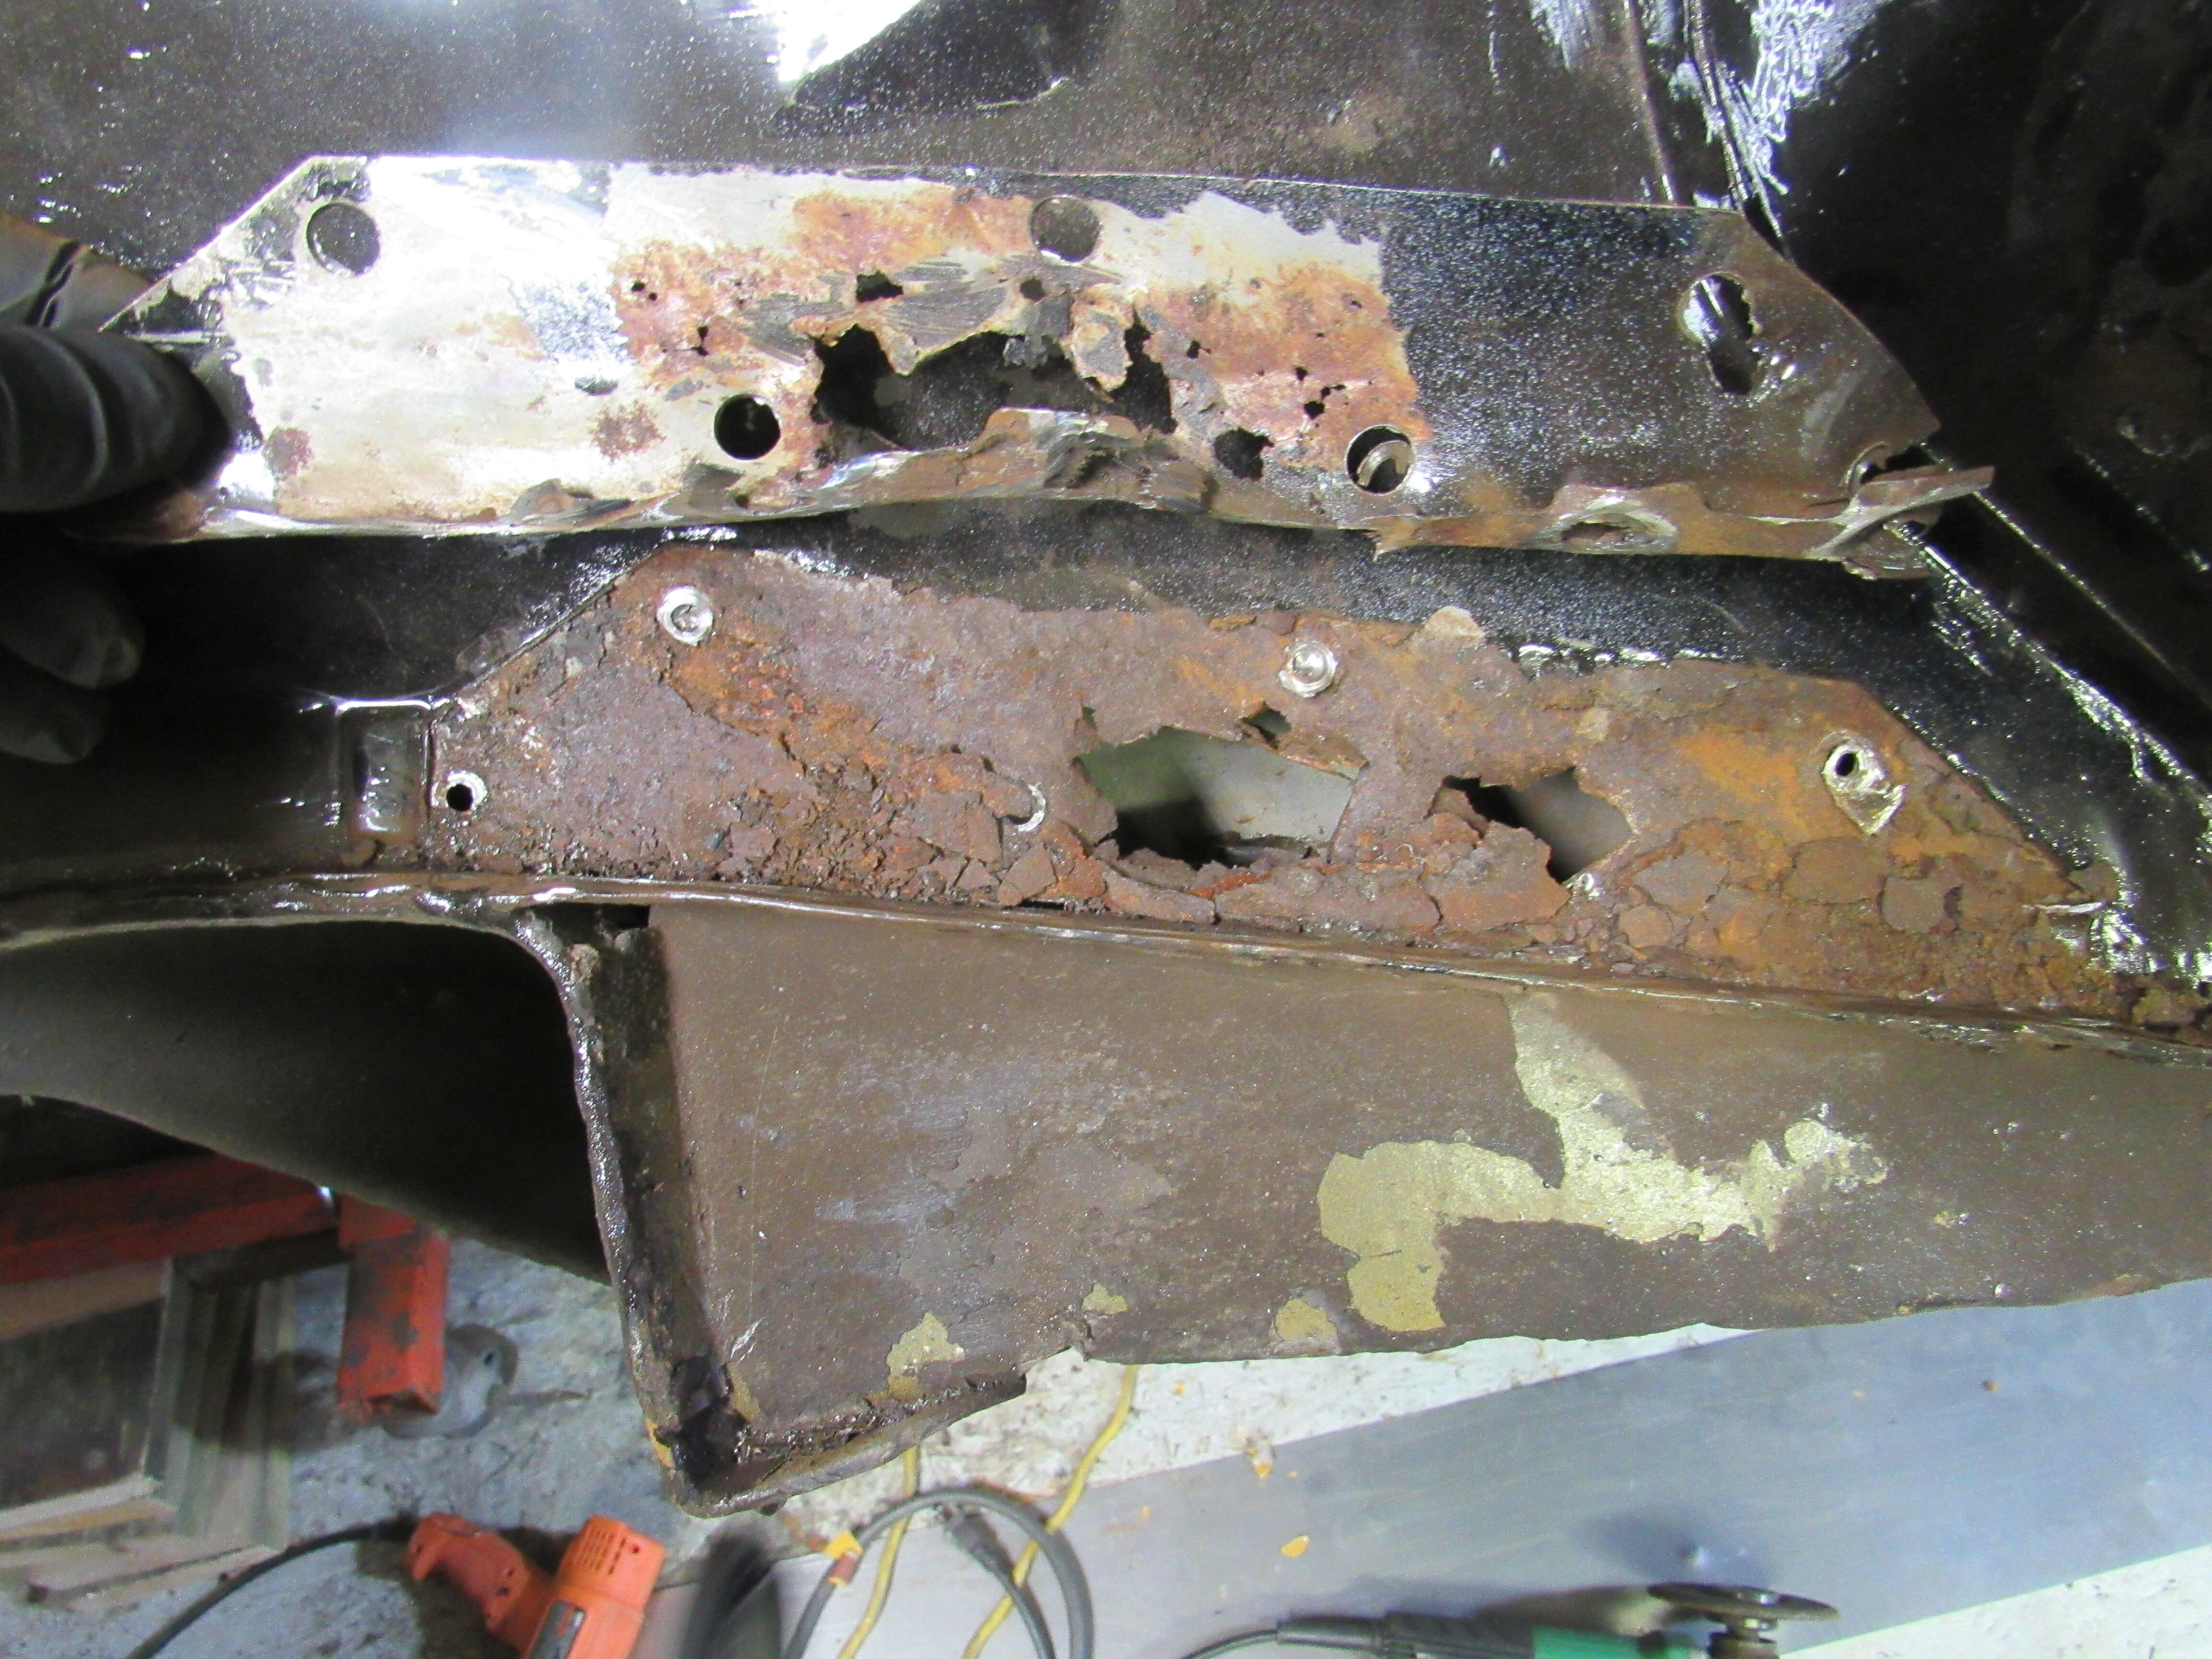
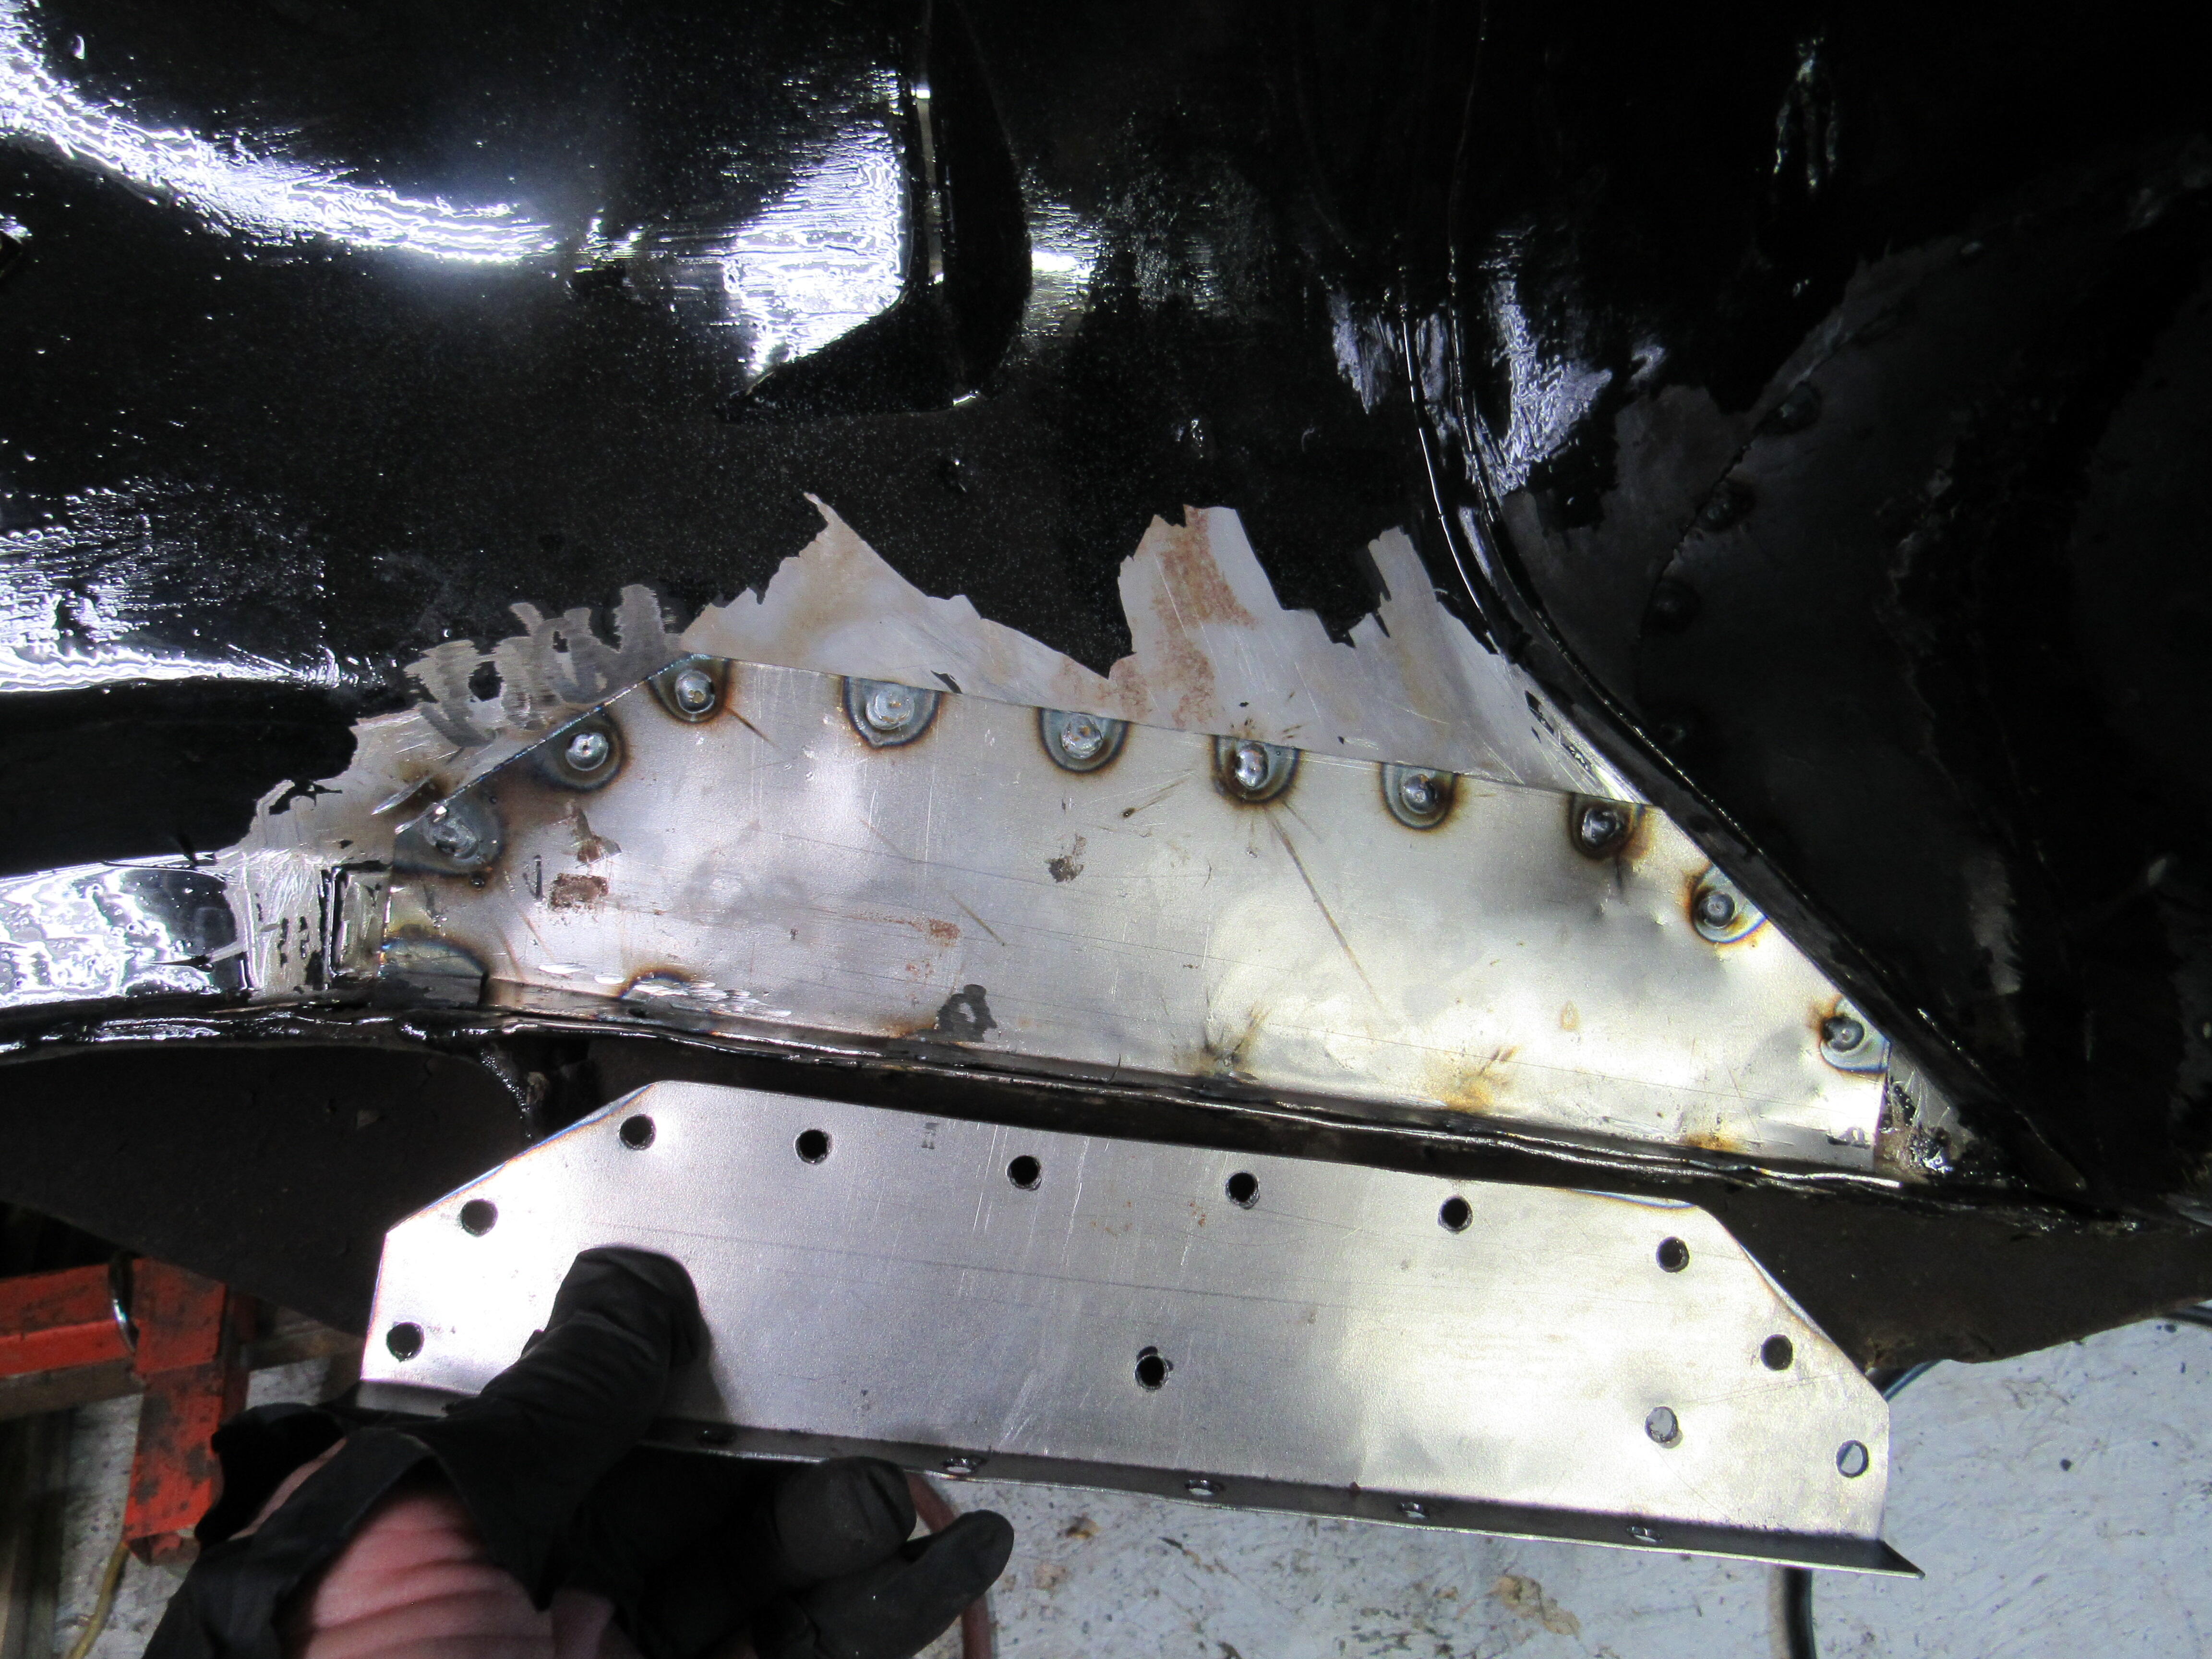
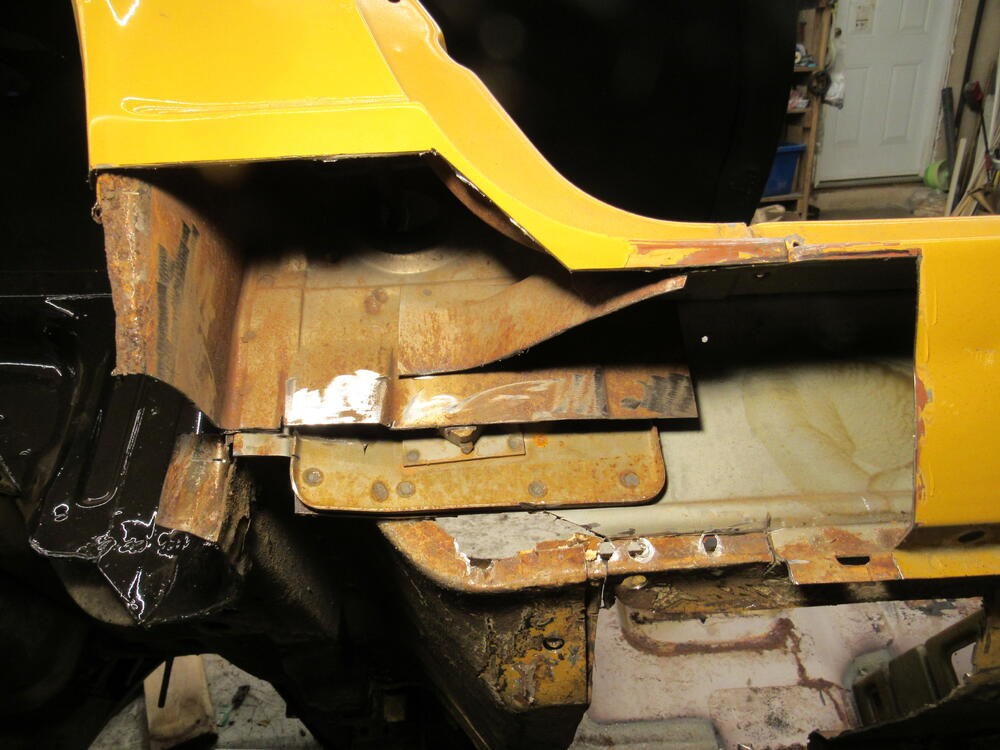
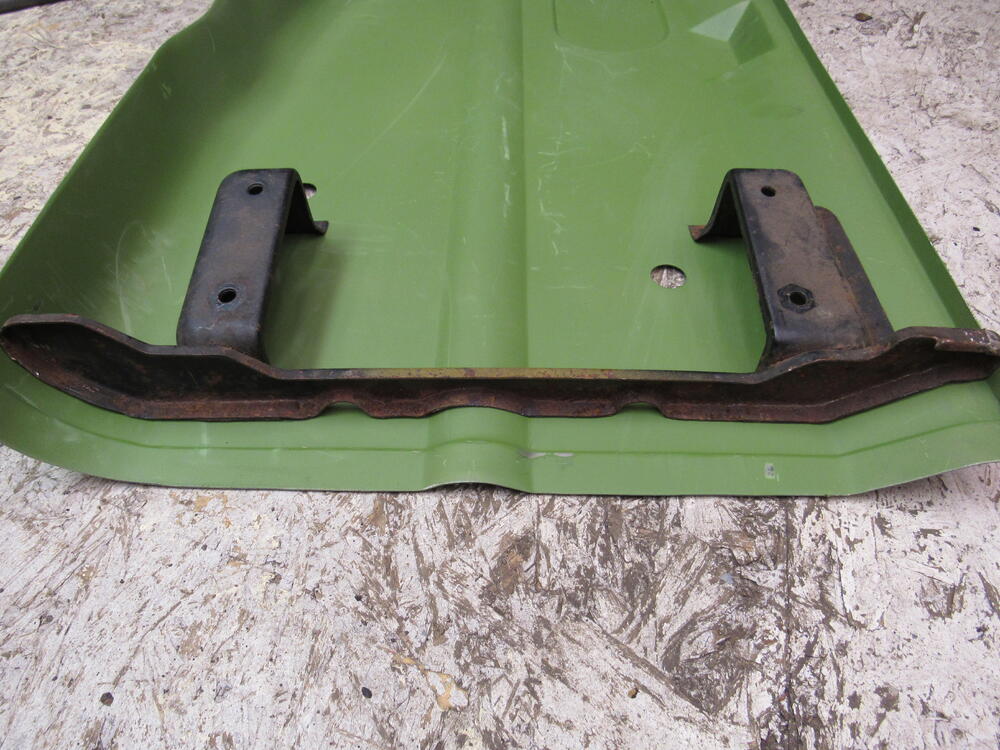
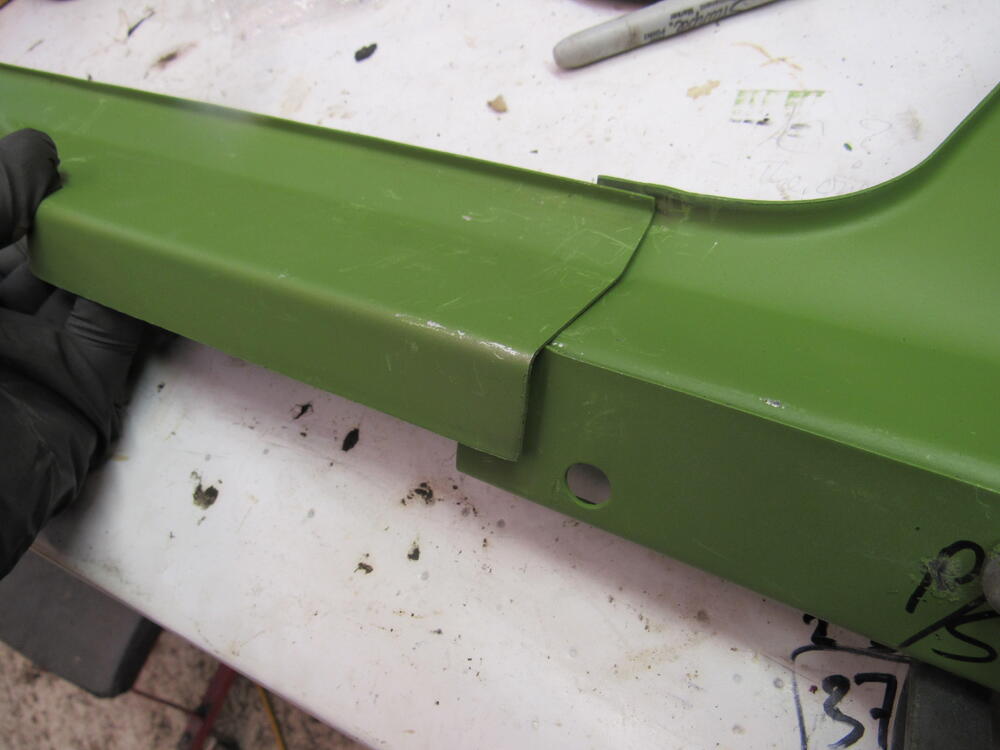
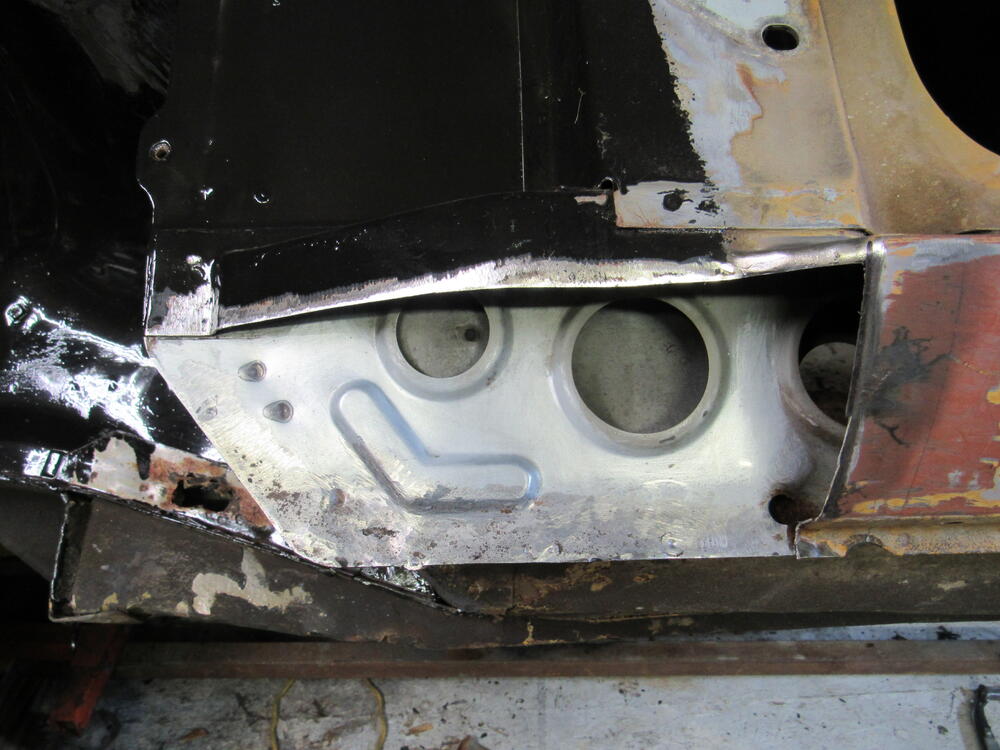
The passenger side dogleg didn't look too bad from the outside, but once I got inside it proved to be just as bad as the D/S. Some of the KFV panels fit like a glove, here's the original rear seat mount placed on the new pan. But here on the slam panel support, it fits like an OJ Simpson glove, that 1/4" gap shouldn't be there, will have to do some nip/tuck.


-
-
I've found the same thing with Datsun Garage, orders placed, half of items are back ordered, weeks go by, emails not responded to. Got tired of waiting so cancelled the order and found the items in stock at other dealers, months later the cancelled Datsun Garage order shows up at my door, had UPS send it back.
-
Amazing find, is that timing chain wedge made out of wood?
-
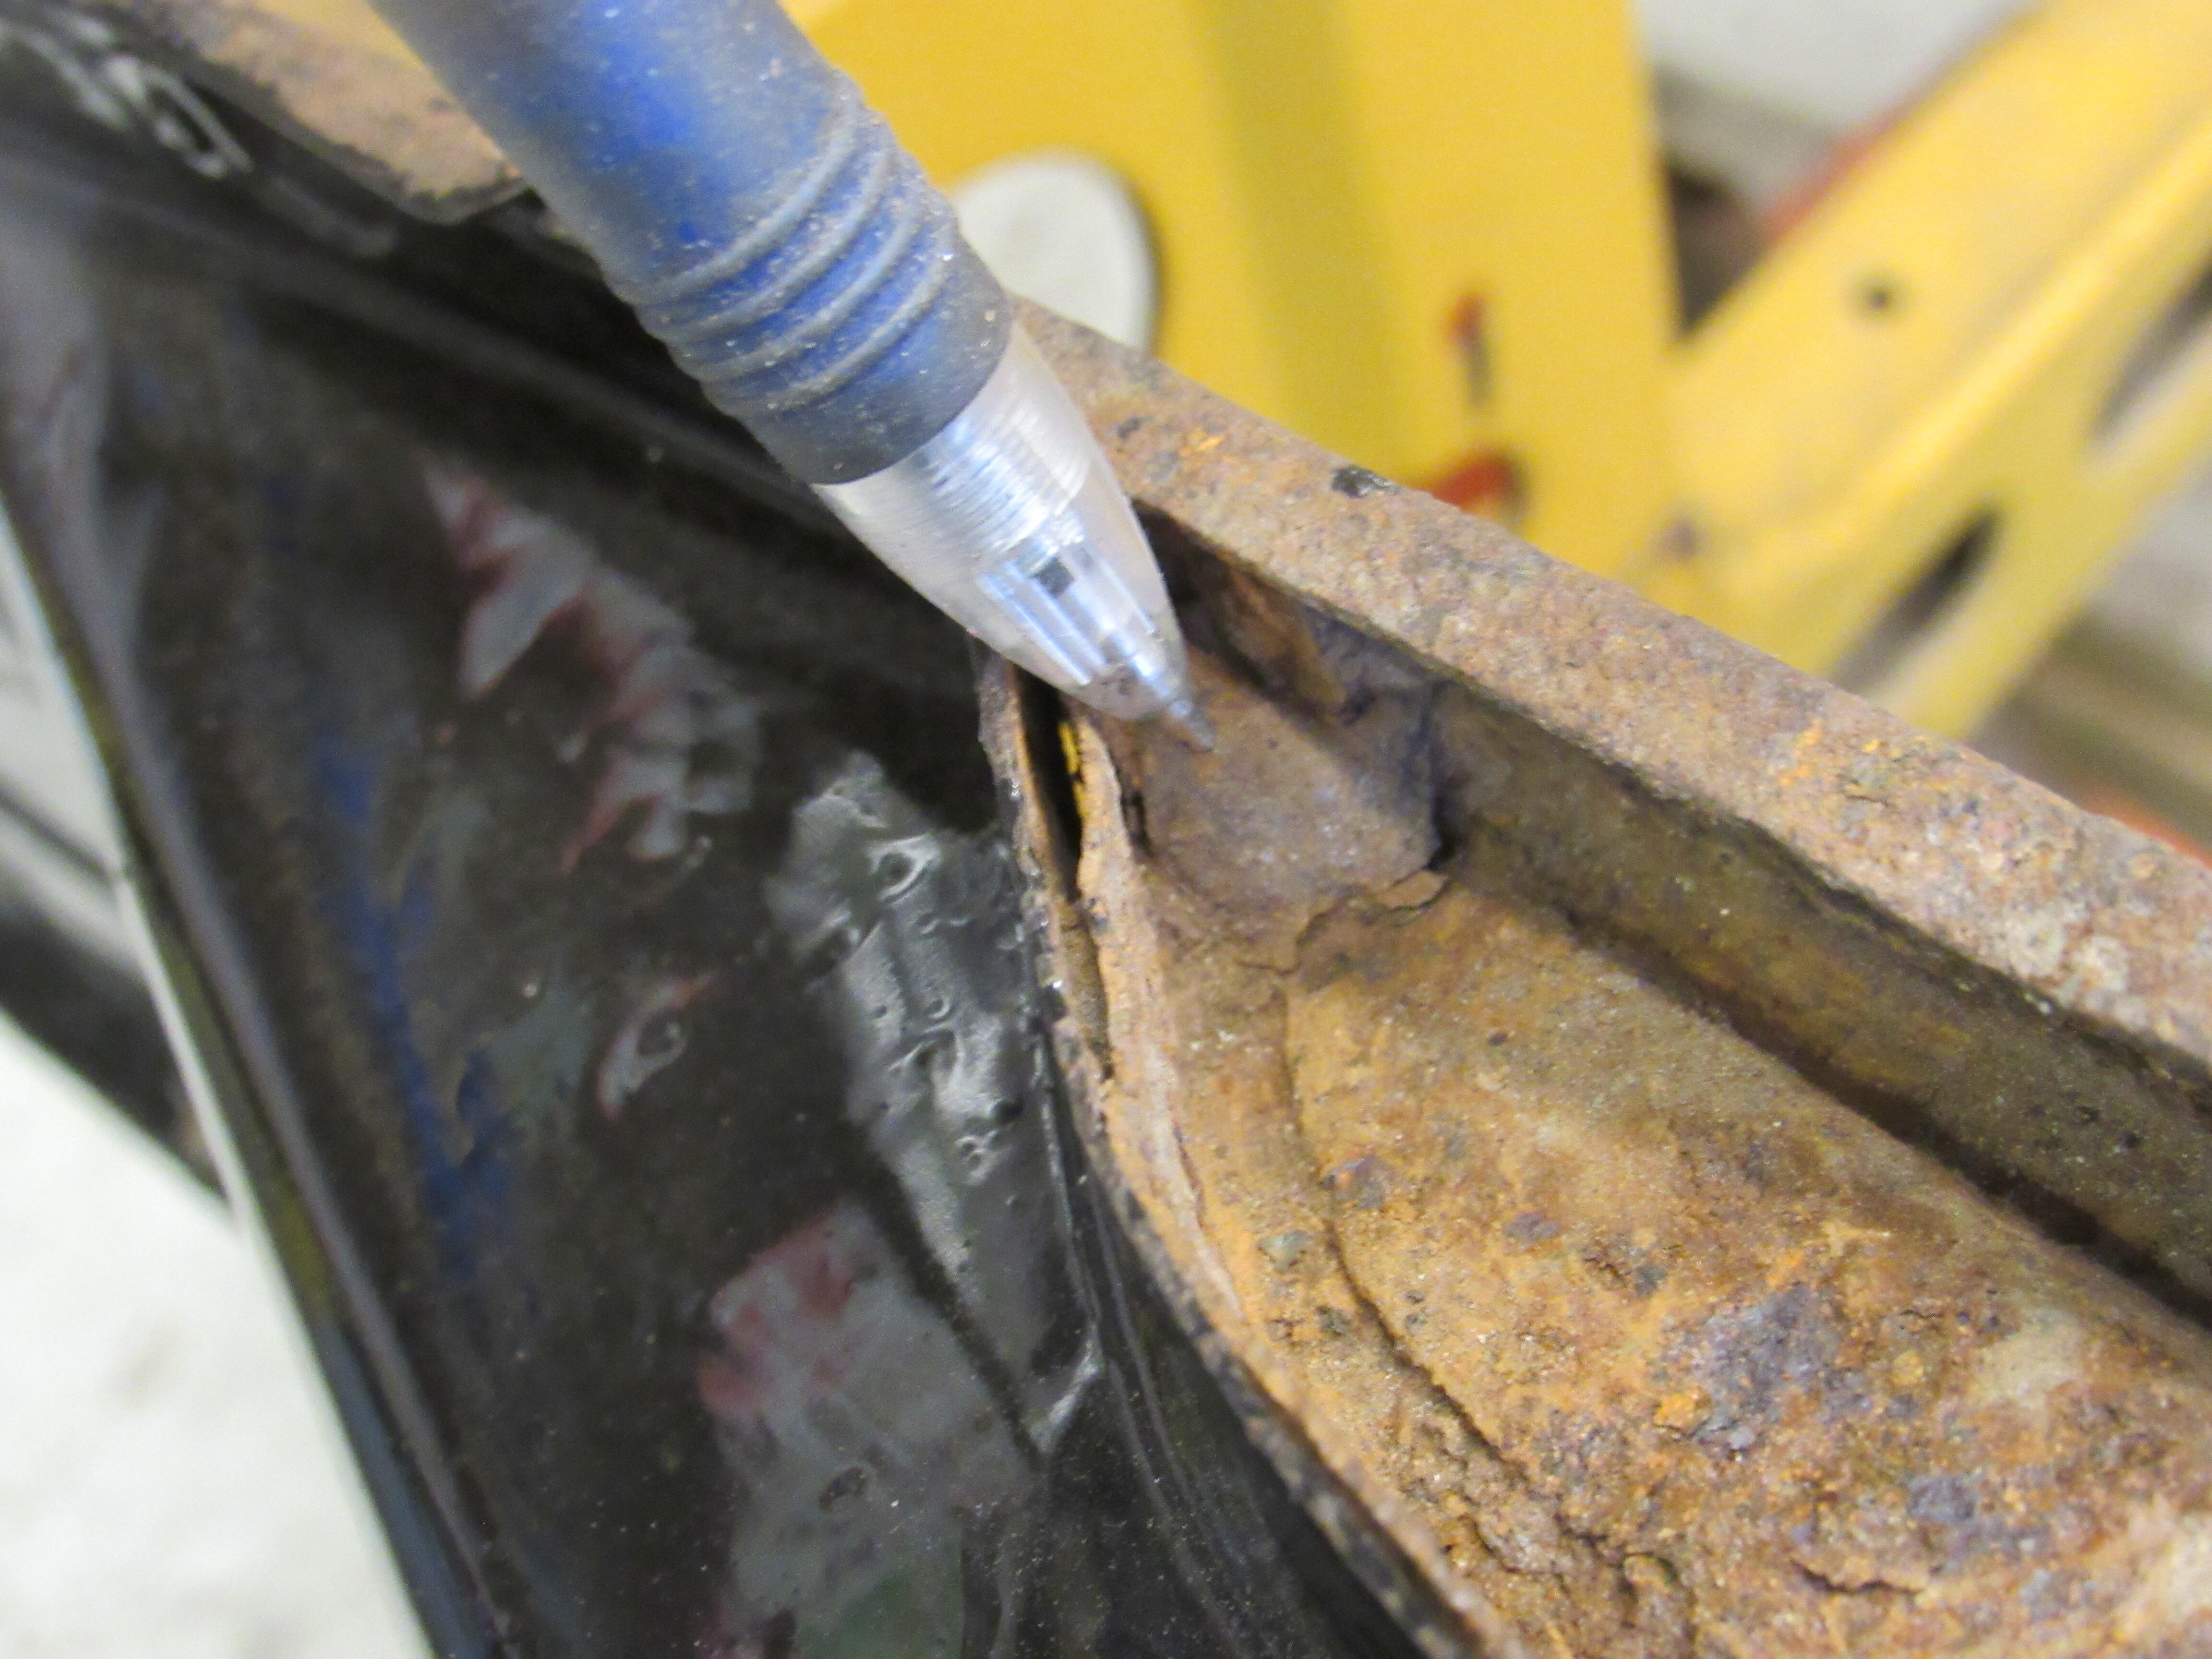
I started digging into the rust this week, j


-
Nice, much better. How is the floor pans under the seats? Your dash and door cards are in beautiful shape.
-
Thanks, just ordered a pack of 20.
-
Now you tell me.
-
Hey, I like the Rolok idea, the last time I tried buffing SS window trim on a bench buffer I almost cut my face off.
-
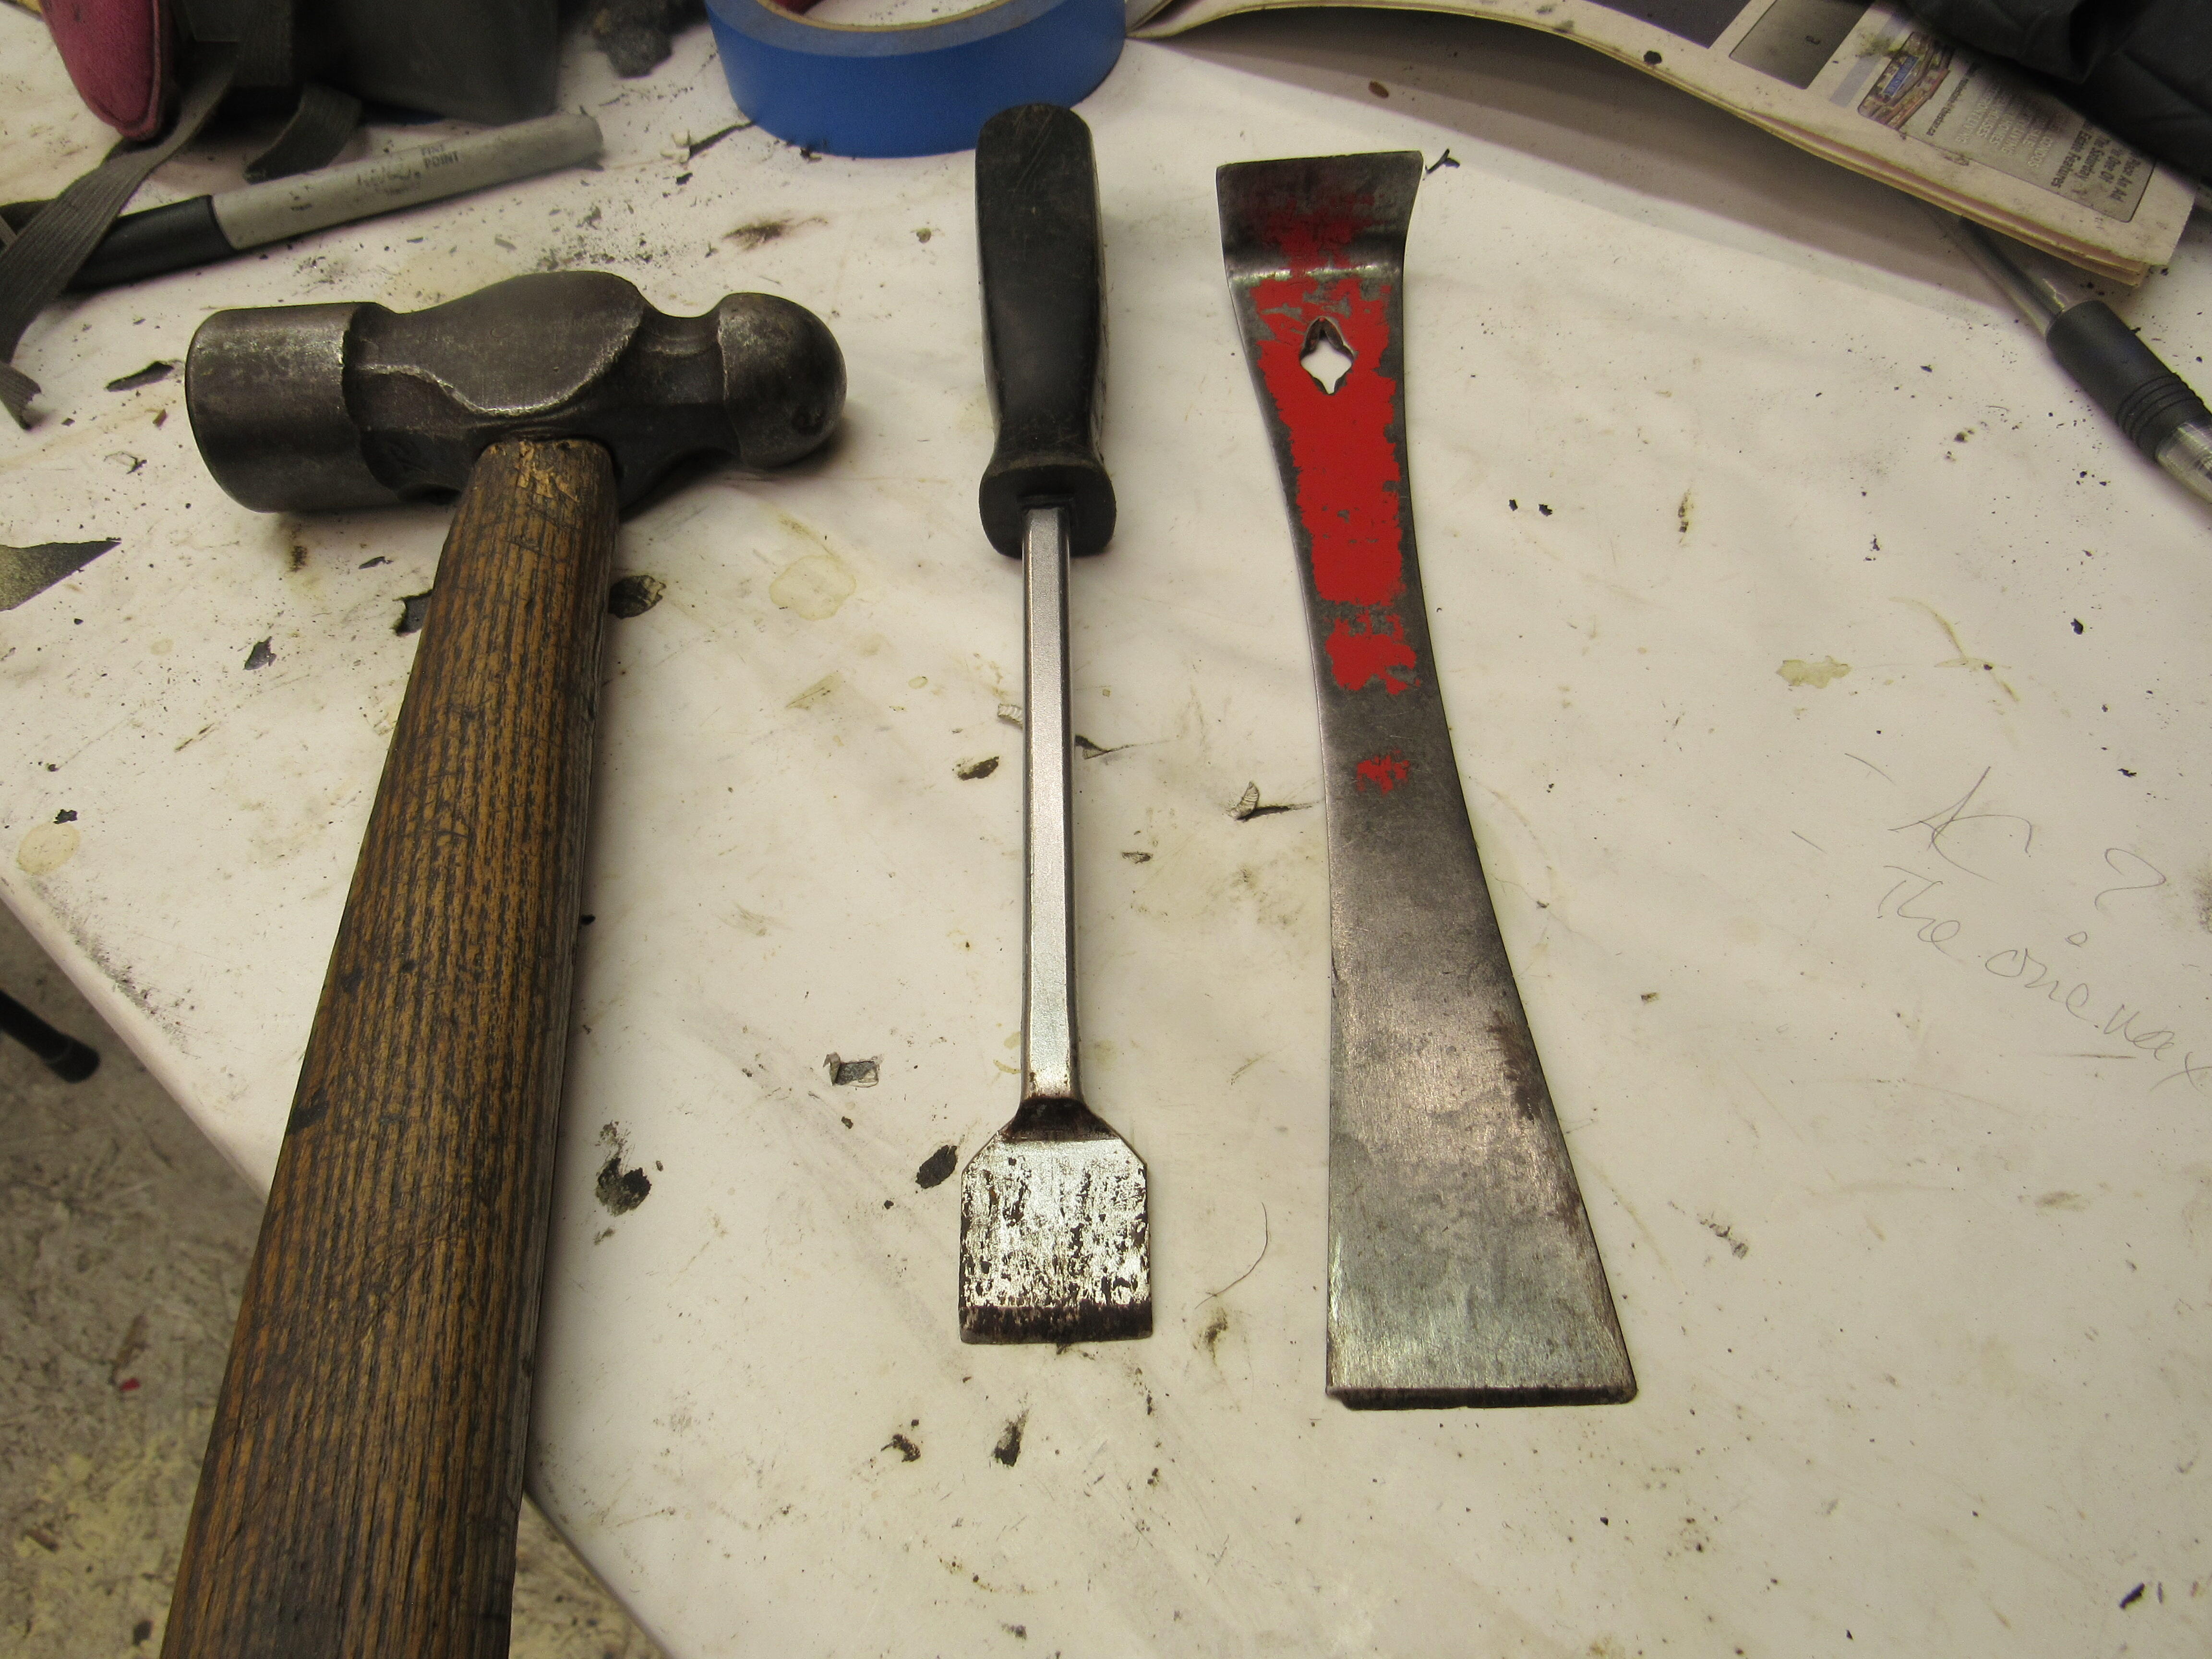
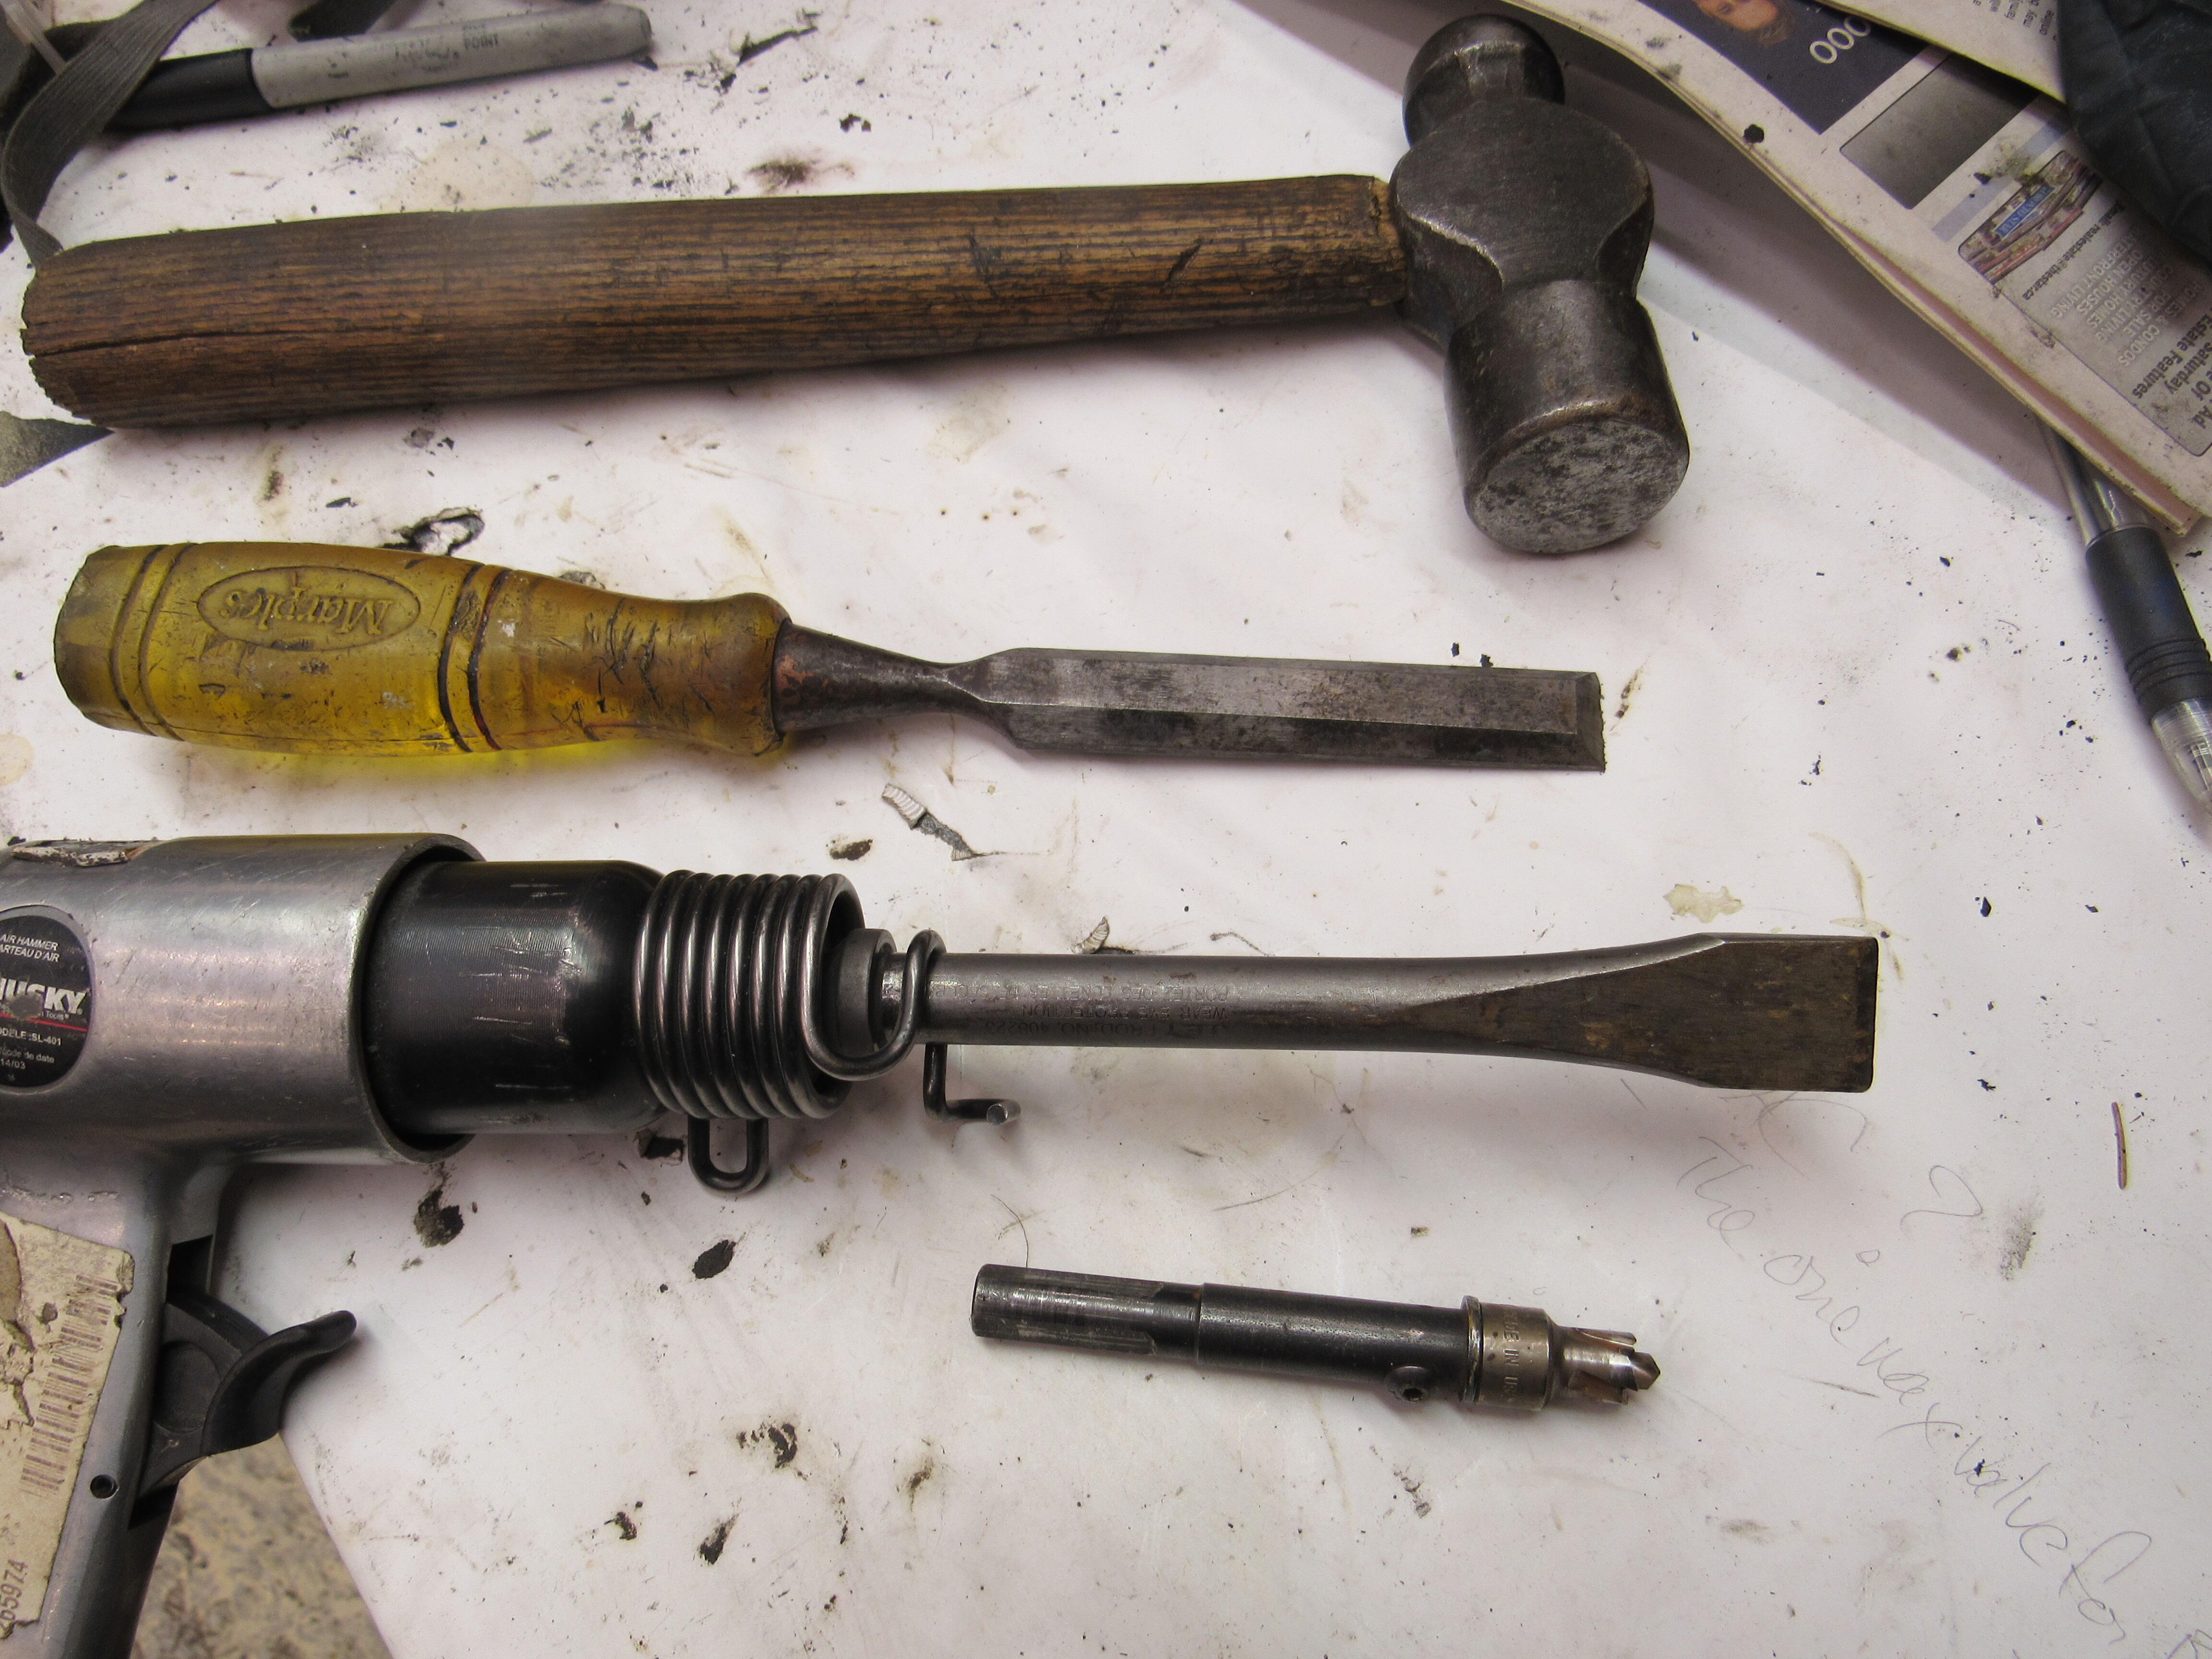
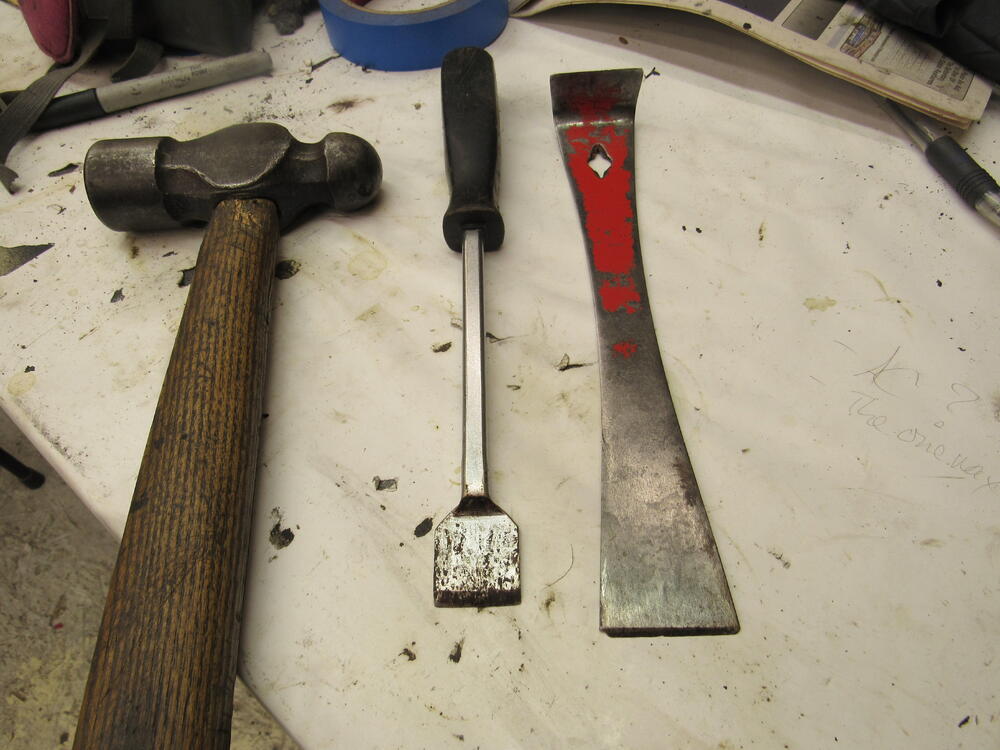
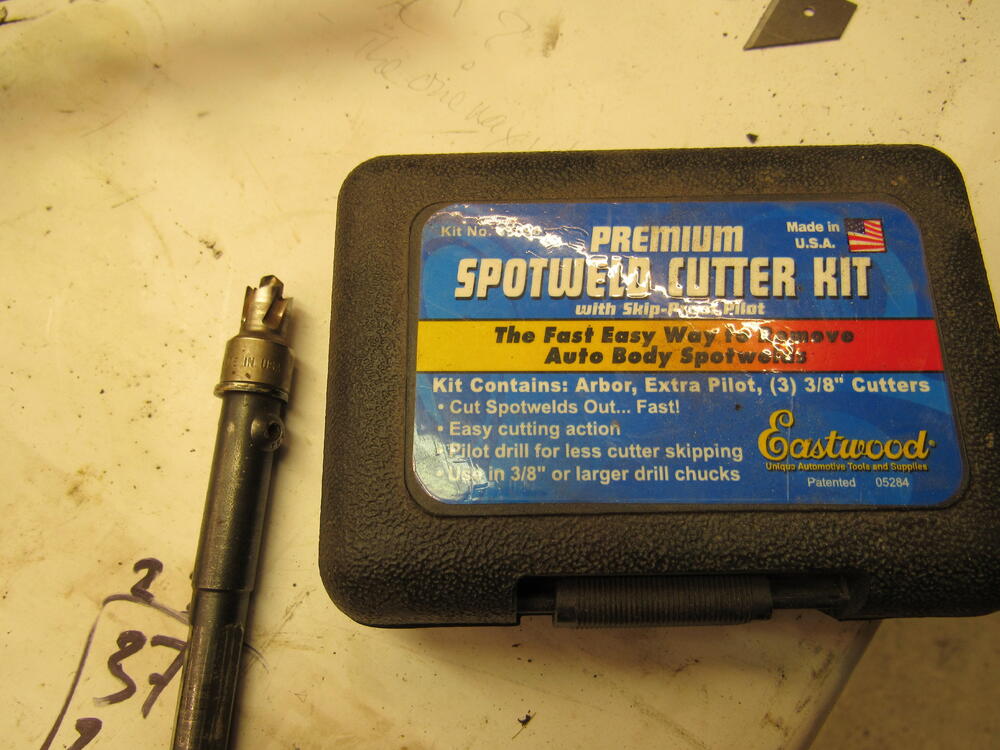
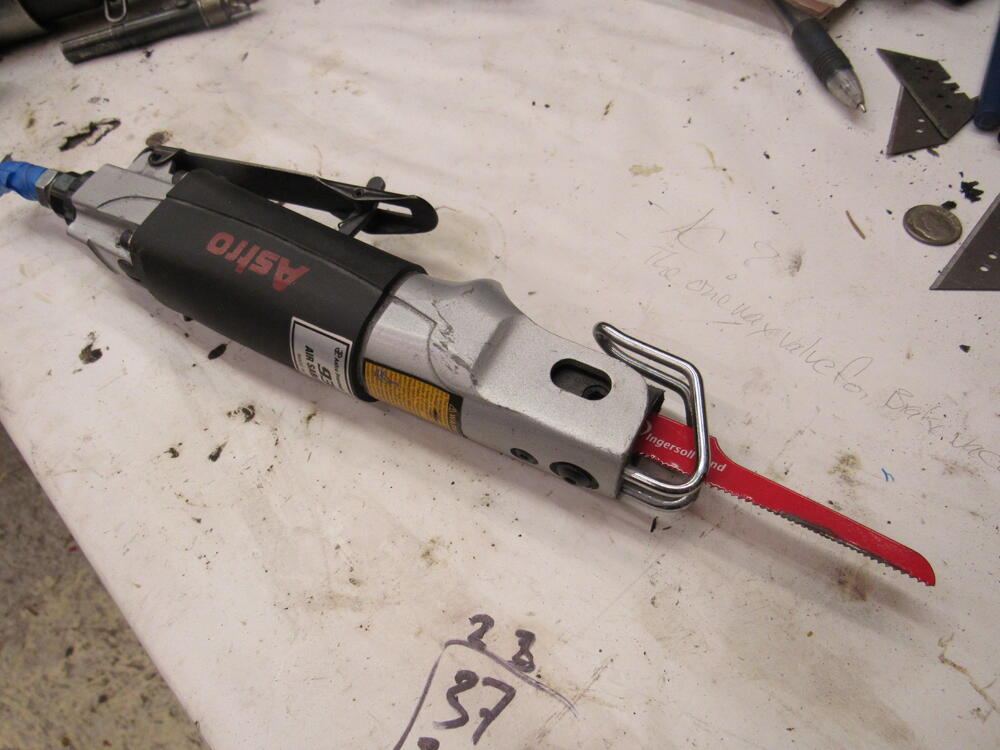
I did use dry ice once and it worked okay, the closest place to me that sells dry ice is about an hour away so I end up doing it by hand. If it is like -10C in the shop early in the morning I take a hammer to the tar mat and breaks up almost as well as the dry ice. My 2 best chipping tools are a gasket scrapper and a carpenters pry bar, also, a hammer. I've gone through a few different spot weld tools and the best one so far is this kit from Eastwoods, it works best when you pre drill the centre of the spot weld with a 1/16" or 1/8" drill. You push hard with a hand held drill and as soon as you see a little puff brown rust you know you are through the first layer of metal, that's where you stop or you will cut a hole in the backing plate. Splitting, the seam I mostly do with and old wood chisel, it's easier to control, if I'm not making any headway I pull out the air chisel, it's a great tool but you can cut through the good metal you want to keep really fast. If neither the hand chisel or air chisel are working then the air saw is the best way to go. As good as these tools are, drilling out spot welds is a hard, dirty tedious job, almost as bad as chipping out tar mat😄 Yes, that's a corn cob, cattle corn, feed corn.

-
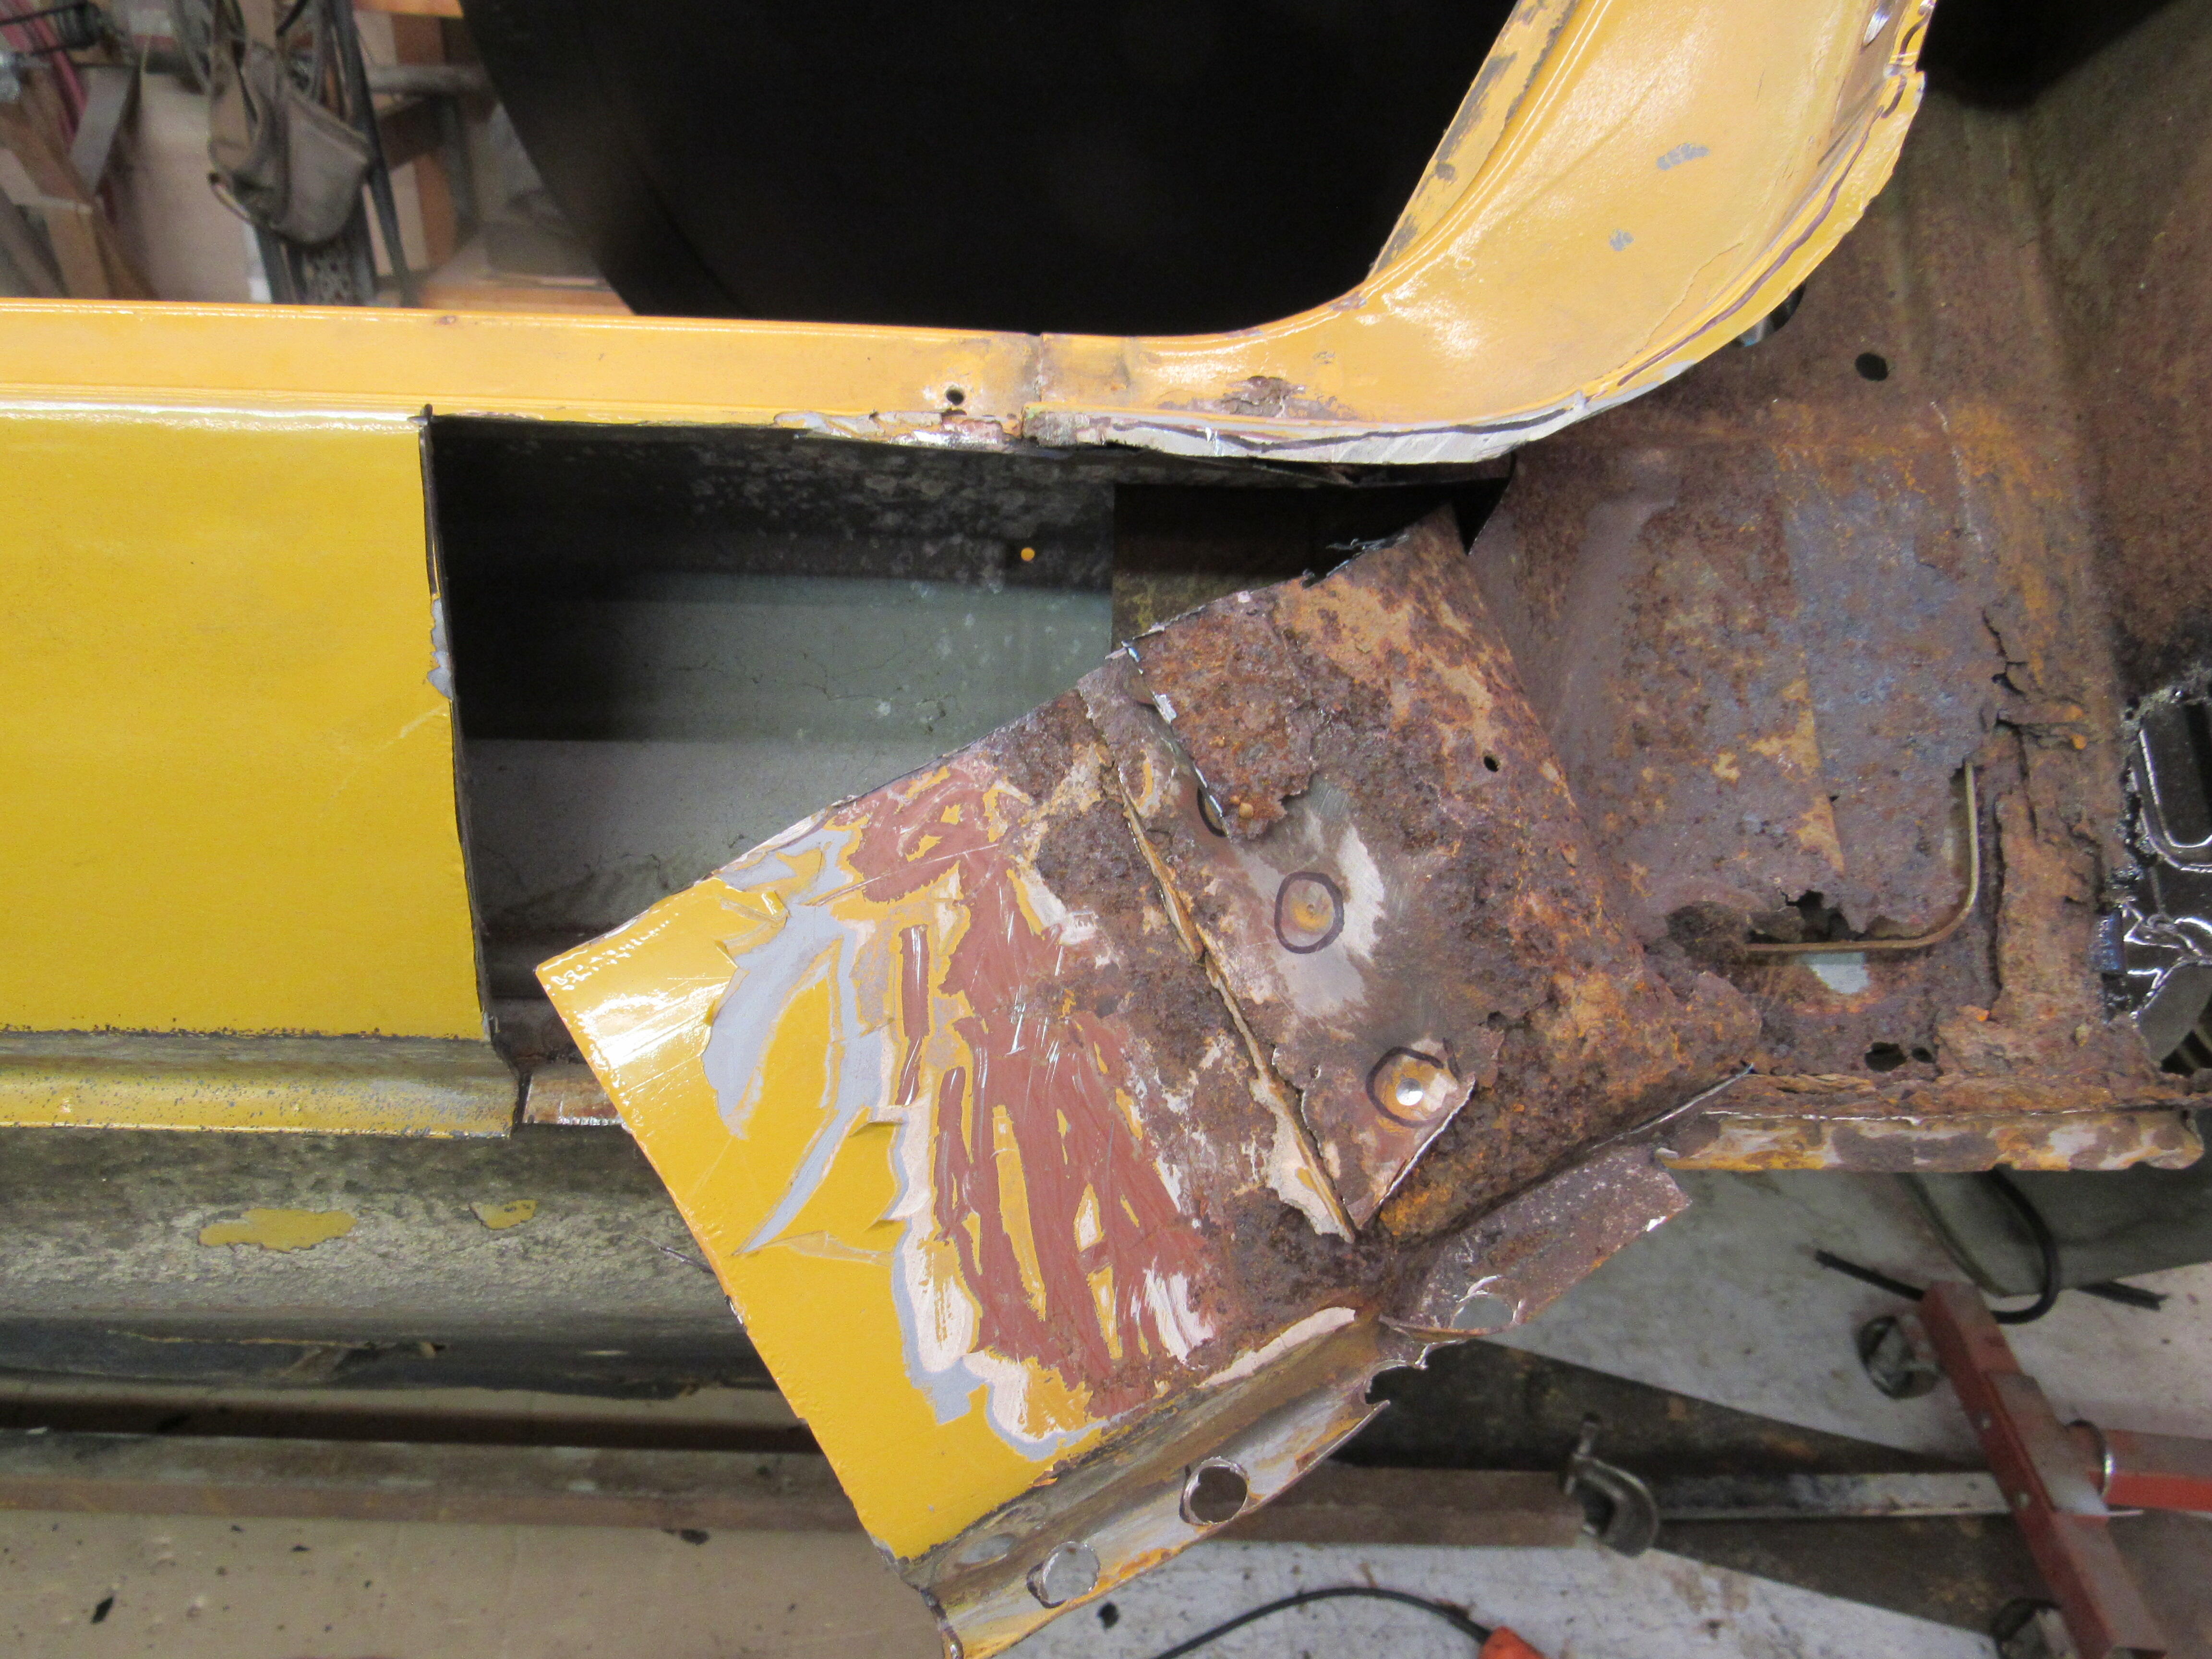
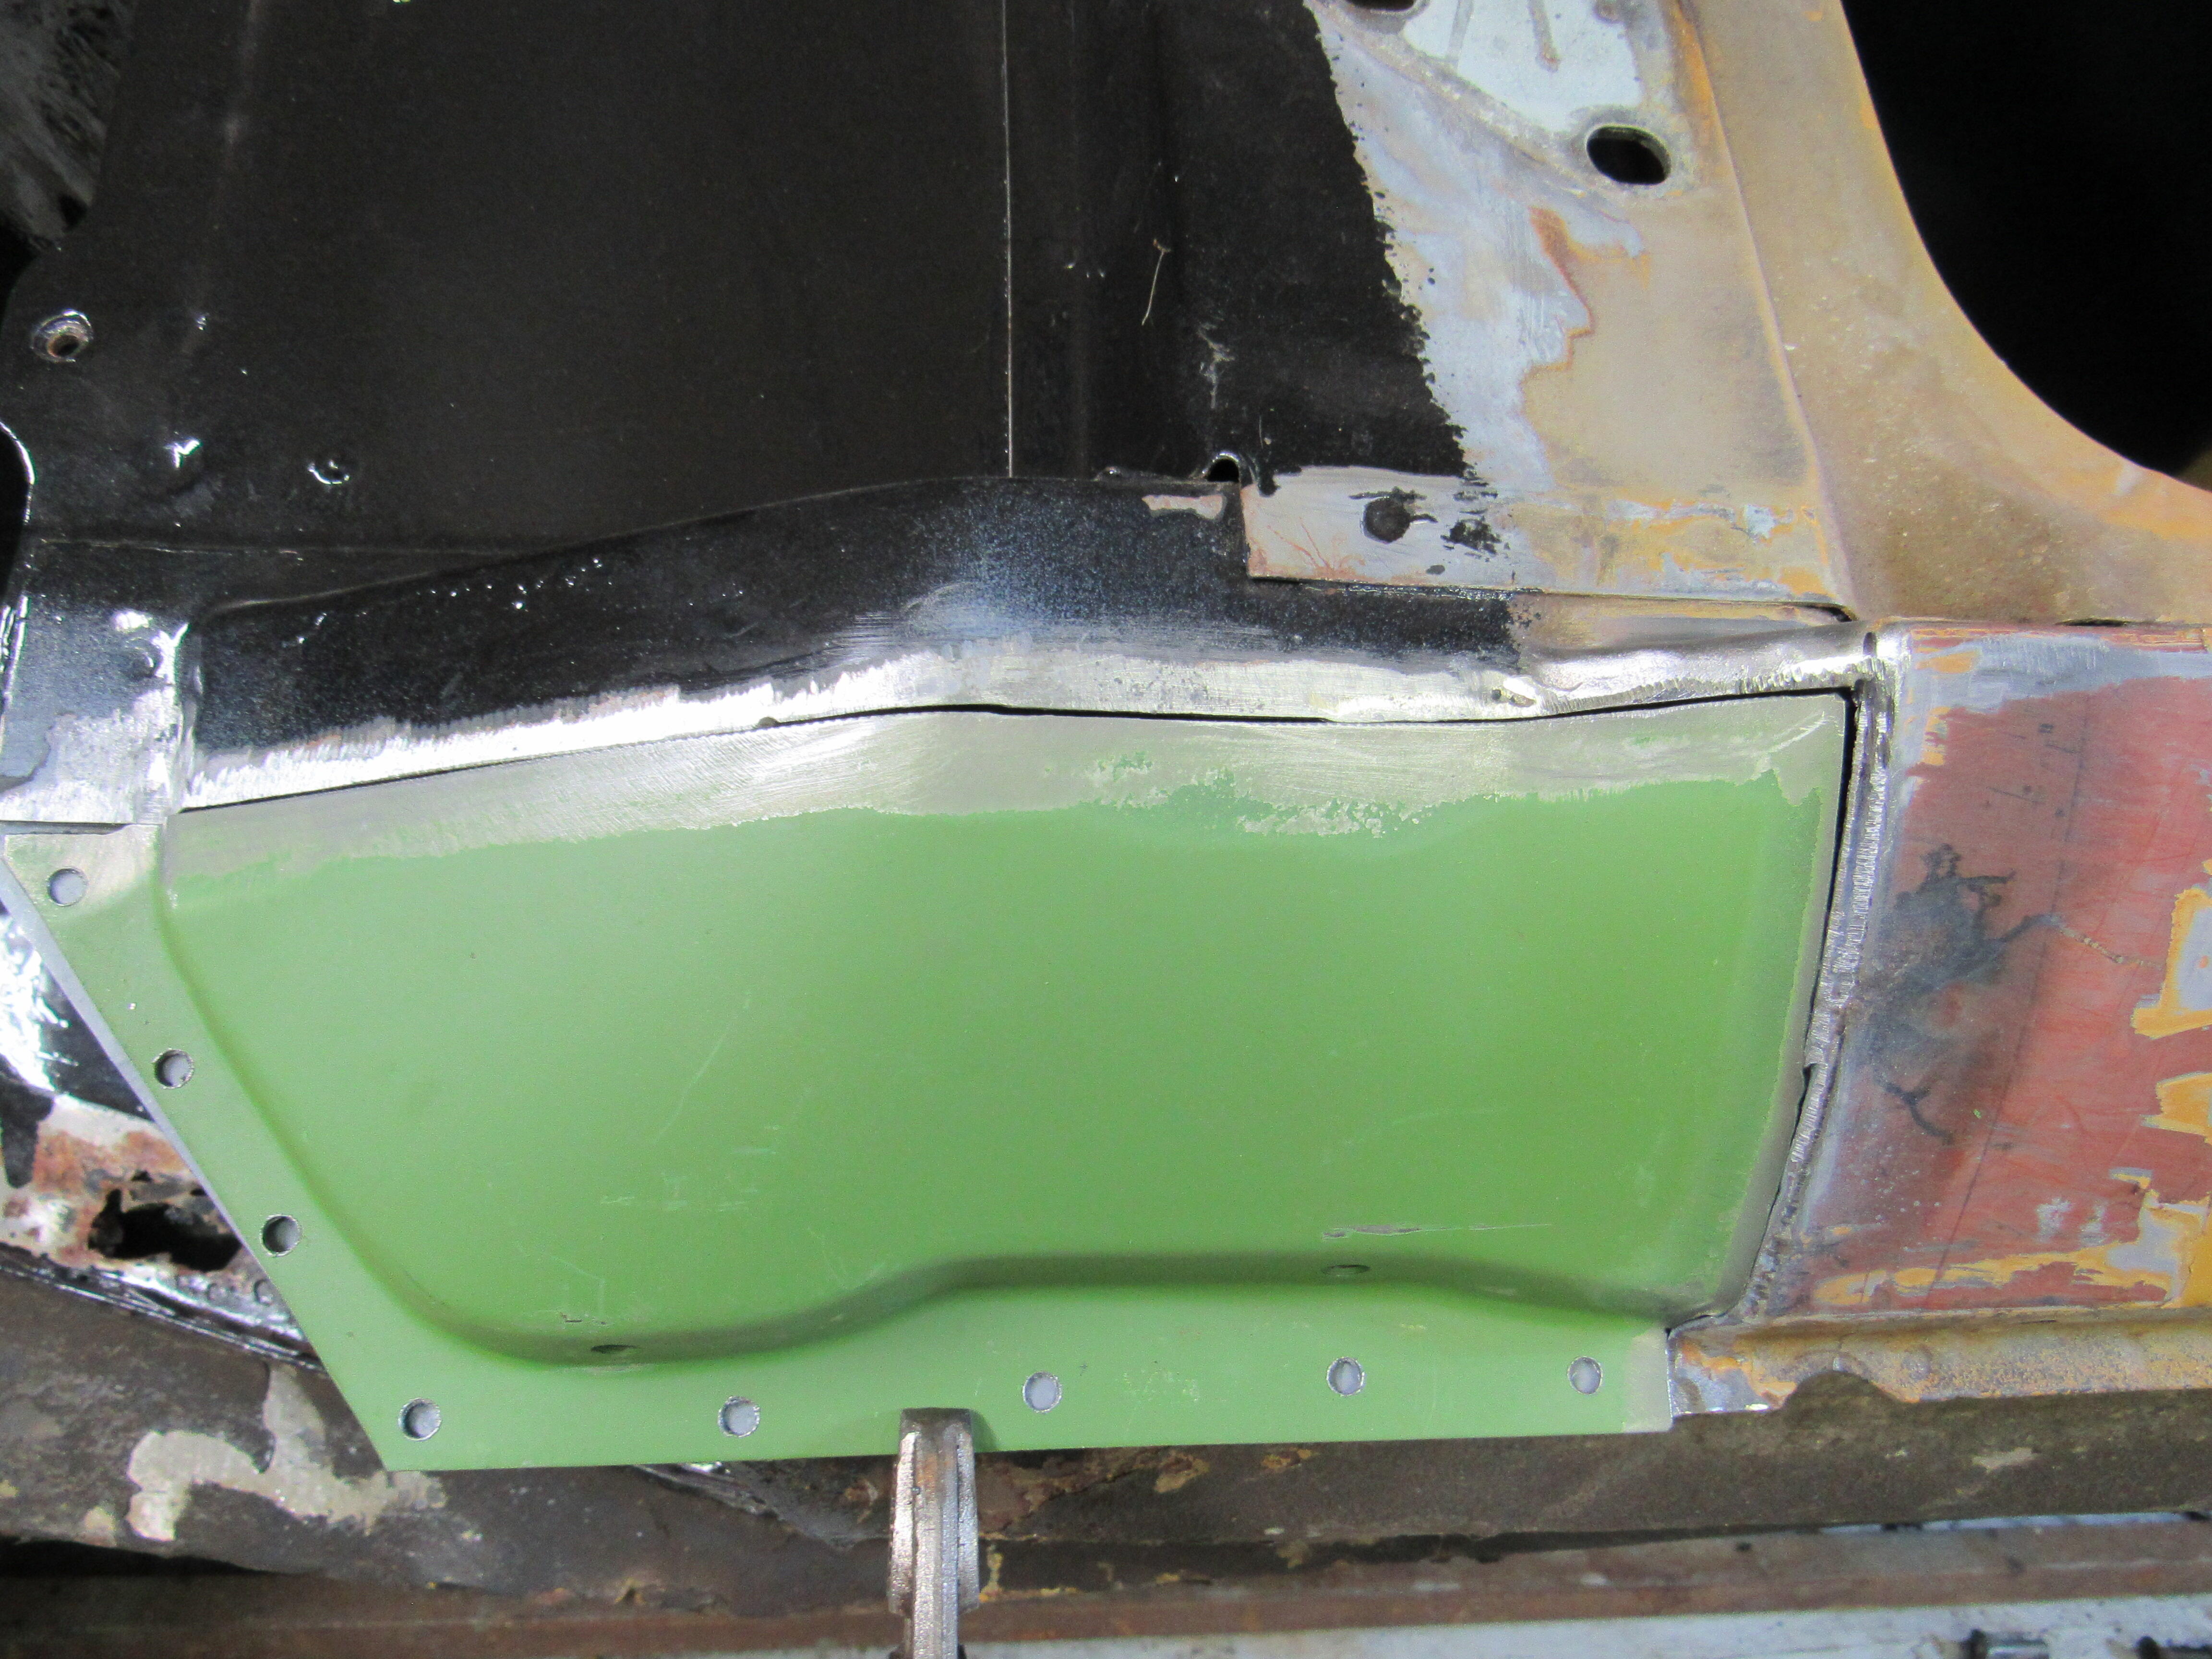
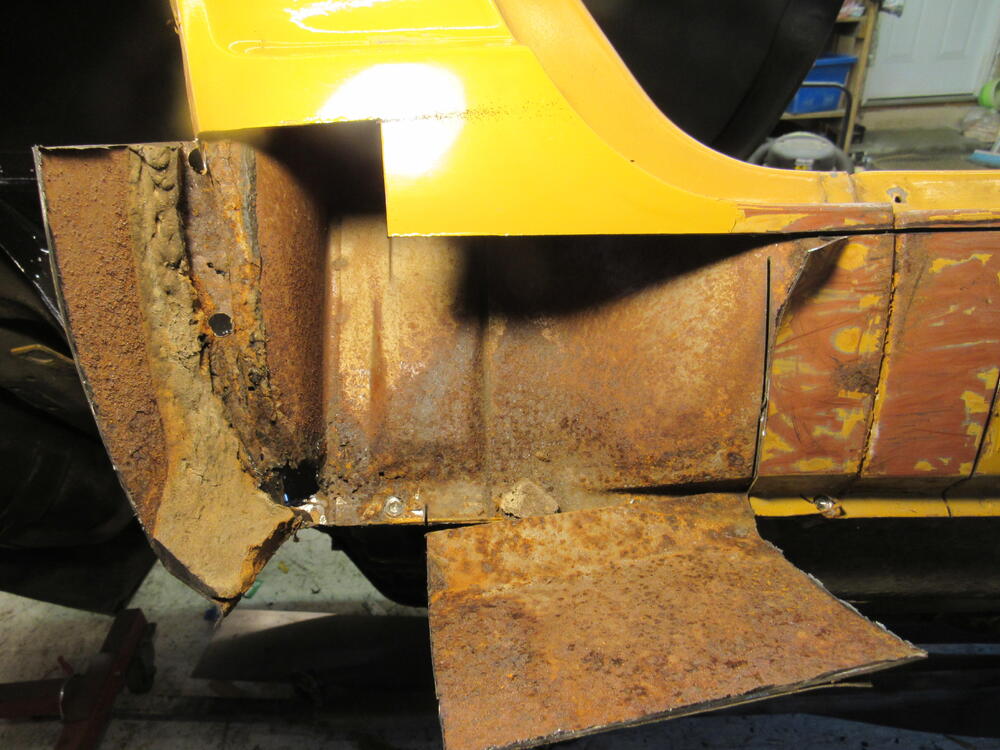
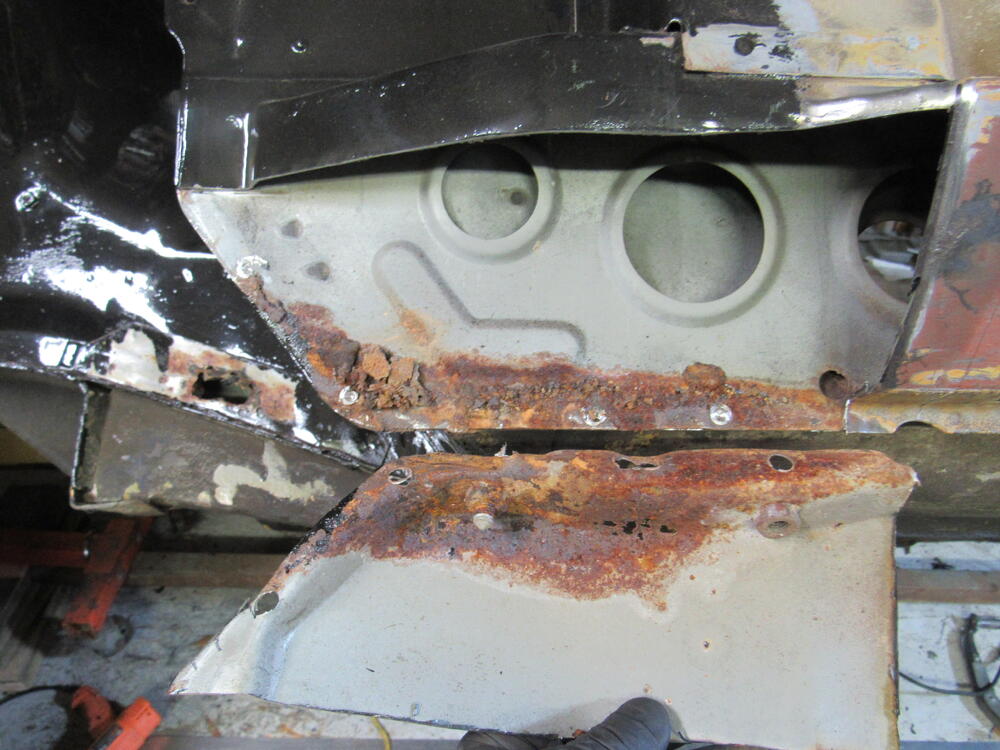
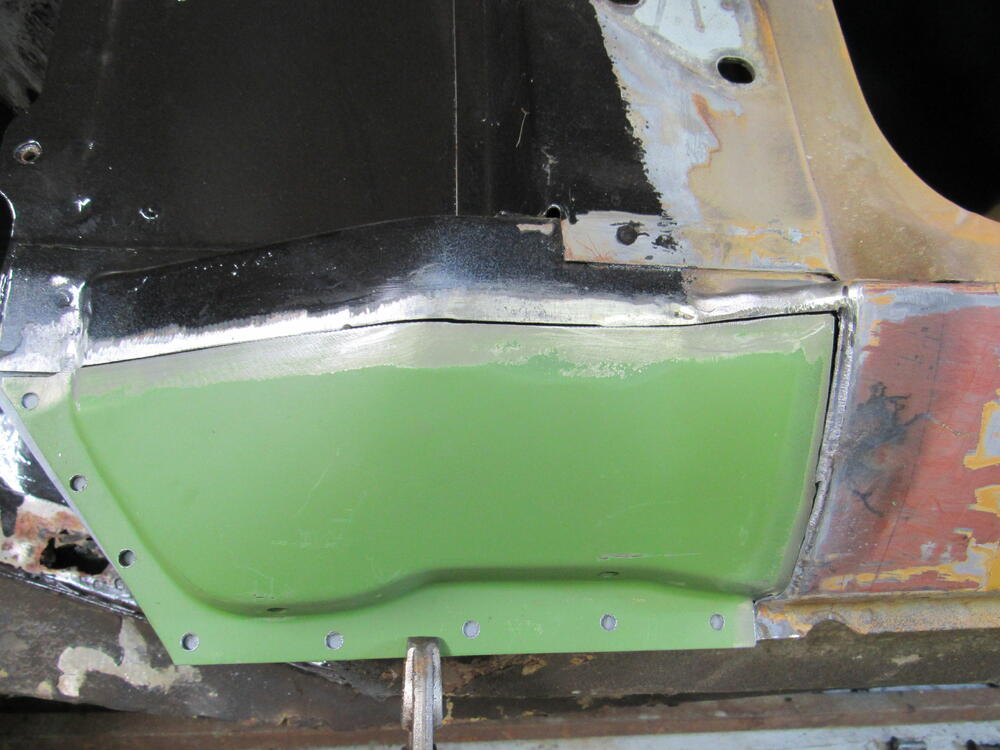
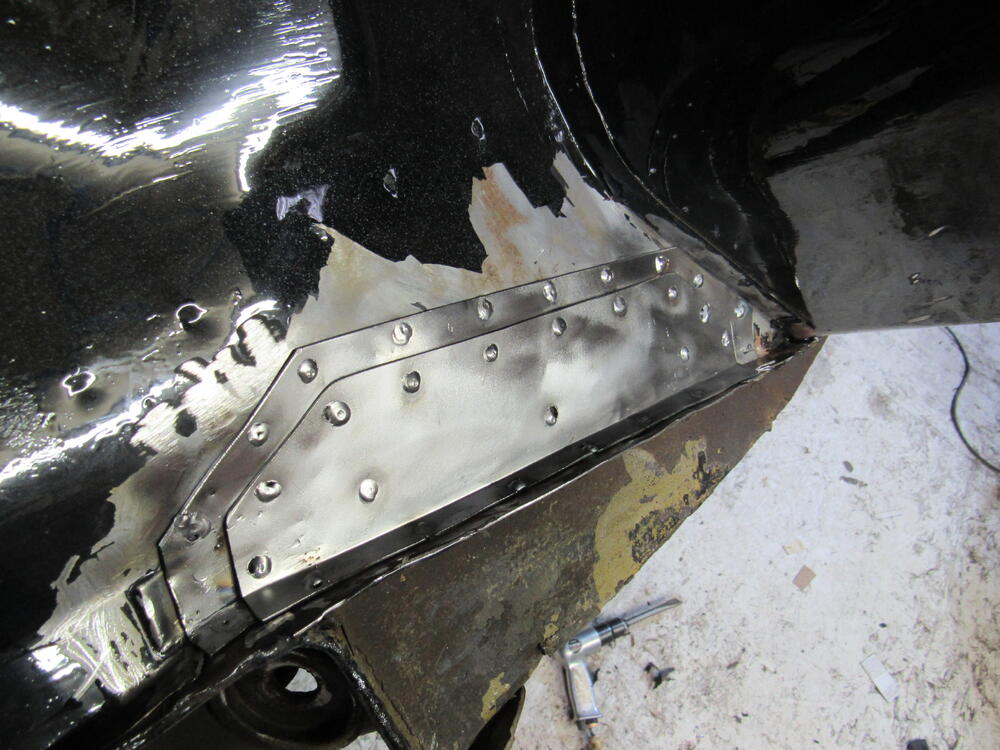
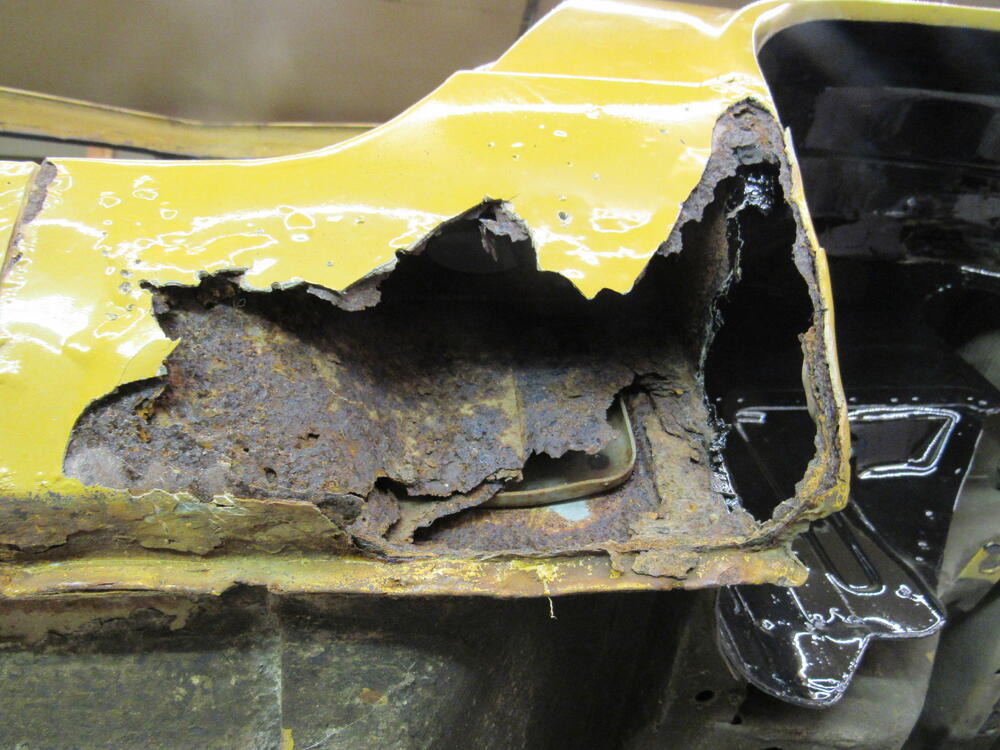
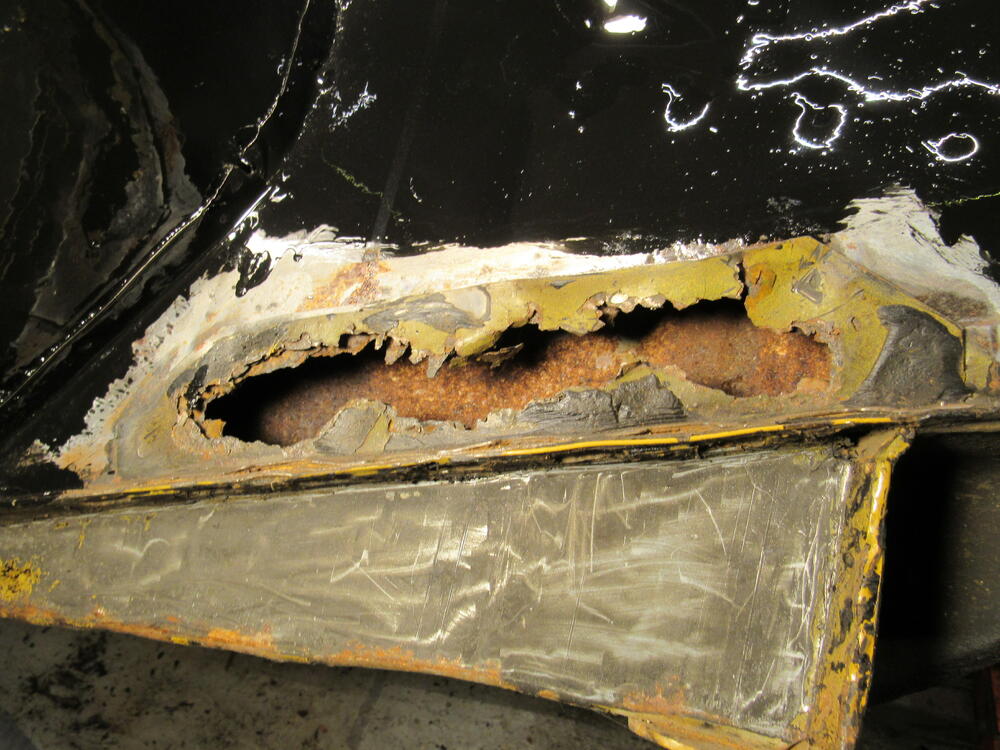
Luckily, KF Vintage makes the exact replacement sections, https://kfvintagejdm.com/shop/datsun/under-slam-panel-repair-section-left-side-datsun-240z/ Patcon said it, like an archaeologist you have to remove the first layer, second layer and just keep cutting back until you reach clean metal . If it's real bad you just remove the whole piece but something so localized like that area I'll use the back of the rocker panel, the dog leg panel and probably a piece of the inside rocker. I'll post pics as I cut through.
-
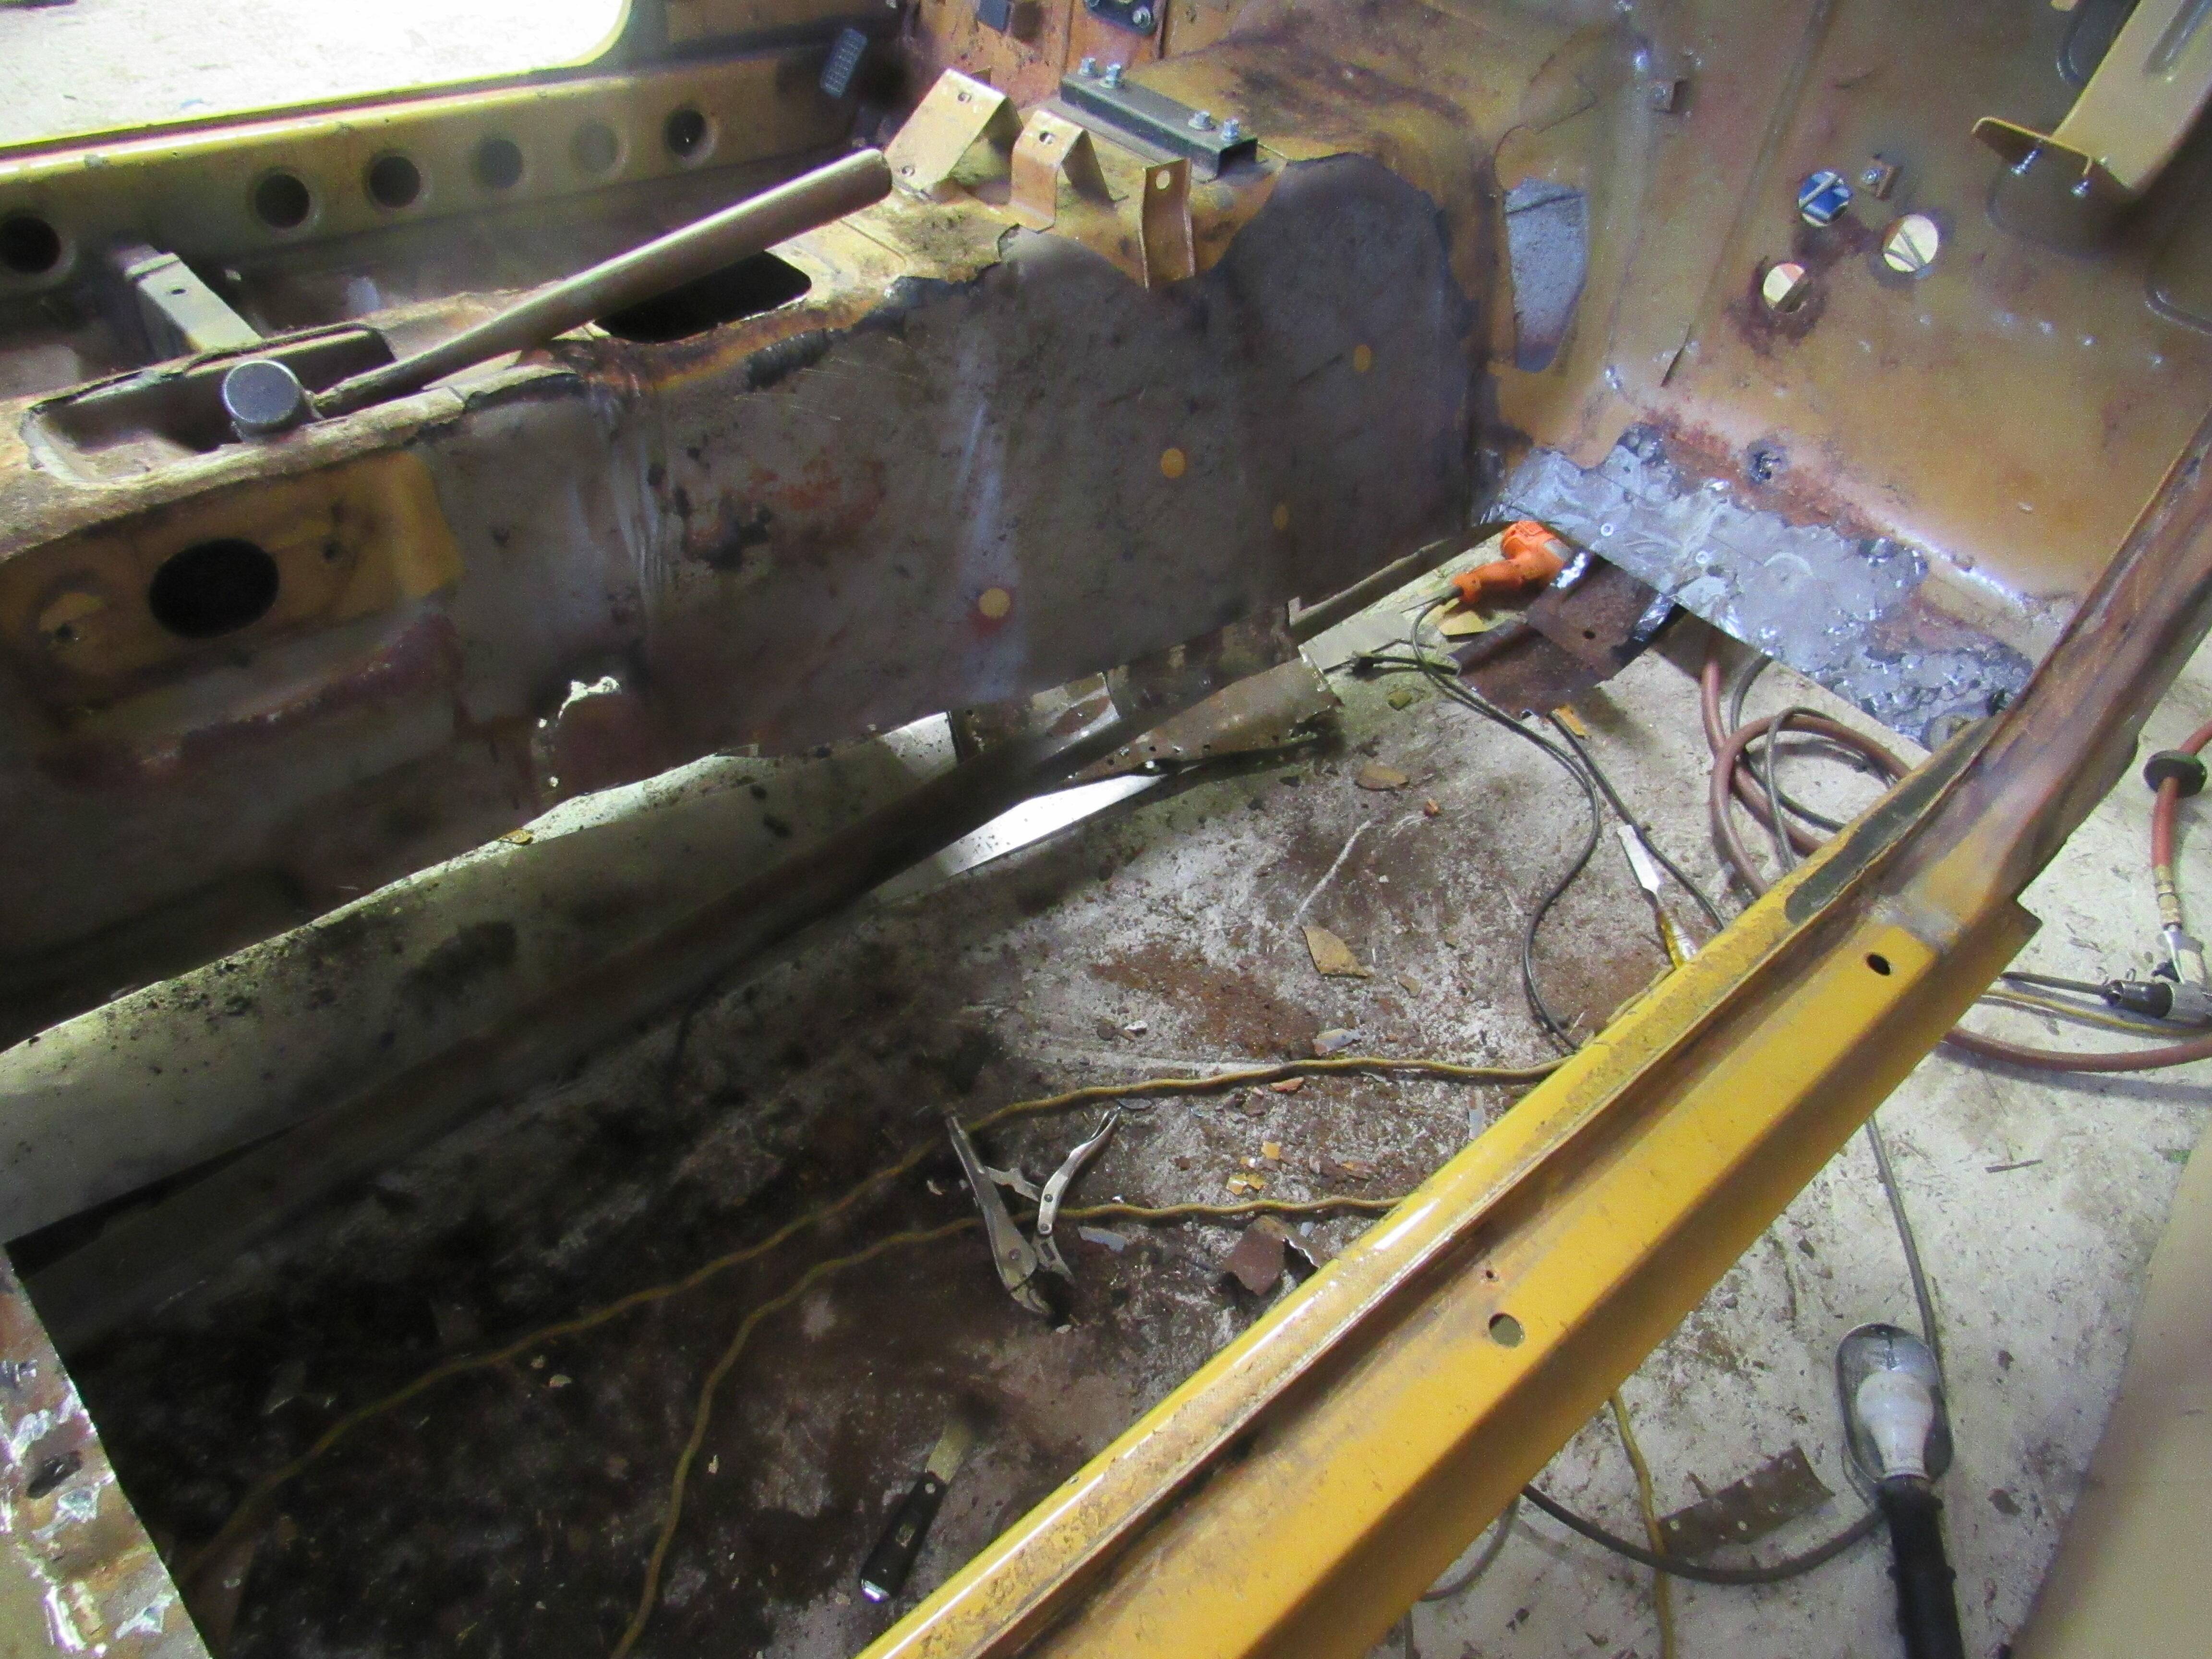
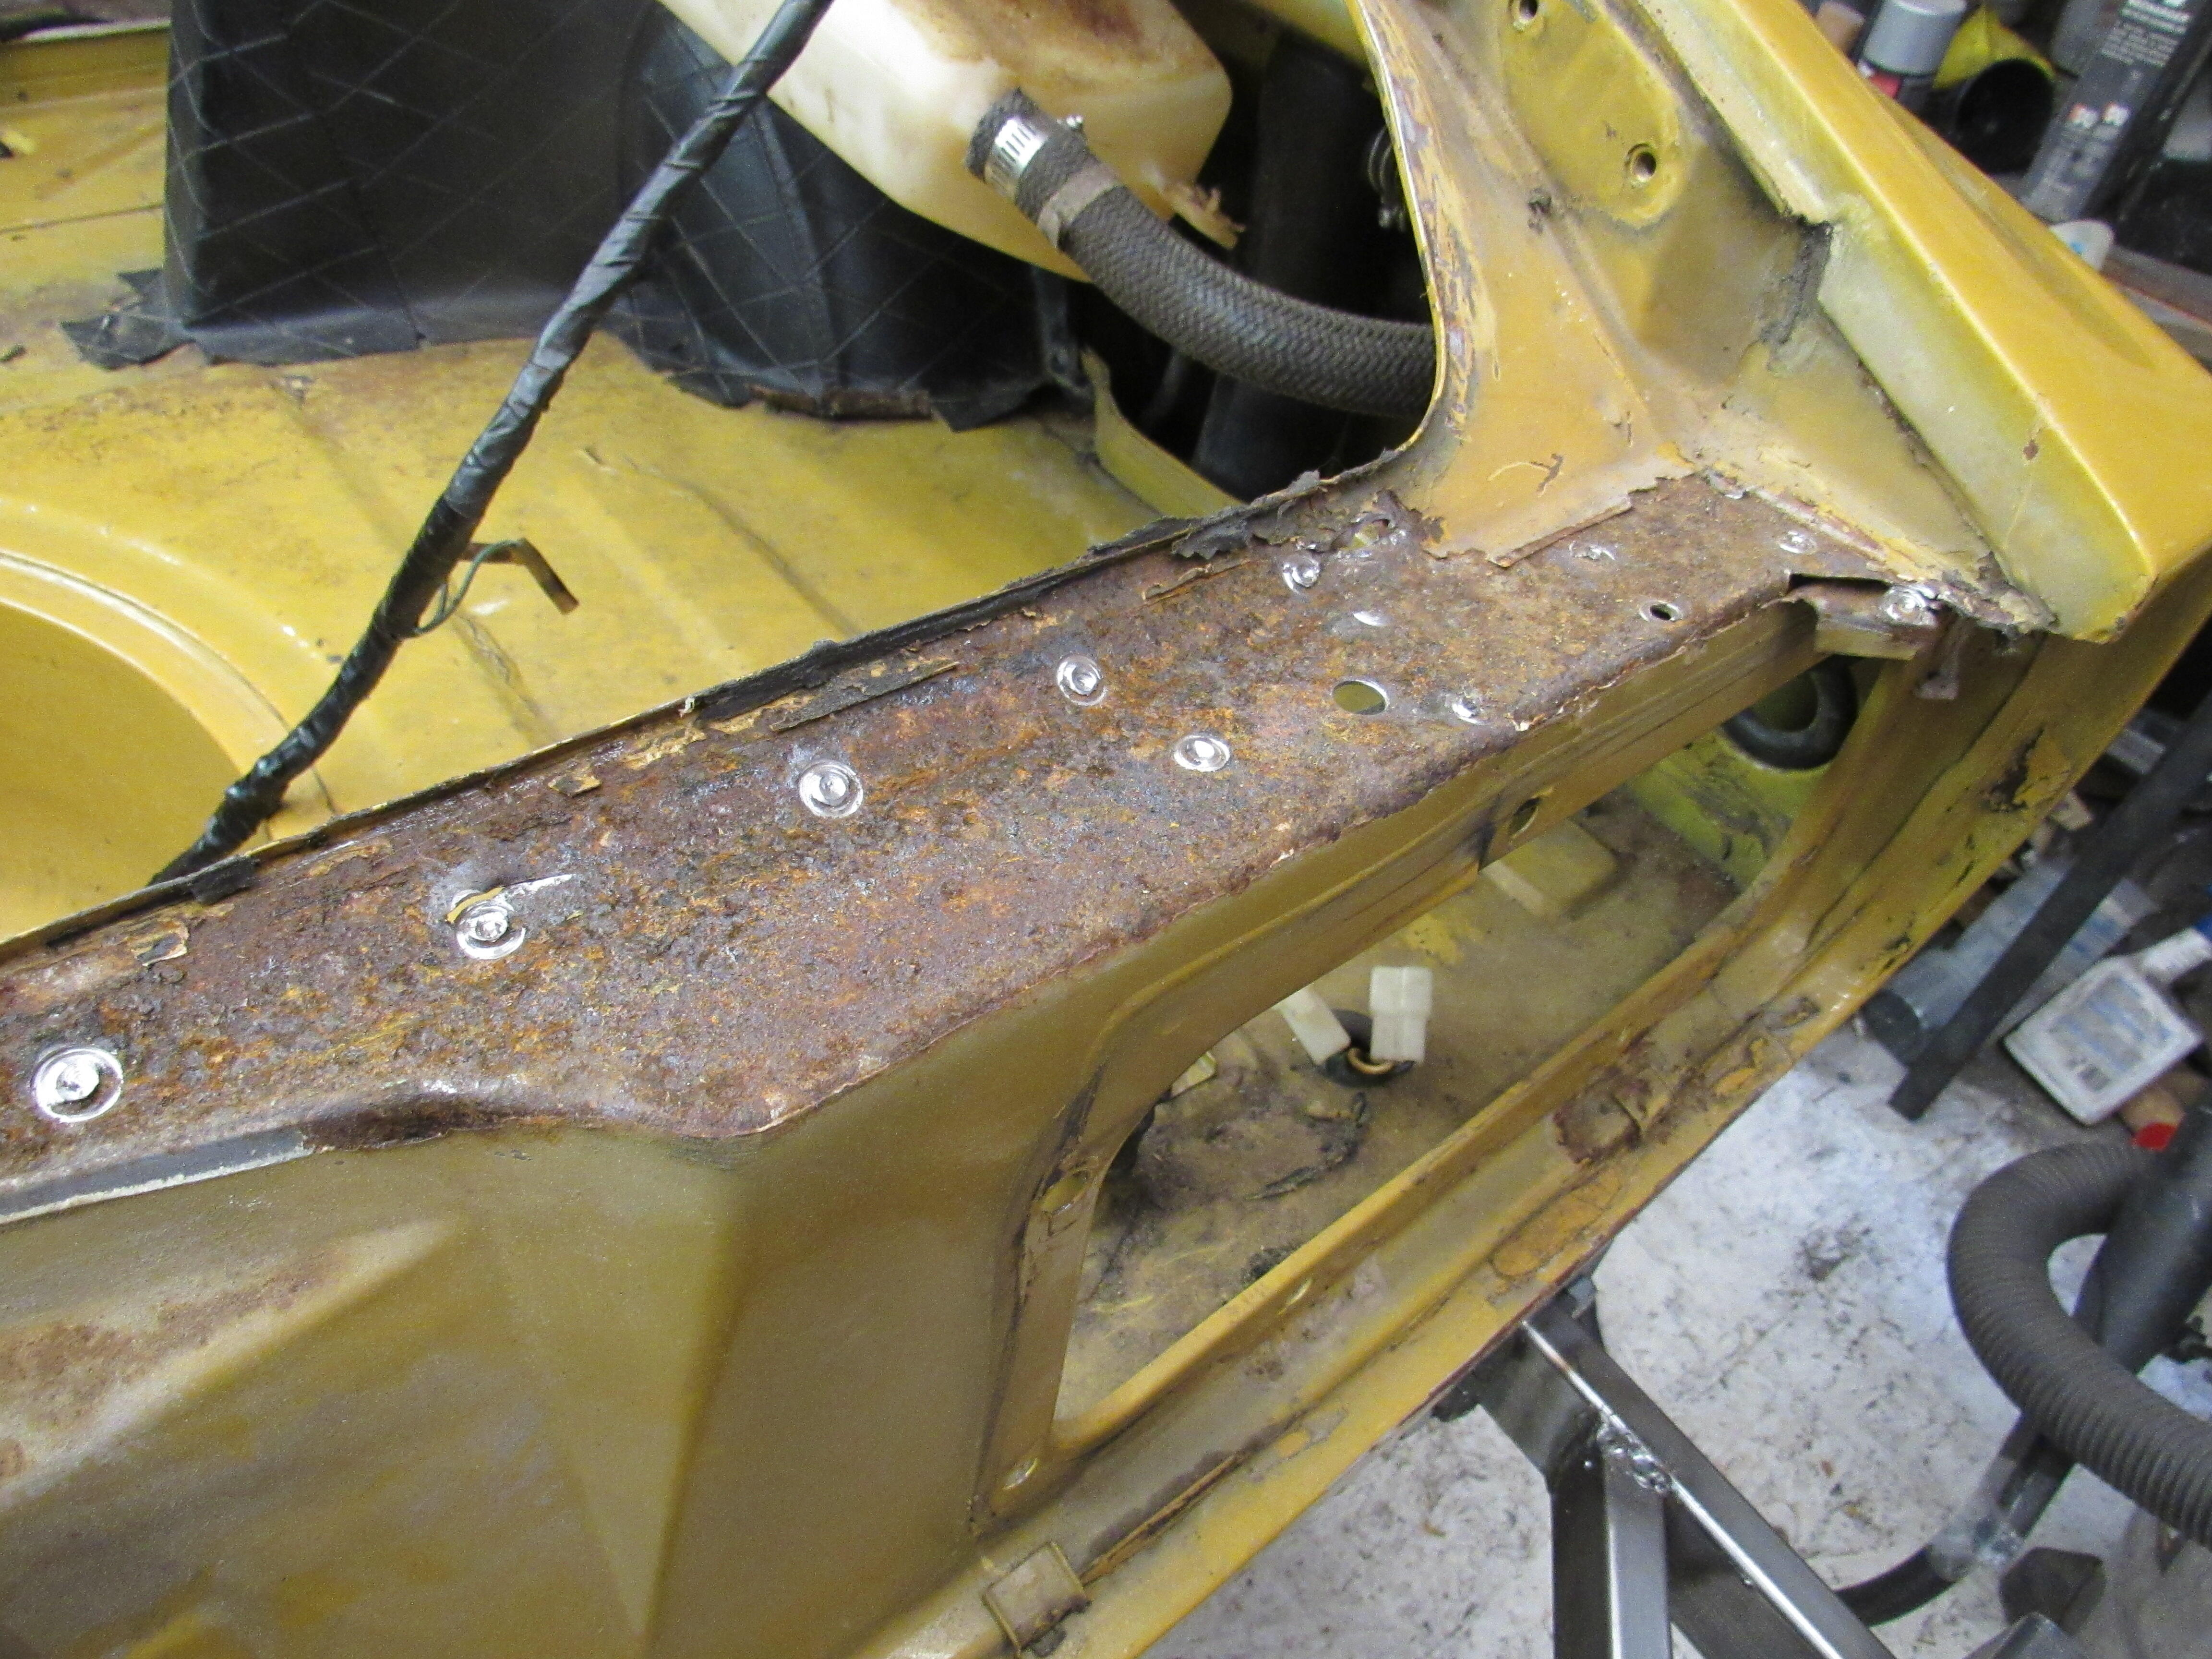
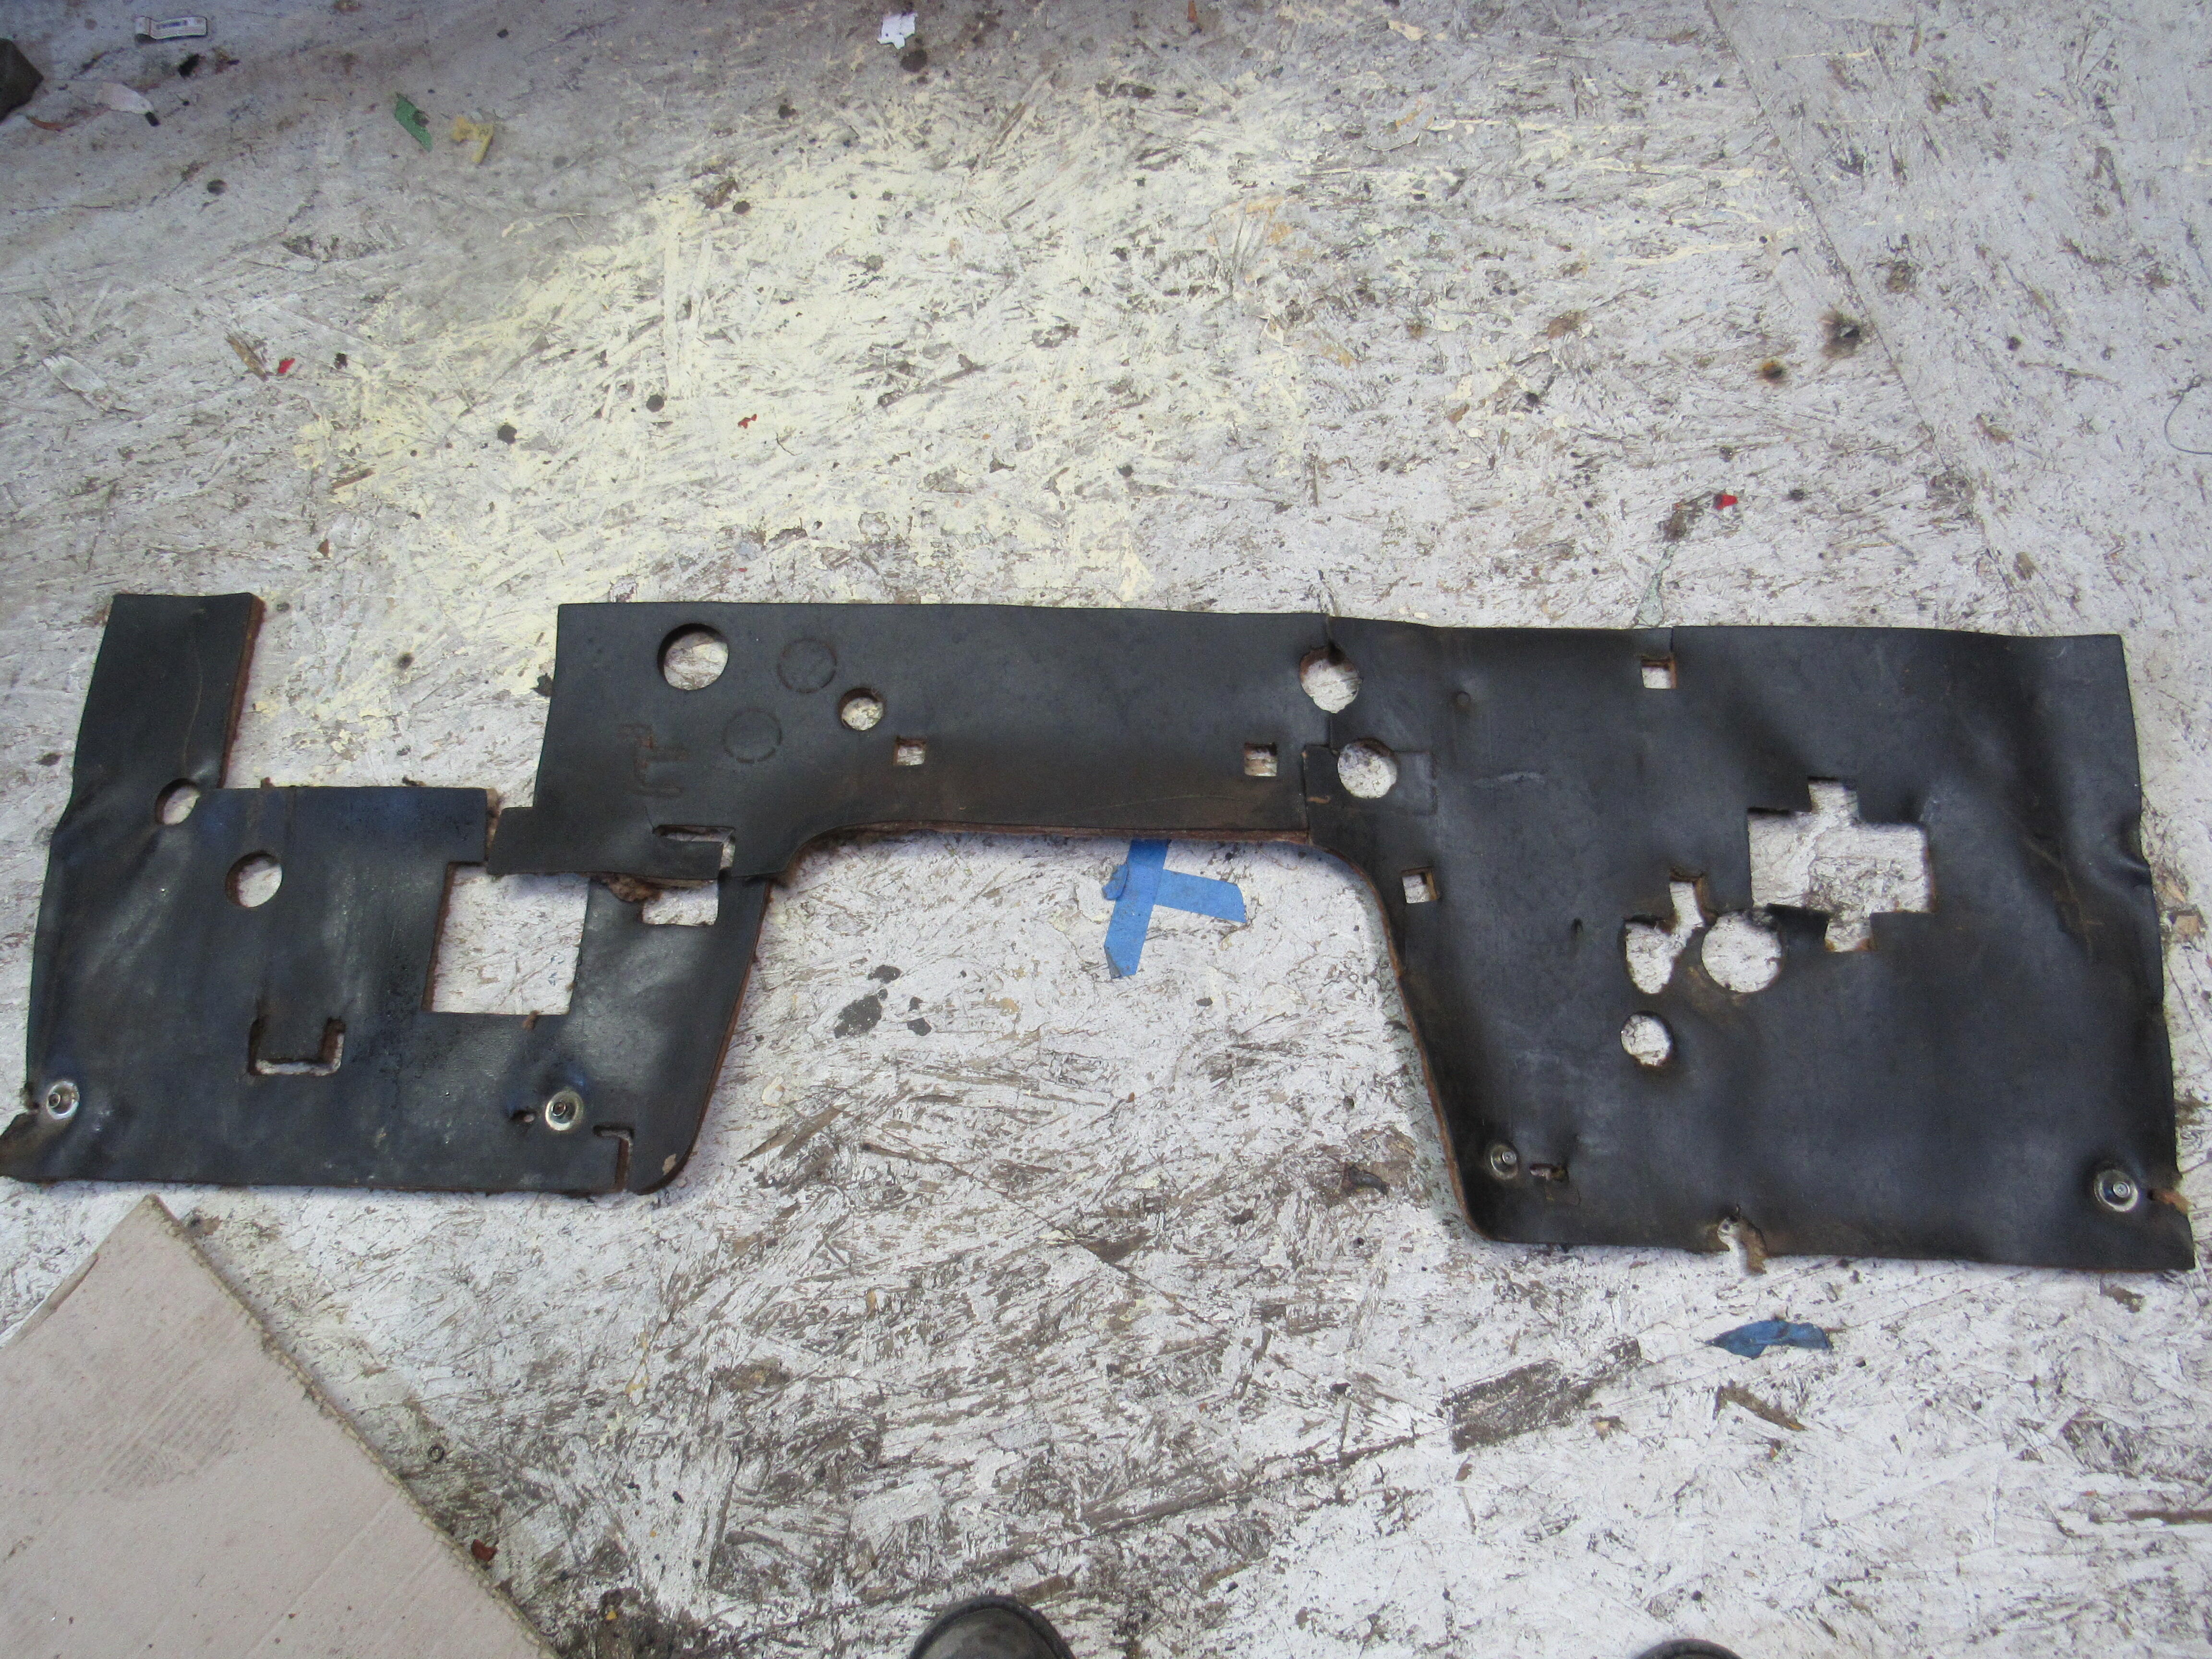
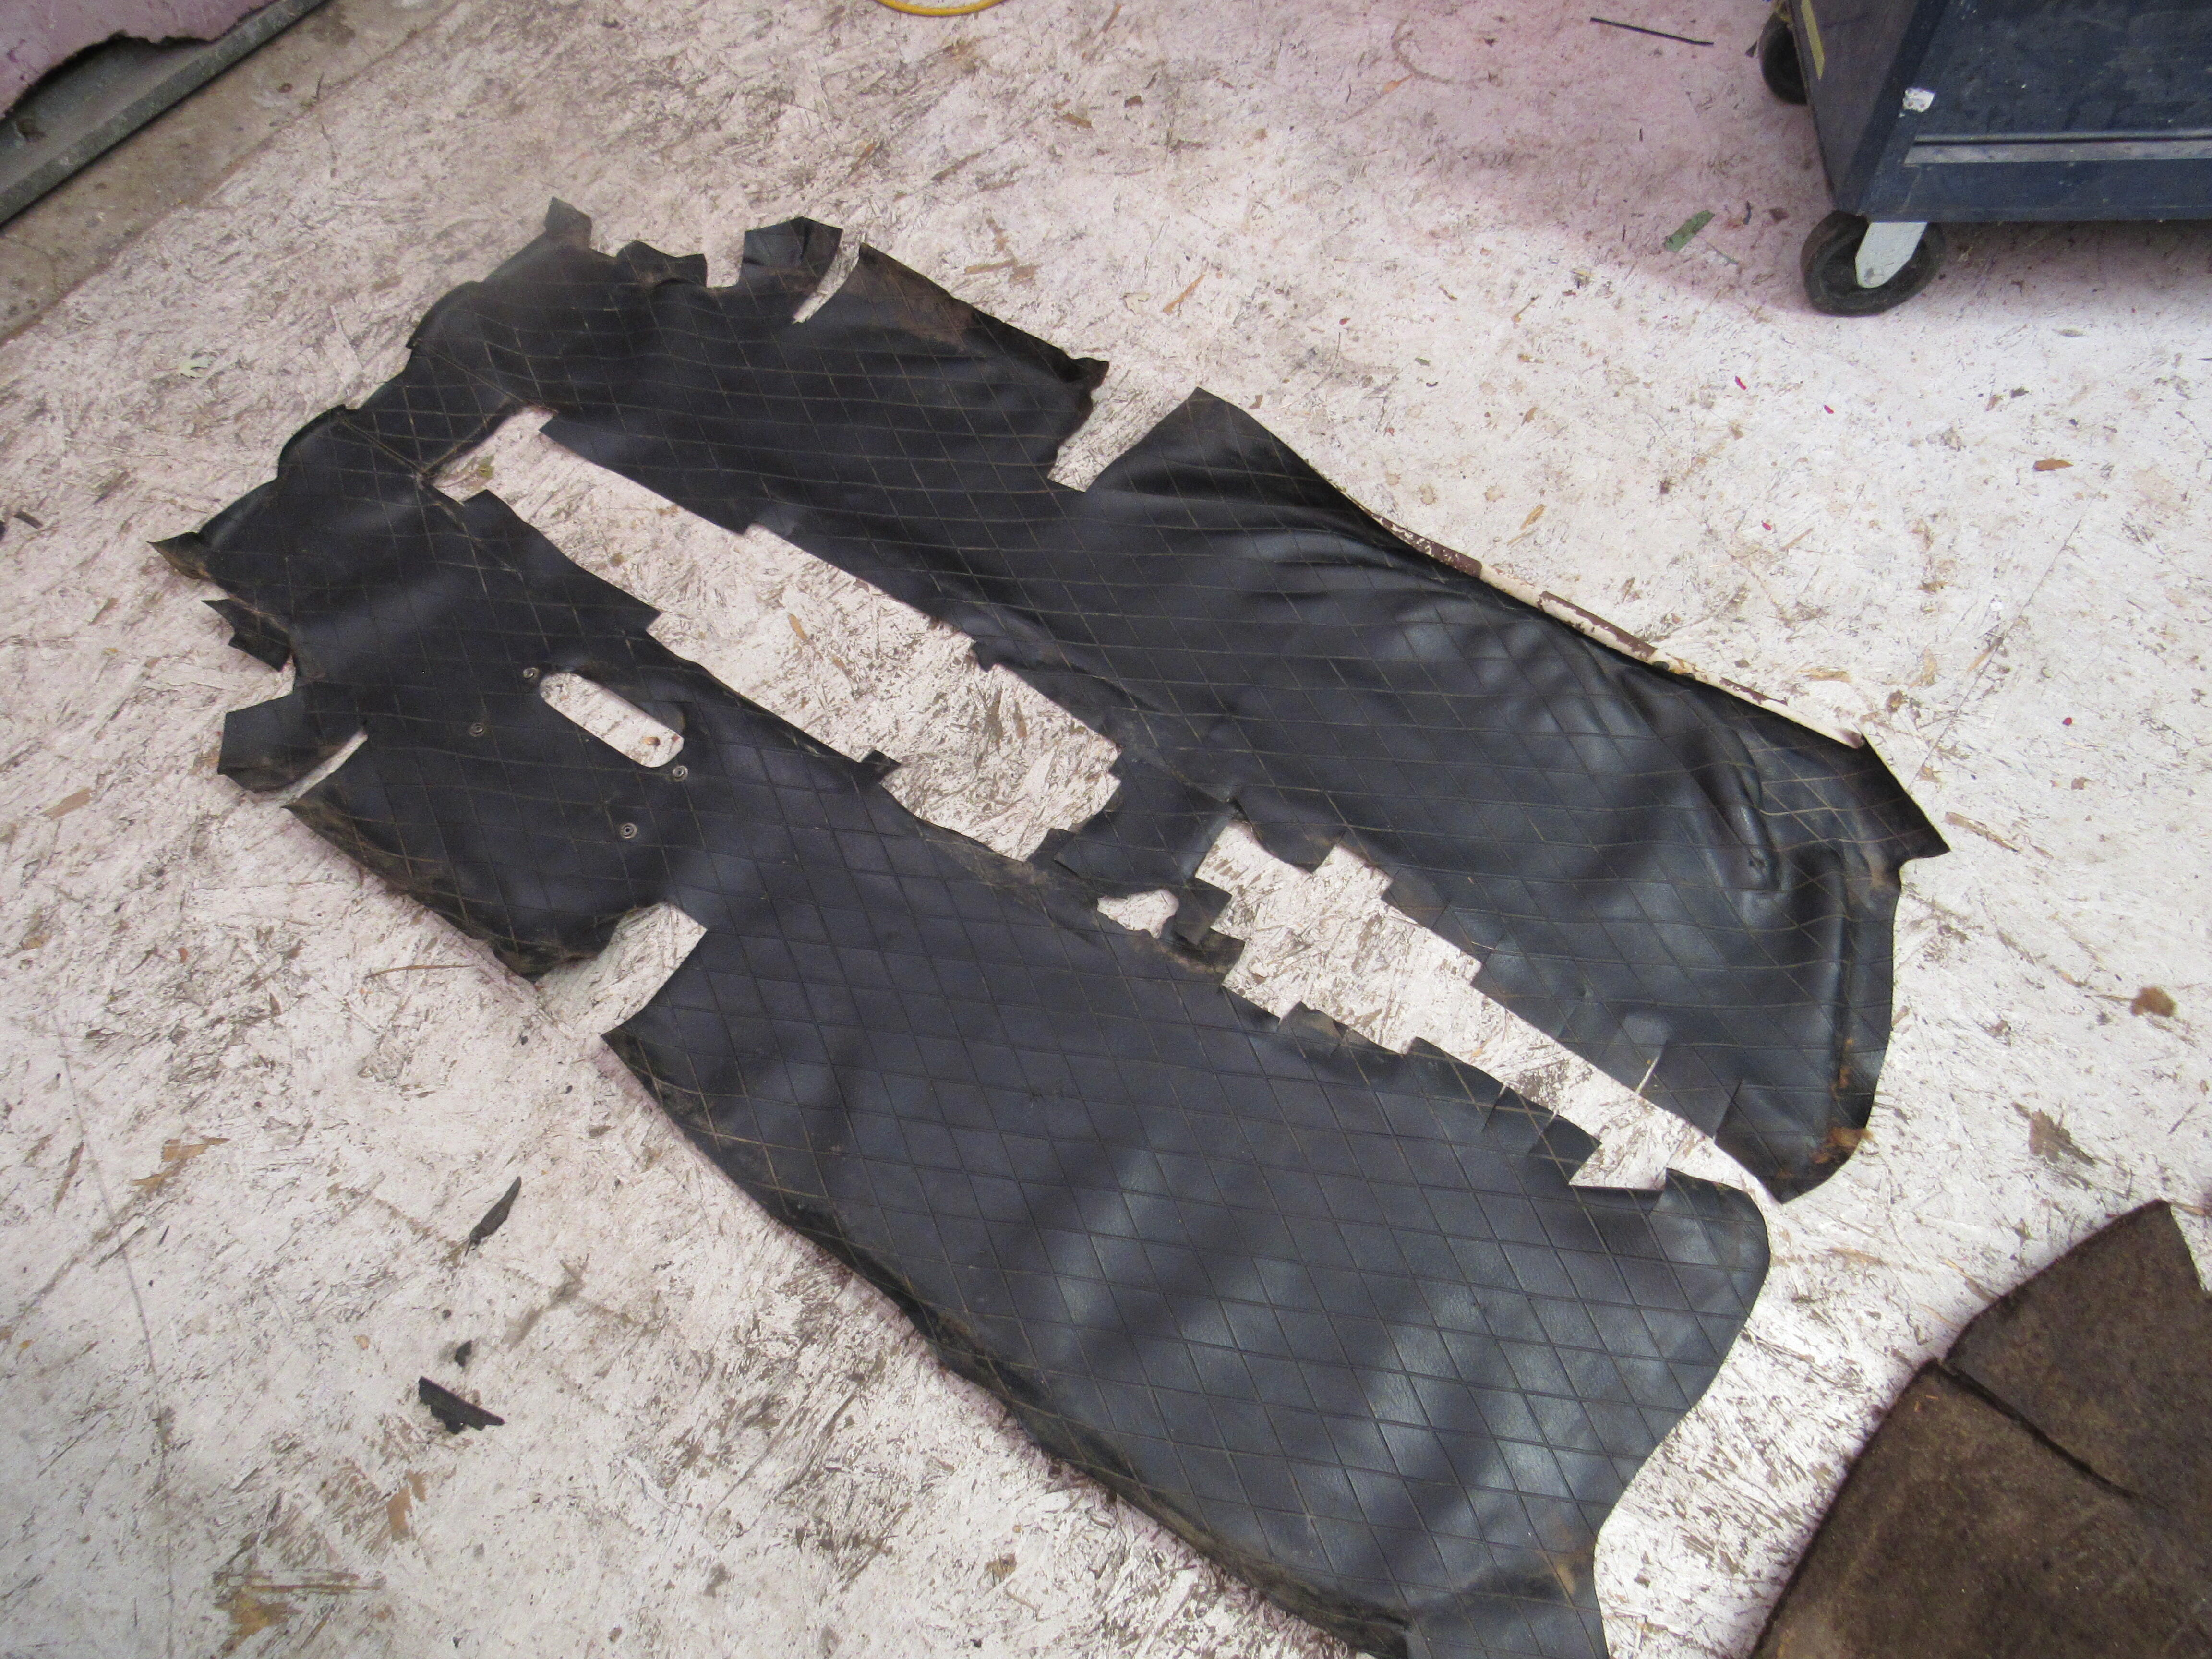
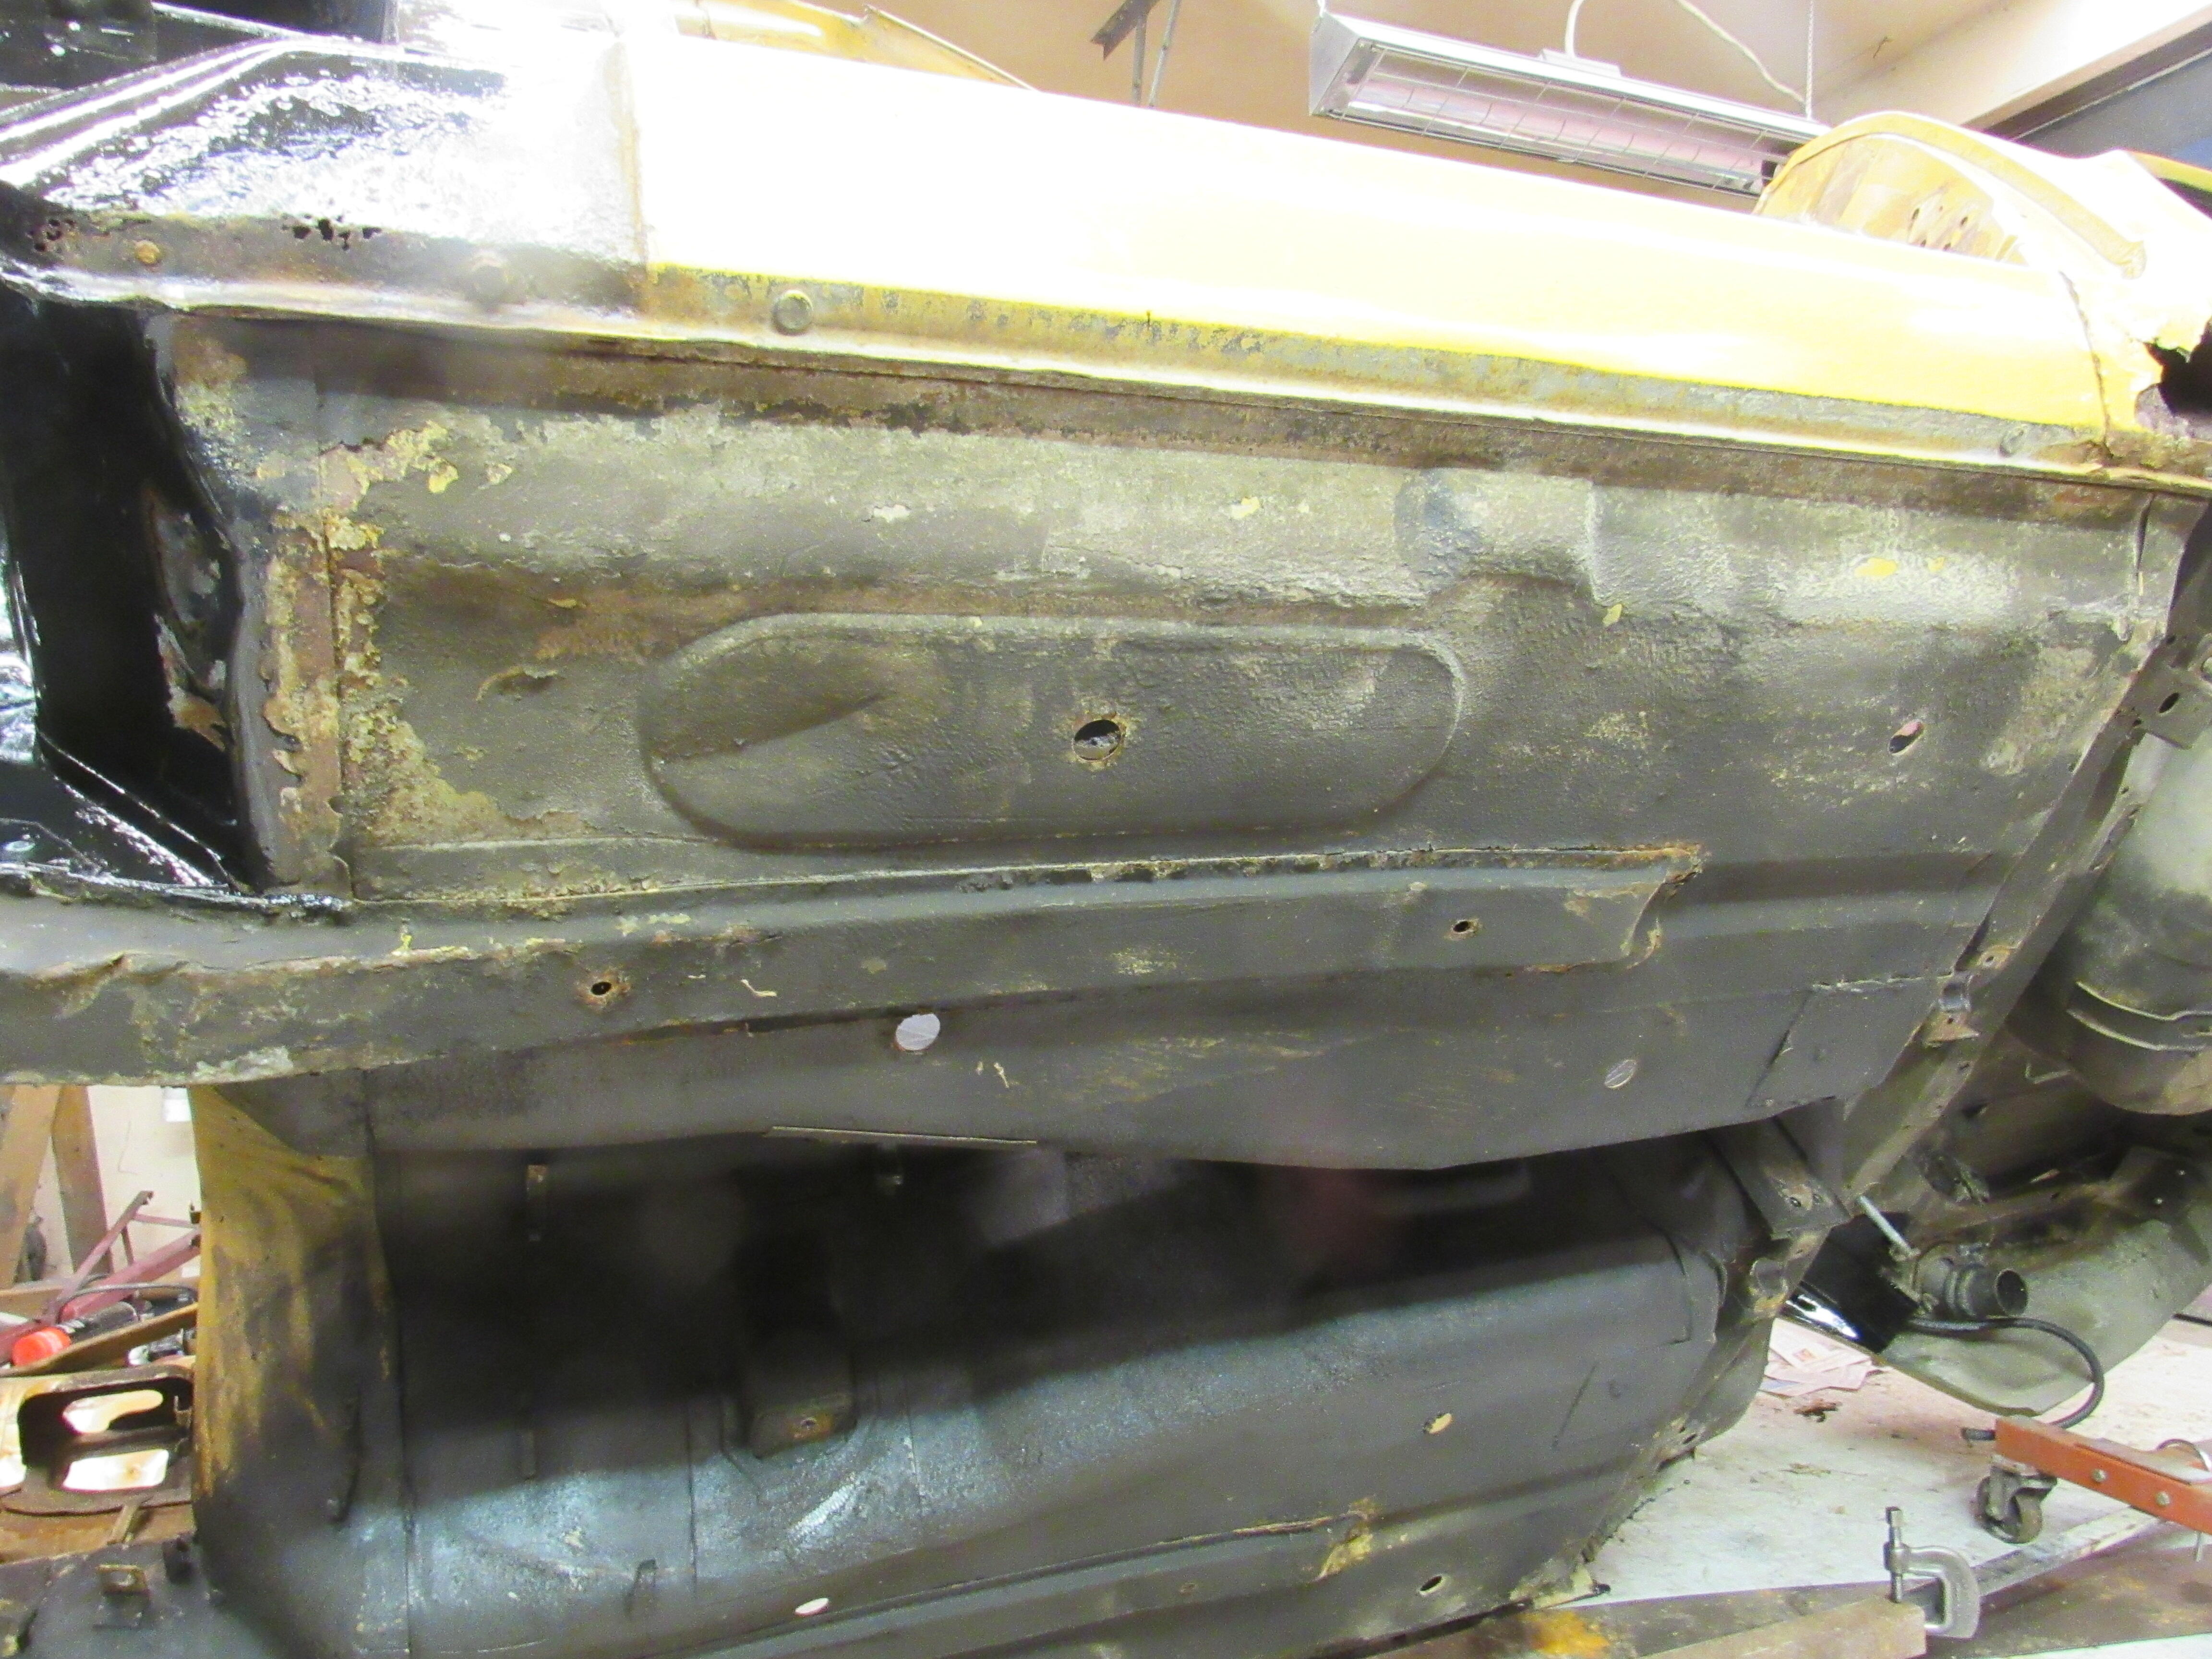
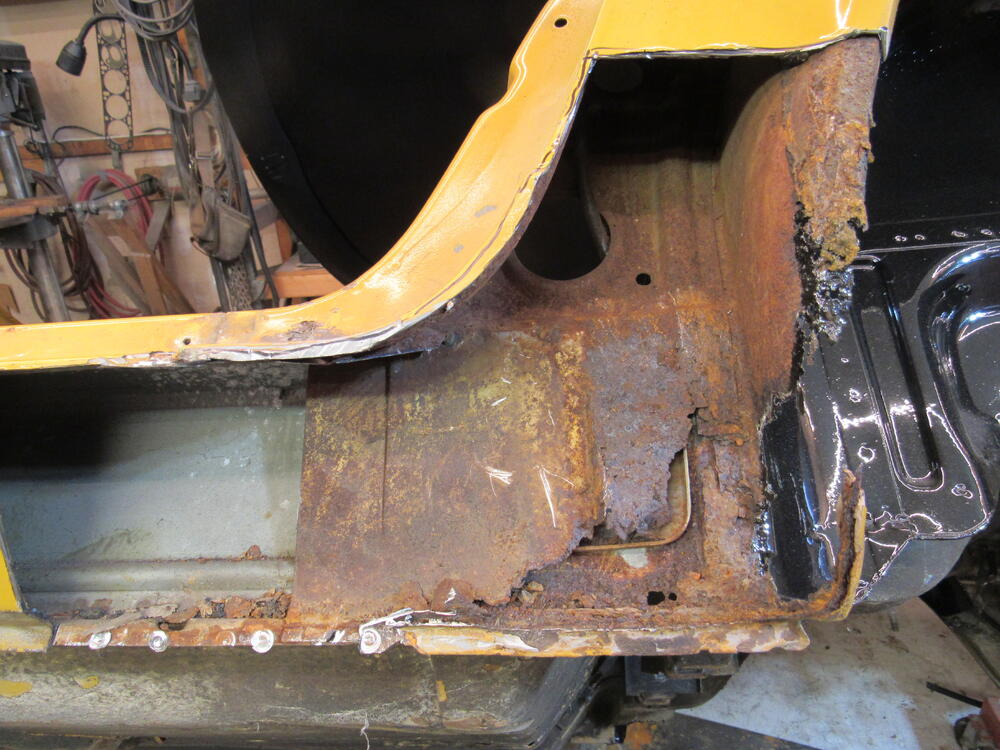
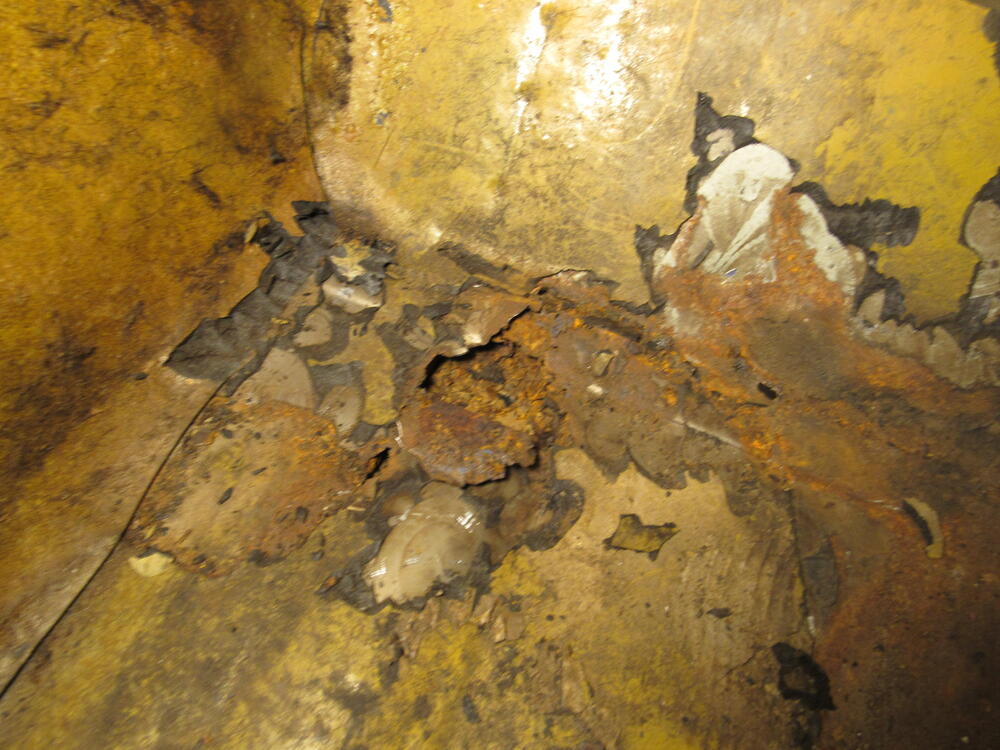
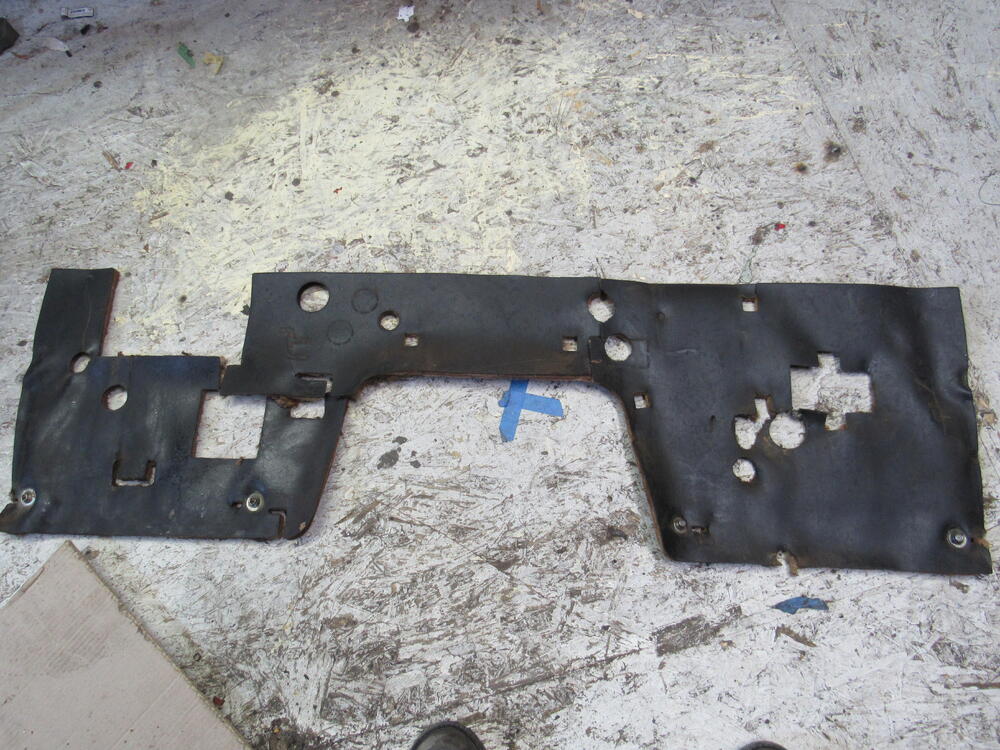
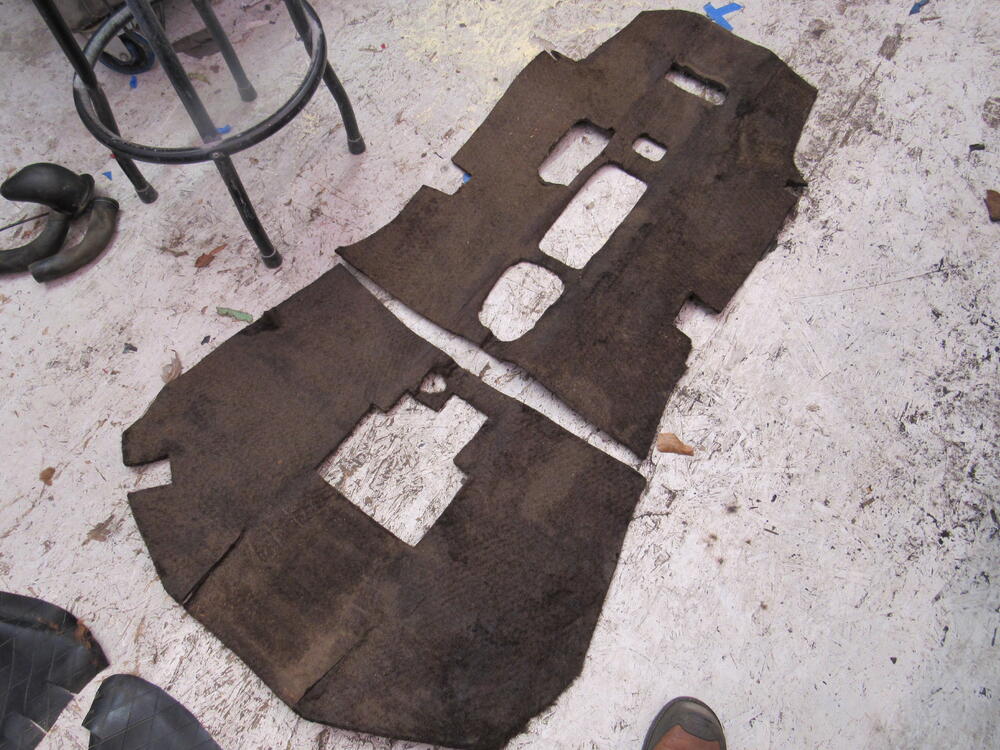
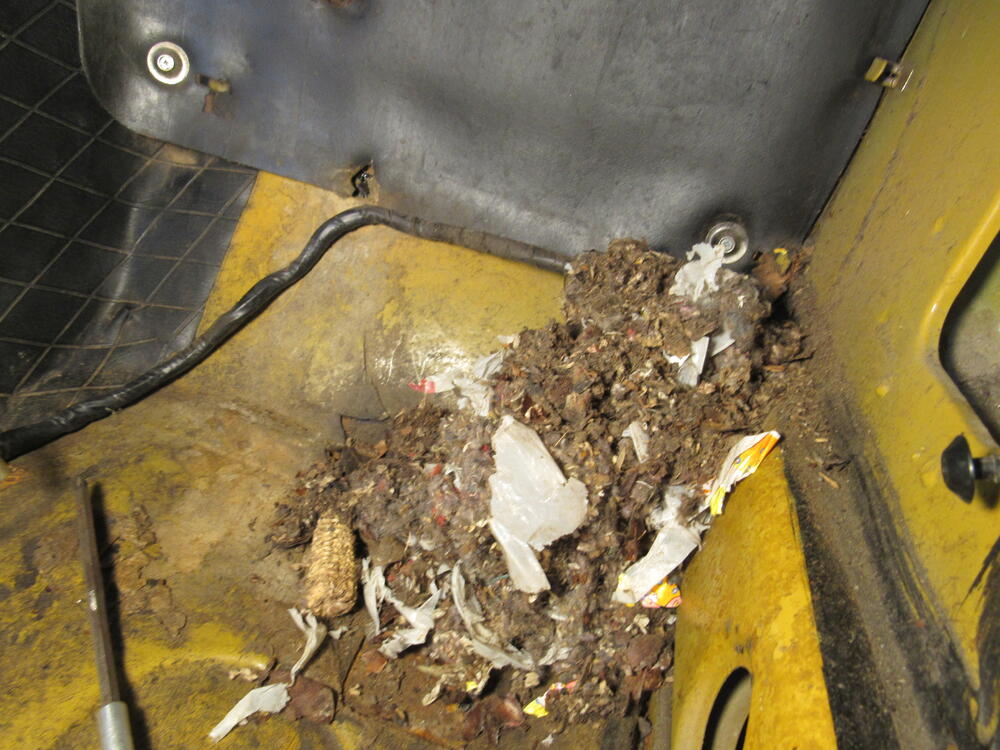
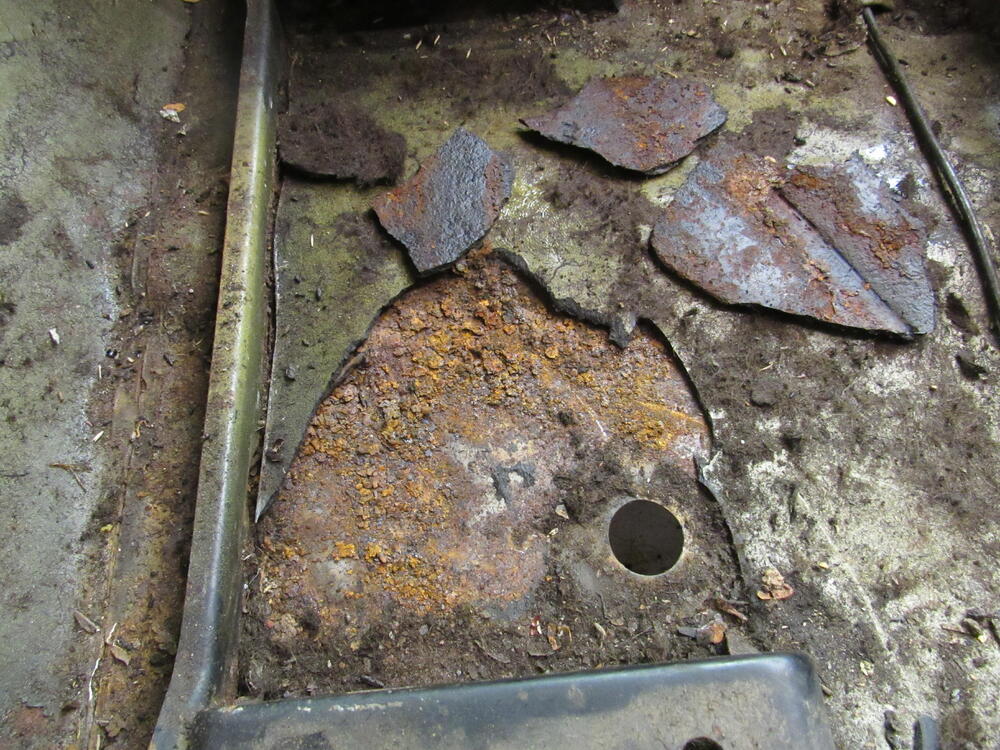
I started chipping away at the tar mat today, oh what fun I was hoping I could save the floor pans but they are too far gone, water was pooling and the rust is bad. I manged to remove the firewall insulation, vinyl cover and original trans tunnel insulation and I can reuse all of them. Also found another long term tenant, this was only half of what was came out, the rest I had to get by sticking the vacuum hose through the vent.


-
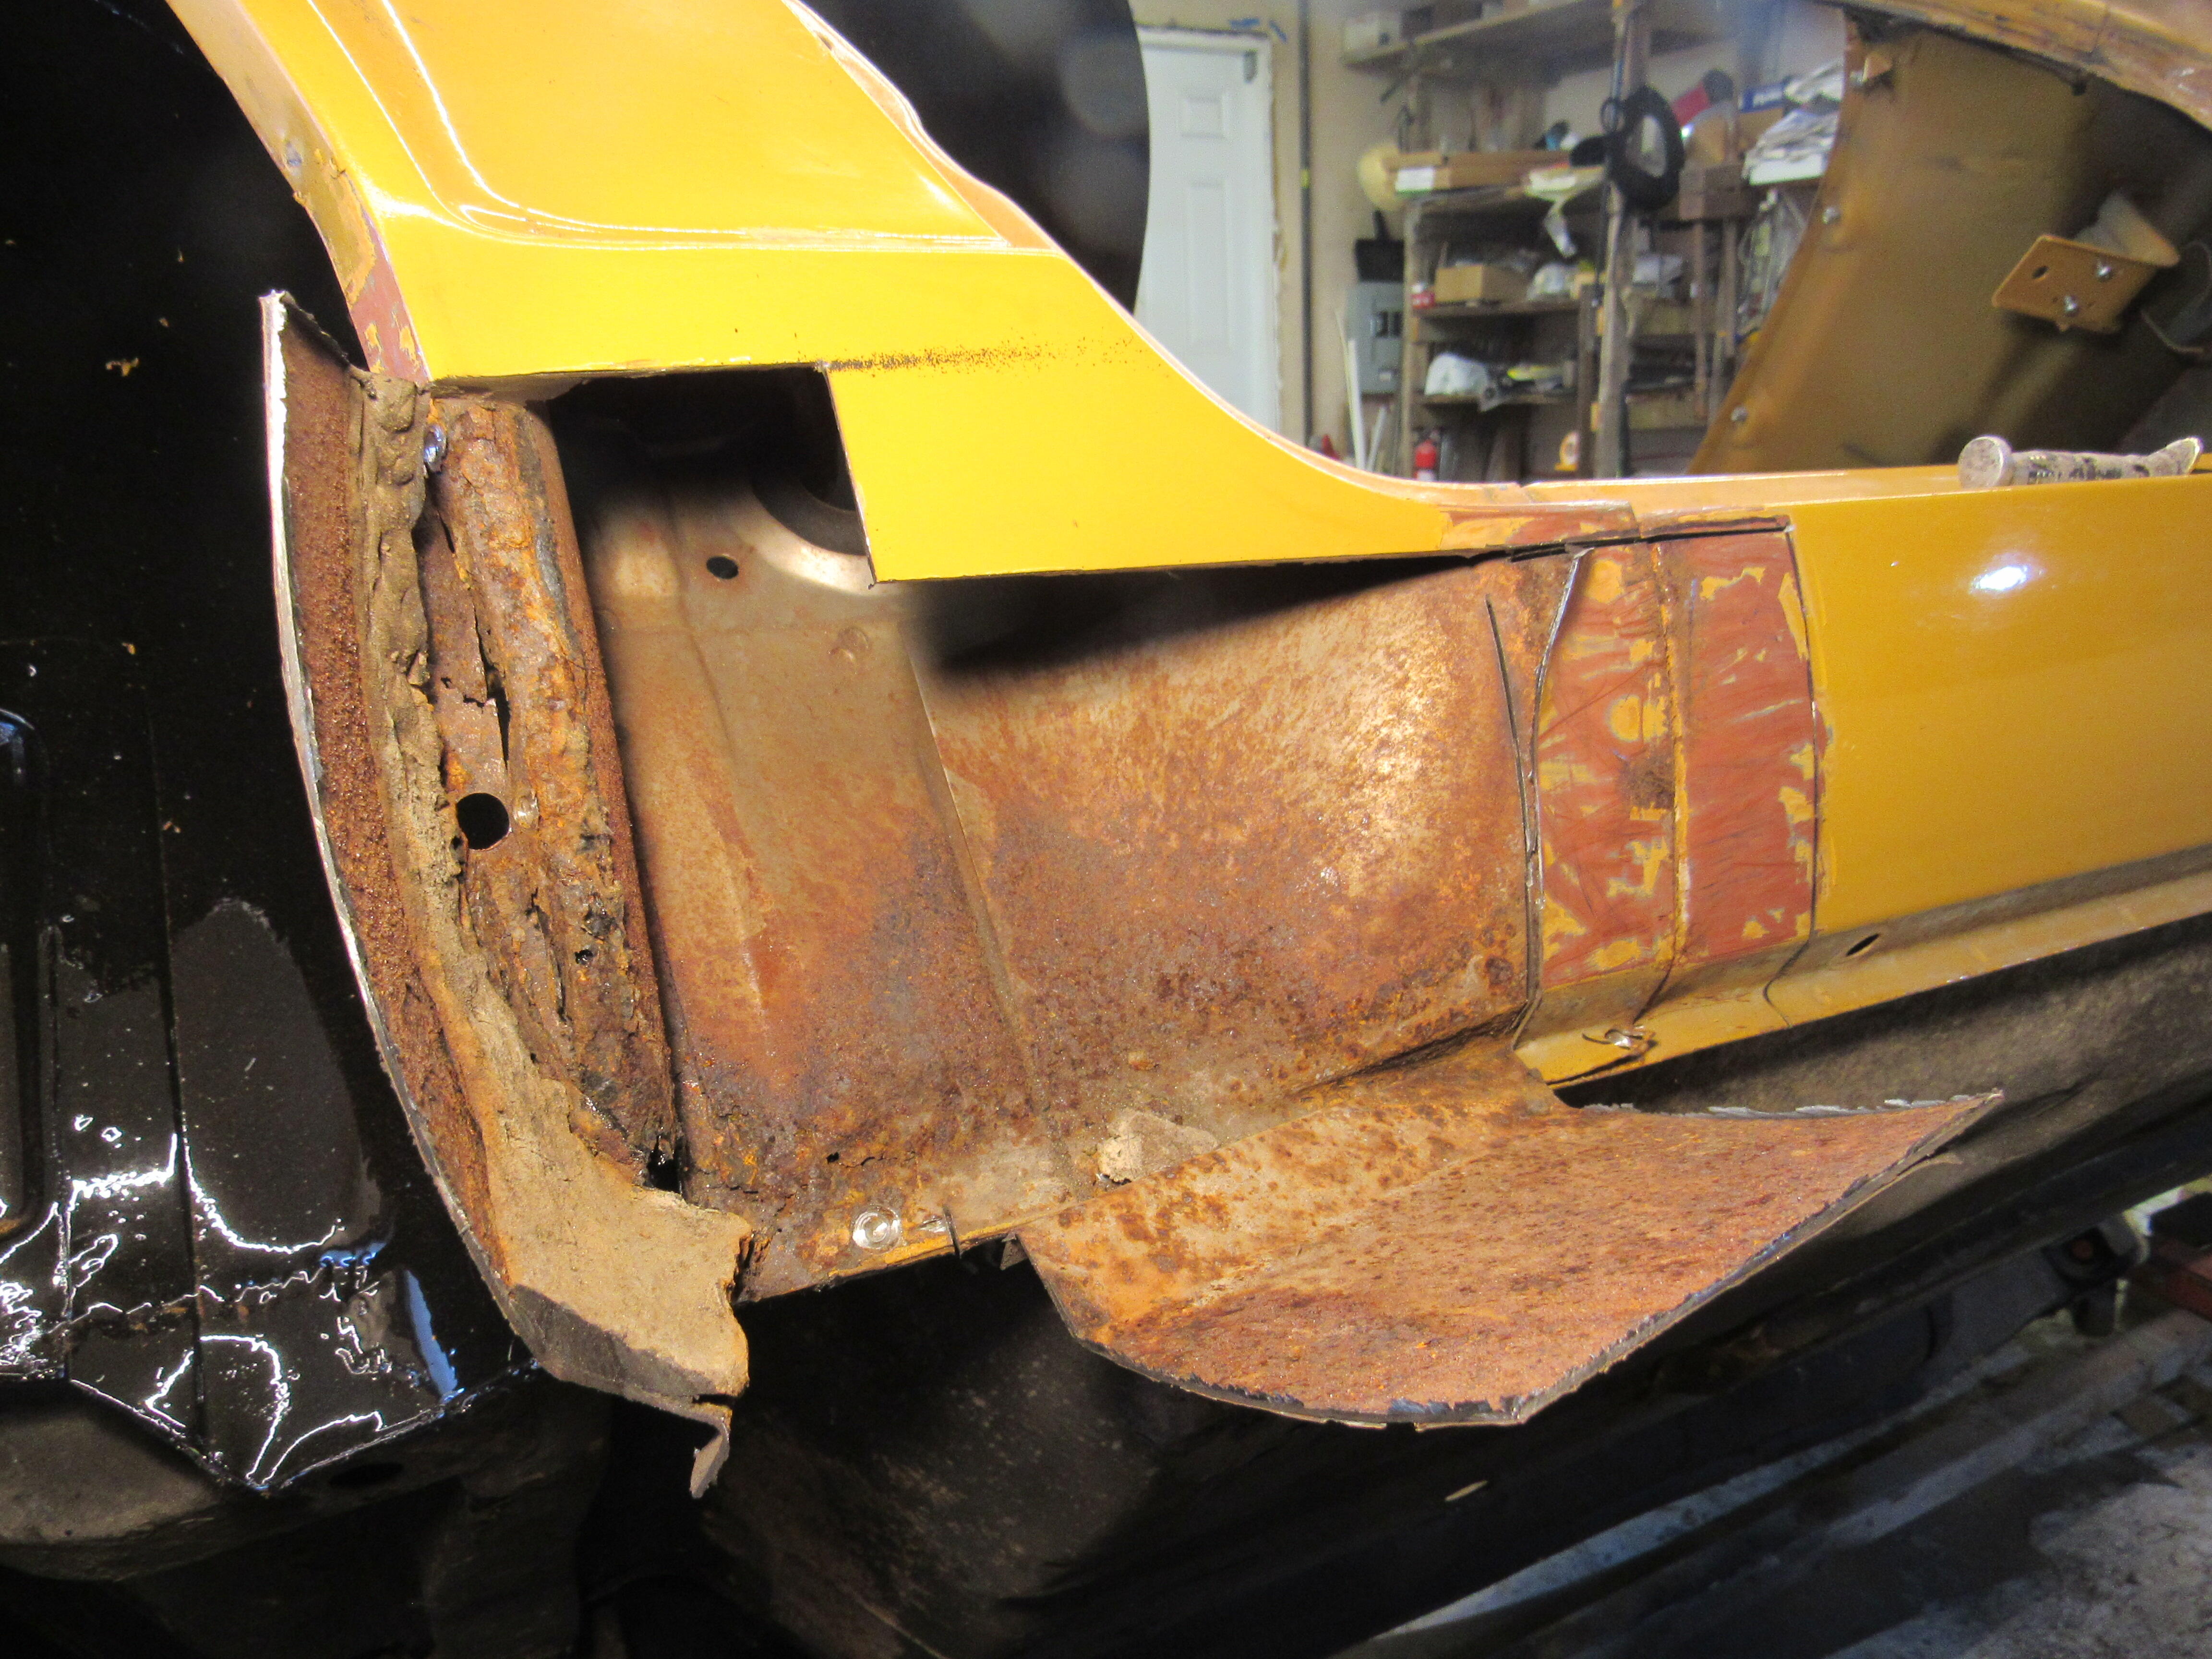
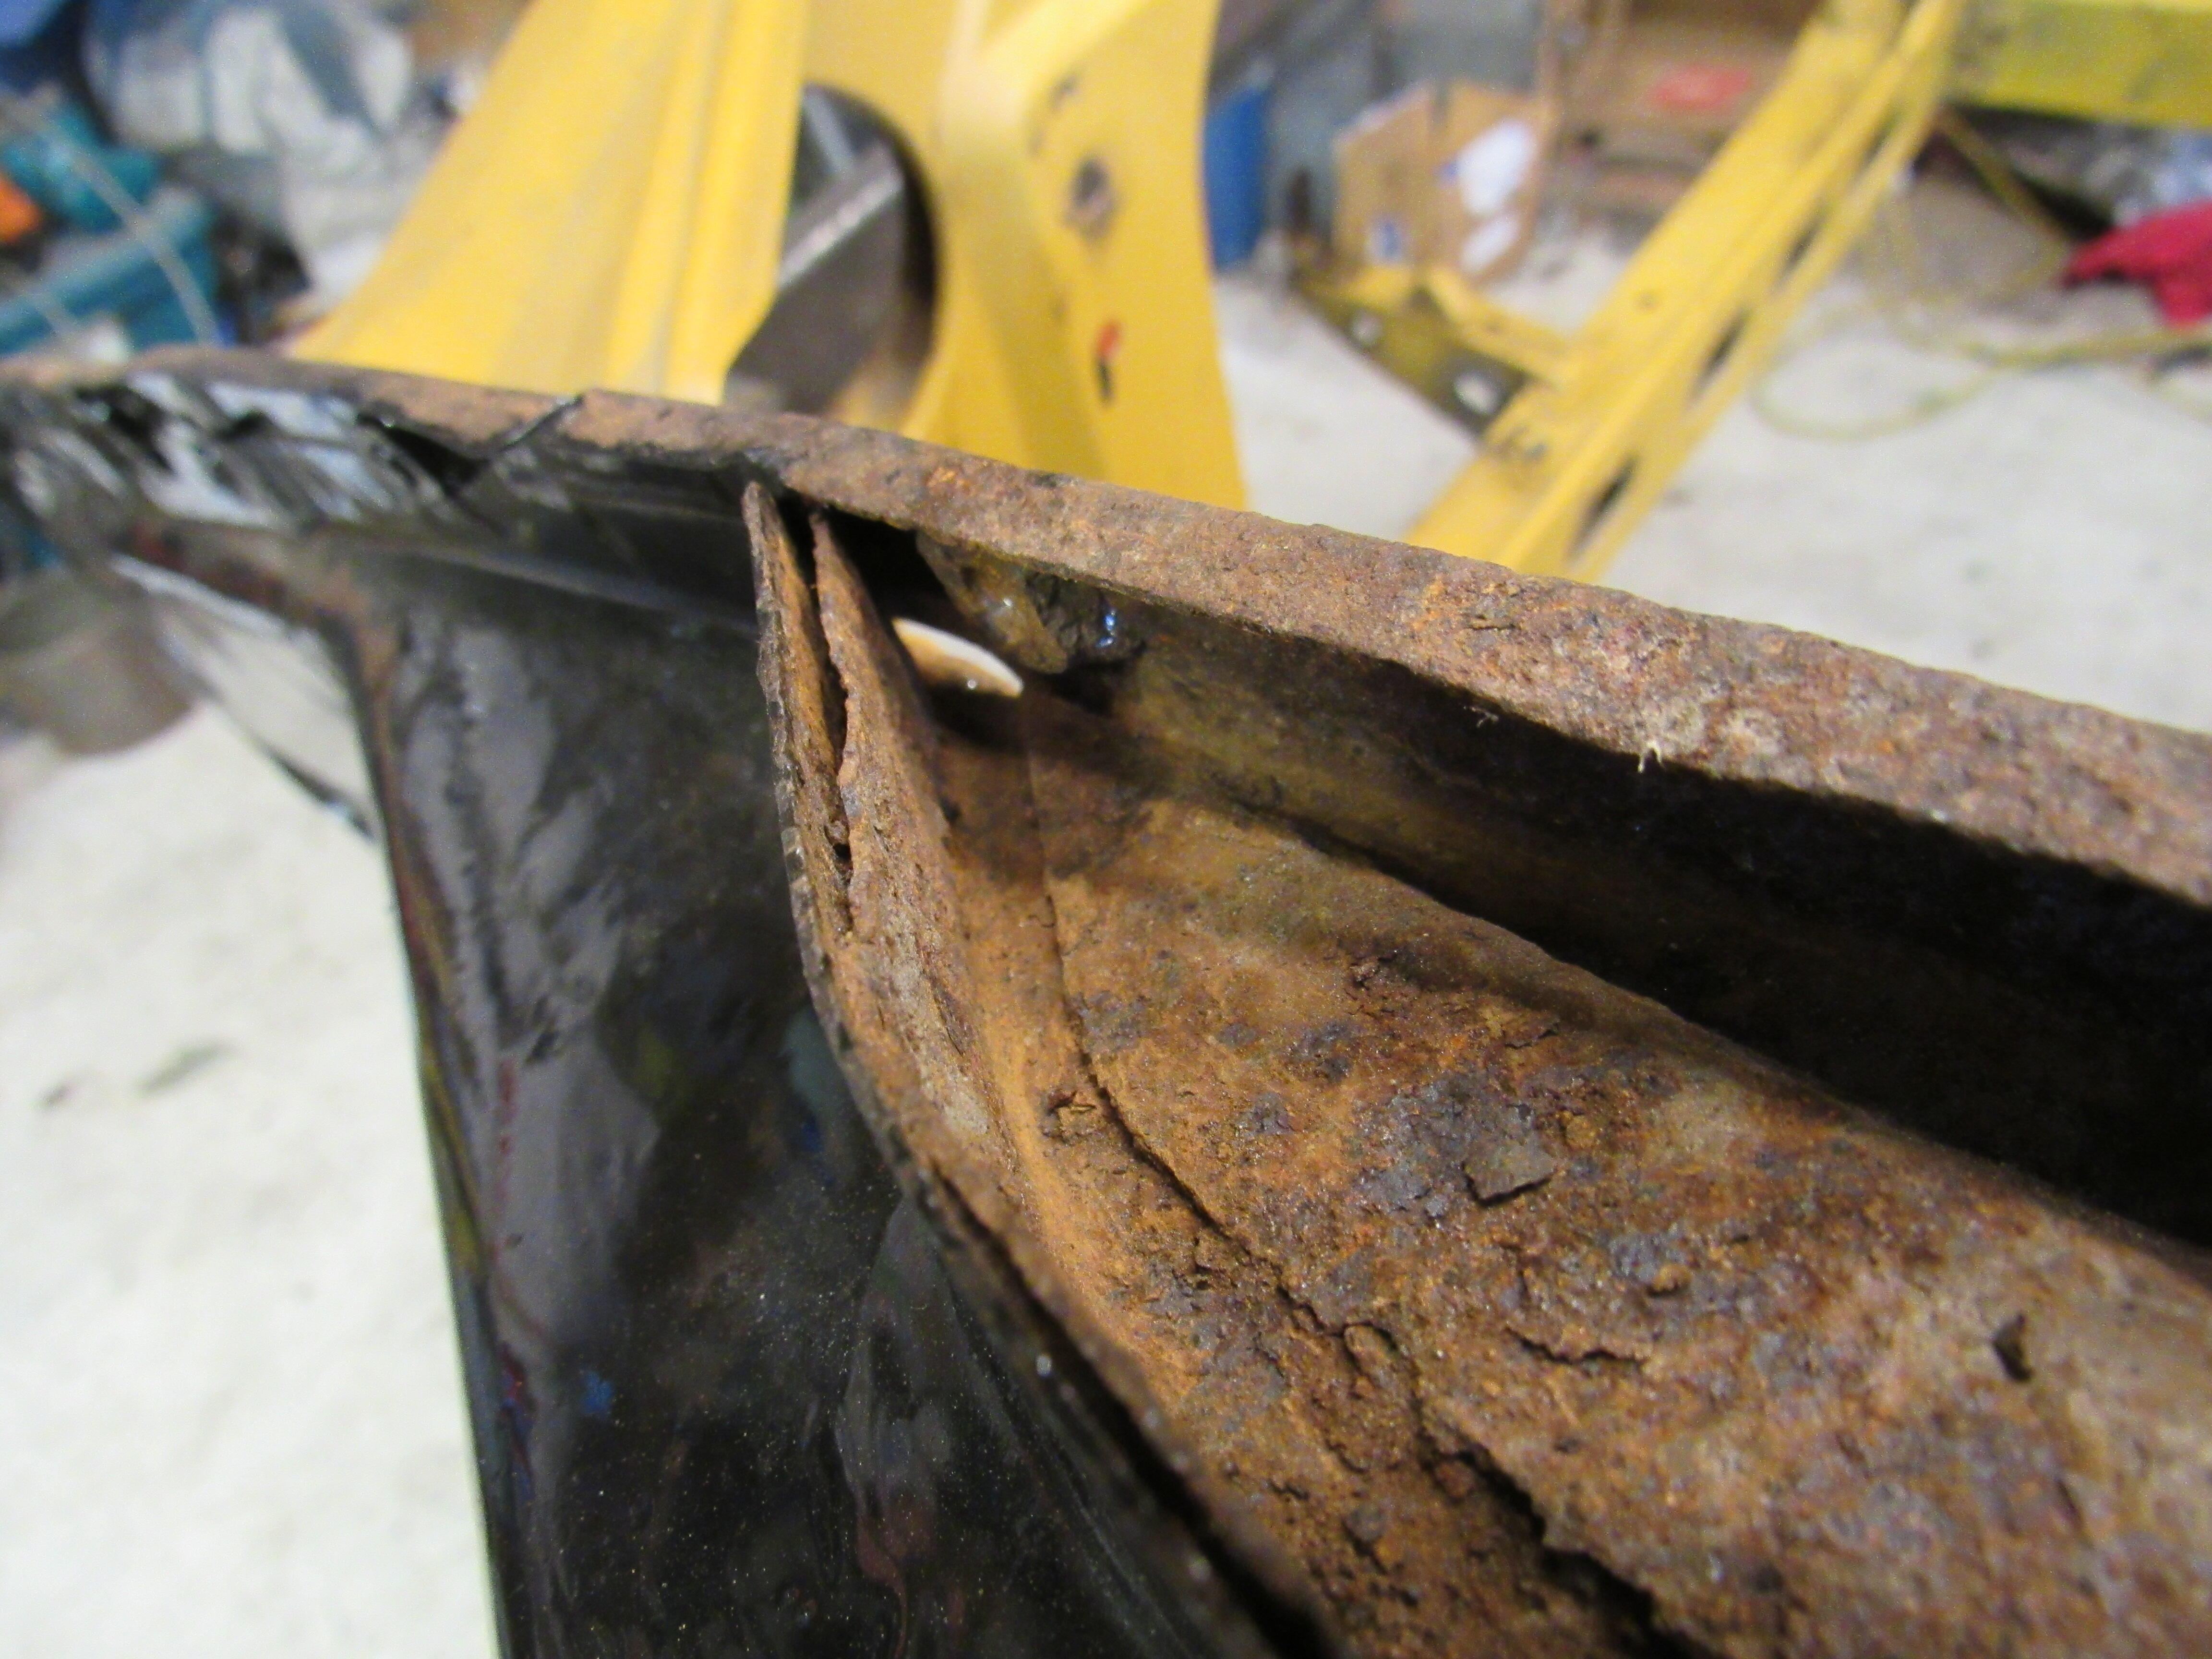
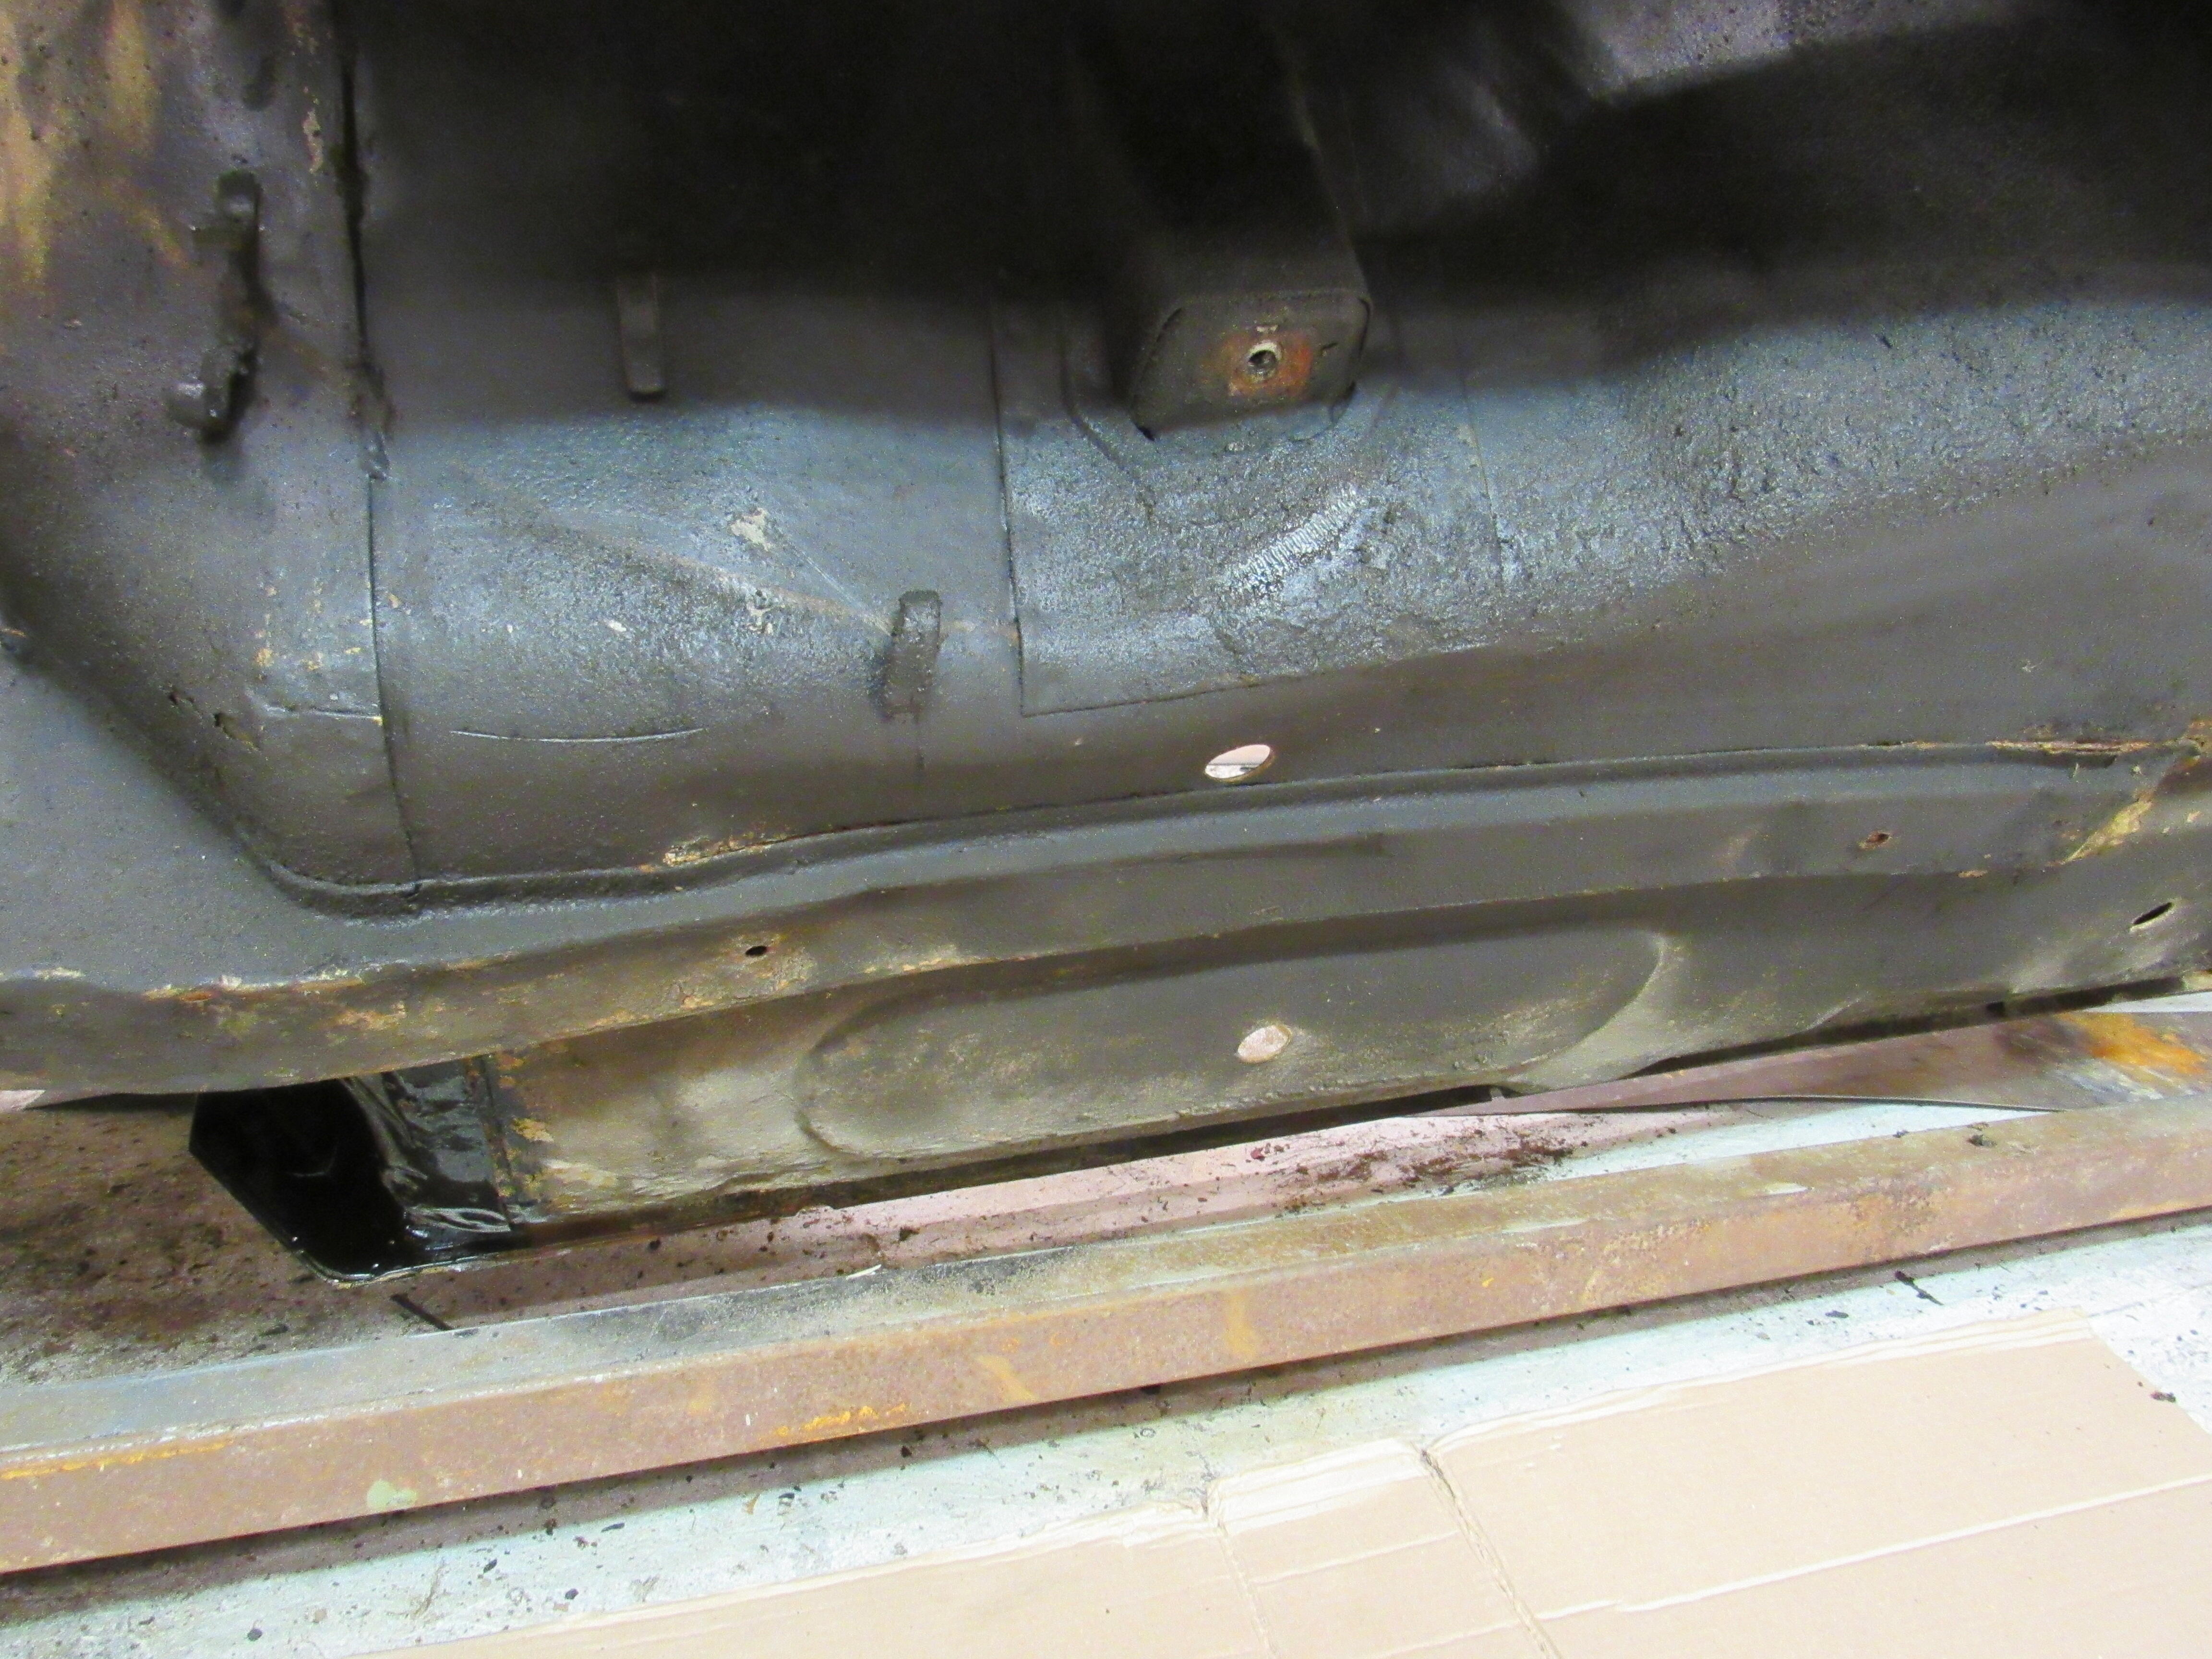
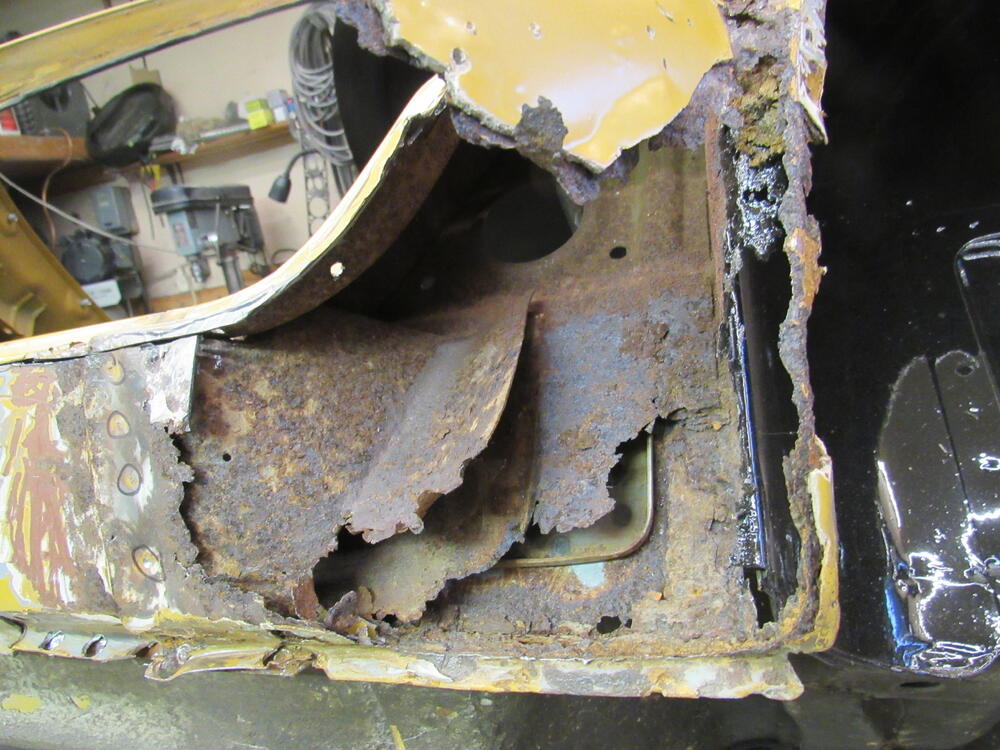
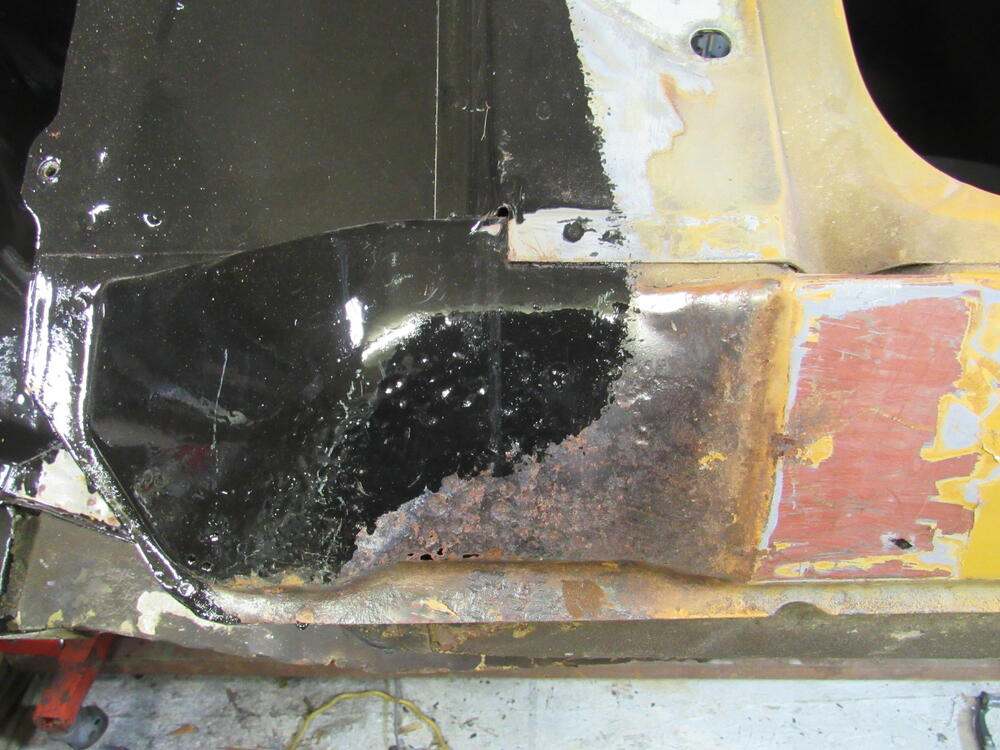
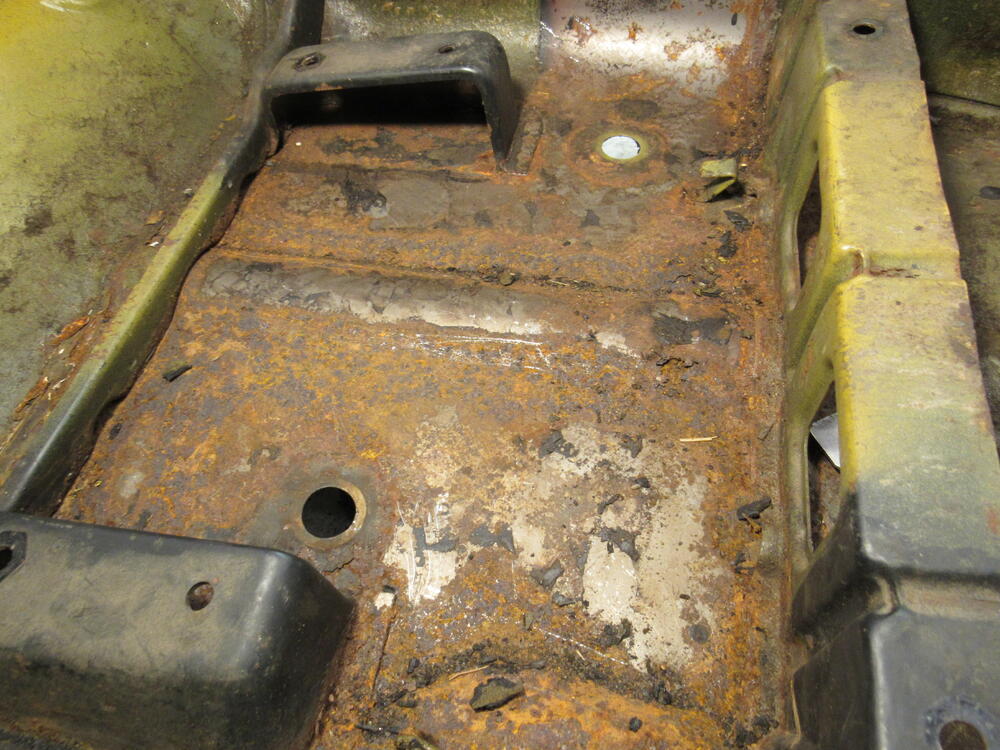
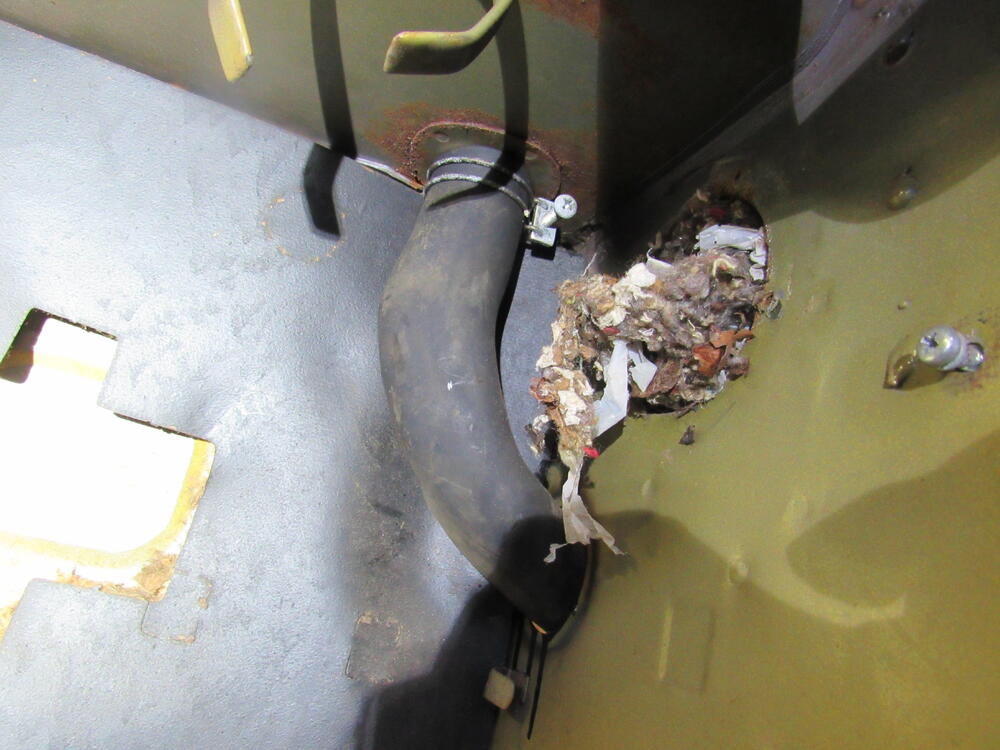
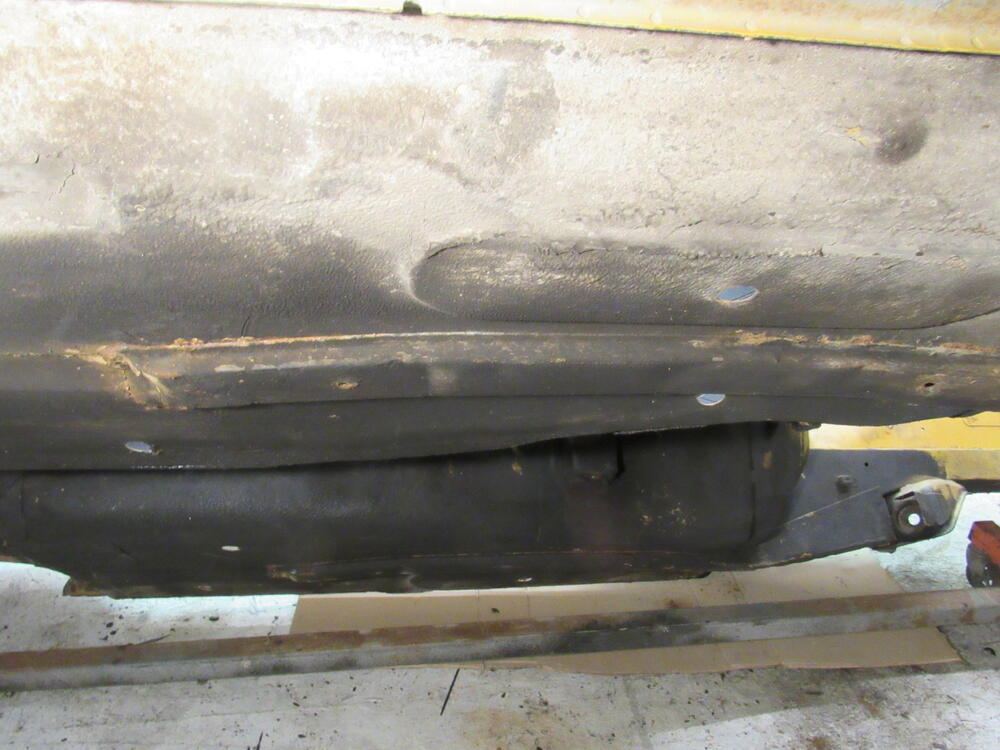
Ooooo that's nasty. Open cell foam will defiantly hold water but closed cell won't. In your first photo showing the passenger side fender it looks like the original rubber seal is still in place. For some reason on the assembly line, a blob of seam sealer was applied blocking the drain hole on top of the wheel well. Any water that does make it past the original rubber seal just sits there in a pool eating away the metal. It's a hard place for water to evaporate from. The last pic I have chipped the old seam sealer out and cleared the drain hole.


-
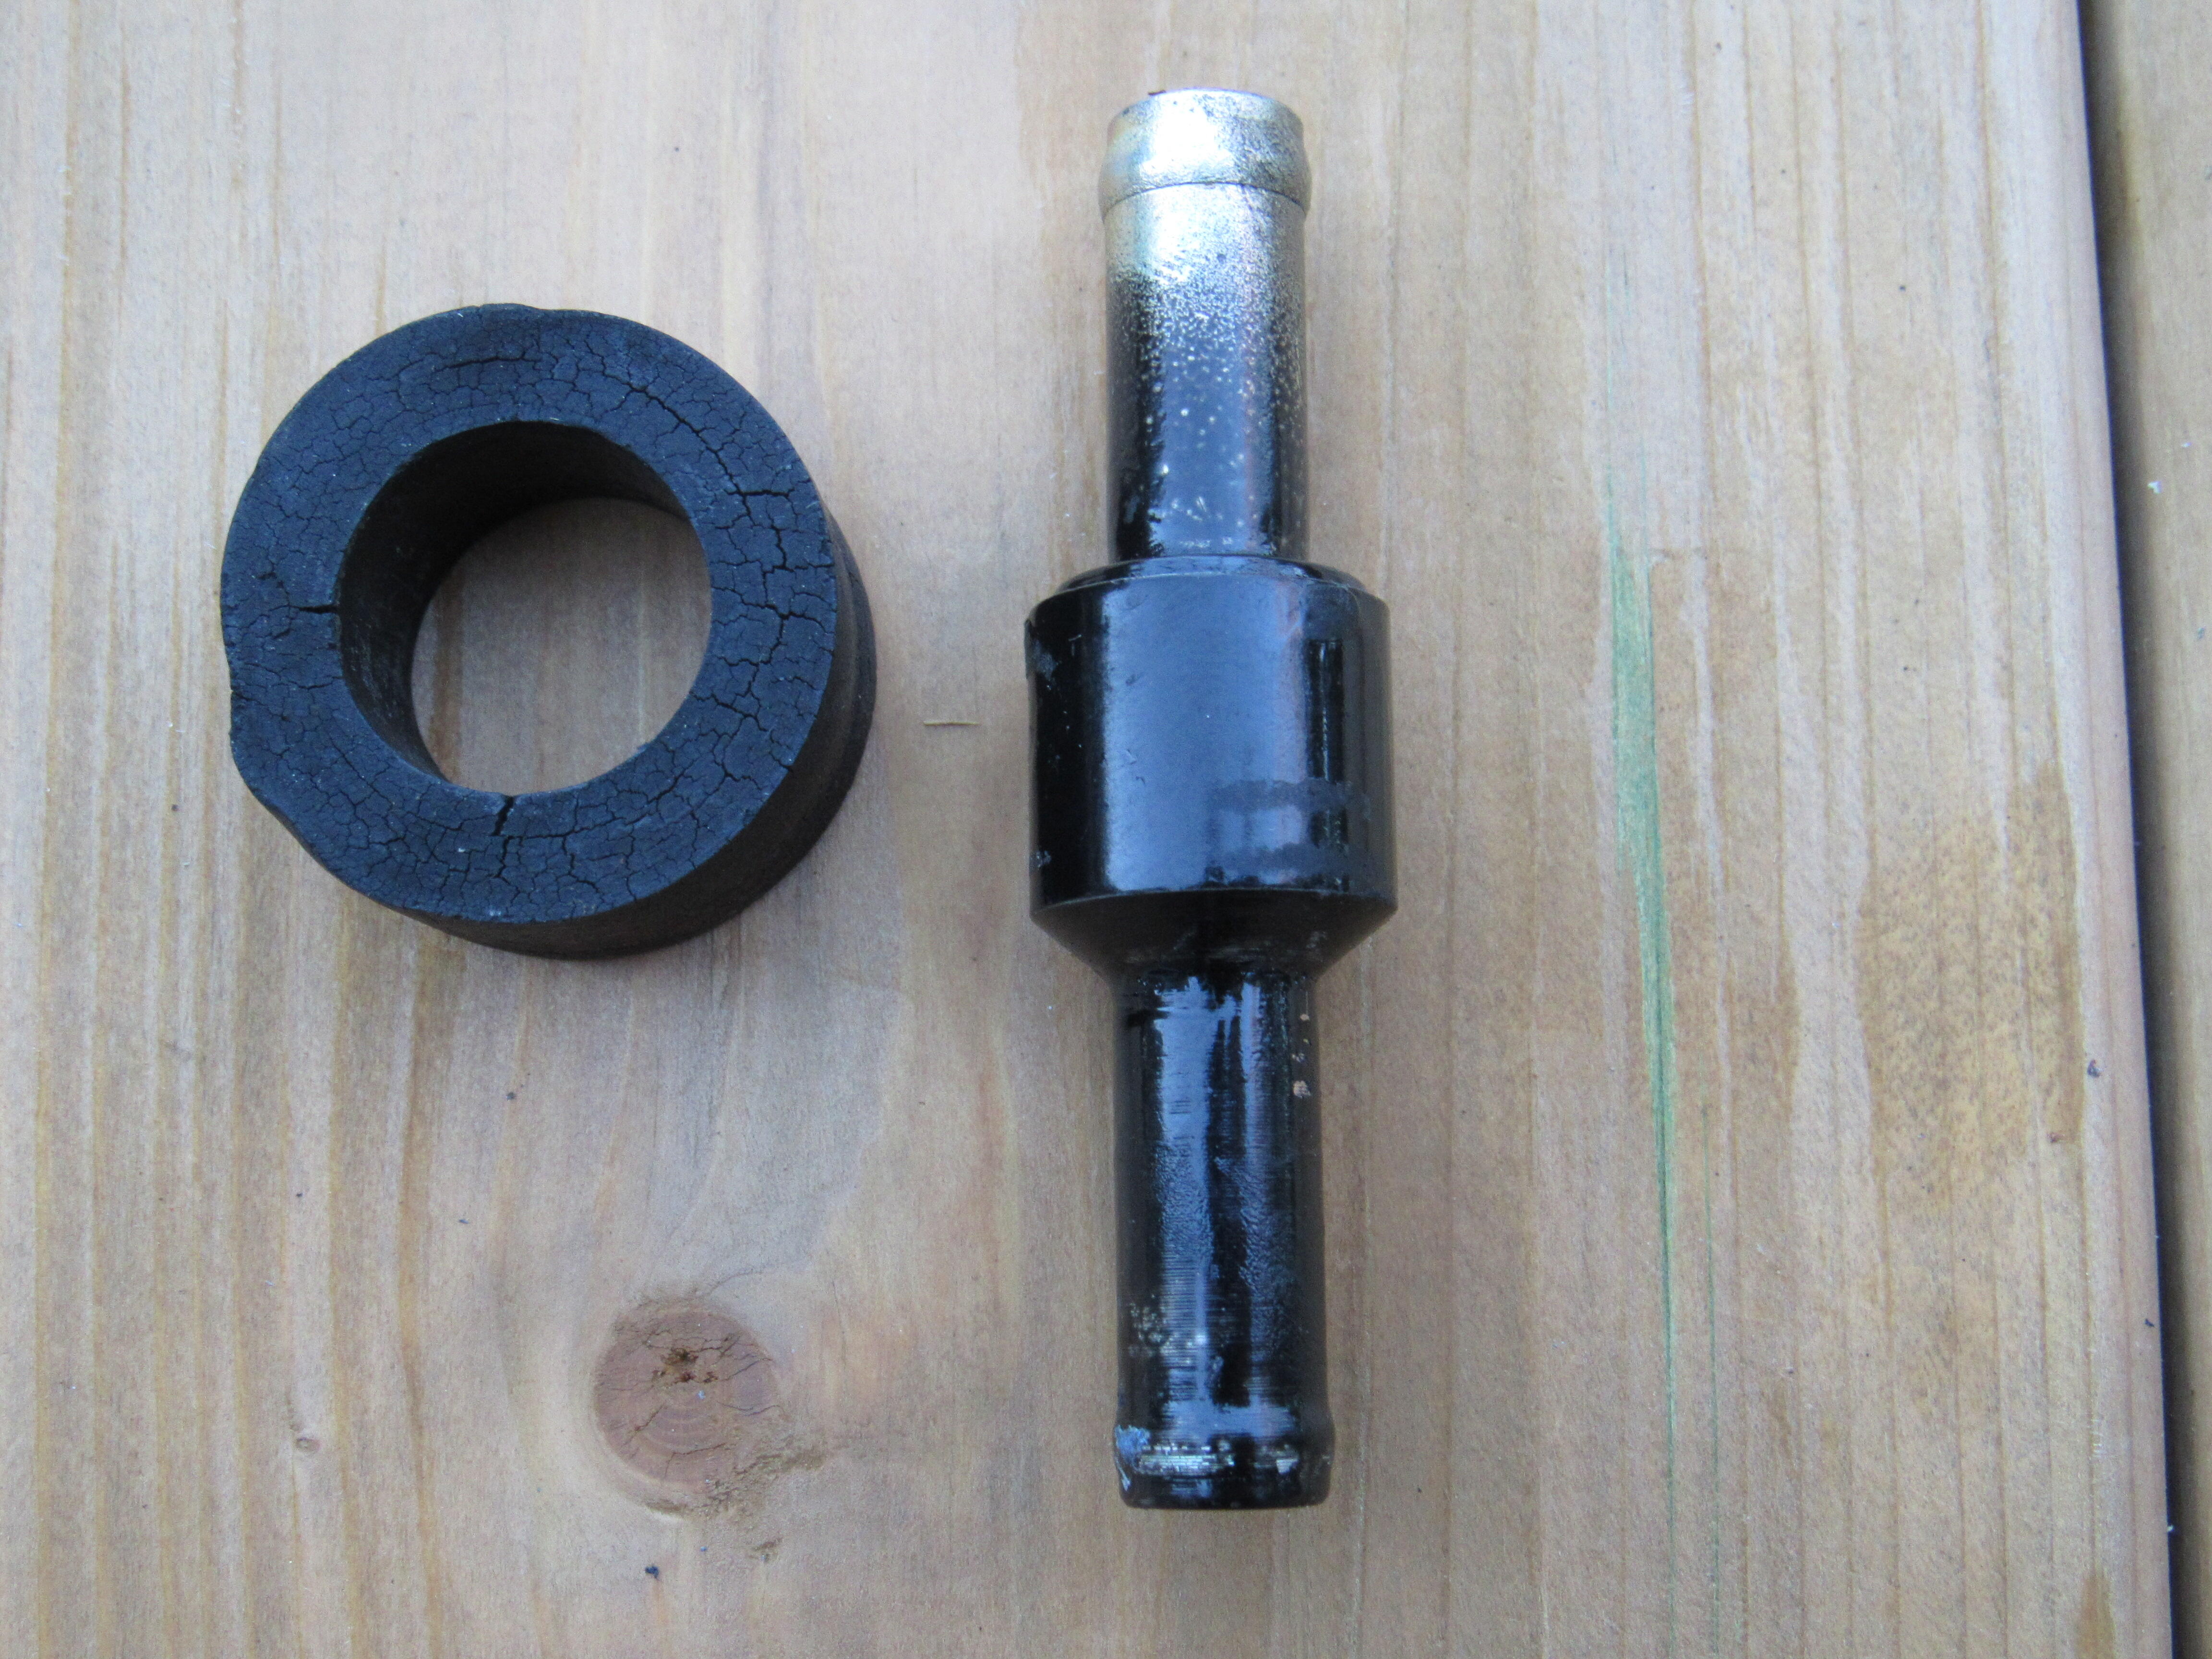
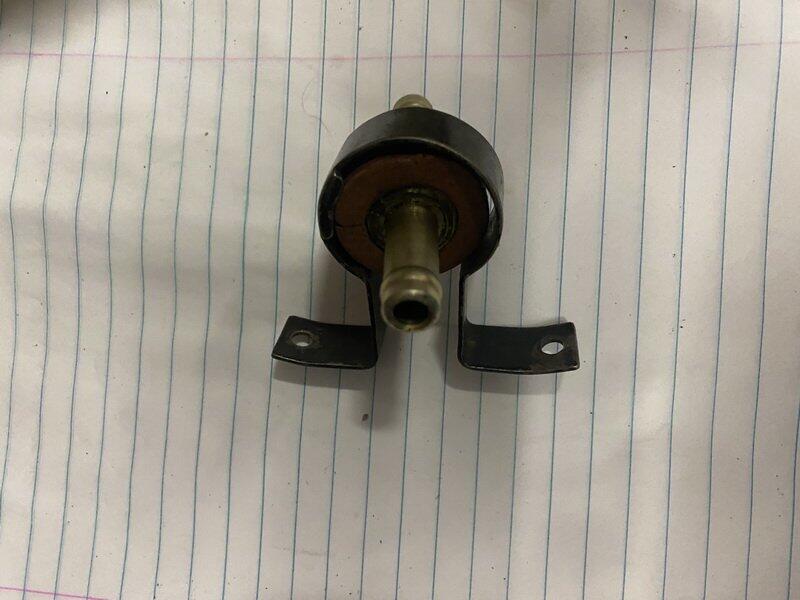
Pretty sure what you have there is the brake booster vacuum check valve, I just painted it to keep the rust off.

-
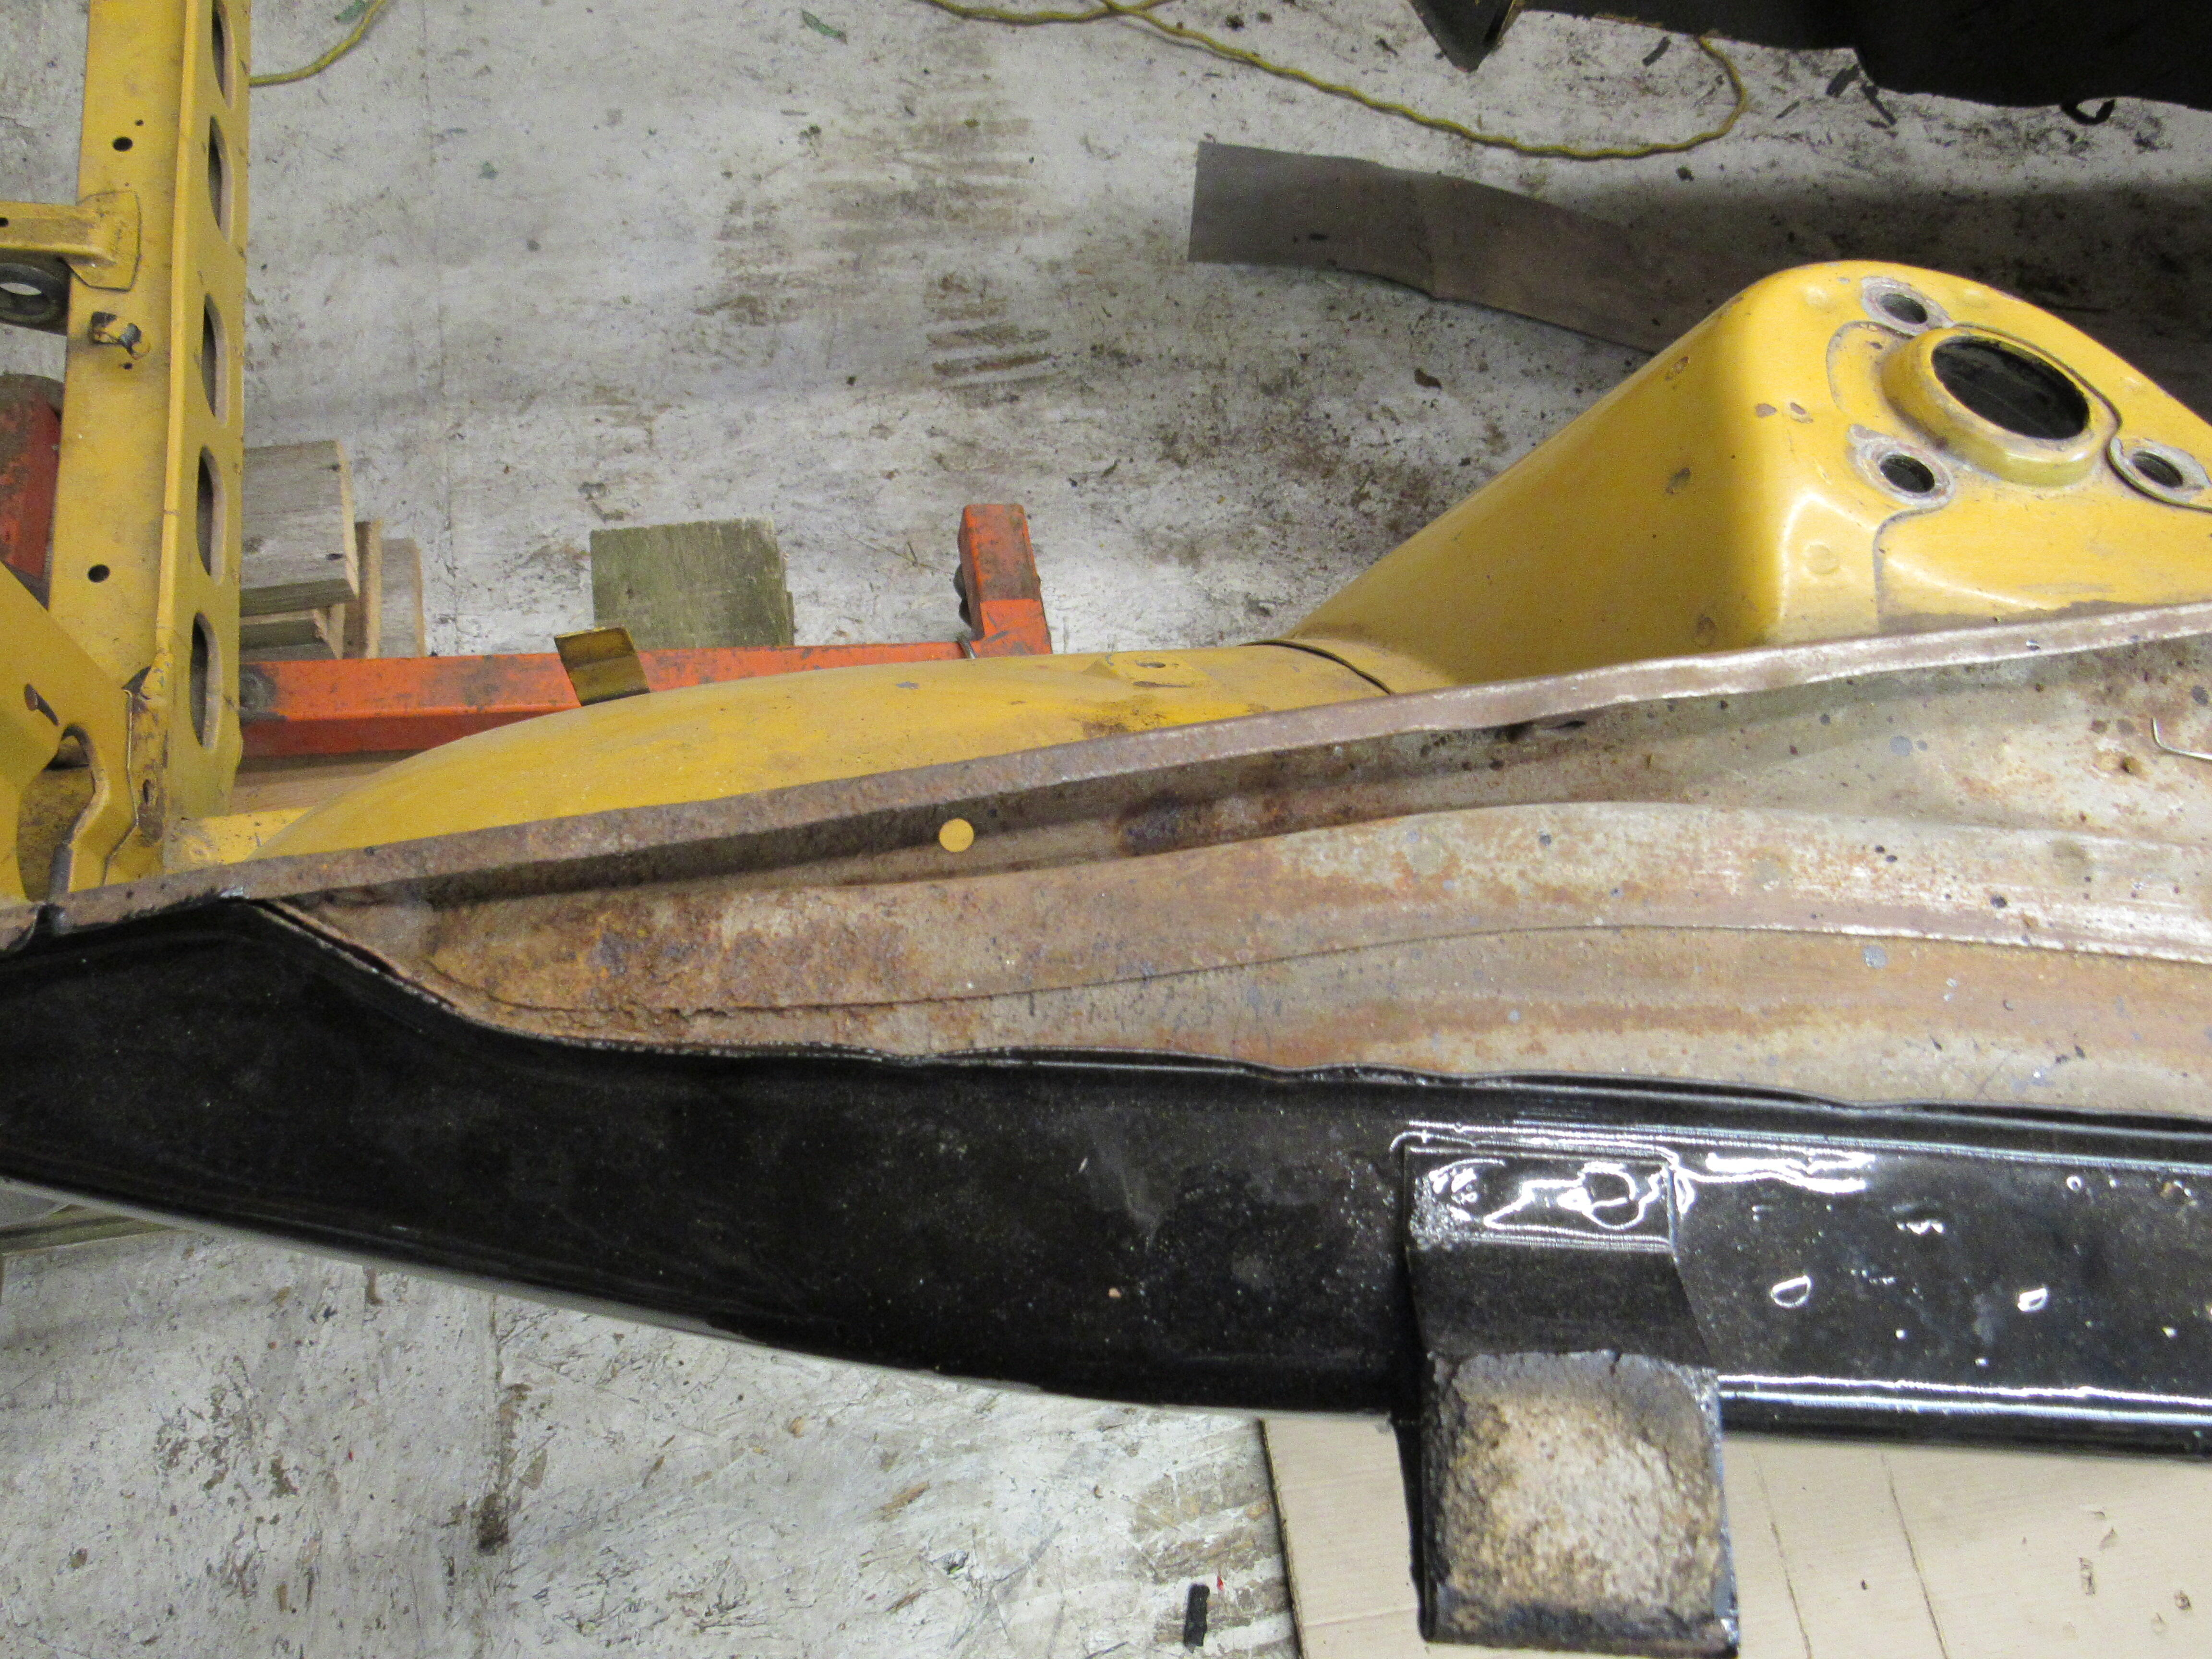
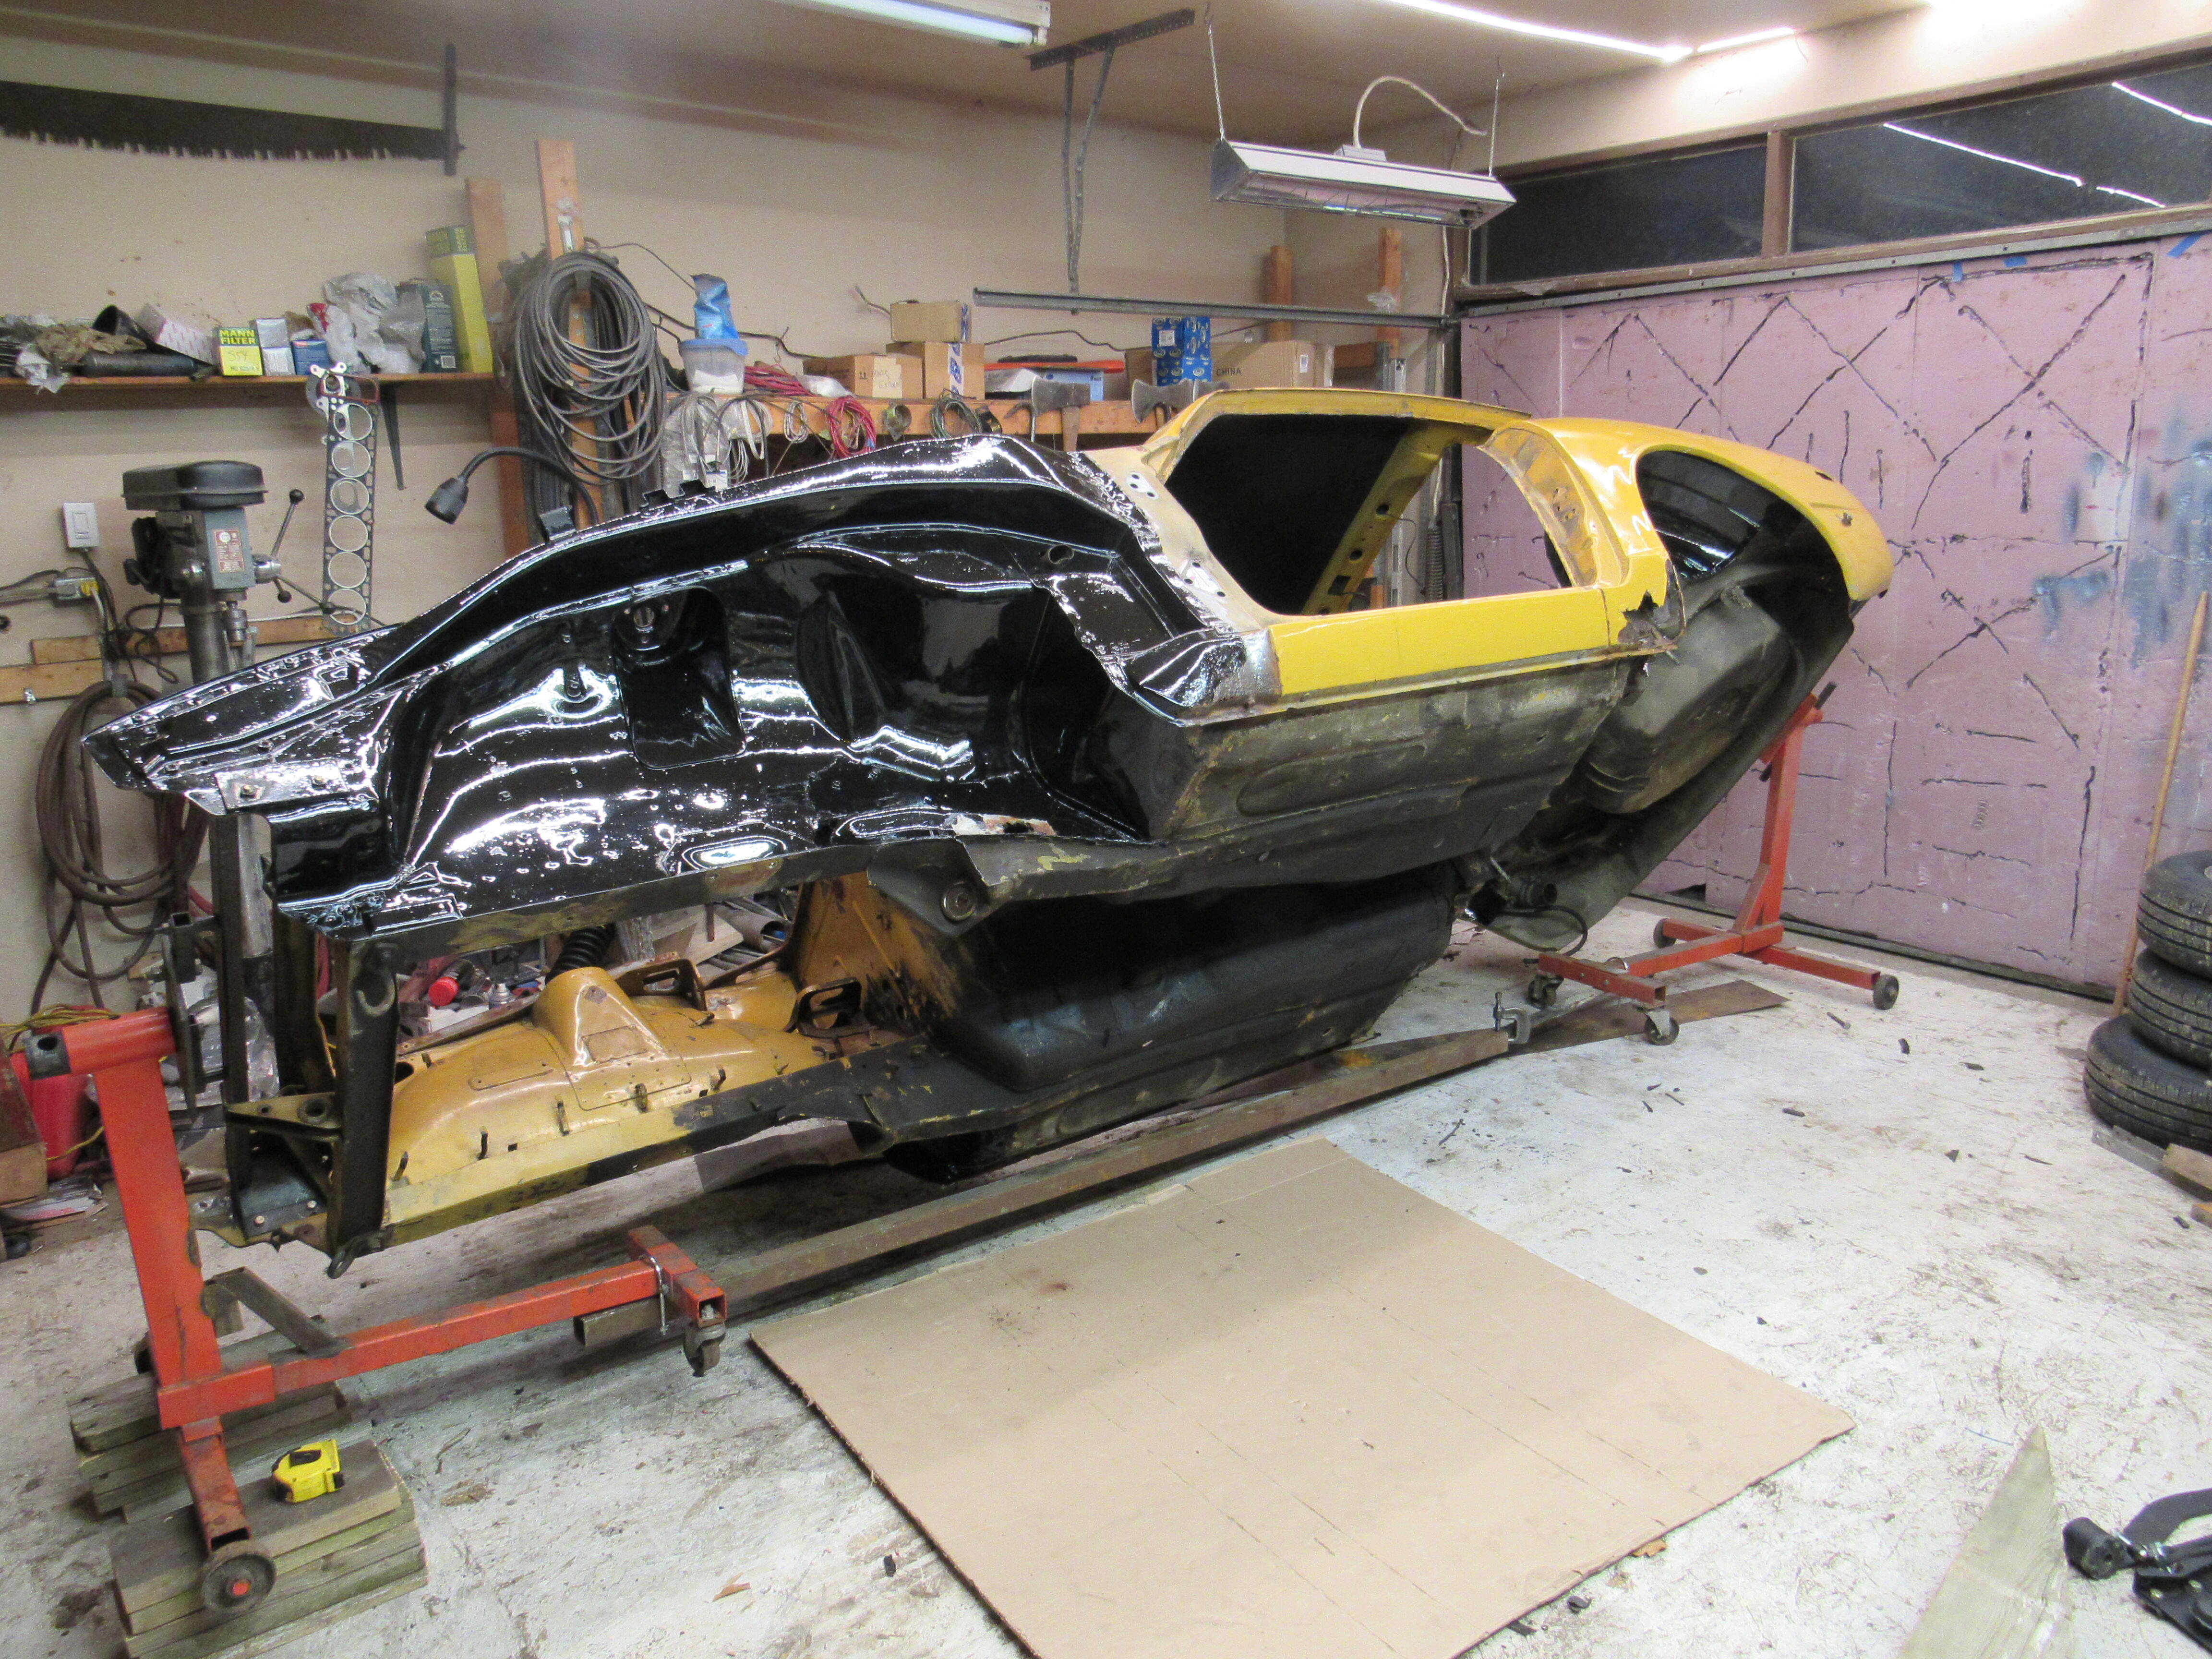
Well she's up in the air, like an idiot I sold my good rotisserie last fall thinking I would never use it again. So I had to dig out the old one, not very pretty but it works fine. Someone jacked the car up in the middle or the floor pan, I have an anvil that I p/u and drop to correct those. Some rust porn.


-
Brake booster check valve isolatior?
-
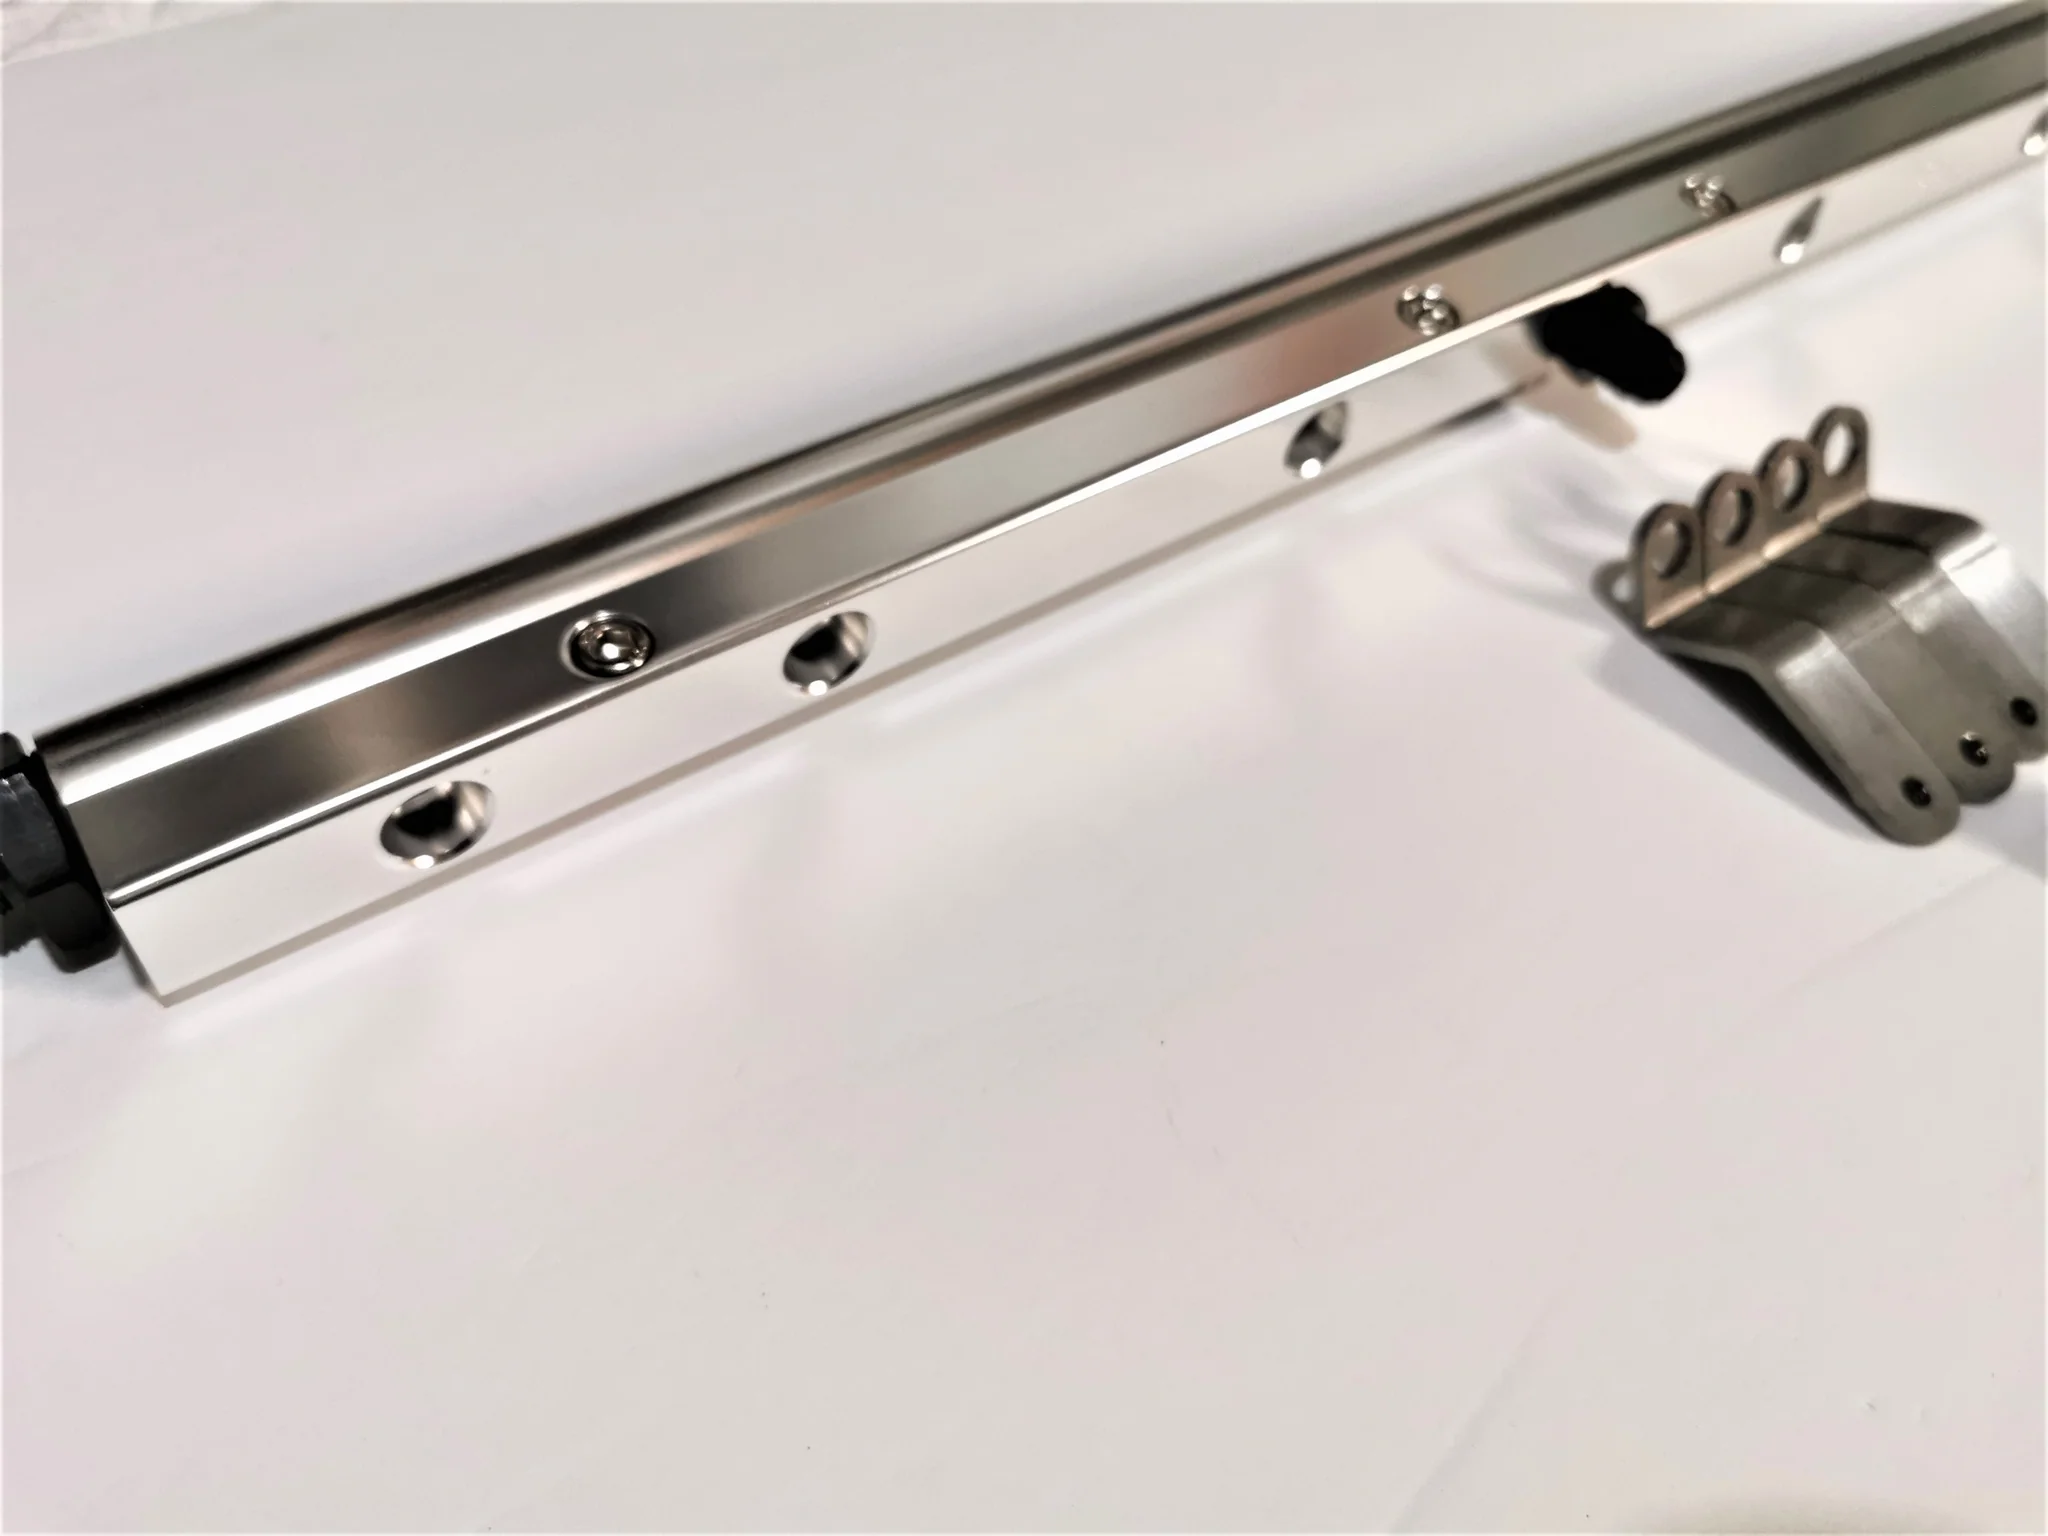
It's possible that they sent you the wrong fuel rail, here is a pic from their website, it's blurry but you can see the chamfer on the fuel rail. Also, your rail has threads, what are those for?

-
I always use the closed cell foam strips for house window sealing, they have double stick tape on them but you can't rely on that, you still have to use automotive weather strip adhesive.
-
Terrific, a video done by a craftsmen with no intro, no irritating back ground music, short, sweet and useful. Youtubers could learn a lot from this guy. Anyone anything about that mini sandblaster he was using?
-
If they are water marks then you should be able to buff them out with heavy cut compound, scratches you are stuck with.
-
Nice that you have a project to do with your boys, from your video it certainly looks like you have it bottomed.
-
What do you think that blistering was caused by? Some left over grease?