grannyknot
Free Member
-
Joined
-
Last visited
Everything posted by grannyknot
-
 Chas, I sold it, the bmw vacuum pump is part of the M/C unit. I don't throw all the good stuff out you know, I just didn't realize that I would need it. Okay, electric vac pump with vac switch and a canister. Thank you all.
 -
What if I apply the brakes for 10-30 sec. after start up and before driving off? That would pump down the booster and vacuum canister so every time I applied the brakes after that the pump would be 'topping off' the vac canister.
-
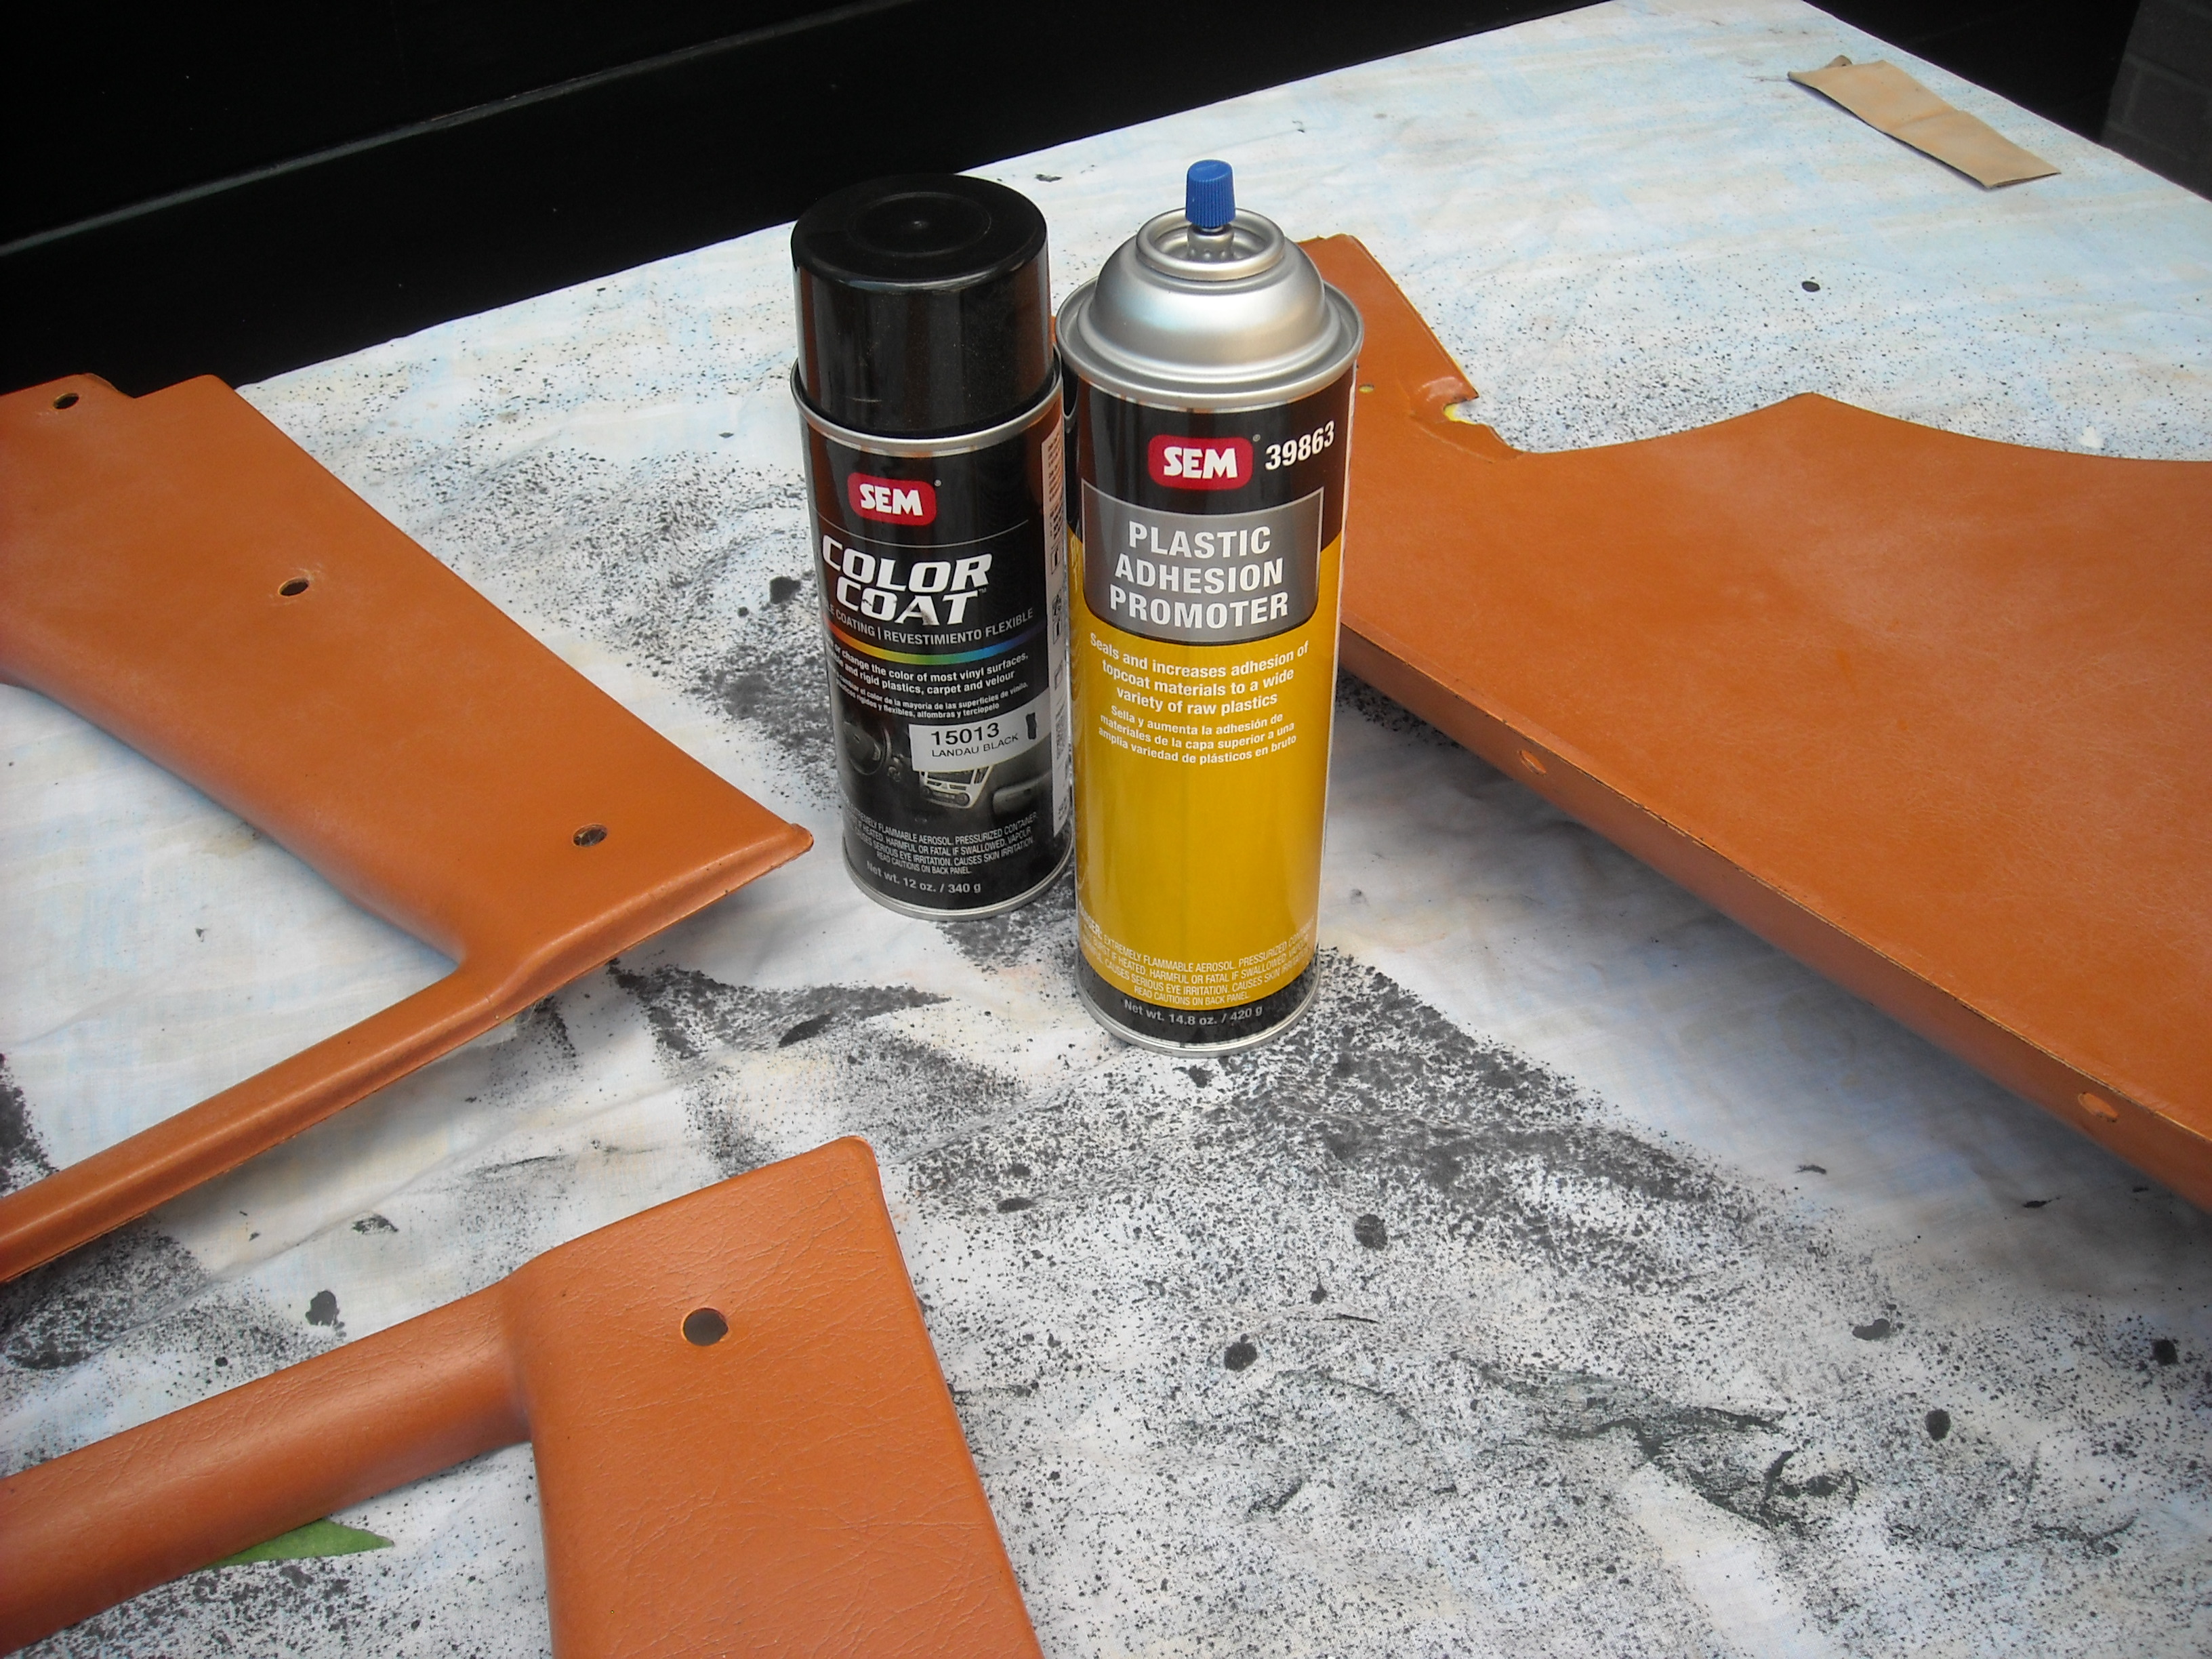
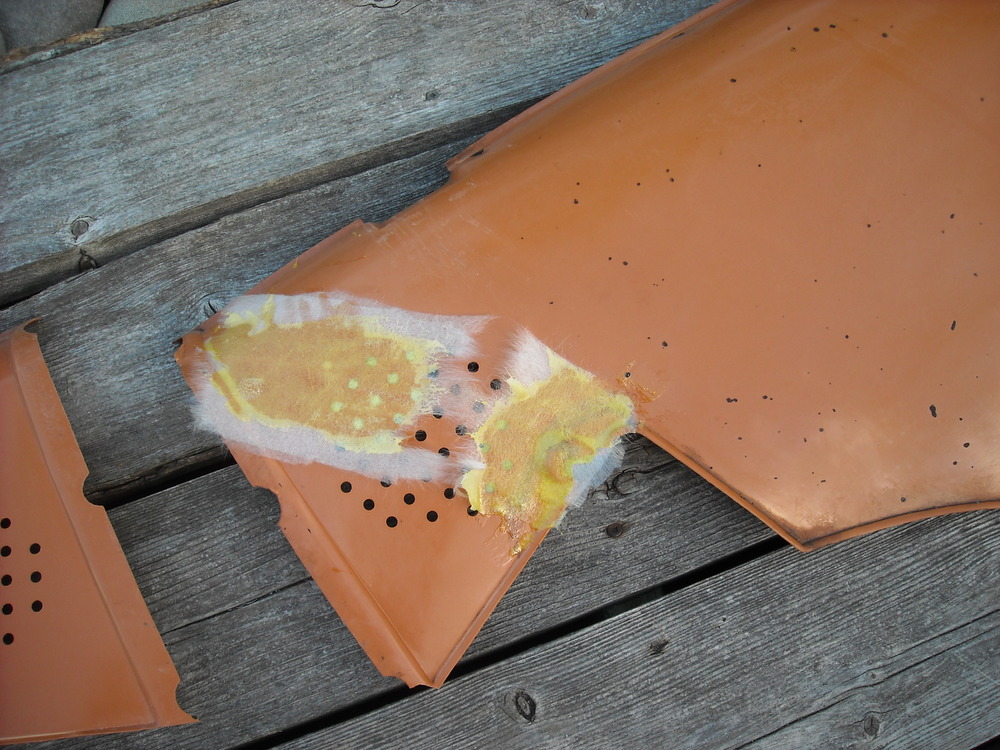
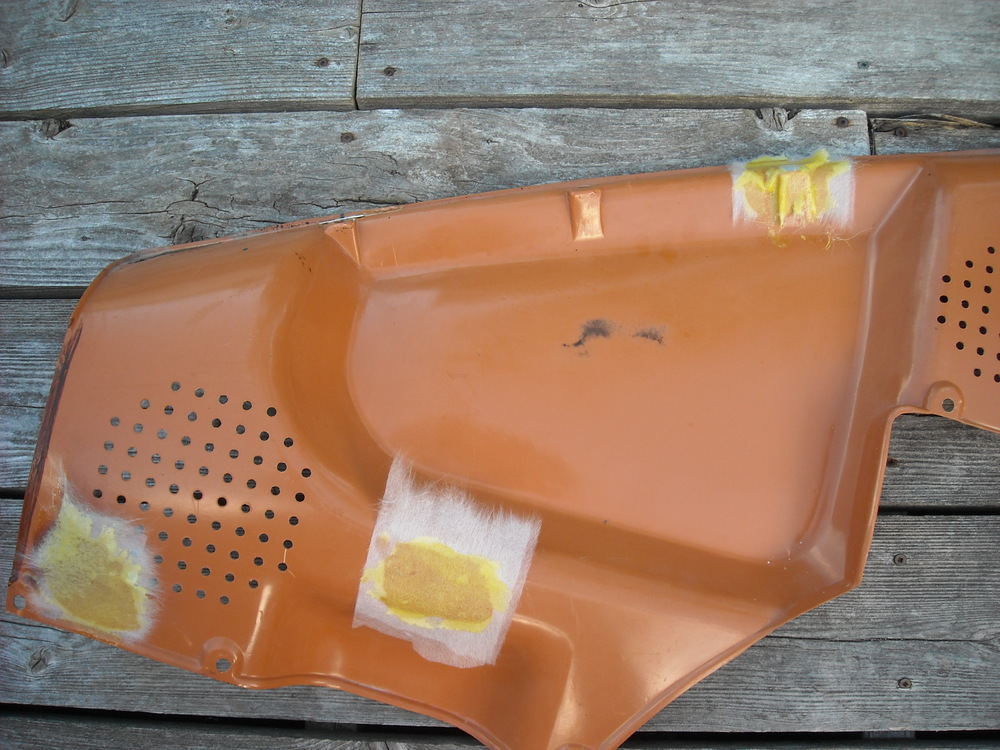
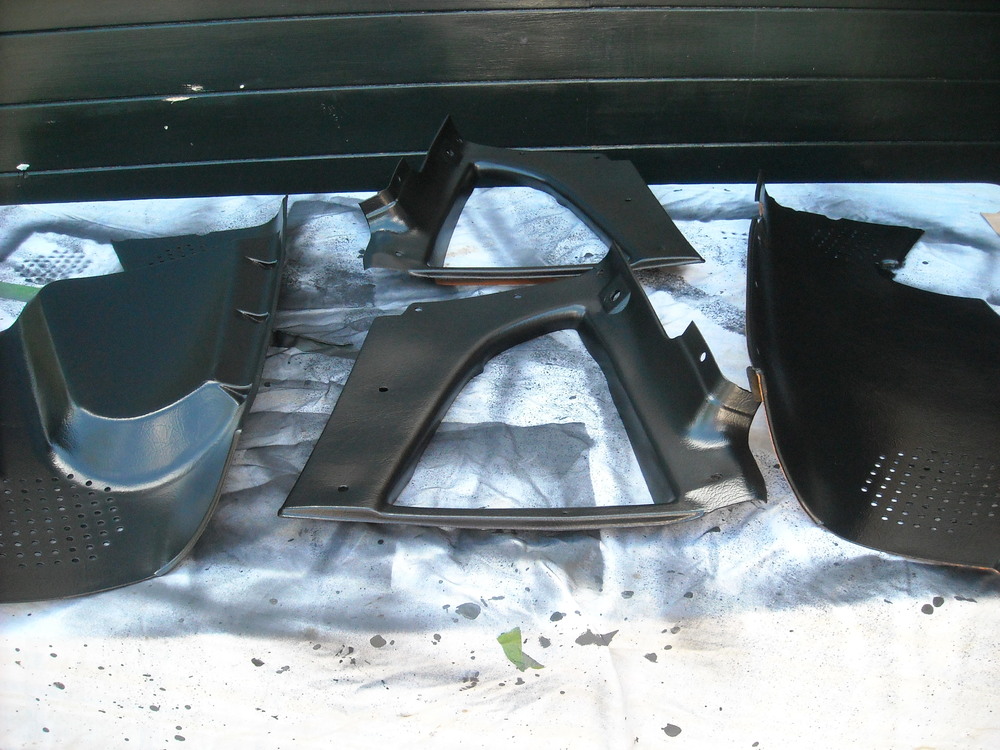
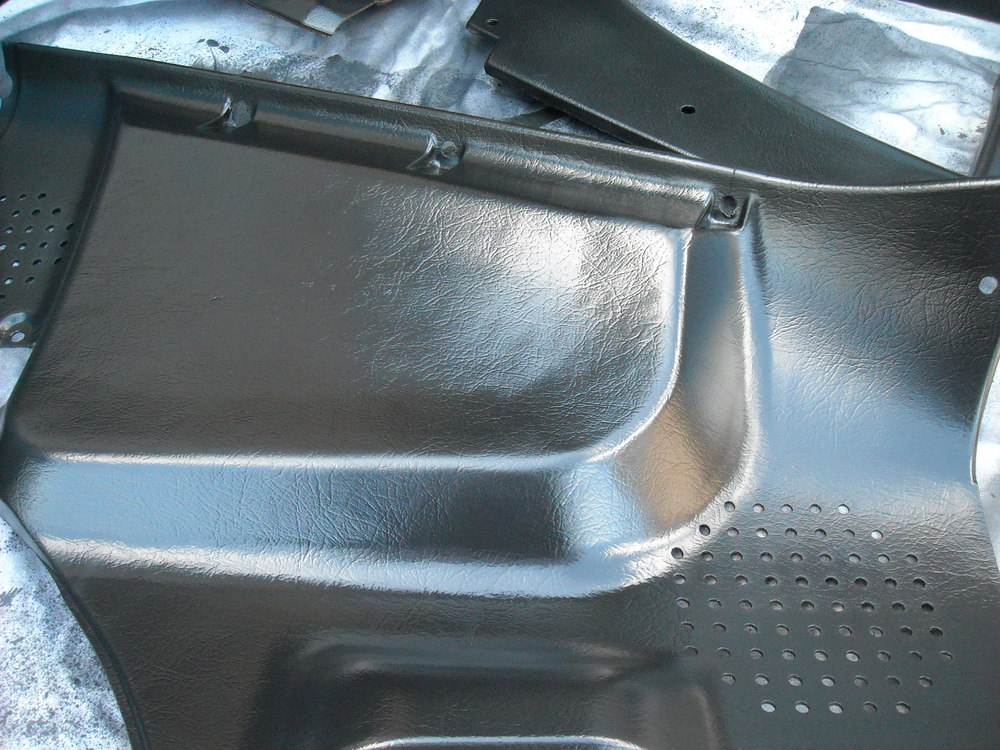
I used the ABS glue trick to repair my plastic panels before the colour change with SEM. After the ABS glue had hardened I applied two coats of adhesion promoter and four of colour.

-
It just occurred to me that I had a vacuum pump on the M6 I parted out, I guess I sold it, Duh. Someone on another forum suggested hooking the pump to the brake pedal with a relay, I might try that.
-
I GOT THE S.O.B RUNNING! Matt, the MS guru is coming up in a couple days so I was neatening up the wires so I didn't look like the complete backyard hack that I am and was checking them all again for power, grounds and continuity. That's when it occurred to me that the ignition coil positive wire was getting switched power but not when the starter was turning, I hadn't connected the coil to the ignition wire, what a twit. Switched it over and it started right up and idled pretty well. The strange thing is the laptop running TunerstudioMS says "Not Connected" and it is definitely connected. But that is something Matt can figure out. At least I can say it didn't beat me. As my Dad use to say "If one monkey can do it, another monkey can do it"
-
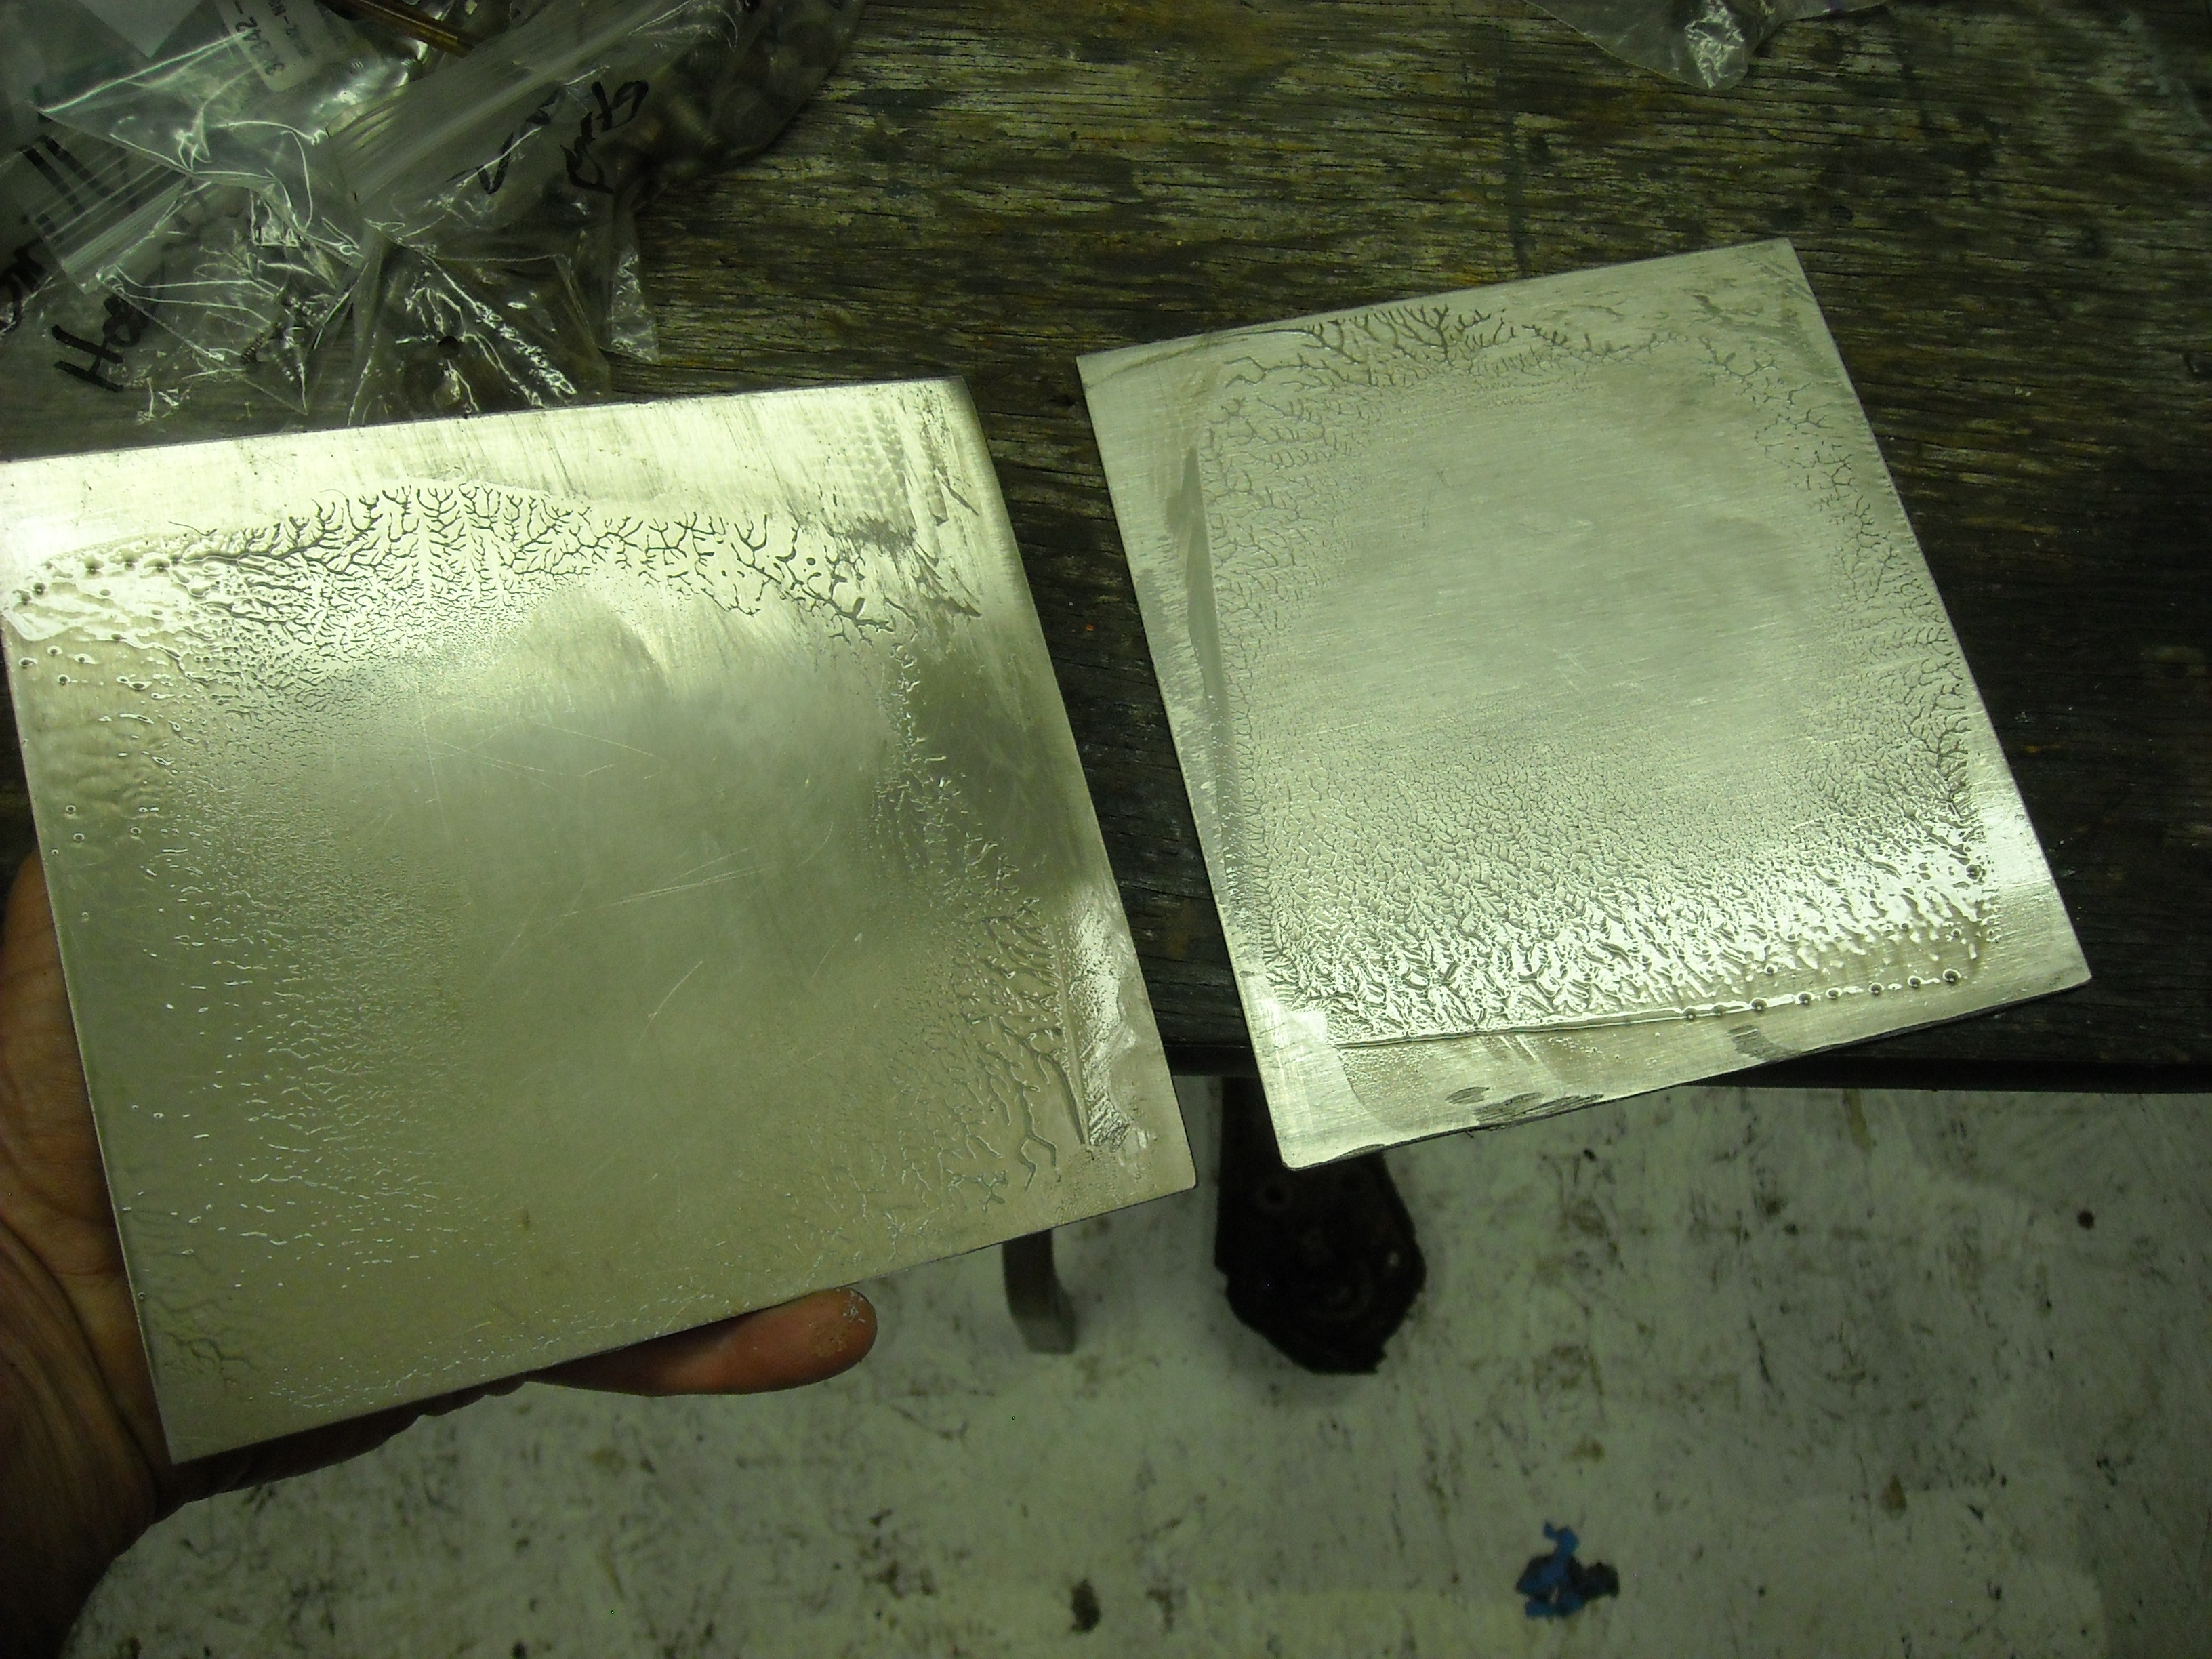
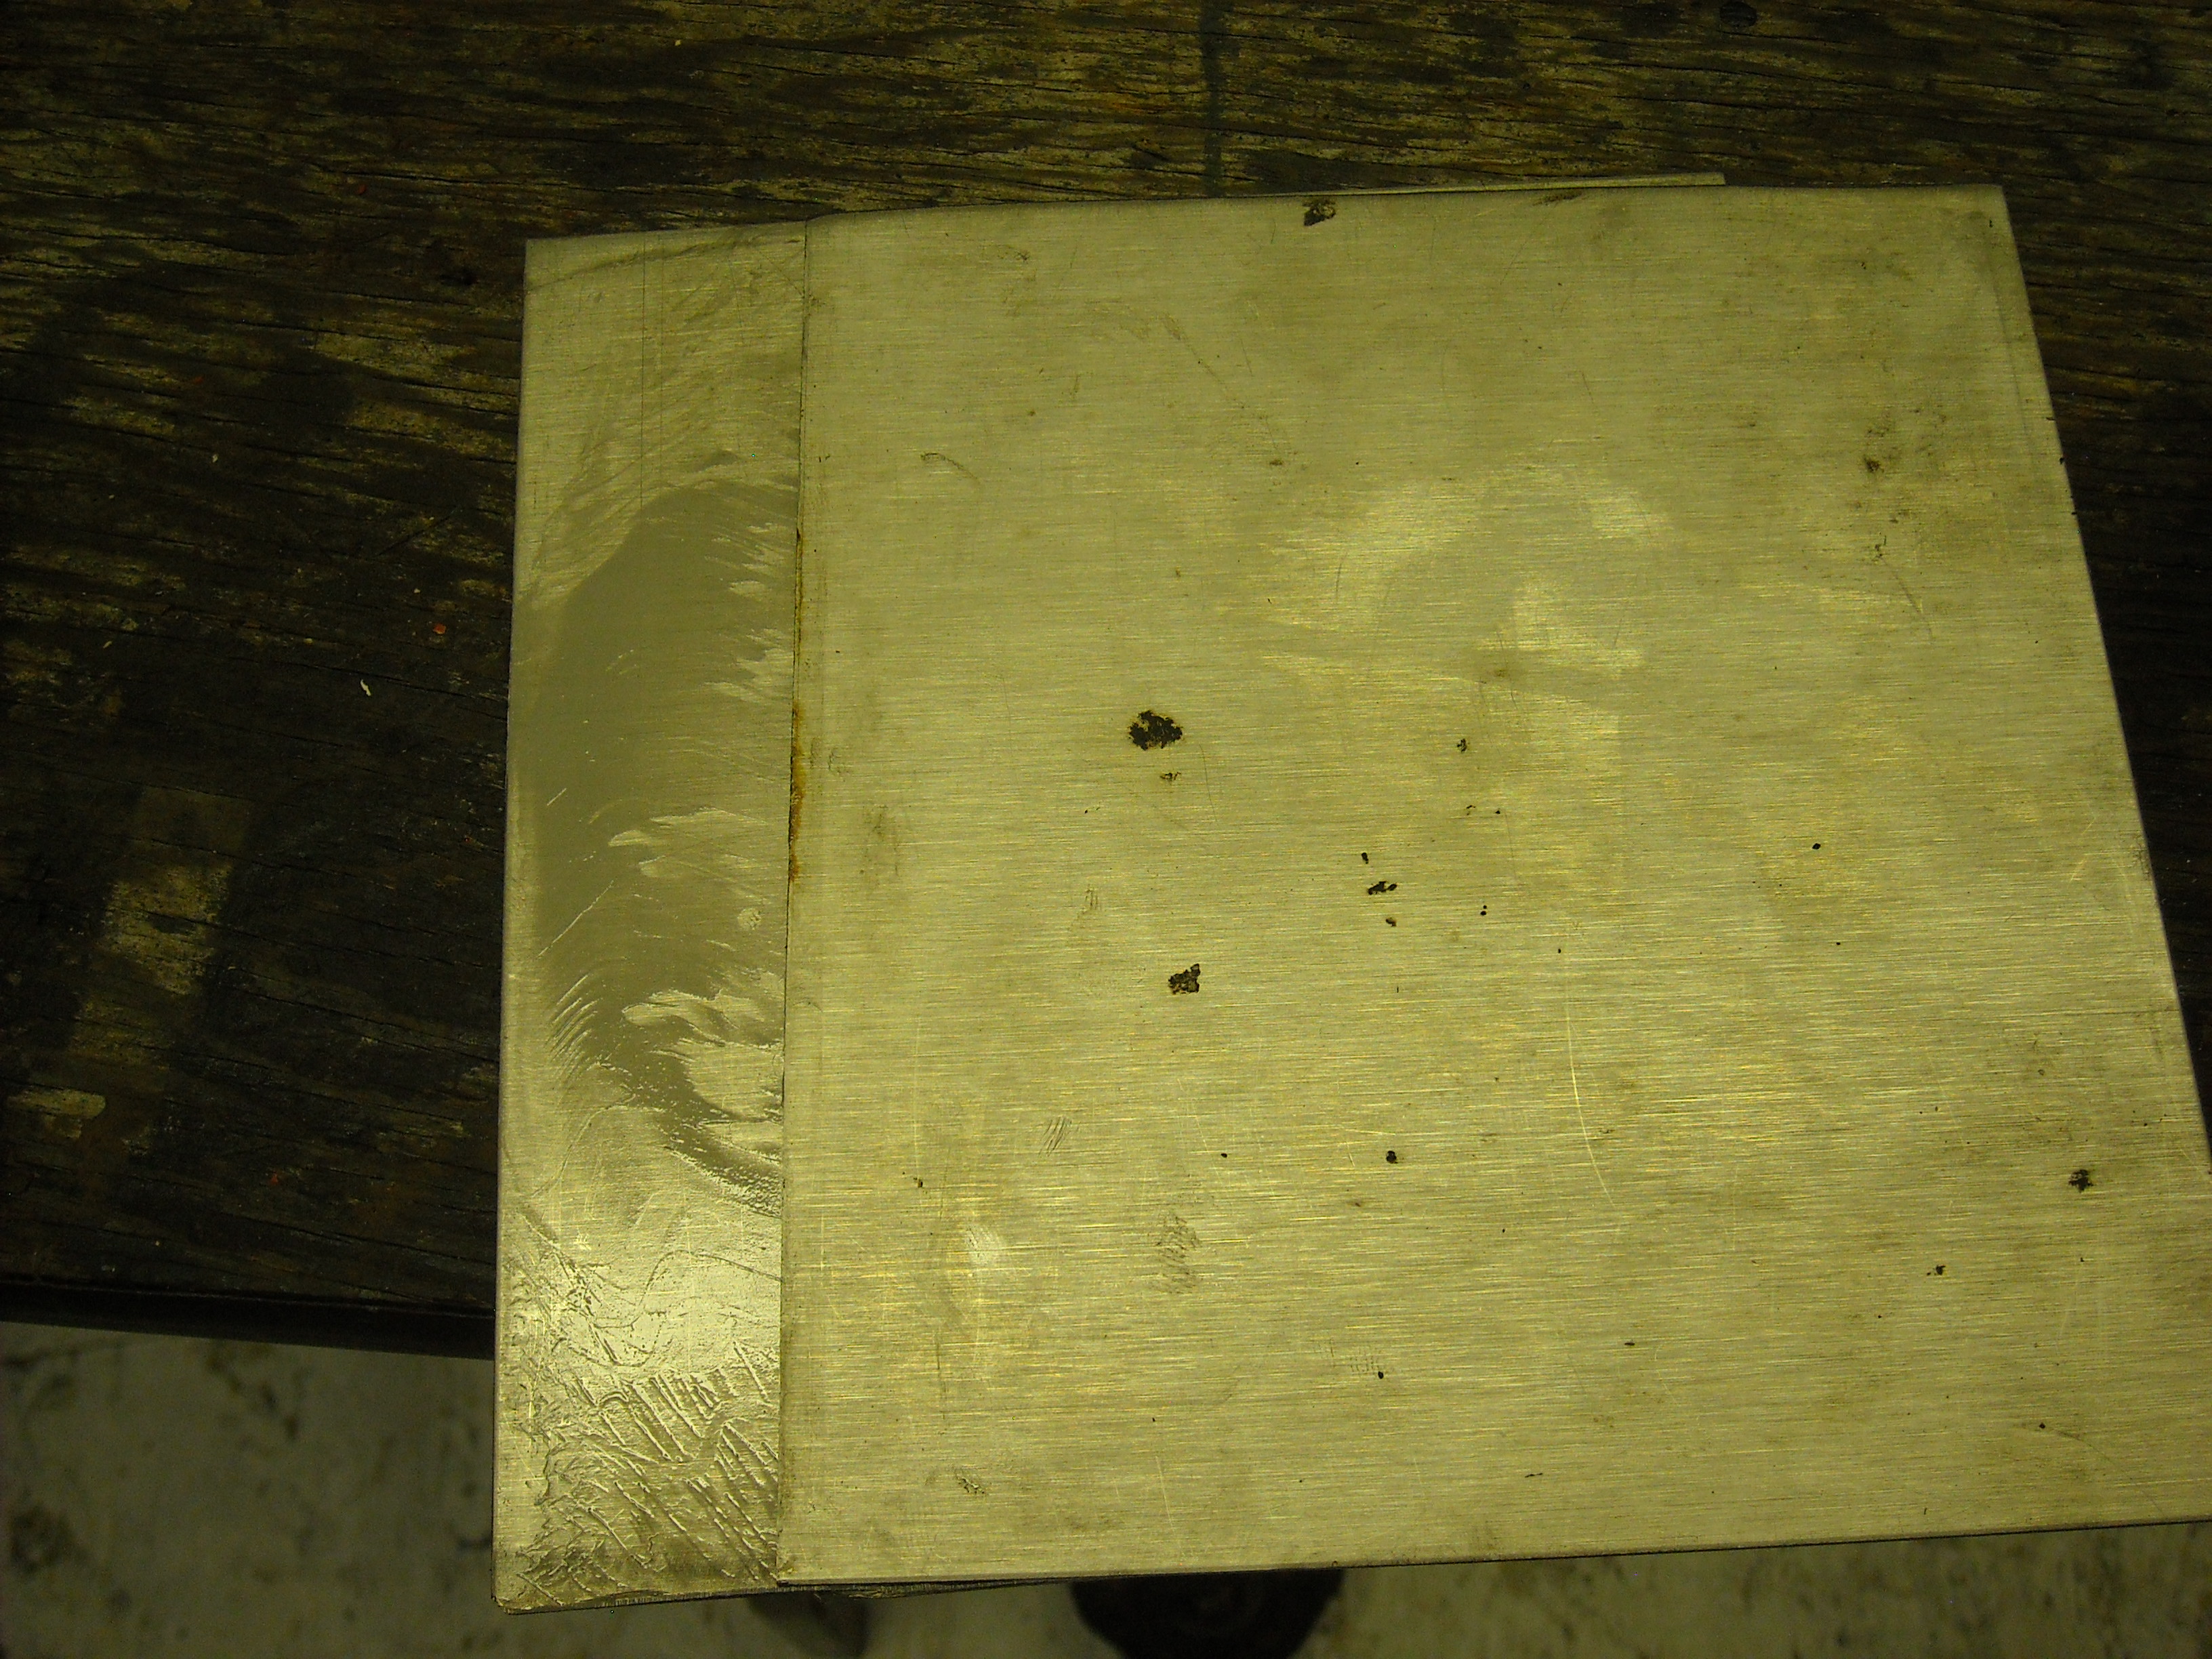
The last pic with the top plate offset is how I place it under the tire, the edge of the top plate is lined up with the edge of the contact area of the tire, the bottom plate sticking out about 1.5" As the tire is lowered it slides the top plate over the bottom plate until they are almost lined up. 1.5" is about all the movement there is, I lift from the center of the crossmember.
-
Woody, that must have been heart breaking to see that damage, unbelievable. They ship millions of cars around the world every year, no excuse for that. Looks like you found a good shop to get her back in shape, looking forward to your progress.
-
Looks great, I had forgotten how many 510s there are in Vancouver.
-
Funny that you guys should be talking about this now as I just put together 2 sets of these for measuring bumpsteer. Stainless steel plates I had sitting around, buffed up the mating surfaces with fine steel wool and then add a very thin lubricant, lithium in this case. I tried oil and grease but white lithium had the best action.


-
You want to spin the marker lamp lense around 180*, not the whole unit, just the red plastic lense. The face of the lense should be on the same plane as the door.
-
Thank you boys, off to the wreckers. Raff, I think that is a fuel rail on the s52 with return line and regulator.
-
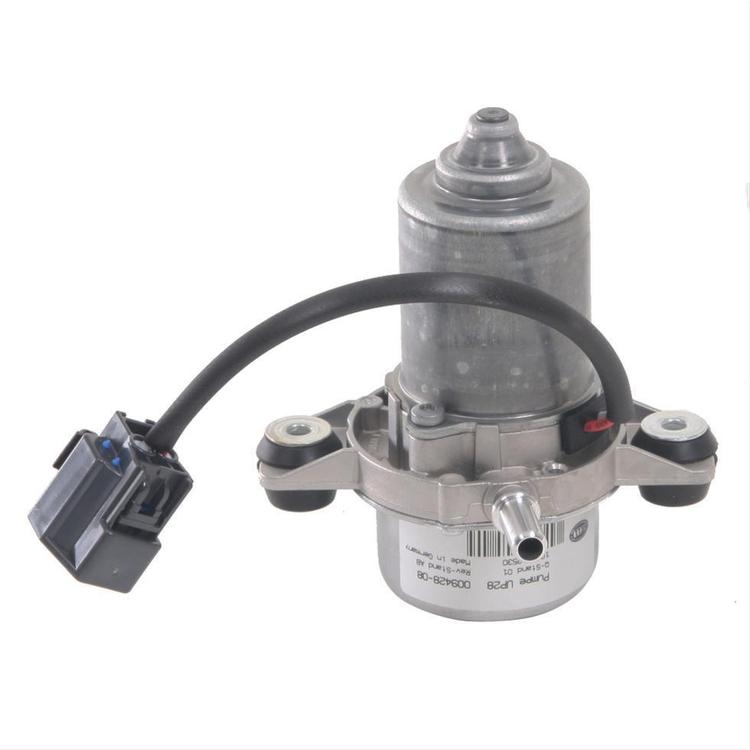
This bmw engine I'm putting in the Z doesn't lend it self to taking vacuum from it for the brake booster so have been thinking about using a 12v vacuum pump to do the job. Hella makes a pump that seems to be used a lot in Volvo, VW and Audi but I have zero experience with these things. I'm not even sure how much vacuum is required by our brake boosters and I have read a few times in the archives of Hybridz of guys doing away with the vacuum assist altogether. Any advice is welcome,
-
I checked with Matt Cramer and he says VR sensors don't require a pull up resistor, but there is light at the end of this MS tunnel, fellow forum member, Careless has put me on to a mechanic friend of his down in the city that is also a MS guru. This guy is also willing to drive north to my place and see if he can get this lump of mine running He's coming over this thursday to have a look, I'm pumped.
-
-
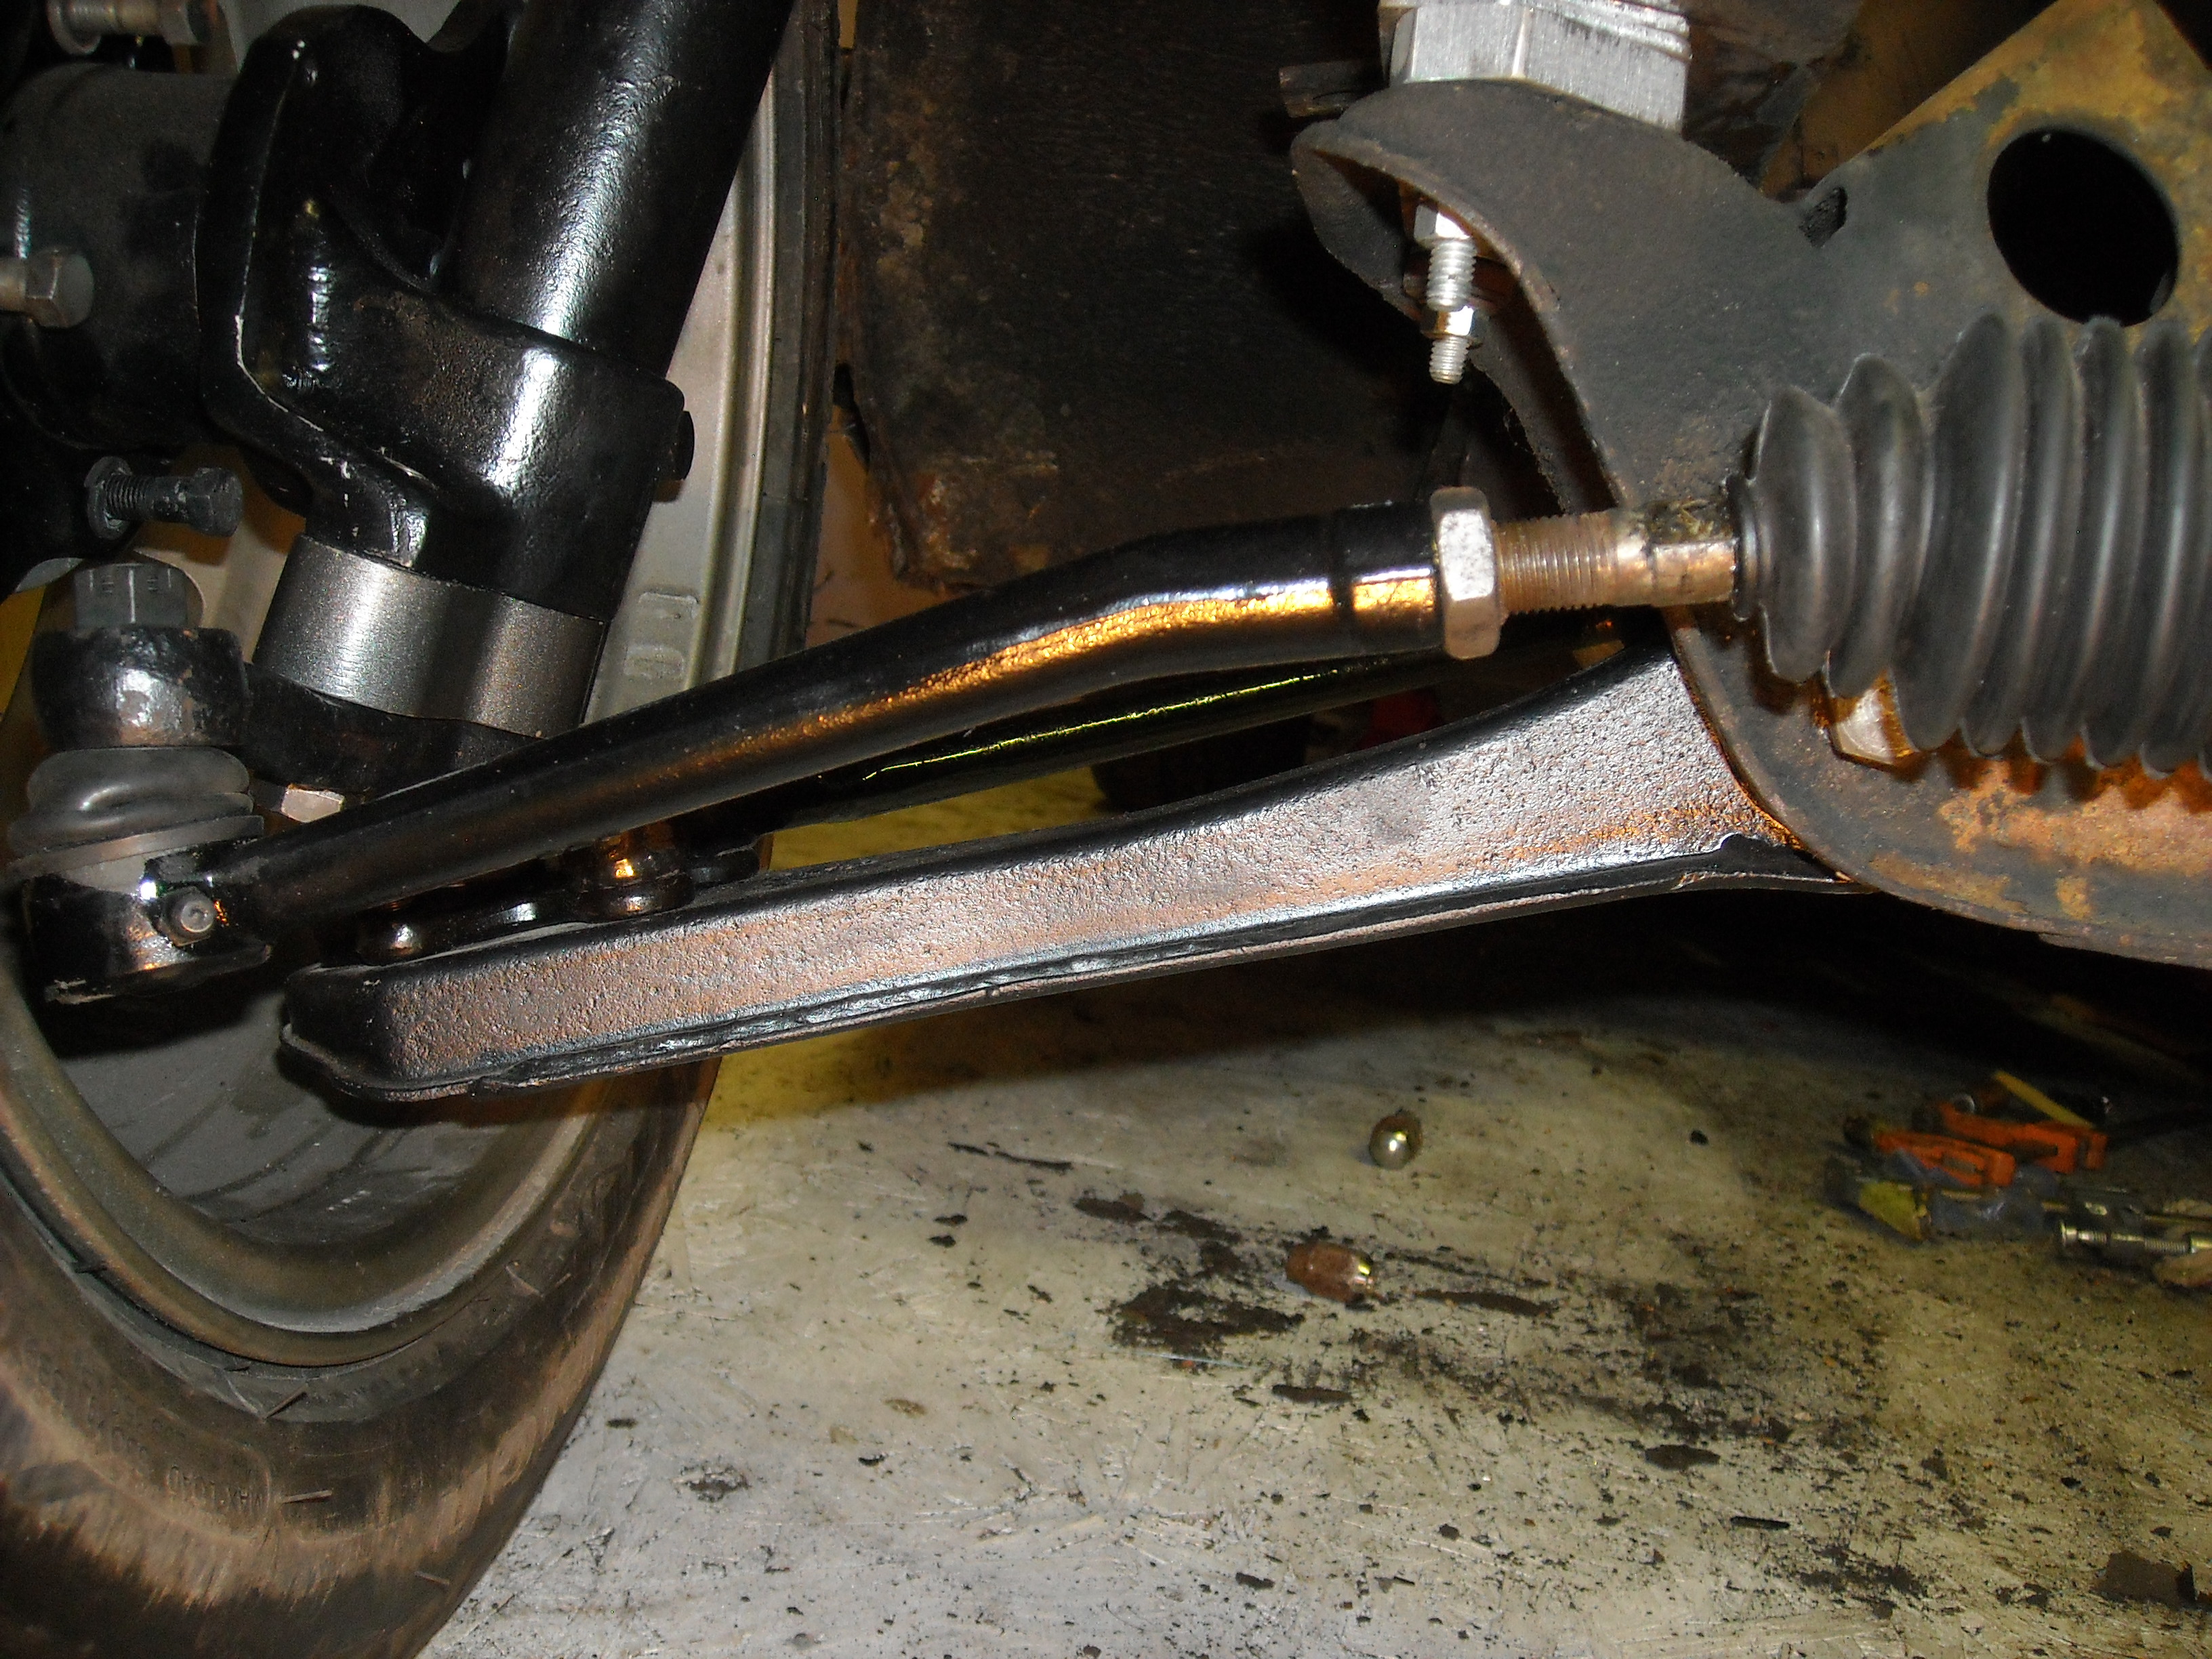
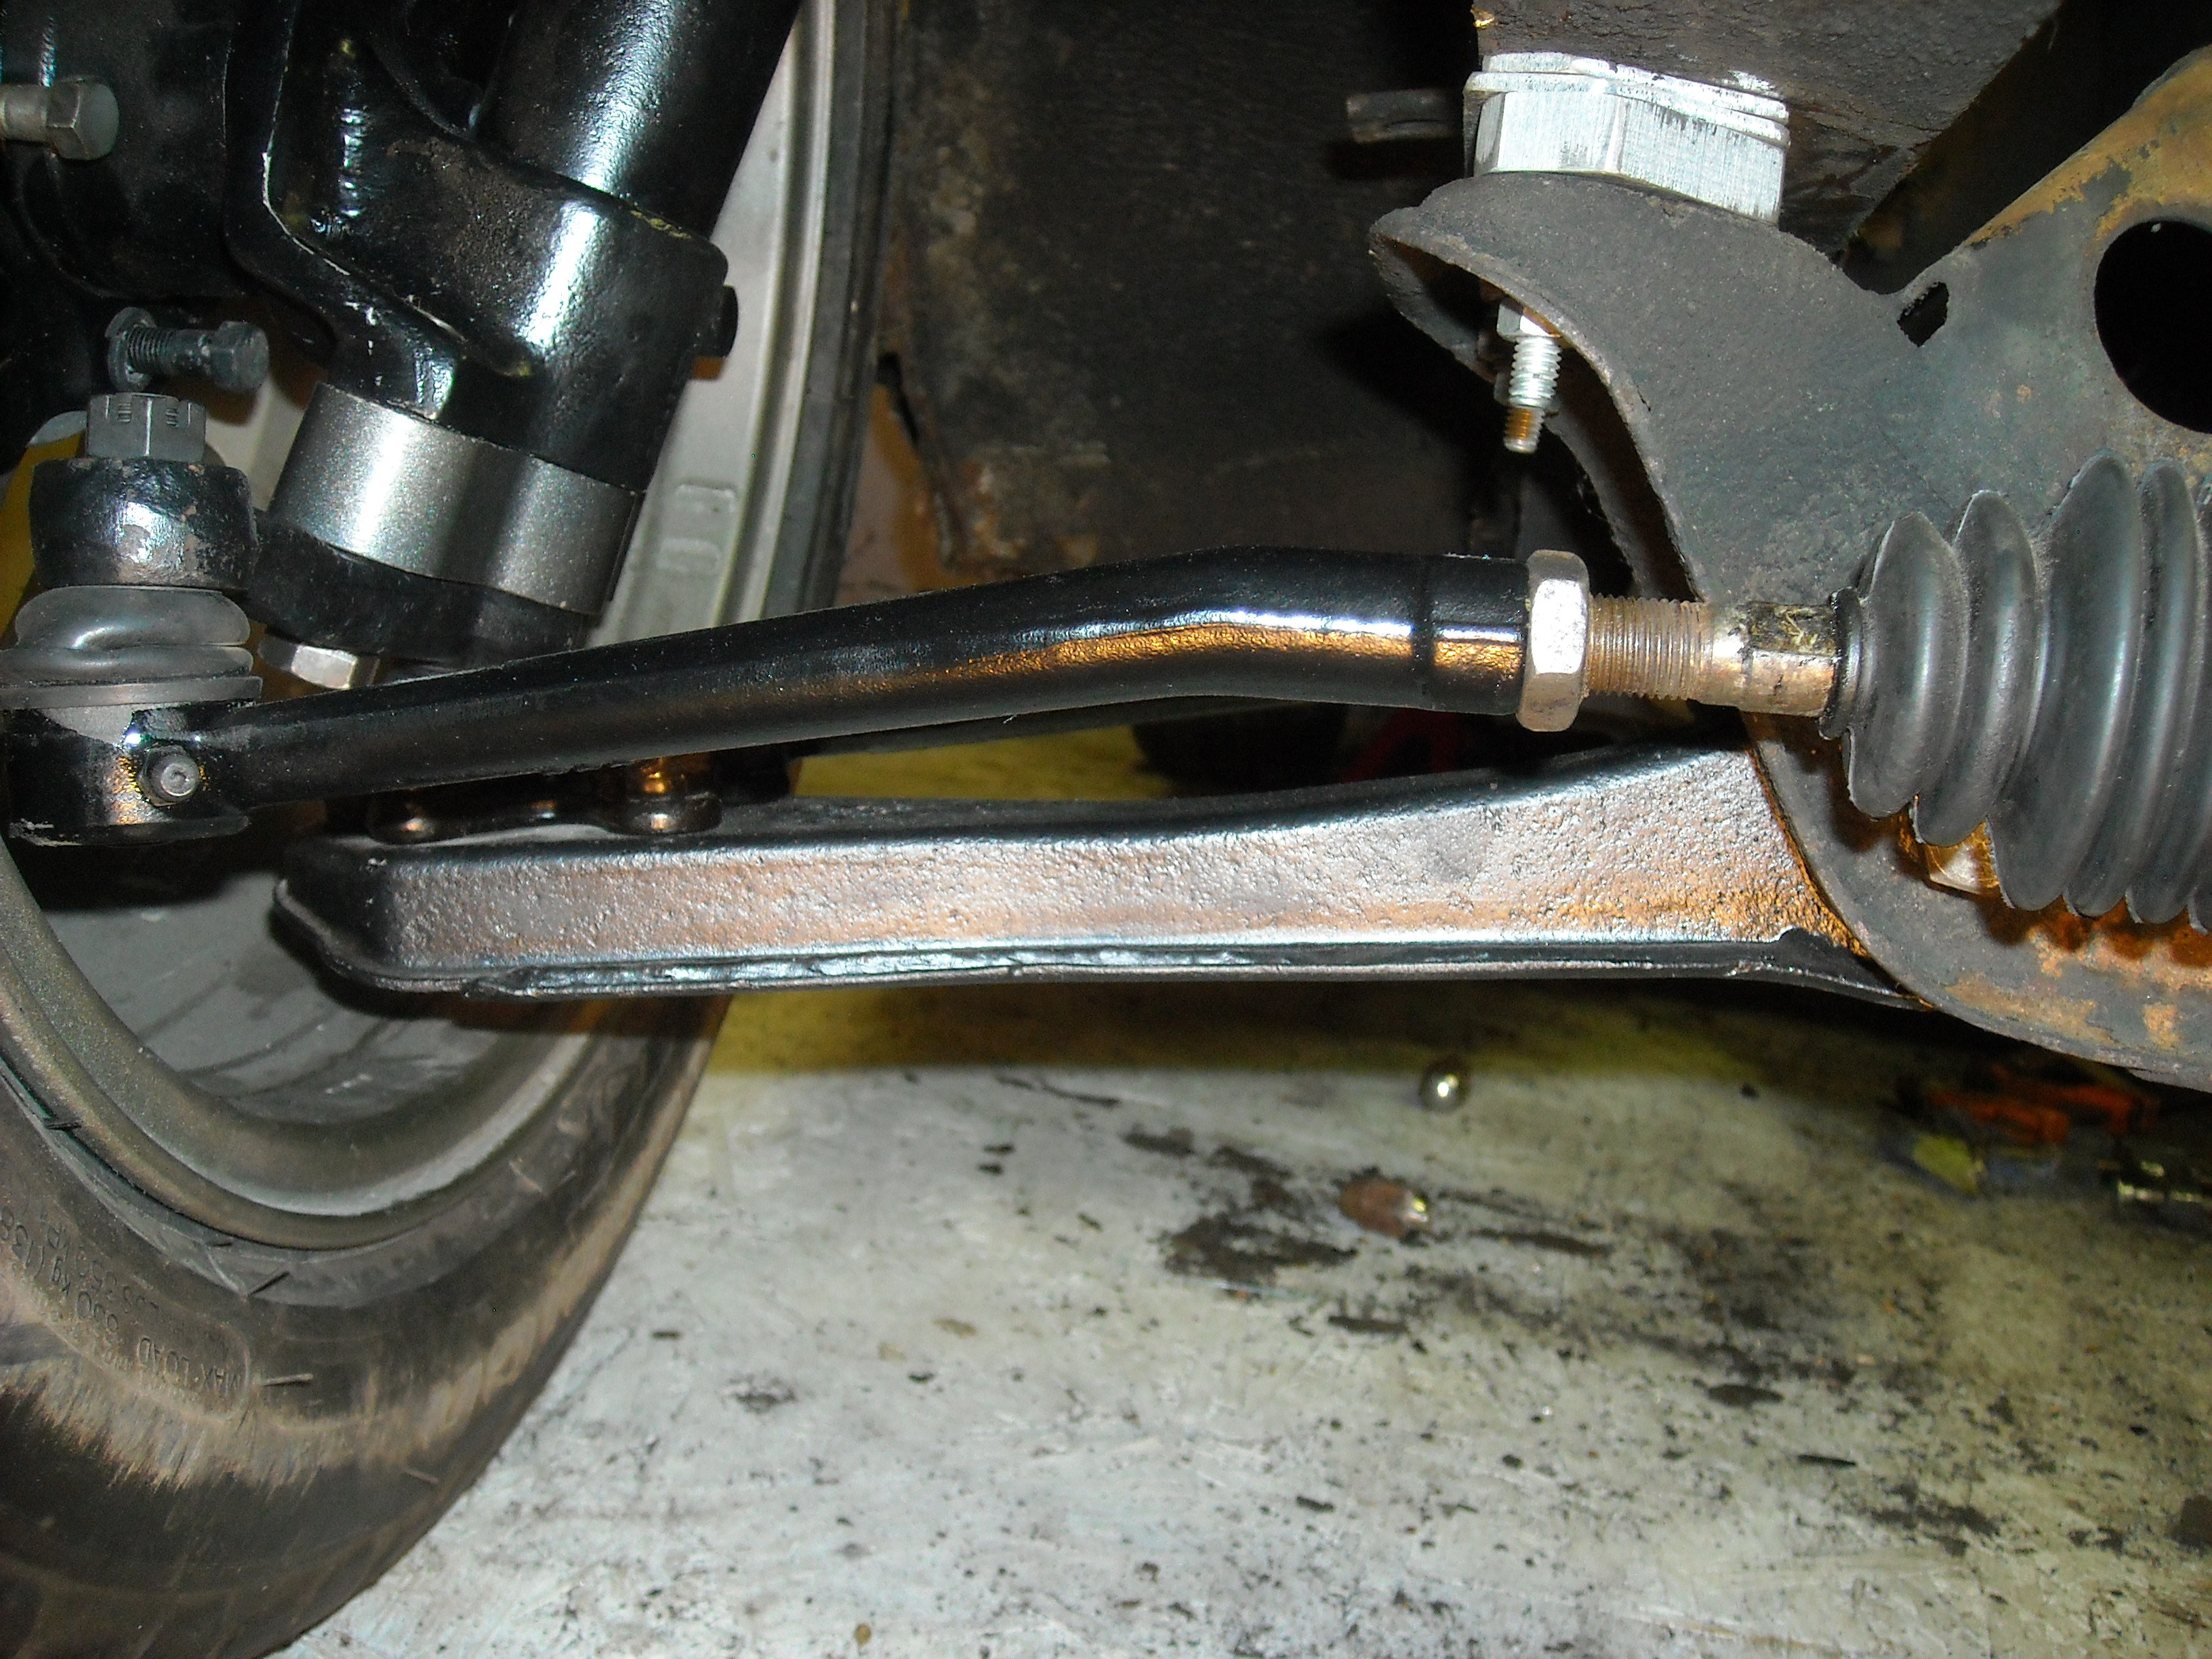
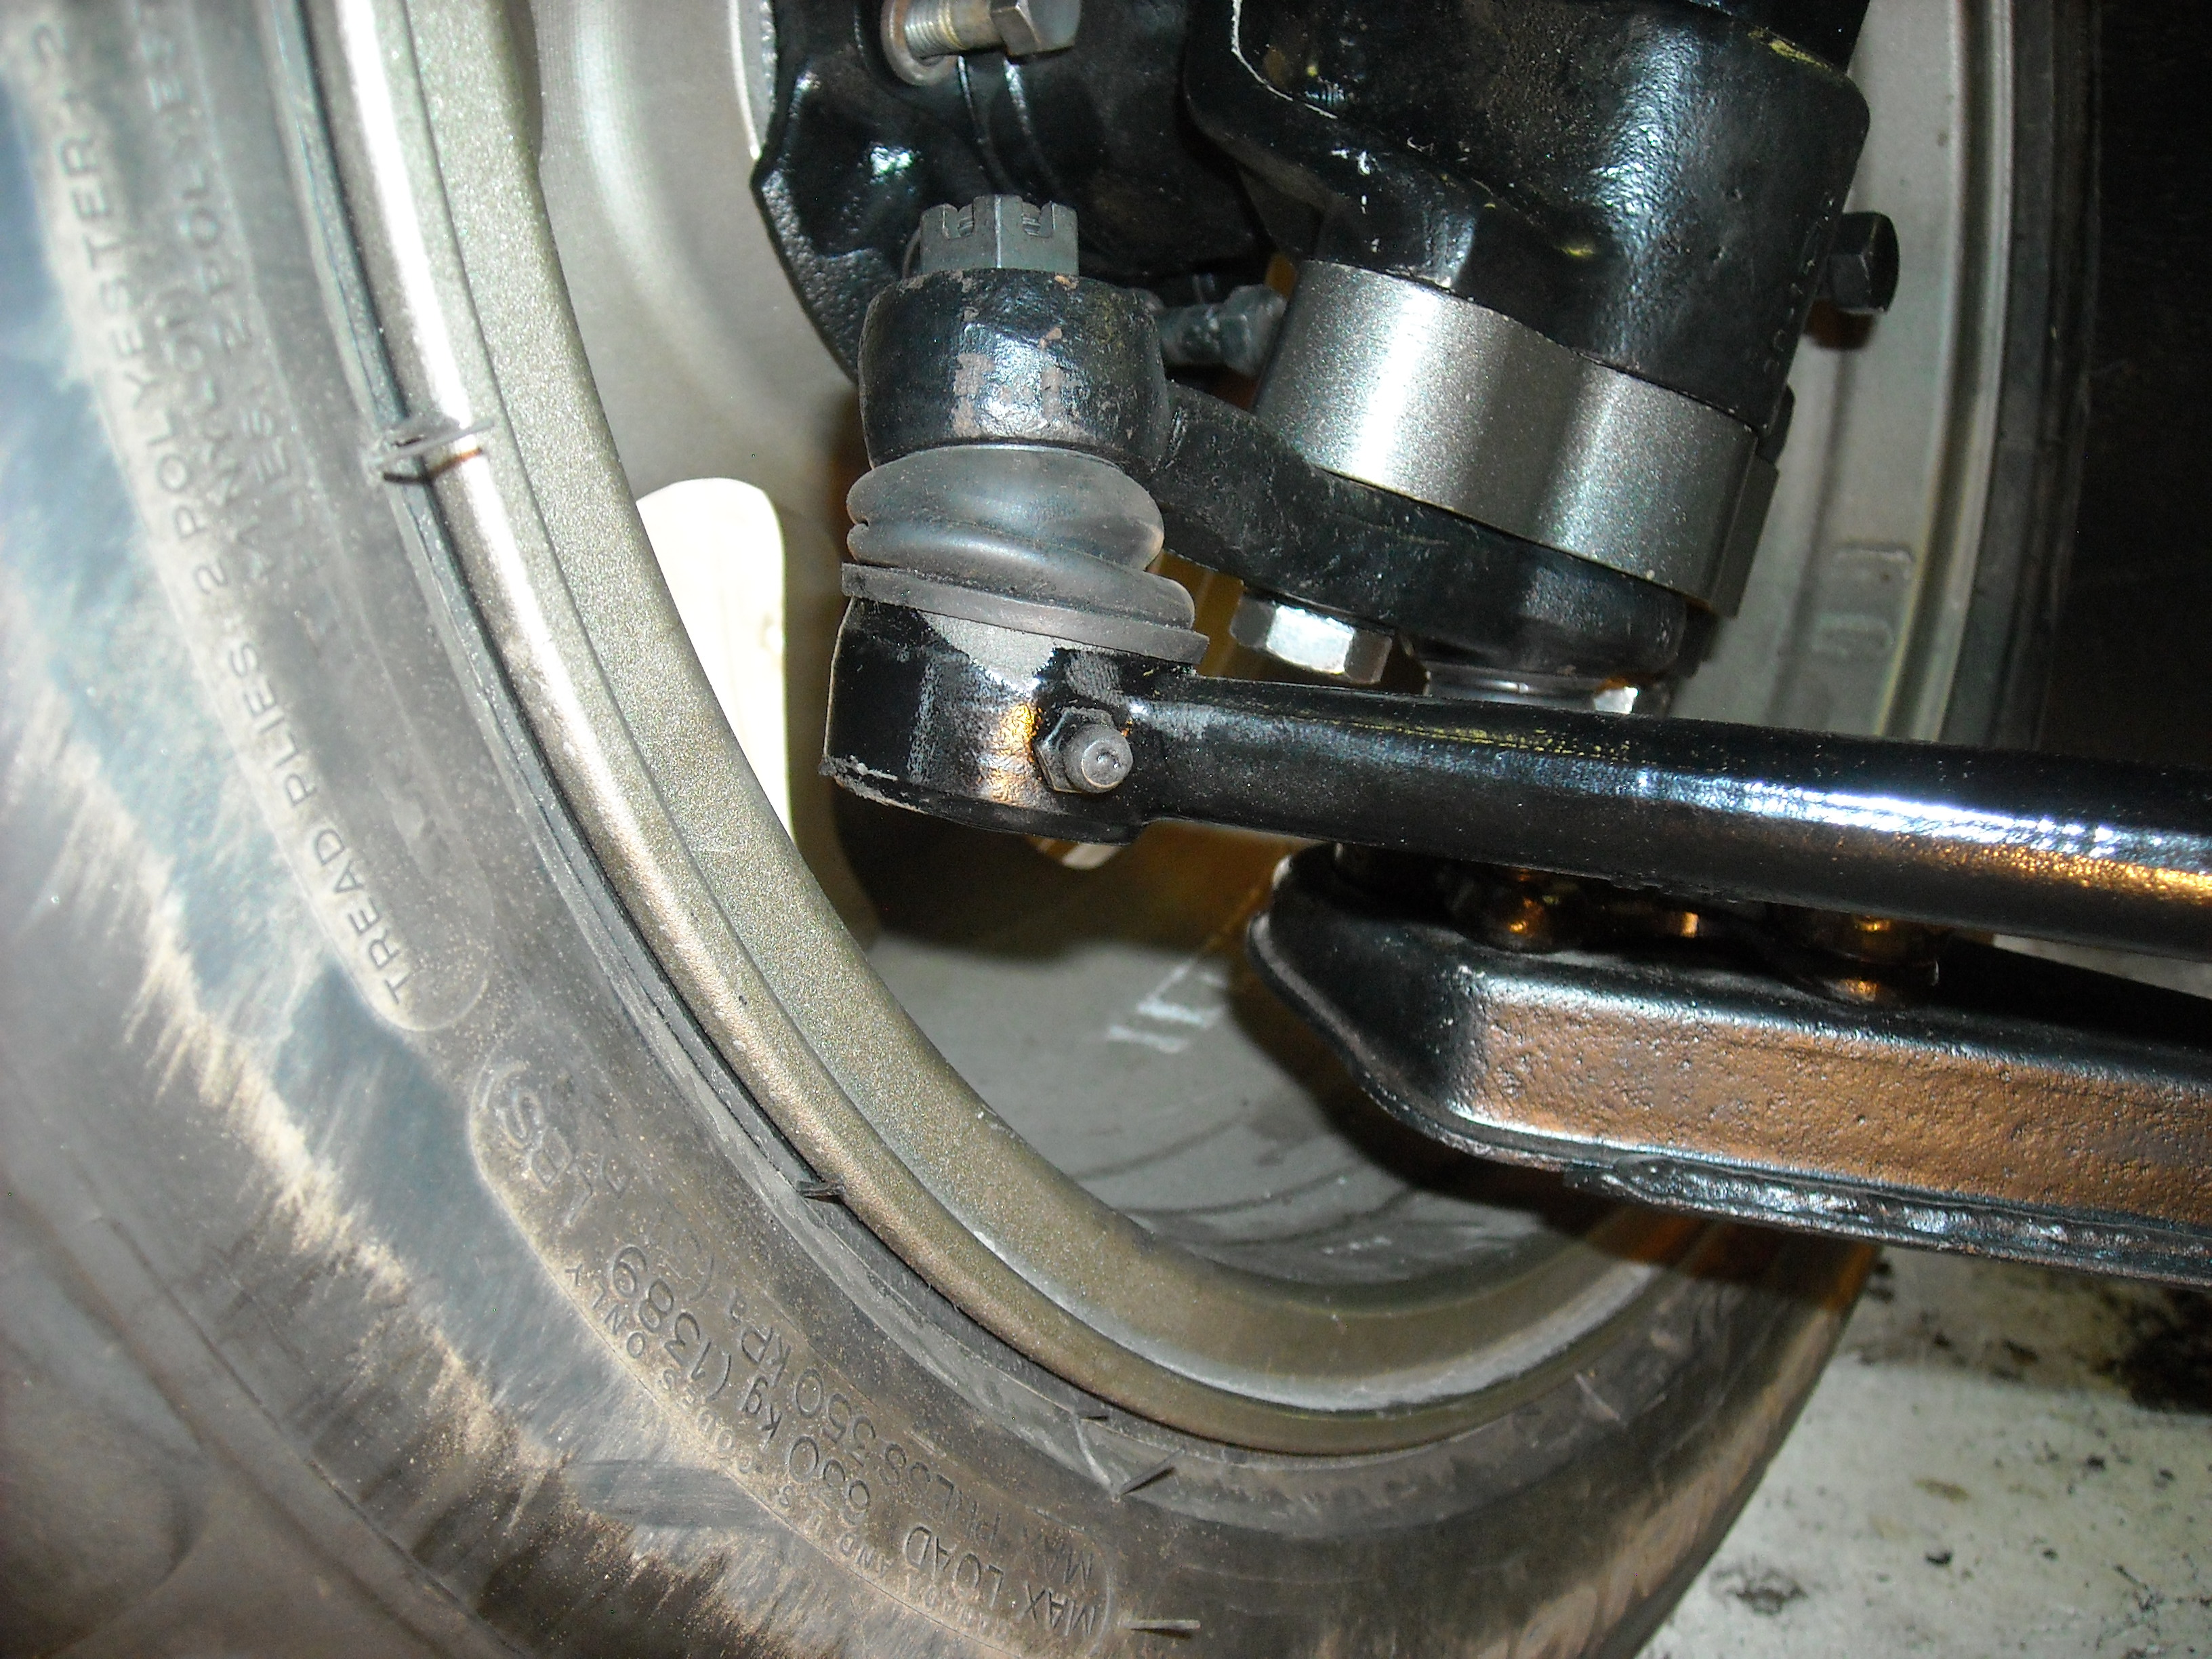
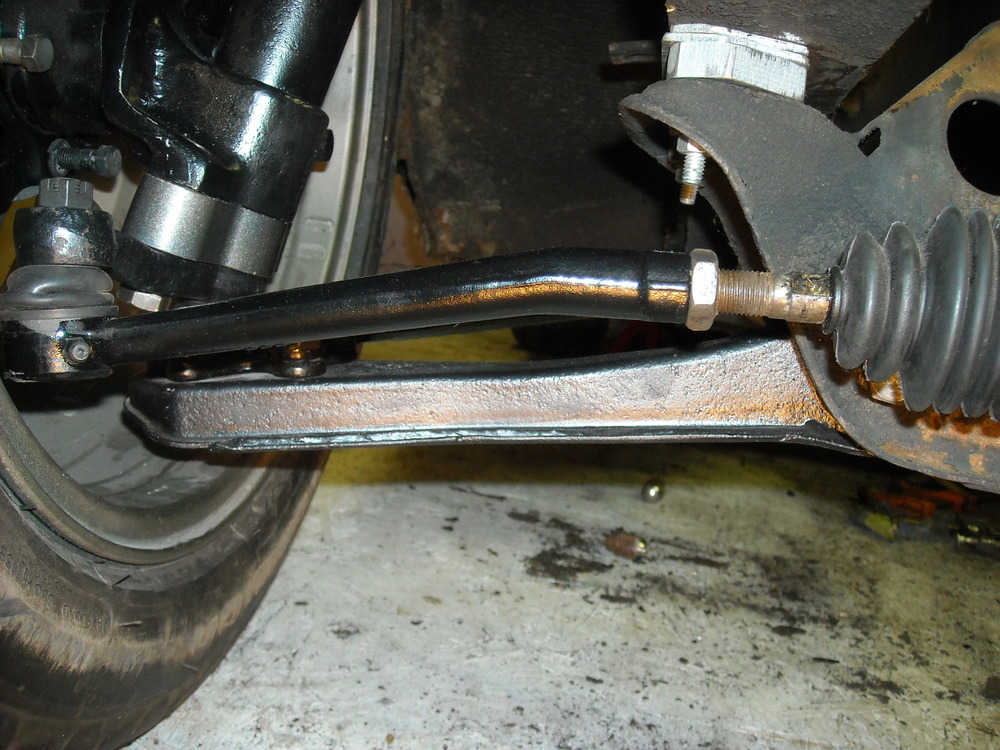
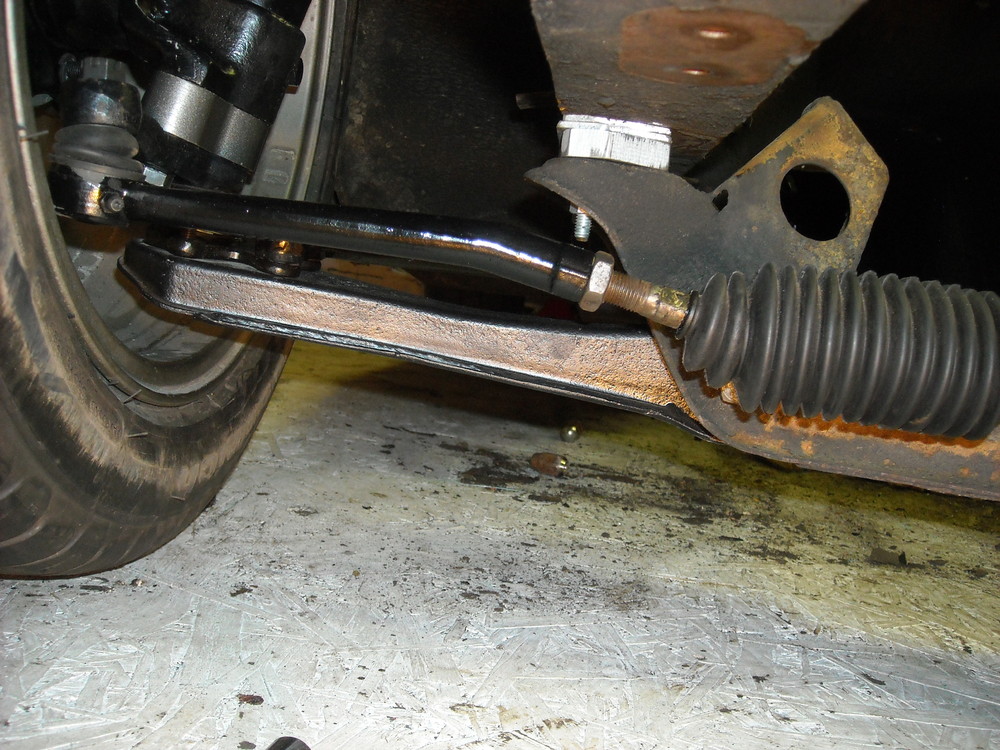
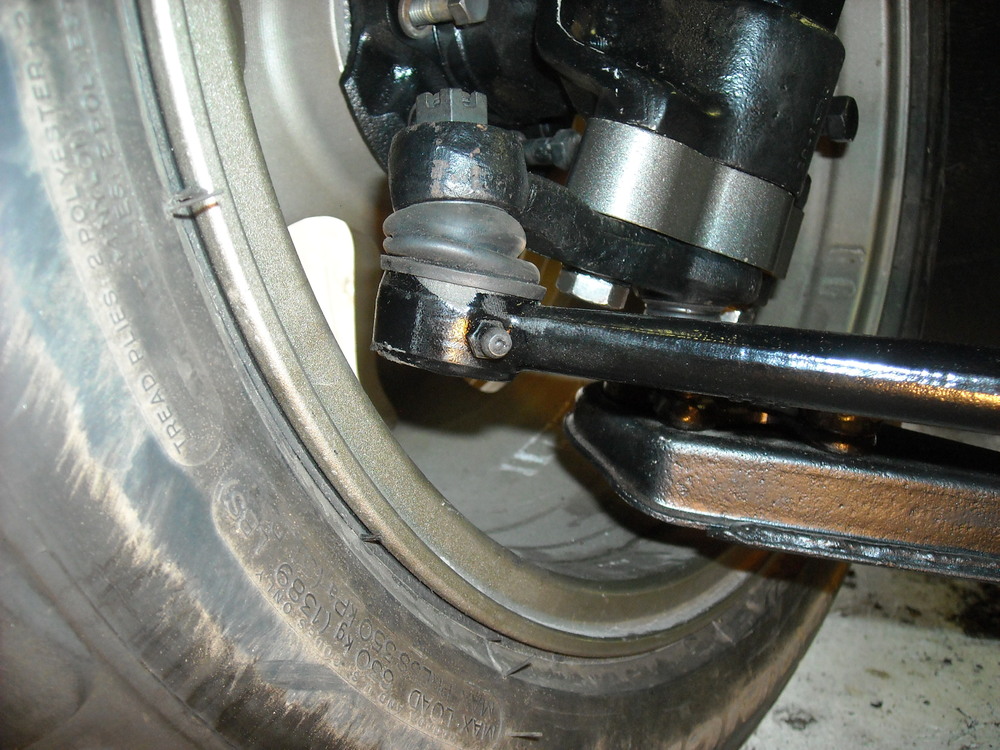
Thanks guys, wrapping my head around this. So I will not be using the modified crossmember at all, I have sunk the steering rack down in the rack cradles as far as I'm willing to go. I certainly want the engine to fit under the hood but not if the handling of the car is compromised, now I just have to determine how much my 3/4"crossmember spacers are changing things. I have set up the front end with a stock crossmember lowered 3/4" and installed a 25mm bumpsteer spacer, here are some pics, I'll start doing some bumpsteer measurements tomorrow to see how this setup pans out. Also because of the lowered crossmember I'm finding the R/L alingment of the crossmember to be very important, I'm going to have to come up with some way to secure the crossmember other then just bolts, perhaps locator pins of some kind.

-
Bumpsteer, from an average height of about 6" (a little higher then where the car would normally ride) then dropping the car down 135mm simulating a high speed bump the wheels toed in a total of 26-30mm! (that's a combination of the front of the moving in and the back of the wheel moving out) Then on rebound the wheels toed out even more. By adding 25mm bumpsteer spacers that number was cut in half to 13-18mm of toe in for 135mm of travel. The thing is I'm pretty sure that the wheels are suppose to toe out on bump which is what I found when I installed the unmodified crossmember and did the same test. I also have 3/4" spacers dropping the crossmember down from the frame just to really complicate things. Chas, I'm finding out through experimenting that what you're saying is exactly right, any chance you have a parts# for those straight tie-rods?
-
You can go ahead and tighten down the 4 large control arm bushings that you have circled, just make sure they are slid on as far as they go. When those are clamped they will continue to rotate on the inside tube of the control arm. Then do exactly what Zed Head says before torquing down the 4 large end bolts and 4 nuts for the spindle pins.
-
Just test fitting, it's all got to come off still for the acid bath. The easy, expense route. If I were to do it again I would go with those axles and who knows, I may still have to.
-
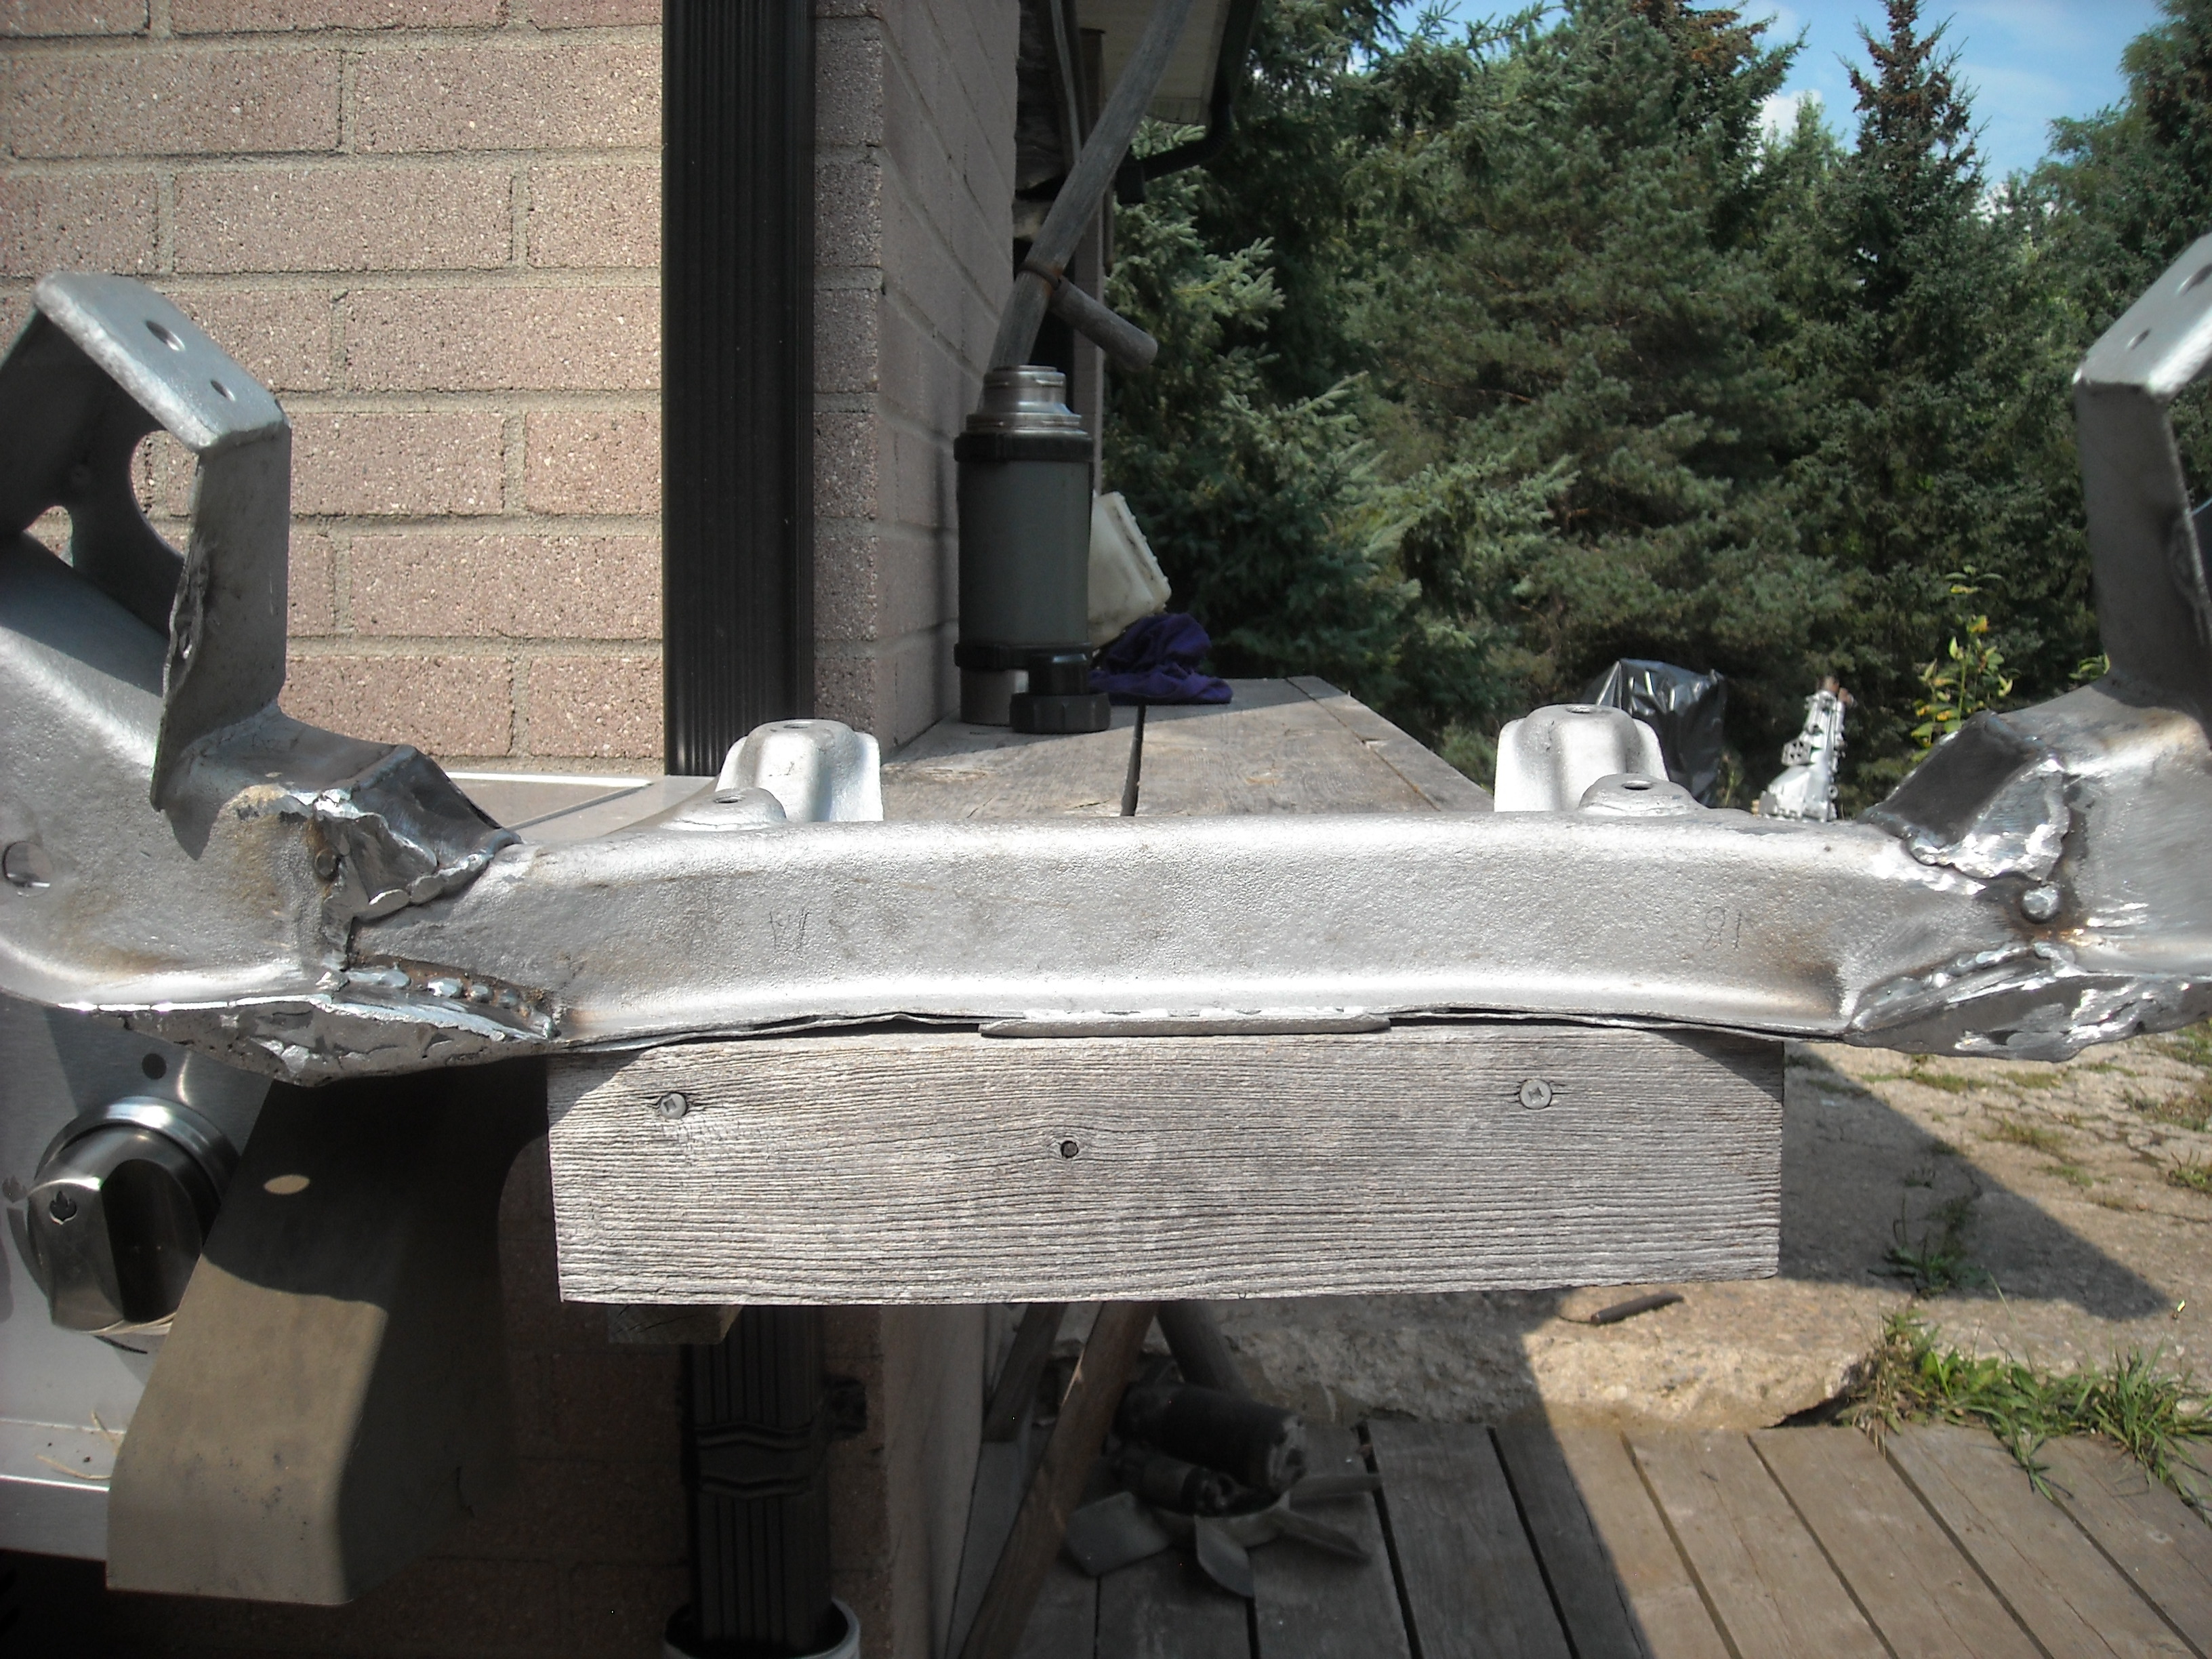
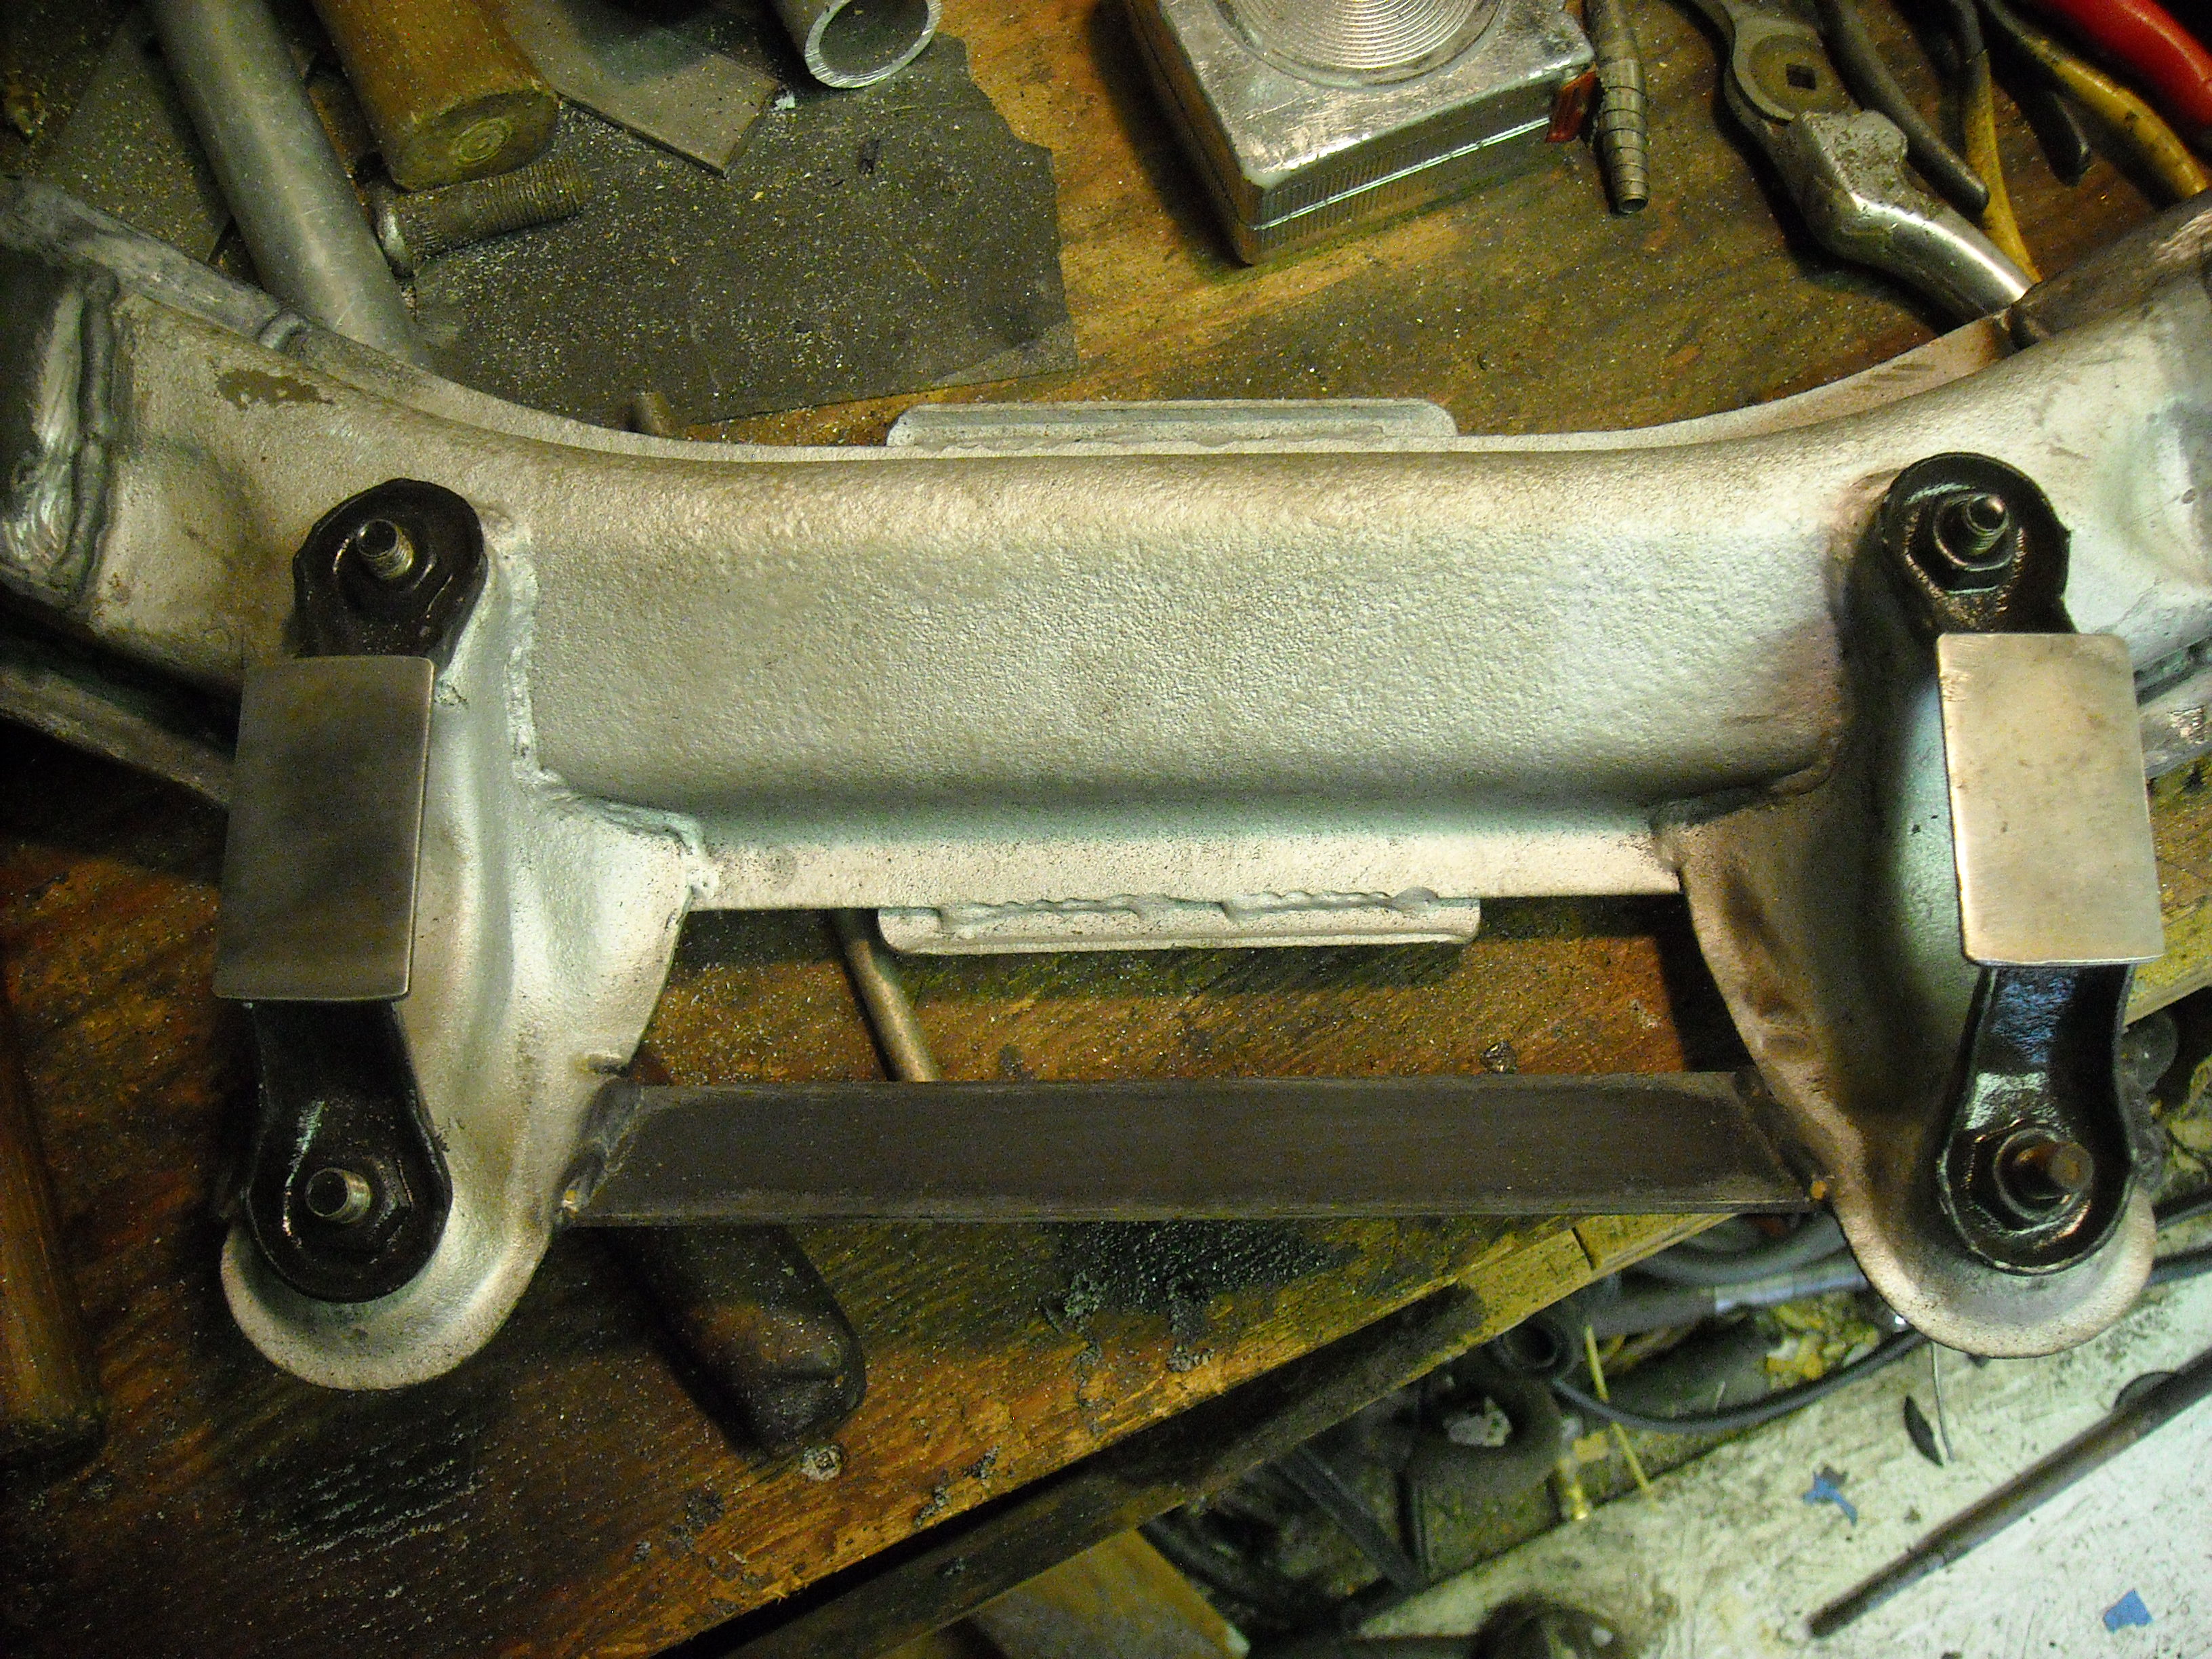
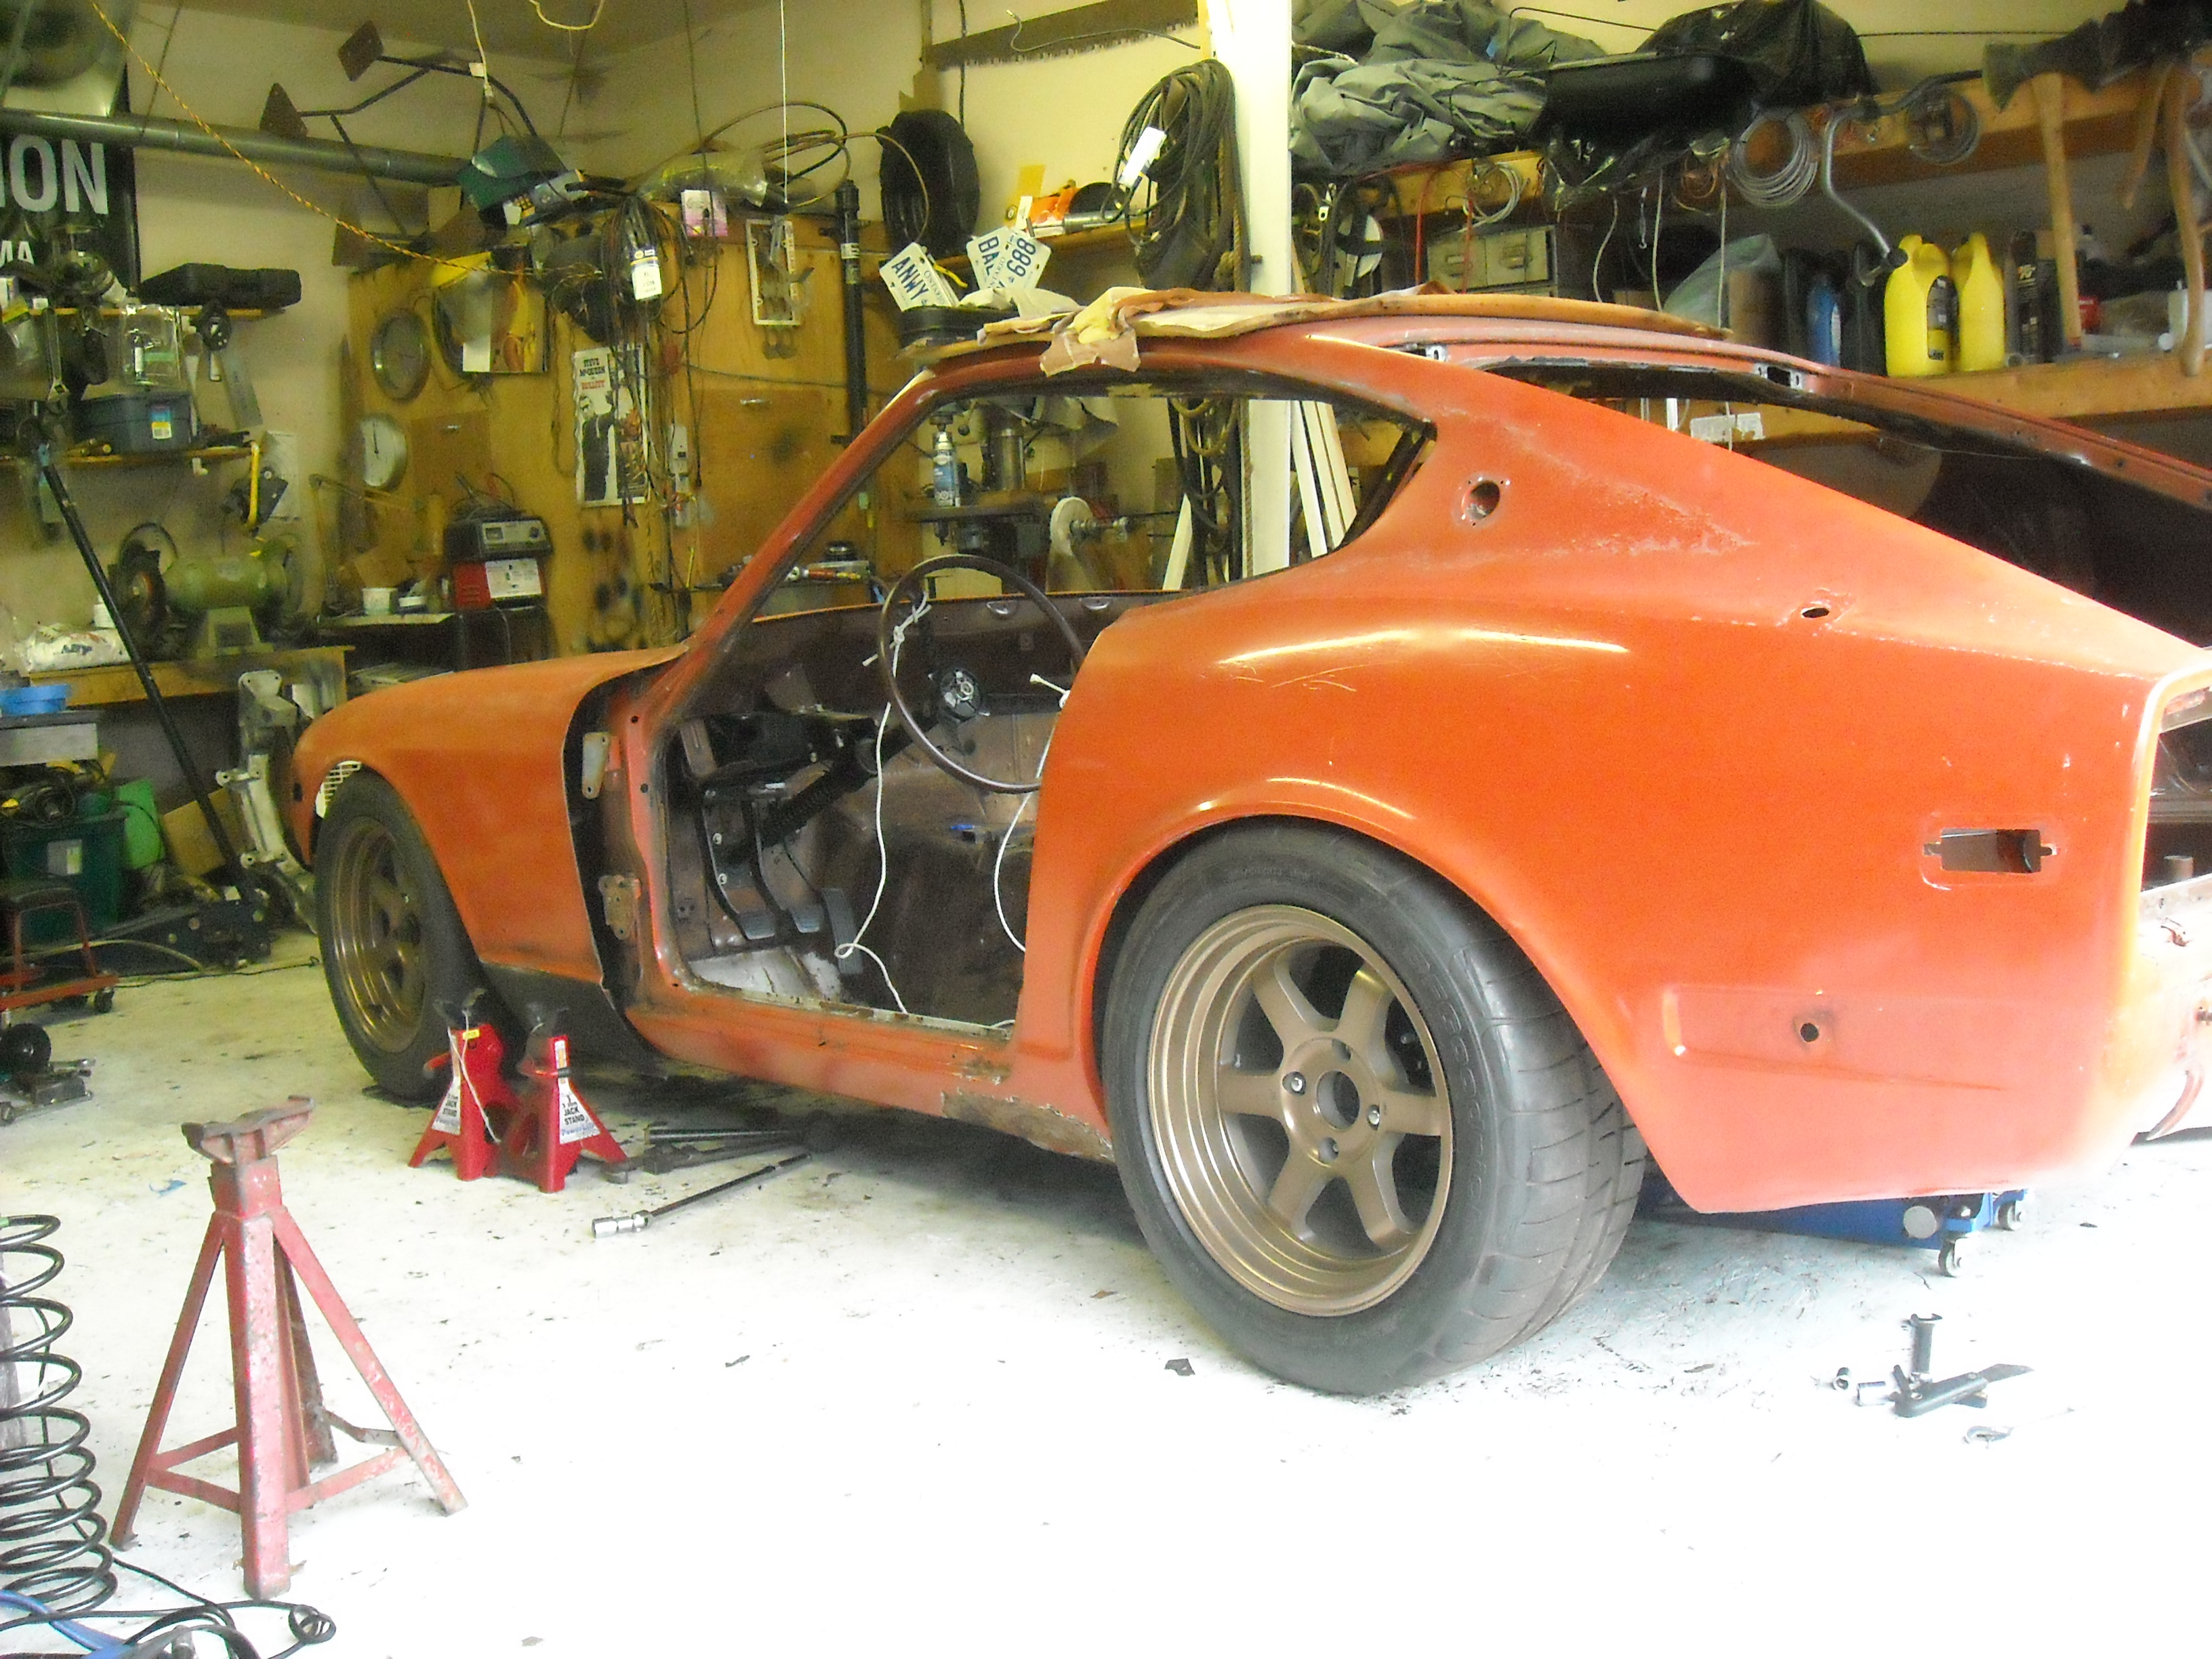
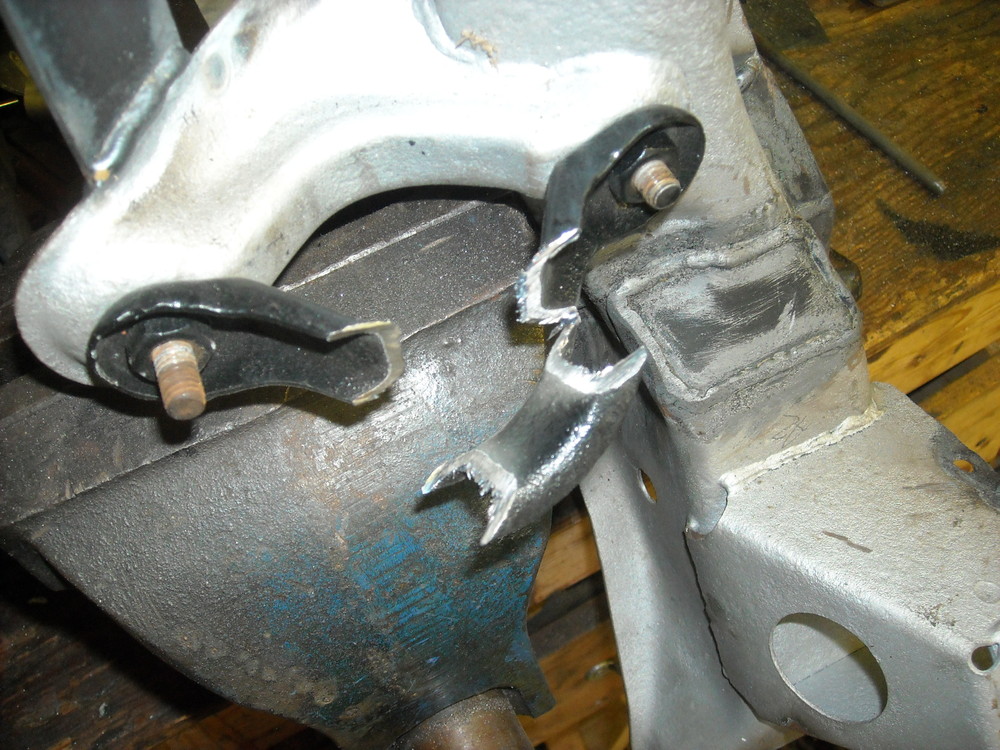
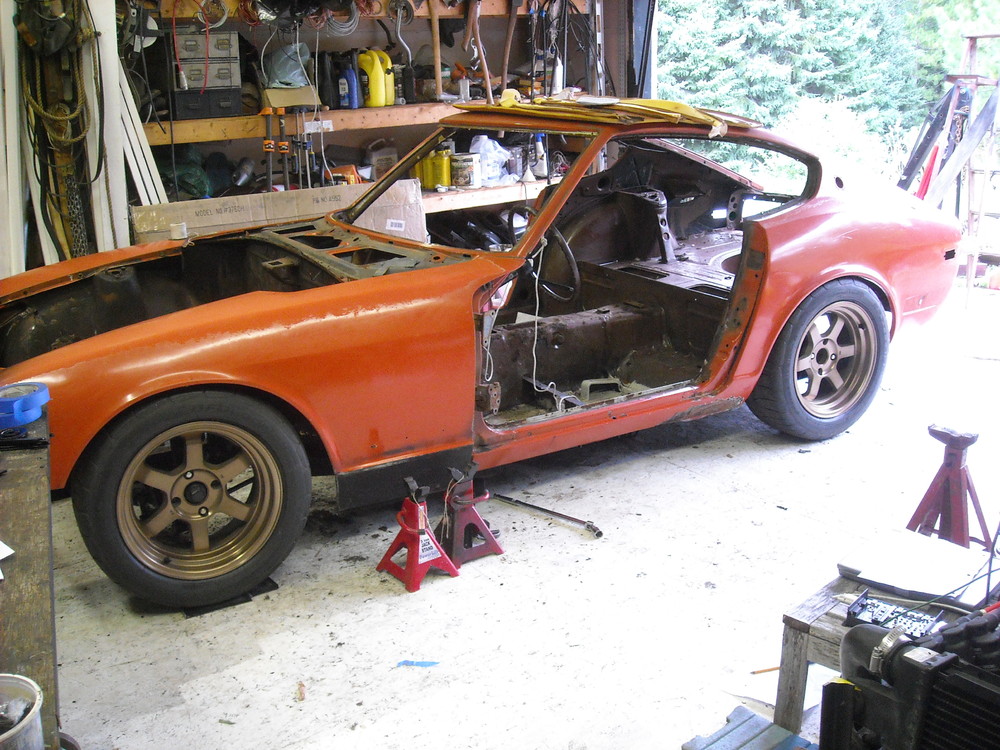
This whole contraption I built to buy more room for the engine - complete garbage, should have done a bit more research before cutting. Can't just screw with steering geometry and expect to get away with it. I will have to find that extra room some other way, I did find a 1/2" by removing the the top of the collars on the steering rack, cutting some of the urethane and modifying the hold downs. Not pretty but I can clean it up later. Got a great deal on a set of 16x8 Rota Grids with 225/50 BF Goodrich g-force Rivals, the tires still have 3-4 yrs life in them so maybe I'll get to smoke them a bit. The car isn't going to be this low when I get finished, just testing to see where it sits on bump stops with no springs.


-
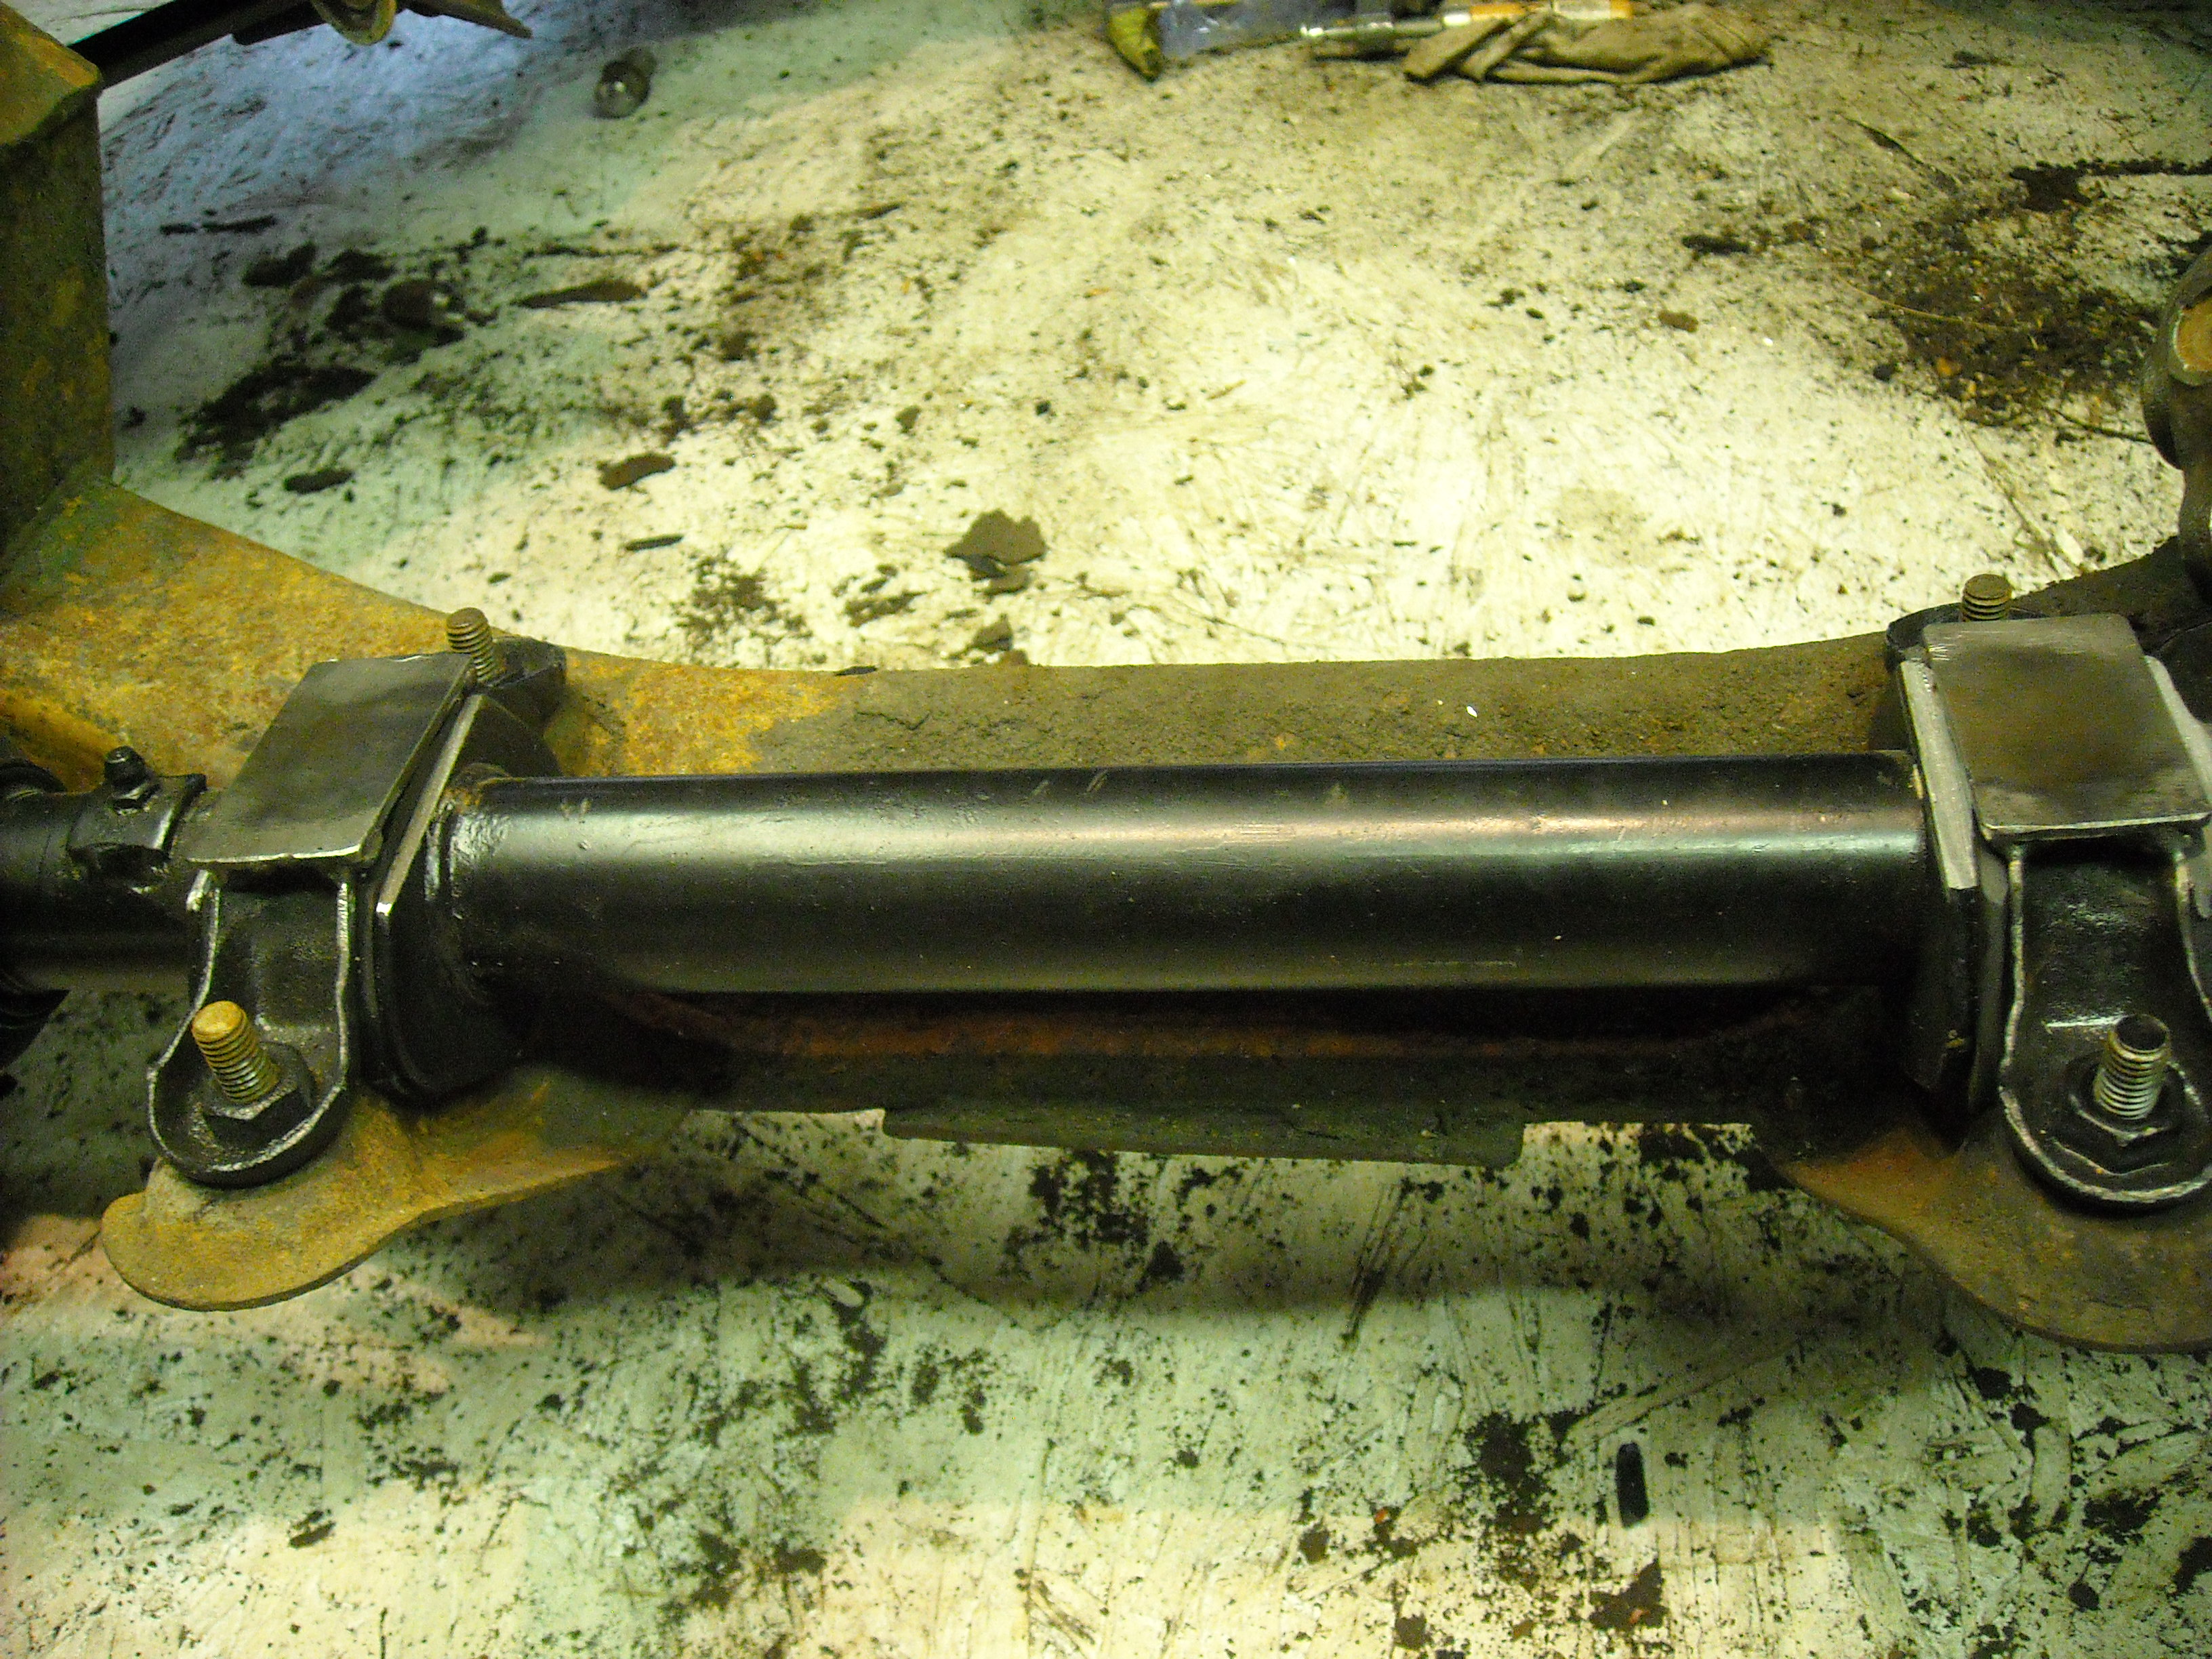
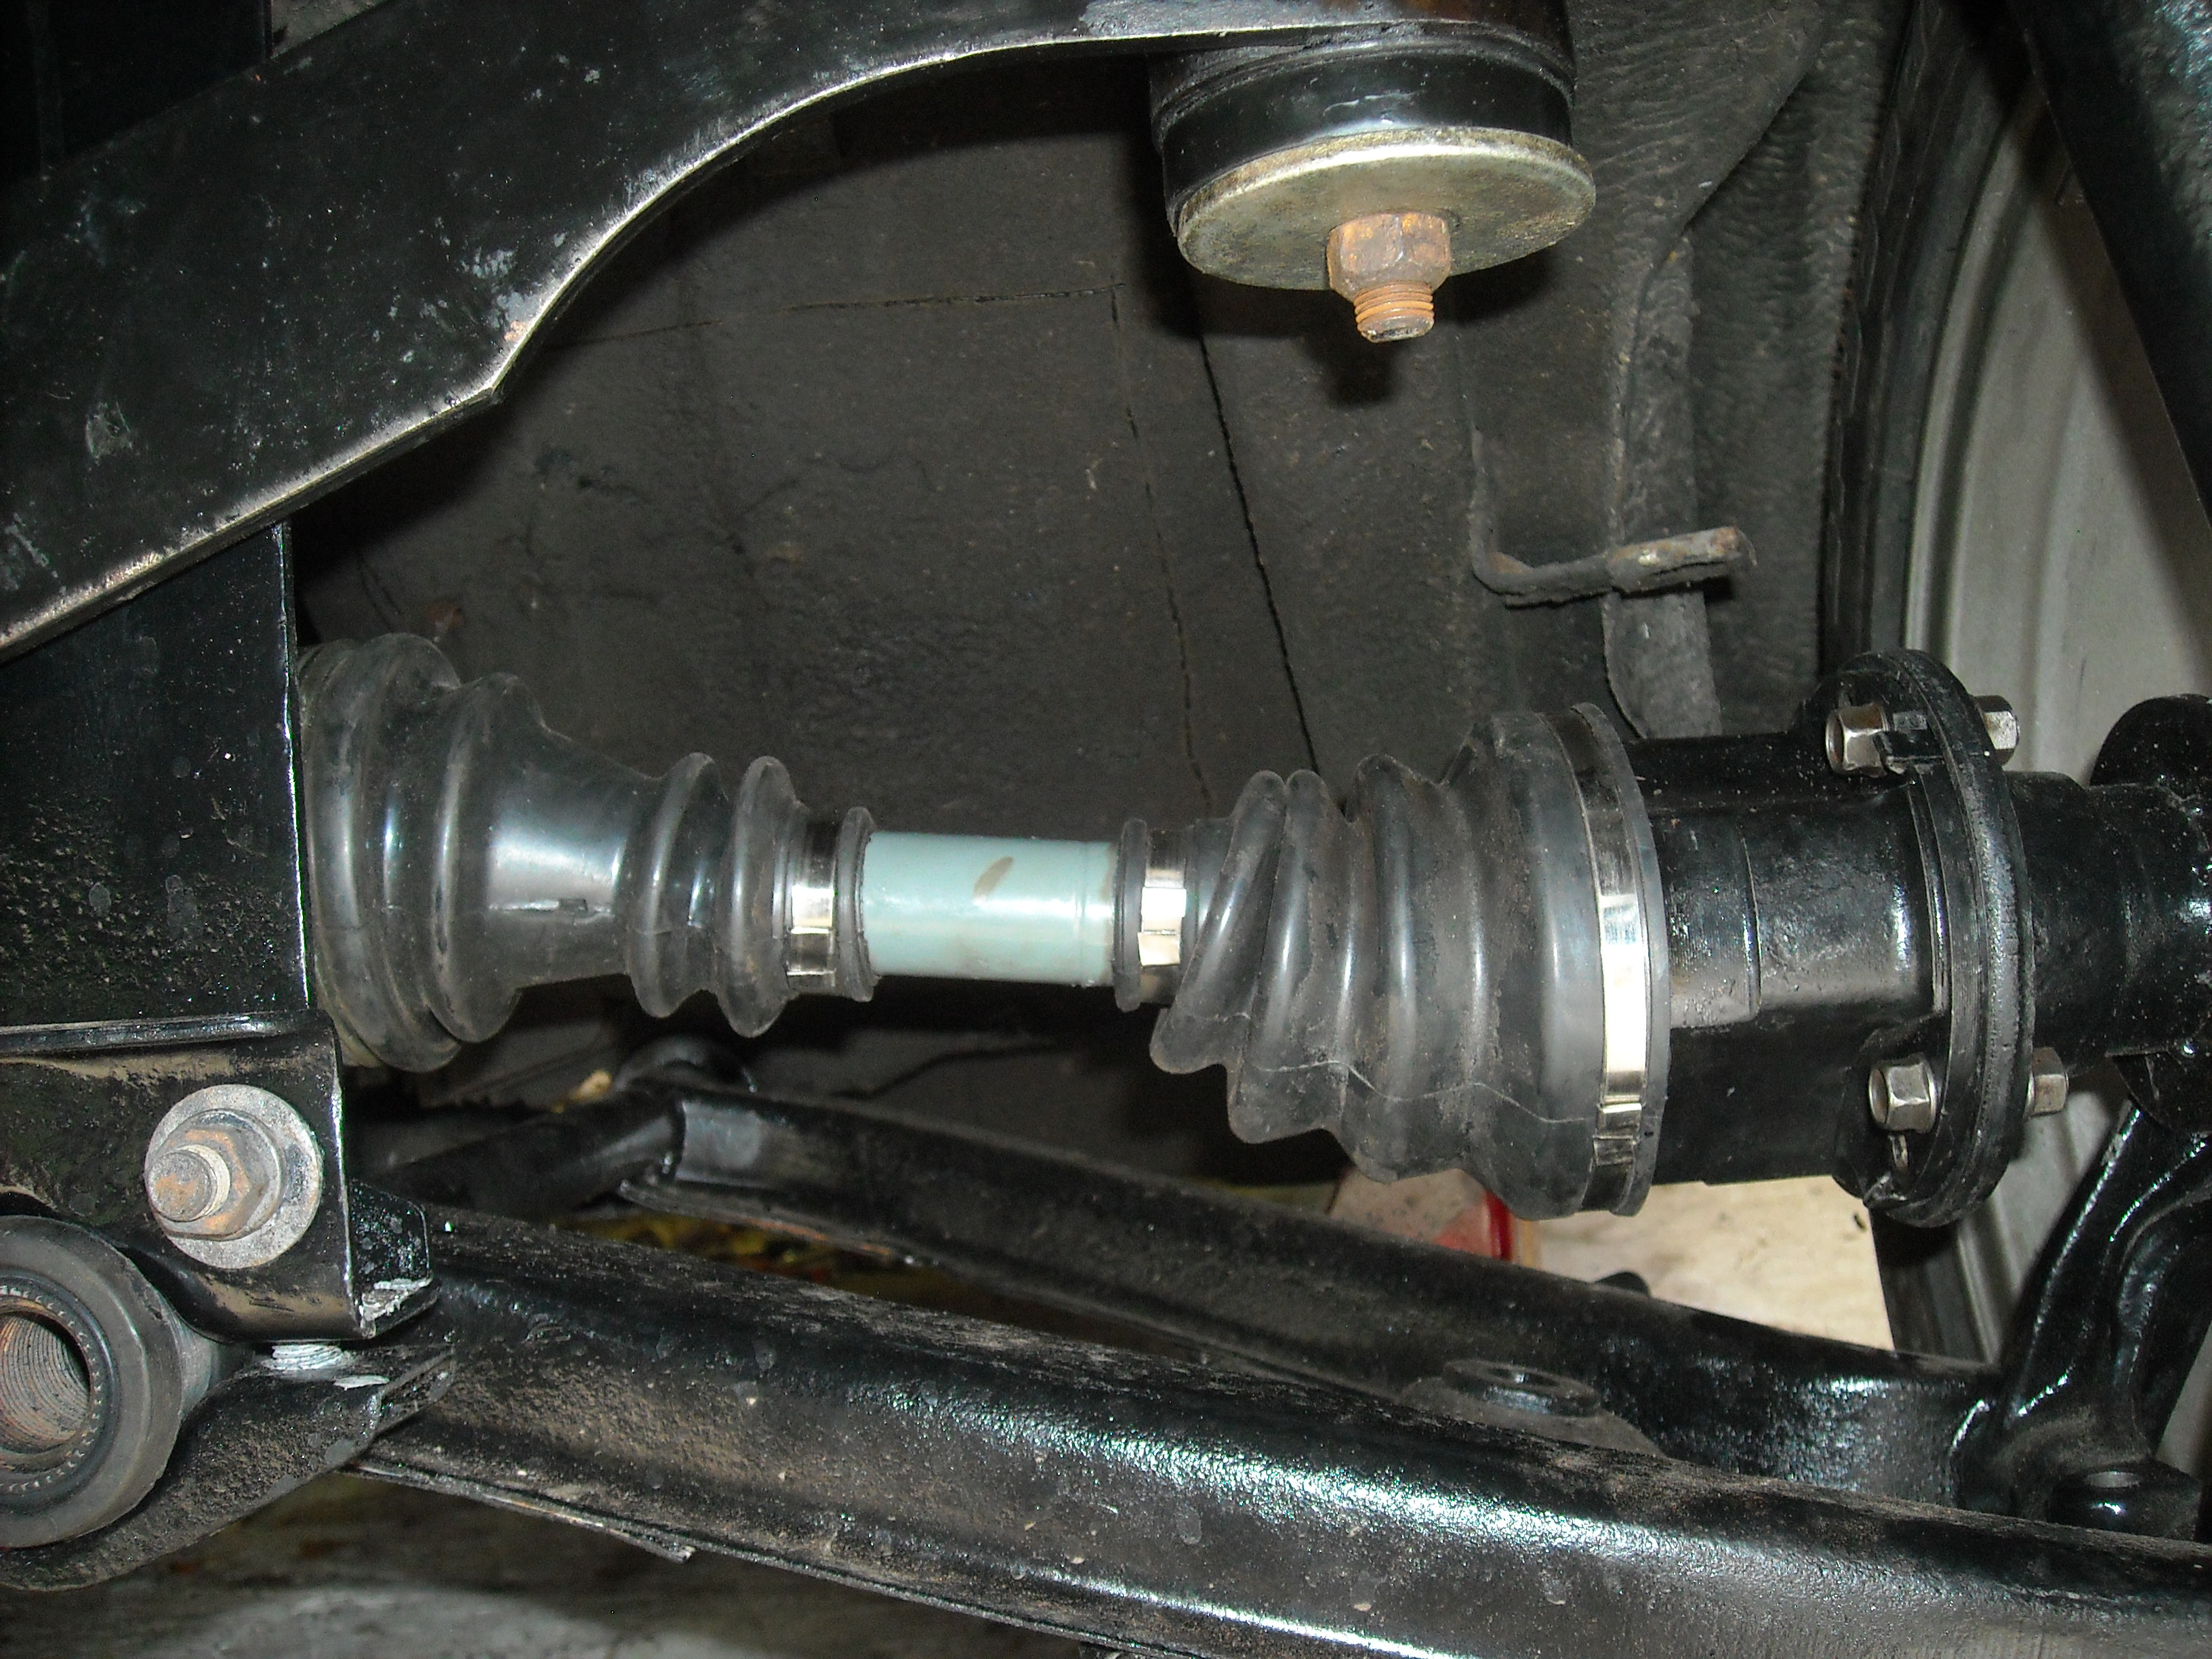
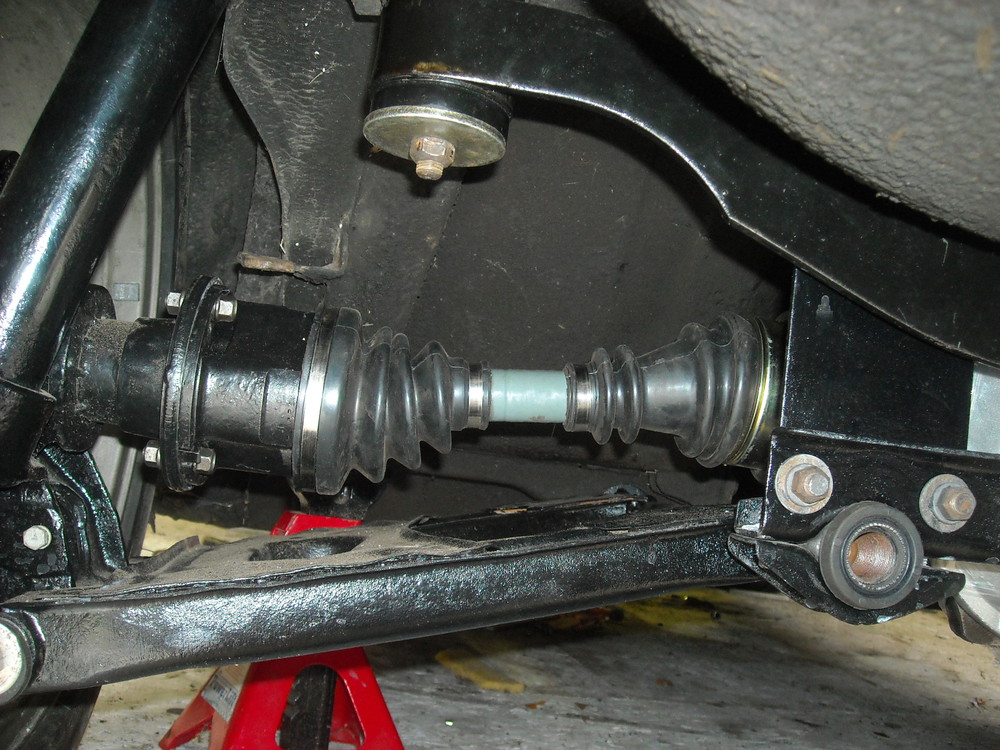
Well I finally got the car into the garage and the whole rear end set up to test the 280zxt halfshafts, I really didn't think they were going to fit, could not compress them enough to fit into the back of the hubs so had to remove the spindle pins to pull the hubs out. They bolted up just fine, so with the springs removed from the struts I slowly lowered the tires on to the ground fully expecting back of the car to just jam as I lowered it, but all went well, the car sunk right down onto the bump stops. I put the rear end up on jack stands and with 2 jacks, one on each control arm raised them up to the point were the halfshafts would be at their shortest, both wheels spun easily. Now the real test will be next year under full power but at the moment I can't see how that will change anything, all bolts for the rear suspension were fully torqued. I'll update this thread at that time.

-
^ that is quite a site, goes on my favorites list.
-
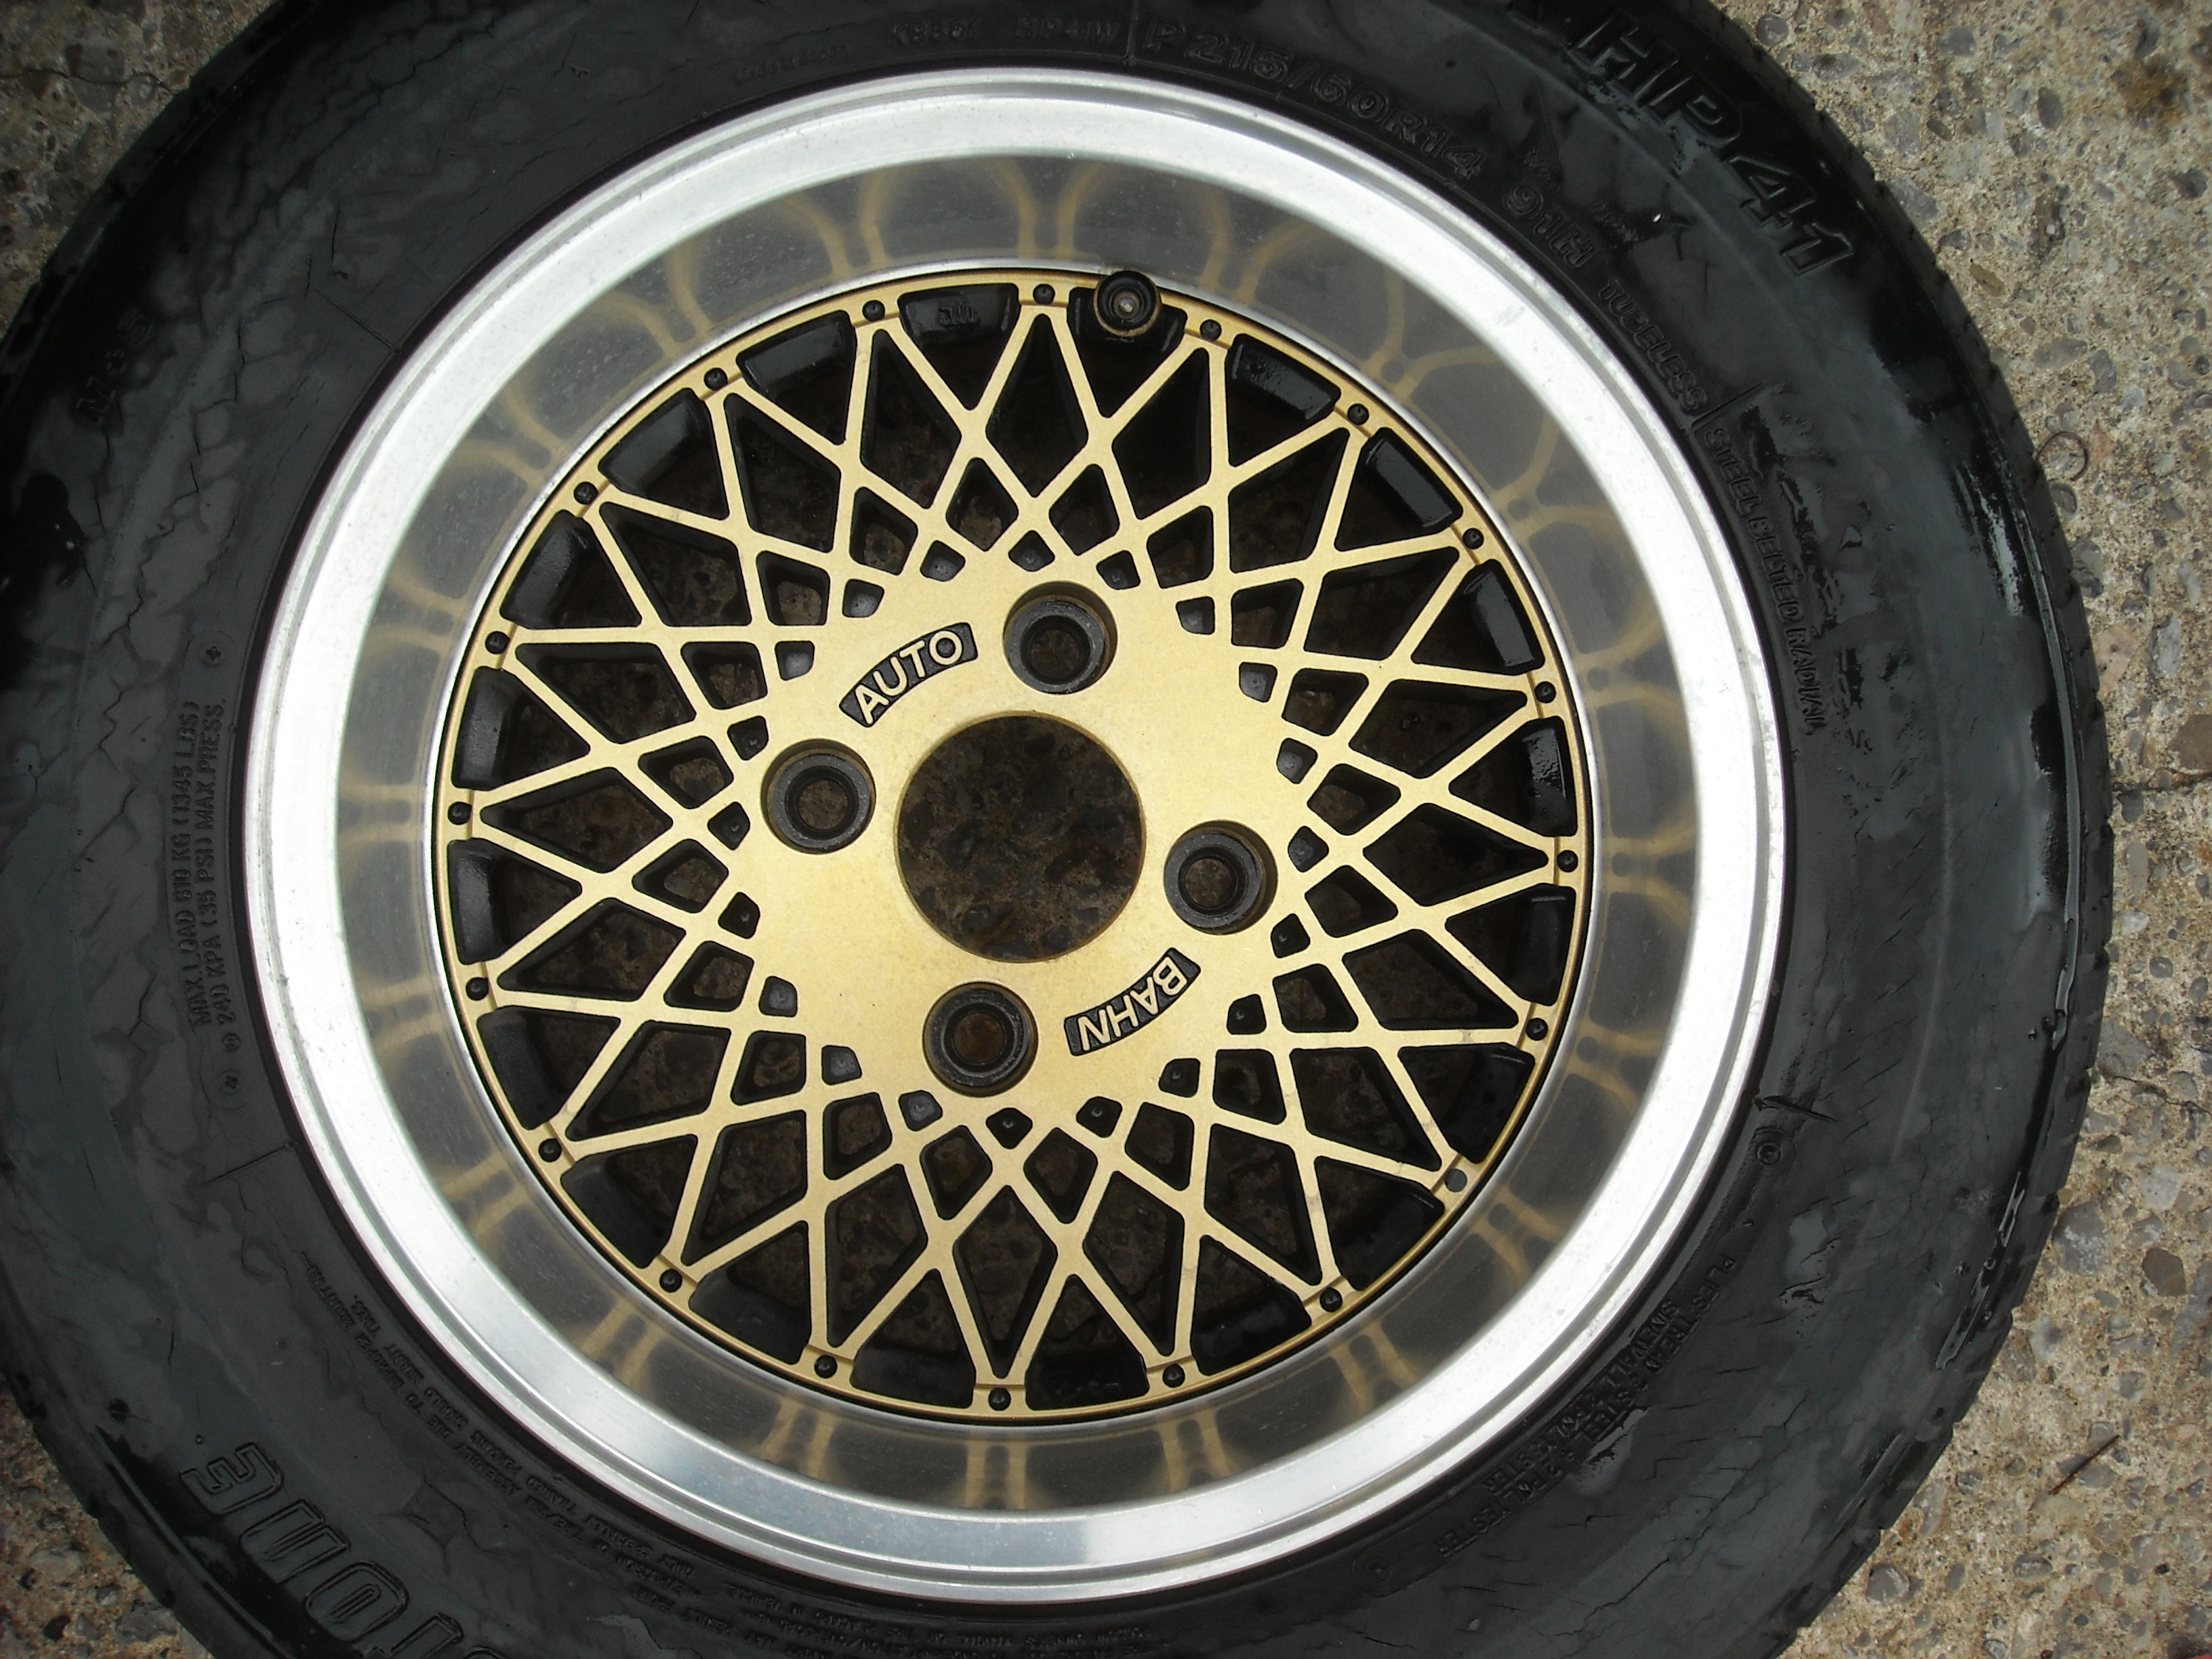
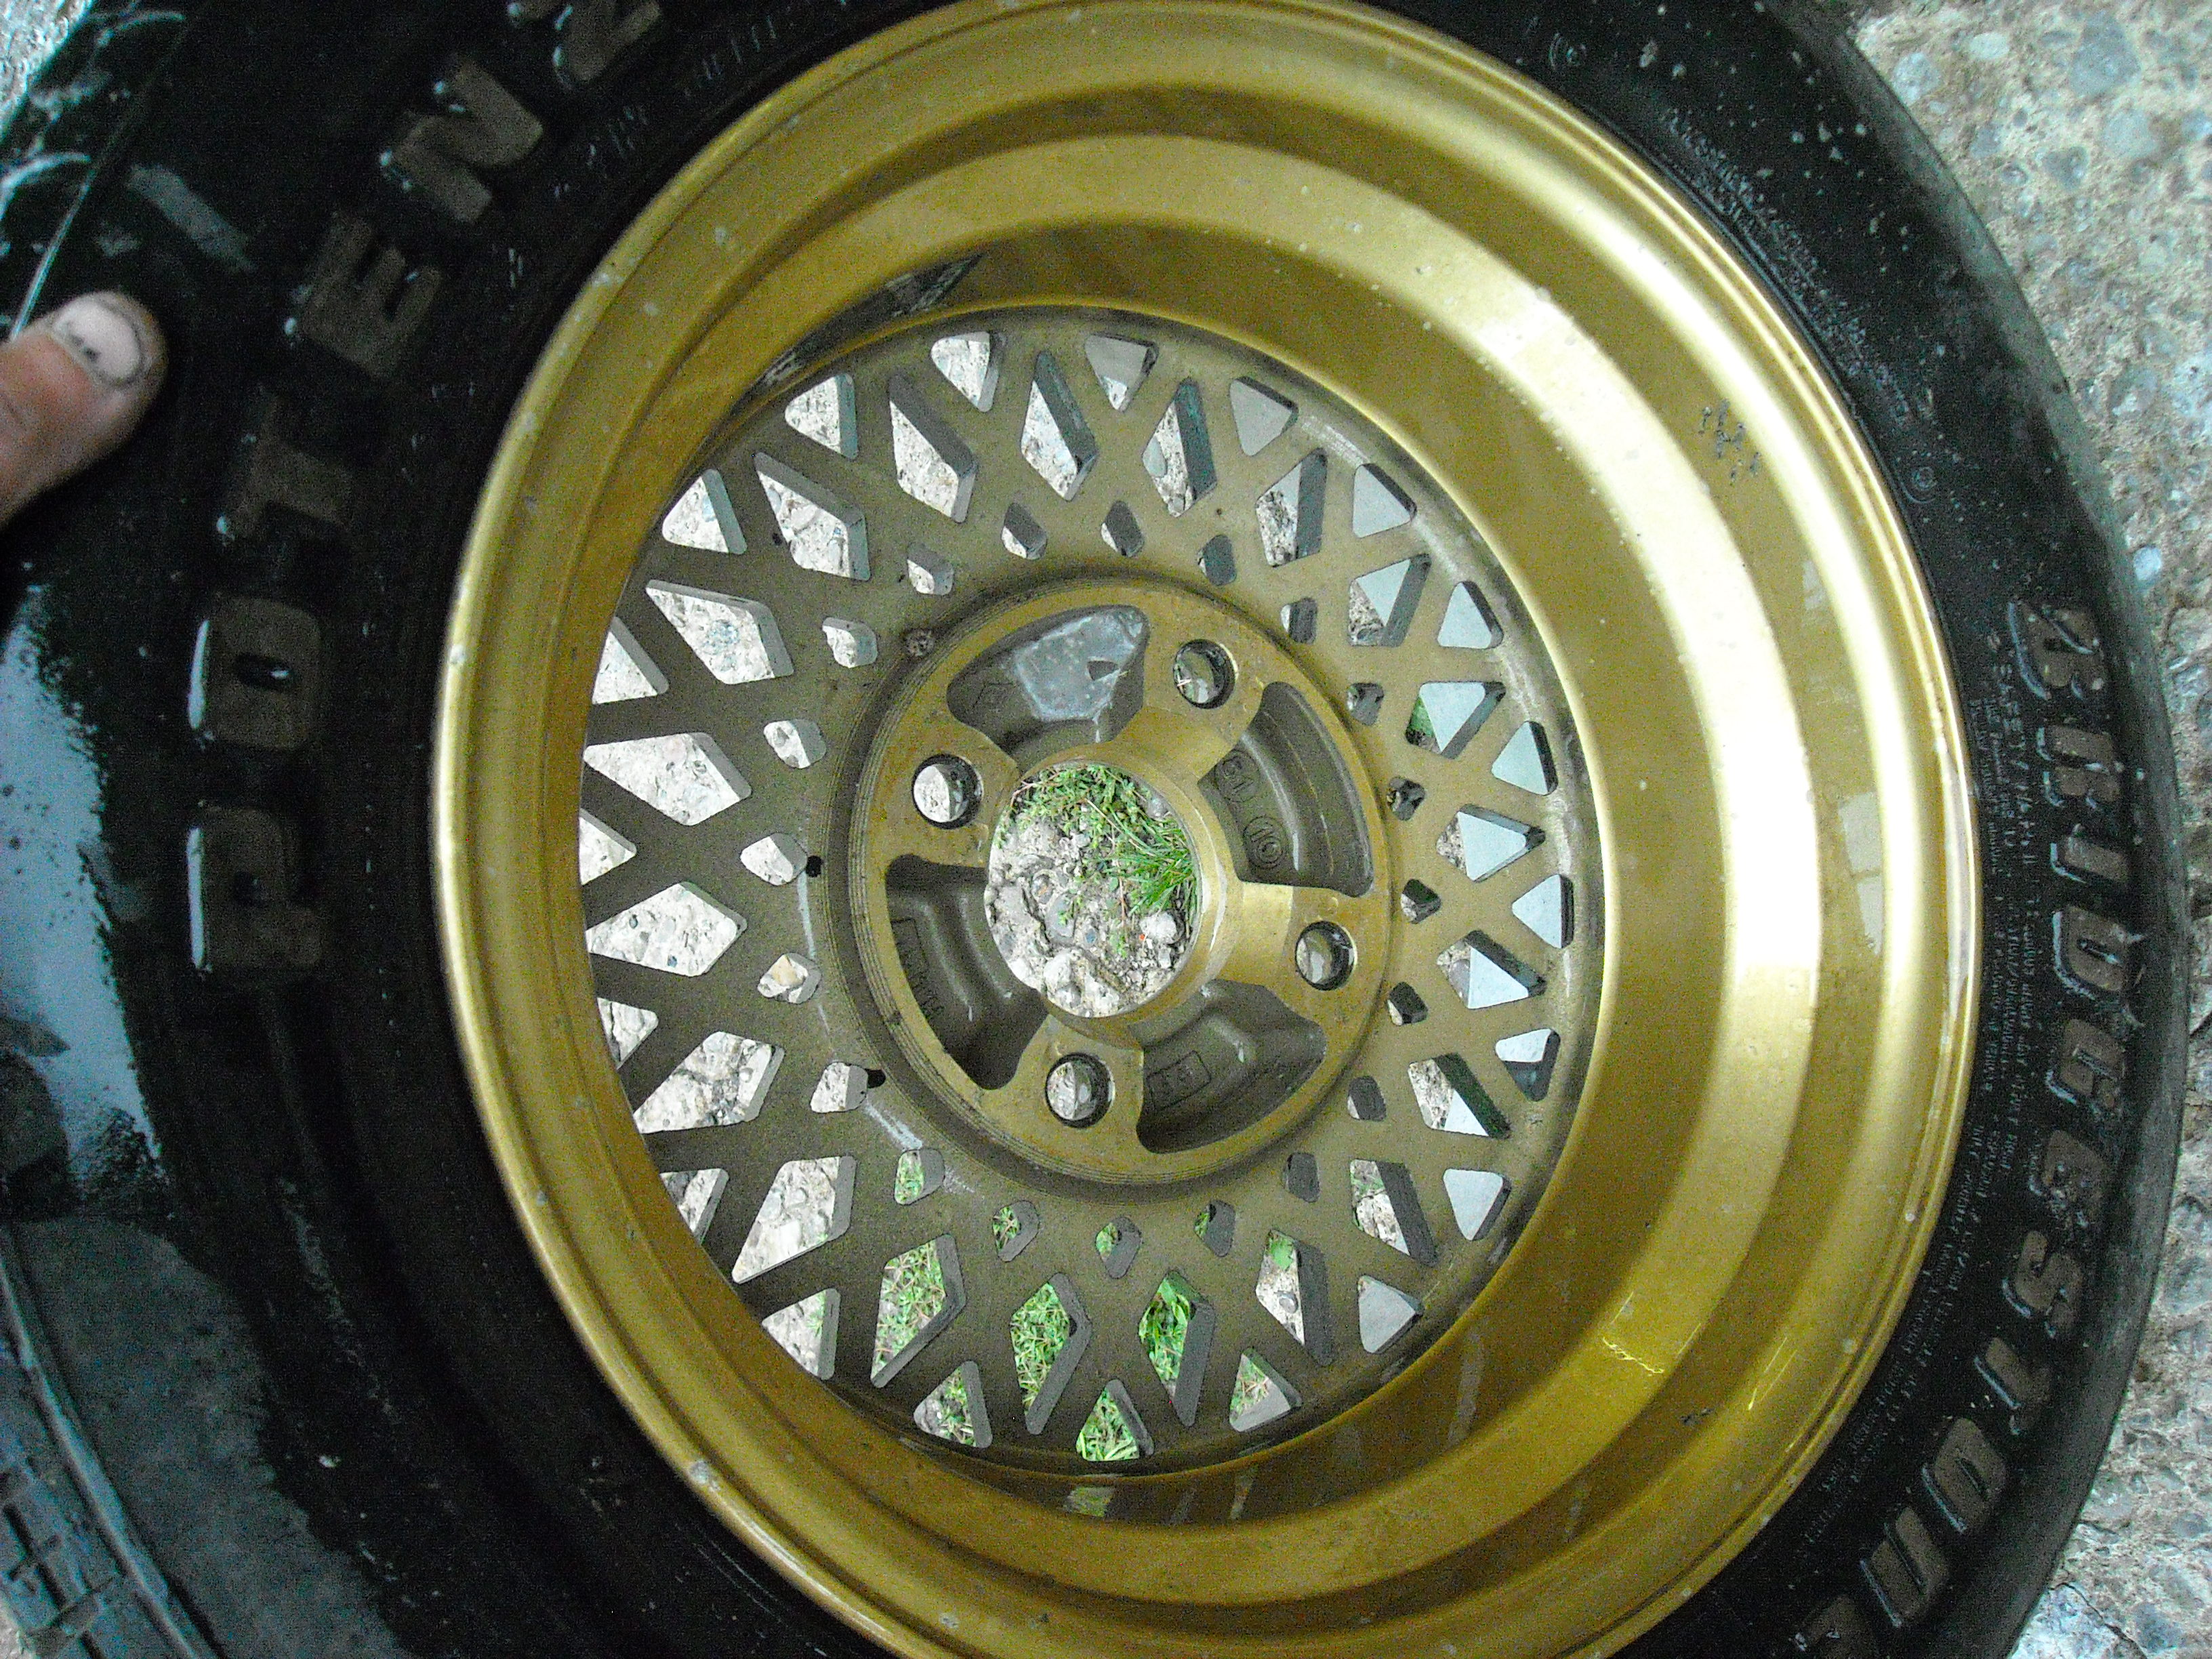
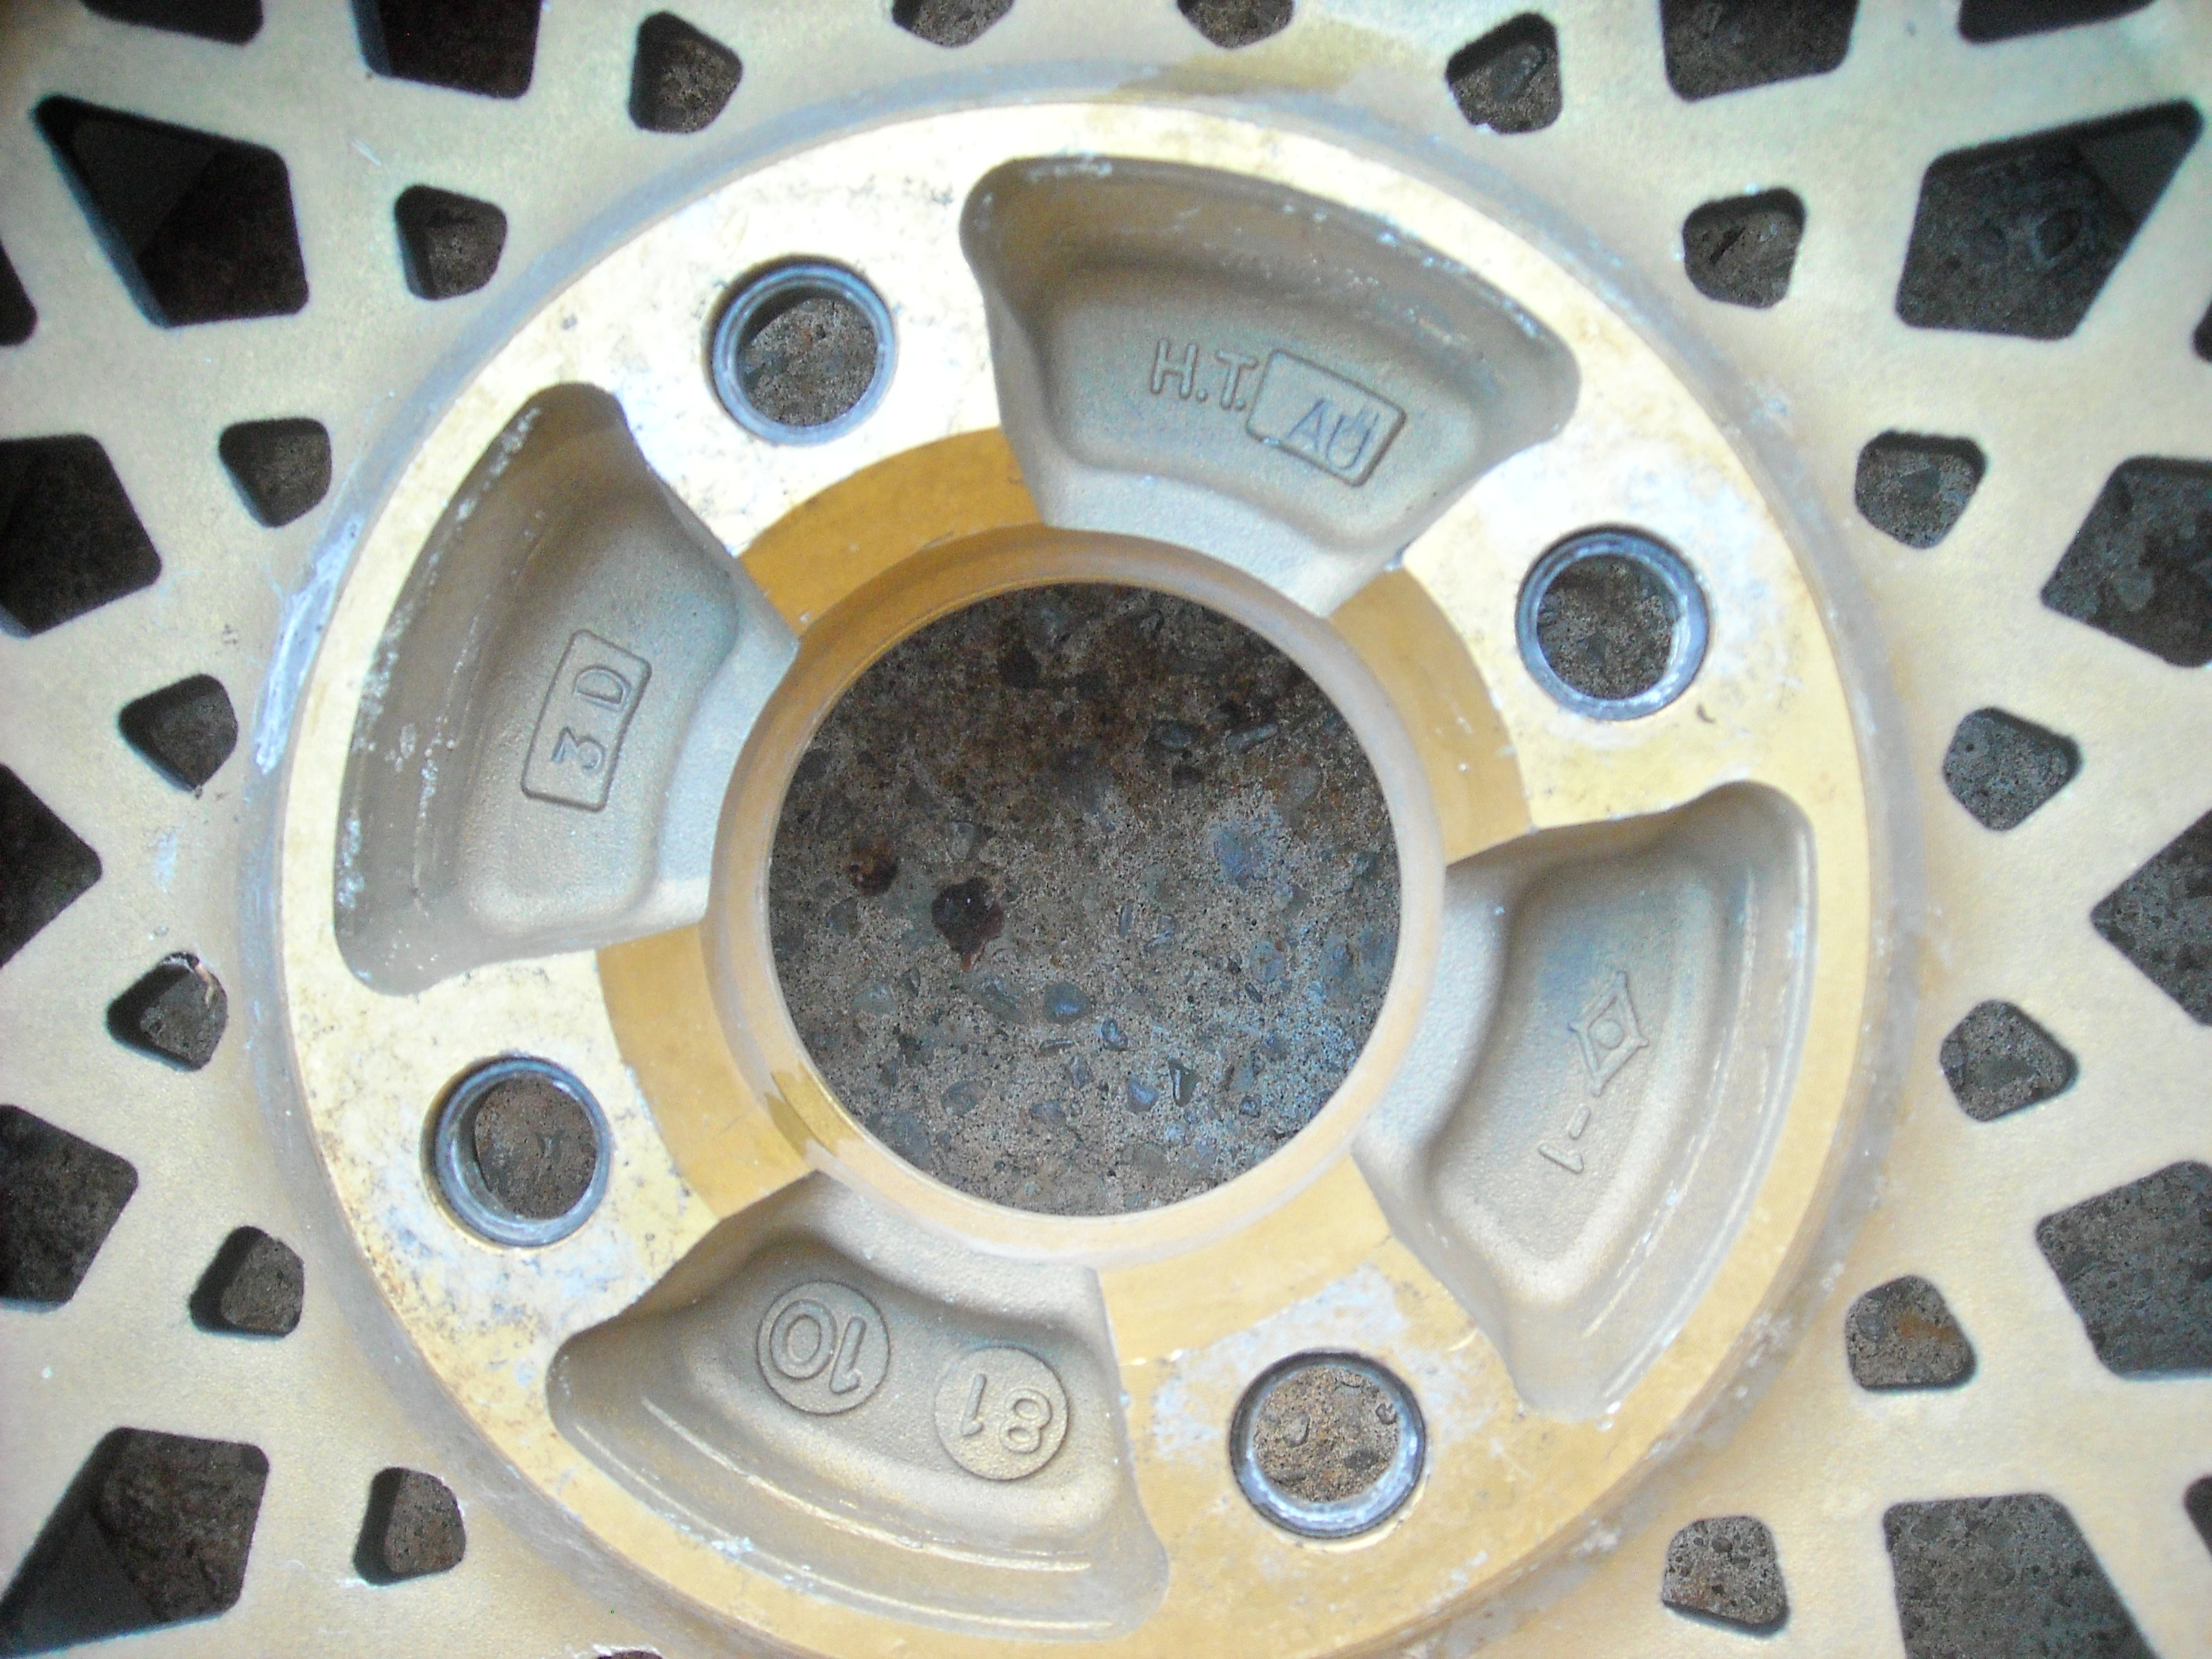
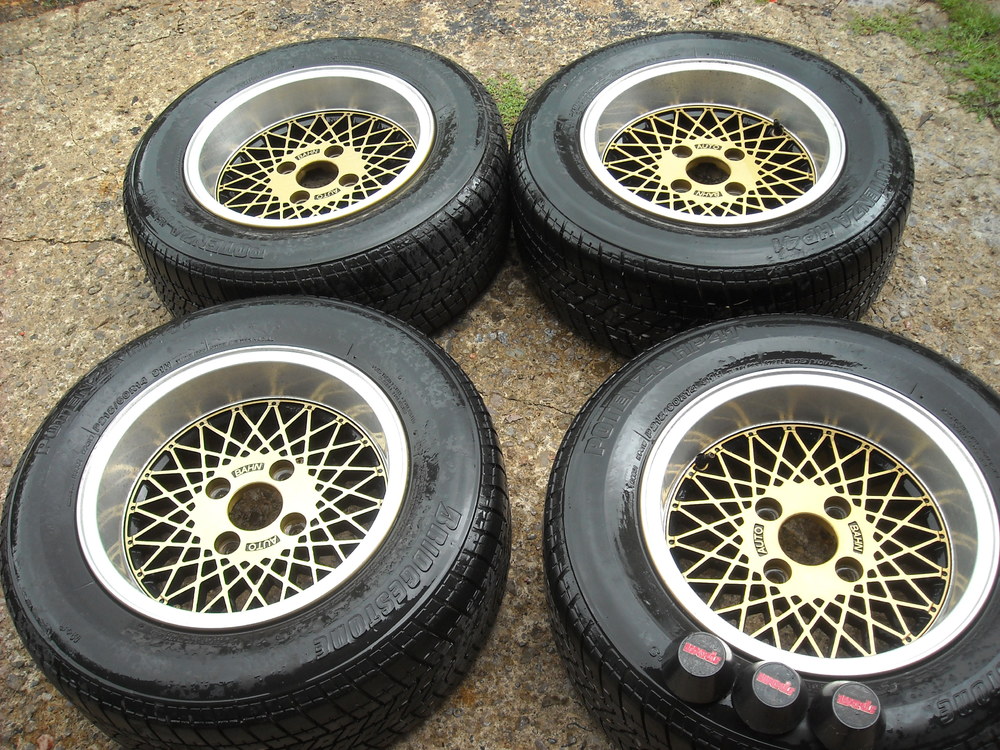
They are 14 x7 Auto Bahn, they were on the car when I got it, not finding much of anything on them. Thanks, Chris


-
disepyon, I just found your build thread on Hybridz a couple of days ago, haven't had a chance to go through the whole thing, but holy schmoly you are doing some outstanding bodywork on that car! You could go into business making brand new vintage 240Zs. I'm thinking about jumping in on this deal just because I know I will never see them again for sale. There are a few of us here that really love Uni-body porn and your thread is a gold mine, the dismantling starts in post# 42 http://forums.hybridz.org/topic/103797-2-4-0-z-l-s-1/page-3 Don't know if you are looking for work but over the years I have heard many Z rebuilders complain about not being able to find rear quarter panels that extend more then 4" up from the lip of the wheel arch, or the sheet metal that make up the layers of the dogleg. Just a thought. Thanks, Chris
-
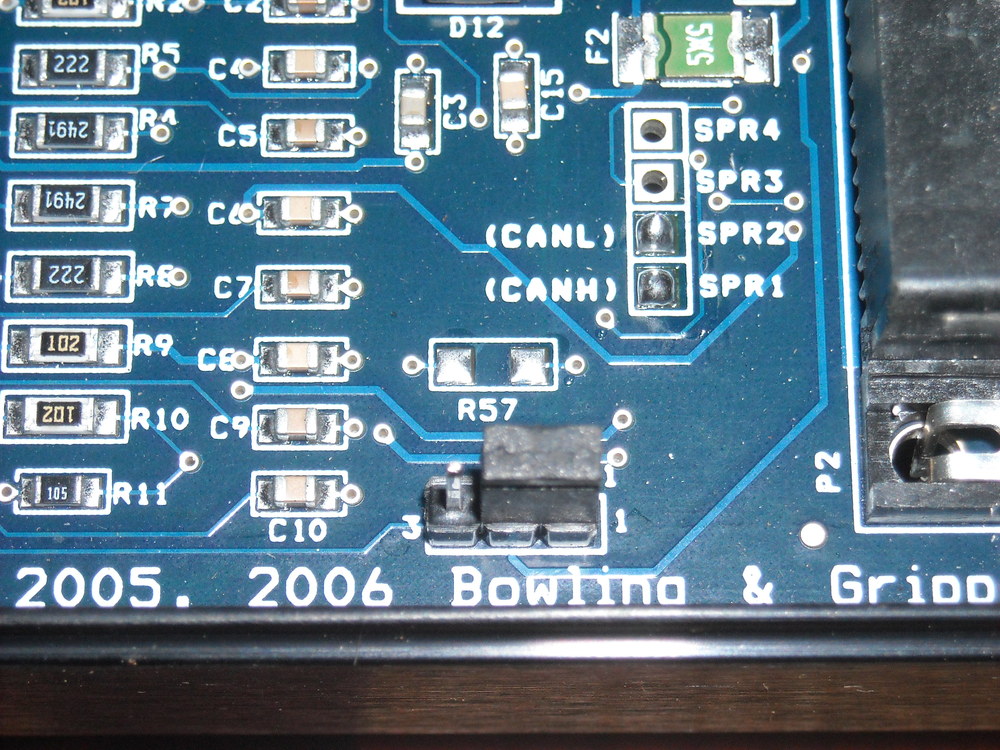
It was a good read, another way of seeing what might be the problem. This pull resistor sounds promising. Did you finally go with the resistor in the ECU or on the sensor wire as well? Do you remember the size of resistor? This is what R57 looks like at the moment, "Might be GK has already moved on from the BMW parts though. Said he's buying a new sensor but didn't say if it was Bimmer or DIYAutotune. " ZH, the new sensor is a stock BMW VR sensor Thanks for all the help guys, I'll get this sucker running yet.
-
^ AZ-240z, your car is sooo clean and is that carpet underneath it? Nothings too good for your baby,I understand.