grannyknot
Free Member
-
Joined
-
Last visited
Everything posted by grannyknot
-
 Has anyone used these or know anything about them? http://www.ebay.com/itm/BLACK-LEATHER-2X-DOOR-CARD-LEATHER-SKIN-COVER-FITS-DATSUN-240Z-260Z-280Z-/231398294528?hash=item35e069c400&vxp=mtr Considering the price of new door cards or even vinyl skins these look like a bargain.
 -
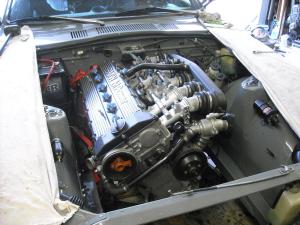
Thank you Derek, your blog is on my favorites list. The pic of the ///M engine is just a test fit, still at least a year away maybe more. You know the drill, too much stuff that has to be done before the fun stuff gets done. I can see your first 25-30 heads flying out the door as fast as you can make them and then steady sales from then on. It's been fun watching the process. Chris
-
Derek, I have been checking in on your thread on Hybridz for years now but I didn't realize you had come so far, that head looks like it's almost ready to bolt on to a block! Have you started making a list of peoples names yet? I couldn't wait so I'm doing this instead,
-
That glovebox flange might be a tough fix, as you say it is held by one small spot weld to the frame of the dash. The metal of the frame is the same thickness as the flange so there isn't much for a thread to grab onto. A self tapping sheet metal screw might work but you would have to remove the cardboard glovebox to get a enough room to get a hand drill up under the dash to get the angle right, also the other side of the frame is bonded foam so there is no room for a nut. JB weld may work but don't use the 5 min stuff, it doesn't have the strength of the 24hr kind. Those tiny screws are M4 x .7 Chris
-
-
Very cool
-
Jim, my 83 ZX 5spd was "singing" as well, I rebuilt transmission but nothing changed then finally I noticed the wooden knob was loose just a bit. It turned out the threaded insert in the knob had over sized threads and was buzzing against the shift lever, a bit of plumbers teflon tape took up the slop and I stuffed some dense foam to fill up the hollow inside the knob that is under the 5spd badge. Now all is quiet, it was a wonderful moment, I had chased that noise for a year and half. Glad to hear you found the fix too. Chris
-
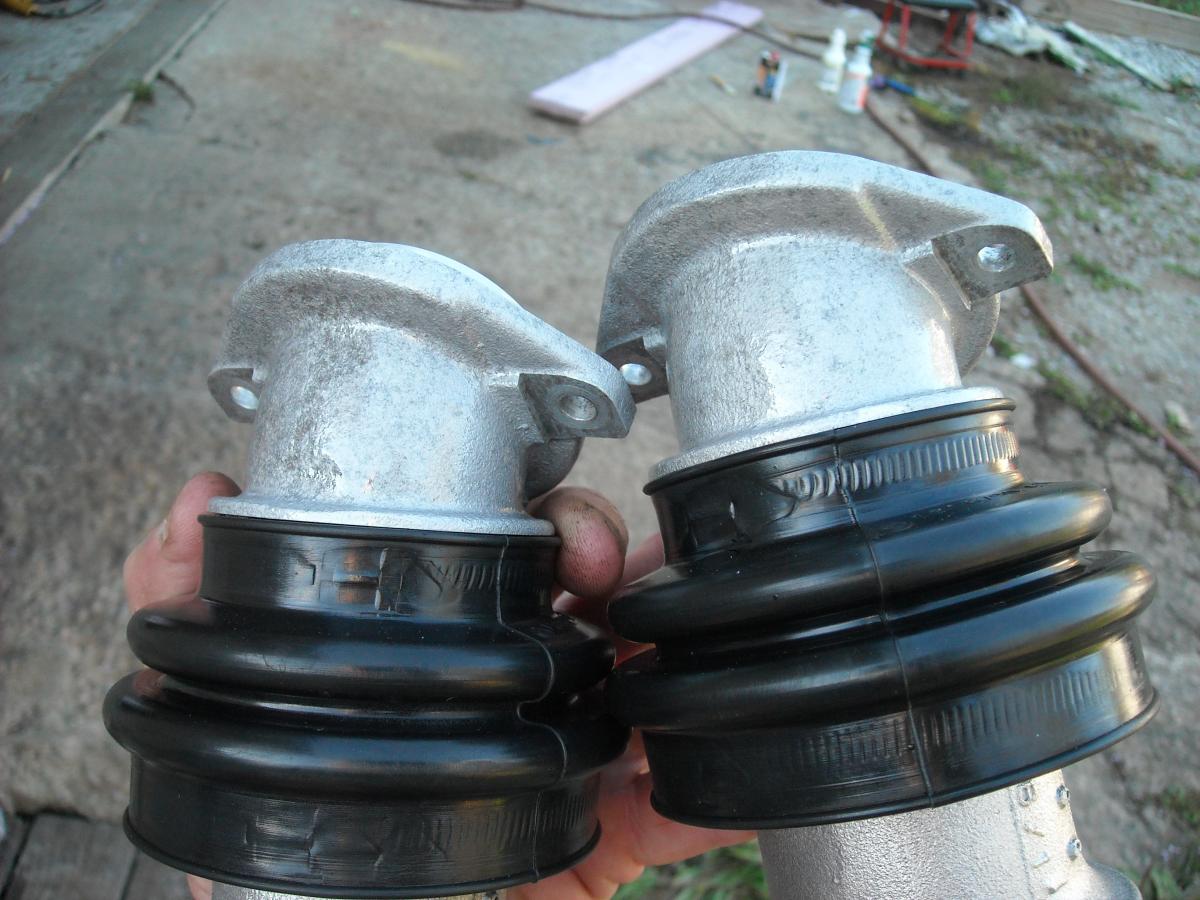
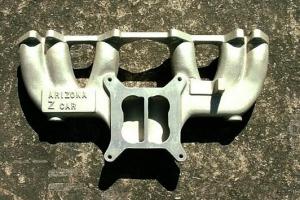
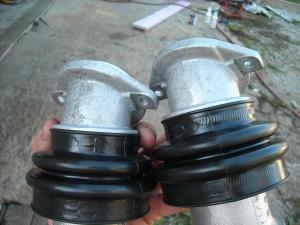
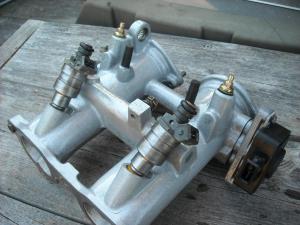
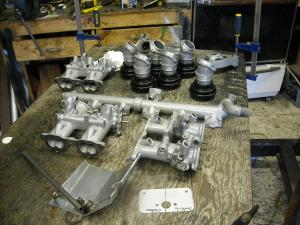
Arizona Z car intake manifold is $40 cheaper and they know how to spell Datsun
-
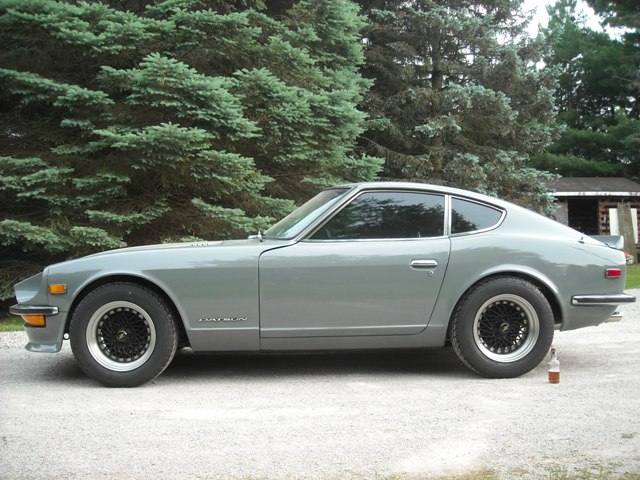
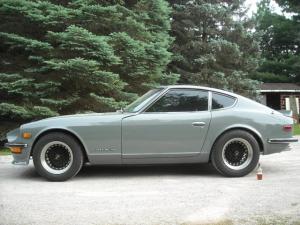
I'm running Bridgestone Potenza 215/60 on 15x7 wheels, Illumina shocks with Eibach lowering springs, no rubbing
-
Amen brother
-
-
Spoofan, I wouldn't assume that all of the chunks, little bits and tiny flakes of that cam made it to the bottom of the oil pan where you cleaned them out. I would be willing to bet that some of that fractured cam is still hung up in the oil gallery. All it would take is the smallest piece finding it's way to the rod or crank bearing surface and you would be looking at a complete rebuild. As you mentioned it's best to take the patient route, flush the inside of the block down, make sure there is nothing hiding on the crank. Chris
-
nix240z, you should be doing this thread, that is beautiful work, how are you getting it so shiny? Spill the secrets. Chris
-
Timz, which one on siteunseen's pic above do you need? I have a box of distributor parts, I'll have a look. Chris
-
Ryan, that's good to hear, how is the new engine running?
-
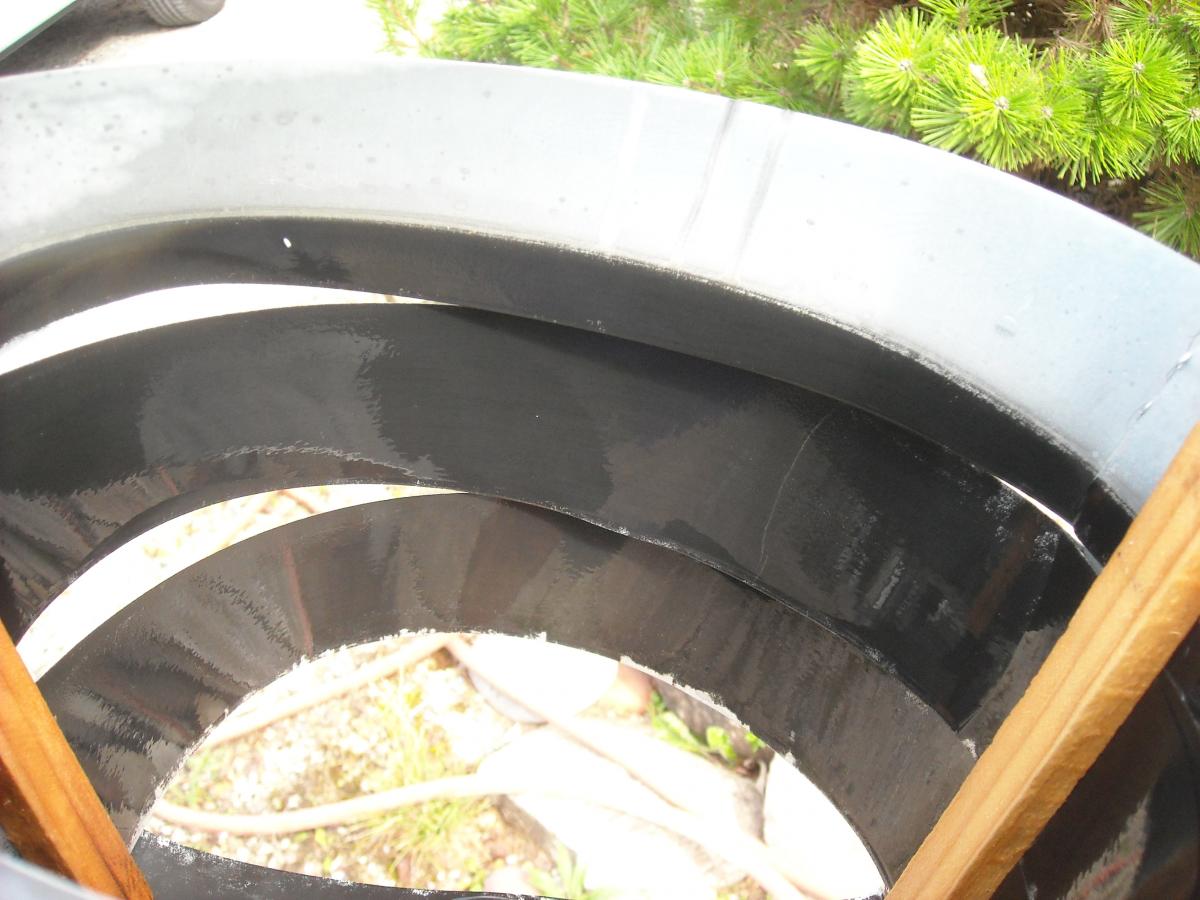
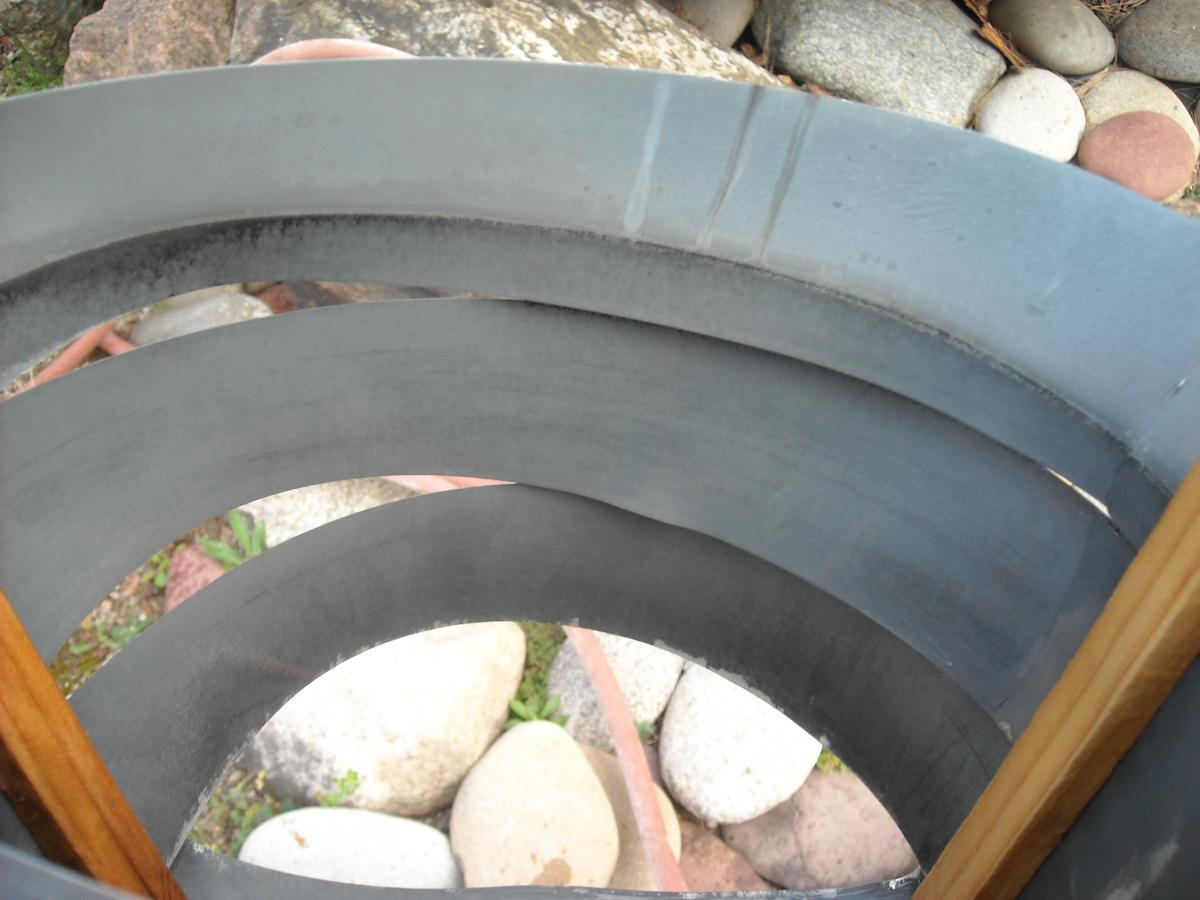
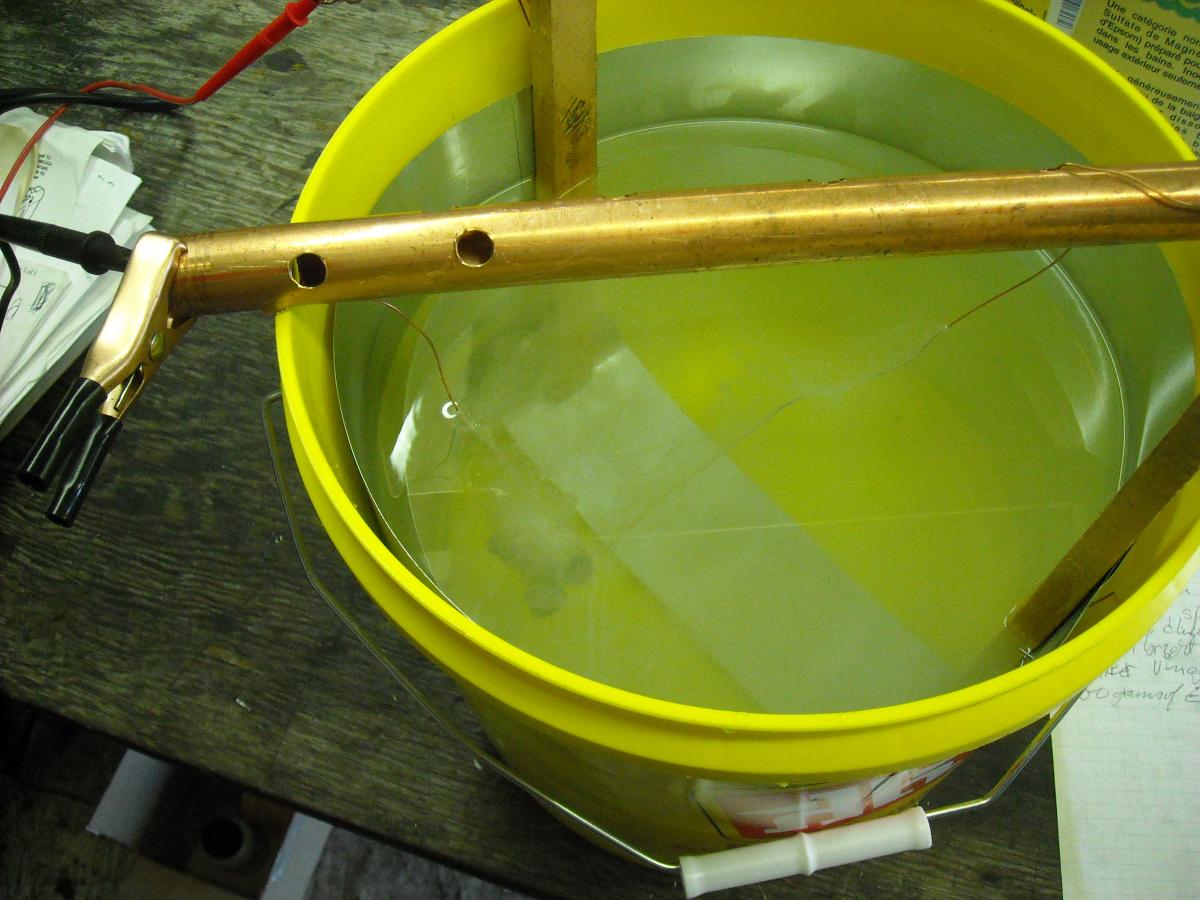
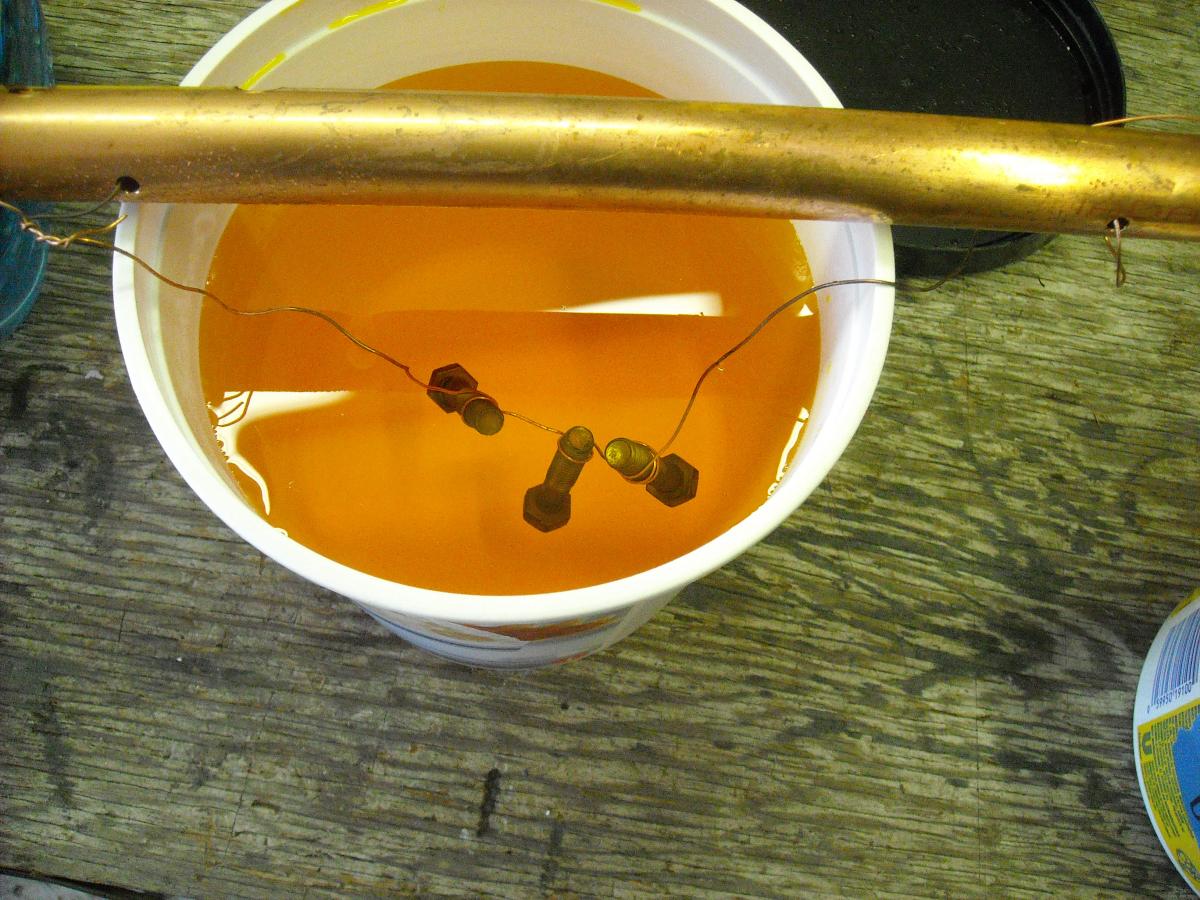
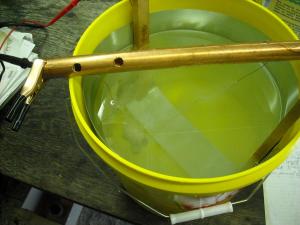
John, you could just borrow my caswell pwr supply when I'm done my run. I skipped off work early today so I could get a production line going and get a bunch of stuff plated, about a 1/3rd of everything I plated had to to be re-done because of spots I missed in cleaning or was contaminated on the way to the tank. This process doesn't let you get away with anything. The muriatic acid is excellent in showing what still has to come off with the wire wheel, the pic of the engine bay trouble light shows a layer that still needs to be removed. After a couple of hours this black soot stuff builds up on the zinc anode, it just rinses off but it starts slowing down the process. The pieces started coming out kinda milky or cloudy towards the end, not sure what is causing it.


-
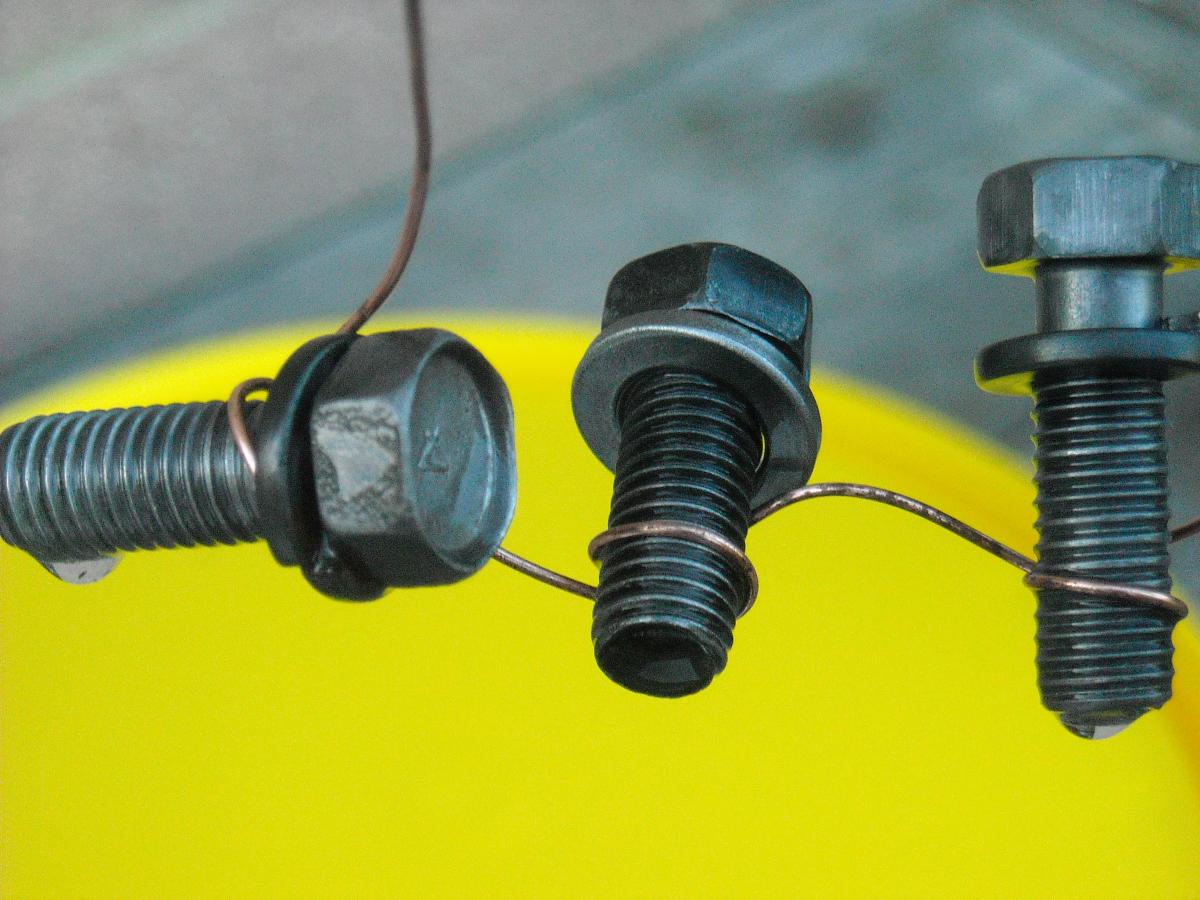
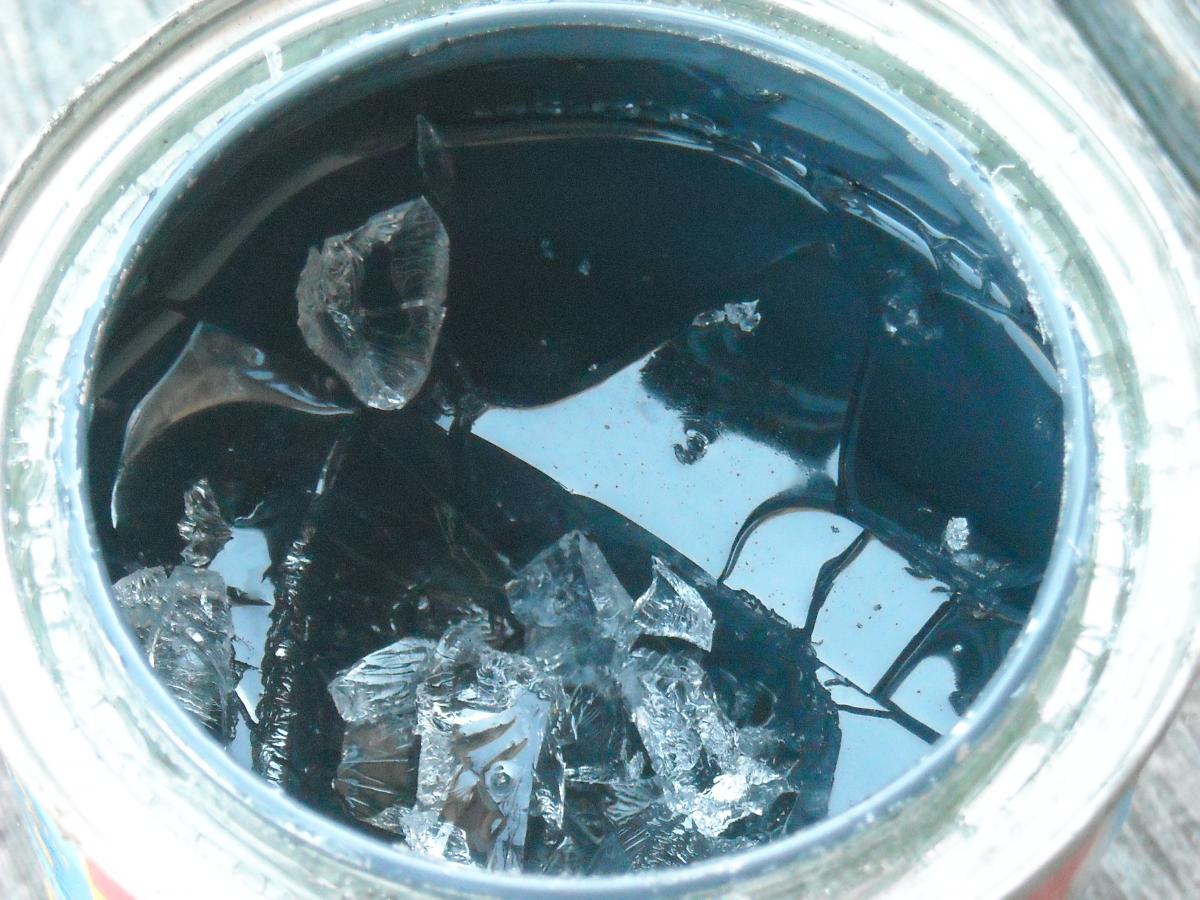
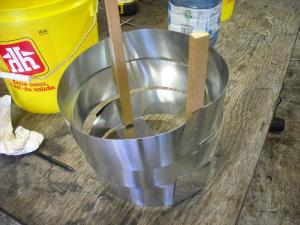
Vinegar and Epsom salts are the electrolyte, the plating solution. Muriatic acid as a prep solution. Amount of time in the yellow chromate is something you have to watch carefully, it is sort of dunking for a few seconds then pull out to see if the colour is right yet. It's easy to go too far,(see pic) and when you do you have to start again at the muriatic acid stage and move to plating again.

-
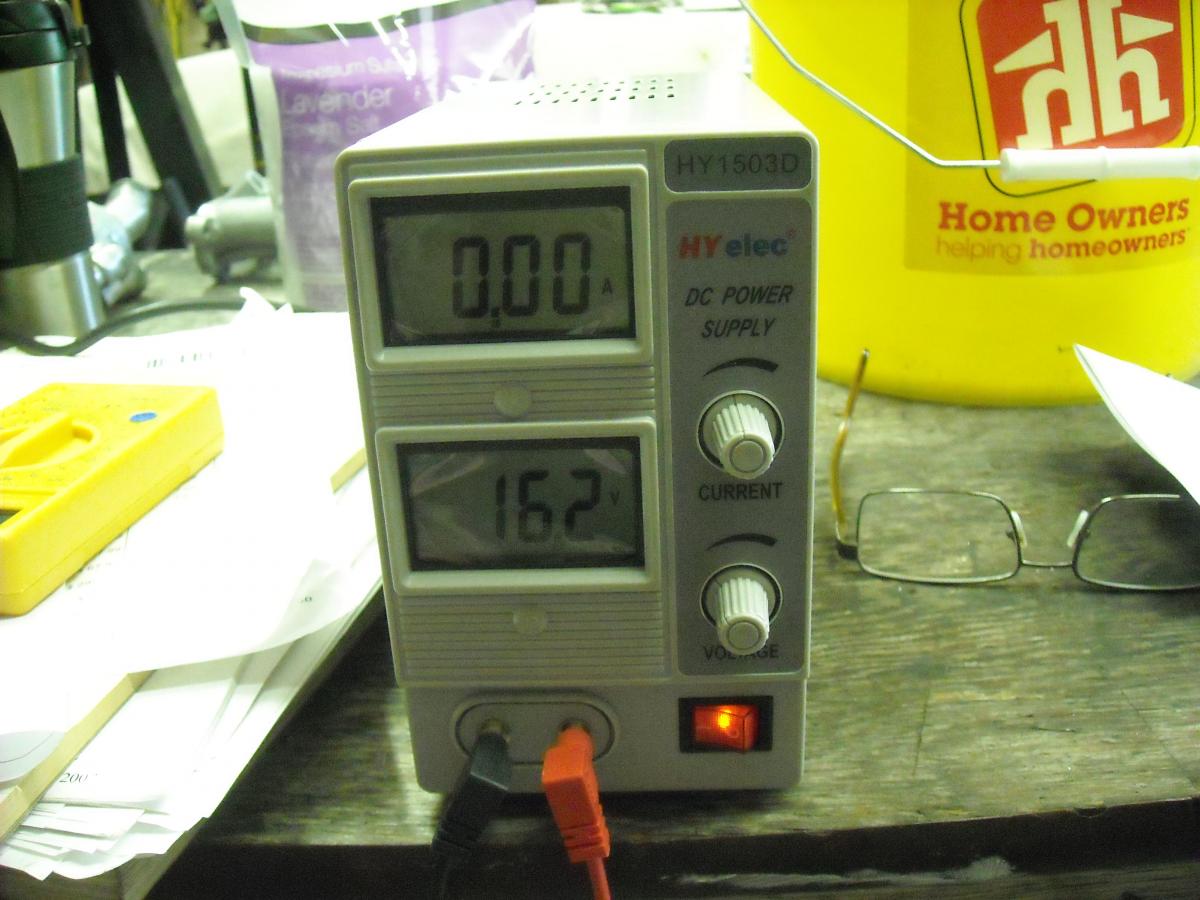
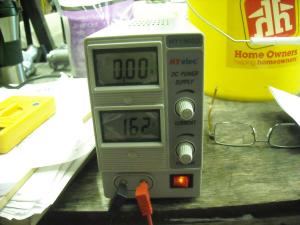
No blue chromate, just yellow 8 litres white vinegar 800 grams Epsom salts 1 tsp caswell zinc brightner pure zinc strip anode (positive) no added heat- 23*C room temp. no agitation pump approx .25A per sq. in., after a while I only paid attention to the amp reading and didn't worry about the voltage clean pieces with industrial cleaner, then soak in paint thinner, acetone then spray with brake cleaner then wire wheel down to bare metal, the industrial clnr, acetone,brake clnr then 10 min in 50/50 muriatic acid/distilled water rinse with distilled water then into the plating tank for 15 min. remove with gloved hands and burnish with 3m scouring pad, then back in plating tank for another 15 min remove, rinse with distilled water then 10 -30 sec in yellow chromate solution rinse with distilled water and dry off the piece with air gun and heat blow dryer set aside and don't touch for 4 hrs
-
I'm pretty sure there will be uses for both of these coatings in the engine bay, I have tie-wraped one of the test pieces to the radiator in my work truck, now I'll just watch and wait.
-
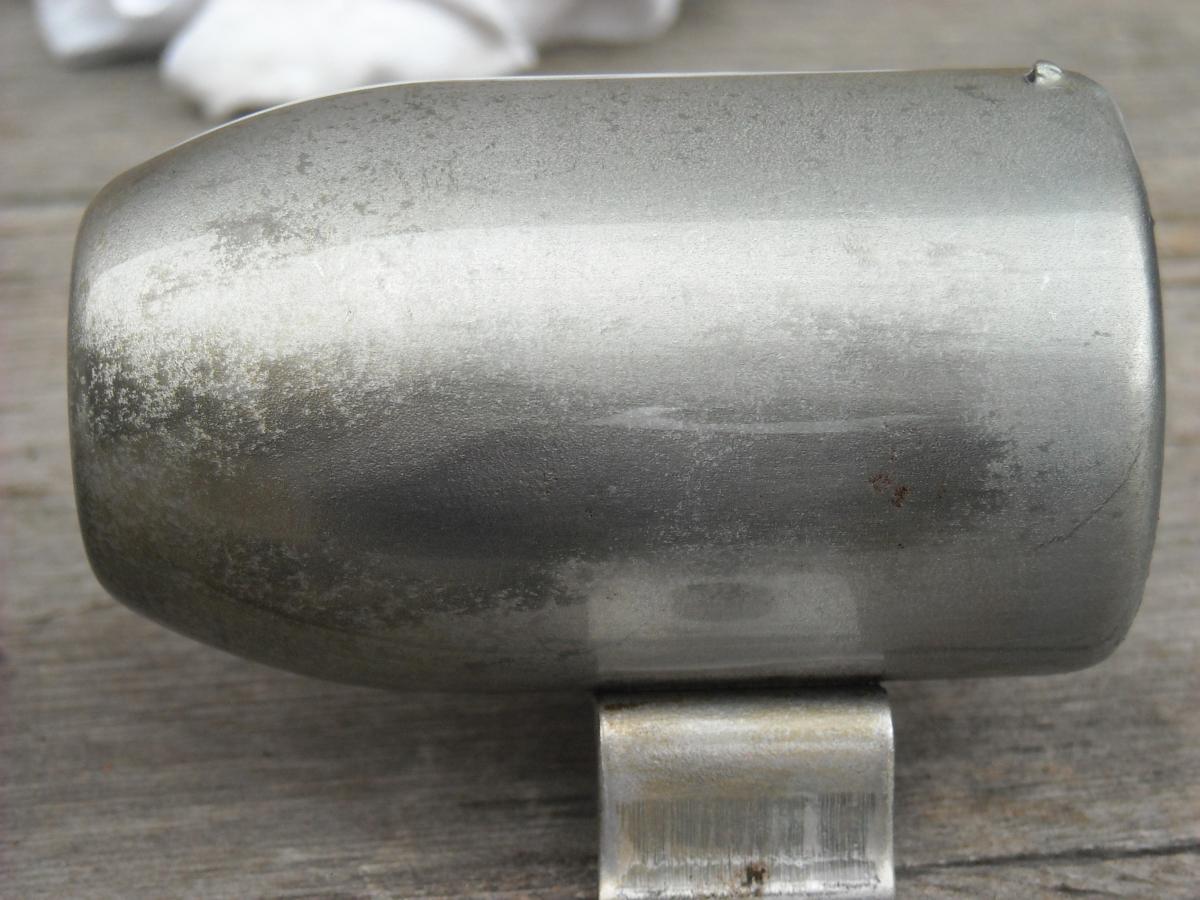
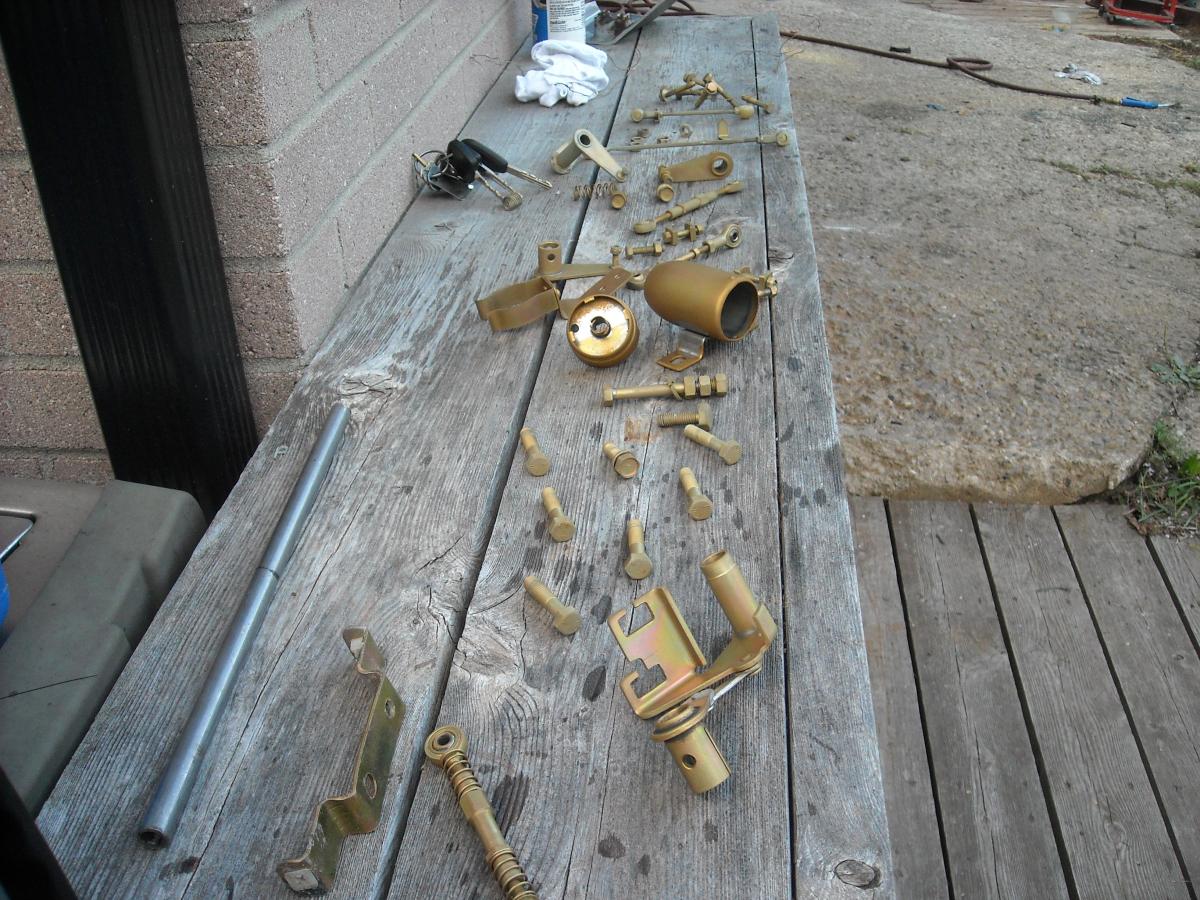
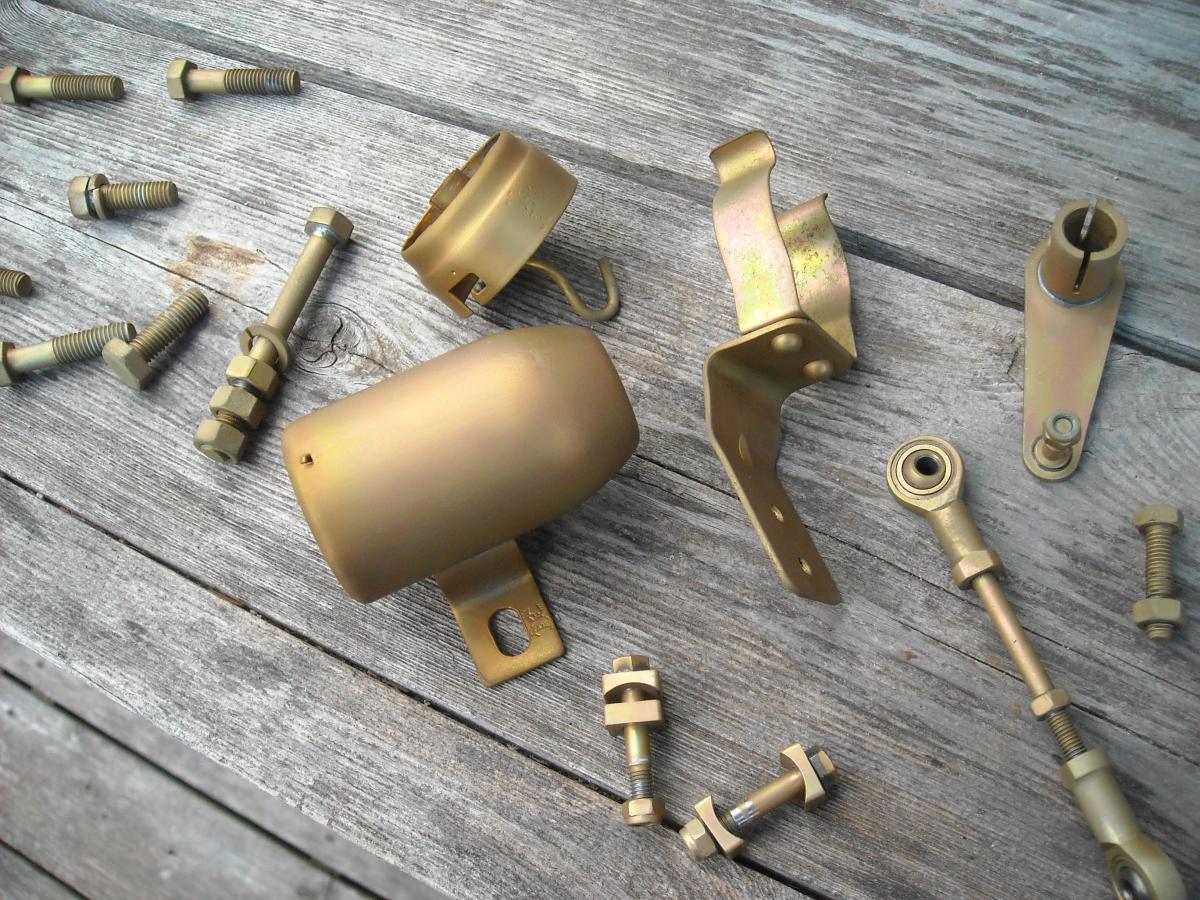
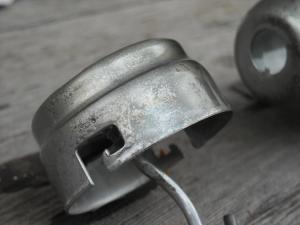
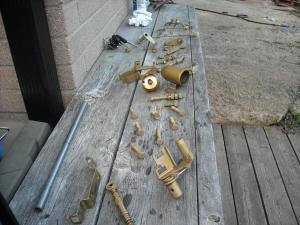
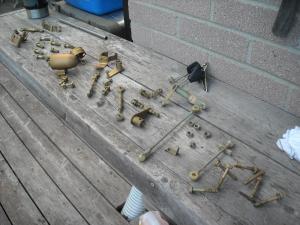
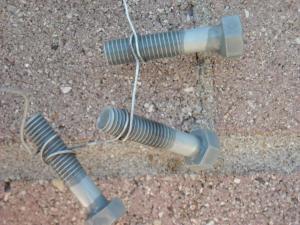
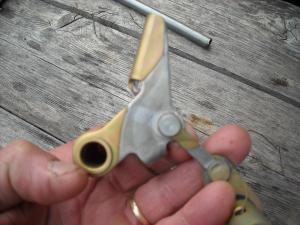
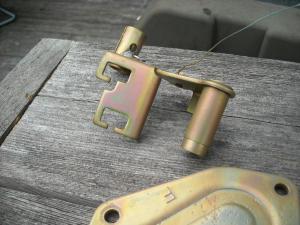
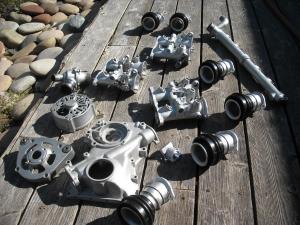
Well I did pick up the Caswell power supply, some brightner (that doesn't work) and some yellow chromate, the rest of the kit I hobbled together from reading all the links in this thread. When they say absolutely clean metal is essential they are not kidding, I started this morning and couldn't even get the zinc to stick, those are the pics of the black bolts. By 6pm I got the hang of it and produced a few usable pieces, on a couple of the pics you can see how the tinyist amount of grease was left in the pivot and it prevented zinc from adhering all around it. De-greaser and muriatic acid are a big help, hard to over do them. If anyone is interested I can list all the particulars. A big thanks to Namerow and Patcon. Chris


-
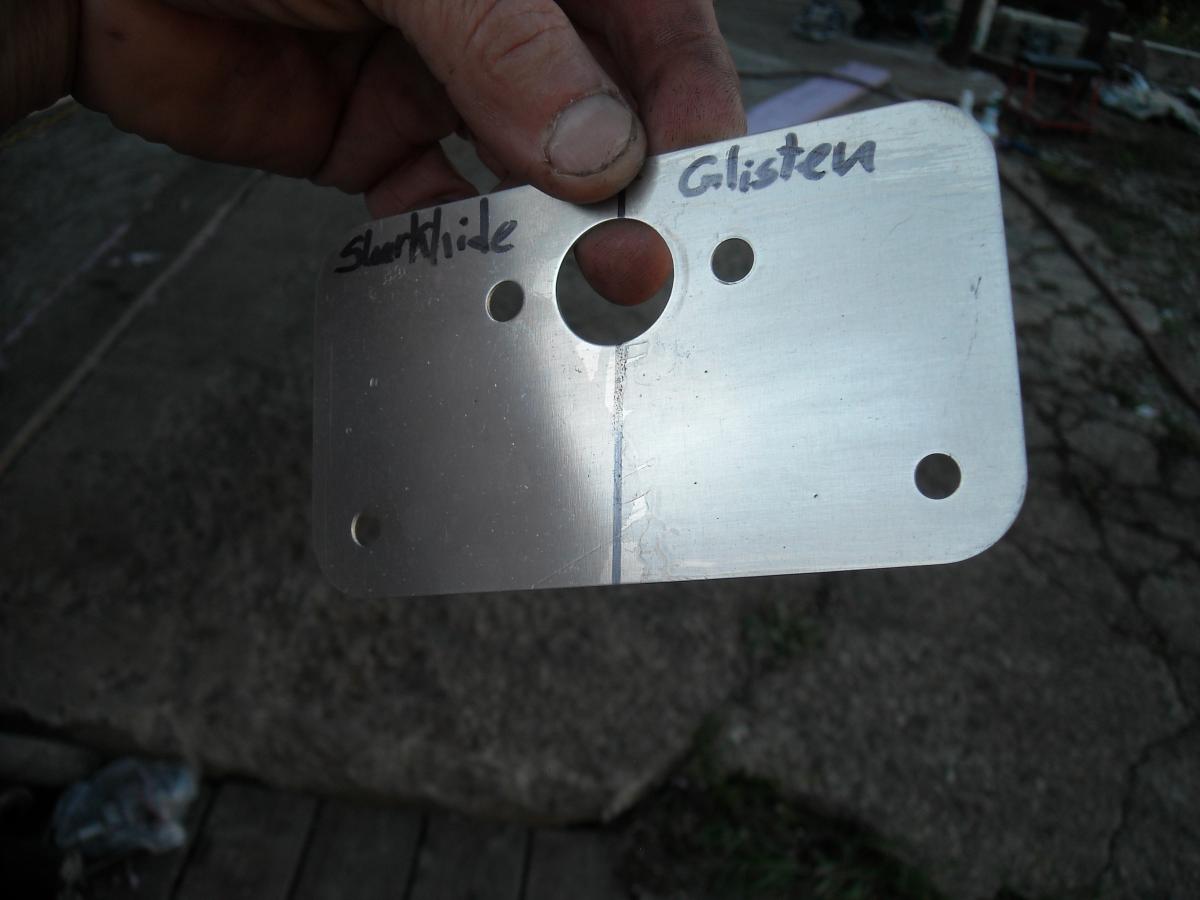
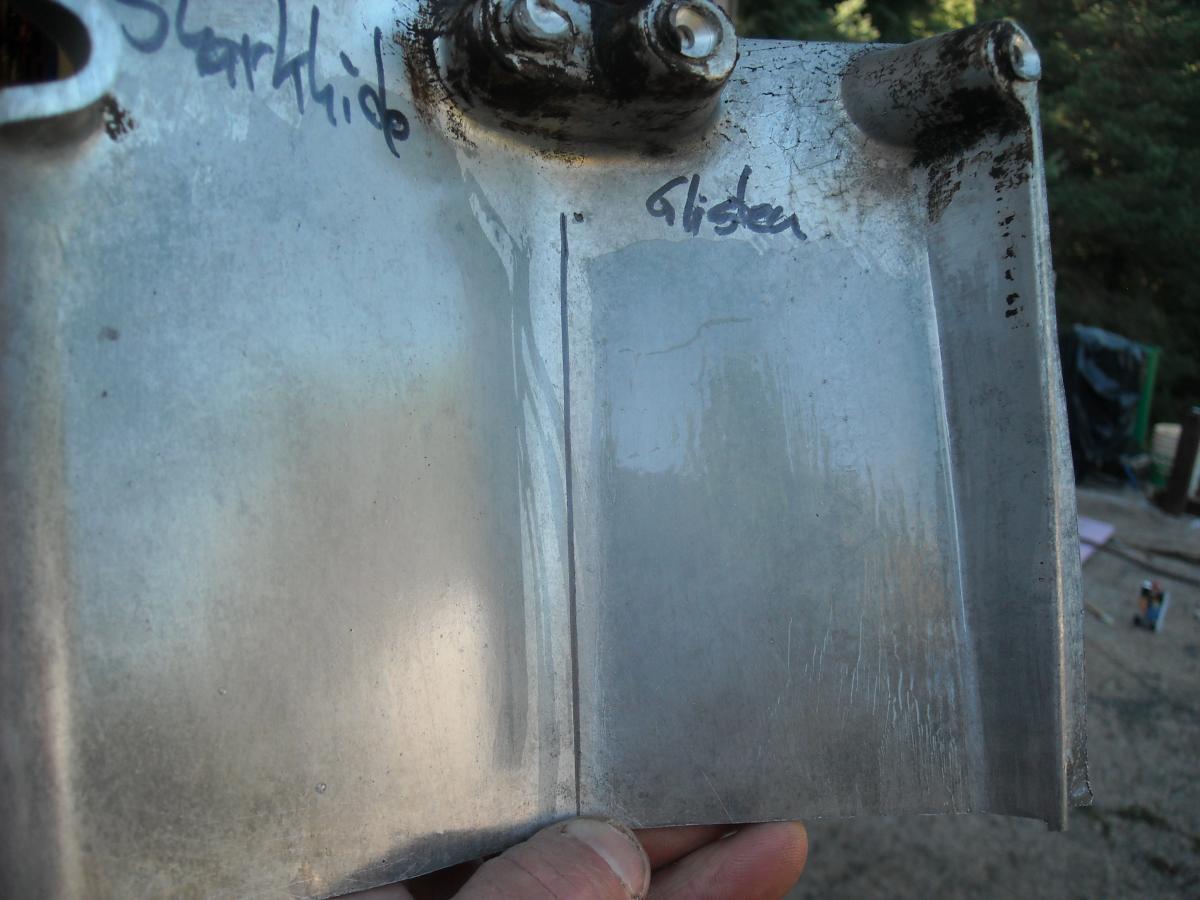
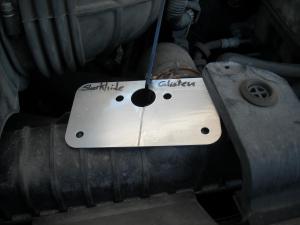
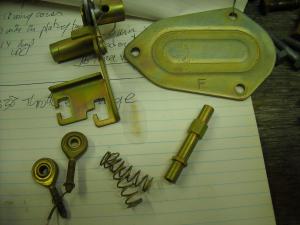
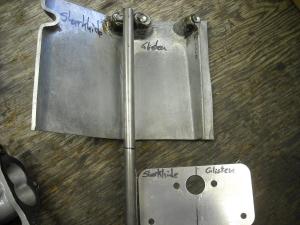
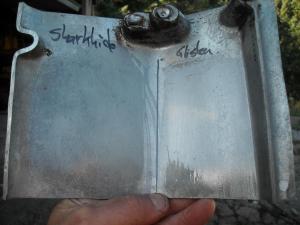
I have tried just about every rattle can clear coat spray there is to try and seal up bare aluminum and keep it looking good, sofar all of them have turned yellow, sticky or flake off. Power coat clear and anodizing are great but expensive and I hate to pay someone else to do my stuff. I think I am getting close to a solution, these two products are what I'm testing at the moment, http://www.por15.com/GLISTEN-PC_p_45.html http://www.sharkhide.com/mpinfo.html Both are very different but look very promising. I have made up some test pieces of cast aluminum, sheet aluminum and bare polished steel and over the next few months will throw a number of different environments and materials at these coatings to see how they hold up. I'll start with the simple stuff and work my way up to oil, gasoline, battery acid and scratching. The products were applied under ideal conditions with proper prep and I thought some here would be interested to see the results. These coatings look so promising that I have also started applying them to my engine parts. One of the members here, CARELESS was generous enough to give me an oz. of Sharkhide so I could do this comparison. First impressions, Glisten like most POR15 coatings is pretty nasty on the lungs but thick, rock hard and very shiny, I have a feeling this coating is going sail through most of the tests. It says it will not hold brushstokes but that was not the case when I applied it, I think it wouldn't have done it if it had been thinned a bit on the first coat or if it was sprayed. Mix ONLY what you need, a little bit goes a long way, I made the mistake of mixing it all up and wasted 7/8th of the can. Sharkhide is a very thin coating, leaves a semi gloss finish but if the piece you are coating is shiny it will let that show through and is extremely easy to use. It takes at least 3 coats to start to build. With this coating you notice the piece itself, not the coating which is not the case with Glisten. Sharkhide also goes a long way, it will be years before I use up the whole can. Some pics,


-
From your pics it looks like a big chunk is missing from the cam lobe, I hope I'm just seeing things.
-
http://www.autobodytoolmart.com/3m-dry-guide-coat-cartridge-applicator-kit-05861-p-11157.aspx $40 is not that bad and it sounds like it has some advantages.
-
That is a dream shop, space enough to lay out all the parts as they come off the car. Your Z looks like it has lots of potential too, looking forward to this thread. Cheers
-
http://www.classiczcars.com/topic/52349-sealing-an-oil-pan/ That engine looks amazing, great work.