grannyknot
Free Member
-
Joined
-
Last visited
Everything posted by grannyknot
-
 Well done Gents. Sounds like it needs a good old Italian tune up.
 -
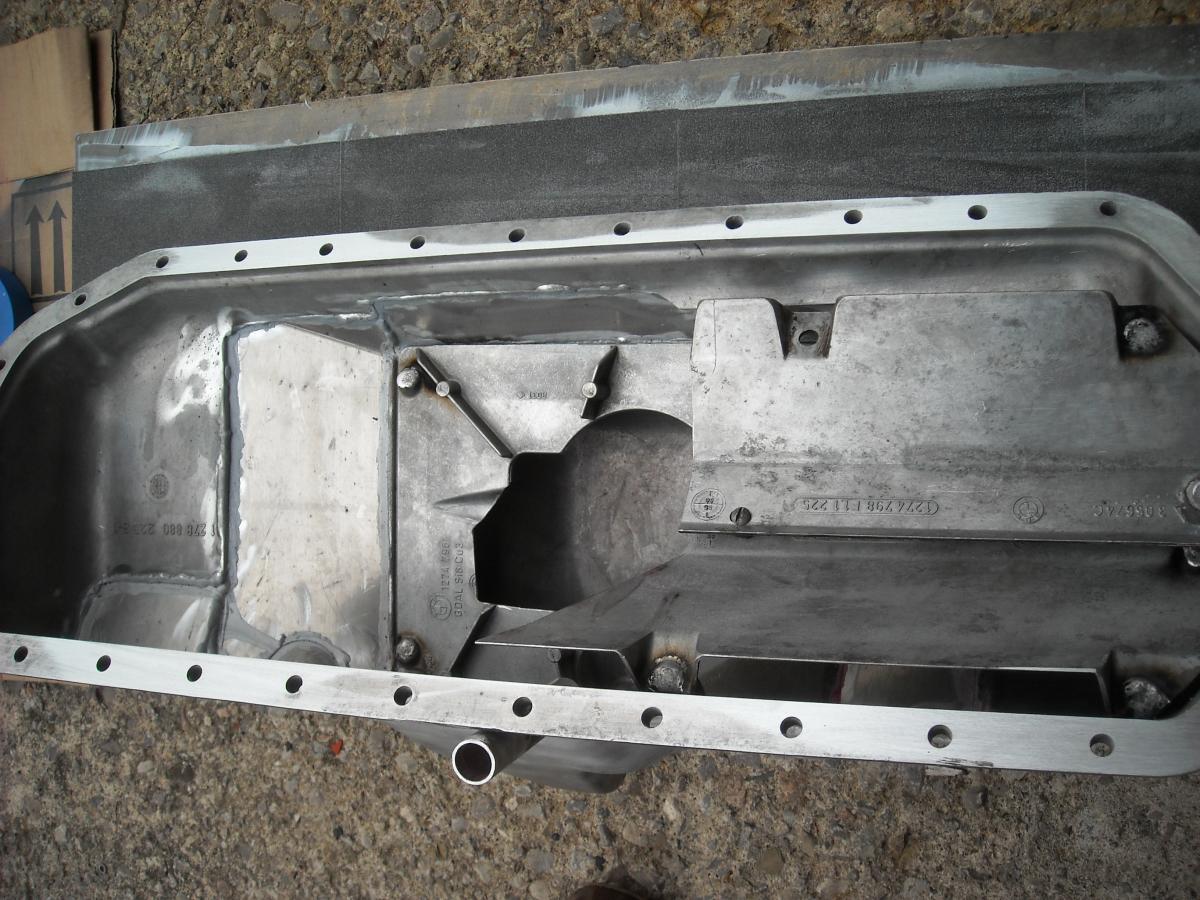
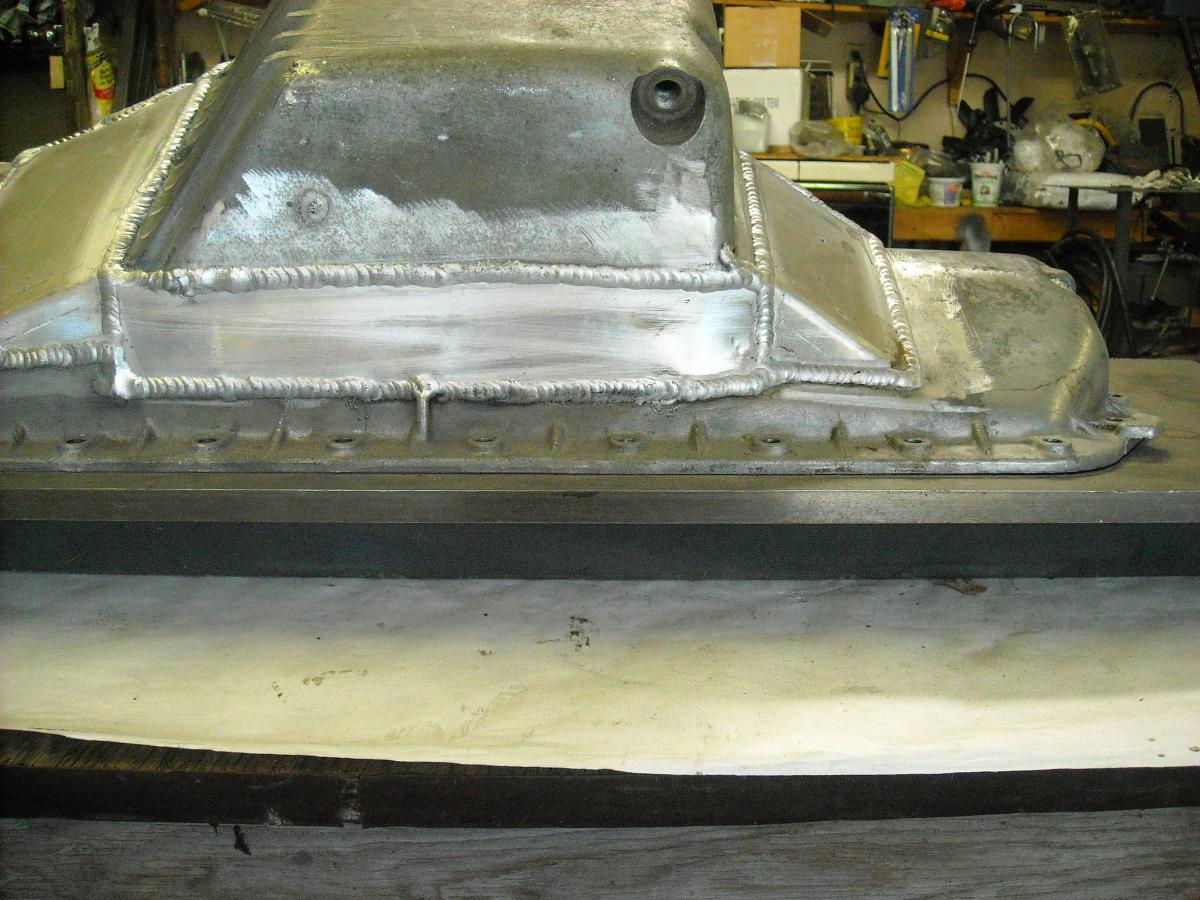
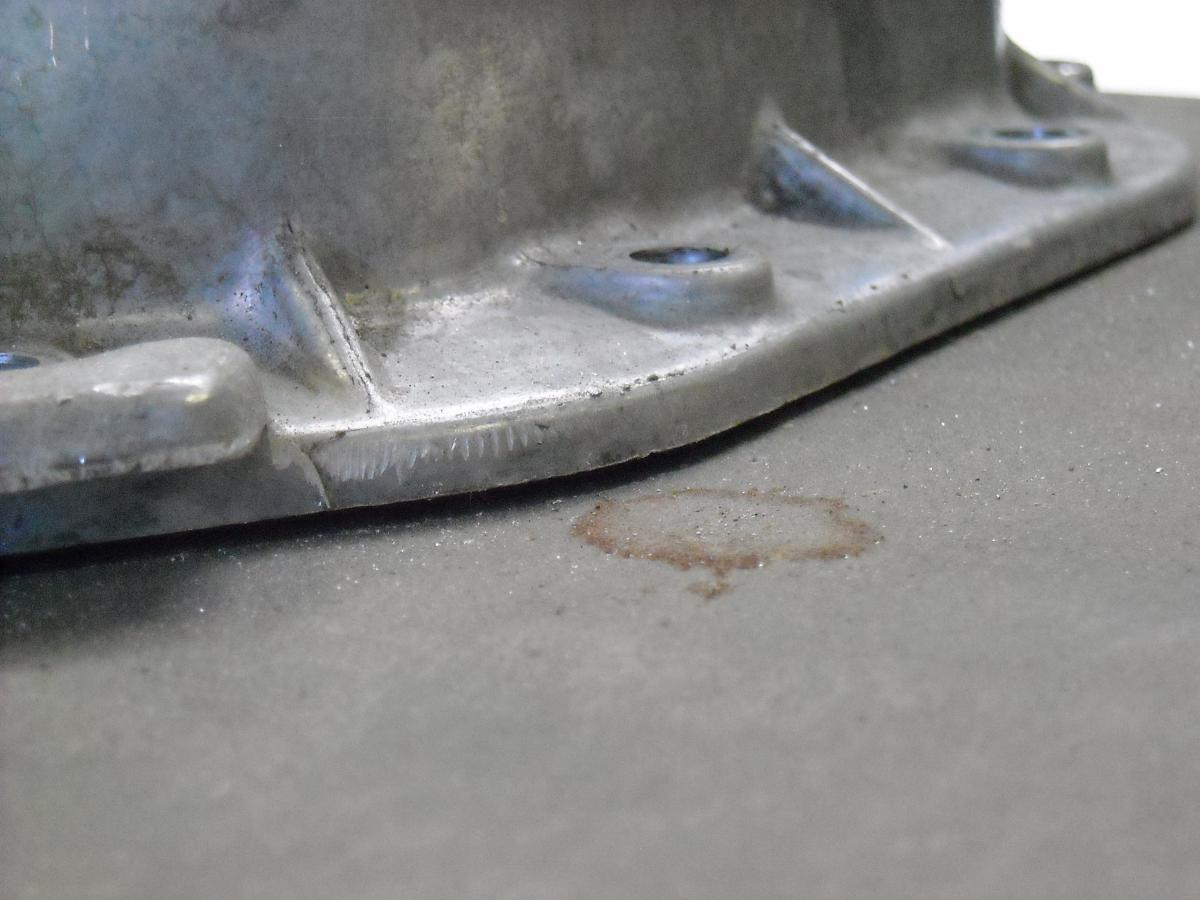
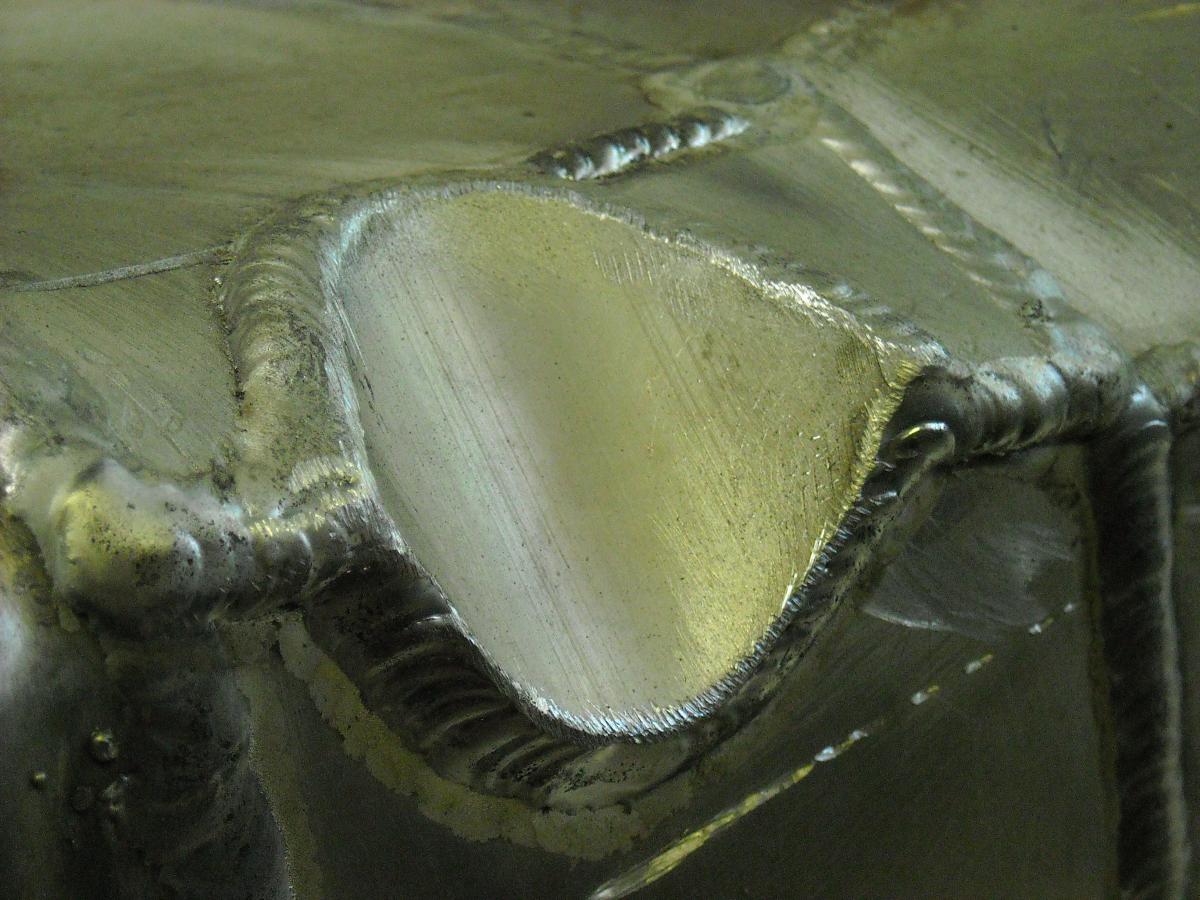
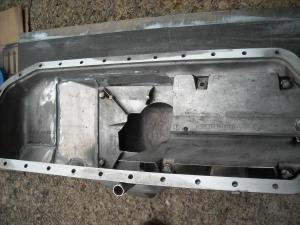
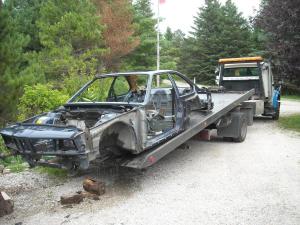
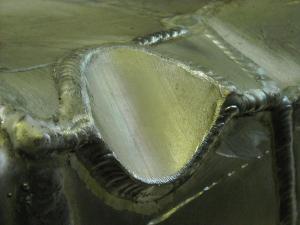
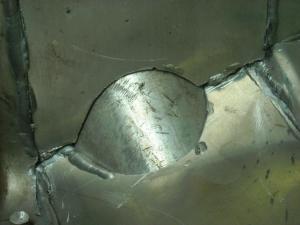
The oil pump and pan are done, I didn't think it would take 2 months but there it is. All the baffles/windage are welded in as is the new dip stick holder. Glued some 80 grit emery cloth to the steel plate and removed the high spots. If you look carefully on the lip of the pan you can see the shiny areas that are freshly ground,( this pic is halfway through the grinding process) seems as if both ends of the pan curled up. The new sheet aluminum must expand and contract more than the cast aluminum. The last pic is my rust free M6 heading off to the metal recyclers , I don't have the heart to post it on bimmerforums. Tomorrow I get to start designing the engine and transmission mounts, this I have looking forward to. Chris

-
If you don't look back at your Z, something is wrong.
-
Matthew, it's hard to tell from your pics just how bad the floors are, no perforations are visible. If you do replace them weld the new Zeddfindings rails in and then Baddog rails on top, http://www.baddogparts.com/ They are a bit pricey but they make a big difference if you start adding power to the car (and you will). Looks like you have a pretty solid car though, I'm looking forward to this build. Chris
-
-
I should have taken a pic of the finished bore, it was pristine. Just don't slam into me from behind!
-
That about says it all.
-
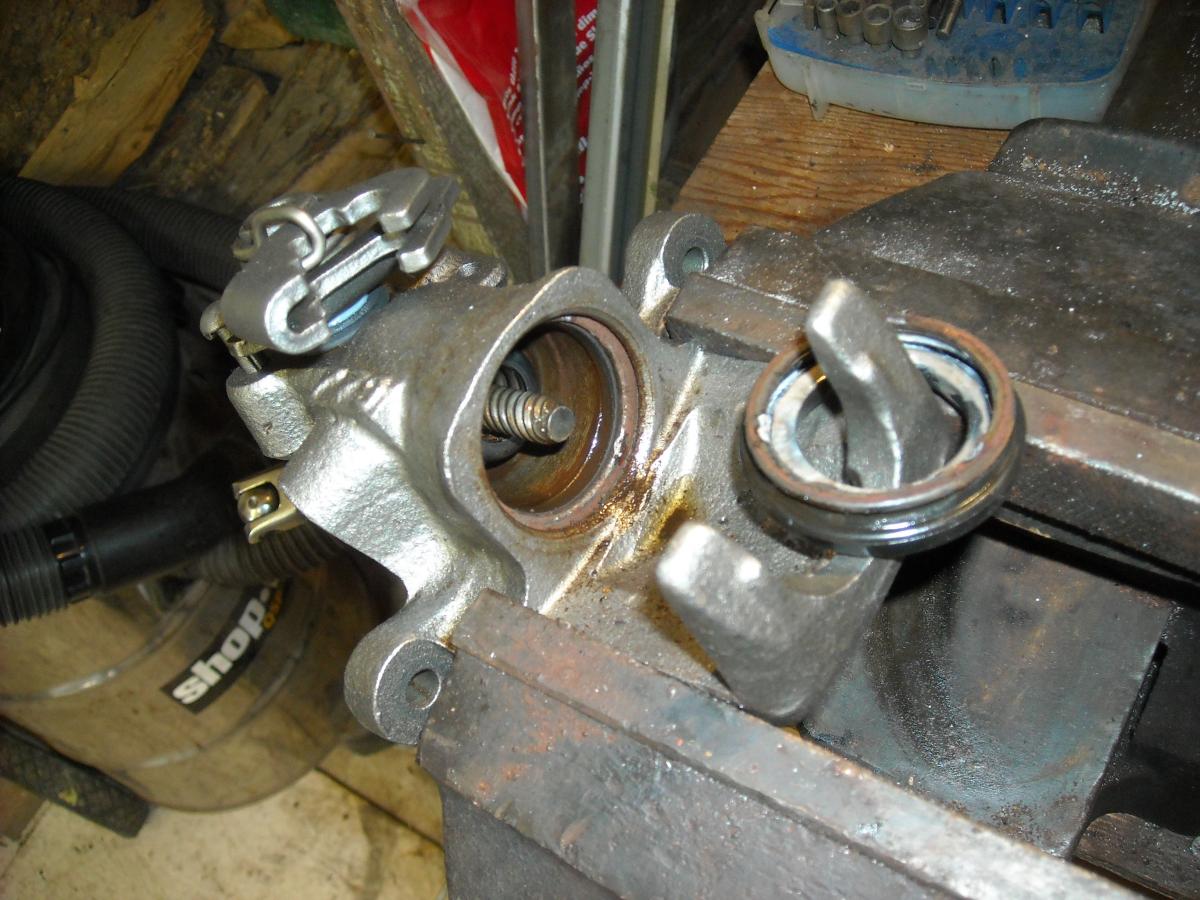
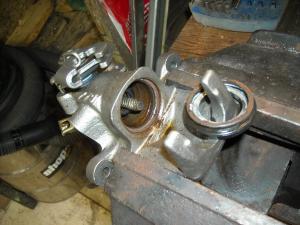
This is the brand I bought, NUGEON 2200537R Rear Right Rebuilt Caliper With Hardware; SOLD EXCHANGE - MAJOR ATTACHMENTS: w/BRACKET & PB MECHANISM - PISTON DIAMETER: 38 - SEDAN - STATION WAGON [Wholesaler Closeout - Private Label Pkg. - 30 Day Warranty] (Only 3 Remaining) This was the only brand that came with the hard to find parking brake flange, so worth it if only for that. There is no point returning them as the shipping would cost more then the units themselves. Really, I'm okay with this. As long as the rubber seals, boots, bolts and guides are new, the rest of the muck can be cleaned up. This is the first set of calipers I have bought from Rockauto in while, usually I buy NAPA but I would guess most remanufactured calipers are coming from the same one or two companies using different names. I have no doubt that these calipers would work if bolted on to the car, the question is, for how long.
-
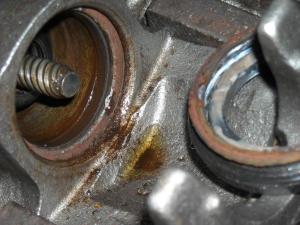
For this one I used Evaporust, the bore is pitted but it doesn't matter as the piston is supported by the center screw and the seal that sits above the bore surface. I probably am too anal but just can't stand the thought of brand new seals getting scratched and torn by rust before I even install them on the car.
-
My new rebuilt 1988 Maxima rear calipers came in from Rockauto yesterday, they are going on the rear of the 240z. They look great, all new bolts, seals. The first thing I do is start tearing them down, a friend who over at the time asked me what the heck I was doing. I told him I always tear down rebuilt calipers because quite often there is crap inside or the pistons are too worn. He slapped a $10 spot on the bench and said "I call BS, they will be perfect inside" I'm $10 dollars richer. I'm not saying anything bad about Rockauto, I love them. But I find this sort of thing in probably 75% of the calipers I buy from any auto parts store. The seals were all new, as were the pistons, they just weren't properly cleaned before re-assembly. Chris

-
-
Ft-Lbs or In-Lbs?
-
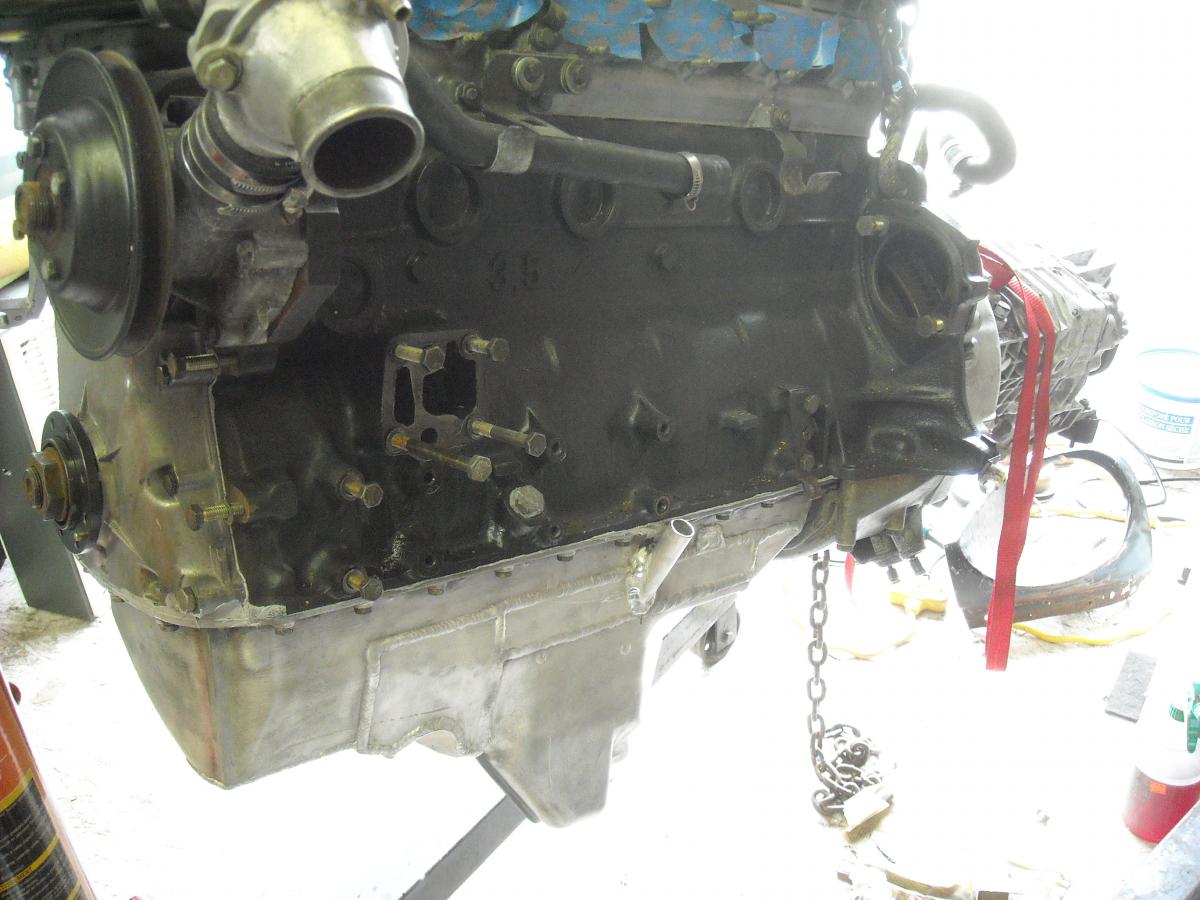
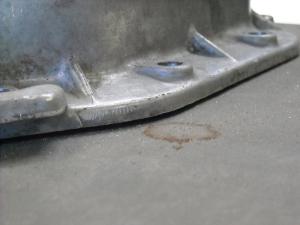
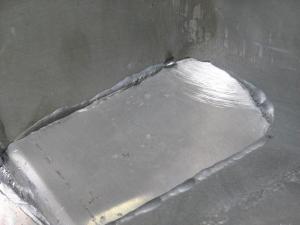
Finally got the pan back from the Powder Coaters, he wasn't coating it though. I had him take the pan up to 650*F for a couple of hrs and then turn off the oven and let it cool slowly over a 14 hr period. Now I don't for sure that it helped ease any stress in the aluminum but when I unbolted the pan from the steel plate there was only about 1 mm difference from one end to the other, I'm pretty happy about that! I did the test with methyl hydrate and also with hot water, no leaks of any kind I'm tempted to cover the steel plate I was using with emery cloth and work the pan back and forth until it is truly flat again. The first two pics are with no bolts holding the pan down. I'm also wondering if I should fill the inside seams with a flexible sealer of some kind. Chris

-
Yeah, you are all right, I hadn't thought about torque the gland nut requires to hold the shock down, and if it does pop out while taking a corner it could get messy. I like to kid myself that if I can fix it then it's like I didn't screw it up in the first place. Jim, thanks for the offer and I might take you up on it if I can't find something closer to home. Thank you all. If I could travel back in time it wouldn't be to see a long lost love or make a fortune on the stock market, it would be to go around and visit all the repair shops that would ever work on my future cars to hand out free tubes of anti-seize compound. "Please gentleman, feel free to use it on every nut, bolt and screw you come in contact with. The future thanks you."
-
Nooooo, I don't want to hear that. What if, I welded a 1/2" wide strap of a thicker gauge metal around the outside? That would hold the top together...right? Even at full droop with the car off the ground those gland nut threads are holding the weight of the strut, brake components, wheel and tire - maybe 60-70lbs The tension from a lowered spring maybe another 10lbs. 80 lbs isn't that much...right?
-
I was just about to post, Stickers under the hood, but yours is better.
-
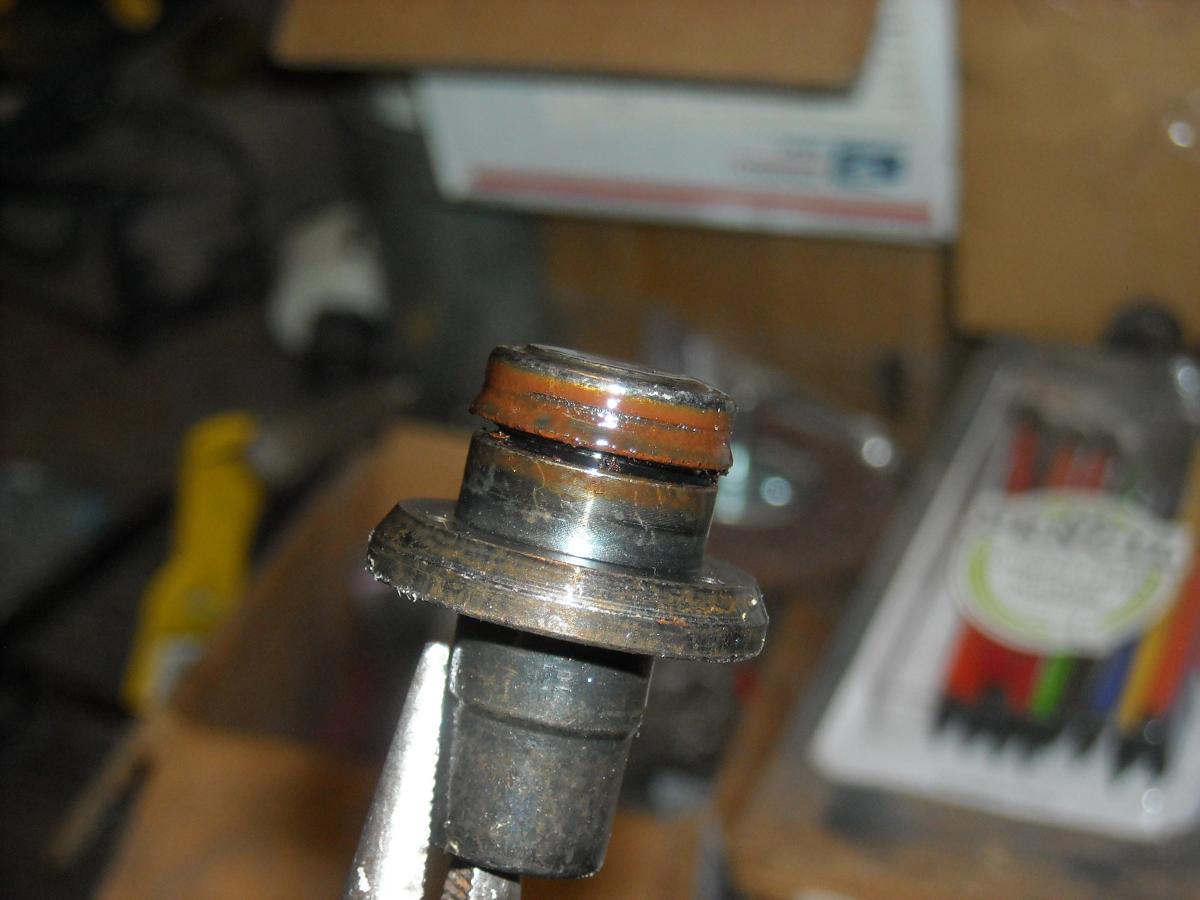
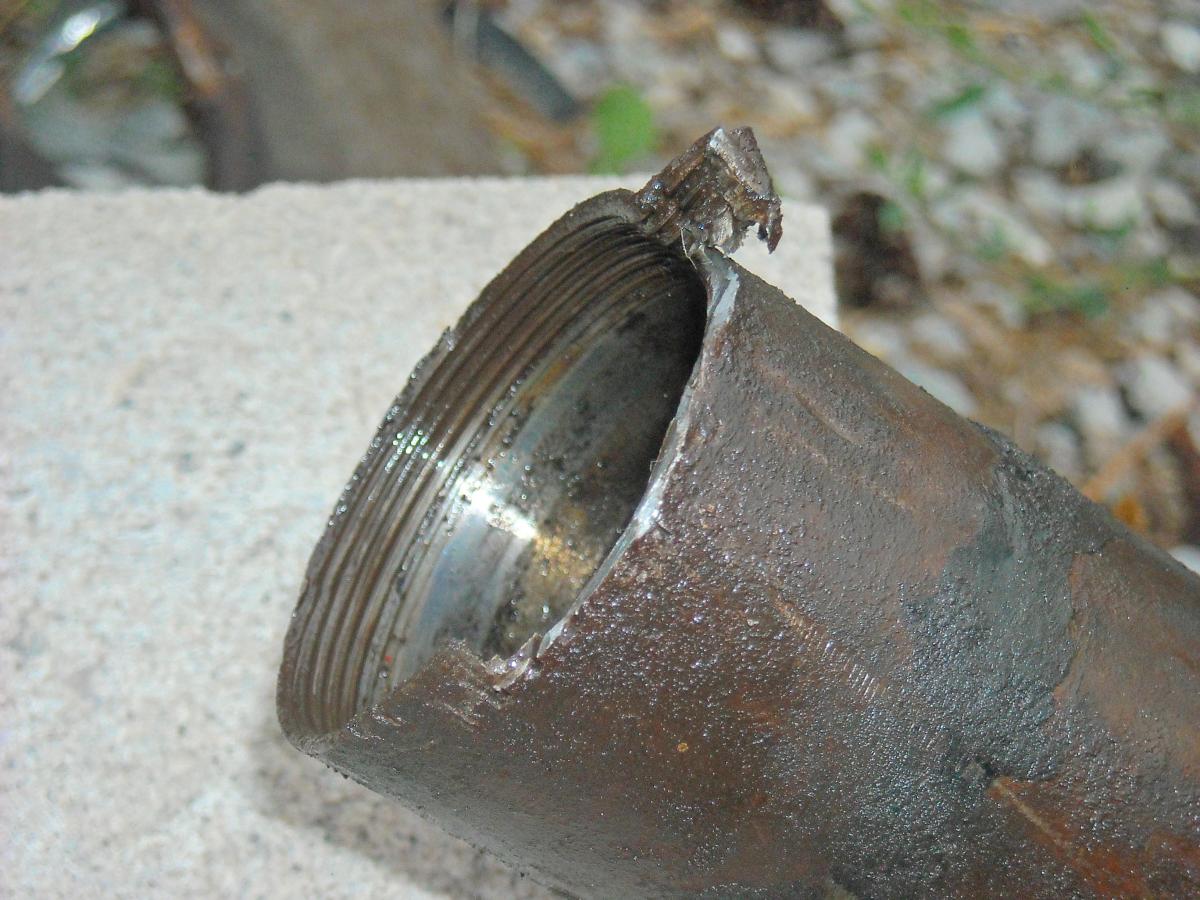
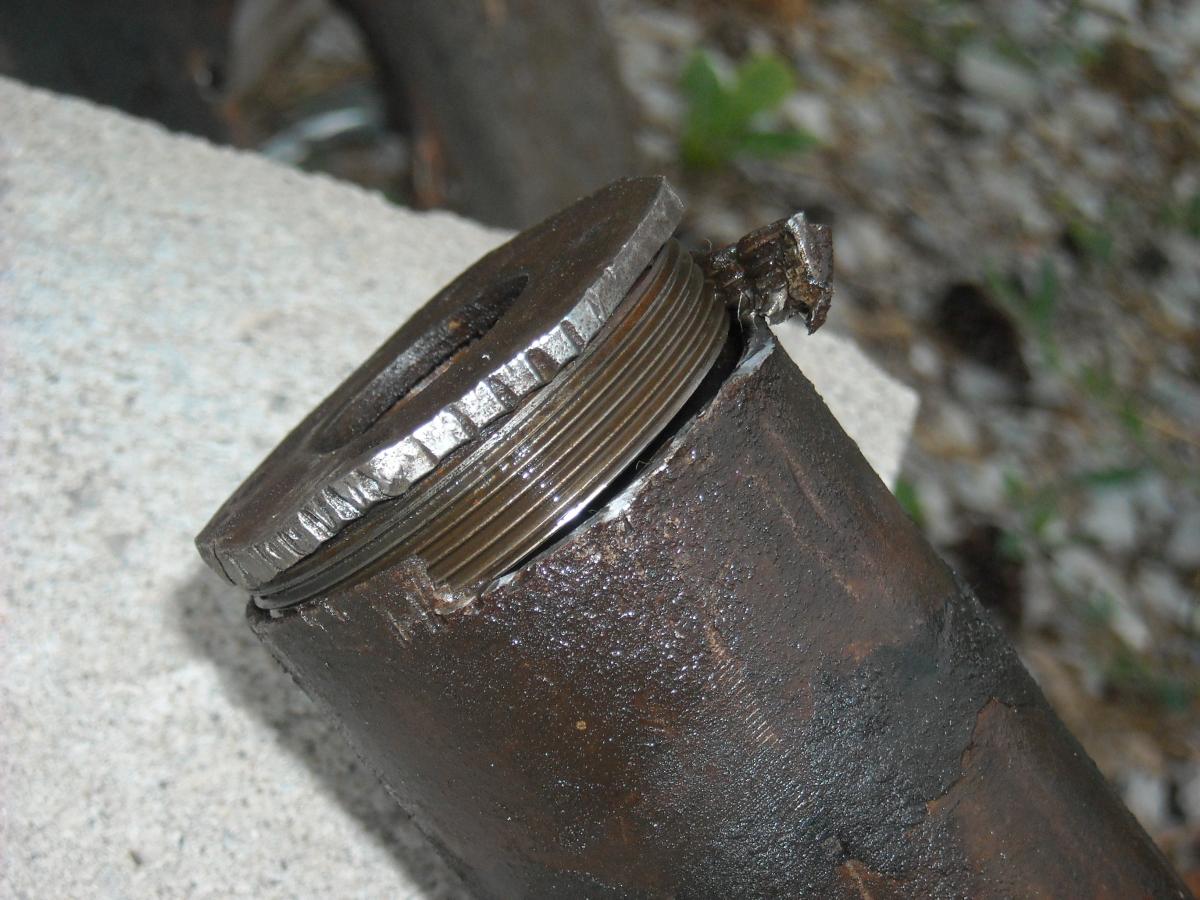
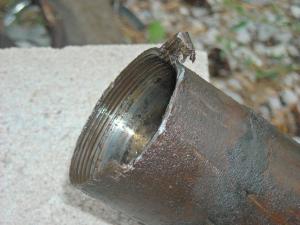
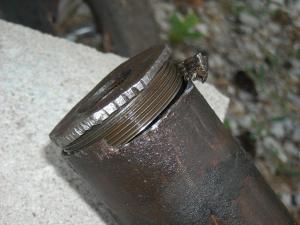
Was attempting to remove the gland nut from a front strut and after a an hour of every trick I have I just forced it with 6' leverage. A little less then 1/3rd of the threads have peeled back and the gland nut screws down and back up very well.
-
This is the part I like, "1970 Datsun 240Z Only 9,997 were built in US. Canada Only 1,200 were built! Only 3% still exist today! Unfortunately, 97% did not survive!" Really, I was under the impression these cars were built in Japan, I guess you learn something new everyday. The owner of this car should really get it out of the hands of this dealer, he's doing it a disservice.
-
http://www.webeautos.com/detail-1970-datsun-240z-for_sale-used-12865859.html It looks like a nice restoration but I don't know about concourse, I found 3 glaring errors pretty easily. Still, some nice work. Chris
-
-
12/71 is considered 72 but changes on the production line were ongoing as the came from the engineers. I just looked at the wiper harness from my 03/72 and it is 5 wire the same as my 03/70. Perhaps someone swapped in a later motor or wiring harness after a melt down.
-
Interesting site, at one point I was trying to find a way to put 5 bolt, +25 offset wheels on the Z, I was quoted $450 for custom hub extenders with a min. thickness of 1.5". I didn't go that direction but these hub extenders open up a whole range of wheels that we could never consider before, and they are inexpensive. I wouldn't be racing on them either, although I would probably knock out the studs on the extender and install longer studs mounted in the Z hub that would just pass through the extender making it into a spacer. Chris
-
Try this, http://www.classiczcars.com/topic/33910-pay-it-forward/page-10
-
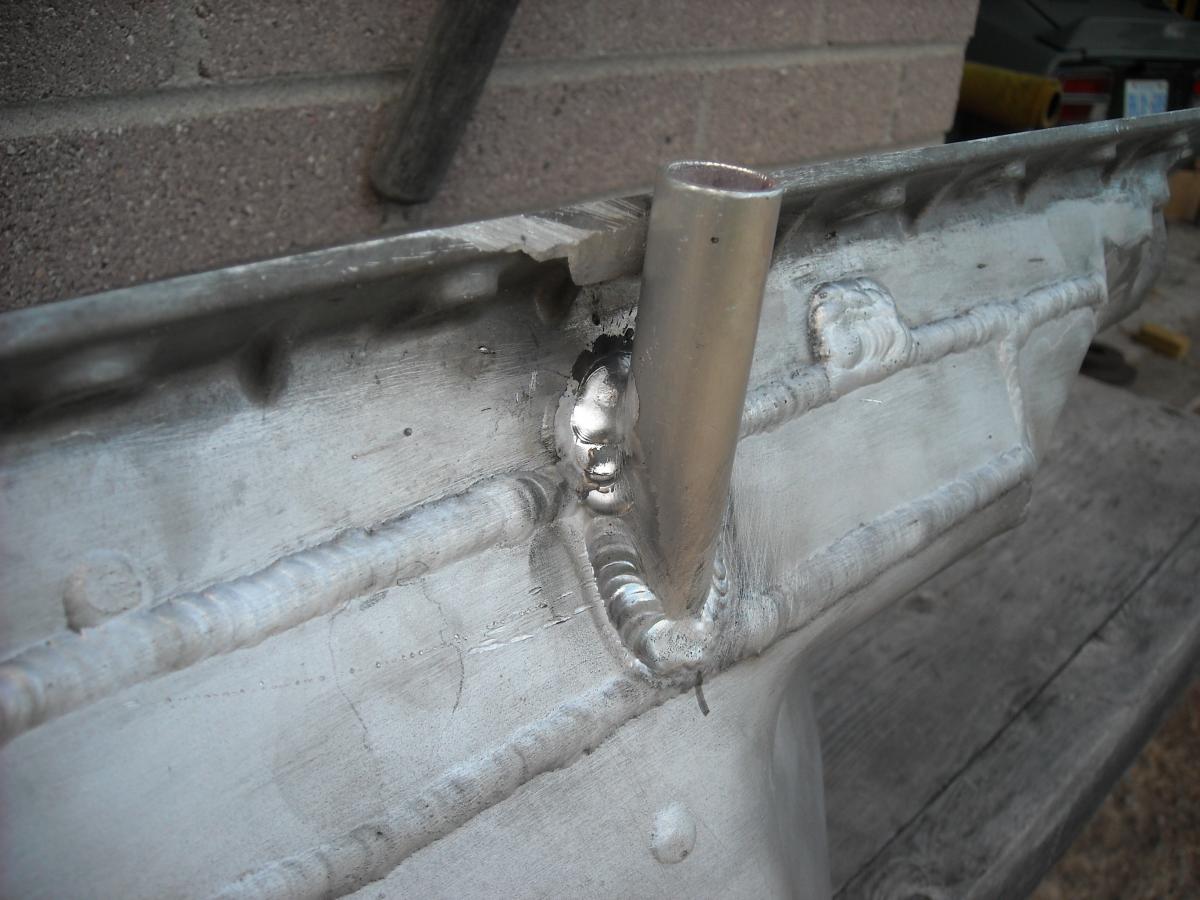
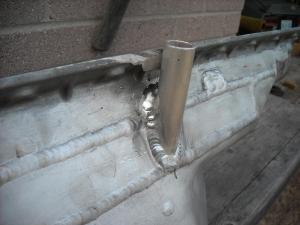
John, I wasn't going to touch those welds. The boiling water trick is a good one, it should expand any pin holes so I can mark them with a pencil. Thin walled steel tubing; How the heck would you attach it to cast aluminum? Friction fit, sealant? Won't dis-similar metals cause electrolysis between the touching surfaces as the oil passes through?
-
Well, now I am ready to give up on the idea of soldering, a waste of $40 and many hours of time but there it is. The dis-similar metal solder worked well enough on the copper but I could not get it to take hold of the cast aluminum. Both metals were pristine clean and fresh metal exposed but could not get it to flow onto the aluminum, maybe it was because it was cast. So...I've ordered a couple of aluminum -10 AN fittings and some SS braided line. I cut off the threaded part, weld the stubs onto the cast aluminum oil pump halfs and join them with the braided line. That's the plan at the moment.