grannyknot
Free Member
-
Joined
-
Last visited
Everything posted by grannyknot
-
 We all wish we had Socal weather, in the winter I can get away with a couple months for bare metal, in the summer, a couple of days.
 -
That is truly one of the rarest Z parts, thanks, I've never seen one intact.
-
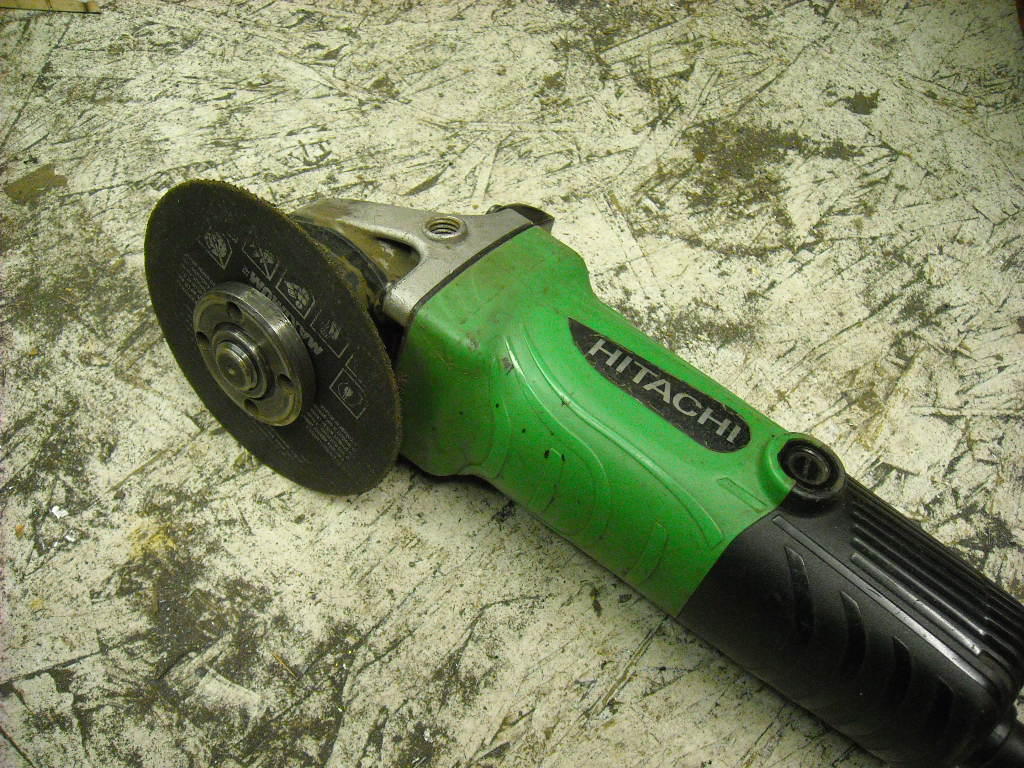
The weld bead holding the perch to the strut tube is about 1/8th" tall and I cut just above that, you can see the cut line right next to the weld bead in the photo on post #32, after the perch is off you grind down the bead so the split collar and perch can slide past. The only danger is cutting too deep and going into the strut tube, the metal is thin. A hacksaw is a safer way to remove the perch.
-
Just an angle grinder with a thin cutoff wheel, you could also use a hacksaw.

-
This is a good brand, https://www.spraymax.com/en-us/products/product/primer-primer-filler/2k-epoxy-primer-1/
-
Not in your head, what makes me laugh is that line about, " Buyers who purchased this item also purchased..." I doubt anyone who just ordered 4 NGK sparkplugs also bought a dozen Champion's for the same engine on their recommendation. That lie has the opposite effect on me of what they intend it to do. ZH, have you looked into content blocking to get rid of the all the ads you're plagued with?
-
Cheap rattle can primer isn't water proof so you might find rust under it when the time comes, it might be better to take the fenders inside your house and tuck them in a corner and save yourself some work. As for autobody101 just make sure you have read all the stickies and have searched your question before posting. Informed questions from newbies are what the forum is all about but questions like "How you I paint my car?" will go unanswered. But hey, don't abandon us, we want to see your progress too, there are some very good painters on this forum with lots of experience that can help.
-
Welcome to the forum, so you're starting off with the fenders but I assume eventually you will want to do the whole car? If yes, then have a look at this forum, https://www.autobody101.com/forums/index.php?sid=f044bf1f351a02abe241234902095df9 So much good info on there and active pro painters that will answer questions. Chemical stripper works well if it is the real stuff, not the Dolphin friendly stuff, it is extremely toxic and there is always the danger of some of it getting into the seams and ruining the new paint job. A paint stripper heat gun works well as does a power sander, if the fenders will sit in primer for a while then make sure you use 2 part epoxy primer. For small jobs like the fenders you could use the 2k rattle can version, it is quite expensive for the amount you get but you can't get any more convenient. Applying 2k epoxy primer, paint, clear coat with a proper spray gun requires a large outlay of cash for decent equipment and the learning curve is steep. Take your fenders down to bare metal, 50-80 grit, the primer needs a rough surface to grab onto then clean the metal with detergent until a white cotton cloth comes away clean then do the same thing with thinners then again with one of the "final wipe" products. Two coats of 2k epoxy primmer will seal the metal so rust doesn't start again.
-
Workshop Envy! You just need a fridge.
-
Hey I bet I can save you $8k, the suspension might look like it is shot and certainly the original rubber bushings are but you may be very surprised how well new rubber bushings make the car feel. There are more than a few guys here that have gone the poly urethane bushings route then turned around and replaced that with fresh OEM rubber. If the car is a dedicated track car that's one thing, if you're doing a mixture of town and country driving then the harshness of the poly can get old really fast. TTT's stuff is sexy for sure but all new rubber bushings and mounts is only going to set you back about $500, however, poly mounts for the steering rack really are a must. Just my opinion.
-
You don't need a fuel rail or spark plugs to do a comp. test, just a starter. In your case a comp. test and and or leakdown test would just tell you where a problem lies before you open it up but if you're going to tear her down any way then just make sure your measurements are accurate. Some specialized tools are needed to properly measure the bores and journals so check into the cost and use of them before you commit to doing that yourself. Those two books will answer most of your questions and give you a very good idea of what you're getting into.
-
Yes it's worth rebuilding, if it is the original engine and you don't plan on putting something else in there. Your cam looks like it has some scoring on a few of the lobes, closer pics would help. 143k is nothing for these engines, a compression test would have been helpful, if you haven't disassembled anymore then you could throw a starter on with a fresh battery and get some readings. At a minimum it will need a refresh, gaskets, seals maybe rod and crank bearings. Take lots of pics while you dismantle, bag and label everything. The top of the head bolts are full to the brim with sludge so you can be pretty sure you are the first one to open it up. Oh, and welcome to the forum, you found the right place.
-
That is a nice unit, have a look at their high torque starter for Datsuns, pricey but pretty. https://www.autoelectricsupplies.co.uk/product/1114/category/218
-
-
-
-
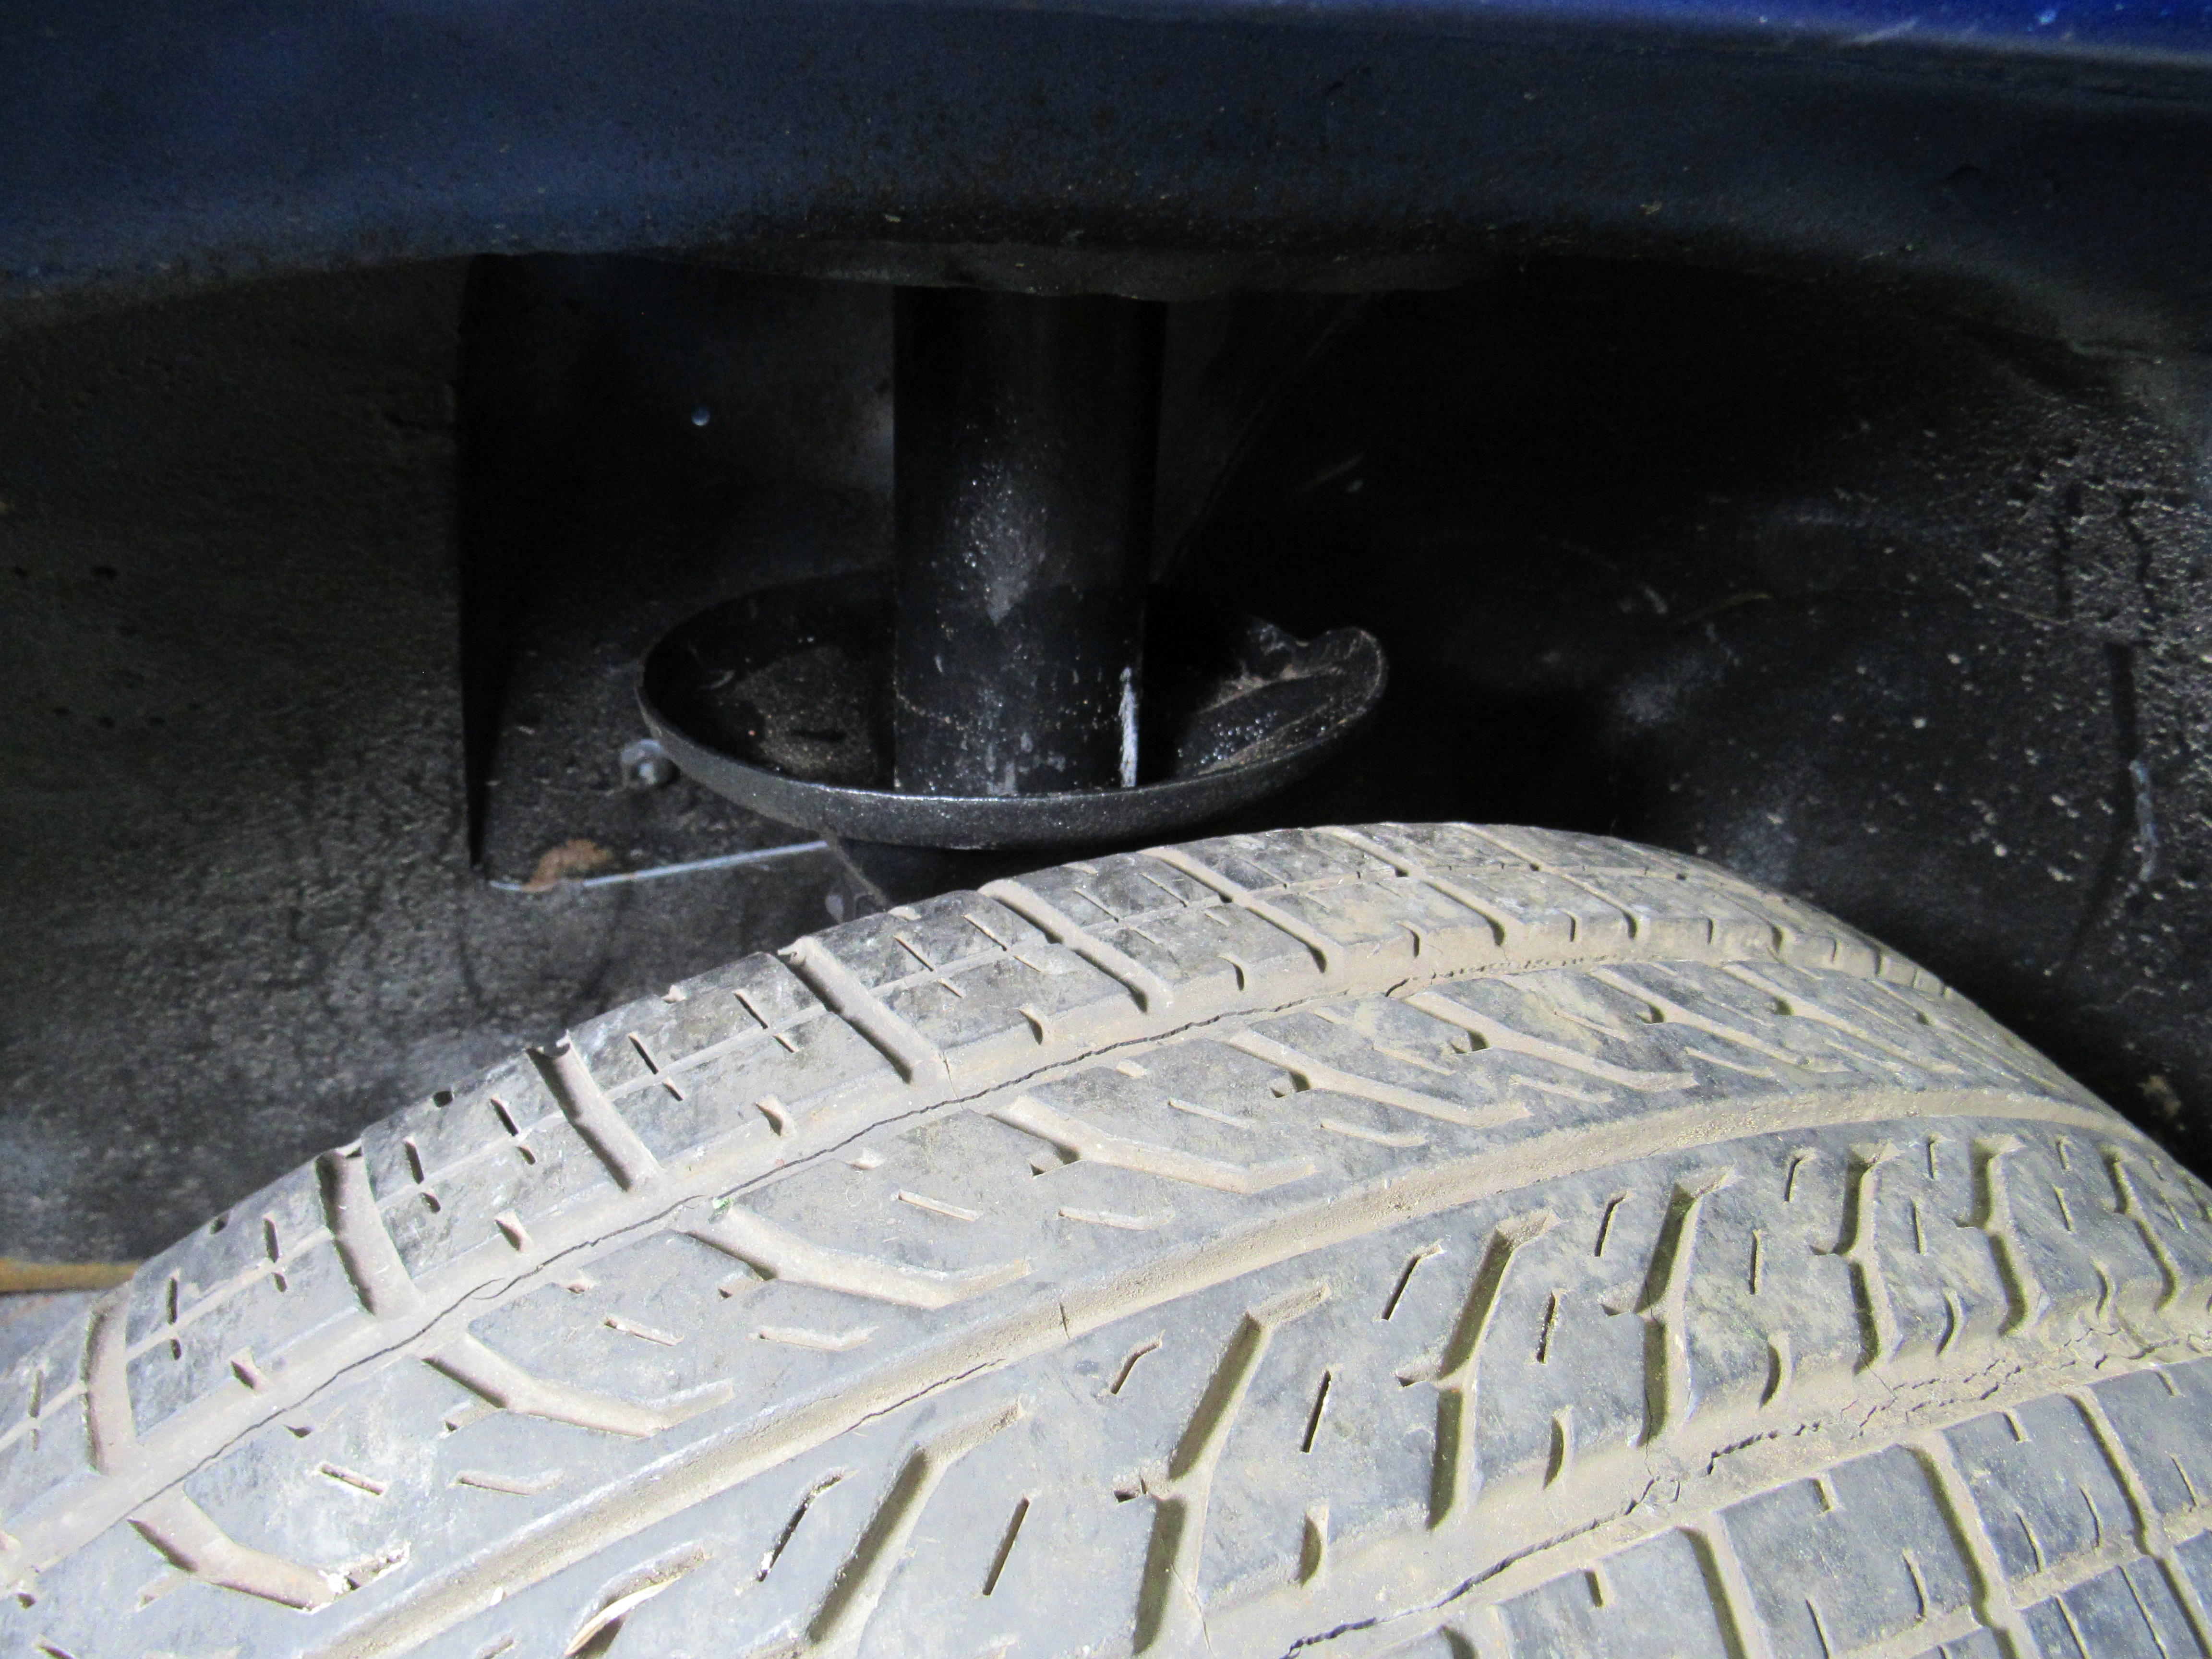
There are a lot similarities but I'm not sure if any of it is interchangeable, perhaps the steering knuckles. The LCA's are the same but have a welded on stop/limiter for the steering. The ZX front struts are a bolt-on swap and popular because of the larger brake calipers. @zKars is the real guy to ask, I'm just a newbie 510er. I think the rear half shafts are the same as the Z, and working with the R160 is a treat compared to the R200, r160 is about 30lbs. It's a nice car to work with, everything is light and easily accessible. Once all the fasteners are off the front fender comes off with one hand. I removed the front springs so I could raise and lower the car to try out the stance I want, the first pic is where I would like it to end up but that gives me 1.25" of shock travel with no bump stop! So I think I will have to section the front strut, remove 2" pipe and find a smaller shock to replace the stock one. The split collar works great as I can lower the spring perch to just above the tire for the most adjust-ability.


-
Whoa, I just went through your pics on viczcar, that is quite a project. You're right to be scared of the A pillar and roof rust, those are the most difficult areas to repair. The rest of the cars rust, although time consuming is repairable but the A pillars consist of 3-4 layers of tightly folded metal and there is just no room to work in there. You might seriously consider finding a complete rust free roof/A pillar State side and grafting on to your body. Any chance that there is an acid dipper in Perth, media blasting is great but will never get into the inner cavities of the subframe. Now I'm all for DIY rust repair, for me it is the process of the project that I enjoy but let me play devils advocate for a second. If you know you're going to spend 35-40k to get this car on the road then that same kind of money will buy you an awfully nice finished Z. Looking forward to your progress, this forum is great resource for any problems you run into during the rebuild. Will be interested to see what you think of the KlassicFab panels, they look great. Pricey but if they are as good as they look it will be worth it.
-
I smell lawyers, that makes hundreds of us members qualified specialists. But they are right about Extremely Dangerous, the smoke from the rubber compound is nasty stuff.
-
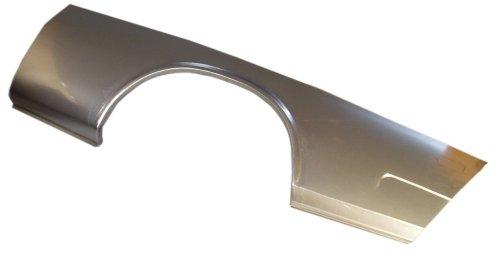
Hey Chas, I don't think the rust is too bad, I'll know more once I get it up on the rotisserie, the worst of it is the panel repairs done by previous owners. The shape of the rear quarter wheel lip looks like it was guessed at so will have to dig through the putty to find out what's under there first. Fortunately there is a very good body panel manufacturer the next province over that seems to be the only one making 510 rear quarters for 2 door coupes and the price is reasonable. http://www.alfaparts.net/dat510.html They make panels for a lot of older cars, http://www.alfaparts.net/
-
The 510 made the big move today from the storage tent to the shop, hoping to have her road worthy for next spring.
.thumb.jpg.3dd18120a943a6f1ea898e9236e59285.jpg)
.thumb.jpg.e1b8556b918dcaf4af7225d8c9676fd6.jpg)
.thumb.jpg.4d59d50b98daa7d16e867ea0c0722357.jpg)
-
I think "violates their rights" is the excuse for why they refuse, the real reason I'll bet is that it would take some effort and is so inconvenient.
-
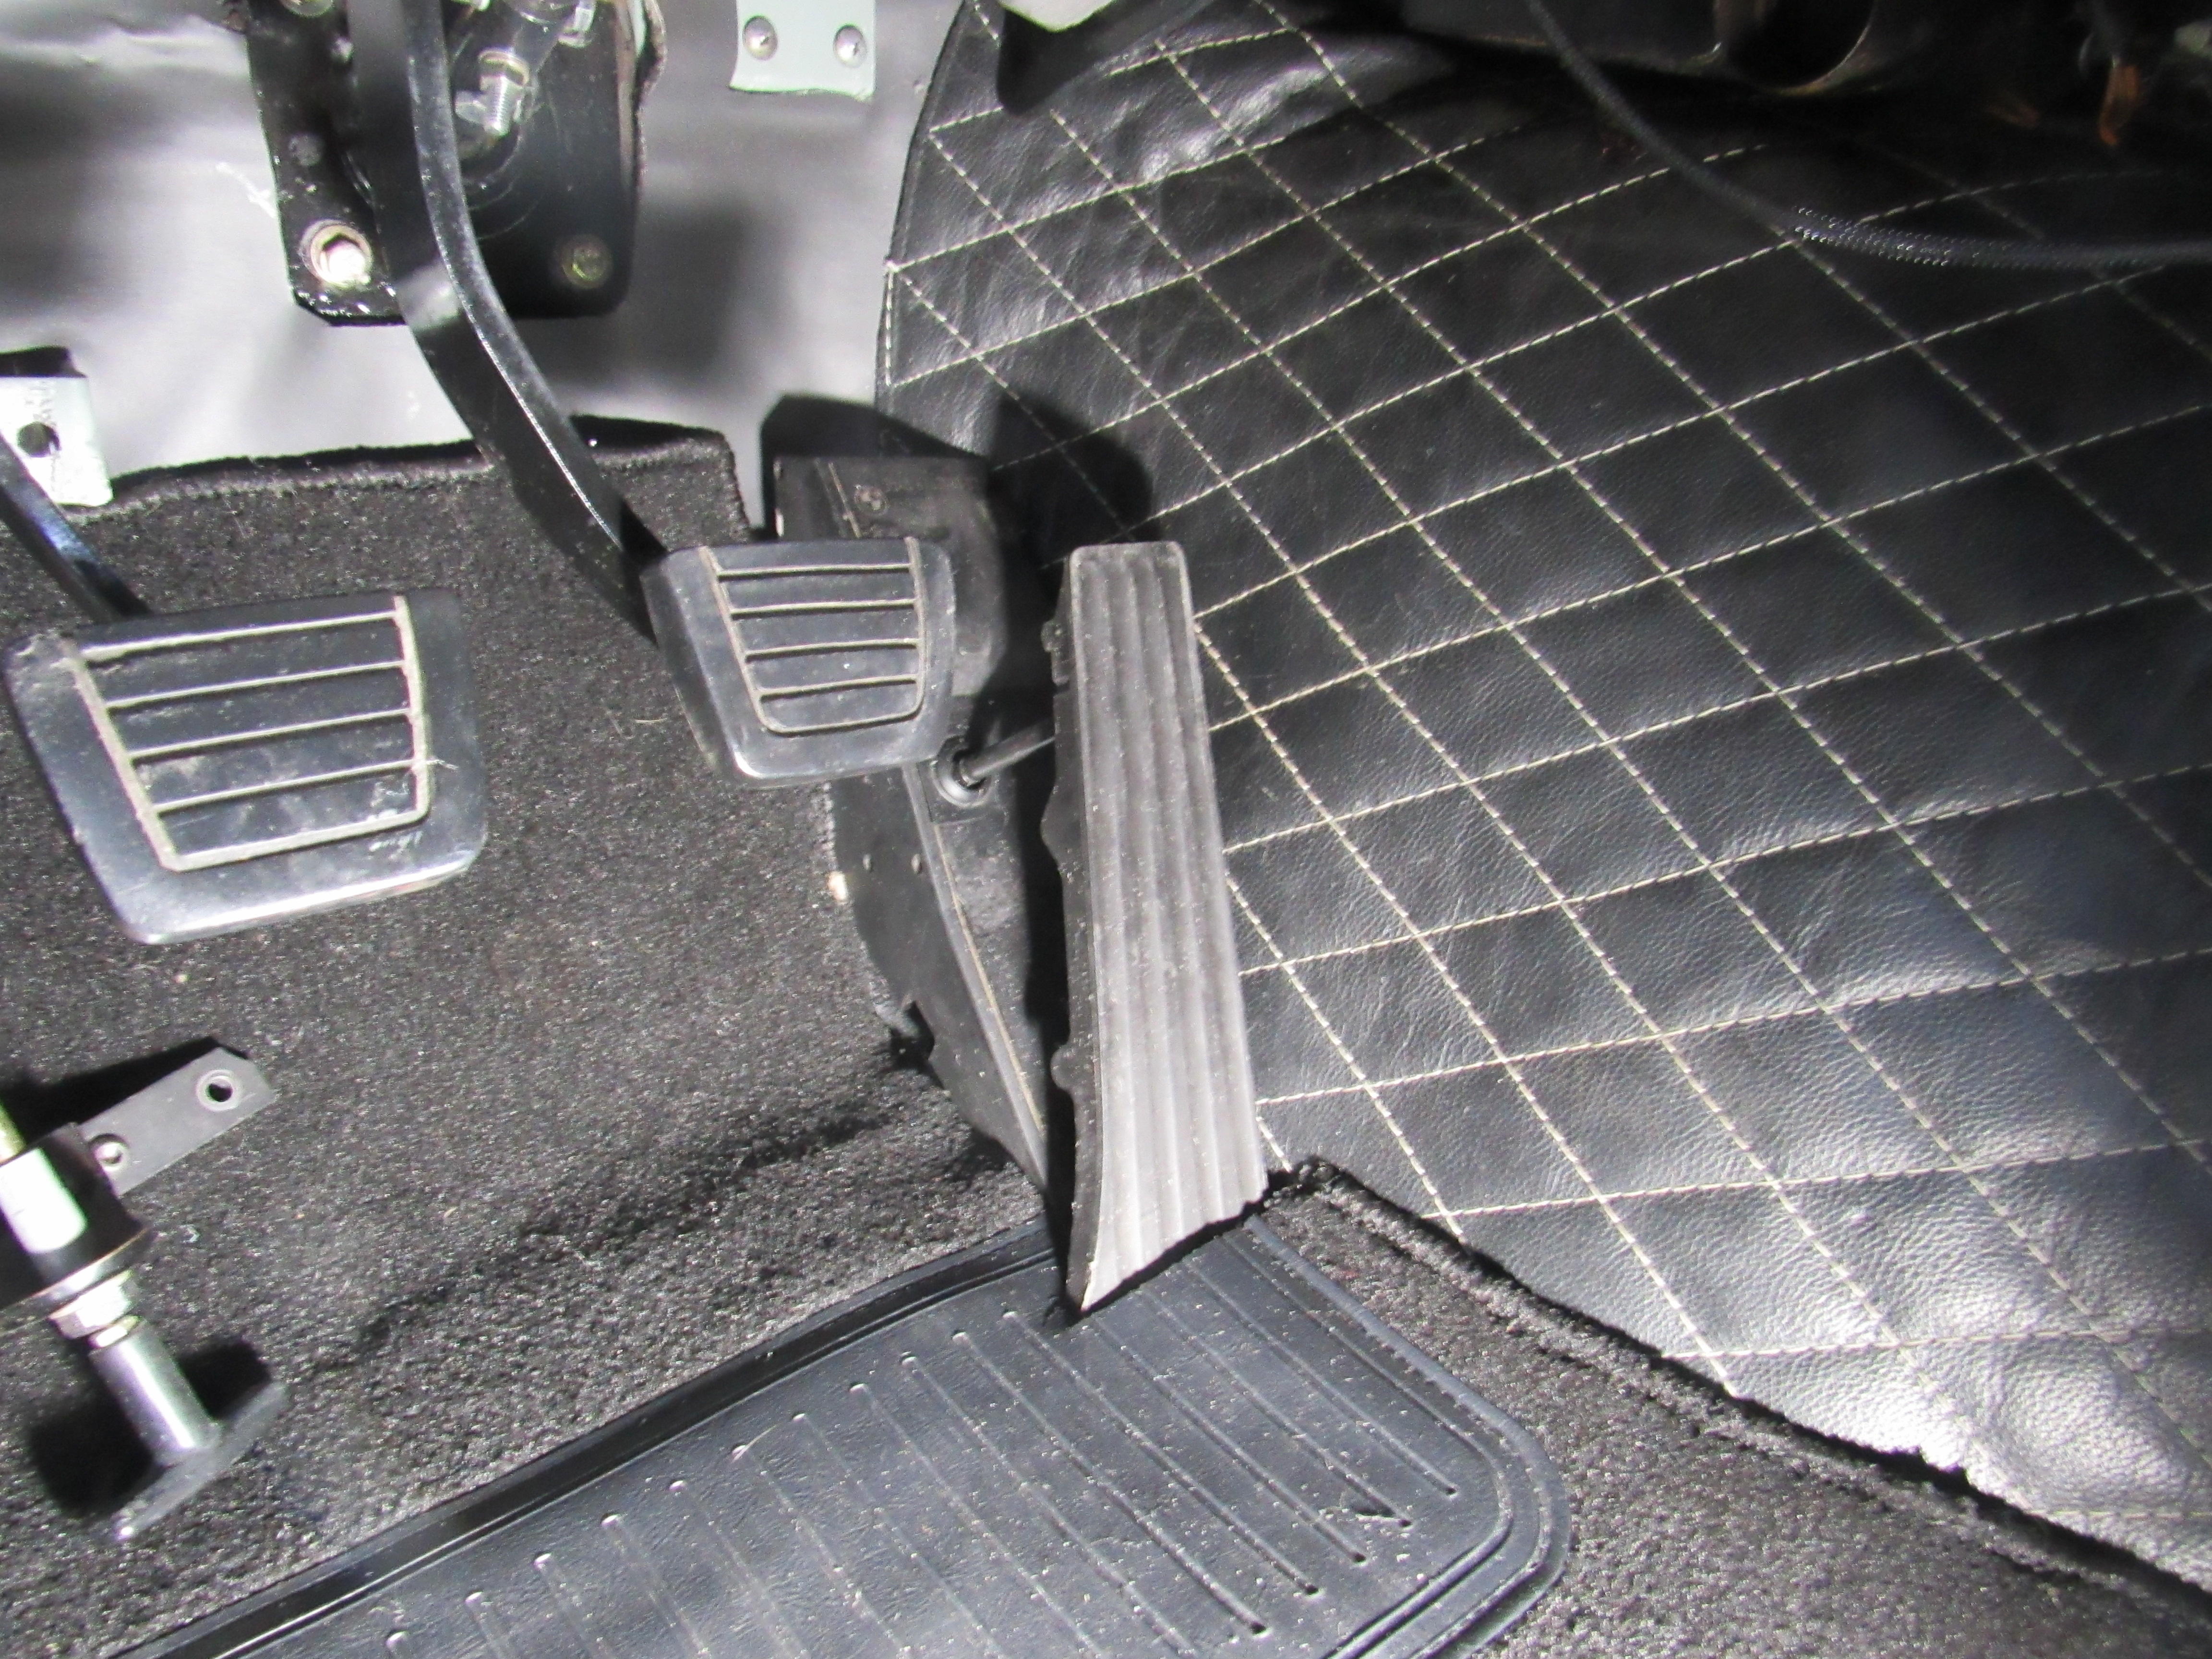
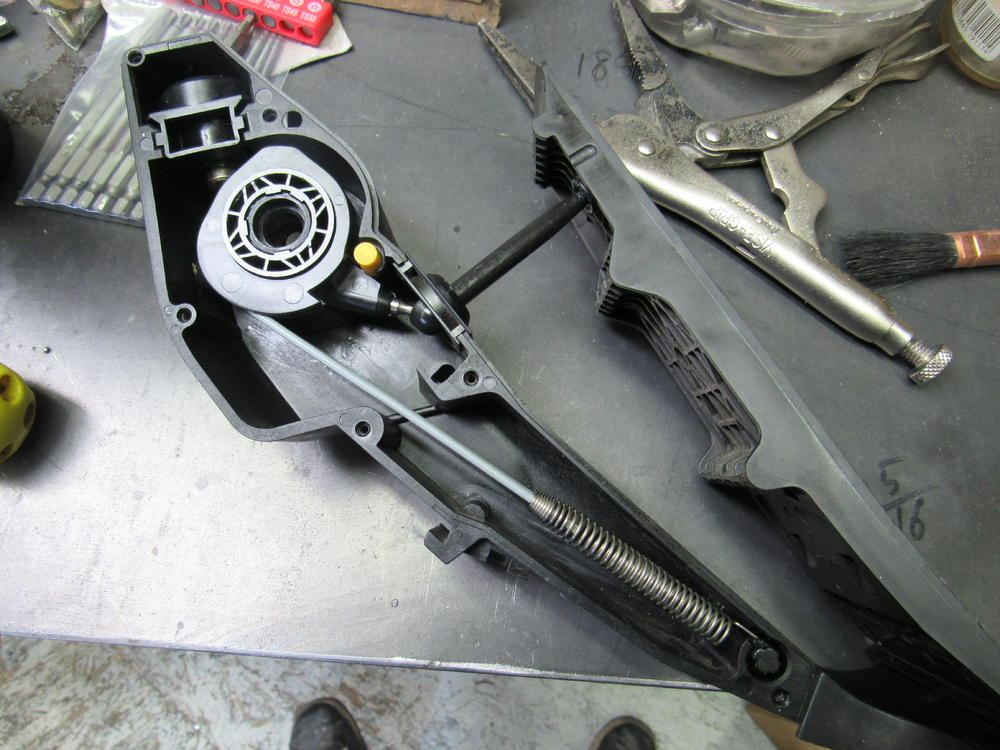
The bmw S54 engine I just put into my Z has DBW throttle so I'm using the stock gas pedal unit from the E46 M3, it's a very nice unit, fairly compact and I'm pretty sure it could be adapted to a different ECU. I was afraid it was going to have a remote feel to it but it's really well thought out, feels great and the throttle reaction time is instantaneous.

-
Sometimes they do interfere with one another, I've had to grind a little off the Tstat housing in the past.
-
On the inside of the new seat cover there should be a strip of material at the same spot where that bar is on the frame of the seat, in the new foam there should be 2-3 slits that will allow hog rings from that strip of material to anchor to that bar. It adds definition to the look and tightens up the seat cover at the head rest, if you look inside the old seat cover you will probably see that strip has ripped. Really the only thing you can do is lay the new and old foams side by side and modify the new foam so it has the same contours as the old, a new box cutter blade works well. Keep test fitting until it sits right, then lay the new covers out in the sun and get them hot, it's so much easier to work with them when they will stretch a bit. Also, there's a little trick to getting the new seat cover over the headrest foam, if you wrap the headrest with Saran Wrap or even a thin plastic bag the seat cover will slide over much easier, it can be a tight fit.


.jpg.de3a5a174bdd17558c187c58e6704632.jpg)
.jpg.2d9917ac2e9790d33bc1cf3983614a7c.jpg)
.jpg.cd556c084e173bdfd17c6c3aede66530.jpg)