grannyknot
Free Member
-
Joined
-
Last visited
Everything posted by grannyknot
-
 I think we hit a high of +4 C yesterday and it is the same for today so that is about 40F, not toasty or anything but it's warm enough with all my heaters going to get the metal up to temp. That temp also brings up the humidity so static isn't a problem.
 -
The interior is coated with epoxy primer so it's sealed, I'll clean it up and apply the tar mat right over top of that and the original insulation over that. Yes, things are proceeding at a good pace, we are in a little warm spell at the moment for the next few days so it allows me to get the shop nice and warm, perfect for painting.
-
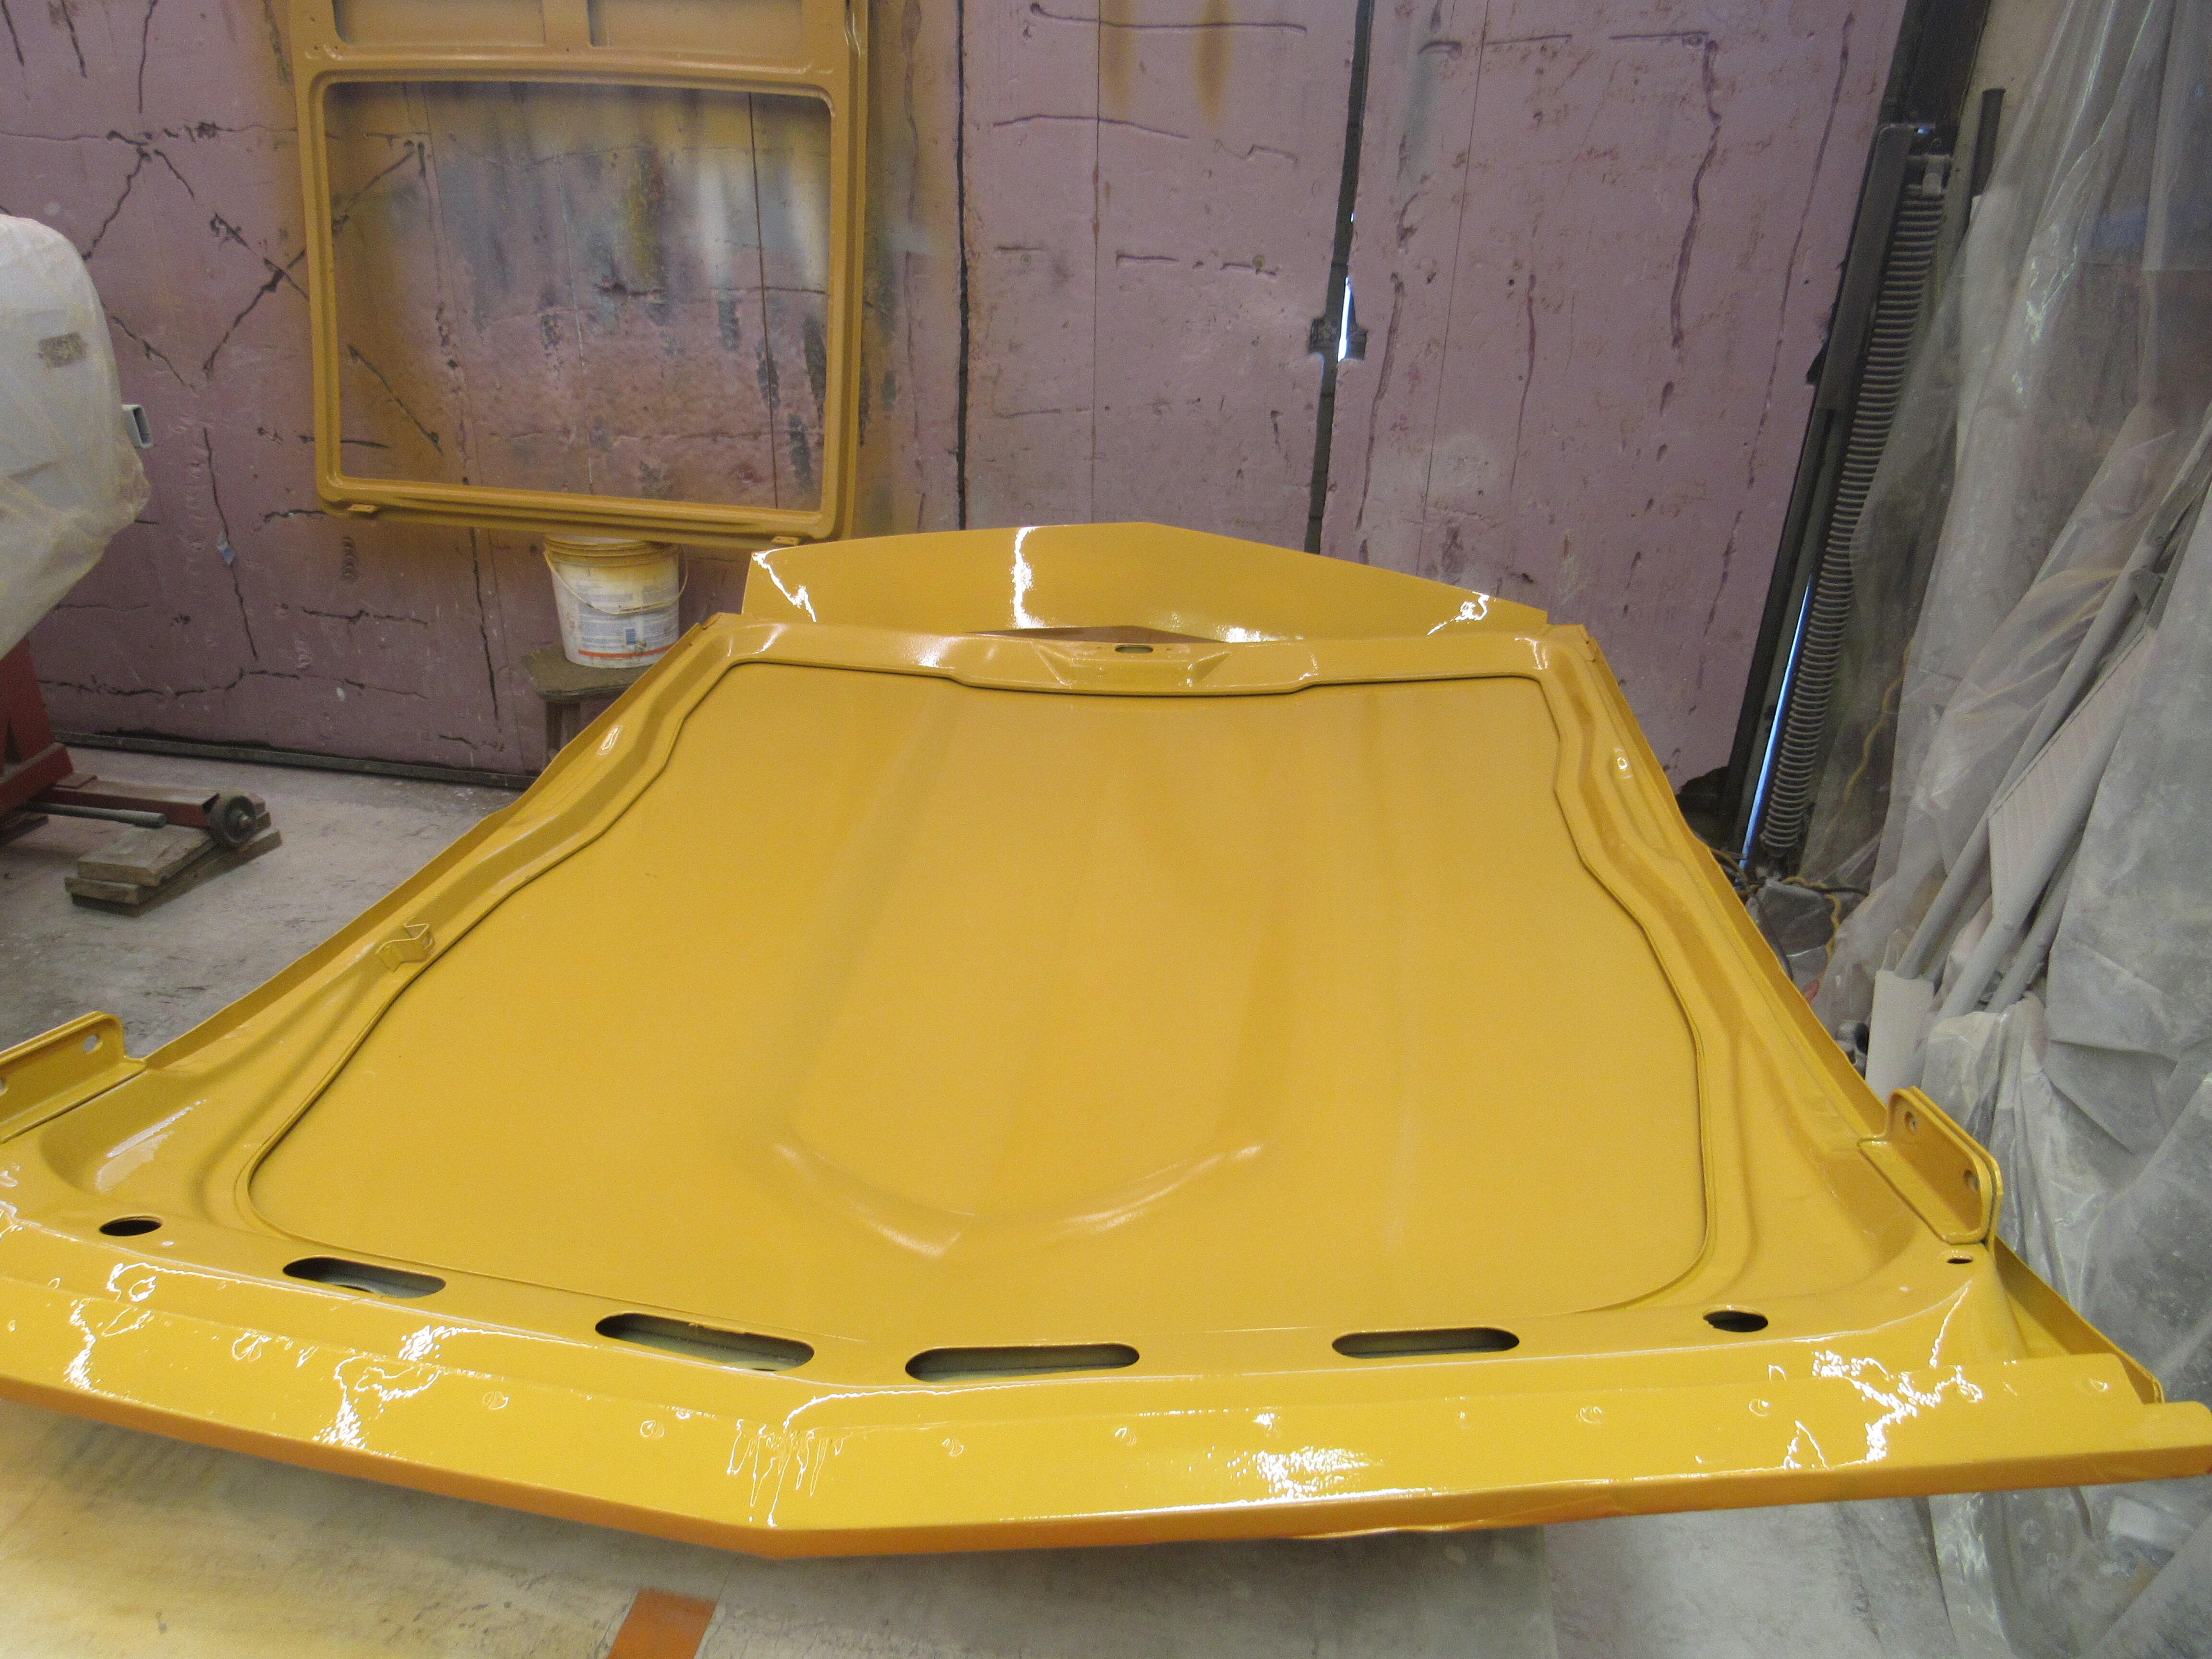
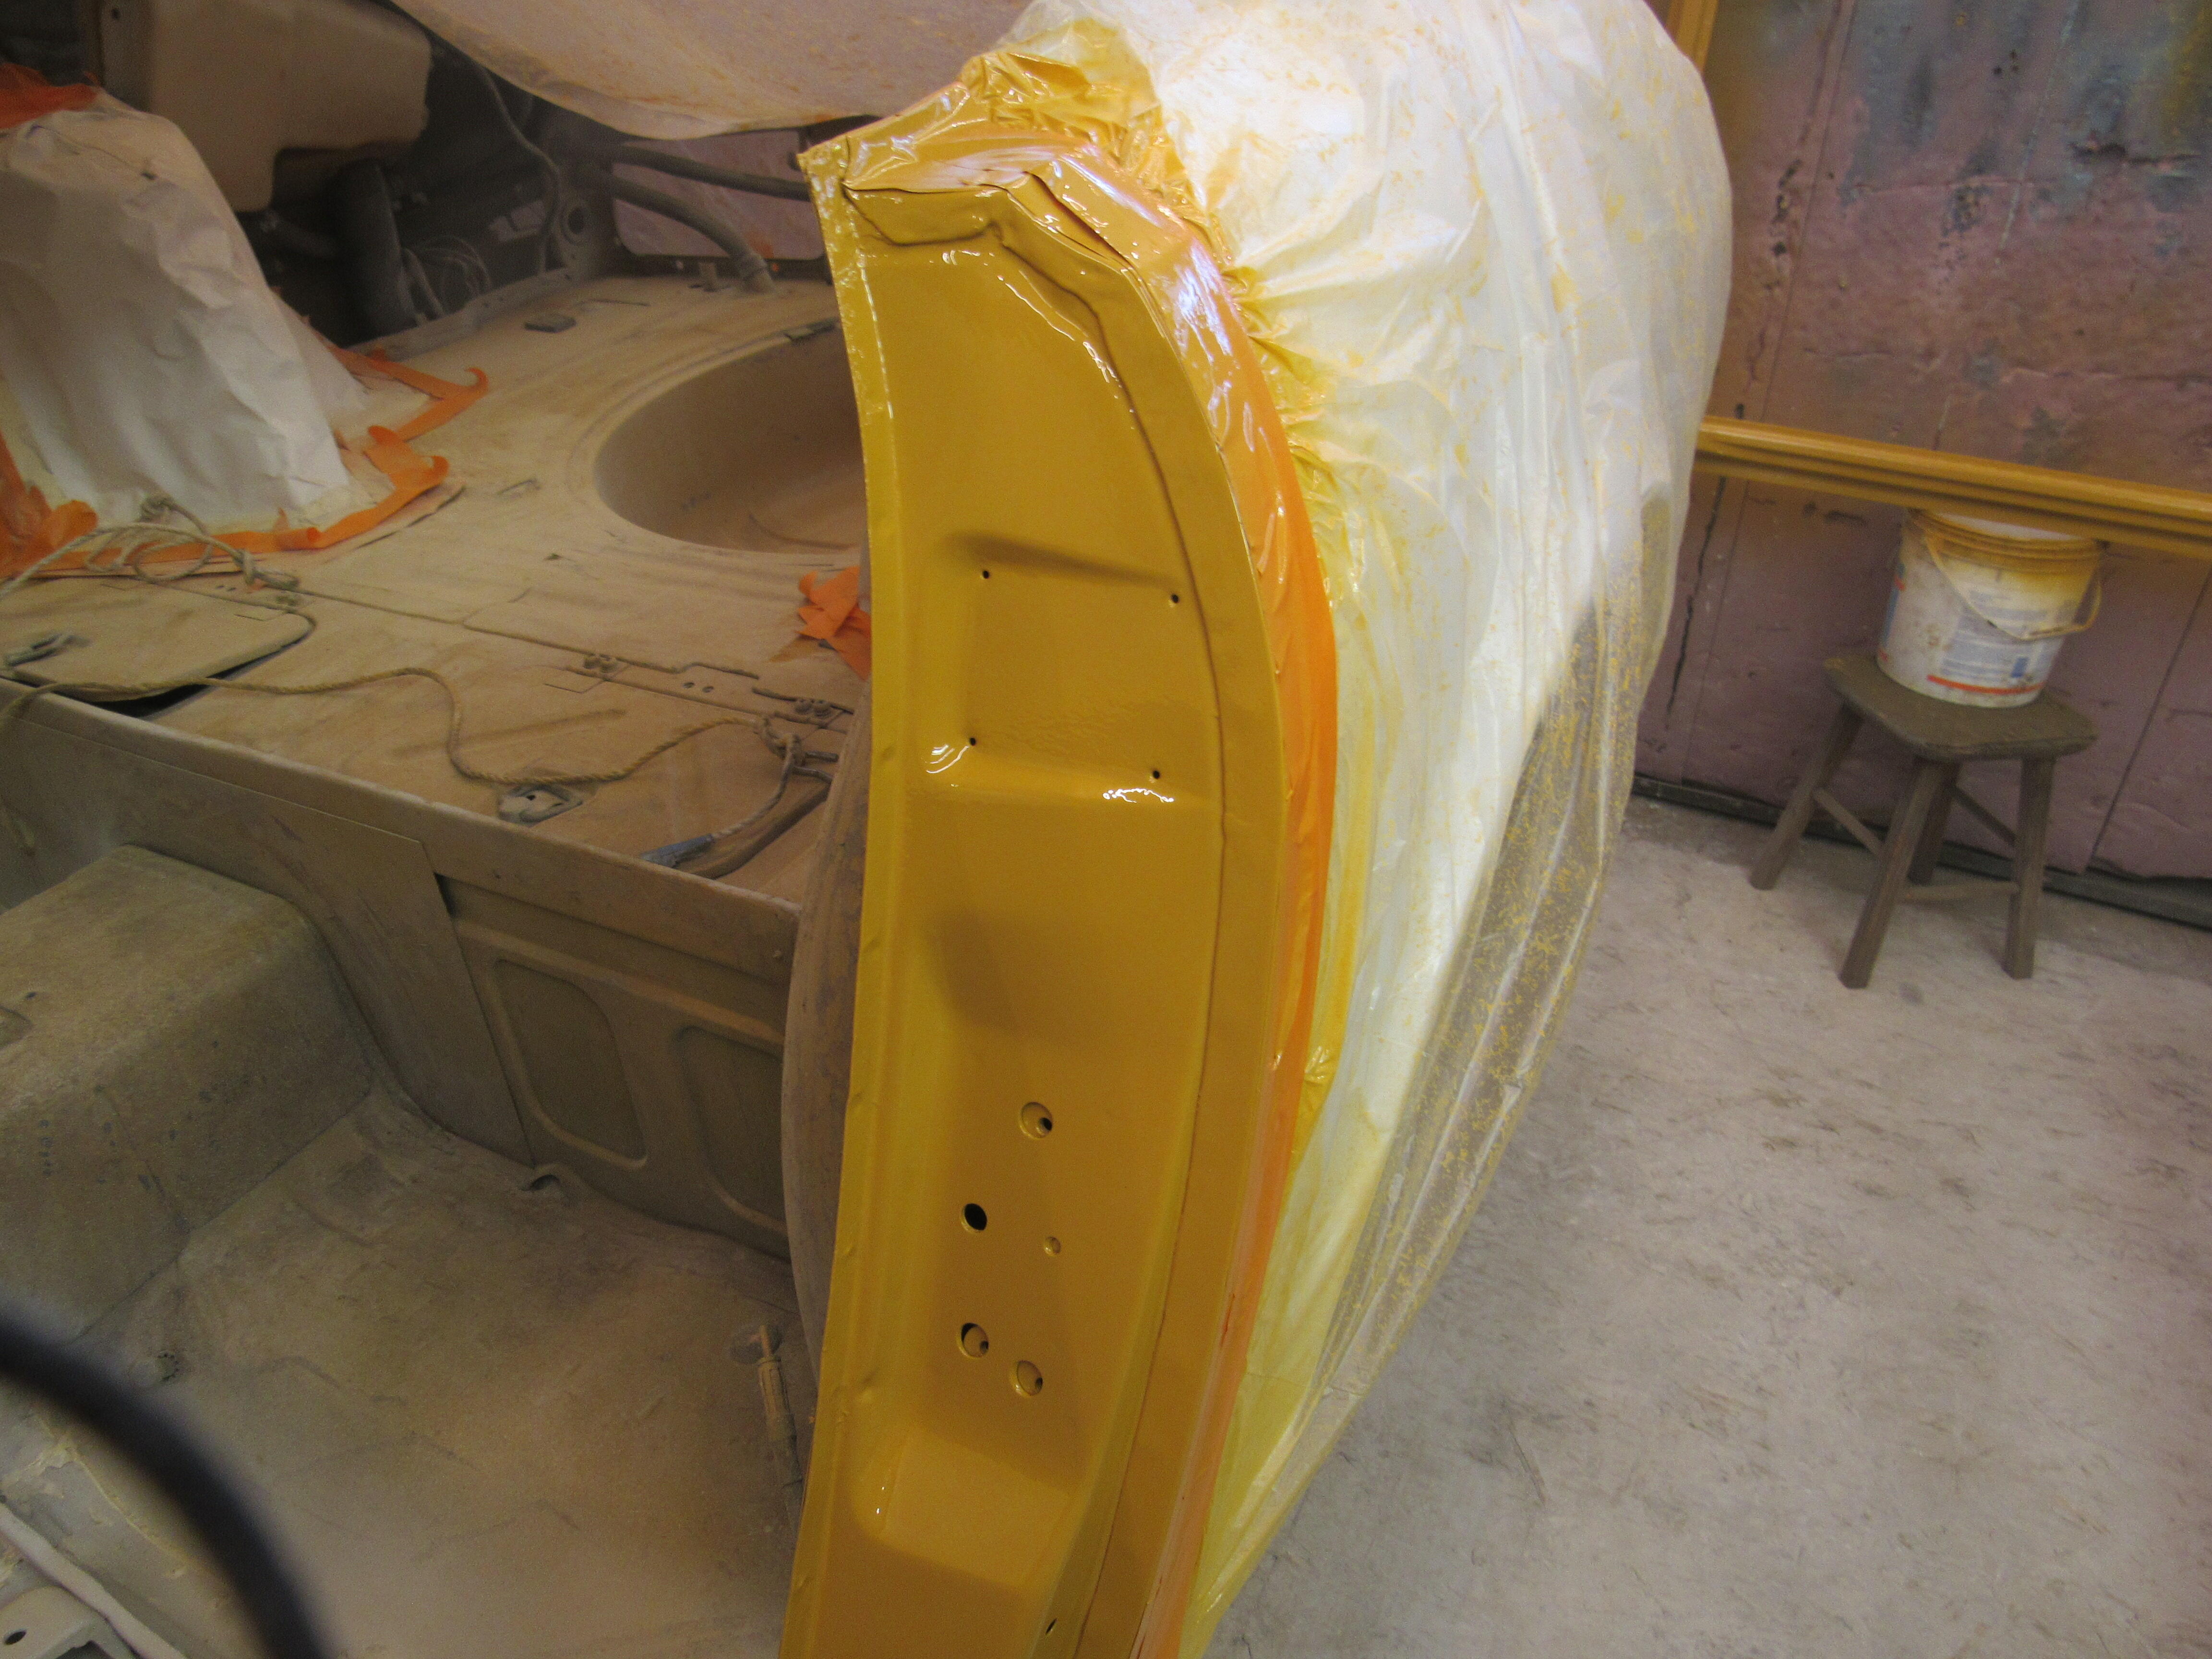
I usually wet sand down to 800 grit before paint but recently I was reading a thread on the autobody forum, this guy was having problems with with adhesion of the paint to primer. He was also sanding to 800, so this time I just wet sanded to 600 and so far it's looking good. I was afraid I might see some scratches but nothing is coming through. I started early this morning taping everything off so I could paint and clear the engine bay, underneath the hood, hatch and door jambs. Later this evening I'll removbe all the masking and let it cure over night. There is always a little ridge of clearcoat when the tape is removed so I'll sand that out before painting the exterior. Nice to finally have some colour in the shop again!


-
Those little springs and caps are notorious for disappearing, unless one of the guys here has some spares, you may have to purchase another unit. @zKars, is the 1st guy I would contact.
-
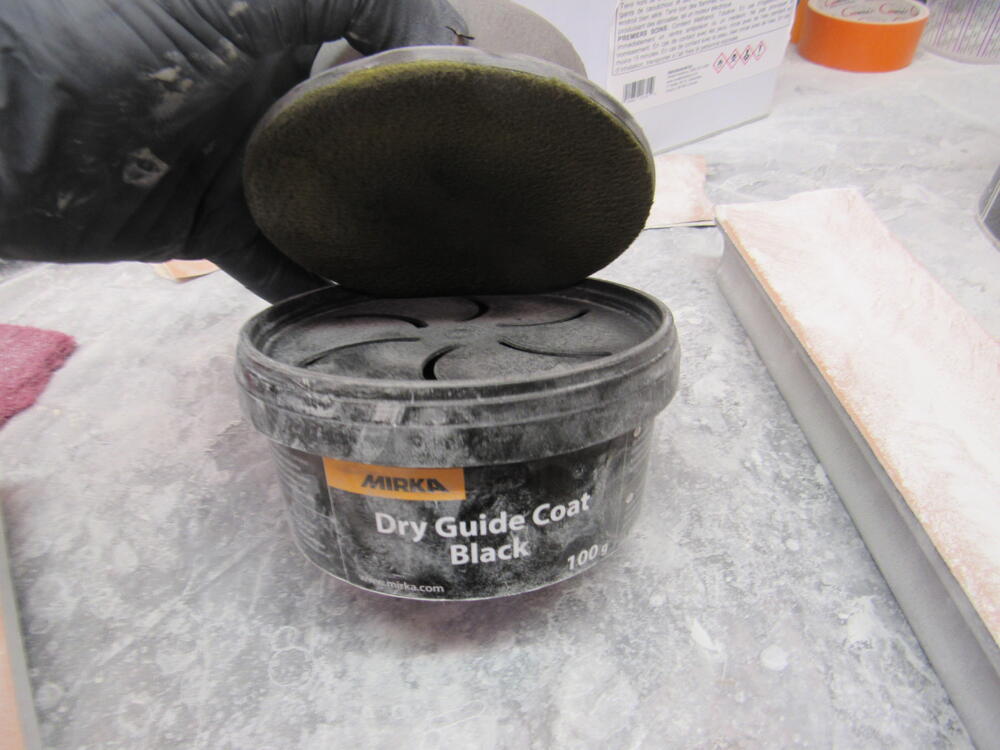
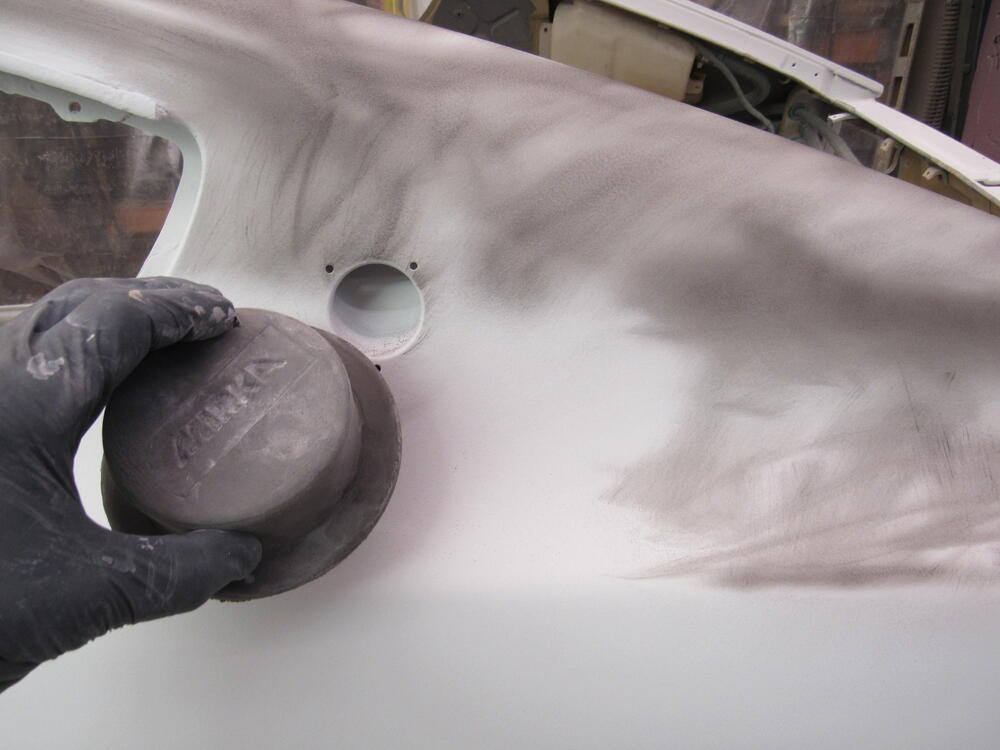
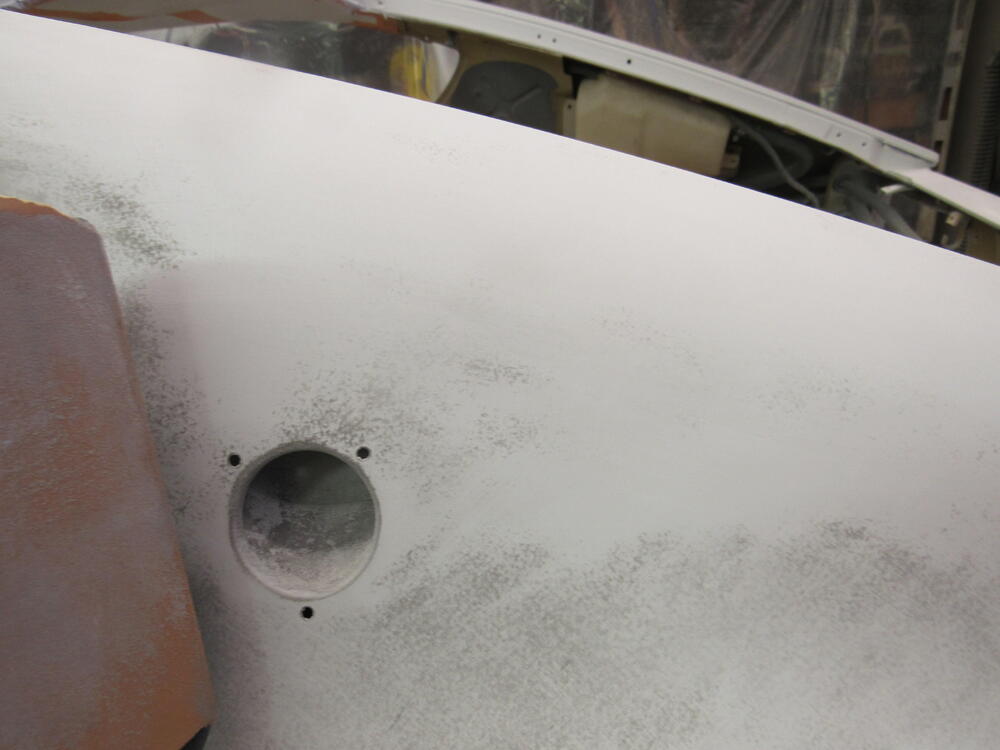
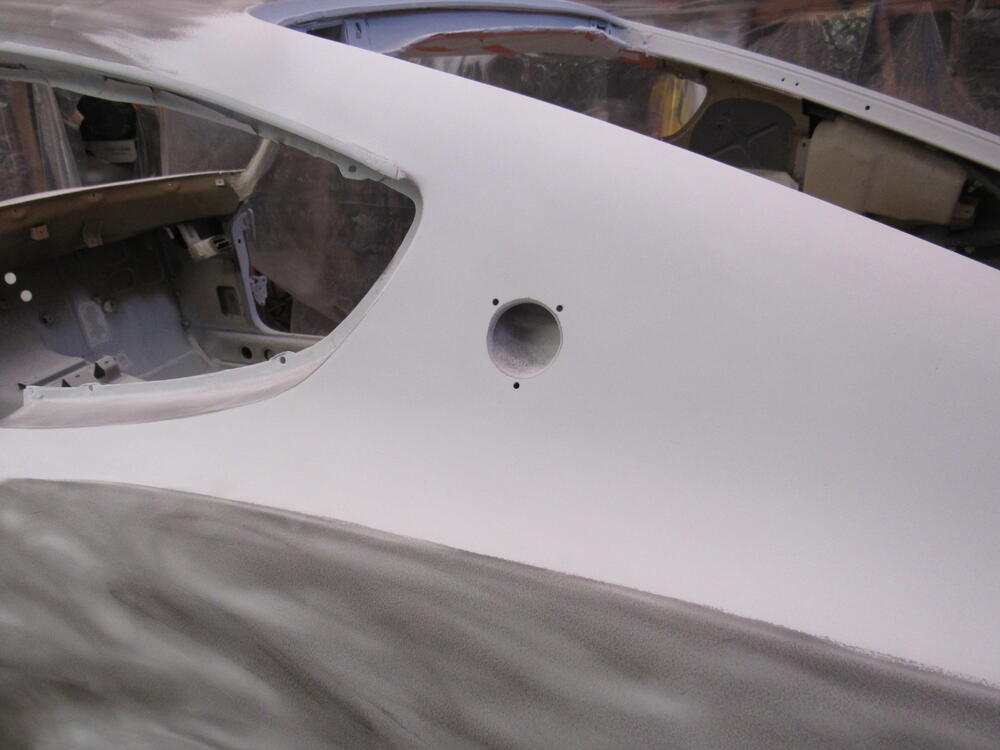
The big order from Datsun Garage arrived yesterday, I think Dave ordered this stuff last July. The order wasn't even complete. Dave stopped by yesterday to check on the progress, he mentioned that he had never seen guide coat being used before so I thought I would include a few pics for anyone who might be interested. I use to use spray can guide coat but have since switched to dry powder, a much better product to work with. So basically, the primer is covered with guide powder then you block out with which ever grit you are using until all of the guide coat is gone. Once that is done you can be sure the surface is a uniform smoothness for that grit, then you rub it all down with guide coat again and start sanding with next grit down. In this case I started with 220 and then will move on to 400, 600, then 800 is the final grit before paint.


-
I'm guessing that is the sock filter for the in tank pump? Does it interfere with the stock float?
-
But then I've heard a few "experts" say that the clear is going to shrink as it cures fully, 2wks in warm weather and that the glass finish you buffed into it after 24hrs won't be as flat as it was after curing. I never know who to trust but the last couple of paint jobs I've done I've let it cure for a few days, then block it out with 1200 and leave it for another week with the broken surface so it can out gas easier than with a shiny surface. I don't really know if that helps cure fully faster but feels to me like it would, the manufactures say you can buff after 24hrs but I wonder if that is aimed at their biggest customer; collision shops who want the car out of there as fast as they can.
-
I had a Z once that came with a NOS Nissan windshield gasket, it was pretty hard but the fit was perfect, the new aftermarket gaskets are good, good enough and as long as they are warm when installing them they work well I think.
-
I'm doing the whole shootn match, colour coat followed by 3 coats of clear, let it cure for a week and then start sanding the clear.
-
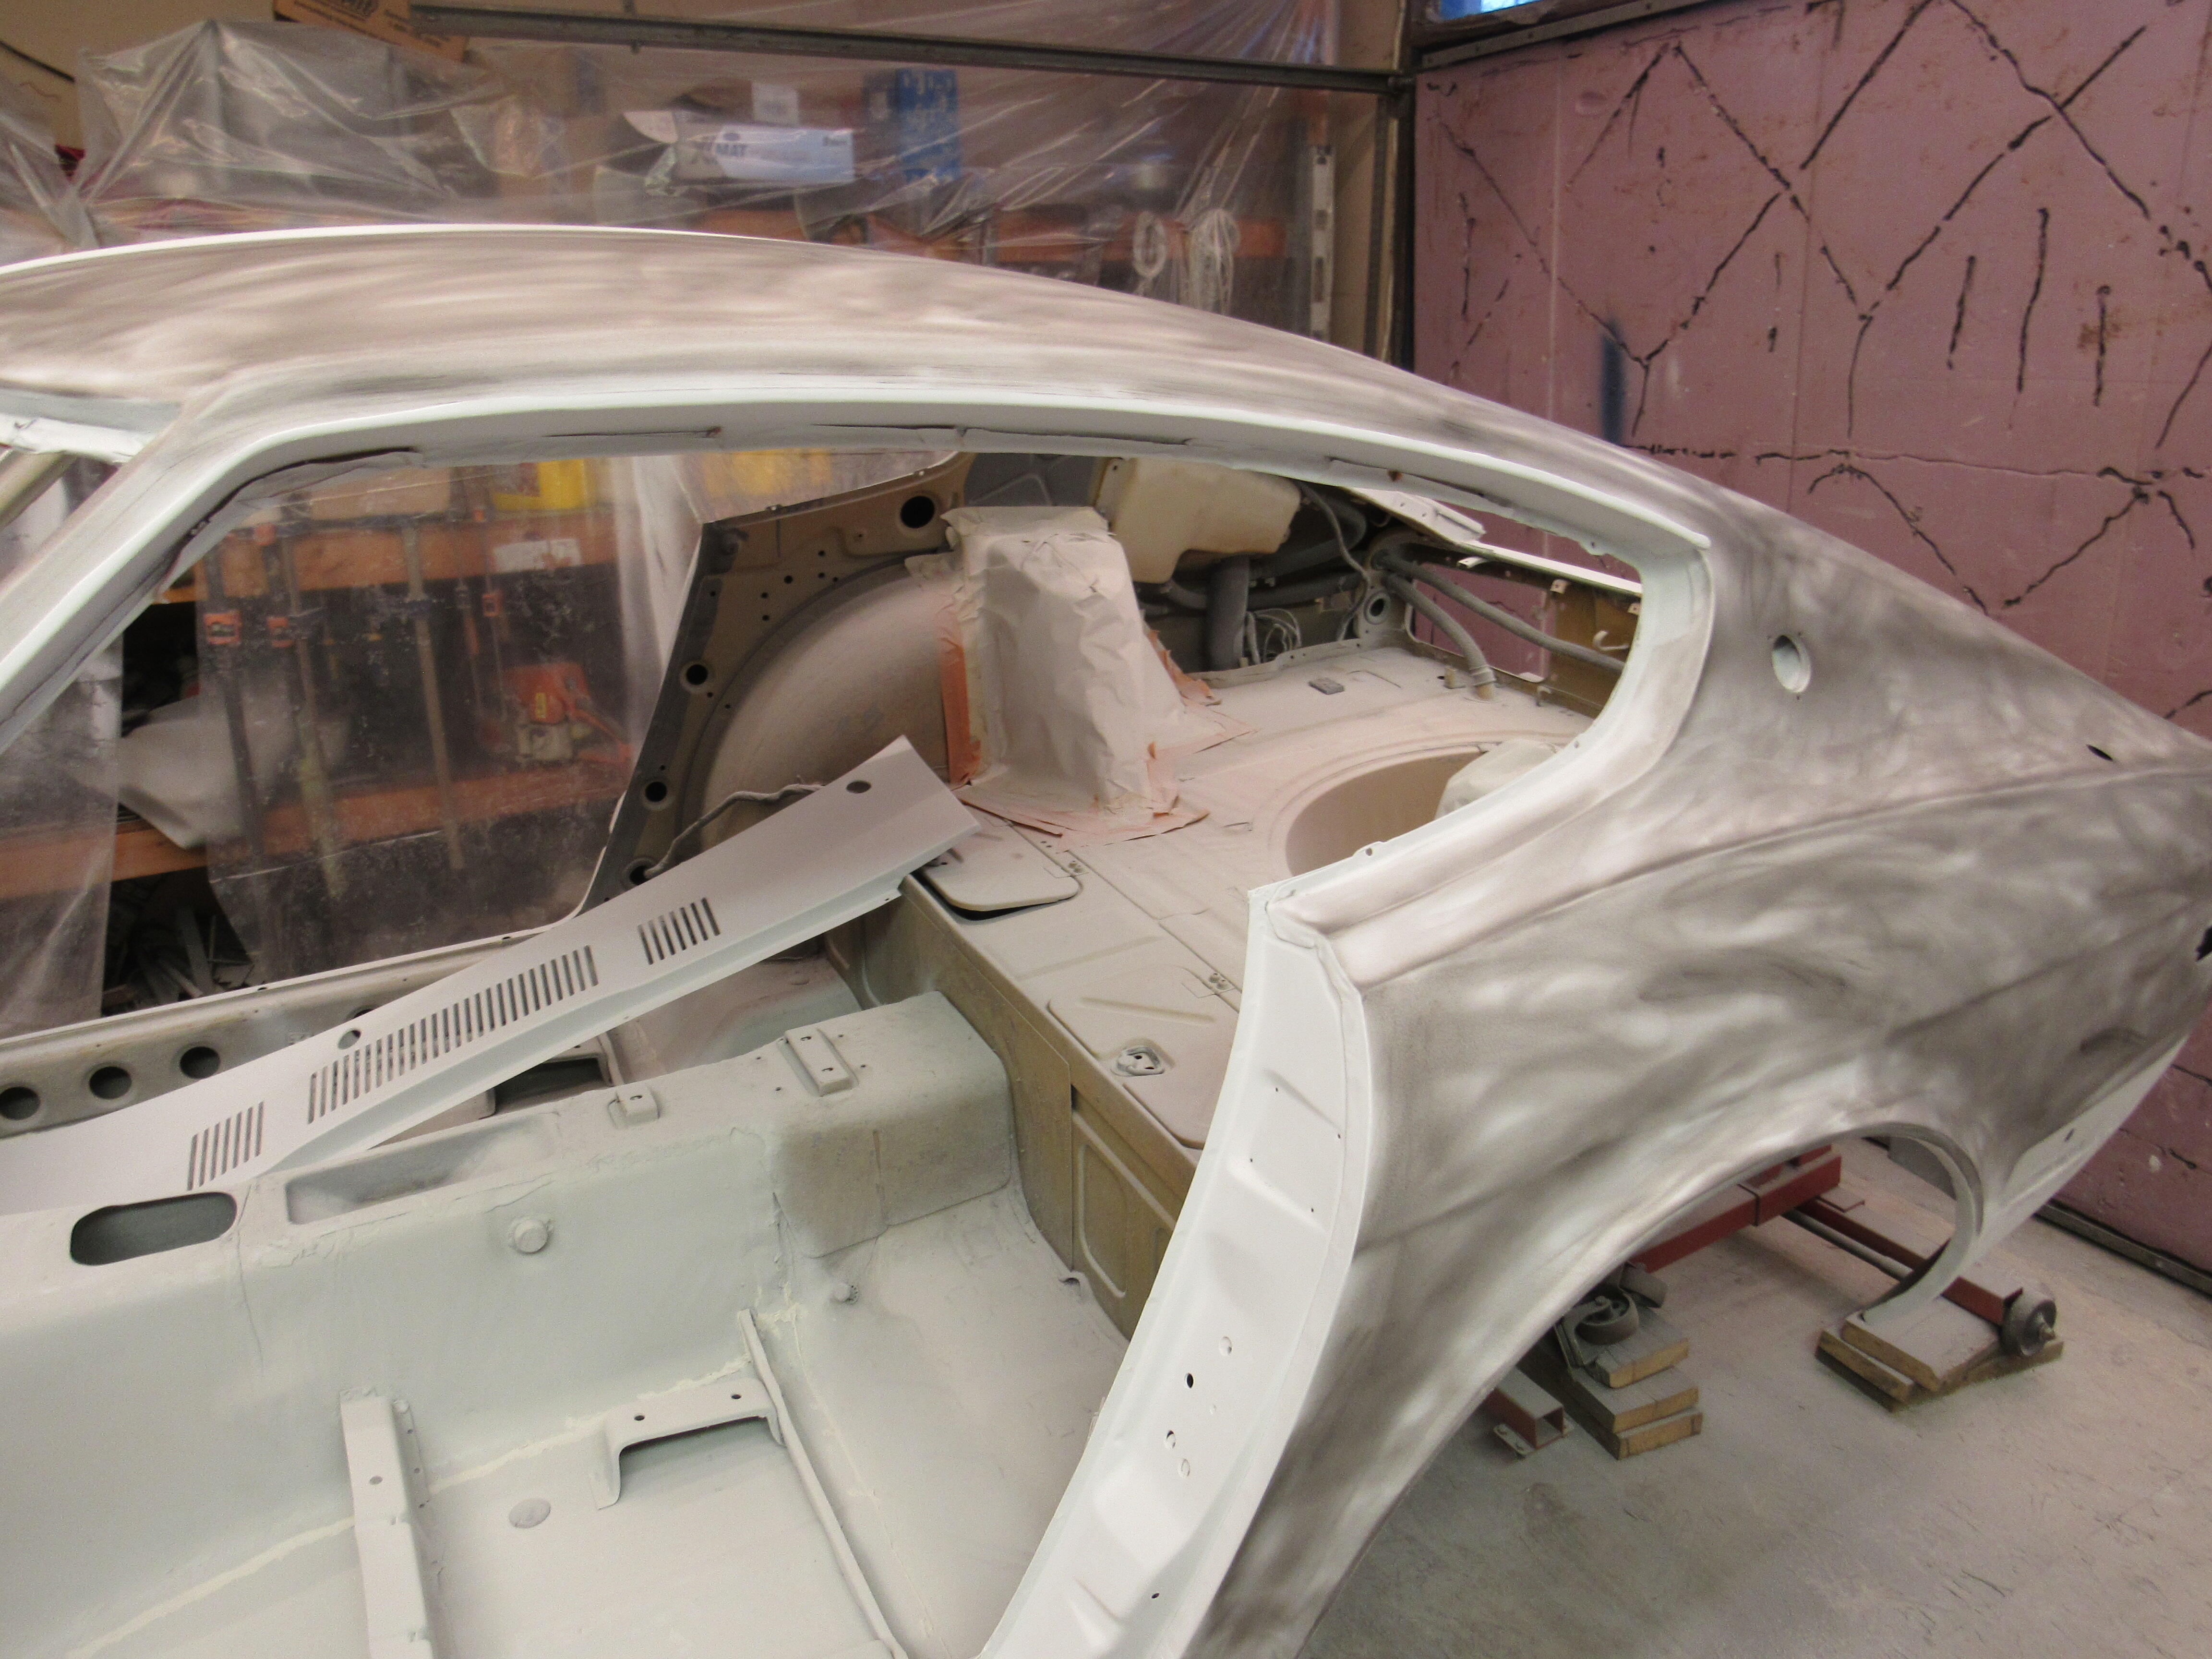
I was finishing up the sanding in the engine bay before spraying the high build primer when I noticed that I had forgot to remove broken battery hold bolt. The epoxy primer was already on so I couldn't use a penetrant without contaminating the primer, same with torch. I had to get a pair of Visegrips in from behind using 2 fingers to clamp on, two fingers to turn the screw 1/8th of a turn, release it, clamp on again, another 1/8th of a turn. That damn little screw took over an hour to work it out. With 95% of the filling done and the epoxy primer blocked out and smooth, I sprayed 2 coats of high build primmer on everything this morning and 3 coats on the doors and hood. Start the real sanding tomorrow.


-
That is cool, looks very well made. Strange that on on the 3rd photo the pictogram appears to show the brake fluid from the can being filtered by the self bleeder but on the 4th photo the top pictogram shows brake fluid being poured straight into mater cylinder reservoir. Maybe the filter is there to eliminate any air bubbles?
-
Hmmm, just the opposite for me, I installed 2 sets of trim after the glass and gasket were in and ended up with several rubber tears, I've done 5 sets of trim installing the trim before the glass goes in with no problems. Same with nylon cord, it tore the rubber because of its thickness, whereas the trimmer line just slides rubber lip over the pinch weld. I guess it is just what you get use to, I'll bet if either of us had stuck with the others method a bit longer we would have mastered it too. The real problem is doing this job once for the first time, it can be a pretty high stress and frustrating exercise. @motorman7 do you use gasket sealant between the gasket and pinch weld? I did once and made such a mess of things that it took hours to clean it up, I haven't used sealant since then and have found no problem with leaks.
-
Did you guys go to the auction site and zoom in on the pics of that car, it's kinda rough, there's two spots of rust on the P/S rear corner, the panel gaps are all out, there is some weird paint cracking on the P/S front shock tower. No pics of underneath the car.
-
I should clarify, the warmed up gasket goes on the windshield, then the SS trim gets installed on the gasket so it looks like this. The SS trim goes in a lot easier because the gasket is still a bit loose. Then just before installing on the car, insert the trimmer filament line by rolling it into the fold where the pinch weld goes. Sometimes if the gasket isn't warm enough it will want to pull off the glass as you start working the gasket on opposite side, a second pair of hands at this point is a big help. Once the SS trim is installed there is no danger of the gasket pulling off the glass as the trim locks the gasket onto the windshield.

-
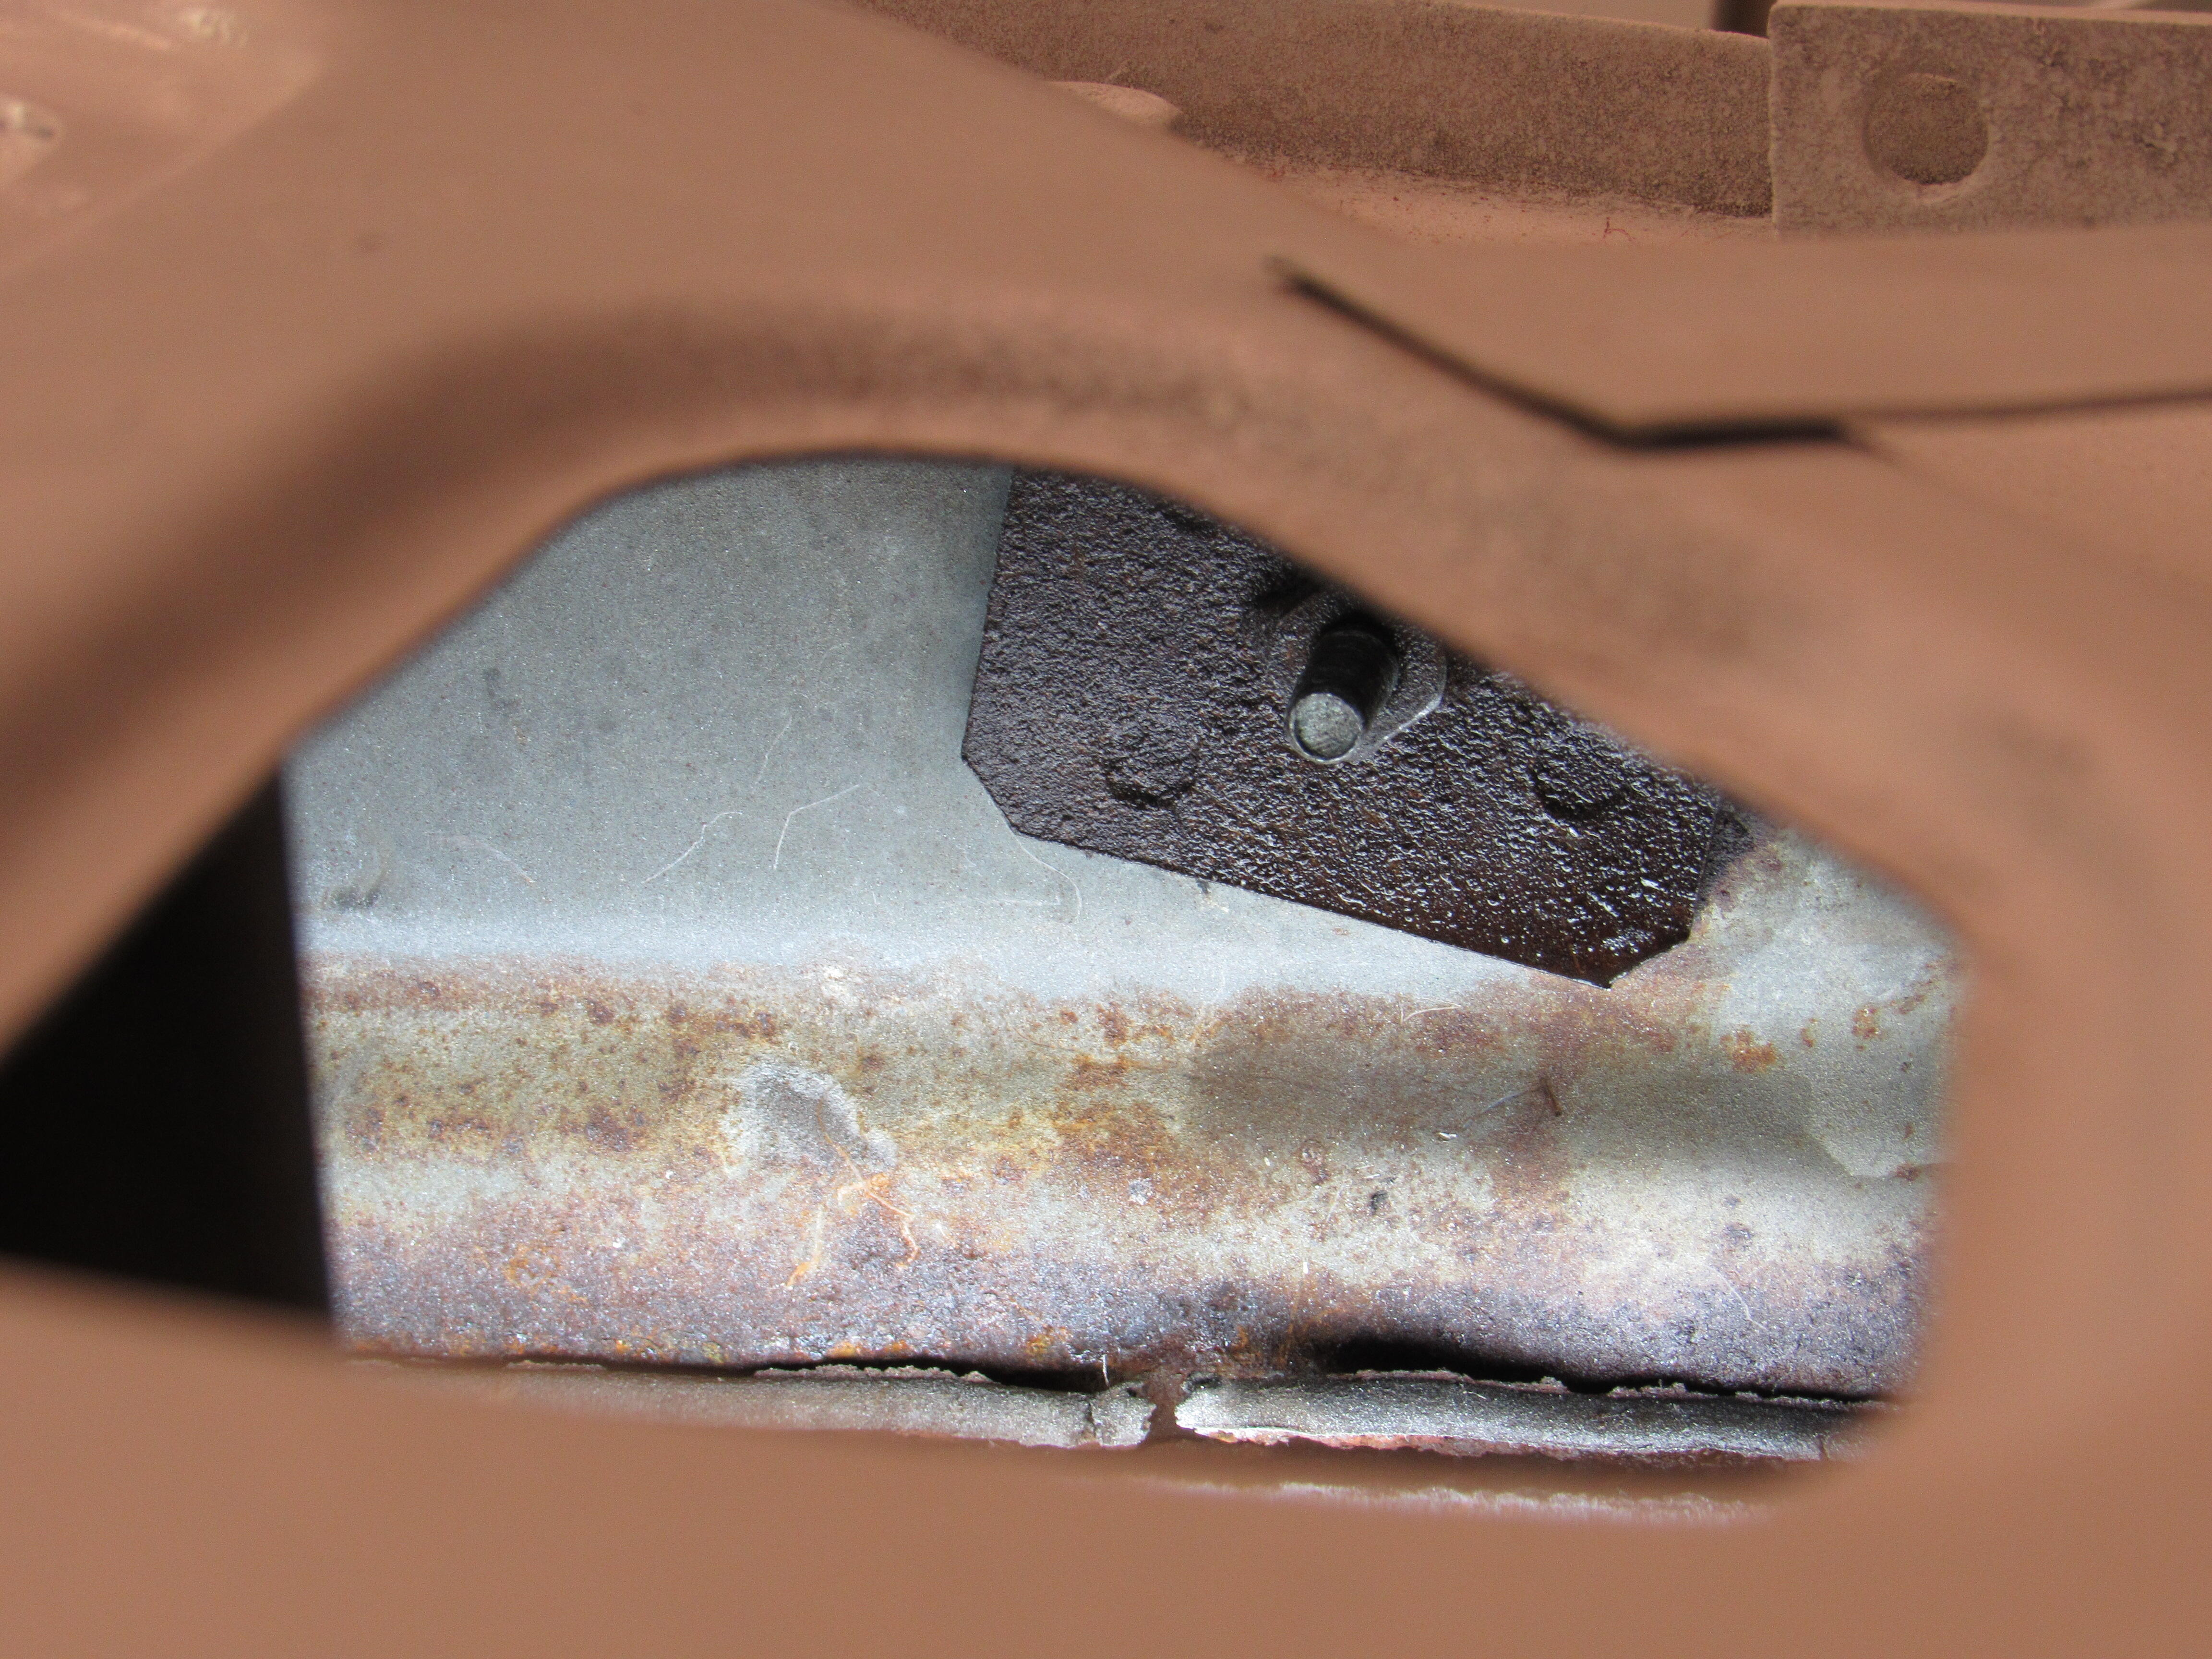
It is normal, the angle keeps the mounting bolt perpendicular to the curve of the bumper.
-
I guess he doesn't ever replace the pinion bearings?
-
I stopped trying to install the SS trim after the seal was on the glass for same the reason that you found, now I insert the SS trim in the seal, then mount the seal on the glass. Much easier, I know, it doesn't help you much now but if you ever do it again.
-
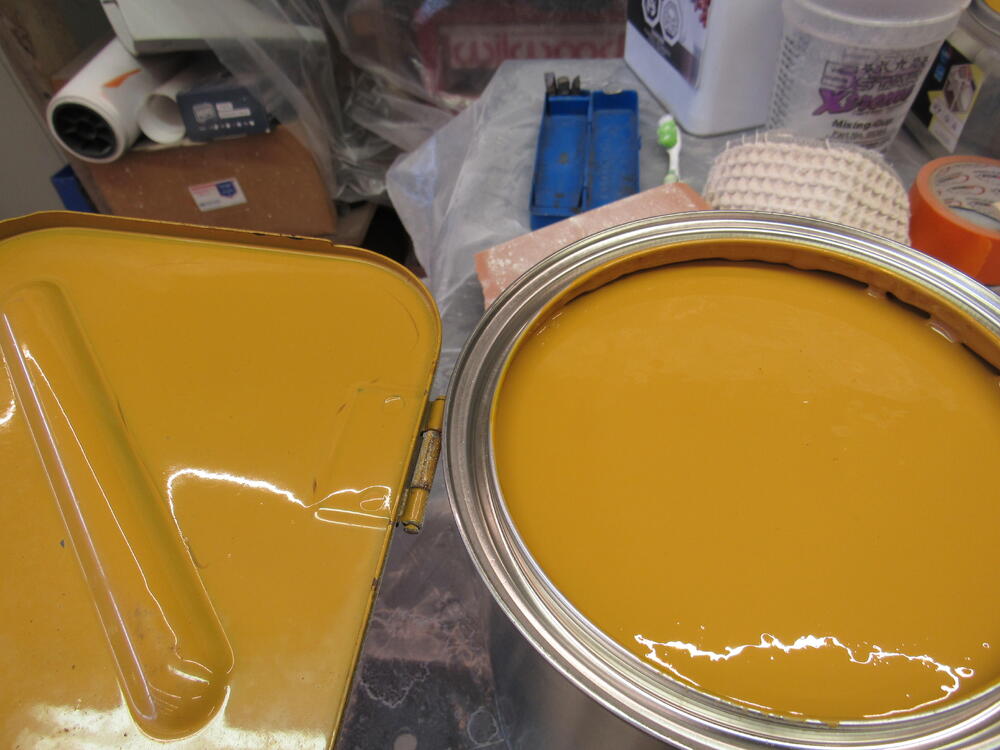
I drove down to the autobody supply store and gave him the PPG and DuPont codes for 920 Safari Gold, no luck again. He searched through 3 data bases and could not find a formula for the colour☹️ So I took down one of the cubby lids for him to scan, pretty nice match.
-
As always, beautiful work. I think I would rather have the BRE Z than the McLaren, more reliable.
-
That rubber boot for the wiper linkage is a rare piece, I didn't know anyone was making that.
-
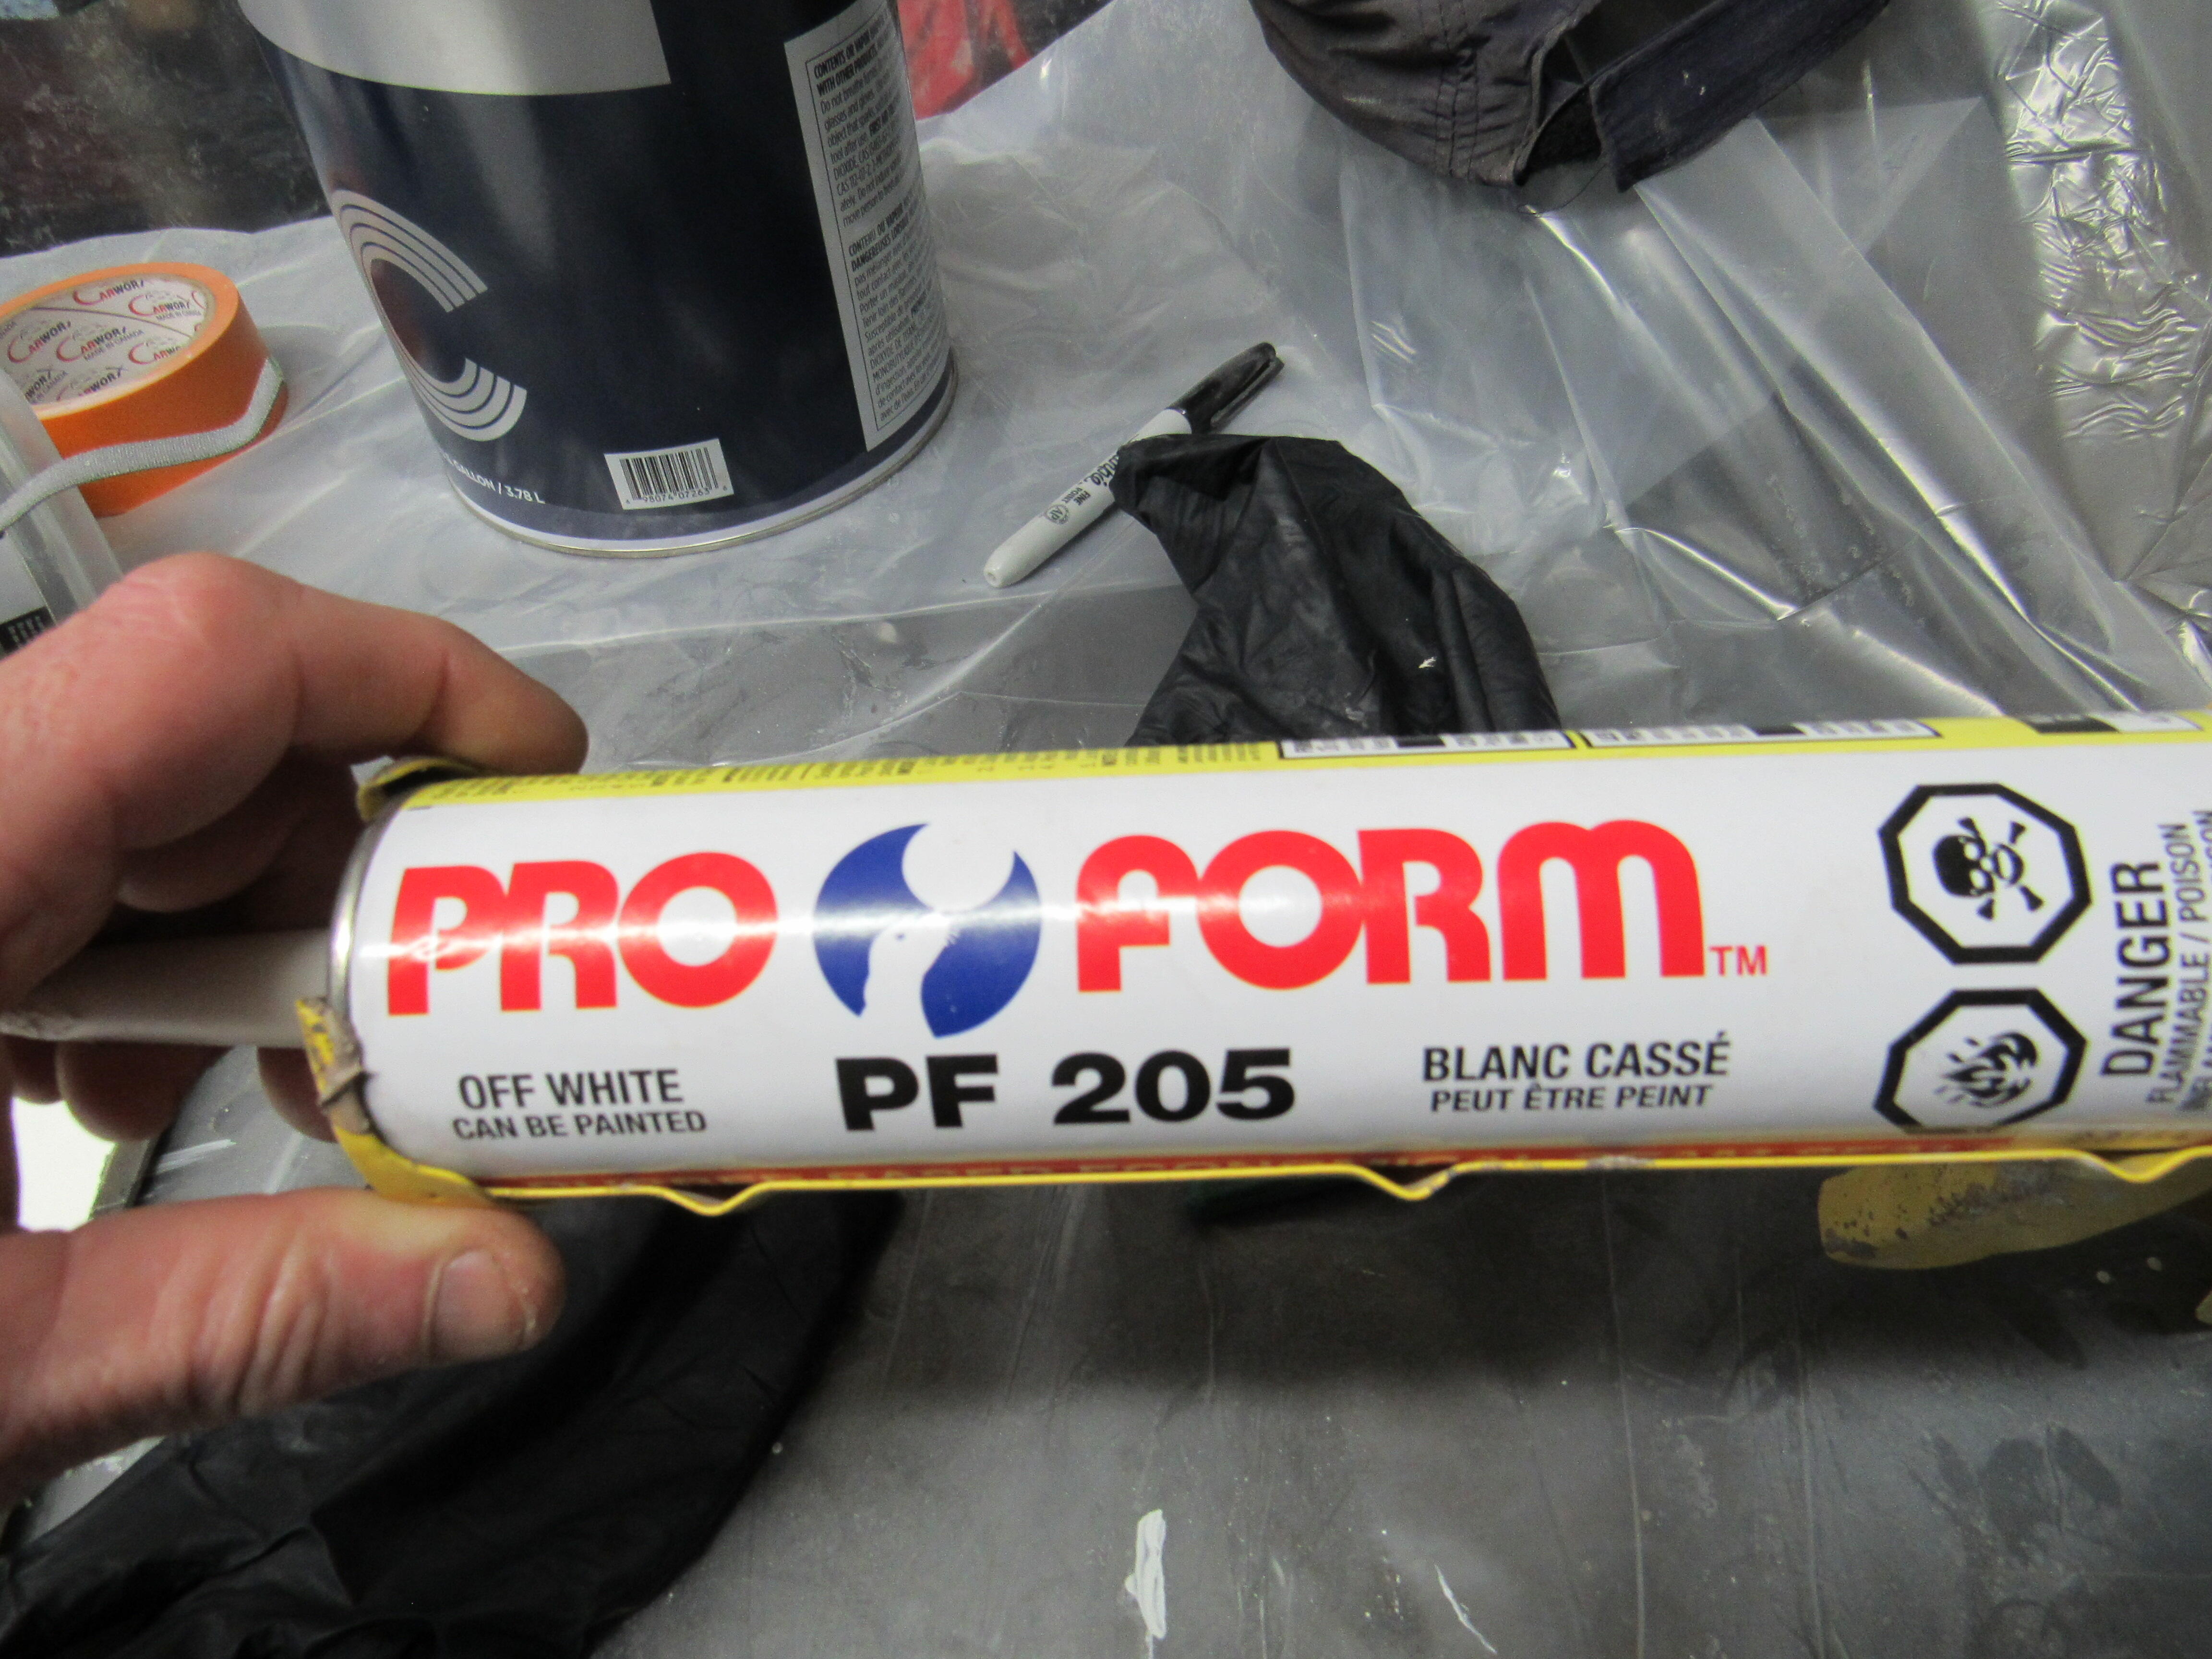
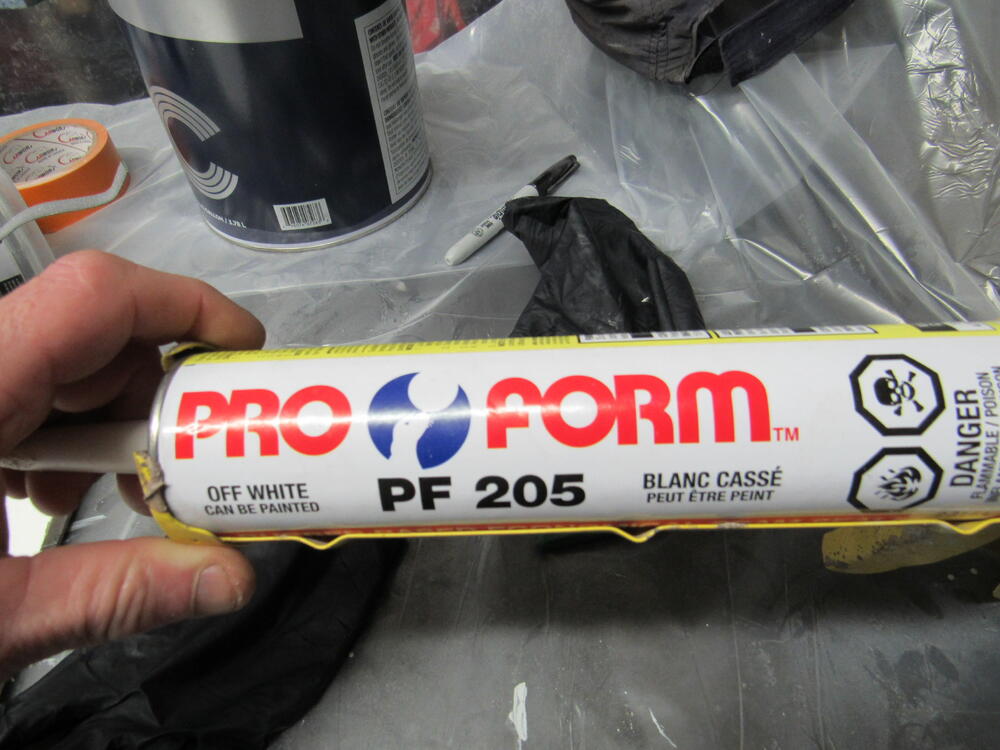
I've been using this stuff for many years, never had a problem. Stays semi soft, paint and undercoat stick to it well. There are some pretty fancy/expensive seam sealers these days and I can see using them on new cars that will be driven daily in all kinds of weather. With the way these cars will be driven, wash water and occasional rain is all they will encounter so a simple automotive caulking is all that is required IMHO. Just a word of caution, these products are a lot more toxic than you would think, if applying in an enclosed space a good respirator with cartridges for organic compounds is needed.
-
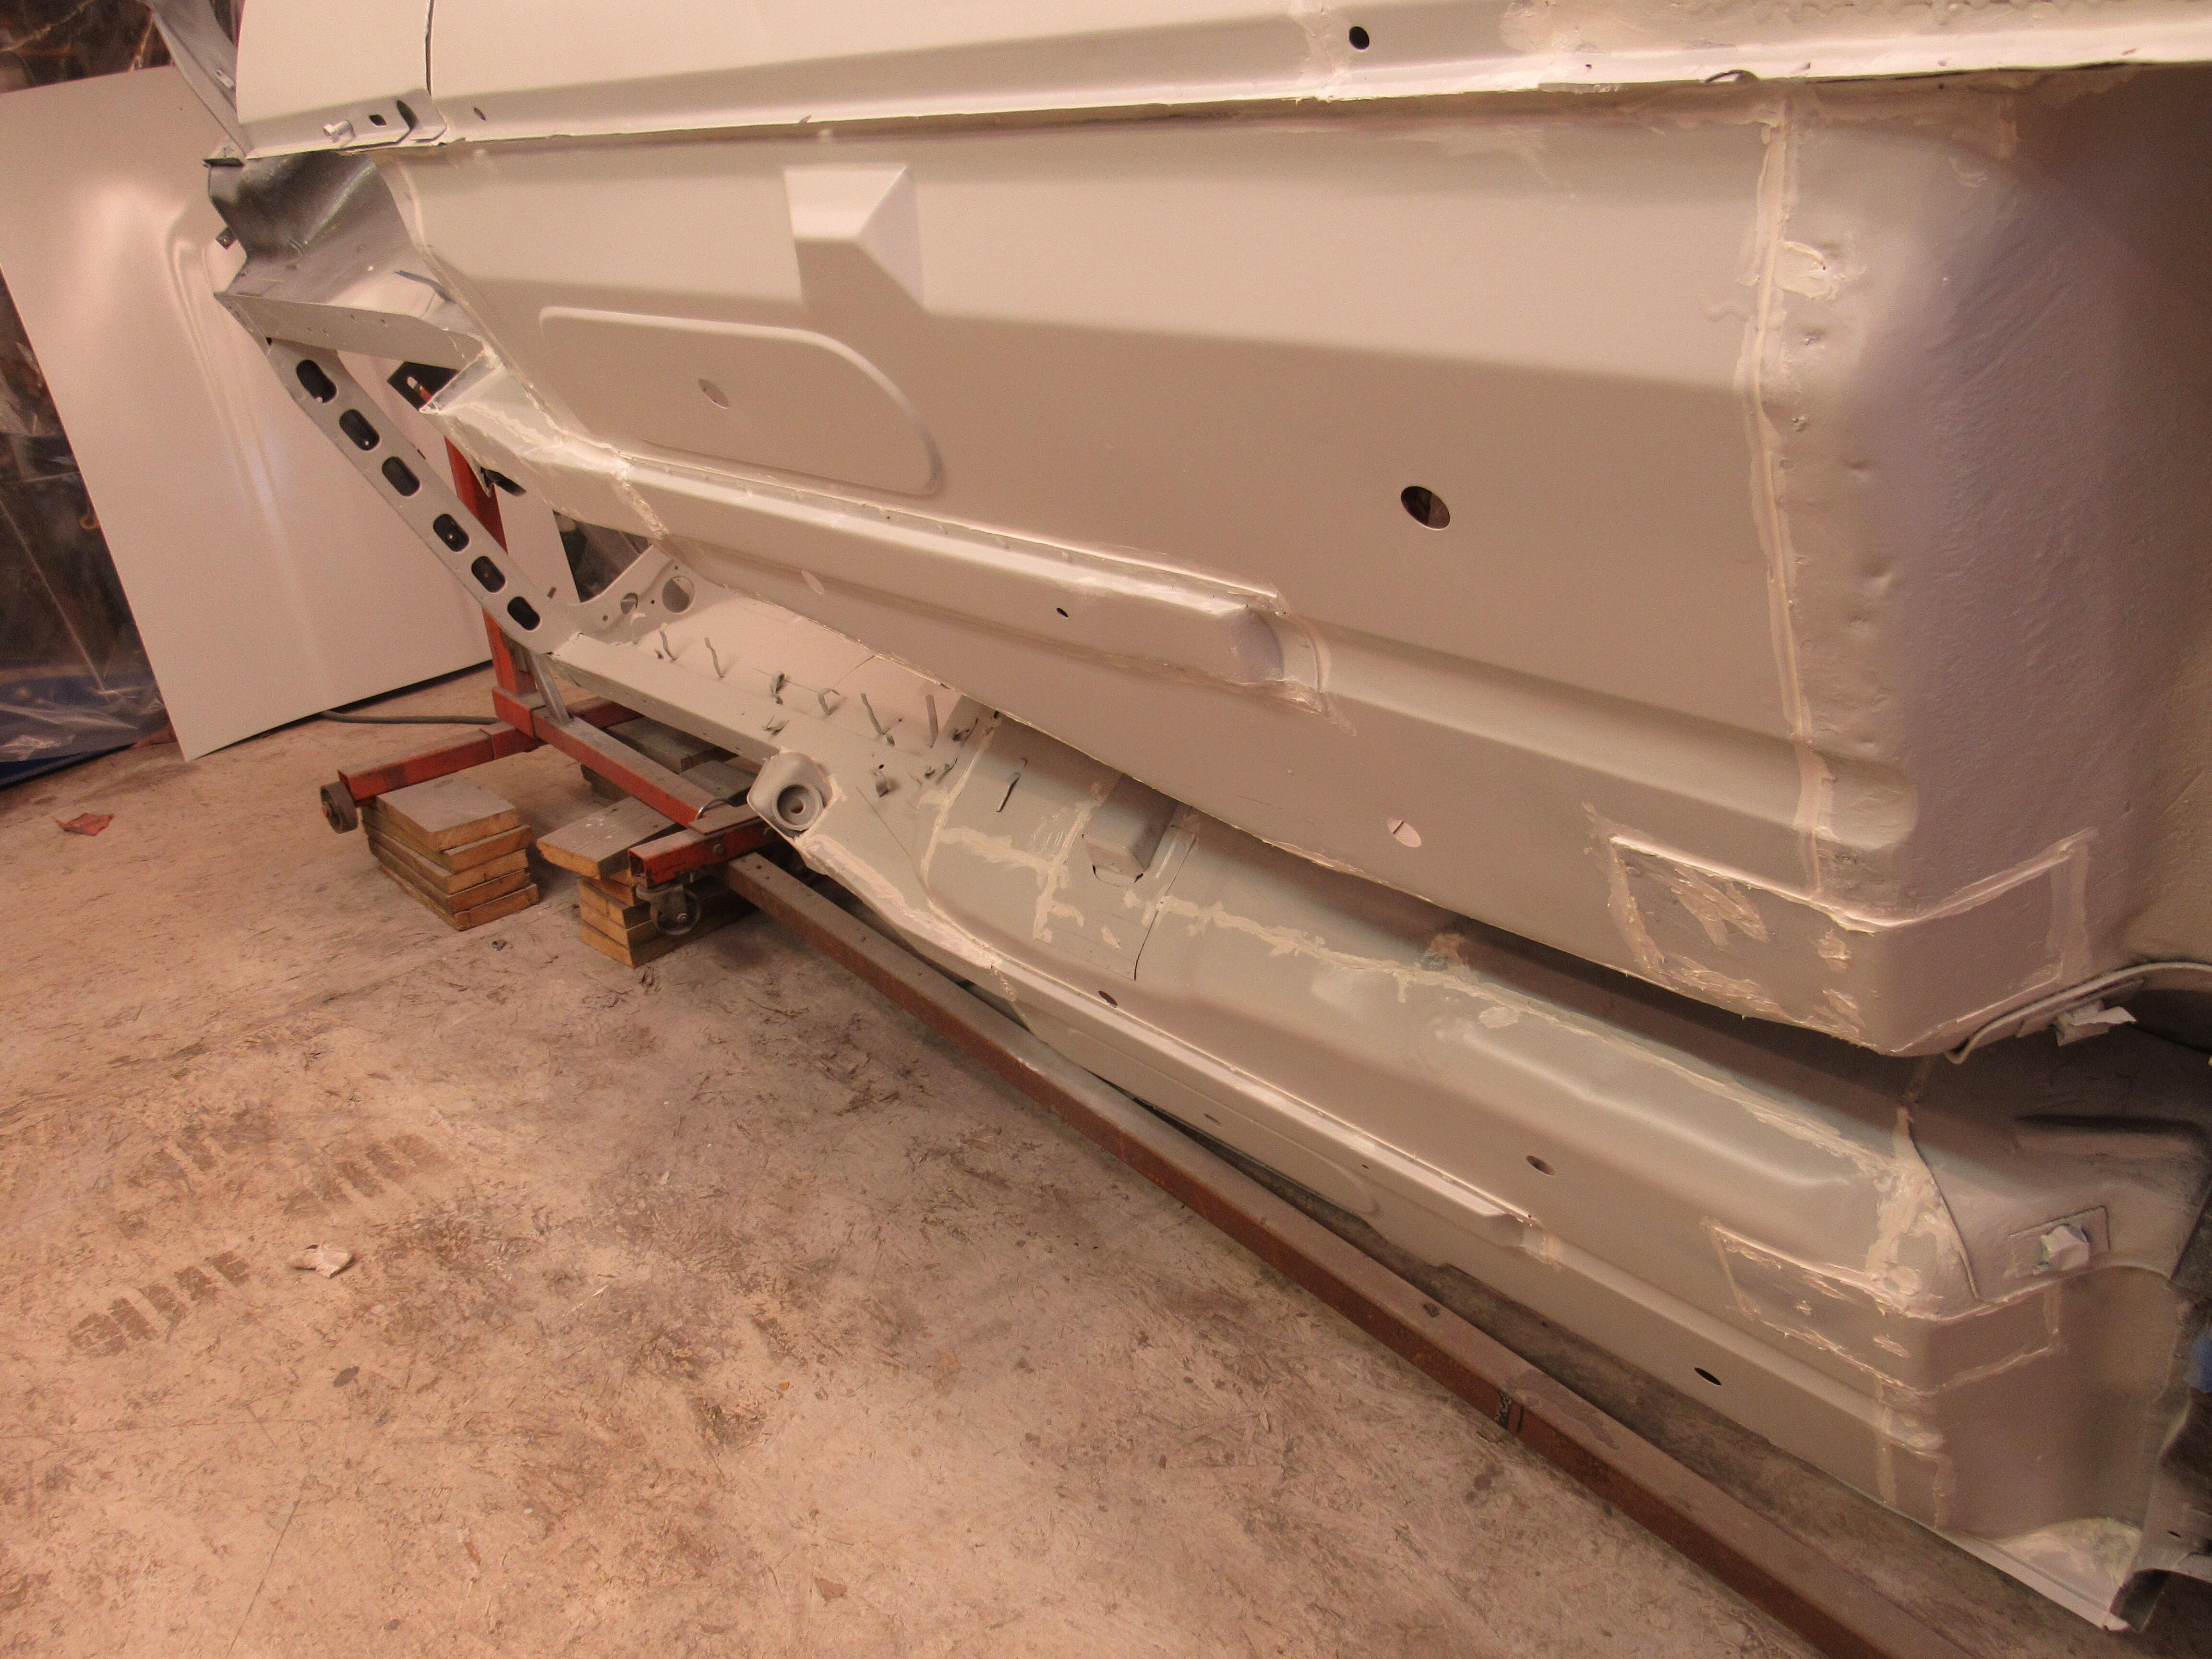
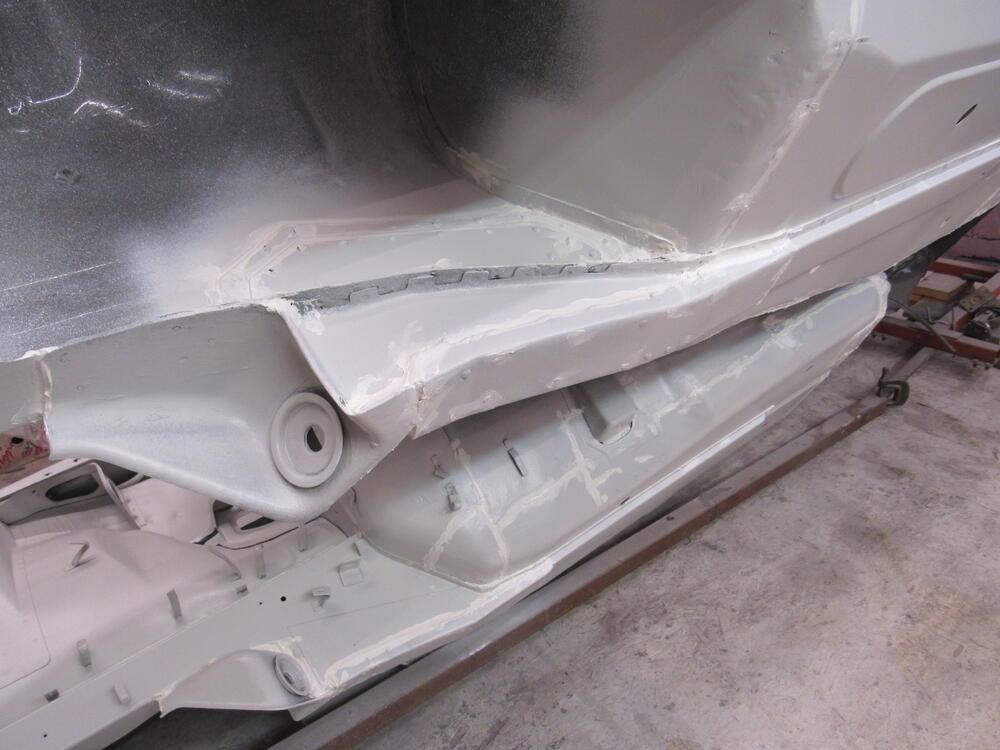
The primer wasn't cured fully this morning, too cool in the garage so I spent the day seam sealing inside and out.


-
You can start it in the garage, try not to let it sit at idle for too long, vary the revs up and down but don't go over 3,000 until it is run in. If you can keep it running for a good half hour until the engine has reached full temp. Those are just the rules I follow when starting a freshly rebuilt engine.
-
Male to the radio, female to the antenna.
-
If the body surface was perfect, no dents, I would follow up the 2k epoxy primer with 3 coats of 2k high build primer then block until flat. The surface on this car has lots of little dents that I couldn't bang out so now I will start smoothing them out with filler and once I get the bulk of them filled and a guide coat shows me everything smooth, then I do the 3 coats of high build and start blocking again with 400 grit. 5L of epoxy was enough to do 2 coats on all exterior panels and I have 500ml left in case I burn through to the metal while sanding. 2 full days of cleaning the shop and setting up to spray and about 3 hrs to shoot.