


grannyknot
Member
-
Joined
-
Last visited
Everything posted by grannyknot
-
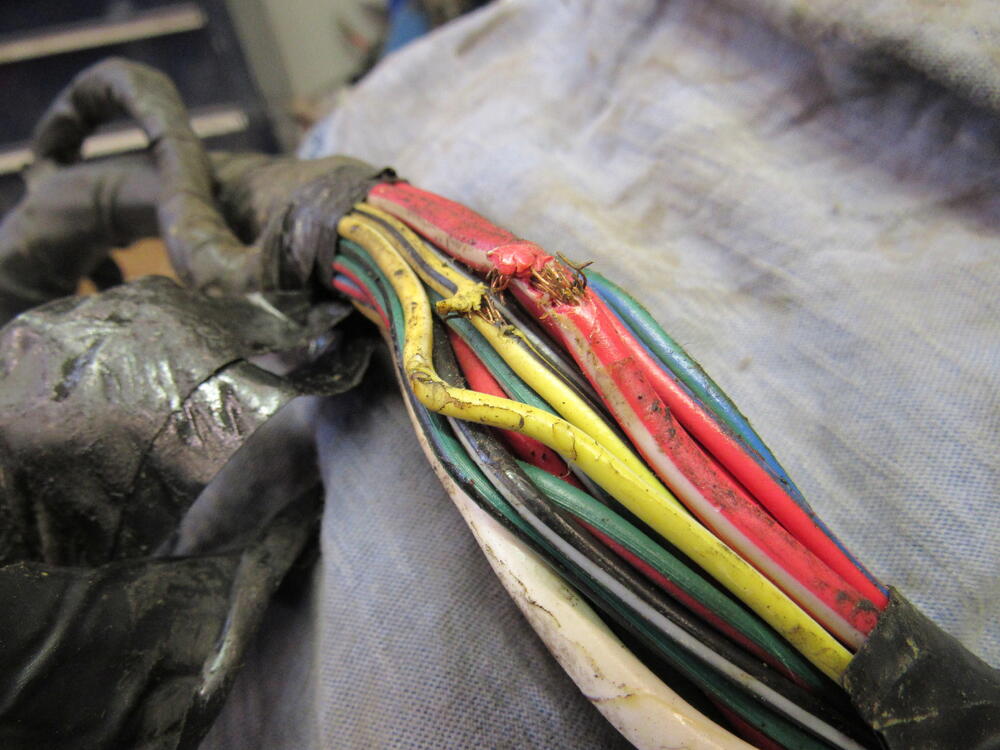
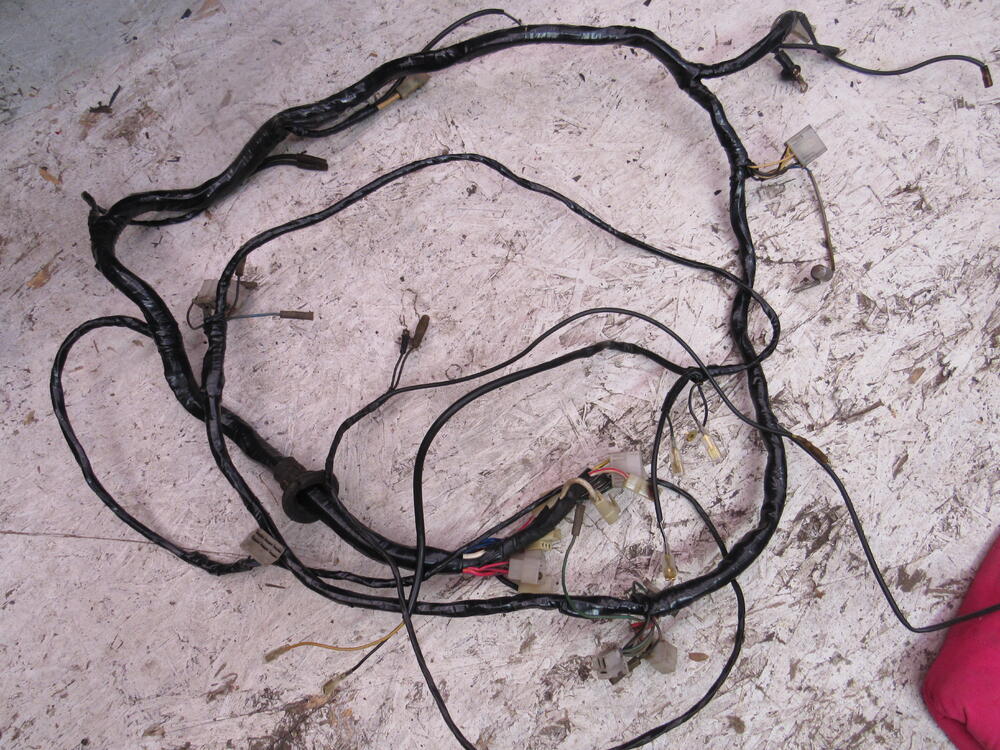
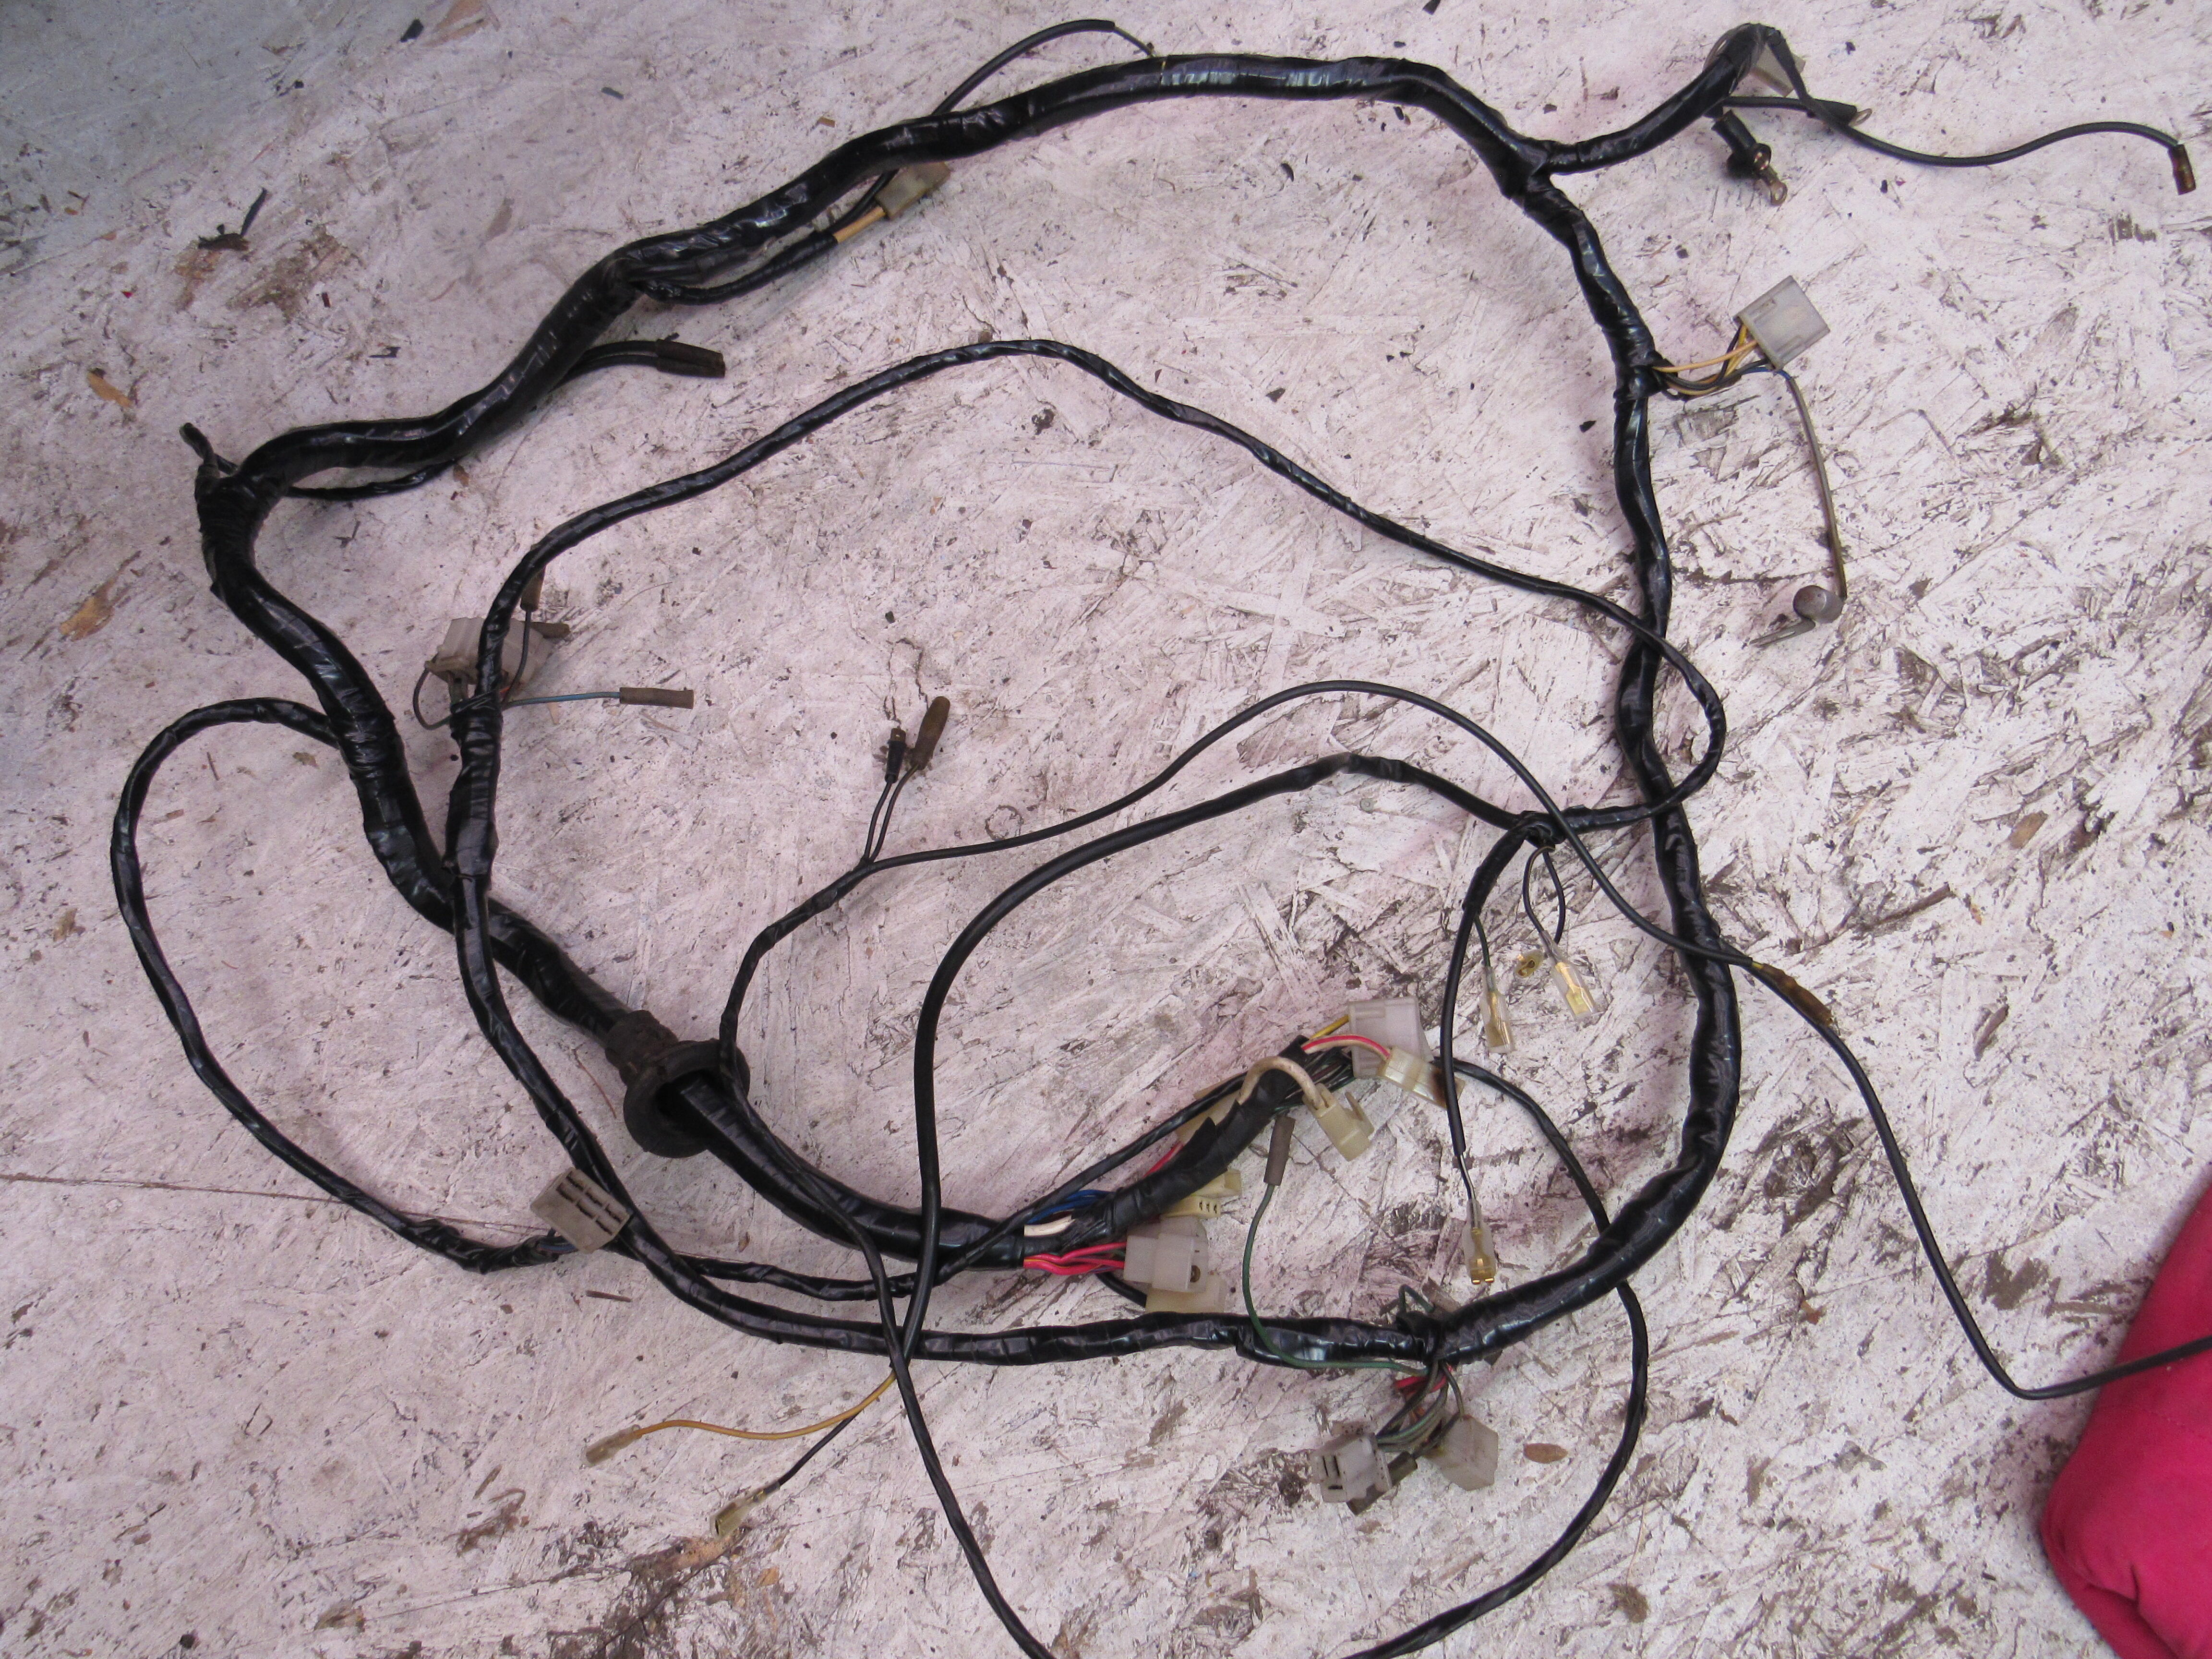
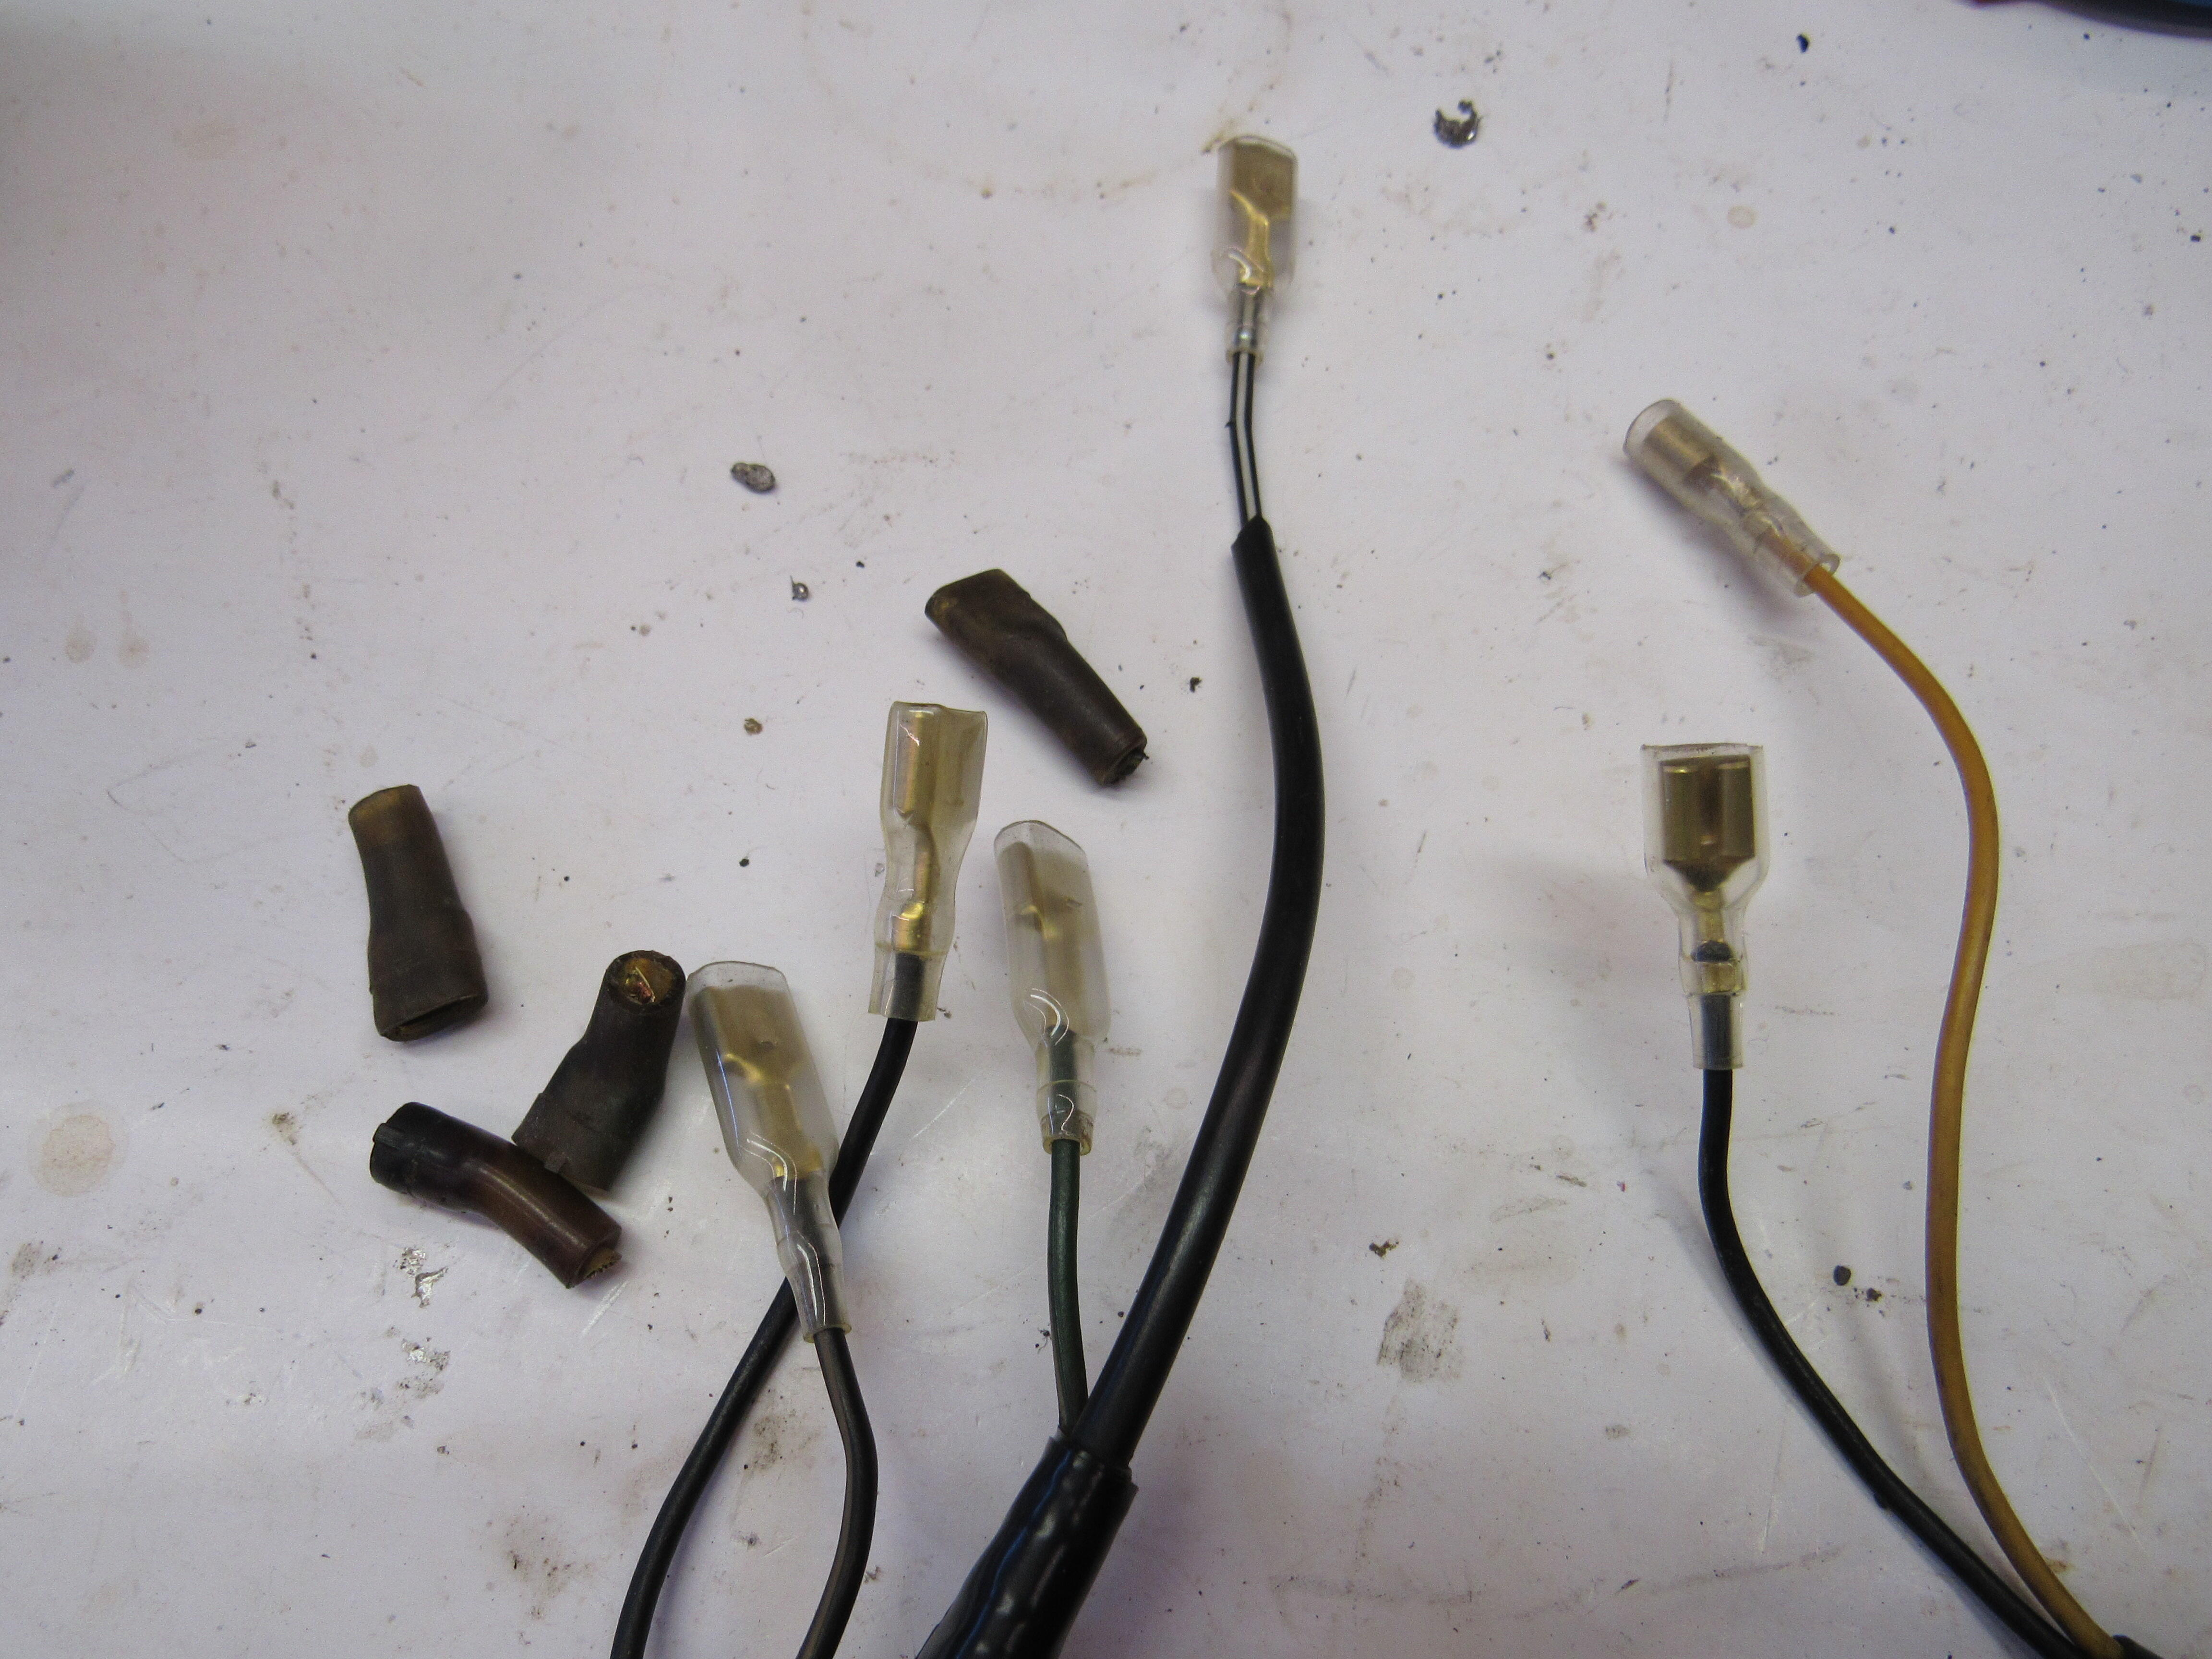
 I haven't powered it up yet, no speakers, blew out the dust and it looks pretty good. Tore down the heater and blower box, no surprises, filled the heater core with CLR and let it sit over night then back flushed. One melting event but there is still continuity so just cleaned it up with a brass brush. Laid out the engine bay wiring harness and stripped all the tape off to check for melts and breaks, only found a couple, the 2 breaks are right where the harness goes through the firewall, someone pulled the firewall rubber grommet off and let the wiring harness ride on the edge of sheet metal. I drilled out the VIN door tag, to remove the respray paint from the edges I applied a tiny amount of Aircraft paint stripper with a Q tip and rubbed it with 0000 steel wool.
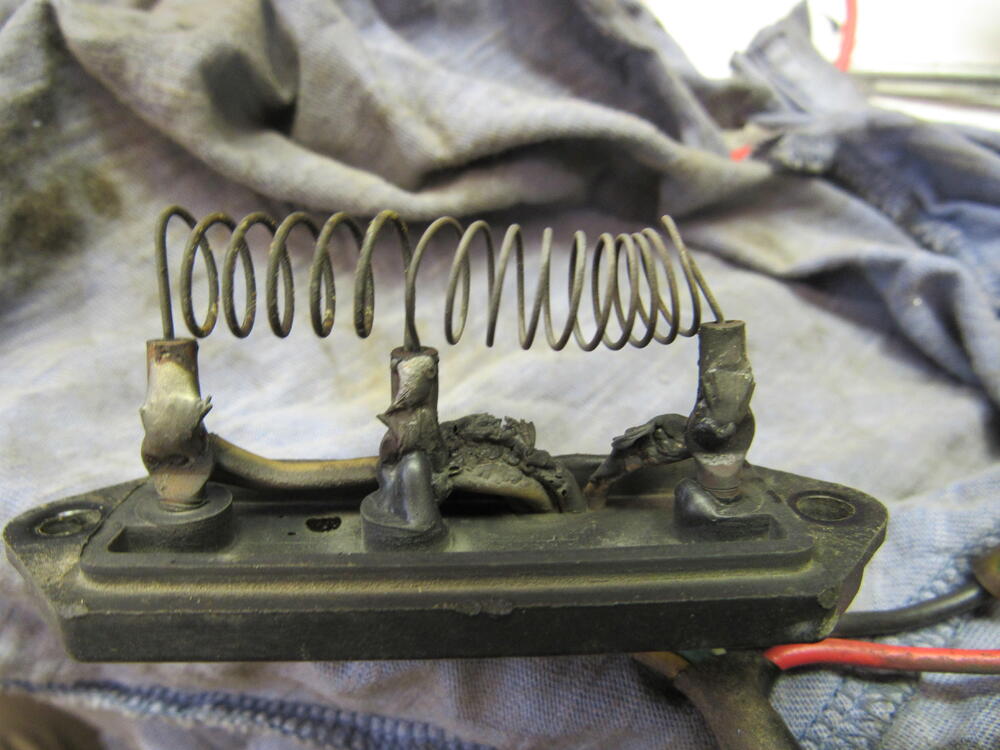


-
My bad, all I had to do was look at the title of the thread. My comments were for a 240Z, sorry for the confusion.
-
You pay for it one way or the other, installing the windshield without the dash in place is much easier but then it's harder to get the dash screws in. It's vice verse if you do it the other way around. To me, the windshield gasket placement is more important.
-
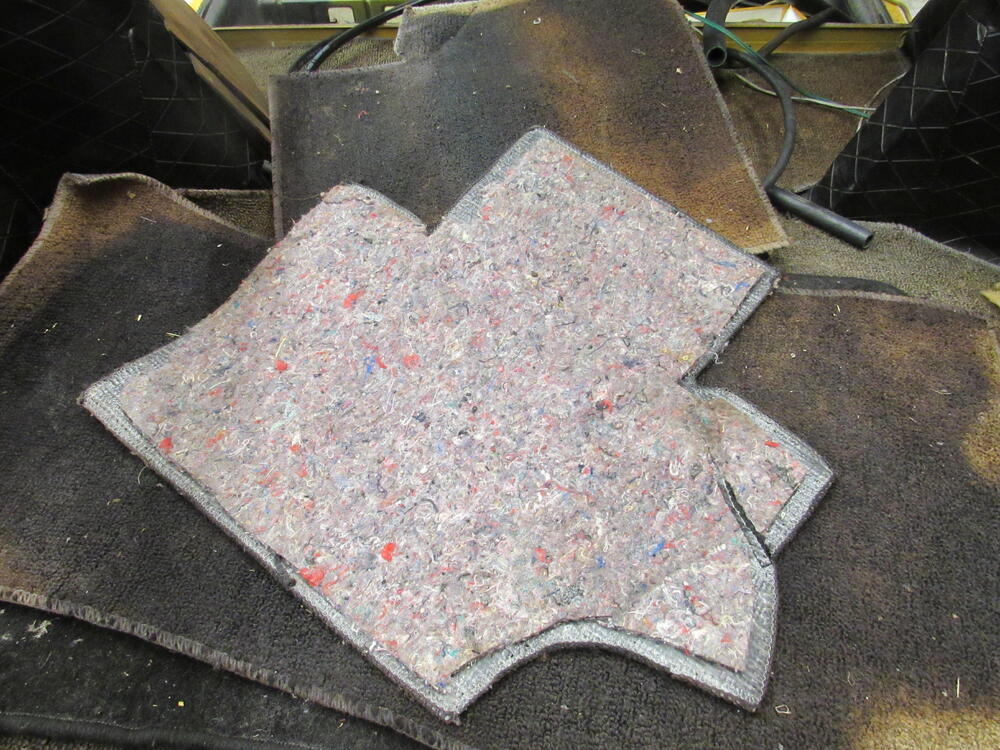
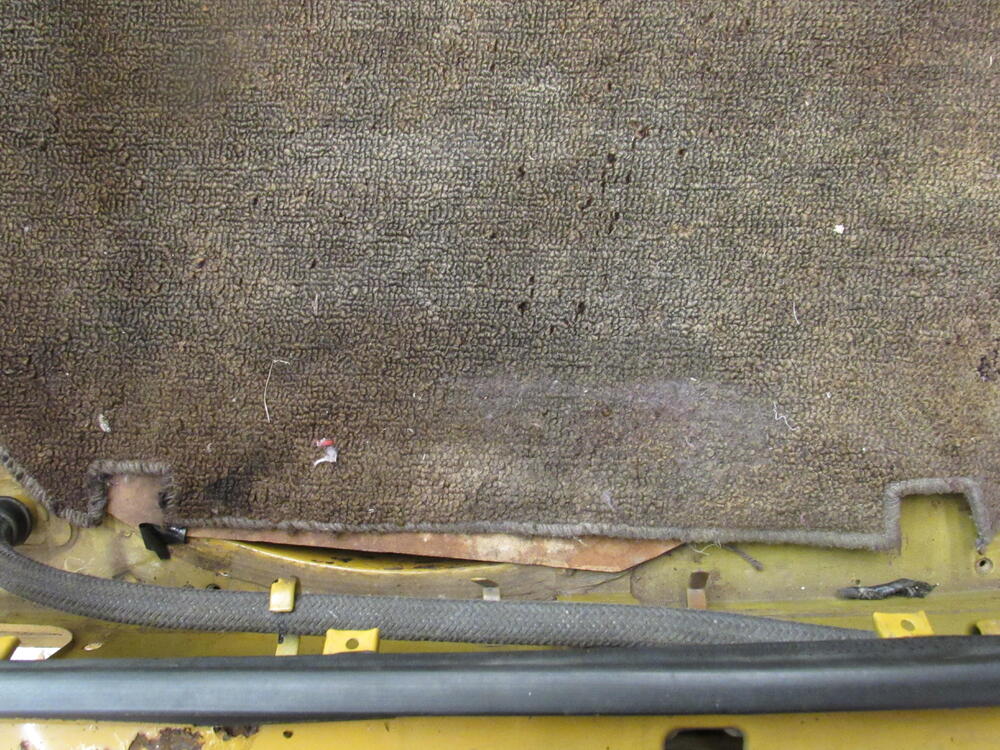
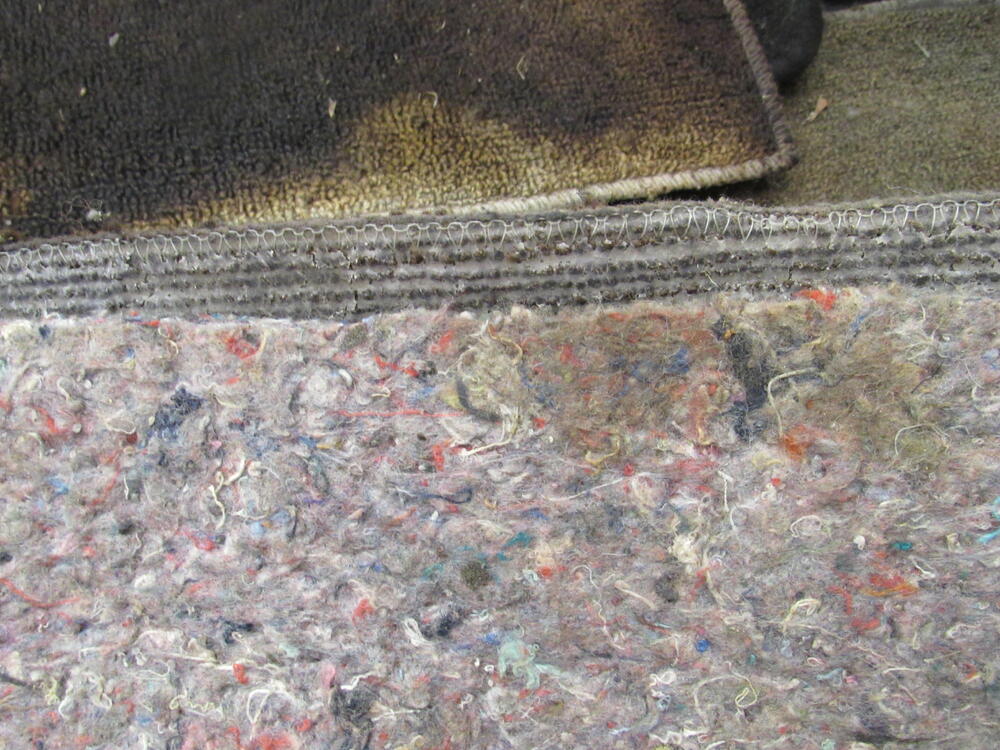
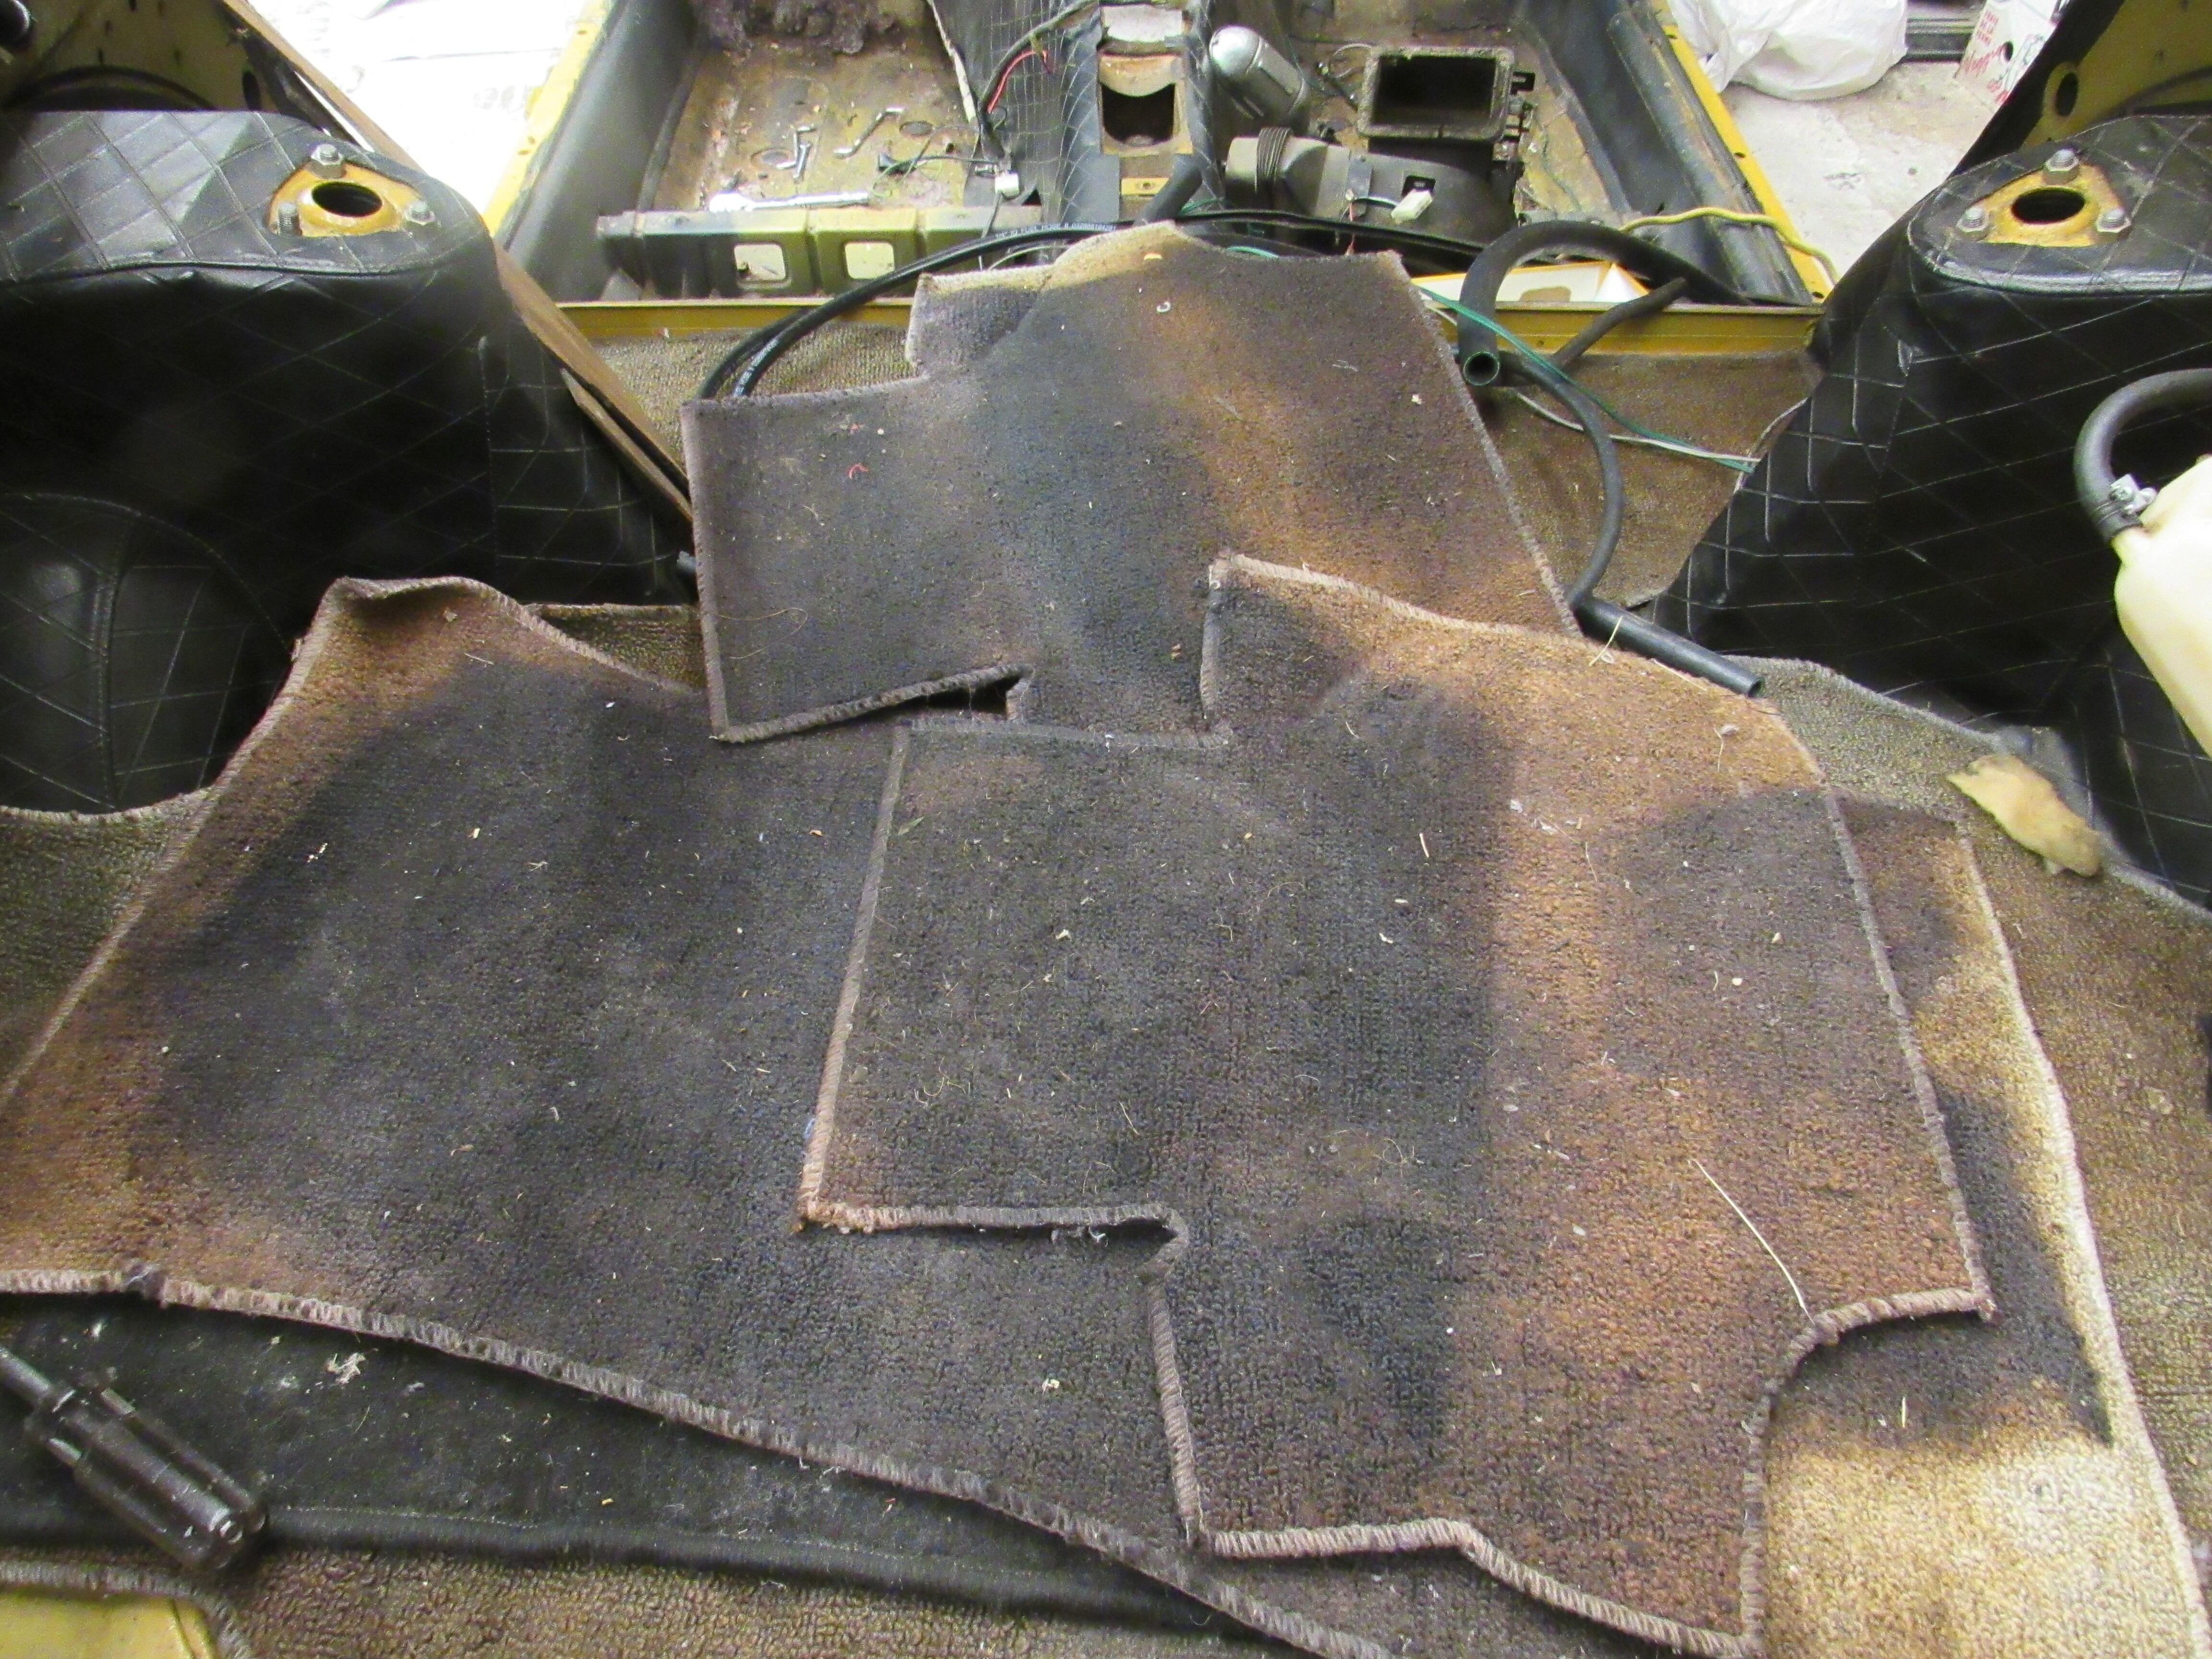
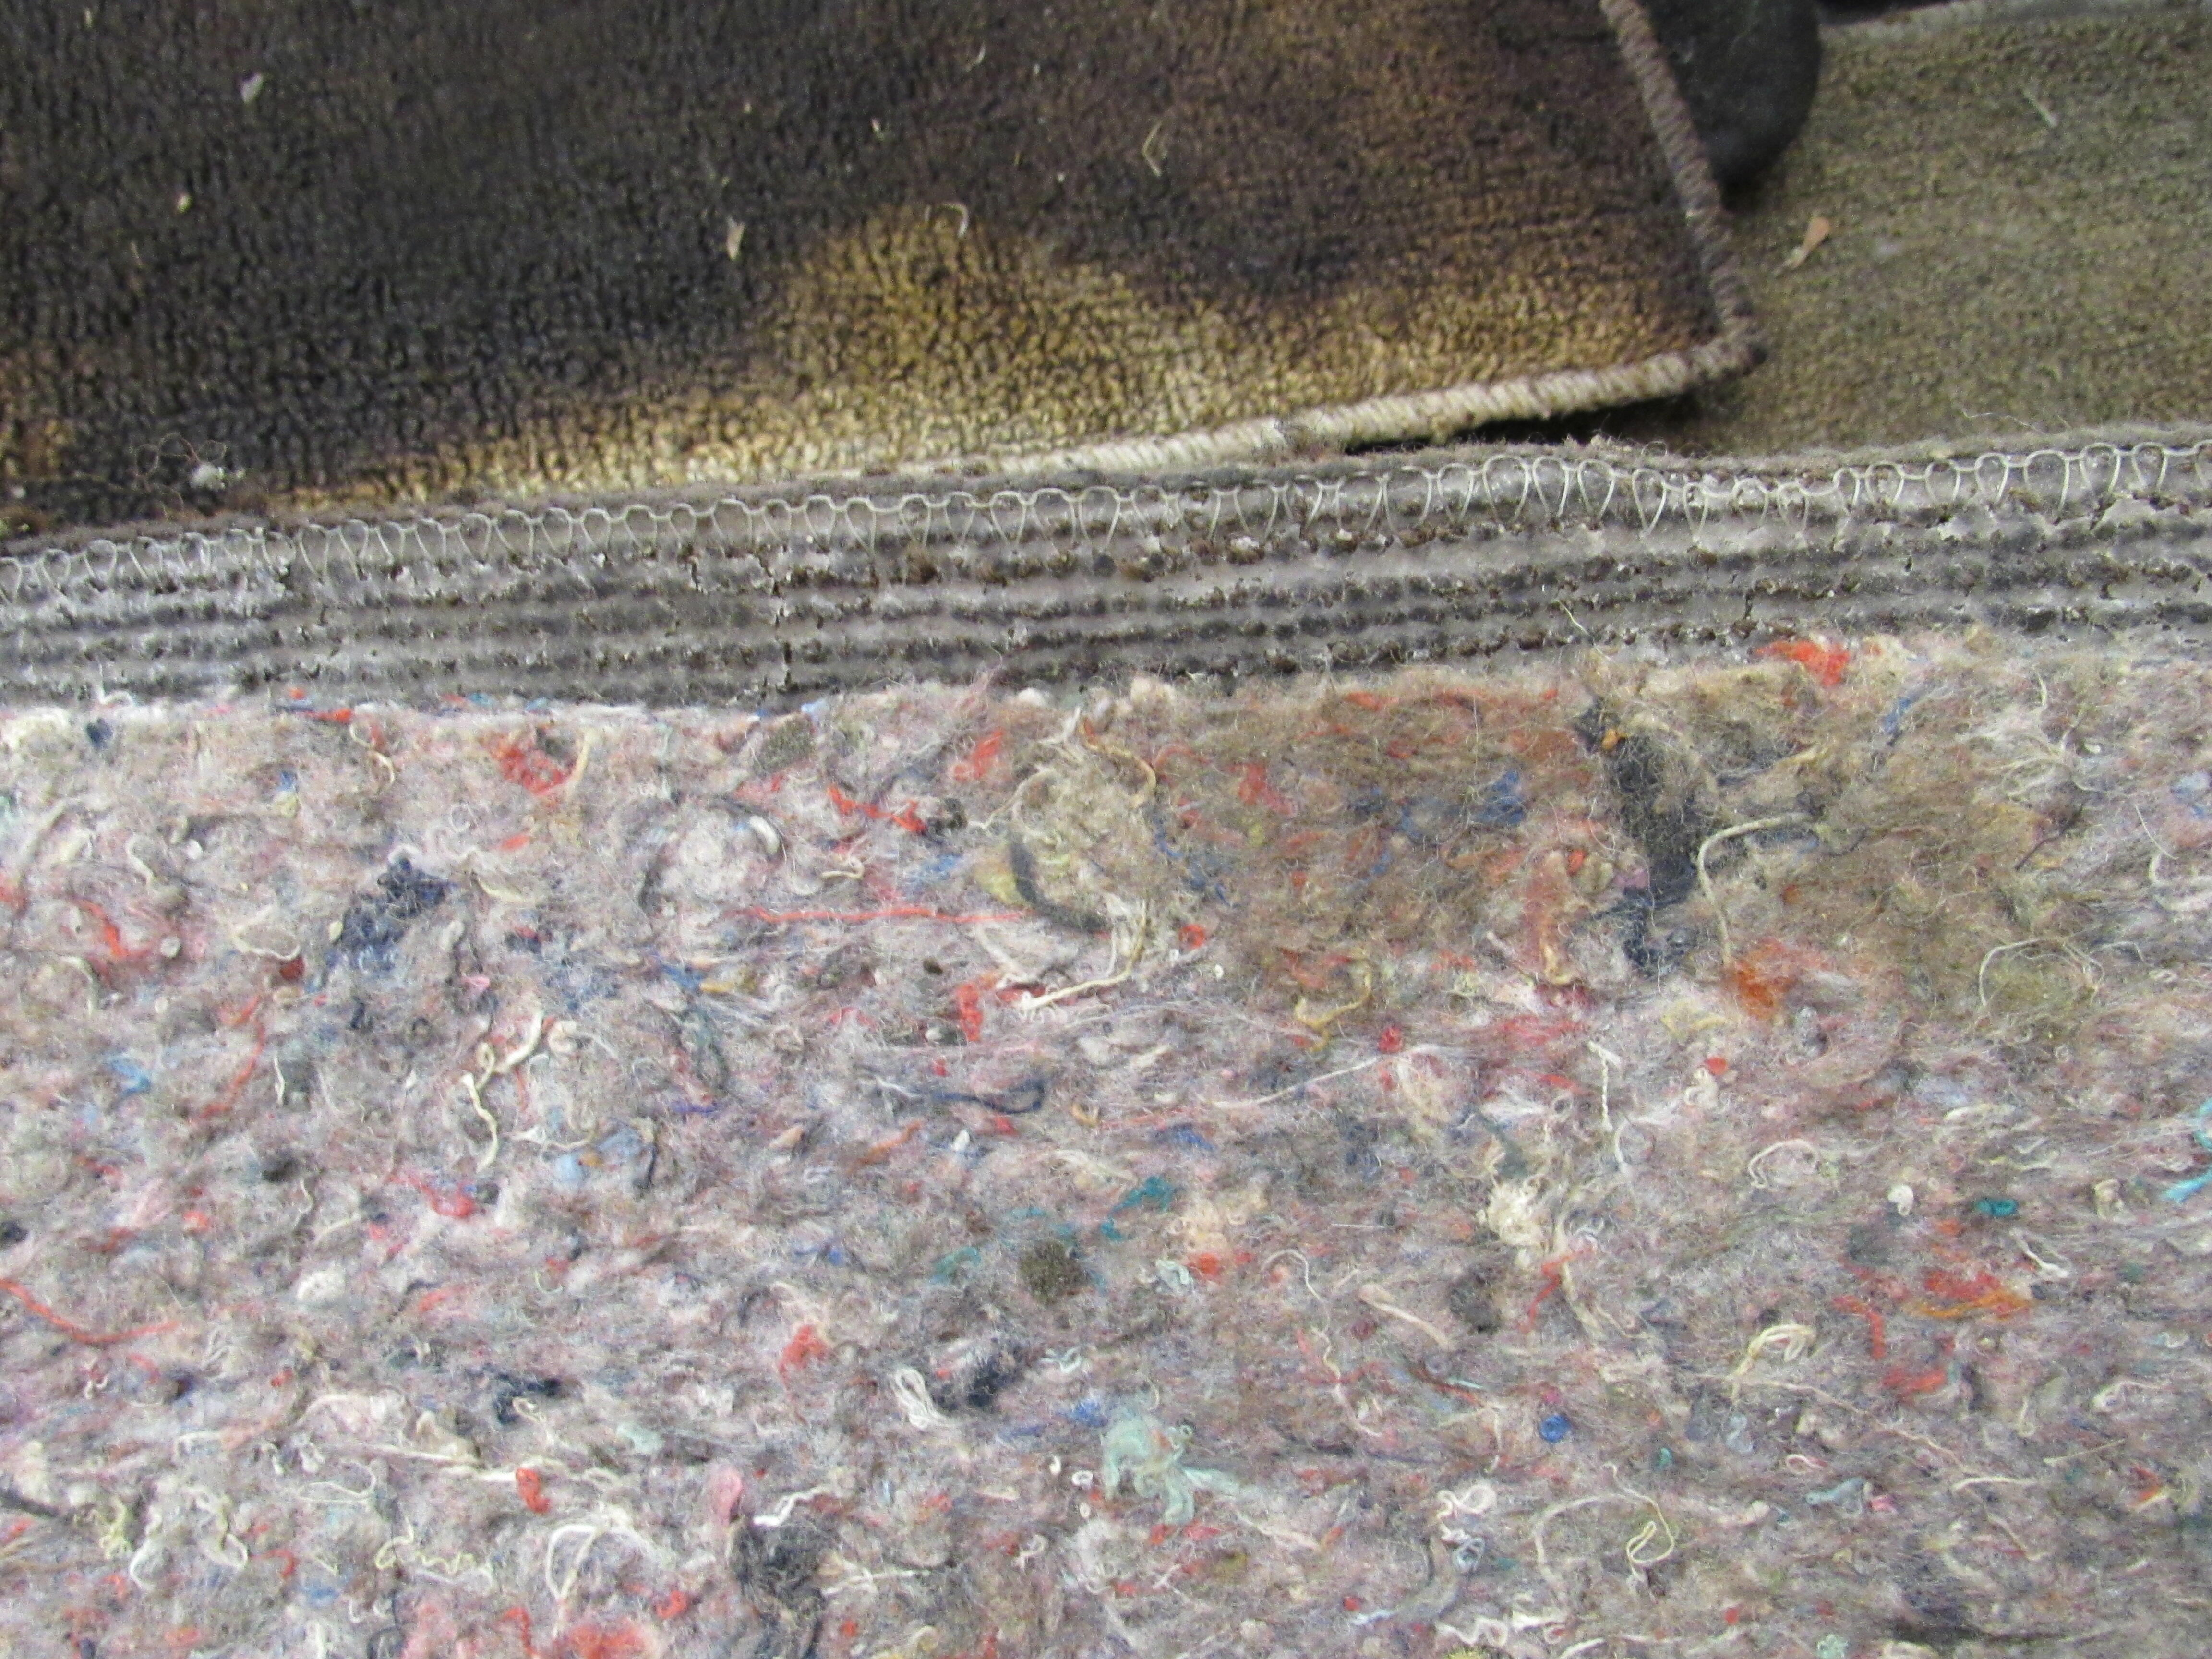
Other than the faded areas, they are in pretty good shape, I have purchased several new carpet kits over the years for various 240Z's and I can't say I've ever been impressed, in fact the quality of the fit has just gotten worse over the past 10 yrs. Yes, it's very possible a PO added that underlay.
-
Hey, they make just the toe board so you may not need that entire piece that I linked to above,https://kfvintagejdm.com/shop/datsun/toe-board-left-side-datsun-240z/ With the new floor pans you order you will also need the bottom rails as they look like they are shot too, https://kfvintagejdm.com/shop/datsun/utv-sprocket/
-
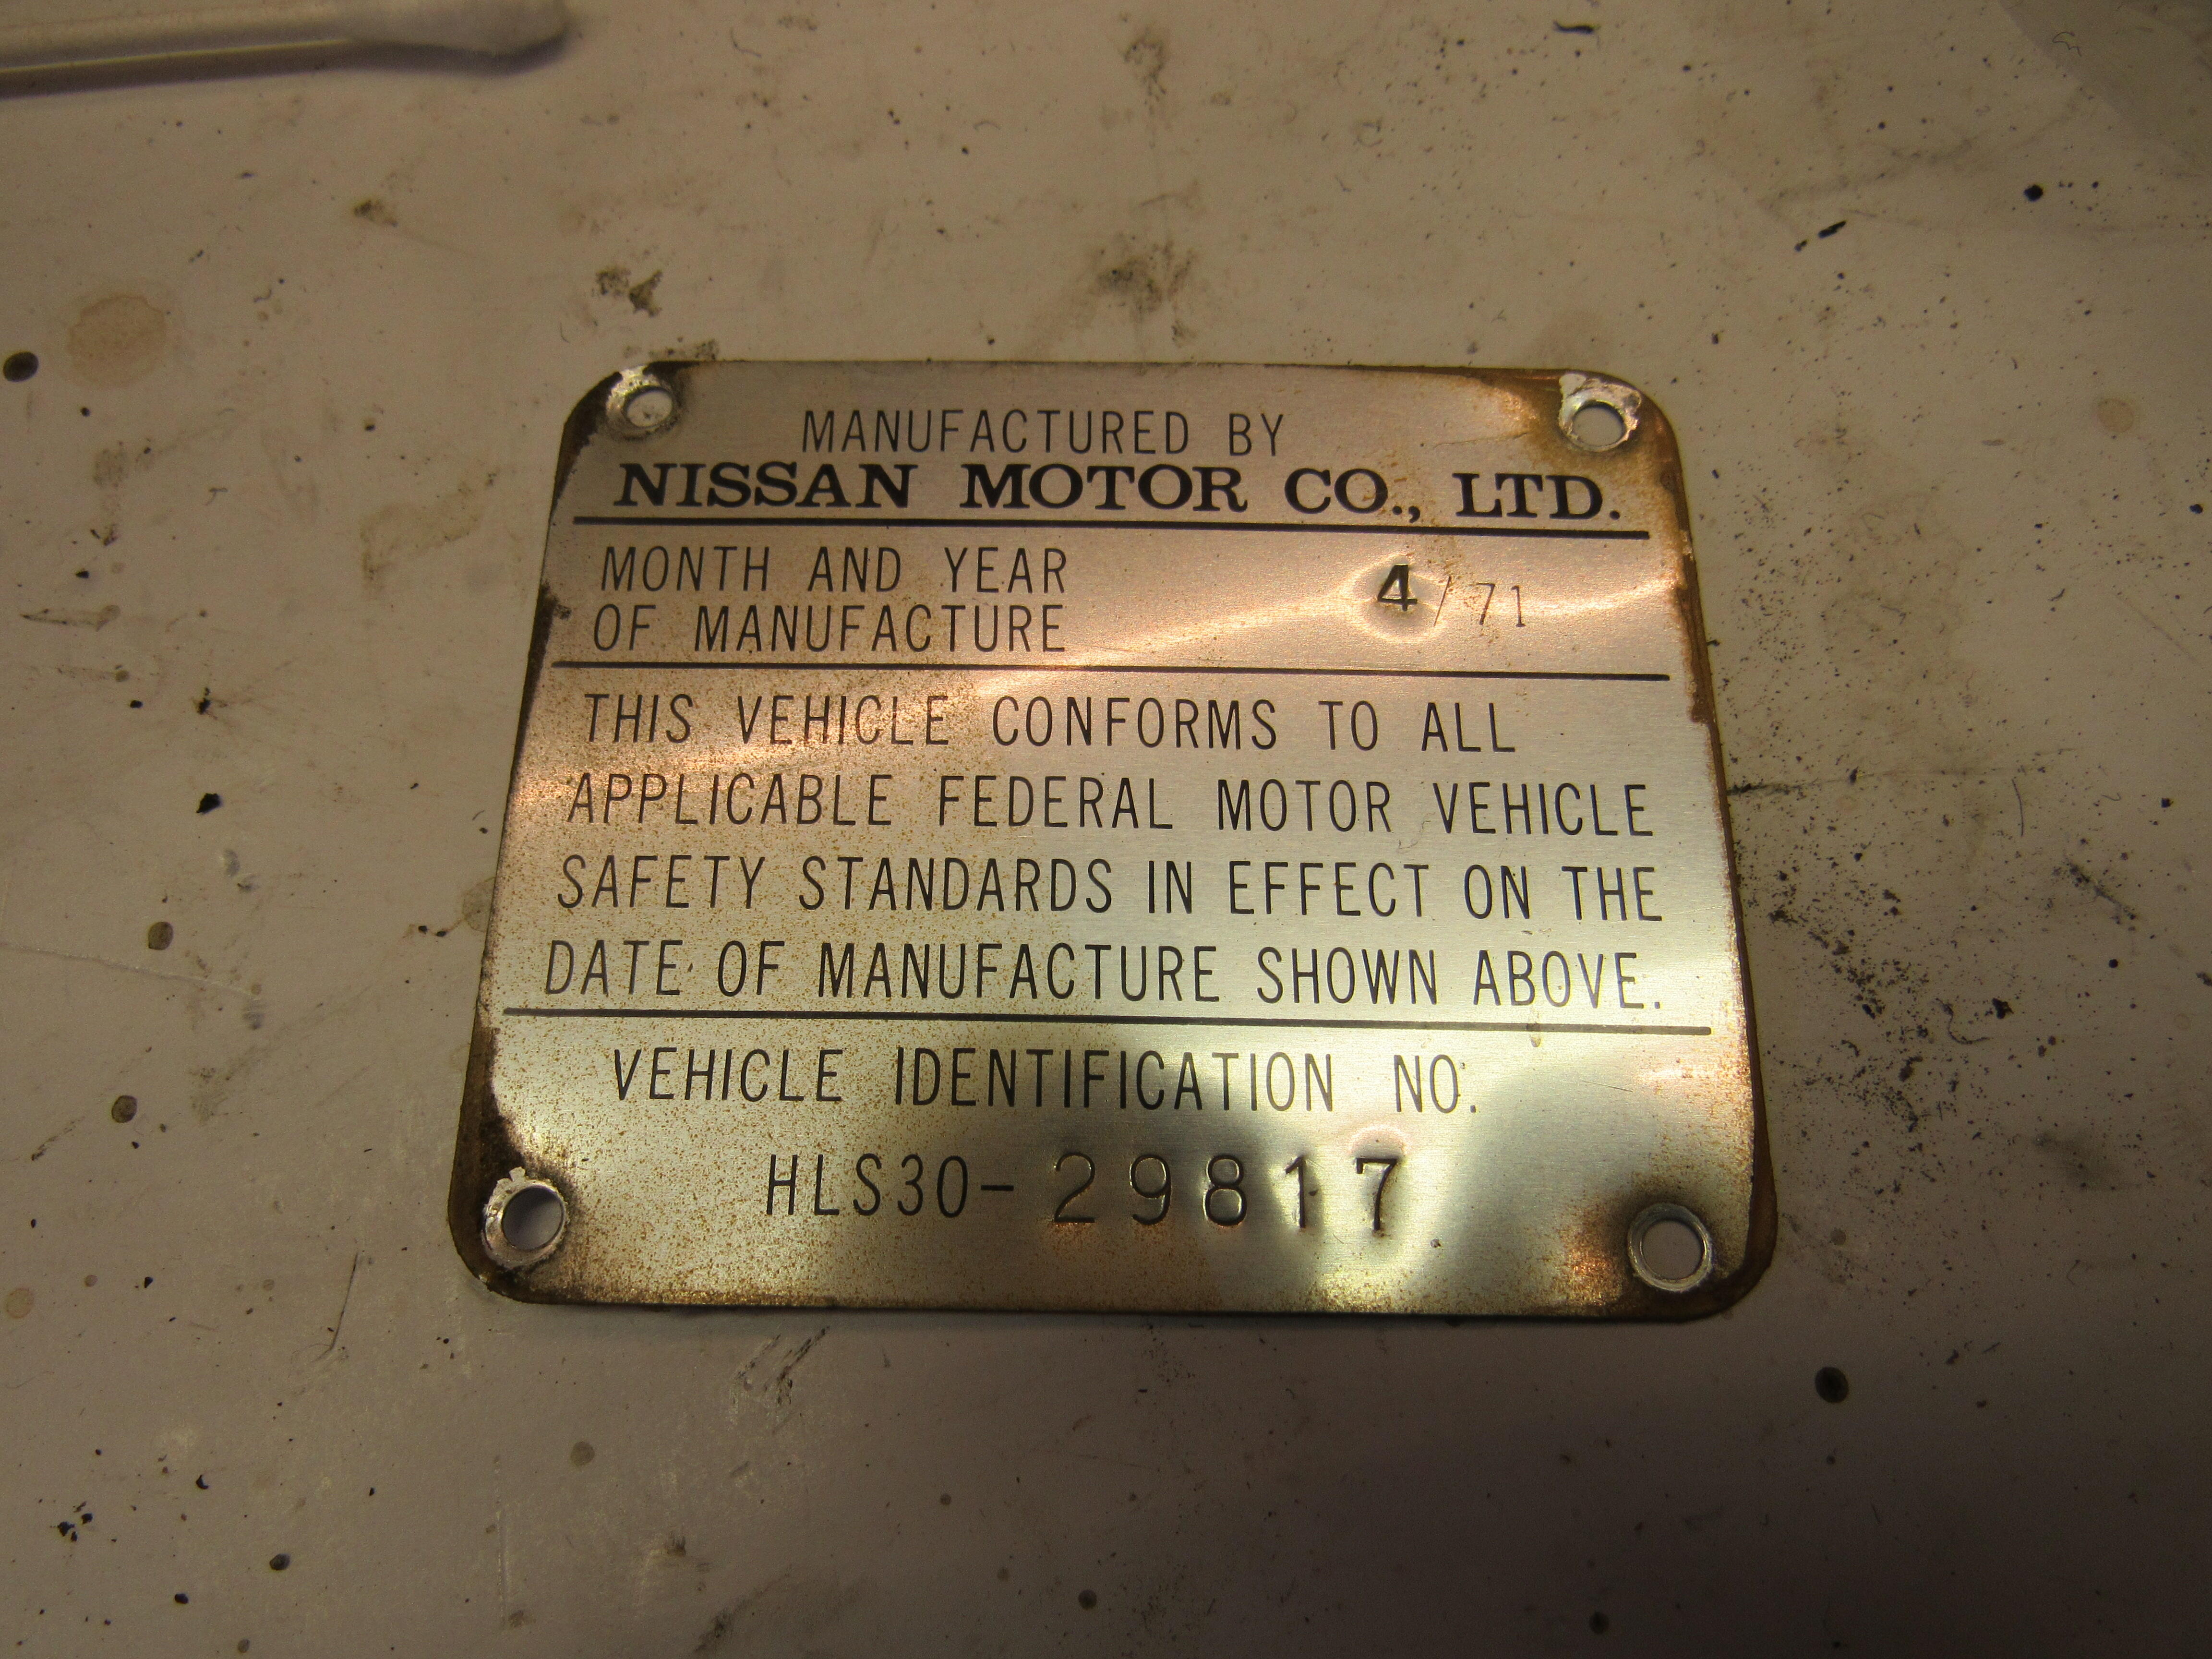
Just for reference, here's a couple of shots of original carpets from a 4/71 240Z, I might try to wash these and redye them.

 Don't start that engine, that tensioner piston is extended way too much, when the timing cover is installed the rubber block on the tensioner piston should be up against receiving block just like in the photo that heyitsrama posted. If that piston pops all the way out, the chain will bunch up and there will be many bent valves. You need a new chain and tensioner.
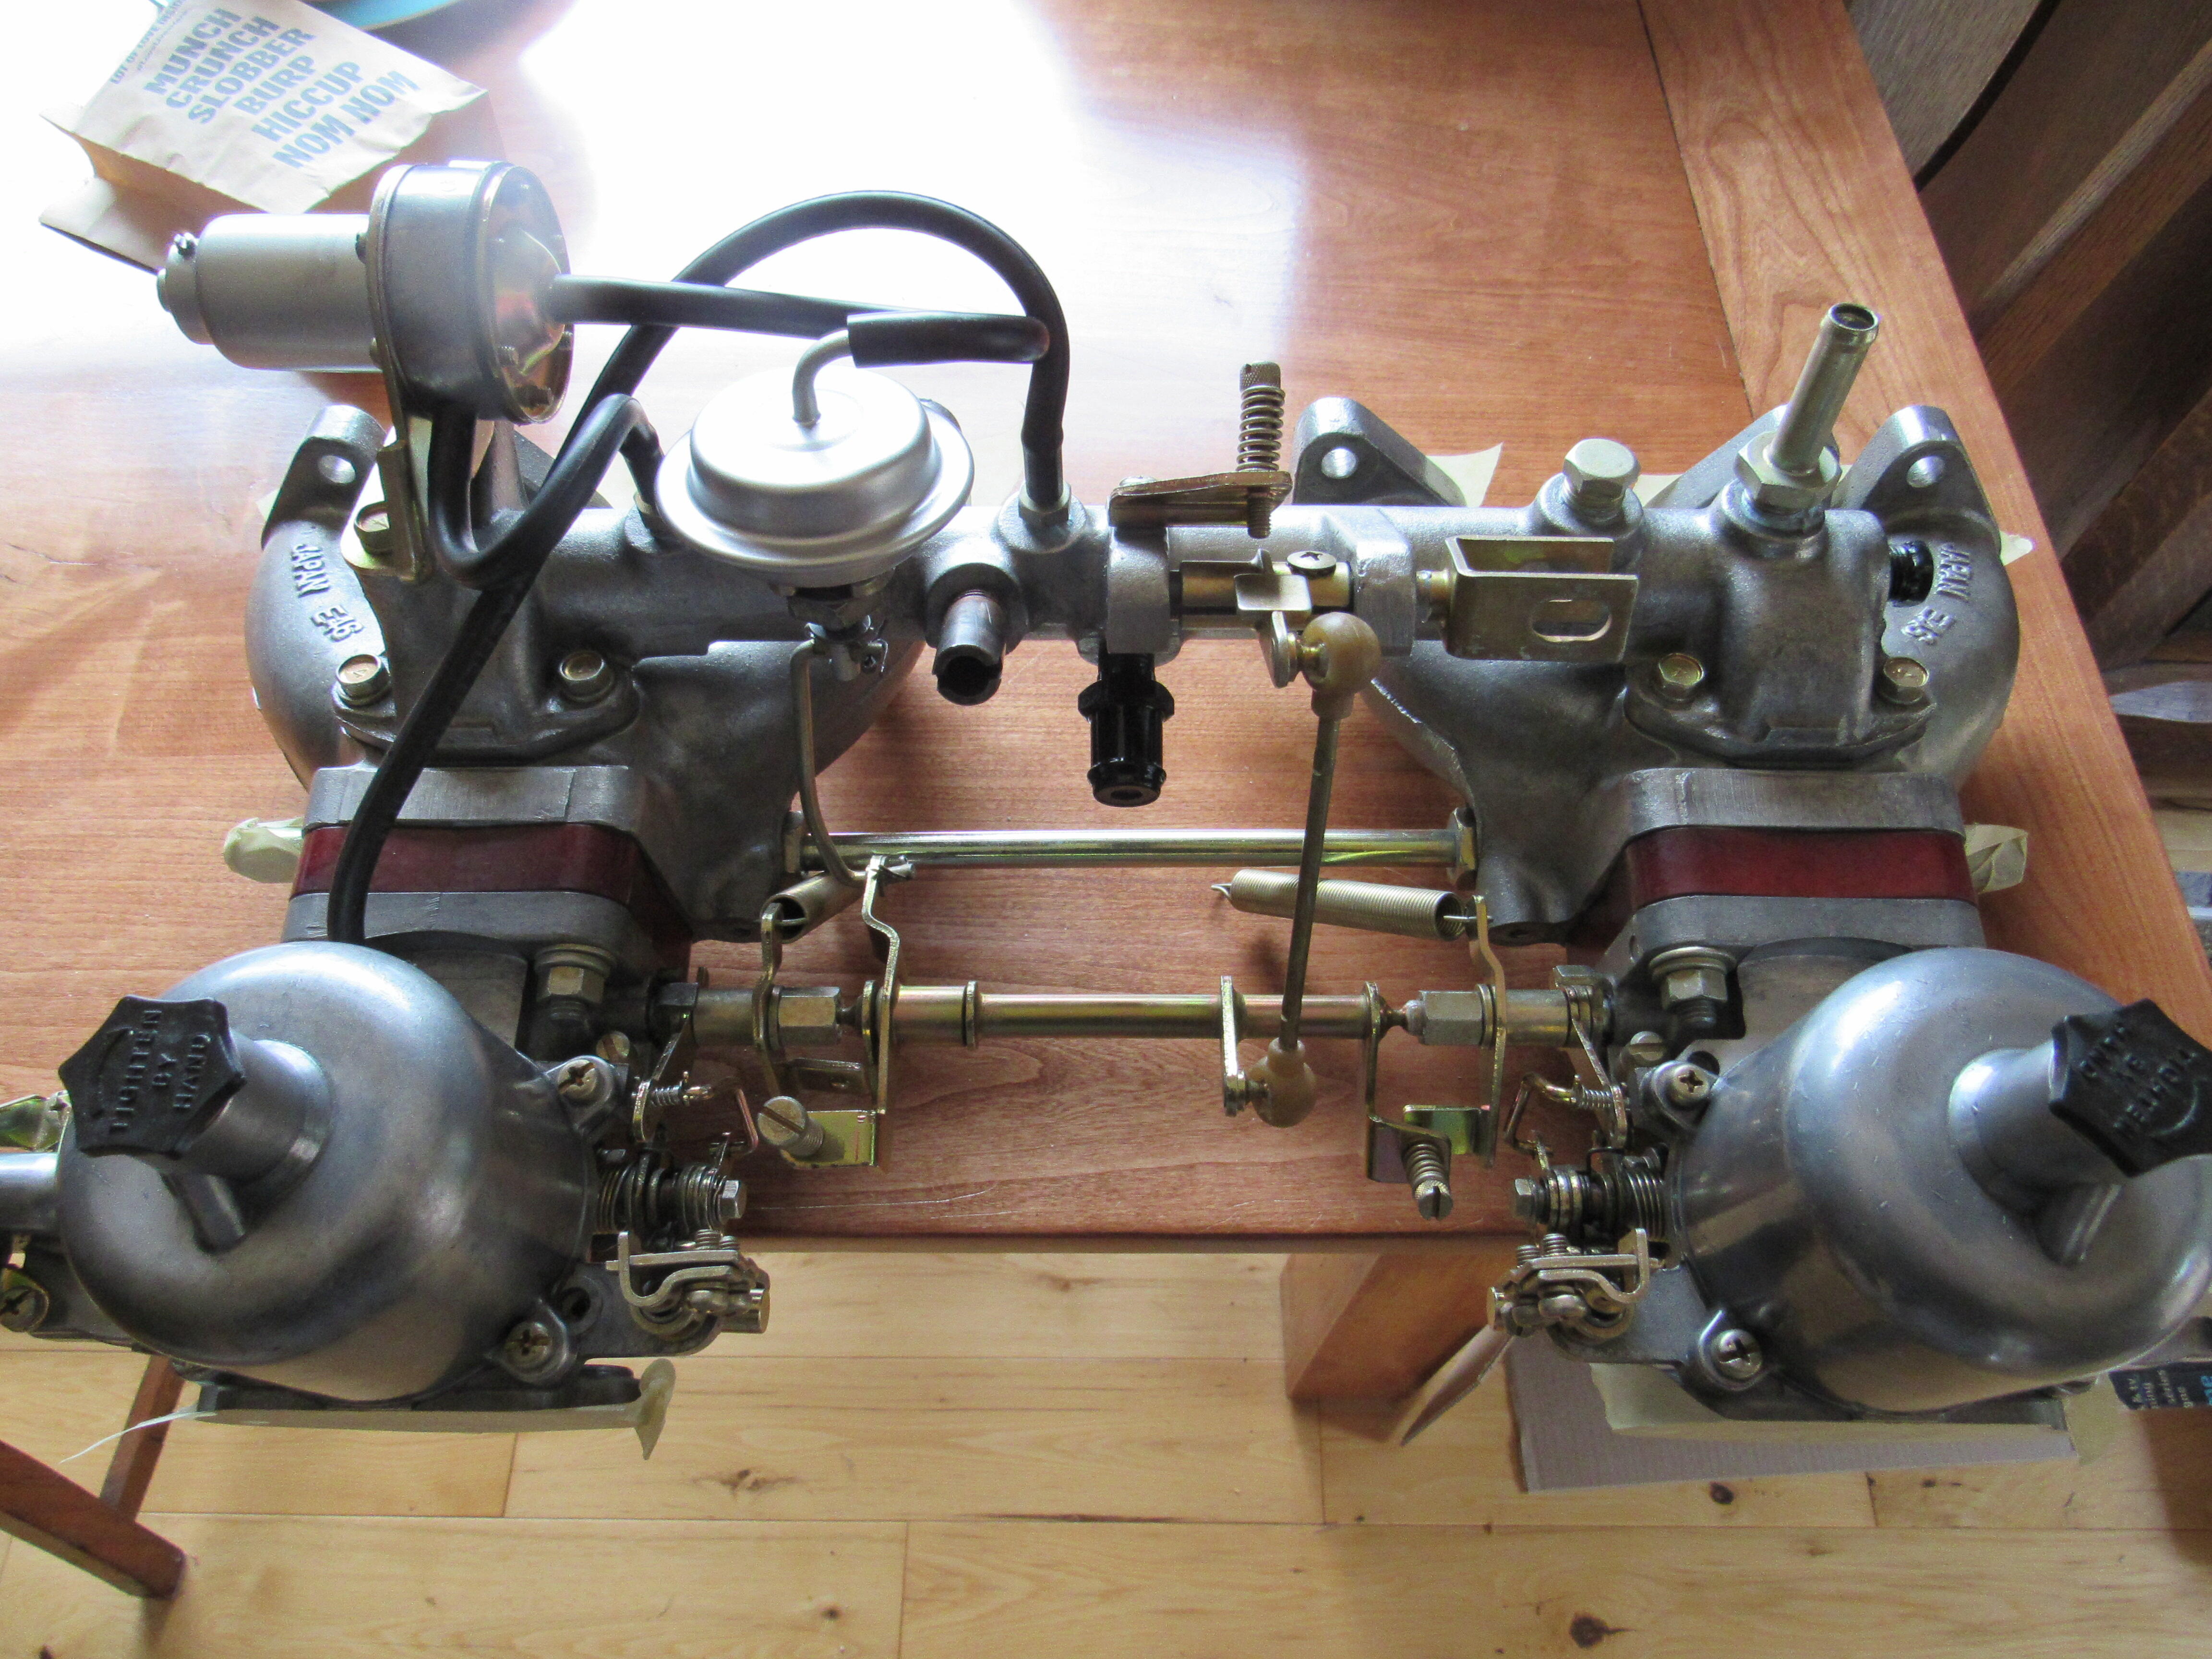
Beautiful restoration job, sounds like the guy does this regularly. "Dear Bidders. A few precision about the carburetors i’m selling. They were completely rebuilt by yours truly using only genuine mikuni parts. All gaskets, seals were replaced along with the pump diaphragm. All the hardware is original mikuni which can be seen by the JIS stamp on the screws. The zinc was professionally redone by a specialist company. The stacks are 50mm genuine vintage mikuni. The JDM Tomei intake was imported from Japan in NOS form. I still refreshed the zinc on it and vapor blasted. It is, as far as I hear, very close in shape to the original Datsun competition manifold and in demand in Japan. The carbs are sold with OA jet blocks and 160 starting jet installed. The inner venturis are there but they are only snugged allowing you to insert the size of outer venturi’s you want. Otherwise they are sold without jetting, as the size of jet inventory needed to statisfy every possible build is just too large. "
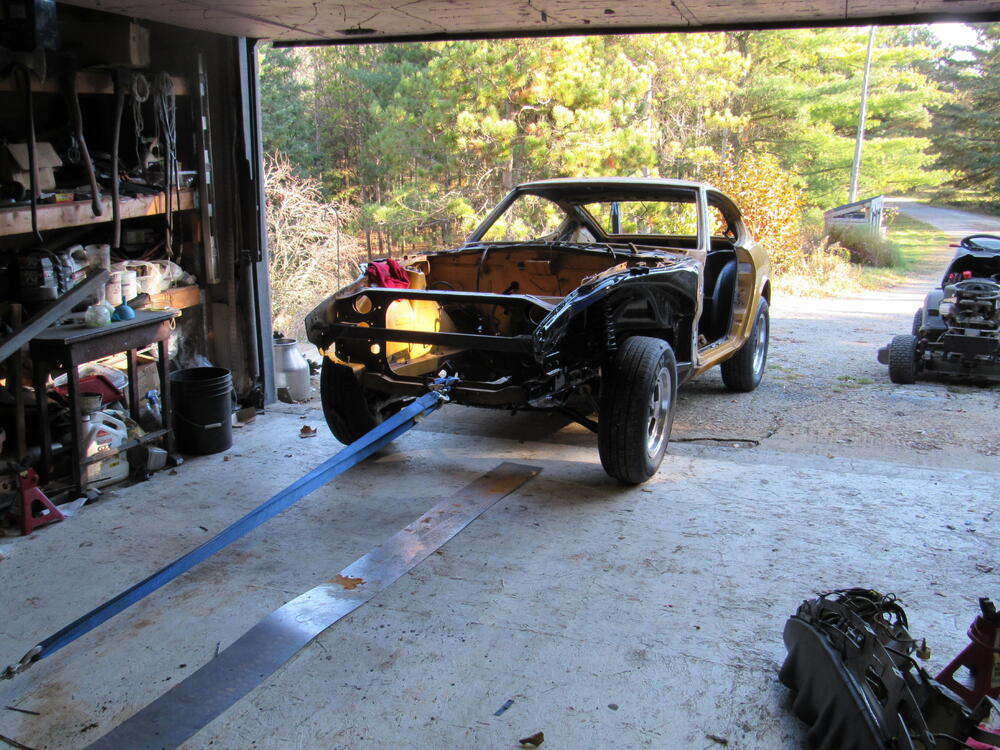
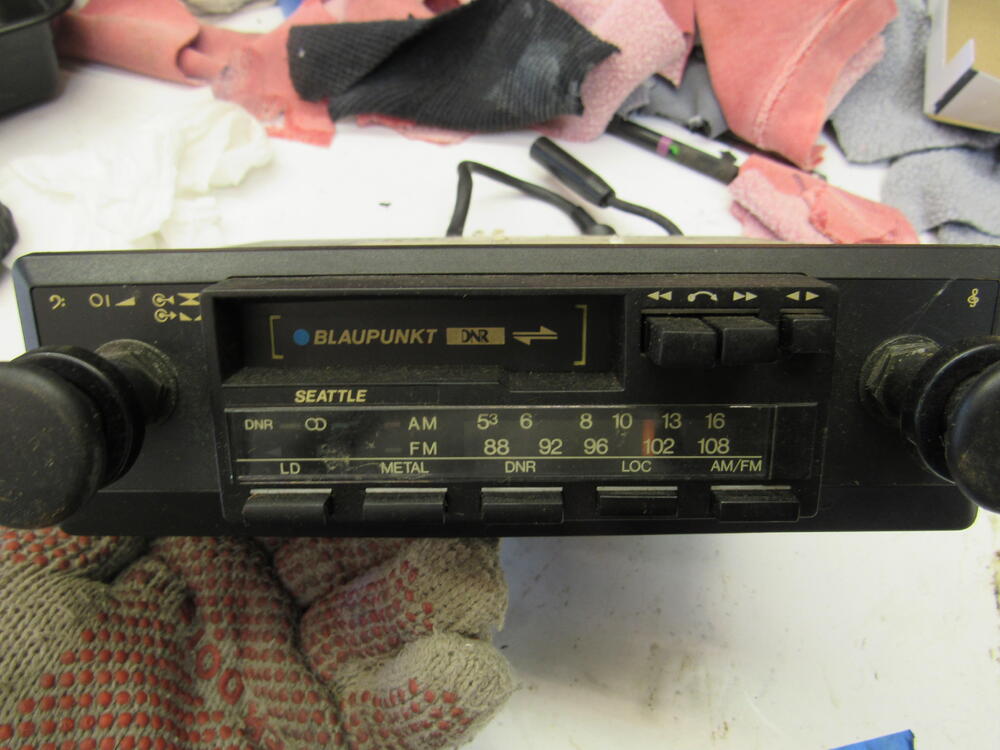
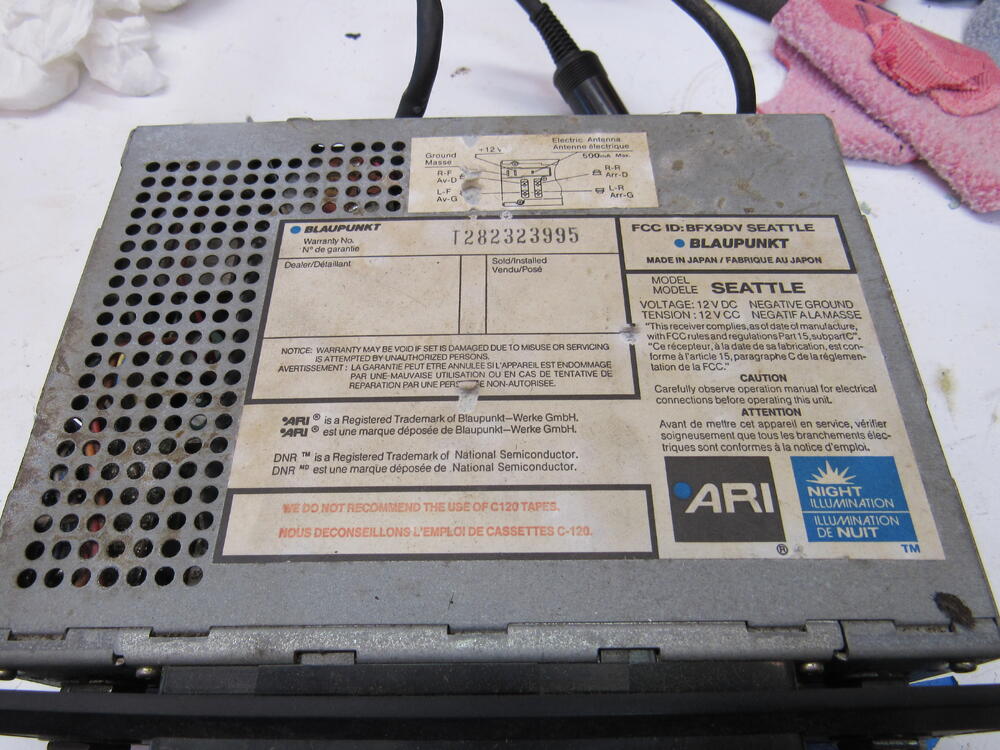
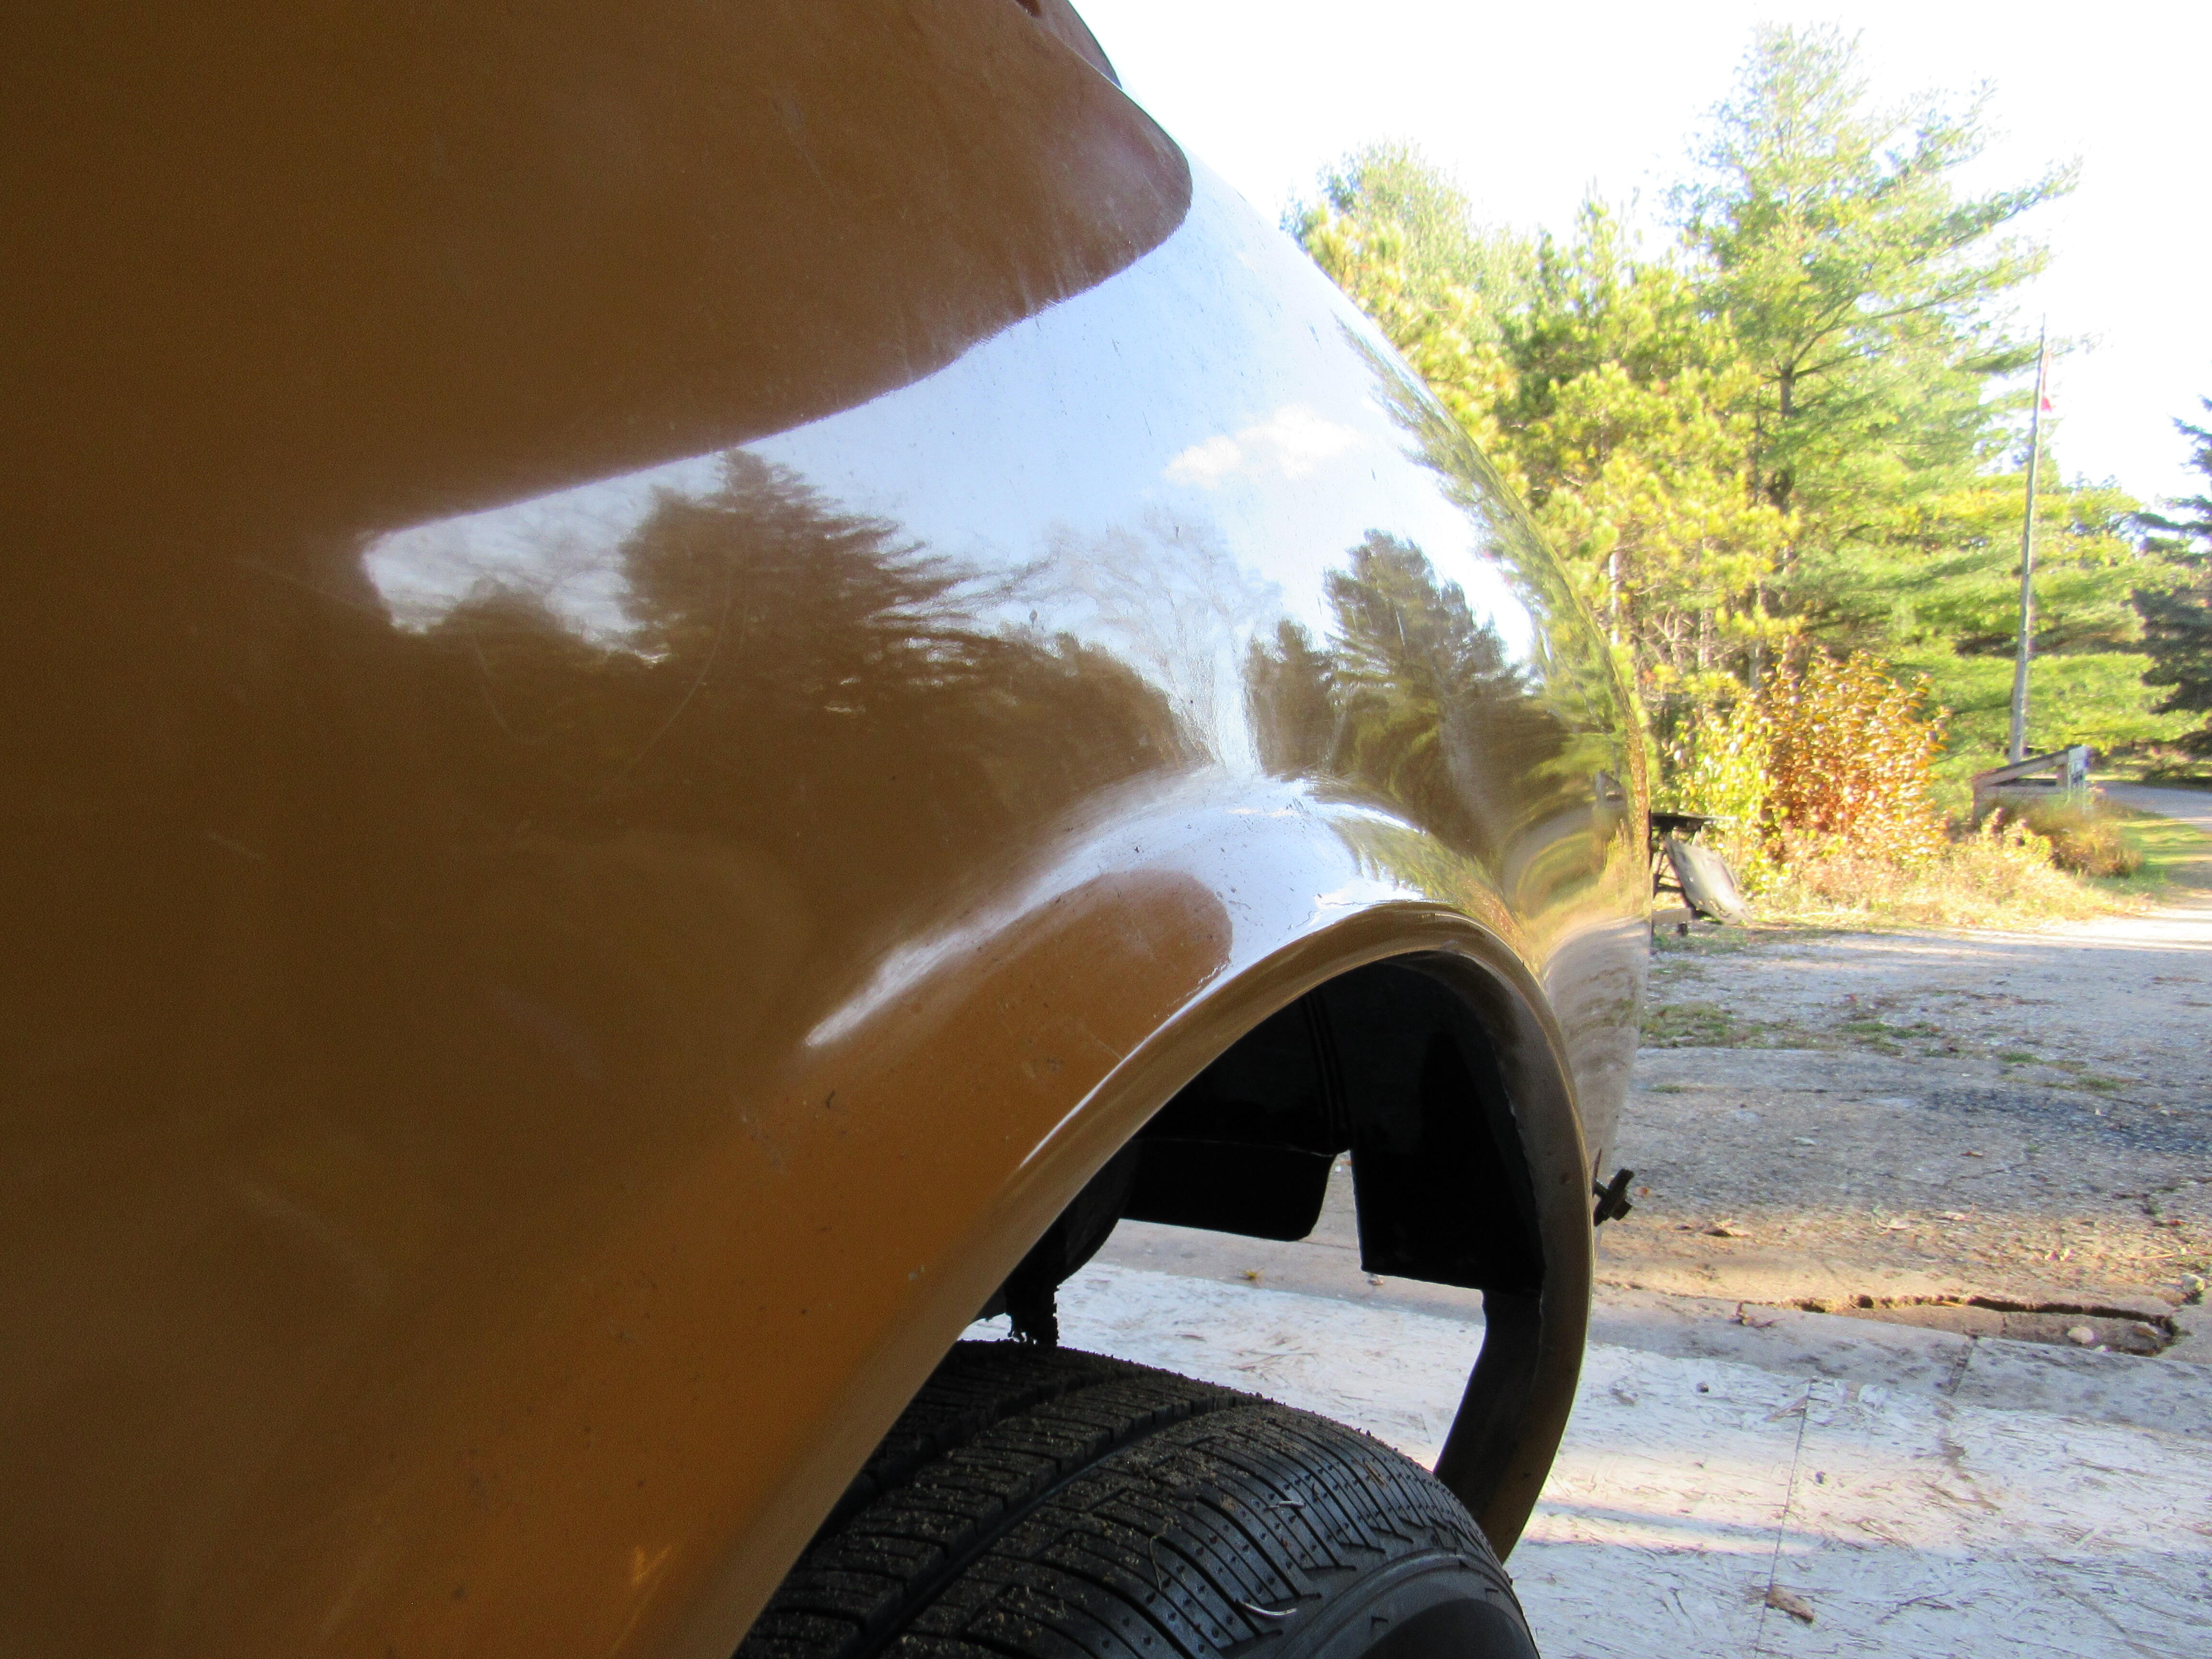
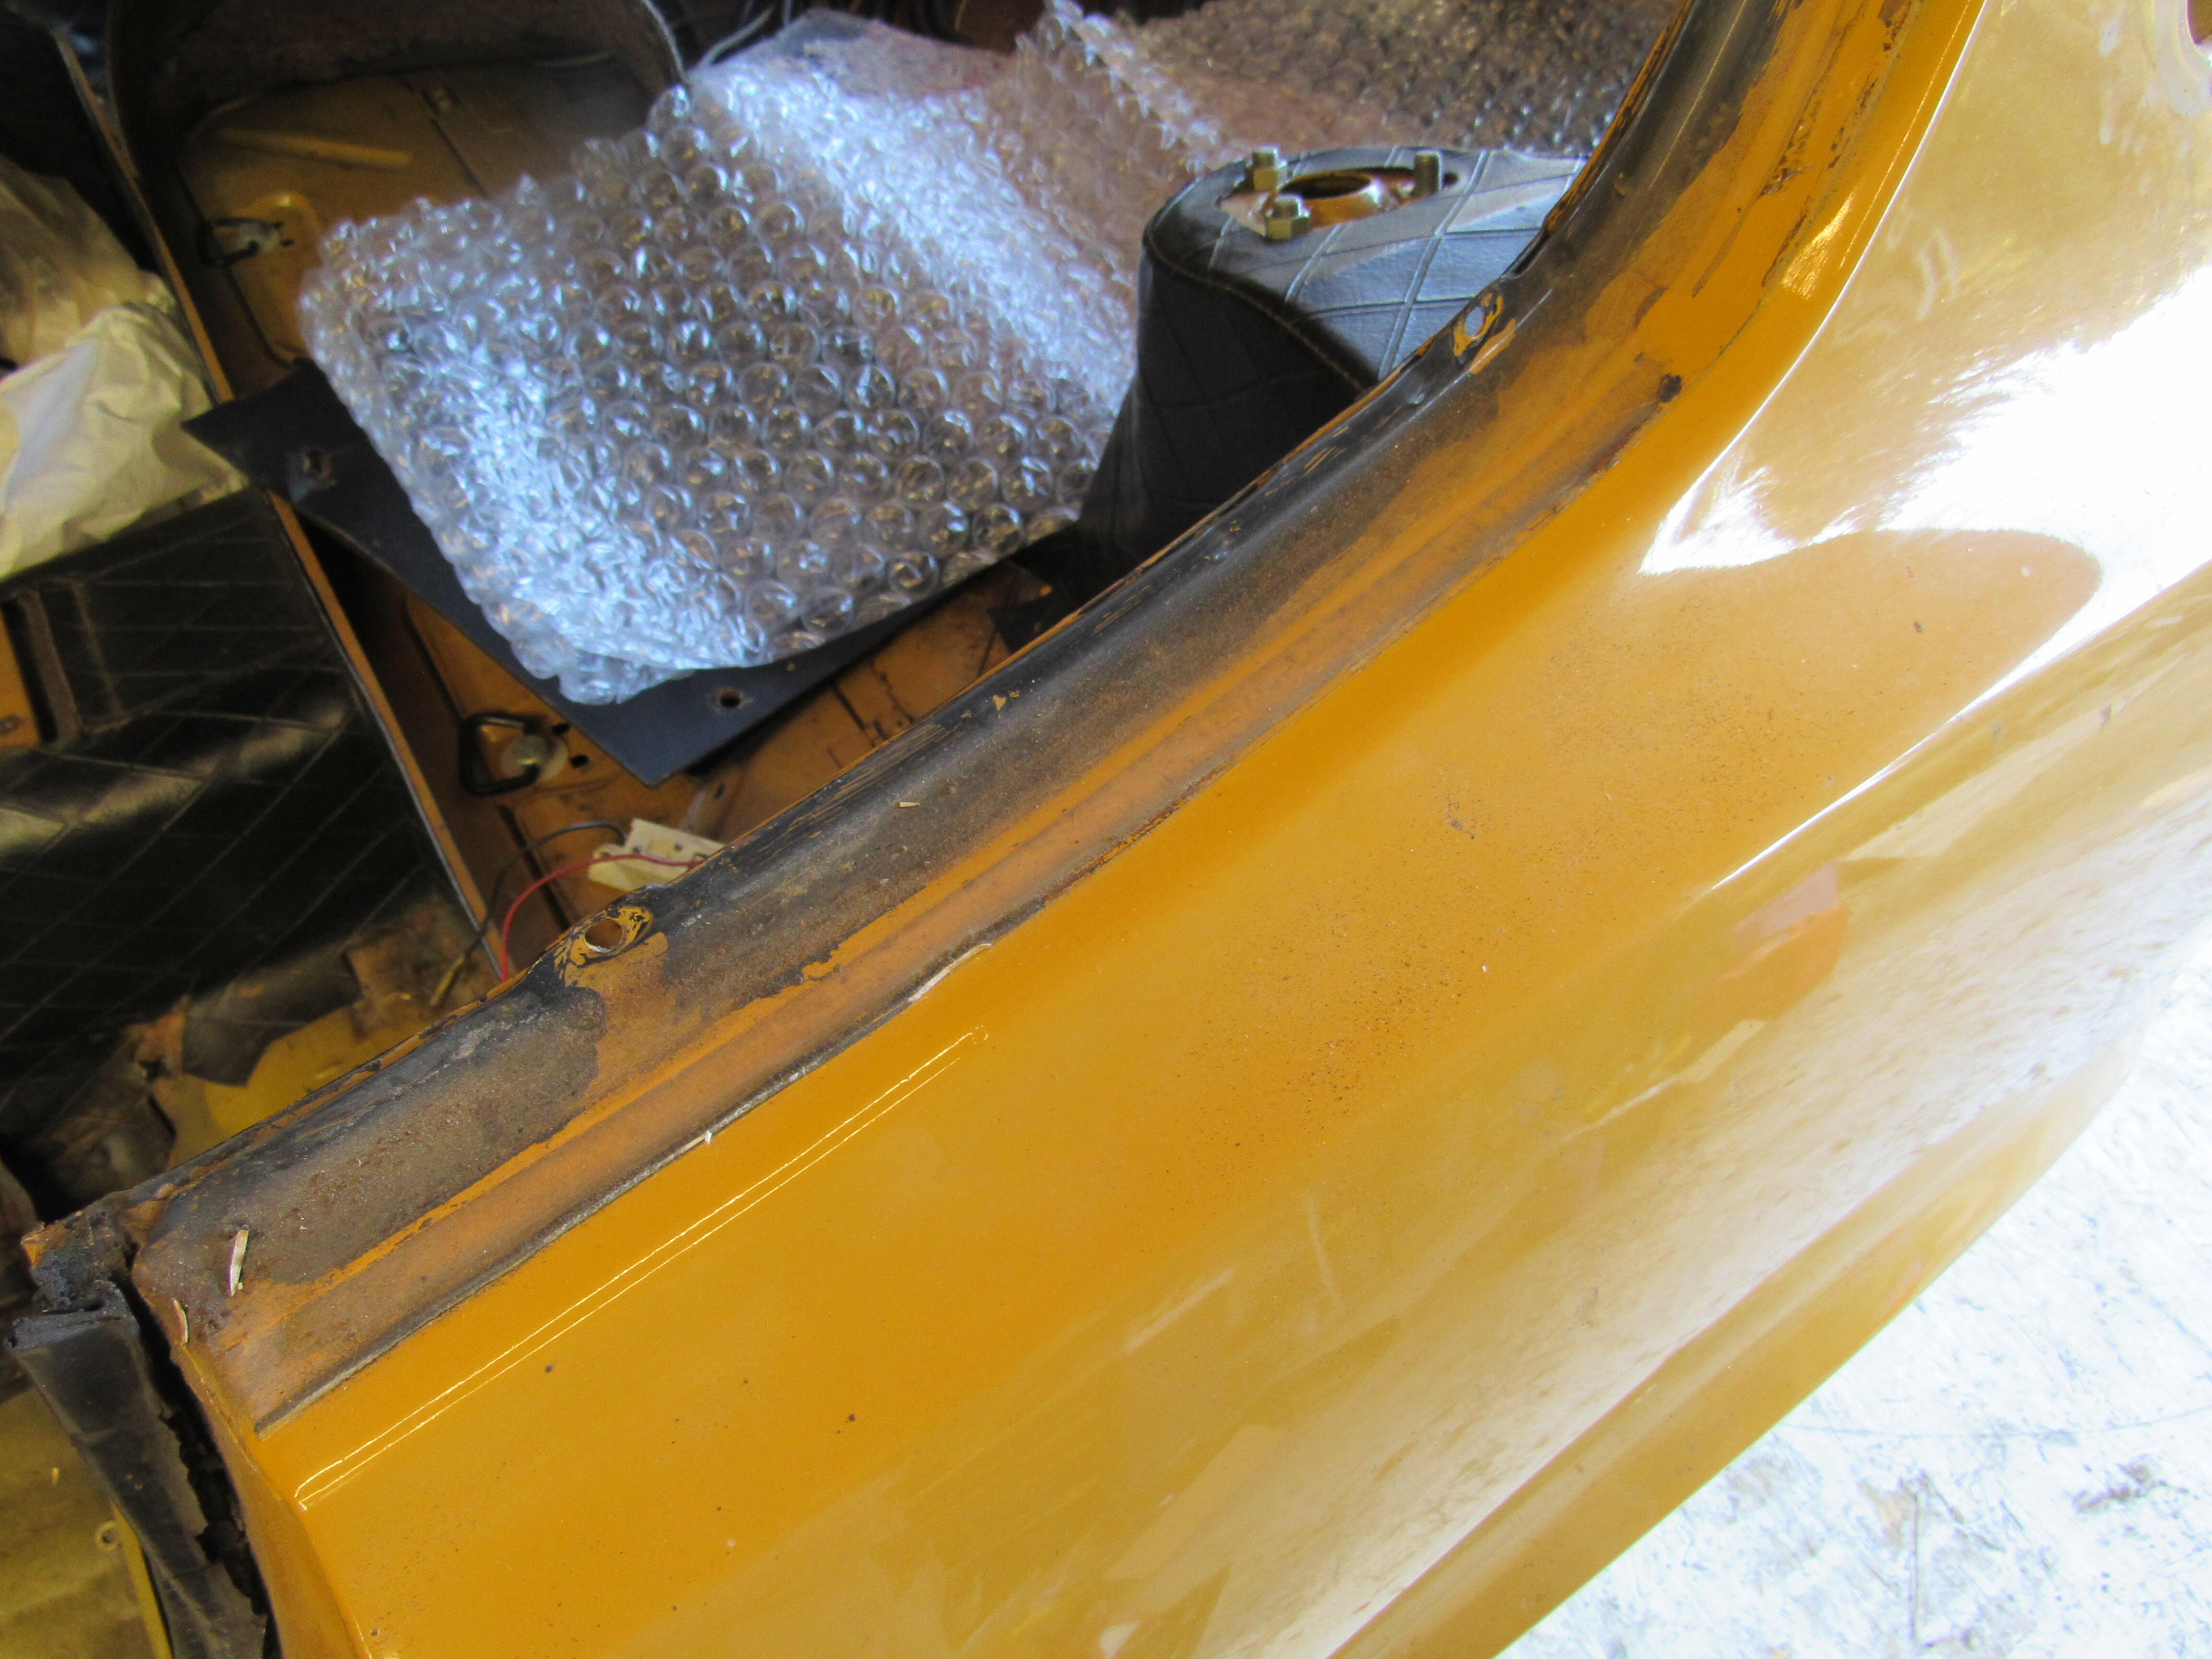
Well, I'm a month late getting her into the garage but will still have lots of time to get the work done and have her out on the road by the spring. Now that I have some proper light I can get a better idea of what it's going to need. Only 2 small dents and one 3" crease to deal with, looks like rear wheel arches have been replaced and the filler has eliminated the main body line, have to dig in there and repair that. Here is what can happen when you a get a quicky paint job. Shrinkage. Took lots of pics of the original black paint that was used at the front grill and around the doors, I've never noticed that the black paint extended up into the quarter windows before. Firewall insulation in near perfect cond. A Blaupunkt BFX9DV Seattle Cassette deck, that is definitely going back in.
Don't start that engine, that tensioner piston is extended way too much, when the timing cover is installed the rubber block on the tensioner piston should be up against receiving block just like in the photo that heyitsrama posted. If that piston pops all the way out, the chain will bunch up and there will be many bent valves. You need a new chain and tensioner.
Beautiful restoration job, sounds like the guy does this regularly. "Dear Bidders. A few precision about the carburetors i’m selling. They were completely rebuilt by yours truly using only genuine mikuni parts. All gaskets, seals were replaced along with the pump diaphragm. All the hardware is original mikuni which can be seen by the JIS stamp on the screws. The zinc was professionally redone by a specialist company. The stacks are 50mm genuine vintage mikuni. The JDM Tomei intake was imported from Japan in NOS form. I still refreshed the zinc on it and vapor blasted. It is, as far as I hear, very close in shape to the original Datsun competition manifold and in demand in Japan. The carbs are sold with OA jet blocks and 160 starting jet installed. The inner venturis are there but they are only snugged allowing you to insert the size of outer venturi’s you want. Otherwise they are sold without jetting, as the size of jet inventory needed to statisfy every possible build is just too large. "
Well, I'm a month late getting her into the garage but will still have lots of time to get the work done and have her out on the road by the spring. Now that I have some proper light I can get a better idea of what it's going to need. Only 2 small dents and one 3" crease to deal with, looks like rear wheel arches have been replaced and the filler has eliminated the main body line, have to dig in there and repair that. Here is what can happen when you a get a quicky paint job. Shrinkage. Took lots of pics of the original black paint that was used at the front grill and around the doors, I've never noticed that the black paint extended up into the quarter windows before. Firewall insulation in near perfect cond. A Blaupunkt BFX9DV Seattle Cassette deck, that is definitely going back in.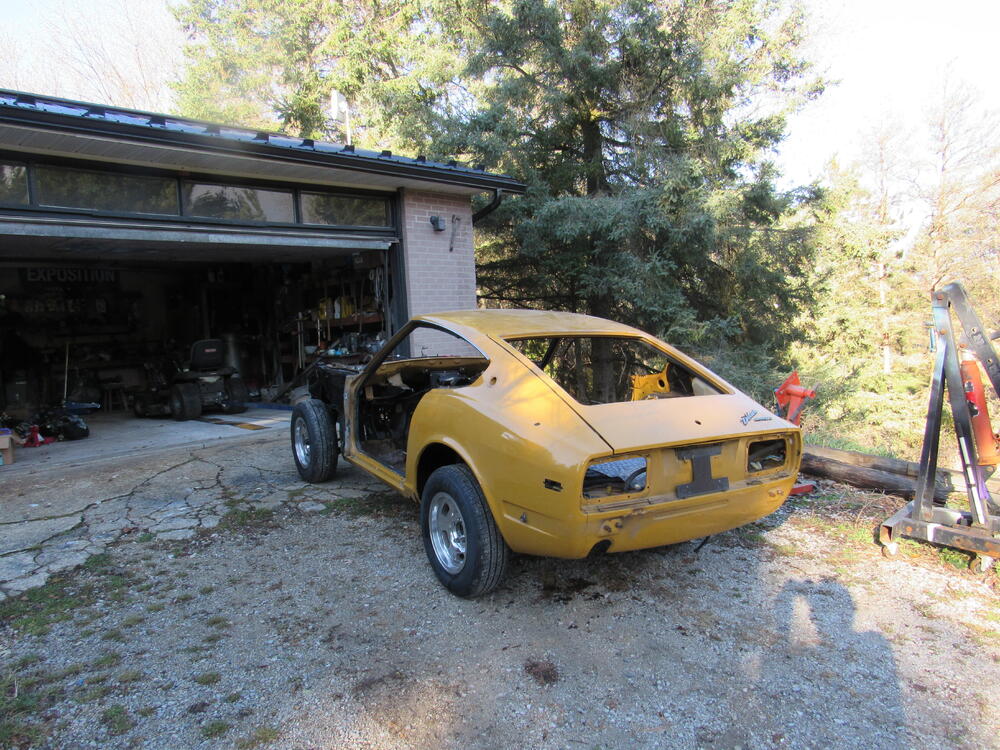


 Dave, do you want me to remove it all and make it look cleaner?
Hey man, I just work here. If it's on the car I take it off and make it look shiny and put it back where it was, if you got a problem with the way the hoses are routed, you'll have to take it up with the owner.😉 I'm just talking about trying to polish out the minor scratches on the back glass, that streaking you see in the pic. Polishing won't do much to the sand pits on the front windshield. To get a pitted windshield clear again you would have to go down to 60 grit and grind the glass to the depth of the deepest pit then work your way up through 120, 220, 320, 420, 600, 800, 1200 then Cerium Oxide for polishing, just like making a telescope mirror. Not worth it, however, with an aggressive pad and heavy compound you can round off the sharp edges of the millions of pits and end up with a windshield that doesn't scatter as much light as it did before. It won't do anything to the depth of the pits but it can decrease the amount of scattered light/glare, most of that happens right around the edges of each pit. I did that procedure on the windshield of my first Z, I still had some Cerium Oxide left over from my telescope making days, glass is much harder than clearcoat so it took many hrs of hard work (I would never do it again) I could see the difference, there was less glare, but a new windshield is a lot less work.
Adding to the database, VIN HLS30-29811 4/71
Dave, do you want me to remove it all and make it look cleaner?
Hey man, I just work here. If it's on the car I take it off and make it look shiny and put it back where it was, if you got a problem with the way the hoses are routed, you'll have to take it up with the owner.😉 I'm just talking about trying to polish out the minor scratches on the back glass, that streaking you see in the pic. Polishing won't do much to the sand pits on the front windshield. To get a pitted windshield clear again you would have to go down to 60 grit and grind the glass to the depth of the deepest pit then work your way up through 120, 220, 320, 420, 600, 800, 1200 then Cerium Oxide for polishing, just like making a telescope mirror. Not worth it, however, with an aggressive pad and heavy compound you can round off the sharp edges of the millions of pits and end up with a windshield that doesn't scatter as much light as it did before. It won't do anything to the depth of the pits but it can decrease the amount of scattered light/glare, most of that happens right around the edges of each pit. I did that procedure on the windshield of my first Z, I still had some Cerium Oxide left over from my telescope making days, glass is much harder than clearcoat so it took many hrs of hard work (I would never do it again) I could see the difference, there was less glare, but a new windshield is a lot less work.
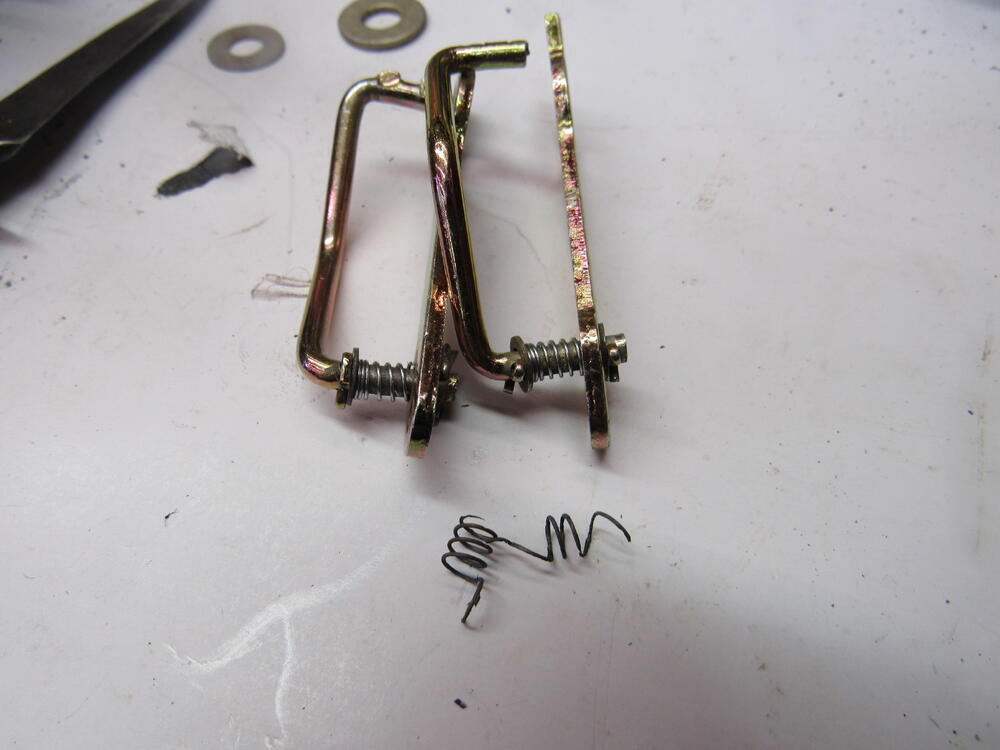
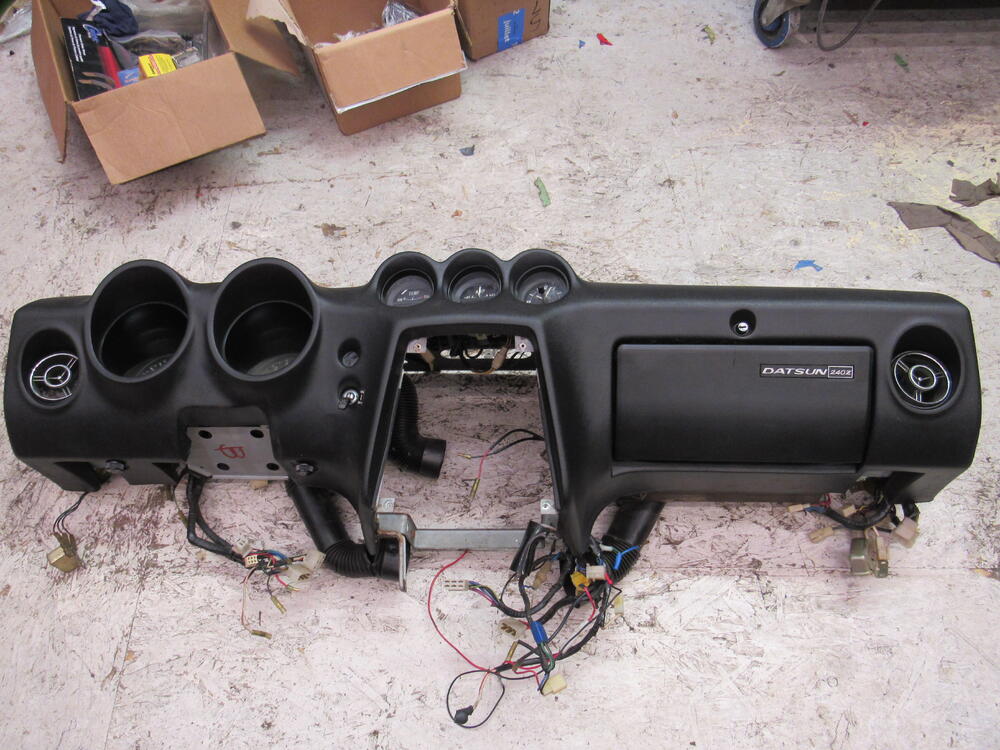
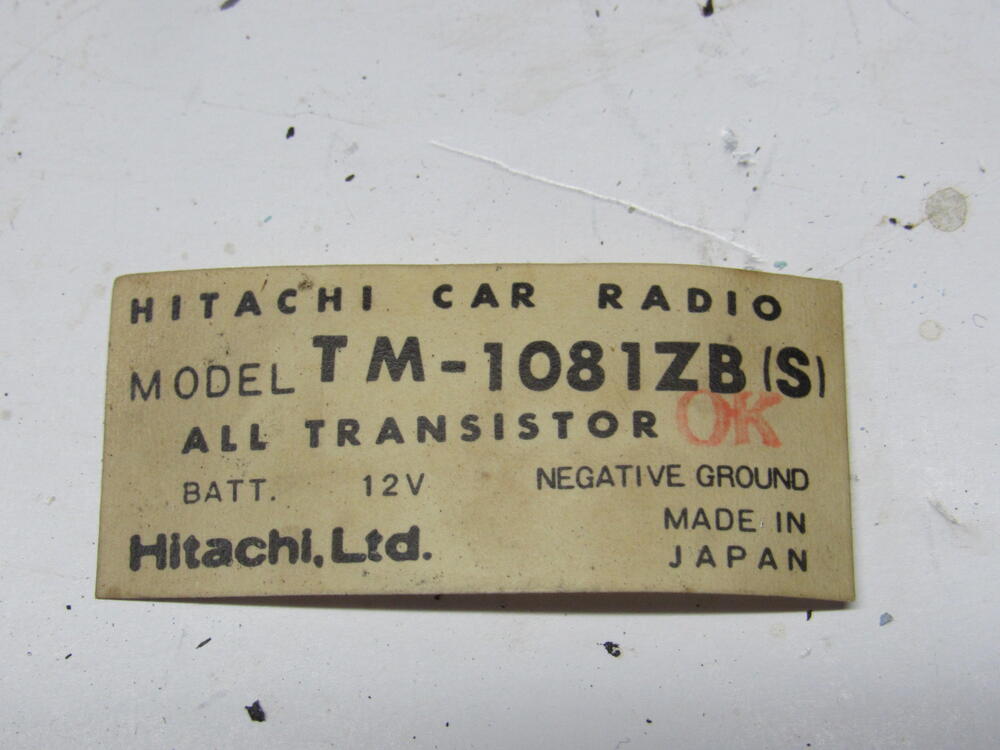
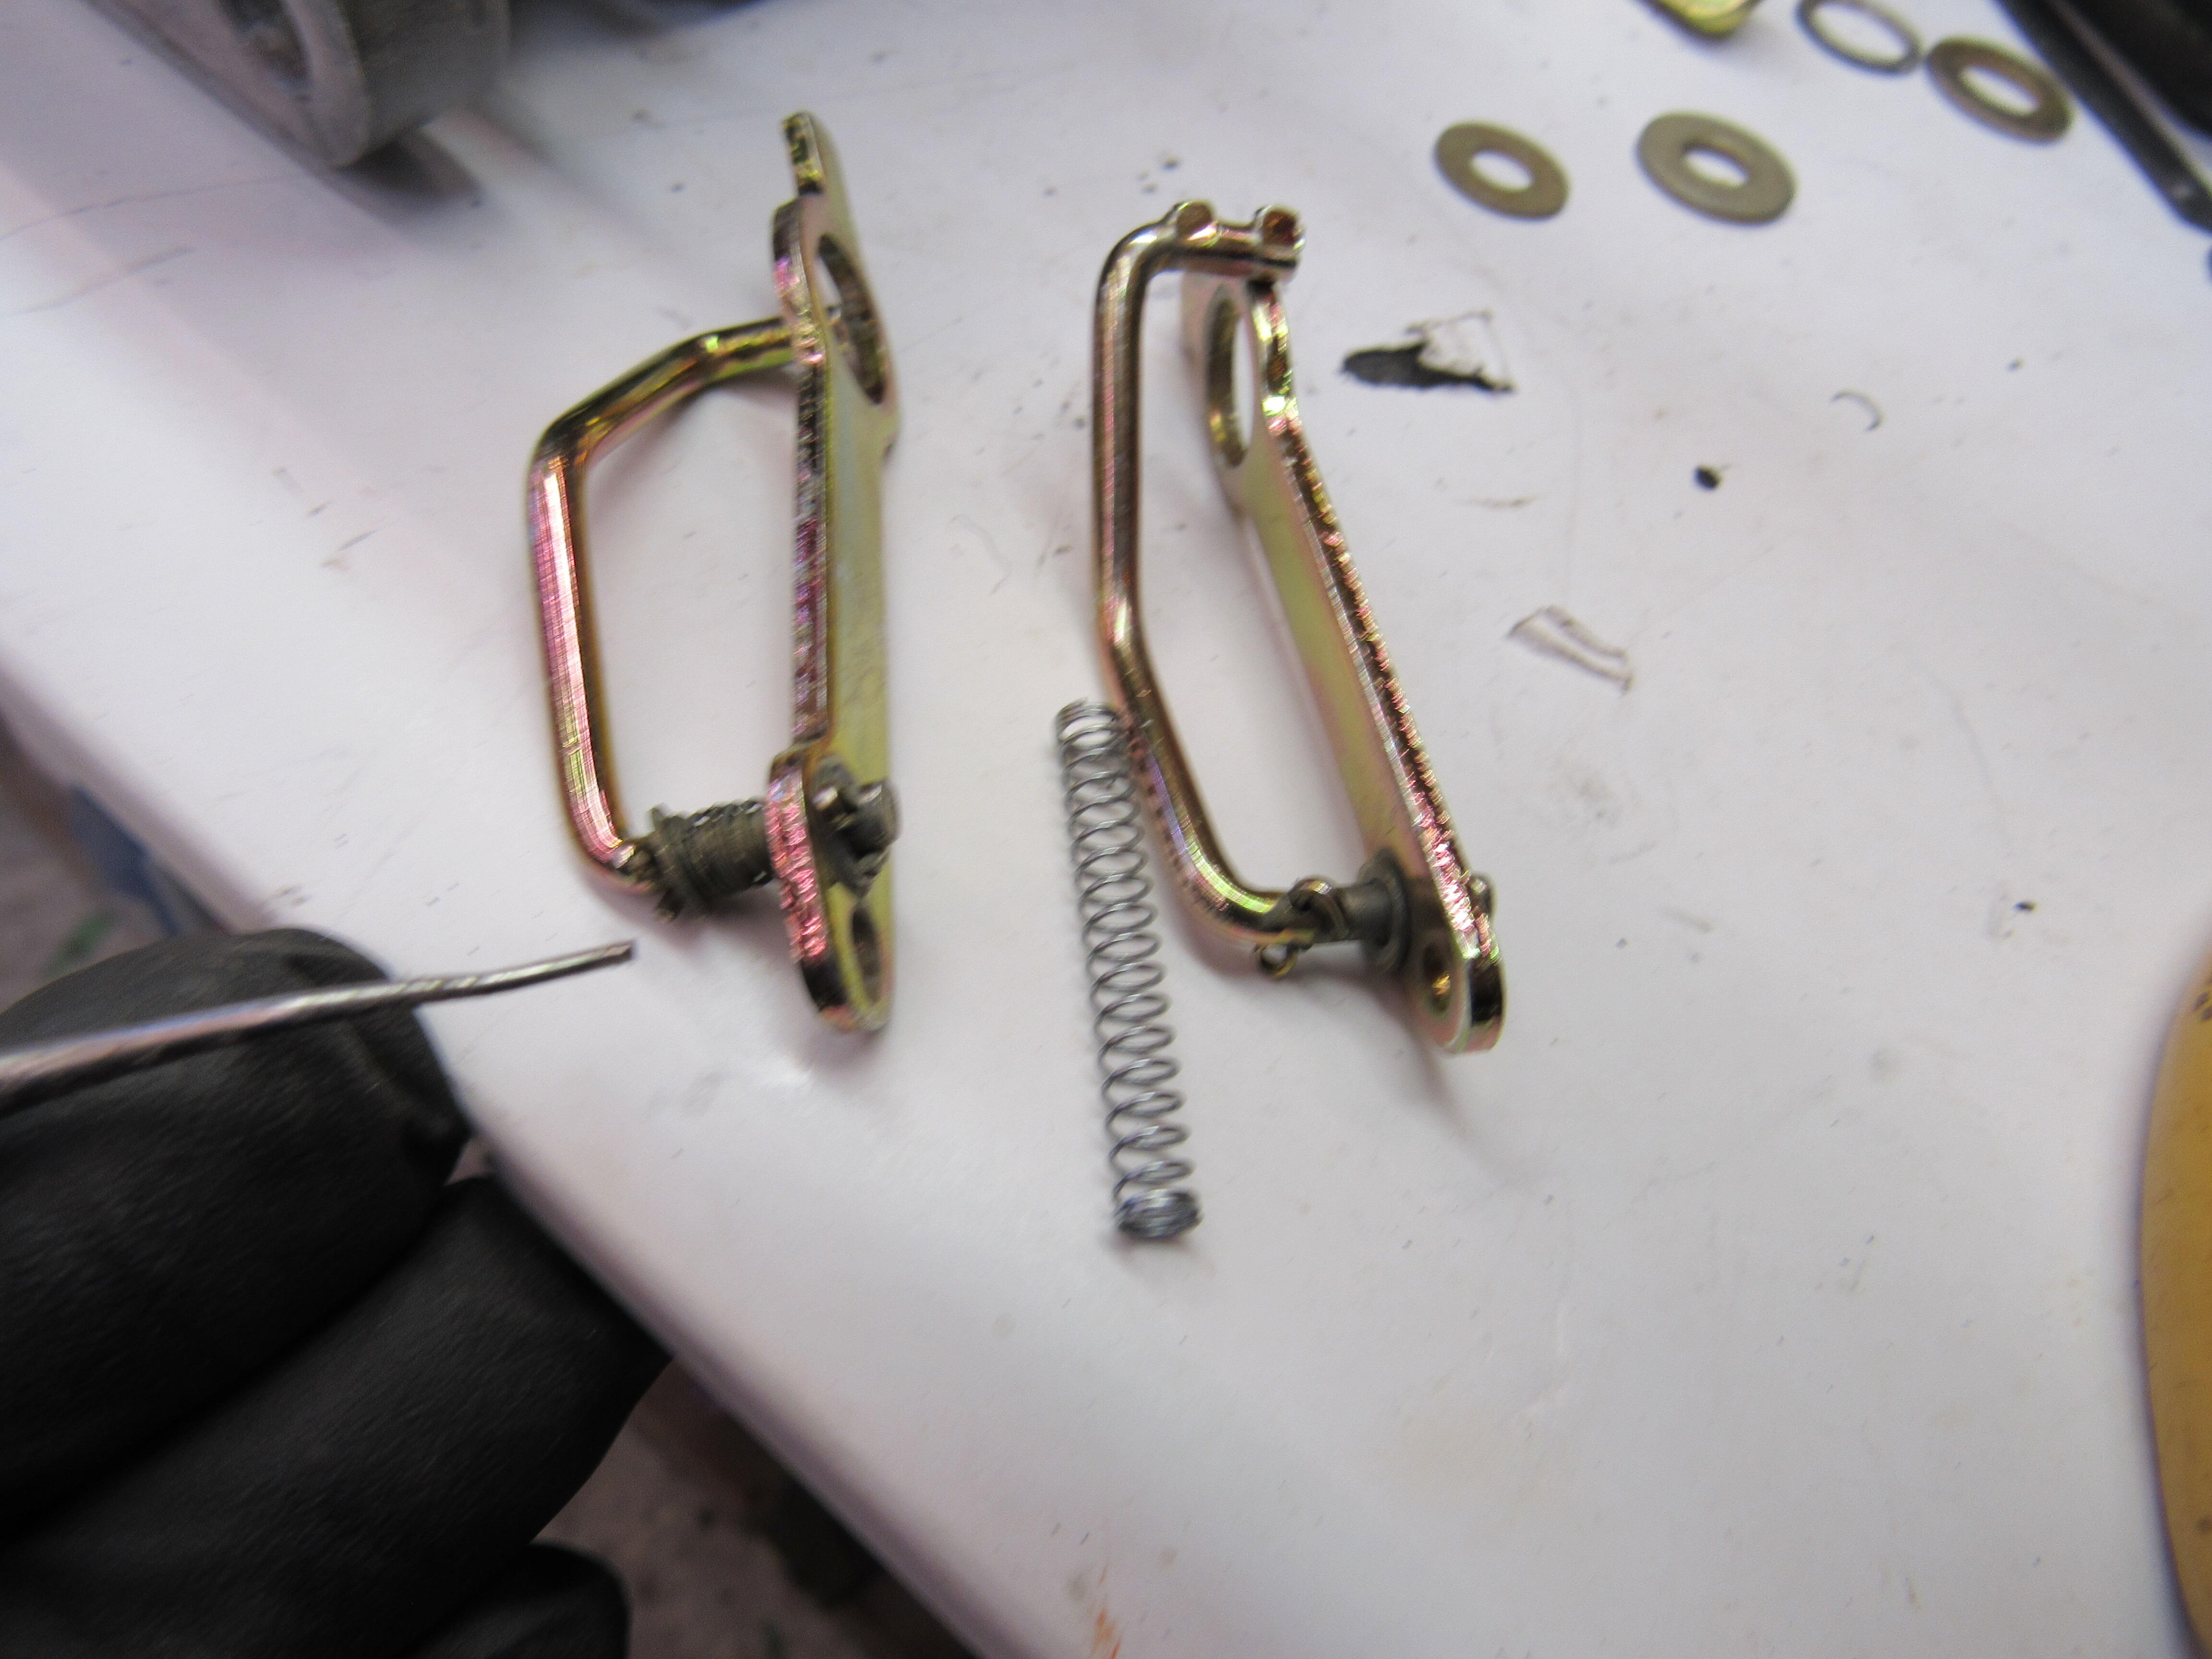
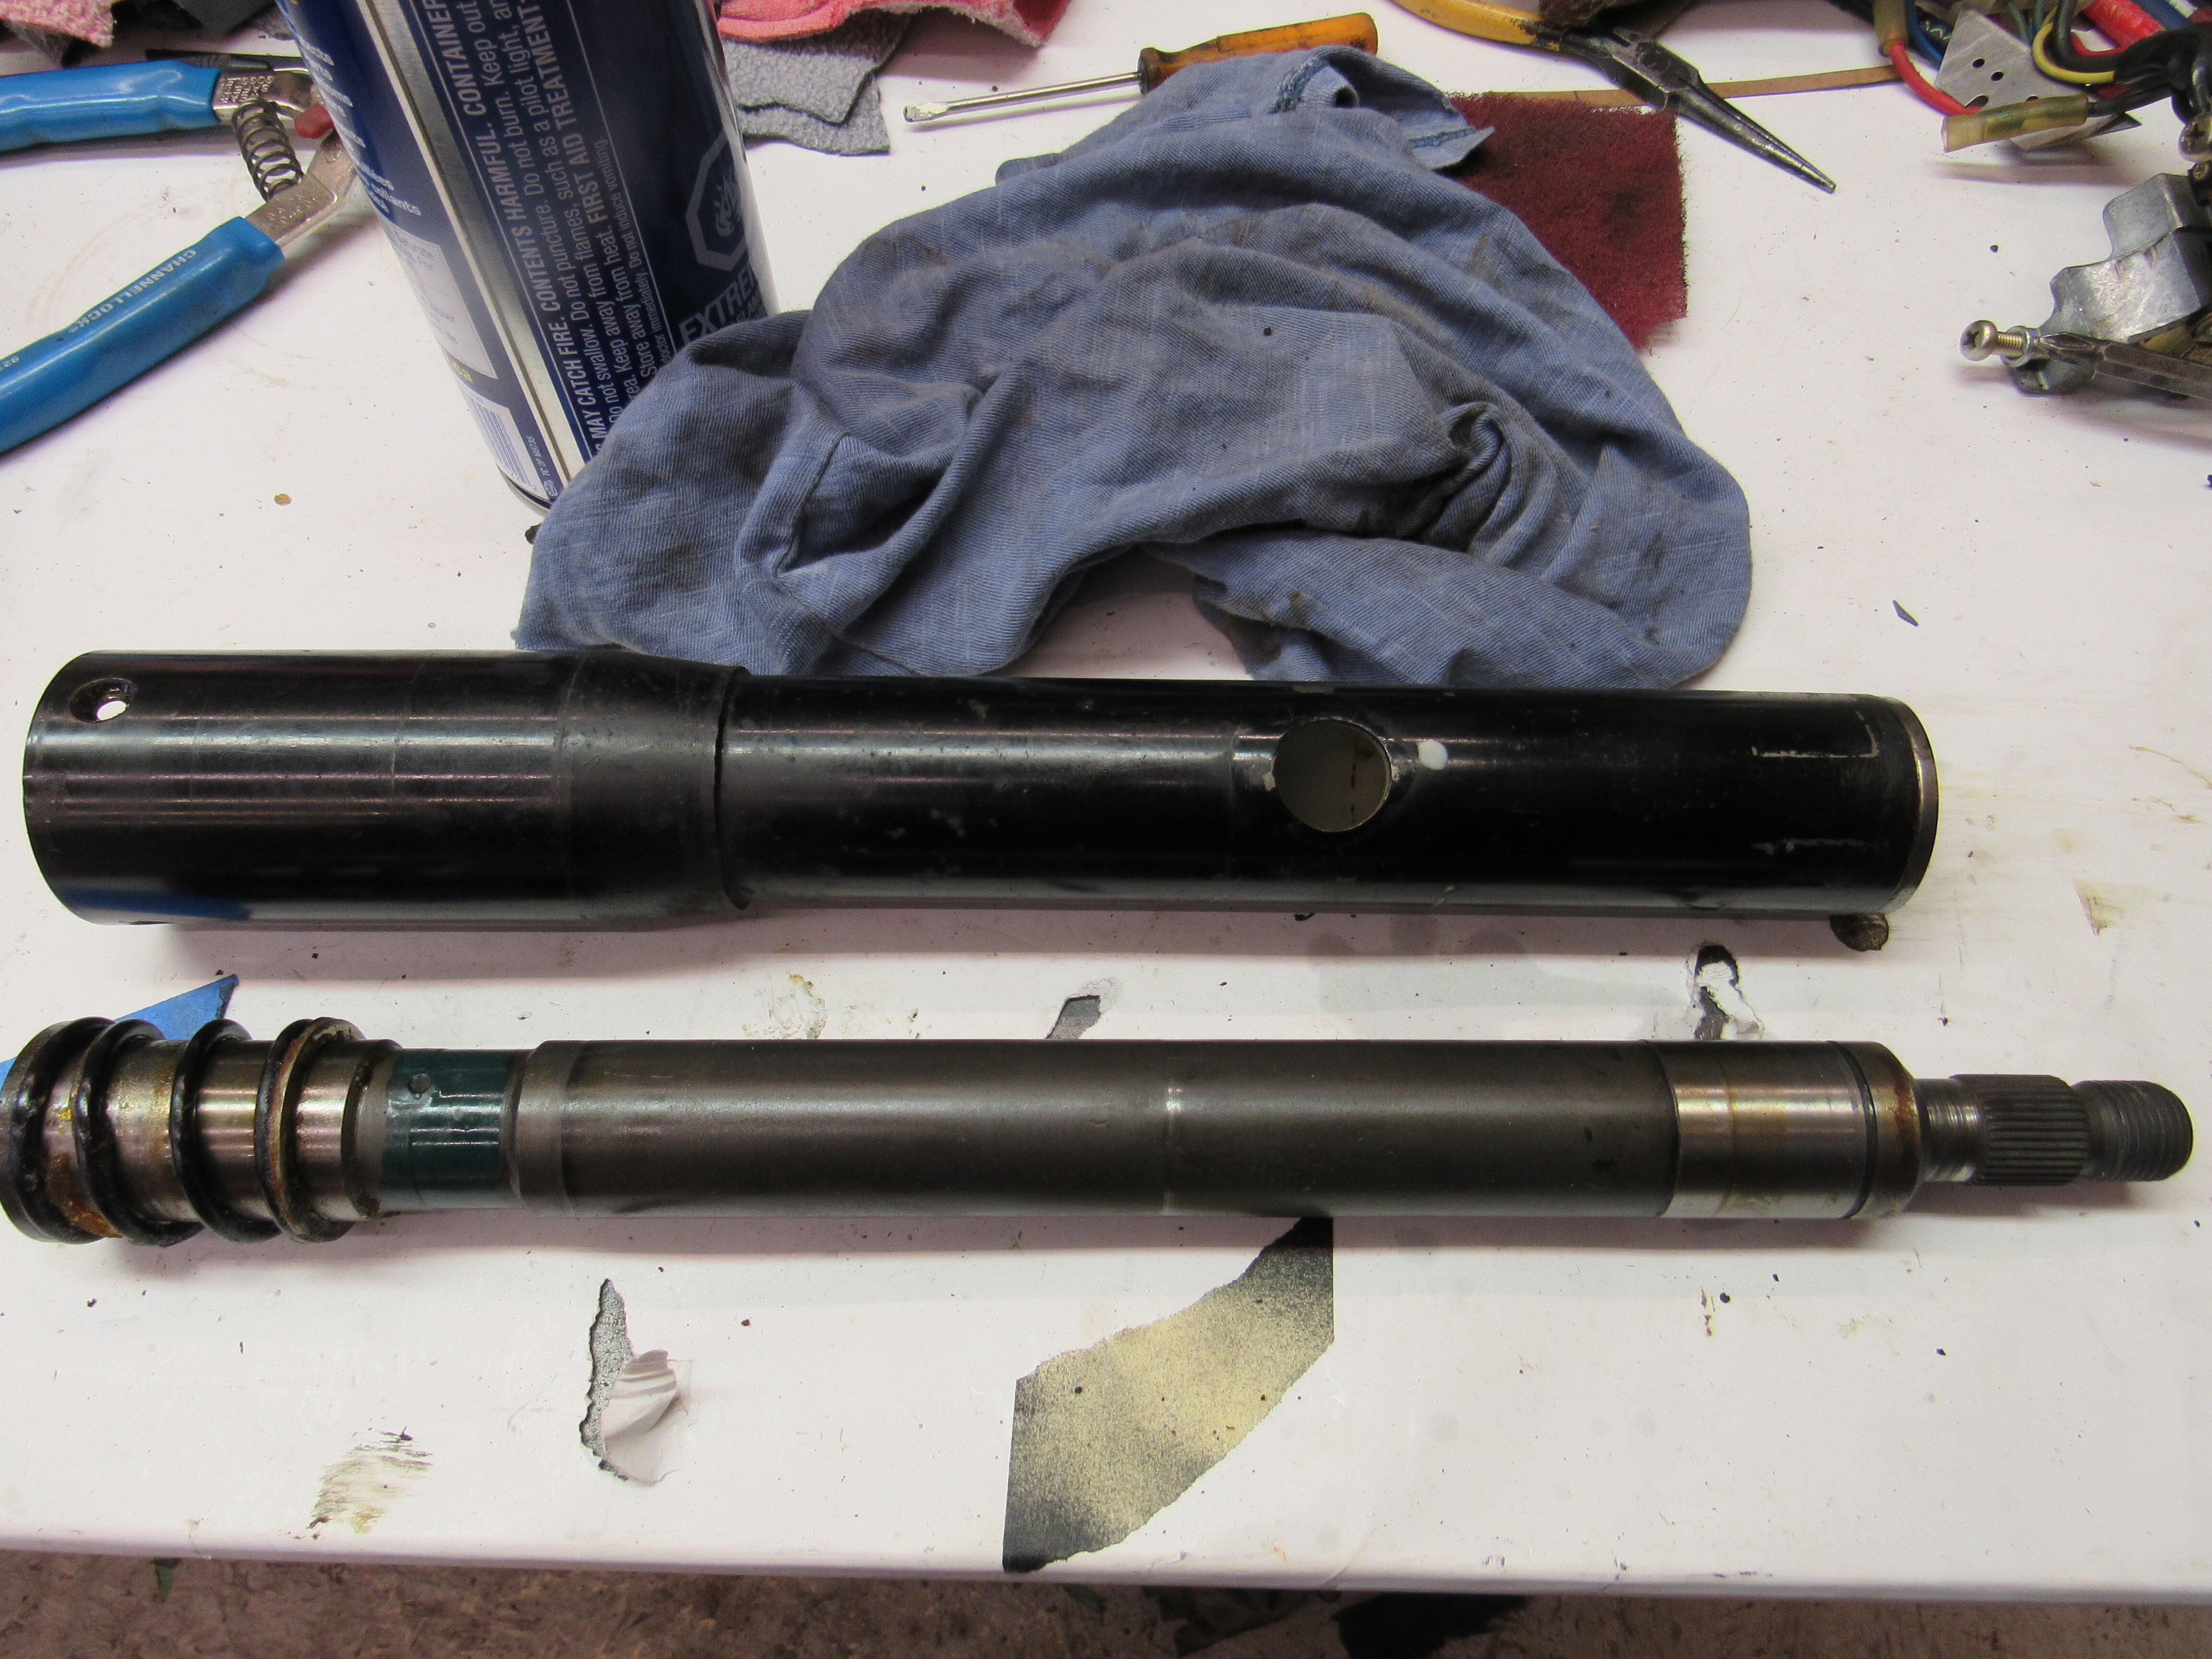
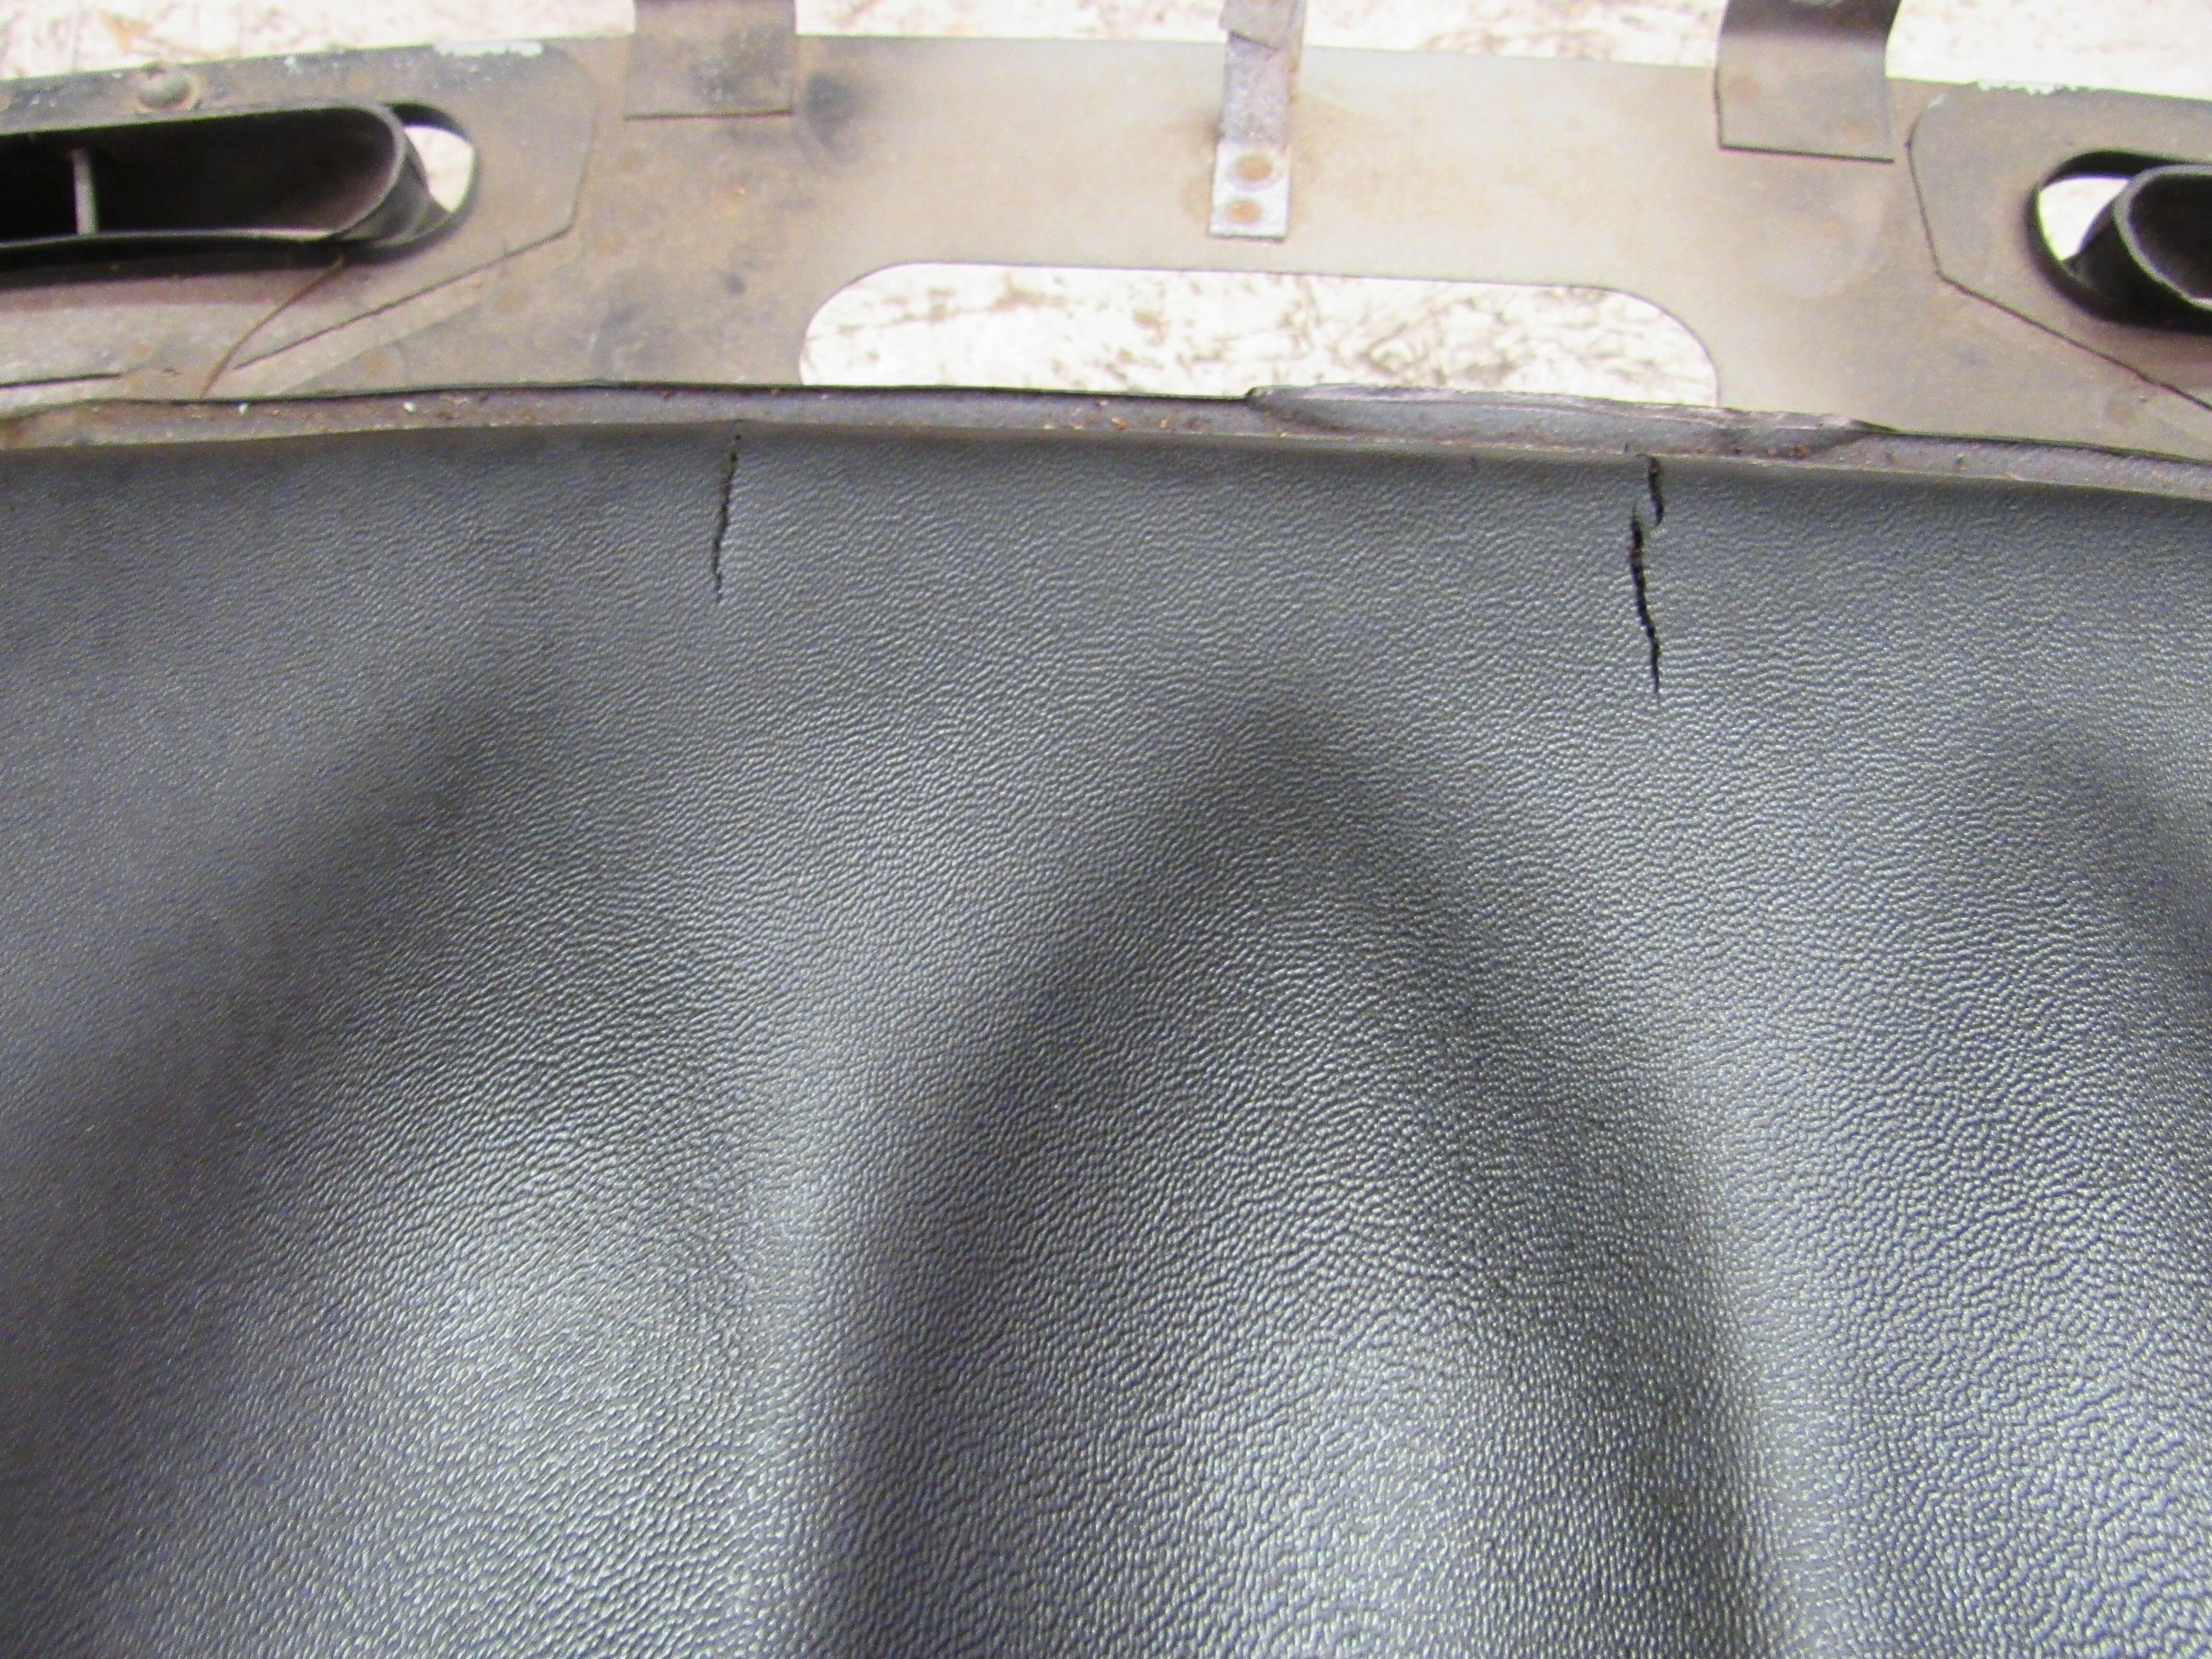
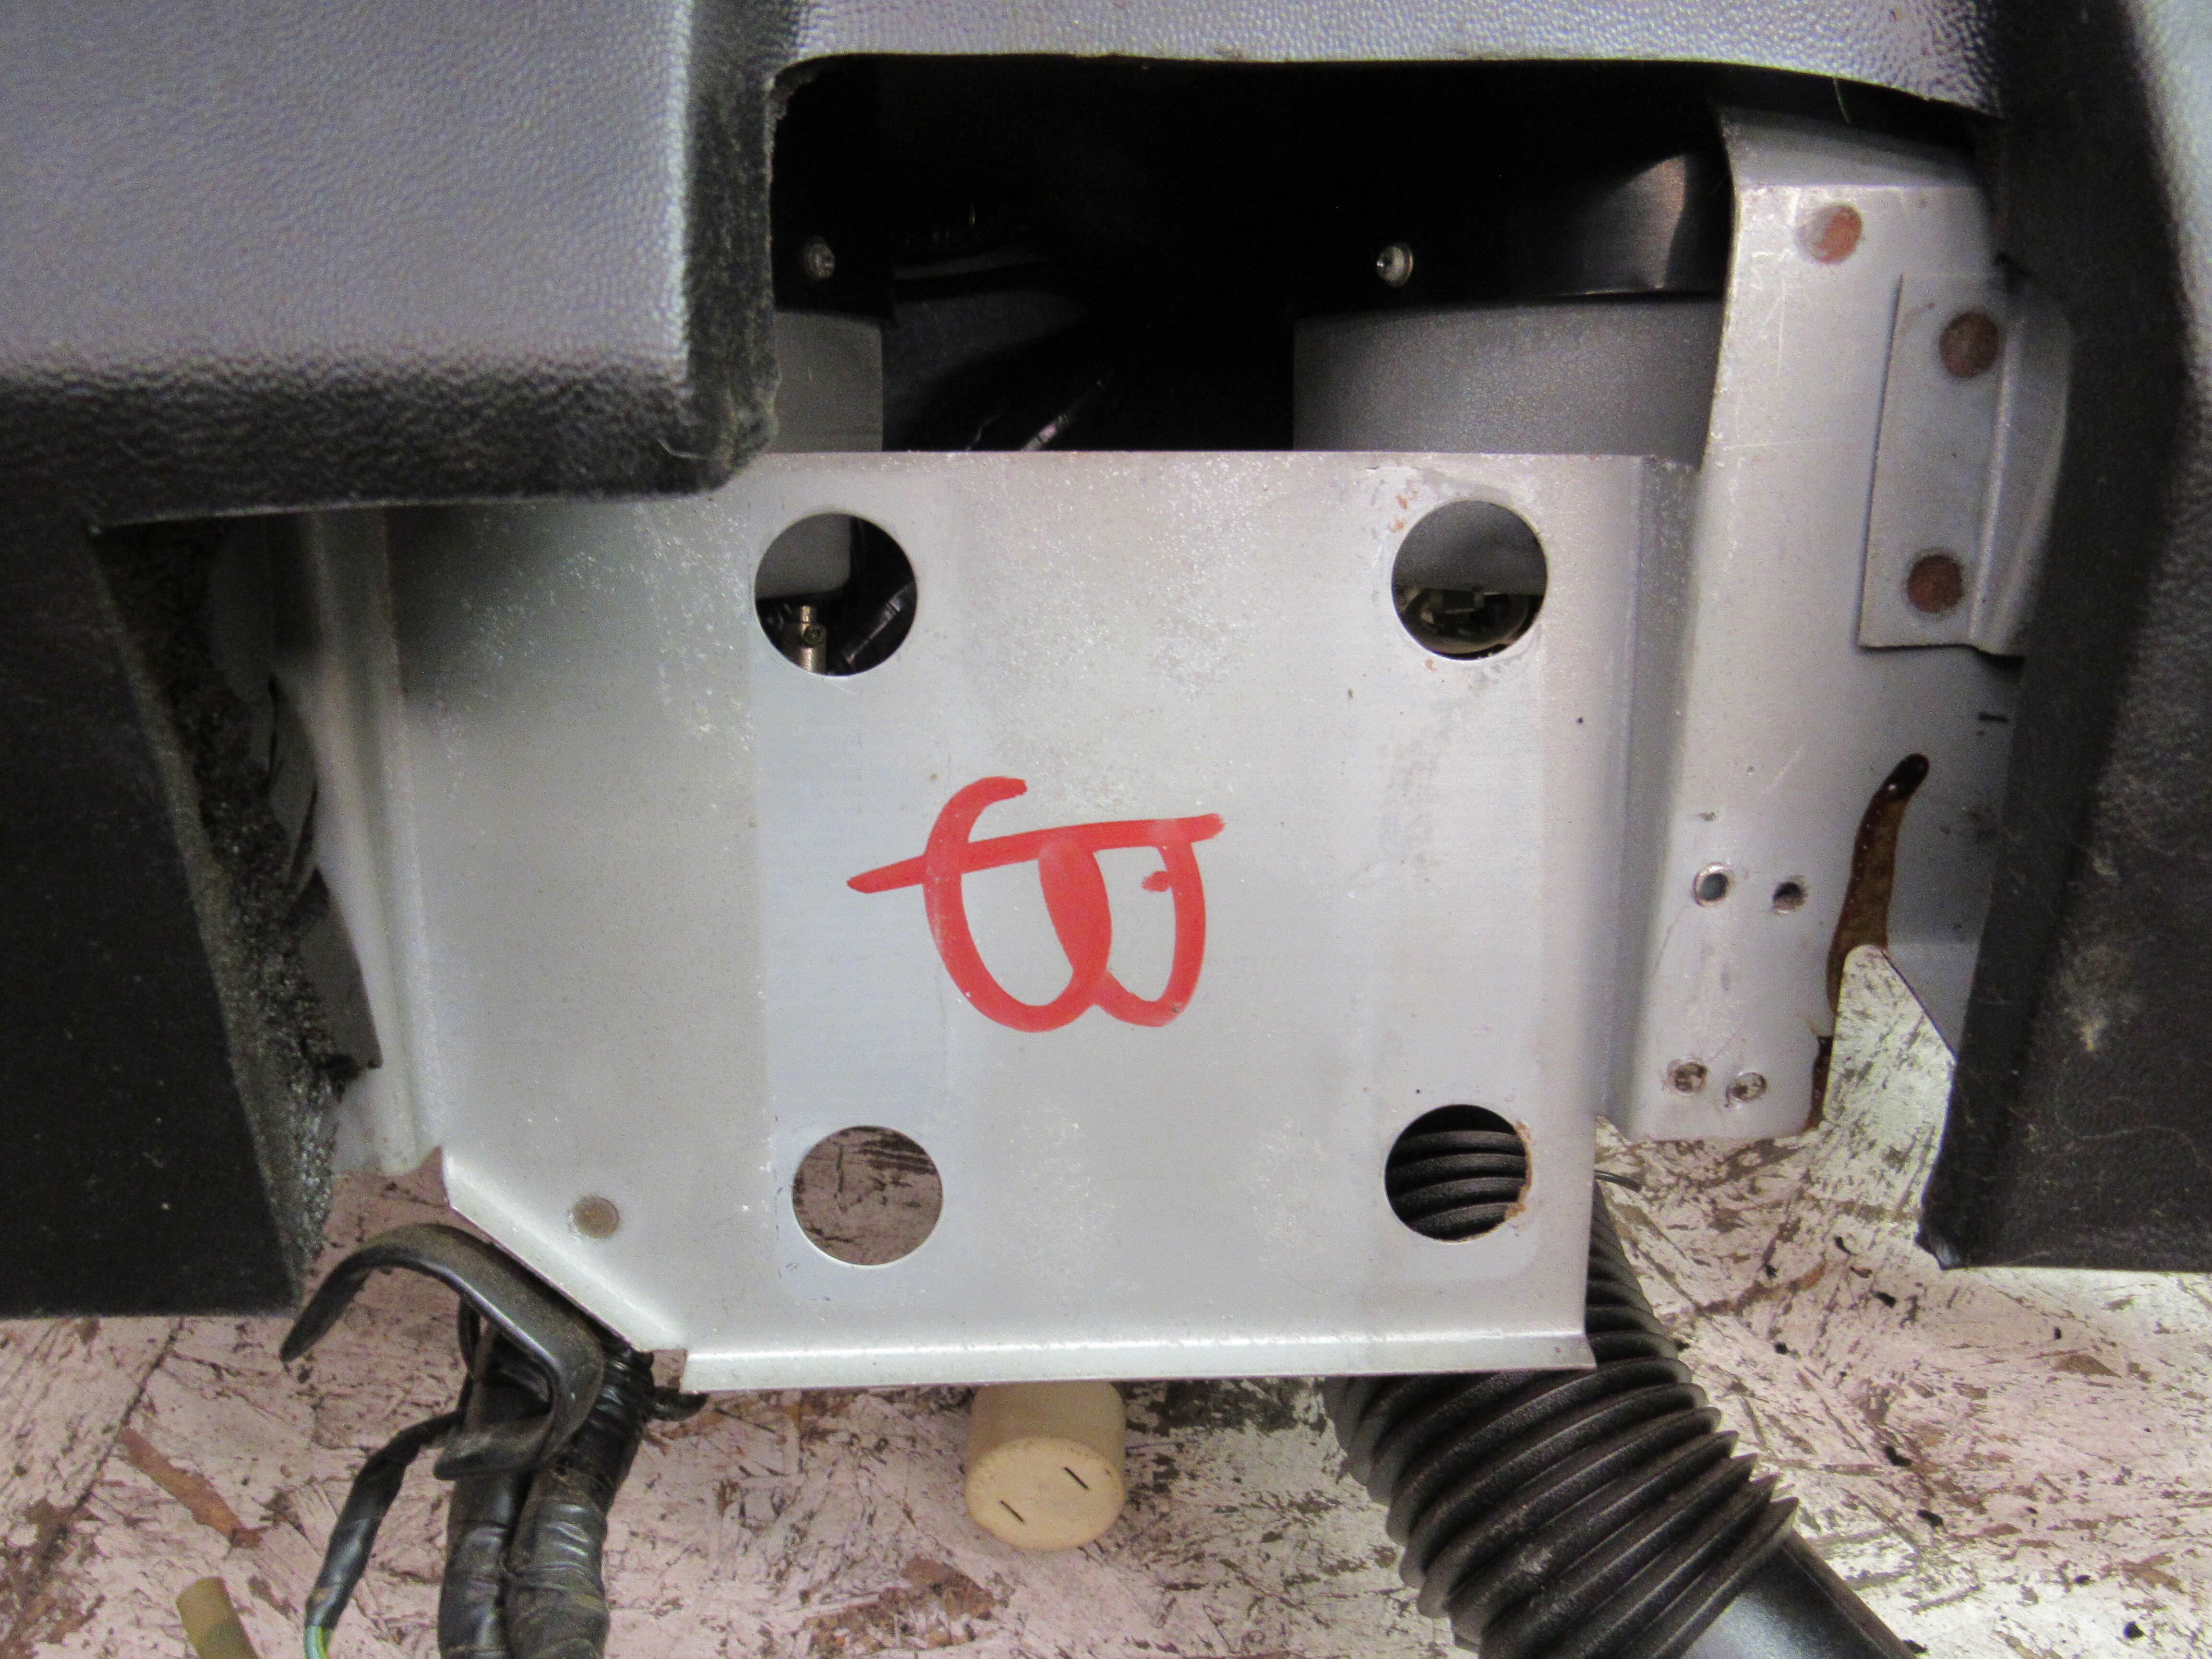
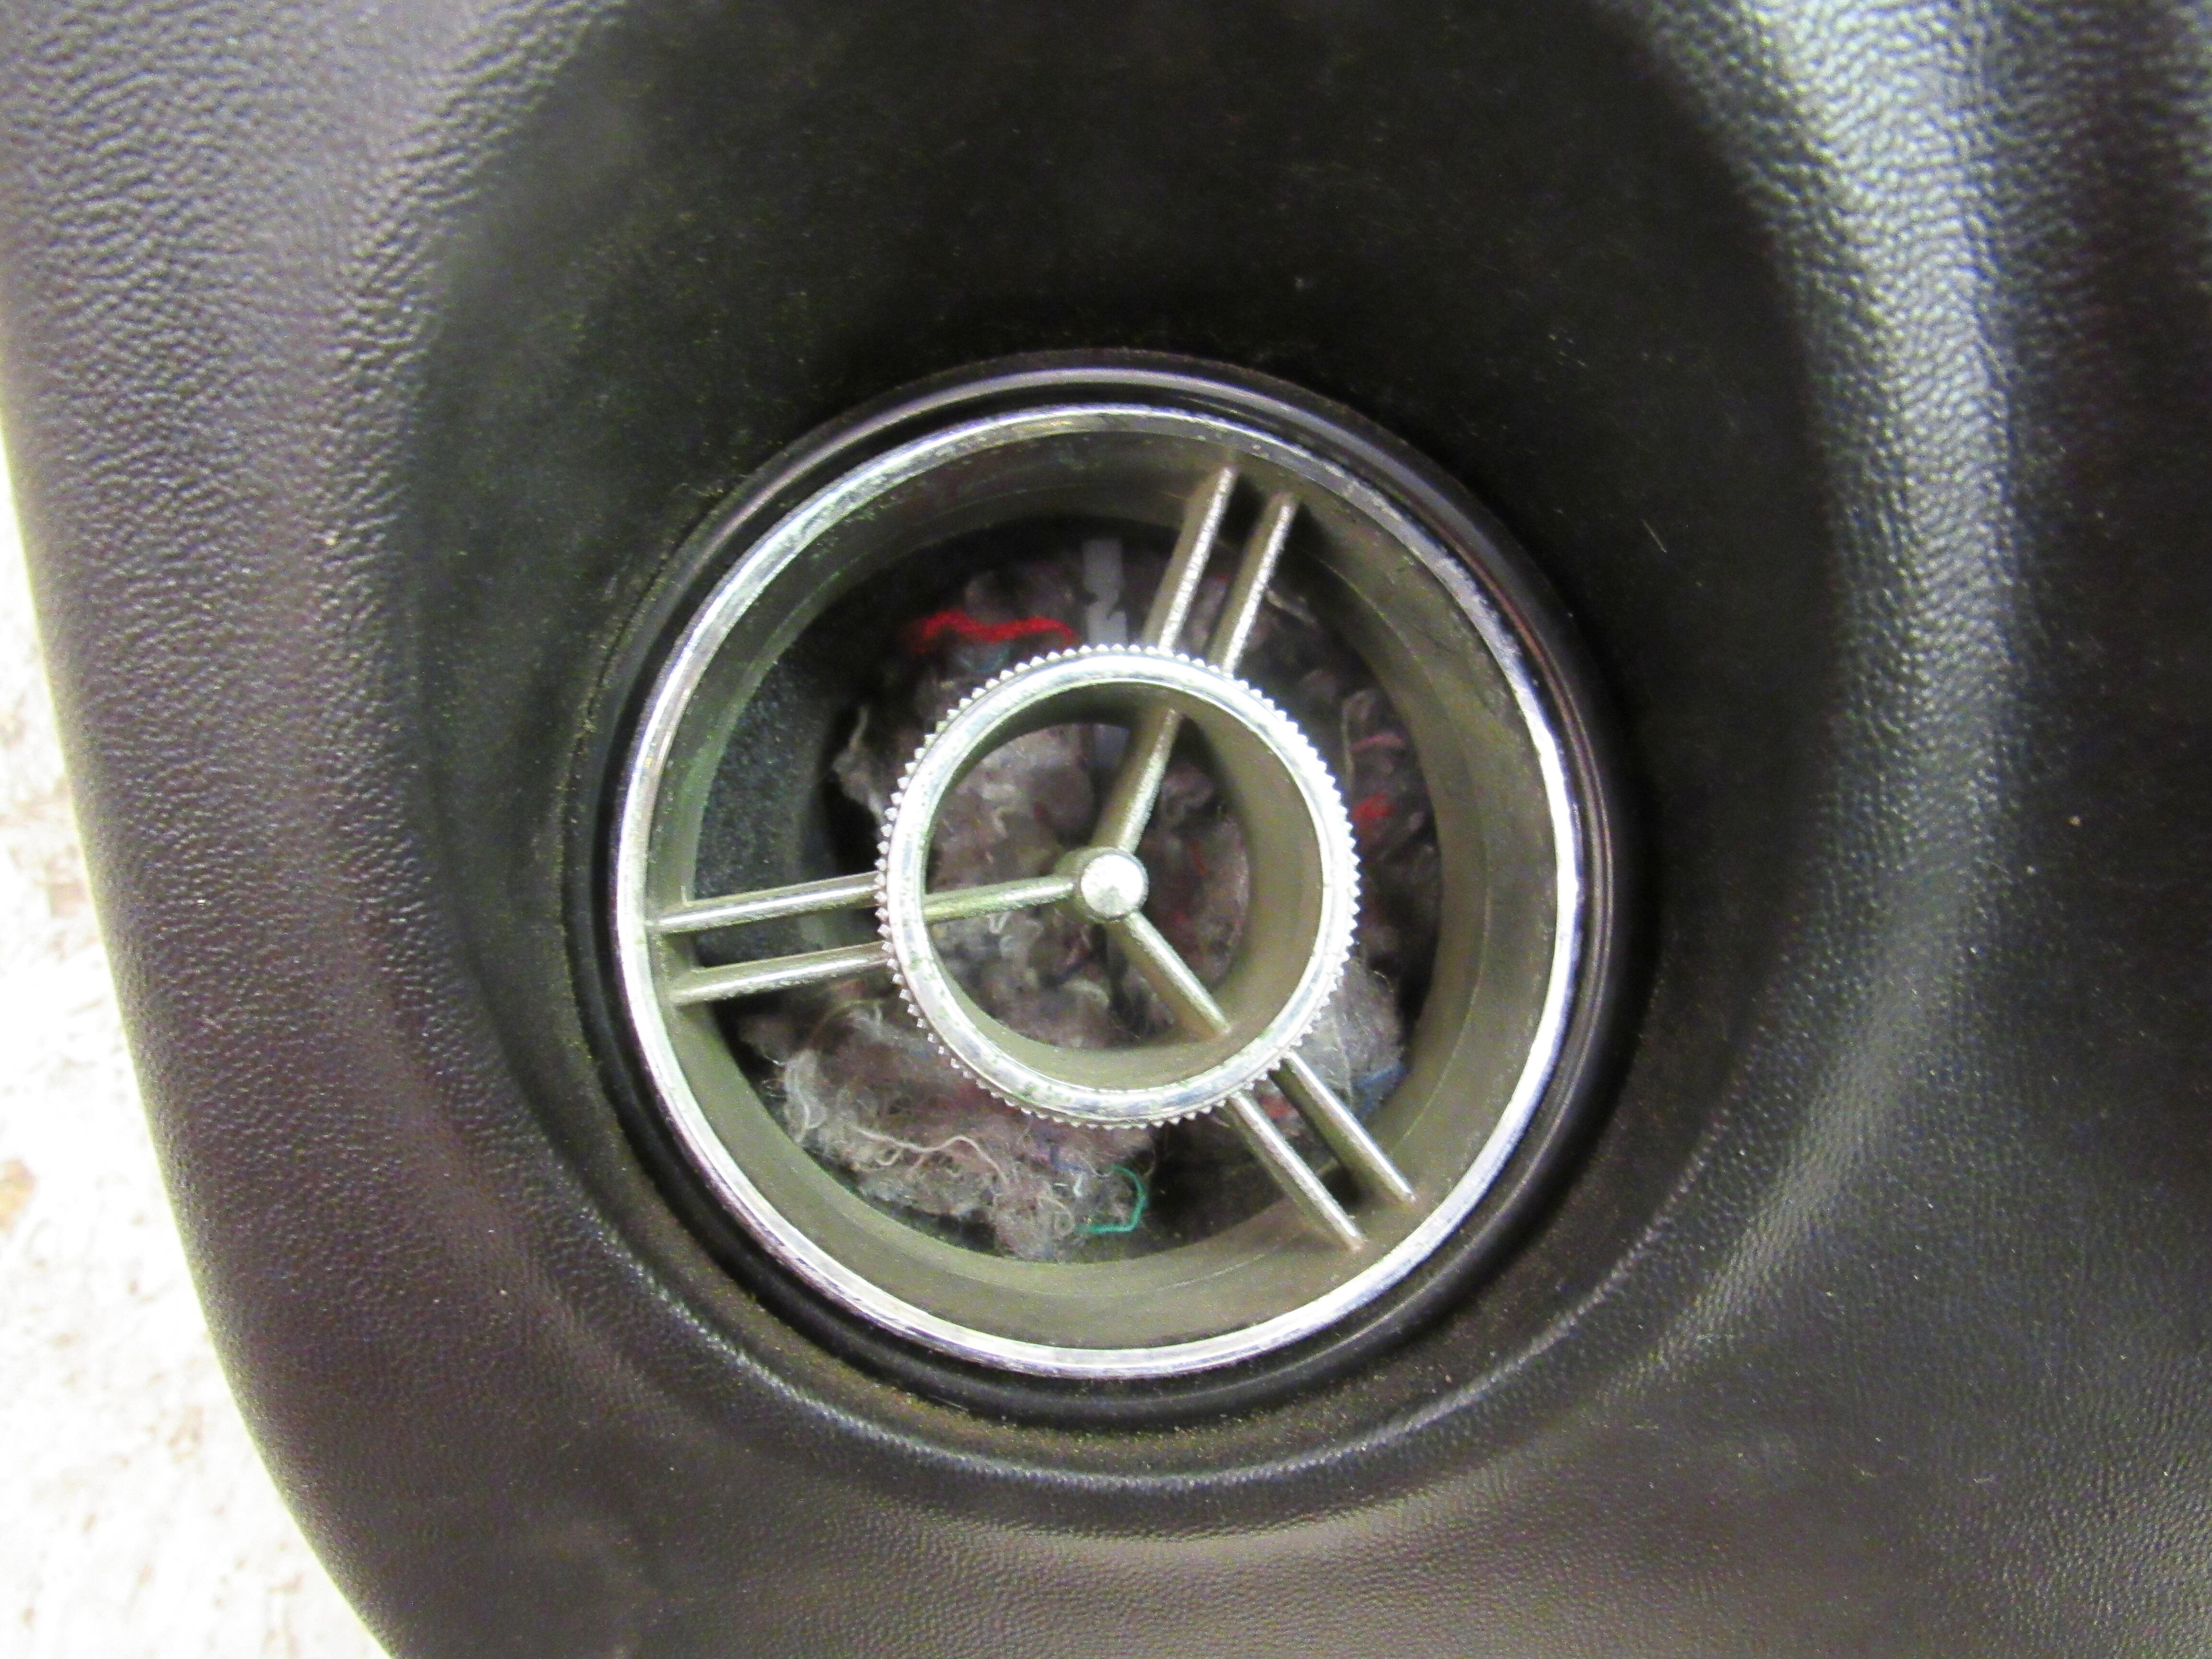
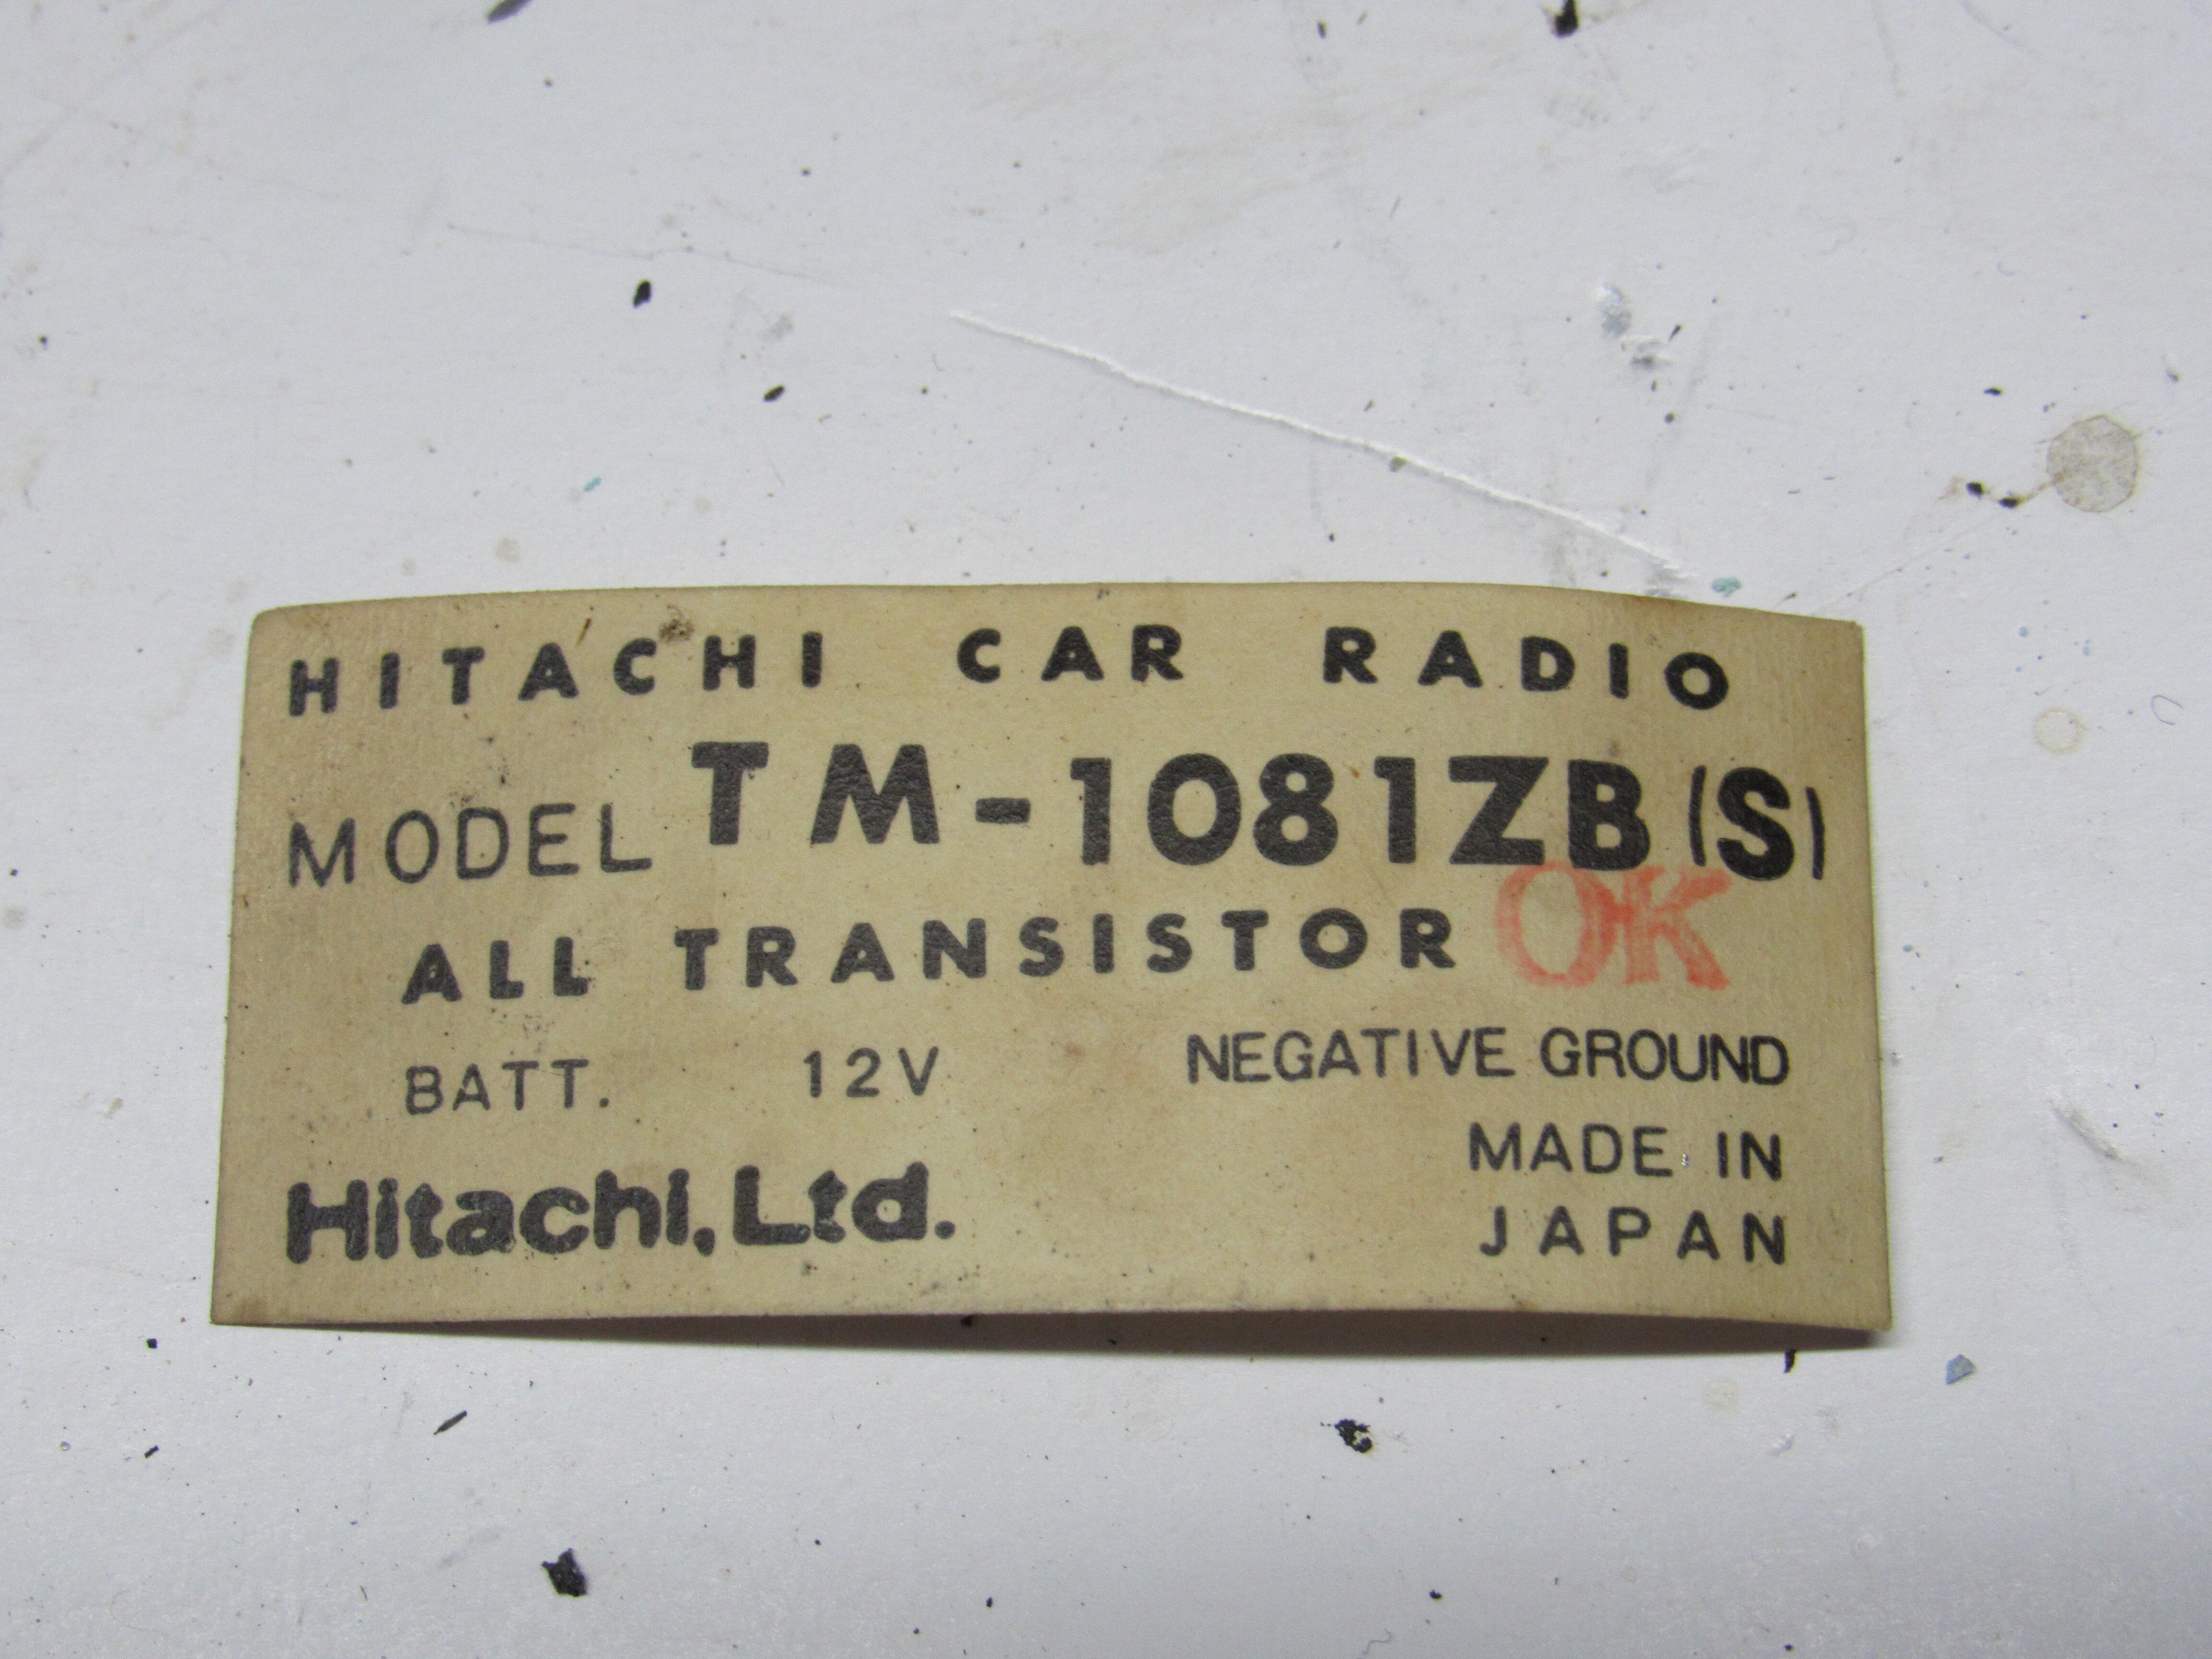
Adding to the database, VIN HLS30-29811 4/71 Dave and I looked for a couple of months to find a new stock flywheel, couldn't be found so I took the old one in to the machinist, there is still a few heat cracks that he couldn't get out but I don't think it will make a difference the way it will be driven from now on. The plating acid disintegrated a couple of small springs on the carb linkage so I sacrificed a cheap ball point pen for a replacement. Carbs are finished now and up on the shelf. Disassembled the steering column, flushed out all the old grease with brake cleaner and compressed air and repacked the grease. The dash is in nice shape except for a couple of cracks, here is the Kanji. I found a squatter living in the air duct and this label was in the glove box, I'm guessing from the original radio.
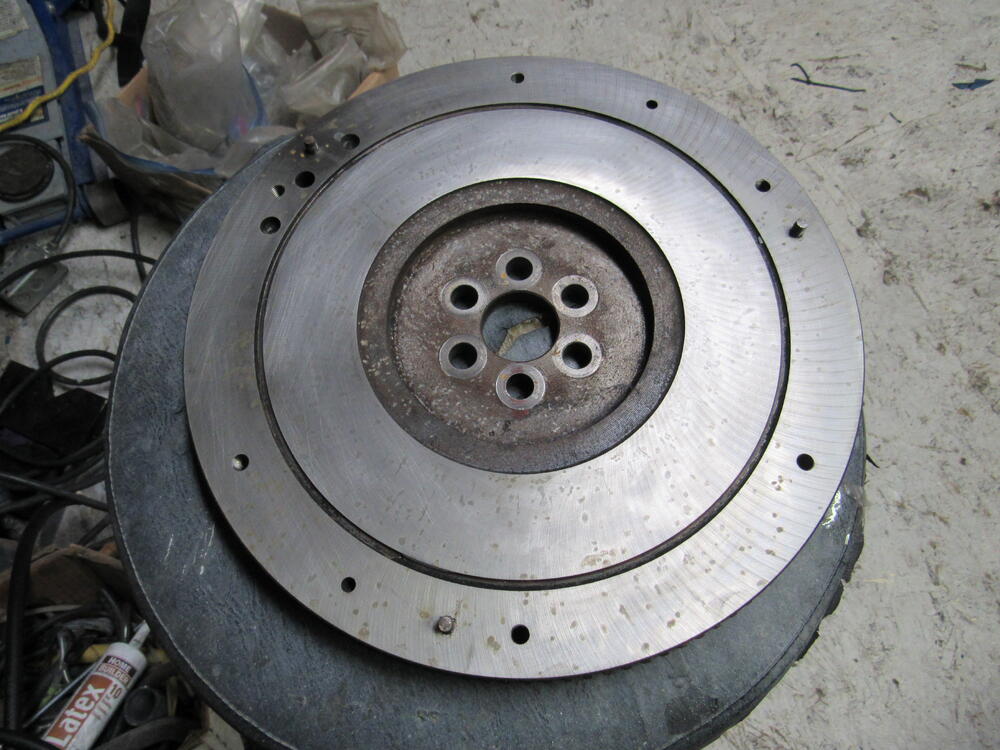


 Ah, so it's your fault😏
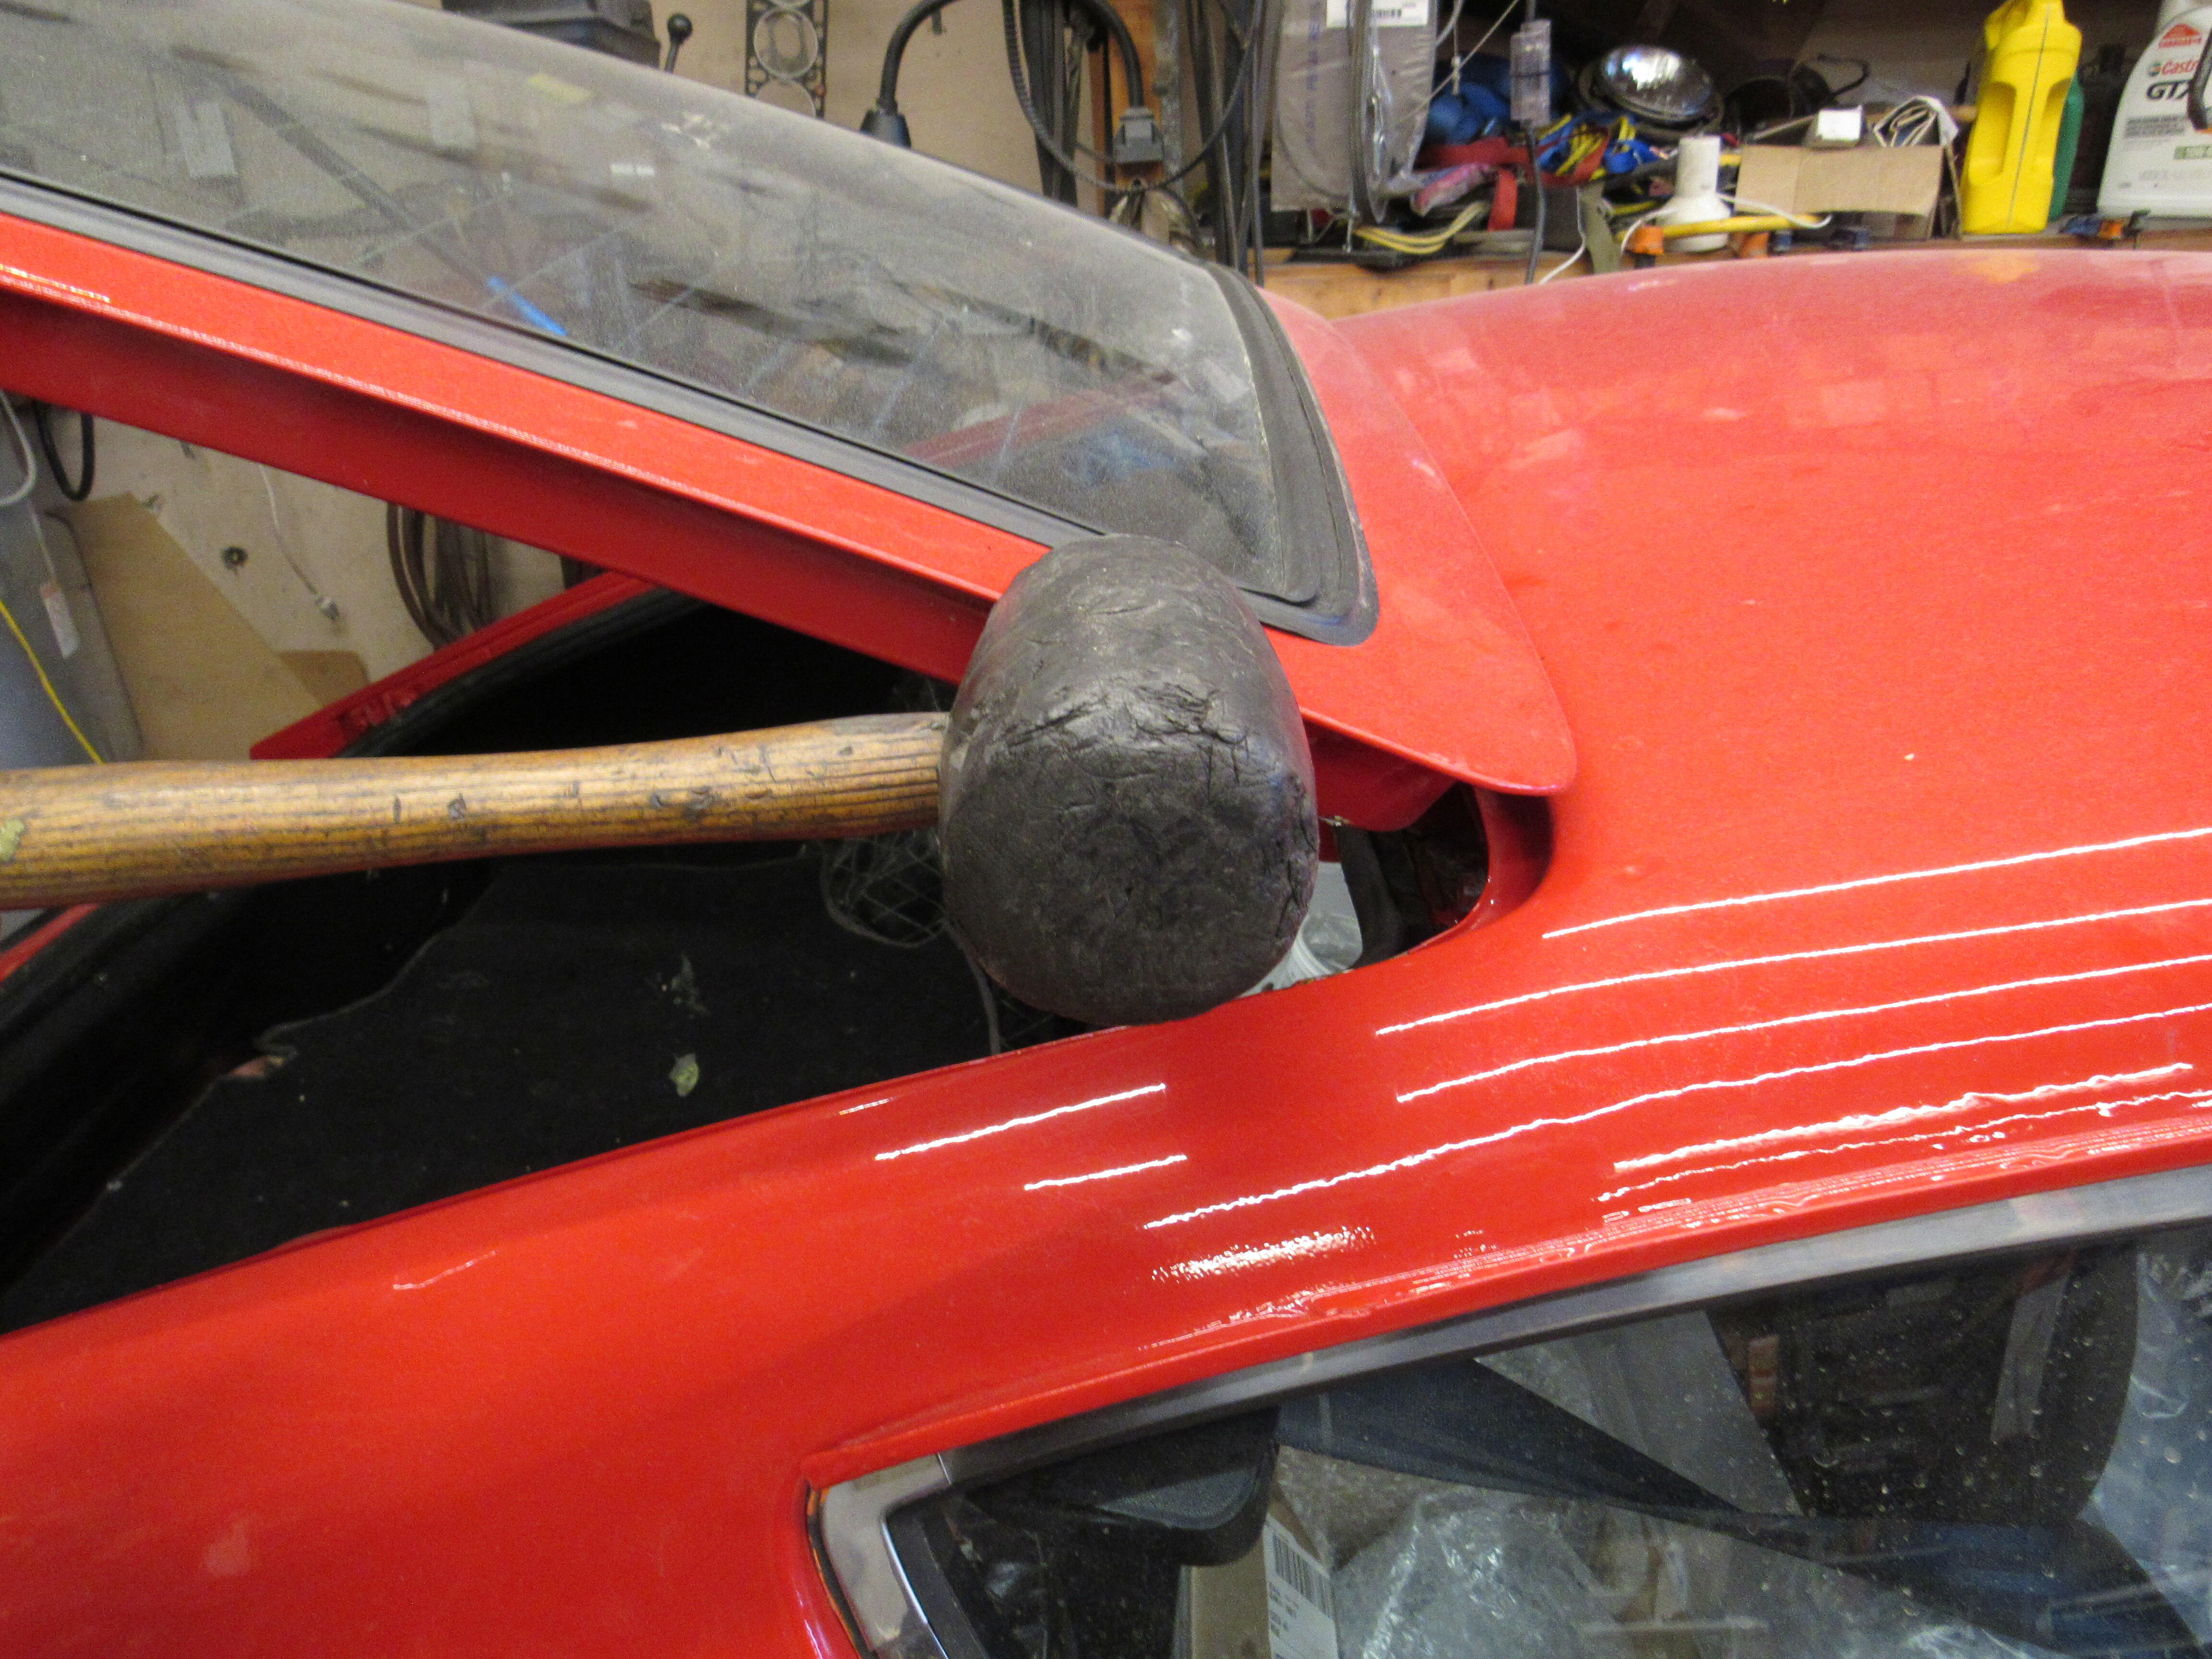
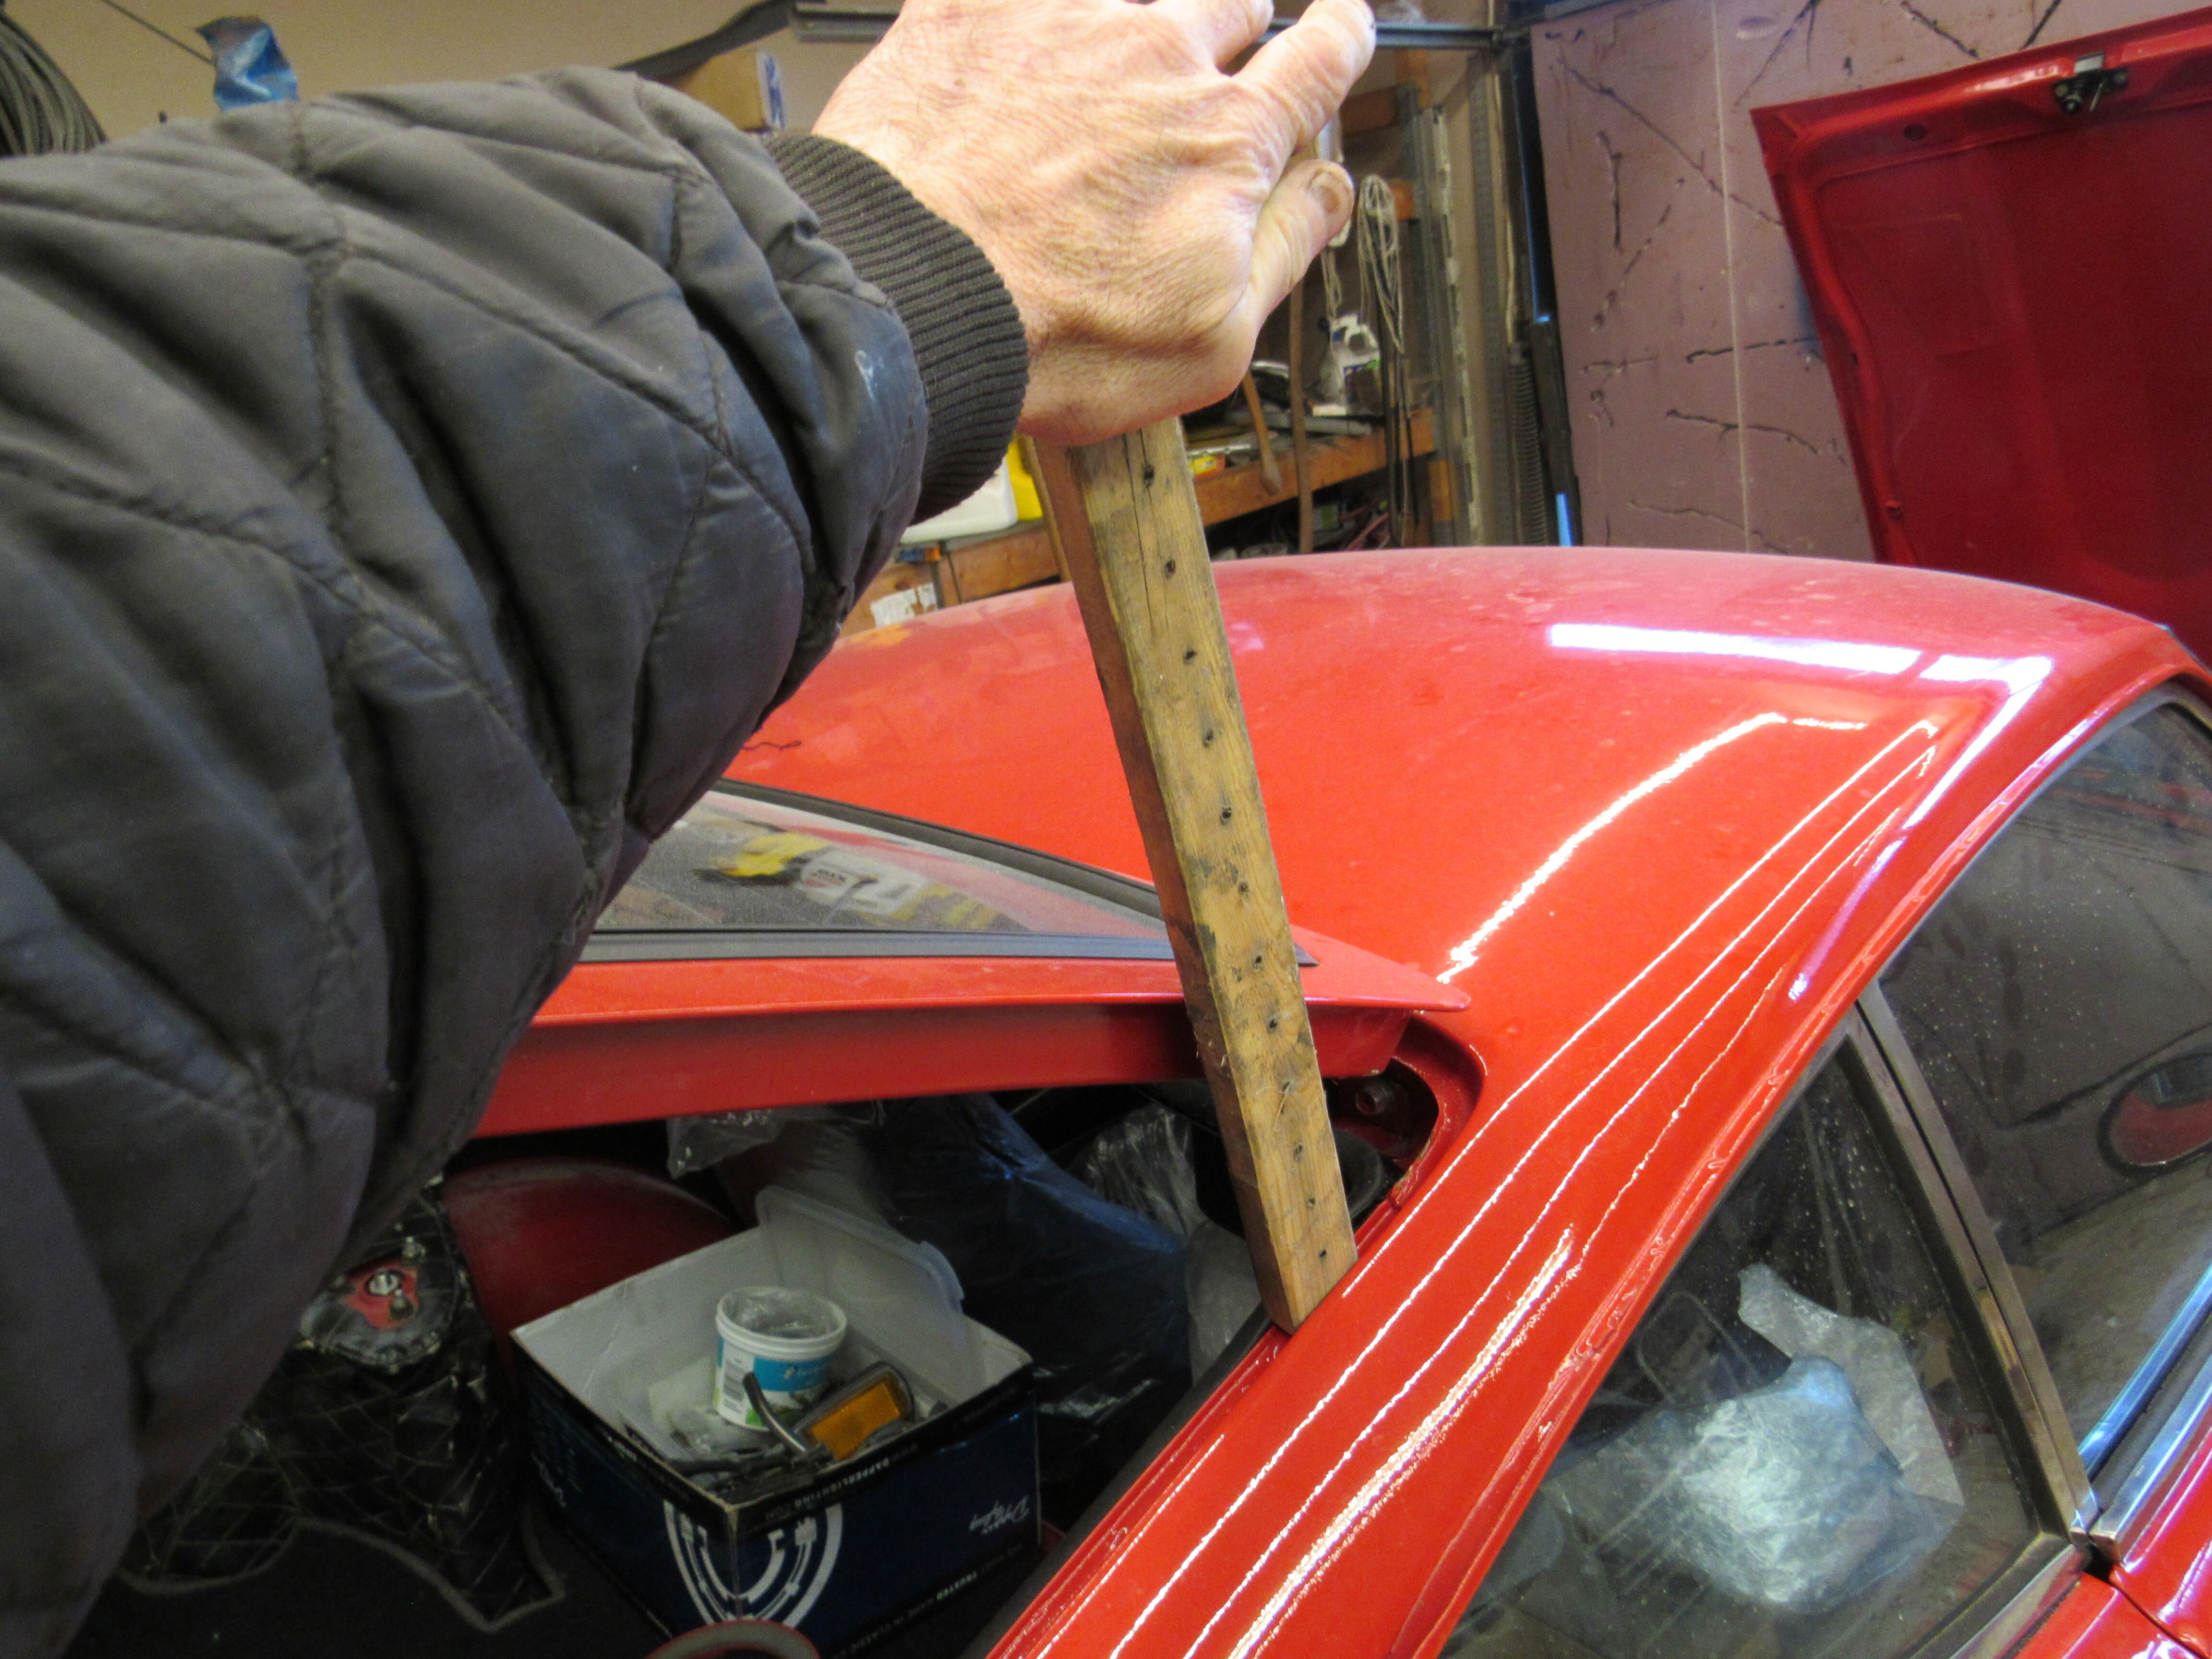
Although the gaps are different, they are parallel which is good. You'll need to open the hatch, loosen off but don't remove the 4 bolts holding the hinges to the roof, then from the P/S up near the hinge you want to give the hatch a shove or sharp rap with a rubber mallet. If the hatch hasn't been removed before you may have to work hard to get any sideways movement, most of them are painted in place, keep lowering the hatch to see if you have shifted it enough, when you get it to where you want tighten each bolt a little bit at a time until all 4 are snug. Don't be surprised if the hatch has tightened down into the same spot it was before, repeat the process a use a wooden lever to hold the hatch in place as you tighten. If all of that seems like too much, you can rub down the side bumper with the end of a paraffin wax candle.
Ah, so it's your fault😏
Although the gaps are different, they are parallel which is good. You'll need to open the hatch, loosen off but don't remove the 4 bolts holding the hinges to the roof, then from the P/S up near the hinge you want to give the hatch a shove or sharp rap with a rubber mallet. If the hatch hasn't been removed before you may have to work hard to get any sideways movement, most of them are painted in place, keep lowering the hatch to see if you have shifted it enough, when you get it to where you want tighten each bolt a little bit at a time until all 4 are snug. Don't be surprised if the hatch has tightened down into the same spot it was before, repeat the process a use a wooden lever to hold the hatch in place as you tighten. If all of that seems like too much, you can rub down the side bumper with the end of a paraffin wax candle.
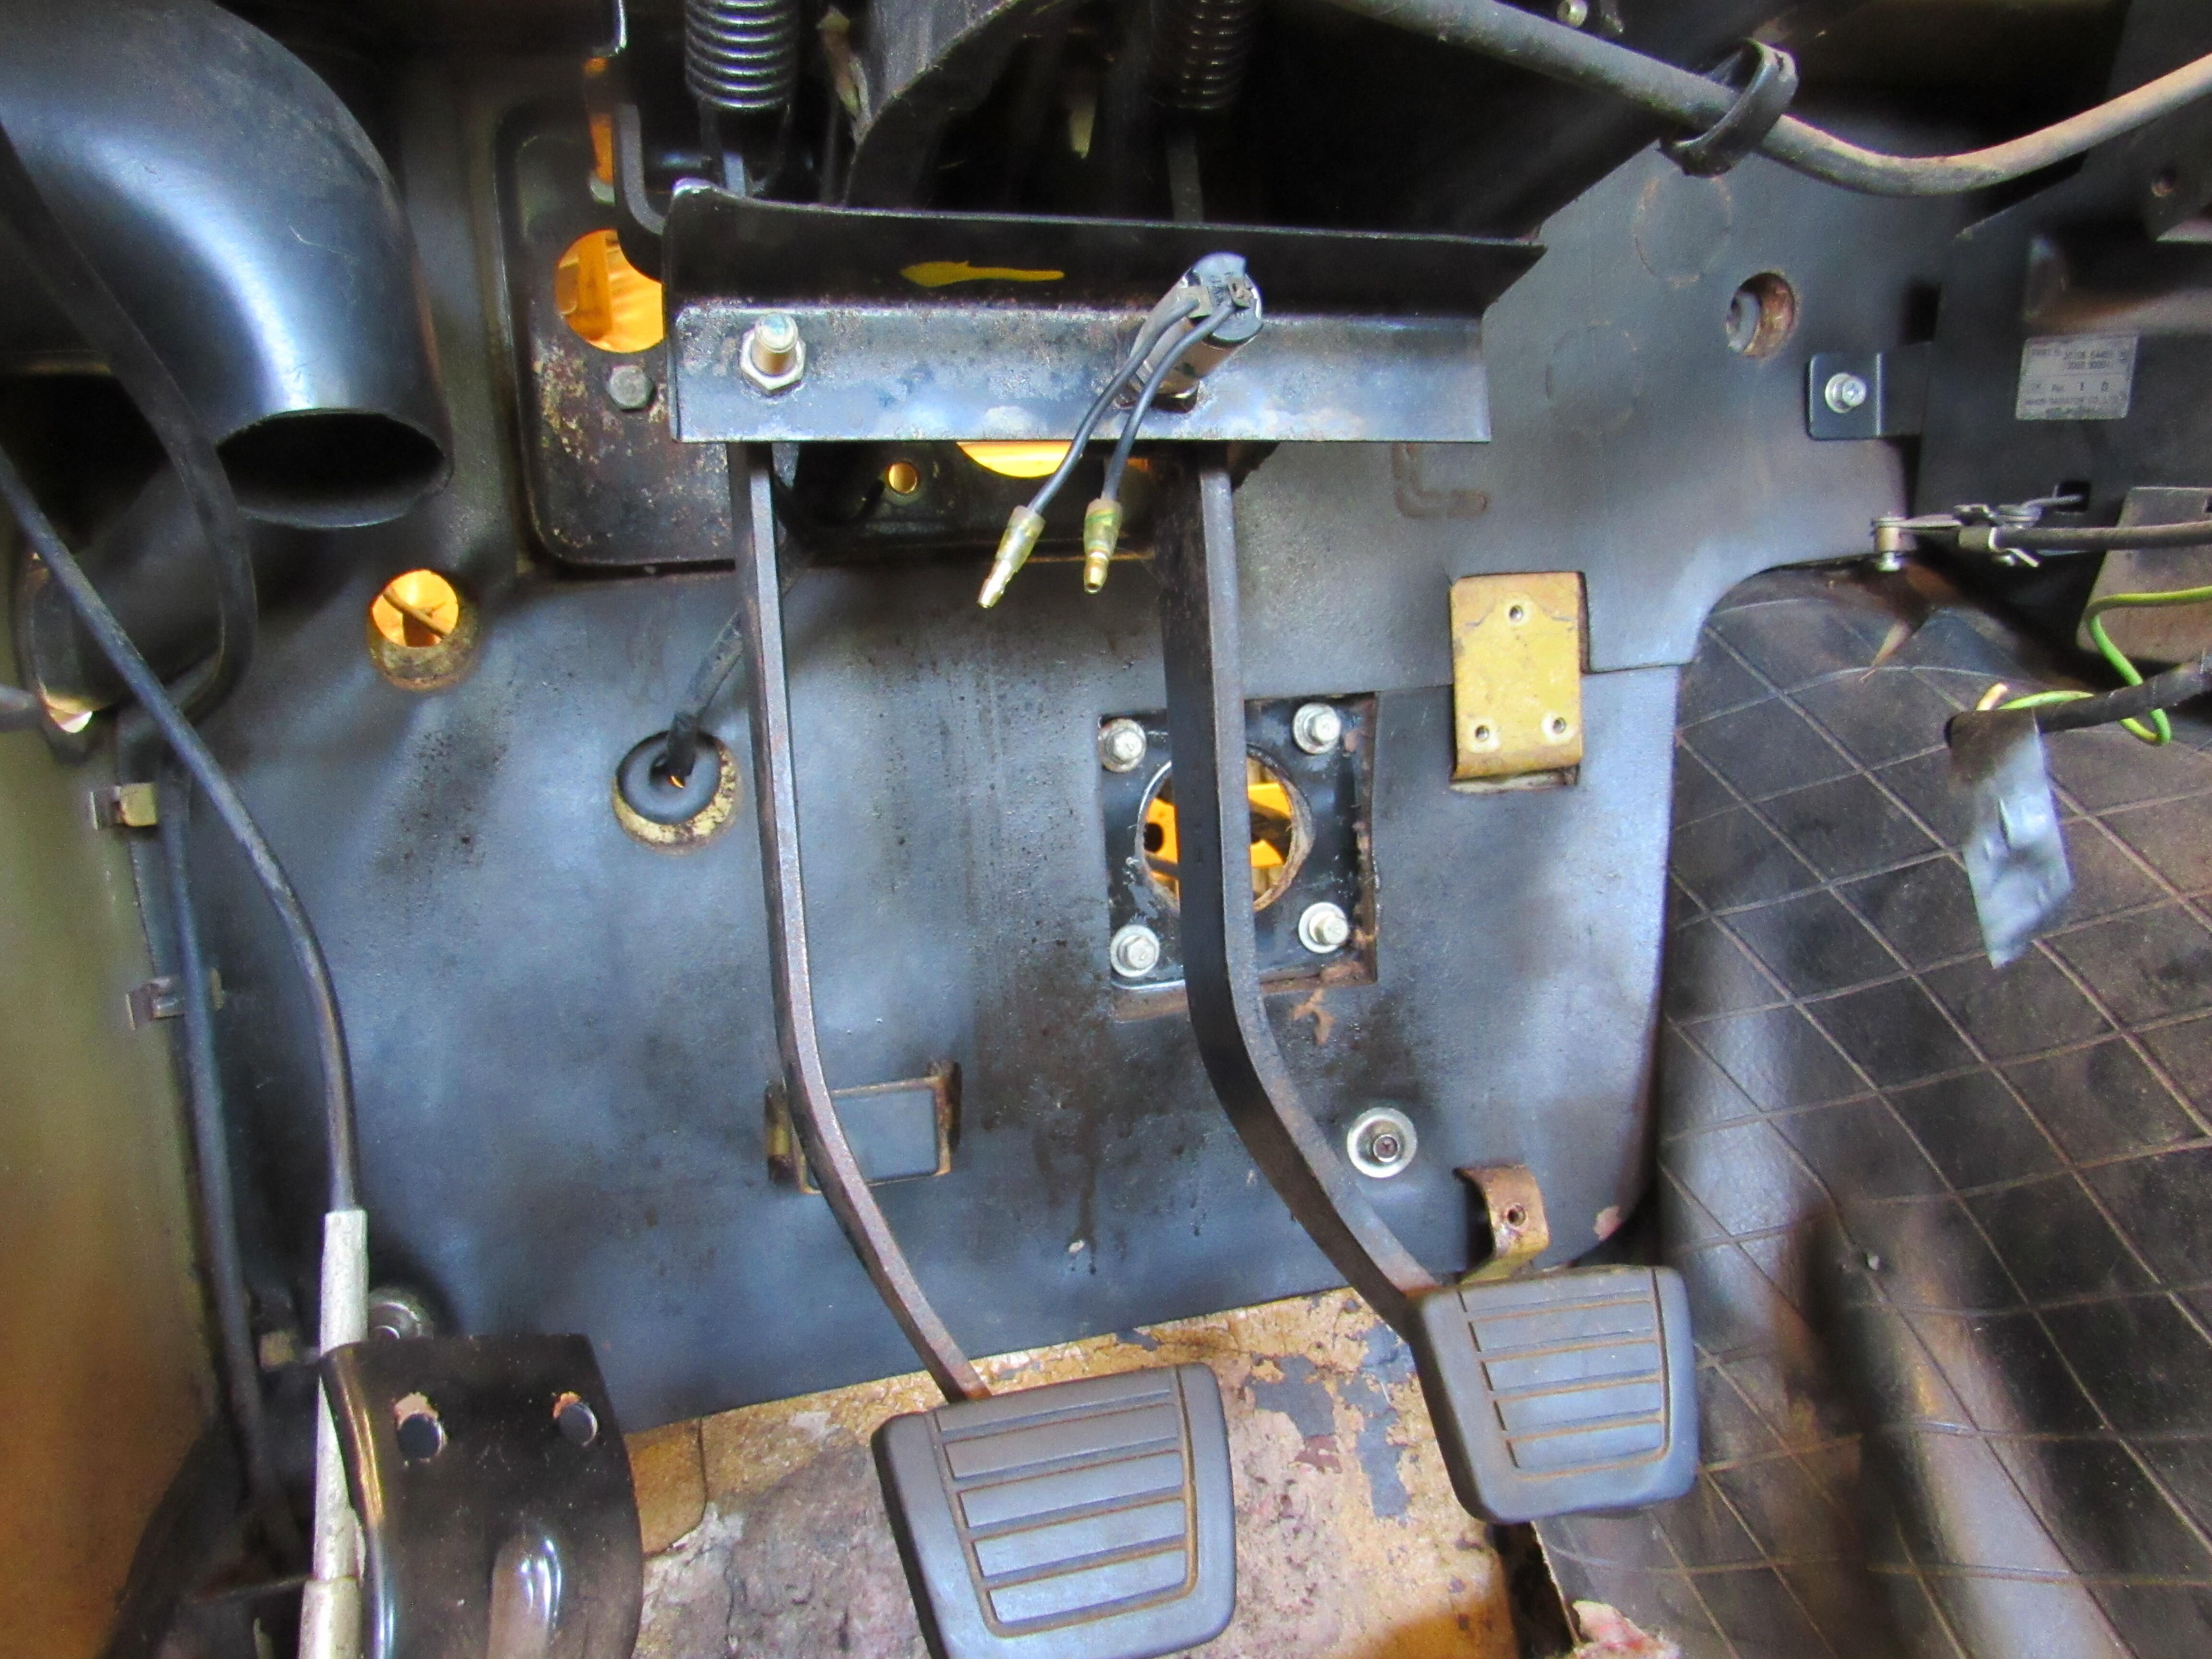
 I'm talking about the rubber boot that surrounds the hinges. @Patcon, the bottom of the A pillar opens up into the cowl area.
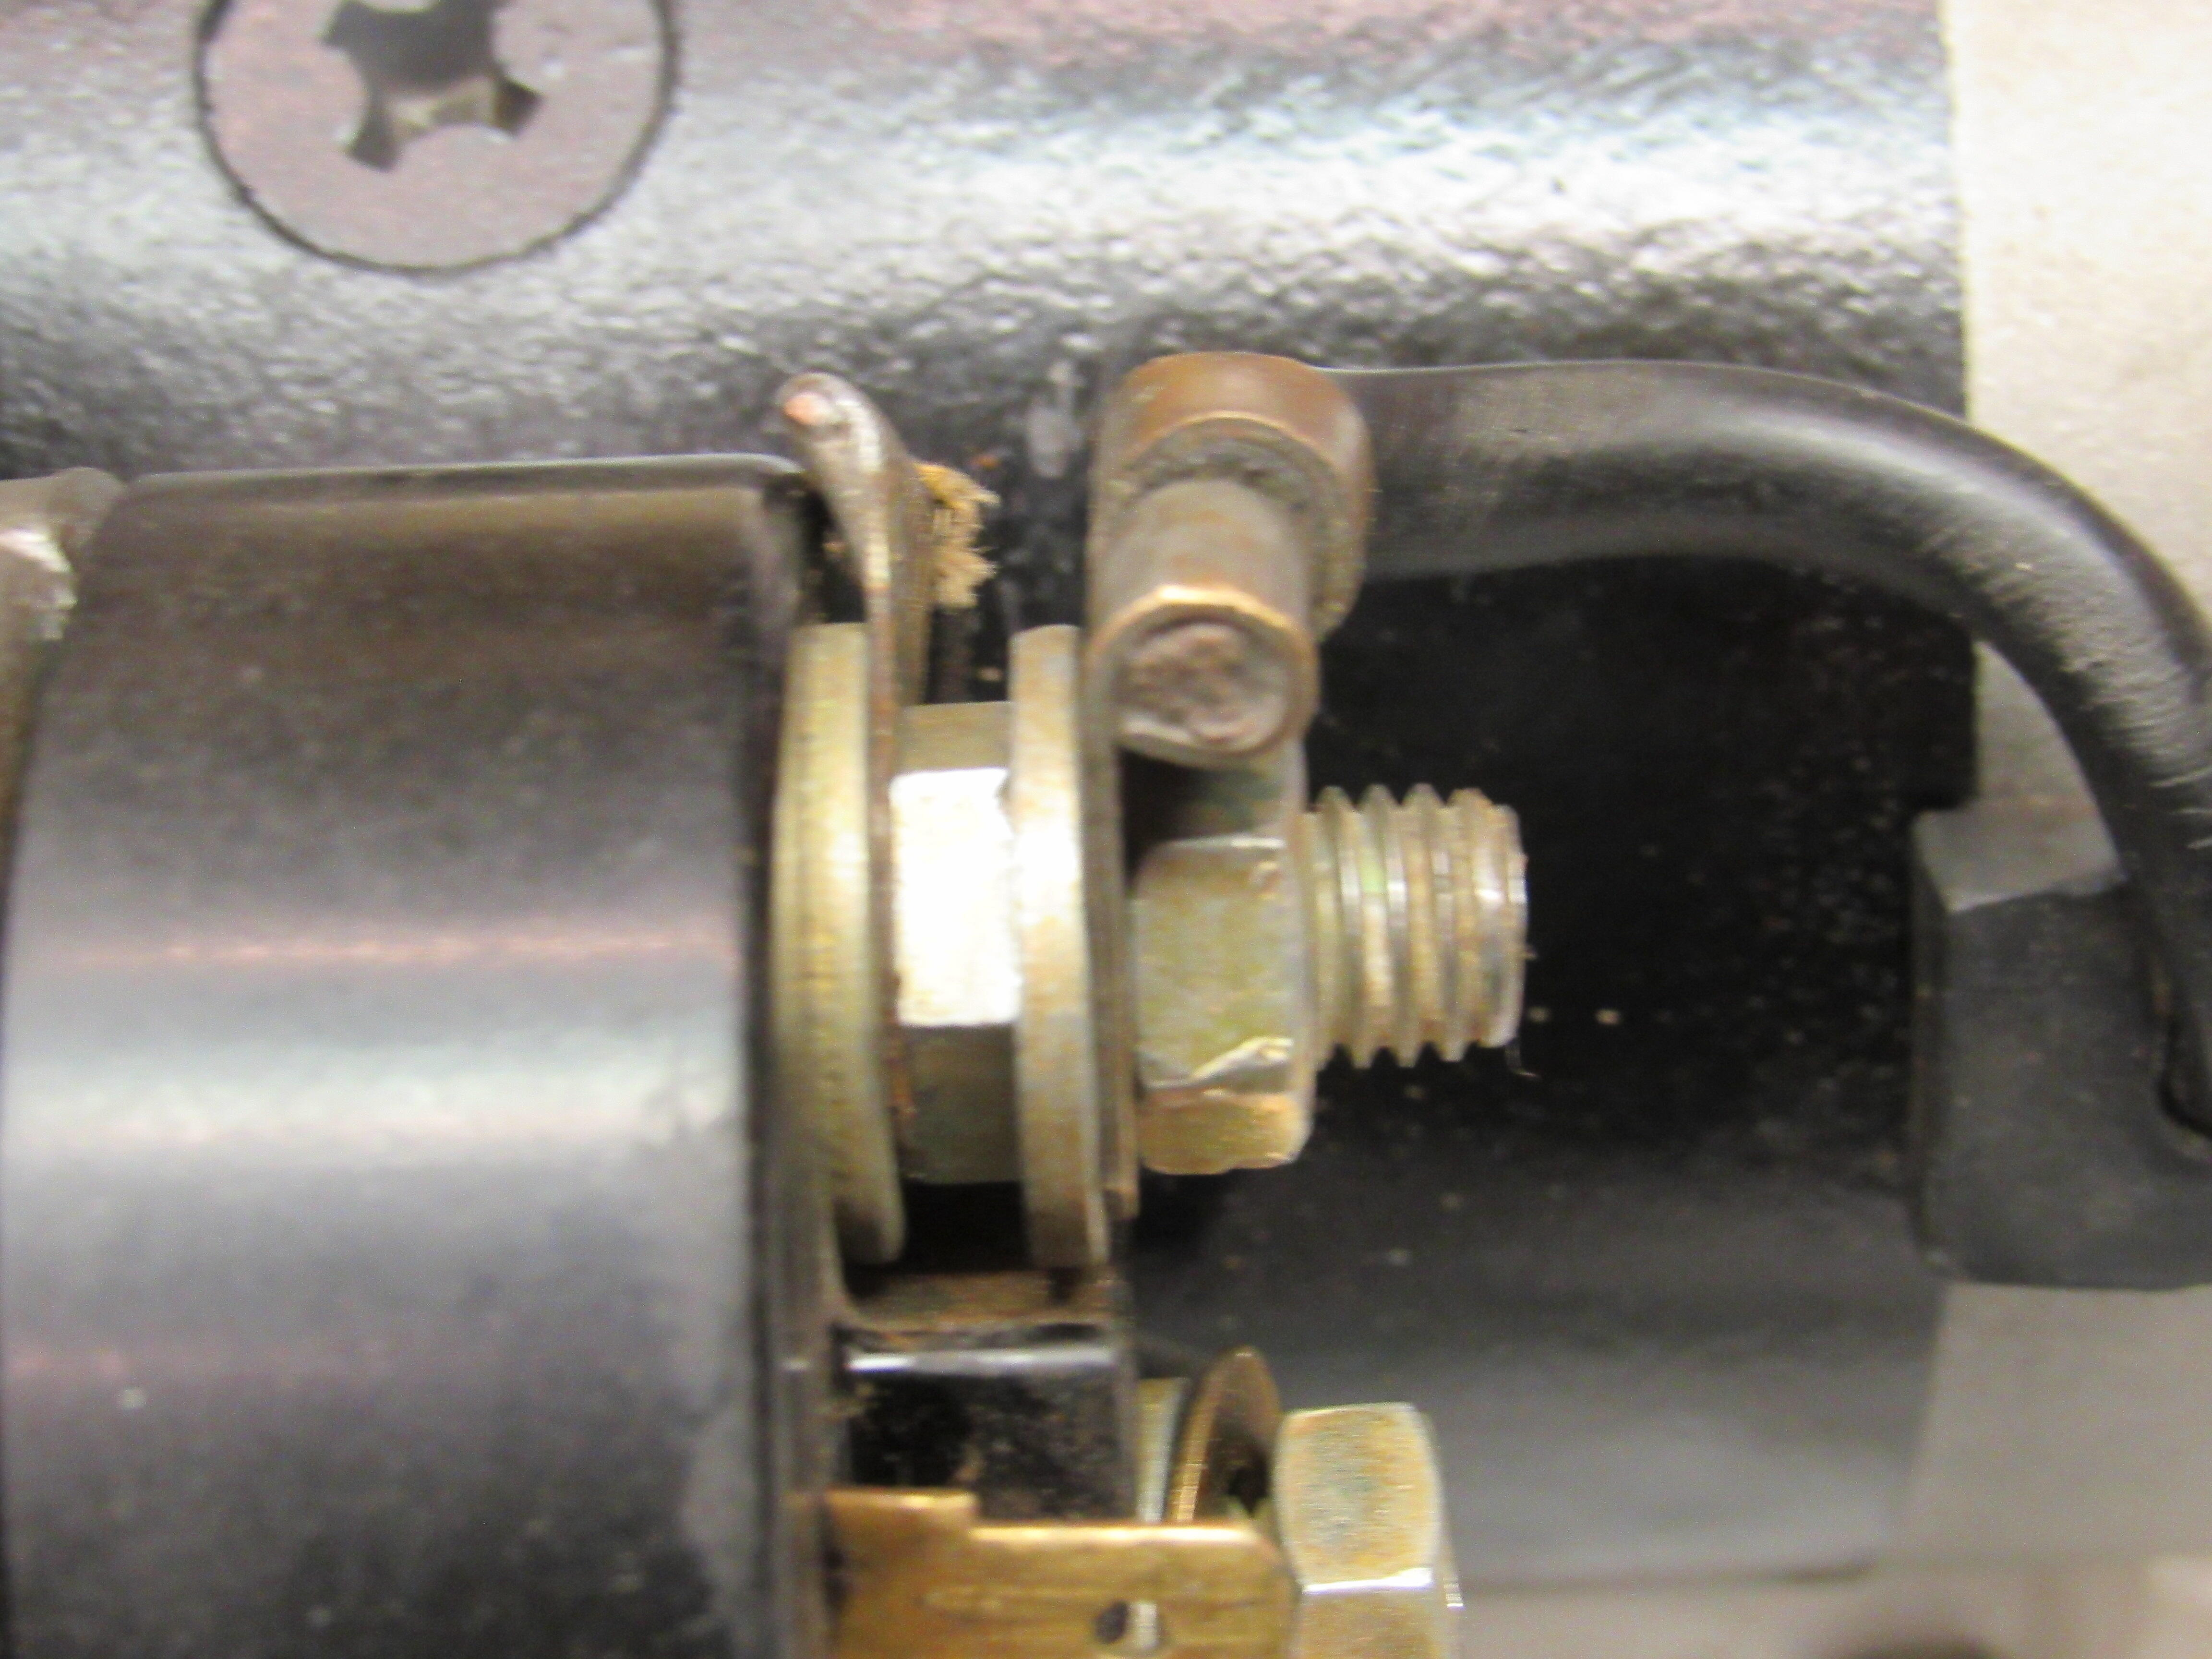
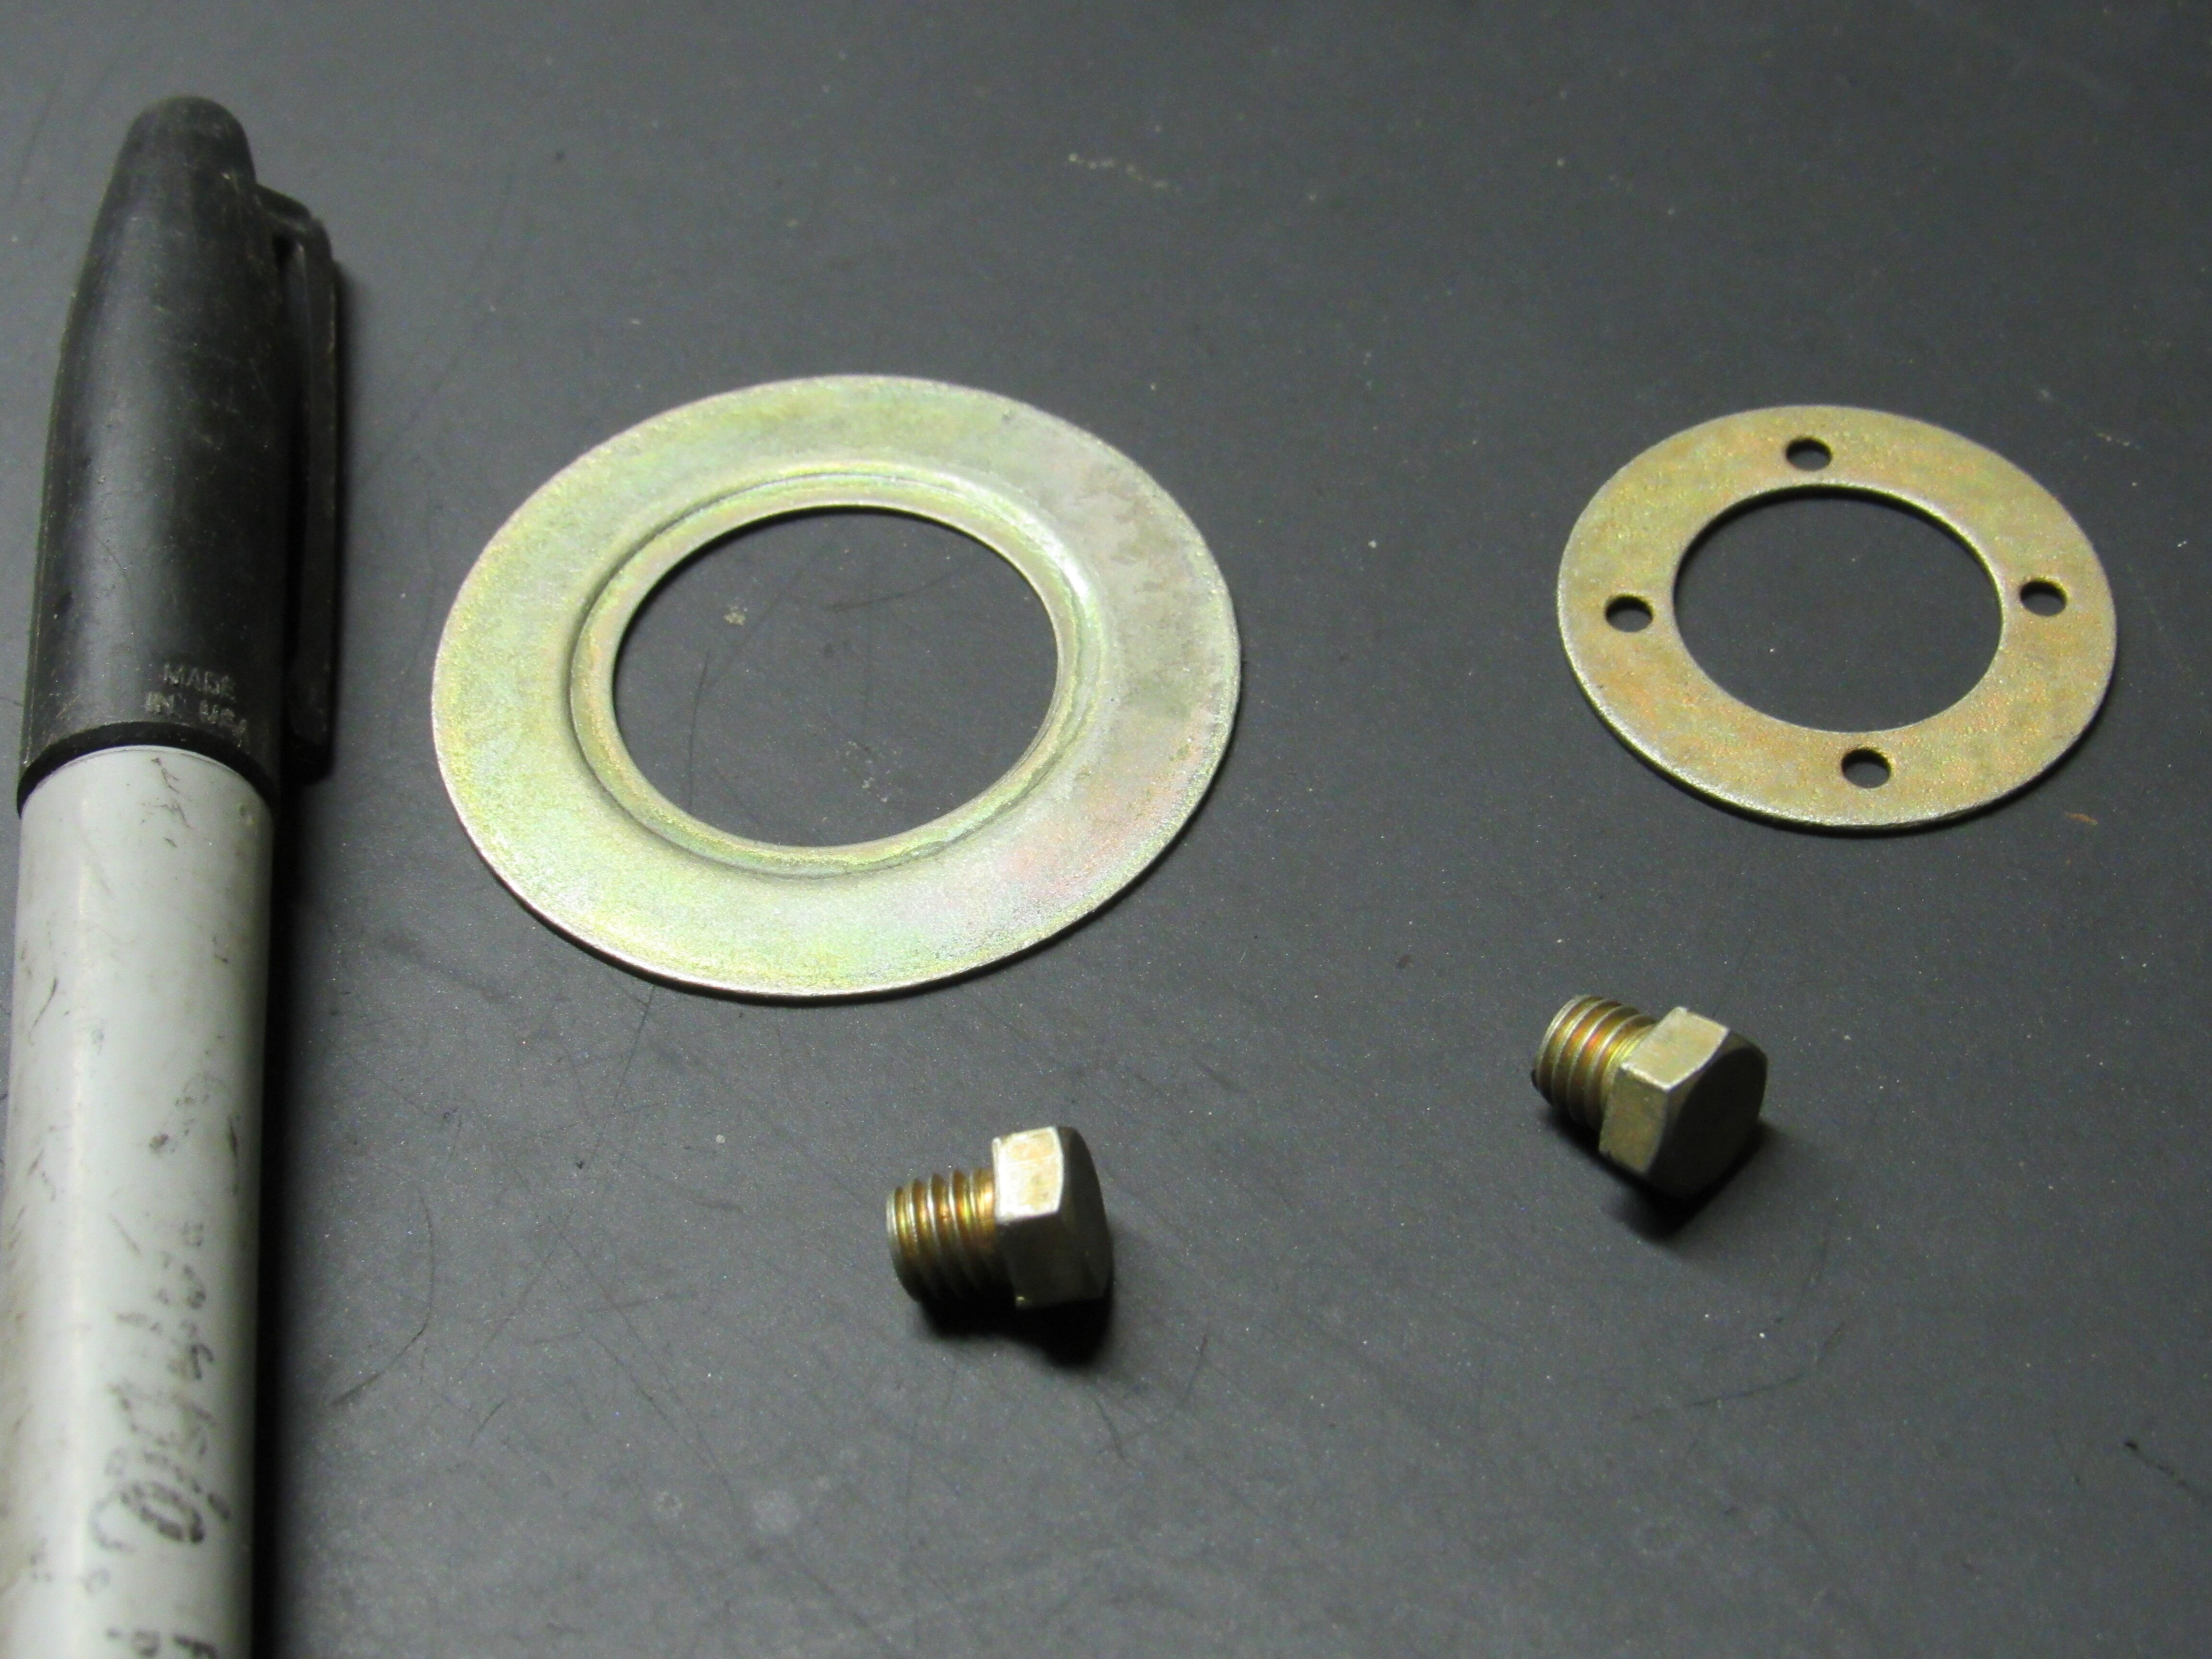
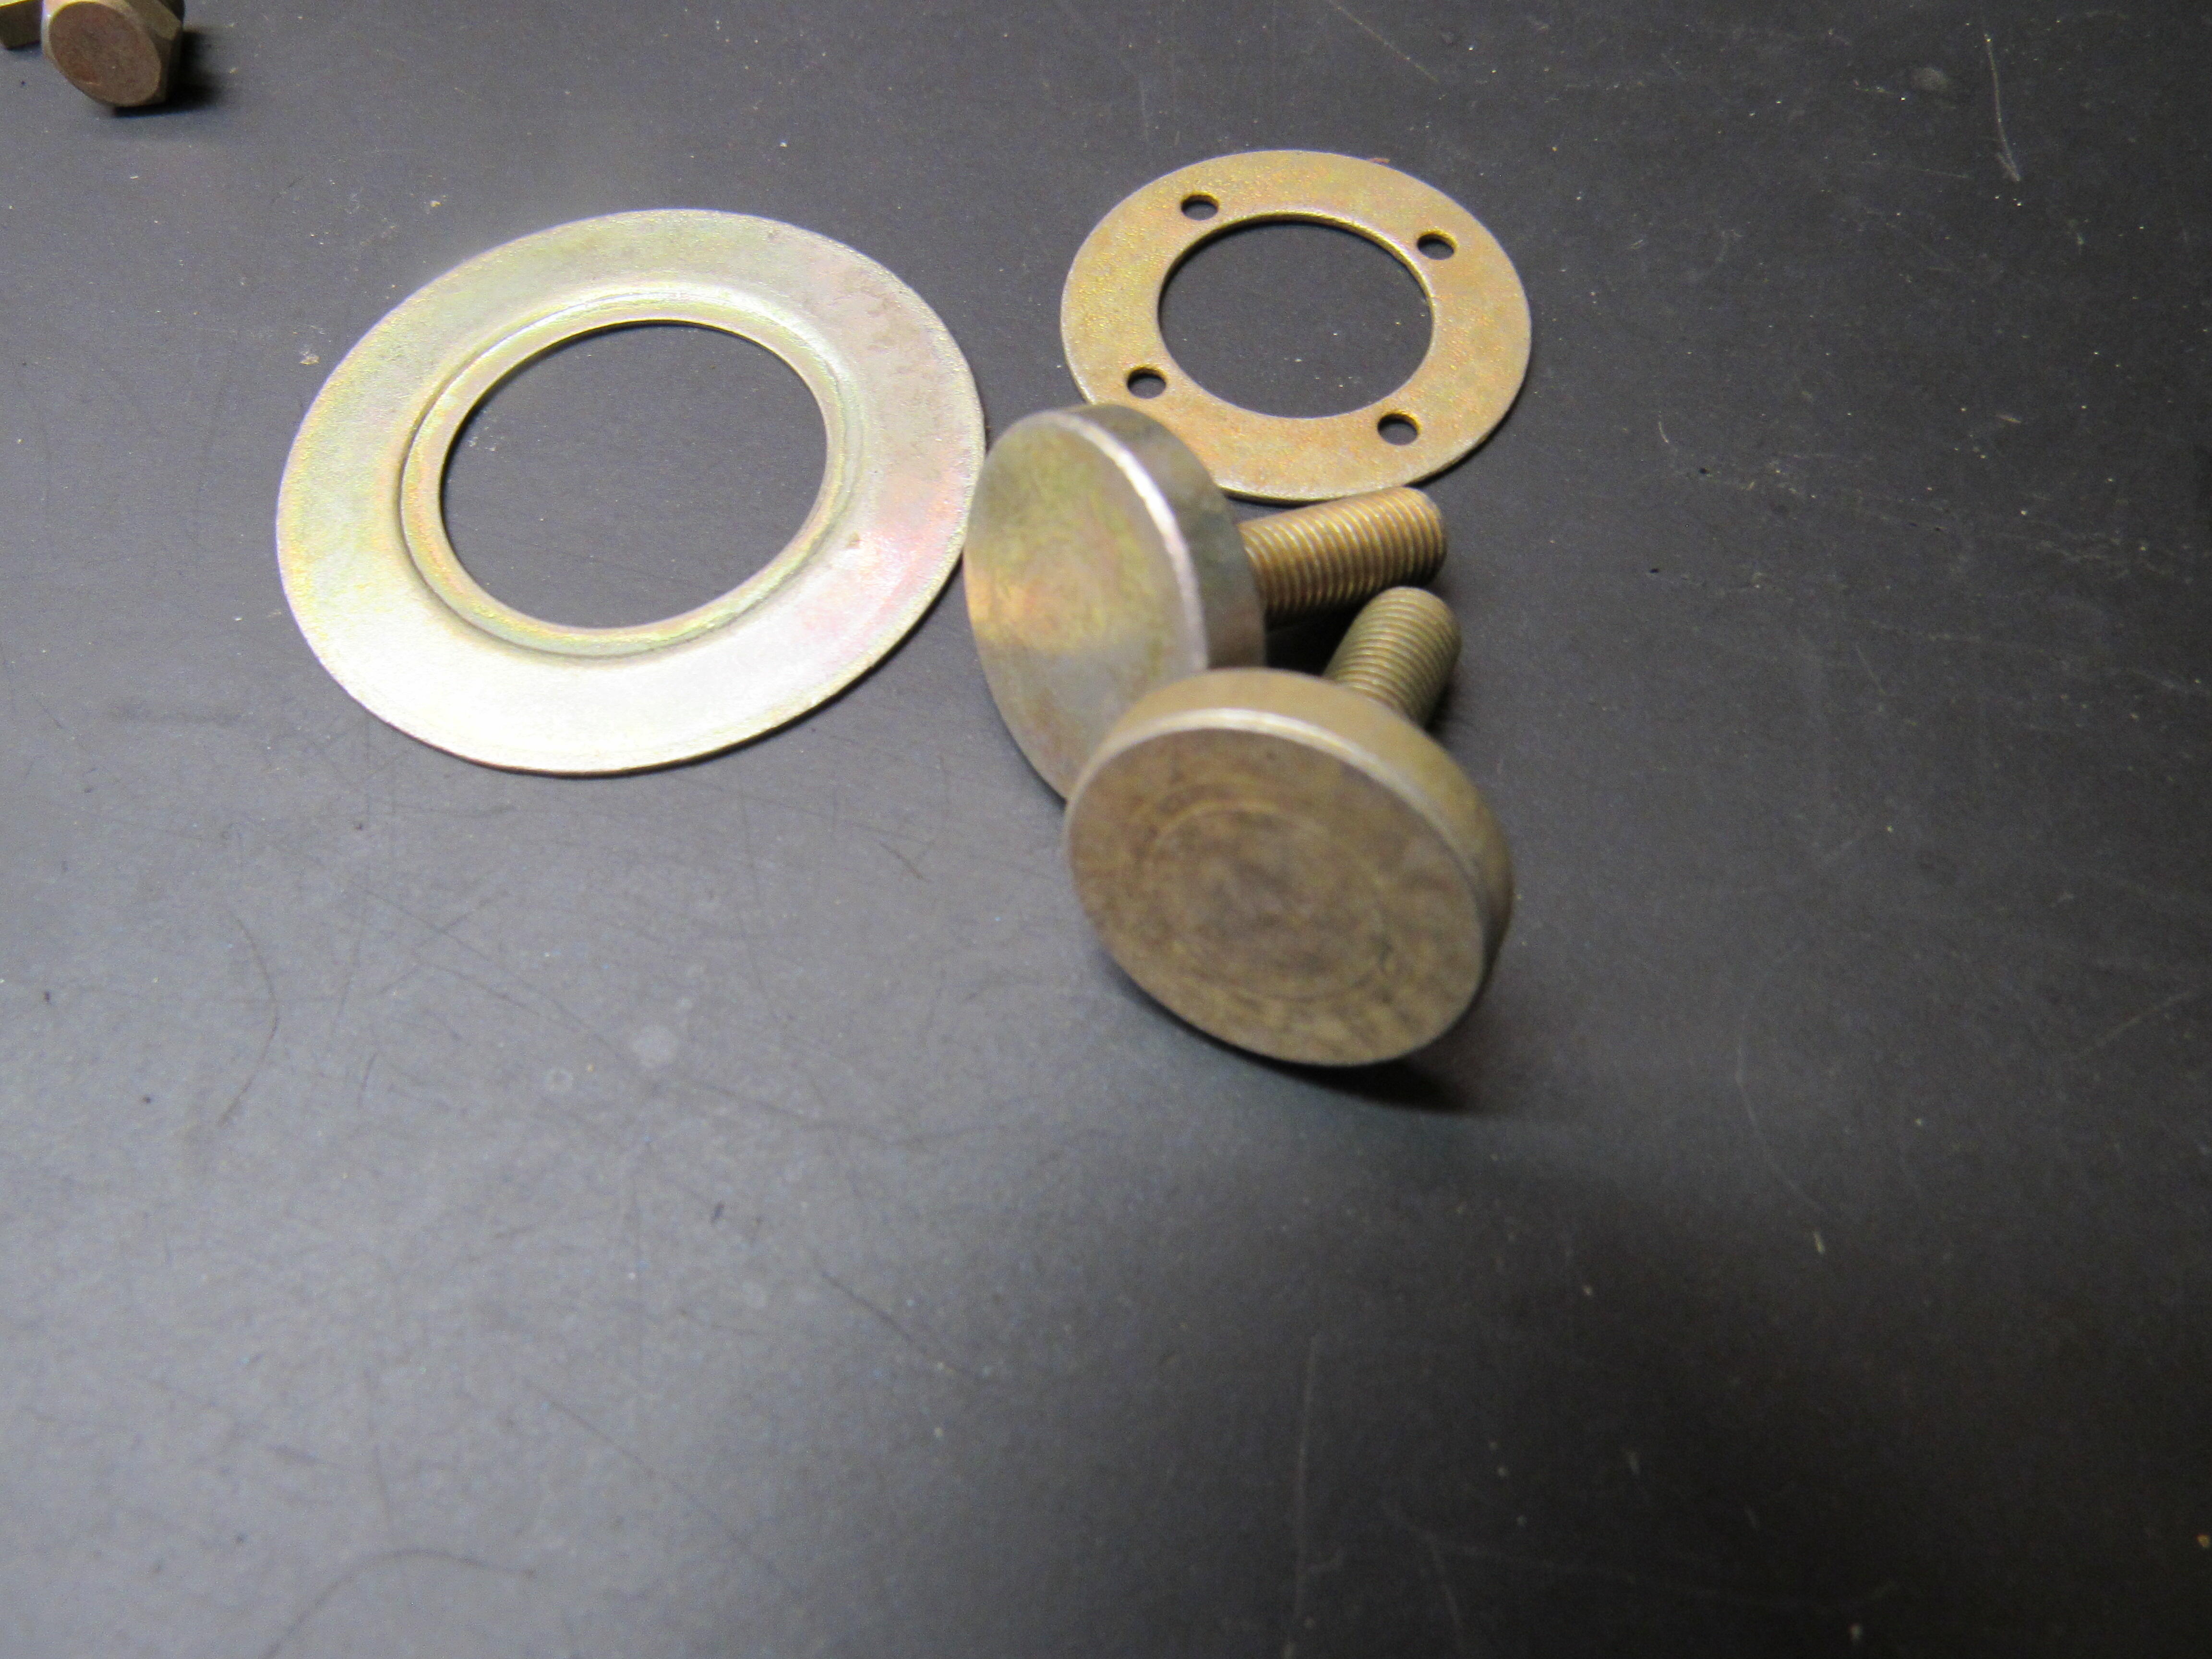
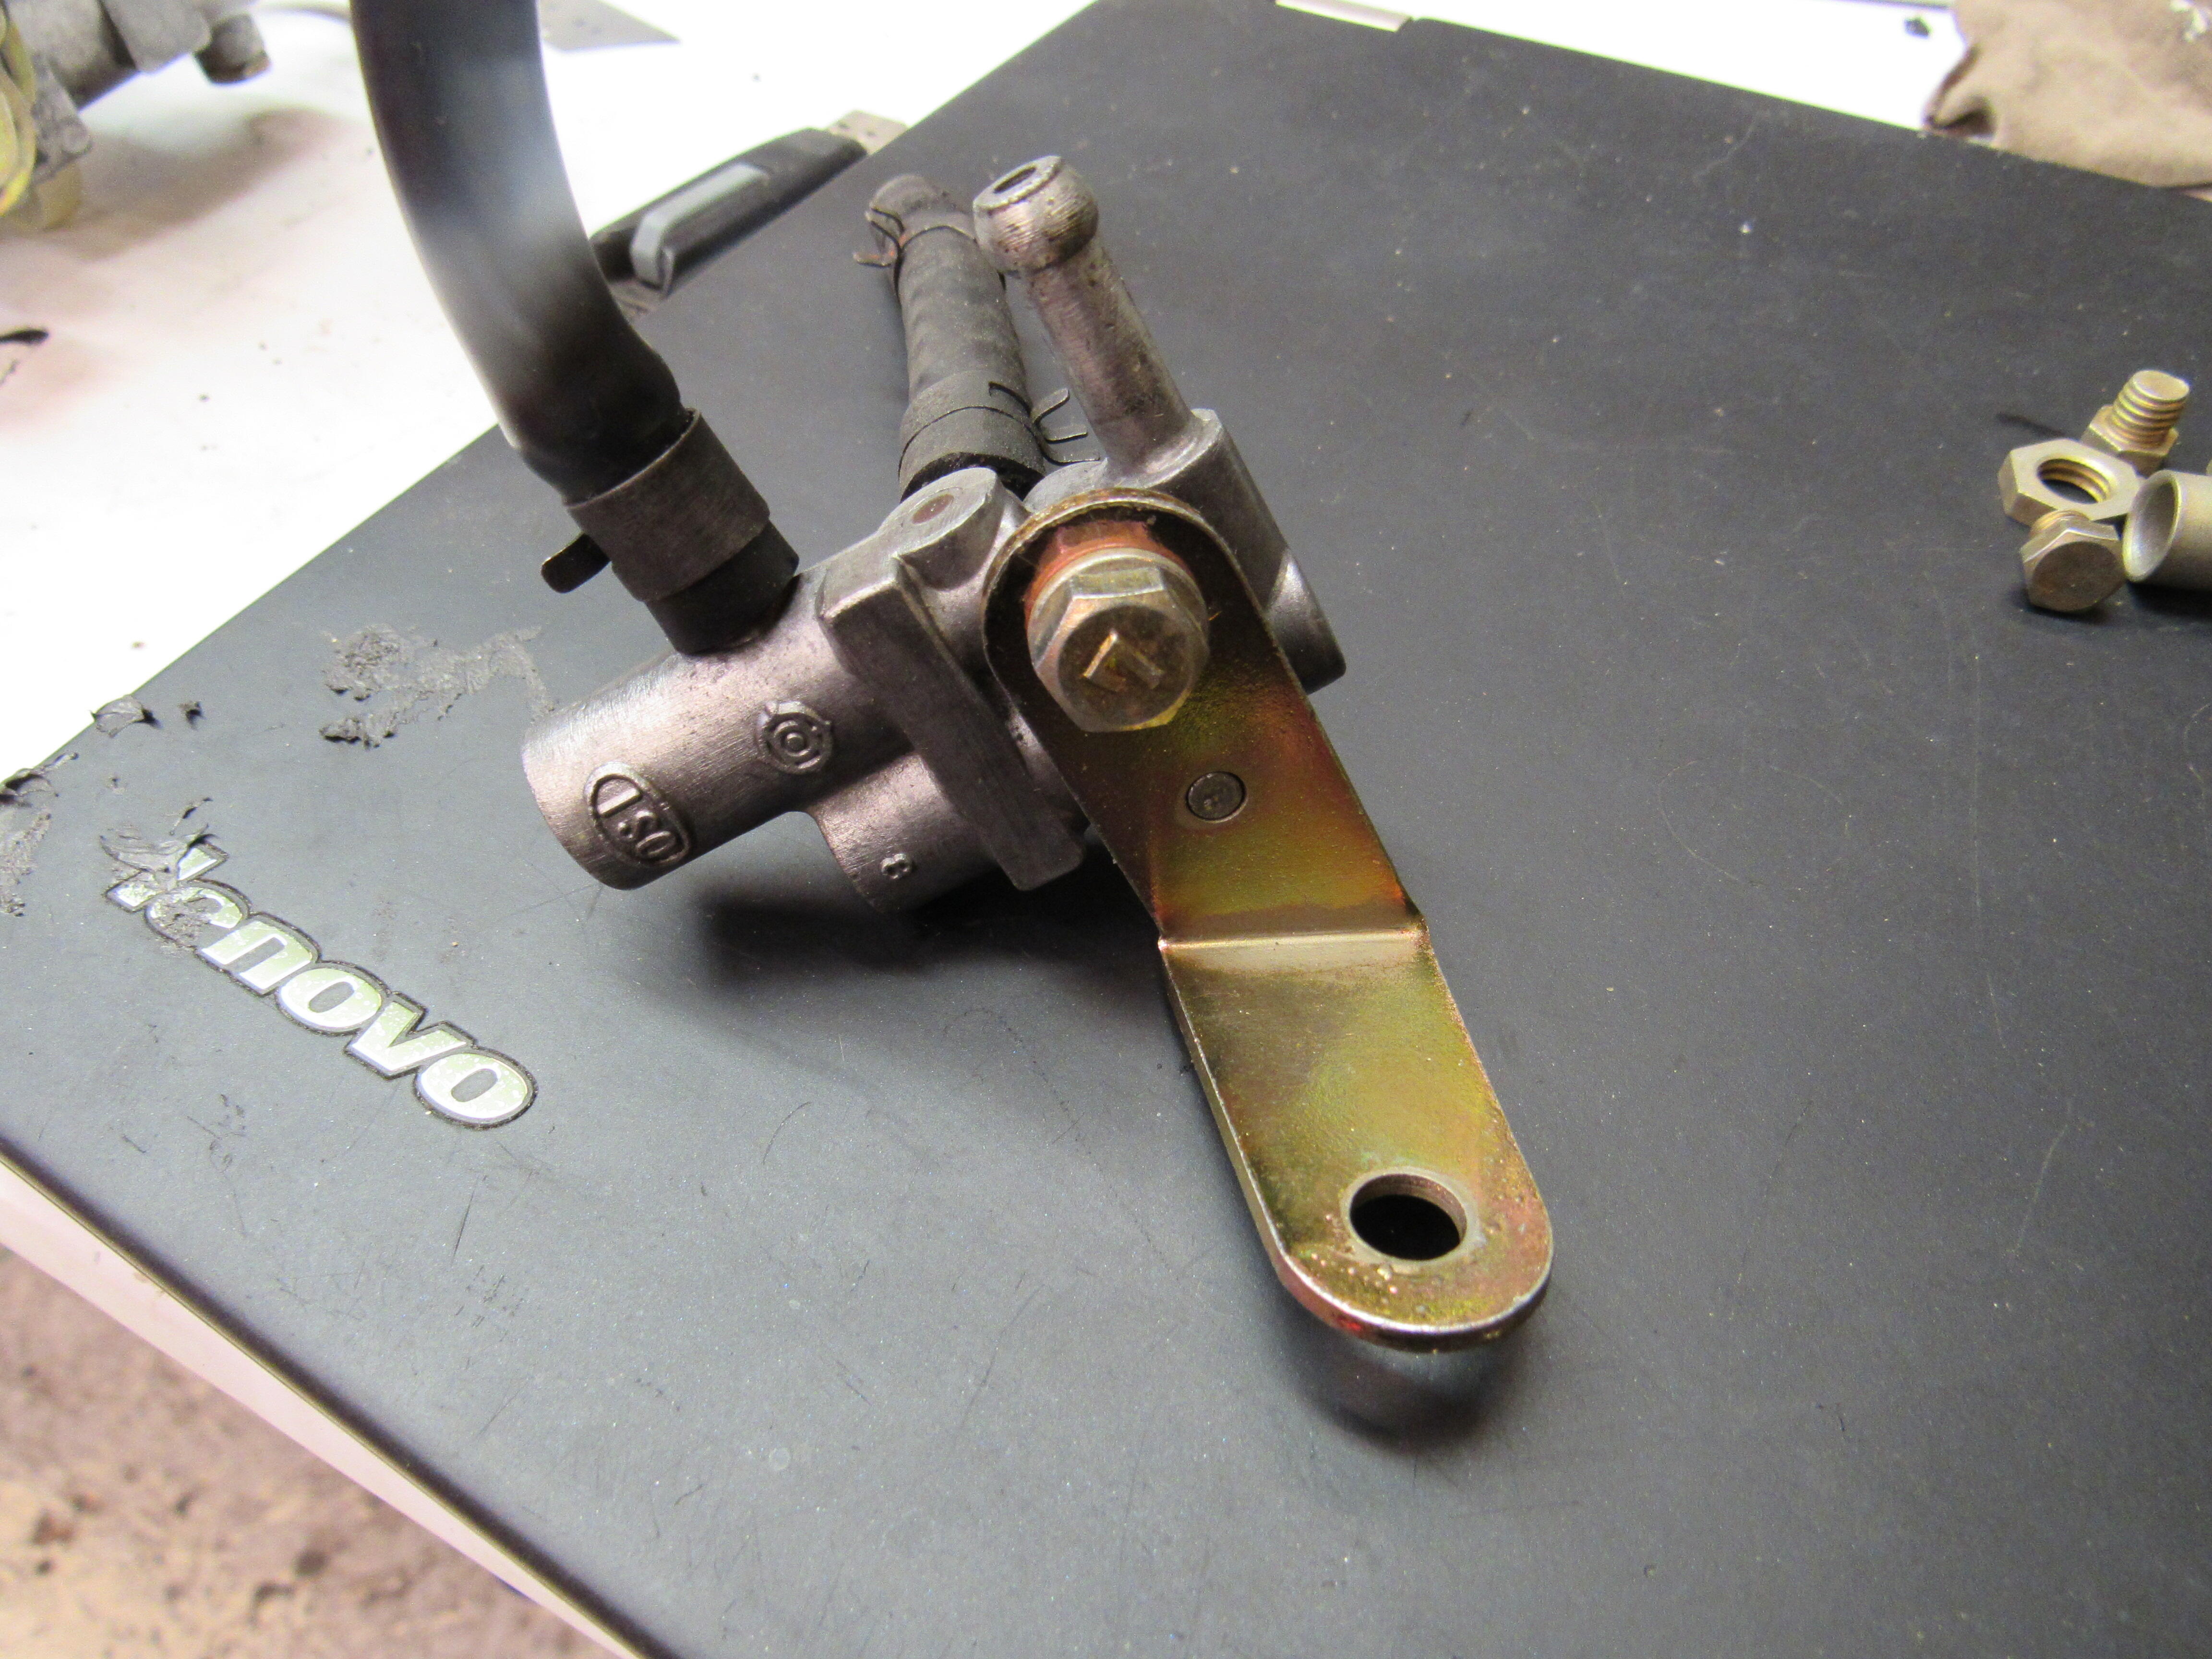
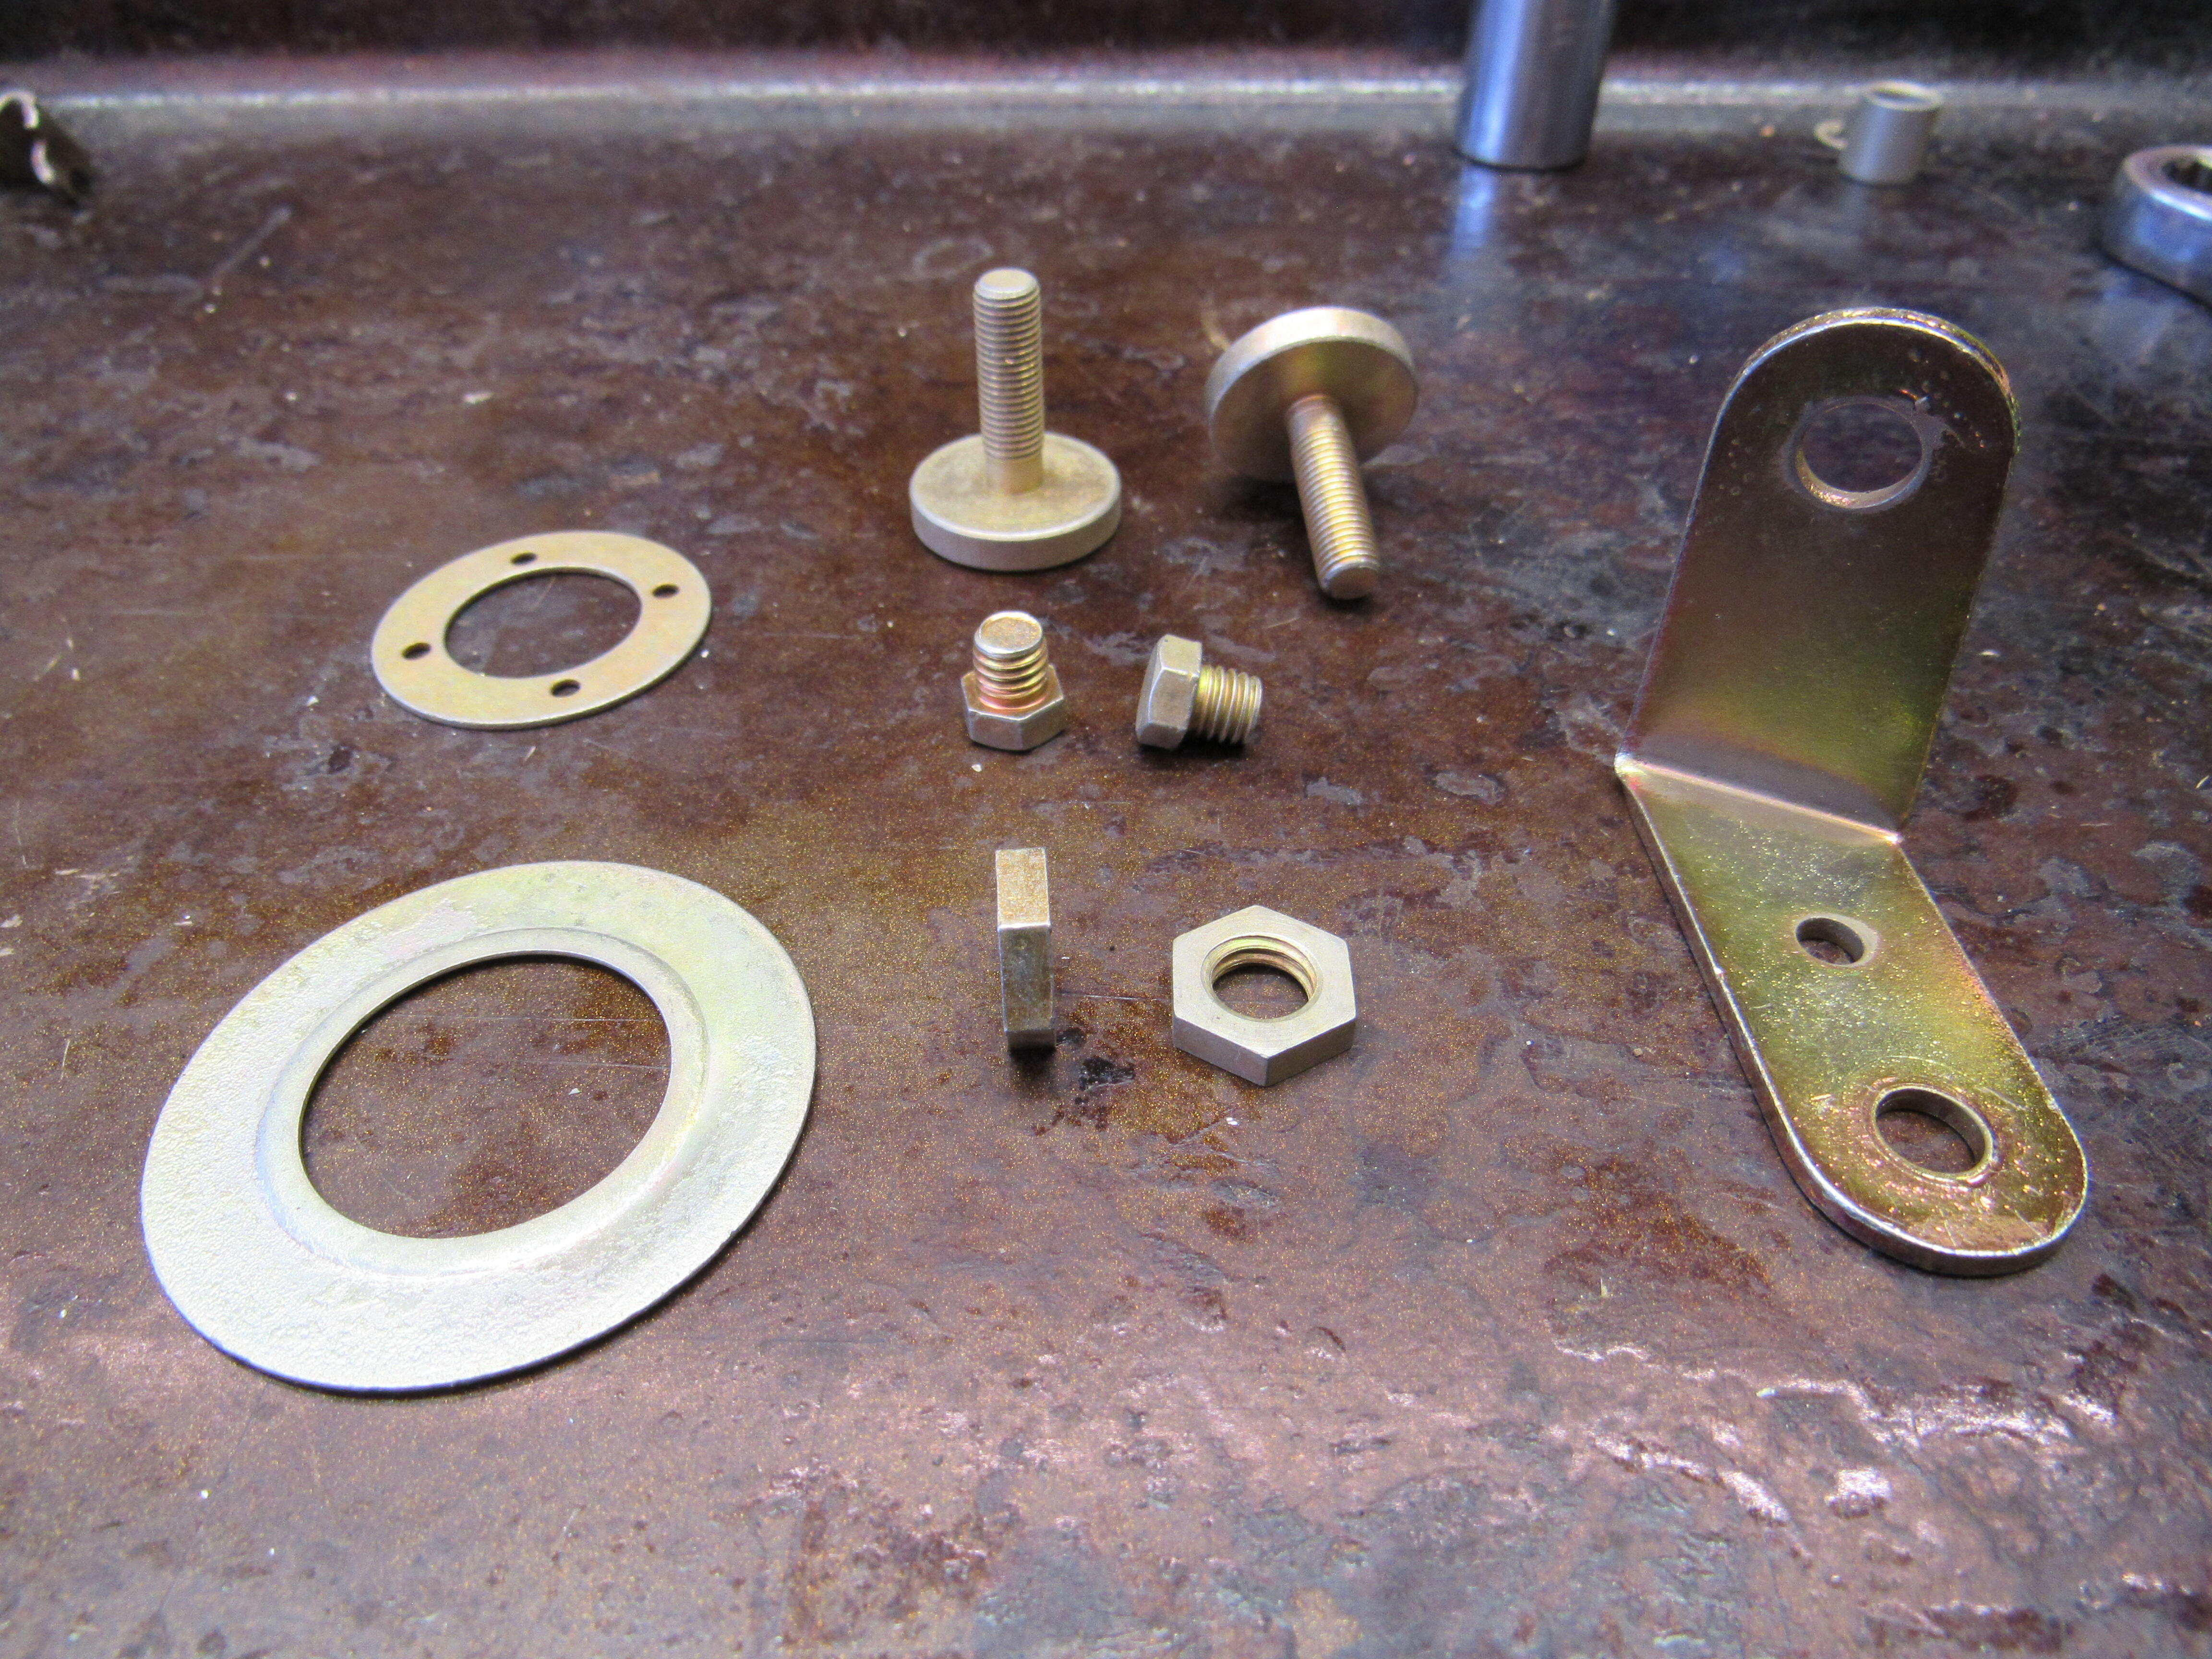
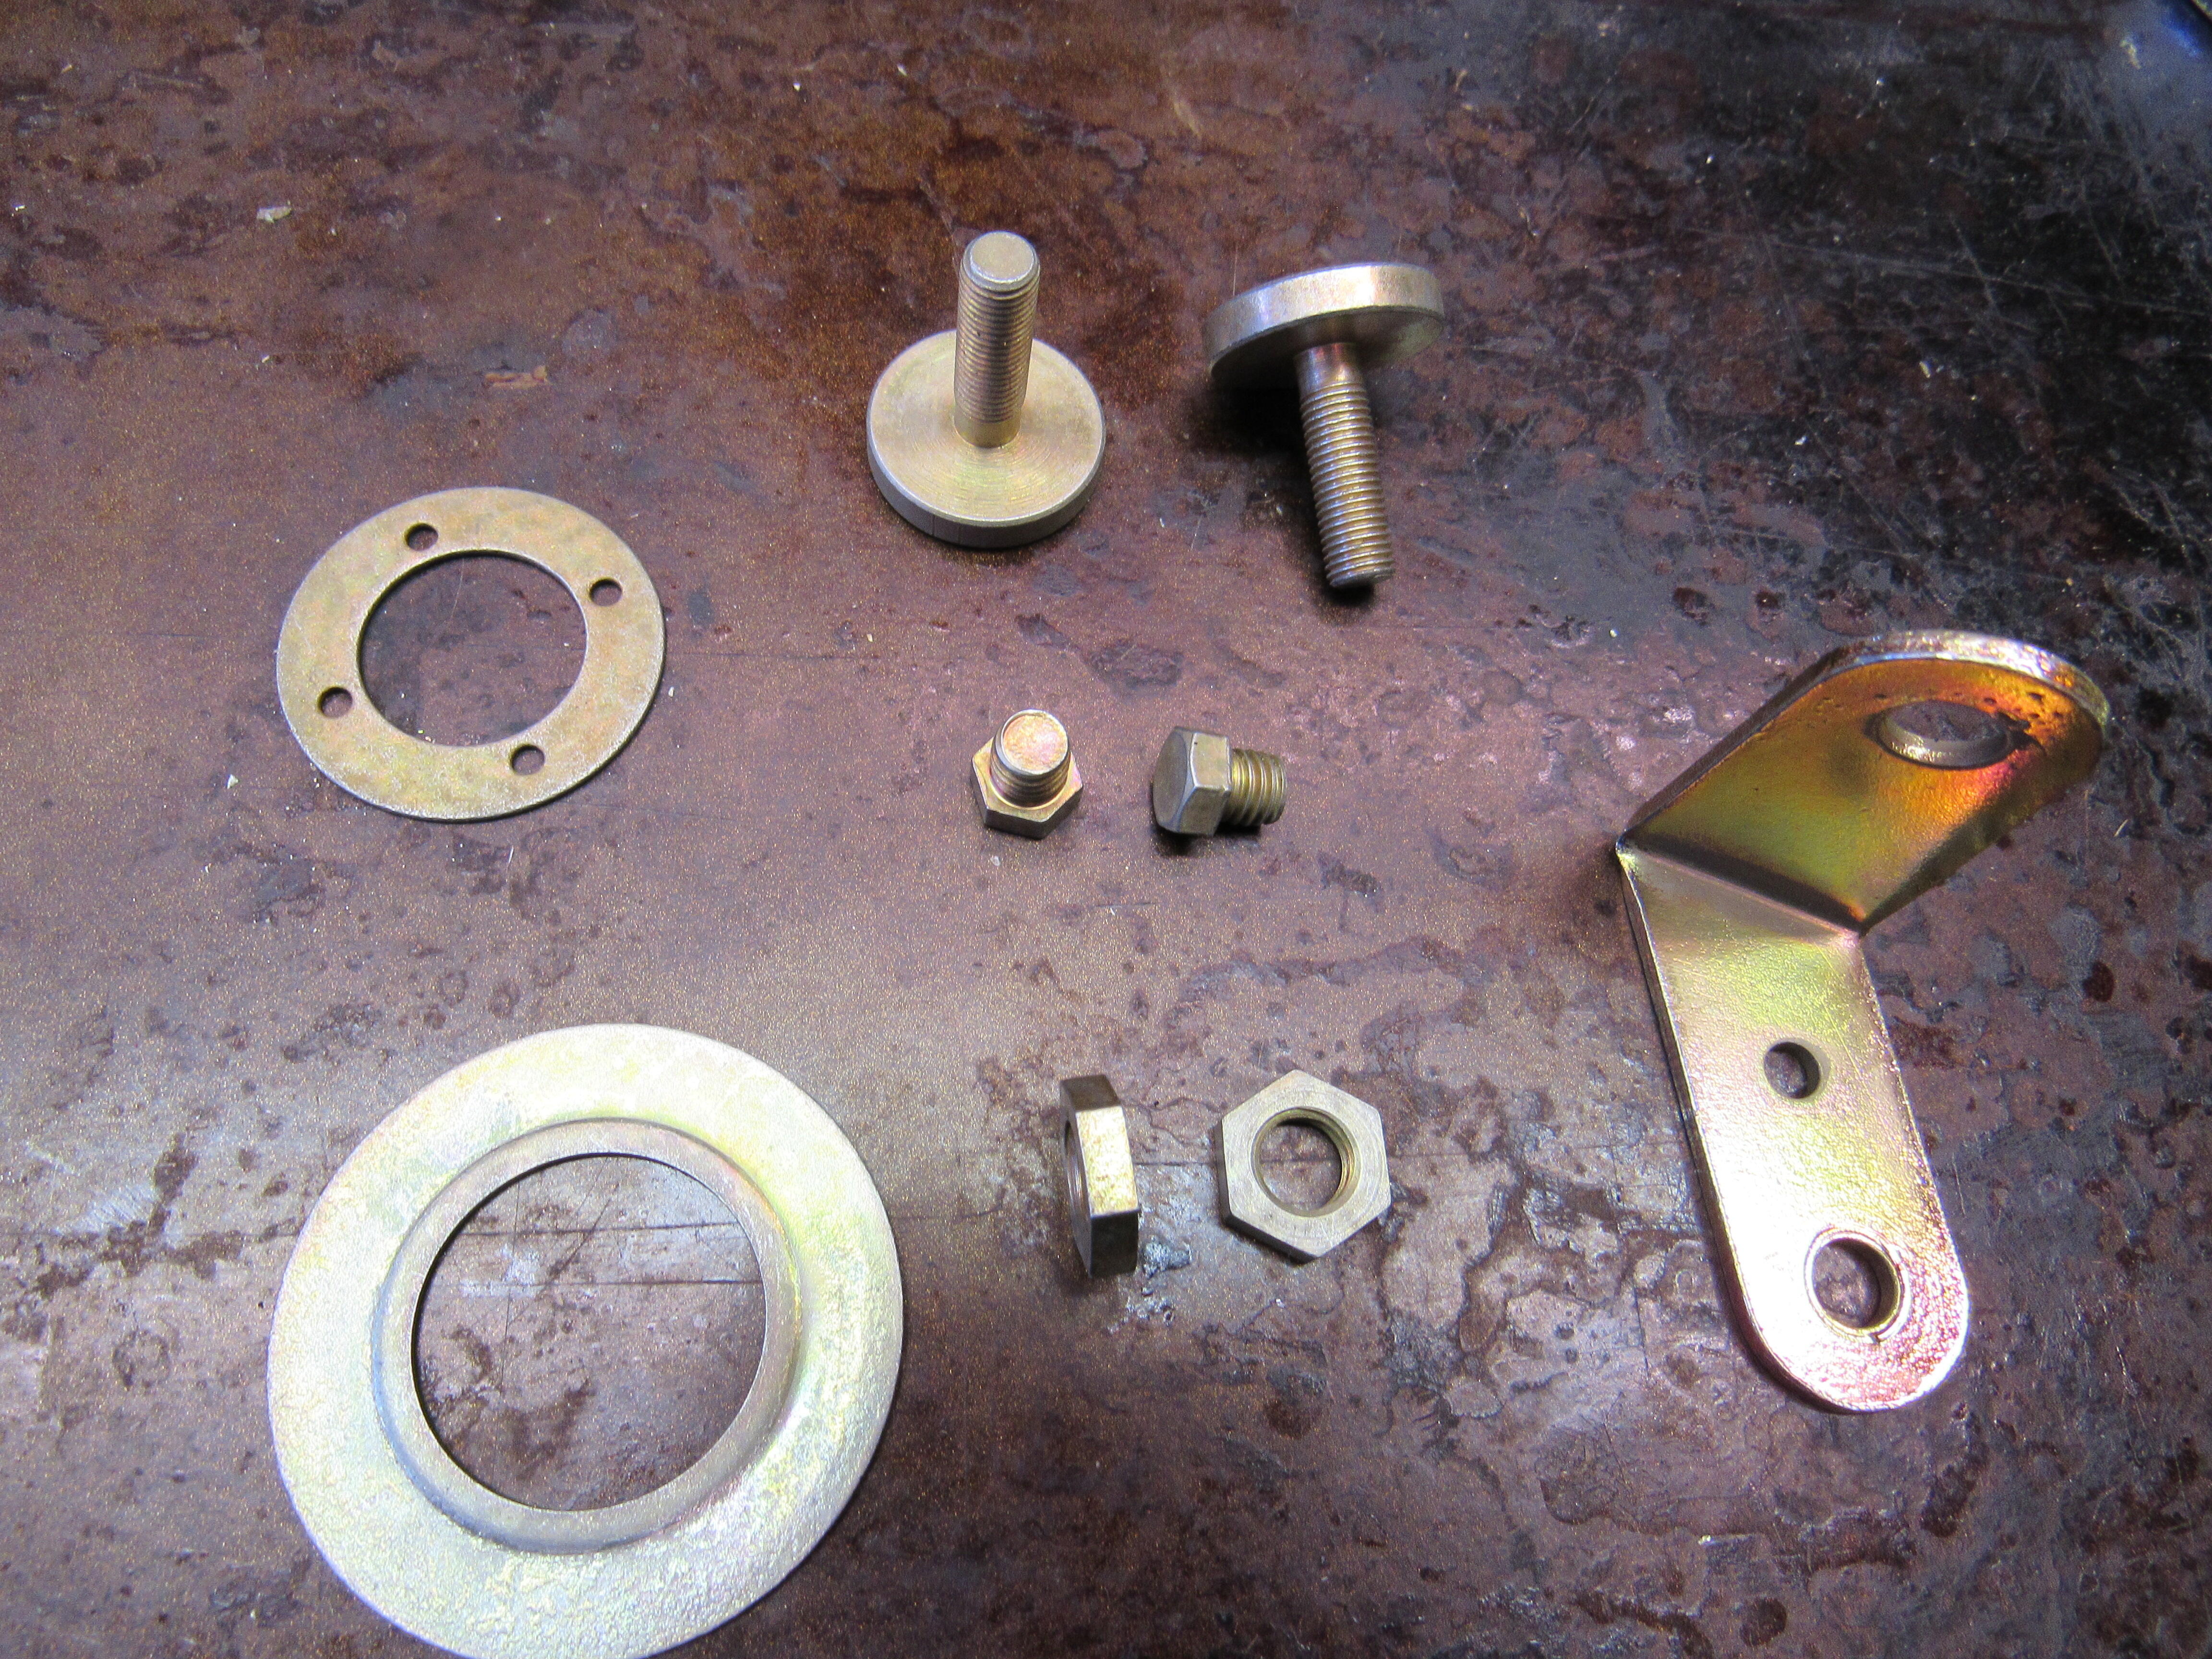
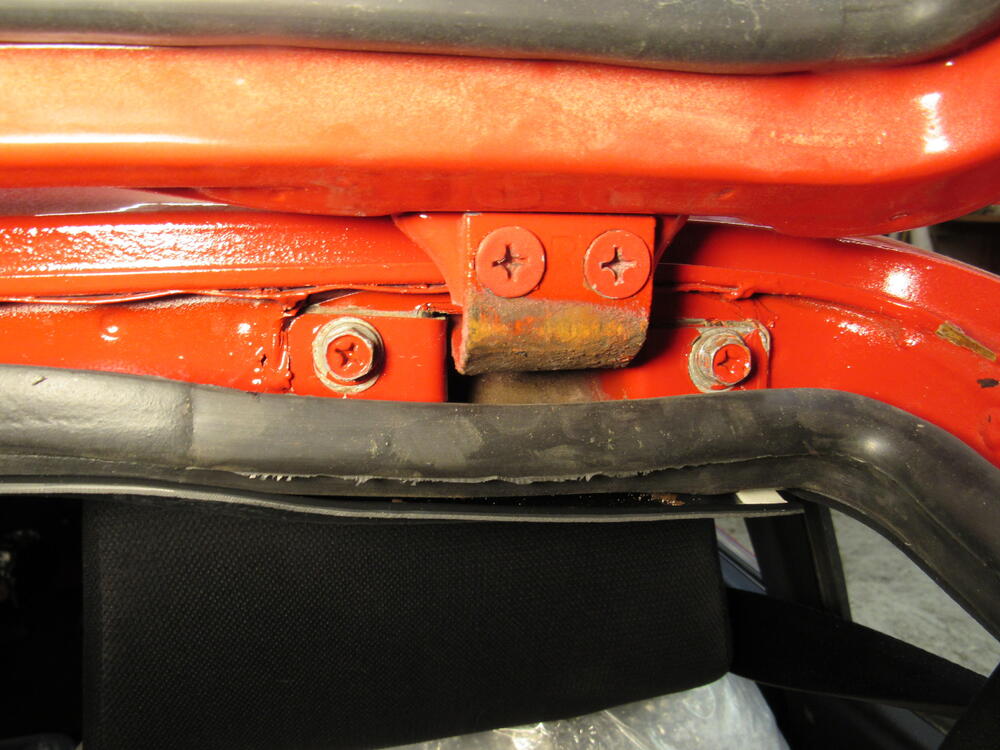 I think the 2 flat nuts are the first ones on the terminals of the starter. So just need to find a home for these 2 washers and the stubby M6x1 bolts.
 There are two rubber cups that surround the hatch hinges, quite often they have cracks in them from age and heat, it would be easy for insects to climb in there. It could also be a vibration but that would usually show up at the same RPM range.
Yes, now I remember, I must have removed them before I started taking the establishing photos, thank you.
I have my bucket of zinc plated hardware sorted out now but have a few pieces I can't identify where they belong. Anyone want to take a stab at them?
There are two rubber cups that surround the hatch hinges, quite often they have cracks in them from age and heat, it would be easy for insects to climb in there. It could also be a vibration but that would usually show up at the same RPM range.
Yes, now I remember, I must have removed them before I started taking the establishing photos, thank you.
I have my bucket of zinc plated hardware sorted out now but have a few pieces I can't identify where they belong. Anyone want to take a stab at them?
 I'm starting to reassemble the 4 screw SU's and I have been looking around for an article or vid that gives all the baseline measurements/settings and tricks to get the nozzle centred. I've read the FSM but their images are kind of dark, wondering if you guys have some go to links that have what I'm looking for? Thanks.


Important Information
By using this site, you agree to our Privacy Policy and Guidelines. We have placed cookies on your device to help make this website better. You can adjust your cookie settings, otherwise we'll assume you're okay to continue.