grannyknot
Member
-
Joined
-
Last visited
Everything posted by grannyknot
-
 Ah, that makes sense. The housing of the door switch doesn't need it's own grounding wire as it is grounded on the sheet metal as it is pushed into the hole on the door jam. The dome light, door switch circuit has always baffled me, thanks.
 -
I'm going to take a guess and say that yellow drip mark on the moustache bar is from the yellow paint pen/brush used to mark nuts that have been torqued.
-
When you get up to the 280z, both the inner and outer wheel bearings are sealed inside and out, a bit of grease between the seal and bearing is all that is needed.
-
That is an easy fix, remove the licence plate lamp unit, loosen the 2 10mm head screws for the latch and push it up a 1/8" tighten the screws back down, try closing the hatch. Over the years the latch can migrate down after so many openings and closings.
-
Those steel bushings must be soft mild steel, if you have a used one can you give it a stroke with a hacksaw blade to find out?
-
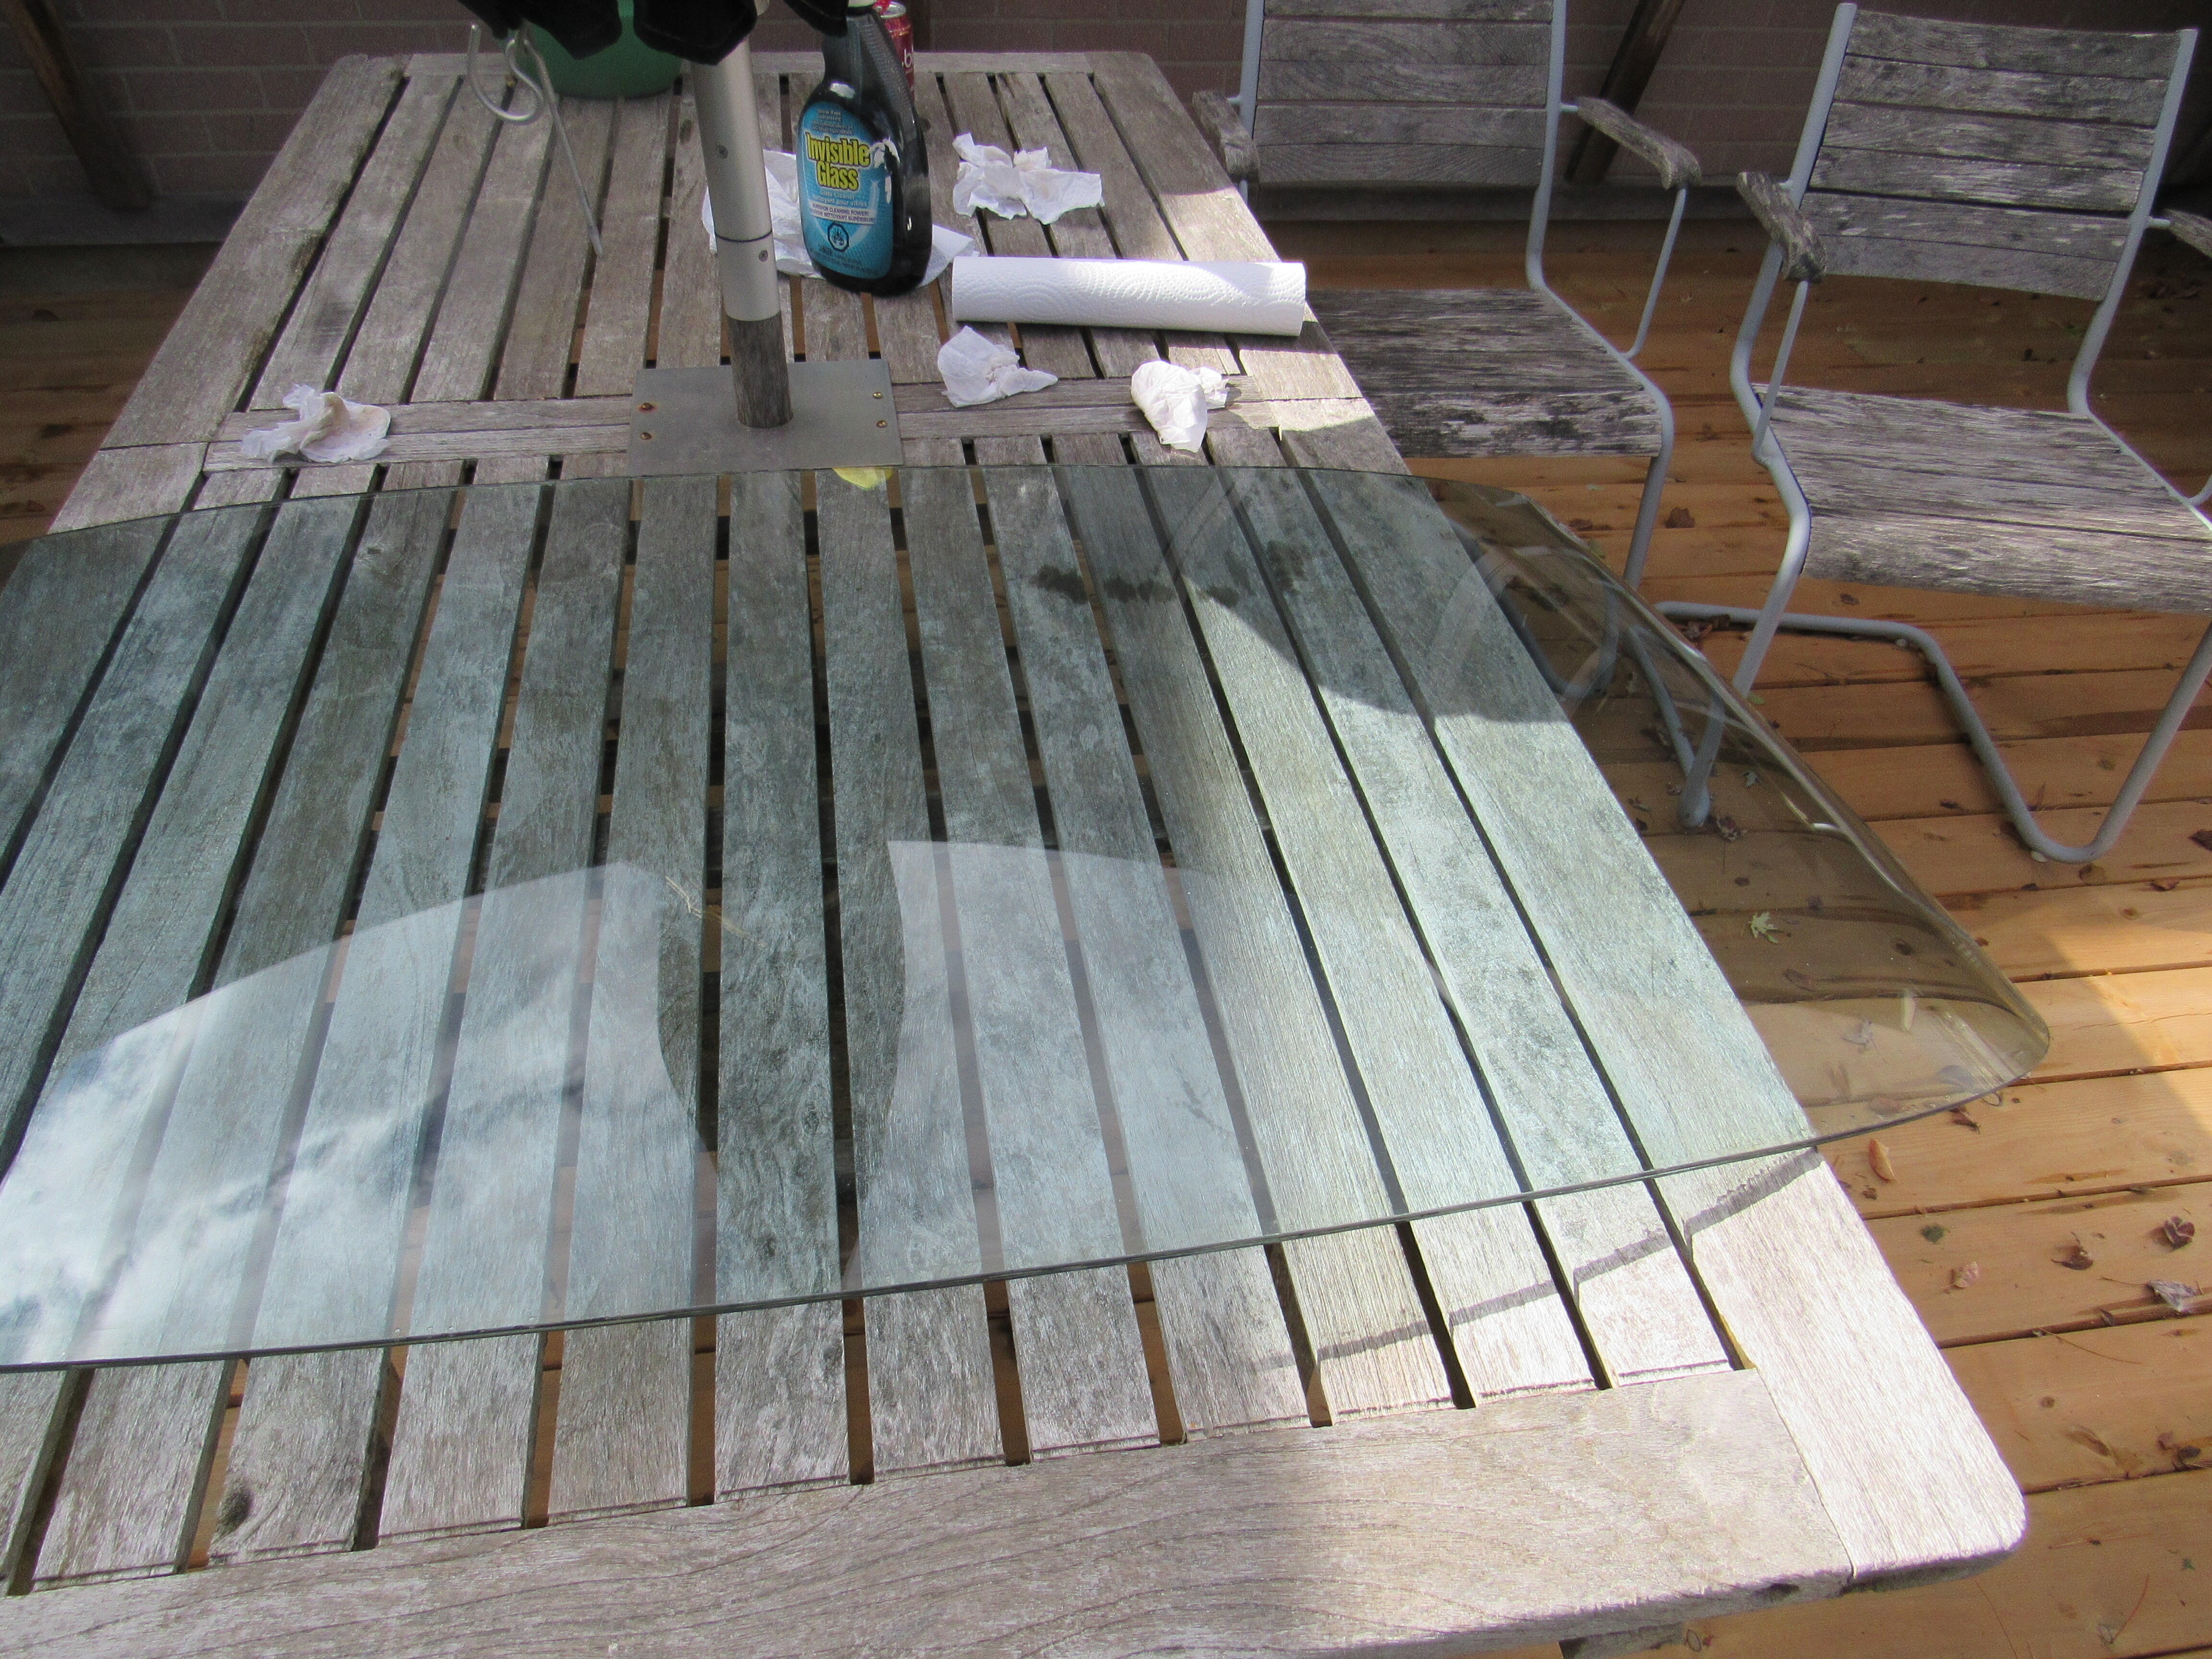
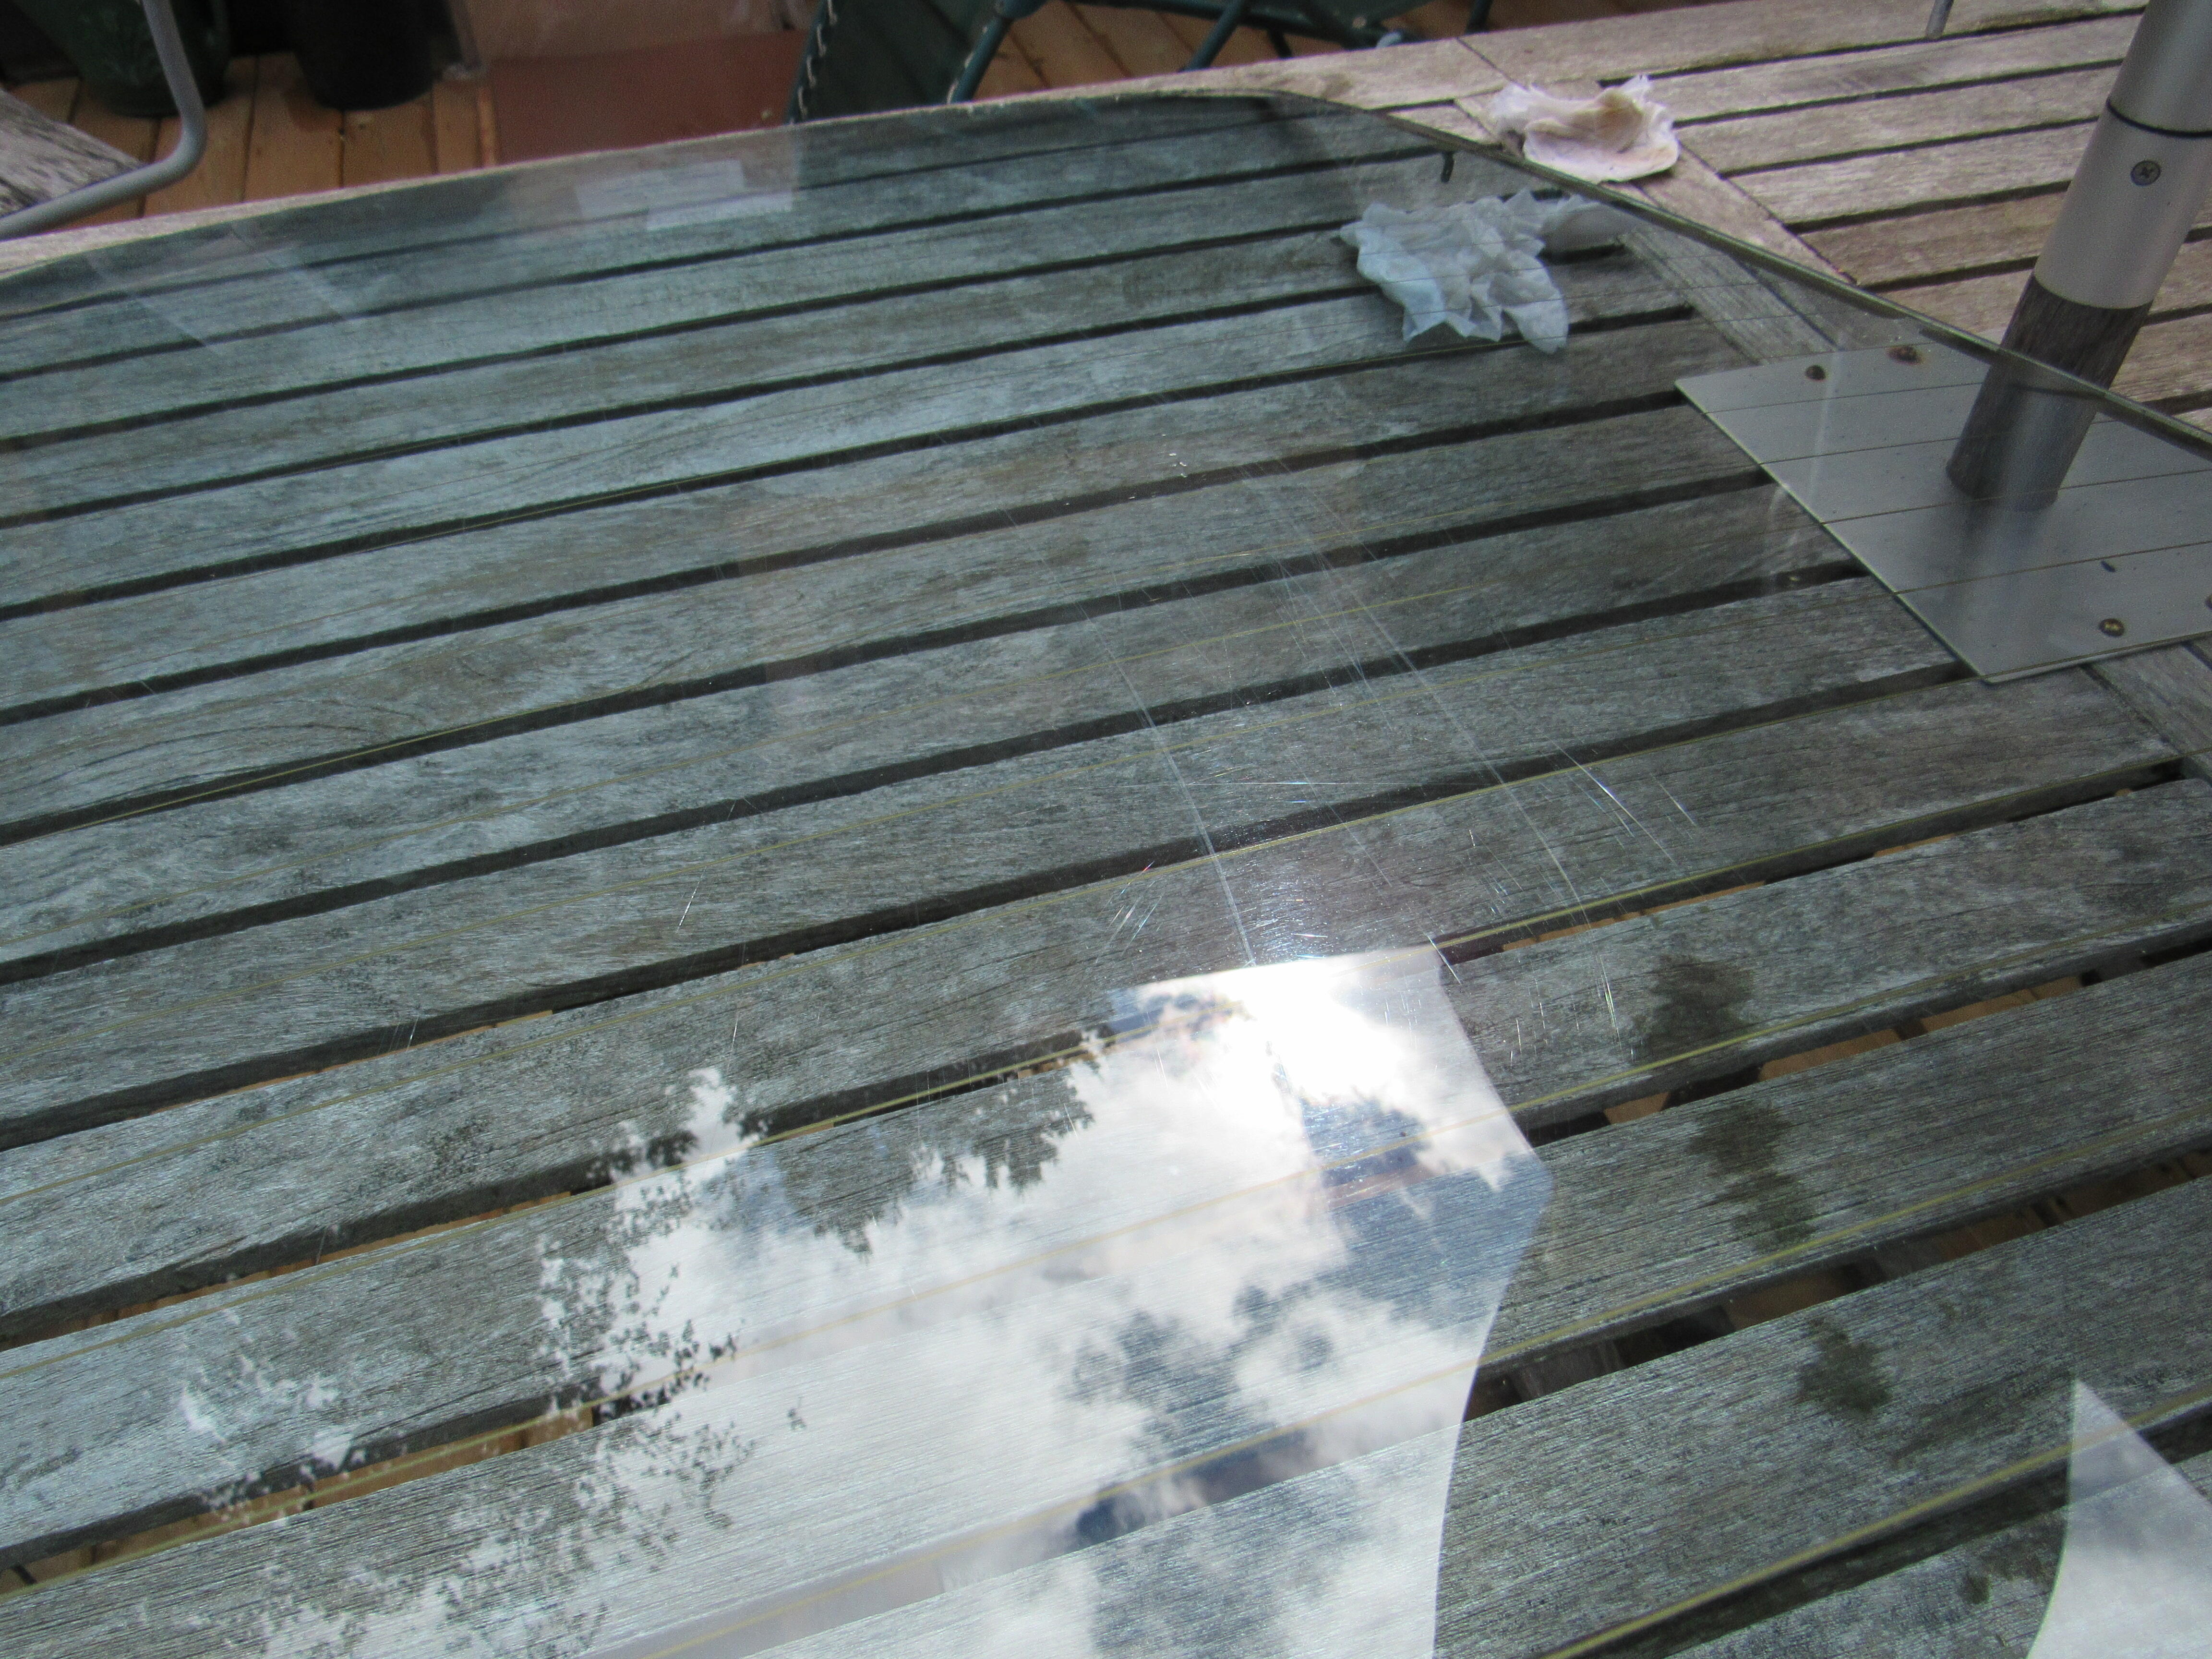
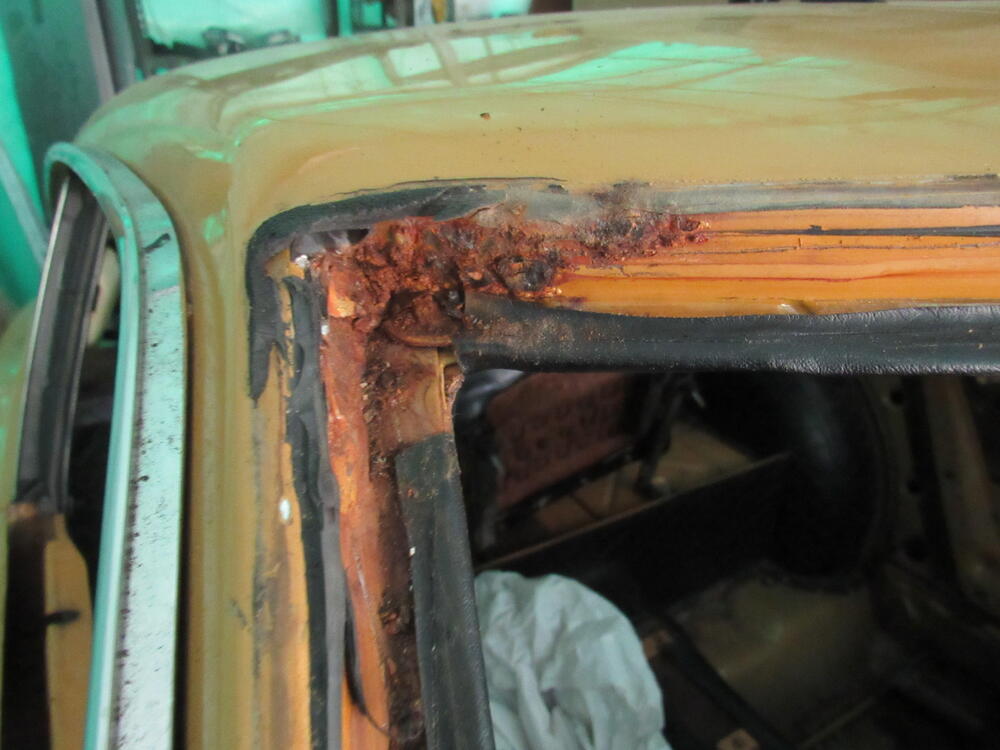
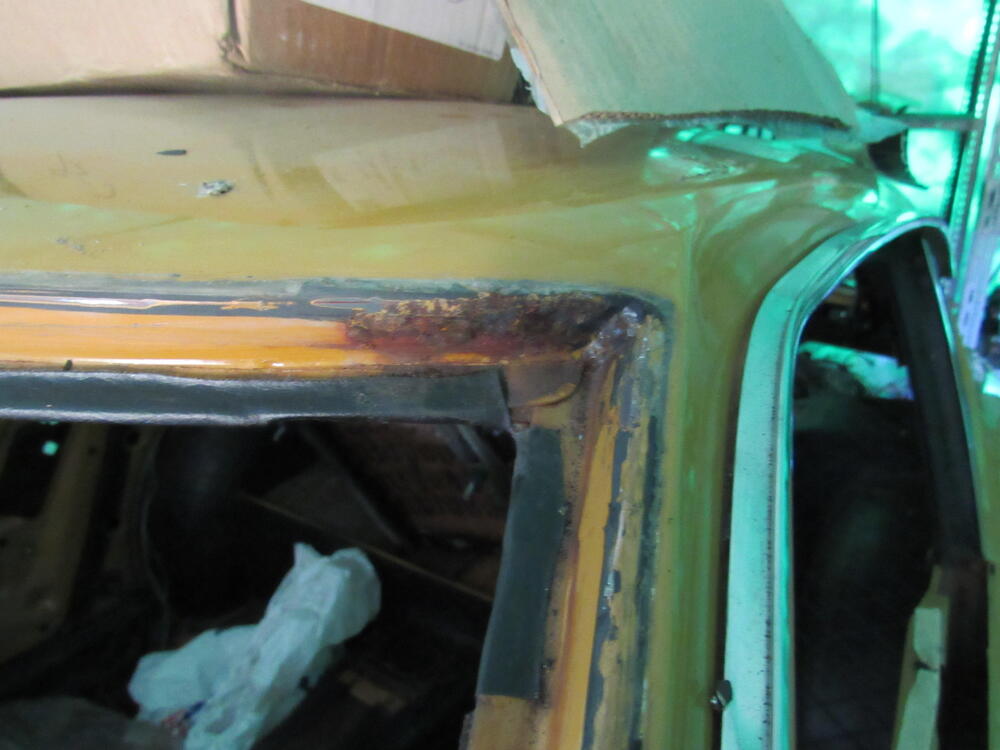
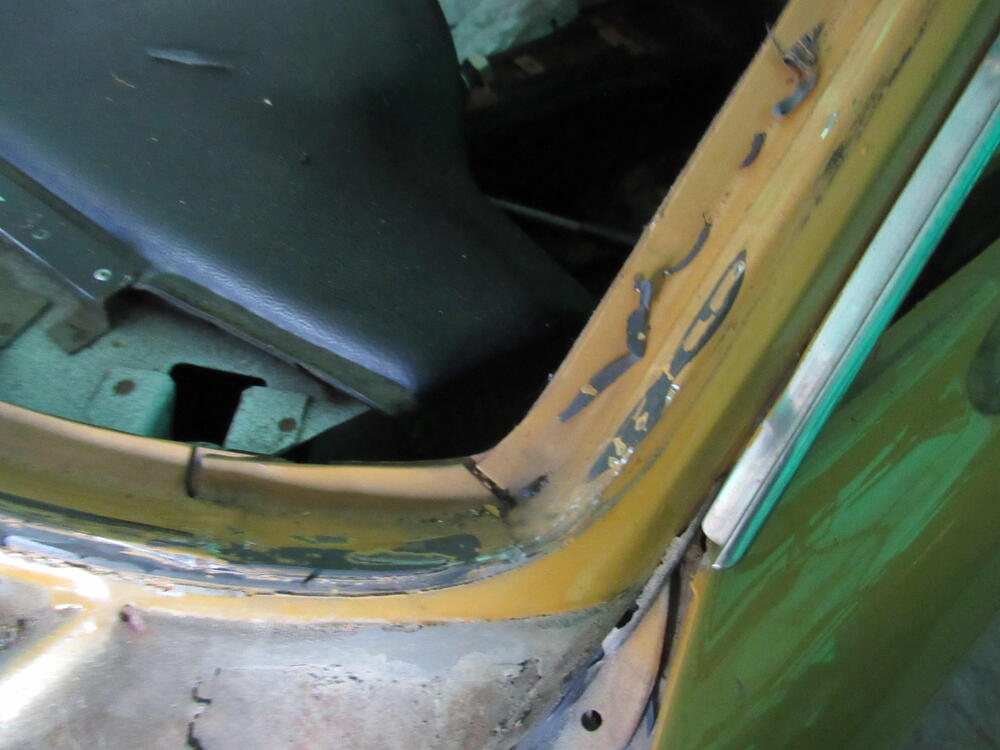
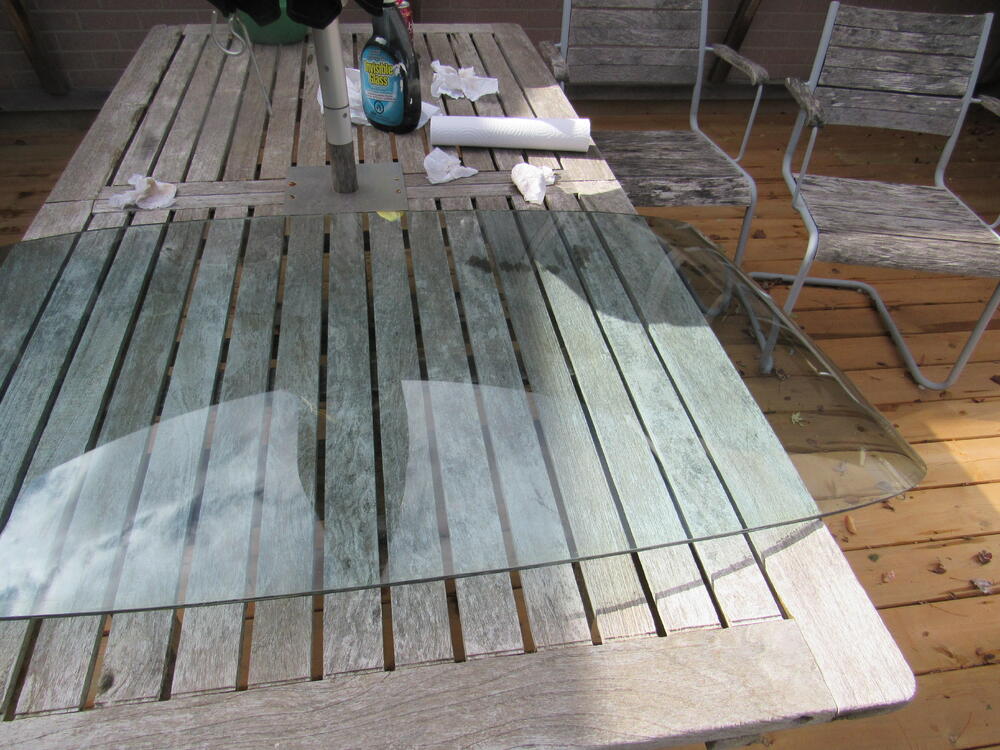
I got the front and back glass out today, also polished up the SS trim and put away in storage. Something strange though, at least for me, rust in the top corners of the roof and A pillars, I've never seen that before, anyone else? The bottom corners of the windshield frame are rust free, that is where I usually find it. Windshield came up nicely after cleaning with a garden hose and some strong detergent, just a bit of sand blasting from the highway, the rear glass was wiped down with something abrasive at some point and you can see the marks that didn't wash off. I'll have to go over the rear glass with a polisher and some fine compound to see if I can get that out.

-
I had the first version they put out, was very pleased with it, the newest version is more versatile. https://123ignition.com/products/?filter_brand=datsun&filter_cylinders=6
-
-
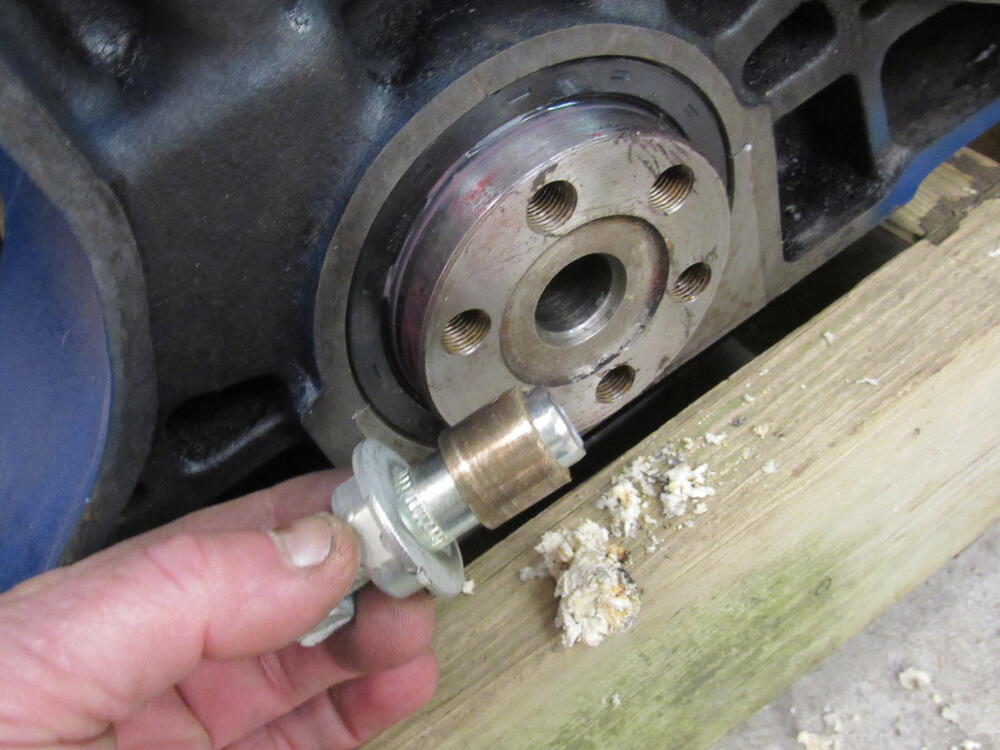
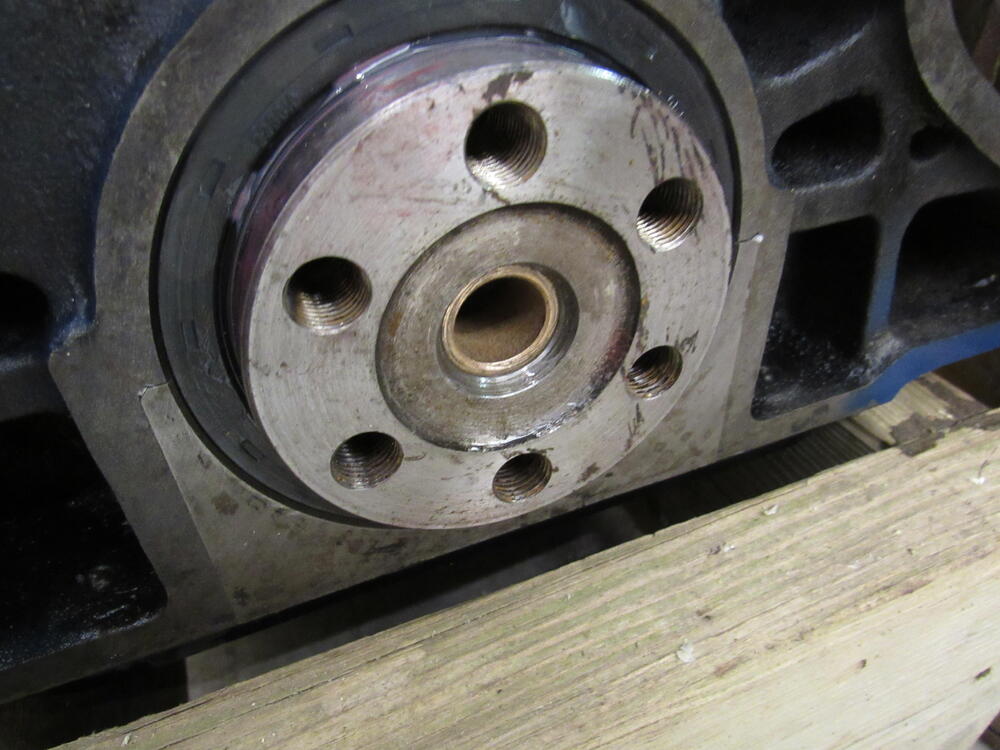
There is a thread on the forum right now about installing the pilot bearing in the crank and it reminded me that I still had to do that job on Dave's engine. In the past I have always used the hydraulic method using bearing grease but this time I thought I would try using bread instead of grease, I was surprised at how well it worked. The best thing is it is so much easier to clean up. Not only was the old bushing worn but it was also installed too far back.

-
-
The 3m double sided tape works well.
-
Every one I have seen was holding the firewall pad, so, up.
-
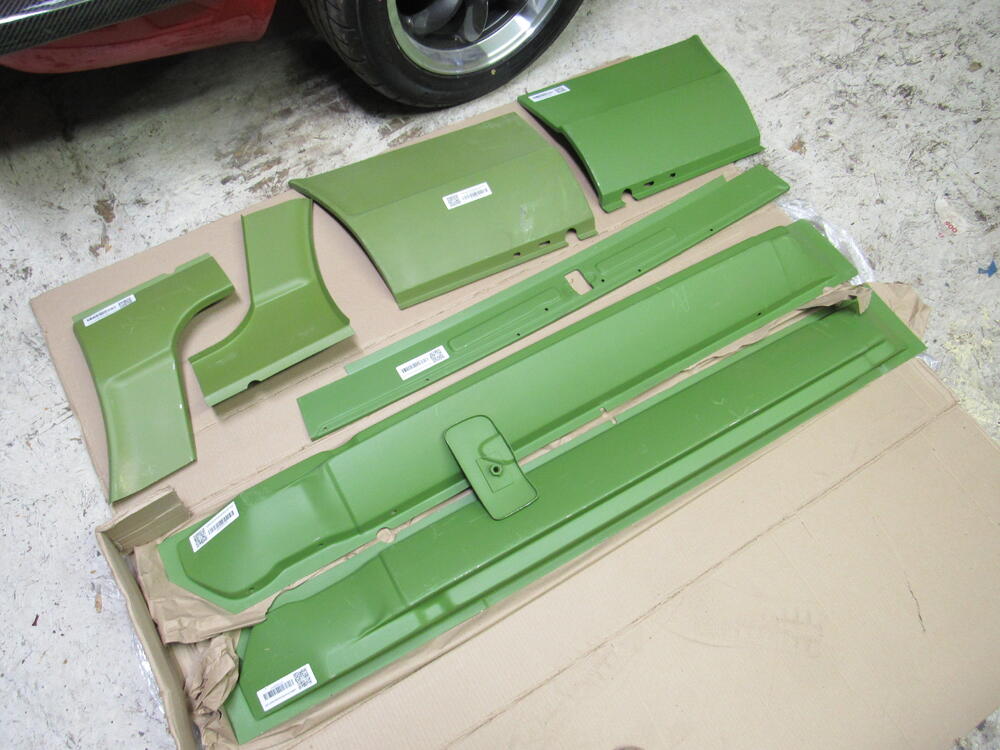
New panels arrived from Colombia. All the usual suspects.

-
Yes, it is very possible to only use a portion of the new panel, quite often the entire panel doesn't need to be replaced and doing so just brings you a lot more work and expense. Someone on your other thread mentioned using dry ice to help remove the tar mat, it does work well but so does a sharpened putty knife. Looking forward to your pics.
-
Mmmmm, that's not looking so good, you can see on both the P/S and D/S the floor pan has collapsed into the the rail running underneath. The only way to be sure is get a putty knife and start chipping out all of the tar mat, once you've removed that you will be able to see the extent of the damage. Chances are you will have to replace the floor pans and rails but being a 2+2 is going to add some complexity to the job. It doesn't look like https://kfvintagejdm.com/product-category/datsun-280z/ make a 2+2 floor pan but you might get away with the standard 280 pans with an custom extension welded in. https://kfvintagejdm.com/shop/datsun-280z/complete-floor-pans-datsun-280z/ Body shops make their money by getting a damaged car in and out as fast as possible, modern uni body cars with rust take a lot of work to repair properly and so they avoid them, the Z series from 69-78 were some of the first uni body cars and they are much simpler and easier to repair than a modern car. If you aren't going to do the work yourself you will need to hunt for a shop that is experienced repairing older classic cars, a standard collision shop shouldn't be your first choice.
-
Mount them dry or sealant on both sides? I have always used a thin layer of sealant on either side of the paper gaskets for the timing cover and it works, no leaks but no matter how careful I am there are always some that squeezes out and looks bad. Anyone had no leaks with just the paper gasket?
-
Aerosol injection! No carbs, no throttle bodies, no programming.
-
The only things in your pic that look stock Nissan to me are the lock washers. Maybe a previous owner had the dash off and improvised on the fasteners. What year of 240Z are you working on?
-
Since that post 8 years ago I have done a more accurate weight measurement of a stripped 240z shell and it is more like 500 lbs. If it were me, I would fix the metal around the rear bumper mount first, then prime it, fill it before mounting on the rotisserie. That area becomes very difficult to access and work on once it is mounted. Is your guy going to prime and paint with the shell on the rotisserie?
-
Never throw them away😉
-
To be on the safe side you could/should chip up all of that original sound deadener, chance are you will find more than the couple you know about. That sound deadener was applied over top of bare metal.
-
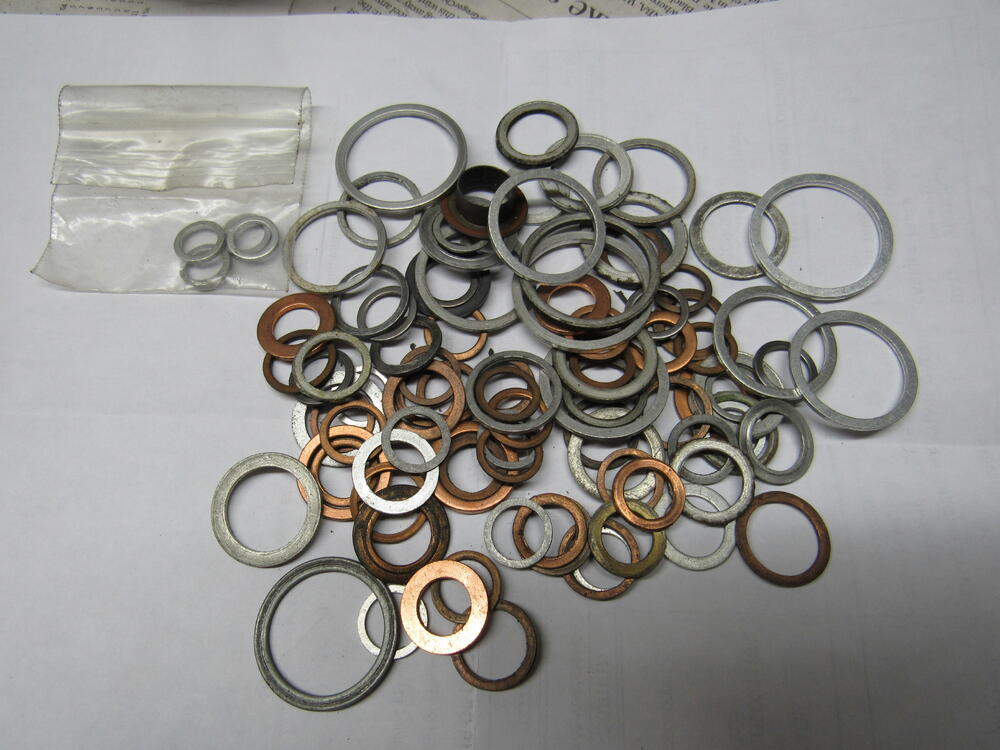
I know, I hear it too, "always use a new crush washer" but for the same reason as you mentioned, I have had to reuse crush washers so many times I can't count them all. I've never had a leak out of them, aluminum or copper.
-
Beautiful, the brake switch does have that small rubber O ring but the top of the body is machined flat as is the bottom of the sensor so I put in a crush washer just to be sure.
-
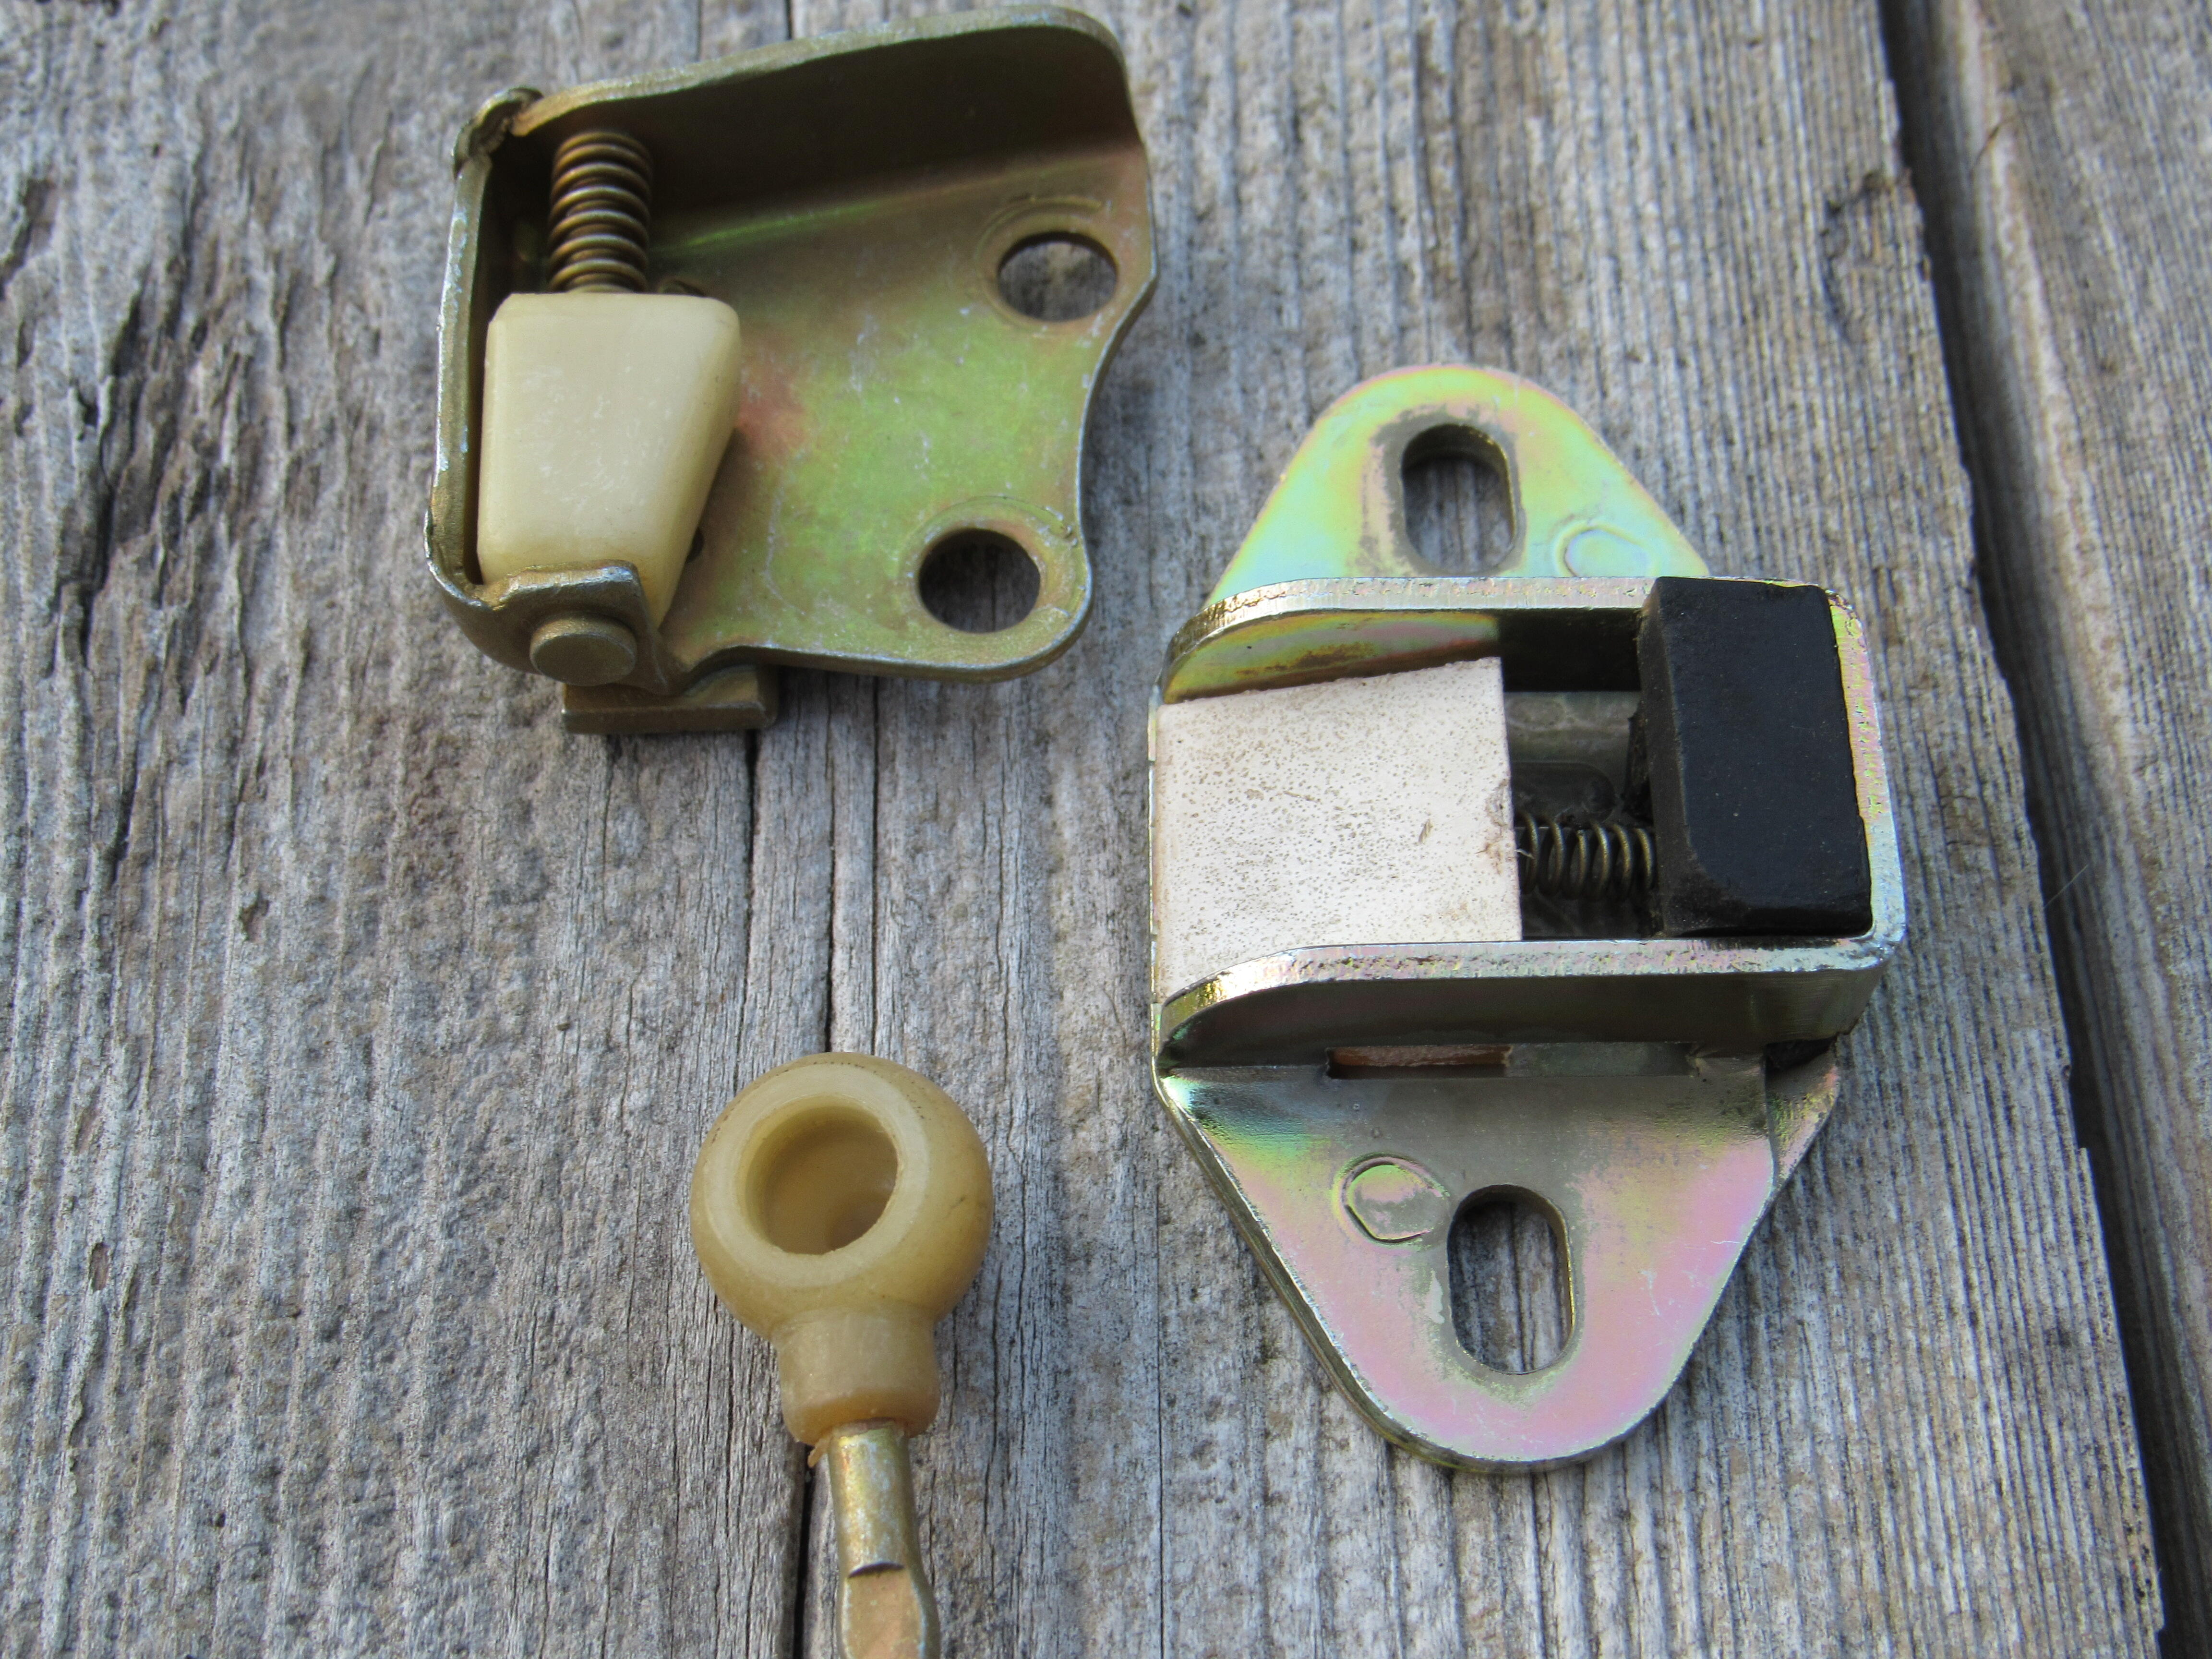
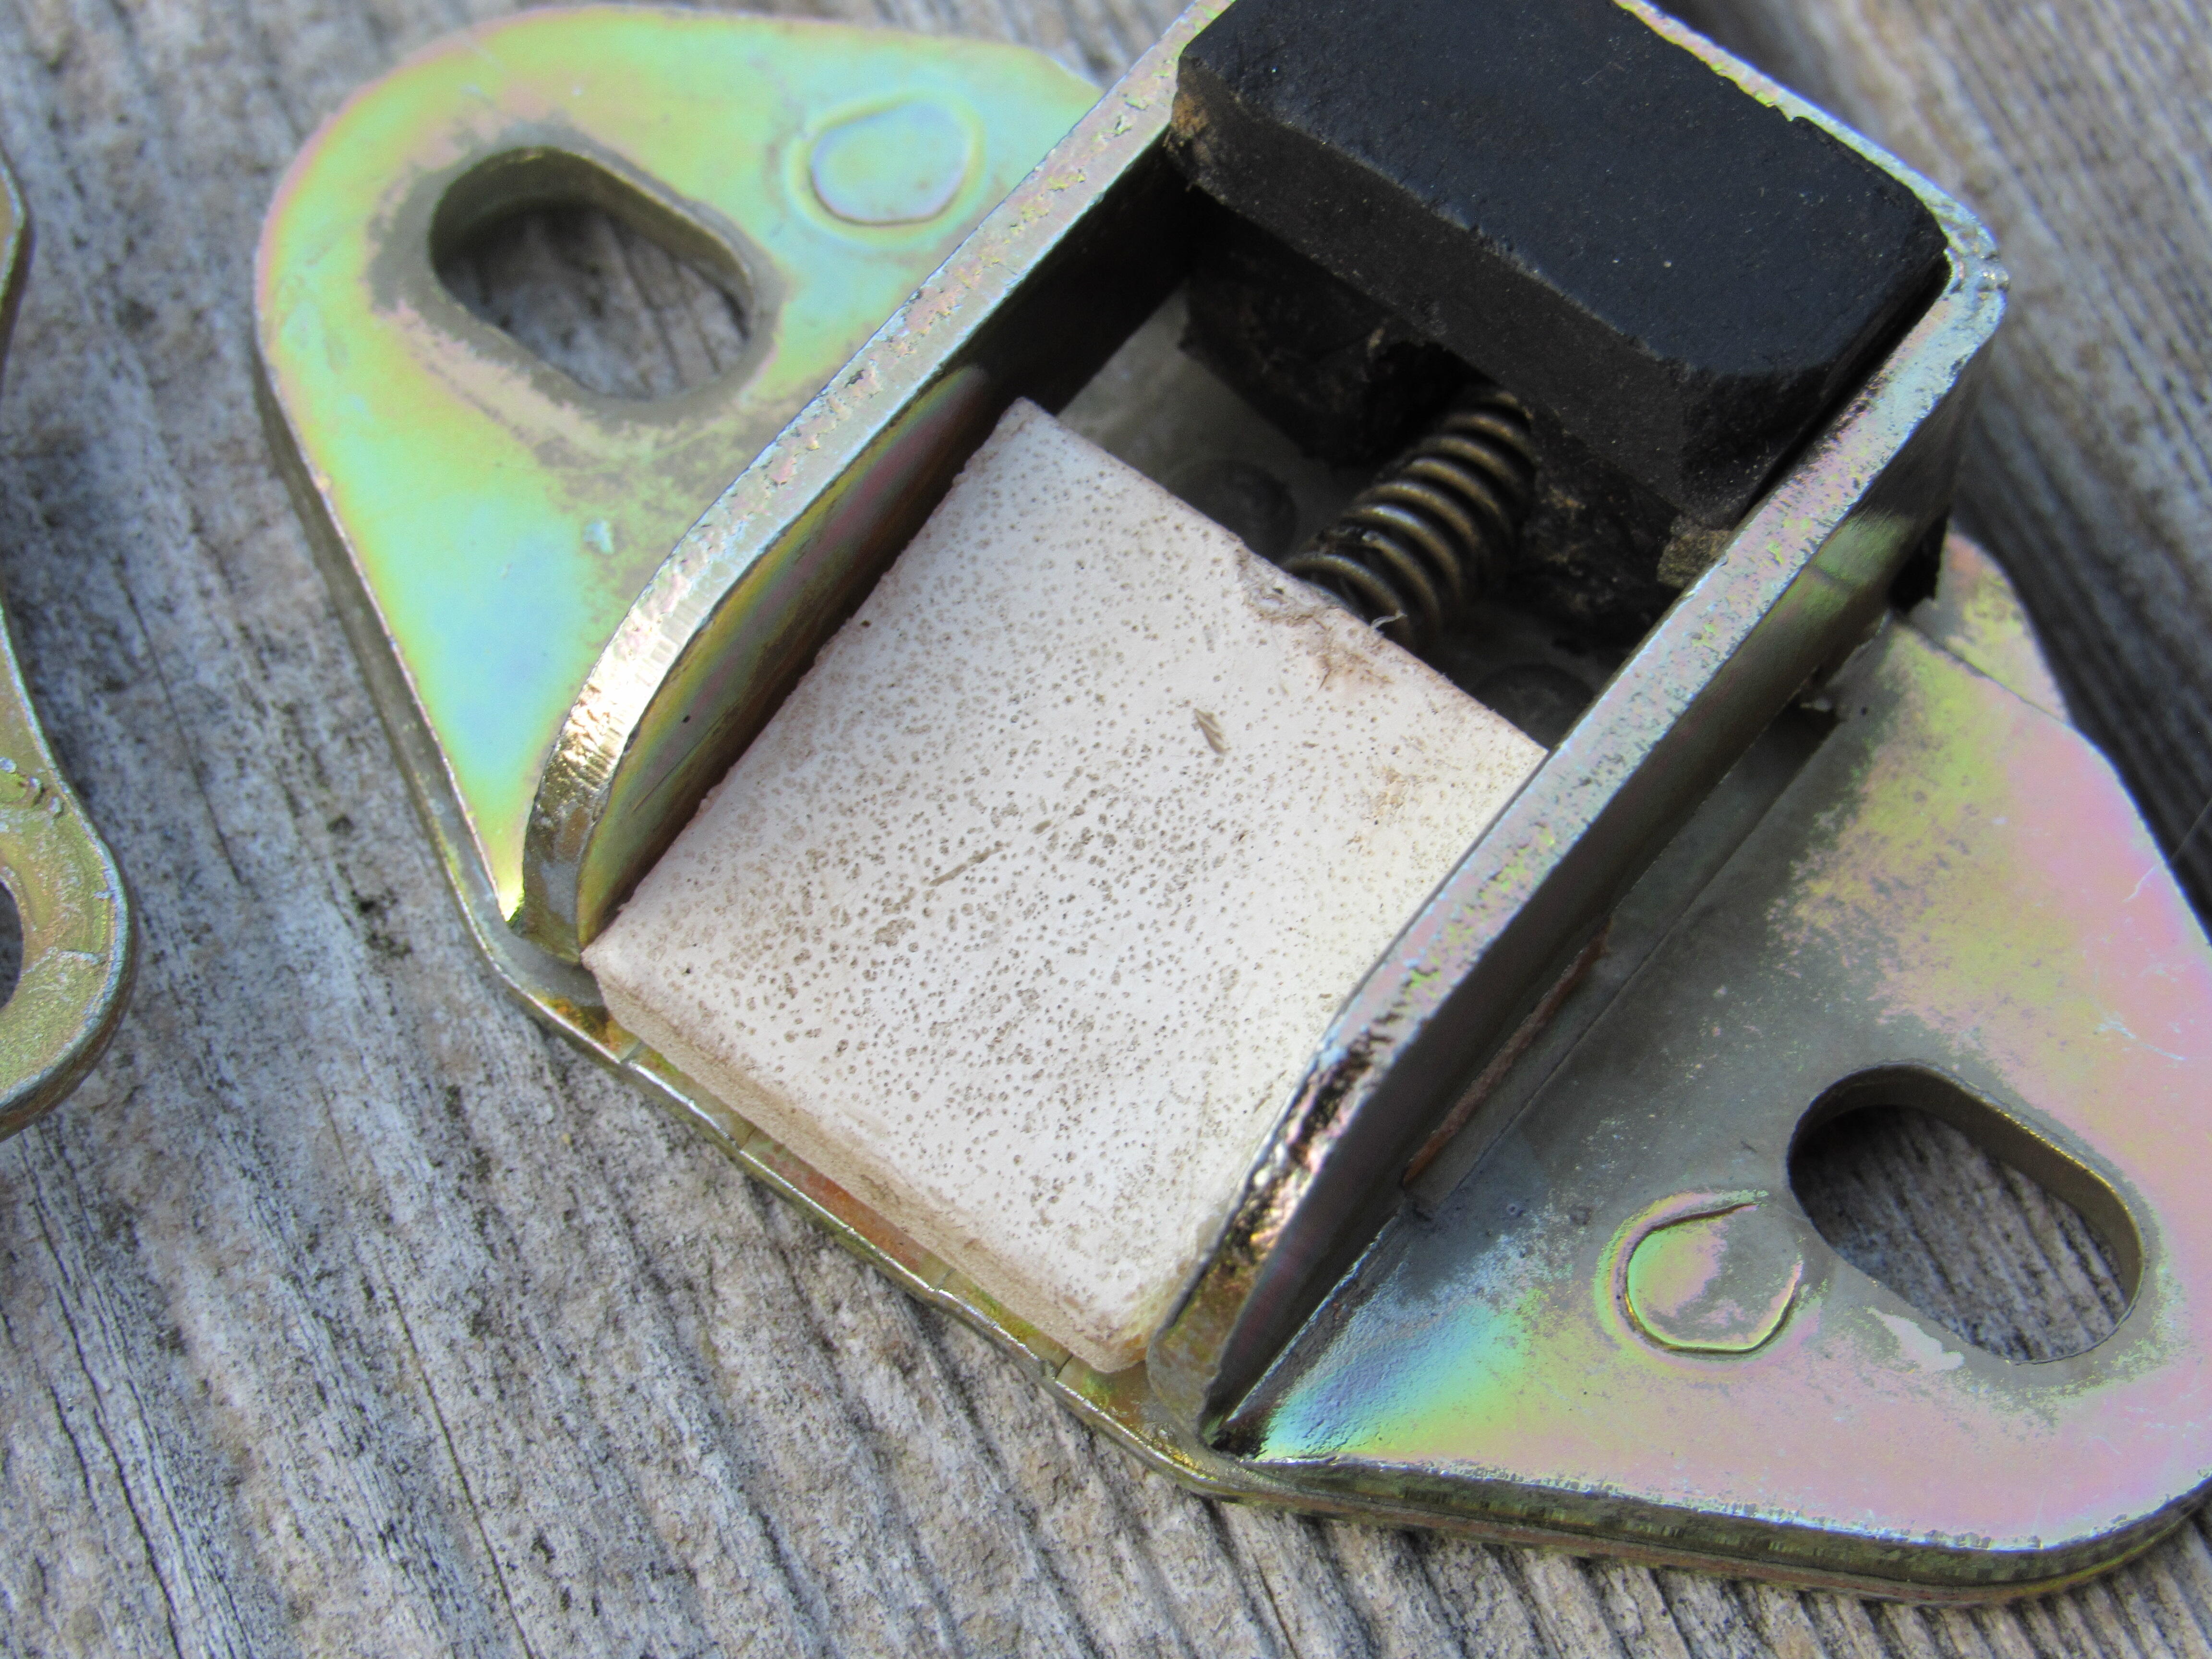
As for the plastic parts that can't be removed, the chemicals they are using to remove rust at the platers can be hard on the surface of the plastic so if you do have to send in those kind of parts then it is best to remove all the rust using electrolysis or citric acid before you send them in so the part doesn't have to sit in the acid for too long. You can see in the pics the 2 pcs to the left the plastic wasn't damaged at all but the plastic rear hatch wedge has turn white and rough from the acid. Charles, aren't you still plating your own hardware?

-
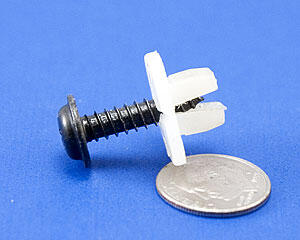
I can't find my pics now but in the past I bought a box of square white plastic screw anchors then removed the stock anchors and filed the round holes to a square and popped in the new inserts. Then a 2"piece of 1/2" dia shrink tube, you want to use a fine tip butane torch or even a match will work, slip the shrink tube over the anchor and heat up the area just covering the anchor. You want most of the tube unshrunk so the adjustment screw can travel, then the last thing is to heat up the very end and pinch in hard until it seals up and is water proof. The square white anchors I used were large enough to accommodate the stock M6 adjustment screw, the pic below is just something I lifted from the net.