


grannyknot
Free Member
-
Joined
-
Last visited
Everything posted by grannyknot
-
 How is $56.00? https://www.rockauto.com/en/catalog/nissan,1971,240z,2.4l+l6,1209158,brake+&+wheel+hub,wheel+cylinder,1952 It does sound like the wheel cylinders, so gummed up with crud the pistons don't want to retract. Do yourself a favor and replace both sides while your at it.
 -
Most of the aftermarket controllers are adjustable, they are preset from the factory but there is usually a small white slot screw. I tweaked mine to on at 200F, off at 180F
-
Sounds like one of those previous owners I was talking about had a go at your car, mine aren't slots anymore either, someone drilled them out.
-
The 2 holes on either side of the hood are for front to back adjustment, no height. The 3 holes on the body side of the hinge are height adjustment and sometimes back and forth depending on how a PO has modified them for their needs.

-
You may also have to remove the grill to get at those 3 bolts holding the hinge mount to the body, a second person is a real help with this adjustment, have them push the left side down even if it goes down father than you want it to, don't worry it will spring back up once those 3 bolts are tightened.
-
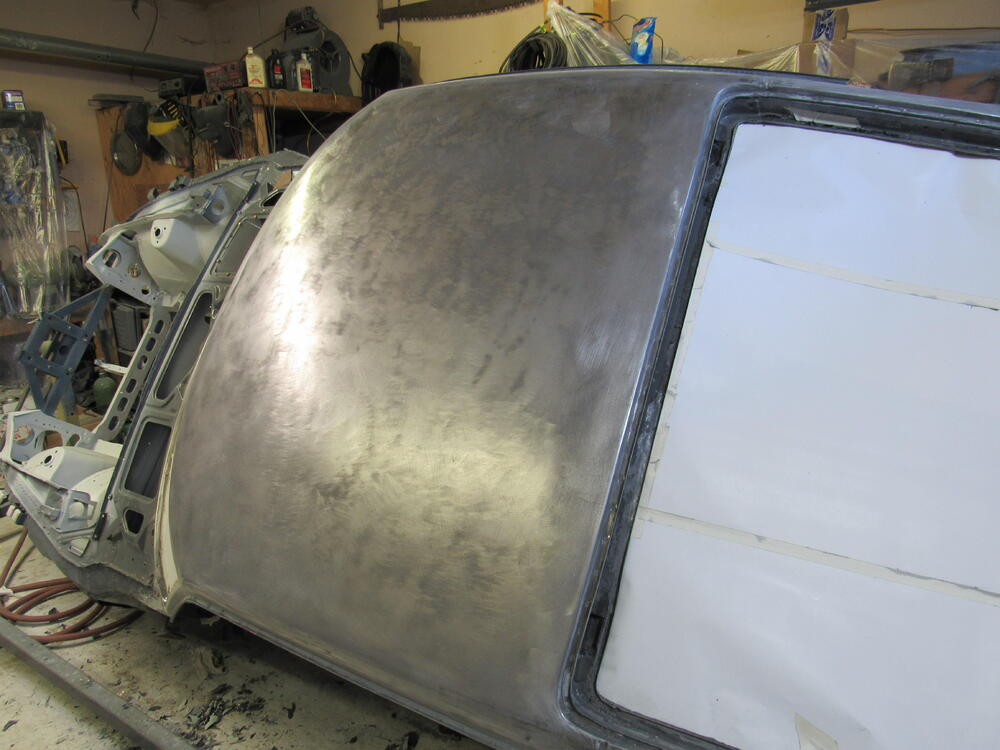
I use the adjustability of the doors, fenders and hood so I get equal gaps on both sides, sort of an eyeball thing. Start with the doors and establish a good usable gap between the trailing edge of the door and the front of the rear panel so that the door opens and closes perfectly, then the cowl but don't lock it down, keep the bolts finger tight, then the hood. Keep the hood open while you put the fenders and sugar scoops on, then very carefully start lowering the hood looking for possible contact with the fenders as you lower it. Once the cowl, fenders and hood are on you start doing minor adjustments until the gaps are as equal as possible on every side. That's just how I do it, others start at the front and move back to the door gap.
-
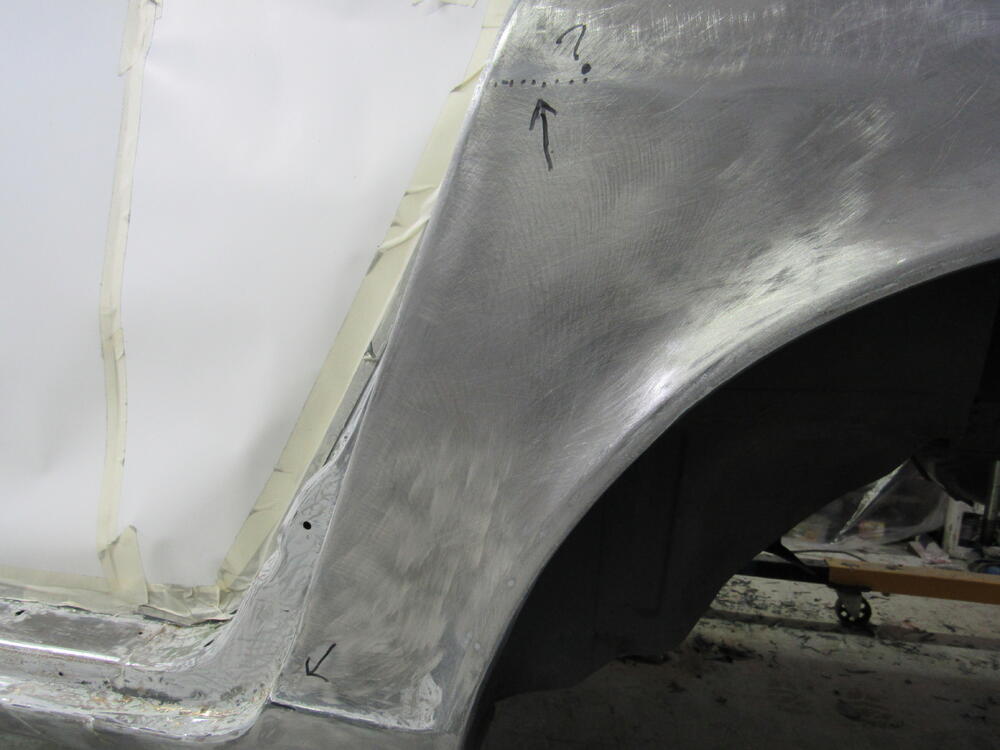
I'm looking for the measurement from the crest of the main bodyline to the crest of the lower bodyline. The measurement needs to be taken with the tape measure perpendicular to the bodylines so that one end is right at the wheel well lip and the other end is right at the front of the quarter panel. The main bodyline has lost its definition and I really can't tell where the center line is anymore. Thanks
-
Badsix is a very knowledgeable guy, I'm surprised more of the other top 5-6 guys haven't jumped in, maybe just because it's the holidays. Have you thought about re mixing the runny sealer and spray over top of the sanded sealer? At least it's the same chemistry so much less likely to lift and then you wouldn't have to remove every bit of that sealer. It's a tough call, by the time you sand all that sealer off you're going to have hit bare metal in so many places. And like what Badsix says, that will be a lot of layers if you spray epoxy over the runny sealer.
-
Beautiful engine, 180hp are good numbers but if you popped in flat top pistons and brought your compression up to at least 10 then the engine would really wake up with no danger of pushing it into unreliability
-
The 18" flexible would be great for the gentle curves around the edges of the roof and back fenders, 12" flex would be good just about anywhere as would a 12" straight. It would also be nice to have a 6" straight for the tight curves and edges of the front fenders and hood. I mentioned I ordered 2 12"x12" 3/16th acrylic sheets, when they arrive I'm going to make a 12" flex, a 12" straight, 6" straight and bunch of 1"&2" blocks of various lengths. The 18" would be nice but I think you could do everything with a couple of 12"'s and a 6" block of hardwood.
-
Have you asked the boys on autobody101.com? Got to ask, are you filtering the sealer through a 50 micron mesh cone filter into the cup? Do you have dry staticy conditions at the moment that could be attracting trash ? A ground cable to the frame and a final alcohol wipe can help. I have had so many problems with sealers that I just don't use them anymore, high build urethane primer sanded to 800 then colour coat on top of that. I feel for you man, get Cody in there and put a block sander in his hands.
-
Yikes! Why do you think it ran? Was the body too cold, sealer out of date, something about the new gun? Great idea about the paper towel.
-
Some of those might be bullet holes.
-
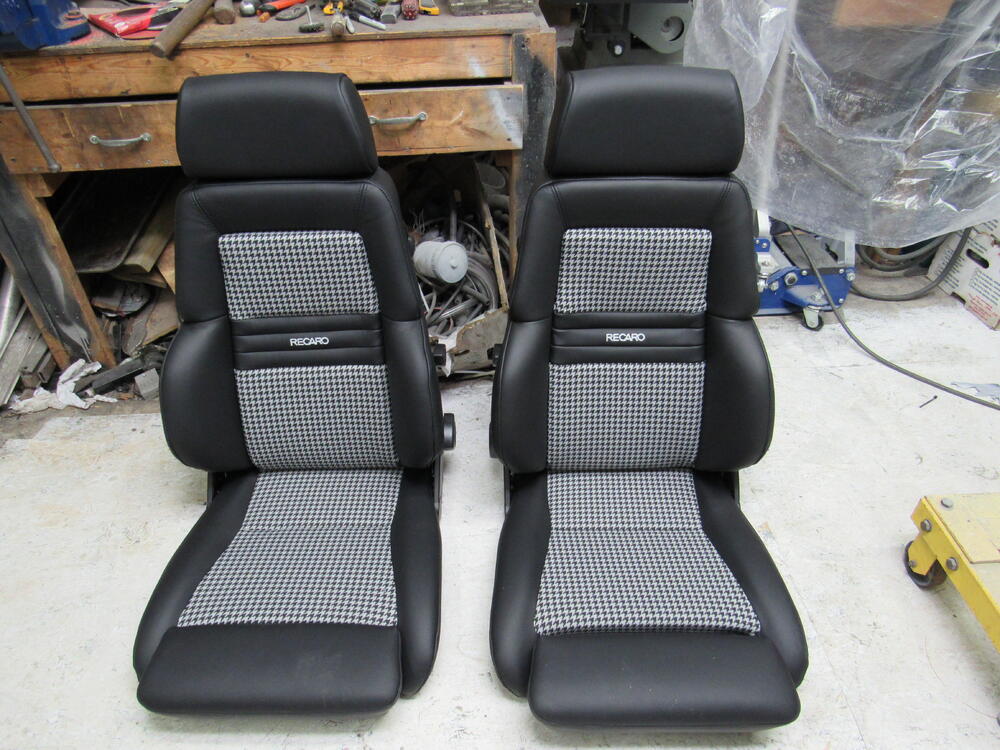
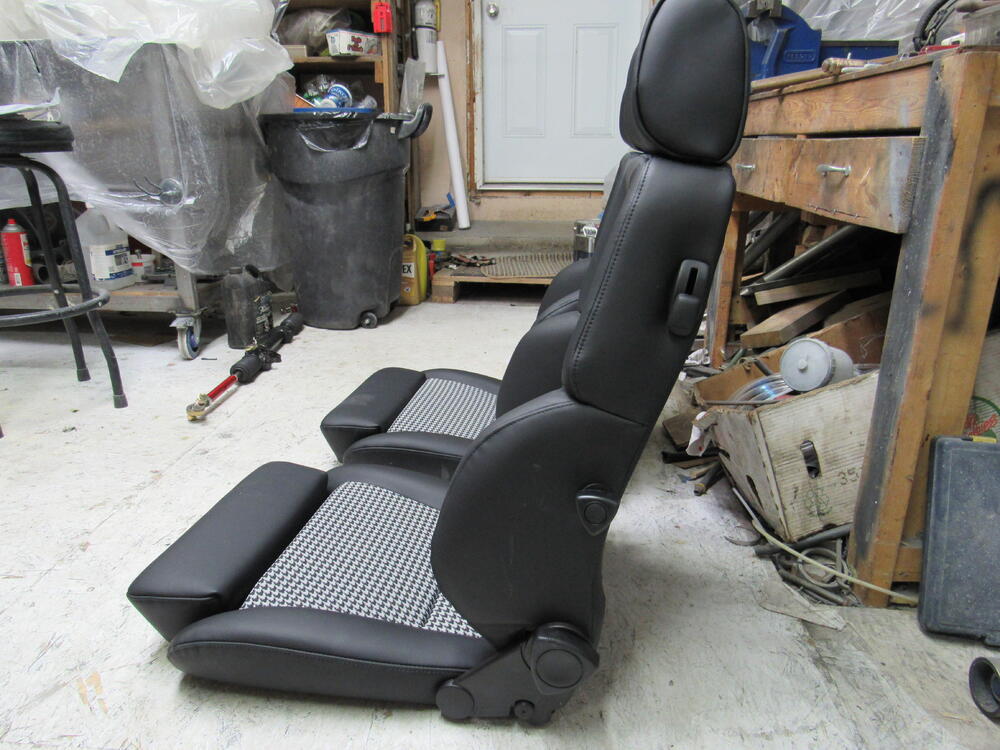
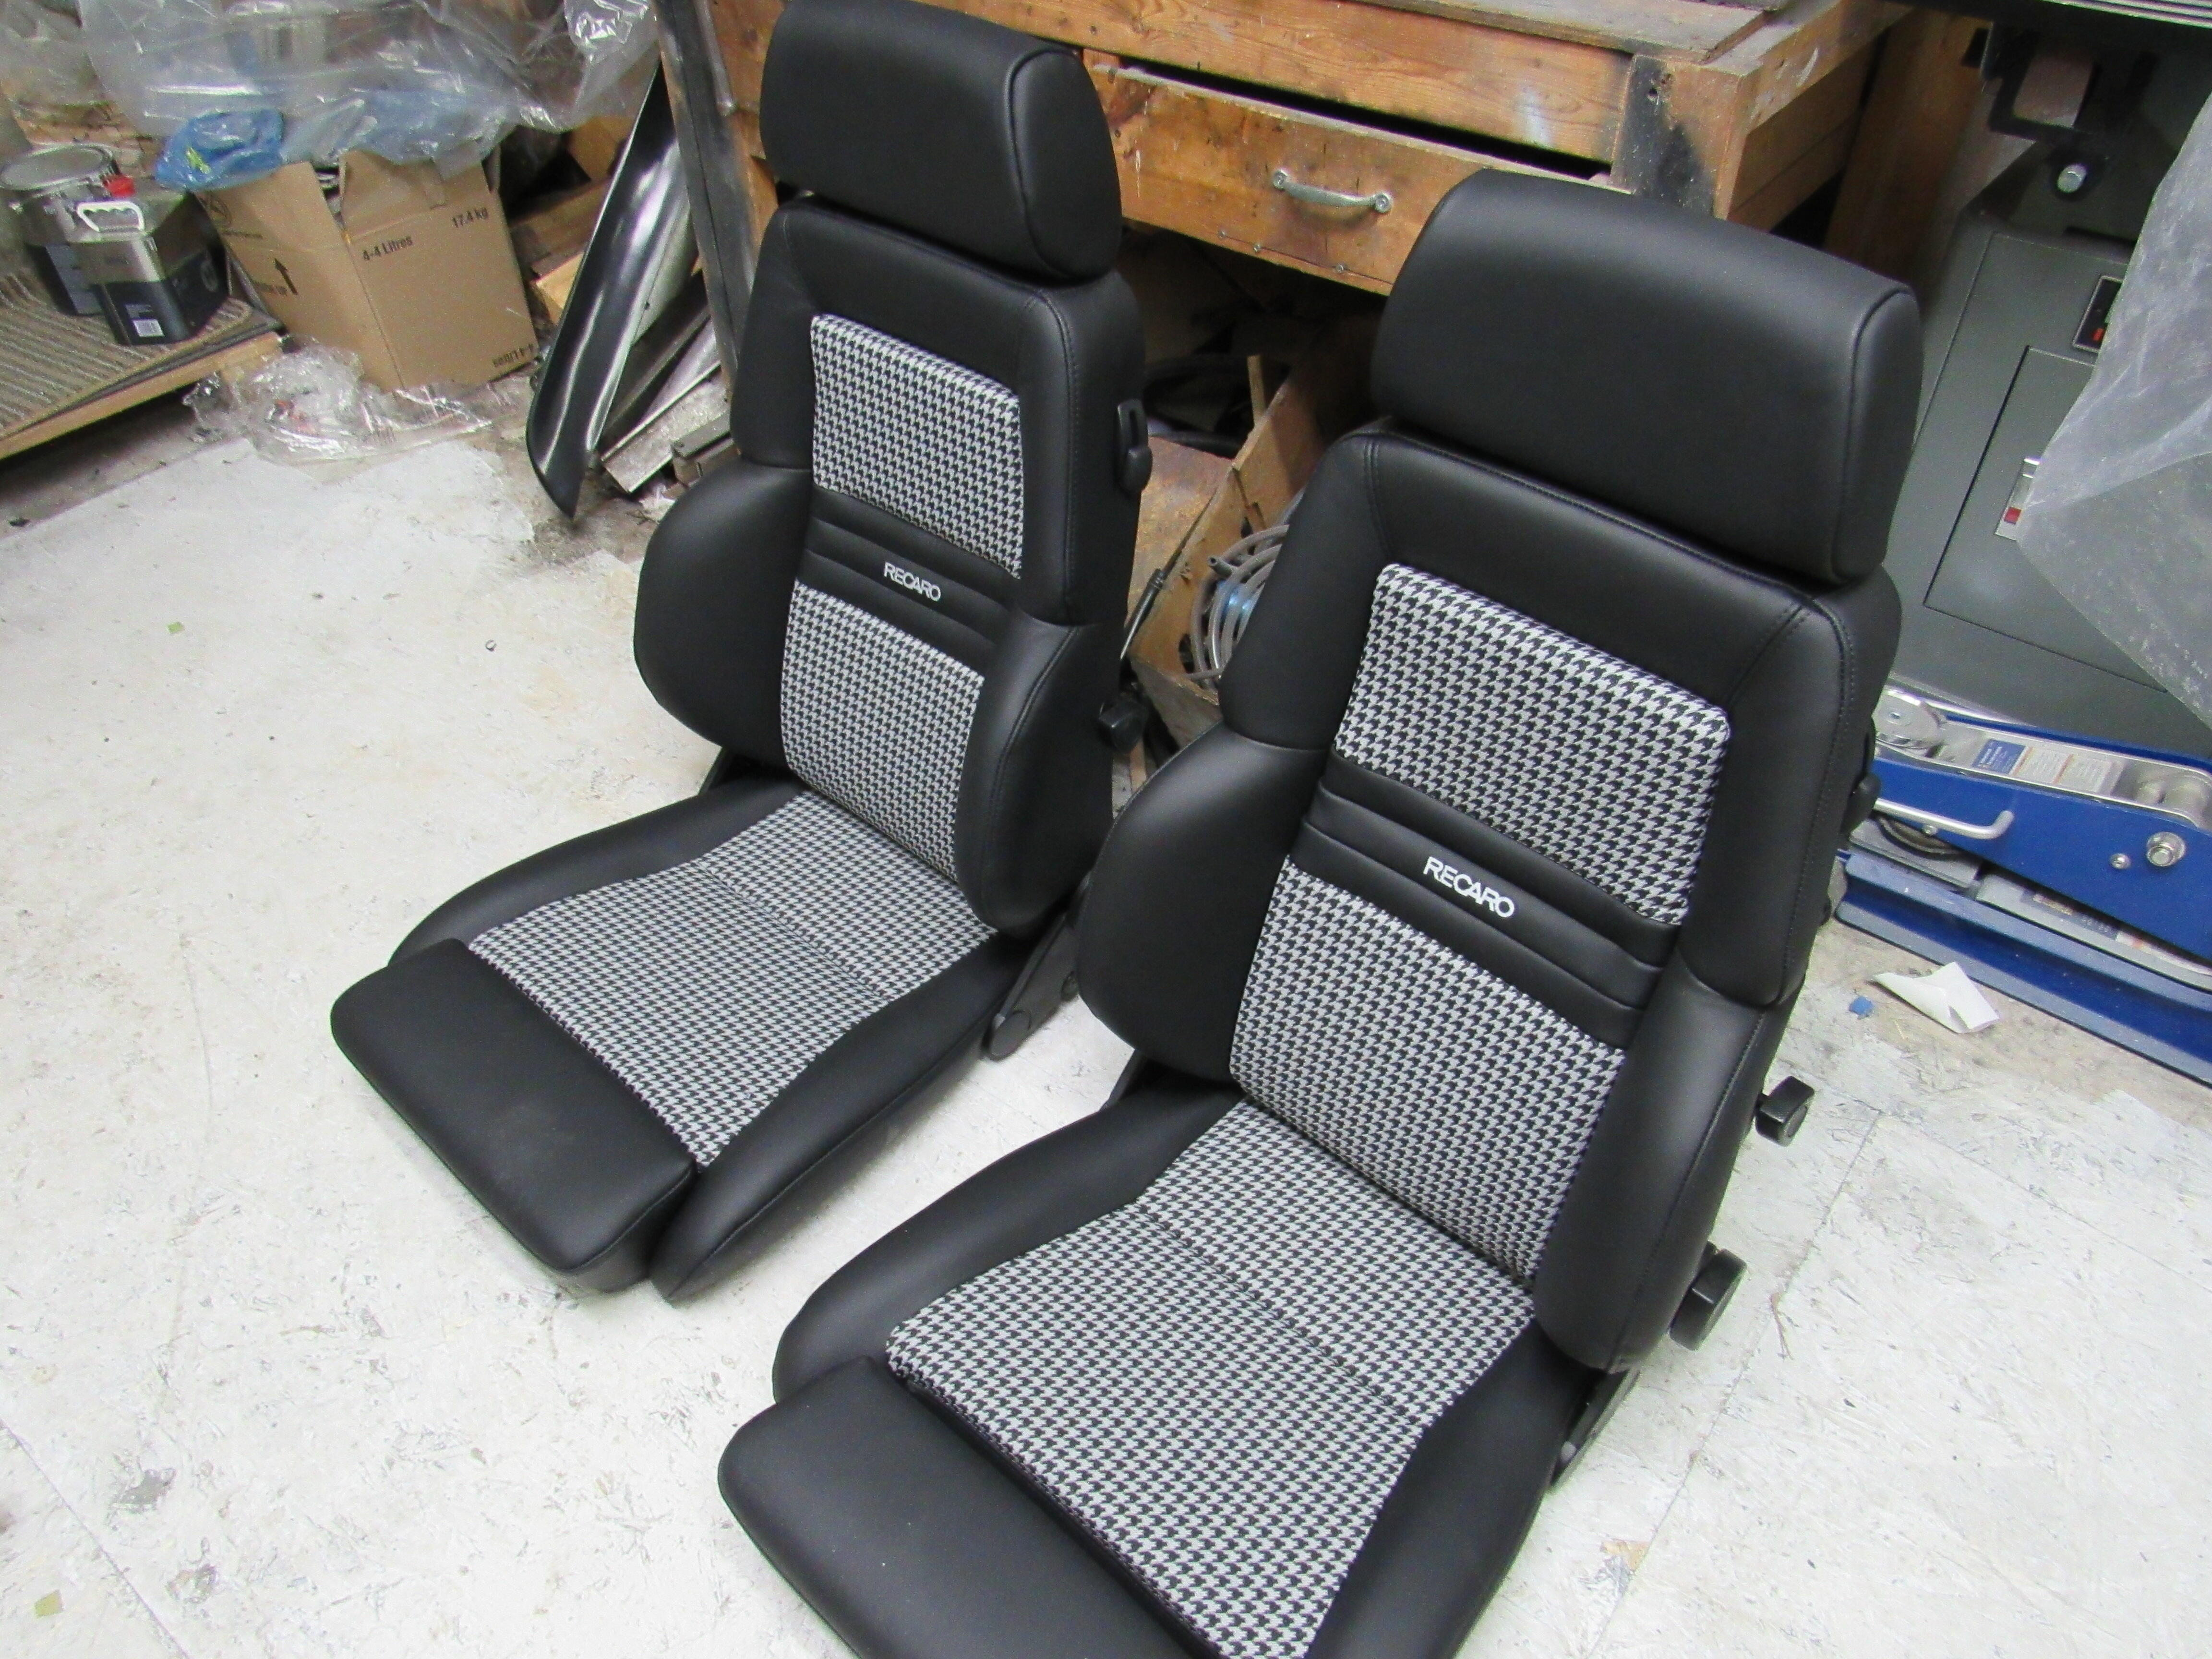
The colour hasn't been decided on yet, but this time it's not my call. I was thinking about putting the car up on BaT this coming spring and mentioned that to some of the local BMW Z4 guys, within a couple of days I got an email out of the blue from someone saying he was interested in buying the 240Z///M. We came to a price and now I'm painting and putting the car back together for this nice young couple. He's having the dash covered in Alcantara leather over the next month and he just dropped off some new Recaro seats he wants me to install. I wasn't really looking forward to repainting the car this winter, more of a necessary chore but now I'm actually enjoying it. It is going to remain local so I'm very pleased about that. I found some masking tape that had been mudded over.


-
What colour are you painting her?
-
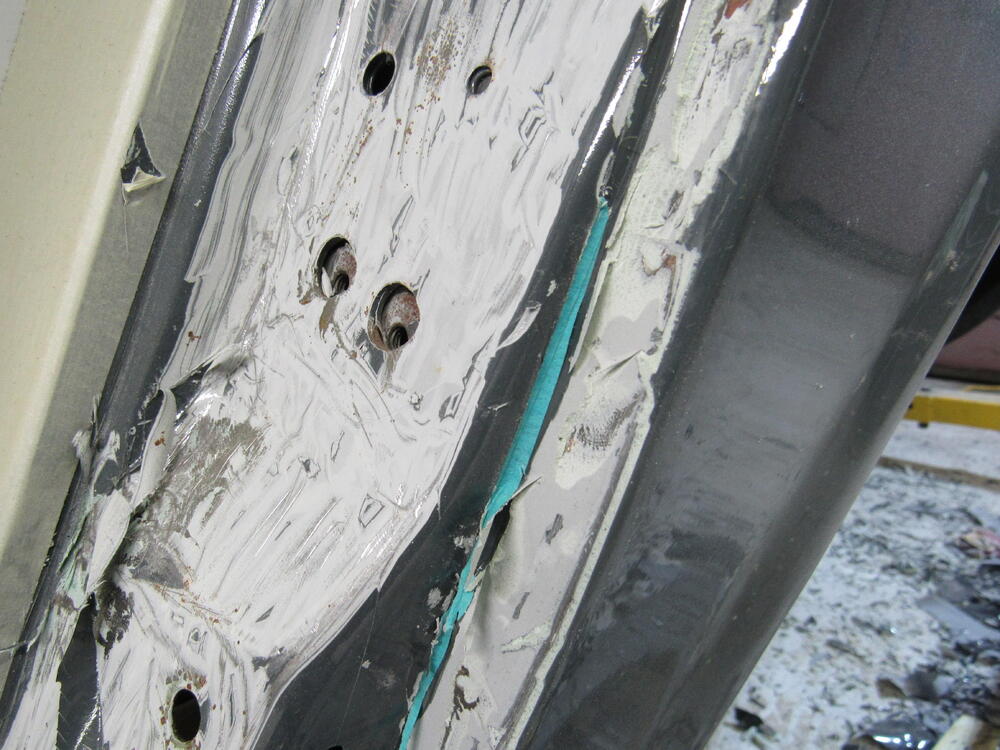
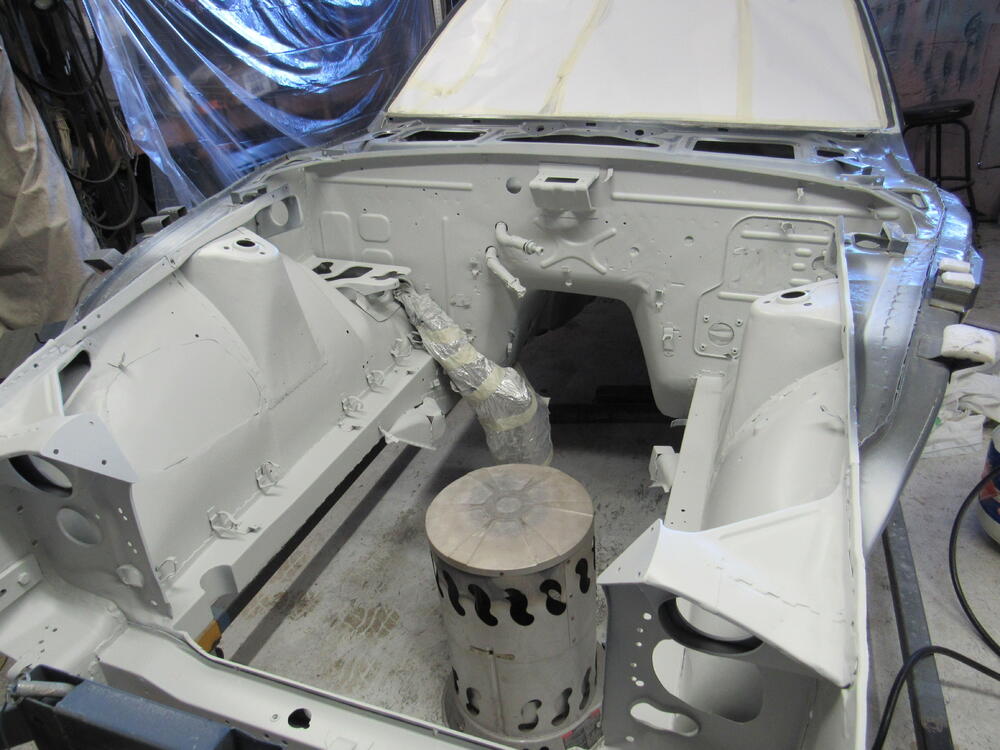
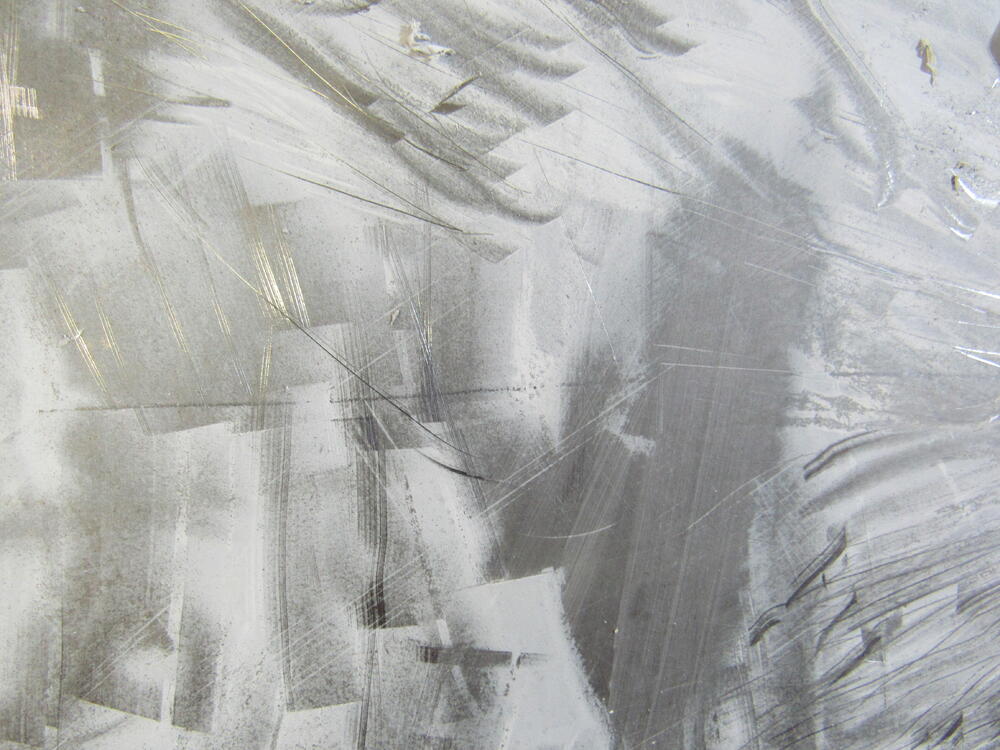
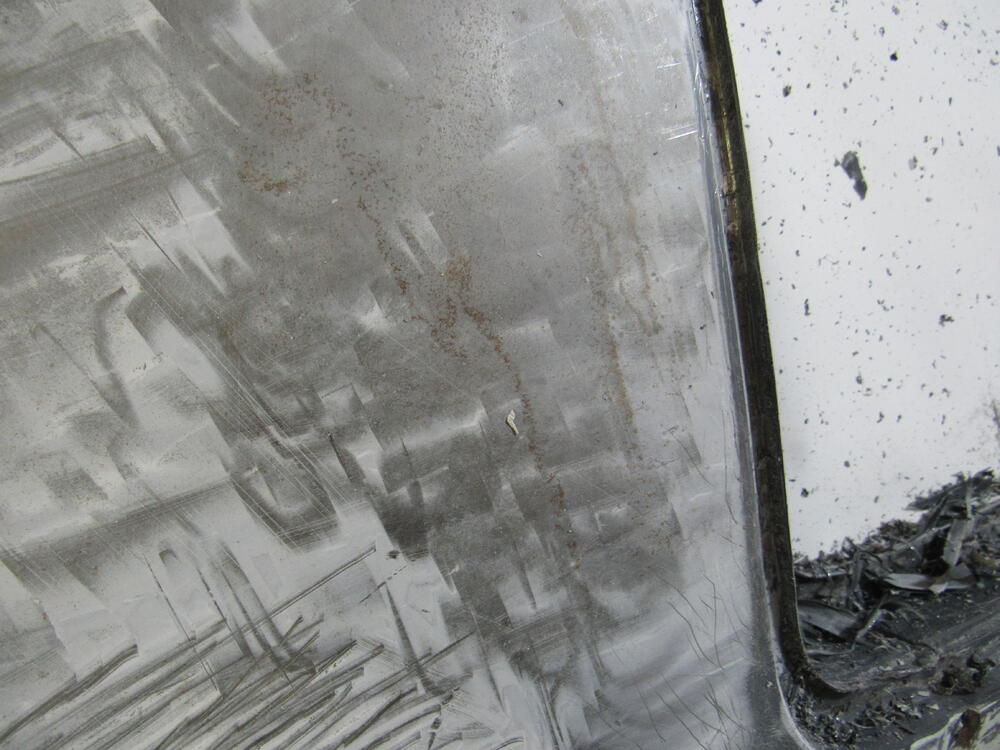
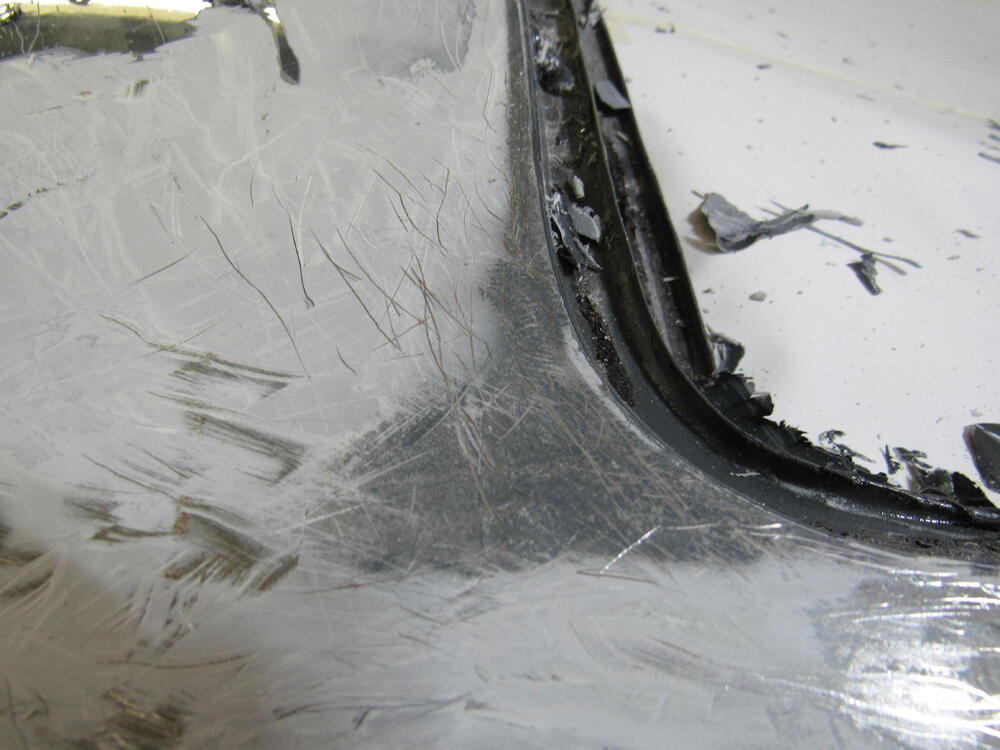
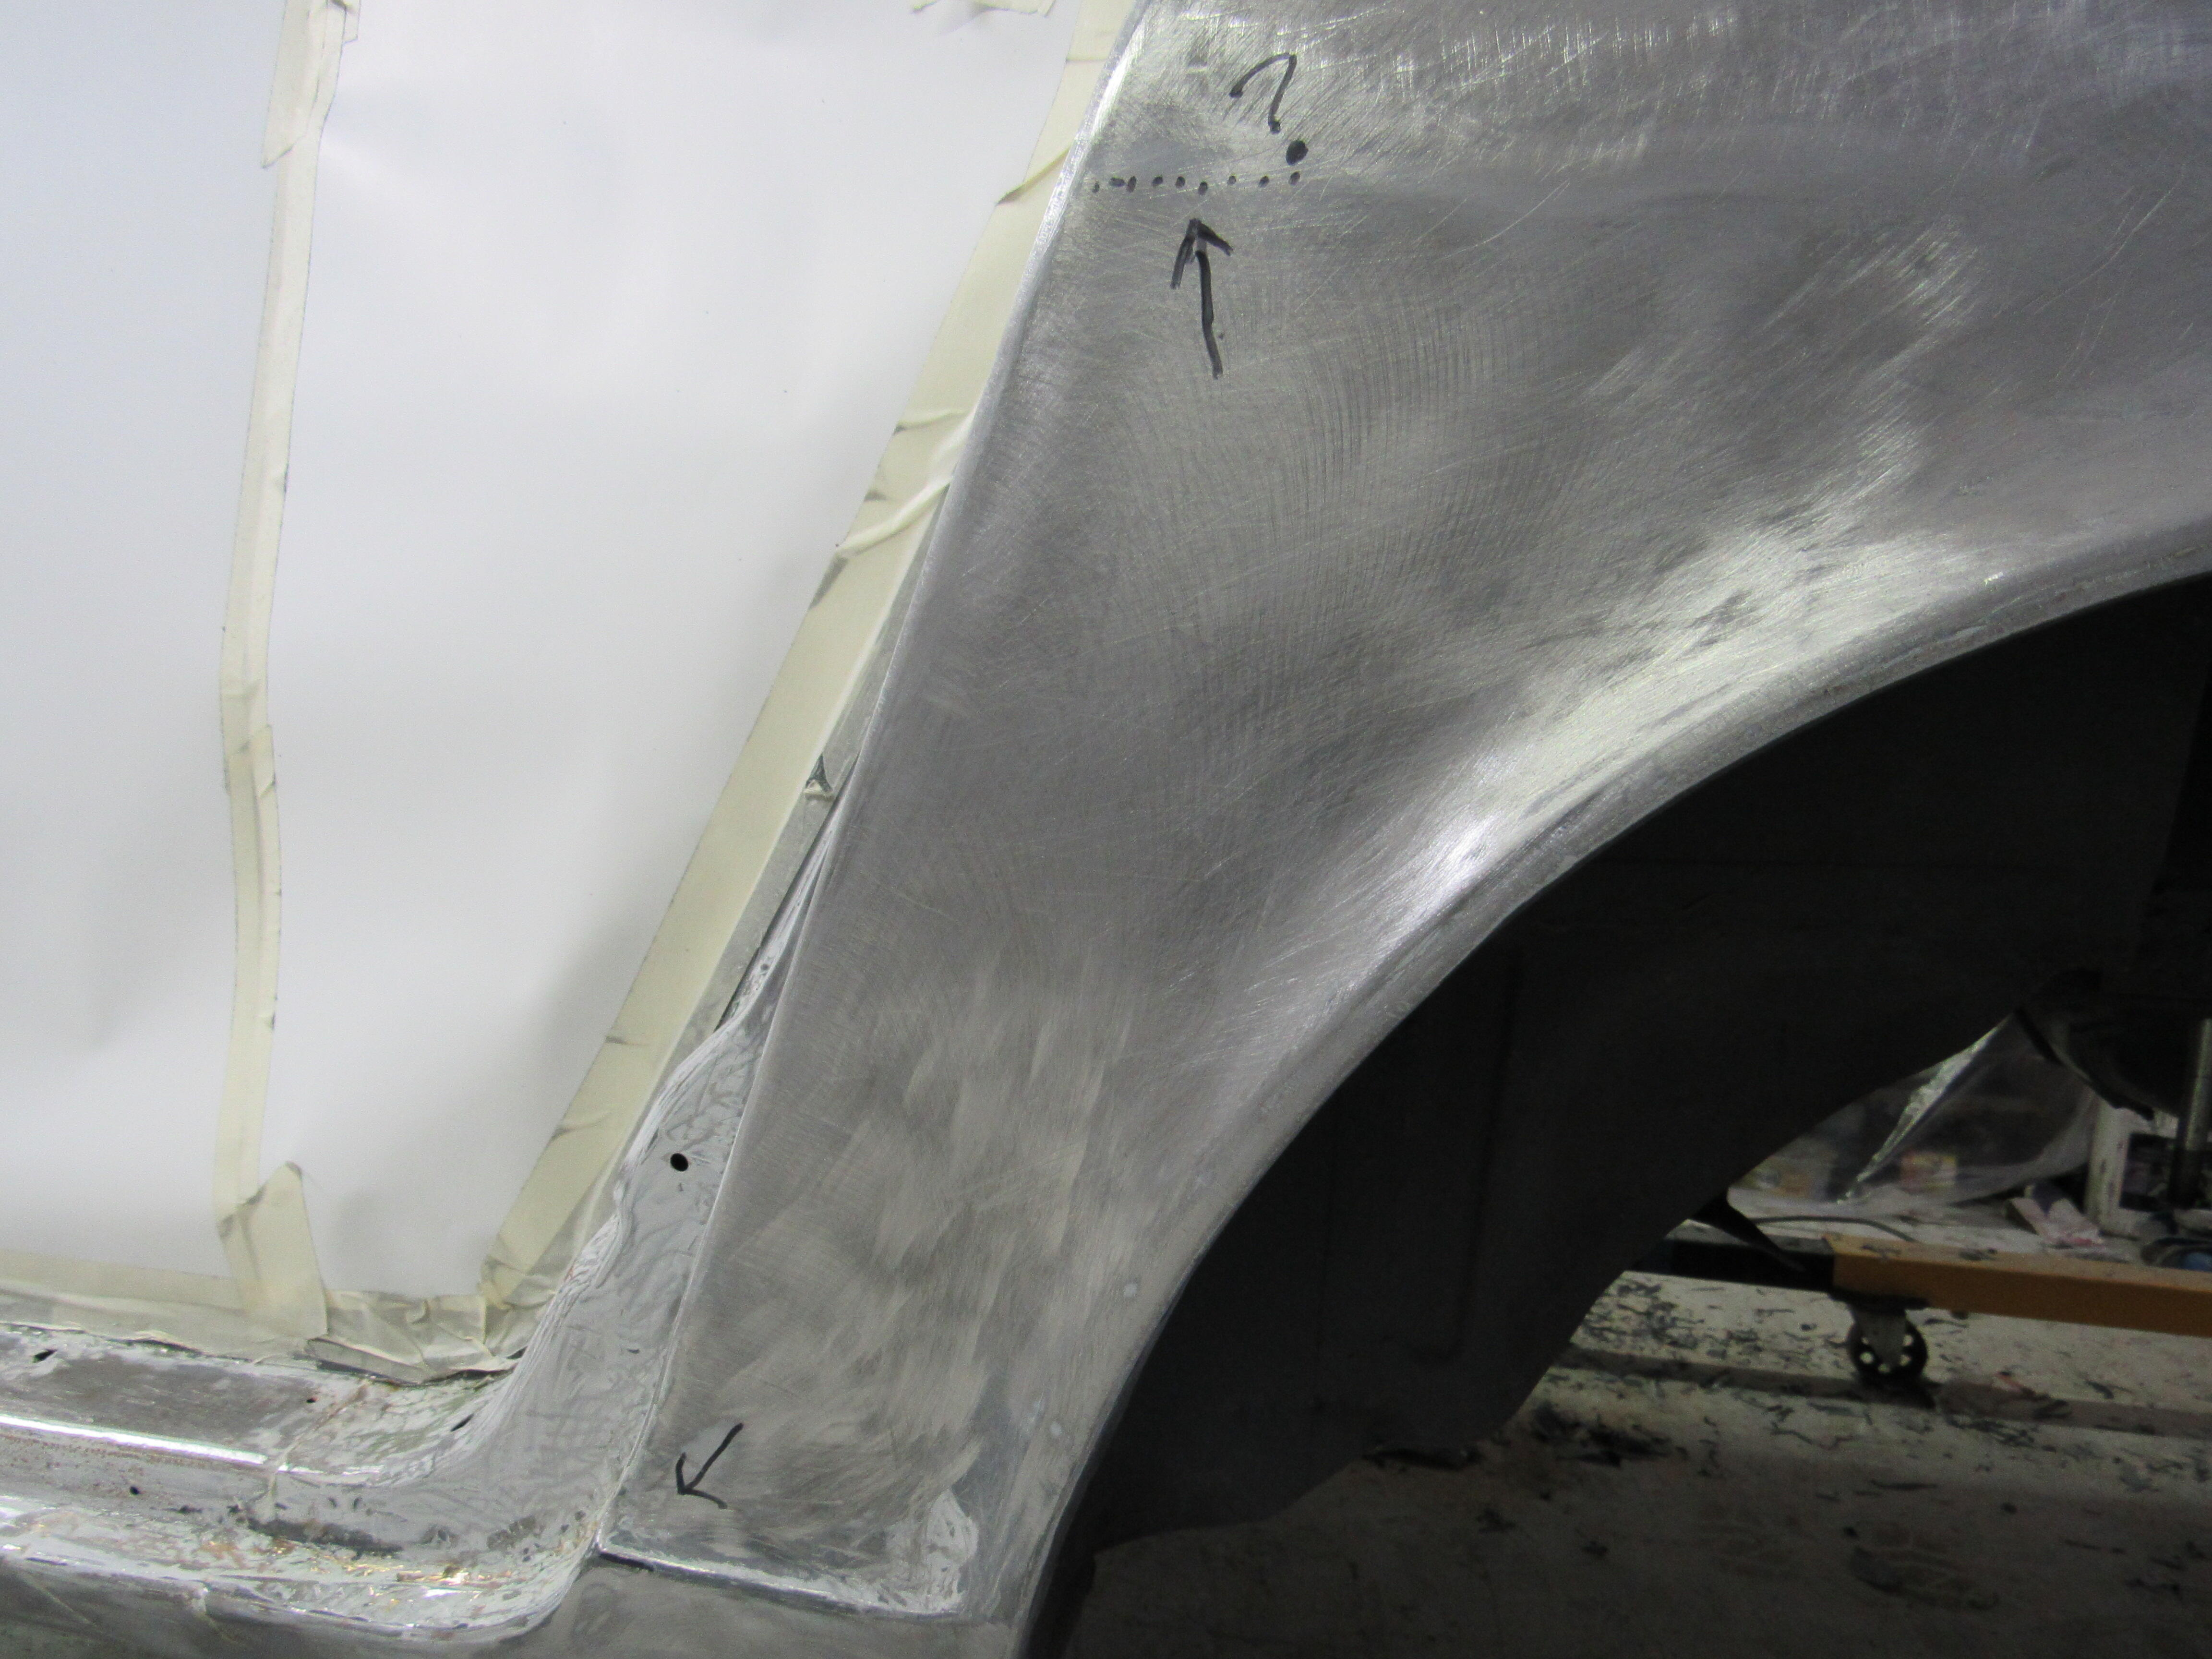
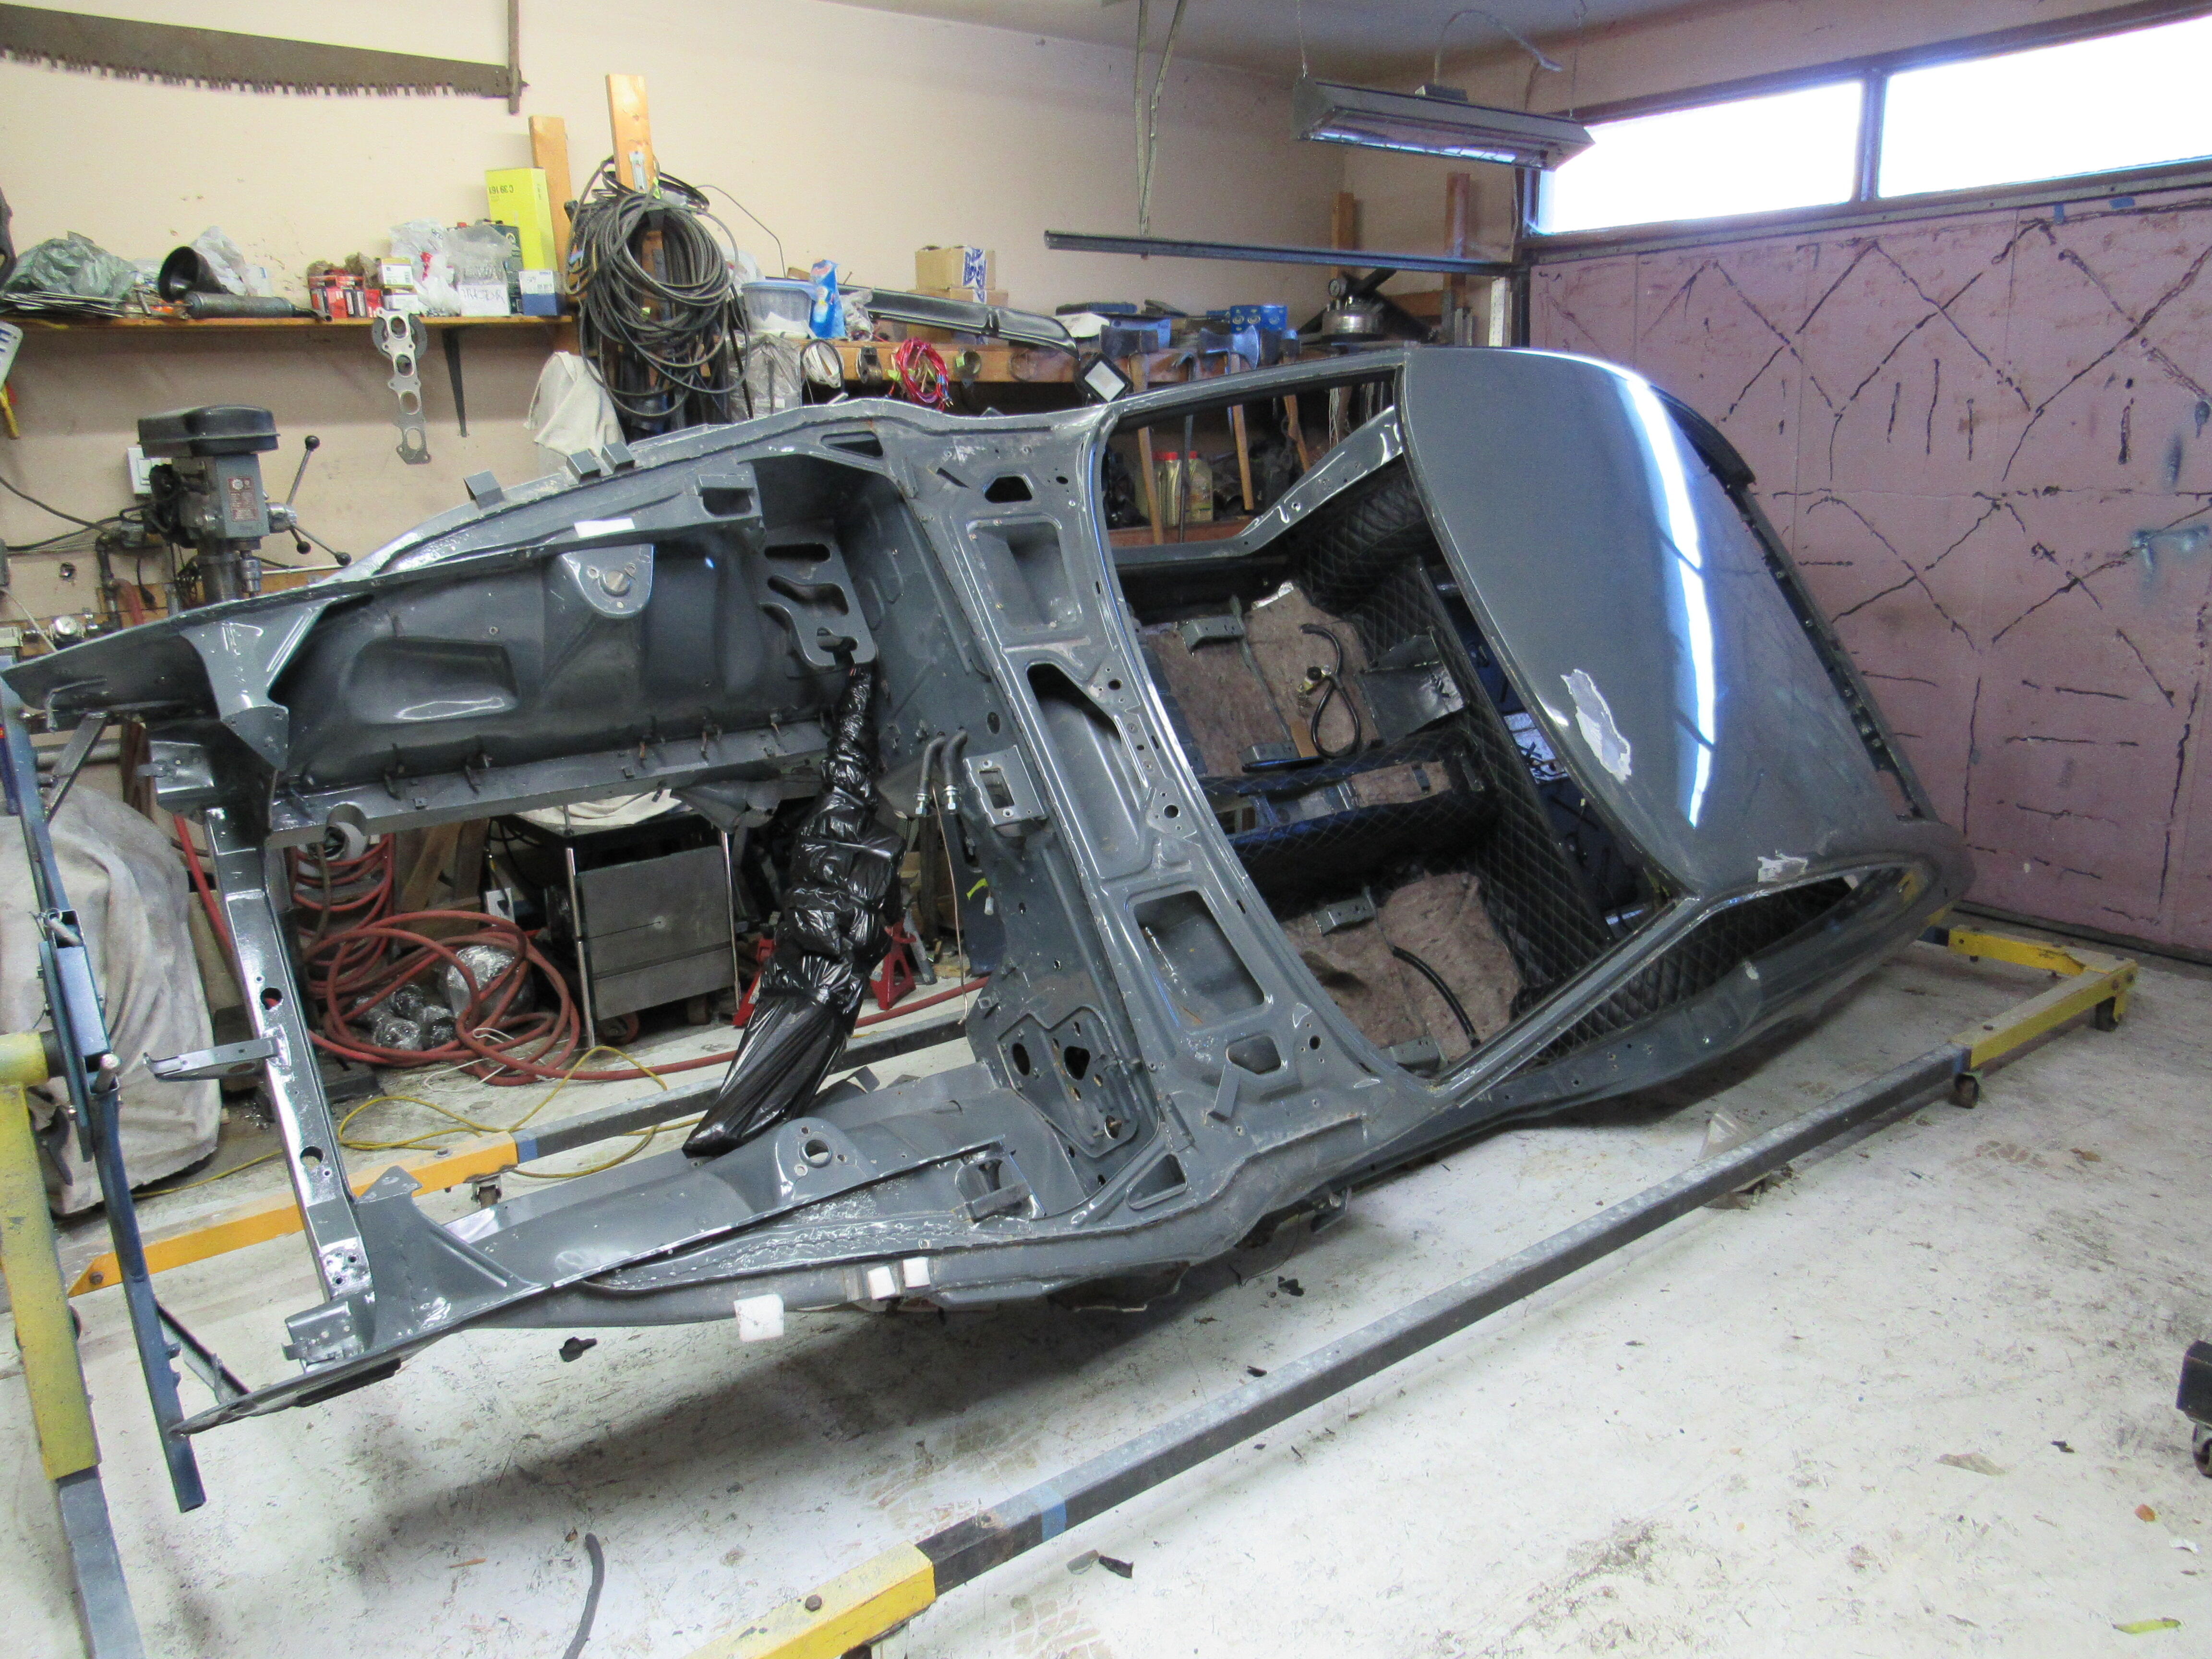
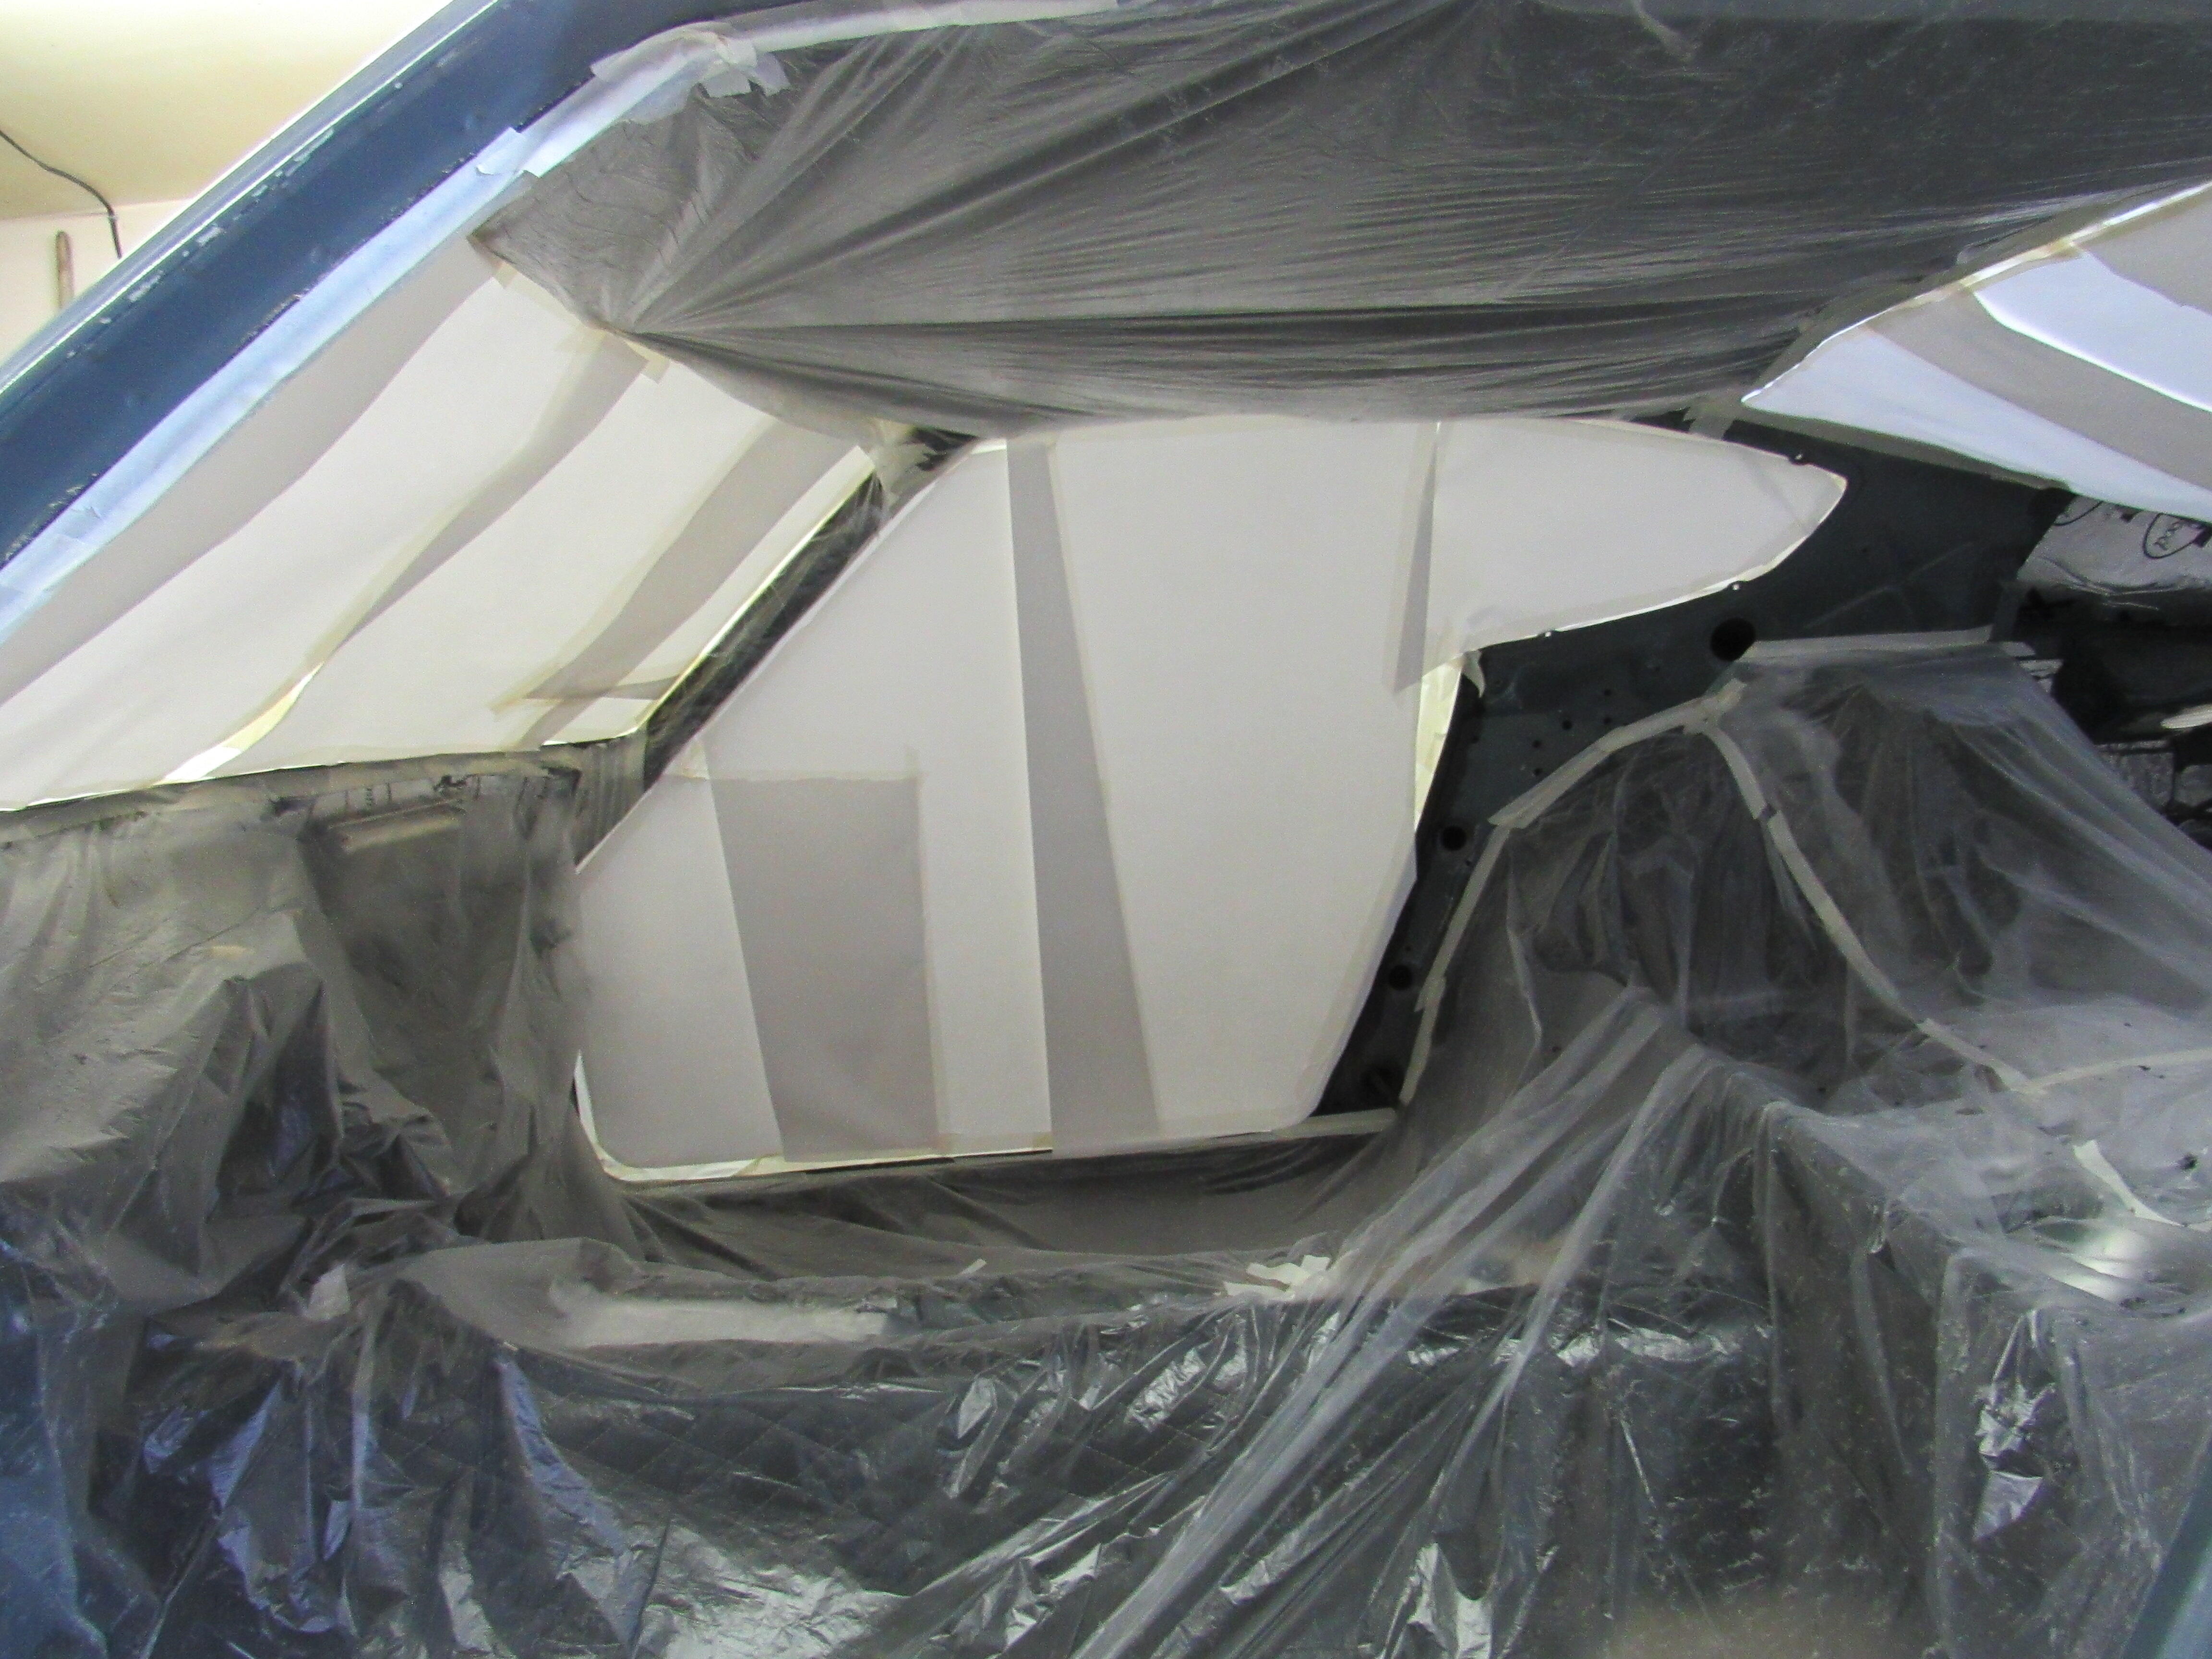
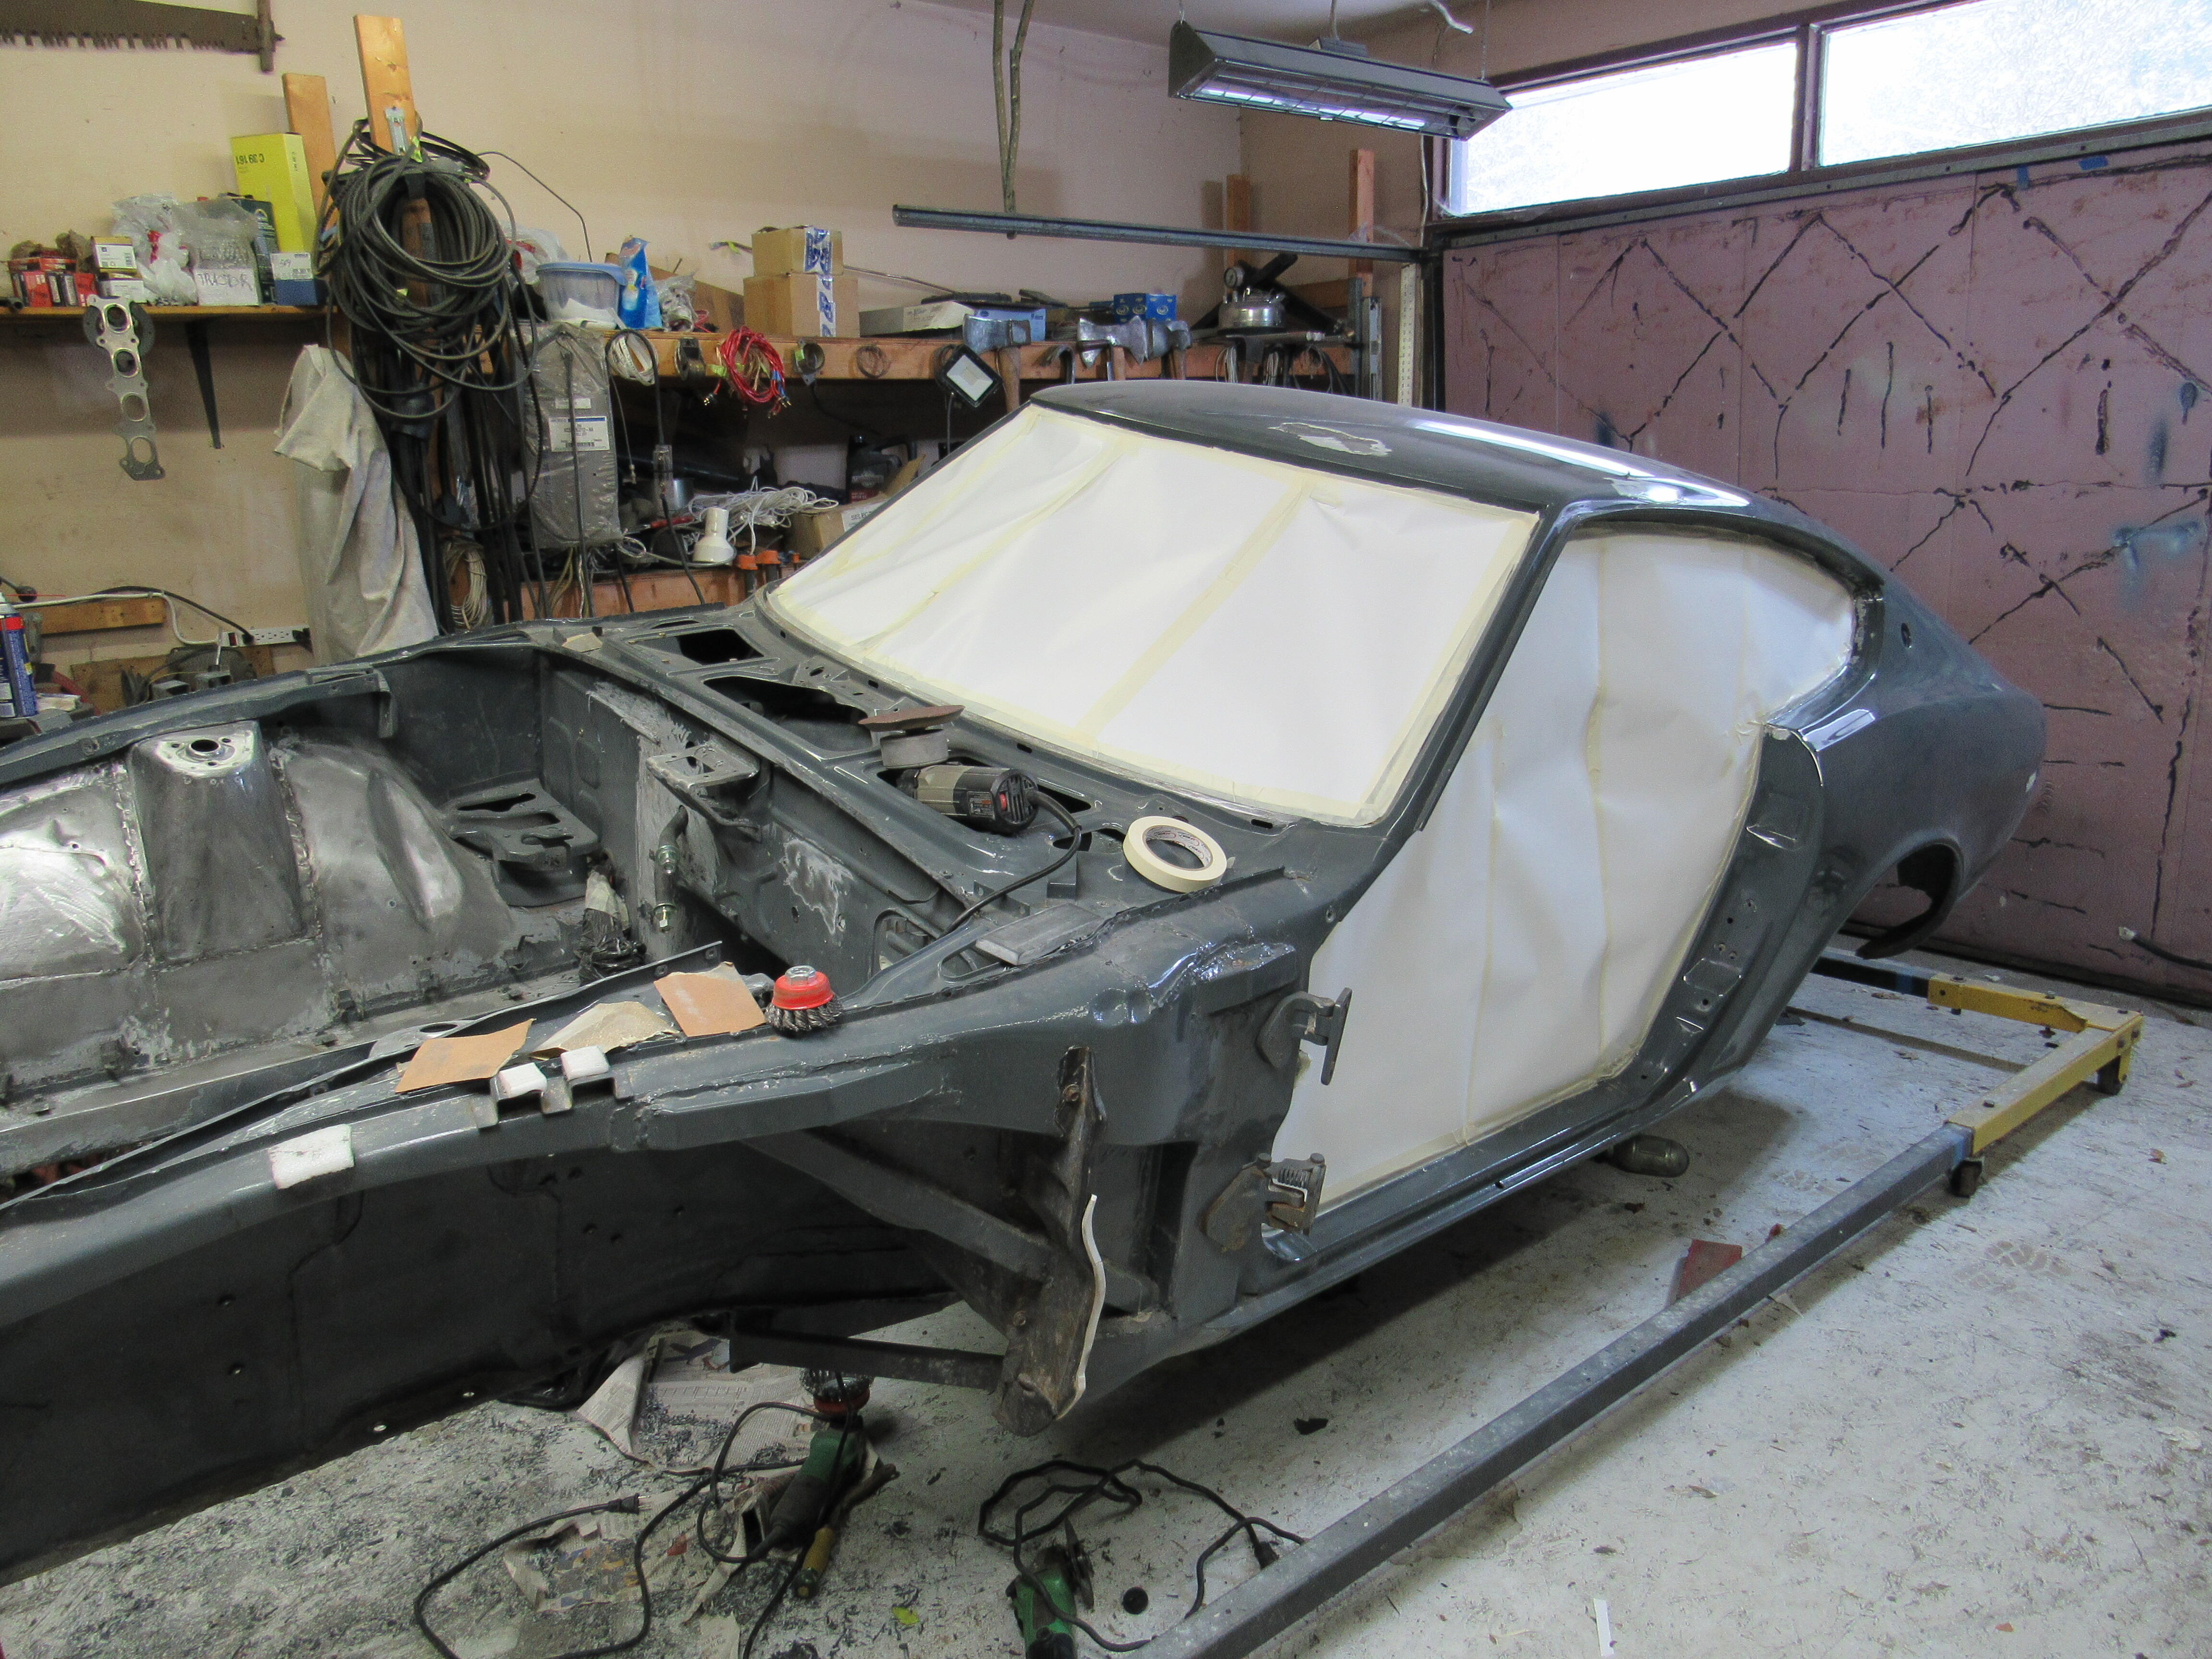
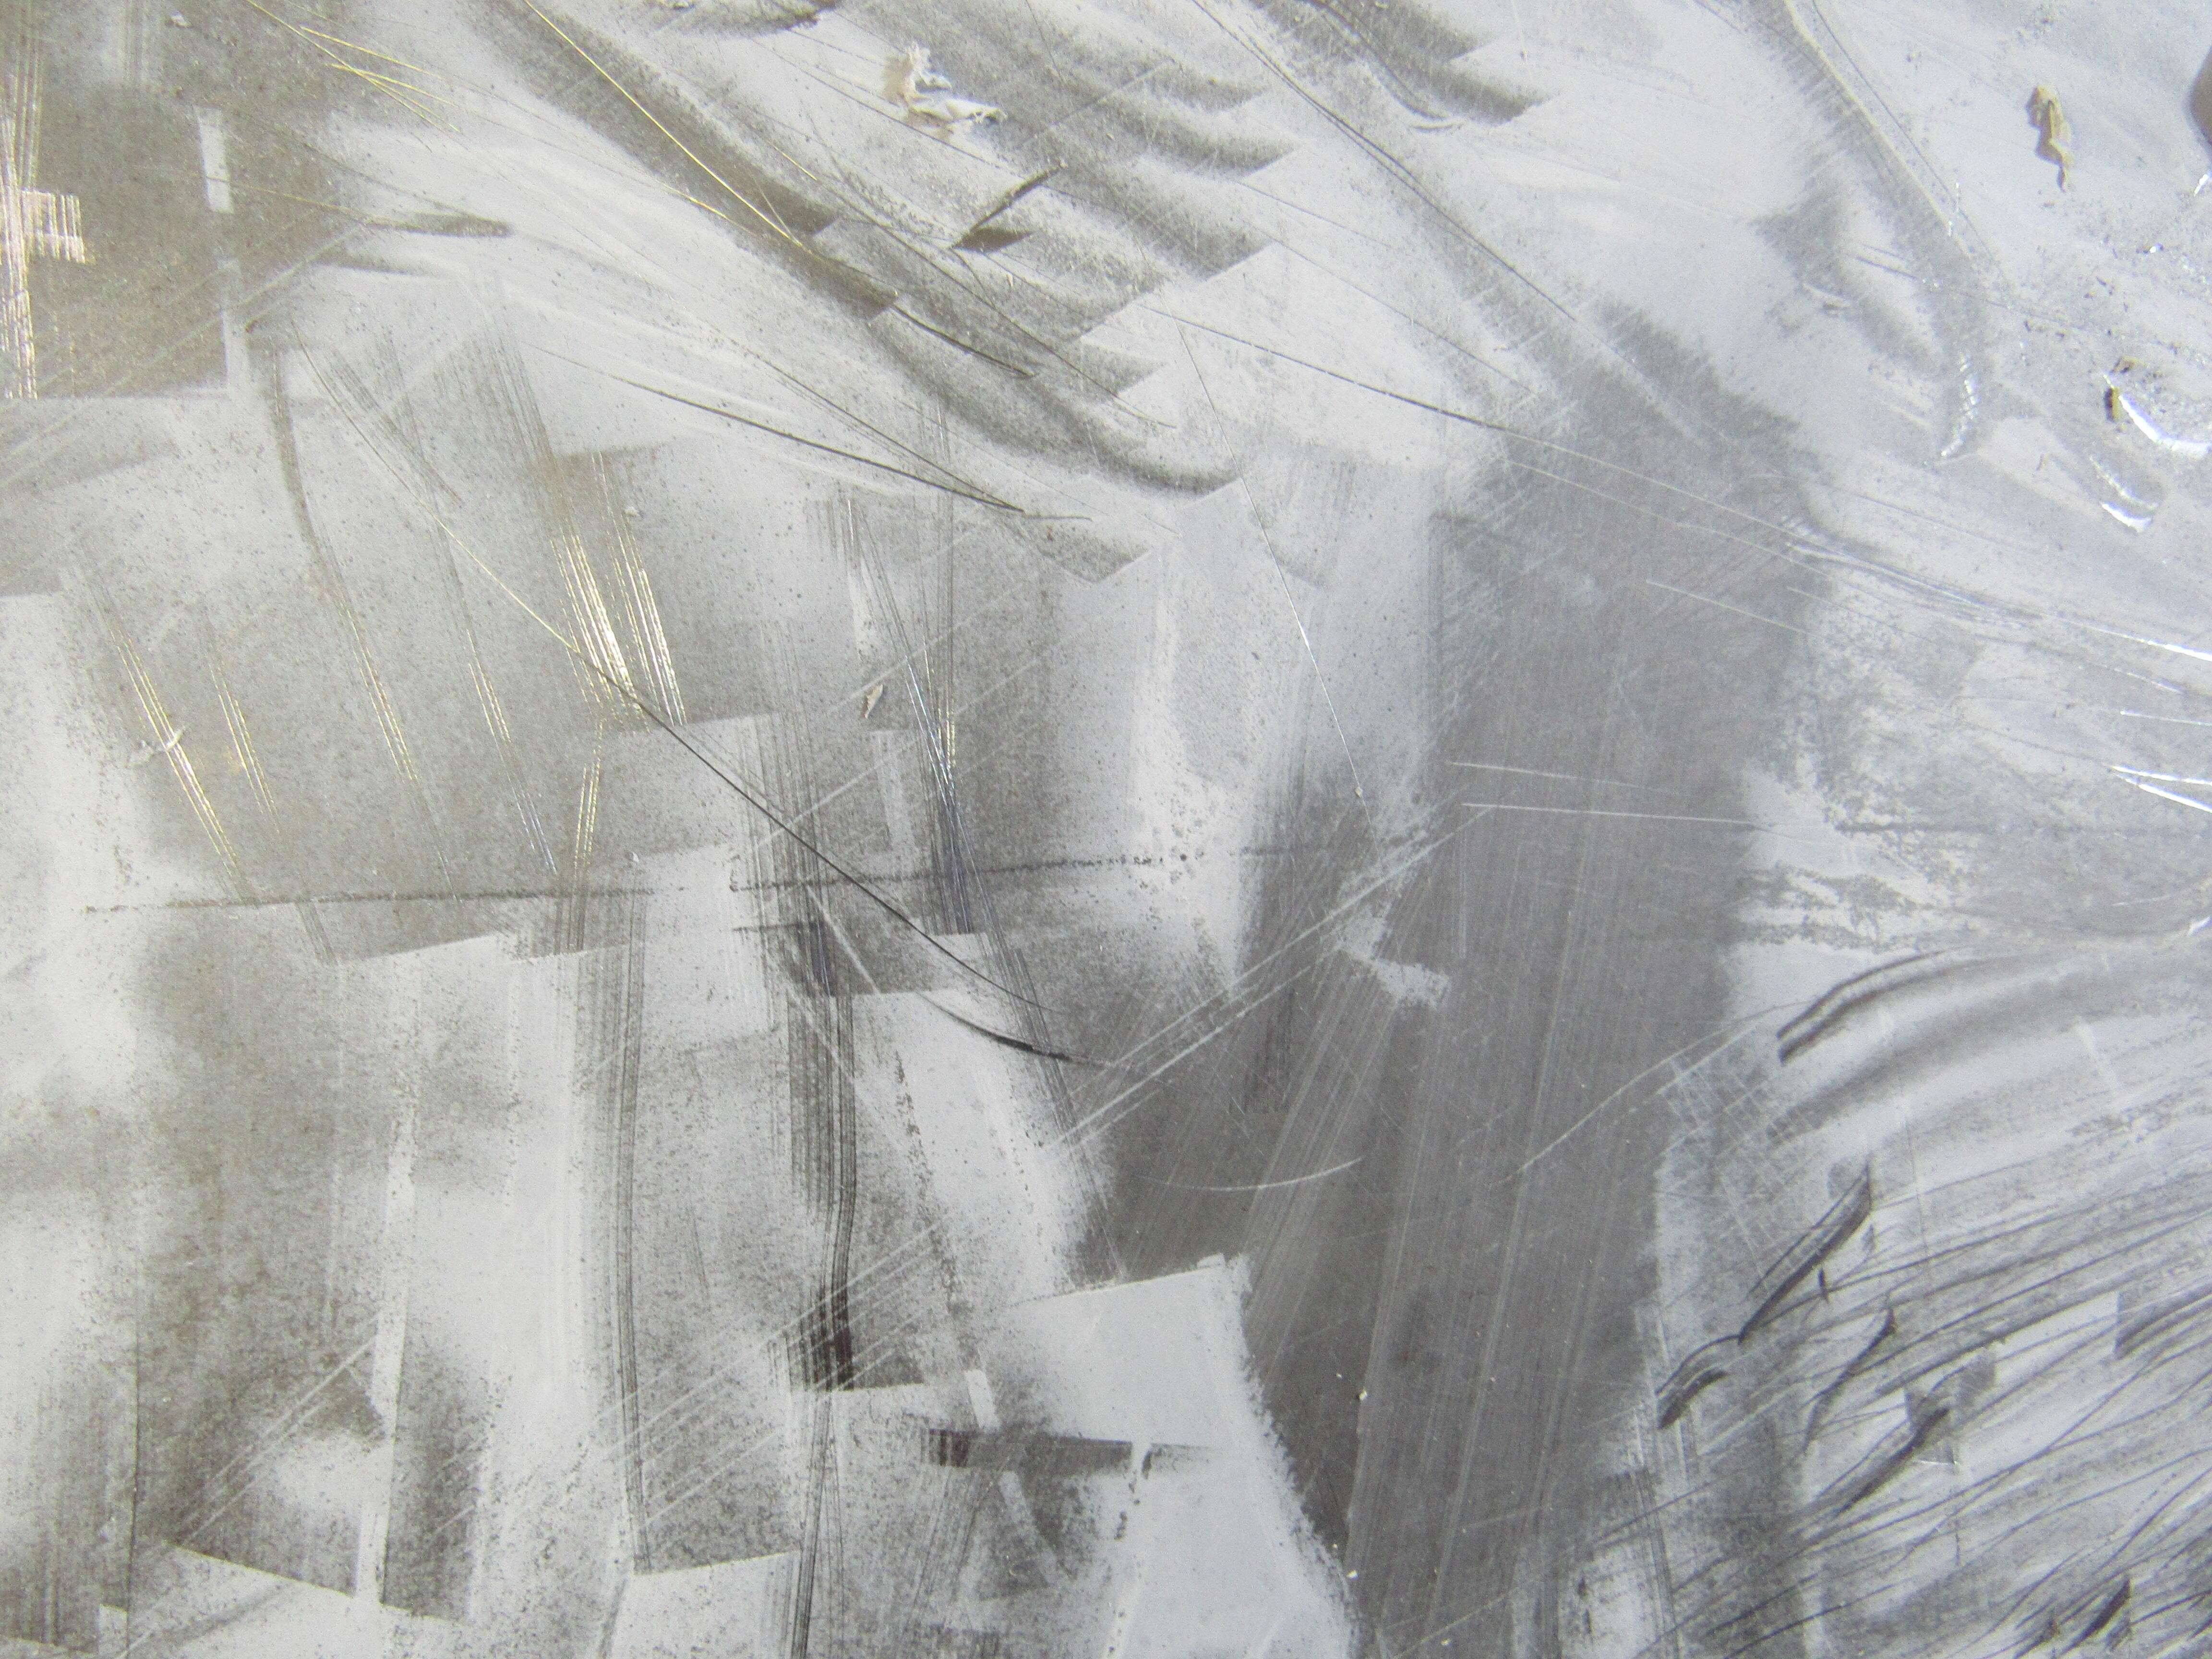
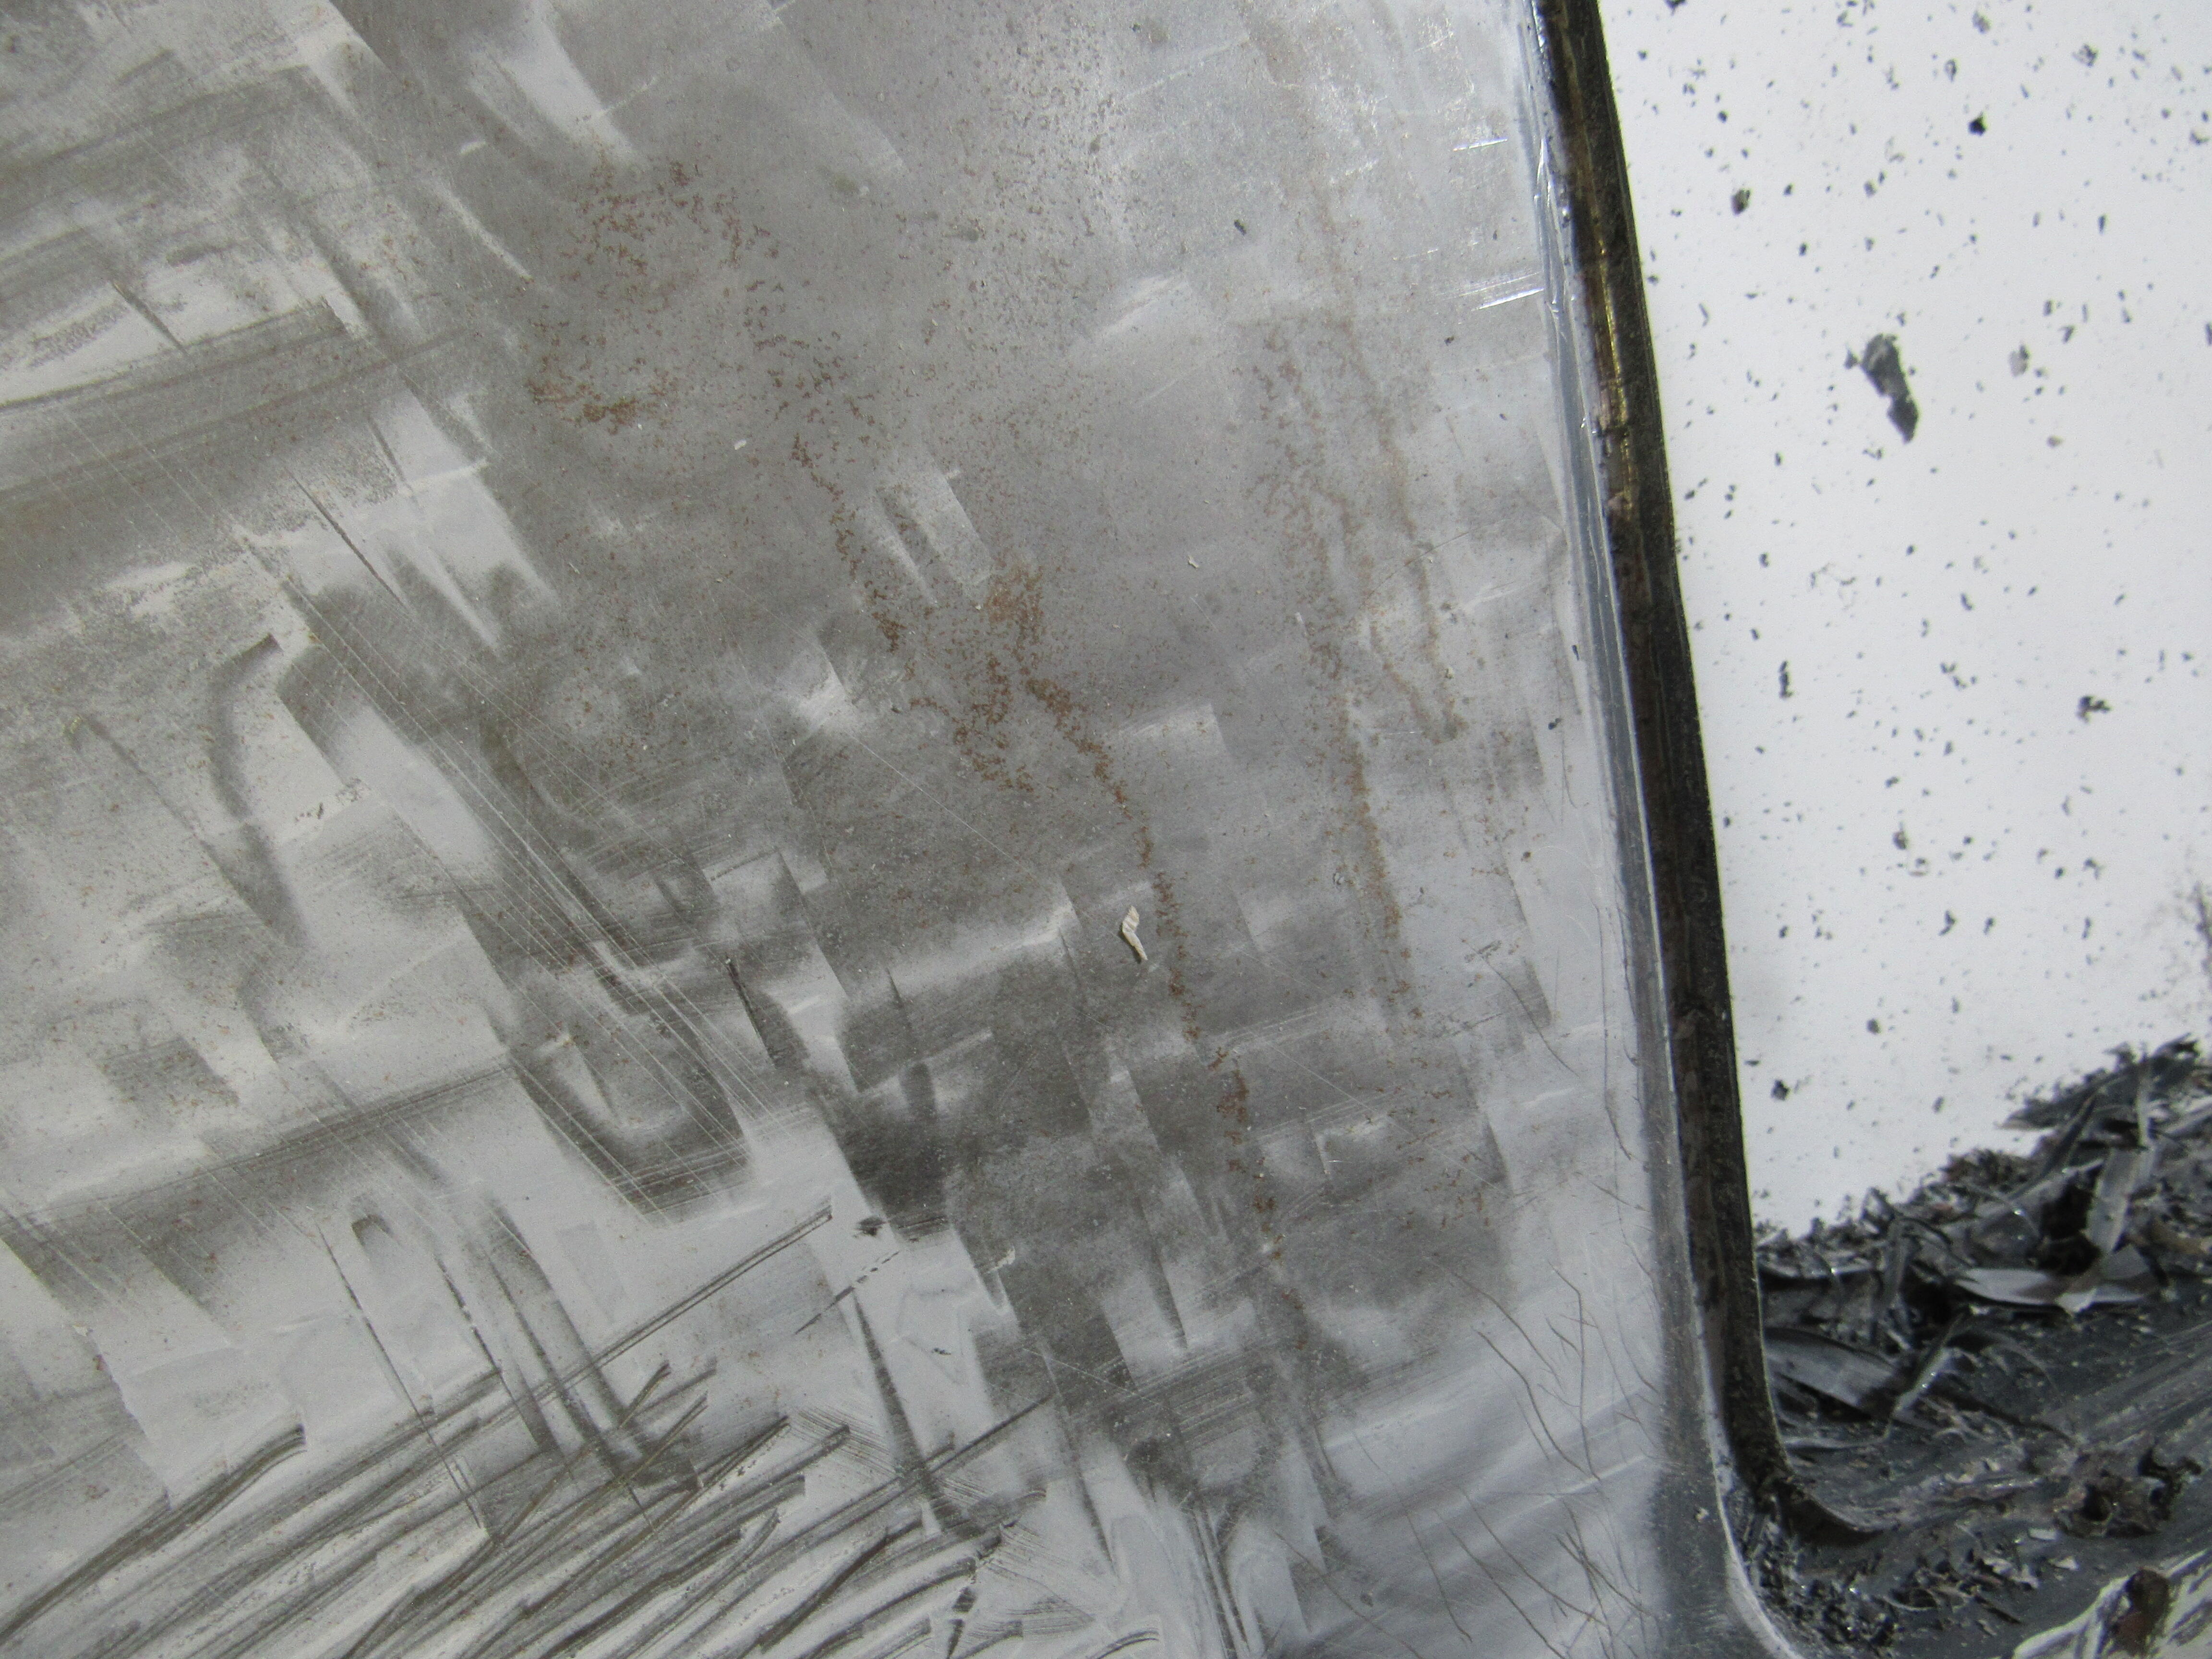
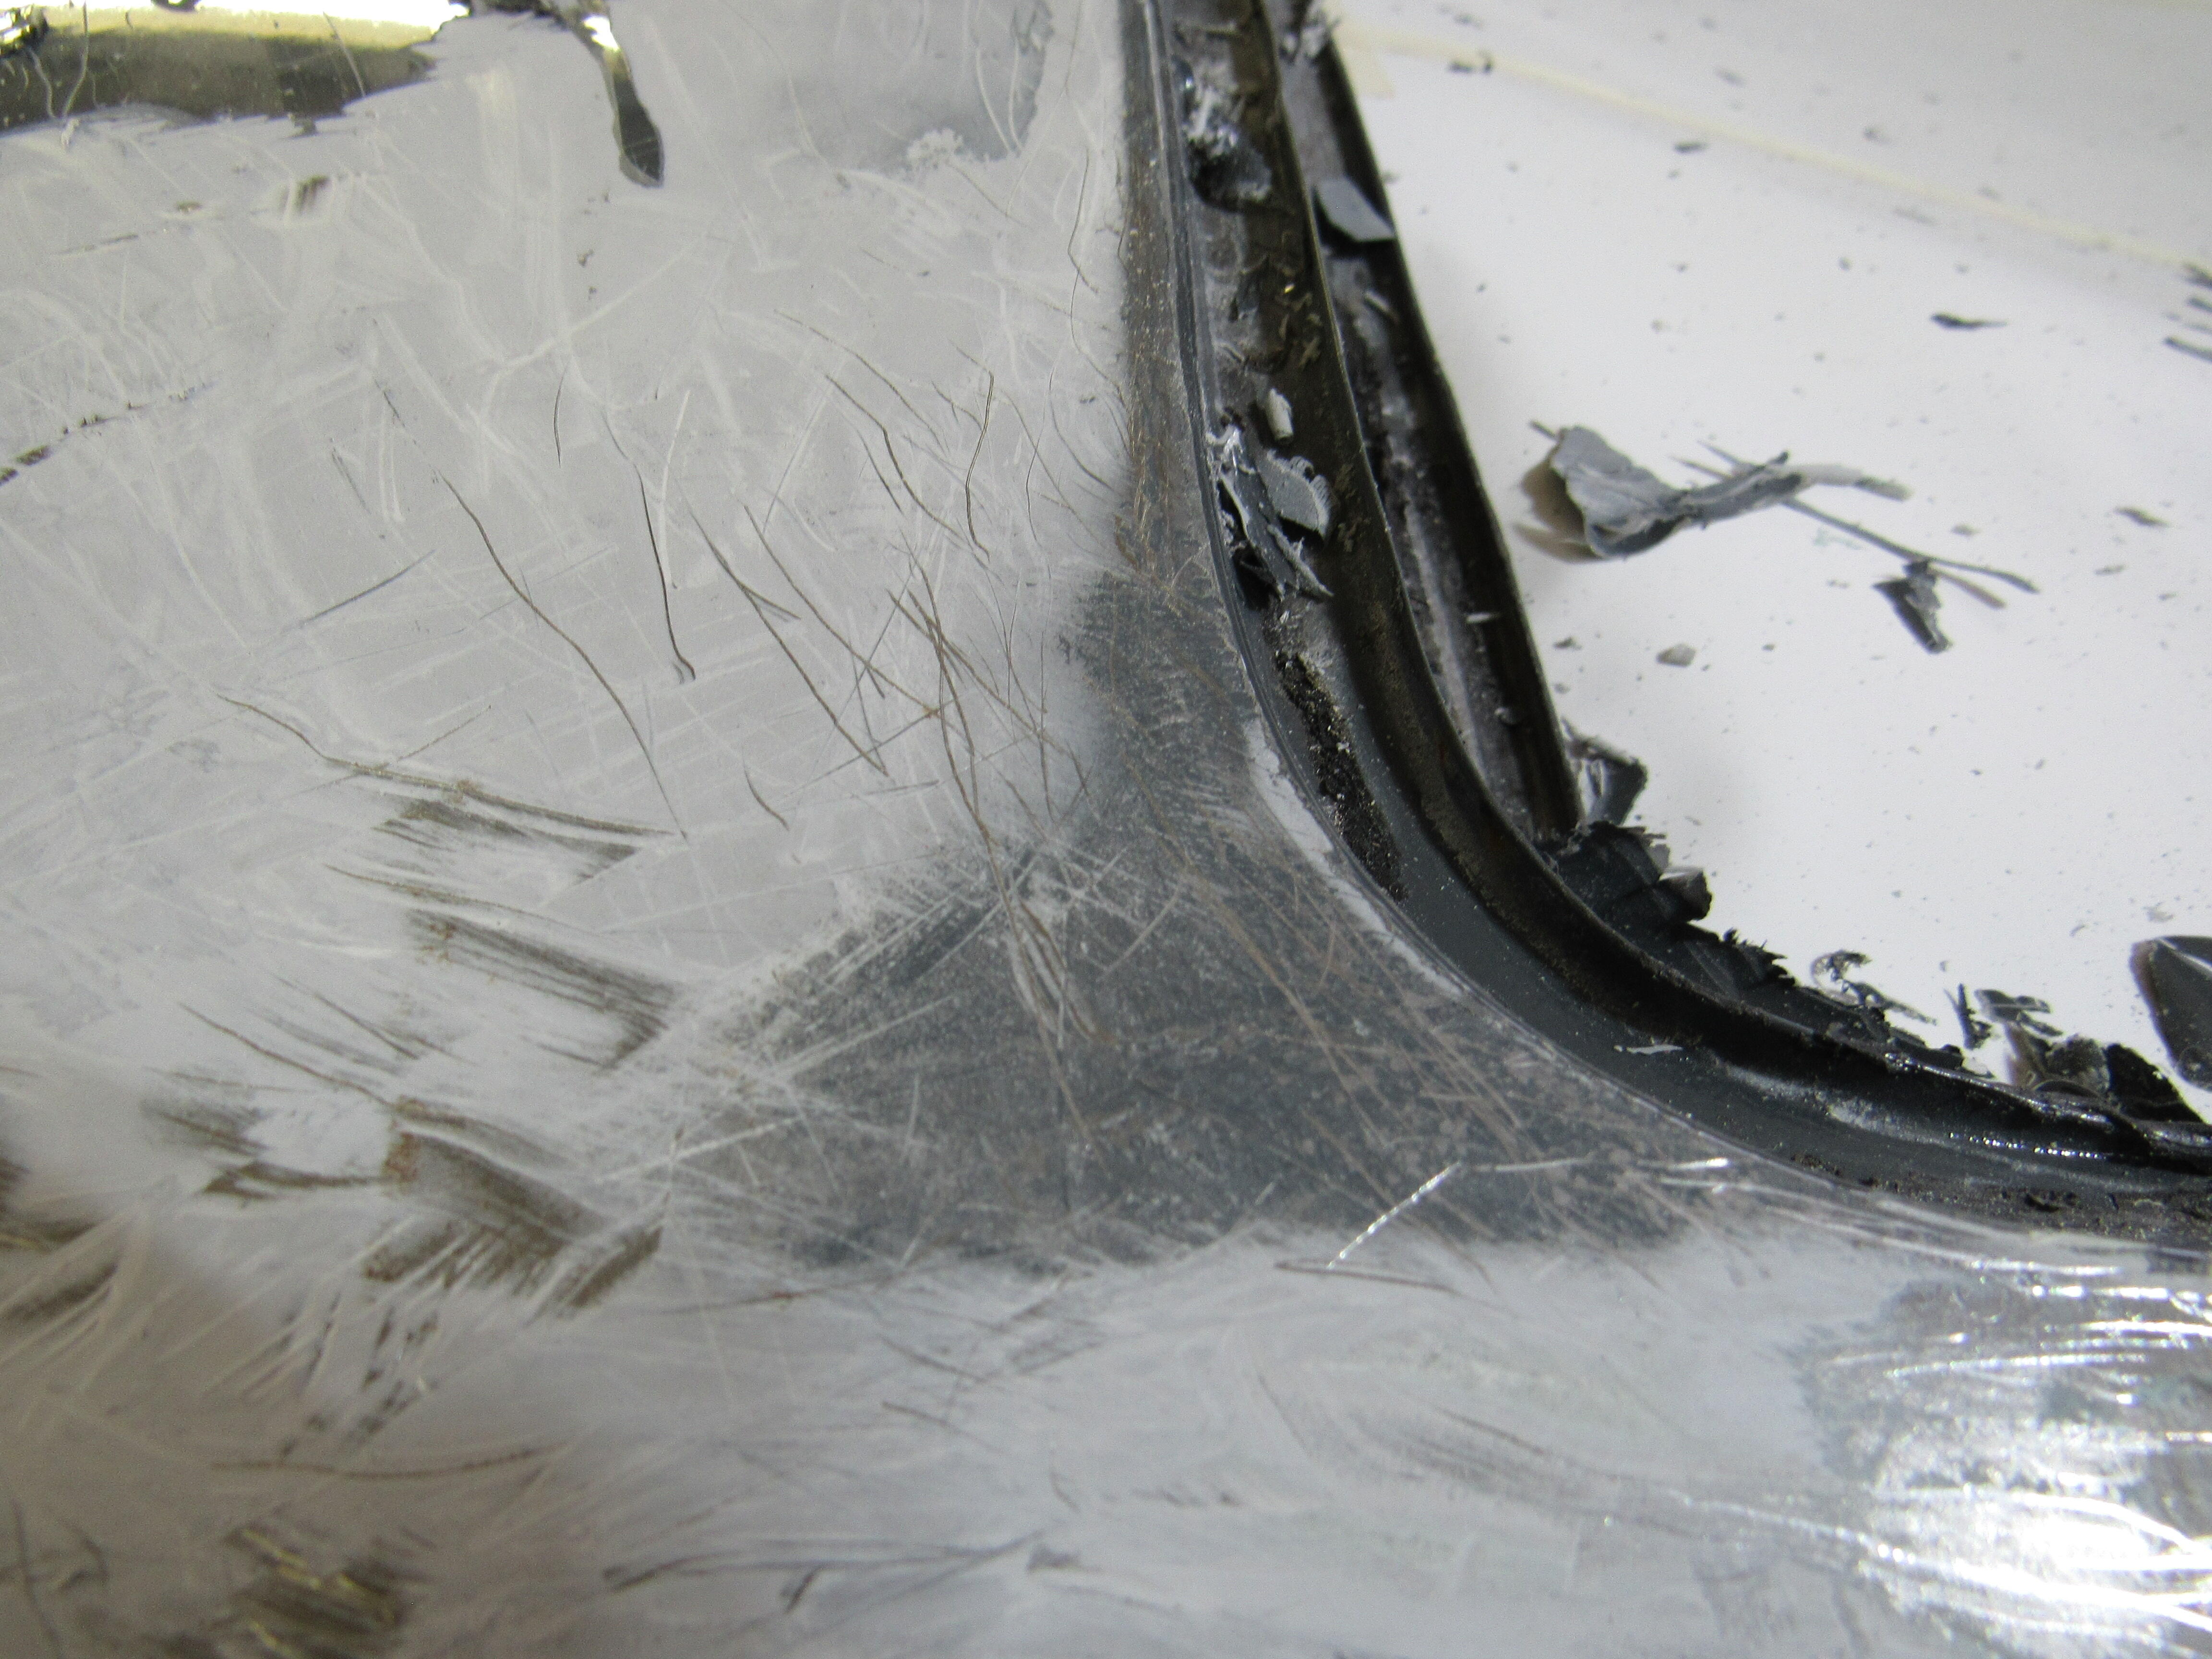
I have the car stripped and mounted on the rotisserie now, the interior mostly stripped out and have covered all the leather and roof with plastic and sealed up the openings with masking paper. I removed all the paint from the engine bay and before any oxidation could start sprayed 2 coats of epoxy primmer. So here's why the paint job failed, first off he applied filler straight on to the bare metal which I asked him not to do and he assured me he wouldn't. But he didn't sand the bare metal or even wipe it down with solvent/cleaner, you can see in the pics the pencil marks I made circling some of the flaws before I sent the car up to him. In one pic I have wiped the pencil mark off with a bit of solvent. In fact the only sanding the metal saw was when he burned through the primmer while sanding, then he sprayed basecoat colour straight on to the metal with no primmer followed by clearcoat.😲 I've never seen that one before. The only good thing about the paint job is that it is so poor that it hasn't taken long the strip it off with a heat gun and scraper, I got half the car done today. Okay, that's it I won't mention the old paint job again, moving on. The 2nd and 5th pics are the engine bay partially stripped of paint before the primer. The last pic you can see the colour coat straight on the metal with no primer under it.


-
You have watch when using paint sticks or hardwood blocks, if you're wet sanding the wood is soaking up water and getting less and lees flat by the minute. I mentioned I ordered a set but then realized they are back ordered so canceled it and ordered a couple of sheets of 12"x12" acrylic. Shouldn't be too hard to rig up a handle.
-
You'll have to replace those bolts anyway so you could use a nut splitter like this one,
IndustrialScientific.thumb.png.ee804ac8448c7b9f6dcc9c1705b30c97.png)
-
Charles, have you heard about these Acrylic Linear sanding blocks? There is a number of vids on Utube, very impressive how flat they get your panels, I just ordered the the 12" set and will try them out on the 240z this winter. https://linearblockingtools.com/our-products
-
You may already know about these guys, there's not much they don't carry. https://www.piercemanifolds.com/productslist.asp
-
You're a natural.
-
There is a brand new Copart yard going in about 1 min. drive from my place, I'll pass it twice a day. This could get expensive.
-
Ditto, we suffer from the same sickness. The car is outstanding, a real benchmark, Congratulations.
-
Some ding dong always manages to sand them, every one I have had looked like that. GL
-
Text book, you done this before😉


IndustrialScientific.png.85e8c2bb1108bf7e077cda4ade521b25.png)

