grannyknot
Member
-
Joined
-
Last visited
Everything posted by grannyknot
-
 I've never done an Auto to 5 spd before but have done a few 4 spd to 5 spd conversions and from your pics it looks like it is very similar. You may also find that you have to cut a quarter moon relief out of the plastic console to accommodate the shifter in 1st, 3rd and 5th gear.
 -
Some scary looking rust repairs done to the floor pans then hidden under thick layer of gravel guard. Can't imagine BaT went for much of a reserve.
-
Back in the 70's a water hose and air hose were built into the gas pump island, adding water to your rad was done when you checked the oil level and was considered routine maintenance. There may be no leaks in your system, a lot of Z owners just add a catch bottle for regular driving and remove it for car shows.
-
What abrasive are you using in your wet blaster?
-
So you're saying that NASA only uses the Imperial measuring system? You would be wrong.
-
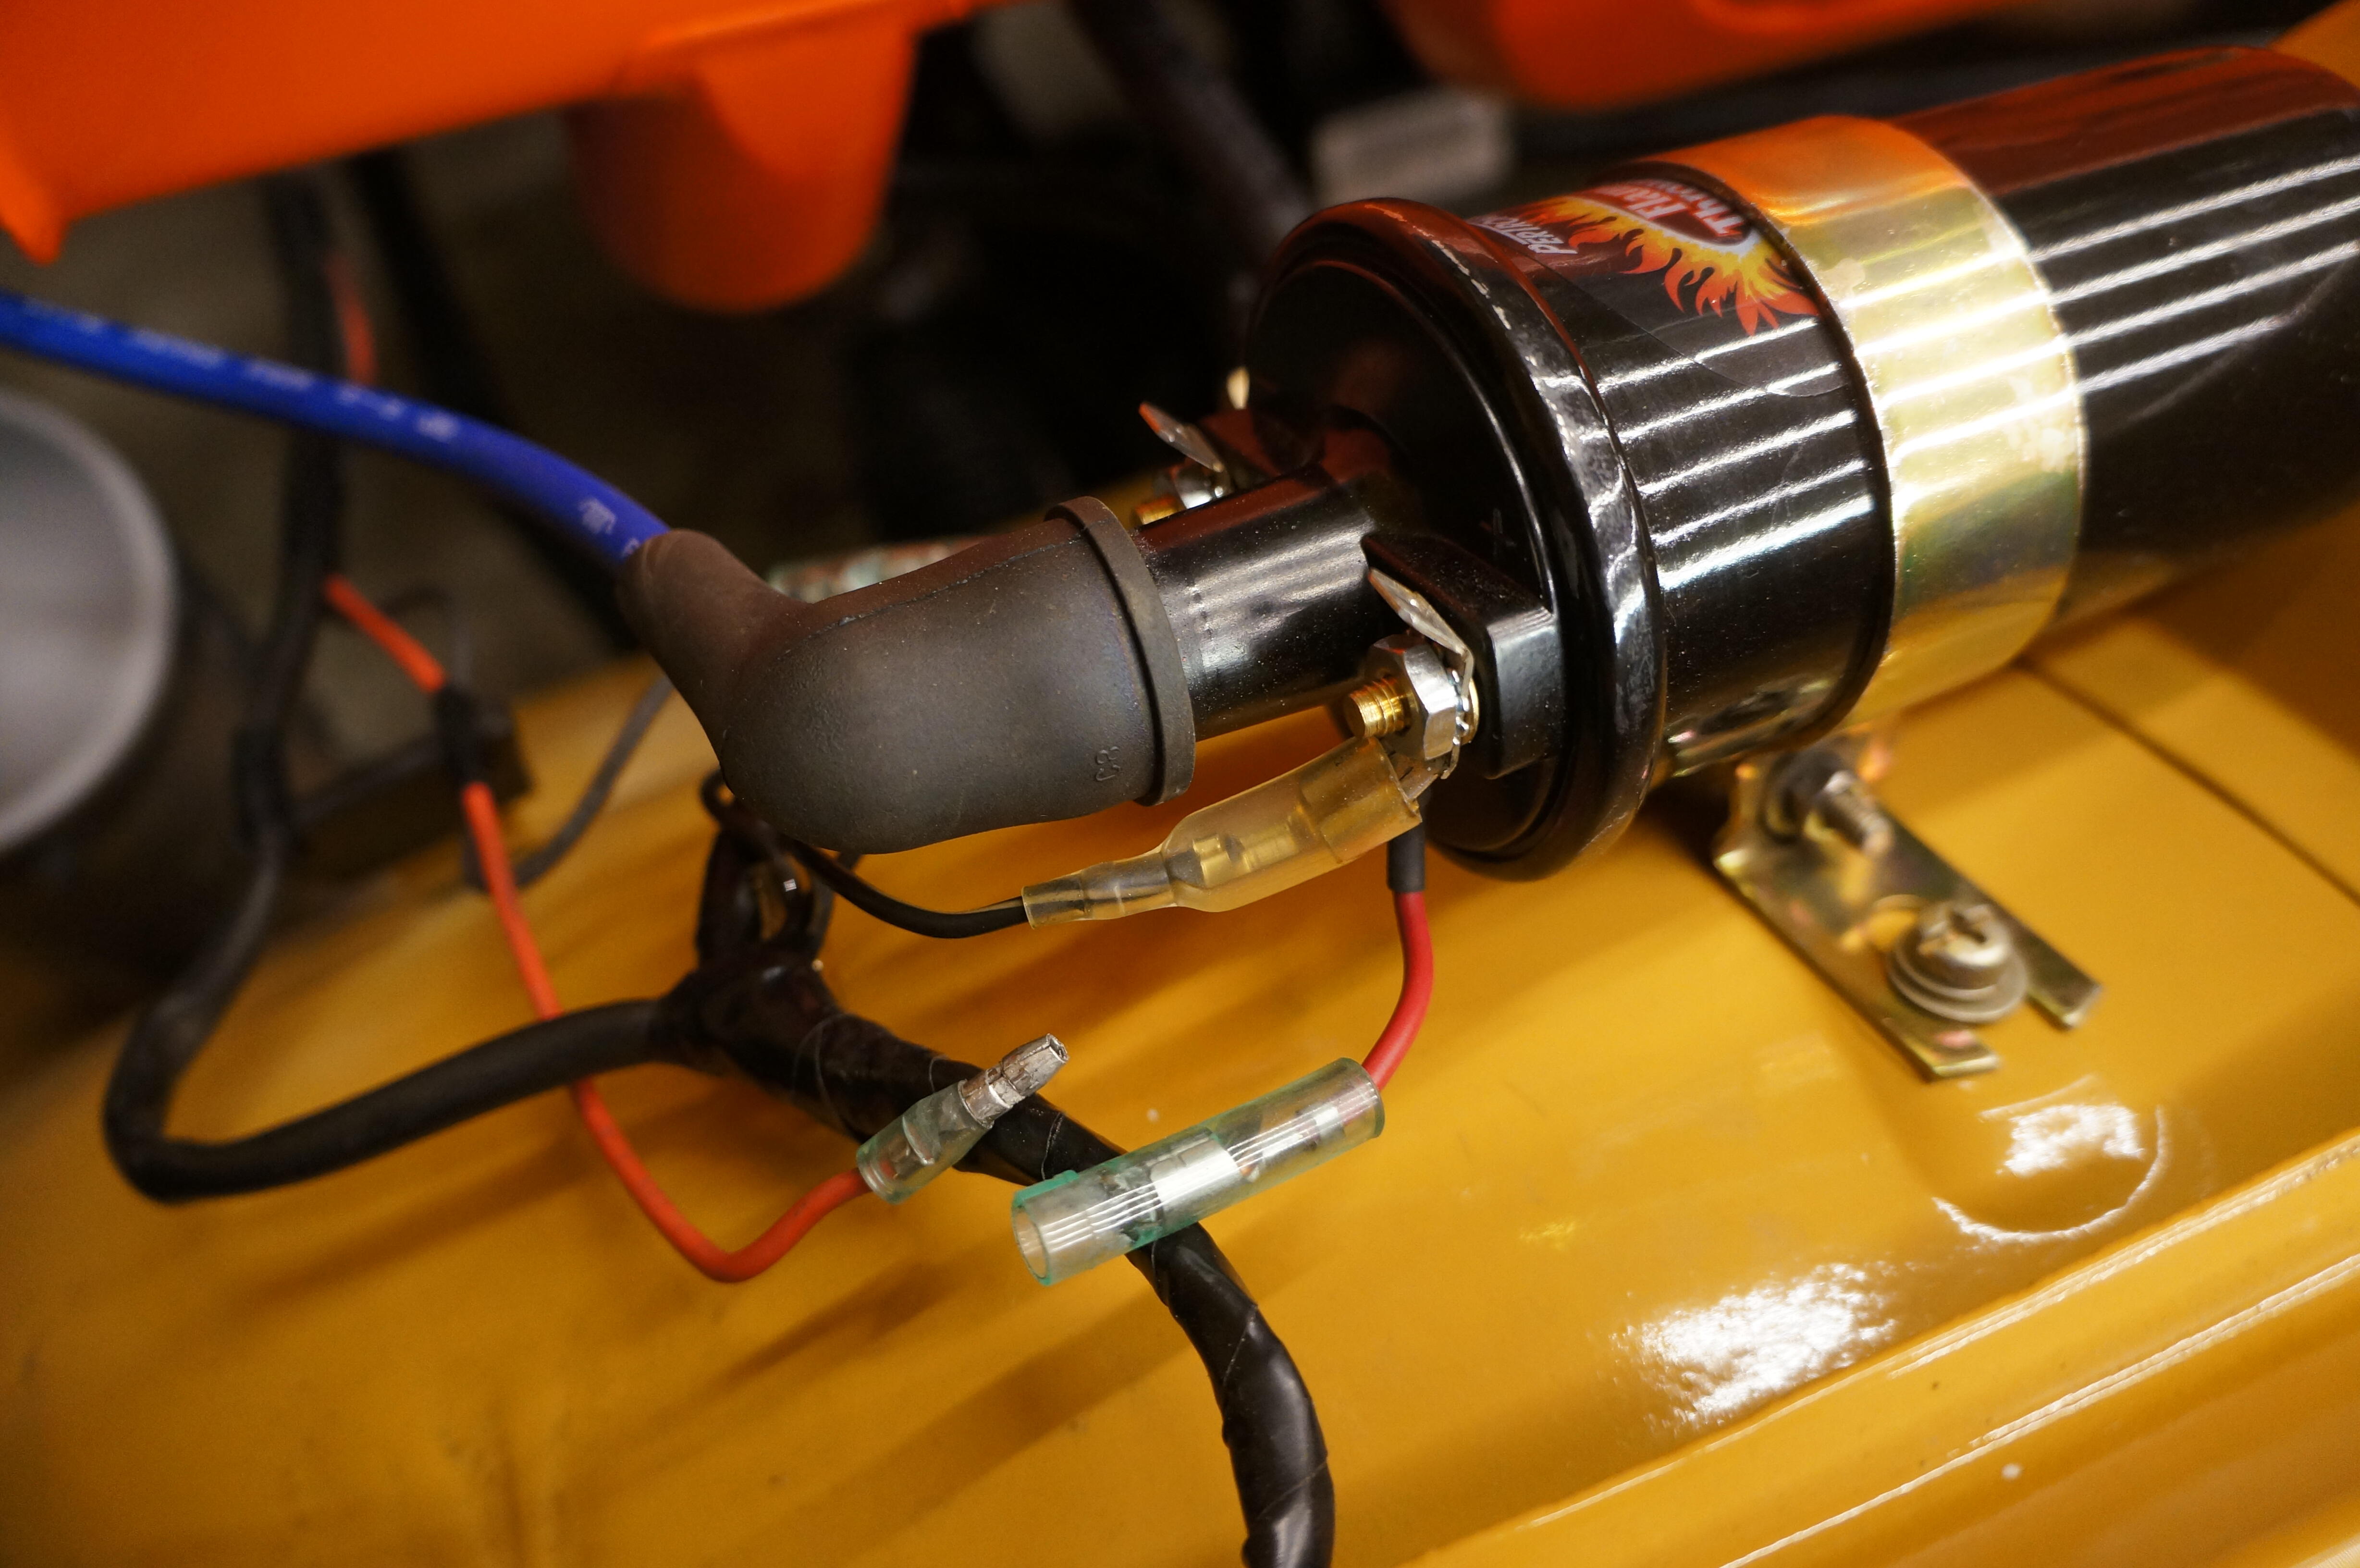
I have burned out 2 of the P1's, now I add bullet connectors on the positive side so I can do electrical trouble shooting without risking damage.

-
-
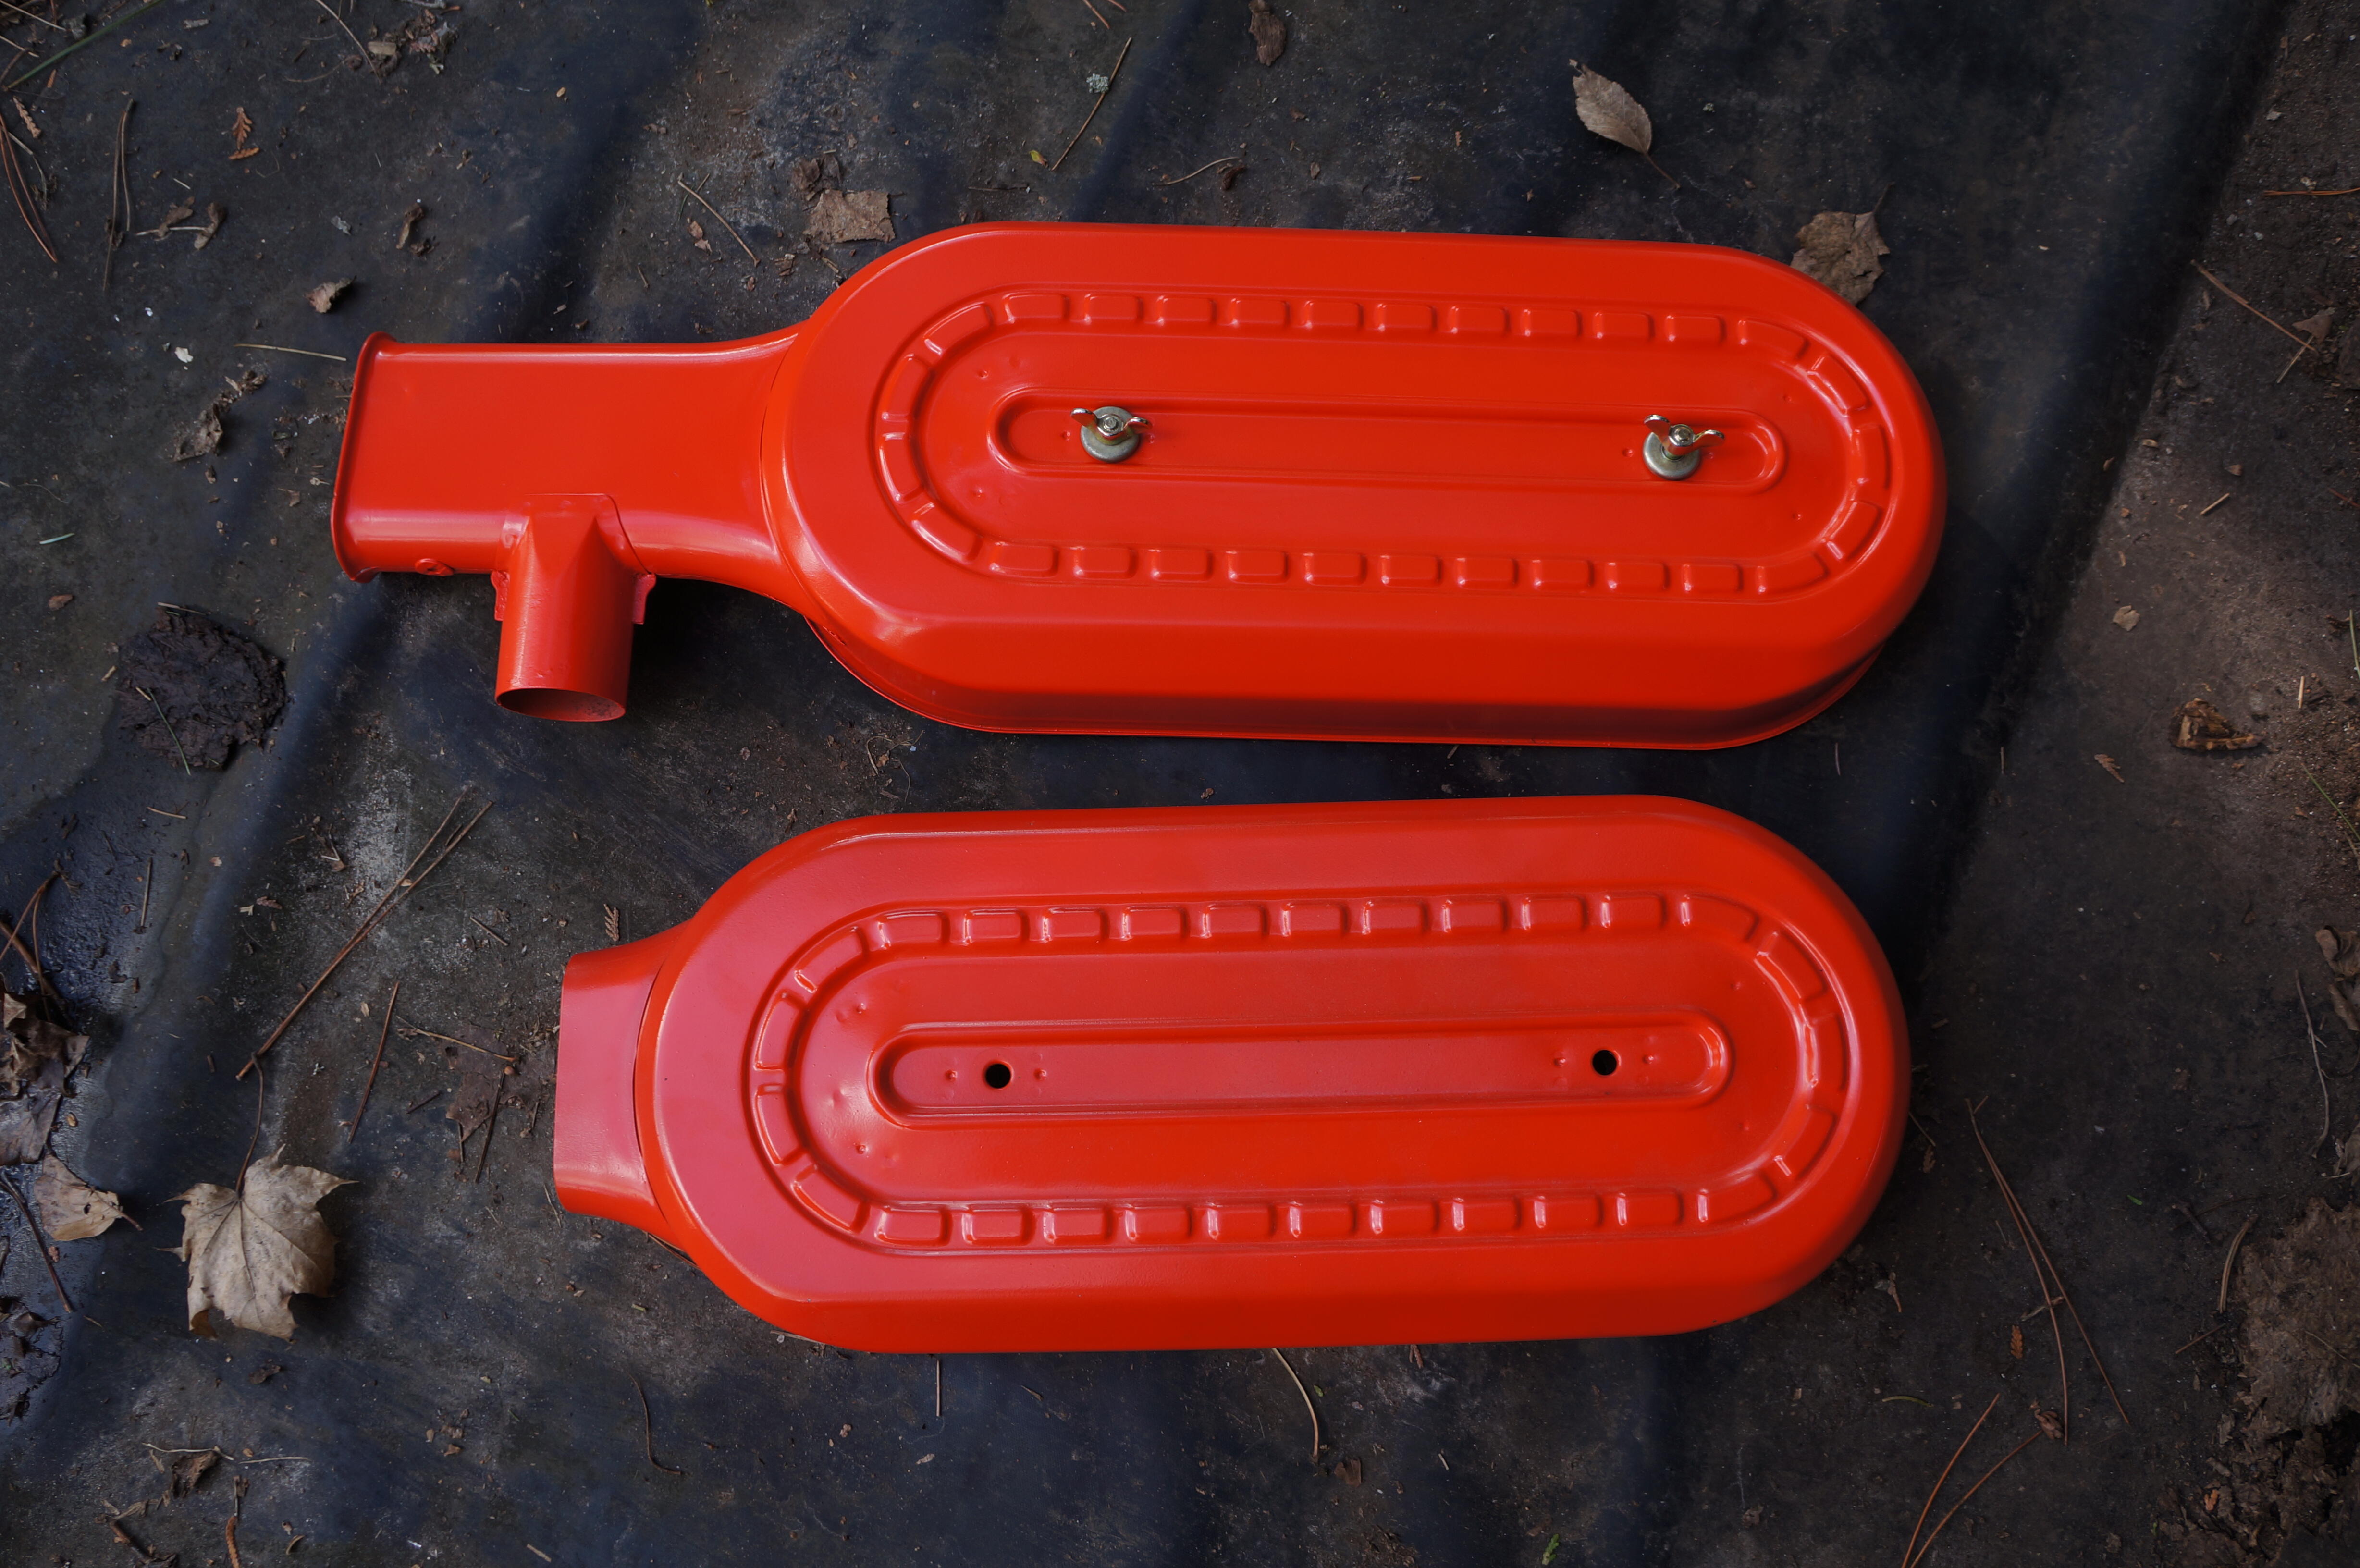
I got the chin spoiler primed yesterday and colour and clear on today, I'll give it a couple of days to cure before installation.


-
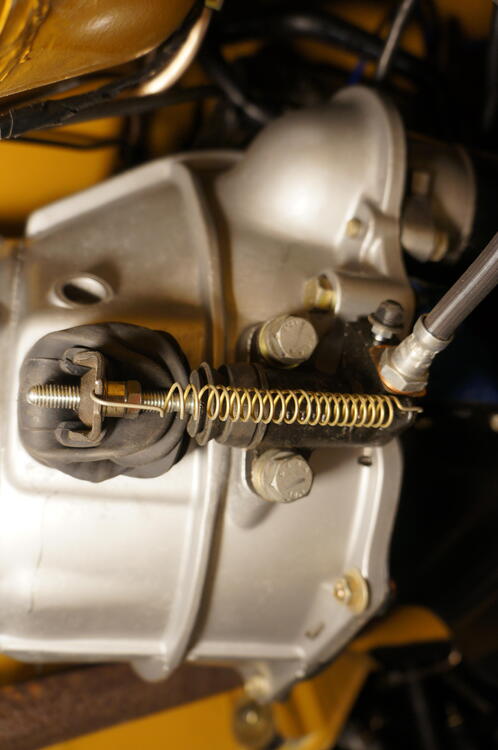
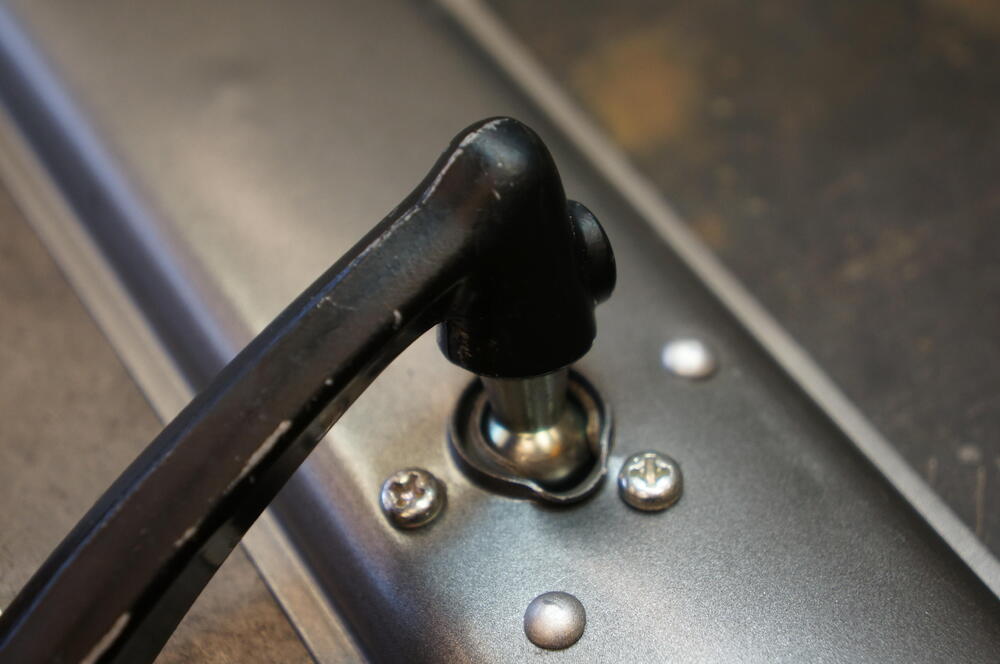
And now that I look at my own pic of the slave I think if I adjust the pivot ball backward toward the slave cylinder that should make it engage later?
-
Old style,
-
@sboy79, I hope I can jump in here for a related question, for some reason the clutch pedal of a 71/240 I'm working on is engaging right at the top of the pedal sweep. I swapped out the new push rod for the old push rod so the pedal action would be the same as before but I'm not sure what to adjust to get the clutch to engage closer to the bottom of the sweep, open to suggestions. Thanks
-
It looks like they cut close to where they have the black marker line above the previous welded seam, I can't say for sure what technique they used but it is common to fit the new pan as close as possible to the original metal as below, then with a thin cutoff disc cut through both layers of metal at the same time. That results in a seam that is matched above and below.

-
I was very impressed with that same throttle by wire system BMW used on the S54 M engine, I had to reluctantly install it when I couldn't find anyway to delete it from the programming. I couldn't believe the pedal feel would be as good as mechanical linkage but was pleased to be proved wrong.
-
Your shop is doing beautiful work, very interested to see how they're going to re establish the bodyline on the door, not the easiest piece to work with.
-
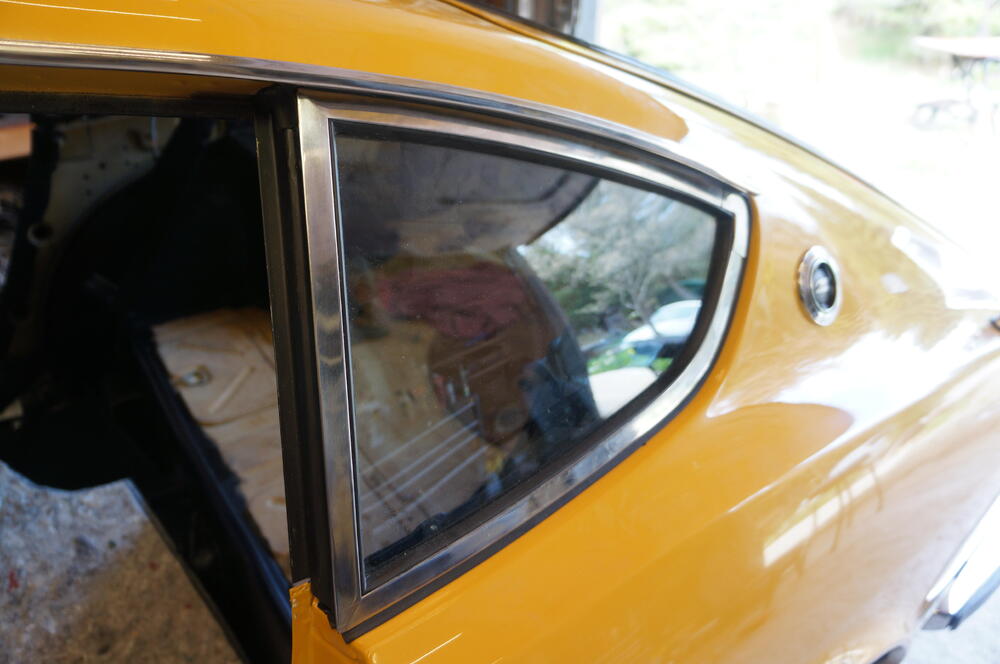
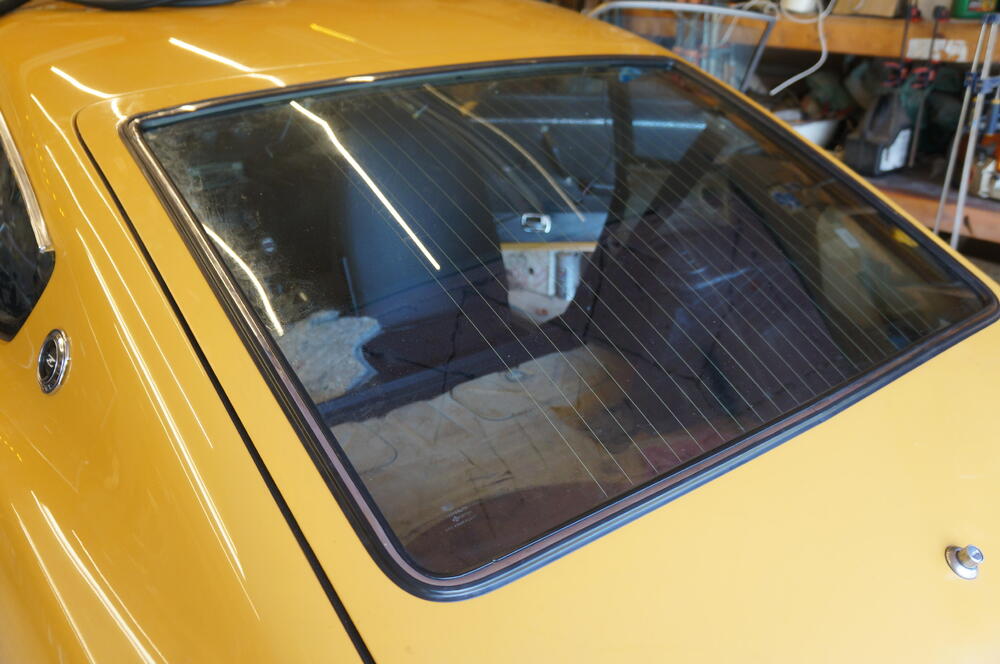
Once you get them close you have to stick an awl through the hole on the body and in to the threaded hole on the quarter window to line them up, second person is nice to have.
-
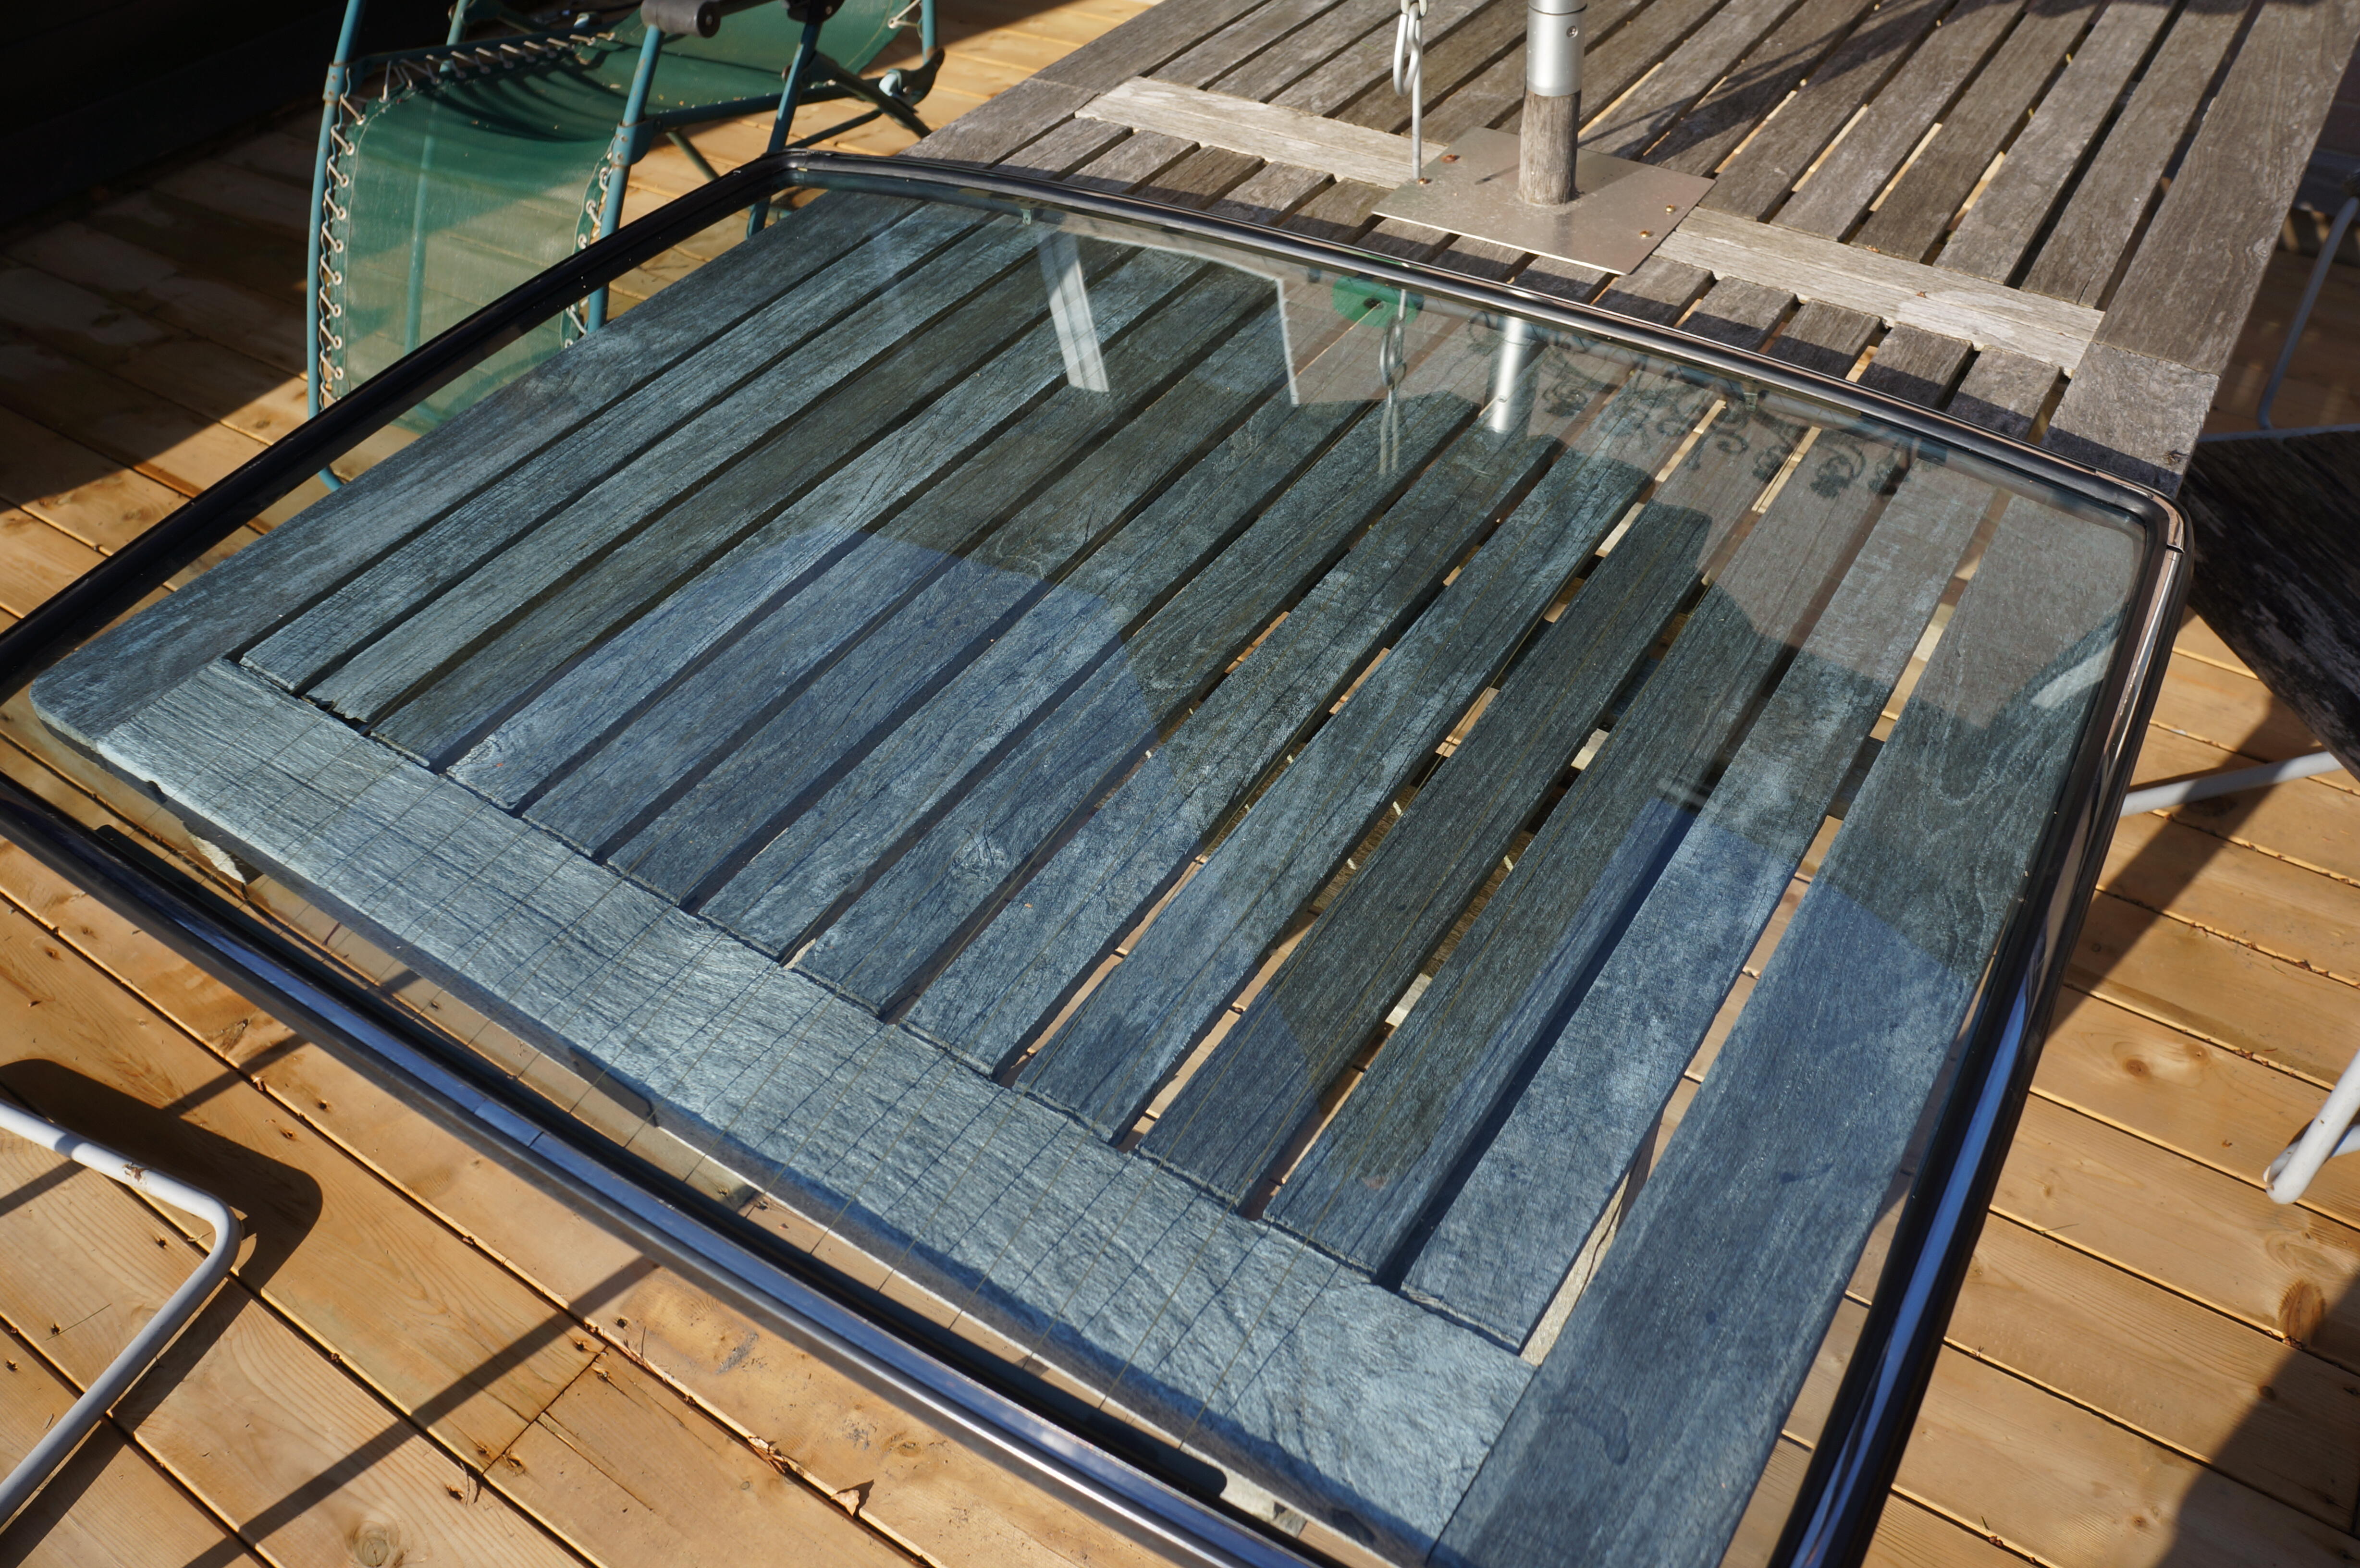
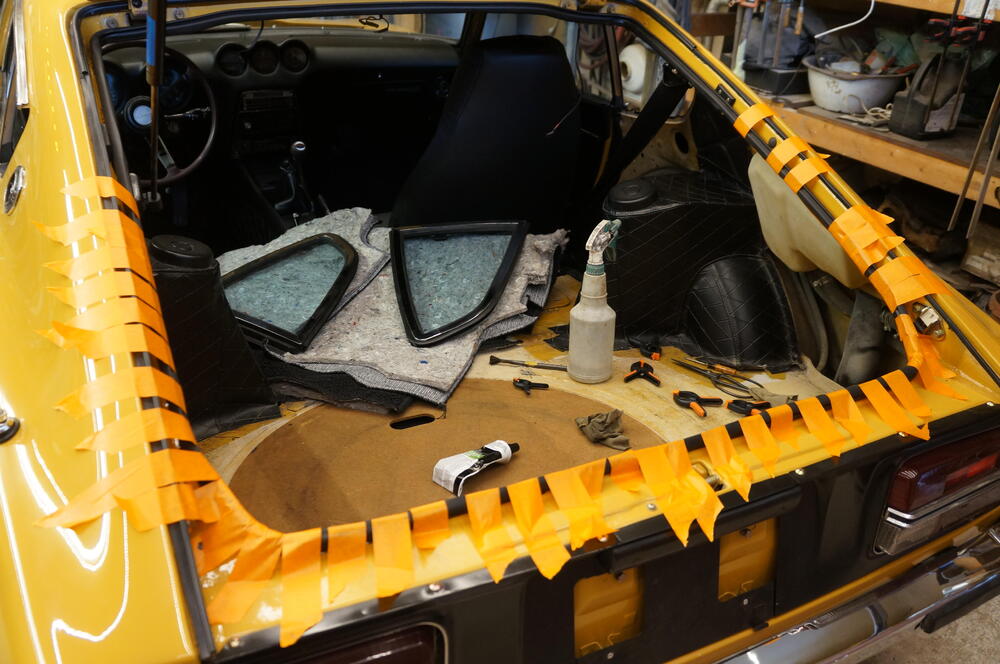
I got the rest of the inner hatch seal done yesterday, Dave came over this afternoon and we installed the hatch glass and quarter windows. Dave finished up the drivers seat so all that is left is to paint the chin spoiler/ install and get an exhaust system on it and she is ready for the road.


-
I shouldn't have, but I assumed if the rust was that bad the hatch would be off the car and you would be repainting anyway. If you are trying to keep the paint then you can't dunk it, you'll have to resort to phosphoric acid based rust removers. They work but can add complications especially with painting.
-
If you leave it, it will continue to rust, if you spray it with rust paint it will be hidden but continue to rust, same with oil or wax sprays. The easiest way to get rid of the rust is make up a dunk tank or bath with 2x4's and a waterproof tarp that is deep enough to cover the rust. Then fill the dunk tank with a solution of water, citric acid and table salt and drop the hatch into it. Citric acid is available on Amazon, you only a 1 pound, let the hatch sit for 24hrs pull it out and rinse it with a garden hose, if it needs more time throw it back in for another day.
-
And the chances of getting a good weld on that area will be slim, have you considered a patch and panel bond?
-
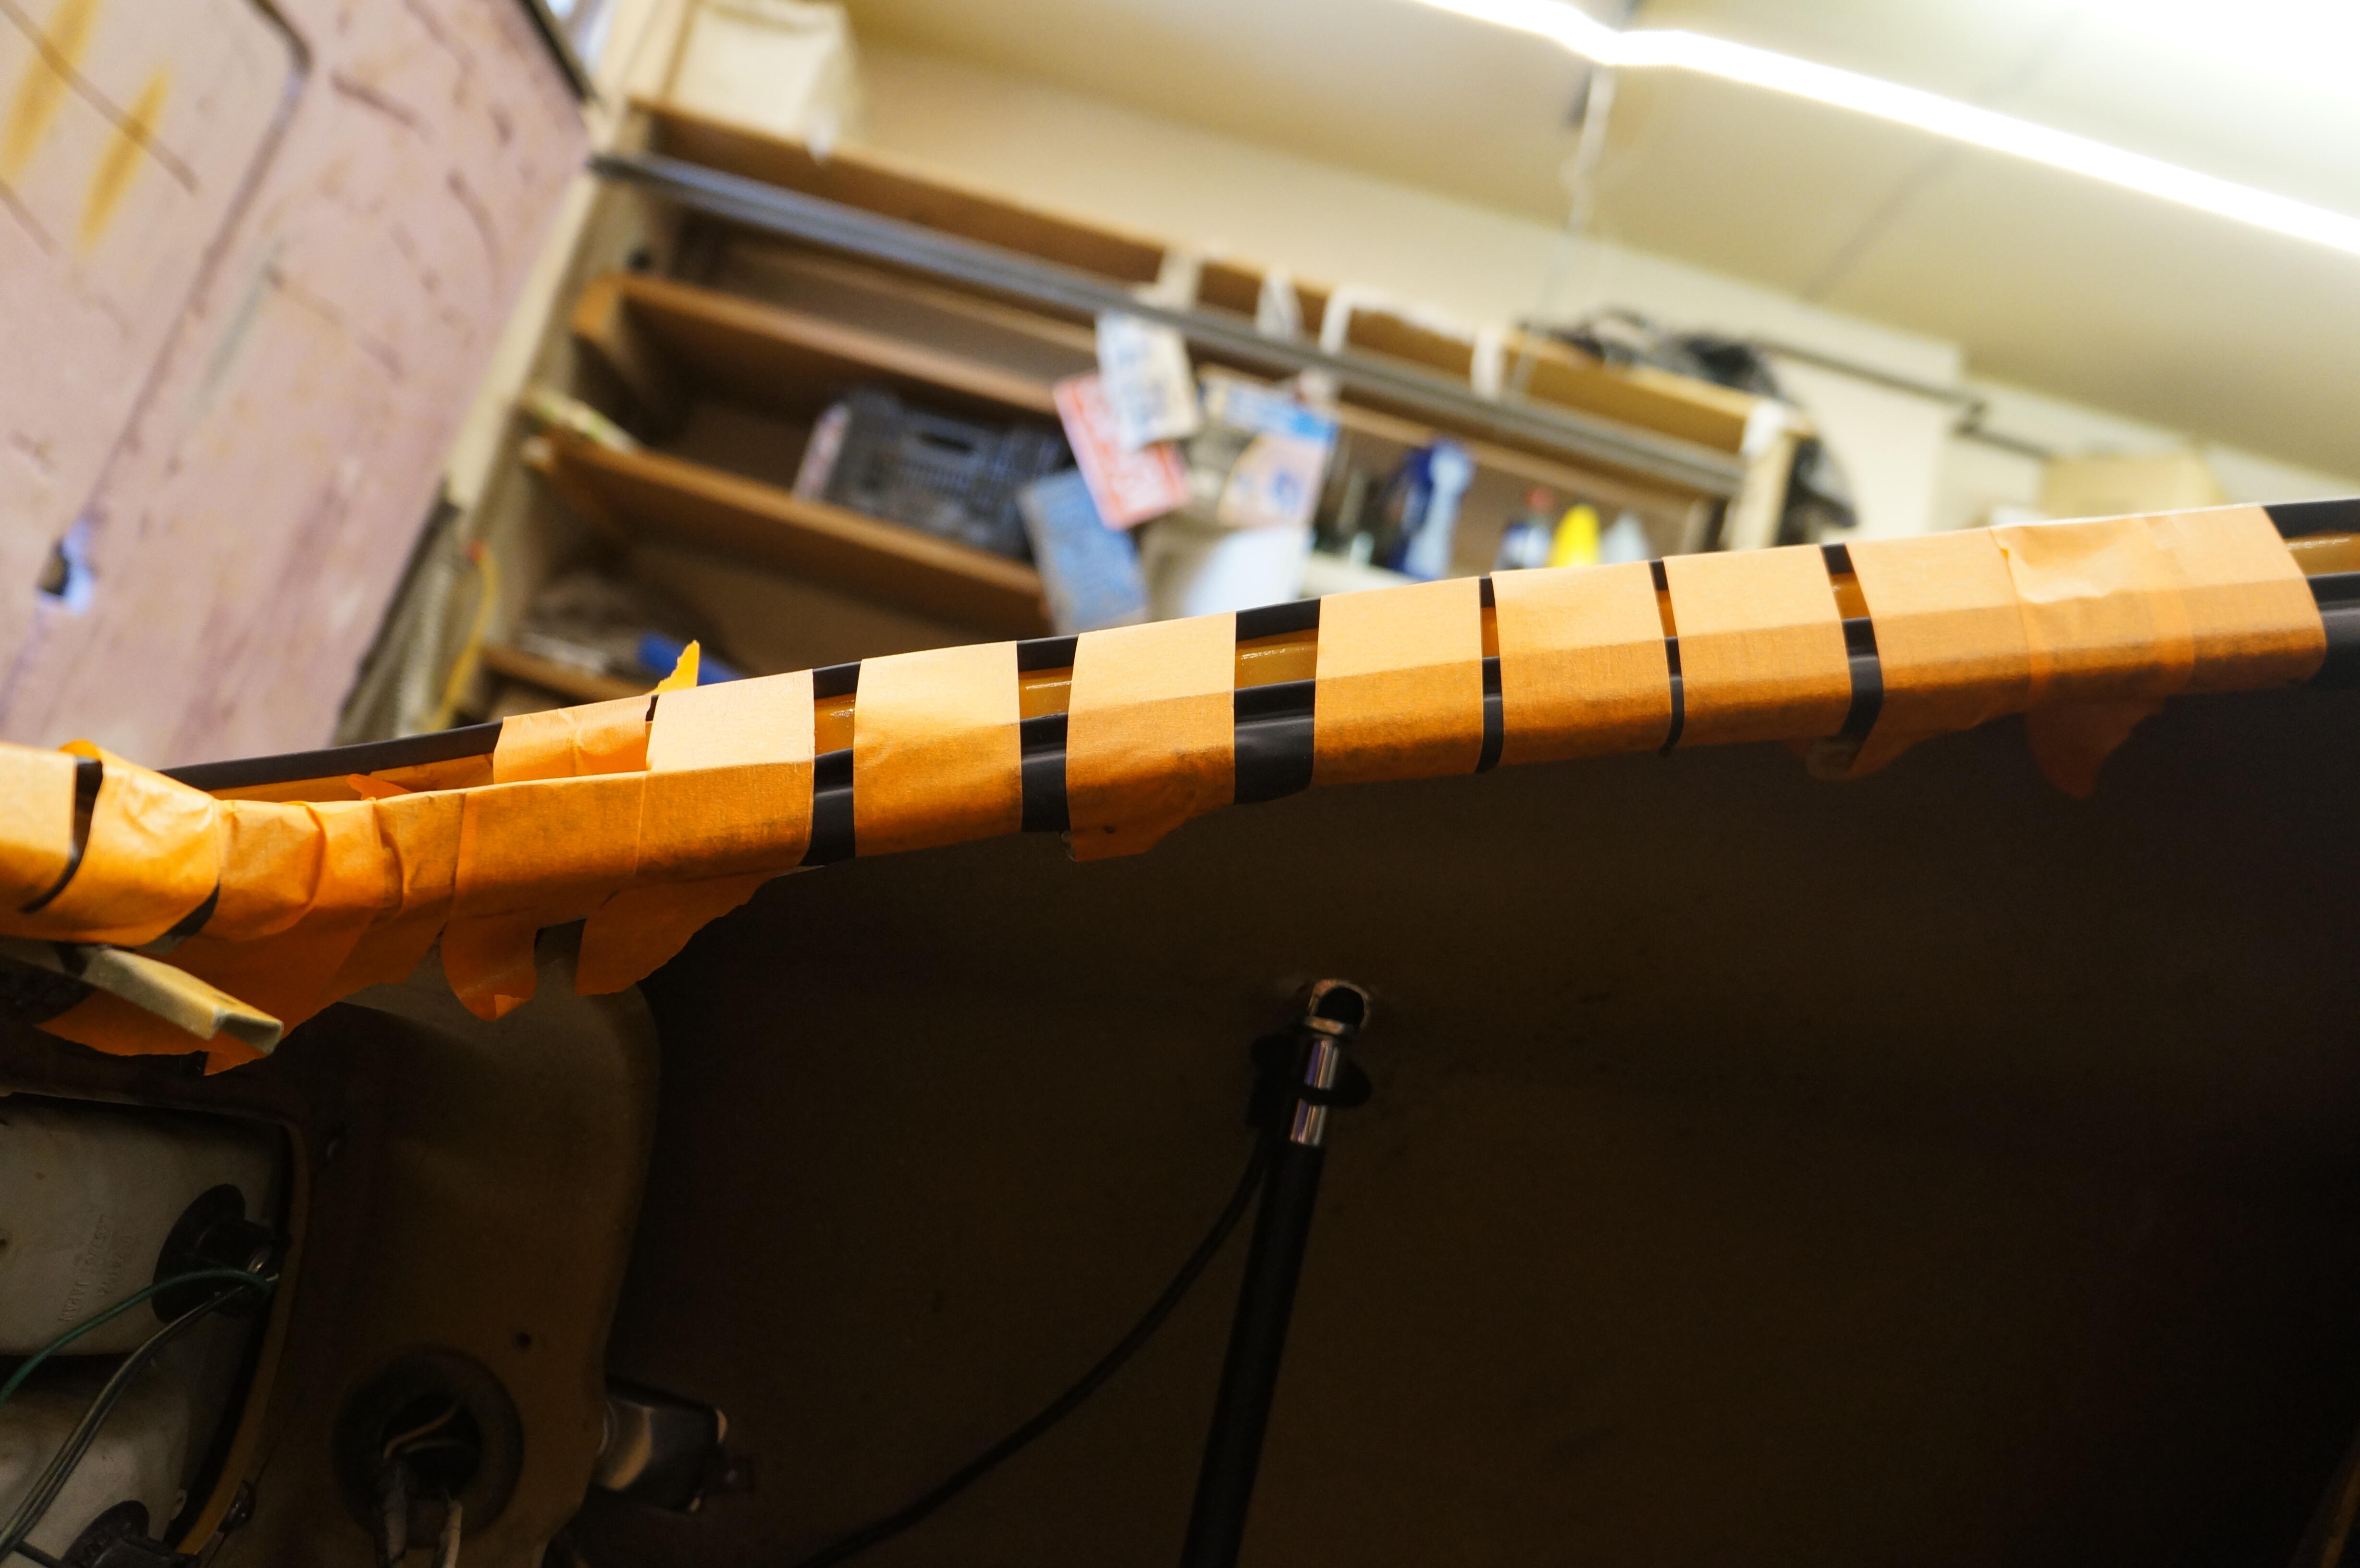
I'm covering all surfaces that will touch on both the car and the seal, you have to be quick, which is another reason why I only do half of the seal at a time. I can't understand why this seal is always made so it is a little smaller than it needs to be, you have to stretch it to fit and all it wants to do is pull away from the gutter. That's one of the things I like about using the Kia door seal for the hatch, you don't have to fight with or stretch it and you still get a good seal.
-
3M black super weatherstrip adhesive, # 08008
-
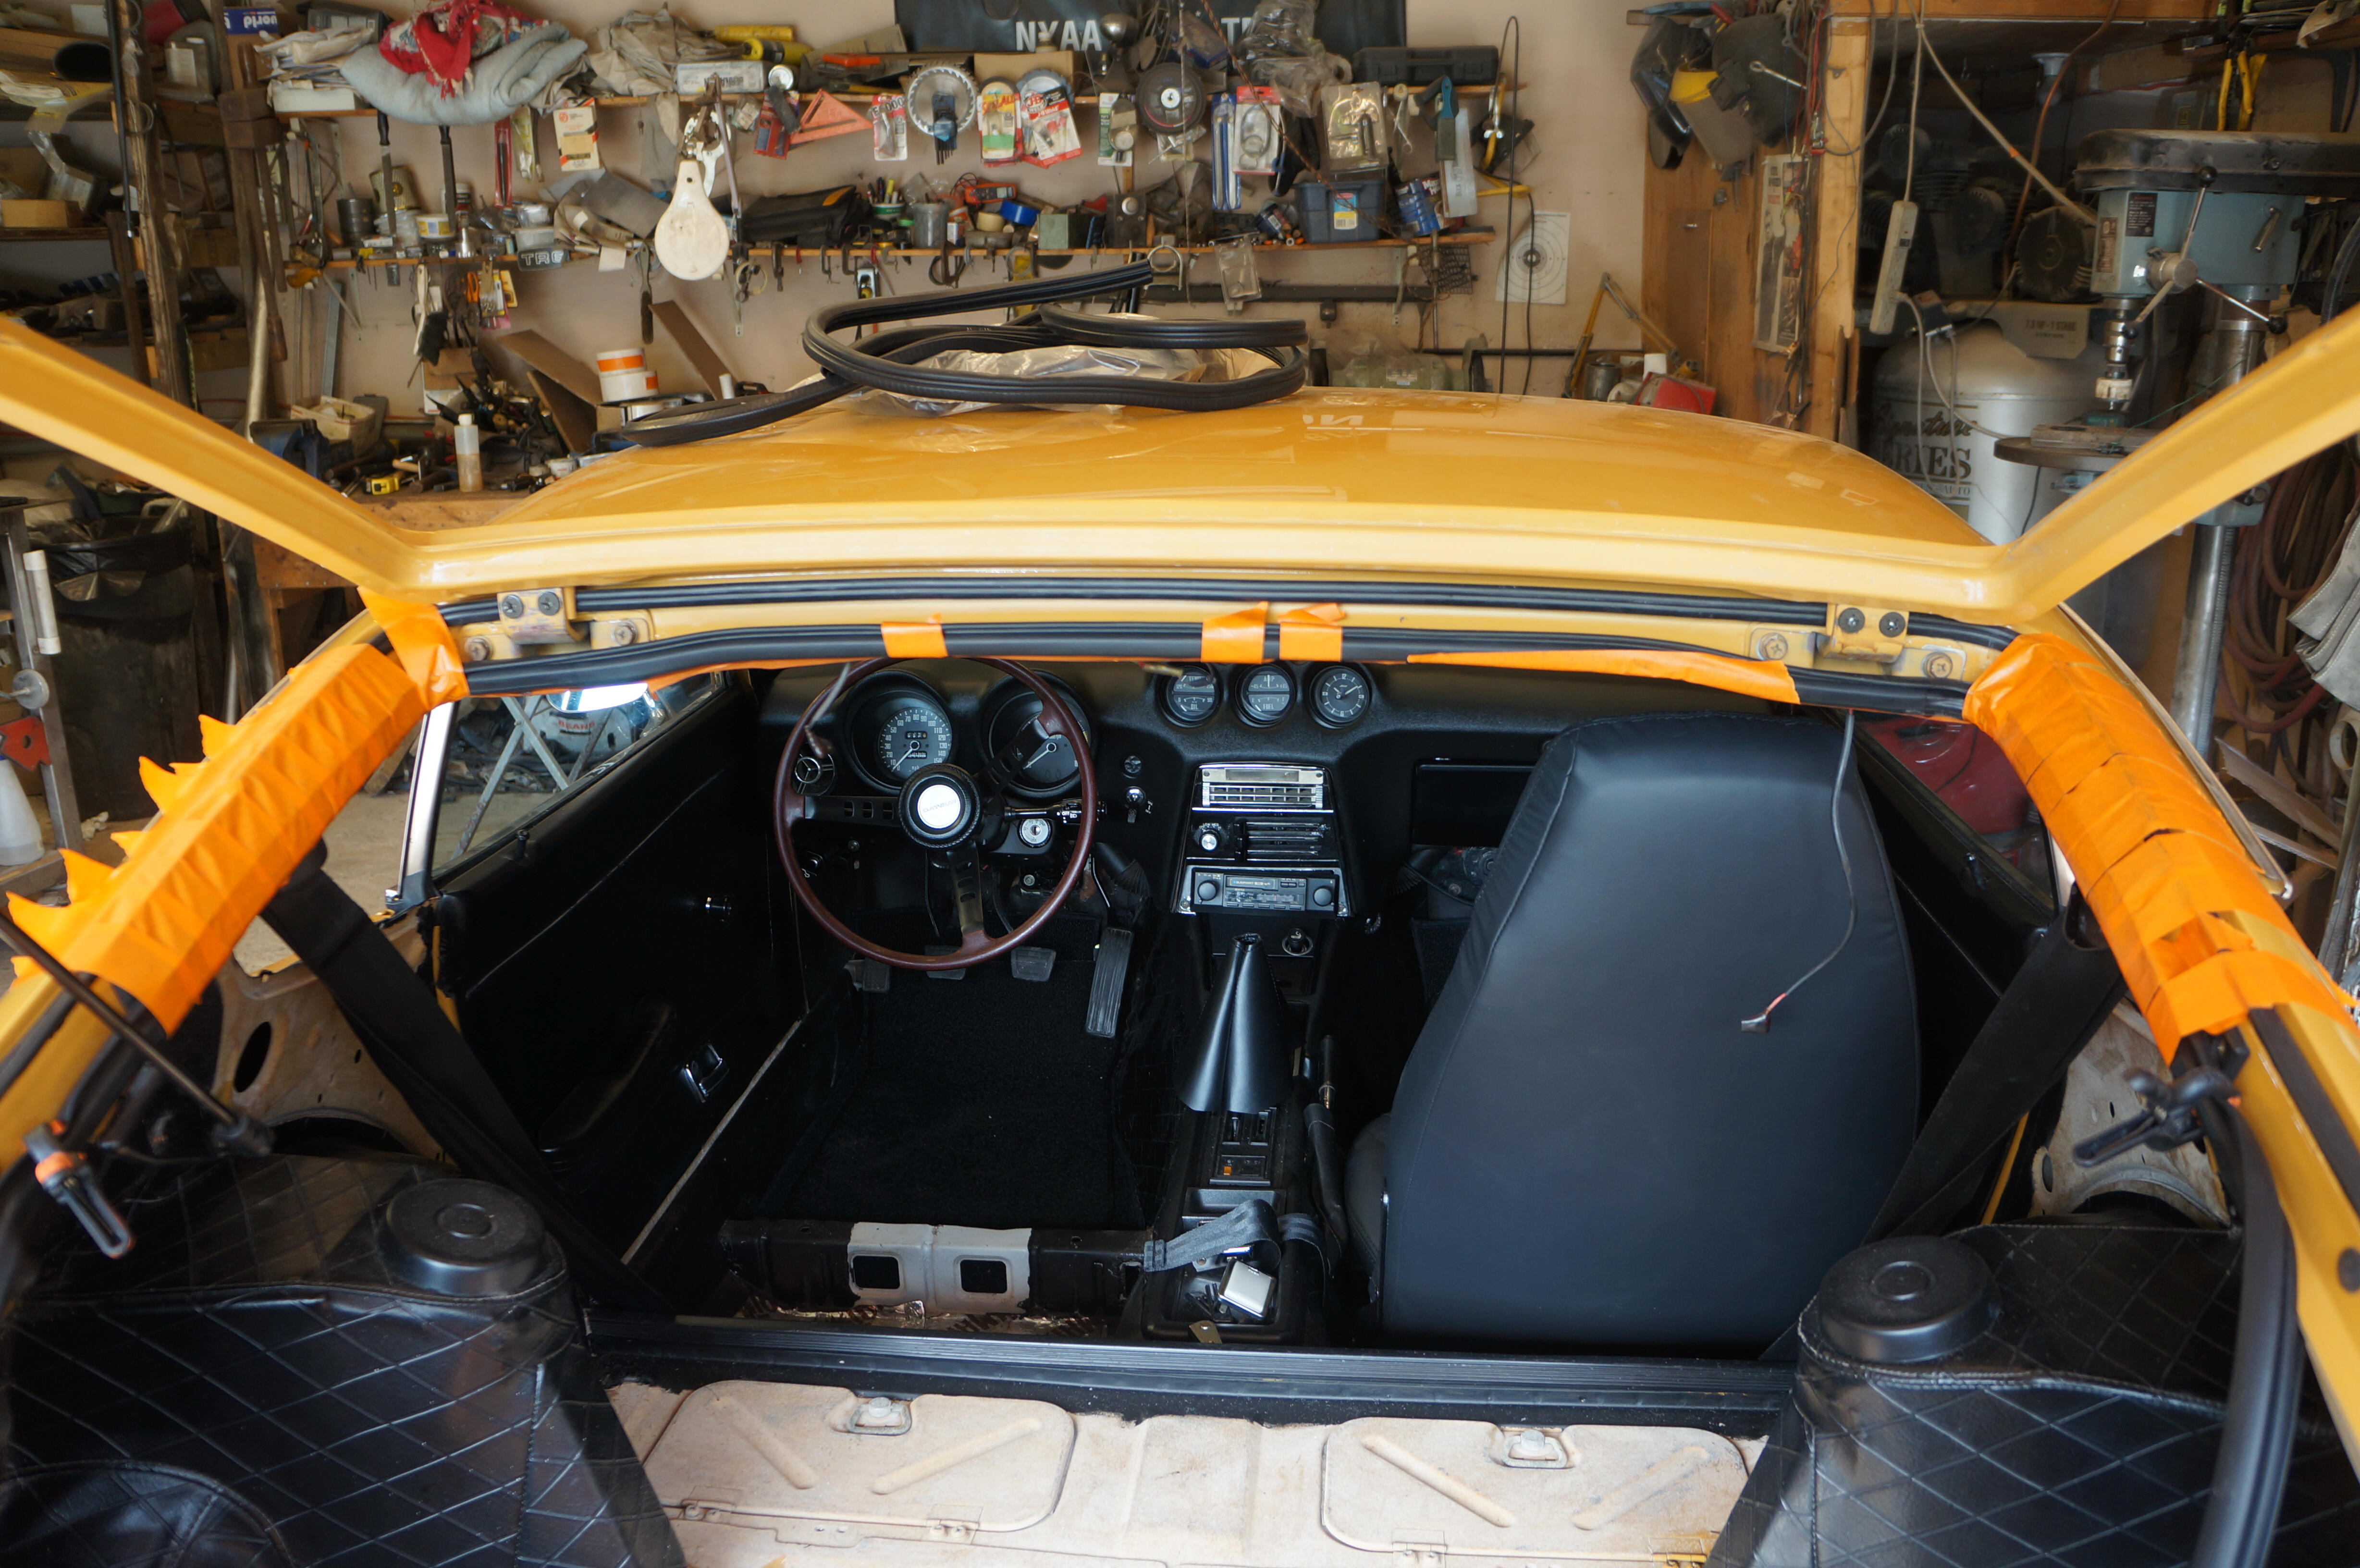
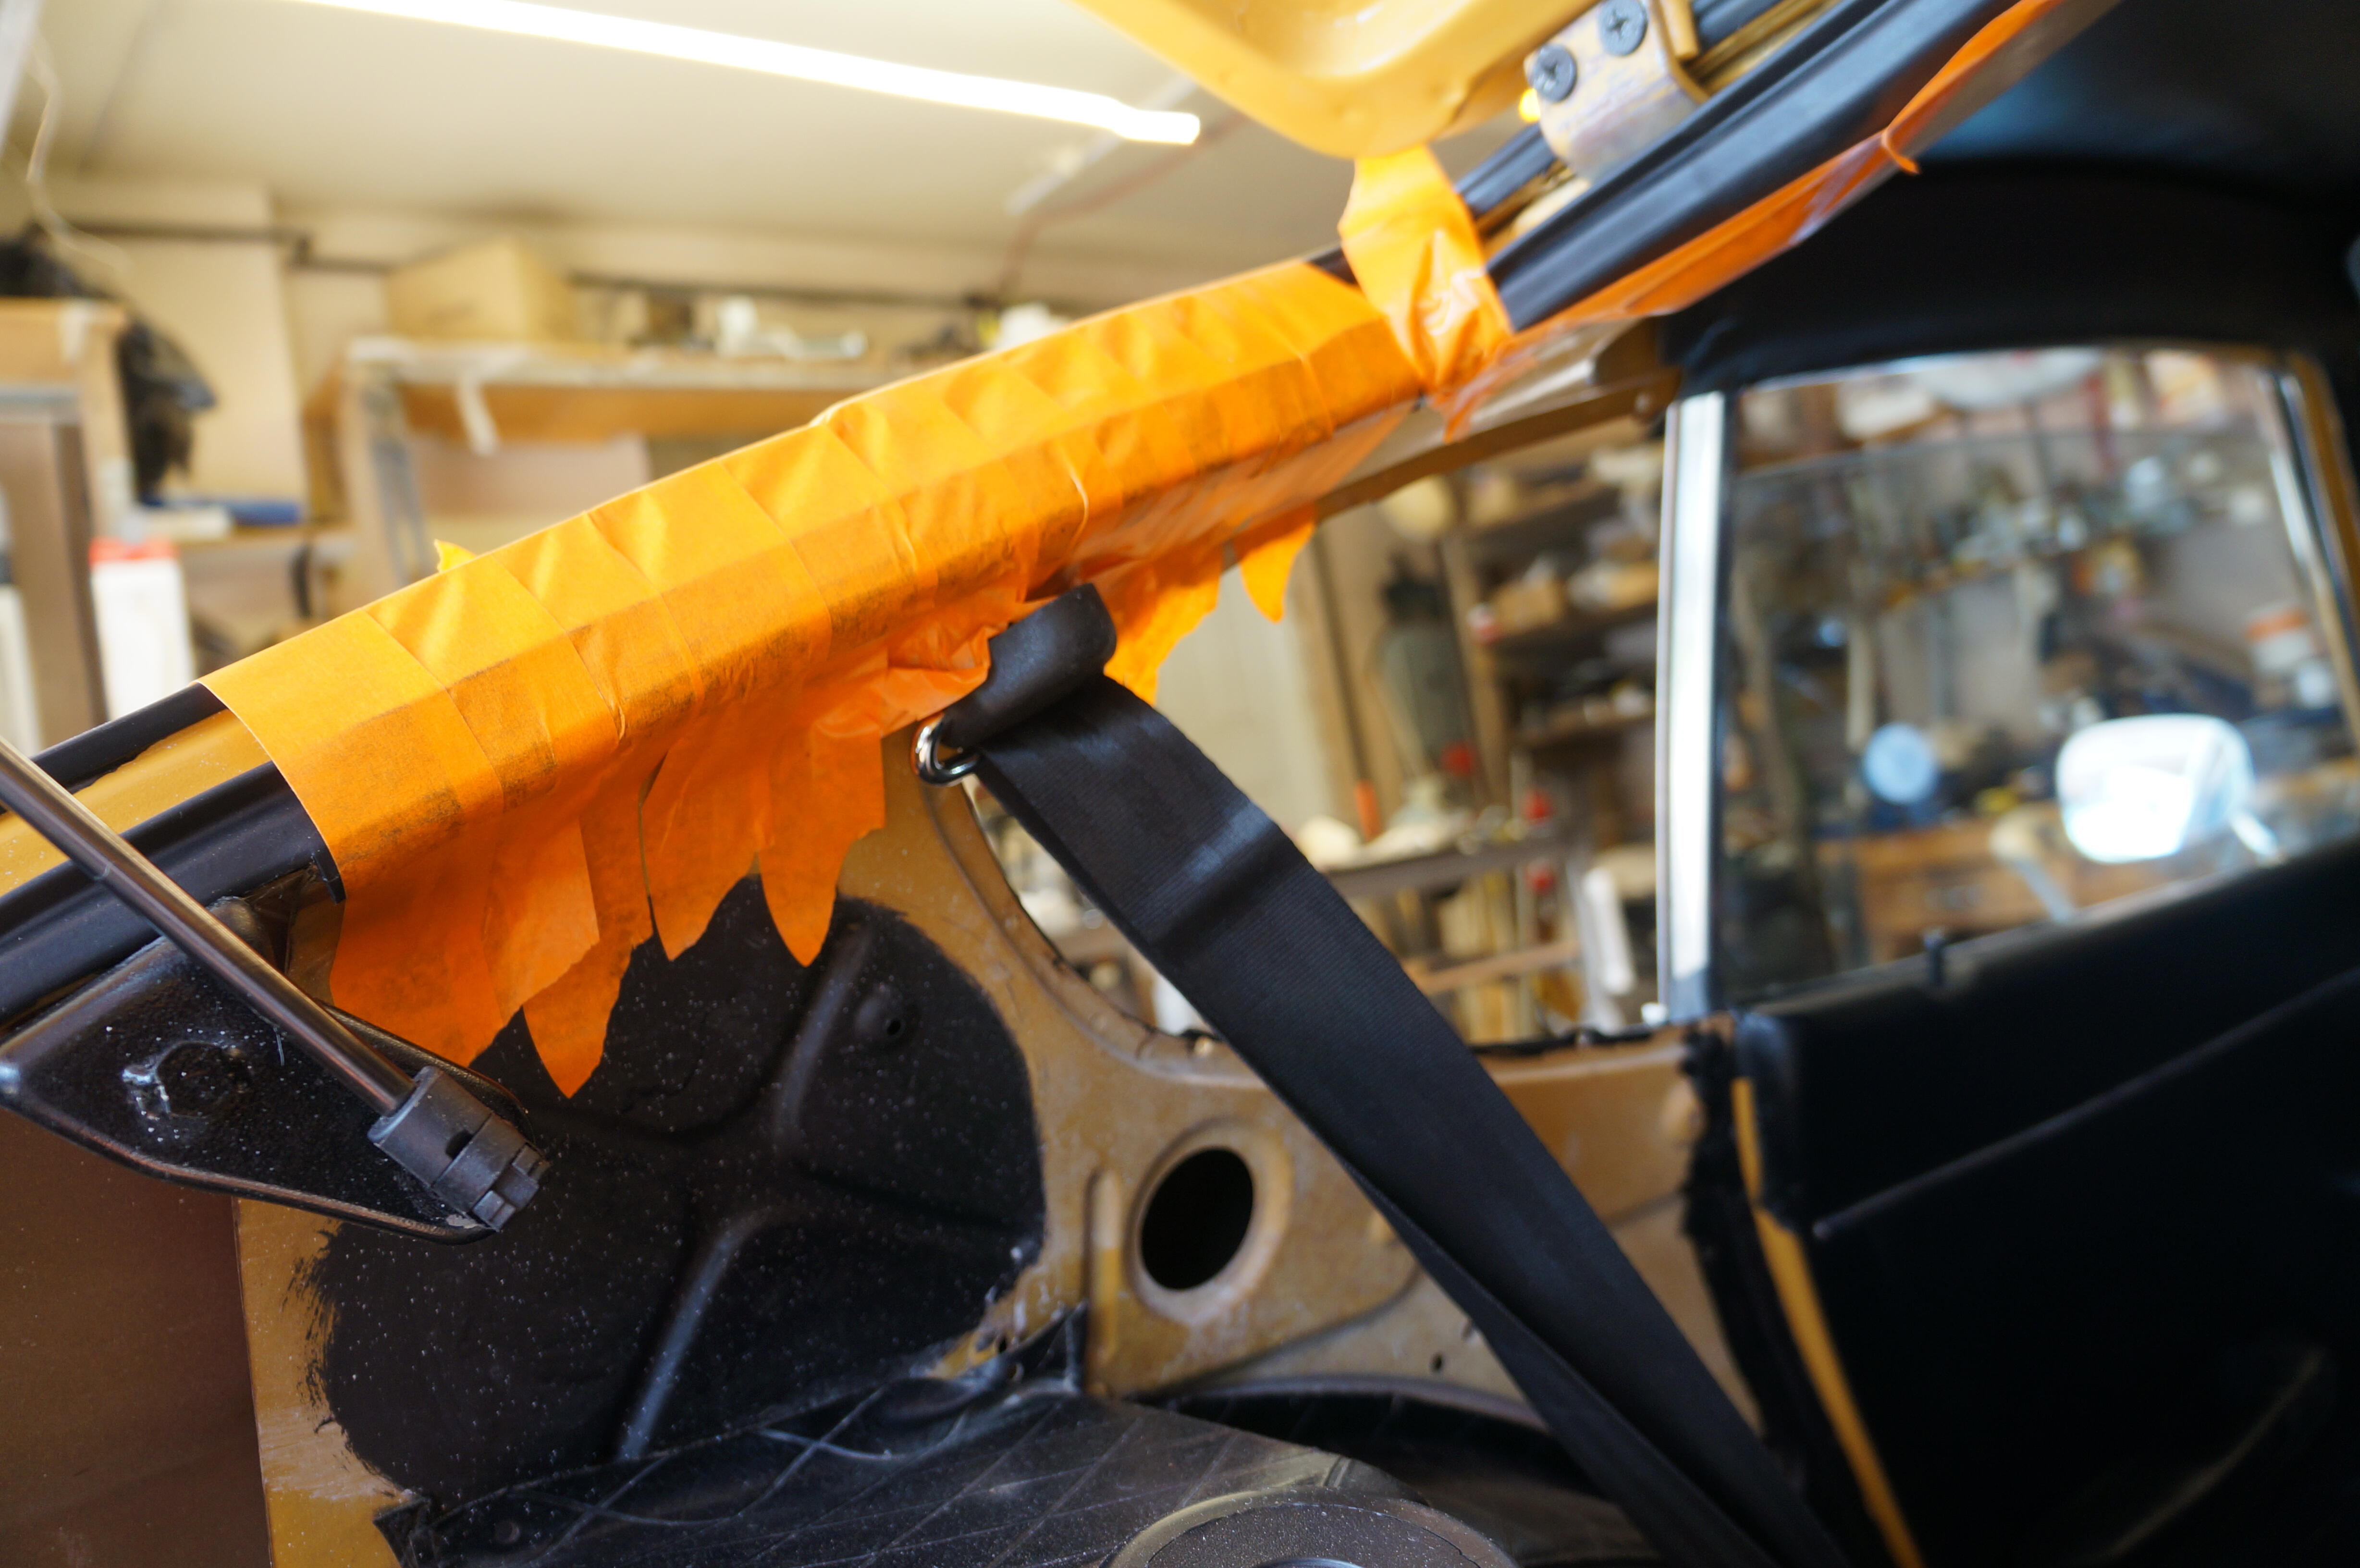
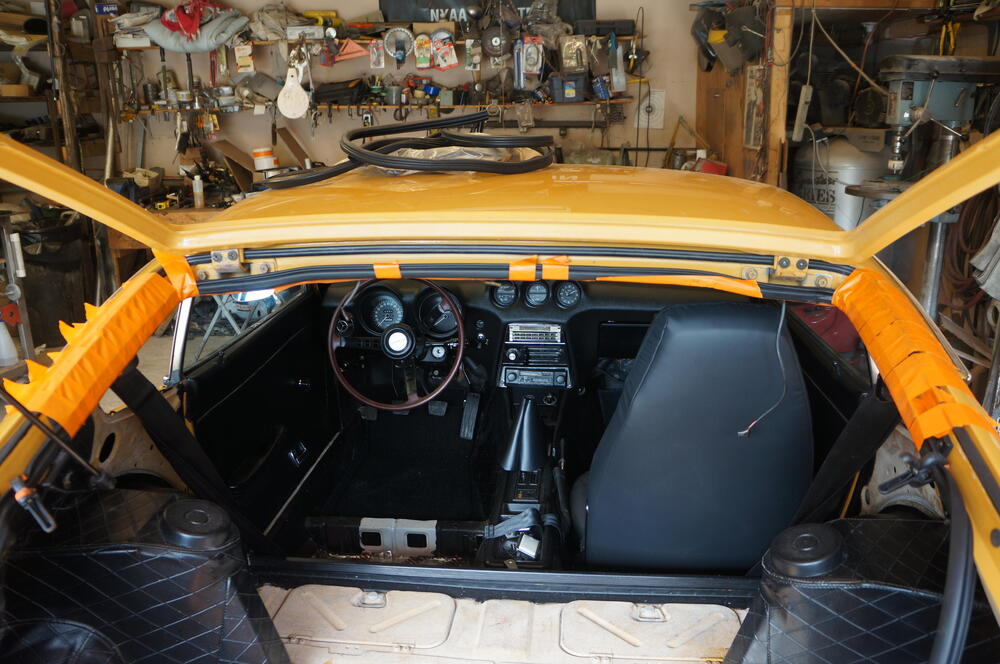
The weatherstrip kit finally arrived, only 10 months and 3 vendors, Hallelujah. I got the hatch glass seal on and will let that settle in for a few days before we install it. Started the top half of the inside hatch weather seal today, I tried to use the clamps again like I have in the past but could not get them to work this time so resorted to masking tape which worked out well. For a seal this complicated I like to mount the seal while cement is still wet so I have lots of time to move it to the correct position without it getting stuck prematurely, I'll let that cure overnight before doing the lower half. I also p/u some better parts than the ones that were already on the car, a complete air box, an ignition switch that works smoothly, a stock clock with a modern quartz motor behind it, and never installed old stock chin spoiler.


-
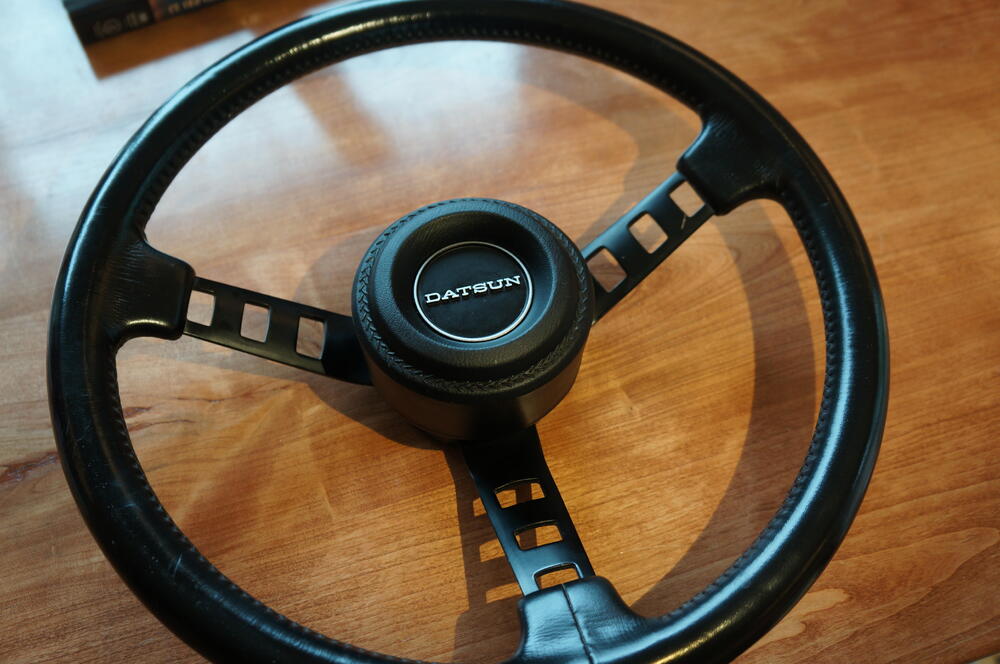
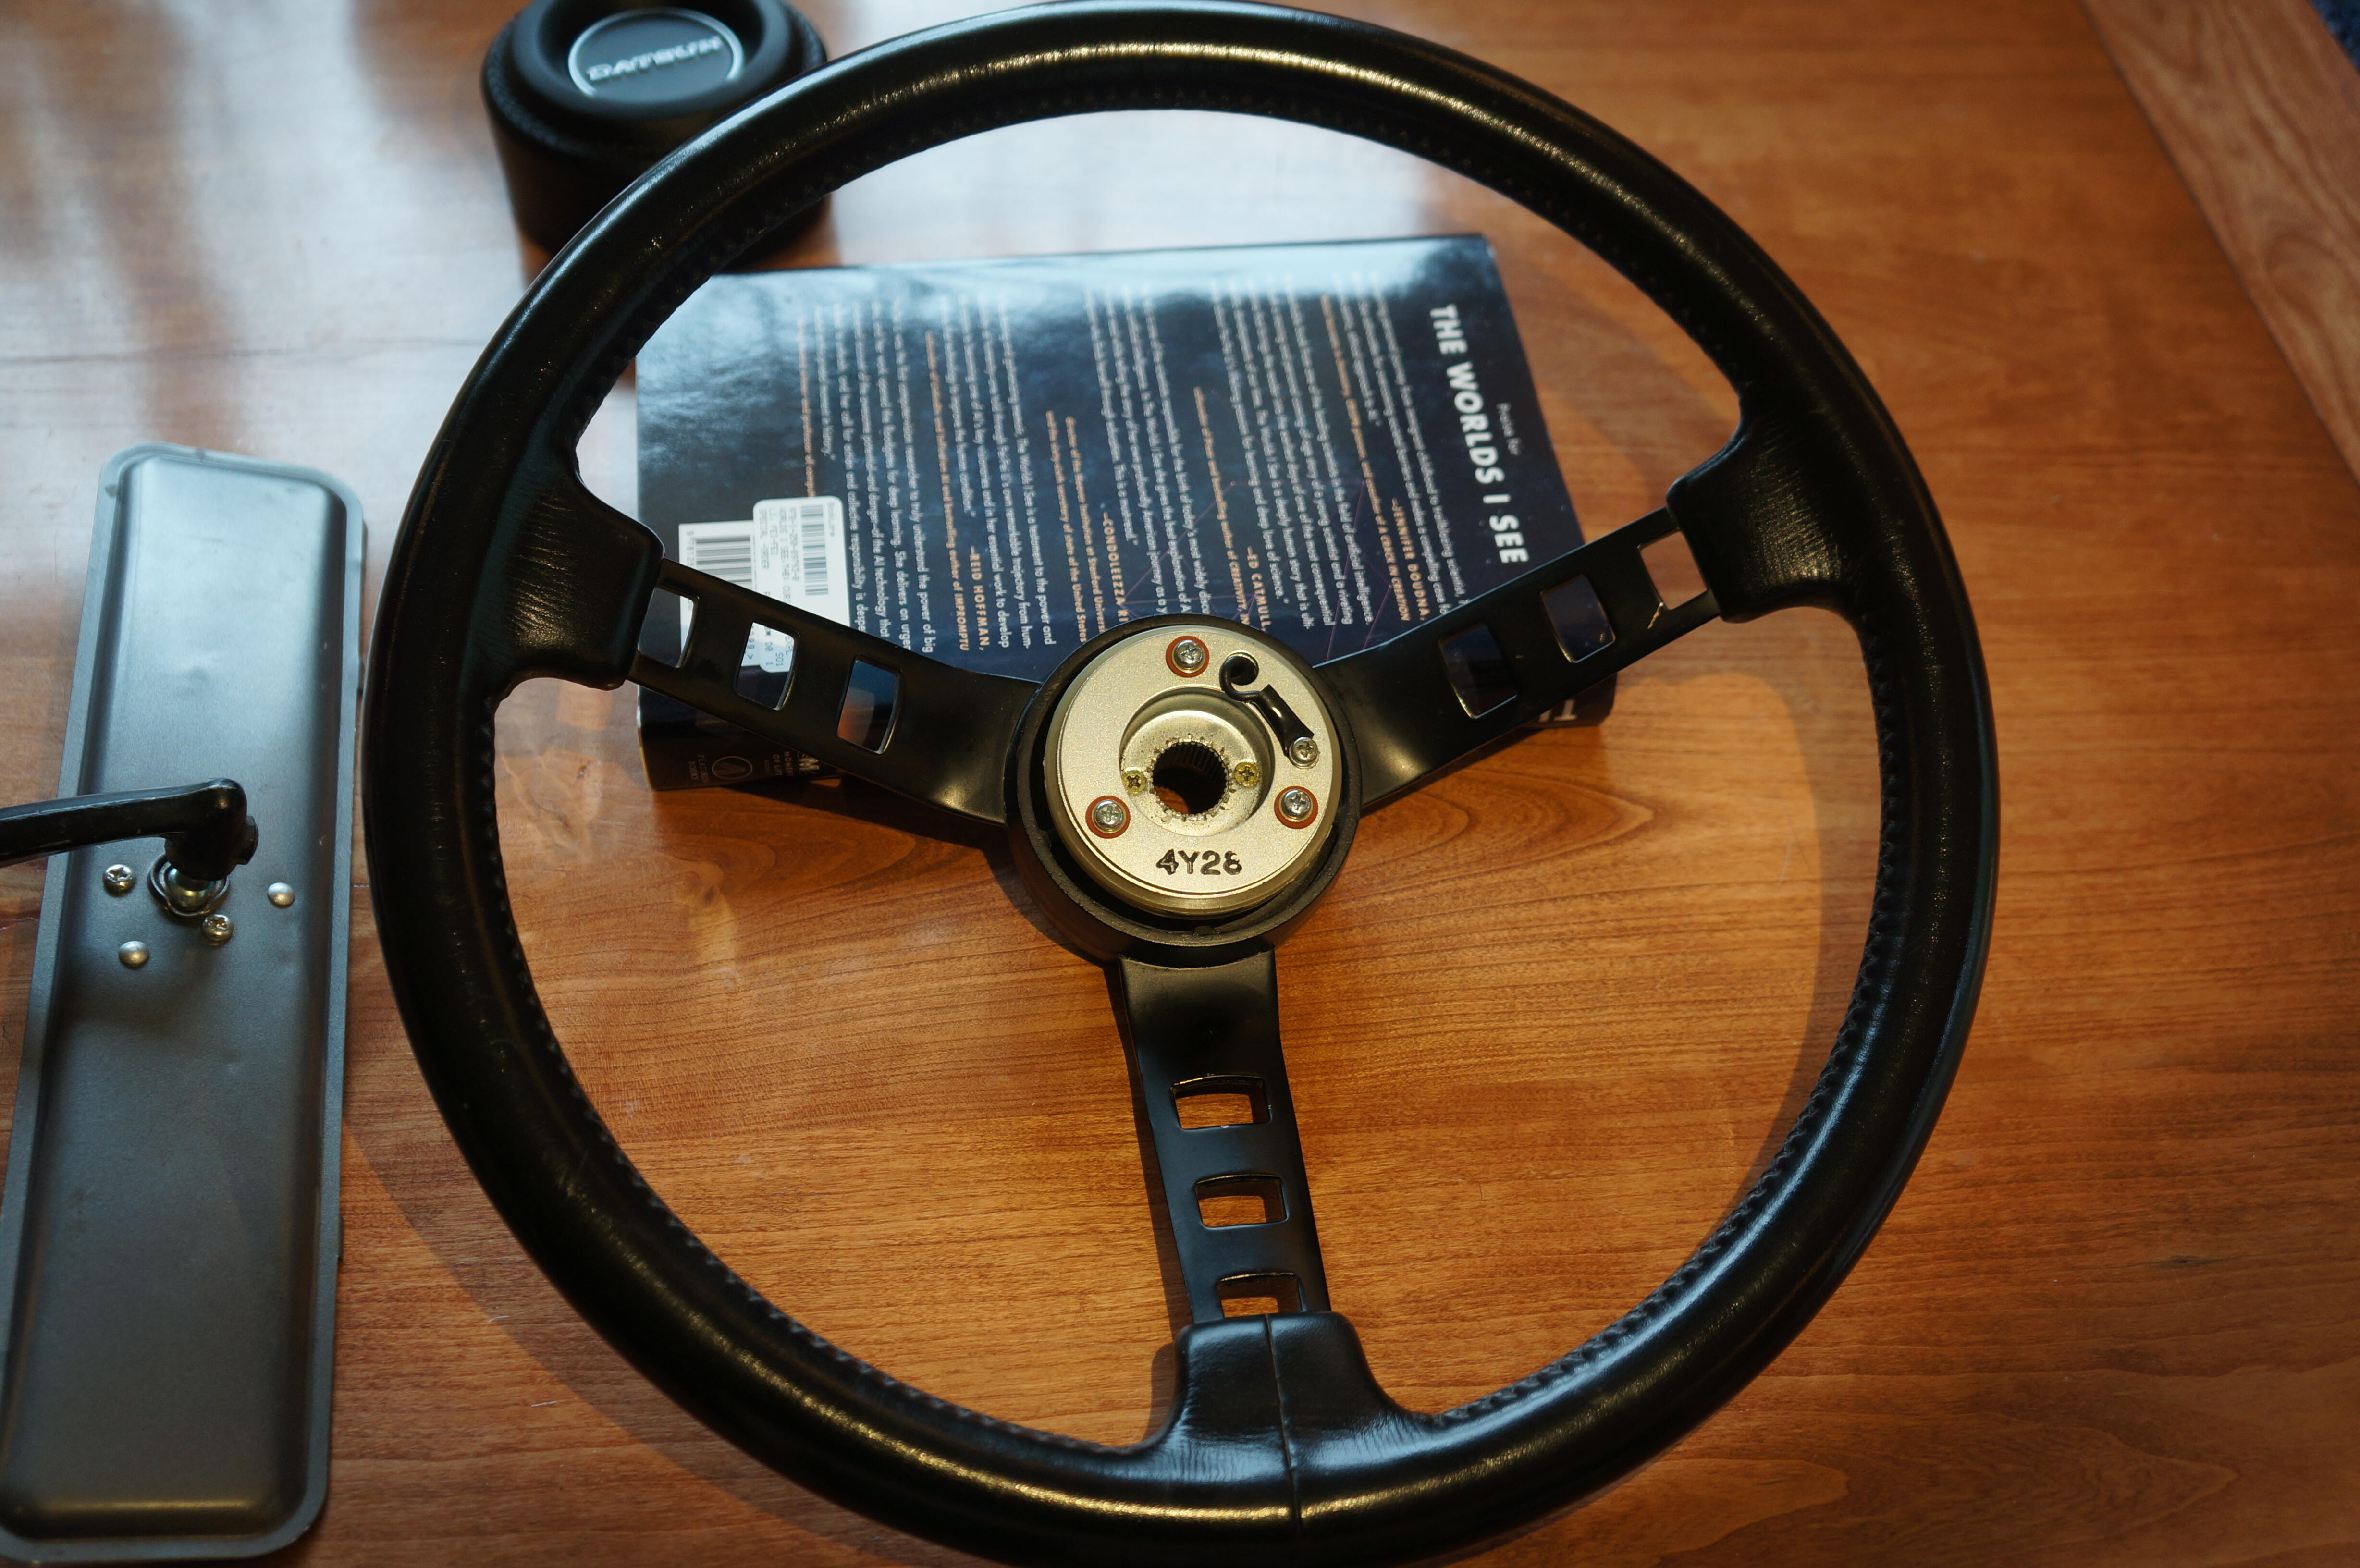
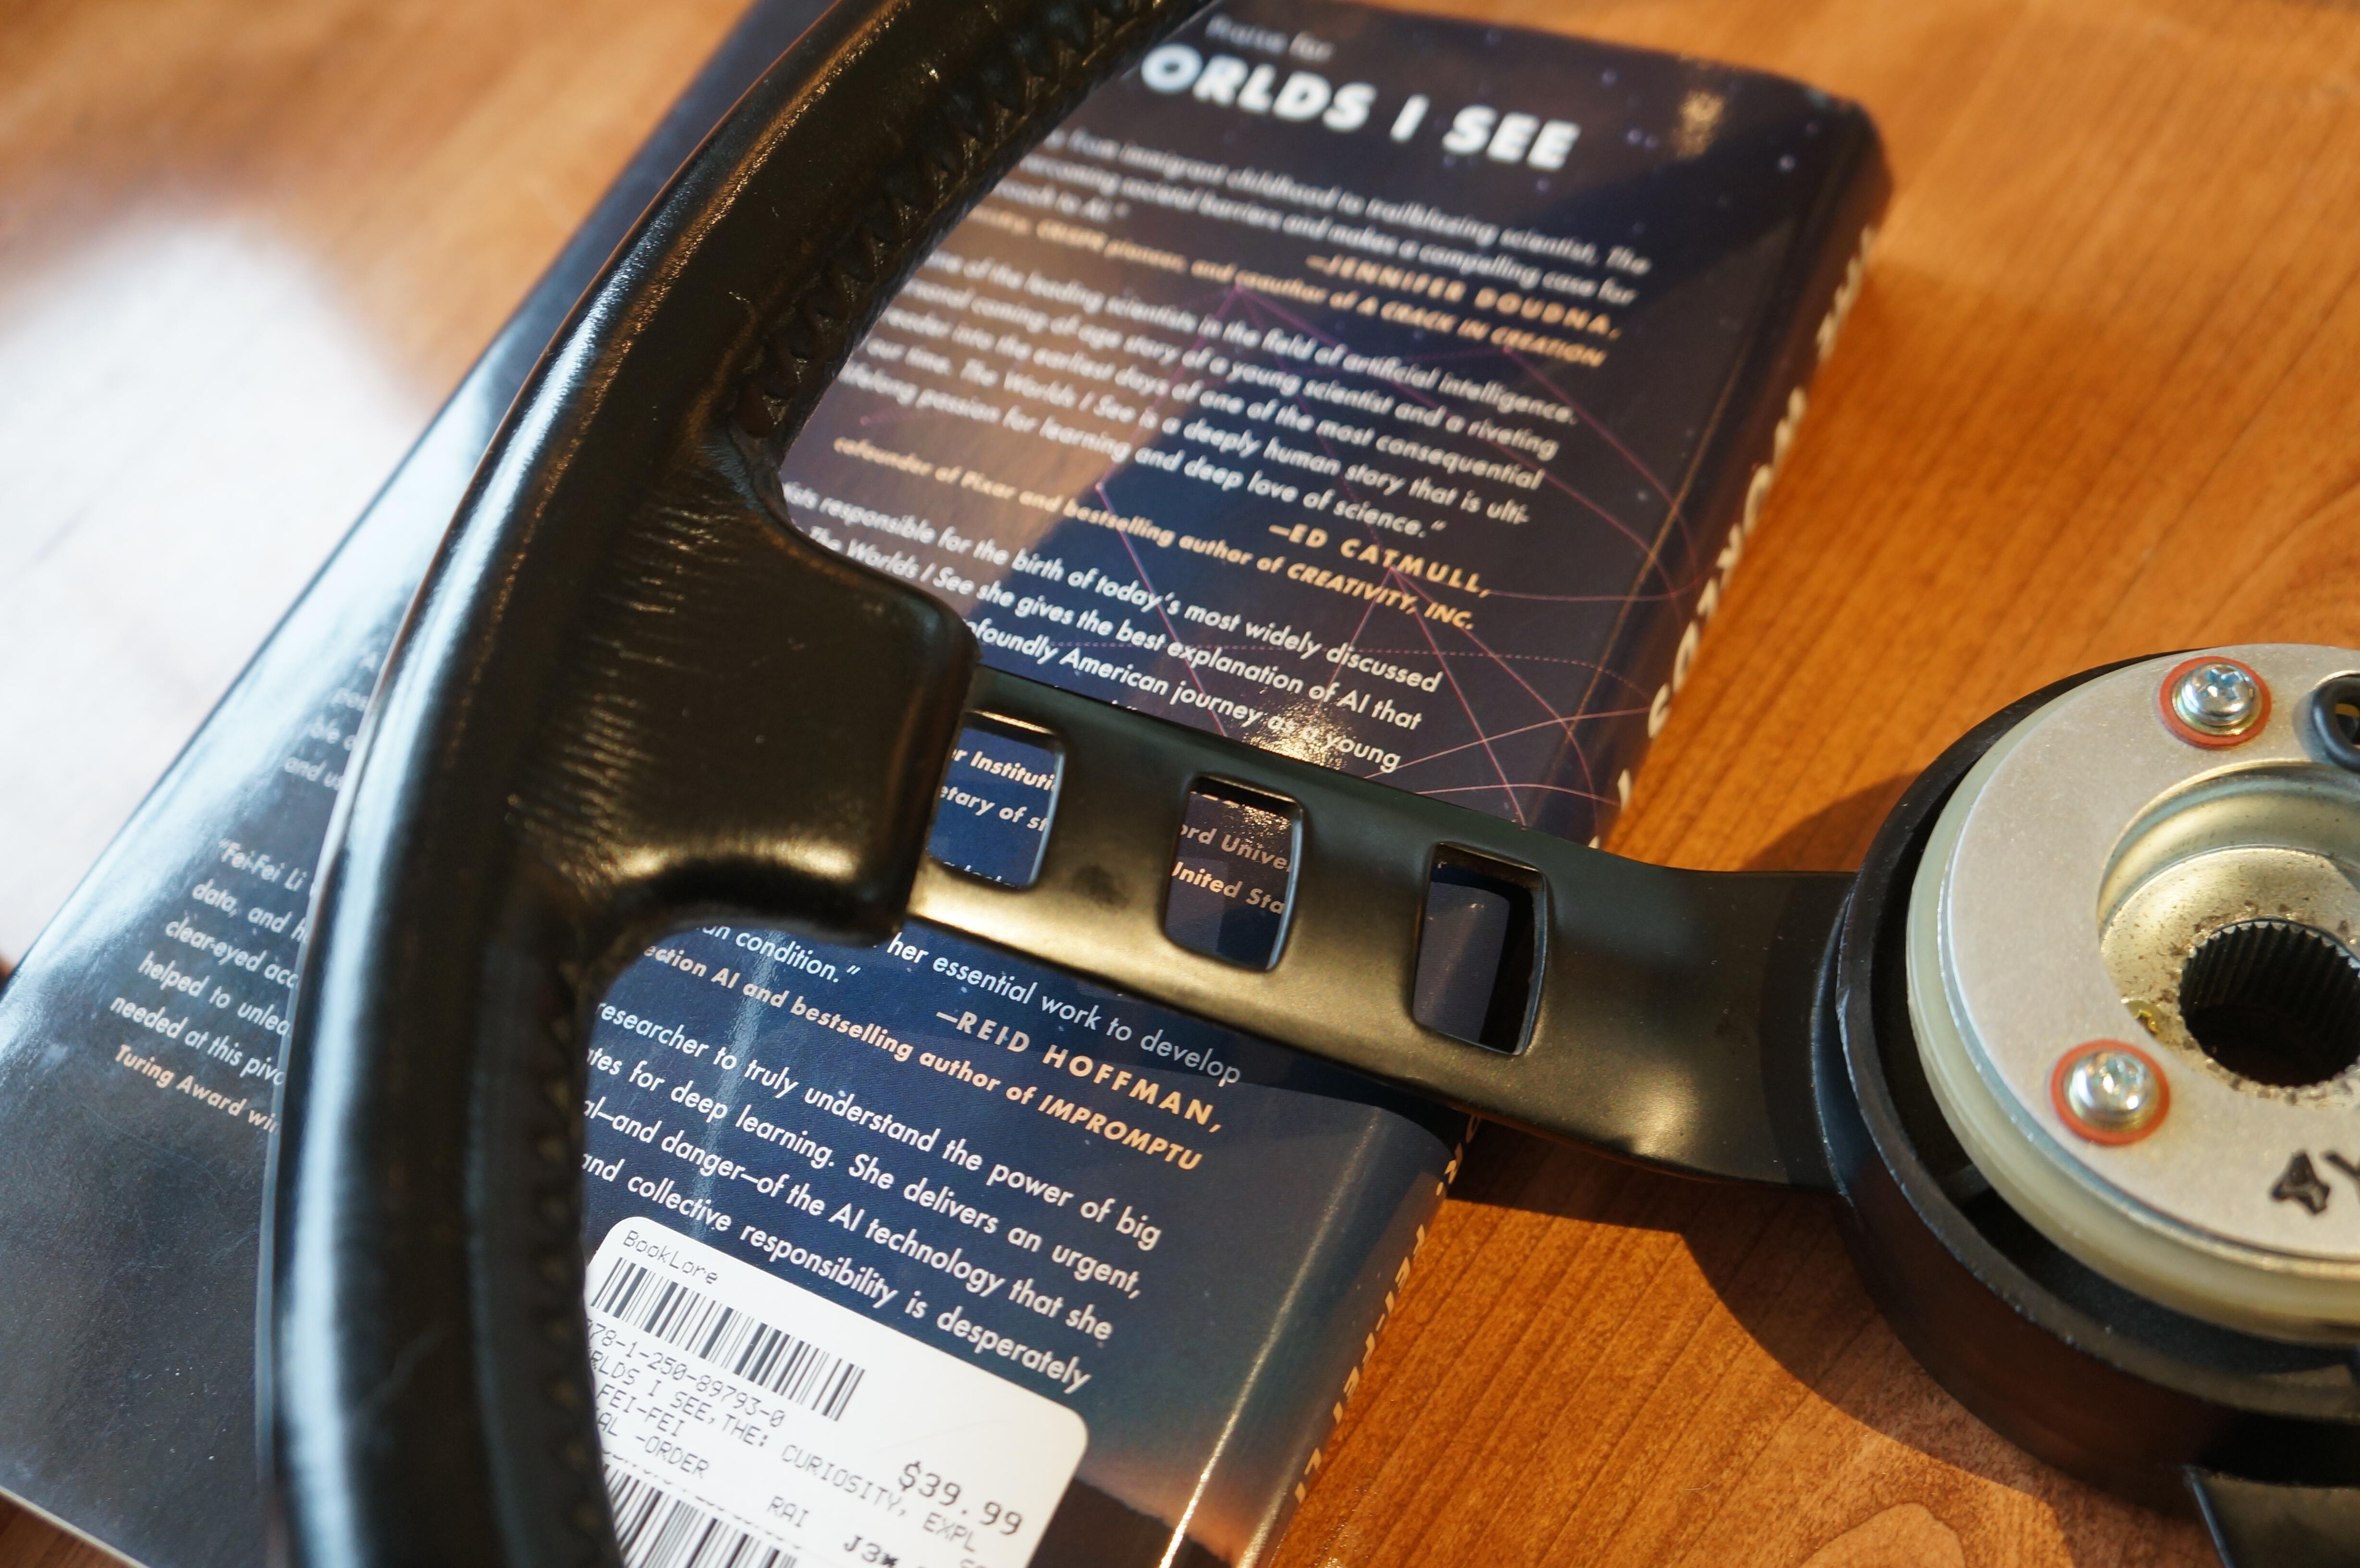
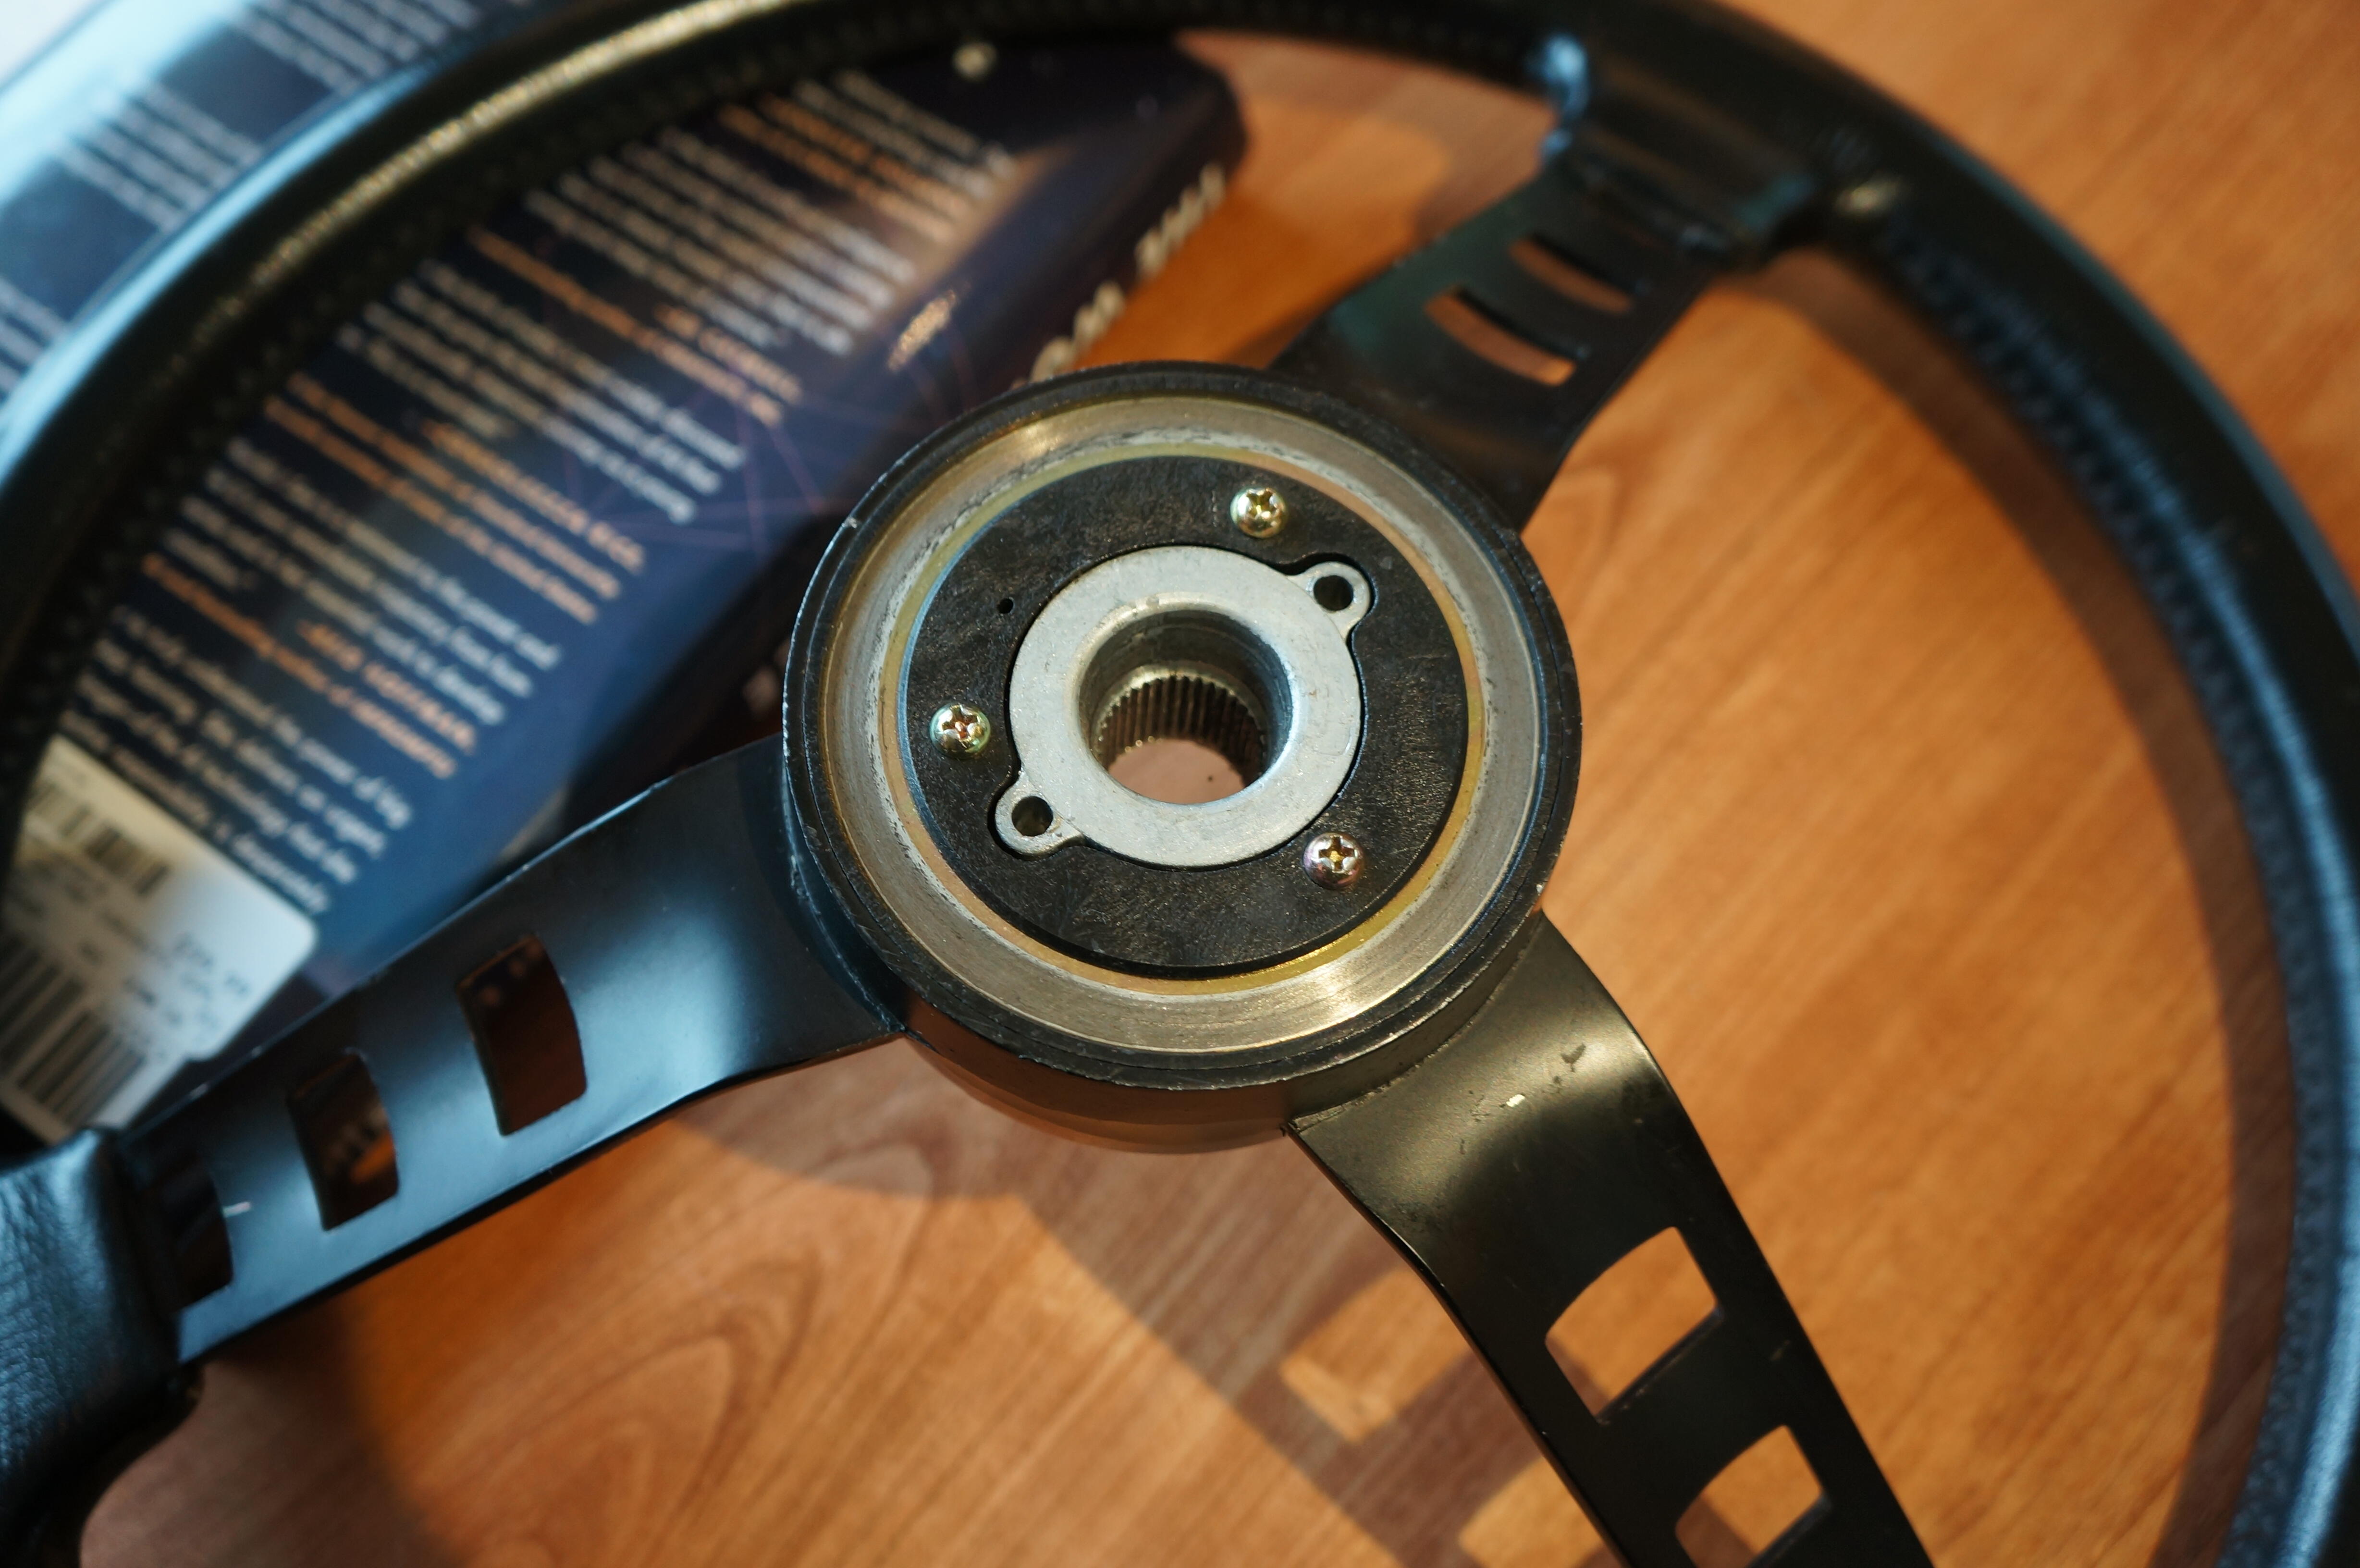
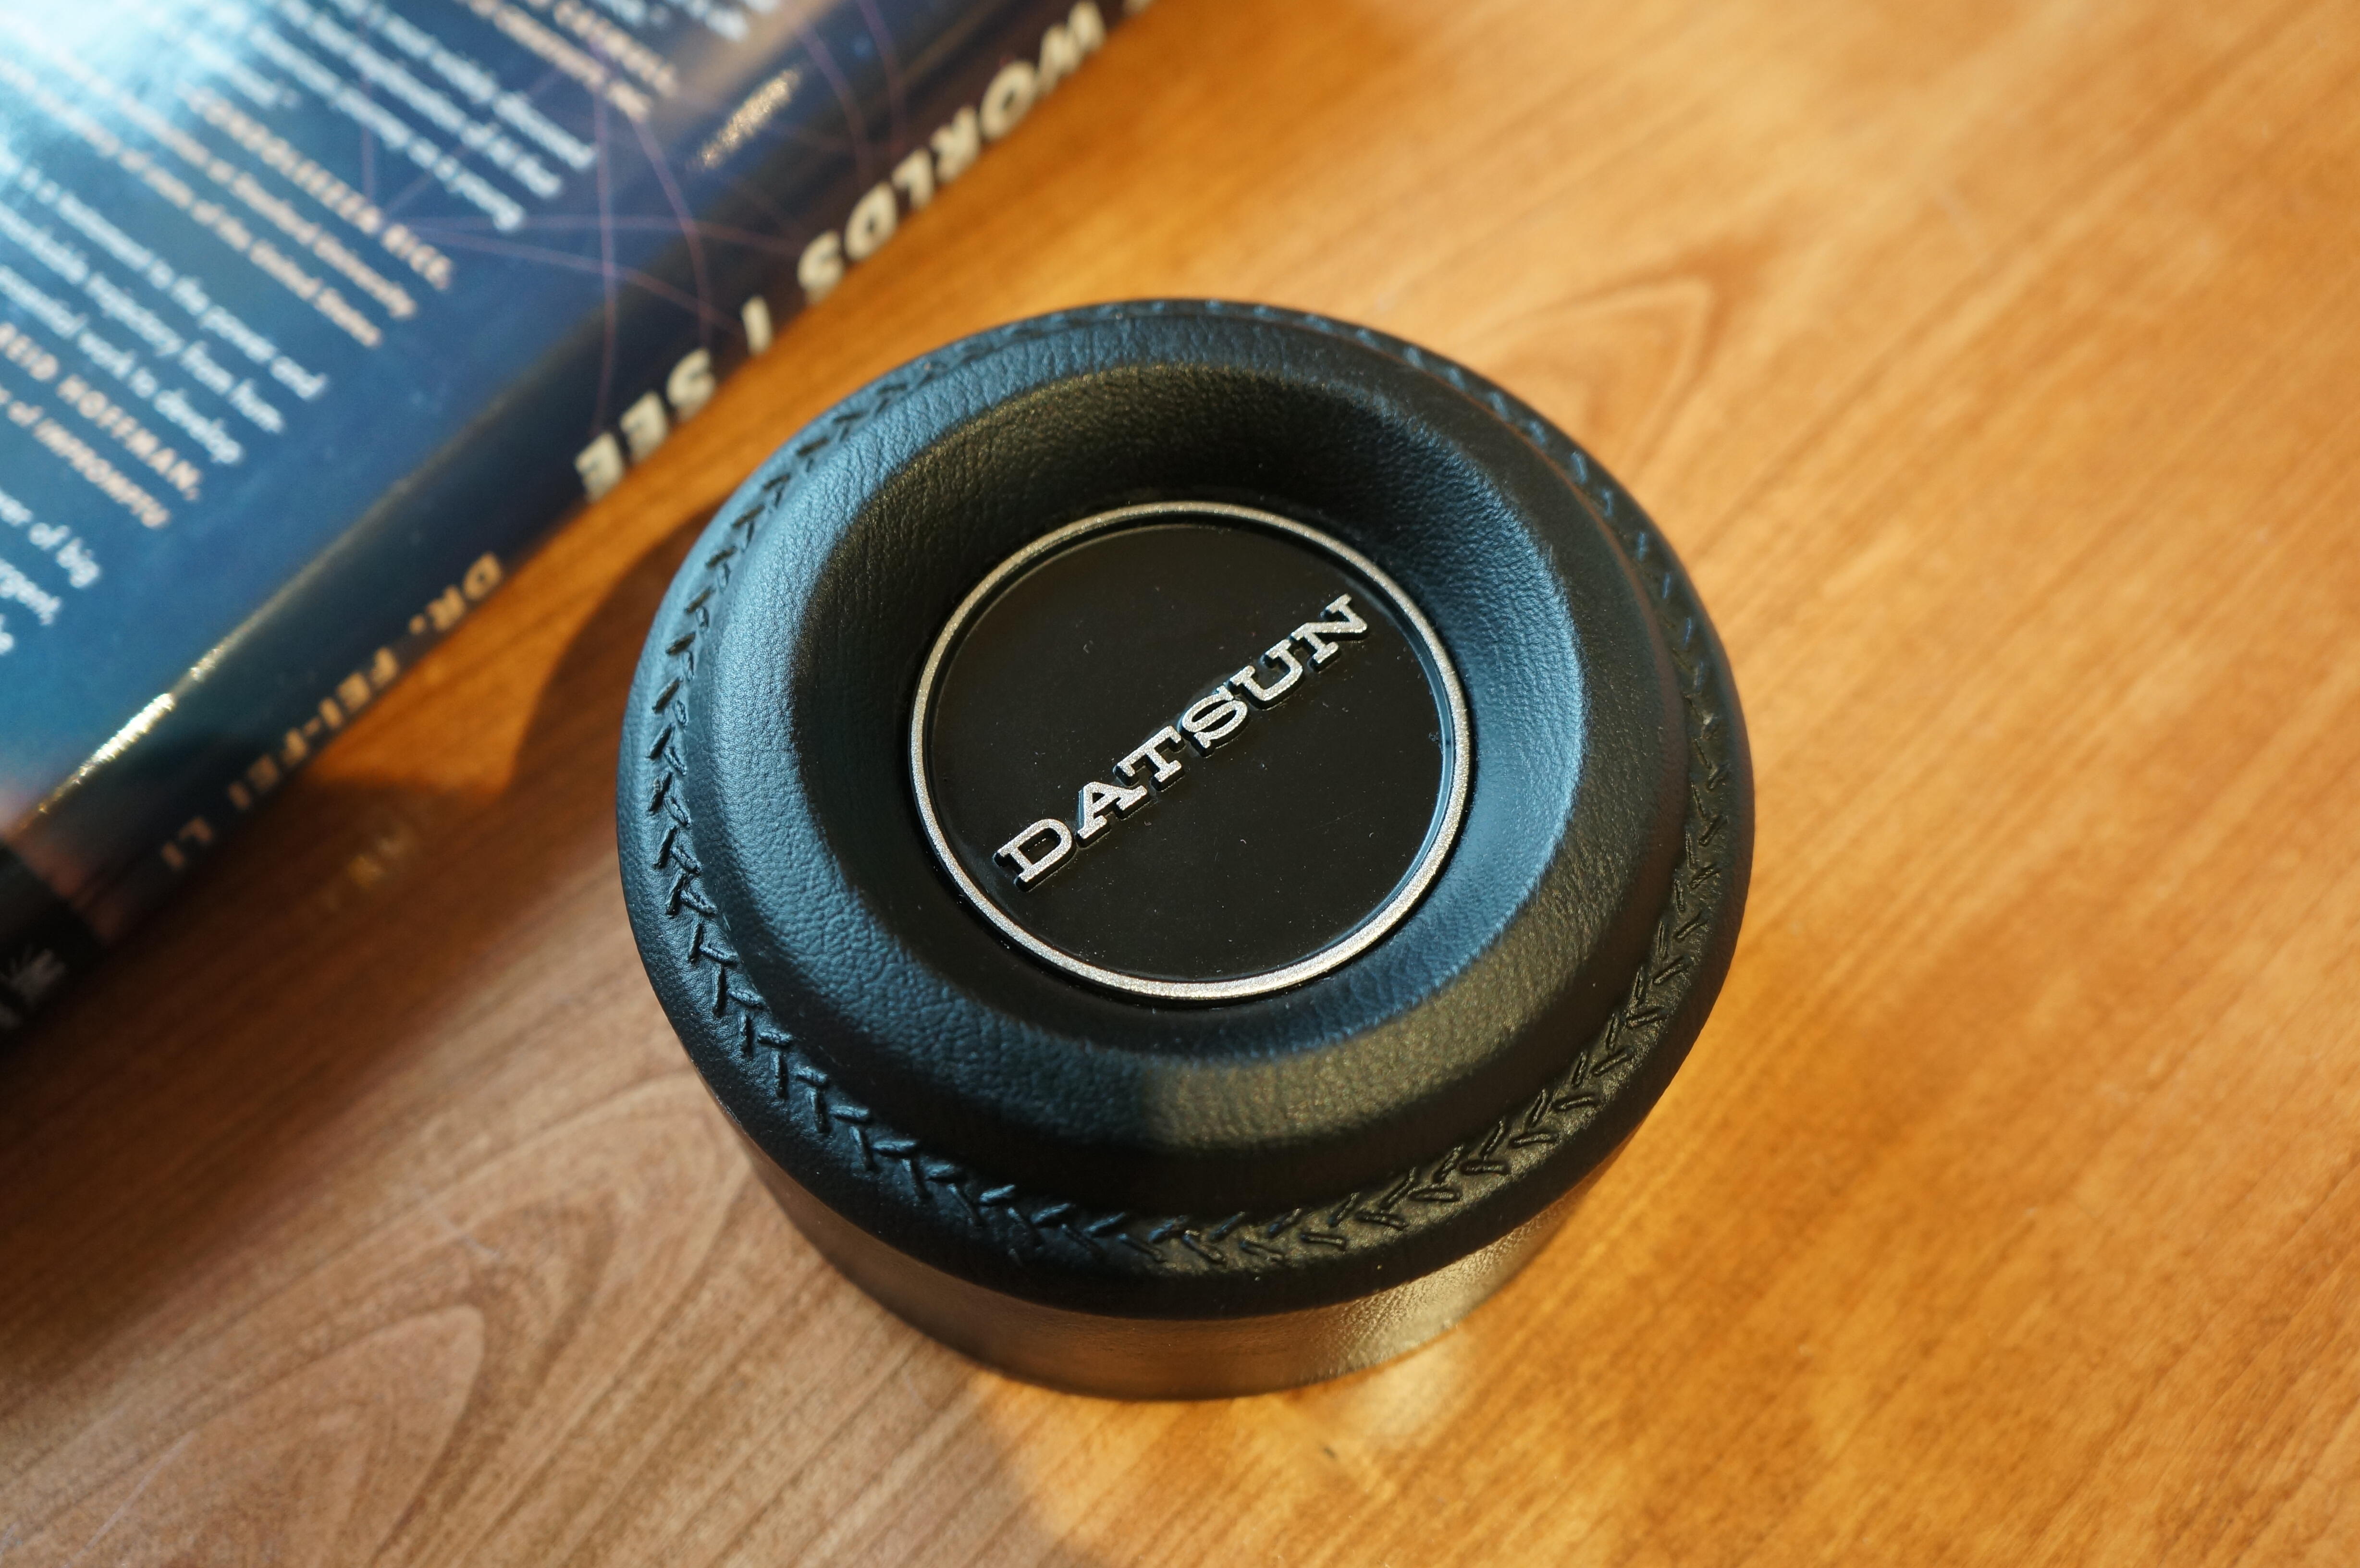
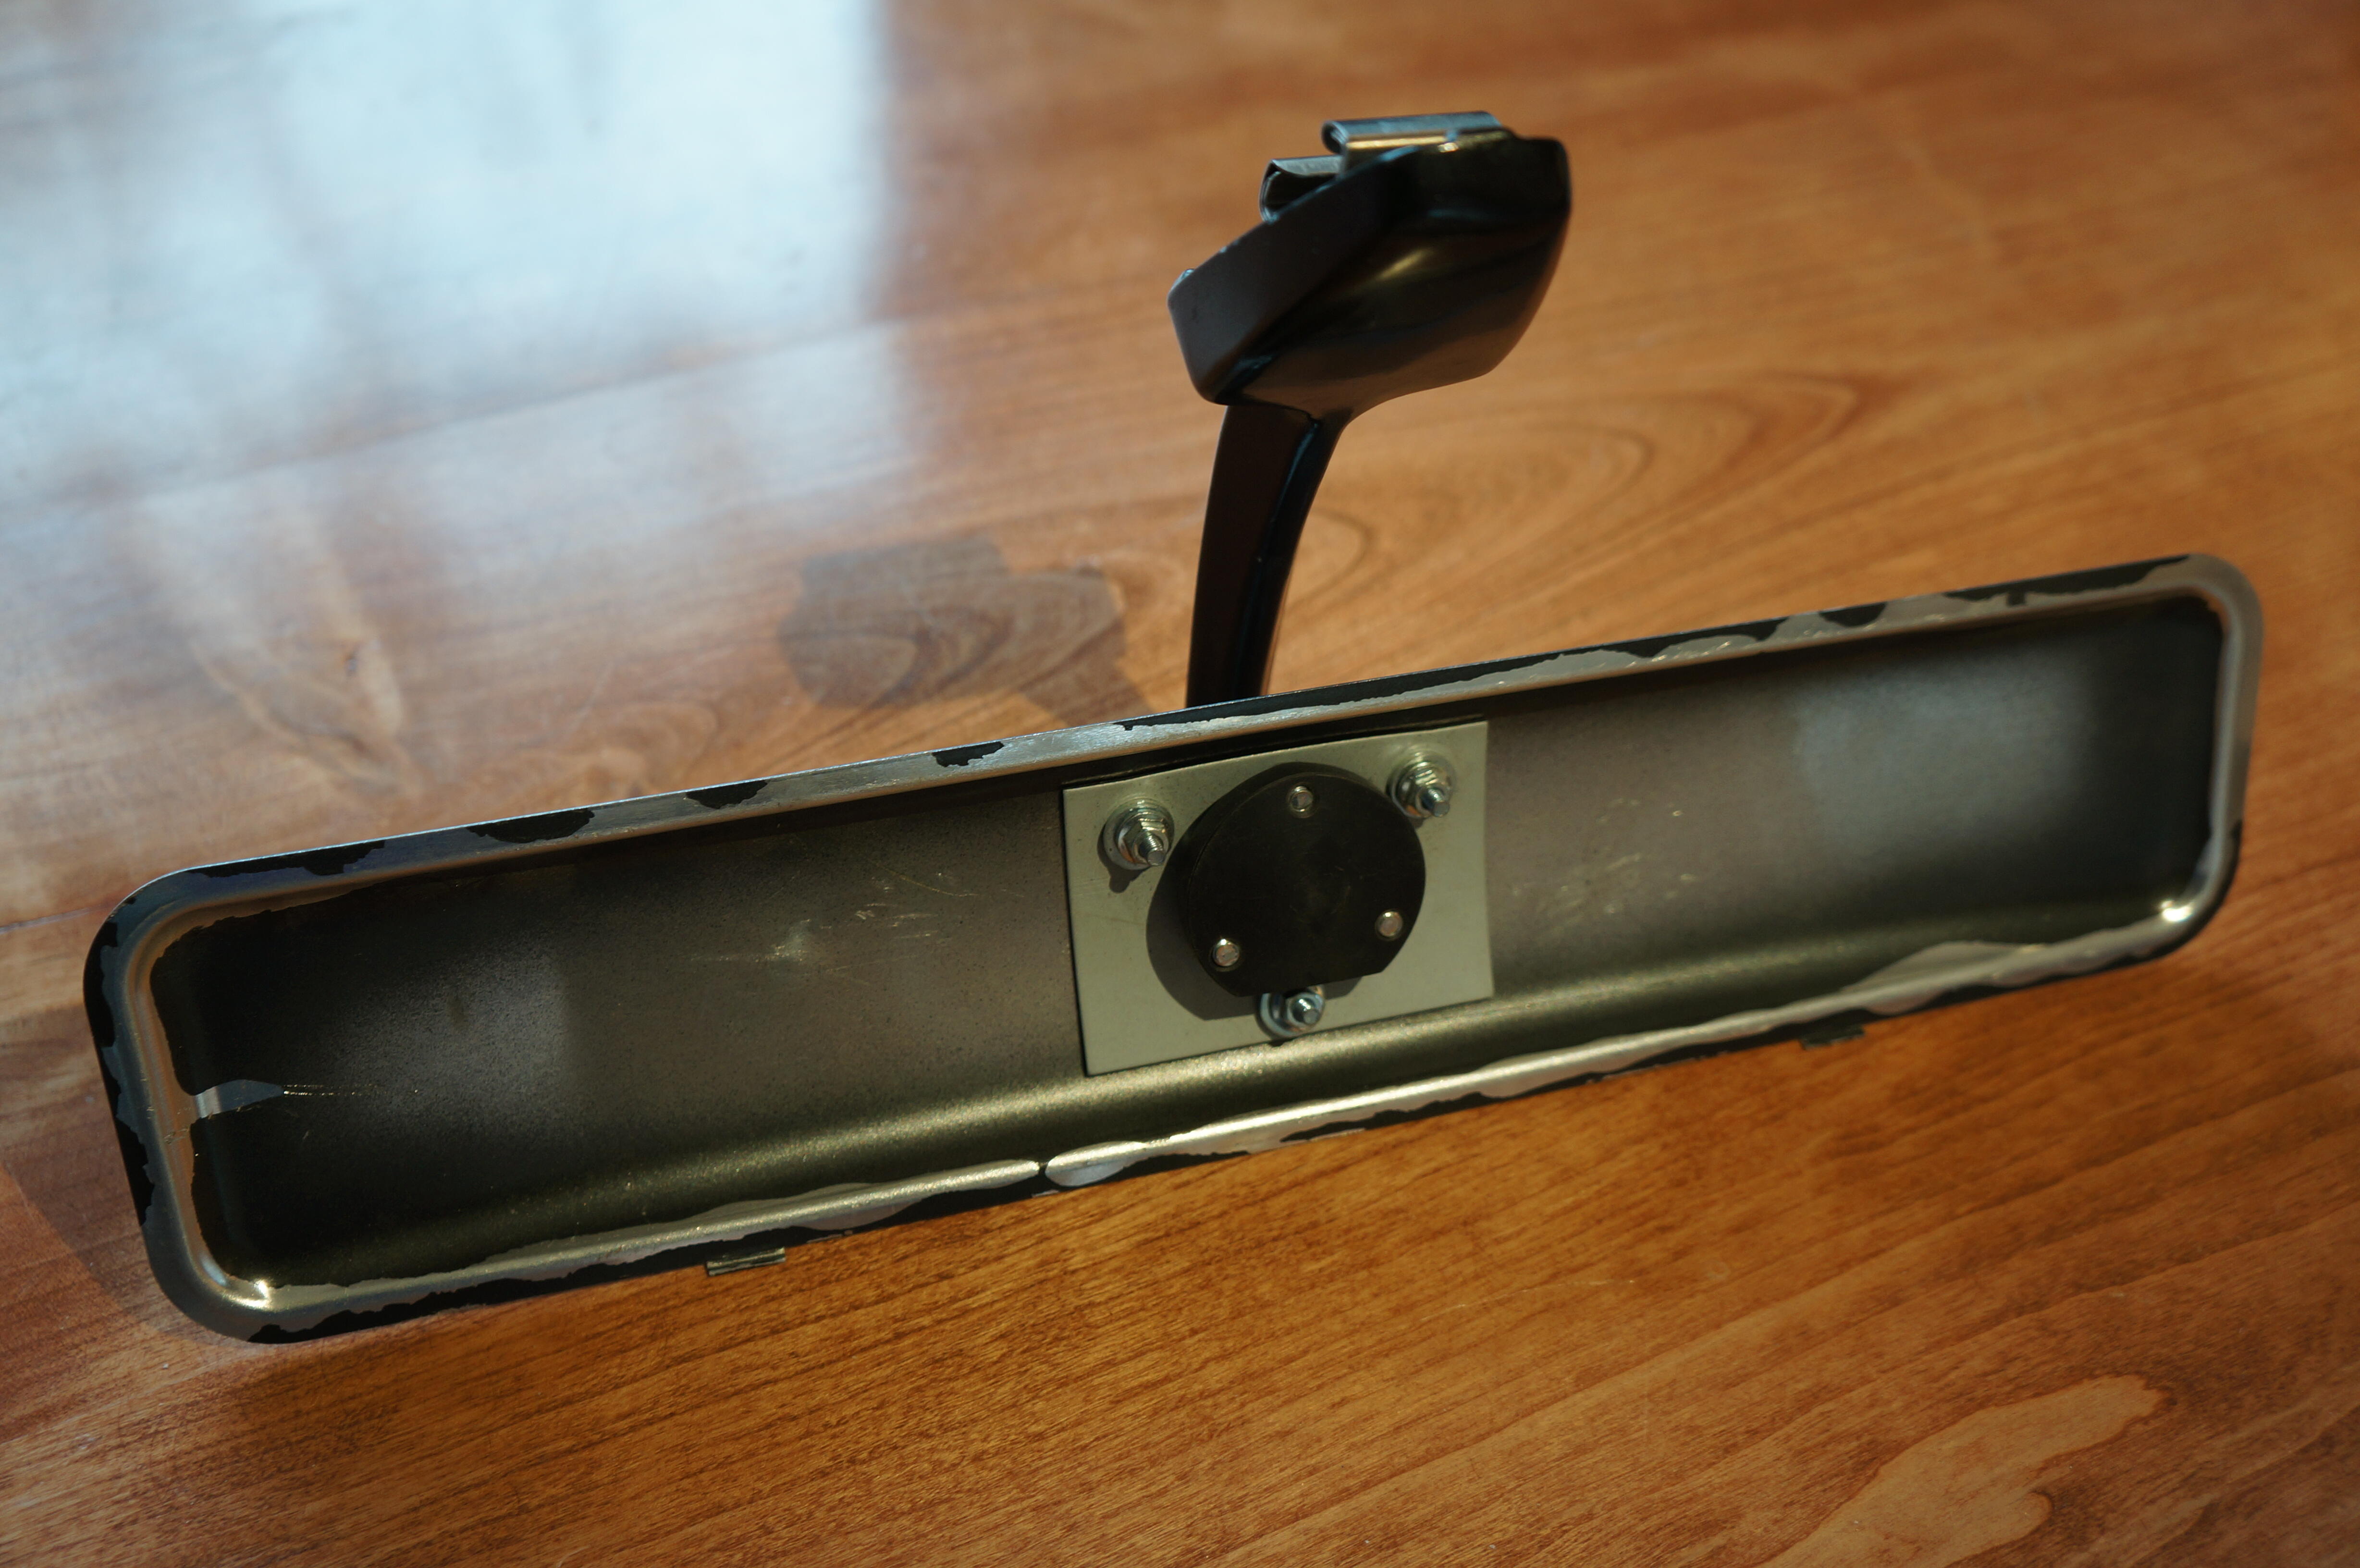
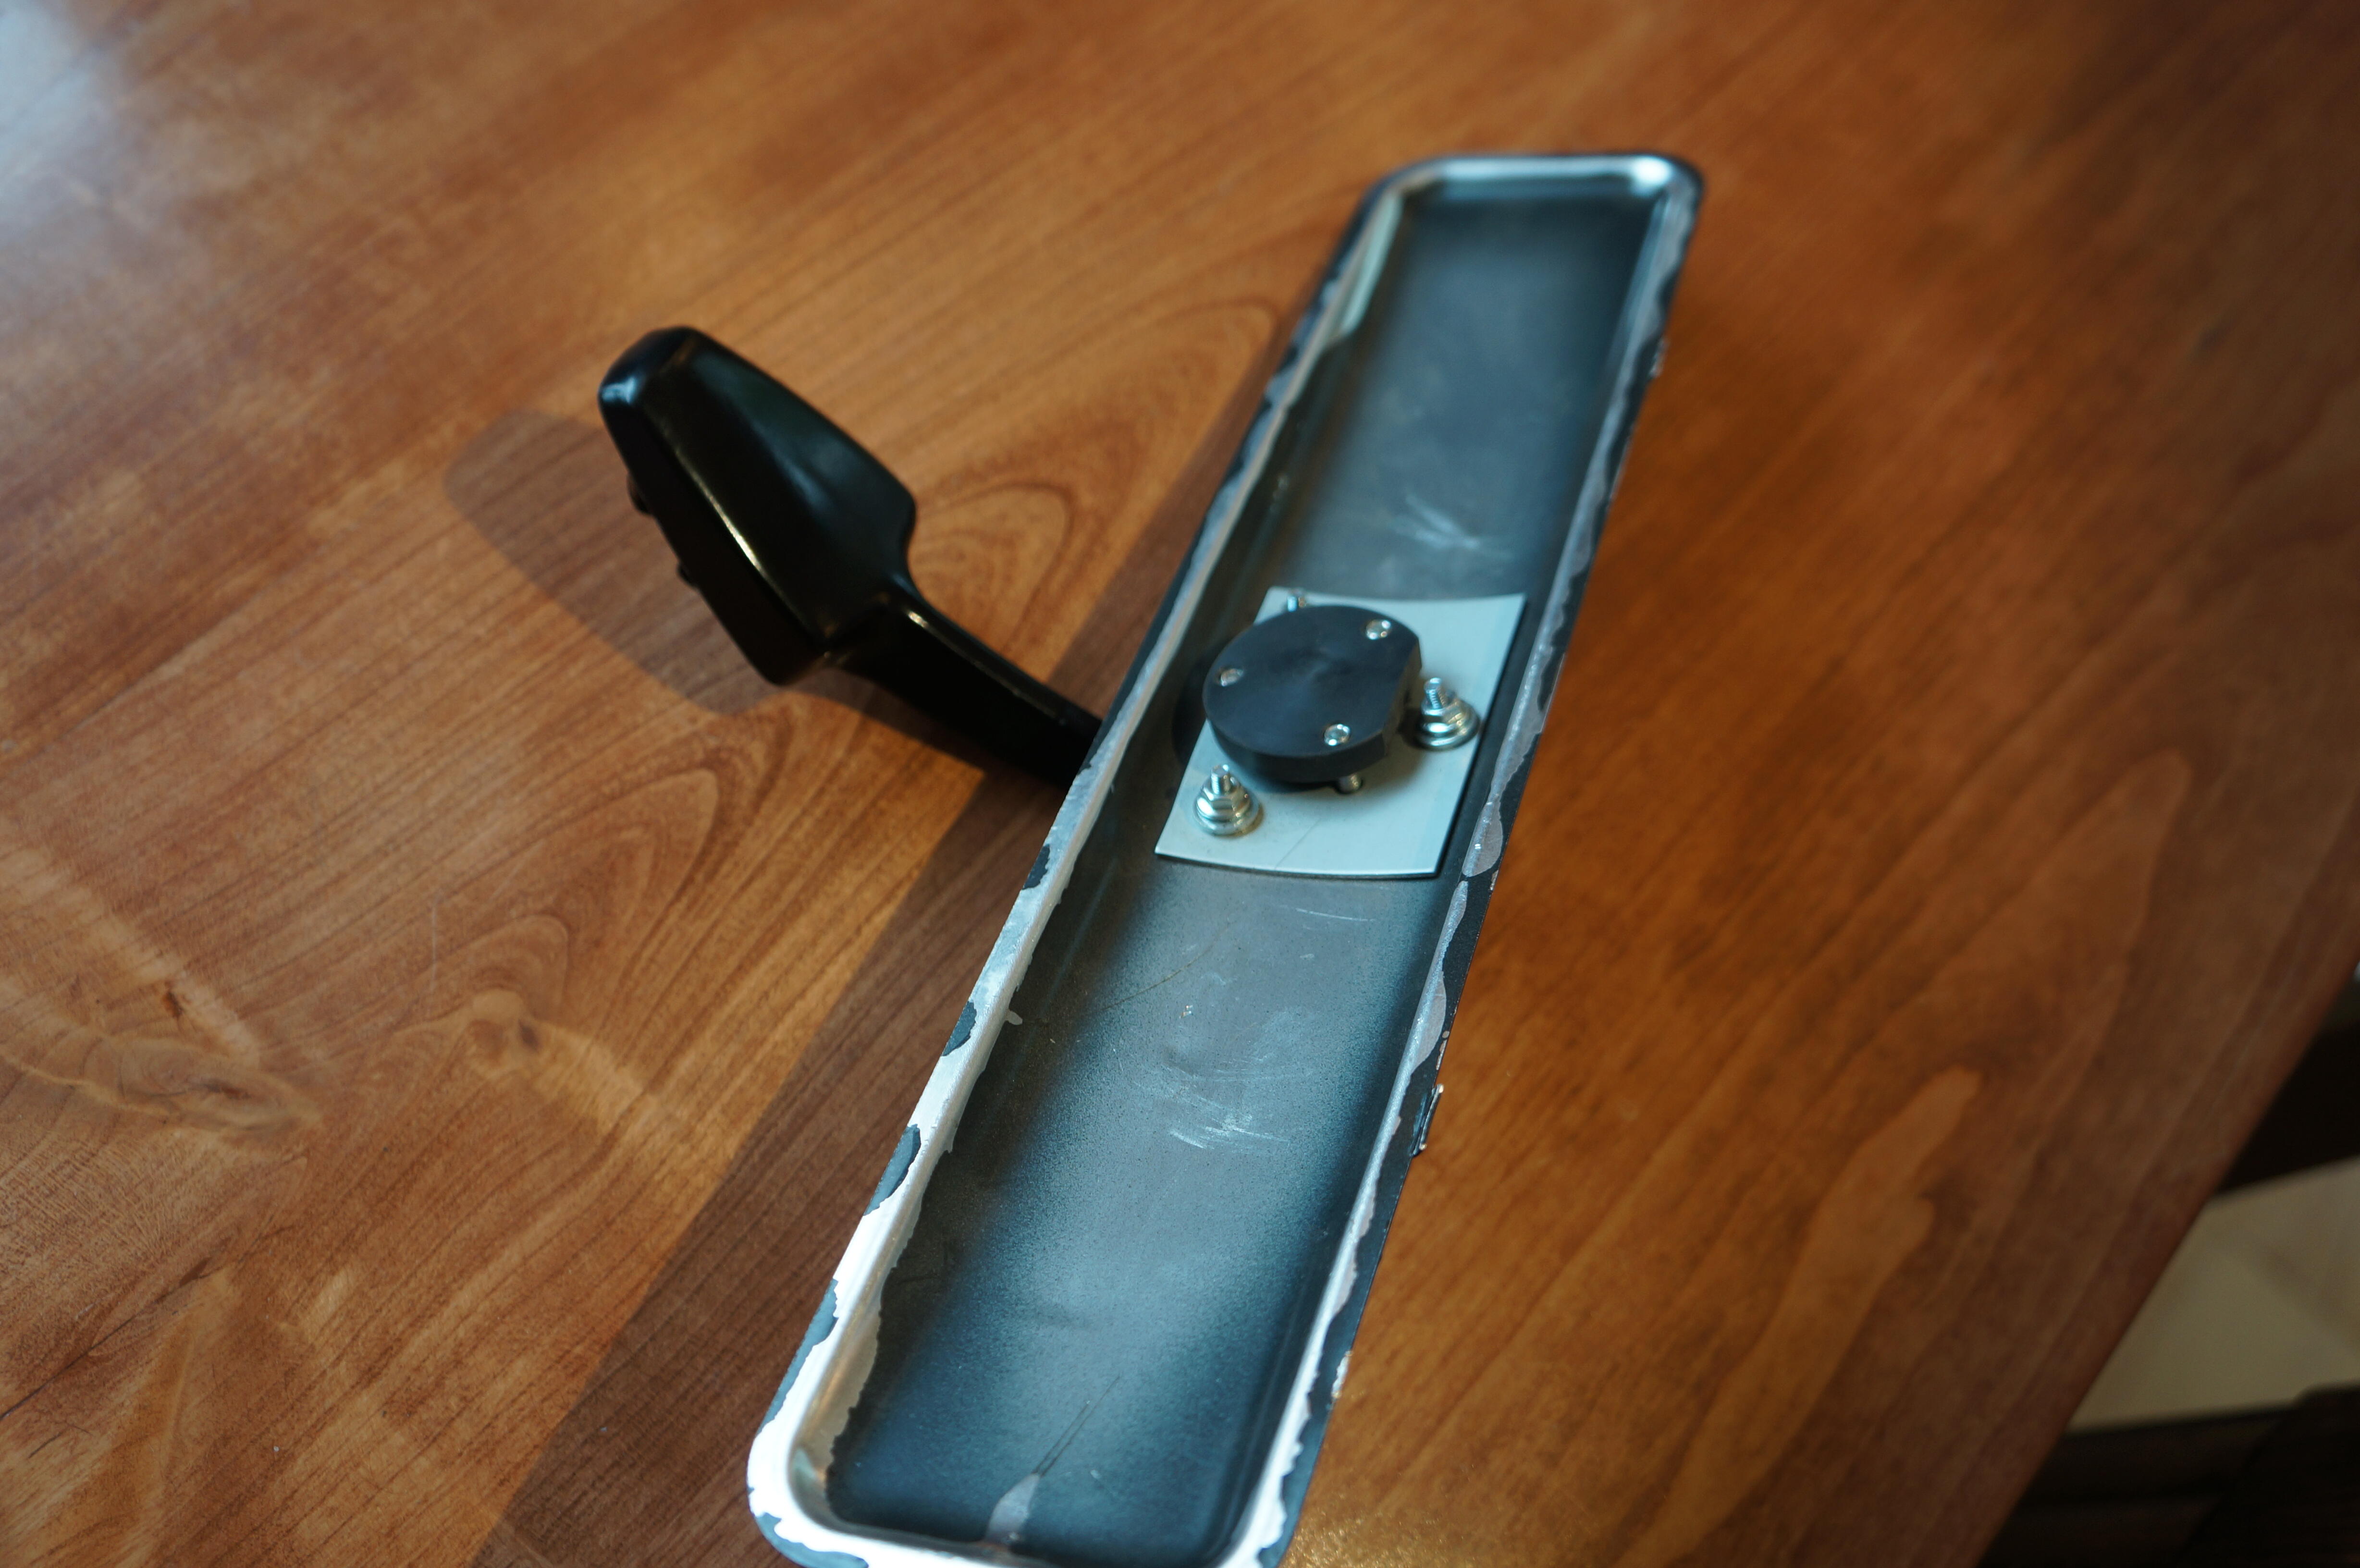
I did some more hunting and I'm thinking the steering wheel might be one of the first wheels or the reissued ones by Nissan for NISMO's 10th anniversary produced late 80s - early 90s that came wrapped in leather. https://jdm-car-parts.com/products/competition-steering-wheel-for-vintage-datsun-nissan-genuine-nos?variant=1231461416 All the newer steering wheels I found have a composite urethane hand grip, https://jdm-car-parts.com/products/datsun-competition-steering-wheel-for-datsun-240z-260z-280z-510?variant=13657908543597 Also, the rear view mirror has a notch stamped into the housing and backing plate for the pivot ball that lends itself for a right hand driving position whereas the newer replica versions don't have that and are more universal. https://jdm-car-parts.com/products/datsun-competition-racing-mirror-reproduction-for-datsun-240z-260z-280z-skyline?variant=774787501 I've been told the original competition mirrors had a convex mirror in them but I haven't found any confirmation on that yet, the newer replicas have a thin flat glass mirror.

-
Love it, lots of expensive high performance cars there but everyone is hanging around the Z, of course.
-
I picked these up today at our local club spring swap meet, seller said he bought them online off of a Japanese auction site at some point in the past. They have spent time in a car as there are a few scuffs on the leather and a bit of chipped paint, also the mirror is missing the original convex mirror. I have found a few pics online that look similar to the competition wheel but almost nothing on the mirror. Can anyone fill in the blanks for me? Thanks