


grannyknot
Free Member
-
Joined
-
Last visited
Everything posted by grannyknot
-
 The signals are doing some strange things that make no sense to me, using the old flasher unit, sometimes I can get all four signals to flash by moving the signal stalk left and right. Then the next time I go back to the left the front left signal won't flash or light up, the rear left and right signals always work no matter what, switch back to the right and now the front right signal doesn't work. Then a couple more tries and they all work again until the next time and the front left stops working. No rhyme or reason, I have taken the signal switch apart and cleaned the contacts with a scotch pad, the signal bulbs are working fine, I've switched them around, I've jiggled the all the wires while the front signal isn't working with no change. The hazards work perfectly with a new electronic flasher When I exchange the old signal flasher unit for a new electronic flasher, the right side flashes perfectly, switch over to the left side and it will flash once or twice then slow down then stop altogether and will not light up or flash again no matter how many times I go back to the right and then try the left again. Any of this make sense?
 -
It's nice to see that you can get good results without having to rely on toxic chemicals all the time, a small step in the right direction.
-
Jim, I'm sure I have new one kicking around here somewhere, send me a PM with your address and I'll shoot it off to you.
-
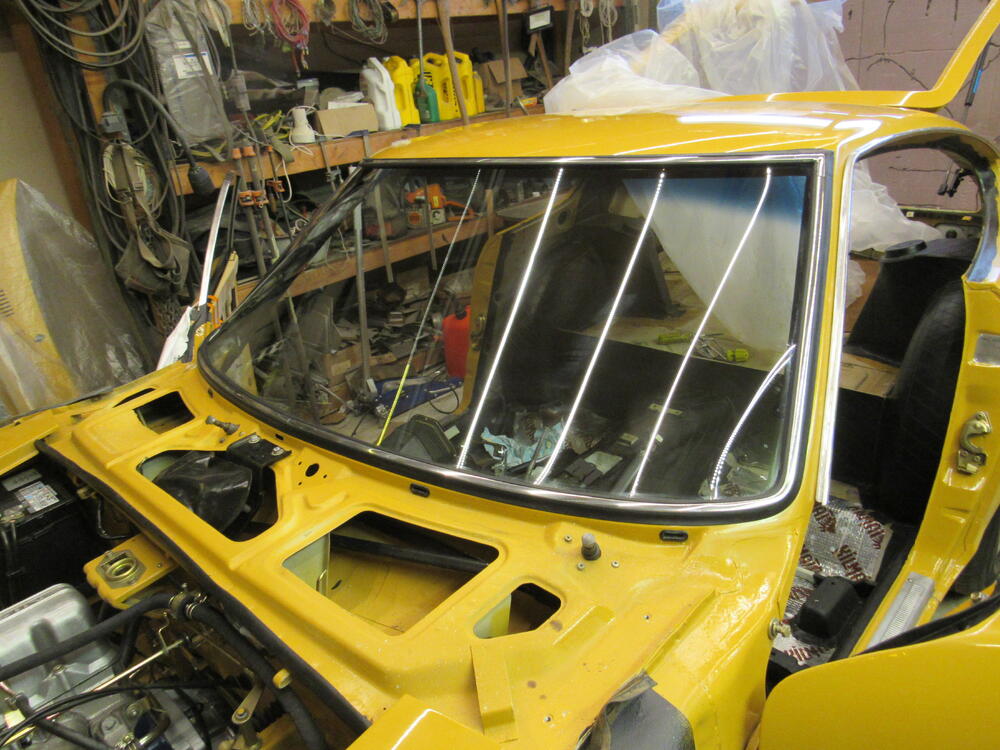
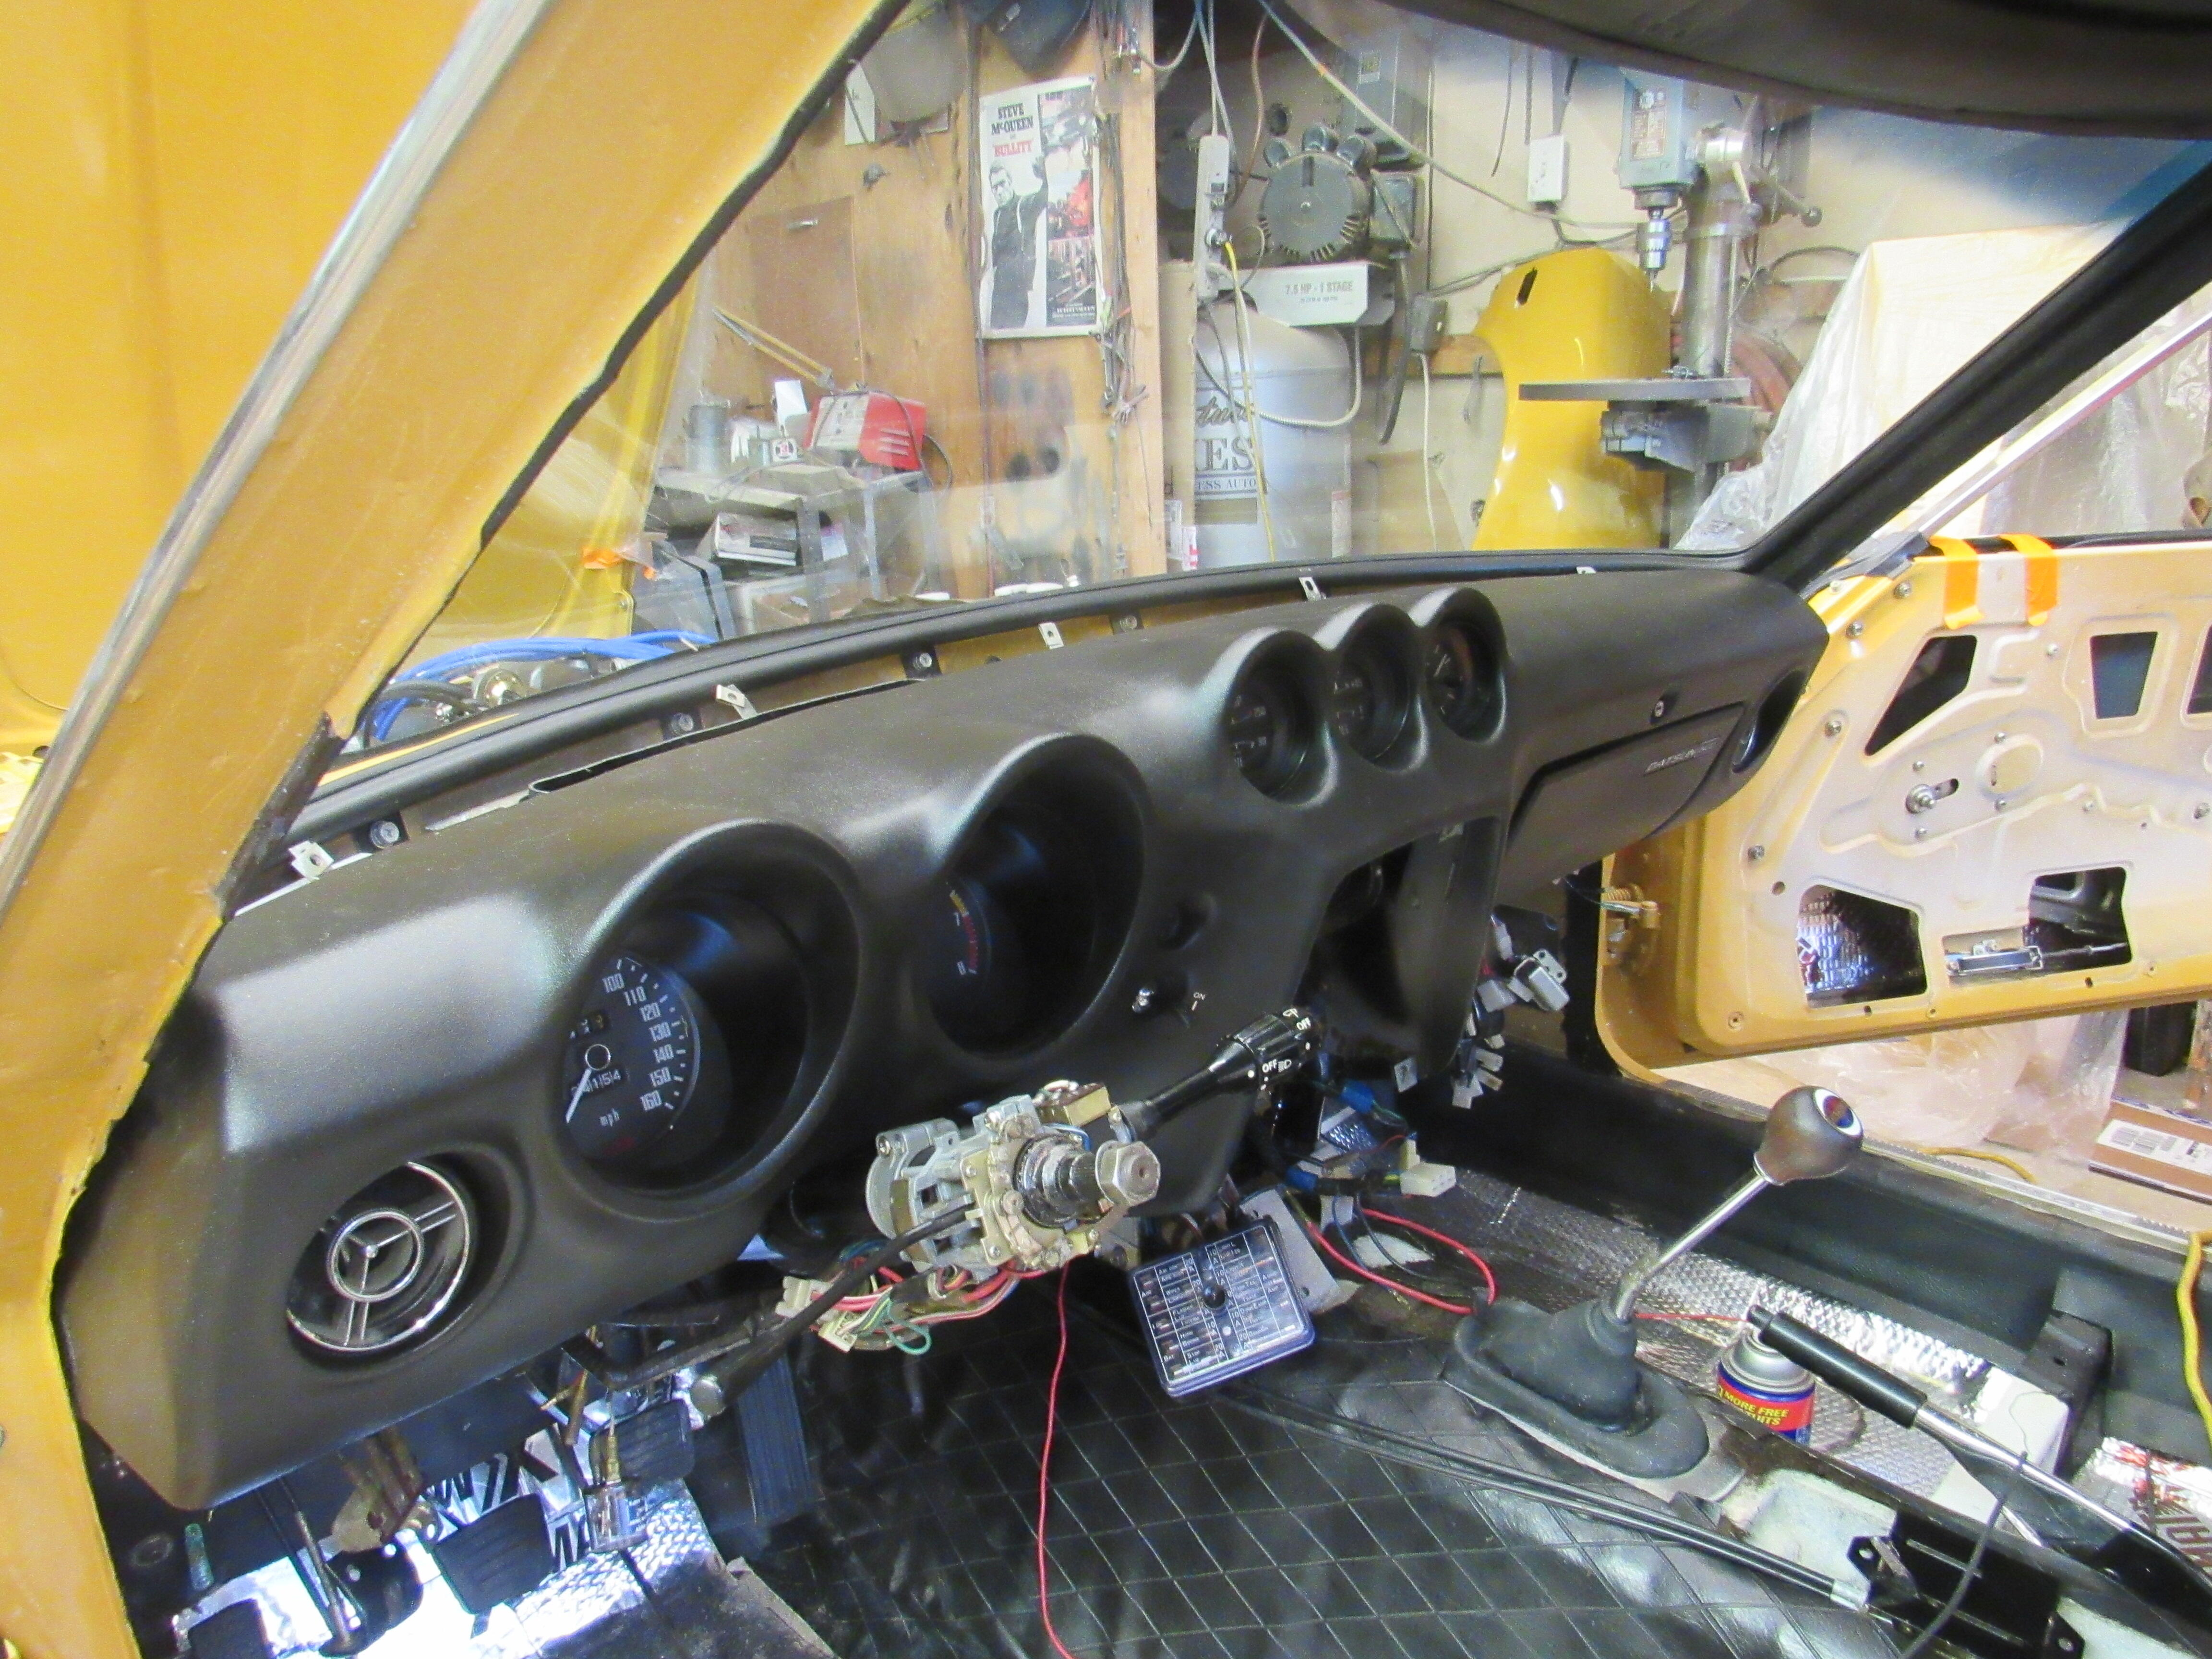
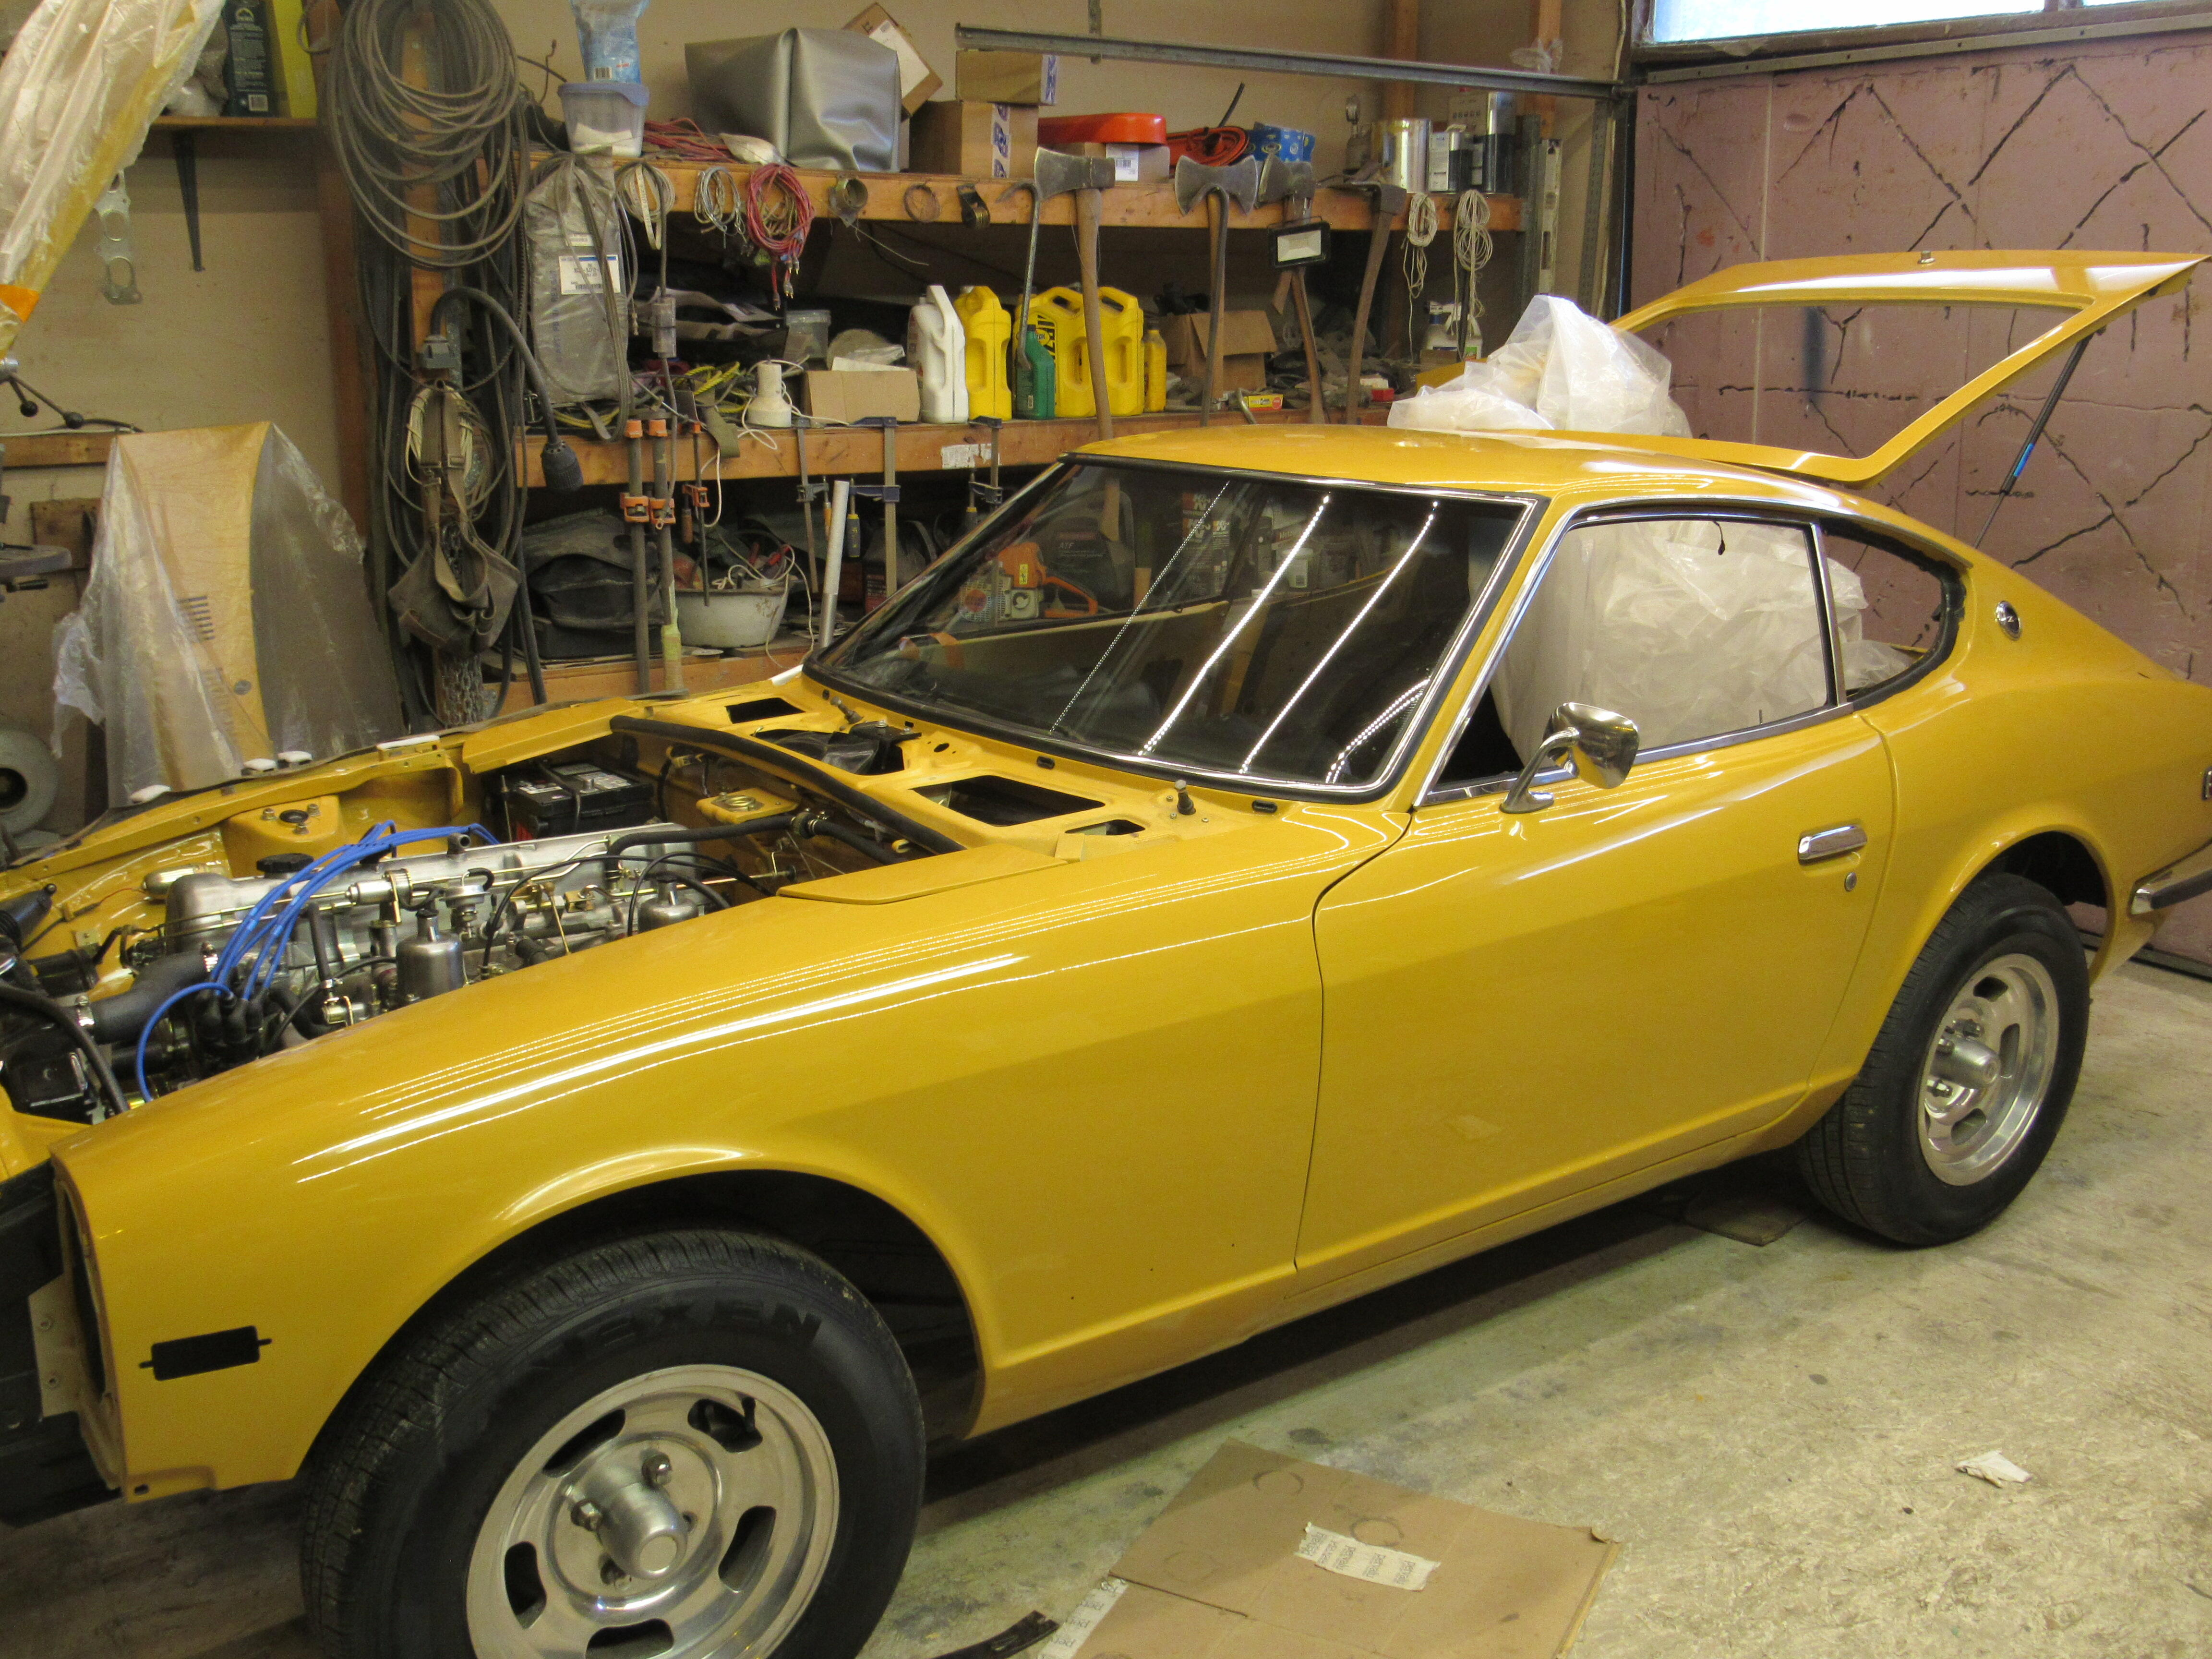
Dave stopped by this morning and we got the windshield in, I spent the rest of the day getting the dash in and connecting all the wires, with any luck I might get to trying to start the engine tomorrow😁


-
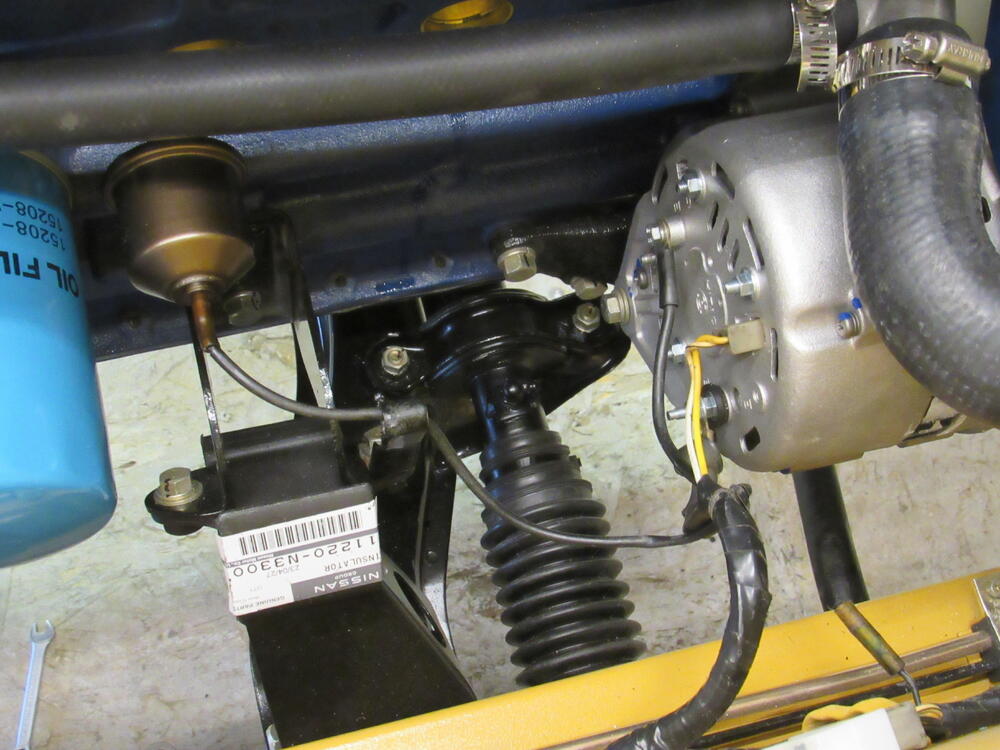
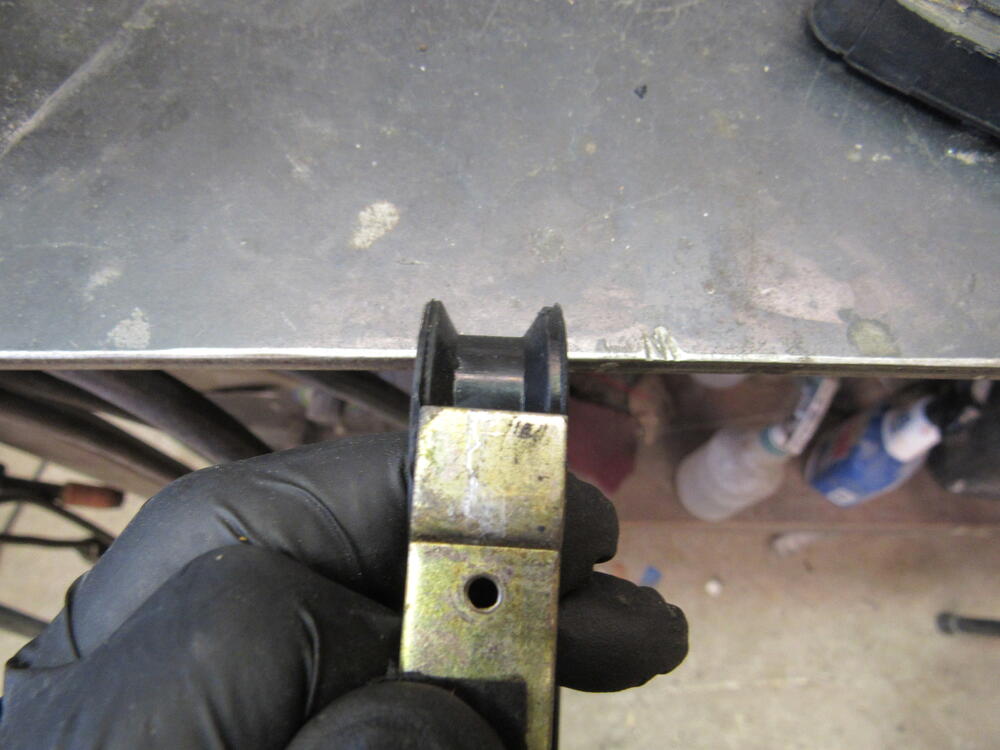
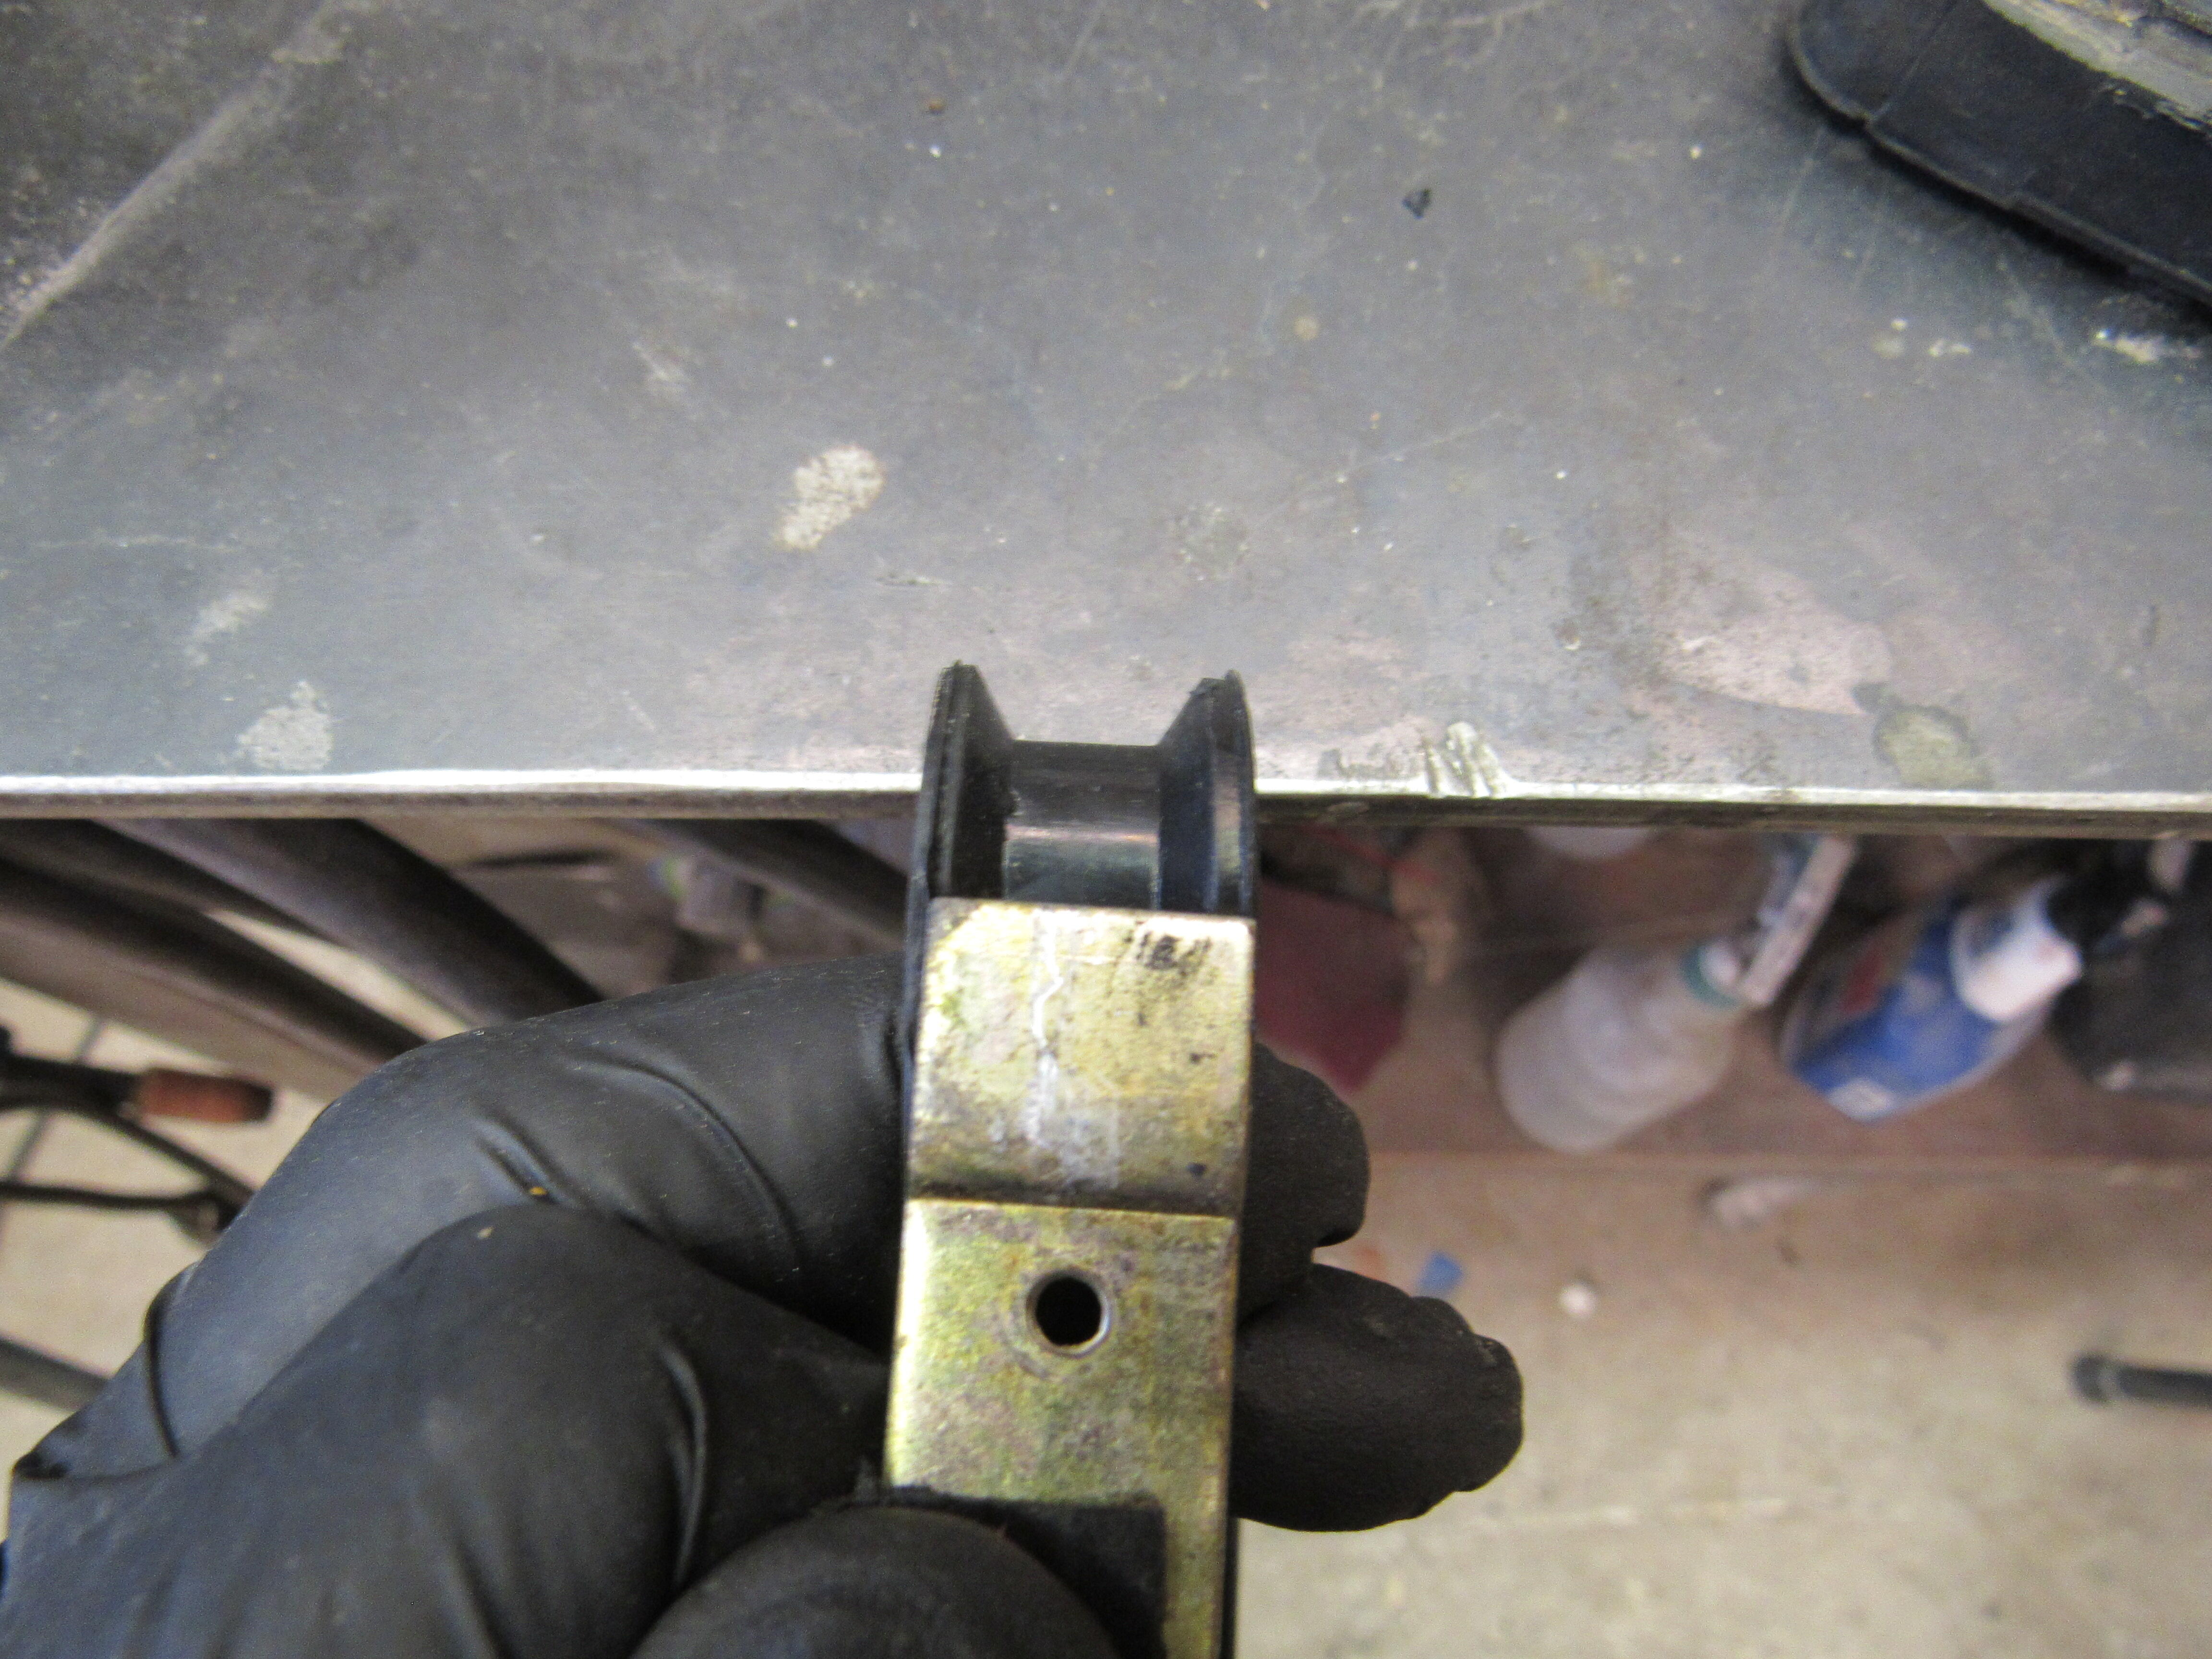
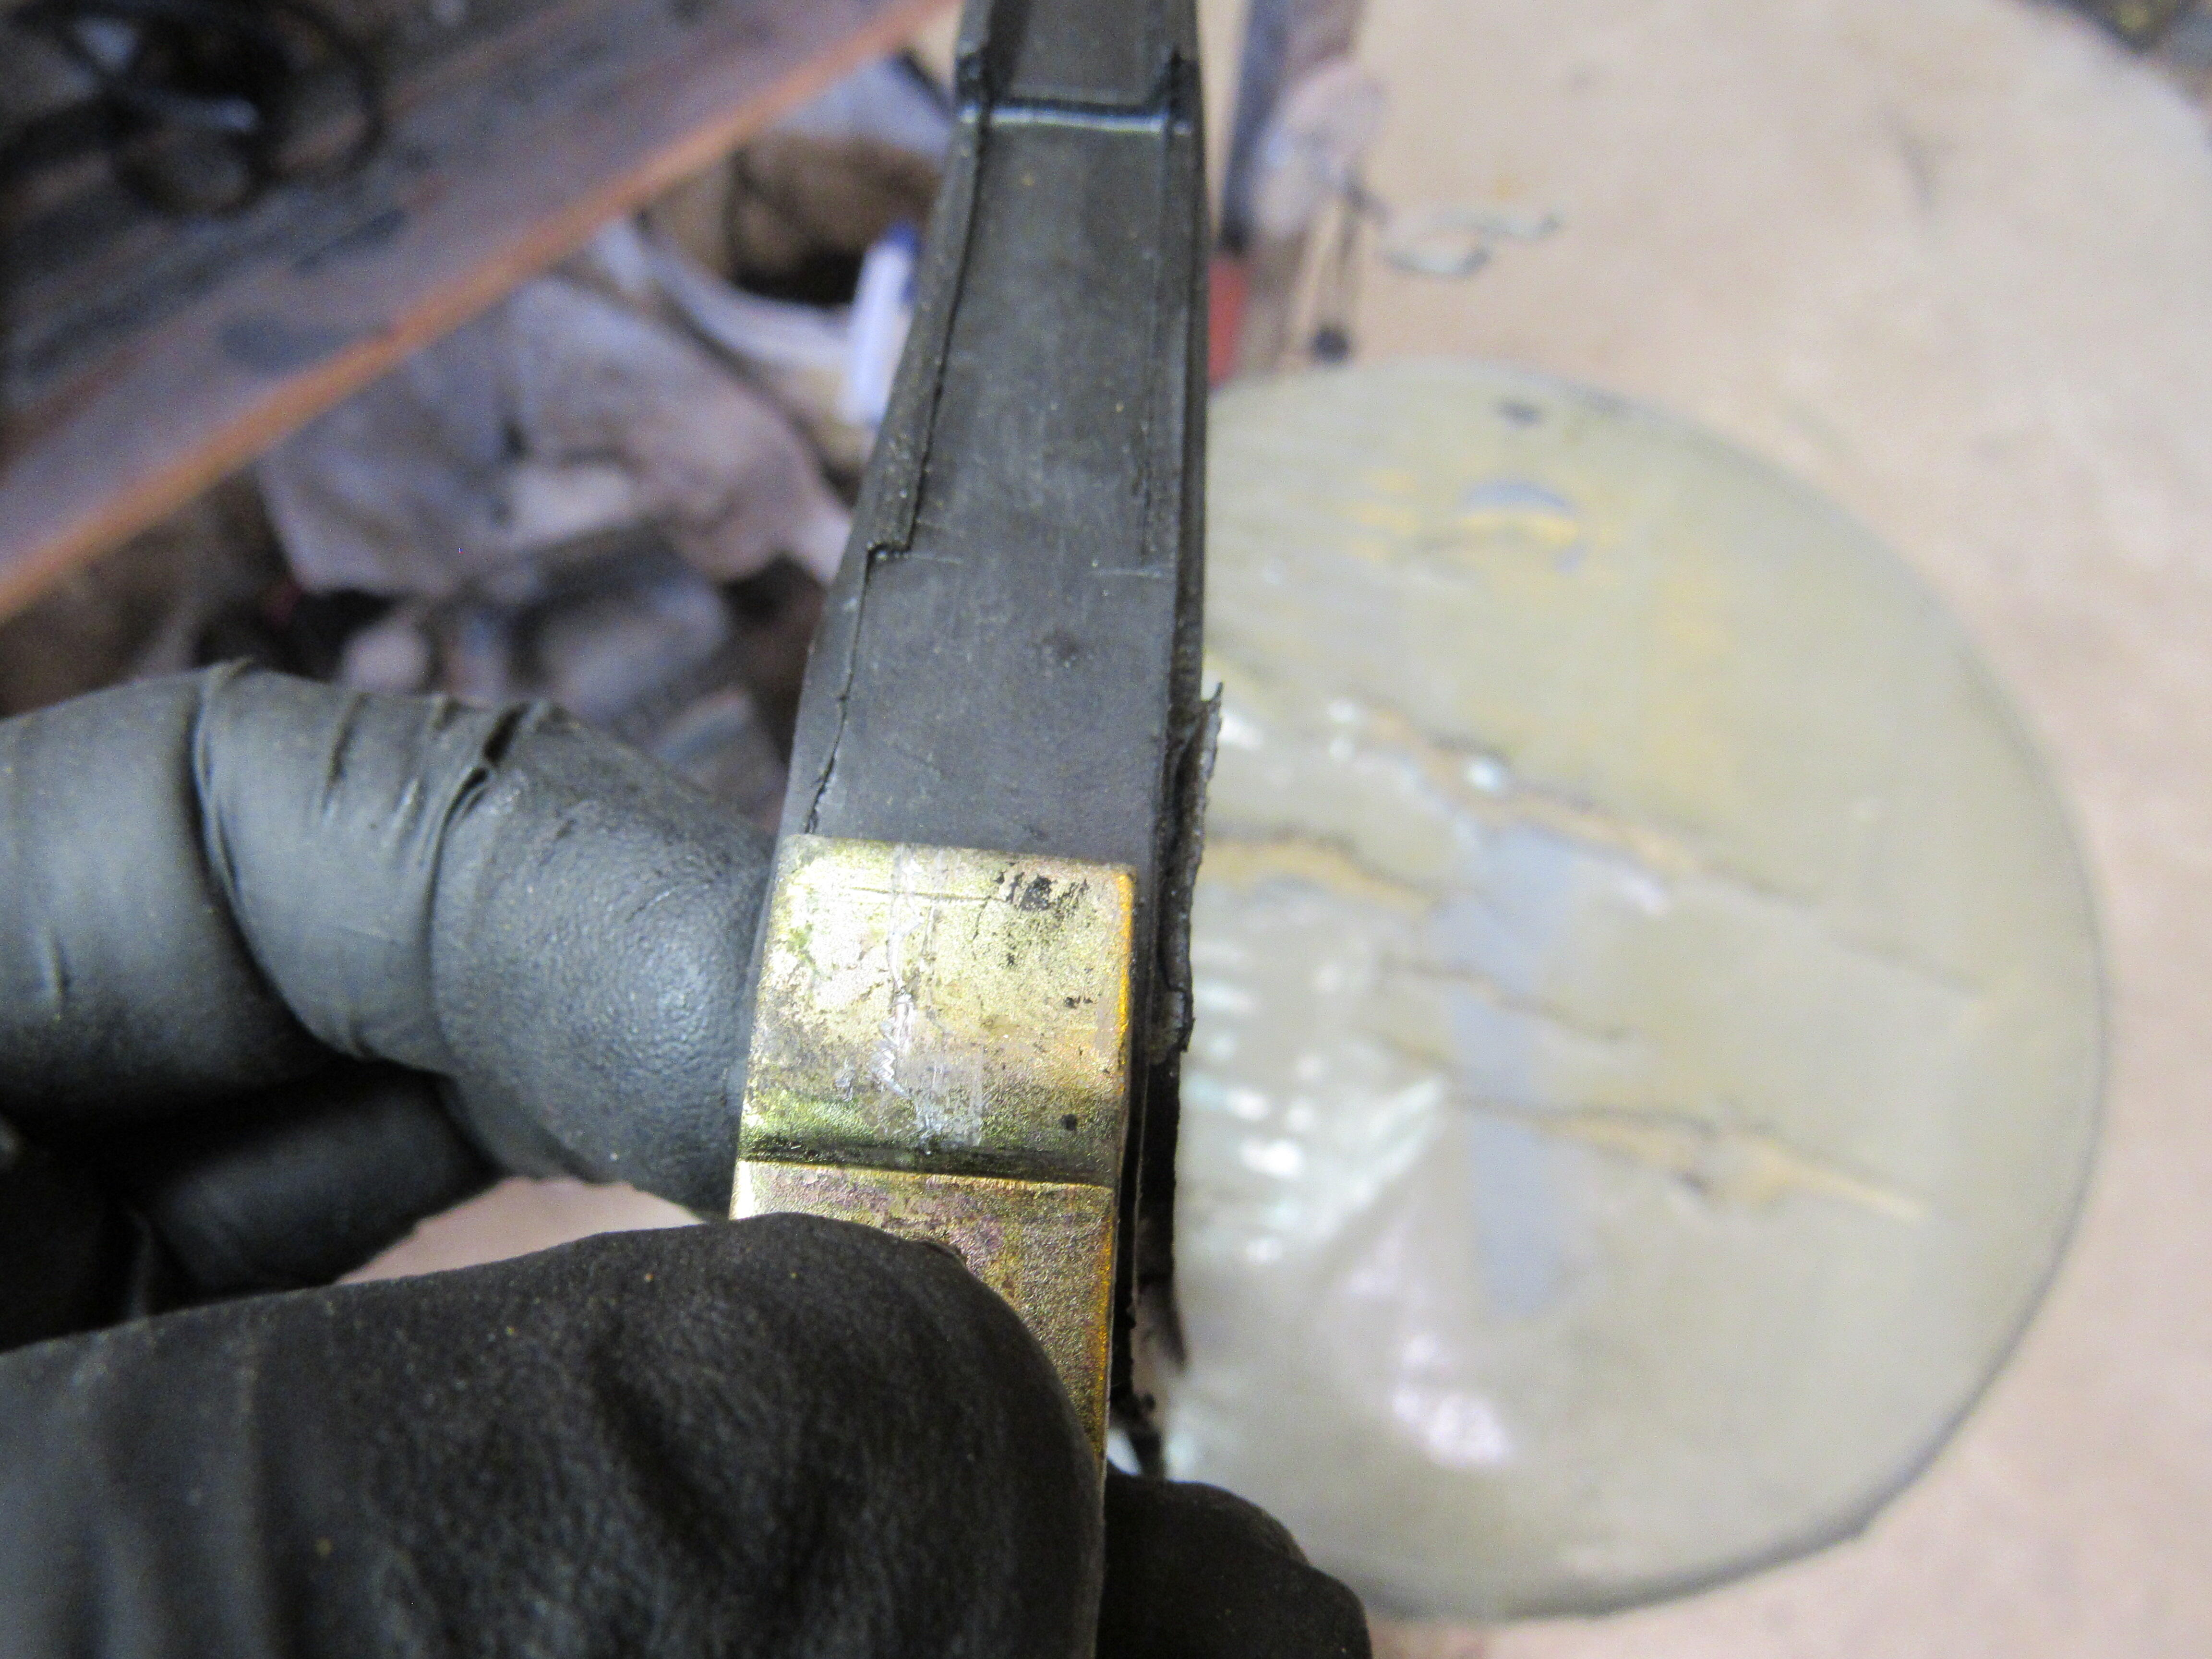
The transmission mount, thanks.
-
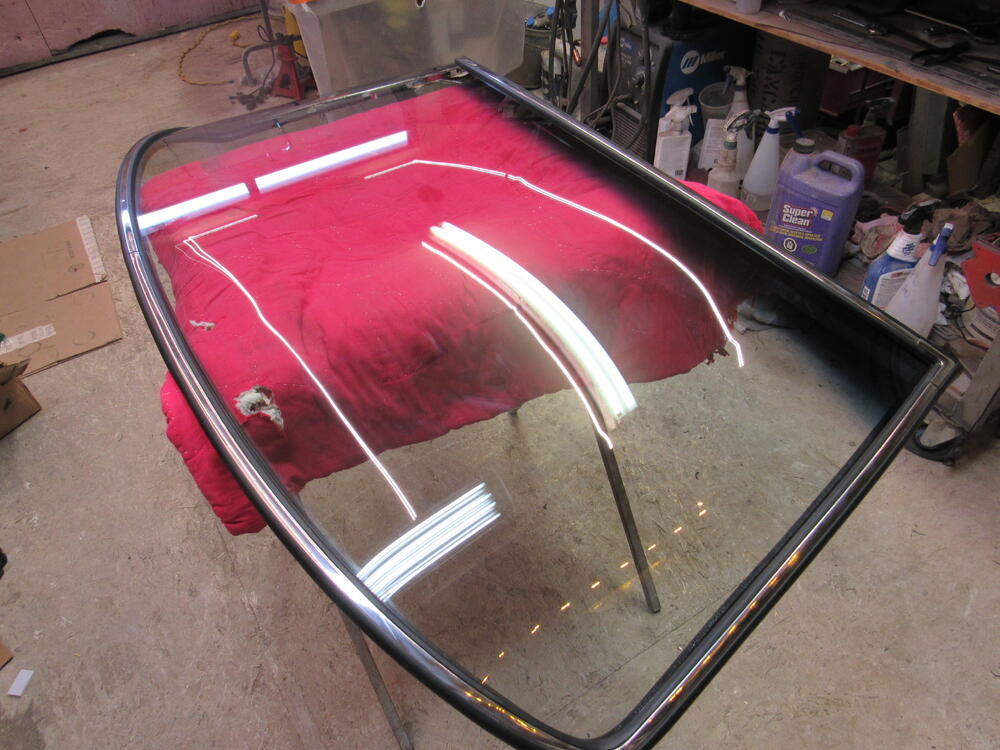
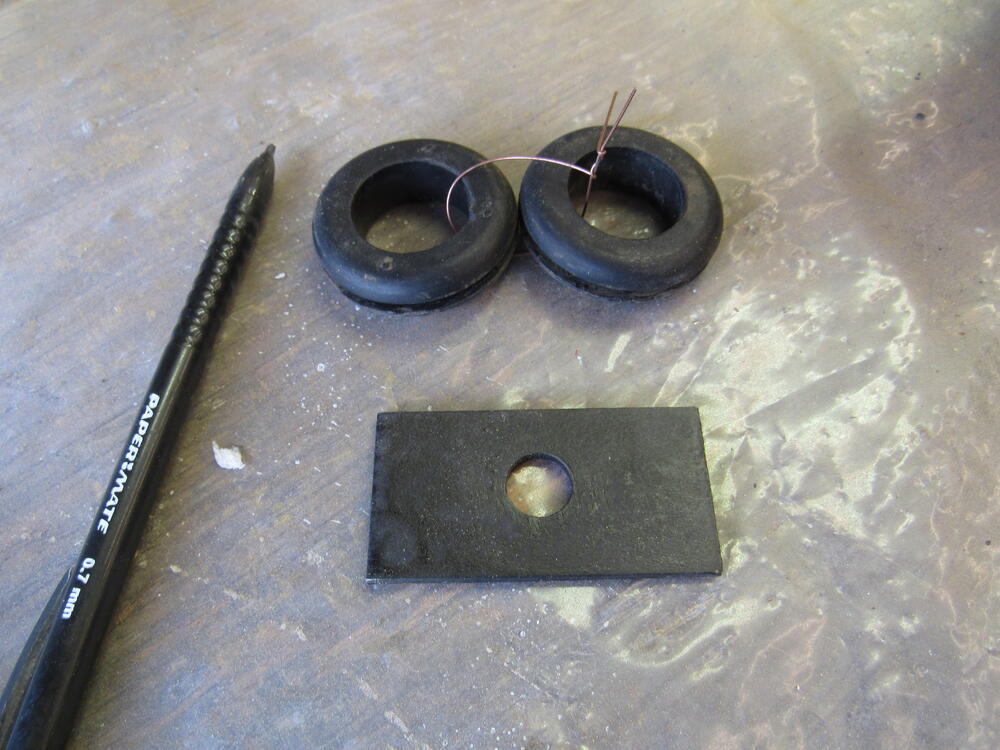
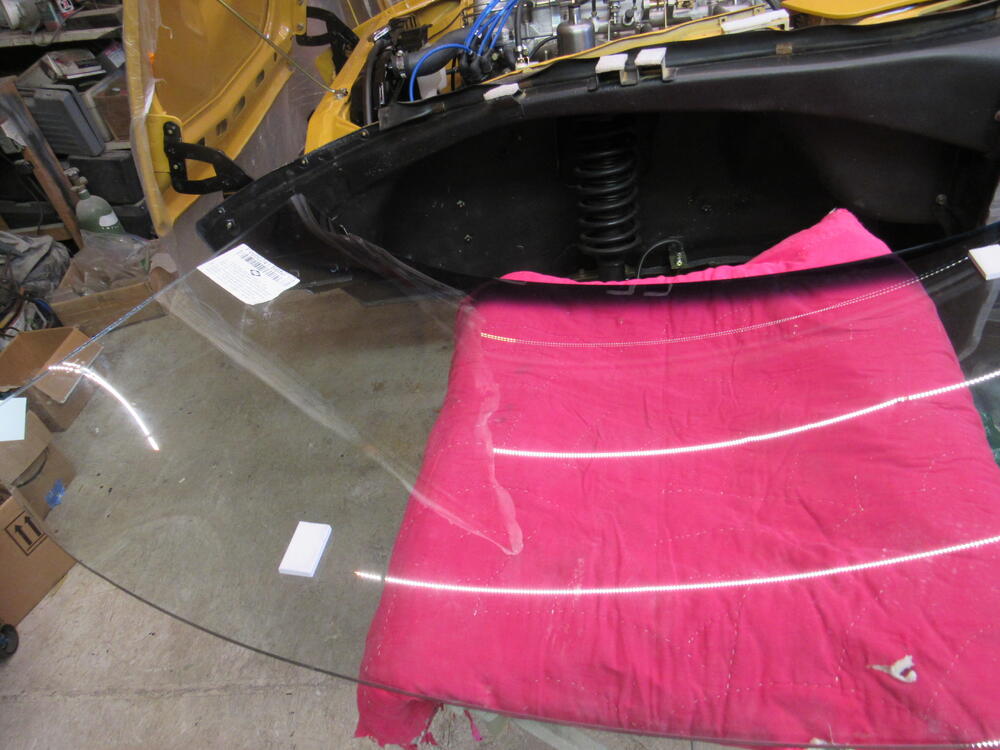
The new windshield is ready to go in, a box of parts showed up yesterday so I got the new alternator in, steering rack boots, slave cylinder and wheel cylinders in and bled. Finished of the vinyl install and just waiting for the exhaust system to show up so I can get it back down onto the ground. There always seems to be a few things left over and these are them, the 2 rubber grommets aren't for the drain hoses but not sure what they are for.

-
-
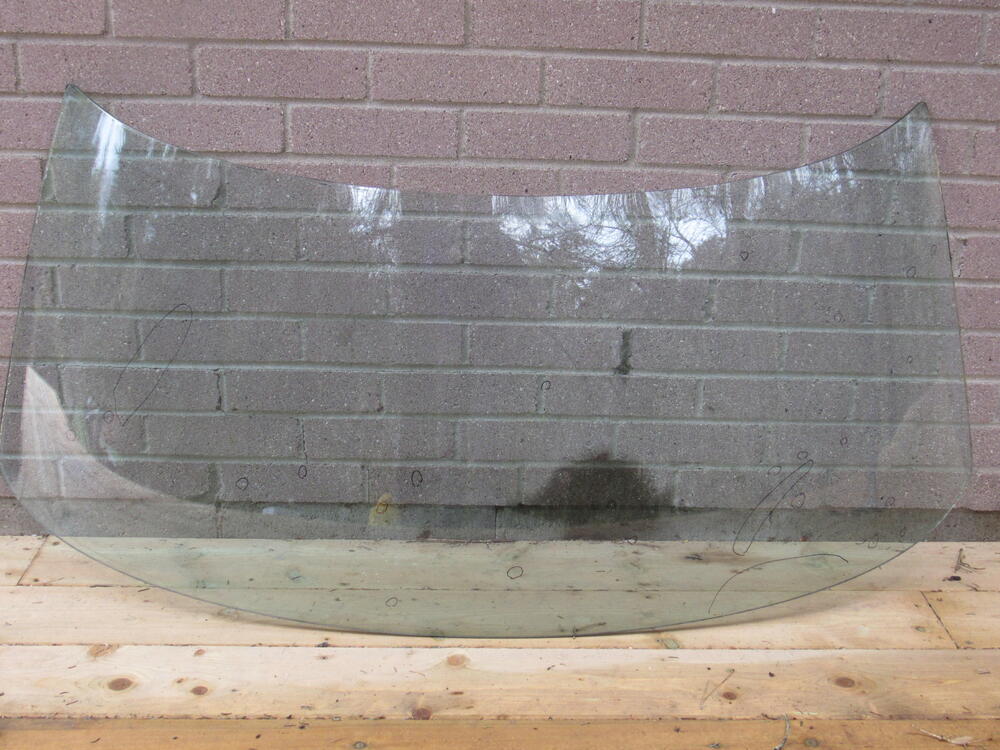
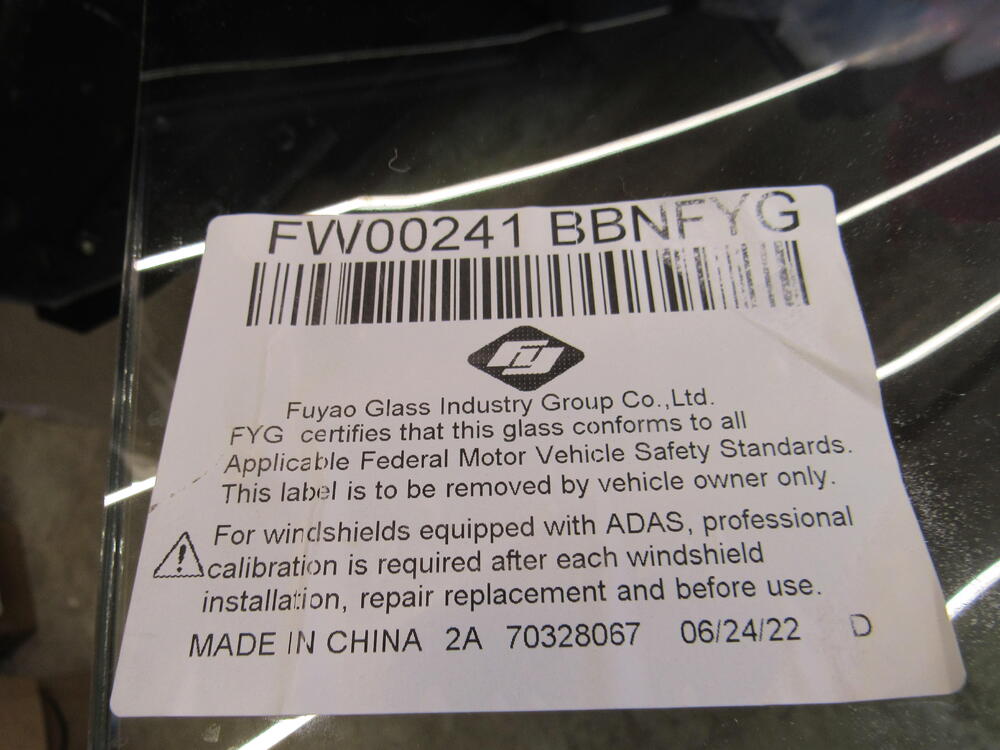
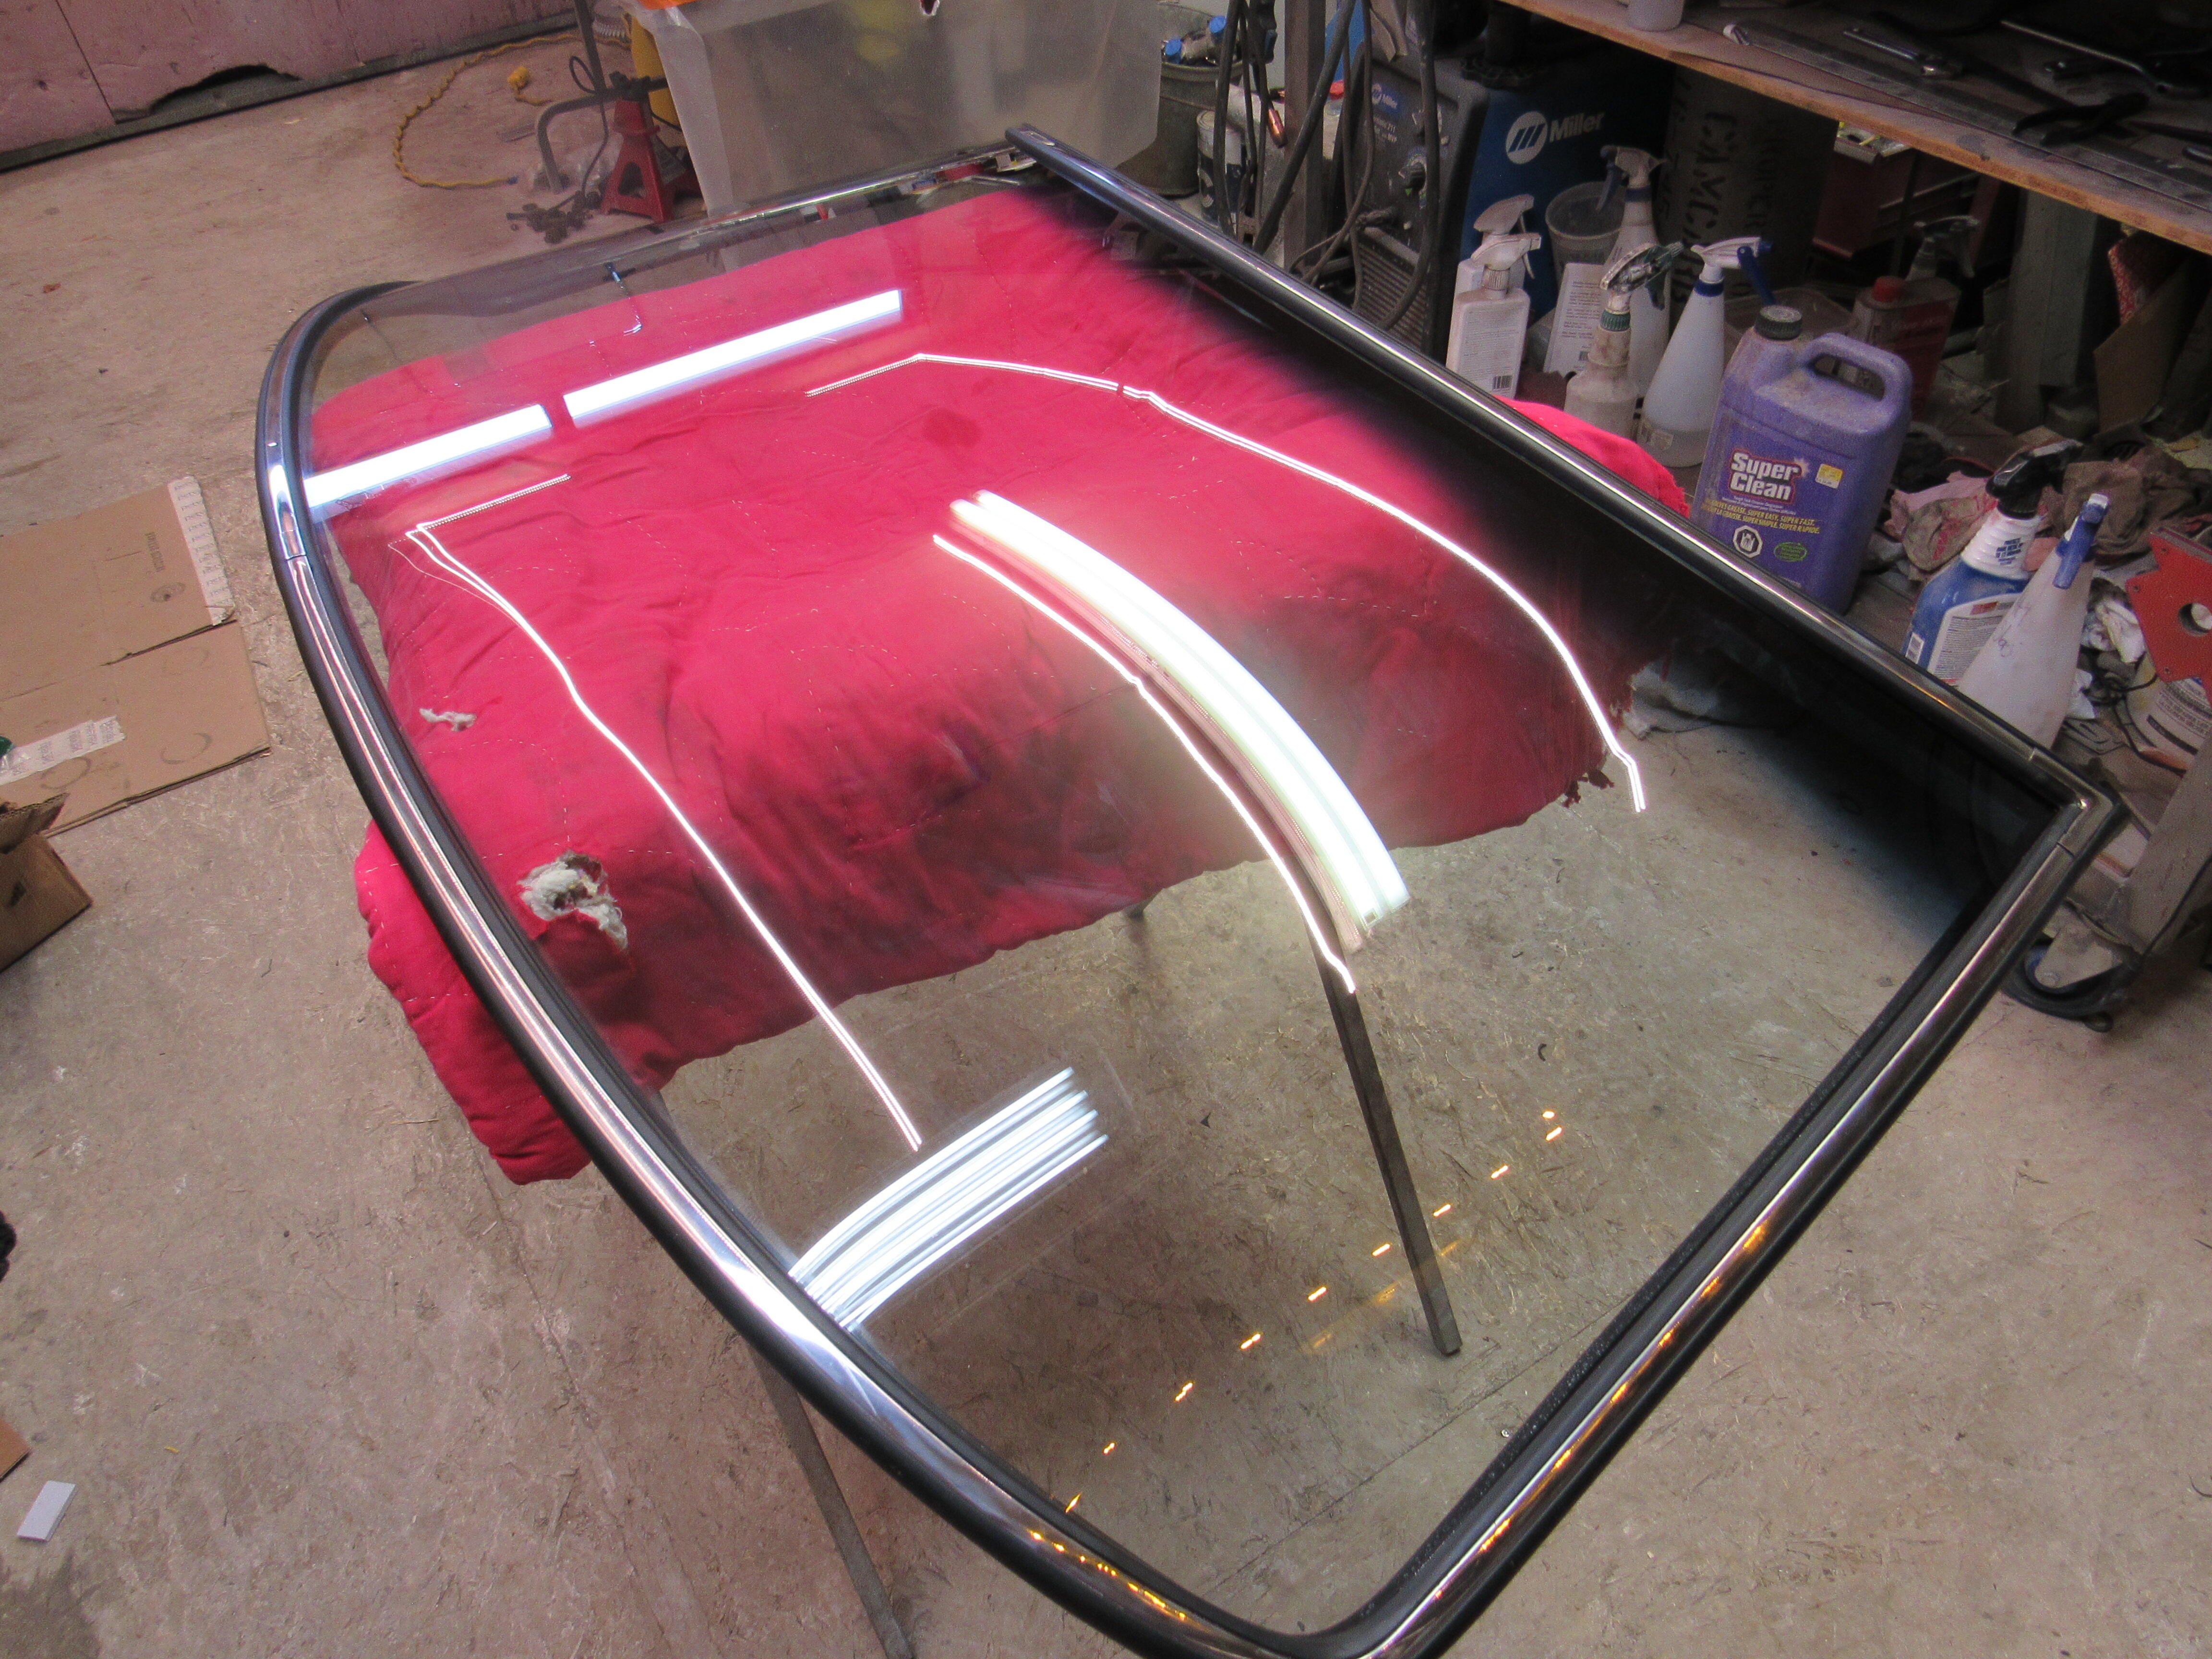
That's okay, the strap is going around the inside T/C housing, there is enough room to hold it. I pulled out the windshield from storage the other day and cleaned it up to see what kind of condition it is in, not so good. I counted about 20 pits, a couple of scrapes from the wipers and general sand blasting from hwy driving. Fortunately, I have a friend that has a couple of new windshields squirrelled away in his attic and he let me have one at a very reasonable price. It does have the blue tint stripe at the top but I don't think there's any way to get around that anymore. I'll post some pics when the server error gets sorted out.
-
I think @Captain Obvious conclusively proved that wrong.
-
@inline6, it says "super fast" are they referring to the cure time or that it is easy to use?
-
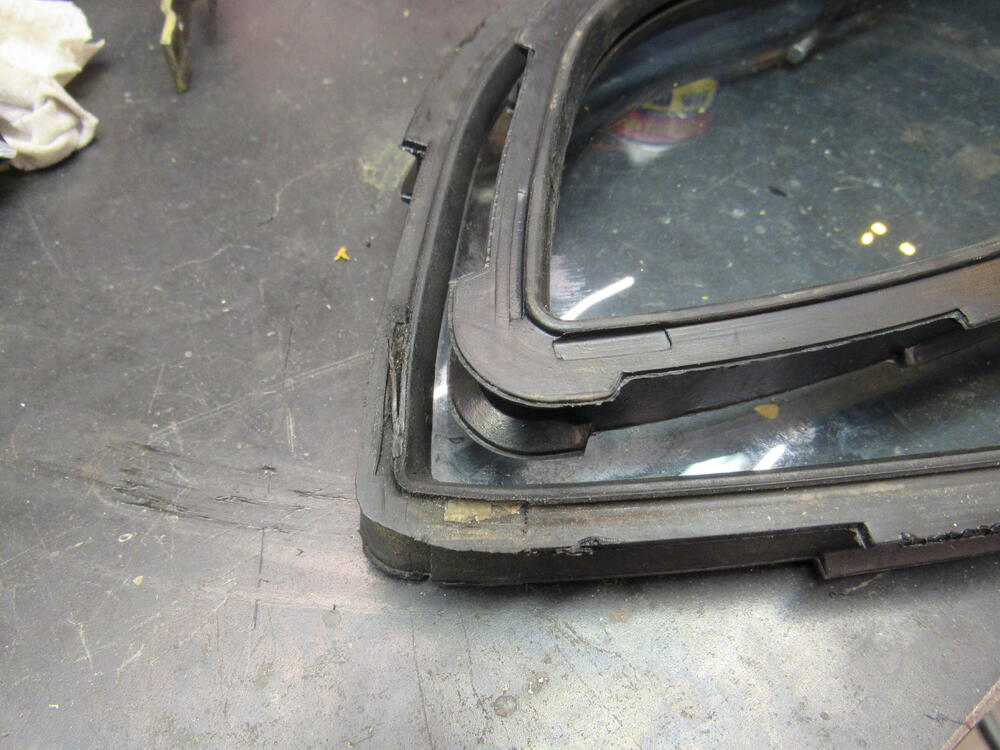
I finished up the quarter windows today, they have altered the inner seal design from the original, they have added these little fins in the back corner. At first glance I thought it was a nice addition but I could not get the frame even close to fitting properly, eventually I had to just cut them off so the seal looked like the original and the frame fit properly. Anyone else run into this?


-
I use the tip of the nozzle to spread it around but there are many other good brands to choose from, I just use 3m because I've learned its tricks.
-
I think you're right, if you blow $10k on the head it doesn't make sense not to upgrade the pistons, rods, balancer, clutch, flywheel, ...
-
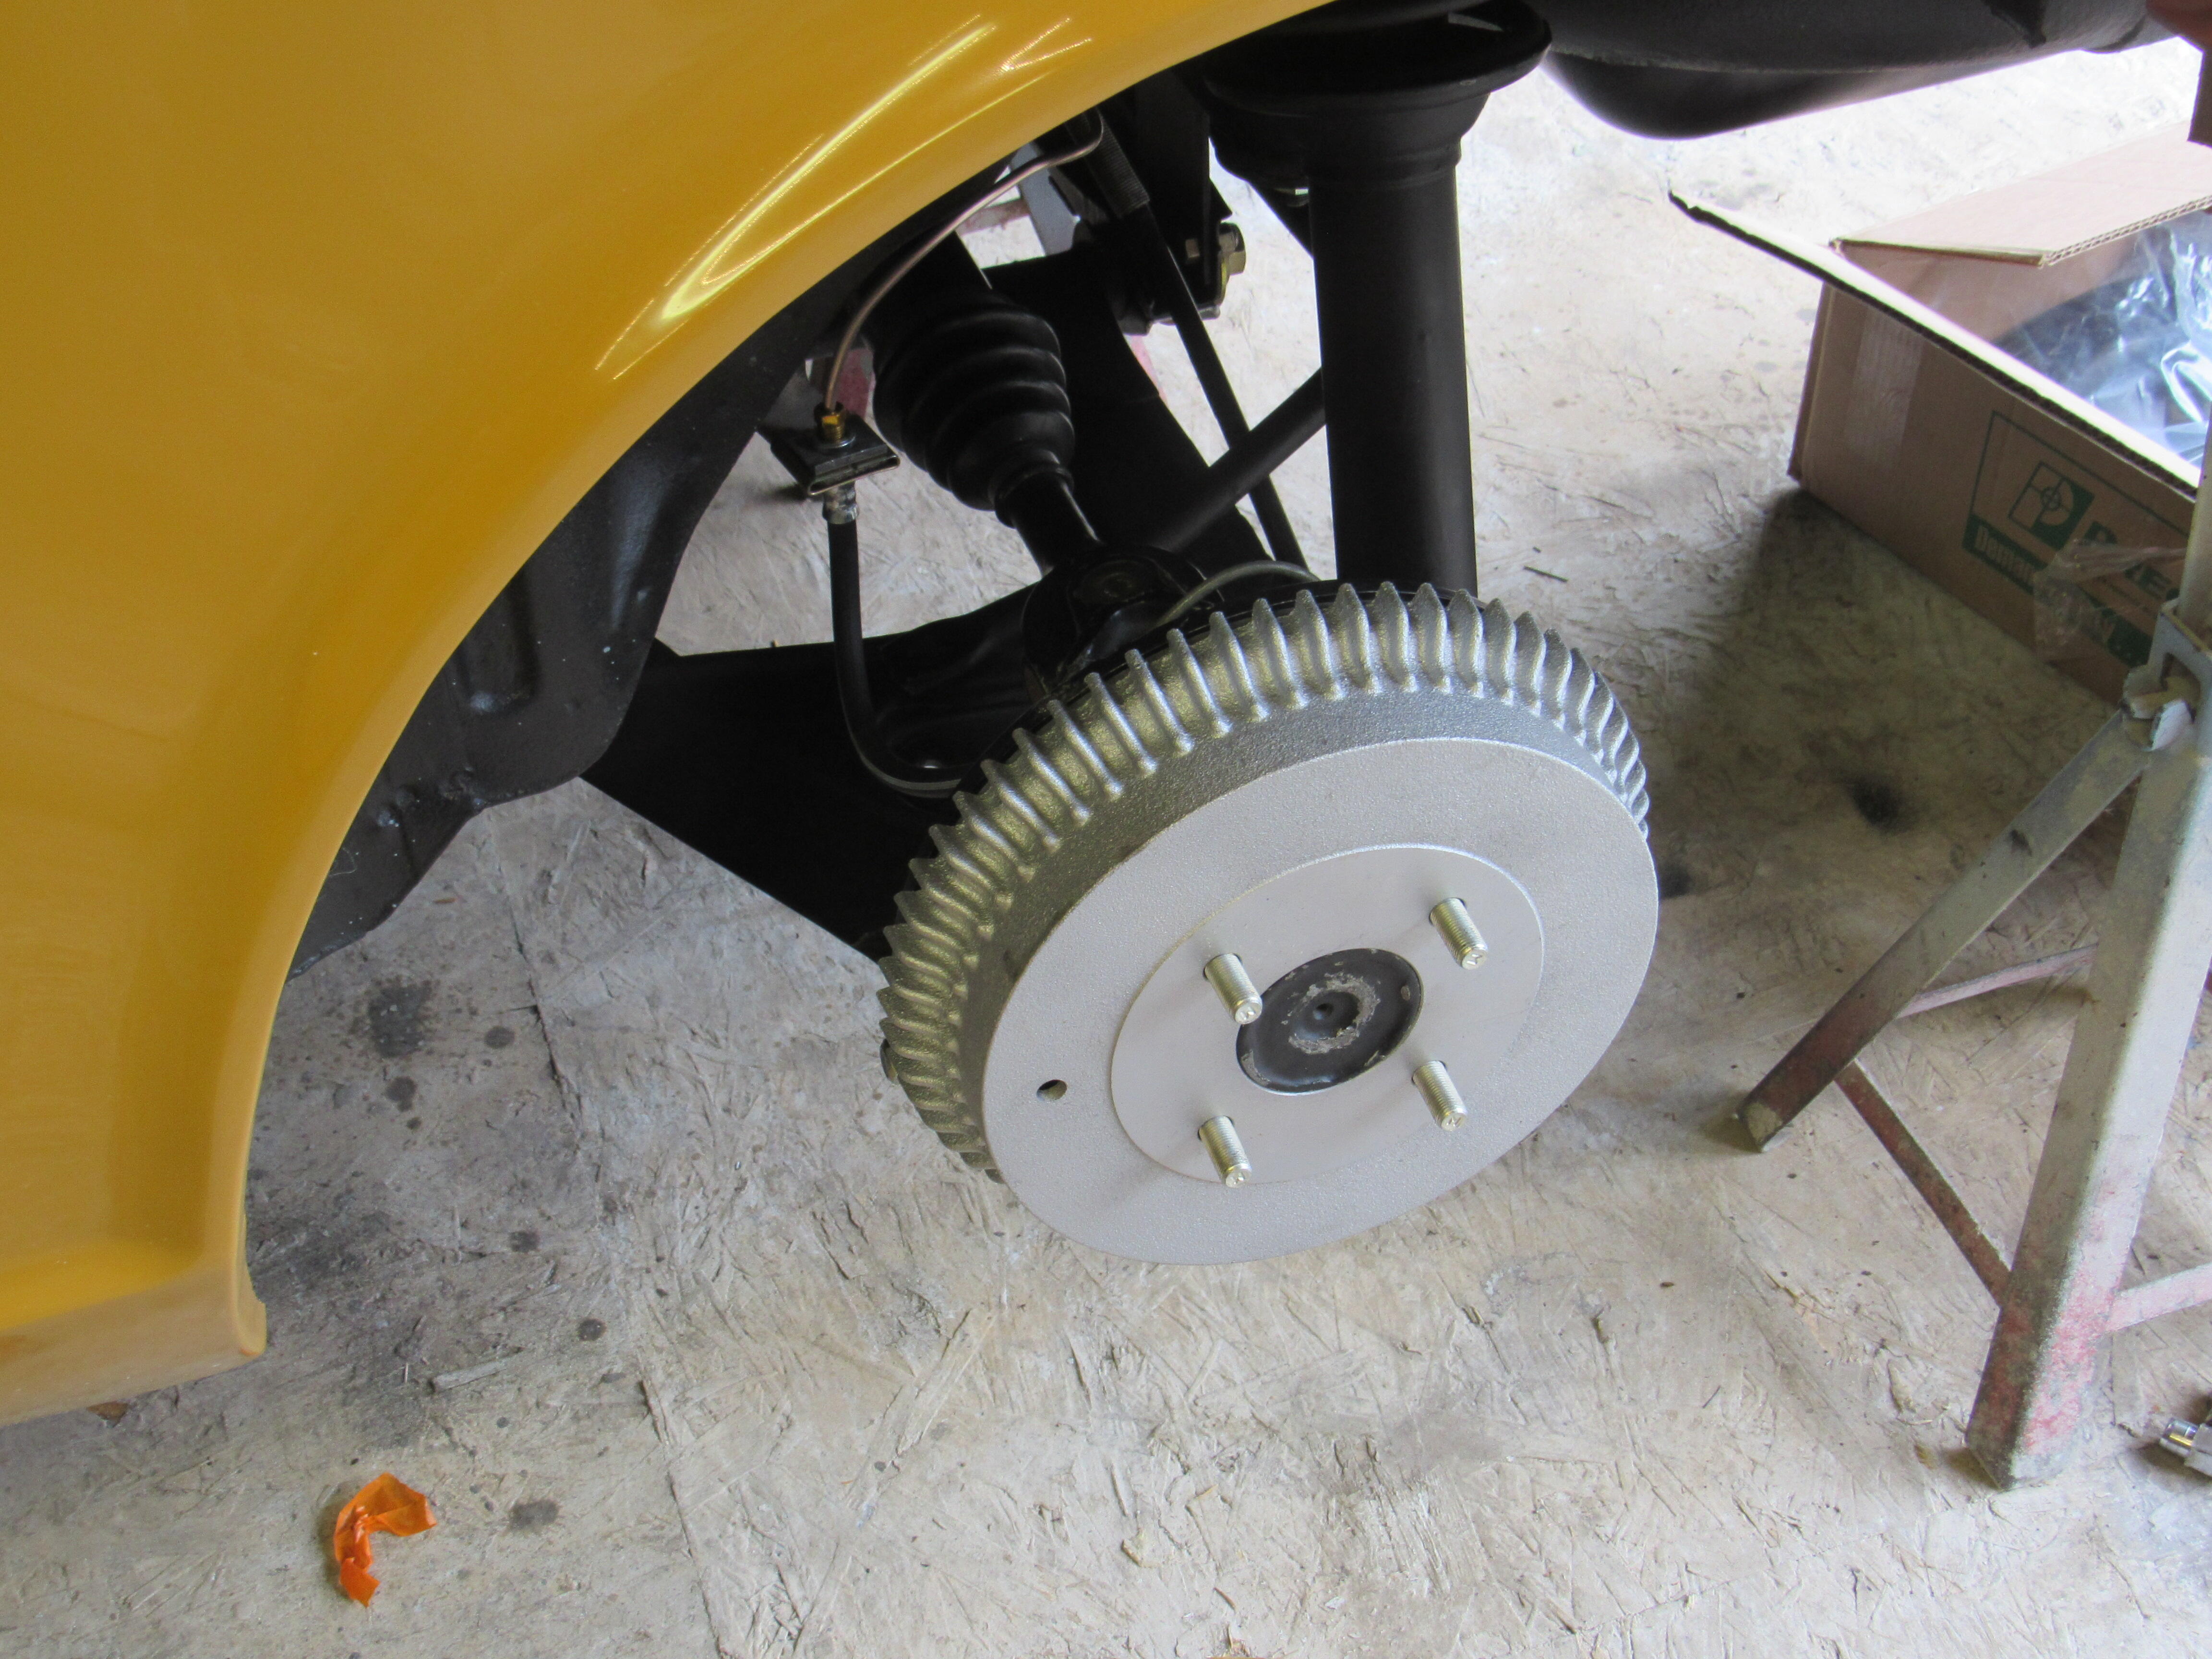
That one stud that you can't get a nut on, mark it, remove the wheel and spin a nut down on that stud as far as you can then tap it with a hammer in the direction it needs to go. Chances are the stud isn't bent just misaligned, it happens all the time when new studs are installed. Also, when you do get all four wheels on, take the car for a short drive, 4 miles then re-torque all the nuts again.
-
Yes, I'll use the 3M on the main seal and yes, both sides.
-
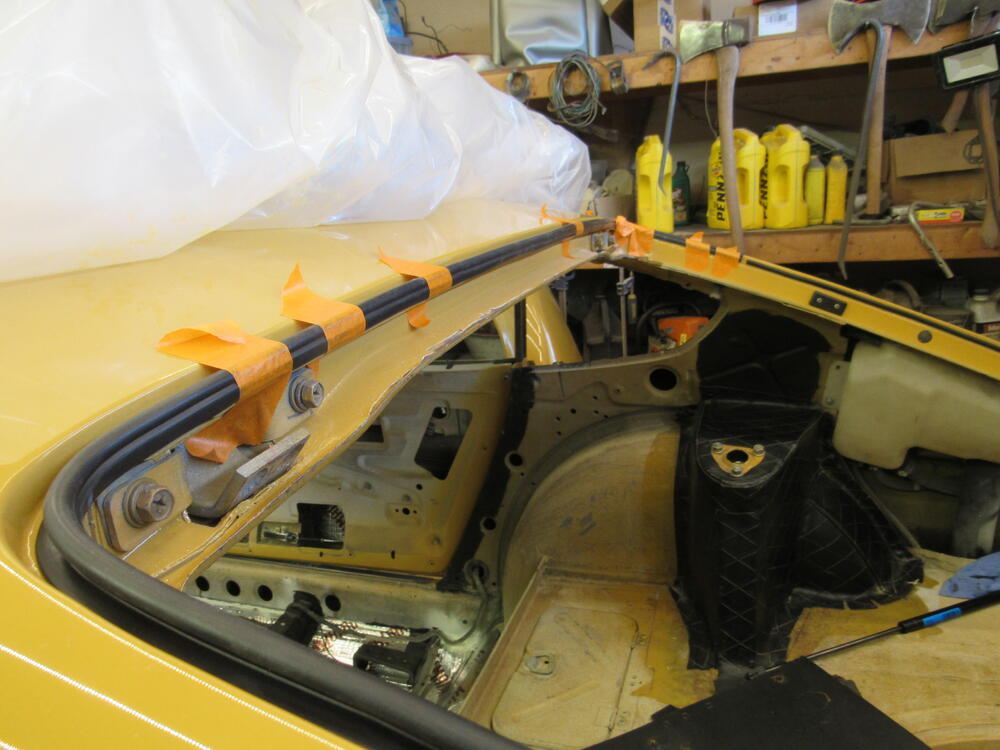
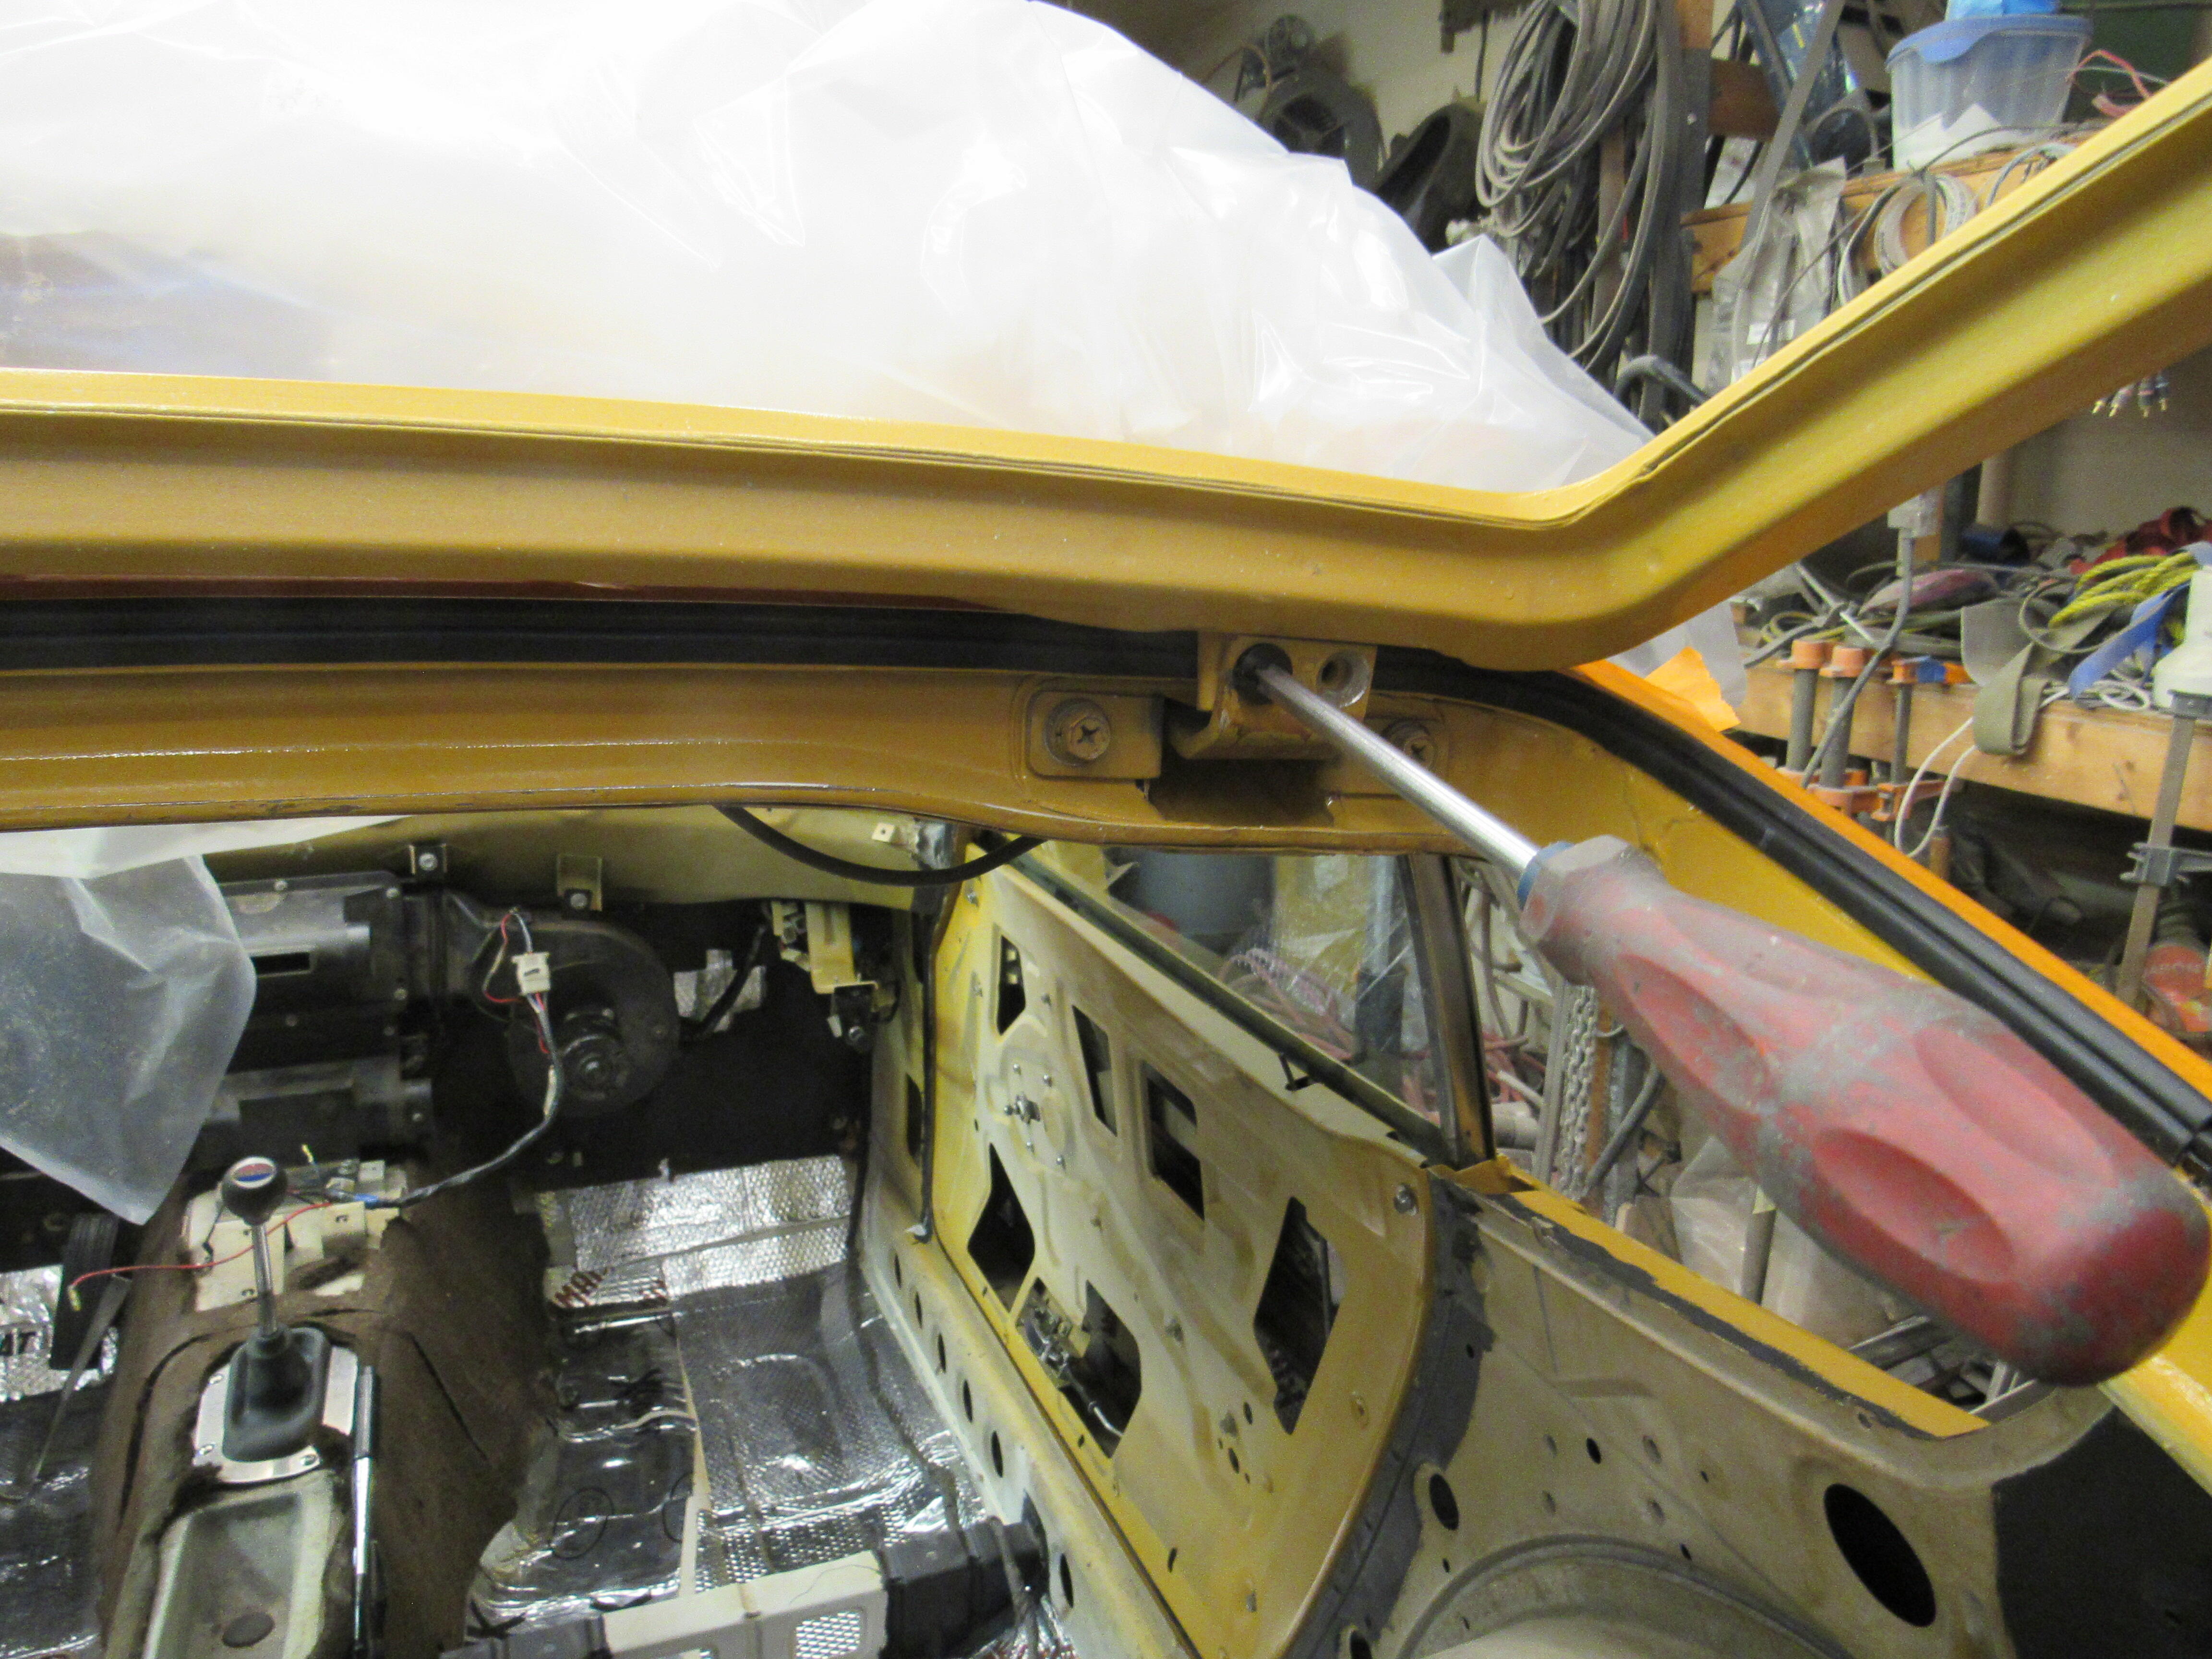
Sure, I only have the hatch outer seals at the moment, still waiting on the main seal and glass seal. The outer seals are straight forward but it is much easier to do the top portion when the hatch is off the car, those I tape in place for a day or so until they have relaxed then use 3M weatherstrip adhesive to attach. The main seal can be a real bugger because it pulls so much, so I do that in 2 steps now. Tape it in place as best I can, it never wants to cooperate, then the next day only attach the top most section, the 2 top corners and down the sides about halfway, that's it. Clamp it down into place with C clamps and let it cure completely. Then the next day I do the rest of the seal, the few times I tried to do the whole seal at once it always pulled off the corners. If you have the luxury of time it works well.
-
Really? Who makes it?
-
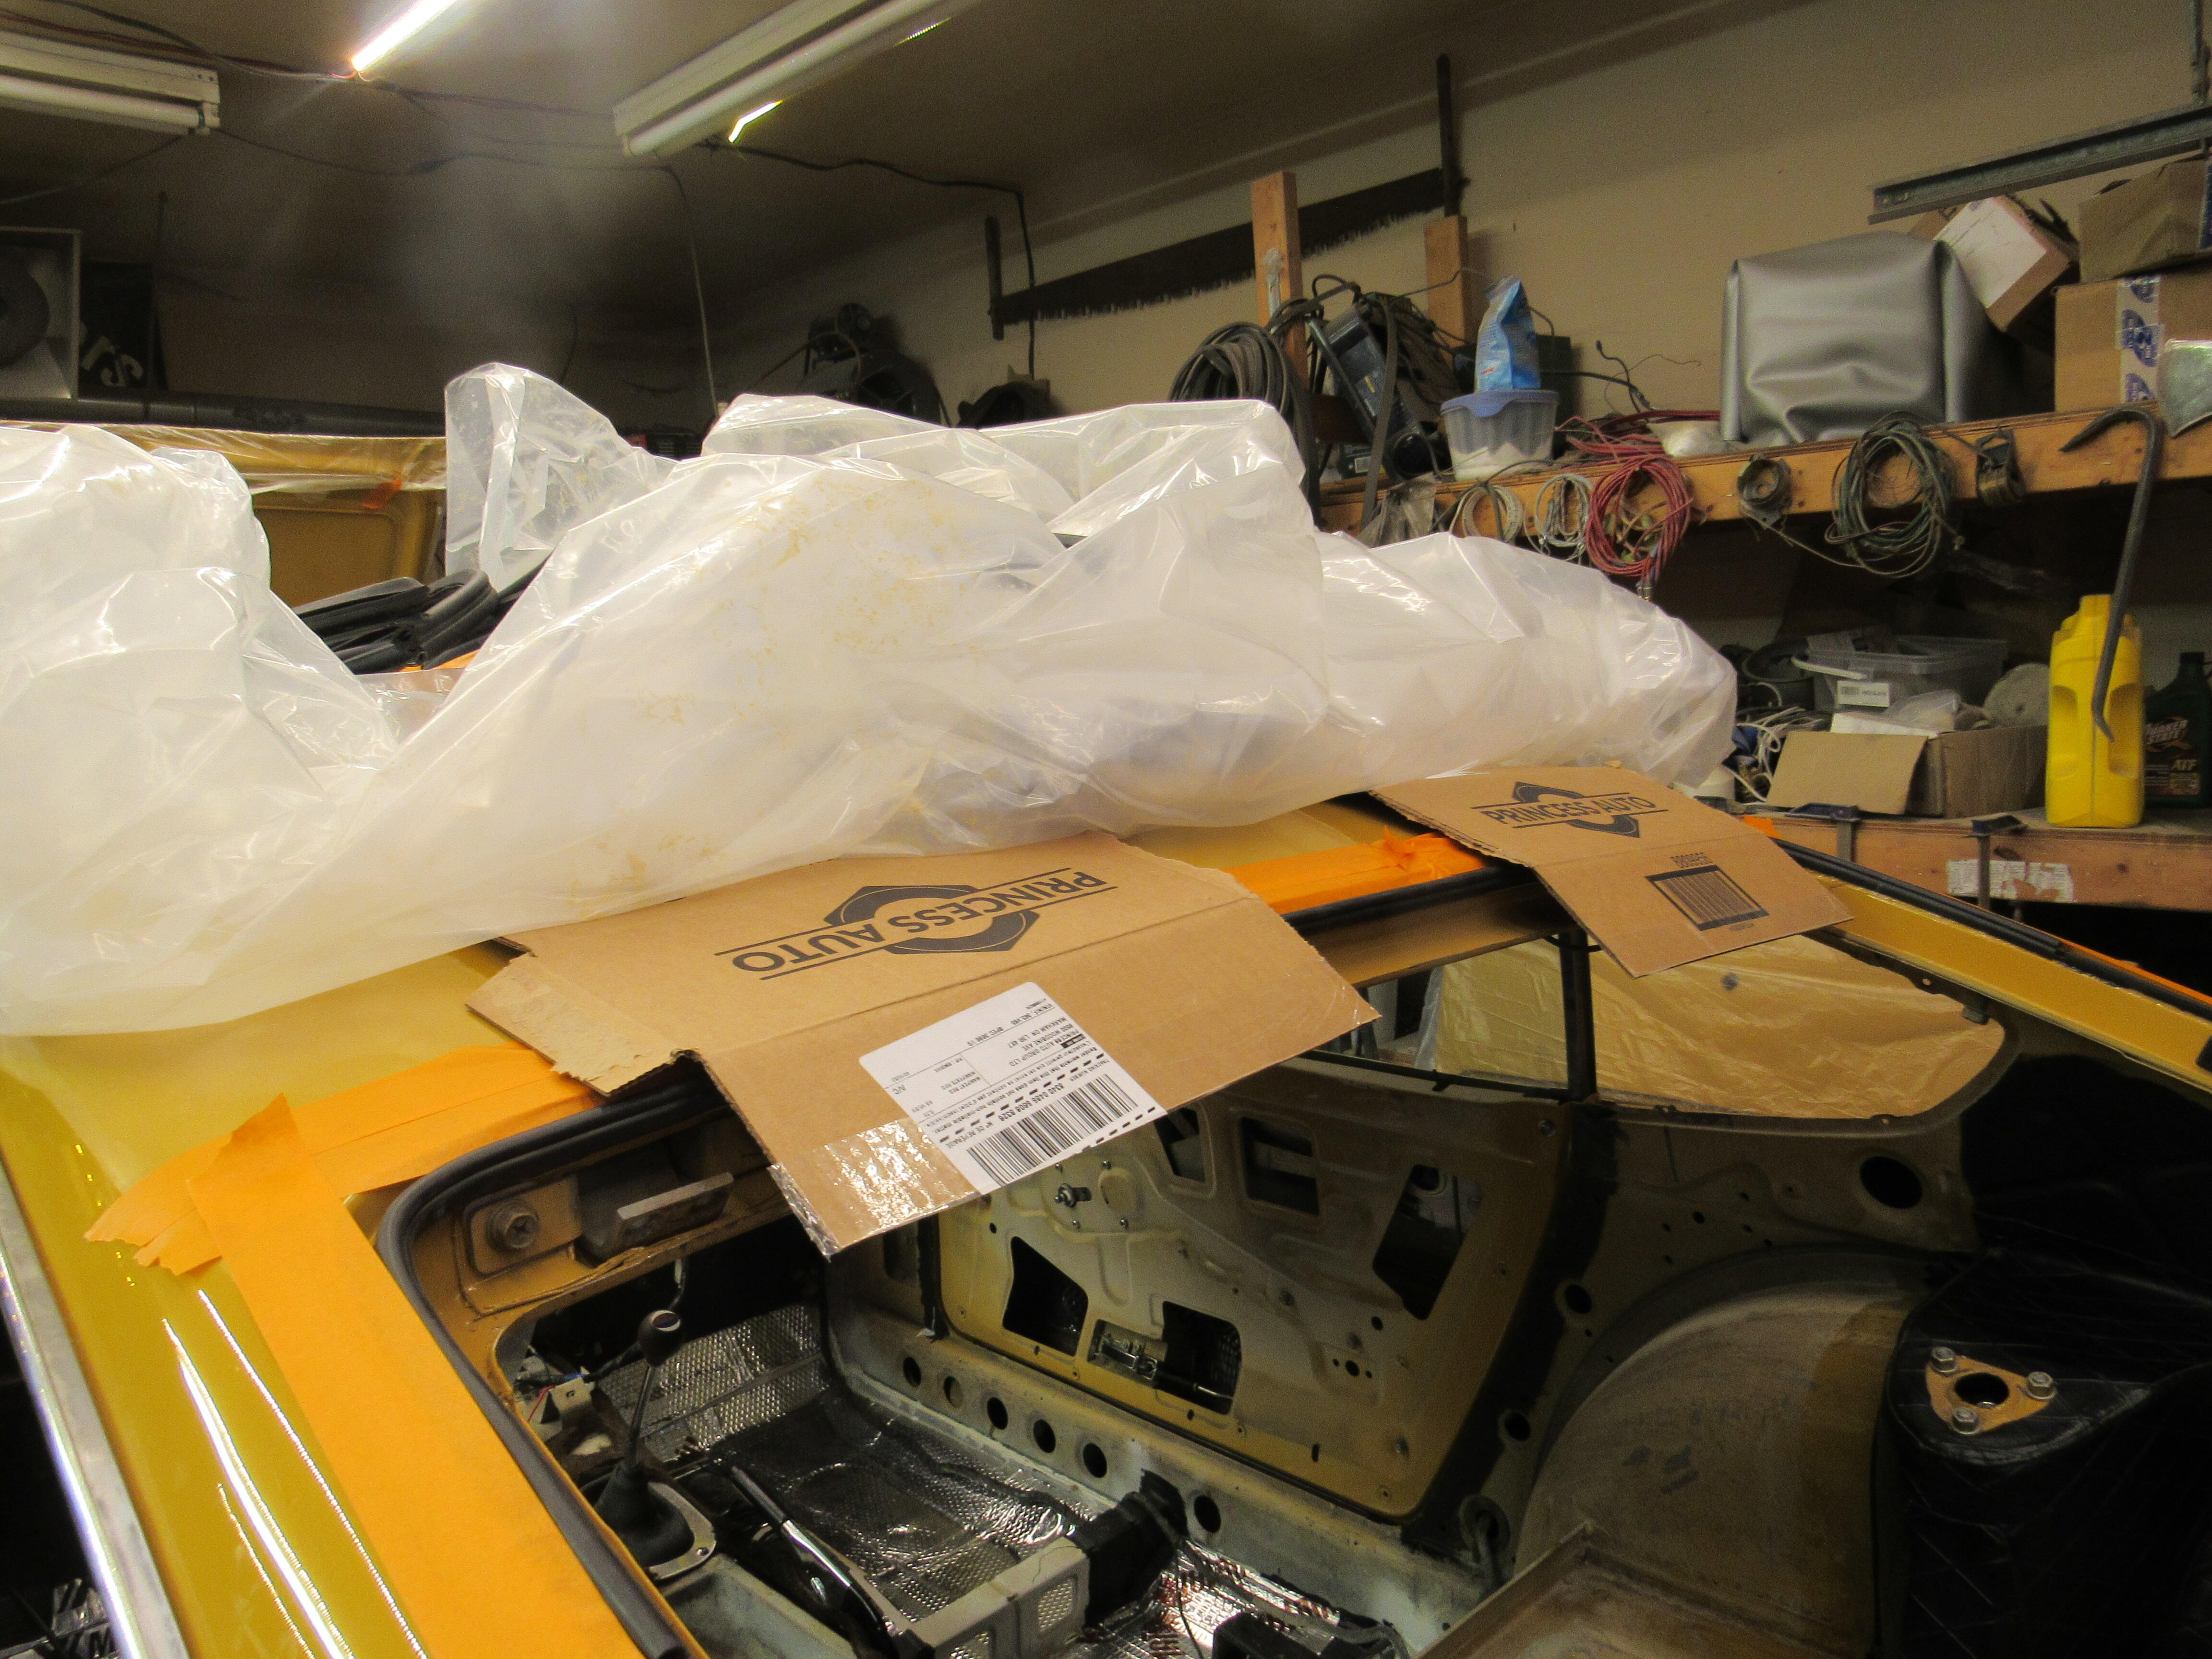
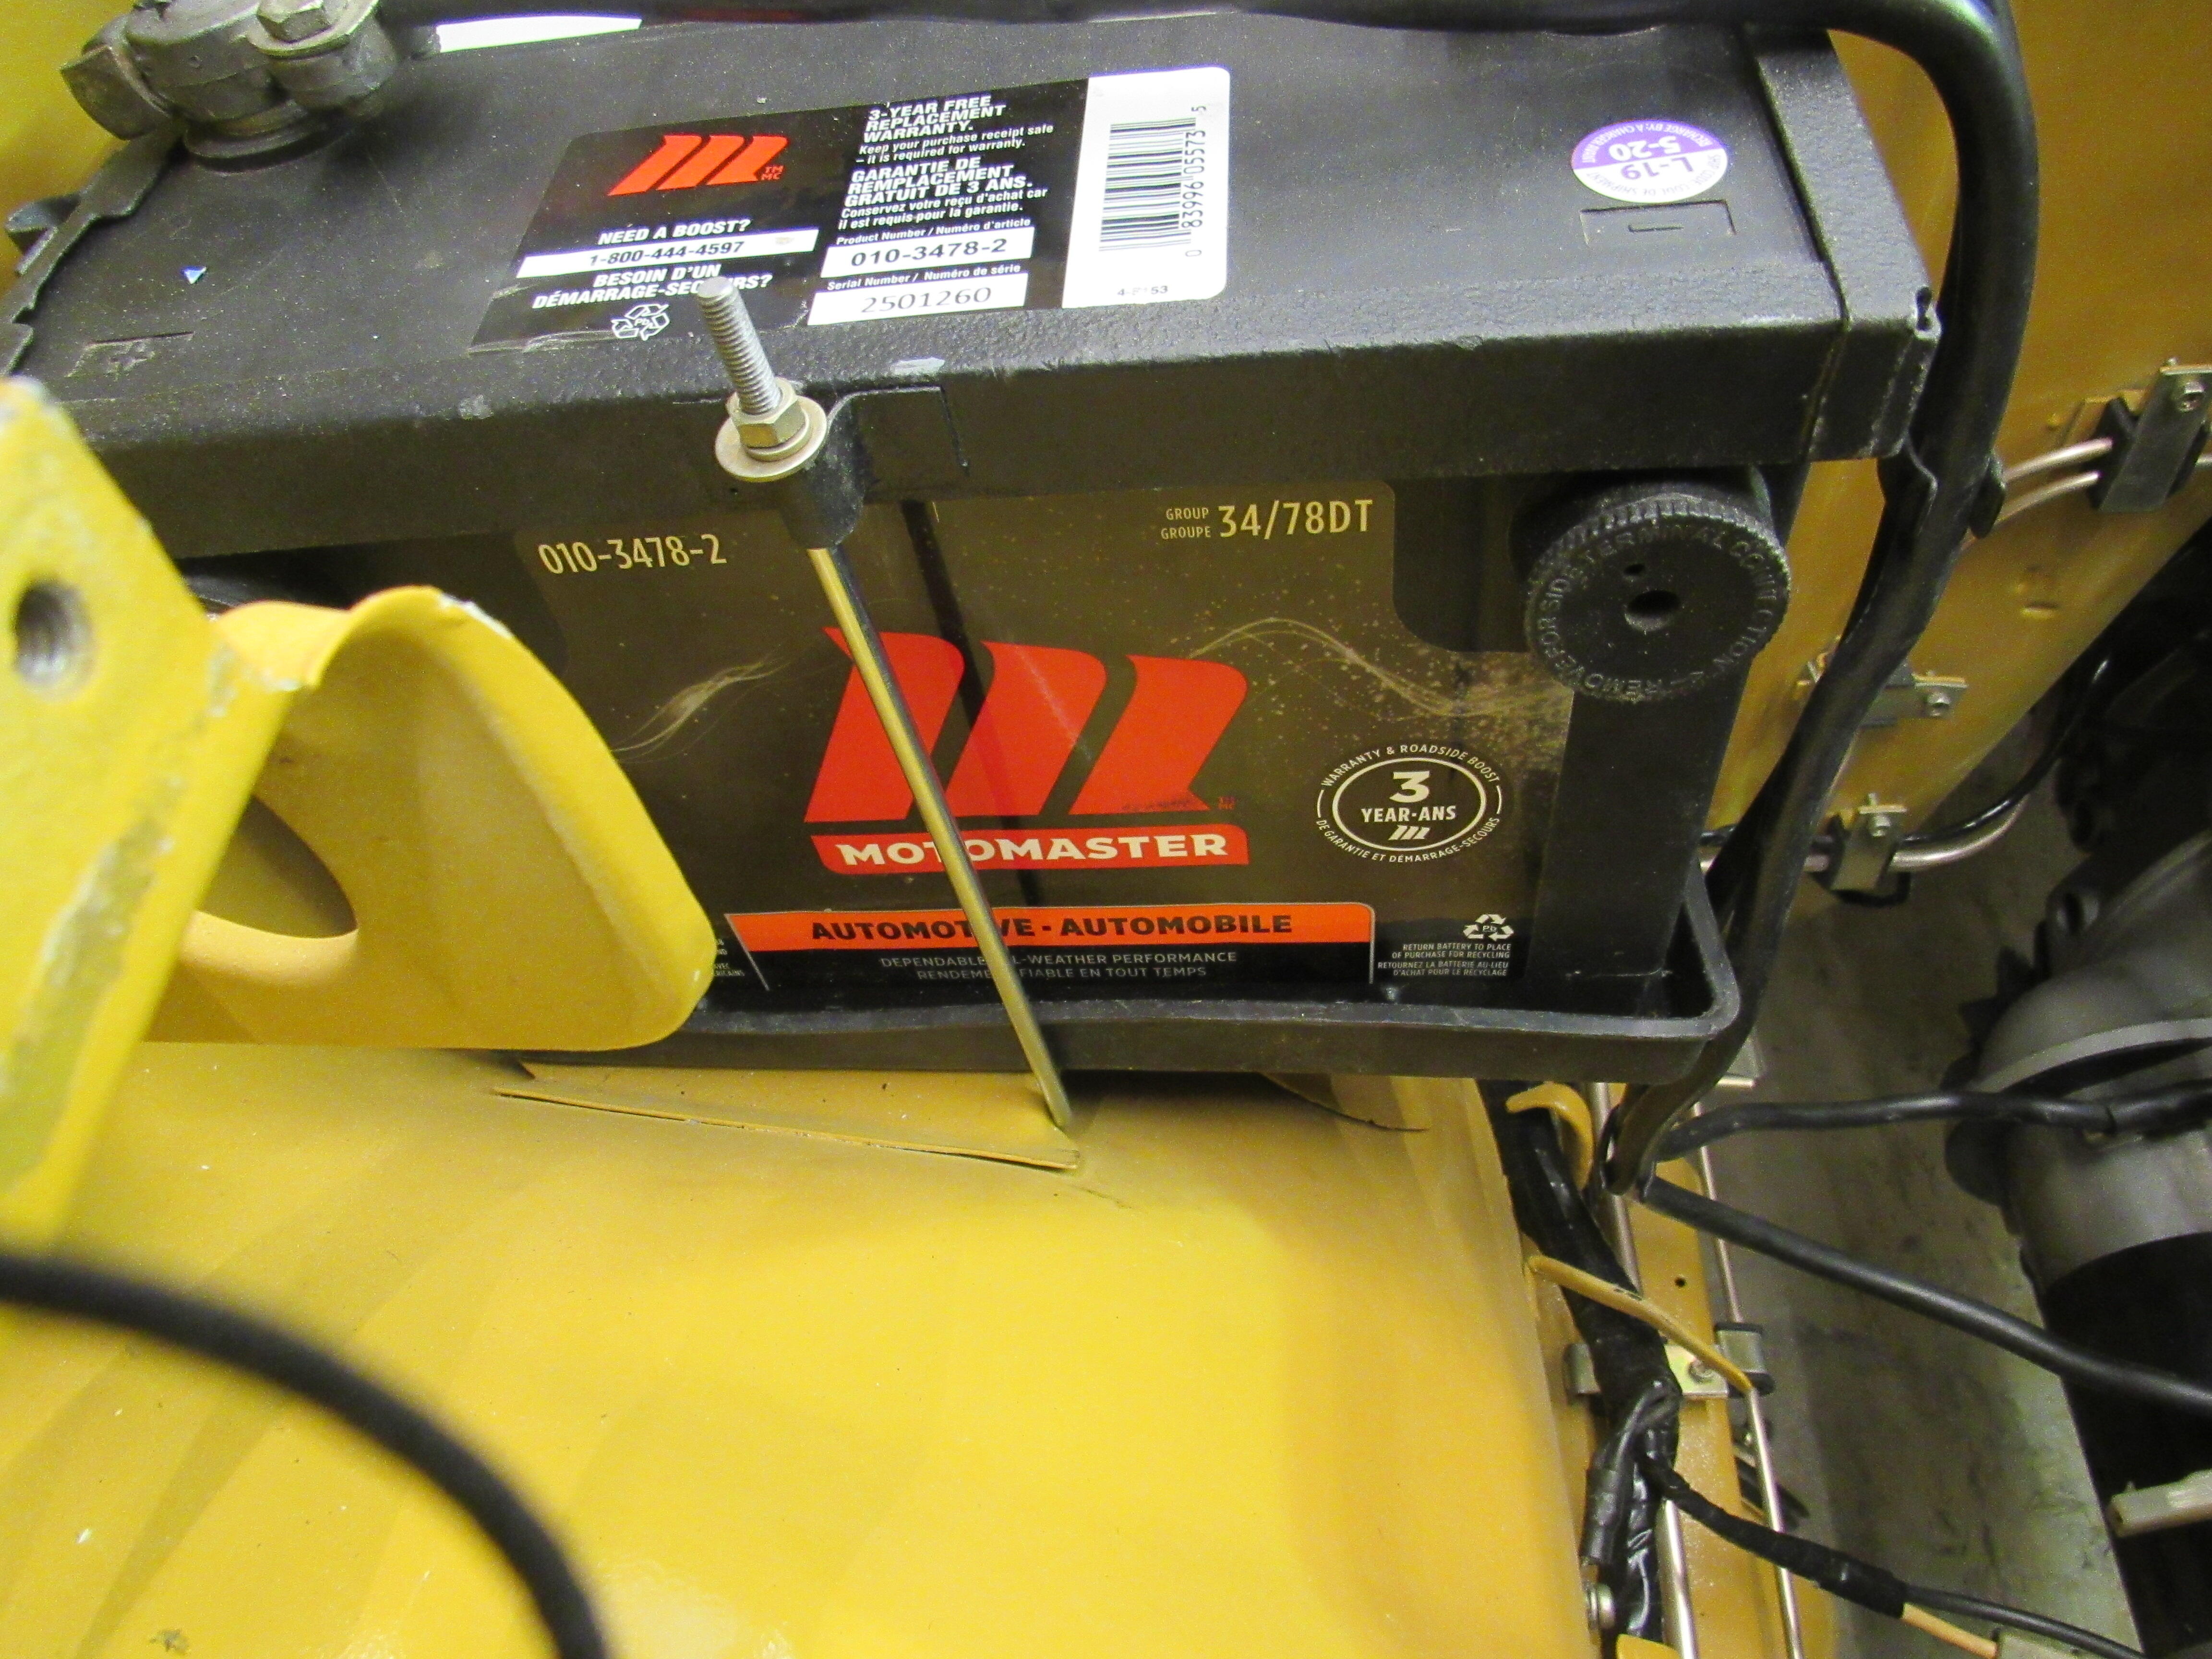
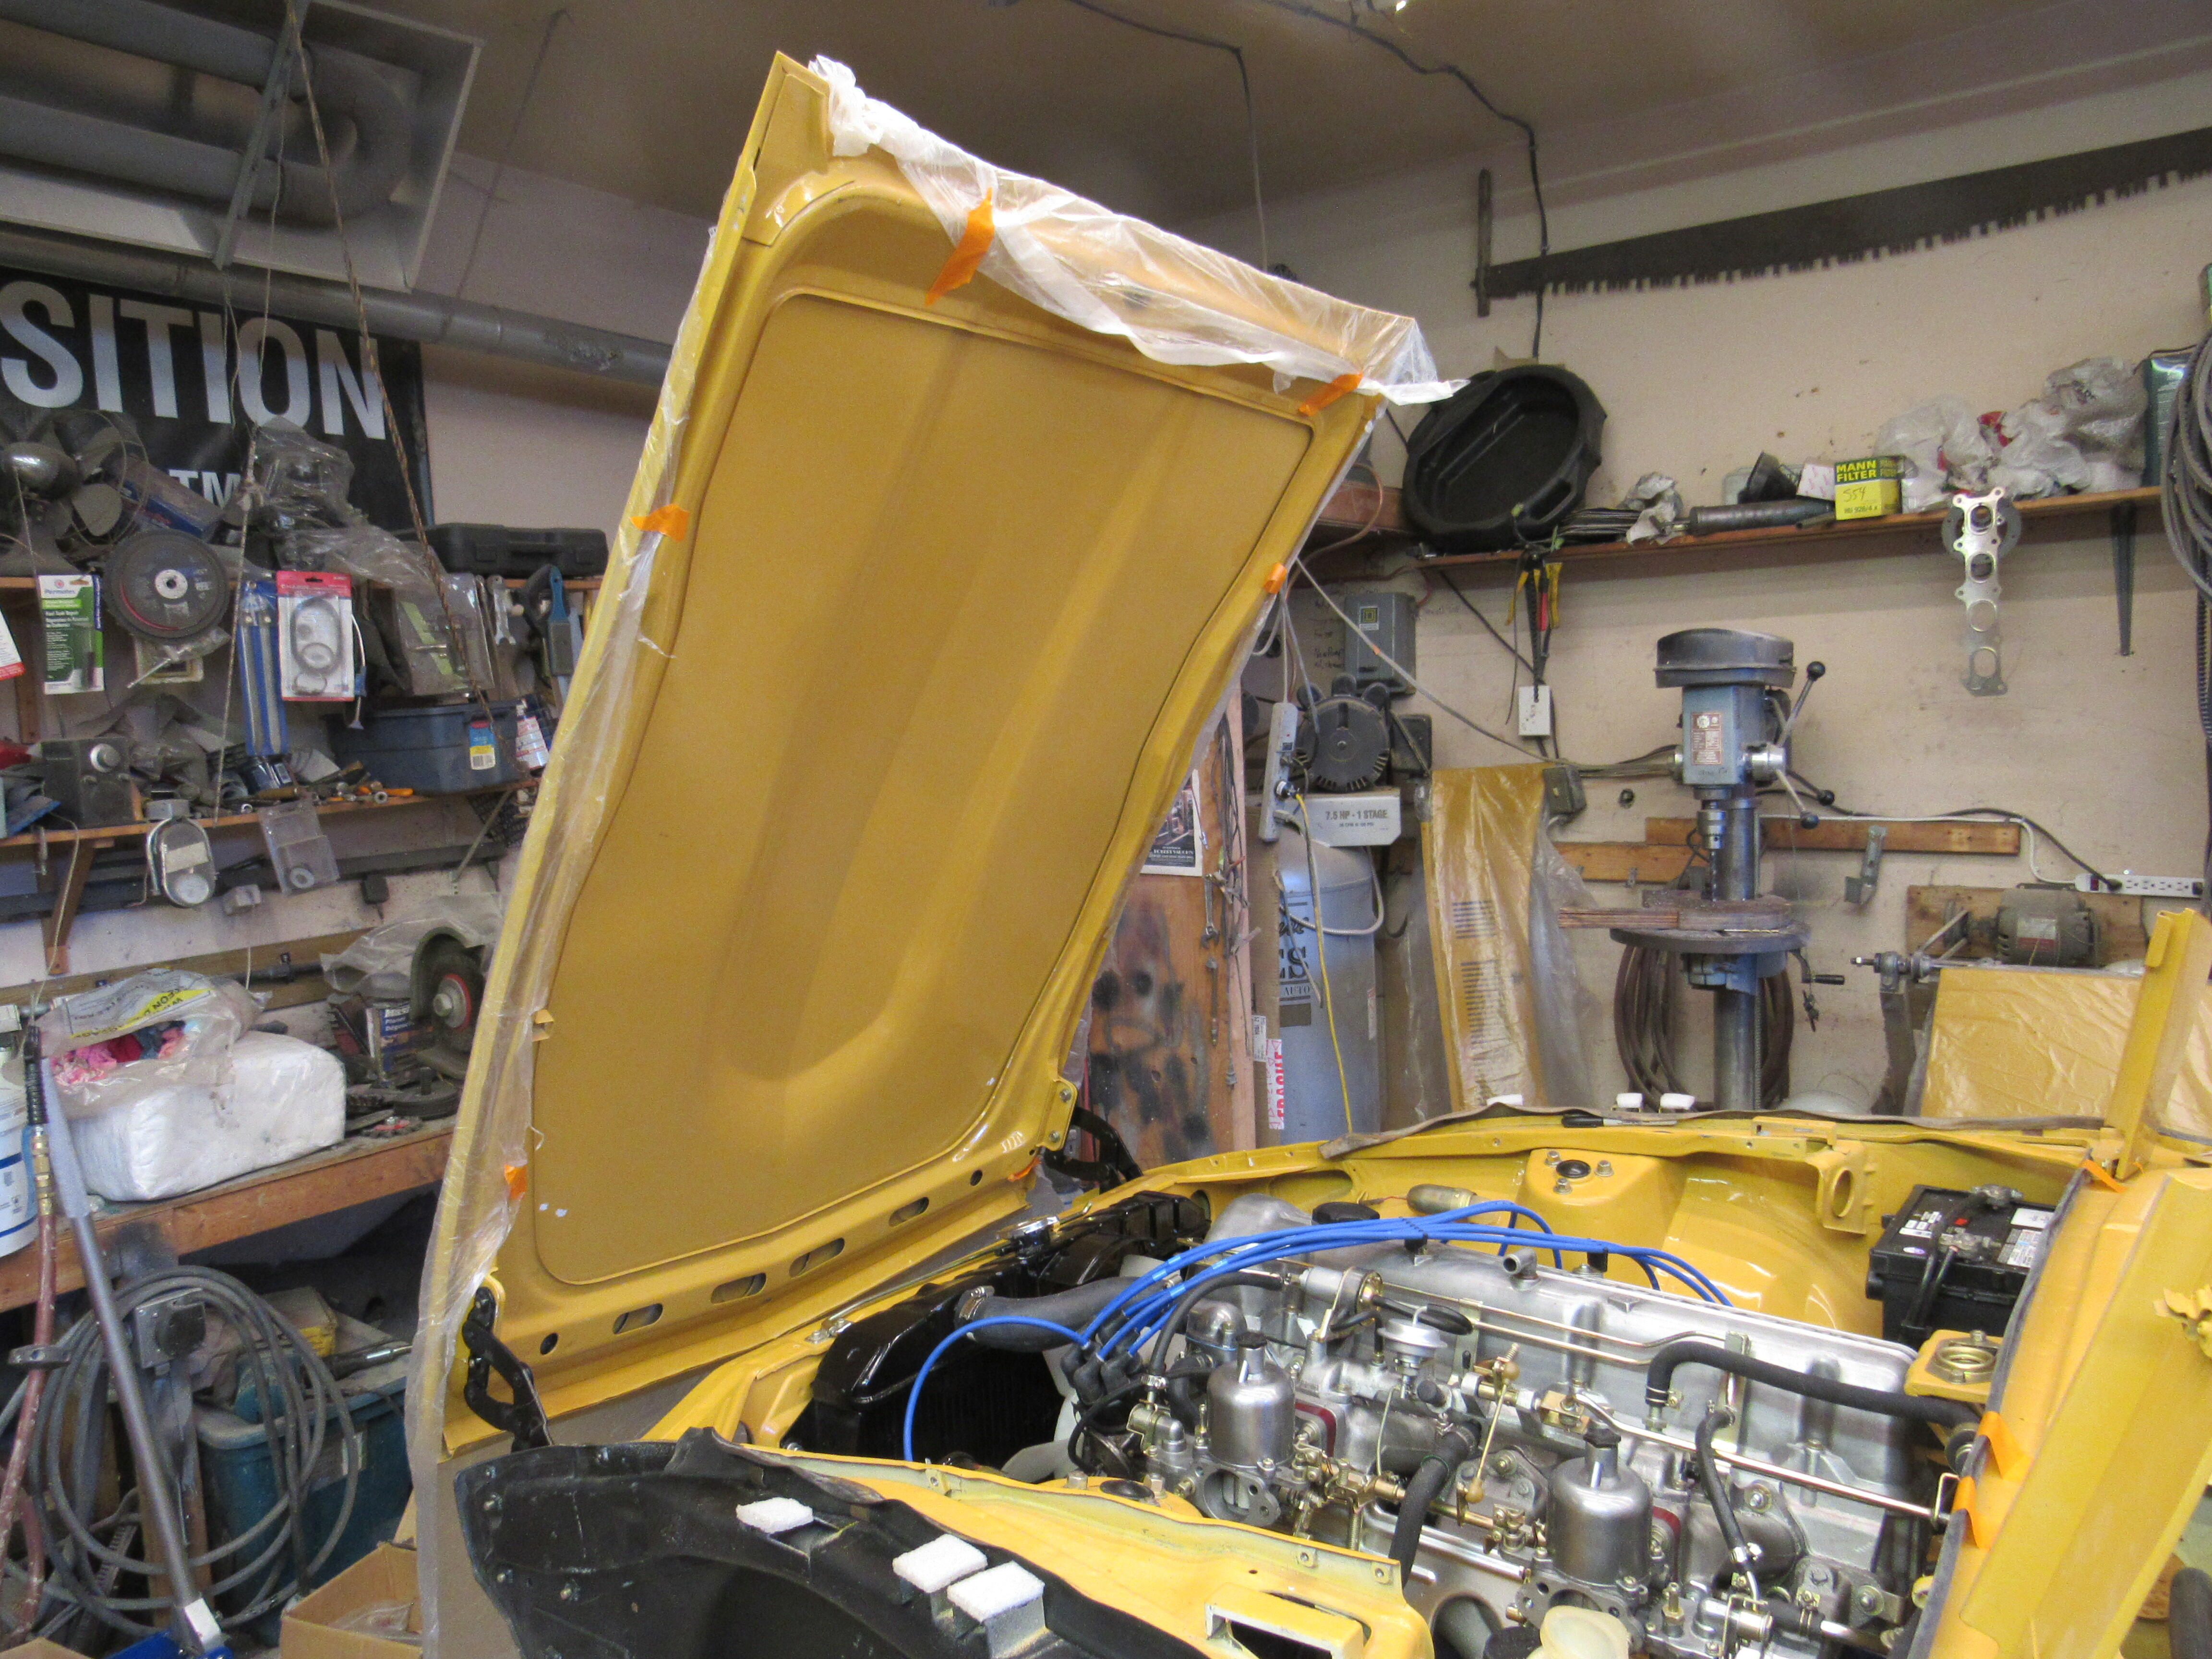
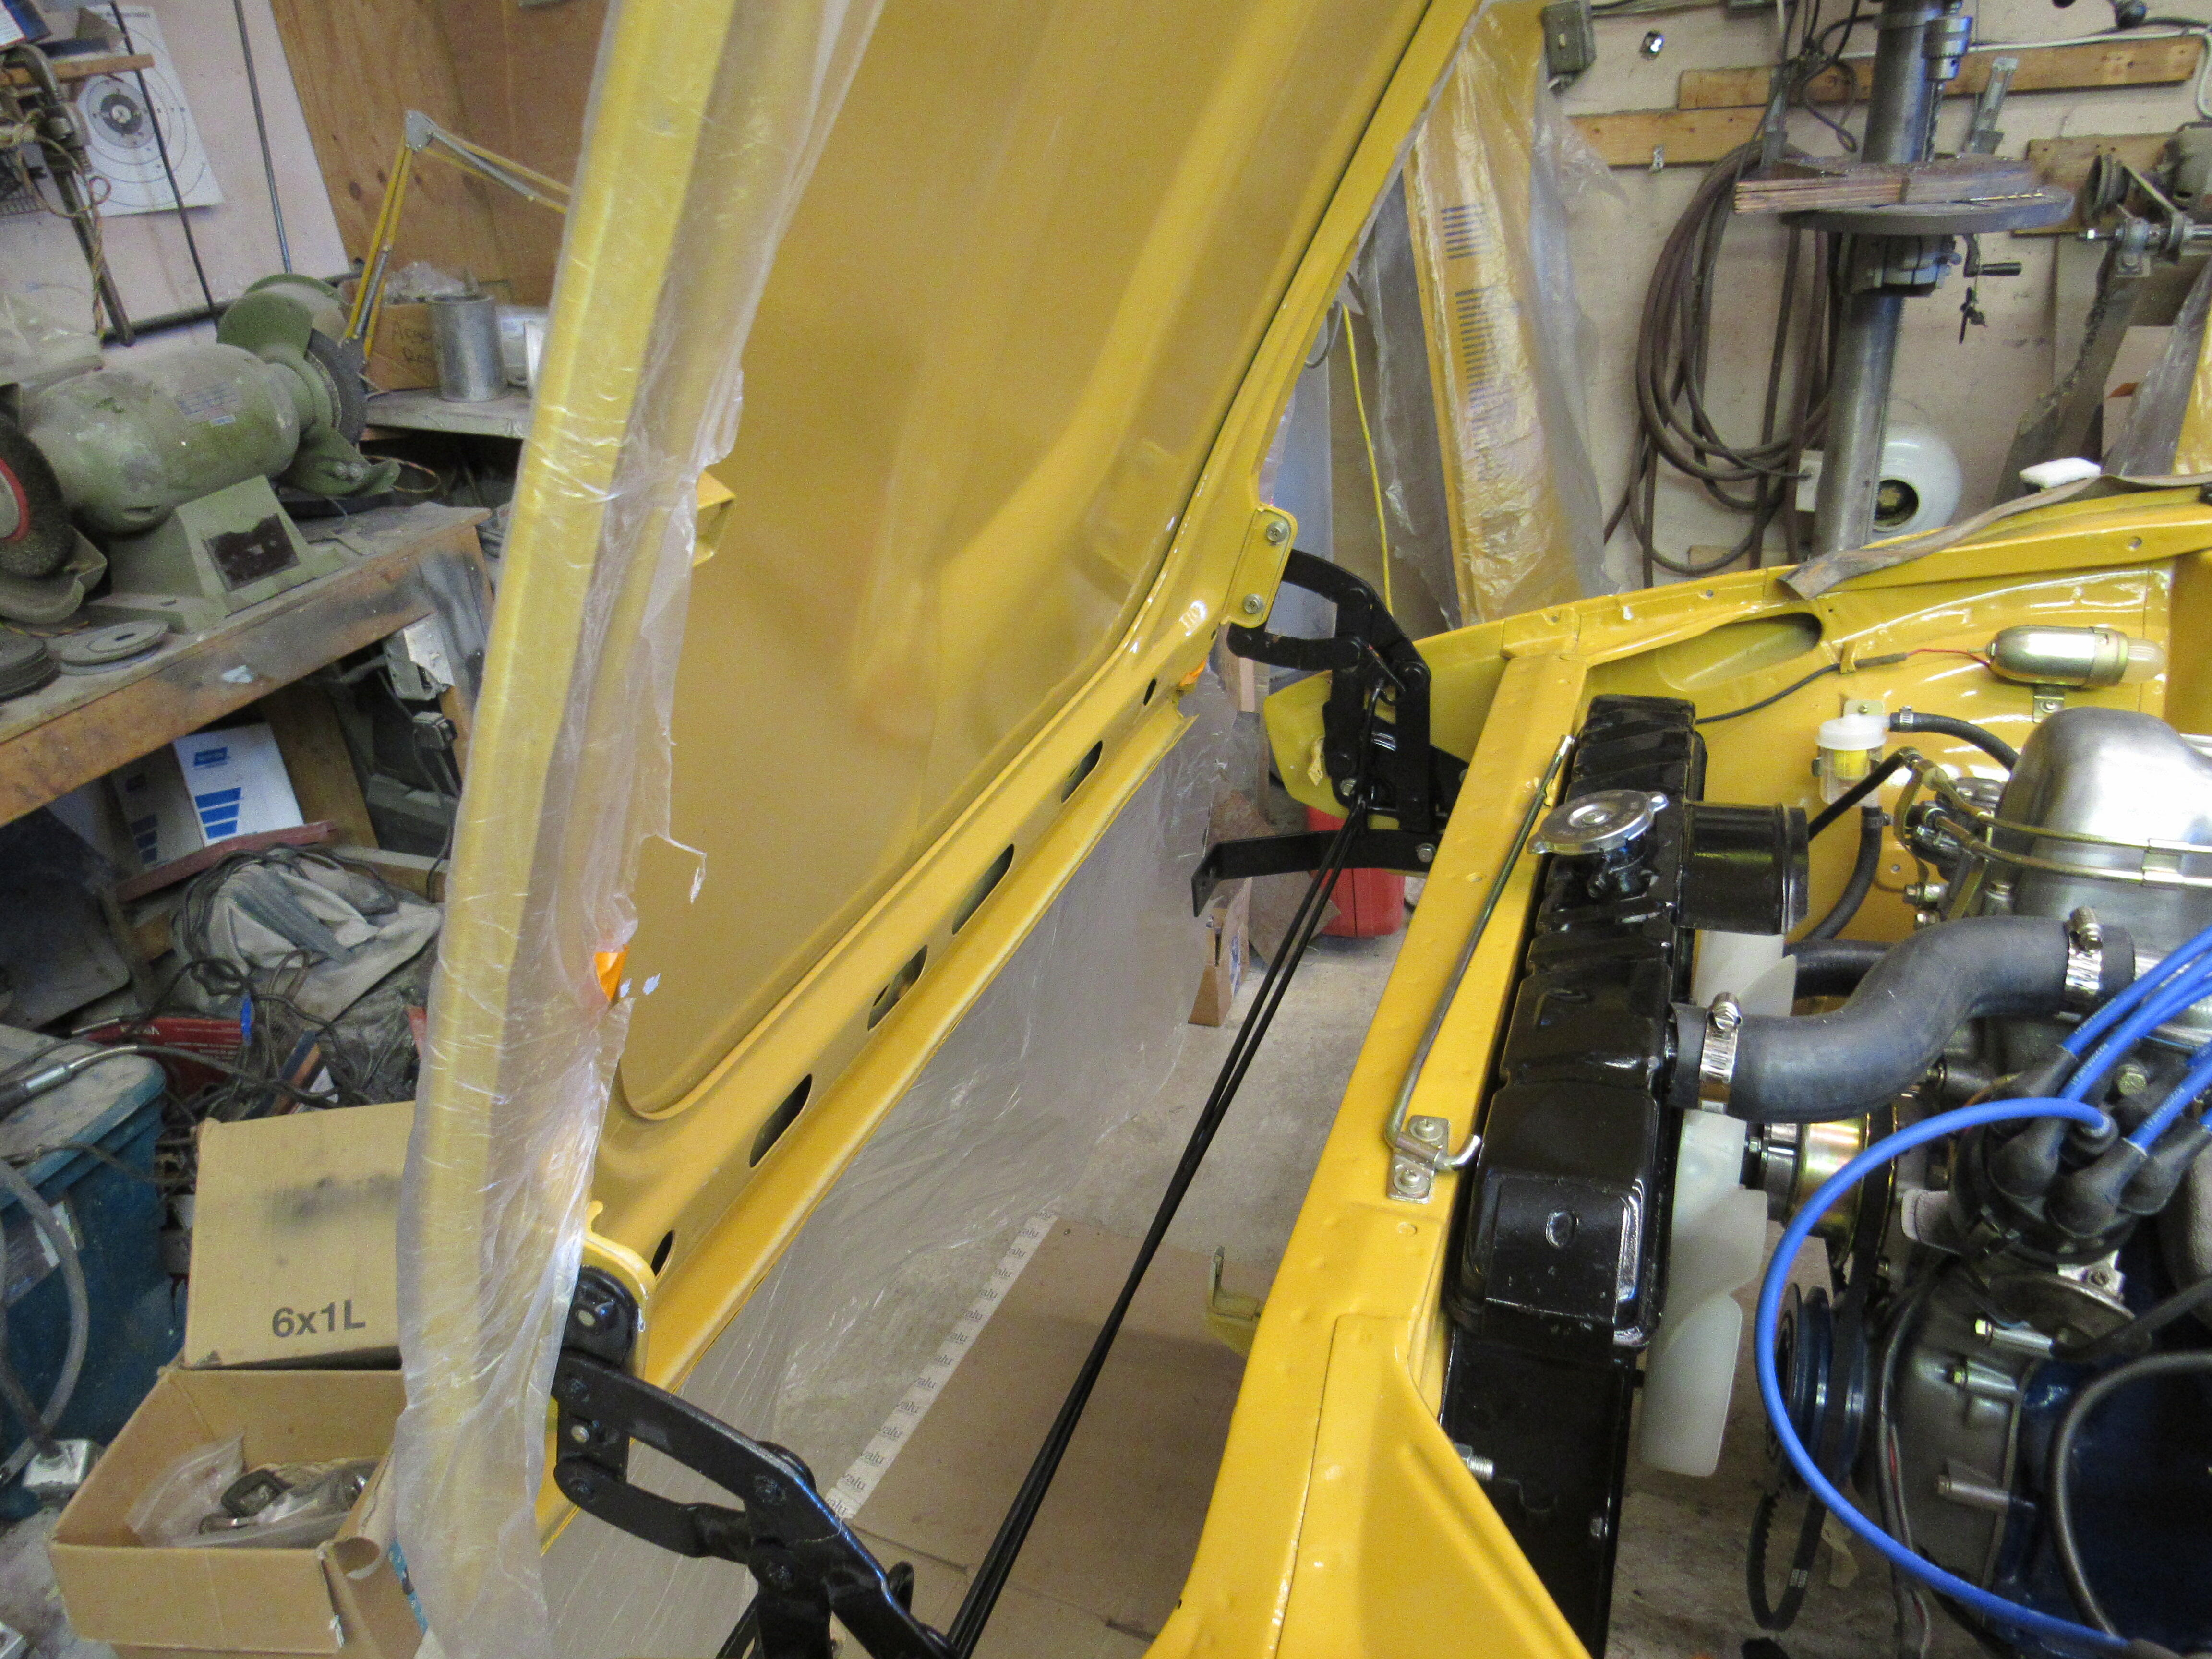
Thanks John, with the hood, hatch and bumpers, masking tape and cardboard are your best tools to prevent scratches. With the front fenders removed I cover the cowl area and sides of the engine bay with cardboard and tape it down. Then with the front edge of hood resting on my waist and holding the sides I walk it forward and lay the hood in place. Then I lift the front edge of the hood and put something on top of the engine, a small cardboard box works well, you just want to give yourself enough clearance to install the hood hinges and springs as one unit so the hinges are in the open position. Now tape the top on the hinges for safety and pull the hood forward and install one bolt on each side of the hood to the top most hole of the hinges, once that is done you lift the hood up pivoting on those bolts and install the other two bolts and you're done. Remove all the tape and cardboard and start preliminary alignment. The bumpers are very similar, tape up the sides the fenders and quarter panels, make sure the bumper mounts are already installed on the car, get all your fasteners and wrenches laid out on the floor so they are easy to grab and ease the bumper into place, secure one nut in the centre section then move over to the far side of the bumper and secure it, once those two fasteners are on the bumper will sit there nicely so you can get to the rest of the fasteners. Expect to install and remove the bumpers several times as you add washers to get the depth and alignment right. I like to tape the weatherstrip in place on the car for at least 24hrs so it relaxes a bit and I don't have to fight the twists they acquire while folded up in the packing bags. It seems like the J hook for the battery hold down and rear P/S splash panel always go missing on these cars, I've got pretty quick at making up replacements I've had to do it so many times.


-
Or the new studs weren't fully seated when installed and still need to be drawn out with the nut. There is a reason all new wheels are hub concentric these days, the old stud concentric wheels like yours were problematic.
-
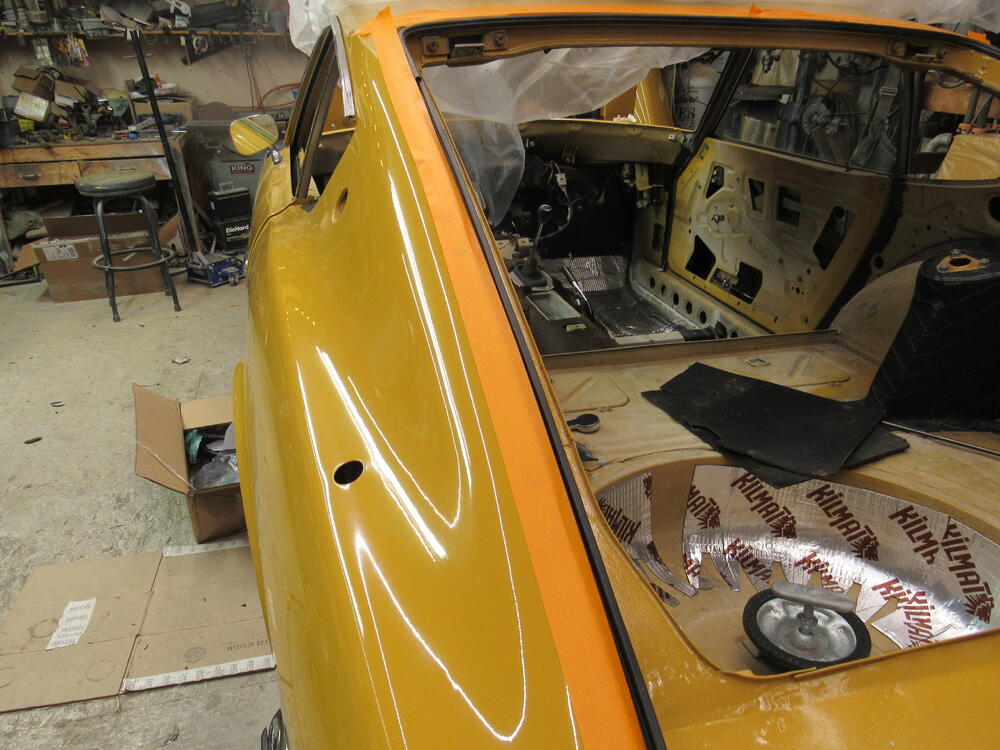
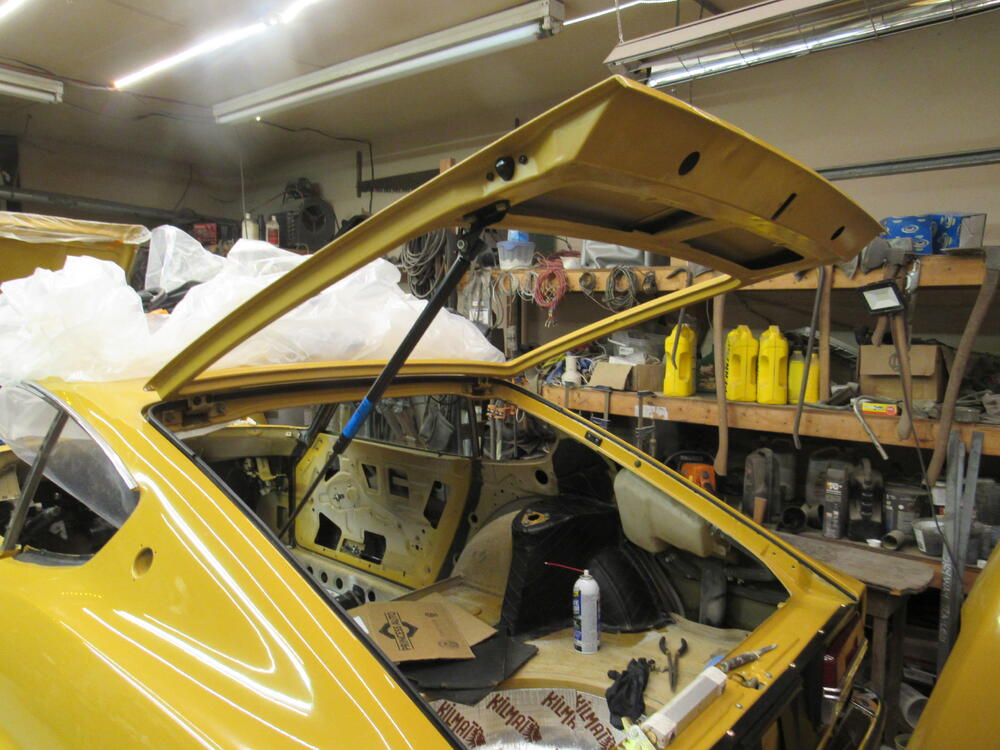
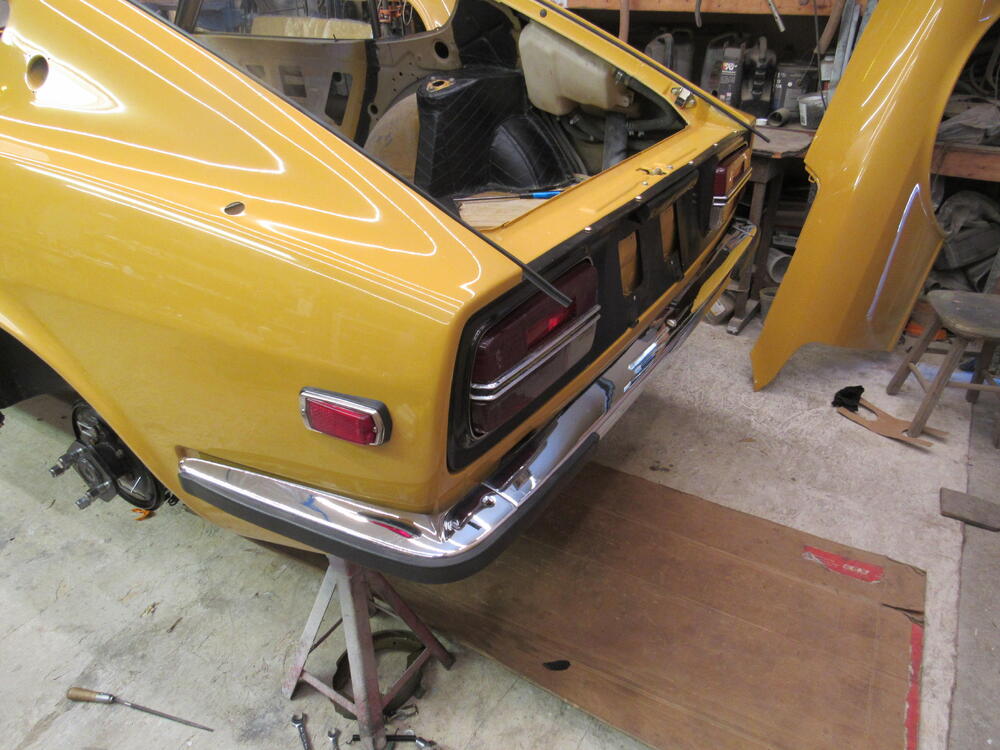
Lots of little stuff completed but not much worth taking a picture of. I got the hood and the rear bumper on, tomorrow hoping to get the hatch weather striping in and the hatch on. I think I'll leave the front fenders off until the engine is running smoothly, otherwise I know it will get scratched.


-
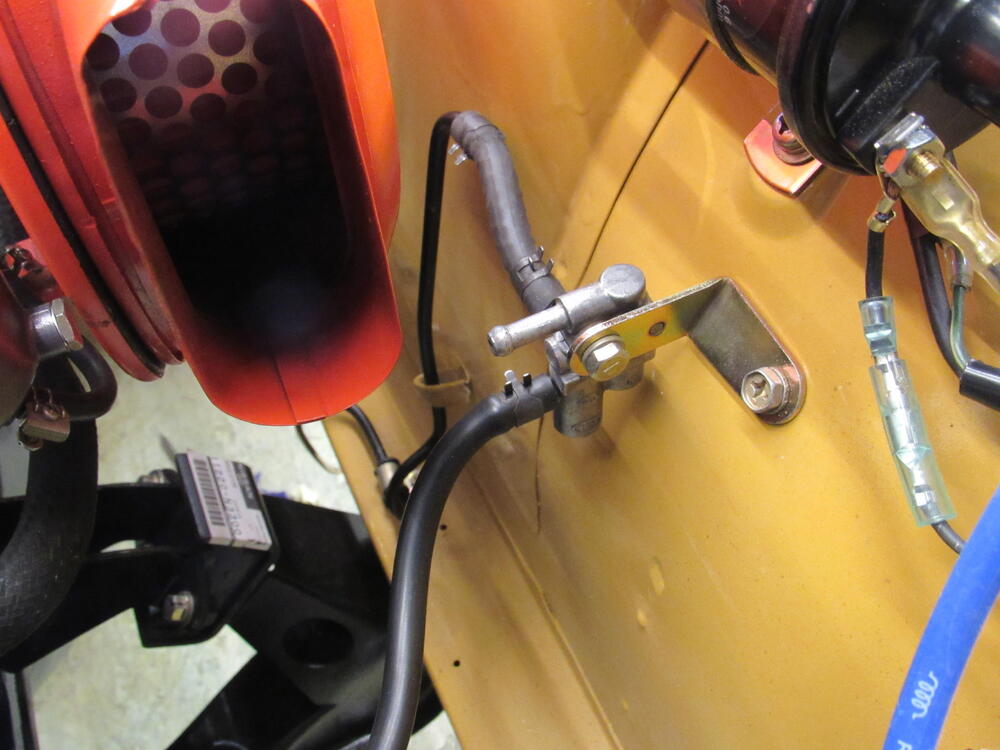
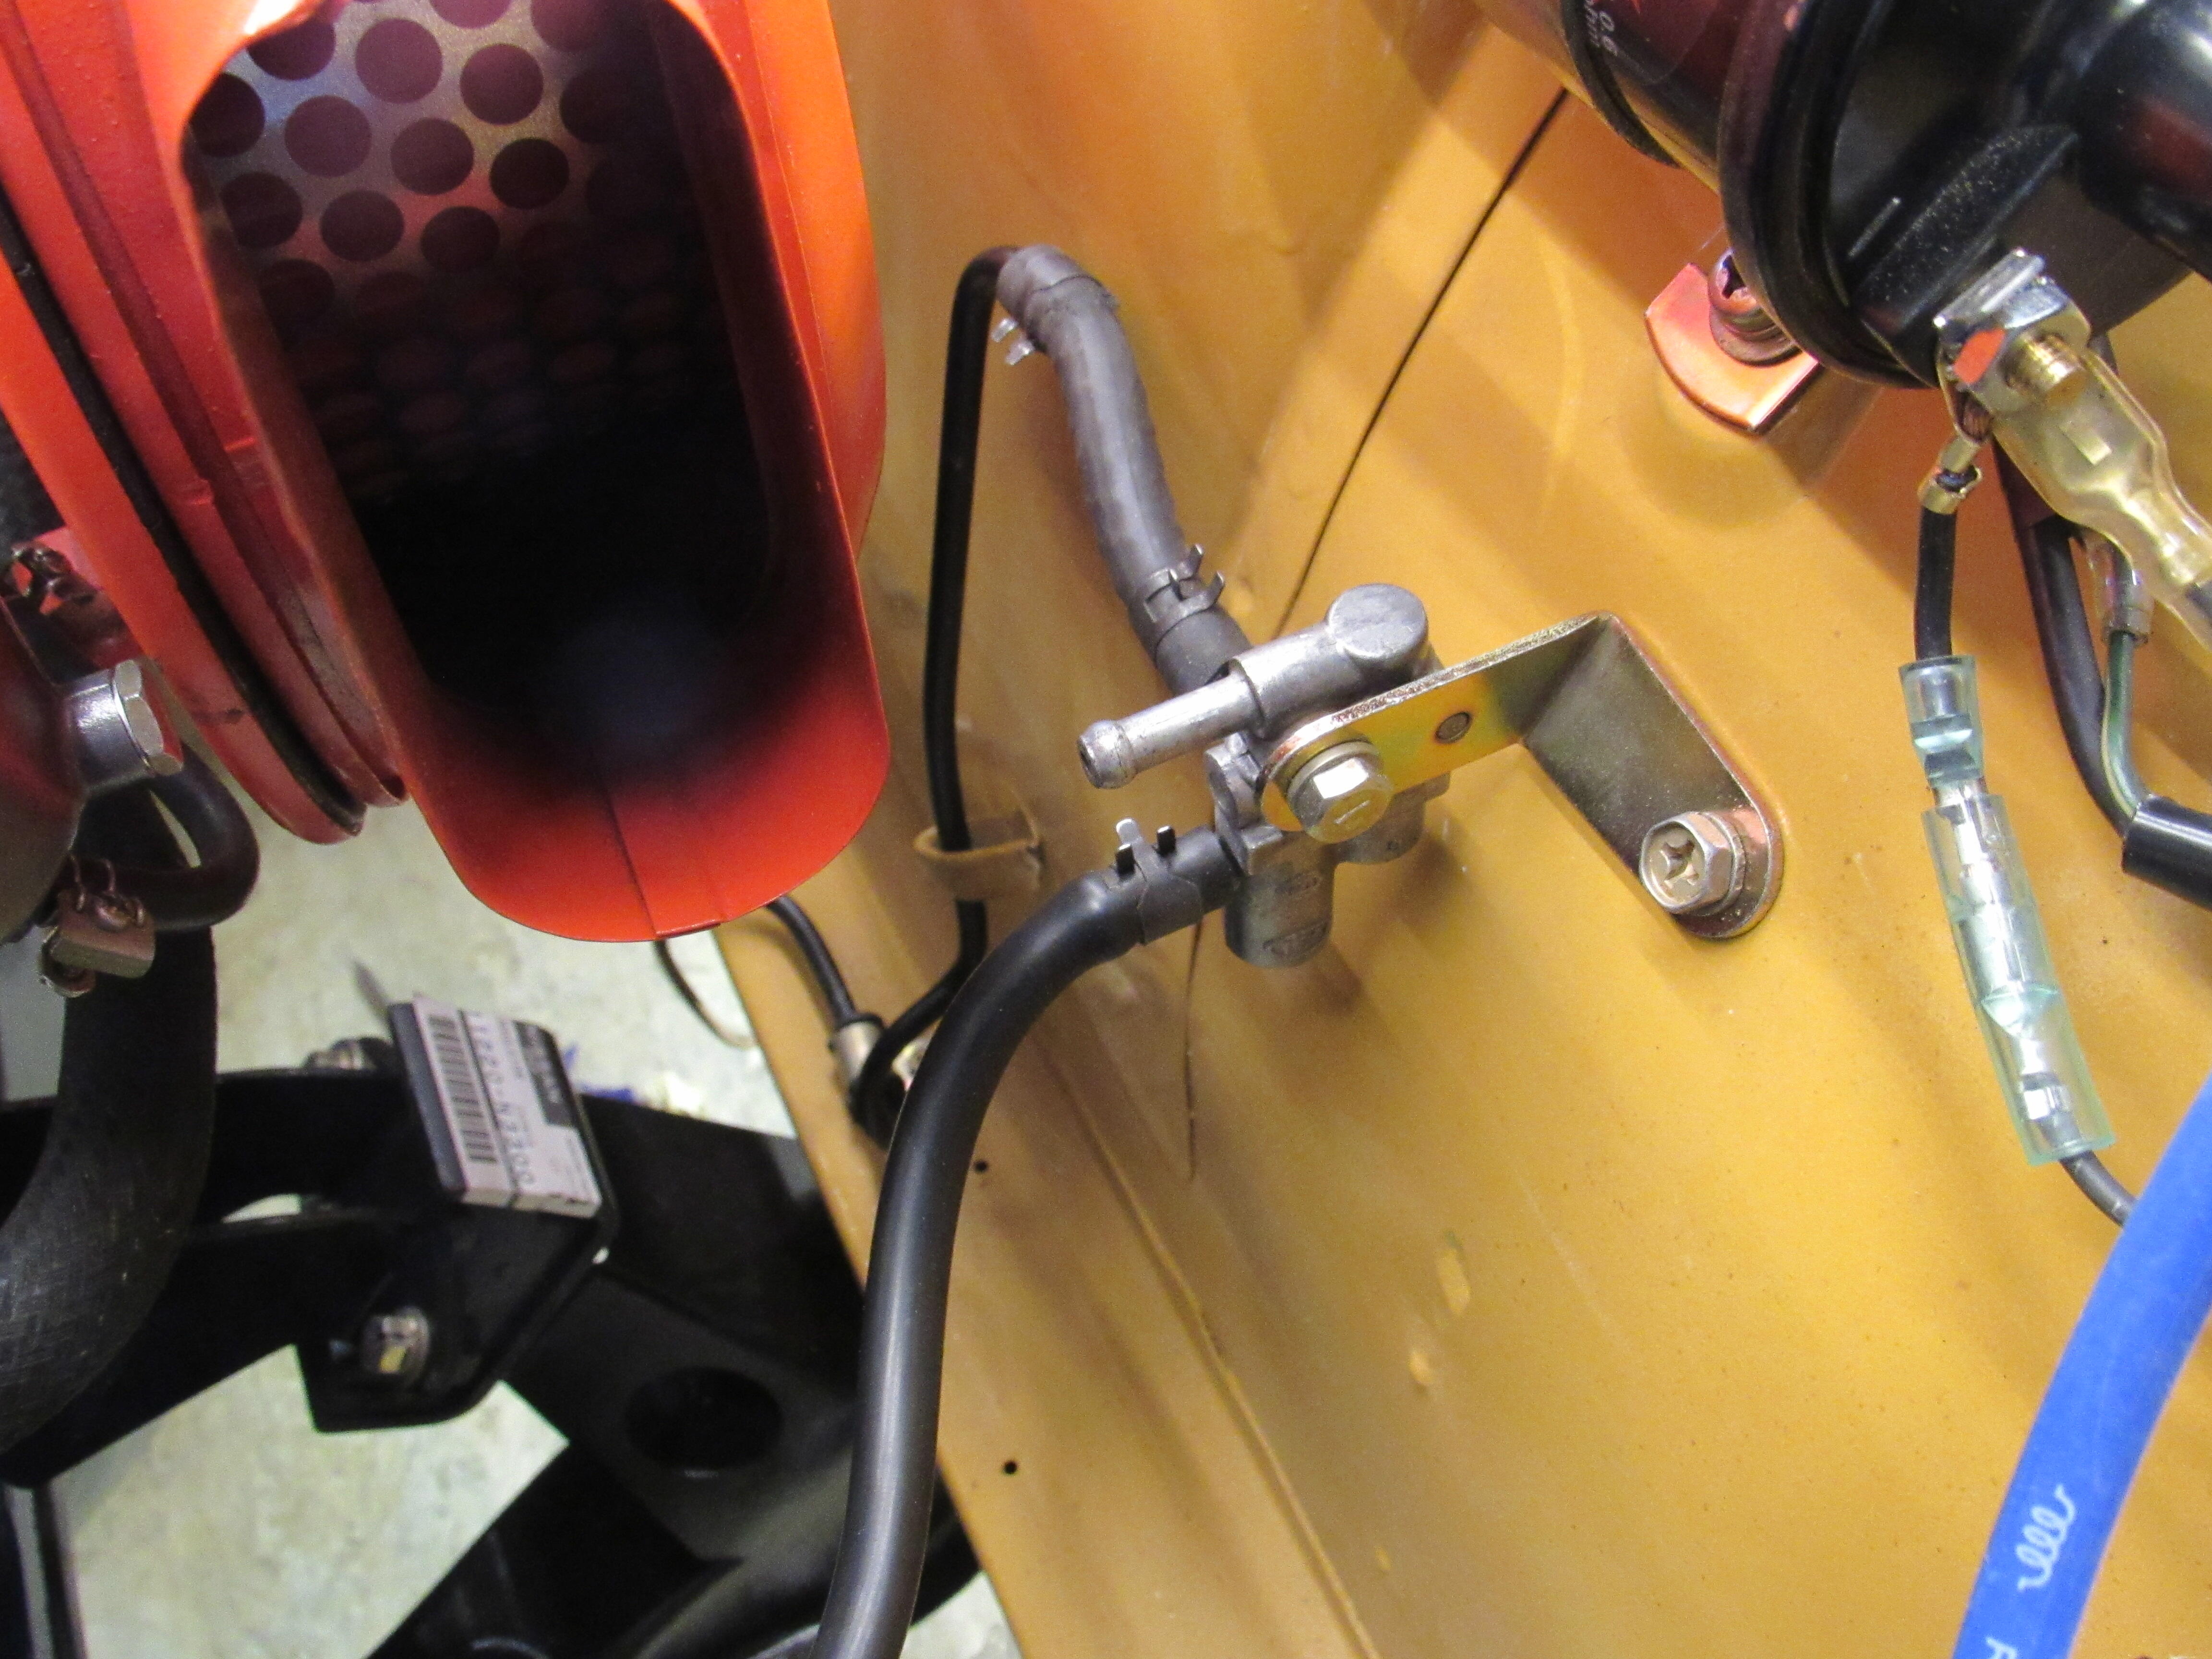
Are these two nipples joined by a hose? Thanks
-
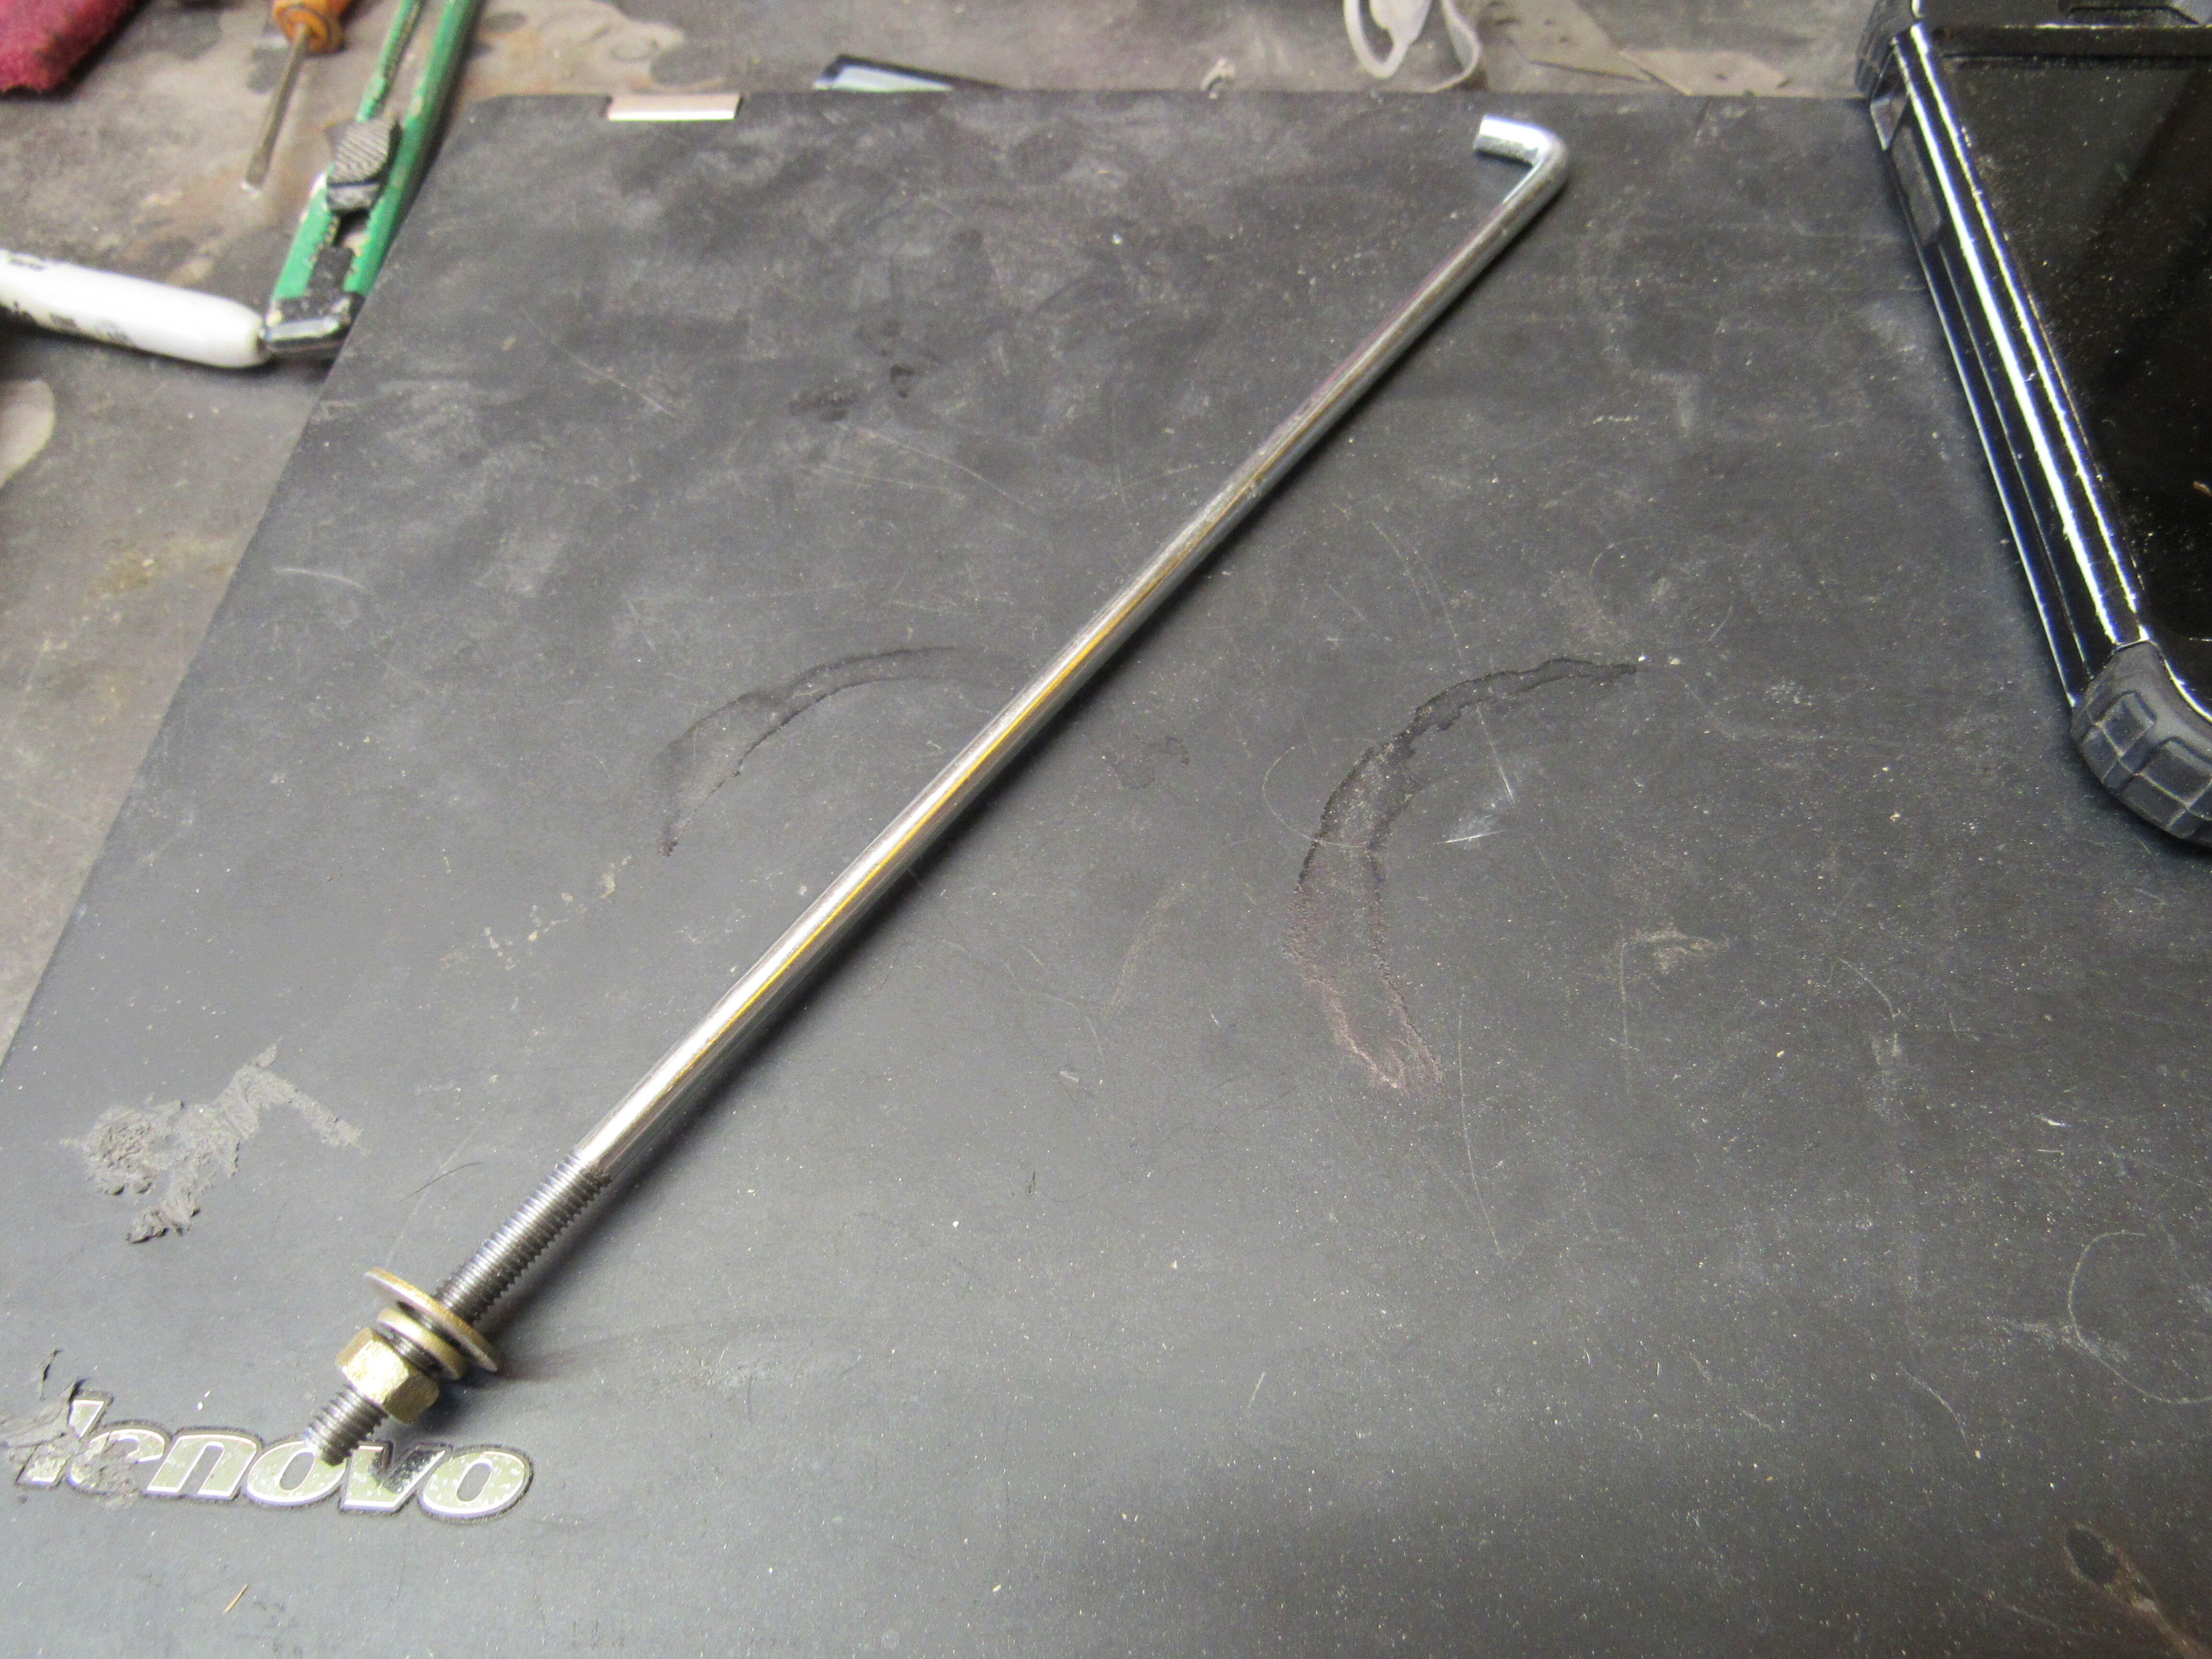
Hmmm, maybe that's why it's missing, it was locked so it was pitched.
The guy that does my plating has done a lot of my stuff and he has figured that the less time in the hot acid the better the plastic comes out. So I take him hardware that is near perfect so it only has to stay in the solution for a short time. The first batch we did the plastic looked like white chalk.
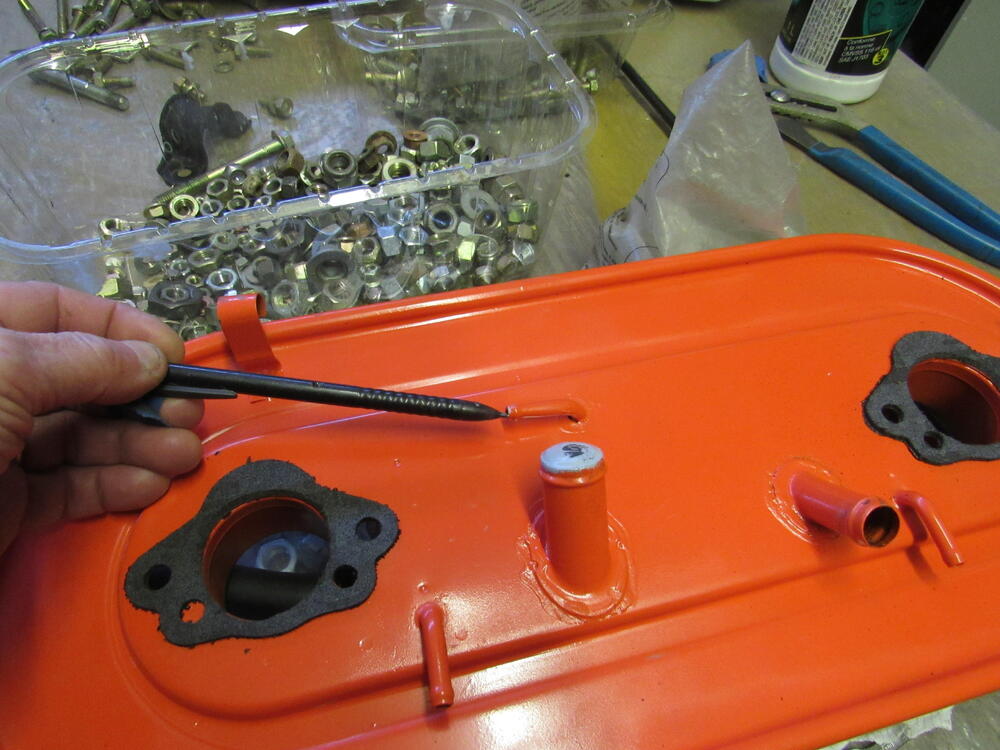
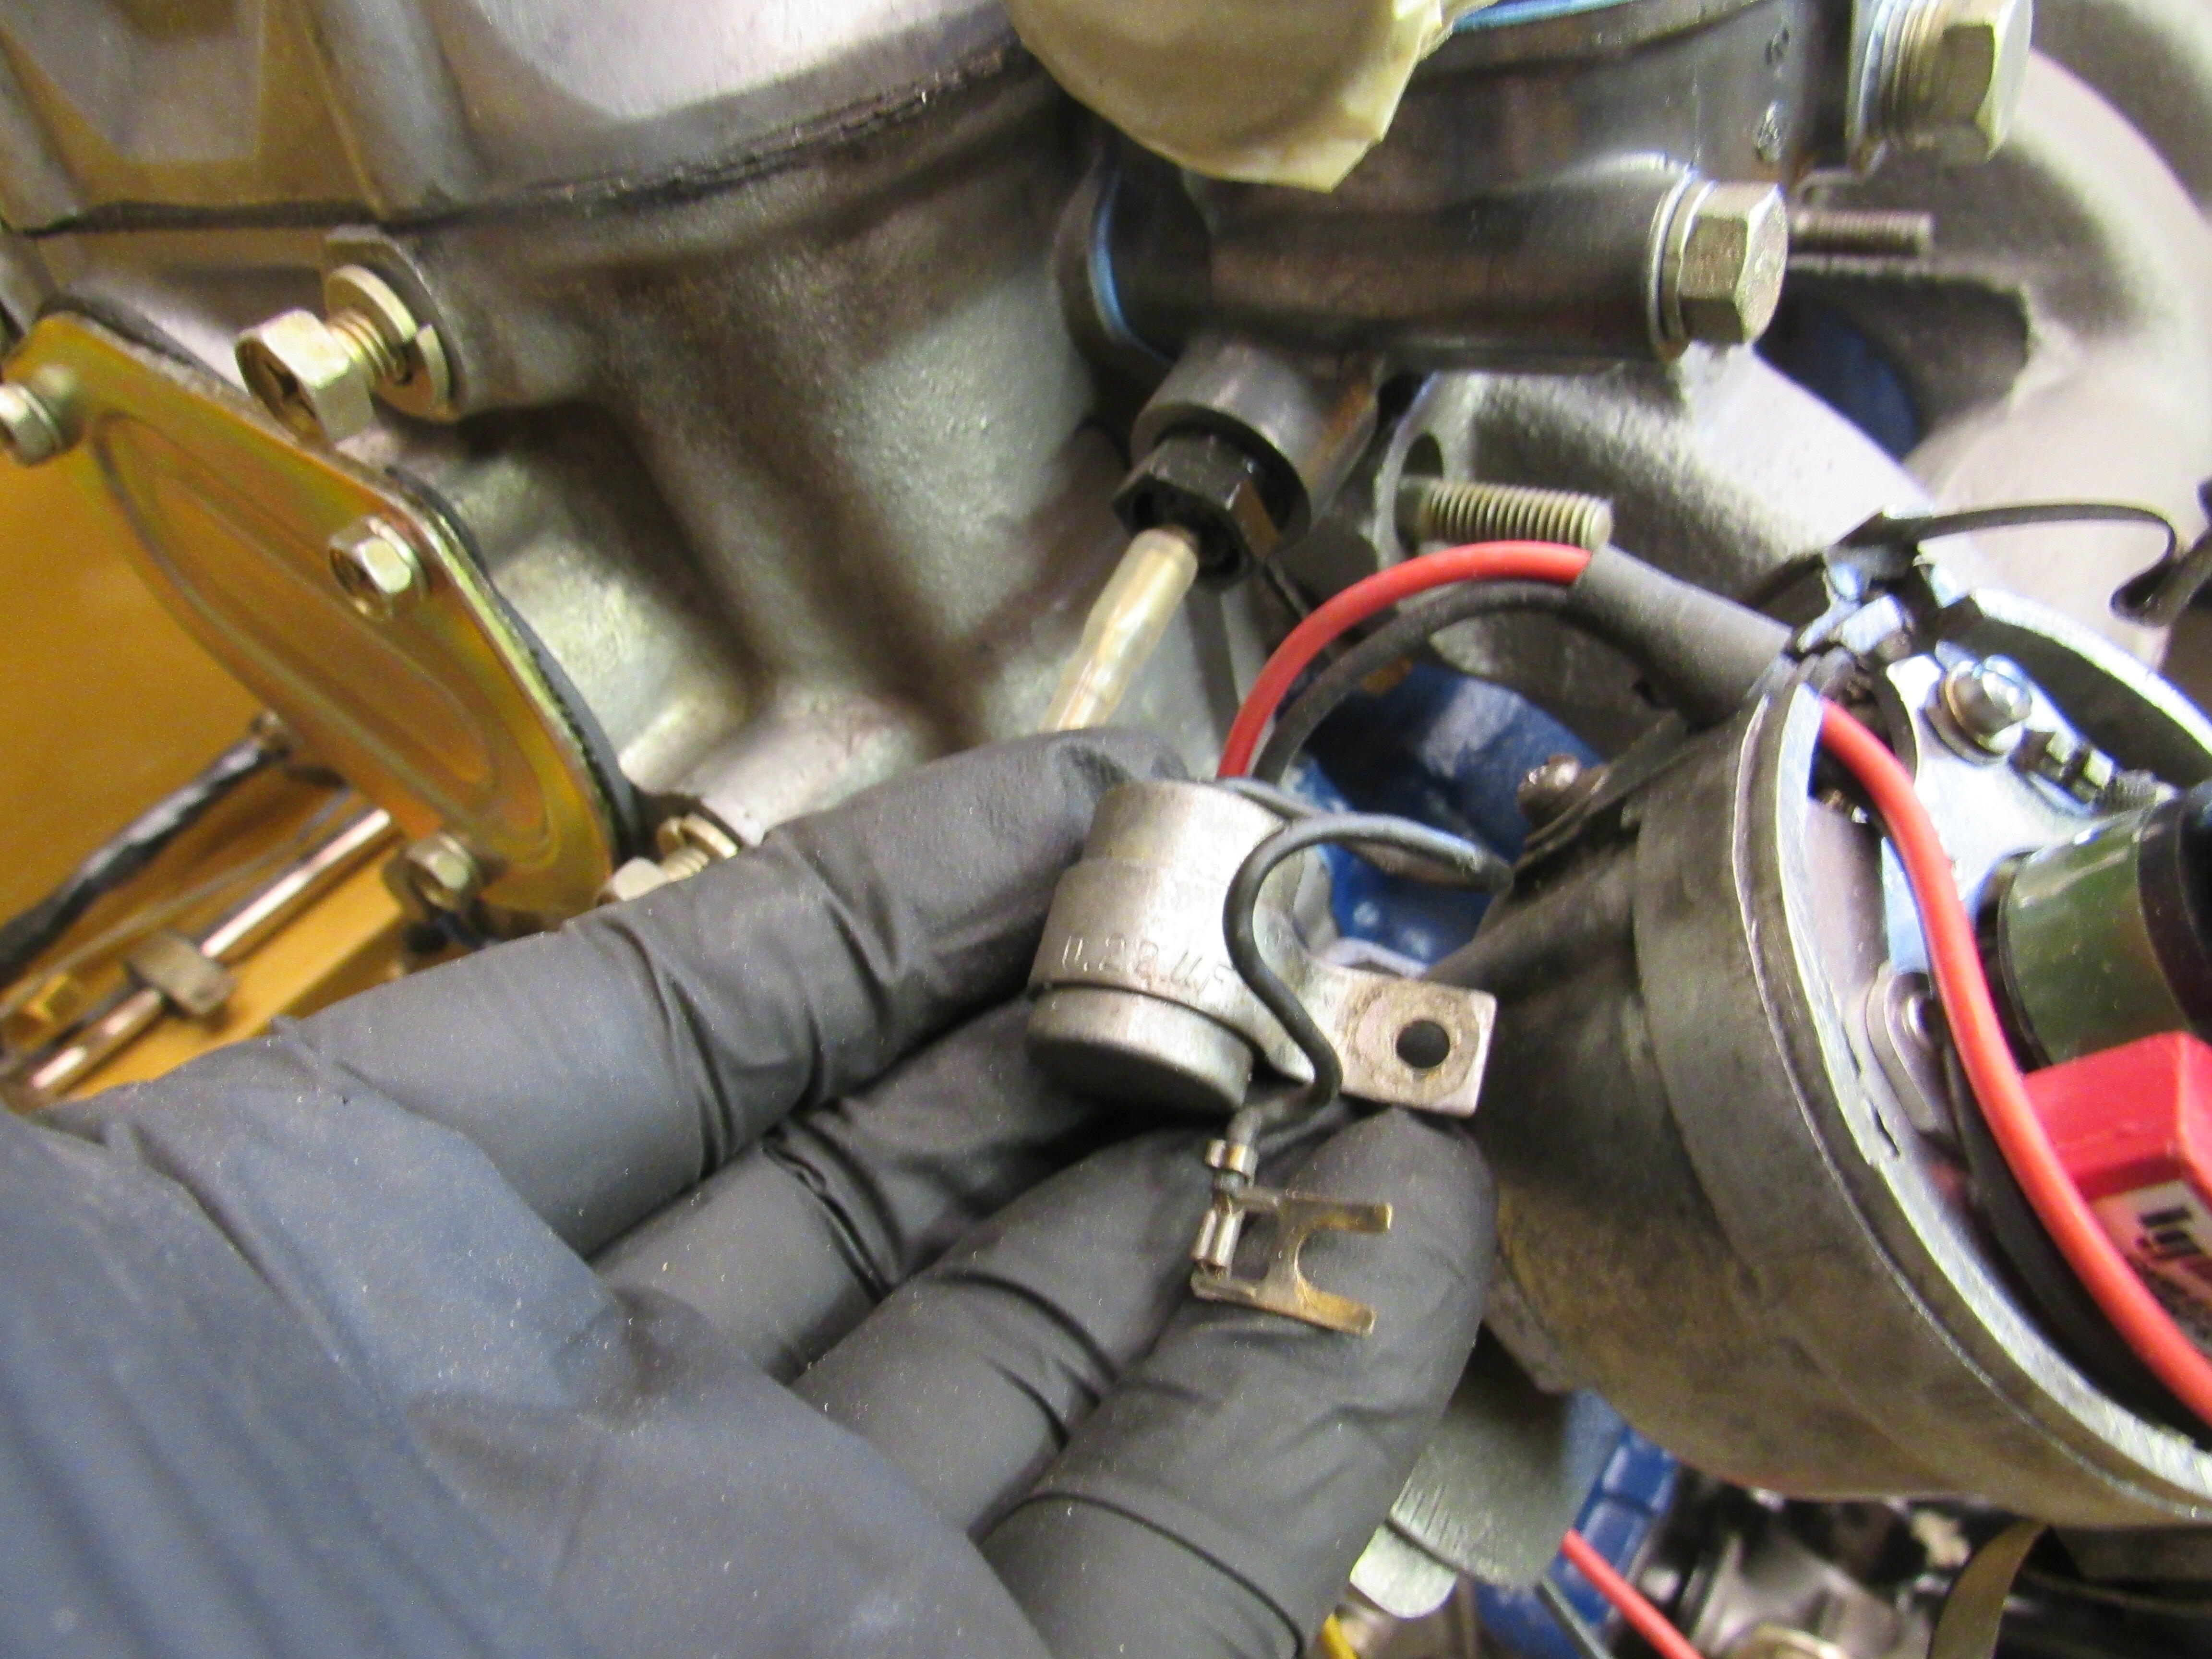
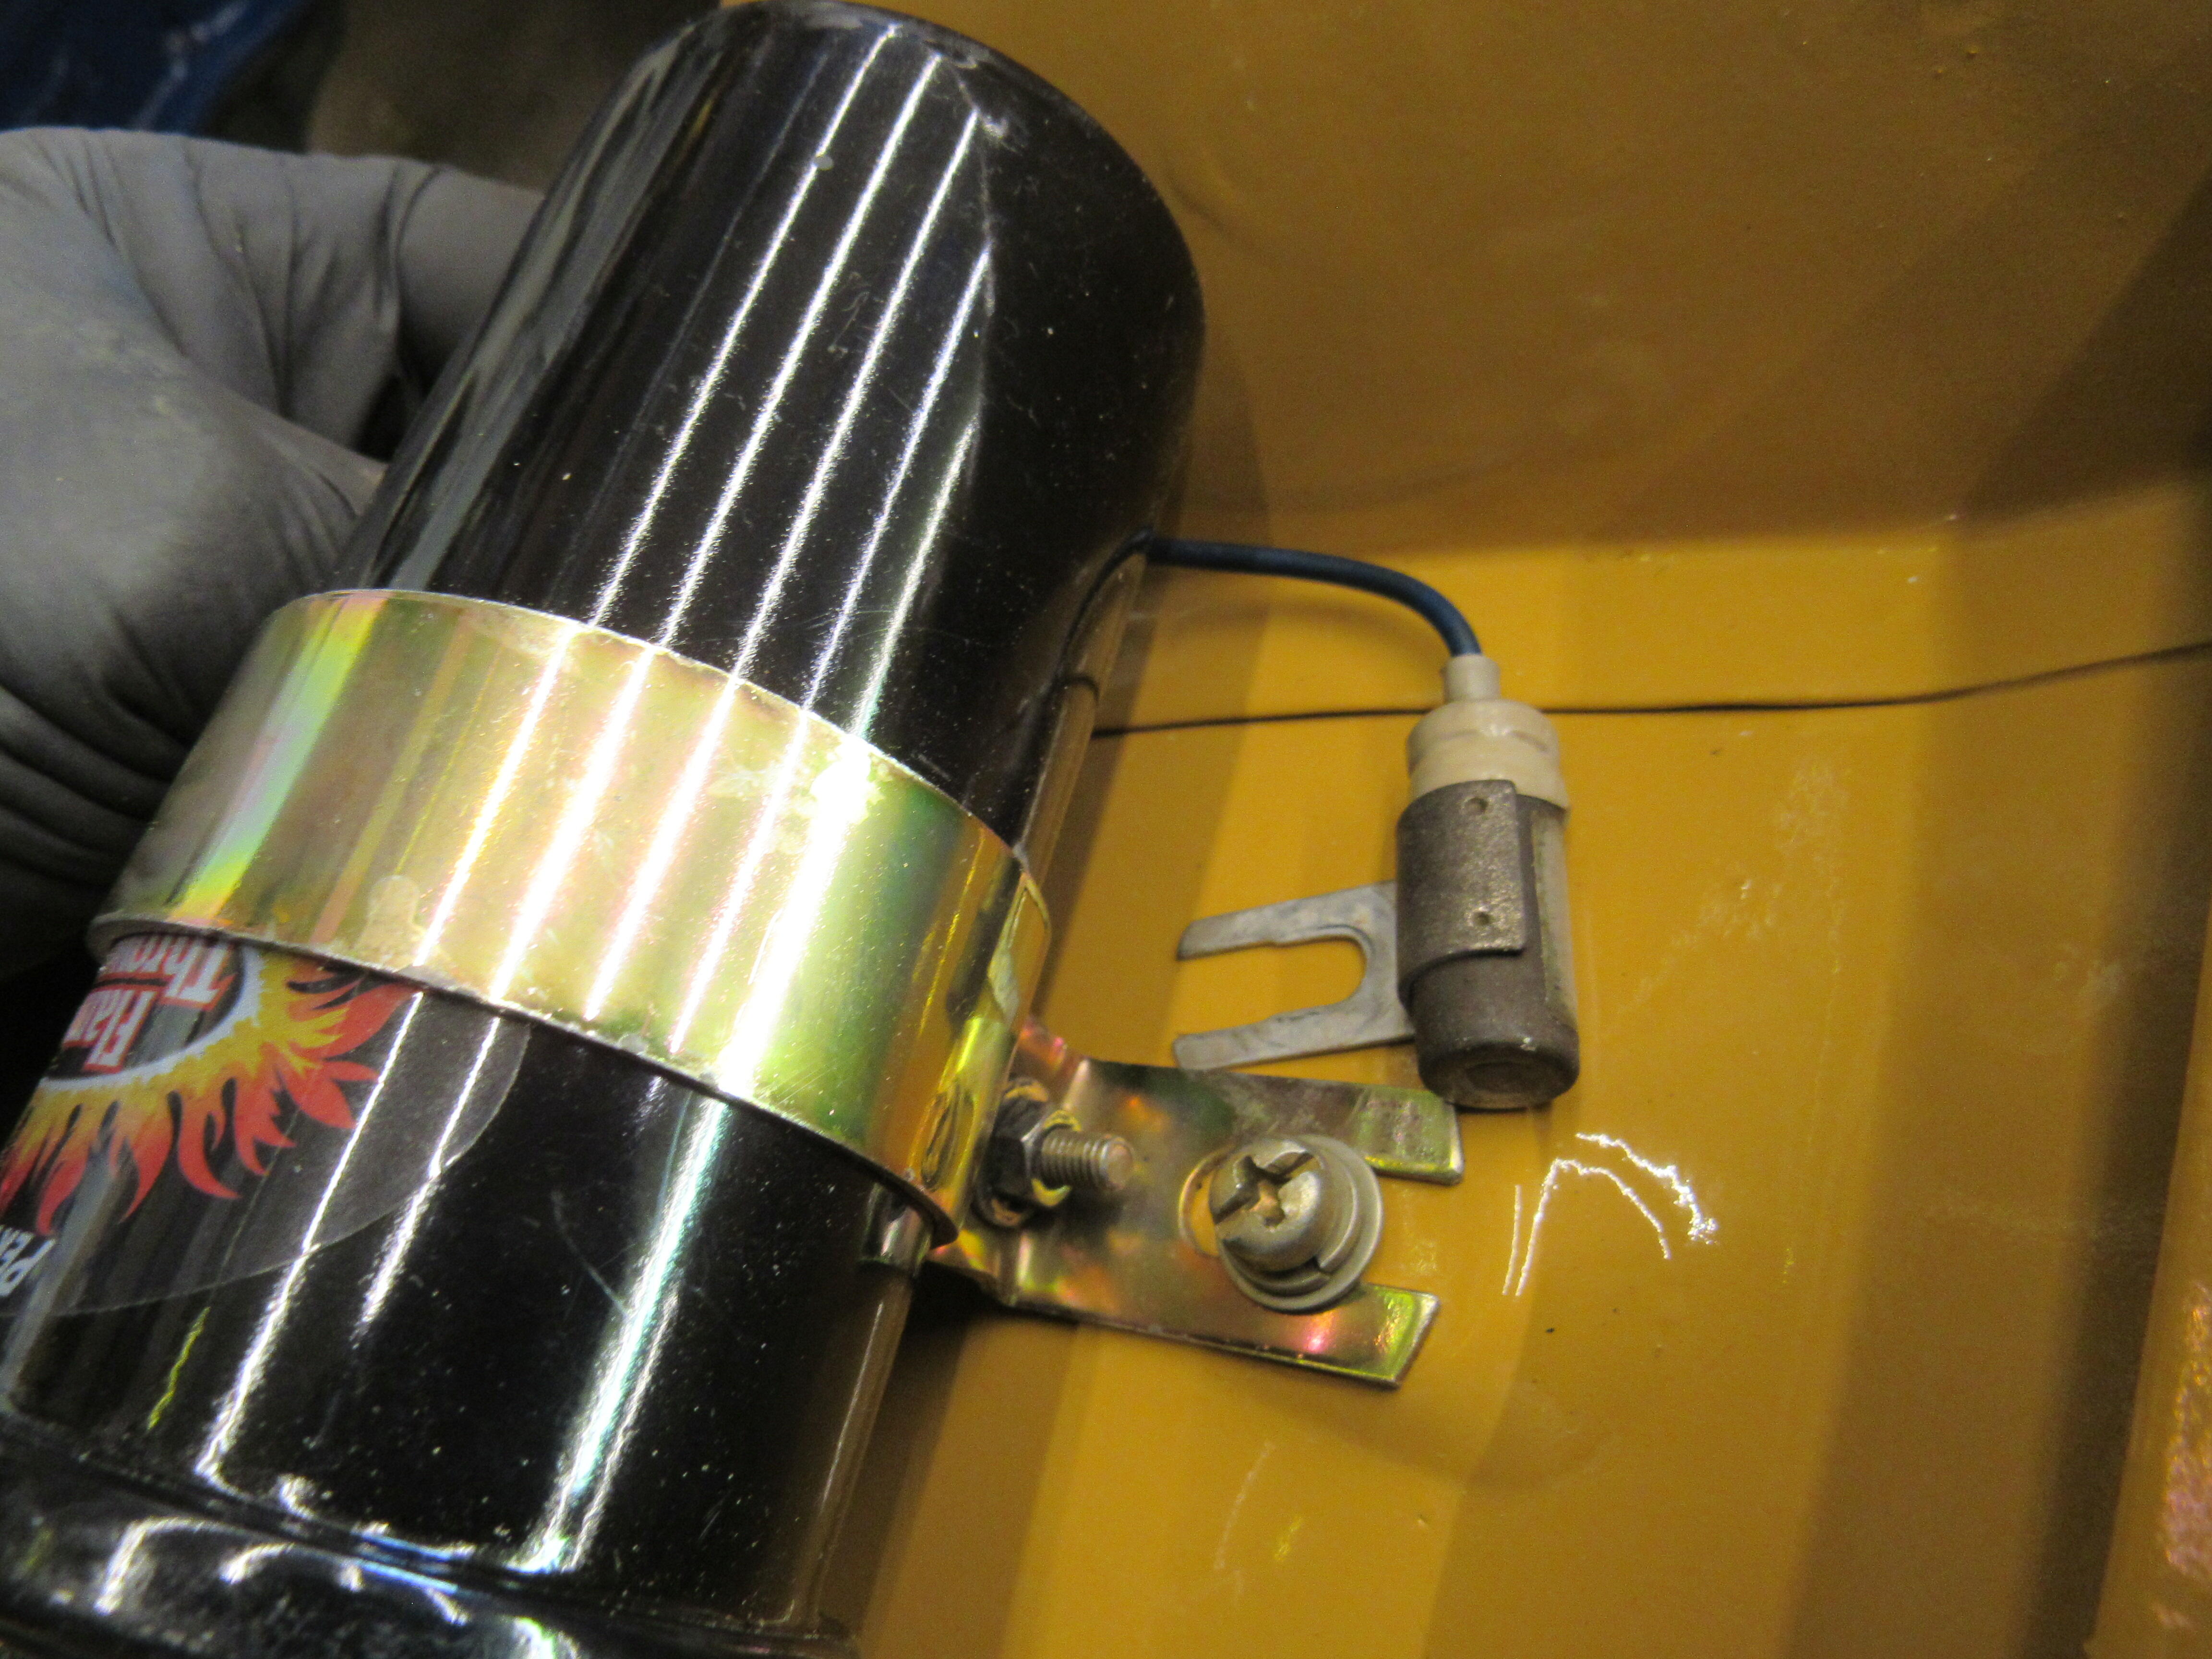
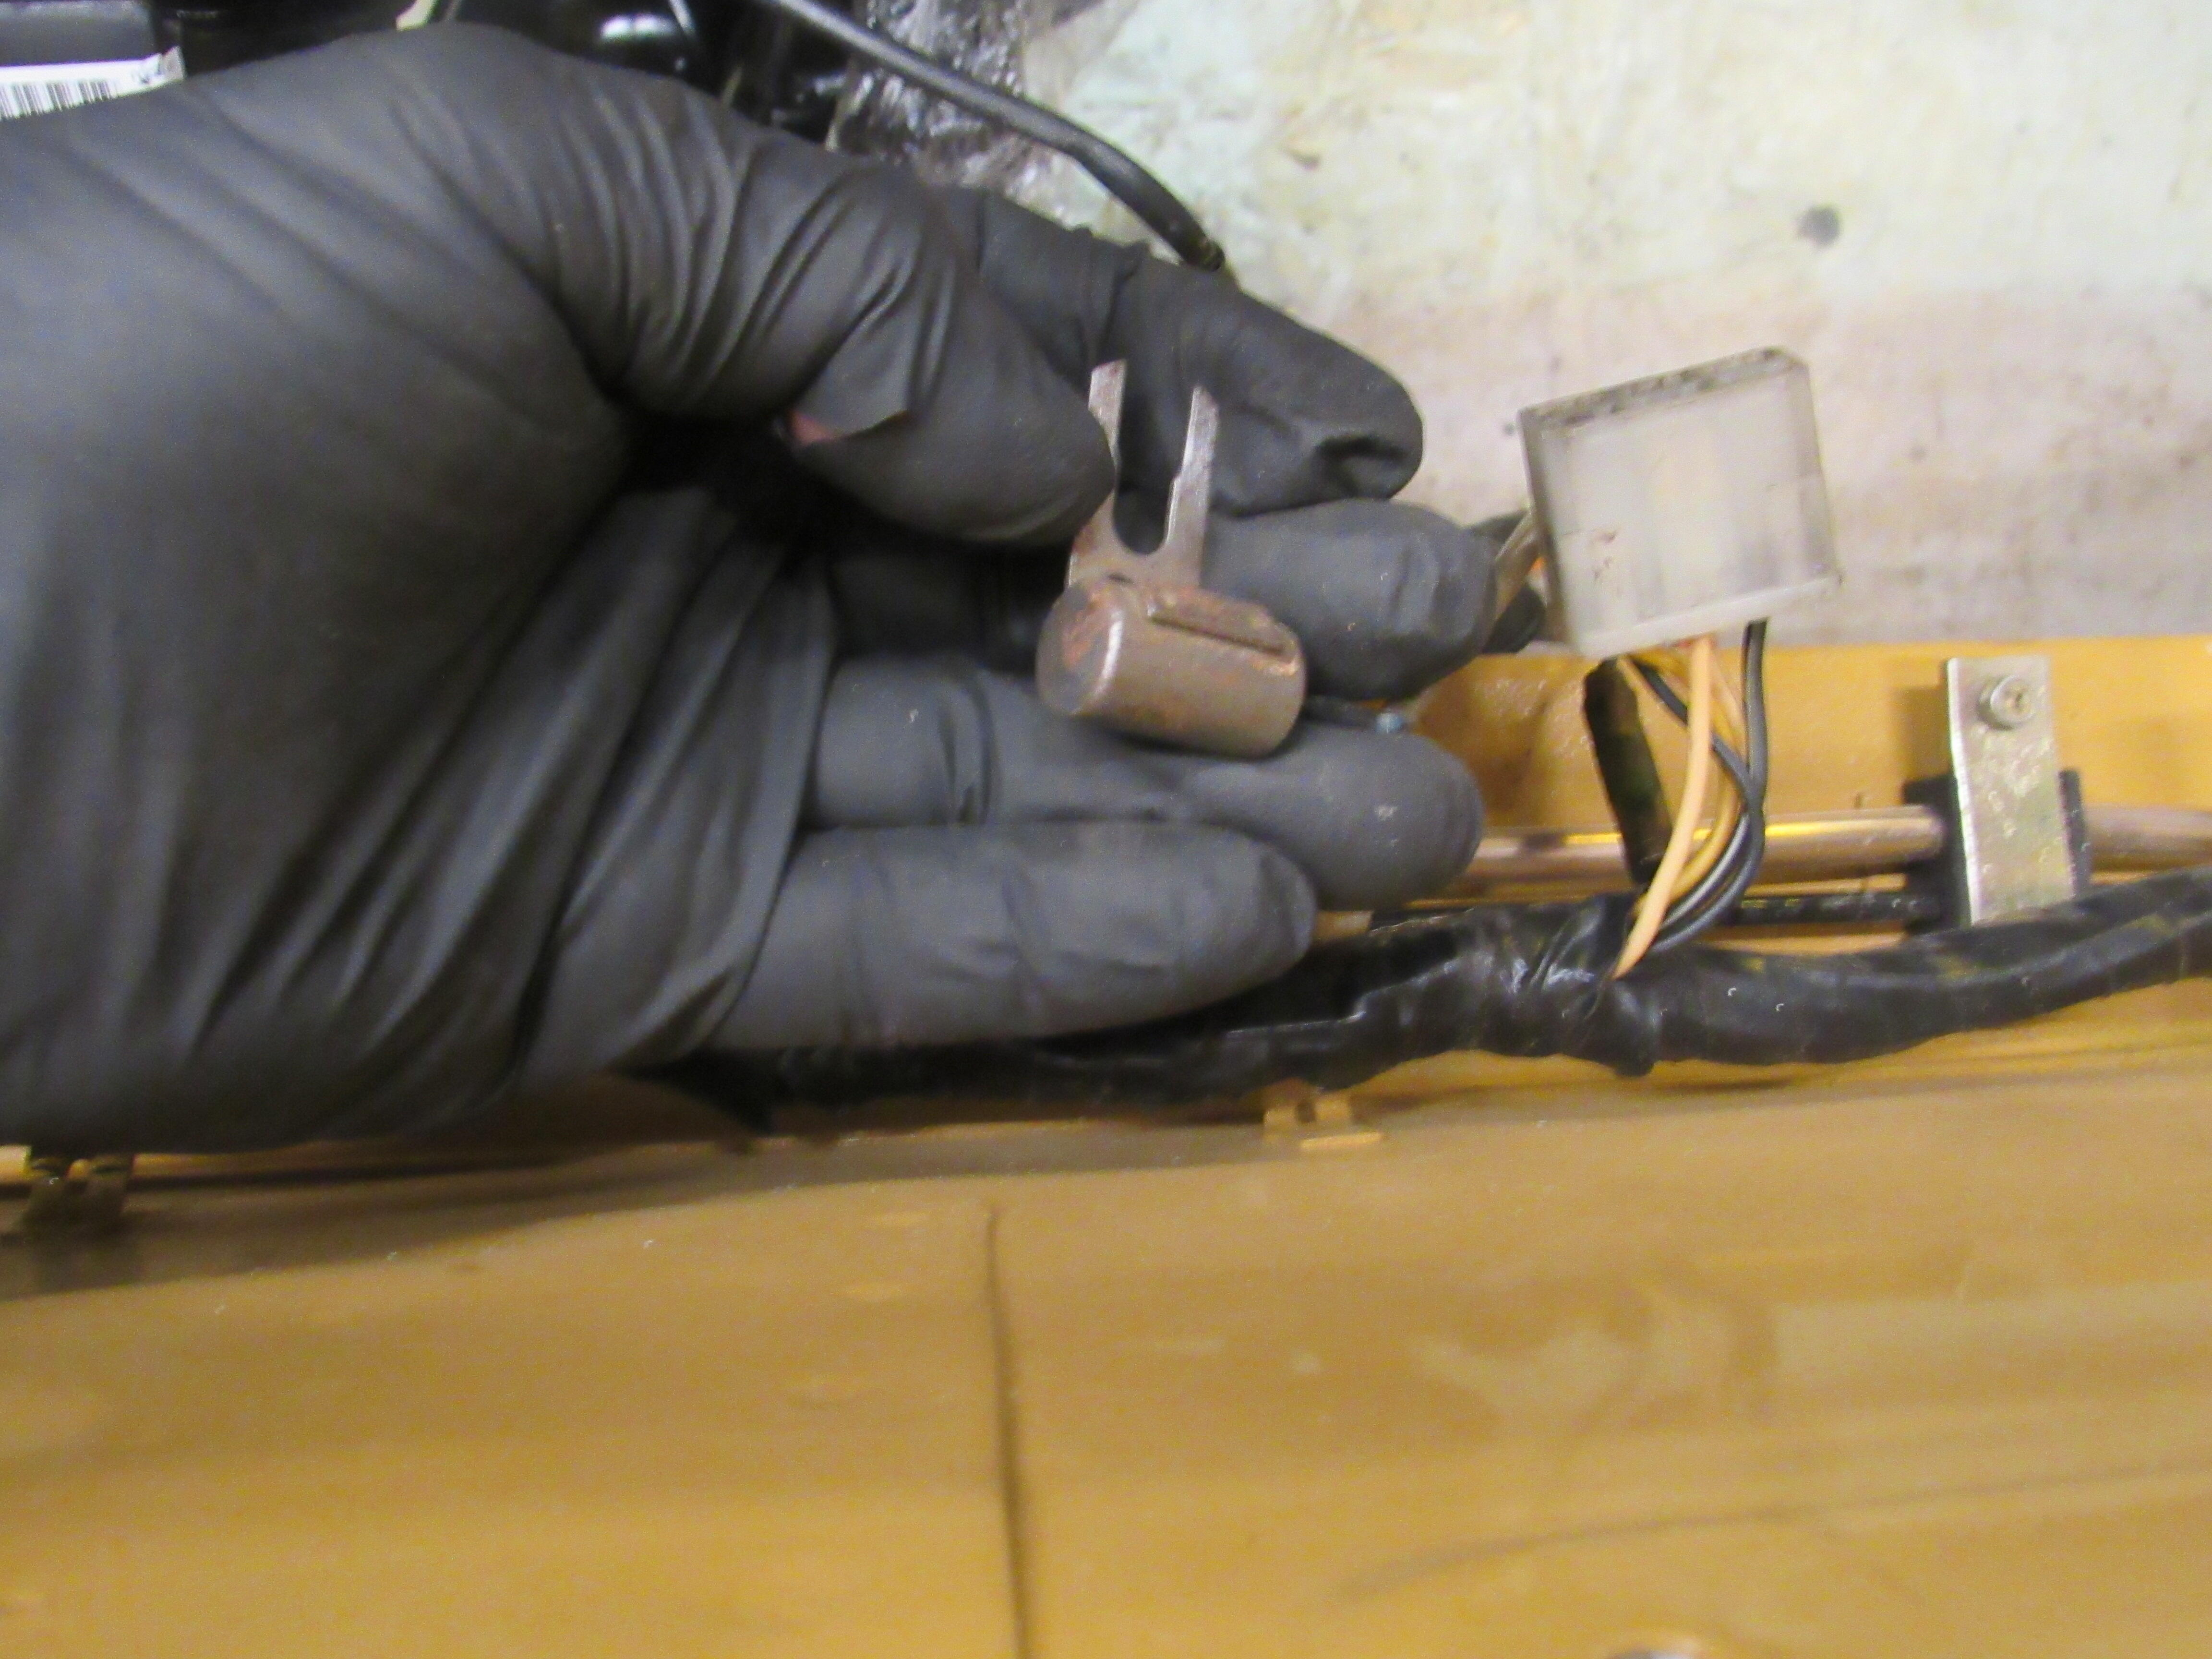
There are three of them, one on the distributor, one on the coil and one near the alternator. There is a new alternator coming with an internal regulator, the spark is going to be handled by a Pertronix II unit and the spark plugs are NGK BPR6ES, do I need them? Thanks


Important Information
By using this site, you agree to our Privacy Policy and Guidelines. We have placed cookies on your device to help make this website better. You can adjust your cookie settings, otherwise we'll assume you're okay to continue.