grannyknot
Free Member
-
Joined
-
Last visited
Everything posted by grannyknot
-
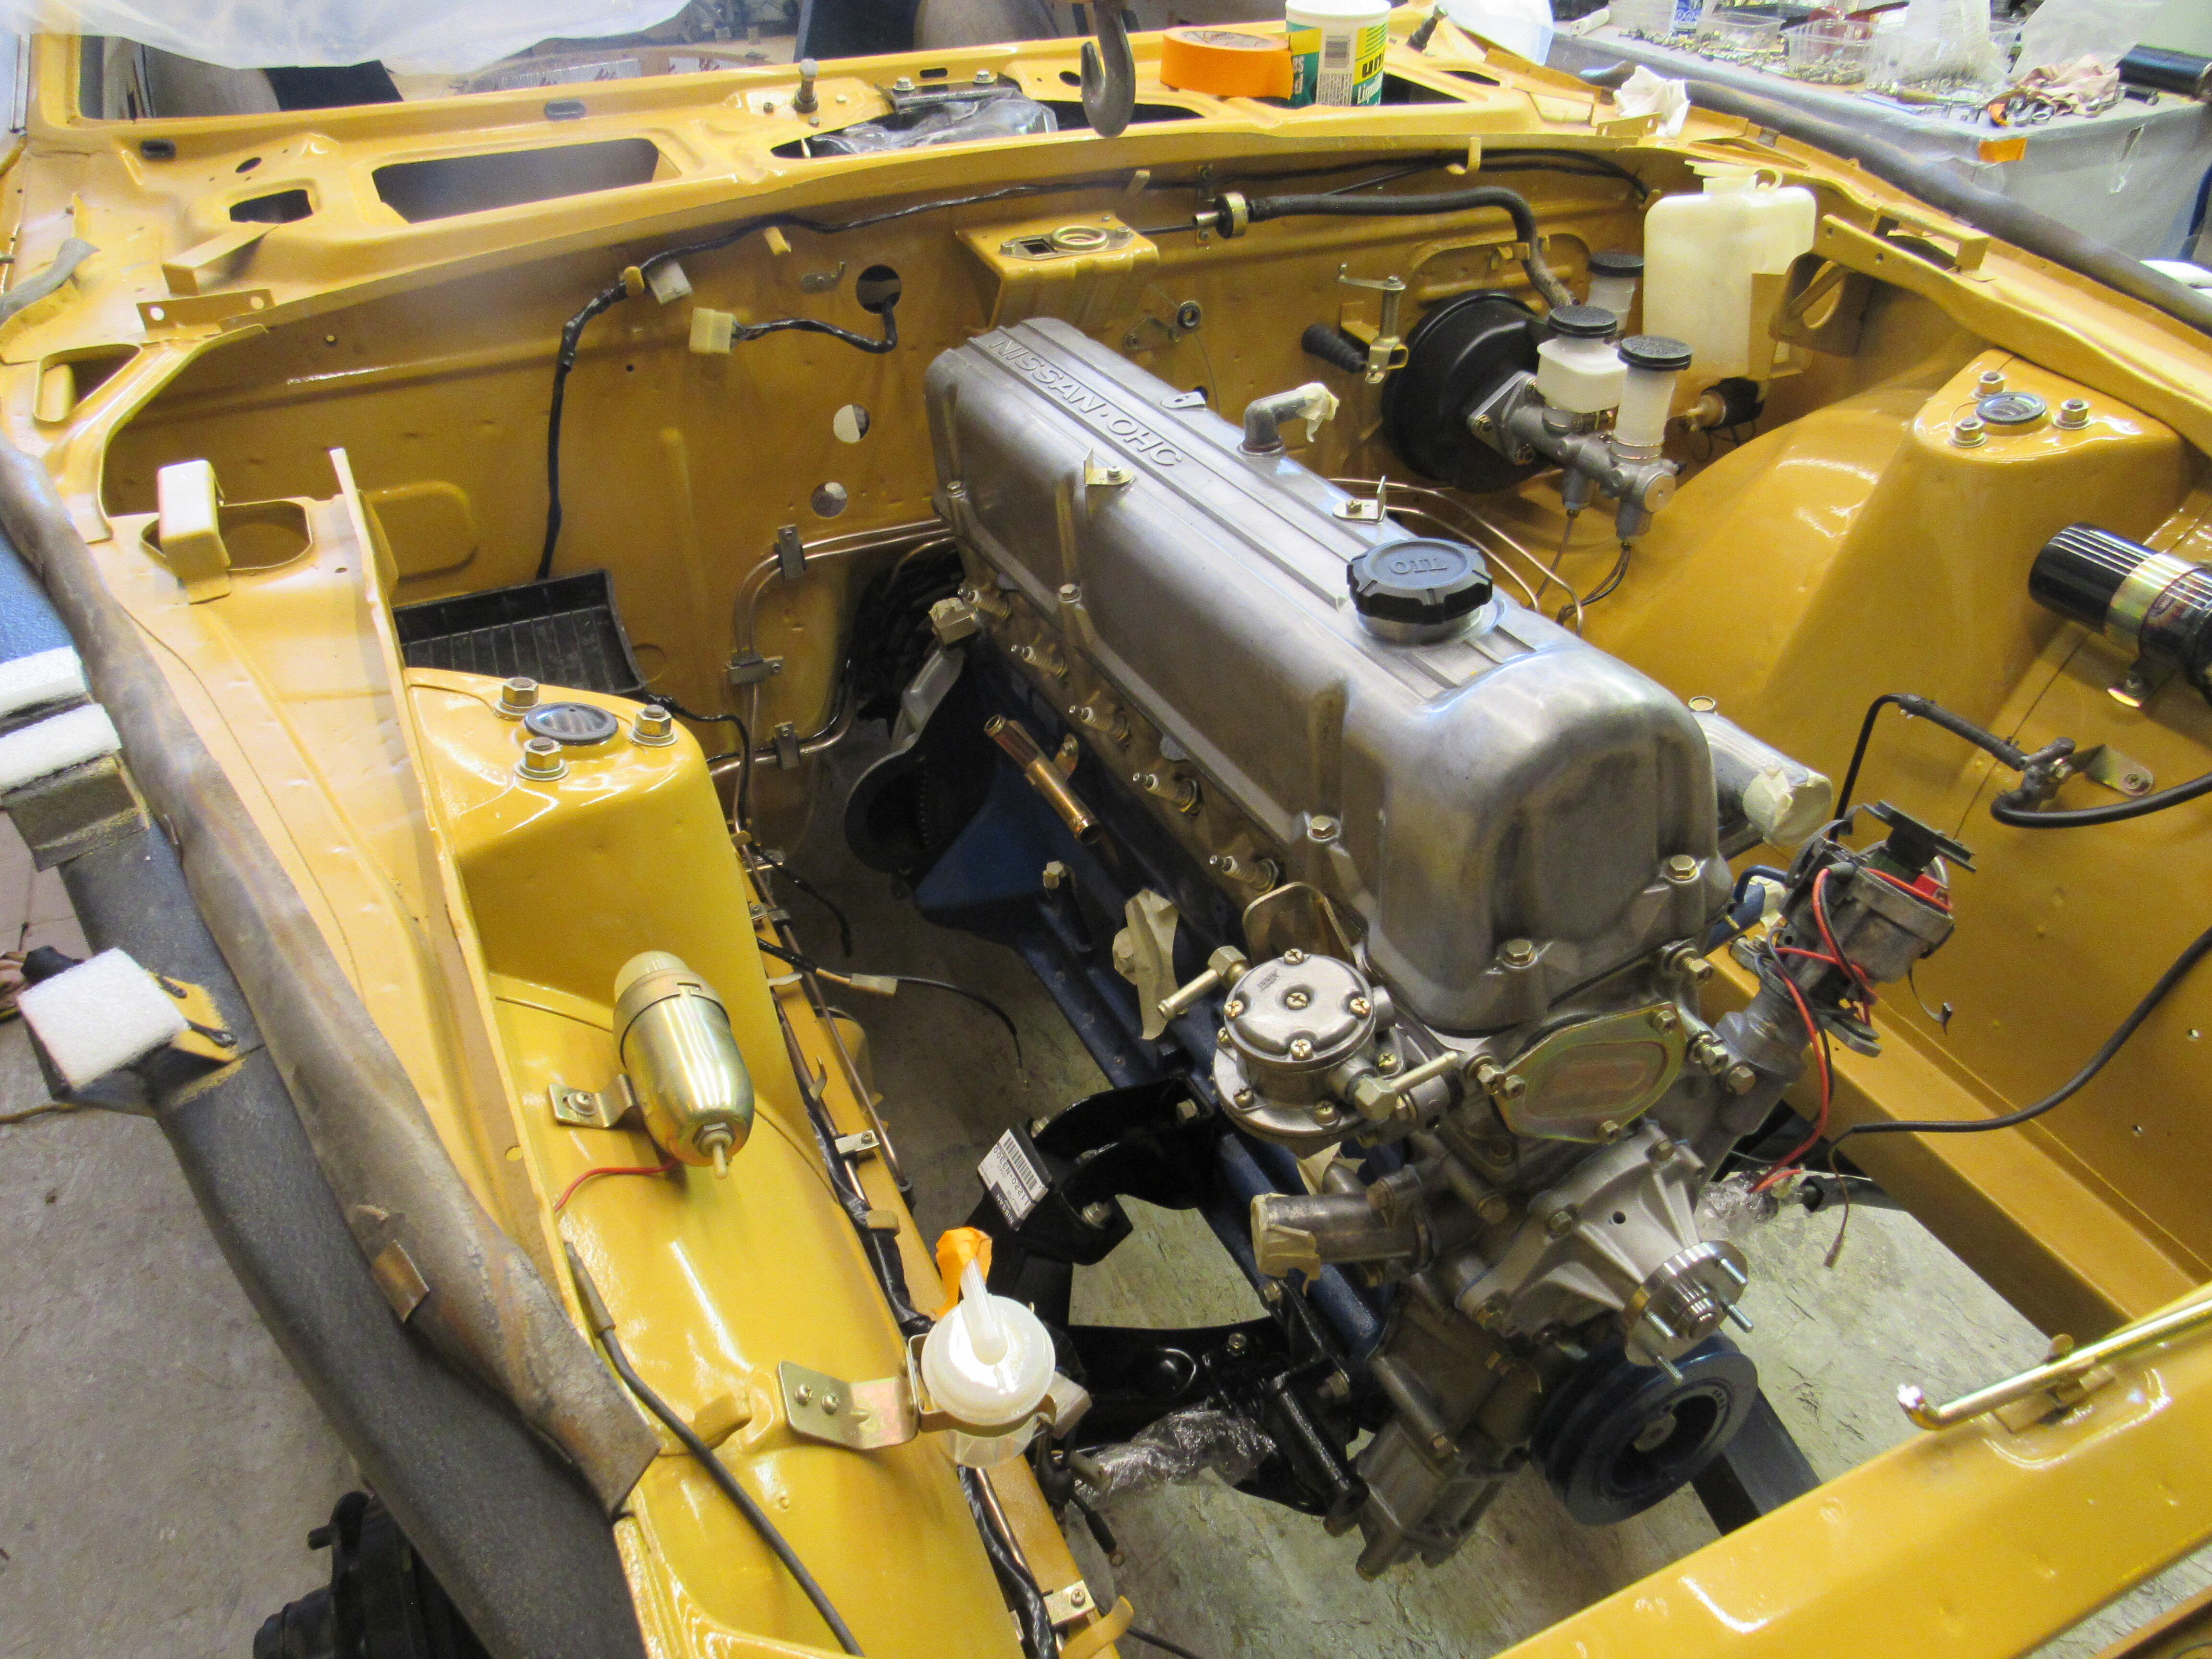
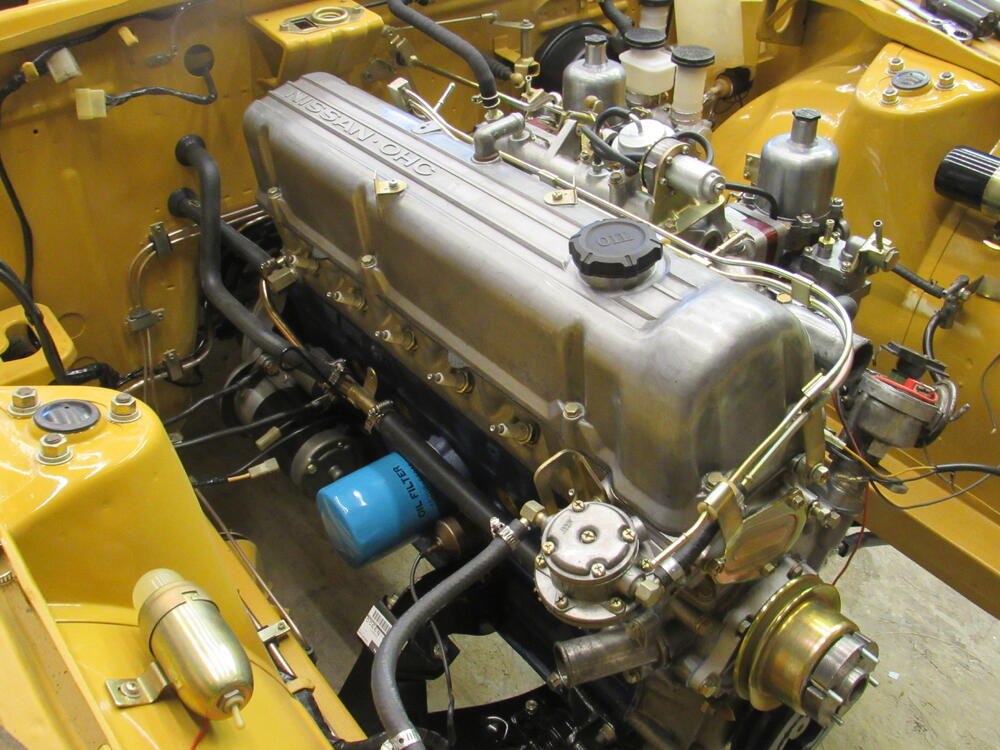
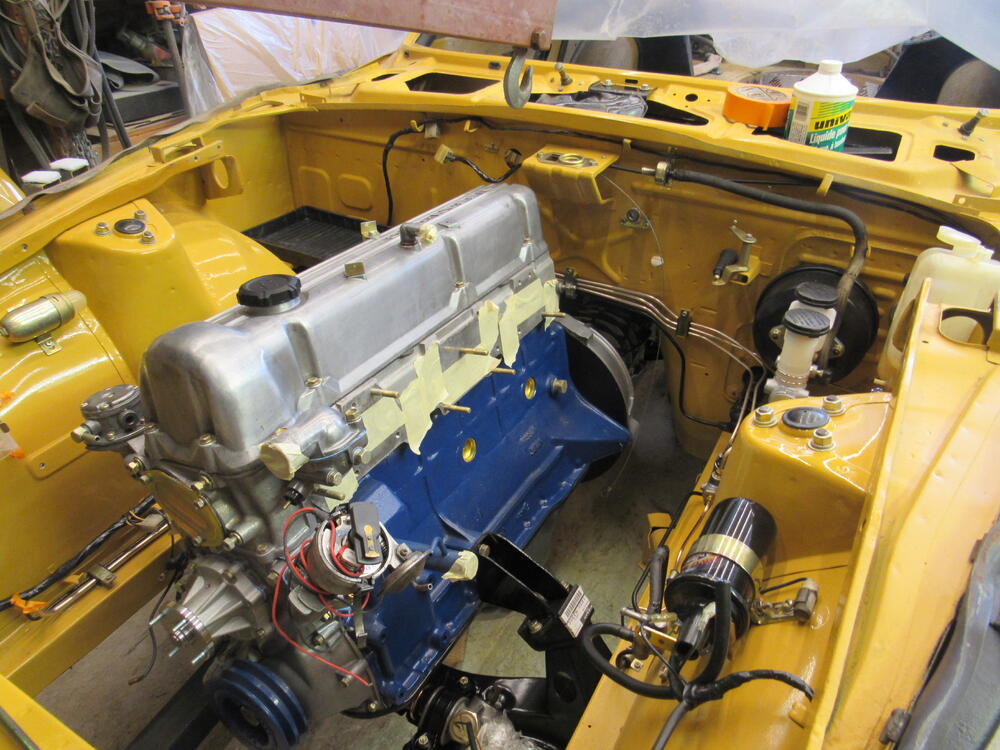
 Some how I have manged to misplace the rad fan, I've looked everywhere 4-5 times, no luck. How do I loose something that big? Fortunately a friend has a spare he's willing to sell me, my fault my dime. Exhaust manifold and carbs are on, as soon as that wheel bearing shows up I can get the car down and start working on the windshield and hatch.
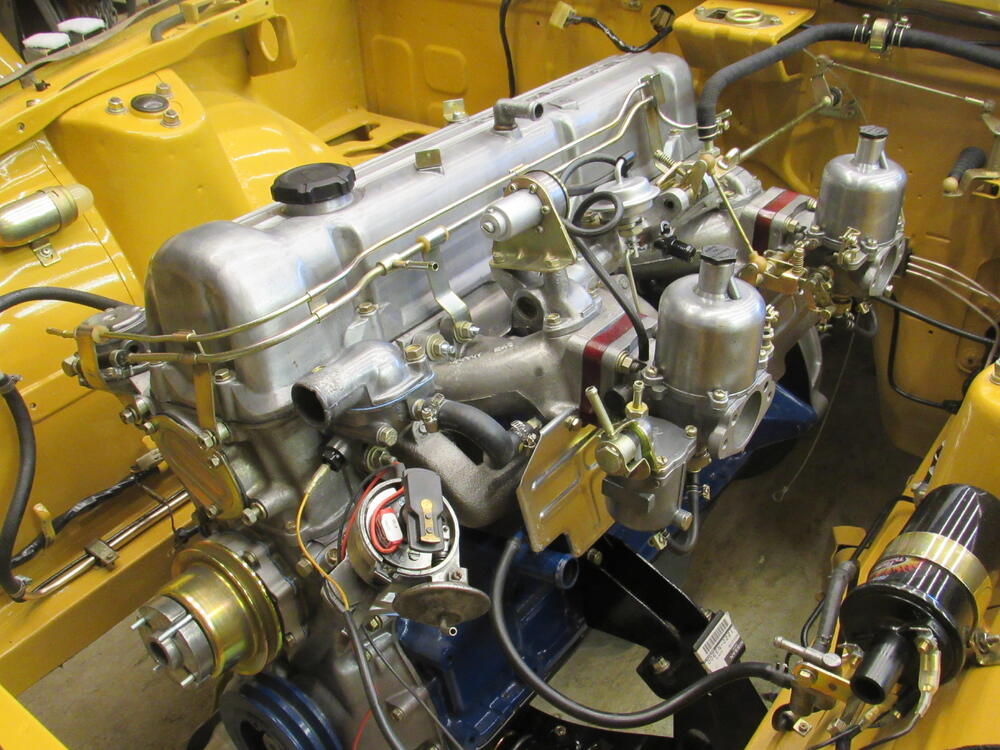

-
I'm lucky enough to get my winters off and my shop is attached to the house so I have no excuse but to get out there and Git er done.
-
That looks like a good quality glass polishing kit, thanks for mentioning it. One thing they should have mentioned is the importance cleanup between grits, you can imagine what would happen if one grain of the coarse grit found its way onto the polishing pad, as John Cleese use to say "Start again".
-
Same as above, if you do go ahead and use the CLR sealant get there solvent to clean up with. CRL make excellent products. Using rope to bring the rubber lip over the pinch weld will bring a lot more sealant with it than something thin and smooth like string trimmer line. Test the solvent out on a part of the vinyl that isn't seen to be sure it won't discolour the vinyl.
-
The trans paint is a Duplicolor cast aluminum, no primer, just scrubbed the aluminum down with industrial cleaner and a SS brush. Two coats. The T/C nuts, just as the other guys say, the sleeve is the stop and double nut is a good idea. That is when you are using stock rubber bushings, with poly I couldn't tell you.
-
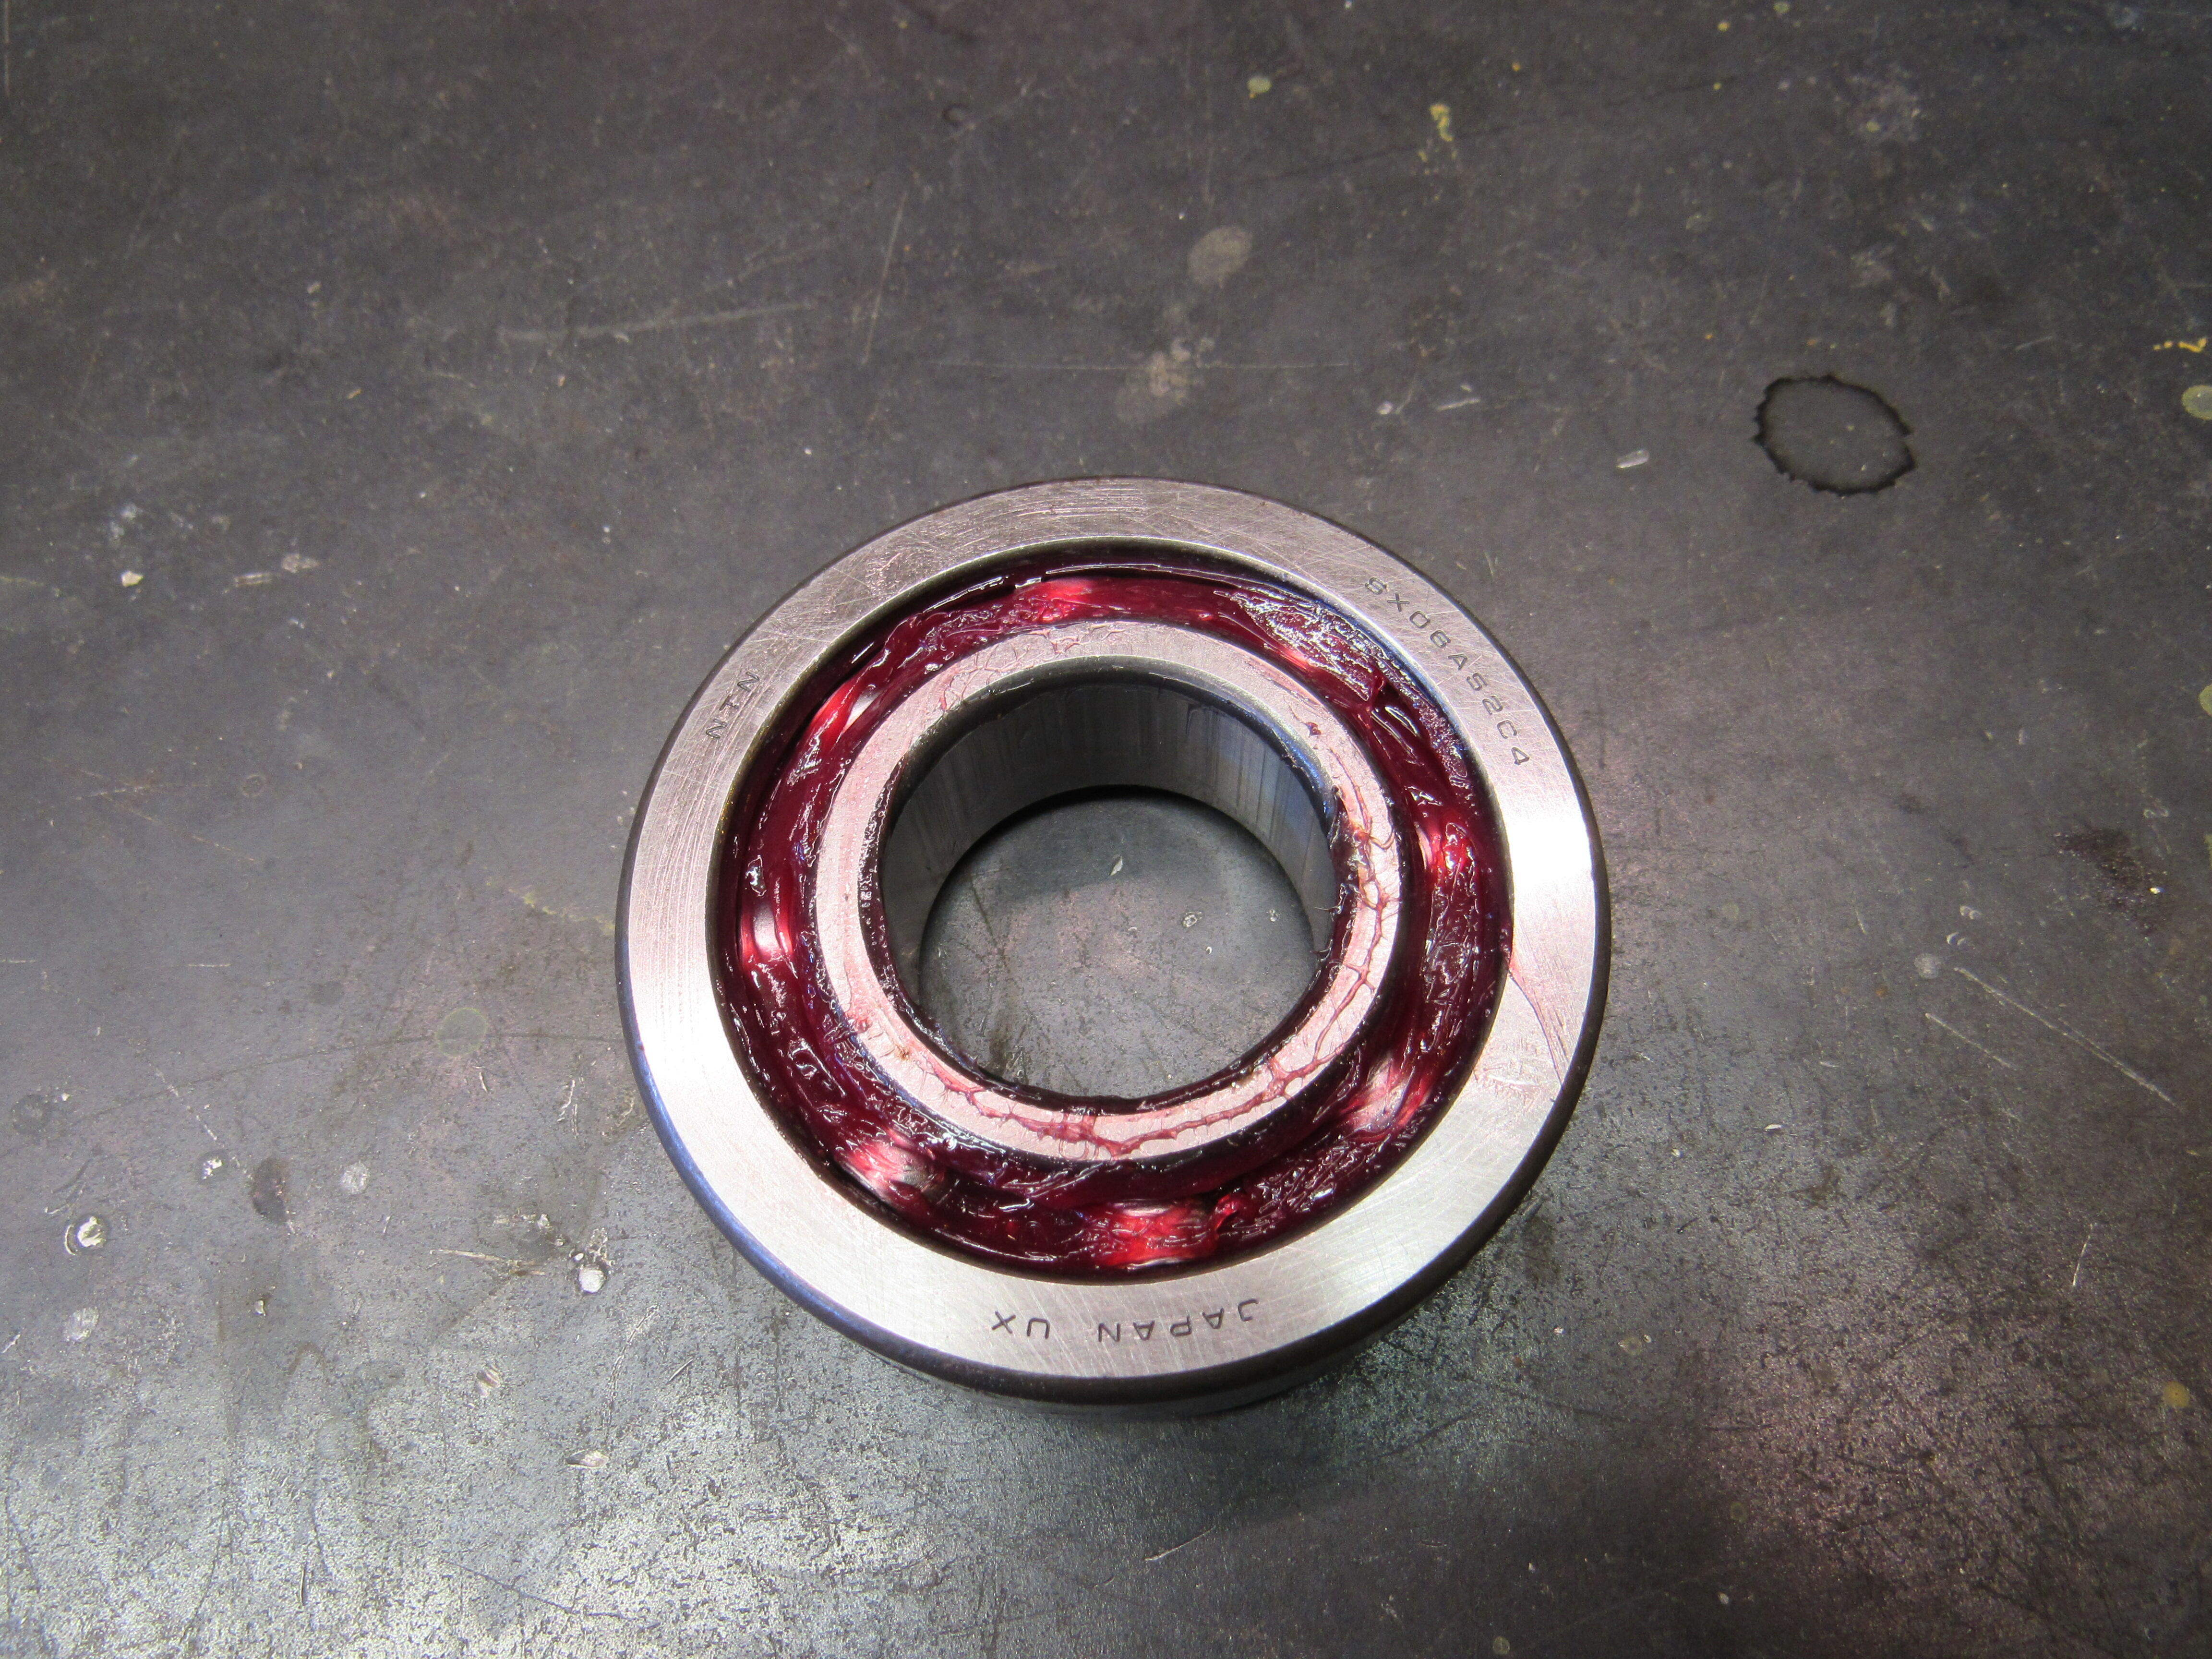
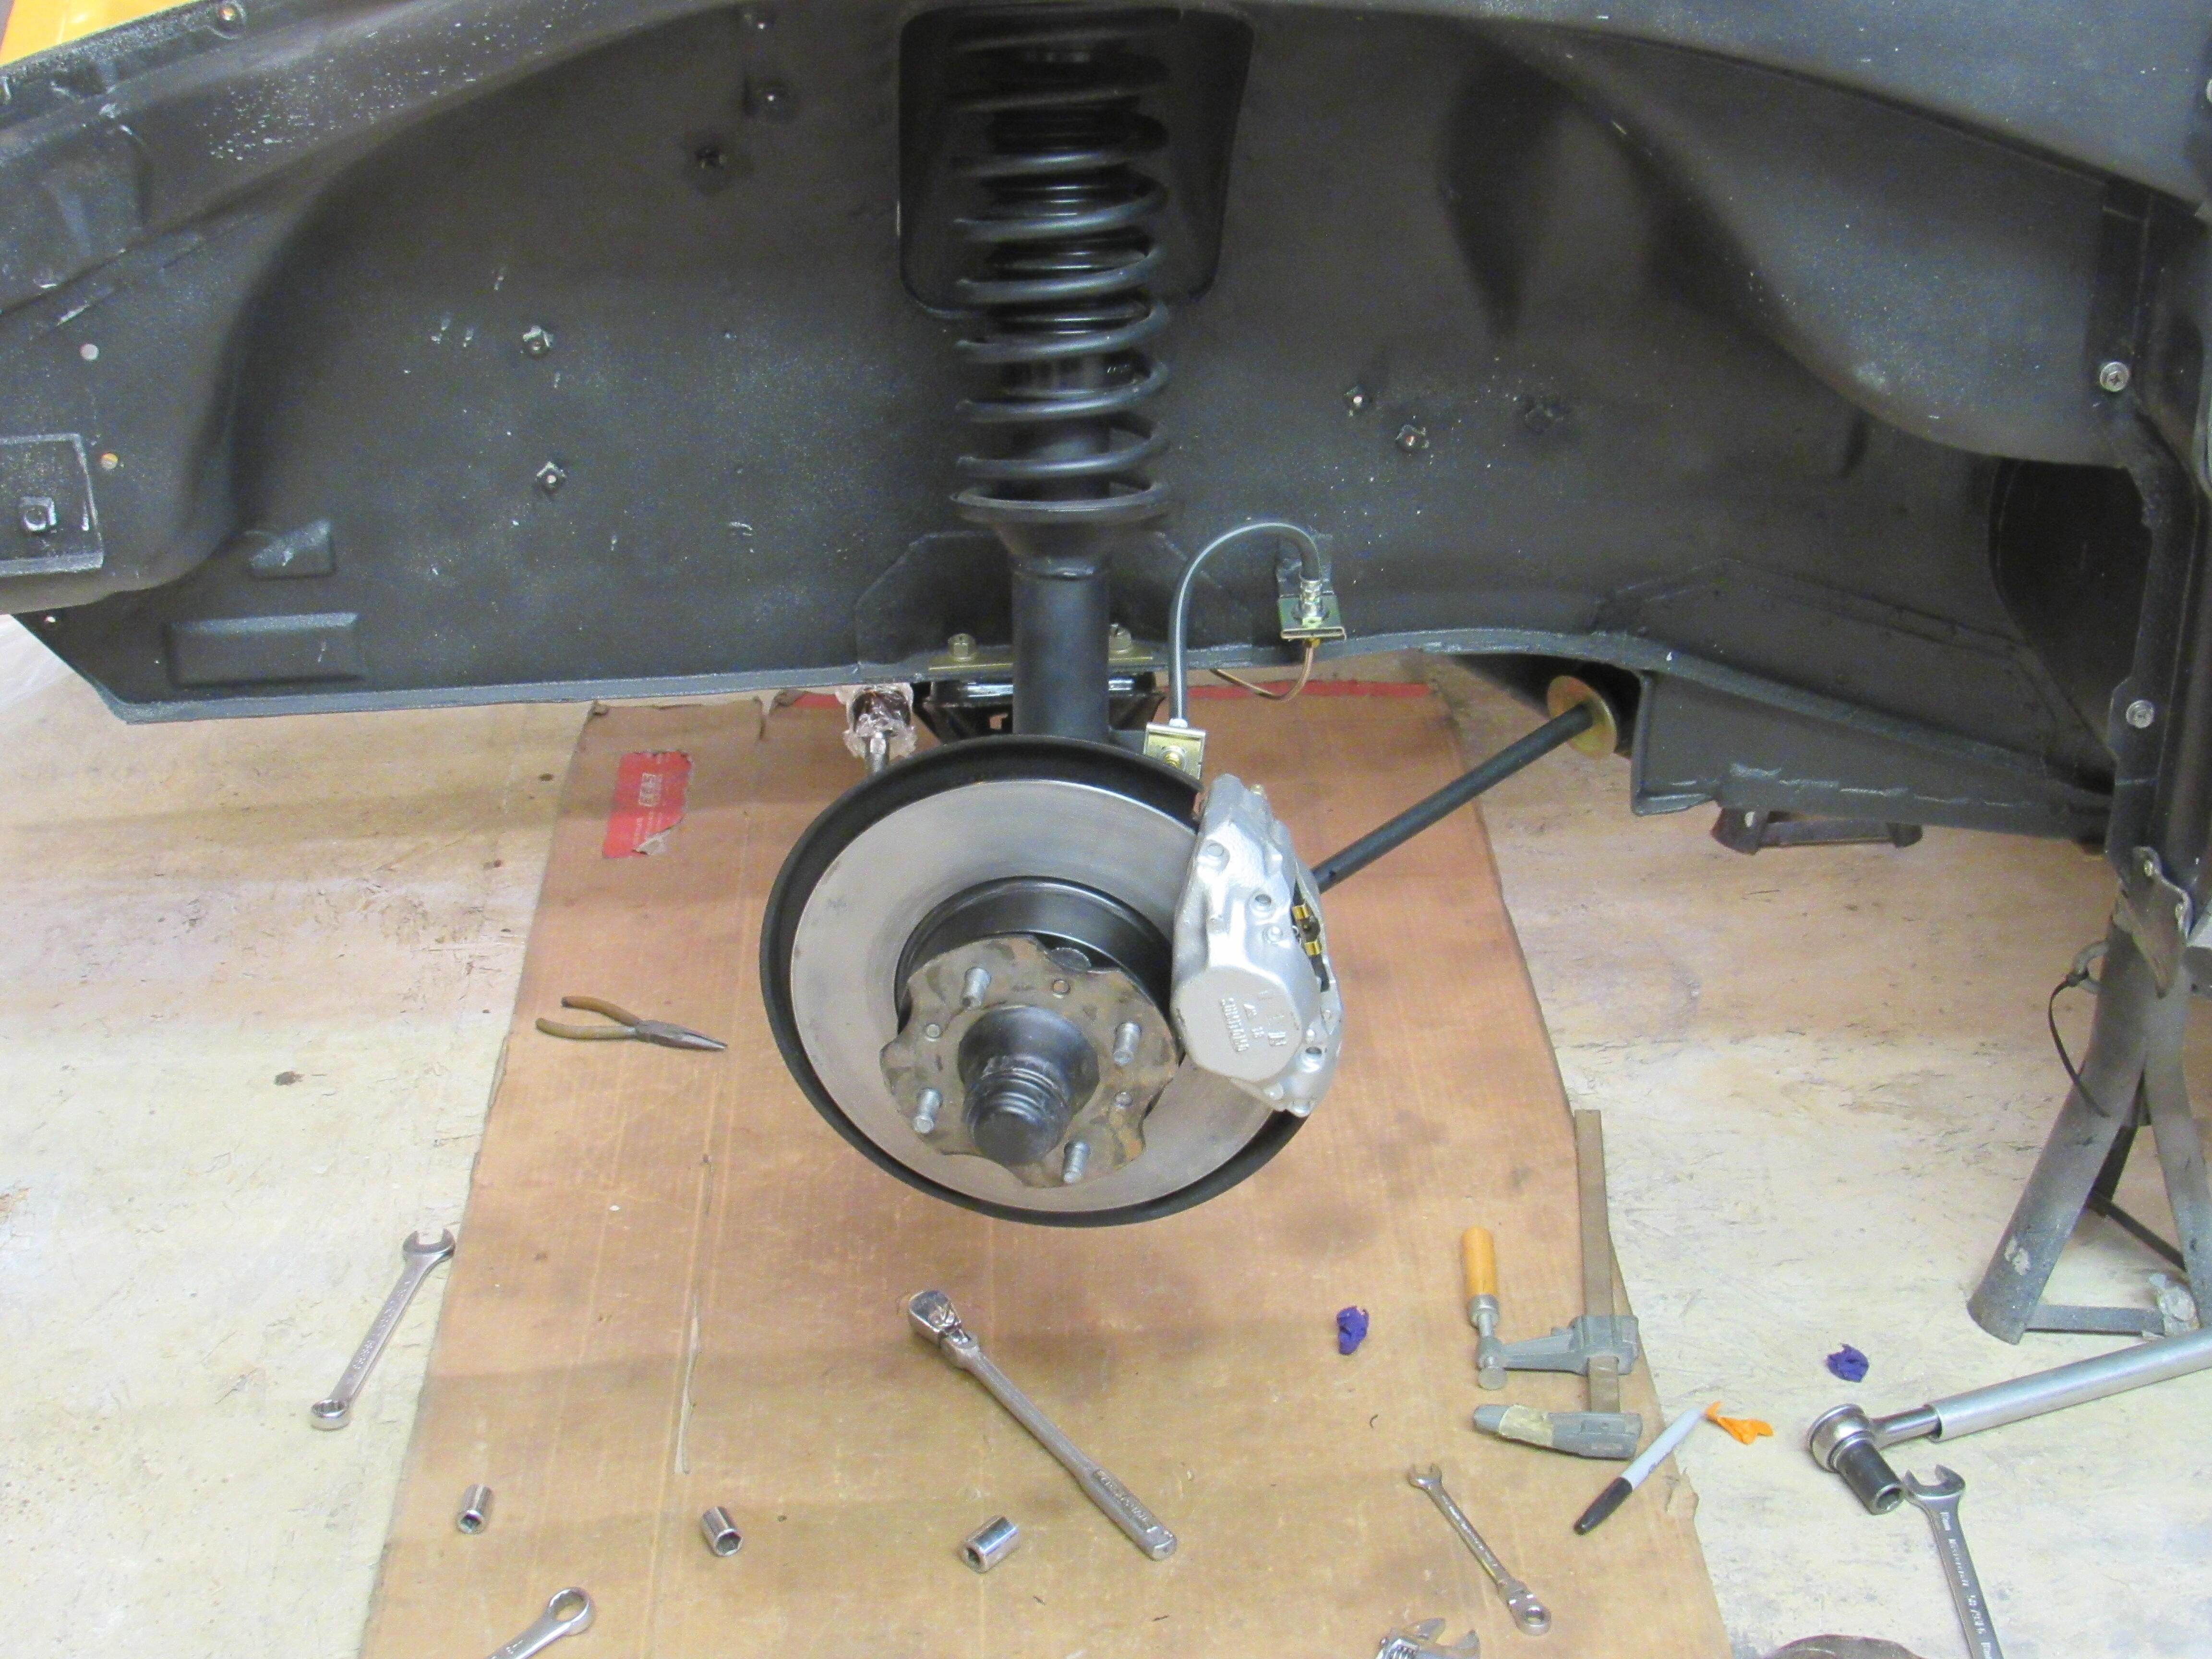
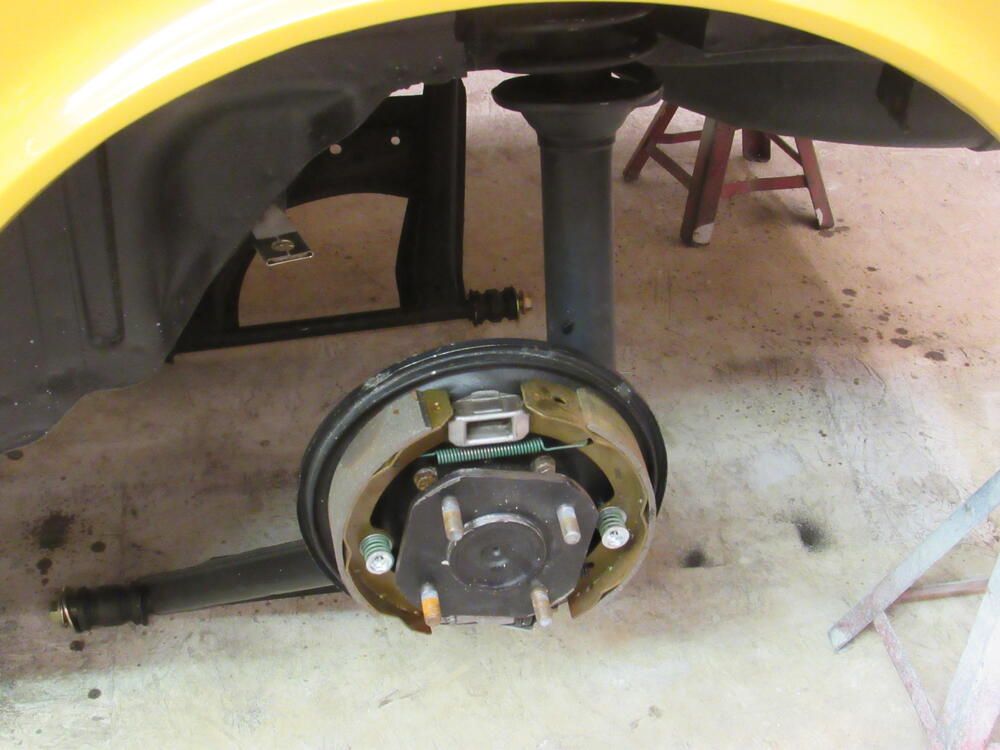
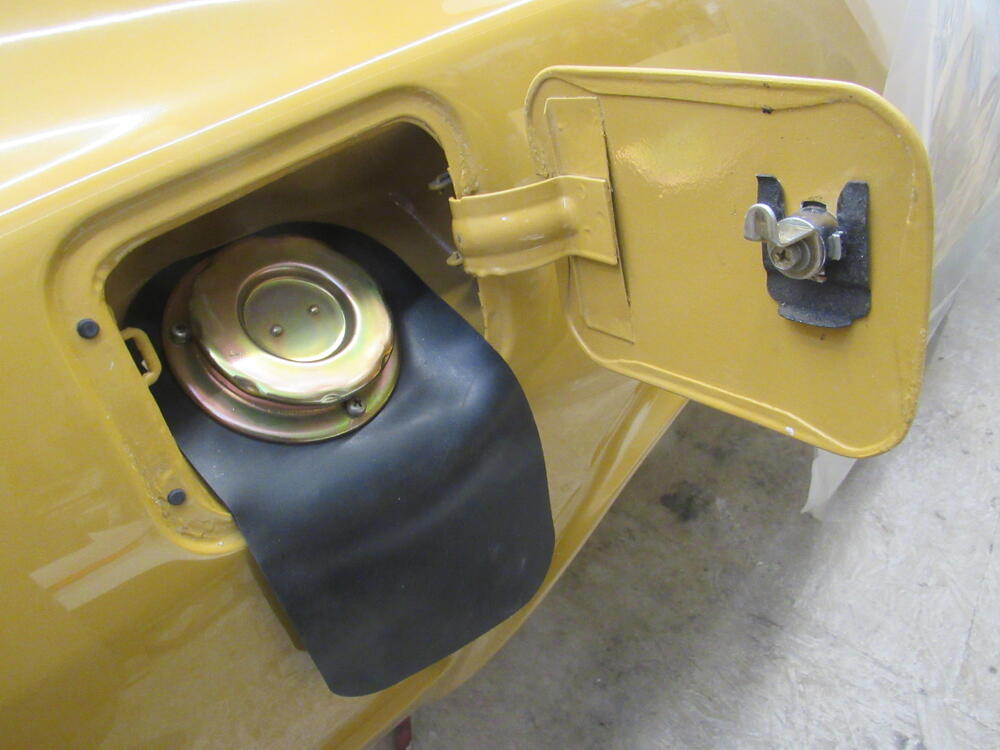
I got the diff in and all the associated pieces, waiting on a rear wheel bearing to replace a new wheel bearing. I've never seen a bad bearing right out of the box but this one is, starts grinding as soon as I tighten the nut, NTN maker. Gas tank is in as well as the engine and trans.


-
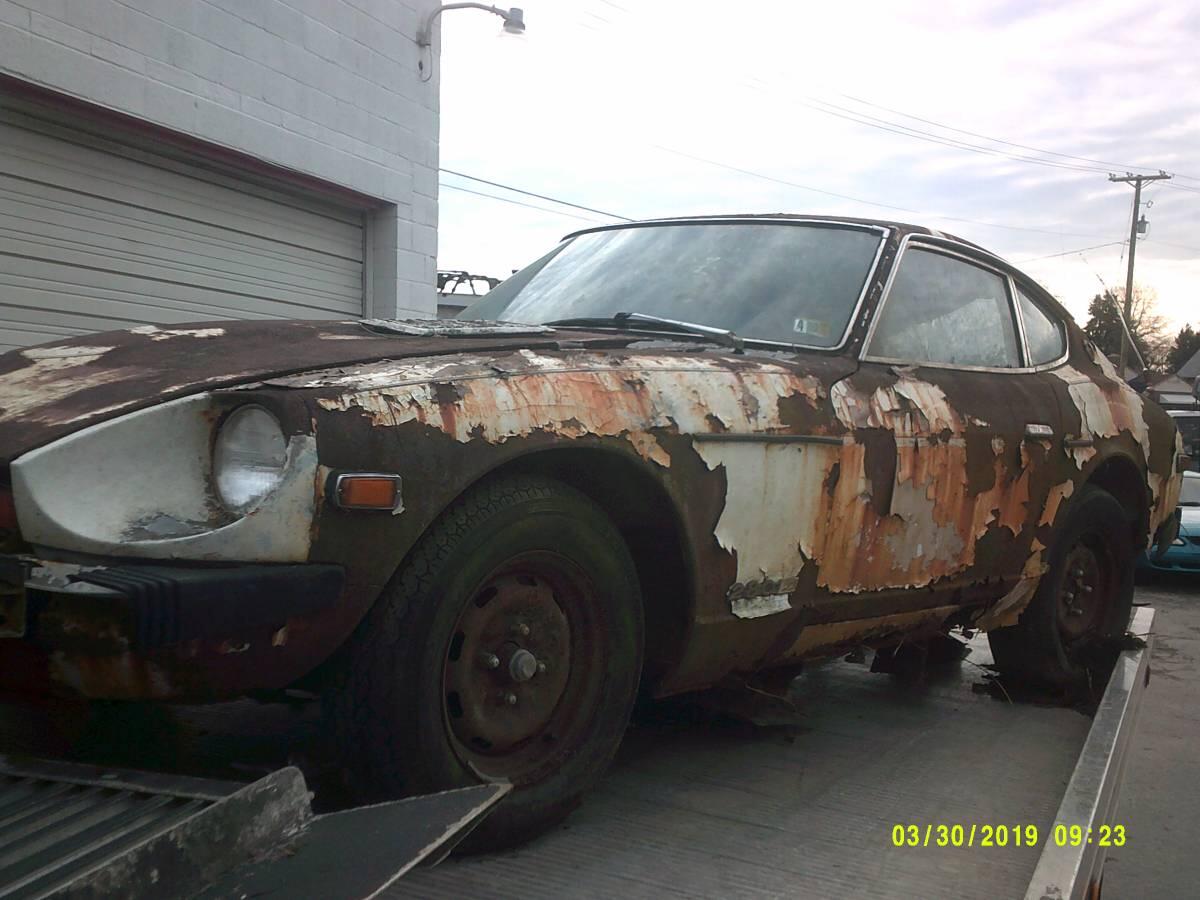
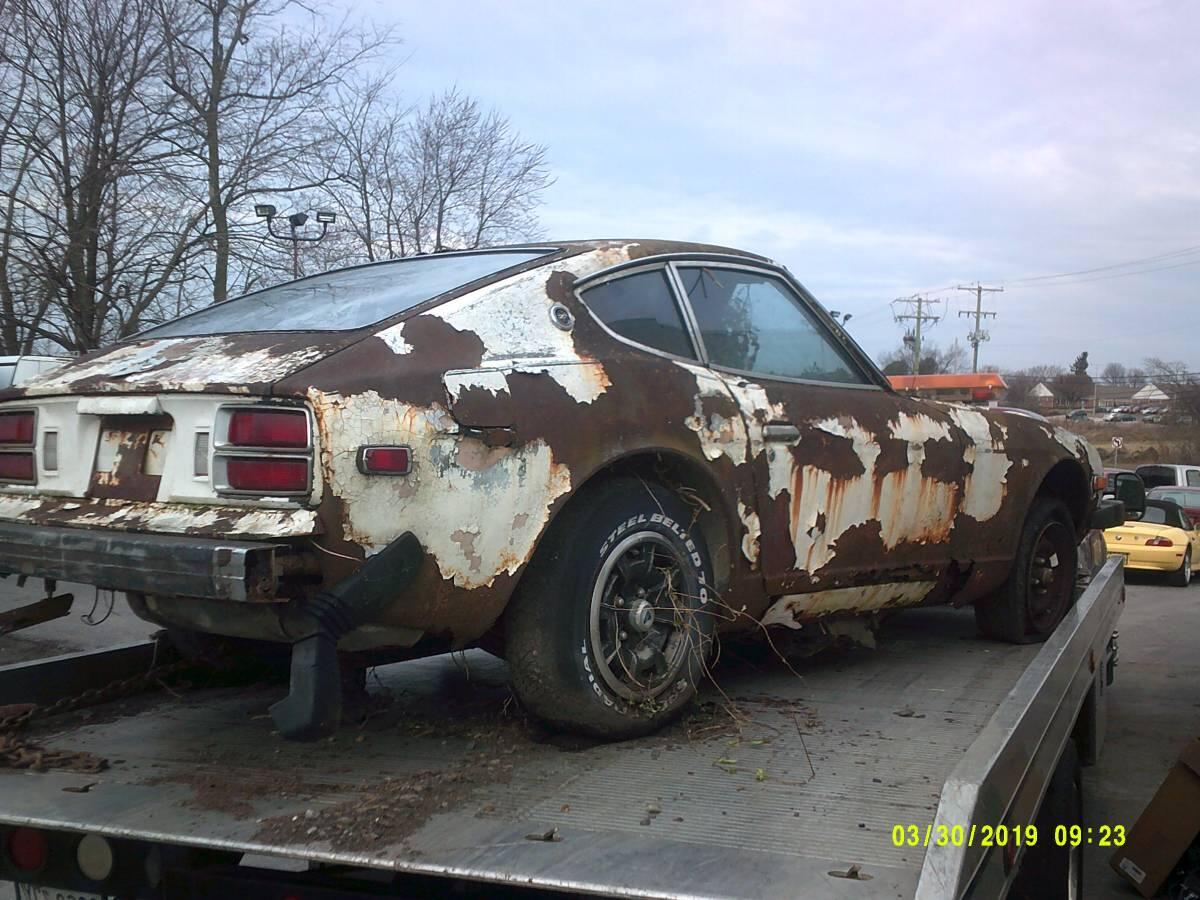
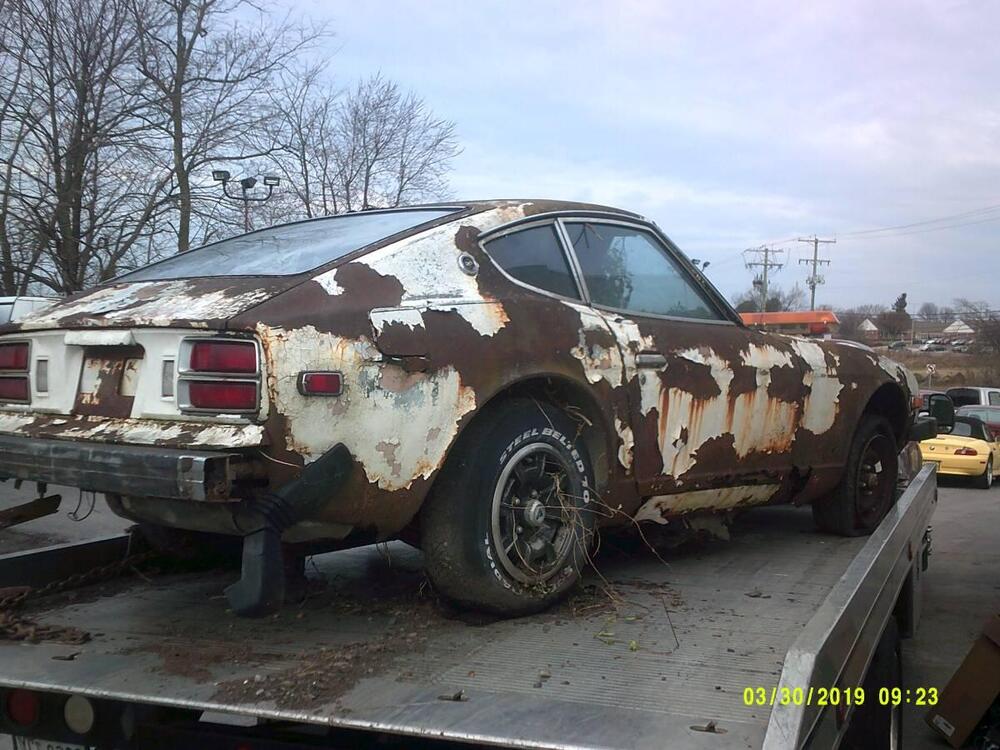
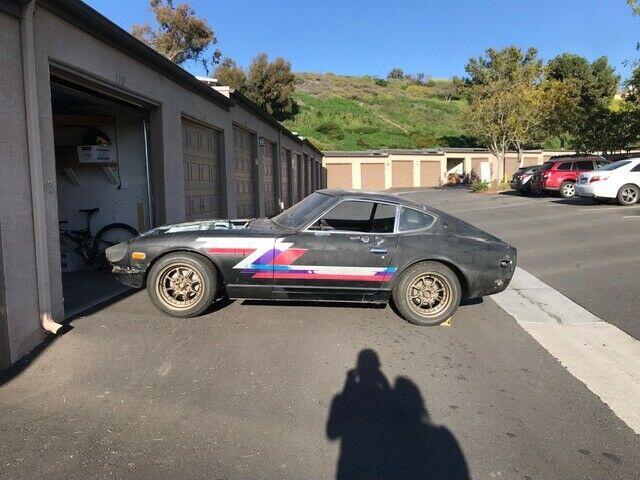
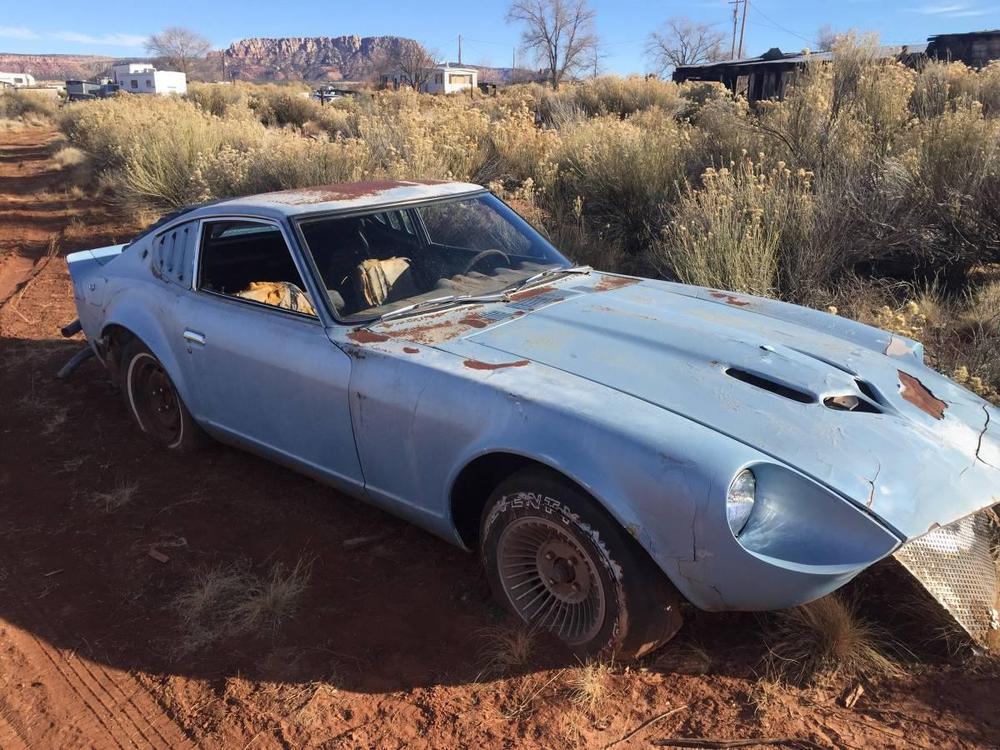
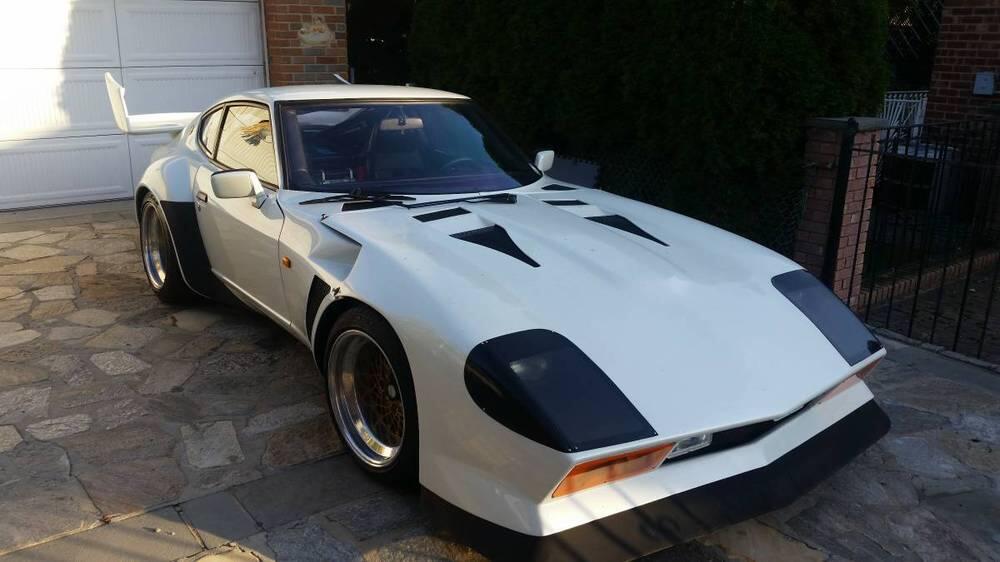
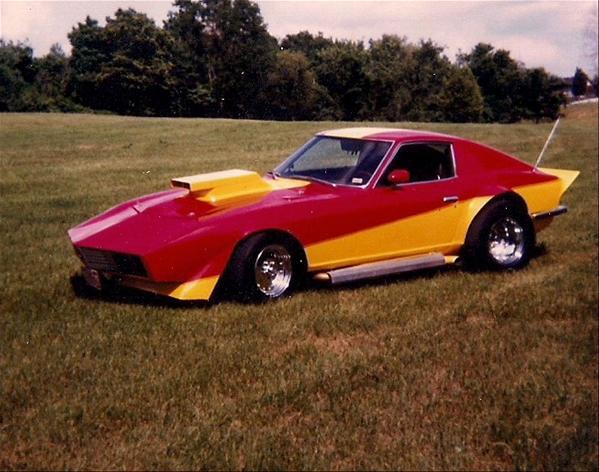
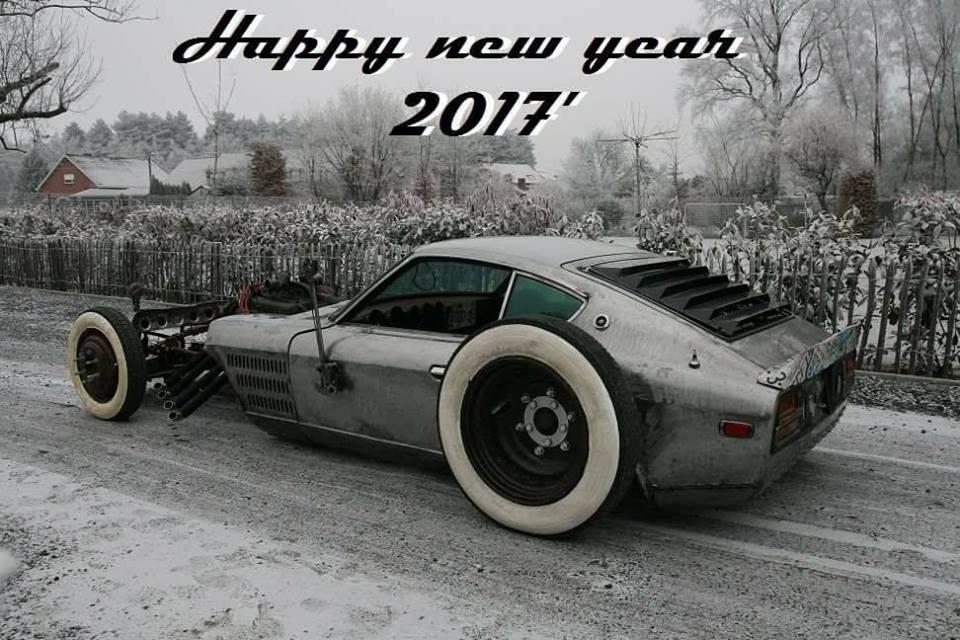
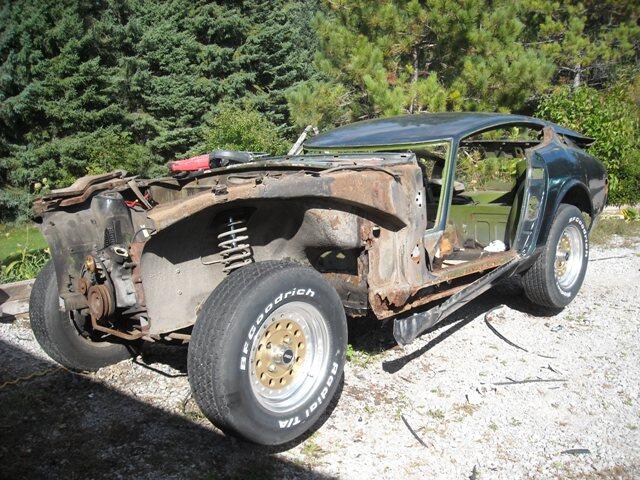
😬 You might be able to save the SS trim on that one. I have been collecting pics like these for yrs so I'm going to empty out my files, some of these have been posted before so please forgive the double posting. Not a Z but still worthy of a mothers love,


-
I've taken apart more than a few and they are always broken, twisted or broken and twisted, you got lucky or I'm unlucky.
-
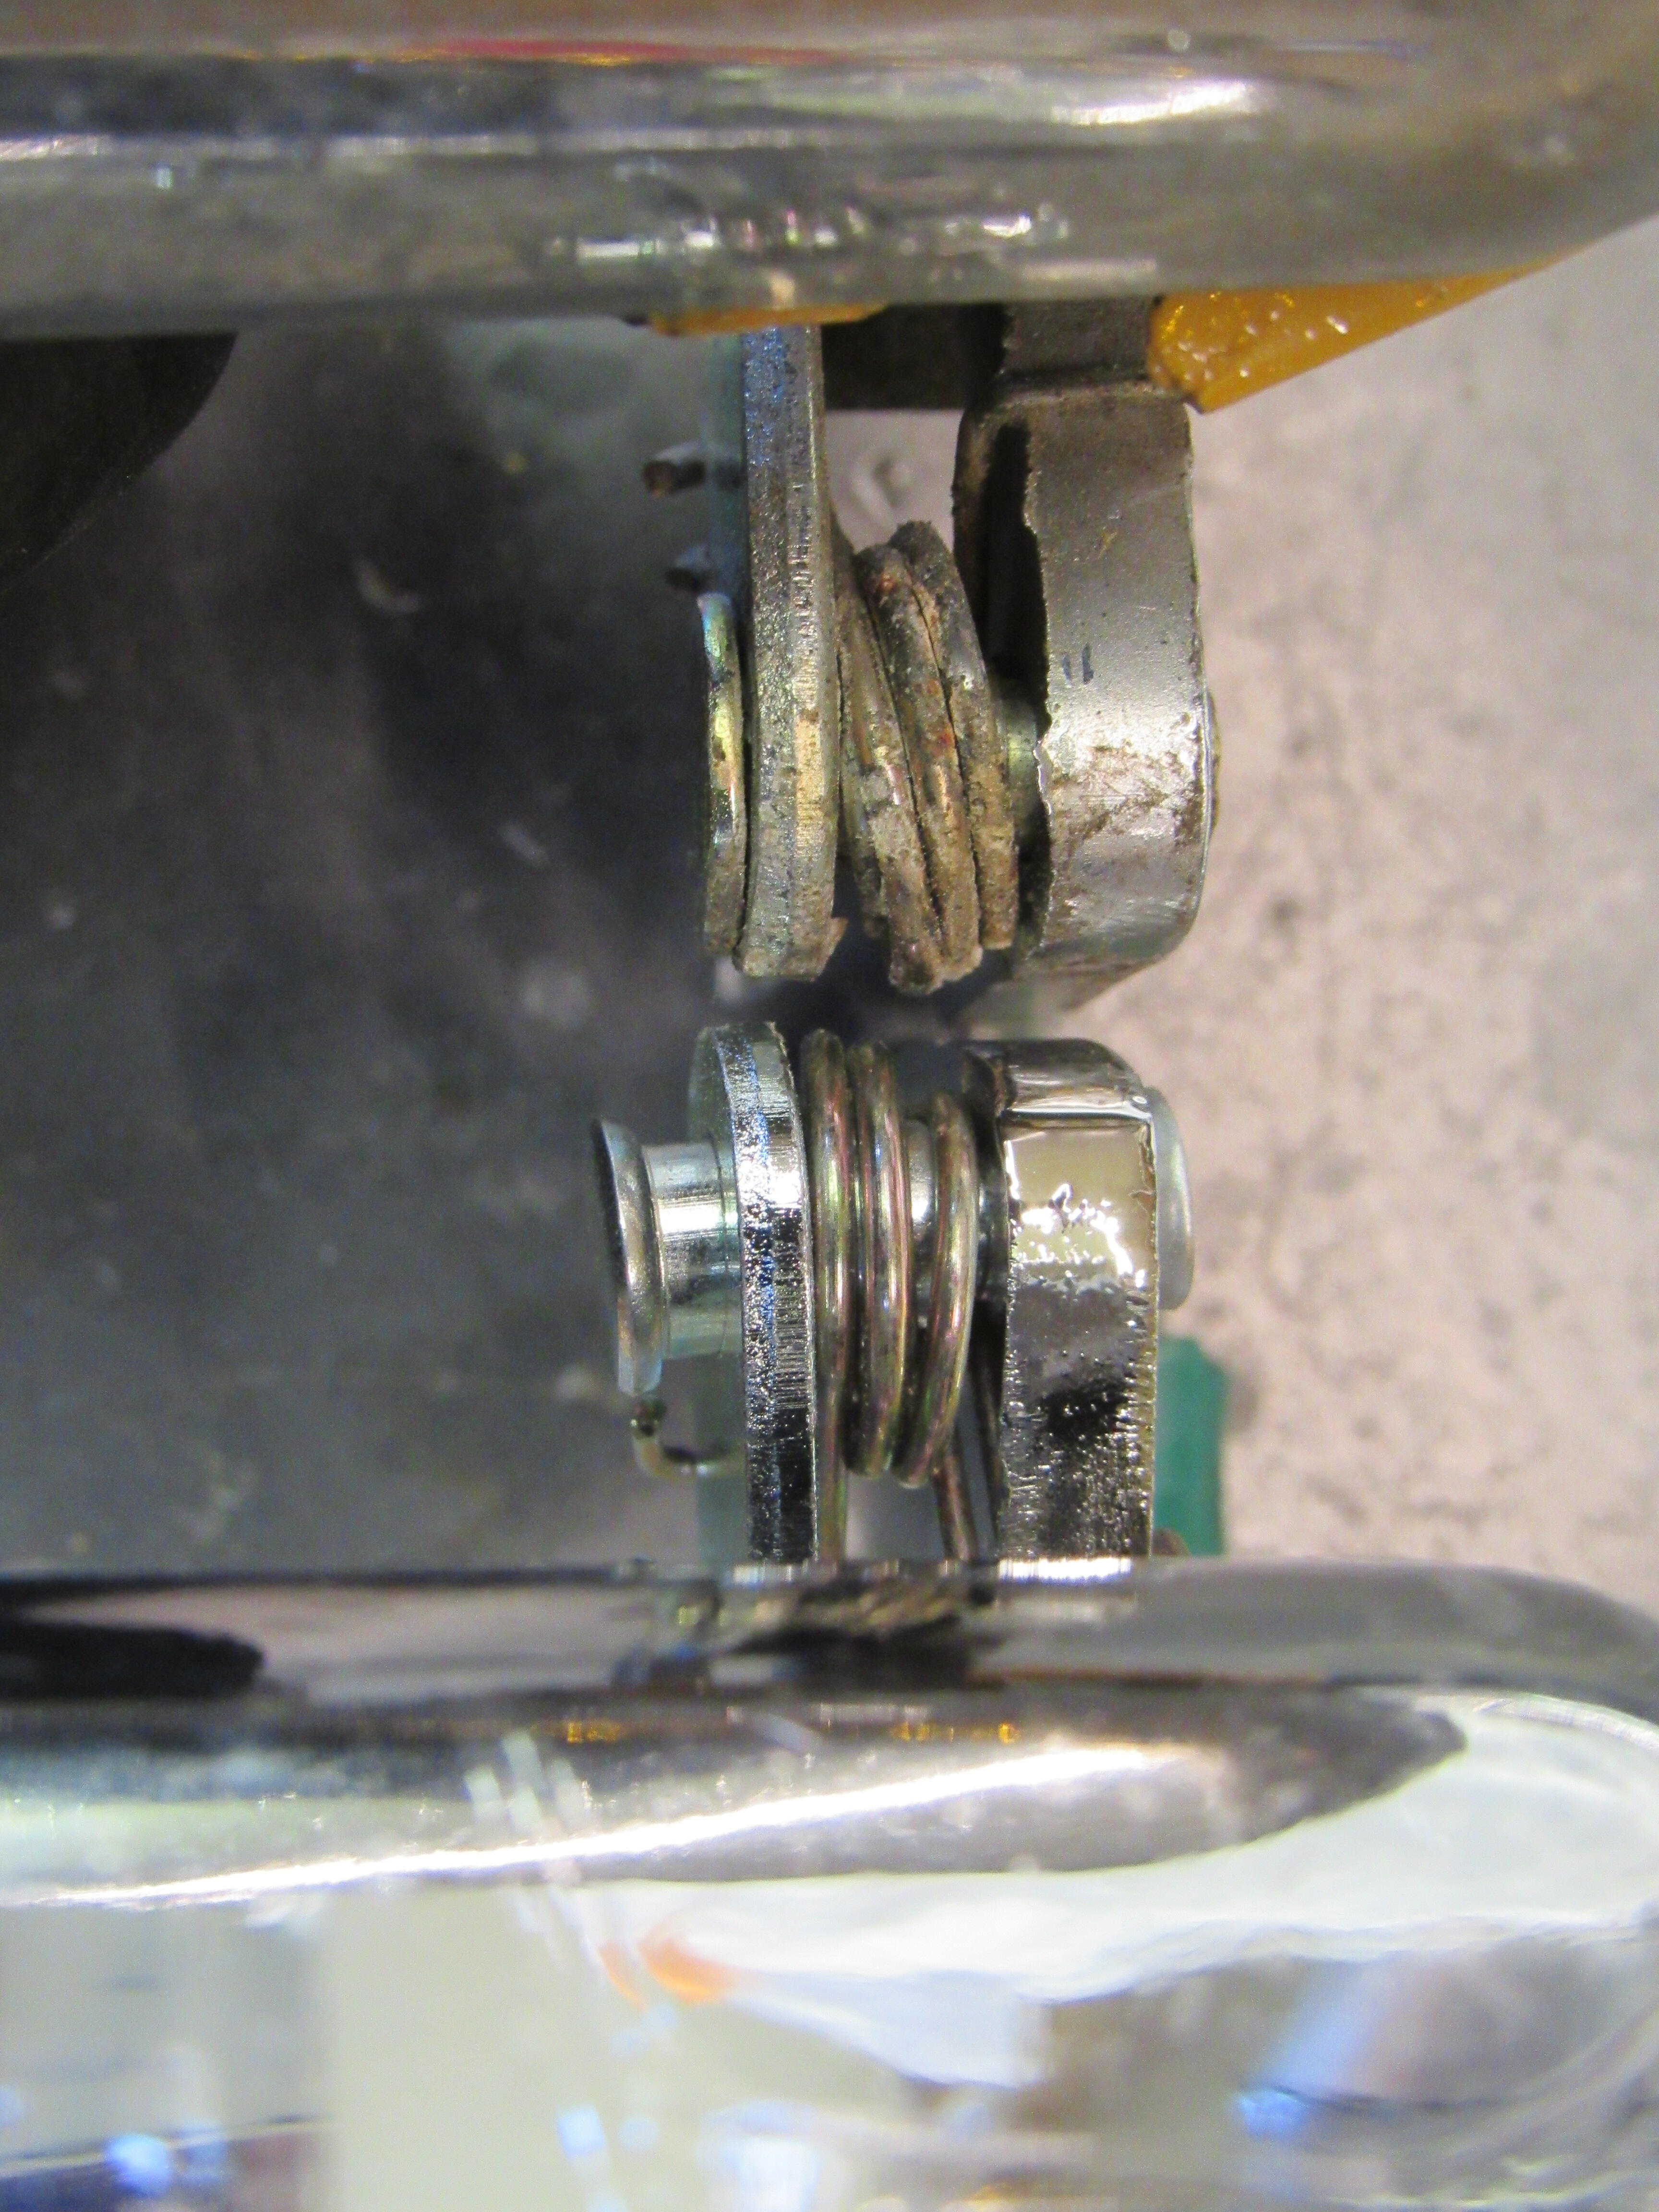
Charles, the bell crank joint with the black rubber cover, what did you do for that flat spring that is always broken?
-
What product did you use, they look great.
-
You have found a great shop, they're doing excellent work, congratulations.
-
That's a fair price, the rebuild kit alone is probably $60-70.00
-
An AC Delco should be the go to premium replacement starter, I guess not. There are still little one man shops that rebuild starter/alternators although they are getting harder to find. The the bulk of their work comes from transport semi trucks, might be worth checking out the transport trucks shops in your area.
-
No, but don't expect a big change in feel, some people find that synthetic makes the synchros feel a little notchy. Just be sure it is GL4.
-
Pretty much, new struts will open a faster but will be harder to close. I think the general rule of thumb is, as long as the hatch doesn't close under its own weight then the struts are working normally.
-
inline6, if the apron or header panel isn't covered yet, it's good to re tap the threads for the rear view mirror and sun visors. Quite often they get filled with paint and once the vinyl/foam is in place it's hard enough to find the holes let alone deal with fine threads that won't cooperate.
-
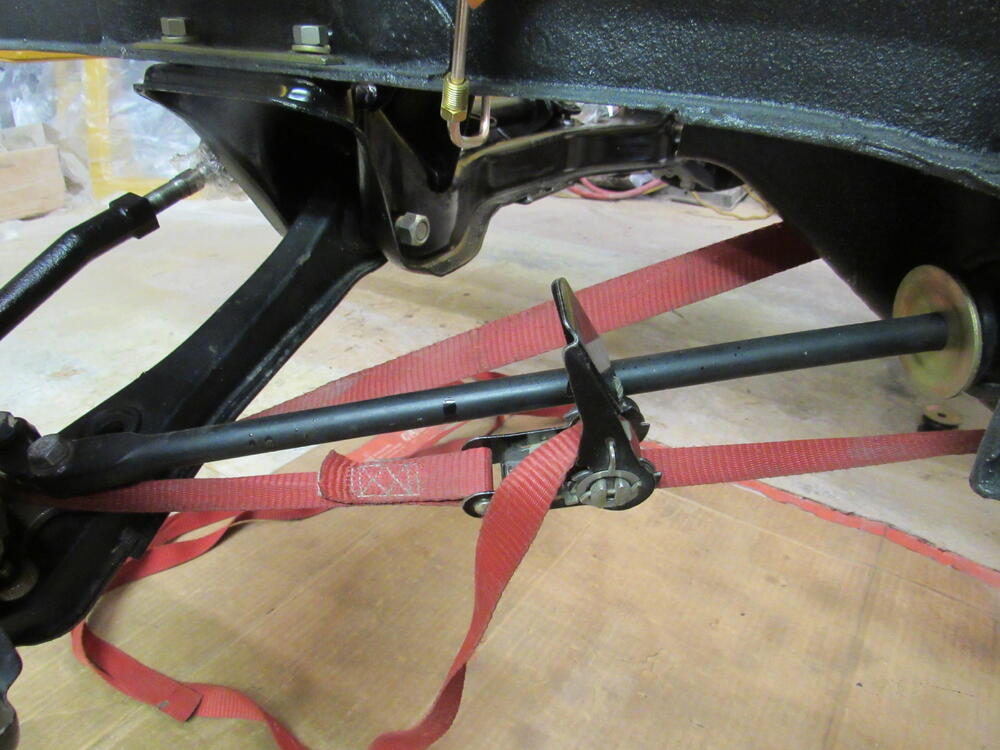
I could have started with 1500 but it would have taken a lot longer to get through the orange peel.😄 I have some Meguiars #7 and a black foam pad I've never used, maybe I'll do some tests, Thanks. I got a bunch of stuff installed today, This is the only effective way I've found to install the T/C rods, come to think of it, I might have picked it up from someone here.


-
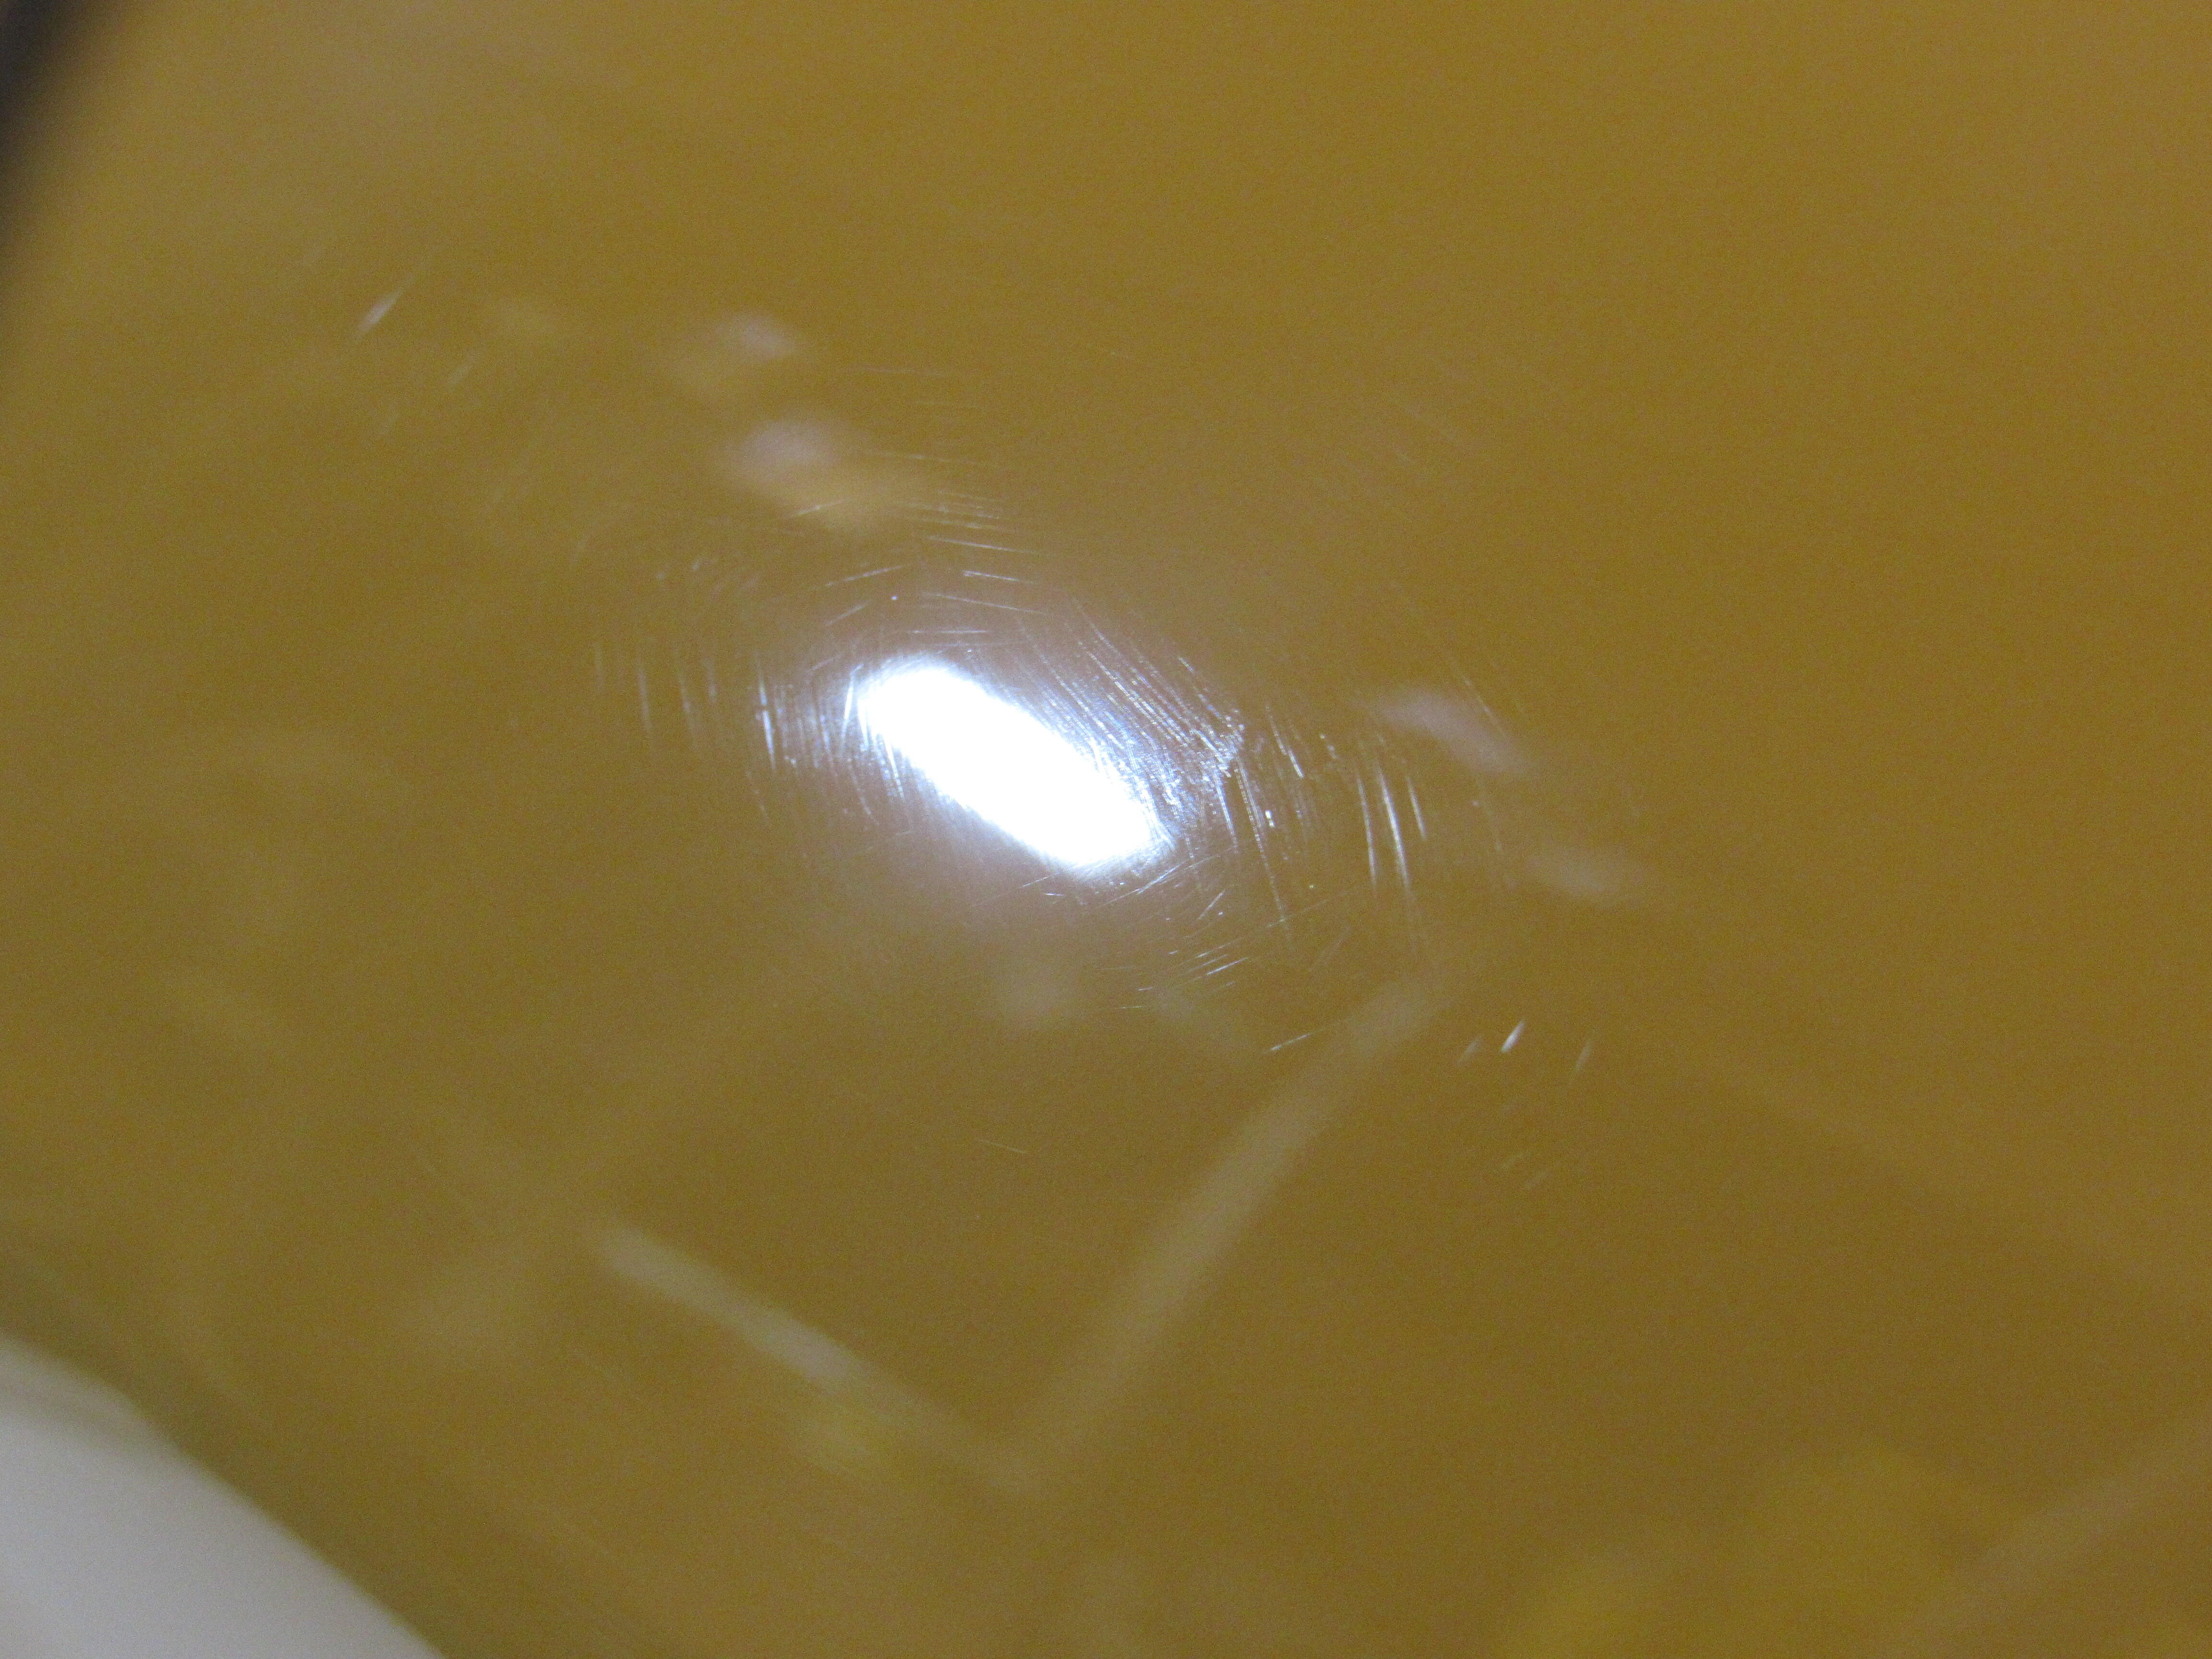
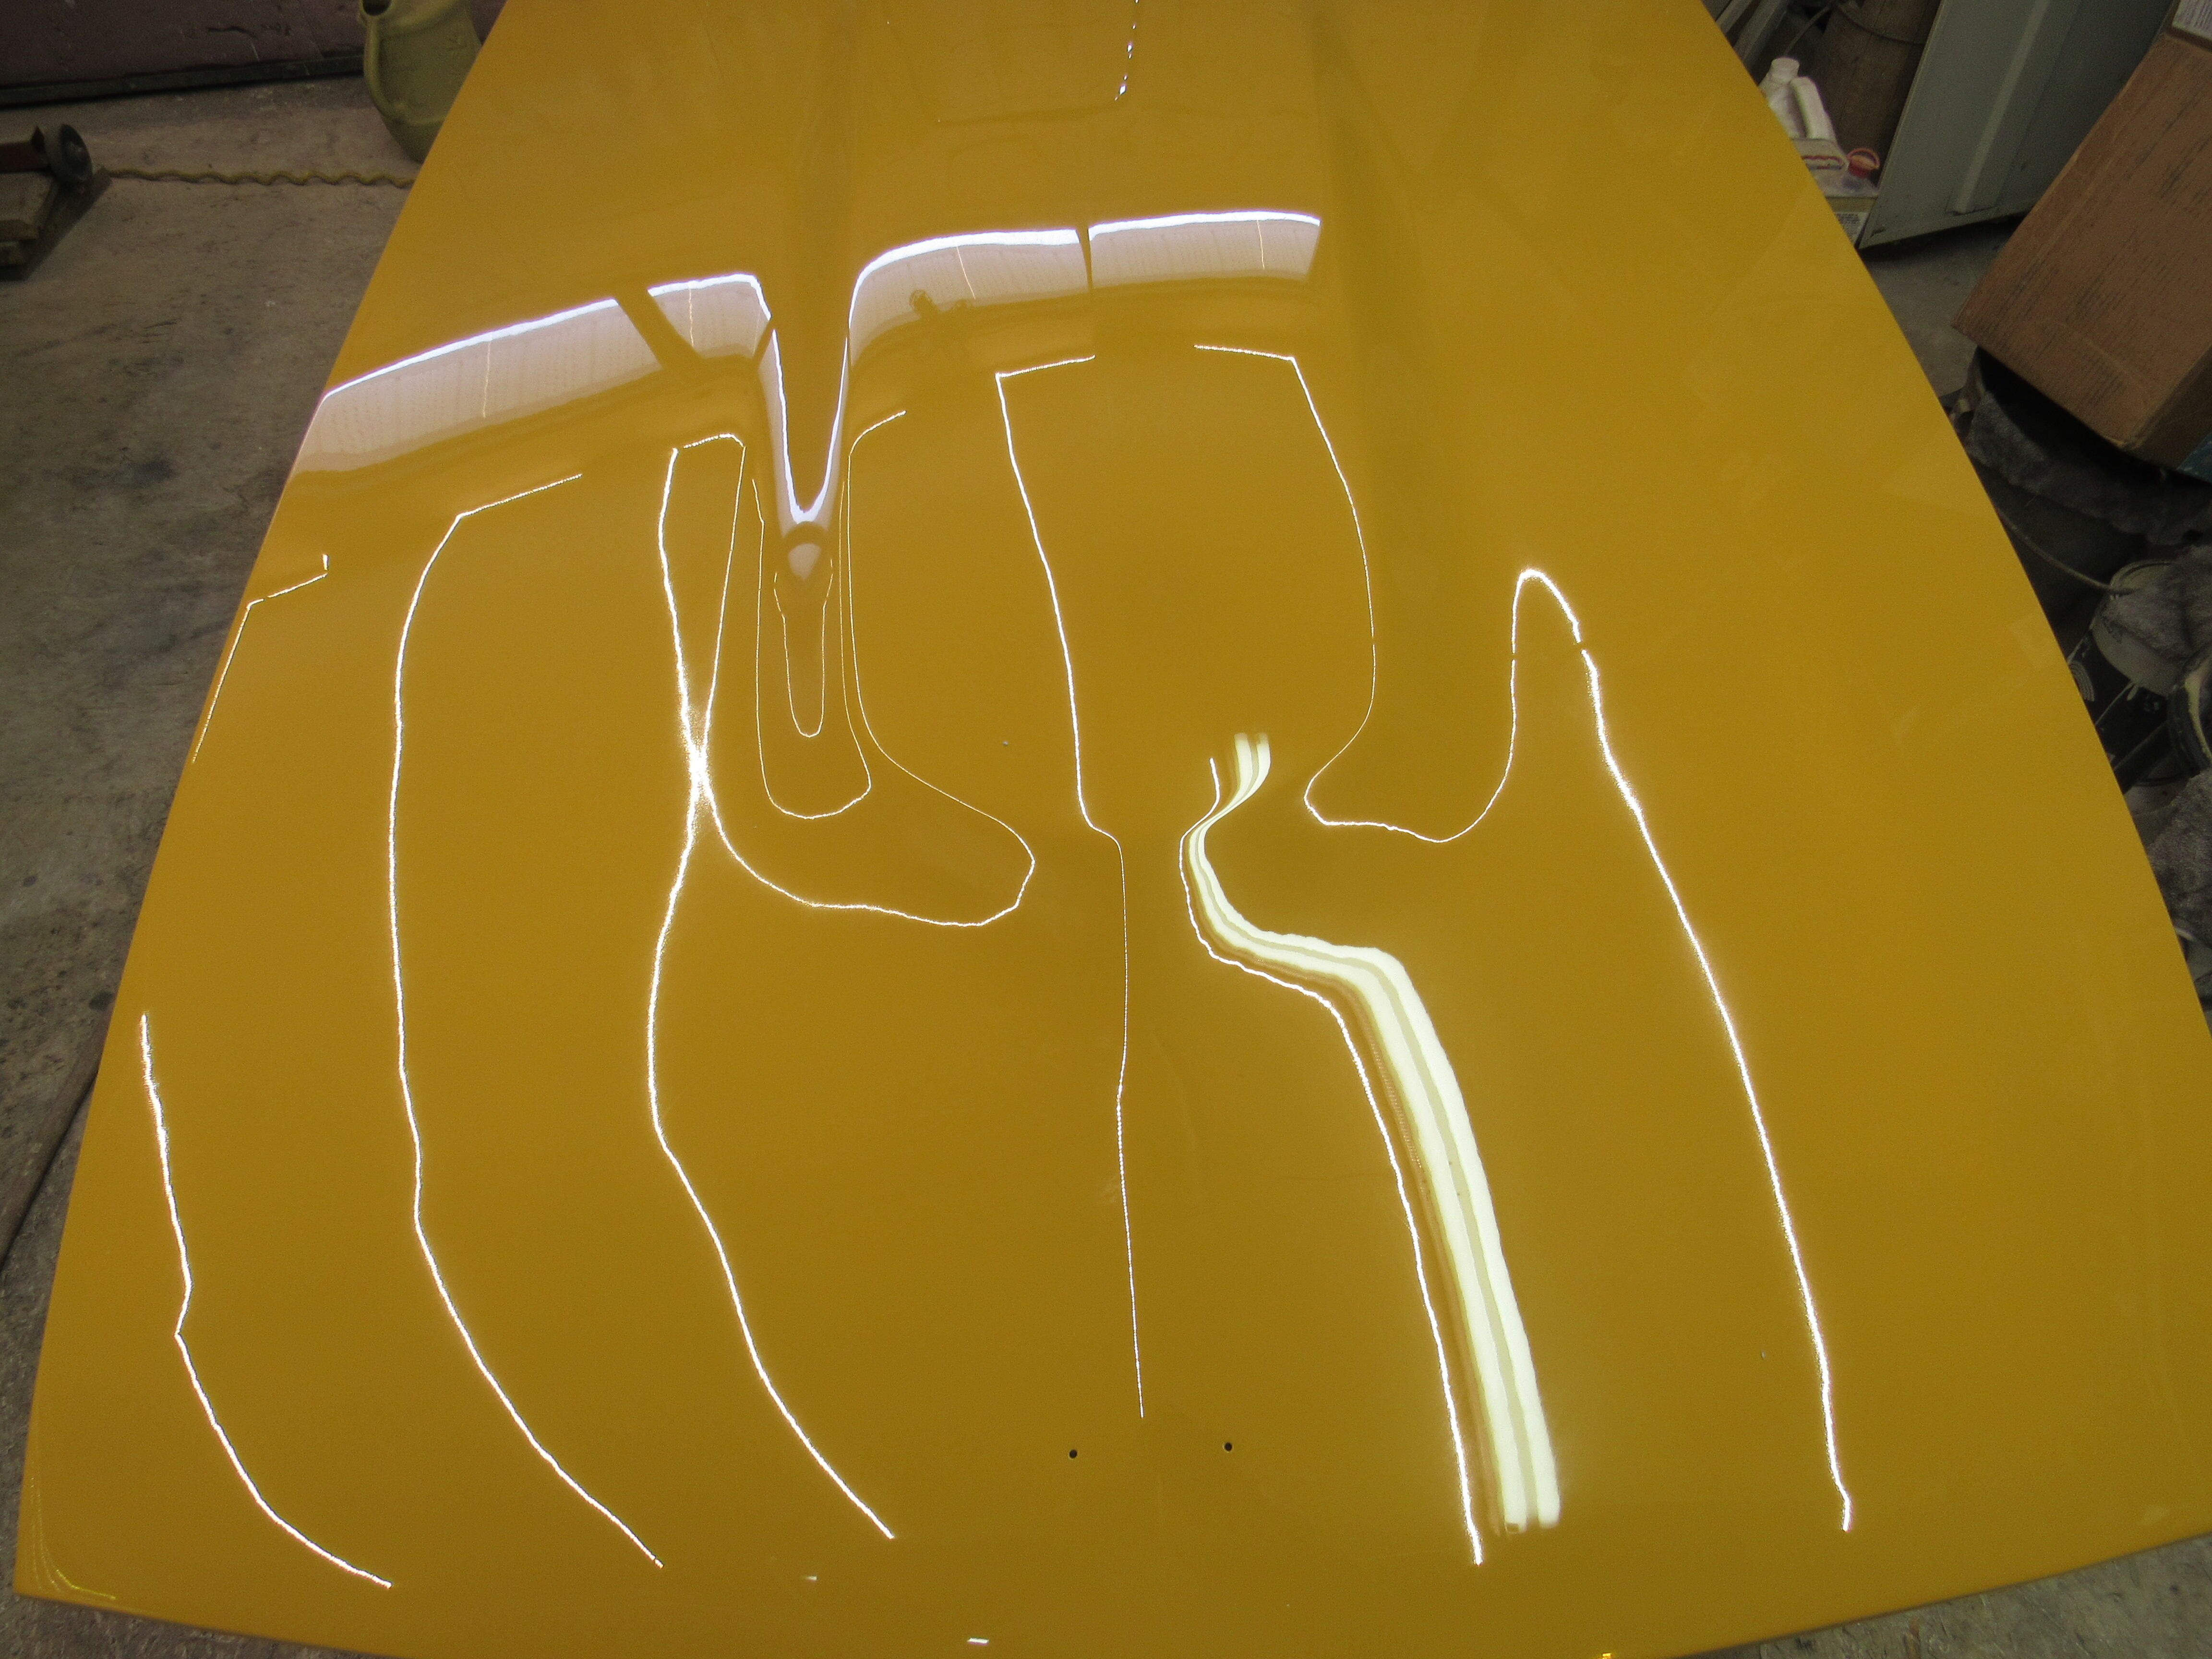
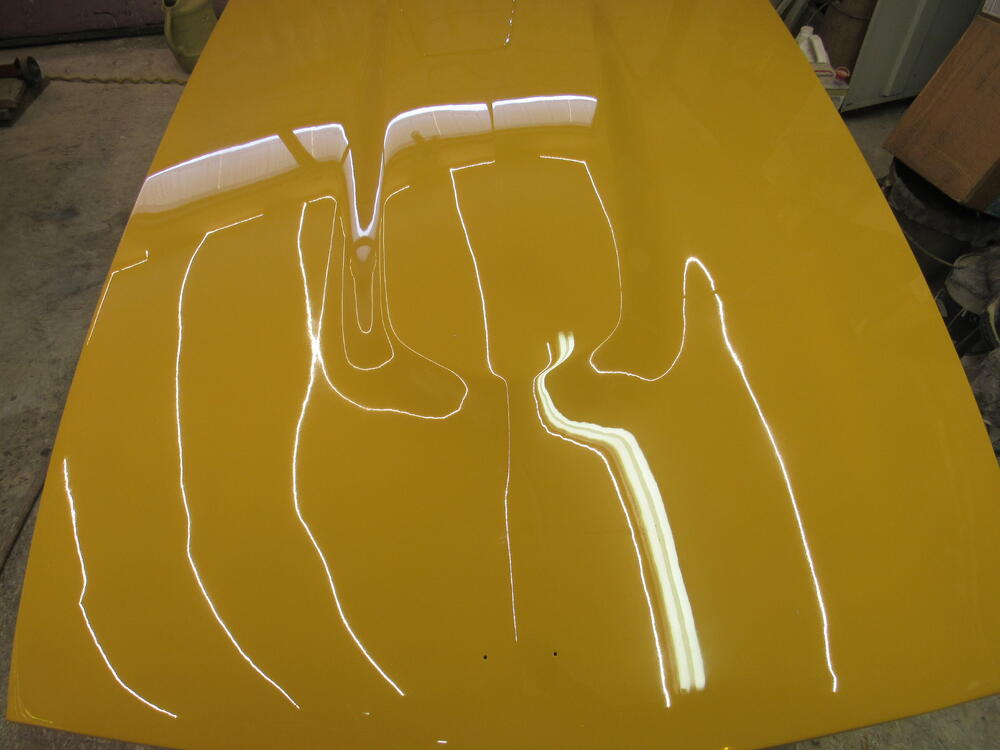
I should add, before I start wet sanding the clear coat, it is still shiny and I can see using an intense light that there are no scratches in the clear, paint or primer. If the those spider webs (also called swirls) are left over from wet sanding in an X pattern then that points to not enough buffing with the 7" rotary. That is the probable answer, not buffing long enough. A 7" rotary with a lambswool pad is probably the best method of buffing in a shine, it's also the best tool to burn through clear coat.
-
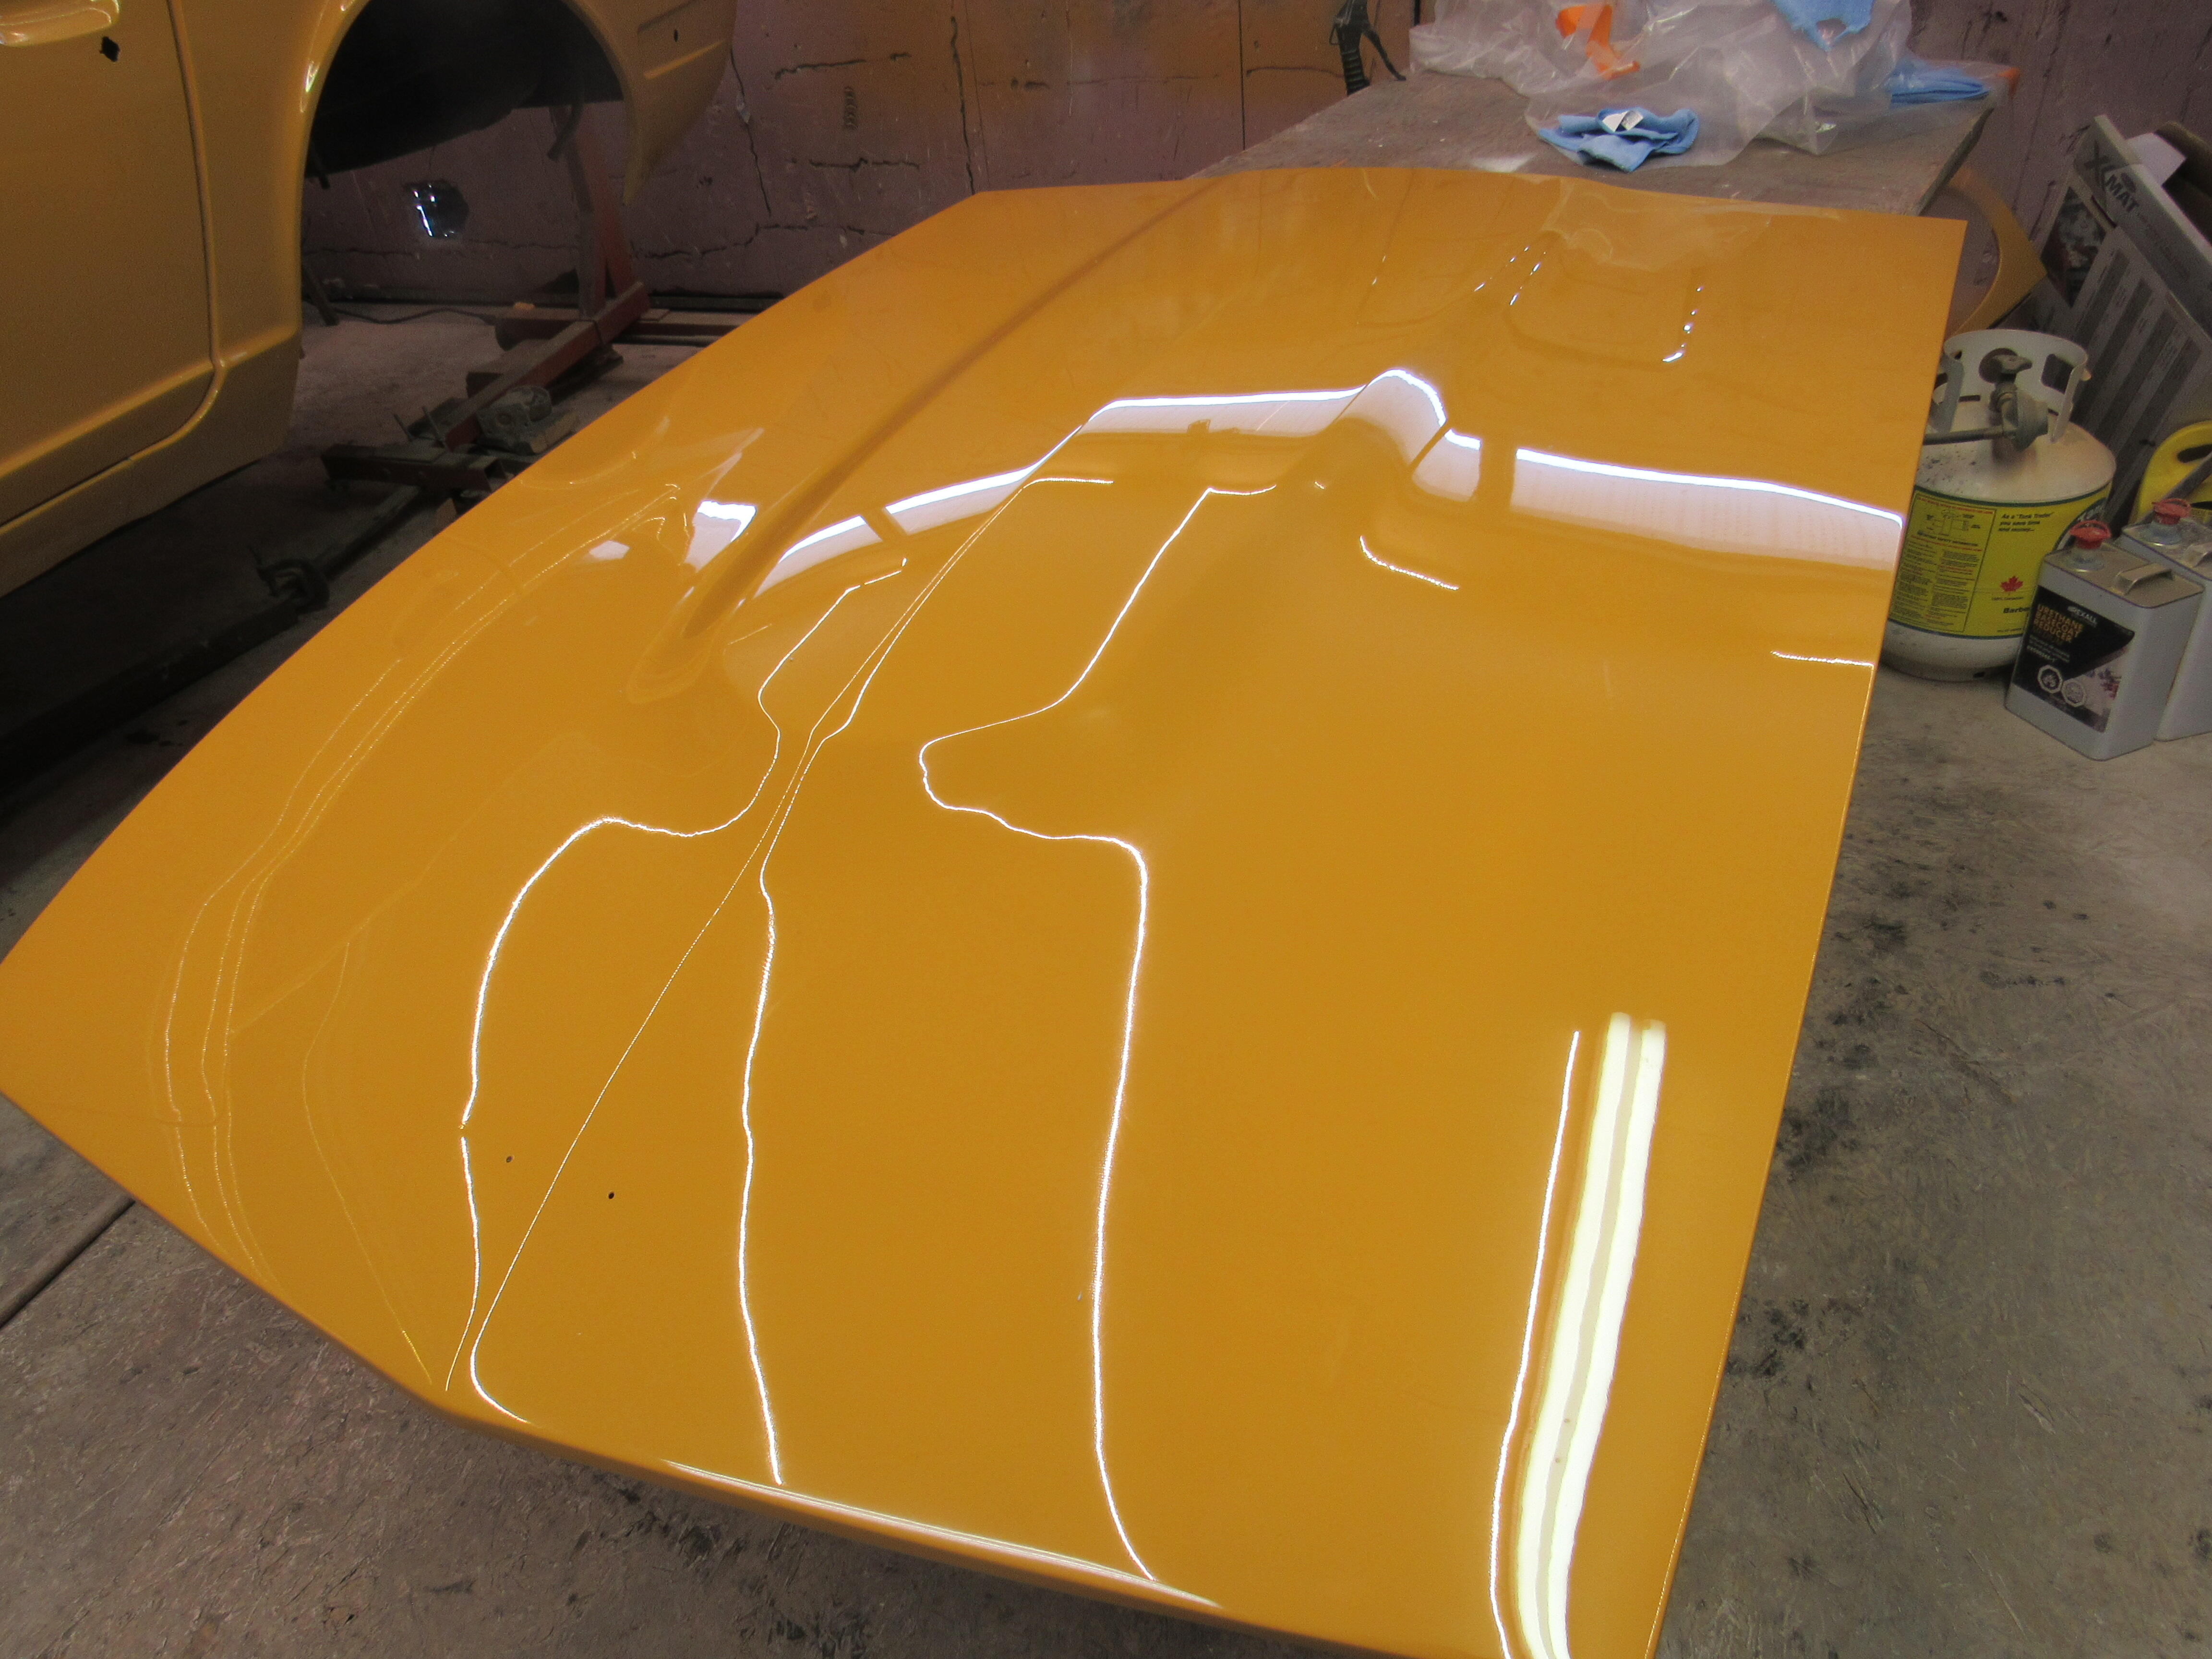
They are on the surface of the clear coat, first grit after the clear coat has cured is 1200, dry on a 6: disc sander to remove the orange peel, then wet blocking with 1200, then wet 1500, 2000 and finally 2500, thoroughly cleaning everything between grits. Buffing starts with a 7" lambswool pad on a rotary buffer with Mequiars Pro speed 100 compound, then Menzerna compound 400 on a separate 7"lambswool rotary, then TLD The final polish on a 6" orange foam pad using a DA sander, then Carnauba wax on a white foam pad using a DA sander.
-
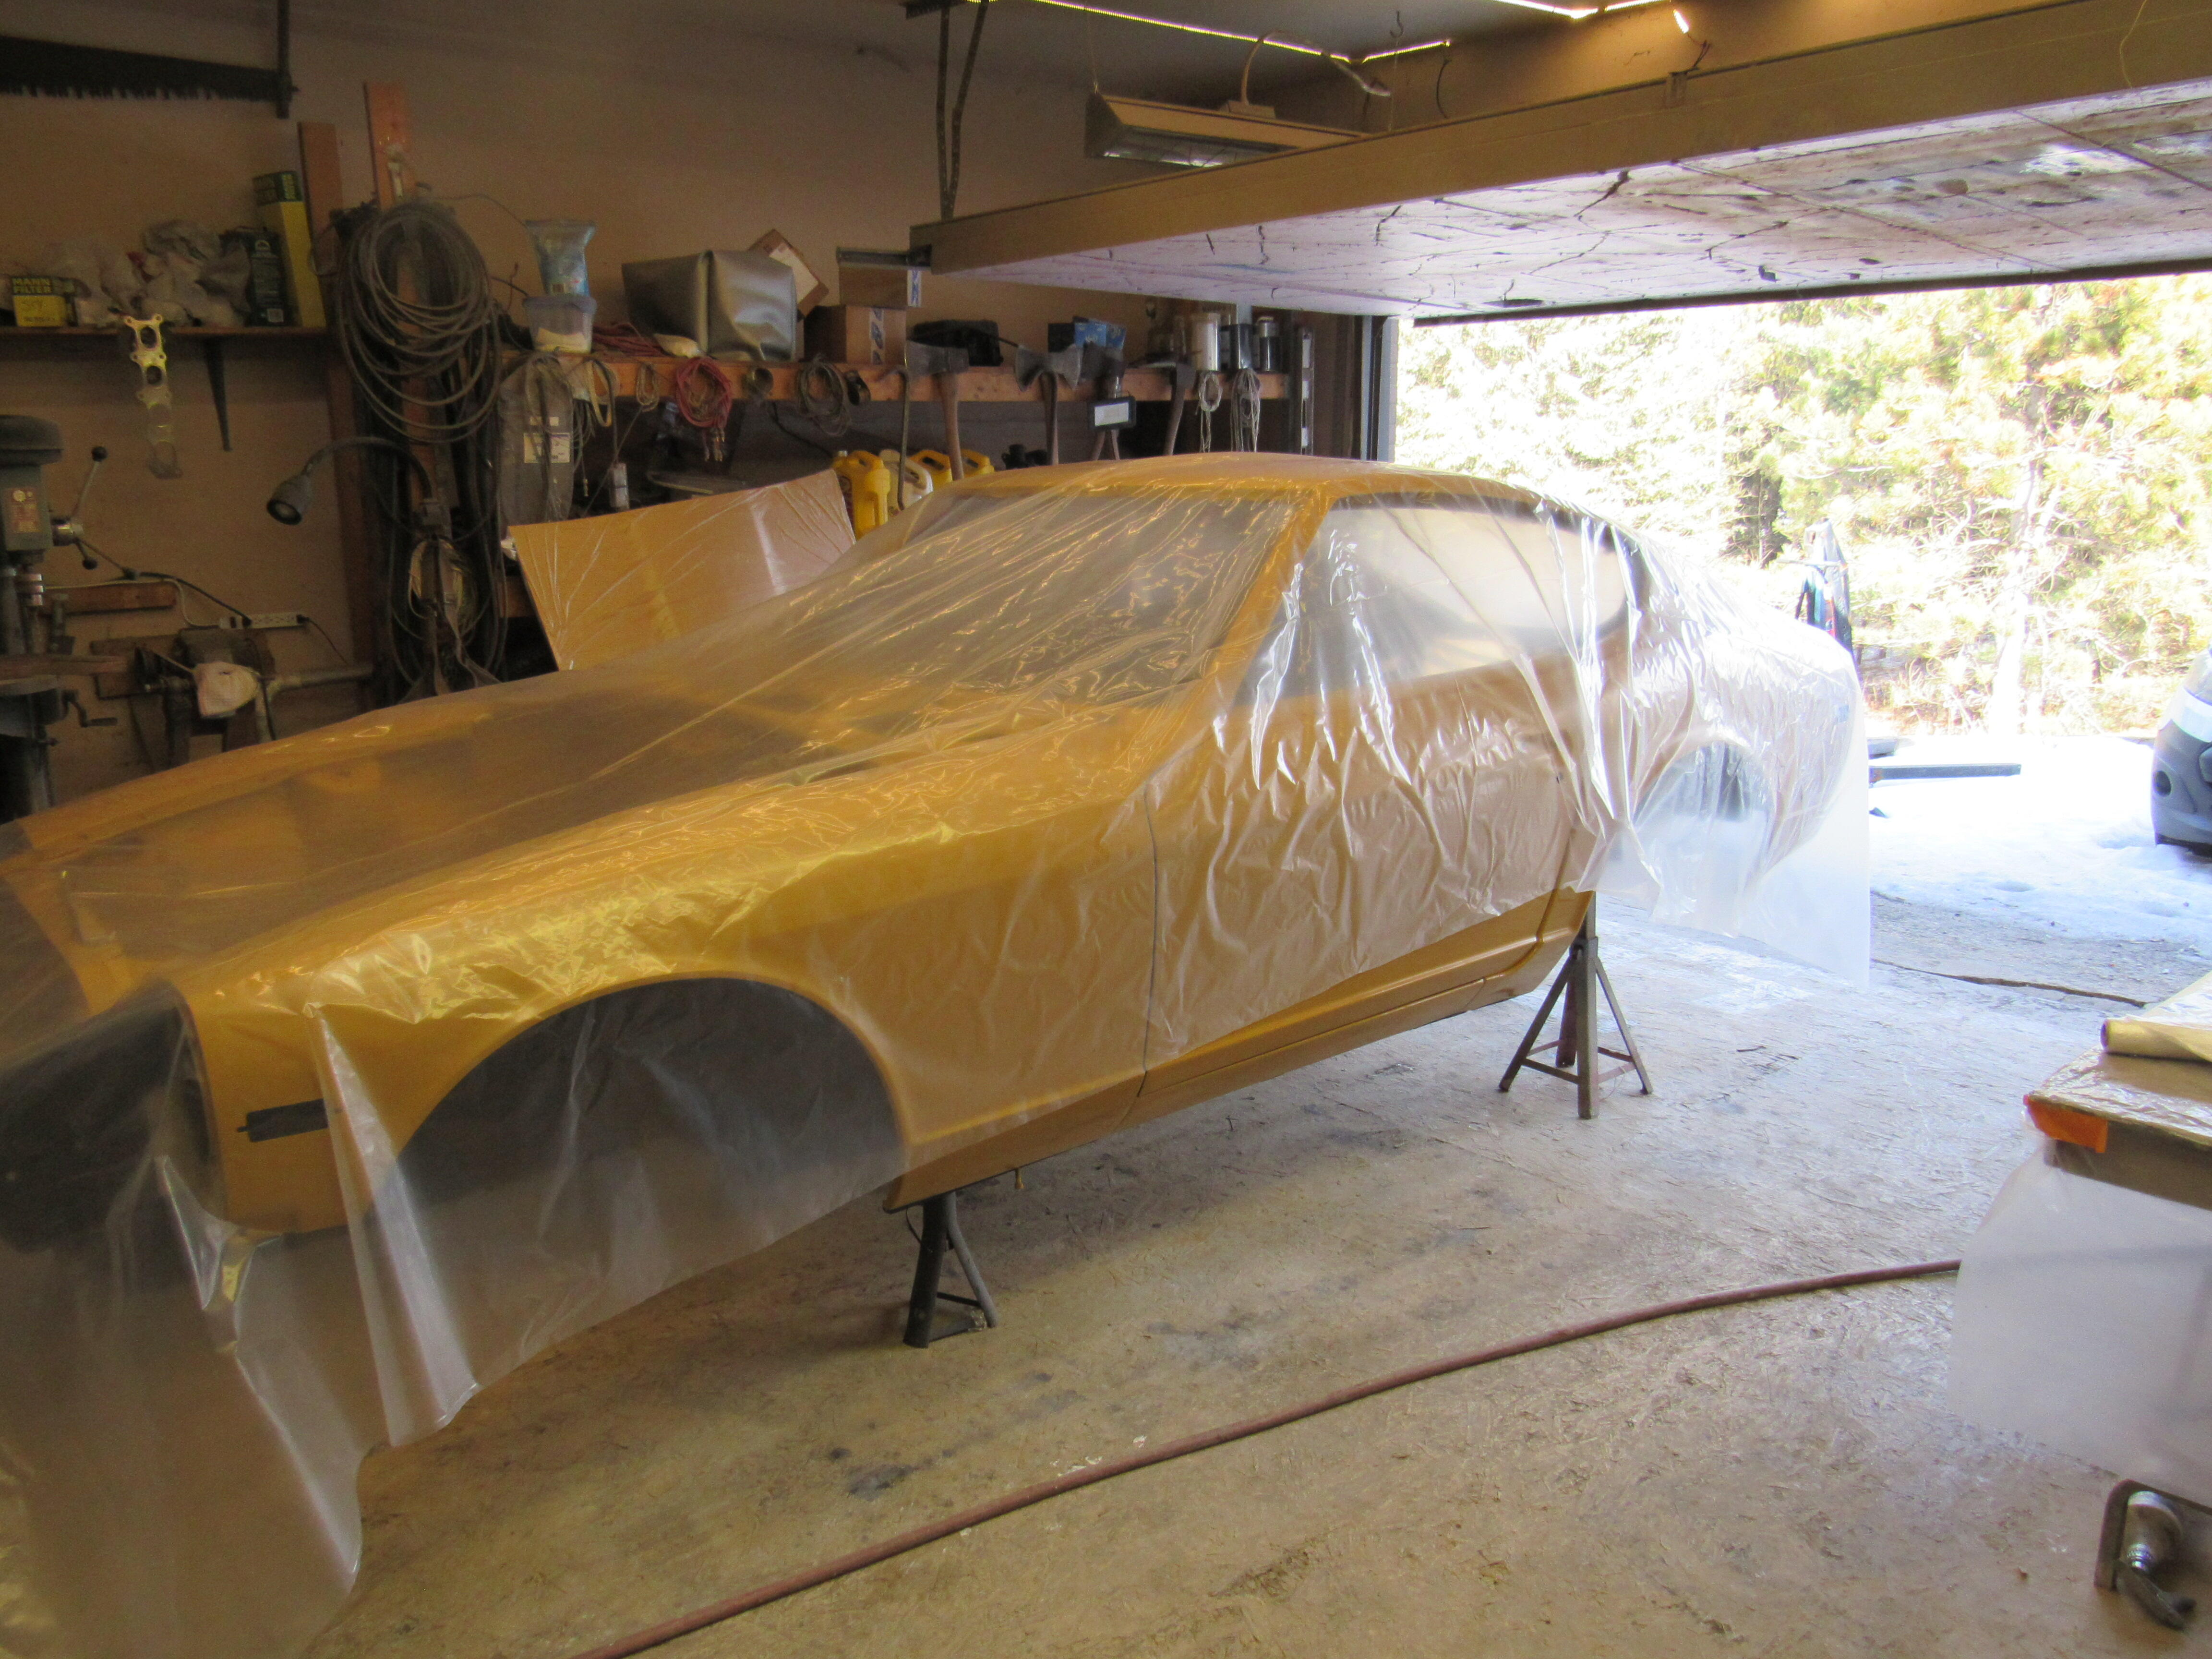
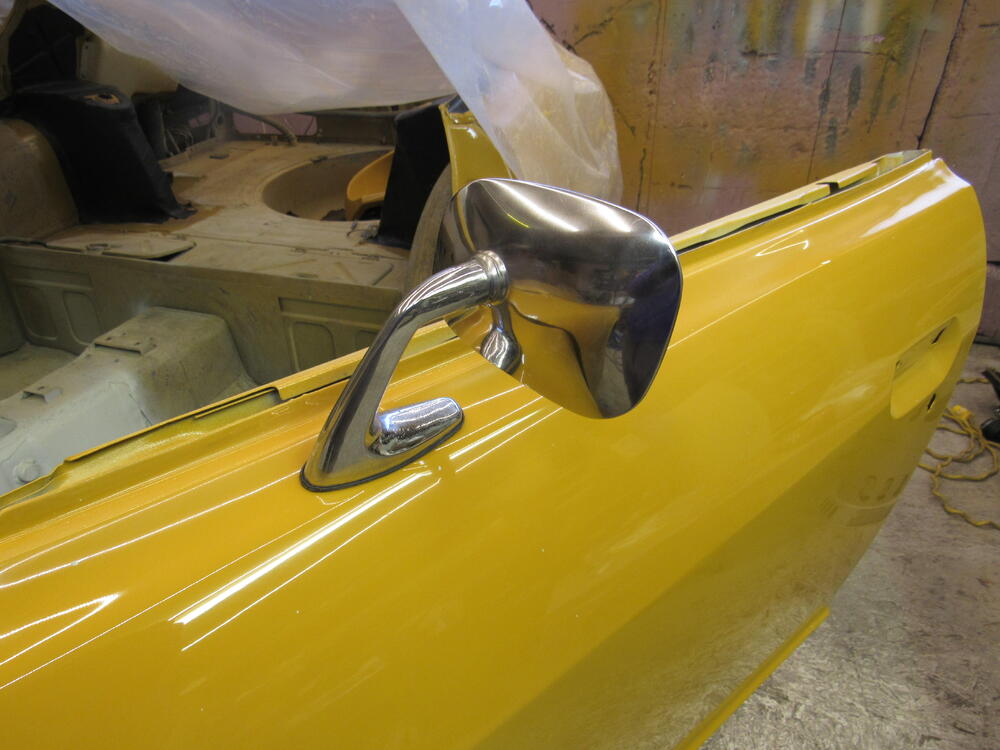
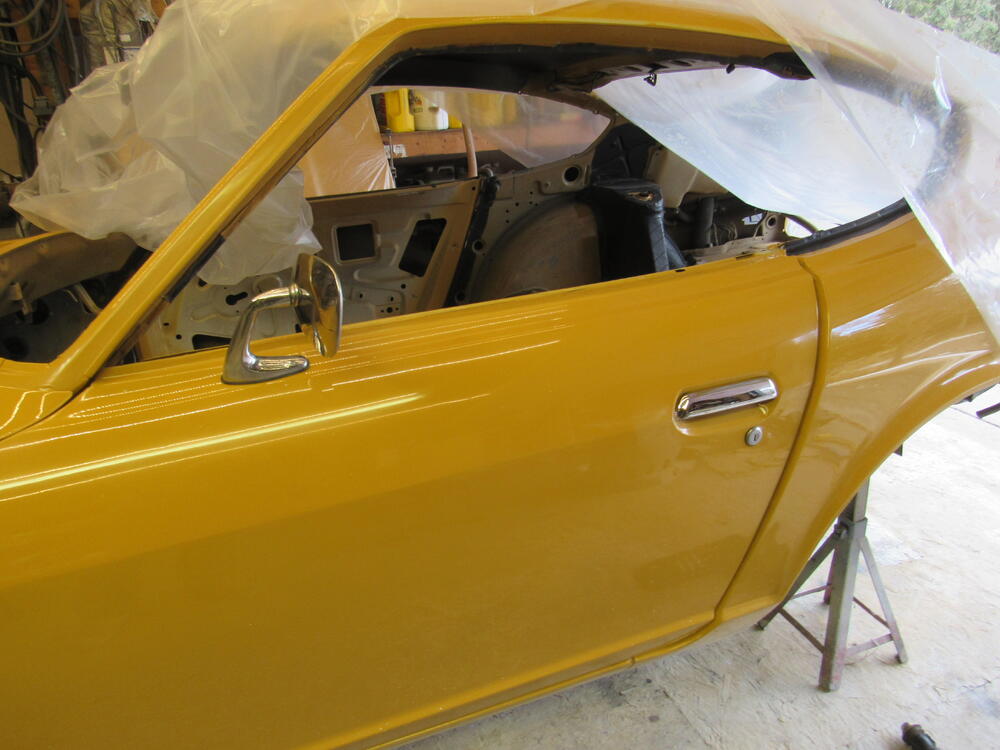
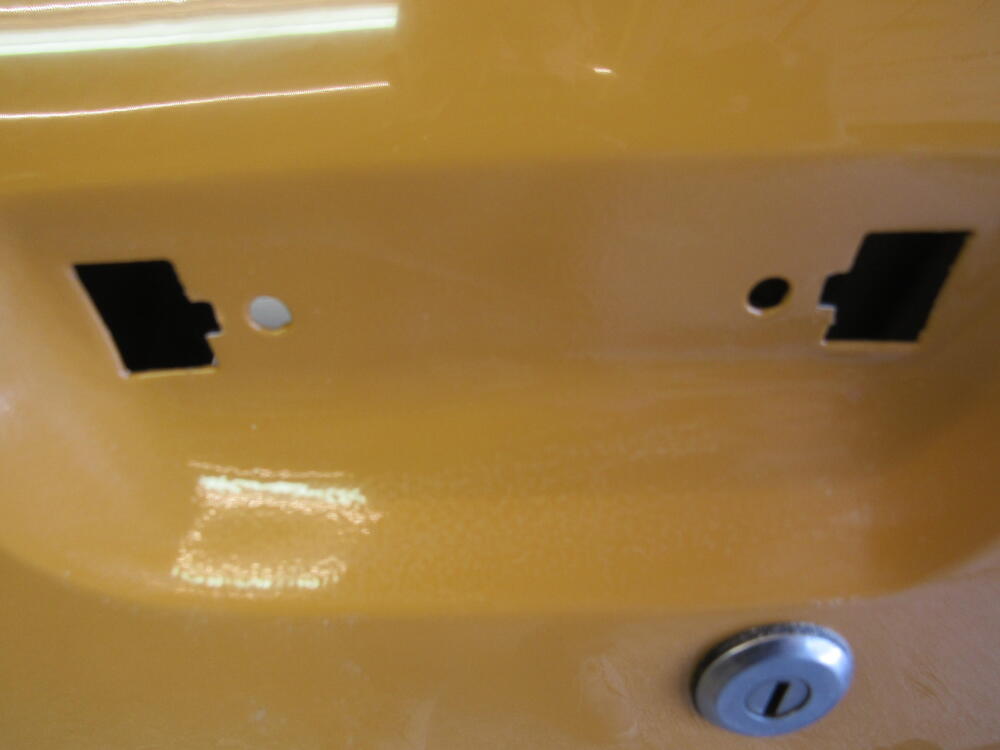
I tried to stay out of the shop but I couldn't, resprayed the sugar scoop in the morning and spent the rest of the day doing fun stuff, installing shiny things. The new door handles I was raving about do have one flaw, the hinge pins are longer/wider than the original pins, so I had to file out a notch on both openings to accommodate them, then seal up the bare metal. Not a big deal but it wouldn't be difficult for them to just use a shorter pin.


-
I have tried a few things but I can never get that clear glass look, they're only a few microns deep and they are all on the surface of the clear coat. Just haven't found the technique yet.

-
Yes, both.
-
I did this back in October, running/tail light fuse was too hot to the touch, on the advice of the boys here I changed out all the running/tail lights and signals bulbs for LED's. The fuse is now the same temp as all the rest.
-
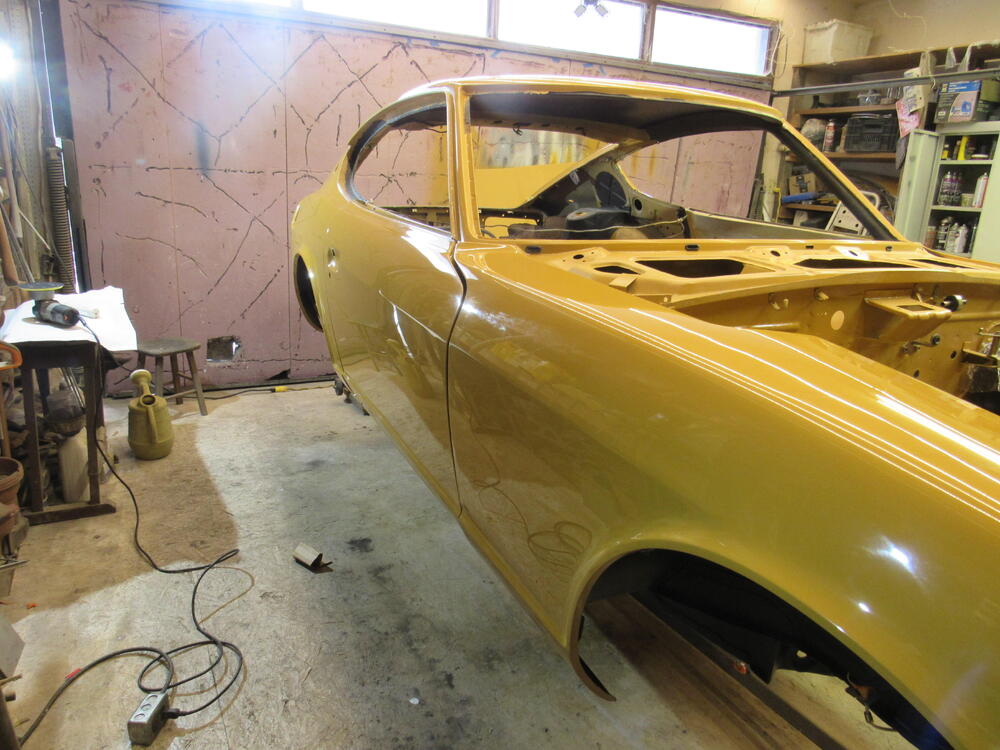
I think I am pretty much done, some how managed to screw up the other sugar scoop so have to re paint that as well, but other than that the buffing and polishing is done. Now this is by by no means a professional buff job, there still some spider webs that I can't get rid of, so Dave I recommend you find a good buff guy to give it that last little bit of correction. I have never been able to get spider webs out and I don't want to try something more aggressive on someone else's car. It is amazing what a guy who does buffing for living can pull out. I got the car off the rotisserie and back onto jack stands, I think I will take tomorrow off, give my shoulder a break.


-
Those patterns look great, your diff should run very quiet.