grannyknot
Free Member
-
Joined
-
Last visited
Everything posted by grannyknot
-
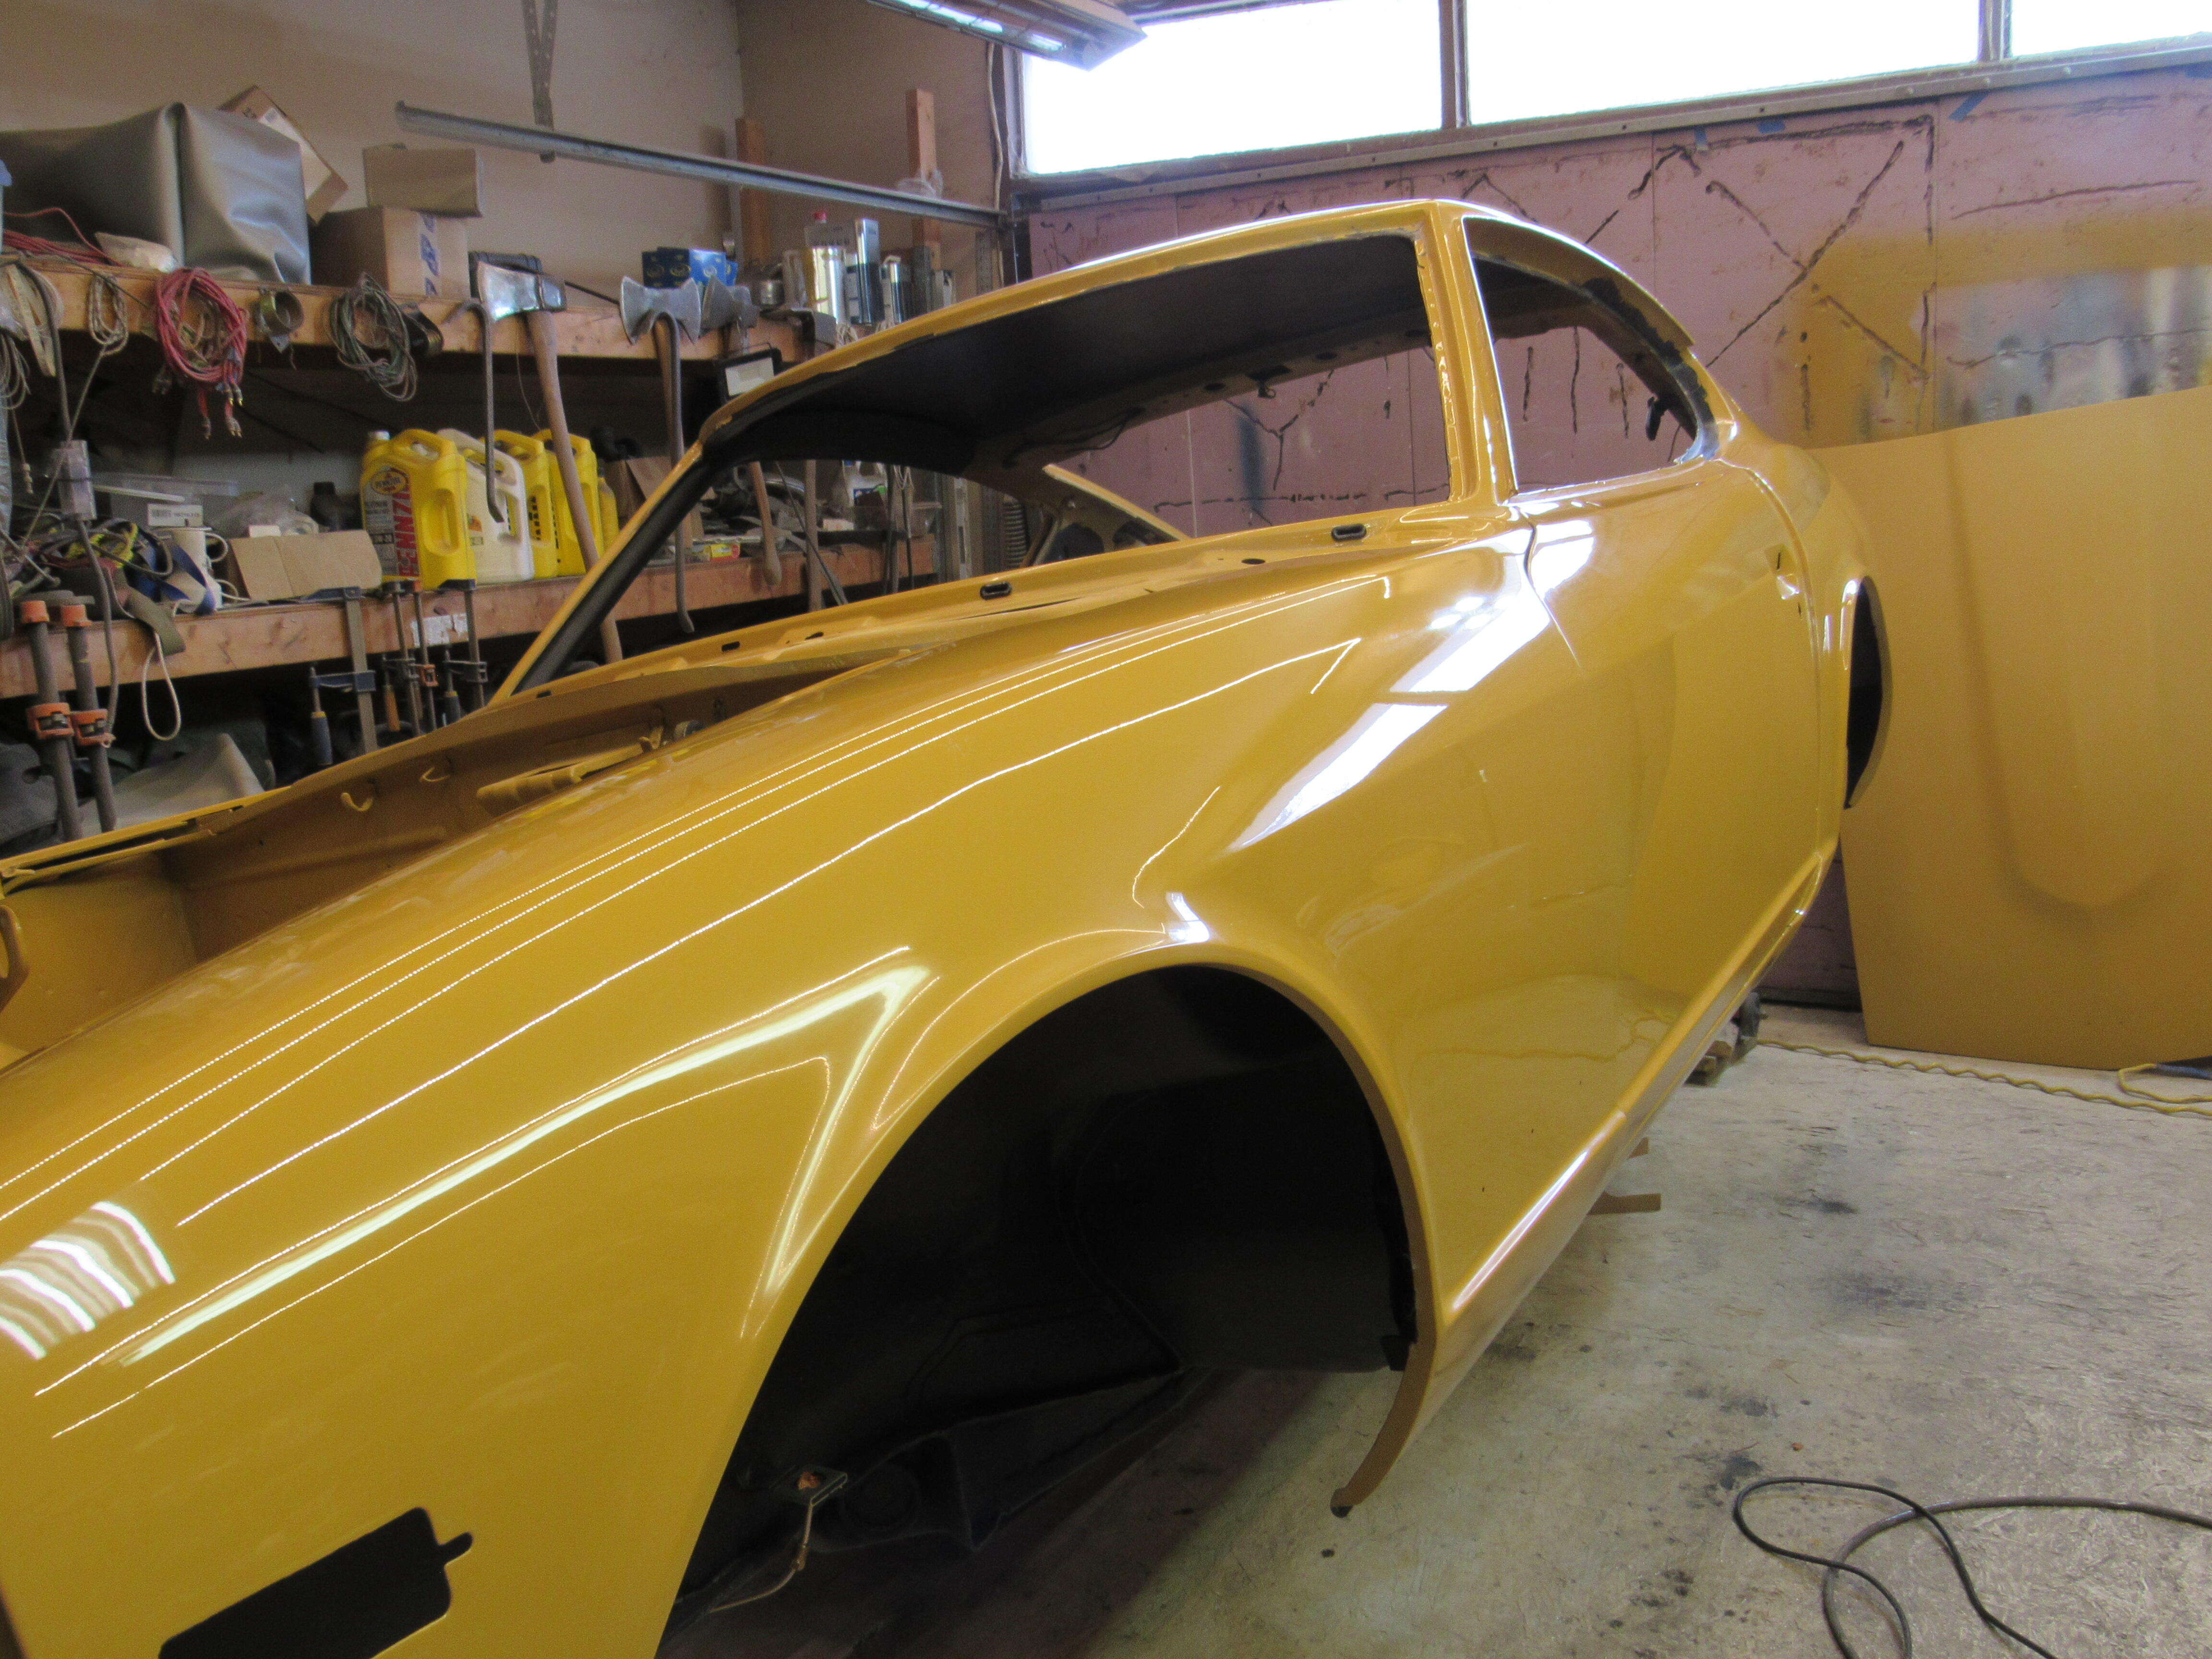
 I got the D/S, roof, hatch and all the smaller pieces done today, just have the P/S and hood to go.


-
https://www.amazon.com/Genuine-Fluid-1052351-Marking-Compound/dp/B00BK7MFC8/ref=sr_1_1?crid=N3OUSAPOE5G6&keywords=yellow+gear+marking+compound&qid=1707305463&sprefix=yellow+gear+marking+compound%2Caps%2C133&sr=8-1
-
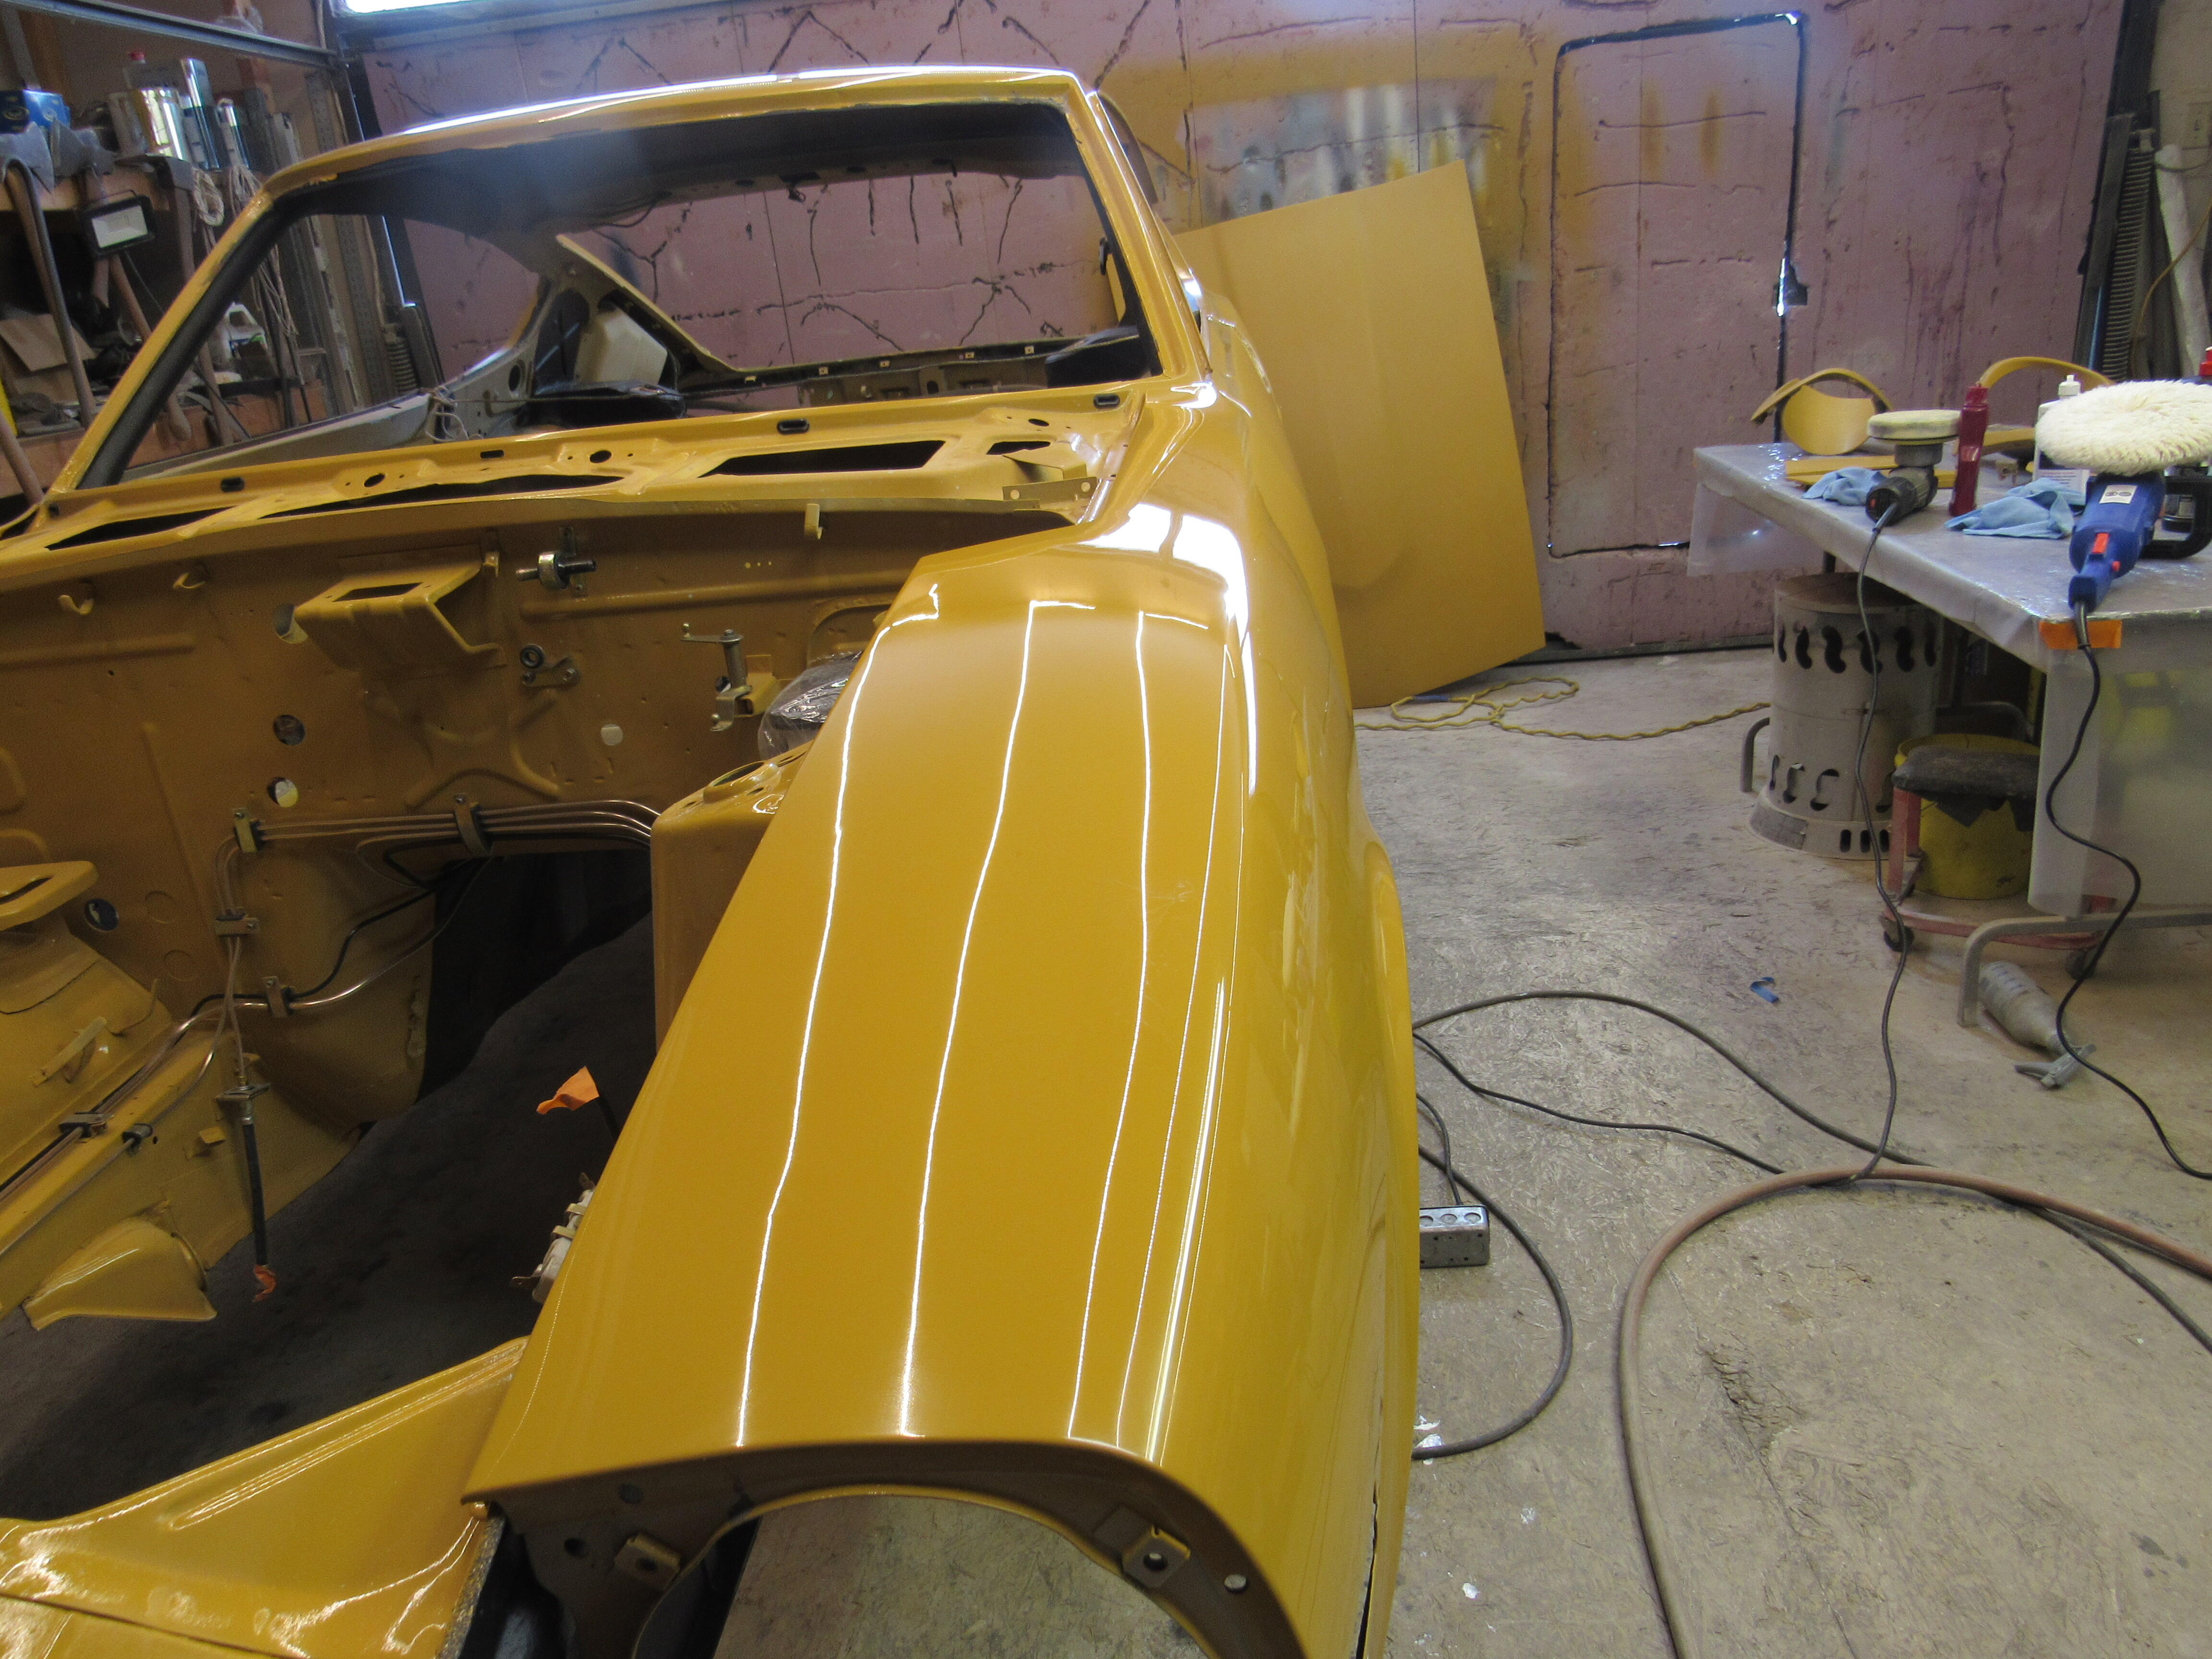
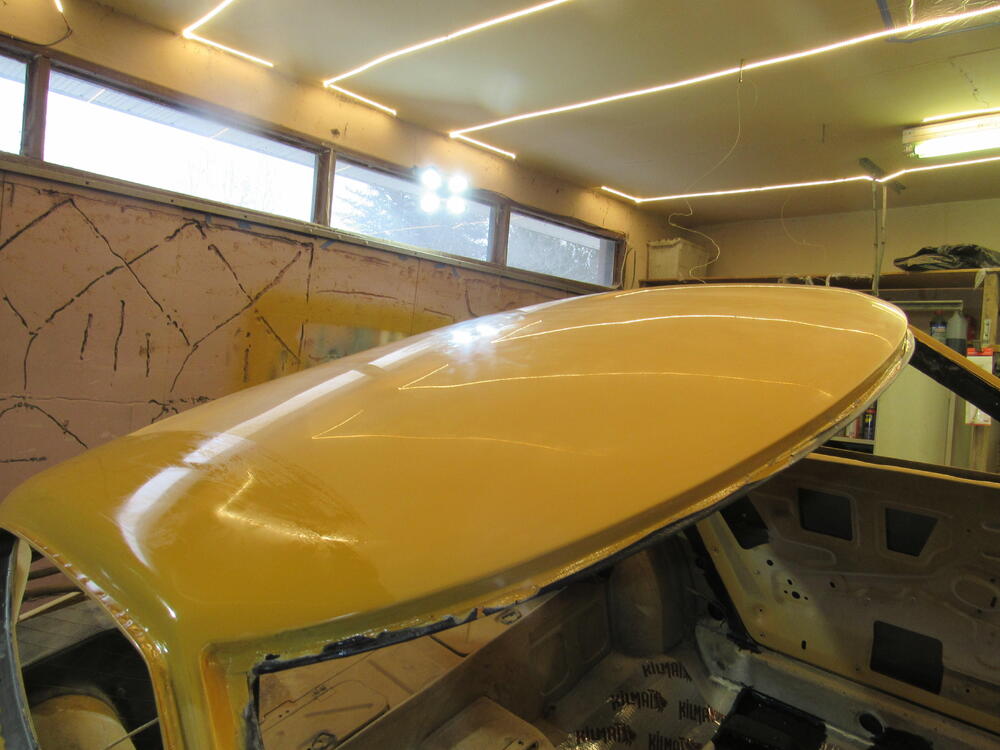
Me too, the rotator cuff in my right shoulder is killing me with all the repetitive movement, 2500 finished today, start the cut and buff tomorrow. I should have a couple of nice pics by the afternoon.
-
Basically hand blocks, a combination hard foam Durablocks and home made hard acrylic blocks, 80 grit up to 600 for the primers then 1200 to 2500 for the clear coat. The first sanding of the clear coat with all of the orange peel I use DA sander and 6" disc 1200 grit to get the worst of the rough surface off then 1200 with a hand block to flatten it out. Then hand block for the rest of the grits down to 2500. 80 to 400 grit is all done with dry paper, 600 to 2500 is done wet using a squirt bottle and a bucket of water. I use a combination of loose paper and adhesive backed roll paper, I don't buy the most expensive 3M paper because there are a many companies that make equally good quality paper that cost a lot less. Any collision shop would laugh at my procedure as they do almost all their work with air sanders, I could do that too but it is very easy to screw up quickly doing it that way and I don't get enough practice to get good at it. By hand is slow and hard but much easier to control.


-
You're bang on about the installing the quarter windows, tough job if you're not prepared. I use the weather sealant as a lubricant as I push the window in, sometimes I use a lightweight cargo strap wrapping around the front of the window, through the air vent and back around on the inside and pull the window back a few clicks so I can get the screws in. That's a good idea about using a razor blade on heavily etched water spots, I'm going to give that a try.
-
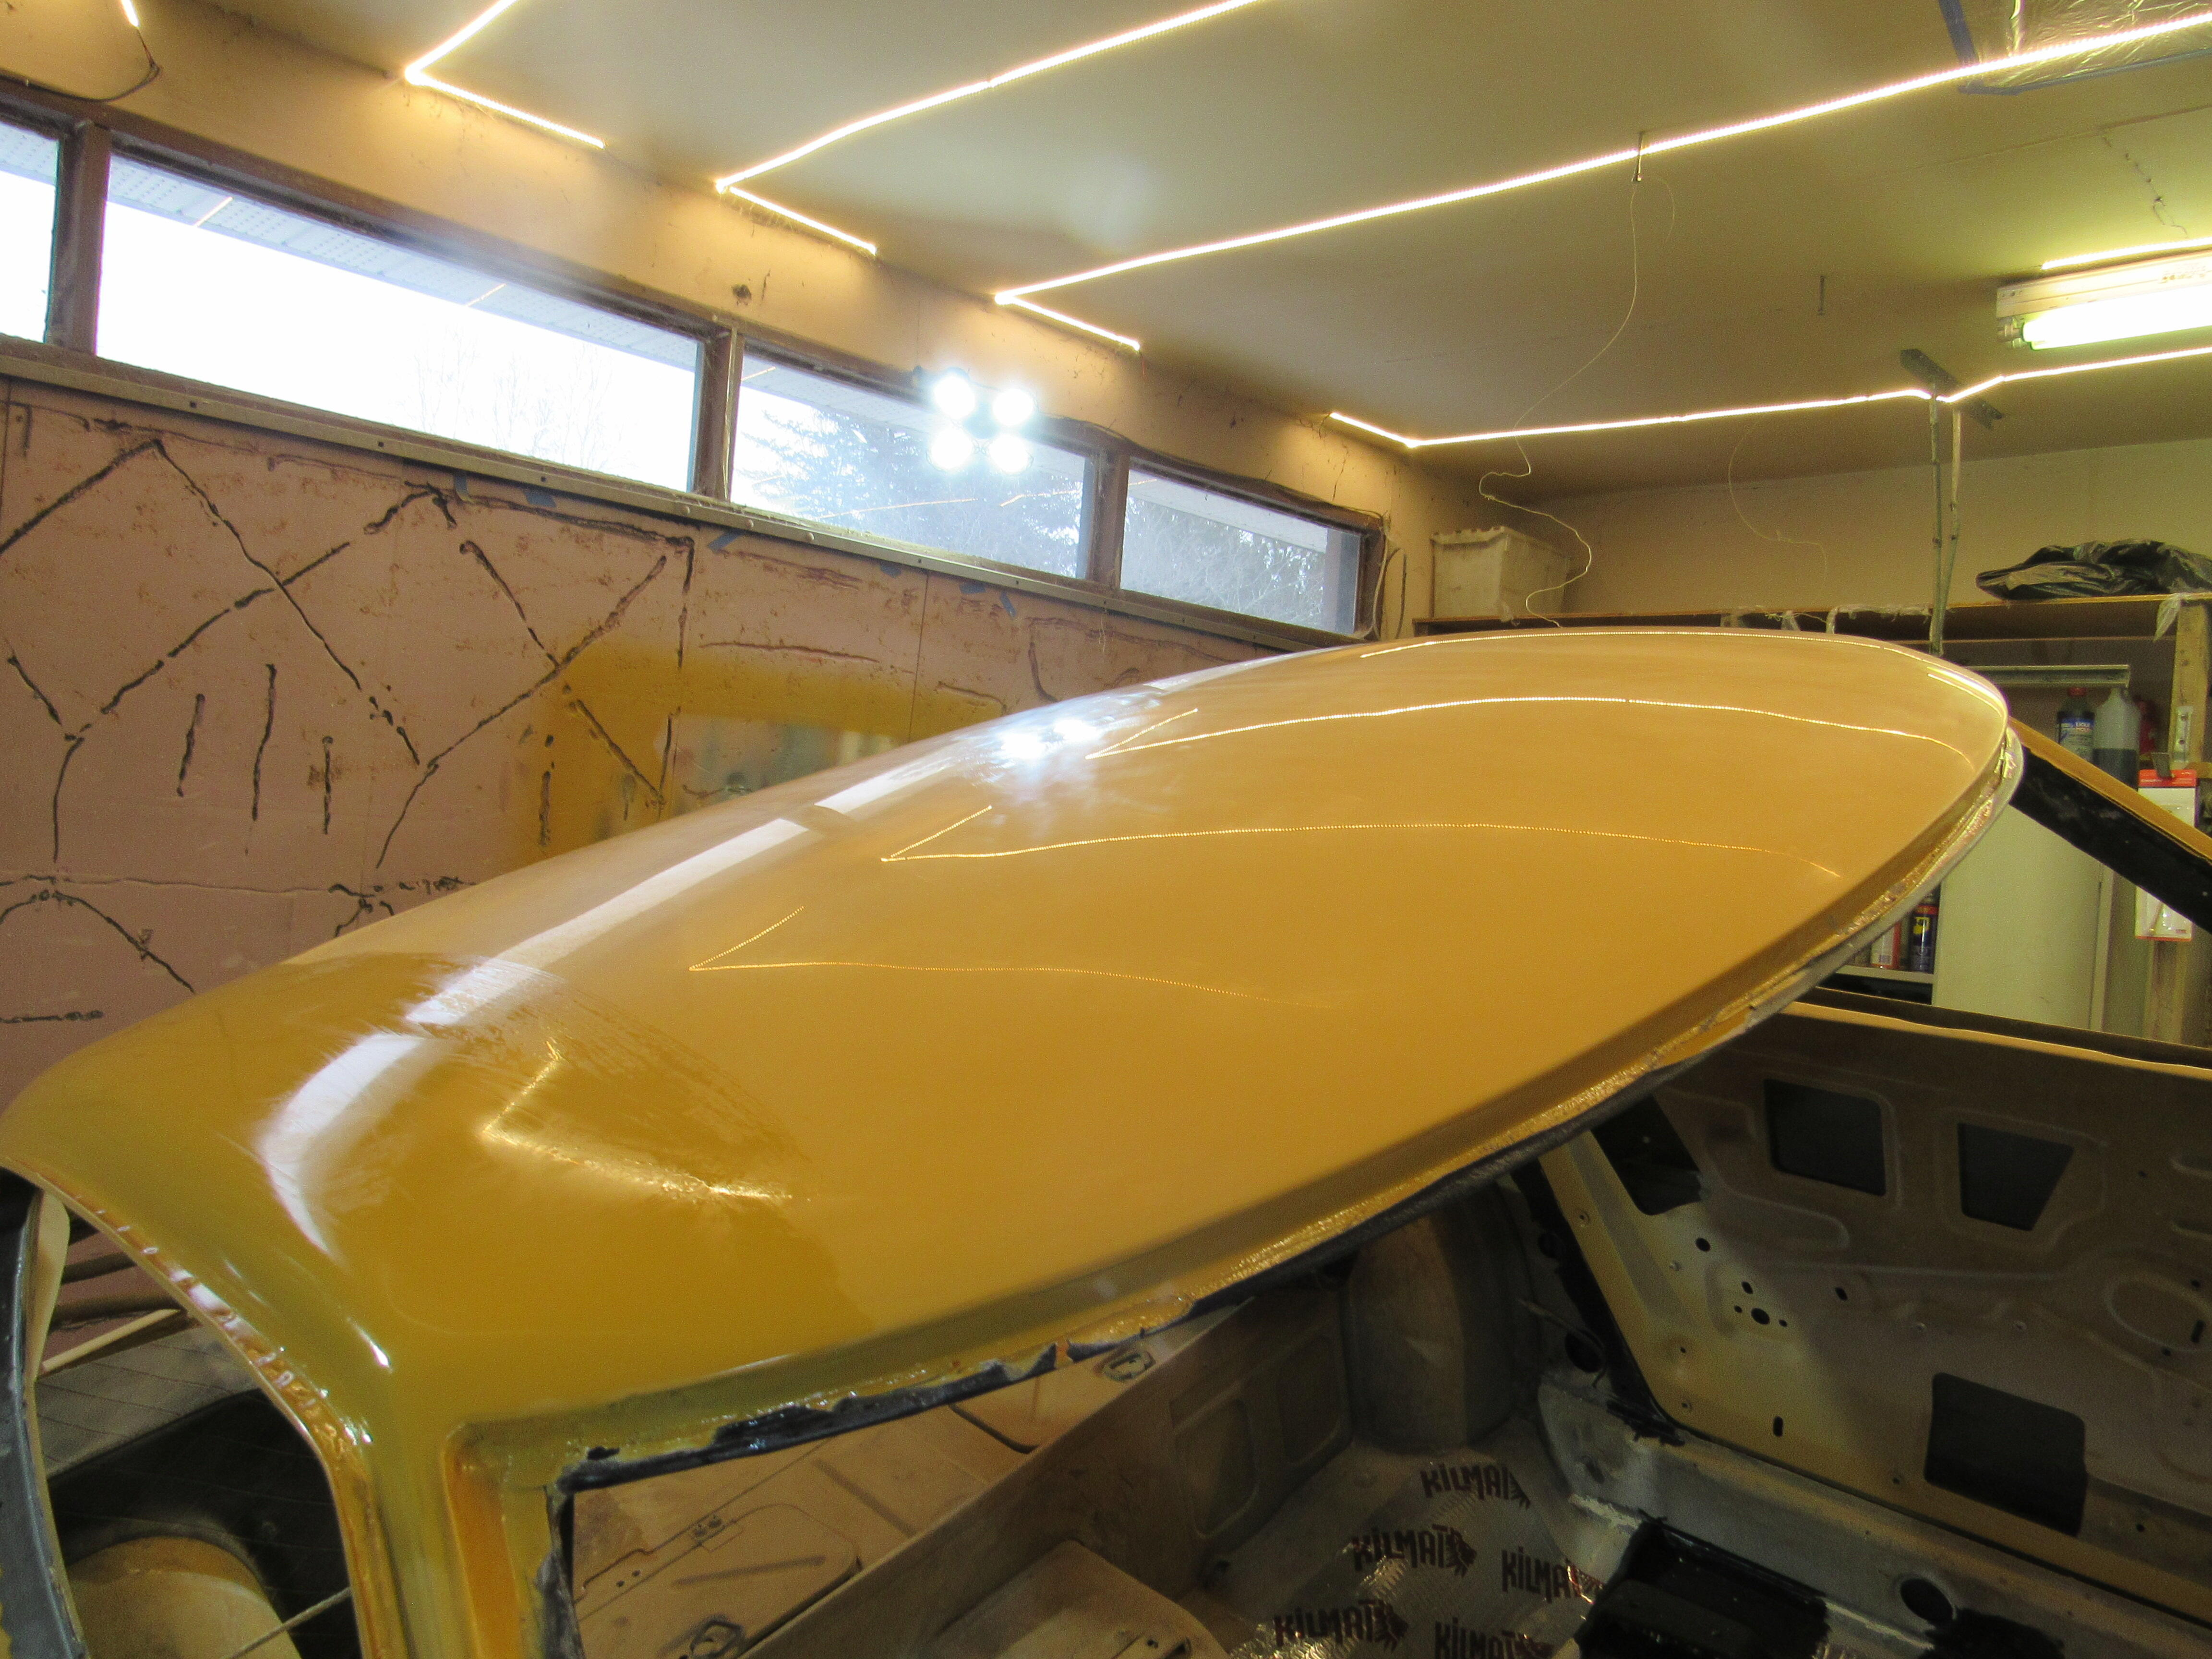
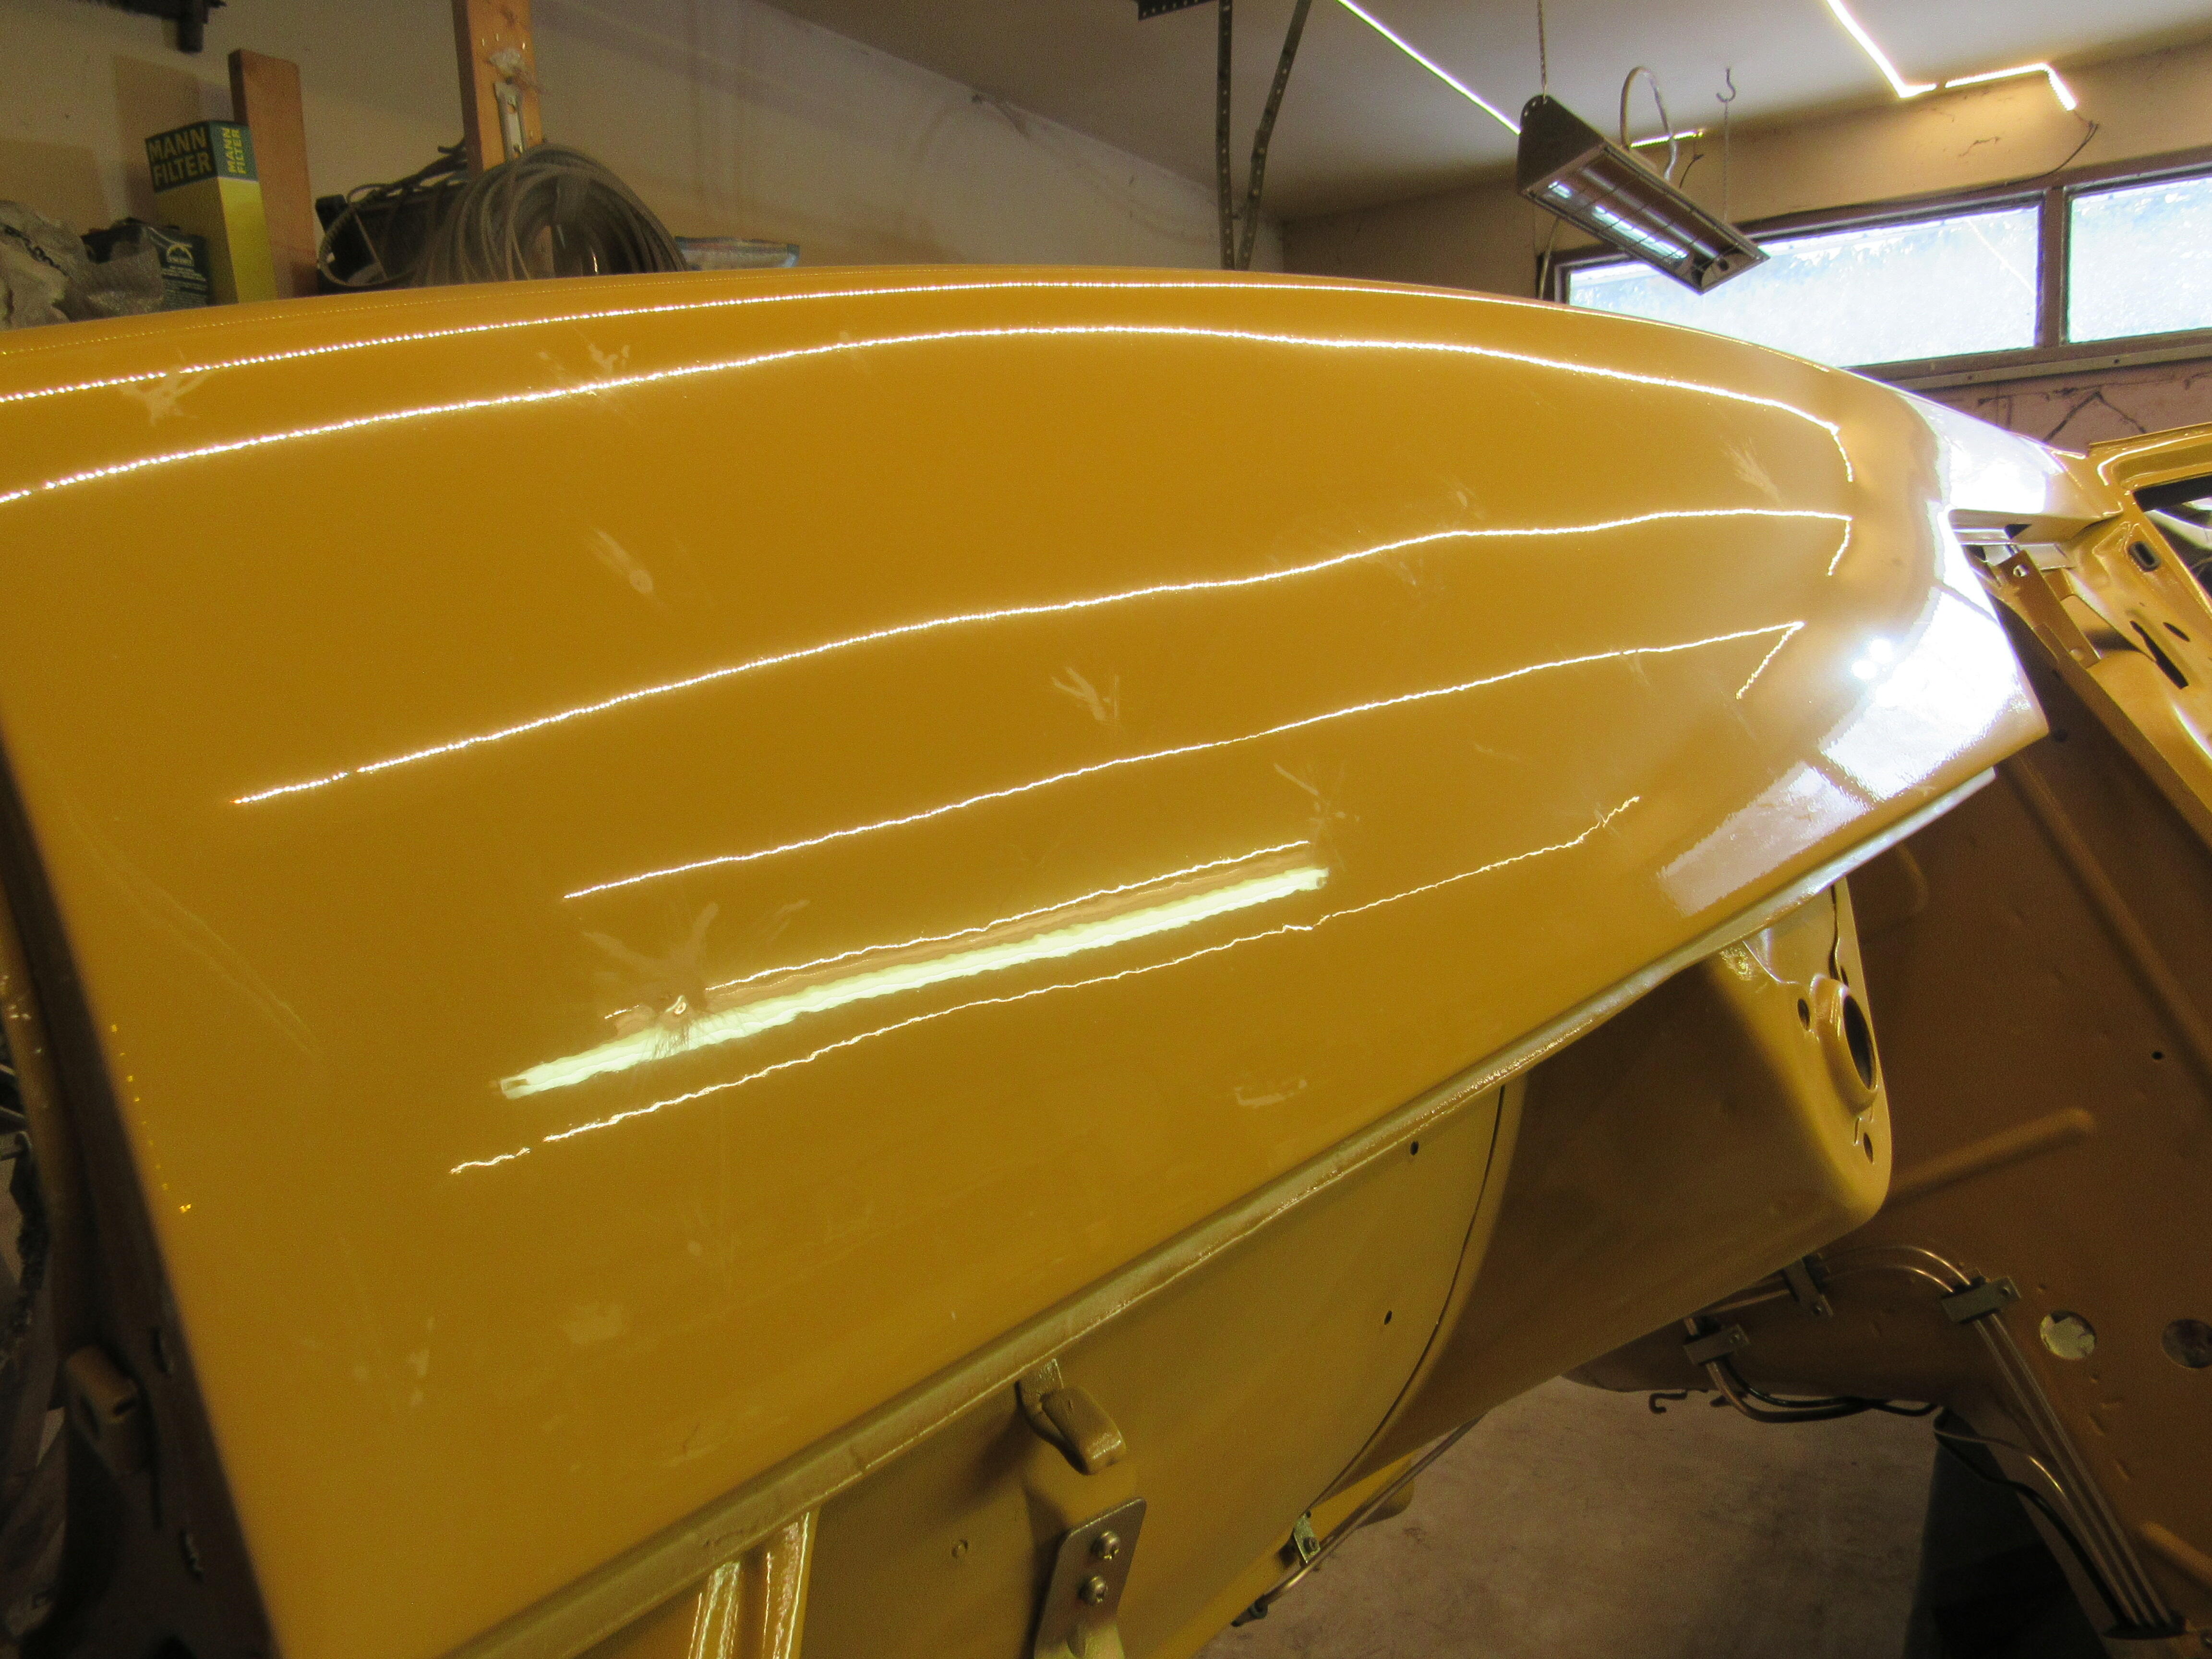
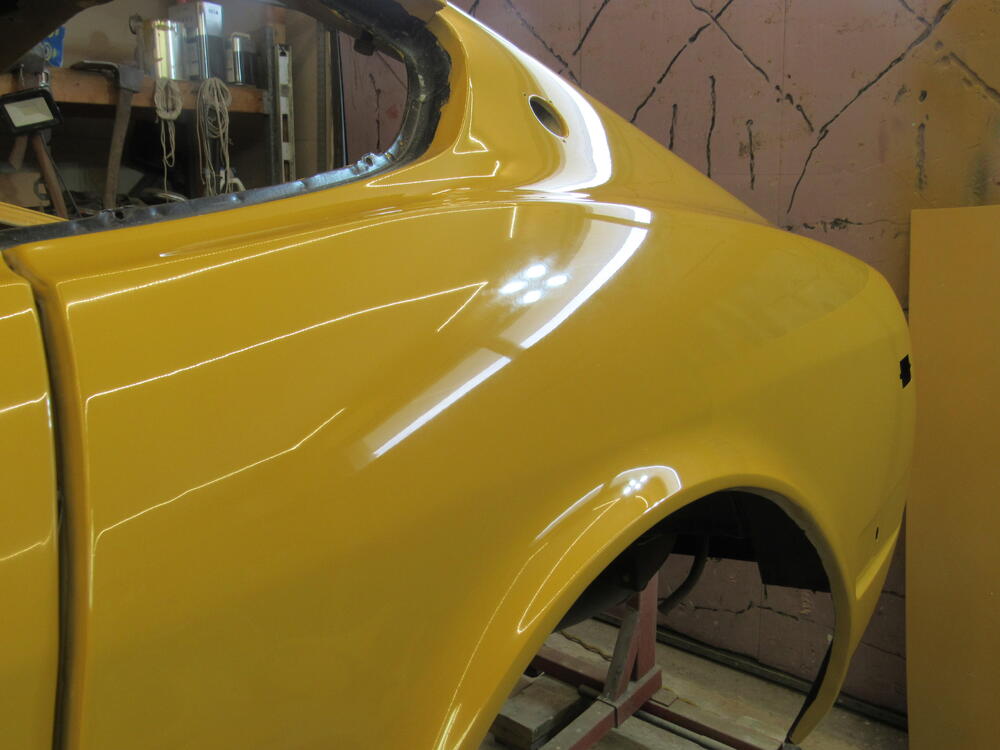
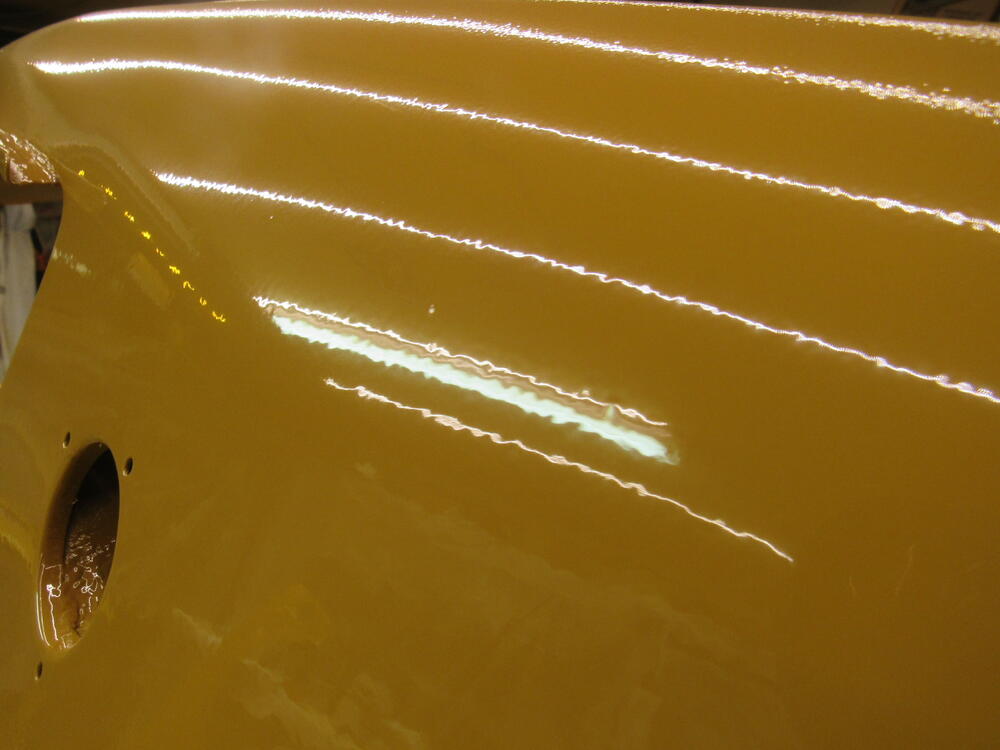
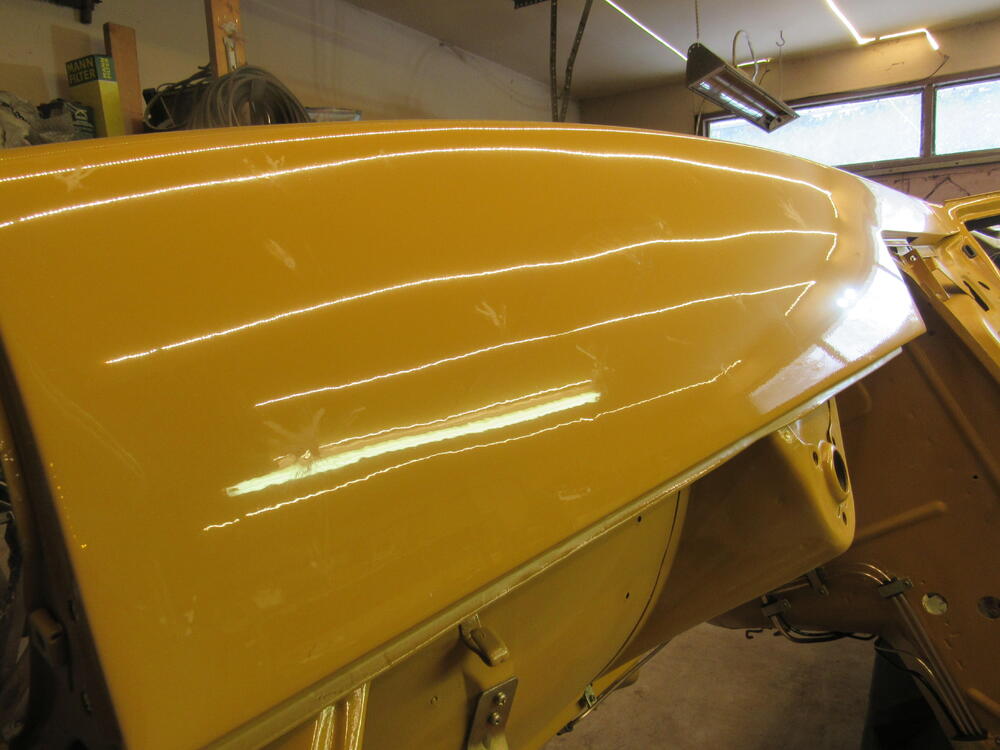
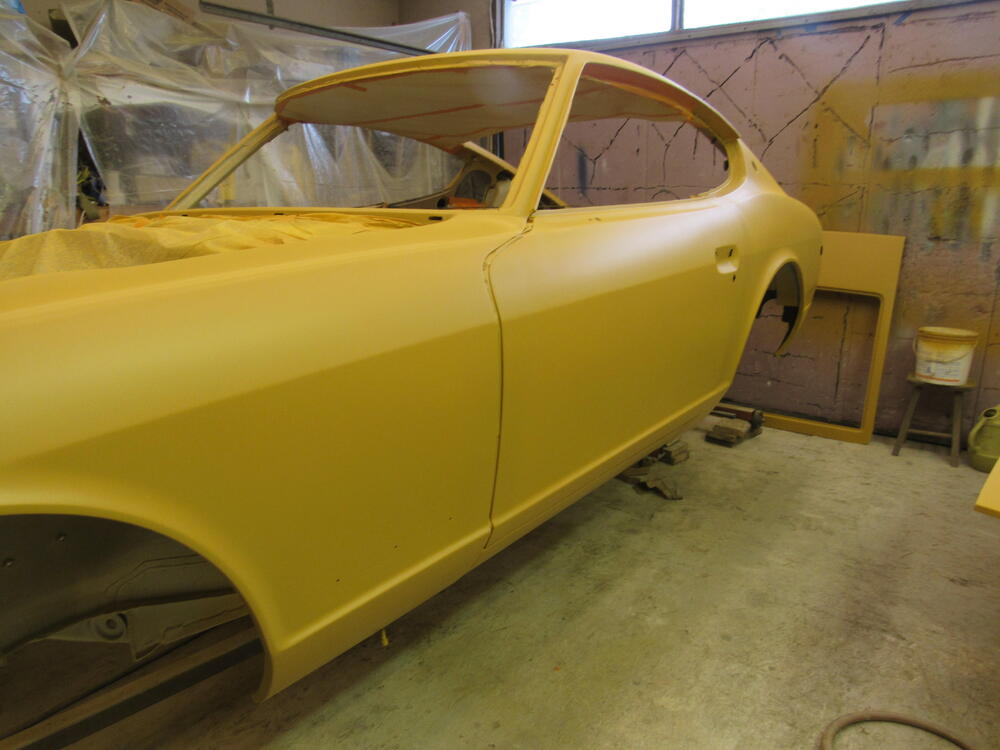
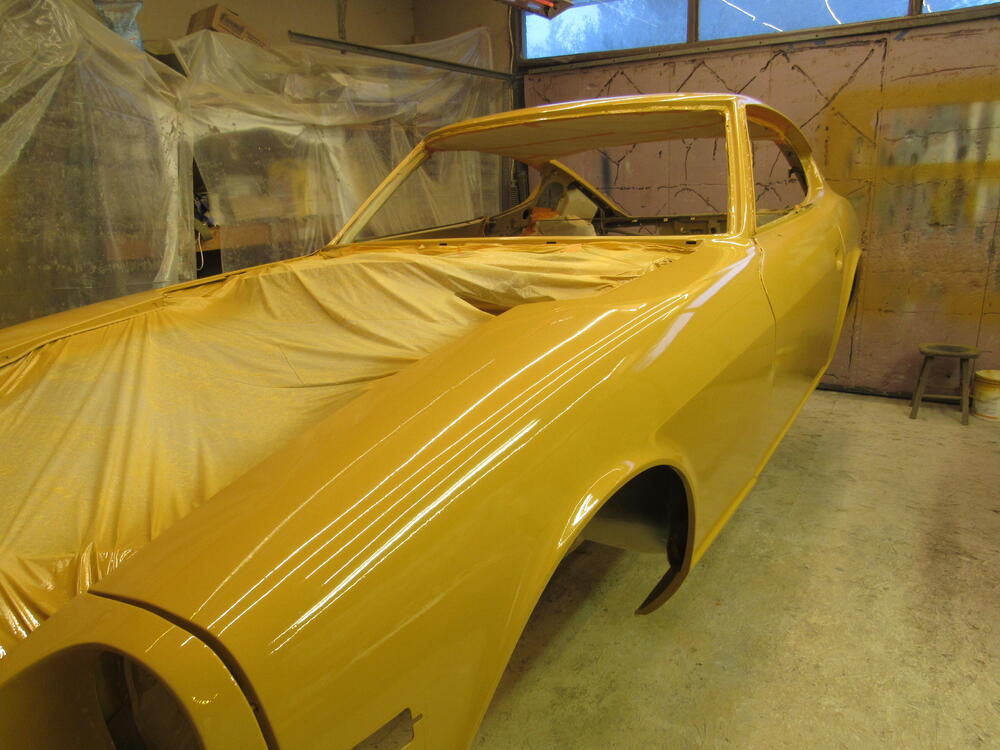
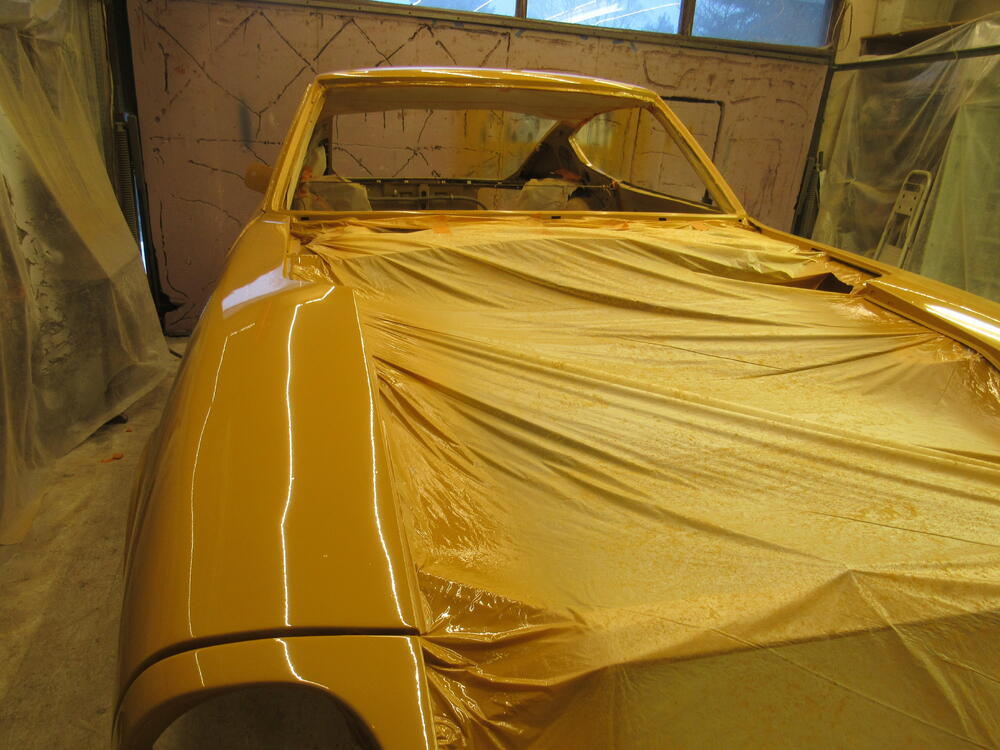
Completed 1500 grit yesterday, finished 2000 today and I'm all set up to start the final 2500 grit tomorrow morning, do a super clean up and with any luck I'll be buffing by Wednesday. These are pits that should have been sanded out with 1200 but some how got past me, I didn't notice them until I was into 1500. This is 2000, the shine is getting there. Even with guide coat it looks pretty good.


-
Here's something interesting, GTO replica built on a 76 280z, https://bringatrailer.com/listing/vanilla-sky-ferrari-250-gto-replica/
-
I have done that exact thing, I was still in the garage when I started it up and it was like an oil bomb went off. There was not a square inch of surface that wasn't dripping with oil, no car show for me that day. @inline6, don't feel bad, your diff will be okay, the quality of the cast iron they used is excellent.
-
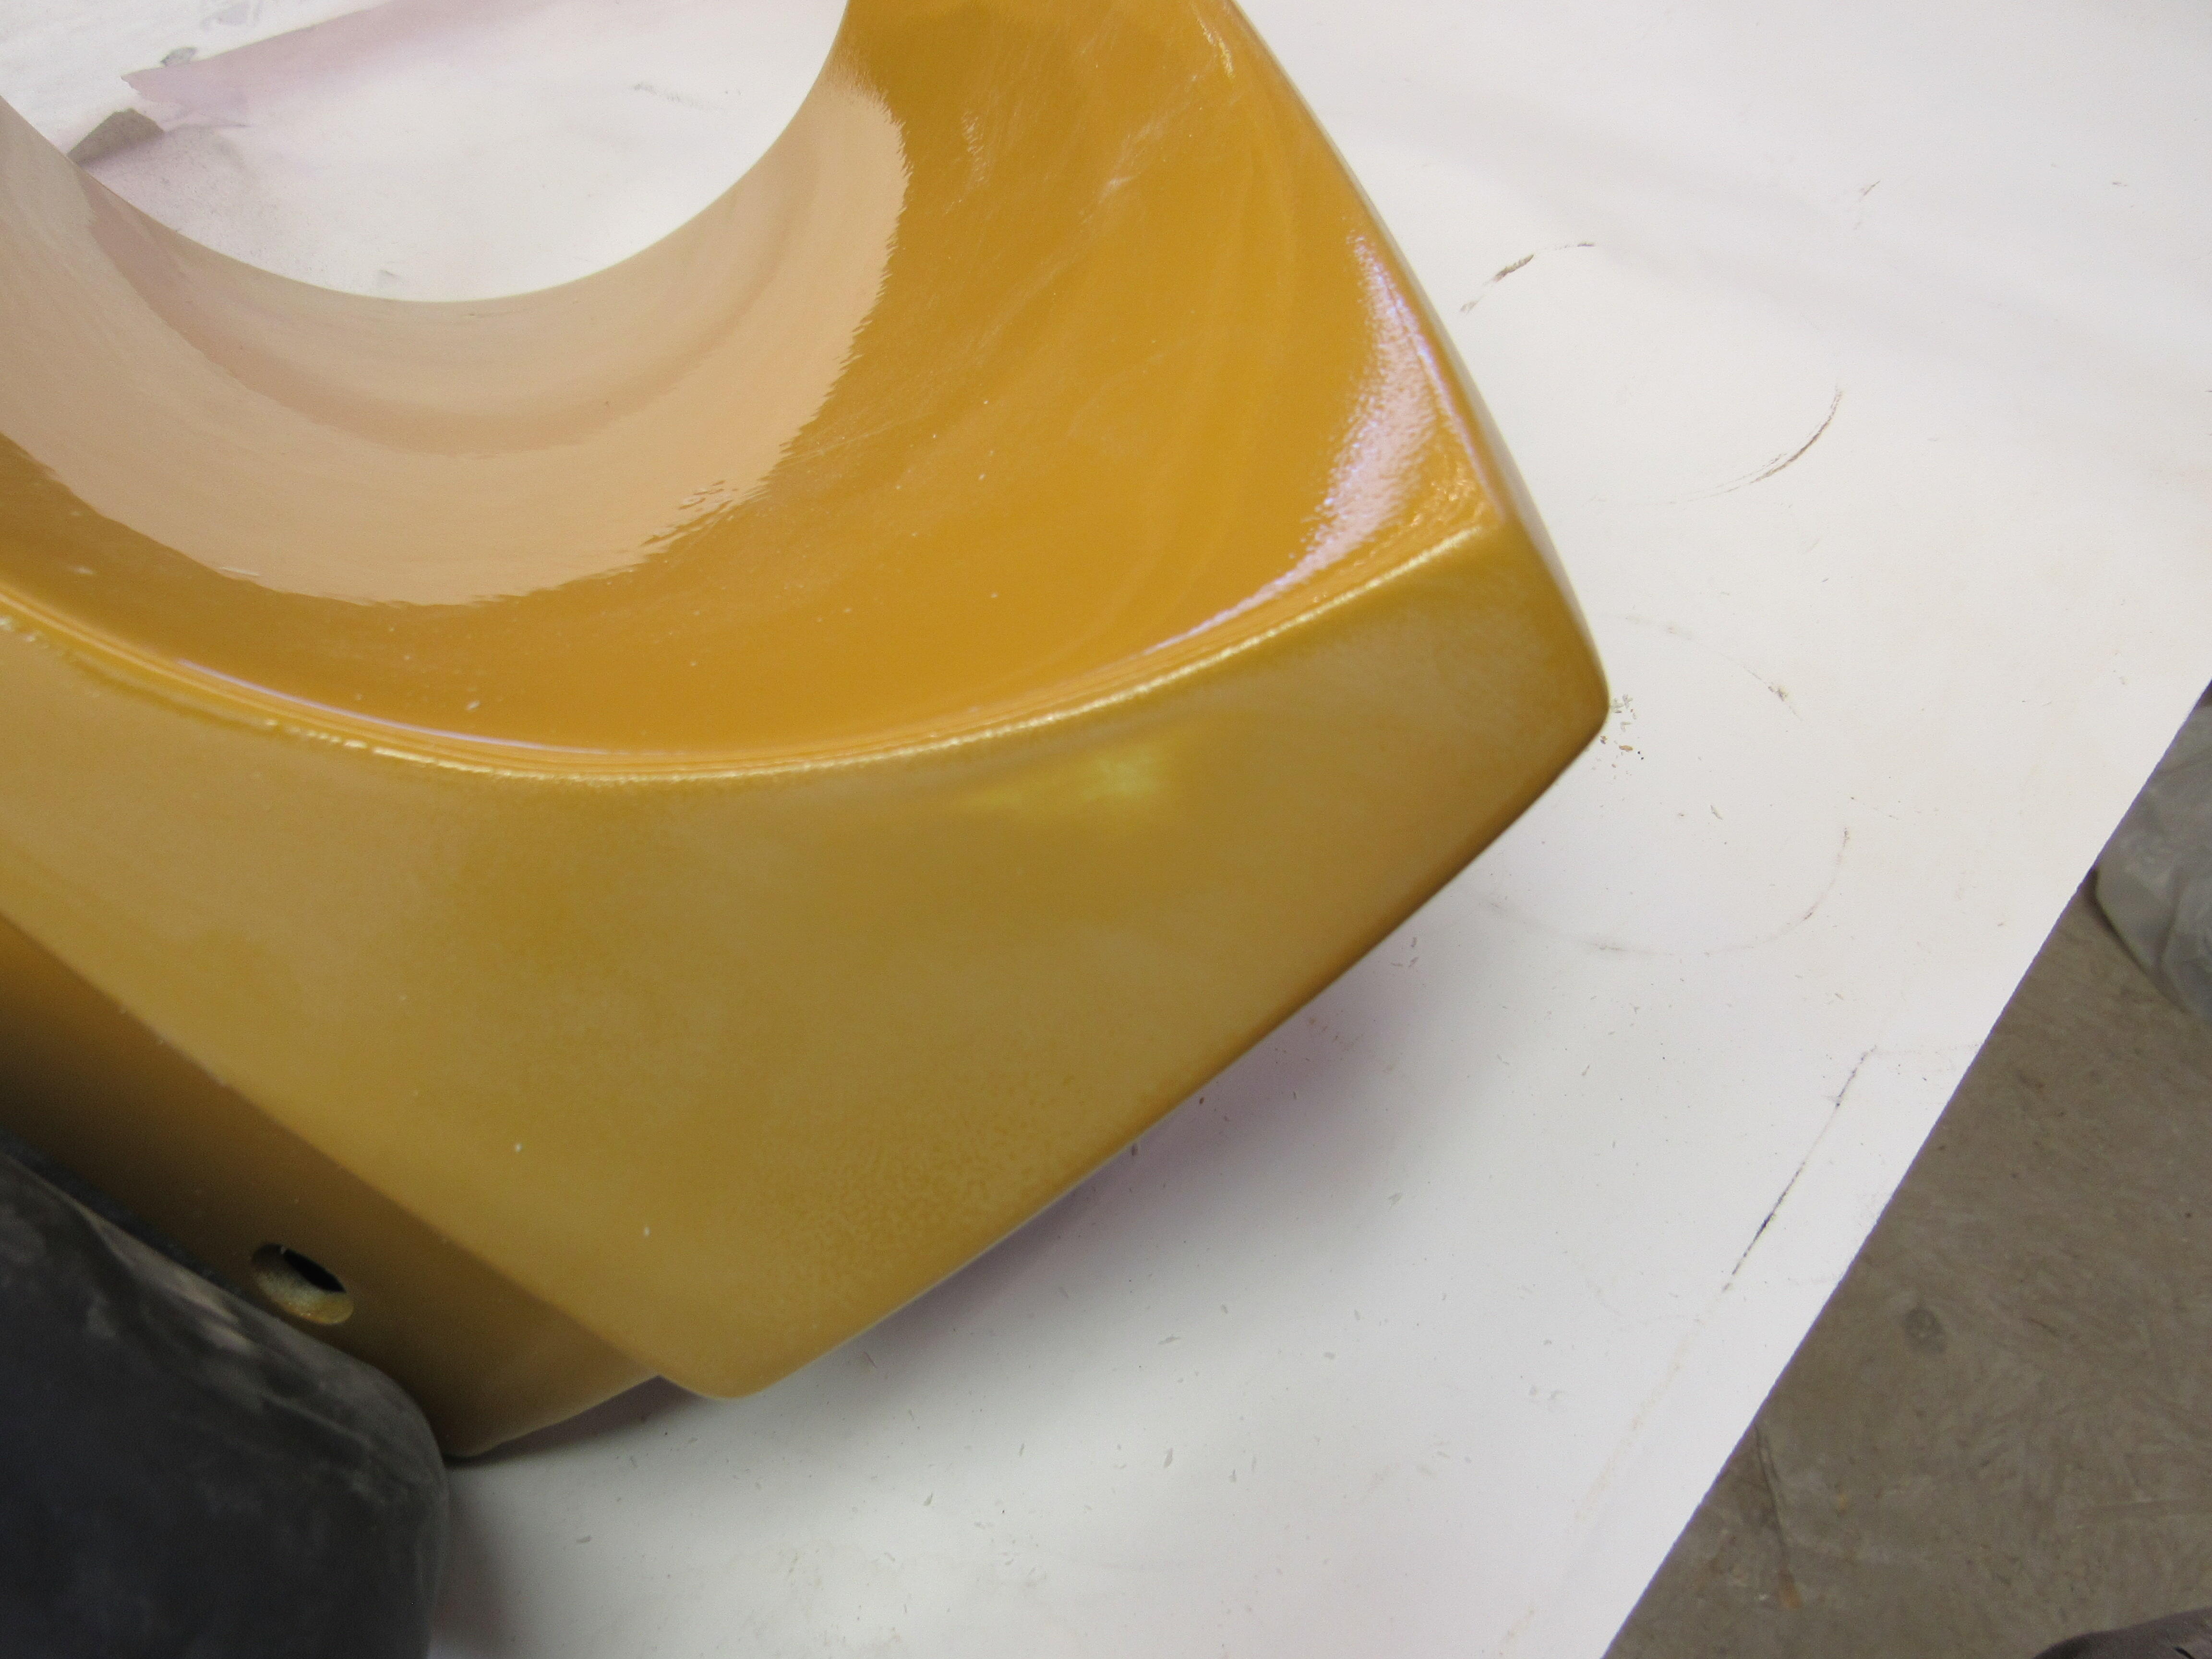
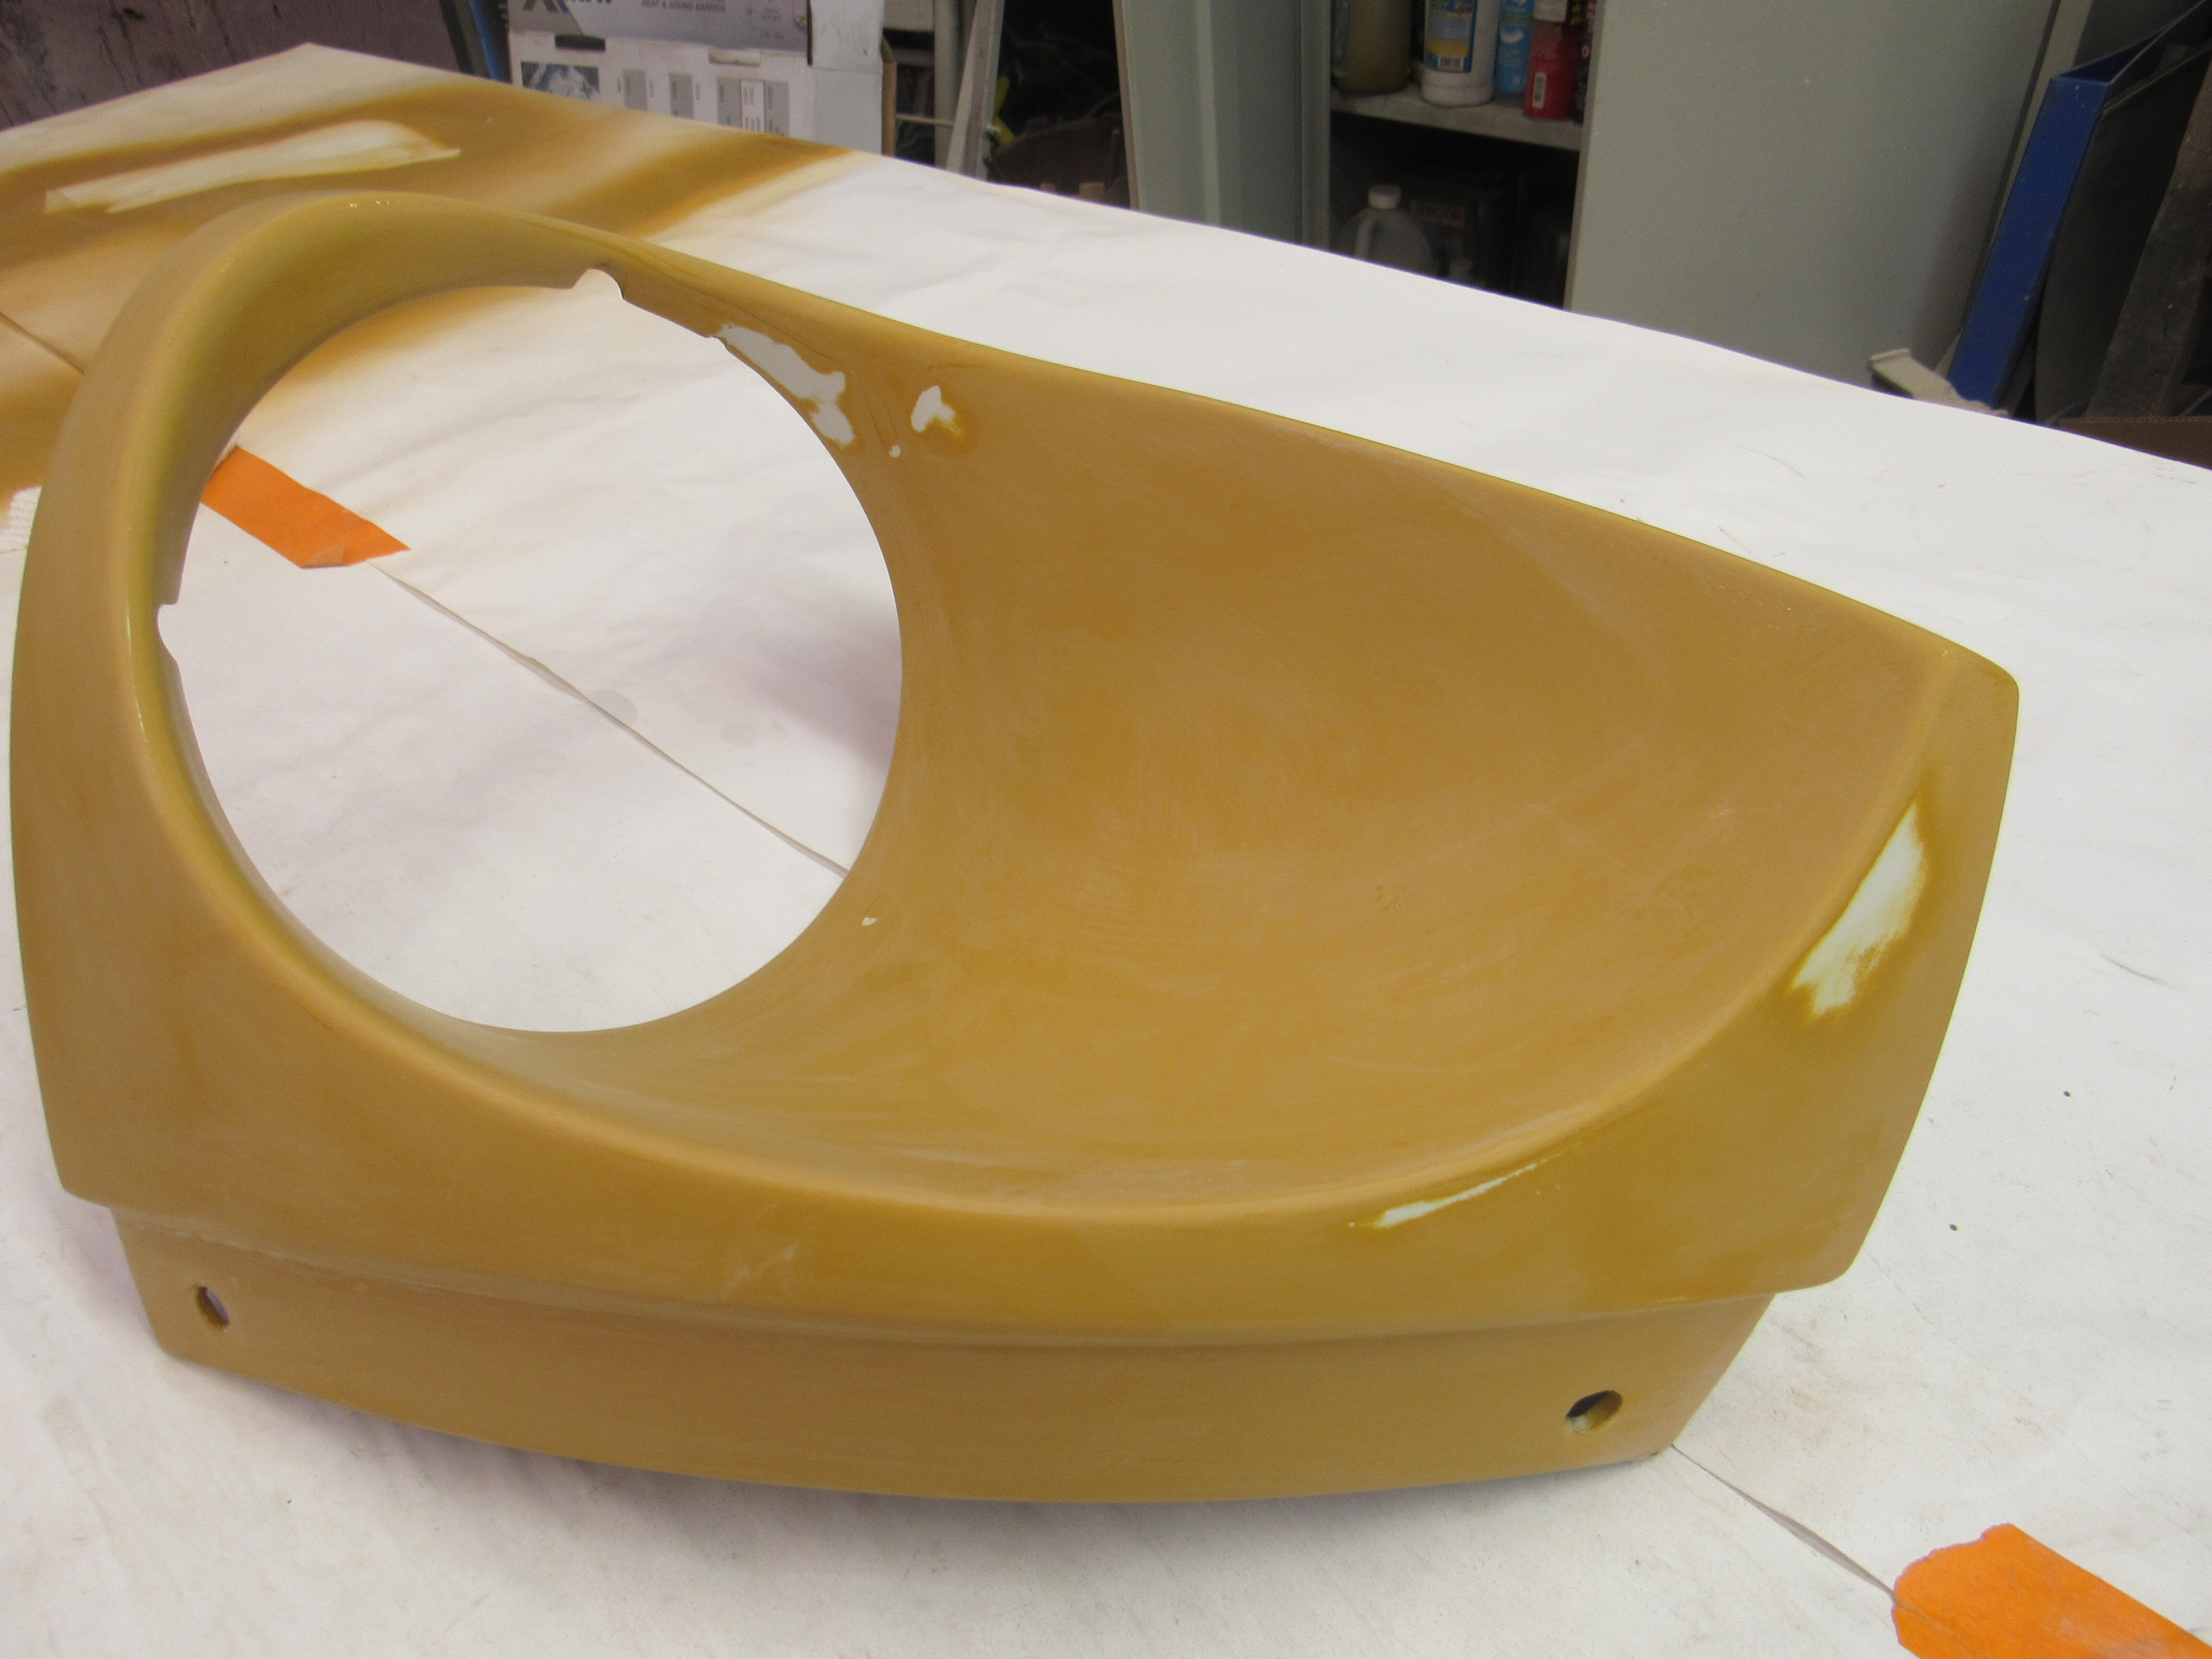
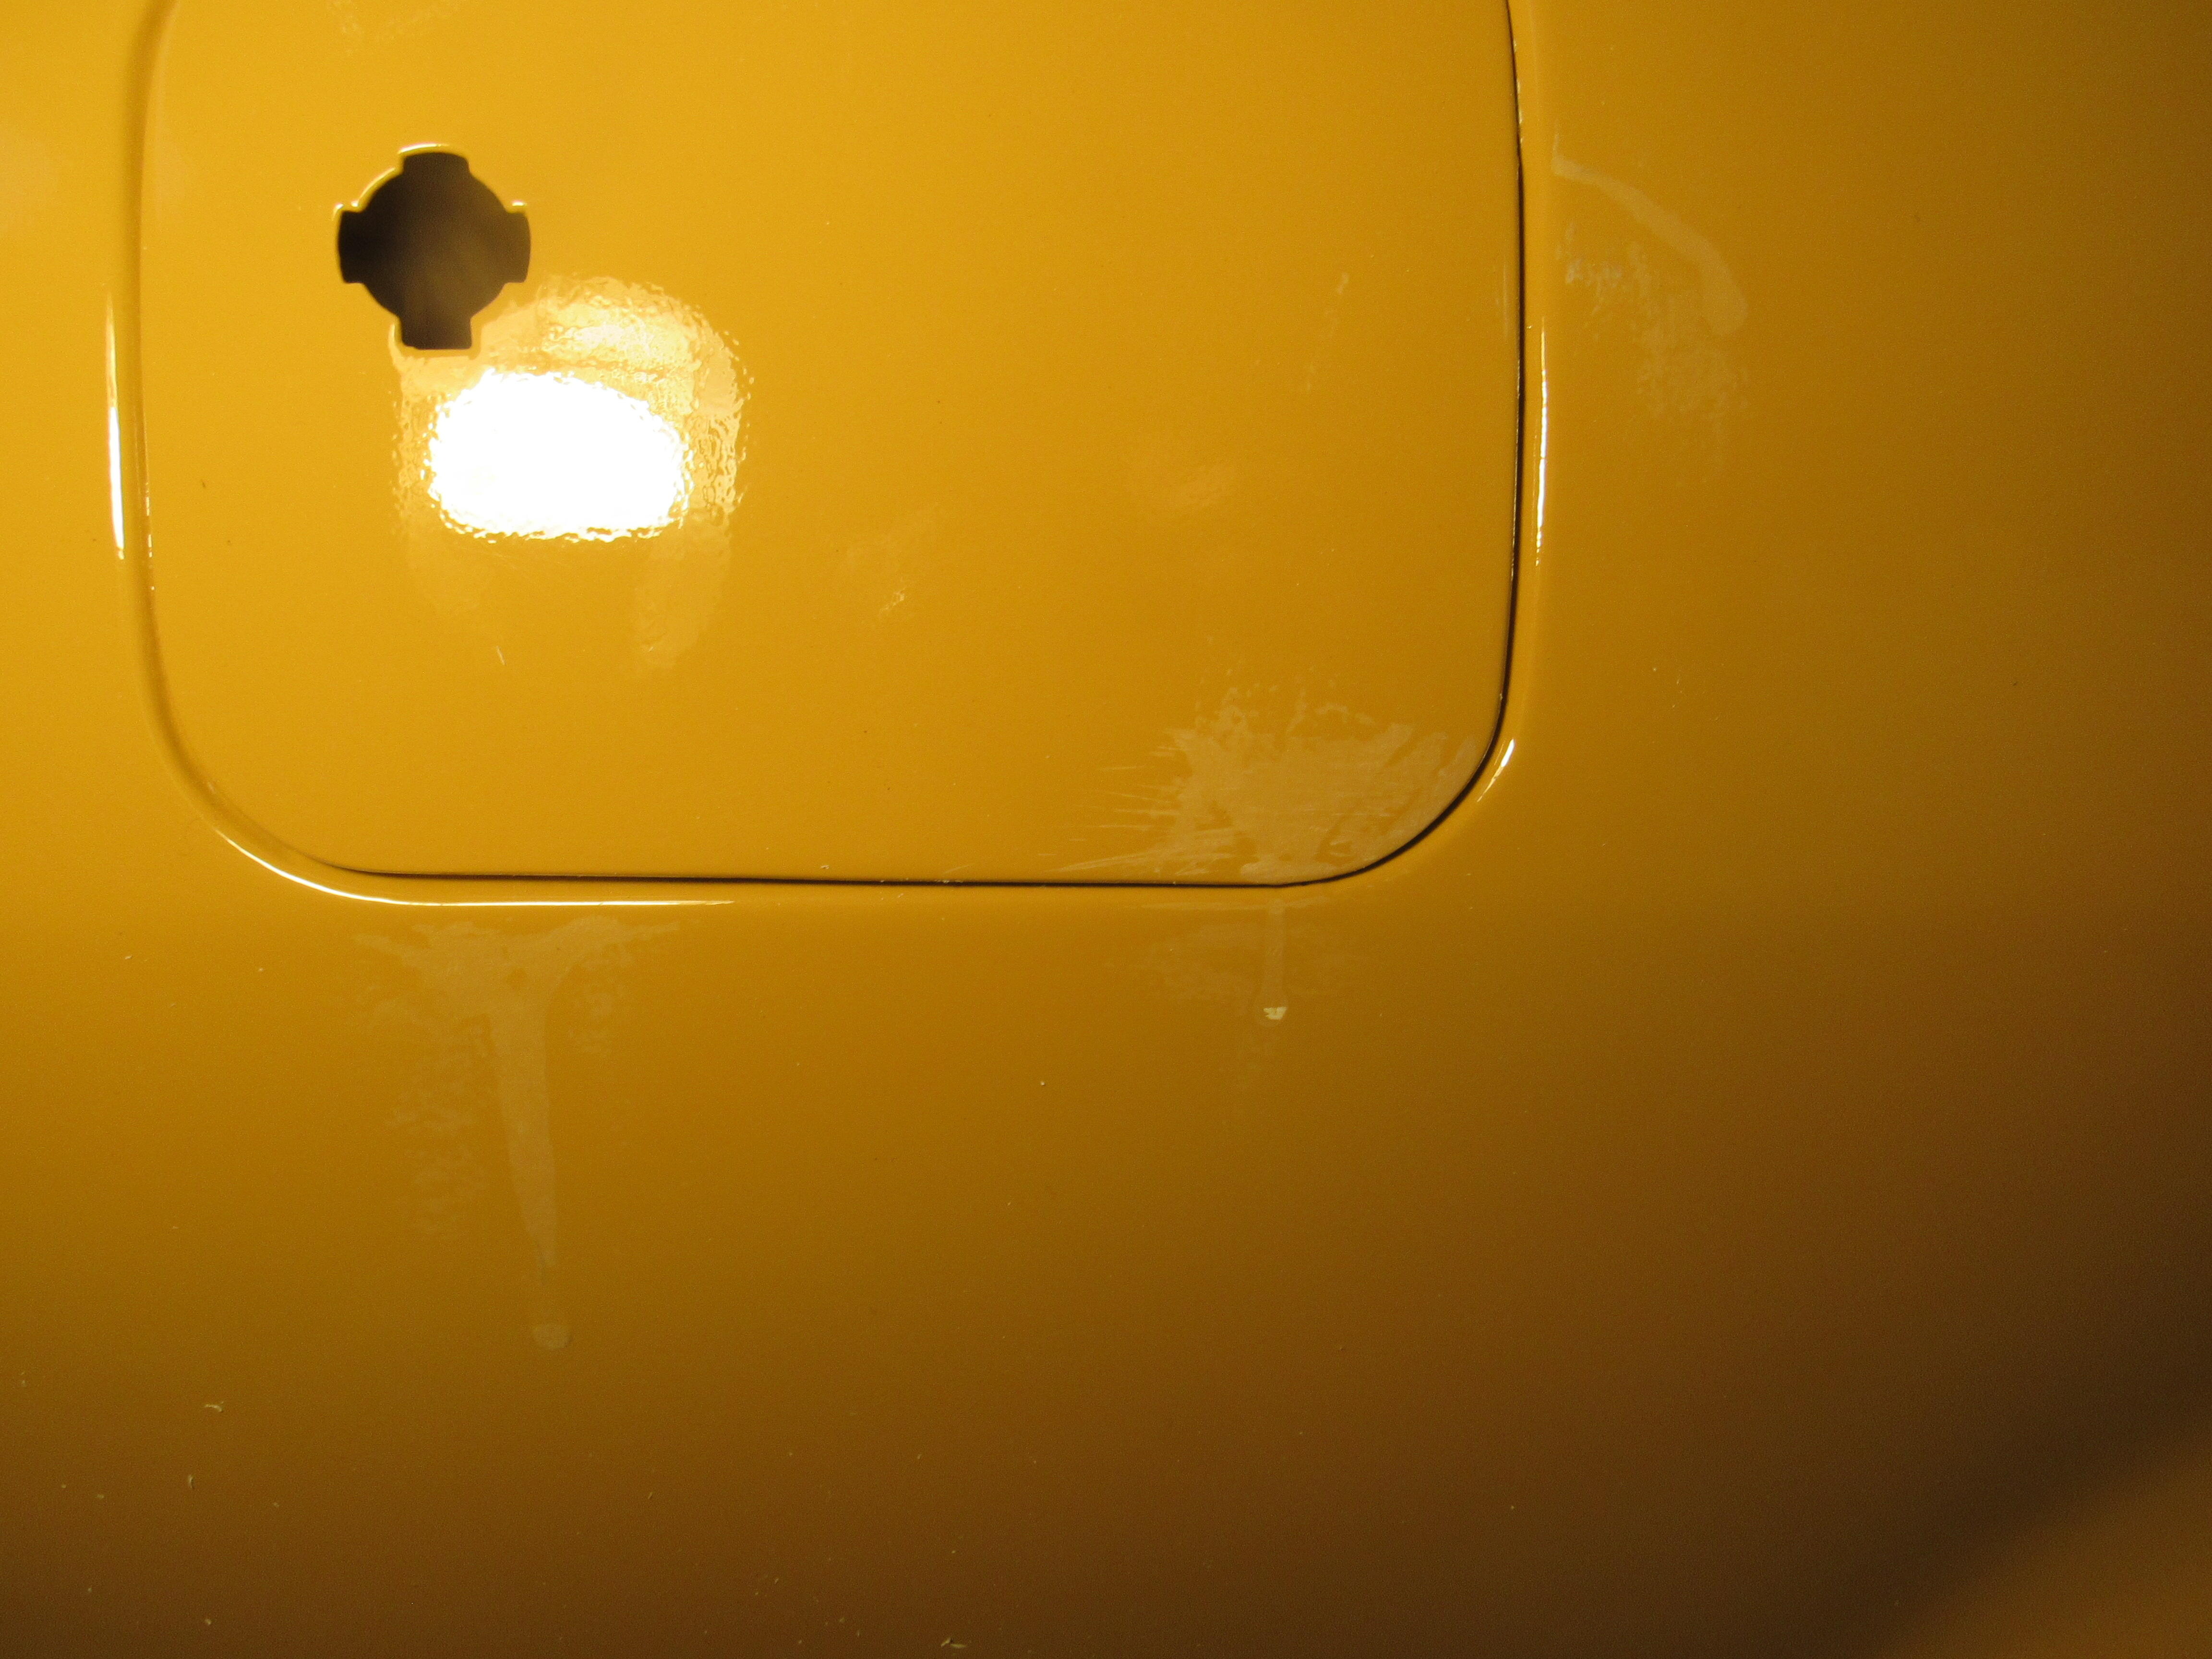
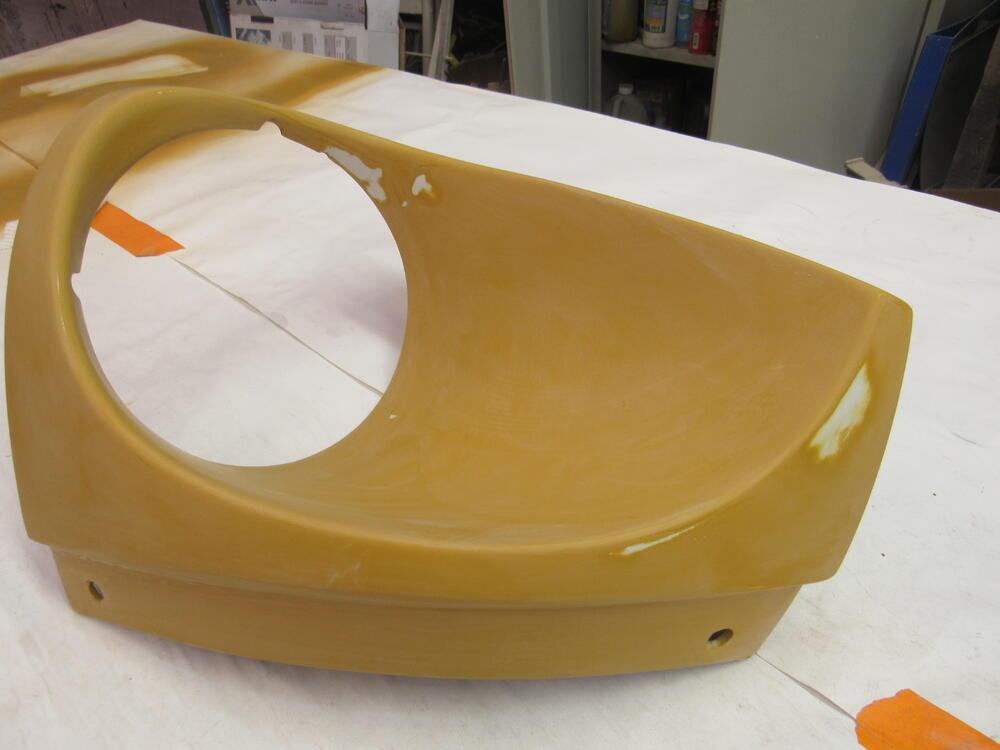
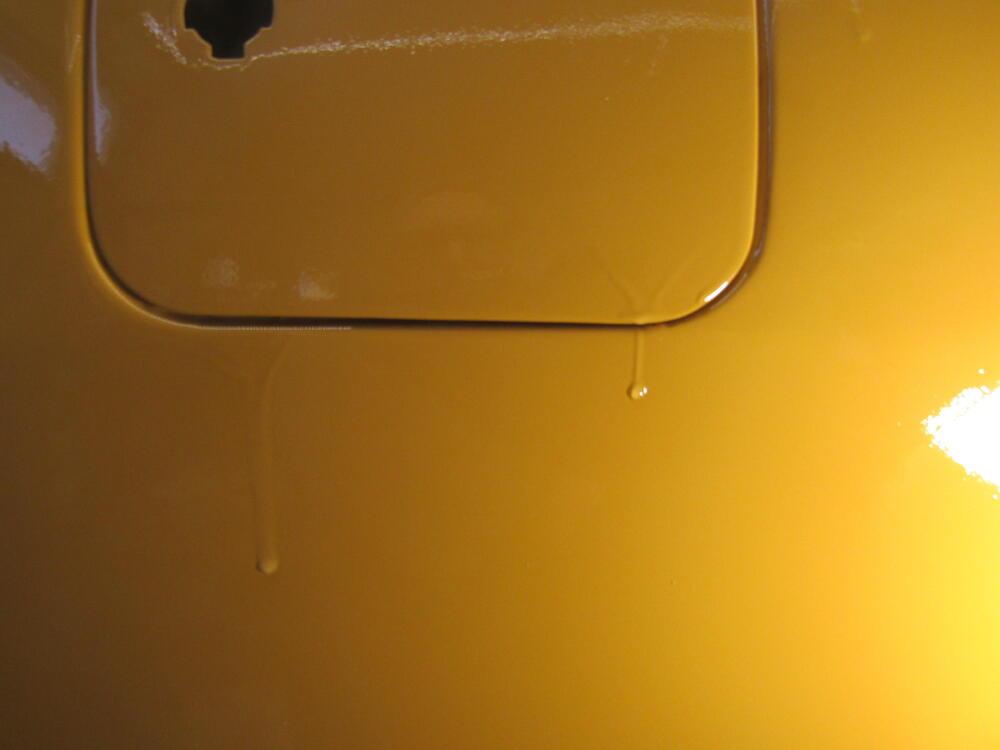
Those 3 drips were fully cured but on an inside curve like that I should have stopped and gone out and bought a curved nib file, the flat one that I have was not the right tool for the job, completely my fault. Same with the burn through, that front area didn't get a thick enough coating of clear, luckily everything was still close at hand so it was easy to correct the problem with a respray. I'm glad the screw up happened on a small part that was easy to remove, if it had been on the roof it would have been a whole other ball game.
-
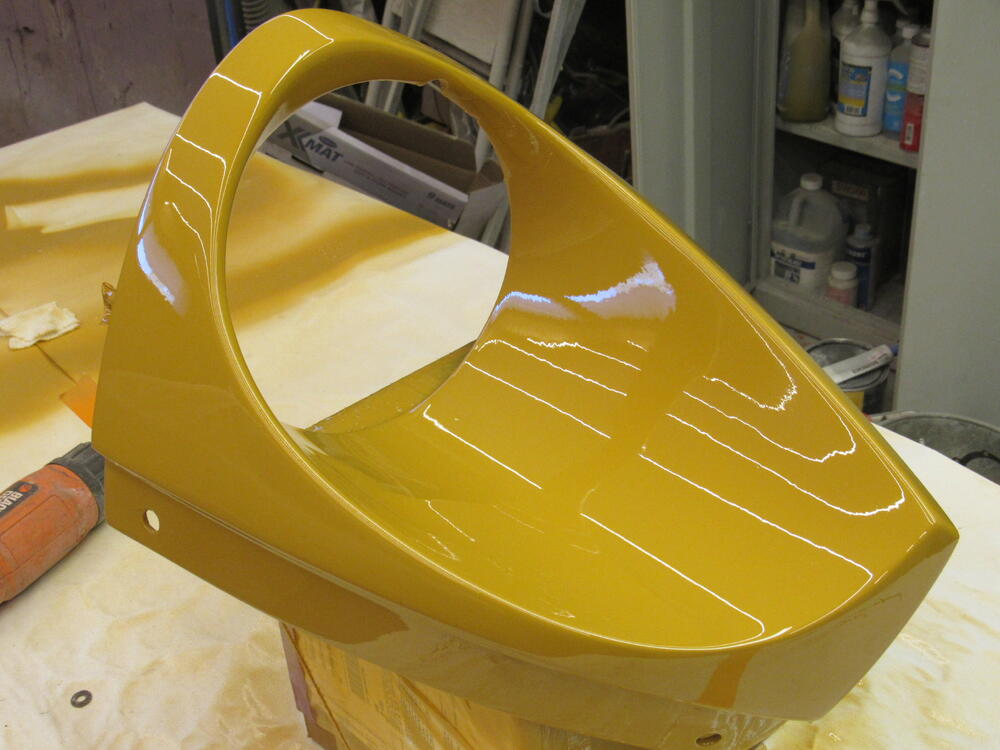
I got everything sanded down to 1200 today, on the very last piece, one of the sugar scoops I burned through the colour to reveal the primer. I had also broken through the paint with the nib file on some runs, so there was no other choice than sand the clear with 400 and paint/clear it again. Sanded clear coat is the perfect substrate for paint so with in an hour I had it painted and 3 coats of clear on it. Turned out so well I think I can start with 1500.


-
What's the trick to getting off white sugar? I quit booze 9 yrs ago, cold turkey, it was a breeze compared to getting off sugar, within 24 hrs I climbing the walls.
-
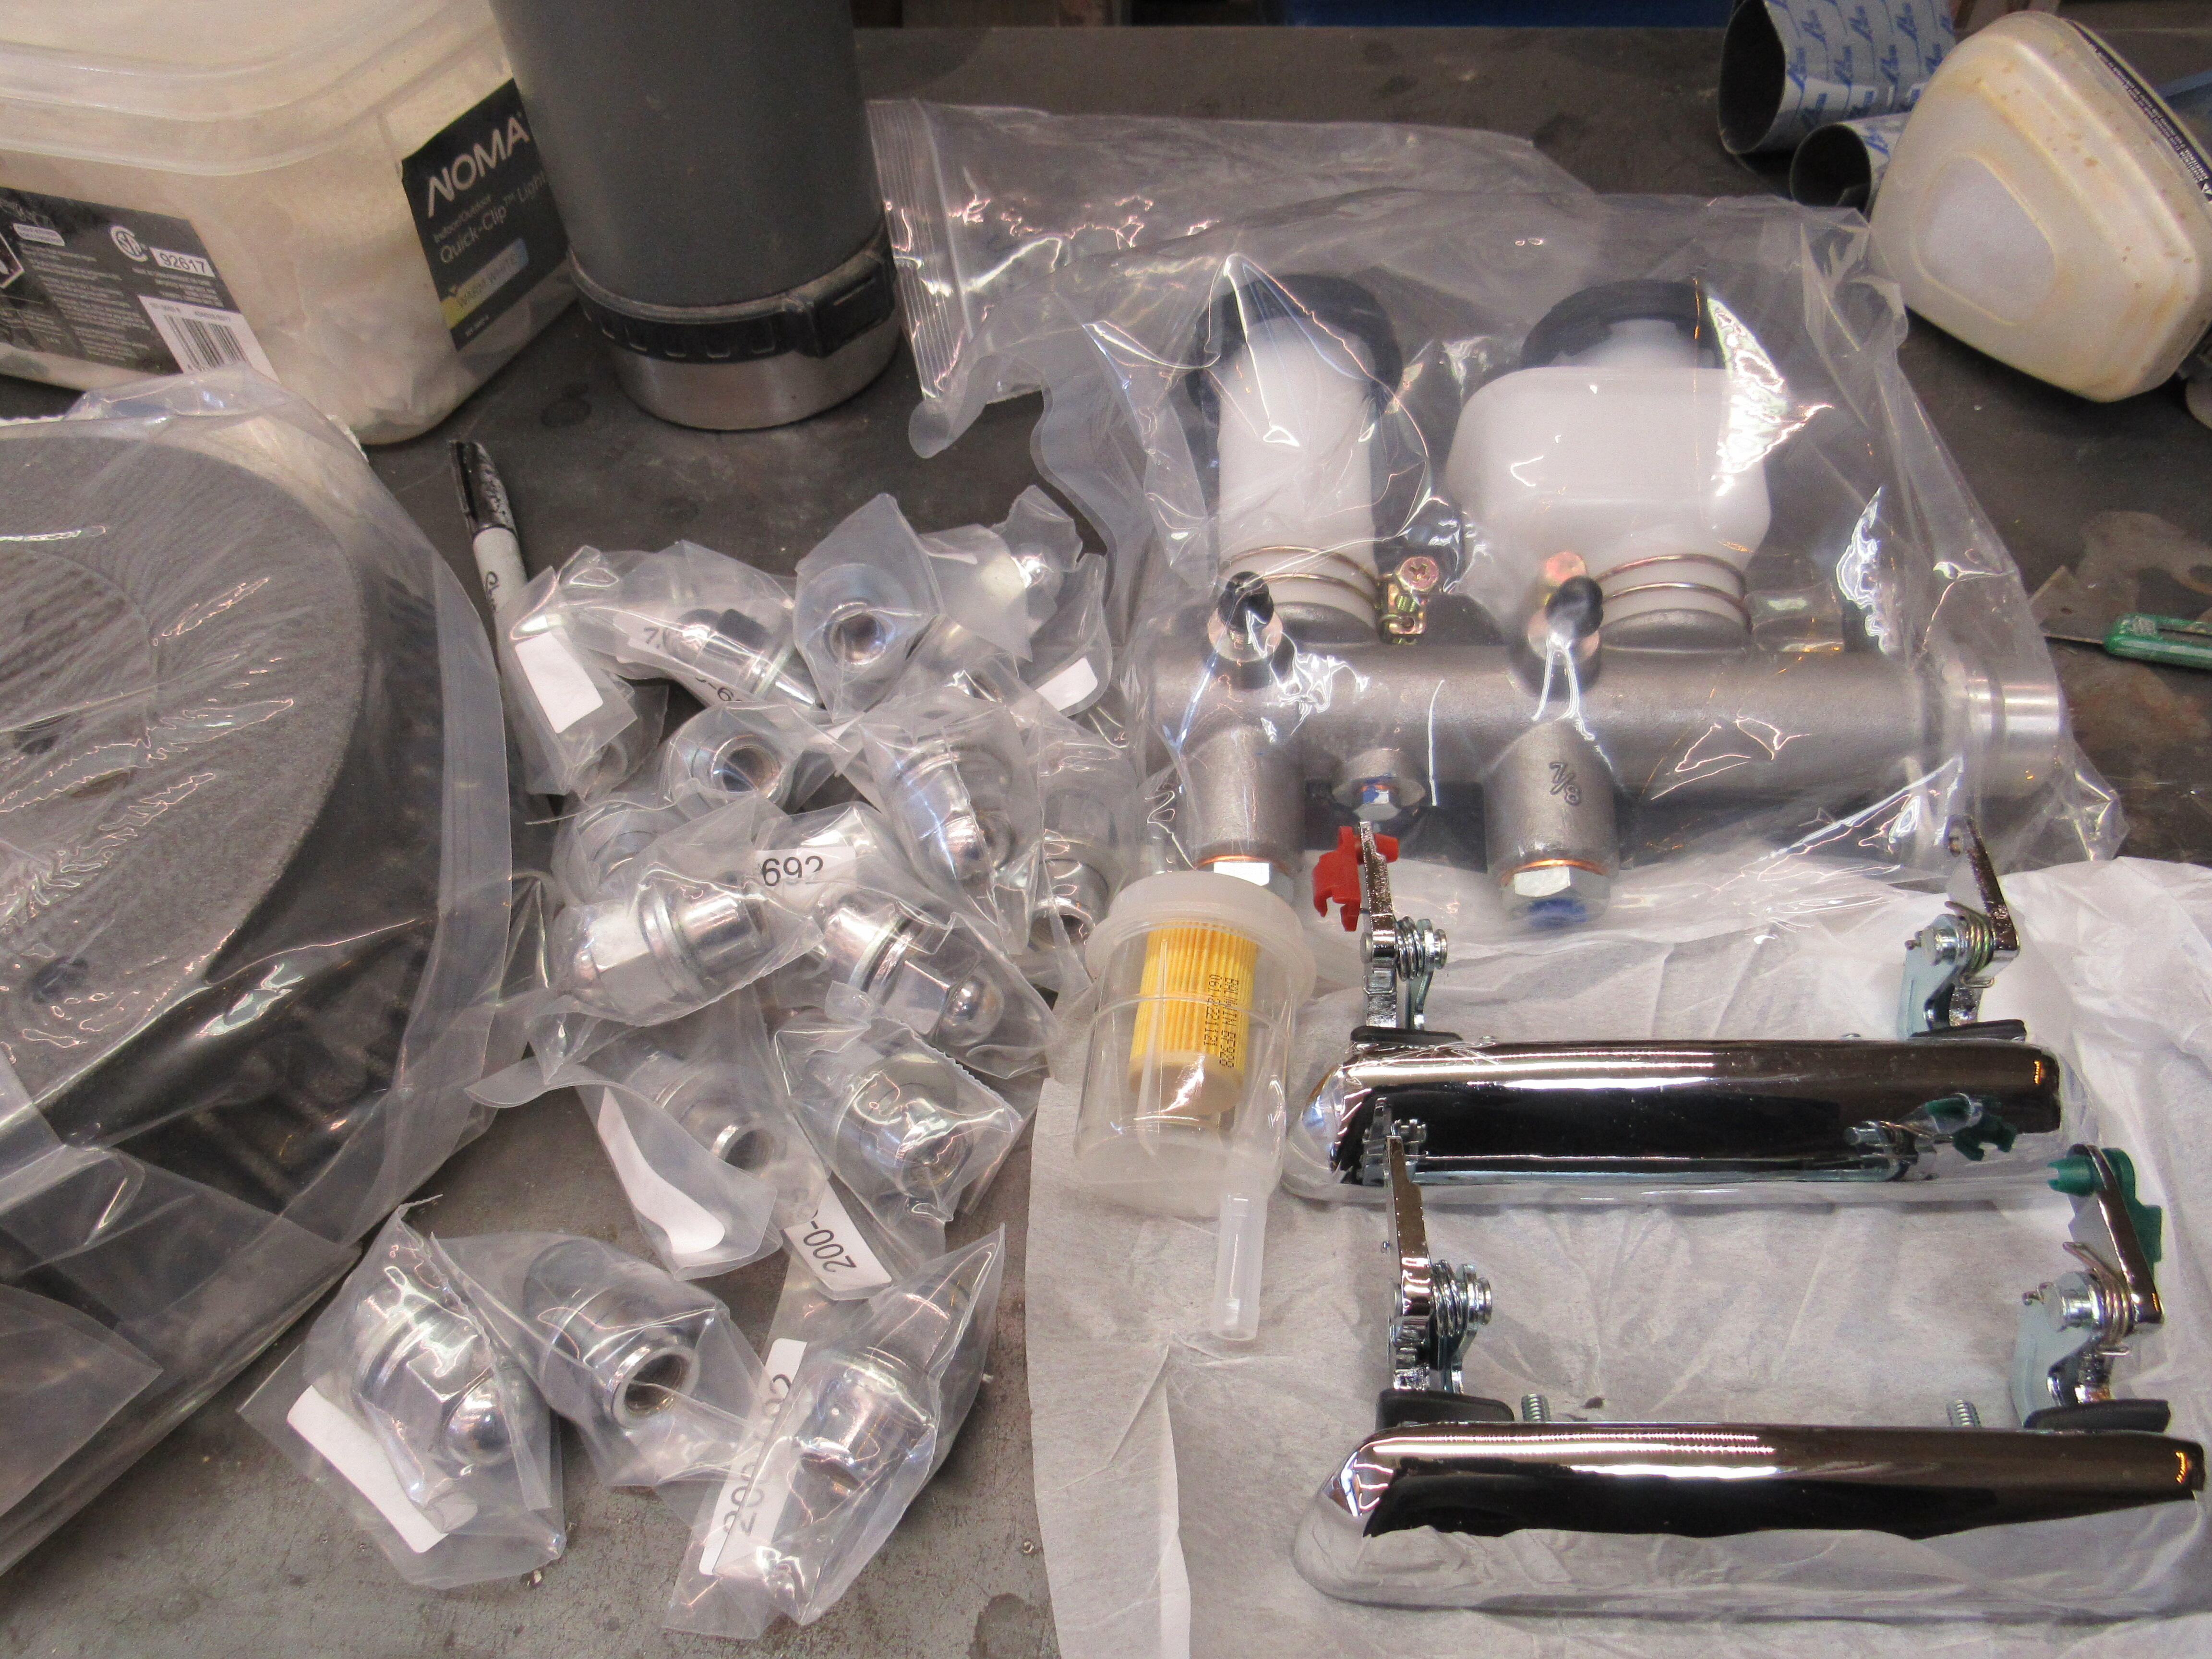
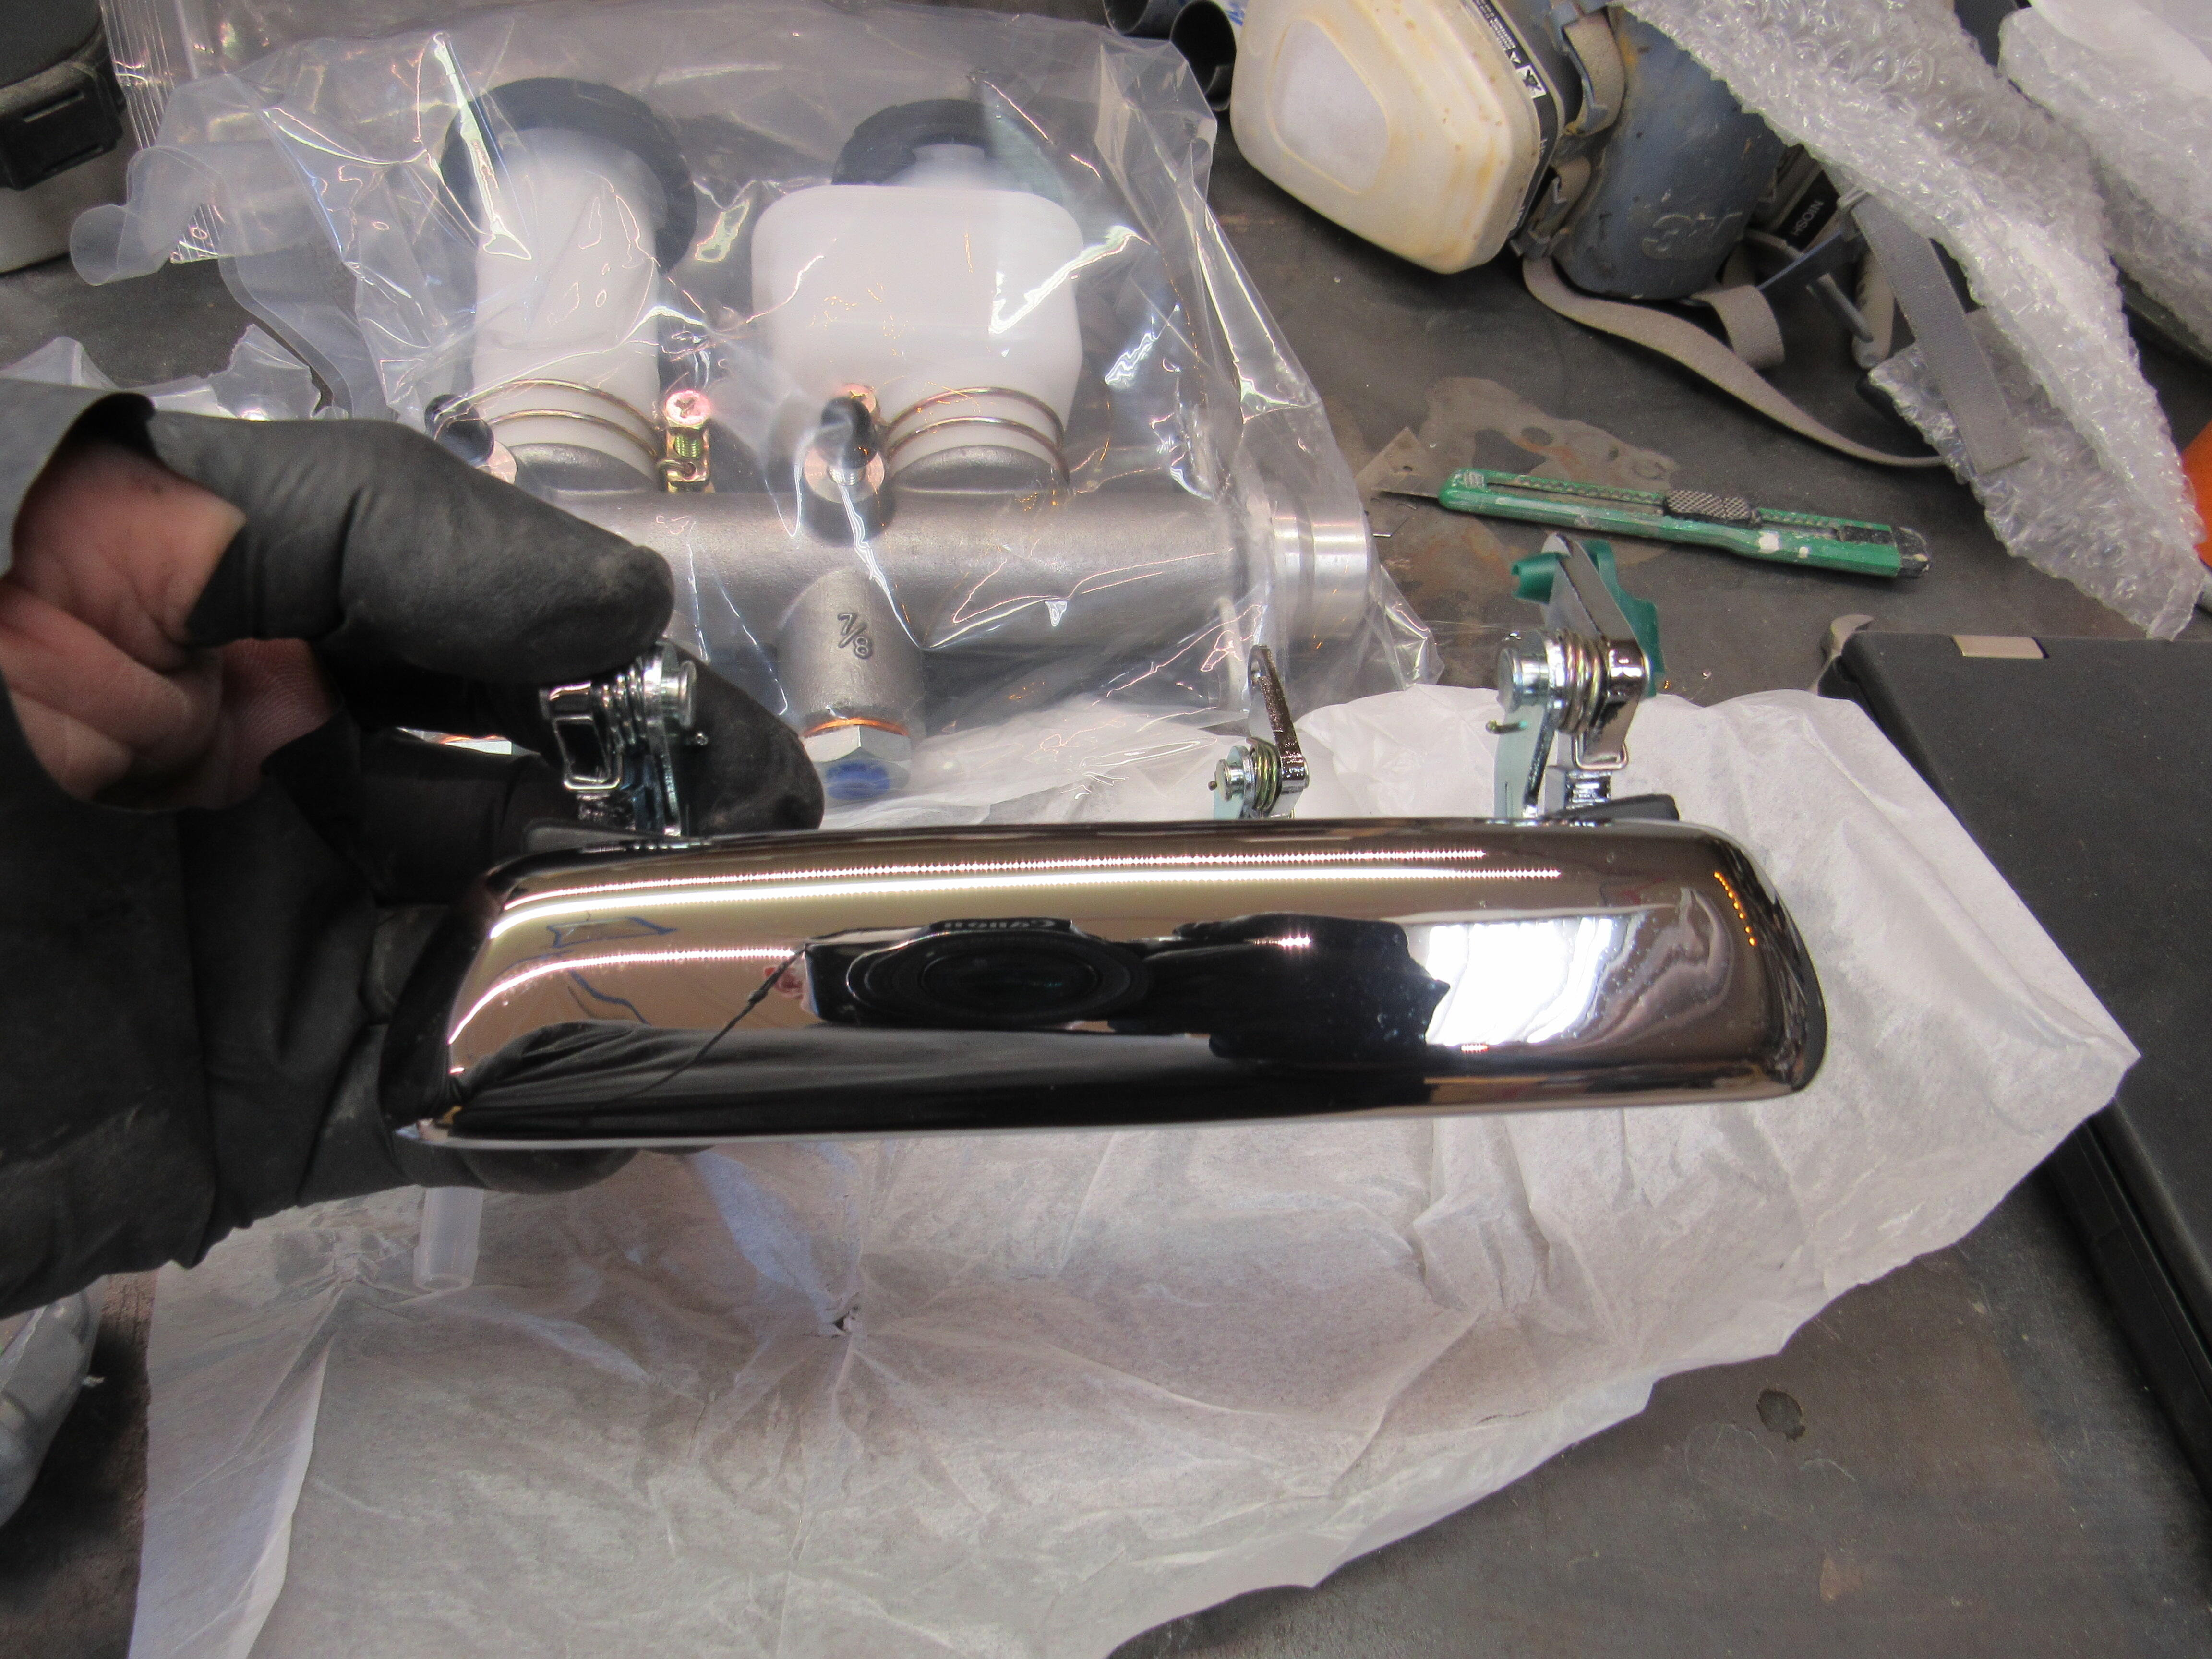
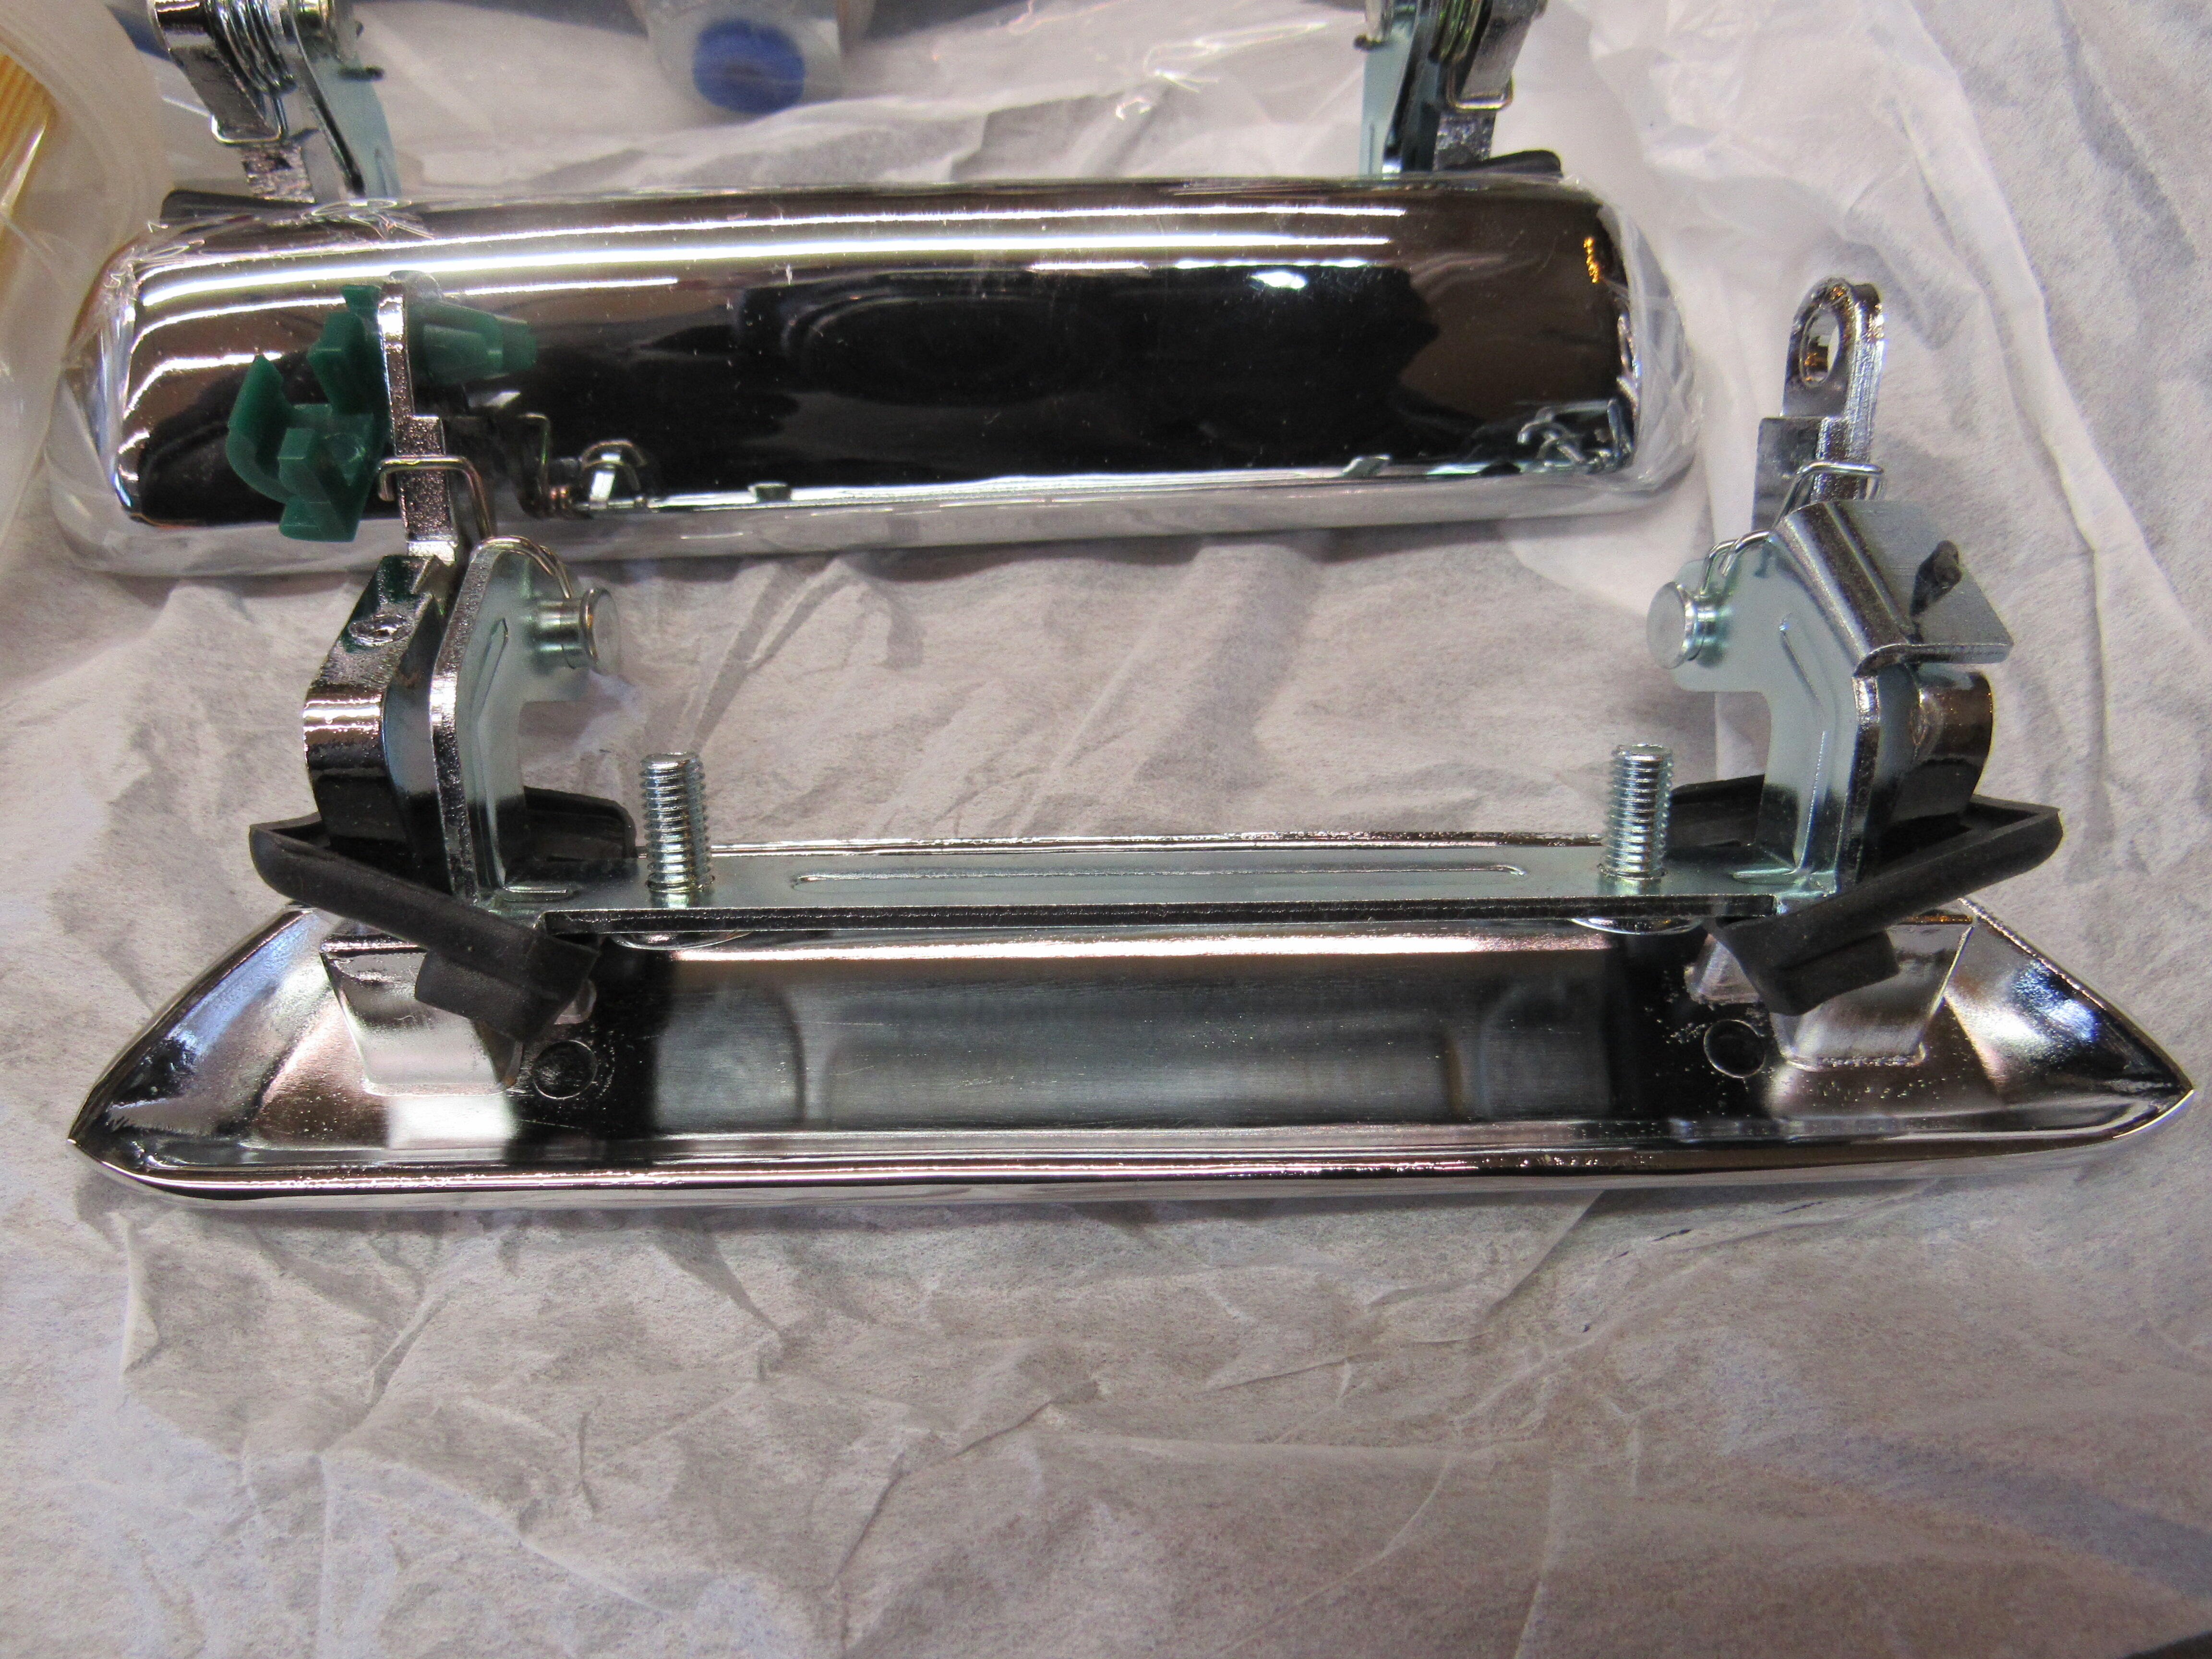
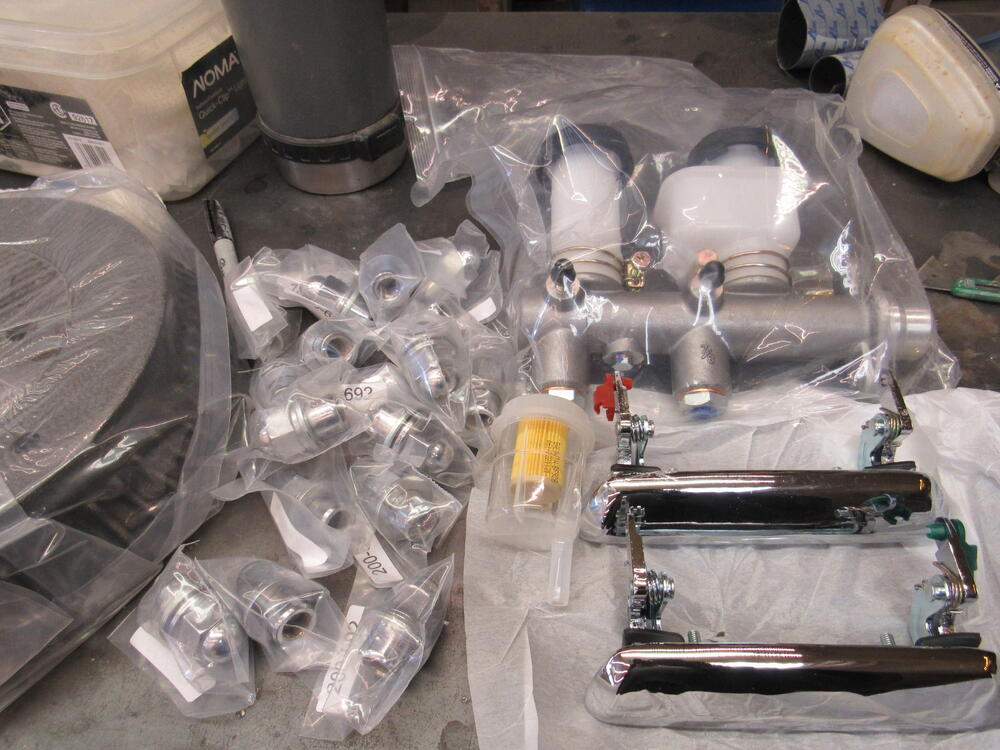
Datsun goodies from Rockauto arrived today, these door handles are just as well made as the originals and only $27.00, they even come with rubber finishers.


-
I tried a razor blade once and it is sooo easy for the blade to grab too much material and gouge or tear, I caused so much damage that I went the nib file route after that. For those of us who don't do this work everyday, a file may be slower but it's generally safer.
-
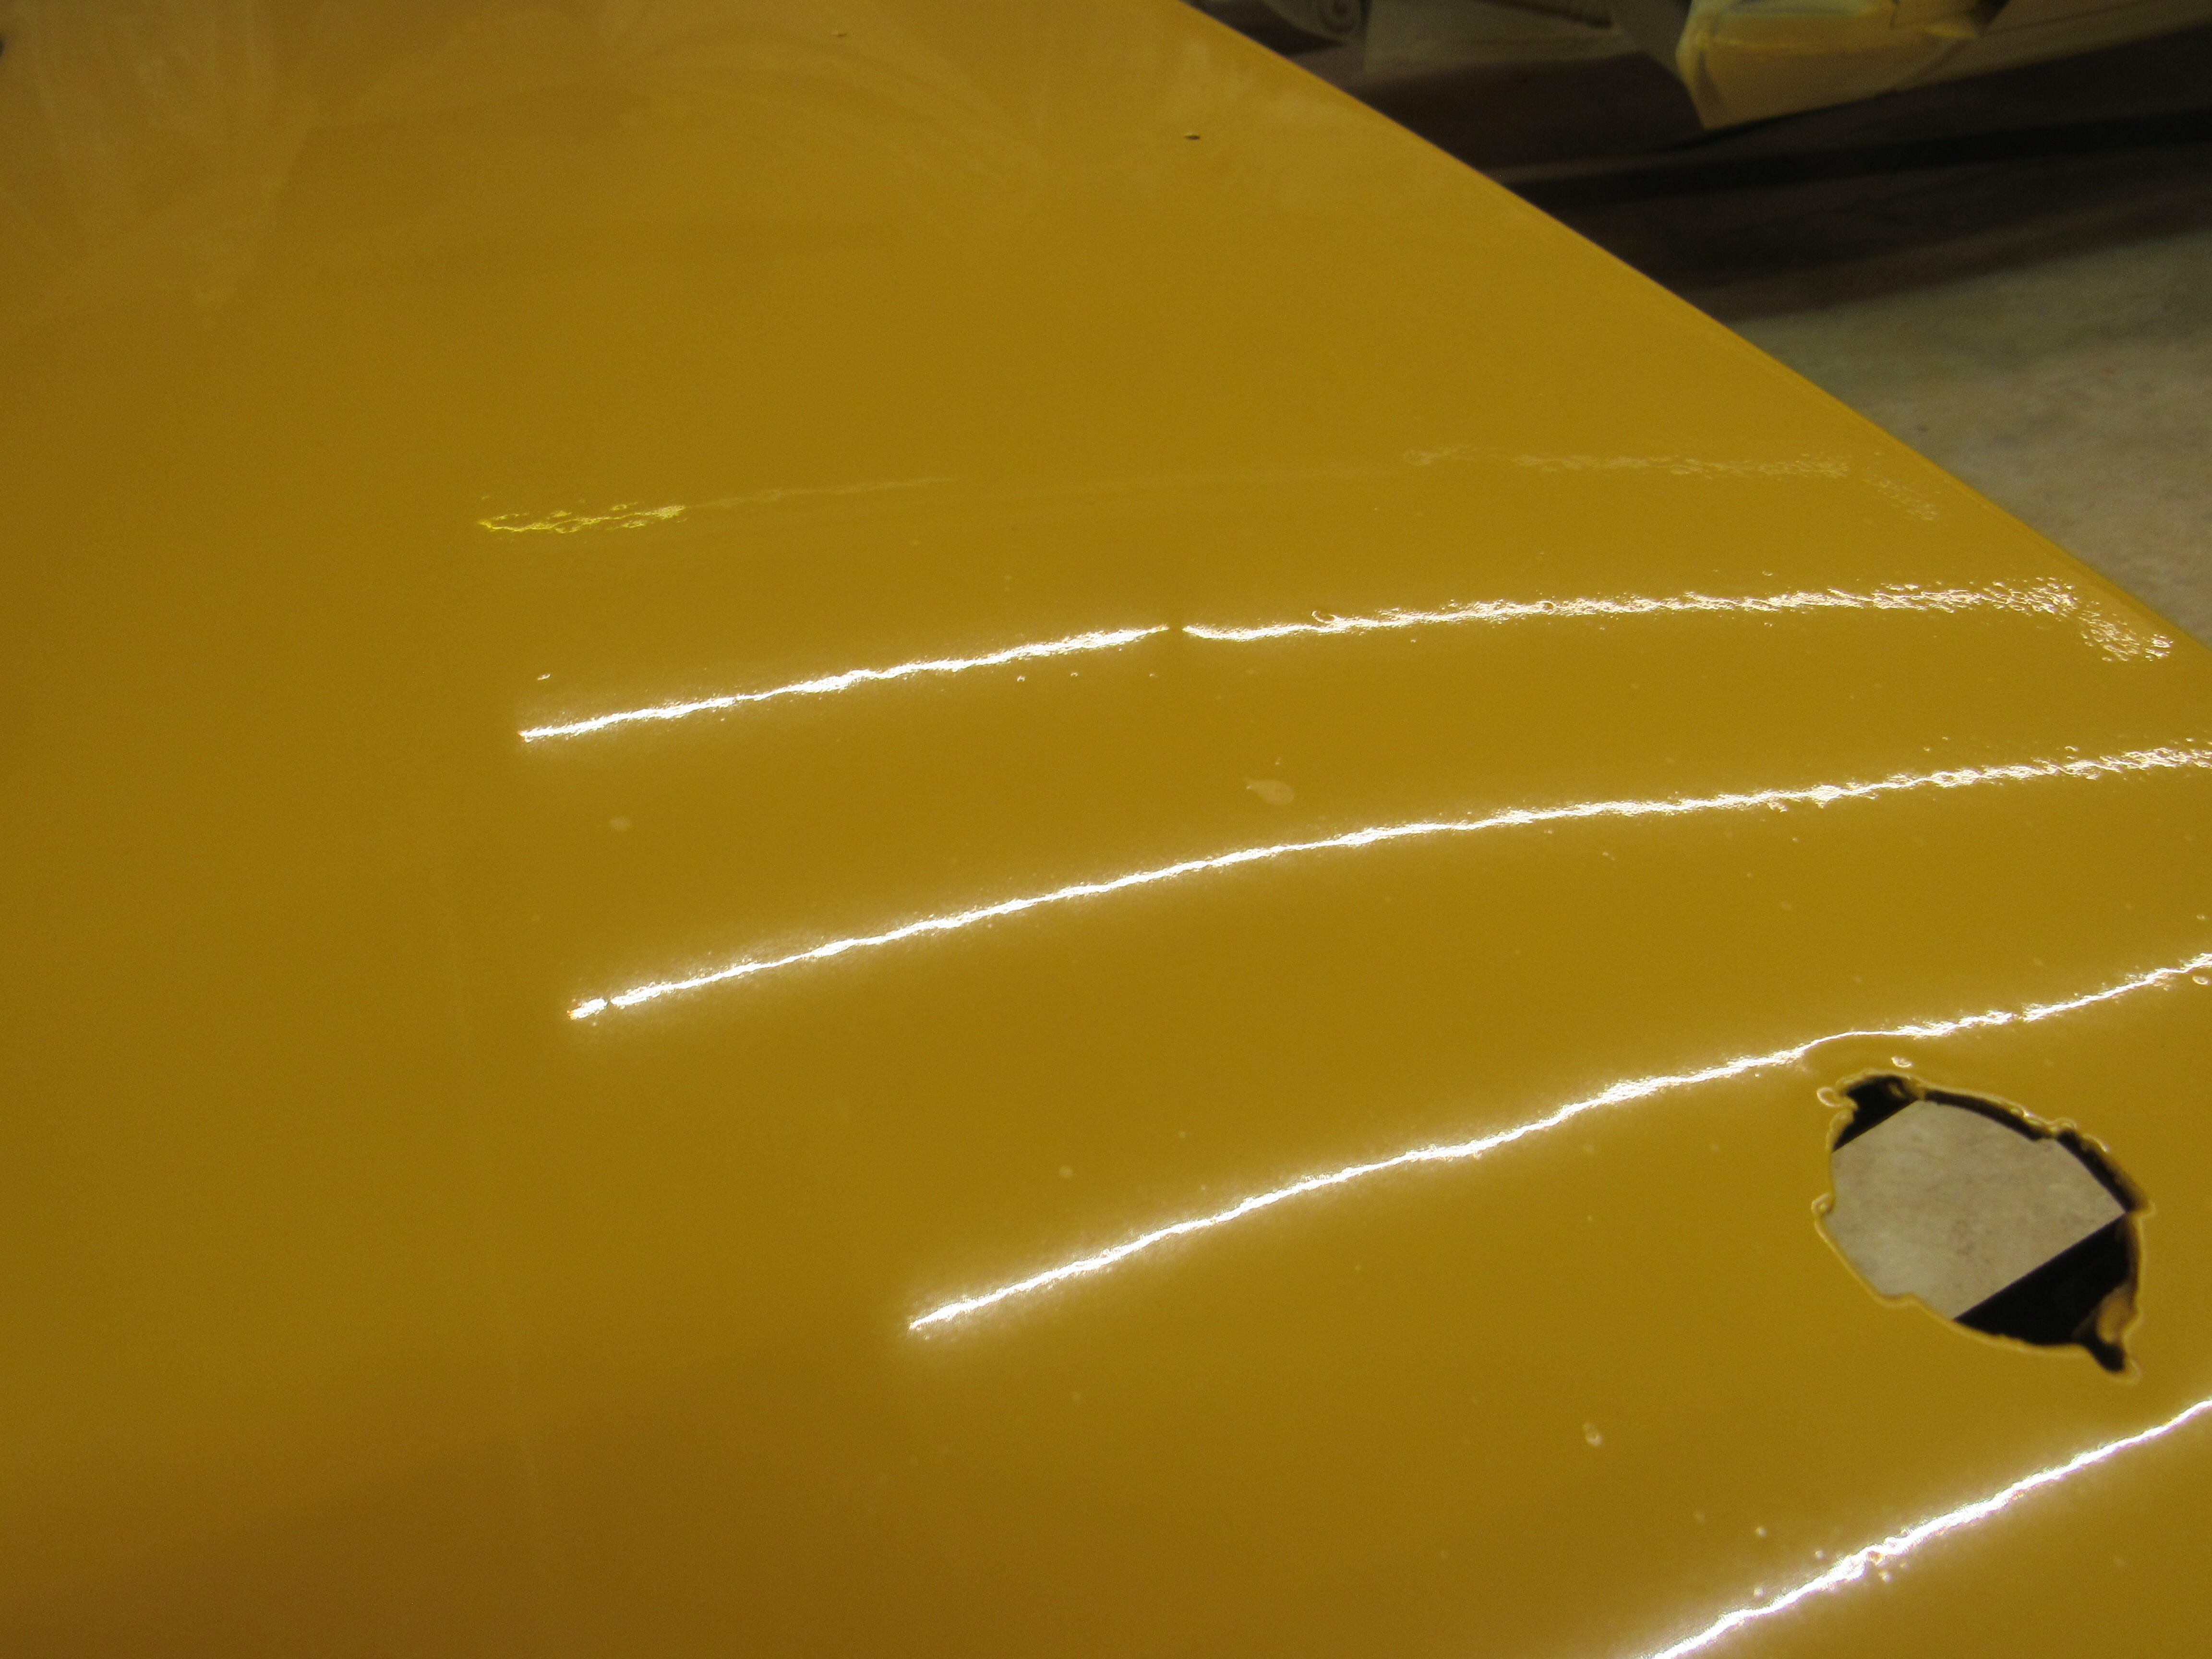
The biggest disadvantage to using your garage as a paint booth is all the trash that ends up on the clear coat, it doesn't matter how clean I blow the shop out, cover up stuff with plastic or soak the floor down. I don't paint often enough to lay down a clear coat like glass like some guys, mine are always covered with orange peel anyway so I guess some trash isn't too bad a price to pay. Like it or not the clear has to be sanded, I tried to start with 1500 grit but could see quickly that I would have to go down to 1200. A nib file is the tool to deal with trash and runs. Here is where I have gone over the worst of trash with the nib file. The tear drop at the bottom of run takes a week or more to fully cure, so if you go away at it with a nib file too soon it can pull the paint off as you get down to the bottom of the drop as I have done here. Now I'll have to apply some colour coat to that white spot with a toothpick then cover it with clear and wait another week before I go back and try to work it again. Recommissioned


-
If there are areas of the cast iron housing that are in the way of the ring gear, it is perfectly acceptable to grind off the areas that are in the way. You can't go crazy on it but a little bit here and there won't hurt the strength of the housing. Stuff a clean rag up into gap around the pinion gear so no fillings get in there then spray it out with brake cleaner before assembly.
-
It might be worth shooting this guy an email, https://racingdiffs.com/ I changed my ring and pinion gears on a bmw and bought the diff rebuild kit from him, knowledgeable guy. He may have a lead on the shims you are looking for.
-
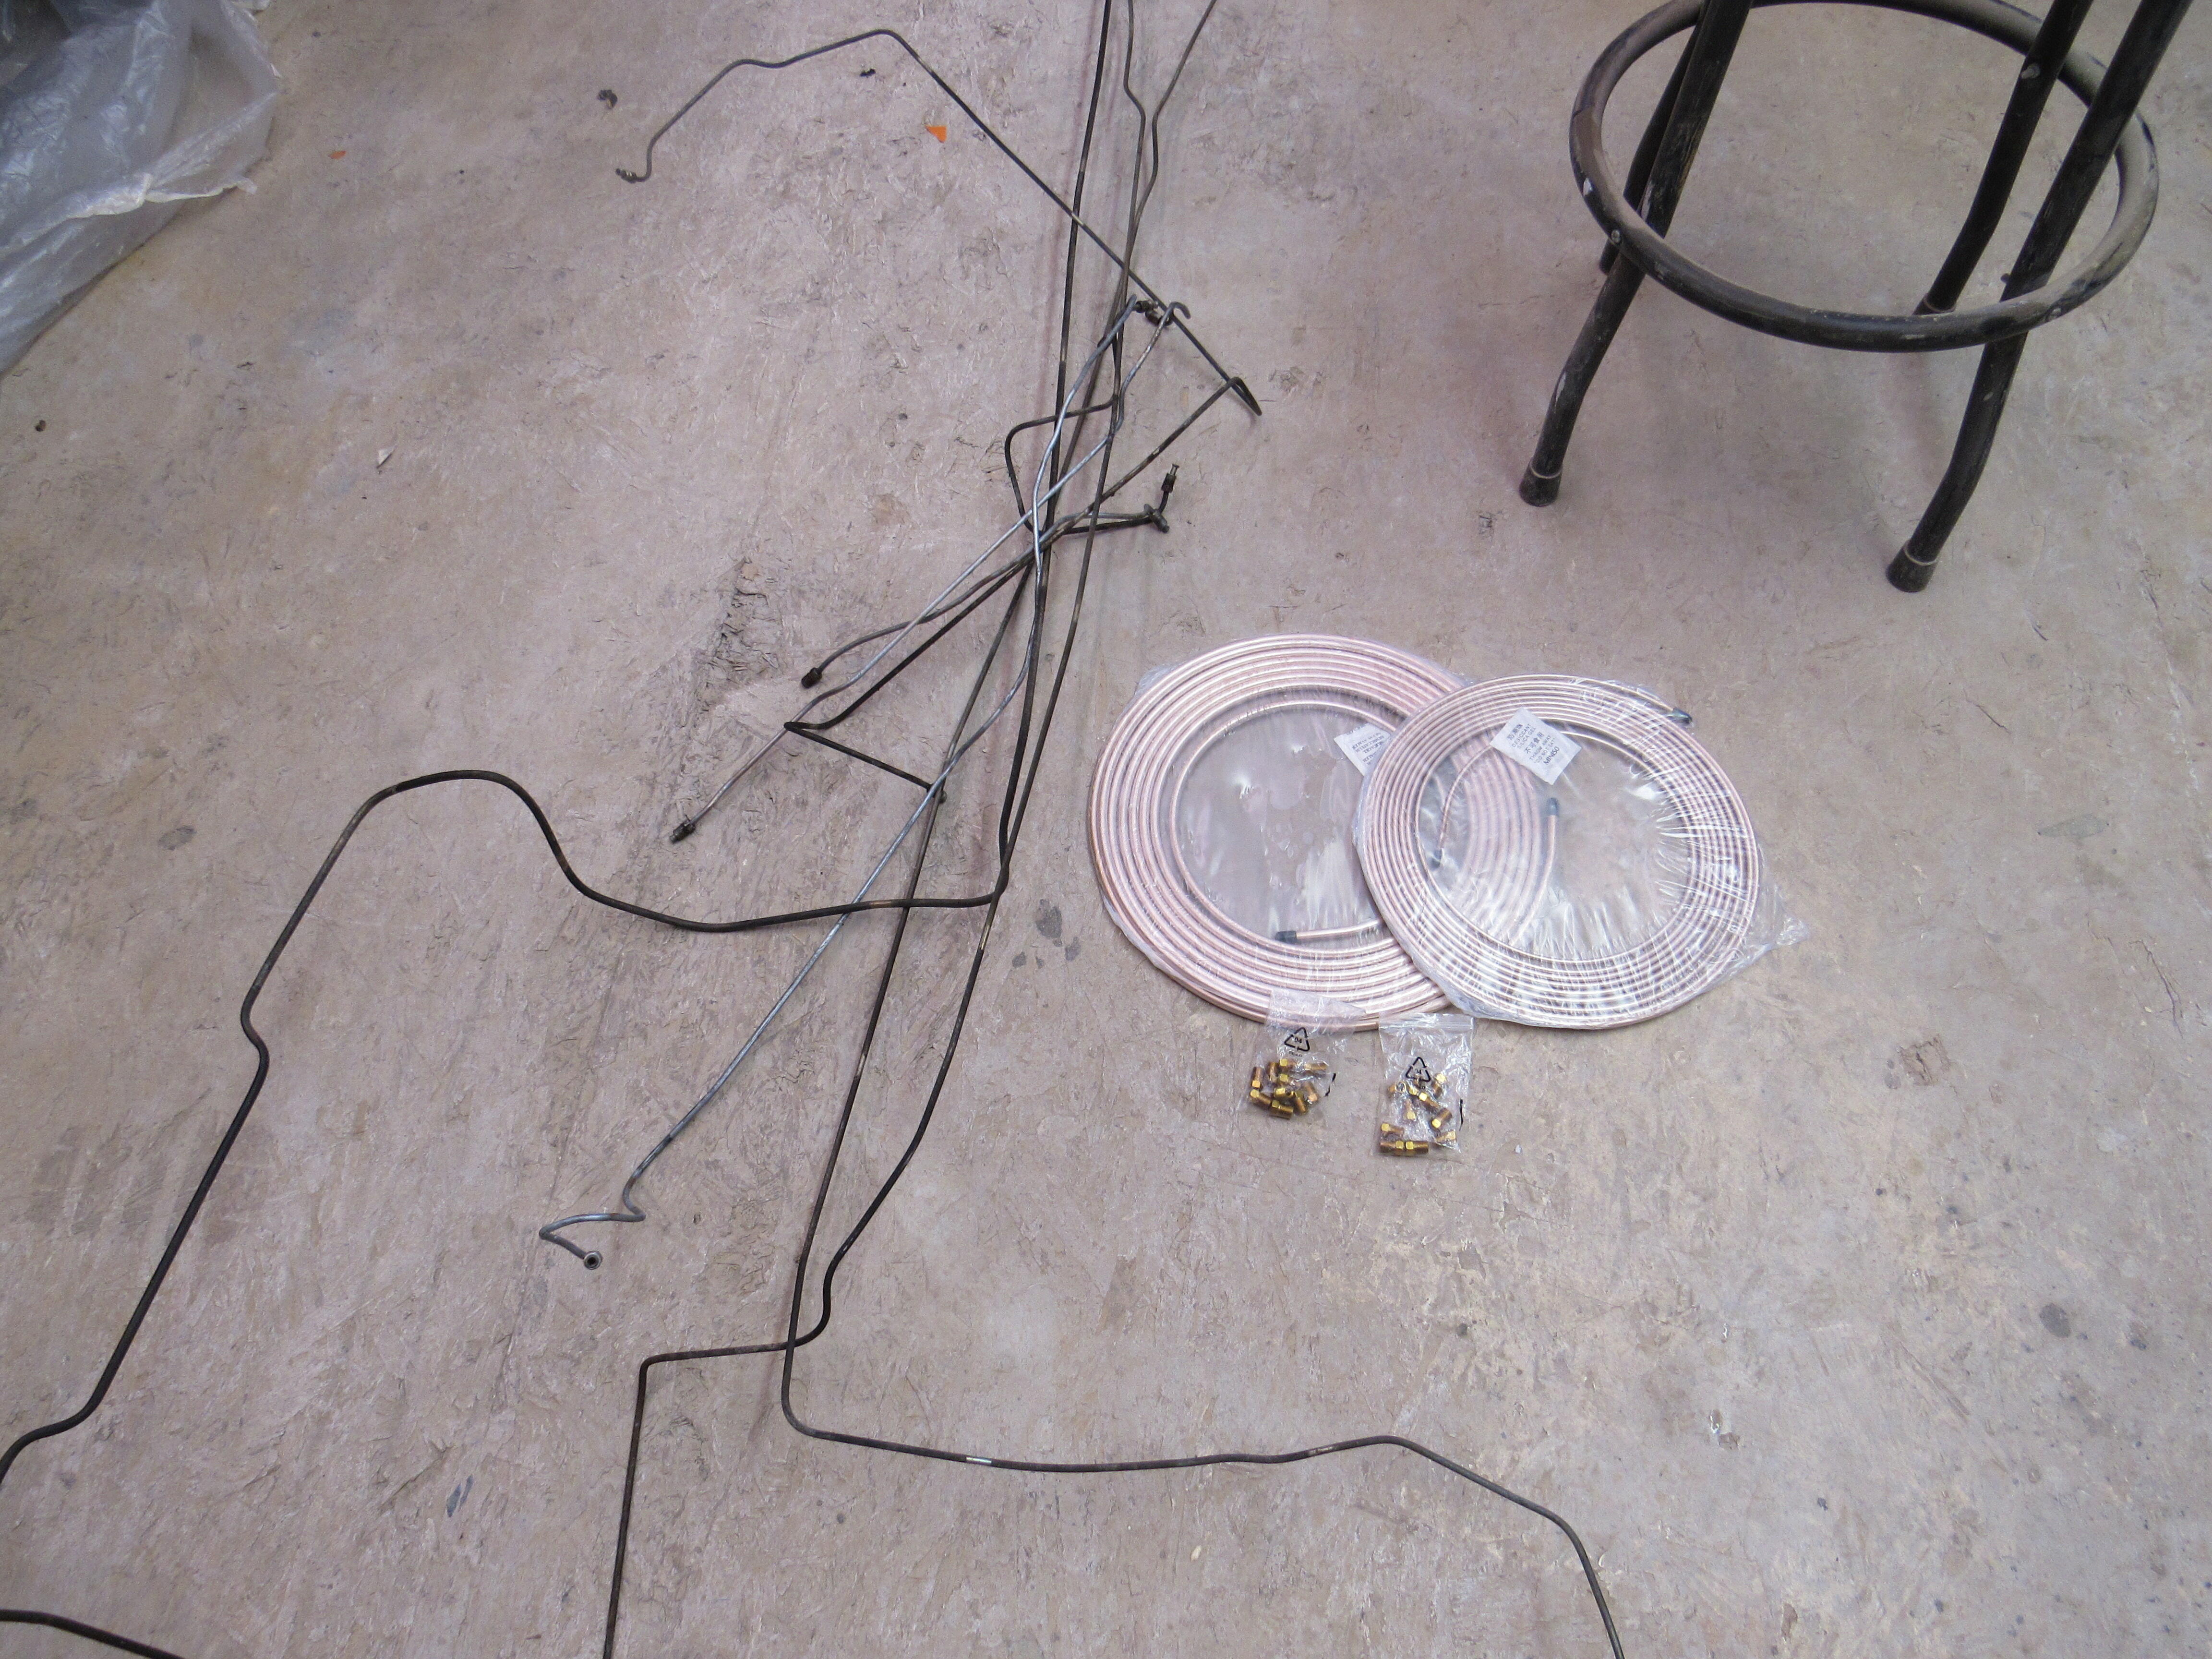
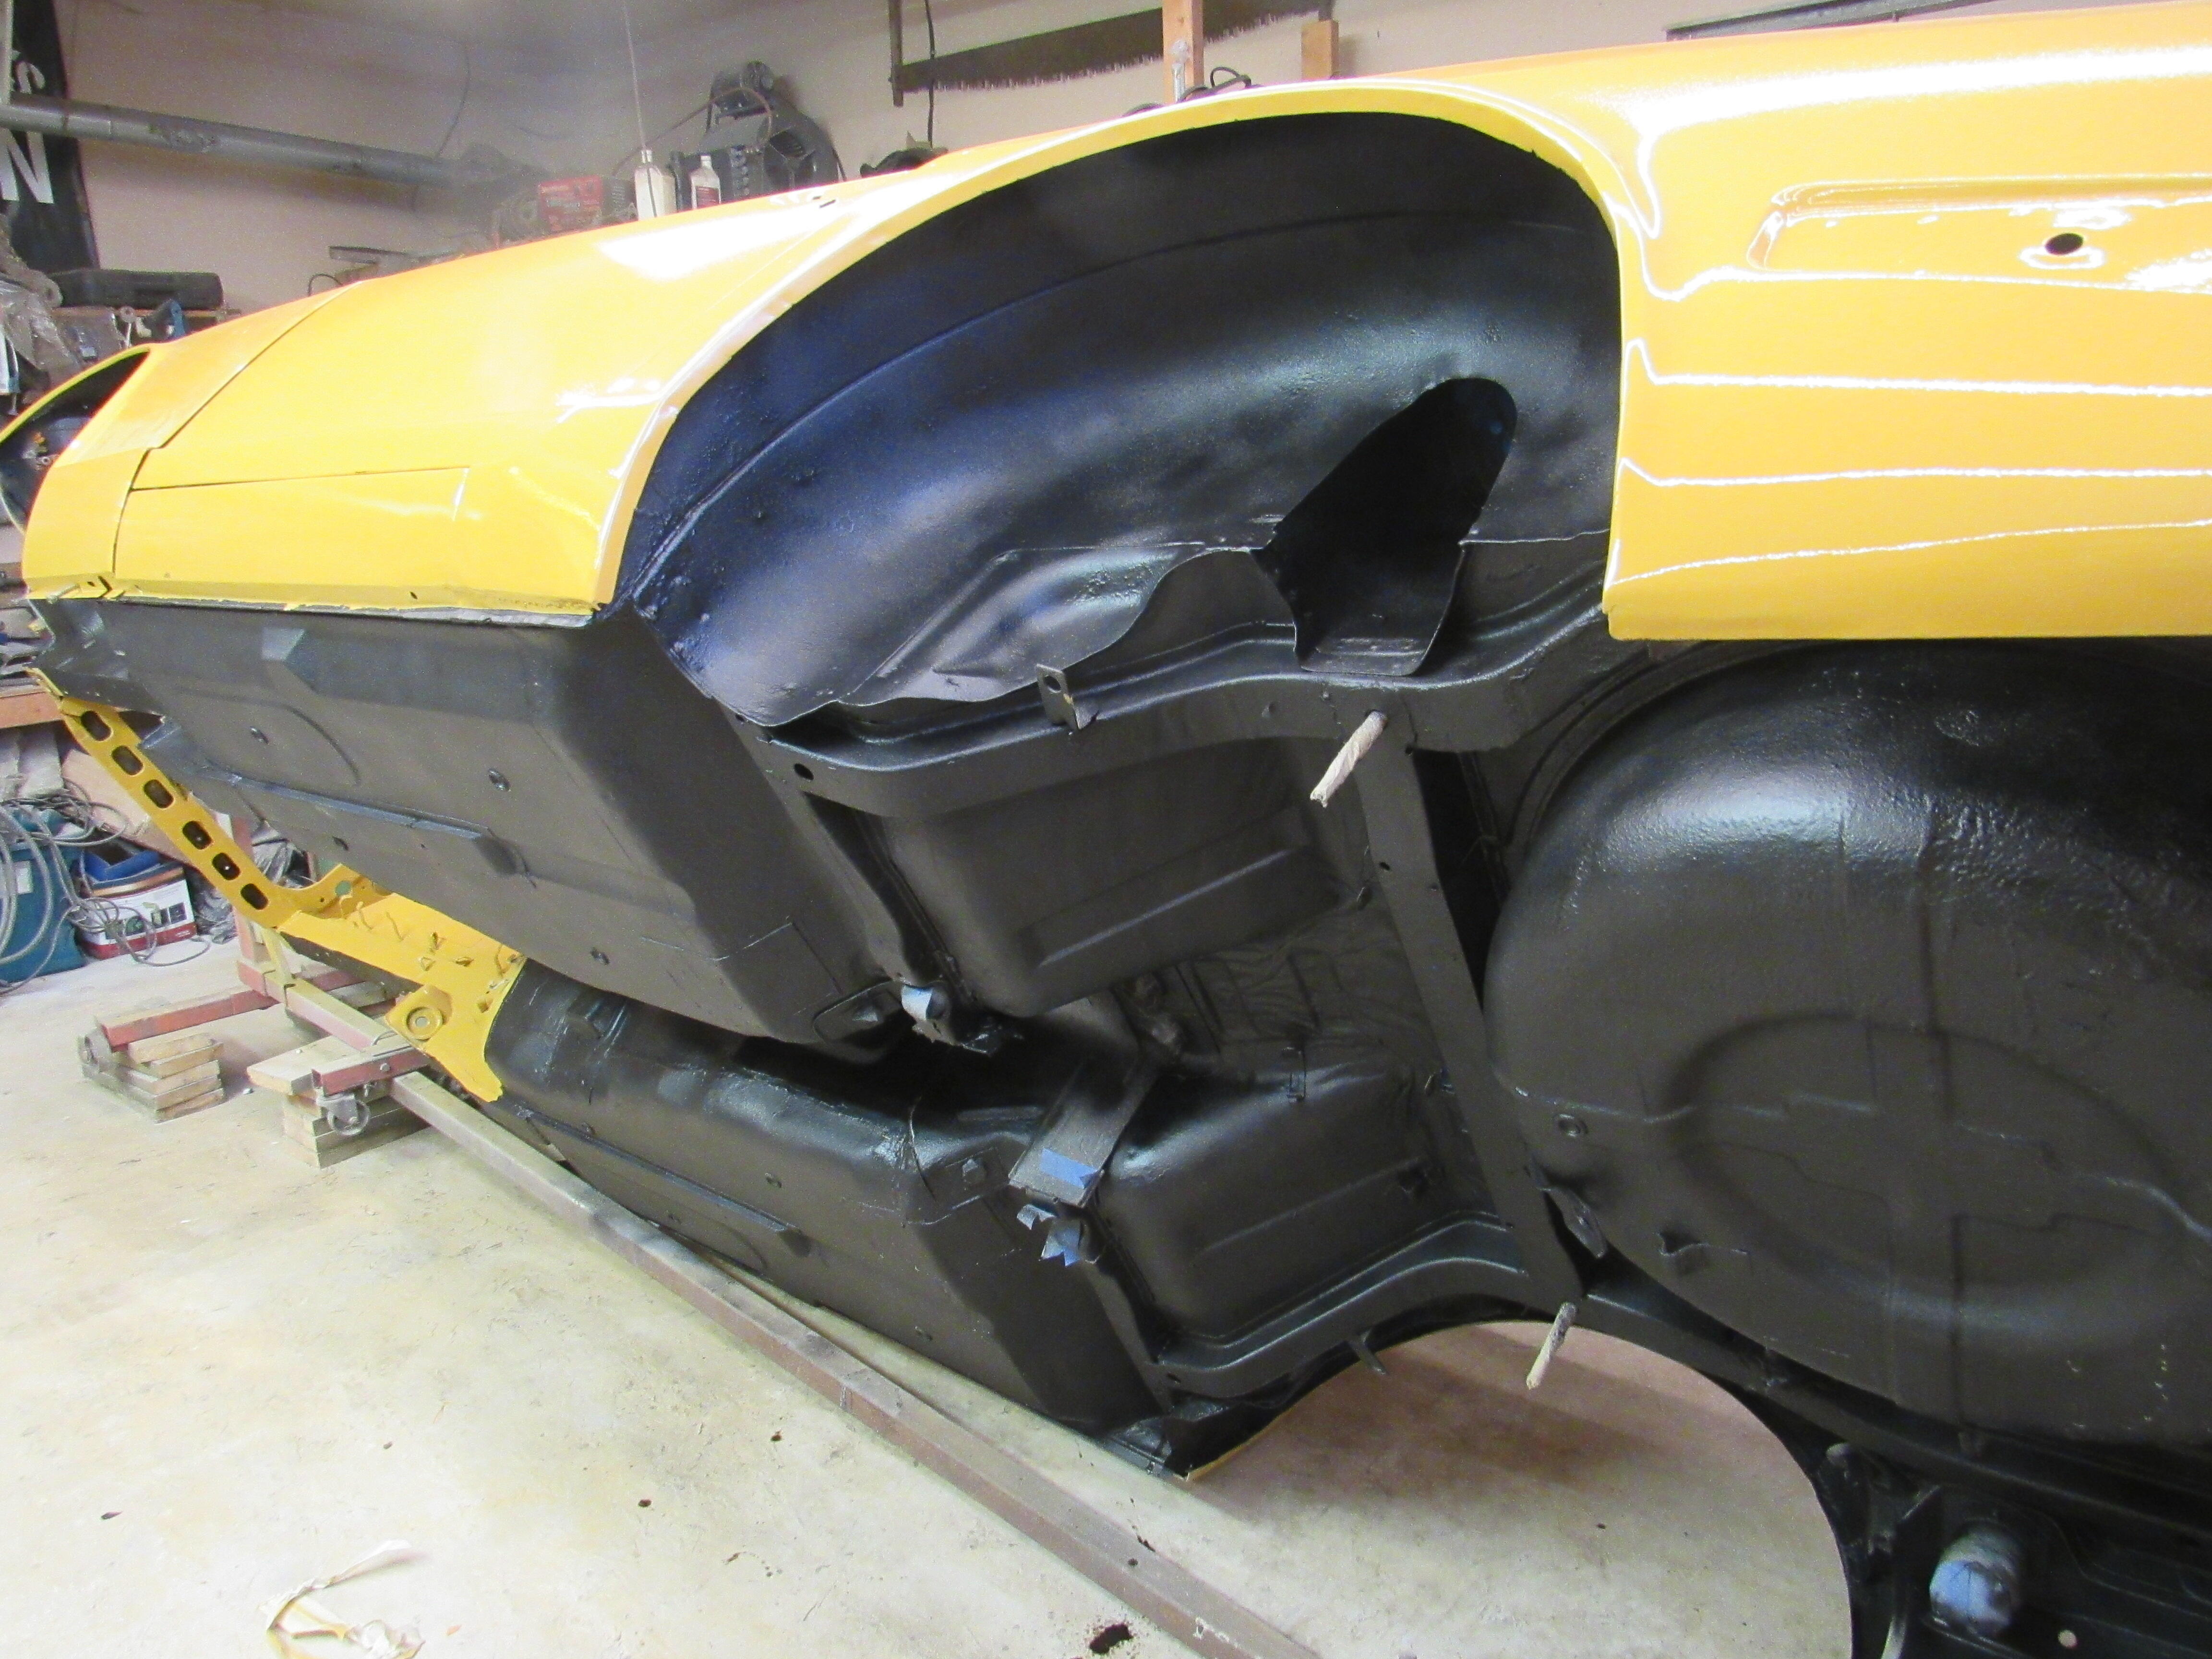
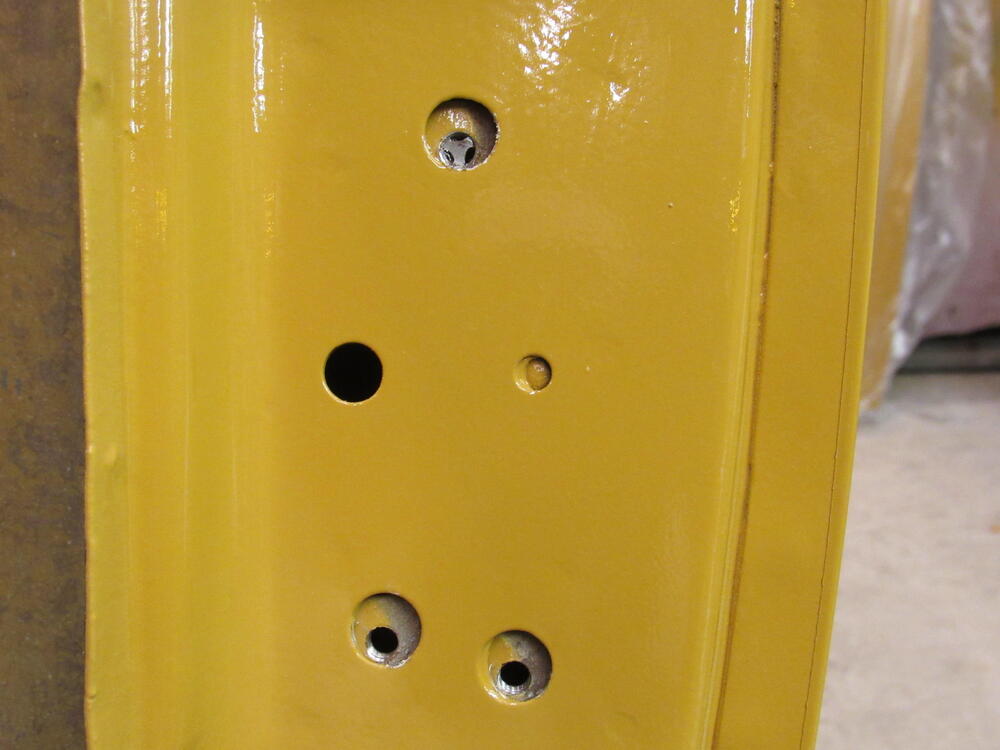
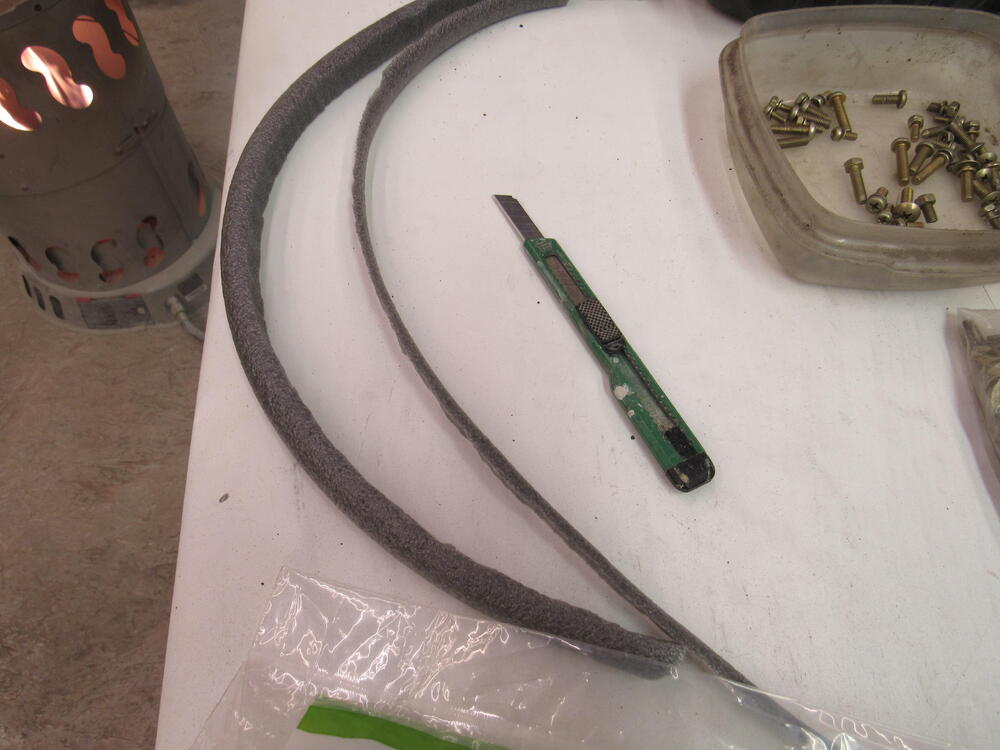
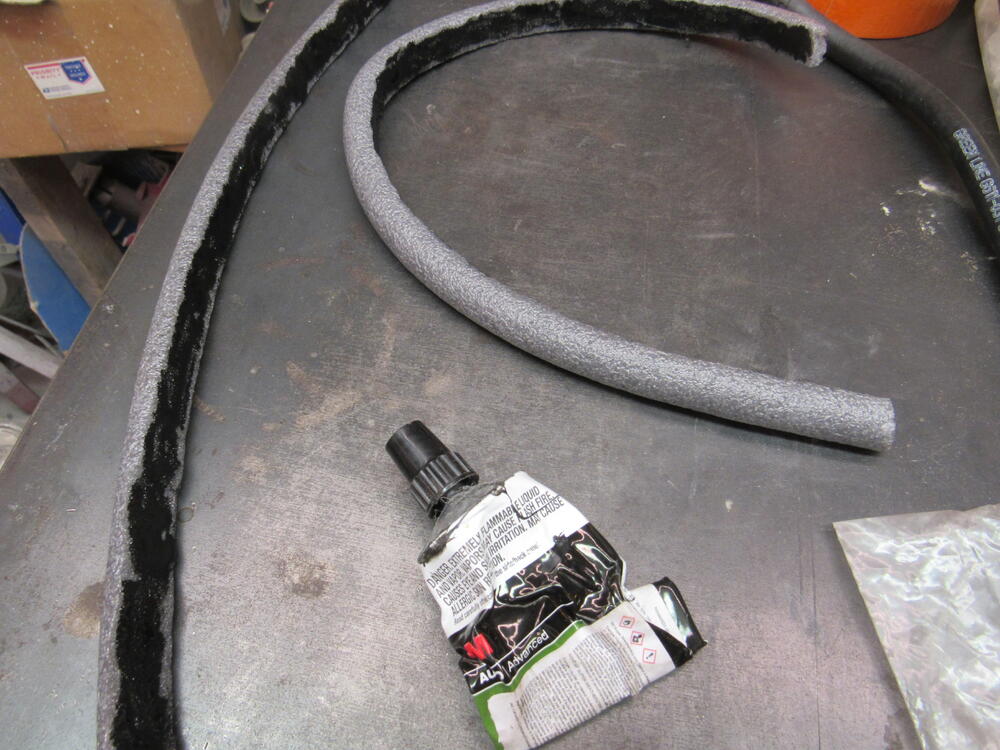
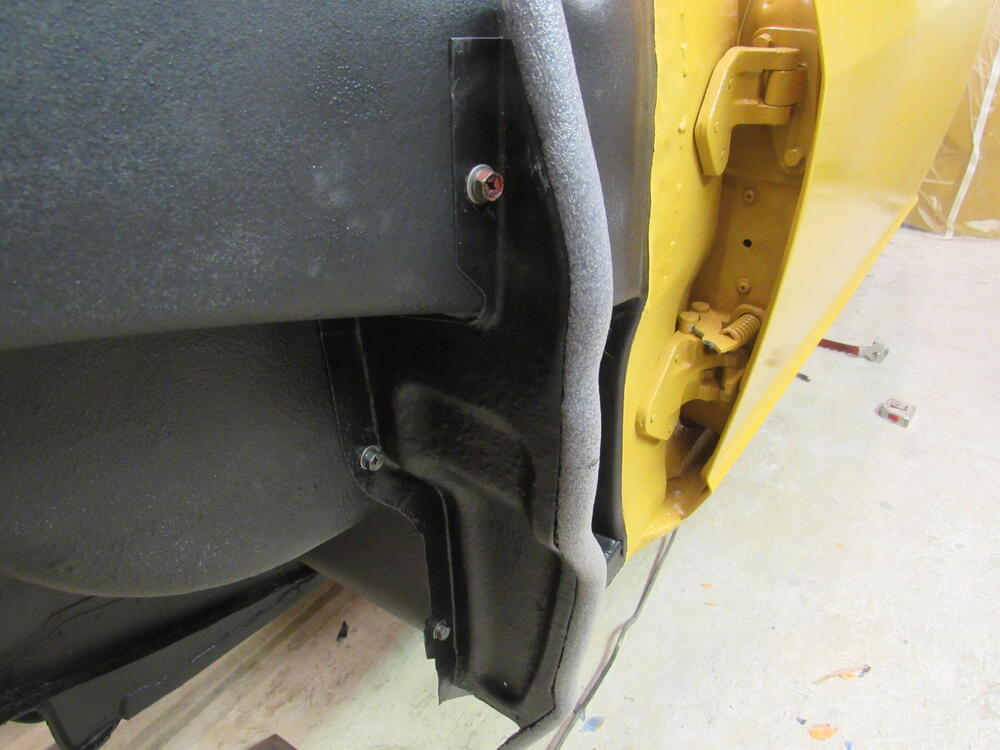
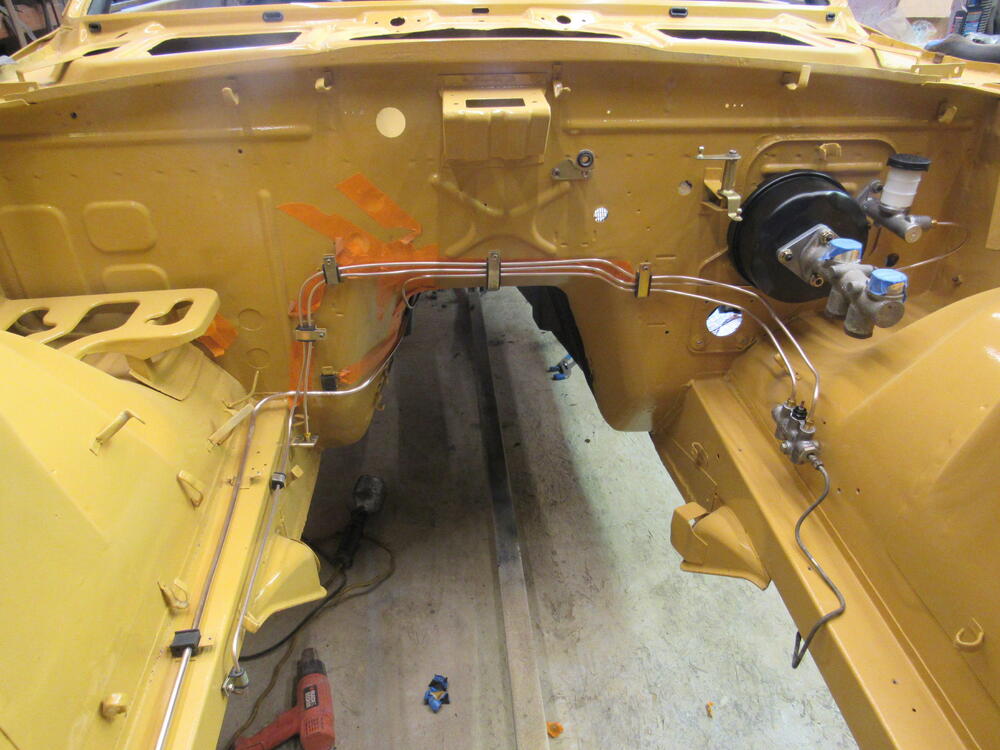
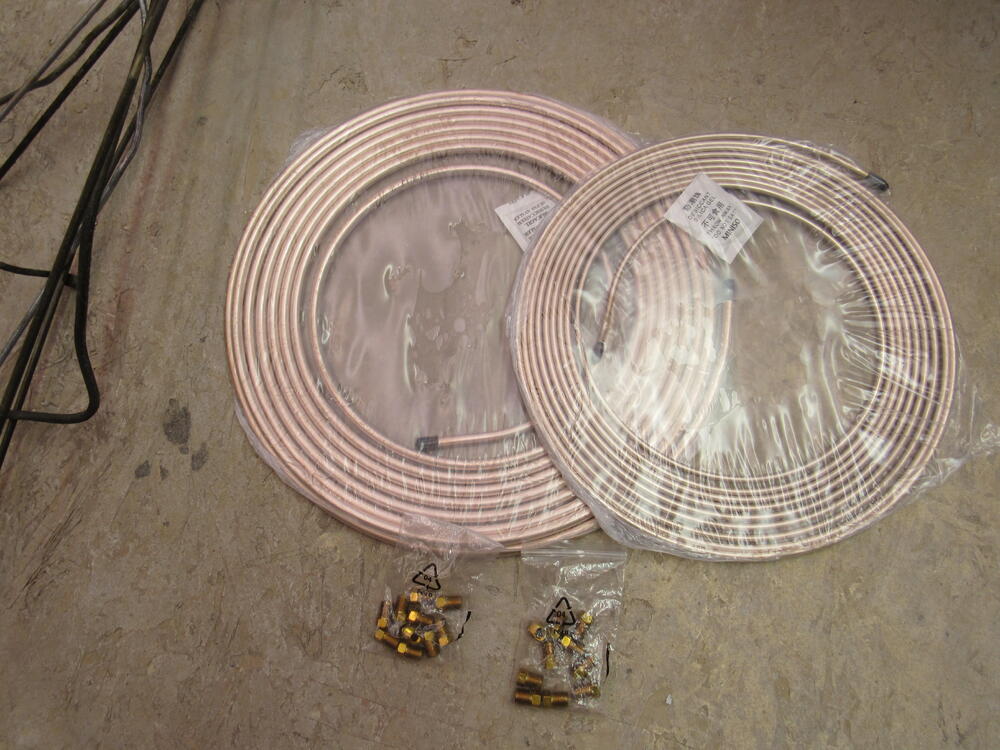
I got all the threads on the body chased yesterday, of course I broke one of the taps but I knew those broken dental picks would come handy one day. I have been asked a few times what I use to seal the mud guards to the inside of the fender, household weather strip closed cell foam rope, 3/4" in dia. then slice off a 1/3rd of it so you have a flat area to adhere to the edge of the mud guard. Sometimes you may have to shave off a little more of the outside curve to get a good fit. I have most of the clutch, fuel and brake lines roughed in now, still want to try and straighten them up a bit more.

-
-
Would you say the tool worked? An expert by the time you are done, sort of thing?
-
Thanks but the credit goes to Patcon.
-
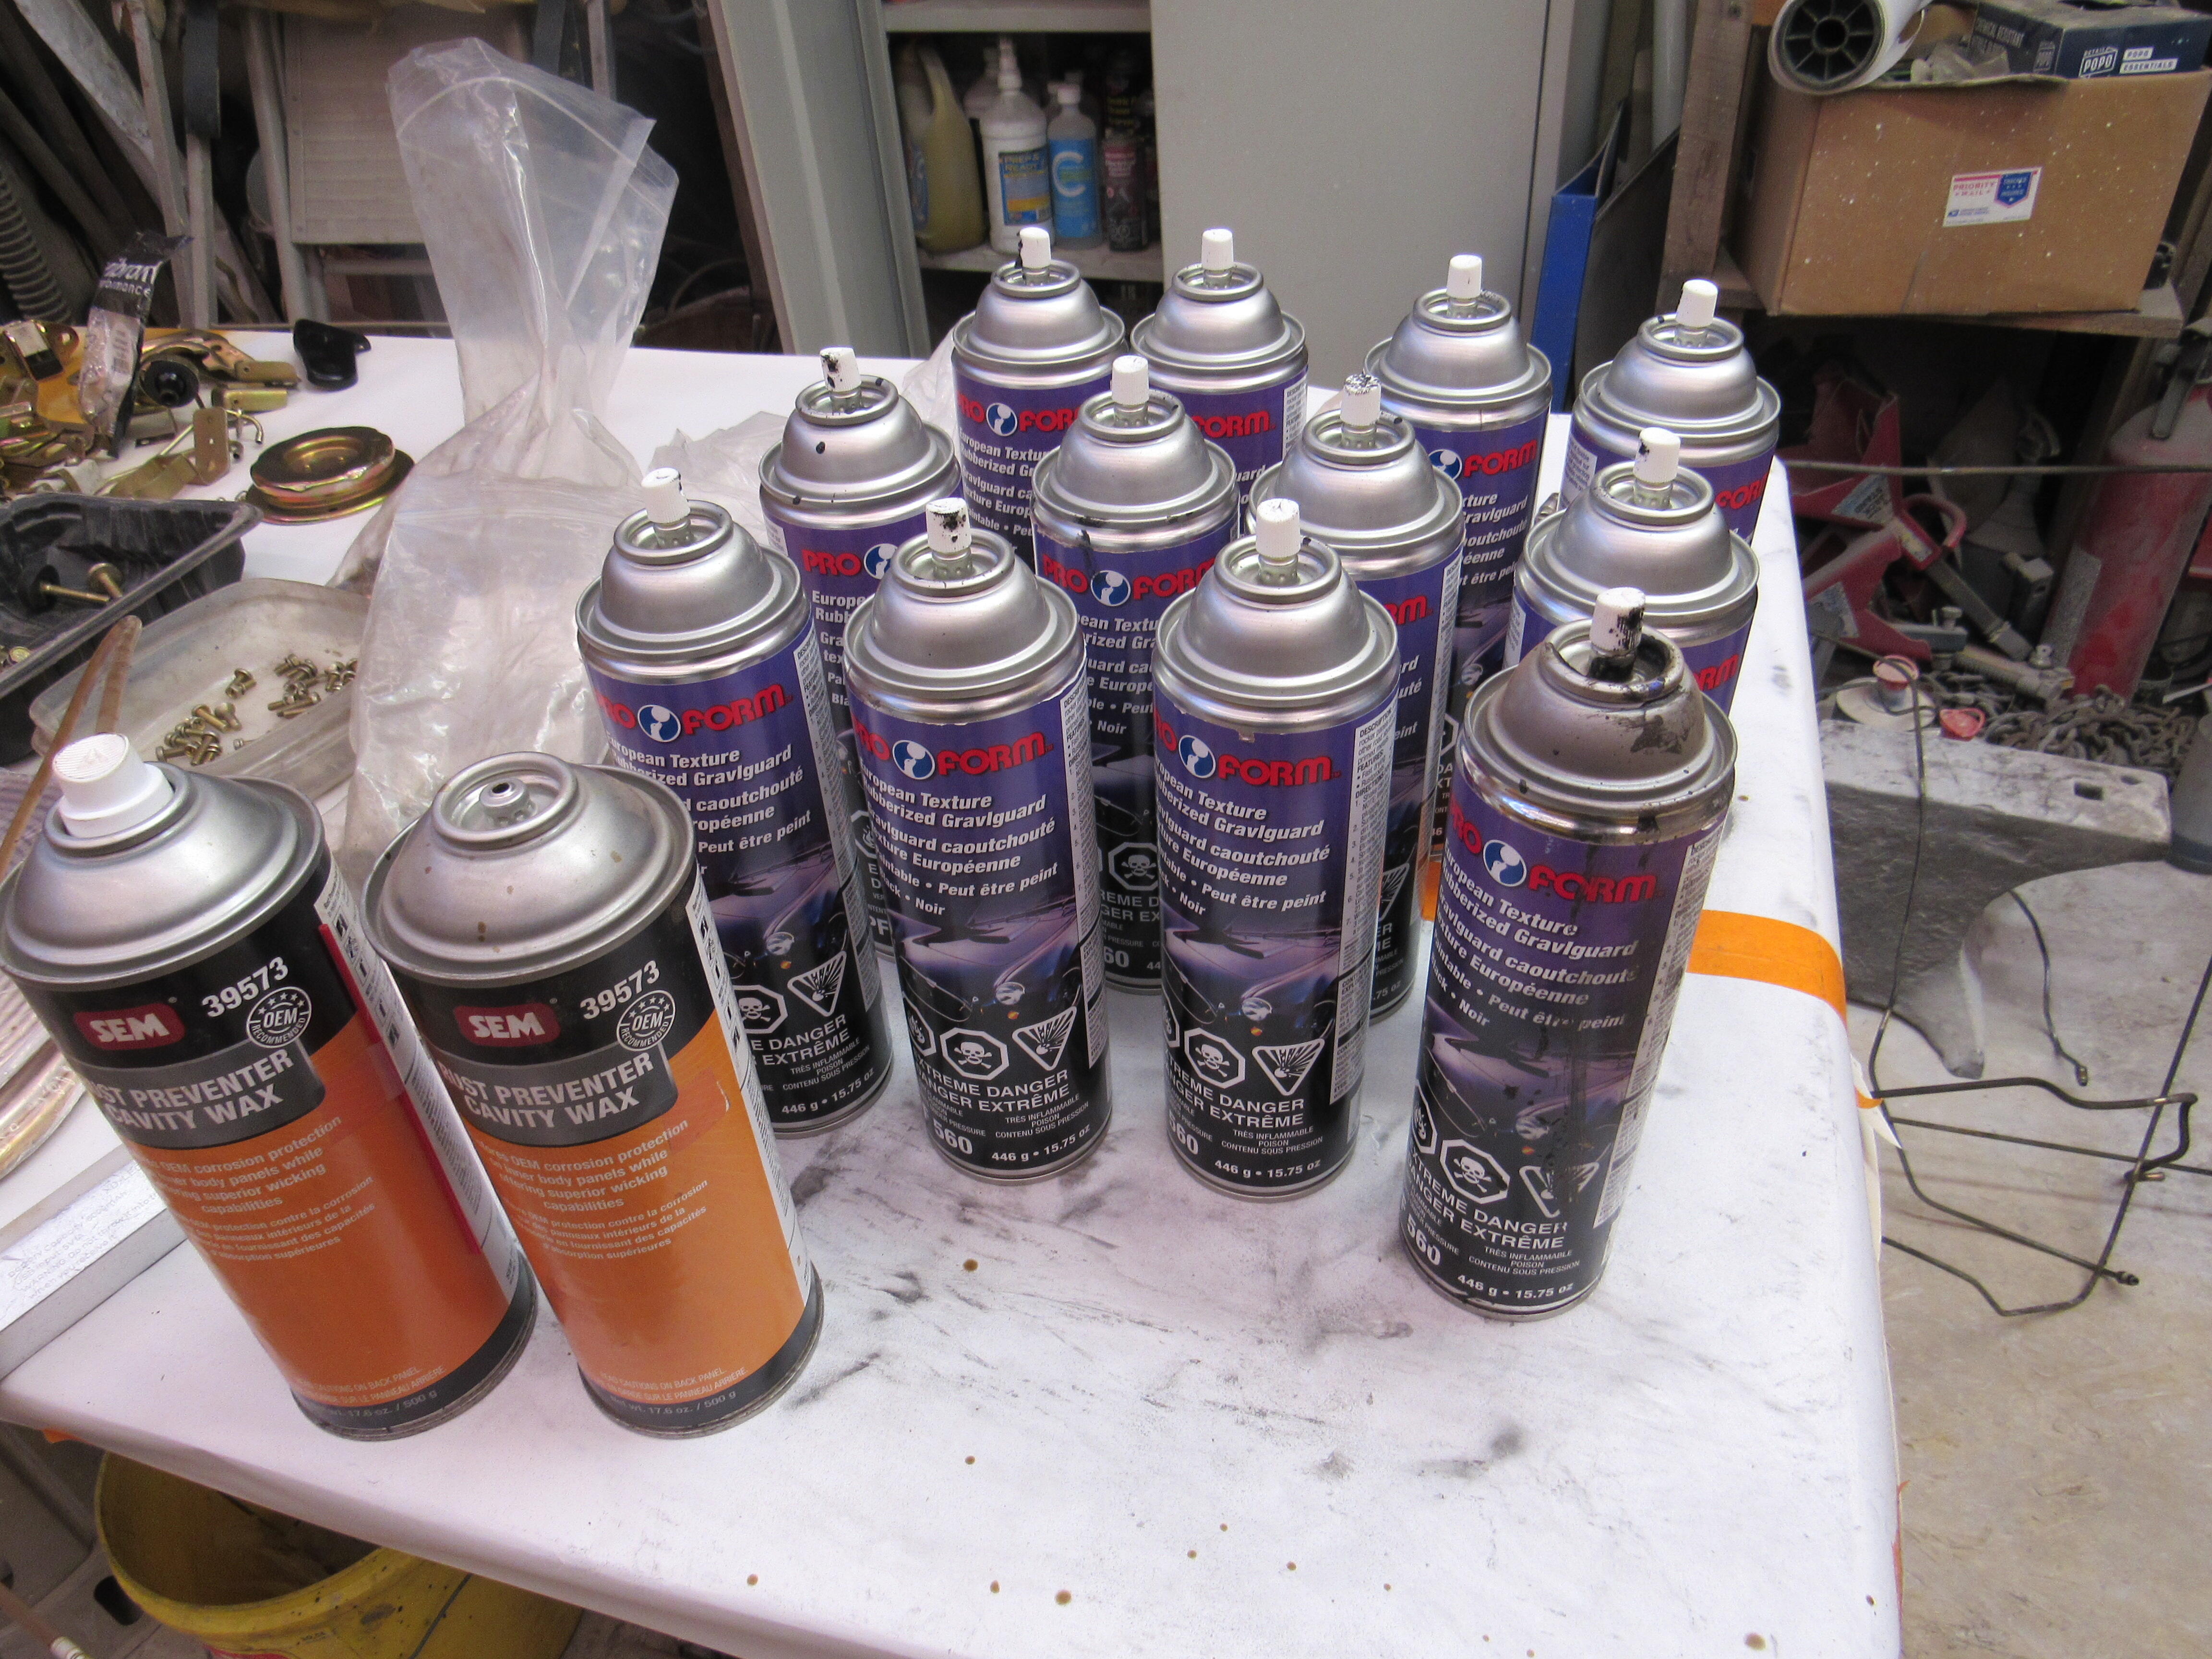
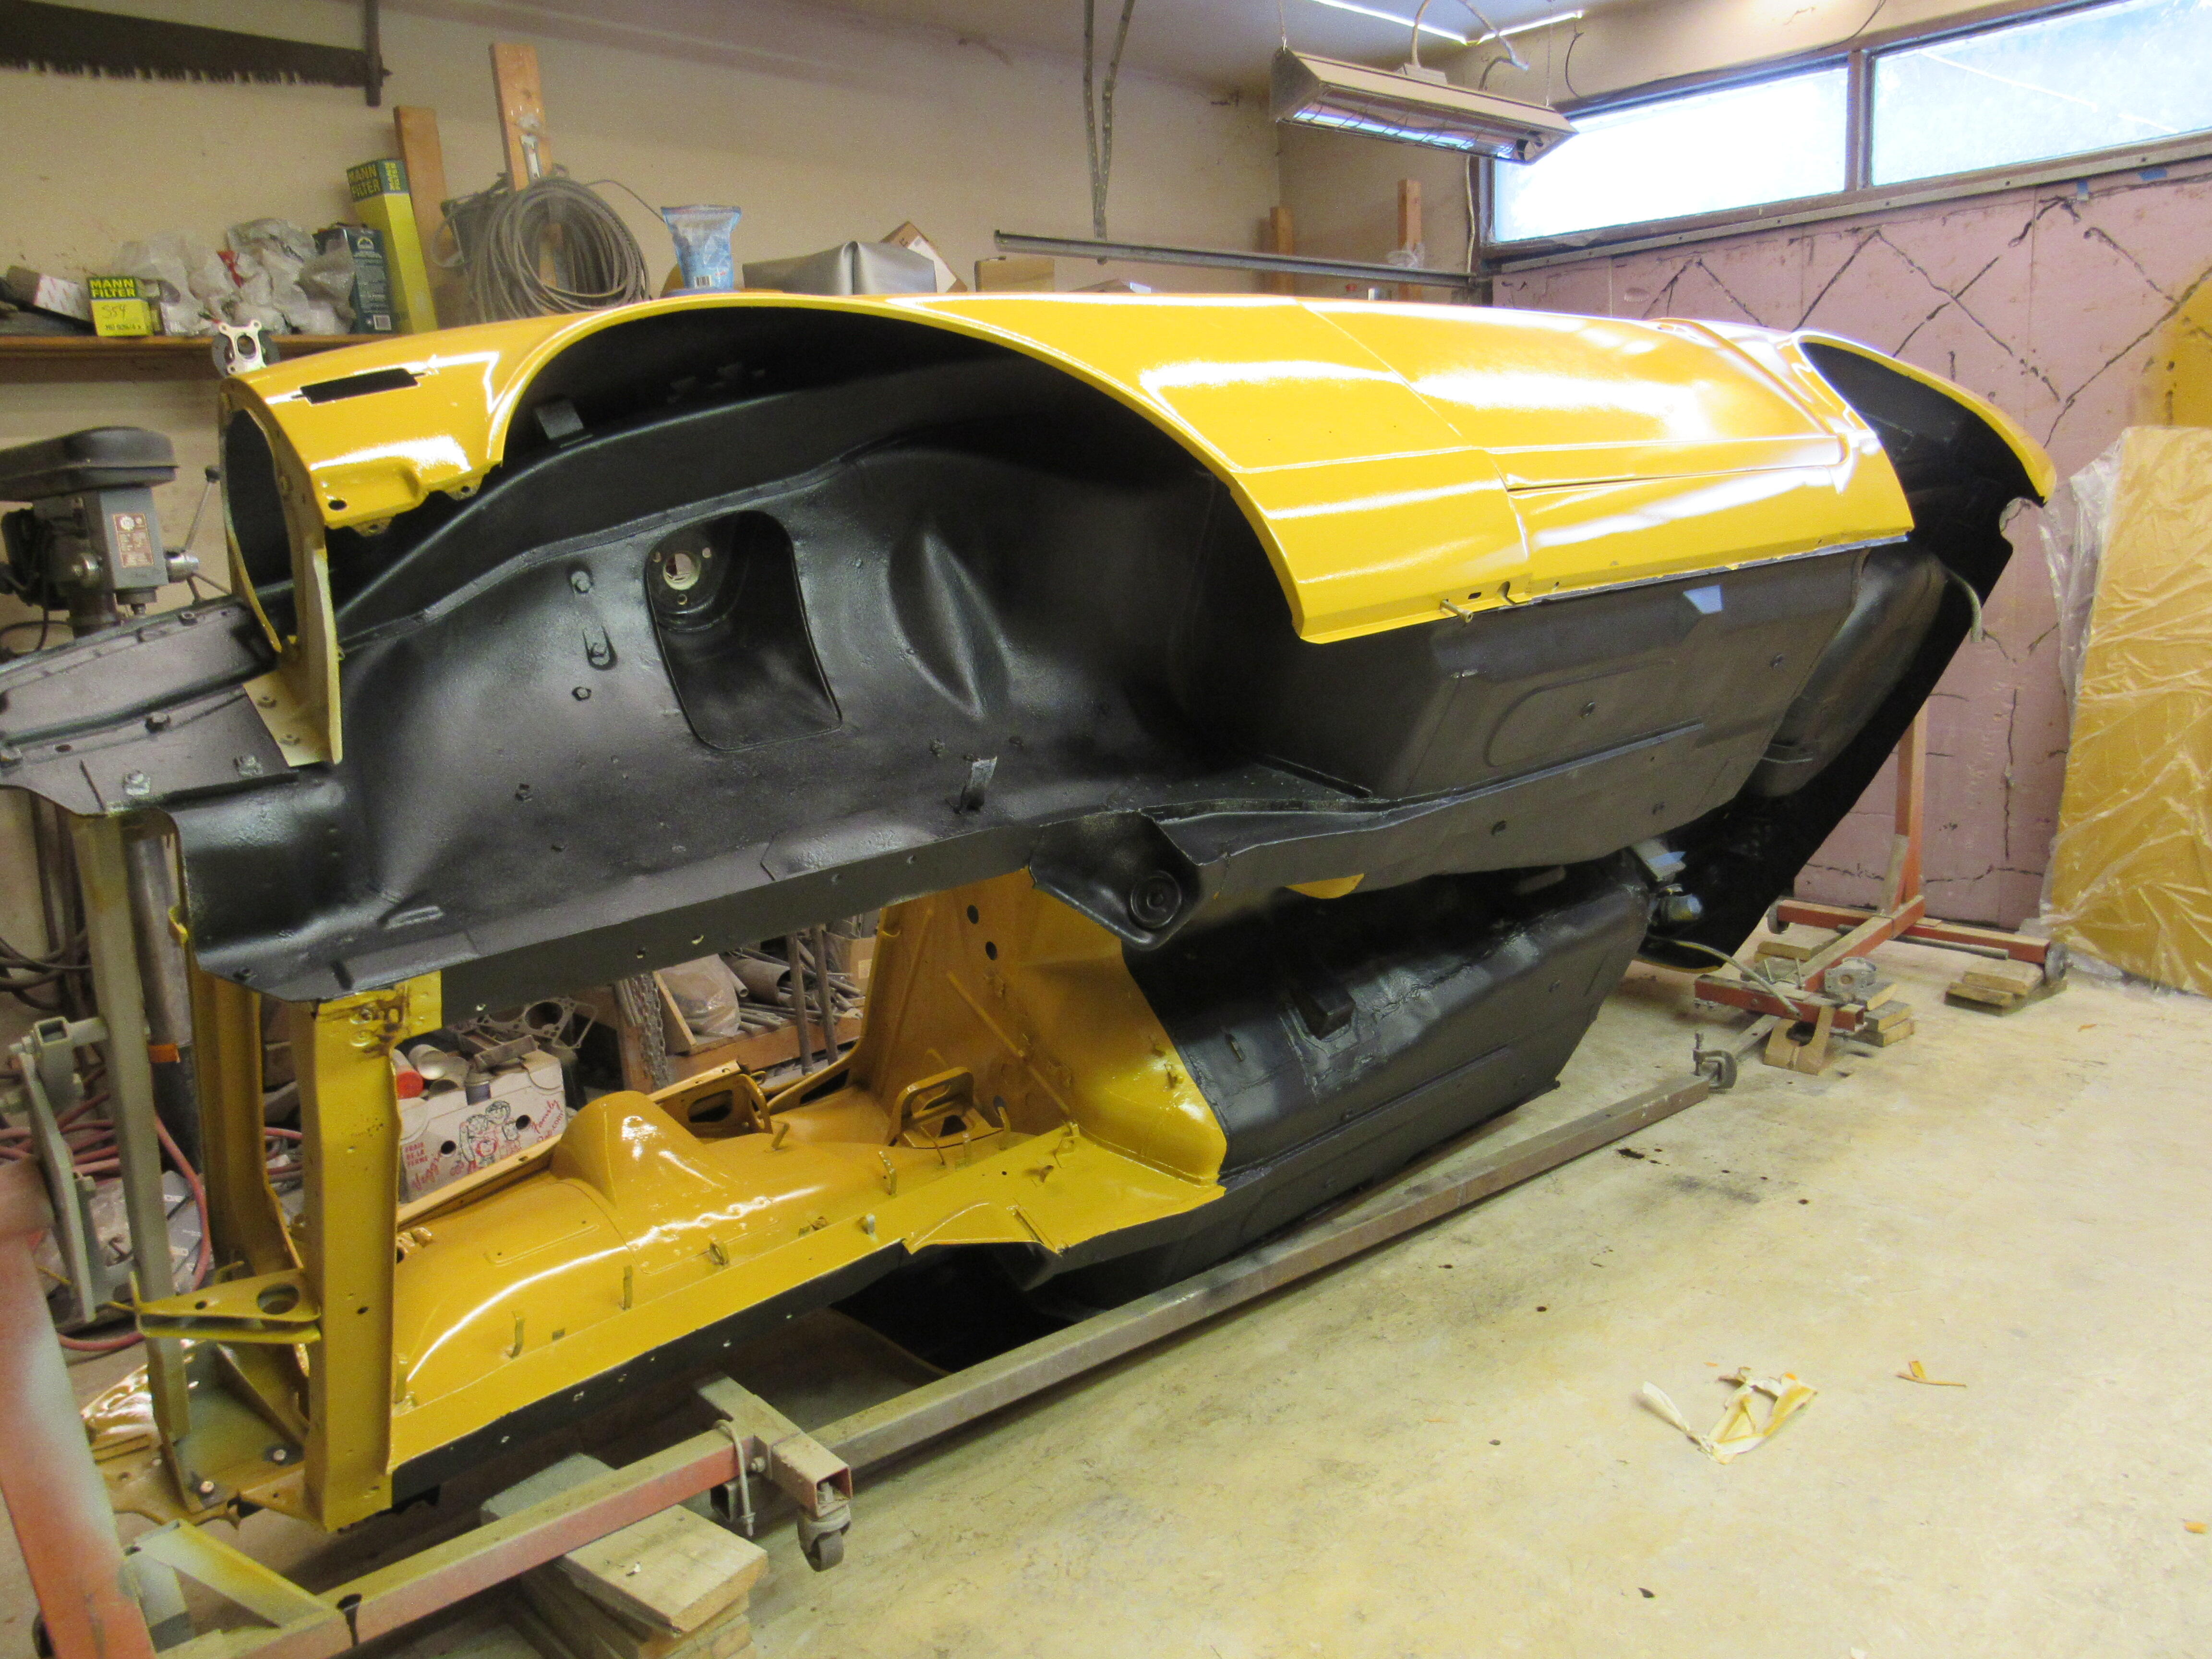
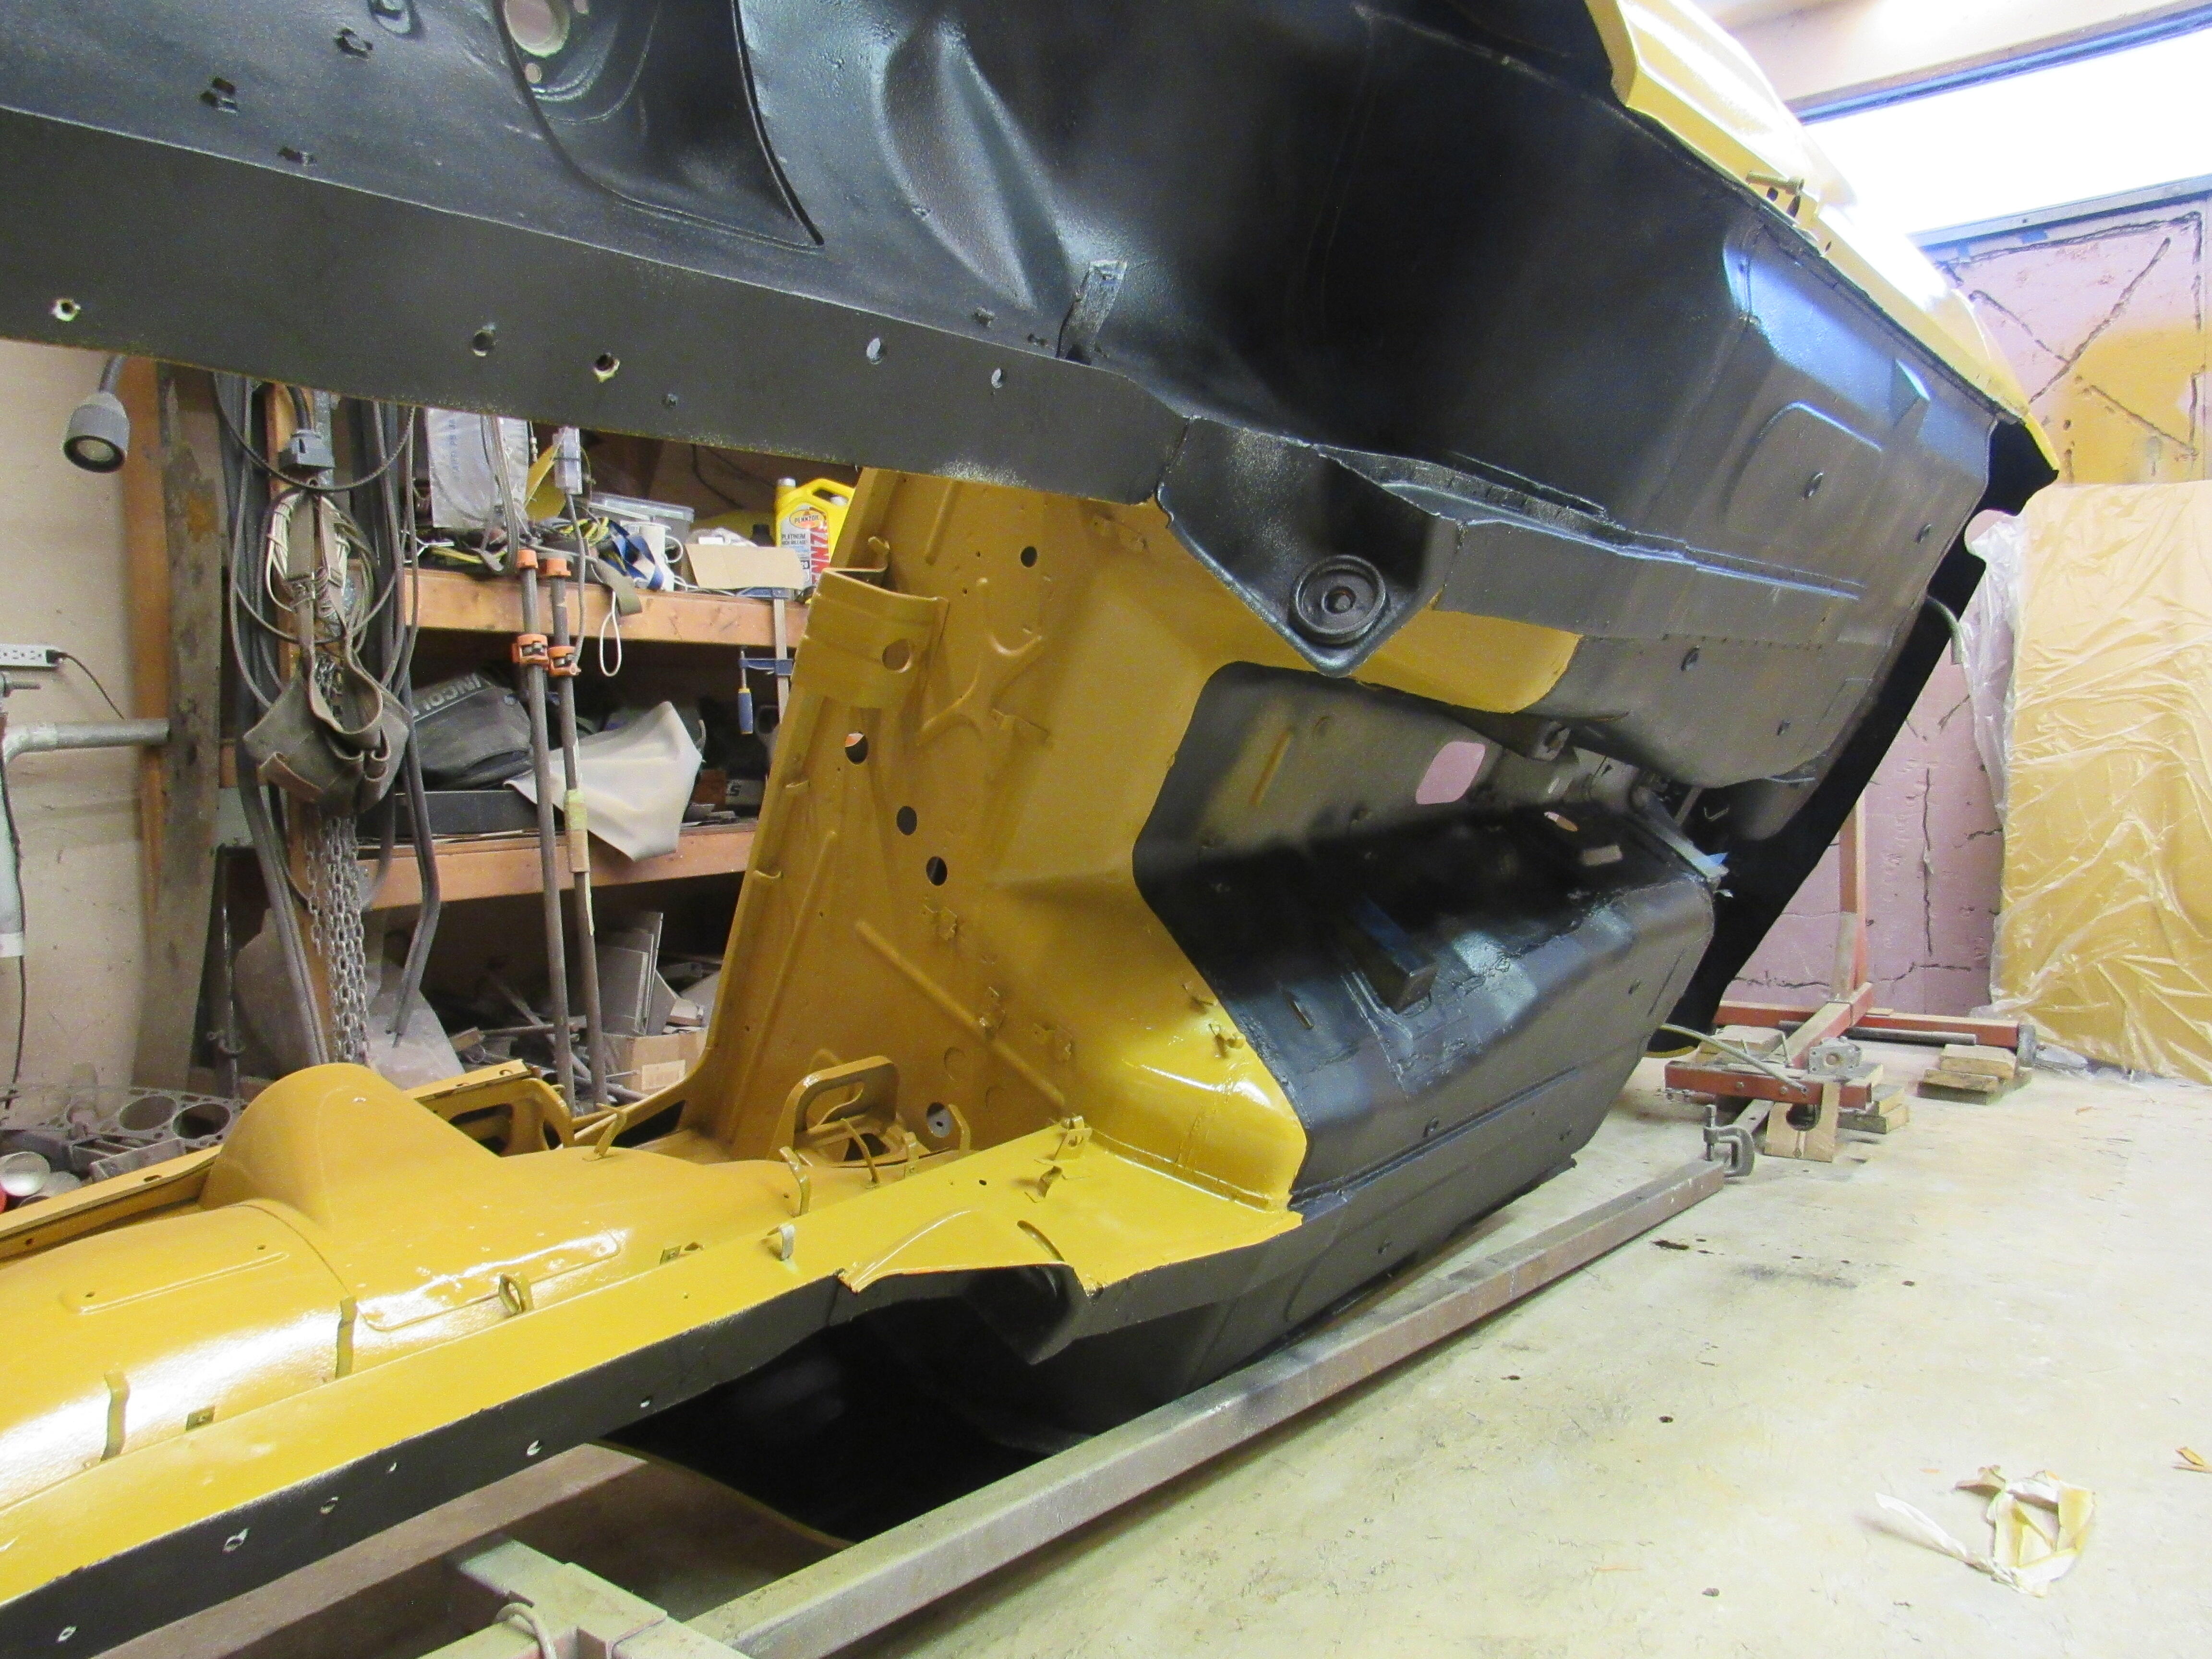
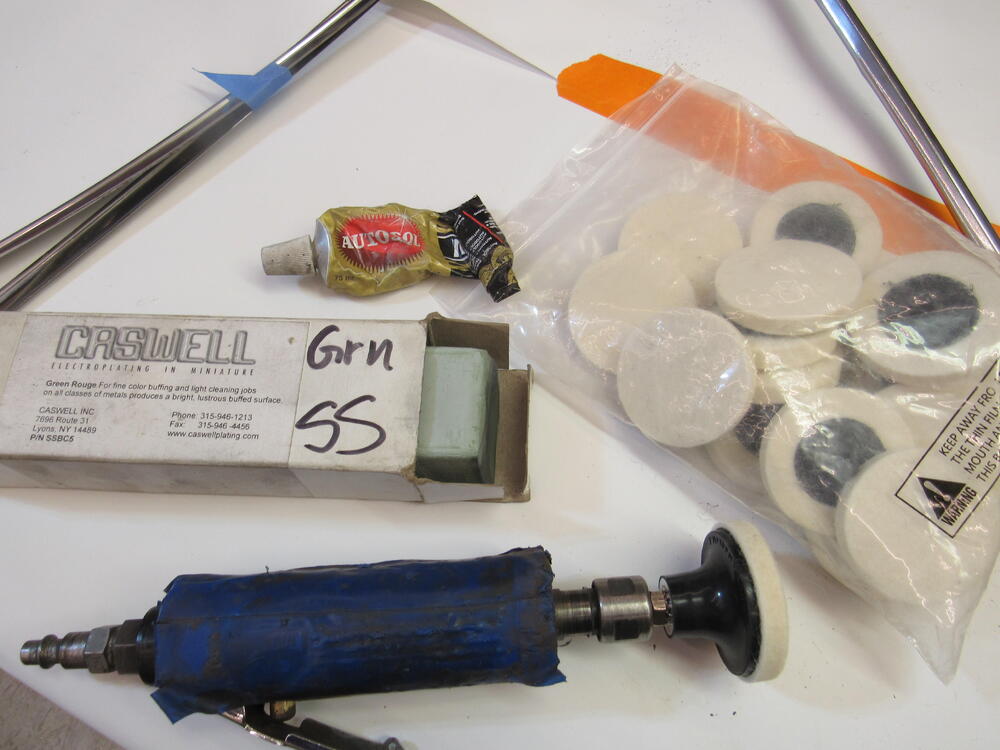
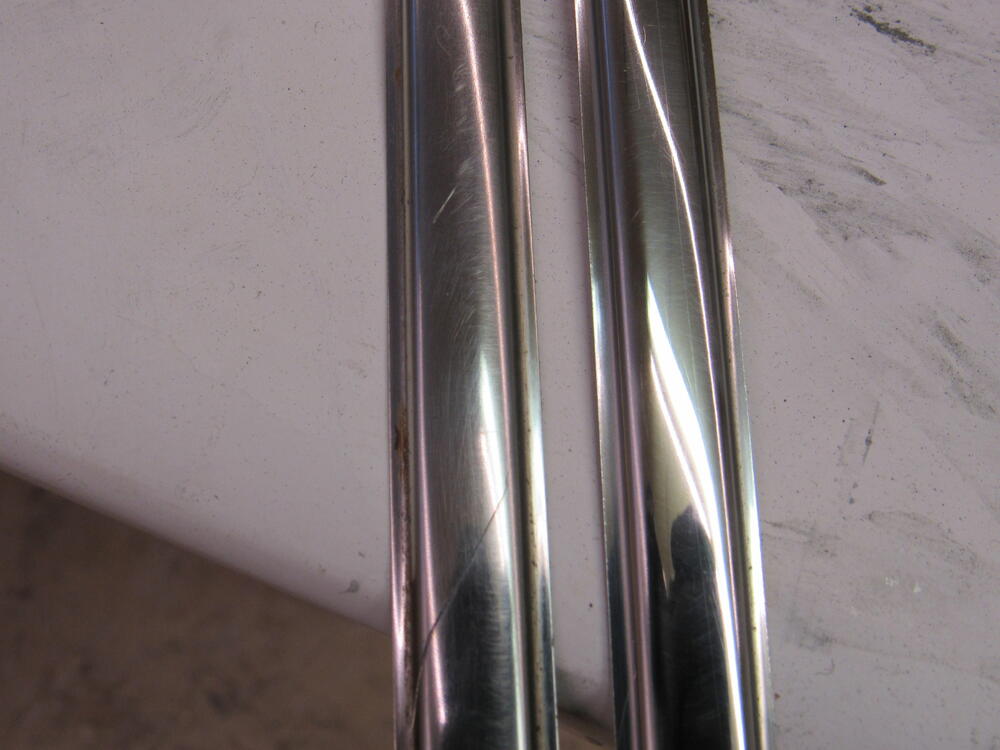
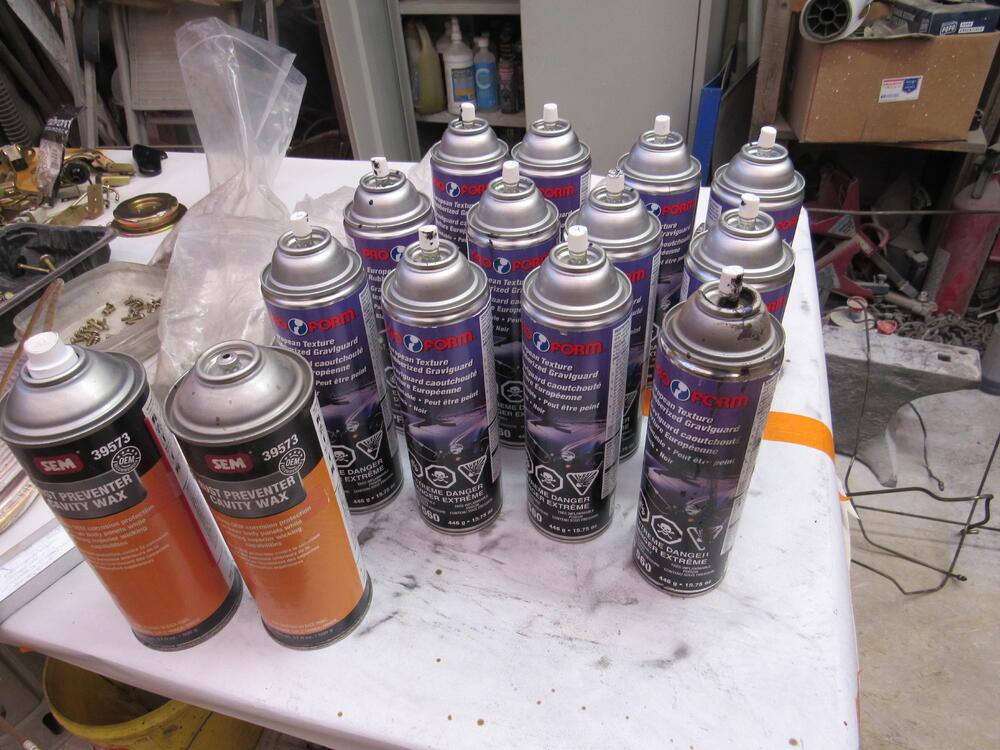
This morning I followed @Patcon 's lead, pulled all the SS trim out of storage and got working on it. I p/u a bag of Roloc type felt pads, some 1500 grit wet sand paper, green SS polishing compound and a tube of Autosol. I used the 1500 grit paper for the first piece then realized the green compound was doing every thing the sand paper was doing and more, after the compound I took a second felt pad and loaded it with Autosol. Just a few minutes on each piece with great results, this a lot safer for the operator and the trim than trying buff these out a wheel buffer. I pulled all the brake and fuel lines out, will start making the new ones. Masked off the entire car and got all the undercoating done today, 12 cans, that was followed by 2 cans of SEM cavity wax, great stuff, thin enough to creep between the spot welds


-
I should have taken some pics, I tape off the door and fender panel right at the edge, after spraying paint/clear I then remove the tape. There is always a little lip of clear coat at the edge of the tape, I wet sand that 1/16" lip with 600, then tape the painted door jamb leaving that 1/16th" exposed, paint the rest of the panels and remove all the tape. Again, there is another lip of clear coat, this time I leave it until it is hard then with a nib file take most of it off and the rest of the blending happens with the various grits, 1200, 1500, 2000, during wet sanding and polishing. It's a pain to be sure, but I find the final finish is better than spraying everything at the same time. The only time I did spray it all in one go I found a I ended up with drips and spots where I brushed up against the just sprayed surface. It also allows you the get complete coverage around the hinges from both sides, the factory sprayed it all in one go and the coverage on the front of the hinges was spotty due to the front fender being in the way.
-
To my eye it is identical to the inside of the cubby lid. I got the colour coat and 3 coats of clear on everything today and started a 4th coat but the gun kept plugging up, I tore it down, cleaned everything and tried it again, same thing. I farted around for an hour and half trying to get it working, cleaned everything 6-7 times and finally called quits, threw out over a litre of mixed clear. Then I noticed the tiny little breather hole on the top of the gravity feed cup, plugged up with clear coat 3 coats should be more than thick enough to sand flat and polish.

-
I've always thought the felt washers were soaked in some heavy oil or grease to keep ball joint lubricated and maybe keep out some of the grit.
-
That is in good shape, I'll bet there are a few restoration guys who would like to get their hands on that, don't throw it away.