


Everything posted by EuroDat
-
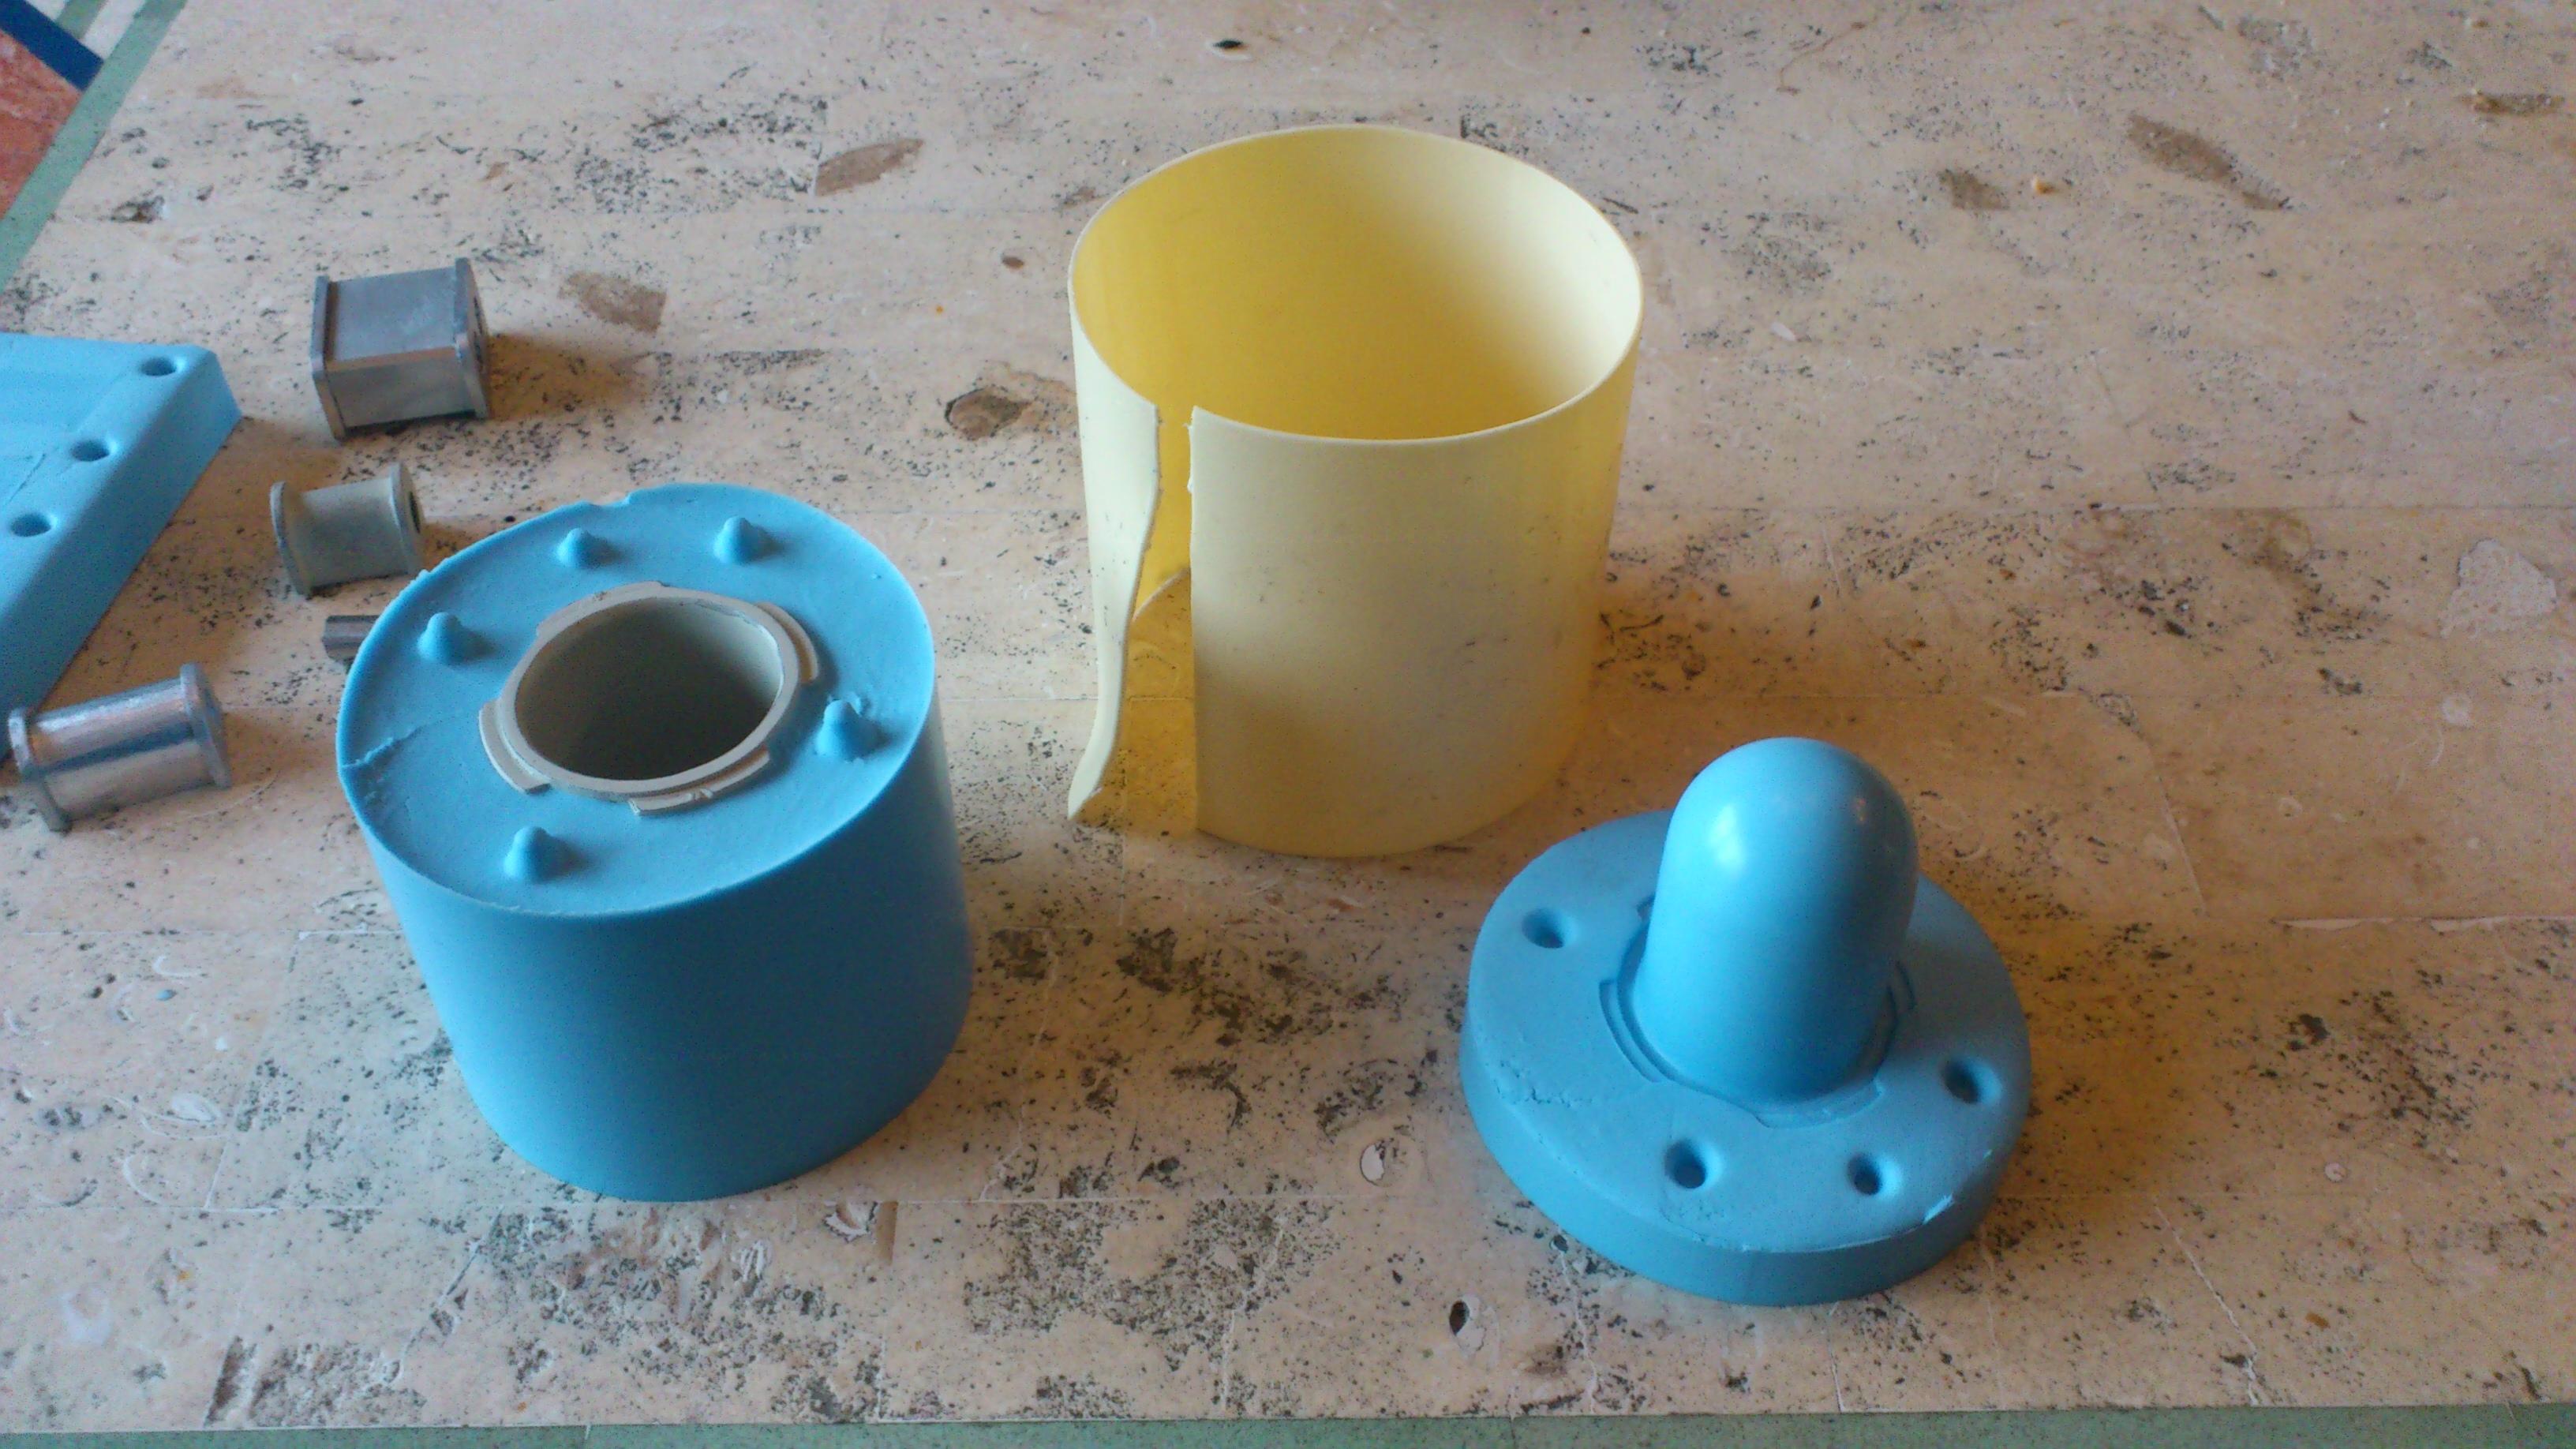
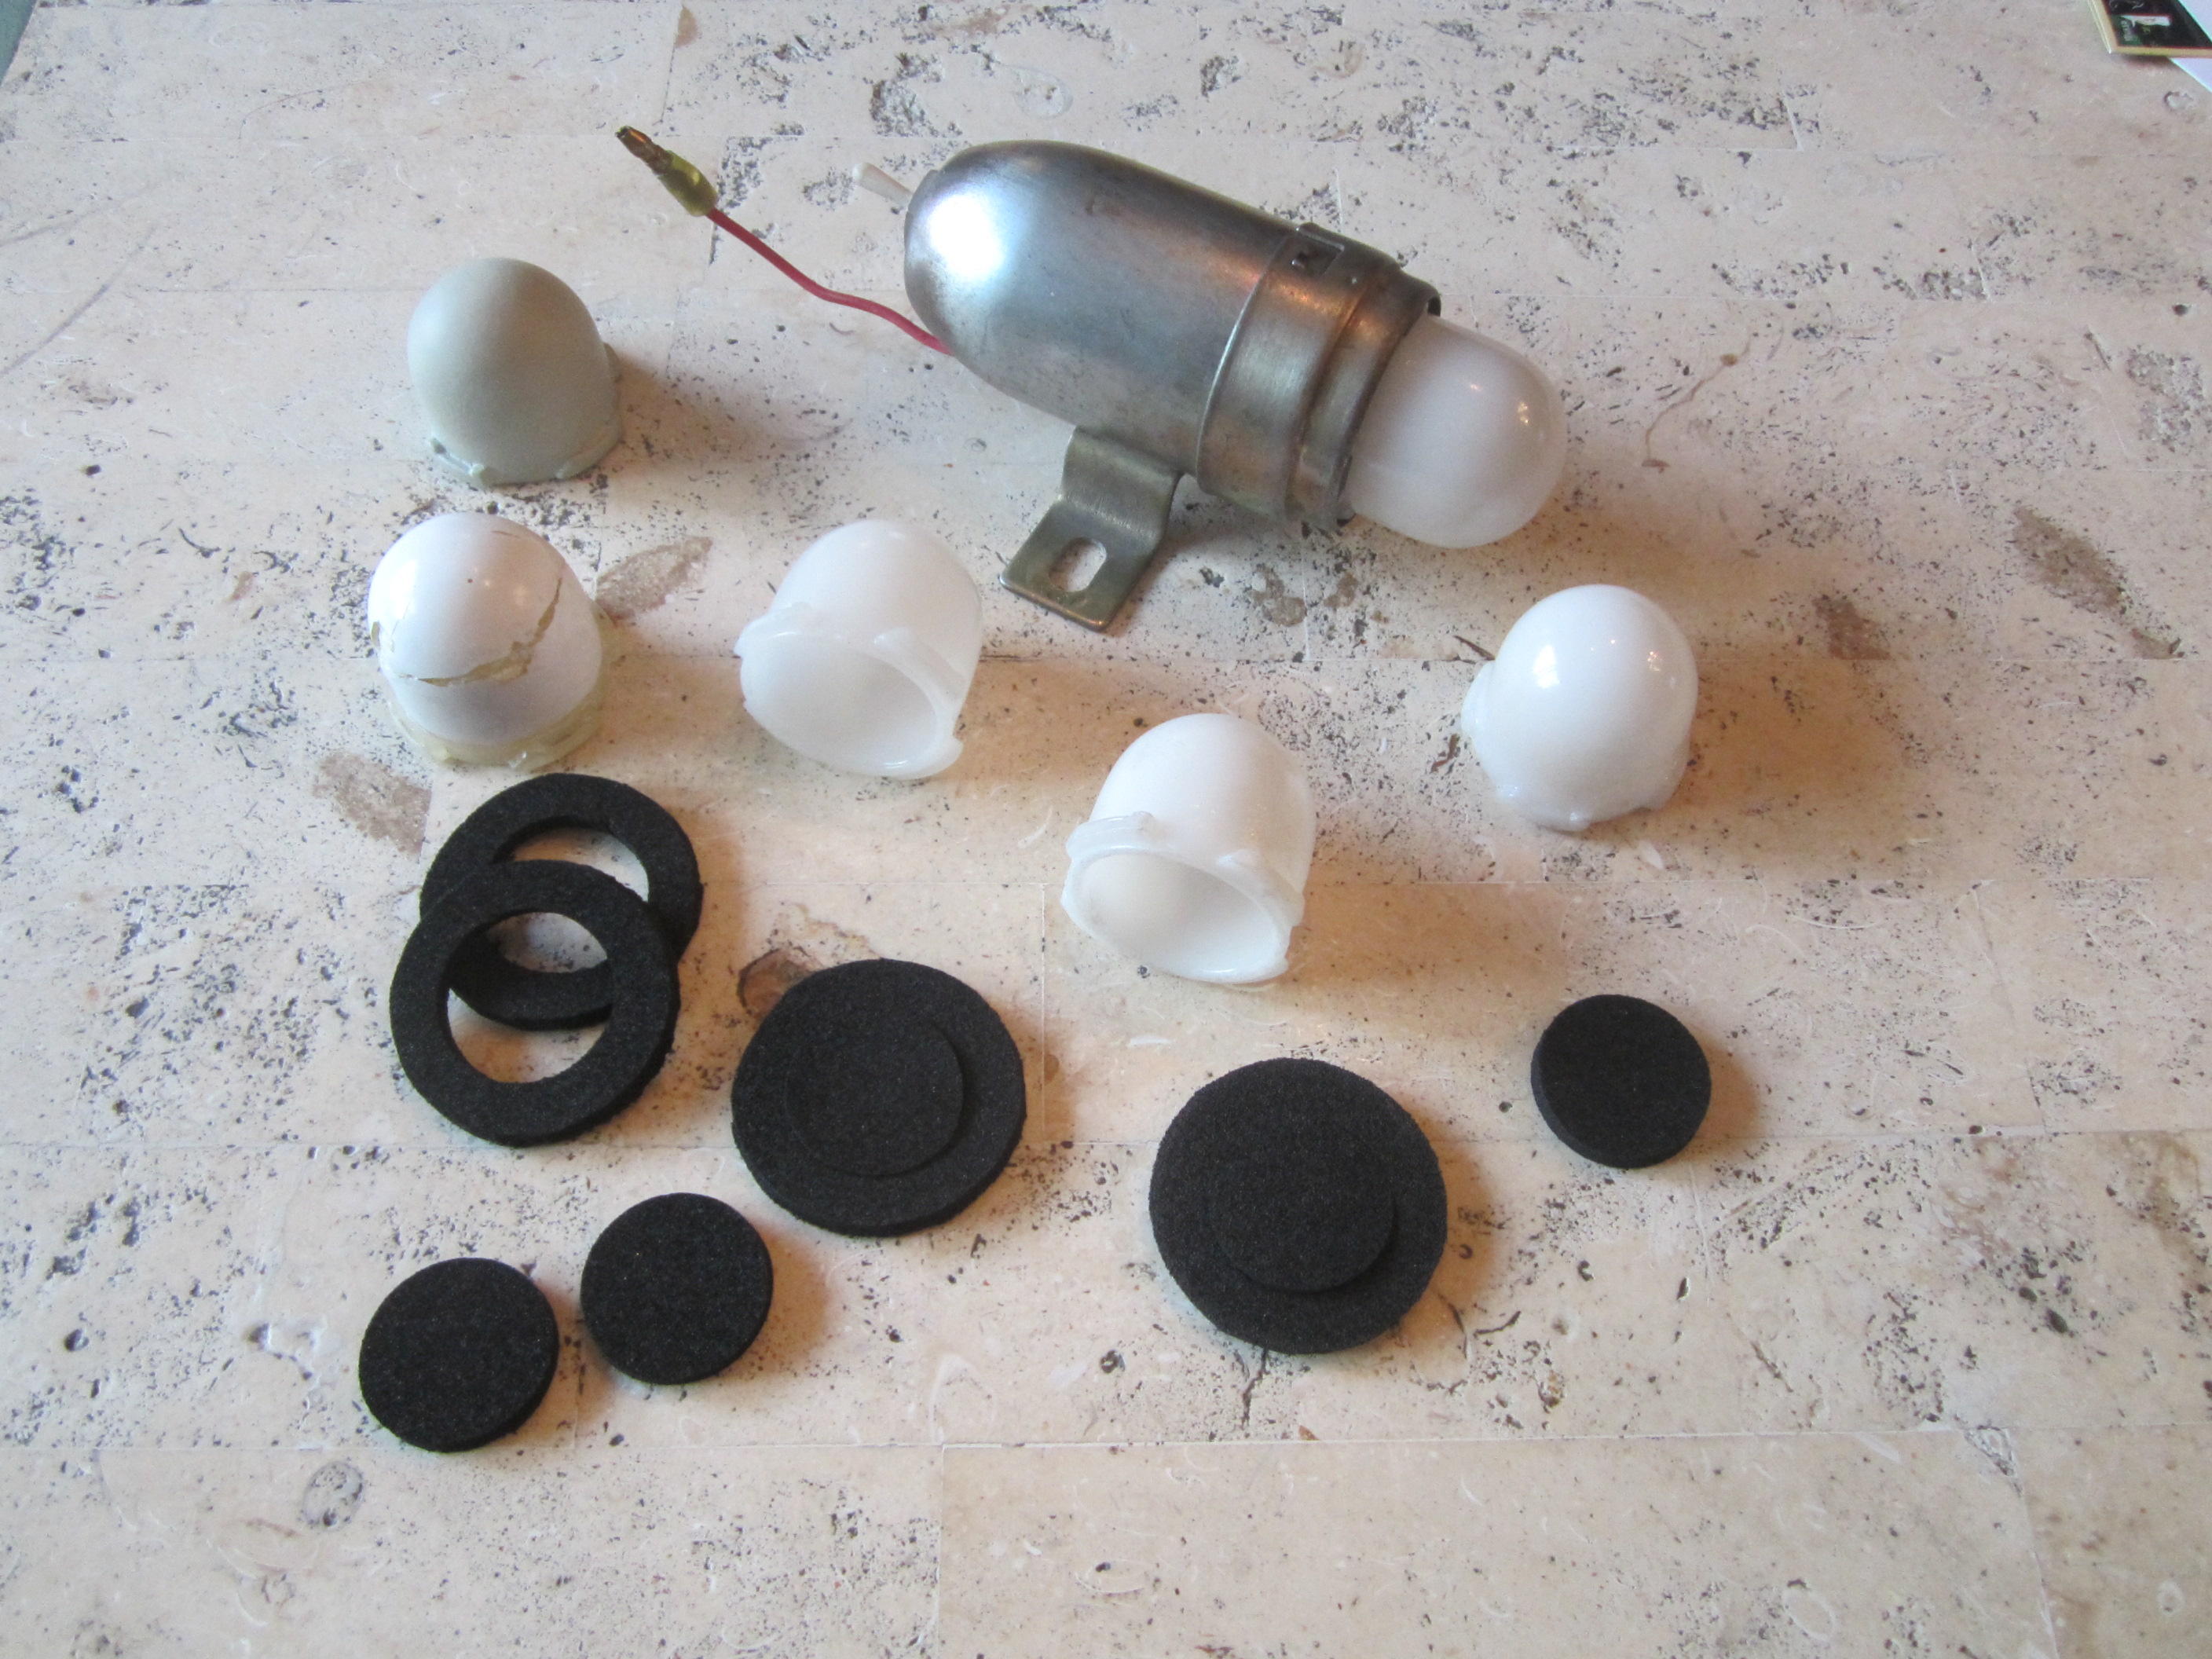
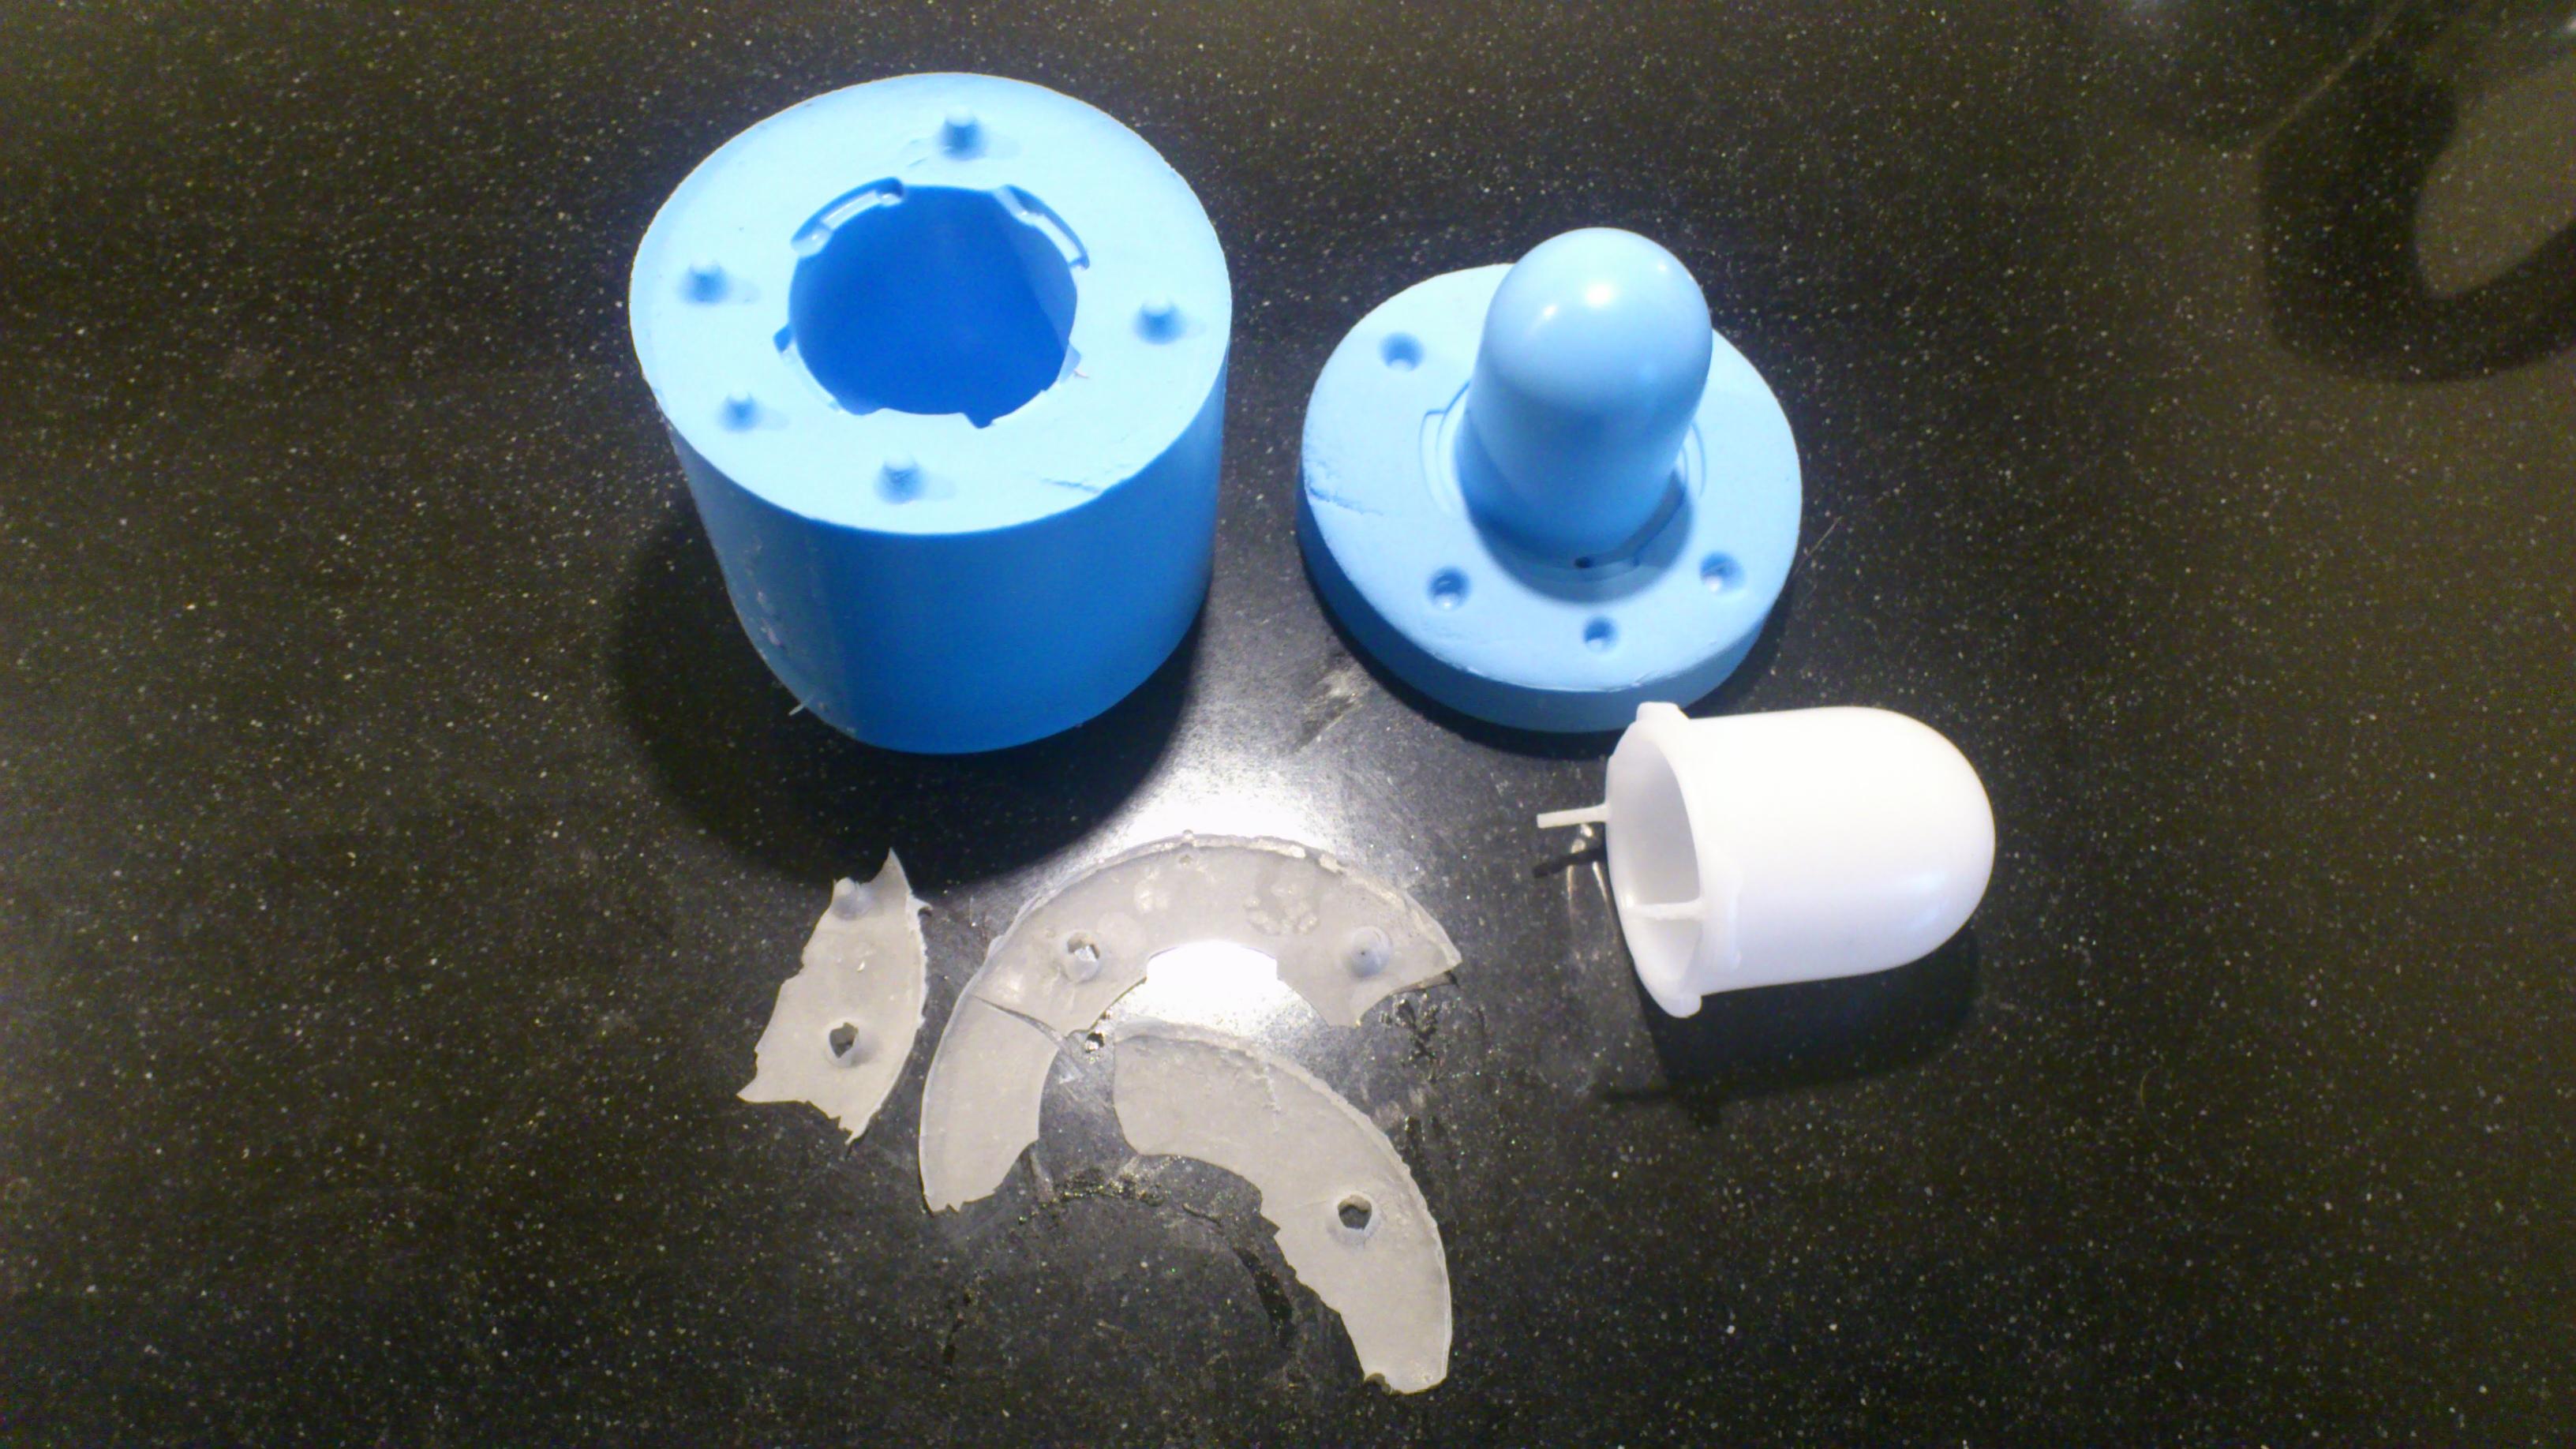
I have a thread here somewhere where I made the lenses and an extended version for the longer LED. Took me a threw attempts to get the colour density right. Luckely the plating on my inspection lights were in good condition and I only needed the lenses. And to think, these were still availble through Nissan for $120 new in the box until about 4 years ago. Who would have thought we would be where we are now.


-
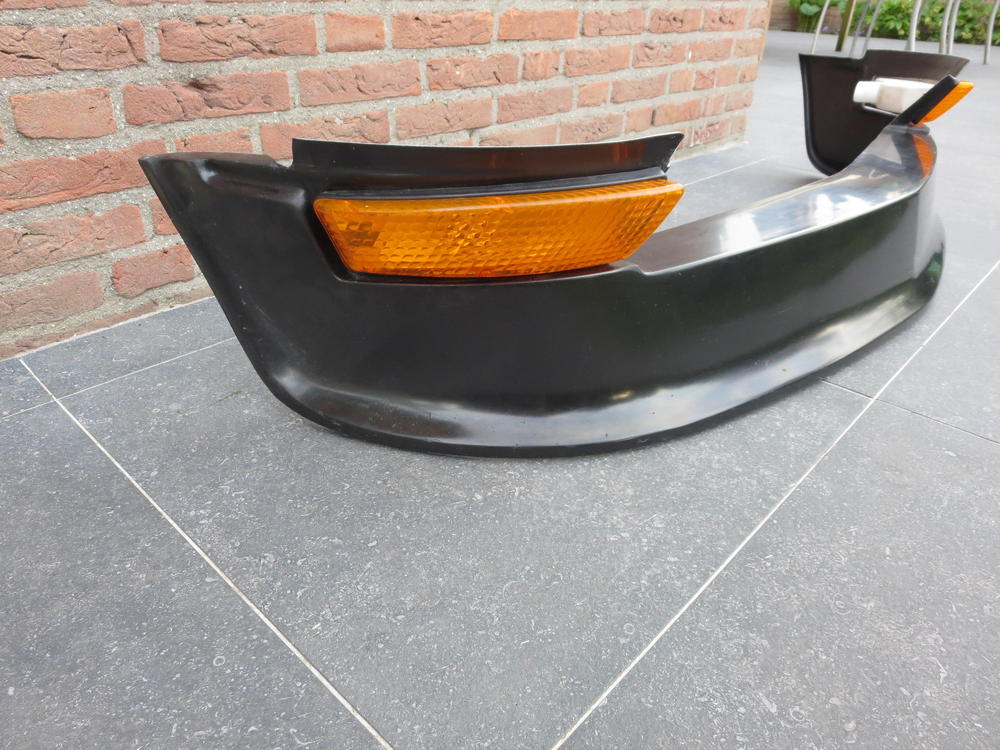
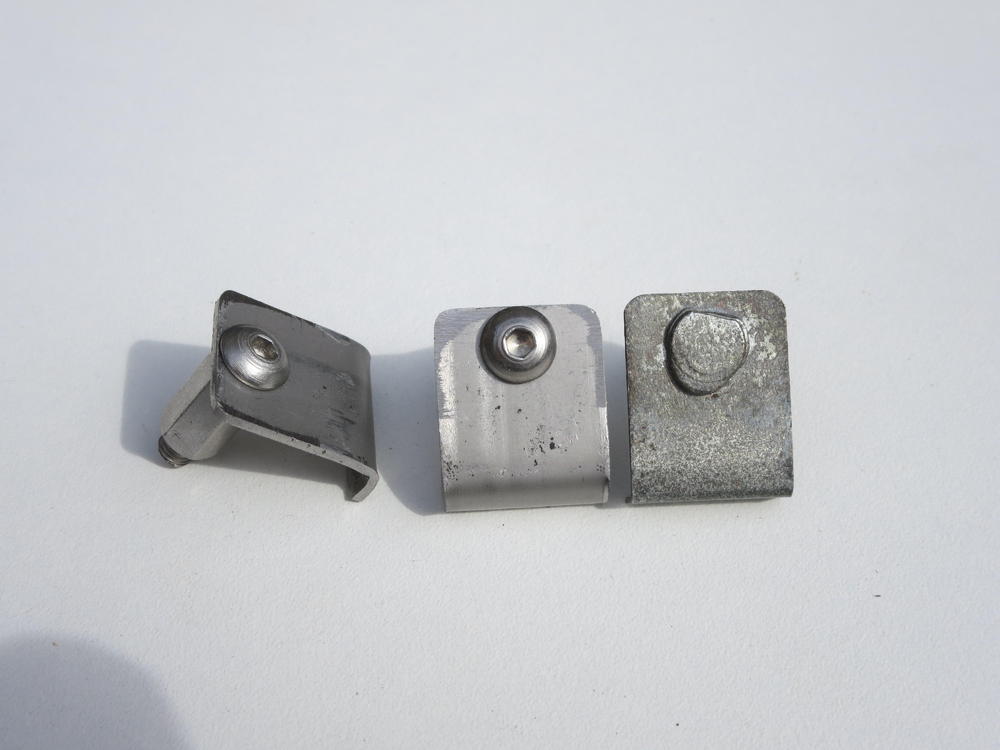
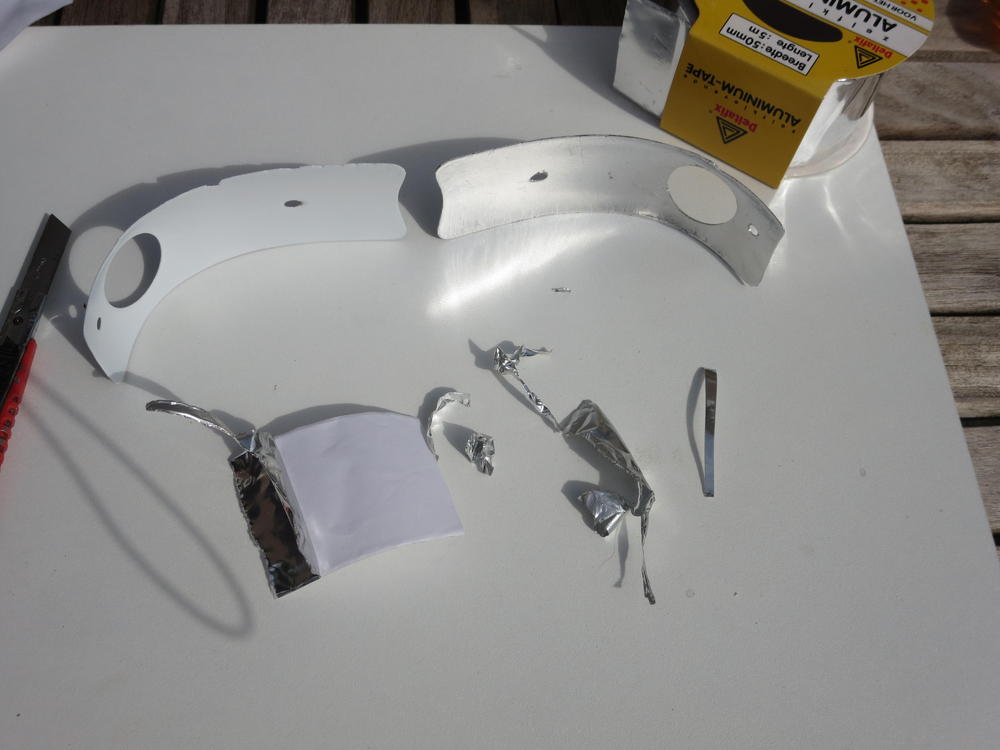
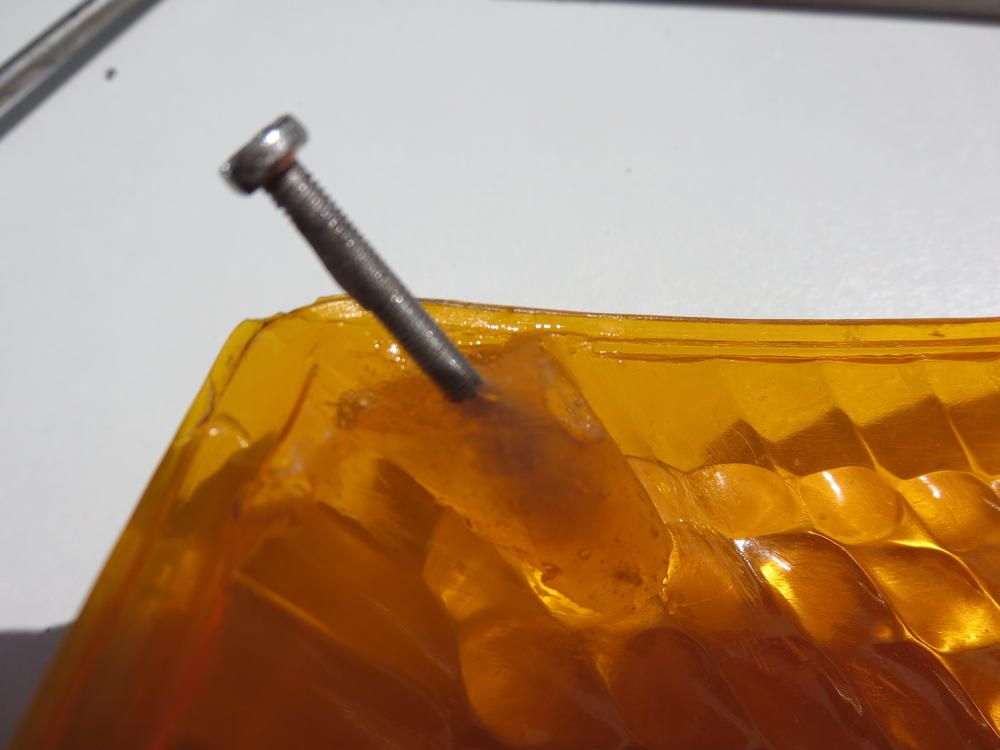
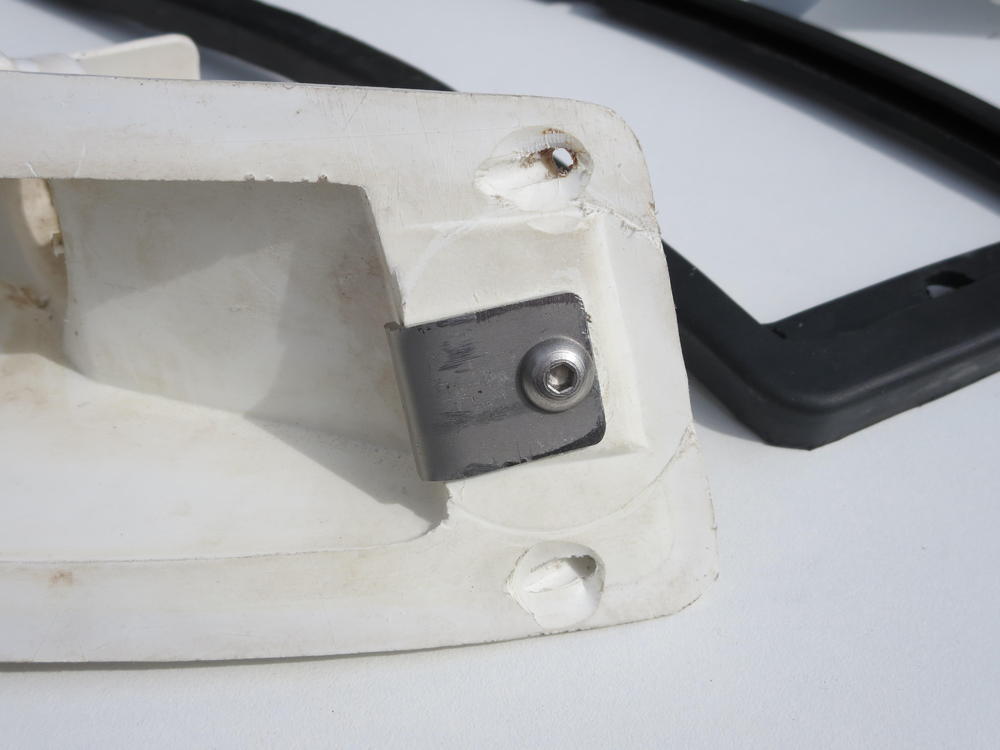
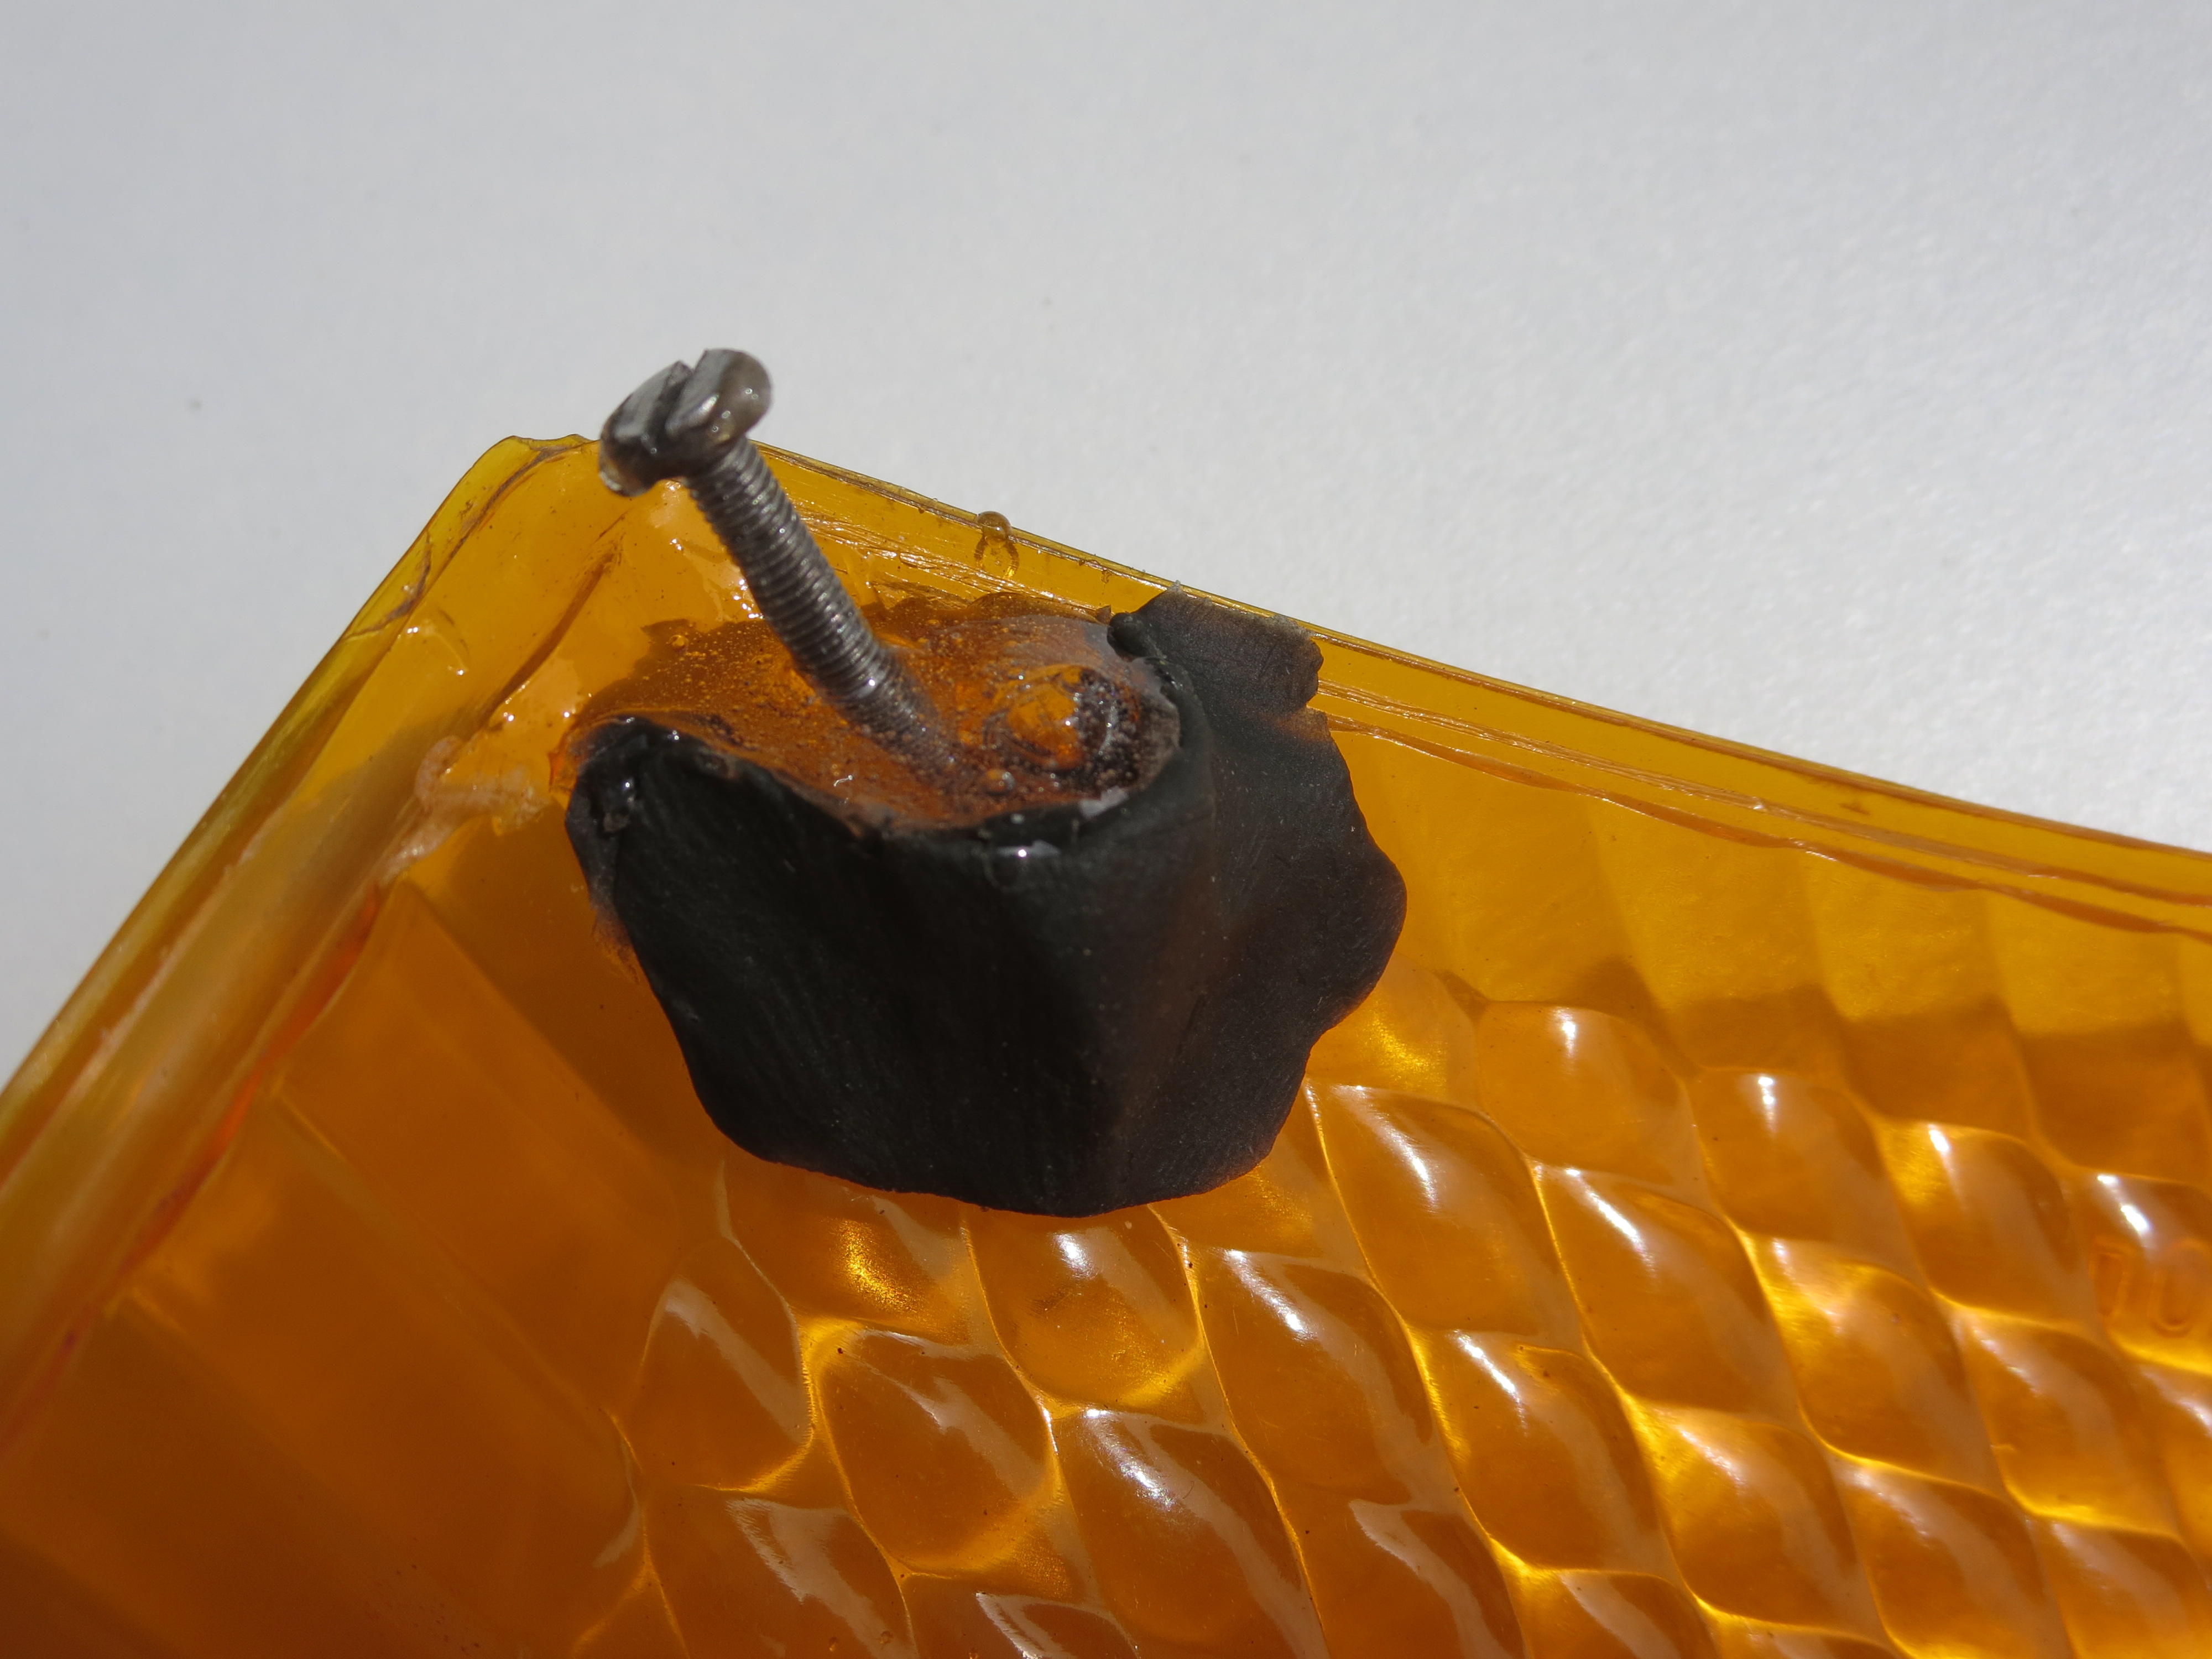
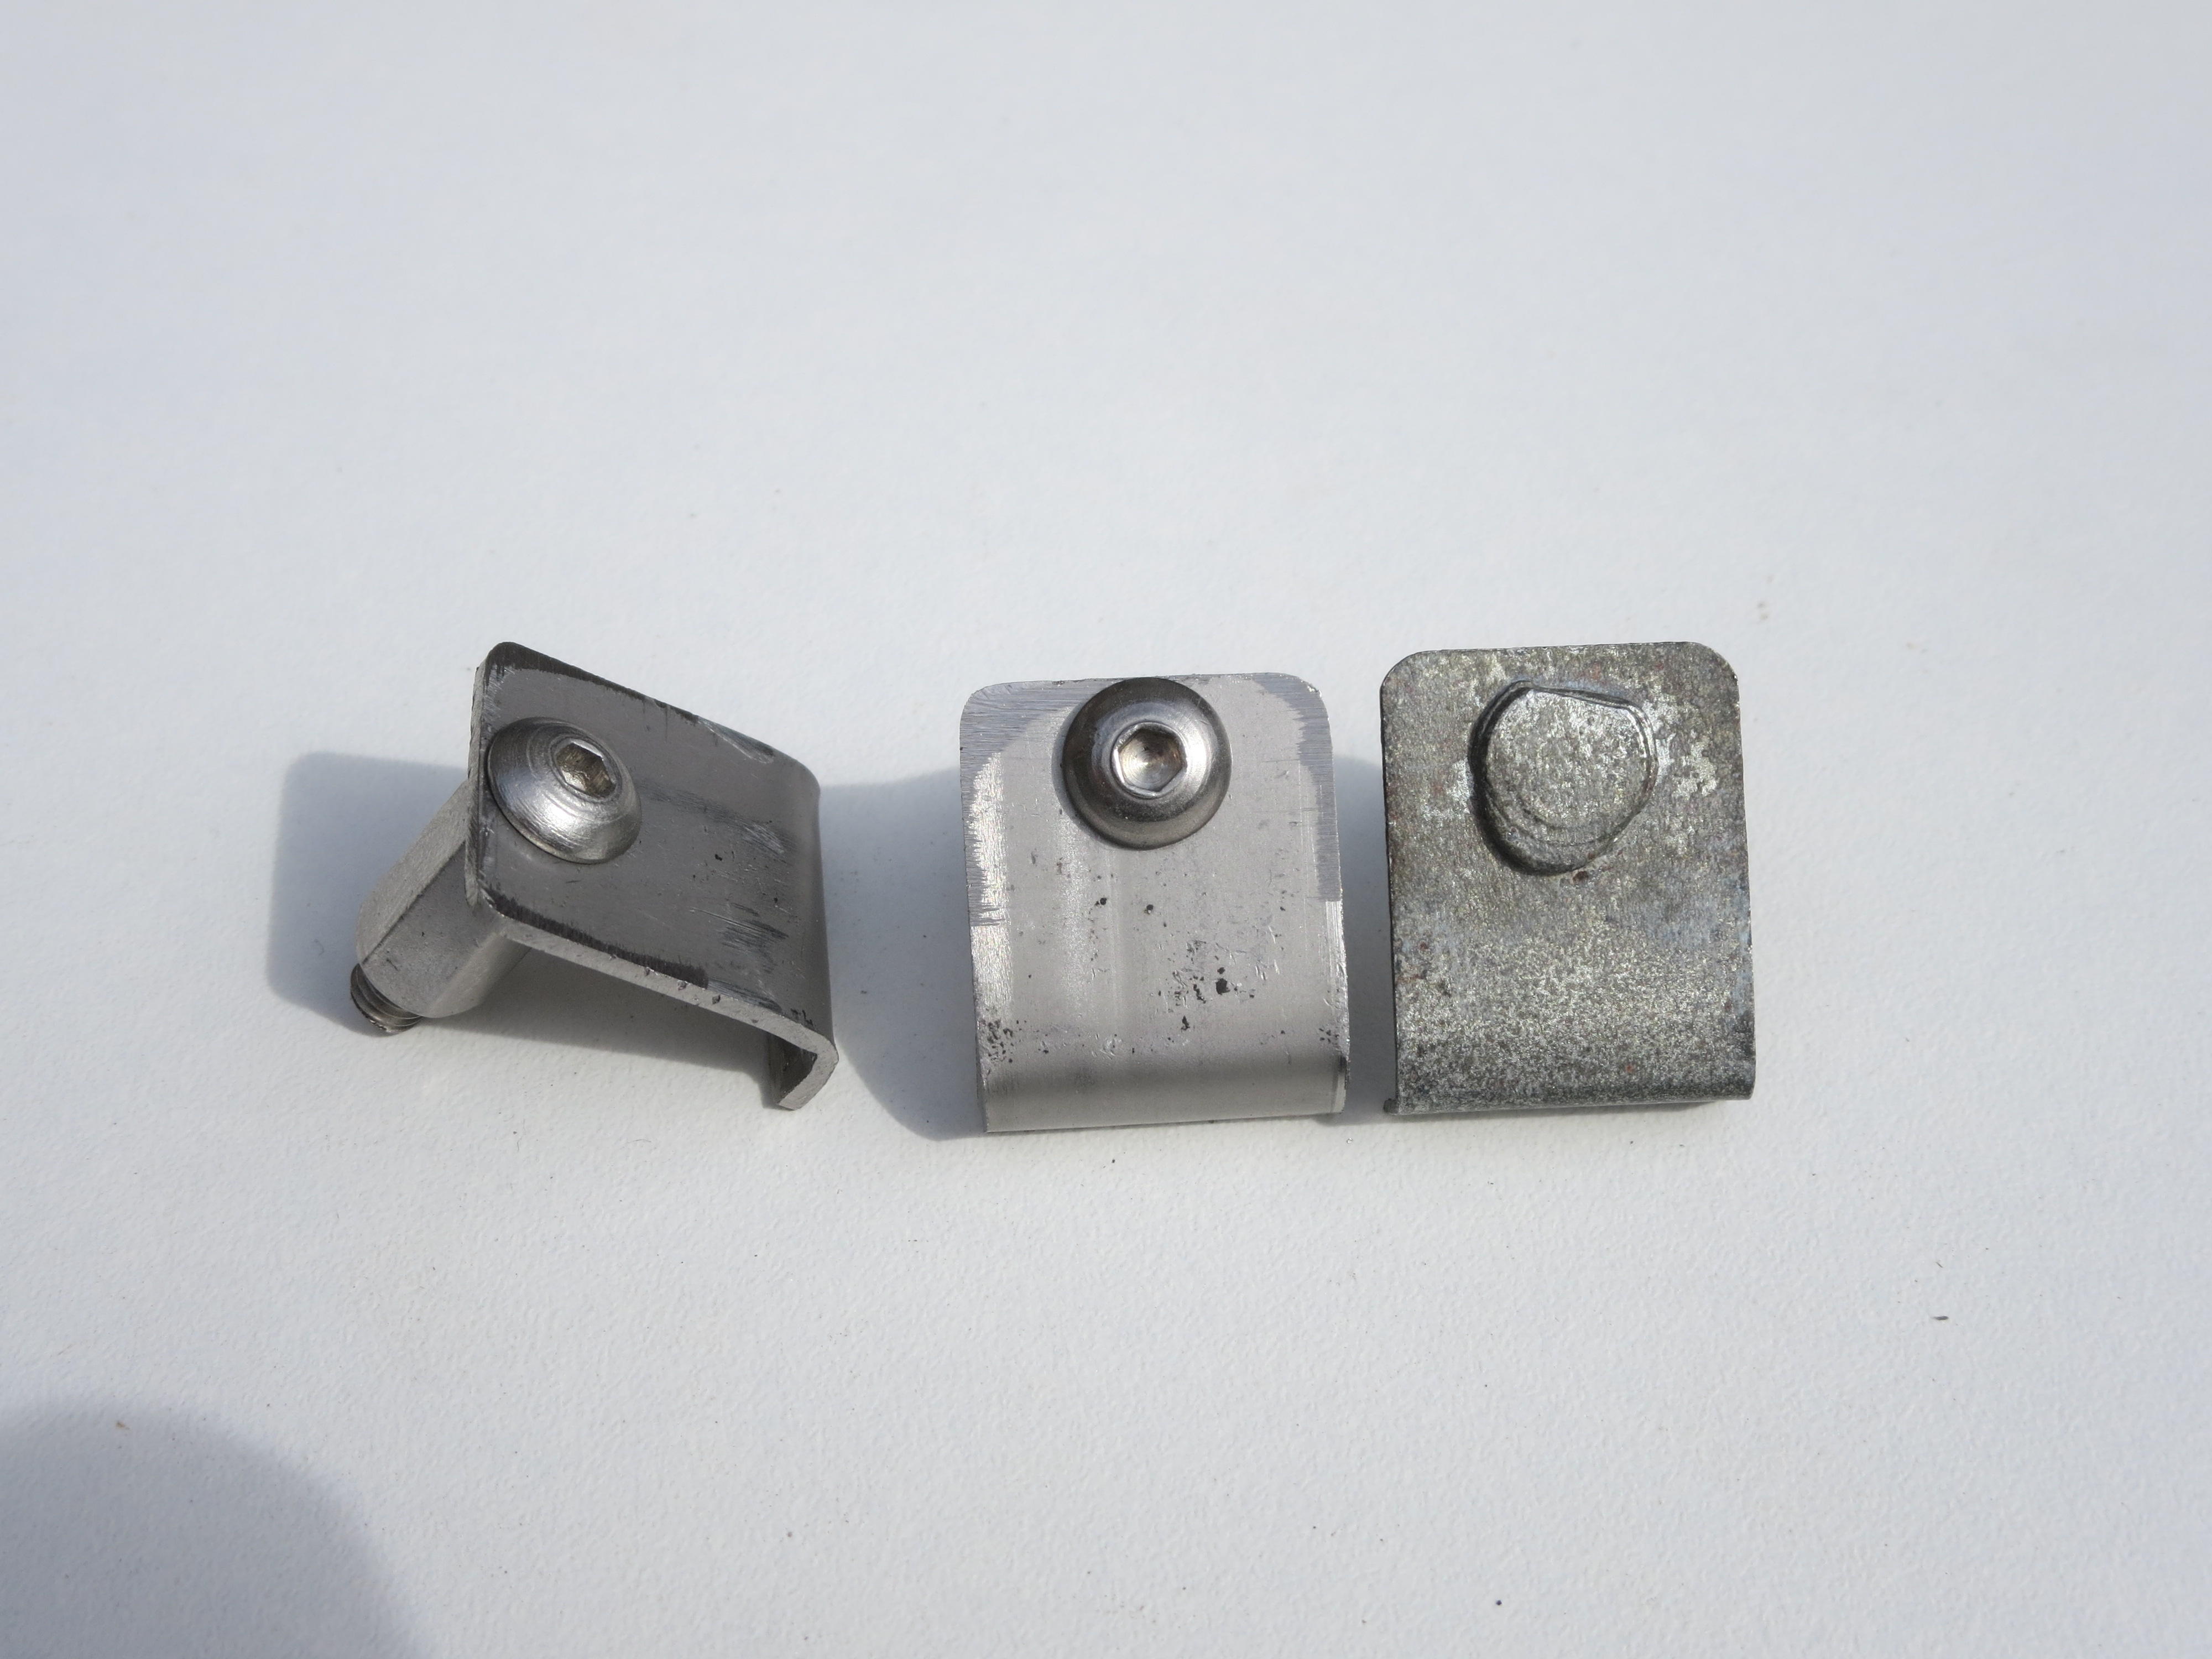
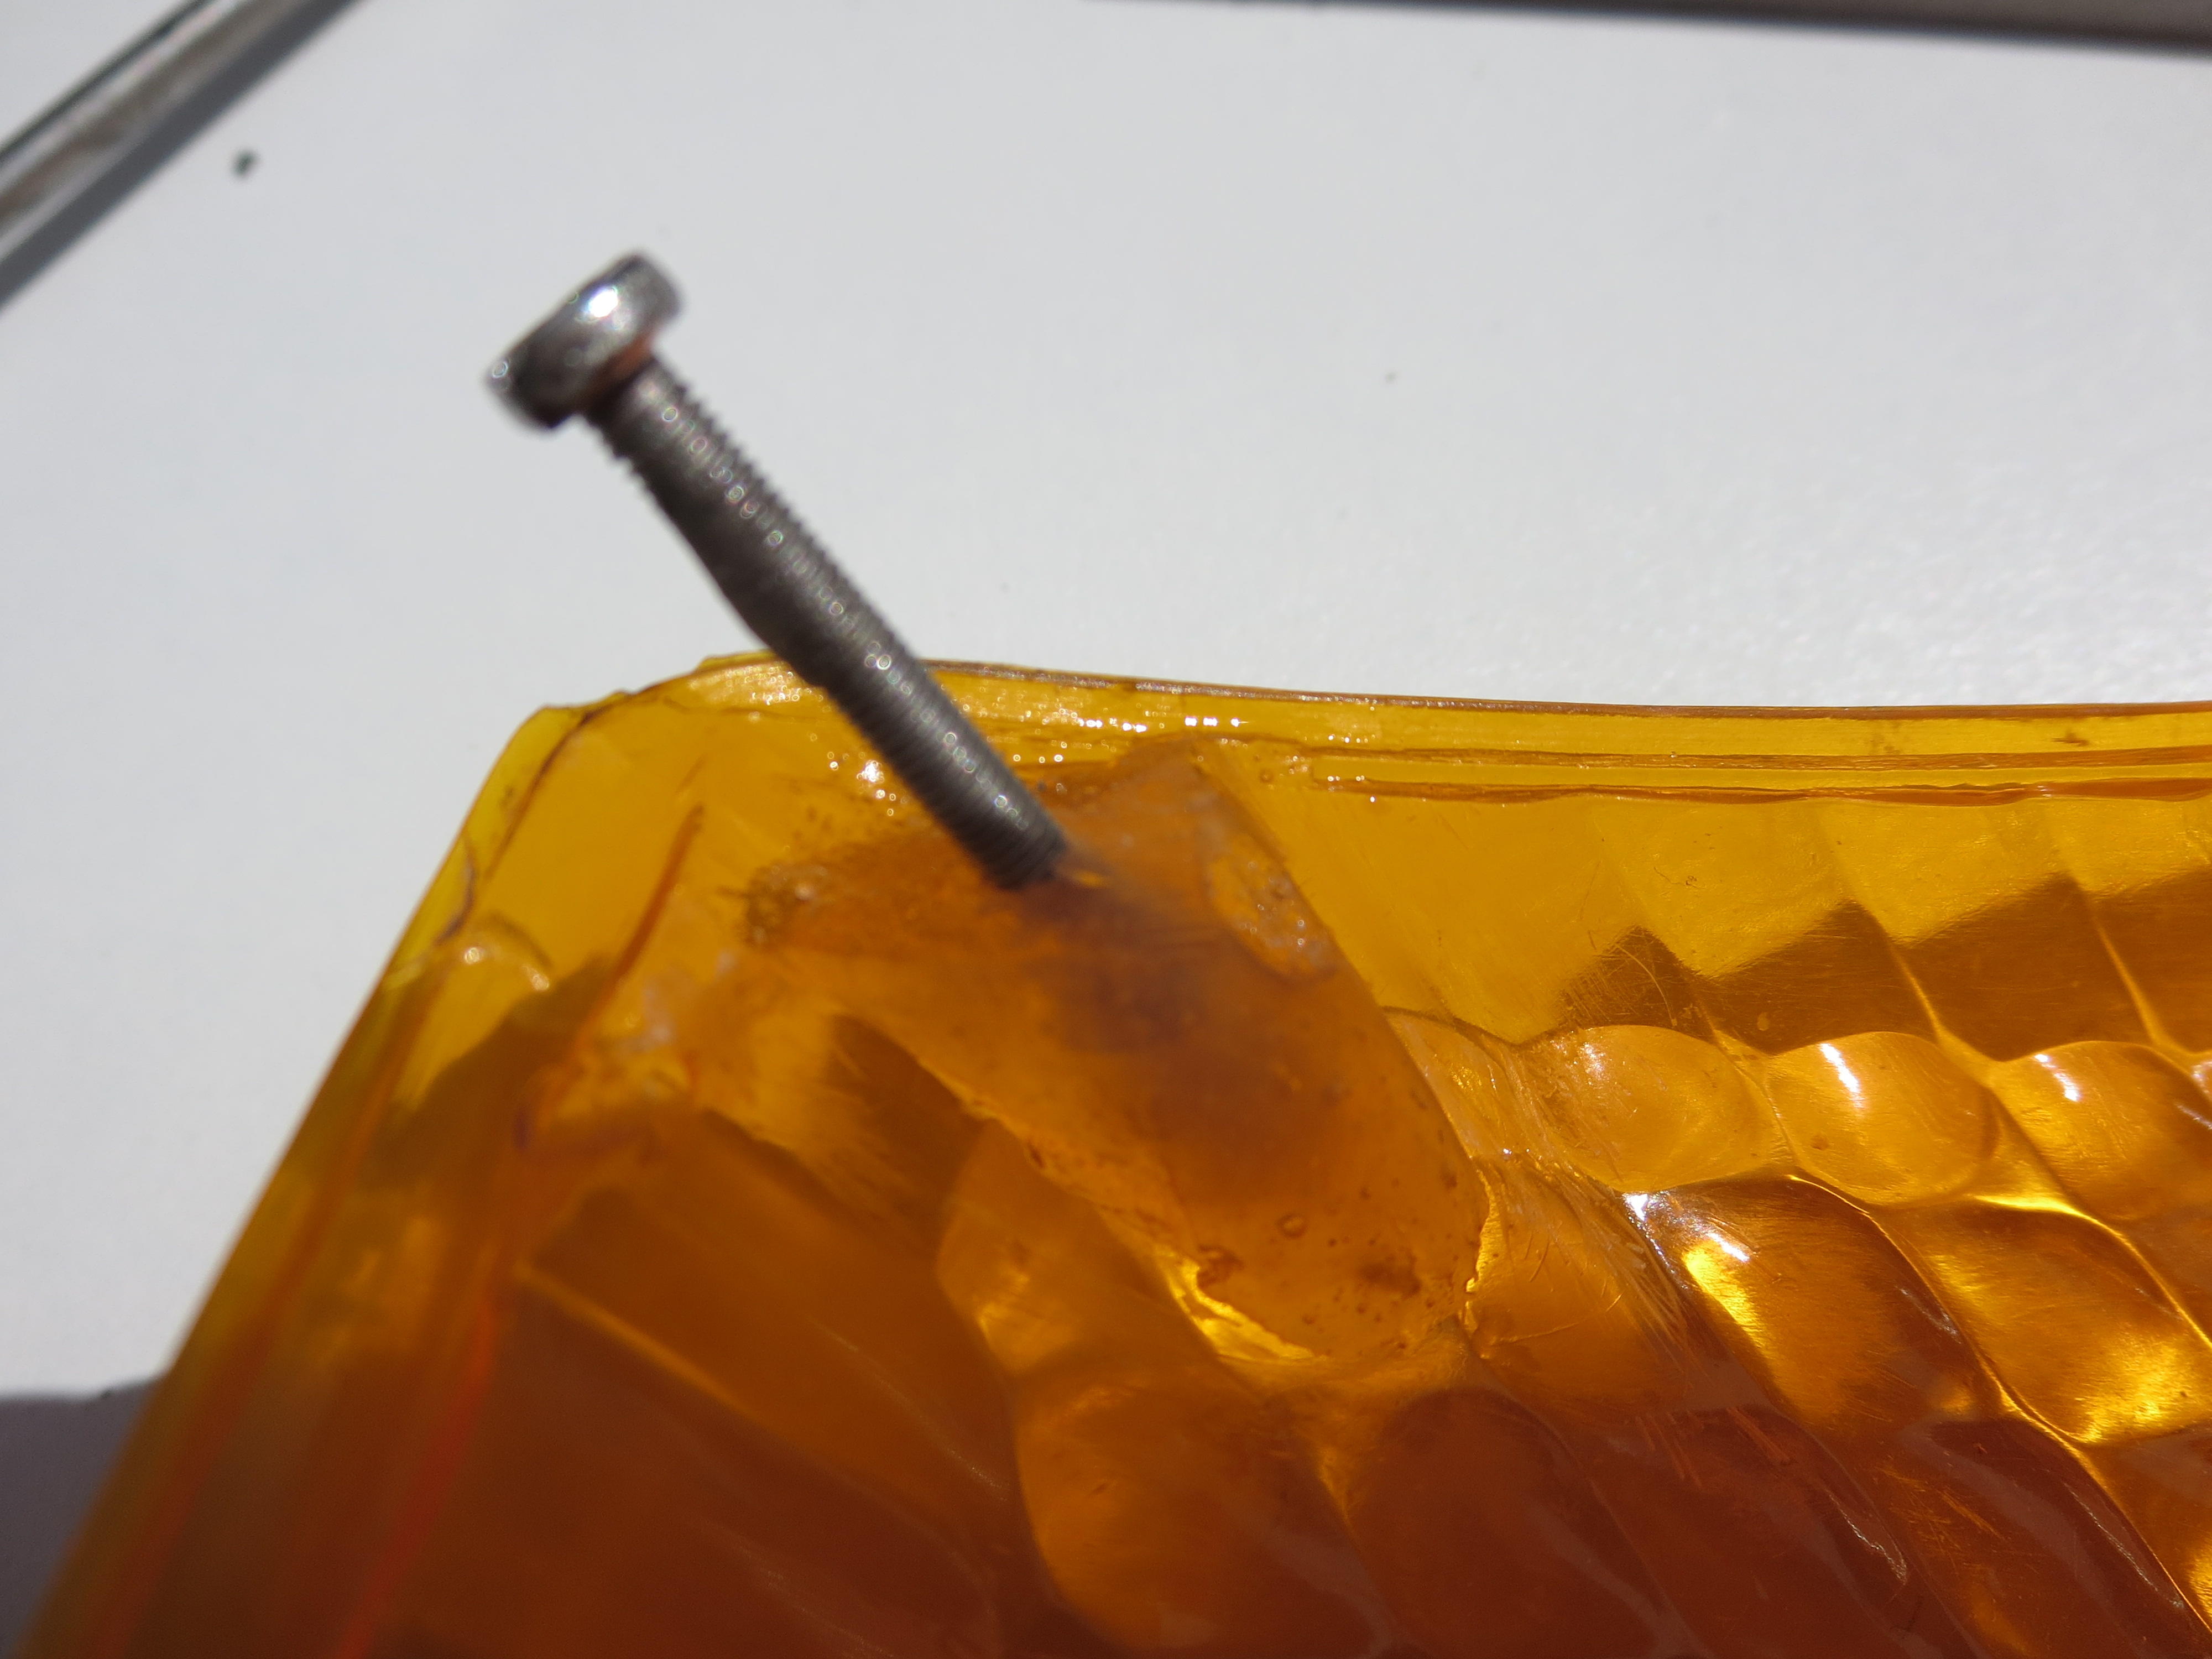
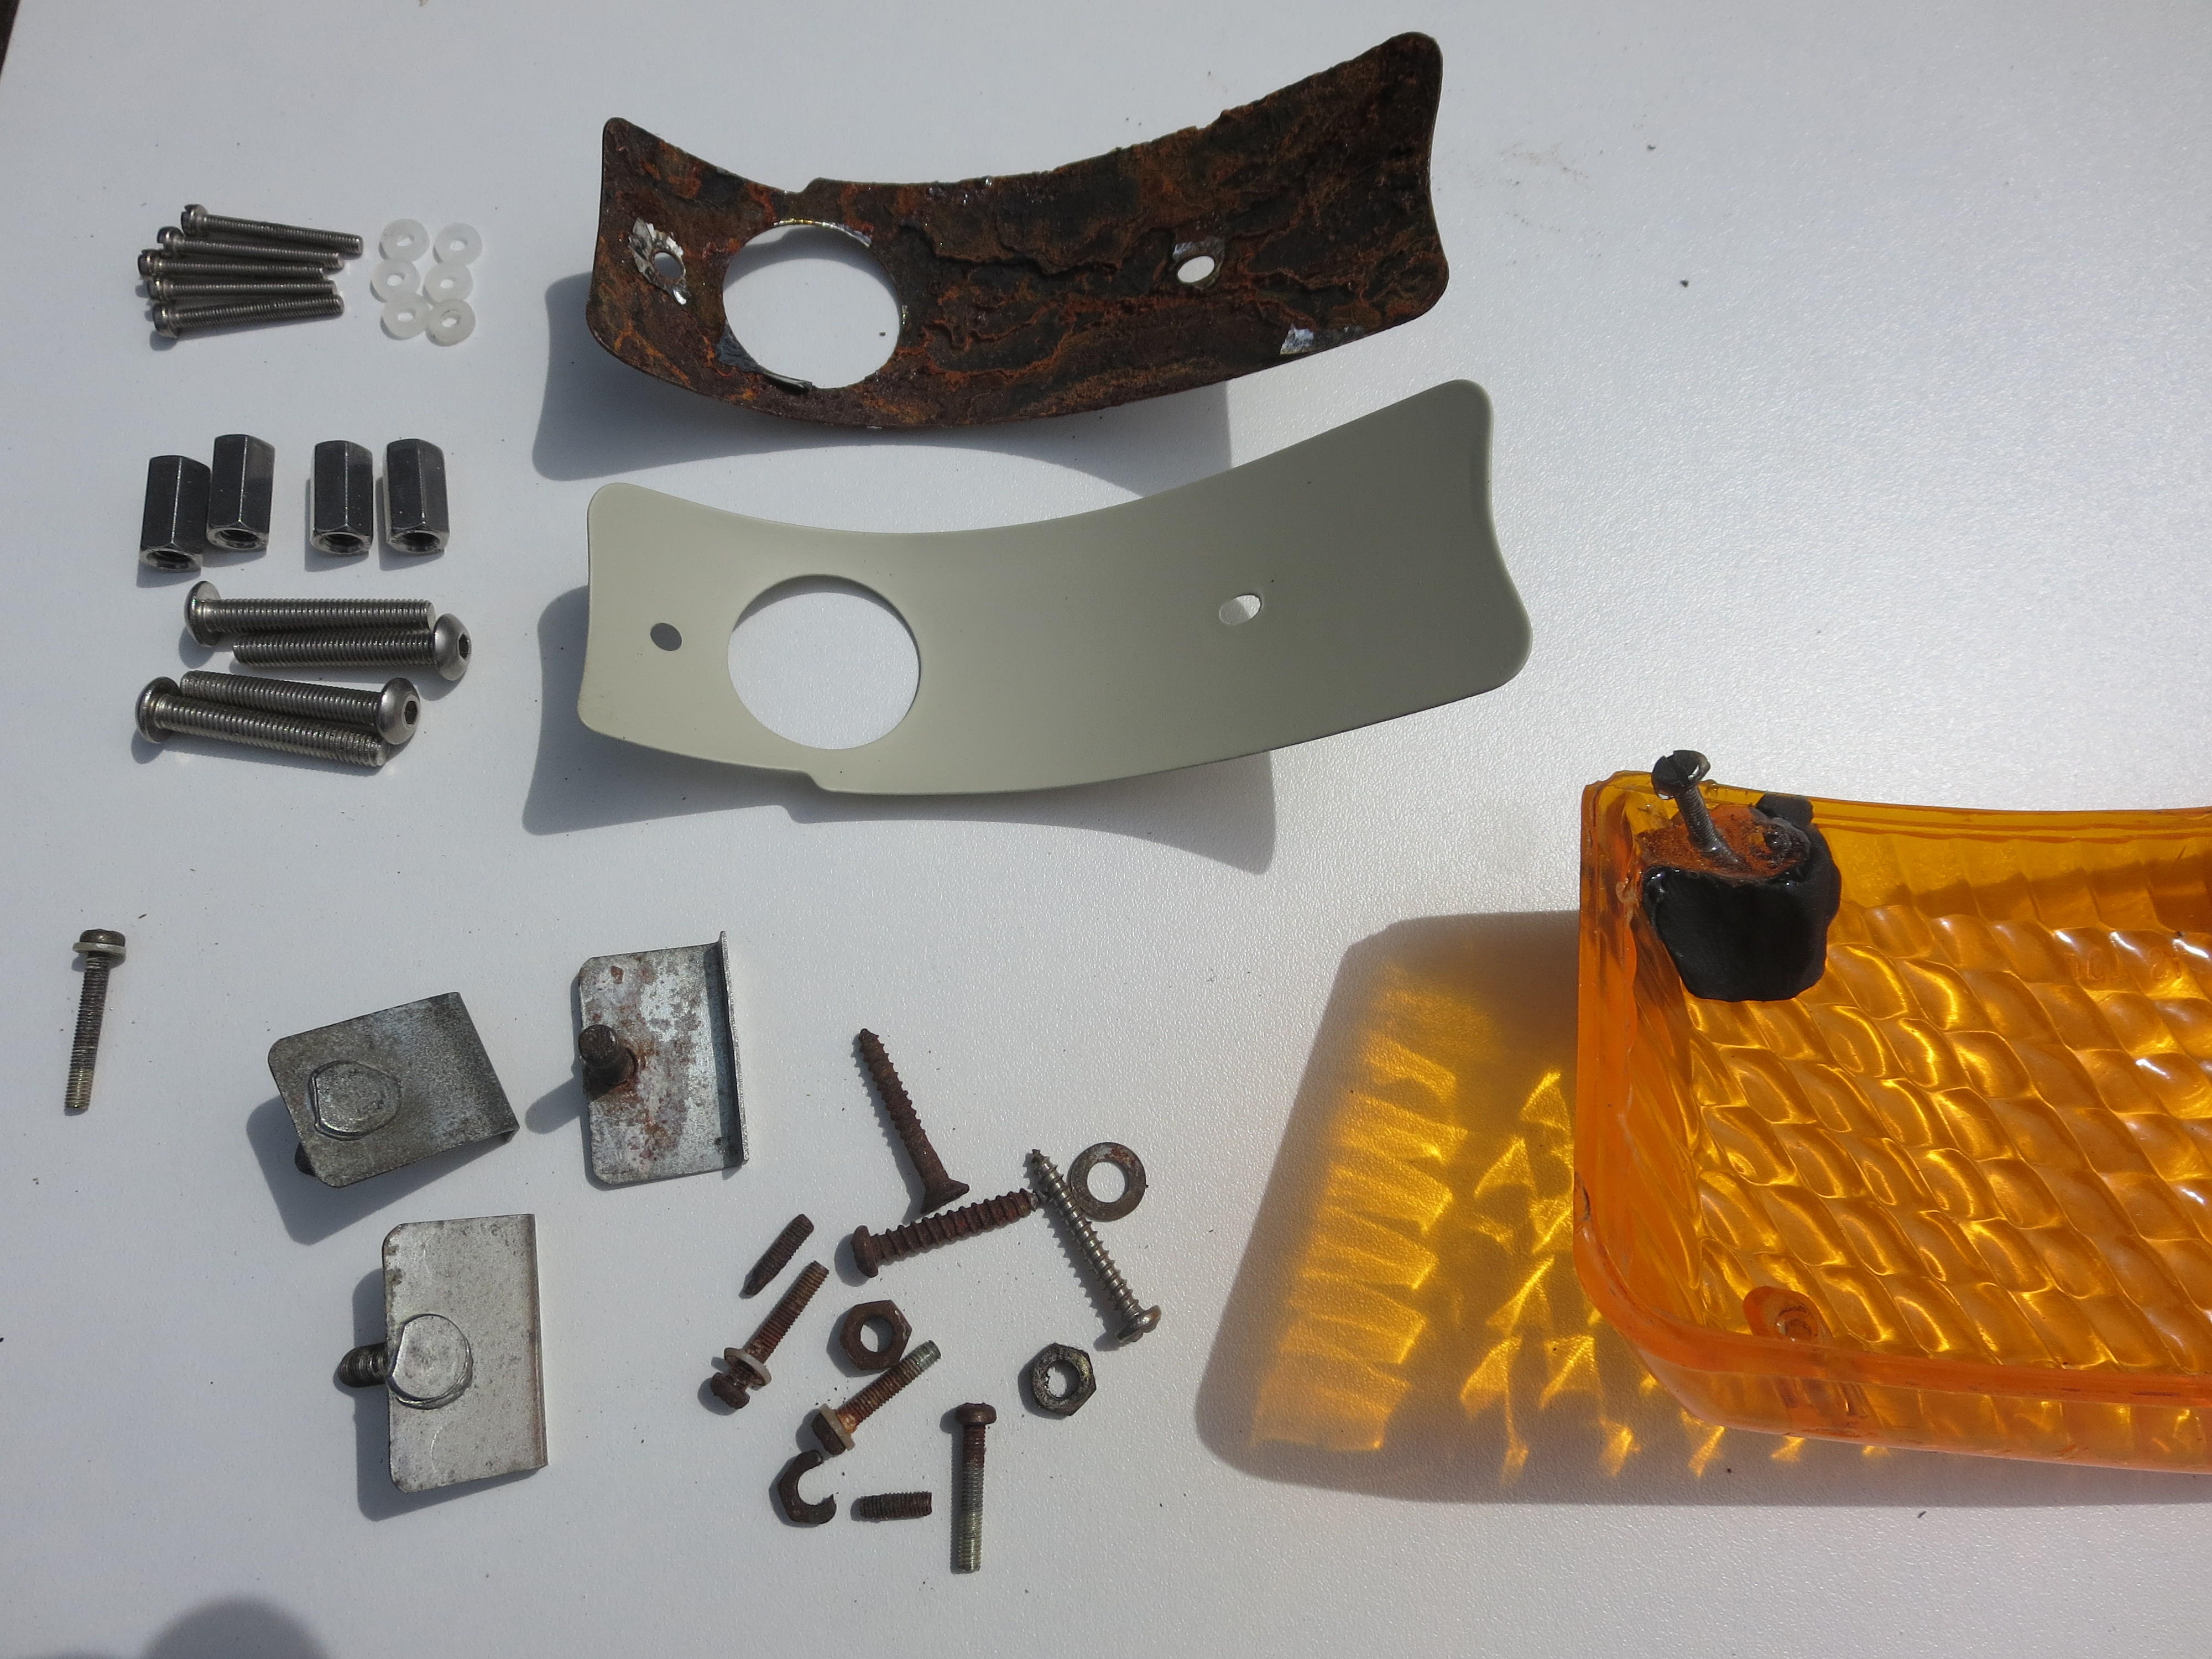
I did the "Cheap-arse" aluminium tape method to restore my set too. It turned out ok, but no where near the quality of what @jfa.series1 is doing. It takes a lot of time and dedication Some photos of my humble atempt to restore my TS lenses. I also fabricated new brackets to replace the missing ones and welded the set screws in place. Repaired and polished the lenses.



-
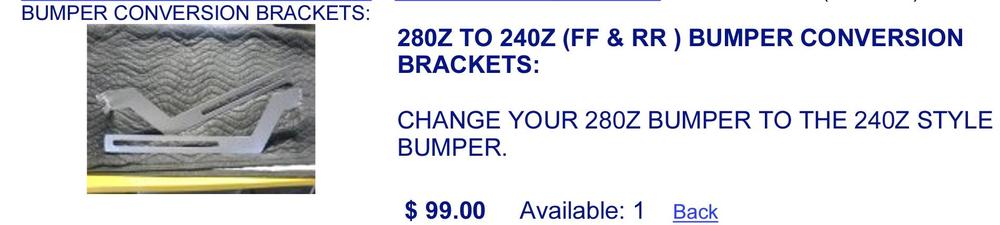
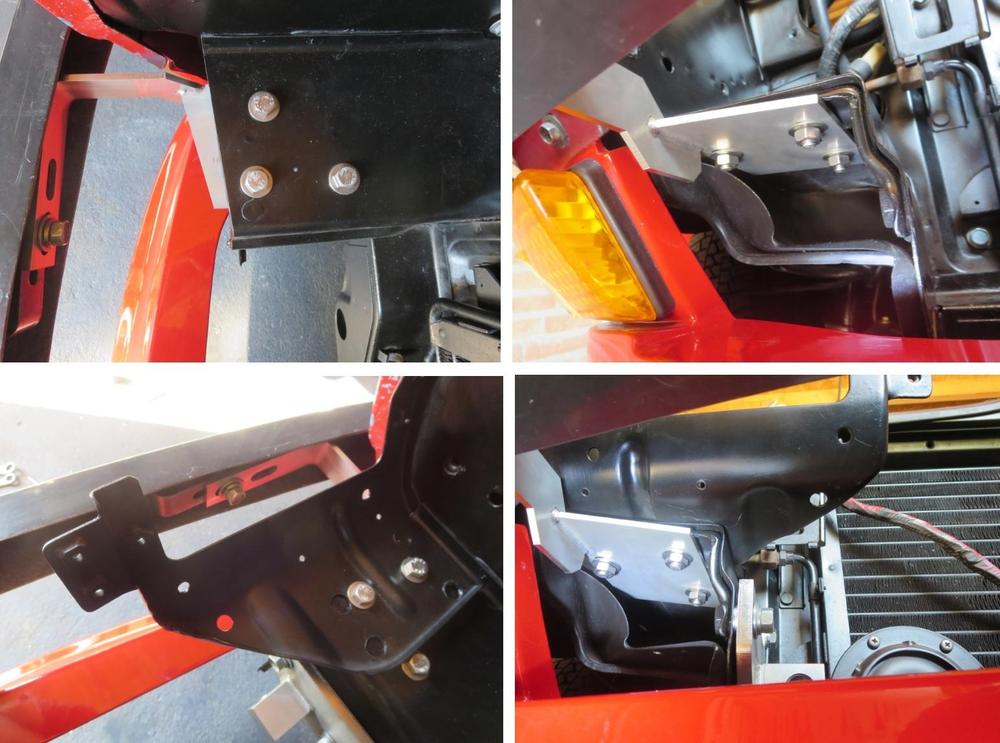
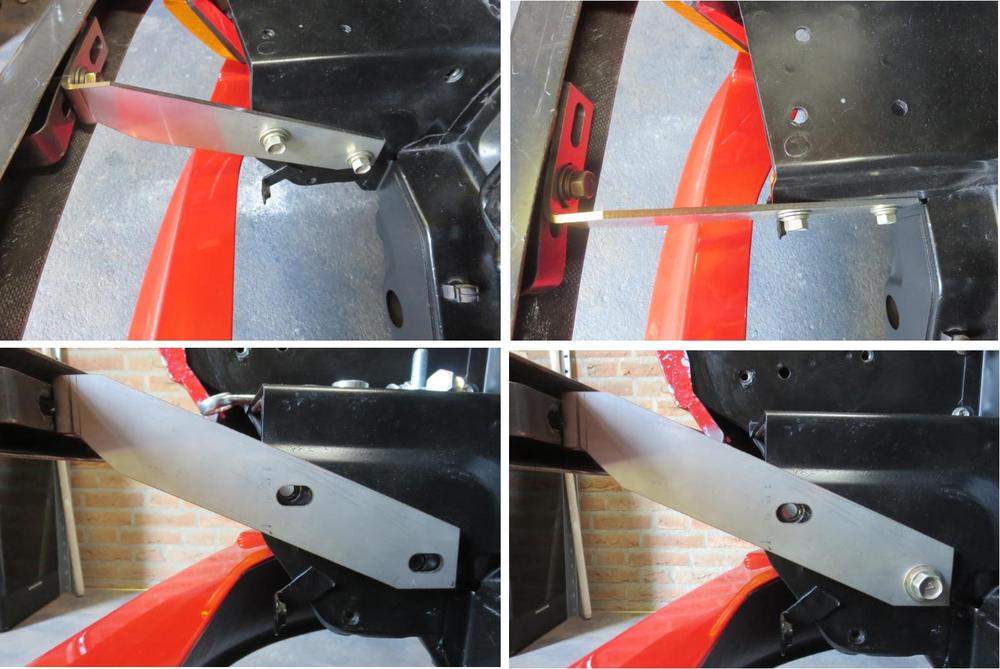
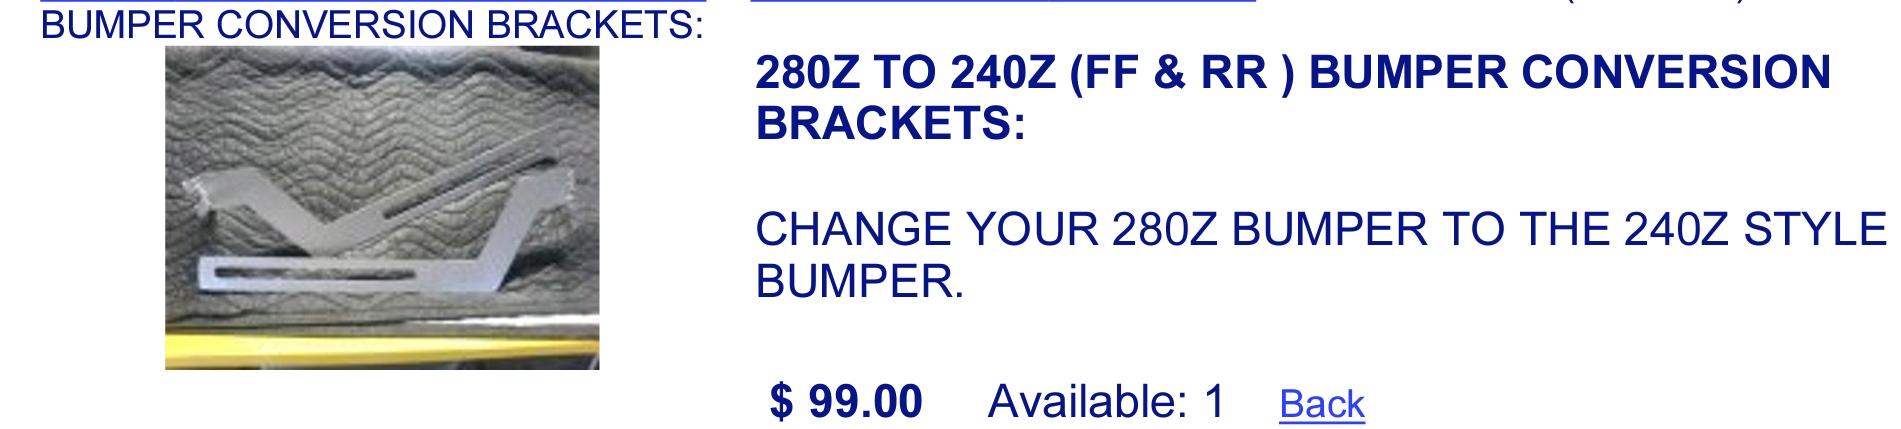
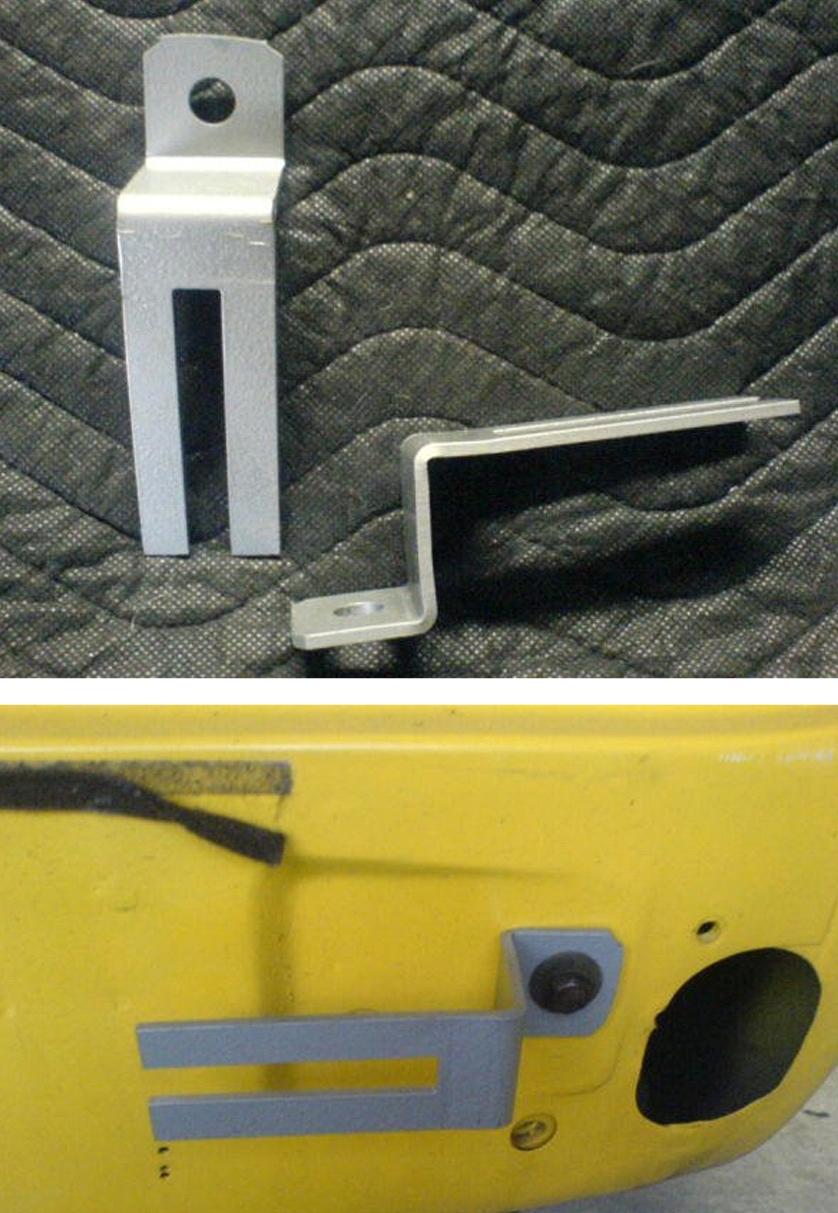
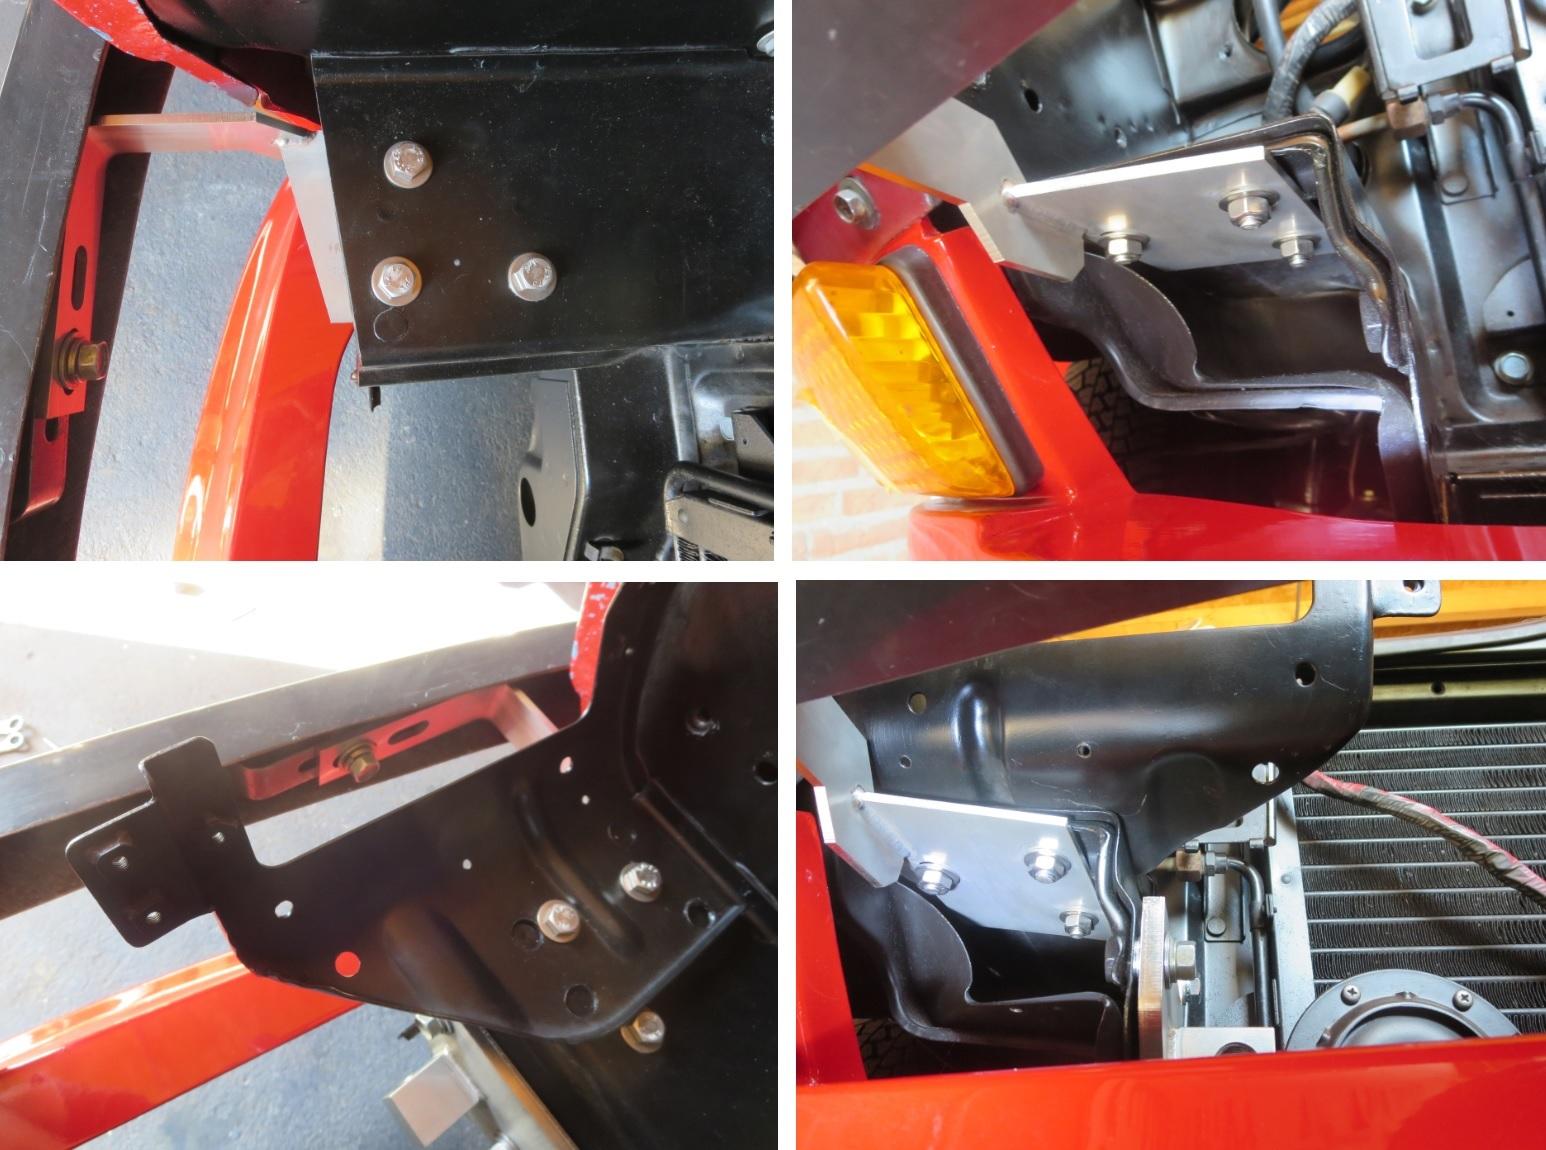
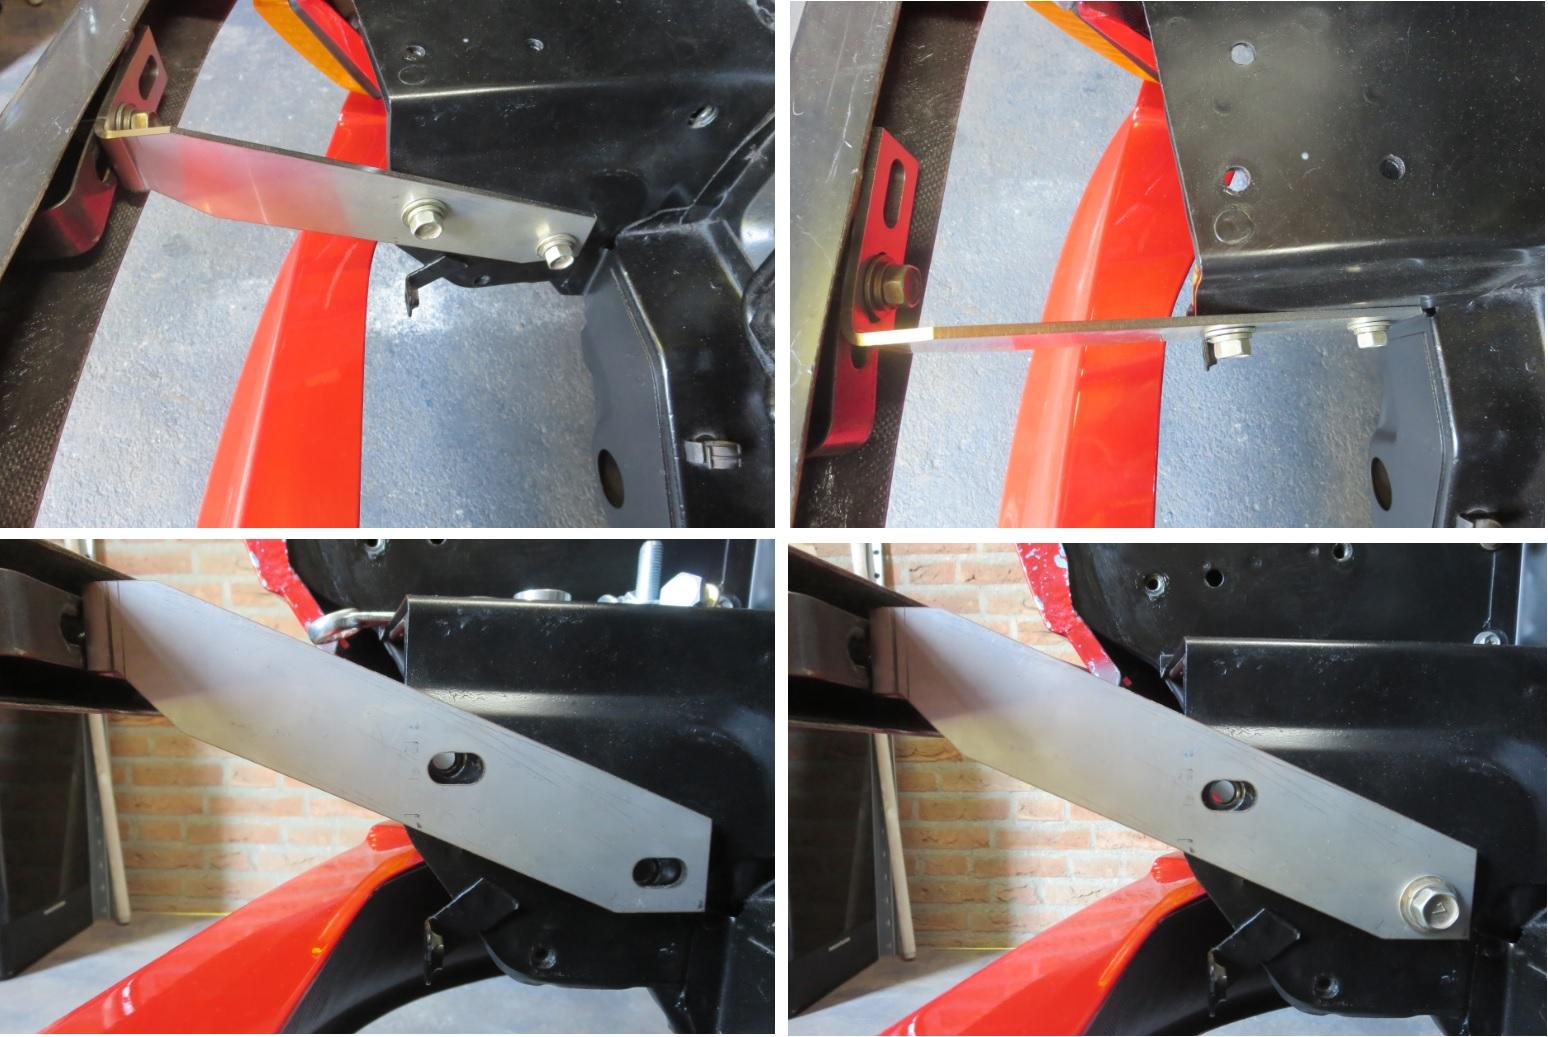
I sent JingK a PM, but would like to post some of it here for others that may want to try this at home.... No one makes brackets to convert a 280Z using a 73 bumper set. There probably wont be a lot of requests for this mod either. The 73 bumper protudes further forward than the 70-72 bumpers so they can accommodate the shock demper for the 5mph impact requirements in the US. That makes it a less desirable bumper for the mod. I started this adventure in 2015 to convert my 280Z. Back then there was only one bracket kit available, but it was IMO poorly designed that I decided to make my own. The back bracket was a simple bracket with a slot and one hole. The set with shipping, import duties and GST set me back €232.00 Things have changed since then and the brackets now available have improved considerably. I had the good fortune of lending a, all be it sadly abused looking, 71 bumper to take measurements and some kind members on this forum to give me measuremnts of there bumpers to compare. It is not an exact science. The variance between bumpers and between the 280Z's I measured was a lot more than I expected. I made the slots in the brackets to accommadate the variances I noted, but they will not have enough adjustment to bridge the gap for the 73 bumper. I can fab a set of brackets that will fit, but I need info from JingK. Pending....


-
How to "not" drill a well in your backyard. Dutch style. Hopeless from the start, but at about 1:38 is where it get interesting. I came across this video when I decided to drill my own well.How to reach those high notes. Lesson 1 VID-20191002-WA0000.mp4I remembered a excellent website in Australia that might be some help. You can play with all the combinations. http://www.ozdat.com.au/ozdatonline/enginedesign/The chambers in the E31 and N42 are very similar. The N42 does have a little more capacity which will lower your compression ratio a little. Depending on head gasket thickness and overbore you would expect roughly the following compression ratio. E31 = 42.4cc chambers C/R 9.0:1 N42 = 44.6cc chambers C/R 8.5:1That is why I said around Oct/Nov. Vin numbers would be a more accurate means of identifying the transition. There are so many points where things change.Keeping with the theme of things
 VID-20200322-WA0000.mp4I don't know a lot about the fine details, but the E31 was used on the early E31 L24 block upto around Oct/Nov 1970. Your 240Z should have a P30 L24 block with an E88 head. The N42 was on the early L28 in the 280Z leaded fuel version. They changed to the N47 when unleaded was introduced. I know the early E88 had the same chambers as the E31 until somewhere around Aug 71 I believe. Not sure where that lines up with the Vin numbers. The later E88 heads had larger chambers and the E88 on the L26 got the bigger 35mm exhaust valve and the less desired emmision chambers. The valves in the E31/E88 were 42mm inlet and 33mm exhaust. The N42 has 44mm and 35mm. Chambers on the E31 and early E88 smaller than the N42.My thoughts. From, shall we say, my european point of view. It's frustrating to see such a good shell and people asking to cut it up. In this part of the world rust is inevitable because of the intense use of salt (past tense) on the roads in the winter. You could restore a rust bucket, strip it down, sandblast it and replace all the rusted sections. An alternative would be to do the same on a relatively rust free rolling chassis and use the rust bucket for parts. Quite feasable for a 72-73 model 240Z.And Bill gave this speach in 2015.The government here just made an announcement with the options we have to deal with the situation. 1. Do nothing and let the virus spread uncontrolled. Hospitals most probably won't have enough ic beds. 2. Restrict population movement and contact. The population gradually gets infected and builds up self immunity. Once two thirds of the population is infected the spread will reduce and become managable. 3. Lock down country and restrict movement through house arrest etc to stop spread. The only realistic options are 1 & 2 with preference for option 2. With option two most people with be infected within 3 to 4 months and build up an immunity to the virus. A slower spread will relieve the hospitals so they can cope with the severe cases. That is the theory anyway. I have 5 colleagues with it. One has light astma and he had a lot of trouble breathing. He is feeling better now, but he said it was a lot worse than any flu he has ever had. I don't know when he can start working. Won't be soon. Another colleague said flu was a lot worse and didn't have too much trouble getting over it.Last month my work sent a crew of 18 to northern Italy for (FAT) acepting two new machines. 5 of them have the virus and are home in quarantine. I have been working from home since and will be allowed to go back to work monday, but my collegue who has the virus is still at home recovering. Worsed of all. The coffee shop must close as from Sunday 18:00h.? https://www.ad.nl/binnenland/nieuwe-coronamaatregelen-nederlanders-hamsteren-massaal-wiet-en-hasj~a861b1ba/Looking at the condition of battery tray and the floor section, I really don't understand how this isn't already gone. And someone asked him to cut the roof and tail section off.
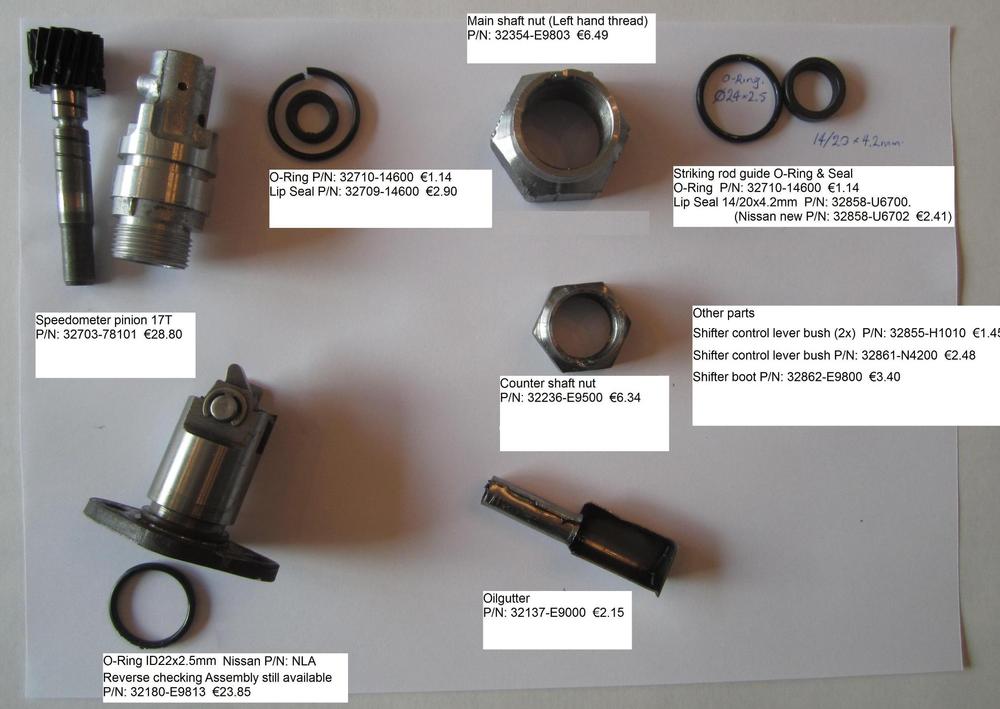
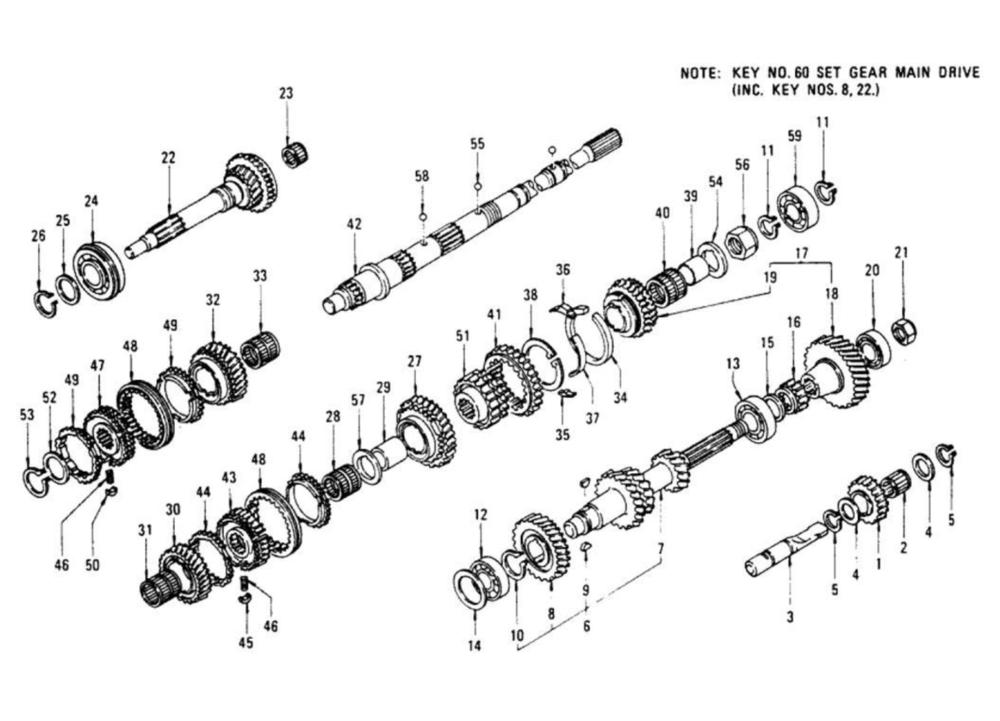
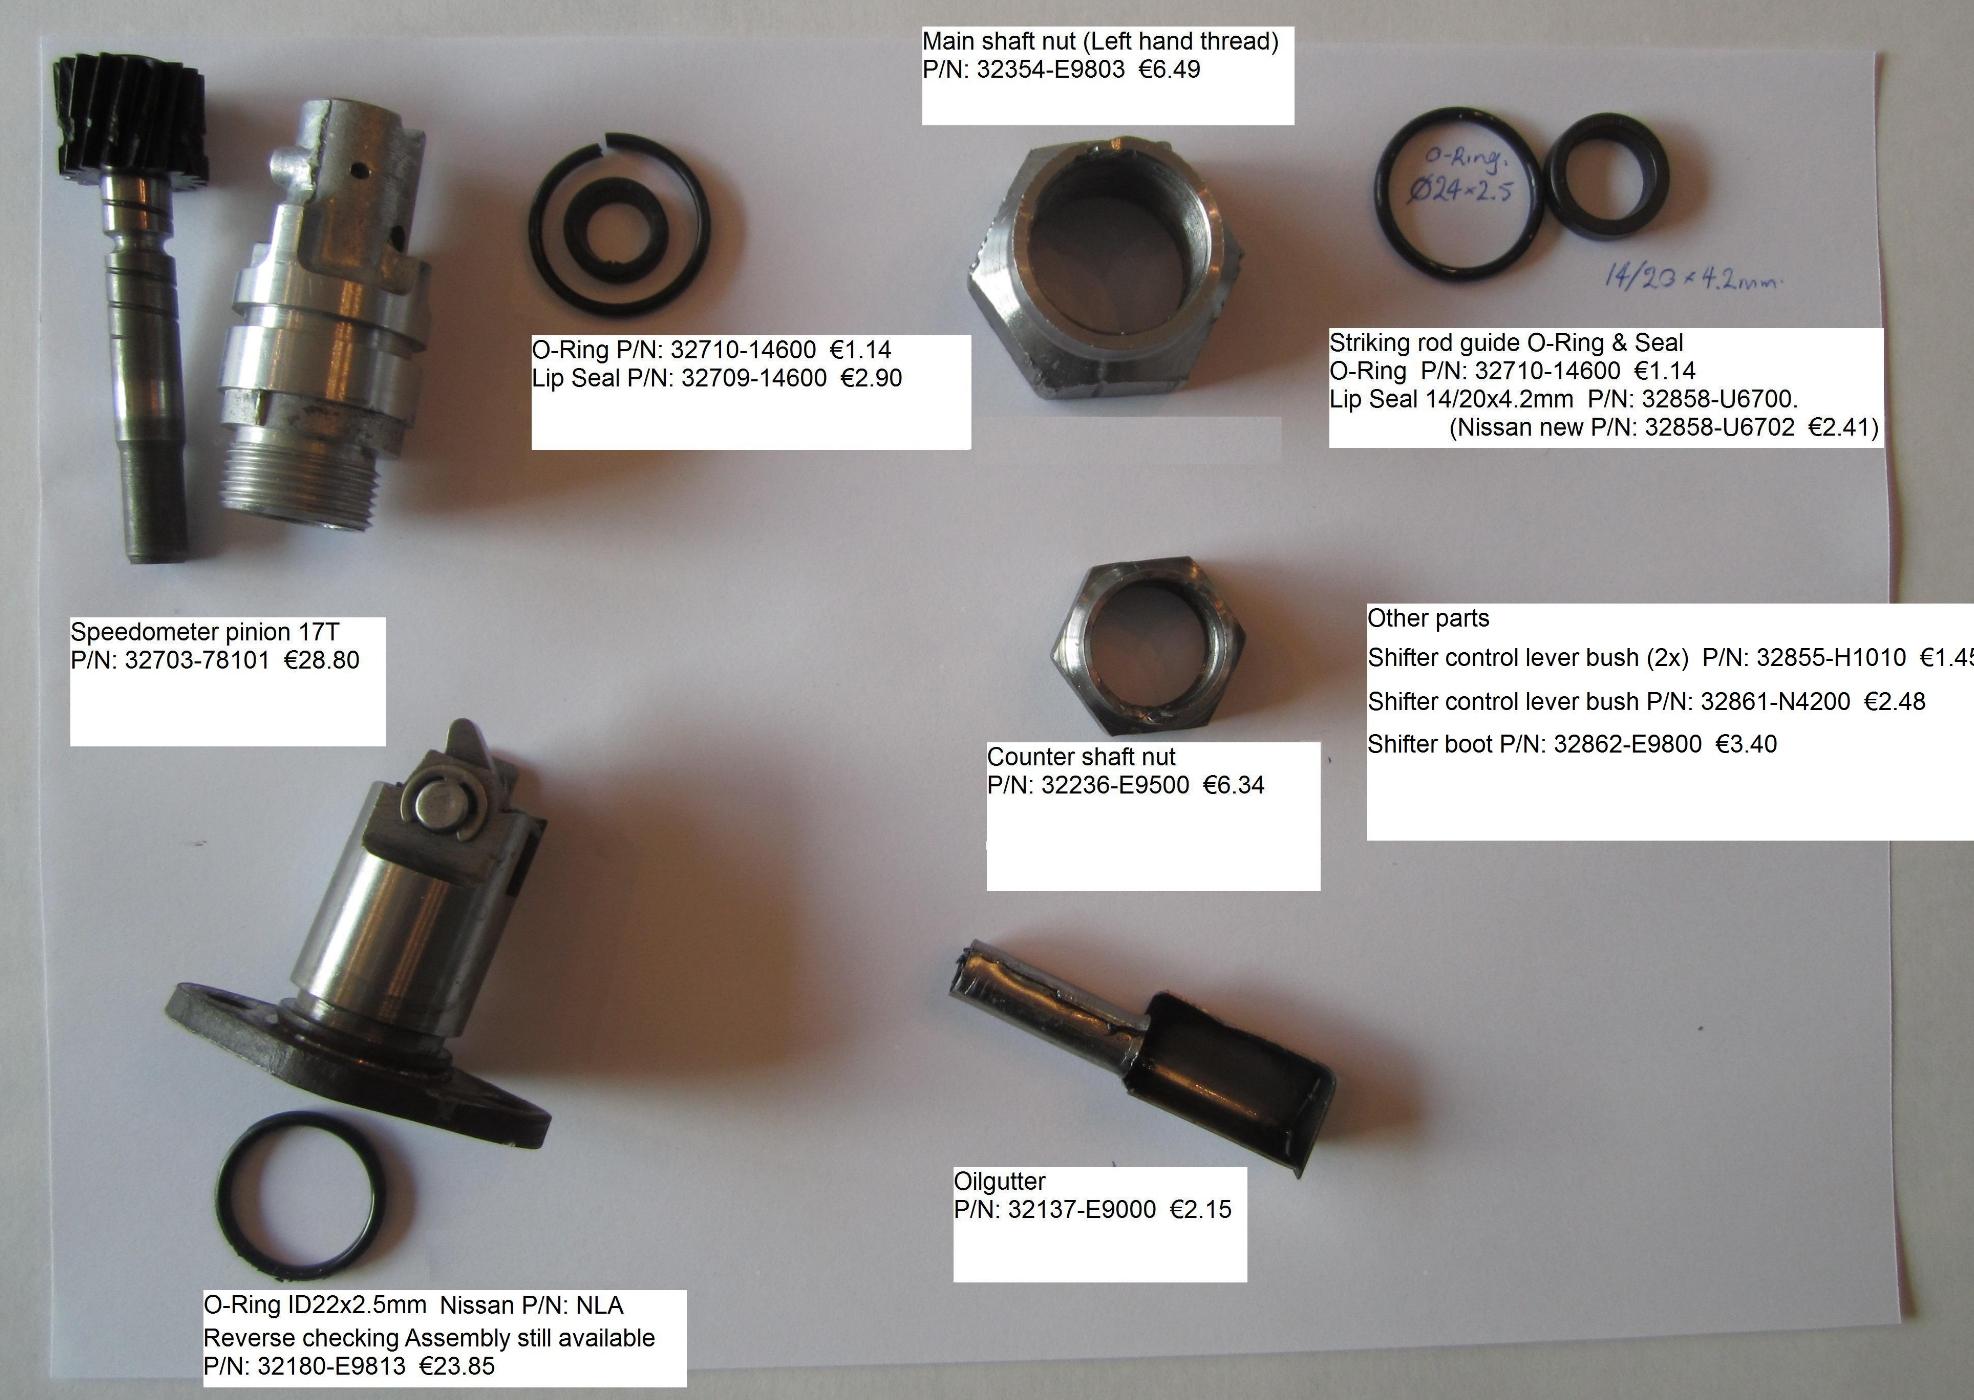
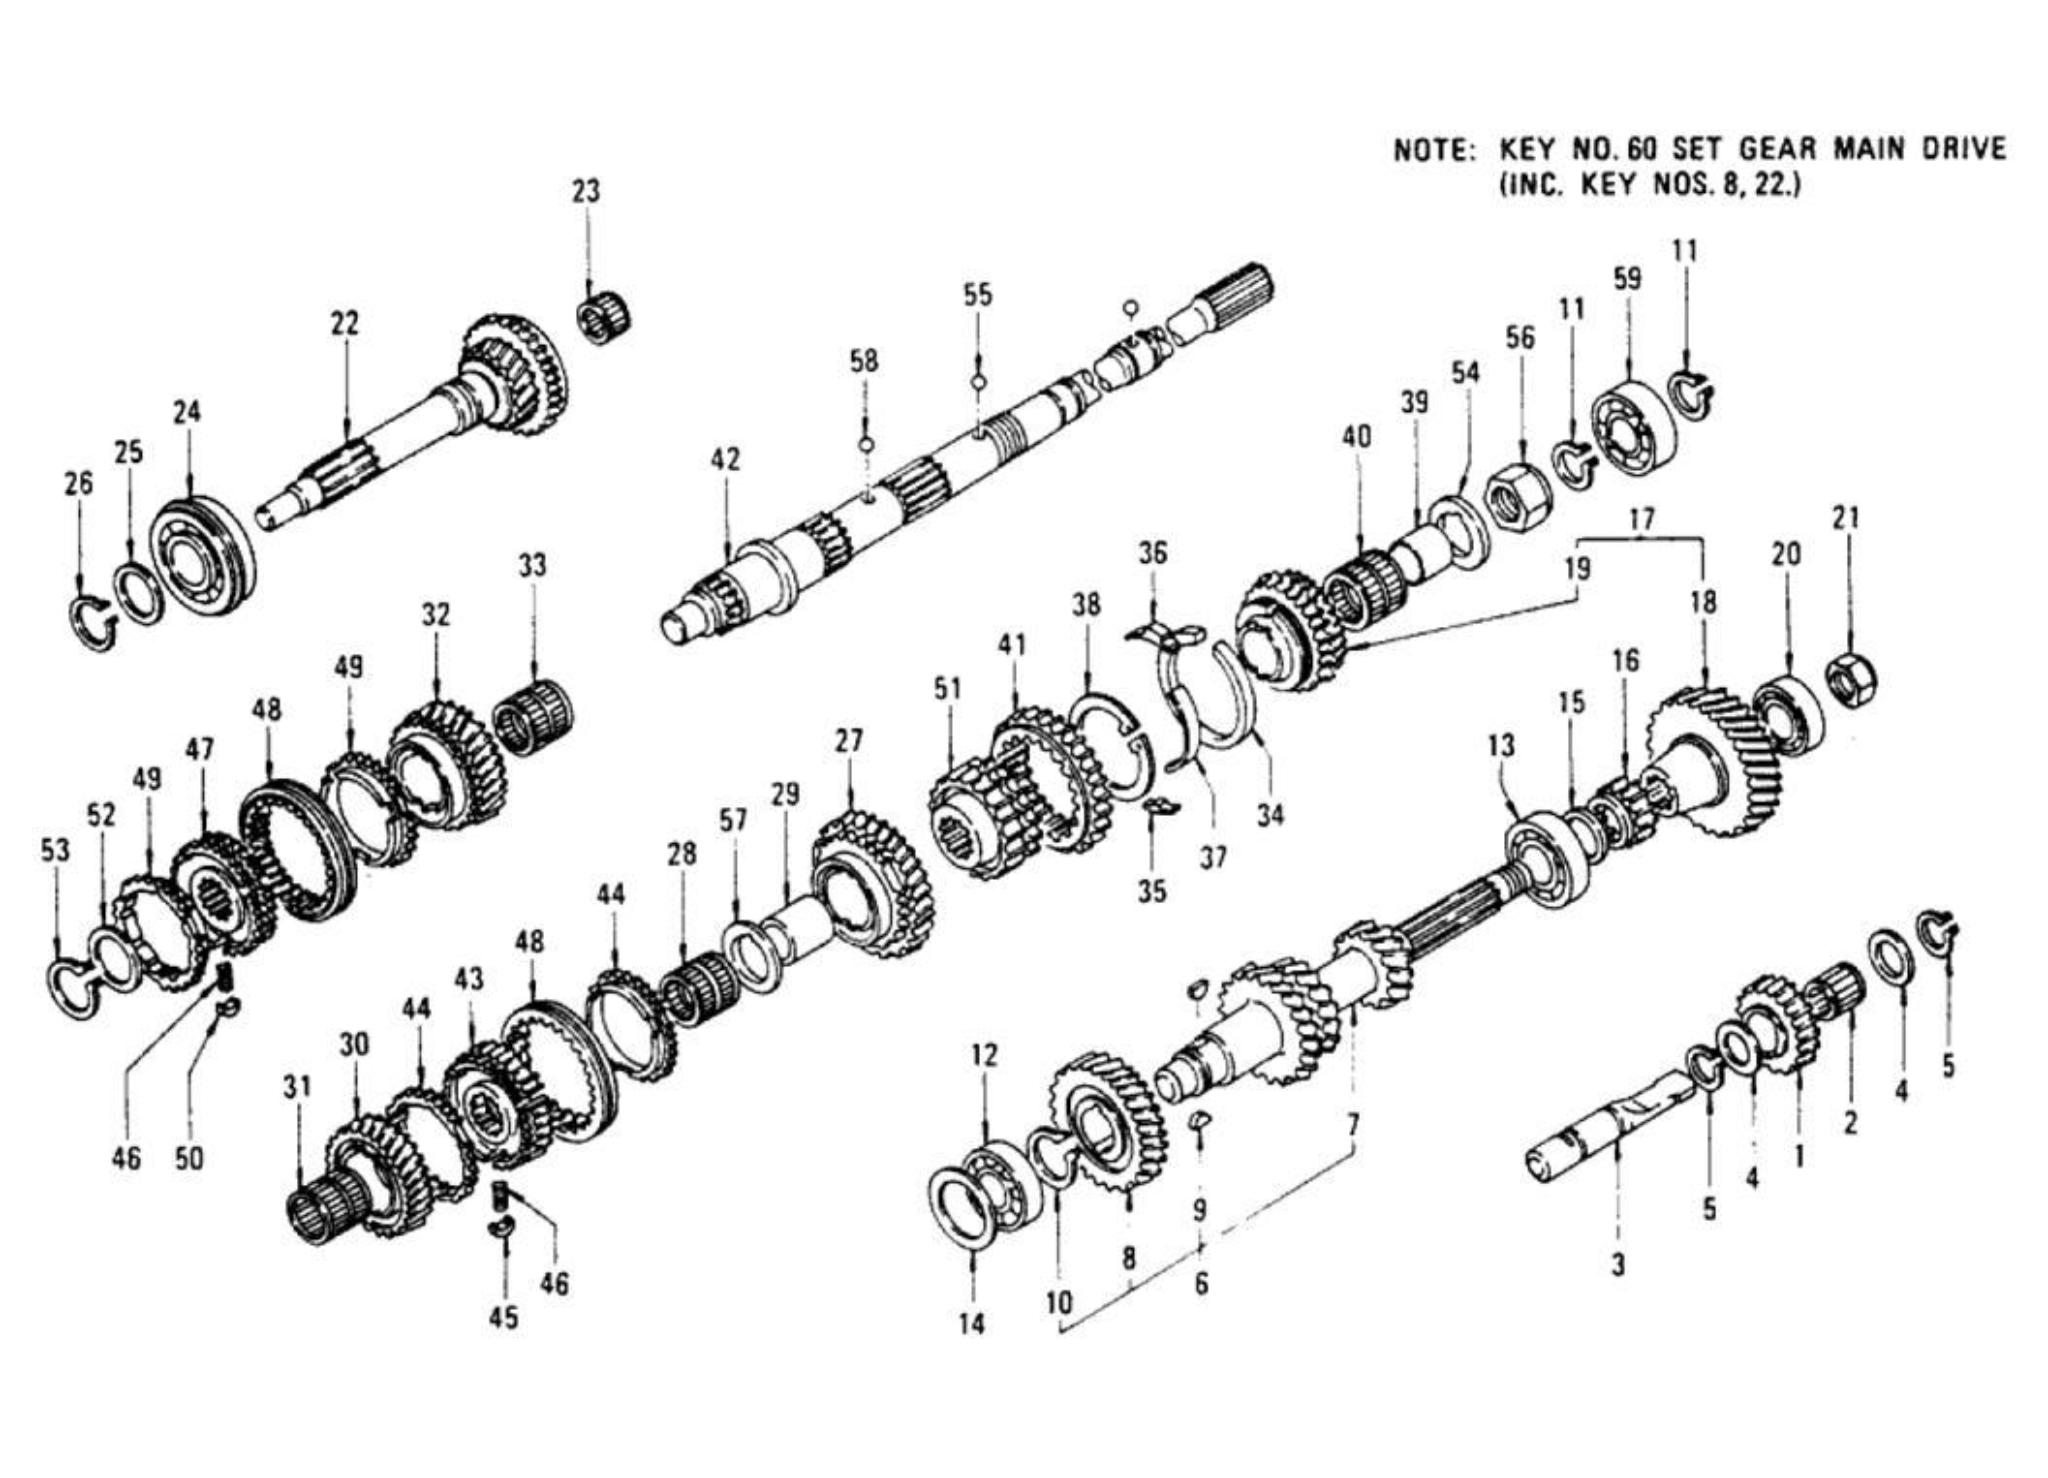
 Switch? The document Tranny_Rebuild_FEB2012.pdf refers to an O-ring for the "reverse checking assembly". Is that what you mean? It is a device in the later 5 speed to help prevent hitting reverse when shifting back from 5th to 4th. The O-ring location is shown in the second page in the Transmission shift control drawing under code 31341F. The reverse checking assembly is code 32180. See also photos.
.thumb.JPG.c8cdda469528a31e69600566e74abab7.JPG)
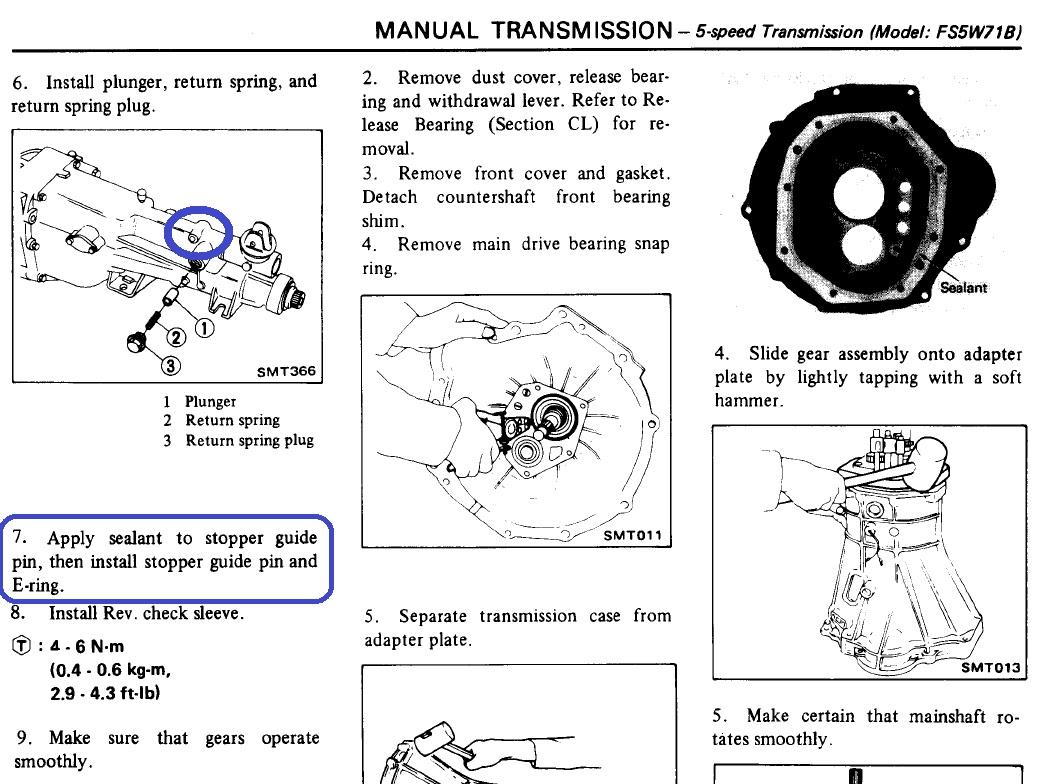
 Looks to me like a standard 620 truck 5 speed FS5W71B from the model 76-79. You can find it in carpartsmanual
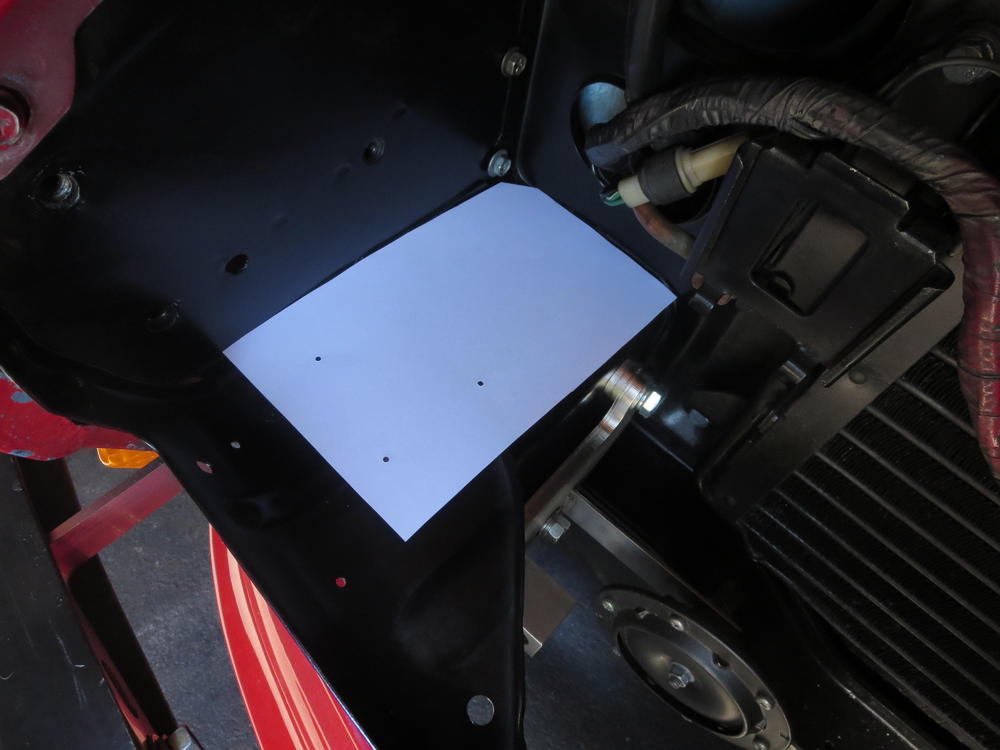
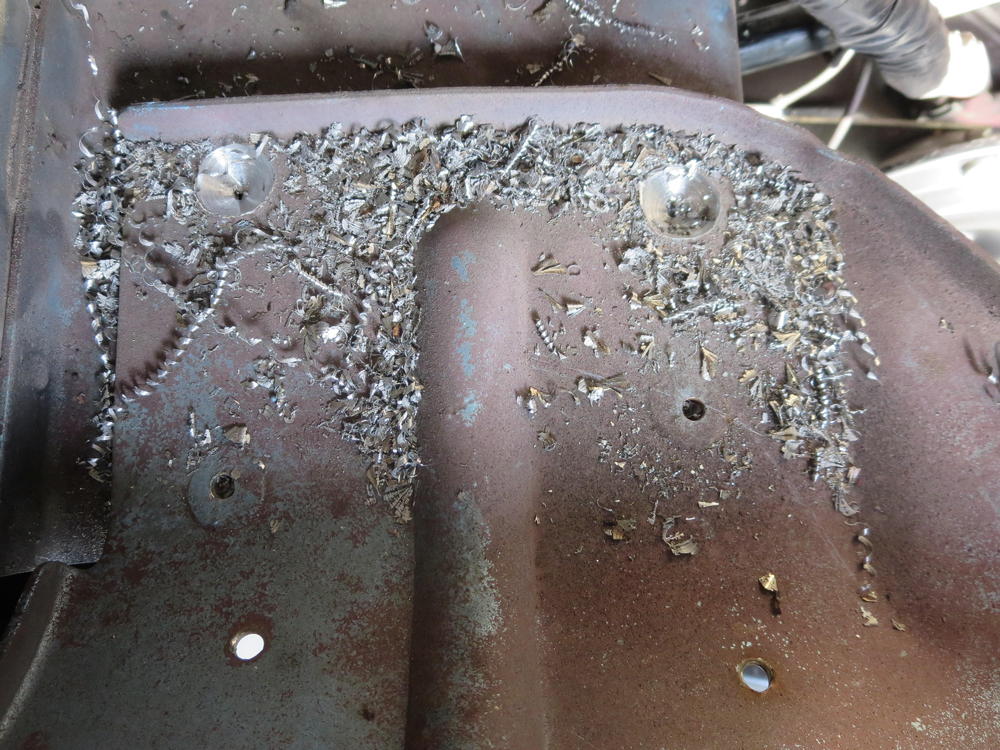
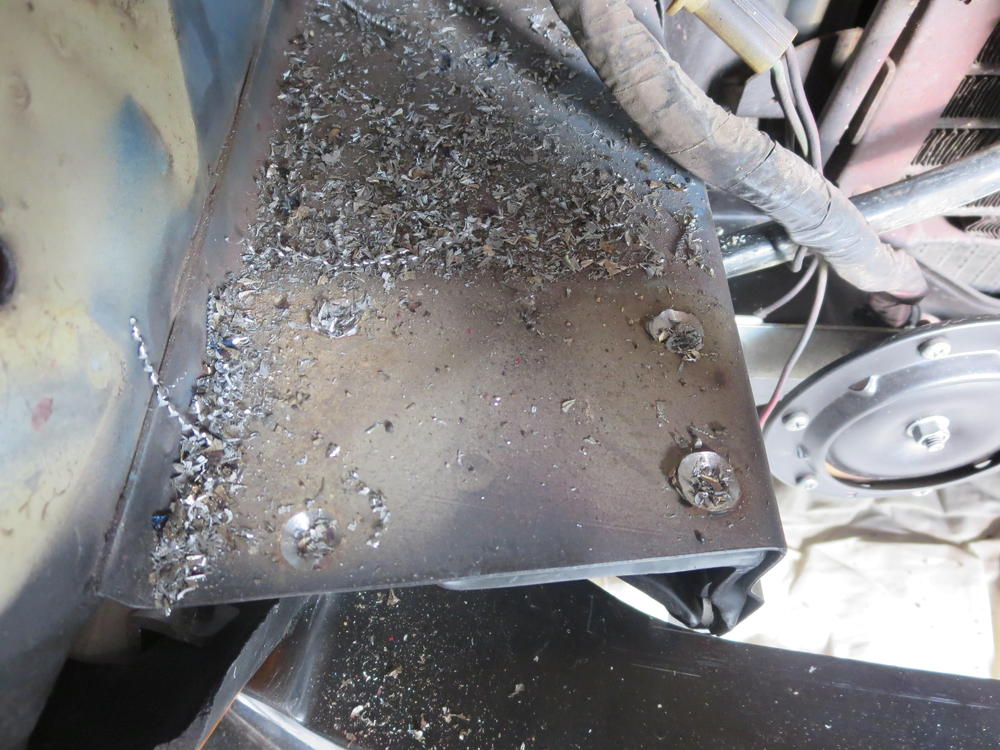
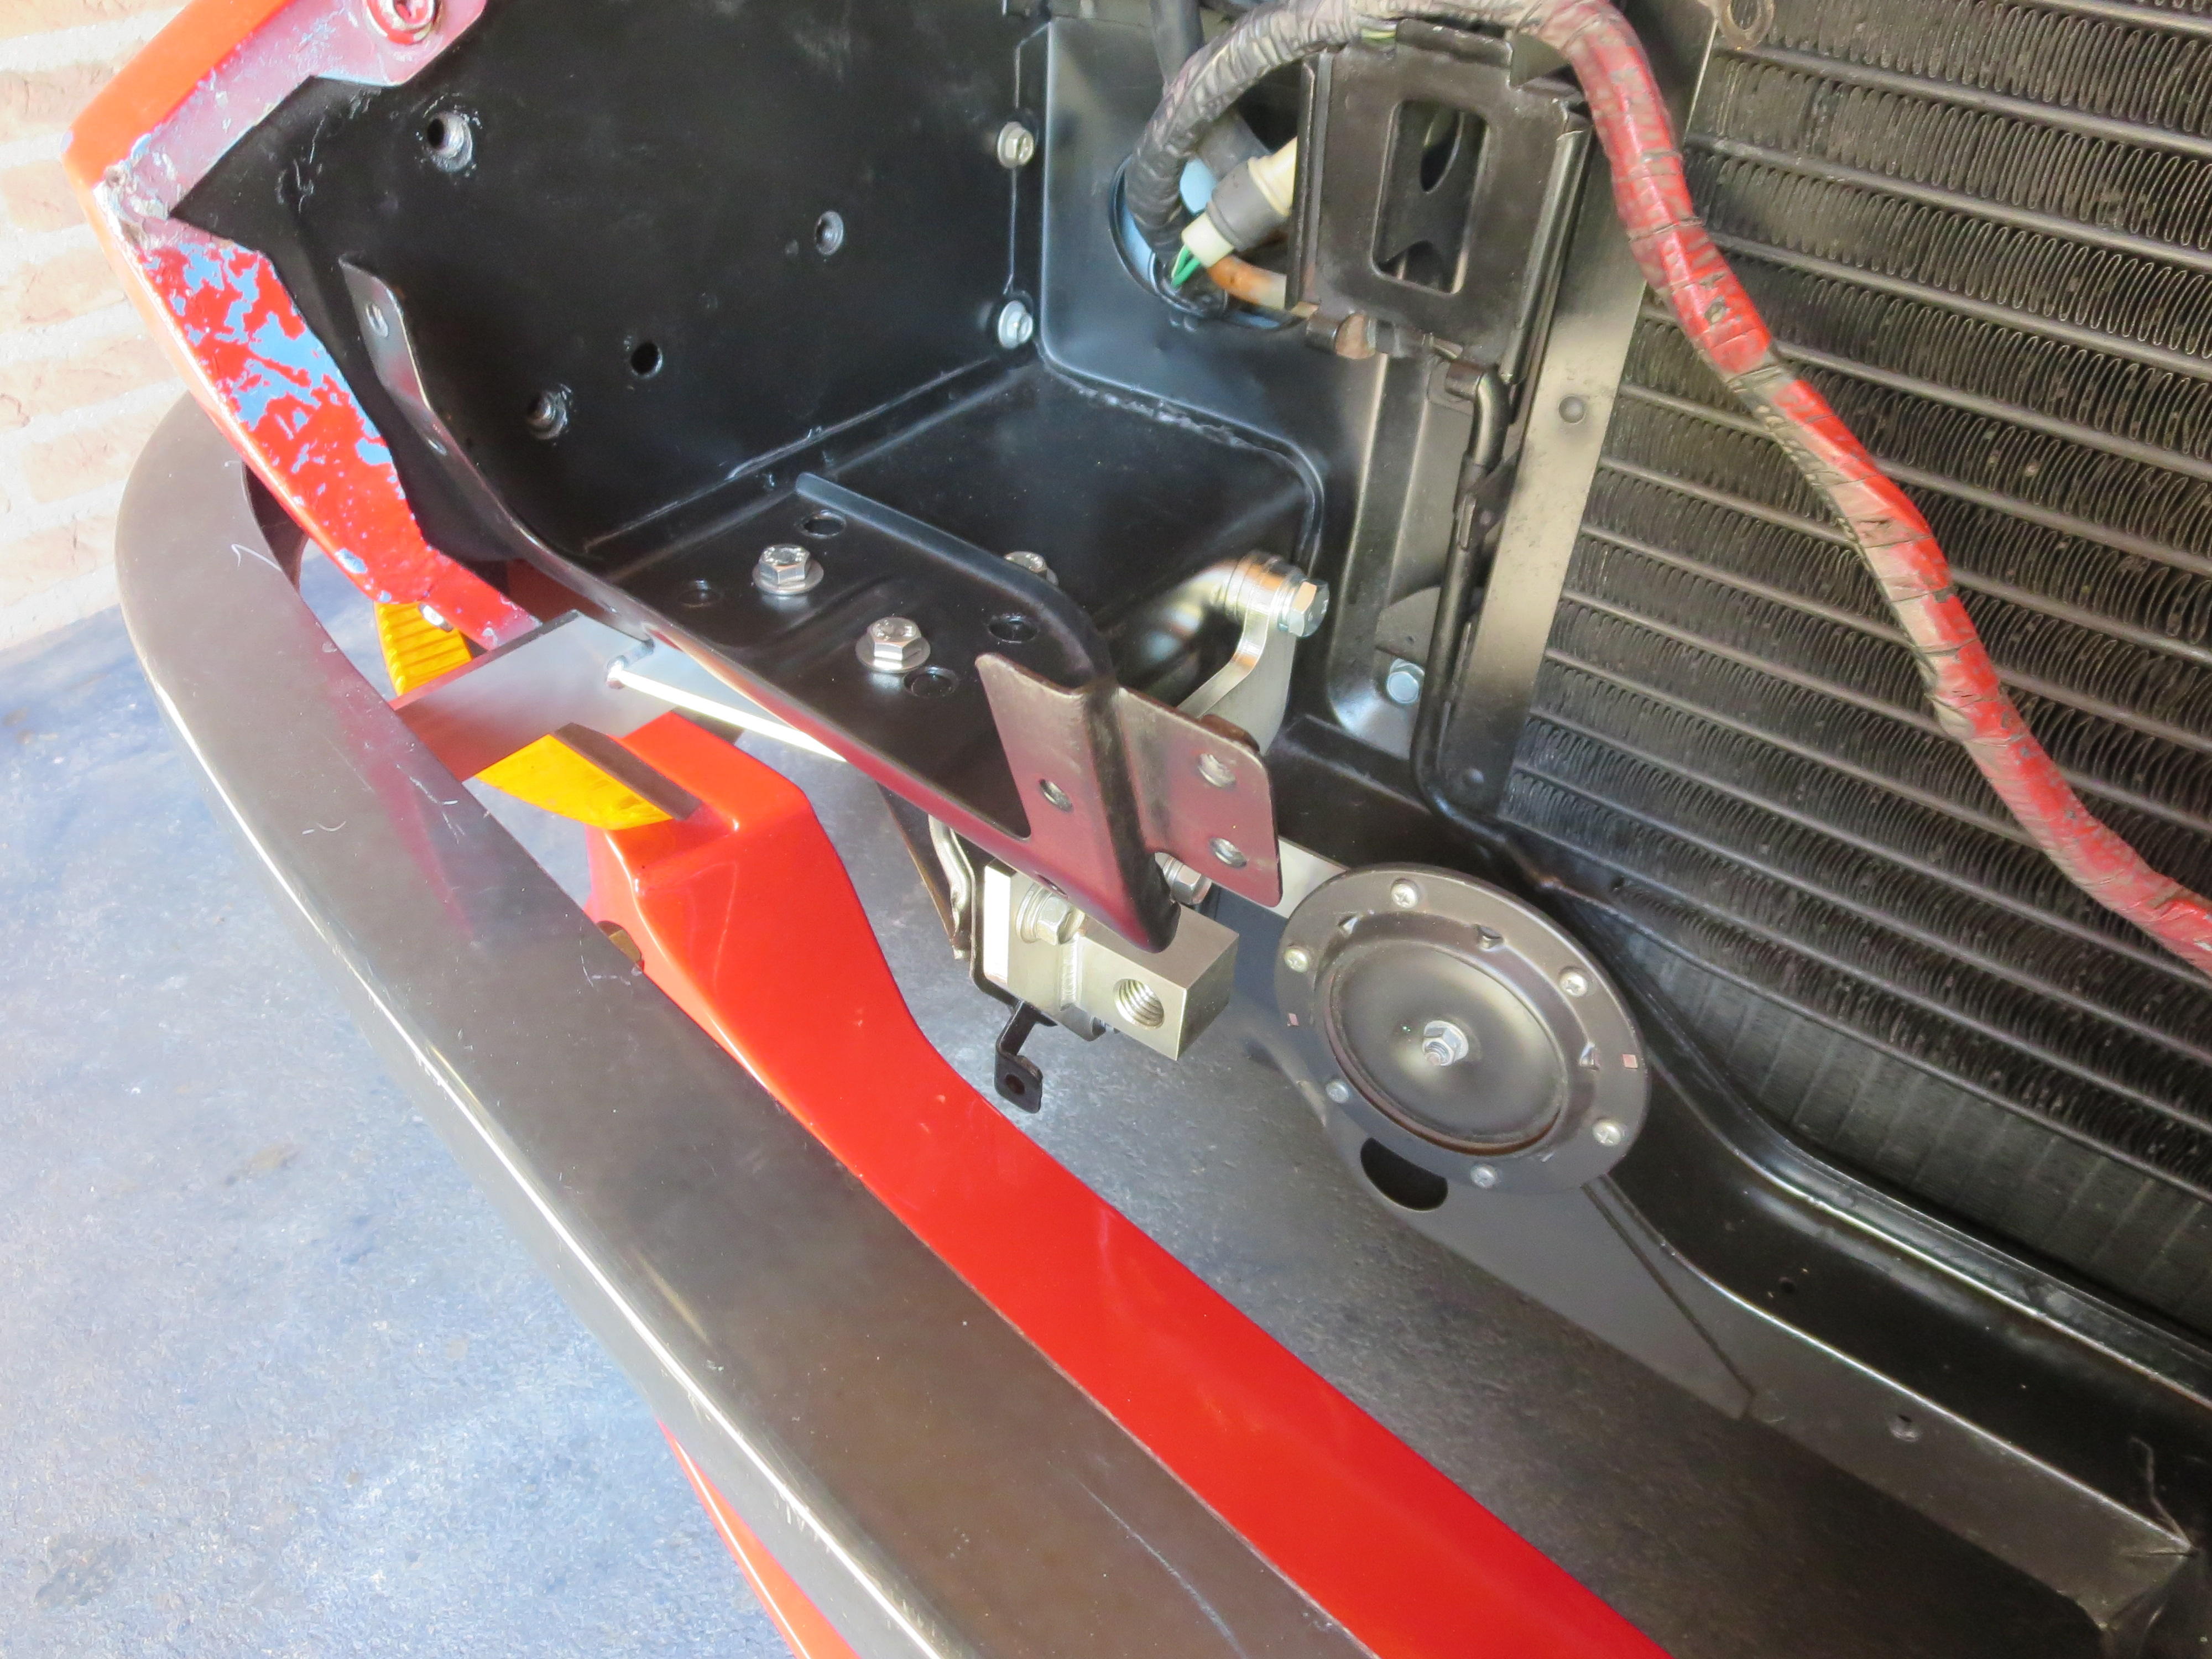
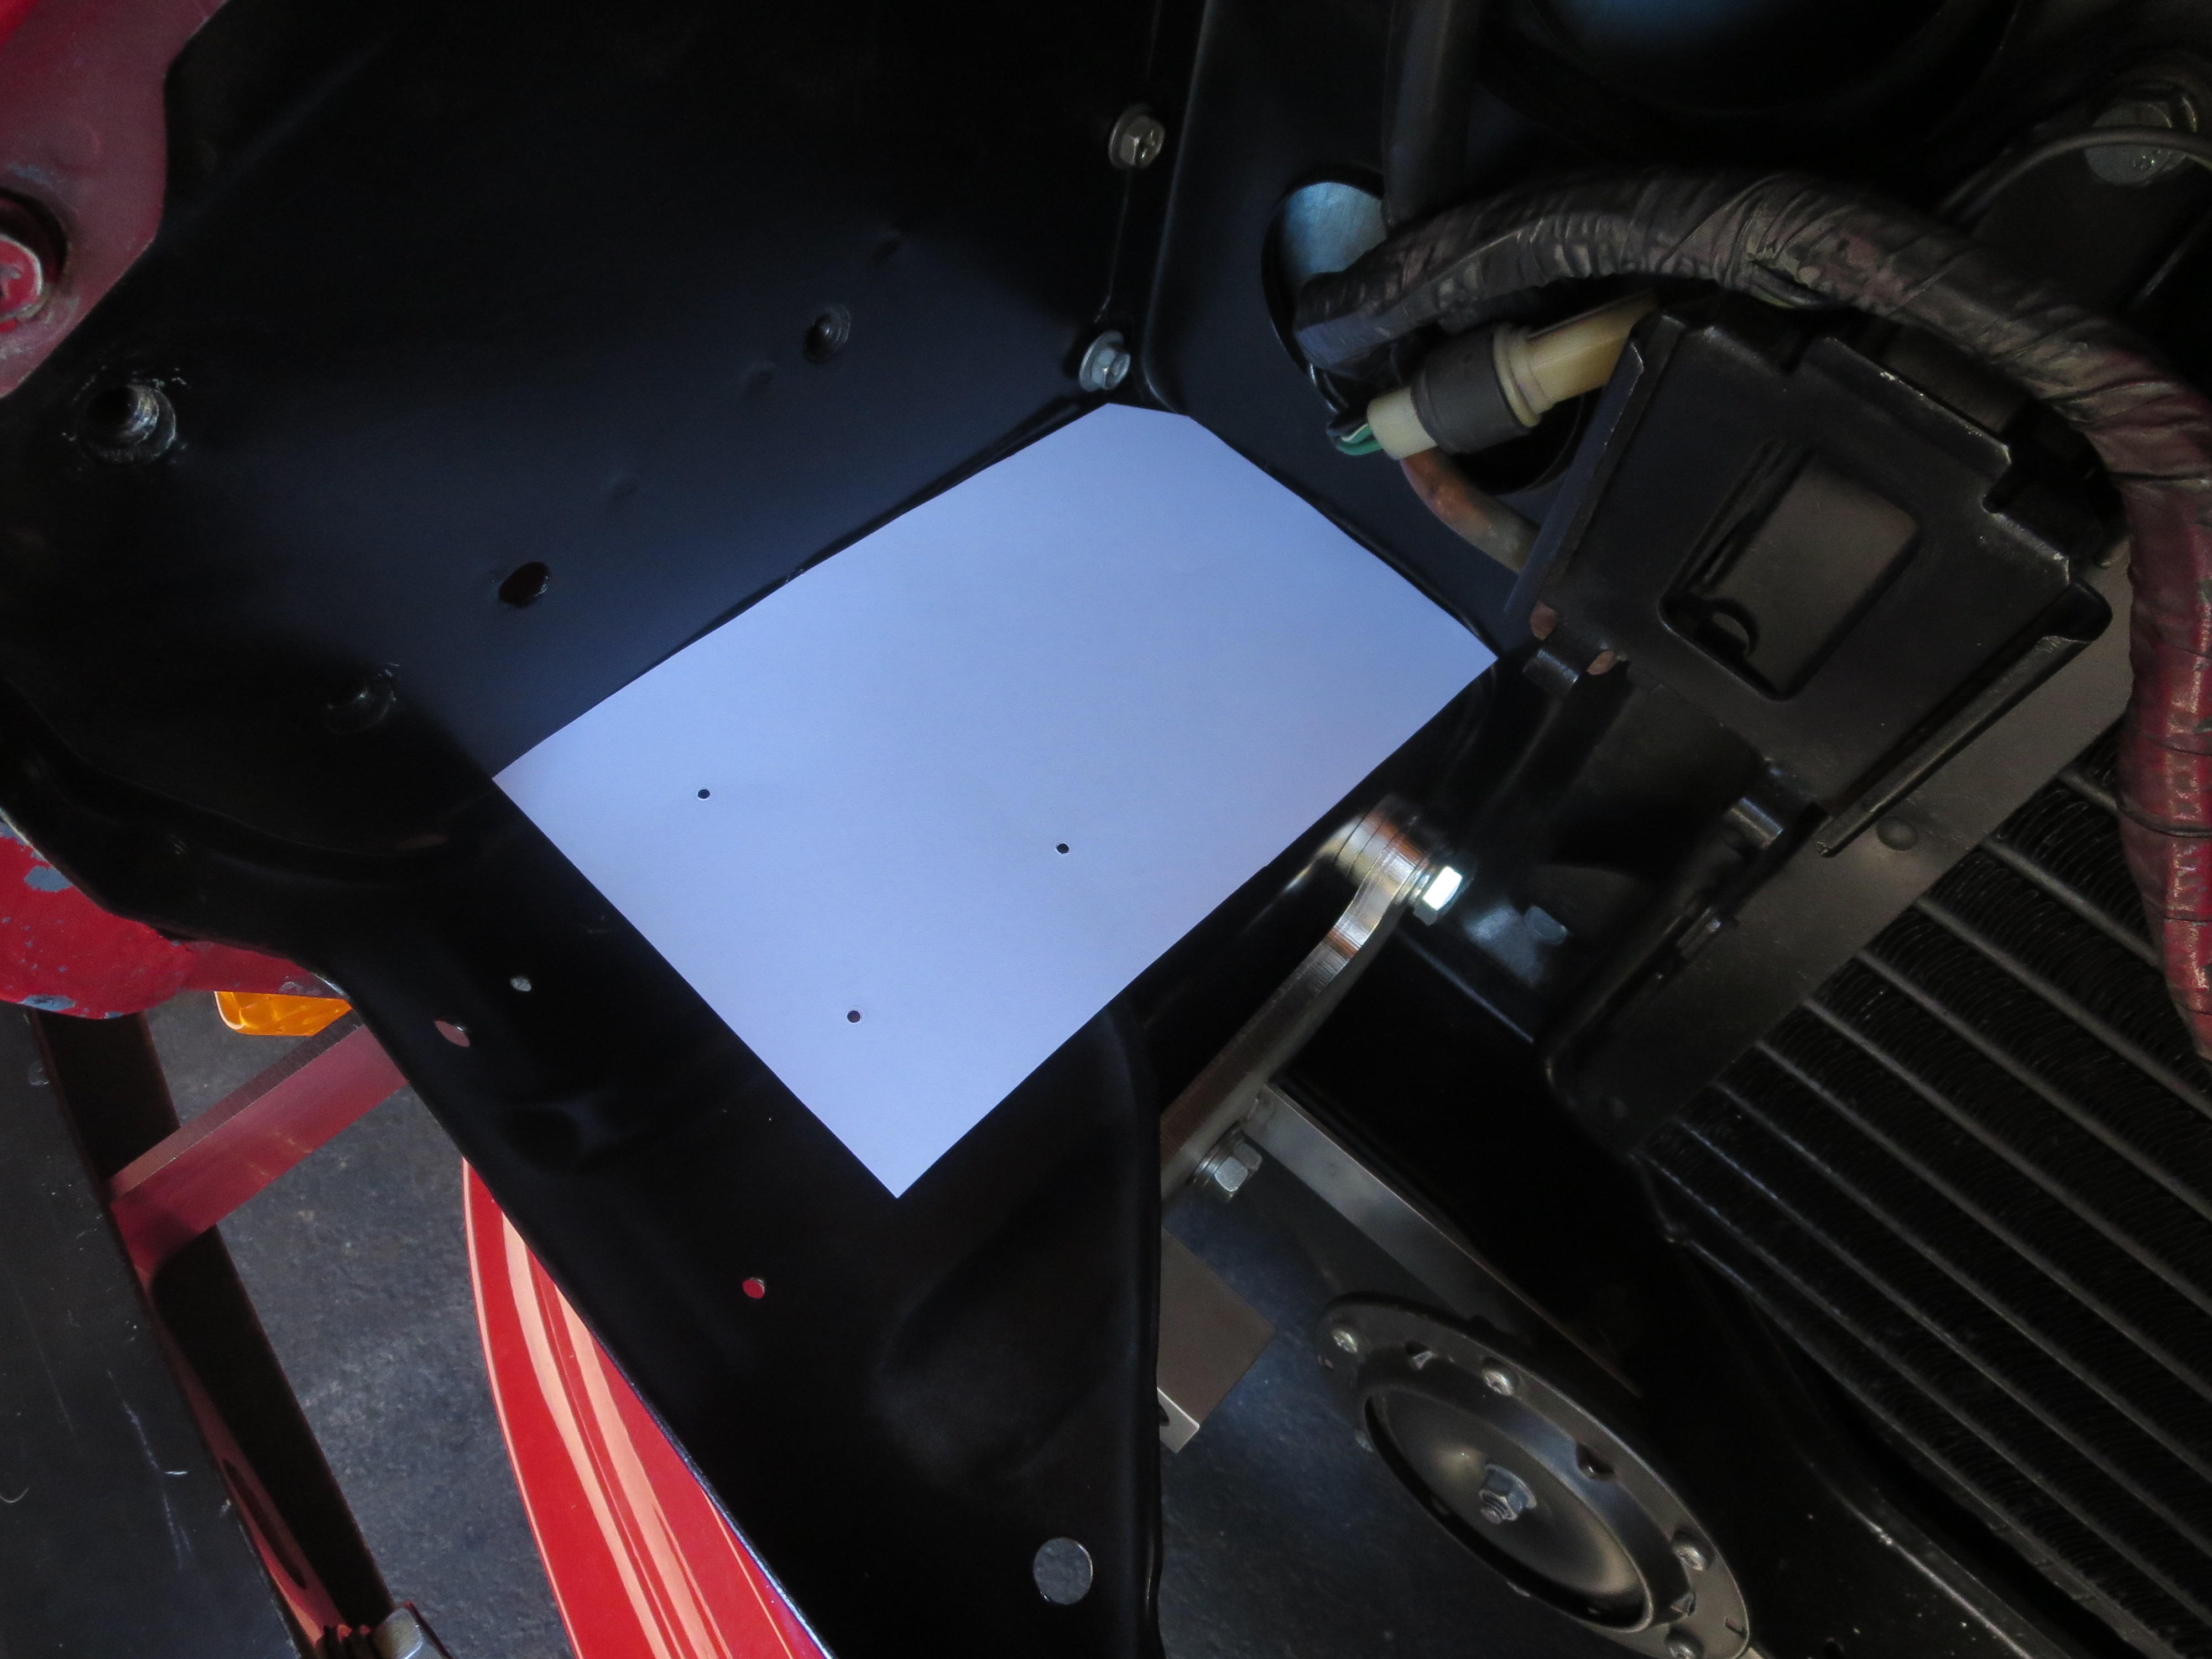
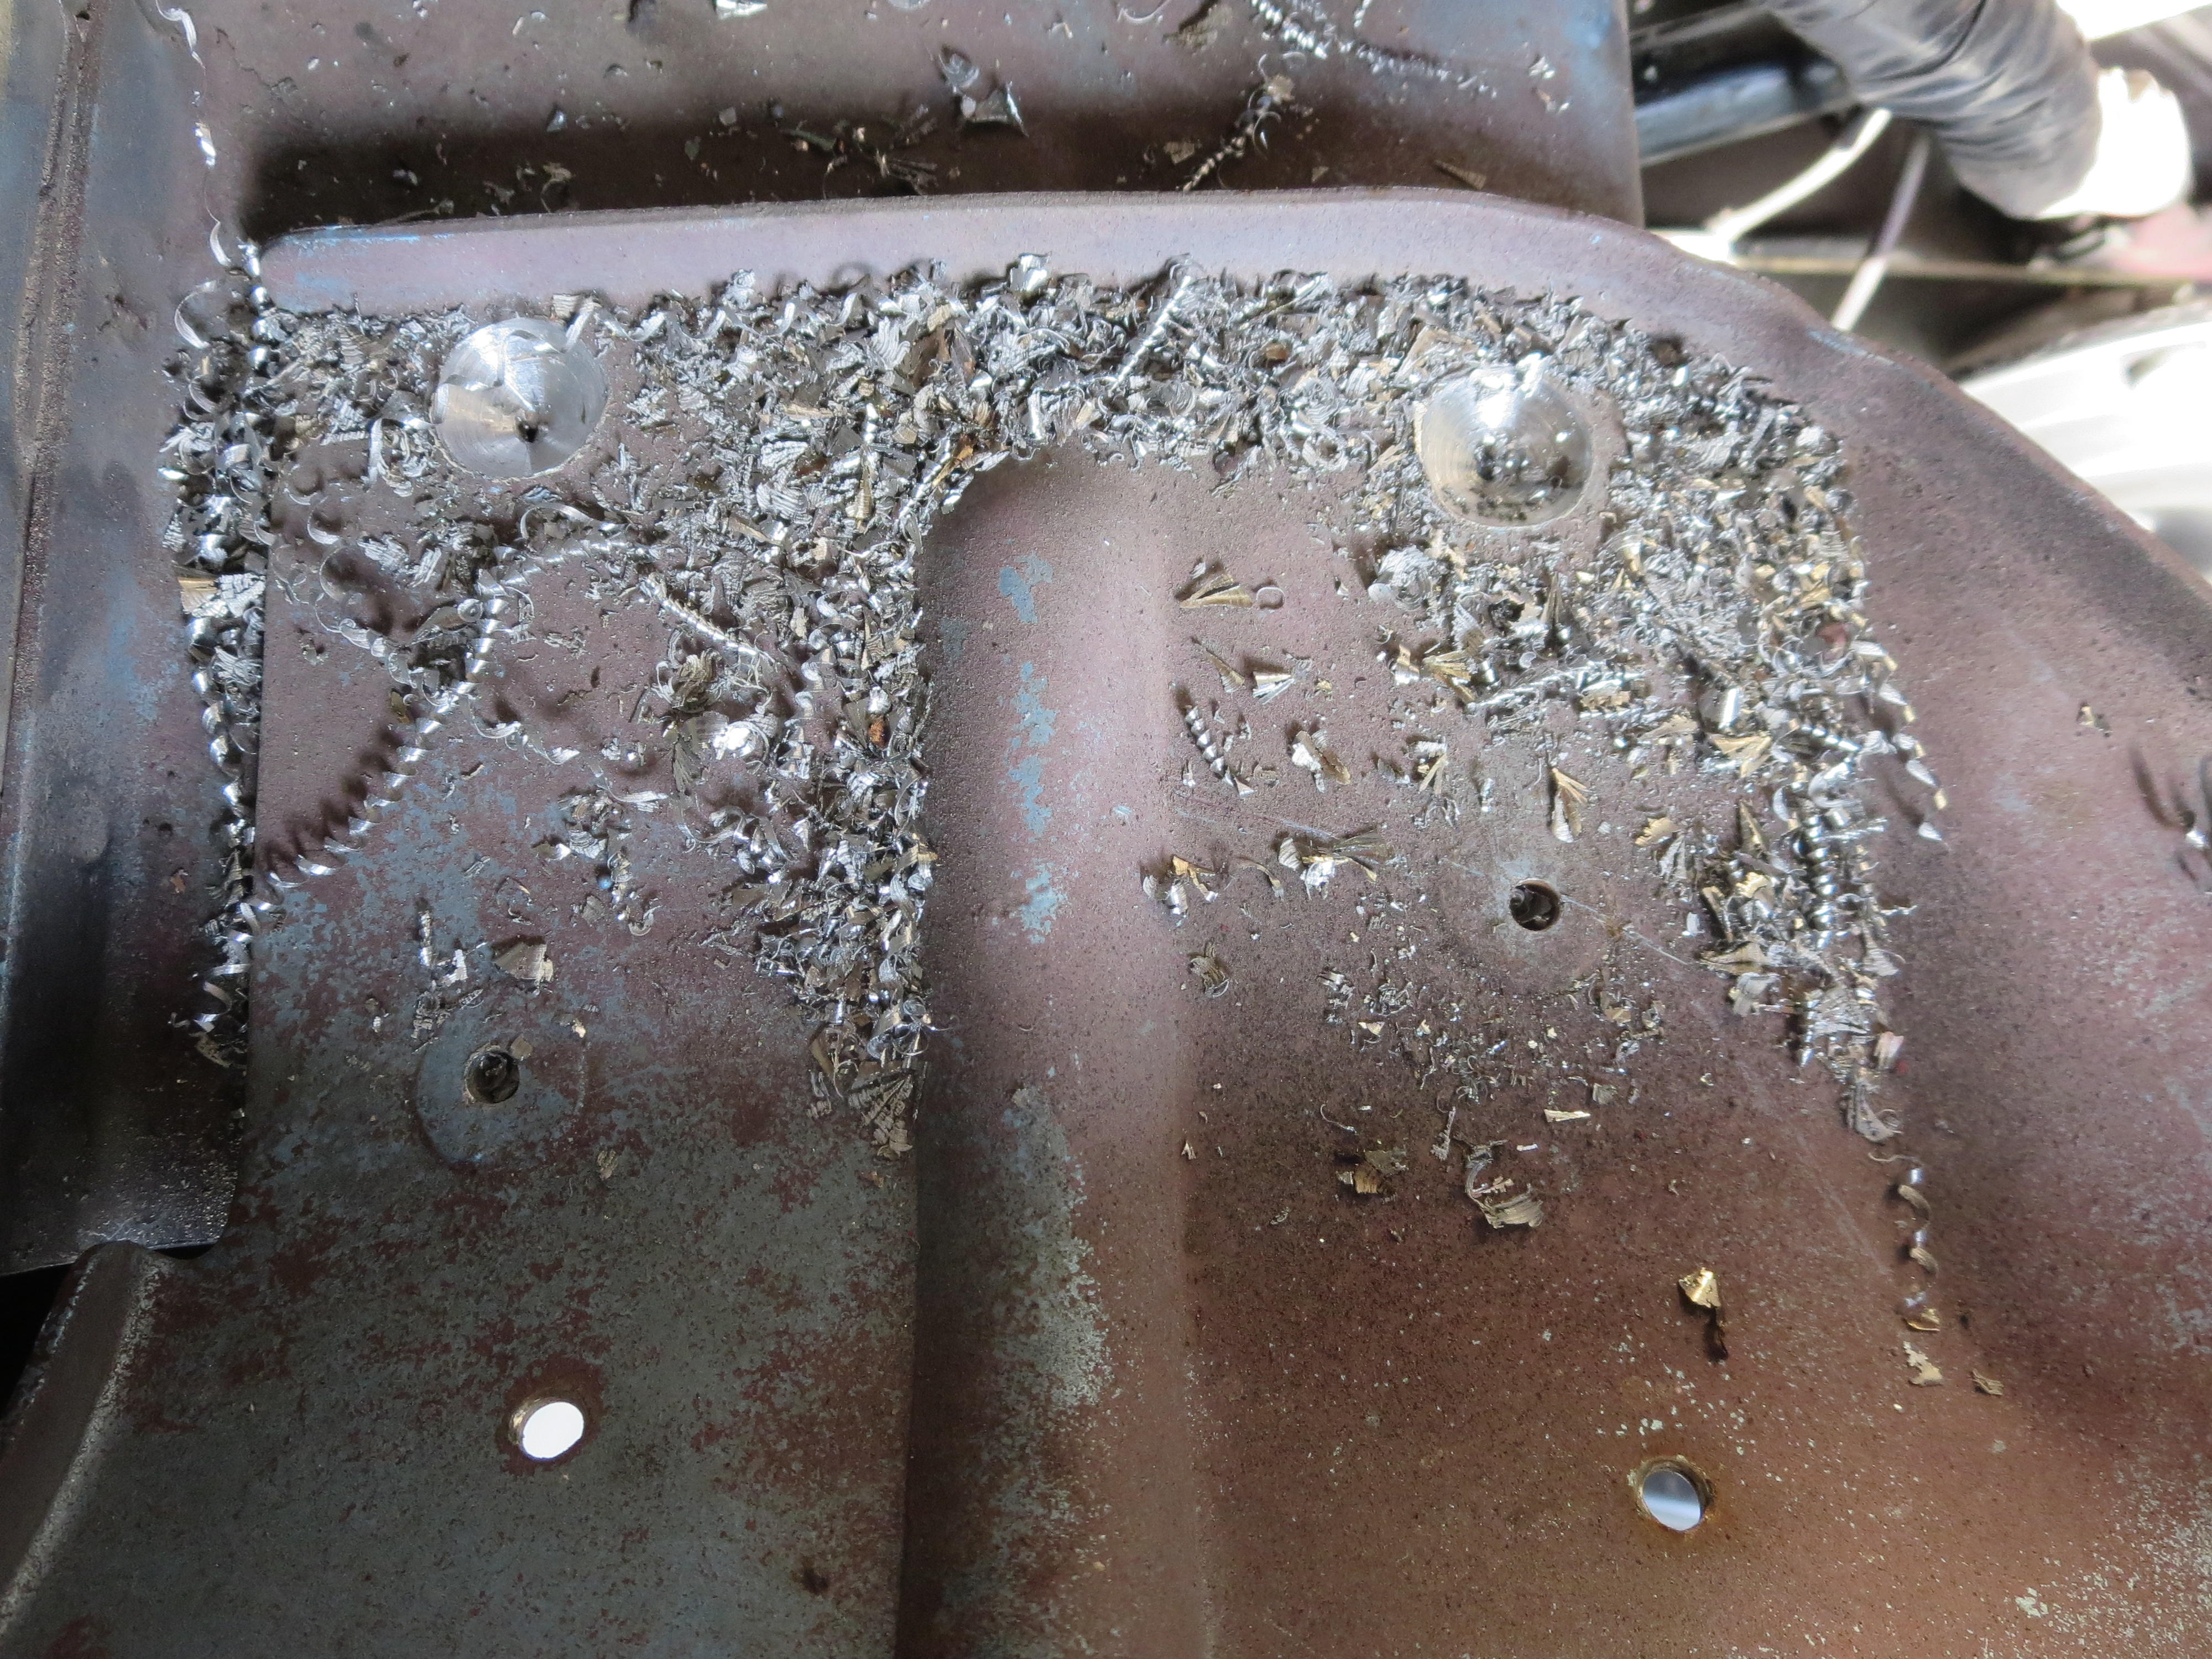
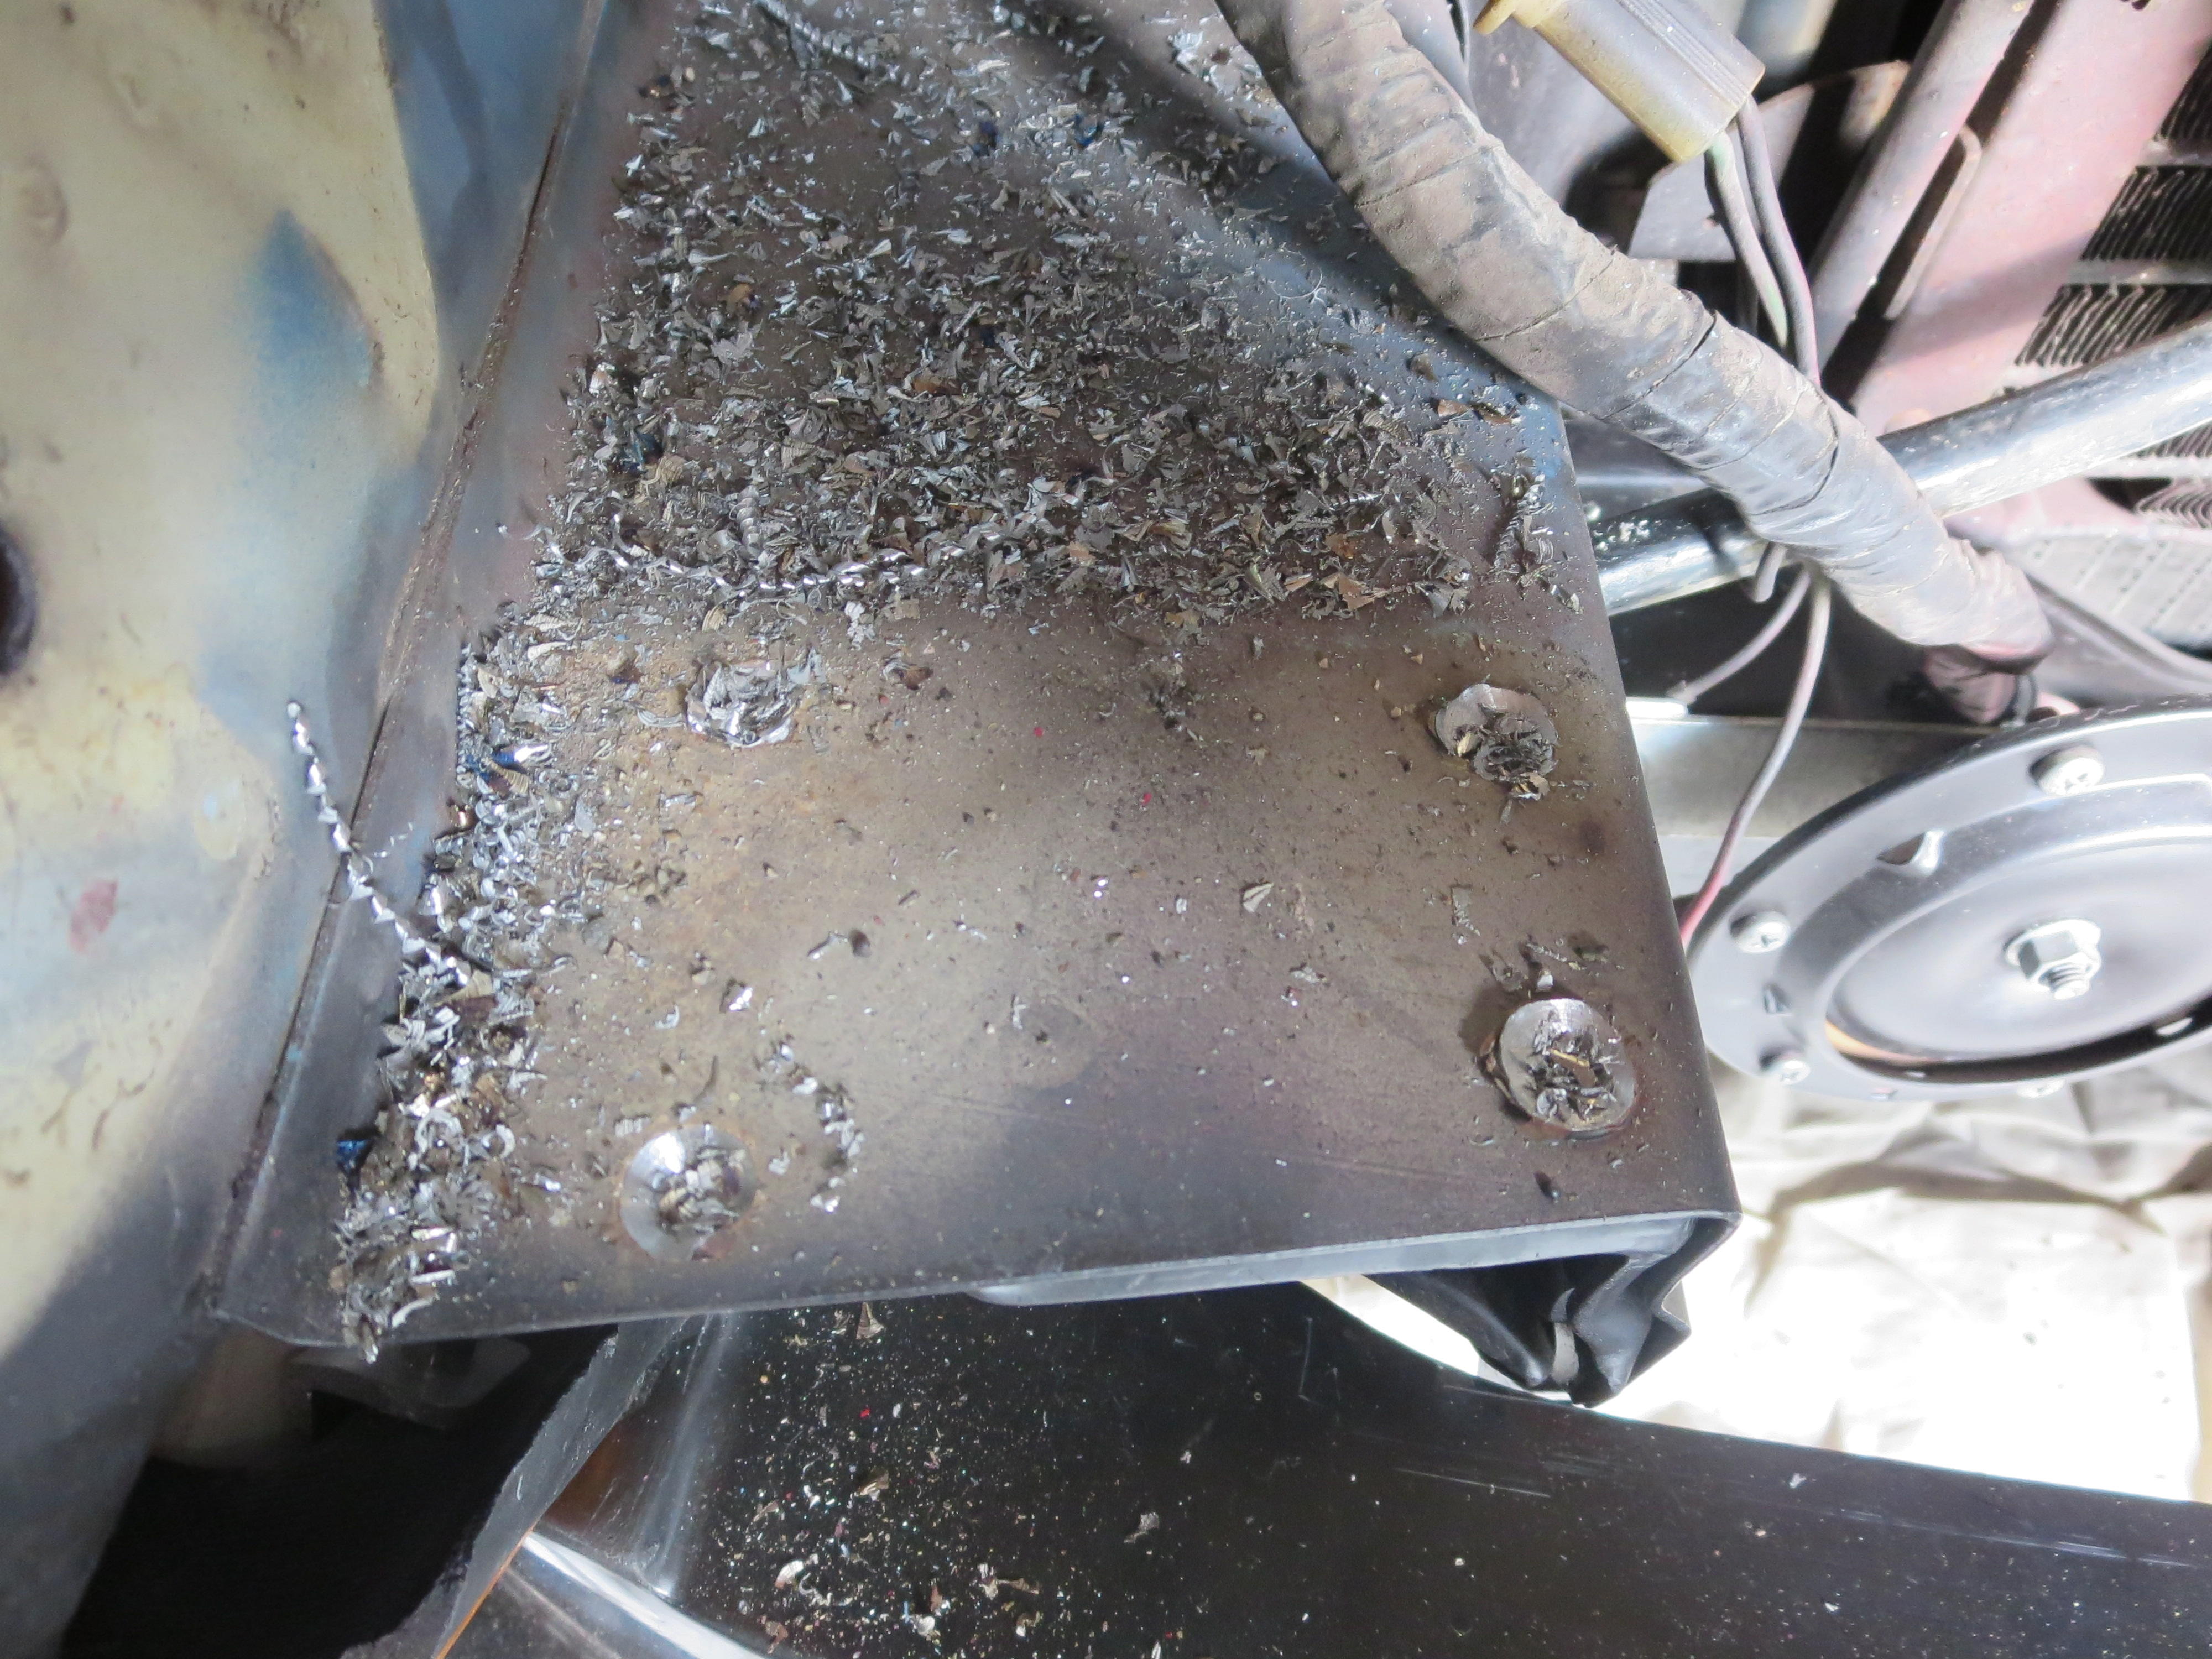
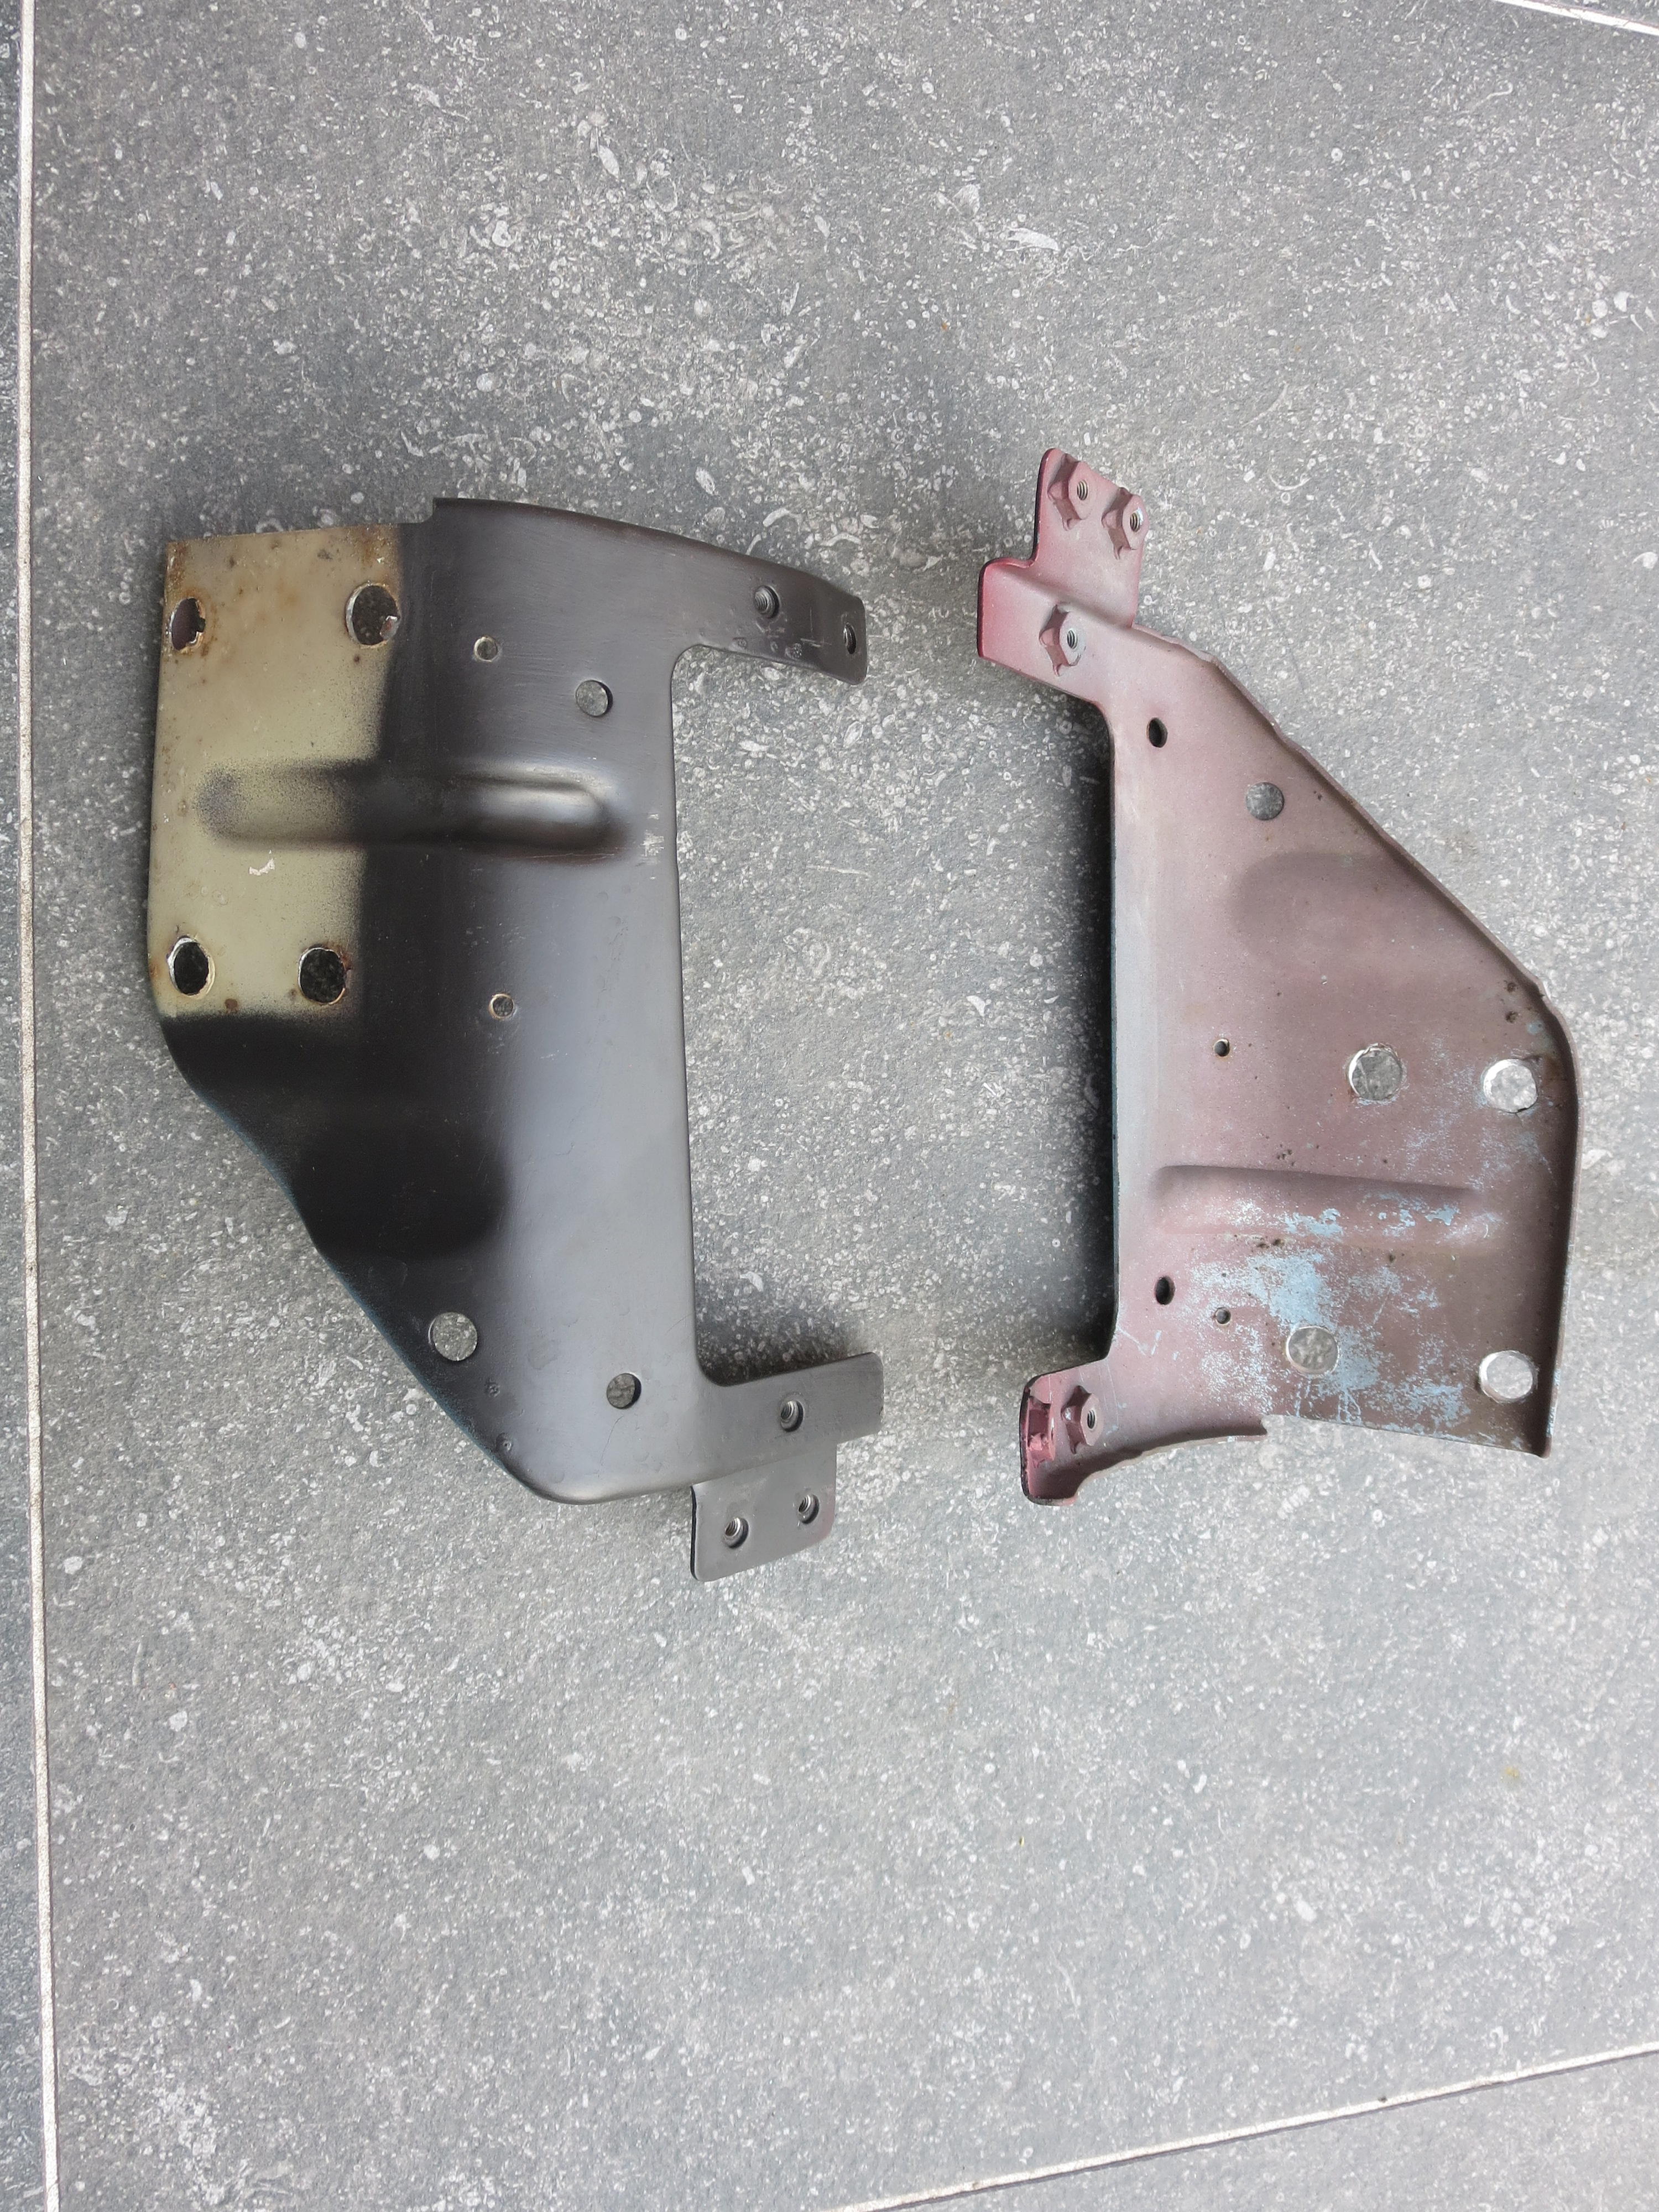
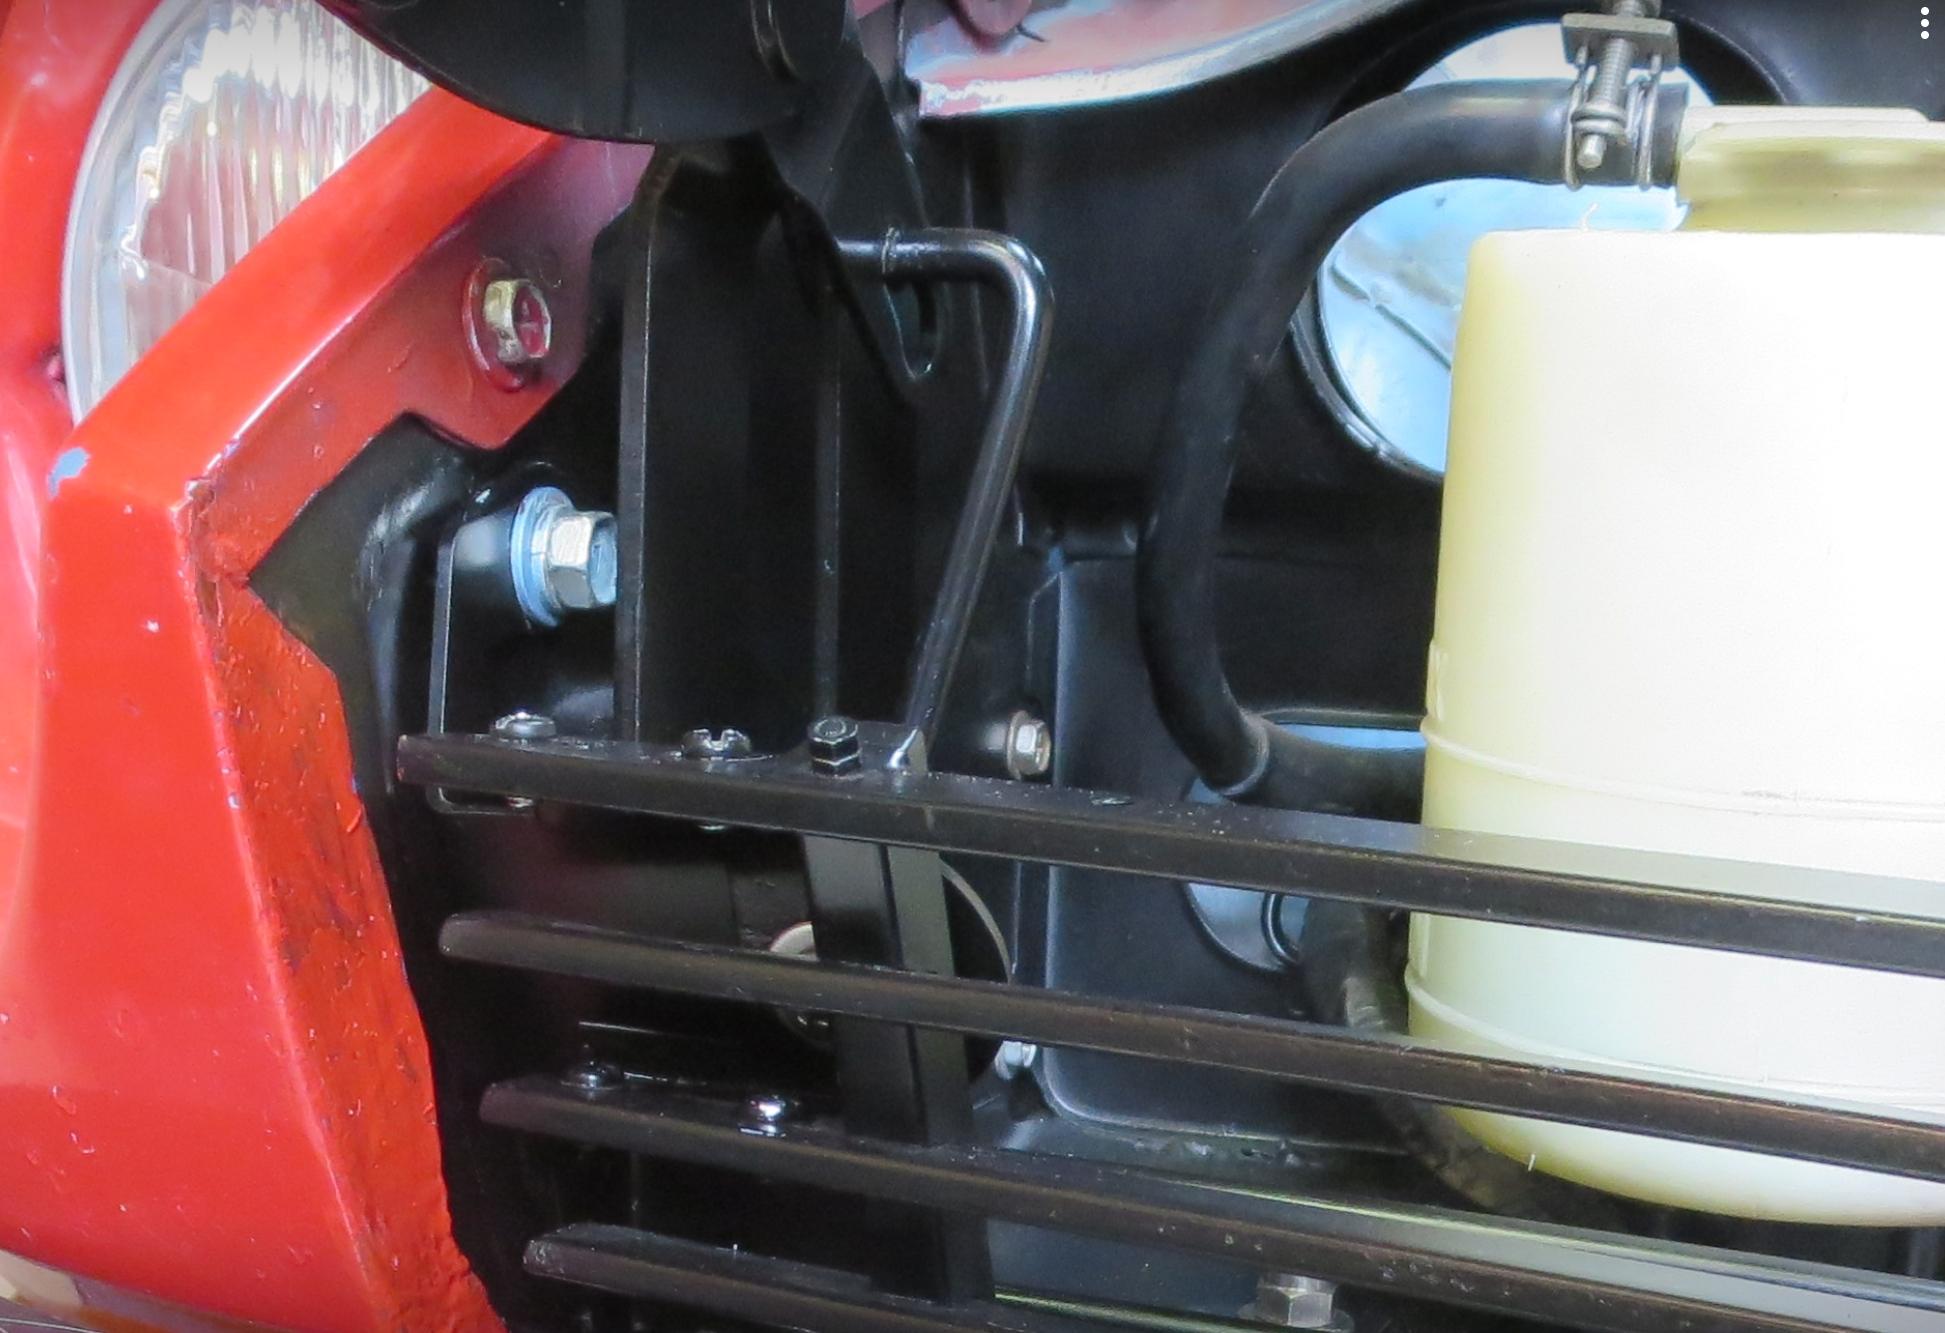
 The type 1 can be fitted without dismantling the 280Z turn indicator brackets. You drill the holes through the brackets using the white cardboard template supplied with the brackets. When you go to the skillard or 240Z grill and 240Z turn indicators it's a simple job to remove the bracket. The brackets are spot welded in place. The easiest way to remove them is to drill through the spot weld with a 1/16" drill and them use a 1/2" drill to drill the top section out of all the spot welds. Don't drill all the way through. Gently wobble the bracket and it will break loose. The grill brackets fit to the hood hinges, but still allow full adjustment of the hood. No drilling need to fit the grill brackets.

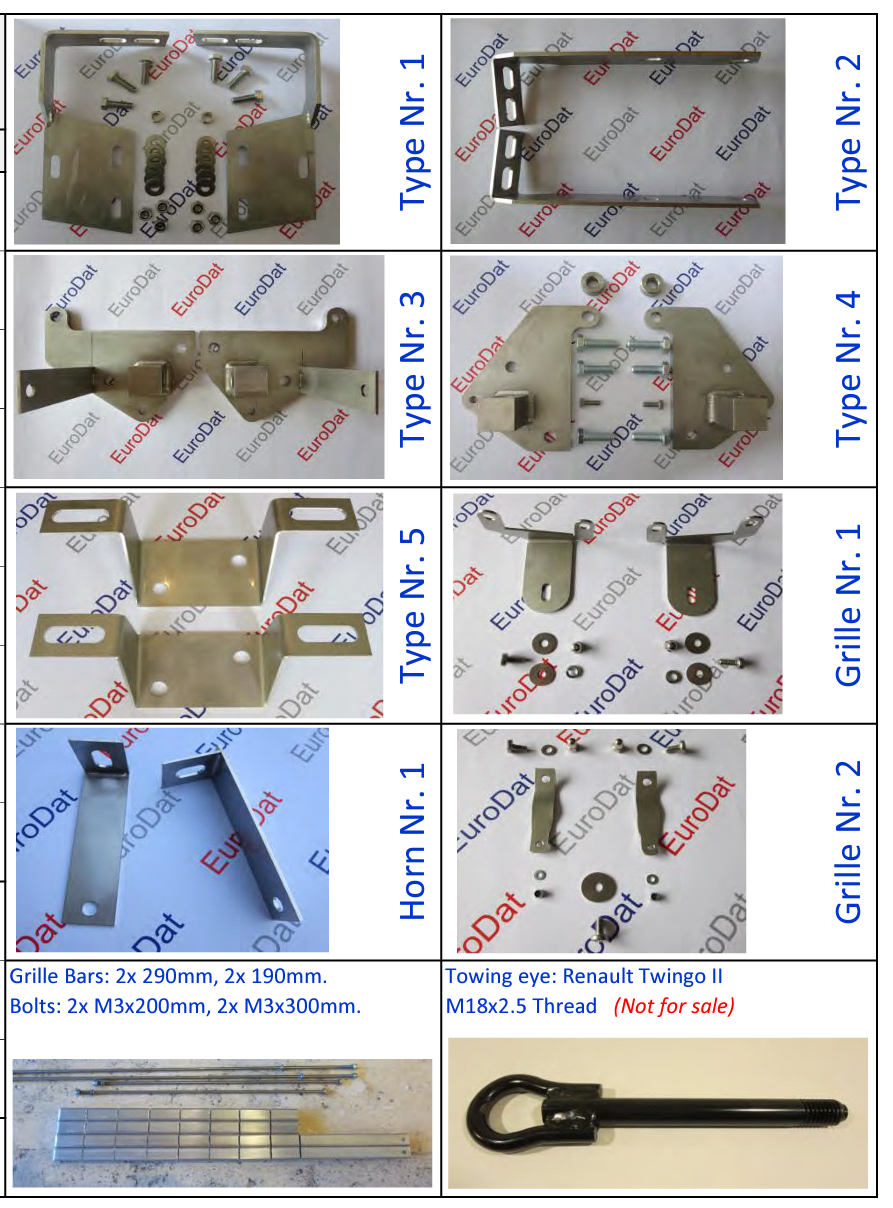
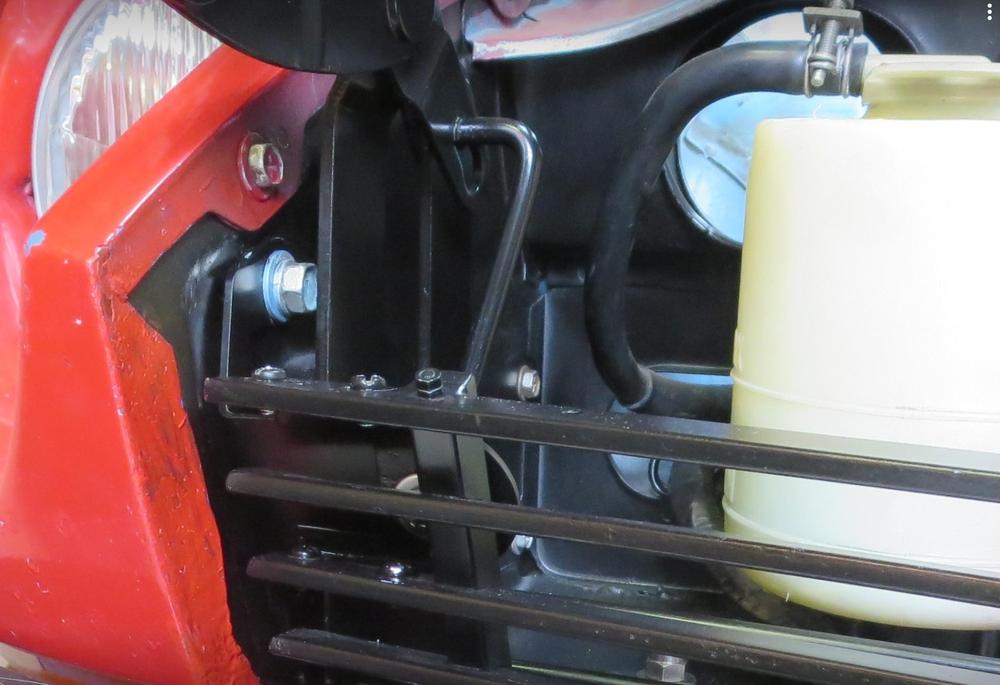 If you are looking for bolt on finished product them I hear the carbon fibrd are good, but they are expensive. https://www.thezstore.com/page/TZS/PROD/classic02n01/50-1752 It depends on what you want to do as to which bracket is best for you. My type 1 will give you the most flexability and will work with the skillard 240z and 240z grills. A couple have used the type 1 bracket in combination with my grill brackets on the skillard 240z grill. I'm using this combination on a 240Z grill. The type 2 is like the others offered. It will work on the 240Z, but a couple of bars will need to be cut down. Both brackets will work on the 280Z grill.
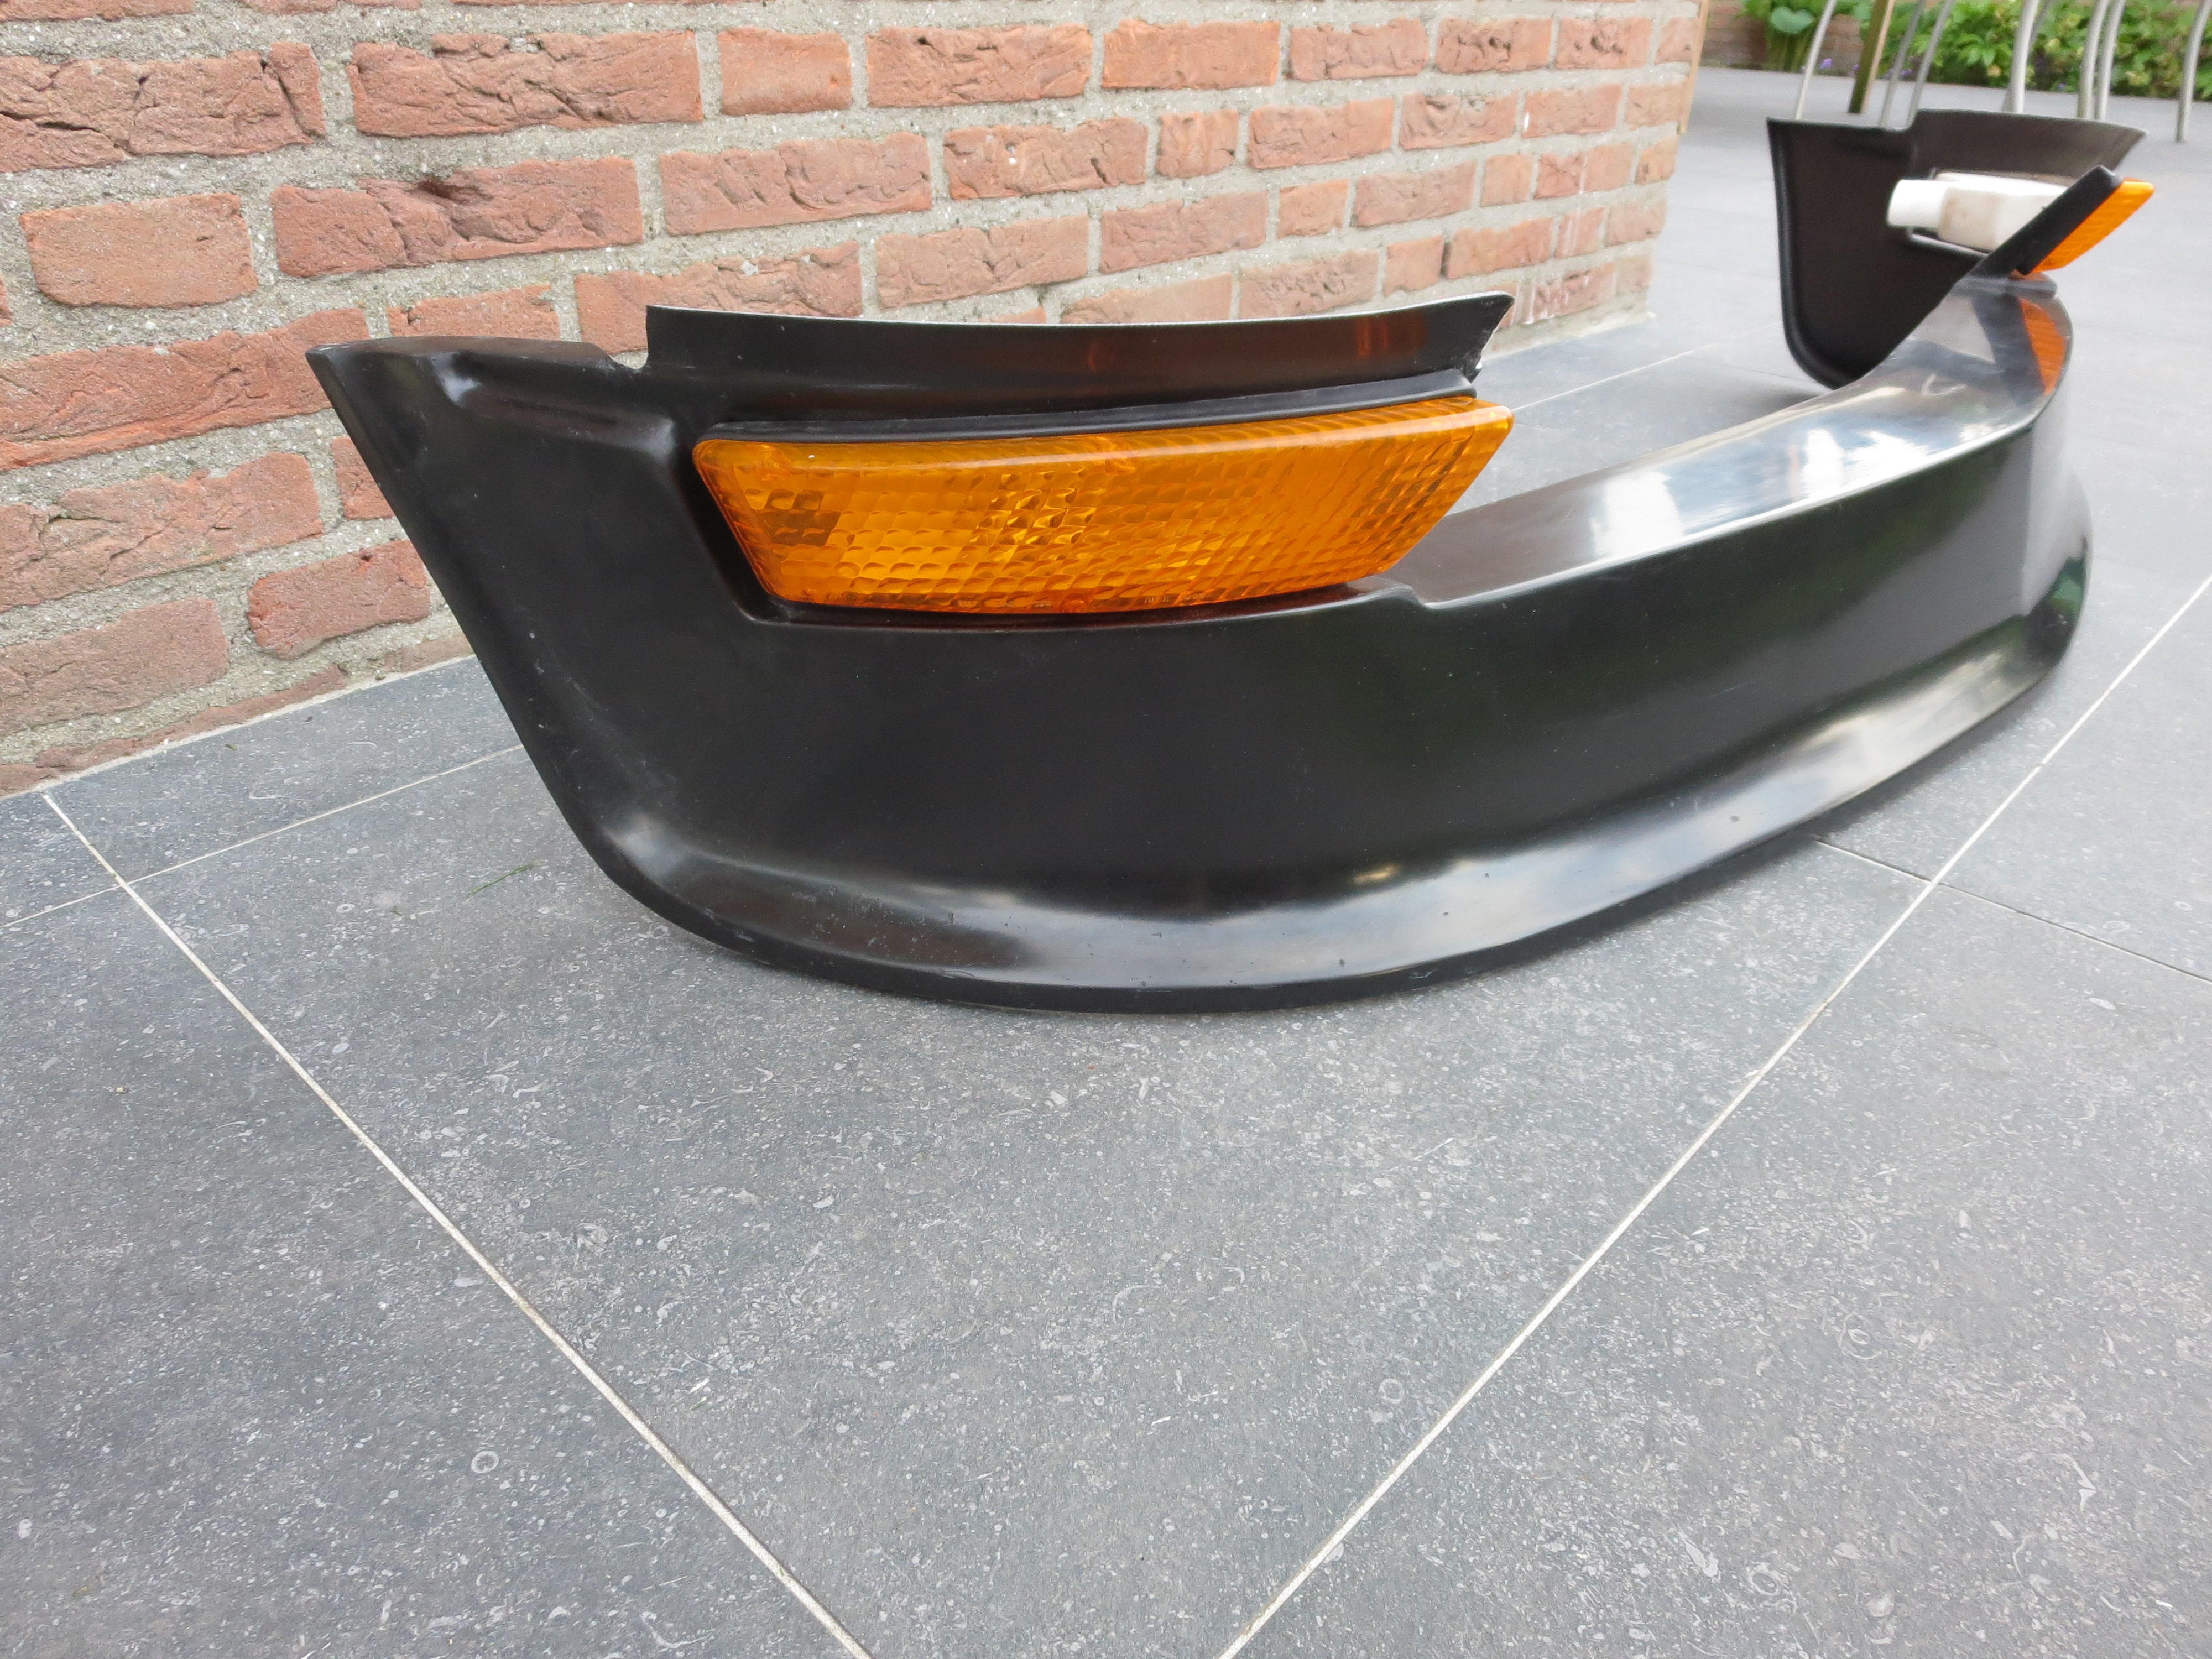
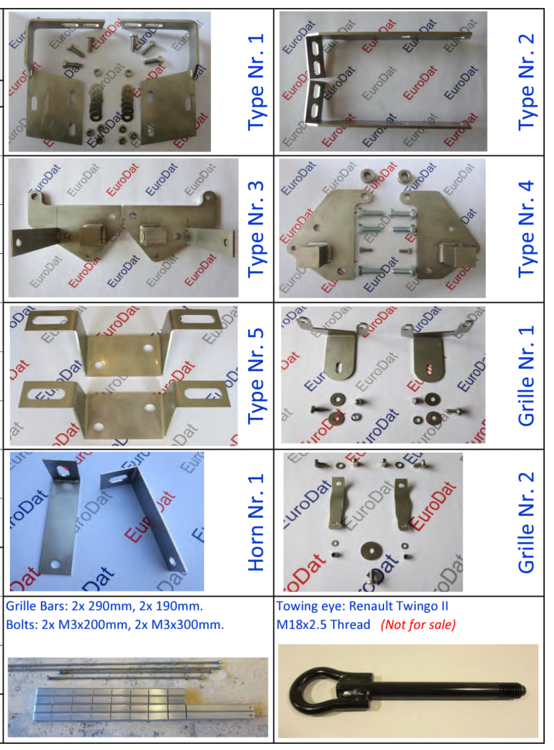 If you are going fibreglass, Motorsport Auto (thezstore) is where I got mine. You will need to work on the finish a little. https://www.thezstore.com/page/TZS/PROD/classic02n01/50-1750 When I started this thread no one made any descent kind of bracket. I did try to order a set, but was disappointed in what it was. I still have them somewhere in the garage. That is when I decided to make my own. I have been making the brackets for a little over four years now, but others make them now too. You can buy theres through TheZstore. Mine are stainless steel and a little cheaper, but its up to you what you want to do. I do make two styles. One so you can really use a standard 240Z grill or the Skilard 240Z grill and 240Z indicators in a 240Z air-dam or keep the 280Z indicators and 280Z grill. I think I'm the only one making the first option.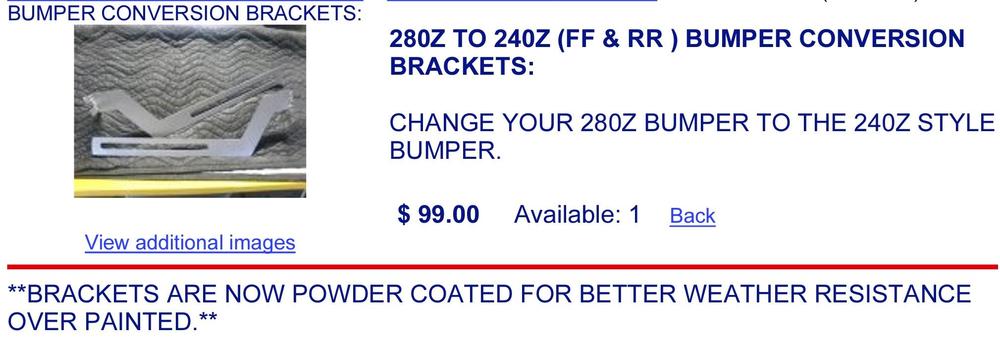
 Another thing to check. It doesn't have anything to do with your problem, but the stopper guide pin is a common source for oil leaks. I use a silicone type sealant suitable for oil environments to cover the exposed ends of the pin and create a good seal.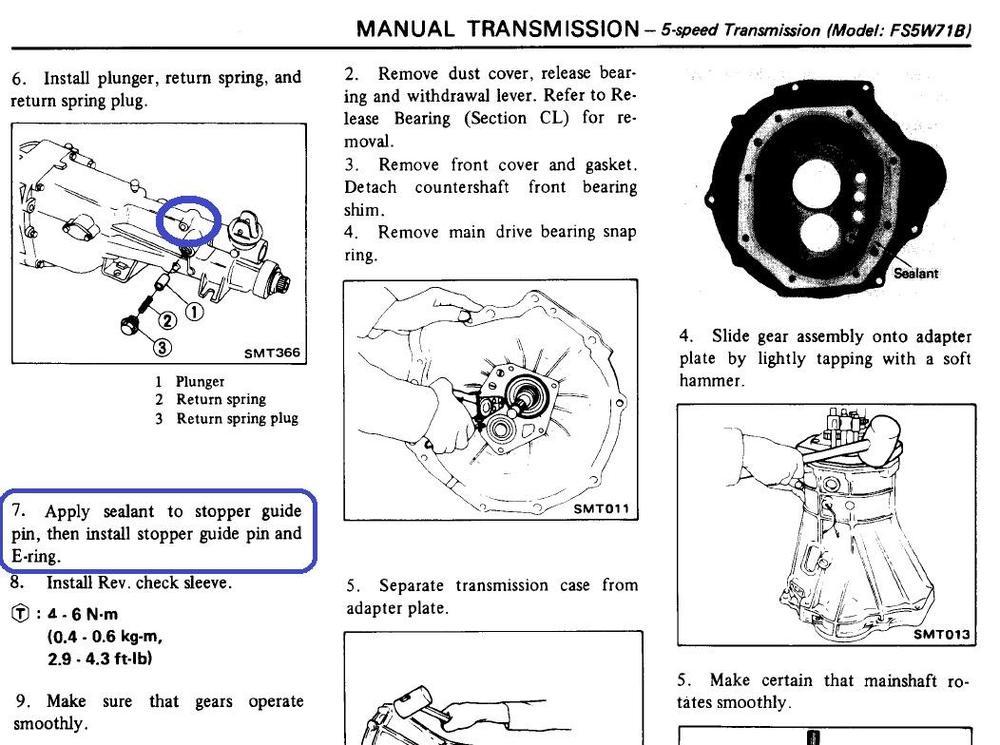







.JPG.8ae0f99c7a471137db72e2ddb28c0c7c.JPG)


Important Information
By using this site, you agree to our Privacy Policy and Guidelines. We have placed cookies on your device to help make this website better. You can adjust your cookie settings, otherwise we'll assume you're okay to continue.