EuroDat
Free Member
-
Joined
-
Last visited
Everything posted by EuroDat
-
 There are a couple of things that can help determine if it's a californian car. 1. The Californian model had an egr valve at the back of the inlet manifold. Fed models didn't get the egr until August 76. 2. The wires coming out of the distributor will be Green and a red wire. Fed models have an extra brown wire, making it 3 wires in total. 3. The Californian TIU will have 5 wires going to it and the early Californian model will have 6 wires. Fed models have a dual timing system and have 7 wires. All the TIU's up to August 77 wiil work in the Californian car, just need to play with the wiring bit.
 -
That is the TIU on the passengers side of the vehicle. It is the correct type for a californian car. E12-12 is the correct type number. Its the type with 5 wires. The very early 75 280Z had the E12-9 TIU and they had 6 wires, the extra being an extra Black/White stripe power wire. Do you think there is something wrong with it? They generally cause trouble when they are hot (about 15-30 minutes running), but you have had problems just after starting and still coldish. So much going on in this thread I lost track a bit. You can test it the next time it plays up by spraying freon on the TIU to force cool it and see if it starts.
-
You can go to the "Downloads" section on this site. You will find the 1977 280Z FSM in the manuals section. Its got a good write up in the ER chapter. ER is enigine removal. You need a PC or a decent tablet. That LDLS770 is only going to get you into trouble. I didn't know what to think of your first post so I ignored it. A little background information would. Who you are, what do you wnat to do with the Zed. Sounds friendly and people are more willing to help. Sucess and welcome to the forum.
-
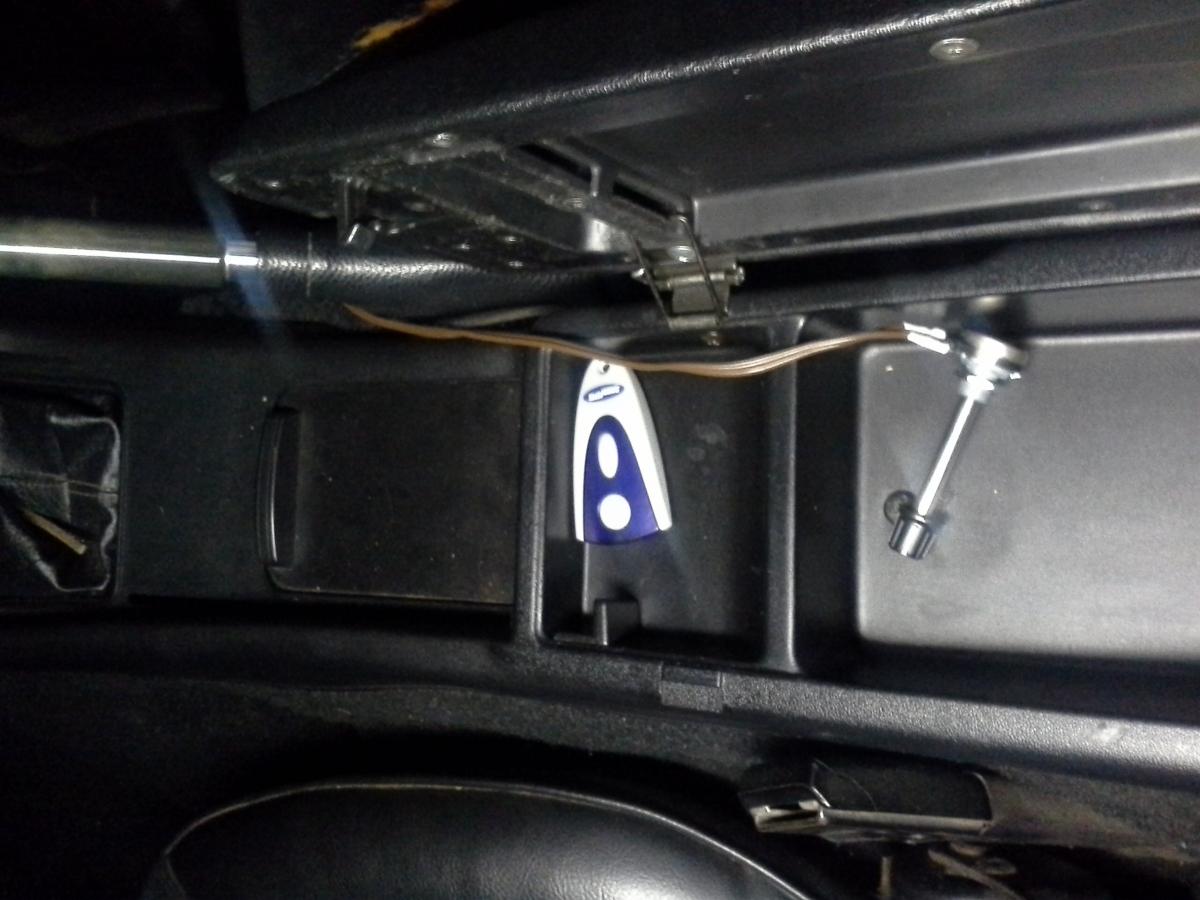
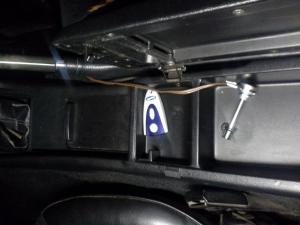
Jai, If you climb down and look at the kick panel next to your clutch pedal you can see a little cut out window. Behind it is the sticker with all the information about your ecu. A lot old the californian models up to august 77 will change out. I have a 5/77 and Im running a 11/75 ecu in it with no problems. It was plug and play. The part nr is A11-601-000. I have been told the 601 is for the Automatic version, but can't co firm it. Here is a photo of my ecu with kick panel removed and the second photo of the kick panel with the window. Hope it helps you with locating a donor ecu. Chas
-
I went for the fibreglass version with no air dusts, but that is pure a personal preference and coverted it to the 240Z bumpers. It came from MSA. The link is in this thread. http://www.classiczcars.com/topic/45677-fitting-240z-bumpers-and-valences-to-a-280z/
-
Can you post some photos of the mod you did? Photos can make the difference. The 78 wiring is the same as the 77. They both use 5 of the 6 pins in the plug. The 78 uses hard pins instead of wire between the terminal block and the board. You need cut the hard pins and then solder the wiring to these hard pins. The base plate might be a little different. There are some checks you should try before swapping too many parts. 1. Disconnect the plug at the TIU 2. Check the black wire is grounded. 3. With the ignition key ON, check for battery voltage at the Black/White striped wire. 4. Check the resistance across the red & green wies. Should be about 725ohms iirc. 5. Use the multi meter (analoge needle type works best) on low voltage setting (preferably lower than 5volt scale) and check for small voltage spikes across the red and green wires while cranking the engine. You should see 3 small voltages peaks per revolution. 6. Remove the HT lead from the distributor cap and connect it to a spare spark plug (or remove one from the engine). a: Connect a jumper wire to the coil ( - ). Turn the key on and tap the junper wire rapidly on the car frame. You should see the spark plug sparking when you tap the wire. Be carefull for shocks from the coil. b: You could also do this test through the blue wire and black ground wire at the TIU terminal block to check the blue wire works correctly. 7. Check coil resistance. It should be under 1.0 ohm across + & - terminals. Higher resistance can mess up the HEI unit. If all these checks work out, then the HEI is not wired correctly of it is damaged. If you fry one, they sometimes come back to life, but not for long. So if you have any doubts about the module, I would change it. Sucess
-
I know the bling factor is hard to resist, but getting these aftermarket systems balanced is going to be a challenge. After all its brakes. First priority is stopping the car safely. I was tempted, but ended up settling for the original setup with R4-S porterfield pads and shoes. Man what a difference they make.
-
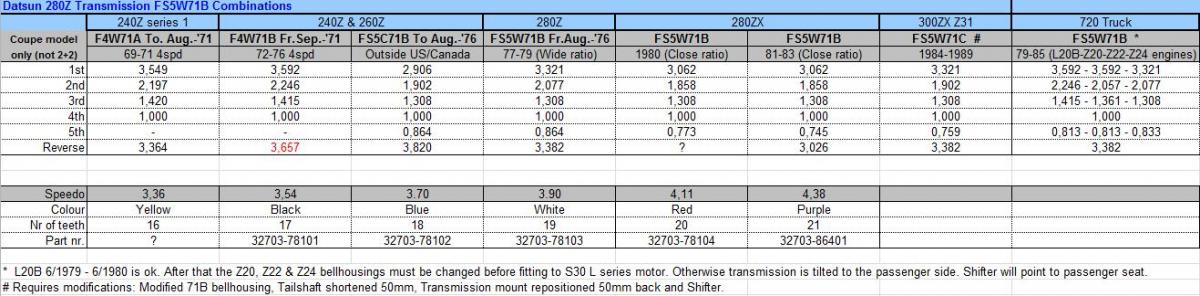
Short answer on the transmission would be: Close ratio 71B with a 3.7 or 3.9 transmission. There are a lot of variables, like highway use or just cruising around town which will influence your decision. Im running a 82 280ZX 5 speed with a 3.7 diff from a 300ZX. The combi works well, but finding a close ratio 71B in good condition is getting harder. Another option is the 71C. Here is a snap short of some data I have on the combinations. Based on my 280Z.


-
Mine was the same 305 blue. I think my car came off the line around the end of the third week or the last week of May. It 403100 which is about 2500 behind Bob's.
-
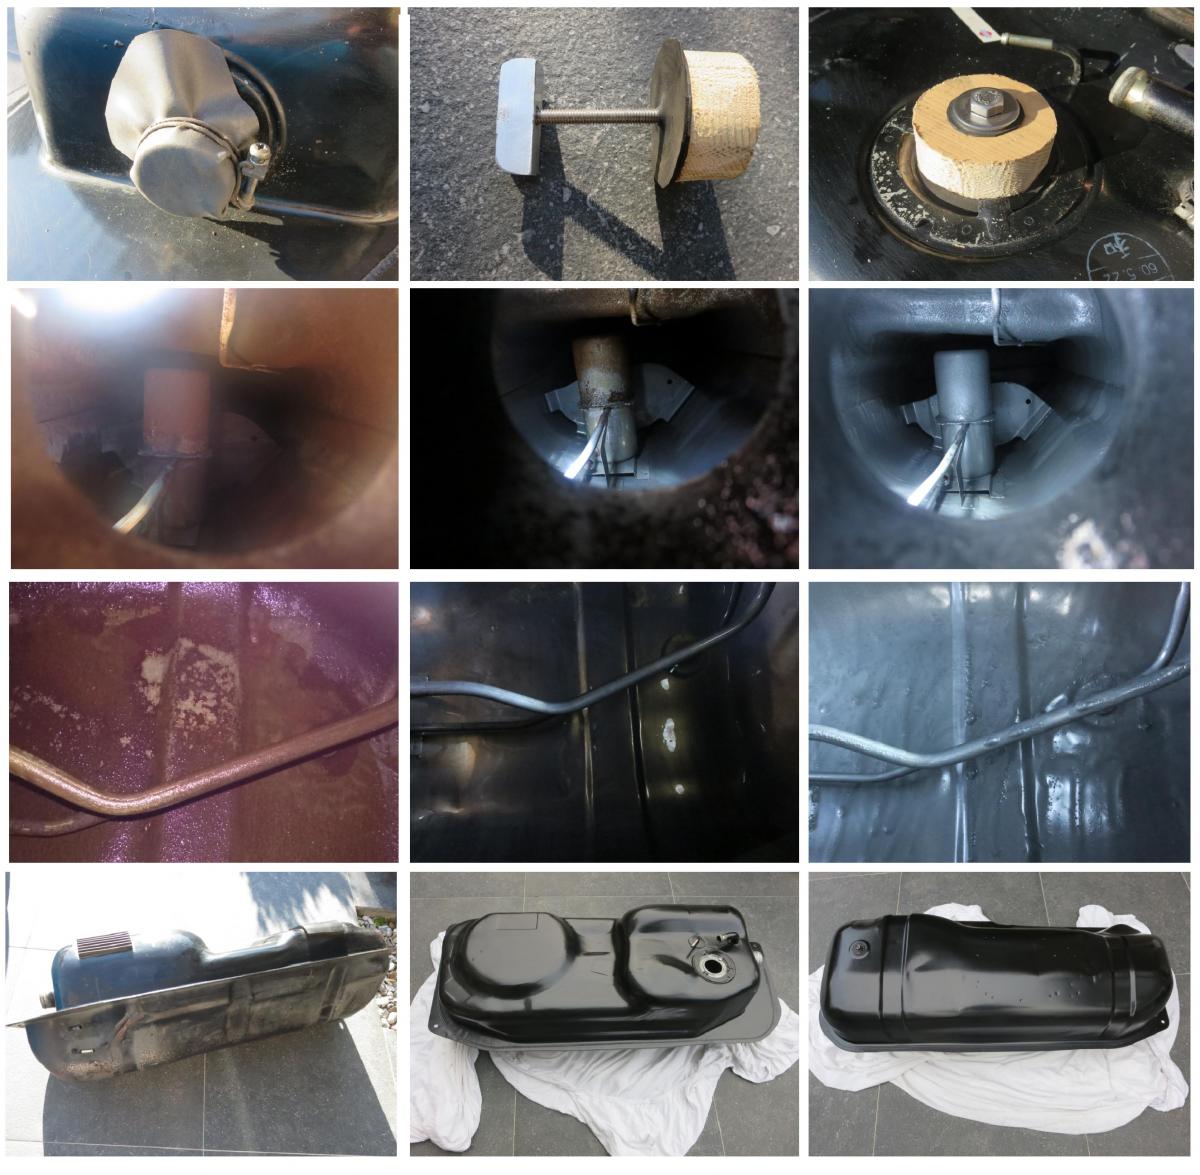
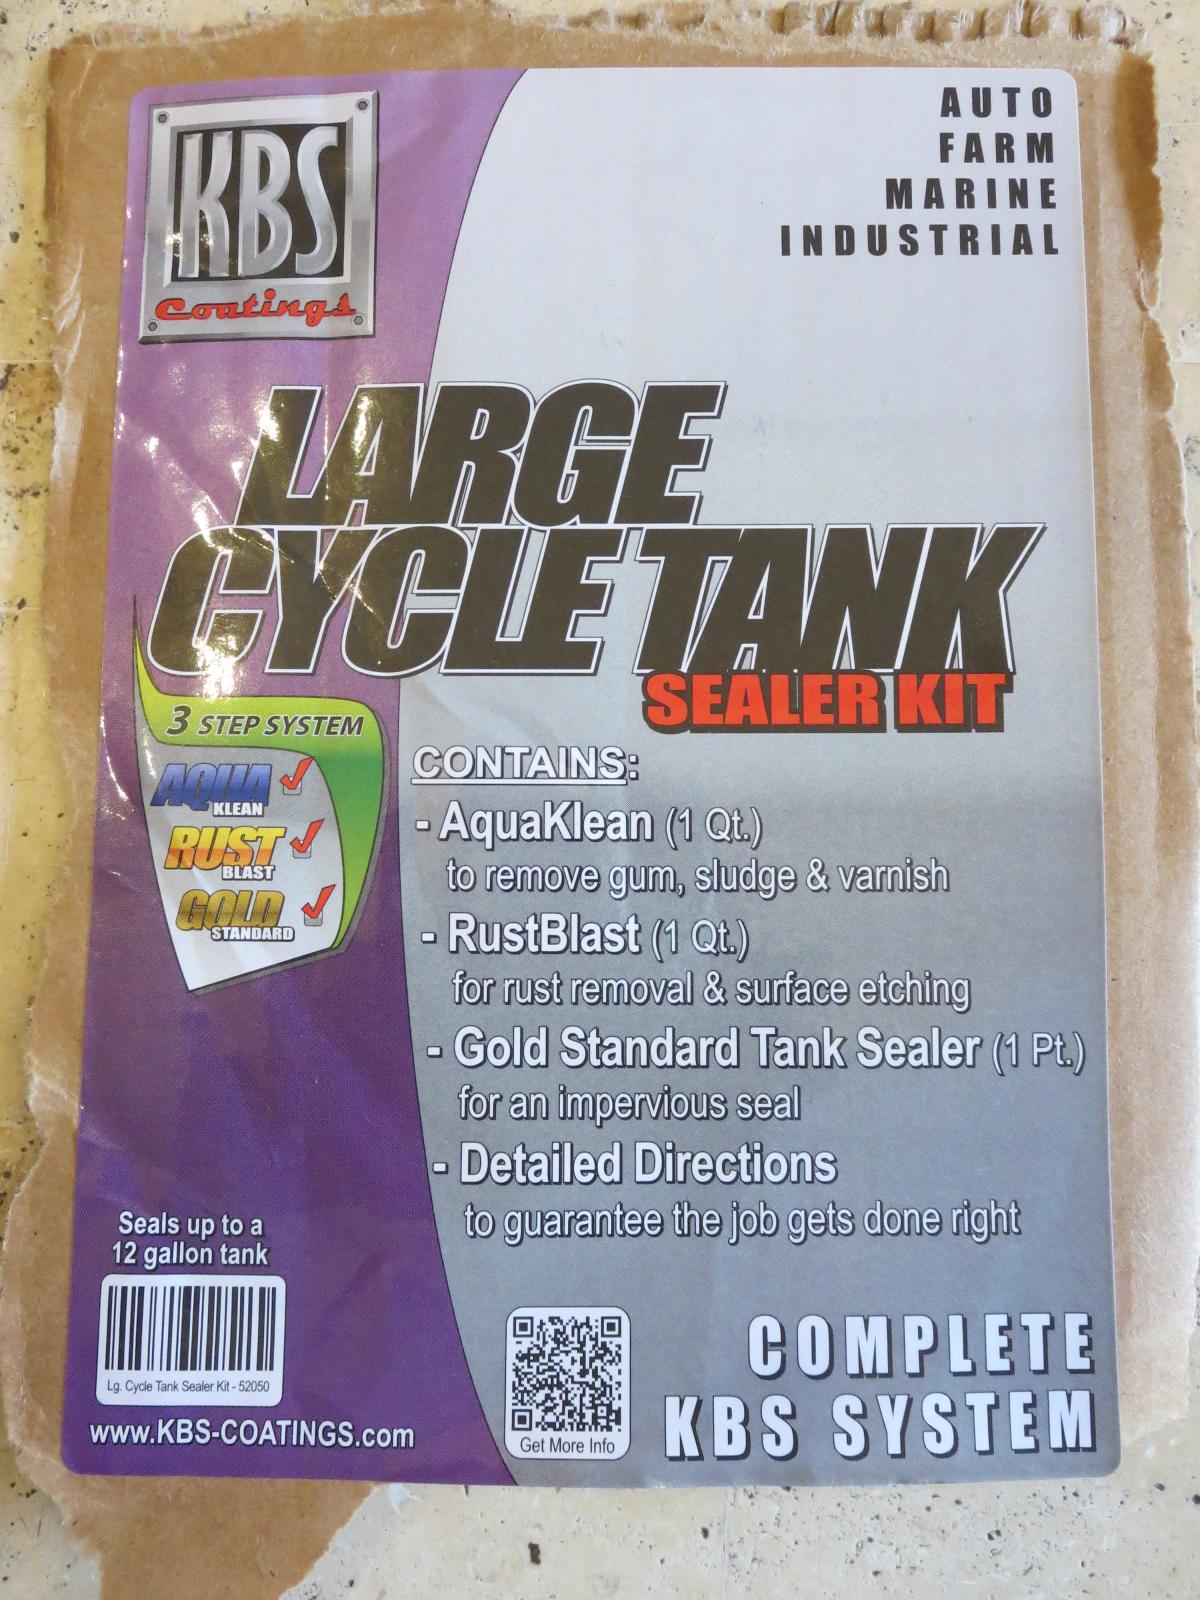
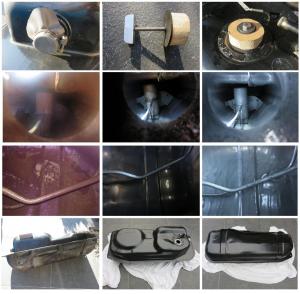
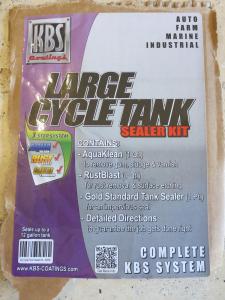
My fuel tank had a threw dings in it too. Like ksechler said, they are hard to find and over here darn near impossible. I ended up leaving what looked like a slight forklift fork impression (looks worse on the photos) because it was close too spotwelds and it didn't leak. Inside looked grotty when I started rolling it around with a mild muriatic acid mix and a hand full of old m6 nuts. I weighed them before I started so I could check that I got them all out when I finished and none were wedged in their somewhere. It was my first tank this size, and its not good for your back. I think I was on my kids "most wanted list" for a while after making them help me for a couple of hours. I sealed it with a kit for motorcycle tanks from KBS Coatings. The shop said it was enough for a car tank especially with the acid treatment I already did. It took about a week to do, with all the treatments and drying between and after. Here are some photo's of my hobbiest effort.

-
-
Good to hear its running ok again. The idle adjustment screw shouldn't have much effect above idle. If you played with all the connectors, it could be a loose or dirty connector. Bad connectors can really mess things up in these old efi systems. Here is an article about cleaning the connectors. Always good to check it just in case. http://atlanticz.ca/zclub/techtips/electricalconnections/index.html
-
-
I remember Sarah doing something nifty with the ecu harness. Thanks for posting that link. I would love to find enough time to do that as well. Too many other projects on my bucket list.
-
Hey Site, We must of been twins in another life😂 Mine is now tucked under the dash because I haven't got around to moving it back to the engine manifold.
-
These things lean out over time. If the AFM improved its idle, but now it seems to be running lean, your problem could be the ECU creating a lean condition. Spark plug should be able to tell you more, but you may need to drive it a while like this to get an accurate reading. See link below for some info on the spark plugs. If you pull the spark plugs, take some photos of them and post them here. It can tell you a lot about the fuel ratio. There is a trick you can do to correct this lean condition by adding a variable resistance in the temperature circuit.You could try that. Its not expensice and its easy to do. It helped mine a lot. Here is a good write-up on what it does and how to do it. http://atlanticz.ca/zclub/techtips/runningrich/index.html
-
Unfortunatly no. Thats my next door neigbour's van. I only get to hear how hard if is to have the best job in the world😕. His father owns After eden and he is also in the family business. He likes the R&D most. Especially the "test fitting". Photo shoots for the new assortment would run a very close second.

-
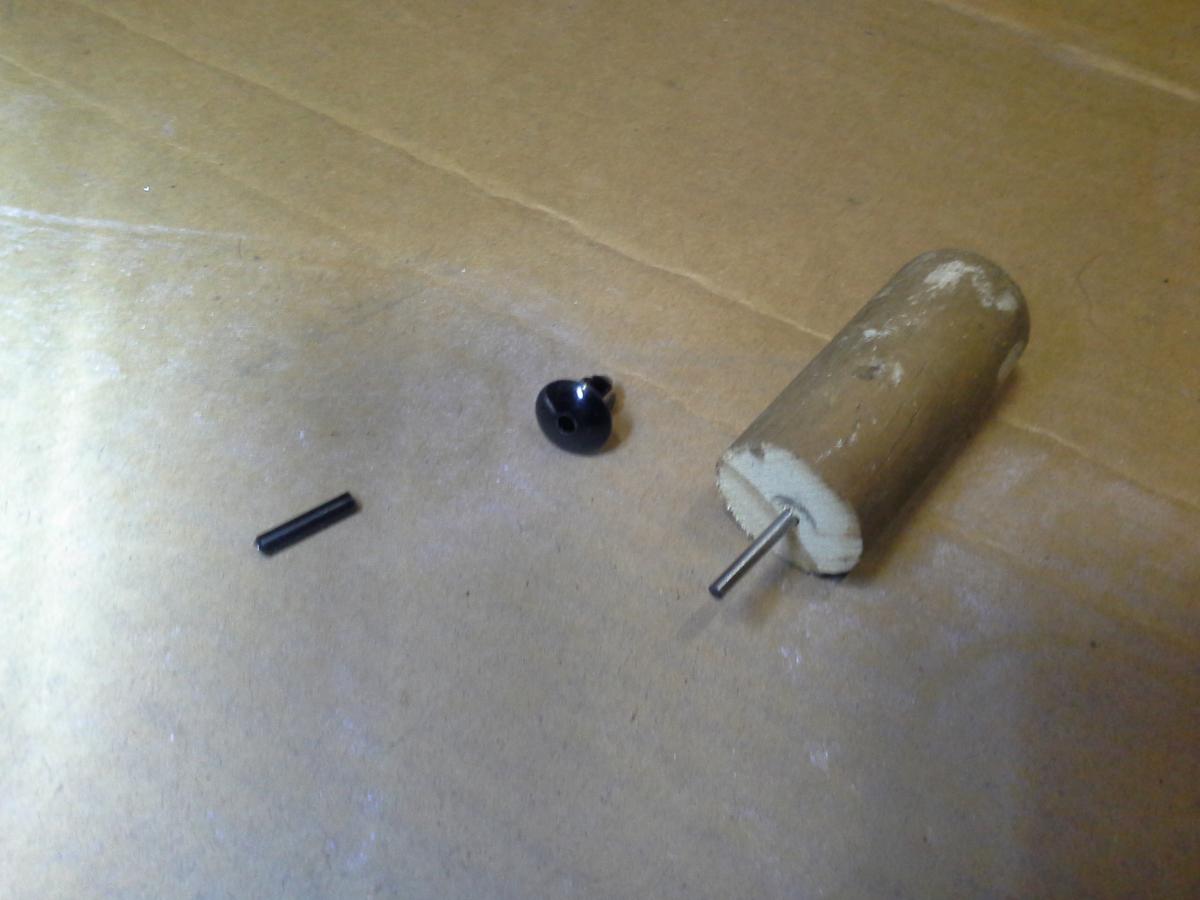
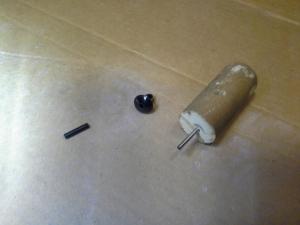
To get the rivets I made a simple tool by sawing off the end of a broom handle. Drilled into the end of it with a drill bit. The drill bit must be a smaller diameter than the locking pin. Use that to push the pin through. And Pop's advice with the vacuum cleaner works well. You can find the nissan pin on e-bay of from nissan.
-
I was generalizing on why not to shave a ohc head. A warped head is not good, but shaving it to get a flat surface is only going to solve one problem and create another. If Bob would use the head as it is now it shouldn't be a problem for the cam. The headgasket between 3 and 4 might be a possible issue, but you could compensate by overtorqueing the center group of head bolts. Bob's head in not that bad. I have heard 0.15 is ok to use on a six cylinder. The opel head I mentioned was a lot worse, somewhere around 0.3mm might have been more, but it 4 years ago. The point I was trying to make is: Shaving an ohc cylinder head should not be done to correct warpage. It needs to be straightened first. Some machine shop don't realise the difference between an ohv en ohc heads.
-
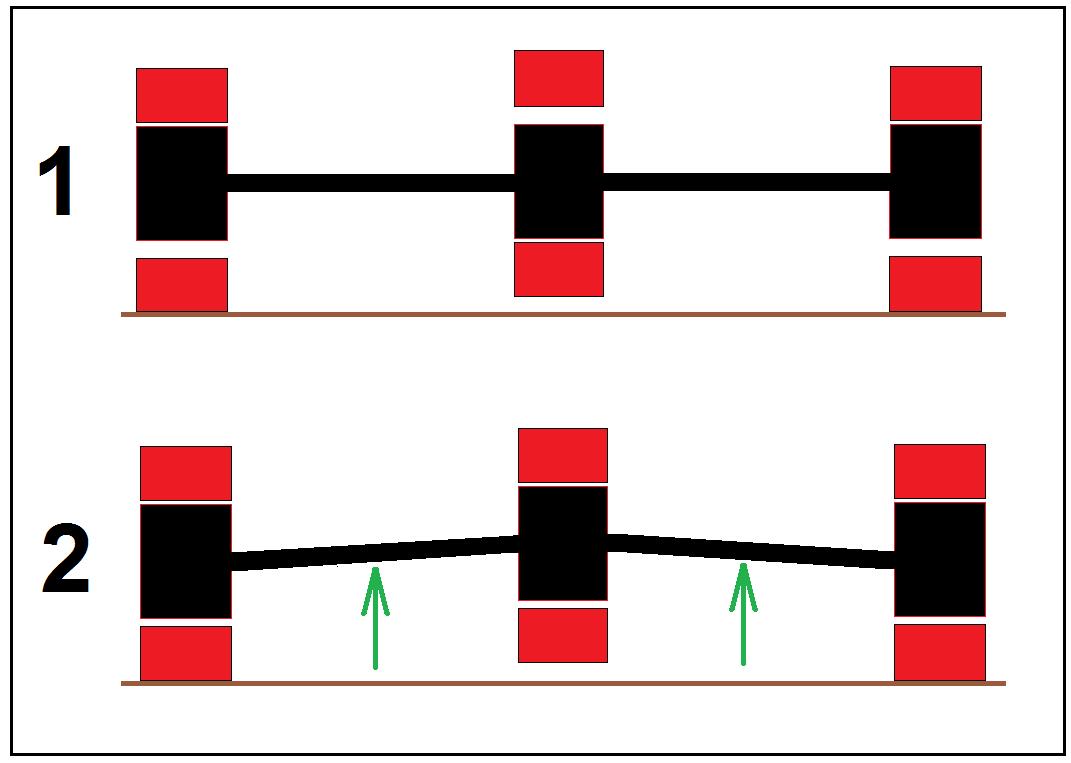
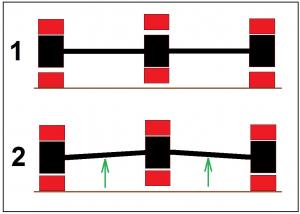
Checking if the cam spins freely may not be enough. The can journals have a maximum clearance of 0.1mm which would give you a fear amount of tolerance. The problem is that the cam doesn't run in this condition, but runs with the valve springs forcing the cam upwards. This will press the cam up towards the top of all the journals and causing the cam to bend ever so slightly per revolution. Its not much and won't have any immediate effect, but fatigue will eventually take its toll and break the cam somewhere in the middle. Then the back end will punch a couple of valves through the pistons...... I made a quick exaggerated sketch to explain it better. 1. is free spinning and 2. is under normal conditions. I agree with Mark. Its Bob's spare engine, so I would use something like A4 printer paper folded double under both ends of the head and tighten it down on the centre bolts. That would give you a very slight reverse bow and leave it like that until you want to use it.
-
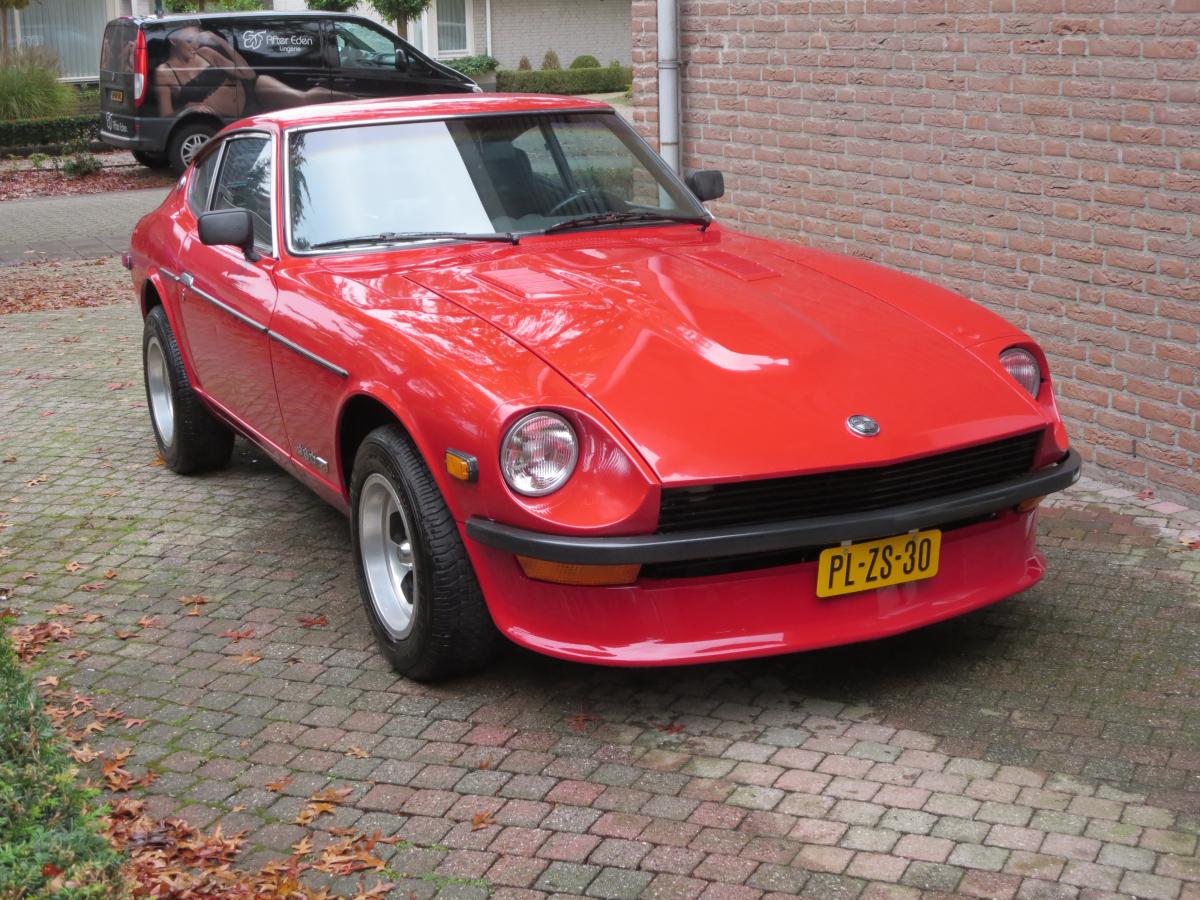
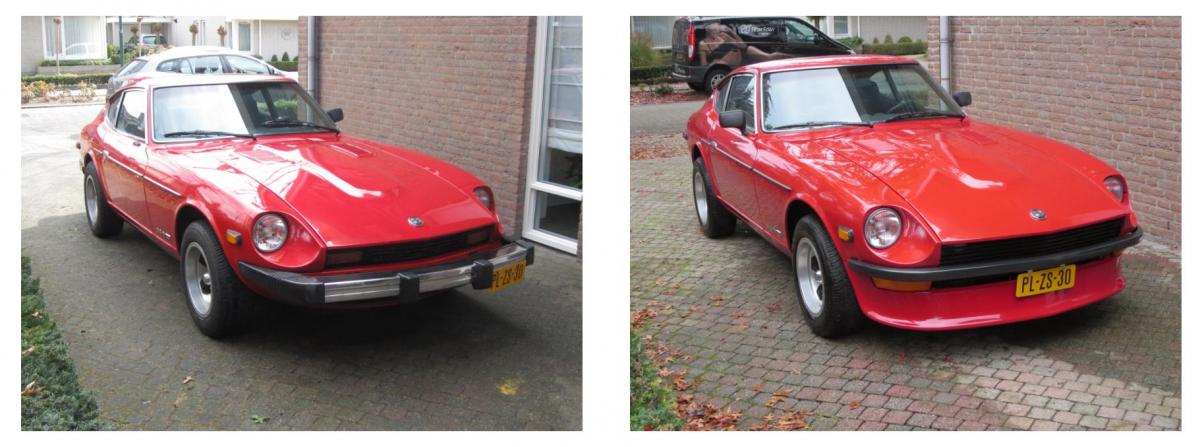
Its's been a while and I finished it a couple of weeks ago, but my fuel pump gave up and kept me buzy. This is probably one of the last weekends before it goes into hibernation and I took this photo when I came home. and here is a before and after. Im planning to have the brackets made from stainless steel. Most parts are now aluminium so I could make adjustments. If anyone is interested in a set, let me know.


-
I have heard over here a lot of machine shops won't touch a warped overhead cam head until its been in the oven on a straight plate. Its just too risky. Its needs to be straightened, depending on how its warped, and the lightly skimmed. You have about 0.15mm which doesn't sound that bad for a six cylinder head. It's a bow over a long distance compared to a four cylinder or a V6. Machining it flat will cause cam flex, depending on how much warp it had, which could eventually brake the cam. The only thing you can do to fix that is a cam bore alignment. Common for an old car is just put it back on "as is" and a little more torque on the inner bolts like chickenman said. I have seen a technician at work hobbying on his old Opel inline six head. He used a piece of 200mm channel steel and drilled 6 holes using an old head gasket as template. Mounted the head on it using spacers under the outer four bolts. That way he could get his straight edge under the head to check it. Then tightened the center two until he went just passed flat actually creating a reverse bow inthe other direction. Left it under a bar heater for a day, loosening the two center bolts and checking it every couple of hours with the straight edge and then let it slowly cool down. He managed to get it within spec so the shop would skim it for him and it was pretty bad when he started. You could try something like that on the block.
-
-
The bracket is longer than the grill. If you like in my 240z bumper thread post 29 and 37 you can see it. I have the bolt measurements and photos of it. My thread is based on coverting it to 280z. http://www.classiczcars.com/topic/45677-fitting-240z-bumpers-and-valences-to-a-280z/page-2
-
Rossiz, Thinking about your method, would it be easier to use pliers to grip the threaded section on the plug to form vertical lines on the thread. It is steel instead of aluminium, so it would be harder to do, but that would lightly "damage" the thread and cause the cap to bind. Squeezing the cap has its risks and my luck I would probably crush one out of six.