EuroDat
Community Member
-
Joined
-
Last visited
Everything posted by EuroDat
-
Congrats, looks like a bargin. All depends what youwant to do about the seats. If you want to keep it original then you will ned to know the build date to fine the right seats. I wonder what the insurance company will consider as "cover". If you want originality, that can cost a lot. This site has a lot of options and if you call them, they should be able to help you. https://zcarsource.com/datsun-240z-parts/datsun-240z-interior-parts/240z-seats-upholstery/ A call out here in the wanted sections could find you a member wanting to part with a set.
-
-
-
Sounds like the guy was focussing on getting the job done, but mist bracing the tranny cross member and positioned the rails too far back. It certainly left you with some insteresting challenges. That is neat work on solving the transmission mount. You could shorten the drive shaft and use adjustable tc rods. Have you tried the steering rod to the rack and pinion. Going by all the other problems it will be the next.
-
They are the ratios for the 79 to 6-80 280ZX coupe early close ratio 5 speed. Strange thing is the photos in your first post show the tell tale signs of a wide ratio. I was under the belief that the early close ratio boxes had the brass synchro. This project could shed a lot of light on this fairly rare transmission.
-
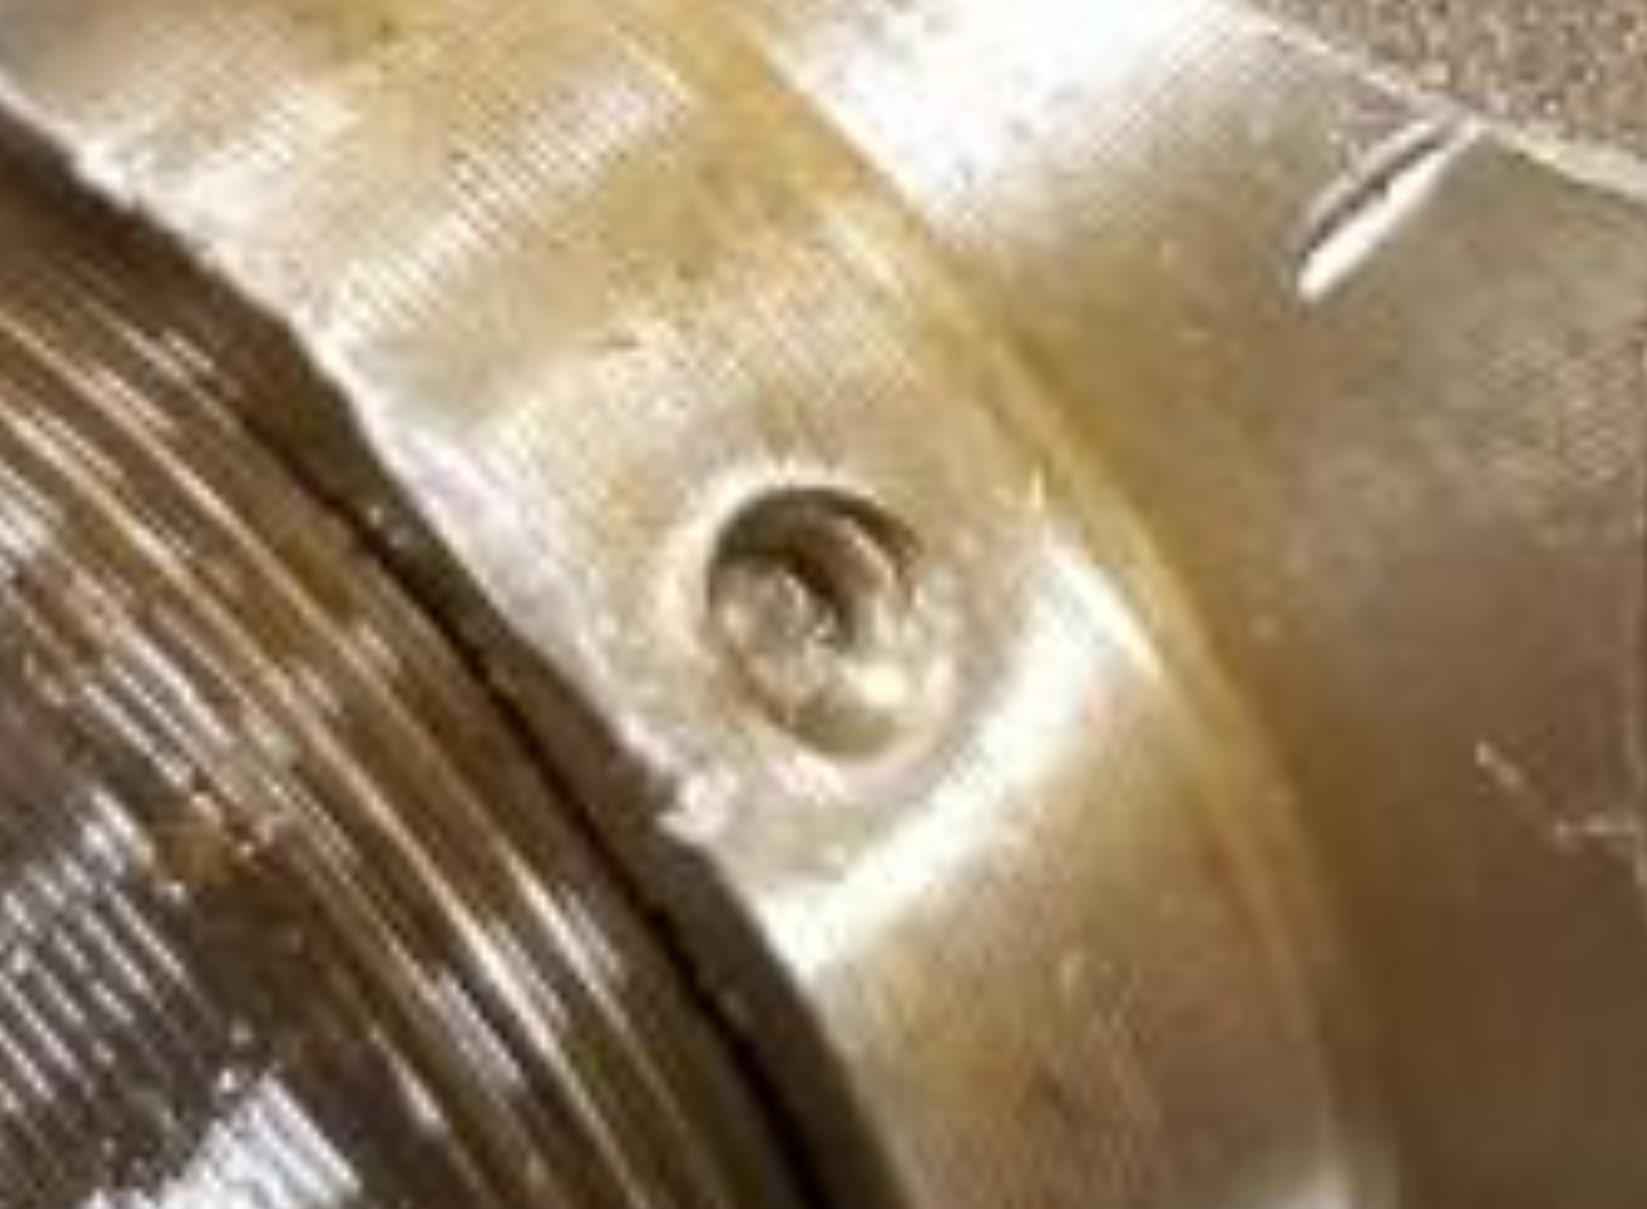
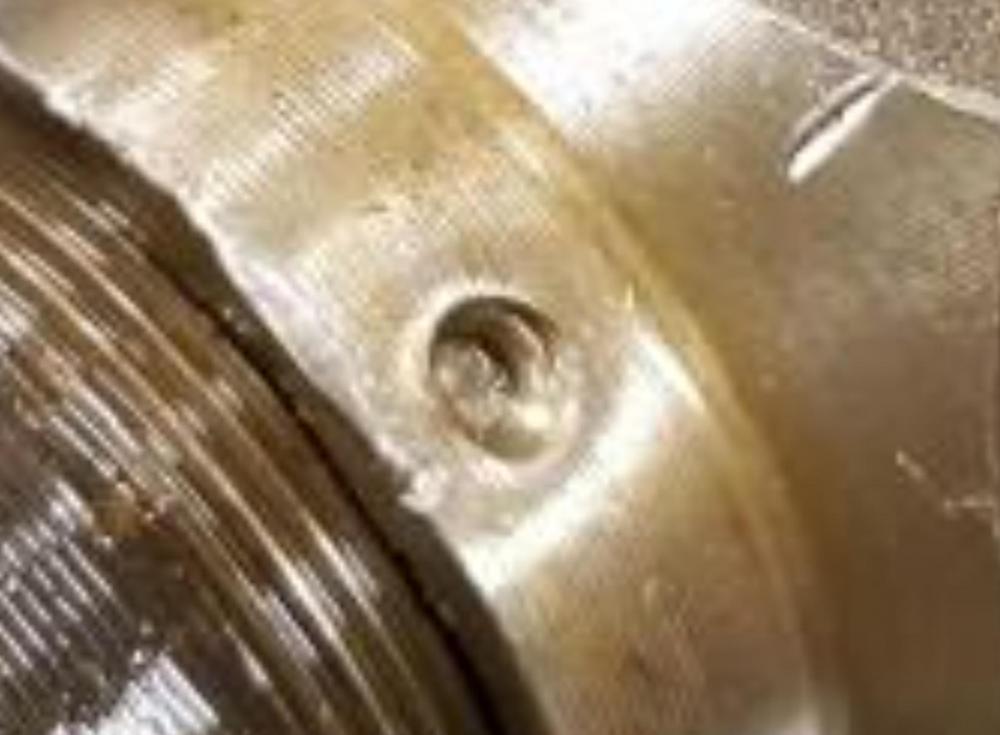
Looking at the photo more closely, it looks like the bottom of the punch mark is protuding into the shaft. I can't remember every seeing a indent other than the notch. If there is a indent you would expect it to be exactly 180 degrees to the notch. Otherwise it would be difficult to locate where to punch it. The indent is not noticable outside the nut. I don't think it will be a problem. It's probably sheared off when it was removed the first time round.
-
If you don't have something suitable, I would buy an el-cheapo screwdriver and grind it down to the same width as the groove and make the point more chissel like. With that you should be able to lift up the tab on the nut just enough so it won't tear when you unscrew it. They rearly damage the threads, but when the nut is hammered in like yours, you can tear that section out of the nut when you unscrew it. That is all you are trying to avoid with the screwdriver.
-
Btw, That punch mark is the original nissan production method. The one that now holds the nut from turning is aftermarket rebuild.
-
The punch spot is from a previous rebuild and not doing anything. The only spot you can lock the nut is where the groove is on the shaft. Someone has already reused the nut. I would rebuild the transmission and if the nut lines up where it is aready used, then take action the move it to new metal by facing the nut or adding and extra shim.
-
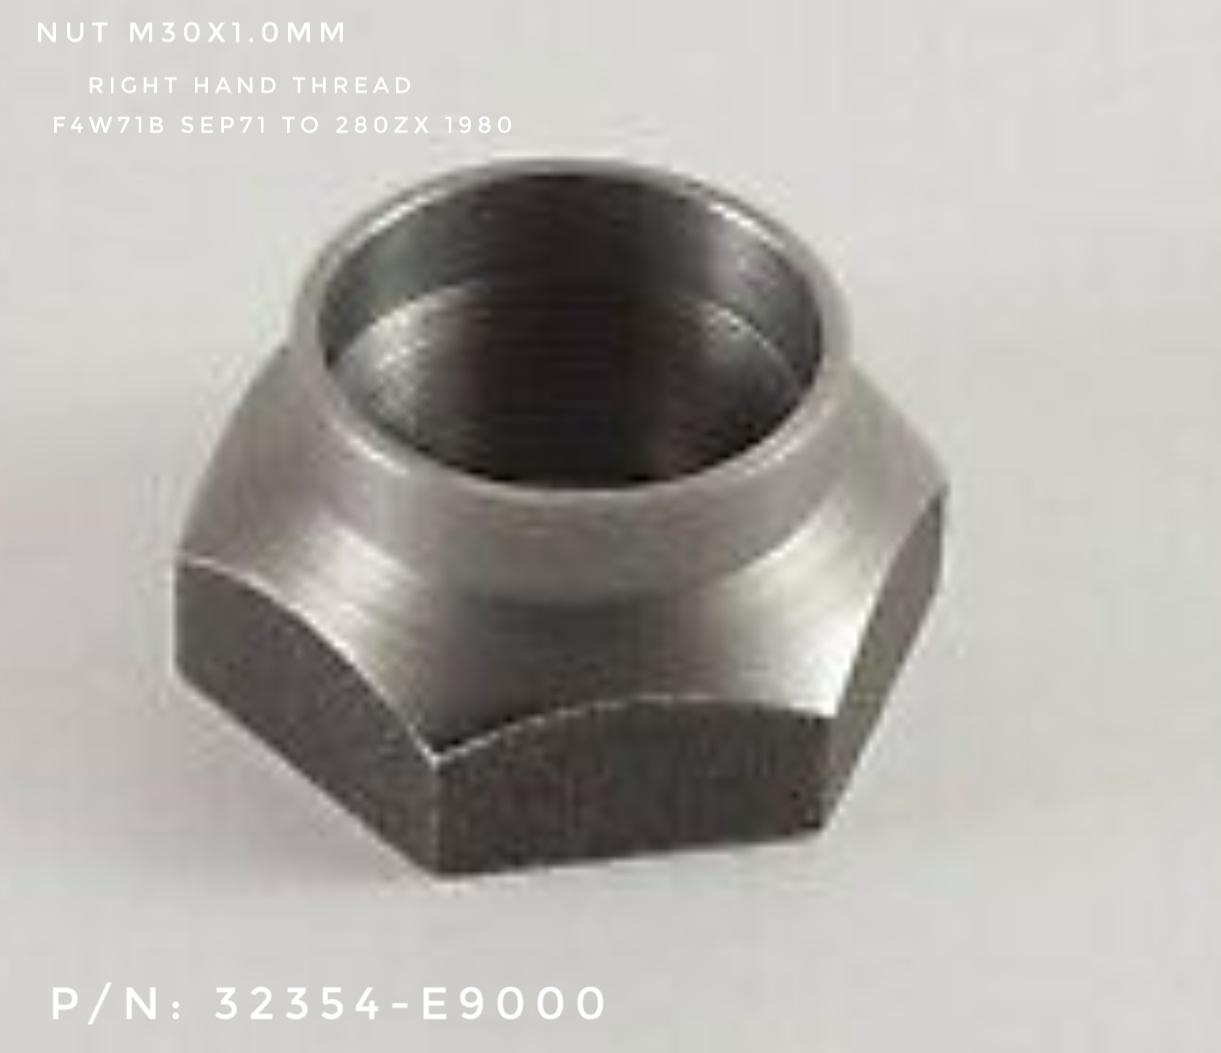
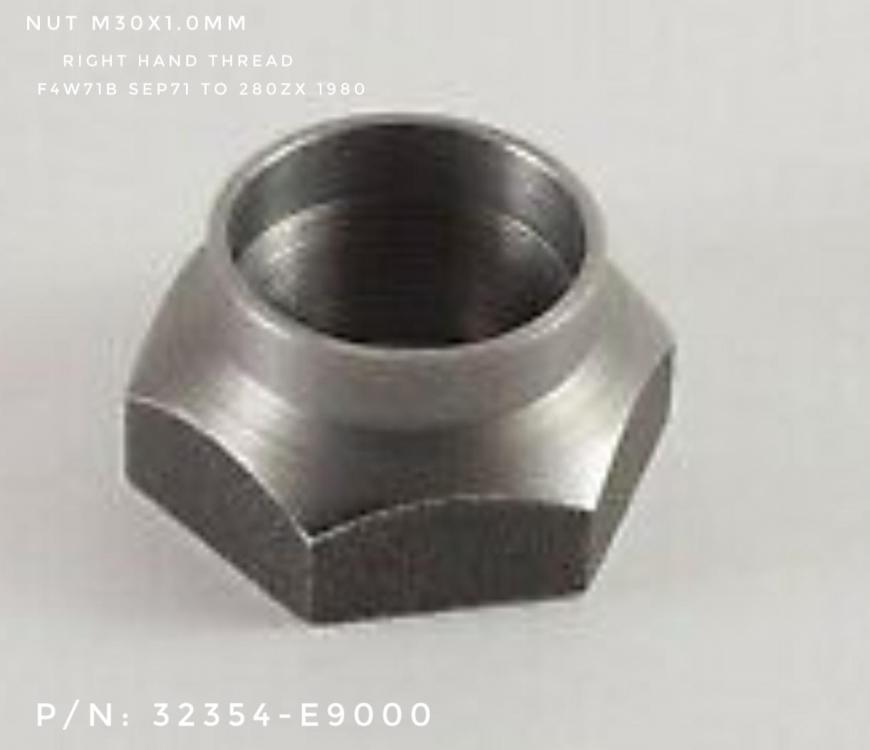
The 4speed nut is an M30x1.00mm. Right hand thread. Well it should be iirc.
-
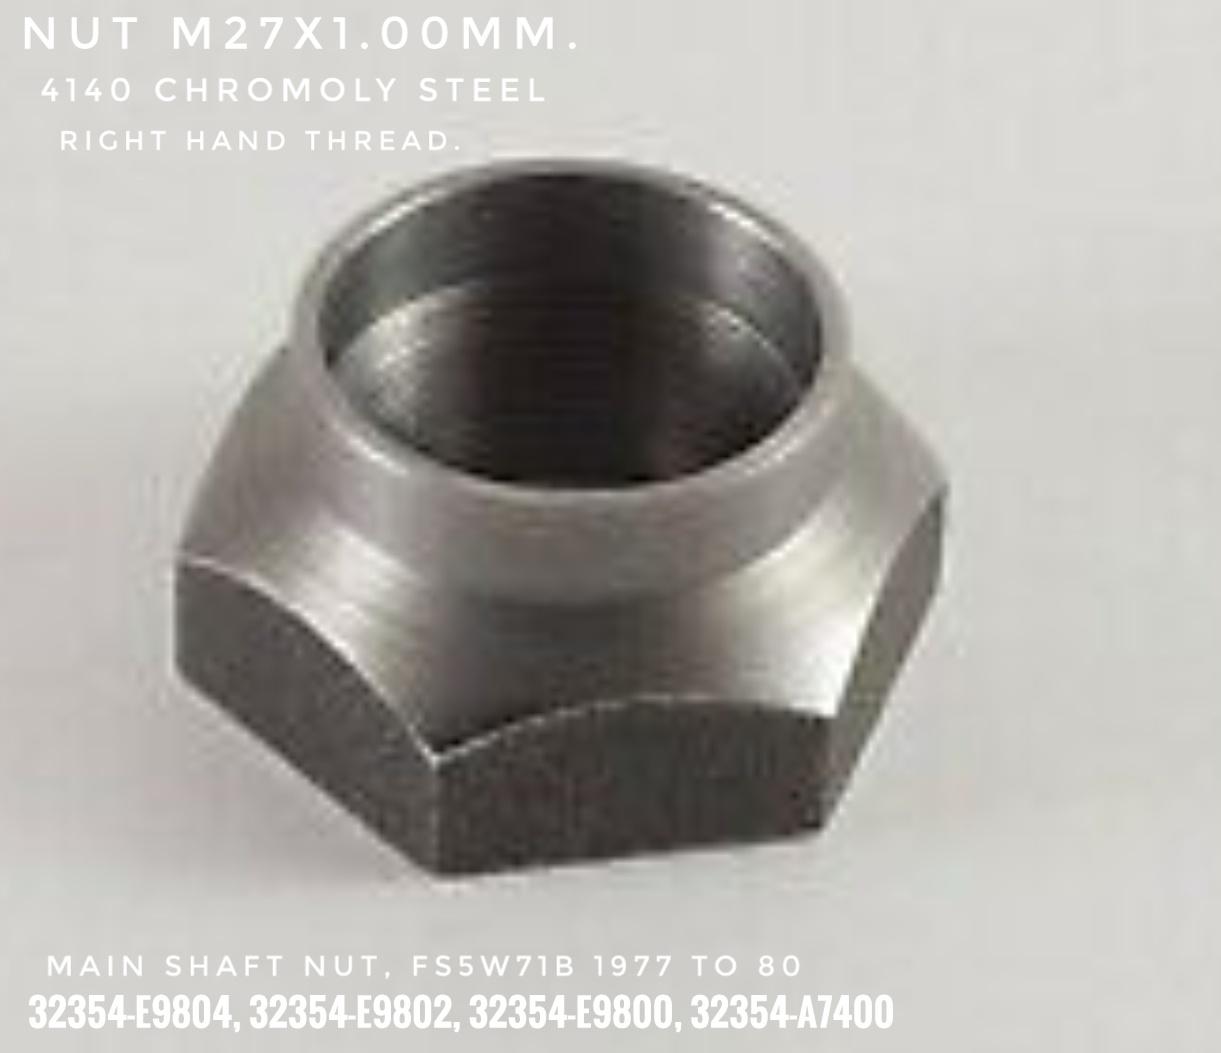
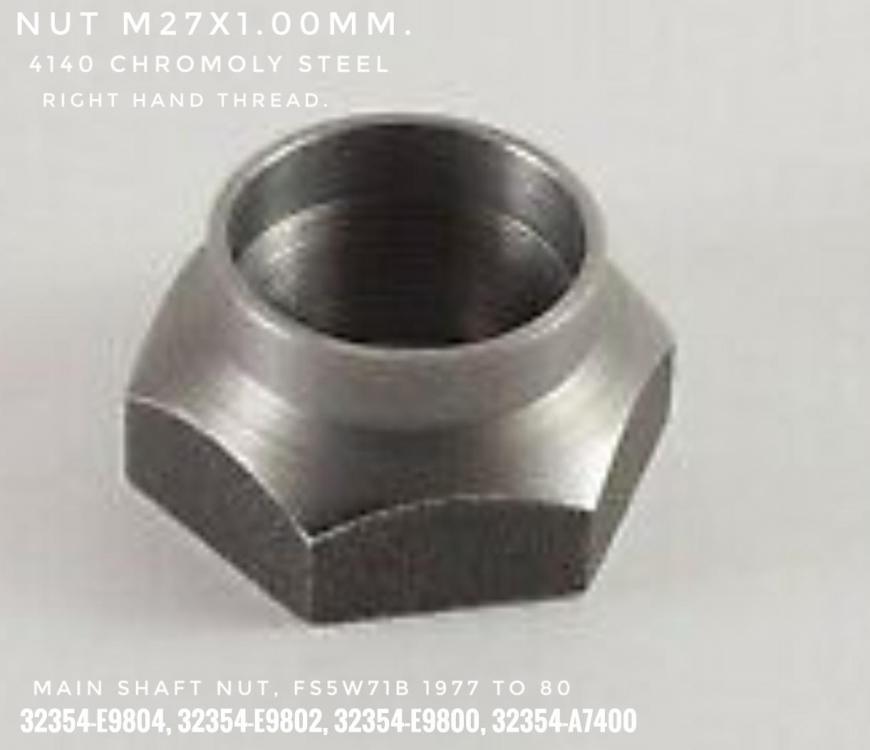
That is the correct nut for your main shaft. It is an M27x1.00mm right hand thread nut. It fits all the 5 speeds FS5W71B from 1977 to 1980. After 1980 the nut changed to left hand thread. I think that is when they also changed the 5th synchro. I think fibre synchro is right hand thread and brass synchro is left hand thread. You don't need to replace it. There is a trick to recover an old nut and safely reuse it. The section that is hammered down to lock it in place doesn't have any thread inside. It doesn't add any strength to the nut, just a way to lock it in place. Remove the nut using a small srewdriver or similar, you can drive it in between the nut and shaft to open it enough to remove it without too much damage. Side the nut over something like a socket in a bench vice and use a small hammer to peen around the burred section. You want to get it to point where it doesn't bind too much when you screw it on. When you rebuild the transmission and fit the nut. Tighten the nut and check where the burred section lines up. It probably won't line up with the groove, but if it does then have the face contacting the gear hub washer machined 0.5mm. This will turn the nut 180 degrees to the groove. Every 0.25mm will move the nut 90 degrees around the shaft, 1mm being the pitch. You can do this with the overdrive nut as well.
-
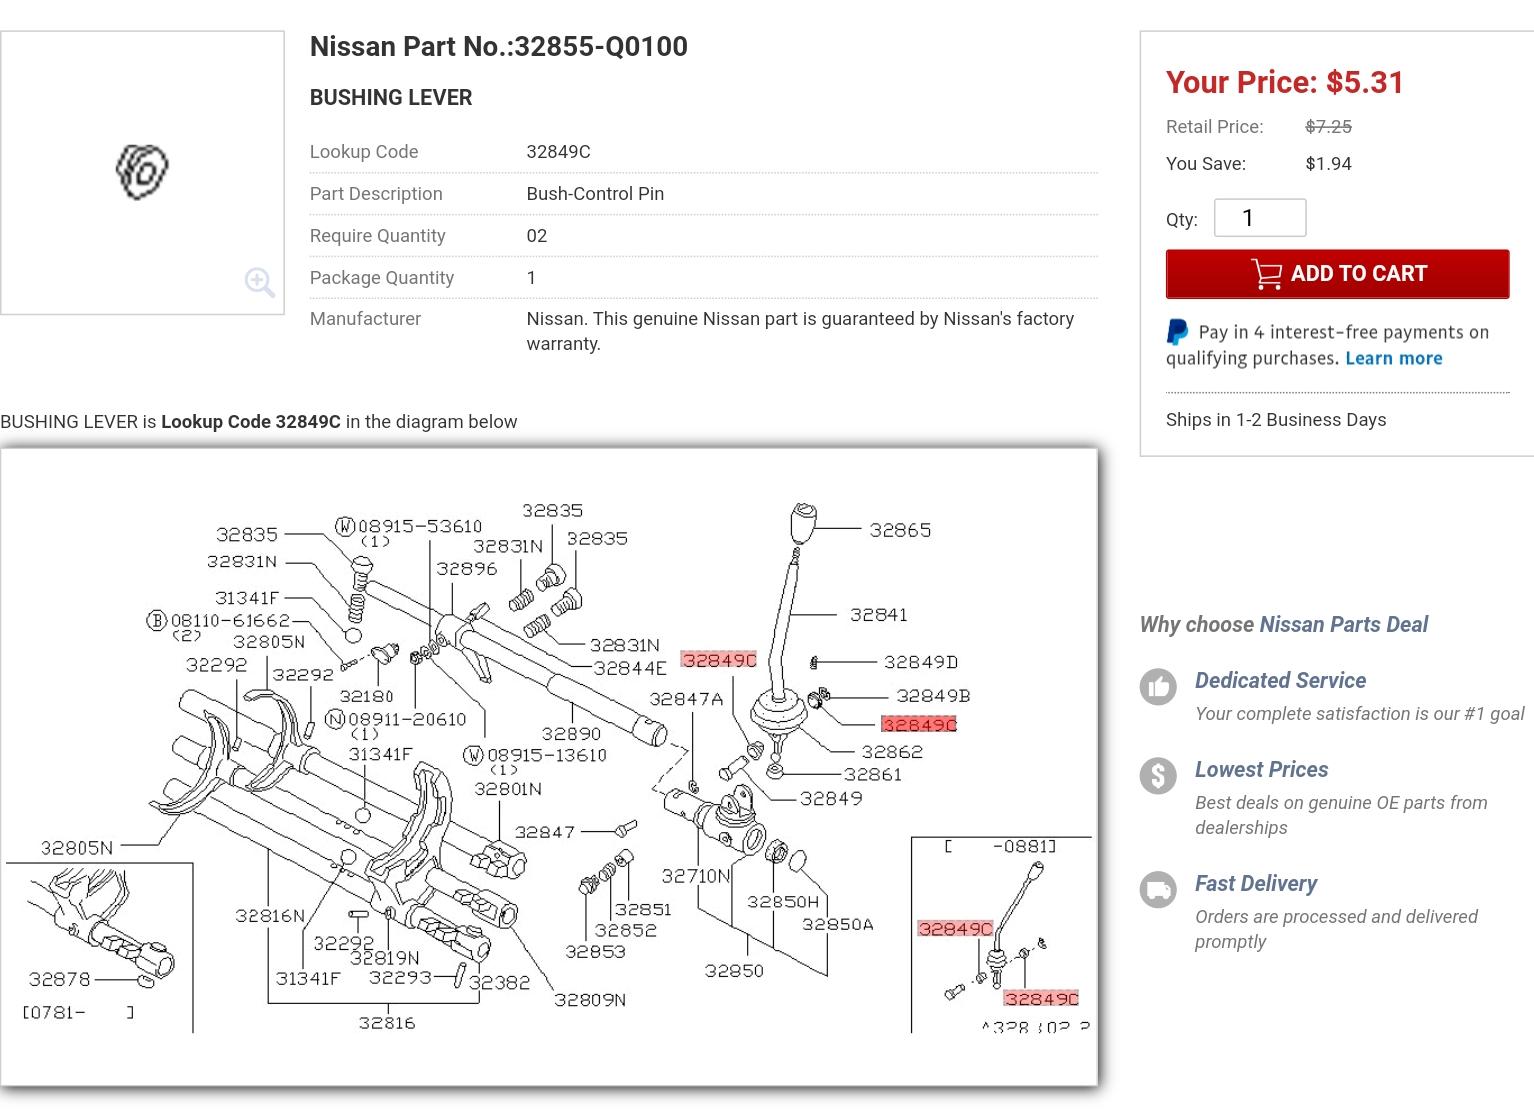
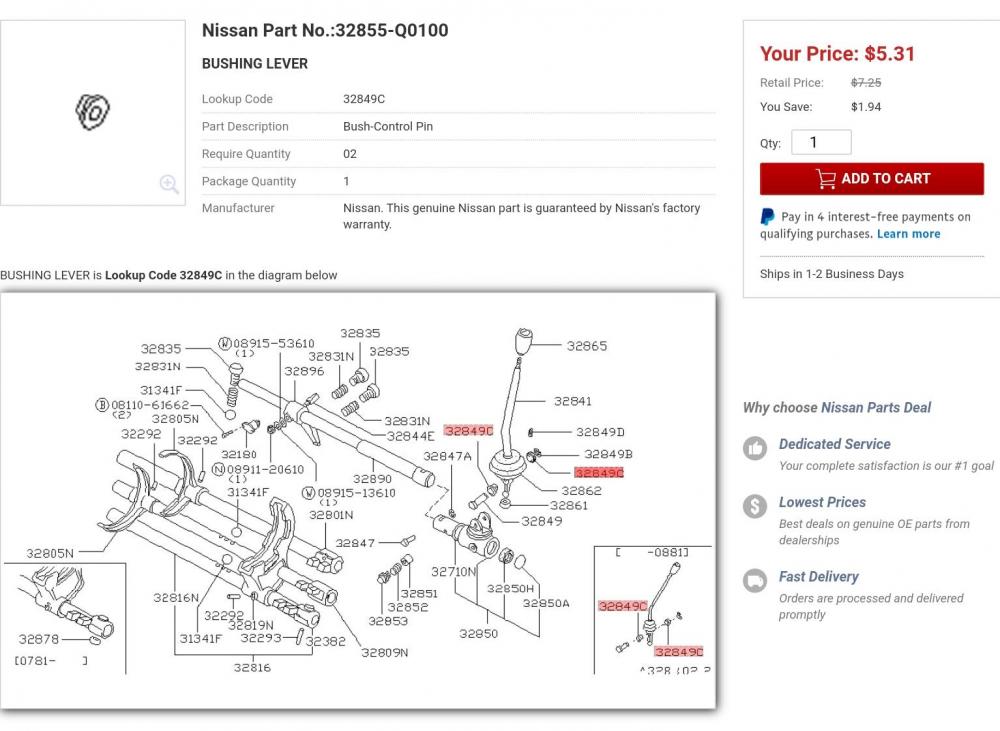
Checking that part number in the nissan part catalog. It comes up available, but they use the old 280Z diagram to show it. Makes it a little confusing.
-
Thinking back a long time ago. Diahatsu Rocky transmissions had something similar in a couple of their transmissions. It was to eliminate rattles in the worn busses. The spring would always create tension on the bus/pin. That way it would not chatter when the diesel engine went through certain revs. This could be Nissans solution to that. Could be. It is not mentioned in anymanual and all the 280ZX parts list don't seem to show it either.
-
https://www.nissanpartsdeal.com/1983-nissan-280zx-parts.html
-
I'm glad you could follow that second last post. I was busy with another problem and lost track of what I was writing about.
-
Not me, but it looks a lot like Norm the guy I did my apprenticeship. He ran a transmission repair shop in the eighties. Mostly doing Borg warner 35 Auto transmissions, but we also had quite a few datsun transmissions, mostly from the 720 trucks from the coal mines.
-
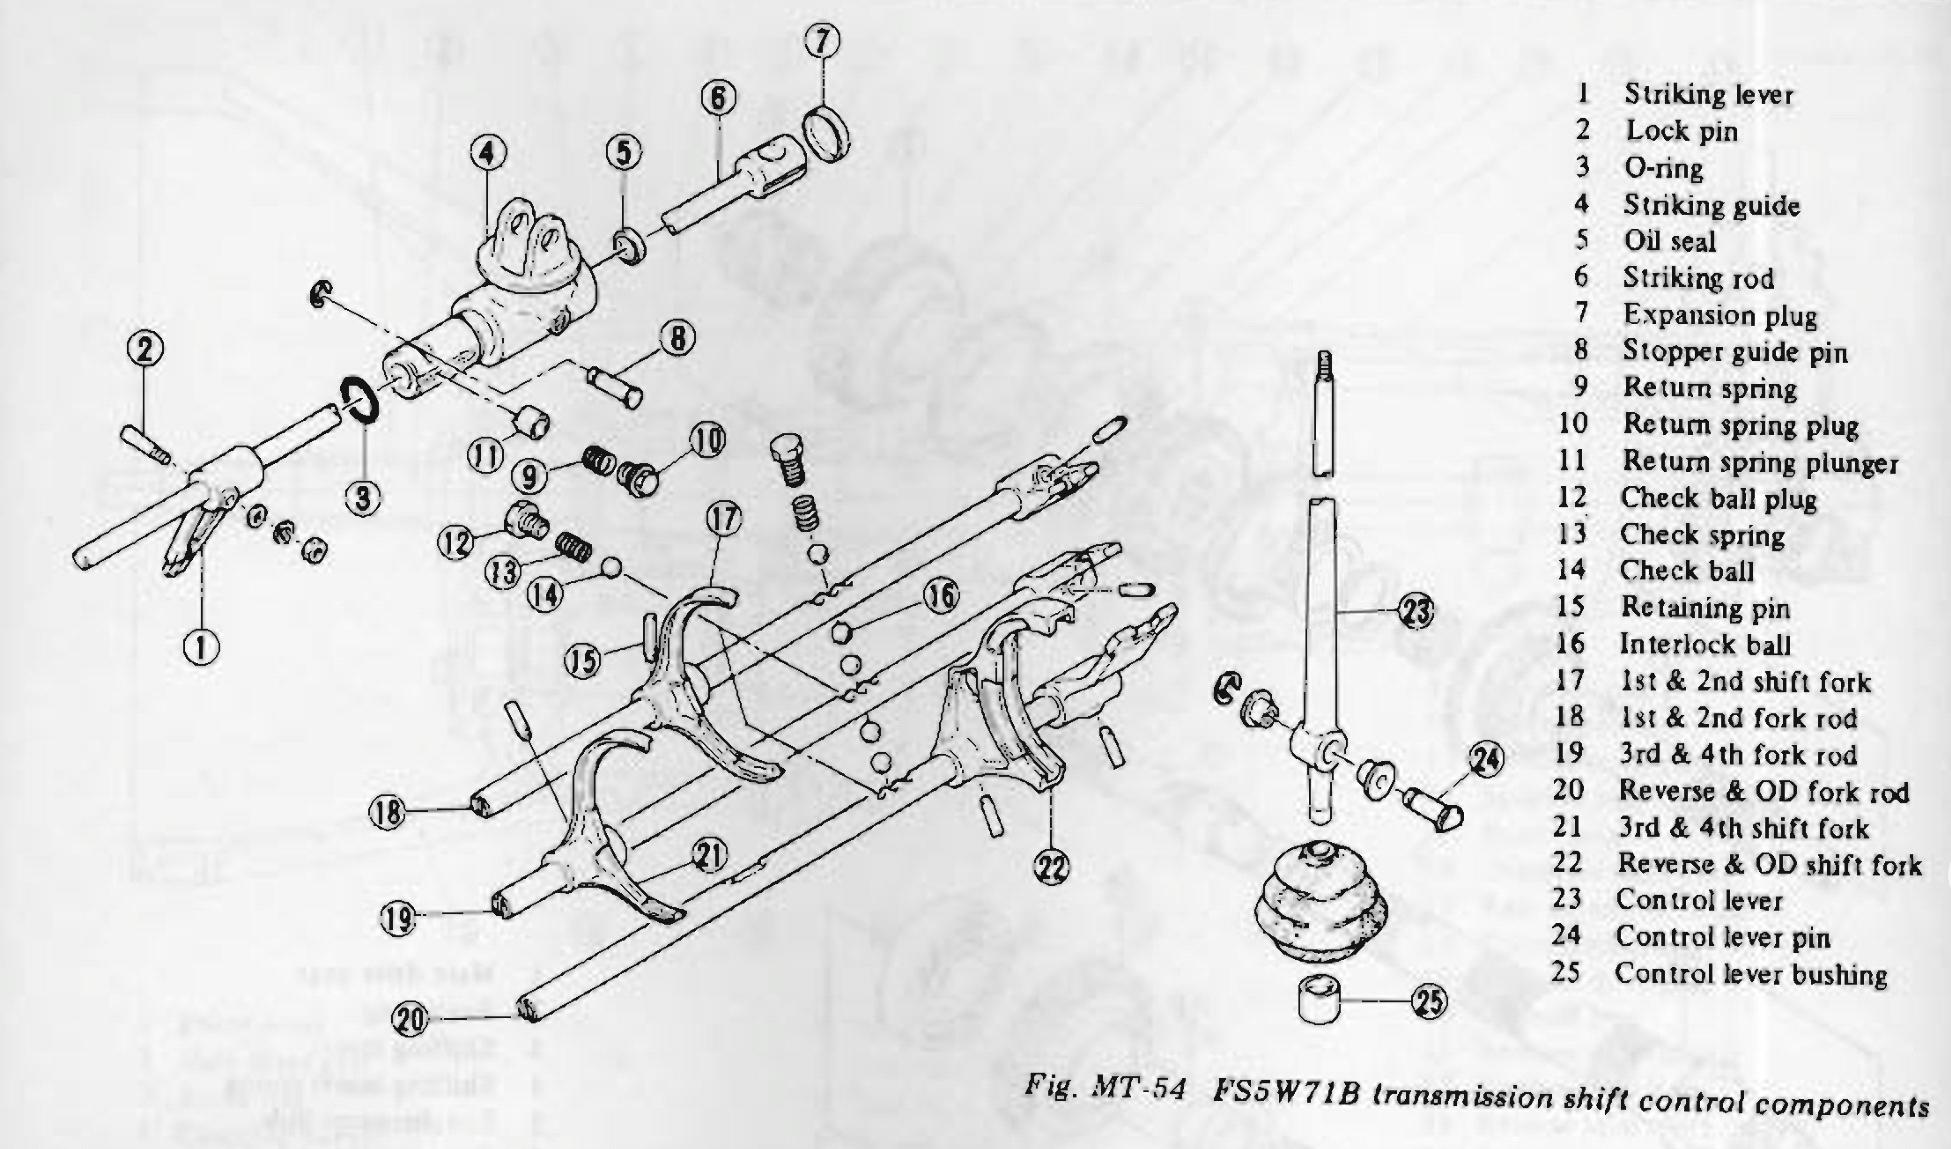
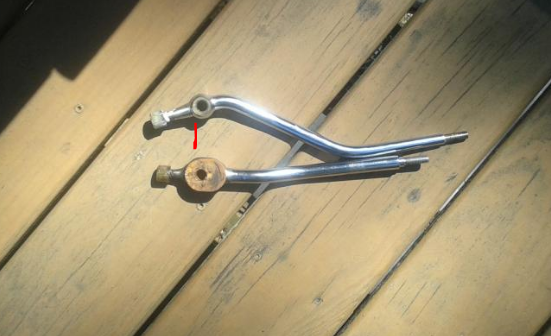
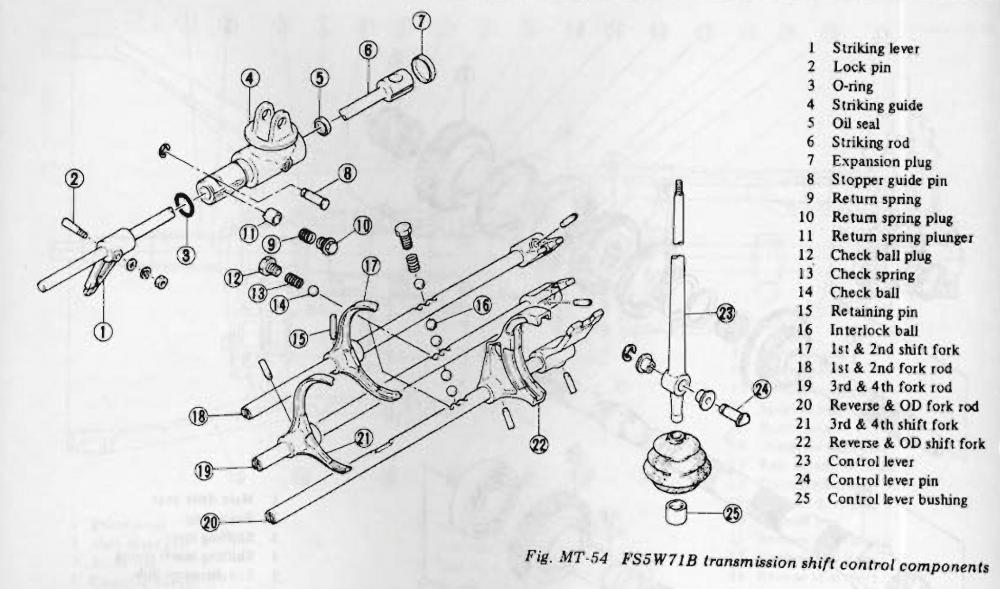
Hi Siteunseen, I have read that information as well, but it is not the reason for the design change/improvement. I have alsl read the the control lever bush Pos#25 moves through an arc when you go from 1st, 3rd or 5th back to 2nd, 4th or reverse. That means the bush would normally lift up out of the striking rod Pos#6. You would expect the spring to be on the bottom side to prevent this. Another thing I heard was to reduce vibrations transfering to your hand when changing gear. The theory is you press it in slightly and the lever floats on the spring. It's a theory. Creature comfort in the 280ZX.
-
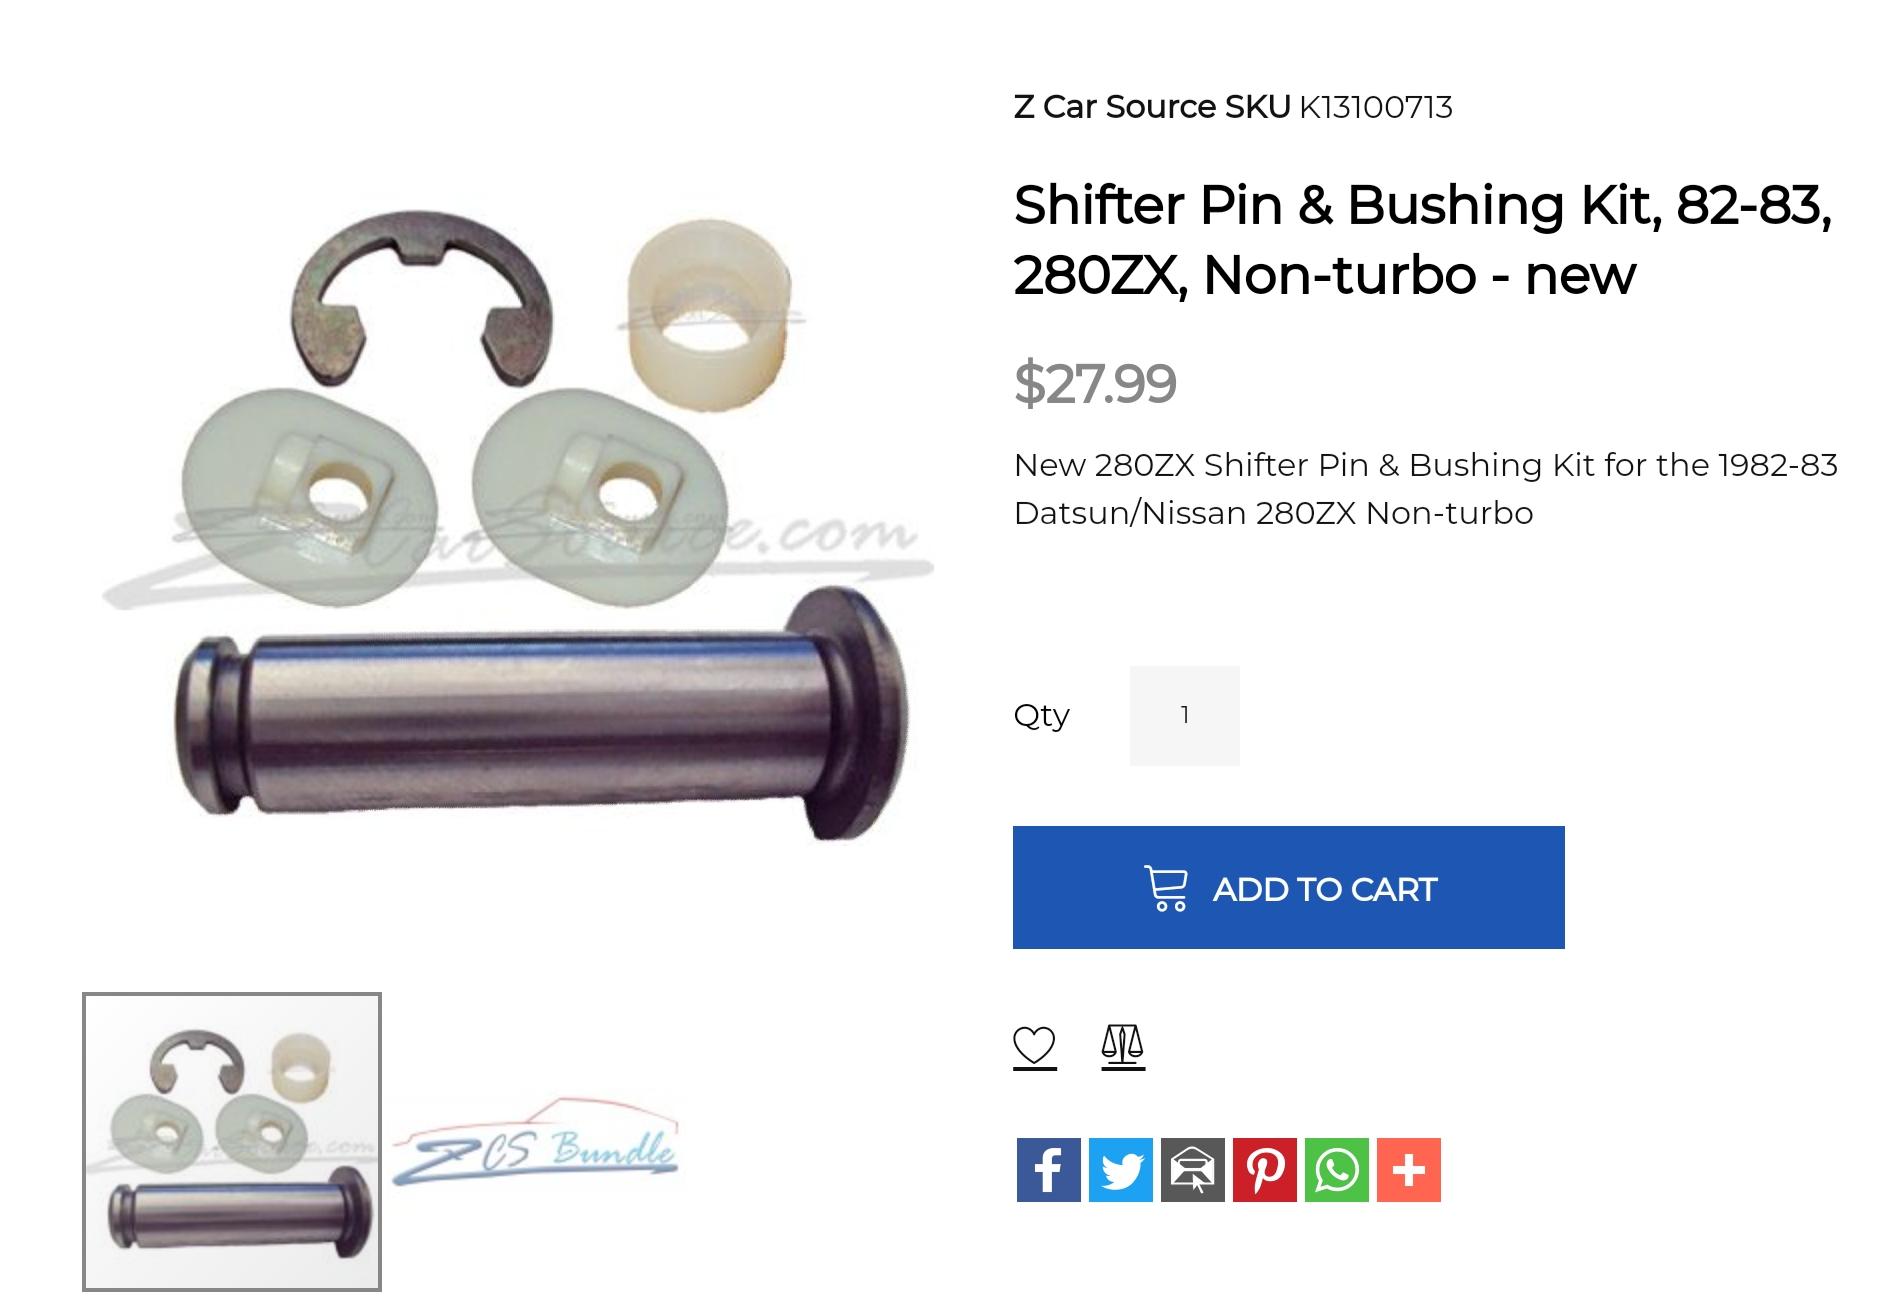
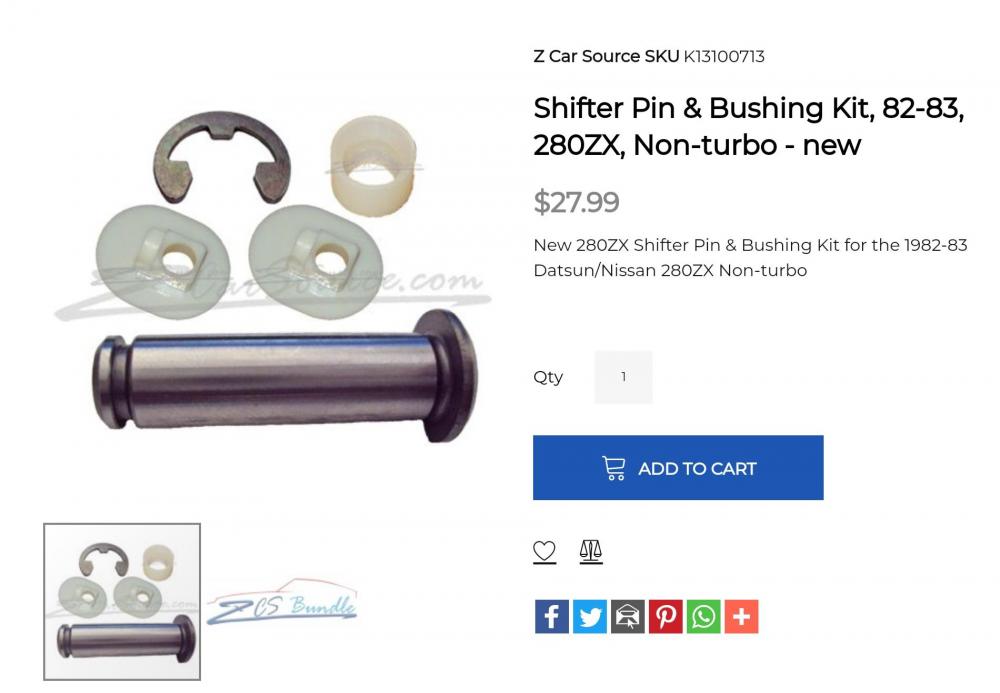
Zcarsource is the only site that still has them. https://zcarsource.com/shifter-pin-bushing-kit-82-83-280zx-non-turbo-new/ They have been NLA at Nissan for more than 10 years
-
I agree. The only concern I have is the chipped teeth can crack further and (even though small) a chance the small pieces end up between the gears on there way down. Charles: You mentioned in another thread it has 23 teeth. I have only seen 21 and 22 teeth. Didn't know they were also with 23 teeth.
-
Its not. The porsche type synchros are steel and this one is a fibre type clutch synchro. I think they changed somewhere in the 79-80 model 280ZX. About the same time they dropped the 4 speed. Of course all close ratios have the 5th warner synchro, but the 2+2 variant still used the wide ratio FS5W71B. Btw. Very bad idea for a manufacturer to mix servo type (porsche) and warner type synchros in the same transmission. The brass rings require GL-4 and the steel servo type requires a GL-5 lubricant like the diff.
-
Hi Charles, Looking at your photos, you have the earlier fibre synchro ring for 5th gear. That part number I quoted is for the later version 71B and 71C in the 300ZX. You will need the manual for the 280Z 1977. The manual for the 280ZX wide and close ratio has the later type synchro on 5th gear. The part number you will need for 5th gear synchro is P/N: 32361-20100, but it has been NLA for more than 15 years. If 5th didn't have any problems, you should be able to use it again. The original p/n for the 1st to 4th synchro was 32611-14600, but has long since been replaced by 32604-P0100.
-
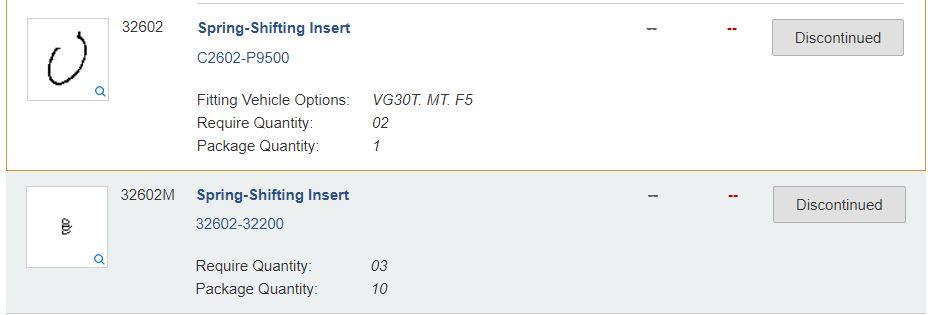
Just for clarity, I updated the parts list in the resources sections. I came across an alternative for the shifting insert springs. If you can not find the little springs, some aftermarket companies supply an alternative circlip (set of 2) with p/n: . I think they come from a Chevy transmission, but can't confirm that. Not sure how they perform compared to the originals, but it is an alternative.
-
Hi Charles, Most important before you strip it down is to check end play on all the gears. You can not check it properly once you dismantle it. The clearance varies per gear, so check the manual for the tolerances. If it exceeds the maximum tolerances, you can fix it by replacing the gears or a machine shop. The clearance on the baulk rings can be checked after dismantling. They should have a clearance of 1.25 to 1.60mm. If they are getting close to 1.25mm I would consider replacing them. It's one of the clearances that effects the way changing gears feels. If you do need to replace the baulk rings, I would strongly suggest using the genuine Nissan parts. Yes, I'm sure there are aftermarket units out there that will perform as well, but there are a lot that don't and I can't tell the difference through a simple photo on a website. The next important thing to giving your transmission that new snappy gear change feeling. Replace the shifting insert springs on both hubs. There are 3 in each synchroniser hub. P/N: 32602-32200 The other springs that should be replaced are the checking springs in the selectors and the return spring behind the return spring plunger. The reverse gear does look pretty shabby, but if you can't find another to replace it you can "repair" it. The most important thing is that the teeth are clean and not chipped. You can have the reverse gear machined back until the teeth are cleanand bevel the ends. Not cheap, but if you have nothing else it will work fine. The only thing you will notice is your gear stick will travel just a little further before reverse engages. If you need help on this, I can explain further. First choice is try and locate a replacement.
-
No problem. Your bracket with that v-belt looks like it's positioned the compressor very well and still giving you good clearance between compressor and frame. You might want to do some research on the hose fittings. If you get the 90degree elbow instead of the curved elbow, it will give you more room to move and adjust the compressor. https://www.summitracing.com/parts/fss-15211 https://www.summitracing.com/parts/vta-354300
-
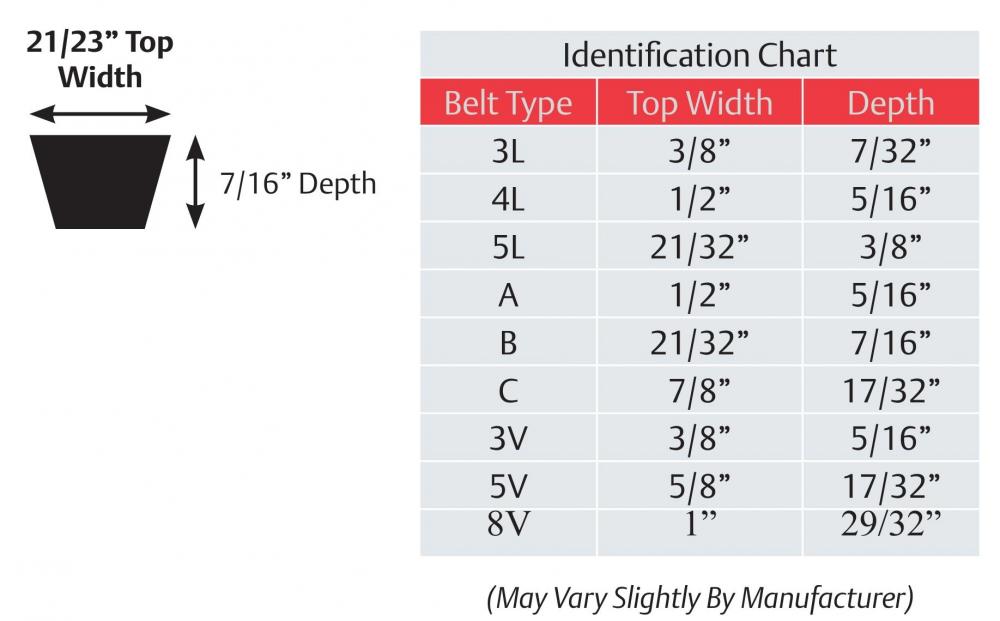
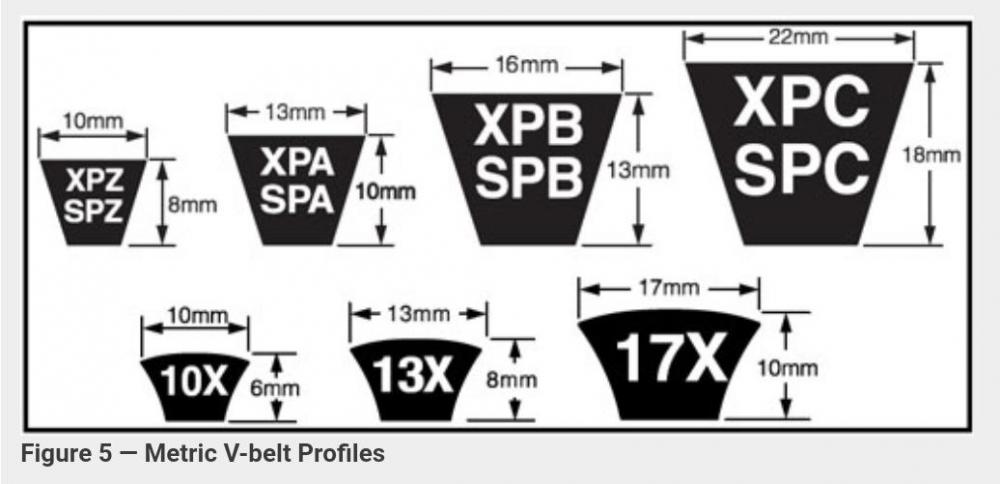
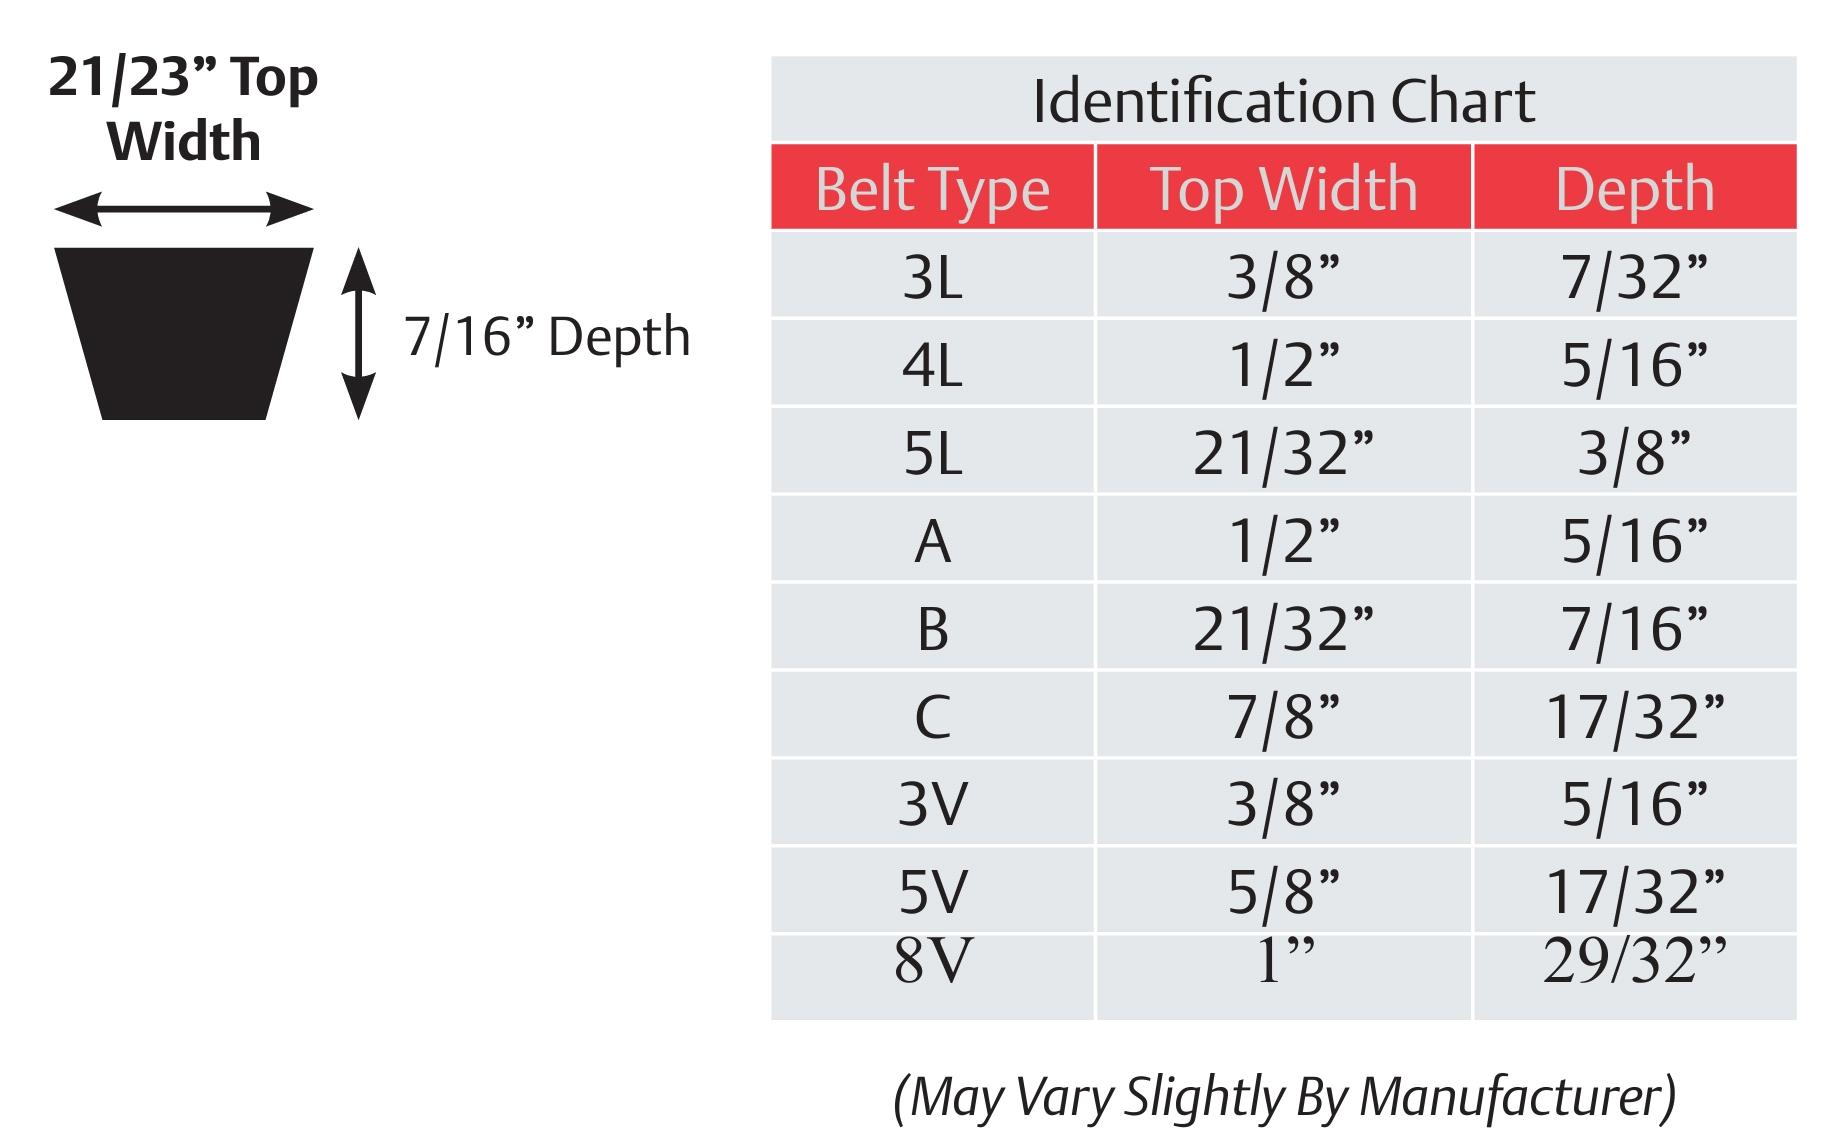
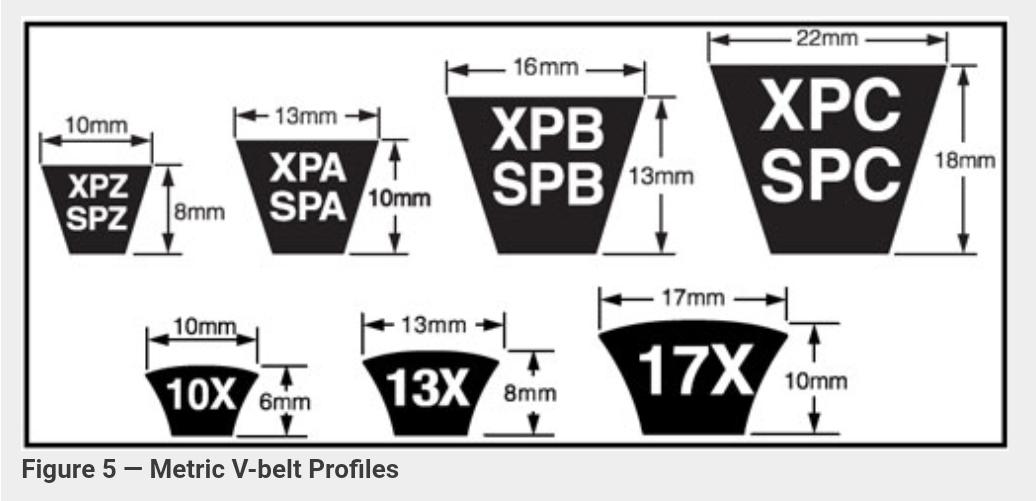
It is a challenge to design a good working adjustable compressor bracket. Most systems that use an idler pulley do it for two reasons. 1. Adjustment. The larger the V-Belt section the deeper the belt is and requiring more movement to replace the belt. The larger the adjusting pulley is the more movement required to release and replace the belt. For example: The fan belt is a A or SPA section belt with a length 900mm. The belt is 10mm deep and the alternator pulley has a small diameter. To remove the belt you will need approx 20mm to release to belt get it over the pulley groove and apply the correct tension. The alternator is easy to move and it has no big hoses sticking out to hit things. The compressor on the other side uses a B or SPB section belt (13mm deep) and has a large pulley requiring more adjustment to remove the belt. The compressor is bigger and takes up much more space. The hoses stick out and don't give much room for adjustment or they have to be long enough to allow adjustment and still have enough freedom to compansate for engine movement. The compressor adjustable bracket doesn't move the compressor directly away from the crankshaft, but in an arch requiring more movement. Its easier to move a small idler pulley 50mm than the compressor. 2. Tension. Applying the right tension to the fan belt is easier because it is a small section belt and the alternator is accessable. The compressor requires more power therefore uses a B or SPB section belt with a greater contact area. They also have a higher tension. The idler adjustment bolt is easier to set belt tension. Not trying to take anything away from the PO's initiative, but these will be some of the challenges he will face. All solvable with enough R&D. Choosing the right length belt will be important and routing the hoses to give yourself enough room to adjust the compressor.