sscanf
Free Member
-
Joined
-
Last visited
Everything posted by sscanf
-
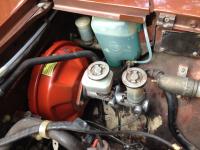
 Update: Mine arrived and is installed AND is much better for my car. When it arrived, I took it apart and found it to be a simple mechanism. I adjusted it for maximum air flow when cold and bench tested it with a 12V DC source and it closed completely after about 5 minutes. Installed it in my 1976 280Z and found that it worked much better than the original (which didn't seem to do much at all despite my efforts to adjust it). Now I get a cold idle of about 1200 RMP which is good for my motor in cold weather. After about five minutes it settles down to the speed set by the idle set screw. I am very happy with it. YMMV. These are simple things: Its nice that this version can be disassembled for inspection, cleaning, and adjustment. Dan
 -
-
I'm going to give one of these a shot. My AAR has never been right. I installed a ball valve last winter (I just let it warm up and close the valve before I hit the road). When summer came around, I went back to the original AAR and it was OK but, when it started getting cold out this fall, I had to go back to the ball valve. For $29, I'm going to give one of these a try. I'll let you know how it goes.
-
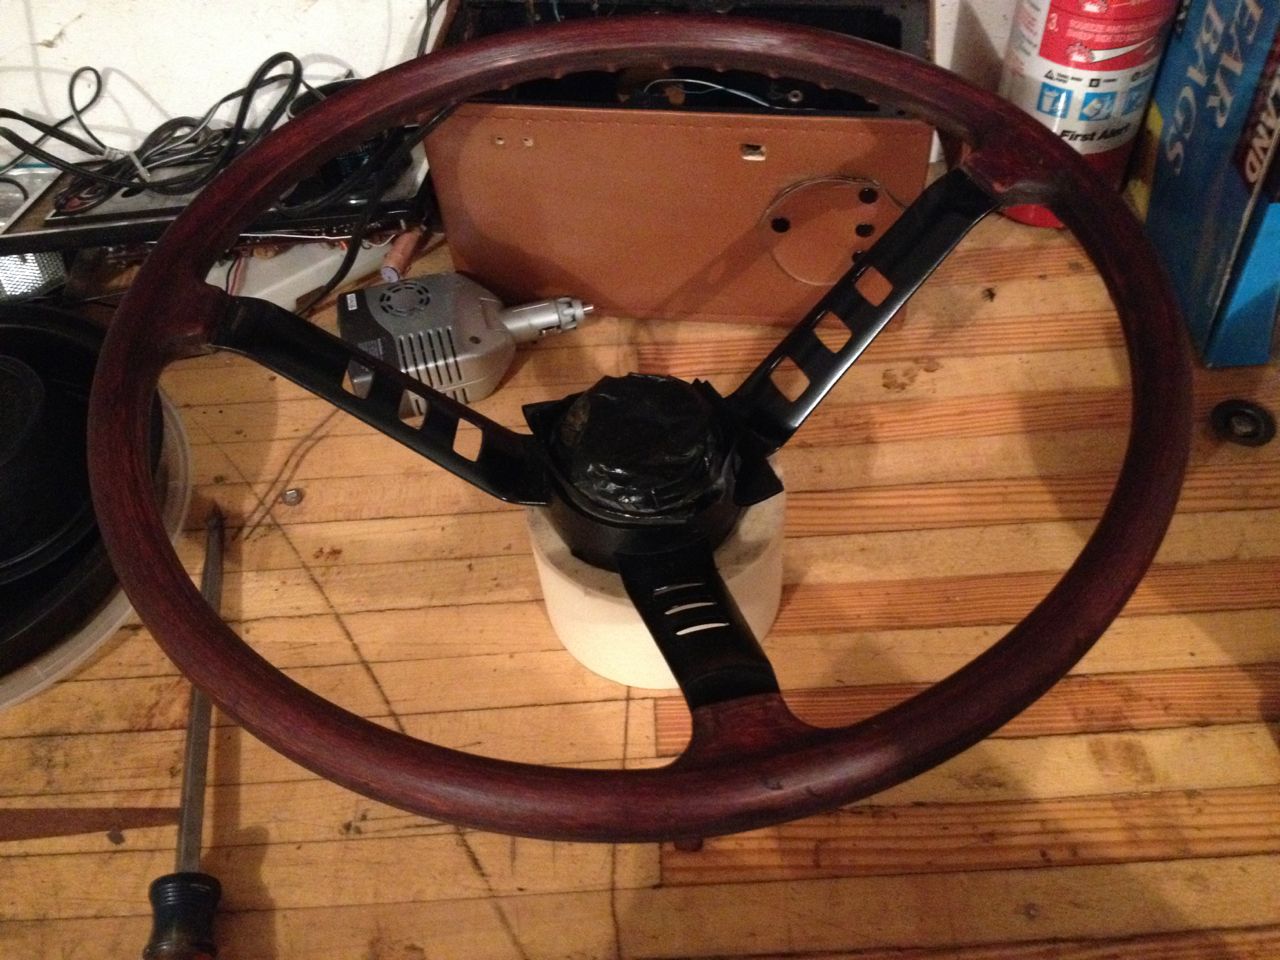
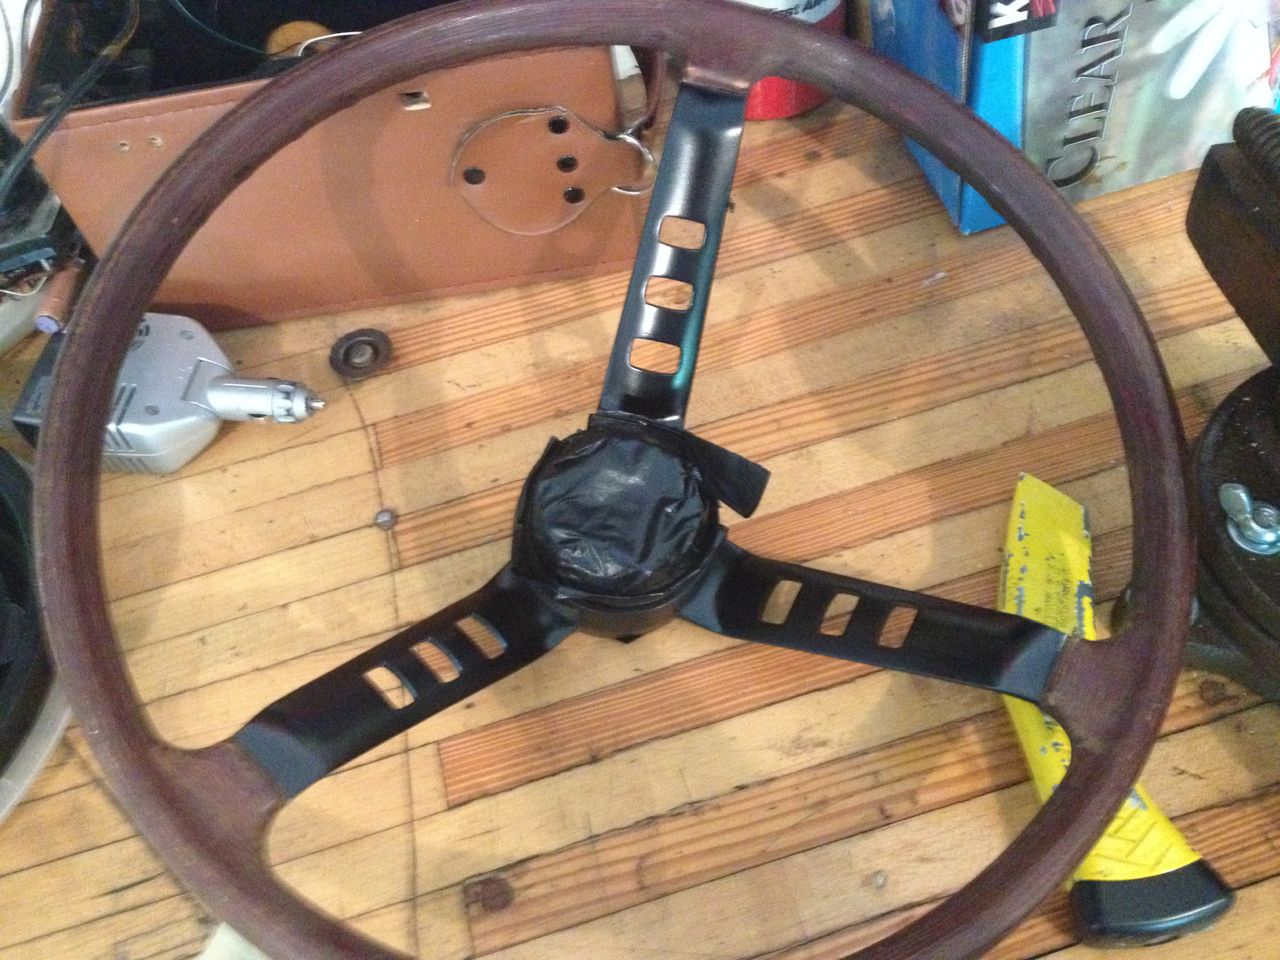
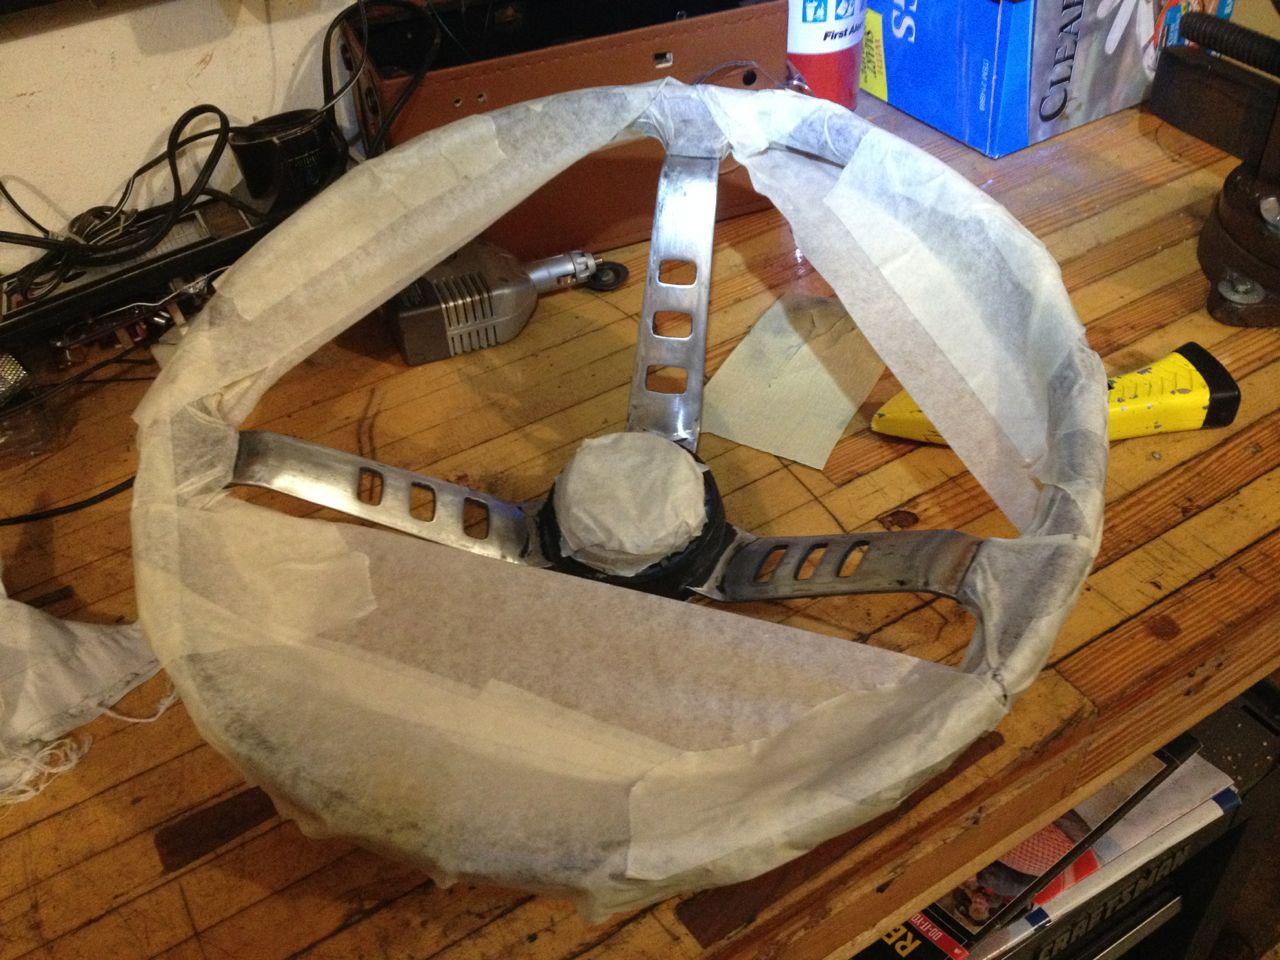
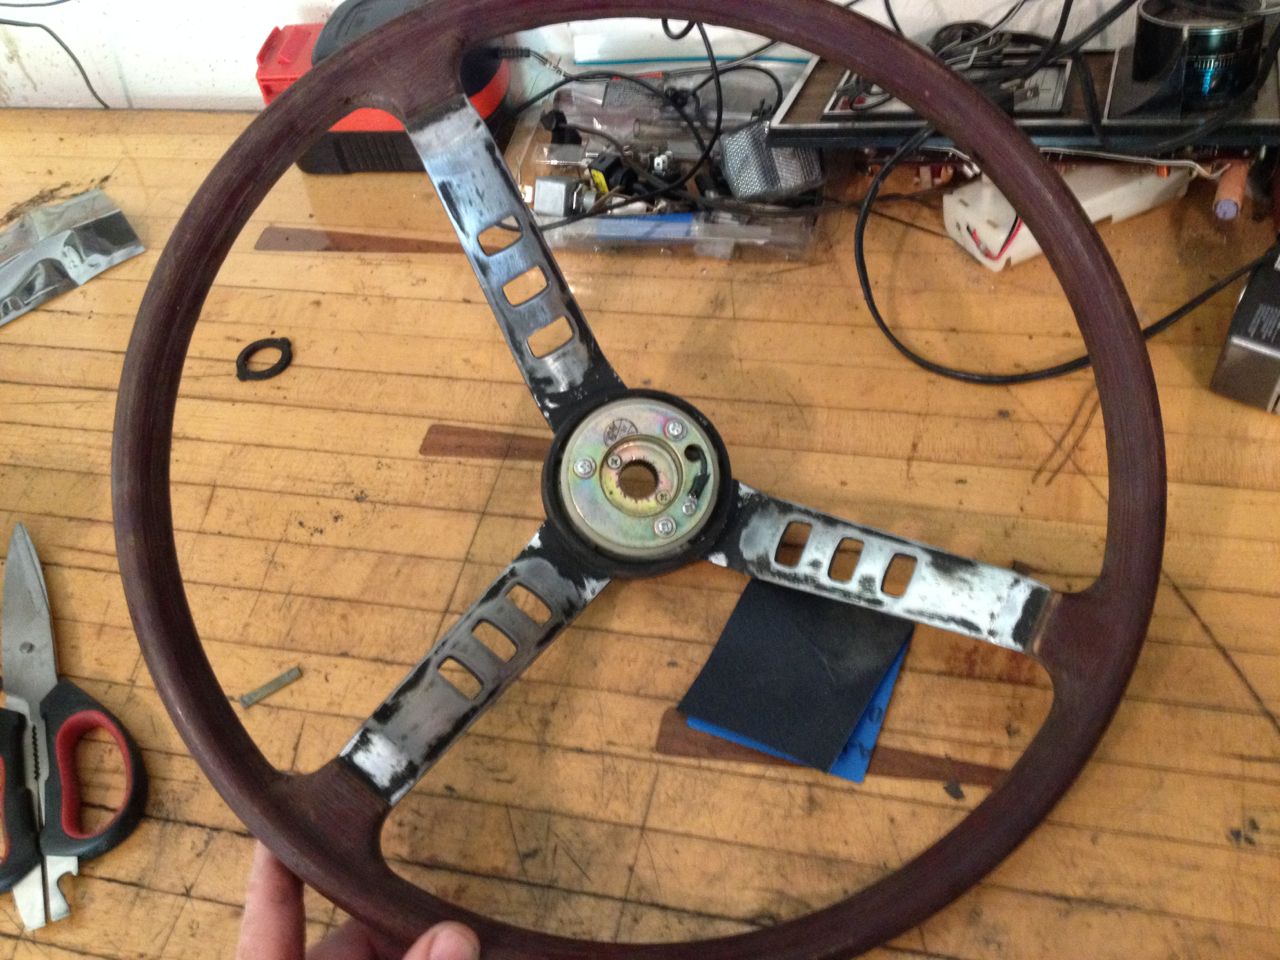
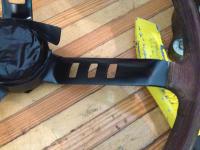
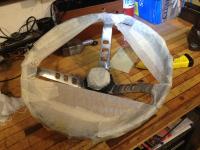
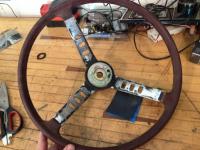
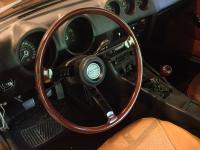
I think if you sand it smooth (maybe 320 grit sand paper) and get some stain on it, its going to look great. The 240Z wheel I picked up a couple of months ago looked pretty rough before I started but it came out nice. I just did mine last weekend, pretty much following the above process (stain, then I think I had 5 or 6 VERY thin coats of spar urethane applied with a small foam brush, treated between coats with 000 steel wool):


-
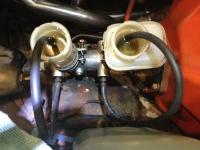
Yeah, that was me. I replaced the BCDD diaphragms with replicas cut from nitrile gloves - I have a laster cutter in my basement . This fixed the leak but I have been too chicken to connect it again. I guess I'm waiting to get everything else sorted out before I try it (I'm still running with my TPS disconnected because one of the switches or wiring seems to be bad). If anyone on this forum has the same problem, I'd be happy to send them nitrile replacements. I have no idea how well they will stand up under actual use. My old post about BCDD leak and rebuild is here
-
If all else seems right, check your BCDD - this is where I found a leak on my 1976 Z when I resorted to the yogurt cup test. I could hear it though. Blow hard, find someone with good ears. The condition of my BCDD diaphragms were so bad that I'm surprised that I don't hear about the same problem more often here. It sounds more like you have a vacuum leak but some other diagnostics worth trying (to help eliminate these systems as being part of your problem): Try running with the TPS disconnected and observe any differences in performance/gas mileage. Also maybe try disconnecting the CSV after you start. I would add the temp sensor pot as well (even though you have a newish ECM - who knows exactly how these things are reconditioned).
-
This is the coil I run on my 1976 280Z with 1979 280ZX distributor/ignition module (appropriately rewired - no ballast). $15. Runs great: https://www.rockauto.com/catalog/moreinfo.php?pk=4589205&cc=1209293 I had a crazy tach with the old distributor/ignition module with occasional cut outs (also a ZX flavored). New distributor/ignition module fixed that problem for me ($90 + core): Product Detail
-
One of the above or an easy out would probably work too. Or you could cut a slot for a flat headed screw driver with a tiny dremel cut-off wheel.
-
While working on the Z over the weekend I took a movie of my fuel pressure gauge for fun and enjoyment (and as a record of what its behavior is when the motor is running well). Though you all might be interested:
-
I recently posted in my reliability update the my brake booster was leaking. Once it gets bad, its easy to diagnose: A sucking sound in the cabin when brakes are applied along with hard braking and engine surge during braking. Long story short: All of this goes away once the brake booster is replaced and everything is properly re-attached. Early Warning Signs What I didn't realize is that my Z was telling me for a few weeks that the brake booster was going bad. It did this with an occasional engine surge at idle (it would only go down to maybe 1500 rpm's at a stop light). When this happened though, I would give the throttle a quick kick and it would get back to normal. Because of this behavior I attributed the problem to my recently adjusted dashpot (prior to adjustment it was out of the picture) or a sticky linkage. I figured it was getting sticky and it was on my list of things to look at some day. During this period when the brake booster was going bad, there were no other braking problems. Braking was strong and there was not cabin noise while braking. Fast forward to about 10 days ago and I get the classic brake booster issues: Hard braking, sucking sound in the cabin during braking, engine surge during braking. So I replace the brake booster (see cautionary tale below) and the brakes work really nicely, classic symptoms are gone. But, now, also gone is my stop light slight engine surge. No more need to kick the throttle (yay!). A Cautionary Tale Some of you may have caught this on the Help Me board. I change the brake booster last week. Its really an easy job to do (maybe 2 hours, if that - you do have to be a little bit of a contortionist to get to the bolts under the dash). Don't make the mistake I did: It turns out that the replacement booster was somewhat larger than the old one (and I can feel the difference in braking). When I went to hook up the master cylinder to the hard lines I was careless in alignment (I think maybe that the larger booster slightly changes the alignment of the hard lines to the master cylinder slightly) and I could not get the hard lines connected. In the end, I wasted more than a few hours recovering from this and I almost had to replace one of the hard lines but managed to dremel out the burr that I had created while thrashing with the lines. So, be sure to always get those brake lines nicely square before attempting to connect them. If you search the Help Me forum for finger blisters, you can find the whole story. Here it is all done though (I decided to paint the new booster, I think it looks good):

-
Hampton Beach Casino is my favorite place to see a concert. The Gogo's would be great there. I will check that seal again. Thanks. I have a break booster story that I will post in a separate thread to make it easier to find.
-
I tightened it one last time (the fitting was a little chewed up so tightening was not easy) and its all good. No leaks, brakes work great. Put 60 or so miles on it over the weekend. ALL DONE! We got the timing belt on the 99 Accord done over the weekend as well (its own adventure). Thanks again for all the help.
-
Here's the news: Last night I went to the local Orielly's and bought a couple of brake lines with fittings, a couple of separate fittings, and a flaring tool. I also picked up some nitrile gloves that are a perfect fit - so much better than the baggy ones I had... Ready to go. So today I hit the garage, cleaned up everything, cleared the bench, put the pile of tools away. Put on my old-man glasses. Got out the dremel out and found a tiny tapered grinding bit. Went to put on some JT but accidentally put on Aerosmith instead. 30 seconds with the dremel, dabbed a tiny bit of anti-cease, tried it, and it went right in (for the record, Walking In The Sand was playing)!!! 15 minutes later it was all back together and bled and all working nicely. That's the good news. The breaks work great and the new booster fixed the original problem very nicely (hard braking along cabin whistle when breaking accompanied by engine surge). The bad news is that the fitting might have a tiny leak because, after cleaning everything up and taking it for a test ride, I noticed a small puddle on the frame below but it may be that I overfilled it a little bit. We'll see. If it is a leak, its very slow but I may have to replace that line yet. I'll keep a close eye on it and tackle it next weekend if I need to (change the line). In the end, the problem was a tiny burr that prevented the fitting from starting. The burr was probably caused by not having the lines nice and square when I first went to reattach them then I thrashed for a bit, probably causing more damage. Had to come here for a talking to. Thanks for all the help. I'll follow up next weekend with, hopefully, the final conclusion.
-
Spent 15 minutes last night. No joy. No JT either, maybe that is my problem. Blisters are healed though. Will try one more time tonight but I don't think its going to go. I might see if I can clean up the start of the thread with a dremel. The line still goes on the 10x1 nut OK but it just doesn't want to start in the master cylinder fitting, even with the master cylinder loose. I have considered removing the fitting from the master cylinder (I know there is stuff that I need to catch) and starting the fitting that way, then carefully putting it all back. Tonight or tomorrow morning Buying: Double flare tool kit (I think there is room), Two sections of brake line with connectors. JT Greatest Hits. Beer. I'm doing a timing belt on a 99 Accord this weekend too (after a failed attempt last weekend - another story but at least the Accord can still be driven - it has been a bad week).
-
I picked up a 10x1 nut and bolt at lunch and tried them on the line/master. The bolt went into the master no problem but the it was hell to get the nut on the line. Add vice grips and a long socket and the nut cleaned up the connector pretty nicely. Now the nut goes on/off the line pretty easily but a quick try at connecting the line failed. I had to get back to work so was not persistent. Besides, persistence had failed me in this case. It seems like I need to control my persistence.
-
You might find this thread helpful: http://www.classiczcars.com/forums/fuel-injection-s30/45472-1976-efi-overhaul.html?highlight=#post392279
-
Have I mentioned, when the Z is laid up, my daily driver is a 2003 minivan? I REALLY need to get this done!
-
OK. I tried again last night using Zed's advice (didn't see the other posts)... I got everything nice and square and the front went in like it was never a problem. The back, on the other hand, had no intention of going in, add another hour of frustration and I believe that I need to replace the back line. Before I do that though, I'll try the other suggestions - here is my other problem though - I have the MSA coated header on this car and it seems like there isn't enough room to loosen that line from the junction box. I could get the brake line wrench on but there doesn't seem to be enough room to turn it - I didn't really try though. I figured it would be a good idea to let them soak overnight in pb blaster before loosening. Other thoughts/questions: I was thinking of stopping by the hardware store and buying a nut/bold of the same size to try on the fitting and in the master cylinder to see if I have a threading problem - they look visibly OK but maybe there is something my old eyes aren't seeing. What size are these fittings? Is it possible to replace the fitting on the line without taking the line off? There seems to be plenty of length available. If there is a thread problem on the fitting, I'm hoping to be able to replace it without getting further into a can of worms. If I have to drop the header to get the line off, I might just put on a standard manifold (which I do not have - this car came to me in pieces and I just went straight for the header (exhaust manifold was missing). I can't believe it might be coming to this....
-
I brought this on myself when I posted earlier today (in the EFI forum) that I just ordered a new brake booster and that it looked like an easy job. The booster actually arrived today AND it was an easy job - well almost an easy job. At step N of the N step process I got to the point where I re-attach the brake lines to the master cylinder (OK, step N-1 since step N is refill). I Thought I was home free but reattaching the brake lines is not happening. They came off easy (I changed the master cylinder a year ago and it was uneventful then) and the threads look good all around. The only difference is the new brake booster - it is slightly larger than the old one. I think maybe the master cylinder location is a few millimeters from its old position. I thought it no big deal but I cannot get the fittings to catch despite messing with it for an hour. I tried loosening the master cylinder, then taking it off the brake booster to at least get one line to catch but no joy - by the time I got to that, I literally had blisters on both index fingers - the one on my right finger index is tinted red too. I had to walk away So, what is the trick? There has to be a trick. Dan
-
Hi All, I have been missing from these parts for a little while. Too much going on but my 1976 280Z has been my daily driver until this week (brake booster see below). Not much to report except that it starts every time and has (generally) been running great. Highligths: 1. About a month ago I took my buddy to see Pat Benetar at the Casino Ballroom in Hampton Beach, NH. A 130 mile round trip drive. I warned him that it was a much bigger drive than had been attempted before in the Z but he insisted that we take it. I loaded up with a complete tool kit (based on recommendations from here). Had the front wheels balanced. Doused all the wires with WD40 (thunderstorms were threatening) and we hit the road. Result: Not a single problem - had a great time. PB Rocks! Generally kept it around 70 on the highway Hit 90+ once or twice. Sure seems like a 5 speed would be nice.... Everybody loves these cars around here too - lots of comments. There aren't many Zs around these parts any more. 2. Shame on me for not testing the TPS but there is definitely something wrong with it. If I run with it connected I am getting about 18 MPG, with it disconnected I'm getting 21+ MPG. I suspect the WOT switch is to blame. 3. I had done the temp sensor mod before but have since replaced the 5K pot that I used with a fixed 500 Ohm resistor because the pot kept drifting and causing problems. I want to eventually replace it with a thumb wheel style 1K pot (with an an on/off switch as a theft deterrent) on the center console next to the hazard switch but 500 makes it run pretty nice. 4. I have a water leak somewhere in the back hatch that is driving me crazy. Bottom right side as you look at the back of the car. We have had some heavy thunderstorms and it is soaking the carpet when this happens. 5. Brake booster developed a leak this past weekend. I have a new one on order from Rock Auto ($105 + $40 core charge + $8 shipping). Looks like an easy job. 6. Some exhaust stink when the windows are open. I guess I need to check the seals around the tail lights (but maybe there is another seal somewhere else that is the problem and is also causing the water leak, see 4 above). 7. I think there is an old mouse carcass hidden somewhere in the back. I still have all of the trim taken out of the back and have shoved various cleaning implements into all of the Z's nether regions but I only found his nest, not his body. He still likes to put out a little bit of stink, especially after it rains (see 4 above). Does anybody know their way around the various tunnels and cracks and crevasses in the back? Any suggestions? So, I have put about 2500 miles on it since April and, all in all, I am happy! Dan
-
Just a quick thing to check: If you did the ZX distributor upgrade, then there should be no ballast resistor AND you should have the matching ZX coil to go with it. Another thing to check: Does your tachometer operate properly? My 1976 had a ZX distributor/ignition module upgrade performed by the previous owner. It ran but would cut out sometimes AND the tachometer was jumpy and did not read correctly. I believe both of these are symptoms of a weak/dying ignition module. I replaced the distributor/ignition module with a "rebuilt" unit and it fixed both of these problems.
-
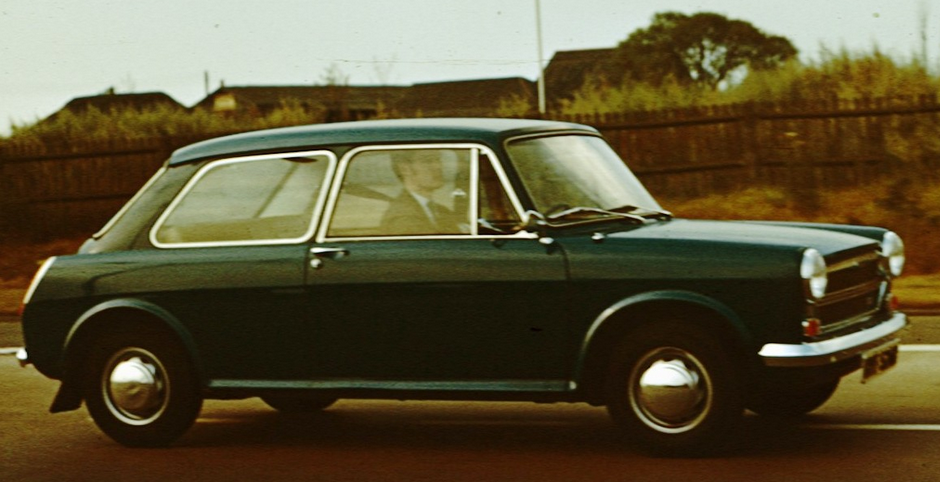
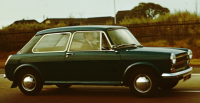
Mine was not the Morris of Top Gear/piano fame (I had to look that up). There might be a marina somewhere int the background of the Cortina photo though. The 1300 looked like a big mini. It was actually a pretty good car. Front wheel drive. Great on gas. No power. 4-speed "granny stick" (gear shift was just a long stick protruding from the floor). When I bought the car, I asked the guy for a quick lesson on how to drive a manual transmission. He claimed to be in a hurry and said "push the cluth in, put it in gear, let the clutch out", that was it. It was parallel parked at the time.... Three hours later I could drive it. Looked like this:
-
I'm going to check with my insurance company on their towing policy. Will let you know. I don't want to be stuck having to have it towed to a garage if I'm within a reasonable radius of home. I once had to spend the night in the Cortina when one of the tiny nuts that held on the air cleaner came loose and was swallowed by the carb (it wound up getting stuck between a valve and the head). I hitched a ride the next day and was picked up by a trucker. When I asked what he was hauling, he told me that it was a load of "maggets". I never really figured out what he meant by that and I was afraid to ask.
-
So, look what I did to myself: Battery not charging this morning (the little red light made me pay attention)! I noticed the other day that the charging was a little flaky (sometimes charging nicely, sometimes not so much). I actually NEED the car for the next 10 days while someone borrows our "spare". So I'm off to Adv auto at lunch for a new alt. Hoping to get it all done at lunch (will bring the core with me). Update: All better now
-
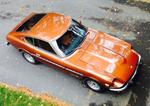
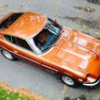
So close: I wish it was a Lotus but it was only a GT. It had a ford 1.5L motor with a 2 barrel Webber carb and headers. It sounded great and the four speed transmission in that thing felt so good but it did zero to sixty in about 15 seconds. It never stared on the first try on a damp day (which most days were - I was in the USAF stationed in the UK): I never figured out what was wrong but I would go through the process starting with - do I have a spark? So I would pull a wire and pop in a spare spark plug and hold it agains a ground while I cranked it - and it ALWAYS started that way (on 3 cylinders). The starter had a tendency to come loose (sometimes I would hold it up while someone cranked it). It also weirdly was wired with a positive ground. I had to tune it up on just about a weekly basis. It was certainly a car that I bonded with.... I traded a Morris 1300 for that Cortina (and the guy threw in another $50). I had paid $600 for the Morris and drove it for a few months - the Morris was actually pretty reliable. It never gave me a problem.