Dr. 240Z
Member
-
Joined
-
Last visited
Everything posted by Dr. 240Z
-
 If your cat is worth it's salt, you don't need mouse traps!! Respectfully, George
 -
Add some antifreeze to that water in the pail. Then the water doesn't freeze, and the dead mice don't smell....as much!!
-
Agreed!! http://www.classiczcars.com/forums/tech-pubs-howto/51222-steering-wheel-refurbishment.html Respectfully, George
-
Hi, I'd appreciate some feedback from those who have installed a Courtesy Nissan AC Kit (SKU: 240-Z) in their S30. Was the installation straight forward? Does the unit meet your expectations? Have you had any problems with any of the kit components? How would you rate the overall quality of the kit? Regards, George
-
"Isnt there a company that sells a straight forward kit? So much hassle to purchase this kit online?" I suggest you try: 1) Courtesy Nissan ($999) and/or 2) MSA ($1150) George
-
Imagine all the fun you have in front of you....enjoy the process!!
-
Thanks, Dennis I just noted that Courtesy suggests 'professional' installation. Also, they are asking $150.00 less than MSA at this time. Won't need it up here for a few days...temps are predicted to go as low as -30F !! Cheers, George
-
Hi Dennis, I'm curious if you installed the AC kit yourself. If so, how difficult a procedure was it? I just tried to connect to Courtesy Nissan but could not connect to their web site. MSA lists a kit but doesn't provide many installation details. Cheers, George
-
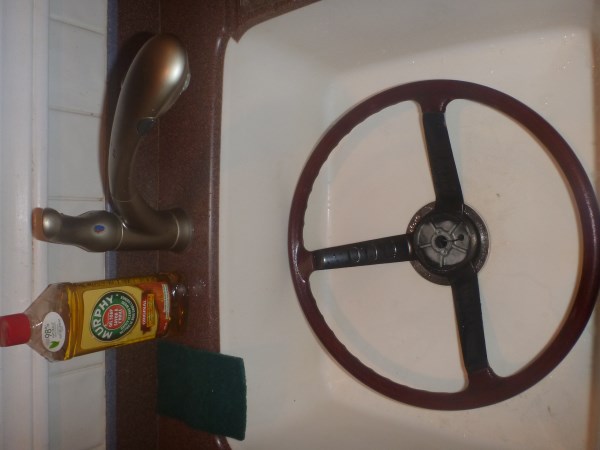
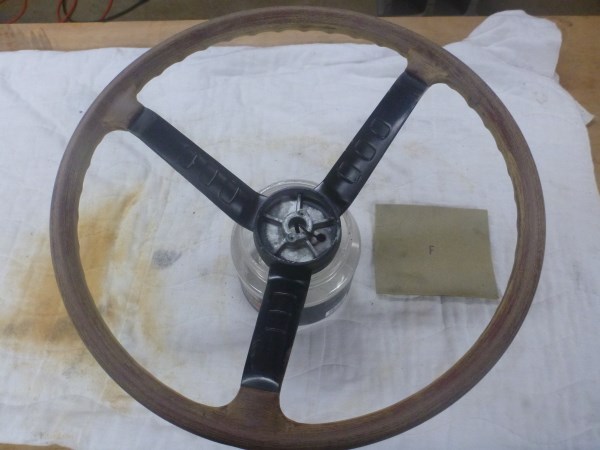
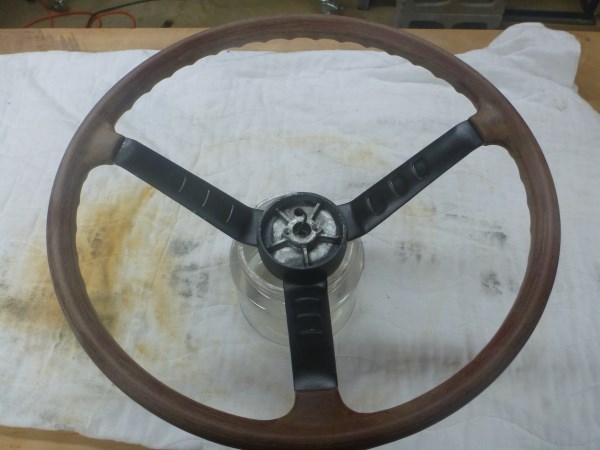
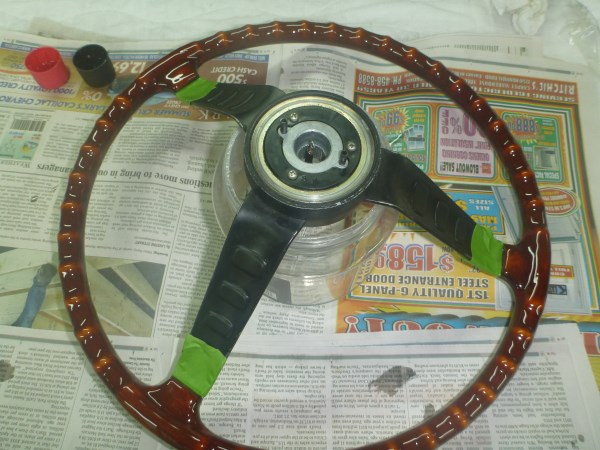
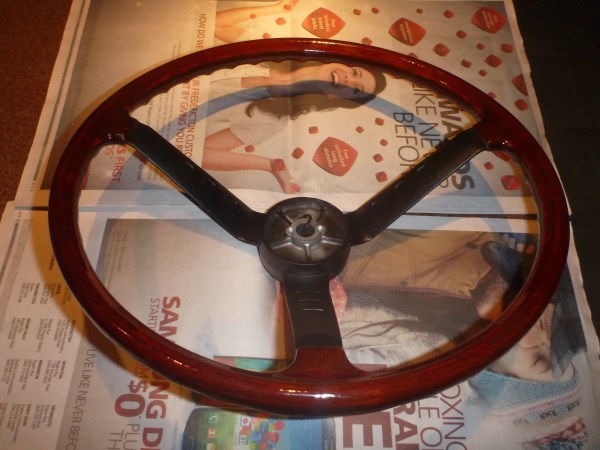
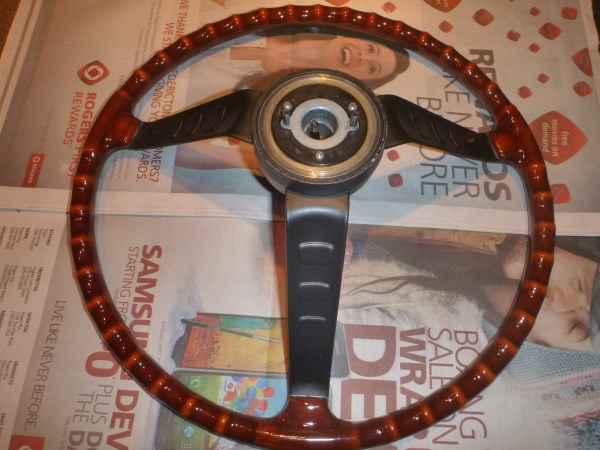
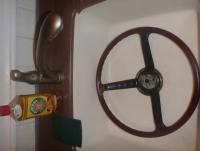
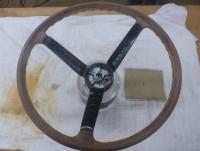
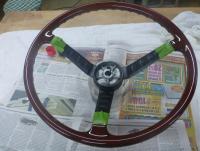
Hi, After reading several posts on this project I refurbished my Z's steering wheel as follows: 1) I cleaned the grime off the rim with a green pad and Murphy Oil. 2) Next I sanded the wood/epoxy rim with a fine sanding pad. 3) After taping off the spokes I covered the rim with 'Famowood' Gloss Glaze Coat. 4) Taped off the finished rim then sanded (to 400), primed (self etch) and painted (semi gloss enamel) the spokes. George


-
I like where you have the 240Z logo positioned
-
Terrific write up and photos...thanks for sharing A possible 'fix' for the broken tab might be a dab of two part epoxy.
-
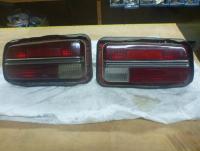
Another consideration is the relative brightness of your tail lights. Having recently dismantled my tail lights (see my post, 'Tail Light refurbishment') I'm amazed how much brighter they have become.
-
HI, While you are at it and have the access opportunity, I suggest that you consider spraying the internals of the frame rails with Eastwood's specific product or something similar.
-
Tried something new, I think....Before placing the refurbished tail lights back on, I placed a generous bead of 'Seal 'N Peel' silicone on the interface of the rubber gaskets with the supporting framework. Then I used ordinary all weather silicone to seal all the seams in the back end.The idea/attempt was to perfectly seal the rear end from exhaust fumes. Now I'll have to wait until spring before knowing if it was of any value. Regardless, the lights certainly look a lot nicer.
-
Konig Rewinds Graphite 16x7 -That's what I meant - Sorry, Santa, I didn't mean to confuse you!
-
16'' Robello rims (gunmetal) would be nice....Hint, Hint, Santa are you listening??????? Season's Best to ALL, George
-
Hi, Welcome to the site. As for the orange air filter cover, go to ebay and search: Datsun 240Z and air filter cover There's one postedon the first page for $69 Regards, George
-
Sorry - Wish I could accommodate you but it's -12F outside here this AM and my Z is hibernating inside in its warm den until April.
-
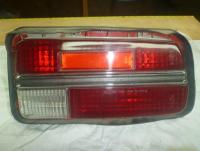
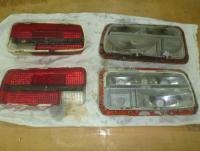
Hi Mike, I used Turtle Wax 'ICE" - works great on many types of surfaces and does not leave a white residue. Google it and you might be tempted to give it a try. In any case, this was the very first time I applied anything to the lenses and as you can see they ain't look'n too bad for 42 year old plastic. Cheers, George
-
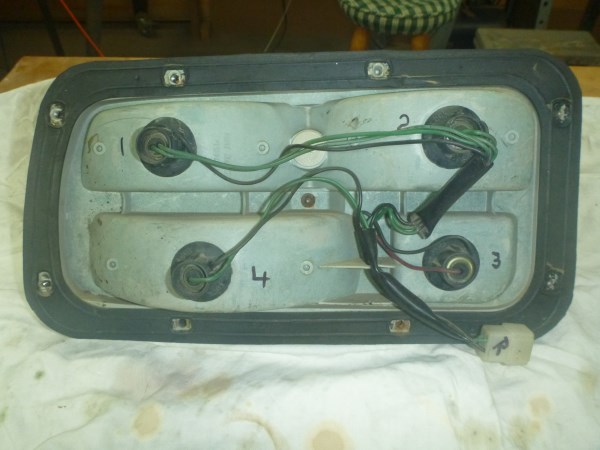
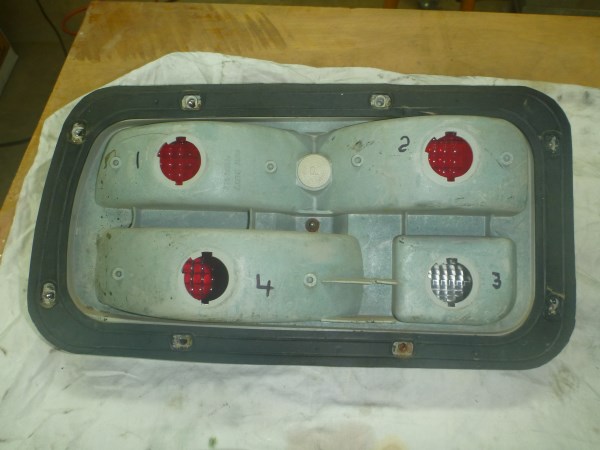
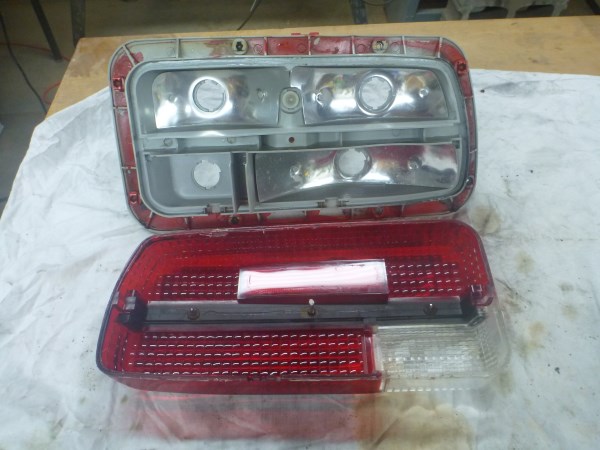
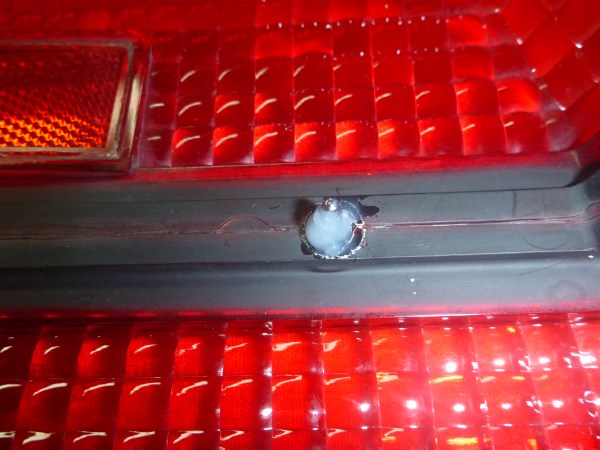
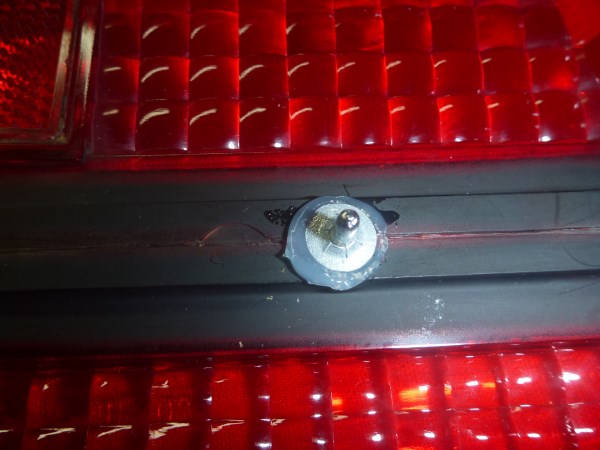
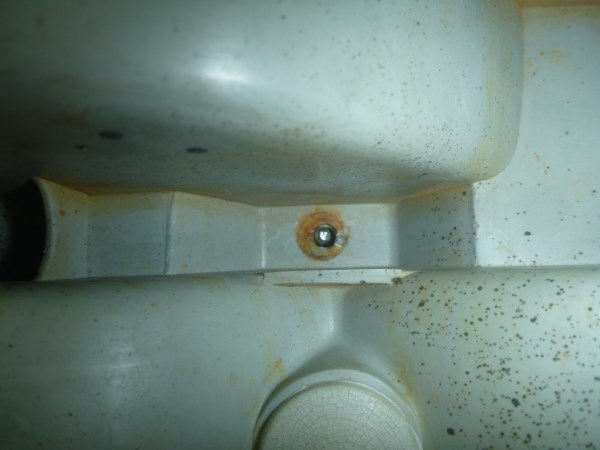
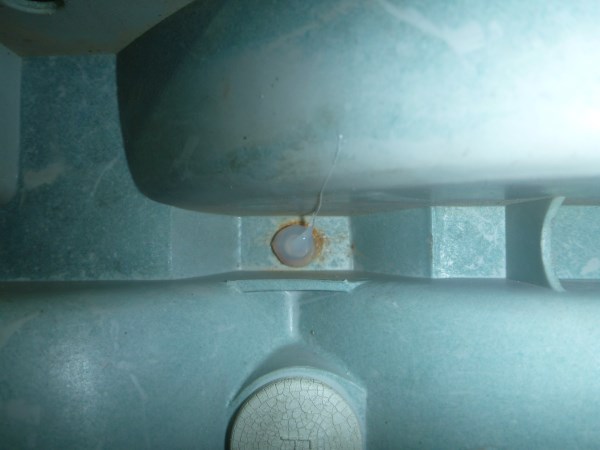
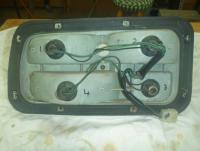
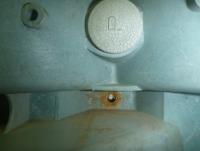
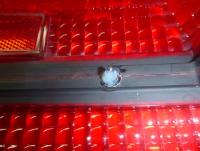
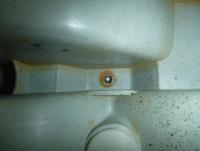
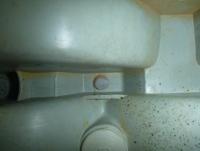
I wish! However, going from the 4th to the 5th picture you can see the center post with the retainer (4th) and then a fractured off post without a retainer (5th). I did attempt to remove it without creating any damage but after awhile I gave up when it dawned on me that I was replacing the old bar with a shiny new one anyway. Dennis, I think that the only way to remove the old retainer without damaging the post would be to carefully grind it off with a small power tool. Actually, if you have a friendly dentist, I'm sure he/she could do it for you. Cheers, George
-
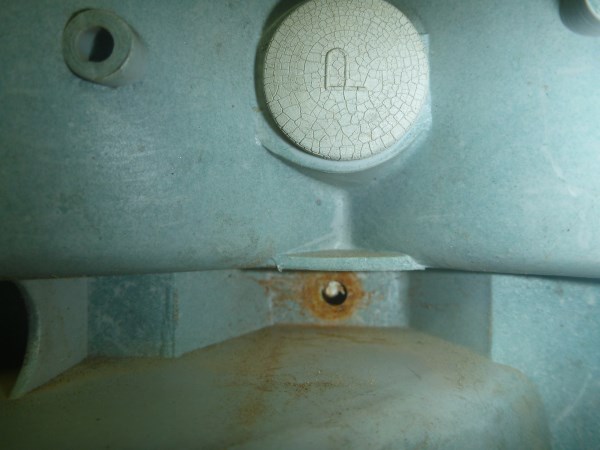
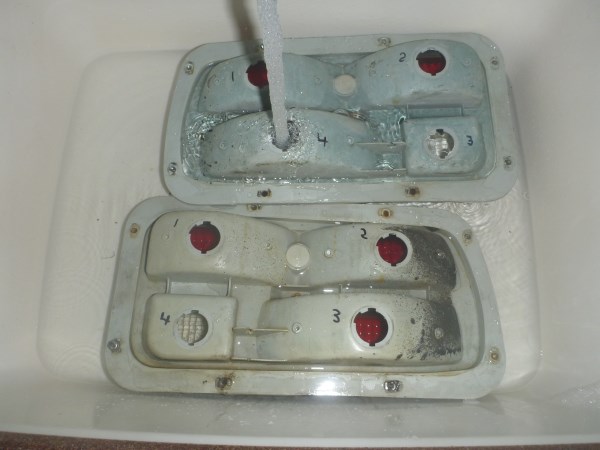
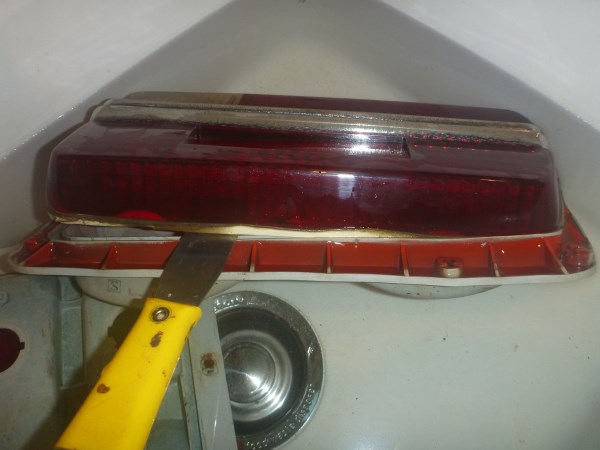
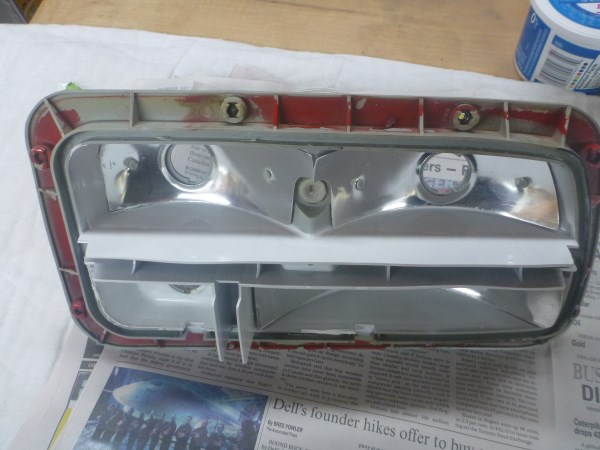
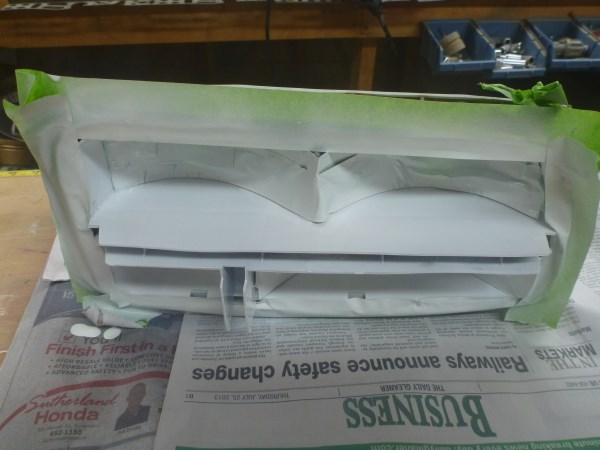
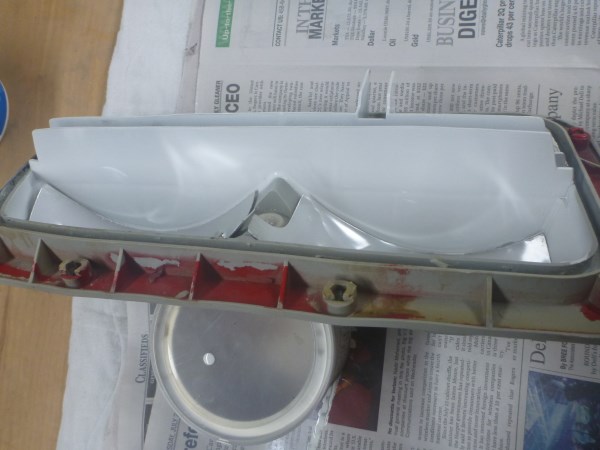
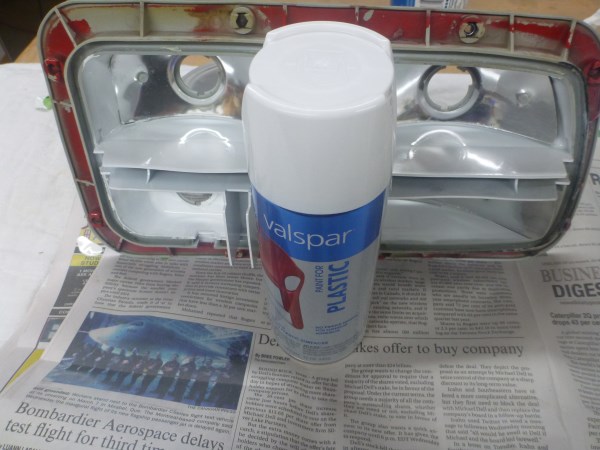
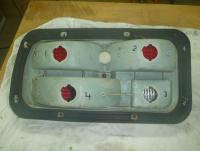
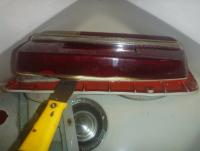
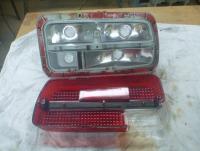
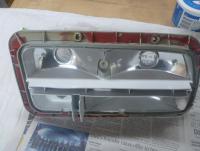
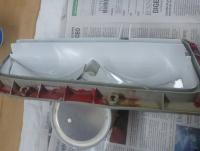
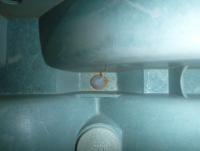
If interested in refurbishing your 40+ year old tail light lens here are the steps I took with mine after removing the exterior rubber gasket: 1) Before disassembly of the light unit (lens from body), mark the wiring harness left and right. Then number the individual plugs. 2) Remove the bulbs. 3) Remove the metal retainer from the light bar center post as it protrudes from the backside of the body. Please not that if you are planning on reusing the bar, removal of the retainer might require ruining it for reuse. On the other hand, if you are going to replace the bar with a new one, just do what you have to do to get it off. 4) In a sink filled with hot water fully submerge the light unit for 10 minutes. 5) Remove the felt plugs (2) on the bottom side of each unit and set them aside carefully. 6) Slowly pry the lens away from the body using a small flat bladed screw driver. Once enough of the edge of the lens is exposed from the recess, slide a small putty knife along the cement line. 7) Clean up any of the remaining putty by scraping the blade of a small screwdriver over the warm putty. This can take some time. Warm putty is easier to remove than either cold or hot. 8) Wash the lens and body in hot soapy water. Dish soap works well. 9) Now out of the sink and dry, go over the internal plastic with a commercial cleaner. I used ‘Tuff Stuff’ made by STP and it worked well. 10) Polish the reflectors with a metal polish such as ‘Autosol’. 11) Mask the reflectors with painters tape. 12) Paint the internal grey plastic with shiny white paint suitable for this application. 13) Replace the tail light lens bar. Before pressing on the retainers to the outside posts, place a dab of silicone over the protruded end to ensure a good seal. Ensure that you have a good fit of the bar to the lens. 14) Insert the two small pieces of felt in the lens edge just as they were before disassembly. 15) Lay a bead of clear silicone in the recess of the body that accommodates the edge of the lens. 16) Place the lens over the body and press it slowly but firmly into the recess until you feel it bottom out, fully positioned. 17) Place a dab of silicone over the protruded part of the center post of the lens bar as it exits through the body. Now press the retainer into position. I found that a safe and easy way to place these retainers was by use of a socket sized slightly less than the circumference of the retainer. 18) Reposition the wiring harness and secure the bulbs in their sockets 19) Shine up the lens with a paste car wax.


-
Great 'Love Story' ....Well done....Thanks, Jim
-
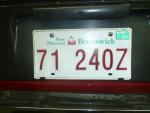
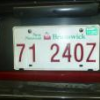
Hi, I'd like to make this triplets!! As is, I'm the original owner of a 1/71 with production # HIS30-18859 Cheers, George
-
Interesting....Thanks for sharing
-
Hi, I placed a Cherry Bomb mid way back last year and the result was as hoped. The drone disappeared and the exhaust sound deepened. Now the Z has a beautiful balance of engine growl and exhaust purr. If I recall correctly, the Cherry Bomb cost ~$25.00 on ebay, so not a big investment considering the value of the pleasure derived. FYI: There's lots to read on this topic - worth the investigation - enjoy