


GRLS30-001855
Free Member
-
Joined
-
Last visited
Everything posted by GRLS30-001855
-

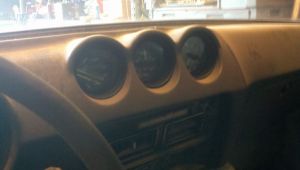
From the album: 1974 260z 2+2
-
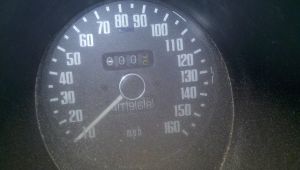
From the album: 1974 260z 2+2
-
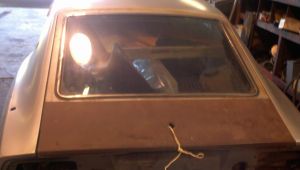
From the album: 1974 260z 2+2
-
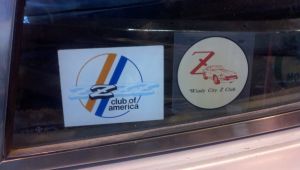
From the album: 1974 260z 2+2
-

From the album: 1974 260z 2+2
-
From the album: 1974 260z 2+2
-
From the album: 1974 260z 2+2
-
From the album: 1974 260z 2+2
-

From the album: 1974 260z 2+2
-
From the album: 1974 260z 2+2
-

From the album: 1974 260z 2+2
-
From the album: 1974 260z 2+2
-
From the album: 1974 260z 2+2
-
From the album: 1974 260z 2+2
-
From the album: 1974 260z 2+2
-
From the album: 1974 260z 2+2
-

From the album: 1974 260z 2+2
-
Thanks for the replies, I really do appreciate them. The rear spoiler was from Motorsport Auto along with the side and rear skirt. Mike
-
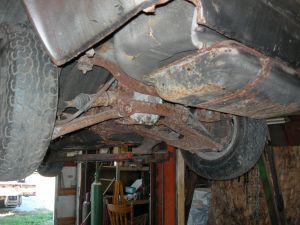
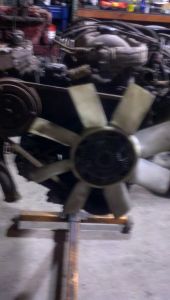
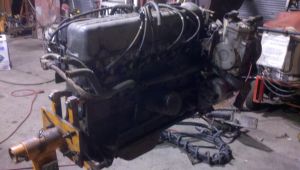
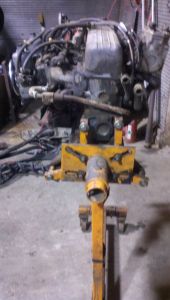
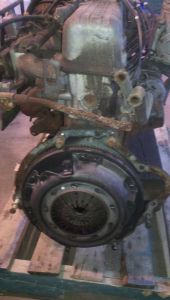
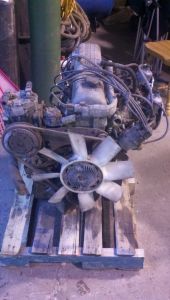
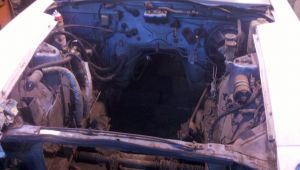
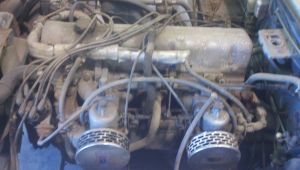
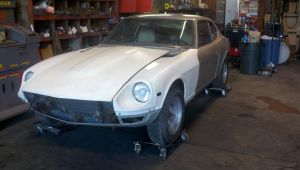
After almost 3 years of blood, sweat and tears, the Z is complete ( well 95% it will never be 100%). There is a ton of pictures from start until now. I know most will like and some will pick this apart, so be it. This is my first shot at a restoration and I am very pleased with the results. I am not afraid of comments and welcome them. I do want to thank CZCC and the members for all the information that I have "borrowed" to make this car "better" and will continue to use. I would like to give a special thank you to Mystic Autobody for the paint/ body work and Marks Custom Interiors for installation of headliner, seats and carpet. I also would like to give a big thumbs up to Motorsport auto, zcarsource, and Oliver at Zspecialties (custom 2+2 floor pans) for all the parts I needed. Quick history of car: My father purchased this used in 1975 ( he had to have the 2+2 ( 3 kids)), drove it until 1982 when he got into an accident with it, sent it to body shop in 1982 where it sat in the garage until he received call in 2012 asking if he wanted the car back, I picked up the car and started the rustoration. Hope you all enjoy these as much as I do. Mike https://goo.gl/photos/V8tJ7gMZmtjh7qUu9
-
I know the topic is old but thanks for the info.
-
This is the controller I used and am very happy with. Straight forward installation. HPC Electronic Radiator Fan Controller Control Module with Sensor 102001 | eBay
-
Just unplug the E12-05 from the harness. It is just about that simple. Yours is definitely doing what mine was. Hope this helps.
-
I installed the Crane XR-3000 and PS-91 yesterday and she fired right up. I am very happy. Install was pretty straight forward. I could have used my Pertronix 1.5 ohm coil, but decided to make the install manufacturer specific. My tach is still not working ( didn't operate before this install) so I will have to trace that out. Thanks again for the help, Mike
-
Captain, here is a quote from HybridZ on the vacuum advance "solution" they came up with. Ducer, on 16 Mar 2012 - 4:01 PM, said: Additional zx dizzy modificatio. Retarding the vacuum adcance. So after experiencing the massive zx vacuum advance and curve i pondered about a solution and i got one. As an aquarium hobbiest i found that using an adjustable air valve is a simple way to reduce the suction and thus limiting the zx dizzy's diaphram operation. So i went on ebay and purchased a nice chrome $3 dollar air valve. After setting the base timing at 7 degrees and playing with the air valve ive managed to get the advance to be at 20-25 degrees at full load. Without this limitation it would be over 30 degrees at full load. With this simple valve you can set your base timing higher to 10-15 degrees and you can lower the advance under load. In addition you can diable or enable the vacuum advance with a turn of the knob. I highly recommend doing this instead of plugging off the vac advance. Its like a simple manual vacuum contol. And it works awesome and looks cool. NO need to fiddle with the distributor plates and complicated process to reduce the vacucum advance. Enjoy fea84b29.jpg
-
Zed, The manual said to test the transistor box on the Datsun transistor box tester. Kind of funny. I have ordered the crane xr-3000 and Ps-91.. When all completed and running(fingers crossed) I will come back and let everyone know what/how completed. Thanks to all again, Mike
