Everything posted by inline6
-
Restoration of BringaTrailer 240z - HLS30-35883
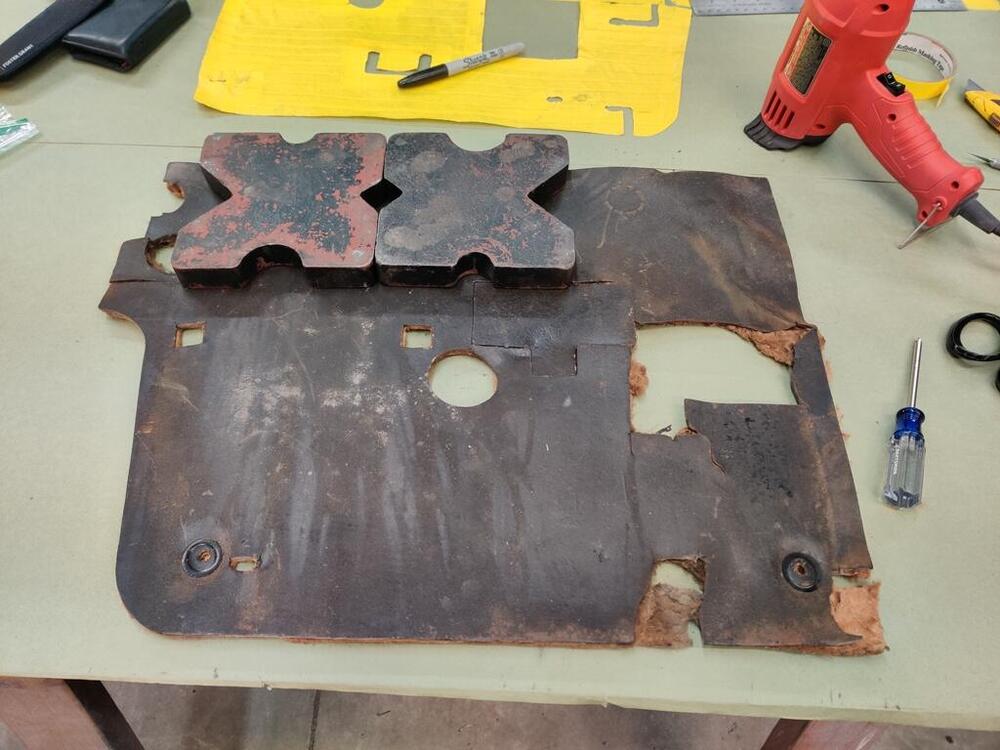
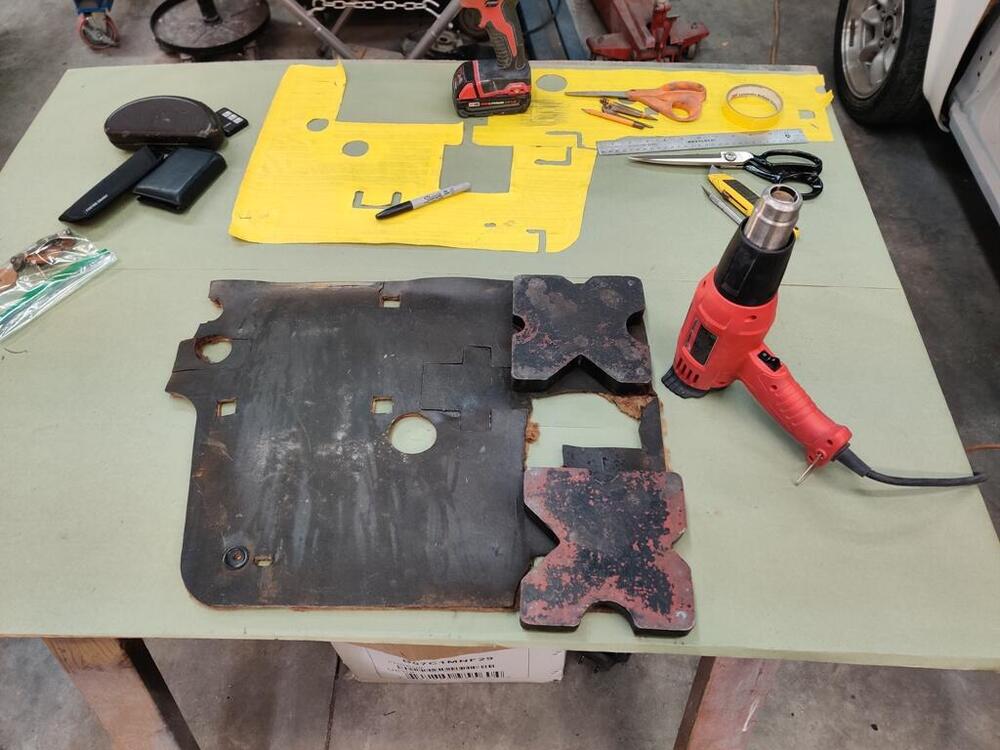
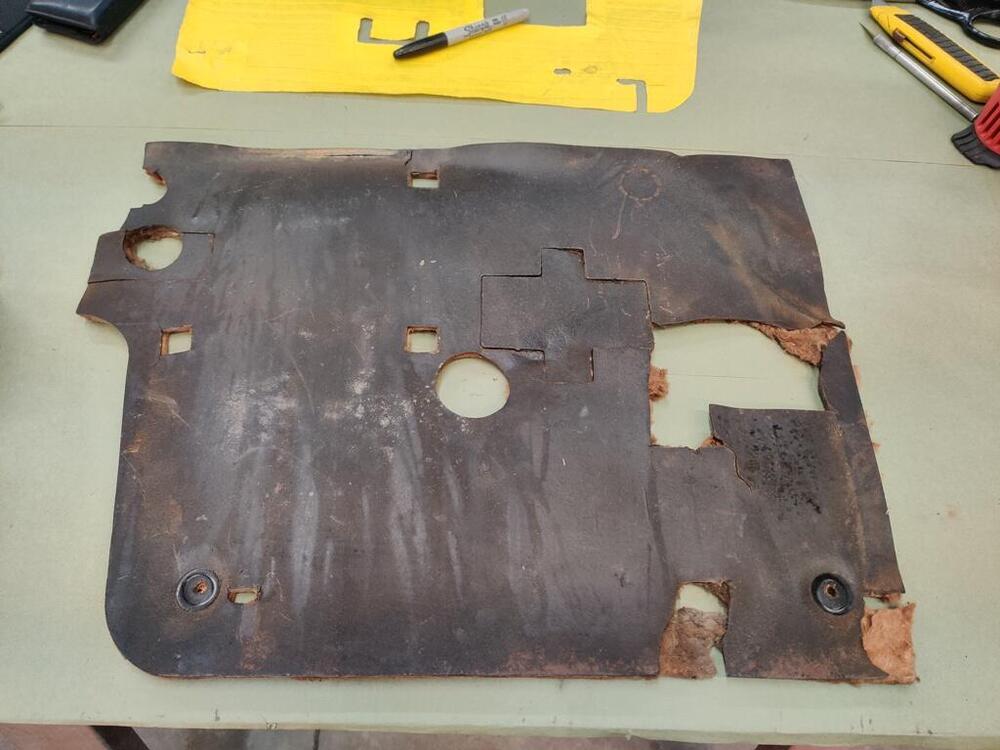
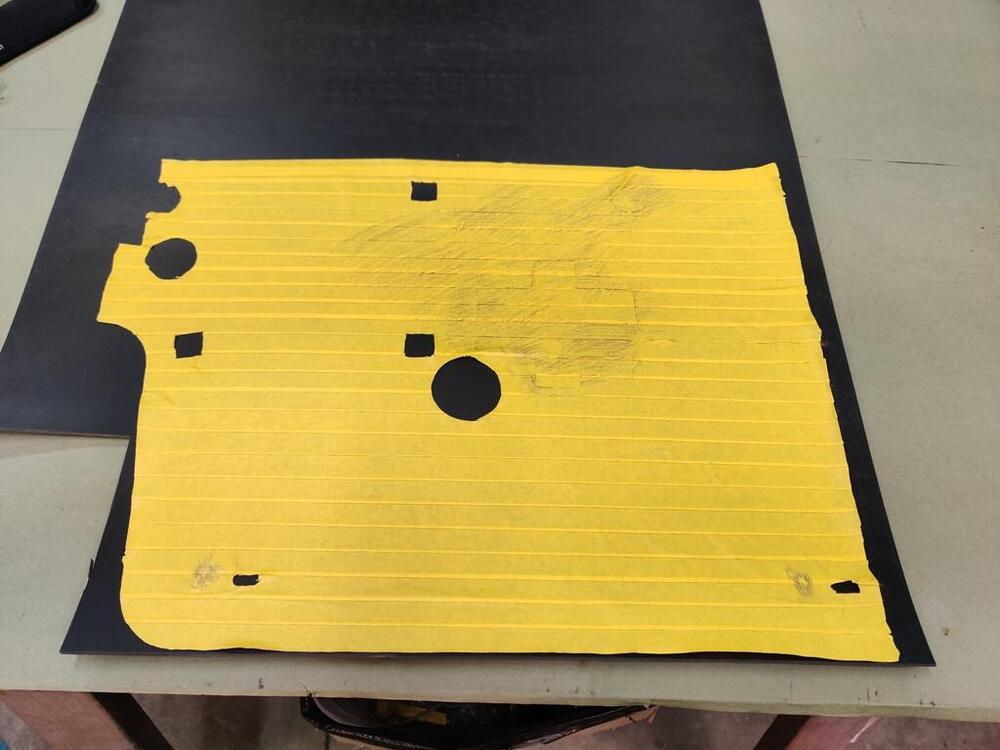
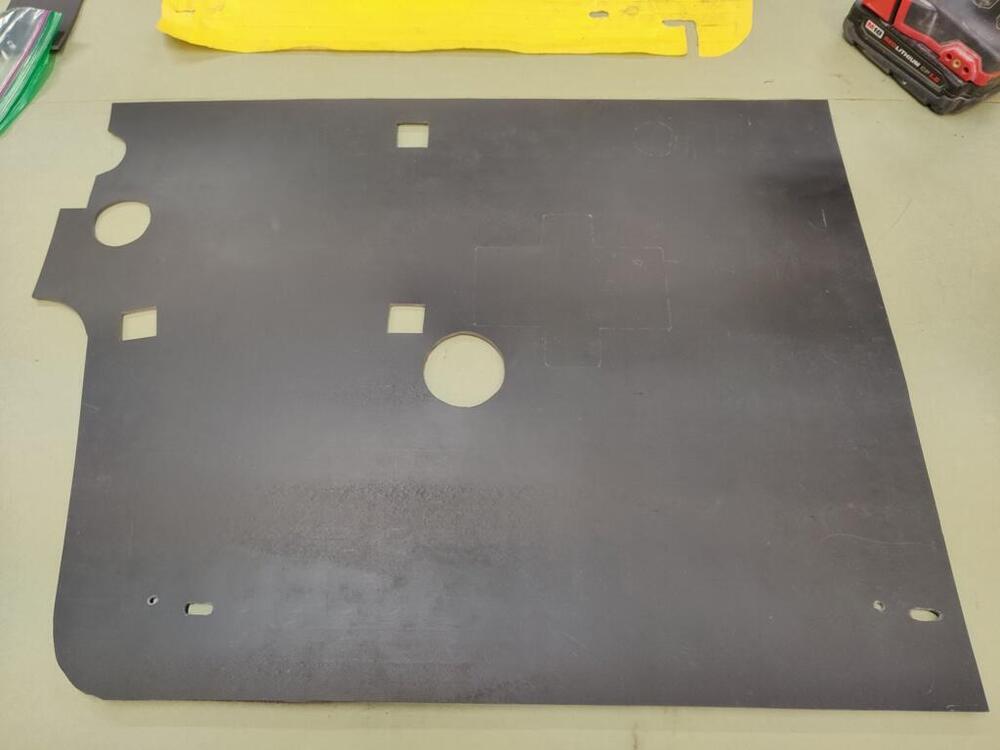
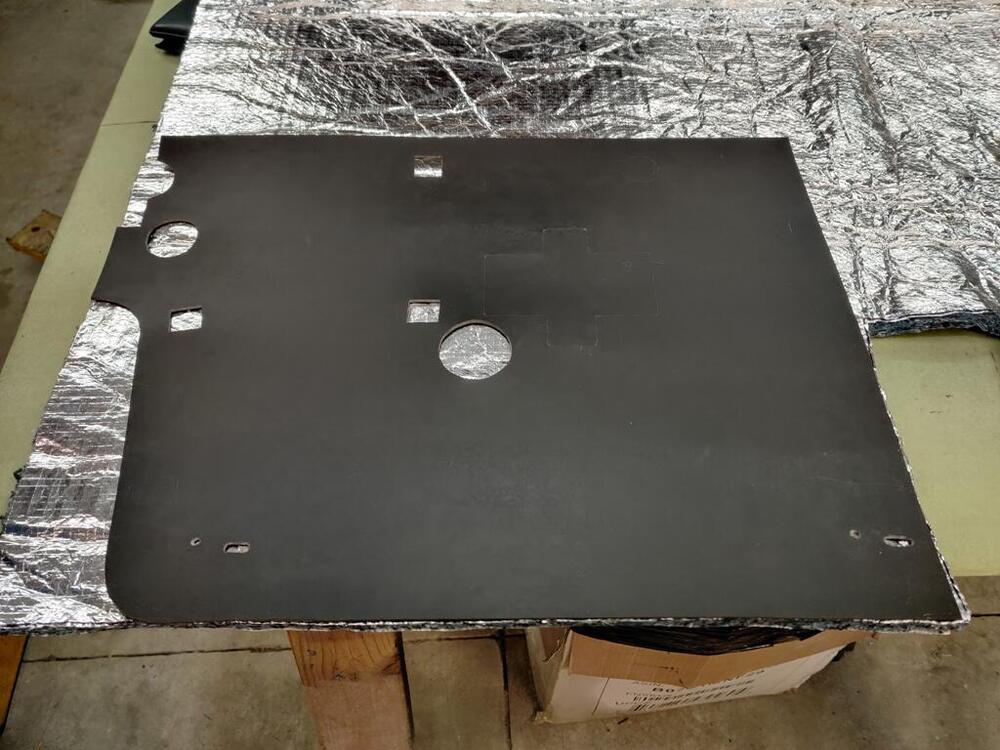
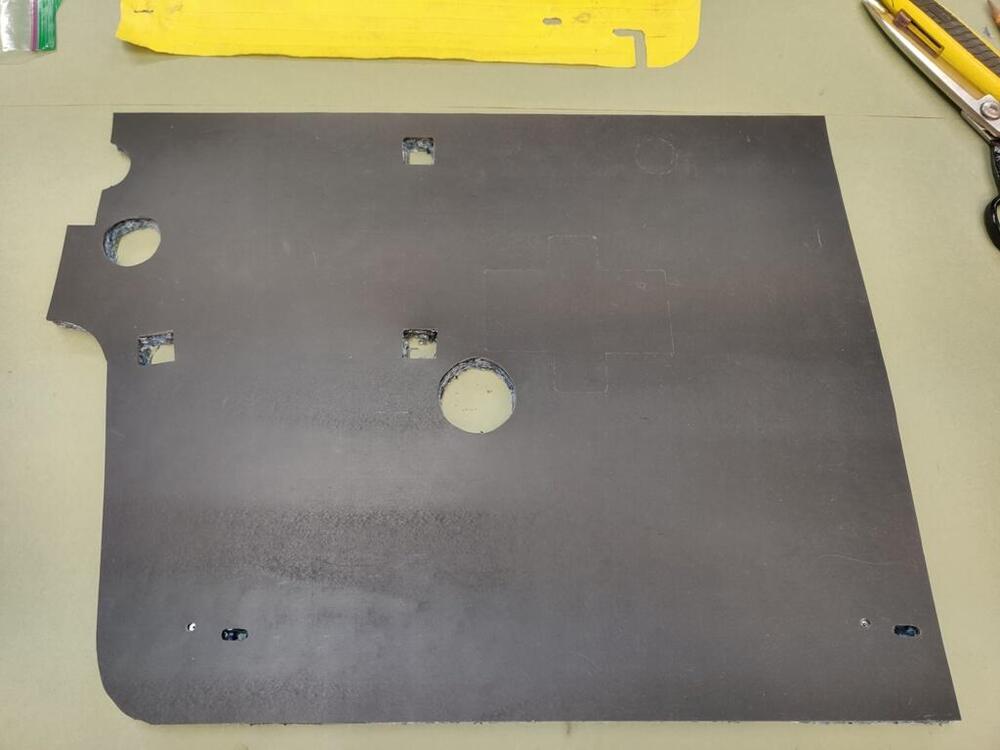
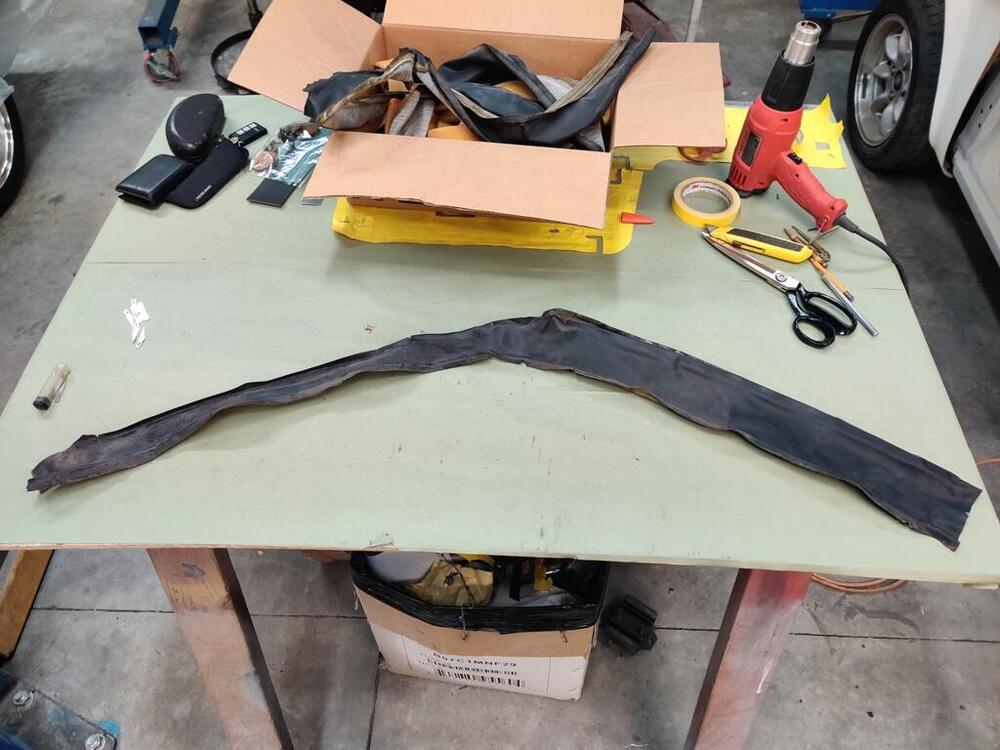
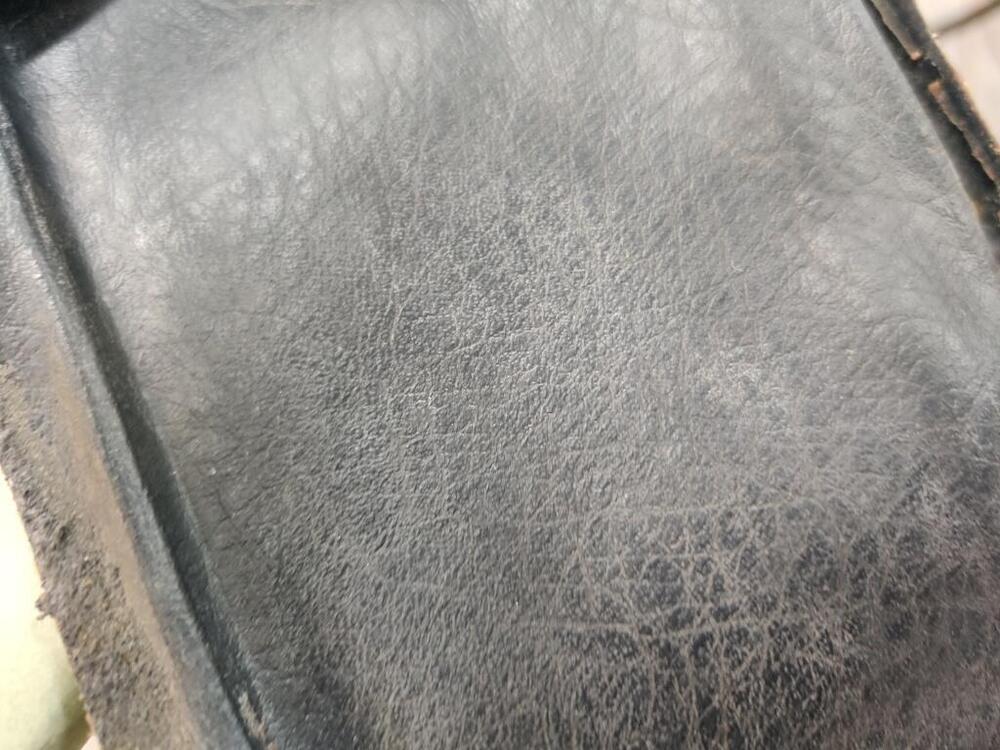
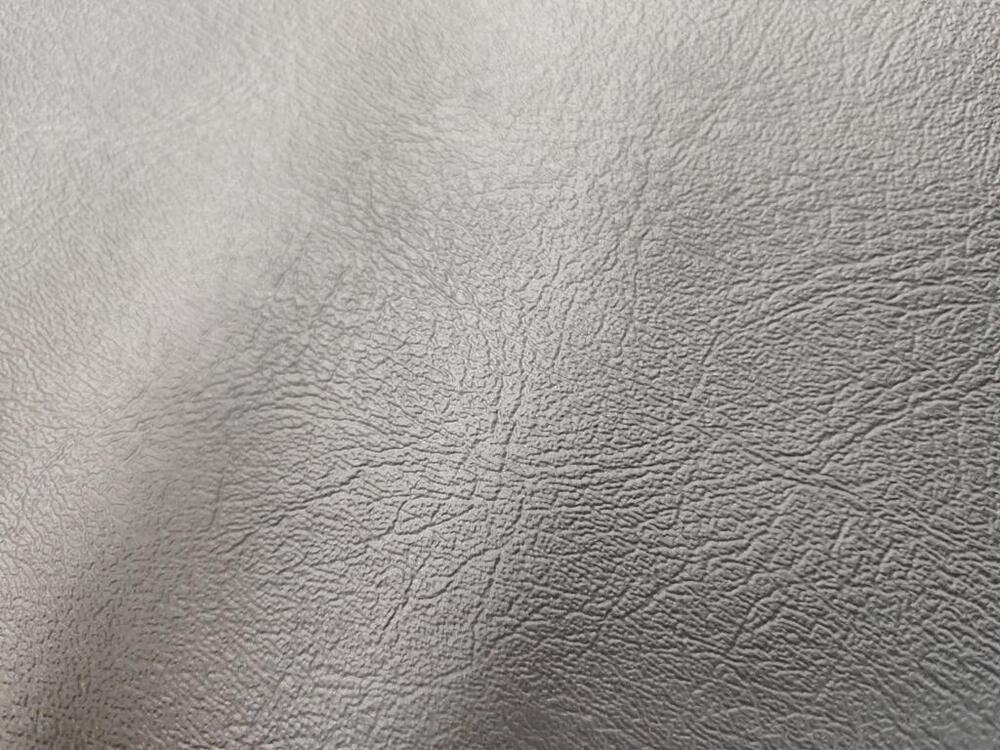
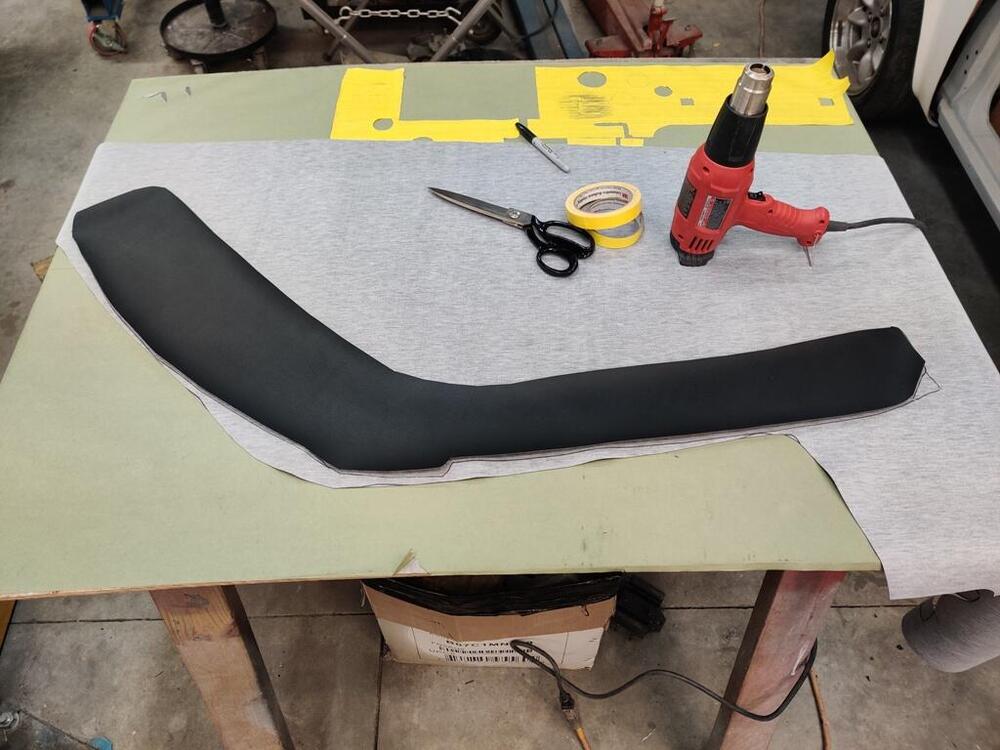
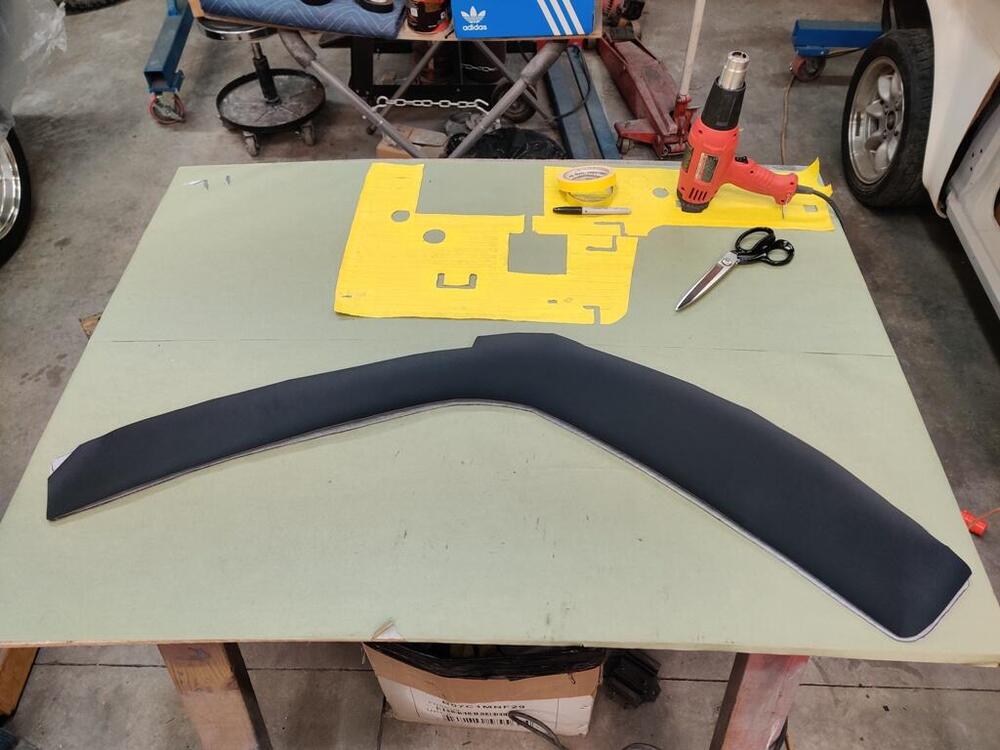
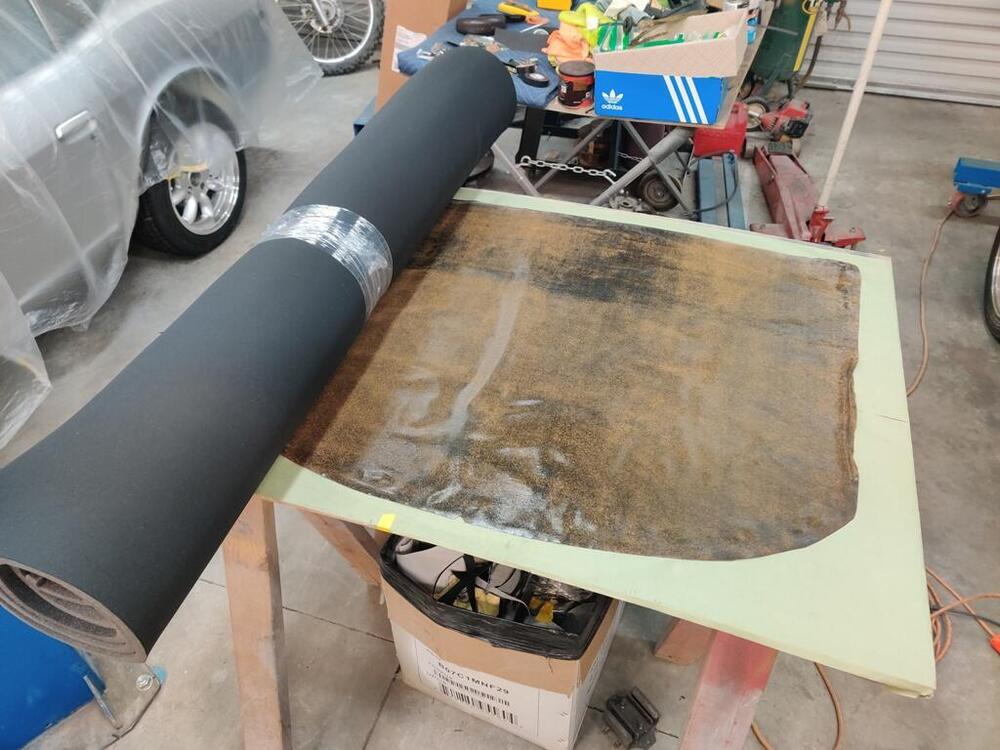
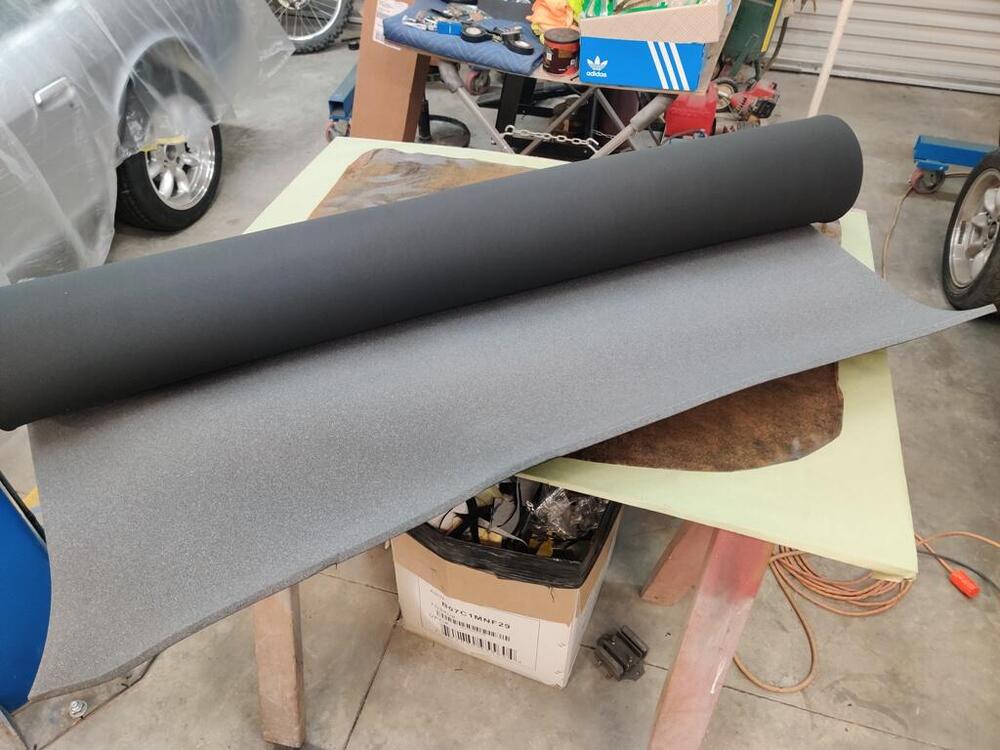
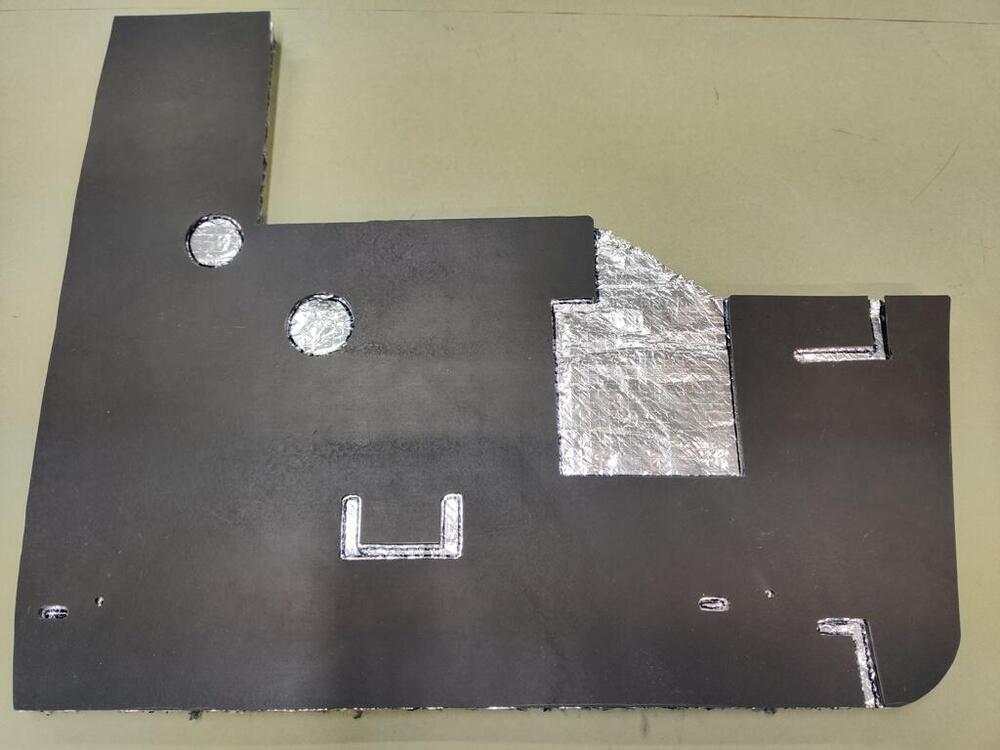
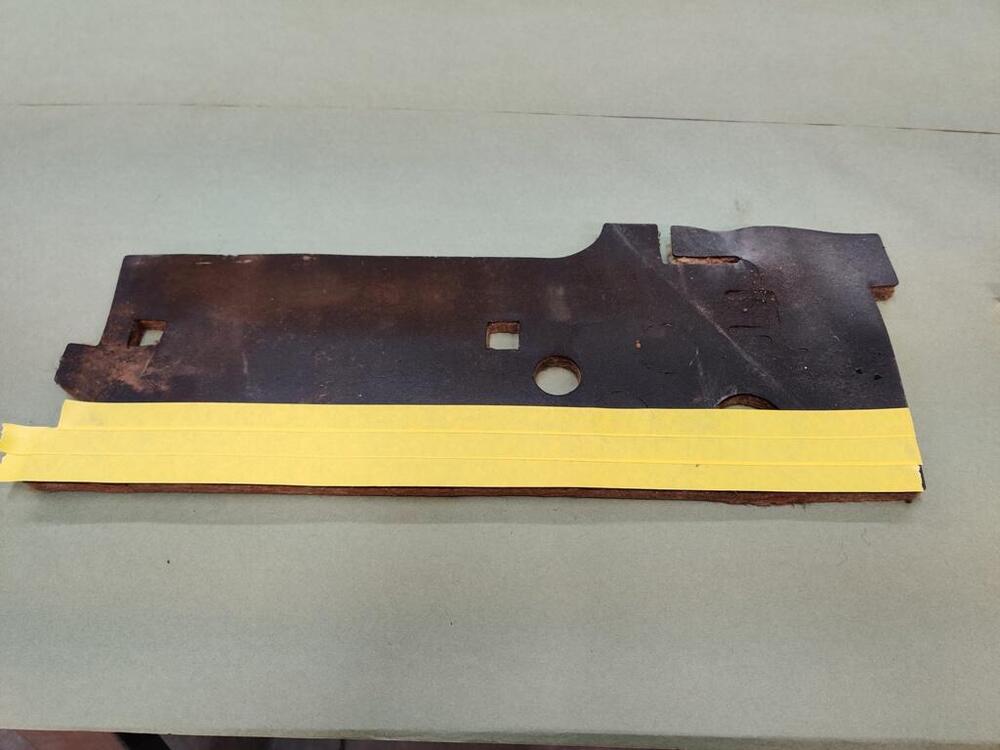
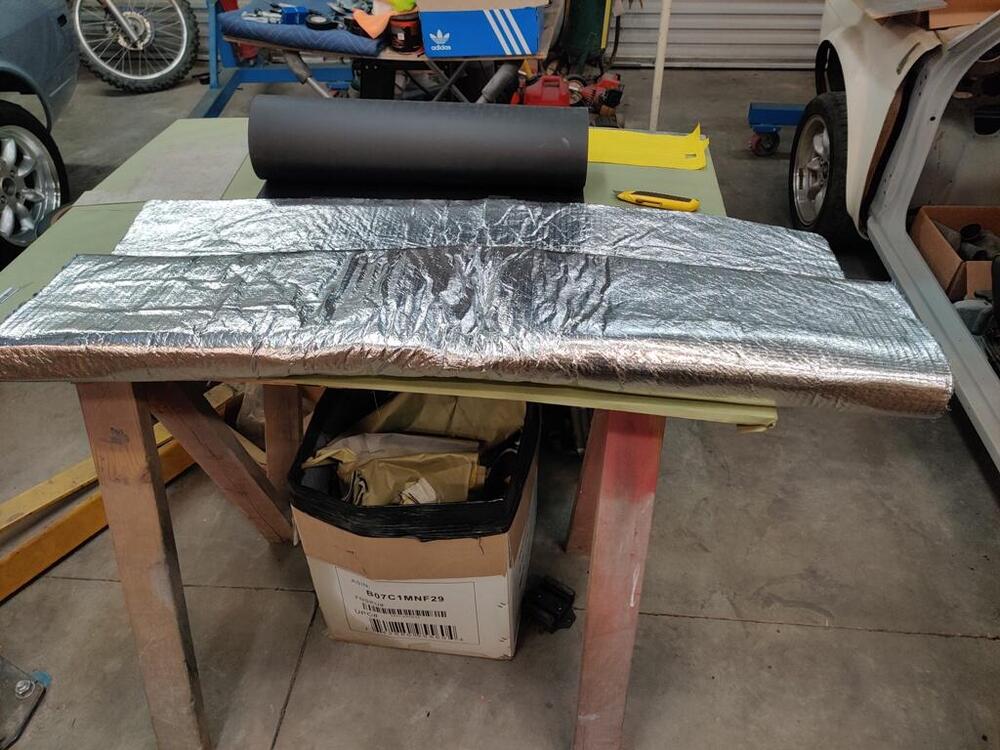
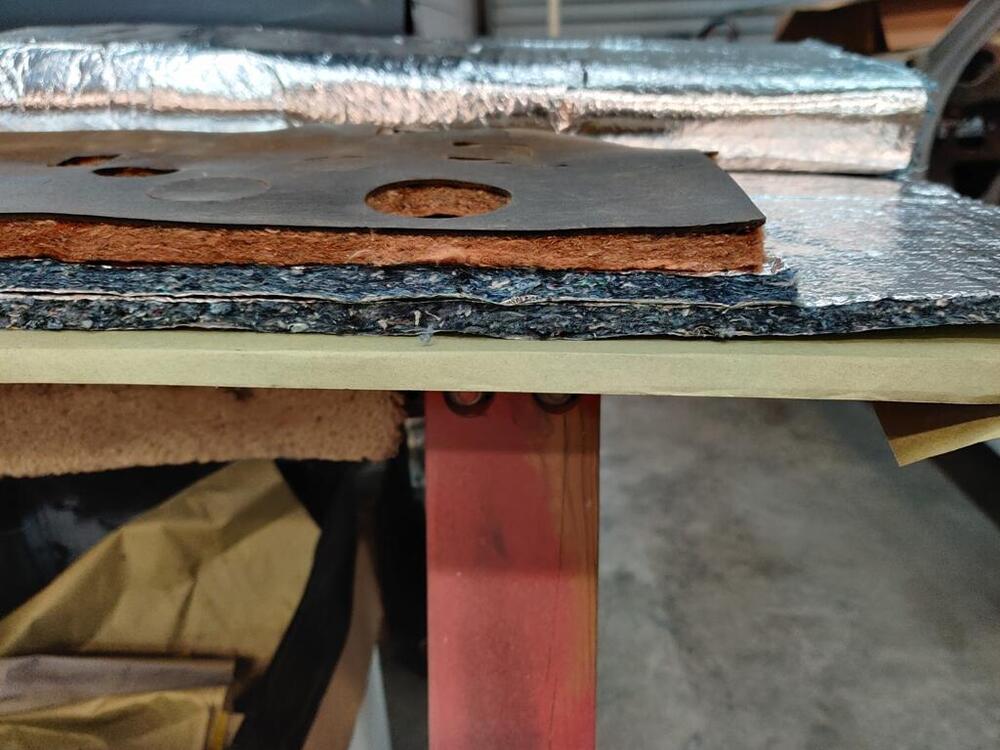
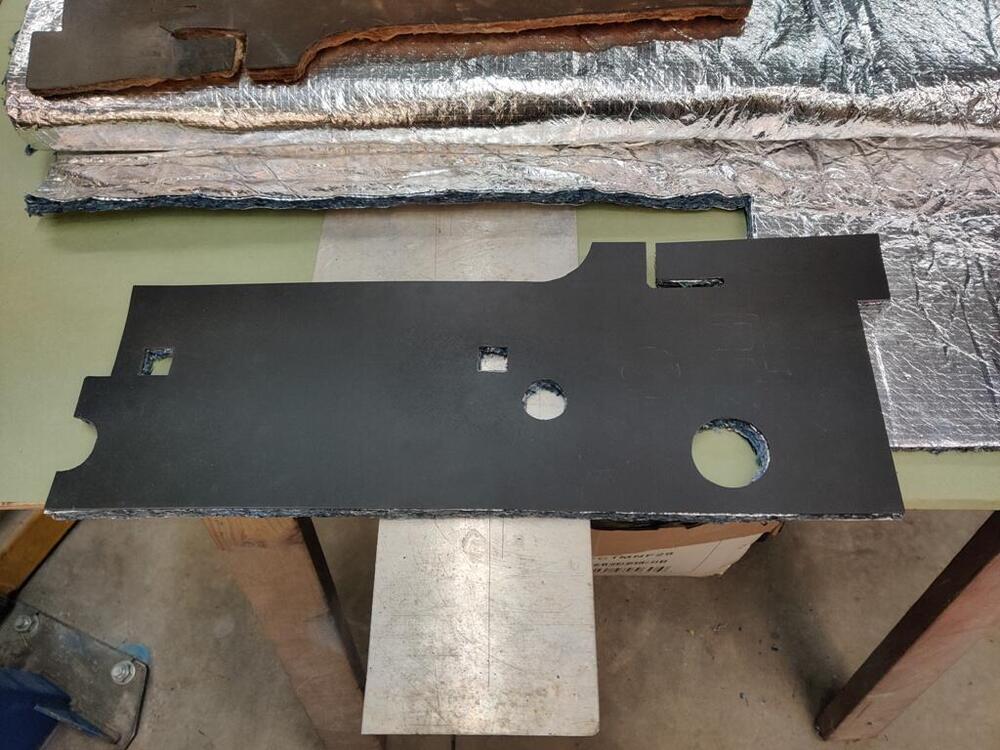
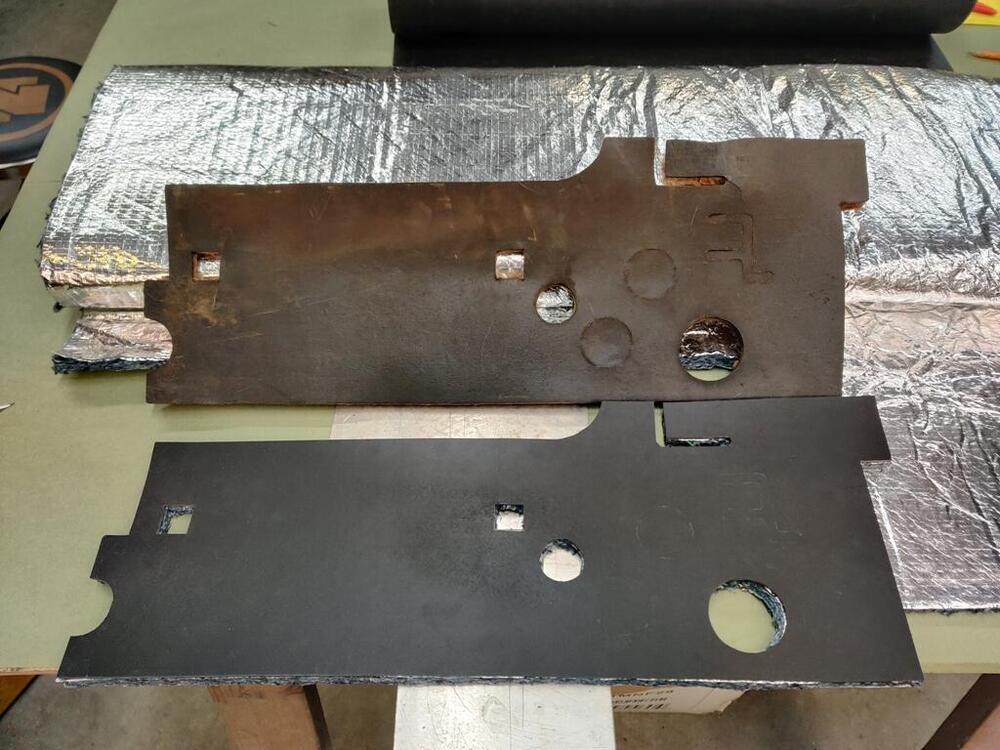
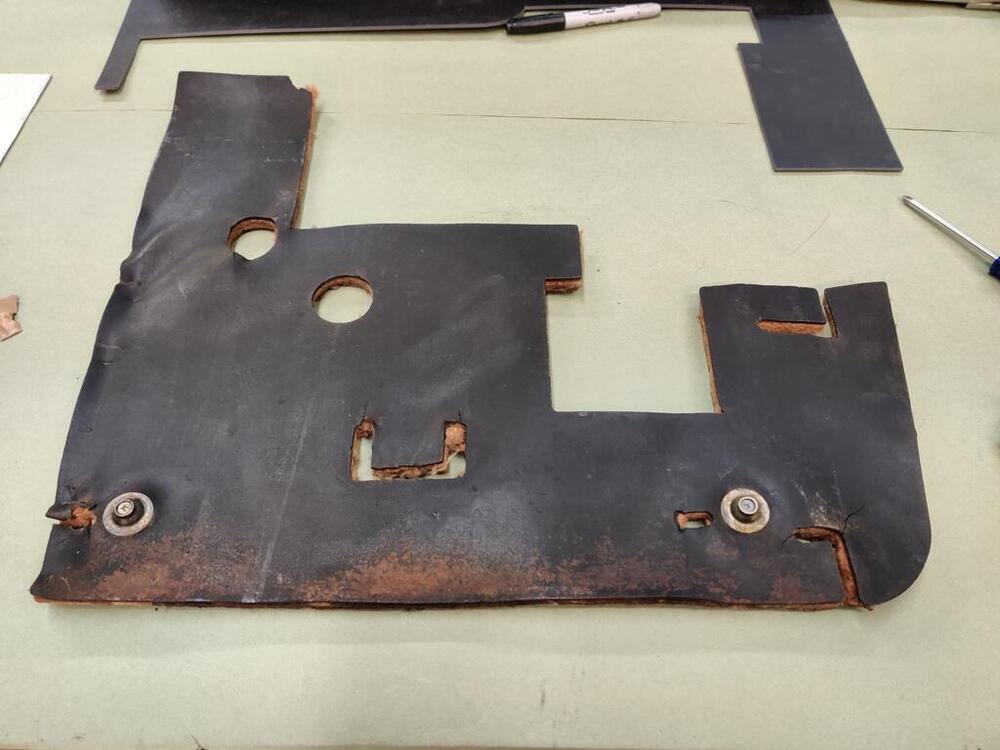
Today, I was able to finish cutting the materials for the left firewall pad, and complete fabrication of the parts to the right firewall pad as well. For the right pad, I started by heating it up with a heat gun to assist with flattening the bitumen - it had several wrinkles. I used my hydraulic press plates to flatten and cool the bitumen. They are heavy and also helped to cool the bitumen while holding it flat. After getting it reasonably flat, I applied tape and trimmed it so it could be used as a template. As before, I peeled it off of the old and stuck it to the new material. Then, I trimmed the new material to match the tape template. When the new pad was made out of butyl rubber, I laid it on top of the new insulation and marked the cutouts. I used a black Sharpie to mark the foil. I think it took about 3 and half hours to make this part. Then, I grabbed the old header and A-pillar vinyl. Unfortunately, it would be too difficult to reuse because of all the glue on it, and some tears on the left piece. I found some vinyl online that looks kind of similar. Before cutting the new piece, I used the heat gun again to get the old pieces as straight as reasonably possible. Then, I drew on the backside of the vinyl, providing a generous amount of extra on all sides. I cut the piece for the header out first, then one of the A-pillar pieces. Then I flipped over the new A-pillar piece and used it as a template for the other A-pillar piece. Lastly, I retrieved the old headliner vinyl (with foam stripped off of it) and the new foam piece I bought. I am going to attempt to glue the original headliner vinyl to a new piece of foam. I don't have high hopes that it will work well, but I will give it a try. I bought enough of the foam to make a second headliner. If I have to, I will attempt to find a new piece of vinyl that will be suitable for a headliner, and glue it to this foam.
-
Quaife LSD Installation in R180 - With Questions About Installation Also
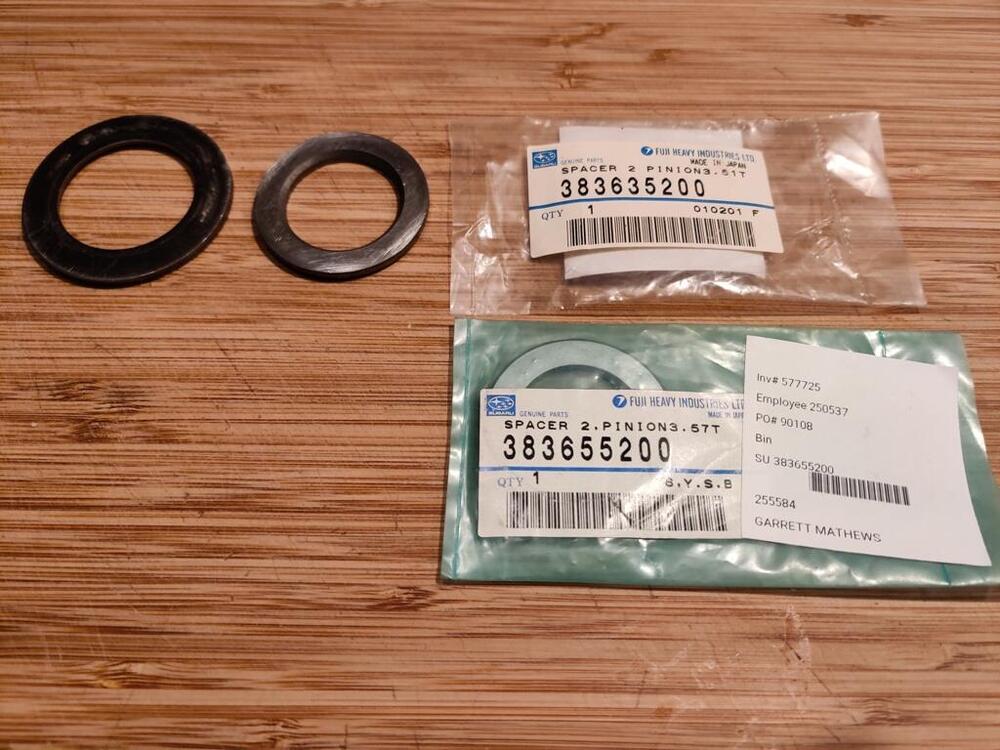
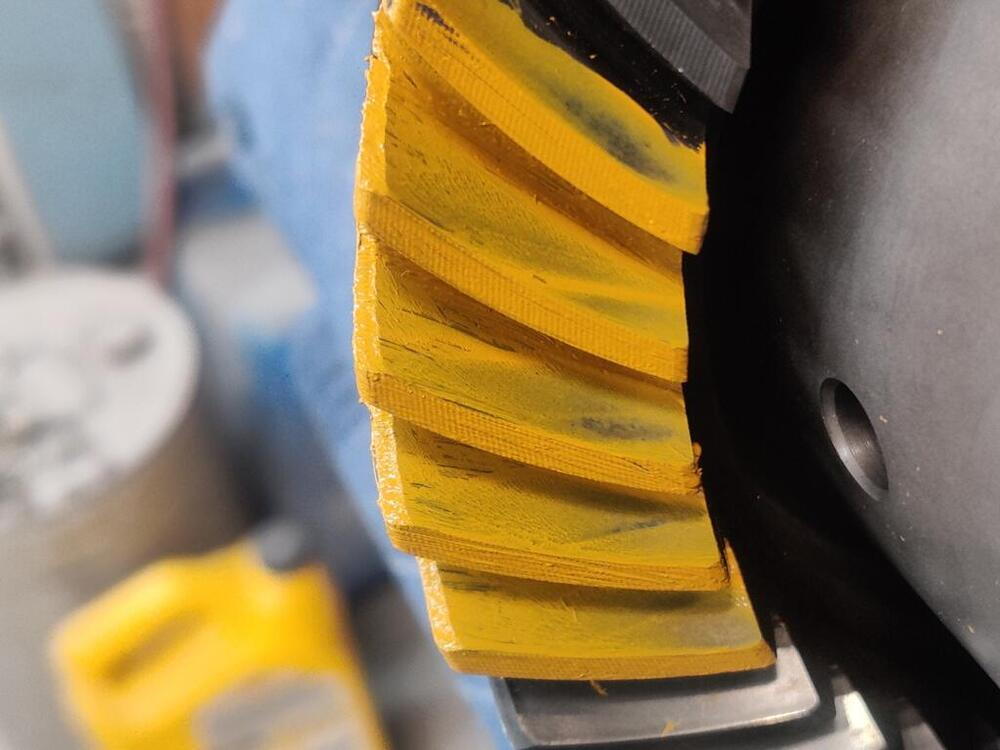
I received the two shims today. And, they are different than the one that came out of the differential. I checked the part numbers, and they are correct. I sourced all the differential bearings from Subaru, and they all fit perfectly. I used the same application - 04 Subaru STI for those and these shims, so I don't know what the issue here is. These new shims are likely for the R160 instead of the R180. After more searching online and coming up with dead ends, I remembered that I sold a 4.38 R180 to Troy Ermish not too long ago, so I pinged him on Facebook Messenger, asking him if he knew of a source for pinion shims. He responded within seconds, which was nice. He said "I never remove the pinion". In fact, he said that twice during the chat. He looked online a bit and couldn't find anything. He suggested looking for generic shims, and that I may be able to find something with a 35 mm ID (the original shim has a 35 mm ID and 54 OD). So, then we get back to some of the prior questions regarding "hardness"... and what thickness? I found this place online - they make custom shims: https://www.phoenixspecialtysales.com/. I am stepping through their online quote functionality, and they have many material options: I'd like to get a quote for one shim and see if this route is an option. @Captain Obvious, can you recommend a material option? I will also place an order for this, with the plan of making some .001" shims out of the material and then will proceed with trial and error to arrive at the thickness shim that I need: https://www.amazon.com/Stainless-Strips-Drillable-Cutble-Thickness/dp/B0C2YQW284/ref=sr_1_20?crid=1ER6Y6II7JTM&keywords=shim+steel&qid=1705200847&s=industrial&sprefix=shim+steel%2Cindustrial%2C102&sr=1-20
-
Wiper linkages stuck
Note that one of those still has the spring clip on it which holds the arm in the pivot. Just mentioning that, though I realize you are dealing with a seizing issue. I'd drop them in a cup with WD40 or motor oil for a couple of days and then try again.
-
Quaife LSD Installation in R180 - With Questions About Installation Also
As an update, I should be receiving the new Subaru shims tomorrow.
-
1971 HLS30-14938 "Lily" build
Getting your hands on those is super exciting. I have placed several orders for Steve's products. I am thrilled that he is a reliable resource for these otherwise unobtainable parts.
-
Parts Wanted: Need a 240z driver door glass
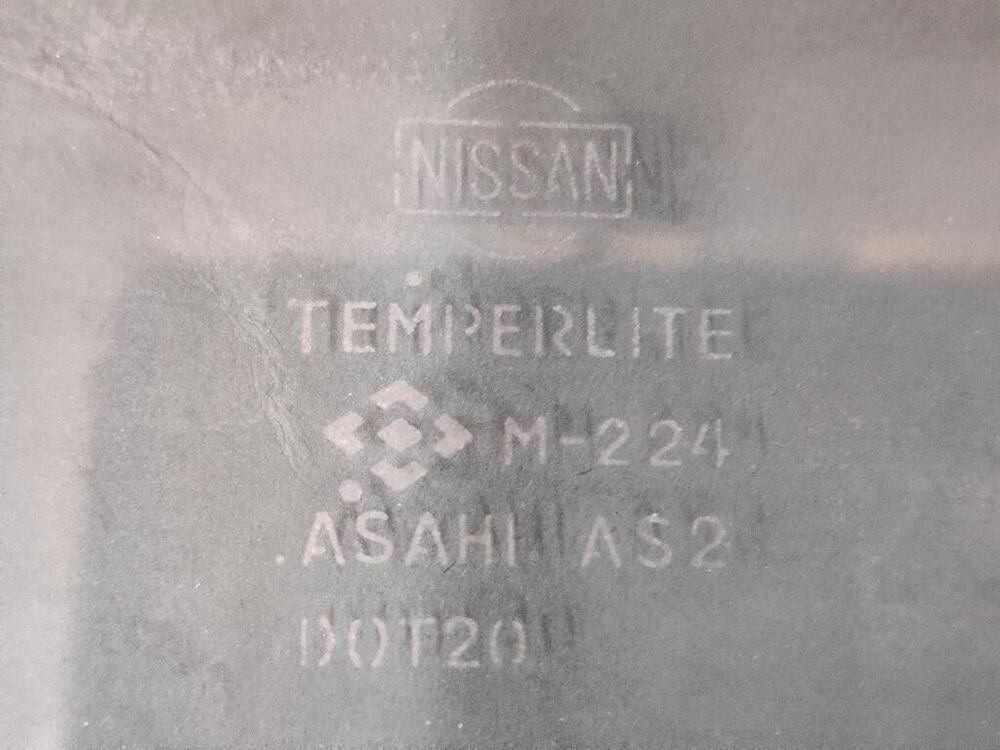
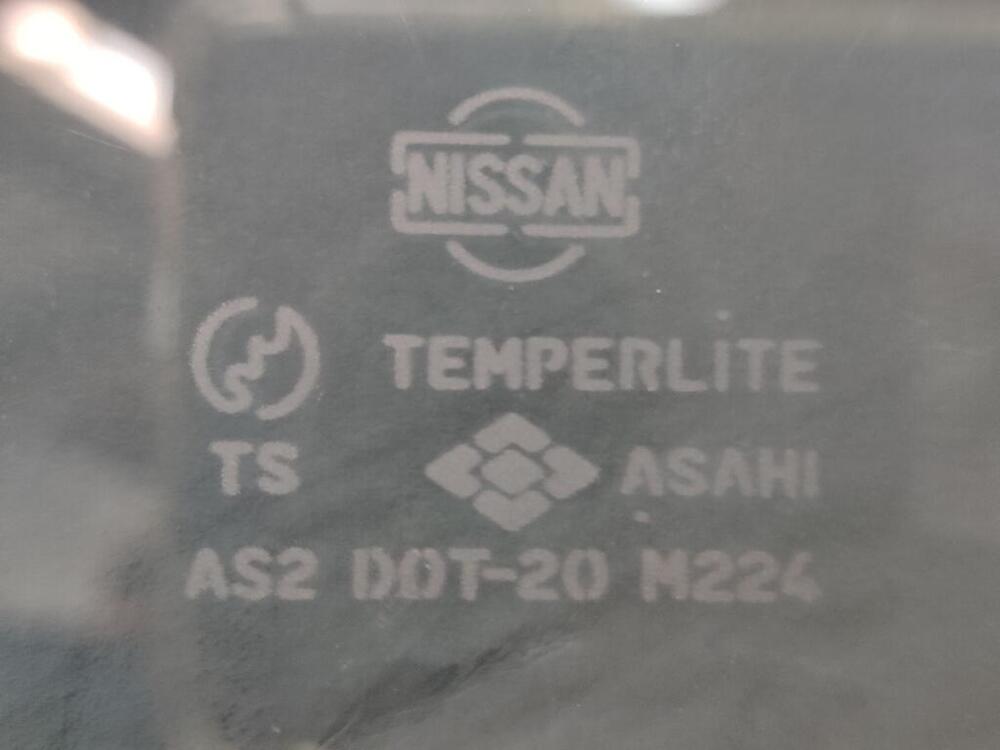
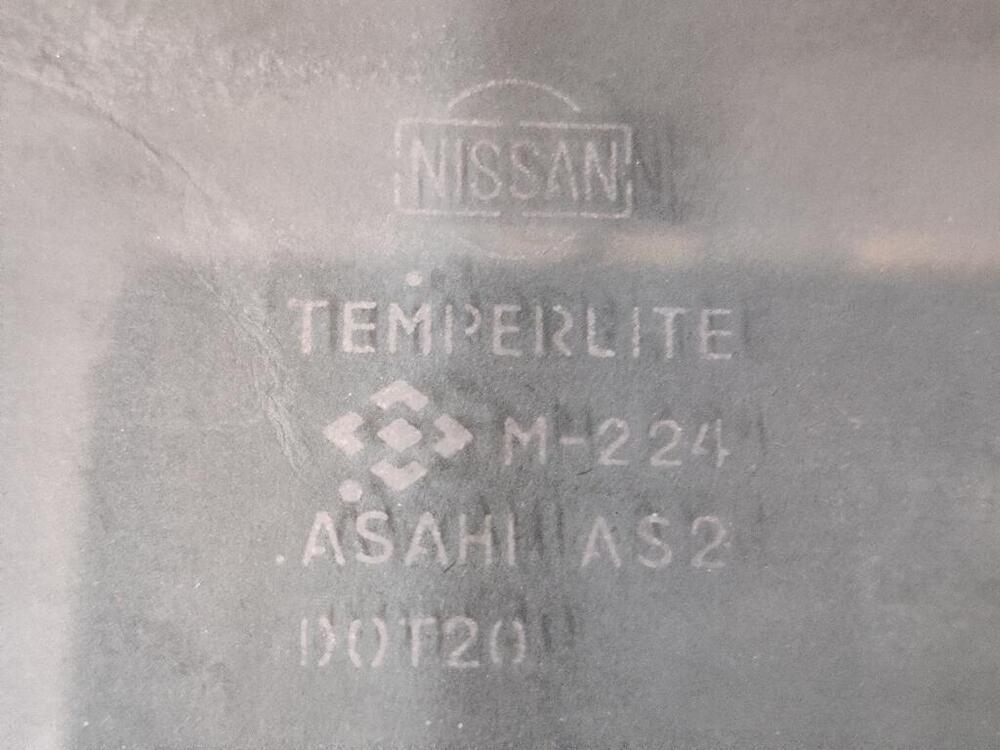
View Advert Need a 240z driver door glass Looking for a driver door glass for a 6/71 240z - ideally looking for one with the same markings in the etched information on the glass as my right side door window. Mine has a dot above the S in ASAHI (1971) and a dot above the M in TEMPERLITE (4 = April). Thinking $50 to $200 depending on condition. Let me know if you have one from before 7/71. Thanks. Advertiser inline6 Date 01/10/2024 Price Category Parts Wanted Year 1971 Model 240z
-
Restoration of BringaTrailer 240z - HLS30-35883
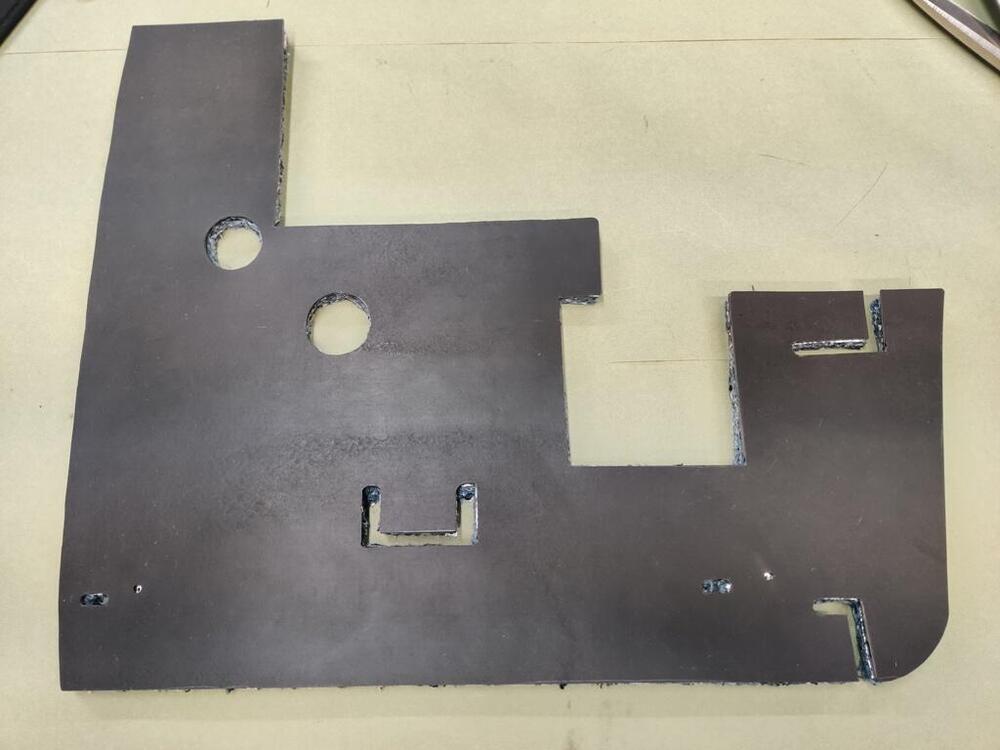
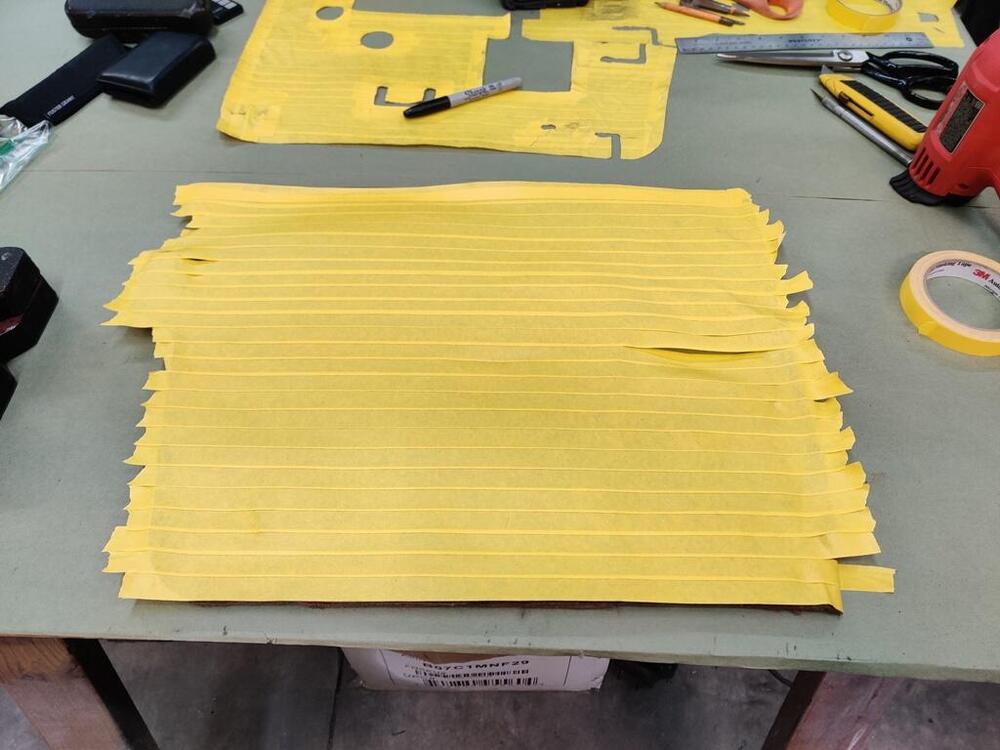
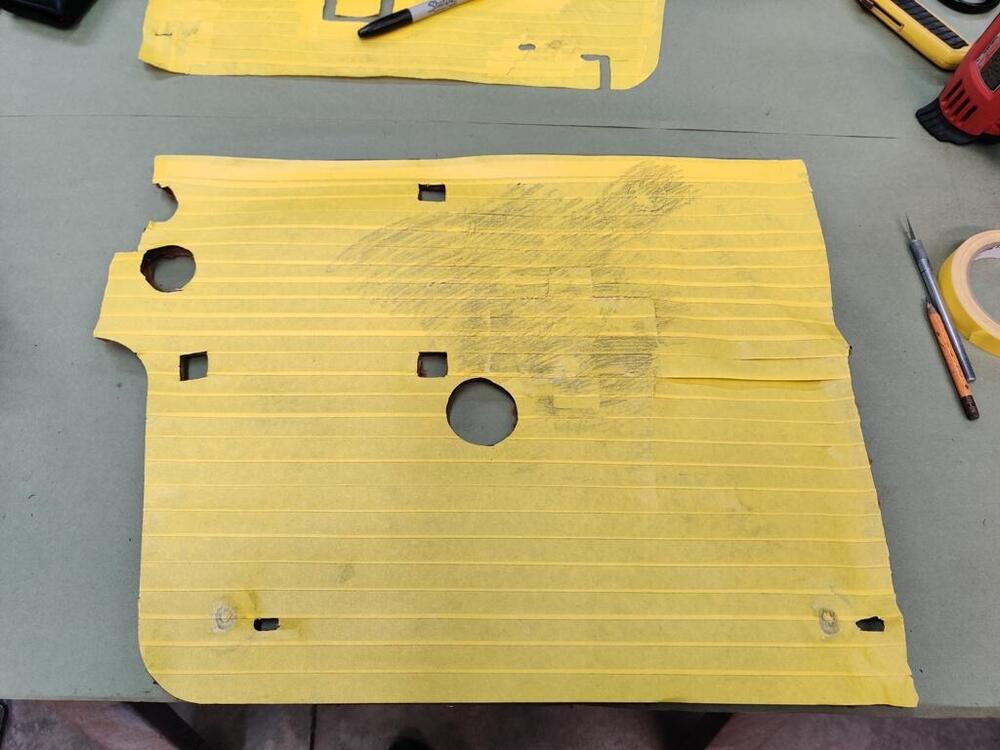
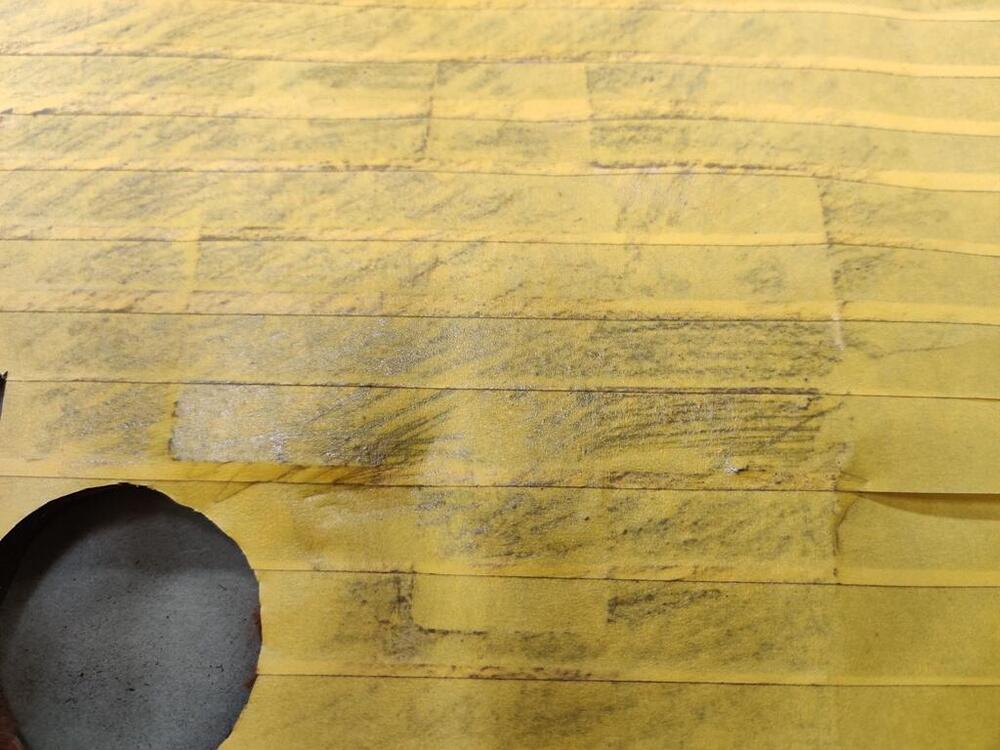
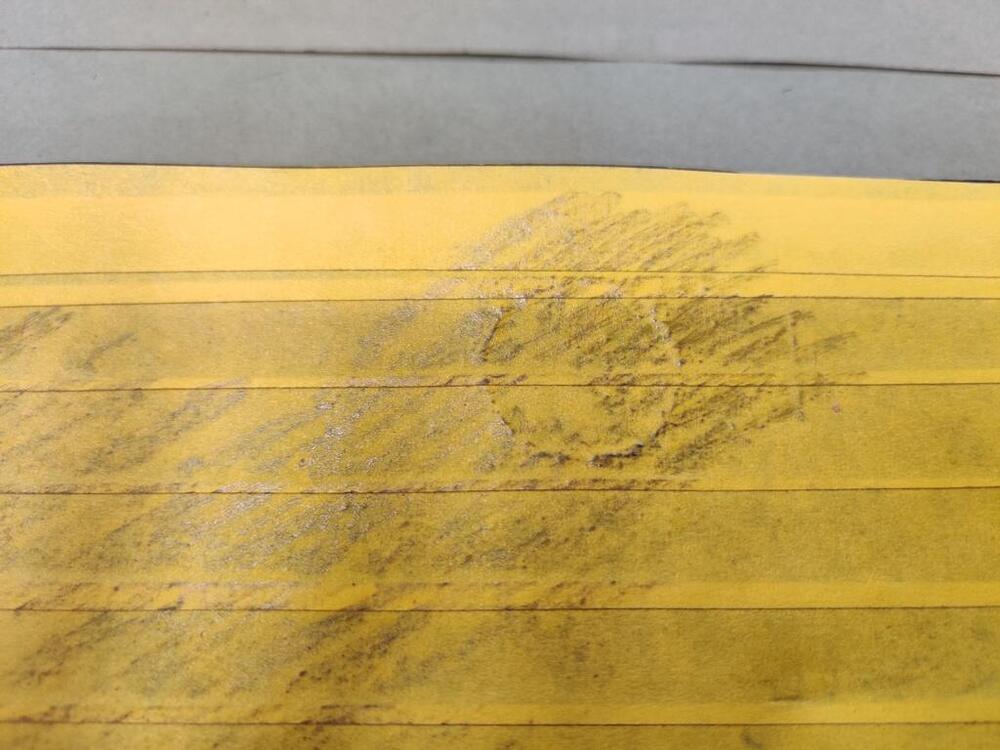
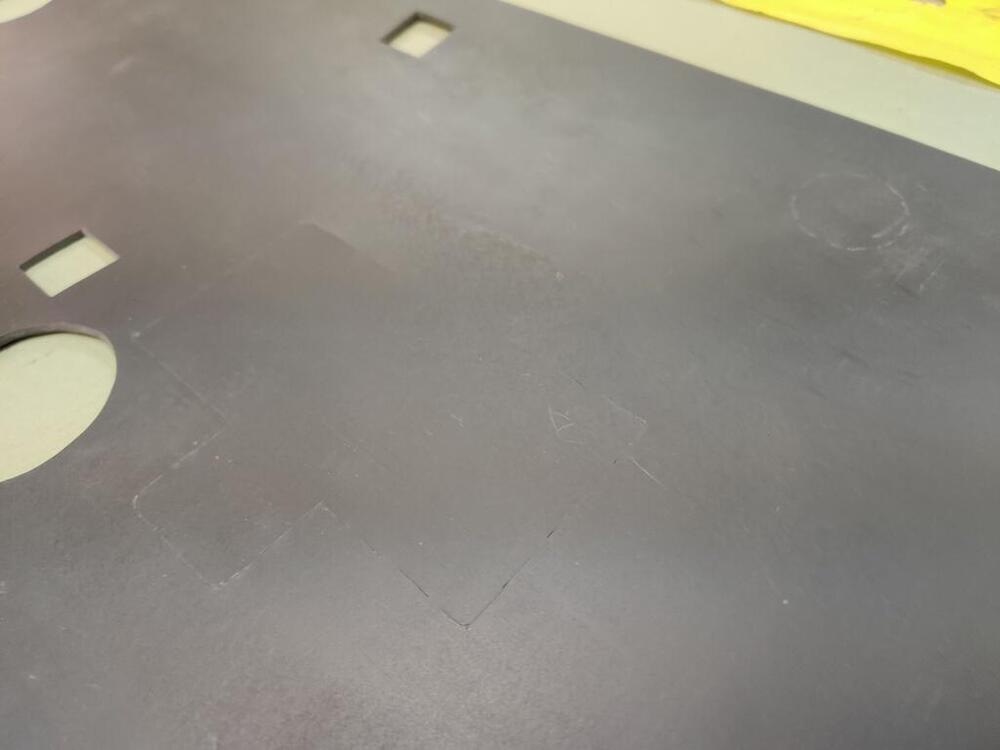
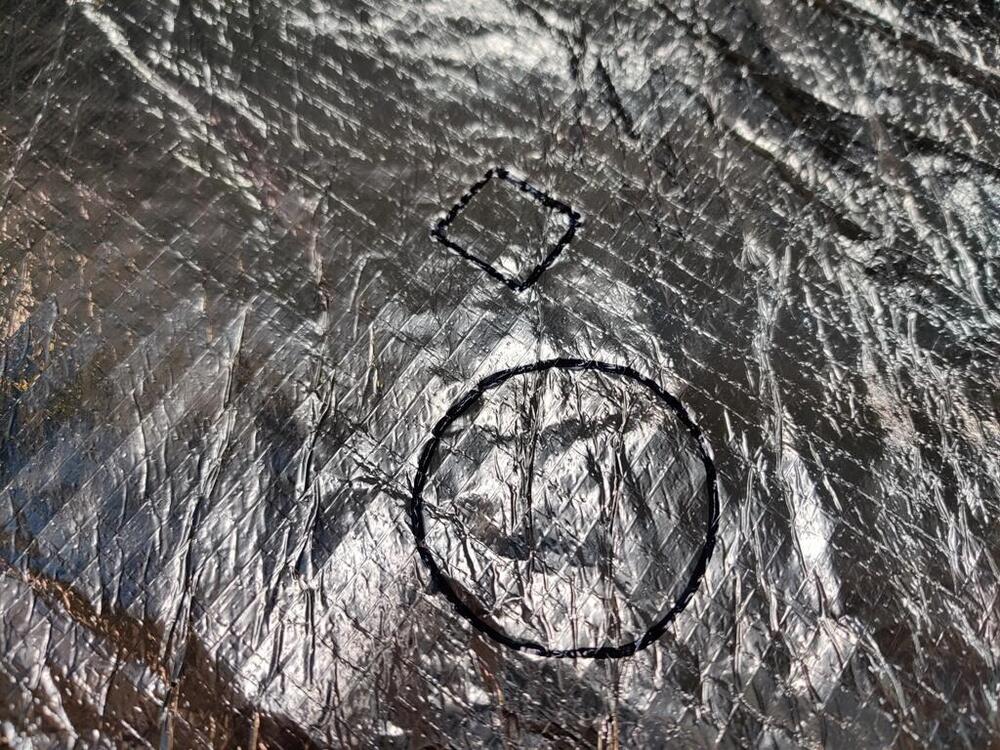
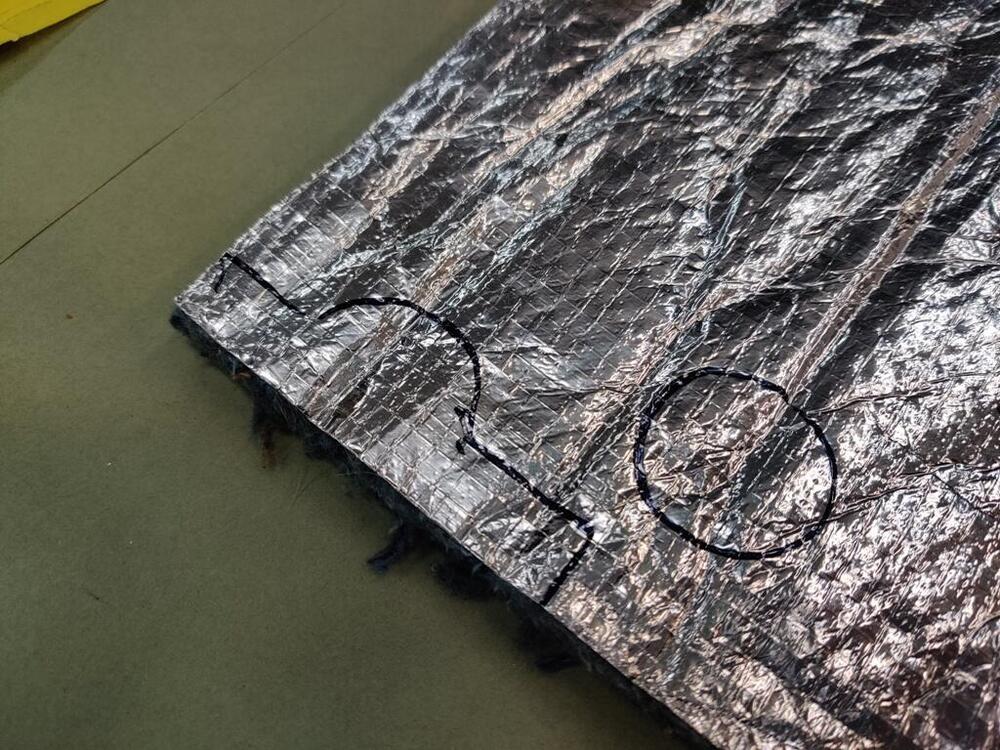
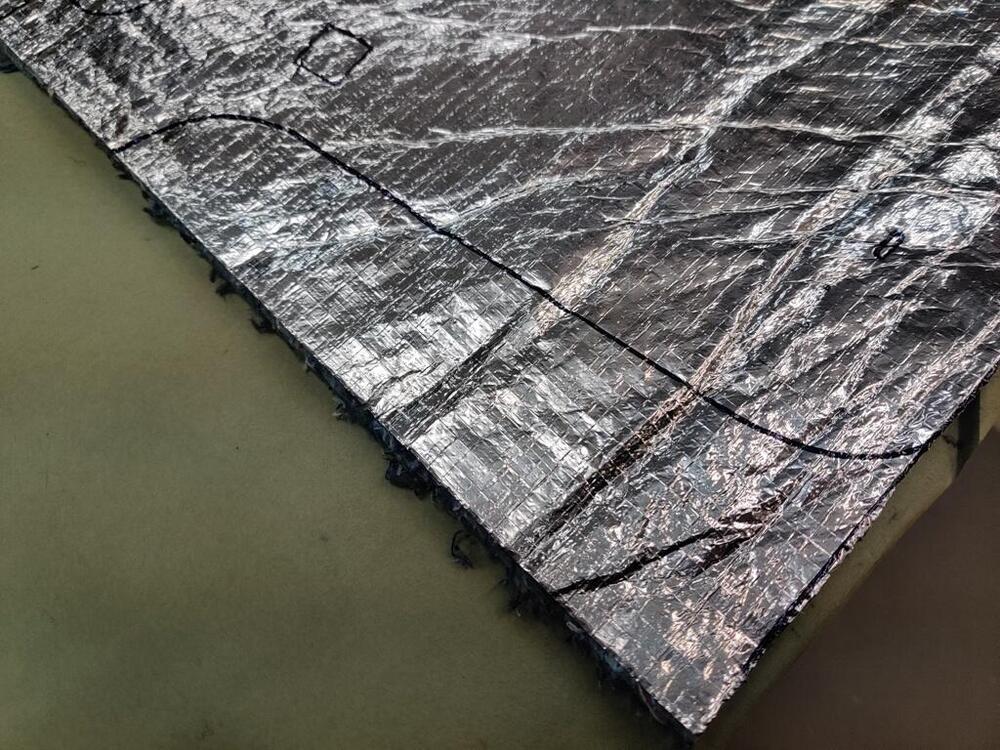
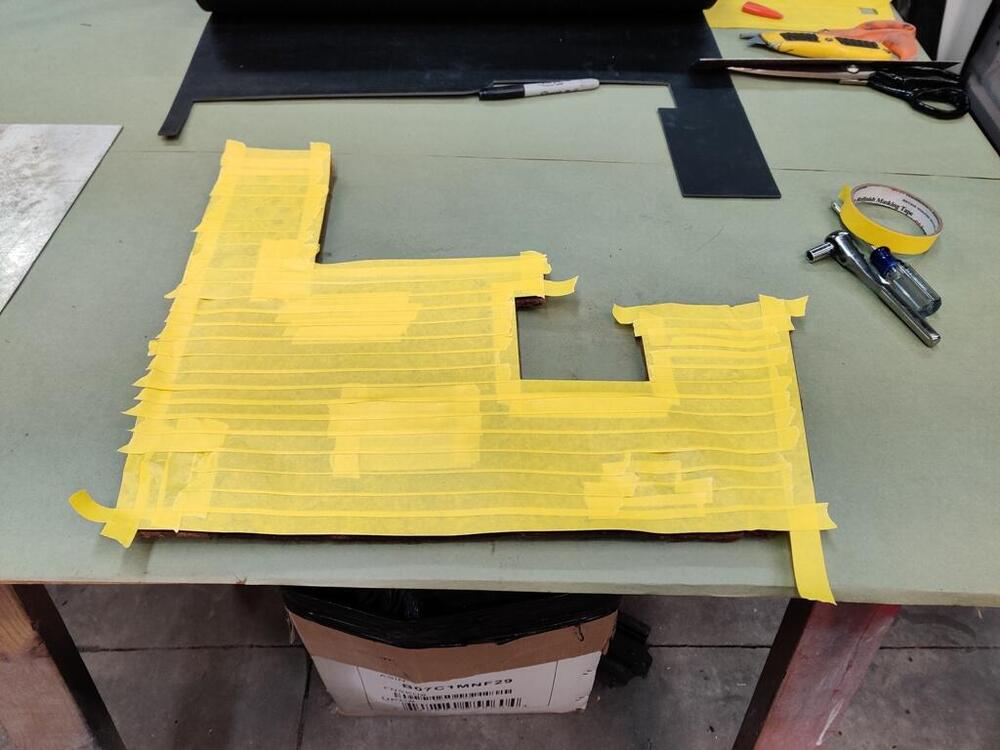
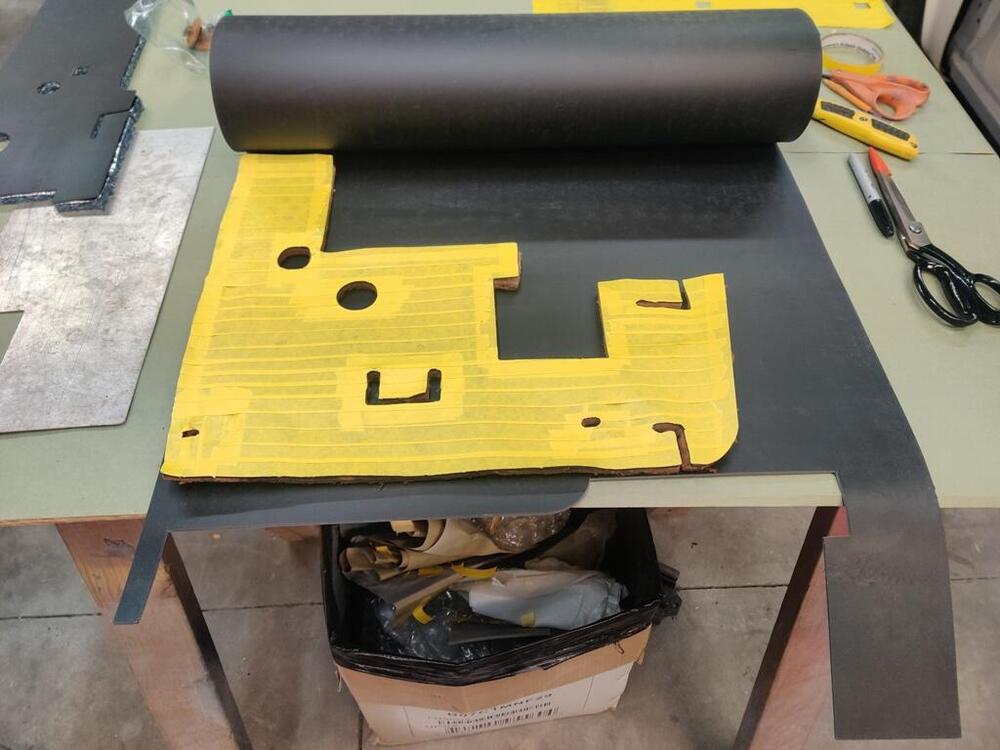
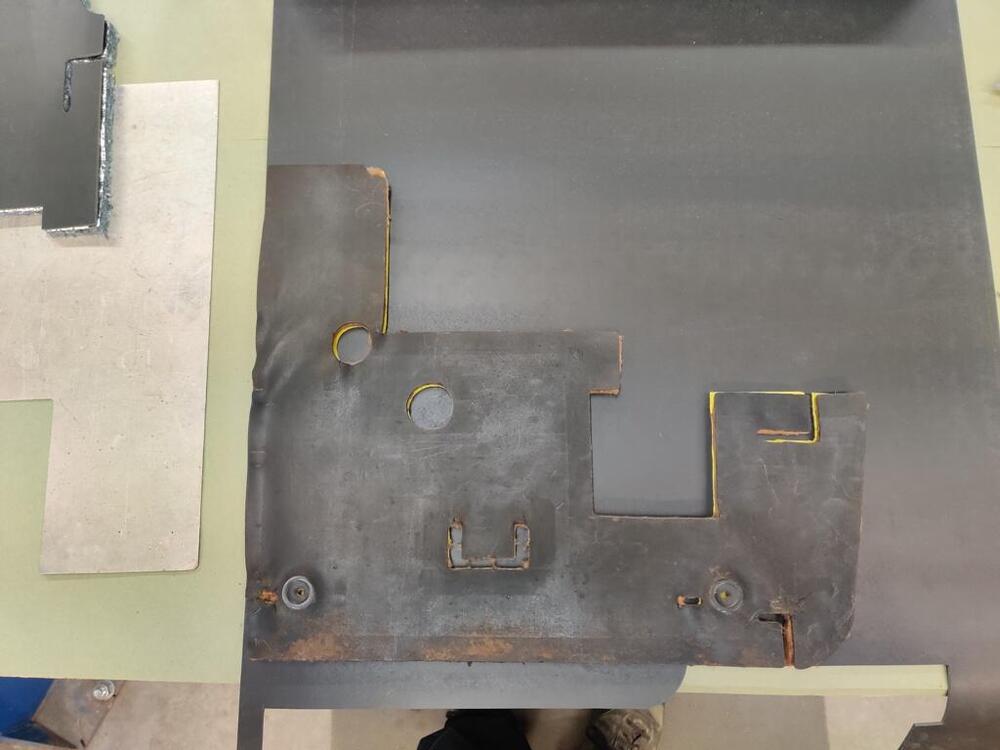
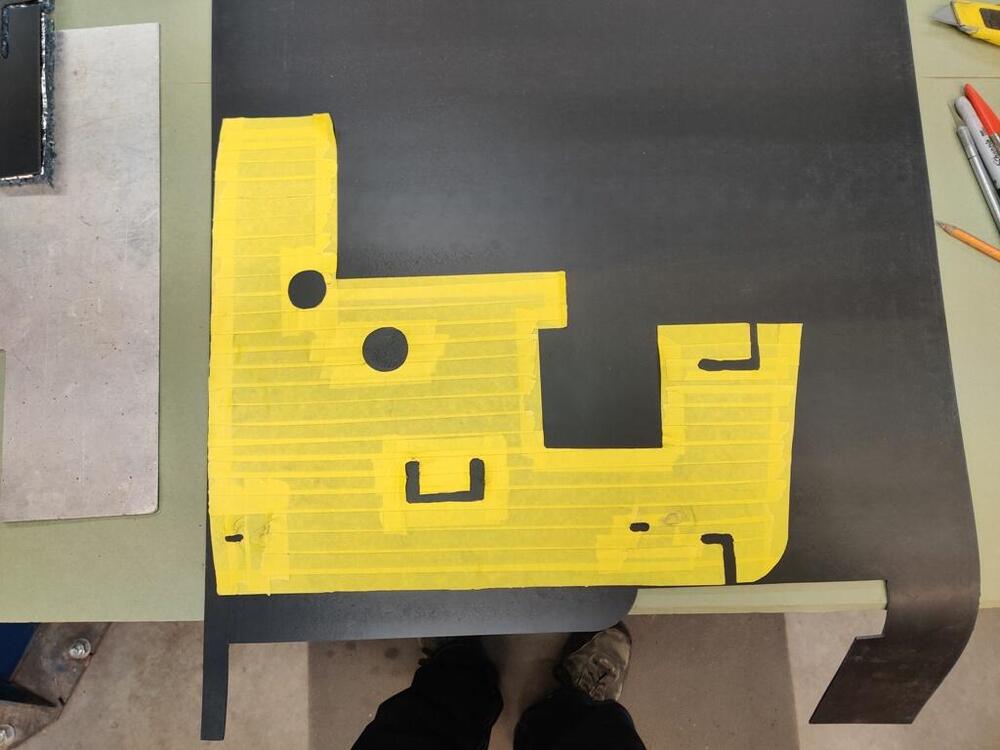
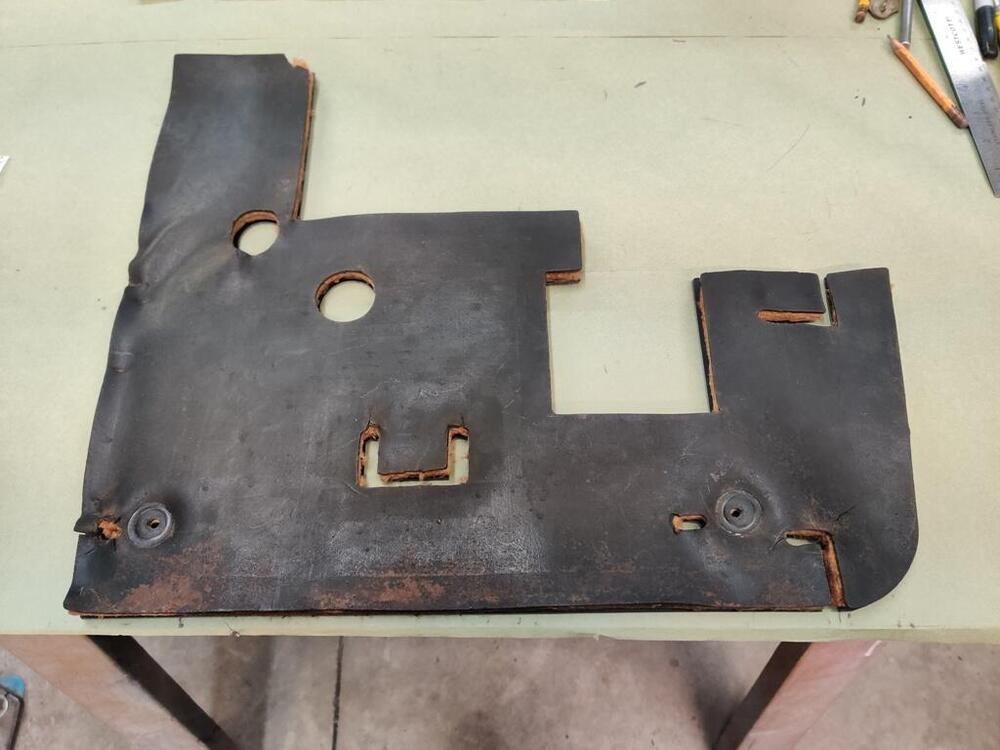
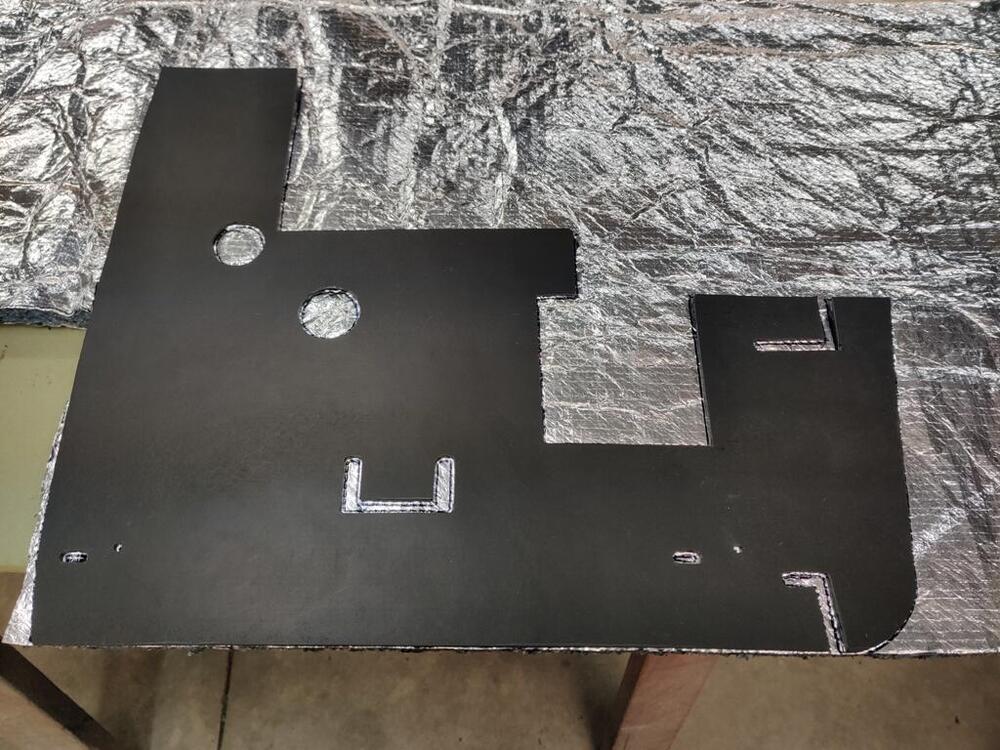
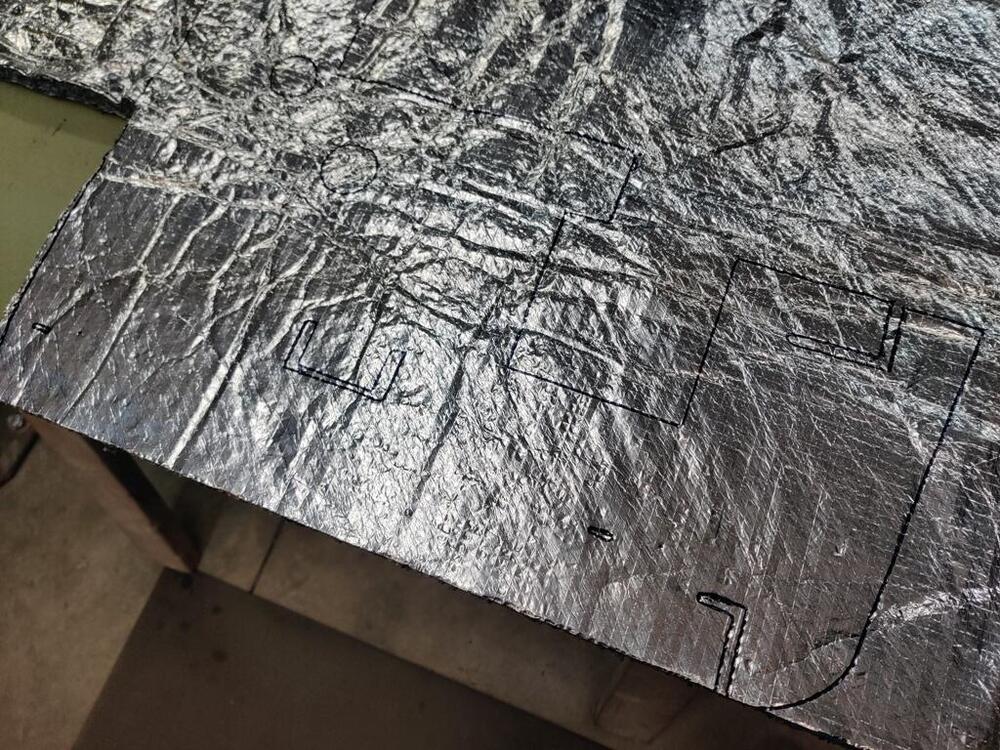
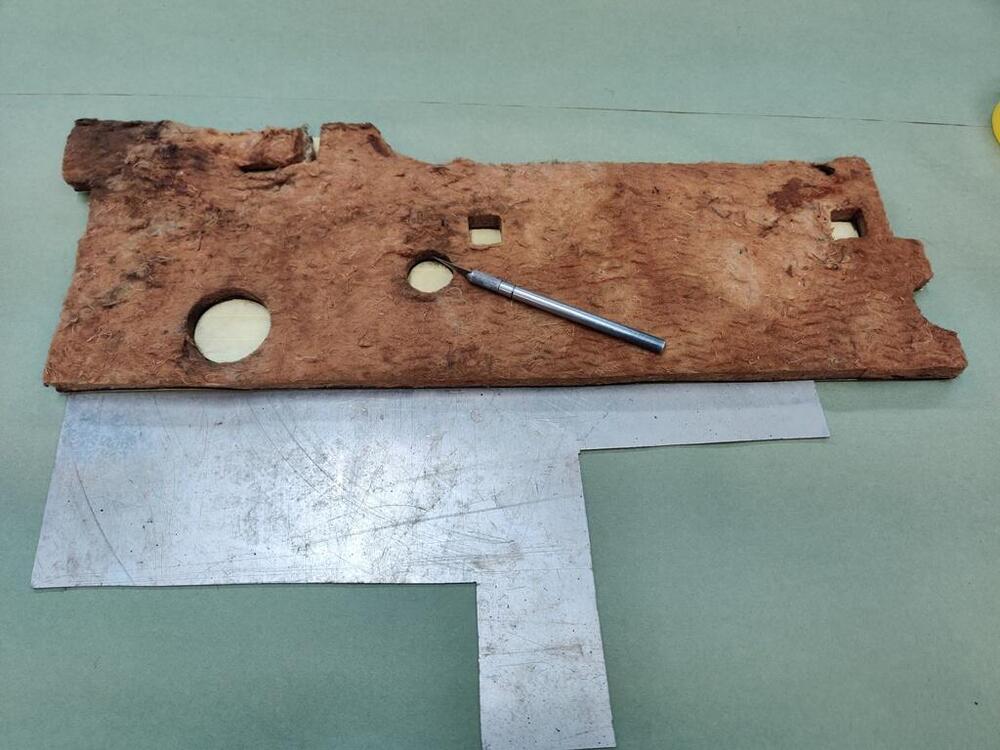
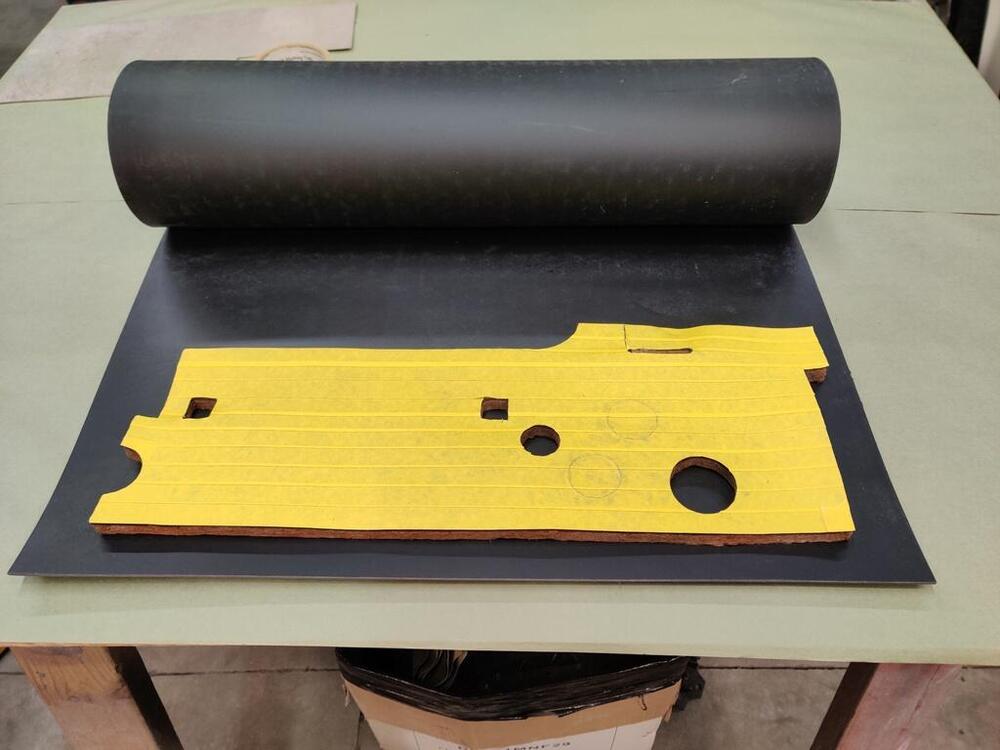
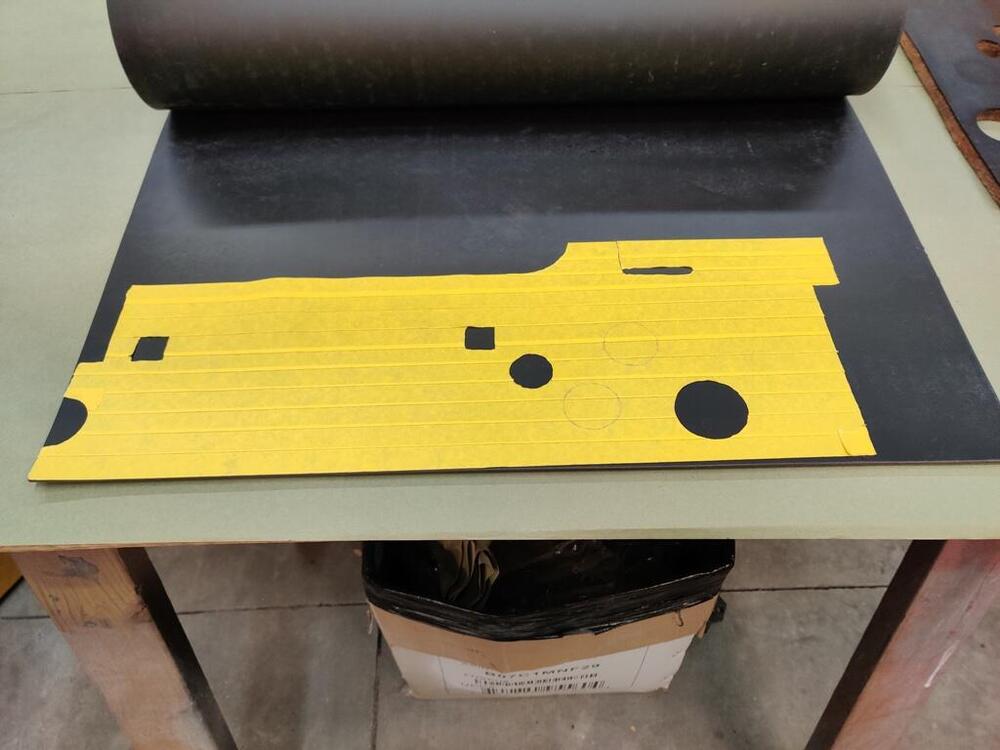
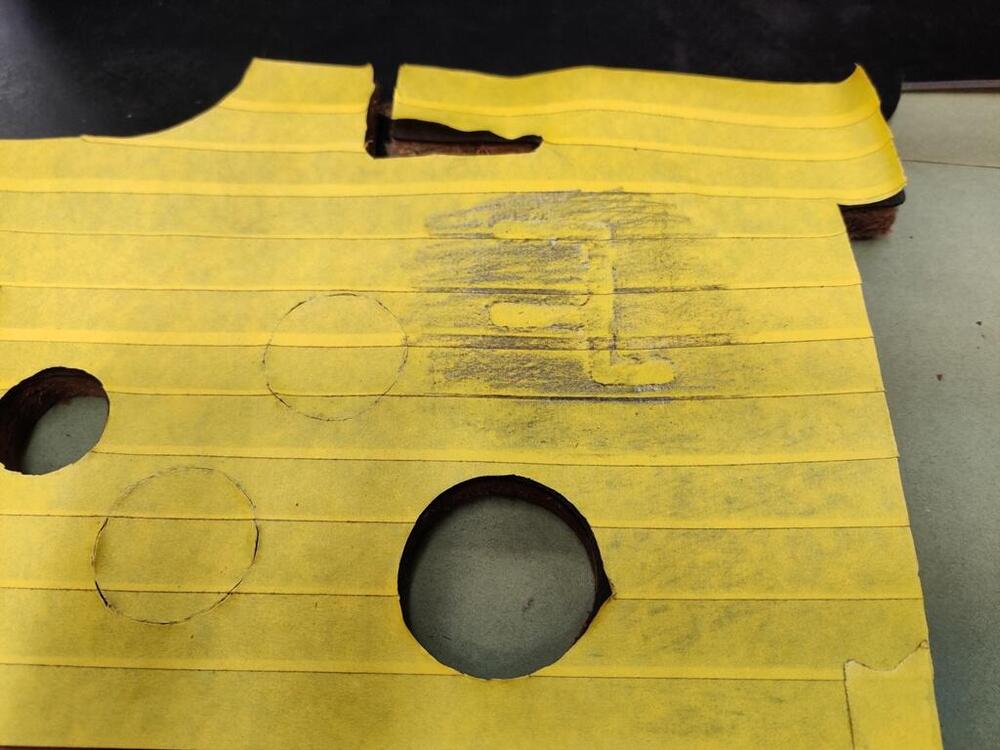
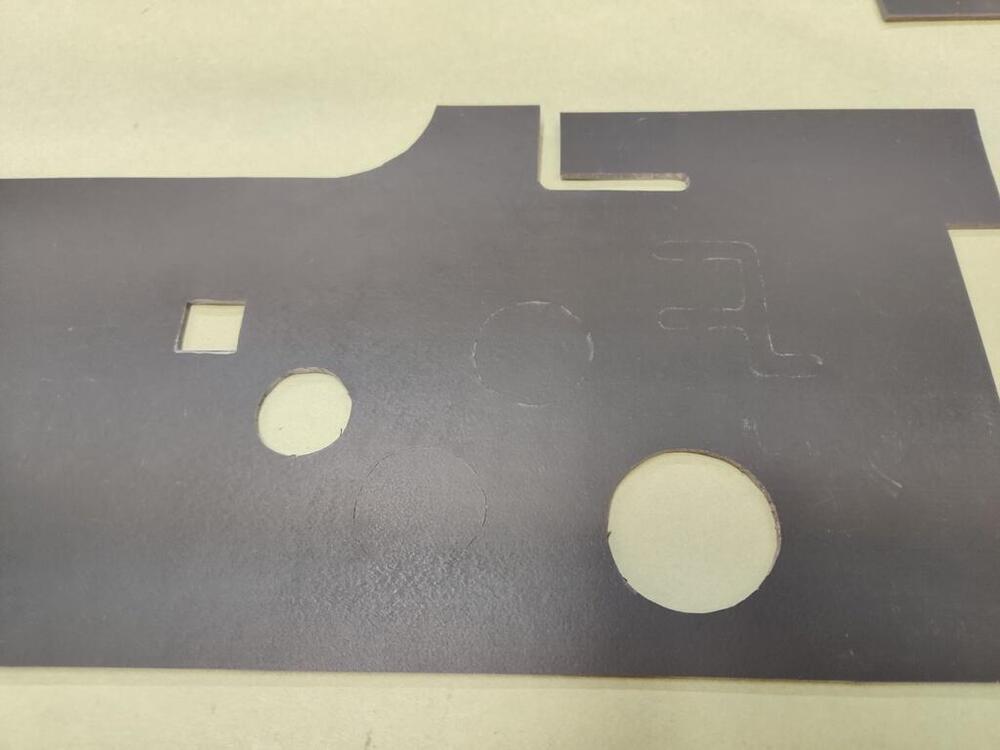
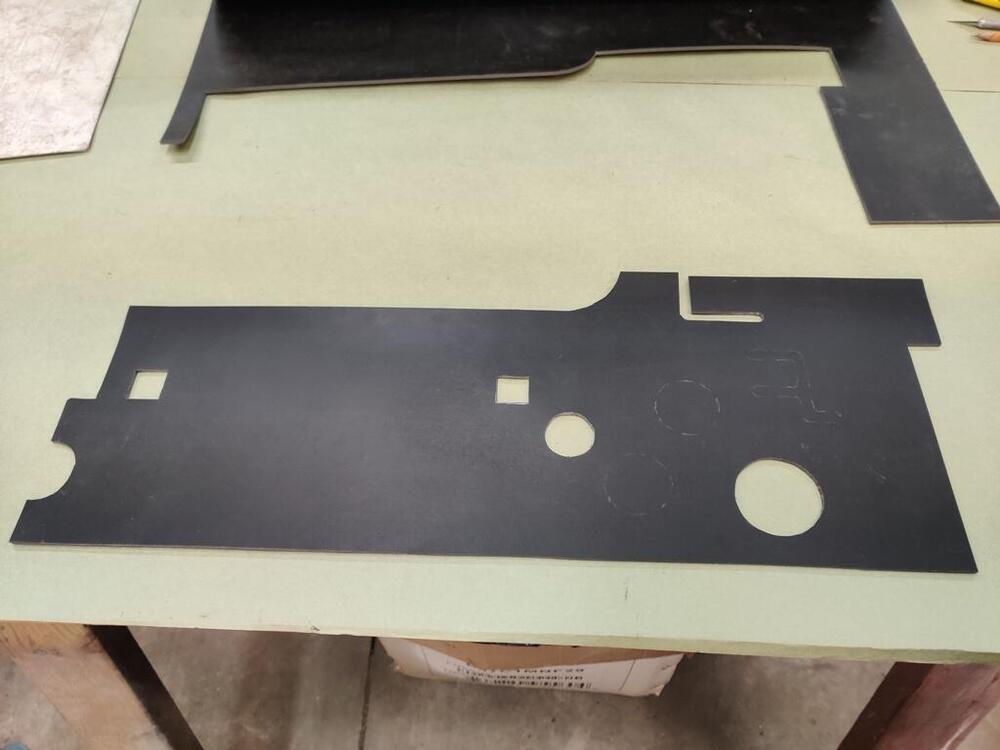
I was able to make more progress tonight on the firewall pads, this time moving to the left side pad. Covered in tape, then the cut outs, and the old on top of the tape pattern: The tape pattern on the butyl rubber sheet, the butyl rubber sheet after cutting out under the old pad, and the old pad placed above the new rubber cut out: The new rubber cut out on top of the new insulation, the outline in black marker on the insulation, the partially cut insulation under the new rubber cut out: The work to do this is somewhat tedious, but the results are pretty good. I decided to quit for the night rather than finish cutting the insulation for this pad.
-
Quaife LSD Installation in R180 - With Questions About Installation Also
Interesting. While I have a wipe pattern from assembly with all new bearings, I do not have one from before I disassembled the differential. In all probability, it had never been apart before, so the wipe pattern before disassembly should have been "close" to correct. I do recall (and posted somewhere earlier) that I measured the back lash before I took it apart and it was well within spec. So, I guess I will hope that centering the contact pattern will put it back close to where it was and minimize noise for the reason you point out. Well... Unfortunately, my history of experiences of having others do car related work for me have more often turned out to be disappointments than good experiences. Another way of saying that is: the majority of the time I hand stuff off to someone else to do, it doesn't get done well enough. Now, I am freely admitting that I am a perfectionist. And that is probably more than half of the problem. However, it can be very hit and miss with having someone else do this (as well as other) types of automotive work. If there is a place that is highly recommended by people with personal experience with the work, I will gladly and seriously consider it. I just assume that either: most differential rebuilders (who are still around) won't touch this, or I'd be better off not playing Russian roulette with the places that pop up with an internet search. Then, there is the weight of the thing... shipping both ways, etc., but that is a secondary set of issues.
-
Quaife LSD Installation in R180 - With Questions About Installation Also
That shim stock is still in my Amazon cart. My thought is that instead of binding, the pinion will move closer to the crown gear, possibly so much so, that the tooth contact moves past the center of the crown wheel, but not too far. And maybe, I end up with an amount of backlash that is acceptable? My original wear pattern looks too far forward on the crown gear to me... Depending on what happens with the thinner of these two new shims, I can proceed with the buying the shim stock, and seeing what size I actually need, and then possibly modify one of these thicker washers to that spec. Thoughts?
-
Quaife LSD Installation in R180 - With Questions About Installation Also
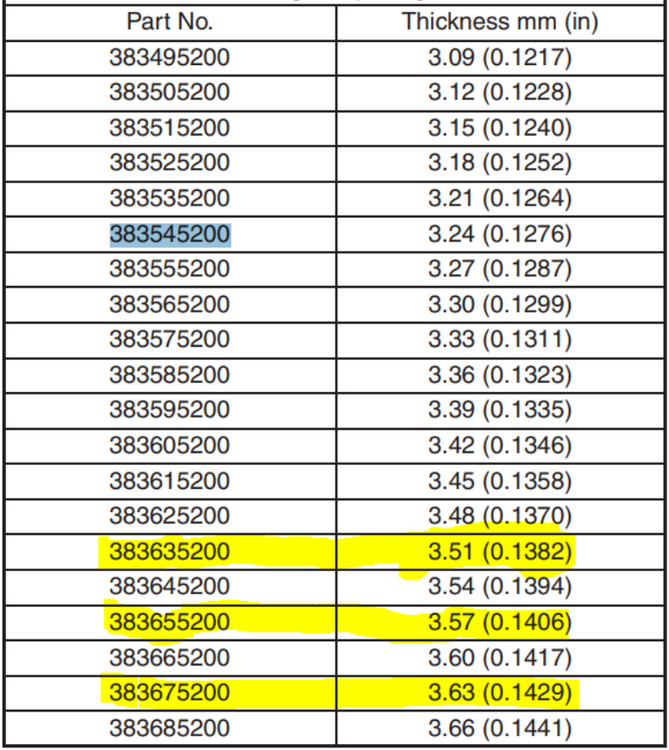
The pinion shim was not in the shipment I received. Instead, they cancelled that part and sent me the rest of the order, a few carrier side flange shims. Since the shim I took out only measured .126" thick (possibly part number 383535200), I again looked at the shim part numbers that showed as still available (yellow highlight below): The 3.63 (0.1420) is the one I ordered before and was/is on national backorder. So, I ordered the other two in yellow highlight yesterday, and found out today that they plan to ship them in about 4 days - they are available! Now, we just have to see if either of those will work to bring my backlash into spec. The difference between what I took out (.126") and the thinner of the two I will receive (.1382") is .0122" or 12 thousandths plus 2 "tenths" or two tenths of a thousandth. There are lots of different shim thicknesses in the chart between these two, which makes me think a little change in shim size goes a long way toward changing the mesh of the pinion and ring gears. But, we'll just have to wait and see.
-
1971 HLS30-14938 "Lily" build
I found that the board material inside of 3 ring binder/notebooks worked very well when I redid those in my track car years ago. Something like this: https://www.officedepot.com/b/binders/N-1035691 If you have some old ones laying around, that might be more appealing that sacrificing new ones
-
Restoration of BringaTrailer 240z - HLS30-35883
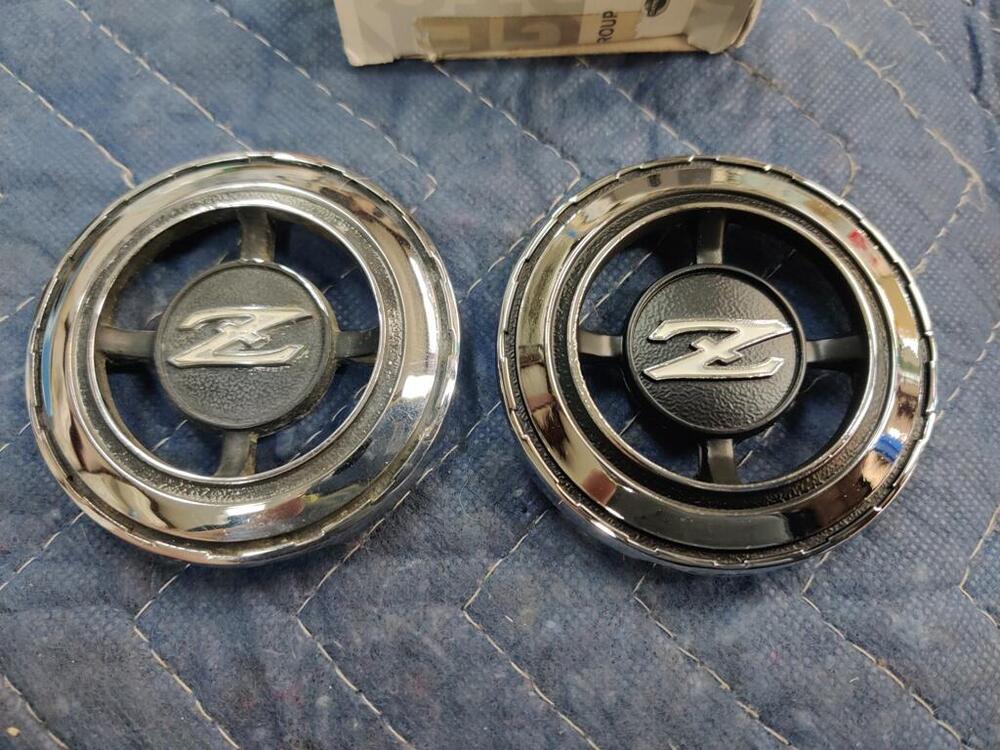
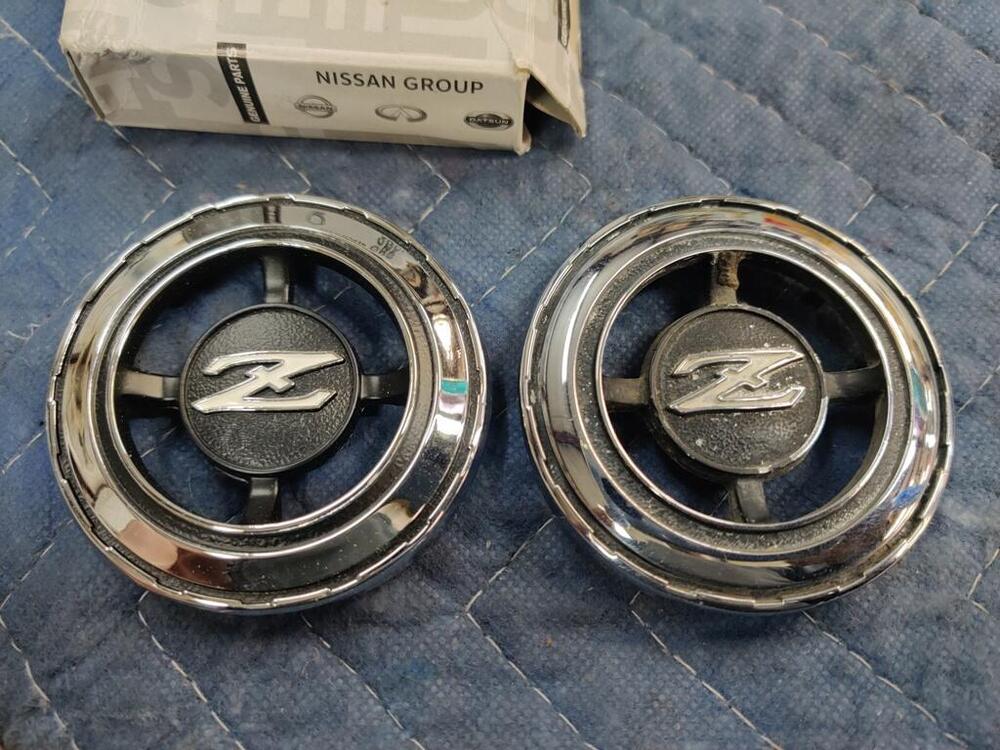
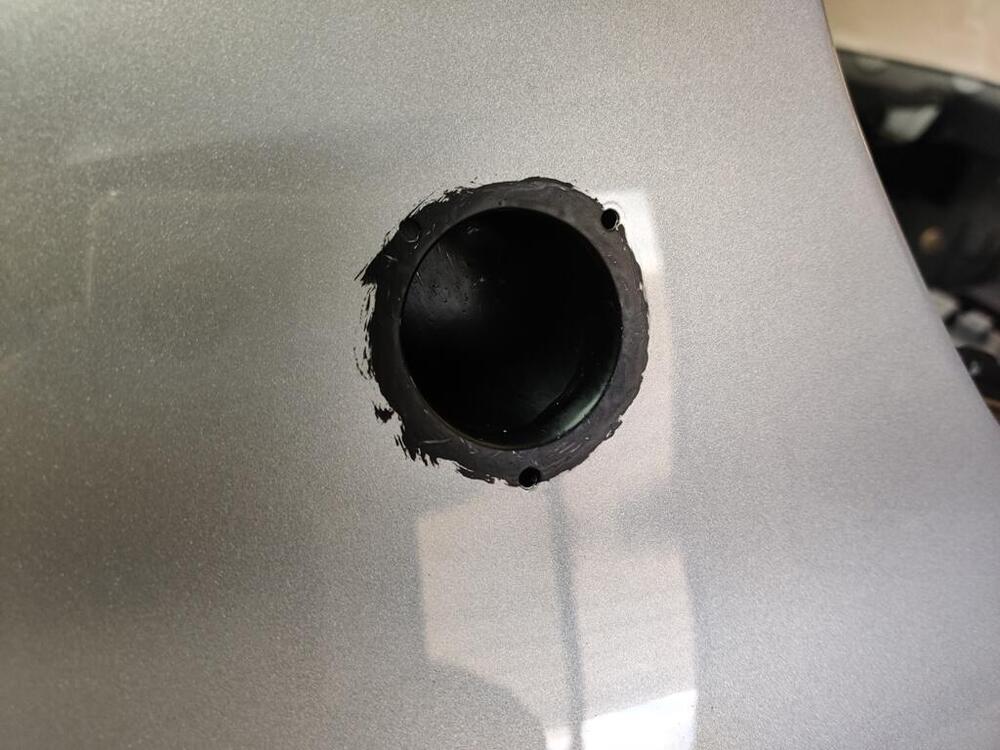
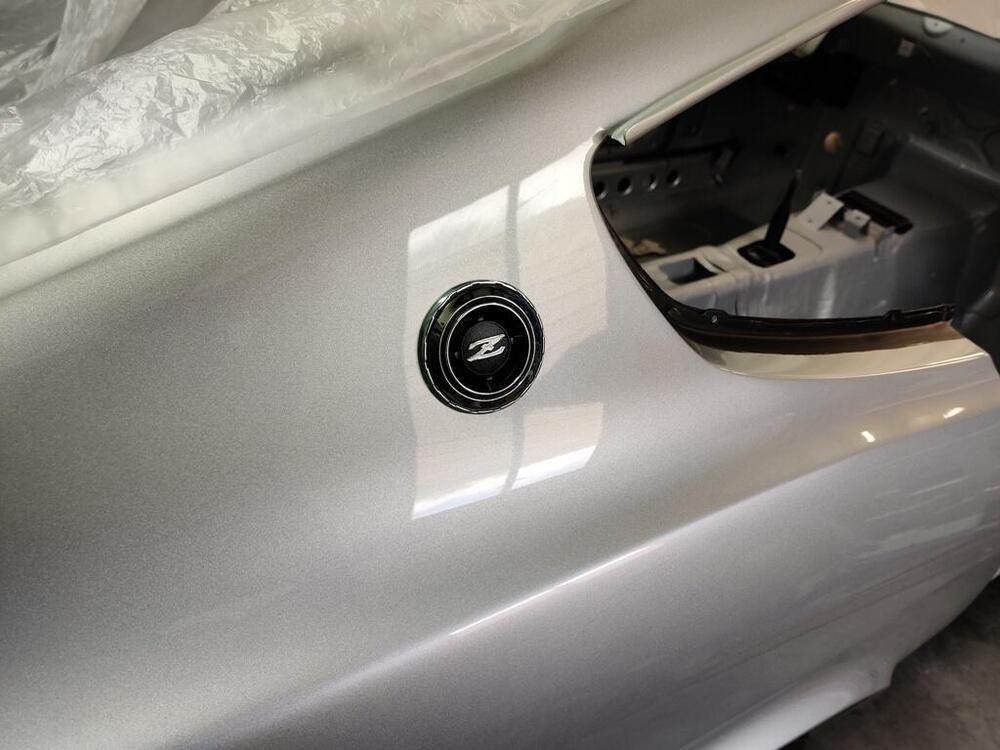
It was fun working on the car today. I started with putting quarter panel emblems on. Once again, I sprayed some Krylon flat black paint into a cup and used a brush to black out the vent hole. The original emblems are in pretty good shape. With a little polish and some repainting, they would have looked very nice, but I purchased new ones (these are also metal) a long time ago and it was less work to take them out of the box and install them. I did have to open up the emblem mounting holes a bit due to primer and paint build up. And I put a bit of silicon on each of the emblem posts before installing to seal up anywhere that I may have broken through to metal while cleaning up the holes. After that, I cleaned off one of my work areas to start a new project - the firewall pads. In a previous effort, I tried to revive my originals by using some mild thinner to clean the asphalt/bitumen surface... and using a heat gun to straighten out some wrinkles. But, neither effort worked well. And my right side pad has a fair amount of cracking/damage. So, I spent many hours looking online for a suitable product that looks like the original bitumen sheet. I found "bitumen" to be available only outside the US, and even so, I couldn't determine if what was available would look original. I did find a product from Second Skin that looked the part - this is the same company from which I bought the floor sound deadening pads. Today, I started with the small, center pad. I covered it with strips of good quality masking tape. When peeled away from the original part, this makes a nice template. Then I used a sharp Exact-o knife to cut where there were holes from the factory. For kicks, I also made partial cuts where the factory had partially cut, but not removed the bitumen. This didn't add that much time and was fun to do. After the new butyl rubber sheet was cut to look like the original pad, I grabbed the other product I got from Second Skin. It is some felt type padding with a type of foil on both sides. I thought about trying to use the factory felt, maybe after cleaning, but decided that even I have limits to my insanity. This product is about the same thickness and is a similar material, though a different color, obviously. When I purchased this, I was thinking I would have to double it up to achieve the factory thickness. However, I will not, and so, I have plenty of extra! Next up will be replicating the driver side pad... After spraying some contact adhesive to the back of the rubber and face of the insulation, the new piece will be done!
-
Restoration of BringaTrailer 240z - HLS30-35883
I couldn't quit find the right thing. This is on the right track. Not sure if these/vinyl thread protectors could be heated and stretched in length a bit?
-
Restoration of BringaTrailer 240z - HLS30-35883
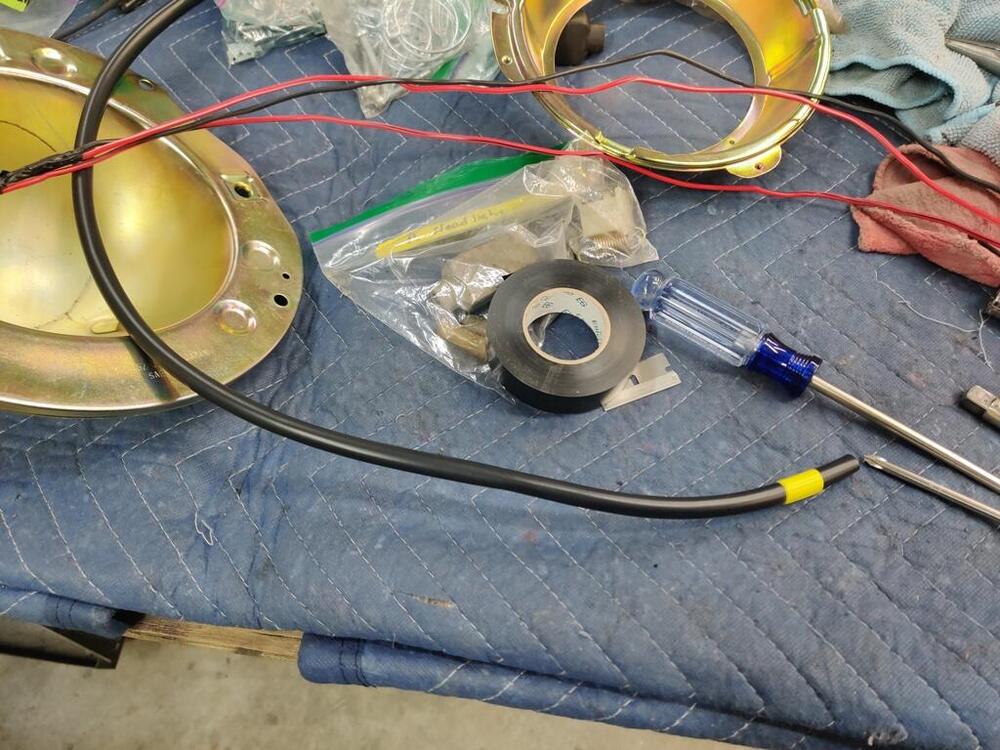
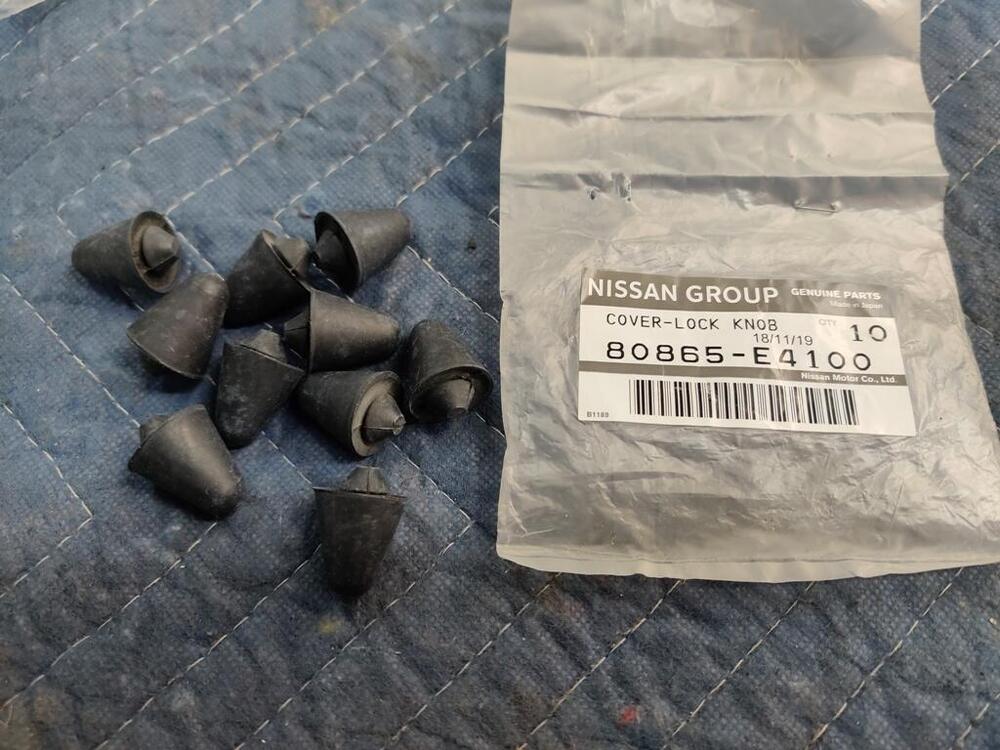
The yellow tape end goes just outside the headlight bucket. I do have the caps that go over the headlight screw inserts. I have not put them on yet because I may need to hit the backside of the adjustment screws with a little bit of WD40 if they are tight, when I go to do final headlight beam adjustment.
-
Restoration of BringaTrailer 240z - HLS30-35883
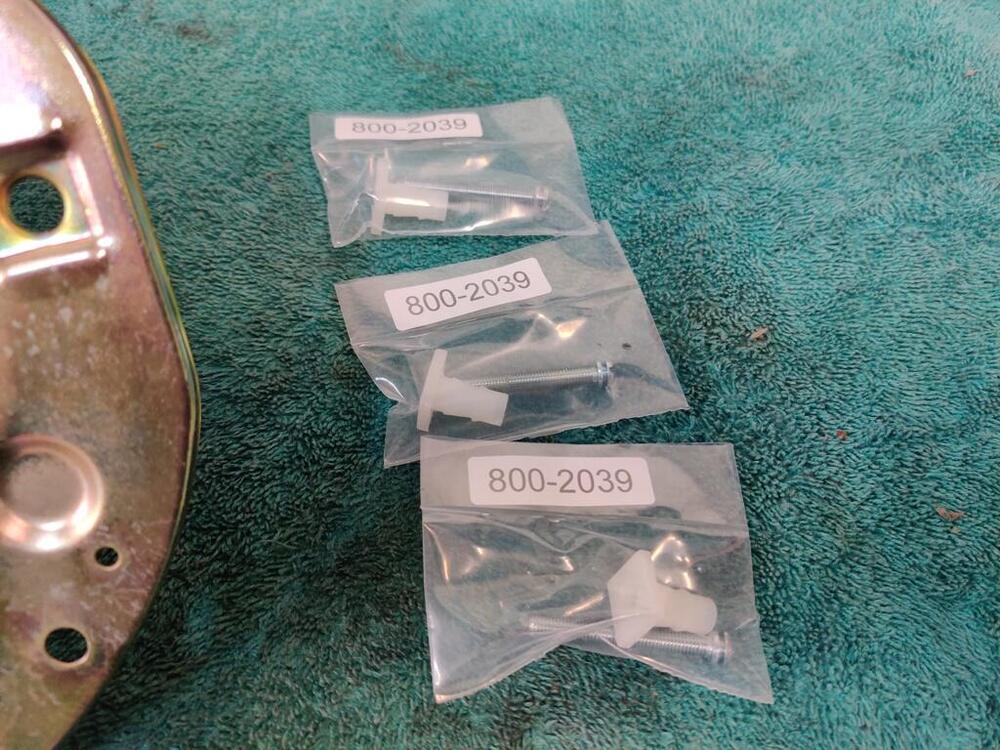
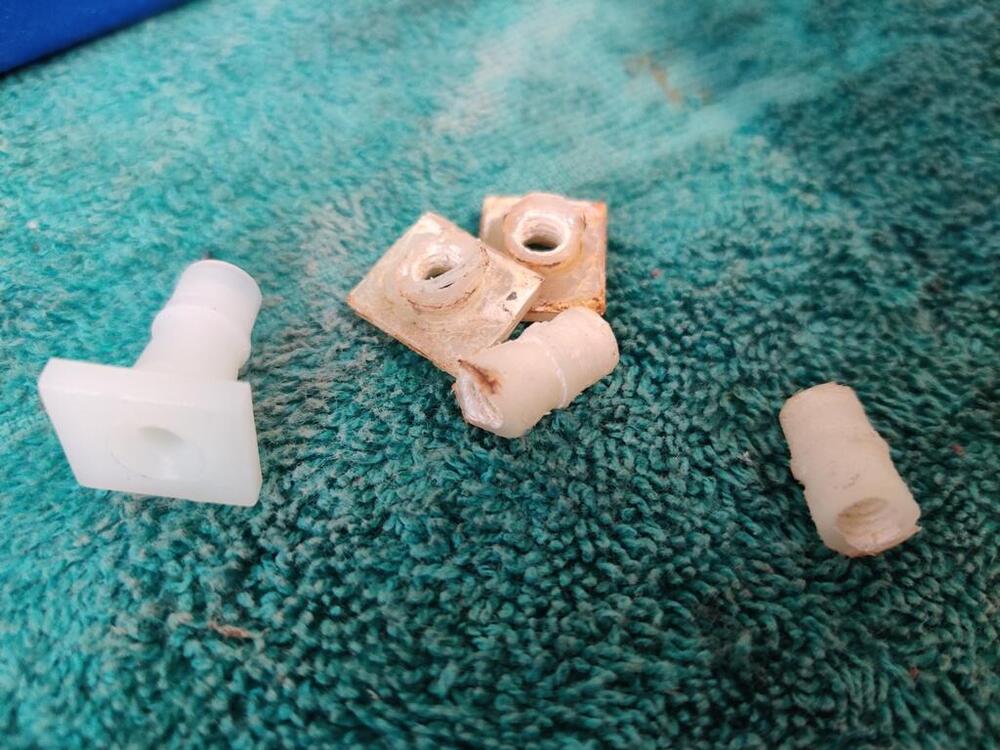
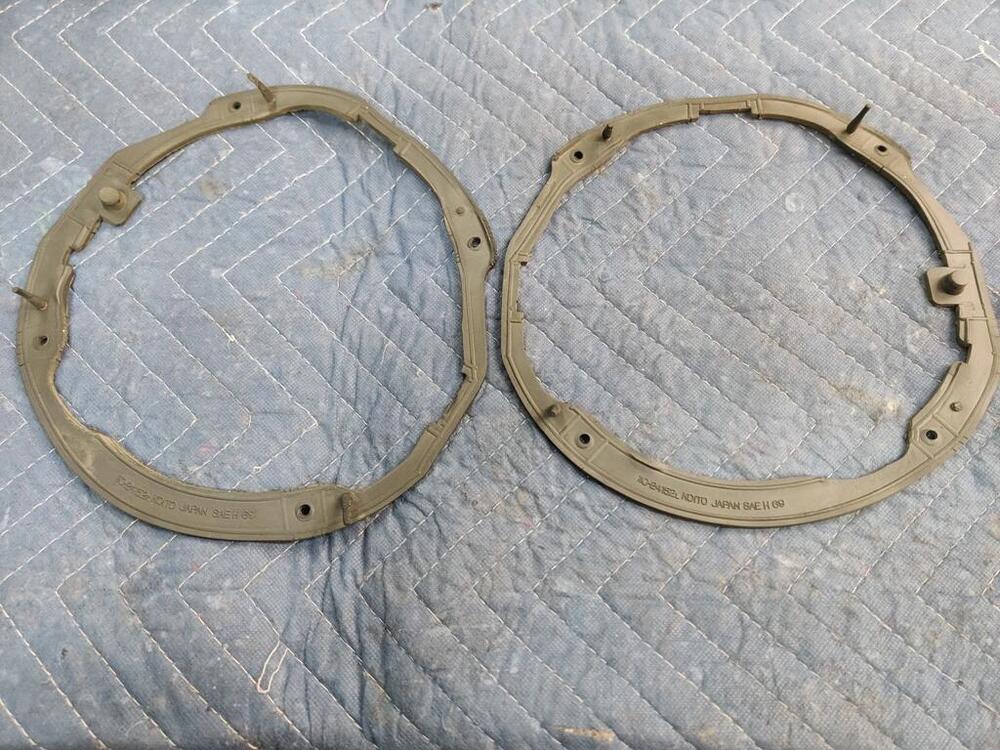
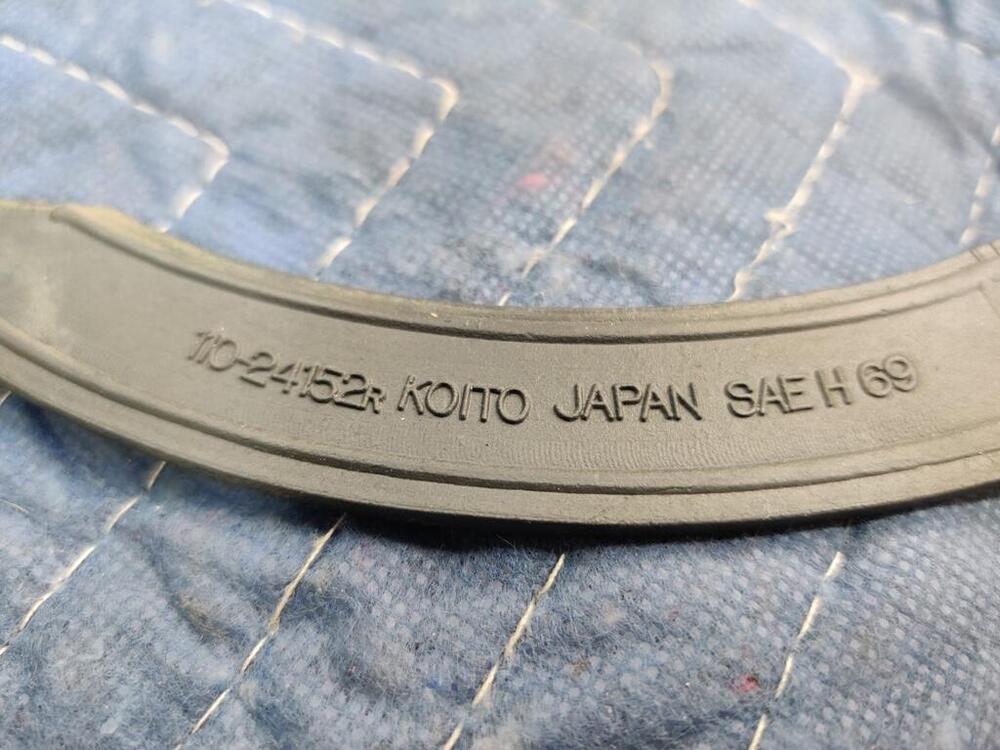
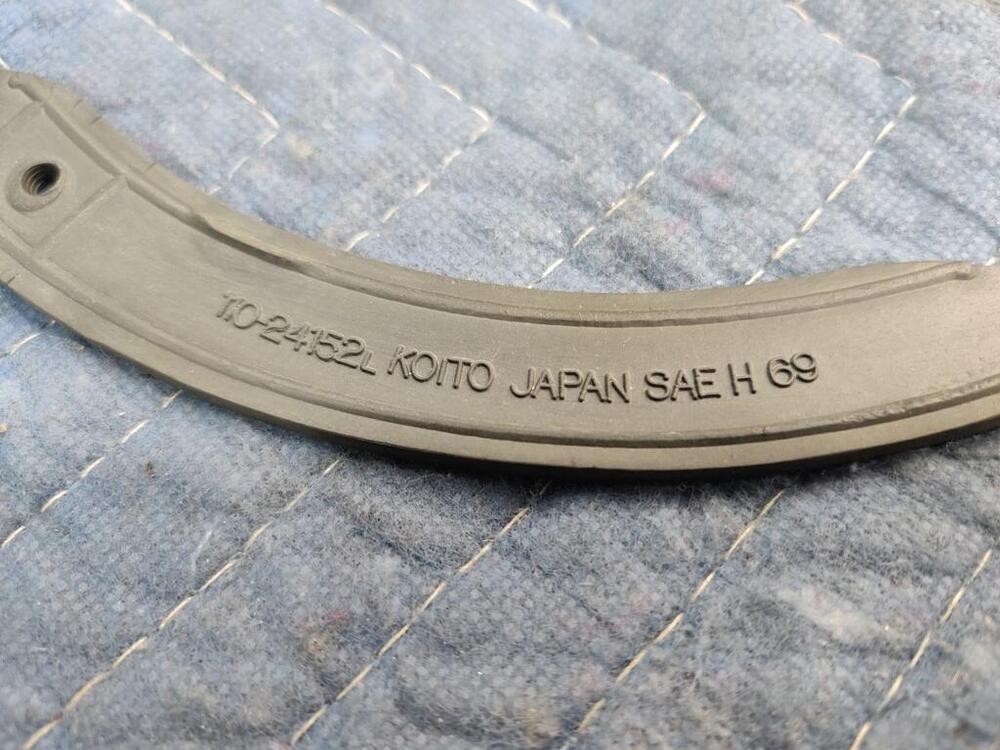
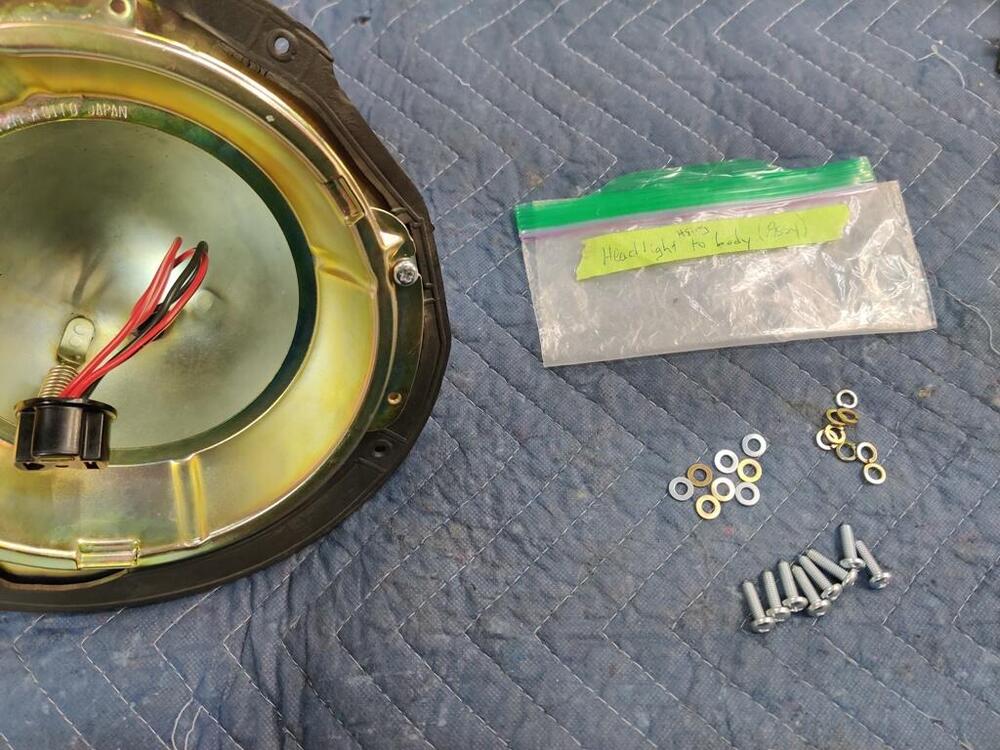
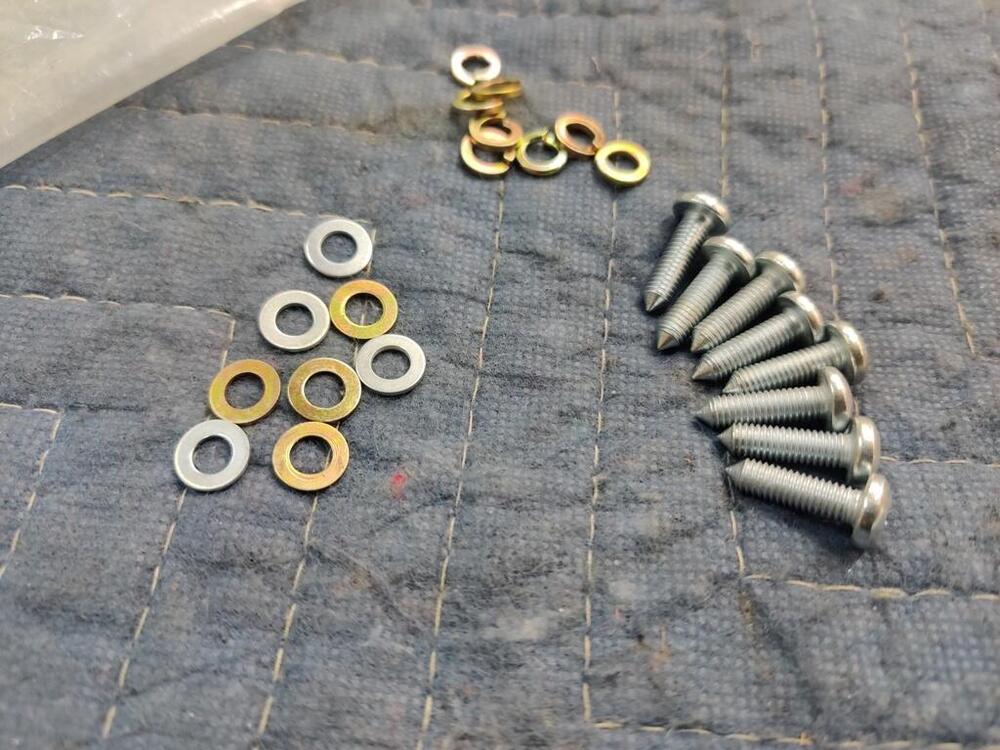
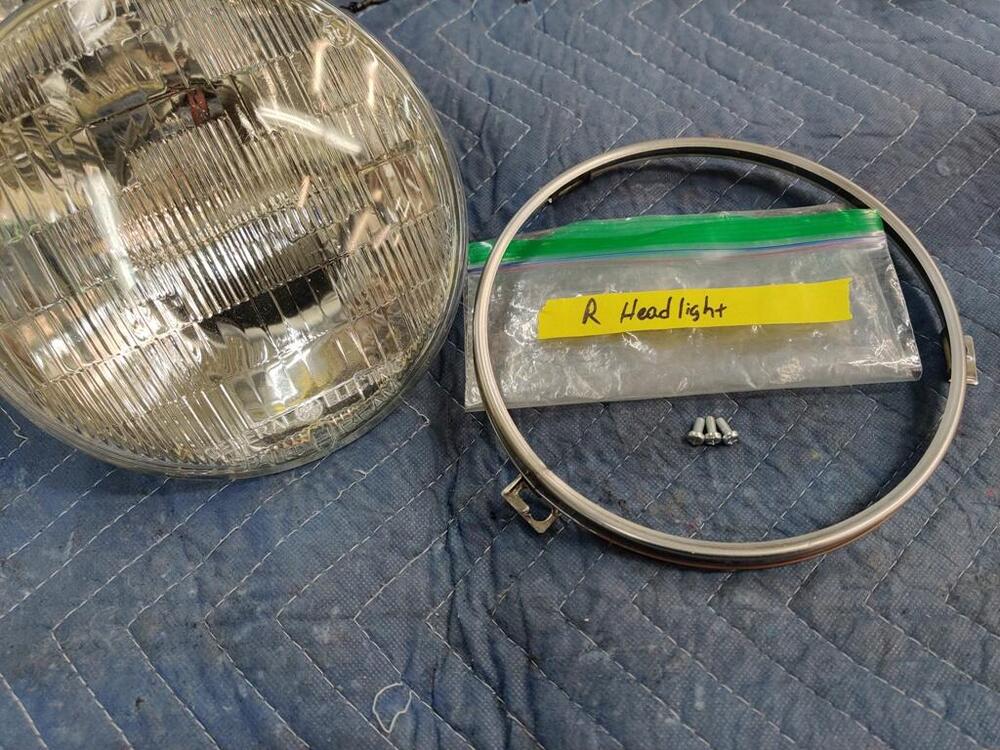
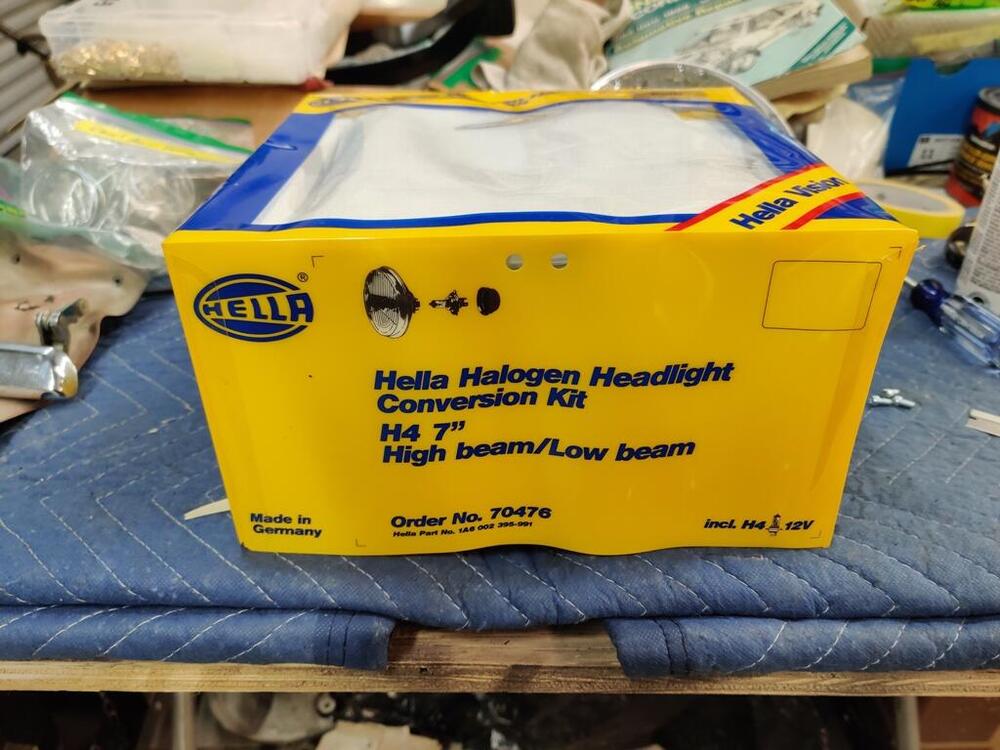
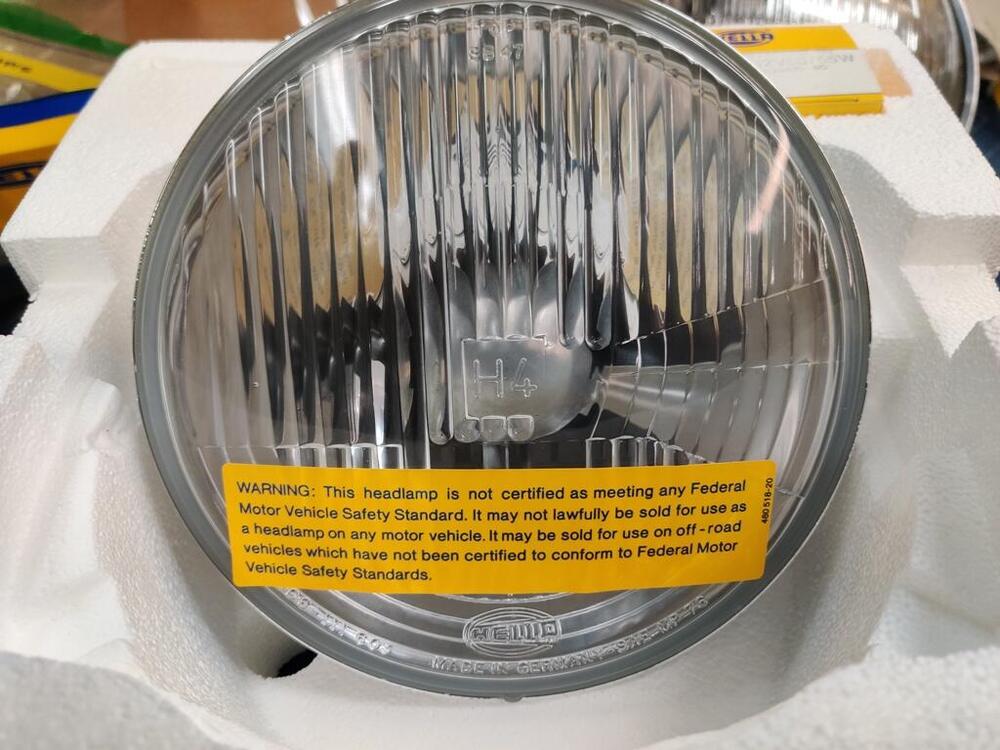
Today, I got the right side window regulator in and was successful in getting easy, and smooth operation of the widow. I also messed with the door hinges a bit to improve upon the door alignment. I still can't believe they removed the doors - I had the alignment nearly perfect! And, I assembled the other of the new headlight harnesses (it is a PITA to pull the wires through the new sleeves if you don't remove the electrical connectors from the wires, which I did not). I also replaced the plastic/nylon headlight screw receivers. When I had the buckets plated, I did not know that replacements existed. So, I had them plated with the receivers in place. They didn't "do well" with the plating process. To replace them, I heated up a single edged razor blade (in a holder) with a propane torch, and cut through them on the back side. Then I just used a hammer and punch and tapped the remainder out. Pressing the new receivers/inserts in place is easy with a 10 mm deep socket and a vise. The new ones come with smaller diameter screws. My original screws were re-plated and are in excellent condition. So I chose to use those instead. However, I had to open up the hole in the new nylon inserts to 13/64" and run a 6M X 1 mm tap through them in order to do so. Whether you use the original screws or the ones that come with the inserts, note that they do not have threads as received. Next, I ran the original, as they are in good condition, headlight gaskets through my glass bead cabinet to remove overspray for the prior repaint job on the car. I got ahead of myself and installed one of the headlight buckets with just a regular sealed beam headlight (not even halogen), before I remembered I bought some Hella H4 housings and bulbs a couple of years ago. I think these have some age on them, but that doesn't matter. So, I shouldn't bother with the H4 bulb - I should get some LED ones, yes? It is surprising how little I got done today given that I put about 8 hours in. Oh well. Things are going well... if slowly.
-
Restoration of BringaTrailer 240z - HLS30-35883
One month earlier - 3/71, which would be fine with me. My passenger side has some scratches as well. Can you clean both sides and send me some more pics?
-
Z's on BAT and other places collection
Z432 on BAT: https://bringatrailer.com/listing/1971-nissan-fairlady-z-432/
-
Restoration of BringaTrailer 240z - HLS30-35883
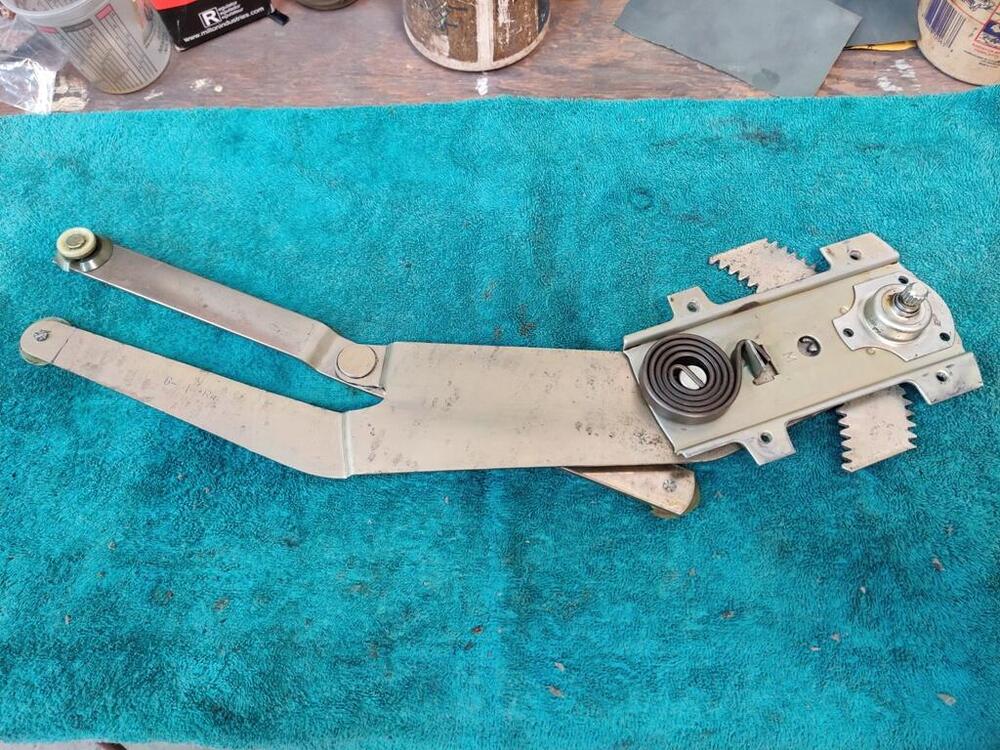
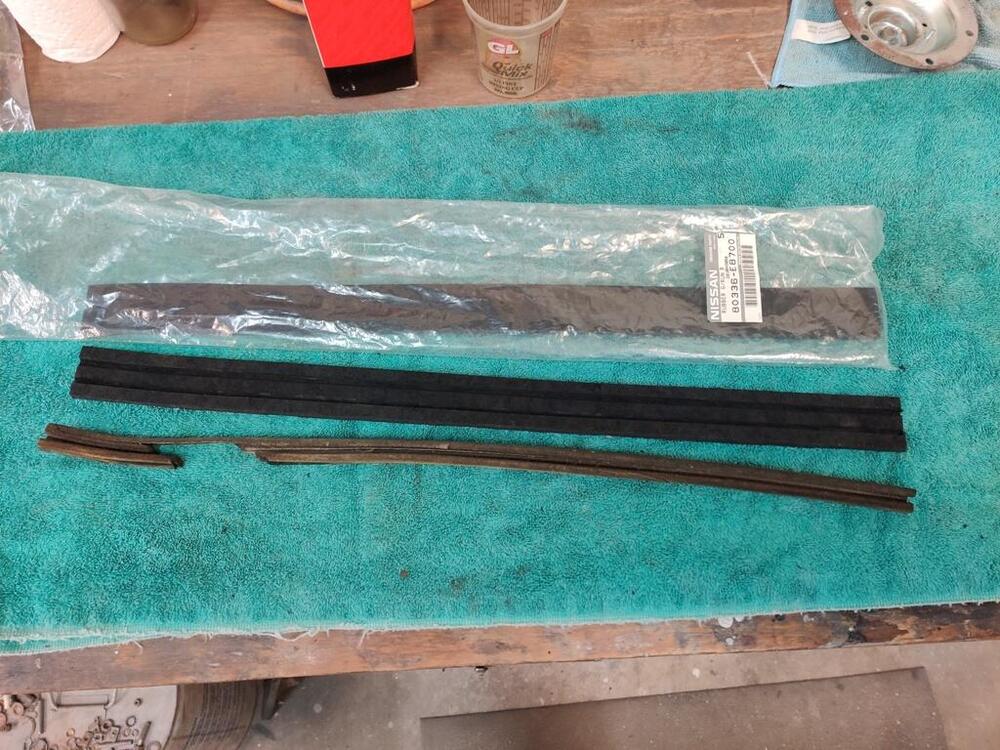
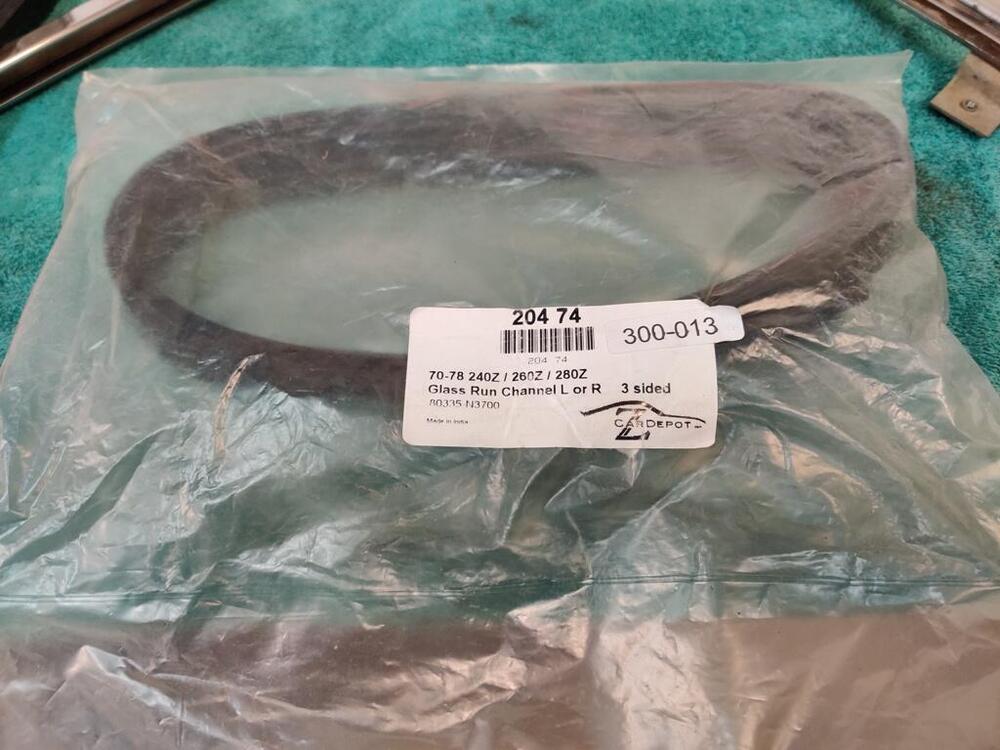
I do have the rubber stop installed at the bottom of both doors. I believe I have identified the problems with the left side window - there are three. Being from a 280z, the metal window frame/support is different. At least one of the channels for the wheels of the regulator is different. And, the nylon part on the front of the metal frame/support - the part that goes in the front guide is different. That is making the front part of the window stick. In addition to that, I believe I installed the lower weather strip in the back of the stainless frame incorrectly. I do not think it is fully seated, and I think the weather strip cement I used is keeping it from seating fully now. That is making the back of the window stick. So, even with no regulator, the left side window is not going up and down without excessive effort. Tonight, I installed the right side window. Like the driver side, I removed the old weather stripping, cleaned the old adhesive out of the stainless frame, and sanded the stainless frame with 1000 and 2000 grit sandpaper. I installed the window first, and then the front guide. I installed the new weather strip in the stainless frame. I put the top one in first, and then the one that goes in the bottom of the back of the frame. This time, I made sure to push that one all the way into the channel before the weather strip cement dried. I have had good success with locating the front guide by pushing the window all the way up to the full closed position, and then pulling the top of the front guide towards the window to "seat" it against the nylon slide part. Then I snug the top bolt of the guide. Then I lower the window to about half way down. While holding the window in that position, I grab the bottom of the front guide and pull back to seat it against the nylon slide part. Then I tighten the lower bolt of the front guide. And finally, I tighten the top bolt of the front guide. In theory, that puts the front guide in a position to keep the window as far back in the door a possible, both at the front and the bottom of the guide. I am happy to report that I am able to slide the right side window up and down without issue. It is a little heavy feeling, but I think that will go away with the installation of the window regulator and the channel guide on the door, as well as the upper rubber roller and inner panel and outer trim strip. Next, I have to "deep clean" the left regulator like I did to the right one tonight: I found that each moving part of the regulator moved easier after cleaning thoroughly with WD40. I removed all the old grease. With reduced friction for each wheel, each gear, and each pivot point, it made a very big difference in the amount of overall friction during operation. When revisiting the left door window, I also need to fix the lower weather strip. And, I need to source a 240z left window. I found one in CO today, but the date code is 73. I'd like to look a bit longer to see if I can find one that matches my passenger side.
-
Restoration of BringaTrailer 240z - HLS30-35883
I did use a magnet, and they didn't stick. While using aluminum screws in that application does well to avoid galvanic corrosion on the sill itself, it doesn't help with the steel hole in the rocker panel it goes through! I am going to do the right side side tonight and see how that one goes. Thanks for the tip @grannyknot! Oh, and I received my Subaru parts. They cancelled the shim off the order without telling me, and sent me the remaining parts which were on the order - the side carrier shims. So, I have no solution for putting my differential together yet. Everyone, I am looking for a nice driver side window with correct date on the etching. I would like one that matches this pic, with a dot above the S in ASAHI and a dot above the M in TEMPERLITE. Please let me know if you can help me.
-
Restoration of BringaTrailer 240z - HLS30-35883
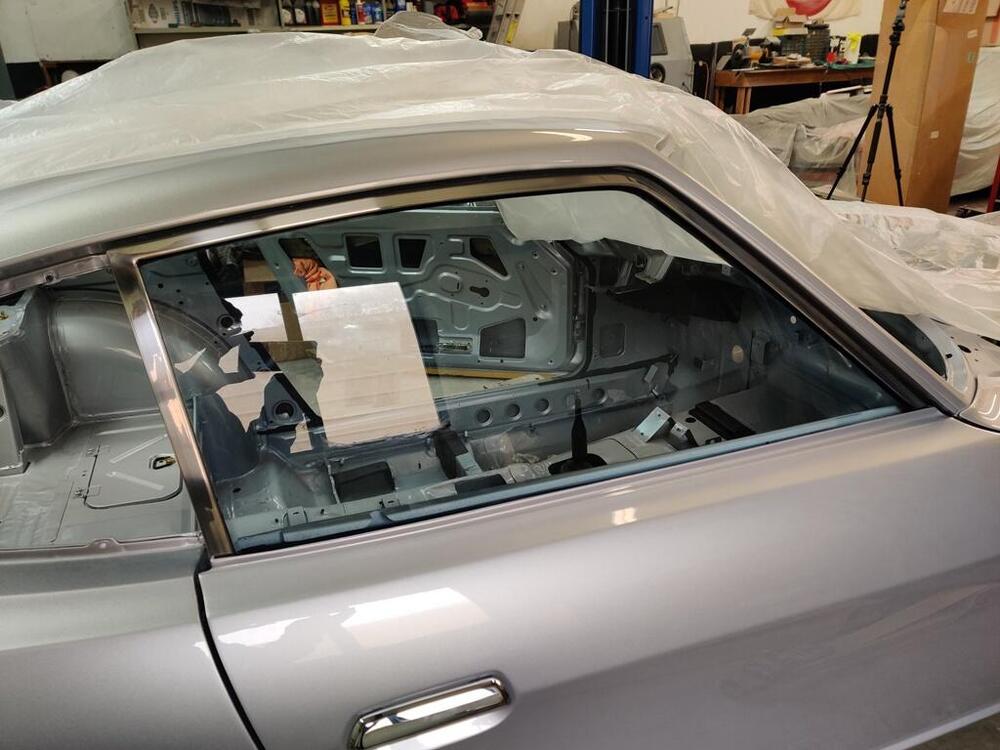
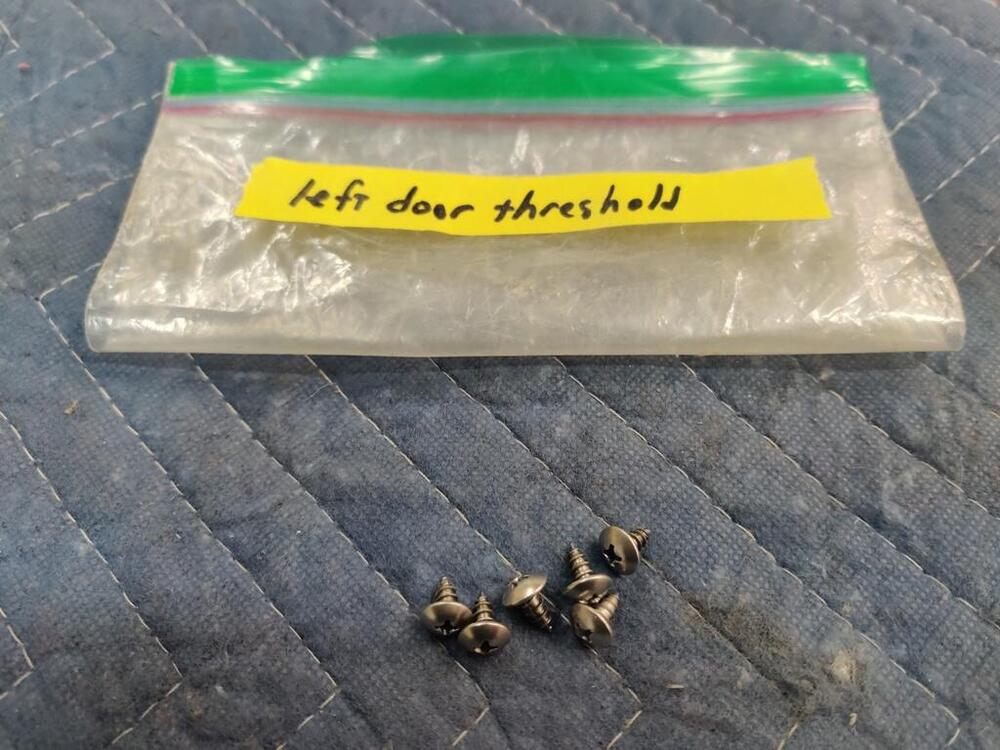
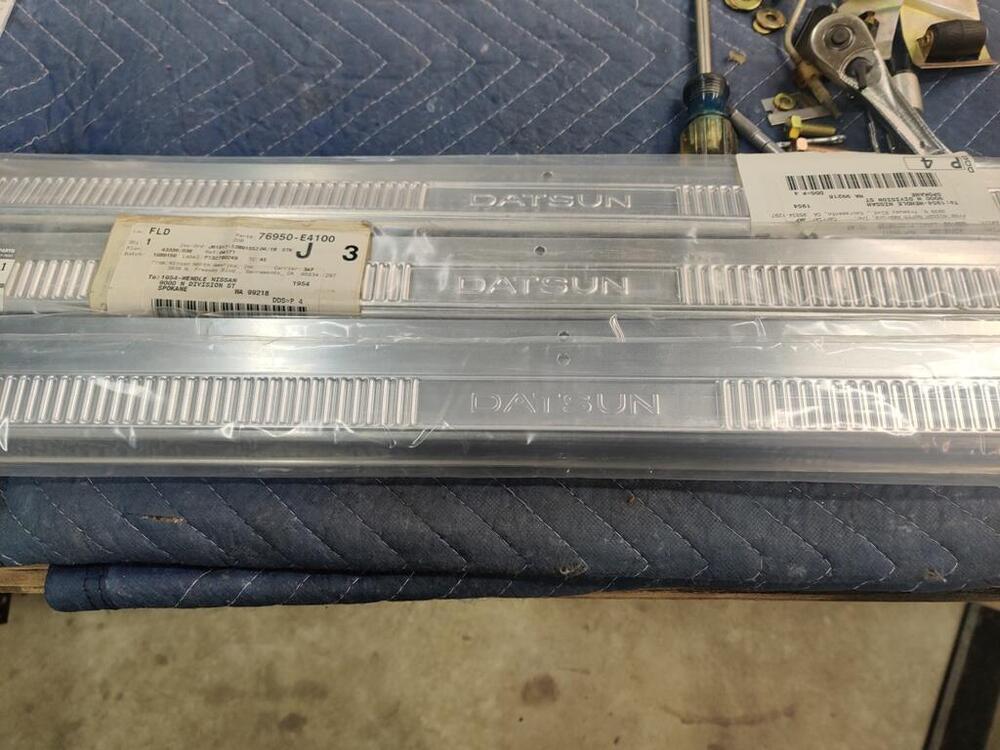
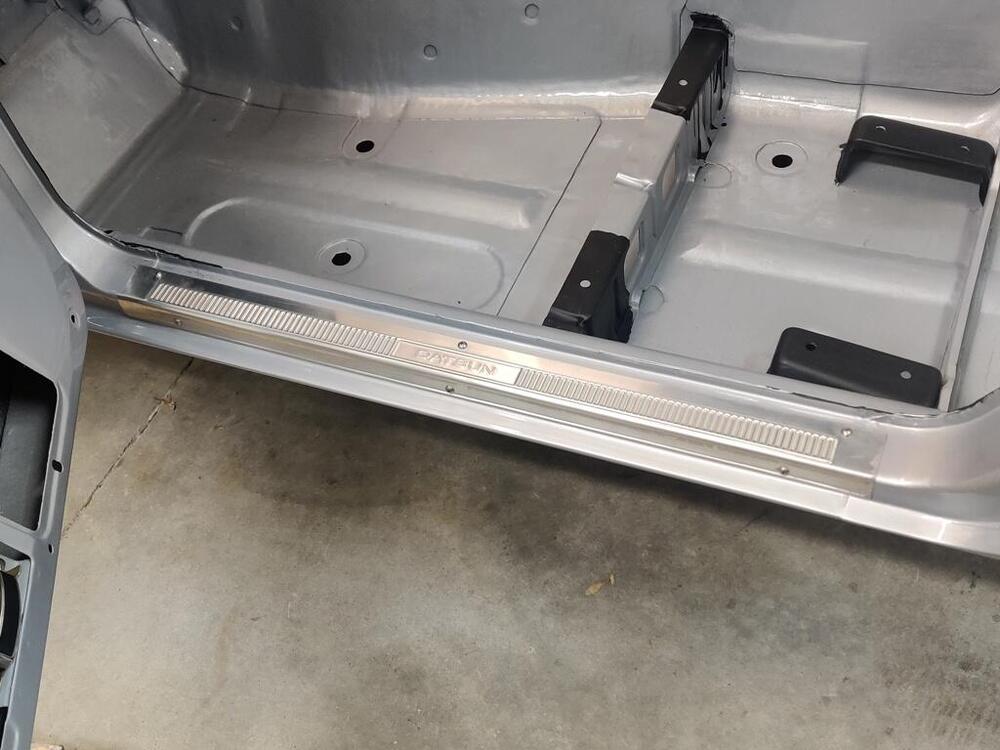
Thanks for the tips - keep them coming please! Yesterday evening, I ran into quite the puzzle of an issue. Tonight, I remained stumped for quite a while but I think I figured out what the problem is. So... I installed the driver side window glass last night. Like @jfa.series1, I could not put the window in without taking the frame out. No big deal, as I just put that in, so easy to take out. I put the window in and then the front guide, then the regulator, then the rear guide. Immediately, I ran into problems with getting the window to move up and down without excessive force. Things were not happy. I fiddled with adjusting the front and rear guides for quite a while. Nothing was helping. And with the window at full up, one of the wheels for the regulator was coming out of the track. I quit for the night, but kept thinking about the wheel coming out of the track at full up position, and the difficulty. I also found this in the archive, and read it before I went to bed. Today, I went to work pulling everything back out of the door. I had thoughts that perhaps the front guide was bent or worn, and perhaps some part or parts of my window are from a later car. The article gave me that idea. I should have just checked the window first, because that is looking like my issue, but I messed around with comparing guides and regulators from both sides of the car for quite a while first. Here are the etchings on the glass for the left and right sides respectively: Given this thread from @kats I think my left side door window assembly is from 9/1975. I am not quite sure how to read the one for the right side door window, but I believe it is indicating 4/1971 for my 6/71 car. Taking some measurements, there are clearly differences in the metal stampings that hold the glass and that the regulator works in conjunction with. So, for now, I am calling the replacement door window my problem. So, do I need to source another window, or just another window support structure? I will see what I can find. A few more pics of other progress: By the way, the factory door sill threshold screws are aluminum. Middle pic shows the slight difference between the original sill plates and the reproduction ones. The reproduction one is on the bottom below two new original ones. The "DATSUN" is not as pronounced.
-
Restoration of BringaTrailer 240z - HLS30-35883
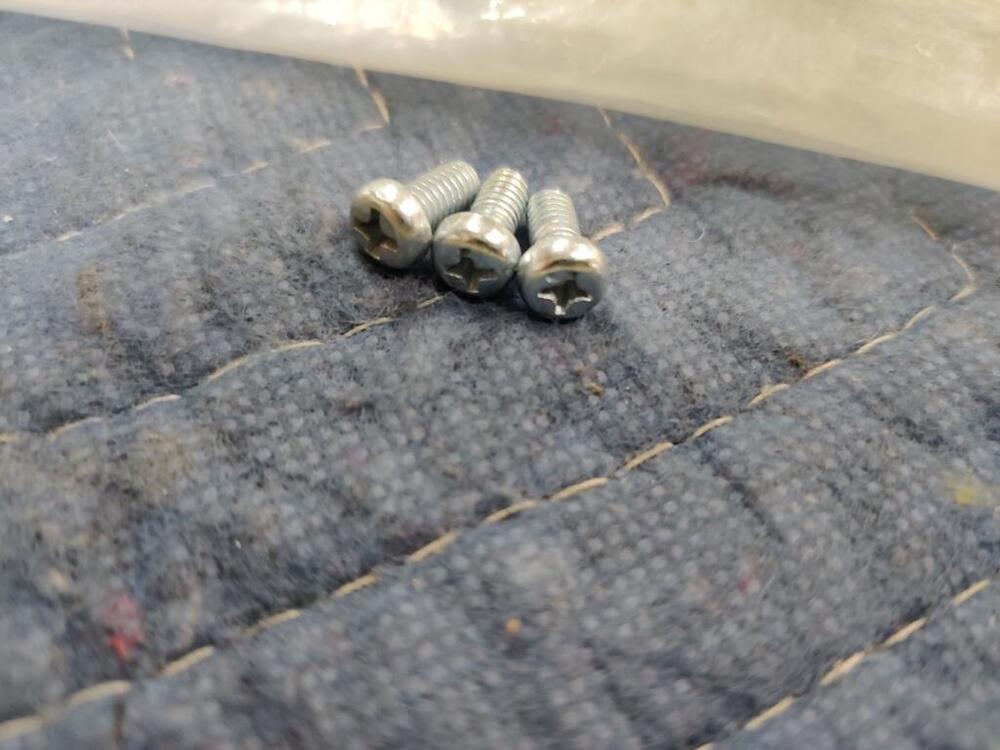
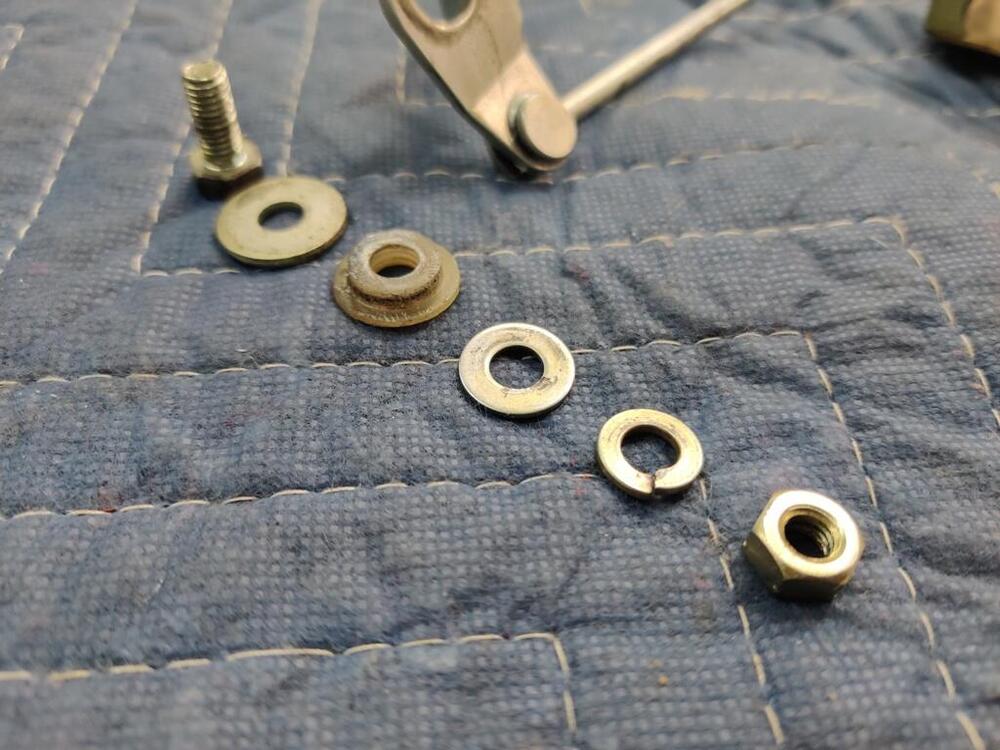
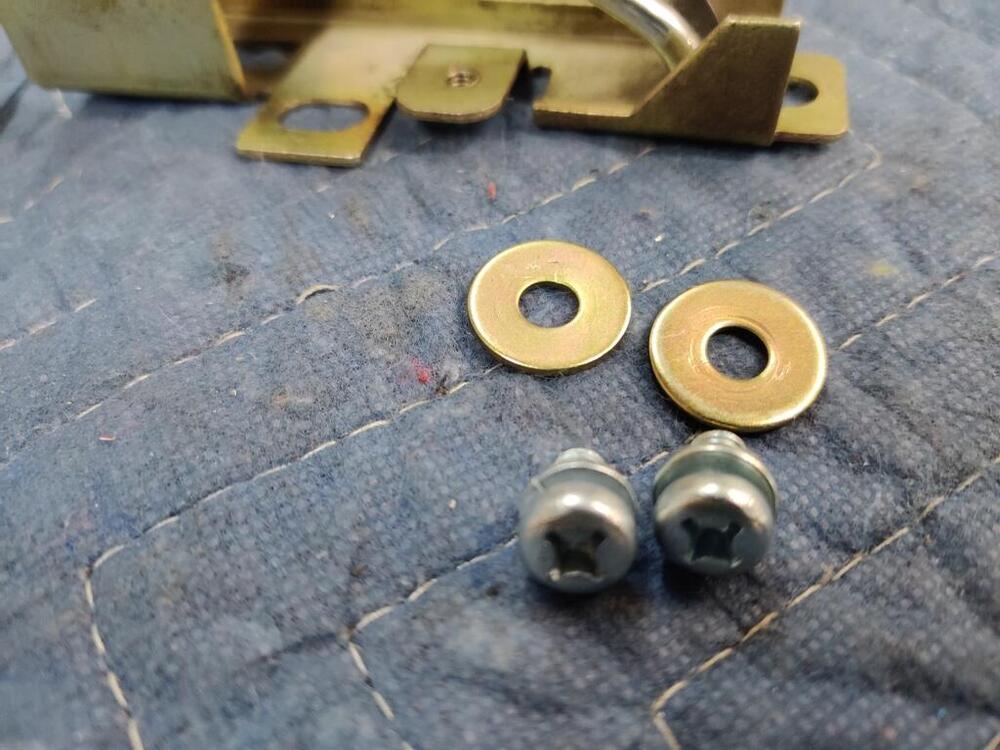
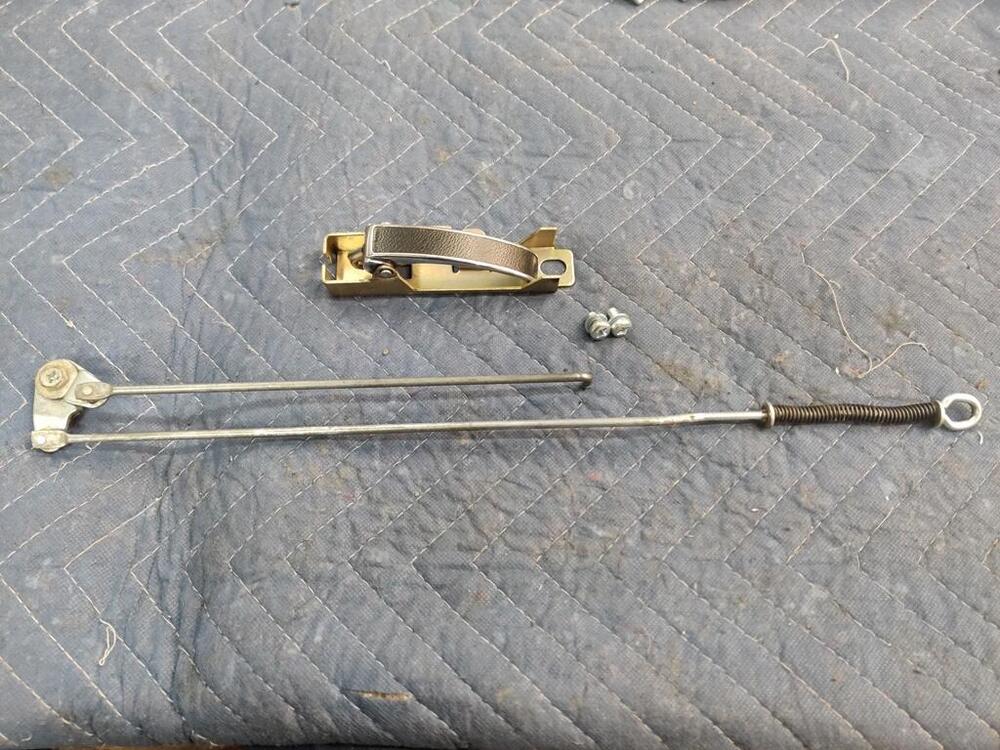
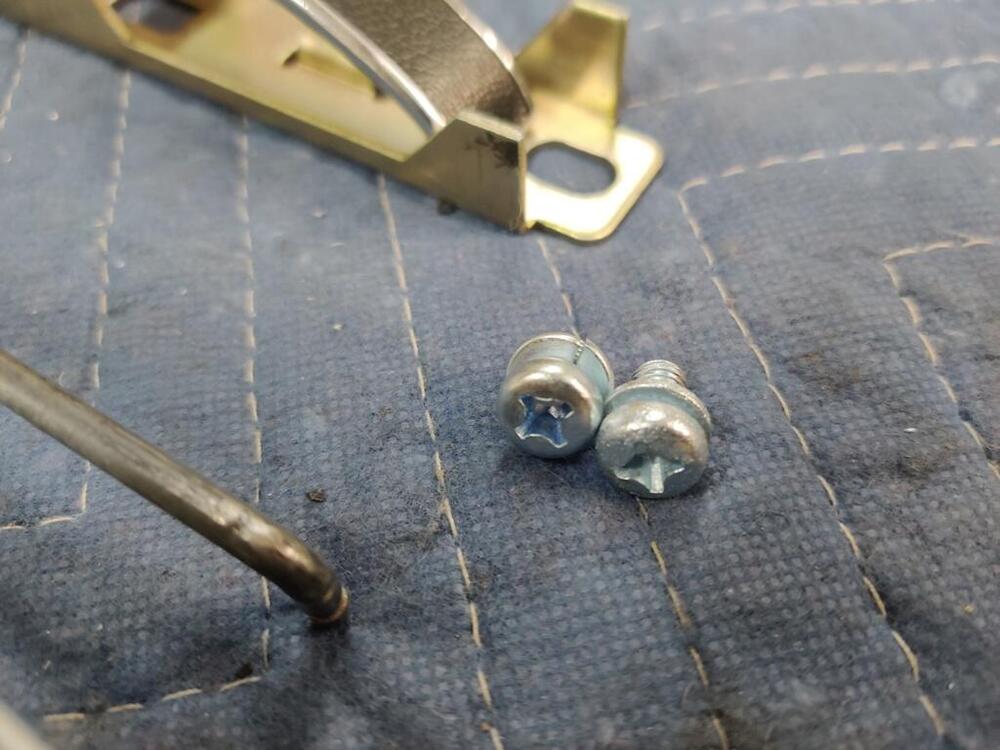
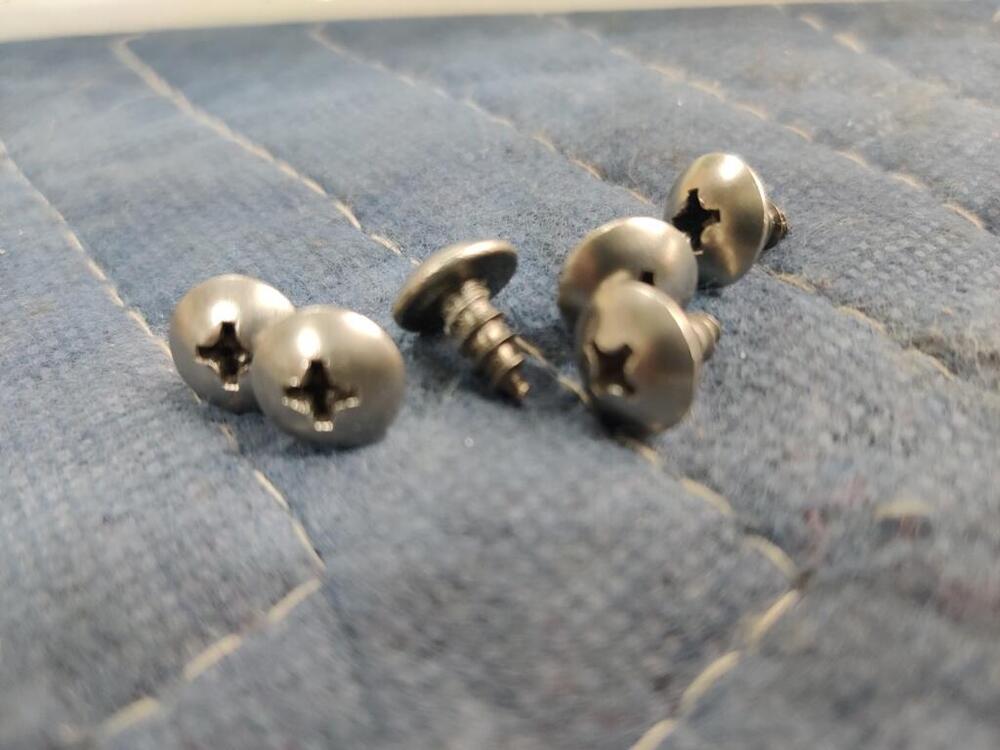
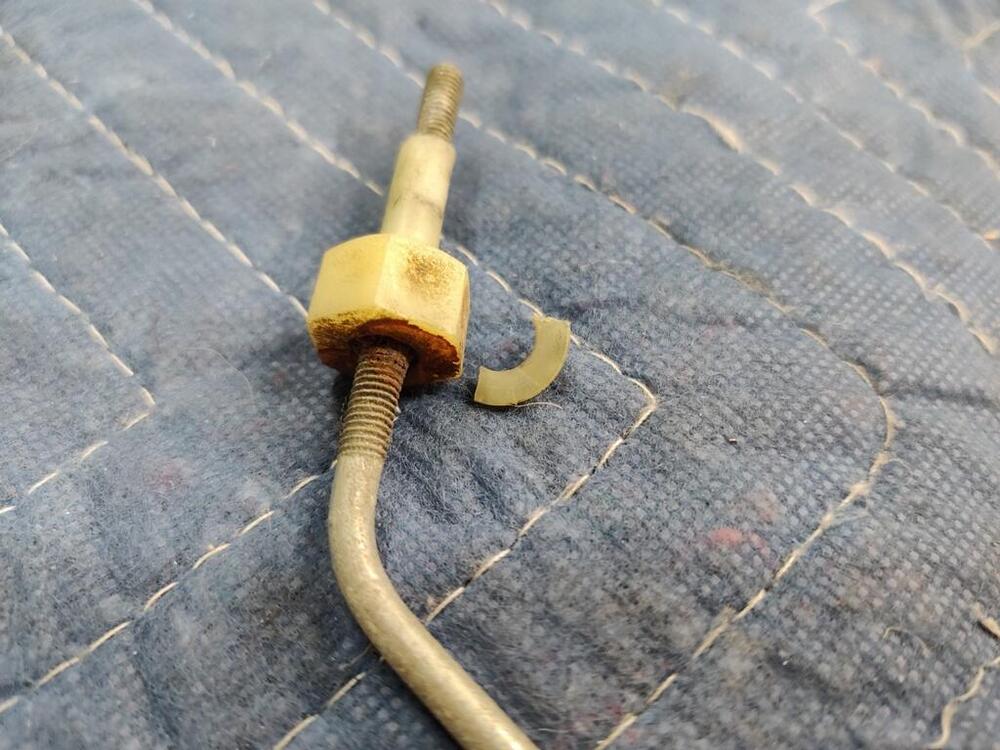
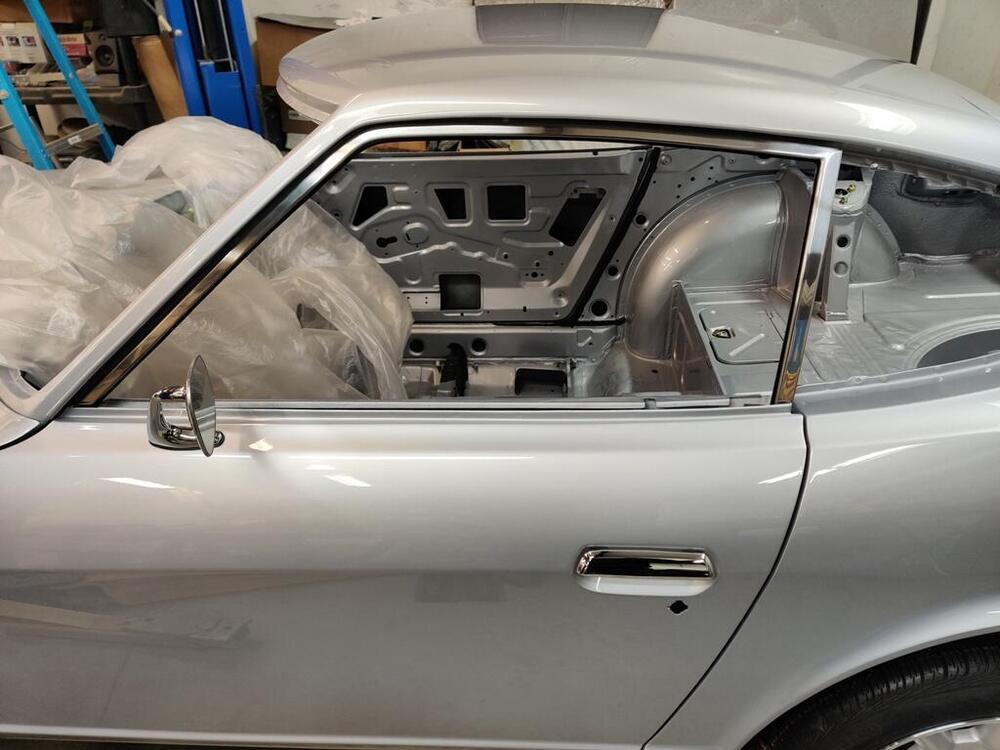
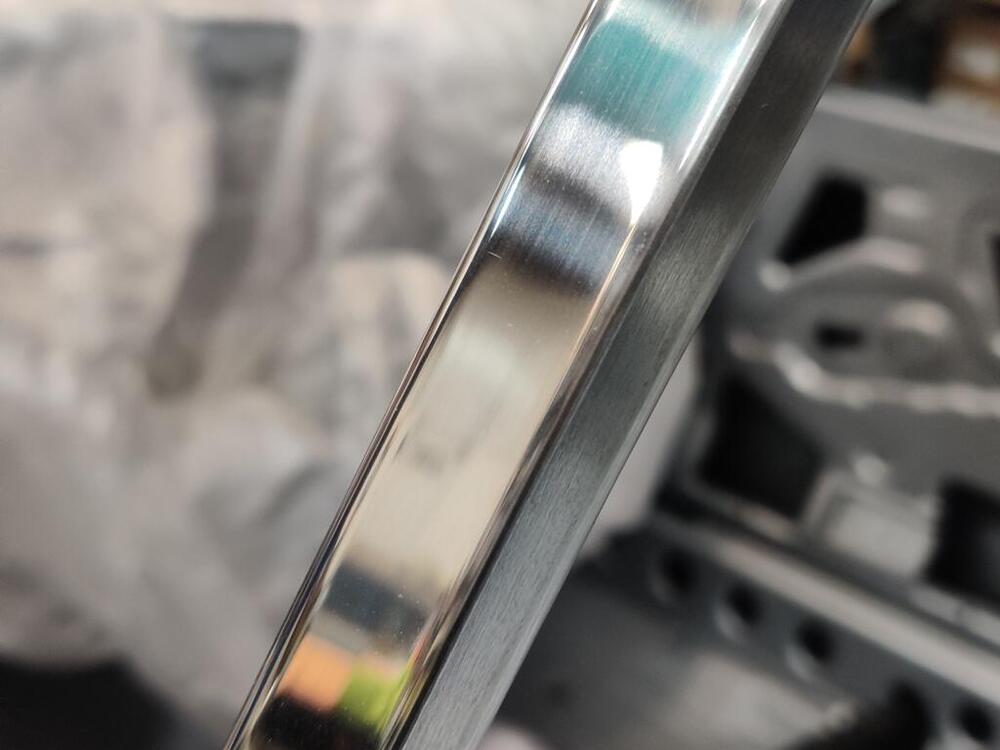
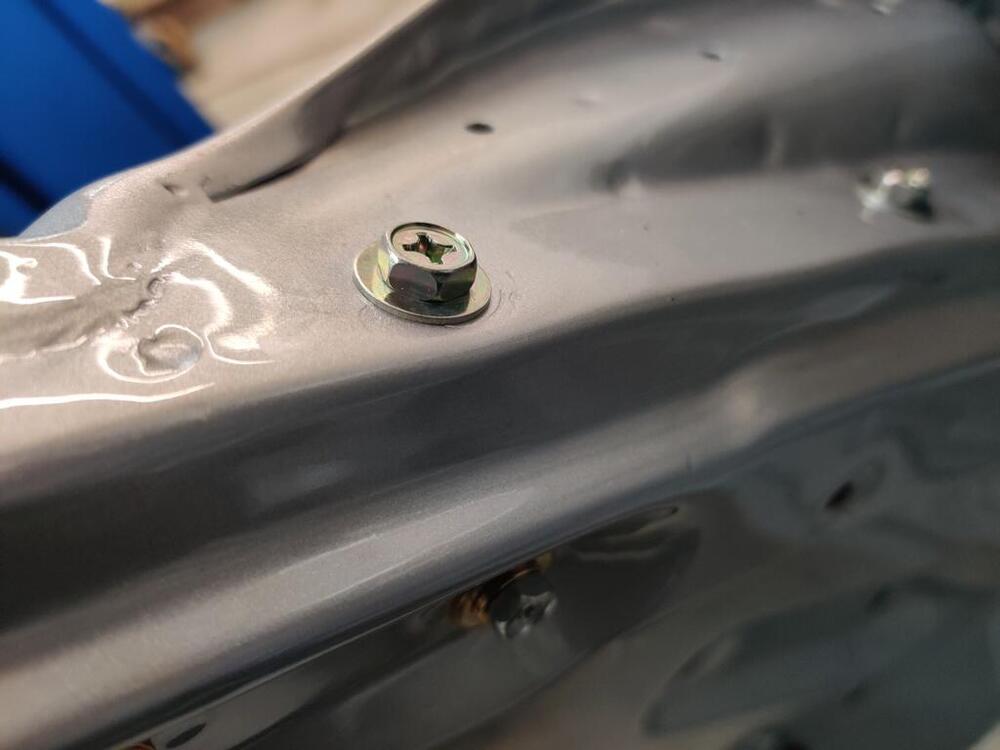
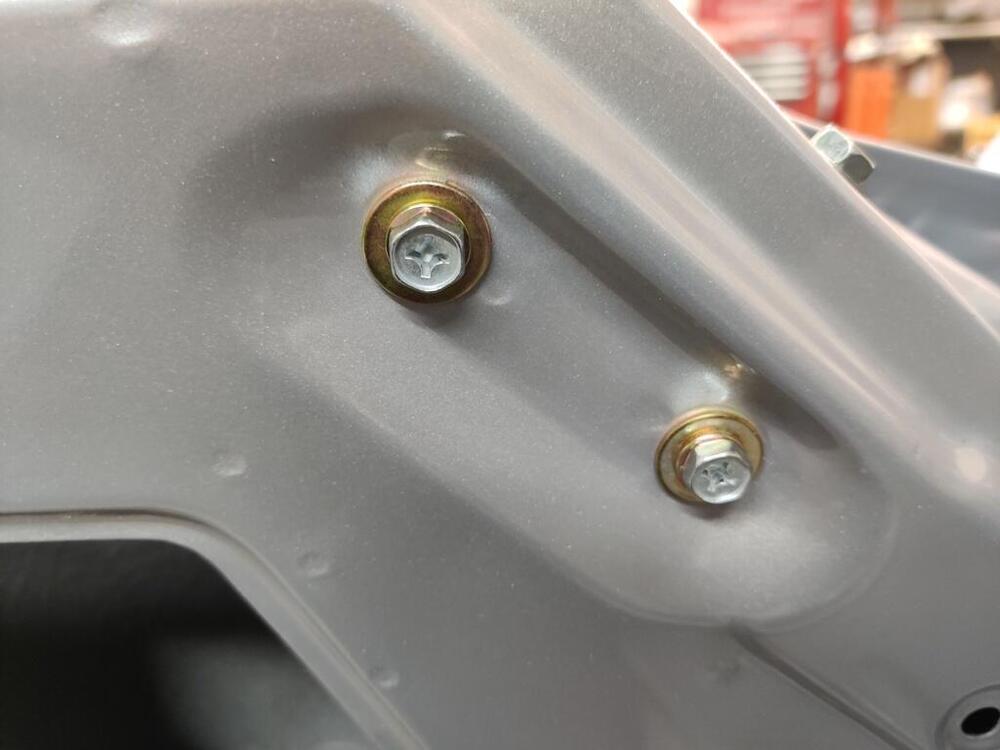
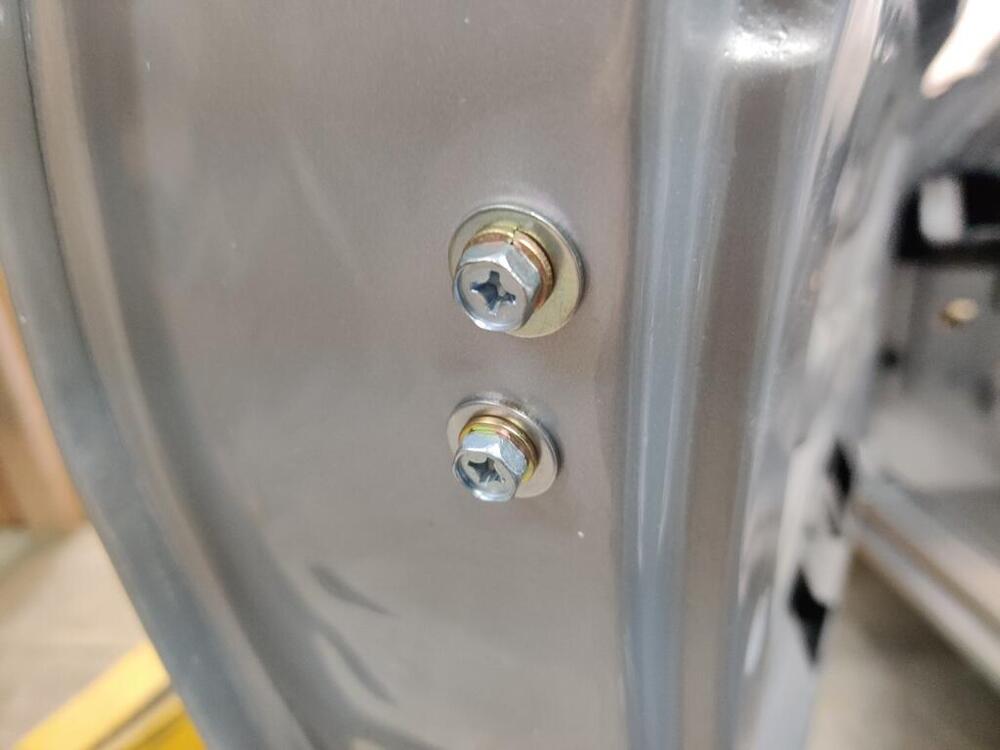
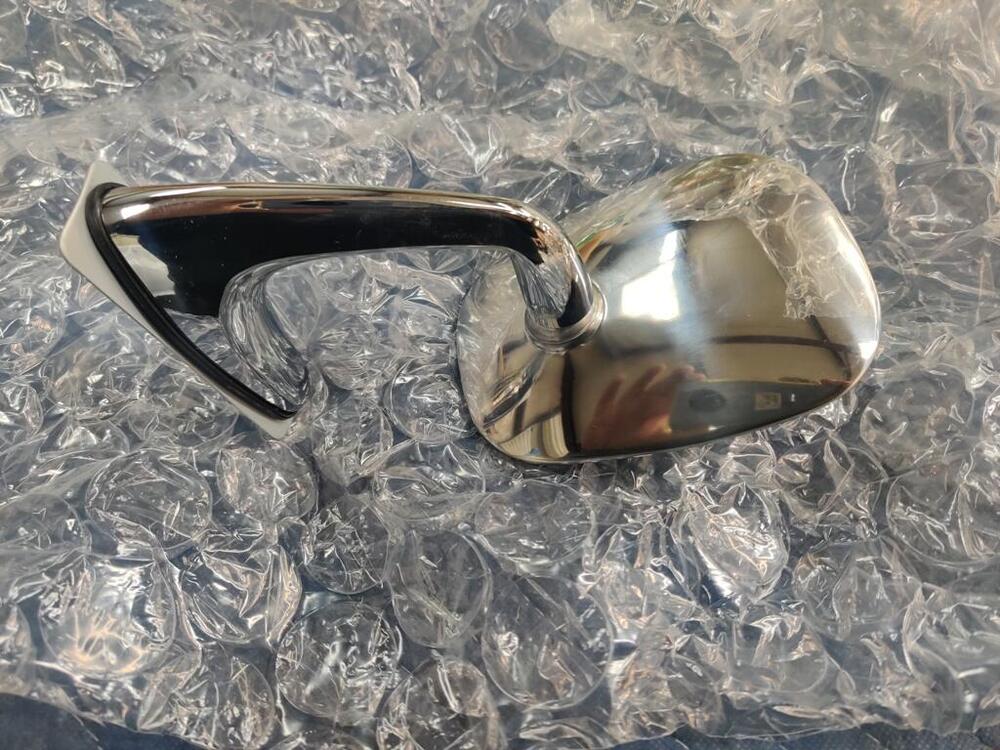
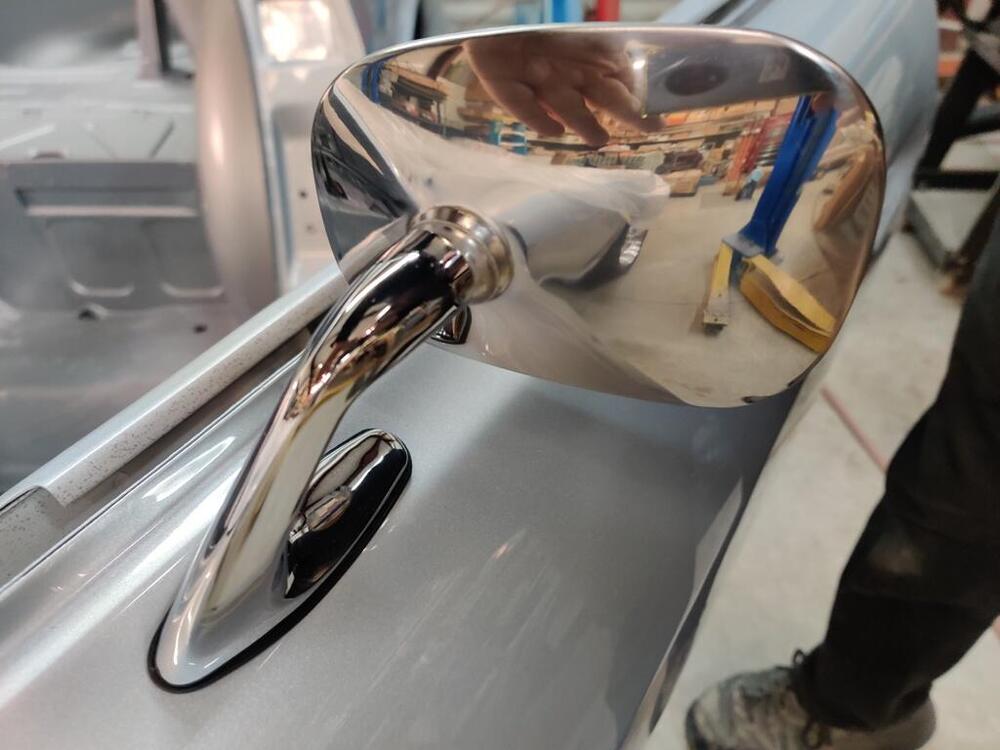
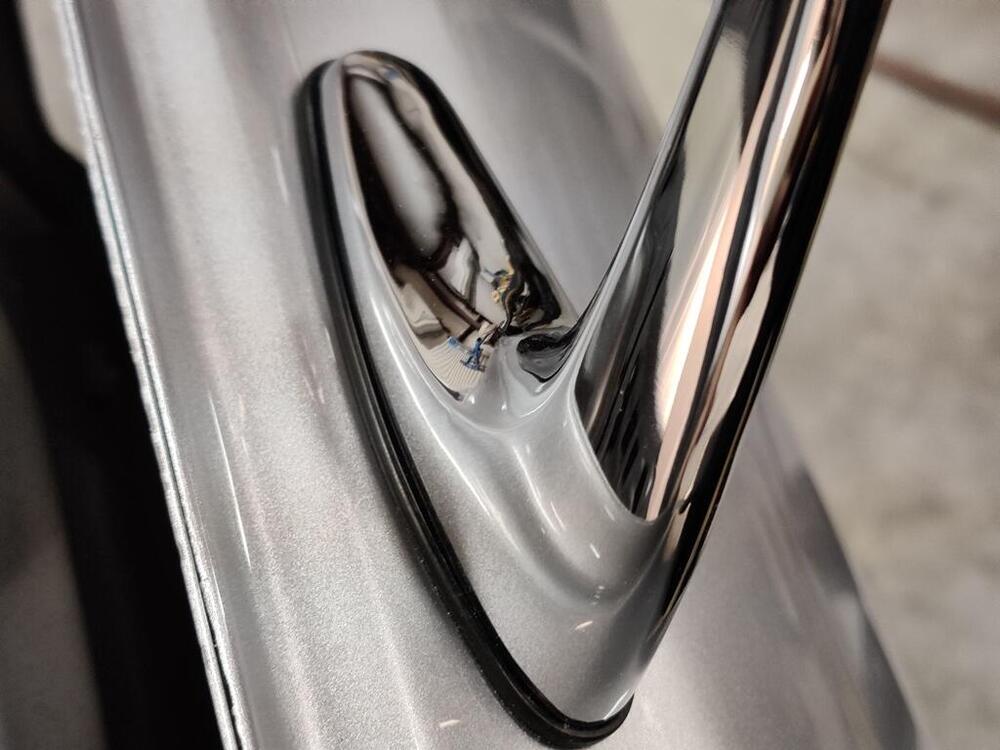
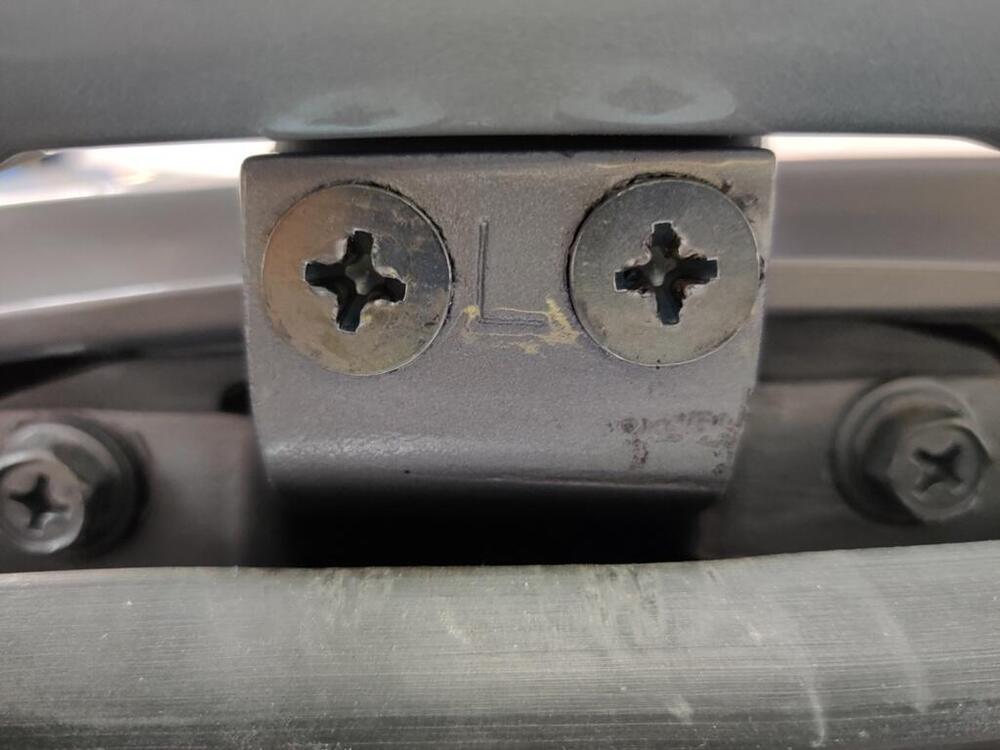
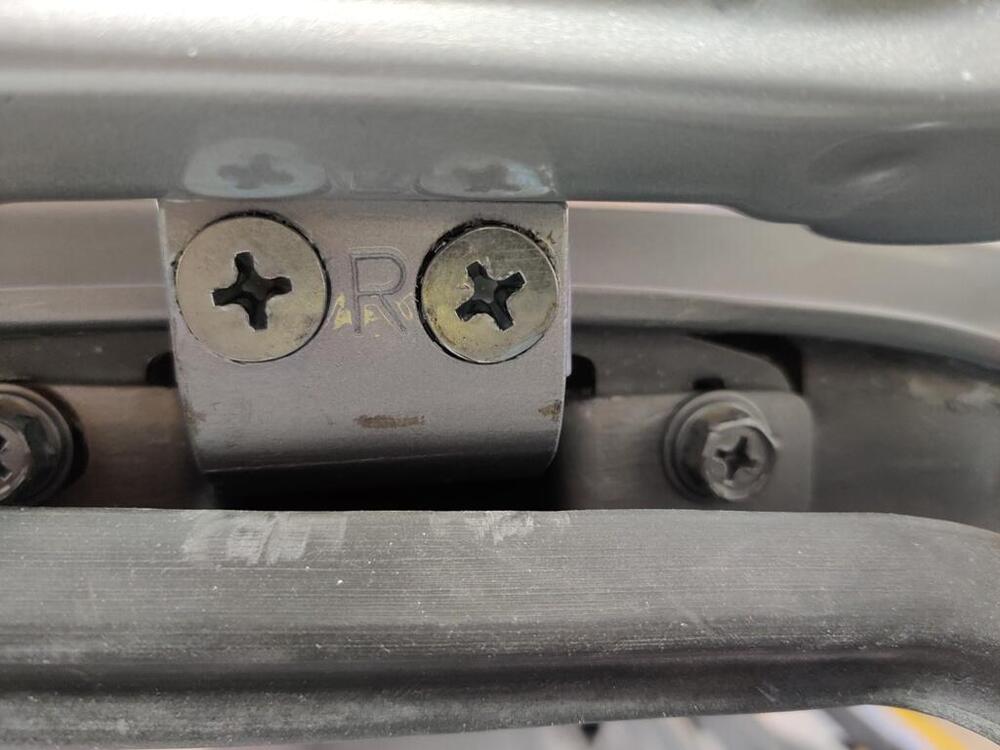
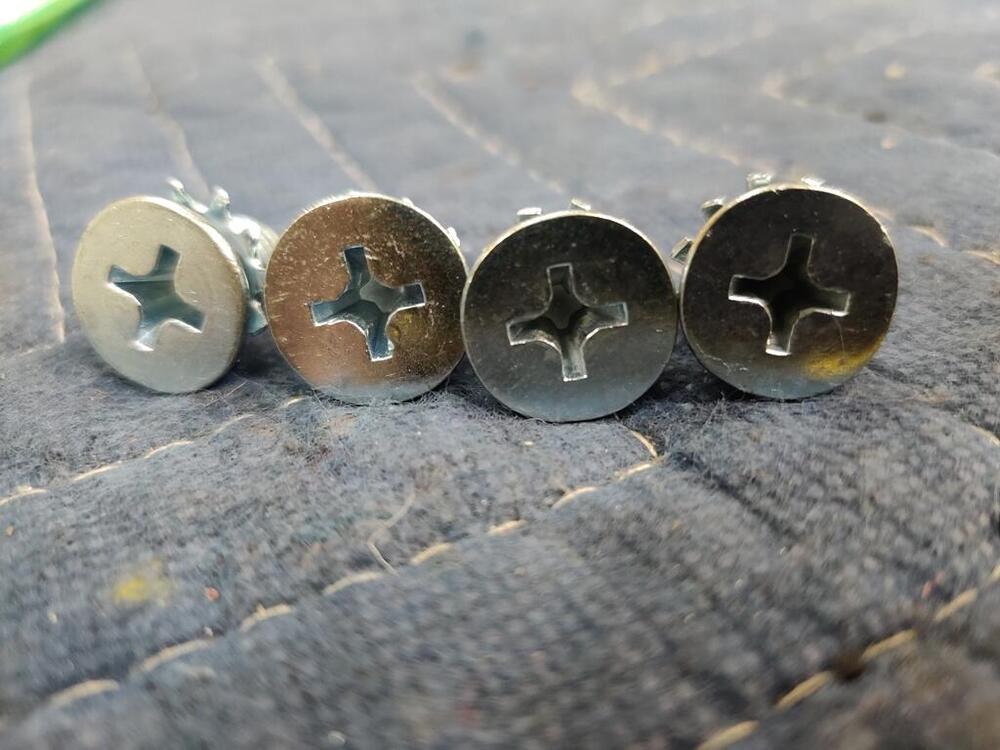
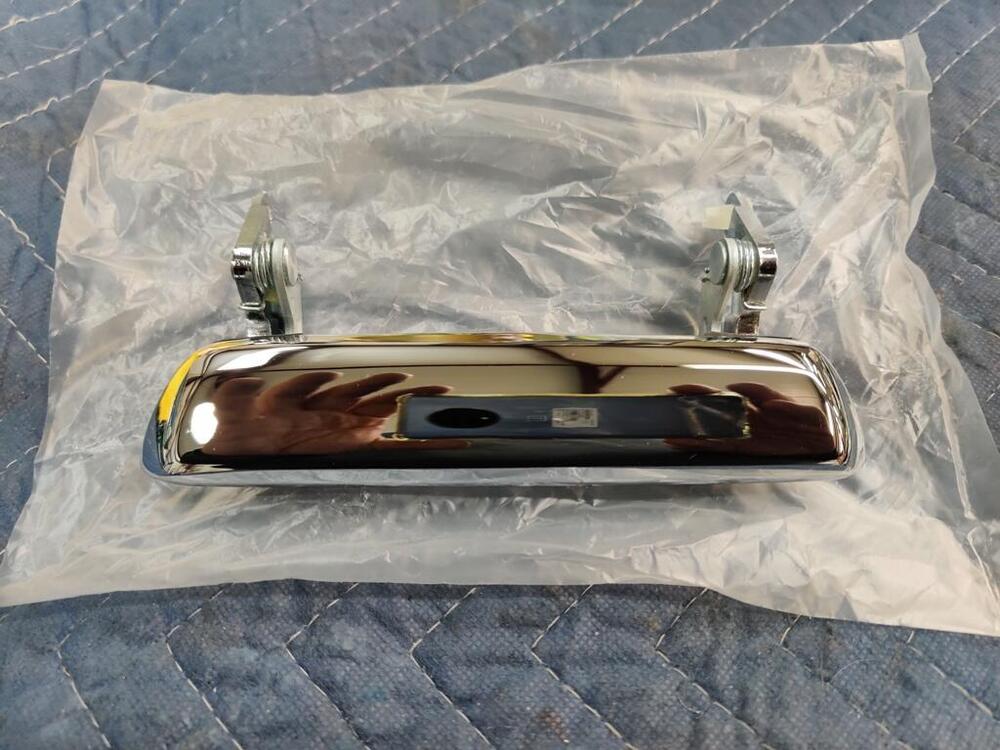
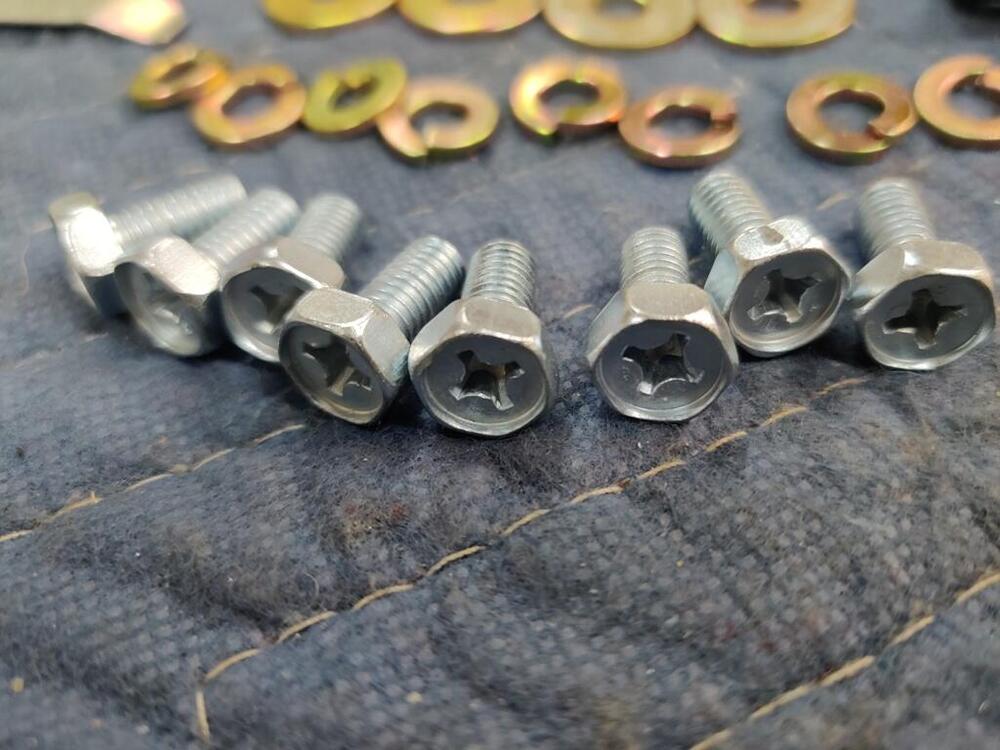
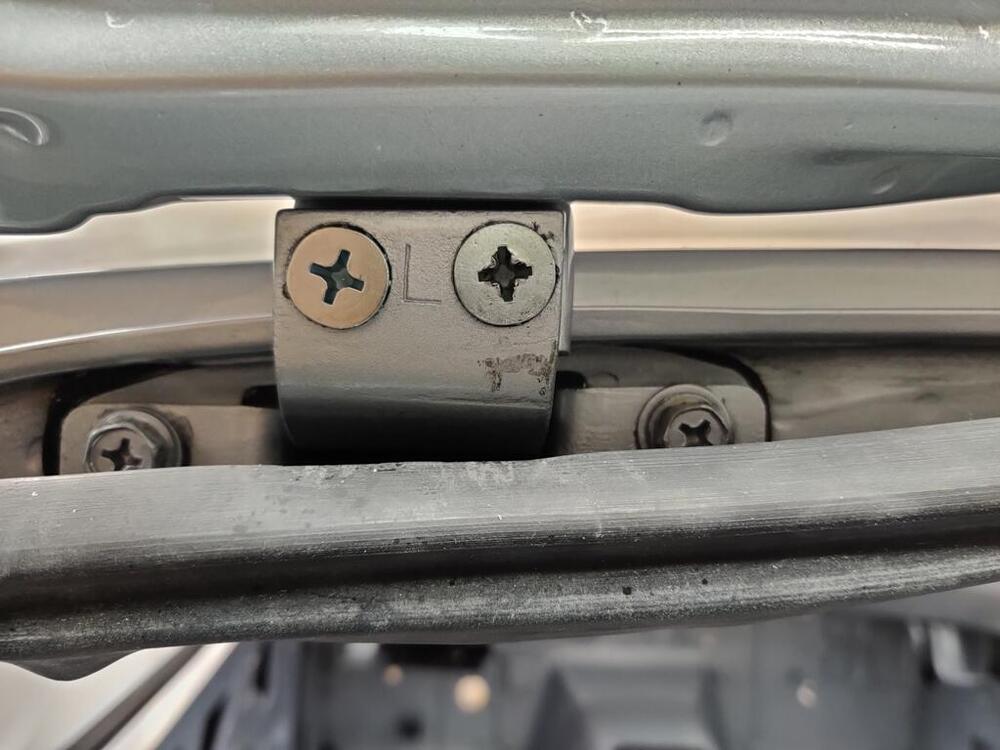
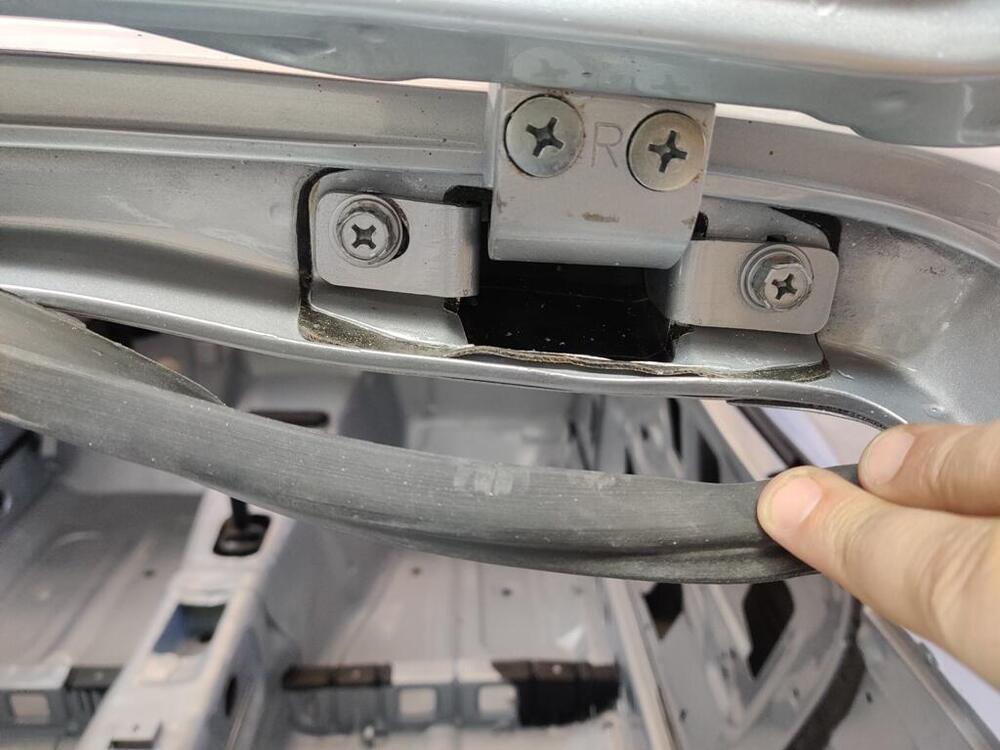
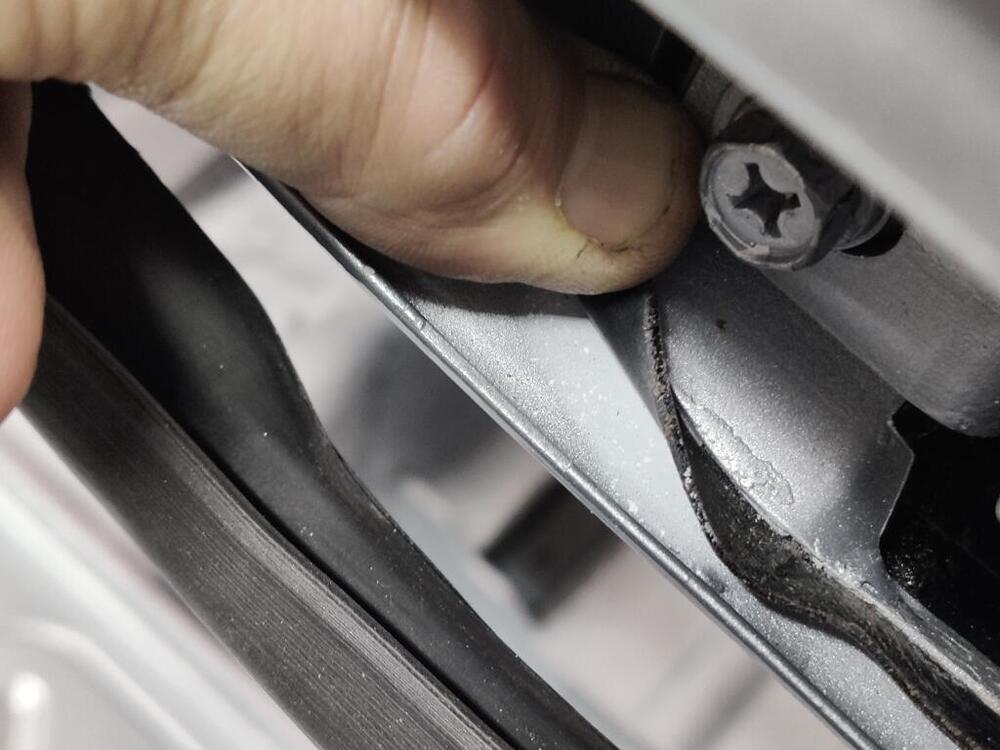
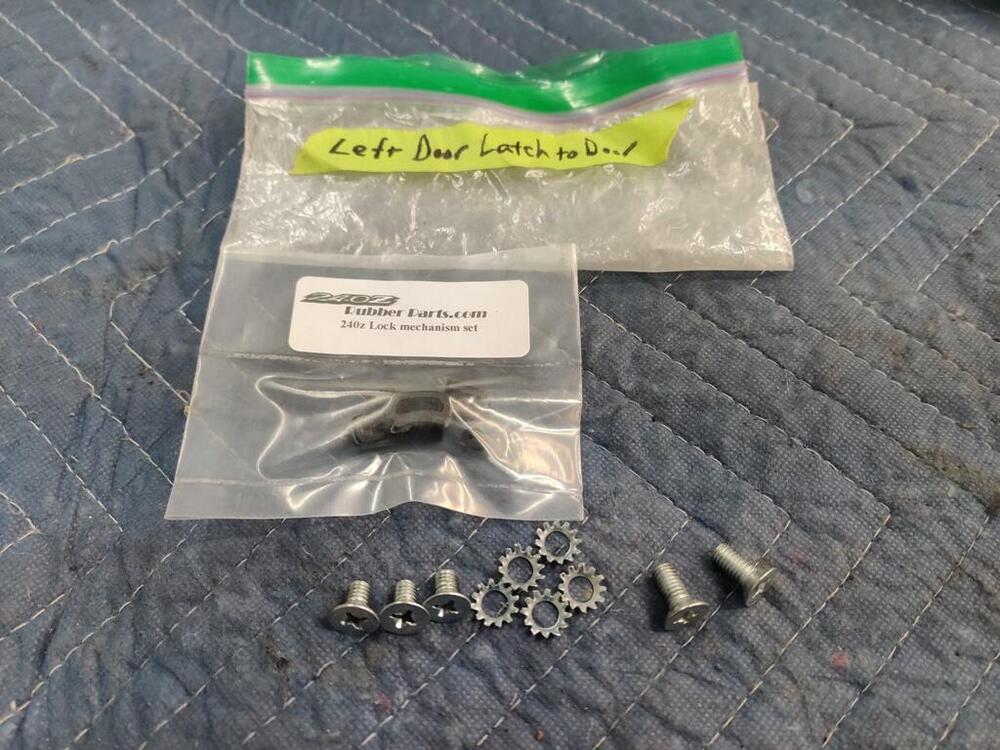
Here are some pics from the work completed this weekend. New factory original parts like this mirror and door handles are so nice to install! Little remnant of plastic piece (middle and third photos here) was a sleeve that sits on top of the door latch lever. When those disintegrate, the amount the door handle has to move increases. Obviously, you can adjust the height of the plastic part on this rod to achieve proper handle movement to operate the latch. I am second guessing the plating of the hardware for the bolts that attach the stainless window frame to the door shell. Yellow chromate on the washers isn't looking right to me. I think I have the original bolts here (clear zinc), but I think the lock washers and flat washers should also be clear zinc. Also, in the first pic here, I used some bolts that have a captive flat washer and no lock washer. I believe these are incorrect and I will have to swap them out. New window weather stripping is nice - it will make for some tight (and quiet) windows when they get installed. I mainly used 1000 grit on the stainless window frame to remove light scratches. I used 600 grit in a couple of places, as there were a couple of deeper scratches. Then followed with 1000, then 1200, then a light finish with 2000. I like the finish. You can still see some "grain" which is how the original finish appeared to me. I found another thing the body shop did that I was unhappy with. The hatch was not well aligned - the left side was a little low. I instructed them to align the hatch, and then remove only the hatch panel, leaving the hinges in place to be painted (as they did at the factory). I have no idea what they did here with the hinges. They didn't remove them to paint the inside of the hatch frame, as can be seen in the pic where I am lifting up the rubber hinge seal and you can see primer underneath. That is fine, and what I wanted, but why is the hatch hinge seal not painted, and yet the "seal cover plate" is? I don't know how they did that. The bolts securing the hatch hinge to the body were loosened and the hatch shifted/aligned after painting! I specifically wanted to avoid that. Now the paint on the bolts is chipped and there is an unpainted spot on the right hinge - you can see where the bolt was when the hinge was painted. And they managed to mess up the phillips screws... Fortunately, I had a spare set of screws on hand, so I swapped them out. Swapping out the messed up screw for a nice one (first pic below) makes a big difference cosmetically. Details like this matter to me. I wish this was done as I instructed. Live and learn. Next time, I will make sure I complete everything - everything, before I hand off for paint.
-
12/70 original spare tire - DOT 149
11/70 currently on ebay: https://www.ebay.com/itm/386199400448?hash=item59eb473000:g:lcwAAOSw5cxlKtGb&amdata=enc%3AAQAIAAAAwEBg9%2FdWu7nKPA0i7J29WlF0OtBSA4EH8Z6sbTca%2FT82FbIRphOkU4bLlbUJzdqWlkYrlG6hEHztMXzoCv63VQl9MPMRHAD1Tq5ykejshUMZ%2FrlRXJhO3k2iJ4IRftLC47feTmRcPRuOxNM0sXrXmjNV1yrYZ%2FylOK6aSwouV1rjpDUtLOWFtjIxVsucB72YZ0FFNvF5zOrDYDKjsiD4cV7ixNAZ3rynAgntzLRK2Ha7ixShbLDRwwuIQ7%2FJA0Lgmw%3D%3D|tkp%3ABk9SR9jSjoiYYw
-
12/70 original spare tire - DOT 149
Also, DOT 149. Odd. Also, someone looking for original tires could contact the two of us, the two BAT folks, and could purchase a matching set!
-
Restoration of BringaTrailer 240z - HLS30-35883
I also made a quick walk around video as the car sits now. There are still a lot of parts to add to the car. So, I am hopeful that the gap between the wheel wells and the tires shrinks quite a bit, giving the car a much more pleasing visual stance. I am guessing that the car is easily 500 lbs lighter as it sits now without hood, glass, interior, bumpers, fluids, etc.
-
Restoration of BringaTrailer 240z - HLS30-35883
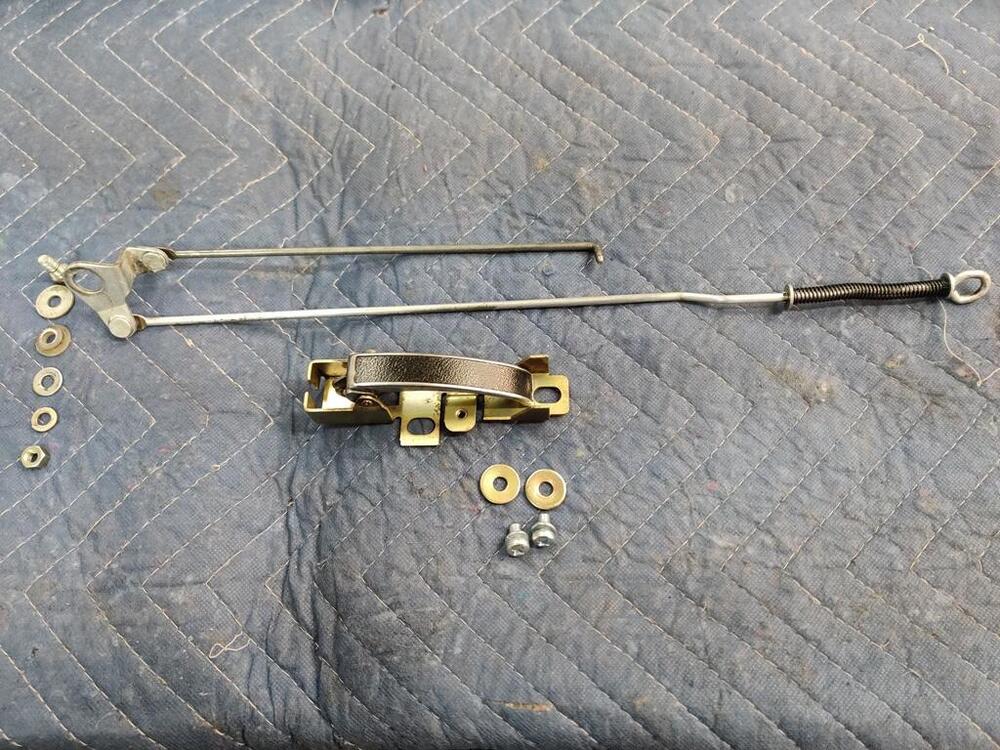
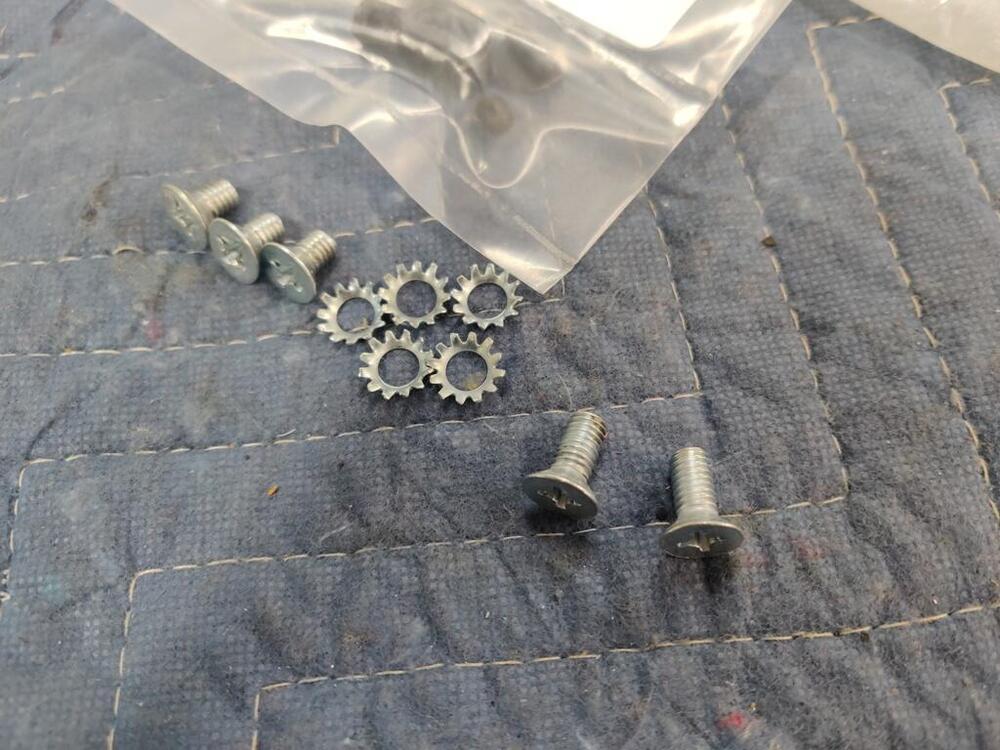
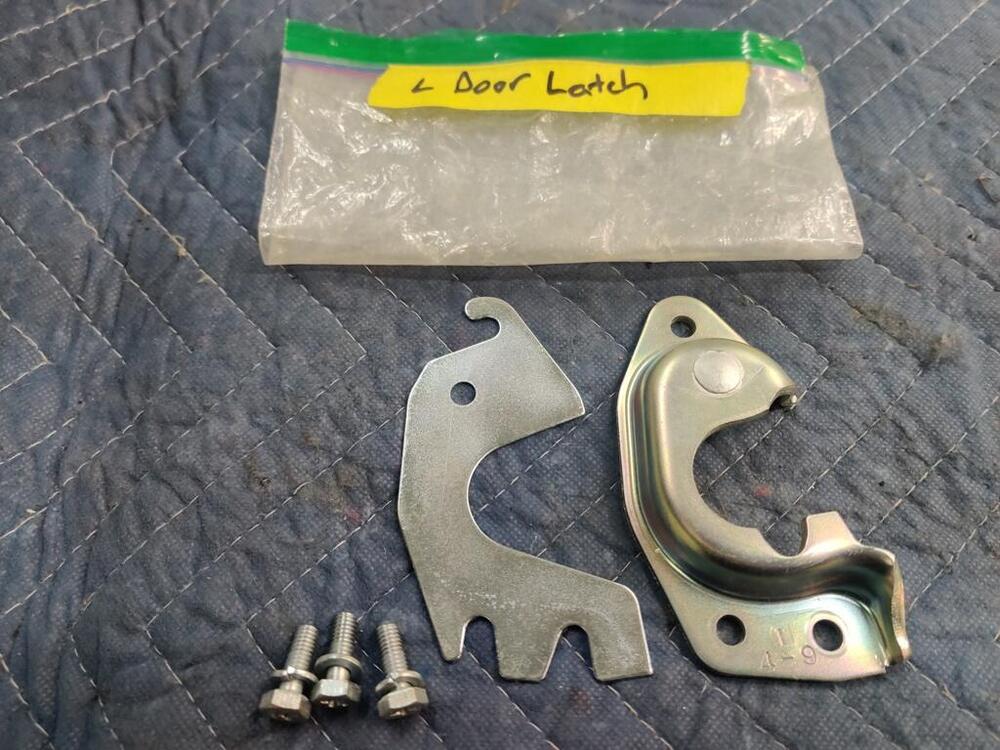
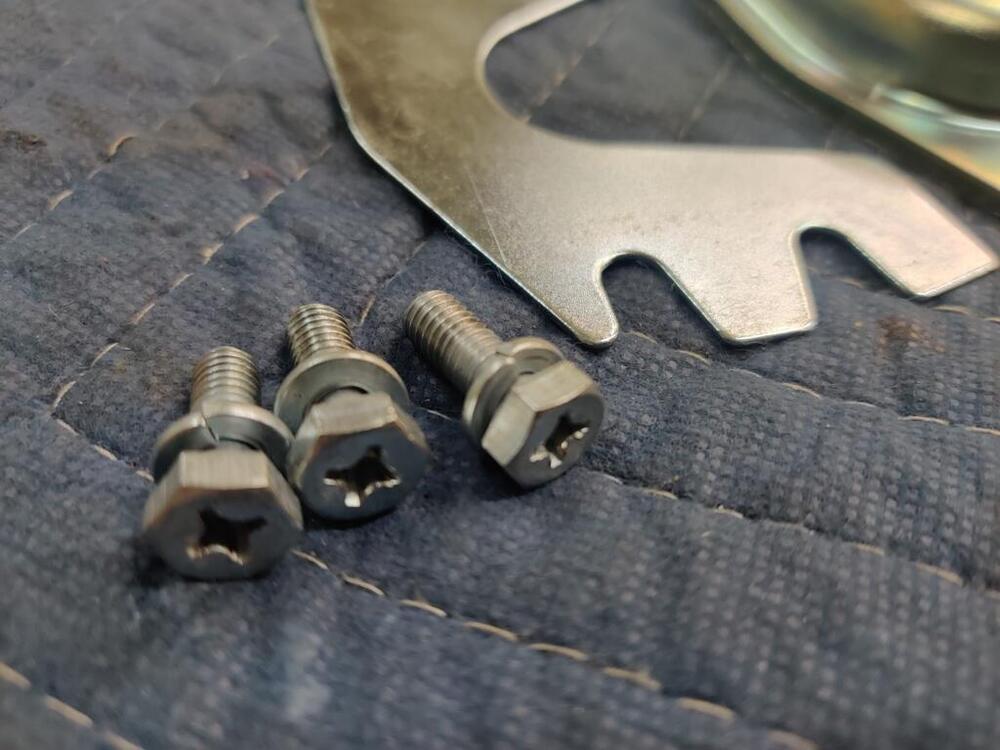
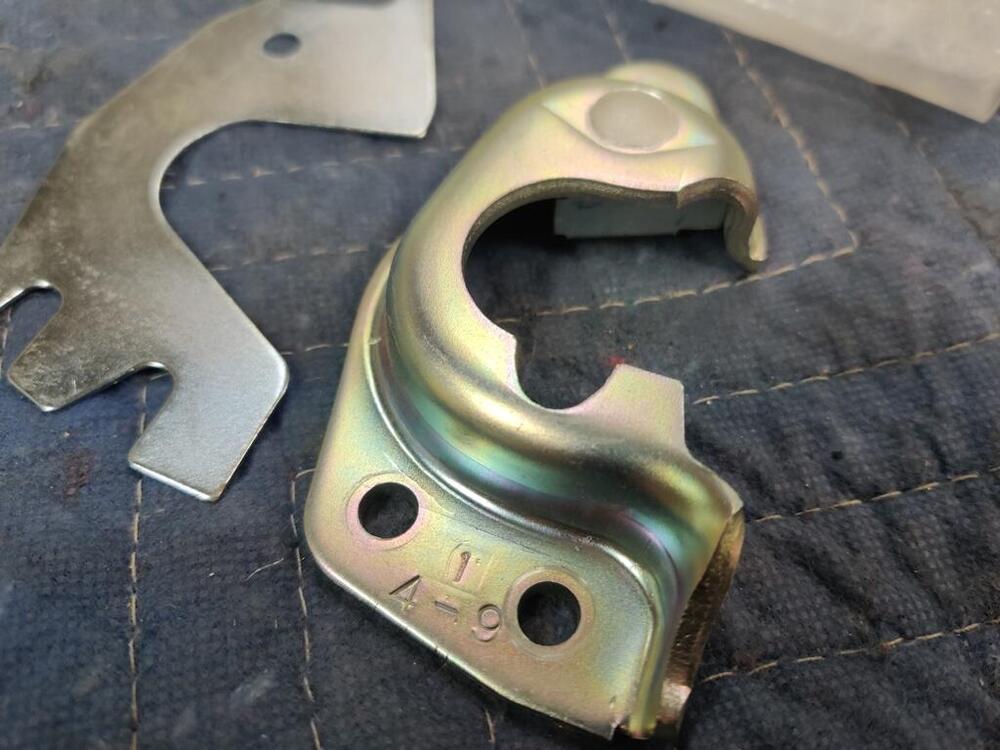
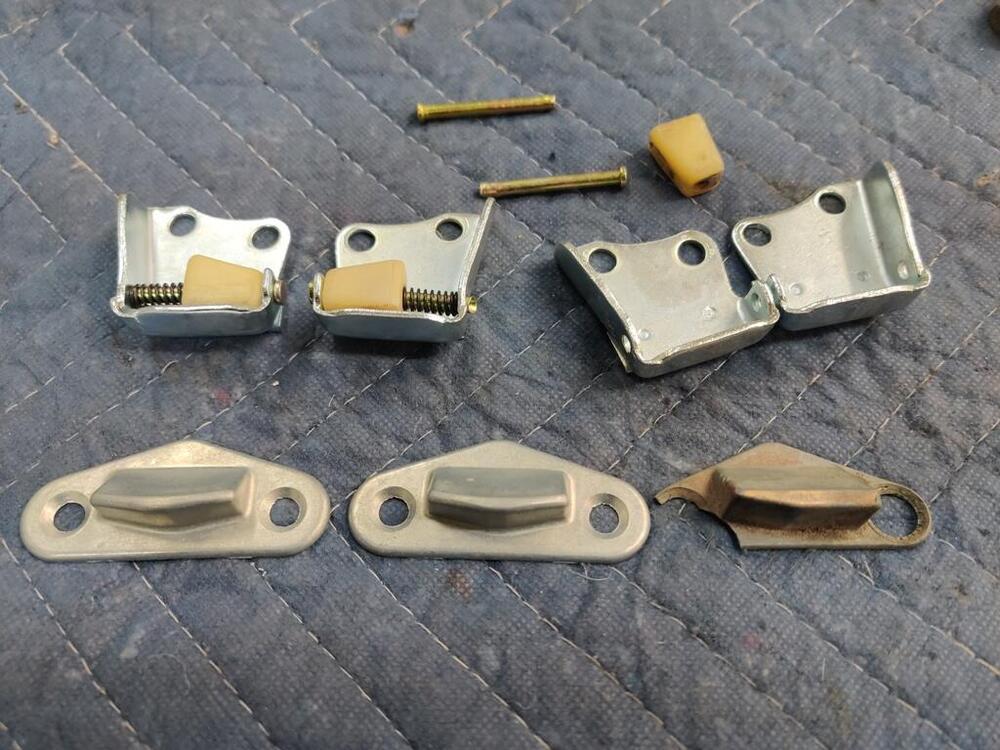
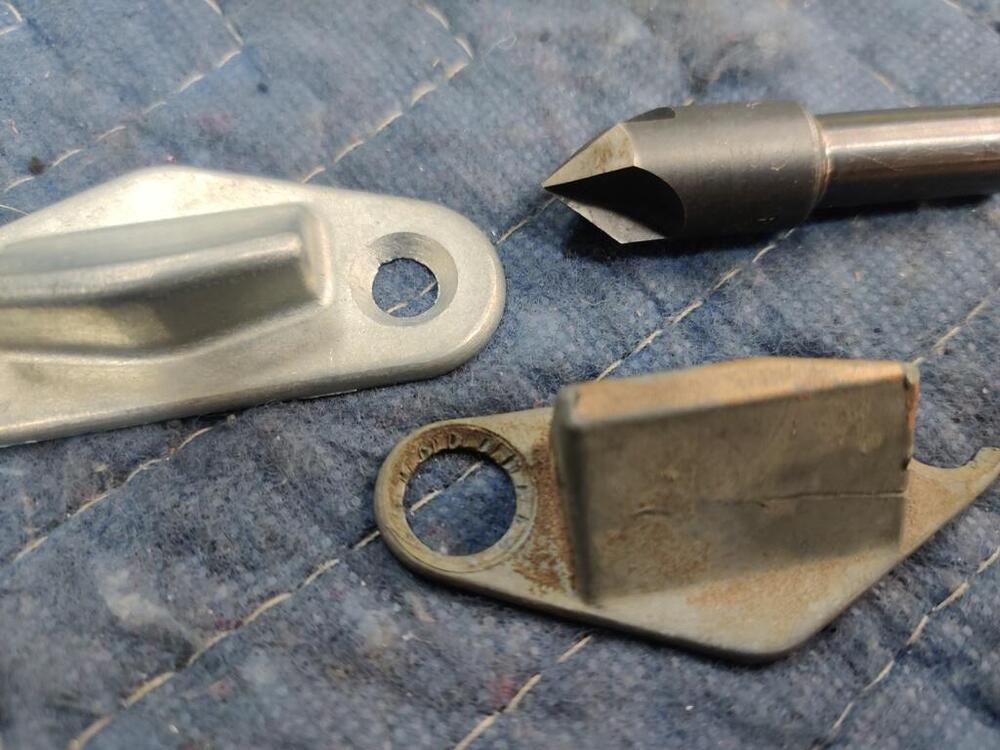
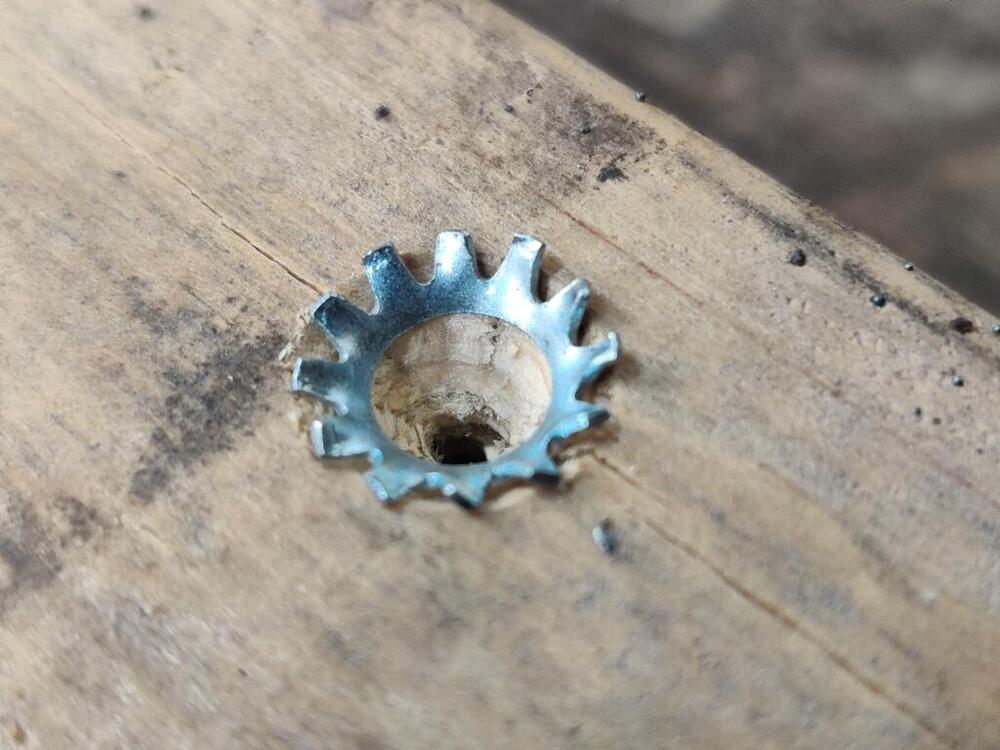
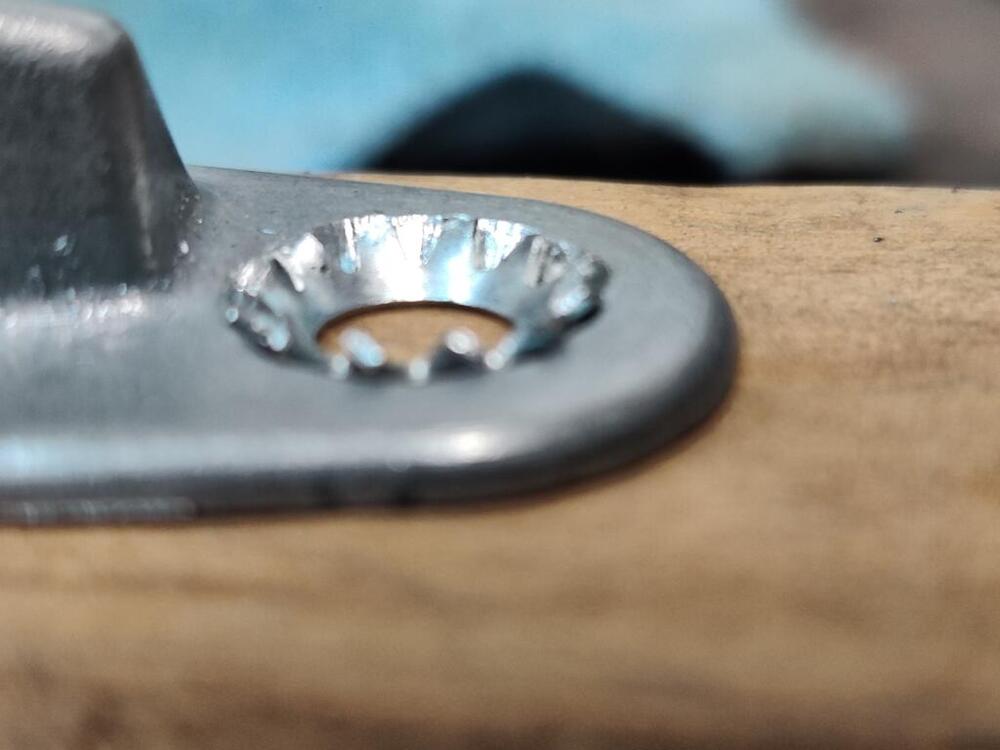
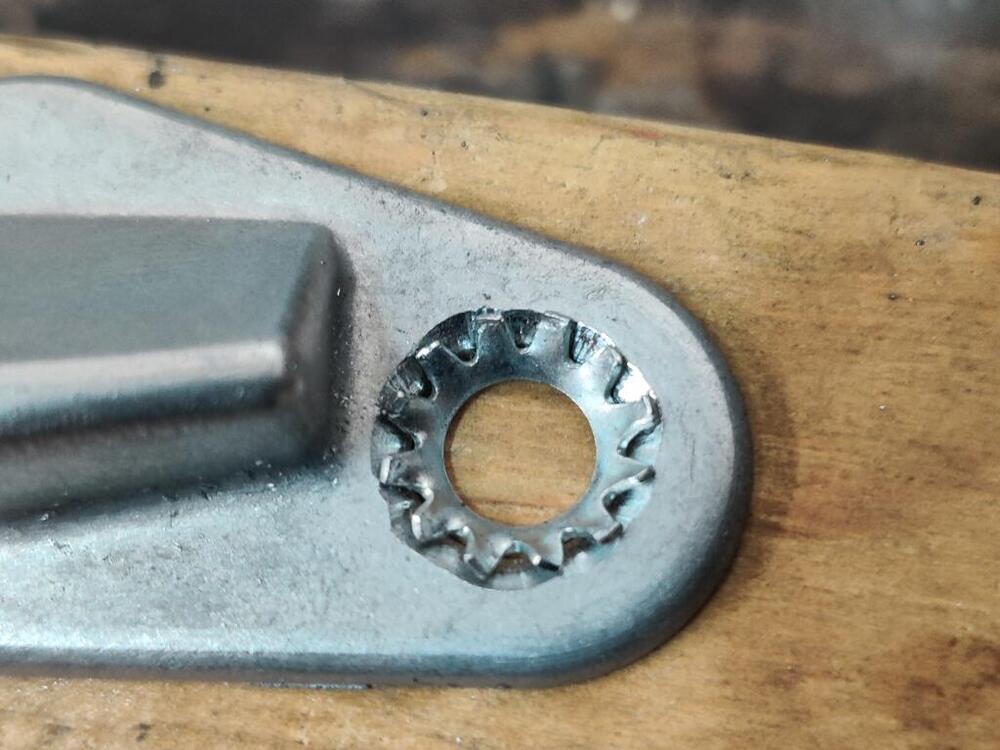
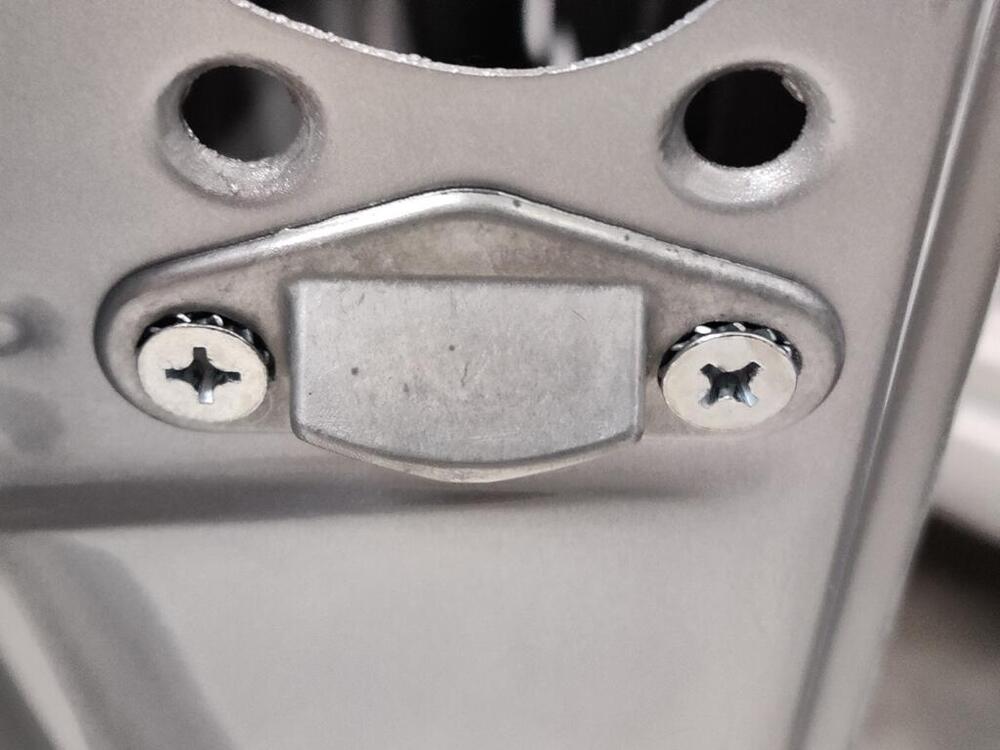
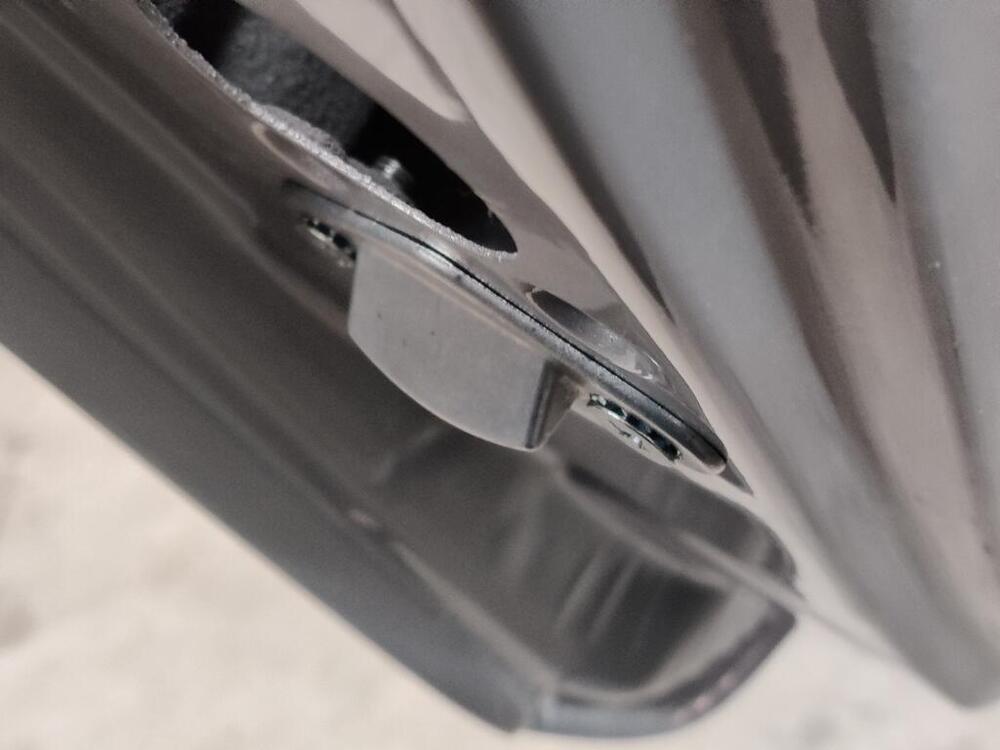
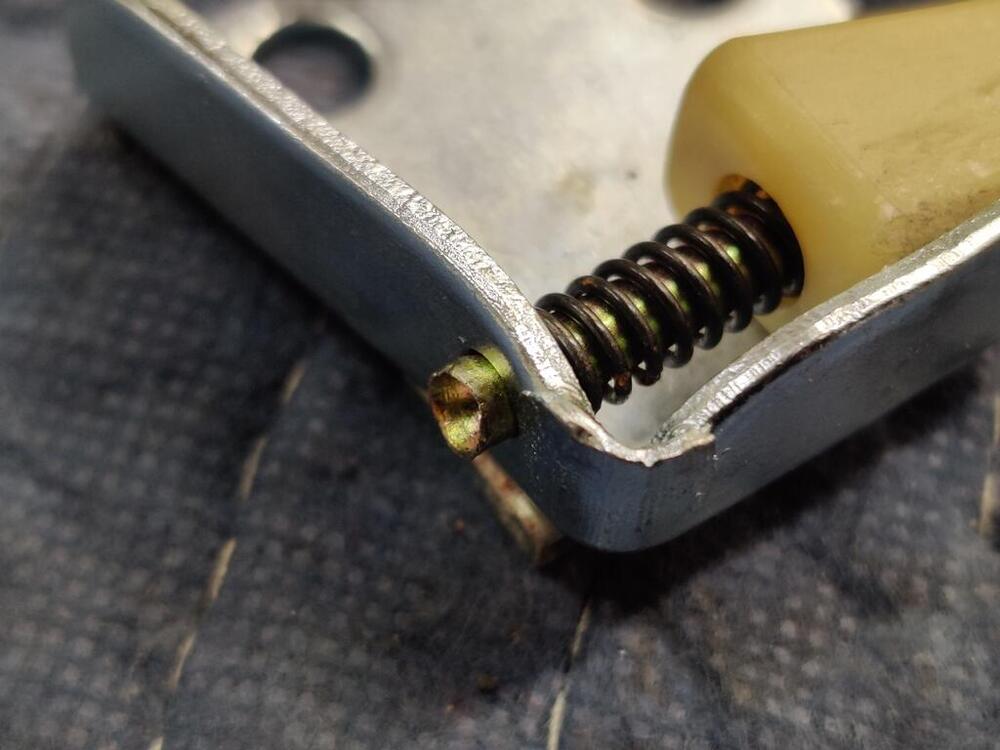
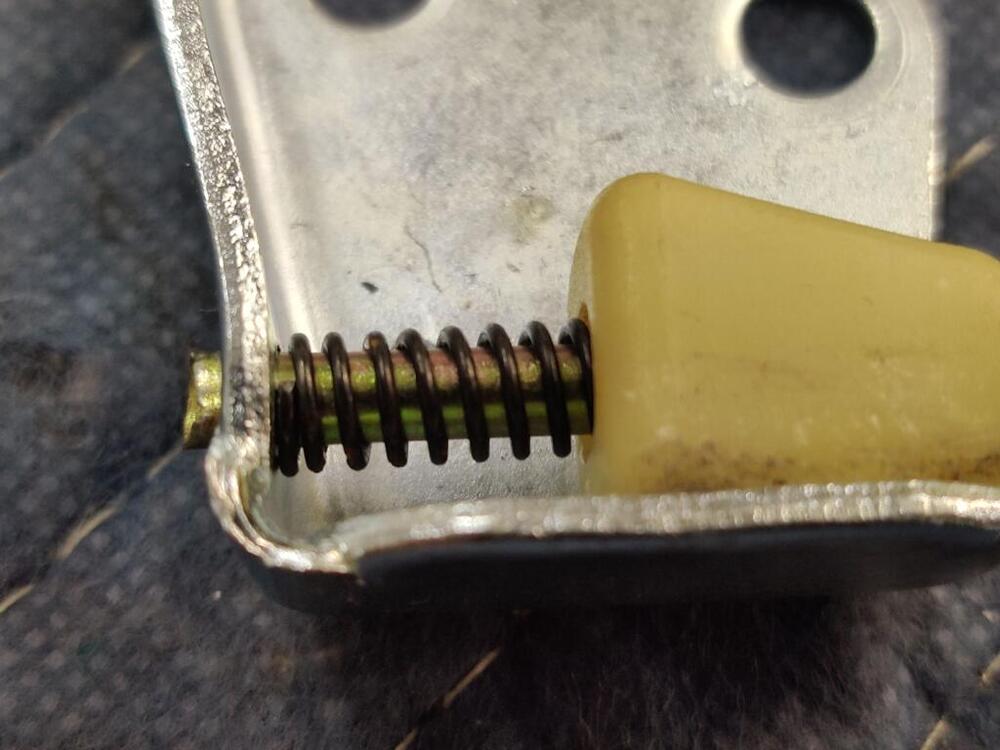
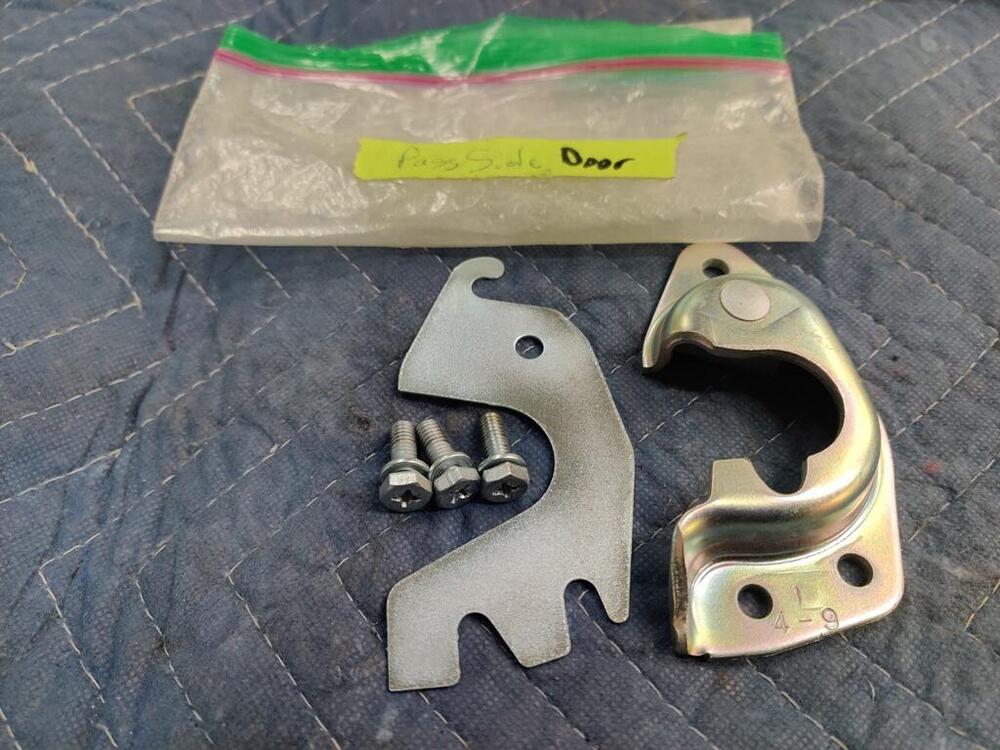
Here are a bunch of pics of the door latches and receivers. I will say my efforts here were excessive... that I pulled apart two sets of latch components to acquire enough parts in very good condition to make one excellent pair. The plastic wedges can wear. So, a passenger side wedge to replace a driver side wedge that is worn is a good option. I had the parts plated individually. Springs received black, tubular rivets received yellow chromate, and the dove tails received clear zinc. NOS strikers were sourced along the way of my very many hours looking for parts for this car online. The new dove tails are symmetrical, while the old ones are not. Also, the new ones have much smaller openings for the screws and conical serrated washers. I used a deburring tool to open up the screw holes which allowed the screws to fit closer to flush - more like the originals. Semi tubular rivets were press out of the receivers, plated and will (hopefully) be reused after re-plating. I will need to fold over the metal pn the end of the rivet to secure the rivets in place:


 Subscriber
