inline6
 Subscriber
-
Joined
-
Last visited
Everything posted by inline6
-
 View Advert 1971 240z parts (misc.) wanted Looking for the following parts for the 71 240z I am restoring: upper and lower washers for moustache bar (rear differential mount) with bonded rubber power antenna or parts - I'd like to put an original one in my car, but I'm not interested in paying $1500 for a new one - let me know what you've got. rubber seals for corners of the tool storage boxes behind the seats - (these trim out the corners of the opening) car jack and tools, bag, etc. (Looking for some really nice condition) - letters stamped into jack base need to start with Q, and then be followed by E or F, then followed by A through Z or AA through EE. So, QFS for example would be fine. OEM new old stock windshield. I have been able to source a new, good quality one, but would prefer an original one. Have one you'd part with for the right price?? Original Bridgestone tire with appropriate date stamp for my 6.71 car (check DOT code). I want this tire for the spare wheel. New old stock of these: PM me if you have any of these things. Even if the ad is expired. I will likely be needing at least some of these things still even a very long time from now. Thanks in advance. Advertiser inline6 Date 12/05/2020 Price Category Parts Wanted Year 1971 Model 240z
 -
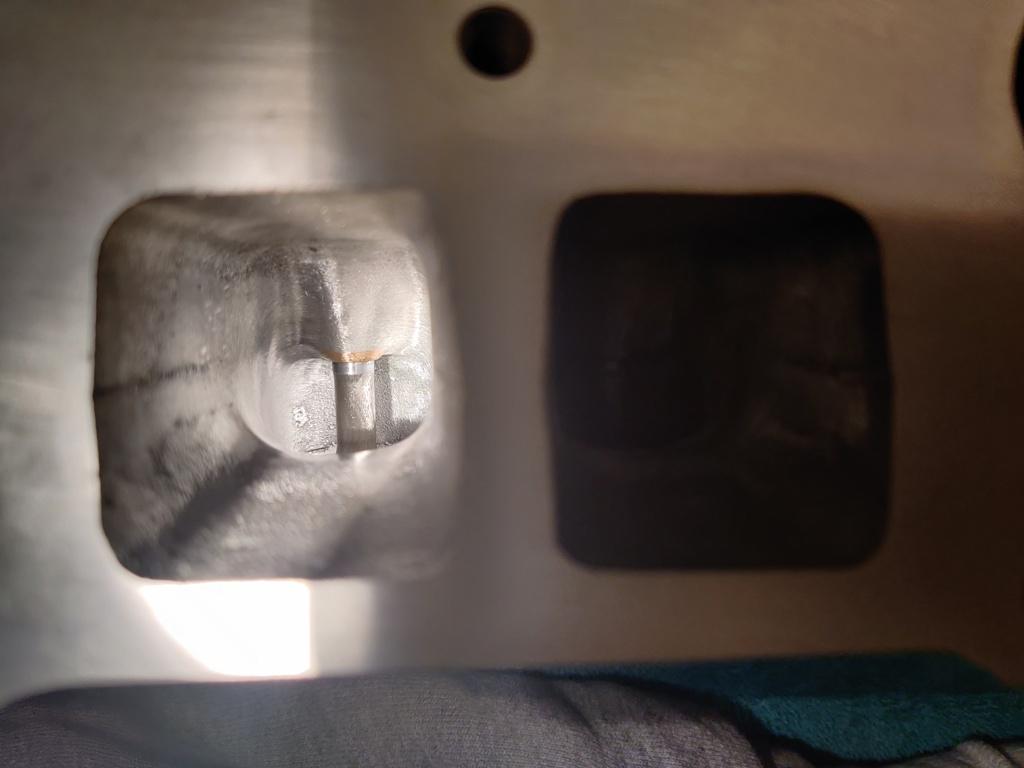
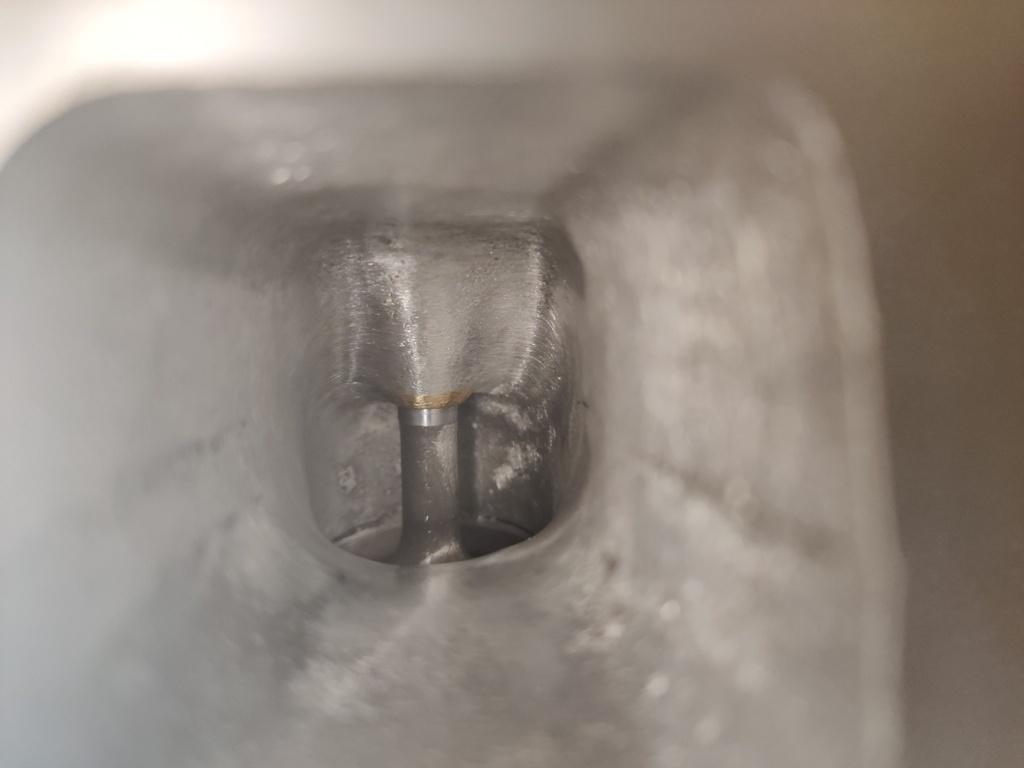
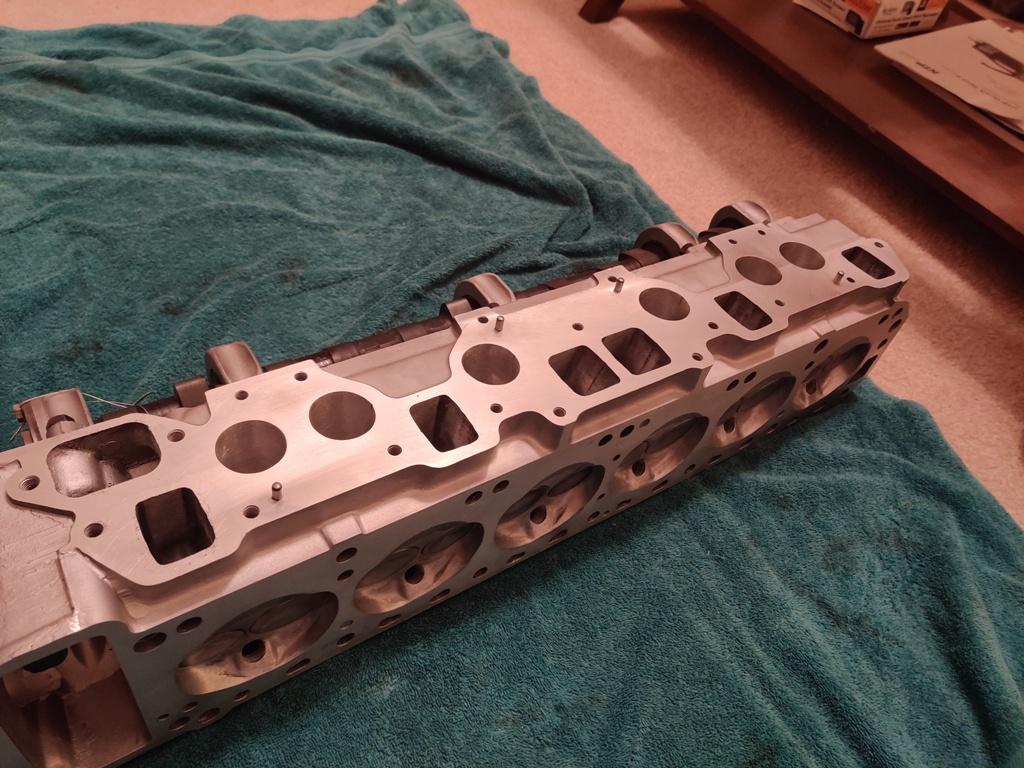
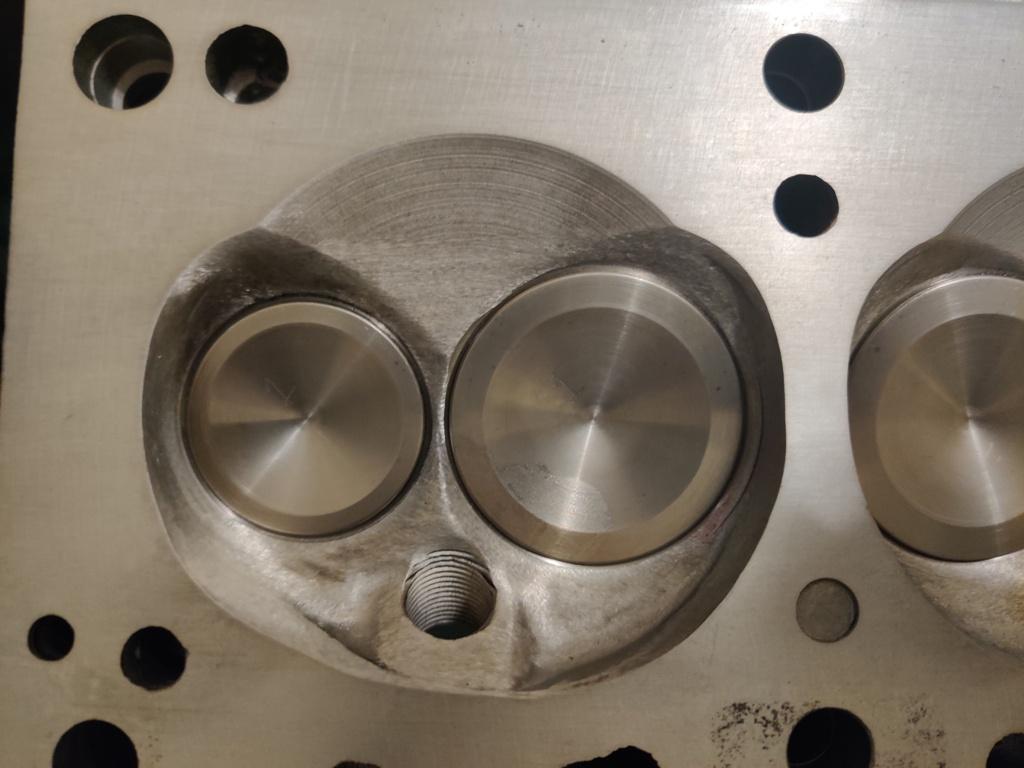
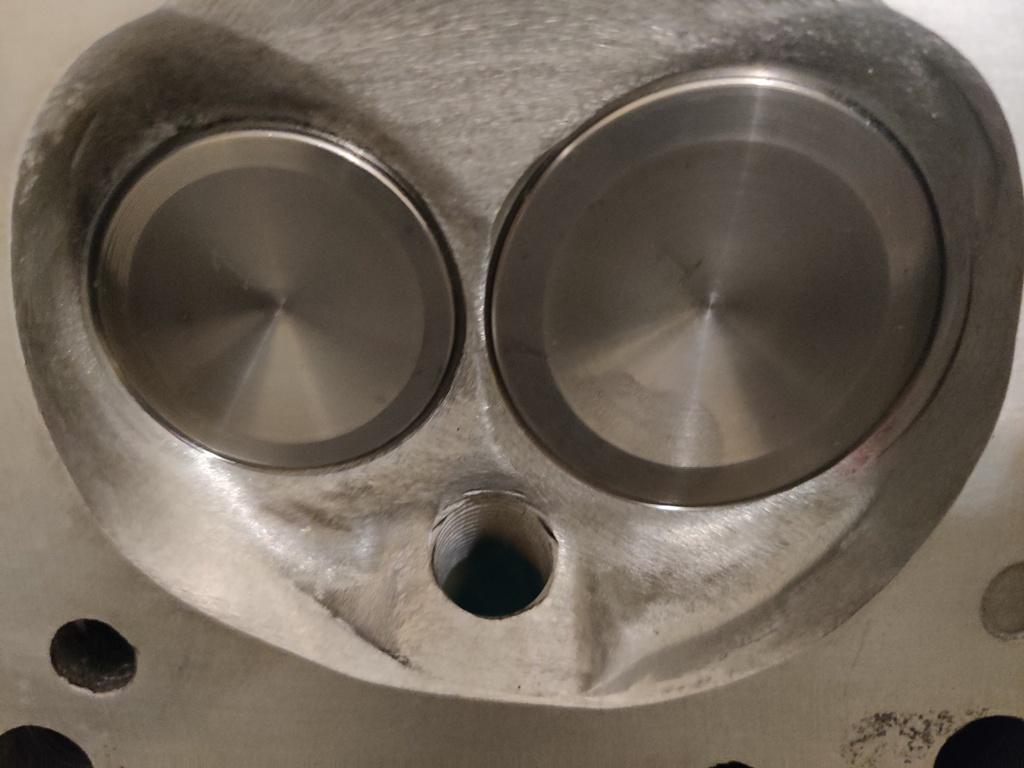
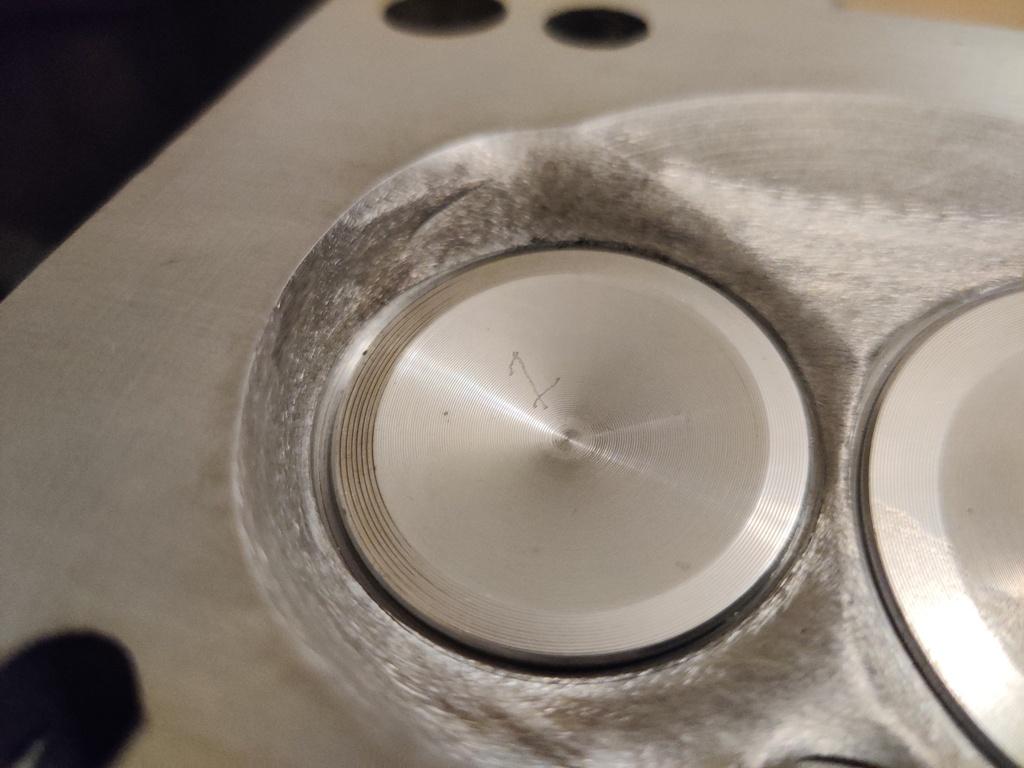
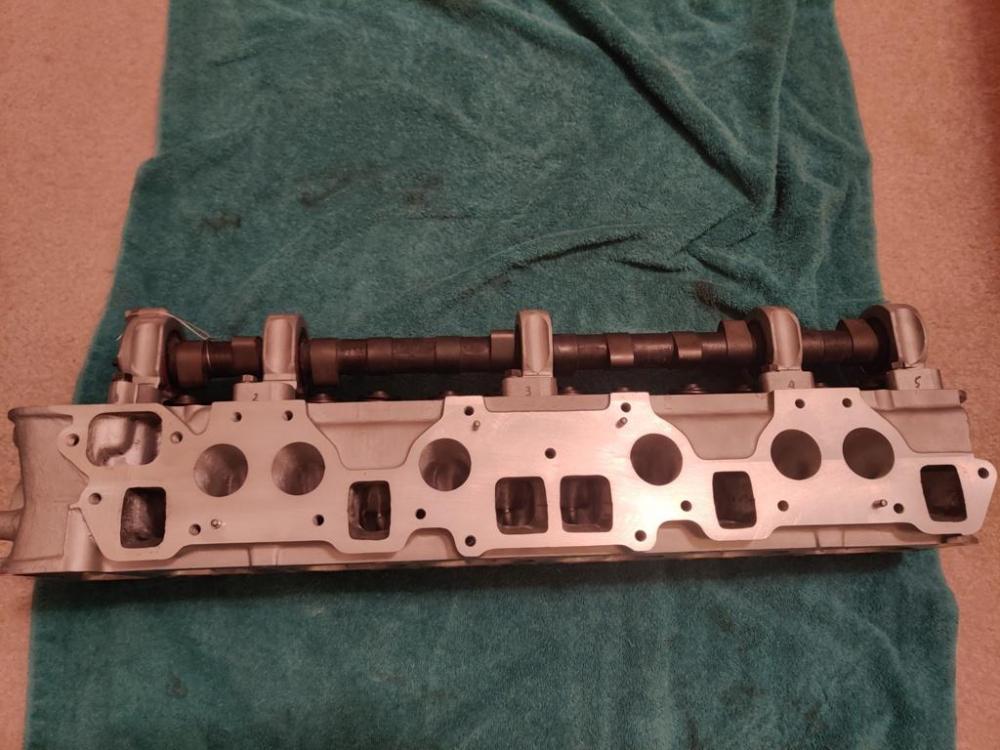
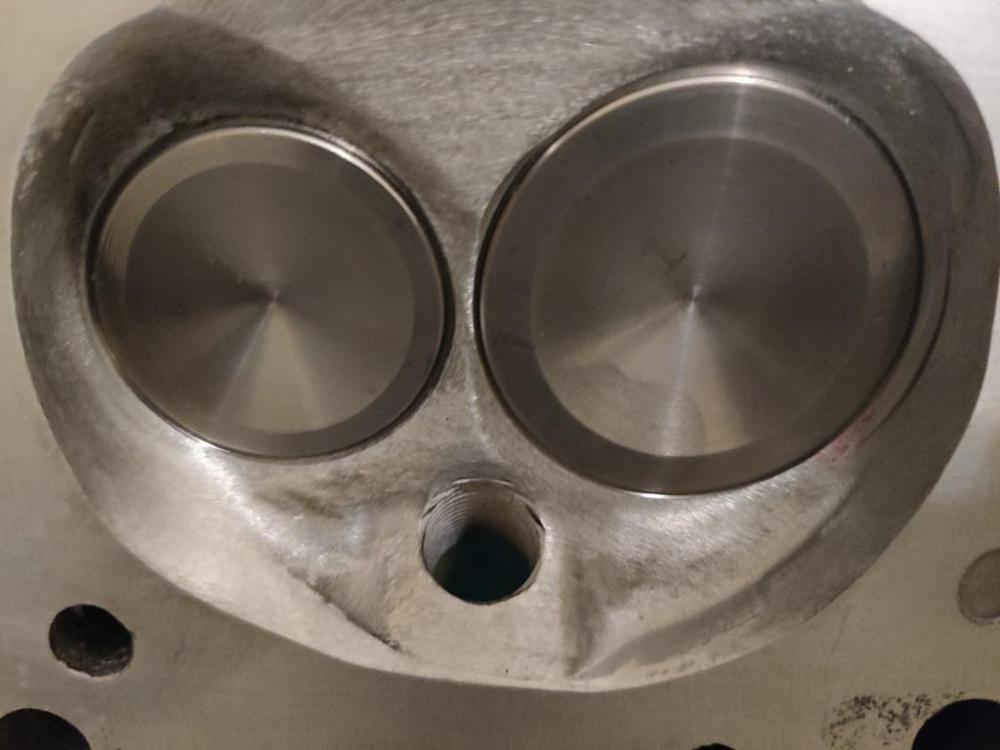
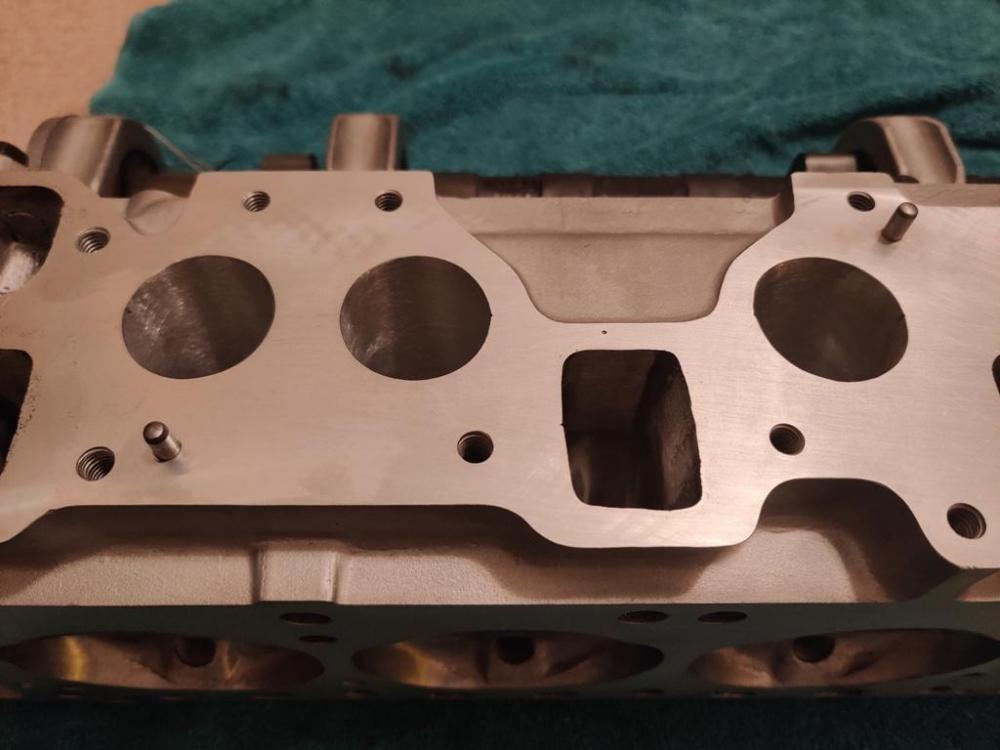
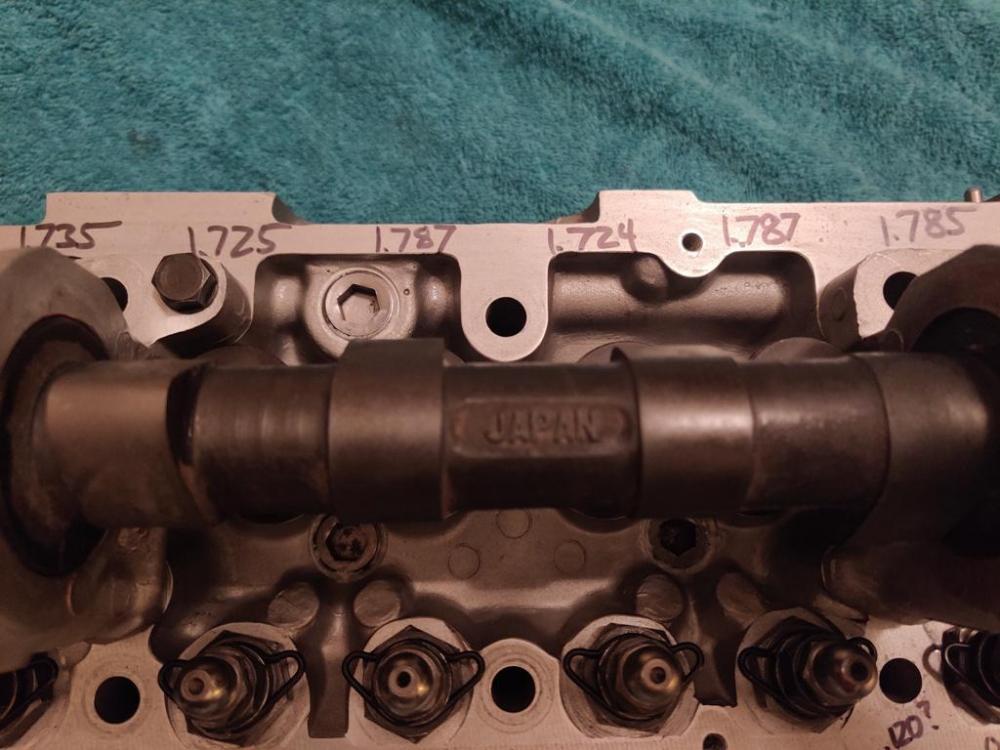
I picked up the cylinder head from my engine builder. The head is an E31. I went with the stage 1 cam from Isky (reground from stock OEM cam), along with a set of their valve springs and retainers. This cam has slightly more lift than the stock cam but the same duration, so the engine will sound stock from the cam point of view. Custom modified valve guides were installed because what I was able to source was not up to my engine builders standards. Valves are stainless SI brand for both intake an exhaust. The intakes are 1 mm oversize compared to stock. The old valve seats were removed, and new ones installed, exhaust ports were ported where it matters, and intake ports done (lightly) as well. Combustion chambers were touched some as well, including mild undercutting of the chamber edges to improve flow around the valves at lower lifts. This combination of changes was done to attempt to match the camshaft, to take advantage of the higher lift and larger intake valve. Solid dowels were installed on the intake face after it was trued in order to locate the intake manifold plenums for best port alignment. He is not done with manifold plenums just yet. There are some slight improvements being made on those as well. Here are pics of the head: To finish assembly on the head, I have to source some replacement lash pads (on their way to me already) for the exhaust valves which were taller than the intake valves.


-
I am looking for upper and lower versions of these washers - I need these part numbers: 55474-E8300 - Upper 55475-E8300 - Lower
-
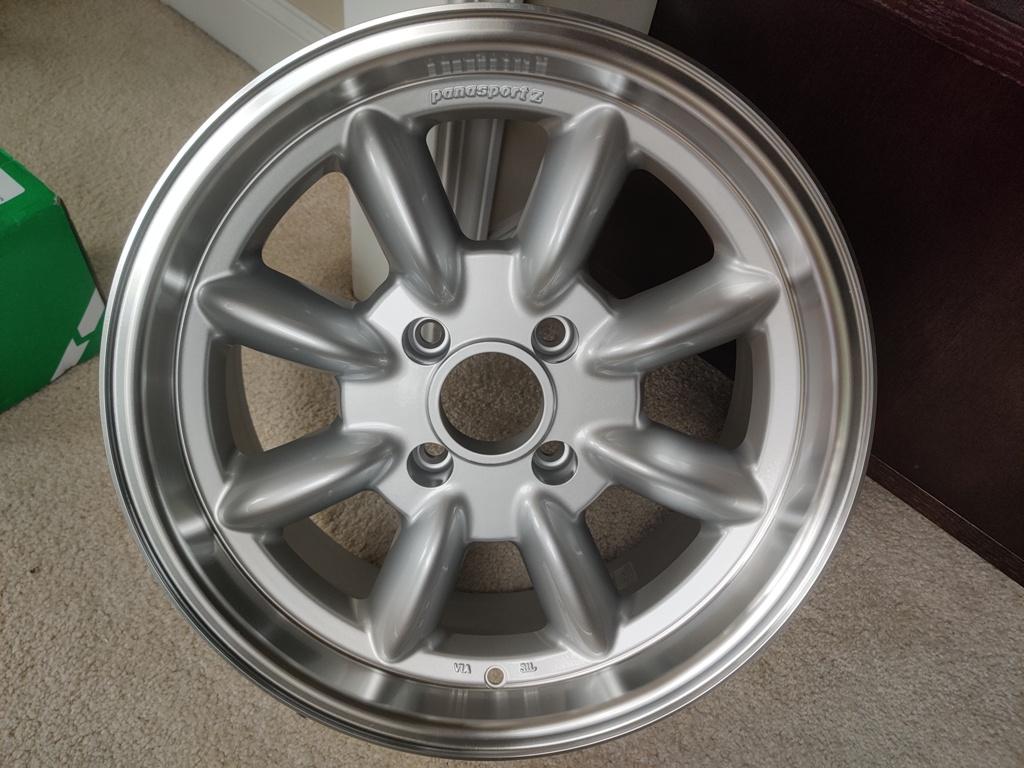
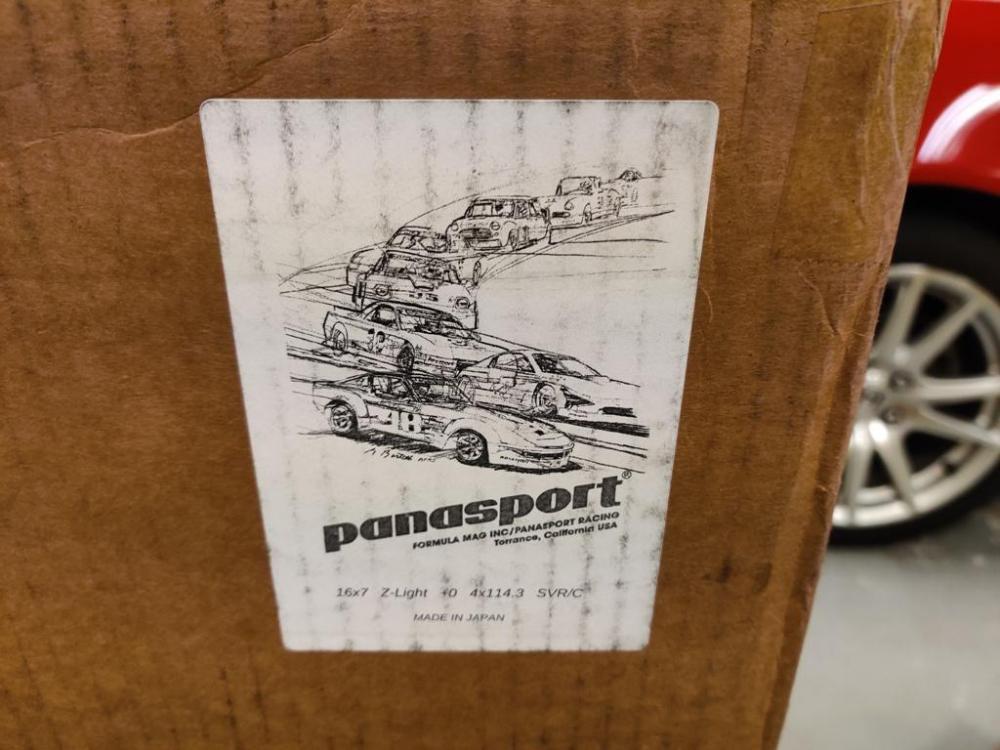
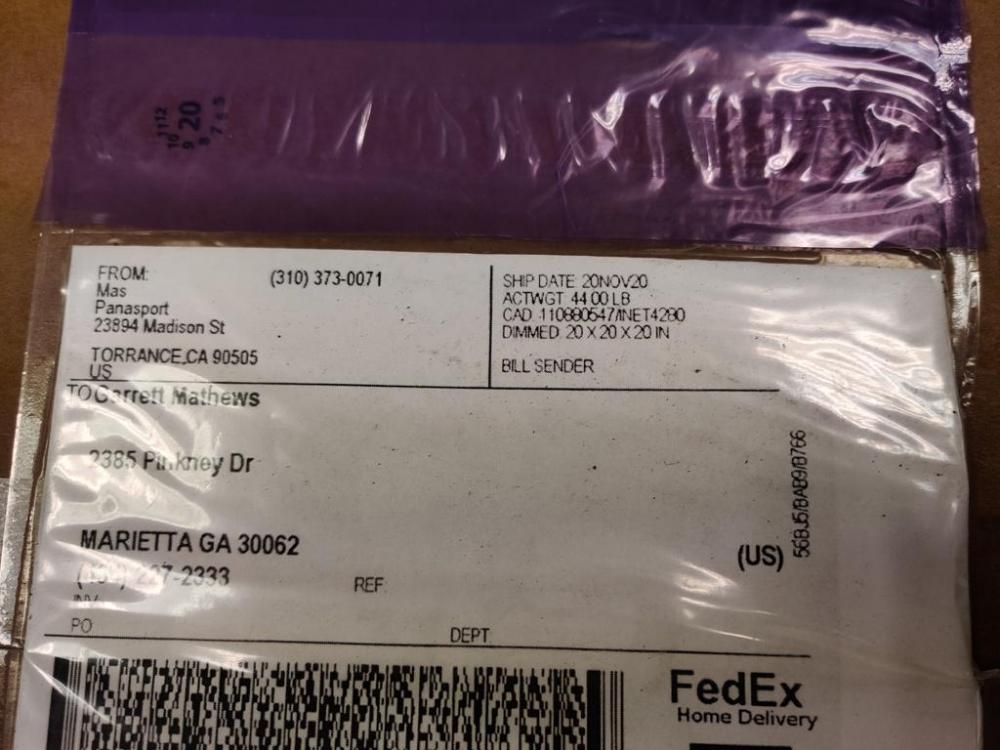
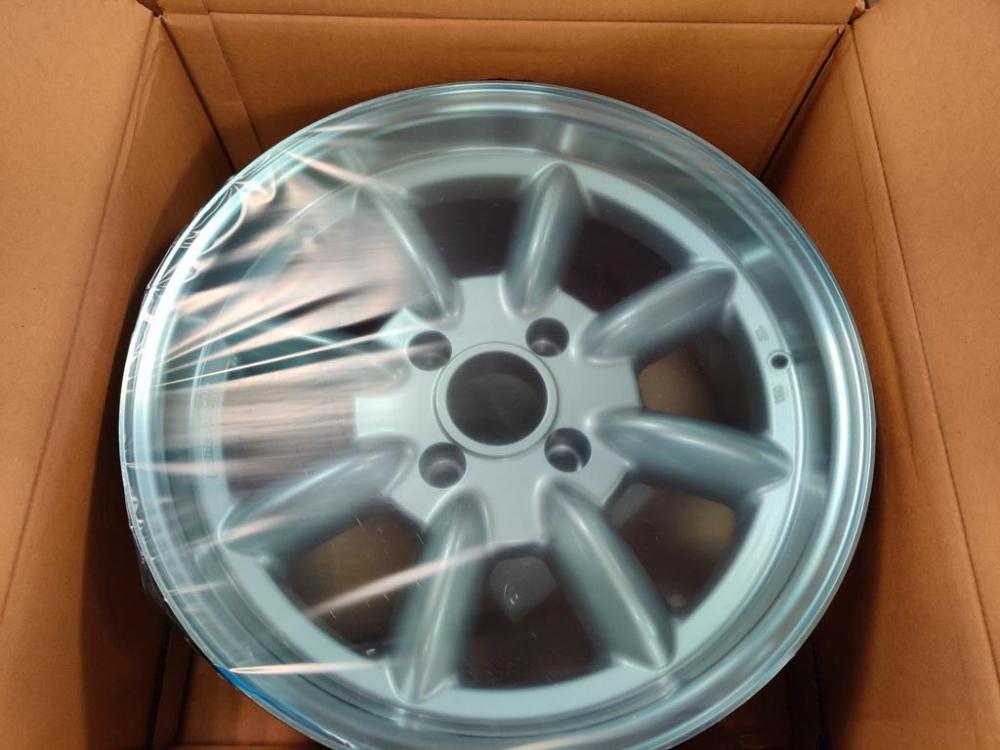
It as been a while since I have provided an update. So, without further delay, here are some pics of the wheels I ordered from Top End Performance. Steve, if I recall the name correctly, had the best pricing out of 4 or 5 places I checked. You have to order a set of four though to get the price of $266 per wheel. That plus $150 shipping to my zip code... Oh and they were drop shipped directly from Mas at Panasport. My quote directly from Mas, by the way was $341.43 plus shipping for each wheel (including 4 lug nuts) - sooooooooo not good a deal. Size is 16 X 7. It will be a while longer before they see actual use!

-
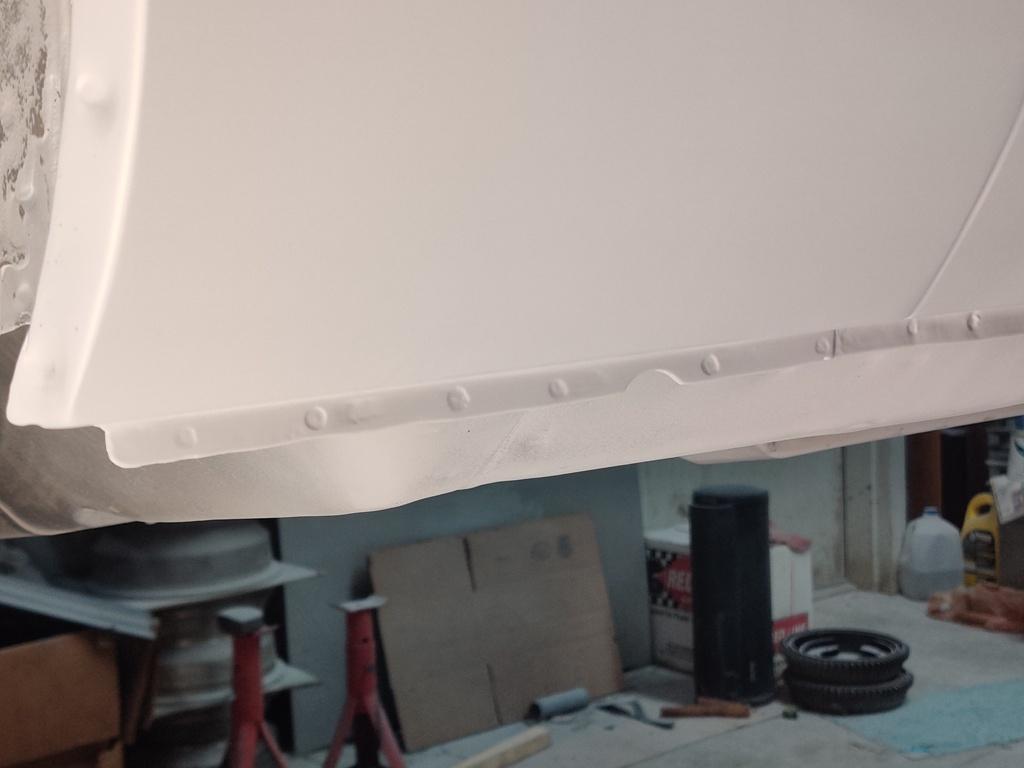
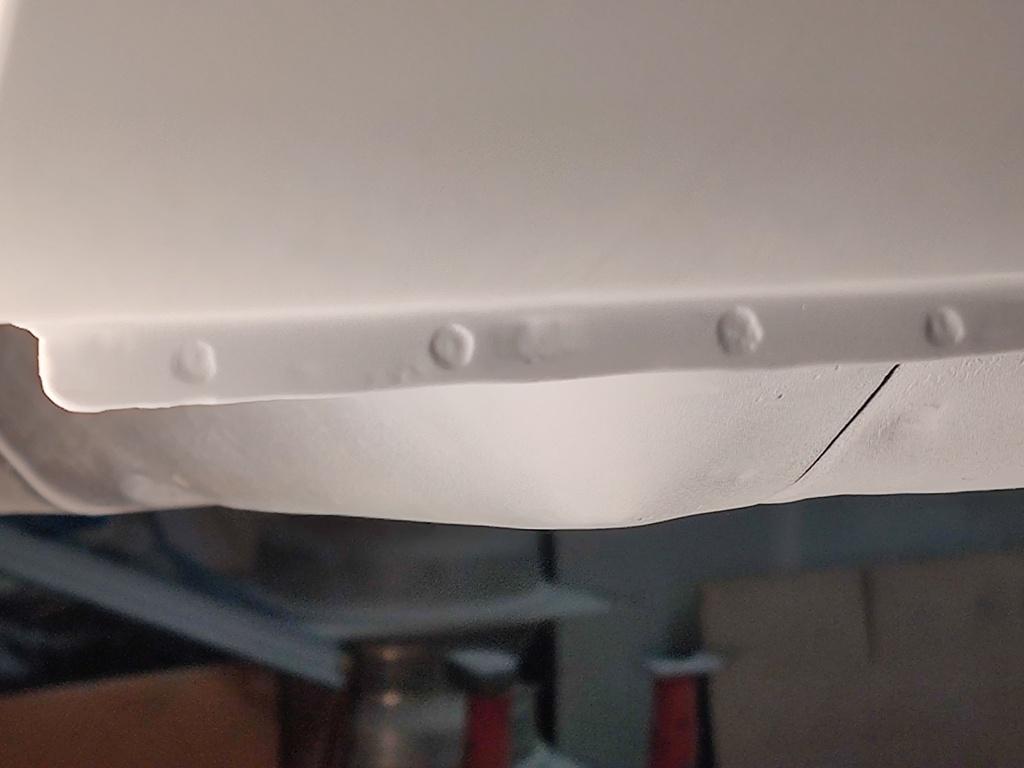
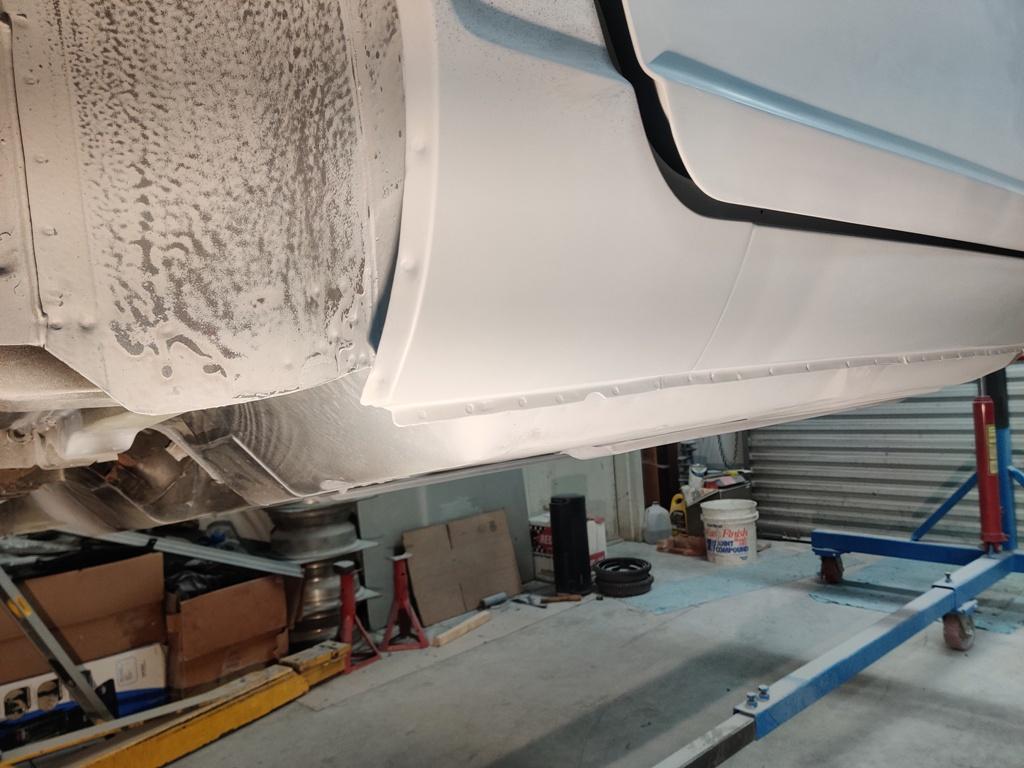
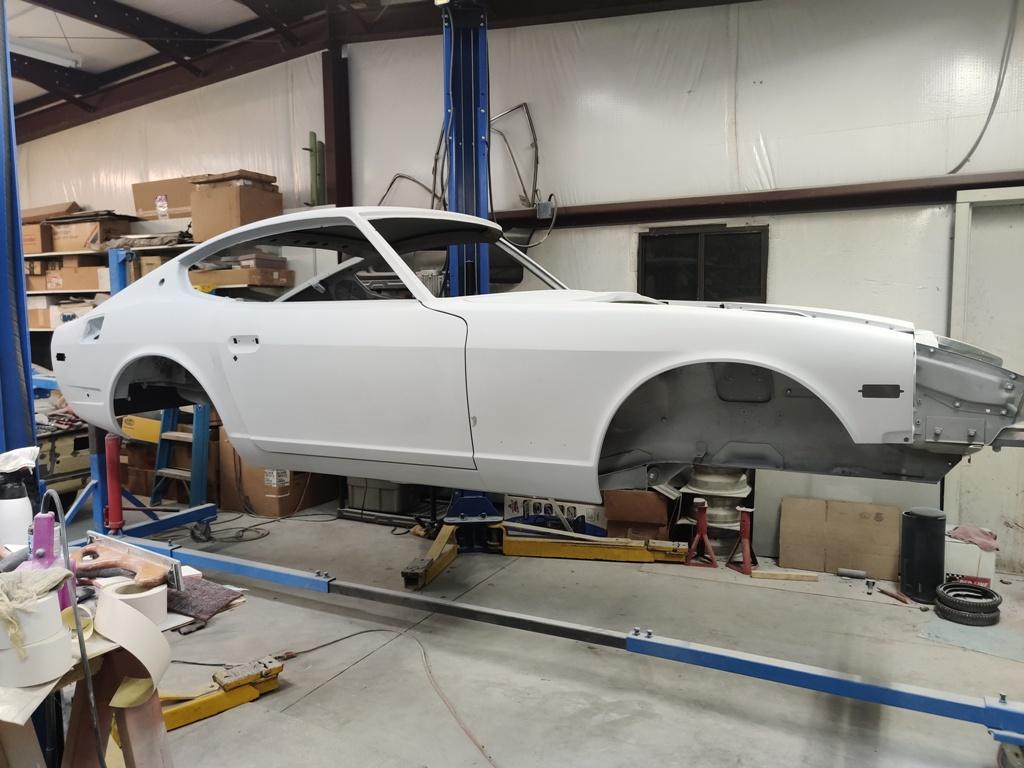
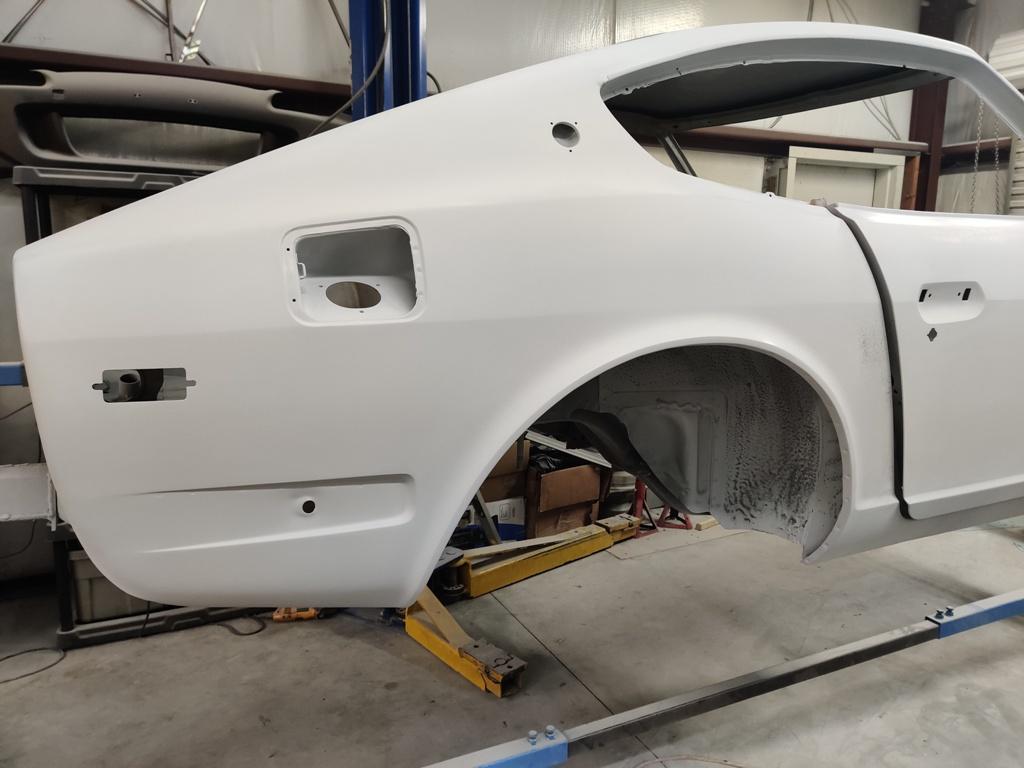
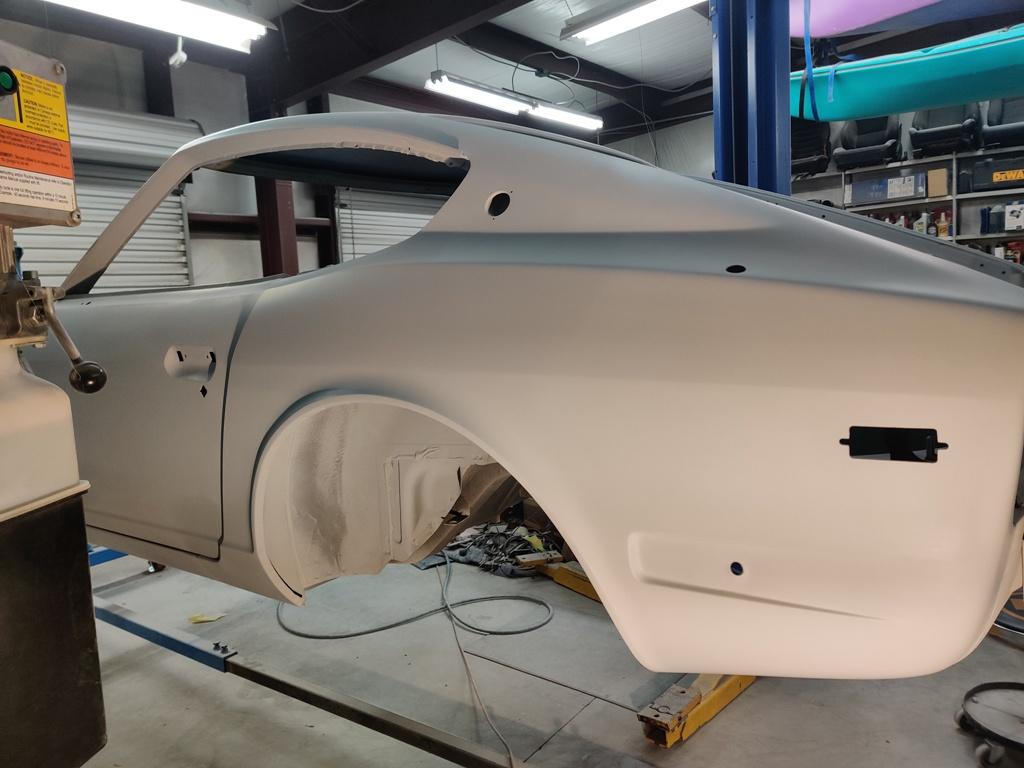
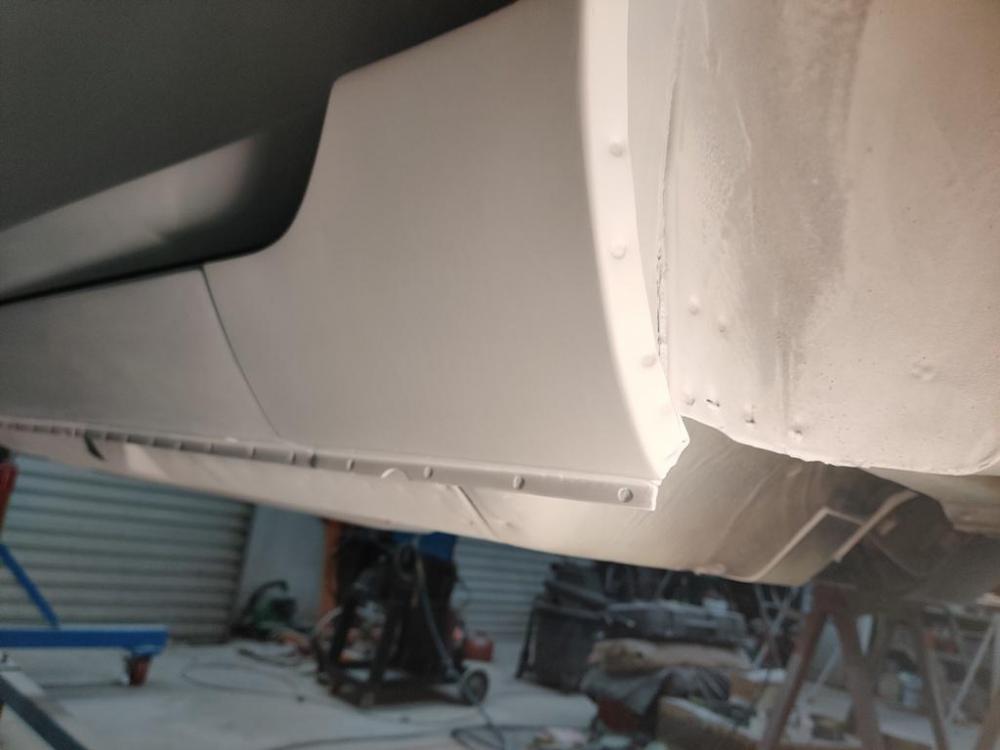
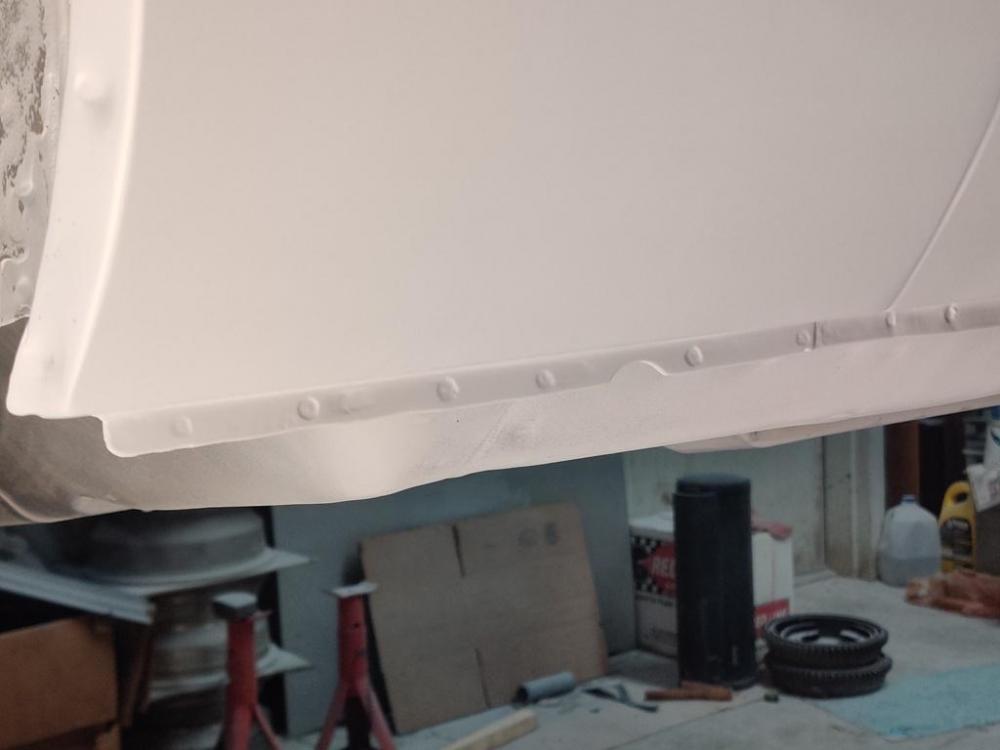
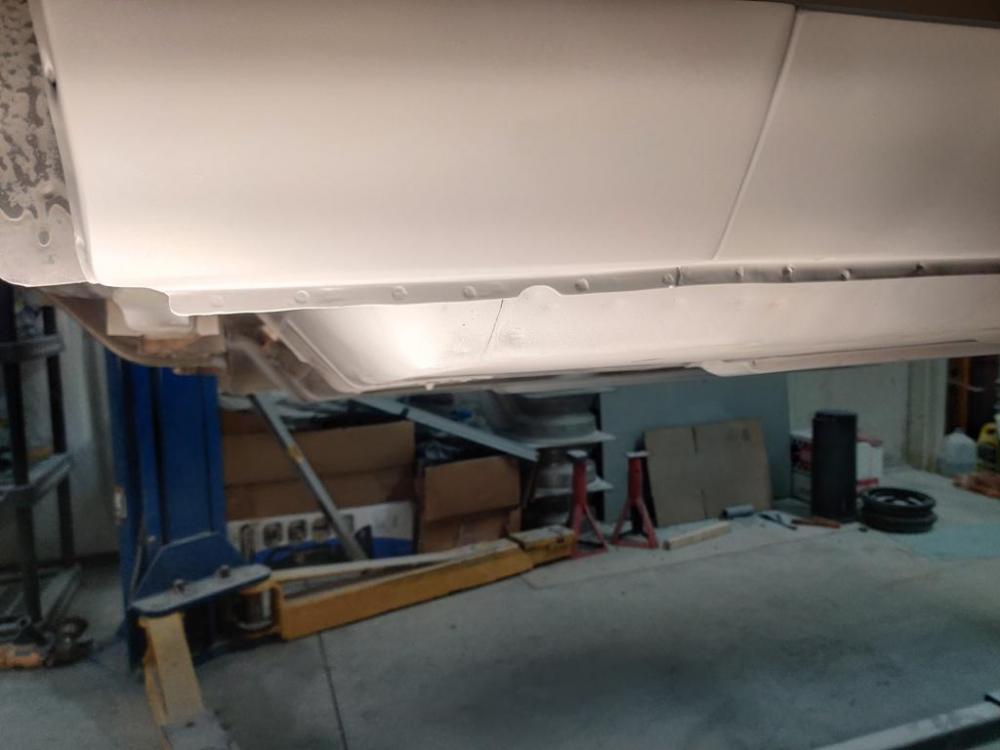
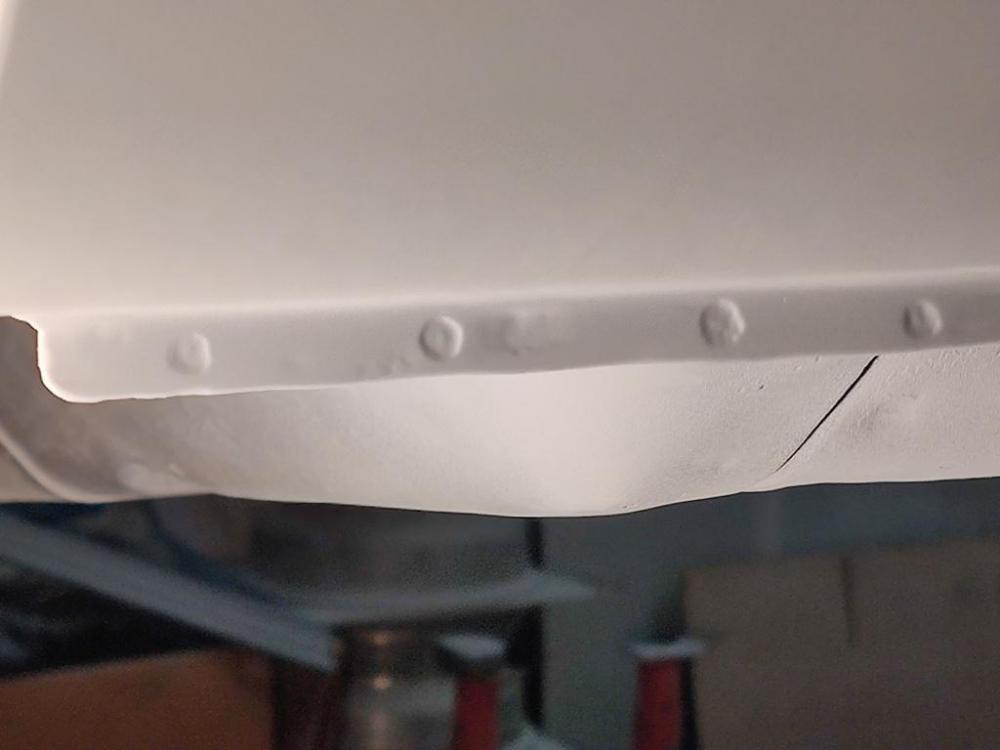
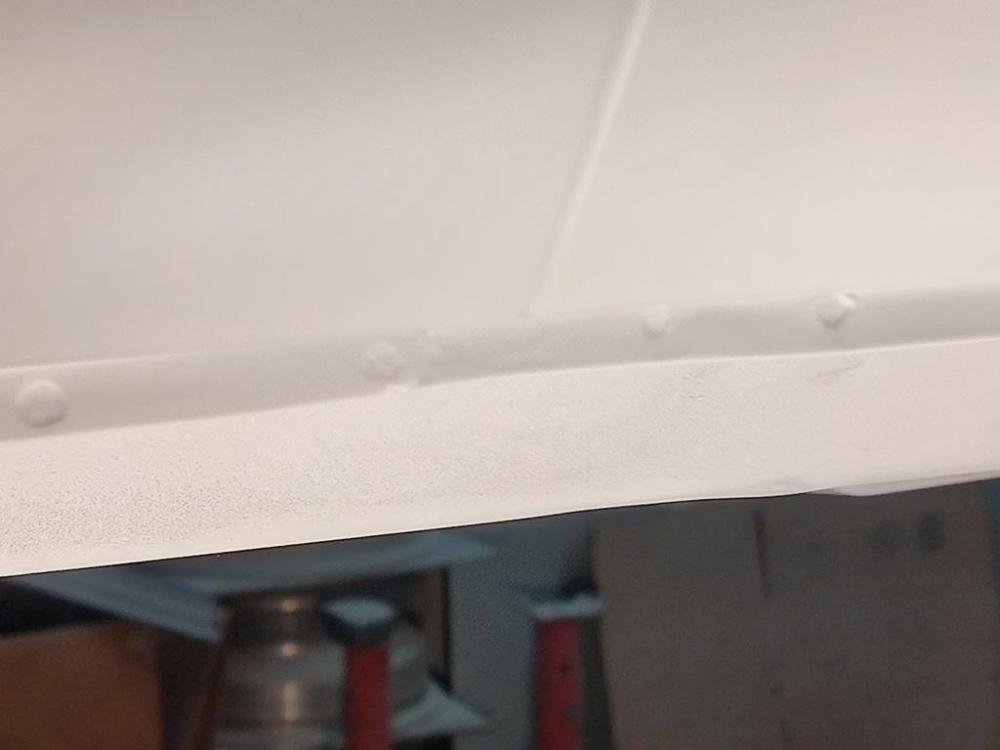
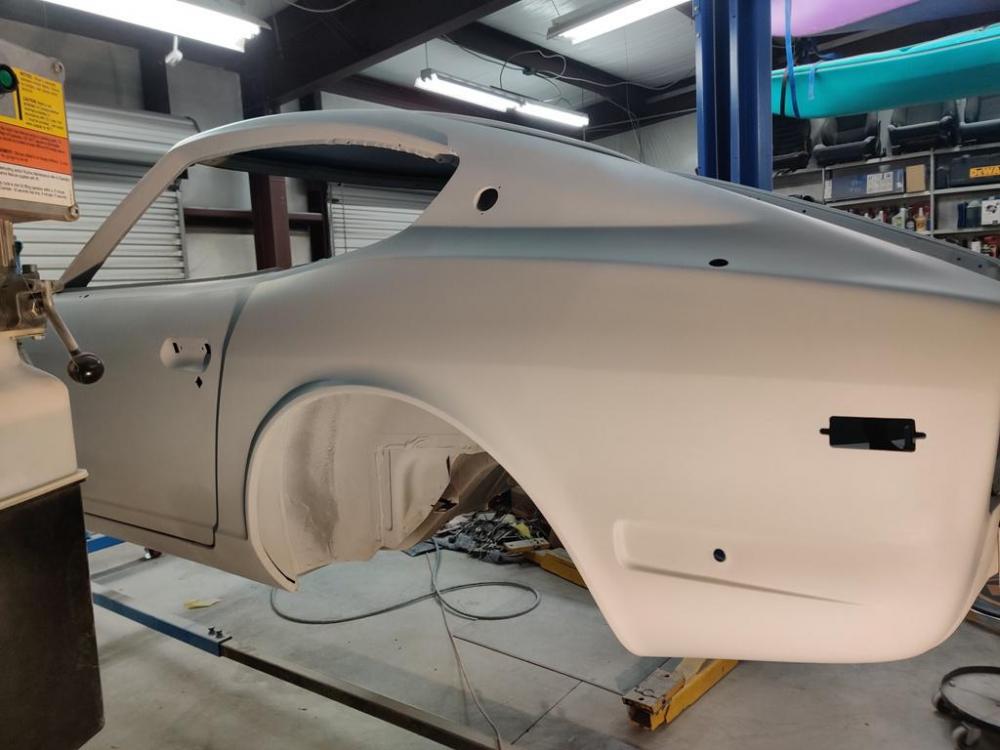
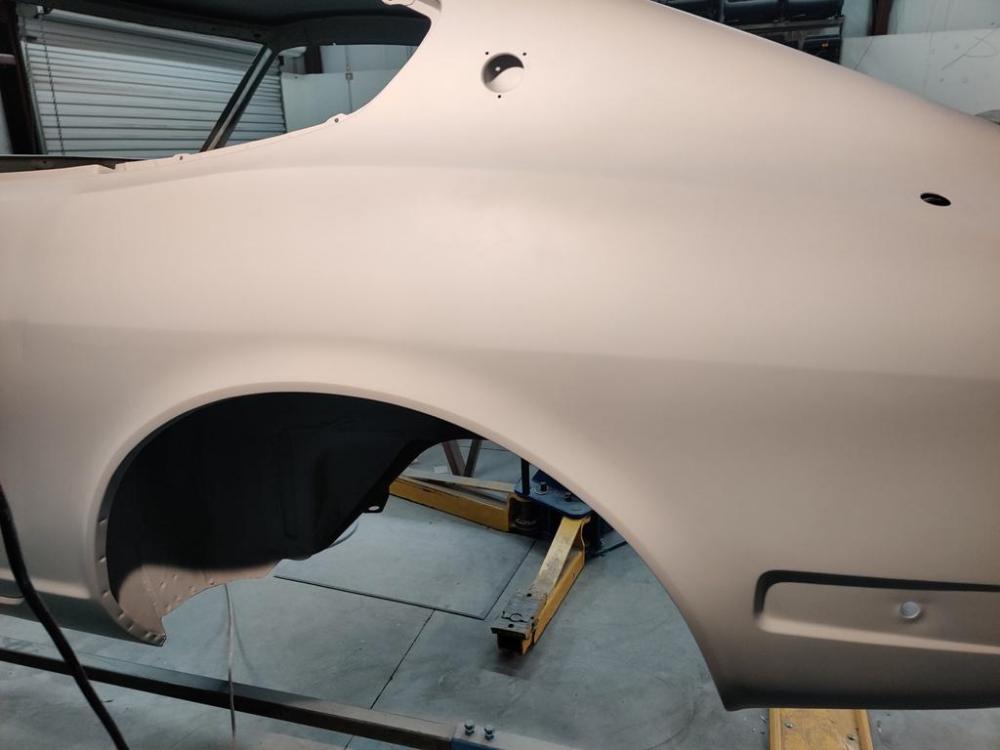
I took about a week and a half off and went to Florida for vacation. Lots of beach, swimming, and biking. Felt good to set aside this thing for a while. I am back on it now with blocking and primer application continuing. Getting panels near perfect is really a lot of work. How do you like my spot "welds"? 🙂 You may recall that I used the Mig welder to attach the cover panels (reused most of the original on right side, and fabricated a new one for the left). I used rosette welds on the bottom edge (drilled holes and filled them in with weld). However, I want the original look here on this bottom edge. Looks pretty good, right? All of the ones on the bottom edge where the quarter panel attaches to the rocker panel are fake. In the third picture just above, the two on the left of the visible joint are fake, the two on the right are authentic factory welds. To create the fake ones, I waited until I had applied many coats of primer as normal part of doing the body work. Then, in the original factory locations, I used a dremel tool and a round cutter bit to remove a circle of the primer back down to the base metal. And then I followed that up with another coat or two of primer. The spot welds on the wheel opening flange are authentic factory ones. Only the ones along the bottom edge where the quarter panel attaches to the rocker are fake. Authentic ones pick up again in front of the visible edge where the quarter panel to rocker panel transition occurs. The belt line is looking much better now. I like how they have turned out. I won't have to give this line much more attention before painting. This is the case for both sides of the car, from fender, to door, to quarter panel. I still have some low spots on the passenger fender and door to eliminate. After that, I should be able to prep the underneath of the car for undercoating. The tail light panel hasn't been worked yet because of the interference with the rotisserie. That will need attention before I can send the body assembly to the paint shop.


-
No, sold it.
-
Regarding replacing the hood: Early cars are known to have slightly different hoods. You should try to save it if you can if you ever plan on selling the car. Crazy Z people know about the different hood and will want it to be on the car vs. the later one.
-
The foam does have a function. It is closed cell, so it does not absorb water. Also, if you seal the edges after securing it to the panel, no water will get under it at all. It supports the panel over the large unsupported area which keeps if from vibrating or from moving if you happen to press down in that relatively large, flat, unsupported area. Also, put the new foam piece (or reuse old) in place before doing final body work on that panel. It changes the final position of that flat area.
-
Thanks. I have learned some things the hard way for sure. I like this sanding block a lot: https://www.eastwood.com/contour-rigid-sanding-board-2-75-in-x-17-in.html It is comfortable to use with both hands for hours at a time. Even though it was designed to use non adhesive type paper, I have been using adhesive backed. The rubber "pad" on the aluminum is hard/tough enough that when you pull the adhesive paper off, it doesn't damage it. The sand paper I have been using comes in rolls. I have been getting most of it from TP tools. I have also been using some 3M "red" rolls that I get locally at a body supply store. In general, I have had good experience with epoxy primer on bare metal to start before applying filler. Light sanding with 80 grit and then applying body filler was done next. Then I used 80 grit on the body filler to shape it, followed by 120 grit on the body filler to get a smoother finish. 120 grit scratches are a lot easier to cover up with primer (or sprayable polyester) without sanding scratches coming though later. Then, I recommend you depart from what I did and spray several coats of sprayable polyester filler, and then block sand that with 120 grit until flat. Then, I'd recommend going over it once with with 240 grit to put a smoother finish on it. Similar to before, the 240 grit finish will fill better when you spray high build primer over it. Then you can block again with 240 and repeat primer spray, and sand with again with 240 grit until you have perfection. Then, you should switch over to 400 to 600 for remaining finish work. It is widely agreed upon that before you put down color, a minimum of 600 grit should be used. That should be safe - the color will fill those scratches so they are not visible. This is true for base coat/clear coat (2 stage), or for single stage paints.
-
Something I find odd is the plating on most of the parts in the engine compartment looks like it is silver? I would think the parts should look more like the green car that sold for $310k. When compared to that car, lots of things are... different: Front bumper rubber strips installed without care to keep the embedded fastener from torquing/twisting the rubber so it is not straight tape lines on the back edge of the driver side door and front edge of driver side quarter panel? tail light trim panels and license light painted black? rear bumper rubber dry rotted and cracked? rear license light cover distorted from heat (usually an indication of lots of use as heat from the bulbs distorts the plastic over time) "adjusted" driver side door latch receiver (pic 152) wear on brake and clutch pedal pads (pics 159 and 160) no pics of driver or passenger floor jute - most of it appears to be missing shift knob looks like a replacement nos item instead of the original ones. Compare with the $310k car. Why was that replaced? rear hatch main rubber seal - dry rotted rear hatch jute missing/condition of pieces that remain silver spray painted rear hatch latch careless damage to air filter cover by banging against brake master cylinder bleed screw during removal not original air filter cover bolts condition of original(?) cloth weave heater supply and return hoses condition of plating on hard lines driver seat upholstery distortion/seams starting to come apart (seat on passenger side) lack of blue paint on block... missing original Nichira center resonator and pipe Nichira rear muffler looks like a possible nos replacement? Engine compartment really doesn't compare well with the high mark green car. I think the car is nice, but it doesn't look like a 30k mile car to me. Maybe it is, but spent a lot of years on a carport where it wasn't as protected by the elements as in a garage?
-
Predictions on closing bid? It is interesting to see these cars make their way out into the light after storage for many years. With the high number (relative) of series I cars that were made, I am sure there are more still hunkered down in storage.
-
I think you are talking about a different one than the one I put a link to. That auction is still open - $110,000 with 6 days to go.
-
Predictions on closing bid? https://bringatrailer.com/listing/1971-datsun-240z-160/ It is interesting to see these cars make their way out into the light after storage for many years. With the high number (relative) of series I cars that were made, I am sure there are more still hunkered down in storage.
-
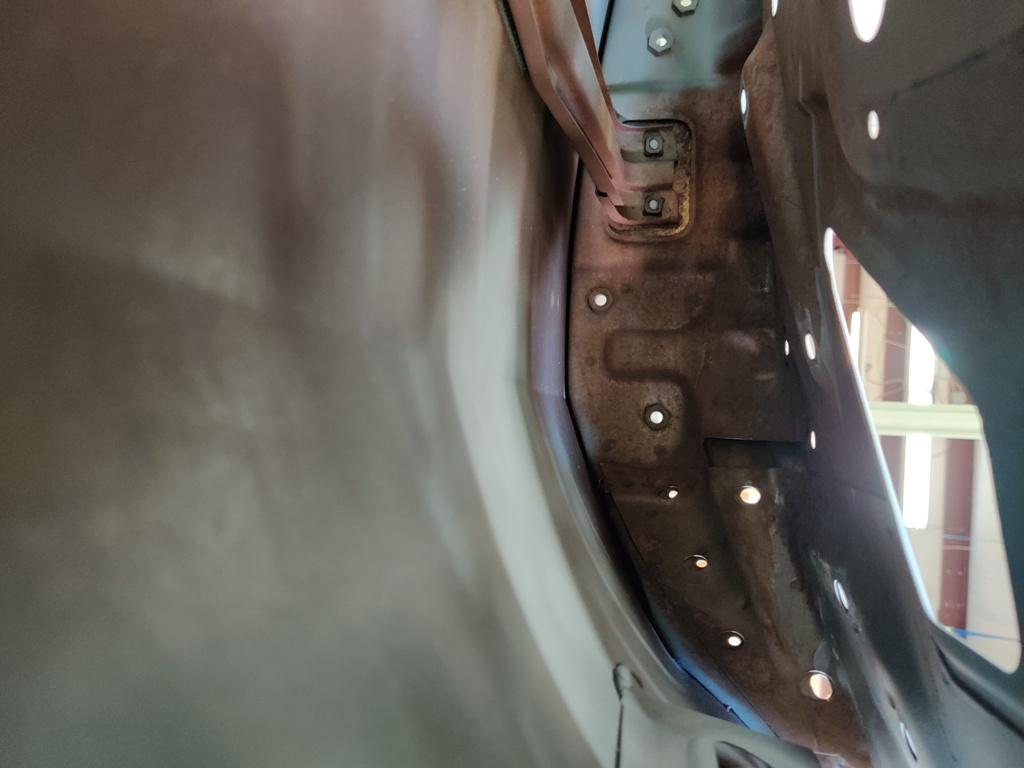
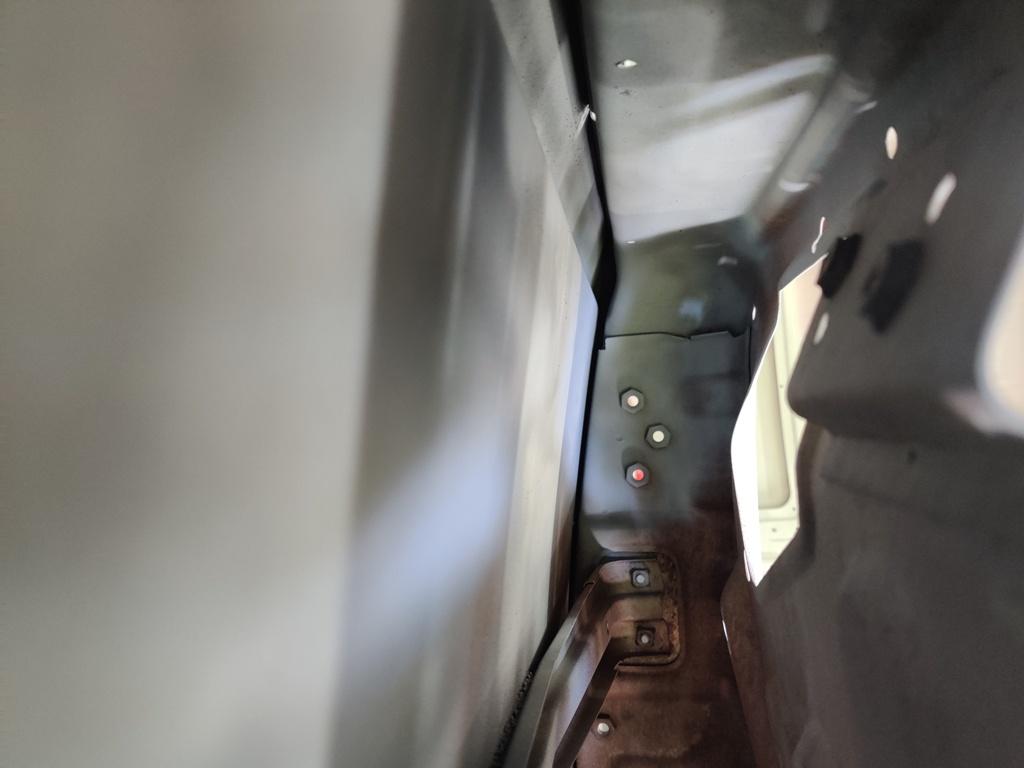
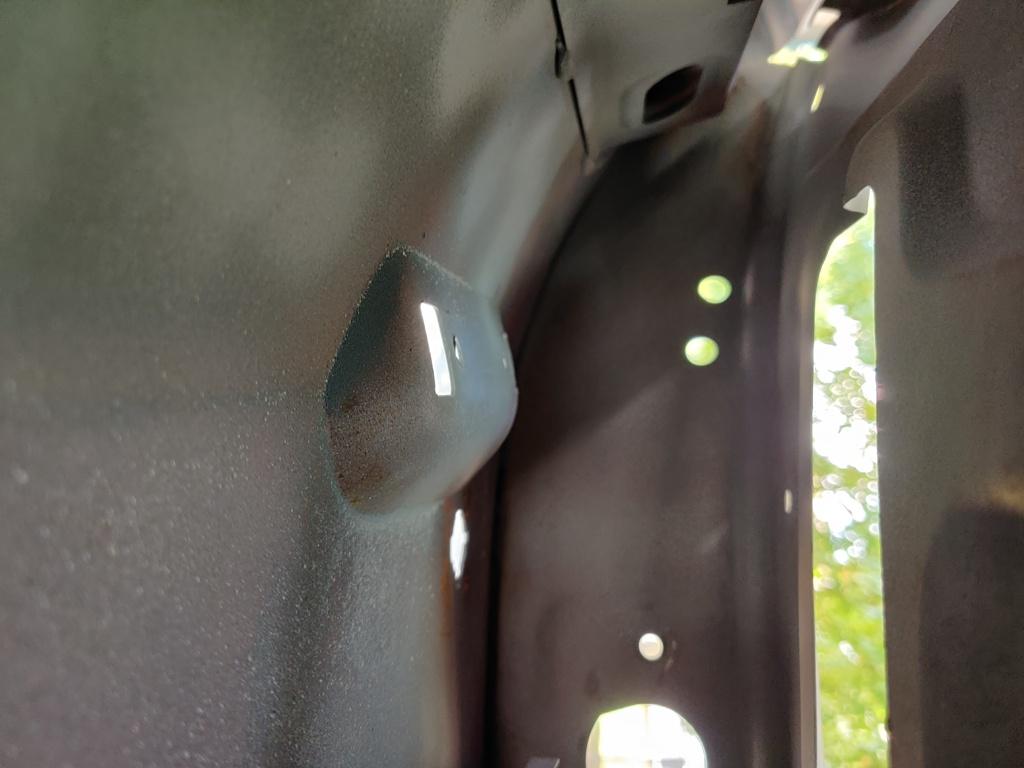
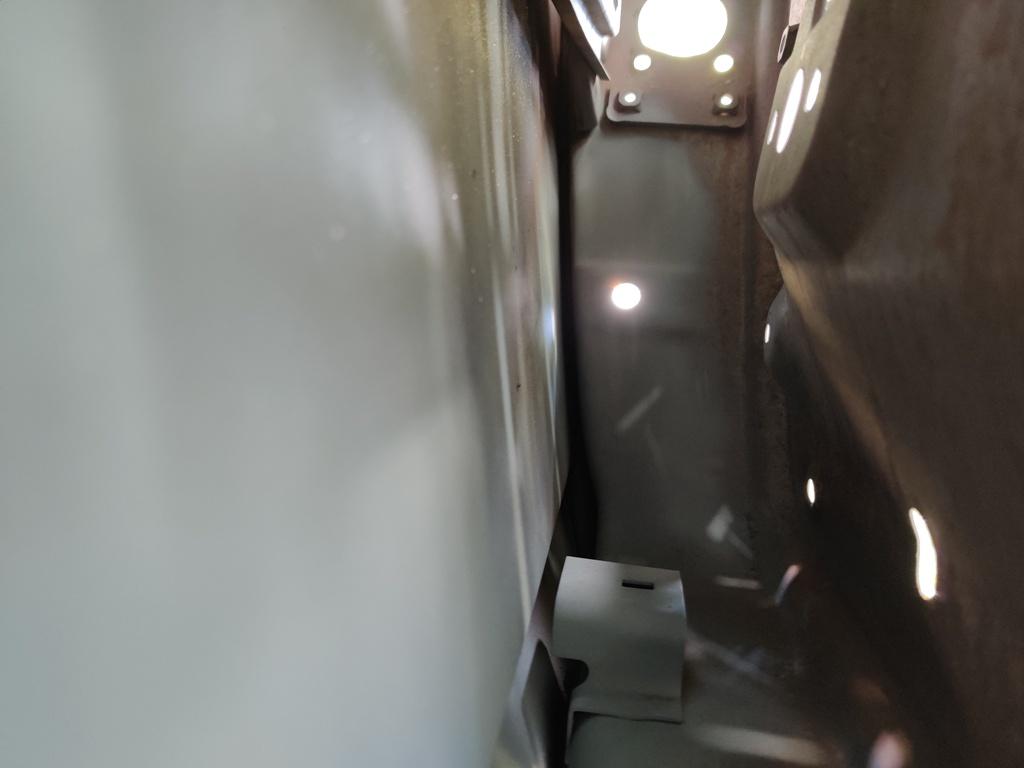
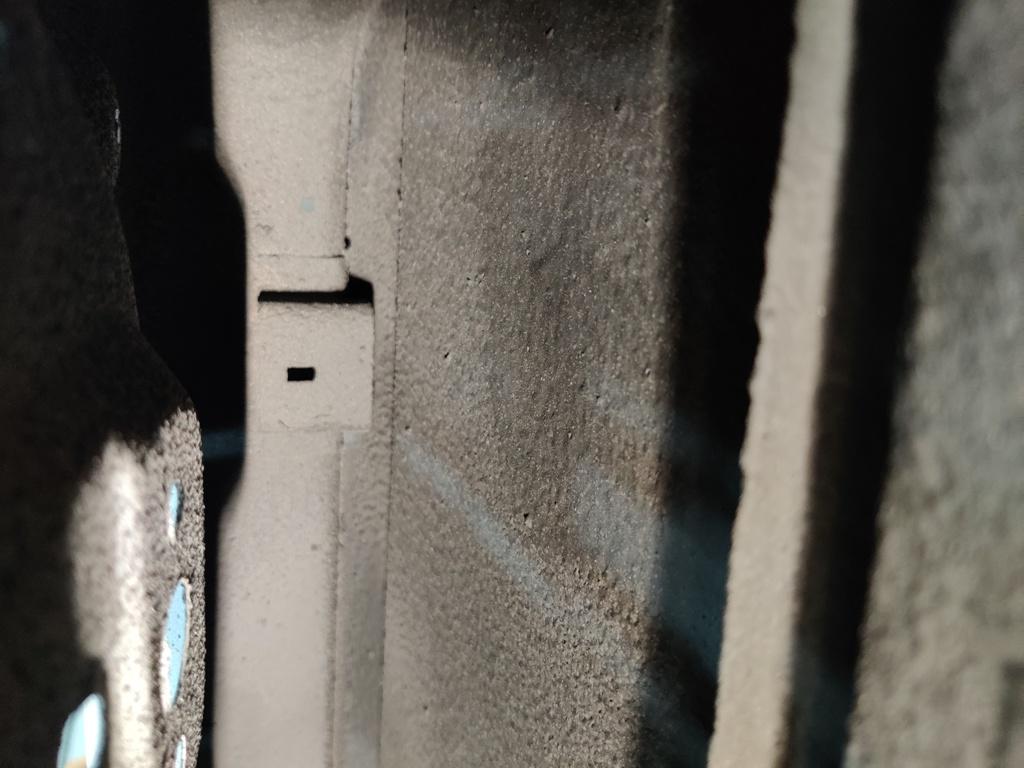
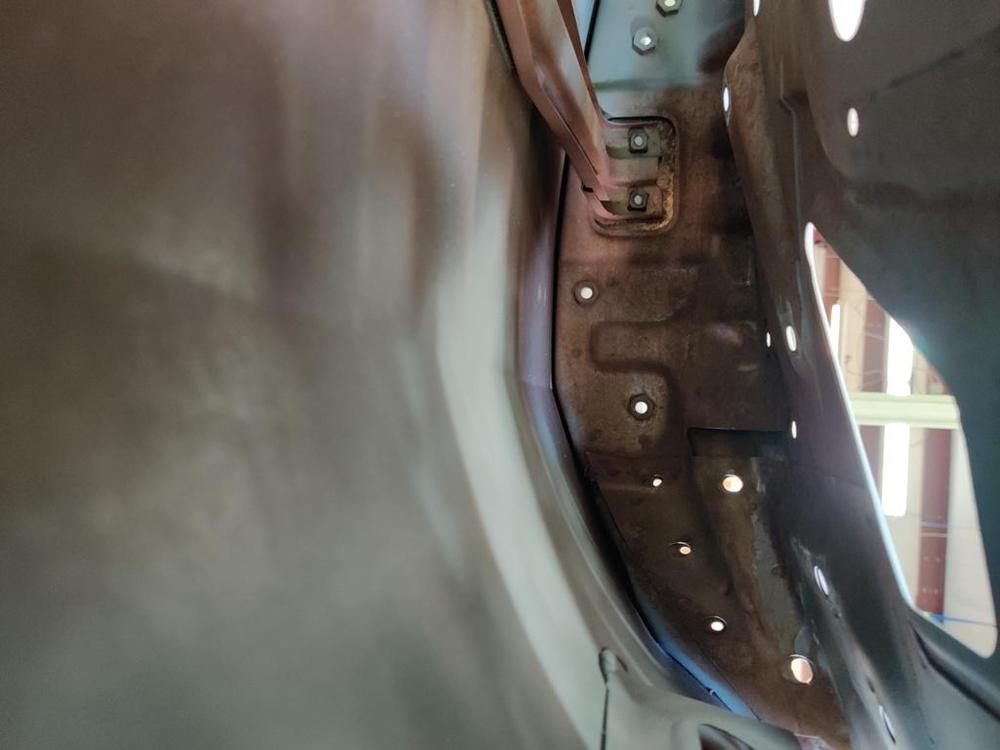
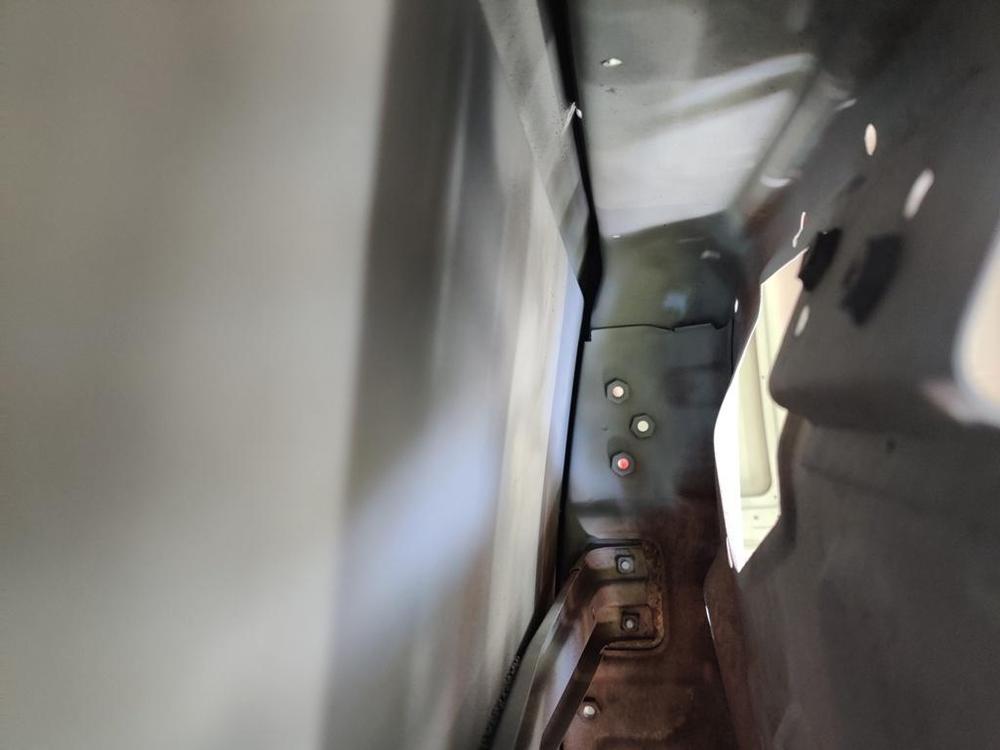
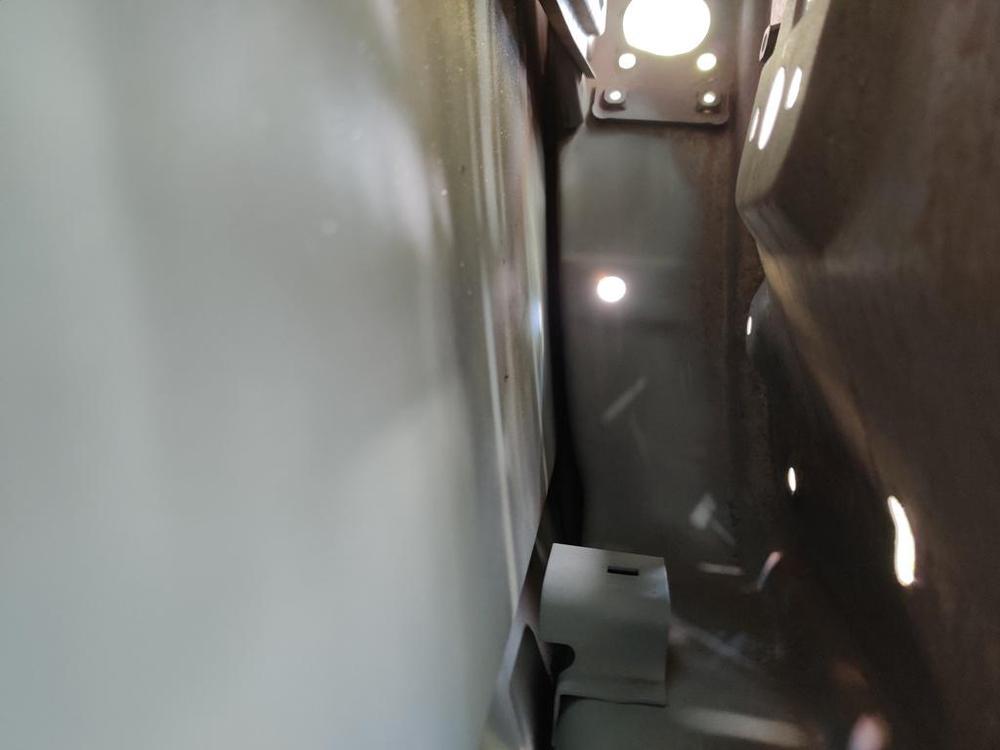
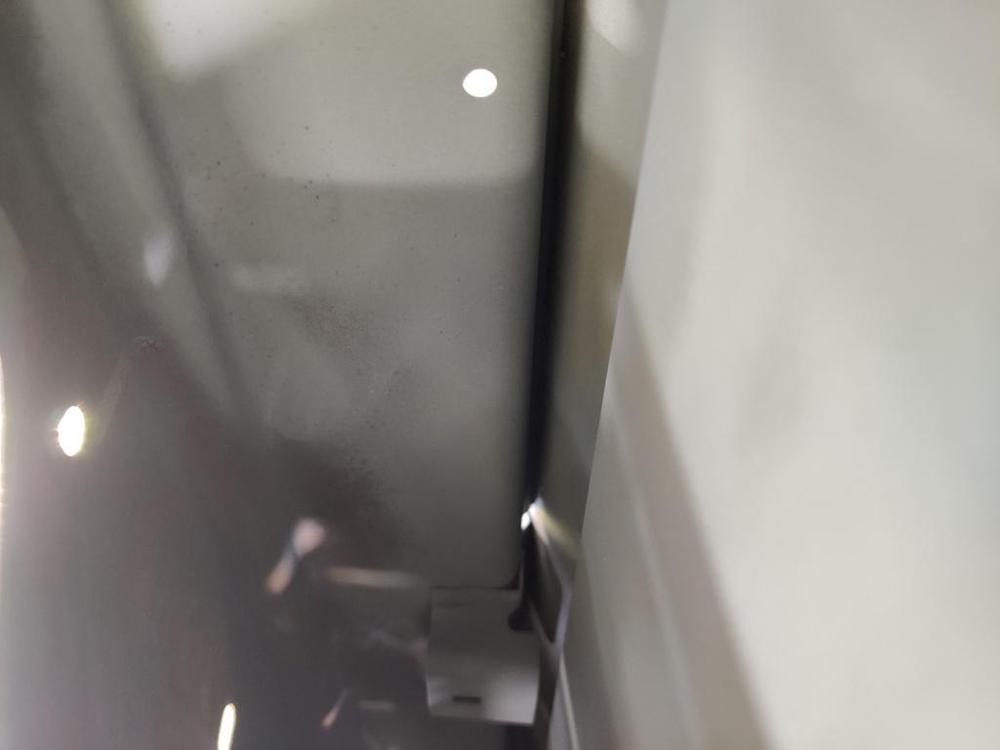
I am soon going to get the 240z I have been working on for a couple of years painted. It was originally 901 silver. My plan is to have the painter paint it like the factory did it. And so, I'd like to confirm how the factory did it, if possible. Why? While doing the body work for the last many months, I have concluded that the fasteners that secure some of the body panels in place change the final shape of the panel. A good example of this is the front fender. There are two bolts that secure the bottom of the fender panel to the unibody. Tightening those bolts down causes a slight distortion in the panel. If you get the bottom of the fender perfect while off of the car, and then bolt it to the car, you will have more body work to do to get the bottom of the fender perfect again. Additionally, I have found that aligning body panels is a task that takes several attempts before I achieve success. I don't want to risk chipping paint while handling freshly painted doors, fenders, etc., and attempting to align, tighten bolts with wrenches, etc. Therefore, my preference is to achieve correct alignment and fit while the car is in primer instead. So, I have these observations based on close examination of my car (production 6/1971) to share: It appears to me that everything on the car originally painted in 901 silver at the Nissan factory was securely fastened in place when the paint was applied with two exceptions: the rear hatch and the front cowl panel. I deduce this primarily from the following: Hatch panel: There was no silver paint on the 4 large, phillips screws that secure the hatch panel to the hinges. Additionally, it appears that the hinges were bolted in place on the body with the rubber hinge "seals" in place before primer and paint were applied. I suspect that the seals, hatch hinges, alignment shims and hatch panel were installed at the factory and correct alignment was achieved. And once properly aligned, the rear hatch panel was taken off by removing the 4 large phillips head screws that attach the panel to the hinges. Then, the hatch panel was painted while off of the car. This would greatly ease the job of applying paint in the top recess area of the hatch opening which appeared to have very good coverage on my car. Cowl panel: For the cowl panel, I note that the 5 phillips pan head screws that secure it to the car were not 901 silver. They were bare plated screws. And of course the black, plastic "receivers" which seal the body at the back of the cowl panel were not installed when the car was sprayed at the factory. Interestingly, the dark grey primer that was sprayed over the entire car just prior to paint, was not covered in silver in the cowl area just below the cowl panel. Examining the silver paint "overspray" from the factory in the cowl area (through the slats in the cowl panel), I believe that the cowl panel was loosely placed on the car body in its proper location, but without the plastic receivers or pan head screws to hold it in place, at the time the car was sprayed with color. The rest of the panels: Other than those two panels, all indications (to me) are that the rest of the panels which were painted 901 silver were all bolted in place when sprayed with grey primer, and the 901 silver paint that followed. All of the fasteners on the remaining panels were undisturbed after paint. Also, I specifically noted a lack of coverage of both the grey primer and silver paint in the area from the top to the bottom of the front, inside surface (frame) of the doors. In this same general area, I found a few silver paint runs on the doors and the hinges (bottom edge of the hinge springs especially). Other than the hood "alignment blocks", which are painted black, and were clearly installed after the car was painted, the hardware which attaches the front fenders to the body was finished with either in the grey primer (the fasteners accessed under the cowl panel) or finished with the 901 silver, indicating the fenders were bolted in place at the time that the car was sprayed with grey primer and then silver. The back edges of the headlight housings (those on my car are fiberglass) were bare, white gel coat - they were not grey or silver, indicating they were bolted in place on the front of the fender at the time that the car was sprayed with grey primer and then silver. The hardware securing the front left, right, and center valences had 901 silver on them indicating they were bolted in place when color was sprayed. The hardware securing the front left and right inspection panels was 901 silver indicating they were bolted in place when color was sprayed. The hardware securing the tool doors in the interior of the car was 901 silver indicating they were bolted in place when color was sprayed. Here is a picture that reveals a lot when you look closely. Note that the car had been repainted once in gold prior to my purchase of it. You can see that the silver is visible "under the gold" in various places where the gold has departed, such as just forward of where the front edge of the cowl panel seats against the unibody. Note where the grey primer is, and where it is not, such as the bottom left corner in the pic, which is where the fender bolts to the unibody. I'd love to hear from others on this topic. Please share what you have found either consistent with my observations or otherwise! Thanks!
-
Yes, new brake and clutch lines are inexpensive and I procured those, but the fittings on them are clear zinc coated instead of yellow chromate or cadmium, if that was ever done on the originals. Not a big deal as my car will not end up being an attempt at showroom new presentation, but I am sure the original fittings on the brake and clutch lines were gold colored. I have lots of zip lock bags of hardware that I have been measuring and describing in detail (classifying) in a spreadsheet. Before long, I will have to take the plunge and empty all of the "clear zinc" into one box and "yellow chromate" into another. Going to be mentally challenging for sure, as "they all get mixed up" then. 🥶 It will be quite the project to get them back from the plater and spend the time to identify them and put them back in their original locations.
-
Some more progress towards getting this thing painted! Insert pretty boring videos here: 🙂 Roof panel: Passenger door - not good enough yet!
-
I enjoy seeing these progress updates. I am still trying to finish up bodywork on my project. I have a ways to go. Do you think it would be possible to have brake hoses (assembled rubber ones with fittings) run throught the plating/yellow chromating process? I am not educated as to what can be run through the plating process that is not metal. It seems, for example, that running the emissions pieces through is possible, or at least, I think people are doing that based on pics I see. I forget what the one control valve is called, but I think it is the one that slows throttle closure - I can't believe people are able to source those new, and I don't think people are taking them apart to plate just the metal bits either. Other things like the throttle linkage bar with plastic sockets, the hatch receivers (with plastic wedges captured), and door latch pieces (with captured plastic parts) can be re-plated obviously.
-
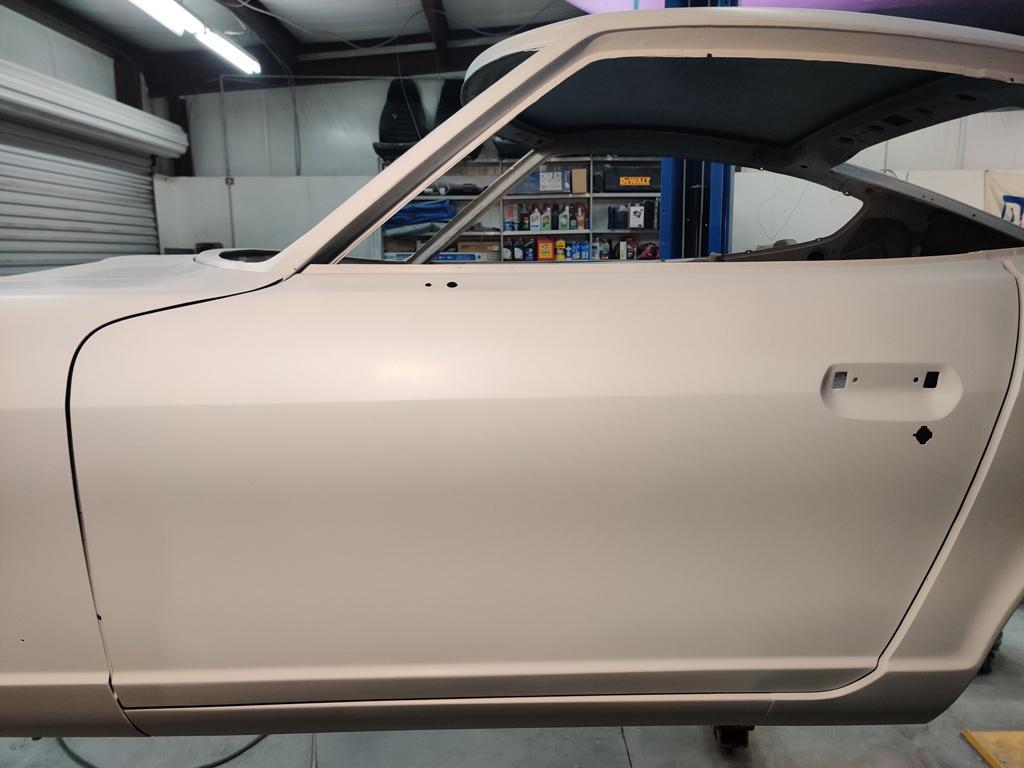
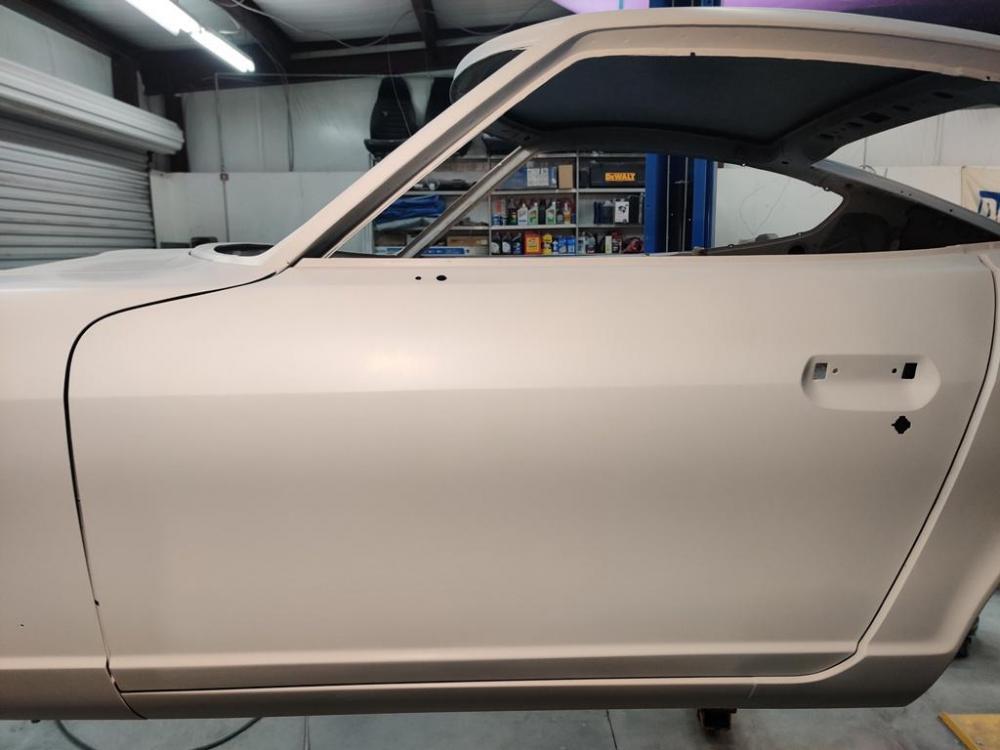
In a couple of more hours tonight, I was able to get the driver door, rocker panel, and most of the driver side quarter panel sanded with 240 grit. The door is super straight. I am very happy with it. The quarter panel has a dip at the front that I can probably address when the next round of primer application. The quarter panel is pretty good, but the belt line in the area directly above the wheel well is tricky and I see a couple of spots that are not quite right. Videos:
-
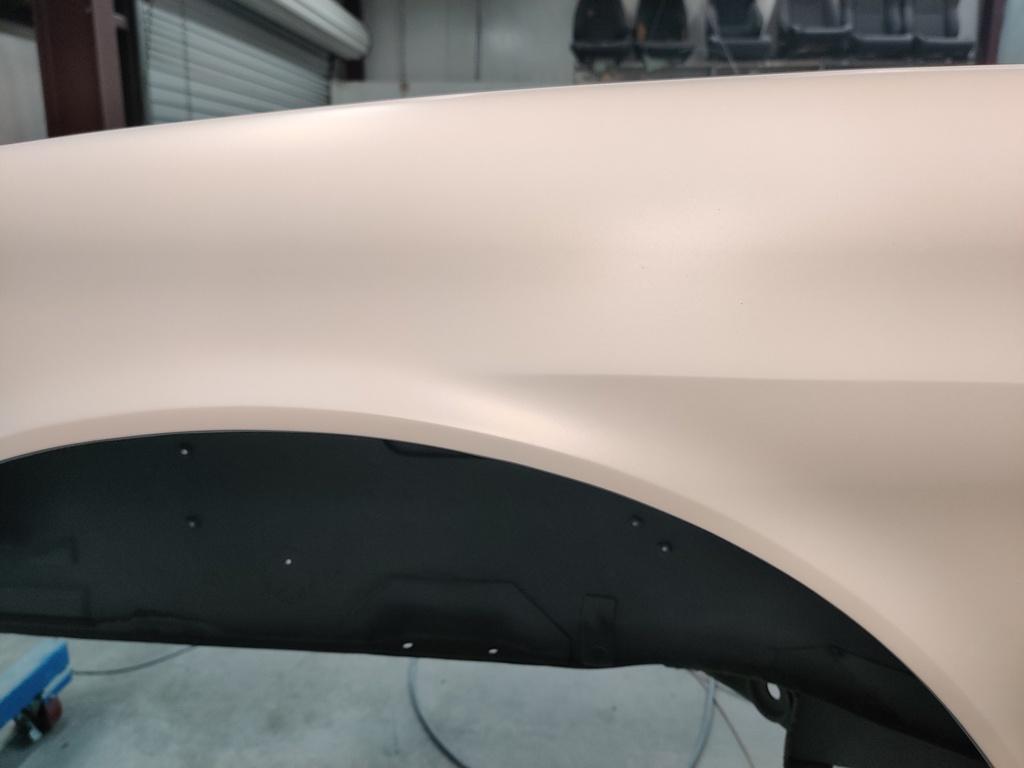
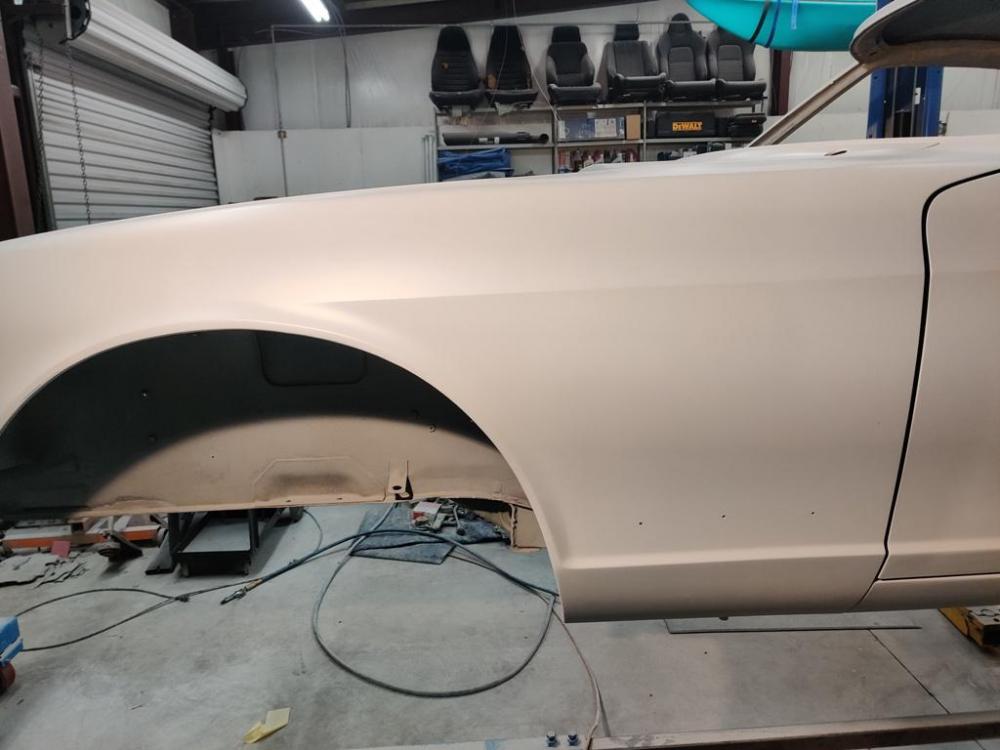
So after another month of weekends, I have little progress to report. I have been sanding more, and applying more primer in the quest for perfection. The panels are slowly being transformed. Here is a video of the driver side fender with silicone/wax remover sprayed on to provide shine so the reflections can be examined. Below the belt line is super straight now. Above the belt, but still on the side of the fender still needs some straightening. It has a high spot in the middle of the expanse between the back of the wheel well opening and the back edge of the fender.
-
-
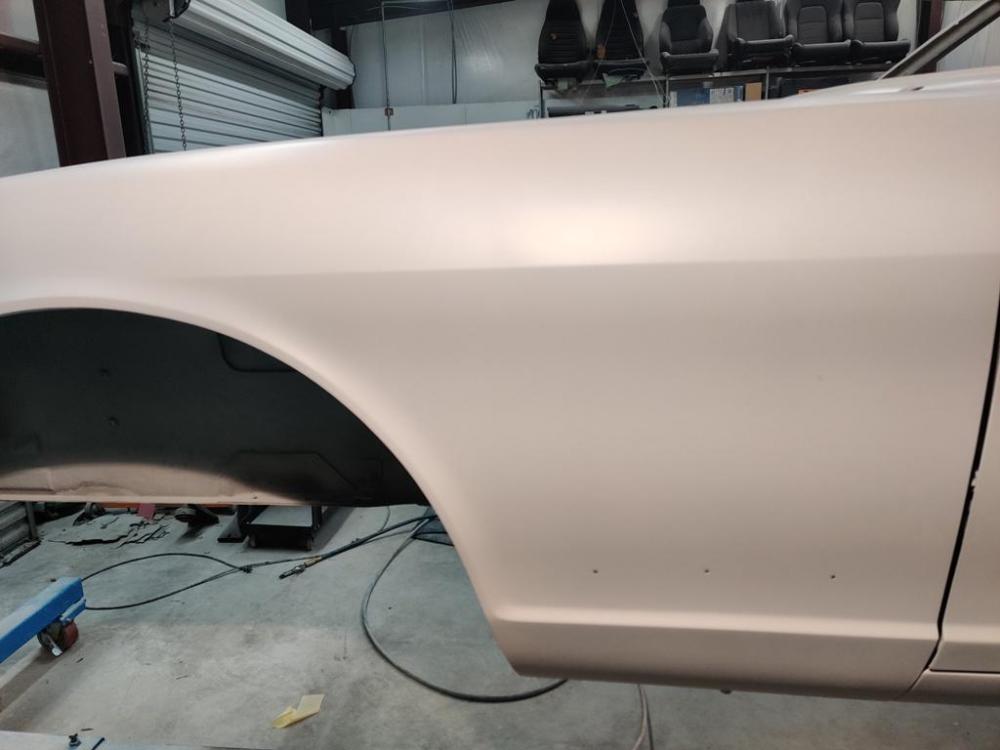
Progress (which at times feels absolutely like none) is happening with the body work. I think. Though most of it ends up on the floor after sanding, I am now two gallons in on the high build primer and need to buy a third. That's going to be over $1000 in primer alone. Not how you should do it folks. Next time around, I think I will try applying body filler over entire panels and sanding down, followed by a few coats of sprayable polyester filler, followed by the high build primer (just a few coats should be needed). Here is a brief video showing the passenger front fender at the critical body line where it starts just above the wheel well opening. You can see that there is some distortion in the reflection, indicating some more work to be done here. Not quite there. Much of the rest of the car is getting to where it needs to be however. I have been spending time as of late, working on additional panel fit issues. The cowl panel is a bit of a challenge. Because it is just a single thickness with no backside reinforcement, the large, flat areas in the front corners are susceptible to moving up and down very easily. Before final sanding is done on this panel, I will be sure to replace the foam that resides underneath in these areas (proper thickness is important) to allow for proper location of the horizontal surface. Then final sanding will be done to make these areas nice and straight. Inspection doors were hand twisted/straightened for near perfect fit. These again, are made from single thickness metal sheet with little in their construction to hold them to shape. Heights of fender top surface, cowl panel surface, and inspection doors were all massaged to make them line up. I actually had forgotten to fit the gas lid prior to doing body work on it, and laughed at how bad it was when I test fitted it to the car. Quite a bit of hand adjustment was necessary to give the right profile curvature to match the quarter panel appropriately. Passenger side door panel gap (with rebuilt hinges is looking good I think):
-
Thanks for the tip. Yes, Schutz gun. I run about about 5 feet of clear tube from the gun pickup tube, to another foot long stainless tube that I drop in the container.
-
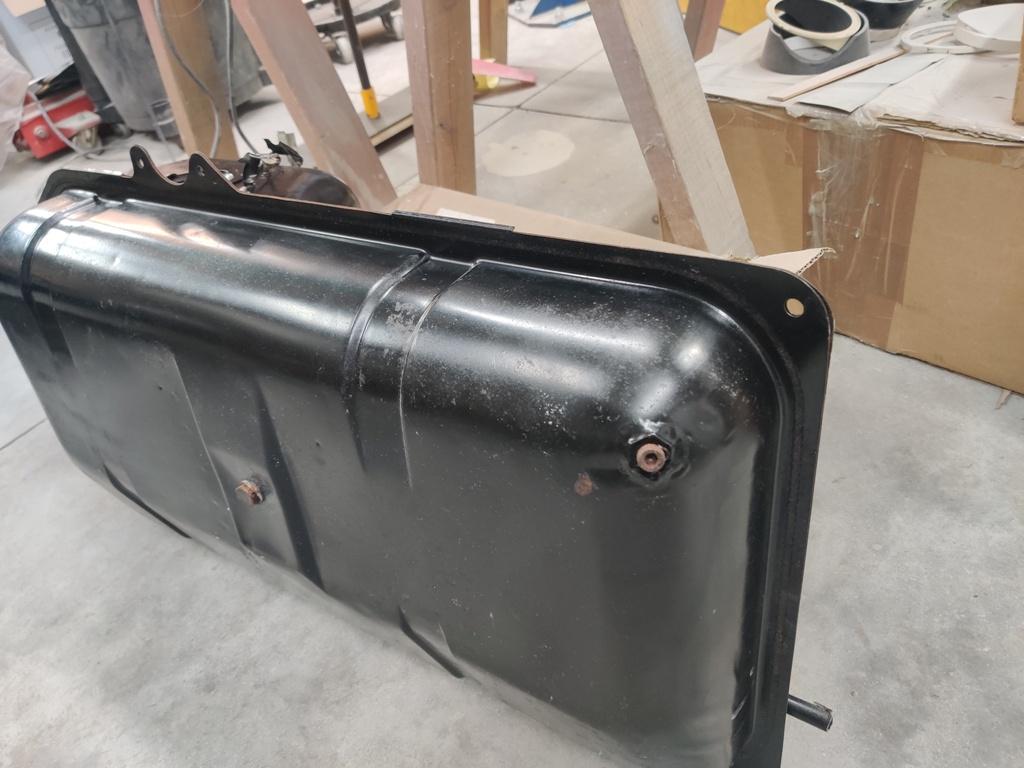
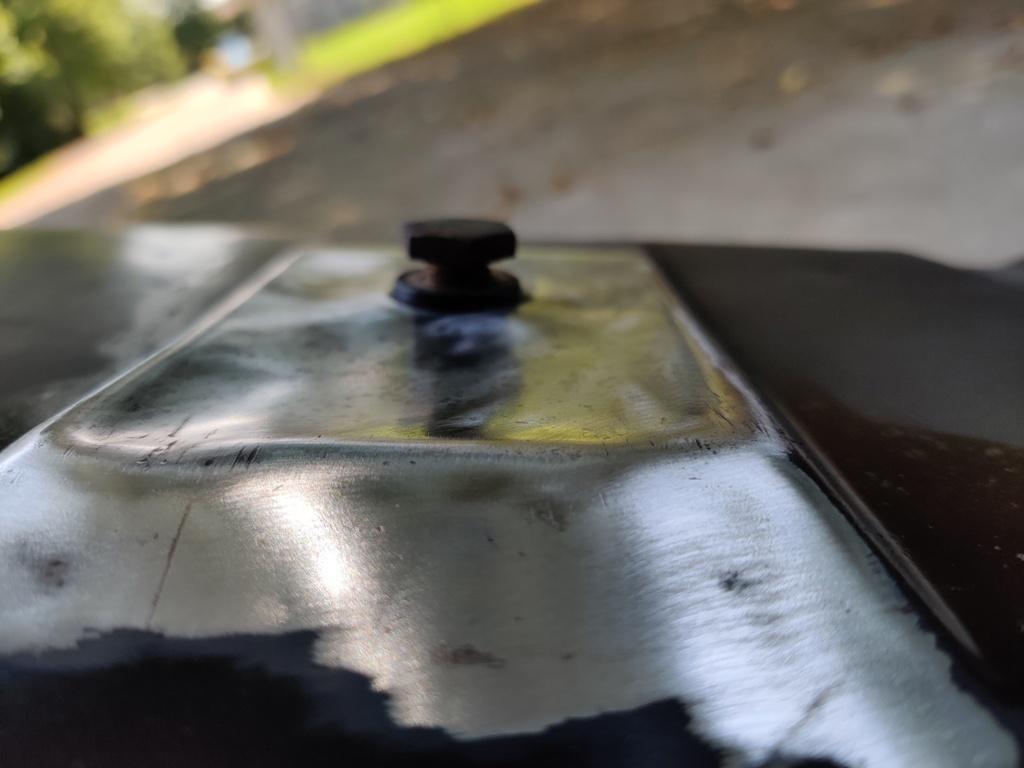
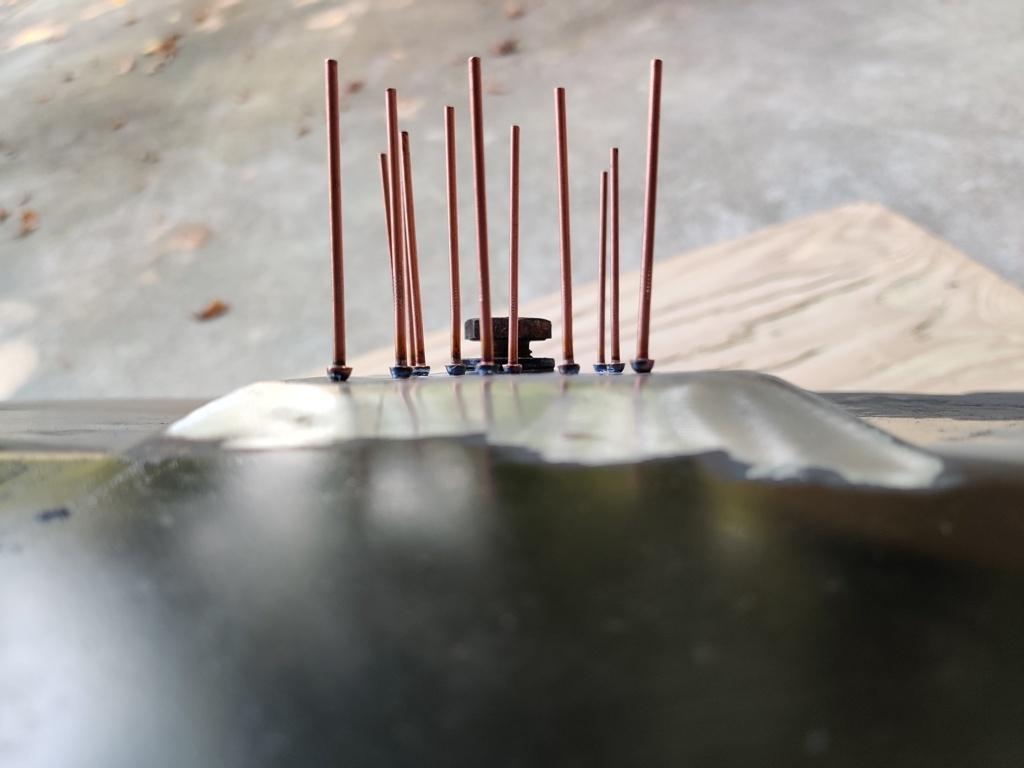
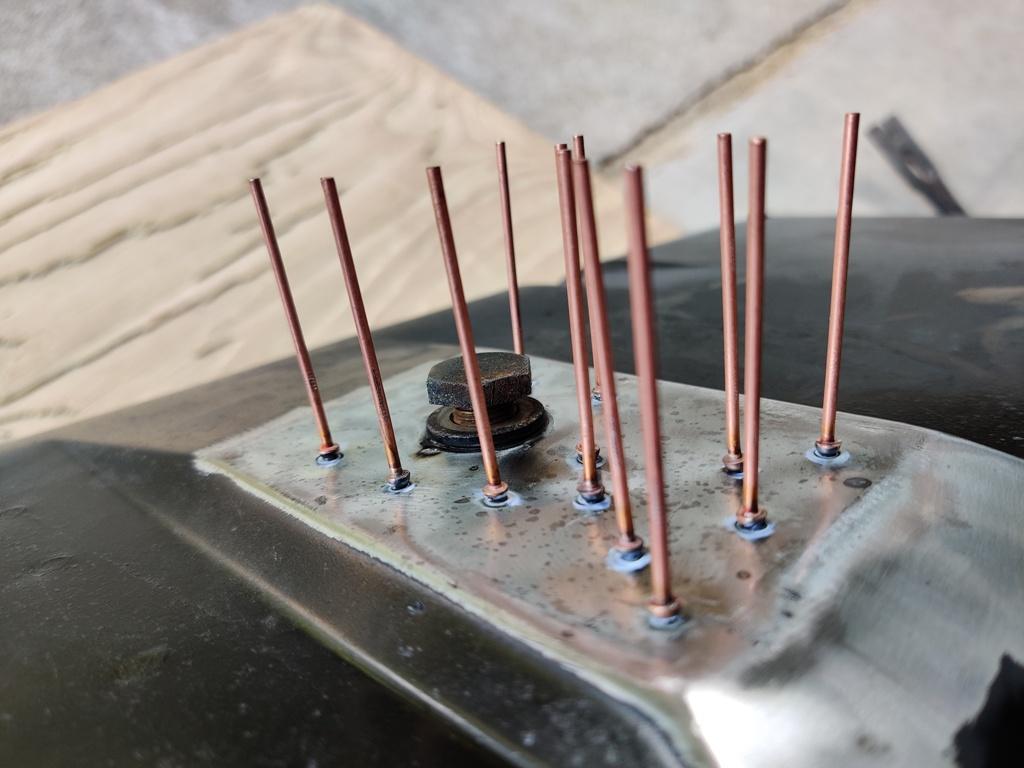
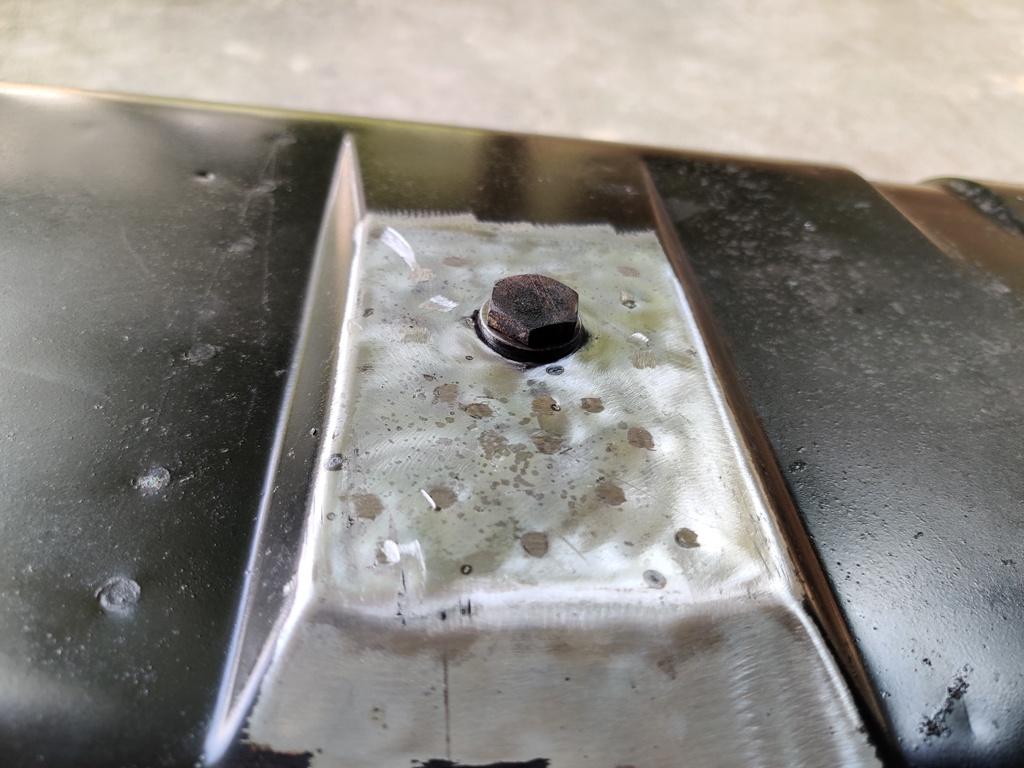
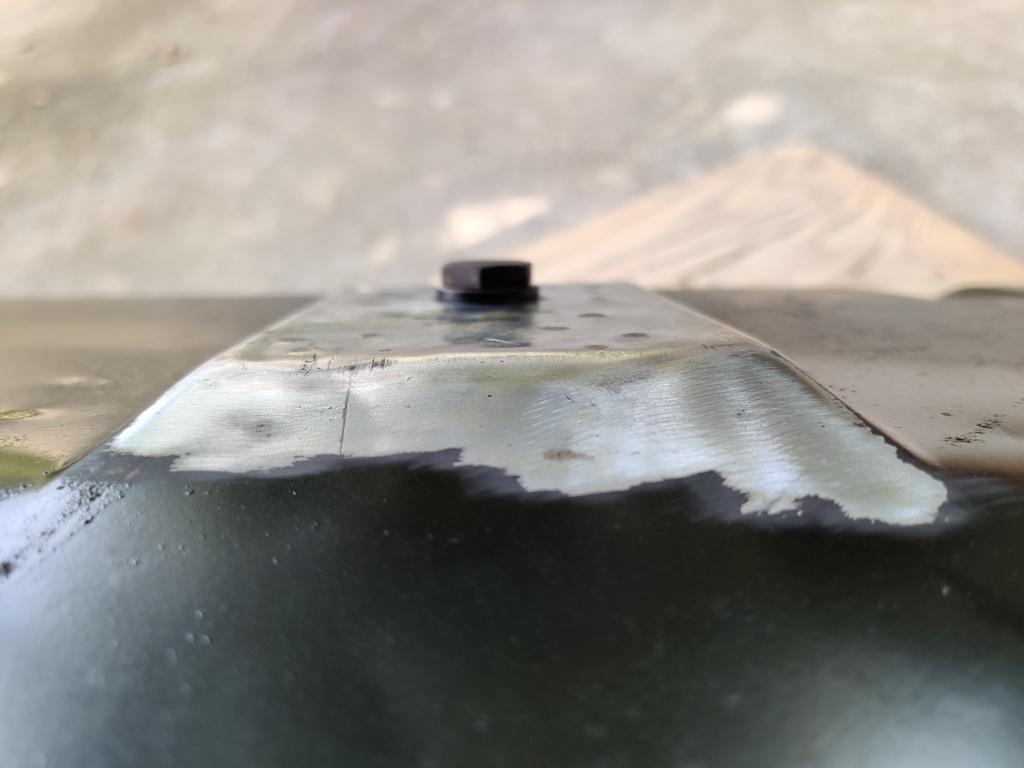
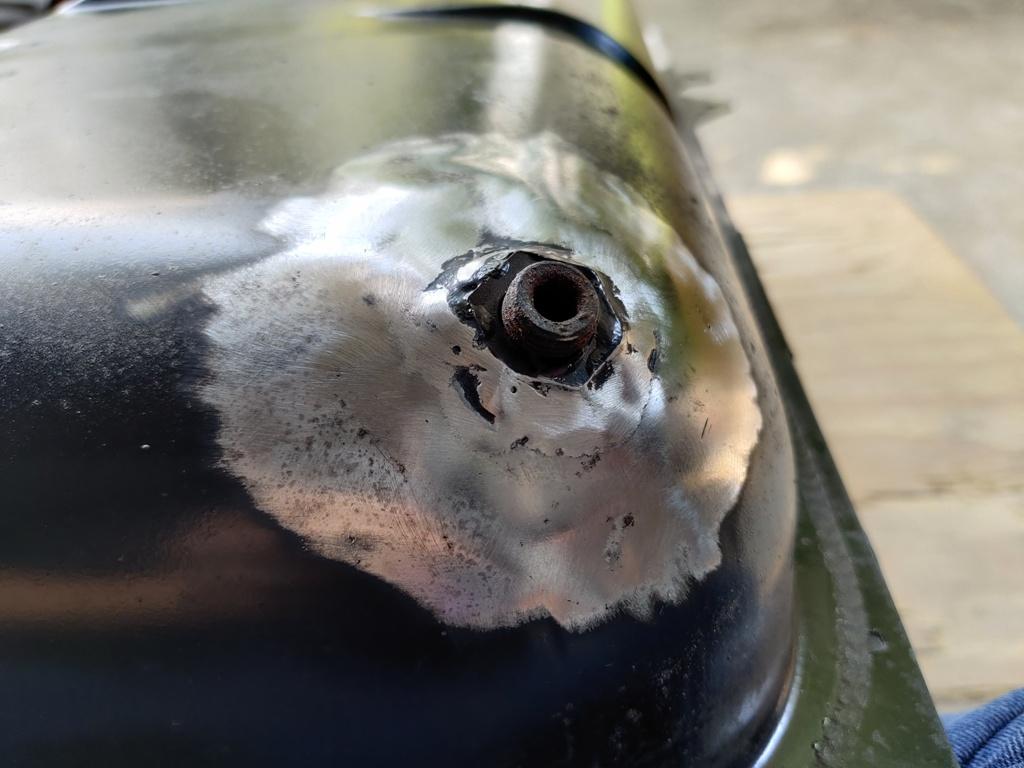
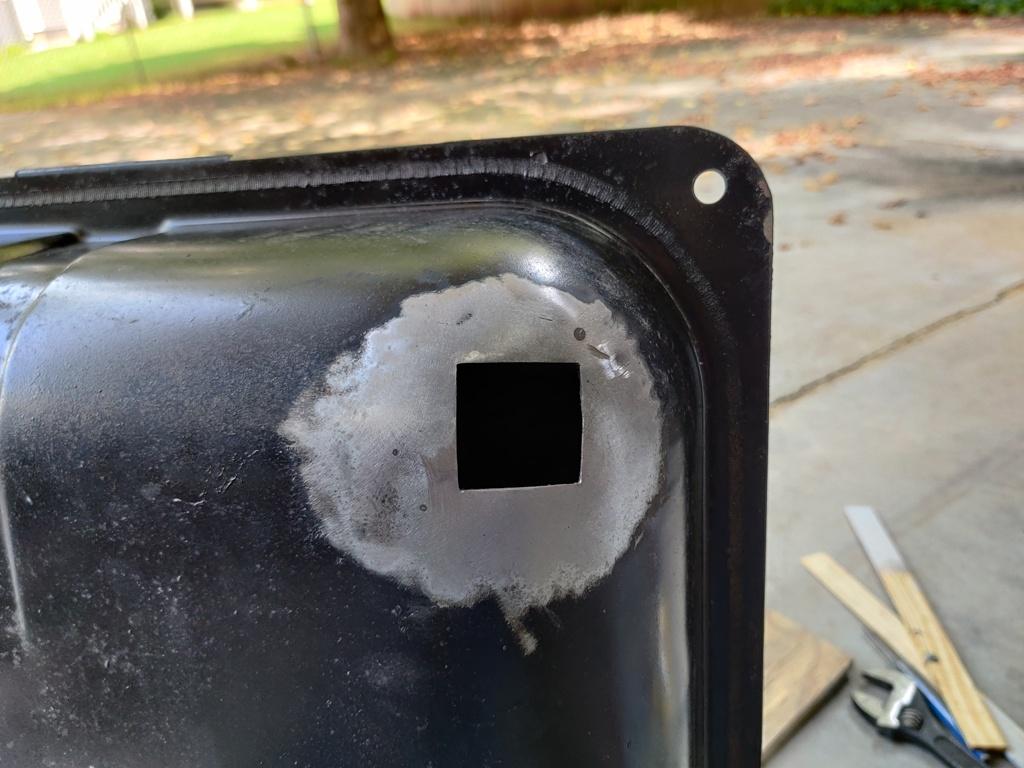
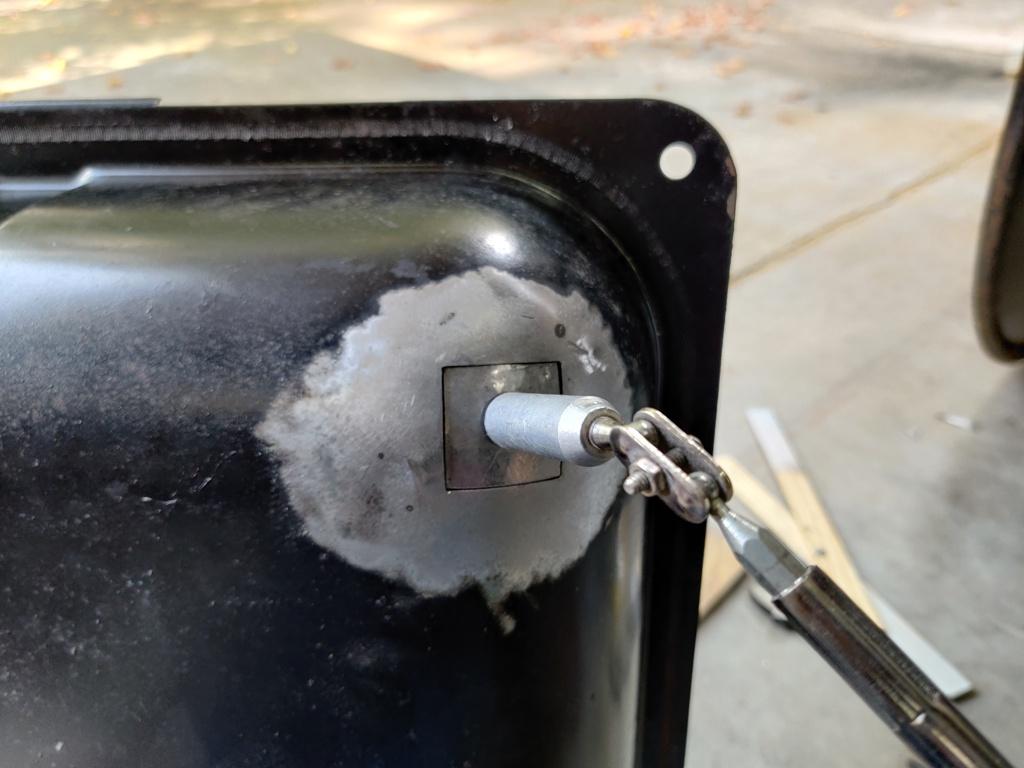
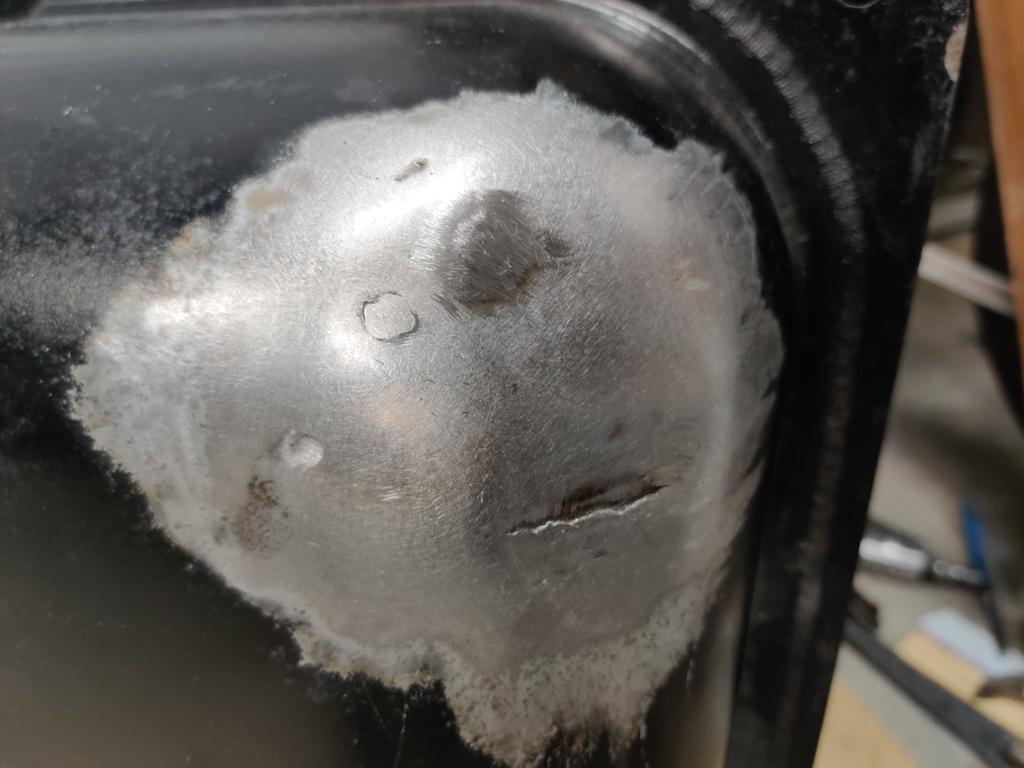
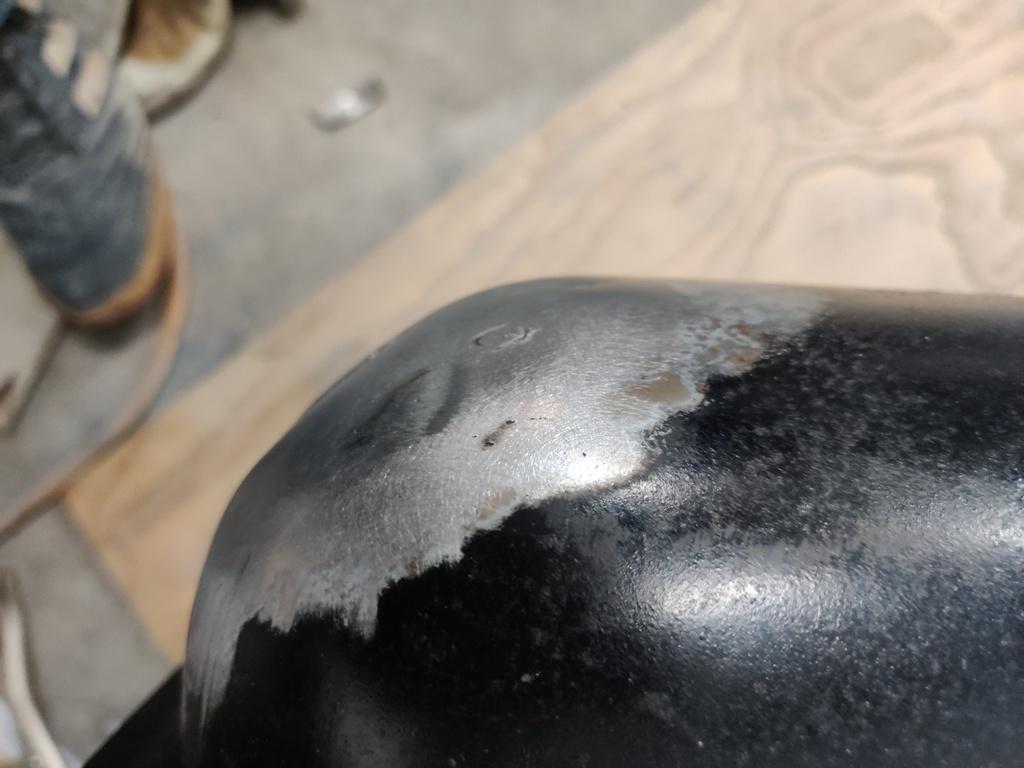
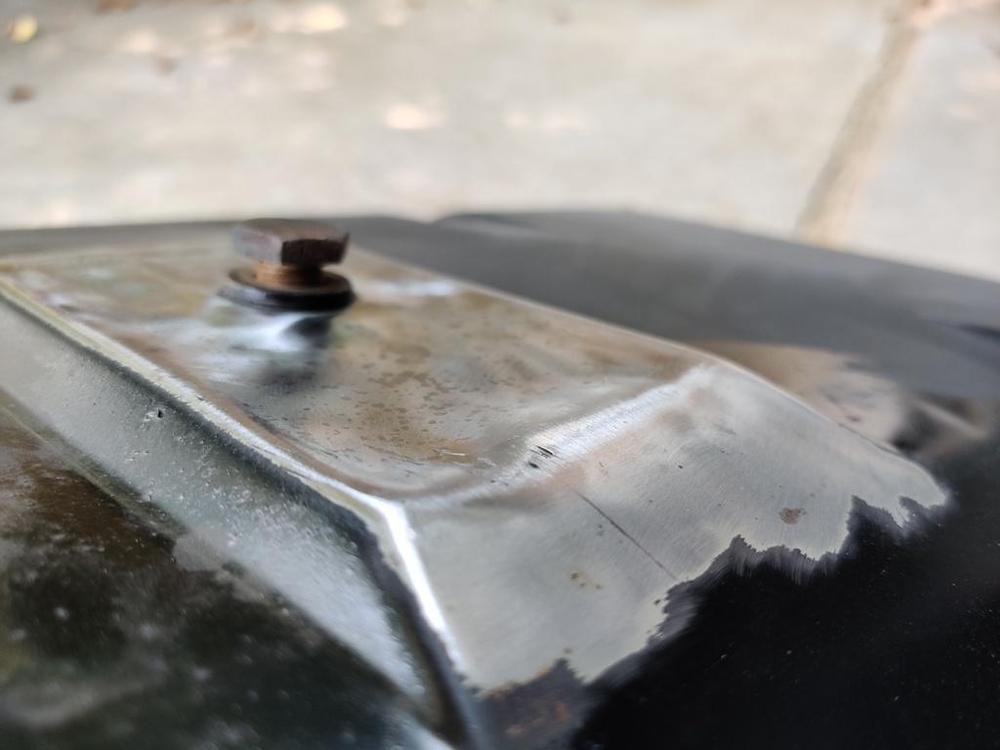
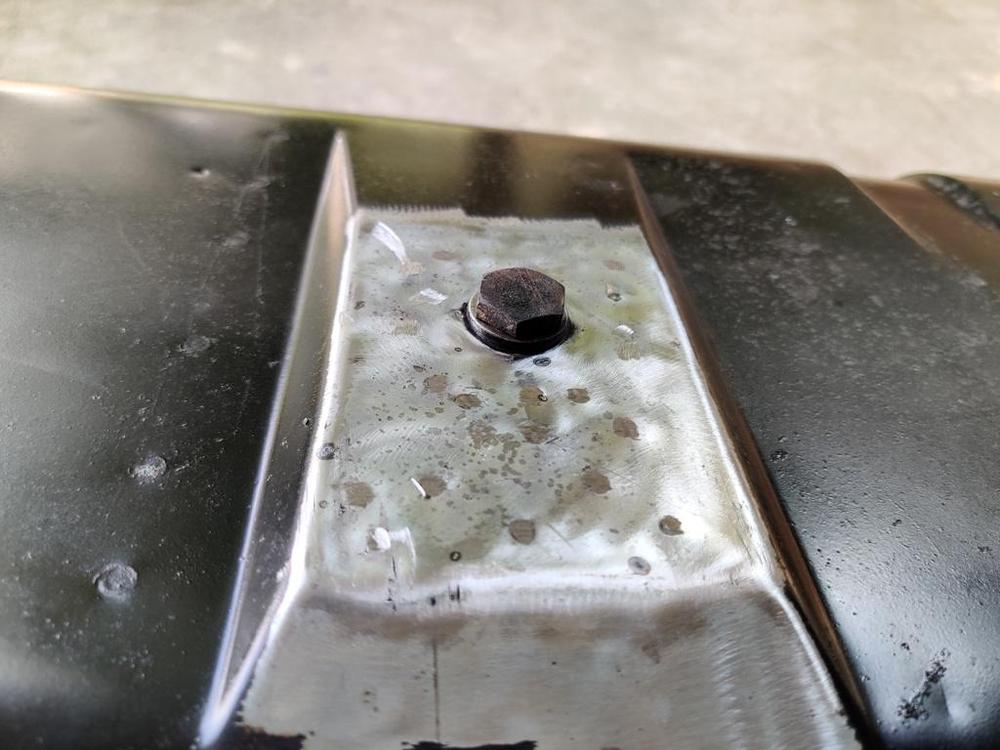
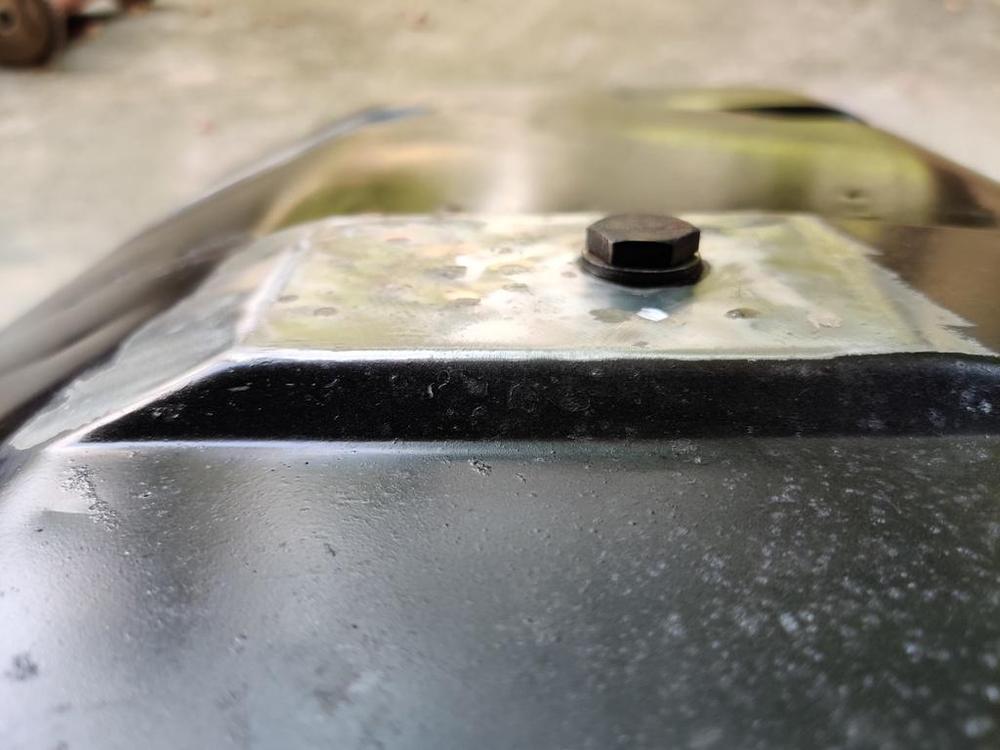
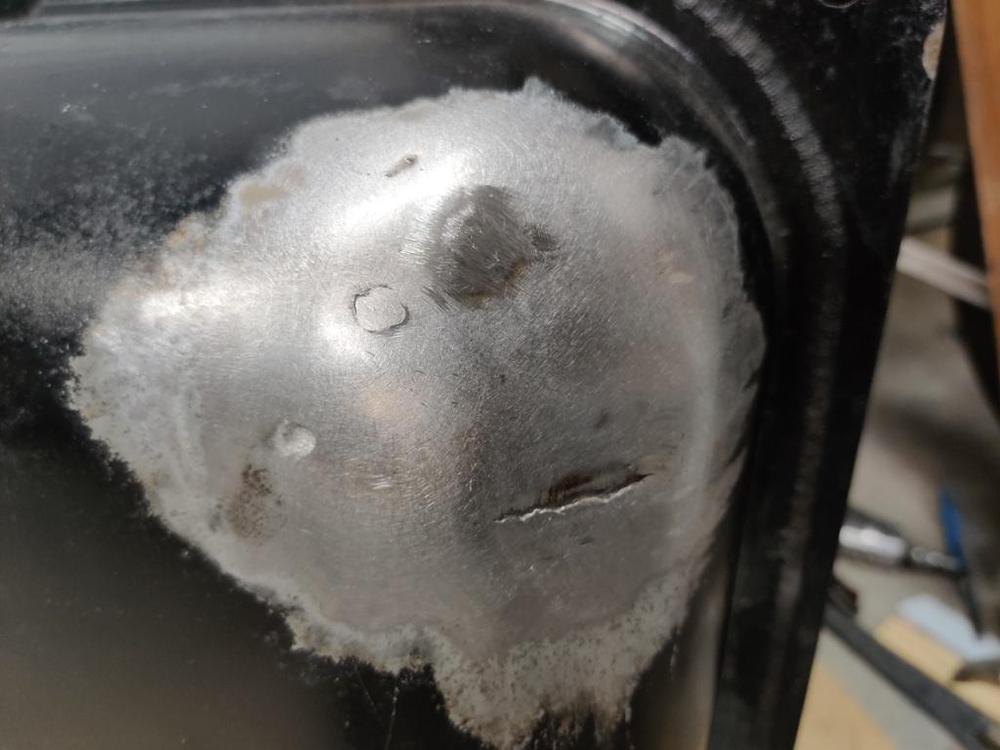
I found myself with the inspiration to work on the gas tank today. I thought it would be pretty easy to be honest. But, when replacing the brazed on secondary drain plug, I ended up having problems welding one side of my patch panel. The metal was too thin and I kept getting contaminants causing pin holes. After chasing that problem for hours, I ended up cutting another section out and making another patch panel. Both patch panels had compound curves... so they took a while too. After something like 8 hours of work on it, I pretty much got past trying for perfection and made a slight mistake with the alignment of the second patch panel. Anyway, I sealed up the openings in the tank and rubbed soapy water on the repair area while I put compressed air in the tank and after sealing one tiny pin hole, it is finally sealed. Starting point - extra drain plug brazed in place an dented bottom where original drain plug is. Paint removed with high speed angle grinder and red 3M paint removal disc. Interestingly, there is a bright silver coating on the outside surface of the tank that I ground through in places. Must be galvanized from the factory. After using a crow bar tip under the edge of the drain plug to pull it up some (with leverage against wood strip set in place against the tank), I used the stud welder to put pin in low areas. I pulled them with the slide hammer puller carefully. Several rounds of welding pins in place, pulling, and cutting them off were required: Original shape for the most part restored. Next, I progressed to the extra drain plug: I cut it out and made a replacement (compound curve). Unfortunately, many more hours and another patch were required. One edge of the second patch panel is not well aligned with the original tank metal. That is the "line" in the third pic here... because the patch panel is recessed a bit more on that edge. Another angle: It's not perfect, but I am confident that it doesn't have any pin holes. I was able to seal all of the openings in the tank and repeated give it hits of compressed air while rubbing soapy water on the repair area. I did find one pin hole that had to be taken care of, but can find no more. I will test it again before stripping the paint on the outside of the tank and prepping for primer and paint. Wouldn't it be awful if I got it all beautiful and in the car and then found a pin hole??? Yeah - that is what I keep thinking. Going to make sure it is air tight before I go to the next step.


-
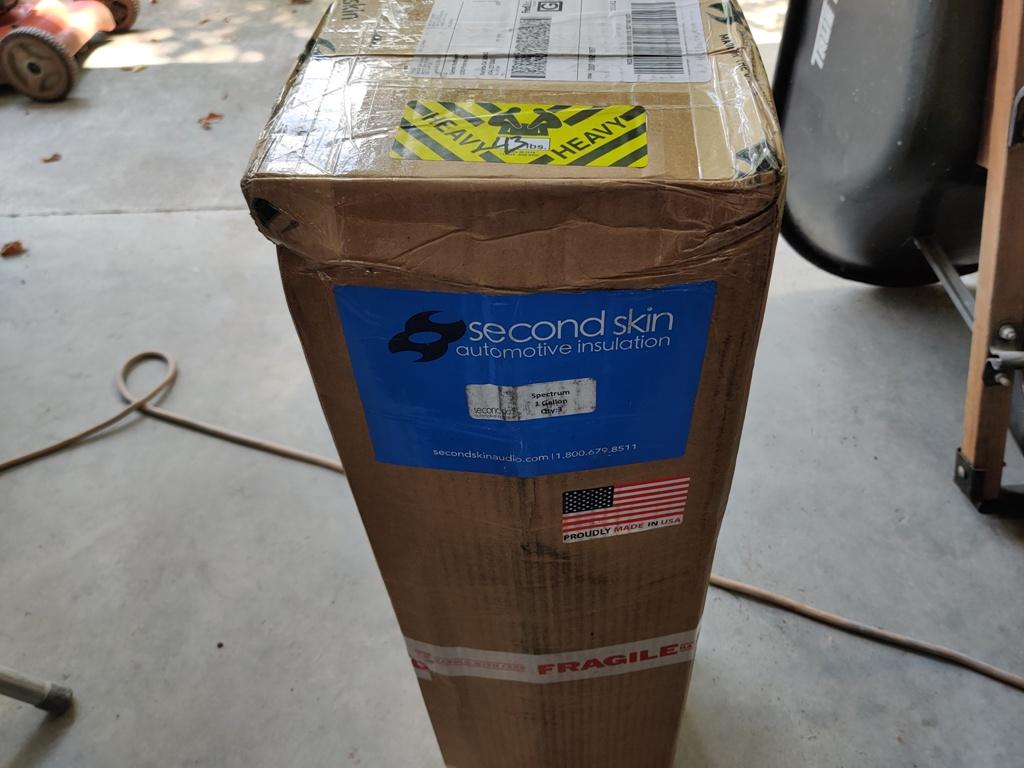
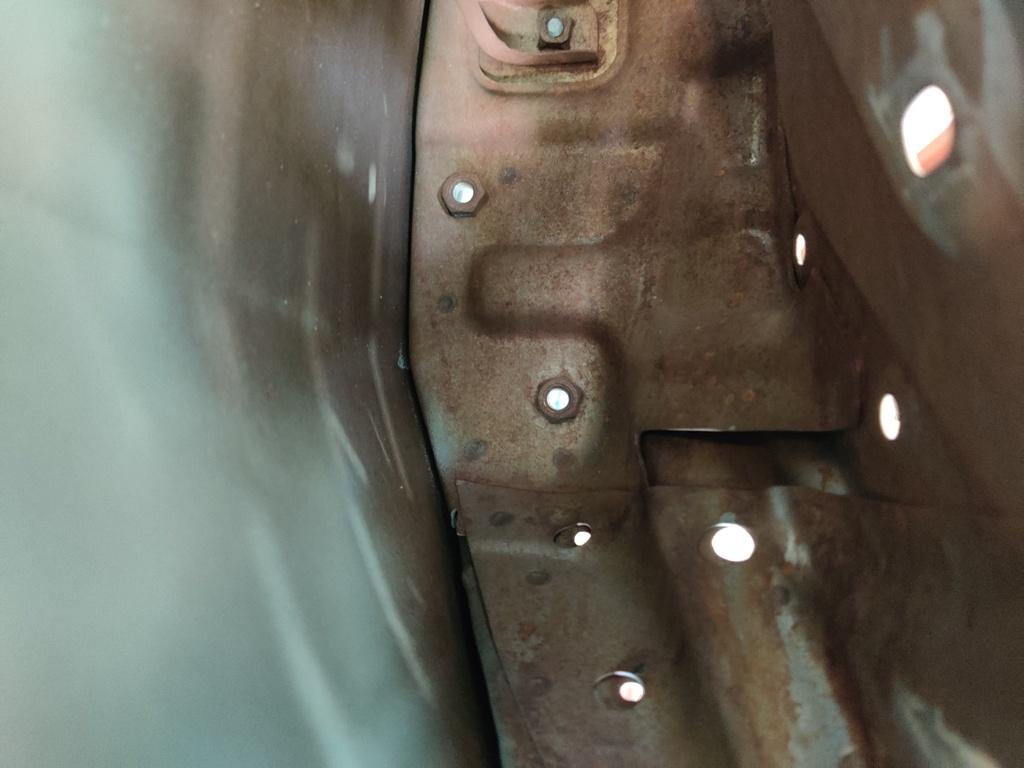
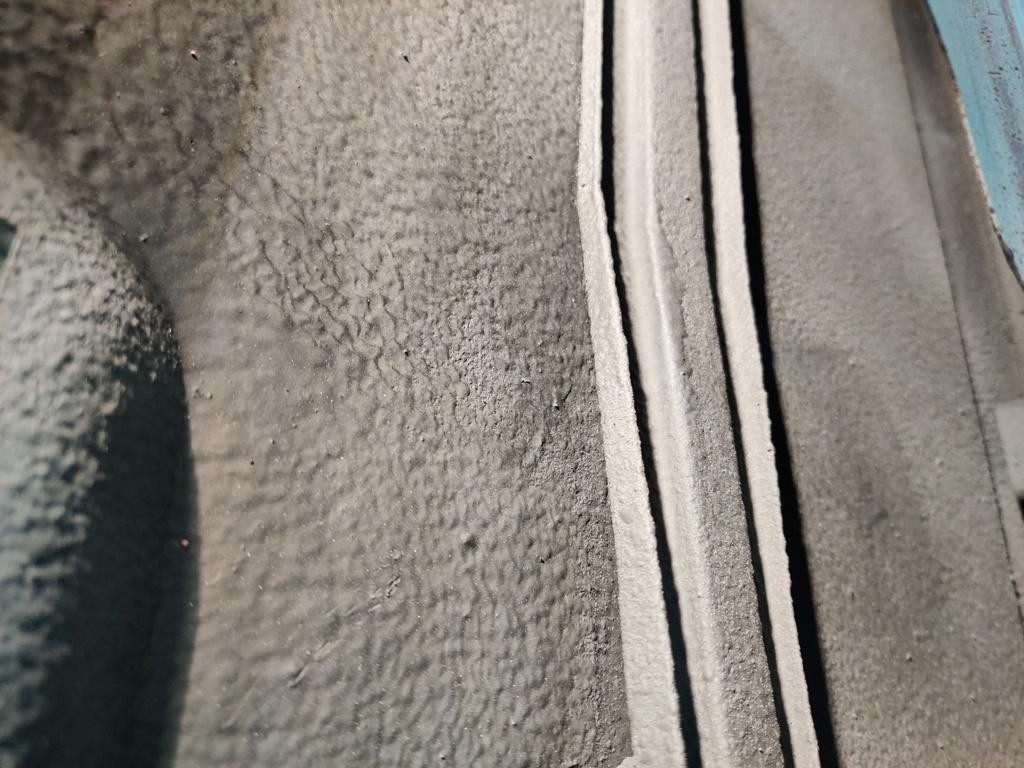
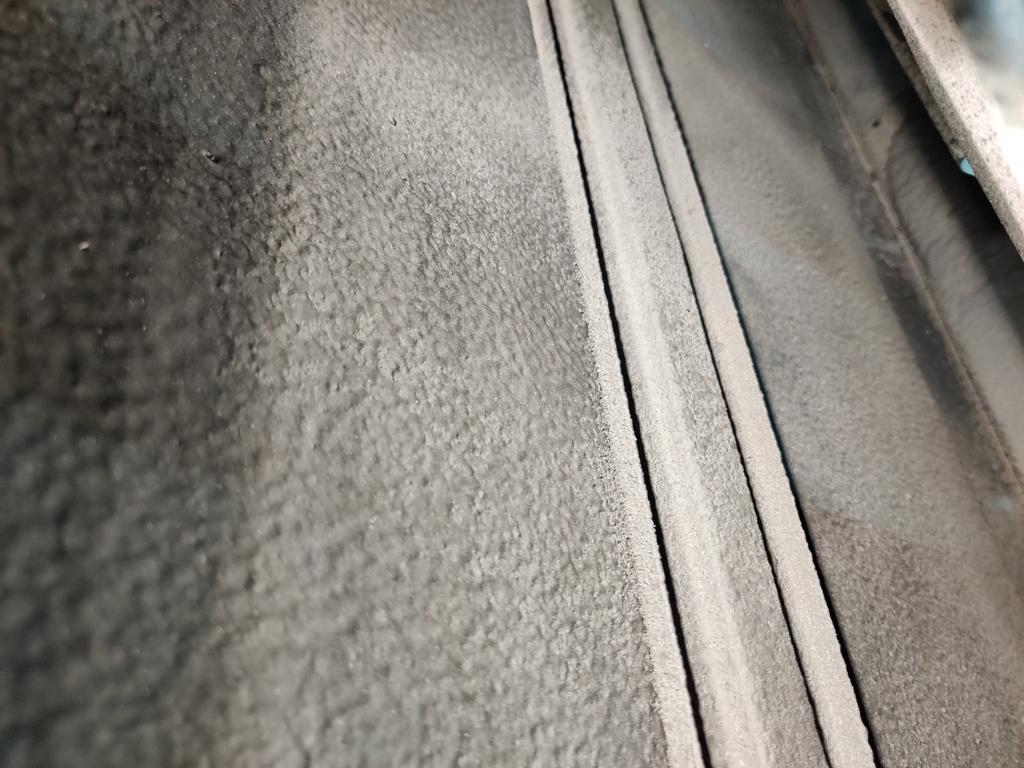
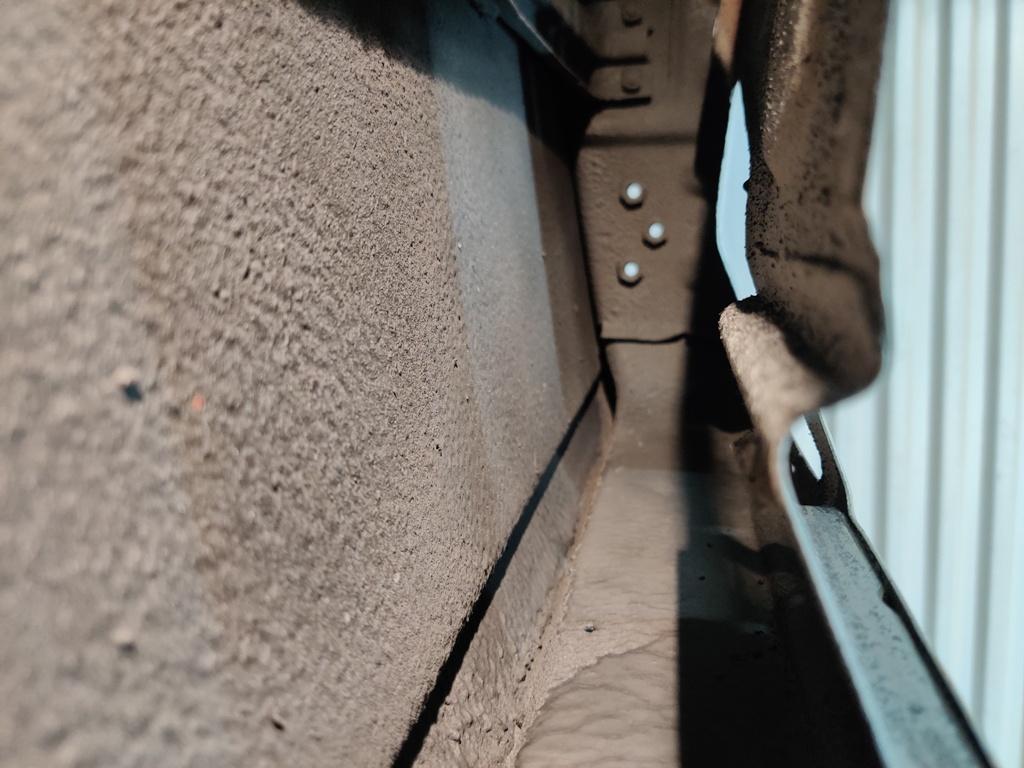
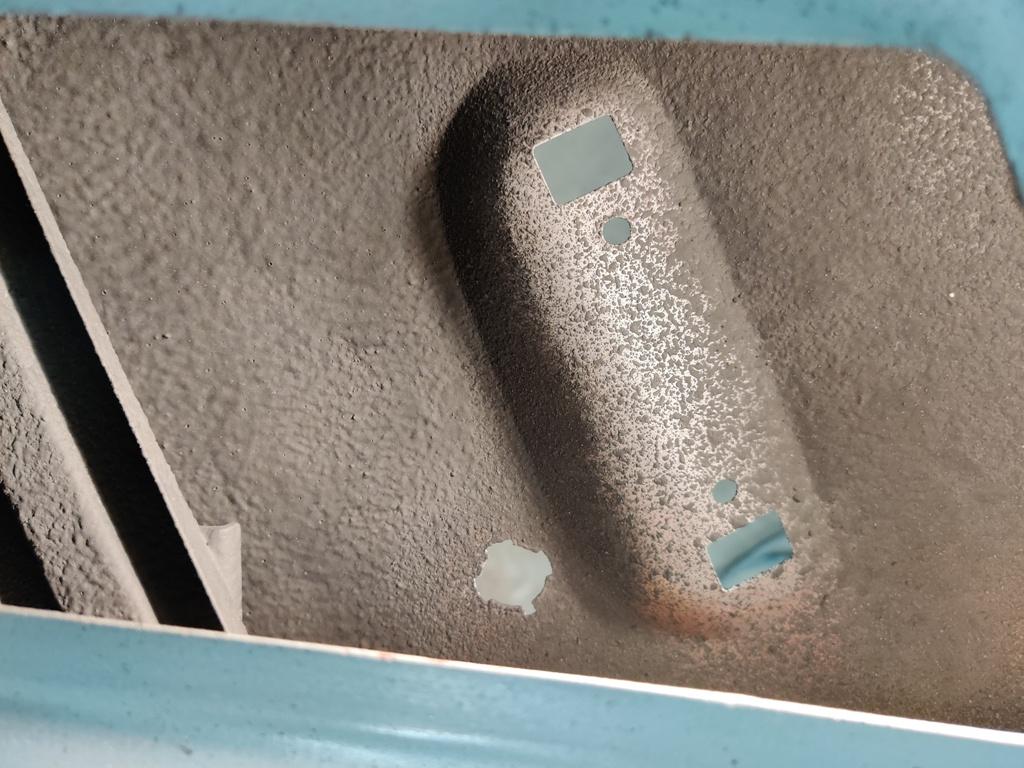
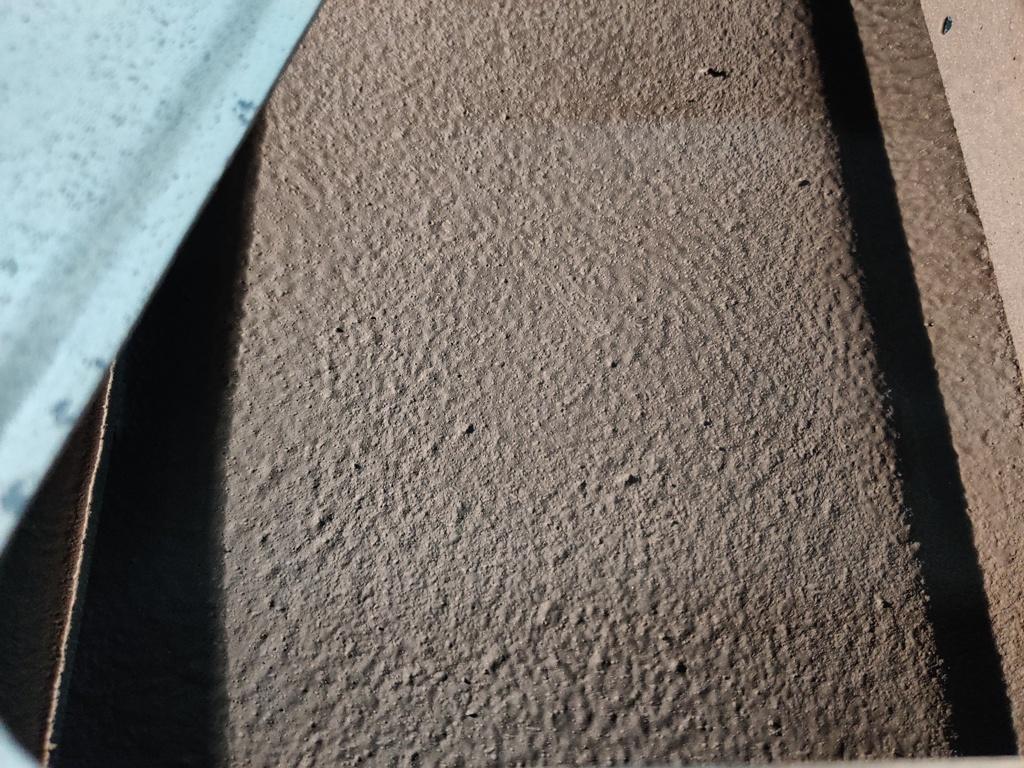
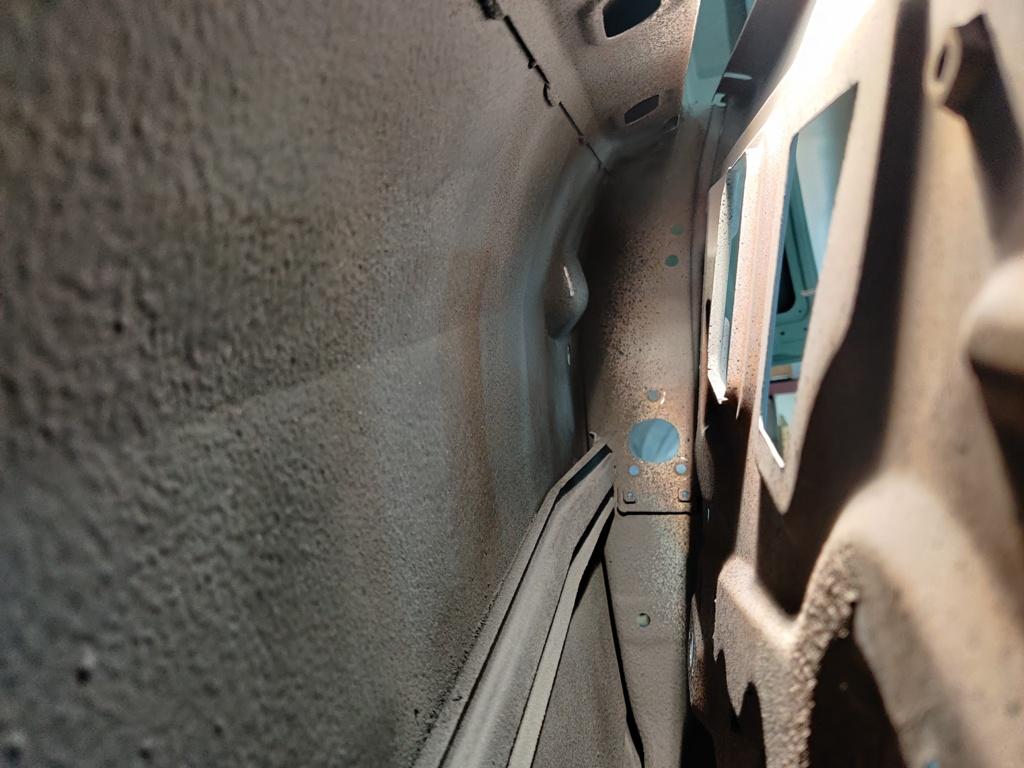
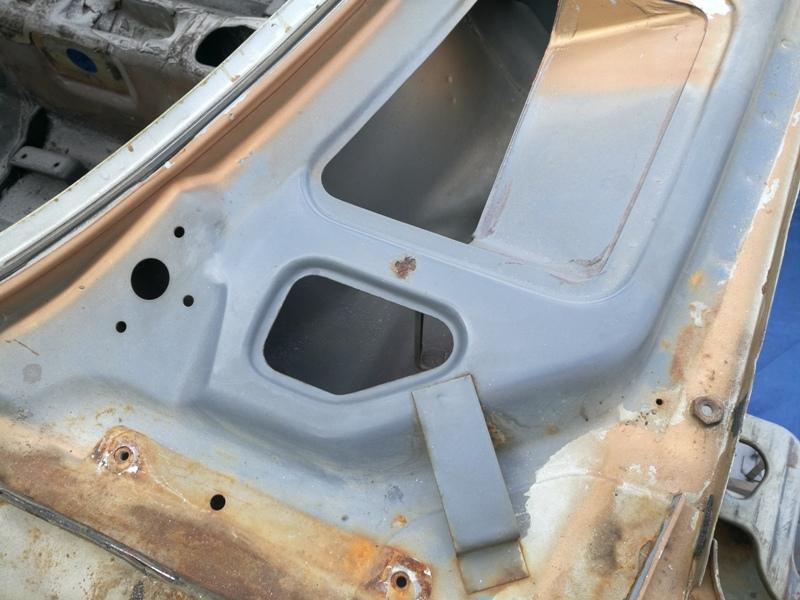
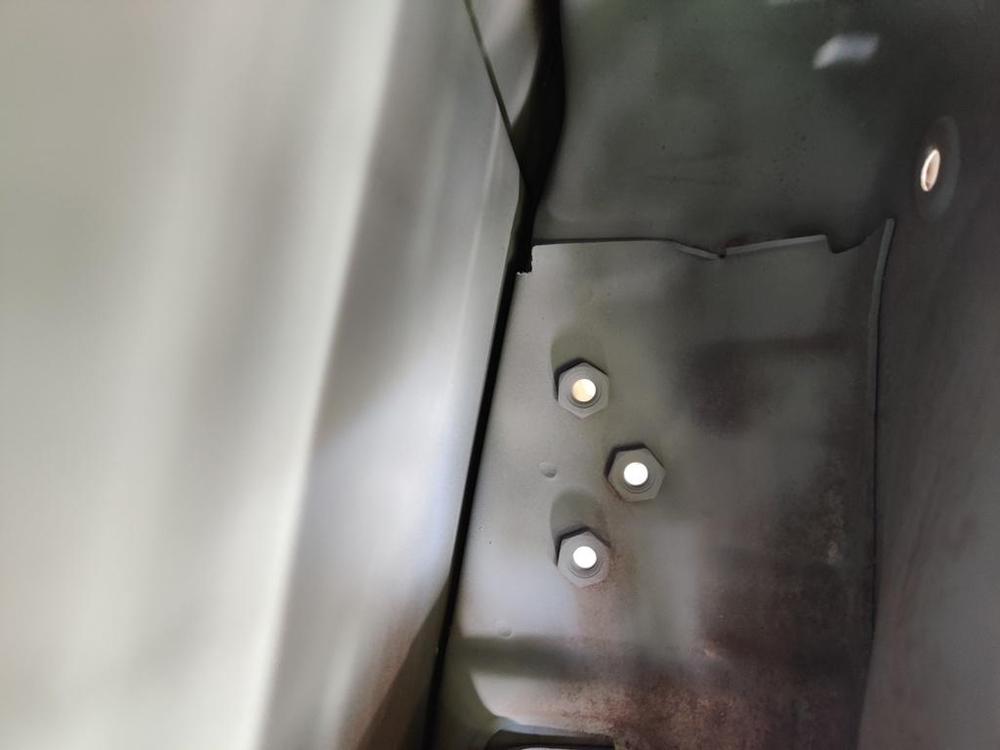
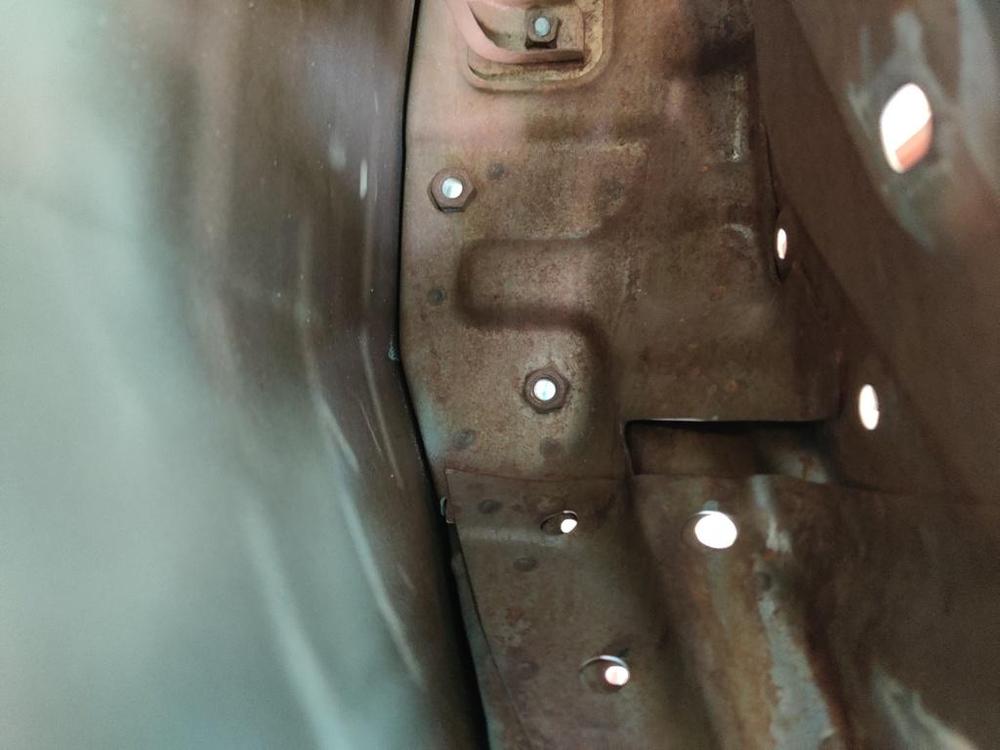
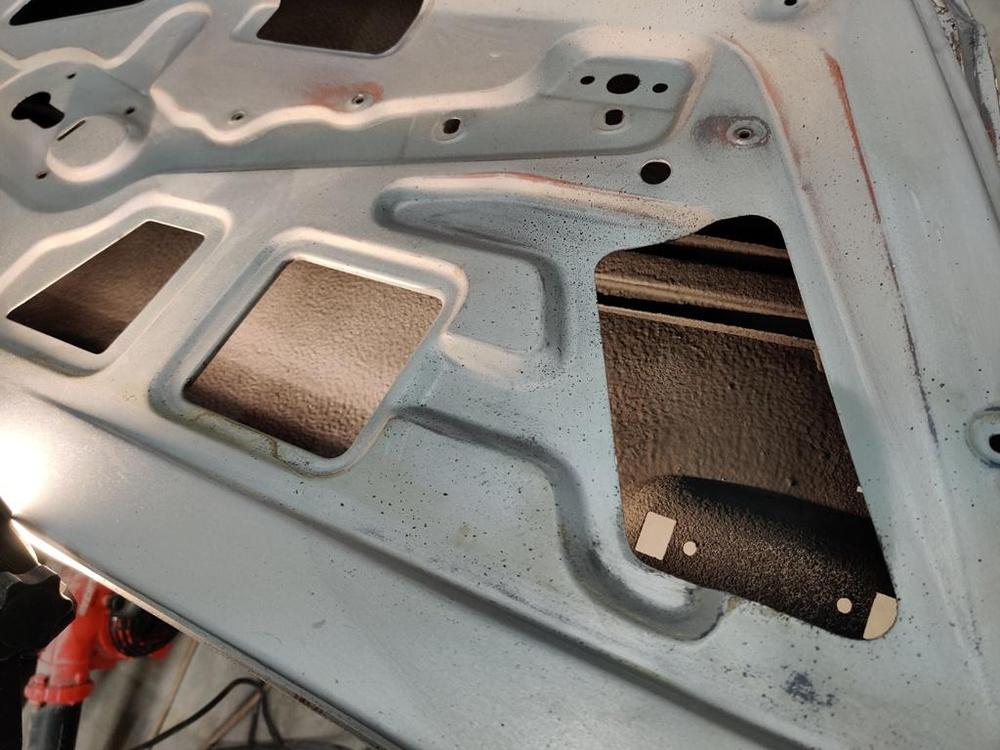
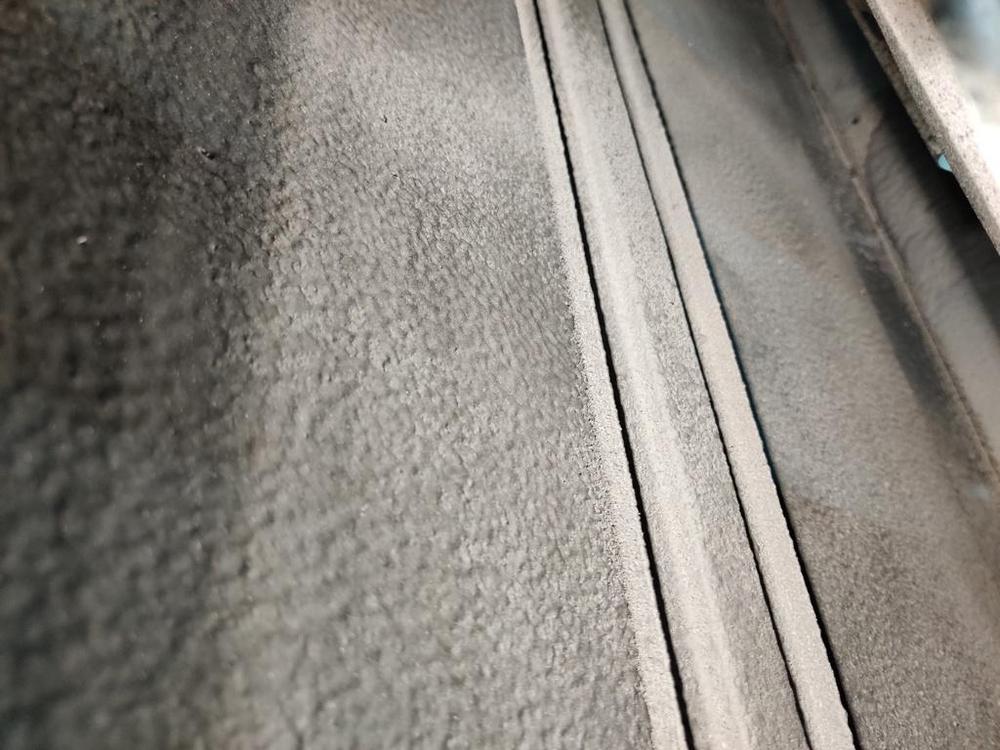
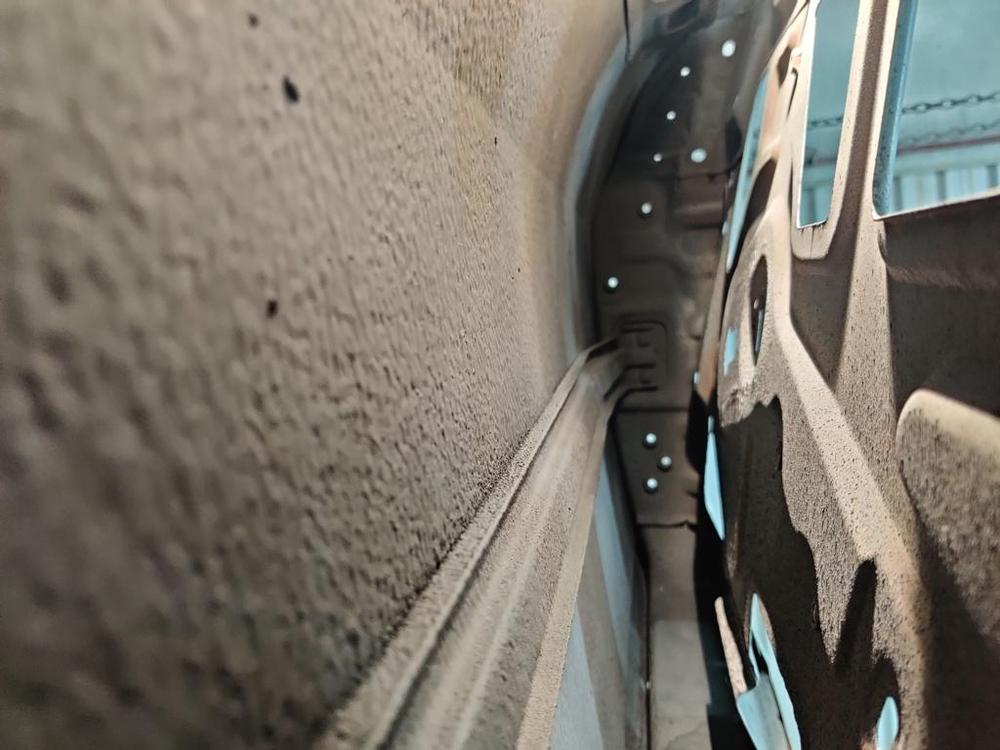
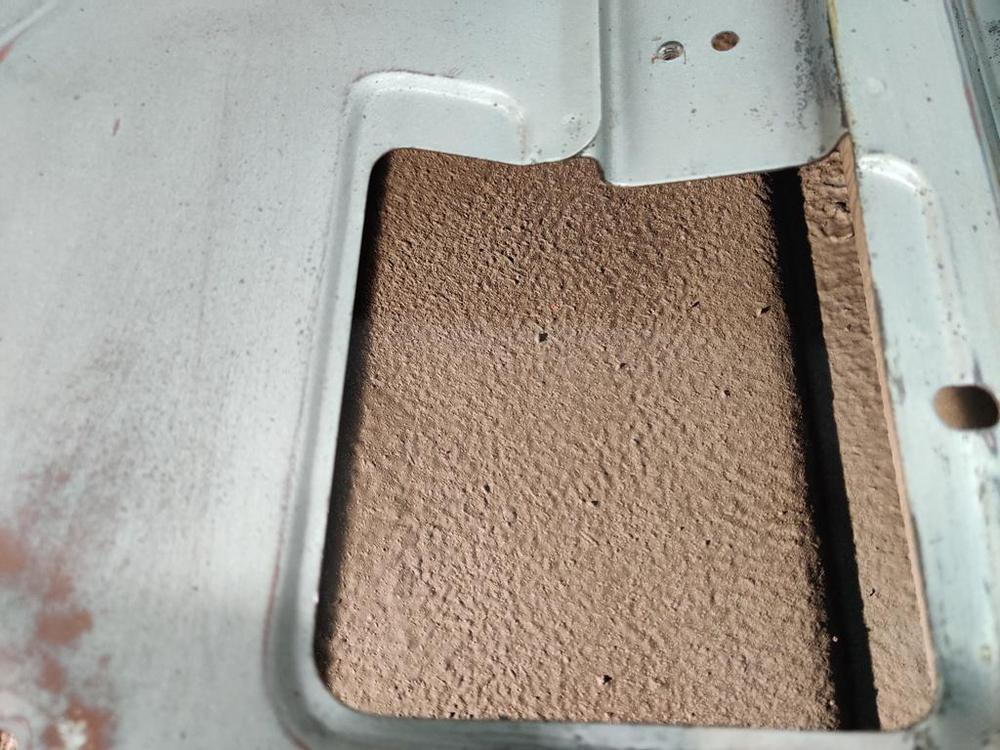
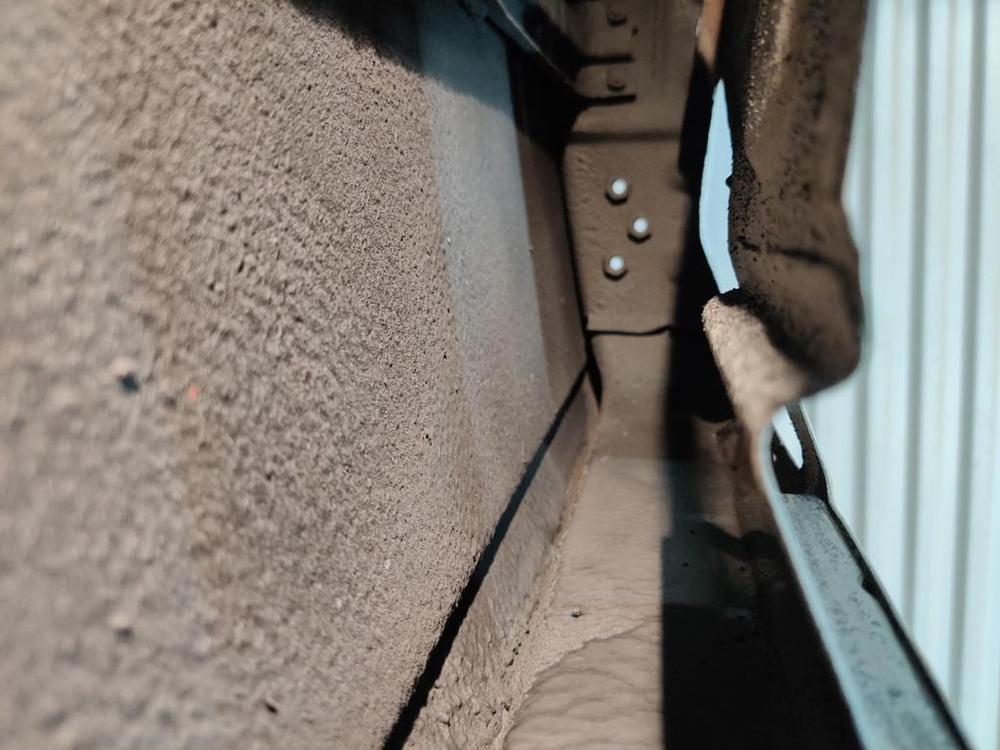
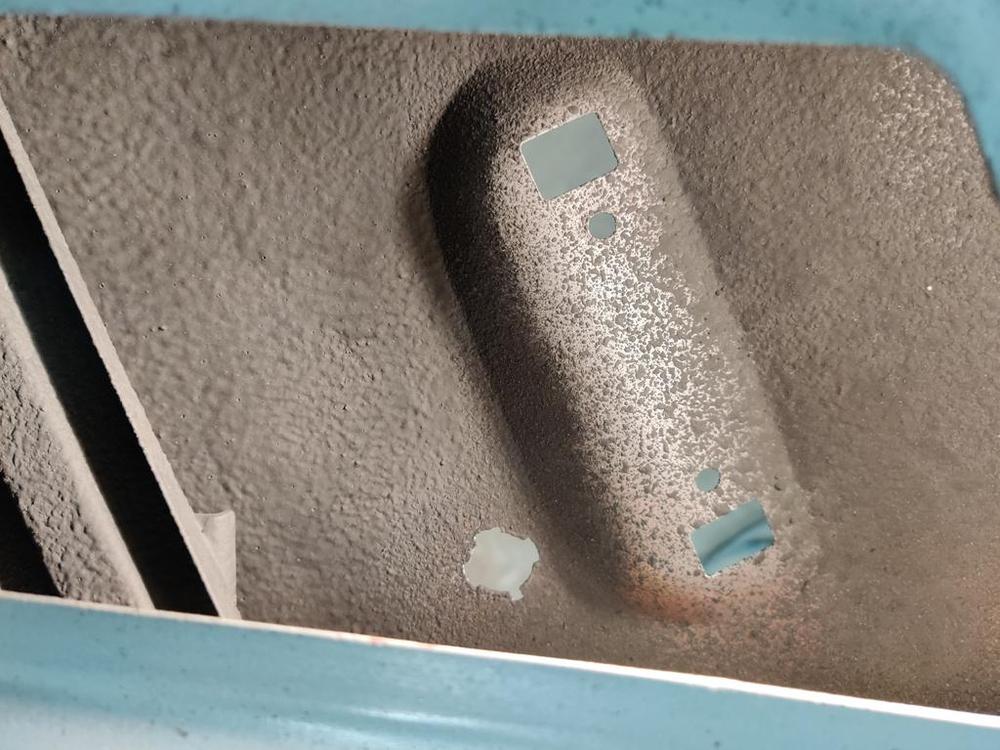
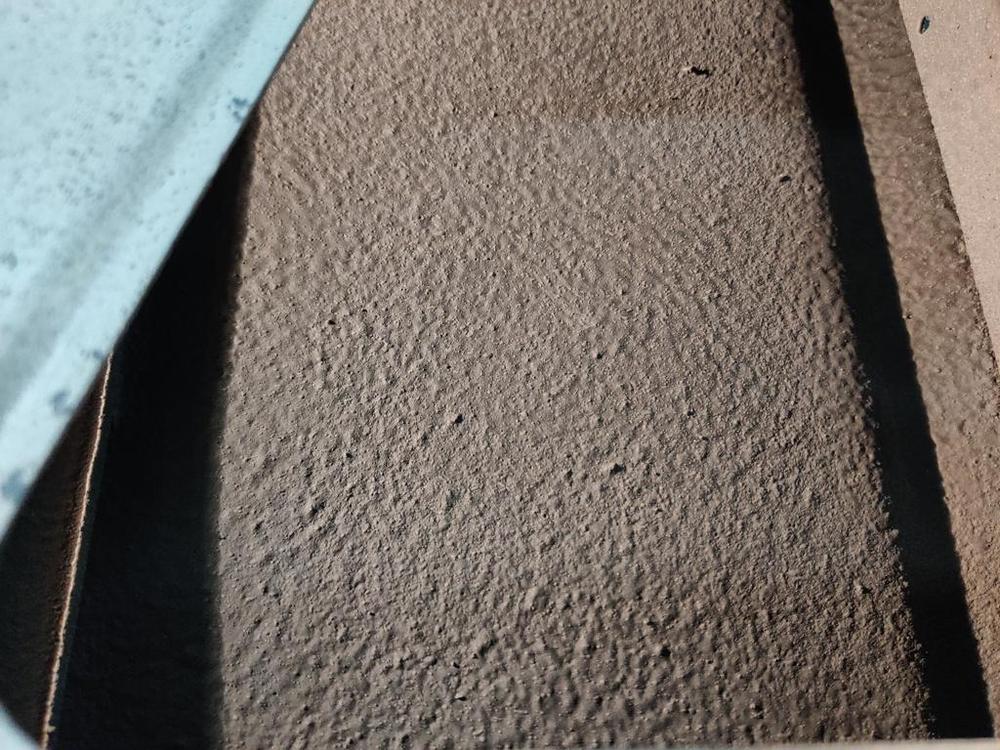
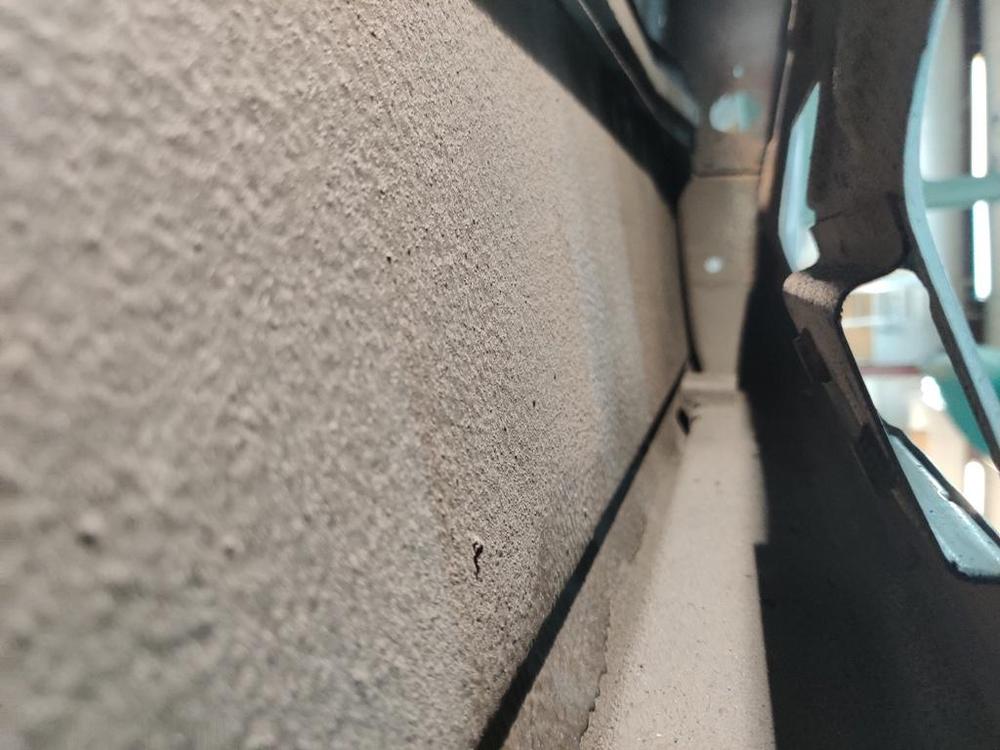
While the doors are off, I finished prepping the insides for spray on sound dampening material. I had some sitting in storage for something like 15 years? And I was shocked to open it up and see it was still usable. I don't think this stuff is sold anymore under this name, but I suspect it is the same as the Spectrum product I bought from Second Skin in this second pic. We'll find out soon enough as I spray more of the inner panels of the car. Pictures showing inside of the doors before spraying the sound deadener. I sandblasted a few spots I could reach to get rid of surface rust. Interestingly, there is bare metal that didn't even have full surface rust inside the door: After spraying the sound deadener. When the sound deadener is fully applied to the car and the truck bed liner underneath, it will have substantial reduction in Noise Vibration and Harshness (NVH) compared to stock. The doors will have a very different sound and feel than stock ones. I think it will be quite a noticeable improvement around the whole car.


-
Exciting stage of the process!