Everything posted by inline6
-
Restoration of BringaTrailer 240z - HLS30-35883
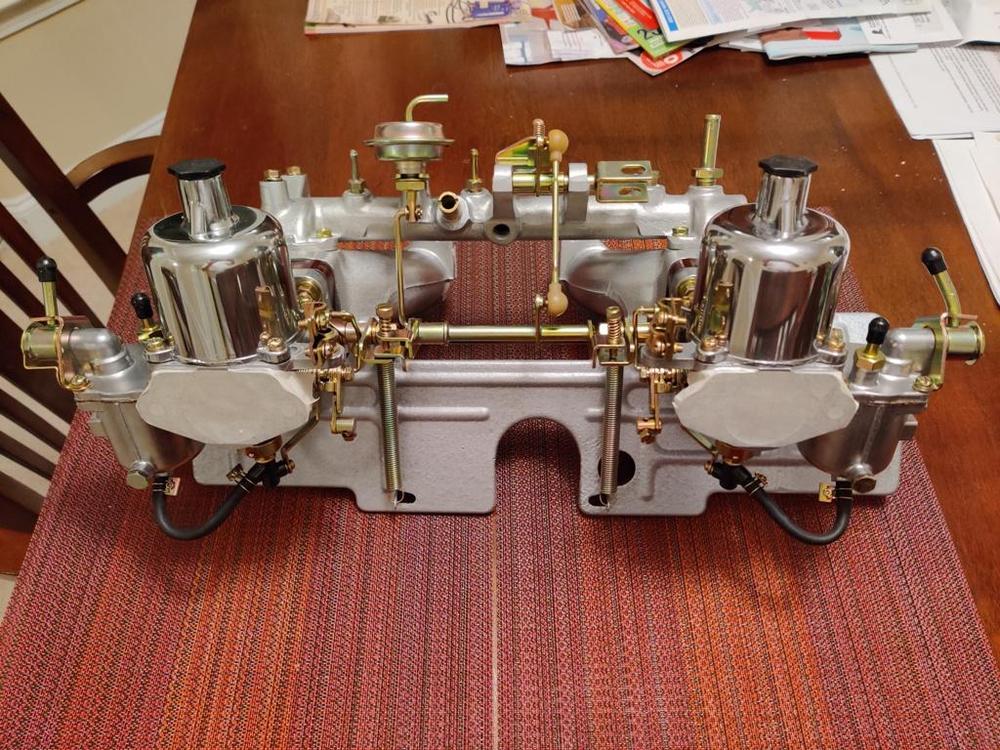
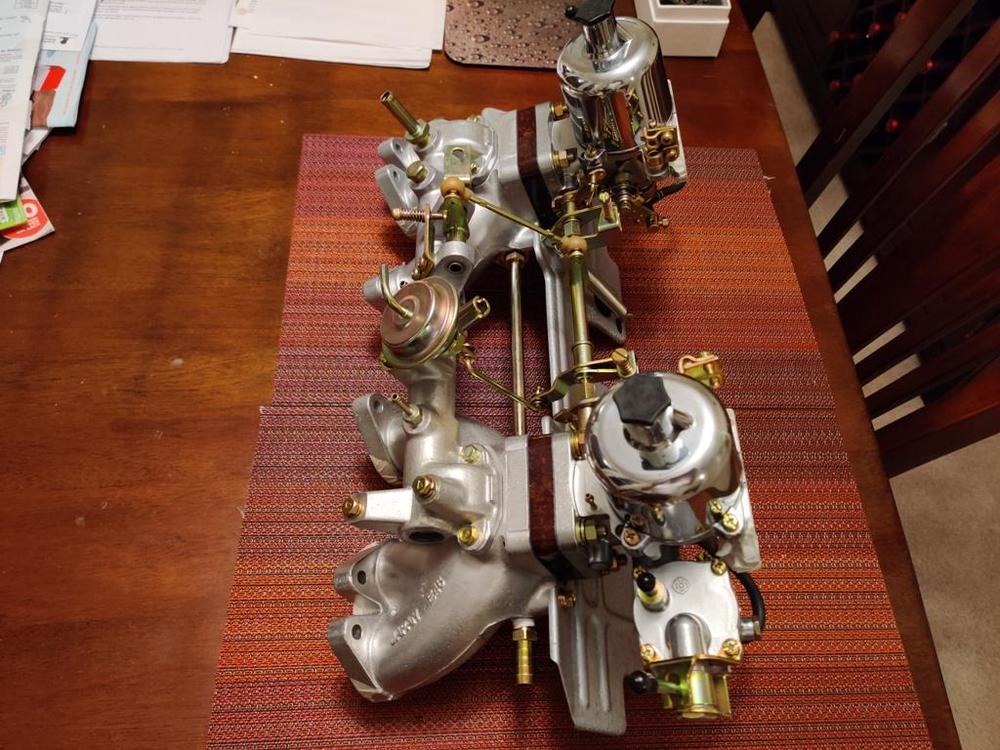
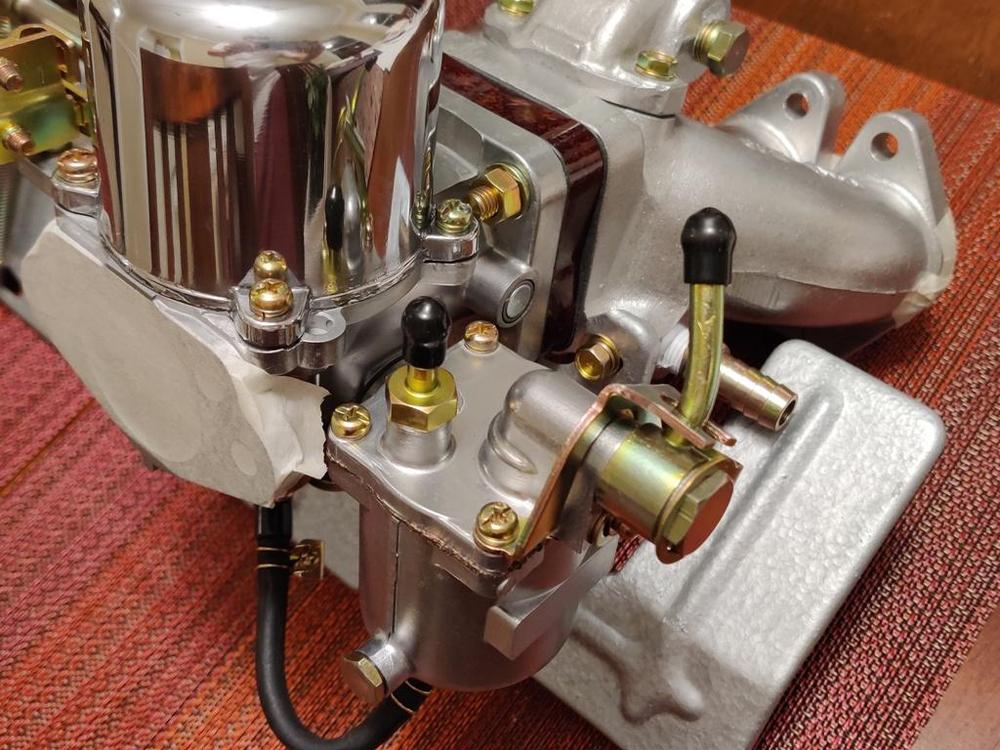
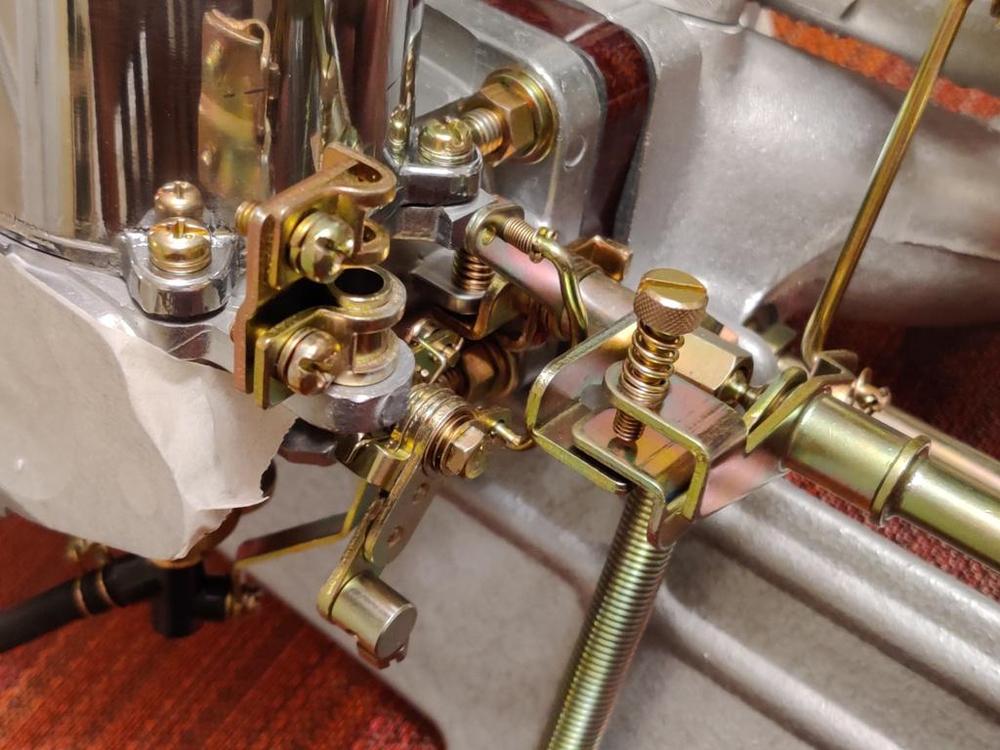
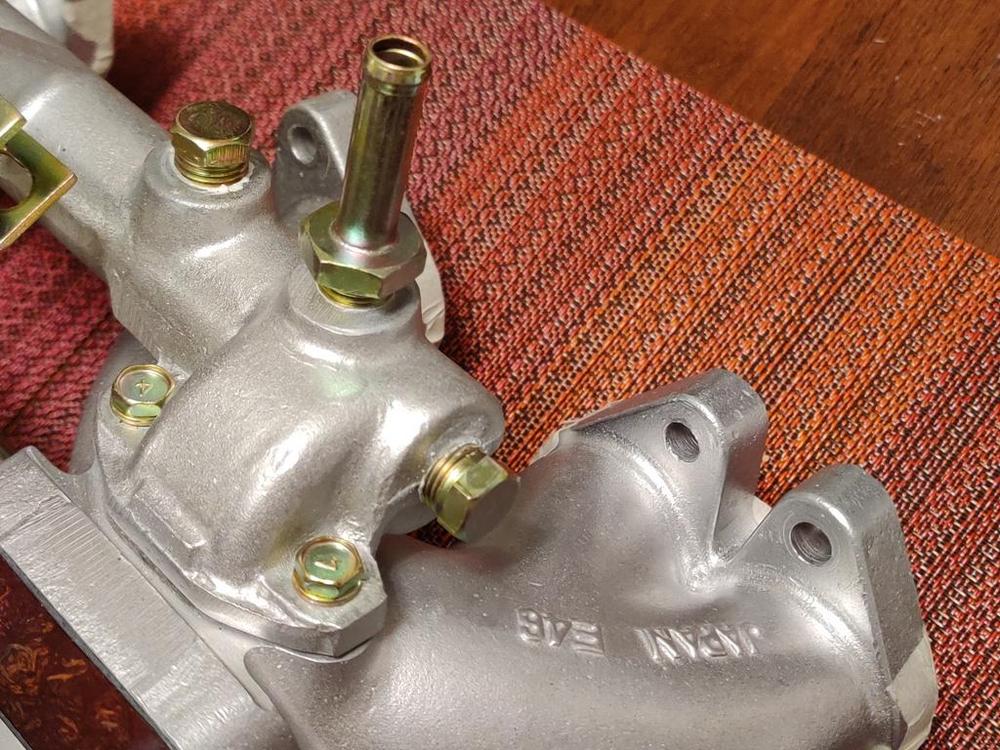
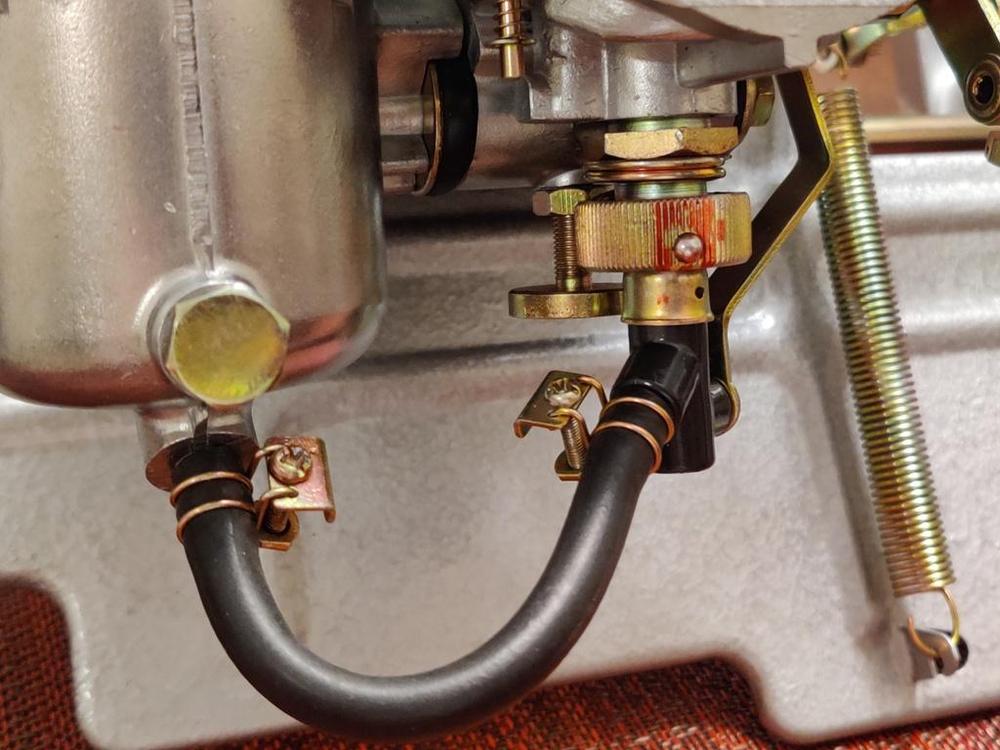
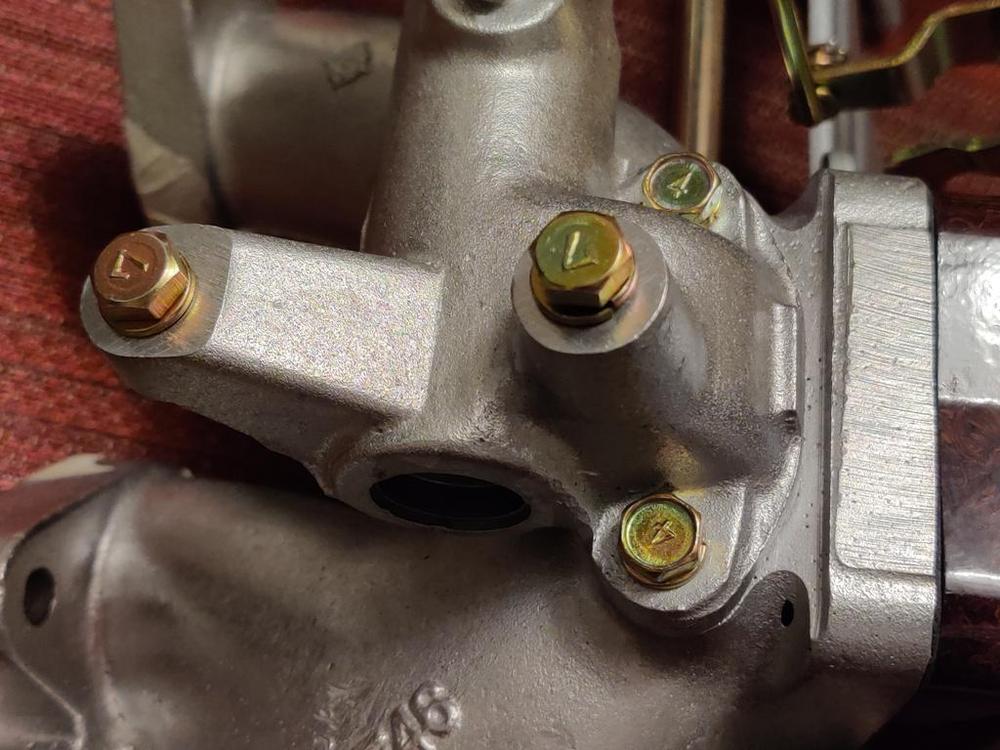
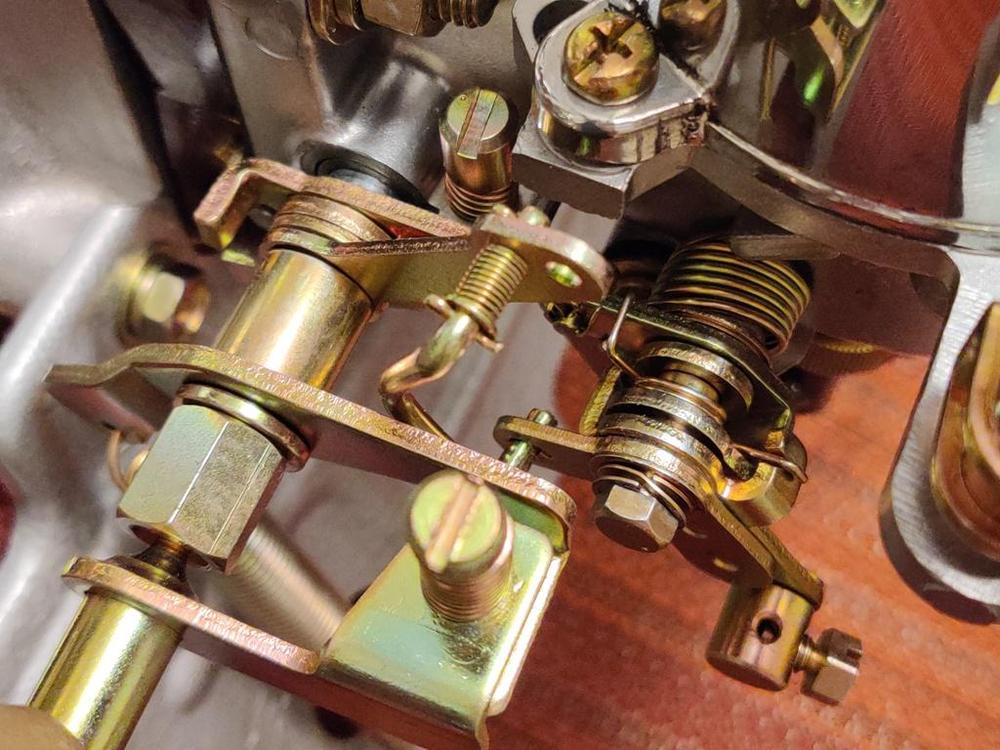
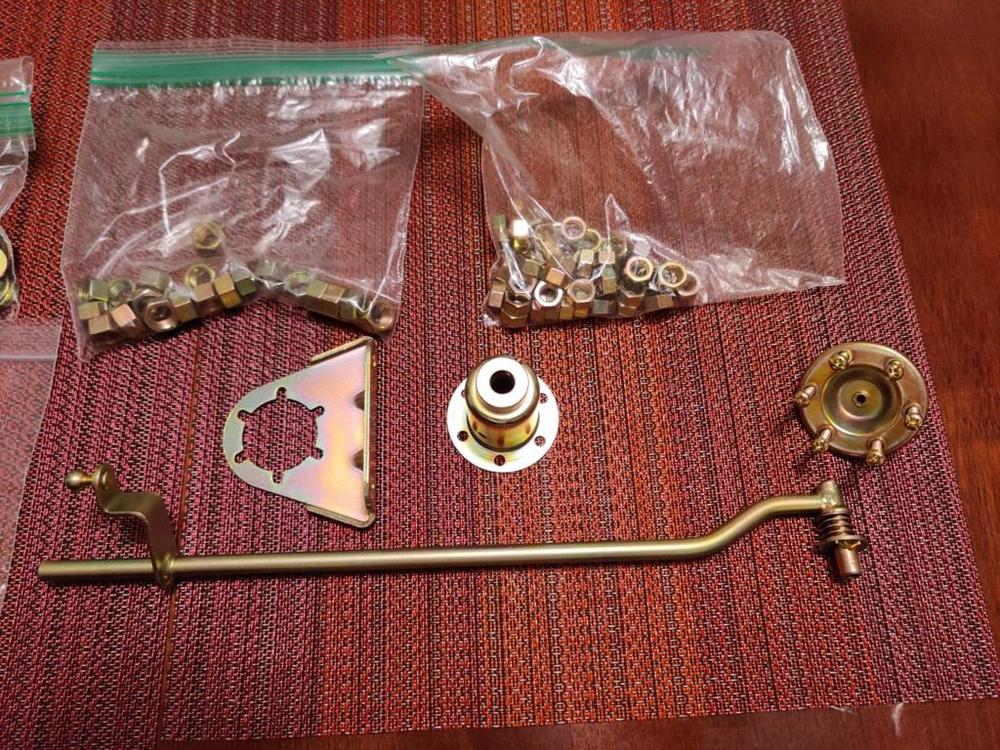
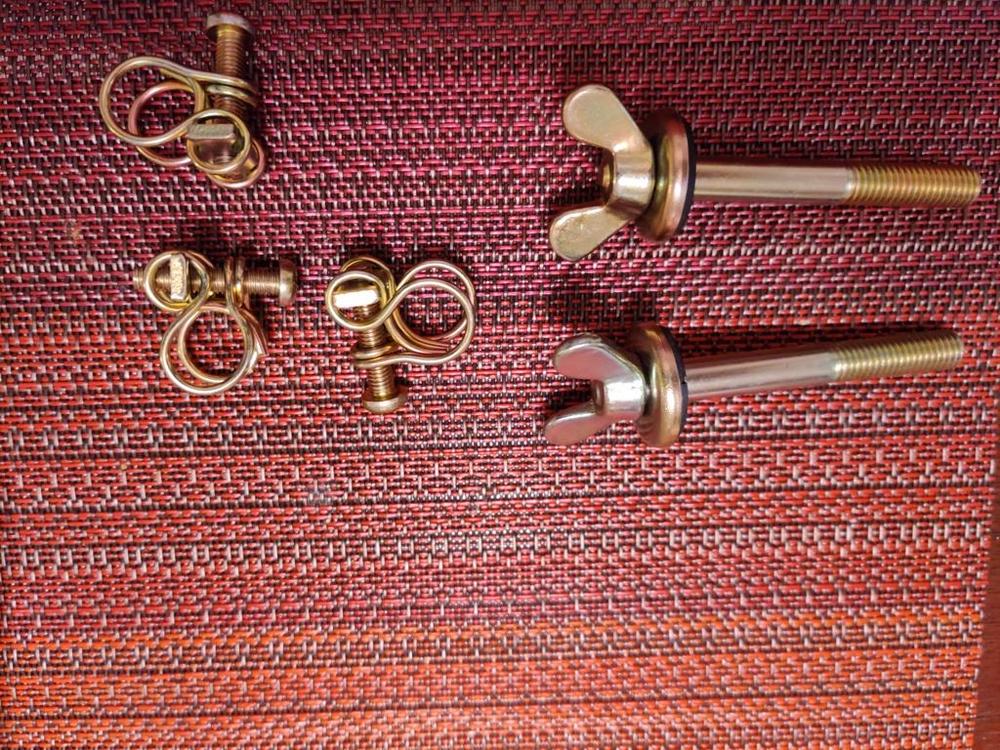
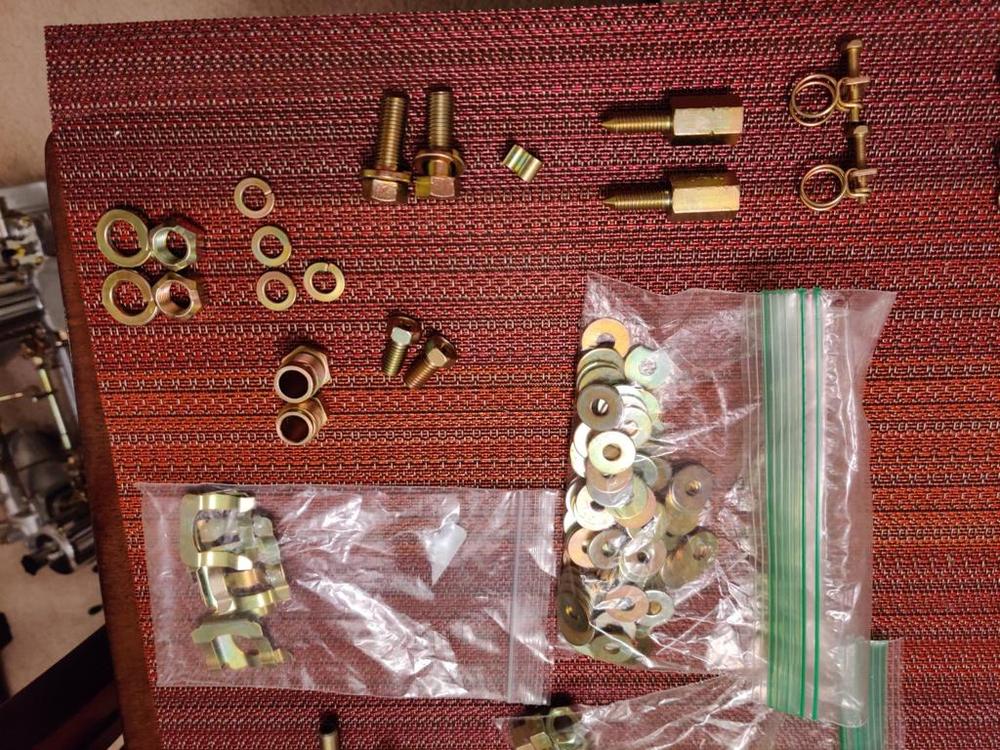
I got the carburetors, manifold etc. back from Paltech. Sent these away about a month ago, along with some extra parts to get plated. They look really awesome. I am very excited to see they came out this nice. I am hoping that the quality of the machine work to put in new bushings and shafts, plates, etc. is very high quality. Everything feels really tight and looks great. The domes are more polished than they should be for original appearance, but I didn't specify not to polish them, nor am I trying to build a top tier show car. So, can't fault him for making them "too nice". Soooooooo, here are the pics! In the last pic above, I have a question. I only have three of the four original style hose clamps for the fuel supply hoses (from fuel rail to each carb) and those are pictured. However, I think the original color of these shouldn't be gold "cad". Is the original color on these supposed to be silver? It's my screw up if so, but I may need to get them re-plated. Also, I need to track down a fourth!
-
Restoration of BringaTrailer 240z - HLS30-35883
Thanks for the compliments! Challenging to keep raising the bar on the quality of work, and fun when the outcome meets or exceeds my expectations. Makes it more tolerable to put in all of the hours.
-
Restoration of BringaTrailer 240z - HLS30-35883
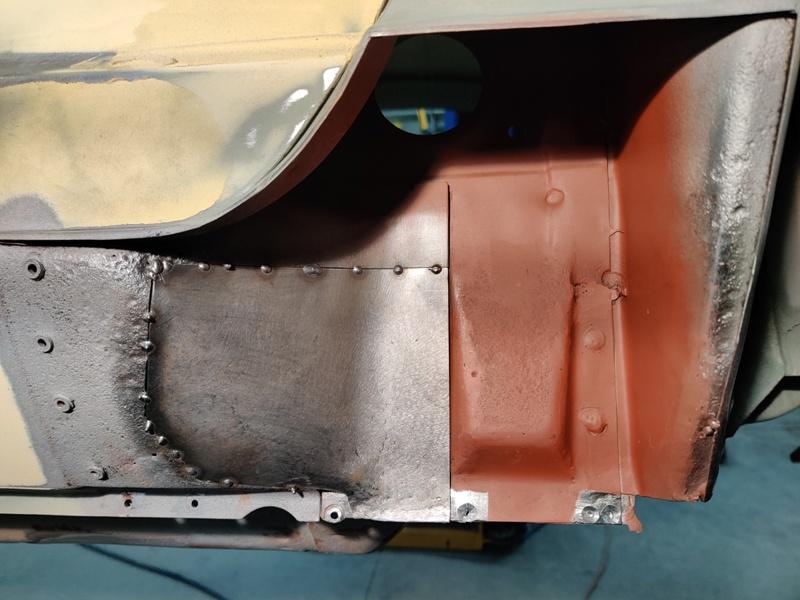
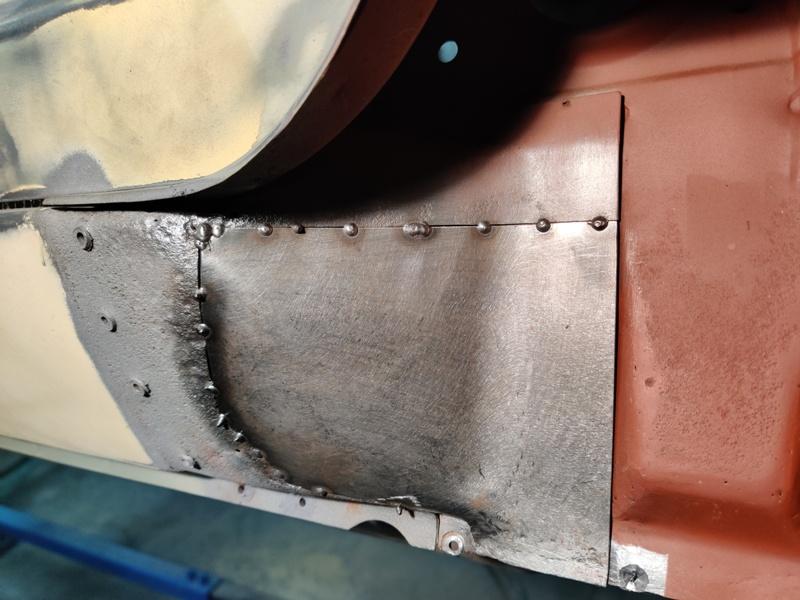
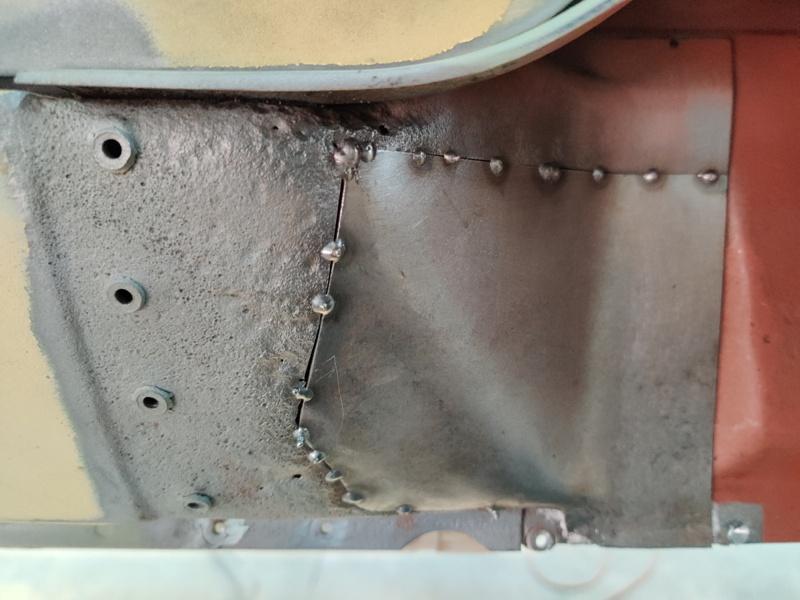
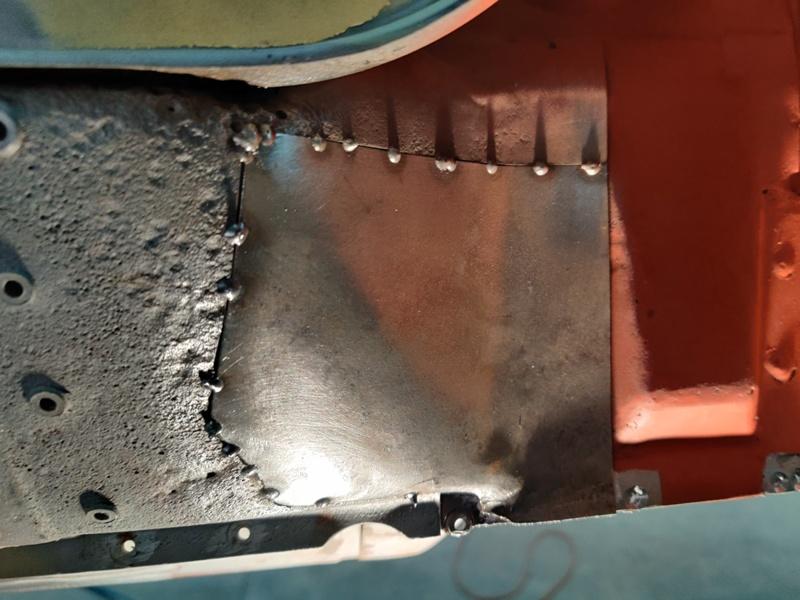
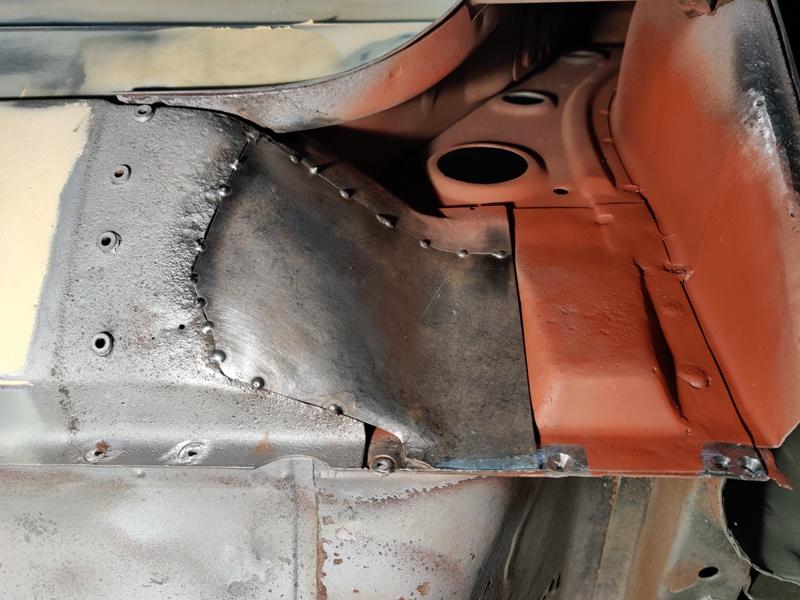
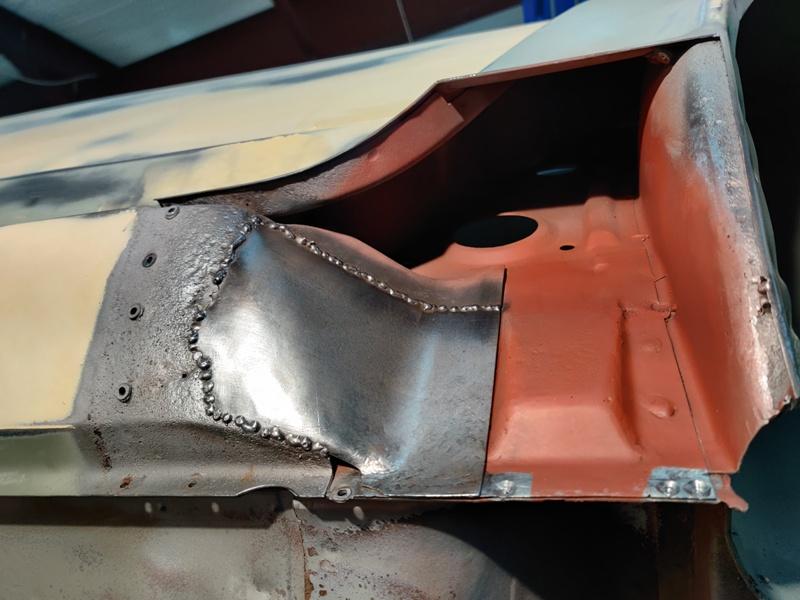
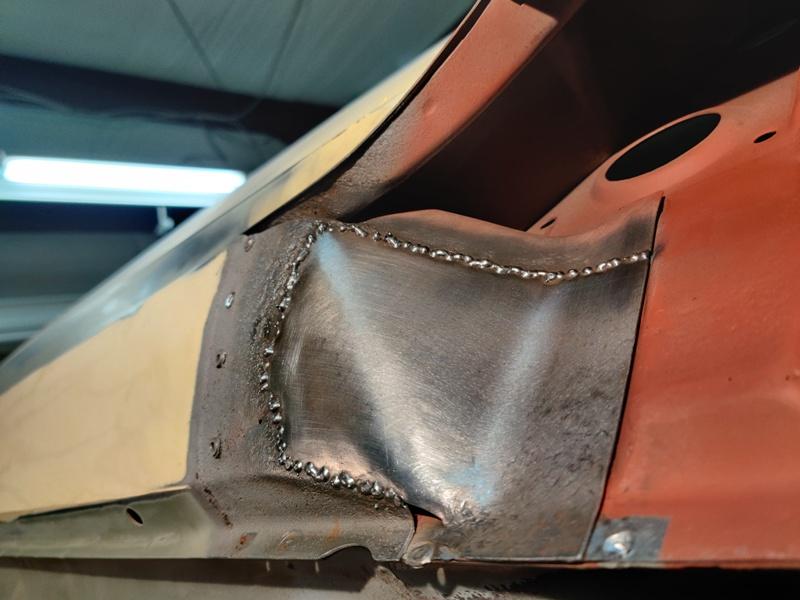
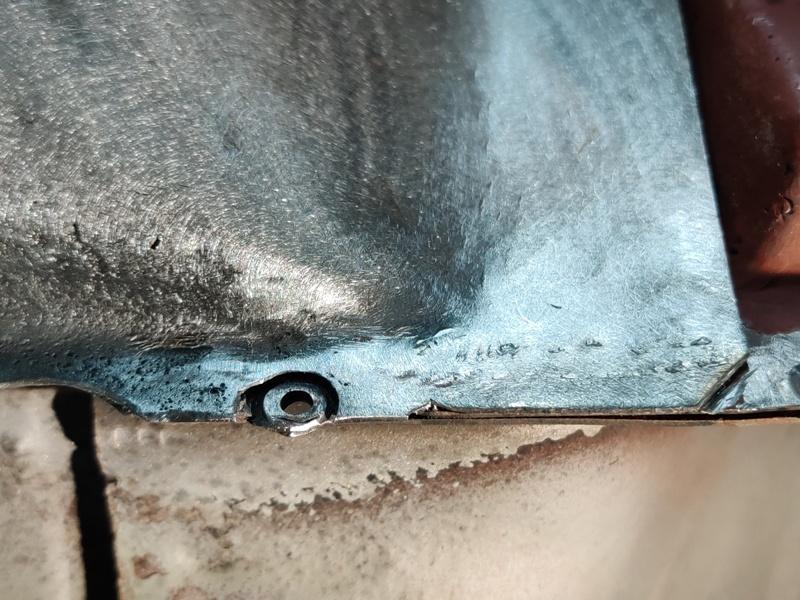
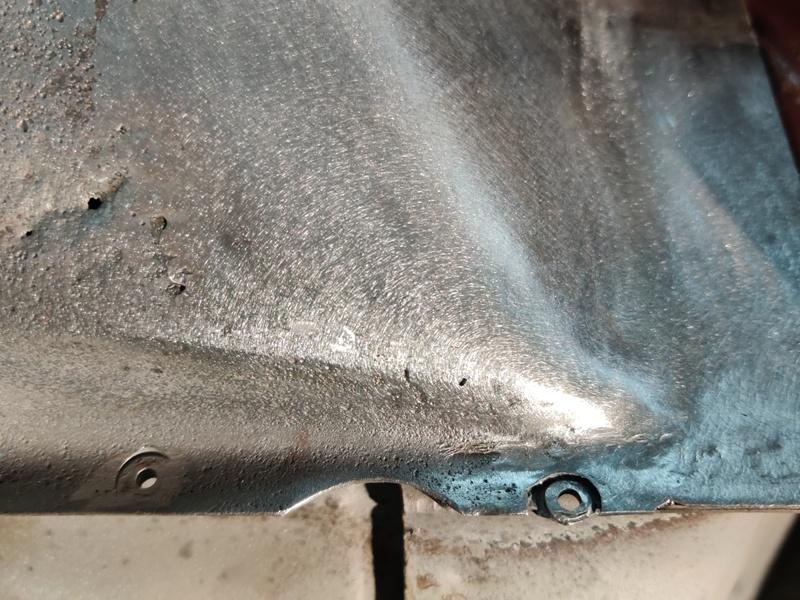
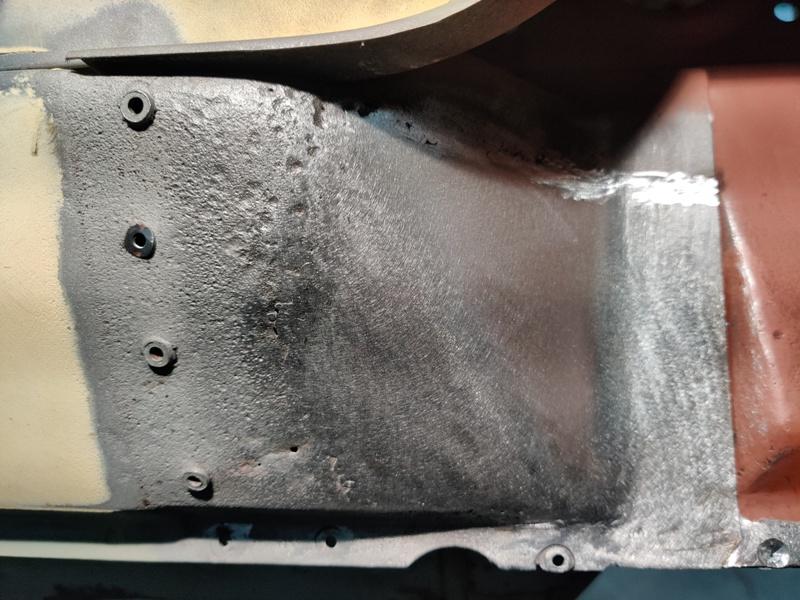
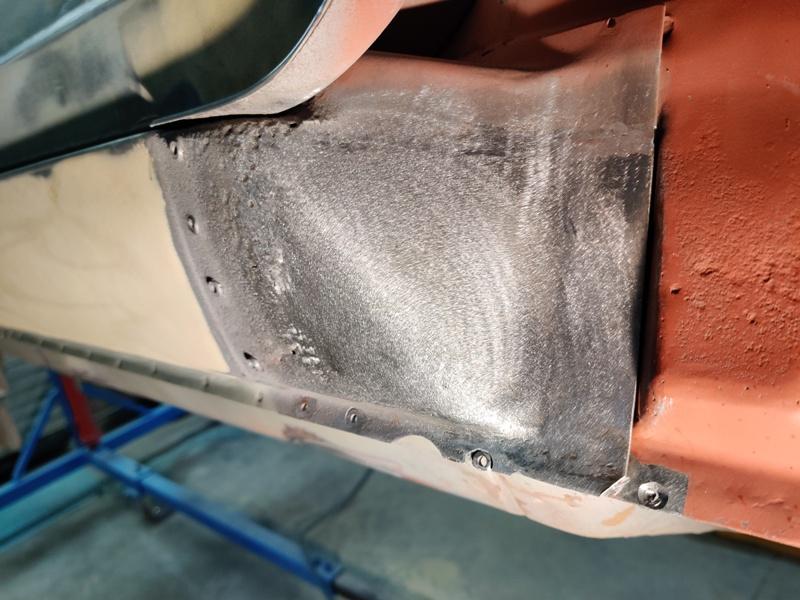
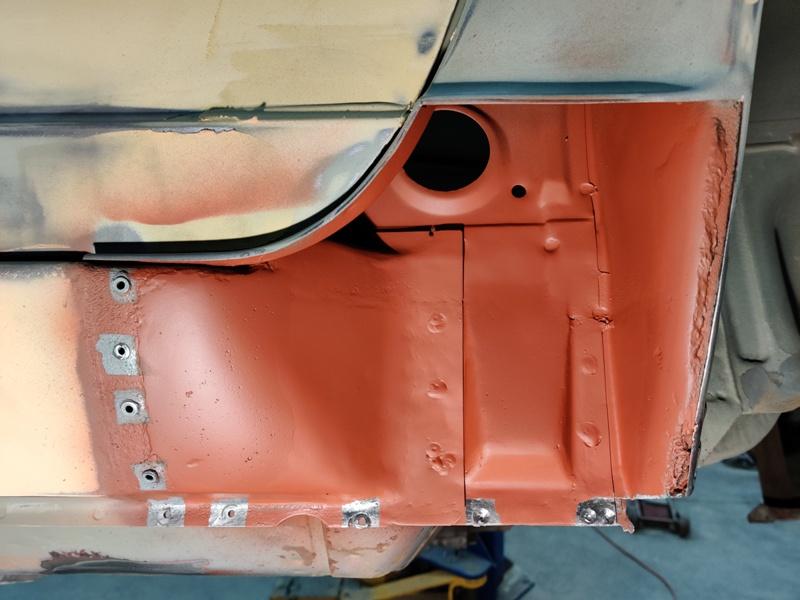
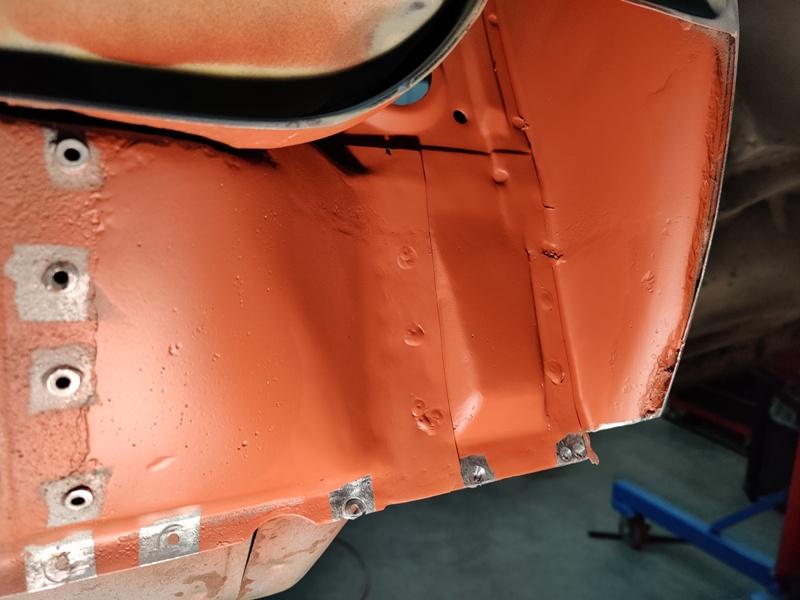
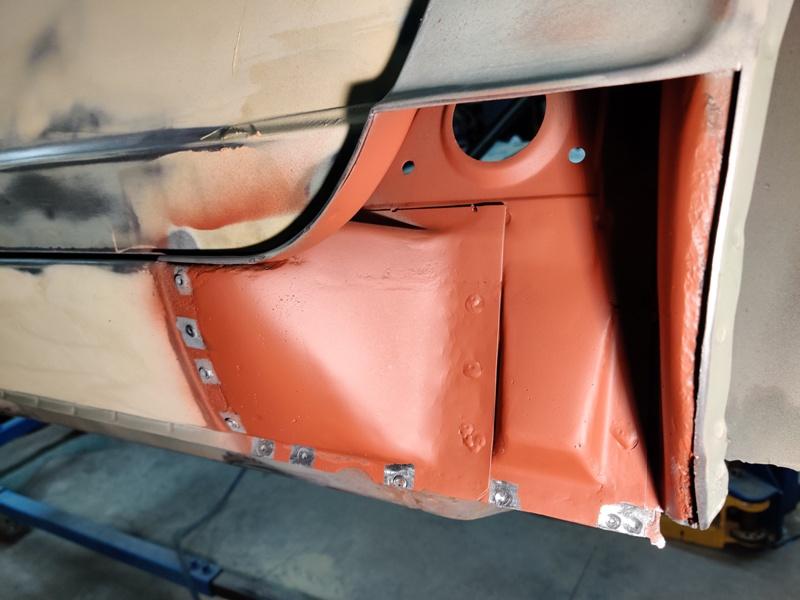
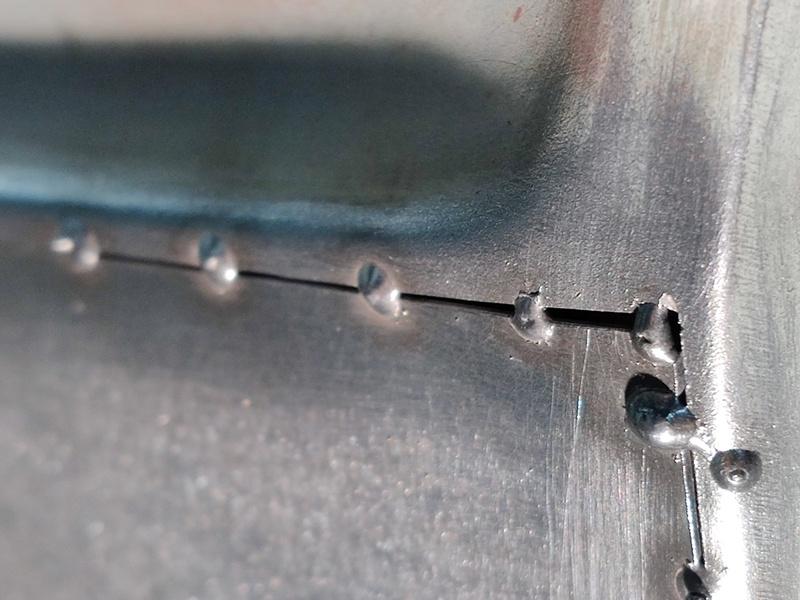
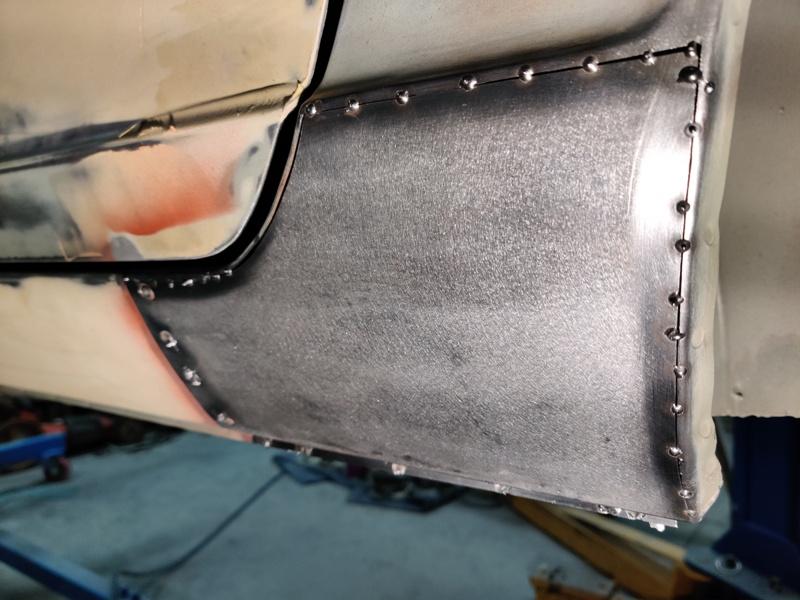
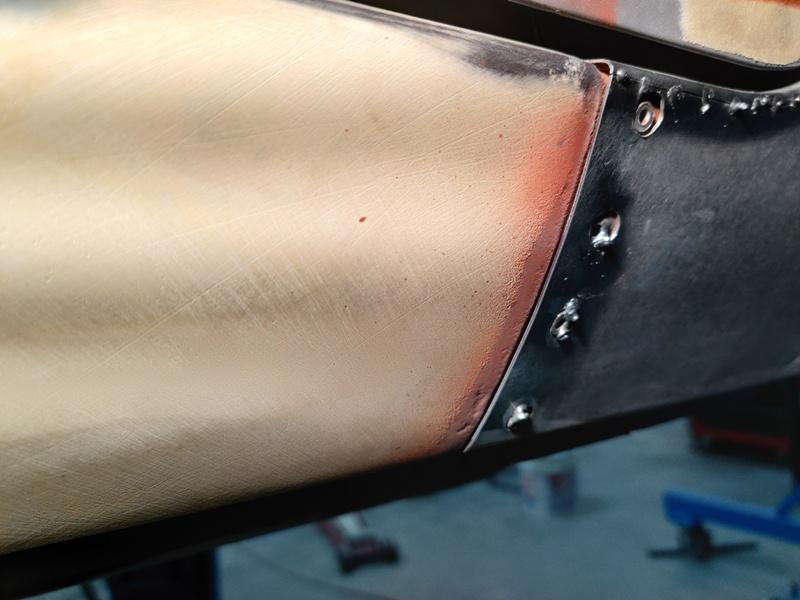
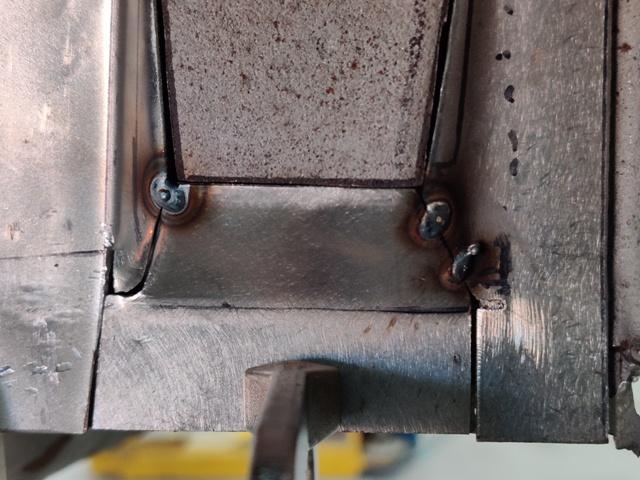
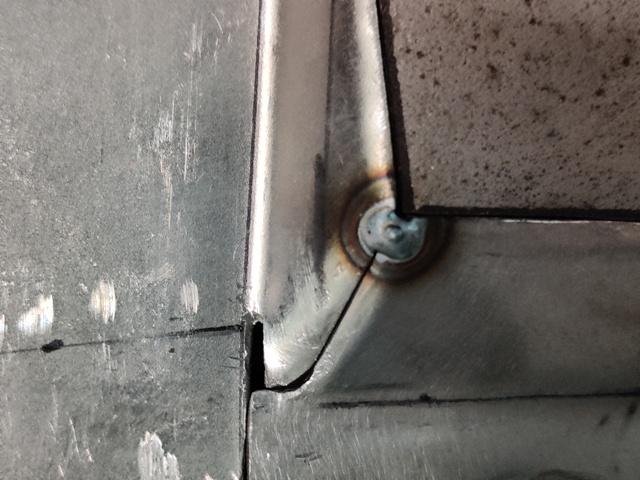
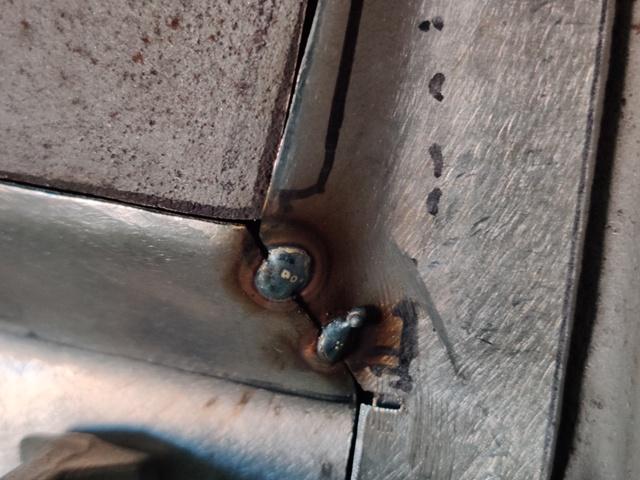
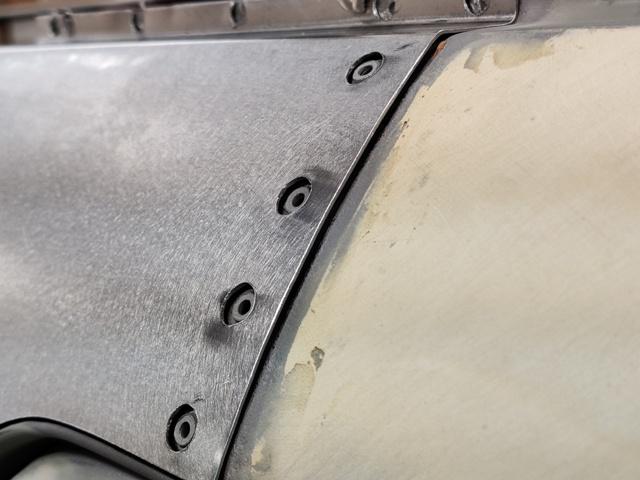
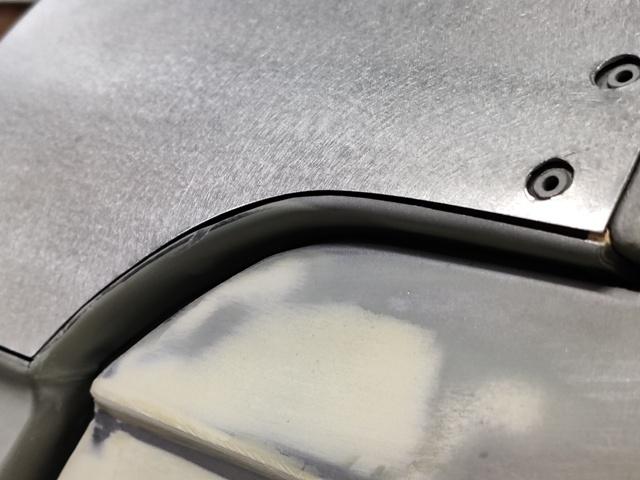
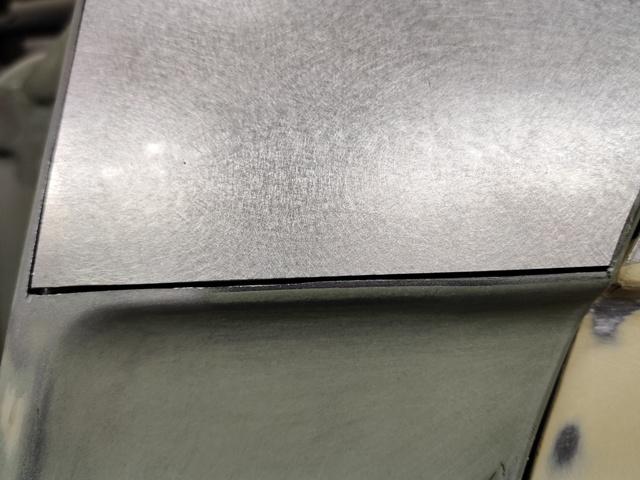
I made some good progress yesterday. As always, clicking on the image will give you a larger picture. Rosette welds on inner panel and finish grinding on wheel house repair area, marking out where to cut on the rocker curved surface: Trimming replacement rocker piece to fit (no overlapping joints): Fit is decent. After removal of the area being replaced, I took some pics showing the inside of the rocker: Inside the rocker looks very good. Starting to tack the new panel in: Several angles: Continuing to weld all the way around: Just a small spot that needed to be closed: Grind down welds - finish work: More rosette welds where needed. Additionally, I used a small amount of fiberglass body filler in a few strategic areas. Fiberglass body filler is 100% waterproof. And I learned recently that it is a good idea to use it on certain weld seams like these to fill tiny holes that are present after welding and grinding down. Additionally, I wanted to fill the pitting and couple of holes in the rocker panel in the area that I did not replace. Finish repair of inner panels in red oxide primer. Final fitting of outer replacement panel. Taking time here to get the fit dead on is really important. The finished result after grinding down the welds will come out much better if old to new panel alignment is 100% level and weld gaps are present but don't exceed 1 mm. New to old panel fit is good. The gap got wider than optimum in a couple of areas (middle photo): Front edge fit. Door gap in corner corrected for better gap consistency: There isn't much more welding and finish grinding to do here to complete this part of the project. Body work elsewhere on the panels is probably about 75% at a guess. I am going to be spraying the whole thing and all loose panels in epoxy primer one more time, then the high build primer, and started guide coat sanding.
-
Restoration of BringaTrailer 240z - HLS30-35883
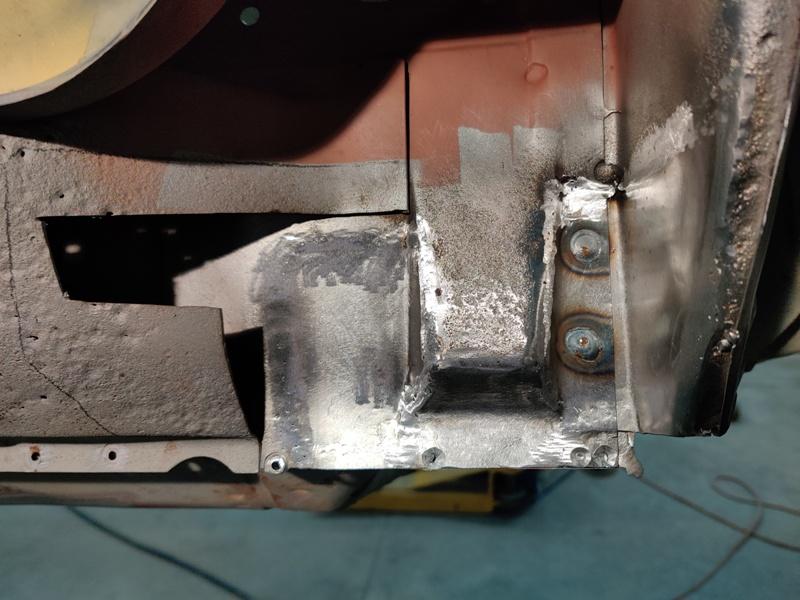
Ok, onward with the work at hand - reconstruction in progress: Fit turned out really nice with this custom piece: Some more that had to be cut out because it was just too damaged: It is actually pretty incredible how far rust goes when it takes hold. Eventually the removal of cancer came to an end and reconstruction started to take hold: Some red oxide primer was used in hidden areas and welding of replacements finally began: Though never seen by anyone, grinding down welds couldn't be helped: Zooming in on some of the welds to the thinest original metal: I will soon be able to finish the work in this area. Drilled through in preparation for rosette welds...
-
Mint '71 240Z - More Fun Coming to BaT
I believe there were many different distributors and internal components (springs, weights, etc.). There is the so called "Euro" distributor also. Perhaps the 5 BTDC actually worked well with the US spec distributor for that car. Or, perhaps running more was better for performance. I believe the Euro spec distributor was paired with a 17 BTDC spec.
-
Mint '71 240Z - More Fun Coming to BaT
You get two sheets in the box with an order quantity of 1 of part number G5930-89904. Each is about 3 feet square I think. One box is not enough to do the full car, and maybe not even both floors in front and under the seats. And again, it doesn't look to be the right thickness.
-
Replacement tar mat
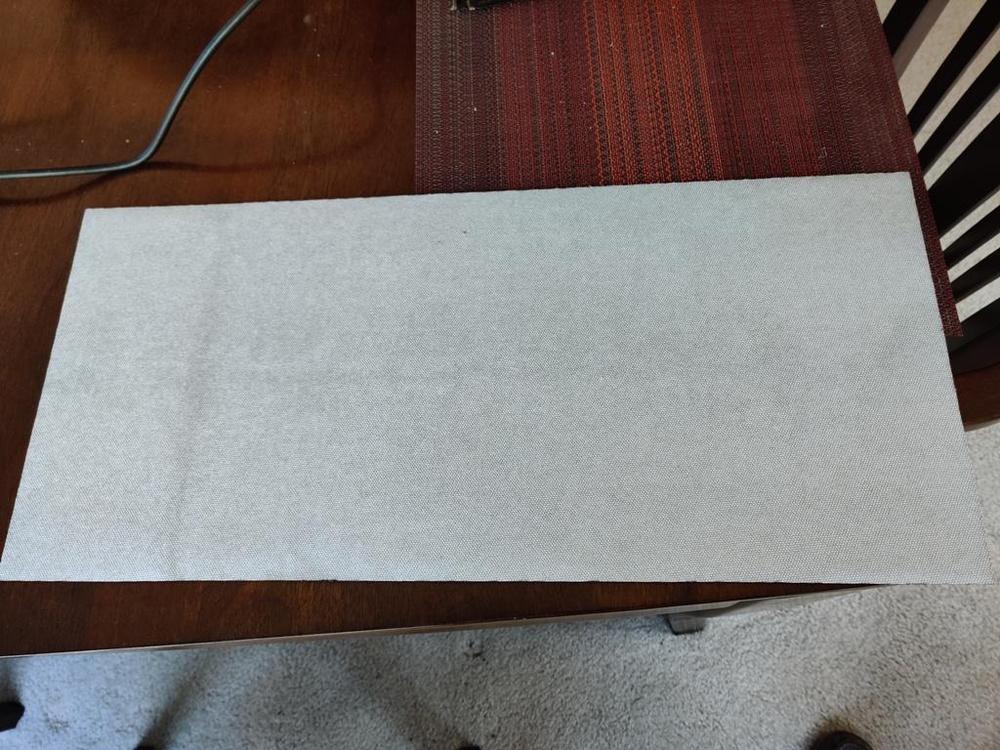
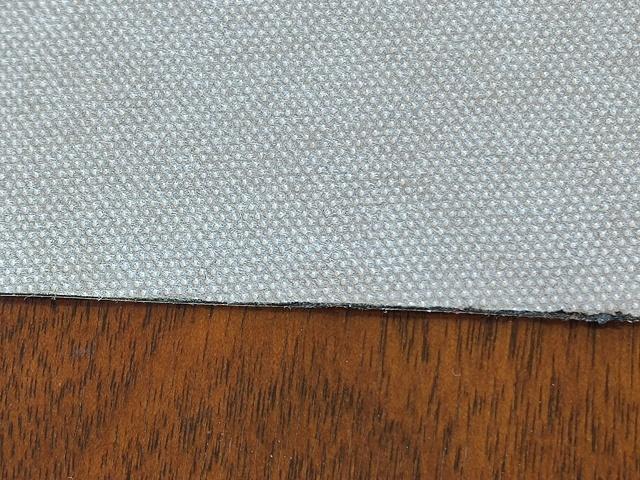
G5930-89902 is discontinued. And though I was able to buy G5930-89904, it appears to be about .060" in thickness, and what I took out of my 1971 from the tunnel (floor "mat" was already gone) is about .090". Package shelf appears to be about .090" as well. It would be nice to confirm original thickness of the pieces for the floor and the tunnel, as well as the rear deck, for US cars that had them. For the record, I measure my 6/1971 tunnel pieces at about .090". I will measure the package shelf piece and edit this post to include that information. Edit - 5/9/2020: The original package shelf sound deadening material is also about .090" (Same as tunnel). I bought a pack of the Wurth sound deadening mat and unfortunately they have improved the product. It now has cloth on the upper surface which is white/silver to my eye. It no longer looks black like the original Datsun stuff.
-
Mint '71 240Z - More Fun Coming to BaT
Actually, I believe G5930-89902 is discontinued. And though I was able to buy G5930-89904, it appears to be about .060" in thickness, and what I took out of my 1971 from the tunnel (floor "mat" was already gone) is about .090". Package shelf appears to be about .090" as well. It would be nice to confirm original thickness of the pieces for the floor and the tunnel, as well as the rear deck, for US cars that had all three. Going to put this in another thread.
-
Restoration of BringaTrailer 240z - HLS30-35883
I guess the "About Me" on your profile isn't about you! ? Must be a forum software glitch?
-
correct suspension black
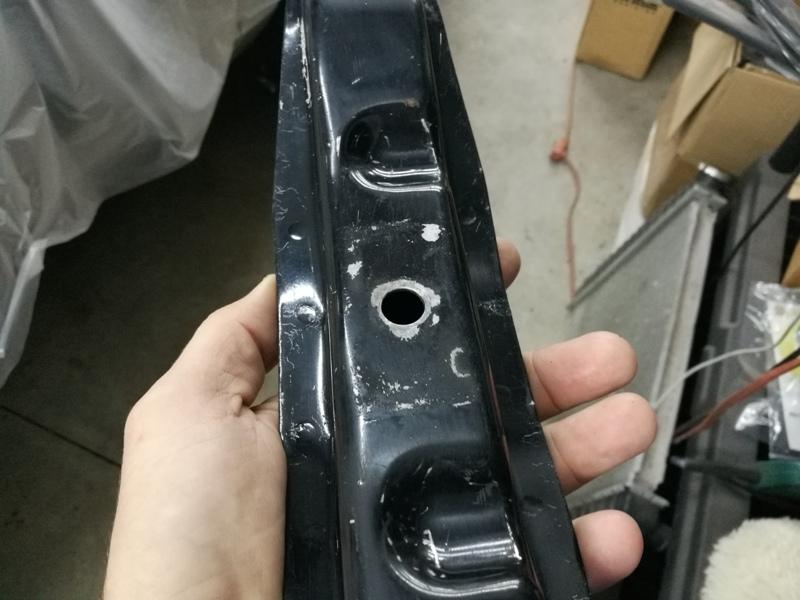
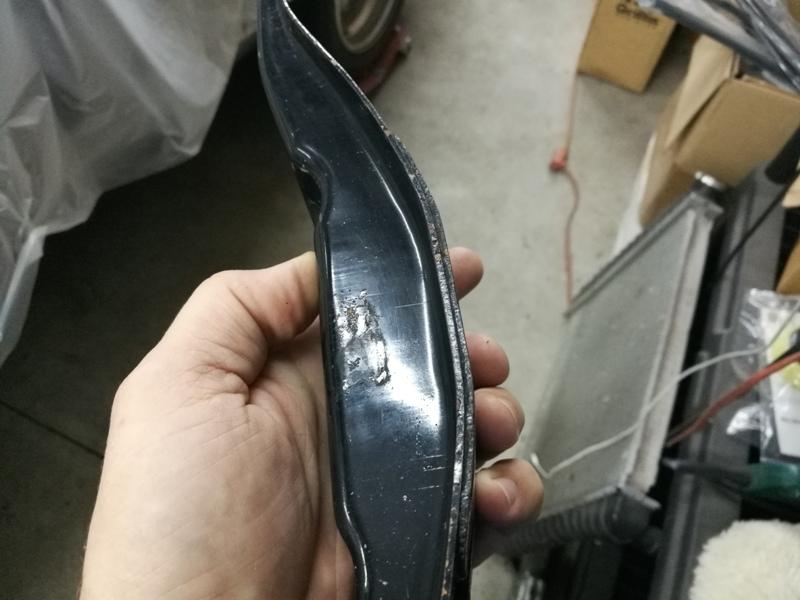
While not suspension, I have these reference pics of the manual transmission cross member mount. Can't imagine that the paint used for this would be different than the suspension, but I do not know for sure. Maybe useful to someone here (click for bigger image):
-
Restoration of BringaTrailer 240z - HLS30-35883
Thanks man. Hey, I looked at your profile and just about every license plate in the pics is from Virginia. But you are in Toronto, right? Why all the VA plate pics? I am originally from there - Charlottesville. Garrett
-
Restoration of BringaTrailer 240z - HLS30-35883
Spent a good part of the day today working on the inner part of the driver rocker area. Started cutting to see how far the cancer went. The "middle" panel (there is an inner, middle and outer) needed replacement sections. I spent some time making sections to piece together: I put a few tacks to hold the new panels to each other, but didn't start welding it to the car yet. I clamped it in place and moved on to making a rocker end cap: Fit of the rocker end cap is "getting there": This piece has some compound curves, but I will section it a bit to try for the best fit possible. Before I start welding these pieces in place, I will use the sand blaster to remove the surface rust.
-
HTP Quick Spot II spot welder - quick review
Yes, though I got $300 off on the package price (I bought a Tig welder also). And pretty much nailed it on that other part... Seesawed with buyer's remorse a little bit based on the posts in this thread, but learned a bit more and can take the info here and learn further if I want, which is great. I think it will suit my needs well, but I am interested to see how it does with thicker material. I will add some more tests here before too long. Thanks for the information - everyone.
-
HTP Quick Spot II spot welder - quick review
Great find. Thanks for sharing!
-
HTP Quick Spot II spot welder - quick review
Yeah... definitely getting that sense at this point.
-
HTP Quick Spot II spot welder - quick review
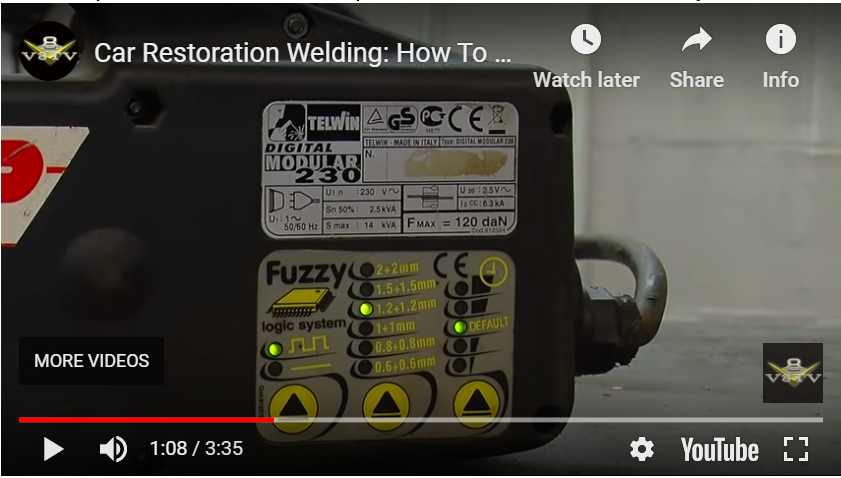
Not sure what to make of y'all's info. I am pretty ignorant about this subject. Also, I notice that the "same" unit has a very different label in the Youtube video previously referenced: So, 2.5kVA? What does Sn stand for? Another reason I'd like to understand this better is so I could compare this unit to this one, for example: https://www.harborfreight.com/240v-spot-welder-61206.html So, $160 vs. $649... And the cheap one has 2.5 kVA in the specs. Not sure any of the labels are going to be trustworthy? Is inverter technology anything to warrant discussing?
-
HTP Quick Spot II spot welder - quick review
Hmmm. So, I guess that means the standard rating is 1.6 kVA, but perhaps the capacitive discharge feature may make it punch above it's rating in real world application? Maybe I should test some thicker samples
-
HTP Quick Spot II spot welder - quick review
I think I missed the difference here the first time I read your comment, Hoover. So, my spot welder is actually putting out 15kVA not 1.5kVA (or 1.6kVA)... That is what your math shows. Namerow, you agree with this math?
-
71 240z restoration build thread
Hi everyone, I have been adding to my restoration/build thread over in the build thread forum area, and thought I'd post a link in the general discussion area in case anyone visiting here would be interested, but maybe would not necessarily see it otherwise. I hope to be adding some more video soon, but I have a bunch of picturesa and pretty regularly provide updates. You'll find details showing tear down, body work, mechanical work and reassembly as I go. I am targeting end of July this year for completion (probably wildly optimistic!). The car is a 1971, which spent working life in Arizona, and another 25 years in a garage in Colorado. It's getting a rotisserie restoration, along with some minor engine mods, aftermarket wheels, and a Z story header an exhaust system. Check it out if you like restoration work - here is the link to the thread: Restoration of BringaTrailer 240z - HLS30-35883 Garrett
-
Restoration of BringaTrailer 240z - HLS30-35883
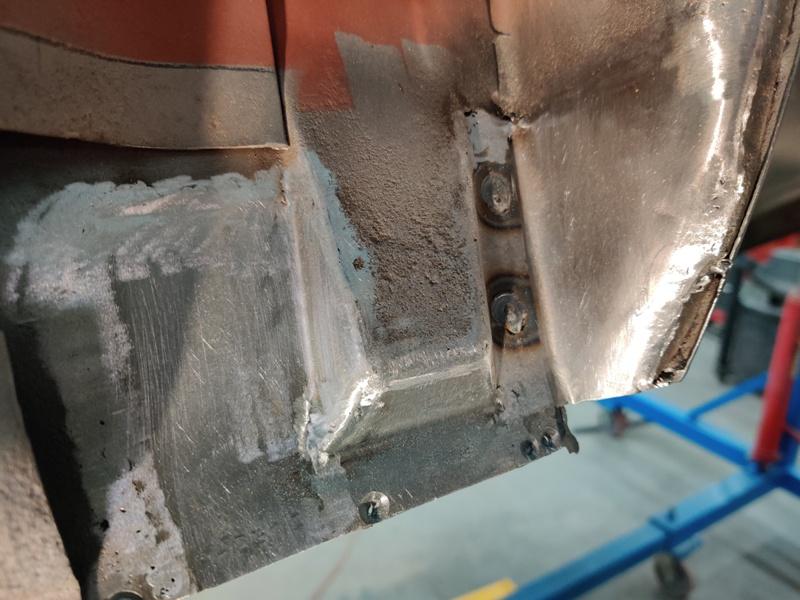
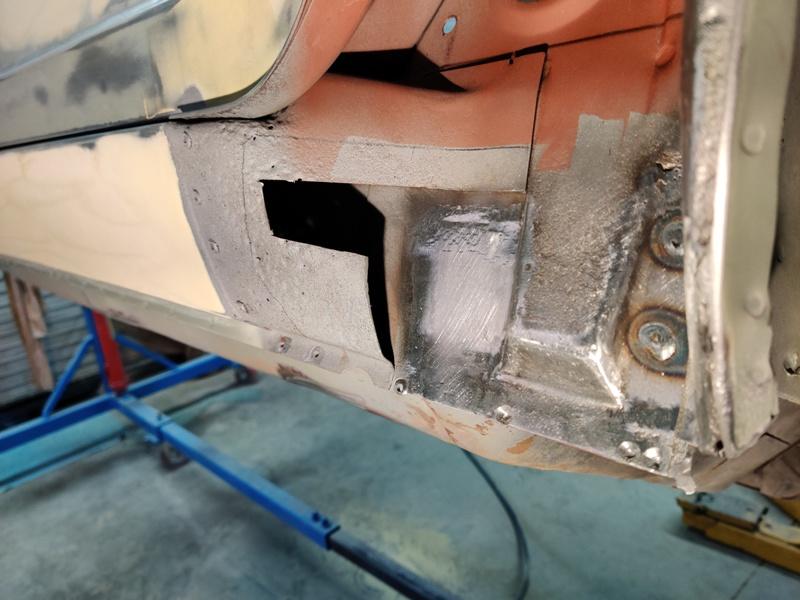
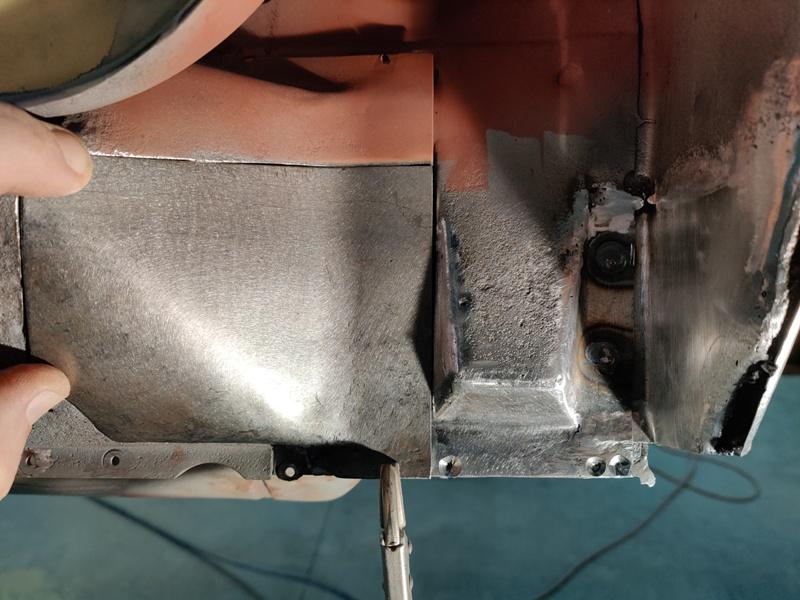
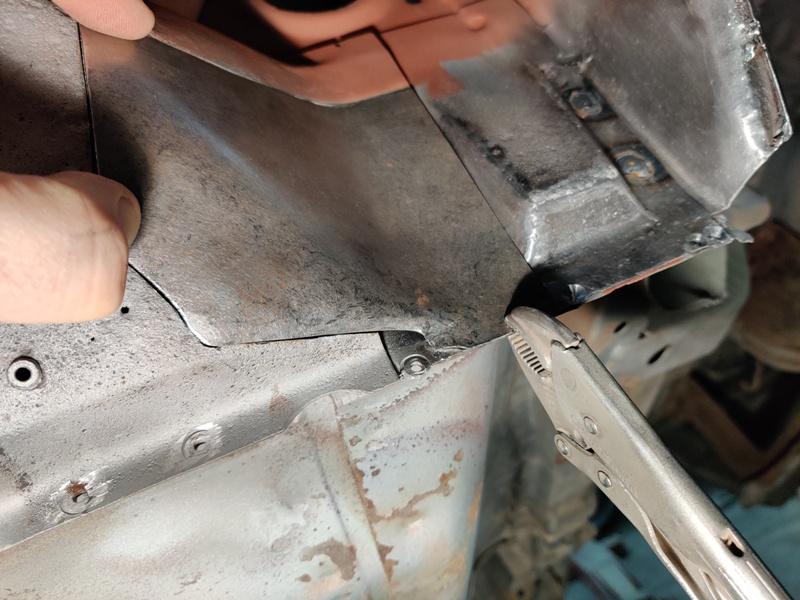
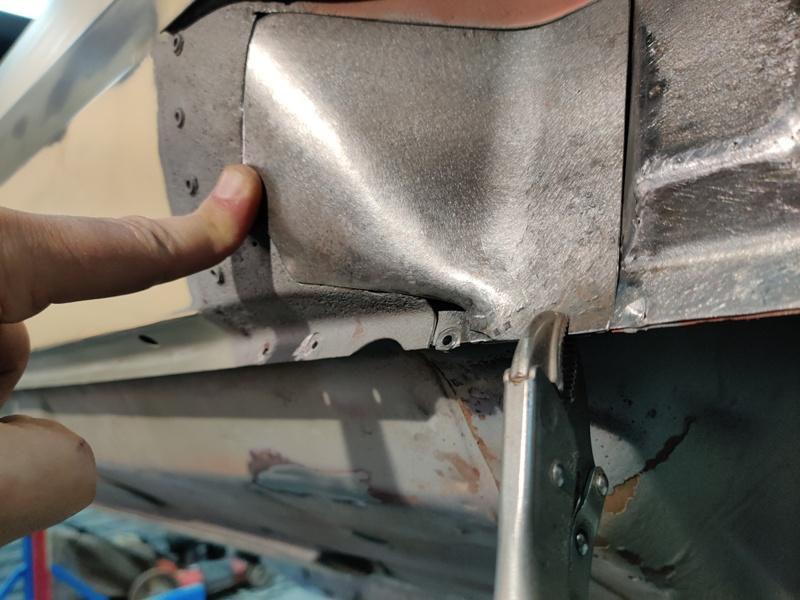
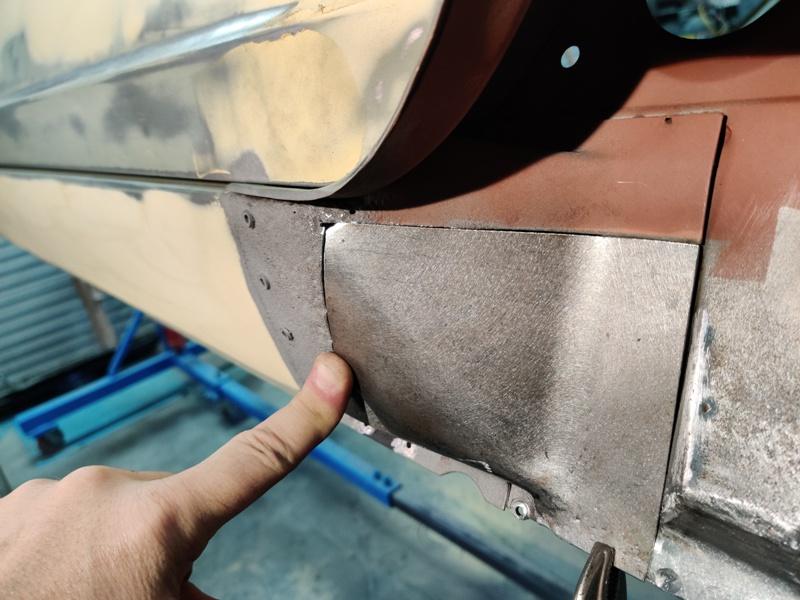
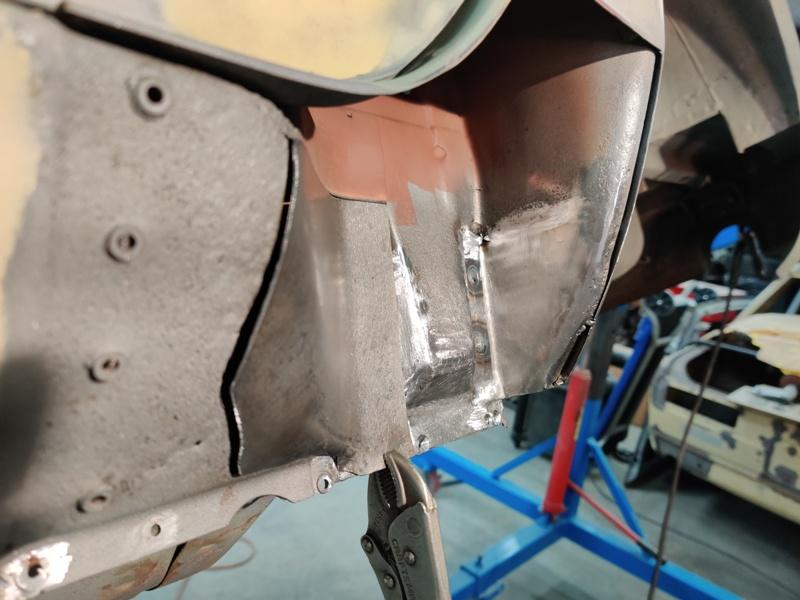
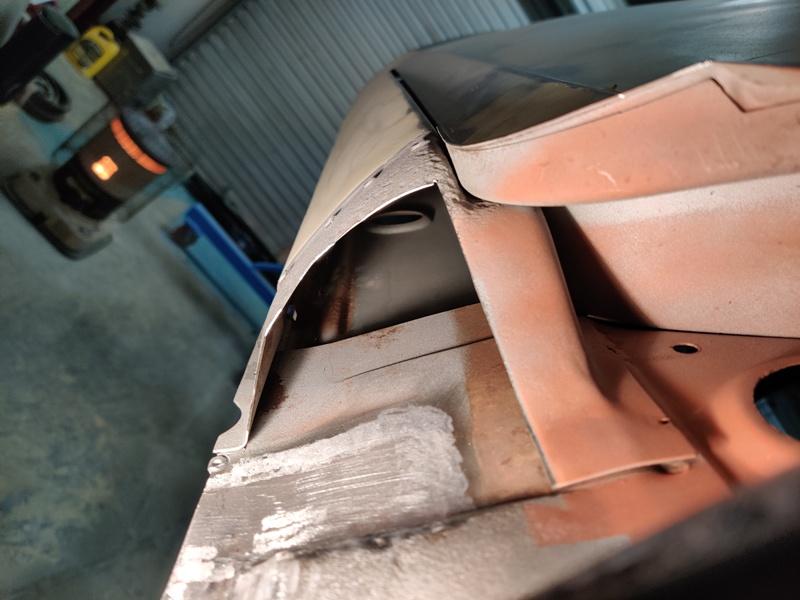
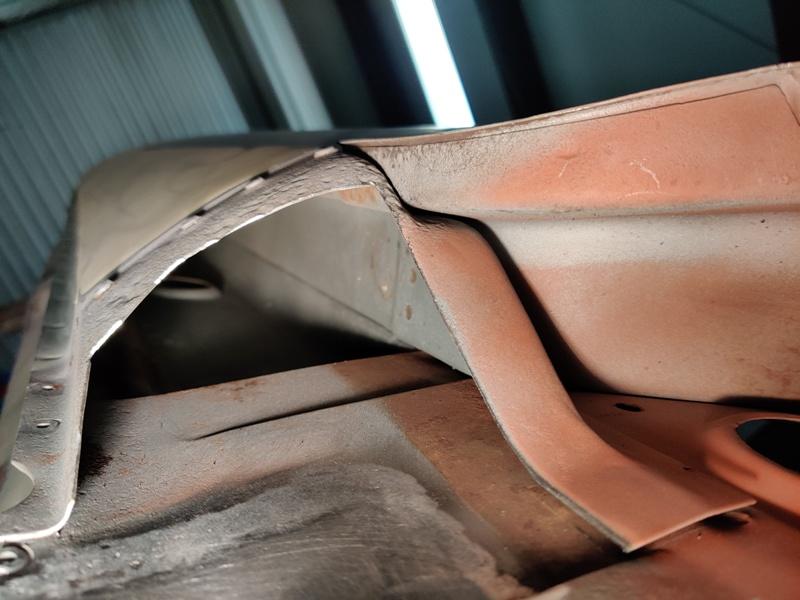
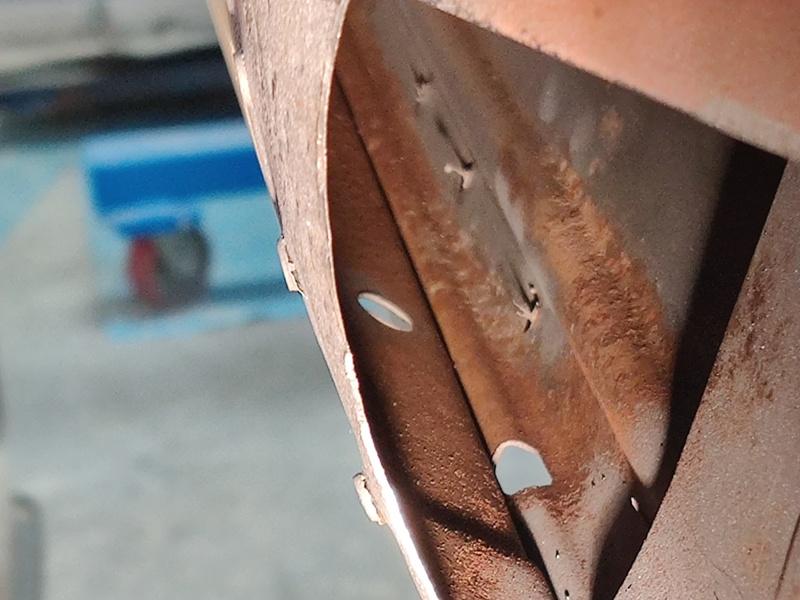
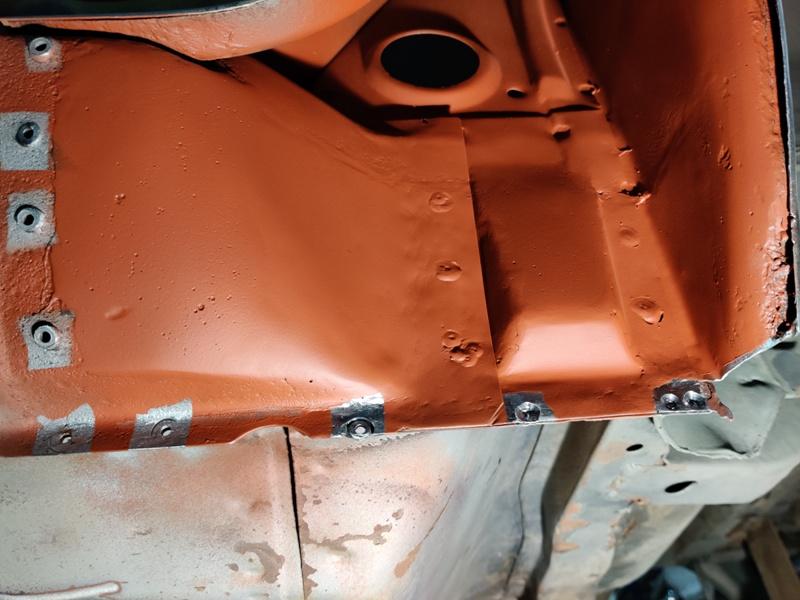
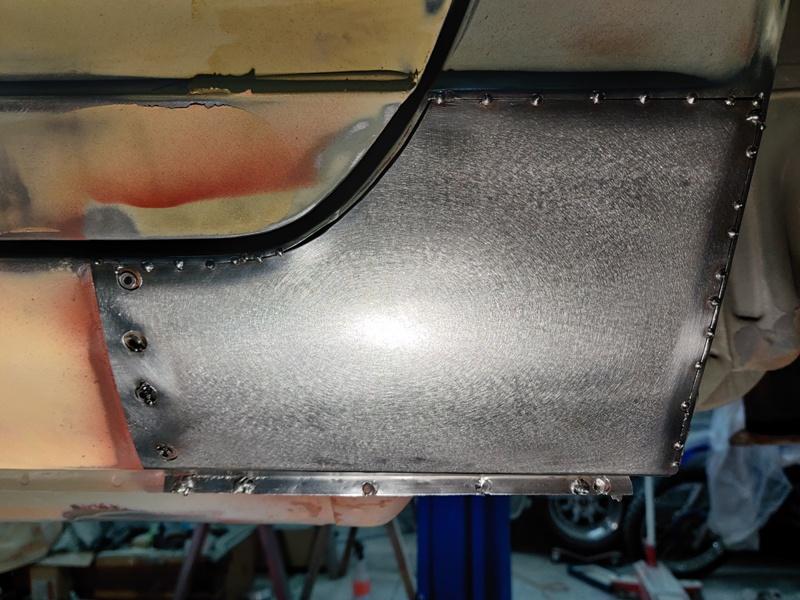
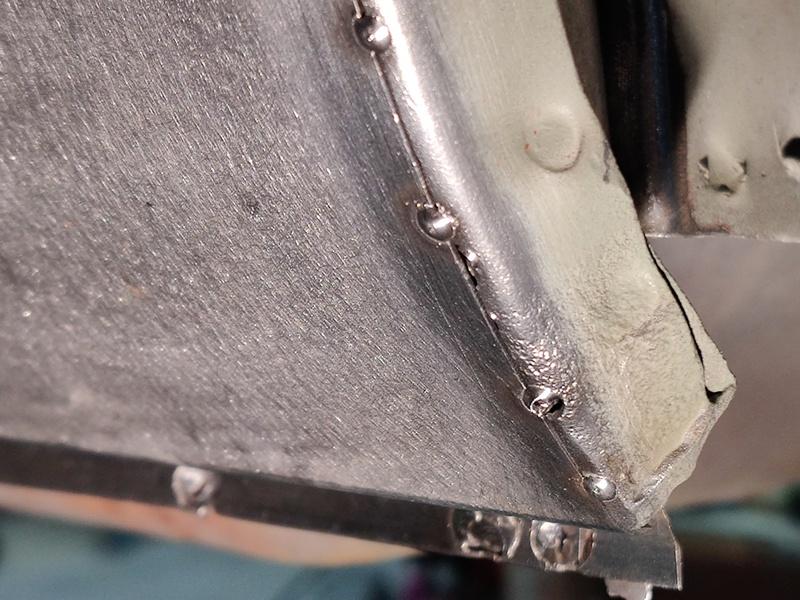
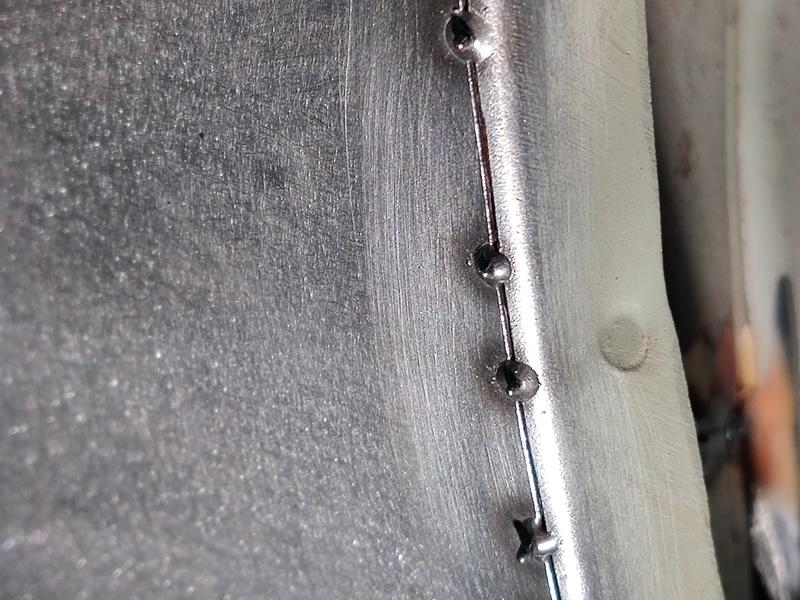
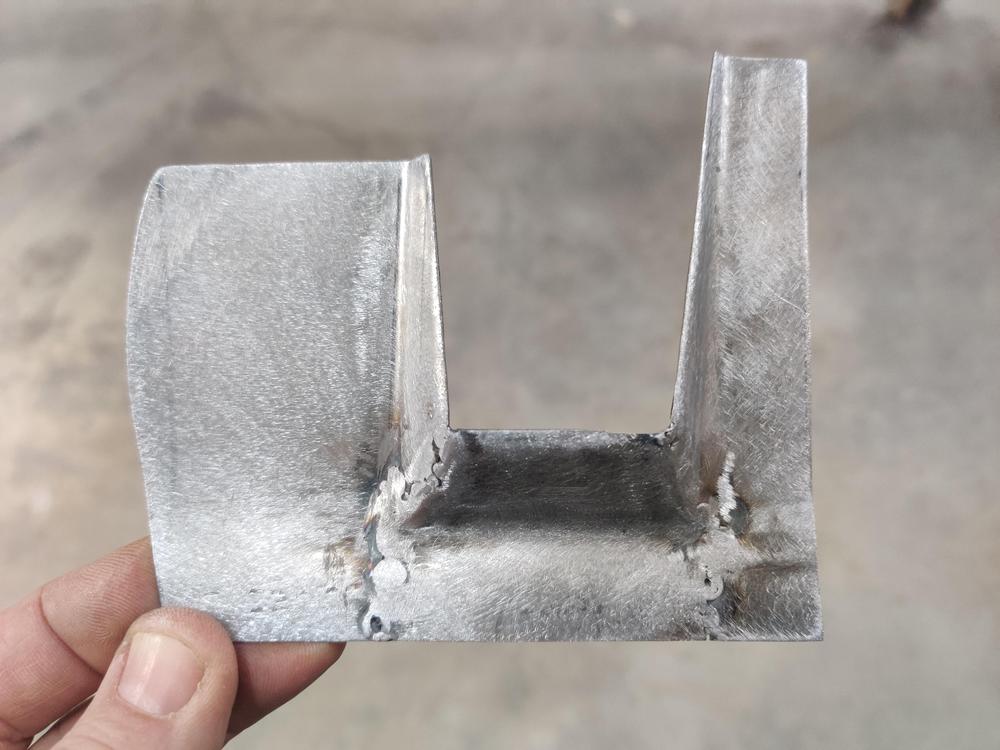
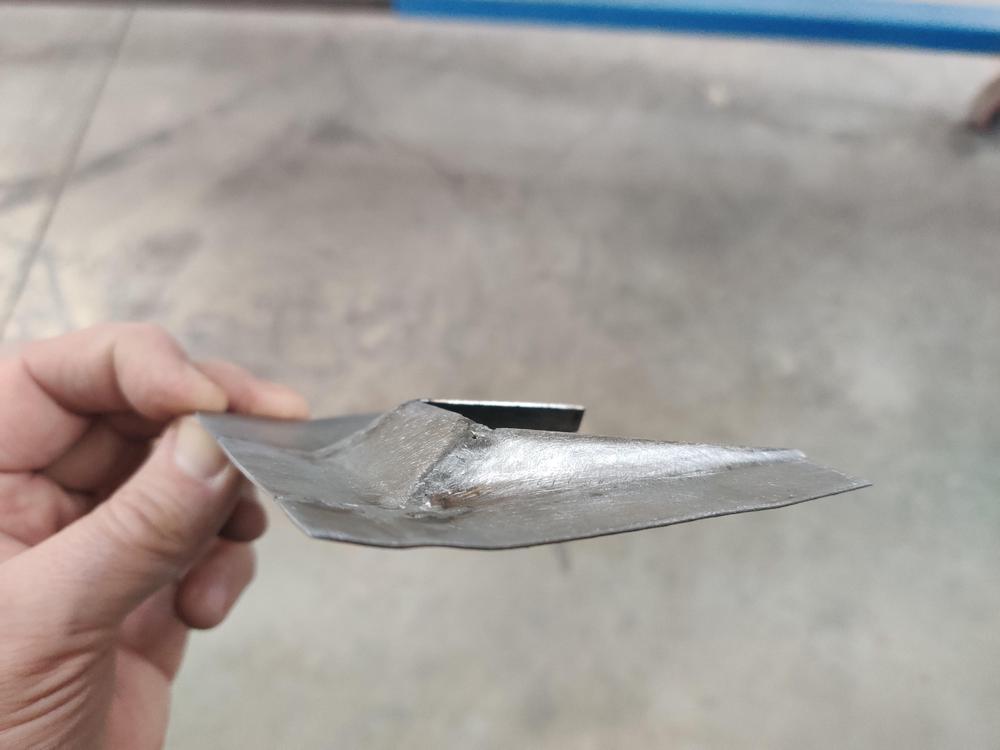
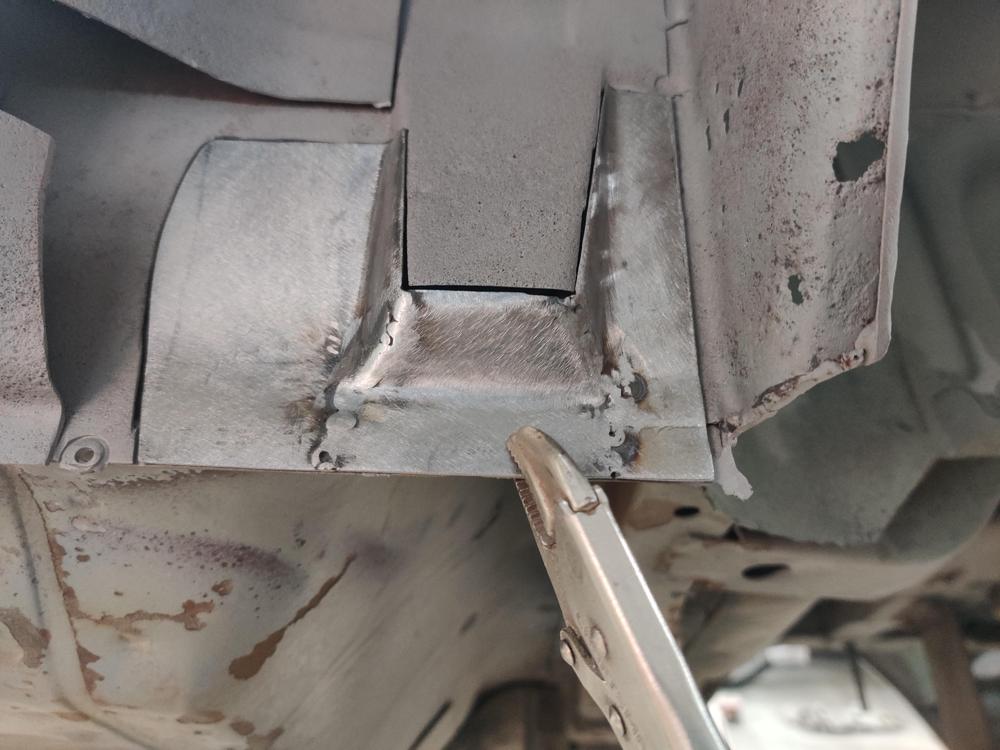
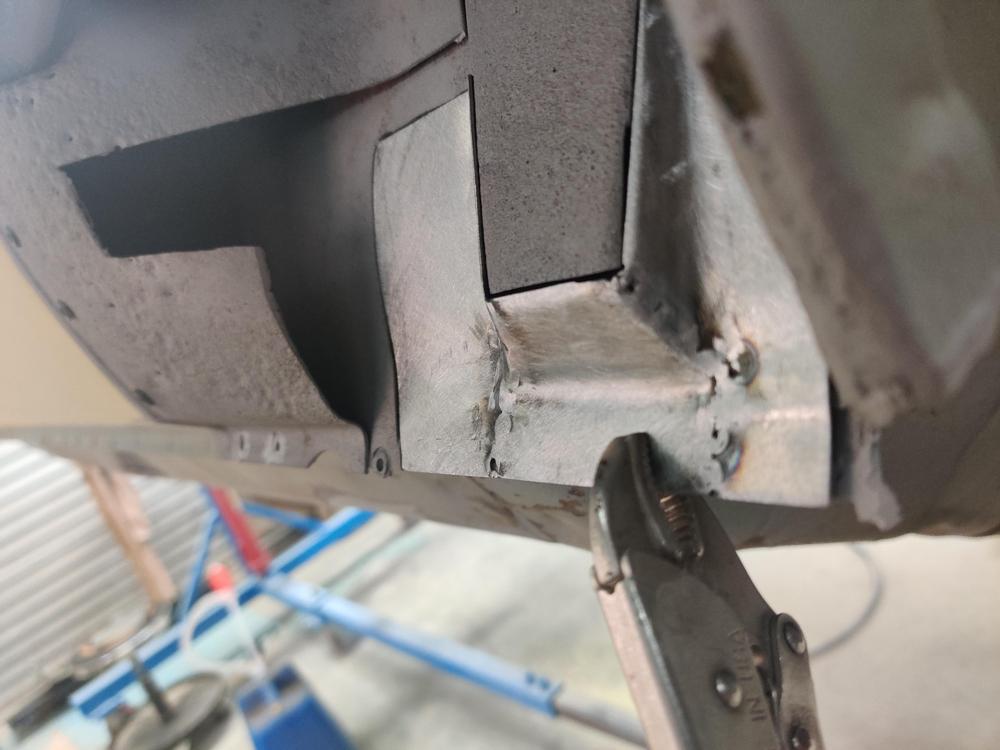
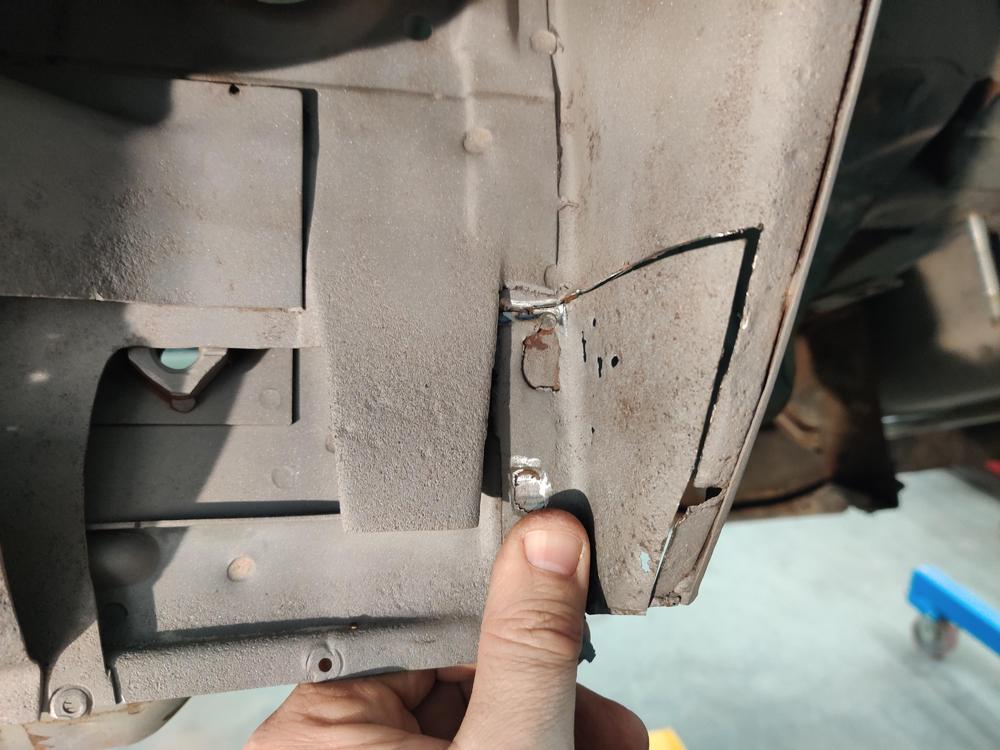
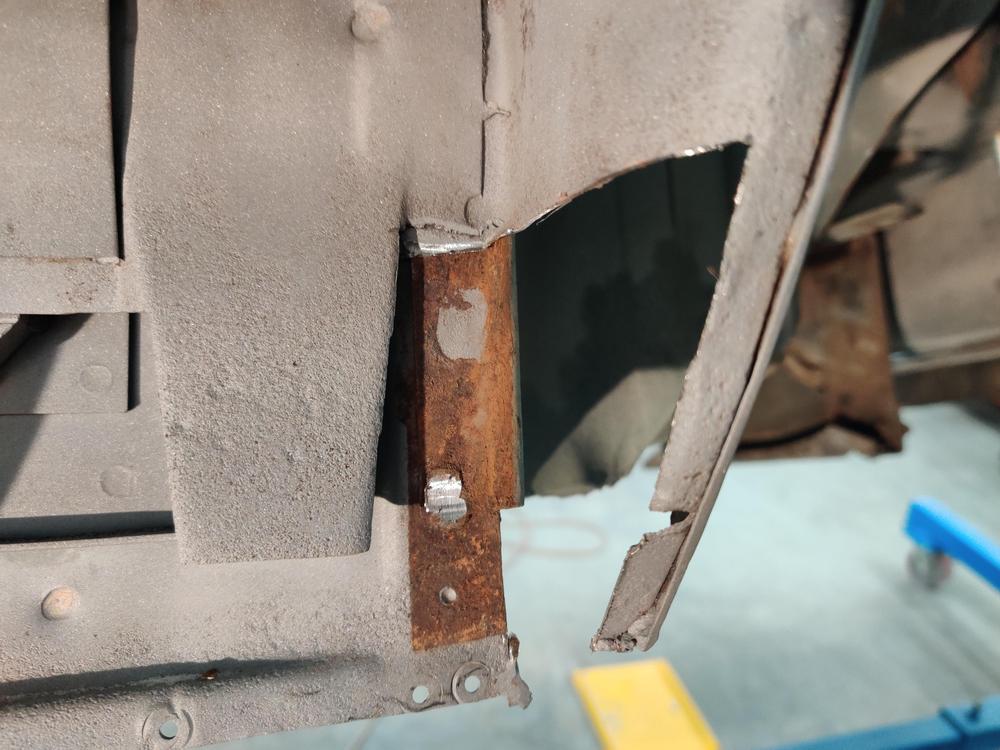
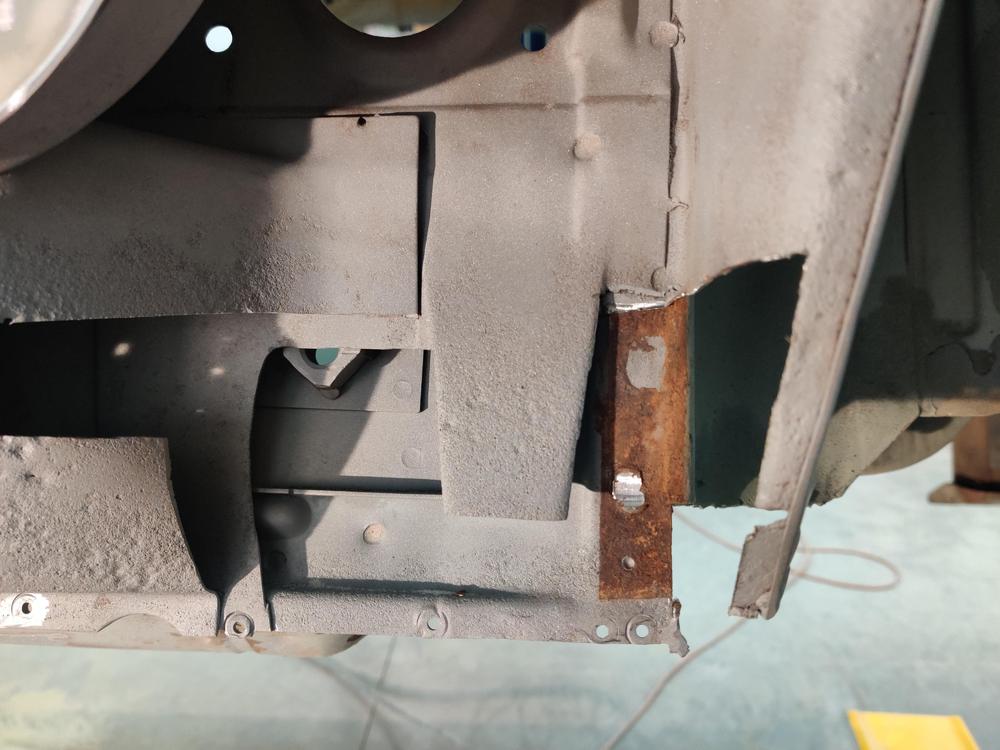
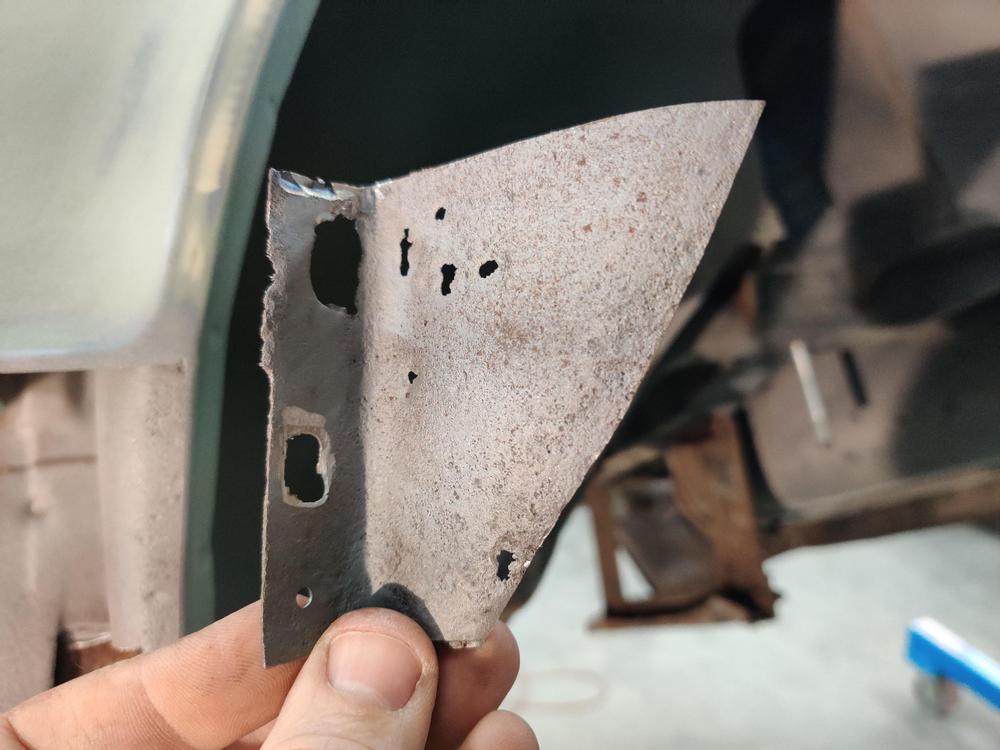
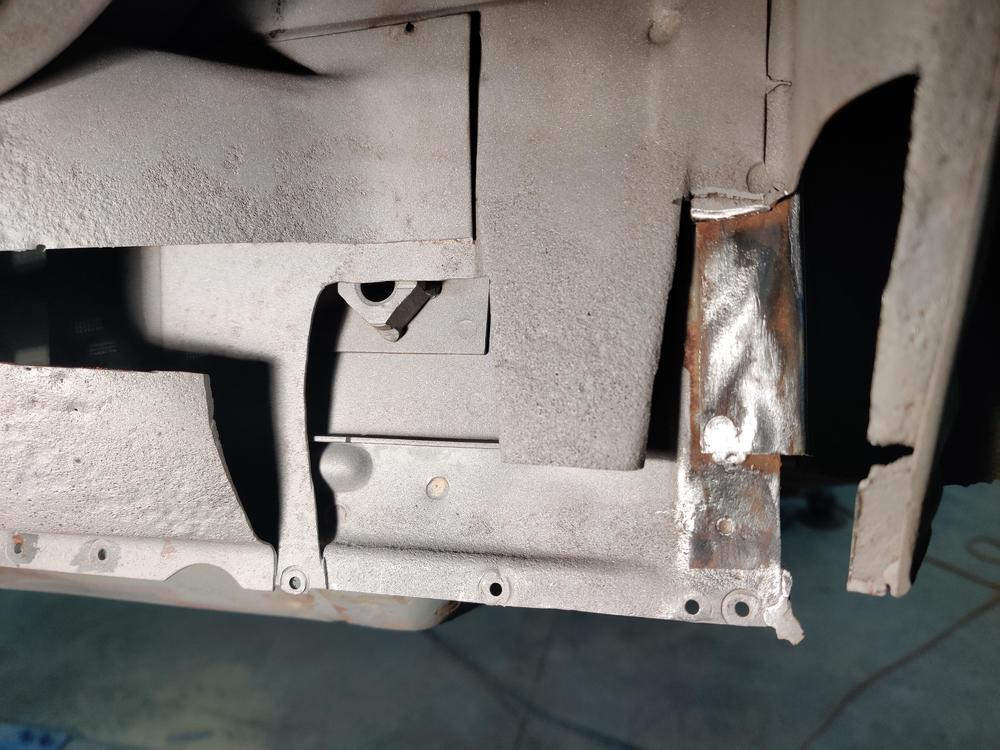
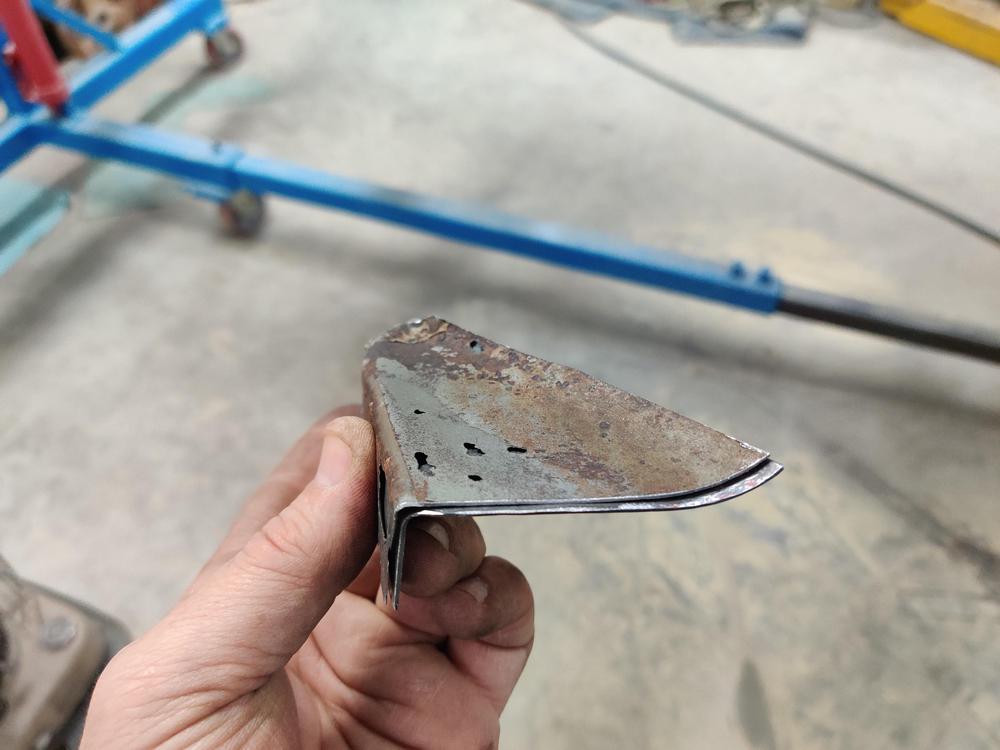
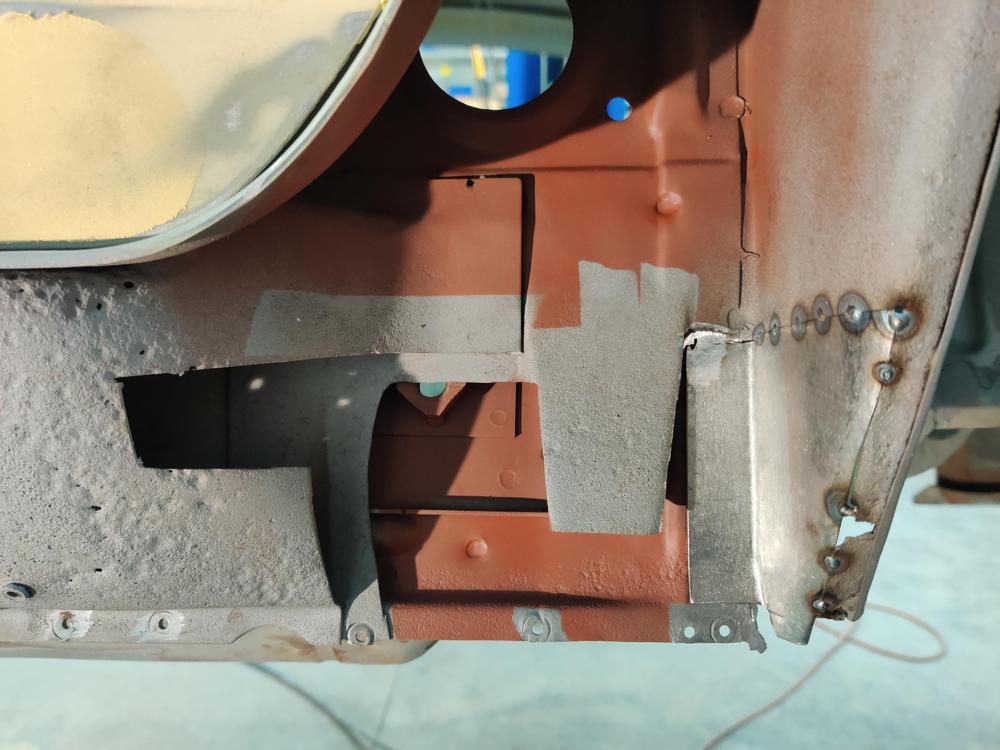
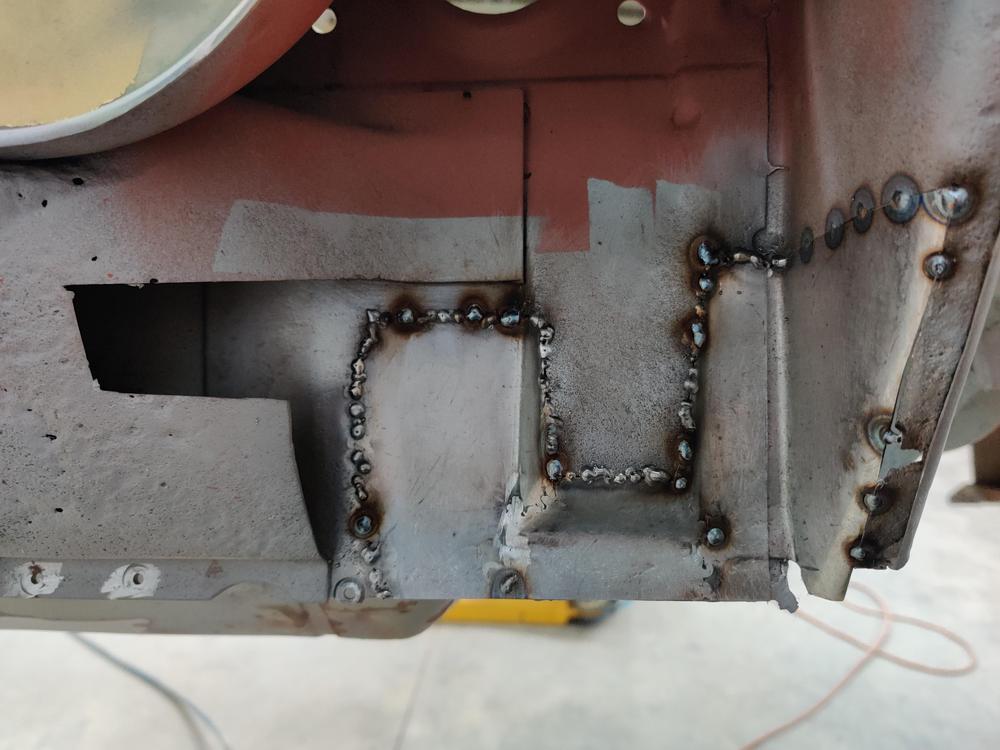
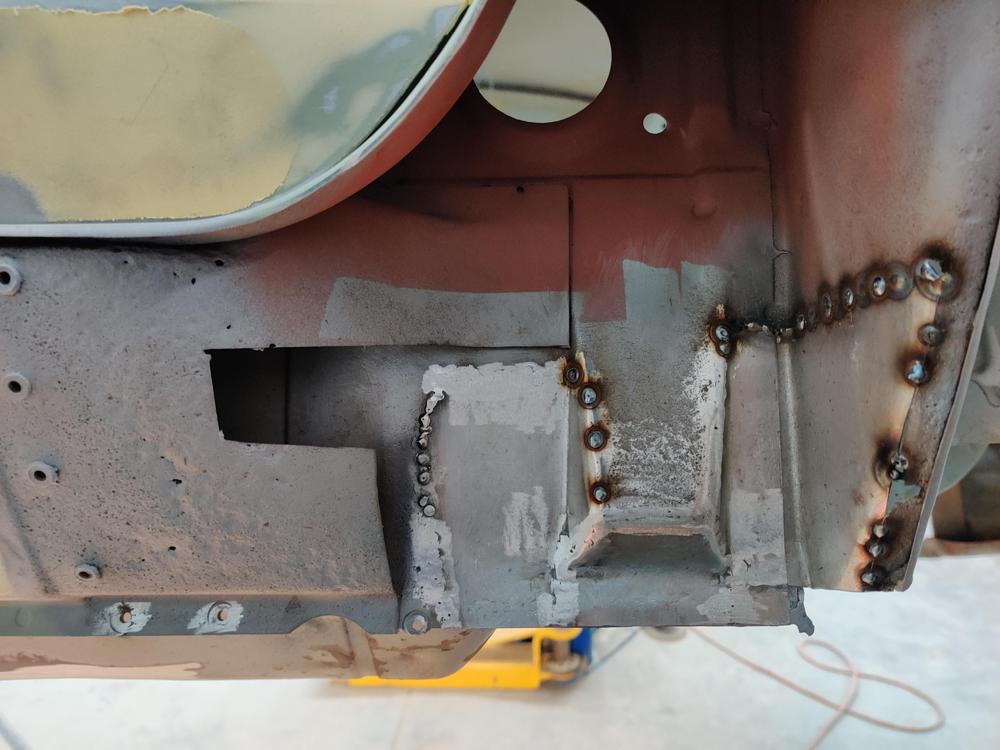
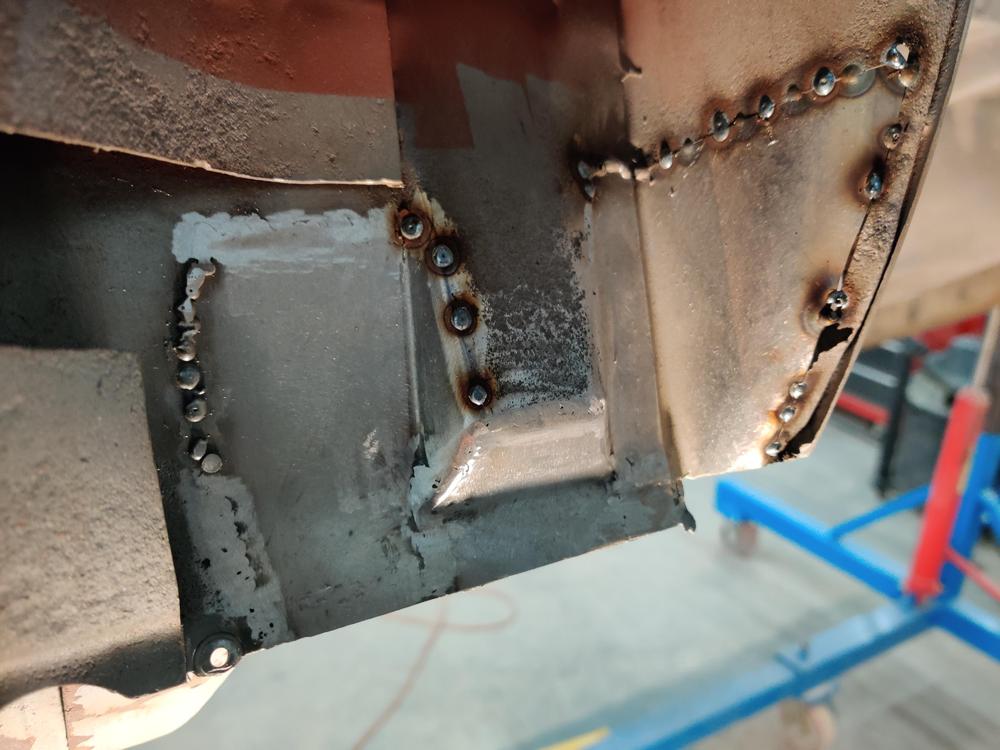
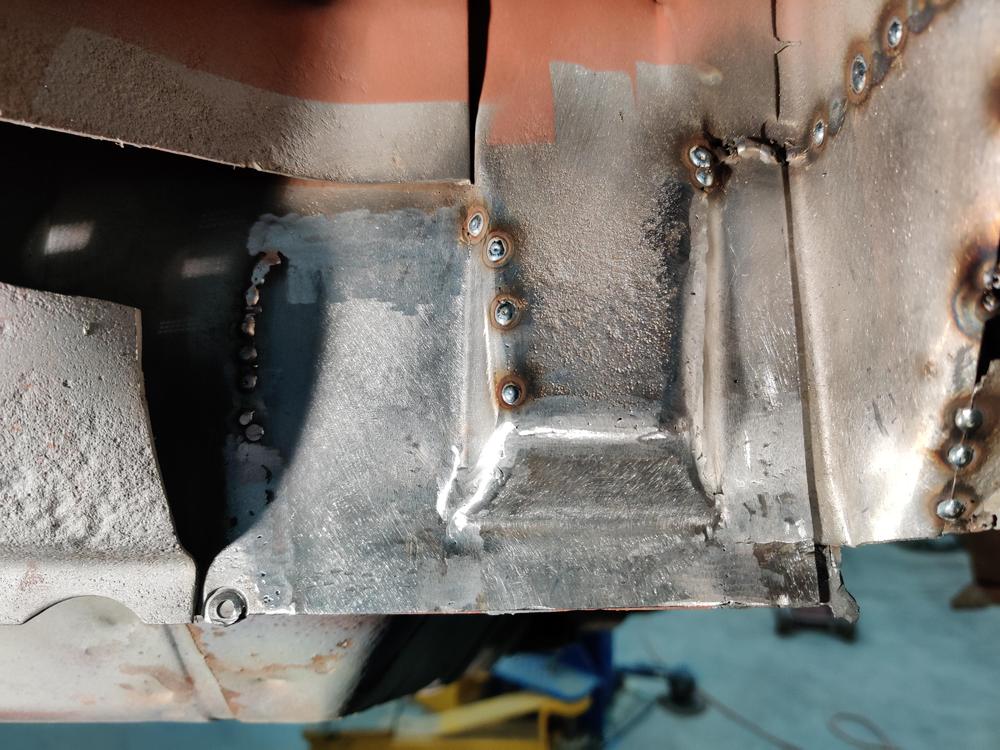
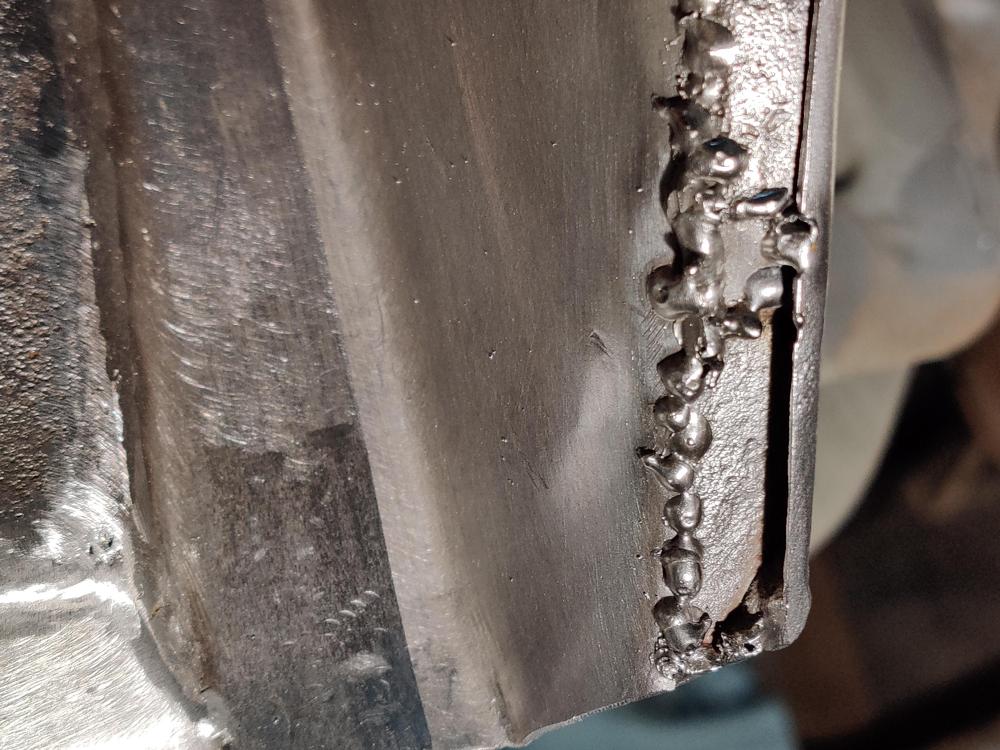
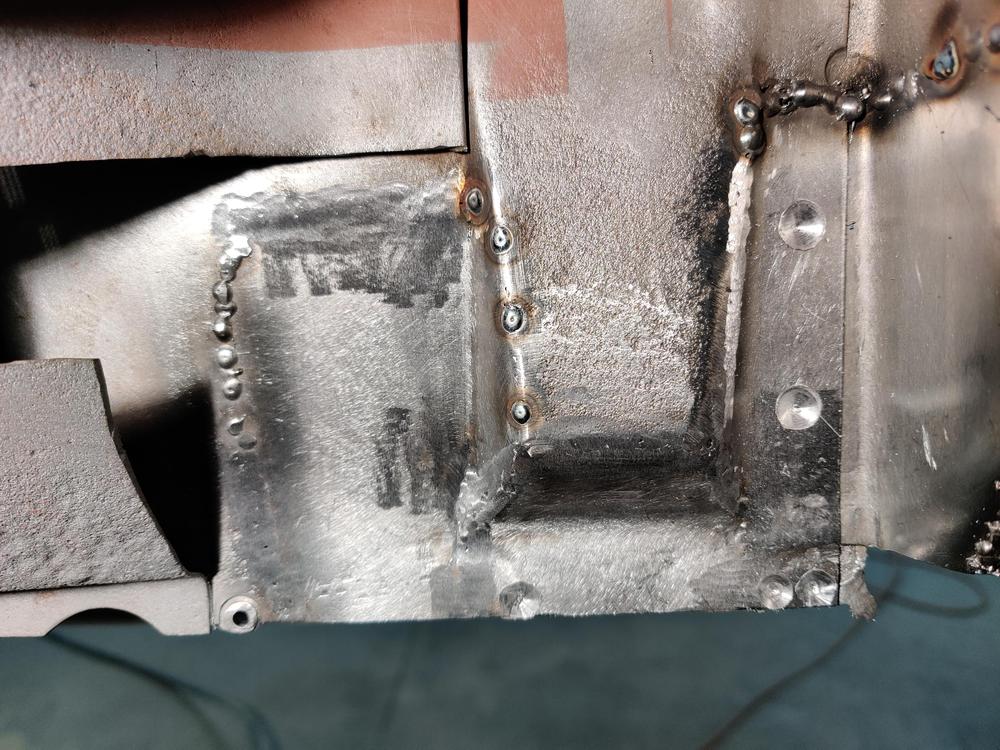
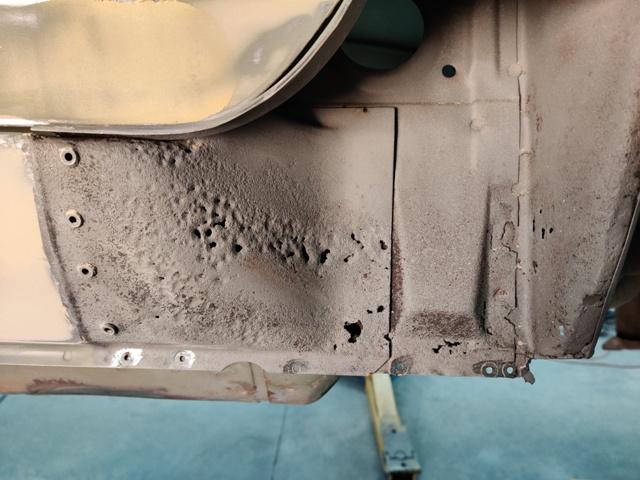
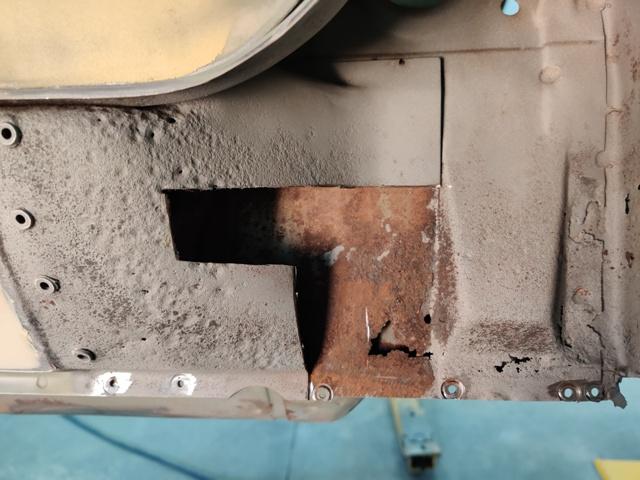
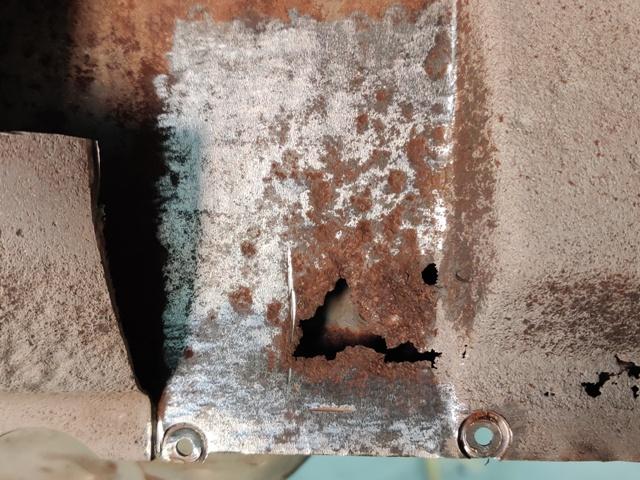
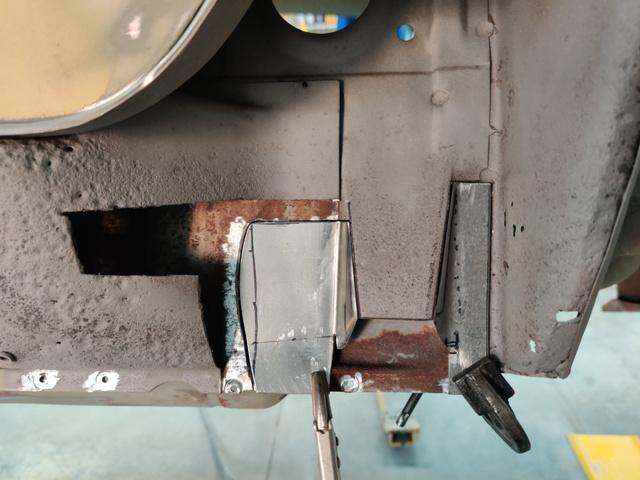
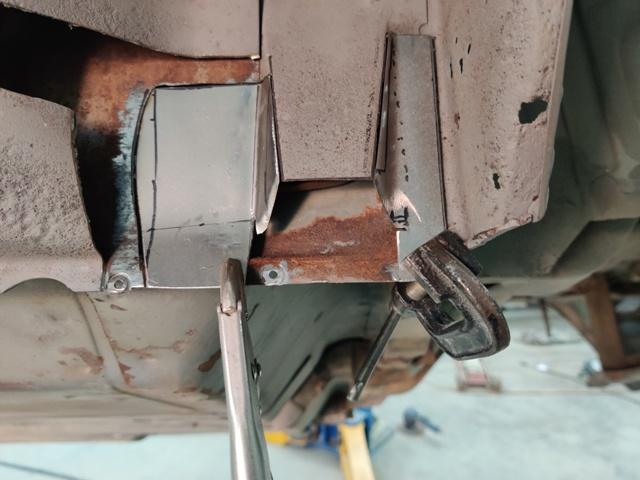
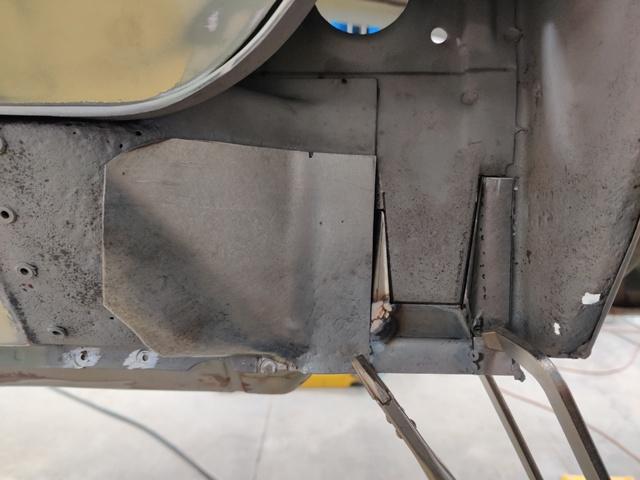
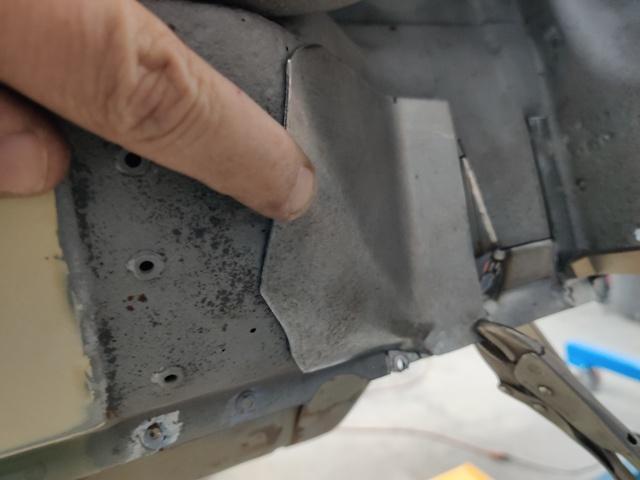
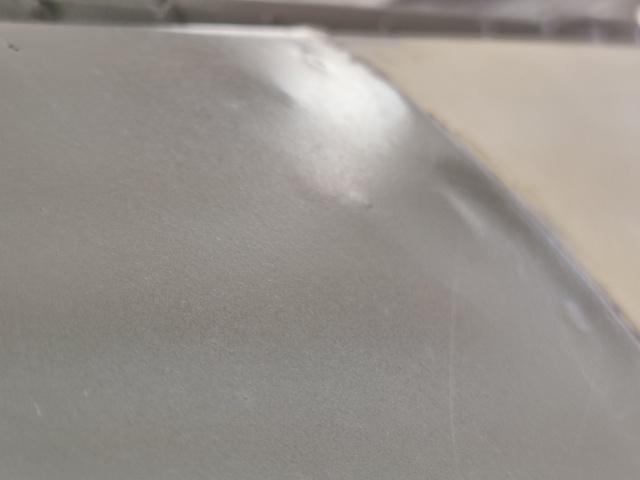
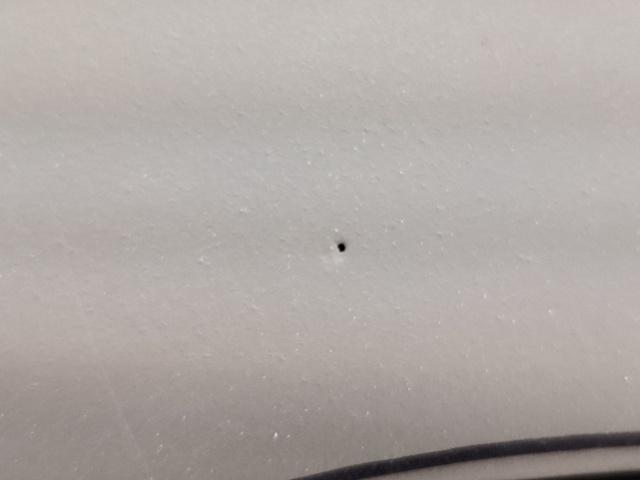
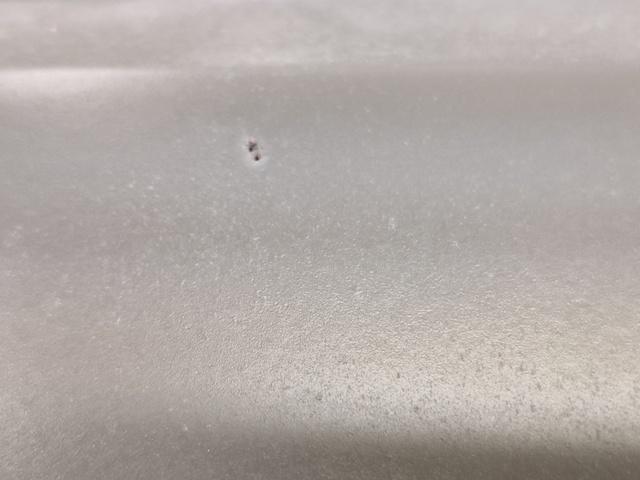
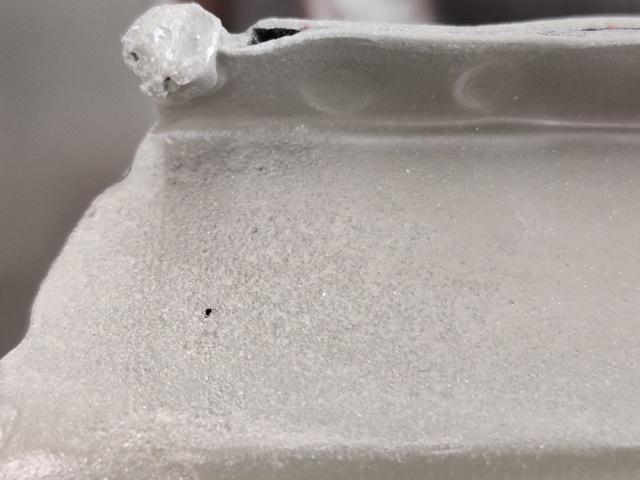
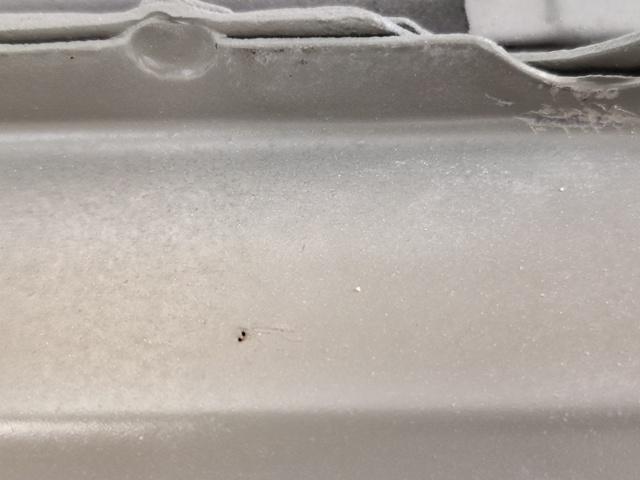
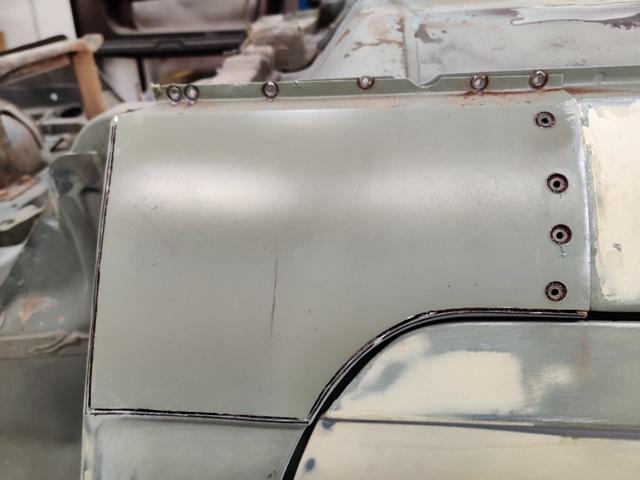
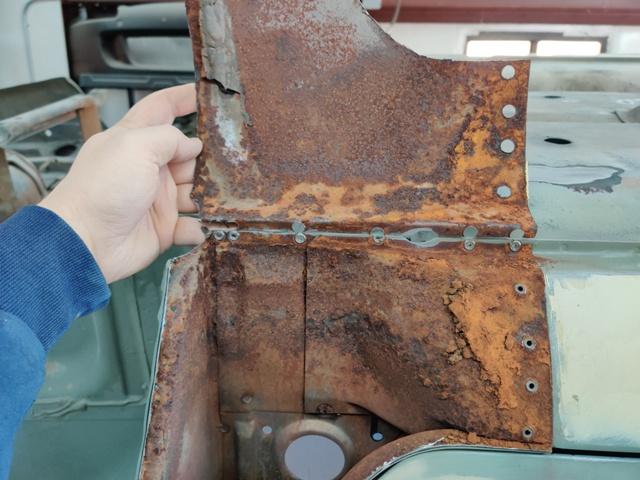
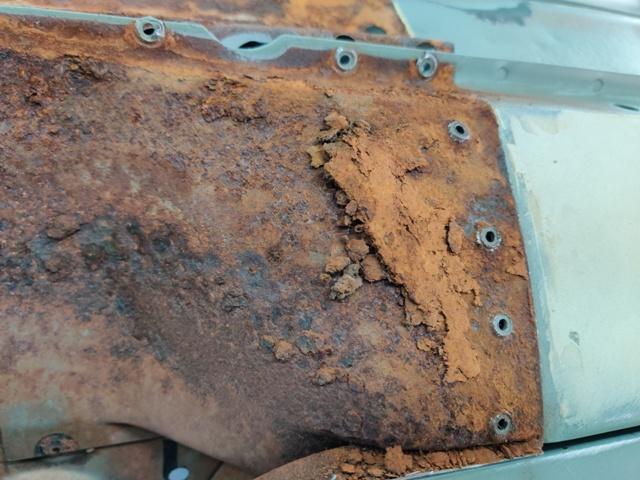
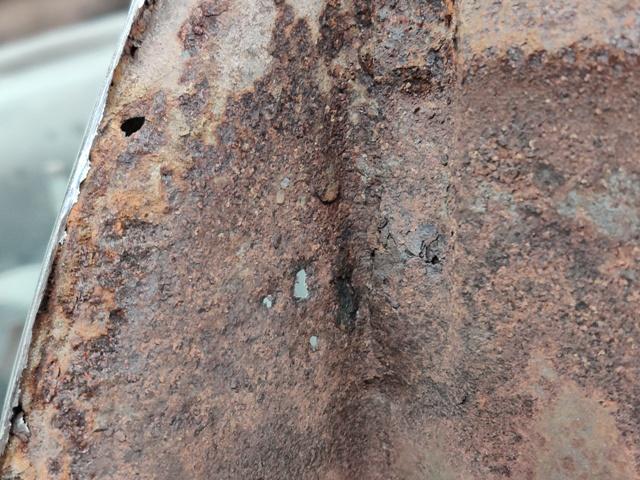
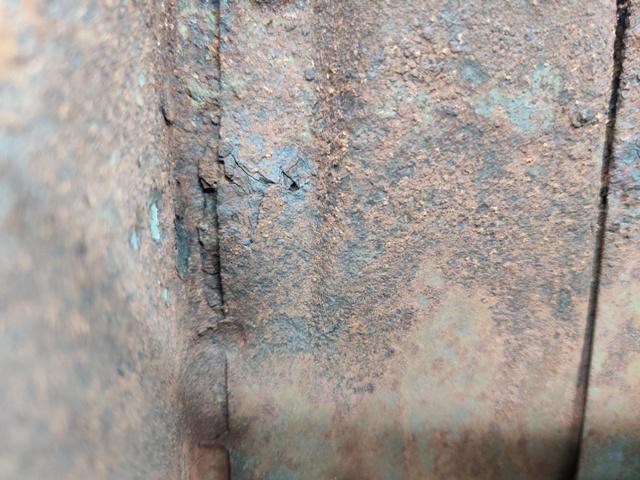
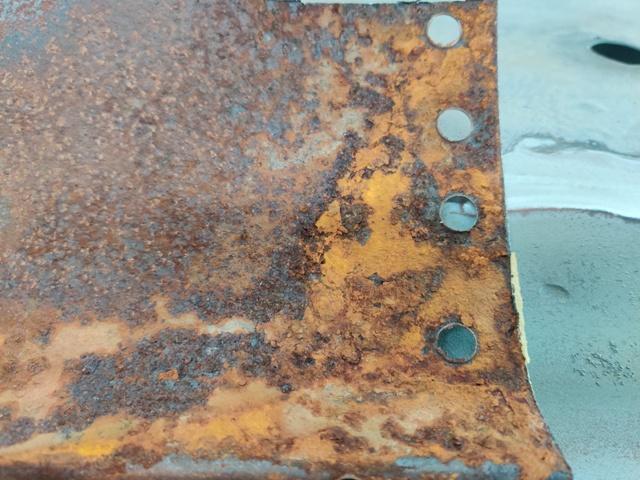
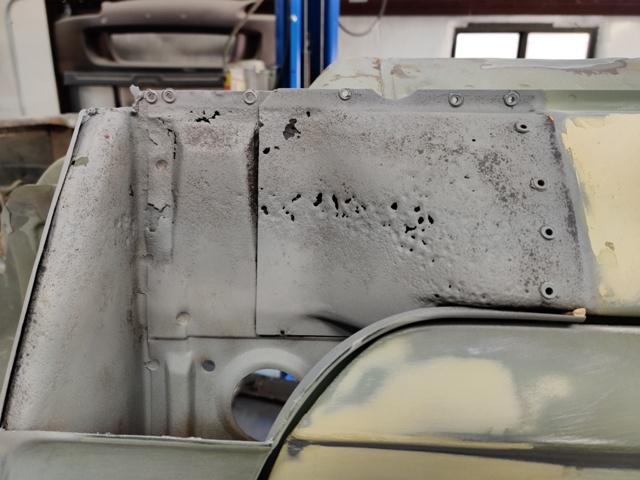
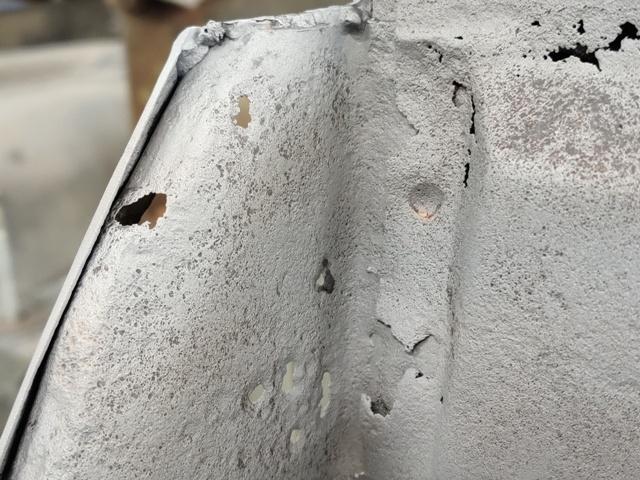
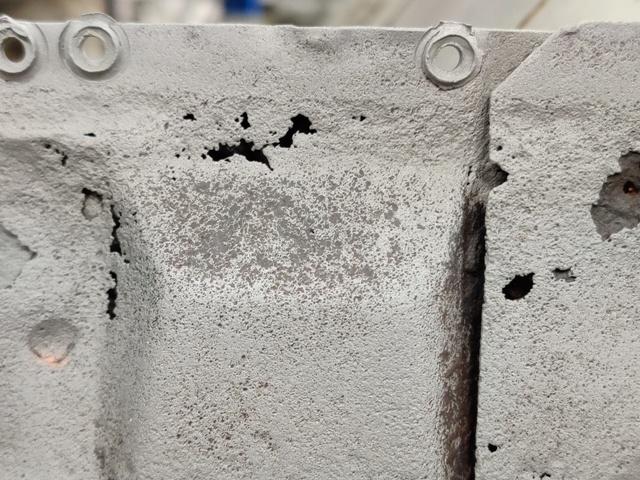
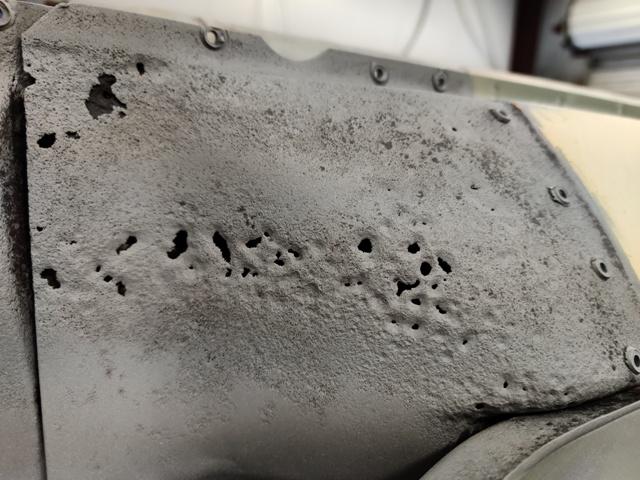
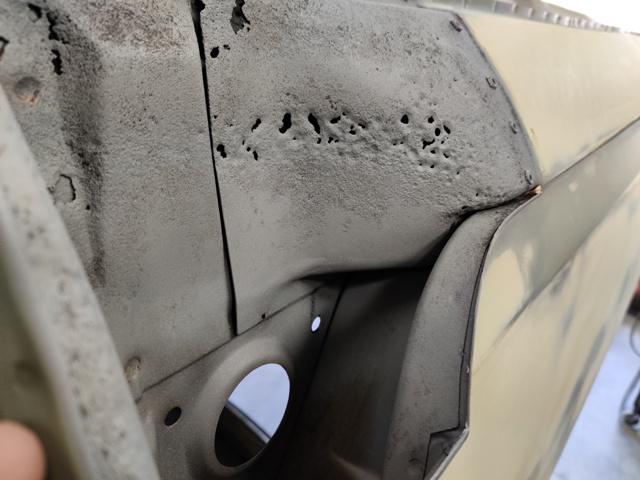
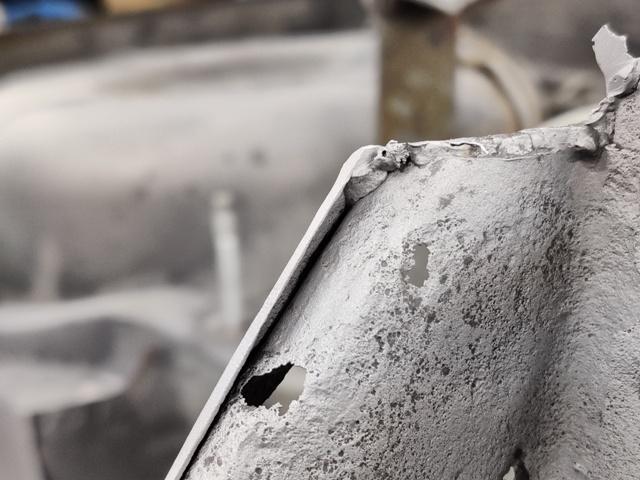
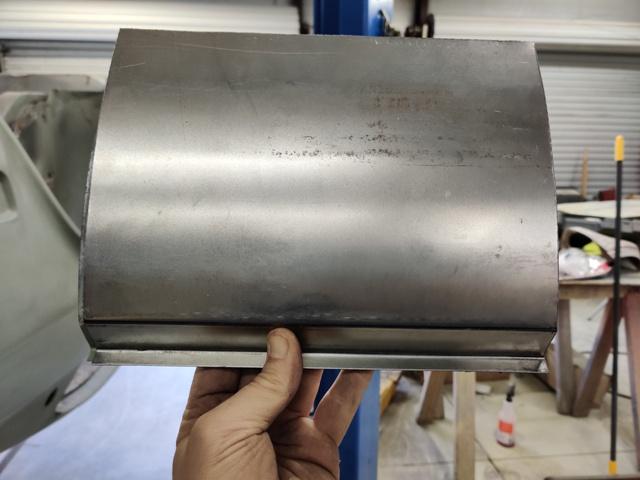
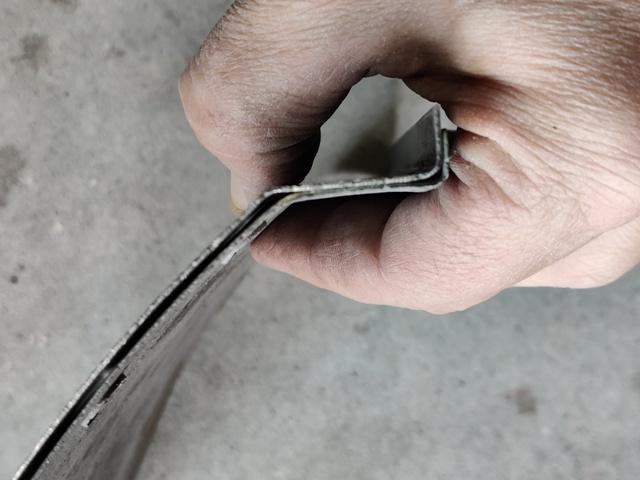
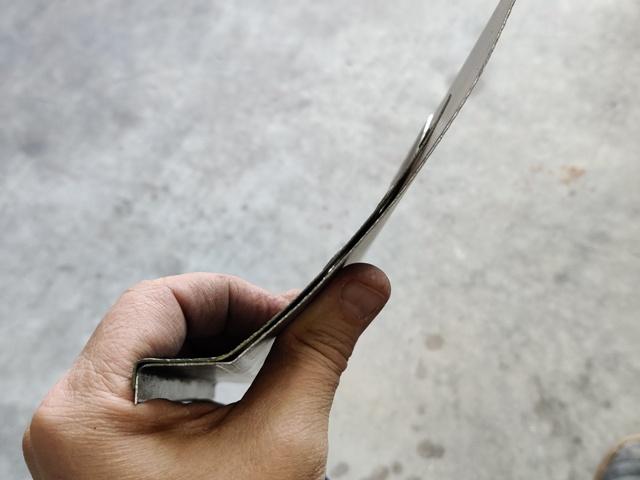
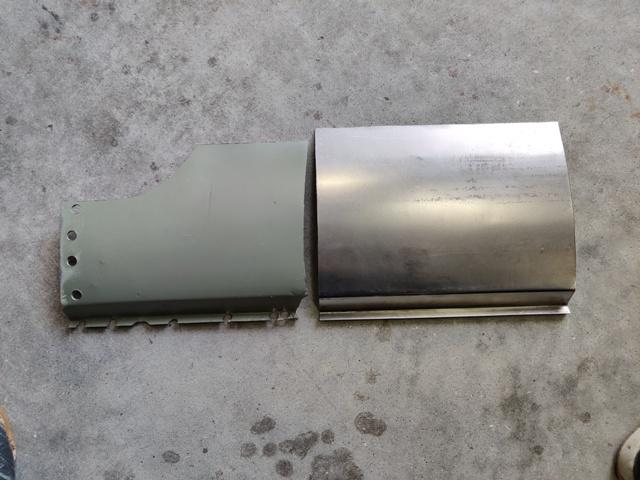
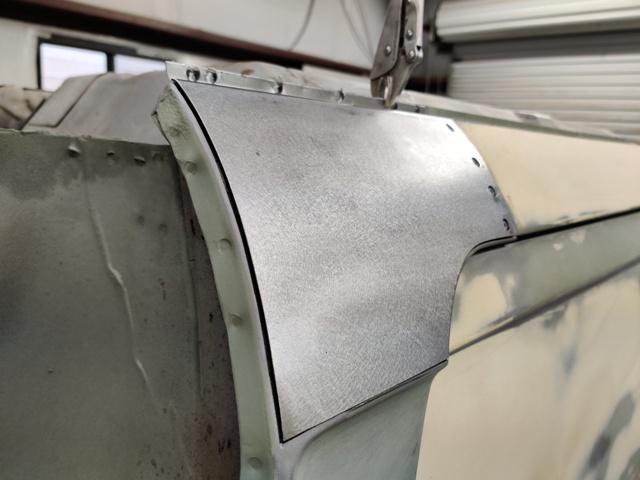
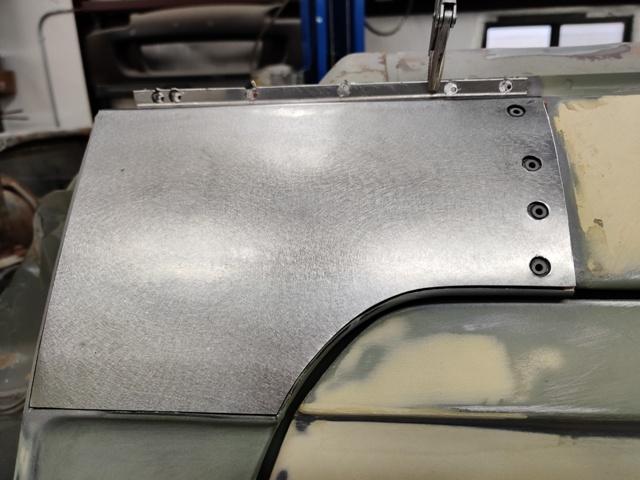
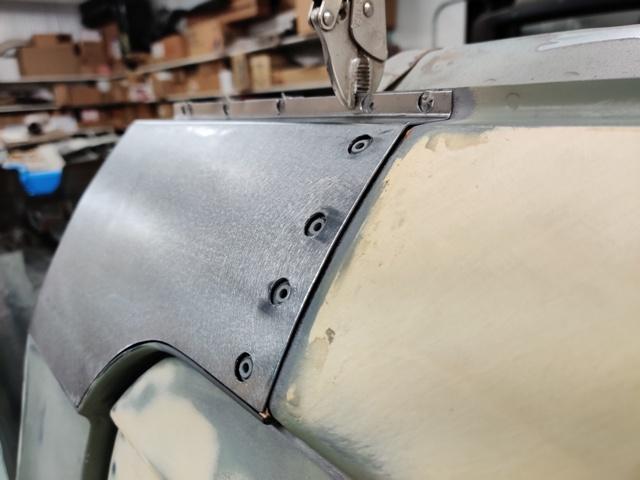
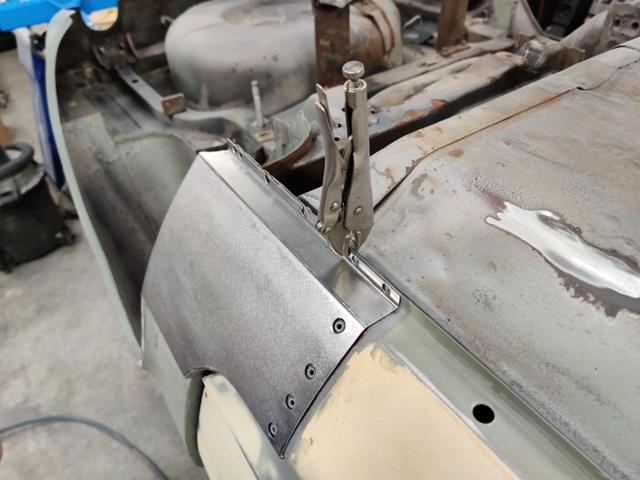
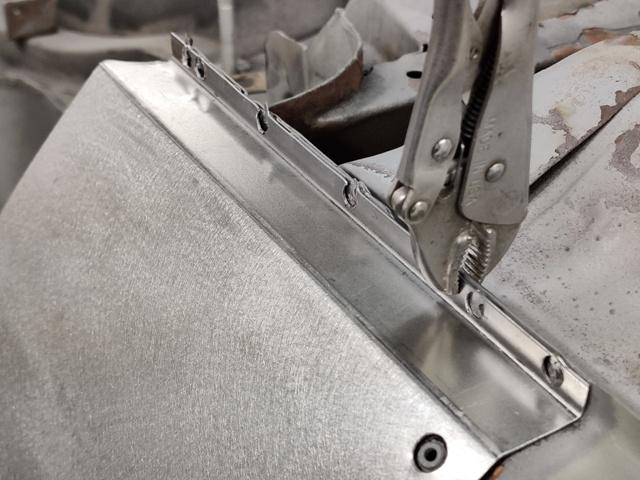
Thanks! I will work on the dog leg areas first and then see where I land with door gaps. I don't think it would be much work to stitch some metal on the few inches of the bottom, front edge of the door, but it will likely cause at least a little distortion. May leave it alone. I didn't want to take off the lower corner of the driver quarter panel - I just kept looking at it and trying to convince myself it wasn't worth the extra effort. I examined it closely and contemplated... Car is upside down in these pics. In the first pic, I am looking at distortion in the area where the quarter panel spot welds to the rocker. These outward points or "dents" are areas where the metal is super thin and being pushed outward by the expansion caused by corrosion. Seeing these little pin holes all the way through the metal, I know that the corrosion on the other side is substantial enough to be breaking through. Especially, on the bottom flat area, any surface repair here would be short lived if water gets in again. Because I want to cut and modify the dog leg curve to improve the fit with the bottom corner of the door, I went ahead marked out where to cut and started cutting and drilling out spot welds. Opening up the panel revealed quite the mess: Unlike the passenger side, the corrosion on this side damaged some of the other, inner panels. Once again, I employed the sandblaster to remove the rust. For this side, the panels are more damaged, lots of holes in the back of the rocker panel and a few holes in the inner wheel well panel: Using the old panel as a guide, I cut a new panel from a flat sheet, and used some 1" X 1" square tubes and my vise to make the 90 degree bend for the weld flange. Then I marked off a line locating the ~ 45 degree bend and used a piece of aluminum channel (it has a really sharp corner) to replicate the factory bend radius. Some hand bending of the rest of the panel (clamping the panel in between a 2 X 4 and my bench surface) to make several slight bends... to replicate the shallow curve...) Getting the distance correct between the 90 degree and 45 degree bends is the hard part. I am happy with this: Once in the correct shape, I used the old one again as a template to locate holes to match the spot weld cut outs. Then I used a 4 1/2" grinder with a flap wheel to sand the edges of the panel to fit the opening on the car. Even with just one vise grip holding it on, the fit is very close. I am very happy with how this turned out. However, I can't close it up yet, as I have more sheet metal work to do to fix the inner panels.
-
Mint '71 240Z - More Fun Coming to BaT
Ah, I found the info you posted about this before. And dates beyond the 26th? AA, BB, CC, DD, etc. Cool.
-
Mint '71 240Z - More Fun Coming to BaT
@KatZ : "This PS30-00248 has a seat belt tag “ 4. 1970 “ , and the jack has a date stamp “ P. D. H “ ( means 1970 , April , 8th ) . I would like to see the jack of the BAT car much closer , I see “ P “ on the left , but it is not clearly seen , so I will wait until I get the clear shot." Using letters for dates is interesting... I never knew about that. How does the stamping indicate a day in the month after the 26th? How does the 16th letter in the alphabet get assigned to 1970?
-
Bodywork Issues
@BoldUlysses: What paint (manufacturer of the 901 Silver) did you go with? I tried asking for Glasurit/BASF/Limco, and they had no formula/code for it.
-
Mint '71 240Z - More Fun Coming to BaT
Oh man... the latest pictures of the carpet, aftermarket floor mat, and jute padding are gold. More pics saved to hard drive.
-
901 Silver/Grey Metallic. Not available in Glasurit?
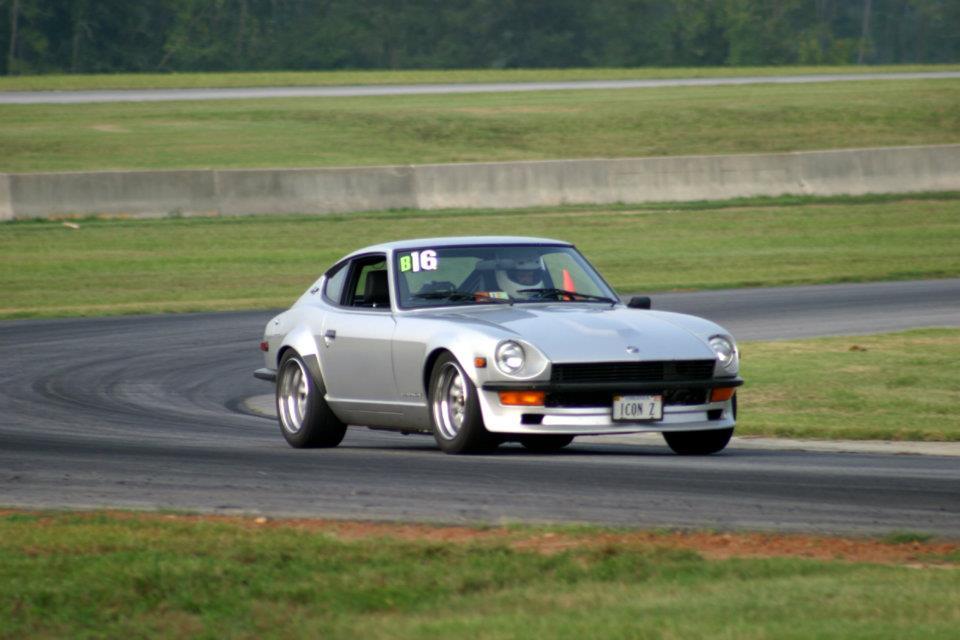
So, I just got back from the local auto body supply place - they carry various brands including BASF/Limco/Glasurit. I asked for Nissan 901 silver, and the guy looked up the code and found nothing available from Glasurit in the 55 Line, and nothing in the other BASF products. I found this online tool, and I get only 90 Line, which is water based. https://coloronline.glasurit.com/index.php?language=8 I think that is incompatible with all my Glasurit stuff... which I have on hand. I've got a lot of money invested in Glasurit primers, and clear coat (I did some work on my BMW M3 as well). So, this is kind of upsetting. Now, I find it hard to believe that I can't get to a Glasurit version of 901. Any ideas? I searched and found these somewhat related threads: I also could take the tool doors to the auto body supply place and have them scan it with their Glasurit scanner, but the comment in the one thread says that silver (on the tool doors) isn't the same as what was used on the outside of the car, and that seems like it should be unnecessary. Anyone have experience with taking a code in one manufacturer's paint and crossing it with another manufacturer? My other Z is a really pretty silver, and looks like the one in the image for the link to the thread above to me, but it is a Toyota (1987 Supra) in Glasurit that I asked for over the counter in 1994. Here is a pic: Garrett


 Subscriber
