HaZmatt
Free Member
-
Joined
-
Last visited
Everything posted by HaZmatt
-
 Yes that was it! Thank you guys again. I just moved the plug wires 3 spots with the #1 facing backwards. Fired right up! I will drop the oil pump and put it in right. This doesnt really suprise me that it was installed backwards.
 -
Yeah Rebello shipped the motor with pump and dizzy installed. But no plug wires
-
Ok I'll switch the plug wires just to make sure that's what it is. So how would the firing order go?
-
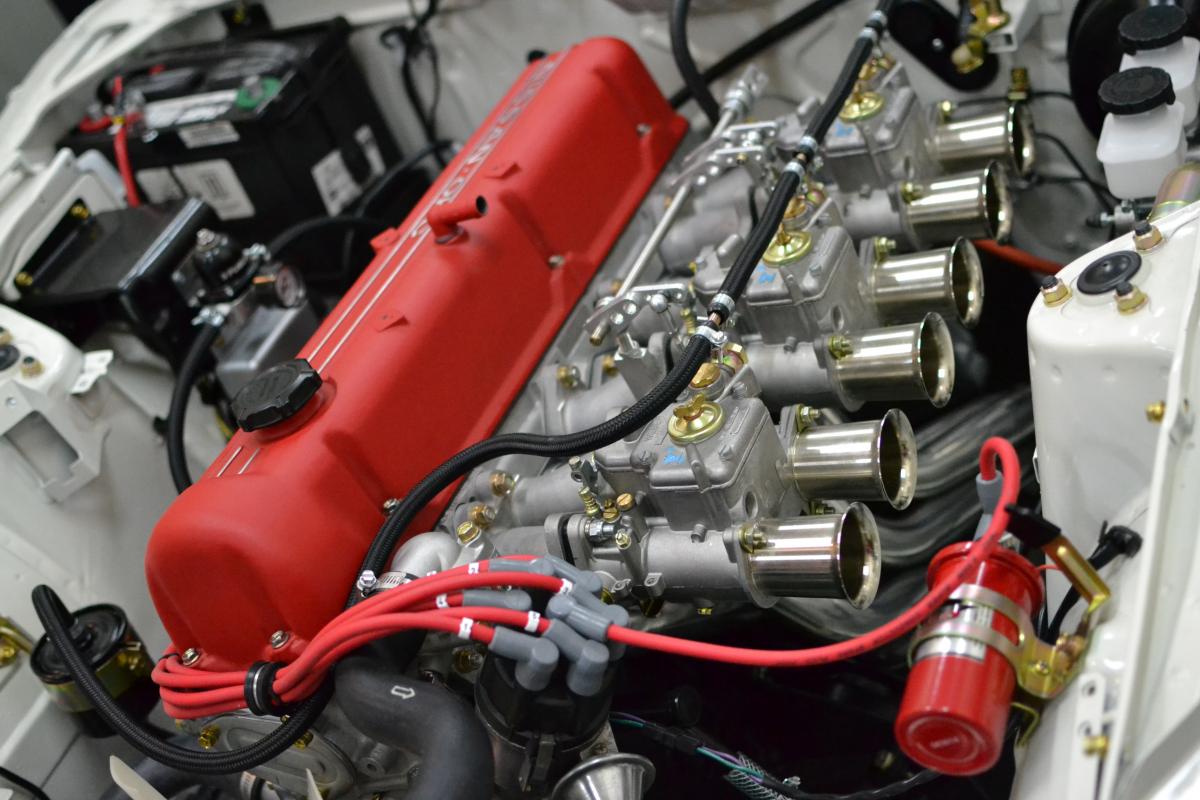
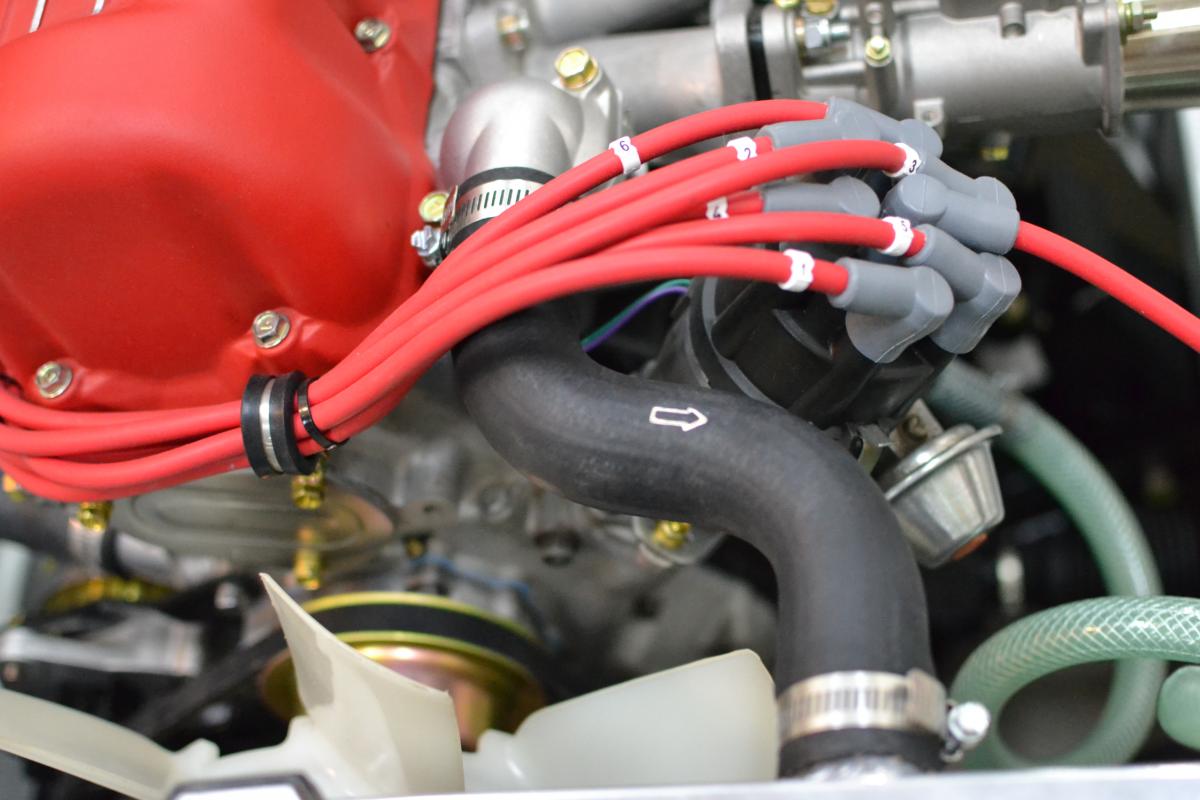
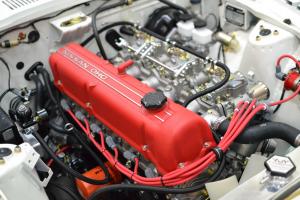
OK, I finally installed my L28 and everything is hooked up. Turned it over and its popping and backfiring and wont start, which tells me theres a timing issue. Its a 75 280z with triple webers, stock dizzy, MSD 6al, and Blaster2 coil. Here is what ive checked so far: Its getting fuel It gets spark Firing order is 153624 Set motor at TDC (compression stroke) Pulled dizzy cap and its backwards. But it wont let me turn it 180 degrees because it only lines up one way. Am I missing something? Ive heard of guys switching the firing order on the cap. Now I know Rebello put on a new cap and rotor and modified the dizzy to wire up the MSD. How would it be backwards? I really hope this is something dumb that i'm doing. Here are pics.
-
I have an RX7 pump too and I just tried running it and got a very low, inconsistent flow of fuel. It doesnt even register on the gauge. Steve, did you use the supplied filter that came with it or just cut it off? Maybe thats my problem. EDIT: found my problem, needed more than 3 gallons in the tank.
-
Yeah its a good product, just dont expect it to line up perfectly. Just takes a little trimming and it looks great.
-
The metal tube that goes into the block has a 45 degree bend that is about 4" long. The straight tube that originally came in the block was "lost". So he sent me this one. If I angle it forward the tube will be too close to the fan. I might address this issue later on, but right now I just wanna get this thing running
-
If it were to go any further forward the fan would hit it. I need to figure out something for the valve cover vent though.
-
Using an oil catch can mounted next to the radiator.
-
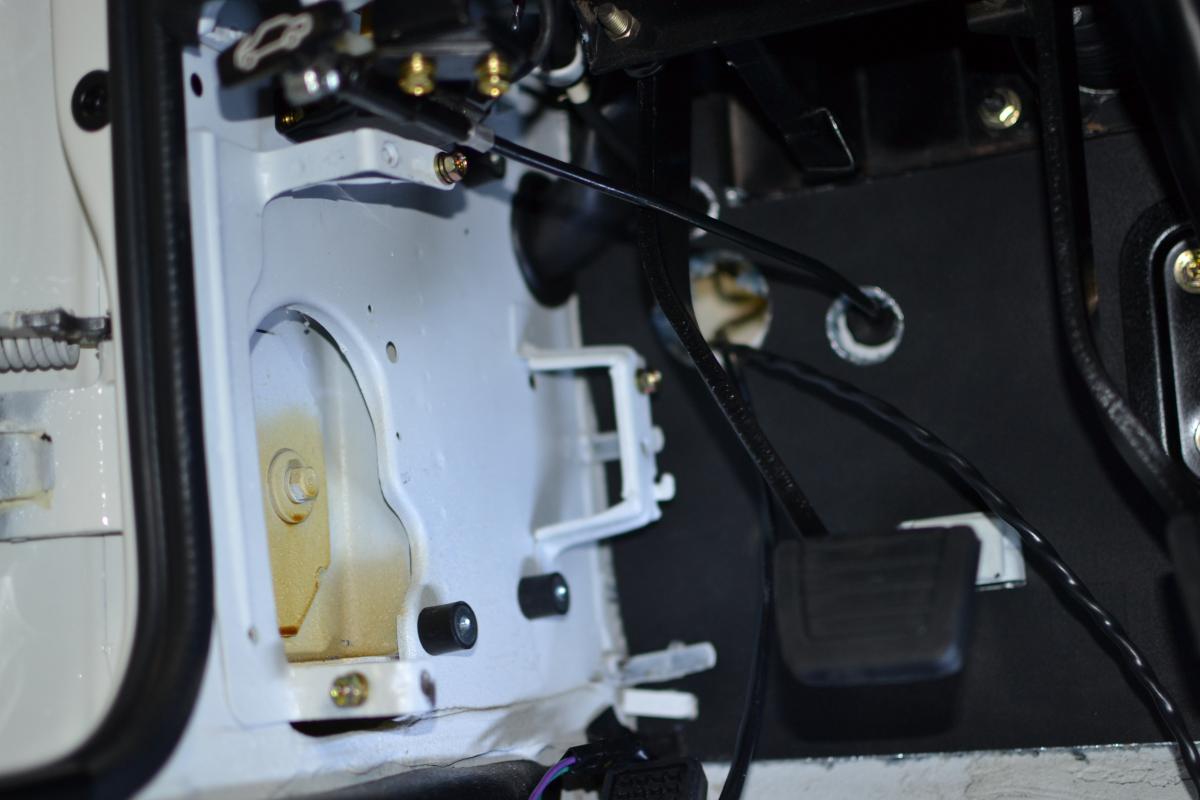
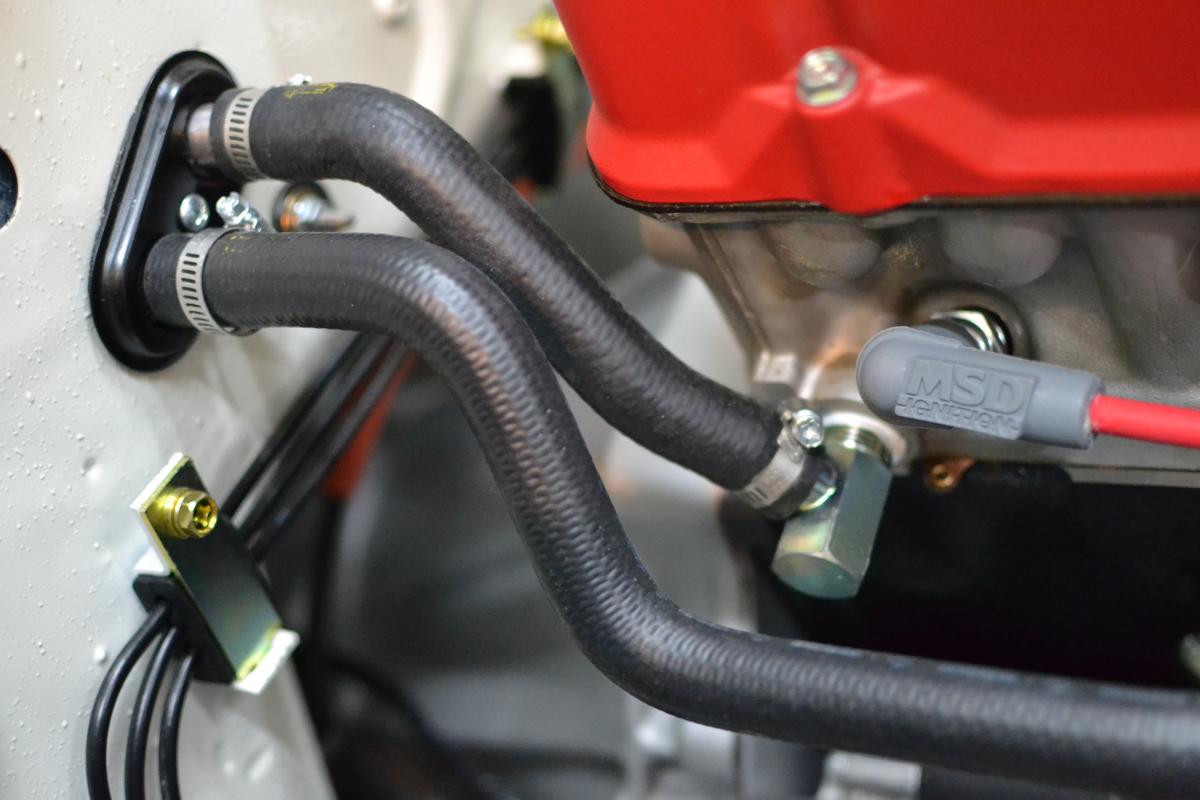
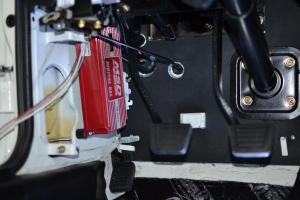
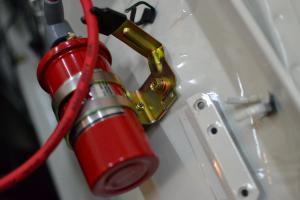
I installed my MSD box today. Still need to run a couple more wires but its pretty straight forward. I mounted it in the drivers kick panel where the EFI unit was. First I mounted the insulators Then the box. It fits nice in there Heres a couple shots of my engine bay. I still need to tidy things up and route my fuel lines better.


-
I went through about 4 cans of it. Sprayed it in about every crevice I could find. It comes with a long tube and the nozzle sprays like a star pattern so it has a 360 degree sparay pattern.
-
That's good. They make some replacement panels for the lower fender areas. Otherwise look on Craigslist in Arizona or California for some rust free fenders, that's what I did.
-
Thats correct. The frame coating has a rust encapsulator in it so no need to remove any surface rust. Just the blow out the big chunks. How are your floor pans?
-
Ooh your rails are pretty bad, huh? I used Eastwood internal frame rail coating inside all my rails. I also had a guy replace a small section for me.
-
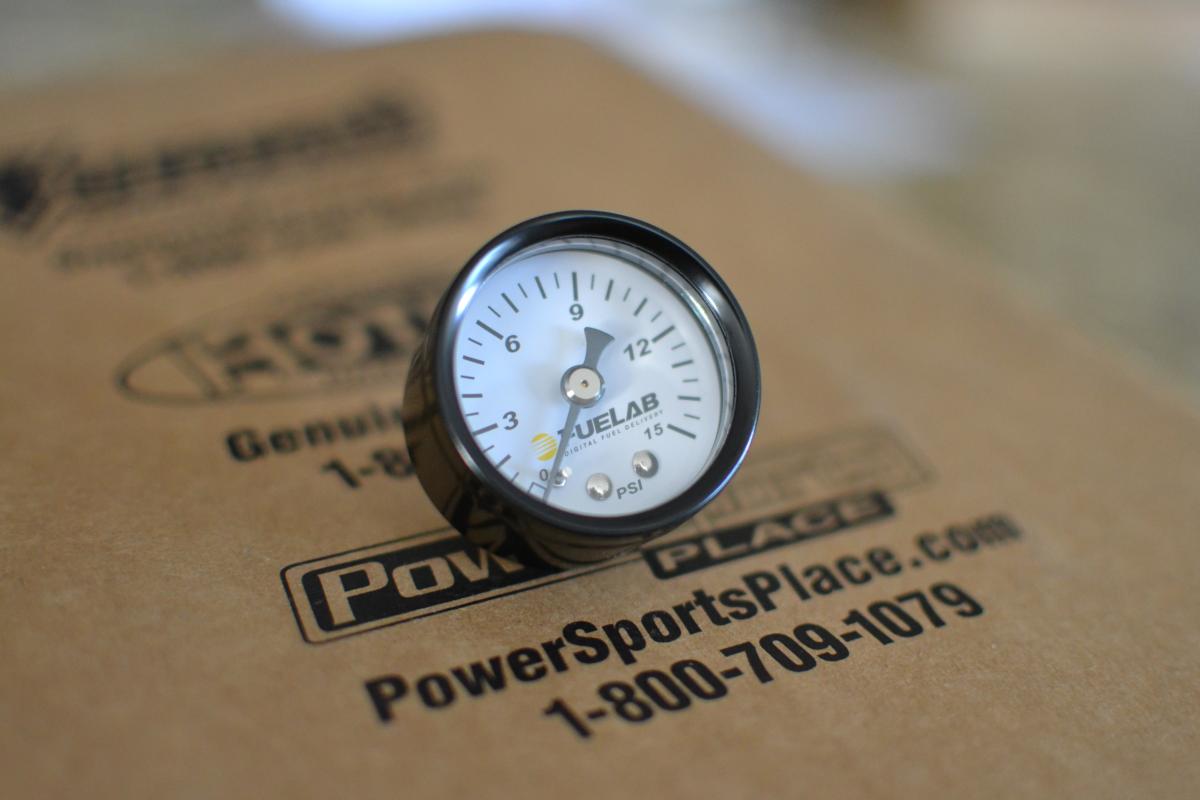
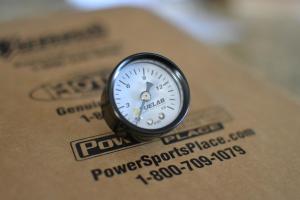
Its a Fuelab gauge from Summit Racing. Non liquid filled. I think it was like $30
-
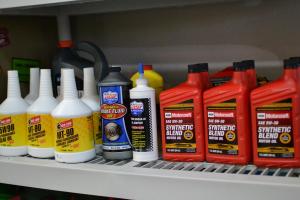
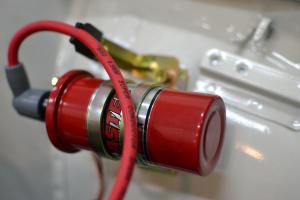
I can smell the finish line! Purchased all my fluids New fuel pressure gauge Picked up these bad boys! Installed the coil, I was happy that I was able to use the factory bracket with a little modification. Now I just need to wire up the 6AL and button up a few minor things and I should be running this weekend!!!! Wish me luck!
-
Looking good!
-
Thanks, I just read your entire build thread on your 370. That thing is amazing!
-
Thank you Grannyknot! I got a lot of inspiration from your thread. Theres still quite a checklist for me but im getting pretty close.
-
I had a little flash rust in the rear wheel wells from when I towed it home, and hit a few puddles on the way. But other than that I think its too dry here to flash rust. I think it sat for a good 6 months before getting primer on it. I got all these parts from Z Specialties Online or DatsunStore.com. I used Eastwood Internal Frame coating for inside all the rails and Eastwood Anti-rust coating inside all the areas like door panels and rear quarter panels.
-
Well I was hoping Zcon was going to be in San Diego again this year because I couldnt make it last year. But its in Tennessee this year.
-
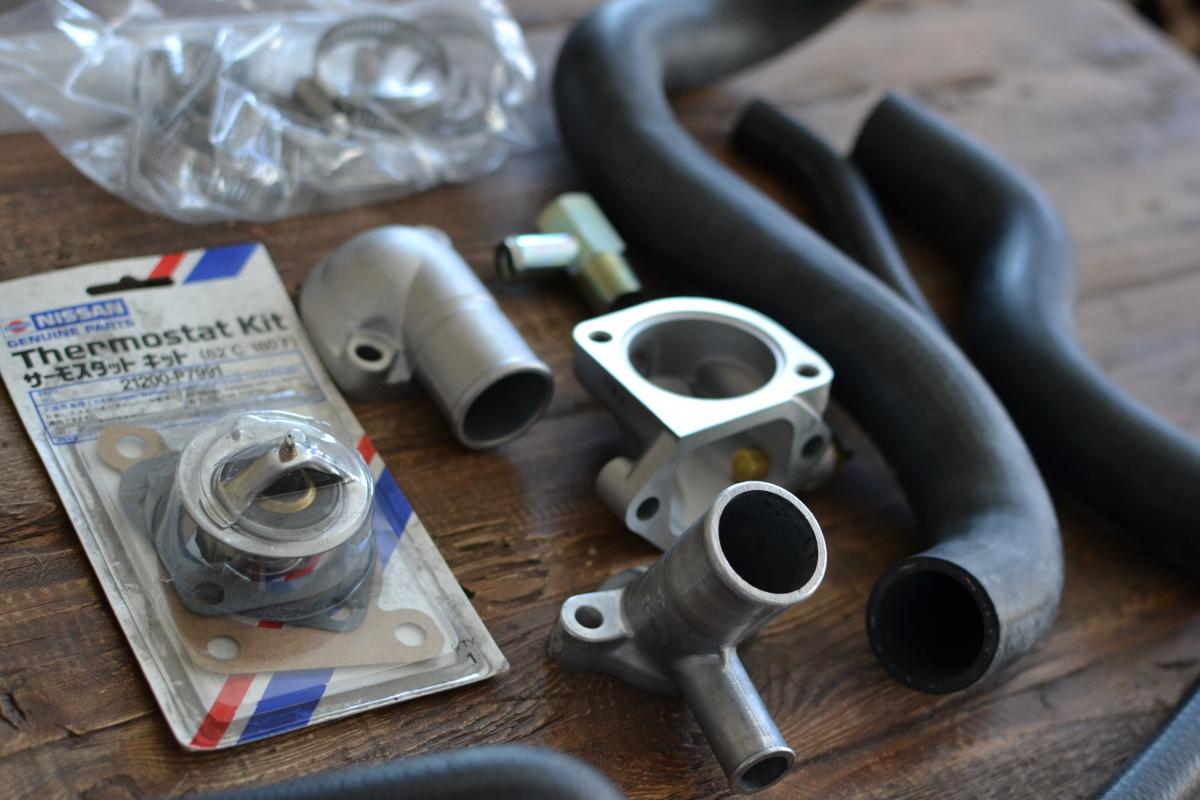
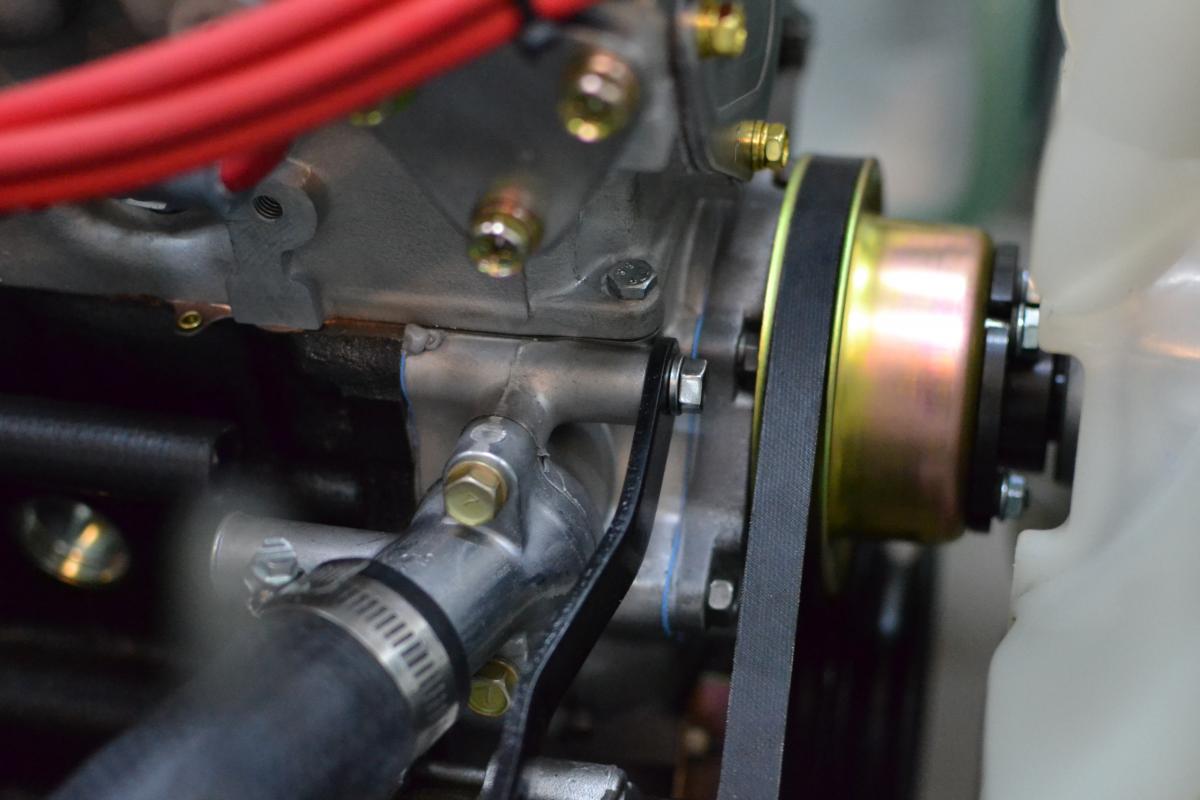
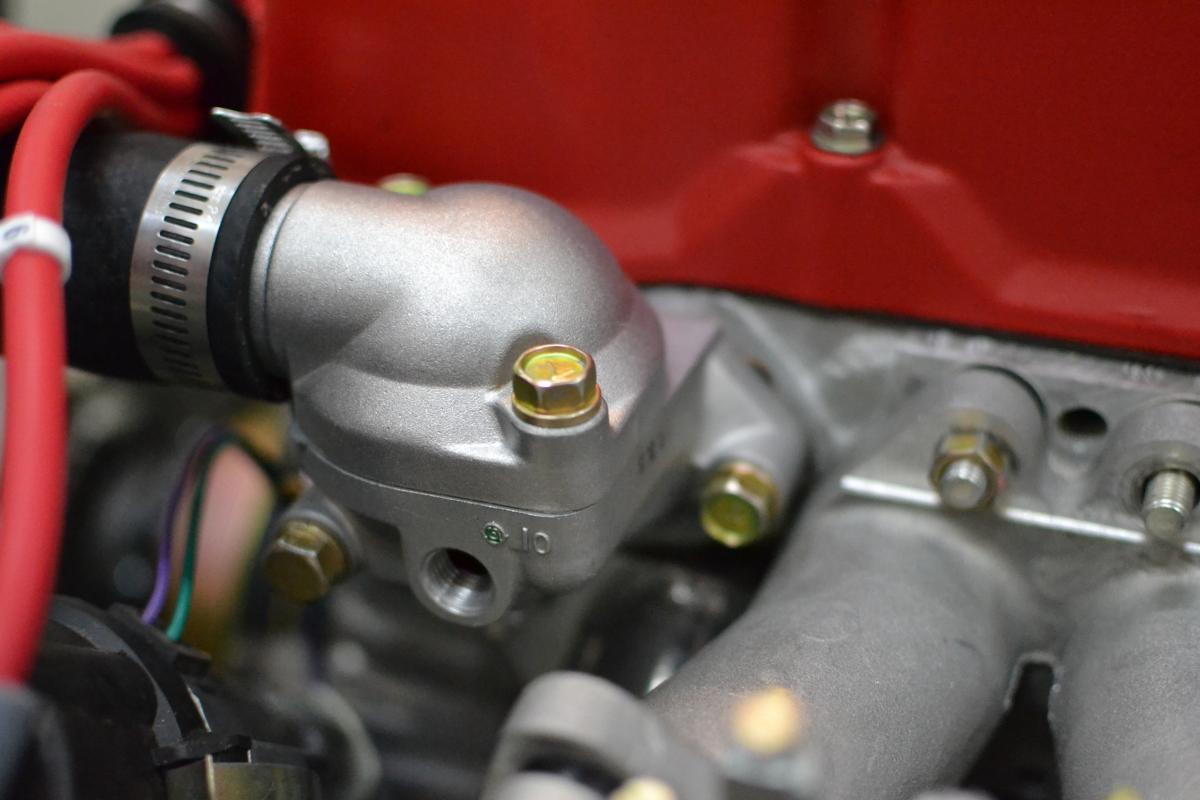
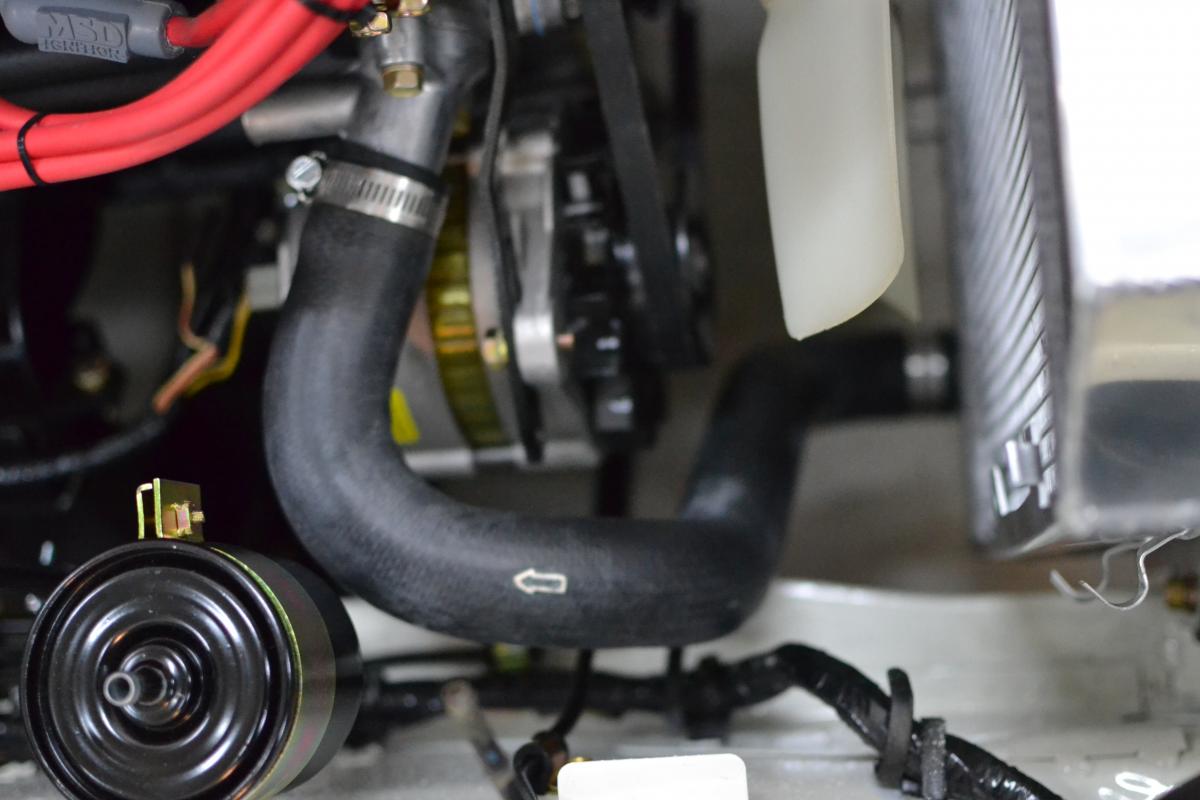
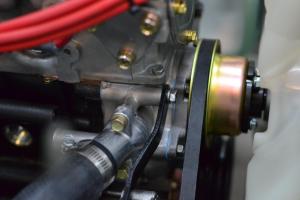
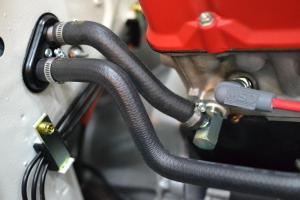
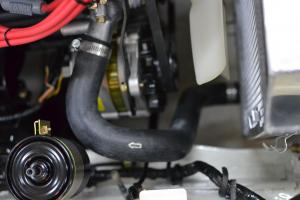
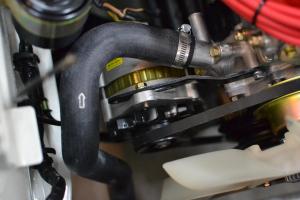
So I got some goodies in today. Plus it was a snow day for me so I got to install everything. Thermostat housing (240Z) Thermostat kit (OEM Nissan) Heater/Radiator hoses (OEM Nissan) Water inlet (240Z) New water temp sensor Here is the difference between the 280Z (bottom) and the 240Z water inlet. I didnt need the extra bung for the intake manifold heater so this worked great.Only problem is the bung for the heater hose is slightly larger, so I will need to get a reducer. Installed. The new 240Z thermostat housing has only 2 holes for sensors. Since I switched to carbs I only need the 1 for the water temp, the other hole I will cap off. I had to grind off about an 1/8th inch off my header for the Thermostat housing to fit properly My lower radiator hose installed


-
-
Sounds good!
-
+1 on the 303. Great product. I also use 1Z Einszett Cockpit Premium Interior Plastic Cleaner for cleaning interiors when I want a matte finish