rossiz
Free Member
-
Joined
-
Last visited
Everything posted by rossiz
-
 live and learn, eh? (coming from the guy that has swapped heads a few more times than necessary) as for the leftover paste, just think how much $$ you'll be able to make when you open up a lapping service for the z community!
 -
from the HotWheels collection...
-
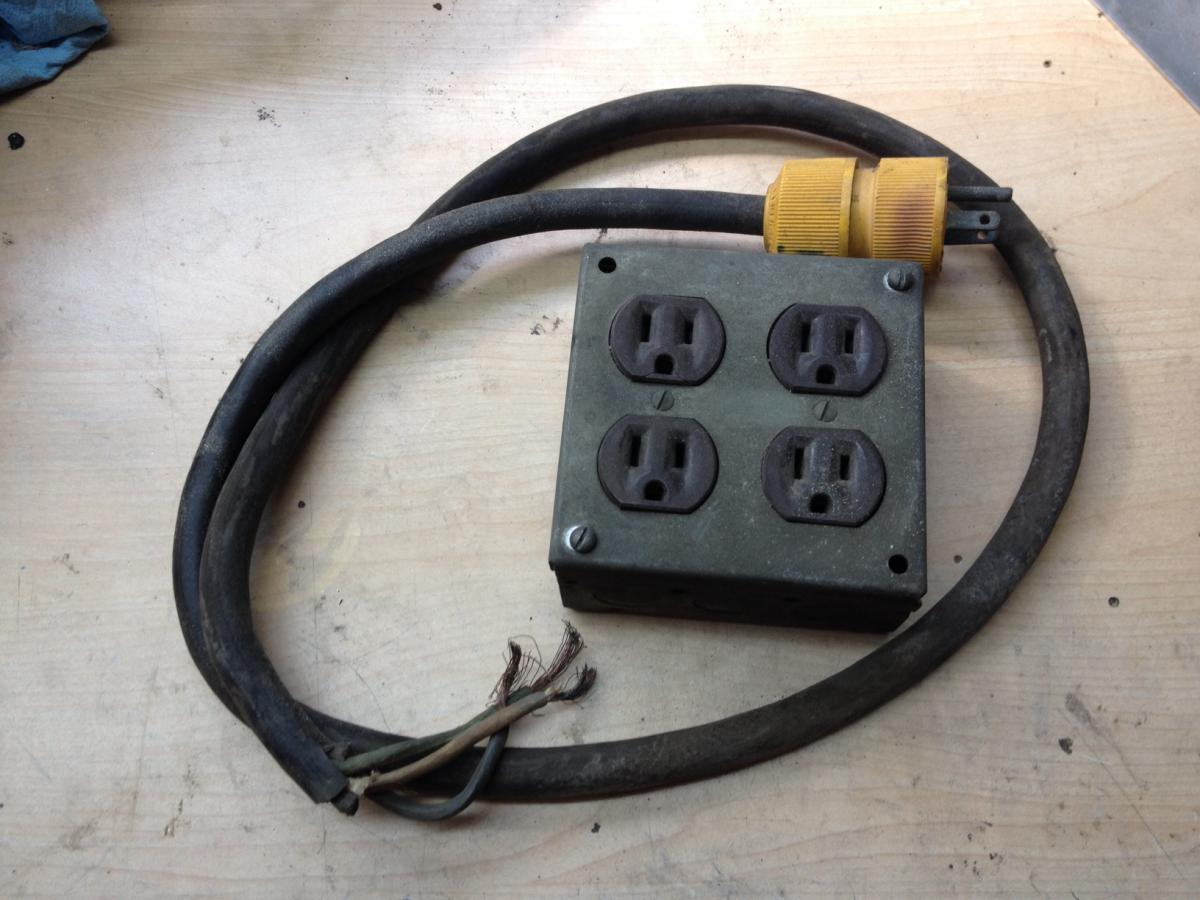
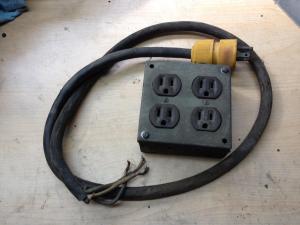
interesting... always amazing to see what a po spliced into the engine bay at one point or another. when i was test driving mine, the owner proudly pointed out his custom installation of a surface-mount quad outlet box with extension cord - so you could plug the car into house current and have power for your tools in the engine bay... yes, this fine piece of equipment was actually shot to the fender well with drywall screws.
-
looks like the discoloration happened during manufacturing when the crank casting sprues were cut off (the flat spot with rough machine marks). note the area at the bottom of the pic next to the cap where additional material was ground off post-machining (i'm guessing for balancing) which shows no discoloration. if the rainbow happened while the crank was in the car that would not be the case. and if there was enough friction to cause the crank to heat up that much in an oil bath, the bearing would be toast and/or spun. the crank journal looks fine - you shouldn't be able to feel ridges with your fingernail.
-
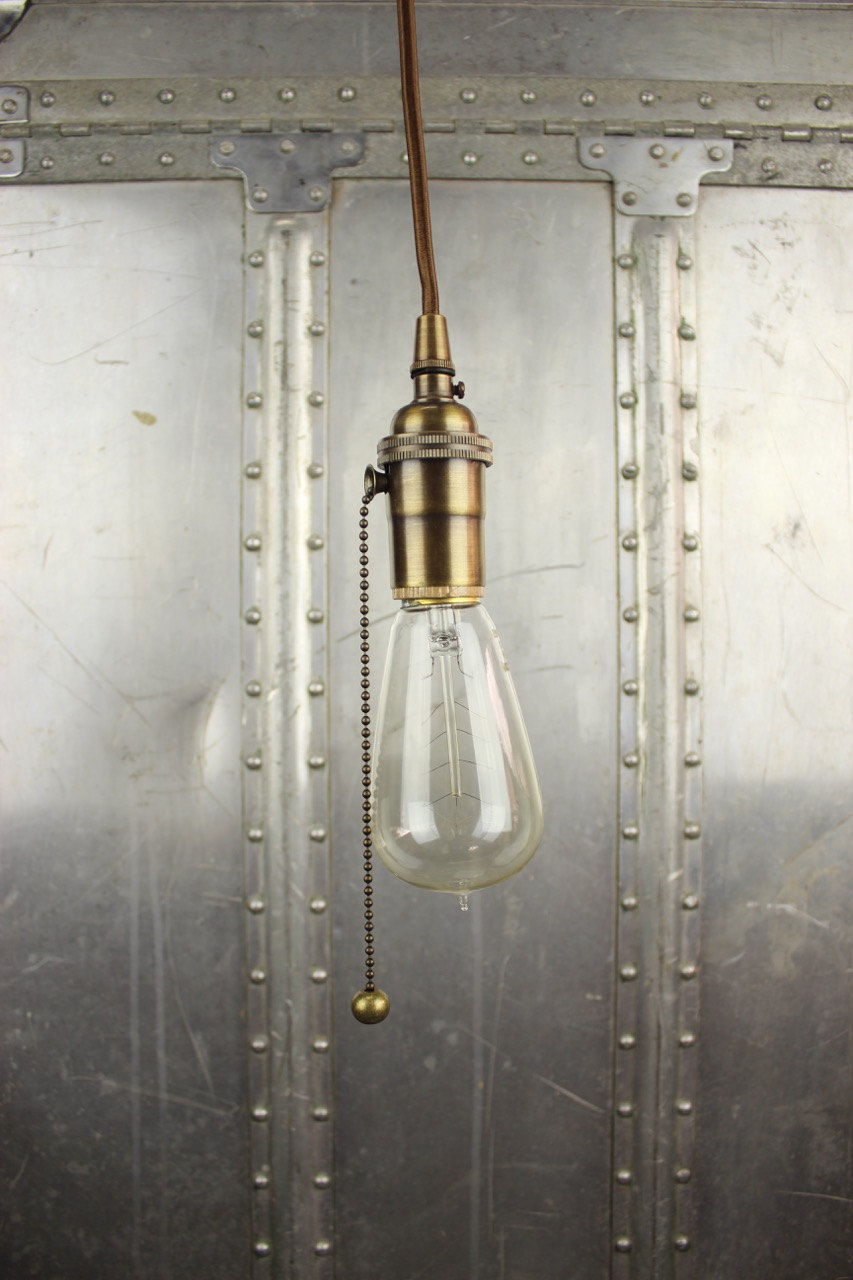
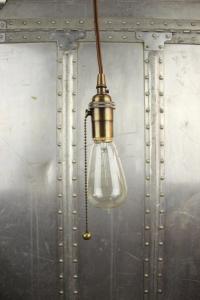
the remnant of a nifty under-dash illumination system?
-
sorry to hear that - but at least you know how to do the r/r on the tank and won't have any frozen fasteners. the job's always quicker/easier the second time eh?
-
the groove in the valve stem that holds the collets (spring keepers) can be sharp enough to damage the sealing surface on the seals. the little plastic seal installer sleeve allows the seal to slide past this groove safely. correct clearance between your valve stem and guide shouldn't allow the valve to be inserted from below with the seal installer sleeve on. if the seals didn't come with an installer sleeve, you could probably make one out of a drinking straw - it's a pretty simple part.
-
looks great - nice work. while you have the doors off, cover the inside of the skins with a soundproofing material and you will be happy with how much quieter the cabin gets. also much more solid sounding when closing. i used a foil-backed adhesive mat for the entire floor/trans tunnel, roof, doors and hatch floor and really love the results.
-
if your head bolts are original (or older than a few years) i would strongly urge replacing vs. torquing or you are very likely to snap one. they get corroded into the head and after the repeated heat cycle stressing they get brittle. head bolt sets are available for ~$60 from courtesy nissan (i got the turbo ones, which are rated for a bit more torque). if you snap a head bolt it will turn a 1 hr. job into an afternoon (at best) if it snaps flush and you don't have enough left sticking out of the block to grab w/vice grips you will be very, very unhappy.
-
great to hear you're getting out on the road. a simple check for steering play is the rubber steering rack mounts - they are isolators that go around the rack on either side and are held in place by the steel c-shaped tie down clamps. you can actually see the rack move if you stand just outside the drivers side door with the hood open and move the steering wheel back and forth while eyeing the rack below the engine. i have a thread on here somewhere that shows this job on my car - there was quite a bit of play due to the mounts being old and distorted. new ones are cheap and it's about an hour's job to replace them. next to check is ball joints and then the round rubber disk in the steering rod just below the break master reservoirs.
-
nice find - there's a good thread here about "awakening the beast" with a lot of great tips on starting a motor that has sat for years. important to do it carefully or you can ruin a cam. keep us posted with restoration pics!
-
you can check sealing by flipping the head chambers-up and pour some isopropyl alcohol into the chambers then look into the ports with a flashlight to see if they are leaking. if there's cruddy buildup on the back of the valves, you can soak 'em in solvent then use some masking tape on the stem, chuck 'em up in the drill press and use scotchbright 00 steel wool to get 'em clean & shiny. if they still leak, you can try lapping them, then next step is a valve job.
-
i got mine on ebay for about $30 iirc. works fantastic with the cam on the head. care must be taken with the valves that are right adjacent to the cam towers as it's a tight fit, but just fine once you get the hang of it. i was grumbling about buying the tool for what i thought would be "just one use" but boy was i wrong... ii've used it a dozen times since and i'll be swapping out my stock cam at some point soon as well. i'd mark it as an essential tool for the "involved" z owner.
-
i have that tool and it works well - i've gotten plenty of use out of it...
-
There is a "pay it forward" thread on here that allows folks to post up what they have to get rid of - usually for the cost of shipping. One man's trash is another's treasure...
-
my neighbor peeks through the fence and asks when i'll be done - i always get a chuckle out of the way his eyebrows go up when i tell him i hope i never finish it
-
sorry to hear about the drama - but glad you're making progress. especially cool that the motor is running well
-
wow - what a difference, you have a lot to be proud of!
-
my seat belt (driver's side) was really finicky when i first got the car - took it apart and found several plastic fake fingernail tips stuck in there (!!) apparently the PO was a fan of that look, and they would break off when she was fumbling for the belt end down by the seat. works fine now...
-
-
nice work indeed - i would be hard pressed to resist grinding it all smooth and polishing the whole thing up!
-
maybe it's different by year - the nuts on my 78 polished up to a mirror finish and have not dulled a bit after months of dd in all kinds of weather.
-
i agree w/blue's concerns - the combination of vibration and the long arm with the weighted pickup screen will really stress the solder joint and it's a bad place for a failure... why not weld a female threaded fitting onto each end of the part you cut and use compression fittings with a bent steel tube? then you can adjust it to right where you want it.
-
i haven't driven any other performance setups, so i can't compare to the ride of tokikos and single-rate springs, but i am very happy with how my setup rides and would recommend it to others. first off, the biggest single handling improvement factor was from the fat torsion bars - they virtually eliminate the body roll and the car instantly feels much sportier. then the lowering springs bring the center of gravity down a bit, which you can actually feel. the progressive springs keep it supple over the road surface and the heavier coils kick in to stop bottoming - i didn't want a harsh, short-travel suspension and also didn't want to be worried about scraping off my exhaust and undercoating on every speed bump or driveway apron i cross, and so far i haven't hit anything in normal driving to cause that. the staag struts seem fine and are a noticeable improvement over my +35 yr old blown-out oem struts, but again - i have no comparison against other options. the price was a no-brainer to try 'em out though.
-
the nuts are sst under the black paint and polish up really nicely - it's the alloy portion that actually mates with the splined shaft that is the tricky part. they don't polish very well and quickly get powdery w/surface corrosion.