rossiz
Free Member
-
Joined
-
Last visited
Everything posted by rossiz
-
 i pulled this list directly from Blue's site - opinions vary on the dual-cam oiling strategy. i've read that many use both the spray bar and the internally oiled cam to double up on lubrication. proponents say that for track and heavy use it provides a belt & suspenders approach. others feel that this may reduce overall oil flow unless a high-pressure (turbo) oil pump is used - as with many of the finer points, this is pretty widely debated with lots of good info on both sides... i personally went w/just an internally oiled cam because my p79 cam towers aren't drilled for the spray bar. the spray bar alone, if working correctly has kept many thousands of z cars running just fine for all these years, but the design is prone to failure and the small orifices are more easily clogged than the larger holes in the cam lobes on the internally oiled cams. i'm no expert, but i believe that if the system is clean and maintained and the proper oil is used either should work fine for the street - it just gets dicey when things are old, dirty, damaged, etc. and cam damage is no fun at all...
 -
i was really surprised how much difference a small adjustment makes at the mc rod - a few turns and you can go from a clutch that won't disengage to one with no free-play at all. do a couple turns, check the clutch travel and function, then do more, check, repeat till you get it where you want it. it means being upside-down under the dash a couple of times, but it's great when the adjustment is correct.
-
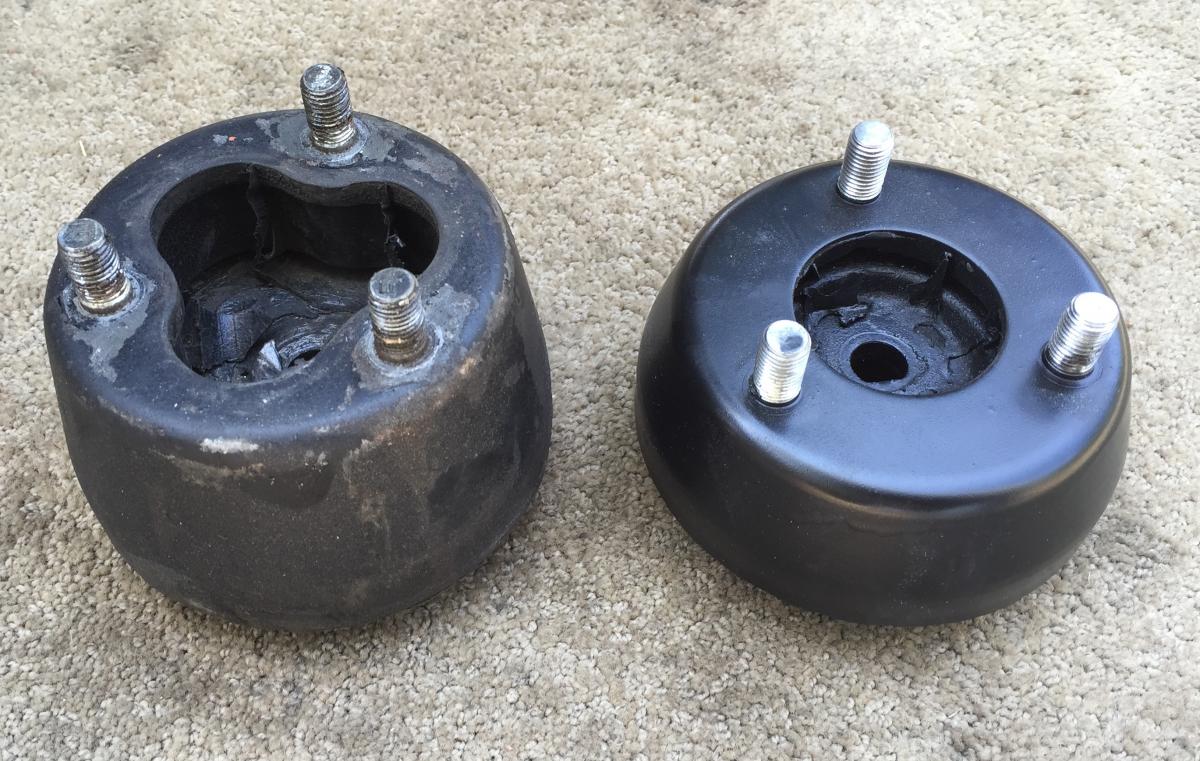
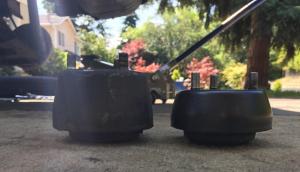
a while back i did a suspension re-fresh with eibach progressive lowering springs, staag struts, beefier sway bars, new bushings, tc arms w/ball & socket. the car handles infinitely better, and i love the feel with body roll all but eliminated. this is my DD, not a track car, so i wasn't looking for the ultimate cornering weapon, just a fun sports car for spirited street driving. the one thing that's always bugged me since is that the stance was just a little higher in the rear. i picked up a set of the shorter 240z rear spring isolators and finally got around to doing the swap. it was done in a morning and i'm happy with the results. it's subtle, but it feels just right now (visually - i don't drive it hard enough to feel any difference in ride or handling). i pulled the rear wheels, un-bolted the half-shafts, and using a set of spring compressors, i was able to get the entire strut assembly to pull out of the well and swap out the isolators without pulling the control arms. you need to remove the spring clamp that holds the break line to the body, which gives it just enough stretch room to drop the control arm down the required amount to pull the strut out of the tower. it's easier as a two-person job for sure, but here are some tips to do it alone: with the car up on stands and the rear wheels off, remove the nut that holds the strut into the center of the isolator first, leaving the isolator in place. this lets you pull the strut & compressed spring out without dealing with the extra height of the isolator. unbolt the sway bar at either end to get a little more swing from the control arms. after the strut is pulled out, support the wheel hub on blocks so it doesn't hang on the brake line. with the rear hatch open, standing outside the car, you can push the new isolator up into place with one hand, reach over the top with the other and put your finger into the center hole of the tower to feel the isolator as it comes up and spin it until the 3 bolts line up w/the tower holes and it pushes through. keep the 3 washers right on top of the bolt holes (stick 'em there w/a little grease) and they will slip right on, then have the 3 nuts ready up on top of the tower to spin on and hold the isolator in place. you can torque them up afterwards from the back hatch area. use a floor jack under the wheel hub to raise the strut assembly up into the tower - you can operate the handle with your foot as you guide the top of the strut into its hole in the isolator with a screwdriver. once its in, drop in the nut and you're good to go. 280 isolator on the left, shorter 240 on the right before: after:


-
looks like you're prepped for a nice re-build process, as the starting point is clean and tidy. based on the general sturdiness of these blocks, i'd bet you just need a hone & surface to clean things up. i just finished up my rebuild, - see the thread "a project is brewing" - there are lots of build threads on the forum which have far more technical detail than mine, but in short it's a pretty fun and simple process. if you don't have one, pick up an engine stand - makes life soooo much nicer. some must-have tools/supplies include: torque wrench (get a good one - not harbor freight)taps to chase threads (get good quality spiral taps for the few sizes you'll need vs. a cheap set - machine shop supply house vs. hardware store, definitely NOT harbor freight)ring spreader ($2 harbor freight works fine)ring compressor ($3 harbor freight works fine)gasket scrapervalve spring compressor (to strip/rebuild the head and for swapping the cam)feeler gaugesplastic weighted mallet (for tapping in bearing caps & setting front cover)good assembly lube (i used brad penn and liked it)good break-in oil (i used brad penn and like it)when you take the block in to the machine shop for hone/surface, they can also lighten your flywheel down to ~10lbs (revs really nicely, very streetable) and have them balance the whole rotating assembly (crank, pistons, rods, flywheel, clutch pressure plate) down to less than 1/2 gram. i was very pleased with the smoothness it brings up in the high revs - night and day from stock. none of this is particularly expensive either, especially if you have it all pulled apart for them. have them tank clean the pistons with the rods still attached unless you need to replace parts. then snap a ring in half and use the factory end (not the jagged broken end) to clean the carbon out of your ring grooves. lots will come out - it's a slow process that is very satisfying to complete. i also used small drill bits to clean carbon out of the little holes/passages in the piston behind the rings and feeding the bearings. i looked at full re-build kits, but wound up buying a lot of things separately to get the quality i wanted - clevite bearings (ebay), nissan rings (msa has 'em) and nissan turbo head bolts (courtesy nissan) then i got a master gasket kit (msa) and sprung for the upgraded oil pan gasket. here's a list that Blue published somewhere on his site with a lot of great tips: Re-Build Notes From Blue: Make sure no parts are made in China or India. Made in Japan is usually the best. Use aviation gasket maker on all gaskets except head gasket manifold gasket and oil pan. coat manifold gasket with antiseize. Do not use rtv, Seal where the timing cover, block and head unite. Read the two books on rebuild and hotrodding your datsun engine several times. Port the head. go for internally oiled cam and use an oil bar. use zinc oil additive use anti seize on all bolts except head bolts research upsizing some of the manifold studs and timing chain guide bolts. replace oil galley plugs with threaded plugs. pay extra attention to side seals on last crank bearing balance pistons and rods to 0.5g if you can use good brand and type of rings use thread lock on oil pickup, pcv strainer, crank cam bolts/screws use some sort of pcv closed system or route to a draft pipe to flow oily air to asphalt read about water pump impeller and timing cover erosion and look out for it. get triple carbs for torque check rocker wipe patterns don't use fram filter read about recent mech fuel pump sources chase all threads use ngk plugs
-
i used the kit from msa and the spray adhesive has held up really well. i used the whole can, and the substrate was sound mat rolled onto the roof metal. the sound mat has a really, really sticky tar-like backing that holds well over the less-than-perfect roof metal which had a bit of old foam and glue residue on it. i just wish i'd read this thread first - i spent a lot of time cussing and wound up with a wrinkle in the middle where i was holding it up w/my head while using my two hands to do the sides (not recommended).
-
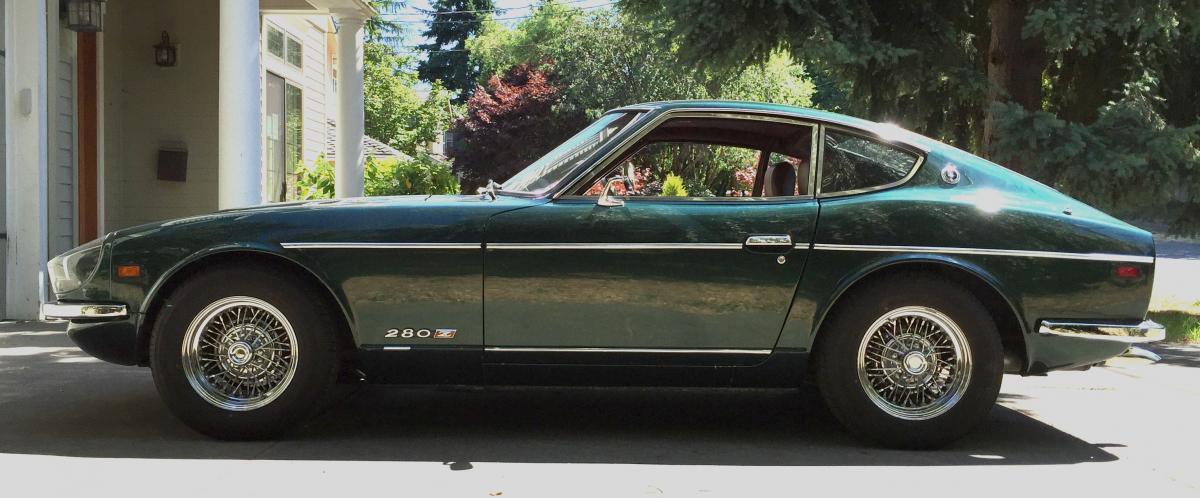
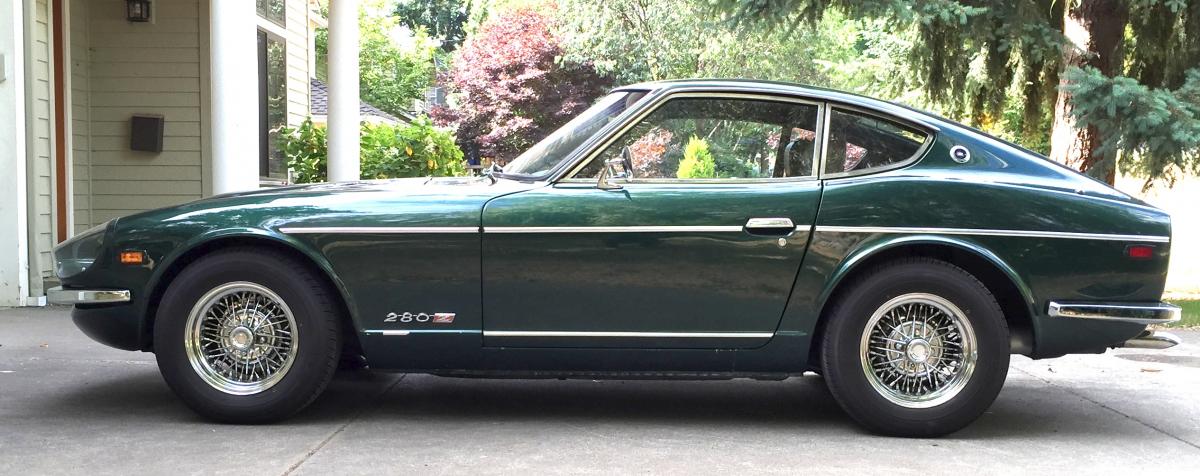
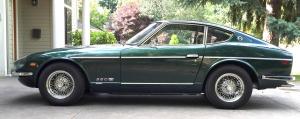
once the bugs are worked out your confidence will rise again with her. i have started many threads on this forum that included pictures of my green-eyed Lillith behind a tow truck during the first months of ownership - i started doubting if she would ever be reliable, but the constant encouragement from the many good people on this forum kept me going. now that i've gone through all the systems, she's as dependable as any car out there. i have done way more than the average owner, but the majority of my work has been things i wanted to do vs. things required just to keep her going. it sounds like you will need to spend some time correcting poor work from previous owners and probably replace a few parts that have exceeded their useful life, but these cars are pretty affordable to maintain compared to modern vehicles. take your time and only replace what you have truly determined to be a bad part - it's easy to spend way too much with the "shotgun" approach and most of the components on our cars can either be massaged back to life or are pretty stout to begin with. we're rooting for you!!
-
with a little modification you can mount a 240 blade to a 280 arm - the 280 arm has a receiver clip riveted on to the end which allows the newer style blades to snap in. you need to drill out the rivet in the 280 arm at the blade receiver clip and the bent loop on the arm will mate up w/the 240 blade. the little clip on the 240 blade will snap right into the hole in the 240 arm tip that was previously filled with the rivet you drilled out. sounds complicated but it's actually pretty simple.
-
congrats! btw - why do you have to re-do your ignition? did you somehow lose your previous maps?
-
i've always had a soft spot for vintage english coachwork ;}
-
yes, the 78 arms are sst under the paint. i stripped & polished mine. also got a set of the 240 blades to match. the only tricky part is getting the paint off right where the arms are riveted to the cast connector (which mounts to the shaft). the connectors will corrode once stripped, and i couldn't get all the paint out of the pivot area without pulling the rivets (which i chose not to mess with). it looks nice in polished sst, but beware you will get some nasty glare from time to time when the sun hits 'em...
-
i used some air hose for the engine side on my conversion (my balance tube is also connected at the end). it's the right diameter but the manifold heat softens it to where it collapsed from the vacuum, so i put a cut and formed a piece of old fuel rail tubing to make the same sweep and slid it inside the air hose to support it. works just fine but definitely not "oem" (then again very little about my car is at this point).
-
never fails - murphy lives on... it's always comforting to hear the tribulations of others as it reassures me that i am not alone in a universe of missed expectations. within 2 days of driving your newly running z, you'll barely remember all that went wrong because you'll be smiling about all that went right! looks great, can't wait to hear it roar to life
-
ok, i defy anyone reading this thread to bust out their best Hikaru Sulu voice and repeat this sentence in the mirror... priceless!! you guys (and gals) rock
-
you people frighten me. i'm just a simple carb-man... your ways are strange. why does this thread make me feel so completely dim and yet i'm so strangely attracted to it - like road kill: can't look away!! i have nothing of value to add here, other than wide-eyed awe at the thinking going on. i guess it's just the crazy creativity driven by a passion to problem-solve. love it!
-
clean & shiny - yer block got the blues, baby!
-
+1 it's often difficult to understand actual production costs in low-volume delivery. the tooling for a ball-point pen can run into the heavy 6 figures, yet production in the millions makes the unit cost so negligible that most people won't bend down to pick one up on the street. make 10 custom ball-point pens from scratch wand they would be hundreds of dollars each (at best). high quality, low-volume reproductions are rarely a money-maker for anyone, they are most often a labor of love where the fabricator simply wants to make a part that is otherwise unavailable and once the tooling is made the parts are offered to other like-minded folks as a service. i've produced a few parts and offered them to forum friends (in the motorcycle world) and run into the same issue.
-
looks shockingly familiar from the outside ;} it will be a great feeling to get it going, well worth the wait. i'm running a stock cam for now and will switch out to a hotter one in a few months when i feel the need for a little more poke. i'll be watching your thread carefully to see how it all shakes out.
-
i found mine on ebay - works a treat. http://www.ebay.com/itm/Datsun-240Z-70-73-Choke-Cable-Console-Fix-Repair-Mount-to-Tunnel-Bracket-Kit-/400952531200?hash=item5d5aa21900&vxp=mtr
-
speed bleeders are wonderful things - they replace your stock bleed screw and have a little one-way ball & spring valve in them. you back 'em out a quarter turn then just pump the pedal and it spits out the old fluid and won't let air back in. i've used them on my bikes for years - they make bleeding a one-person operation. i'm pretty sure summit has 'em - just do a google search for "240z speed bleeders" and you'll find them easily.
-
like zed said - it all depends on what you want out of it. i'm firmly in the camp of "buy the best body you can afford and don't worry about the mechanicals" because i like working on engines, body work is expensive and not something i can do myself (or at least in such a way that i'd be happy with the results) and these cars disintegrate quickly once rust begins in the hidden cavities. but if the goal is a simple, fun DD and you're not bent on a full resto then it really comes down to if it's solid enough to drive around safely. there are some pretty moth-eaten cars on the road (not that this is what i recommend) with very happy drivers, and some spectacular restorations that the owner is afraid to drive and loses sleep over the thought of a door ding or rock chip. personally, i fall into the upper middle between those two camps - i like a car that looks good, drives great and i know is reliable and easy to keep up. i like fiddling with projects that are within my capabilities, and i love talking w/all the folks that stop me in the parking lot to chat about the car and how it brings back fun memories of their youth. my car isn't perfect by any stretch, which gives me the ability to modify as i choose without the concern for being period-correct. it also lets me drive it every day and park at the grocery store without thinking to hard about where to park. the other day my son was mowing the lawn and kicked up a rock that dinged my drivers side door. sucks, but i was able to give him a hug and let him know it's only a car. if it was a $30K example it might have taken me a little longer to get to that zen-like spot with him...
-
the sound from the cabin:
-
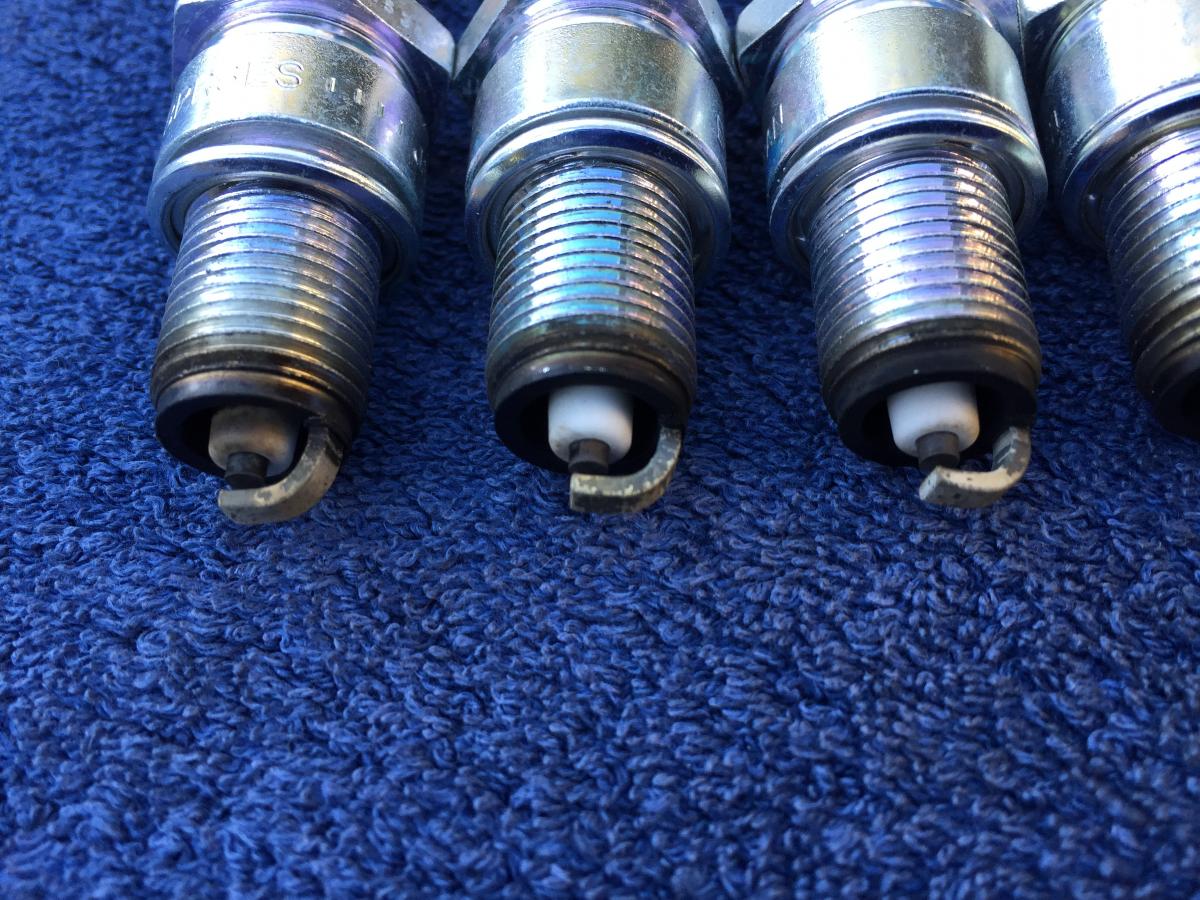
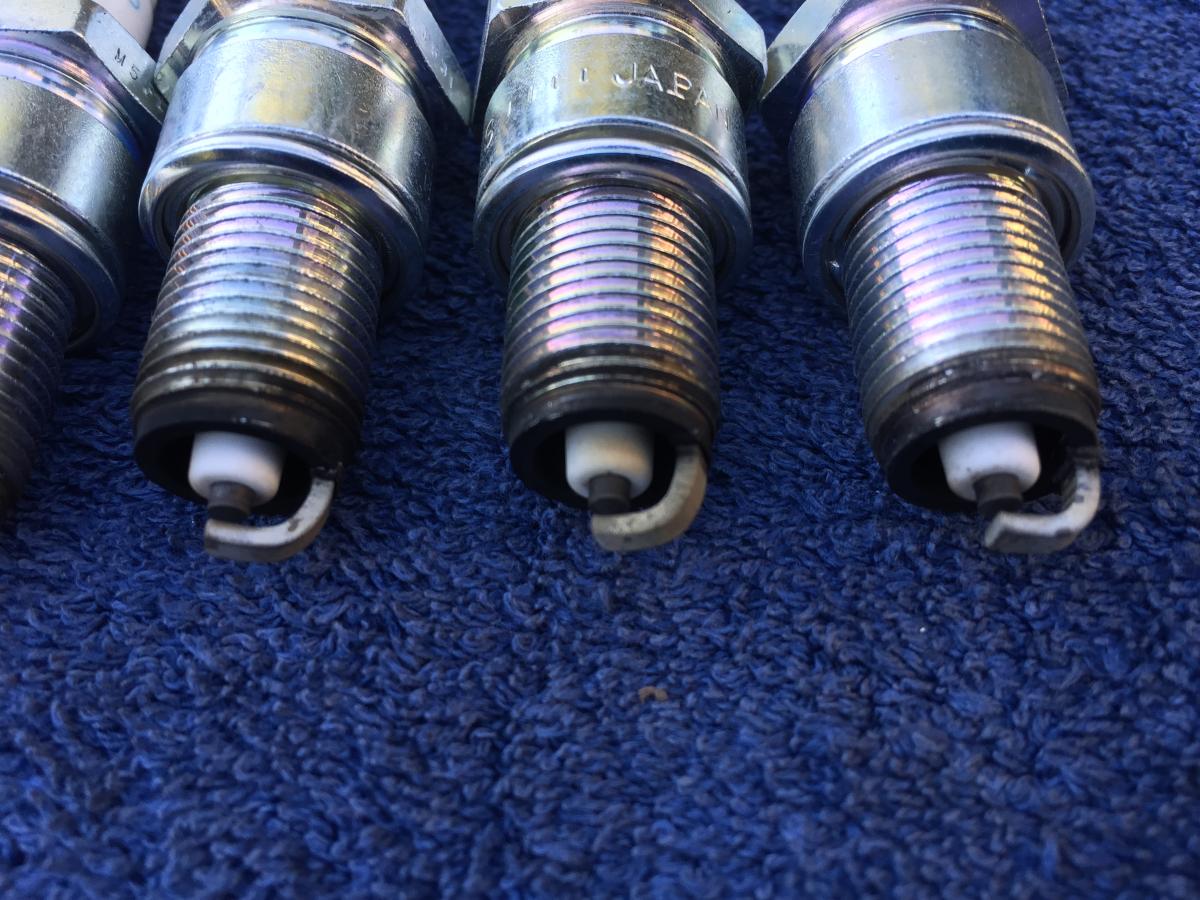
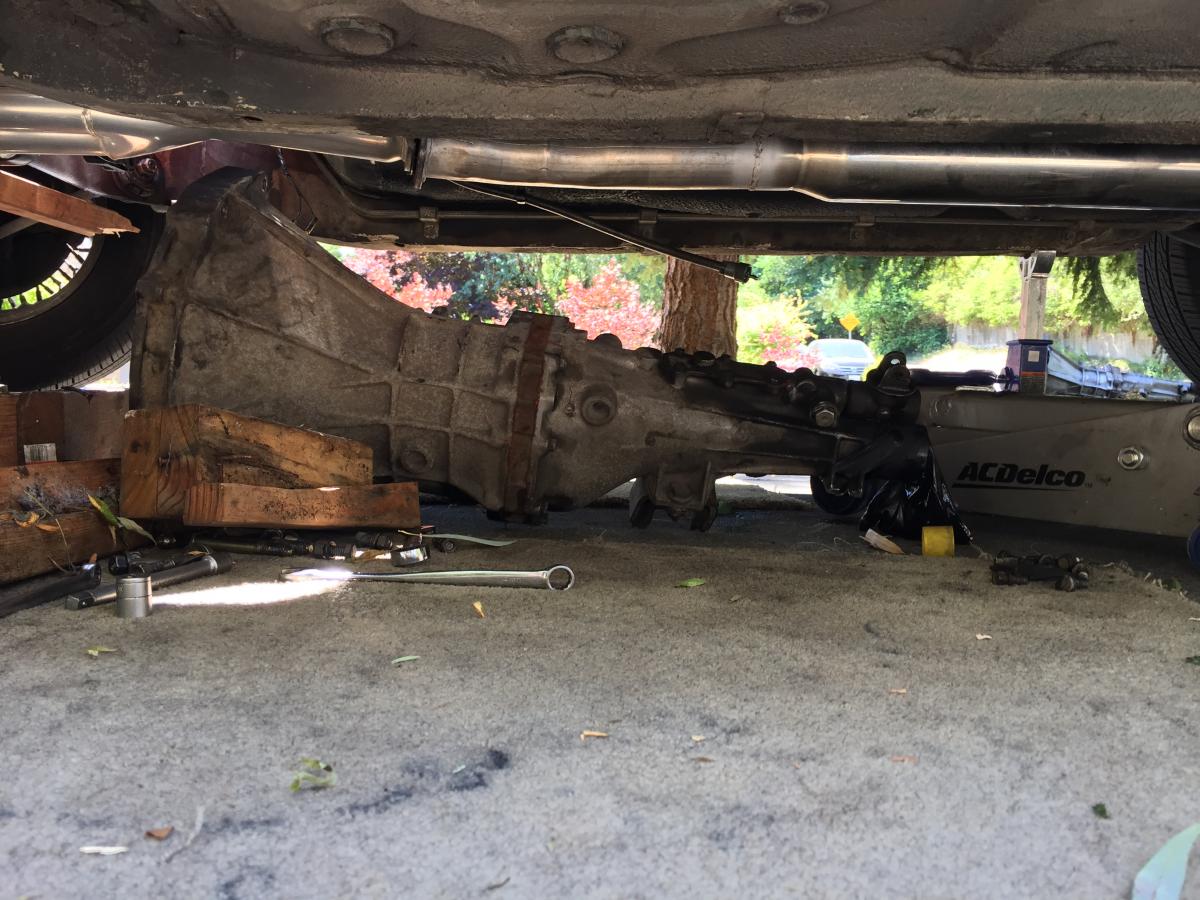
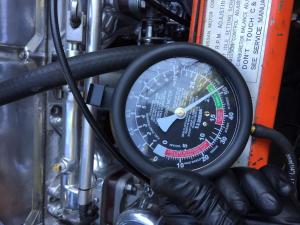
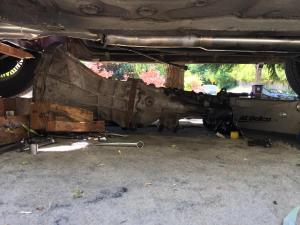
spent the day pulling out the broken 5sp and swapping in my old 4sp. while i was at it i replaced the clutch master, slave & hose connection. a miserable, wretched job to do - i'm pretty sure i invented some new cuss words in the process. probably a lot easier with a lift, a proper tranny jack and a fluid pump, but i did it on stands on my back using a floor jack and some wood blocks to lever and set the tranny. will see about getting the 5sp rebuilt and have a shop do the next swap - i've got my tranny-swap merit badge and will never do that job again. ever. got to do a few nice runs up & down the street to start breaking in the new motor - it runs fantastic and i'm very pleased with how quiet & smooth it is. next will be installing the 02 sensors and tuning the carbs. after the first few miles i pulled the plugs and they look quite light - not sure if it's lean or if it's the ethanol in the gas. at least they're not covered in crud like the old oil-burning one did. hope to never see this again:


-
swap complete - new MC/SC & hose, all works well. a miserable job on a hot, hot day but now i can drive my z...
-
-
thanks for illuminating me on the self-adjusting slave - makes perfect sense to me now. my first thought was that i wasn't getting full clutch disengagement, but the way it's acting tells me otherwise... second is the worst - misses the shift completely most of the time, accompanied by a slight grinding sound. first whines pretty bad. it slips into reverse ok - about as well as my 4sp, which occasionally had a little grind when dead cold, but otherwise fine. i'm gonna see about replacing the master cylinder anyway, because it more than likely needs done and isn't a bank-breaker, but i don't have high hopes for the 5sp. disappointing, but i'm getting used to this type of situation with this build...