rossiz
-
Posts
1,109 -
Joined
-
Last visited
-
Days Won
30
Content Type
Profiles
Knowledge Base
Zcar Wiki
Forums
Gallery
Events
Downloads
Store
Blogs
Collections
Classifieds
Everything posted by rossiz
-

If It's True That We Are Judged By The Company We Keep.....
rossiz replied to 9teen7t240z's topic in Open Discussions
funny - i had a similar thought when a guy in my neighborhood stopped by in his e-type while i had the z up on stands doing a suspension refresh... http://www.classiczcars.com/topic/49332-the-z-compared-to-a-british-classic/?hl=%2Bbritish+%2Bclassic of course having a green z w/wire wheels & headlight covers doesn't hurt the comparison -
that exact symptom happened to my buddy's 240z back in college... i used to tune up my friend's cars for fun - had never worked on a datsun, only american muscle - and after cleaning the plugs, filters and fiddling with the carbs it would start and rev but as soon as the key was released to the 'run' position it would die. turns out i had knocked off a wire by the coil - found it hanging there, spade connector i believe, and once plugged back in all was well. never figured out exactly what wire that was, as i never worked on a z car again until i bought one a year ago...
-
wow... that thing sounds mean! hounds of hell growl
-
well, i have a whopping 110 miles on the car now that the head is back on, and the defroster definitely works better. the airflow up over my head is enough to actually clear the rear hatch glass. don't get too excited - this ain't no cure for my electric defroster elements not working, because it takes about 10 minutes of driving after the engine is good and warm for it to clear the hatch glass, and thats of fog, not frost... BUT, the oem motor would never even dent the fog on the hatch no matter how long i drove. so it's a good thing. the motor is a bit quieter too, which is a plus - although mine was pretty worn out, so ymmv...
-
beautiful car - what numbers does that motor make? looks to be a lot of fun!
-
to use a piston stop you need a degree wheel, or some way of measuring/marking crank position. the process is as follows: put in the stop, slowly rotate the crank until the piston gently stops against it, mark the degree wheel (or in your case, make a mark on your crank pulley indicating the 0 pointer) rotate the crank in the opposite direction until the piston gently stops against it, mark the degree wheel (or in your case, make a mark on your crank pulley indicating the 0 pointer) tdc is now exactly halfway between the two marks (or degree wheel readings)a degree wheel is just a big circular plate with degrees marked around the edge (like a 360 degree clock face). you can find one online, print it out, glue it to something flat (plastic, cardboard, metal, whatever) and mount it to your crank pulley, then you'll need to make a pointer of some kind that will read against the degree marks (an L-shaped piece of wire will do) and bolt/clip it to the engine so you can see/note the crank degree position. you can also wrap a tape measure around the crank pulley (a tailor's tape is perfect because it is flexible) and use those number markings. again, for finding tdc it doesn't matter if you use degrees, inches, milimeters, whatever, it just matters that you can record the crank pulley position on either side of the piston stop, then split the difference accurately. using a degree wheel is specifically needed if you're trying to do very accurate measurements of specific degrees for cam timing (not an issue here). hope that helps... probably a youtube video which explains it better than my words...
-
tdc is the position of the #1 piston and corresponding position of the crank, as they are connected. the valve train (and chain) are set to tdc, they are not at tdc... so once the #1 piston is at the tip-top of its throw, the crank is at tdc, then the valve train is set to correspond to that. so the issue of timing chain slack doesn't really affect tdc, it affects the valve timing in relation to the pistons. the tight or straight-line side of the timing chain is the critical measurement between the crank and the valve train - set by a specific number of chain links. as the timing chain stretches, this dimension gets longer so the valve train gets further and further behind the crank (retarded). the different numbers on the cam sprocket (1,2,3) allow you to compensate for this by advancing the valve train a few degrees with each setting. the chain tensioner picks up this slack and keeps the chain from flailing around too much on the loose side - too much slack and the chain can jump a sprocket tooth and bad things happen. now, to your question about setting the valve train in relation to the crank and timing chain slack... if you want to have the valve train at it's correct position relative to the crank at tdc, then you need to set the crank to tdc such that you pull tension on the straight/tight side of the chain. to do this, either turn the crank pulley clockwise (tensioning the straight side of the chain) until you hit tdc, or turn the cam counterclockwise (again, tensioning the straight side of the chain). either way will work, and if you pass tdc with the crank, you can back it up with the cam. just be sure to have the plugs out so you're not fighting compression. if, for example, you were to turn the cam counterclockwise (tensioning the straight side of the chain) and pass tdc, and then you turn the cam clockwise, the first few degrees of cam rotation would simply take up the slack in the chain tensioner and not be turning the crank - so you would not have a true measurement of the valve train to the crank. same thing would happen if you turned the crank pulley clockwise and passed tdc, then turned it back counterclockwise - the cam wouldn't move for a few degrees. i hope this makes sense...
-
@Zed - yes, i was not going to be denied... made it to the office this morning w/no drama (16 miles) including some wonderful stop-n-go and some freeway cruising. i am cautiously optimistic.
-
interesting - please keep us posted, as i will be replacing my clutch soon as well...
-
so i buttoned it all up last nite, added a bottle of lucas oil zinc break-in lube, did a quick double-check of all connections, primed the fuel rail and boom! she fired right up and idled quietly. i was listening carefully to the valve train and inspecting for leaks as she warmed up, then noticed a huge plume of steam coming from my tailpipe... couldn't believe it. i watched the temp and pressure and waited for the thermostat to open, keeping an eye on the overflow bottle and expecting all kinds of drama. oddly, it continued running well, completely normal at the gauges, not pressurization of the overflow bottle, and a steady plume of steam from the tailpipe which stank of propylene glycol. i decided to drive around the block just for kicks, and when i got to the gas station to fill the tank the steam was completely gone and she was running perfectly. so i think what happened is my headers had filled up with coolant when i took the head off and that was boiling off during the warm-up. that is my sincere hope at least! i will drive it today and see how it goes - fingers crossed! internal cleanliness notwithstanding, as mentioned in the previous posts, the head seems decently prepared as far as setup and machine work. i didn't find any damaged threads or any other issues - all looked fine. after a couple hundred miles i'll do a lash adjust, compression test and check plugs to see if the oil issue was in fact the valve guides and not the rings... it does feel great to have her running again!
-
for me there were a couple of issues that made me decide to do the conversion: 1. on the highest setting the fan made a lot of air noise but very little air flow - severe fogging of the glass is a problem as its my dd and it does rain in seattle from time to time. 2. the motor was clearly in trouble, as it would screech and howl intermittently, loud enough to drown out the radio. i haven't actually driven the car yet with the new fan (still getting the head replacement finished) but i'm hoping it makes a difference. when i compared the two impeller designs i noticed 3 things: 1. the honda fan is larger in diameter, so the blades are traveling faster at the same motor rpm. since the blower housing remains the same size, the blades are closer to the side walls of the housing. maybe this has an effect on the amount of air that is engaged, reducing turbulence/inefficiency at the outside of the blade area? 2. the blades are smaller, and there are more of them, maybe a more efficient design? 3. the oem motor mount is set on spacers that put the impeller 1/2" farther away from the back of the blower housing. the honda fan doesn't use those, so the impeller pushes right up close to the back wall of the blower housing. perhaps this engages more air and/or reduces leakage around the impeller? i have no training in airflow design, so this is all just my conjecture... all i can say is the honda blower is much quieter and moves more air.
-
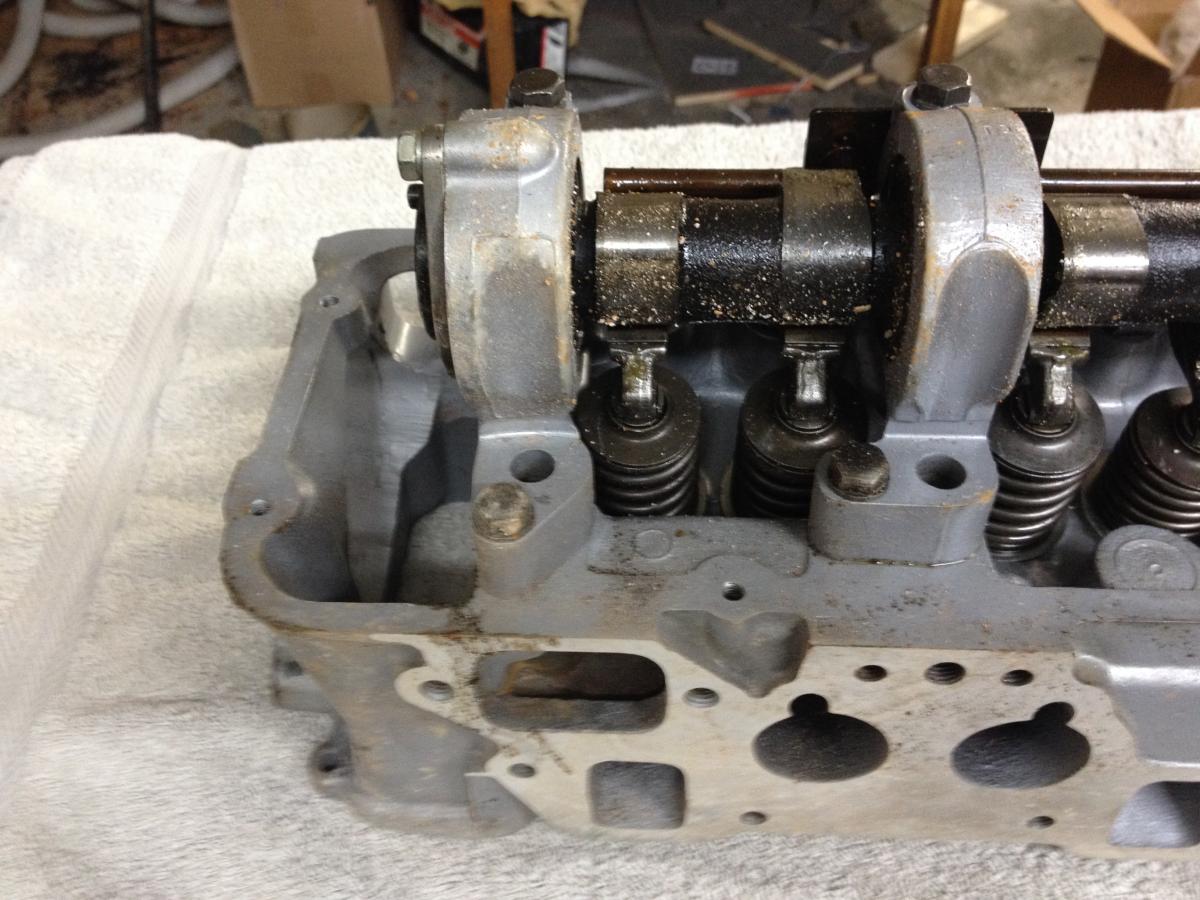
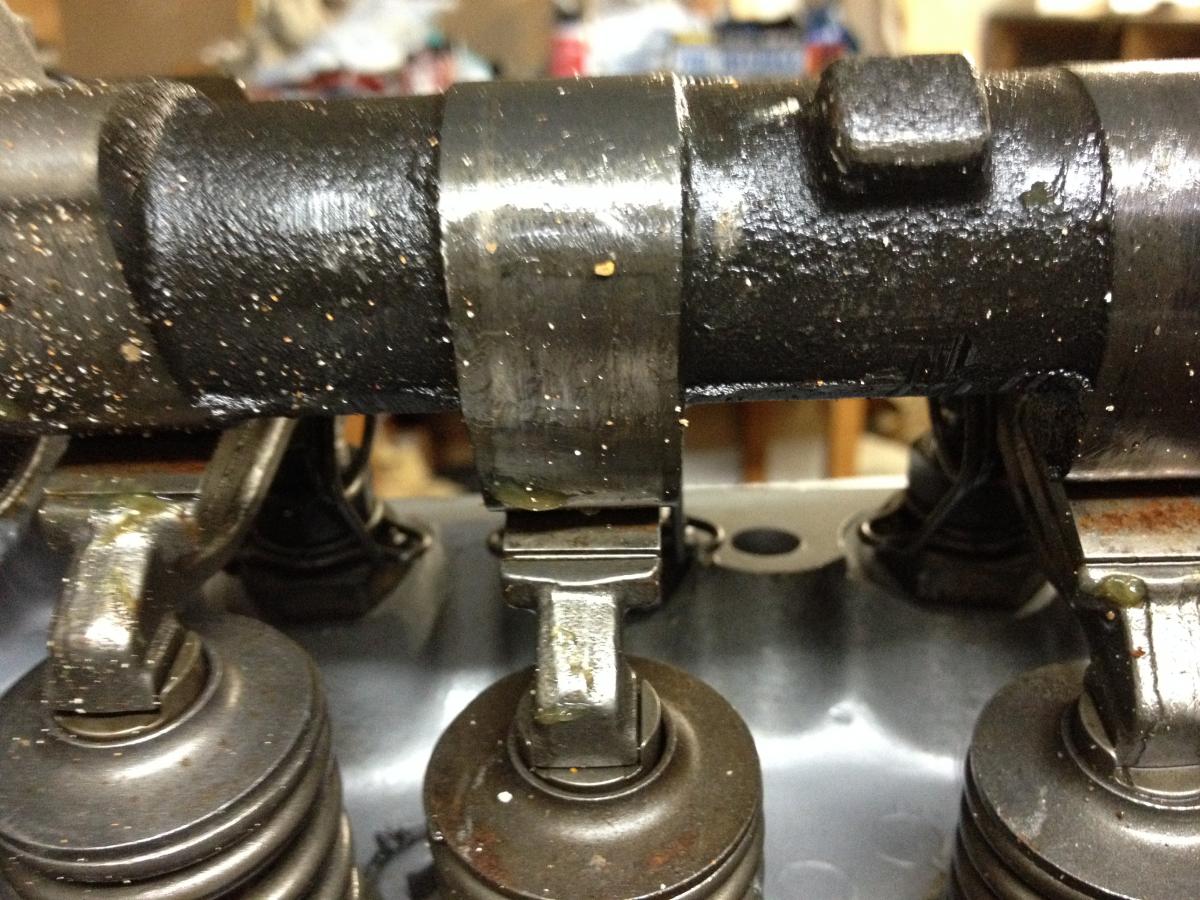
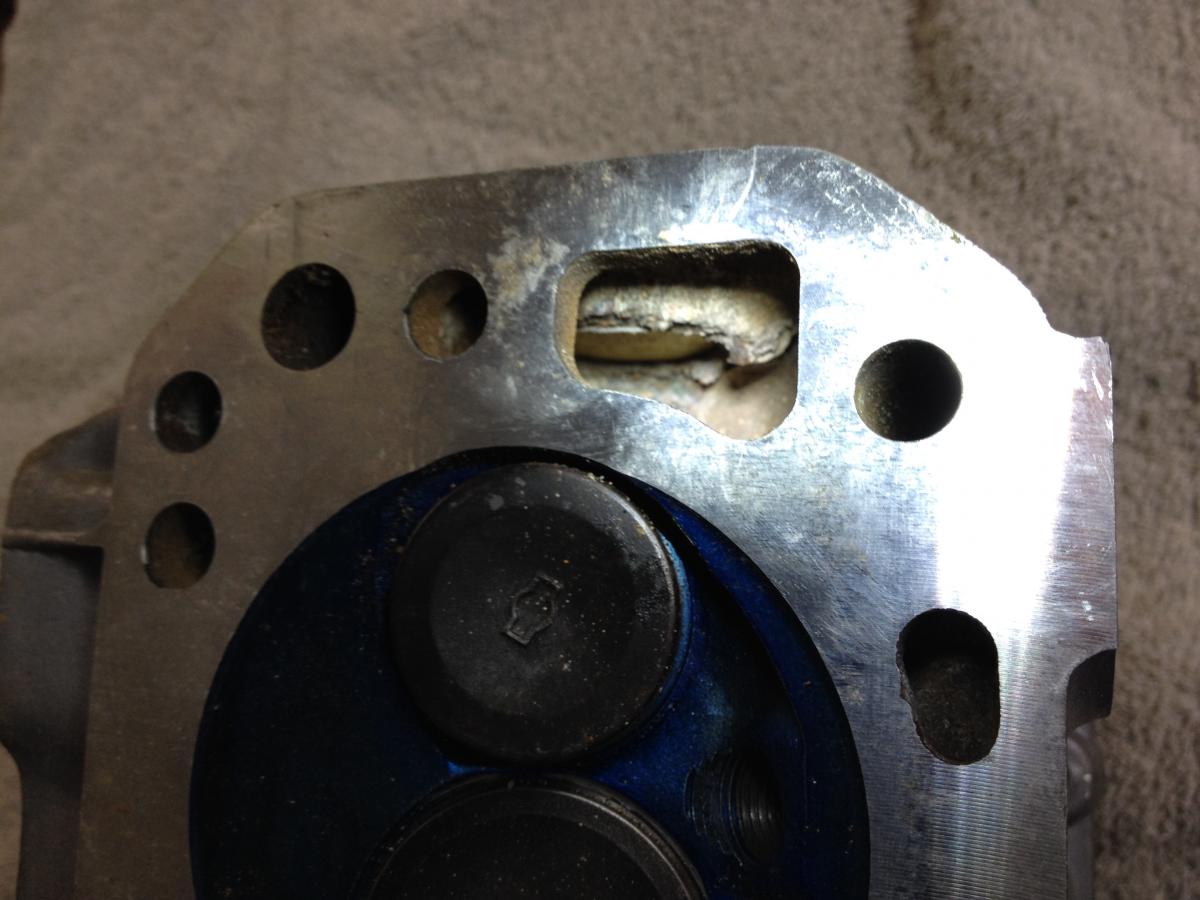
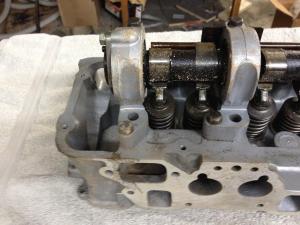
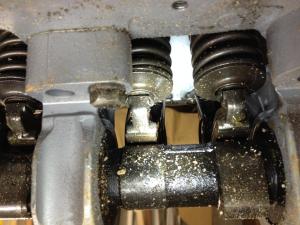
yes, i've come to expect a bit of disappointment from time to time with this project - but after reading hazmat's saga with rebello i'm not complaining. just means a little bit more of my time getting to know the parts before assembly... the blob of stuff behind the core plug is an example of the mineral deposits - i chipped/scraped off quite a bit and blew out all the debris. the "kitty litter" all over the cam came off pretty easily - it was just loose bits of mineral deposits that had shaken out of the coolant passages and stuck to the oil film on the parts. a little cleaner, a rag & compressed air and all is well again. while i had it on the bench, i installed my oil spray bar from larry hassler - it wouldn't fit on the last head because the rocker geometry was so off that the rockers were all the way at the top of their adjustment in the back and bumped into his rail - yikes. it was reassuring to see the bar go on with clearance this time. just to be sure, i used a sharpie to mark the rocker pads and spun the cam with a crescent wrench and the wipe patterns looked good. i managed to get everything cleaned, installed all my bits to the head, torqued it up to the block, popped on the cam sprocket with little drama (my little pink barbie hockey stick worked perfectly this time!) and buttoned up the header, intake manifold & various peripherals. don't want to jinx this, but i actually felt like i kinda knew what i was doing this time. i'm really beginning to appreciate the simplicity and straightforward design of these engines - a joy to work on. i wanted to get it running today, but ran out of daylight and was working outside in the rain under my carport - not getting directly wet, but chilly/damp with the occasional breeze sending some spray to the face so i called it quits before filling up the cooling system. will jump back into it tomorrow and see if i can get a jolt of life out of it (cue gene wilder's mad laugh from young frankenstein).
-
yes, you can compensate for the dizzy shaft being off a tooth, but it's kinda wonky and will be a pain to get timing all correct. when i did this, i used a piece of inner tube rubber sheet to make a sling for the oil pump end of the shaft so i could work from the top and push it down, clock it, pull it back in place without a helper. it was the only way i could get that damn swirly gear in the right position. its actually a pretty simple job and once it's set right, all your other marks should line up better and it will be much easier to know where you are without extra marks and doing math...
-
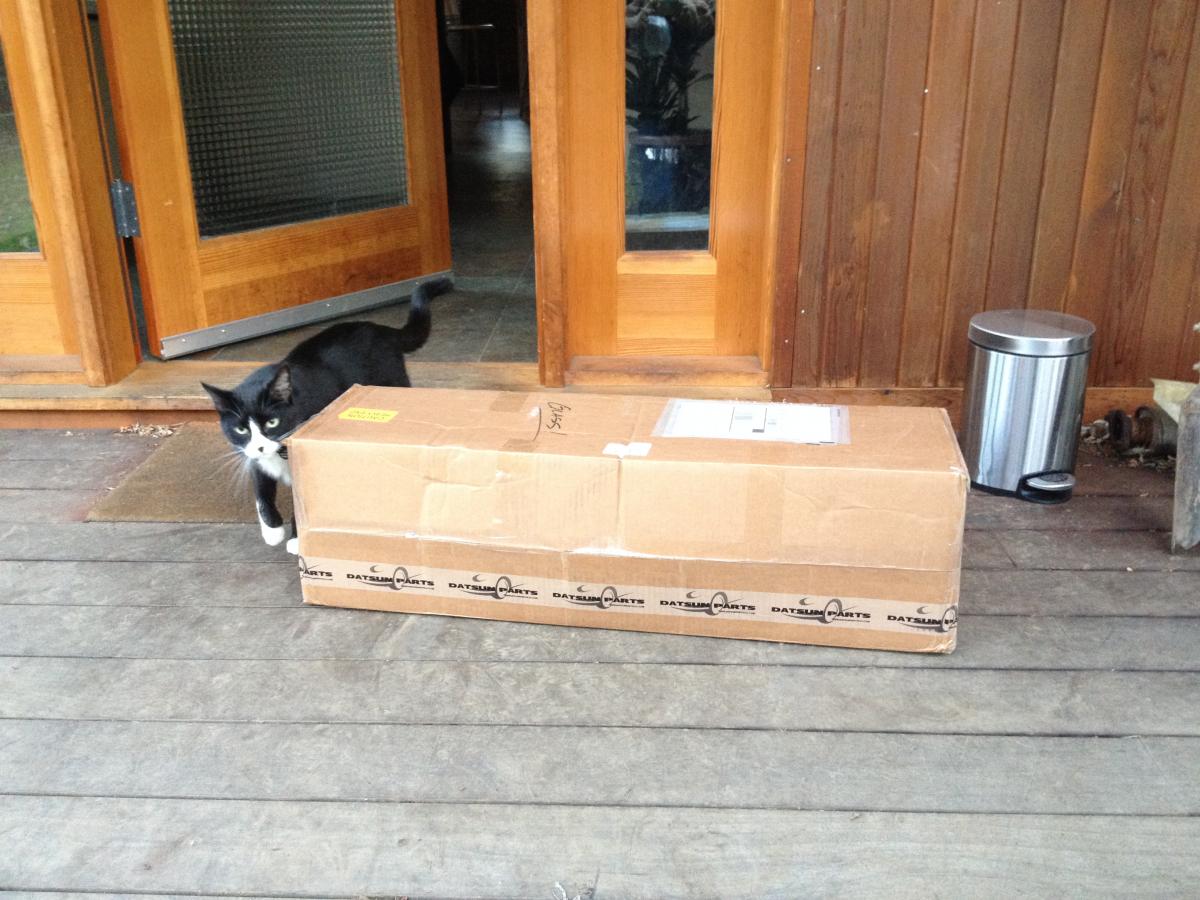
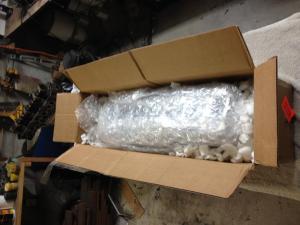
surprise on my porch when i got home friday: nicely packed: when i opened it up, it looked dirty - white gritty stuff all over it... thought it had been put in a dirty bag or something: closer inspection revealed that there was a good deal of mineral deposits inside the water passages: some of this crud had shaken loose in transit and got stuck to the oiled surfaces. i scraped out lots of big clumps and blew it all out with my compressor, but it doesn't make me feel very good... i thought hot-tank cleaning would get rid of that? what i saw didn't look so huge as to block water flow (not like the sludge that was in my block) but i plan on doing a couple of coolant flushes once i get her going. today i hope to get it installed and check the wipe pattern - will keep y'all posted...


-
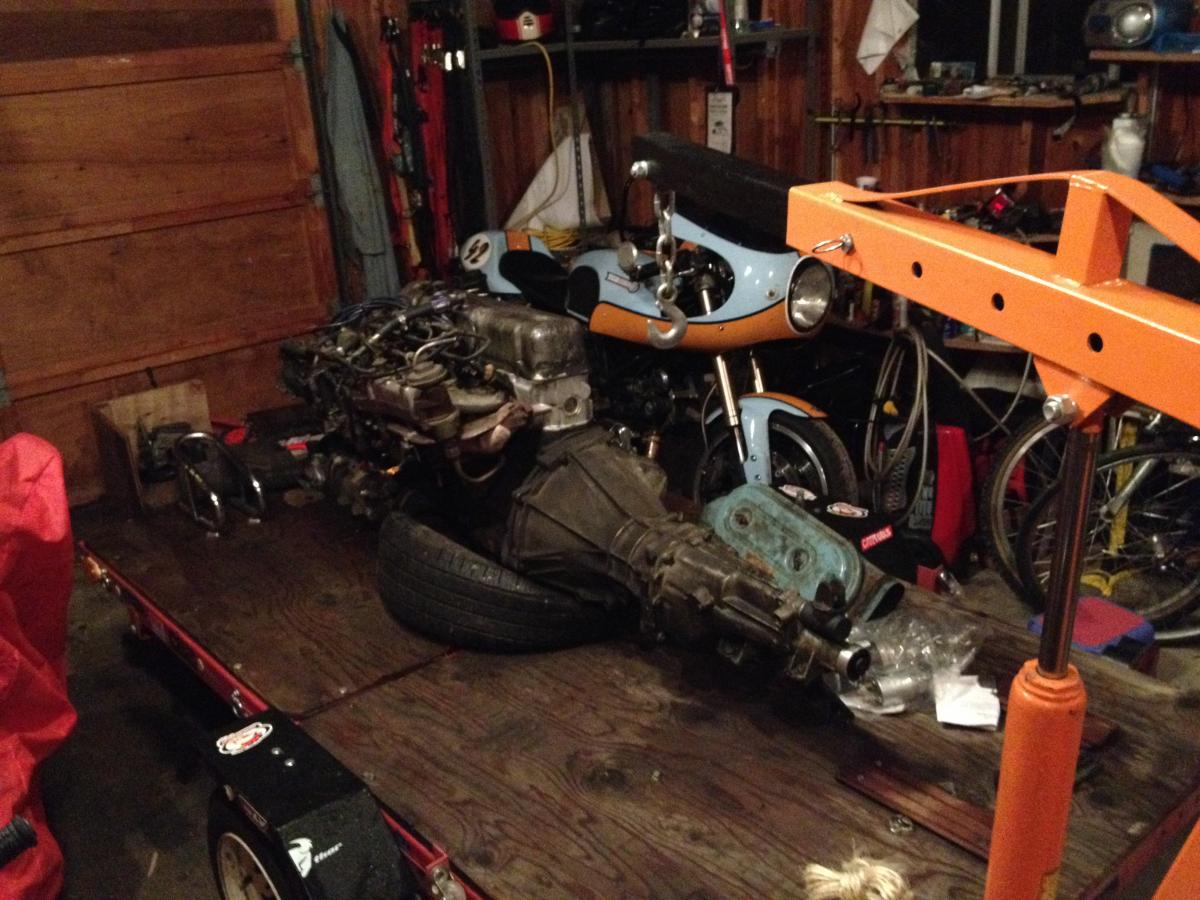
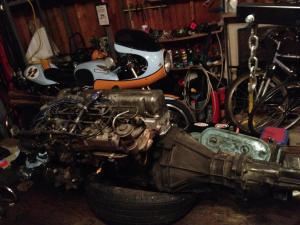
brought the lump home - a few "before" pics: it looks like my square port 6-1 msa header should work fine on the round port p79 so i've decided to use it instead of the n42. here's my dilemma: i'd like to shave the p79 in order to get the comp ratio up to 10:1, (which i believe should be safe enough to avoid pinging with pump gas) but the po says it was warped and he had it shaved to fix the sealing surface, and i don't know how much they took off it... so how do i know what to take off at this point?? do i measure the chamber volume? and then what do i want the final chamber size to be for a 10:1 engine? and is 10:1 a good comp ratio? lots of questions, i know... i just want to get the basics right before i dive too deeply into this. thanks!

-
nice! ok, so all of us that were feeling bad for you are now starting to feel envious ;}
-
ebay seller advertised as for 88-91 prelude. works like a champ.
-
its all relative... building ducati's got me used to seeing $500 price tags for a piece of billet you can hold in your hand. a clutch pack (just the plates, nothing else) runs about $250 and they're only about 6" in diameter. i've literally been in heaven buying parts for the z - they are sooooo cheap in comparison. yes, some rare NOS stuff is pricey, but it ain't nuthin' compared to some other stuff out there. the other thing to remember is that their are very high costs associated with small run production (and yes, anything under 1,000 parts is very small run) including multiple materials, processes and suppliers. if the quality is as good as folks have been saying, the price seems more than fair. anyway, it's never really a discussion of cost - it's a discussion about value. otherwise, the world would be driving budget boxes and there wouldn't be exotica and sports machines. one man pays for the value he sees in something, if another man doesn't see the value then the cost is felt to be too high.
-
reminds me of a '68 firebird with the pontiac ohc engine - replaced the timing belt and could NOT get it to start. finally figured out the plug wires were on the wrong distributor ports. seems the belt had stretched so much over time, that the PO couldn't get enough advance and had moved the plug wires one position forward to compensate. what a mess. it did run fine after i got it sorted out though...
-
sorry to hear this story... sucks to have something like that pour cold water on your build, especially since you were making such great progress. at this point, we can only hope that you get it running well enough that this experience quickly fades. i've built a couple custom bikes, and it seemed there was always a roadblock right when i started getting momentum up. parts would take crazy time to arrive, service providers would flake out, things wouldn't fit like i thought, etc. and i would get all worked up about it. a buddy with a few more years of experience kept reminding me that the setbacks are part of the process, part of the struggle. he has a real zen-like approach to projects, and gets great results with supreme patience. i'm not there yet... still get antsy to get it done, and none of this really helps you at this moment of frustration, but in a few months when you're laying 11's up and down the block in your badass z it'll be hard to remember this little hiccup
-
i bought a set of the staag struts along with eibach progressive lowering springs and msa thicker sway bars (there's a thread somewhere on here about my suspension refresh). the staags seem fine - but i've got a lot of variables replaced at once so hard to say if i can pinpoint the struts over the other mods. overall the handling is much more taught than the oem setup - the sway bars are the biggest single cause of that, as they all but eliminate body roll. the springs help too with the stance and lower cg. the feel is a bit more harsh - not bad, just not as mushy as the oem, but definitely feel the road much more. i have thought about what kind of difference a set of higher end adjustable struts might make...
-
hmmm... so i guess this was part of a subtle smoking cessation campaign? or did they just start making skinnier cigarettes? anyway, thanks for the measurements - i just may need to base my next car purchase on the ashtray... even tho i don't smoke!
-
not to be a nuisance, but does anybody know if the aluminum 240 ashtray slider lid will fit the 280 console?
-
hmmm... more good info. questions for those that have done this (jeff, guy + any others...) how feasible is it to run the n42 header on the p79 head (exhaust port question) - will i burn gaskets? hinder flow? notice a difference at all?can anyone confirm if the f54/n42 can run decently on 91 pump gas? am i better off trying to find a p90 instead of replacing my header?is this worth trying???
-
thanks for the input - i've been reading all sorts of opinions on both sides of the f54/n42 ping debate and some say it pings, some say it's great... here's my issue: i've got a brand new msa 6-1 header that needs either the n42 or the p90, and i've got an n42 being rebuilt as we speak. so i would have to buy another head (p90) or another header (for the p79) as well as re-build the p79. i'm trying to do this build affordably (did i just say that??) and don't have the $$ to re-purchase heads/headers. am i setting myself up for disaster?