rossiz
-
Posts
1,109 -
Joined
-
Last visited
-
Days Won
30
Content Type
Profiles
Knowledge Base
Zcar Wiki
Forums
Gallery
Events
Downloads
Store
Blogs
Collections
Classifieds
Everything posted by rossiz
-

Where To Get Single Terminal Connector For Alternator Circuit?
rossiz replied to hatepotholez's topic in Electrical
you can get the complete connector (both halves) from vintage connections and just replace it. easier than trying to match... -
very nice - i just painted mine black because it was so pitted from corrosion... the next thing i wanted to do was replace the sliding lid with the aluminum one from a 240 because i just like the look a little better - does anyone know if they will swap without serious modification?
-
blue's example is spot-on. the thing that used to confuse me was how timing is measured. electrical timing is when your spark happens in relation to the pistons - measured with a timing light. your timing light fires off the ignition system (the pickup on the #1 plug wire), so it measures electrical timing relative to the crank position (the 0 mark on the pulley). the distributor (which fires the plugs) is run by a gear directly off of the crankshaft - no connection to the valve train. electrical timing is altered by the following actions: manual adjustment: loosen the mounting nut and twist the dizzy back and forth to advance/retard the entire timing curvemechanical advance: the plate inside the dizzy twists back and forth based on the speed of the engine (controlled by springs, which set the timing curve). the timing curve is the rate at which the mechanical advance is applied - at what rpm it starts, and at what rpm it maxes out.vacuum advance: the plate inside the dizzy twists back and forth based on throttle position and resultant vacuum (controlled by a diaphragm) mechanical timing is the relationship of the valve train to the crank position and isn't measurable by your timing light. on our L6 engines, mechanical timing is altered by the relationship of the cam sprocket to the cam (the 3 positions on the sprocket and the V-notch). mechanical timing is measured with a degree wheel and a dial indicator which measures valve lift in relation to the crank position. much more complicated...
-
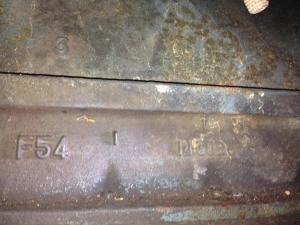
actually, the N42 is coming back - dpllc is rebuilding a different one for me and sending it out, probably next week. he has been more than fair to work with so far, and i'm hopeful that the first head i got was an anomaly... will report back when i receive it. i found a complete flat-top F54 motor w/a close-ratio 5 speed and plan to put the N42 on it for a high-comp setup. the motor comes with a P79, (wrong exhaust port shape) which i'm hoping someone else might be interested in. i've been wanting to do this for a while, and once the head comes back i should have a running car (fingers crossed) and the other motor on a stand in the garage, offering the time/patience to pick away at the build and do a nice job.
-
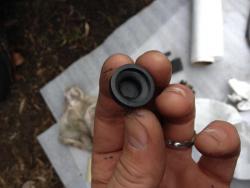
i'm always up for a good home-brew fix... does the metal-to-metal induce any rattle?
-
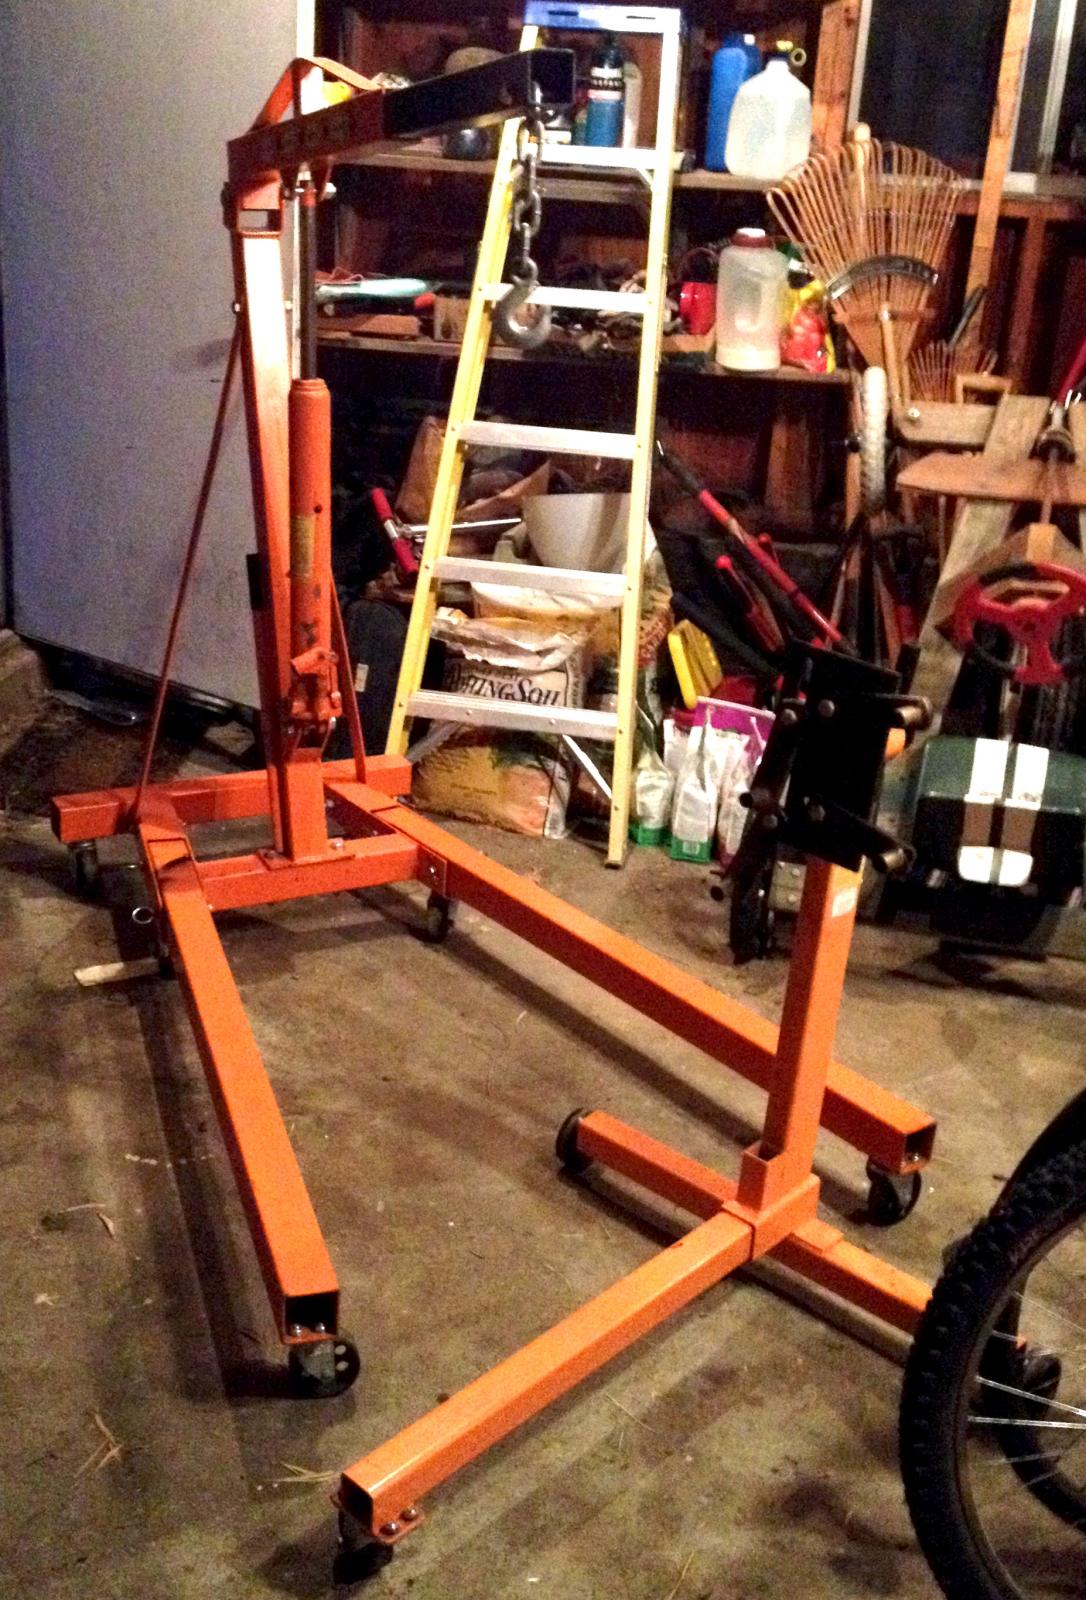
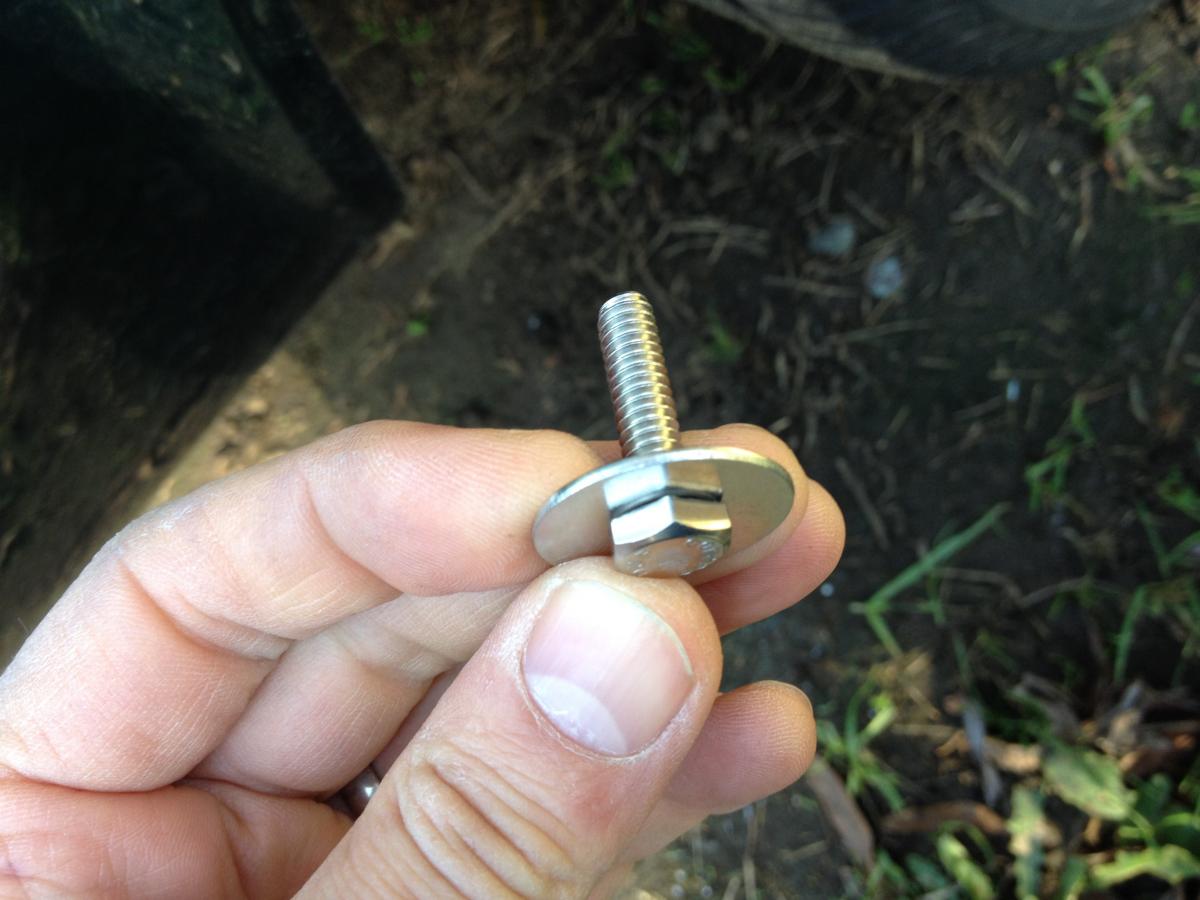
craigslist score #1 craigslist score #2 will be picked up soon... let the fun begin!

-
yeah, it's pretty cool - kinda brings me right back to the late 70's (when my car was young) and my buddy got a strobe light for his dance parties... we'd jump up and down at just the right speed and it would look like you were floating a few inches above the floor. and the weed helped...
-
also, if this hasn't already been stated, if you have a bunch of little problems, they can all add up and shut you down.
-
+1 on corroded connectors - you might want to spend a couple hours and trace every wire int the harness, pull apart every connector, use some deoxit or other cleaner, some 400 grit paper, re-connect w/a little dielectric grease, unscrew every ground connection (some on manifold, some on chassis) and do the same. nothin' worse than chasing intermittencies and other electrical gremlins when you have a bad ground or crappy connection! besides being a good way to set a baseline, it's a good exercise to get you familiar with the harness, it's parts, and prevent a bad connection that would have shown up in the future...
-
another way to look at it is set your engine at the desired speed and keep dialing back until the pointer hits 0, then the number displayed is the advance. so if you have 10 degrees advance at idle, you should be able to dial back your timing light until the flashing light shows the mark visually at exactly 0 and the meter on the timing light would read 10 - this is more theory than practice, as at idle it will jump around a bit, but you can get it pretty darn close. it's more consistent/stable at higher revs. if you want to see your total advance, including mechanical, just rev it up until you reach max advance (when the timing stops moving) and dial back until the pointer hits 0 and the meter will read total combined advance (initial + mechanical). you can also use the tach feature to see what rpms the mech advance kicks in at, and how it progresses - then plot the values to figure out your advance curve. fun!
-
nice! it always surprises me when the bits we need are available in the most obvious places... been trained to scour exotic resources for "rare" parts when the parts counter should be the first place to look!
-
lithium iron phosphate batteries have been a big splash in the motorcycle world for a few years, primarily due to their extremely low weight and small size. in the early days the cells were all made by one or two companies and re-packaged in different casings by other companies and sold under various names. we used to buy dewalt battery packs, pull 'em apart and link them to make our own cell packs. i've built a few custom bikes with these and they do work well, however there are a few caveats... the cells must be kept in balance, which means you need a special charger and the better batteries have electronics in them to assist, along with a special multi-pin plug for the charger so individual cells can be monitored and charged accordingly. these batteries lose a lot of power when cold, so you can wind up with what seems like a dead battery on a frosty morning. some riders have quick-disconnect batteries and keep them inside, others have found that turning on the headlight and drawing current heats up the cores to get them going. the battery isn't dead though, just needs to be warmed up.again, the primary advantages are weight and size, which make a huge difference on a race bike, but i don't think either mean much on a street car... i actually reverted back to lead-acid on my touring bike as it's a less finicky technology and the reliability factor is way more important on that bike than shaving a few pounds. i'm not trying to say LiFePo batteries are no good - they are very good, very powerful, very small and insanely light - just saying that those benefits may not be right for a street car...
-
love it - even tho i don't have a mech pump... always cool to see a clever work-around. well done.
-
the oem bumper doesn't do much different - it's attached with similar clips in similar locations and i don't believe the actual bumper was any thicker than these repro ones. again, mainly ornamental. i don't treat it as a truck - i have a 4runner for that... and yes, i drive it every day - at least every day that it's running! i hope i never get "tapped", but i bought the car to enjoy and would rather drive it than have it parked. like the man said: ya pays yer money and ya takes yer chances!
-
beautiful!
-
after reading a few posts on this (most recently the great write-up by hardway) i decided to go for it. my fan has been making some pretty horrible noises - whining, screeching etc. and the output was weak. picked up a honda fan assembly for $30 on fleabay, gave it a quick clean and got myself geared up for the job. i won't go into all the details, as this has been posted before, but i will whole-heartedly validate the improvement. the new fan is quiet and blows like crazy. couldn't believe how much more efficient it is at moving air. the design is basically the same, but the honda fan has a lot more vanes, which are smaller and it's a slightly larger diameter - about 1/4". this meant i had to open up the hole 1/8" all around, but that was pretty easy: just scribed the circle around the new fan, put the housing gently in the vice and went at it with an angle grinder, then cleaned it up w/a file. done in 15 min. the new fan fit perfectly - had it's own nice rubber gasket and the holes lined right up. i made some additional rubber isolator washers for the mounting bolts and used the large washers from the z. the honda fan comes with a little vent tube, which i believe cools the motor by pulling in a little air through the windings. i used a paddle bit to drill an 11/16" hole in the z housing and the hose plugged right in. the plug on my honda motor happened to be the same 2 wire T plug as the z, but i made a little jumper/extension to give me a little more room for the wires. the honda motor can run either way, so i tested the polarity, then clicked it all together. the biggest pita of the whole thing was getting the assembly out from under the dash, then putting it back in. holy crackers - what a miserable job. it would have been easier with the glove box or dash out, but i'm stubborn and was determined to win. and i did. while i was in there, i replaced the foam gaskets between the plenum and the fan and put a hose clamp on the vent hose that runs horizontally in front of the fan - this hose was continually falling off, not anymore. anyway, it was a successful adventure and now i hope to be able to keep my windshield from fogging up every time it rains!
-
huh... those are almost exactly what i made - but i have just one hole in the middle section of each bracket. i probably could have just bought a pair of those and drilled a couple of new holes. woulda saved me some time... but mine are made from aluminum so i don't have to worry about them rusting ever. that's what i'll tell myself to feel better about re-inventing the wheel. the 78 280 shock mounts are kinda wonky, bolt pattern is on a diagonal and they're not symmetrical each side, so i had to mark the centerline of the bumper middle section and the centerline of the car, then set the bumper height i wanted (dictated by catching the existing mounting holes and allowing the side bumper returns to hide the un-used existing side-return mount holes) and then transfer those locations to the brackets. it was tricky, and i'll admit i didn't get it perfect so had to use a ratstail file to slot the holes until the bumper sat just right. i used rubber washers between the brackets and the bodywork at all locations, and big fender washers to spread the loads and avoid dimpling anything.
-
i'll have to dig up the pics of the brackets - they wound up on my work computer... they're really simple, kind of a hat-channel shape with the two "ears" drilled to bolt up to the bumper and a single hole in the middle to take a bolt for the captive nut on the body. the "hat" shape sets the distance of the bumper to the body, i set it at about 1/4" from the paint and it looks nice. in retrospect i might have made it another 1/8" further because the sides sit about 3/8" away from the quarter panels, but i'm not getting too fussy at this point. just glad to have a bumper and sick of always hearing the same comment: "nice car - shame about the bumper" or "did you get hit?" or "that doesn't look safe"...
-
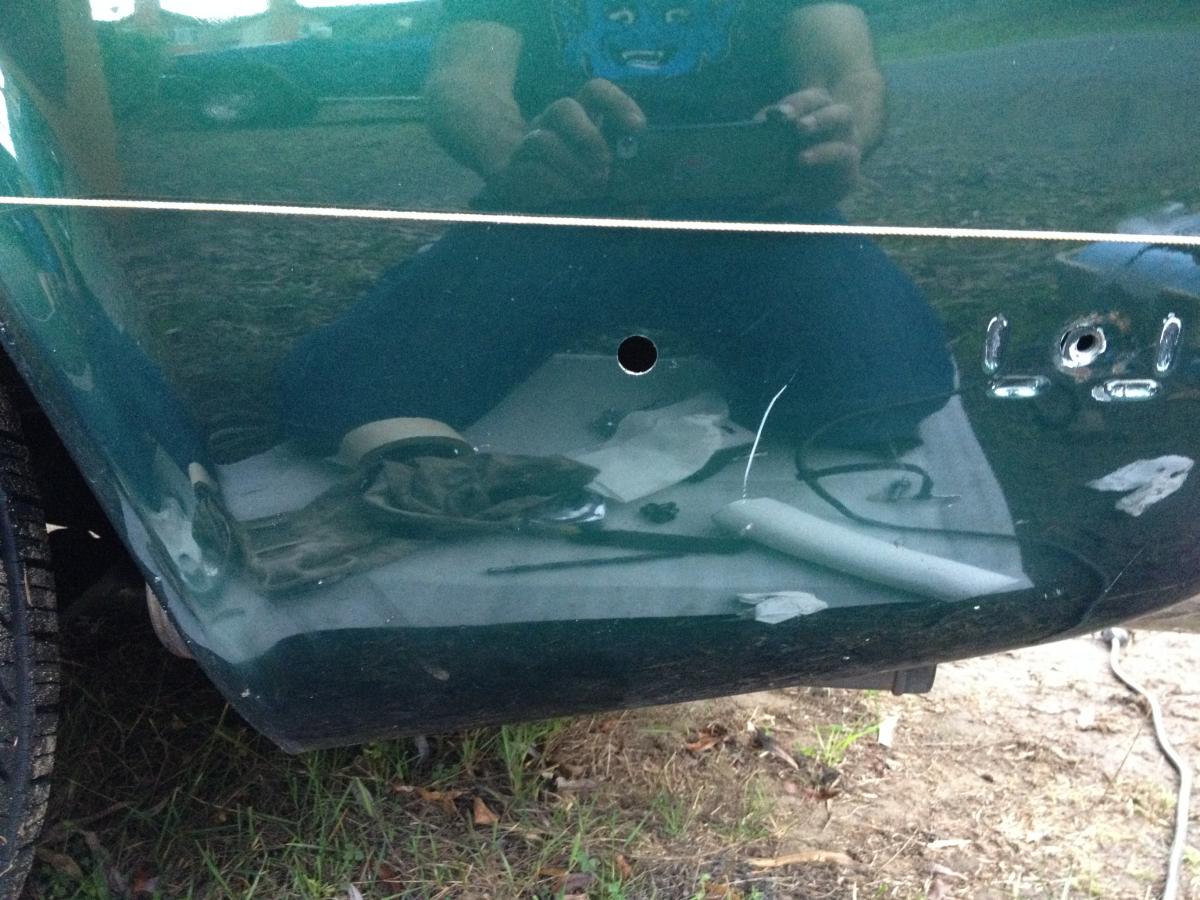
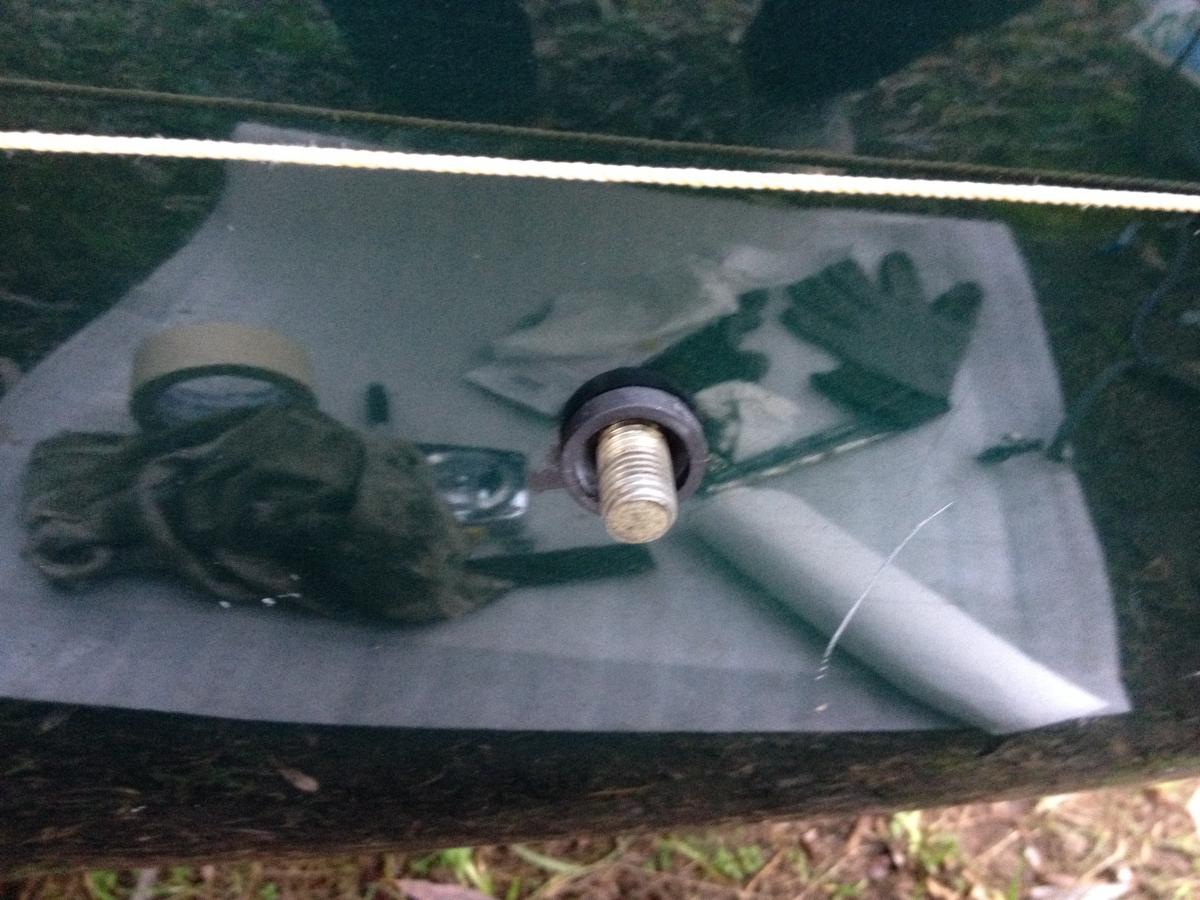
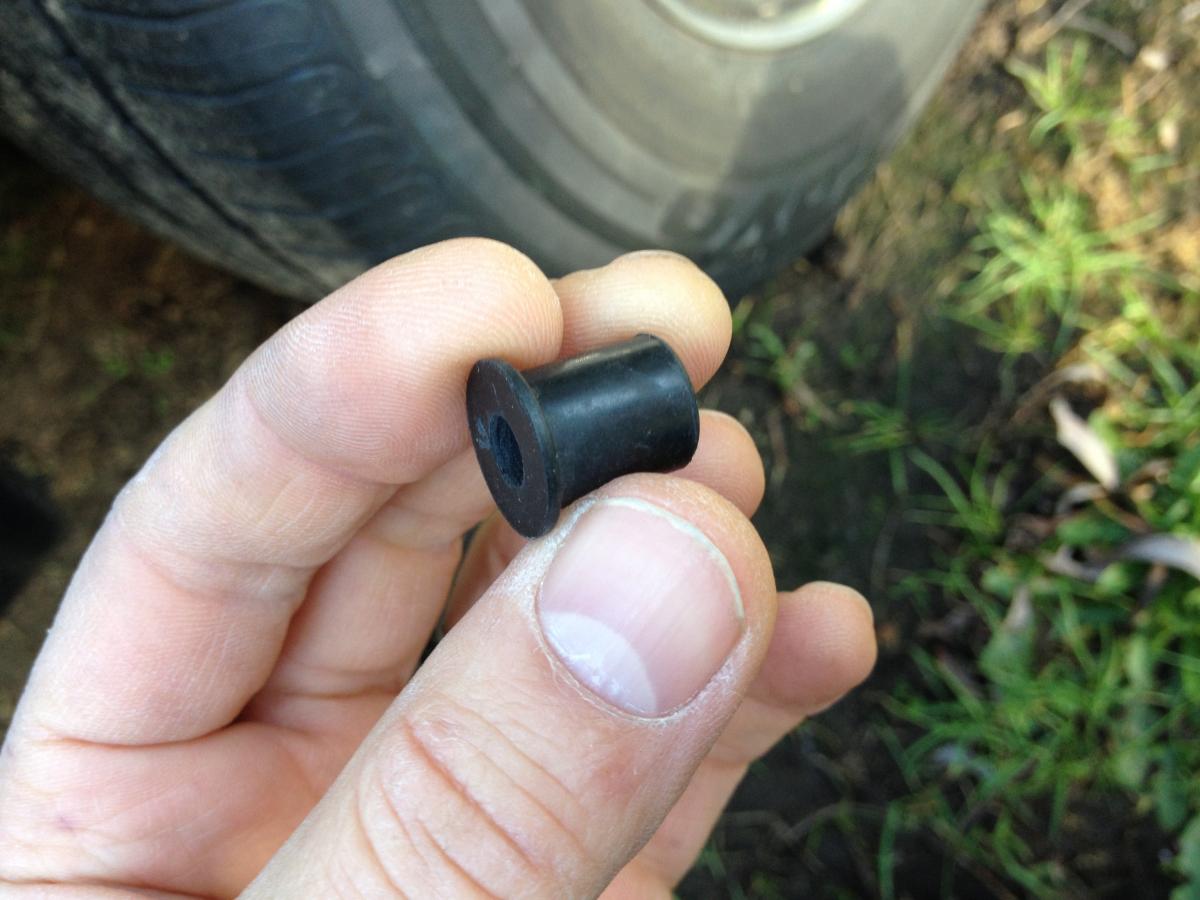
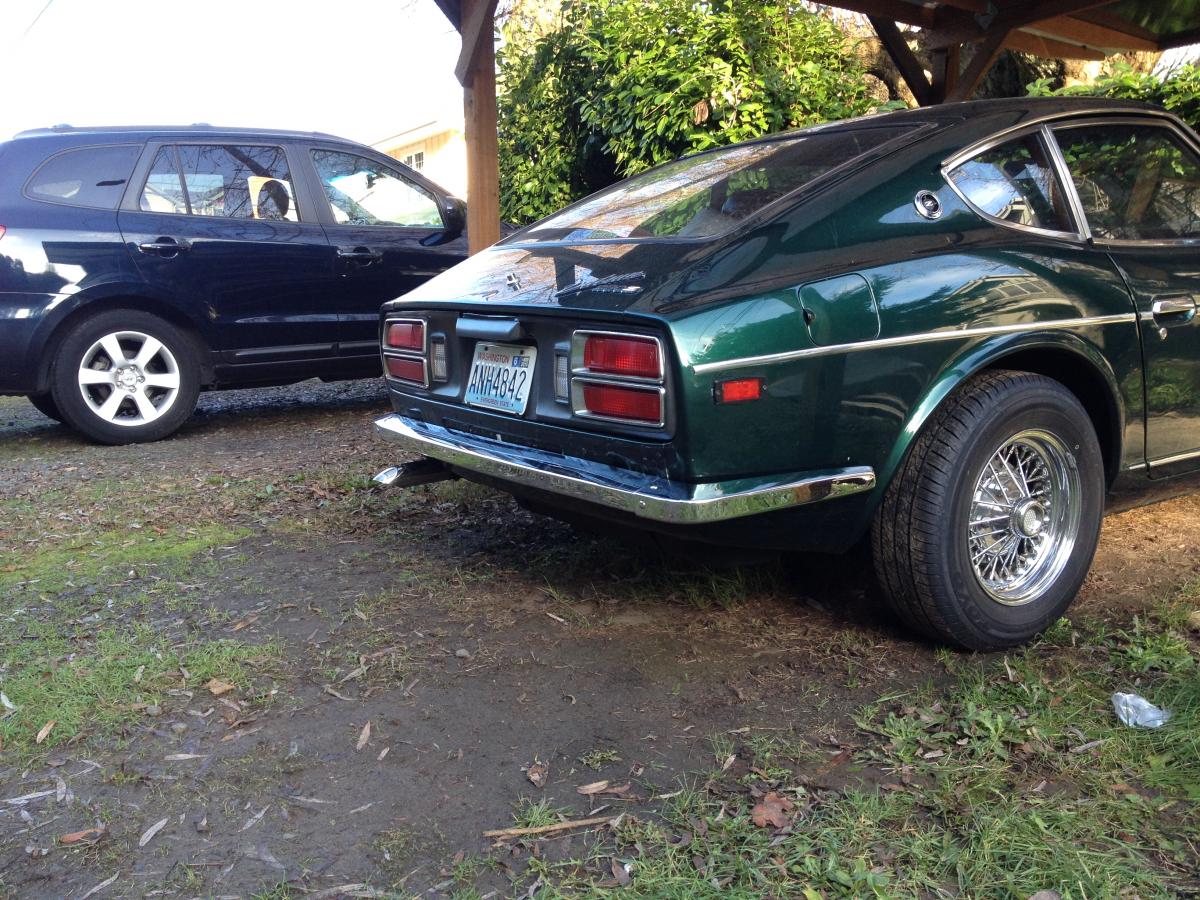
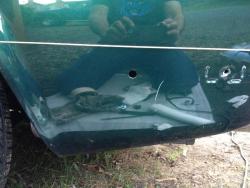
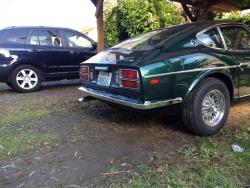
merry xmas to me - a day off and some time to play w/my toy picked up a nice new rear bumper from futofab: http://www.futofab.com/index.php?option=com_content&view=article&id=131&Itemid=118#a_rb and i'm quite happy w/the quality of the parts. nice chrome, good fit, speedy delivery. i pulled the stock '78 bumpers off a while ago and was going back and forth on whether to do the bodywork and have a shaved rear or install a 240 rear bumper. decided on the bumper. i made some adaptor brackets out of aluminum flat bar that use the 2-bolt mounts on the bumper and bolt up to the threaded holes from the stock mounts. a little measuring, cutting, drilling, and a bending in the vice and all was good. that got the center section securely mounted. the side return mounts on the bumper are way too far off from captive nuts in the '78 quarter panels, so i went a different route. decided to (gasp) drill a hole and mount to the body panel. first step was to pull a string across the side of the car to set the returns level, then cover the area with some painter's tape, mark the hole location and drill for the anchors. the driver's side was pretty easy - i used a rubber grommet found at ace hardware in the plumbing section to isolate the bolt from the body, then pushed it through from the inside and cranked it up to the bumper return - hardest part was pulling all the interior panels out to get to it on the inside. passenger side was a bit trickier, as the gas filler goes right by where the hole was (REALLY glad i checked that before drilling!!) and there's no way to get a bolt in there that would push thru from the inside, let alone get a wrench on it to tighten. so i took the easy way out and used a rubber well-nut and a 1/4-20 bolt w/fender washer to go thru the bumper mount. none of the above are particularly crash-worthy, but then again, neither is the bumper... it's basically a nice piece of trim. at any rate, i'm happy with how it looks. now, if only my newly re-built n47 head would show up, i might actually be able to get her running again! locating the hole drilled driver's side grommet driver's side - ready to bolt up passenger side well-nut bolt & fender washer for well-nut all done


-
hey, the clock in my z (original) keeps absolutely perfect time - to the second. and the expensive stereo that i installed with a fancy lcd display which includes a clock (unfortunately no way to turn it off) loses 5 minutes every 3 weeks!!
-
wow - seems like a good deal. been wanting to set up a sensor but hesitant about the cost. anyone have experience with this brand?
-
Mustache Bar Bushings... Anything Special I Need To Know?
rossiz replied to metalmonkey47's topic in Engine & Drivetrain
congrats on getting that done - even if it didn't solve the clunk... you're probably aware that there are quite a few "clunk" threads out there, some were able to solve it, others haven't. be sure to post if/when you do! -
polishing is like that - the more shine, the more flaws you discover. if you want a real perfect finish, take out the casting marks with a fine file, then sandpaper starting with 220 and move up to 600 or 1000 then hit the polish wheel with red, then finish with white. you will get a mirror finish if you want.
-
Affordable Chrome Plating; Year End Forum Promotion
rossiz replied to 9teen7t240z's topic in Open Discussions
hey mike - that sounds good. i'll have to pull the vents to confirm the materials, but i'm pretty sure they're all plastic. mine are painted, so it's hard to tell... but one of the studs was broken off my drivers side vent and i epoxied it back in - the stud is a square head moulded into the plastic perimeter. let me know the details on shipping and turn-around time - it's a good time for me to do this, as the z is currently out of commission waiting for a head re-build. thanks! geoff -
cool - thanks for that.