rossiz
-
Posts
1,109 -
Joined
-
Last visited
-
Days Won
30
Content Type
Profiles
Knowledge Base
Zcar Wiki
Forums
Gallery
Events
Downloads
Store
Blogs
Collections
Classifieds
Everything posted by rossiz
-
i agree with the above - spend your money on the body, as it's the part that takes the most skill, time and money to really get right if it needs a lot of work. bodywork is also the biggest risk for cost overruns, as you rarely see it all at first look - you start stripping paint and pulling carpet and it just goes on and on, with the cost along with it... don't be afraid of a tatty interior - other than the door cards and some of the plastics, you can re-do it all yourself with readily available replacement parts for not that much money. a carpet kit is a few hundred, new seat upholstery and foam is a couple hundred, a headliner is about a hundred, a full dash cap is a hundred or so, and you can do these projects one at a time as you save up the cash. as far as the drivetrain, there are lots of high-mileage z's still running great, and an entire engine/transmission rebuild pales in comparison to the money you can spend on rust, damage repair and paint. lucky you're in arizona - buy the nicest, most solid body you can find (original but faded is better than shiny but restored) then get it running and restore it as a rolling project - a little at a time vs. taking it off the road for months and sinking tons of $$$ into it all at once. much more enjoyable that way, and you may make some better informed decisions as you gain some seat time in it.
-
thanks for the kind words - i'm really looking forward to getting the transmission done so i can swap it into the car and fire it up. right now that cylinder head temp sensor is simply preventing a horizontal coolant geyser at startup. i'm gonna get a plug for it, but for now just didn't want anything falling or crawling into the block, as my garage isn't exactly a hermetically sealed clean room...
-
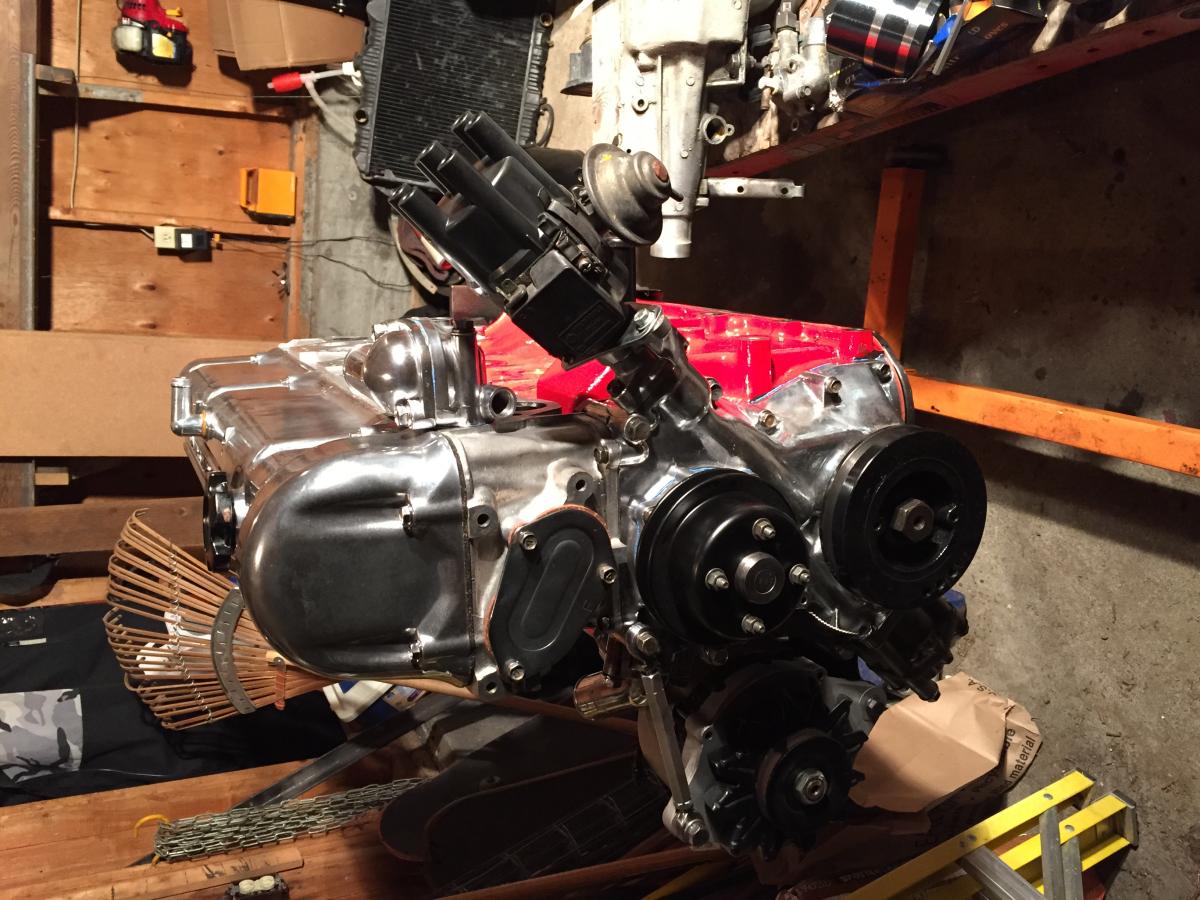
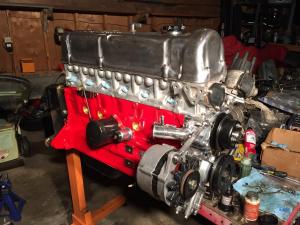
got her all buttoned up yesterday - a few odds 'n ends left to do, most of all gotta make a plate to re-mount the timing indicator closer to the new balancer. it's about 2" away now, since it was set up for the original 3-row pulley, which is much bigger. i'll have to dig out my degree wheel and piston stop to set exact tdc then i'll get her all timed up. the zx dizzy is different than the one on my '78, so i'll need to figure out what wires go to the multiple male spade connectors all over it... it's the one thing i didn't bother cleaning up because i'm not going to keep it for long - hope to build the crank-fired system over the next few months. my wife & daughter asked me what i'd like to do for father's day, and i told her i'm hoping i can call in all my "head of household" credits and get some help with the engine swap. let's just say they were expecting a response more like "brunch and a day at the park" - but i'm sticking to my guns on this one


-
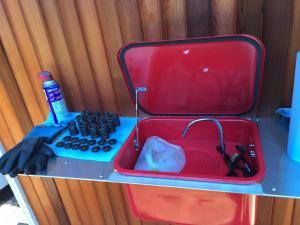
thanks - it was really simple: (2) 48" pieces of 1 1/2"x1 1/2" aluminum angle (one at the wall, the other at the front) and (2) pieces of 15"x16"x1/8" aluminum for the shelves each side. clamp together, drill and bolts/nuts at the corners, then screw to the wall and support w/a pair of diag struts bent from 3/4"x 3/16" aluminum bar. the washer tub has a lip around it so it just drops in. i drilled a 3/8" hole through the siding, cut the plug off the cord and routed it through to the inside, attached a screw-on type replacement plug ($2 ace hardware) and connect to power in the garage. the on/off switch is mounted to the side of the tub, underneath the shelf on the right. to reduces solvent evaporation i made a gasket for the lid from 1/8"x1/2" self-adhesive foam tape. the liquid stream is a little forceful, which tends to splash everywhere, so i cut the back half off a gallon milk container (the part w/the handle) and hold it over the parts as a splash guard while i soak the parts, which works really well. then a quick scrub w/a brush, rinse & dry on paper towels. love it.
-
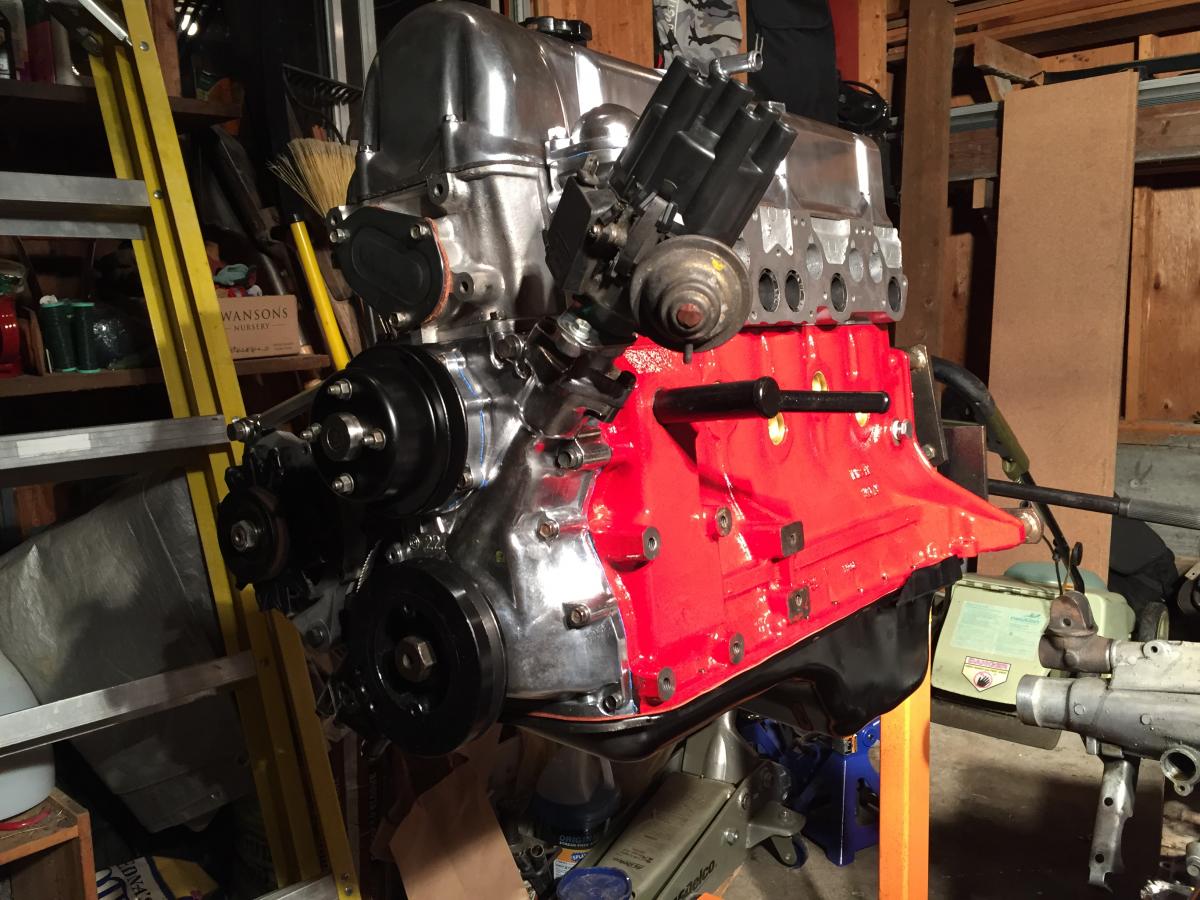
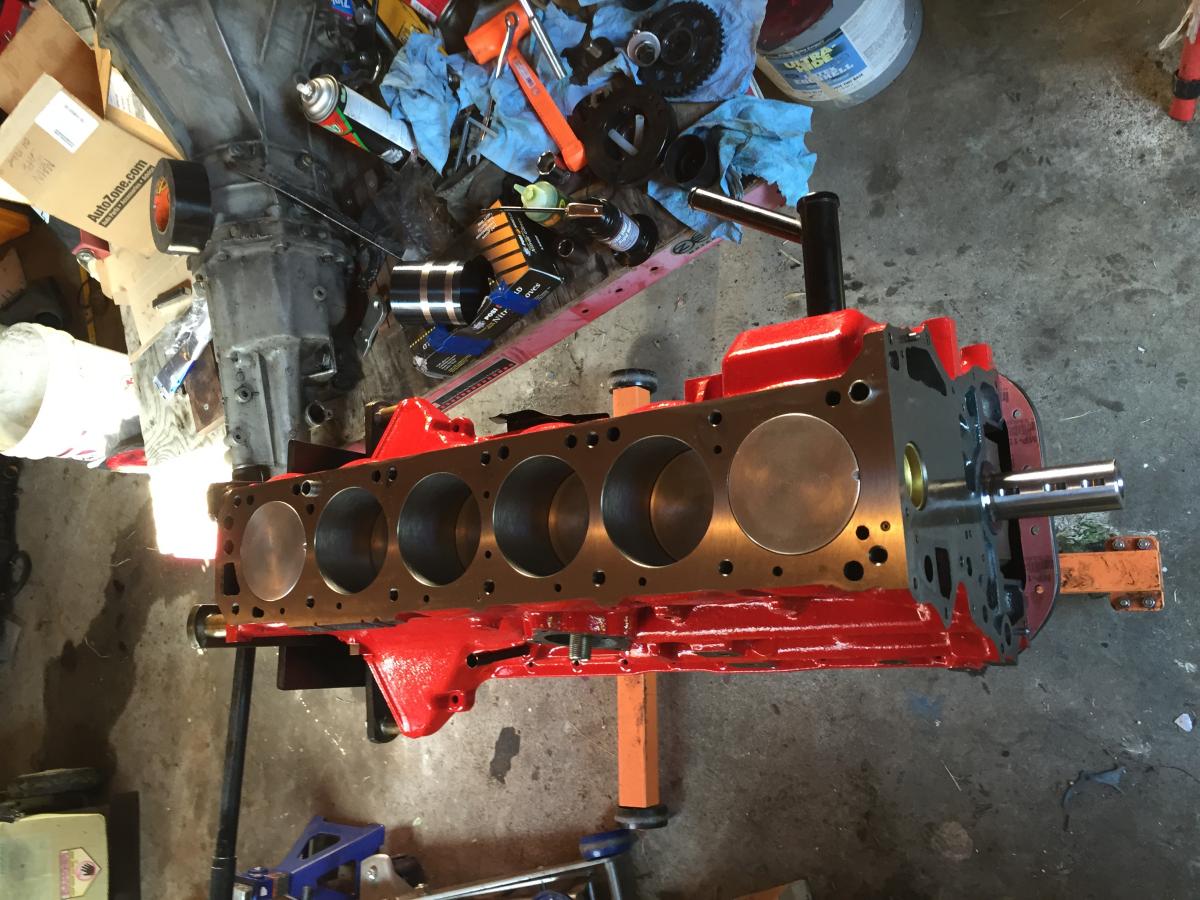
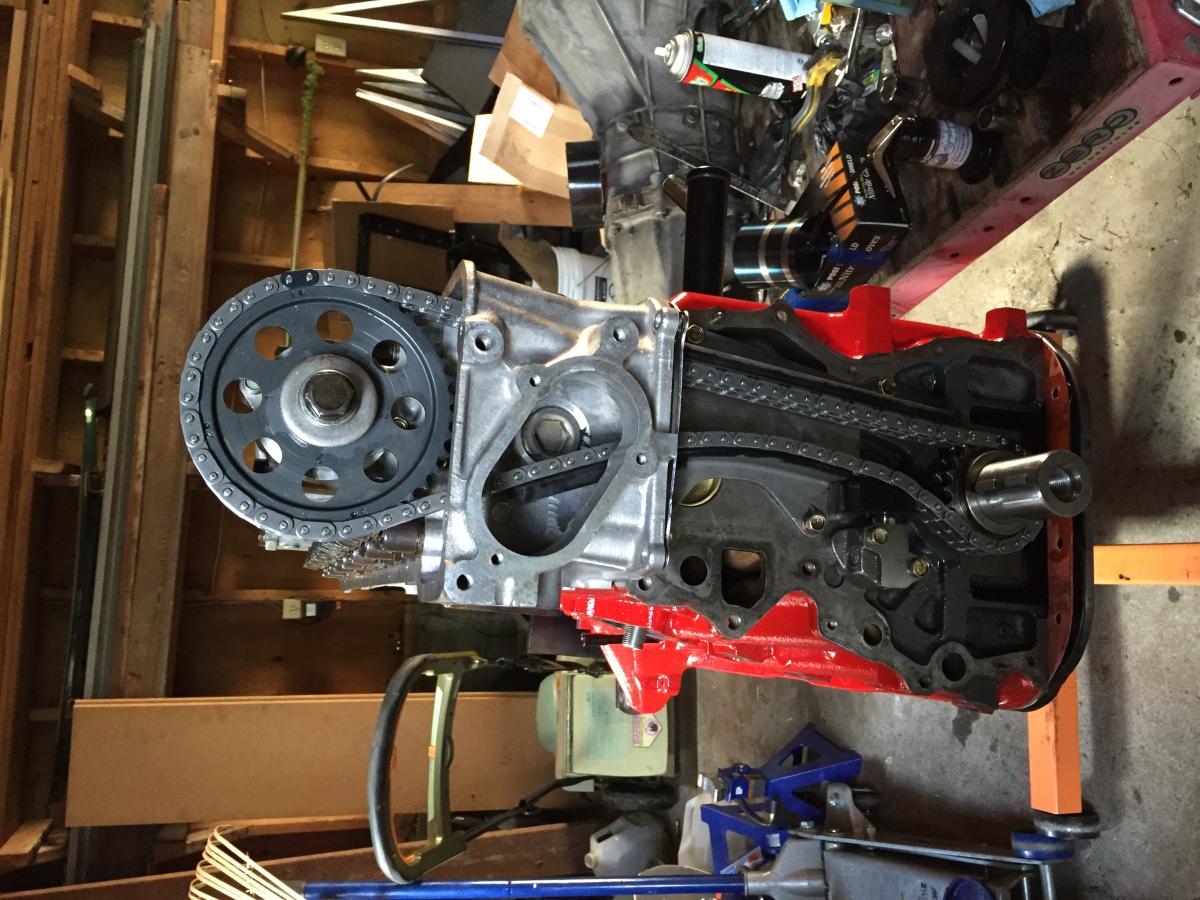
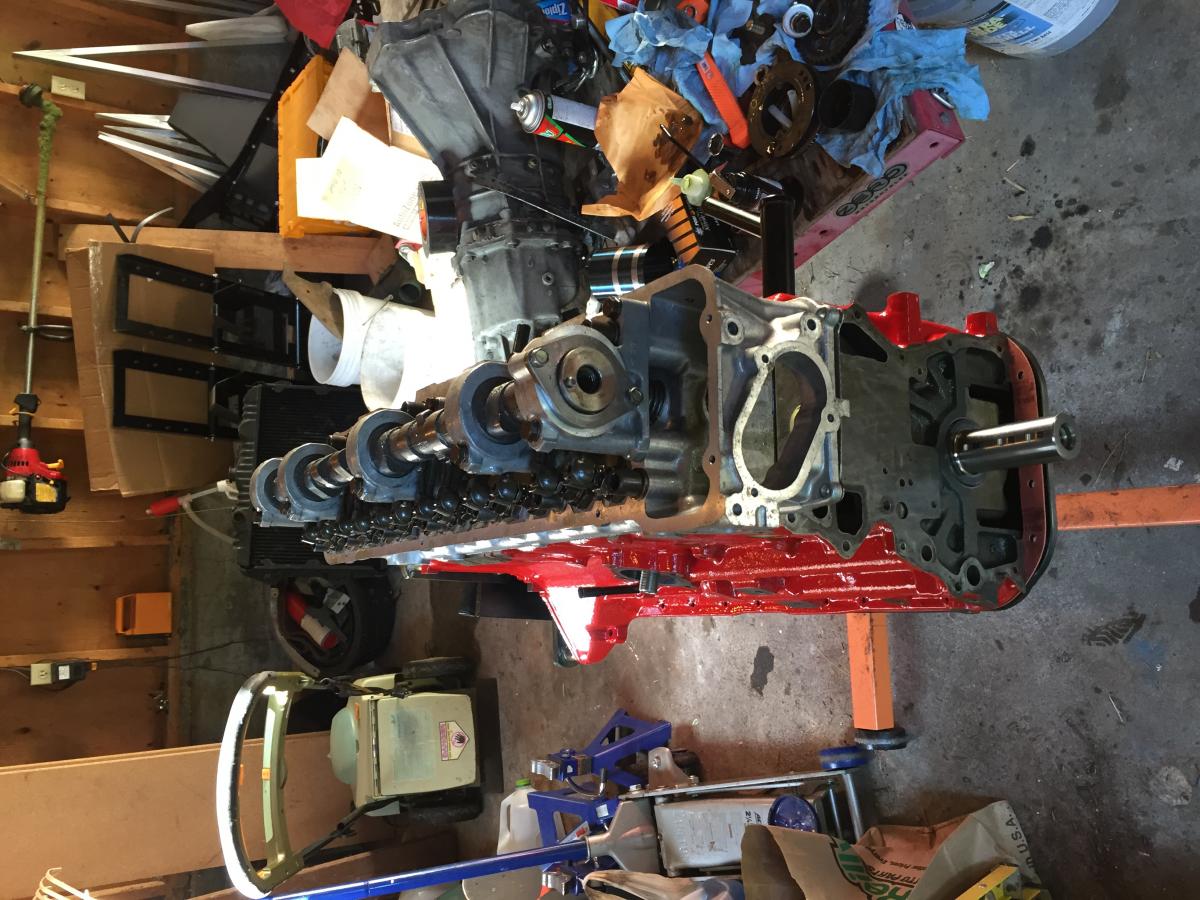
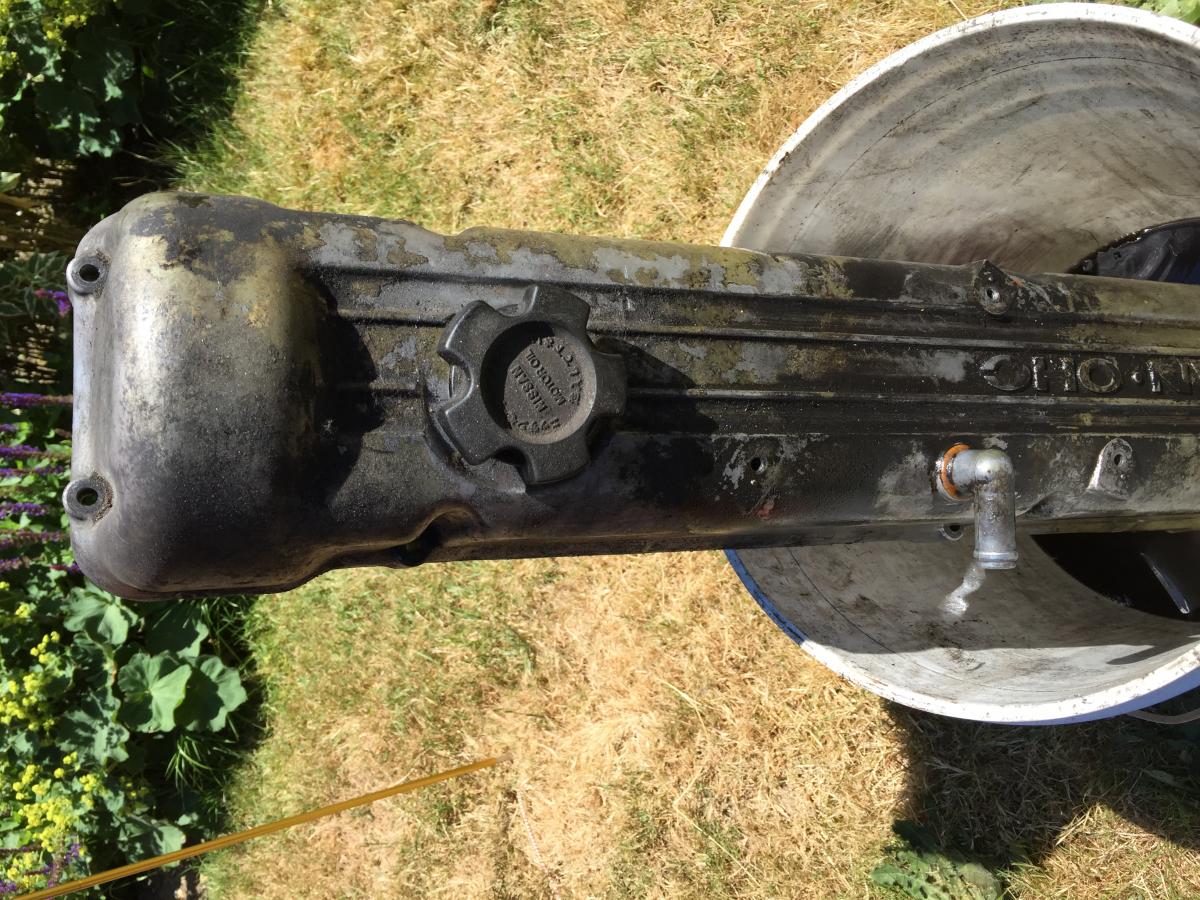
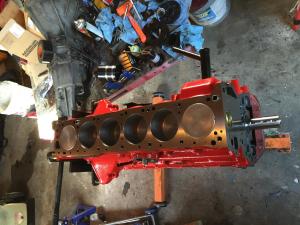
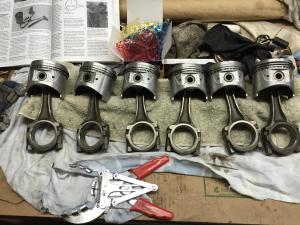
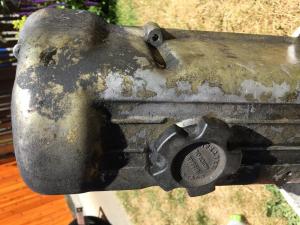
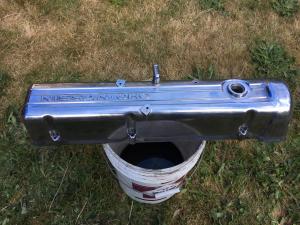
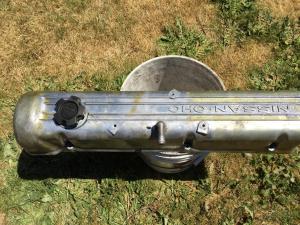
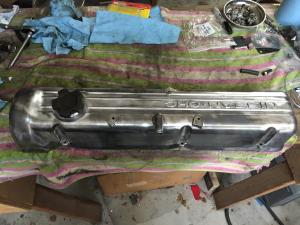
finally making progress! MSA were great, got a new set of NPR rings to me by 10:30 am so i was able to get the pistons assembled and installed. bottom end done, head on, timing chain installed. i was pleased to see that the slack side chain guide was able to pick up all the chain play even with the head shaved .060 and no tower shims. the cam gear is set at the #1 position and is about 2 degrees advanced with this setup - i figure i'll leave it as is unless there's a compelling reason to get it dead on with an eccentric. i've advanced cams 5 degrees with good success on ducati twins - not sure how the L6 responds to this... spent the better part of the afternoon cleaning up the valve cover - it ain't show quality, but definitely nicer than it started out. a PO had the bright idea to put a clear coat on it, which was partially peeled and yellowed (looked like spar varnish) and was a major pita to get off - an hour with the wire wheel. for the build i bought a little $50 bench-top parts washer and made an aluminum shelf on the exterior of the garage to keep the fumes outside. it works great for cleaning things up as i go - i give 'em a scrub, dry 'em off then hit 'em with WD40 to stave off flash rust. filled it up w/kerosene which works well as a solvent, very low odor and doesn't evaporate too quickly. parts come out looking brand new and it feels great to build the motor without all that old sludge, grit & baked-on oil all over everything. tomorrow i hope to finish up with the front cover, water pump, oil pump, dizzy, alternator & motor mounts. then i need to replace the seals & gaskets on the 5-speed, give it a clean-up, install the flywheel & clutch and join it to the engine. pics from the last couple days below: pistons all ready to go bottom end done head installed cam chain installed my lil' parts washer valve cover transformation before: after solvent wash: after wire wheel: polished:


-
wow. looks like someone might've had a matching track suit to go with it... gold chain hanging from the rearview mirror?? takes a big pair to rock that combo!
-
yes... patience. MSA are making it right - overnighting a new set, morning delivery at no cost to me. covered up the bottom end for now and built the head today instead. got it all done - cold lash set.
-
AAAARHGH!! all set up to install pistons - installed all the oil control sets and went to gap the comps and discovered they sent me the wrong ring set!! it's a .5mm overbore (.020) set, which actually puts overlap at the ring ends vs. a gap.... soooo frustrated, as i've had these !@#$% rings for a month and now i'm dead in the water. does anyone know how much you can safely file off rings? could i file these down in a ring gap file till they are the right gap and use them?
-
after a couple weeks worth of chiropractic appointments i'm finally getting to the point where i can actually work on the motor... last night i got the crank & mains in - today i'm shooting for pistons & button up the bottom end

-
thank you for sharing all the great learning and posting so diligently - a service to all of us. now go drive the tires off that thing!
-
i made a puller to get rear caps off: grab a piece of steel angle, drill a hole in the middle, put wood blocks on either side and crank a bolt down into the cap - done in 10 min.
-
the filter is doing its job - but all filters have a minimum size particle they will retain (a micron rating) so very small pieces of crud will pas through and can build up in other areas of the system. also, when the filter is full, it restricts flow which can cause lean conditions.
-
re-skinning the seats is not difficult. spend $15 on a set of hog ring pliers and some rings and take your time with the install - it's like pulling a big vinyl sock over the seat. while you've got the seats apart, it makes sense to clean up & paint the frames/springs and lube the tracks, and if your foam is shot simply replace it - but again, not a big deal.
-

Hot-start issue with EFI - who has it, who doesn't
rossiz replied to Zed Head's topic in Fuel Injection
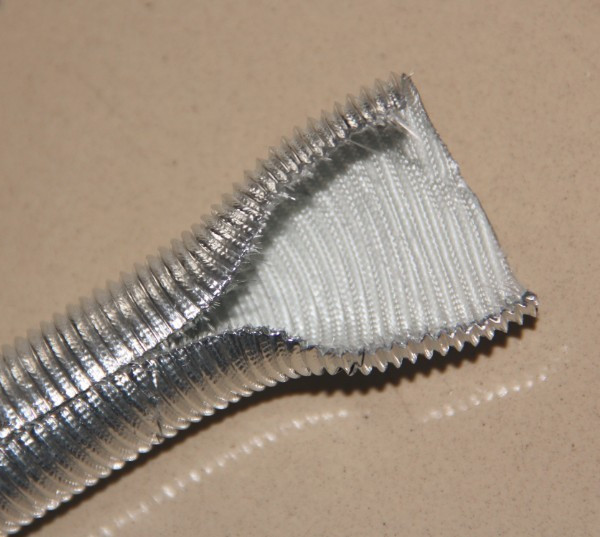
interesting fix chrysler did - looking at the picture it seems that the injector is downward angled, so the heat flowing up would really cook it. if the heat transfer is "flowing" up (hot air) or if it is radiant (line of sight) than a heat shield from something like this would definitely help: but if it's transmitting up through the metal from the exh. port around the intake and through the threaded connection at the base of the injector than a shield won't do much...
-
congrats - well deserved!
-
fwiw, my 78 always ran like a turd in warm-up mode... would barely rev over 2k until it warmed up a bit. the entire efi system had been replaced - every single sensor, hose, wire, injector, even the ecu and afm were new, every contact cleaned... everything. i thought it was just how the L6 ran cold, until i switched to su's and surprisingly it runs really well with chokes on till it warms up now. perhaps just the way the efi was calibrated on these cars? to be clear: i have no experience with other z's so my impression is only from this one.
-
quick/cheap media blasting booth: http://www.harborfreight.com/6-ft-x-8-ft-greenhouse-47712.html and when you're done, you can pick it up and move it back into the yard for your tomato plants and orchids... you might even get some buy-in from swmbo
-
Hardway's 1971 240z #8011 - Build and Repair Thread
rossiz replied to Hardway's topic in Open Discussions
some jobs are like that. my buddy spent $25K replacing his old galvanized steel plumbing w/copper, and would always bemoan the fact that nobody every noticed or seemed to care that water came out of the faucet since it was simply expected, yet if he'd spent $25 on a gallon of paint for the front hallway everyone would say "wow!" as soon as they walked in... but YOU will know -
been reading your thread with great interest, as i've recently installed a set of su's on my 78 280. i set float levels on the bench running the fuel pump into shot glass bowls, then re-set them on the car with a sight glass but i was still lean on both carbs, significantly more at the rear carb. this site: http://www.zcarz.us/technicalinformationpagecarburation.htm had some good info re setting fuel level at the nozzle vs. focusing solely on the float bowl - makes sense since the the fuel actually draws from the nozzle. his measurement shows 1 cm down from top of the bridge, so 10 turns down and the fuel should be right at the top of the nozzle. remove domes & pistons and look straight down and you can see it. i would keep it at 8 turns down, adjust the float, run the pump to fill the bowl, then dial in the last 2 turns to see if i had it. when it's right, the meniscus should hit the top of the nozzle at 9 turns and the fuel just flows over the top at 10 turns. this method worked for me and when i was done the float bowl levels, measured with the sight glass, were pretty different (both higher than 23mm, the rear quite a bit more than the front) but the nozzles were dead on and it runs well in the 2-3 turns down range.
-
nice! it'll be interesting to see what you wind up with for cr after all that work. now for the fun part: you can get your dremel out and and bevel the sharps off the perimeter of the chamber (within the fire ring) to minimize potential hot spots. then port match to your intake runners and clean up the gasket to match and you're on your way to goodness.
-
sorry to hear it - i've got a set of markers & lenses from my 78 - pm me if ya want 'em
-
Hardway's 1971 240z #8011 - Build and Repair Thread
rossiz replied to Hardway's topic in Open Discussions
looks like quite a bit of work, and very nicely done. not sure what you're using for paint and how it may affect the gasket sealing surfaces. you can use some 220 then 320 emery cloth and a very flat block (i have some leftover cherry hardwood flooring offcuts that i keep around for this) and lightly dress the intake/exhaust manifold gasket surface - but i wouldn't touch the head gasket surface with any abrasives, maybe some thinner and a rag to get off any overspray, same for the valve cover. keep the posts coming - great writeup as always! -
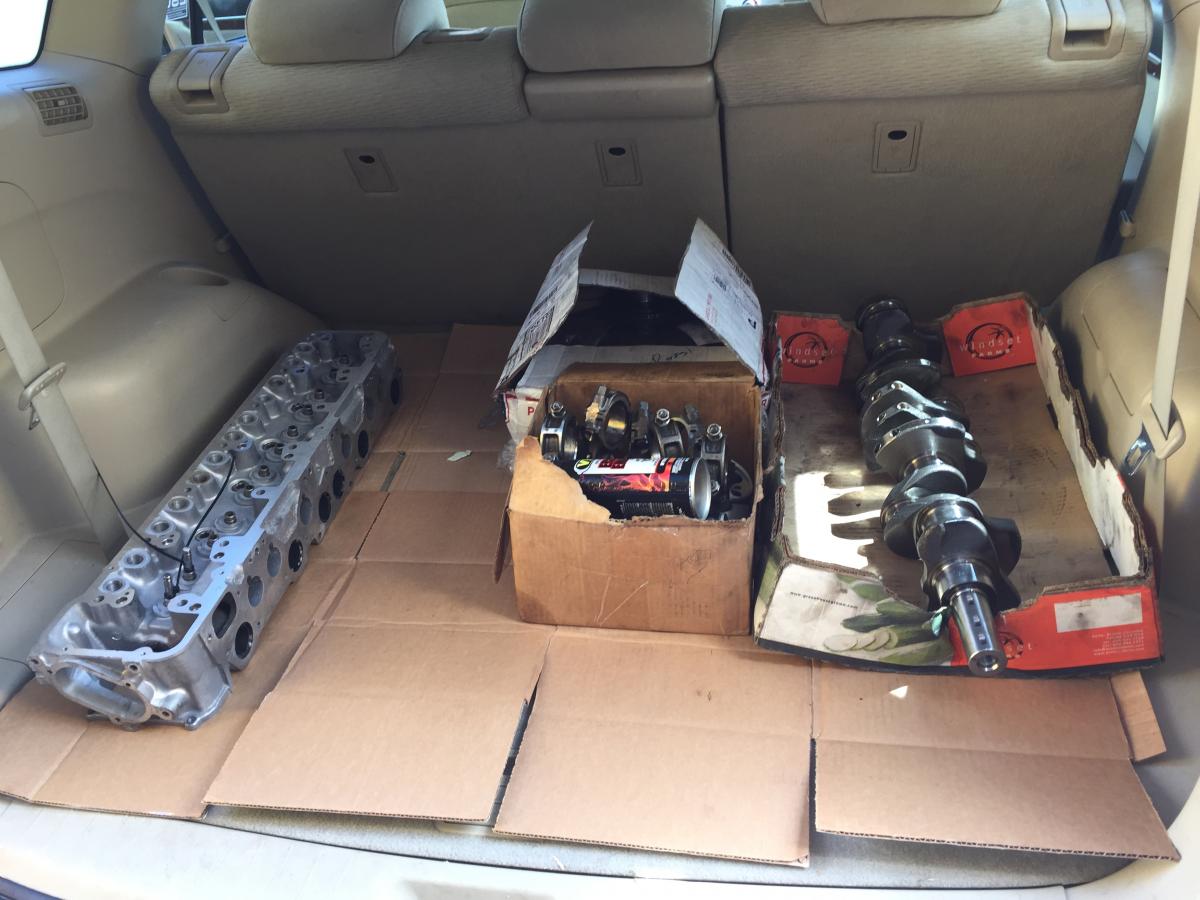
picked up all the parts from the machine shop today: head - surfaced flat on top (.003" to remove slight frown) and gasket face cleaned up, shaved .060" to bump cr crank - balanced, polished piston/rodd assemblies - balanced 240mm flywheel lightened & balanced pressure plate balanced so now the build starts... with the help of my sons (when i can get them) to lift the heavy bits for me as my back heals up.

-
depends on the price... if you replace the pistons and can use all the rest plus already have clean bores, good bearings, timing set, etc. then you'll be into it for the cost of pistons (flat tops!), rings, gasket set and your time. if it's cheap enough you may be in a good spot. the first worry i'd have is if the pistons hit hard enough to over stress the rods - hard to tell on that one. and if it was a stock '78 with an n47 head (domed) there would have been some pretty large objects in the chamber to do that (dropped valve?) which would have beaten the head up just as much... the second worry i'd have is what kind of job was done on the re-build if they went through all that trouble and didn't replace those tatty-looking pistons... or did the damage happen after the re-build, in which case what kind of job was done on the re-build to allow that damage to happen?? but again if the price is right and you've got the time you might score a fresh bottom end with a bit more poke than your current setup.
-
futofab & black dragon both sell nice reproductions - nice quality and not too costly. i have a front from bd and a rear from ff and they're both great.